Introduction
Welcome to “RG Aile Strike Build Day 9” where I am building up an RG Aile strike model. If you haven’t read any of the other parts I would recommend going back to the start. You can find that here. In the first post I covered the box, runners and provide the manual.
I am taking my time to ensure I clean up all the marks that can be cleaned up. As with any build like this, if you end up with discolouration or a small white “stress” mark you are likely to need painting to get rid of those. I may have a look at simple quick methods of dealing with those items, especially as I find that it has a habit of happening on the grey pieces. I also accept I may need to work on my cutting style as I’m sure that will contribute to it!
The Process
Unless otherwise noted I followed this process for each piece:
- Cut off roughly leaving plenty of nub
- Trim back the nub with my better nippers
- Apply water to my wet and dry sandpaper and sand the nub marks down
- Dry the piece
- Brush it off with the tooth brush to remove any bits
- Re-apply the matt finish using the Gray Balancer
- Prep the part with the green side of the White Balancer
- Shine the part up with the white side of the White Balancer
If after this I wasn’t happy I would repeat the sanding steps down, and keep iterating until I was happy with the finish.
The Parts

As you can see the arm consists of 16 core pieces. Above I have just cut them out roughly ready for trimming and cleaning up. I showed that in the previous arm, so in this post I’m going to show you something different about them.
The arm Skeleton
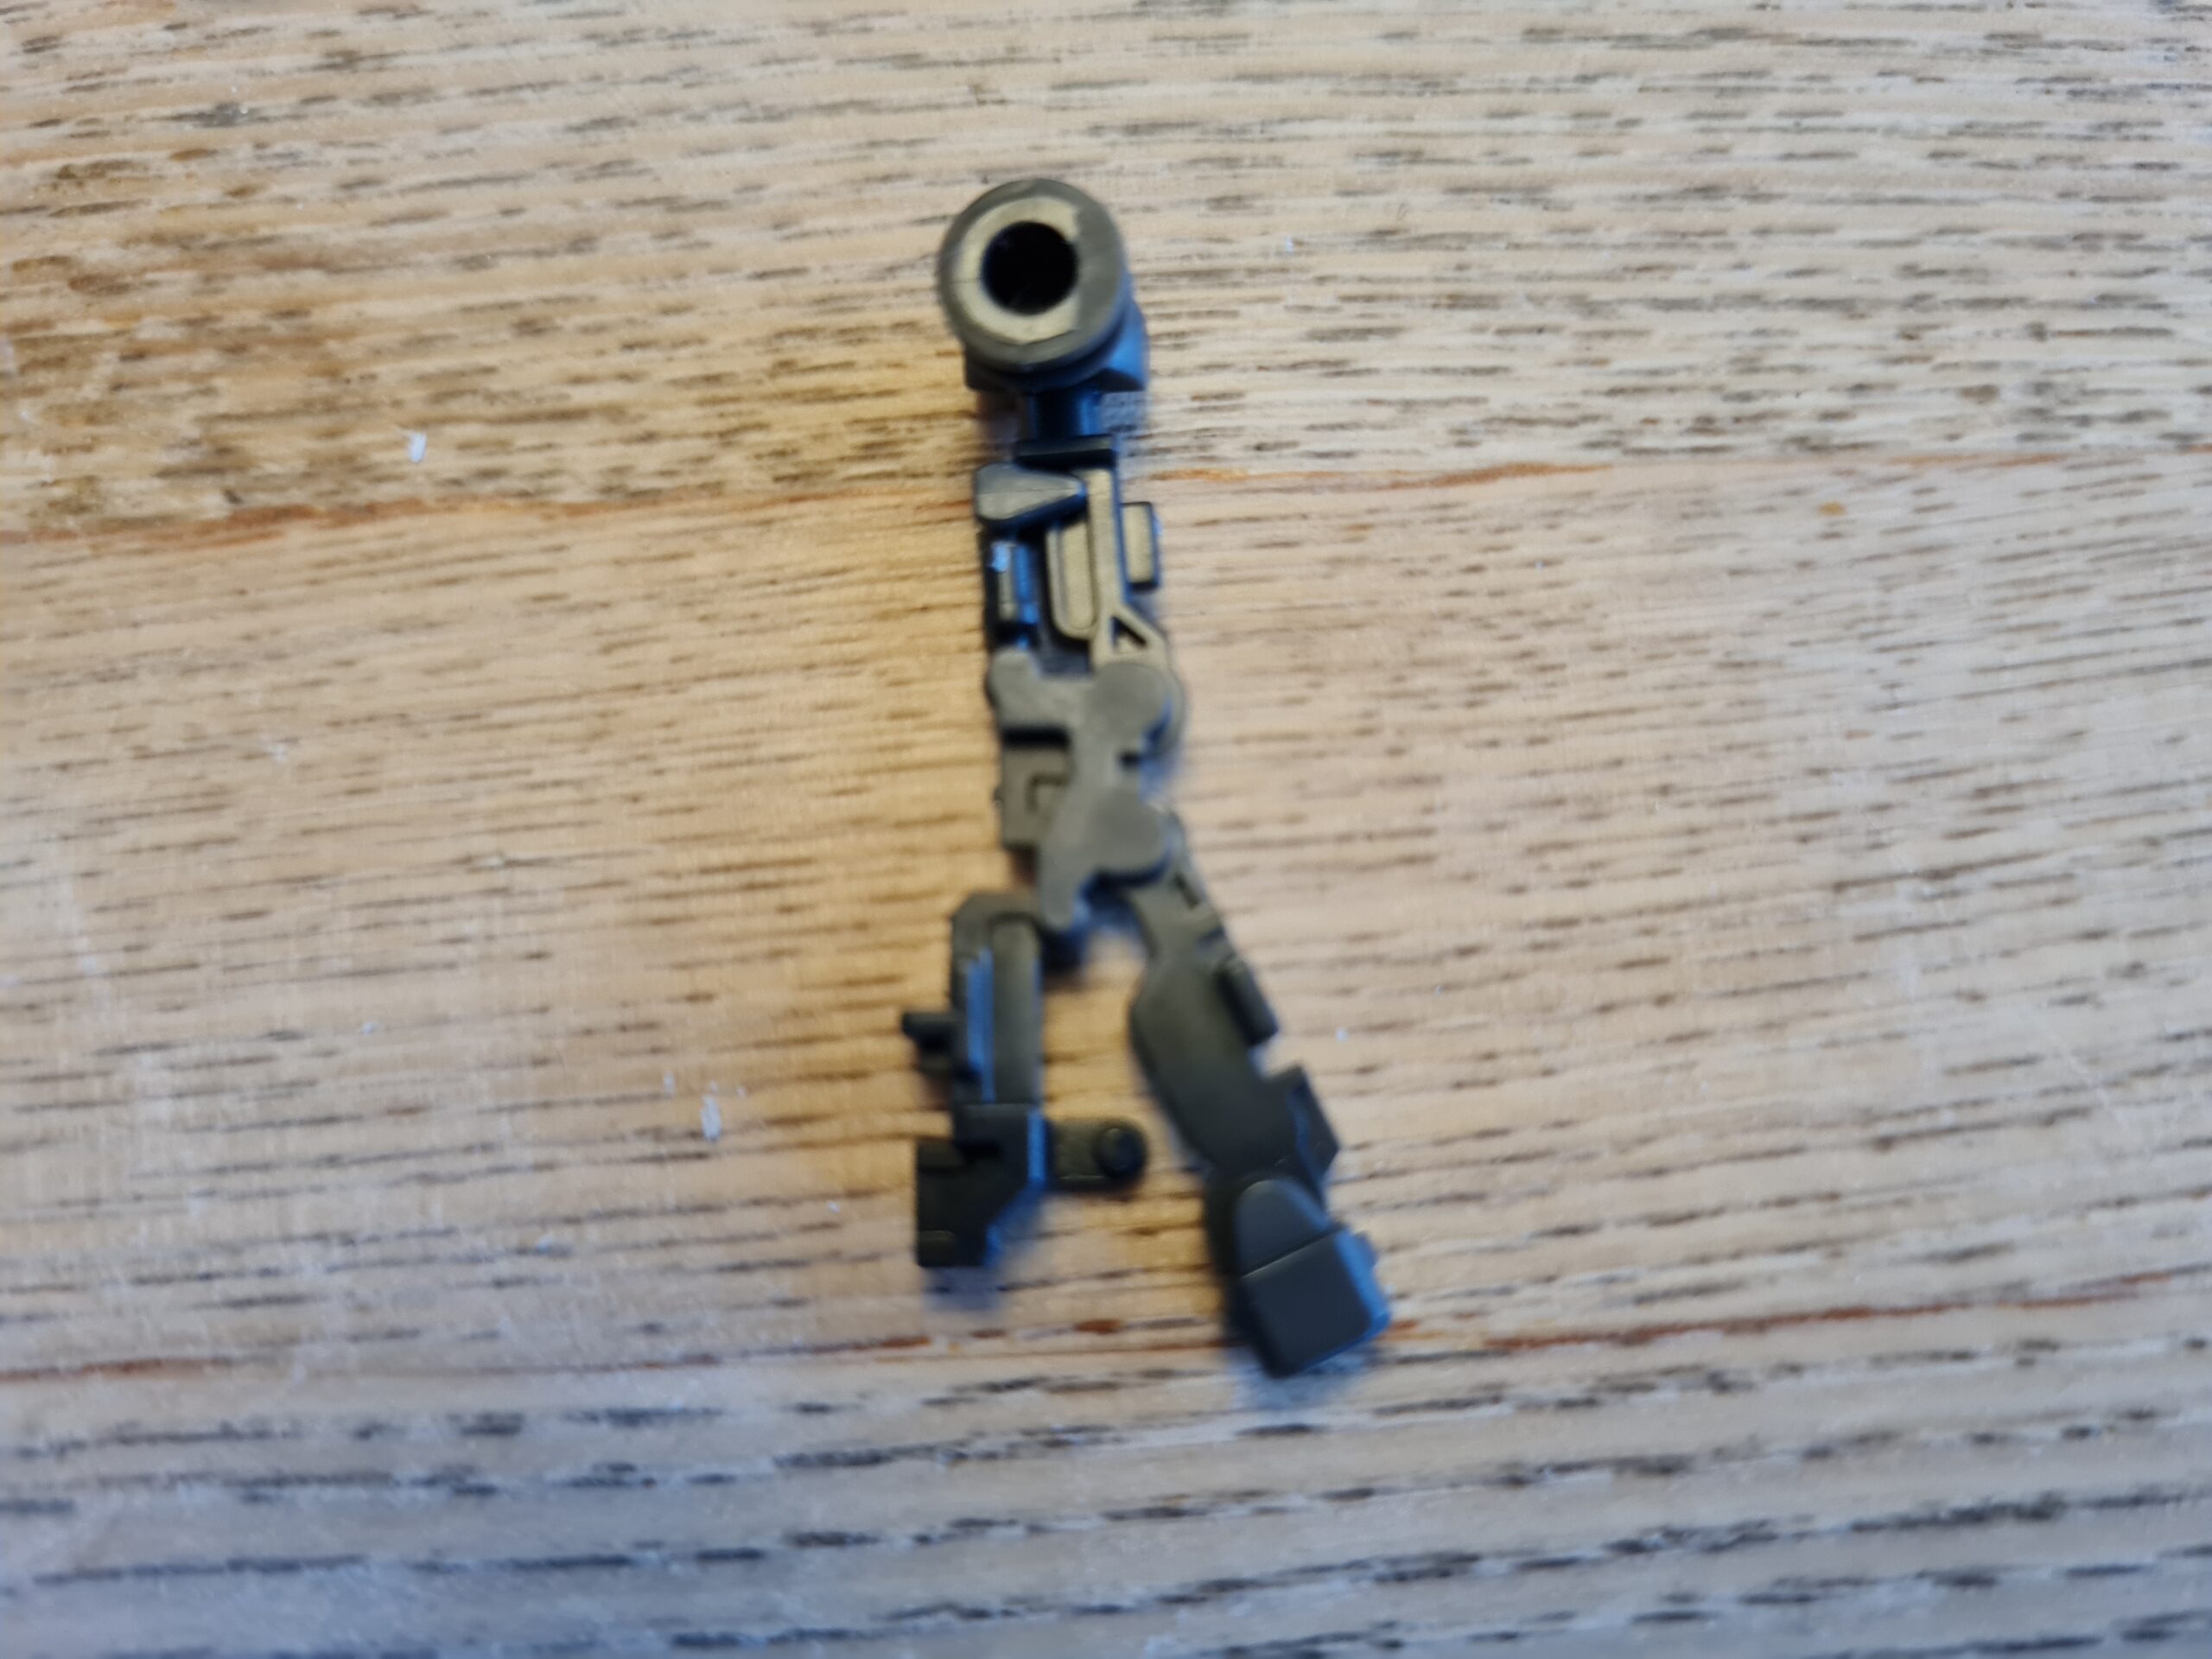
On the inside you have a lovely inner frame. The frame or skeleton comes pre-case on the runner. I find it mind boggling how they cast these intricate pieces.
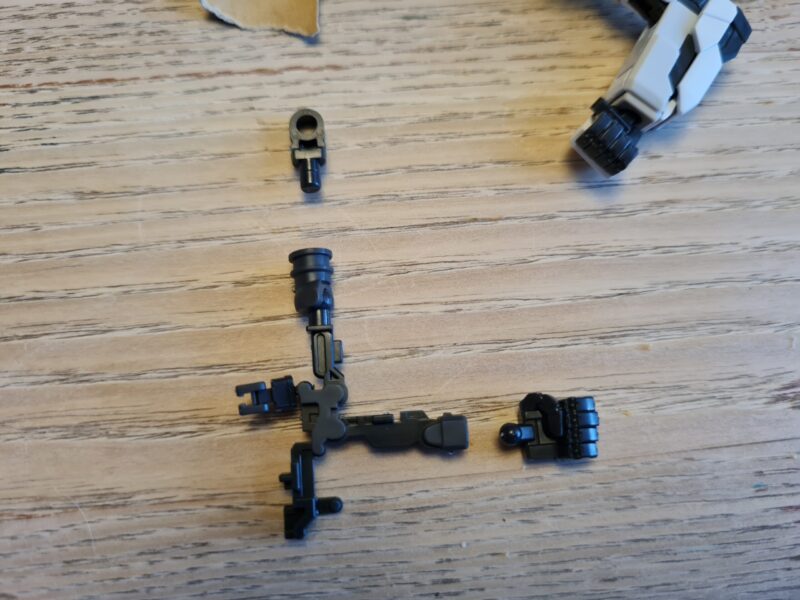
In the first image you can see that the fist and joint have been separated. They come attached, but you need to remove them. The top joint is actually part of the shoulder assembly used when you build the torso. The fist is just re-attached later on. Previously I had issues removing the top part, however, knowing it was a straight peg I felt far more confident twisting and pulling to free the part. I found removing it on this arm a lot easier than on the first one.
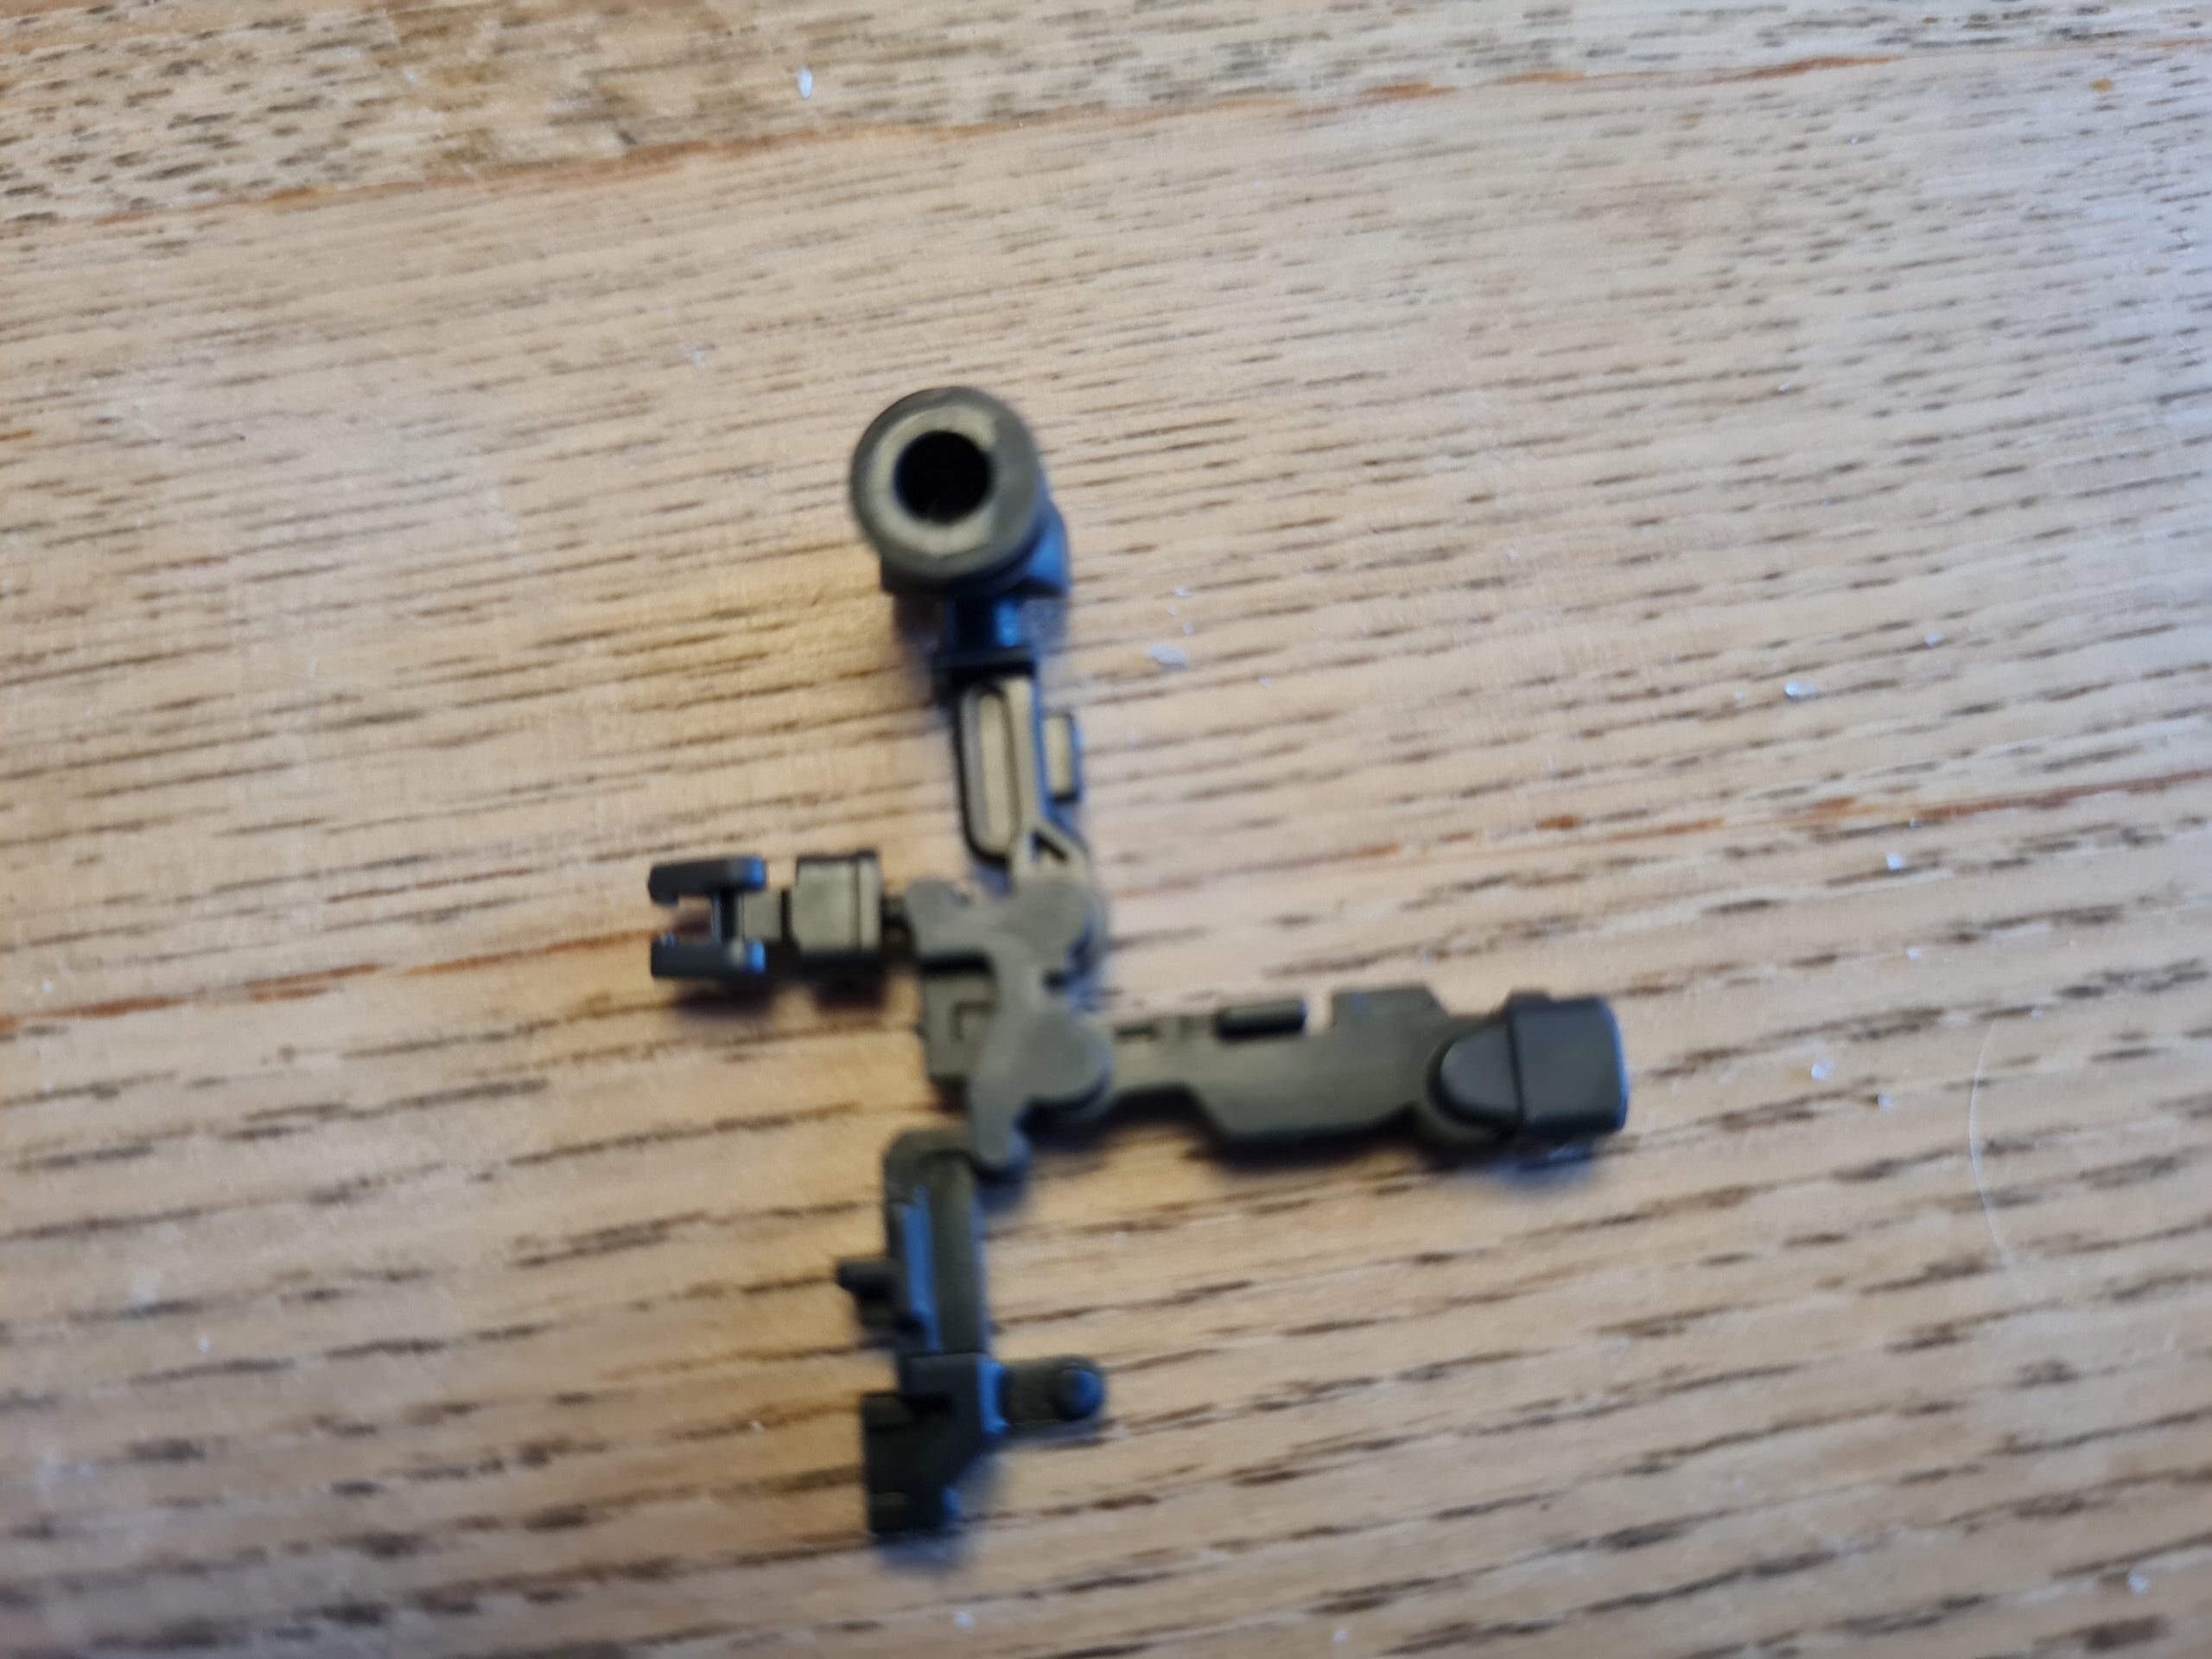
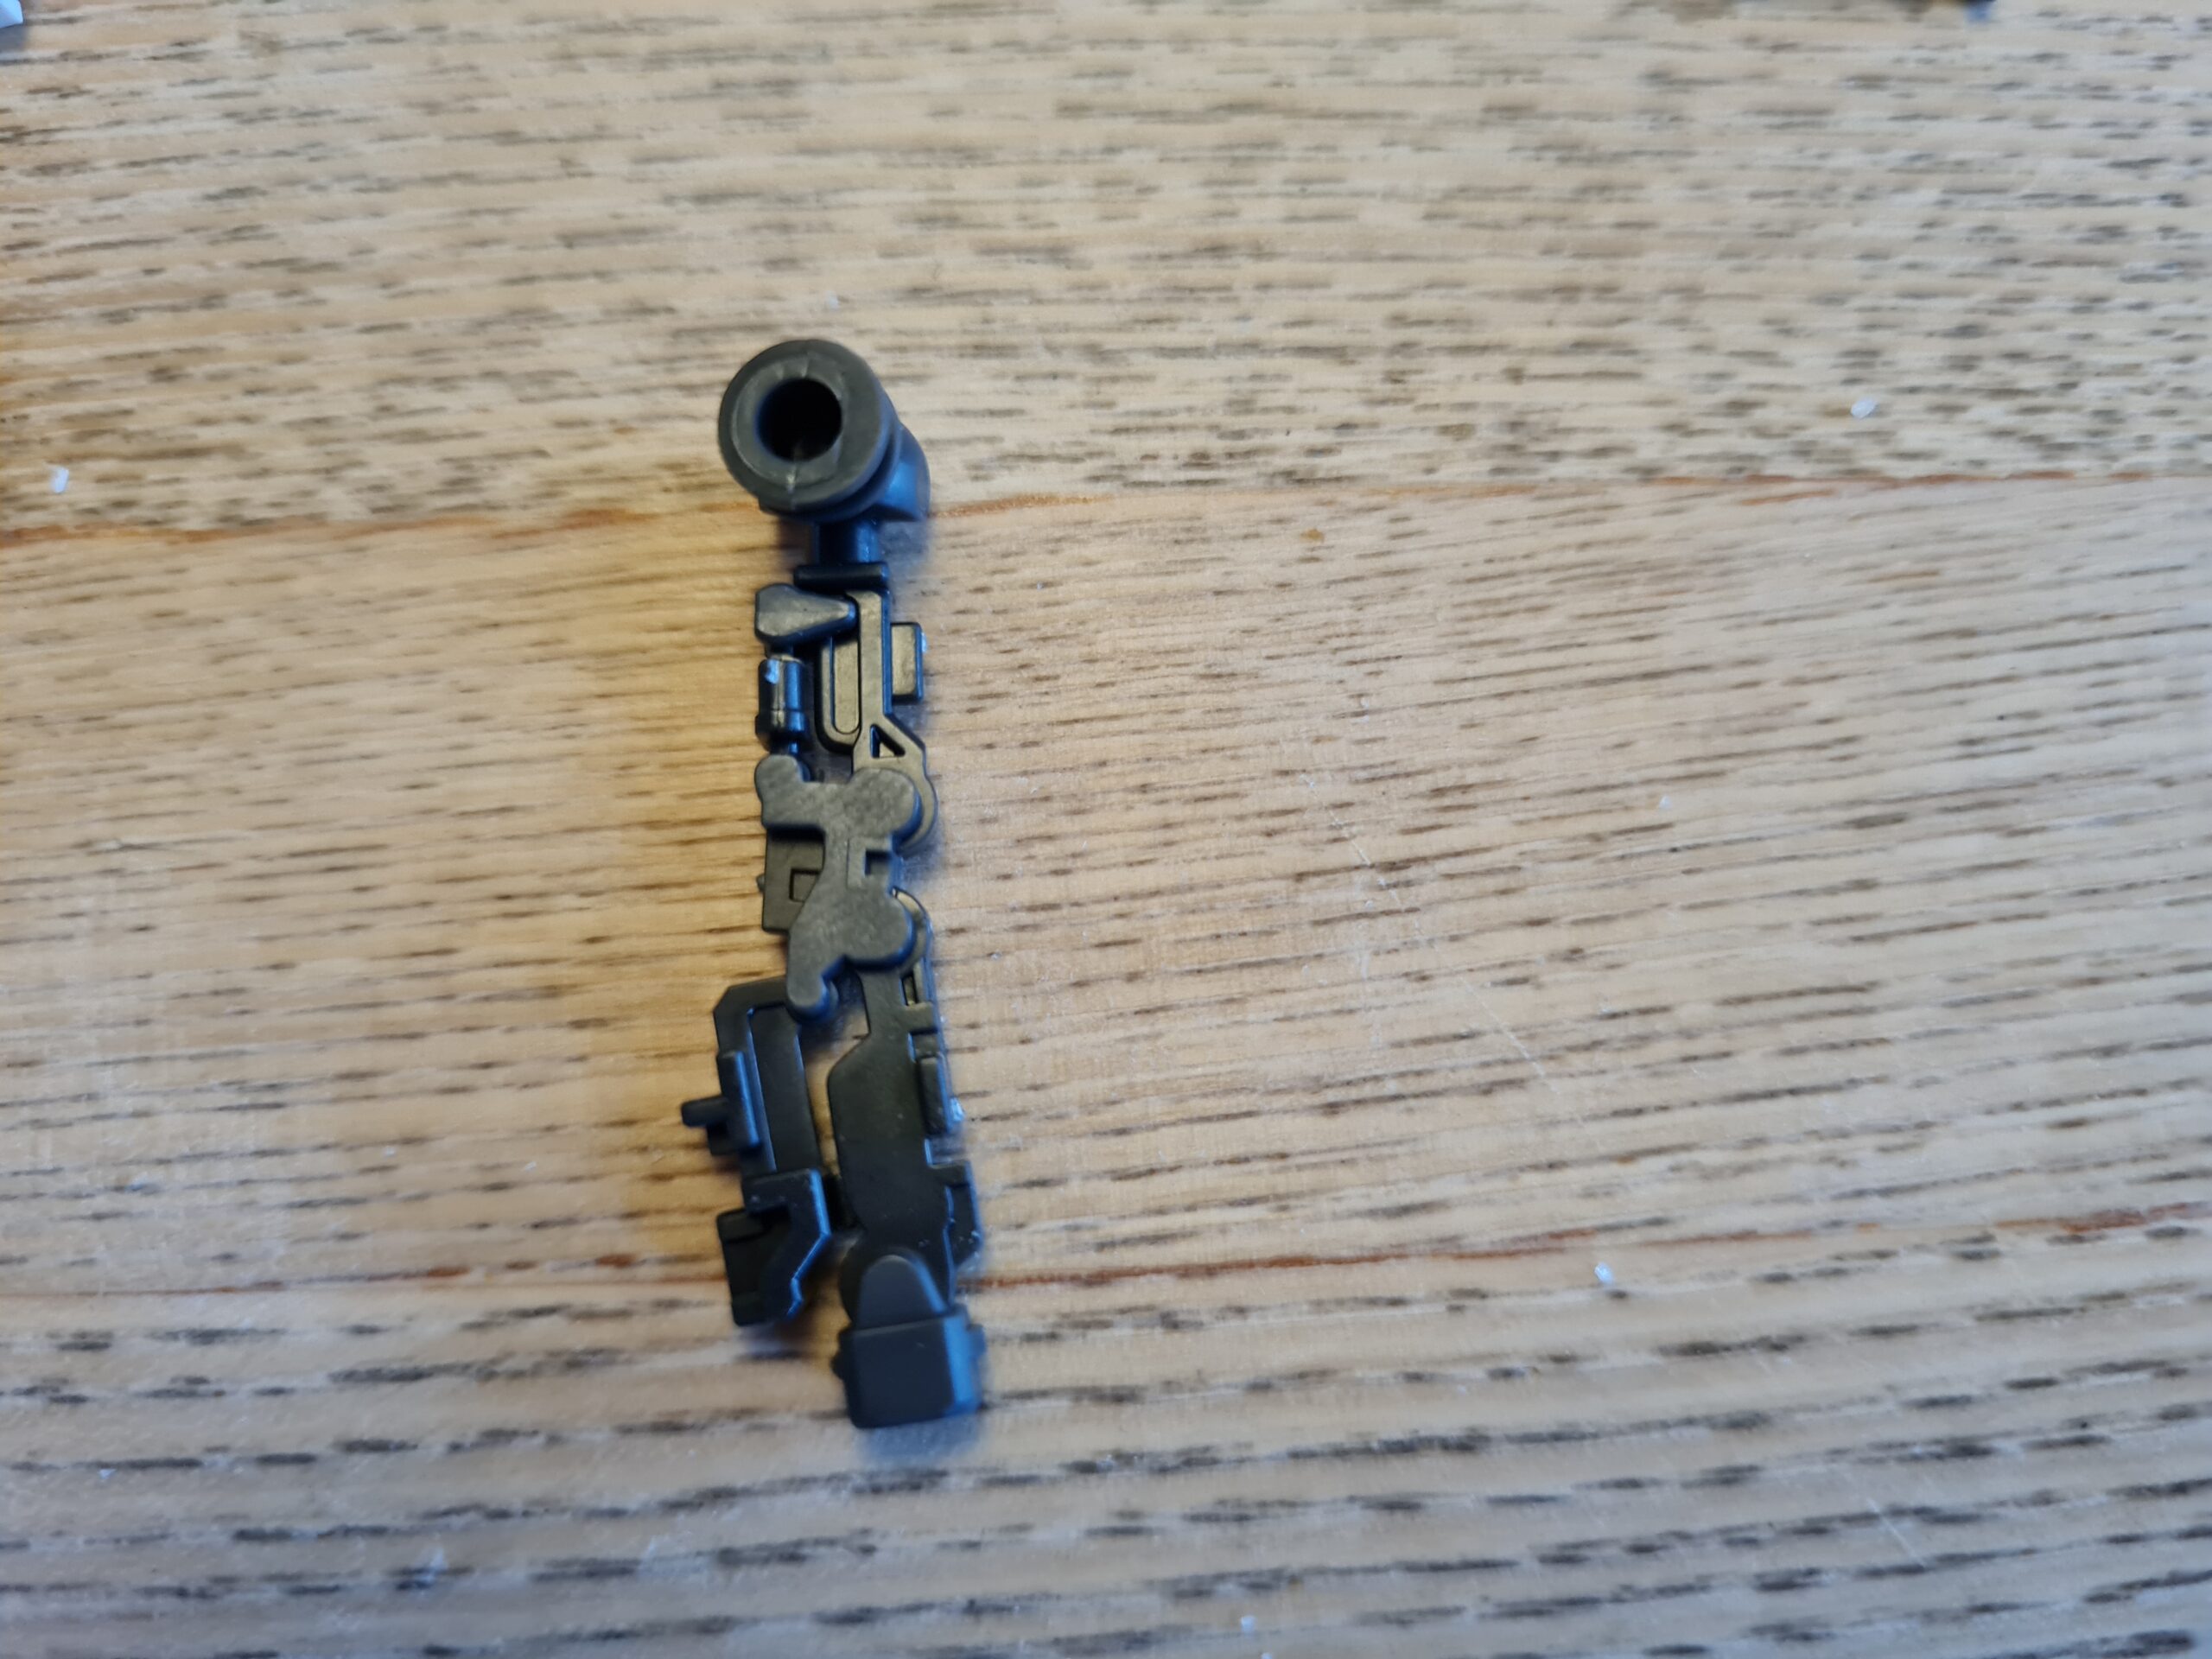
In the second image (incorrectly titled all pieces straight) I had rotated and bent the socket joint into place.
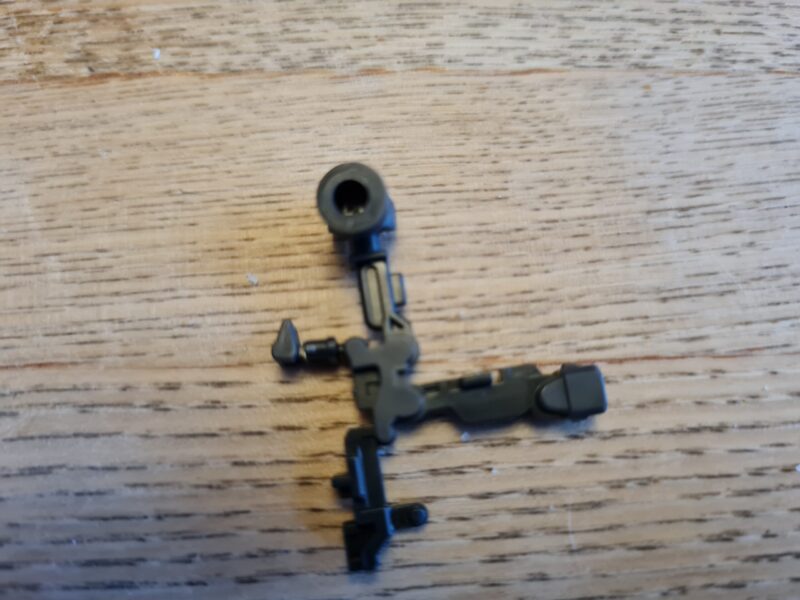
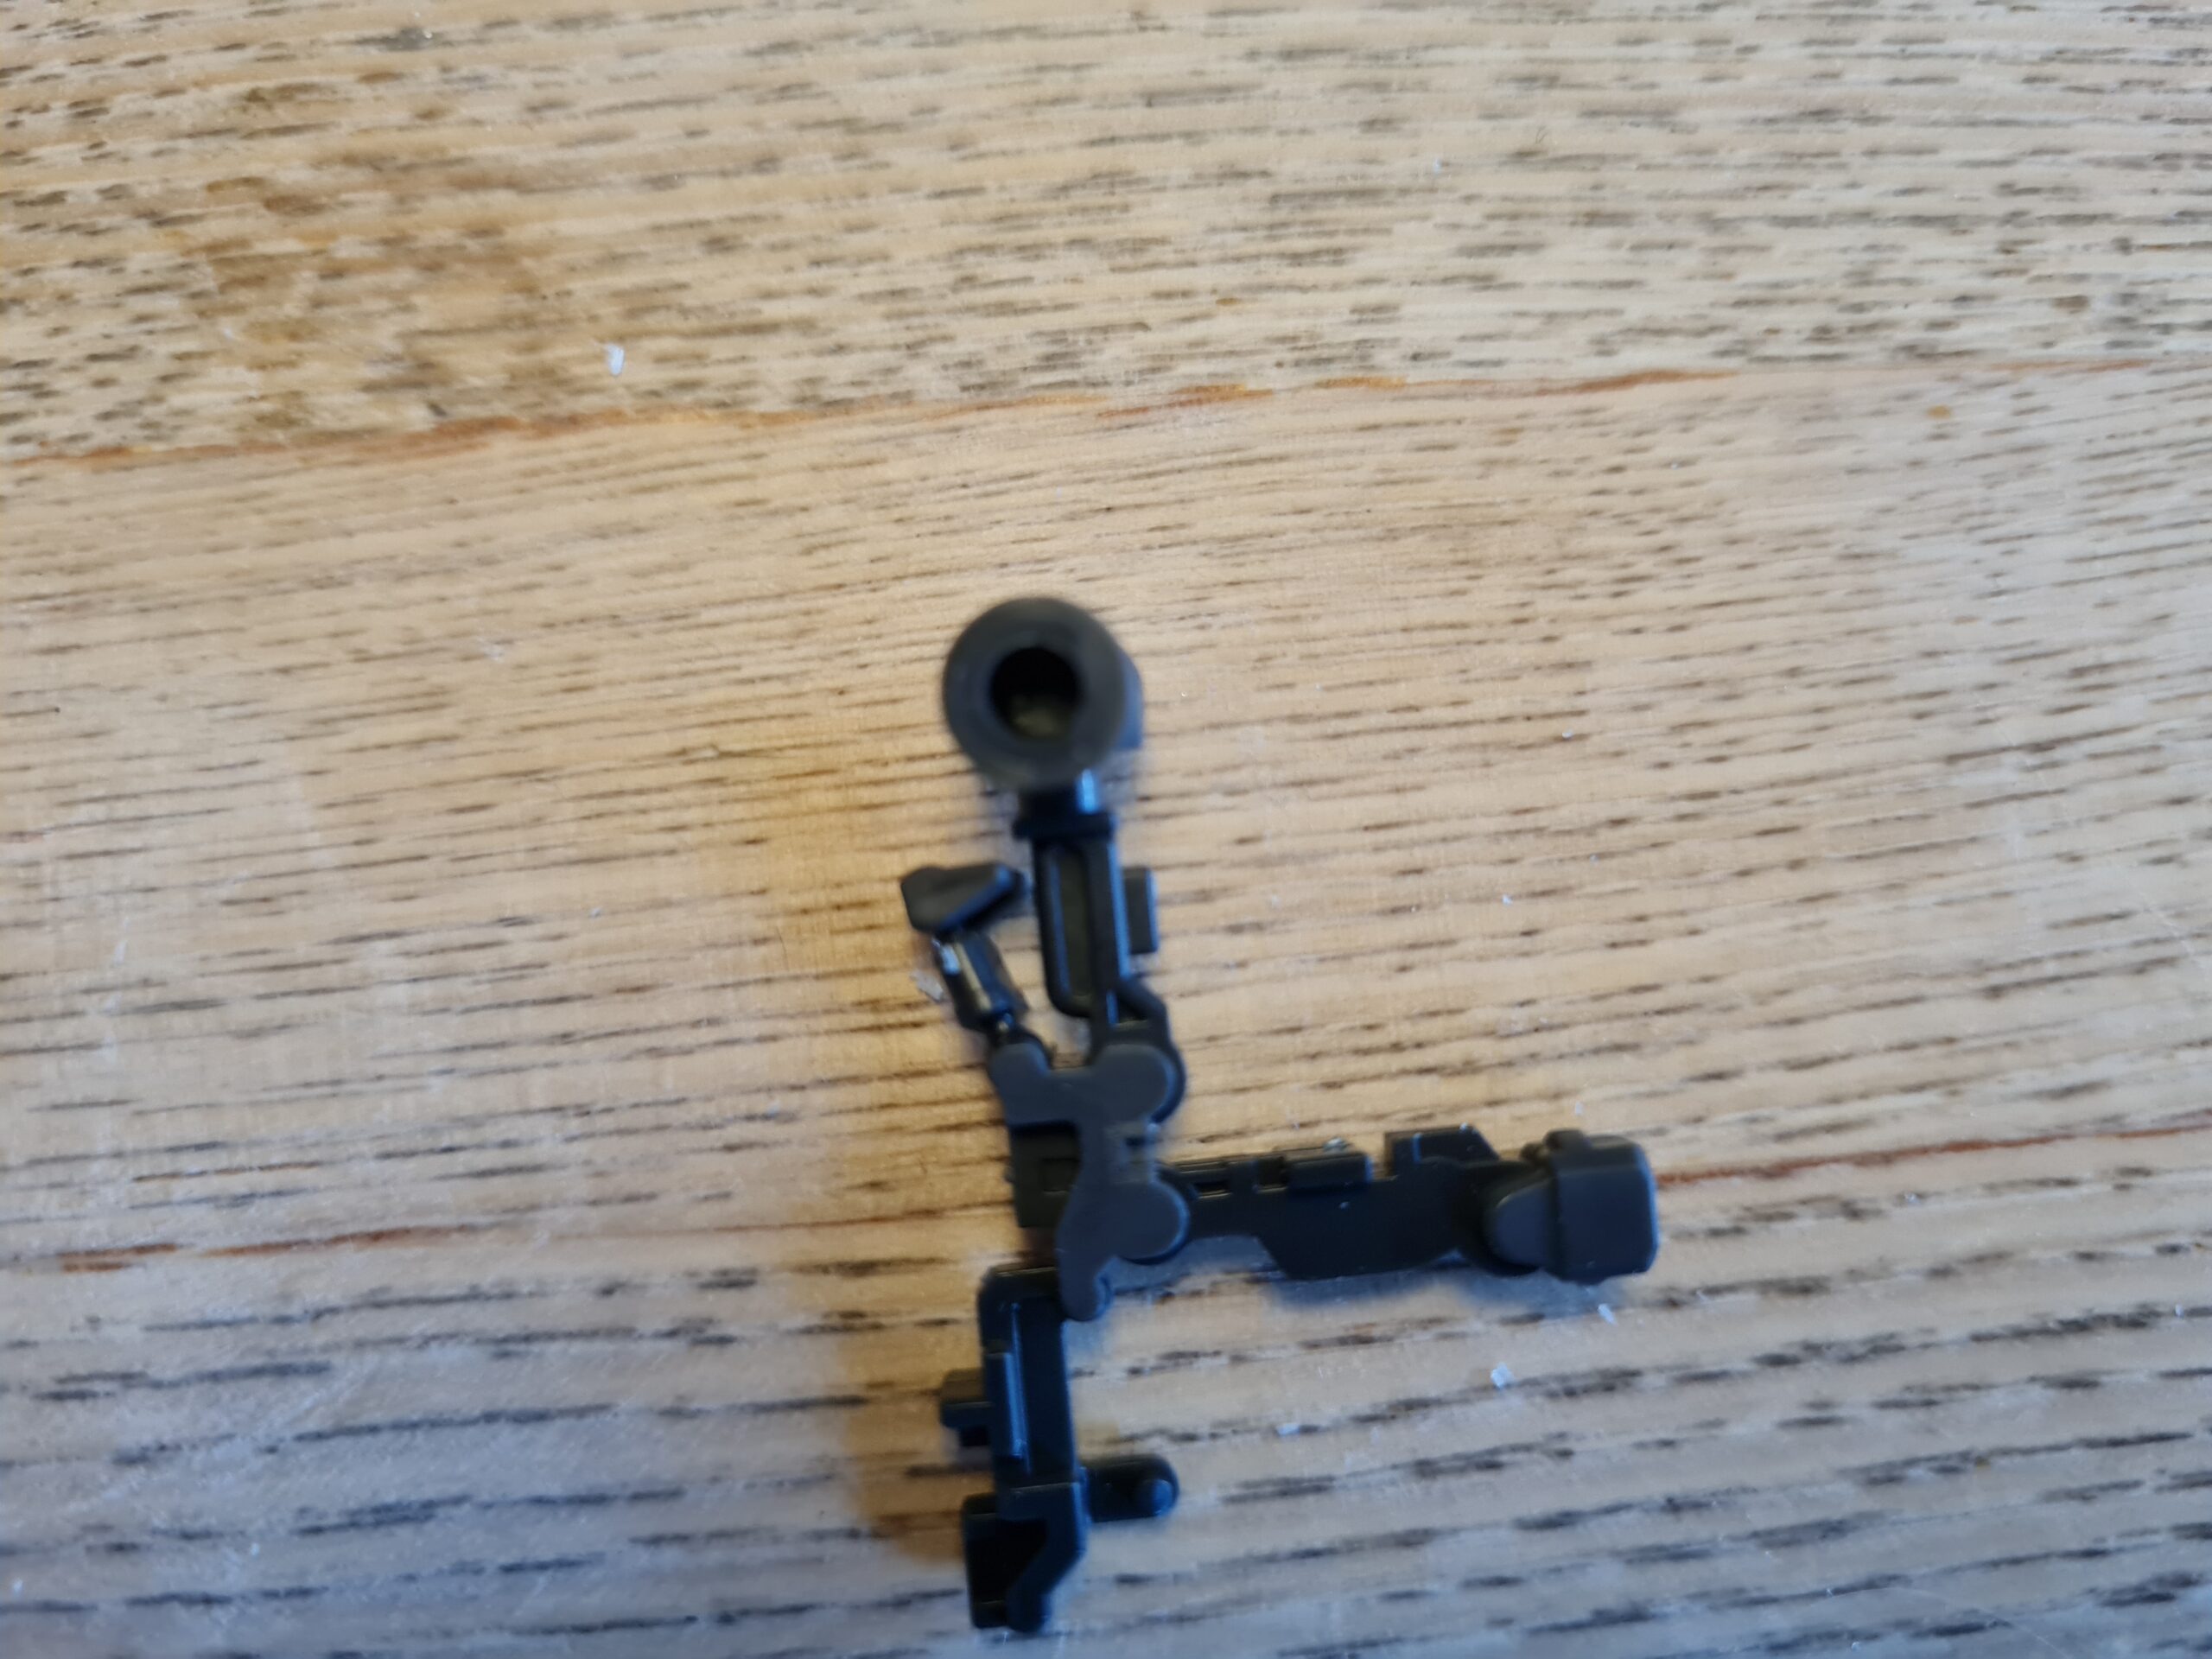
The third image then has a small piece on the left hand side of the image bent upwards. Ultimately this clips back onto the central core of the arms frame. You can see this in the next image (“Bending into place”) how the section is bending up back towards the central part of the arm frame.
The “Top connected” picture shows the left hand piece completing the motion up and clicking into place into the frame, as well as the bottom section starting to bend down.
The final image has the arm frame complete with the part the fist was attached to moved all the way flat with the rest of the frame, and in place.
The finished Arm
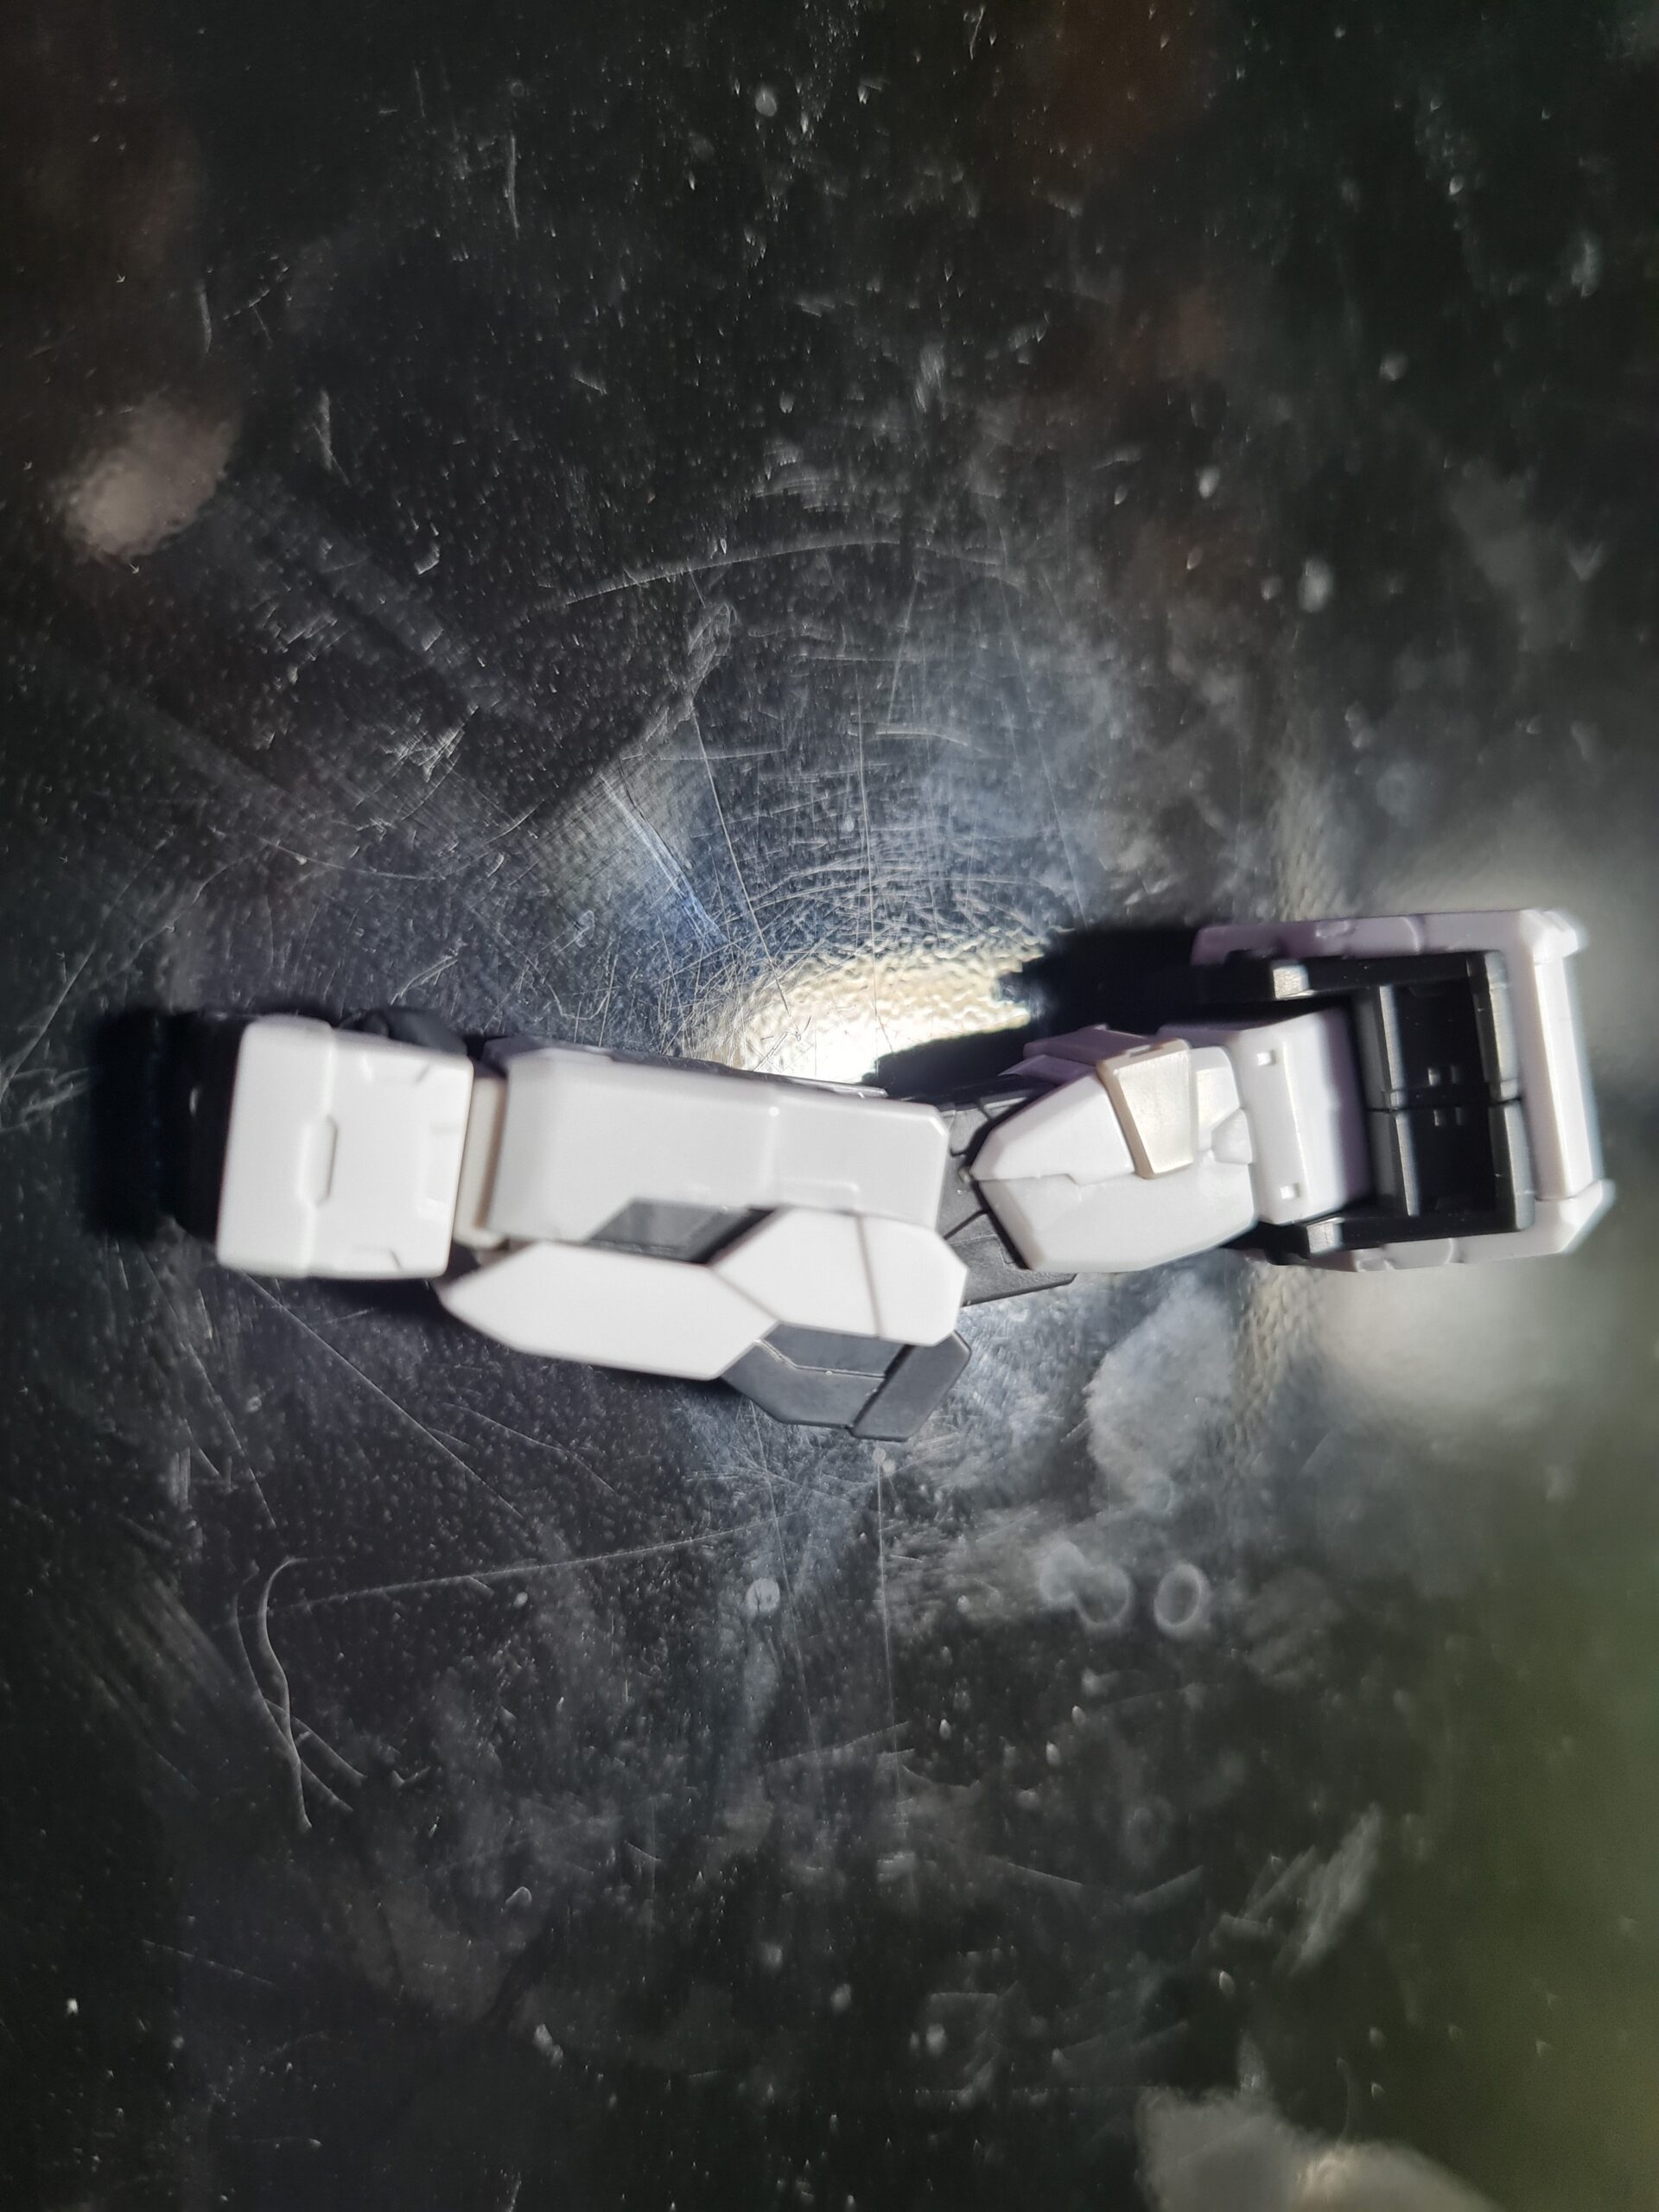
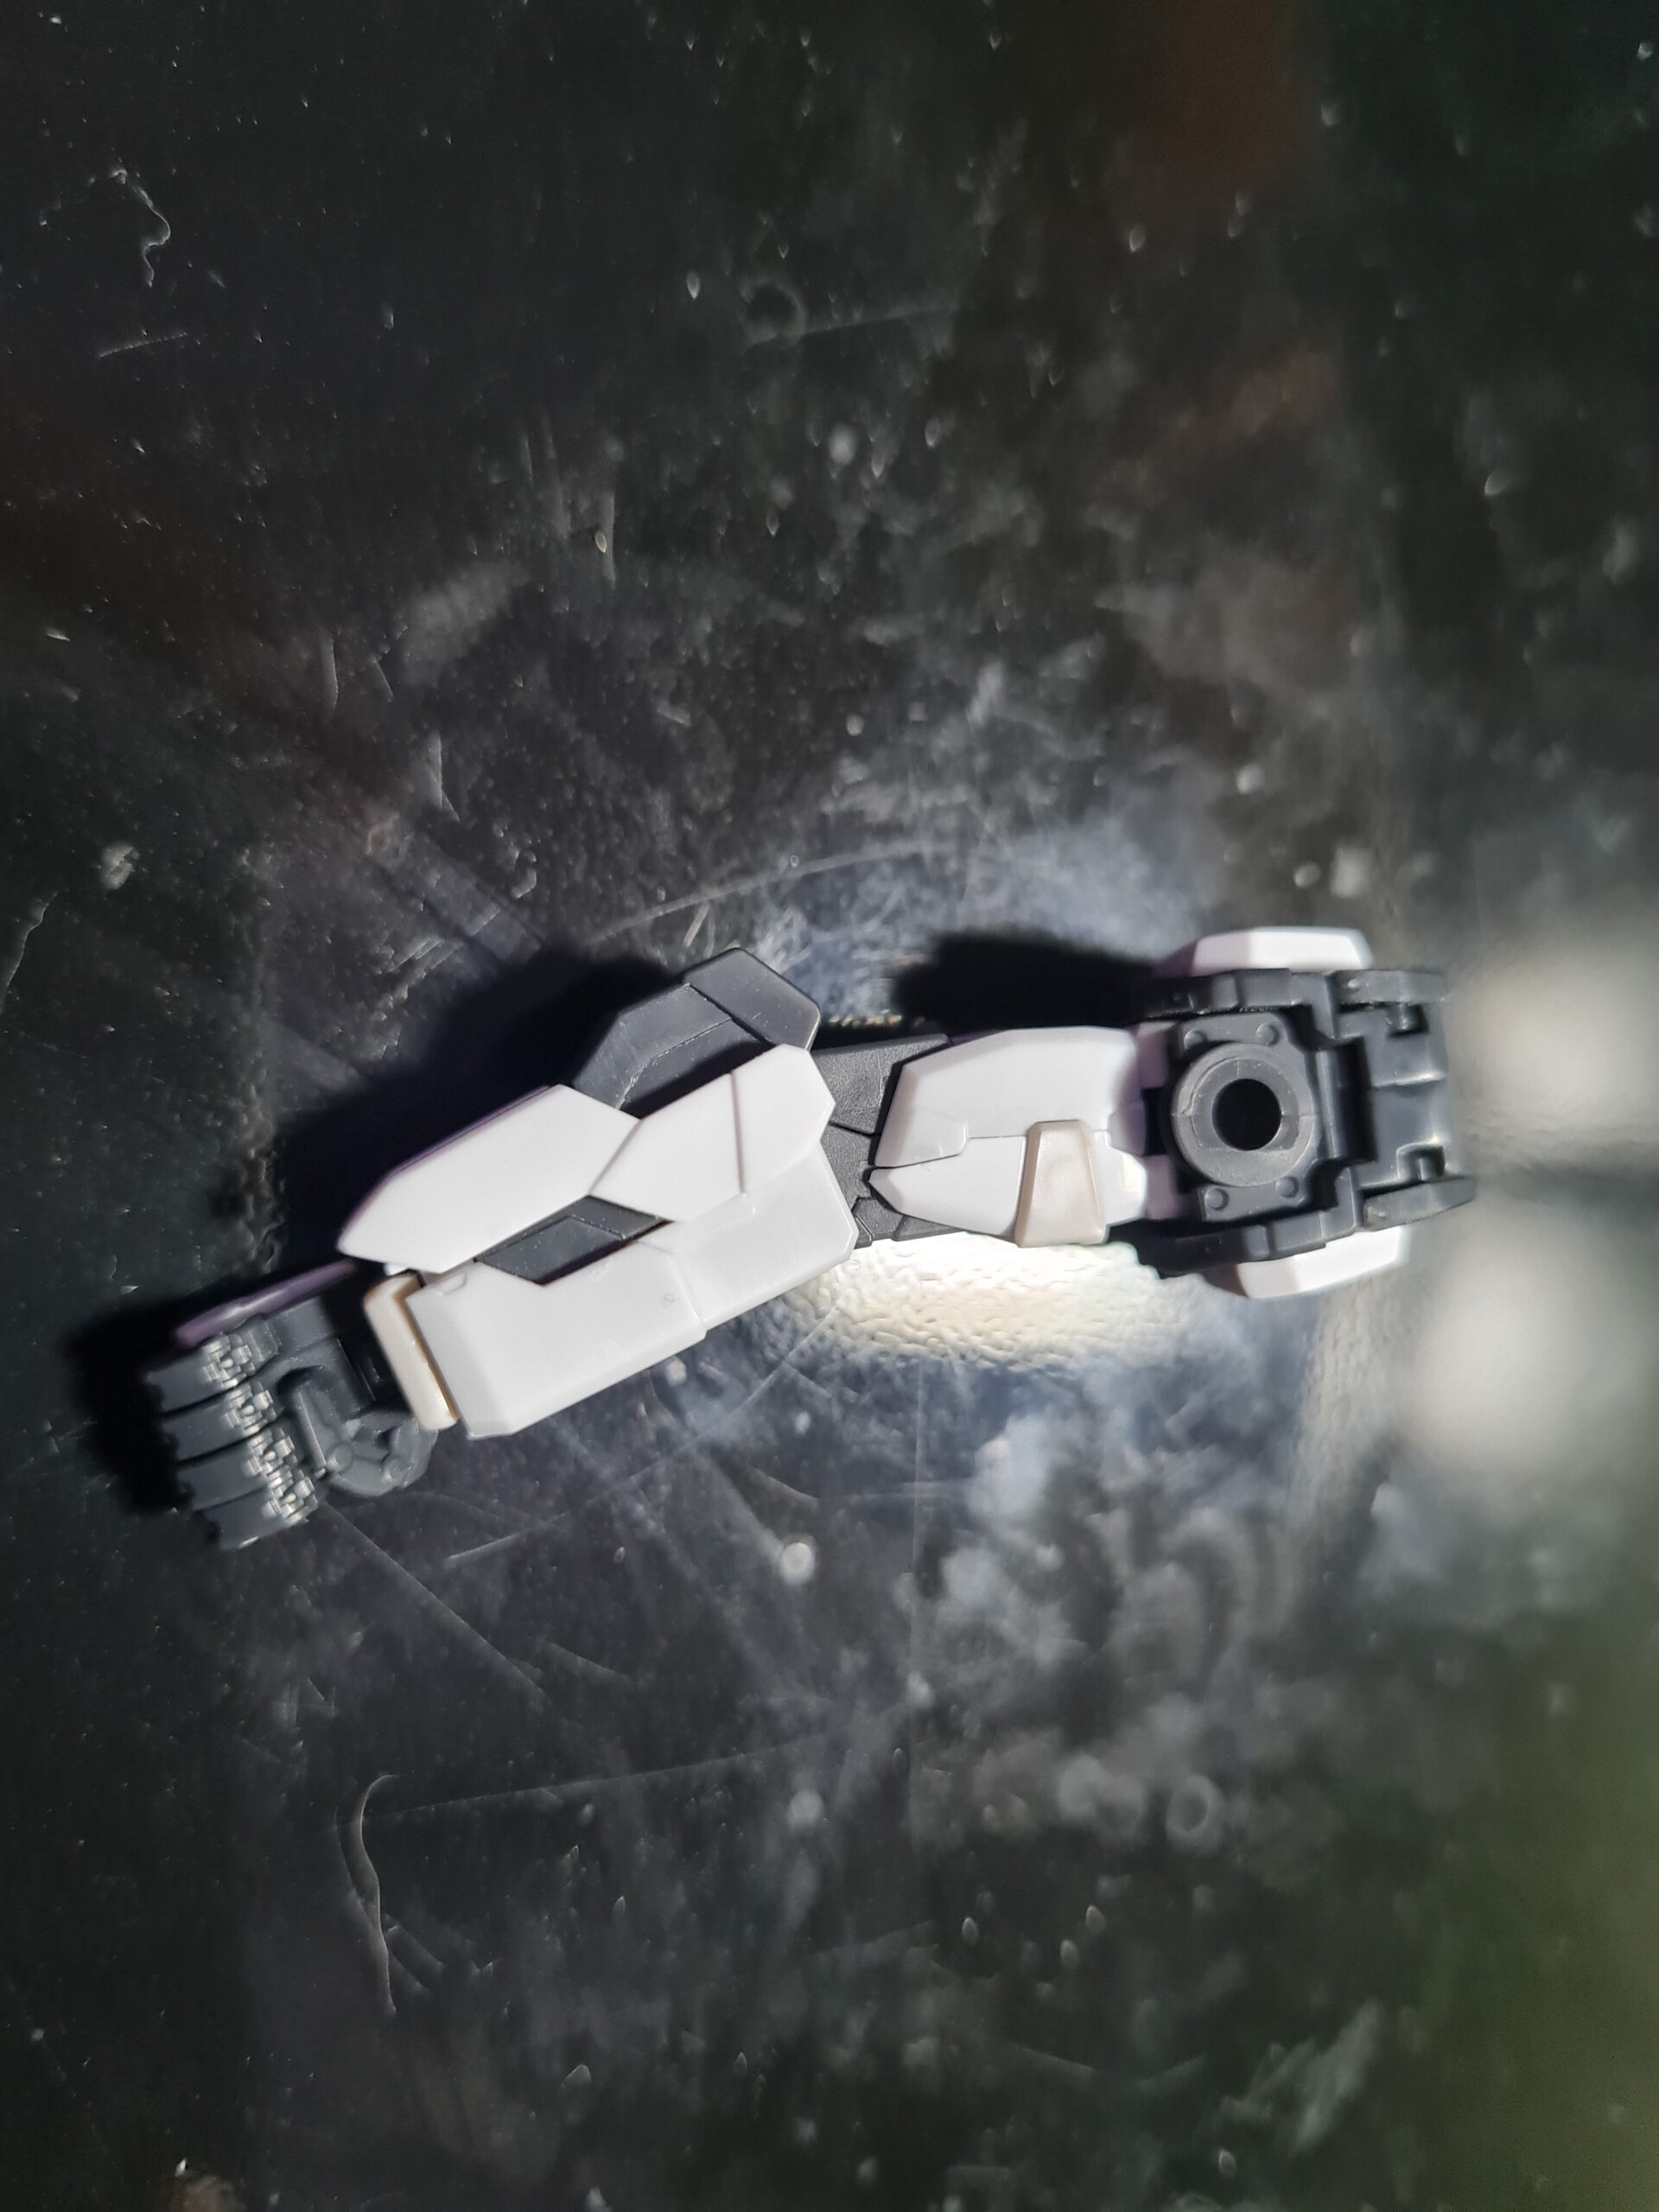
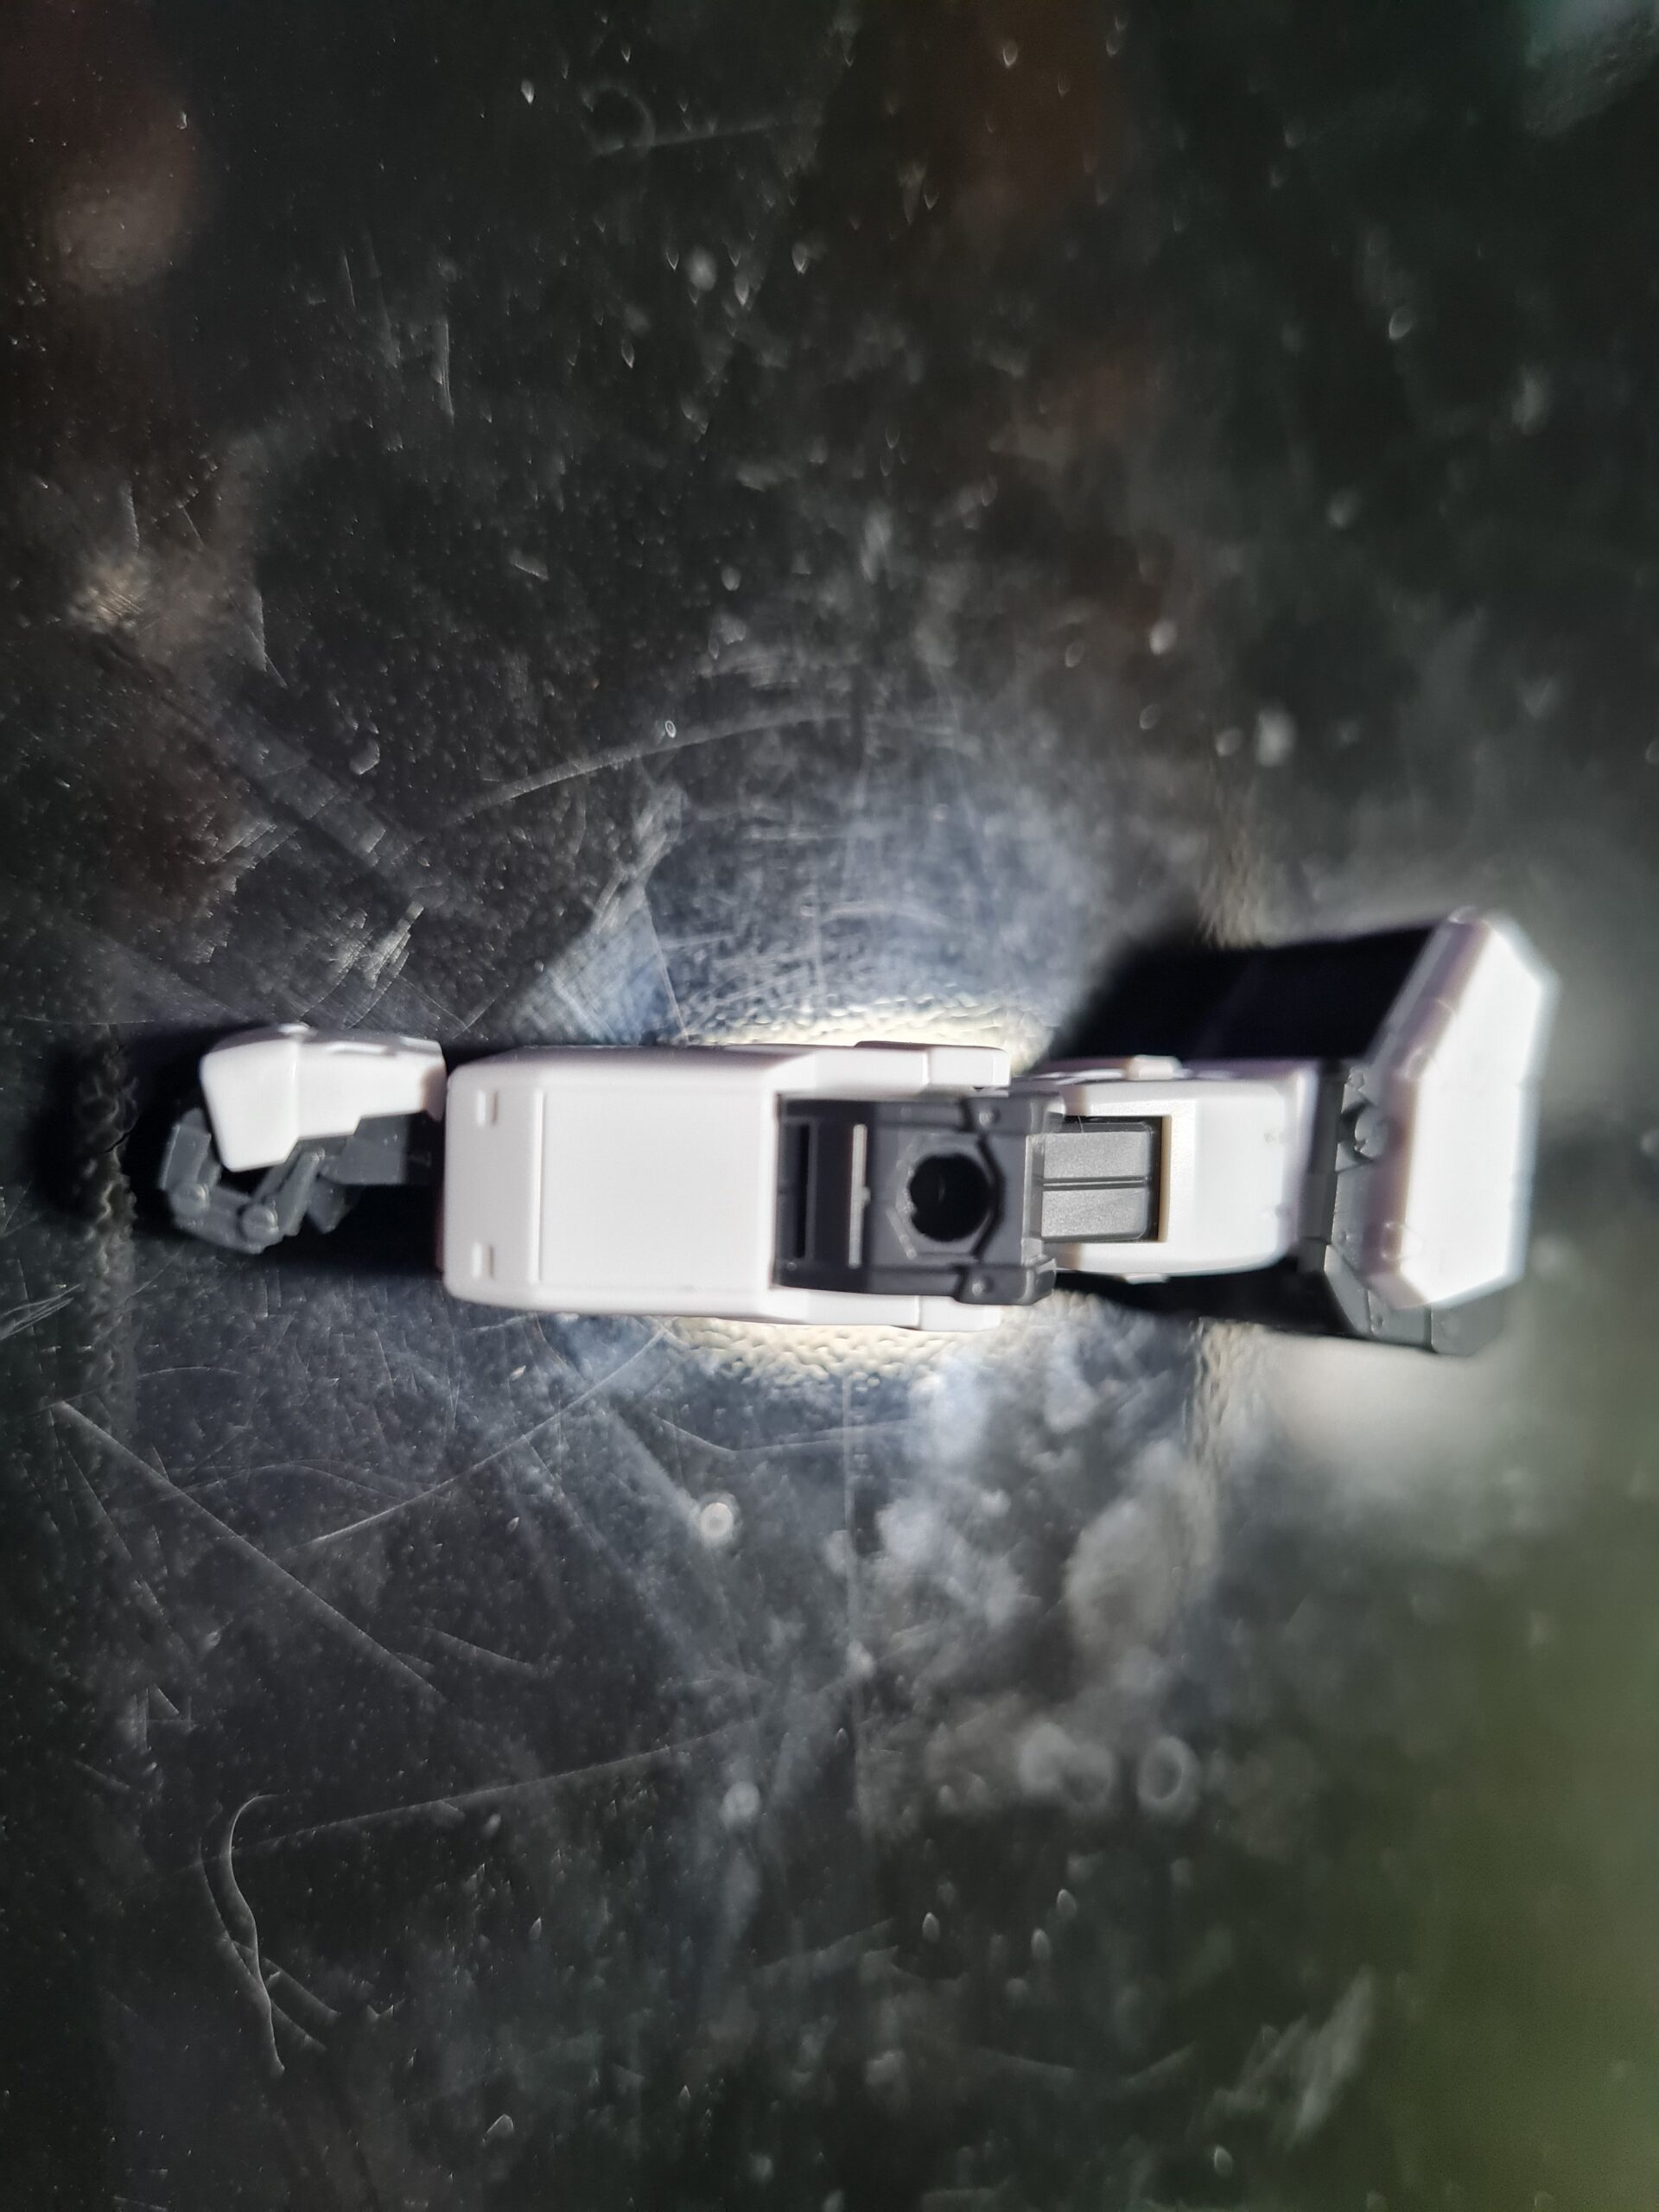
As with the other pictures (yes I know I need a better background, I am working on it honest!) you can see how the armour has cleaned up nicely. I am really happy again with how this fits together. I really enjoy building the arms on this model as it is a satisfying process.
Conclusion
Everything in the build process, so far, has lived up to my expectations. The detail is stunning, the precision is what I expect from Bandai, and the build itself is an incredibly enjoyable process.
Thank you for taking the time to read this. If you haven’t already done so please like and follow us on our social media platforms and checkout our website!
Facebook: https://www.facebook.com/profile.php?id=100086701512793
Instagram: https://www.instagram.com/modelkitsltd/
Website: https://modelkitsltd.co.uk