Posted on

Should I paint my models

Home » Archives for August 2022

Introduction

I ask myself this question all of the time; should I paint my models. I’m sure there are all sorts of views out there in the world, but it is one that I keep coming back to. I thought it would be interesting to explore them here.

What are the options

When asking myself should I paint my models I often cycle back to wondering what the options are. It seems to me that there are a few core options, and then variations on those.
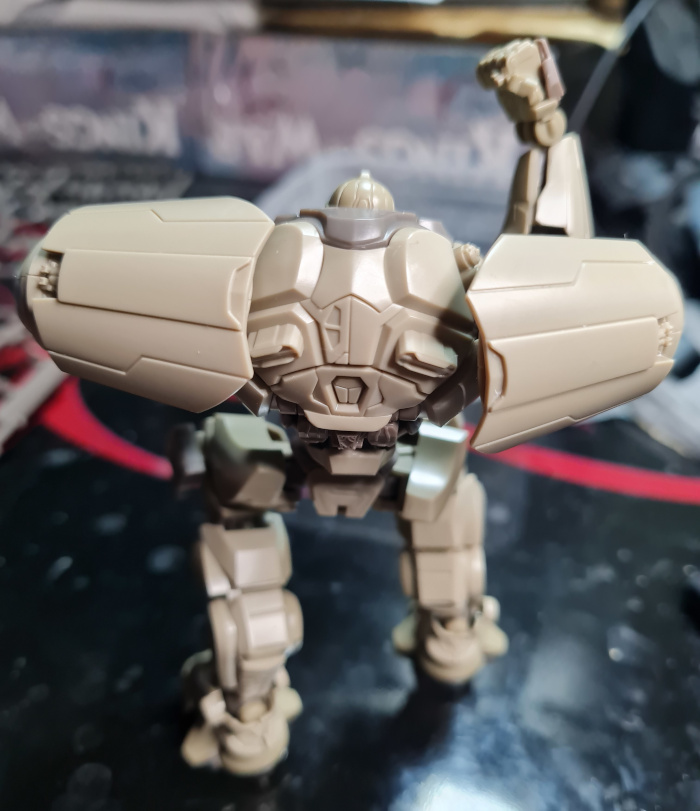
As is

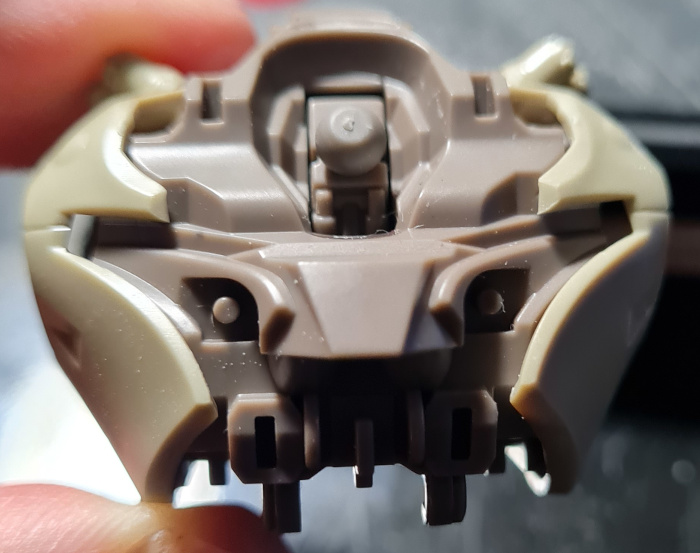
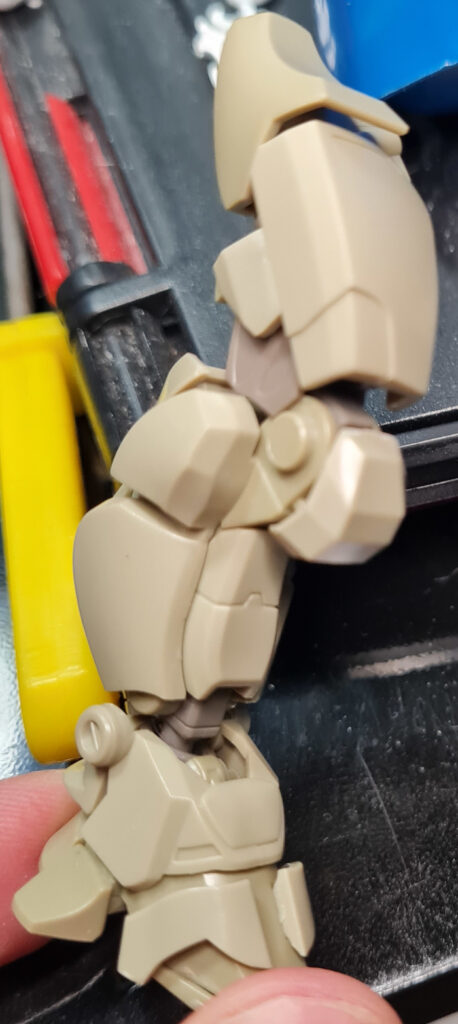
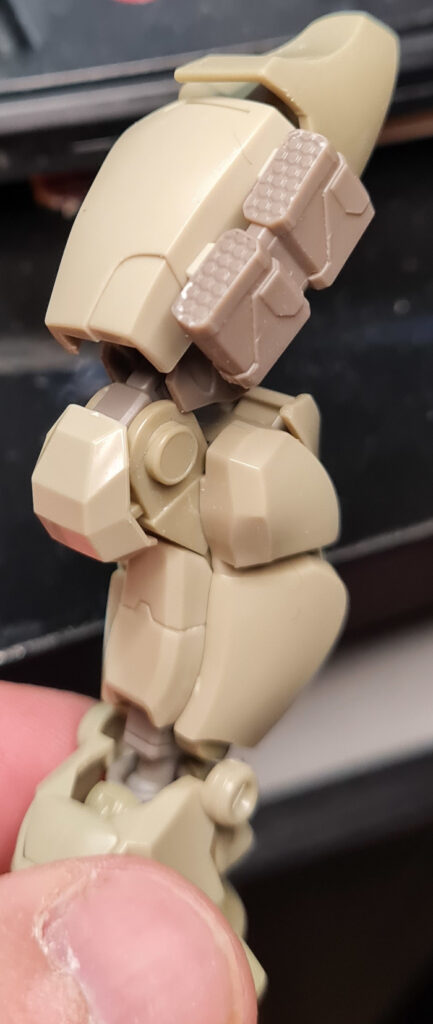
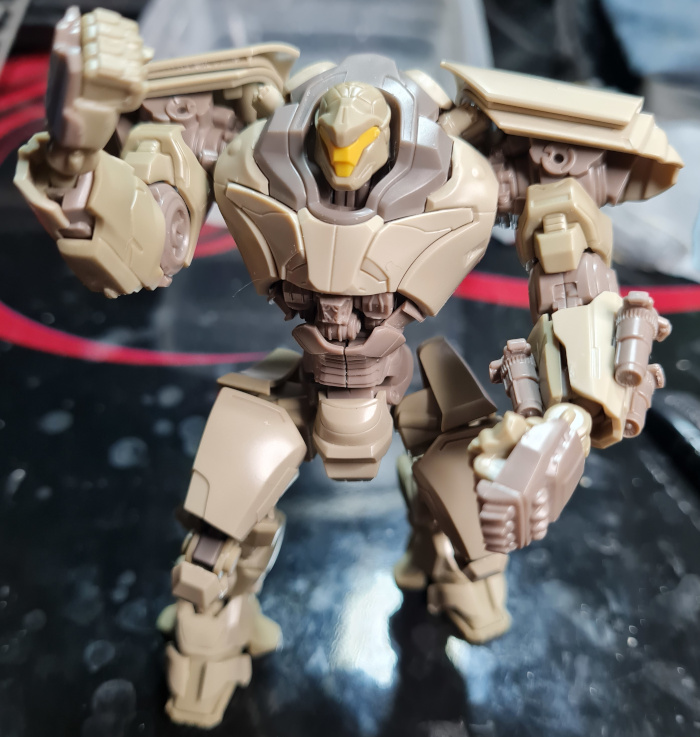
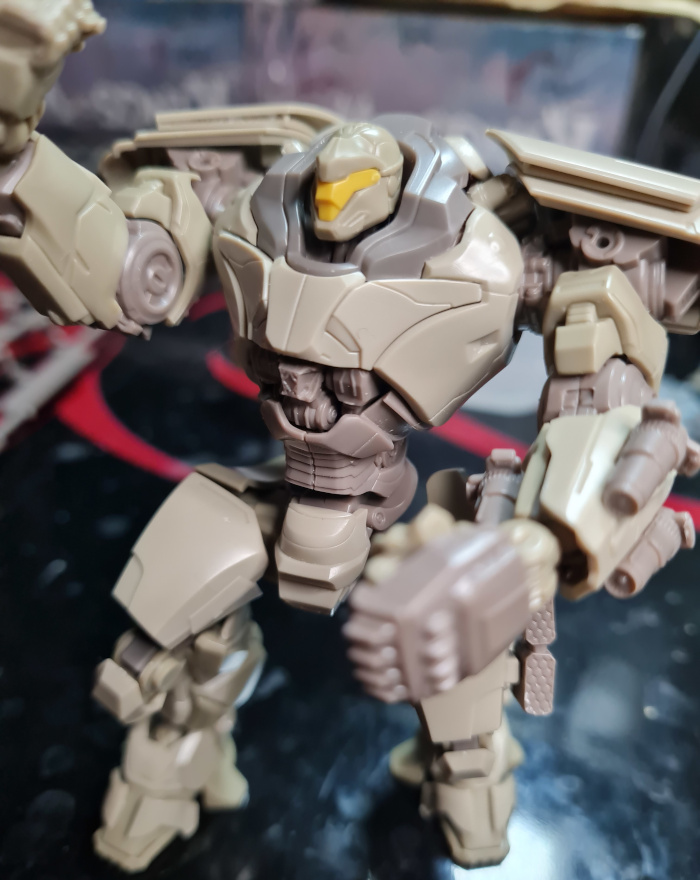
The first obvious option is to just build the model and leave it as is. With the level of detail and the colour separation on the models this still can leave you with an absolutely stunning looking piece. However even within this there can be choices to make; do you want to use the stickers, and do you want to do panel lining. The first model I ever built I used the stickers but that was it. I’ve left it pretty much as is .. purely from a “it is the first one I ever built” nostalgia point of view.

Painting – Airbrush

Another option is to paint the model using an airbrush. This can allow for some amazing detail, and shades and colour transitions. For example this example here is a lovely example. Clean and really stands out. Obviously the biggest barrier here is that to do this properly you do need to invest in some decent kit. Originally you had to have a decent motor and tank so that the airbrush flow would be consistent and not pule paint. However, I have seen some smaller USB charged air pumps reviewed recently that would appear to offer a decent smooth delivery of air. There is no doubt that this is a method that can be used to elevate your models to a whole new level.

Painting – Traditional

My final option is the traditional painting method. Many modellers will have been doing this for years with different brands of paint and different brushes. In my experience many people who start with brushes tend, at some point, to graduate to using airbrushes. However, as with everything there is nothing to say that you have to. There are some absolutely mind blowing artists/modellers out there who don’t go near an airbrush. You can achieve amazing detail and effects, and again elevate the models to an all new level.

Why would I do it?

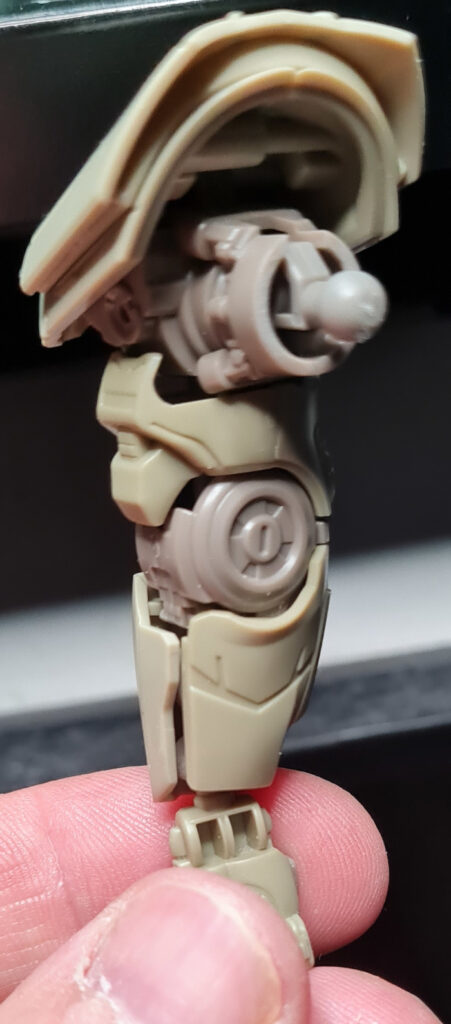
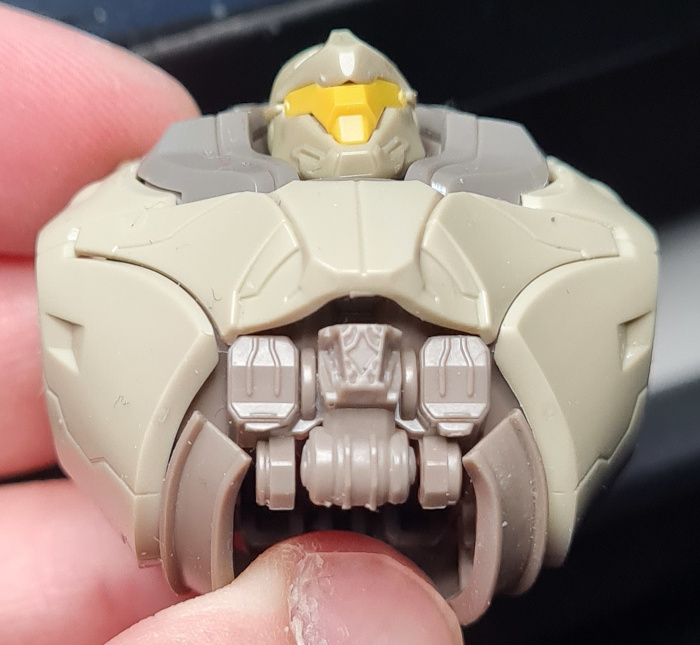
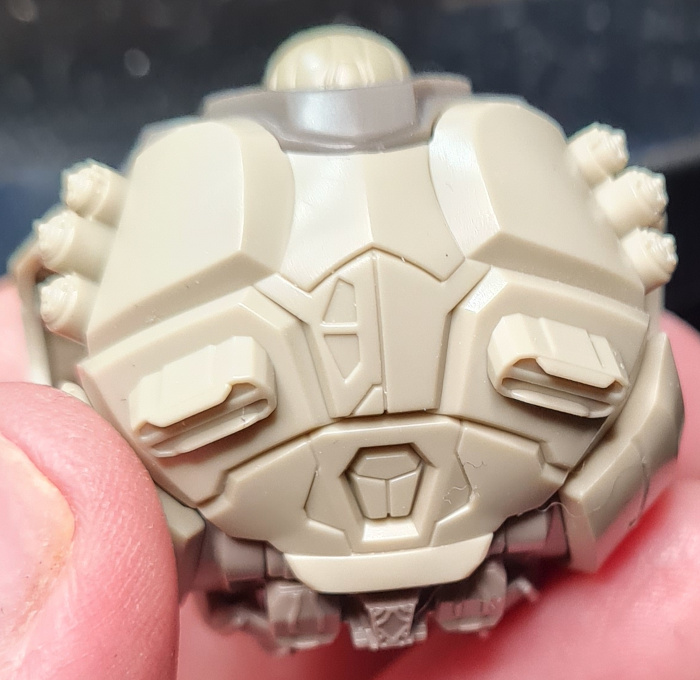
There are a lot of reasons why you may choose to paint a model. It could be you want to change the look and feel, or it could be that you want to hide a blemish. I, for example, don’t like some of the join lines (especially on anything like a helmet) so I would prefer to fill it, and then paint it to give a smooth finish. As with anything in a hobby you shouldn’t do something just because others are. Always do what you want with your models; as long as your happy with them, and how they look, that is all that is important.

Conclusion

So in conclusion I would say go with what you want to do. Once you have paid your money it is your model, and your time. If you feel that you want to paint them then go for it. If you want to keep it stock out of the box then that is awesome as well. Ultimately I don’t believe anyone should tell you how to have fun, and modelling should be fun. As long as you are enjoying it then you will get the most enjoyment out of. Remember, if you find yourself asking yourself “should I paint my models” then go with what feels right to you.

Posted on

HG Bracer Phoenix Review

Home » Archives for August 2022

Introduction

I recently received a HG Bracer Phoenix to build after watching some of the Pacific Rim world / universe anime which left me curious about the models. This review covers the box, what the parts look like, and the subsequent model.

In my previous post I reviewed the HG Obsidian Fury which you can find here.

The Box

The box for the HG Bracer Phoenix is slightly smaller than the other models I have built; its box dimensions are 19cm by 30cm by 5.5cm tall approximately, and as with all the boxes from Bandai the cover art is evocative of the whole world the model comes from.

HG Bracer Phoenix Box

Inside the HG Bracer Phoenix Box

Inside the box there is a small section of stickers and a few plastic wrapped runners. It is worth noting that I didn’t bother with the stickers on this model because I feel that it will ultimately benefit from some painting to make it standout.

HG Bracer Phoenix Box Contents

Once unpacked I found the 4 runners along with the stickers. It is worth noting that as with the Obsidian Fury model the JTP-2 sprue had more parts than I needed. As is normal with these kits the runners are labelled (A, B, C, and JTP-2).

HG Bracer Phoenix Sprues

Underneath the runners was also the all important manual. Again this features some stunning artwork and helps add to the feel of the product. The art is also laid out in the same format as the Obsidian Fury front cover.

HG Bracer Phoenix Manual Front Page

HG Obsidian Fury Build

The build itself runs along the same process as building the other HG grade models. Starting with the kits head, I then moved on to the torso, arms, and finally the legs.

I found the instructions easy to follow, and used the normal tactics of cut from the runner leaving a small piece, then trimming with a knife. To clean up visible areas where they were cut from the sprue I used 800 grit sandpaper, before finishing it with 3000 grit sandpaper. On the Obsidian Fury build (here) I used 3000 grit only and it took forever. By using the 800 grit first, and being careful, I increased the speed of the build without compromising the quality of finish.

The Final Model

After approximately one and a half days of assembly I finally had the model complete.

Pros and Cons

I really enjoyed this build. However, a couple of the pieces of the manual could do with more clarity, and I found myself, a couple of times, having to triple check to make sure what I was doing made sense. There is also an odd combination on this model between the smaller sections and the larger armour pieces. The finished model is smaller compared to the other models and with him in a crouch position he comes up to just above the Obsidian Fury’s waist. That said, personally I prefer this model to the Obsidian Fury and for me it feels more sturdy and I like the overall look of the model. I would buy it again, and I would buy it if it was twice the size!

Thanks for reading this HG Bracer Phoenix review. Please check out the other articles on the site, and let us know if there is anything you would like us to cover.