Posted on 1 Comment

HG Obsidian Fury Review

Home » Archives for July 2022

Introduction

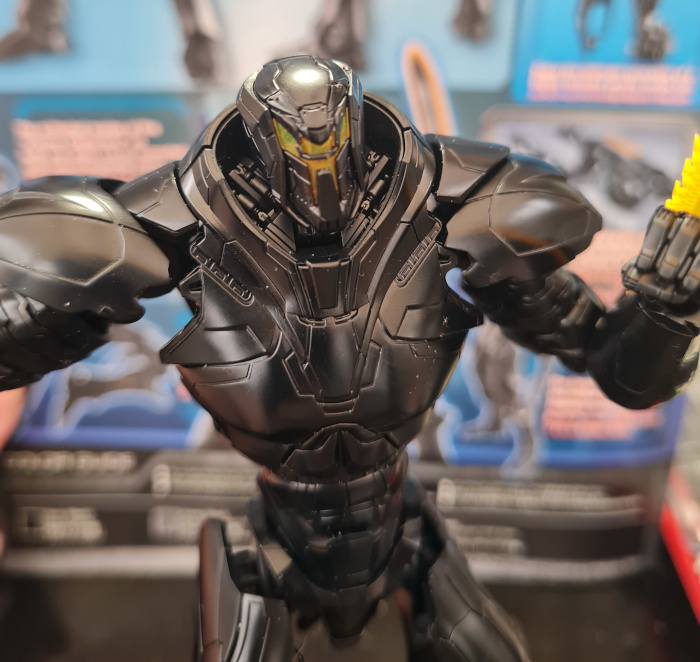
I recently was fortunate enough to receive a HG Obsidian Fury. I was interested in this model after watching some of the anime available around the Pacific Rim world, and decided to write up a HG Obsidian Fury Review.

The Box

The box for the HG Obsidian Fury is slightly smaller than the other models I have built. The box dimensions are 19cm by 30cm by 5.5cm tall approximately. The art, like with all the boxes from Bandai, is however, evocative of the whole world the model comes from.
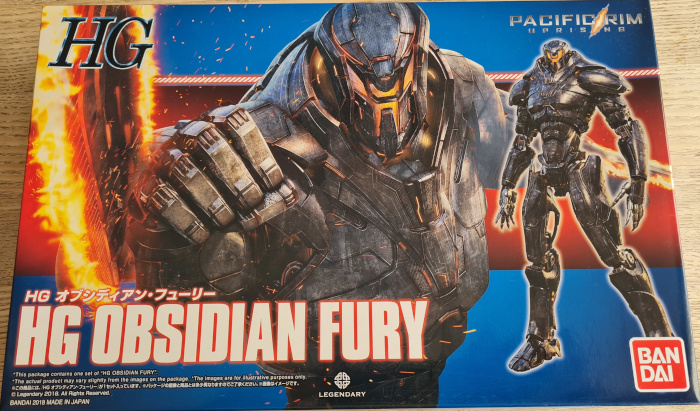
HG Obsidian Fury Box Cover Art
HG Obsidian Fury Box Cover

Inside the HG Obsidian Fury Box

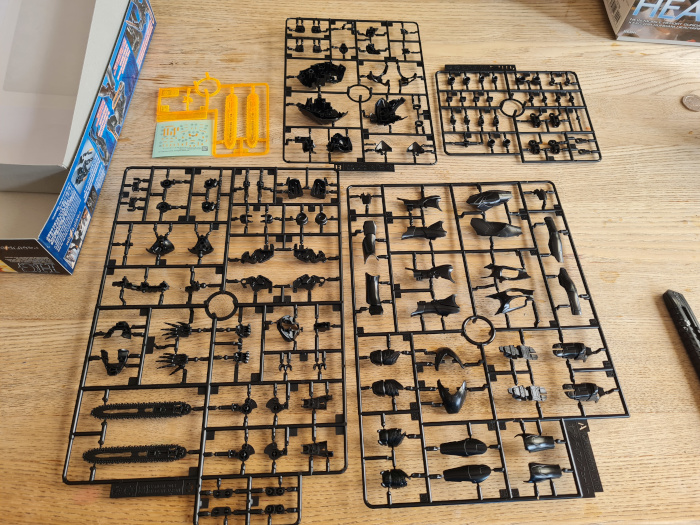
Inside the box there is a small section of stickers and a few plastic wrapped runners. It is worth noting that I didn’t bother with the stickers on this model. I feel that it will ultimately benefit from some painting to make it standout.
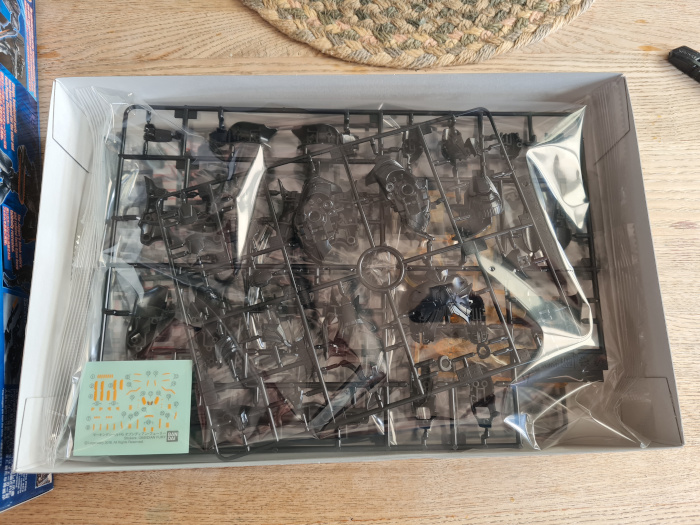
HG Obsidian Fury Box Contents

Once unpacked I found the 5 runners along with the stickers. The yellow runner only has a couple of parts and two of those are the plasma chainsaws. As is normal with these kits the runners are labelled (A, B, C, D, and JTP-2).
Underneath the runners was also the all important manual. Again this features some stunning artwork and helps add to the feel of the product.
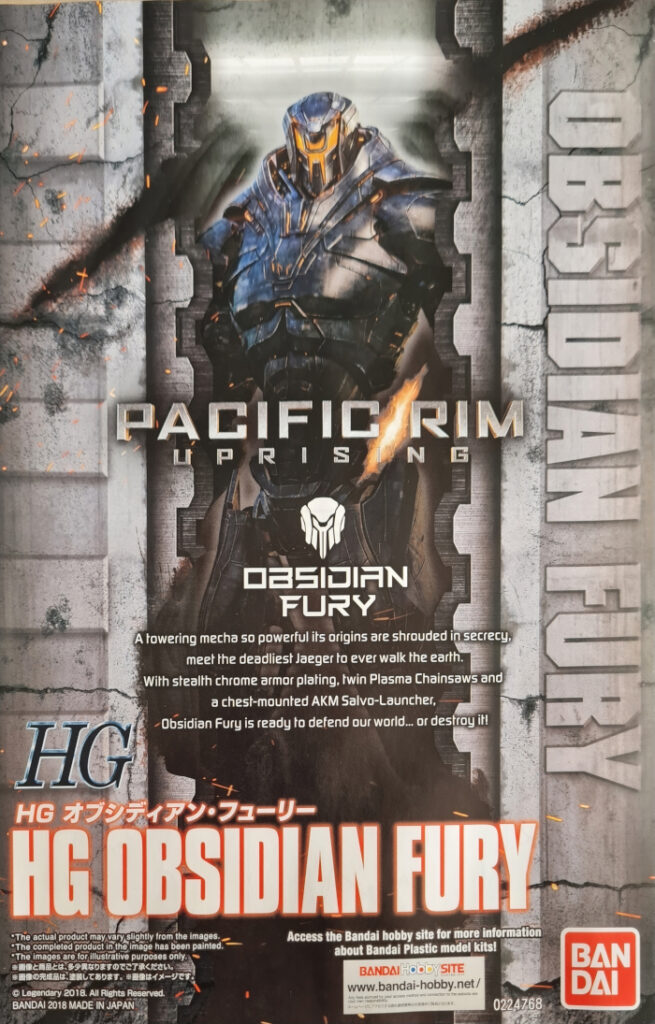
HG Obsidian Fury Manual Front Page

HG Obsidian Fury Build

The build itself runs along the same process as building the other HG grade models. Starting with the kits head, I then moved on to the torso, arms, and finally the legs.
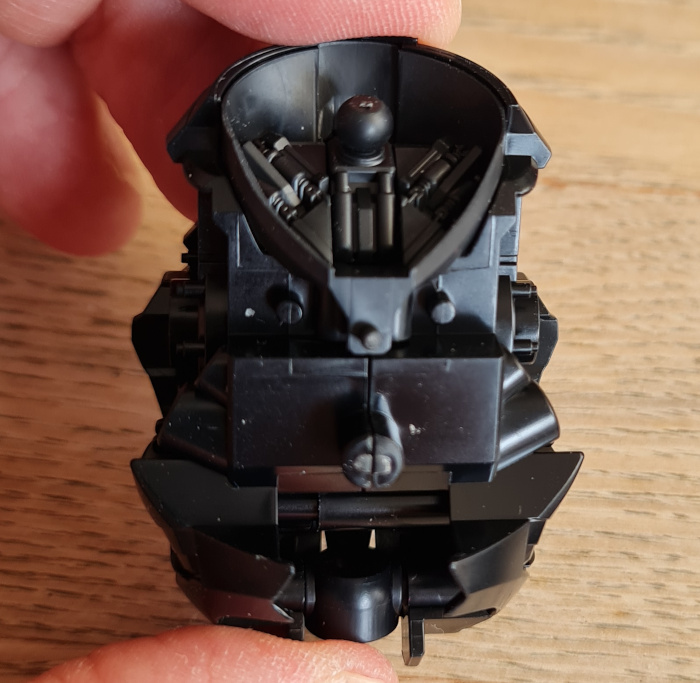
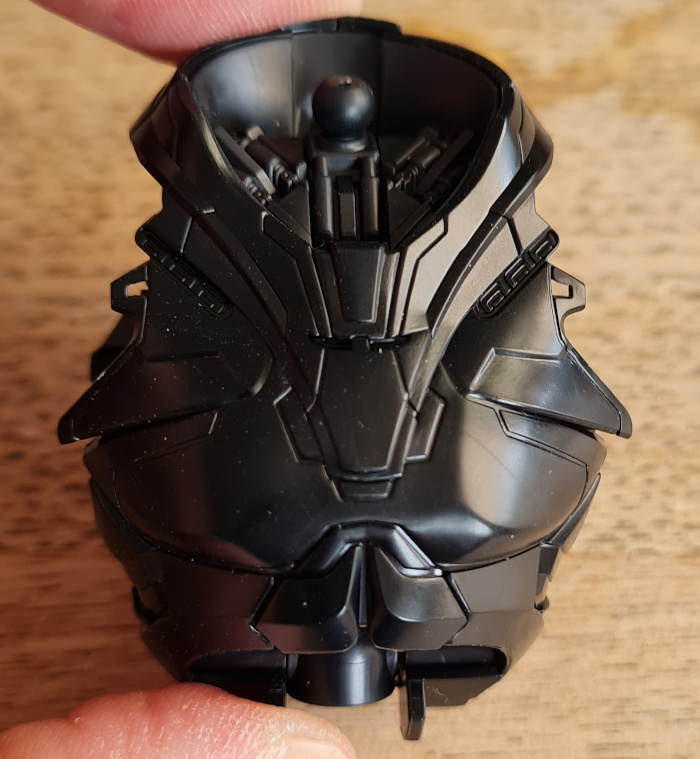
I found the instructions easy to follow, and used the normal tactics of cut from the runner leaving a small piece, then trimming with a knife. I then used 3000 grit sandpaper to sand down anything left.

The Final Model

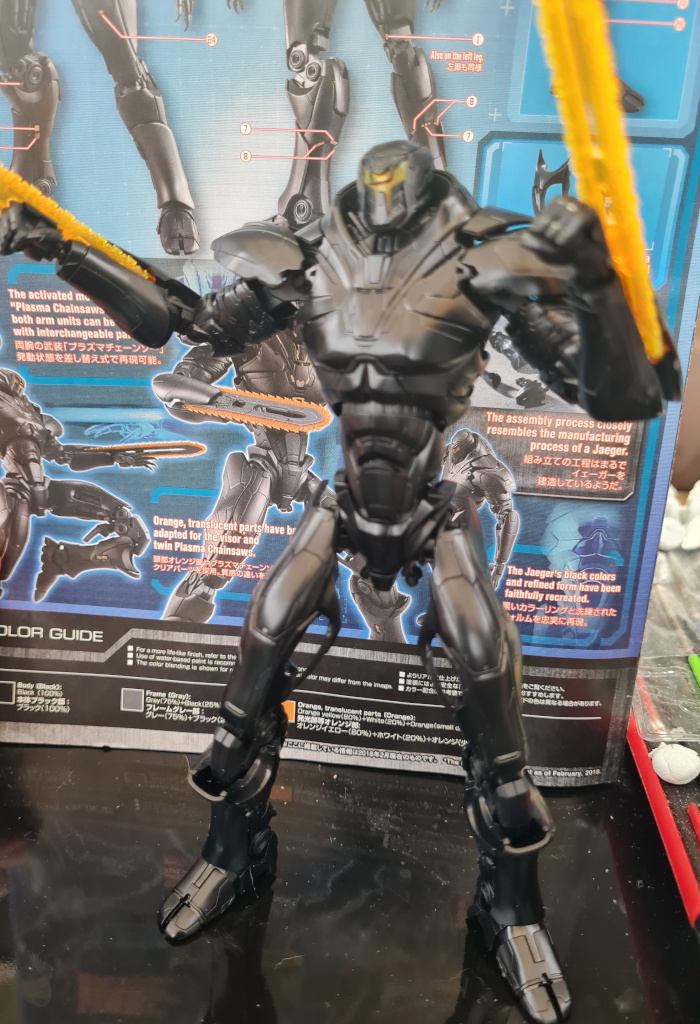
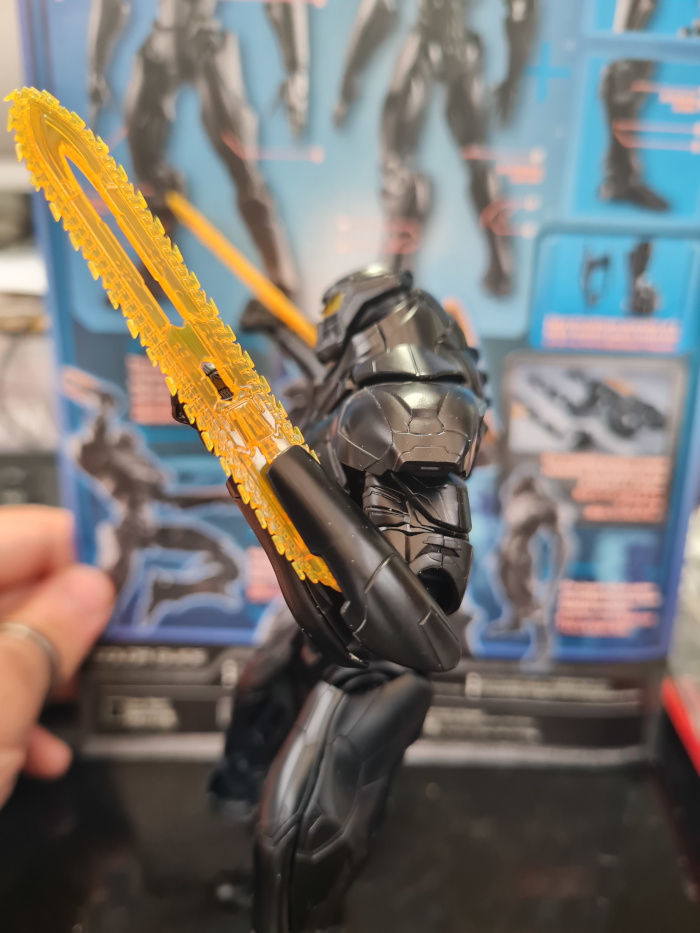
After two days of assembly ( I spent a lot of time on the 3000 grit sandpaper), I finally had the model complete.
Pros and Cons

I’ll start with the bits I don’t like about the model. I found the model feels less sturdy and stable than the other Gundam models I have built. It feels more awkward to pose and is nearly entirely reliant on the stickers to add colour to the model. However that said I love the look of the model, and I think with some airbrushing it will help it pop. Would I buy the model again…absolutely! Despite the bits I am not too keen on, I love how different it looks, and the general style.

Thanks for reading this HG Obsidian Fury review. Please check out the other articles on the site, and let us know if there is anything you would like us to cover.
Posted on

Gundam HG PHARACT Information

Home » Archives for July 2022

Introduction

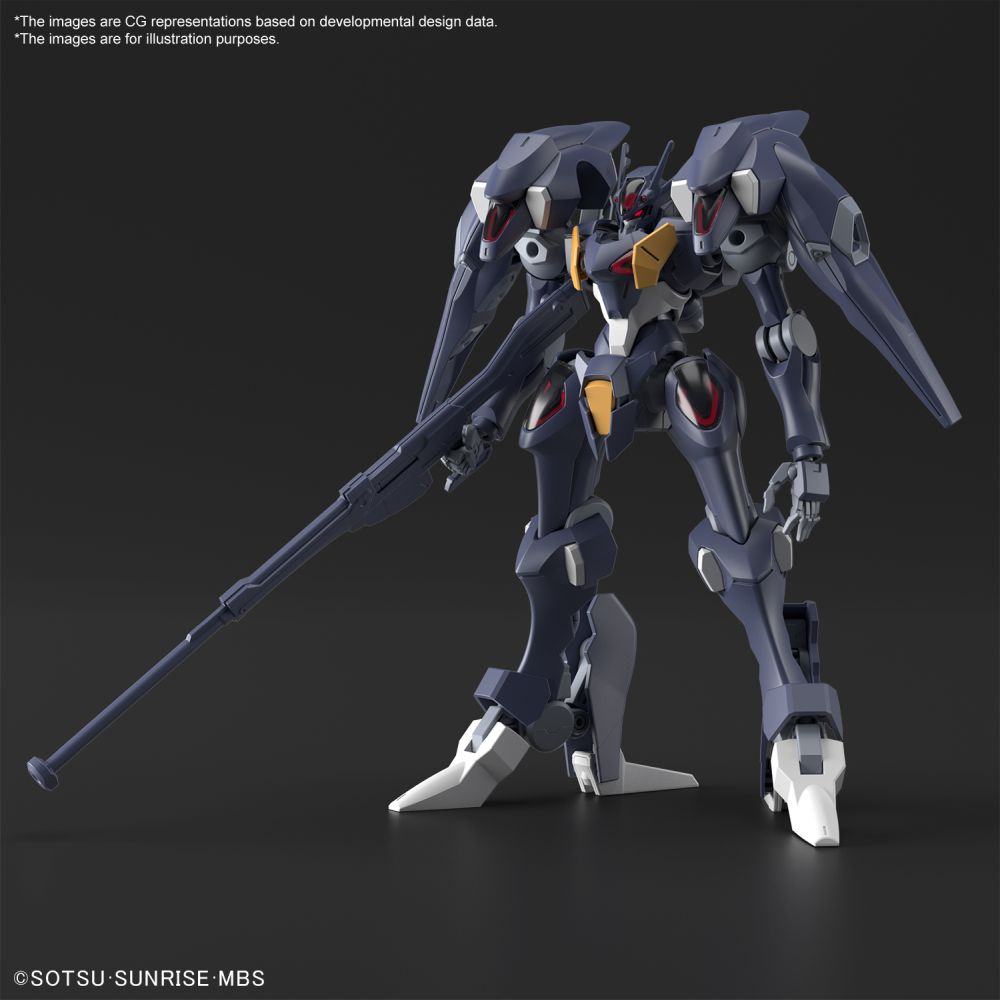
Bandai are due to release the Gundam HG Pharact model towards the end of this year. Certainly the renders of the model (as seen below) look absolutely stunning. At the moment there appears to be only a little information available about the model. However, below is what we do know so far.

HG Gundam Pharact
HG 1/144 Gundam Pharact

HG PHARACT Shipping Date

The most recent update for European shipping has an estimated arrival date of January 2023. Obviously this could slip due to the global shipping / transport conditions but that is the estimate at the moment.

Estimated Cost

At the moment it is looking like the RRP for the model in the UK should be around the £20 price range. However most retailers (ourselves if we are fortunate to get them in stock will likely have them at slightly less.

External Links – HG PHARACT

Posted on

Shop Update

Home » Archives for July 2022

Shop Update

This is just a brief shop update to keep everyone in the loop. Everything is currently setup except for the VAT number and EORI number. I have, unfortunately, no control over this. I have to wait until HMRC have completed their checks and issued the ID. As soon as I have that I can put an order in for stock. So if there is anything you are interested in me looking to order in please let me know.

However, that doesn’t mean I have been sitting back and doing nothing while prepping to provide the shop update! On top of making sure the shop is configured and ready to accept the products. I have also tested the email integration and been working on social media accounts. I will update more on those once we get posting.

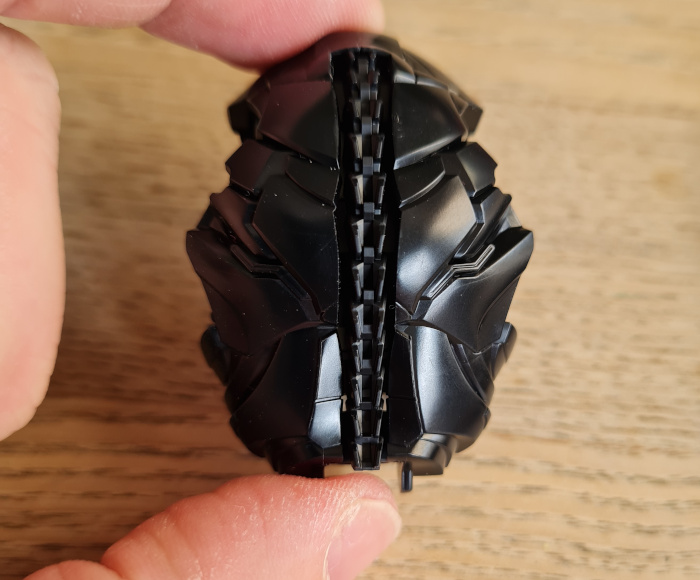
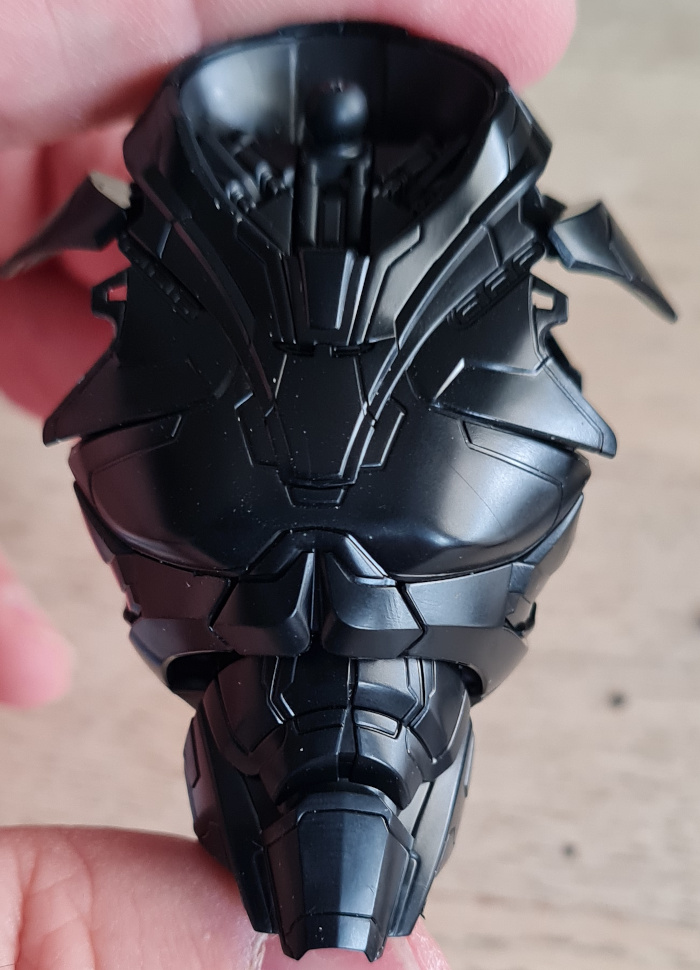
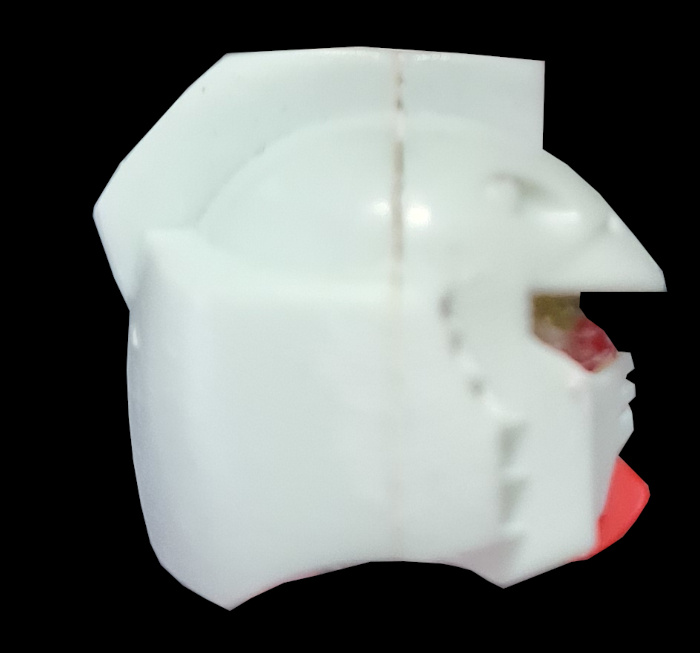
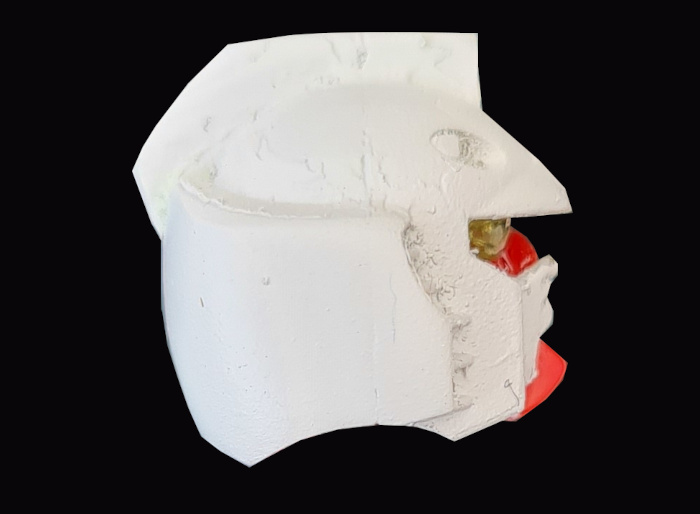
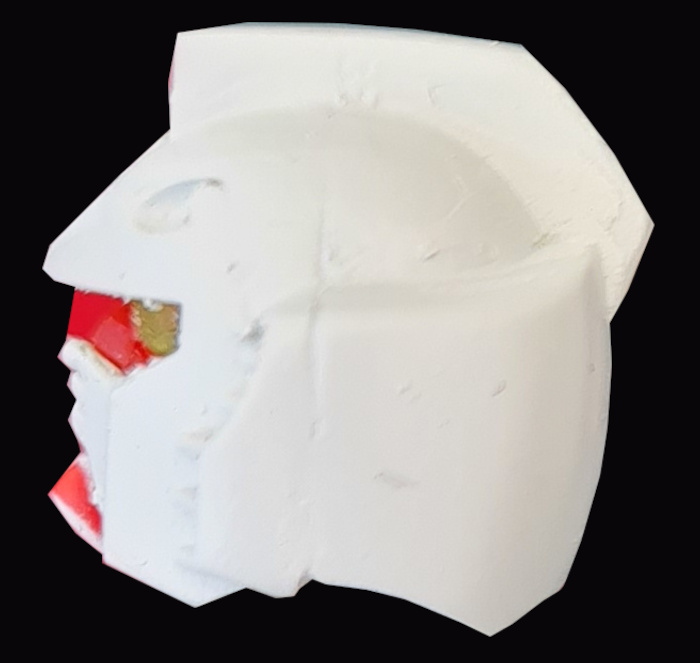
In the meantime feel free to checkout RX-78-2 Head Prep where I go through the process I went through in prepping my RX-78-2 Gundam head for making the join line disappear. It looked like the image below before I did the work on it!

Head before cleaning facing left
Head before cleaning

I will keep everyone updated as I learn more. Thanks everyone for your patience, and here is hoping we can build a great portal to let you purchase the models you want at prices that are as pocket friendly as possible.

Posted on

RX-78-2 Head Prep

head clean
Home » Archives for July 2022

Before I could detail the process I use to remove / hide join lines I needed to take my RX-78-2 head and prep it. I had already worked on it previously so some clean-up was in order.

Tools

First I gathered all the tools I was going to need.

Cotton tips
Cotton tips
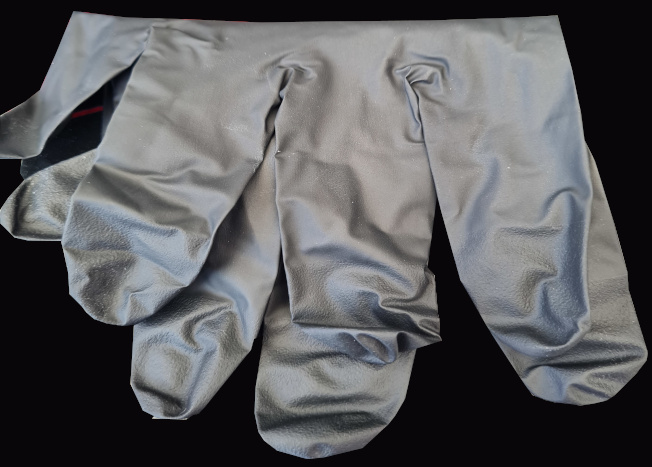
Nitrile gloves
Nitrile gloves

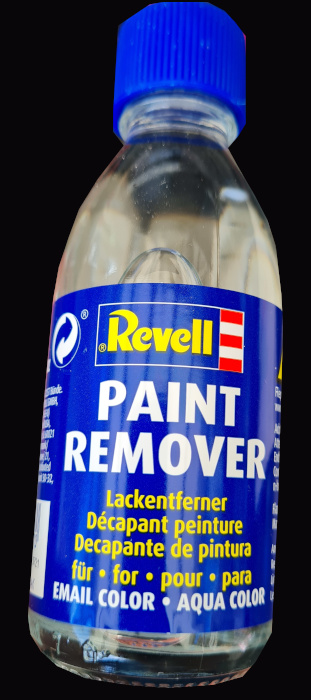
Paint remover
Paint remover
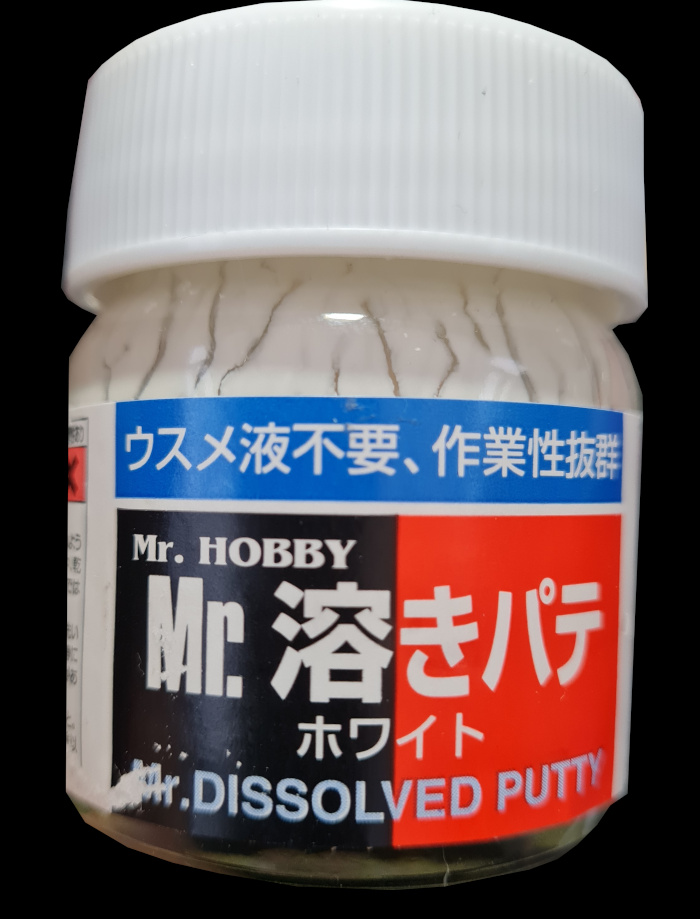
Dissolved putty
Dissolved putty

RX-78-2 Head Before Cleaning

Before I started here is what the head looked like prior to cleaning

Head before cleaning facing left
Head before cleaning facing right

RX-78-2 Head Cleaning Method

Step 1 – Put on the gloves 😀

Step 2 – Lay down a piece of tissue paper. This is important for while you are cleaning.

Step 3 – Dip the tip of one of the cotton tips into the paint remover and apply it to the head in a circular motion on a small section.

Step 4 – Repeat step 3 until the paint begins to lift / bunch up into globs.

Step 5 – Clean / dry the head with the tissue paper.

Step 6 – Repeat steps 3 – 5 until the head is clean, moving to new sections as one area becomes clean.

Once completed the head looked like this:

head clean
Clean Head

Next time

In my next post I will detail adding the putty to the head, sanding down, and finally adding the undercoat.