Welcome to “Advert / Stock 26/02/2023” by weekly update on the stock available, and the links to get you filtered on the types of models you are interested in.
Model Kits Ltd is a UK based small independent retailer.
I started the company with a single aim. To try and help get models / kits into the hands of UK builders so that they can enjoy their hobby.
I also have a stock of the GUNPRIMER Balancers and some of the other GUNPRIMER products, as well as a supply of reasonably priced basic bases.
If you are thinking about picking up something new, or just want to have a browse for some inspiration please consider us as an option.
I am continuing to increase the breadth of stock available in the shop as items become available; including, but not limited to, adding an MGEX Strike Freedom when the box arrives. I had 3 but 2 have already been accounted for.
Thank you everyone for your support so far, and I hope you have a great week building!
The links to individual sections / filtered list items are below.
Ok well, this should have been the next part of the Aile Strike build. However, procrastination, and the delivery of a second hand 3d printer both got in the way, making this a mixed bag! Then there was a few episodes of Knight’s and Magic on Crunchyroll.
So what have I been doing?
Thing I was doing Saturday
Well I did start to prep parts for the build. In fact here is the proof!
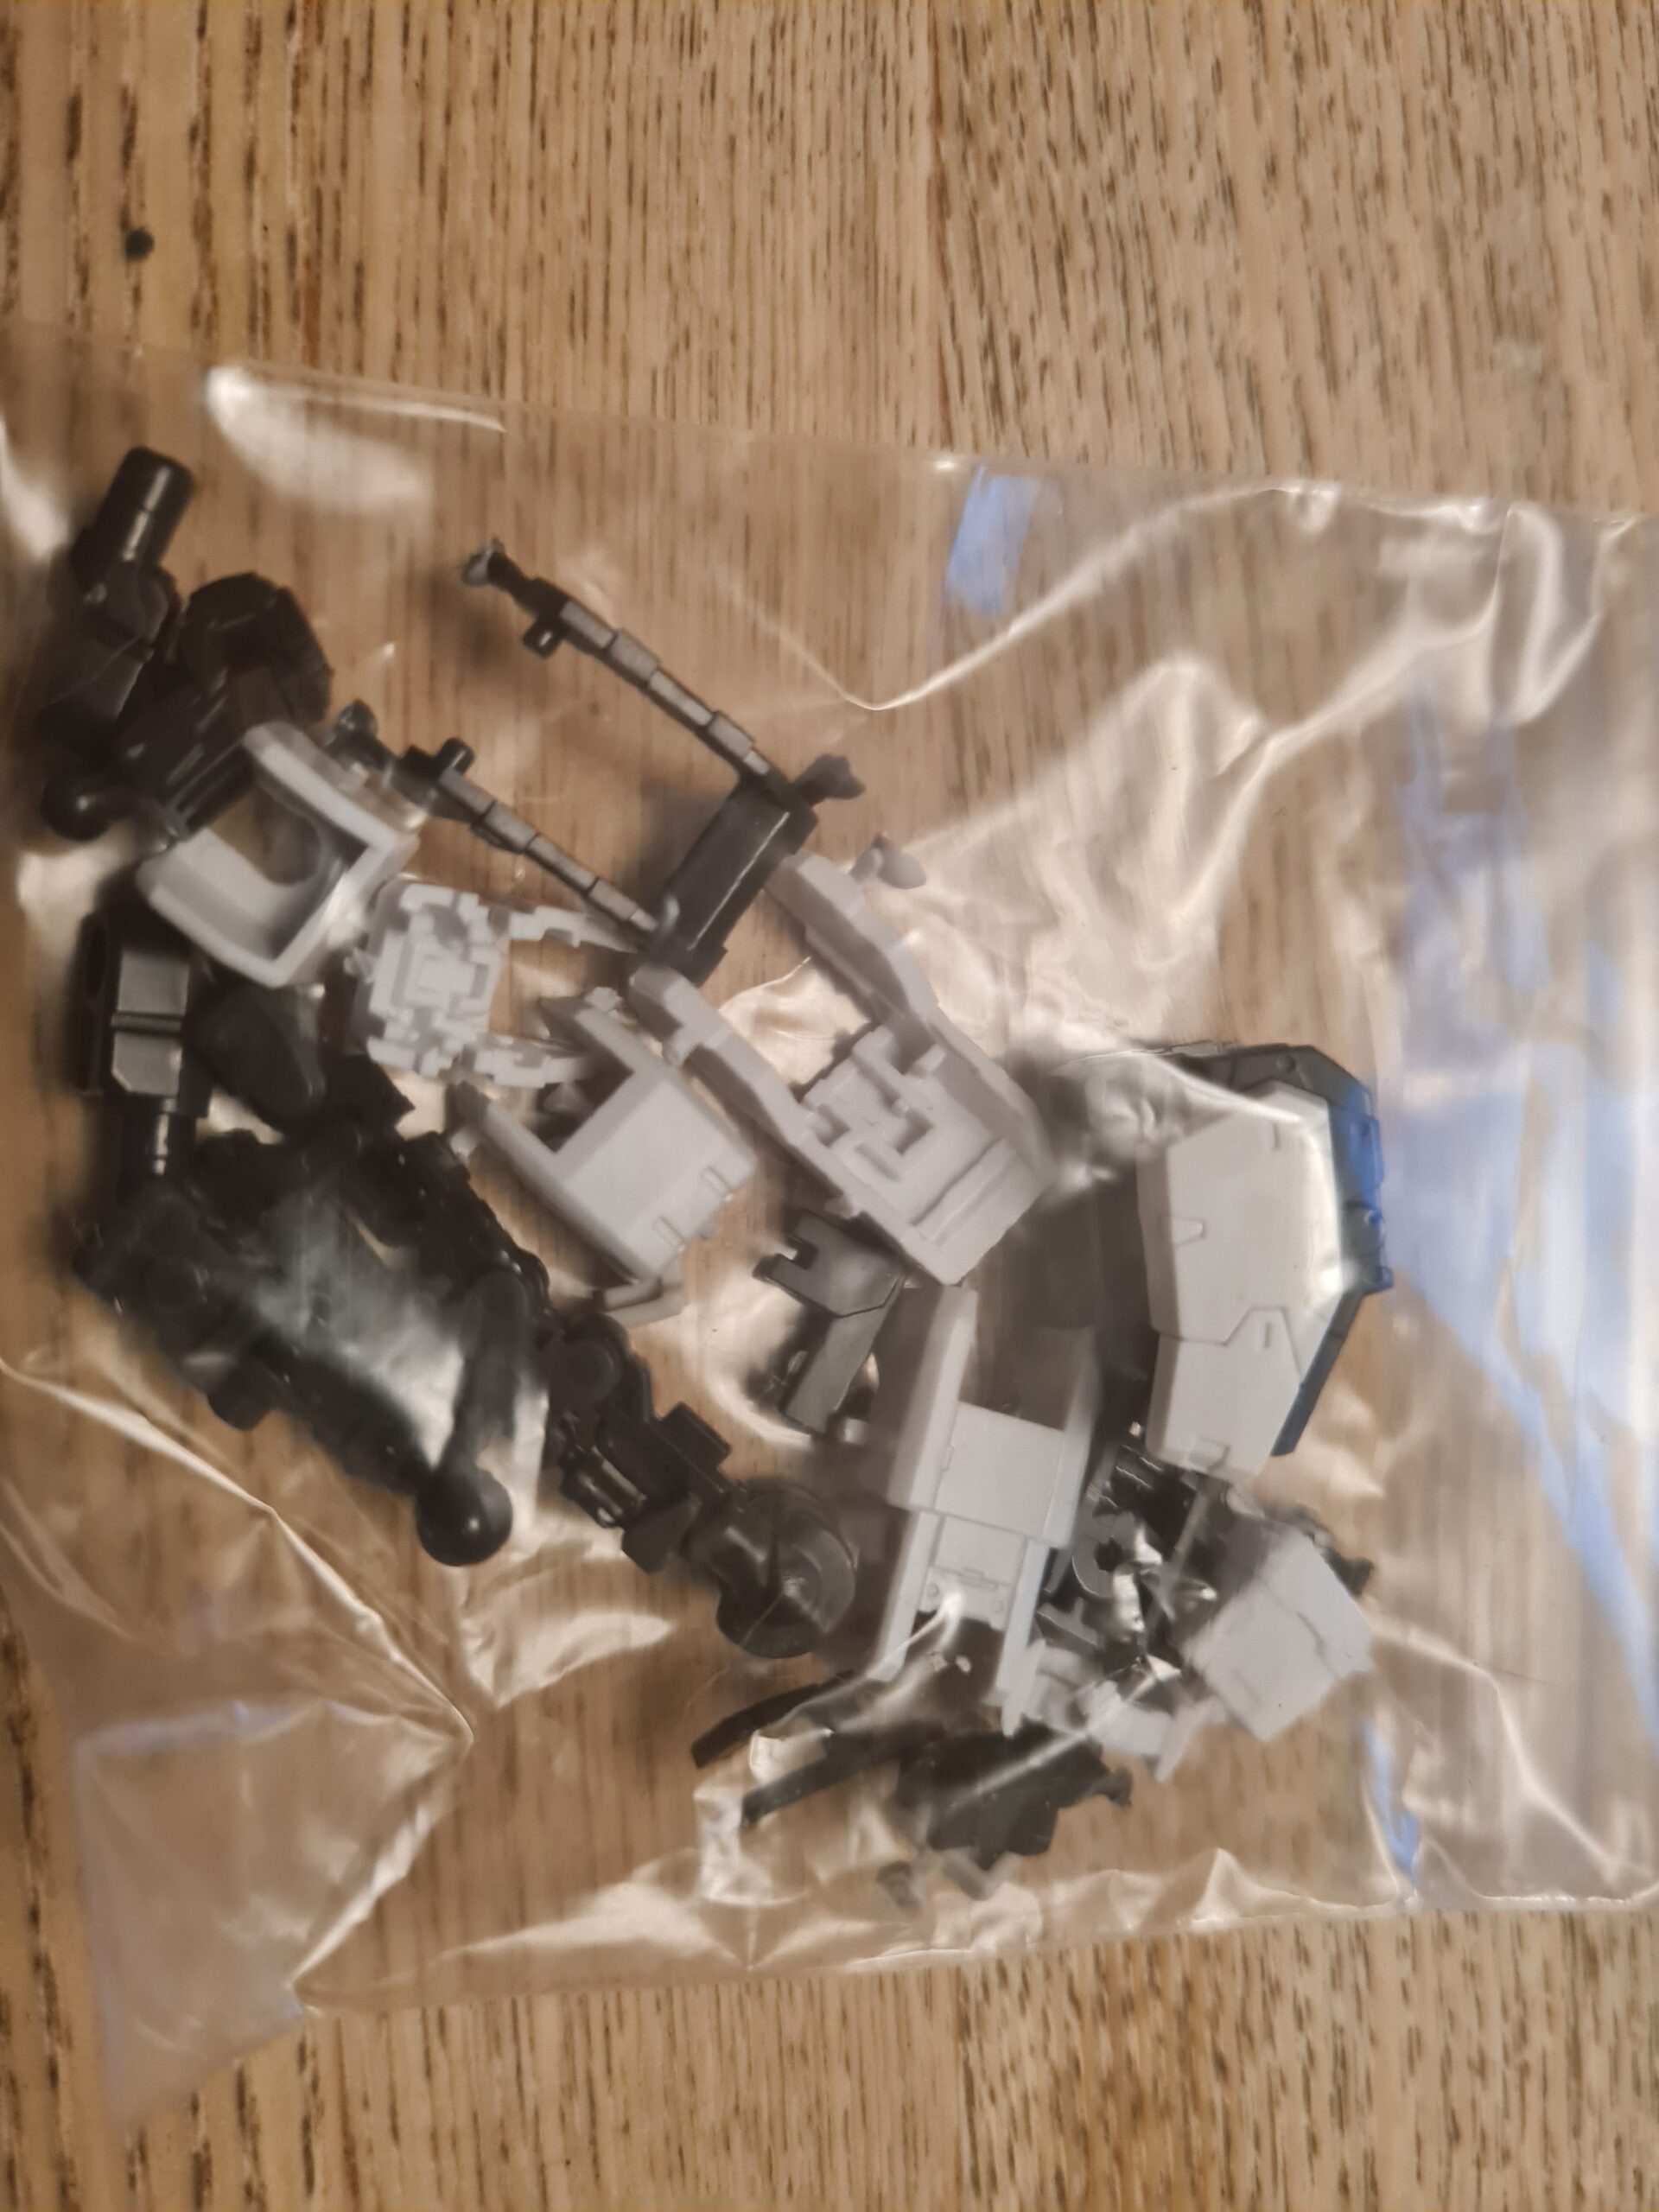
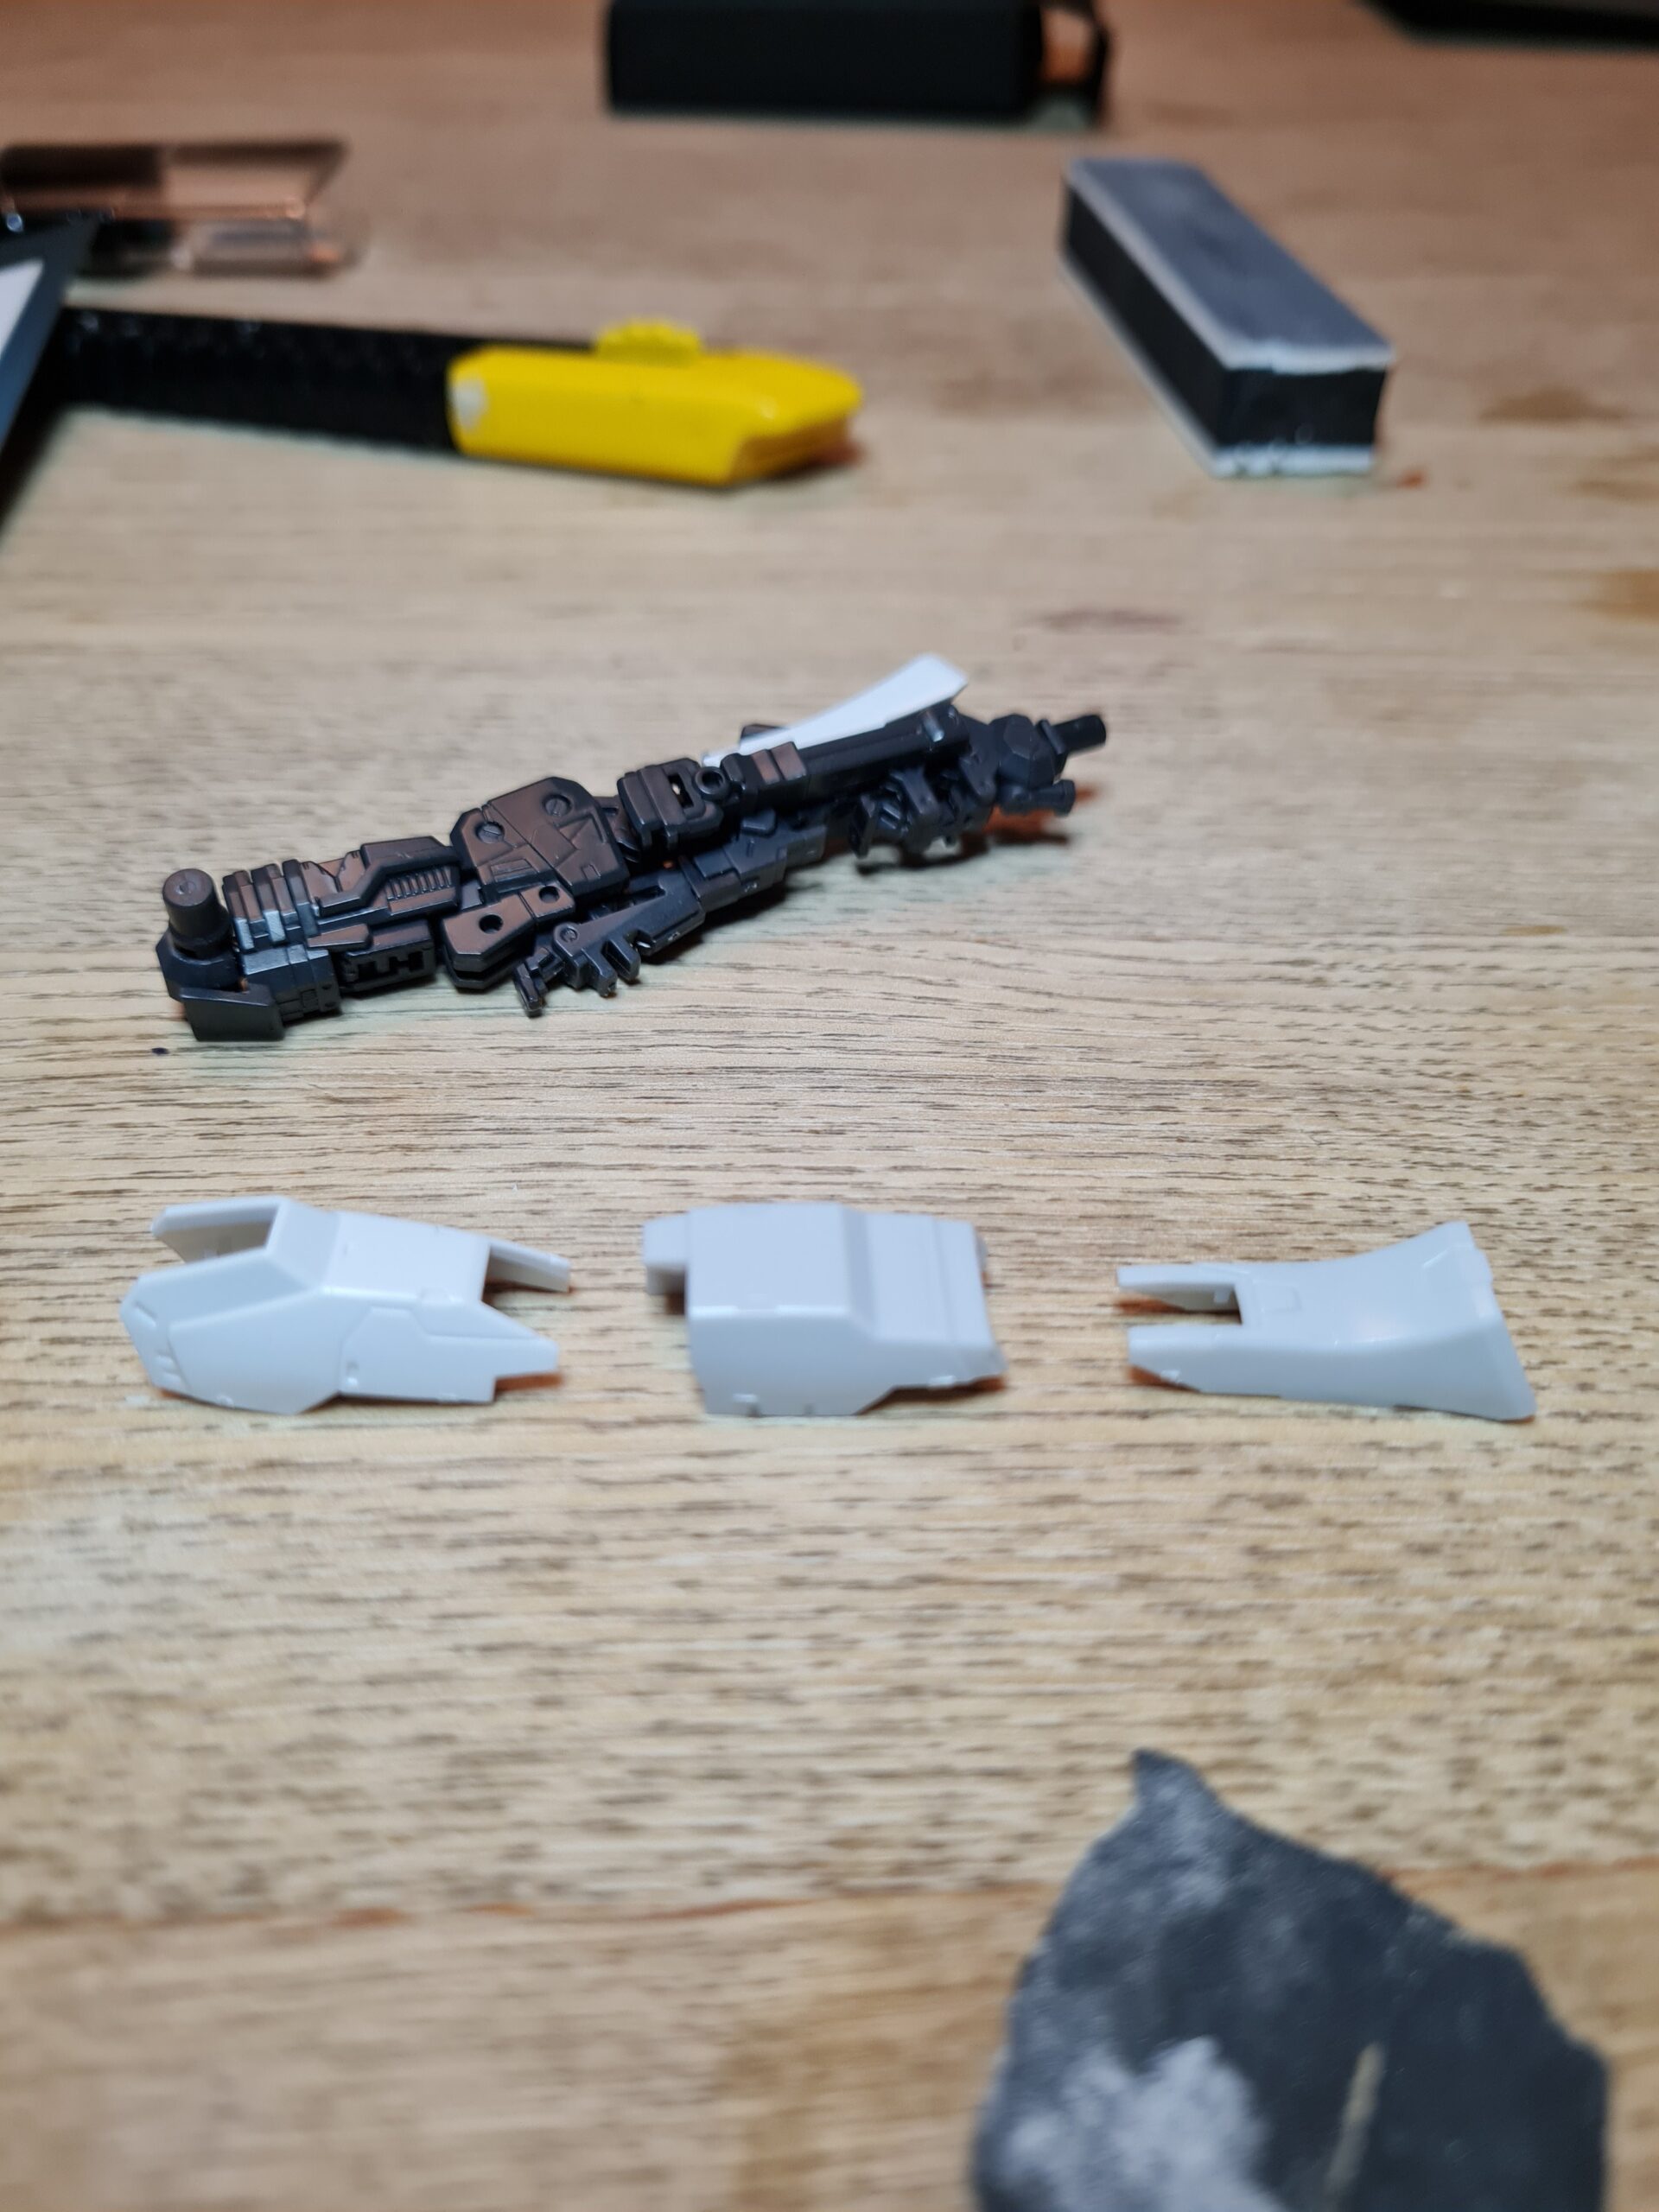
Bits Ready To Clean
This little bag contains all the bits I need to build the next arm. I need to do the second cut wit the nippers, the clean-up, the final polish and assembly. They got cut out with the intention of me working on them this evening. However I just sort of had a nap and then struggled to get started again. However, tomorrow is another day!
What else have I been doing?
As you may, or may not, be aware, I listed some reasonably priced basic 1/144 bases recently. You can find them here. They are only £2 each a real bargain! However, I have been working on creating some 3d models to print for adapters to add to them as additions so that you can benefit from different adapter types if you want them.
Here is my first experiment.
Without the distracting torsoModel on adapterModel on adapterAdapter
As you can see it is in the planning and test phase at the moment. This version fits the double strike really nicely. I am, however, having issues with print consistency. Tomorrow I should have a new delivery of filament which I am hoping may resolve that problem. Being new to the whole 3d printing world, this is a whole new thing.
Once I manage to get the printer printing consistently, next will be testing various different sizes, shapes etc. to find what work best. As soon as I am happy with them they will go up as an optional add on to the stands. Current thinking is that the adapter would be something like 50p.
Conclusion
Apart from watching my 3d printer not do what I want it do, I did get some parts rough cut out. Hopefully tomorrow will be a more productive modelling day!
Thank you for taking the time to read this. If you haven’t already done so please like and follow us on our social media platforms and checkout our website!
Welcome to “RG Aile Strike Build Day 8” where I am building up an RG Aile strike model. If you haven’t read any of the other parts I would recommend going back to the start. You can find that here. In the first post I covered the box, runners and provide the manual.
I am taking my time to ensure I clean up all the marks that can be cleaned up. As with any build like this, if you end up with discolouration or a small white “stress” mark you are likely to need painting to get rid of those. I may have a look at simple quick methods of dealing with those items, especially as I find that it has a habit of happening on the grey pieces. I also accept I may need to work on my cutting style as I’m sure that will contribute to it!
The Process
Unless otherwise noted I followed this process for each piece:
Cut off roughly leaving plenty of nub
Trim back the nub with my better nippers
Apply water to my wet and dry sandpaper and sand the nub marks down
Dry the piece
Brush it off with the tooth brush to remove any bits
Re-apply the matt finish using the Gray Balancer
Prep the part with the green side of the White Balancer
Shine the part up with the white side of the White Balancer
If after this I wasn’t happy I would repeat the sanding steps down, and keep iterating until I was happy with the finish.
Todays Parts
Nubbed Parts
I decided to take a slightly different approach tonight as I knew I could finish this arm off. Taking this approach also allowed me to take less photos which sped the process. Again I may look into getting some sort of setup to help with that. However, at the moment I only have my phone, table, and patience 🙂
Clean Parts
So, as I knew I was approaching this differently, I also cleaned up all the parts I had to work with tonight. I actually found this a nice change to the pace. Rather than cut 2 – 3 pieces, clean them, put them together, photograph them, rinse and repeat, I found doing multiple sets of pieces together meant when it came to the assembly I could just enjoy the build of the arm.
The Build
As I had approached it differently I had multiple bits to put together. Building this arm up was a really excellent experience. Seeing the parts layer on top of one another, and finally forming into the arm was a really enjoyable experience. I did have to consult the manual a couple of times, and work out which bits went where, but when in the right place the went together beautifully.
I have said it before in this build, and I’m sure I will say it again, but the armour on this build is an absolute pleasure to work with. The way the white parts clean up when you have that little bit extra time on them, they look really stunning.
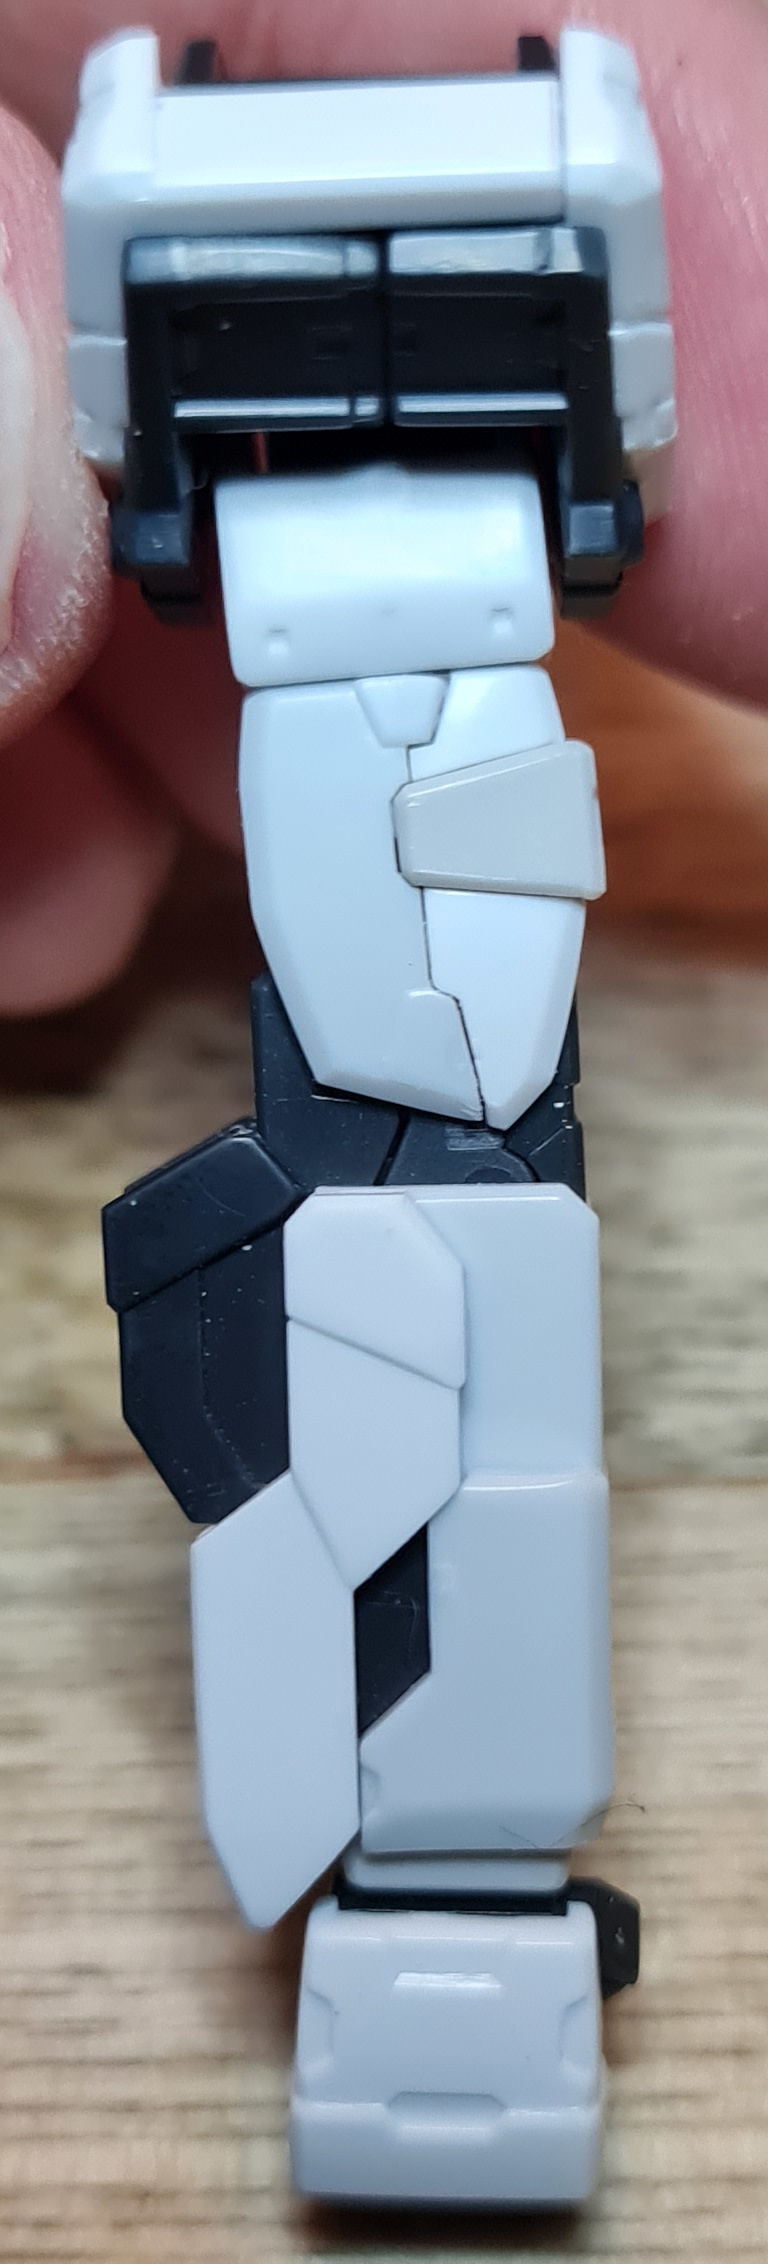
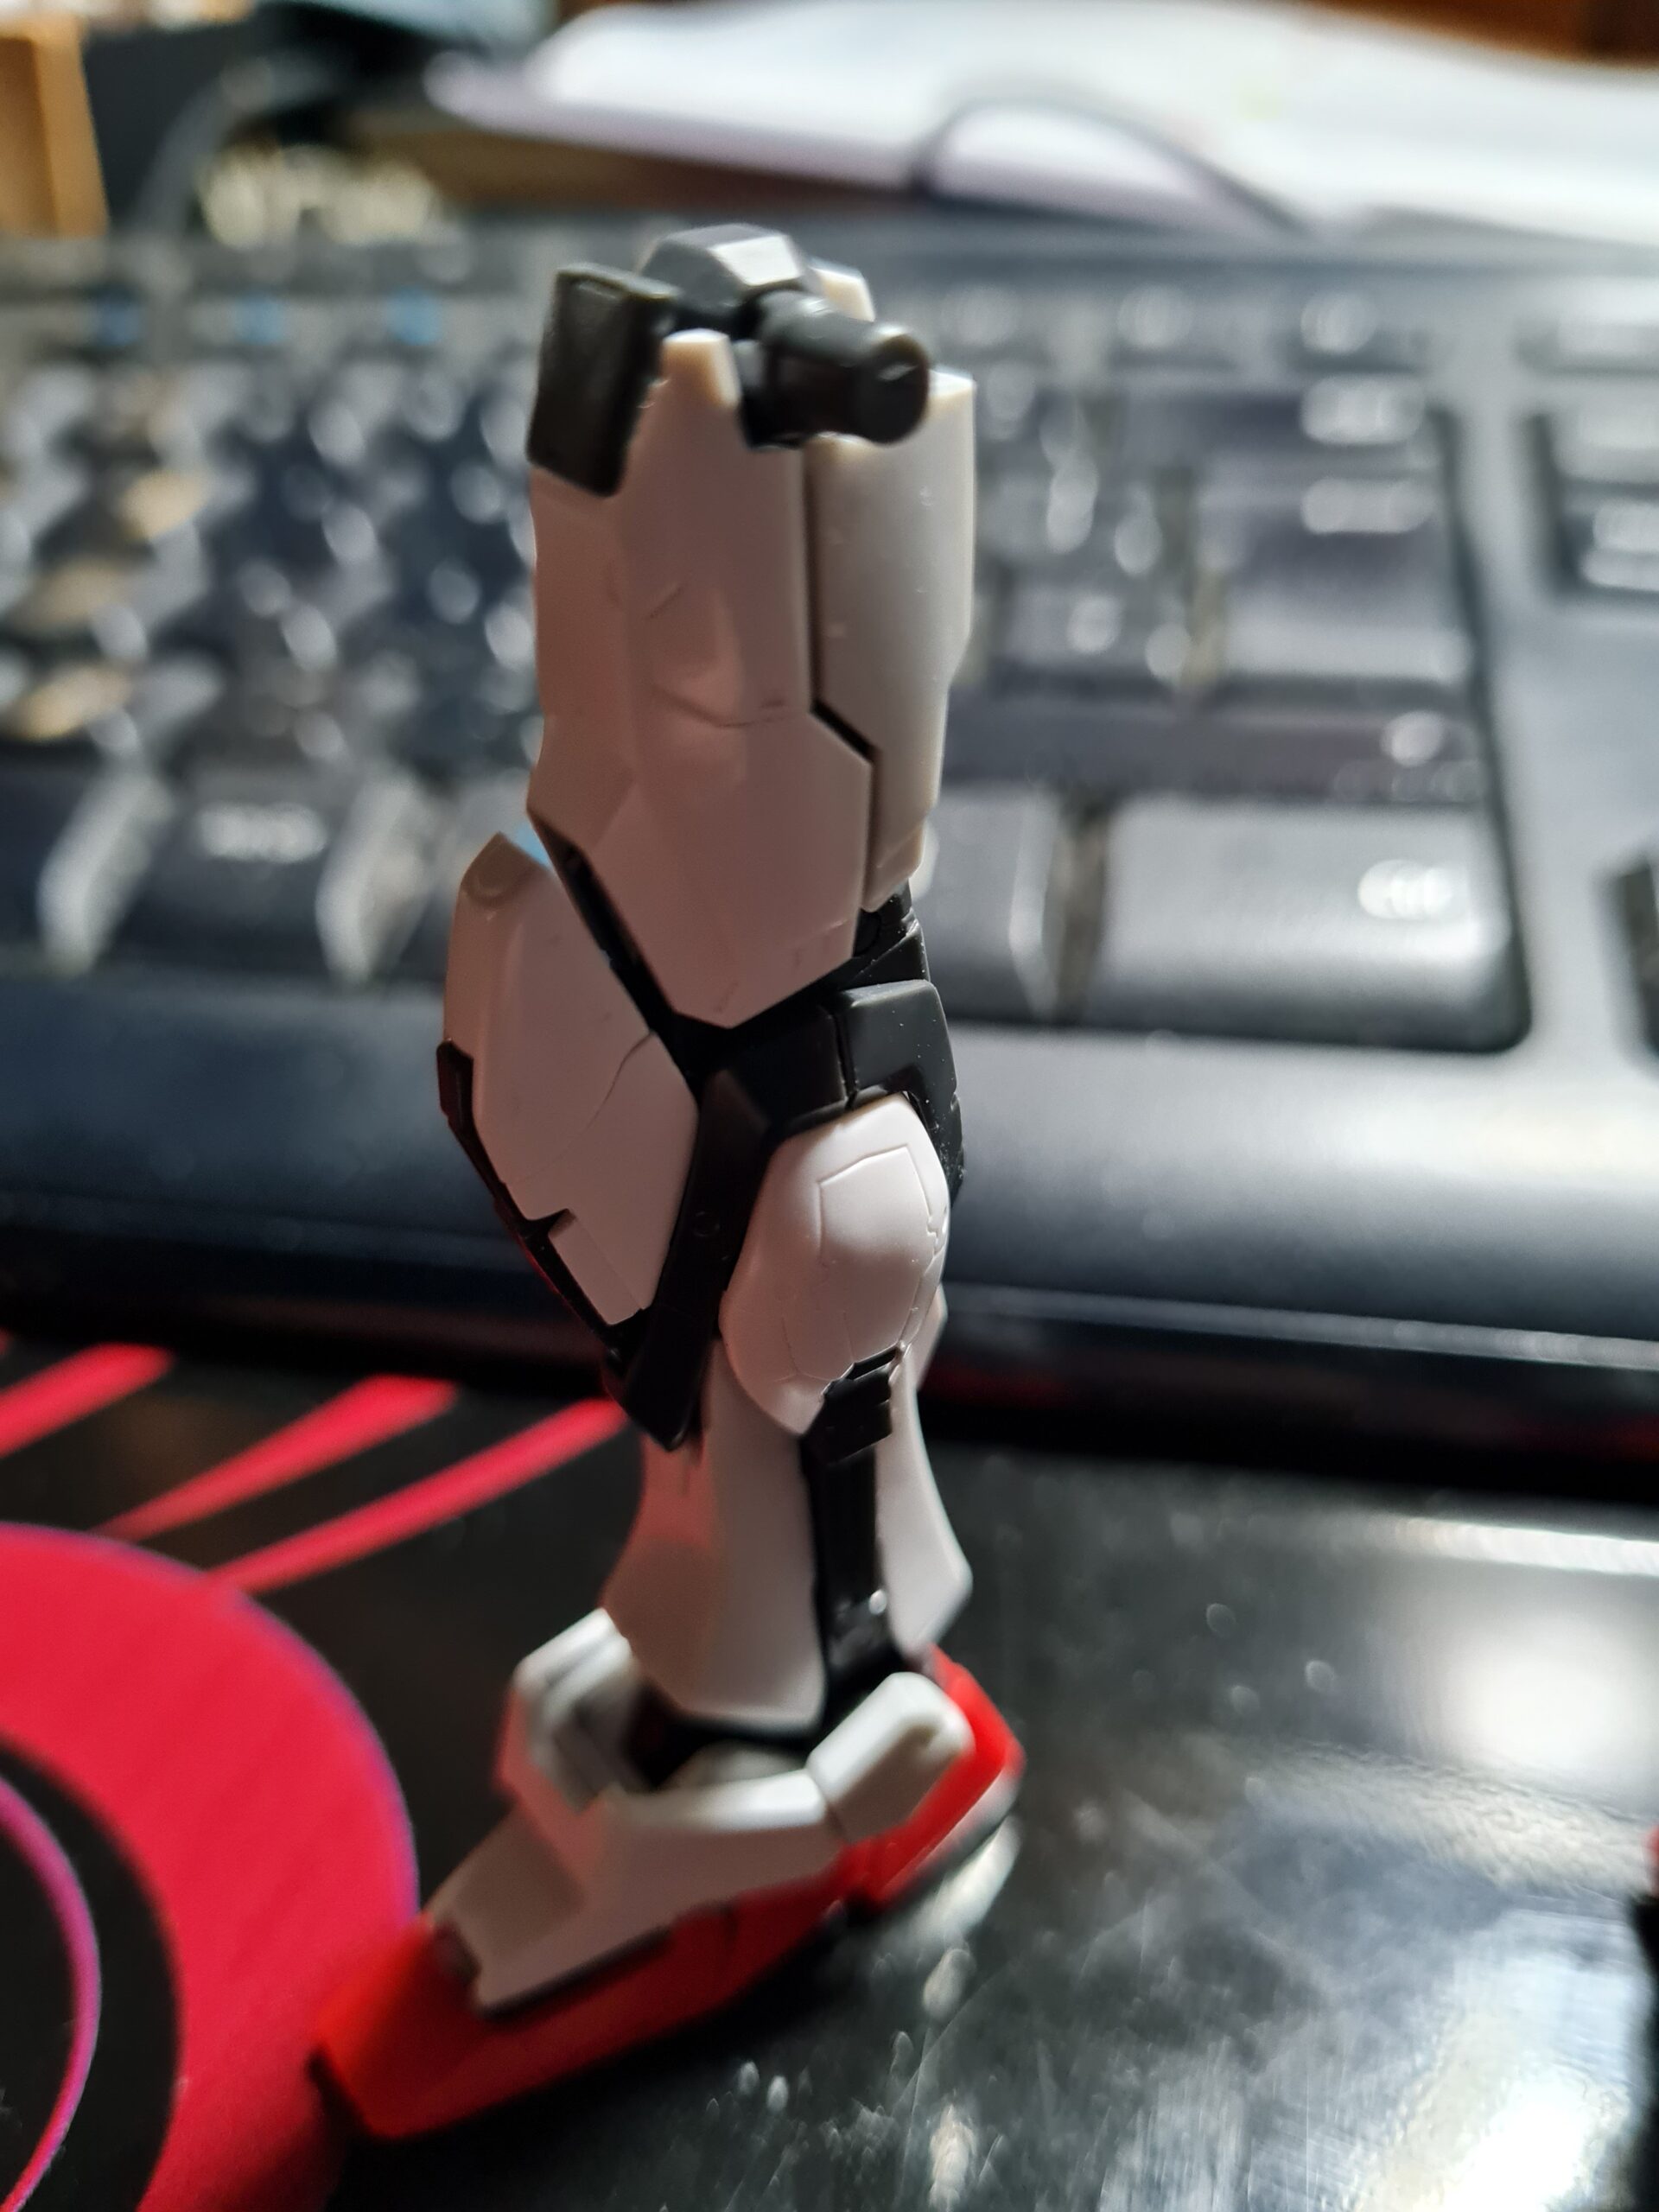
FrontSideRearInside
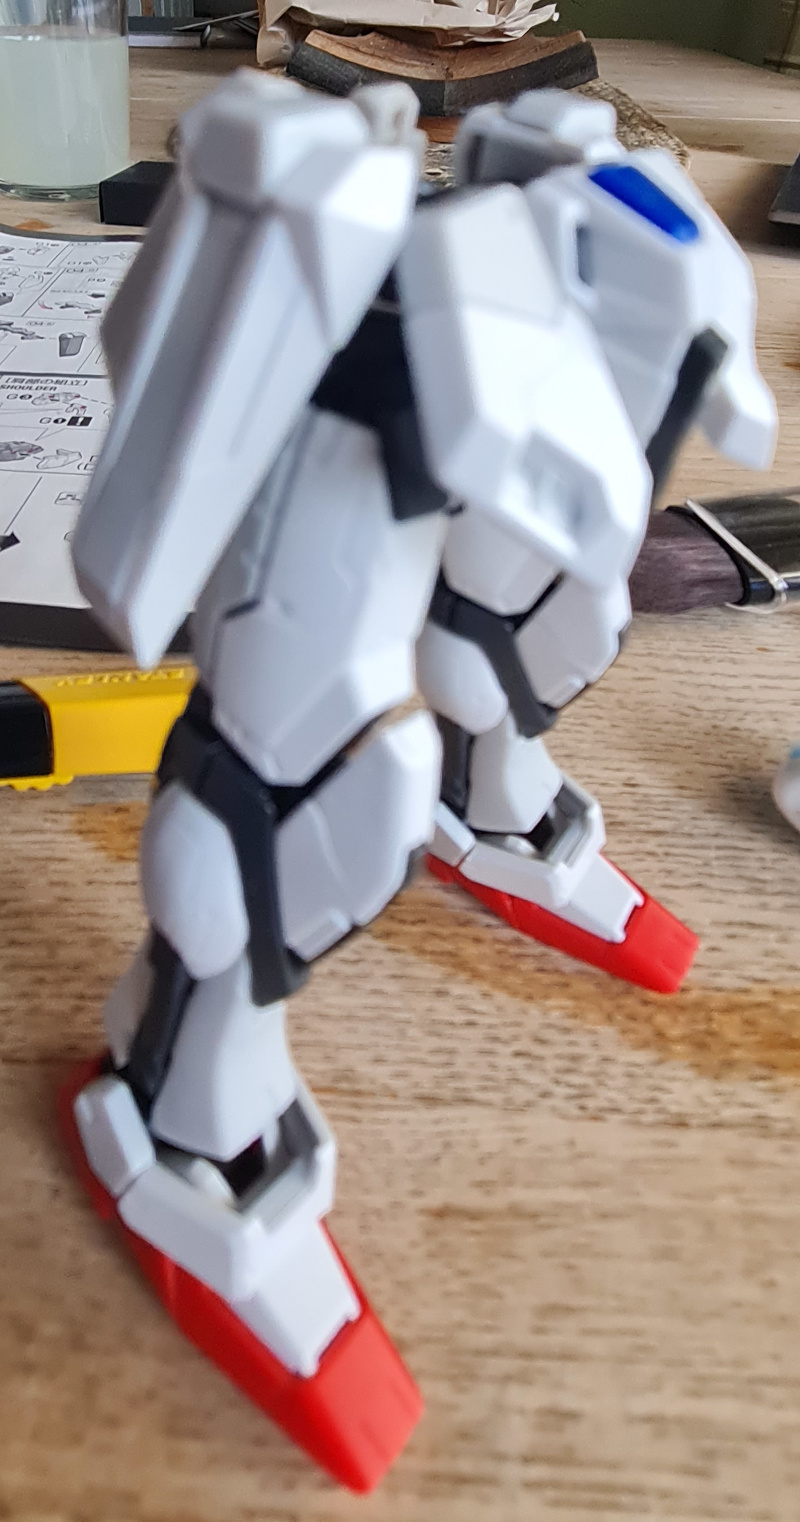
As can be seen in the pictures above, the arm, in my opinion has come out really cleanly.
Articulation
The other main thing on these parts, after how stunning and detailed they are, is the articulation you get with these pieces.
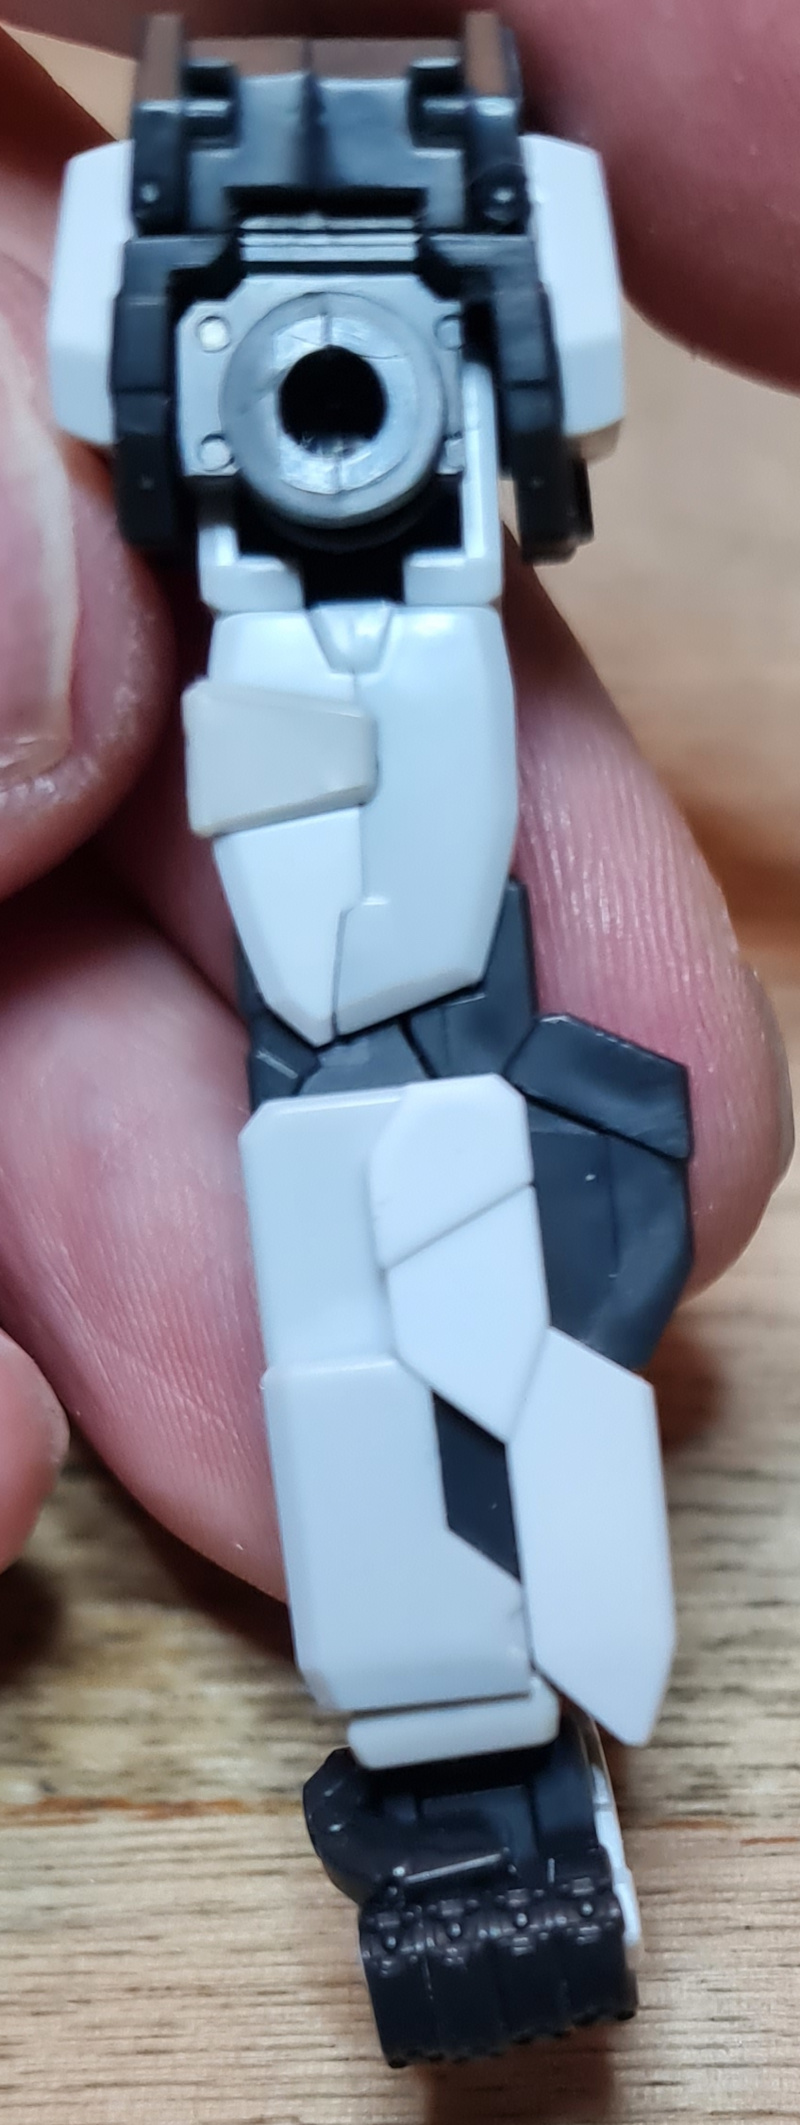
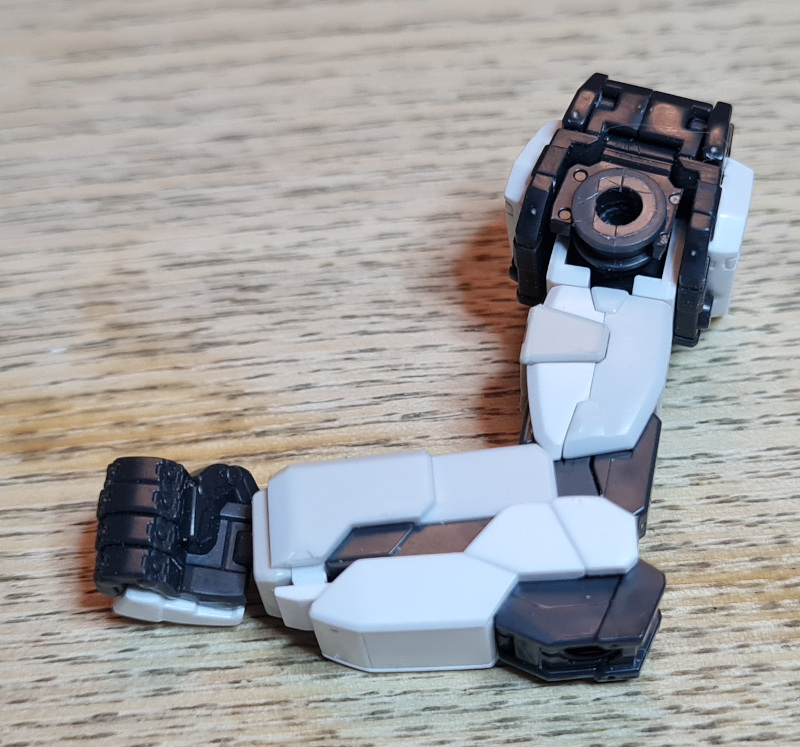
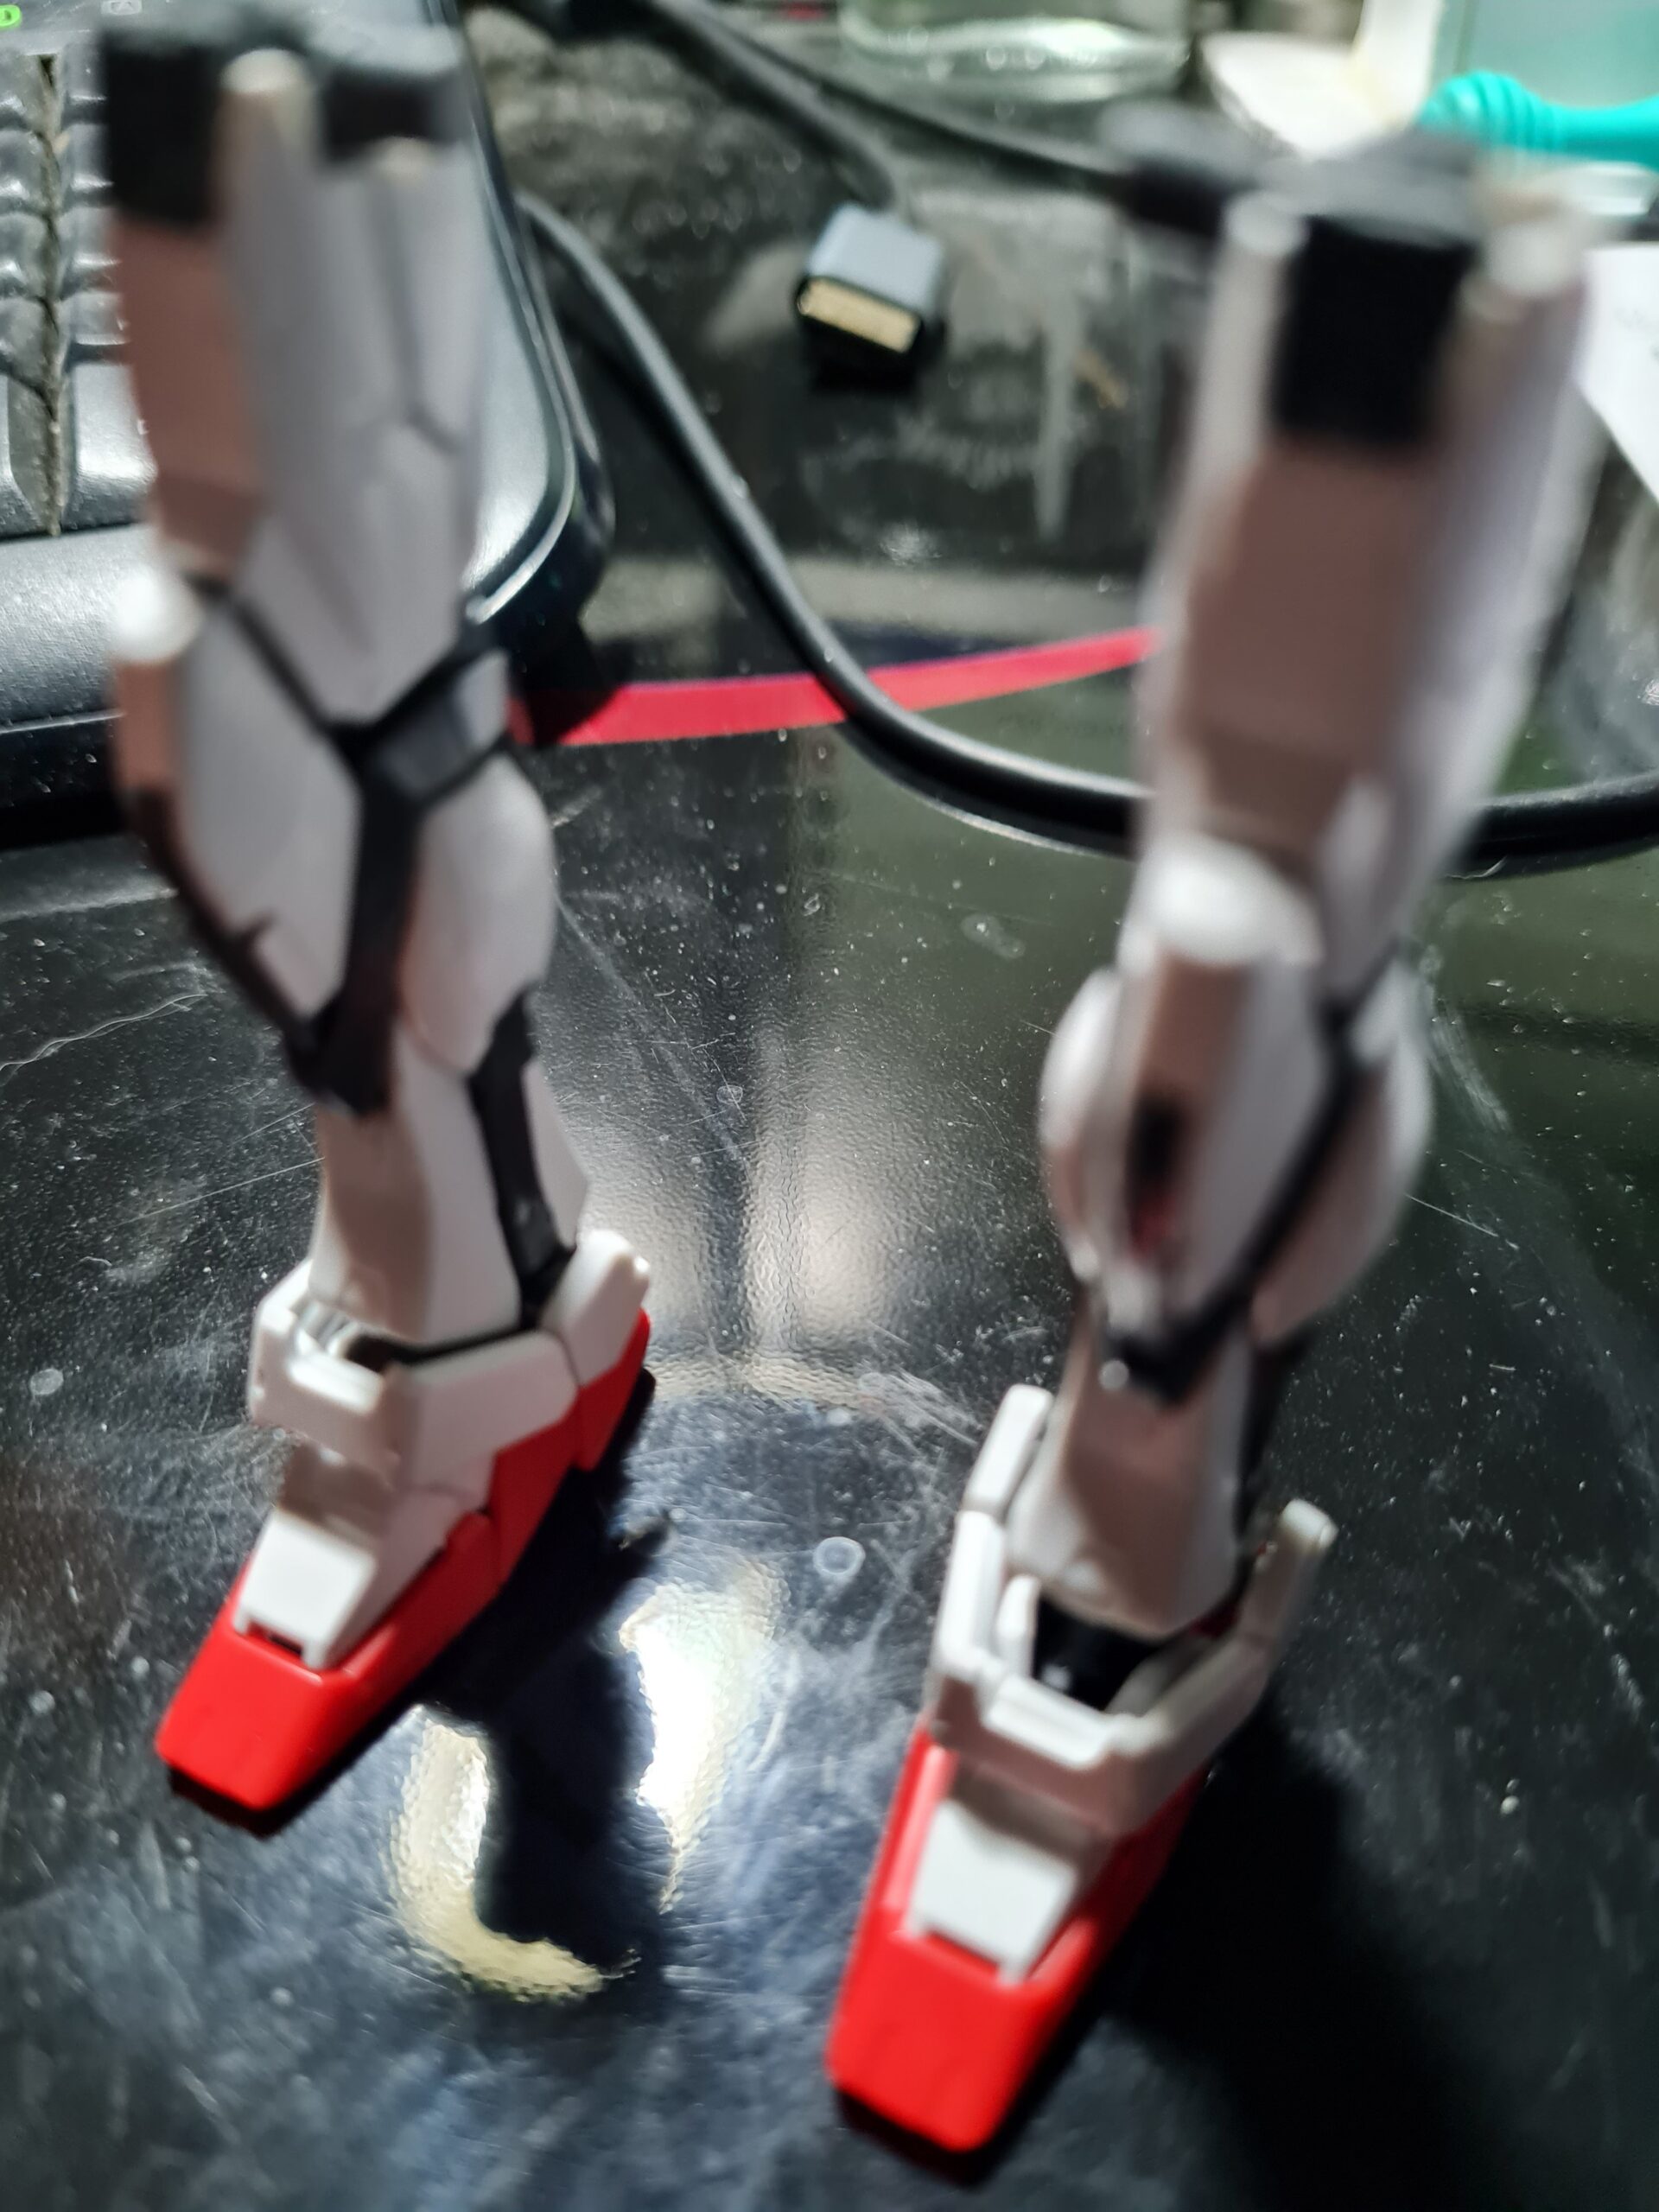
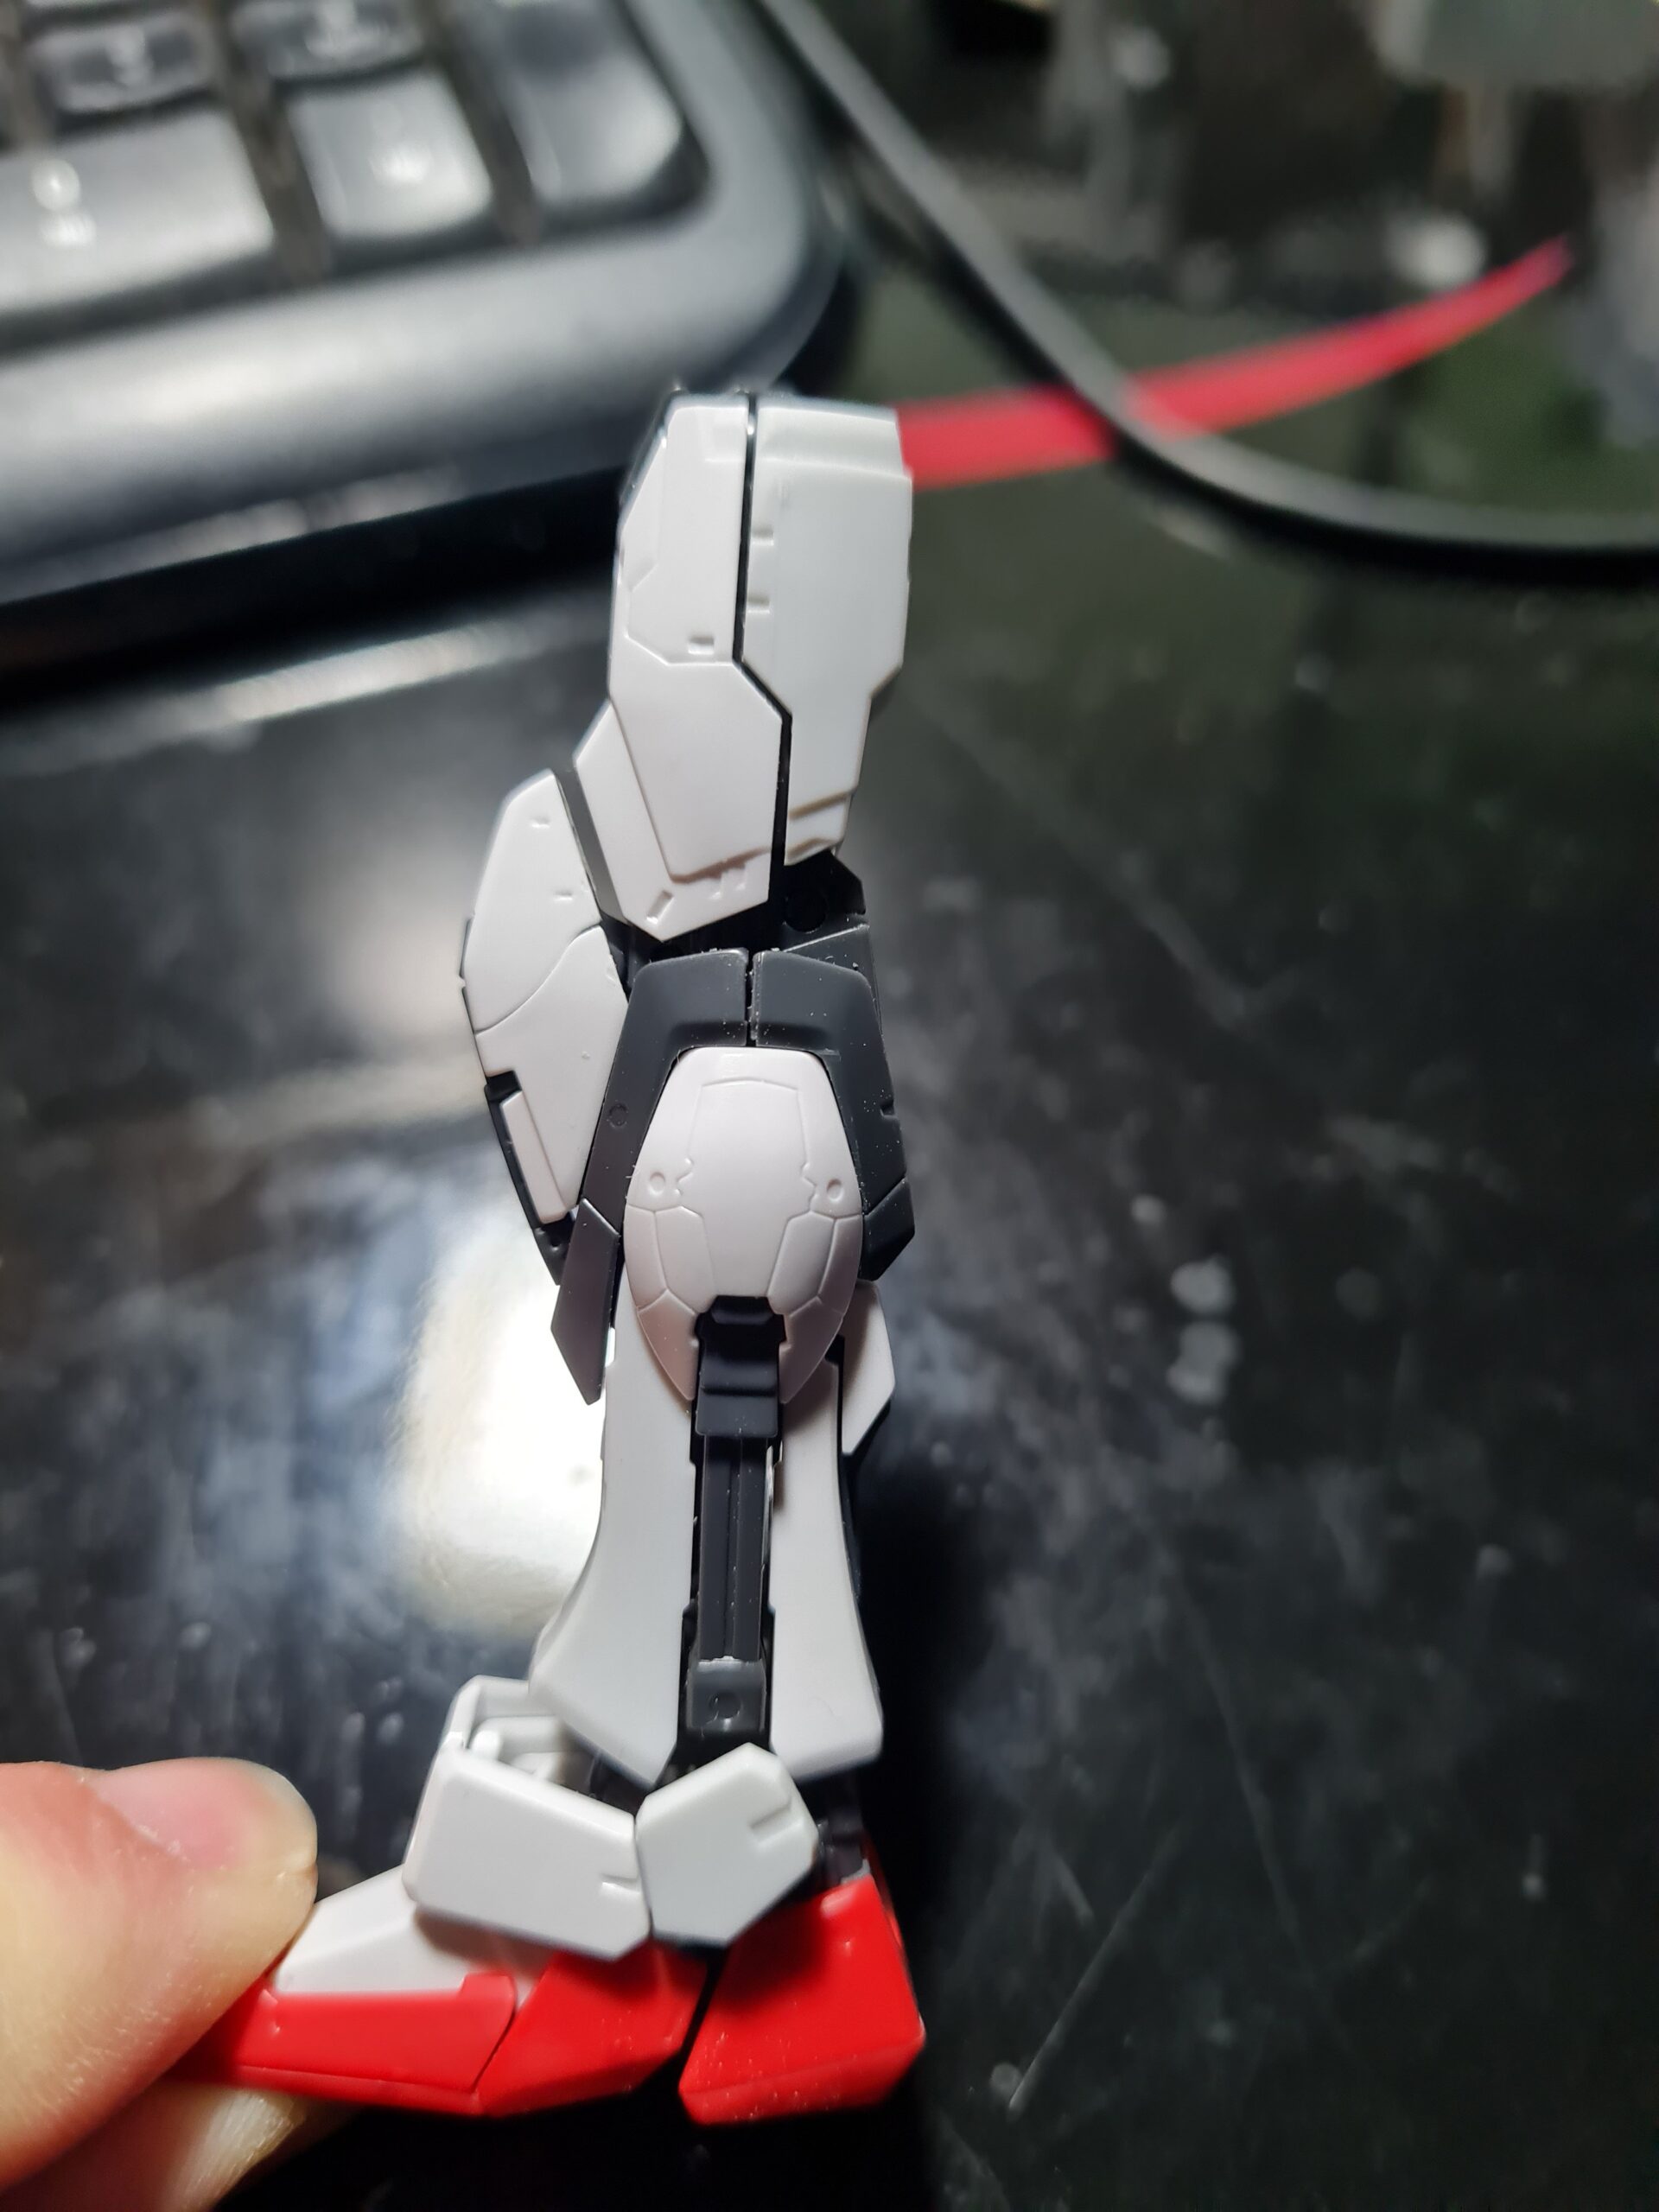
Inside Arm
Outside Arm
As can be seen in the images above, the arm has solid articulation as well. Bending nicely, allowing for various poses.
Conclusion
So in summary. So far I have the legs, waist and an arm. However, there is not a piece in there at the moment that I am not happy with. The build has been really smooth and enjoyable so far. Apart from me wanting to examine by technique on removing the grey pieces from the sprues, I am super happy with this. I definitely think that extra bit of time, and making use of the GUNPRIMER Balancers really does make it shine.
Thank you for taking the time to read this. If you haven’t already done so please like and follow us on our social media platforms and checkout our website!
So this should, again, have been the next step in the Aile Strike build, but I have just sorted my next invoice and wanted to share some details! So instead of that, welcome to “Lightening Stock Update 21/02/2023”!
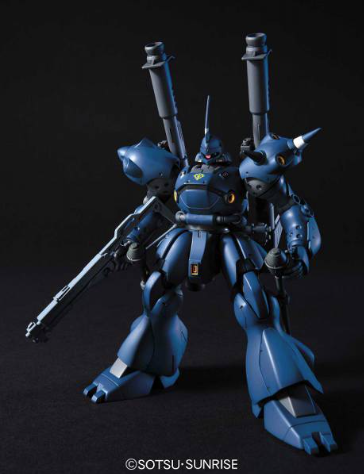
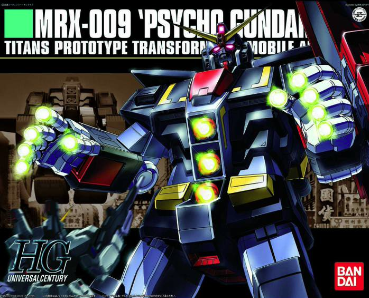
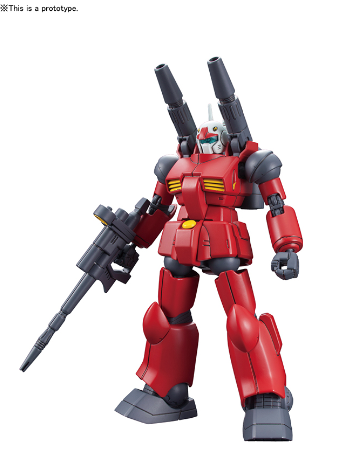
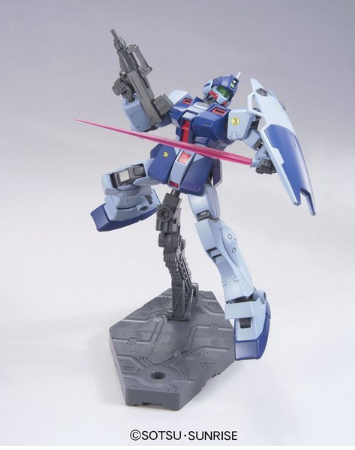
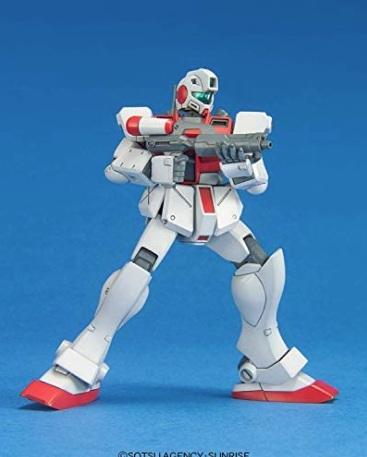
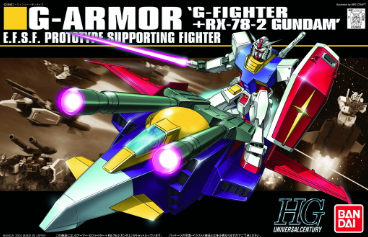
On the HG side I will have the ChuChu Demi Trainer, the Dilanza Standard, Dom RickDom, G Armour, GM Command Space, GM Sniper II, Gundam Psycho, Guncannon RX-77-2 Revive, and Kampfer.
That is just the HGs that are coming in. As normal as a small company slowly growing I will have limited numbers of items so if there is something there you are interested in then you will want to be on the ball!
I will also have the MG DeathScythe coming in.
DEATHSCYTHE
Again this is an absolutely awesome looking model. It looks outstanding!
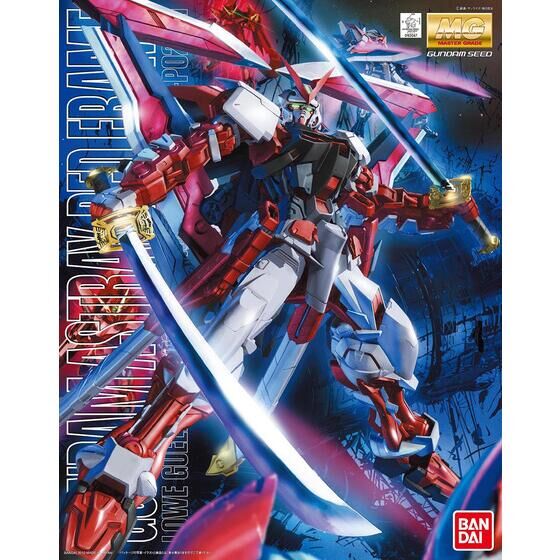
Talking of MG models I will also hopefully have a spare MGEX Strike Freedom looking for a home. So if that is your sort of thing then you may want to get on that one as I’m sure that will go fast.
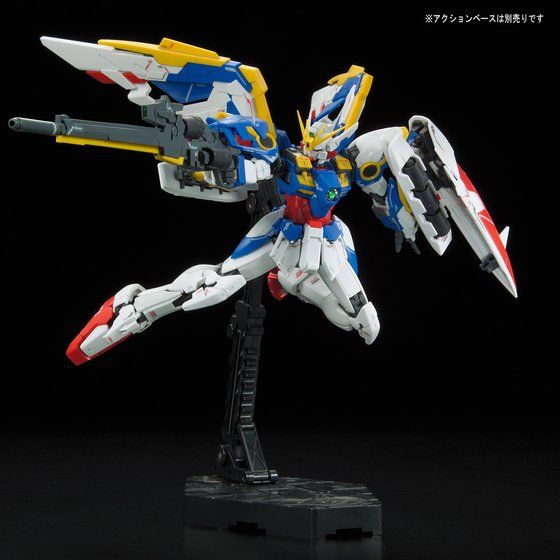
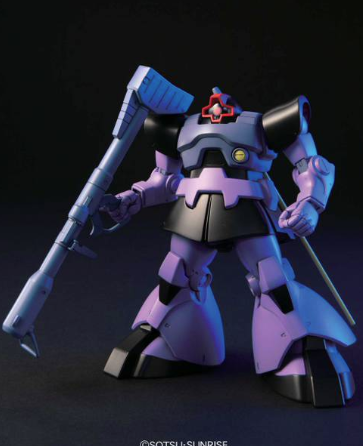
On the RG side, I will be having the GOD, Exia, RX-78-2, Wing, Wing XXXG-01W EW, OO QANT. Z’Gok Char Custom, Zaku II MS-06F and Zaku MS-06S also coming in.
Conclusion
As always the invoice is paid, I just need it to ship. Now as you all know I tend to have what I lovingly call hit and miss luck with UPS packages coming in to the country. However, I’m going to be hopeful that this is a smooth one and I will be seeing these all very soon!
Thank you for taking the time to read this. If you haven’t already done so please like and follow us on our social media platforms and checkout our website!
Welcome to “RG Aile Strike Build Day 7” where I am building up an RG Aile strike model. If you haven’t read any of the other parts I would recommend going back to the start. You can find that here. In the first post I covered the box, runners and provide the manual.
Round about now you are probably thinking to yourself … blimey he is not a fast builder I would have had that done days ago! However, in my defence I am working full time, plus running my company, and then building after I have done everything for those. I am also really taking my time, and if I’m not happy re-visiting parts and re-doing them. I used to take months to paint a single model, to the point where my friend offers to paint them for me so that he can play against painted minis 😀 (Thank you Steve 🙂 )
So my normal steady pace aside, I do want to really enjoy the build and not rush at any stage. I want to show how stunning the model is, not just to build, but how beautifully clean it looks once complete.
Without further ado, lets just outline my process on each part so that I don’t repeat is throughout the post 🙂
The Process
Unless otherwise noted I followed this process for each piece:
Cut off roughly leaving plenty of nub
Trim back the nub with my better nippers
Apply water to my wet and dry sandpaper and sand the nub marks down
Dry the piece
Brush it off with the tooth brush to remove any bits
Re-apply the matt finish using the Gray Balancer
Prep the part with the green side of the White Balancer
Shine the part up with the white side of the White Balancer
If after this I wasn’t happy I would repeat the sanding steps down, and keep iterating until I was happy with the finish.
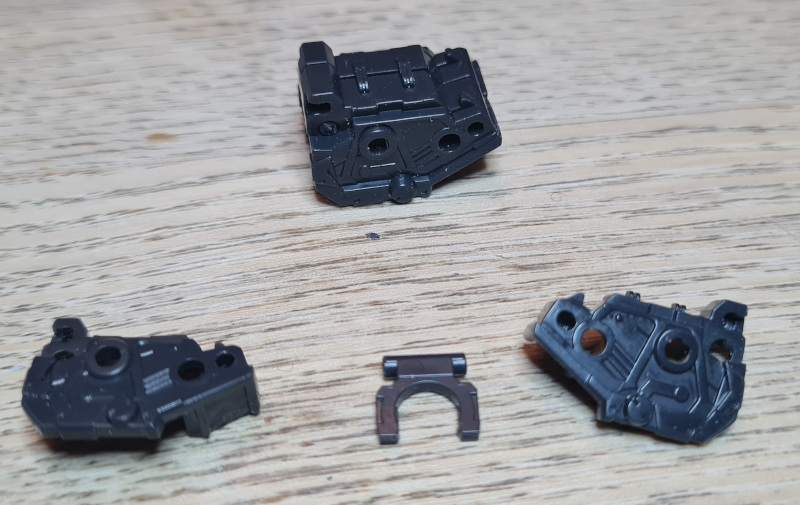
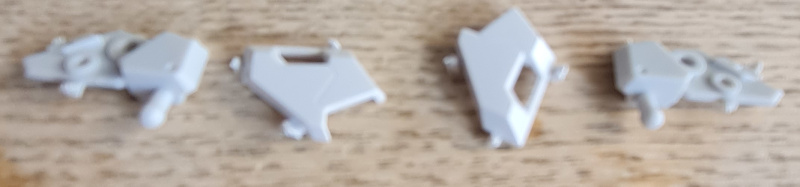
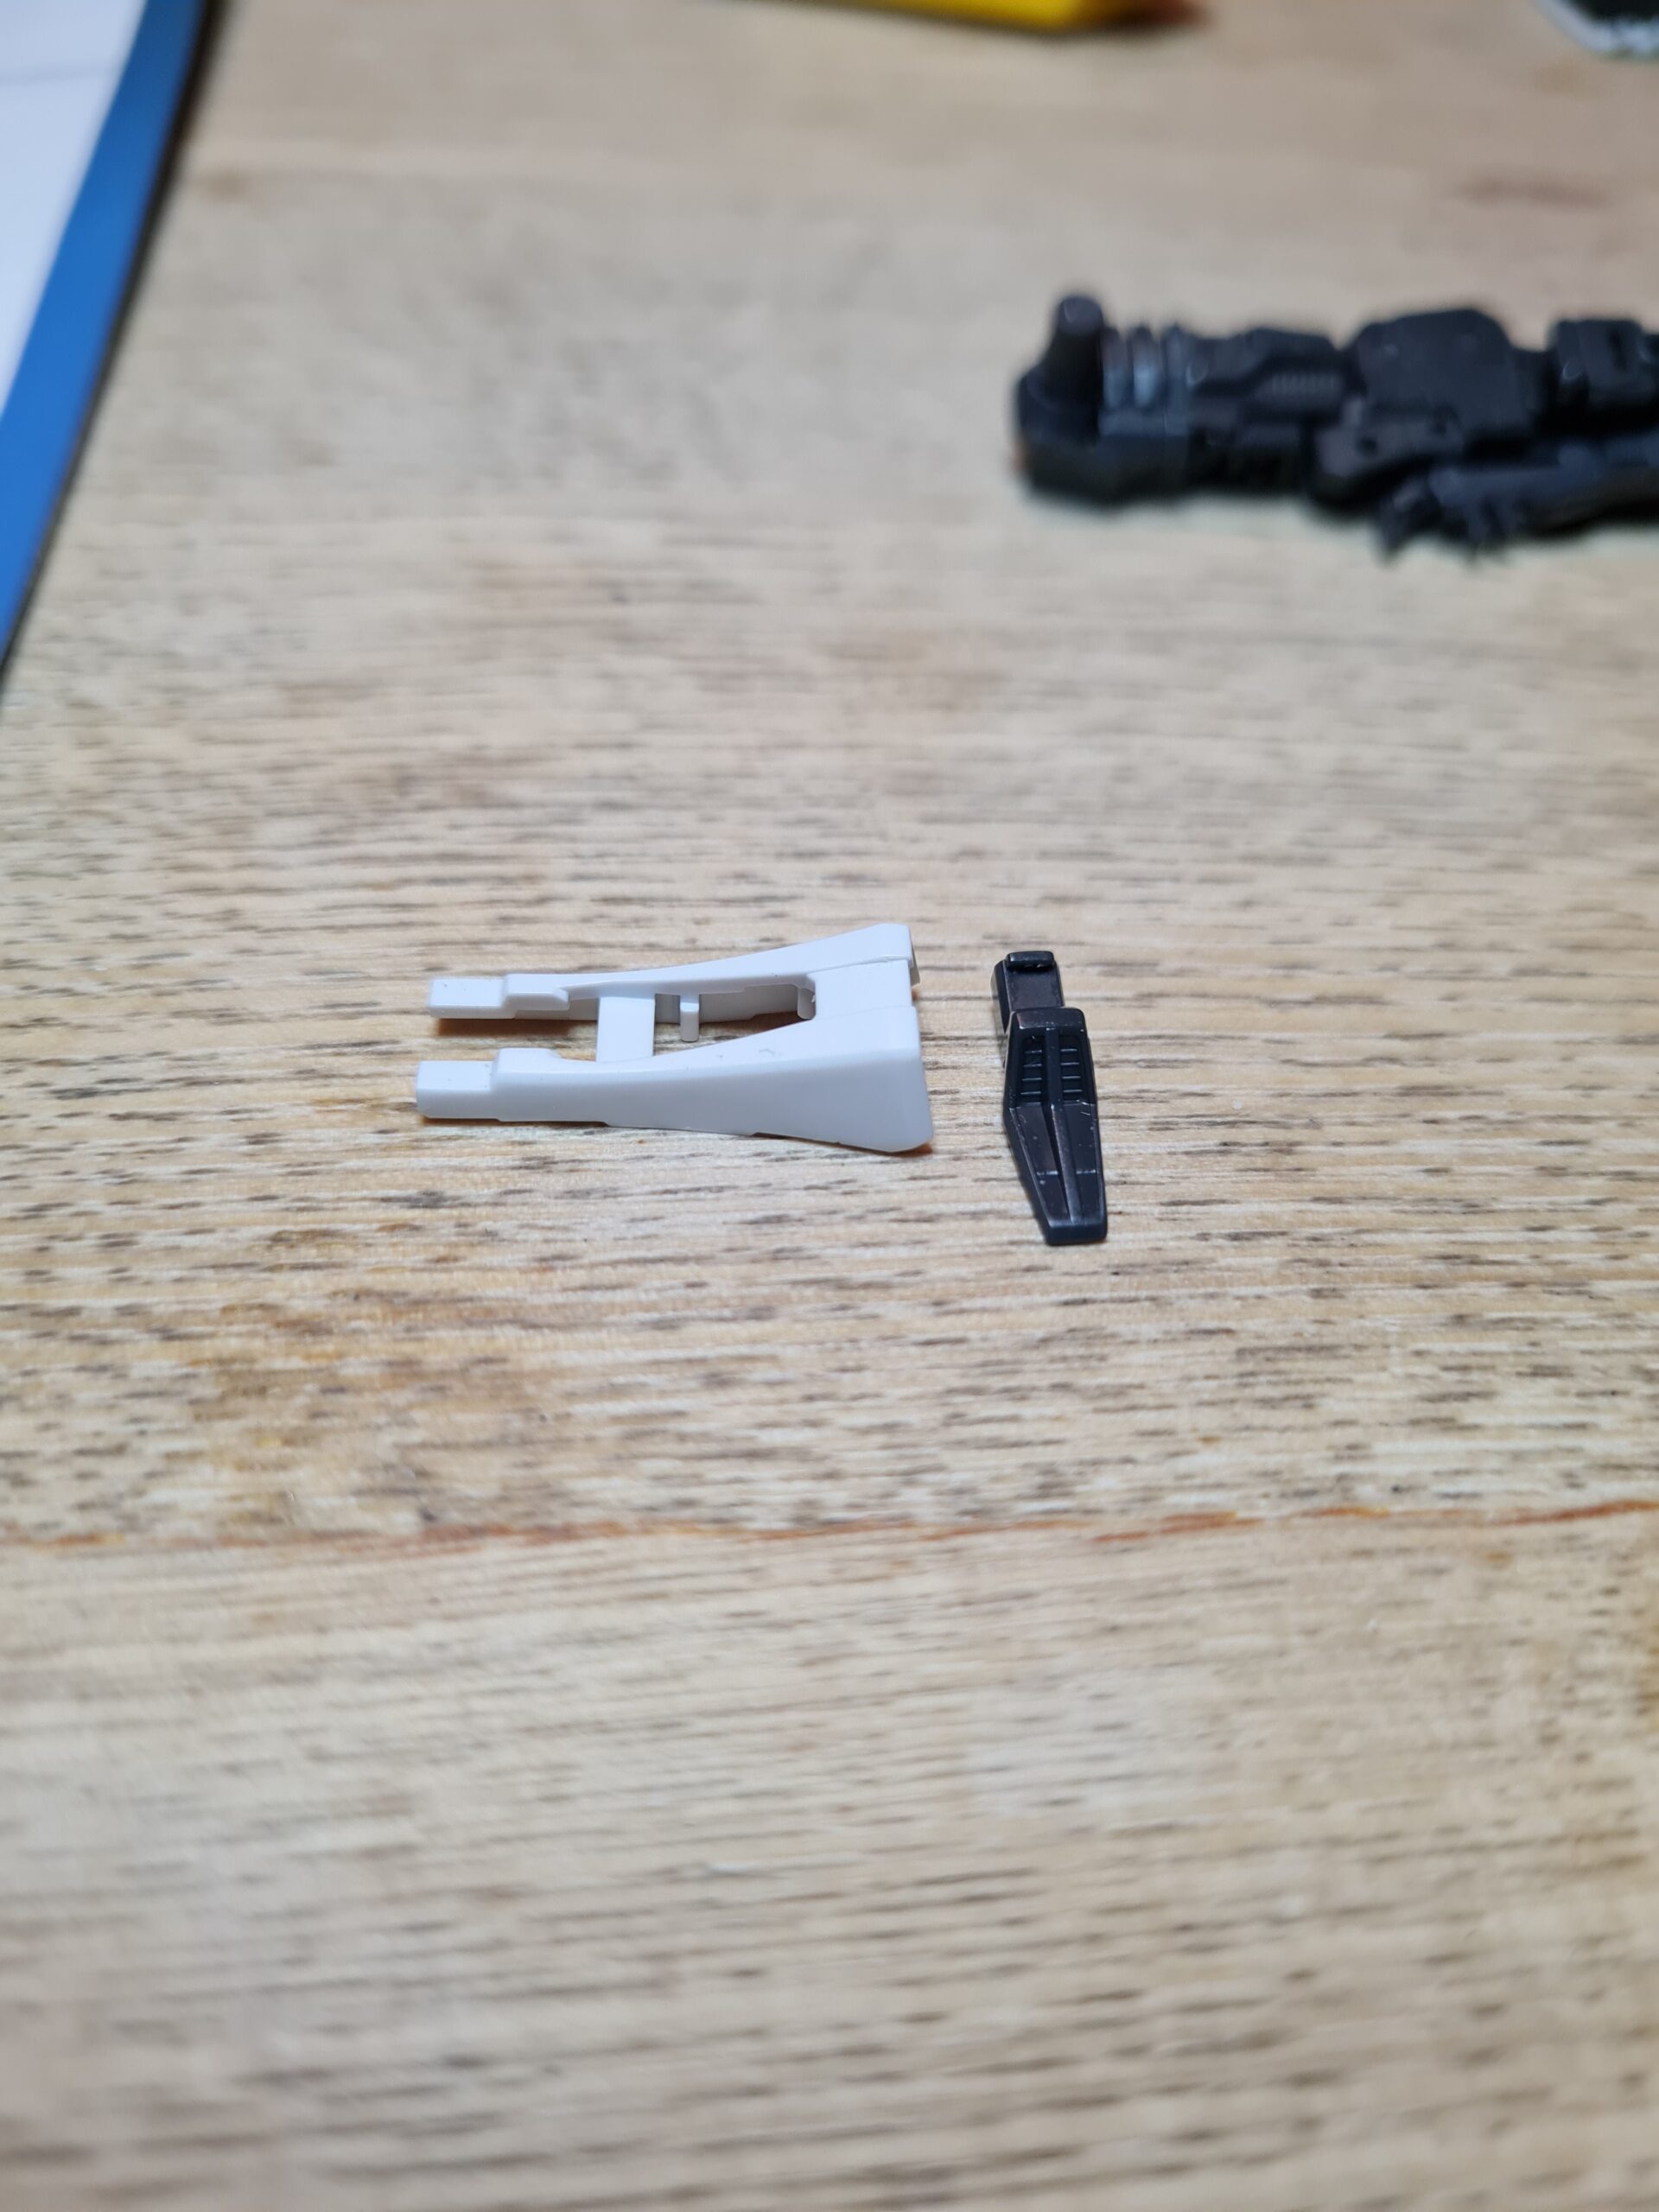
First Parts
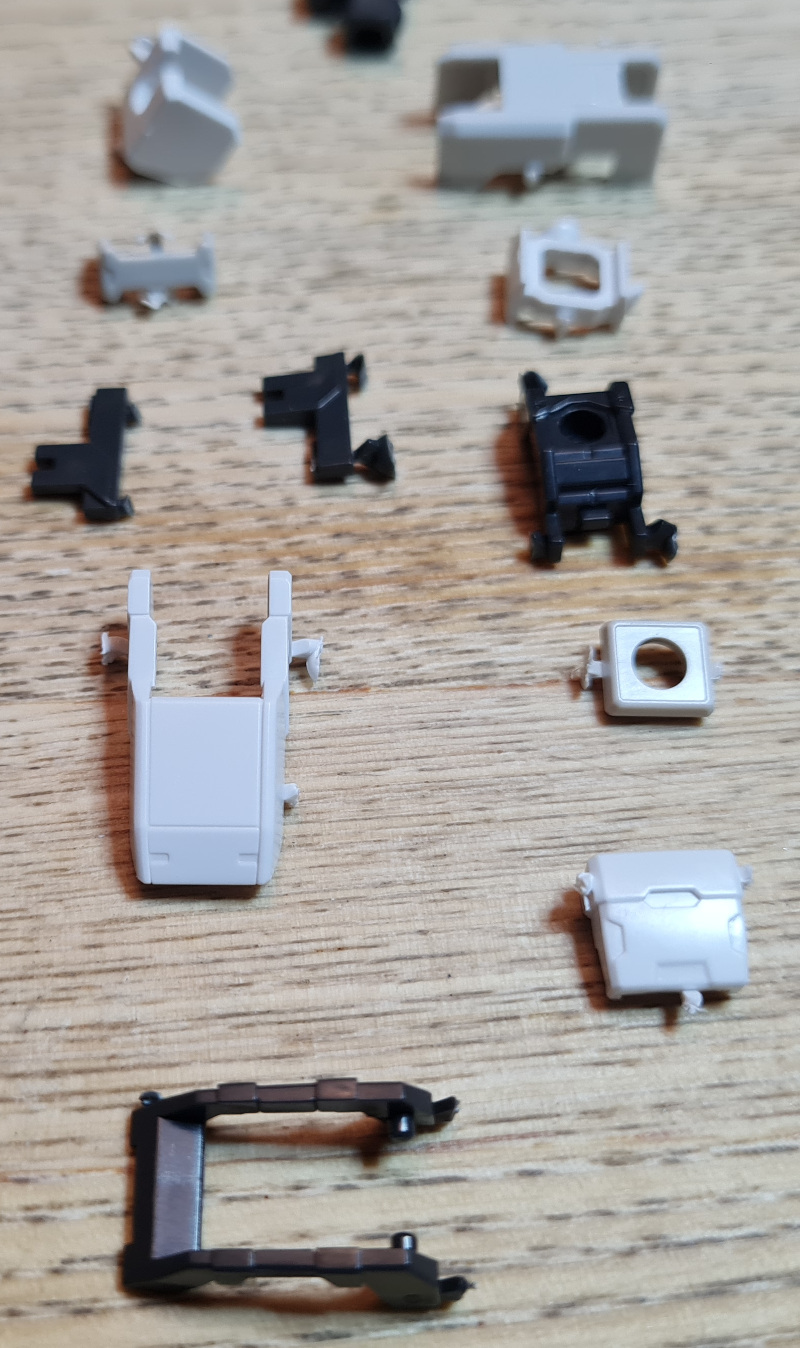
Clean and AssembledParts with Numbs
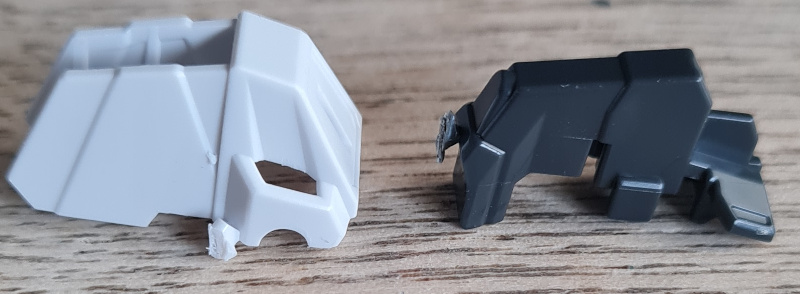
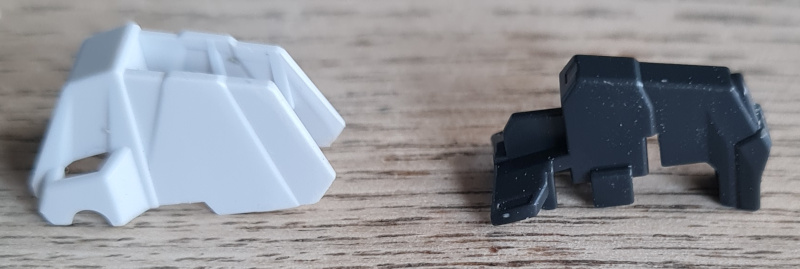
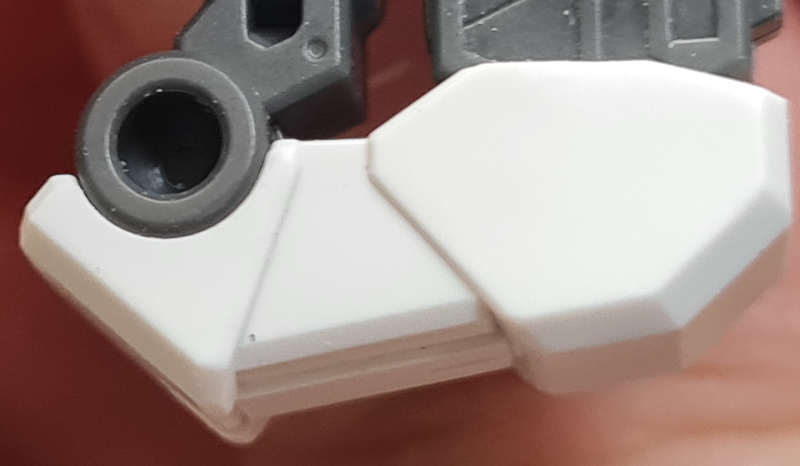
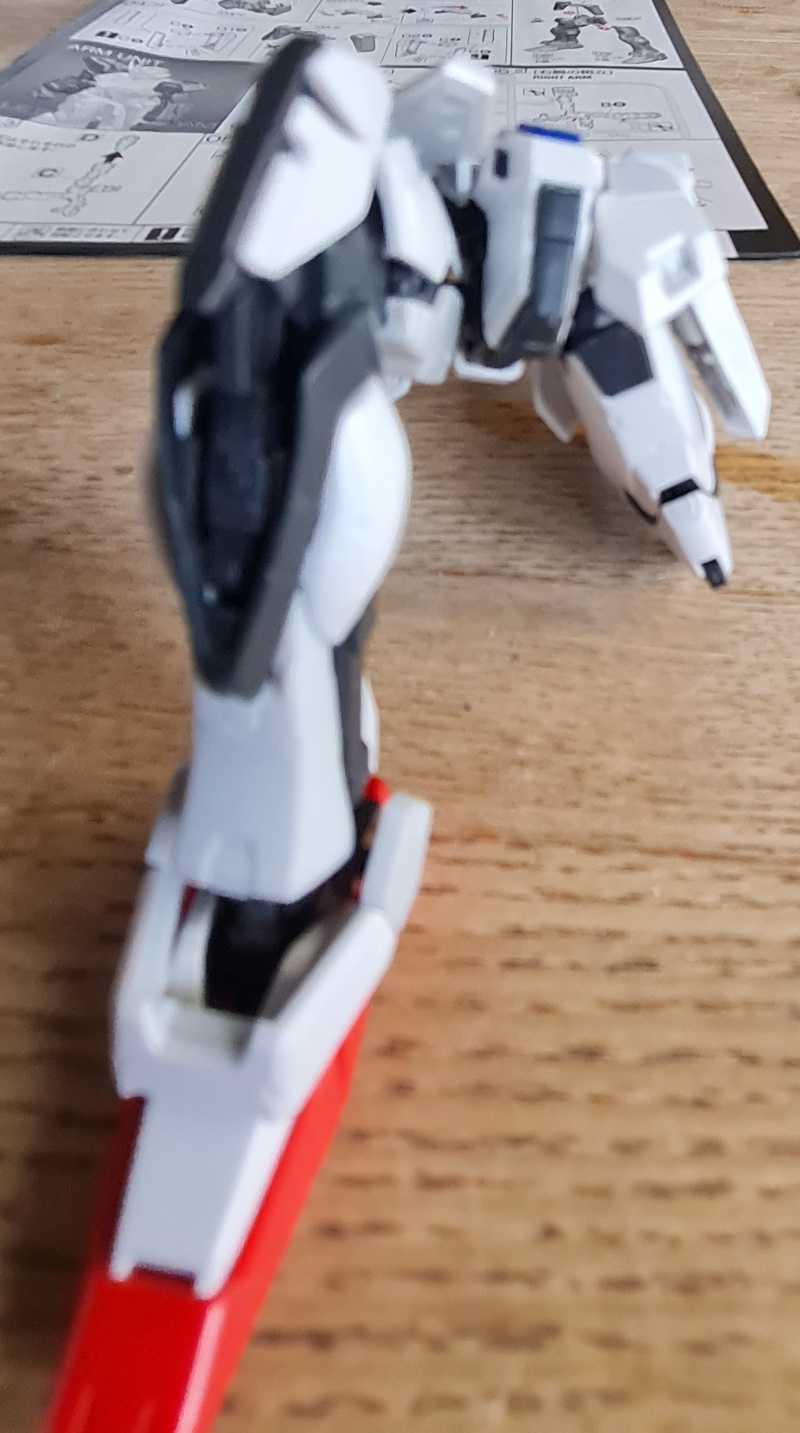
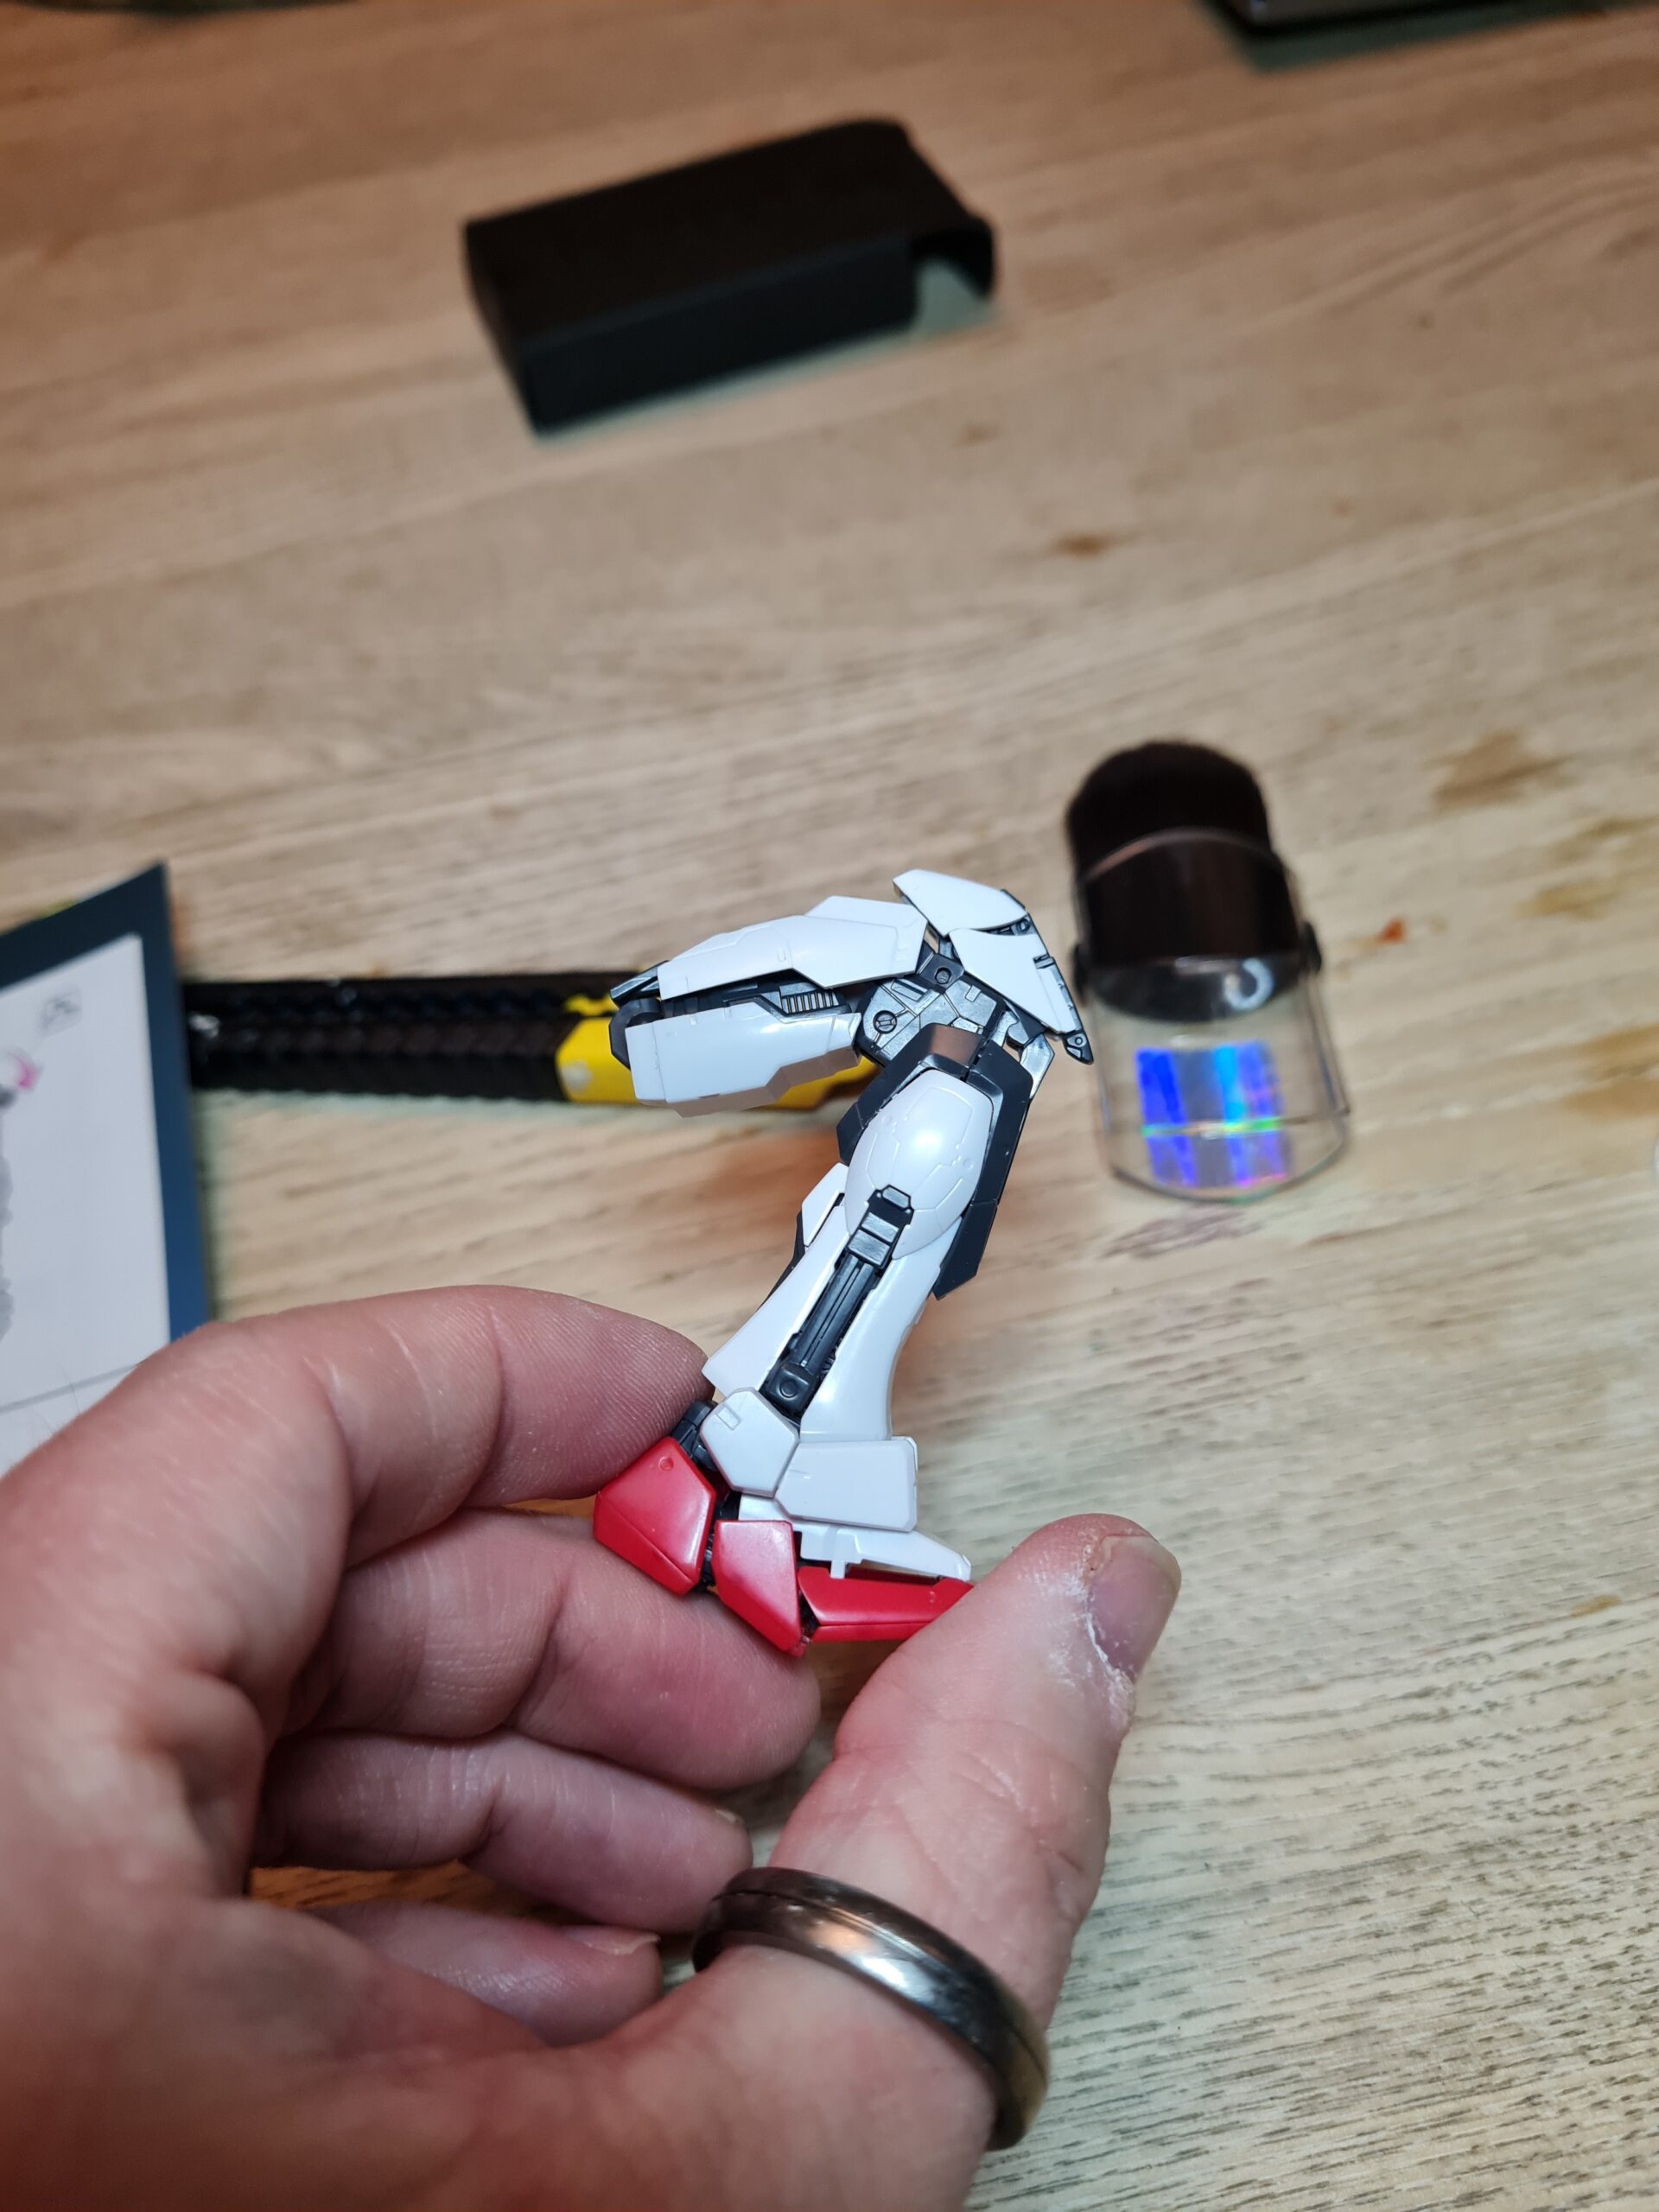
So this section is the build up of the arms. The first thing I had to do was build up the two shoulders. Then it steps into building each arm individually. The core of the shoulder is really simple but the plastic cleans up from the nubs really nicely and fits together nicely.
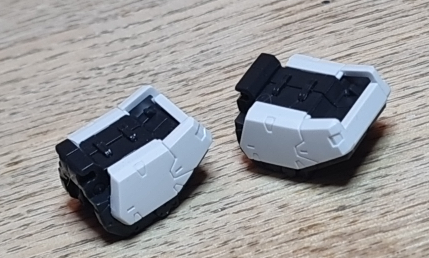
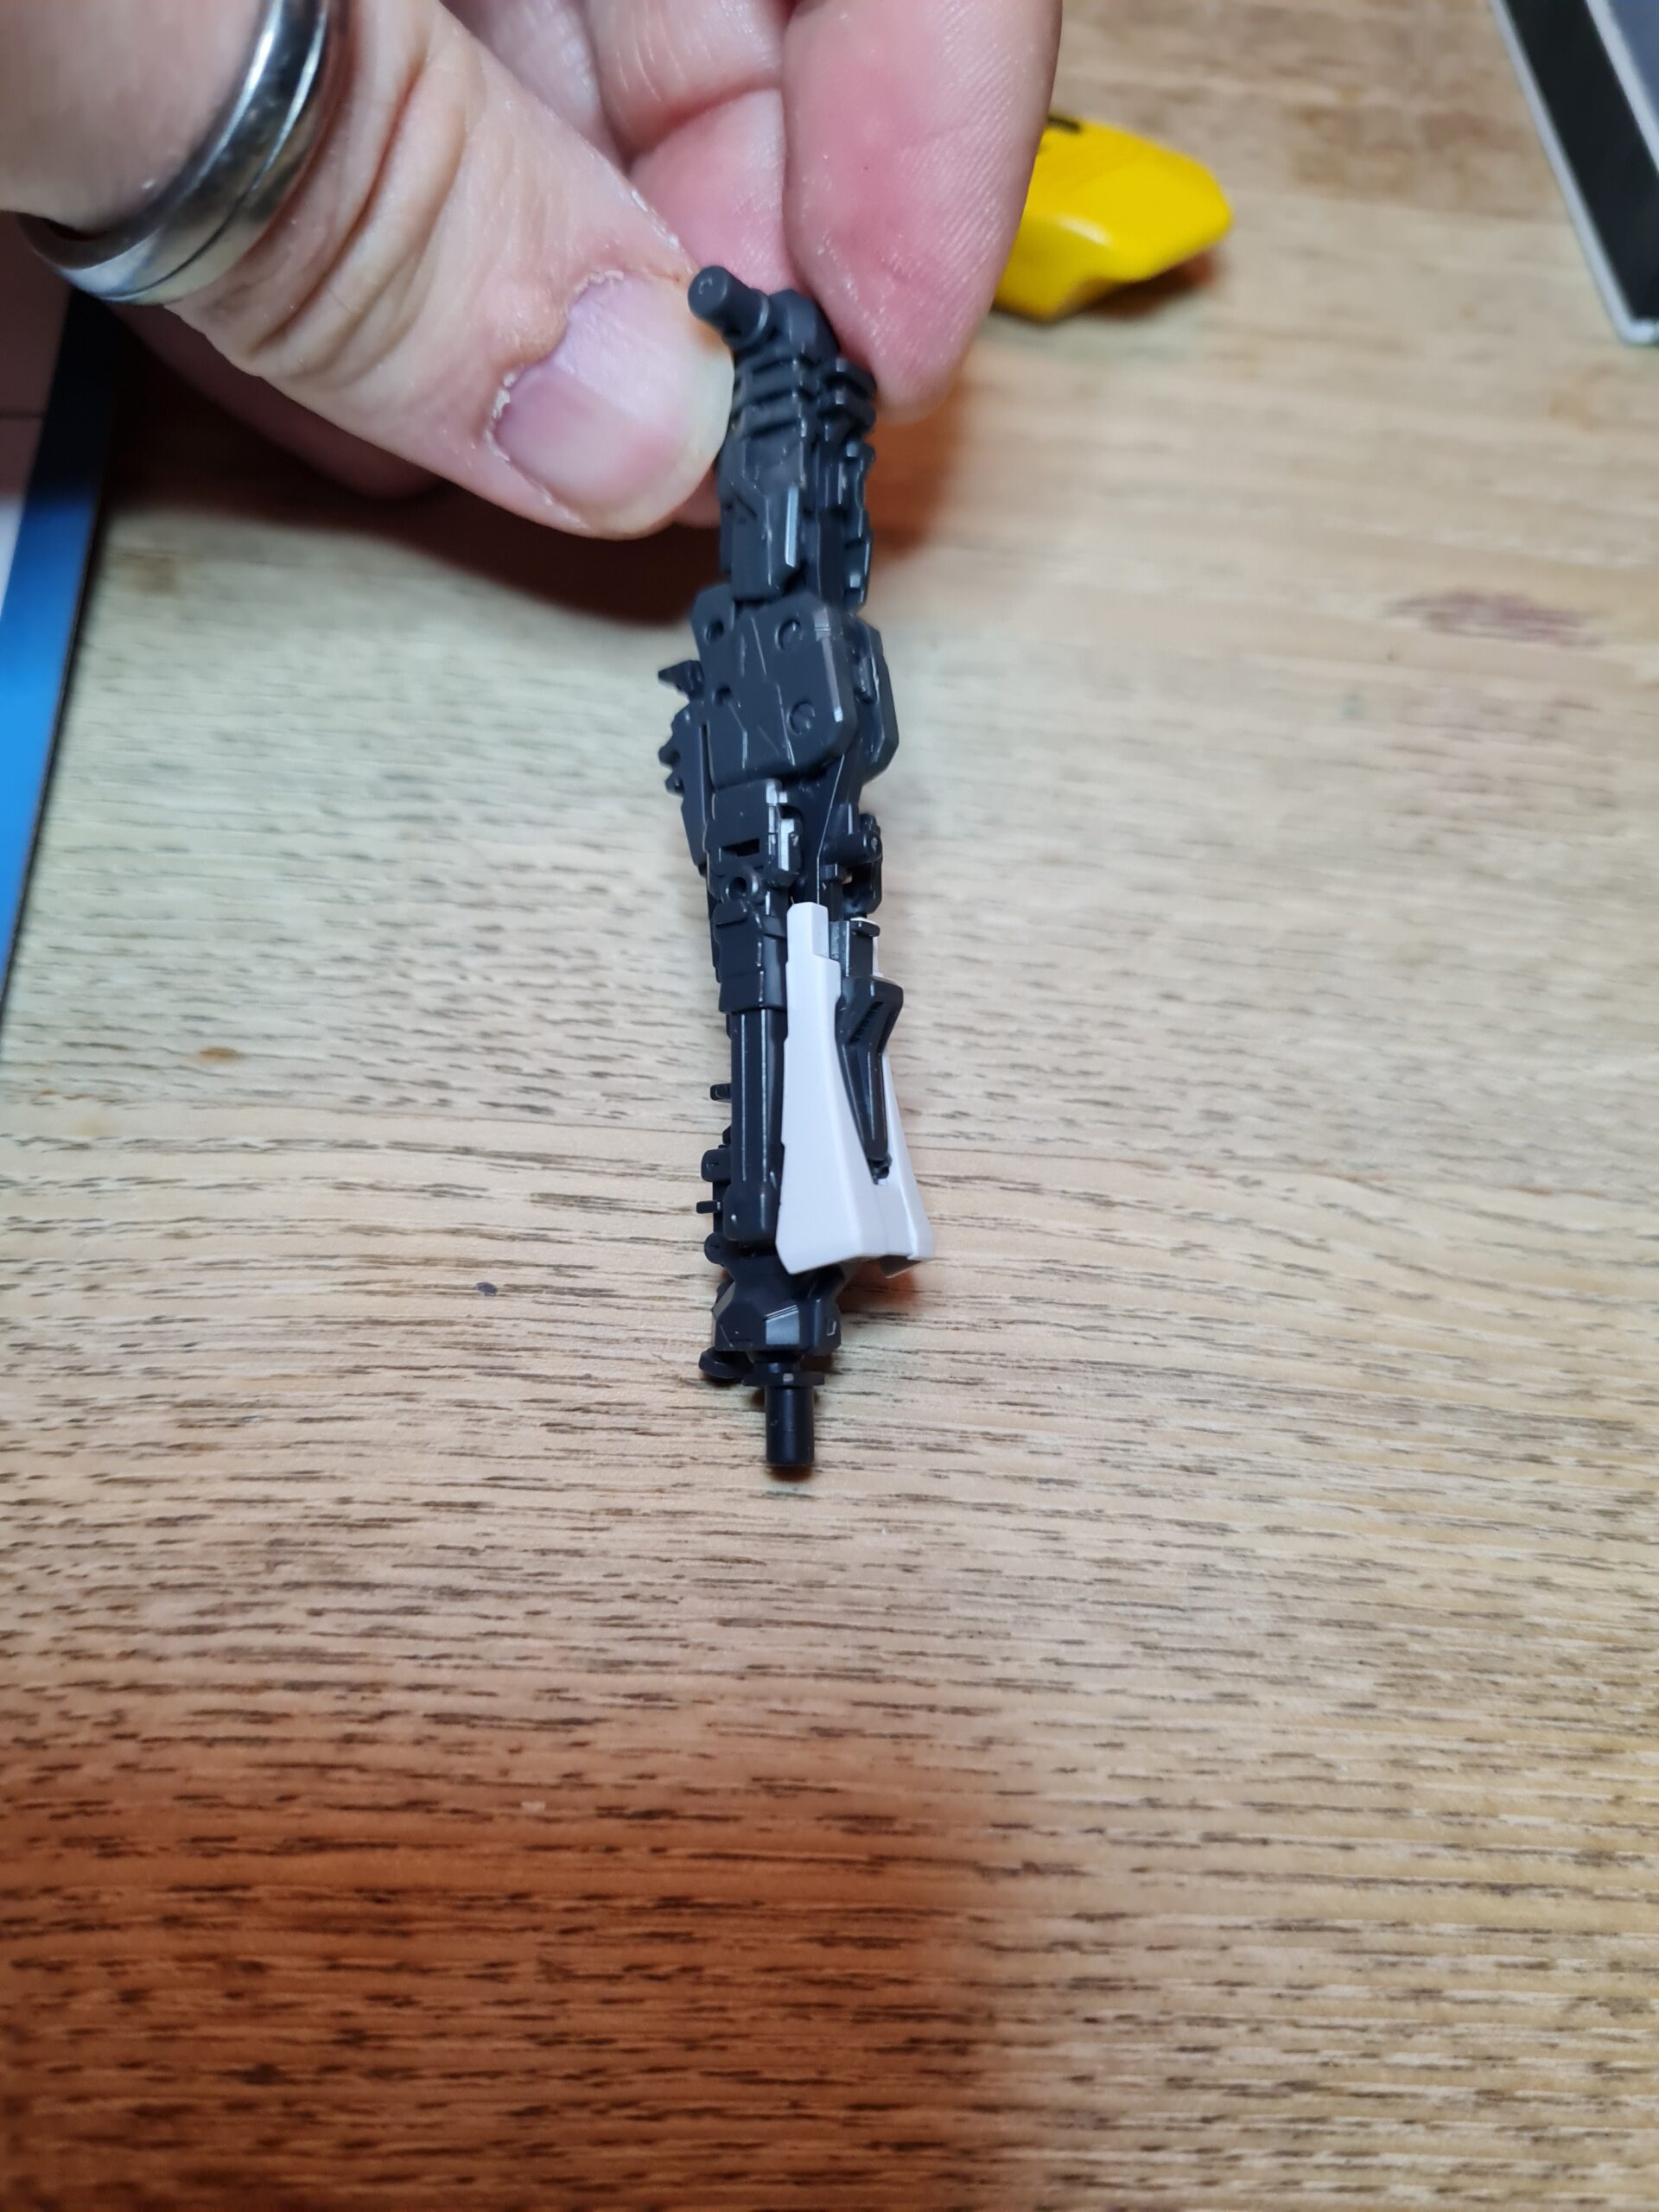
Second Parts
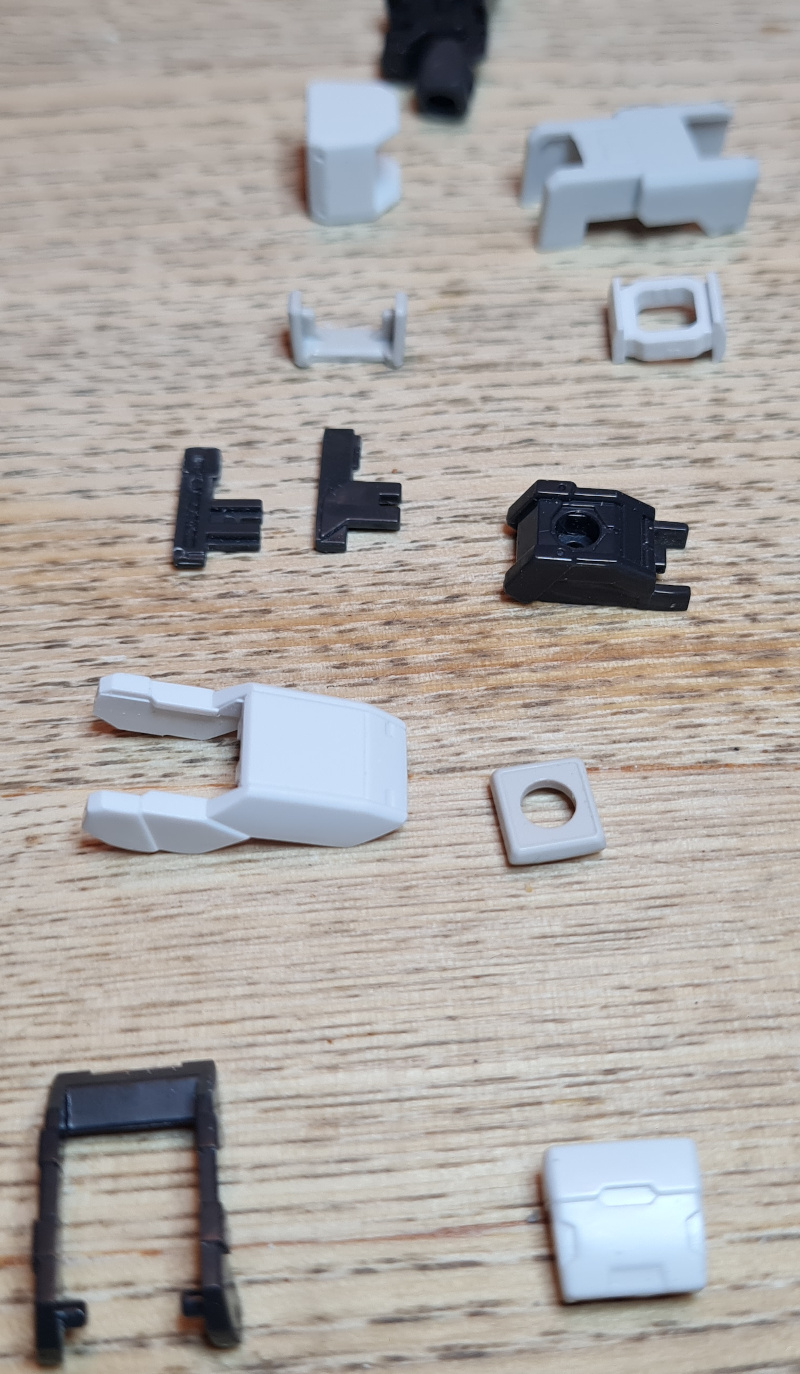
Nubbed PartsClean PartsFitted PartsFitted Parts
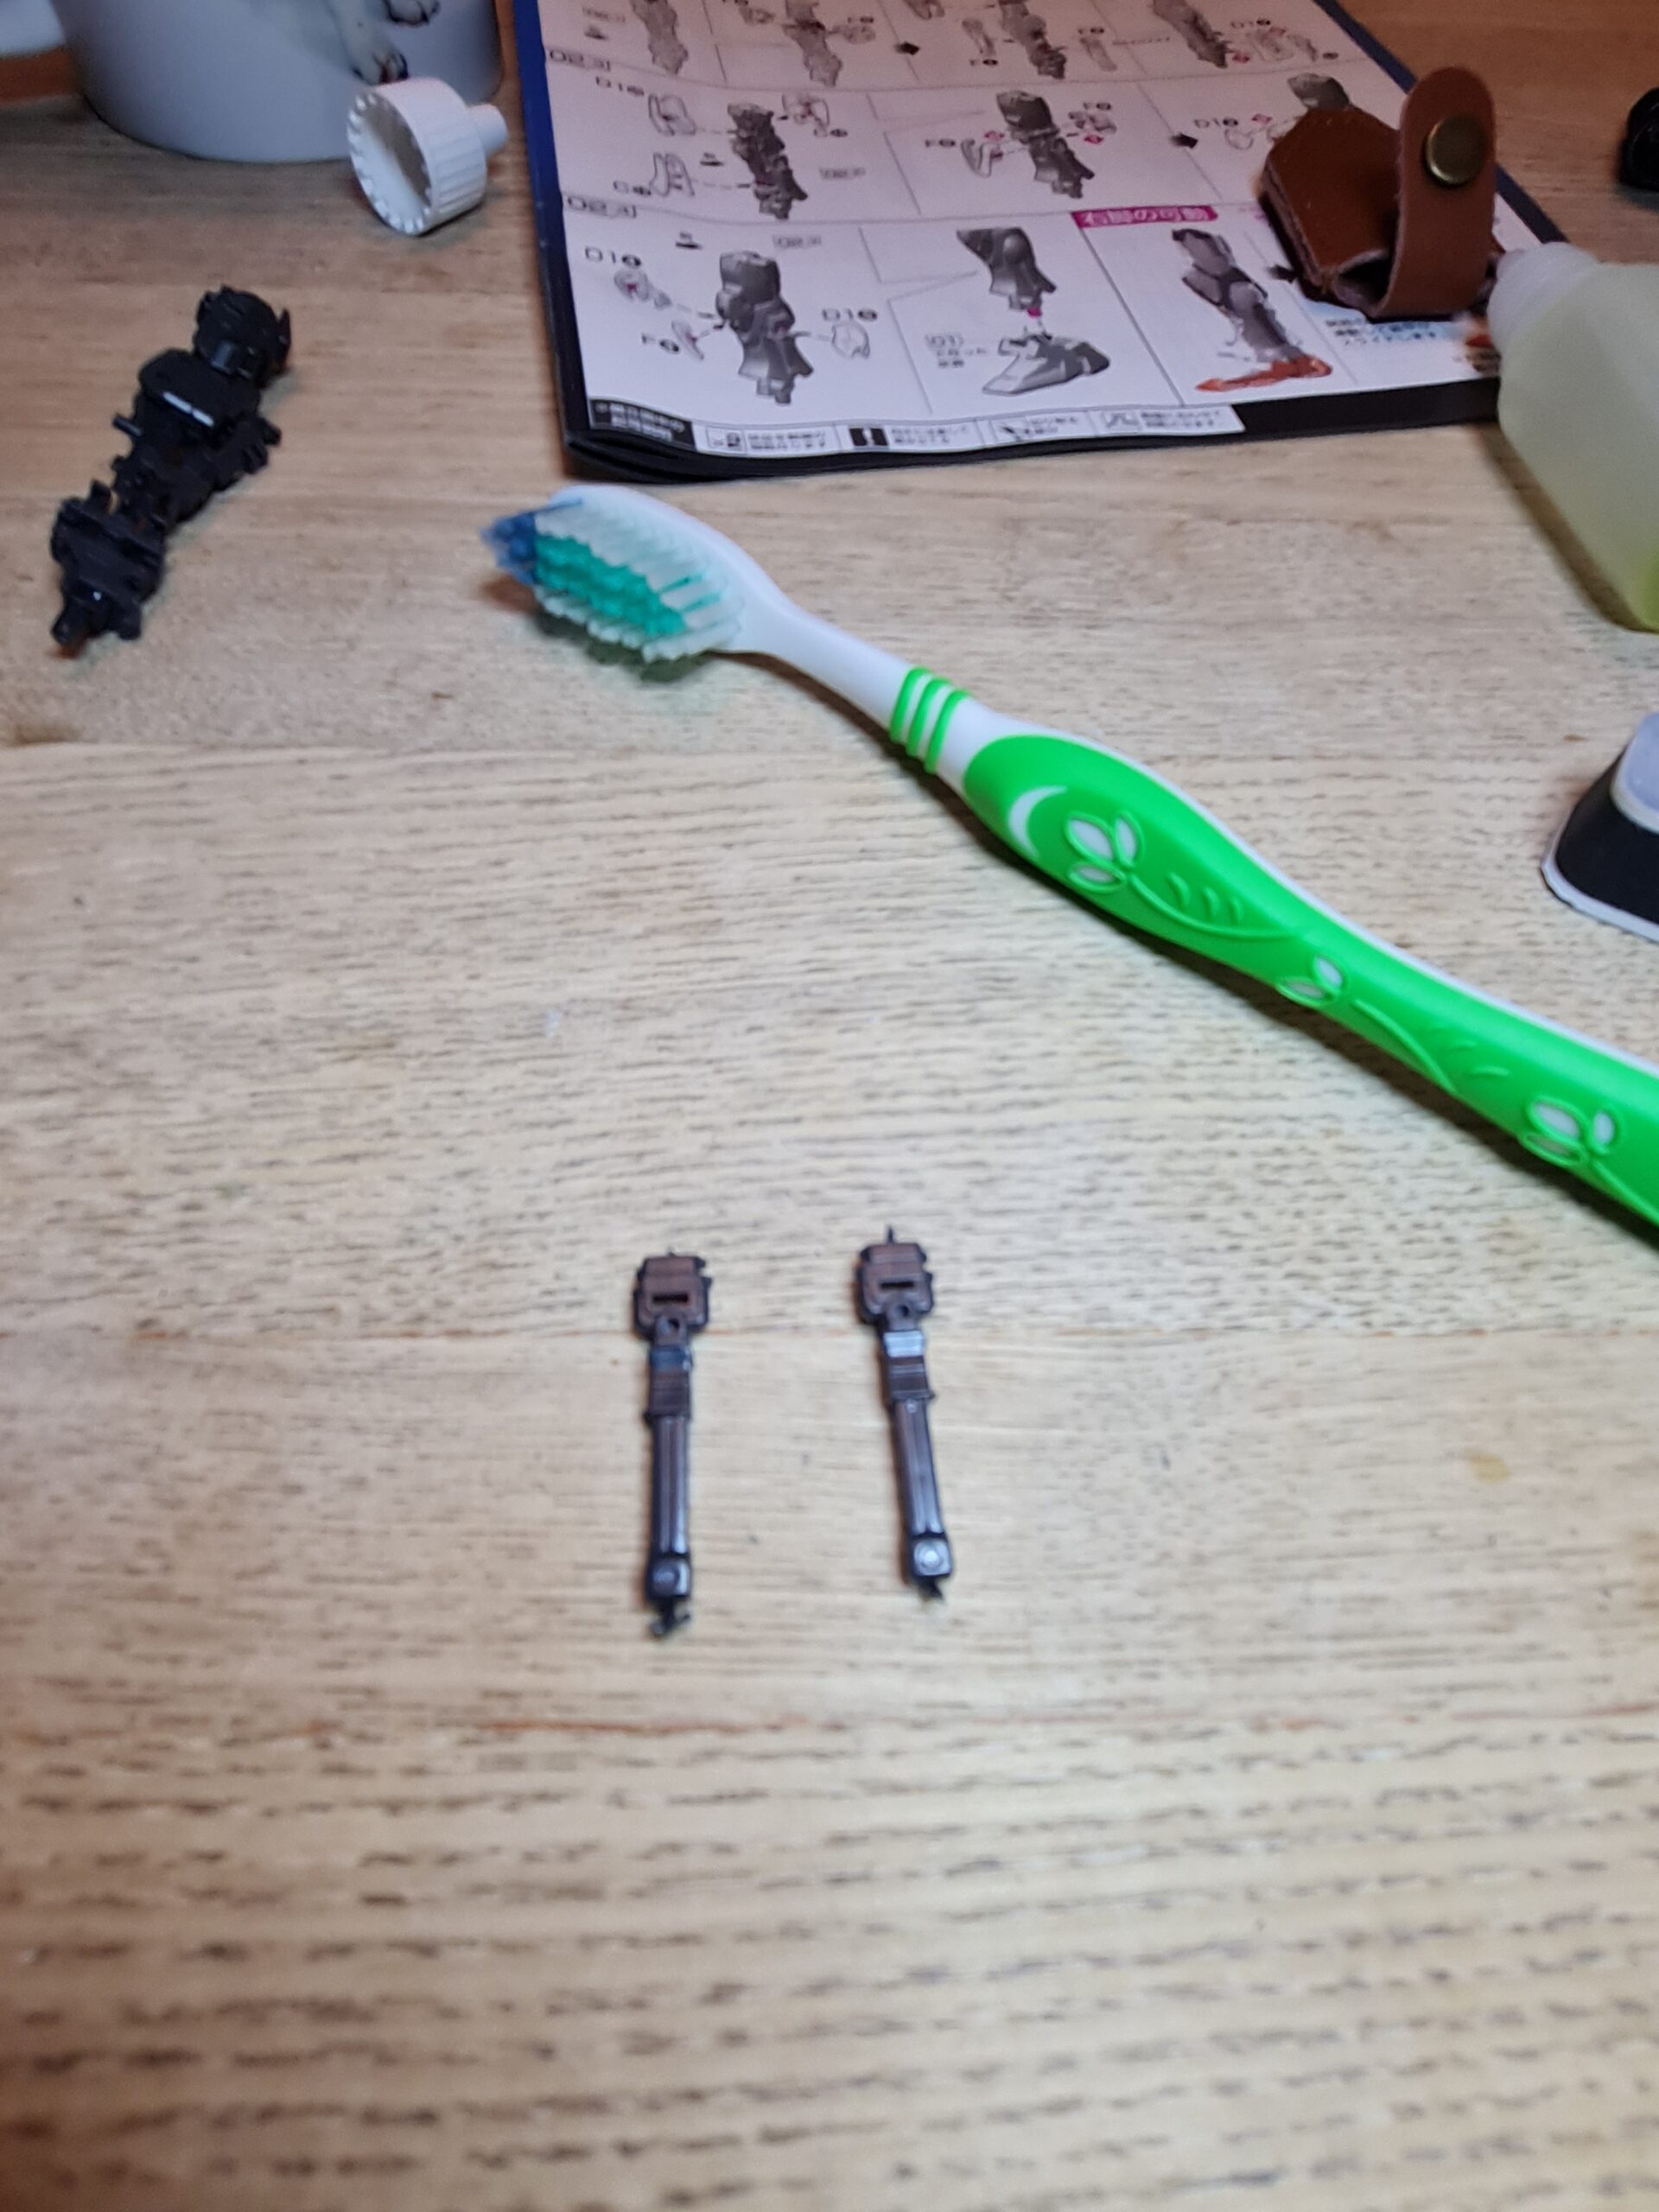
Next up is the armour that wraps around the core of the shoulders. Now I love these shite armour pieces. With the GUNPRIMER Balancers they clean up so nicely and shine back up to new. The pictures show how clean these pieces end up after a little TLC even given those horrendous first rough cuts of mine!
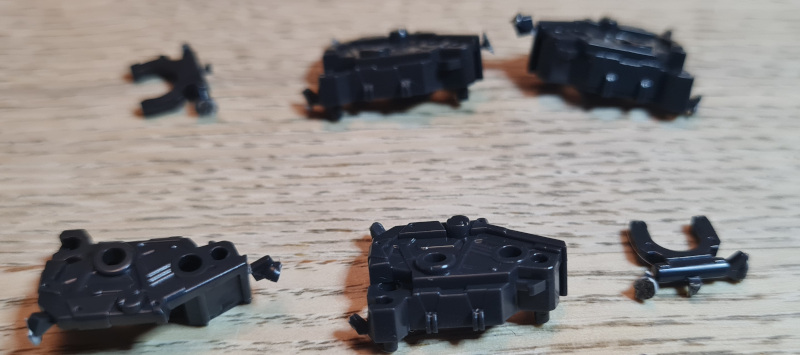
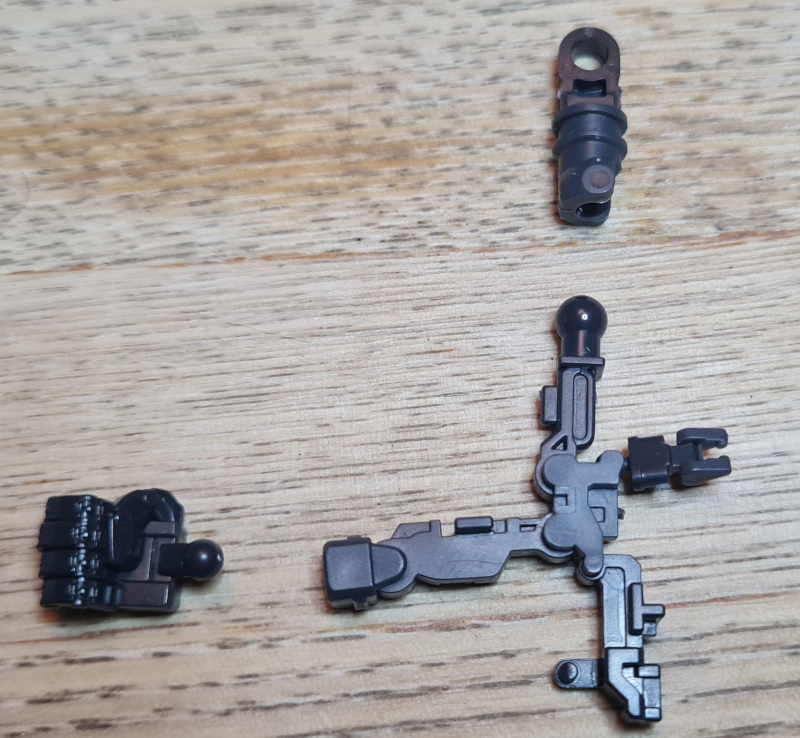
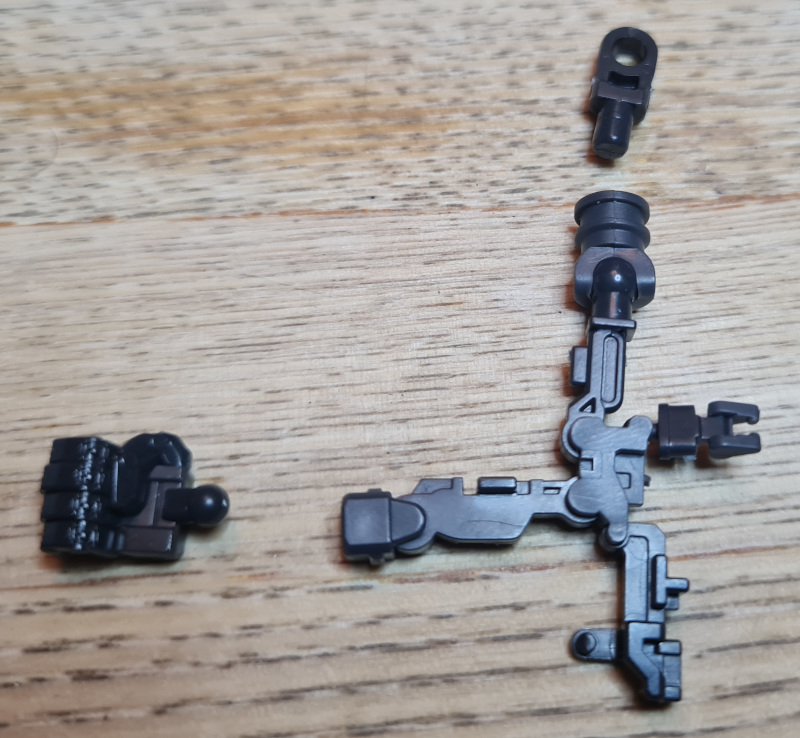
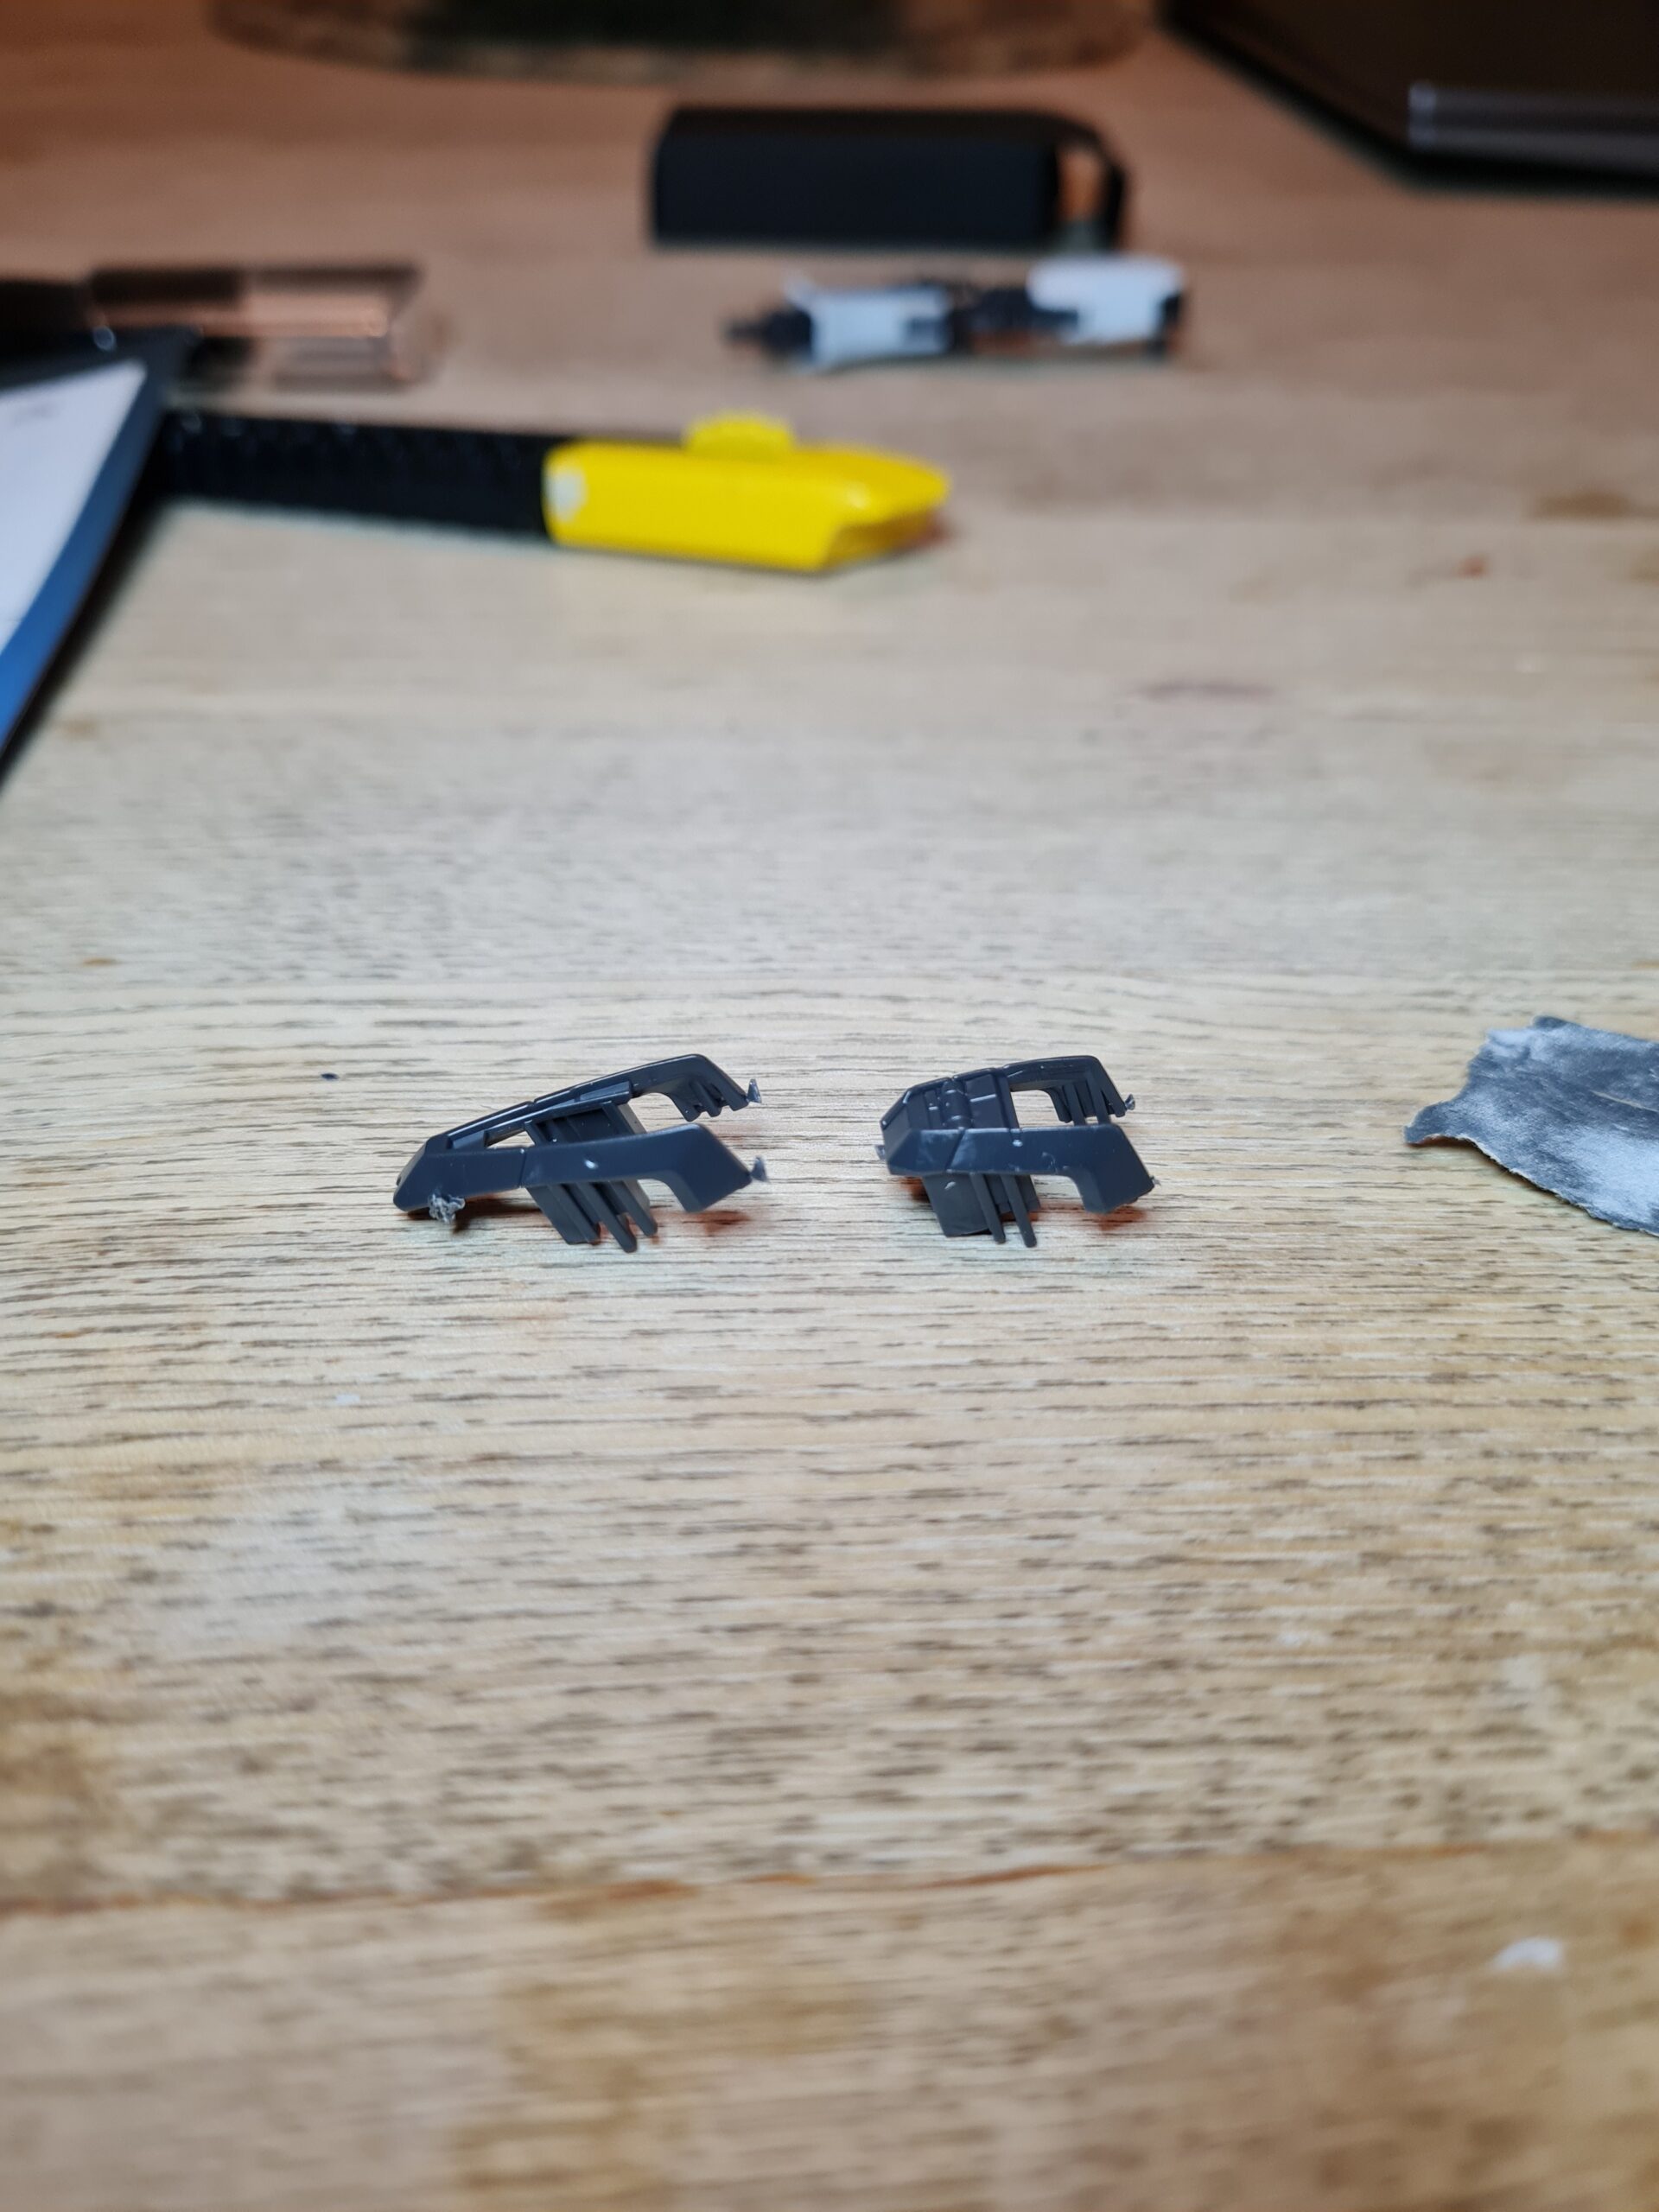
Third Parts
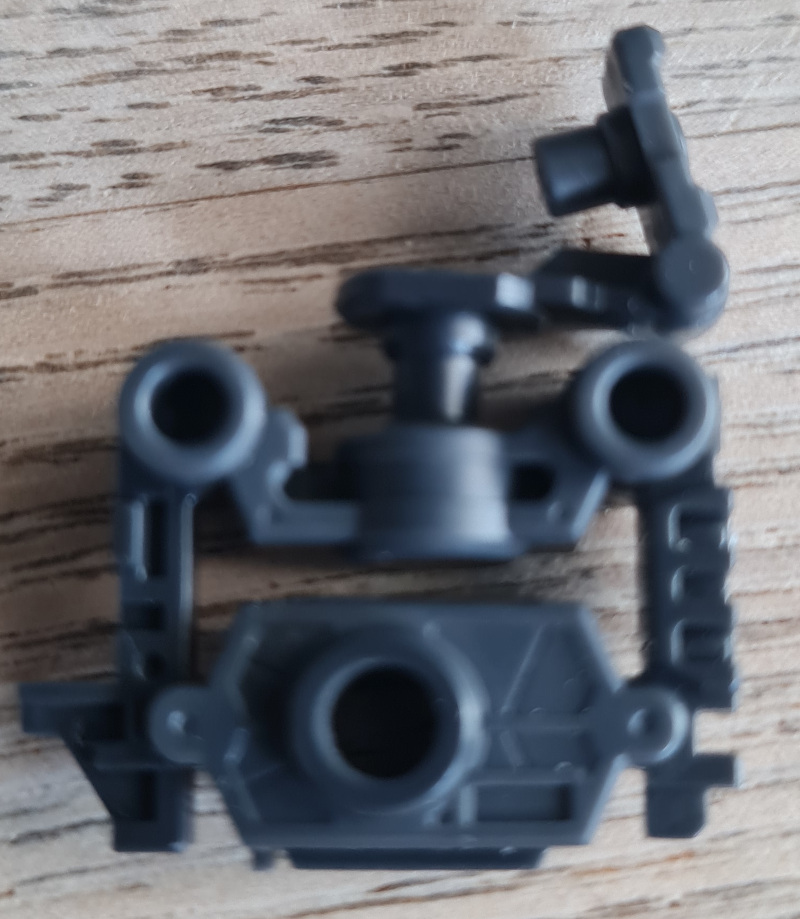
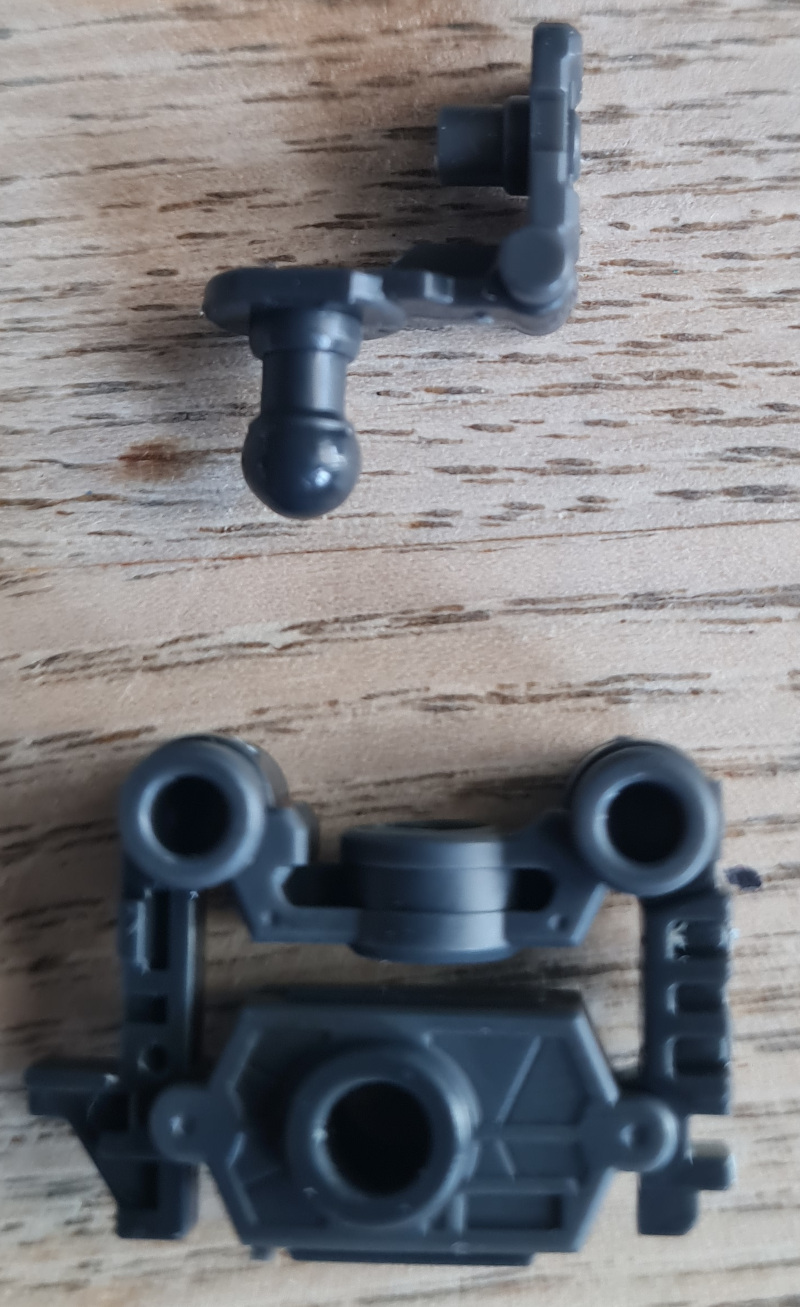
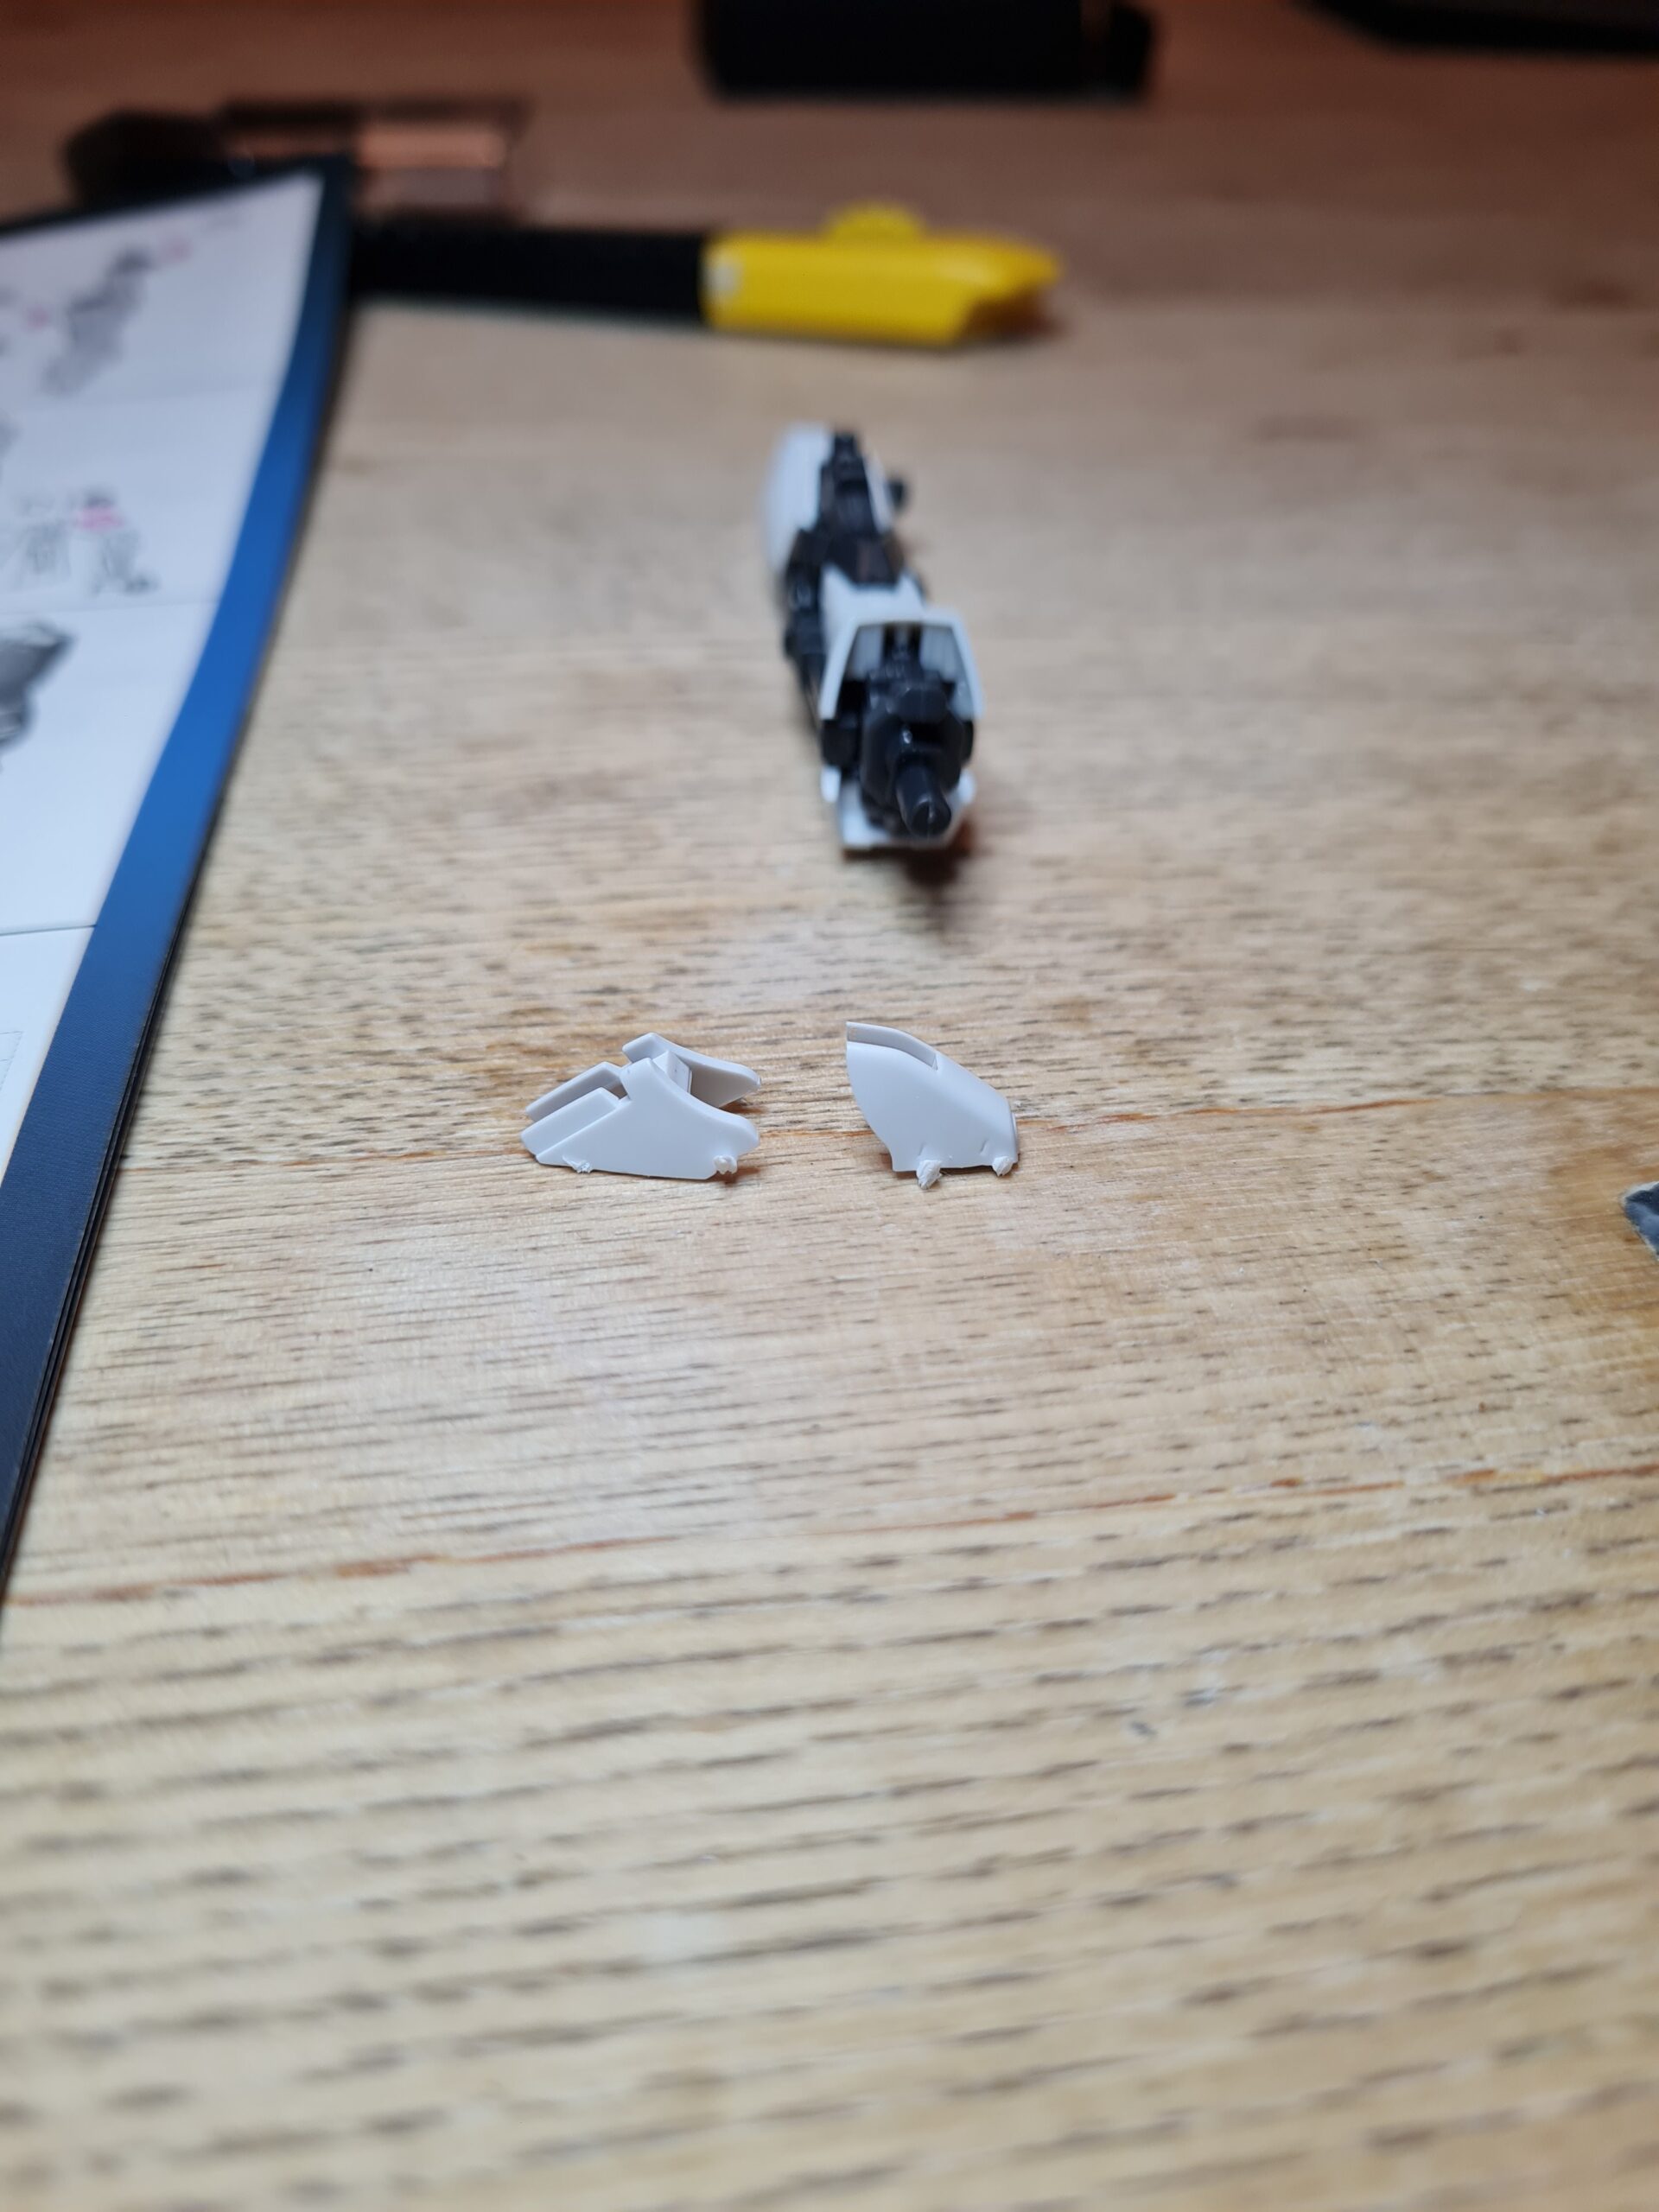
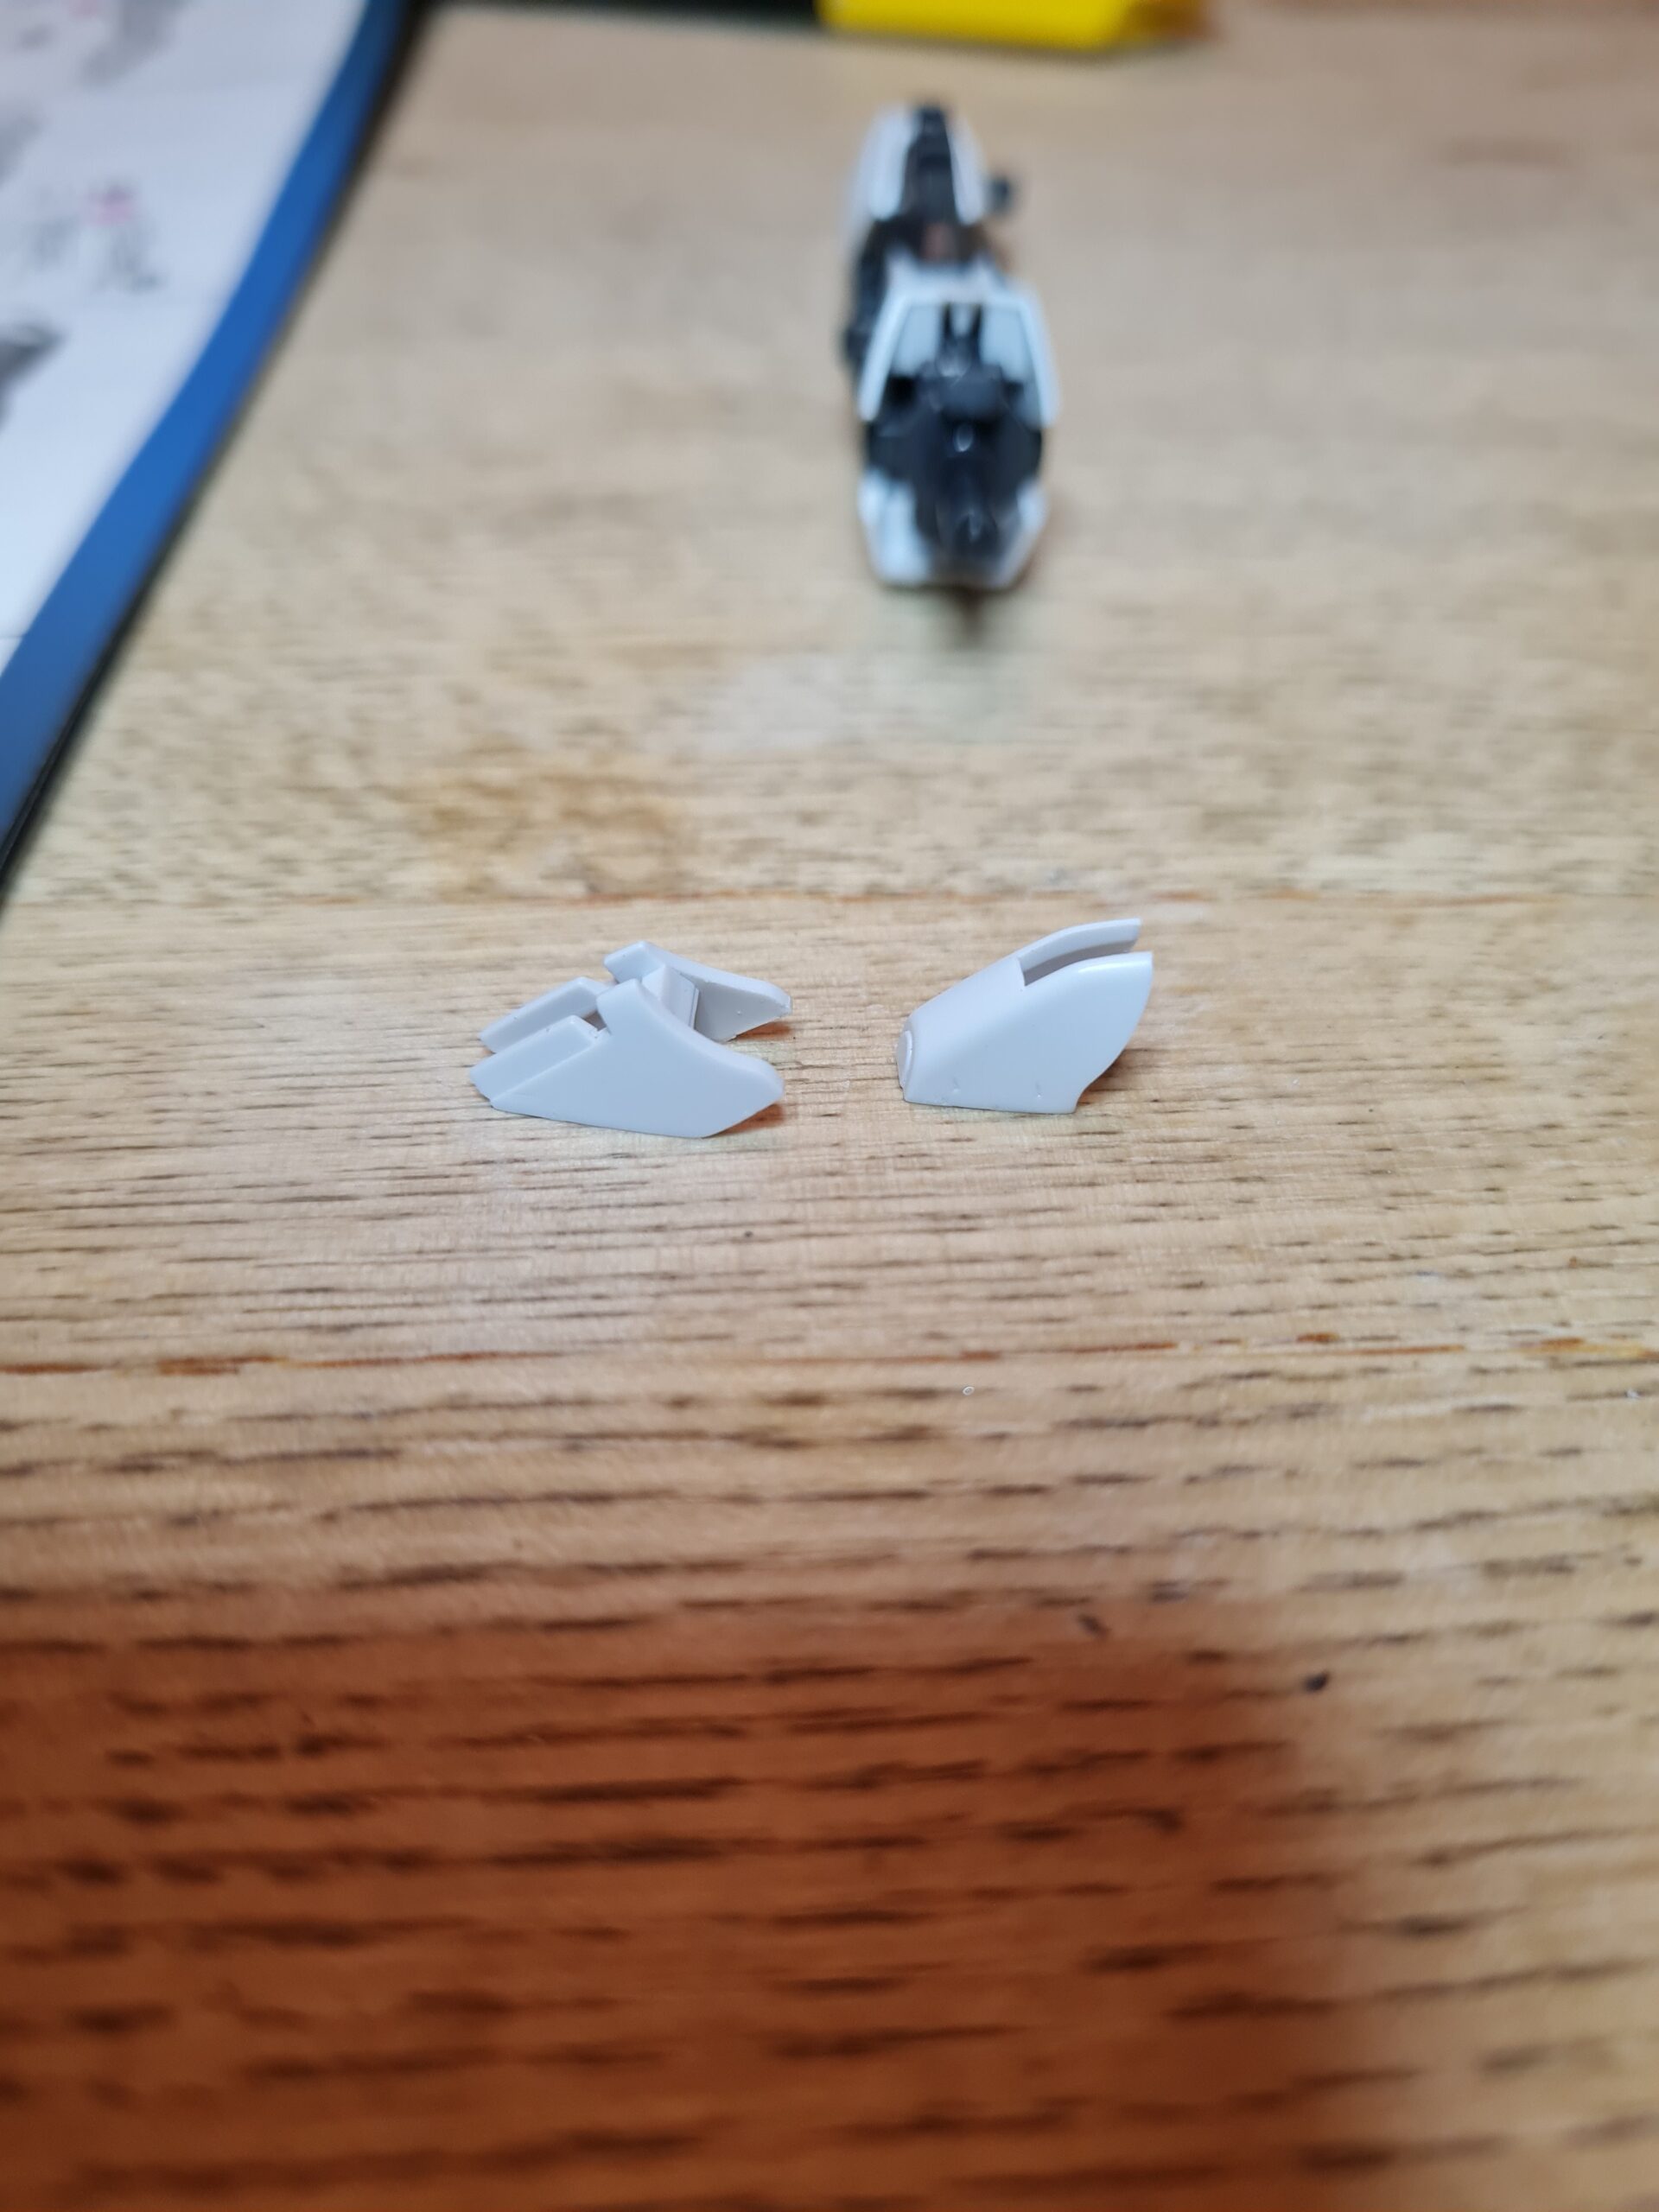
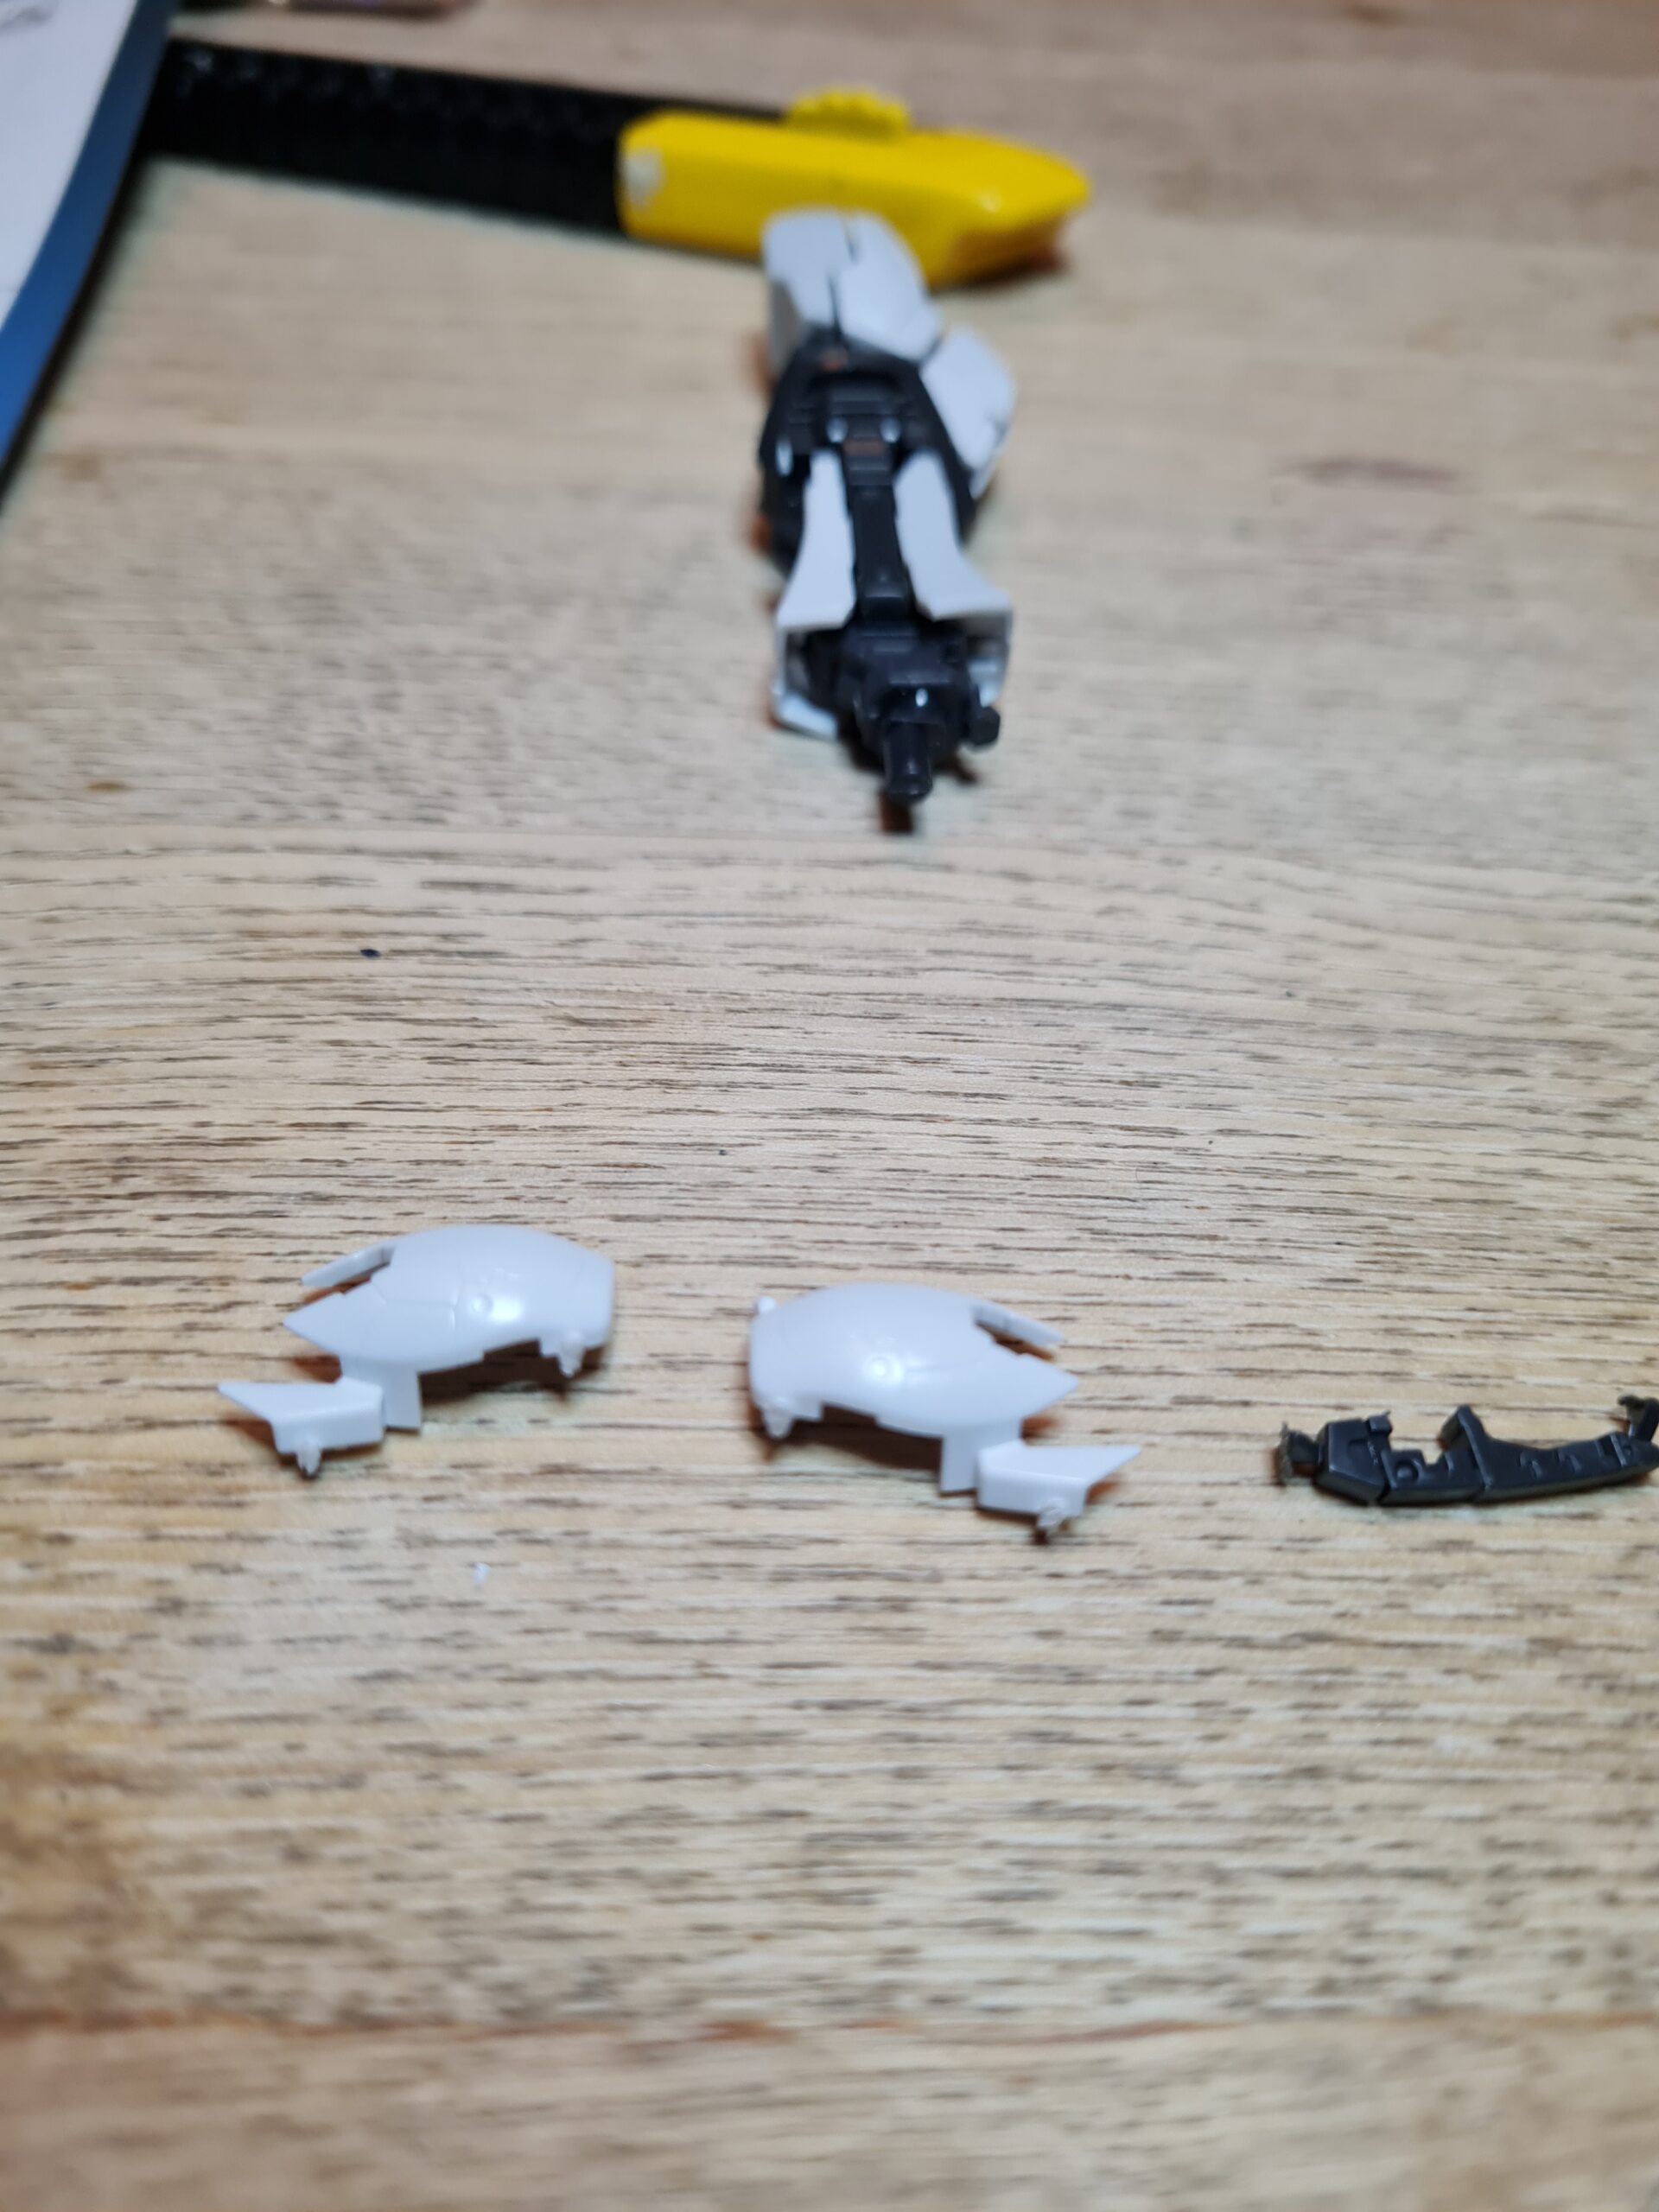
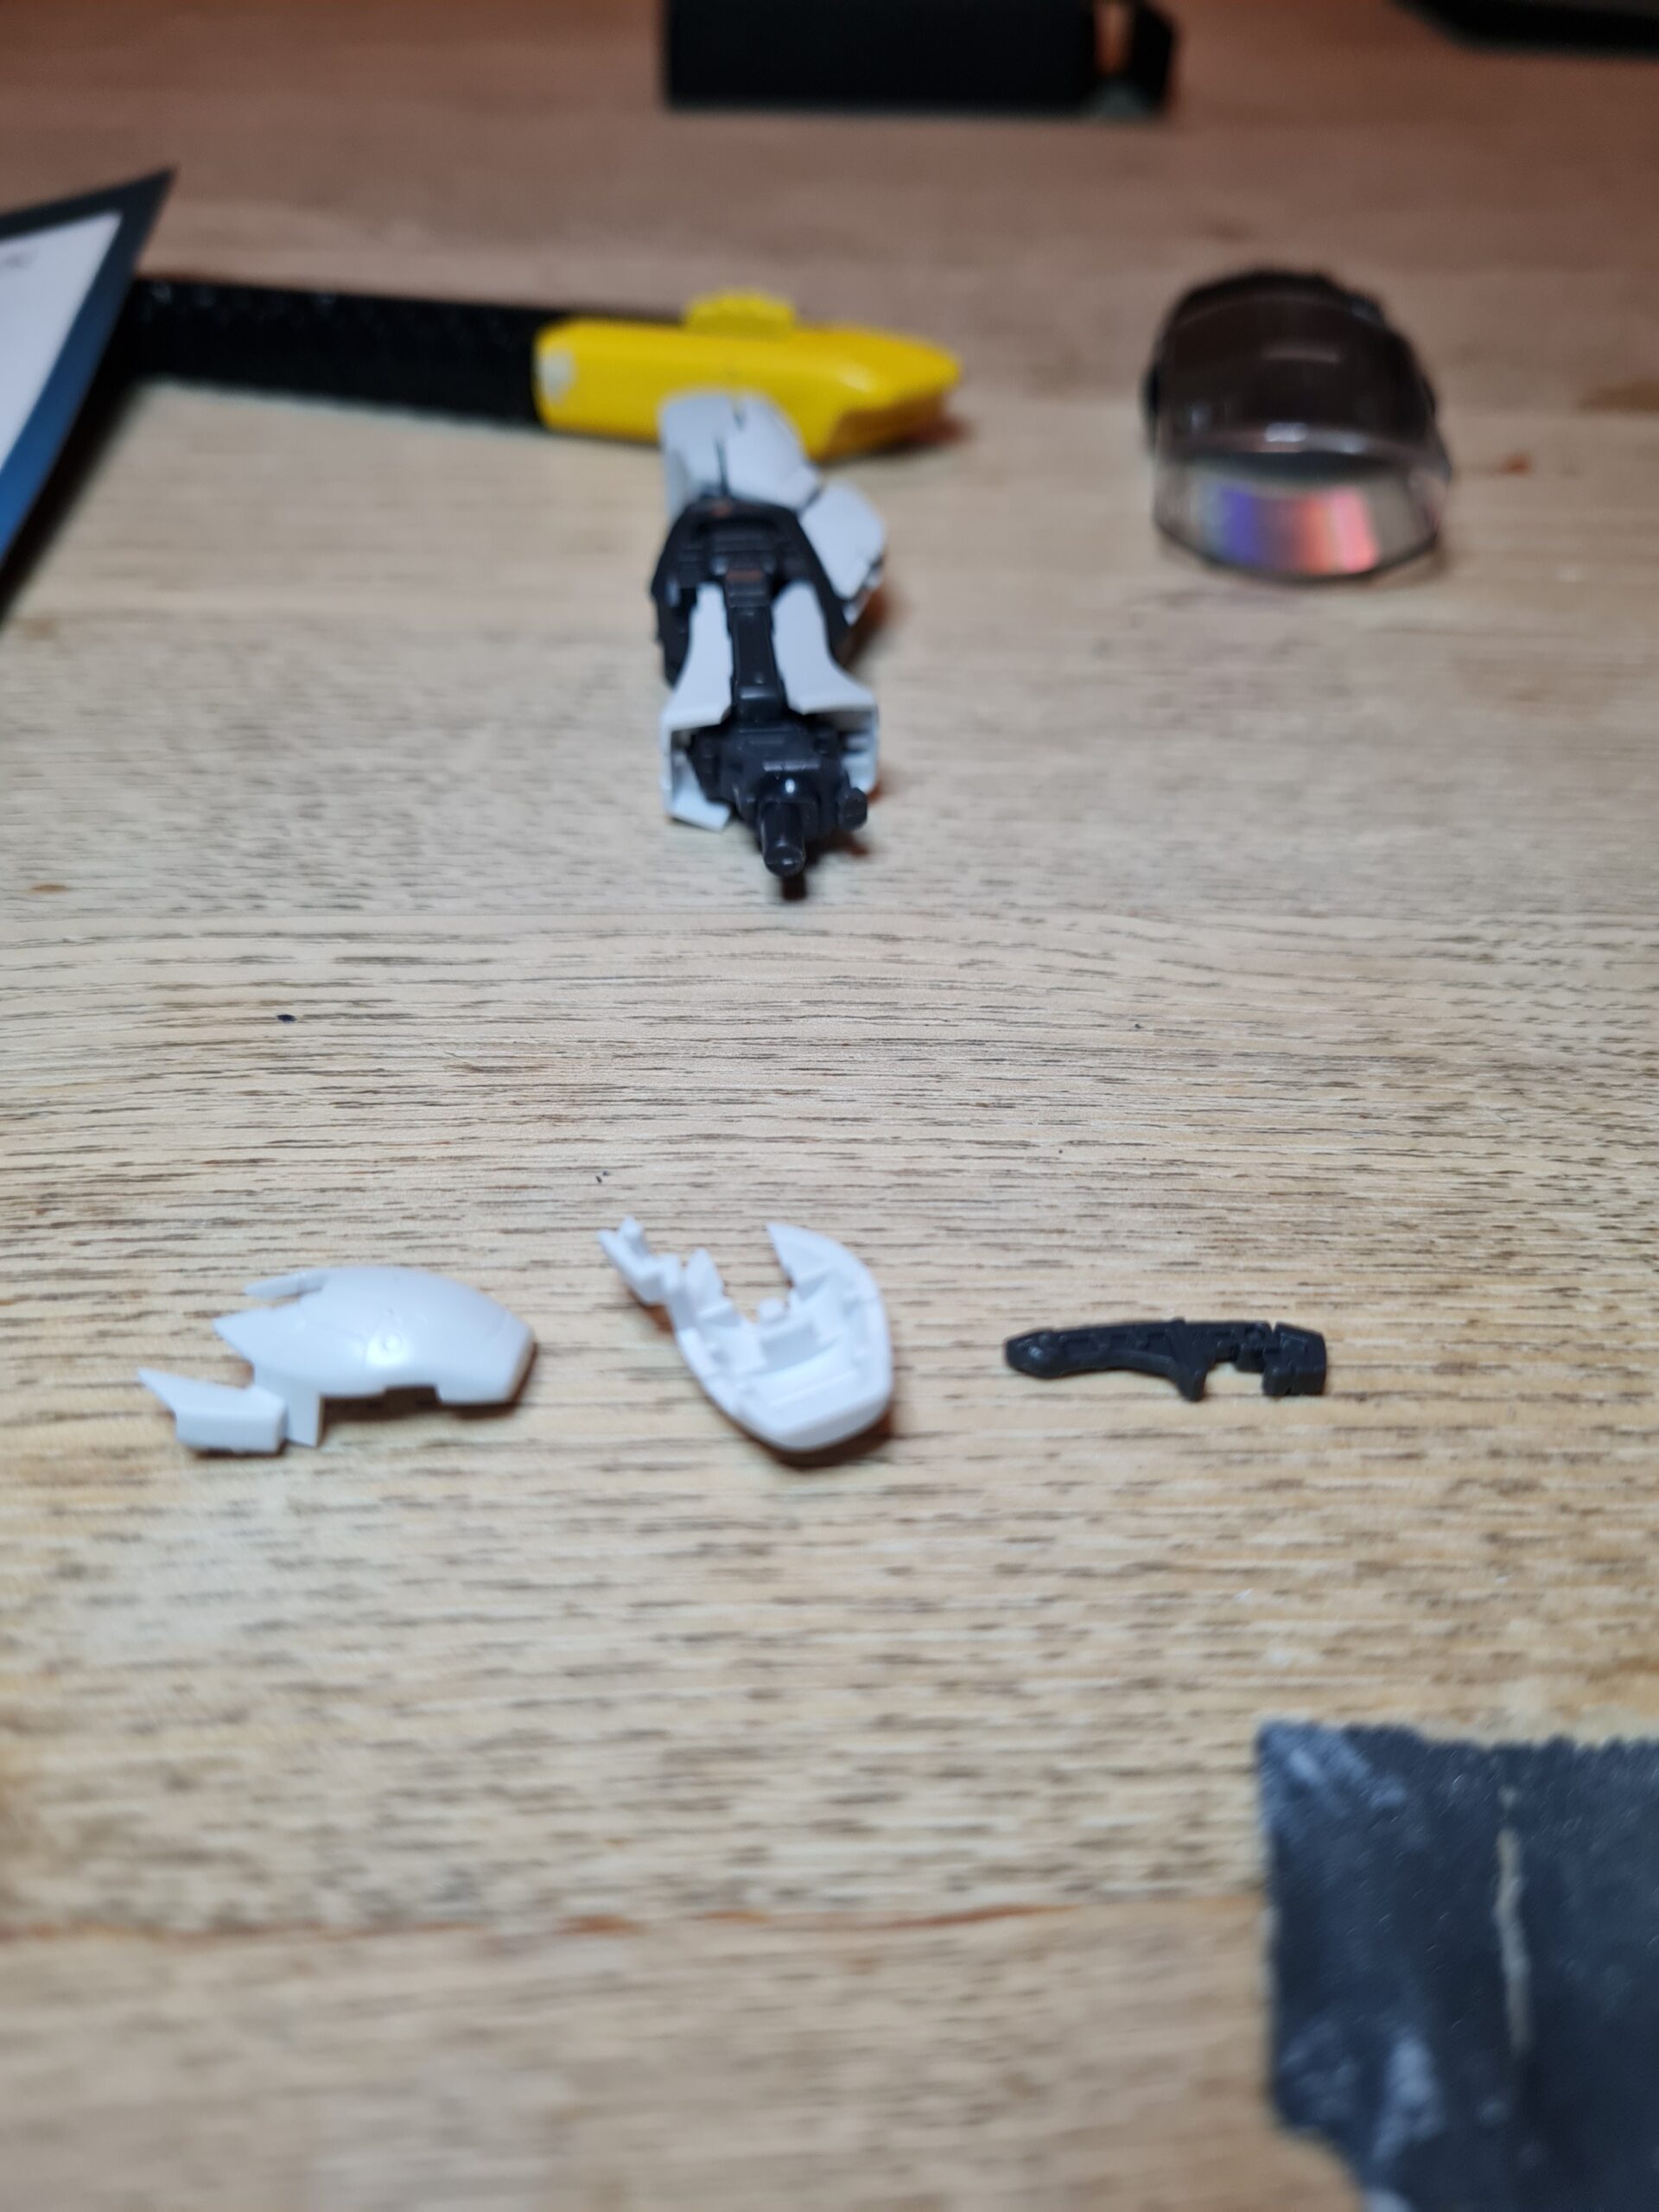
Arm From RunnerOopssFixedAll ClippedAngled Clipped
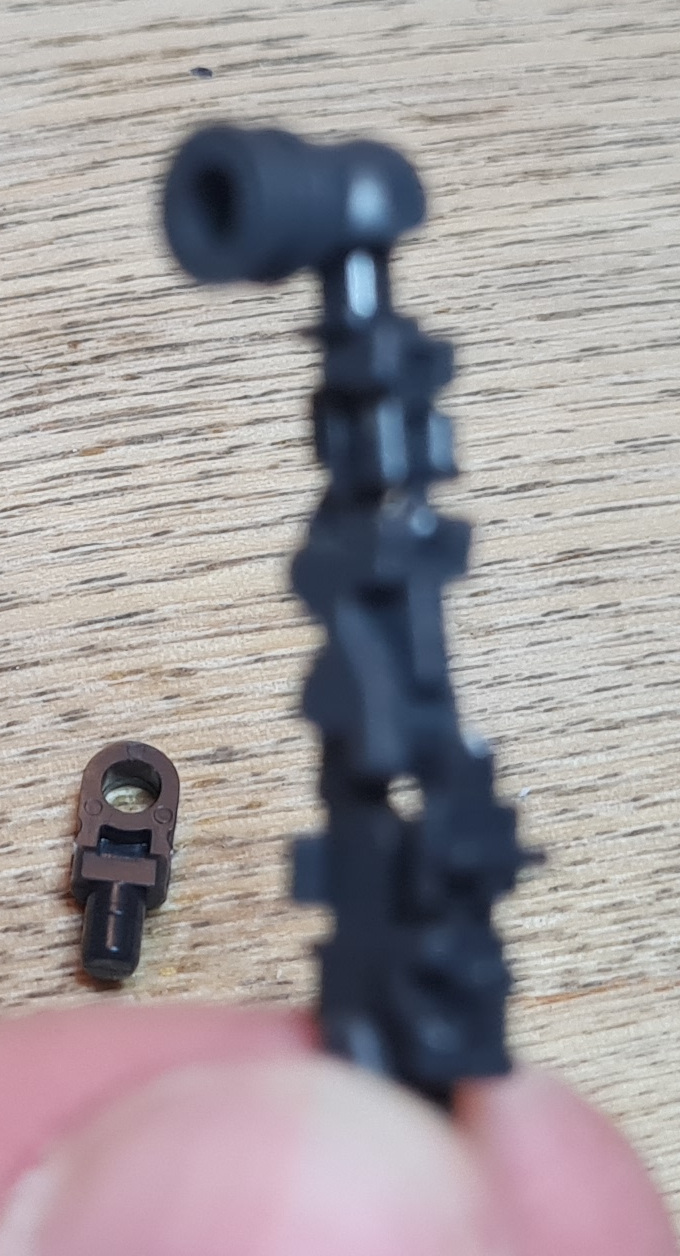
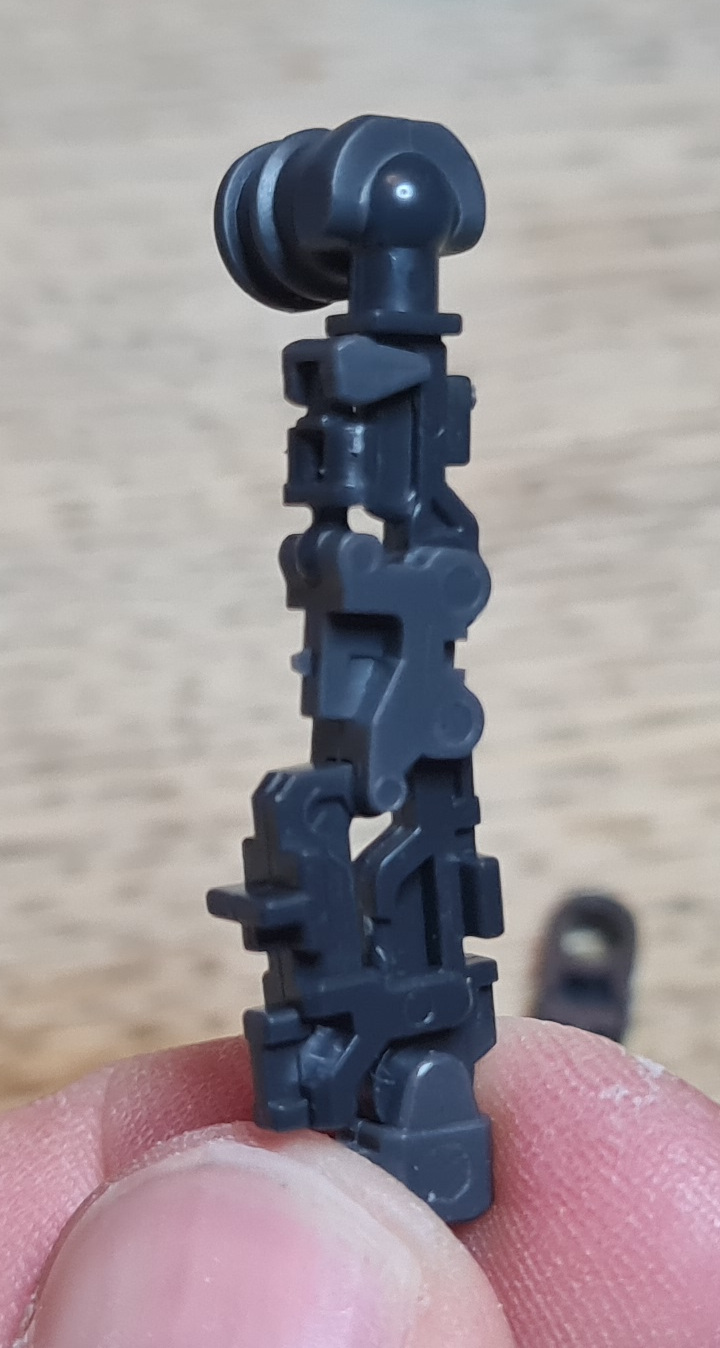
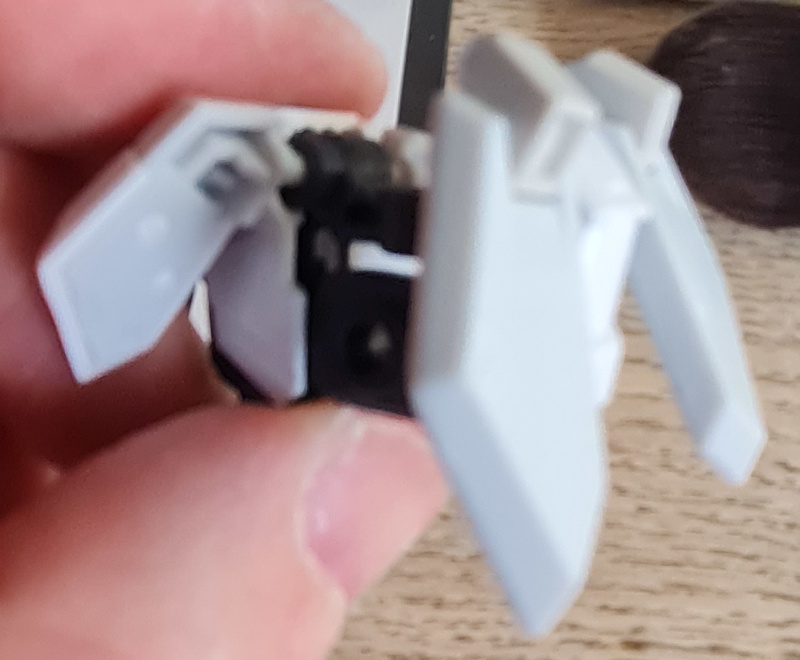
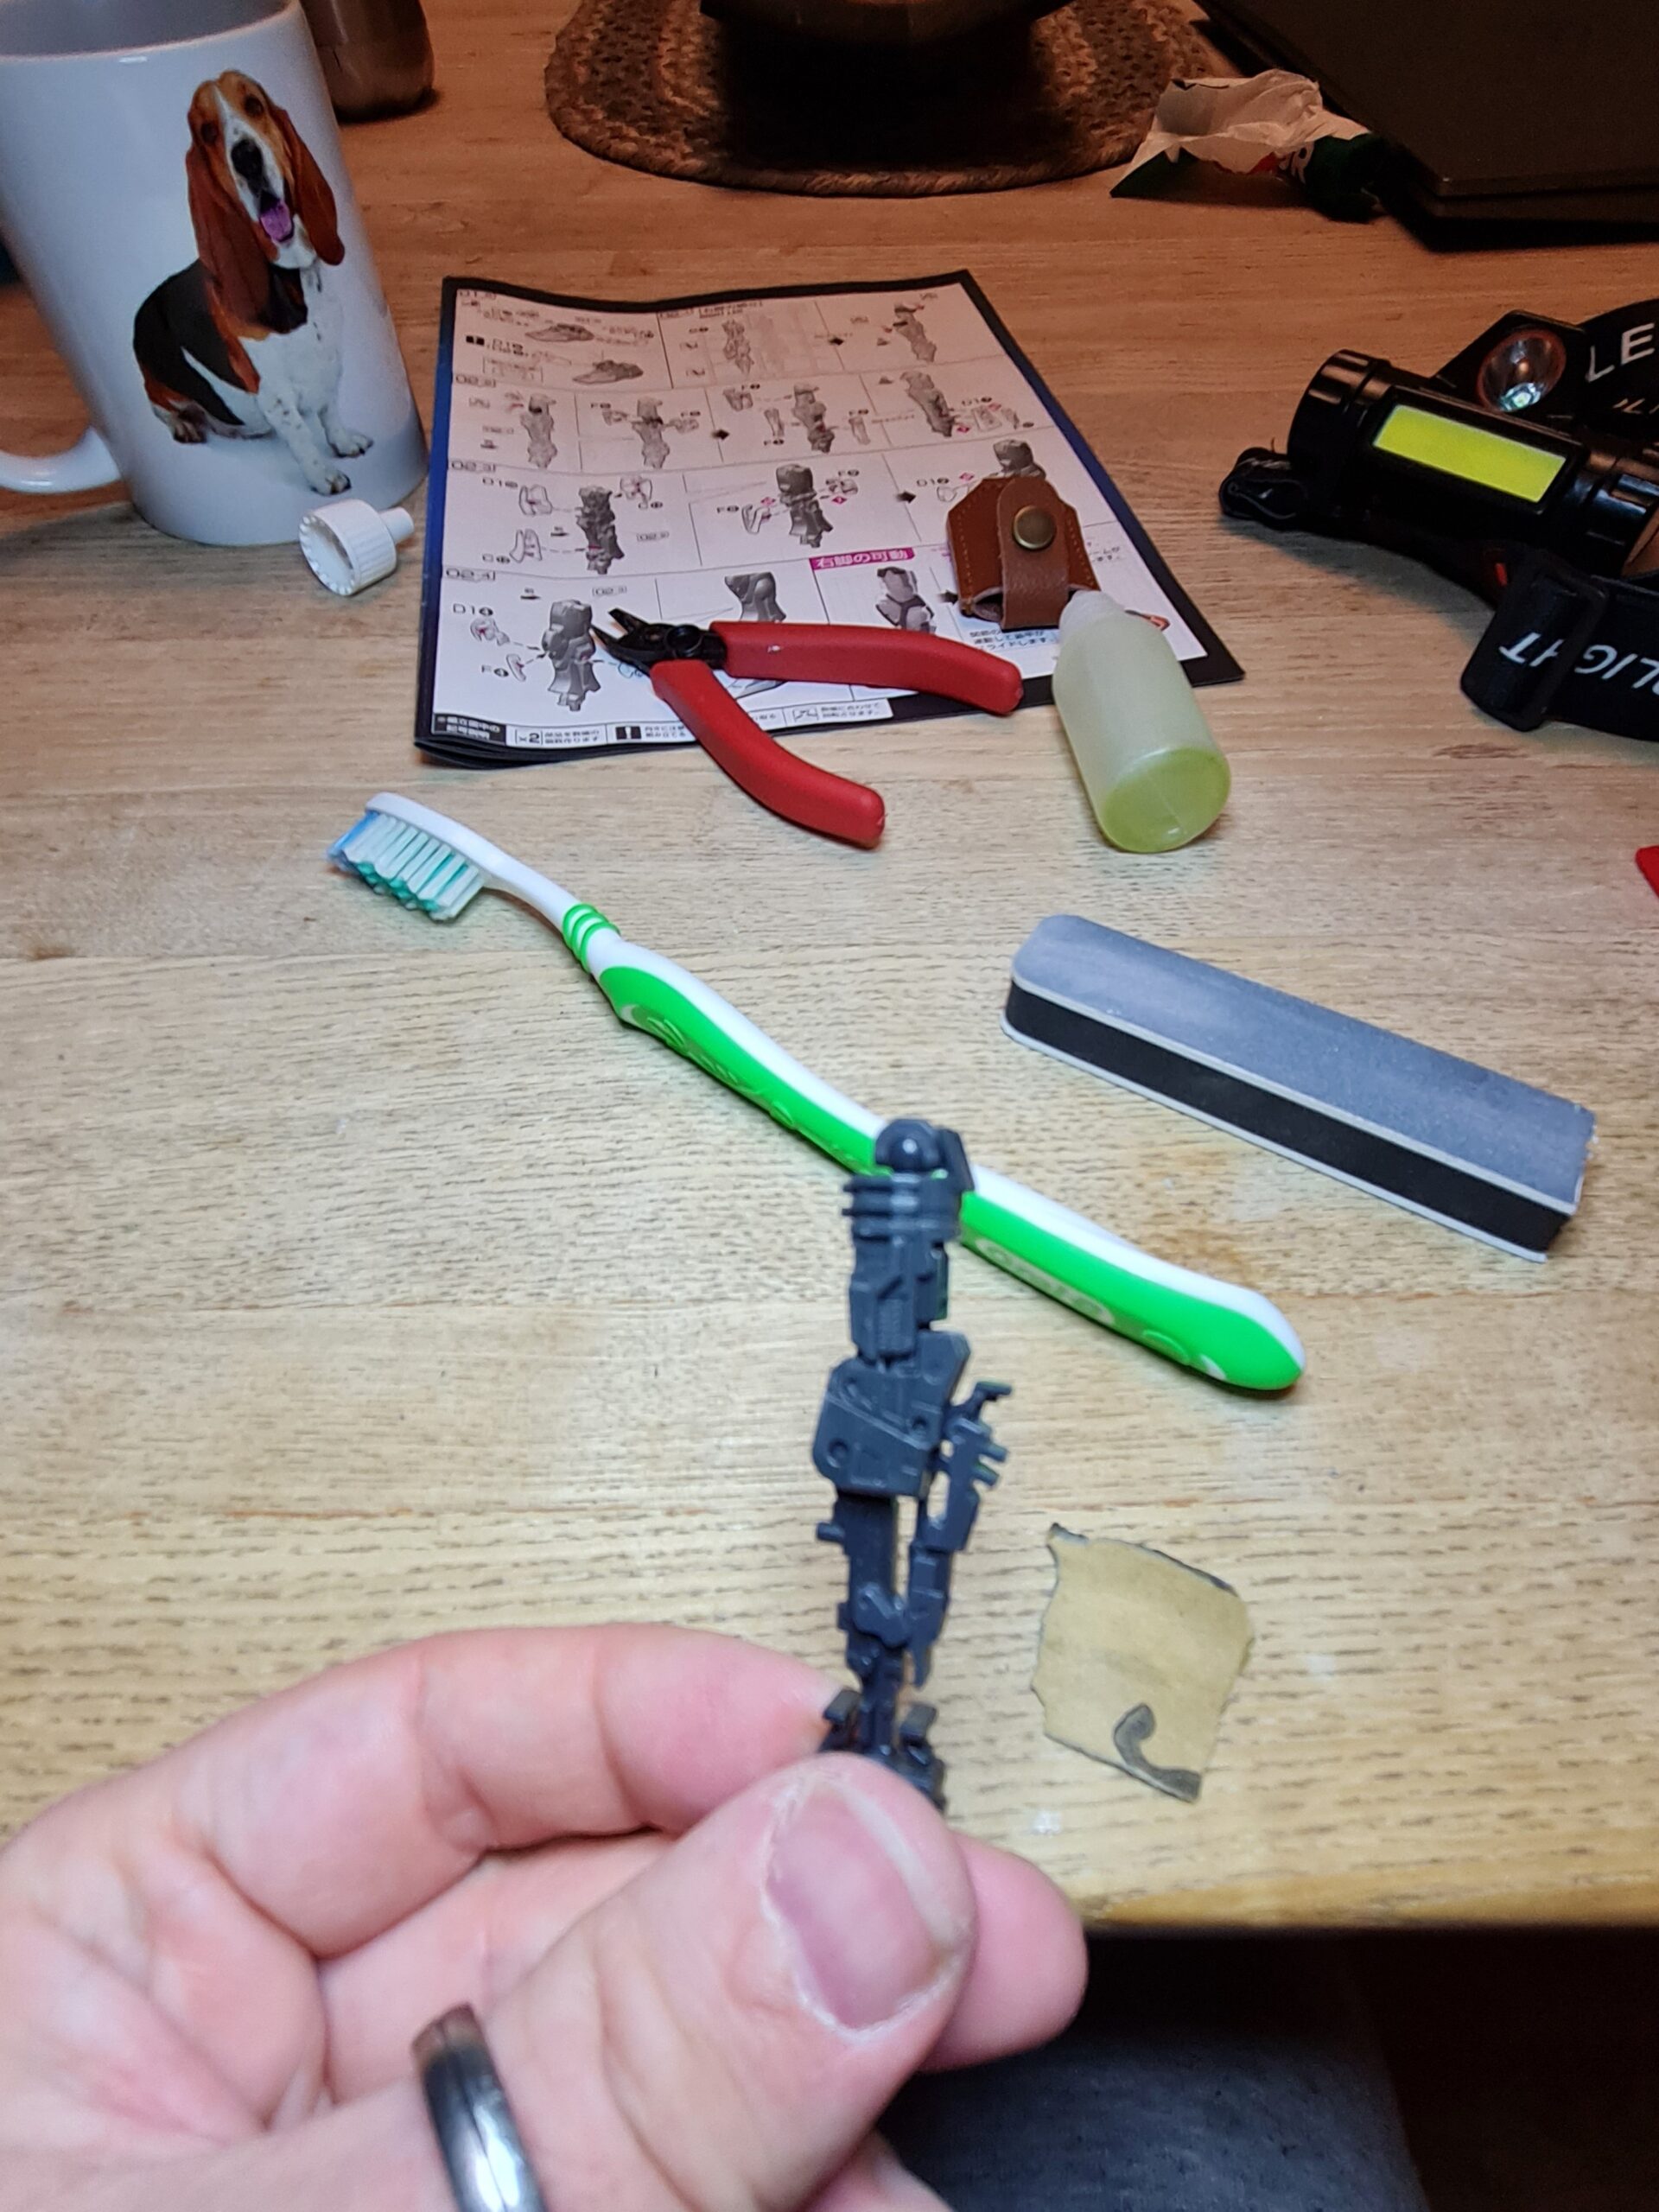
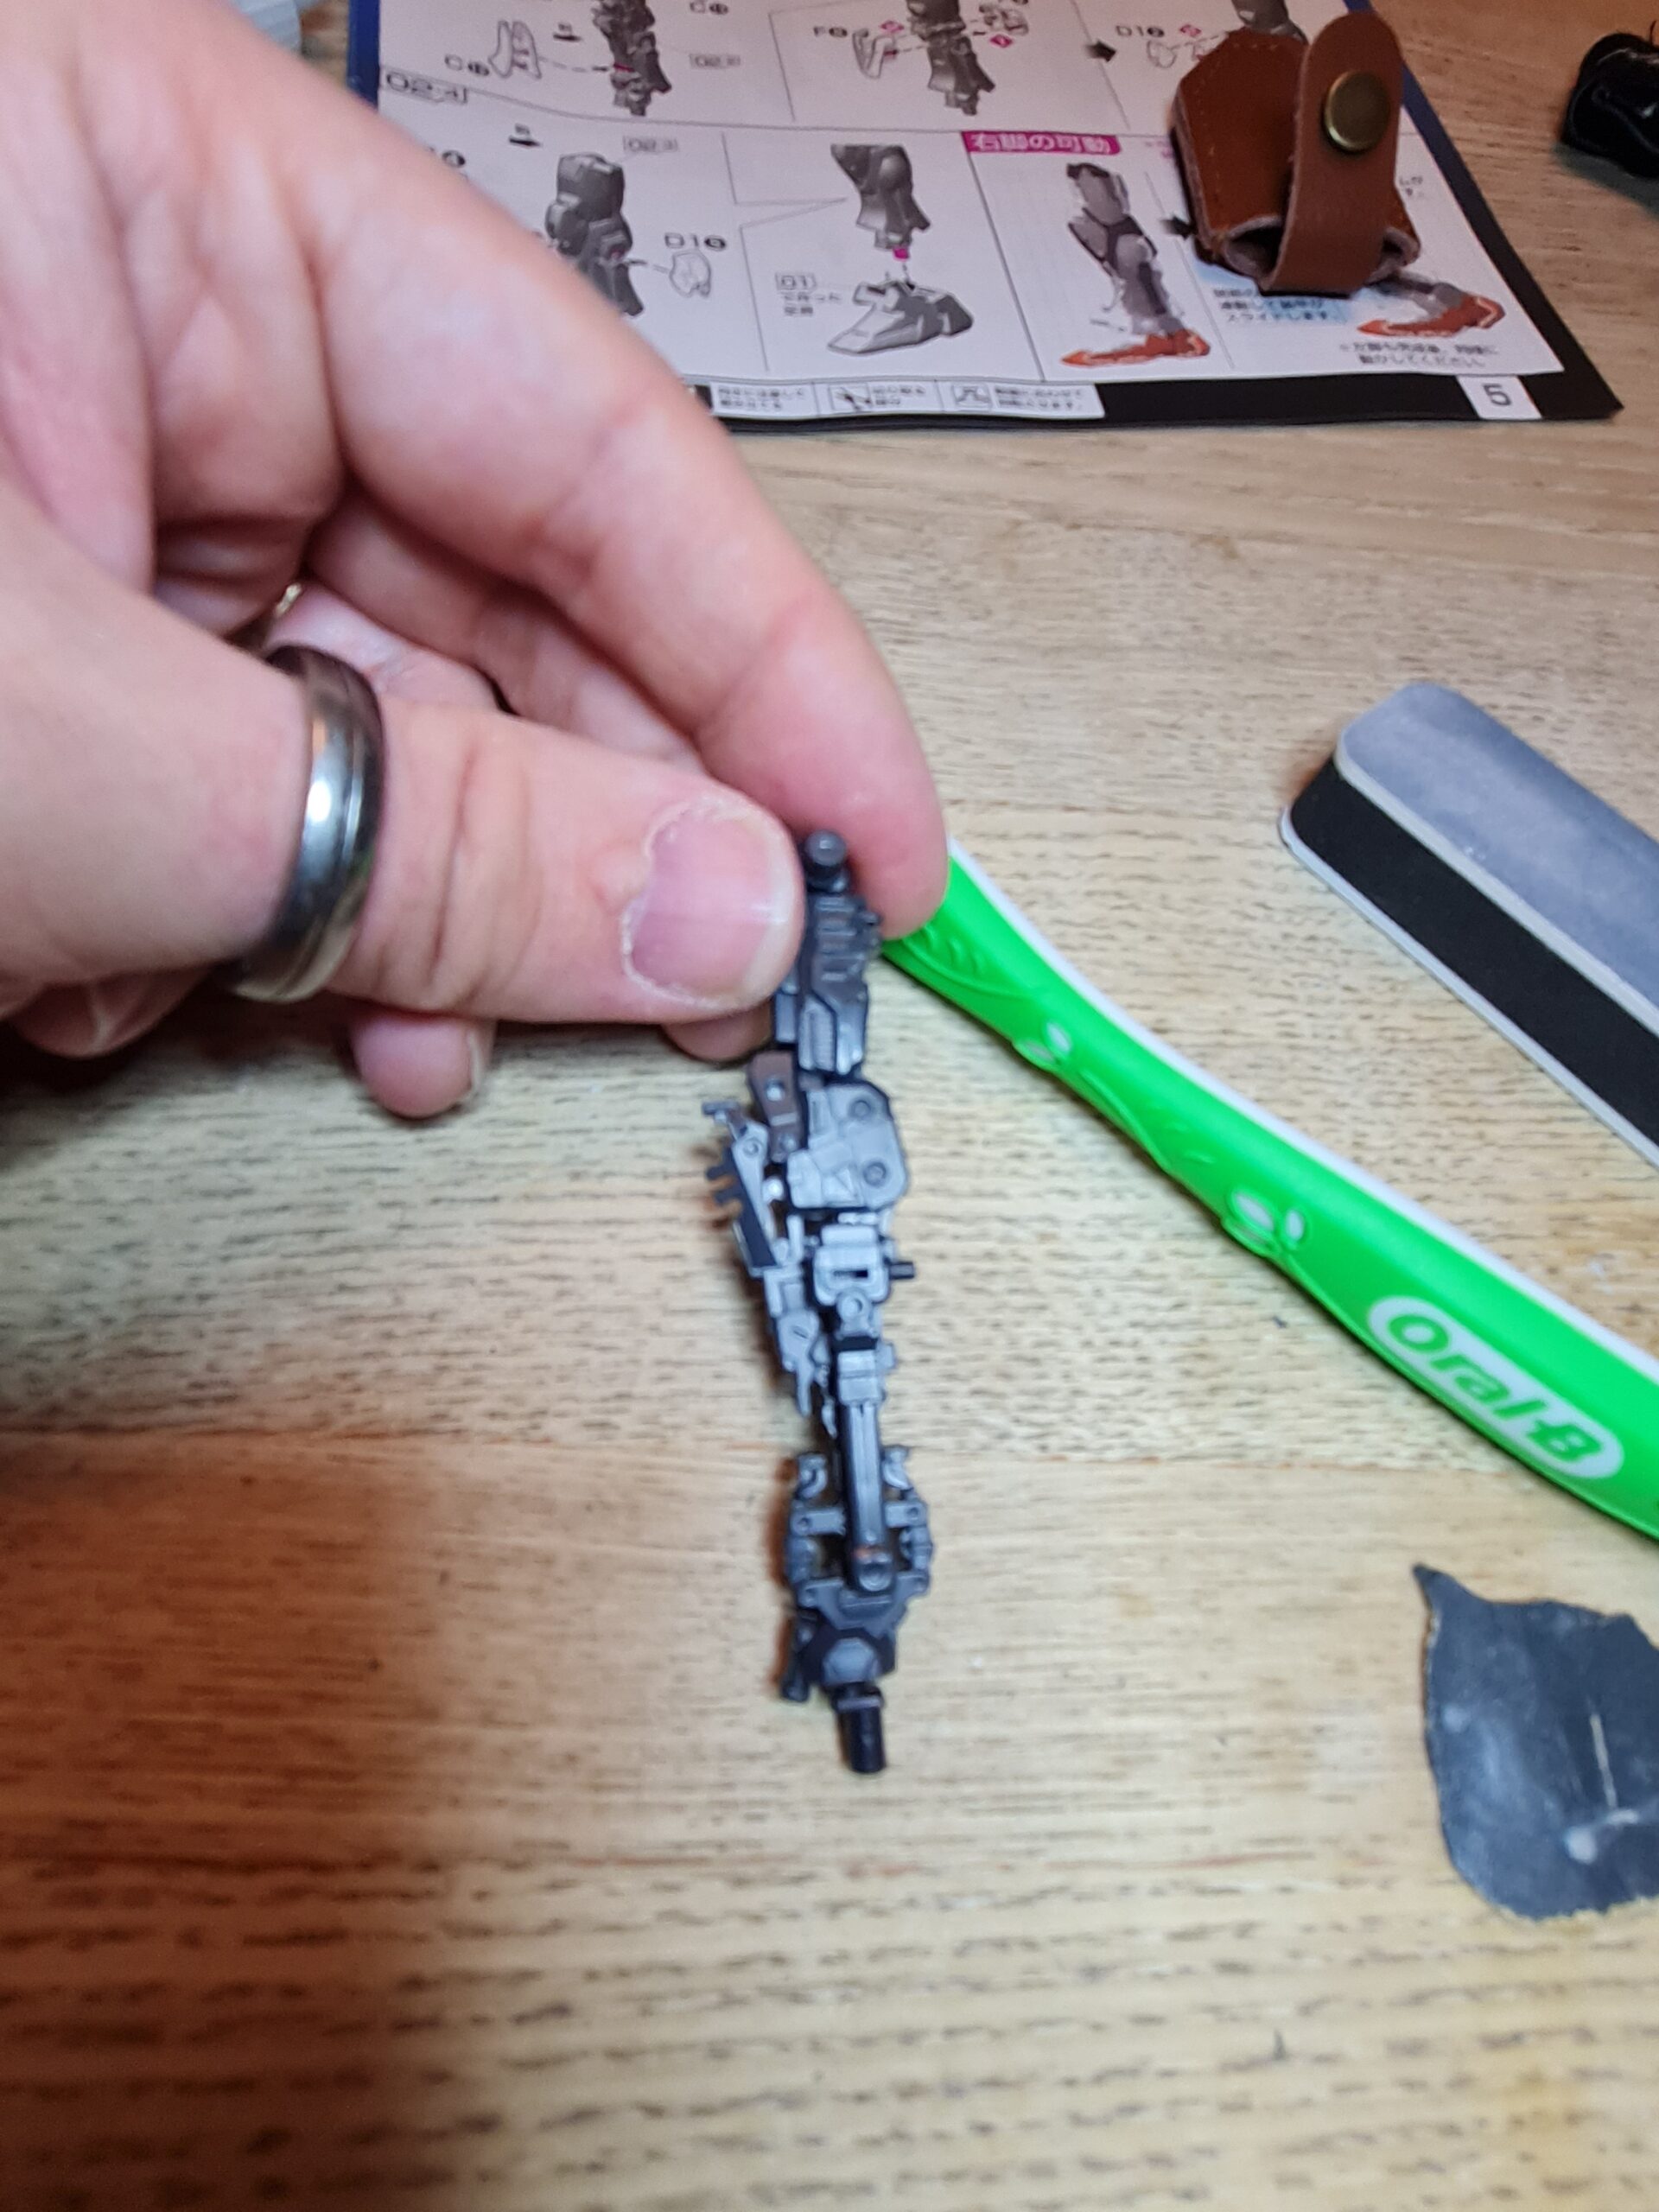
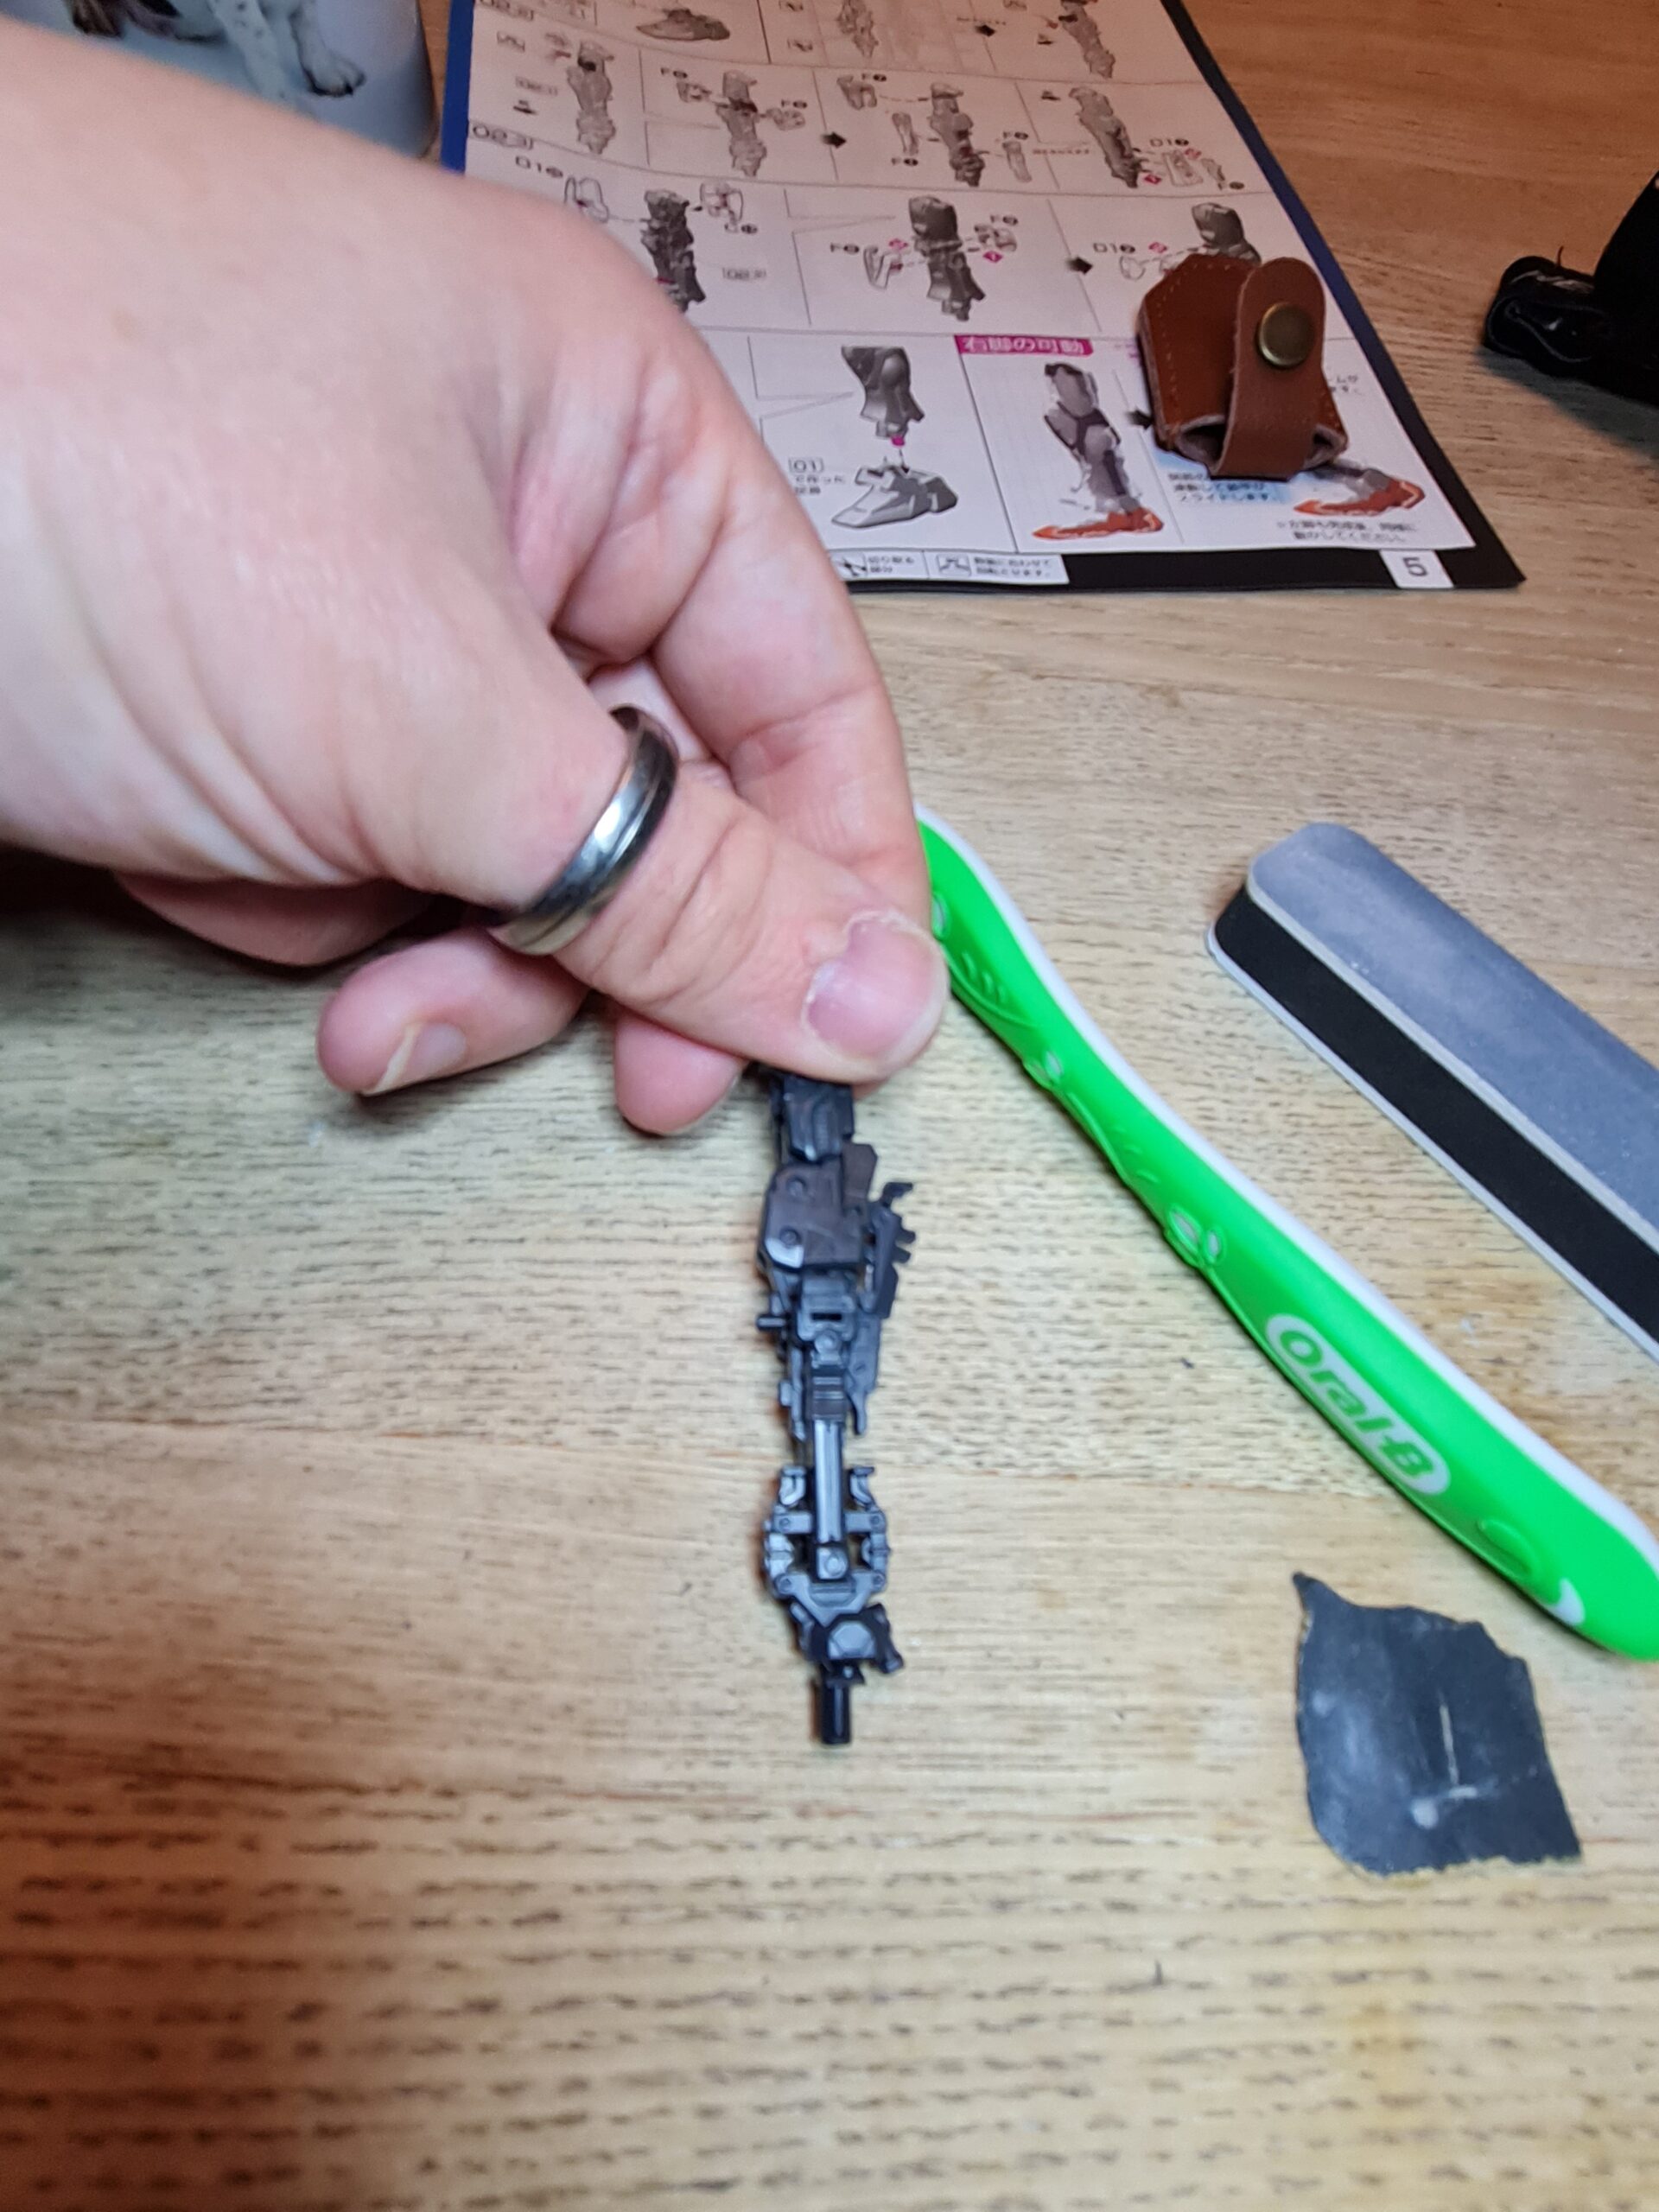
Ok there is no running away from it. These are, for me at least, not my favourite part of any build. I can, however, appreciate the quality and skill that has gone into making these pieces. The articulation and the fact they are moulded like this on the runner.
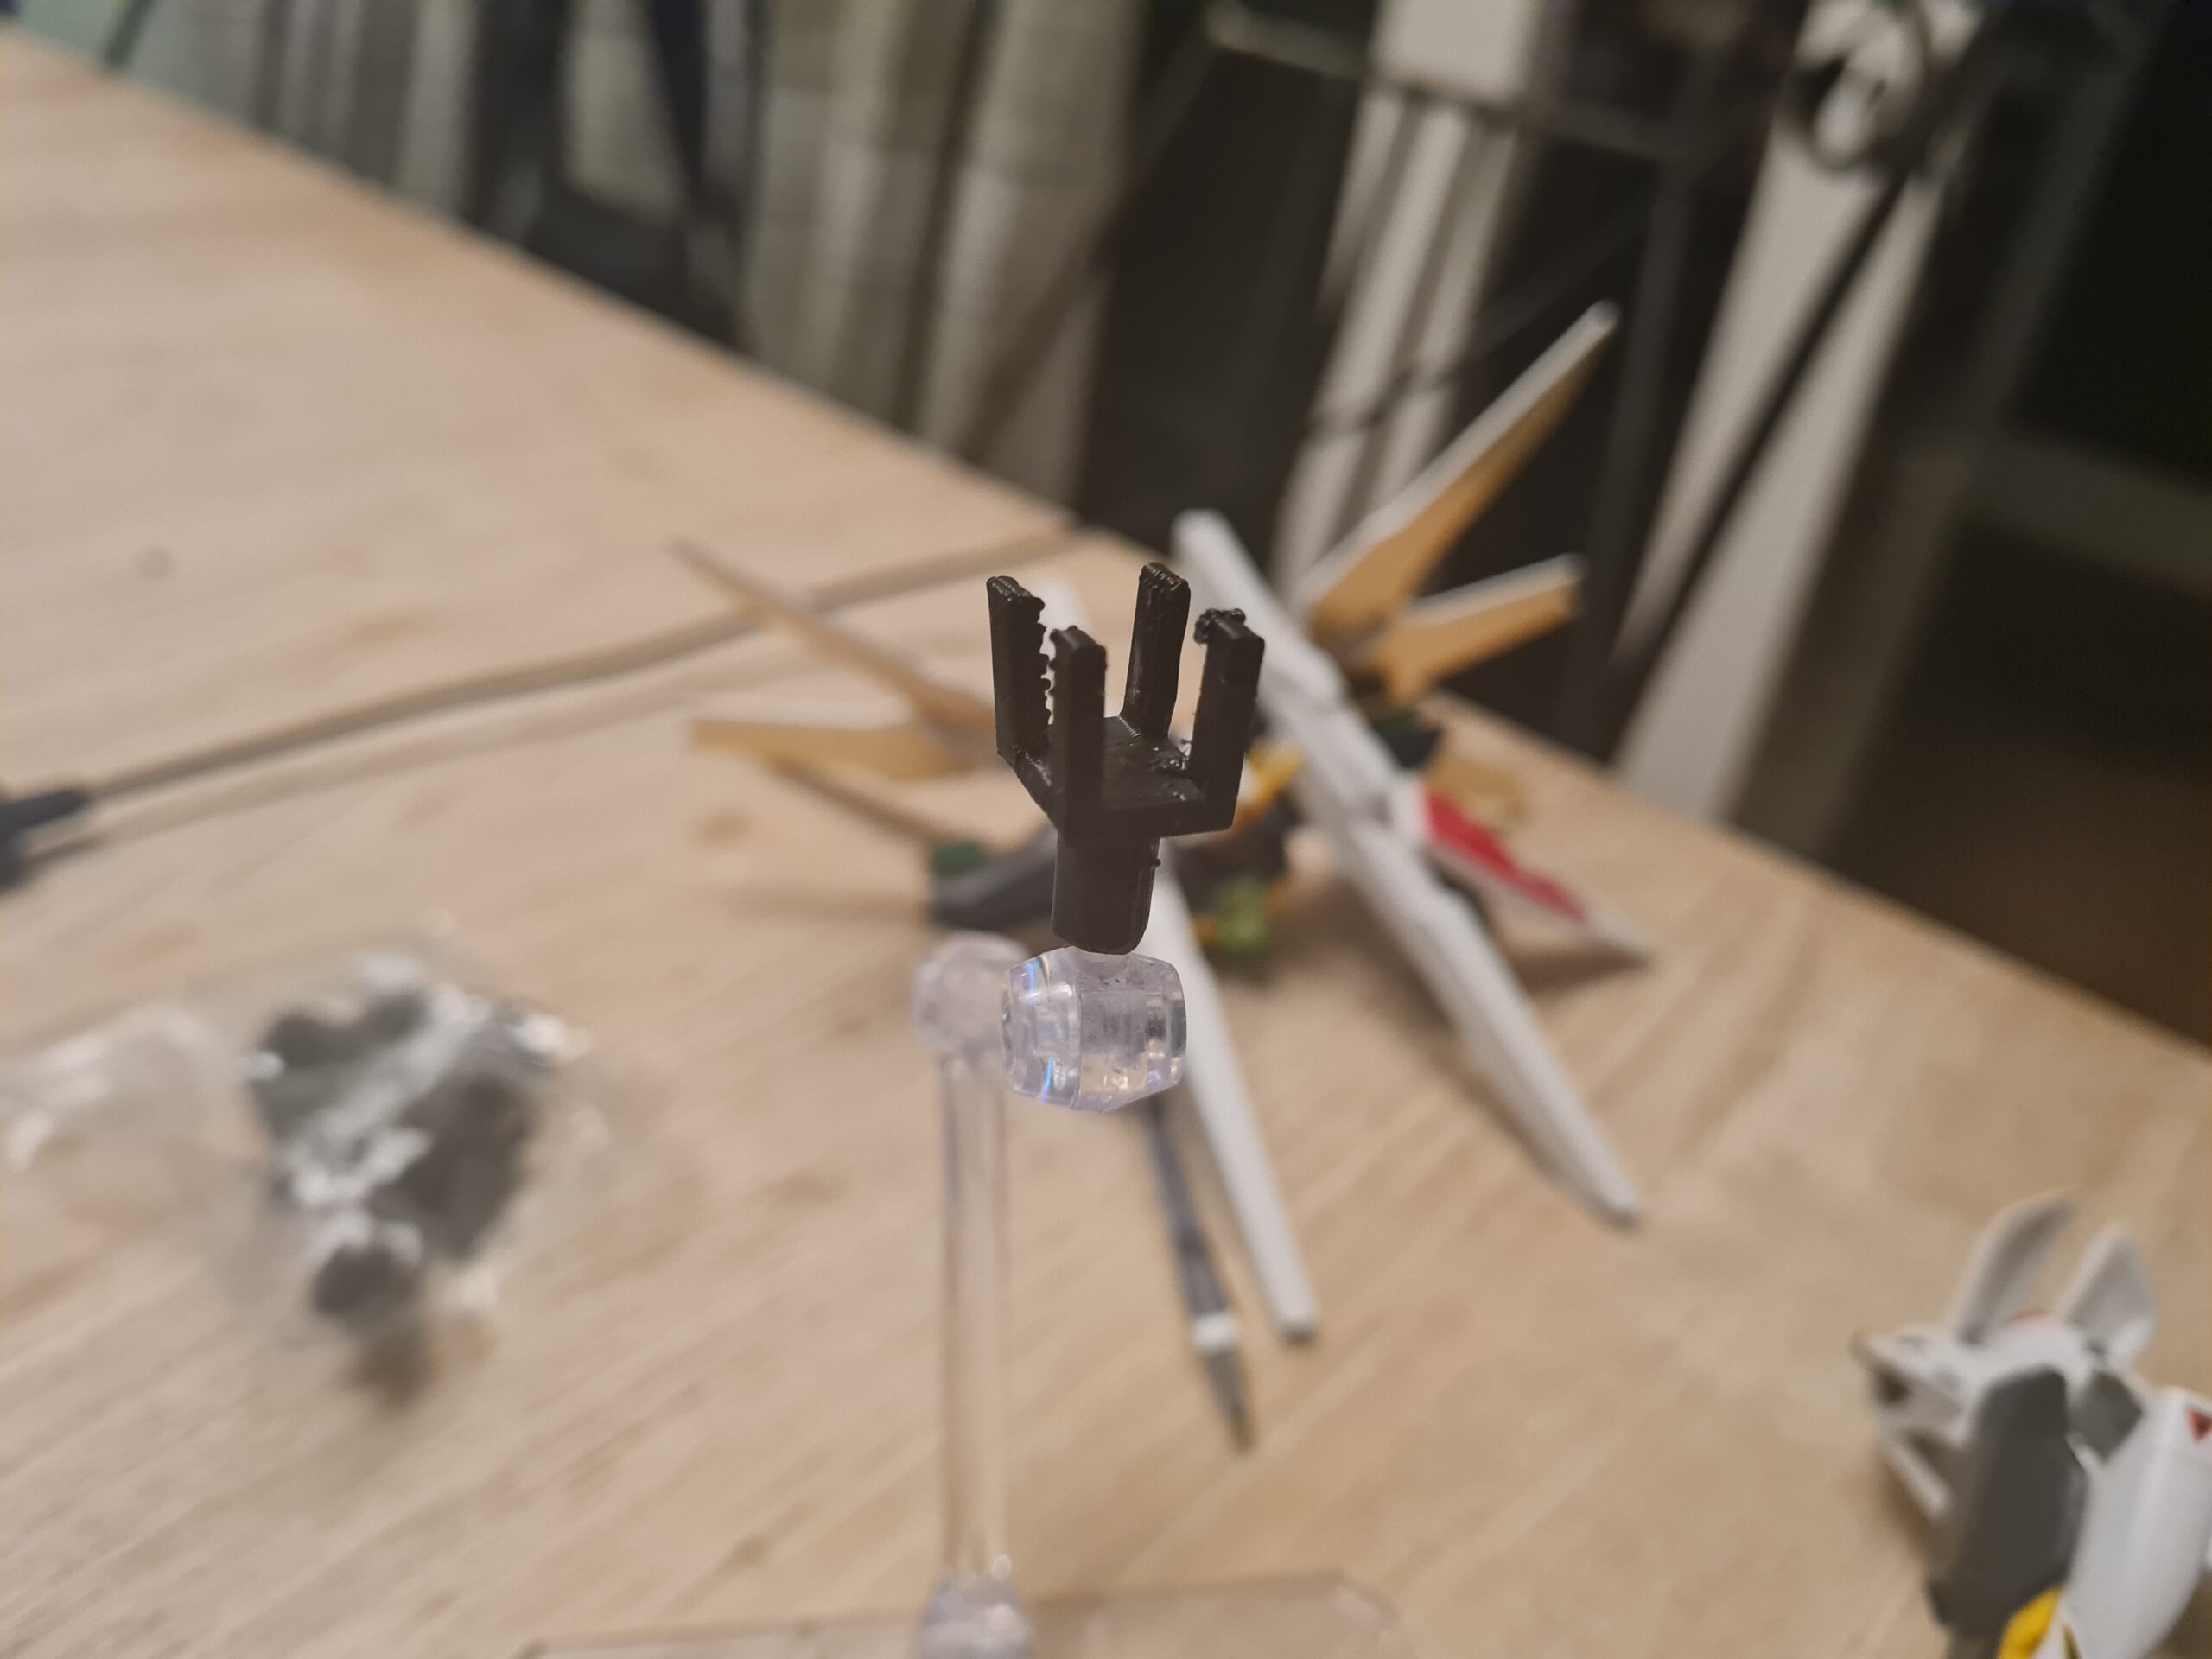
However, I just don’t like these bits. Thankfully once they are done it will be back to the bits I enjoy. The first image shows exactly how the piece comes off the runner. Pay very close attention to the manual, and where it says to cut. I then had to detach the hand, and the top part.
As you can see I managed to detach more than I was meant to, so I had to reattach the joint. However, I really didn’t enjoy getting the top piece out. Once that was done, all I had to do was twizzle and push bits into place. I have to admit I do enjoy that bit.
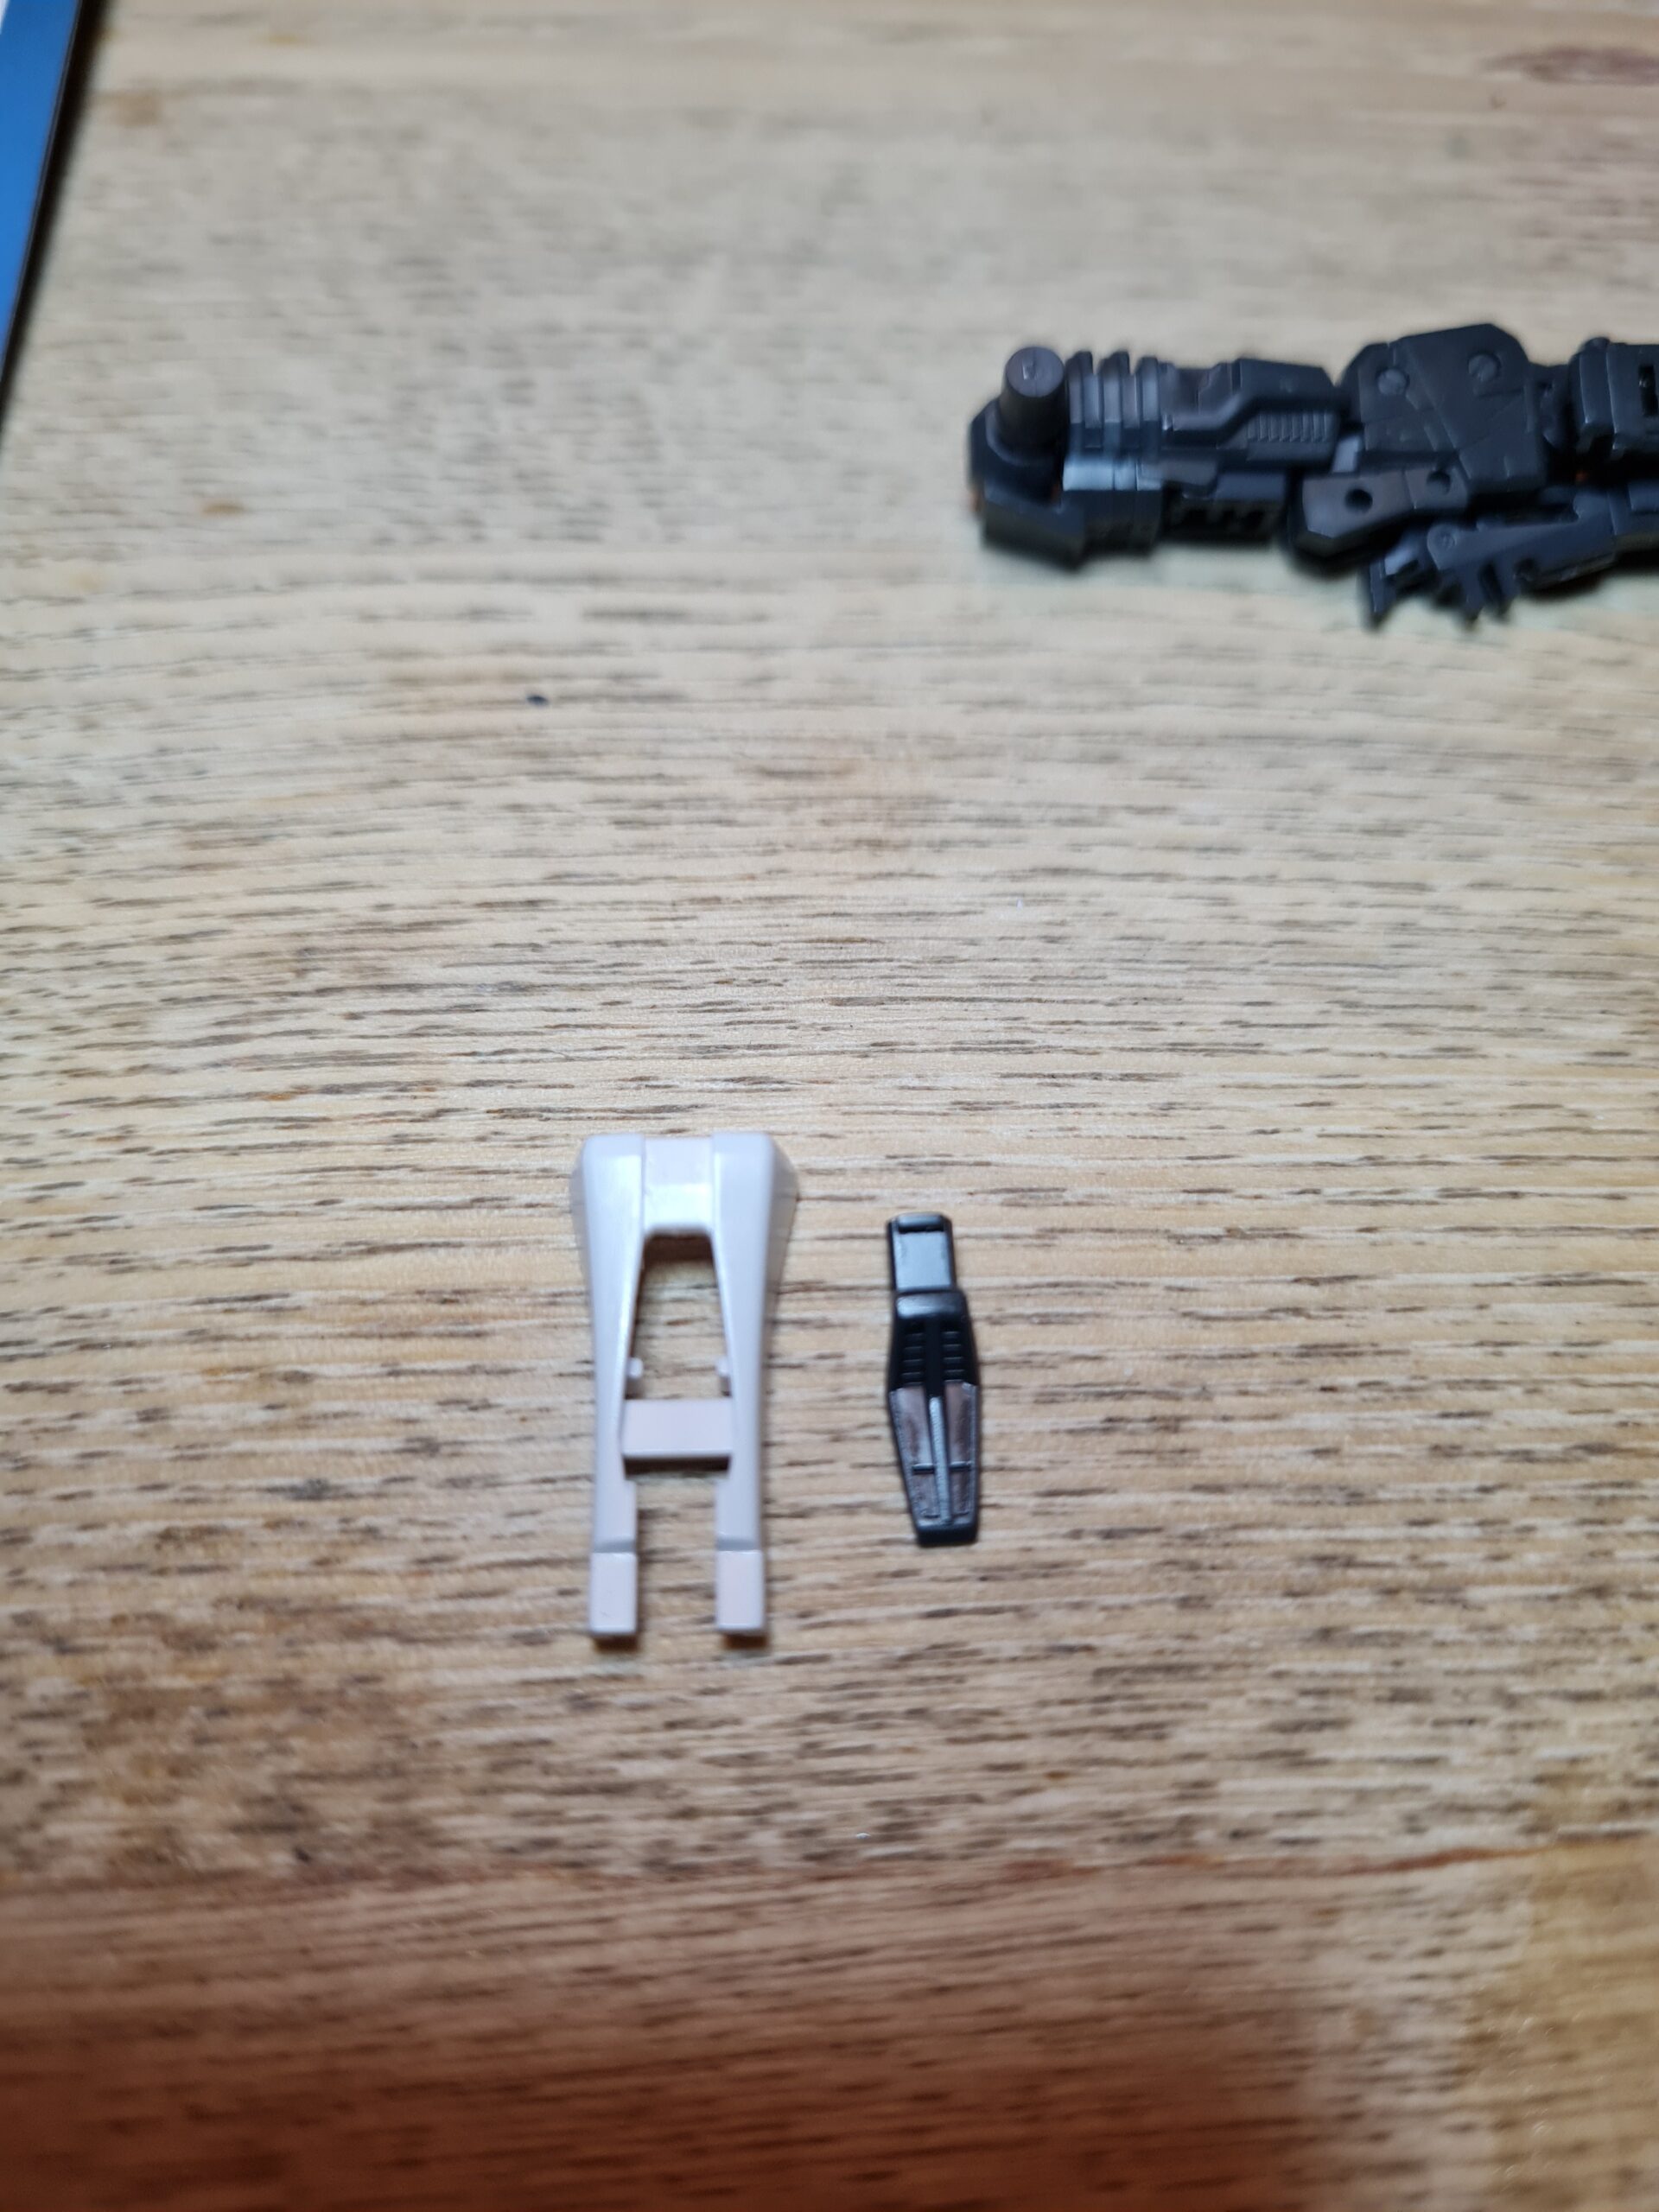
You have to pay special attention to the piece that in the first image is on the right hand side. That teeny piece actually bends in the middle, and the outer piece actually forms the part that clicks into place when you bend the rest up.
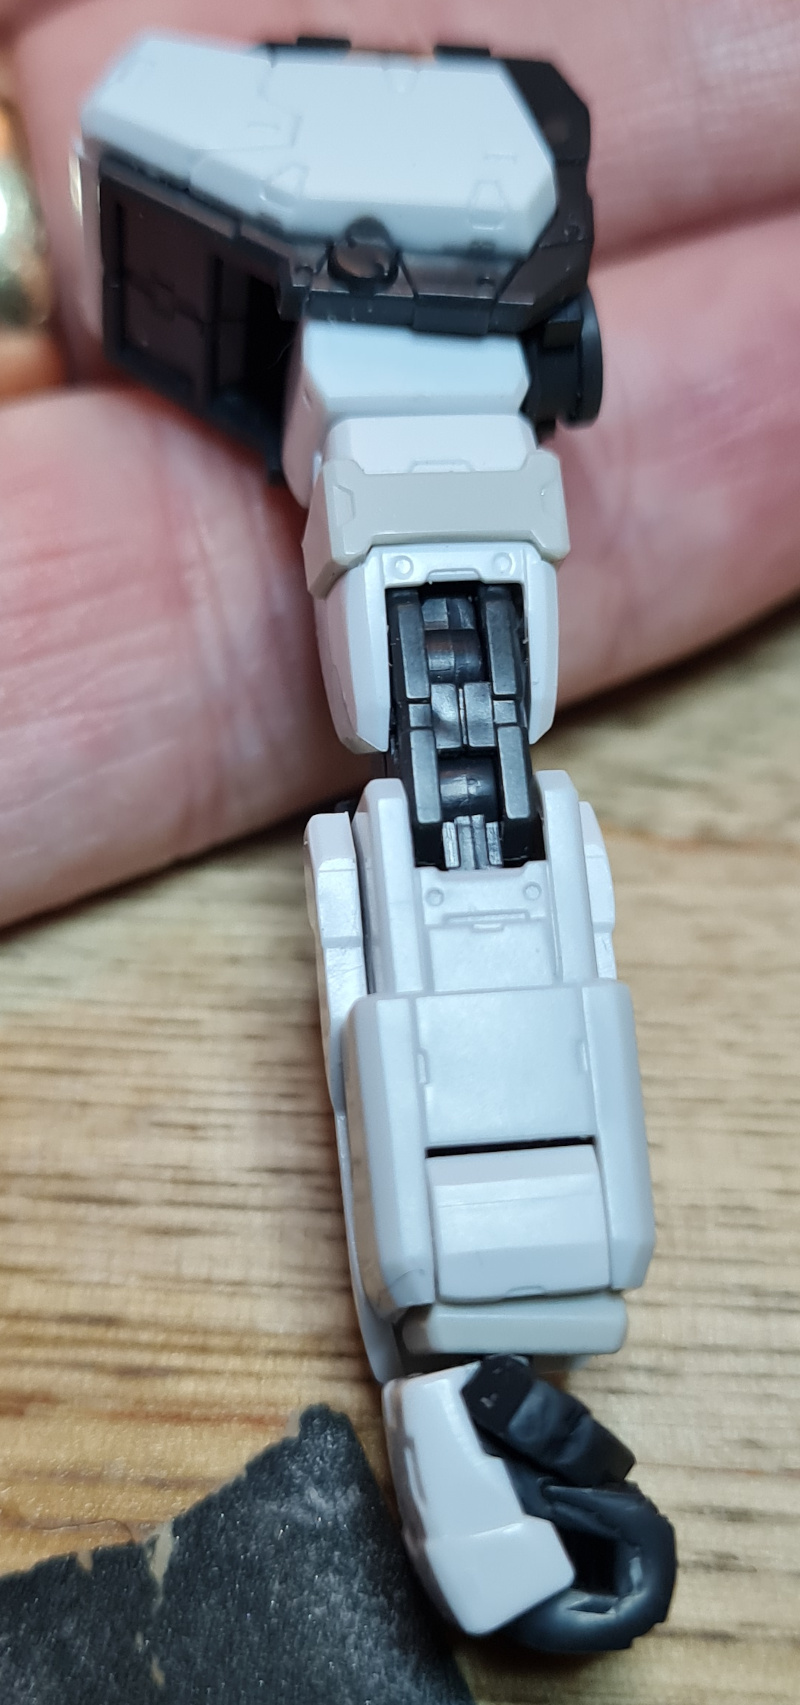
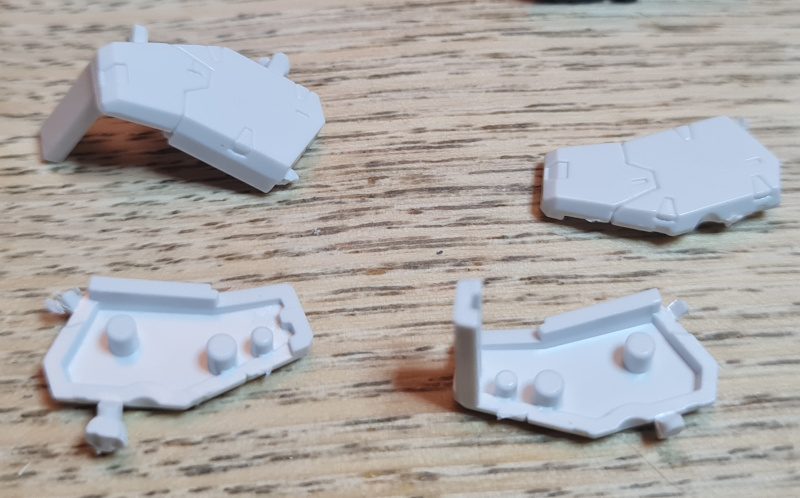
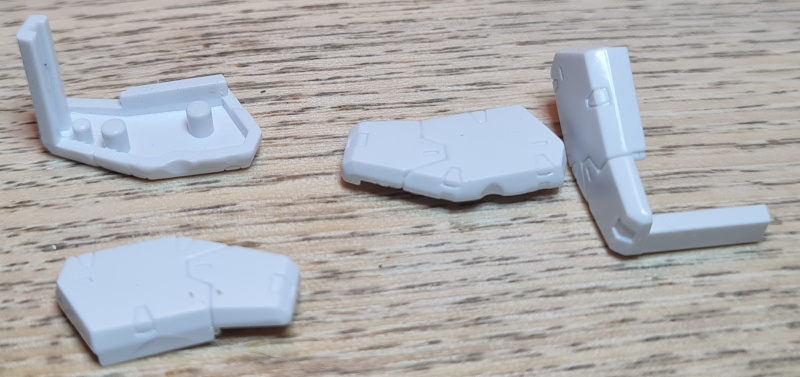
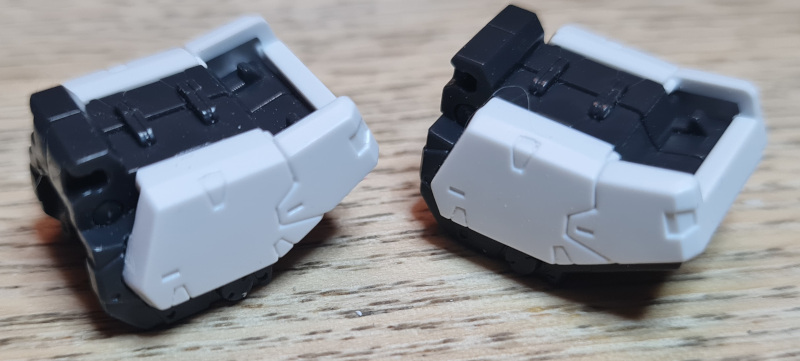
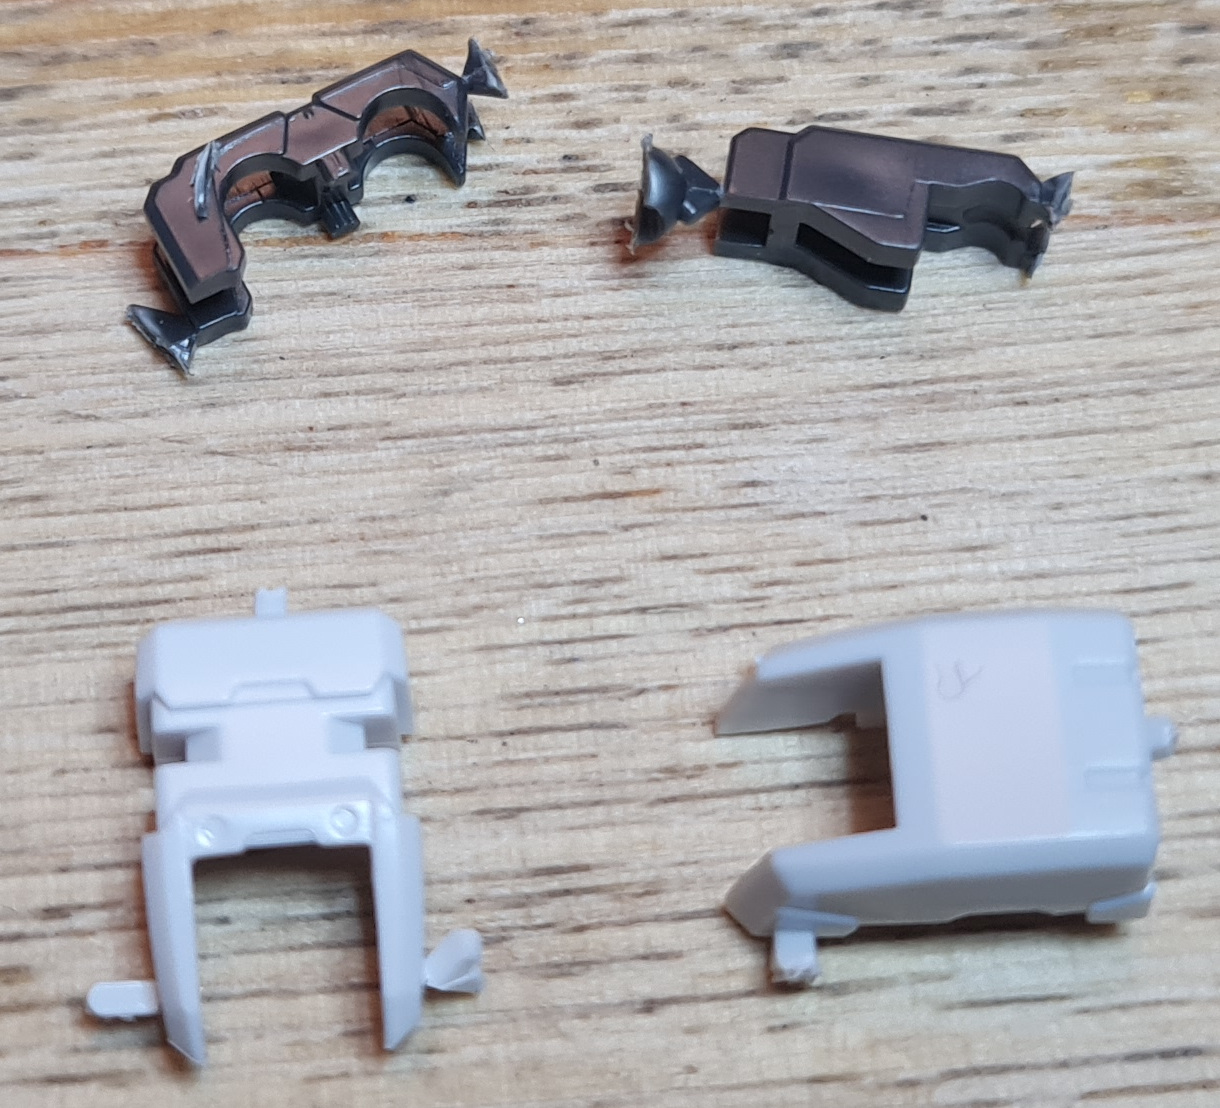
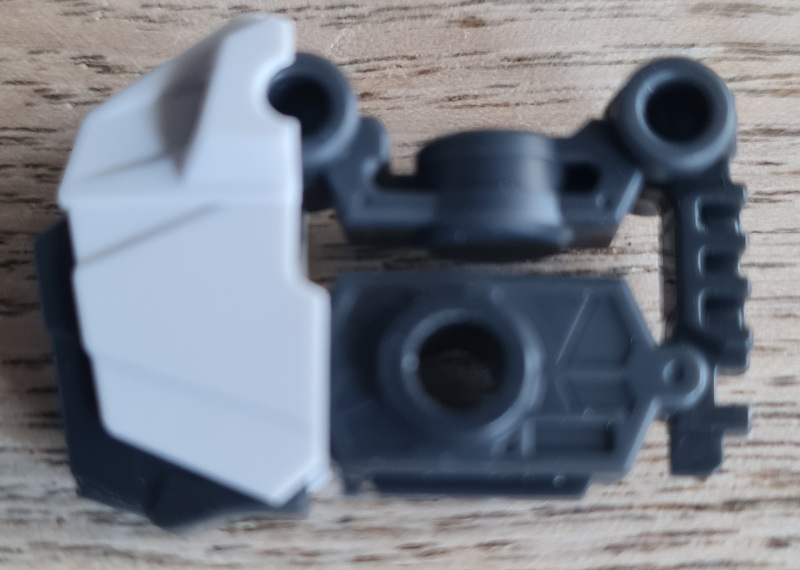
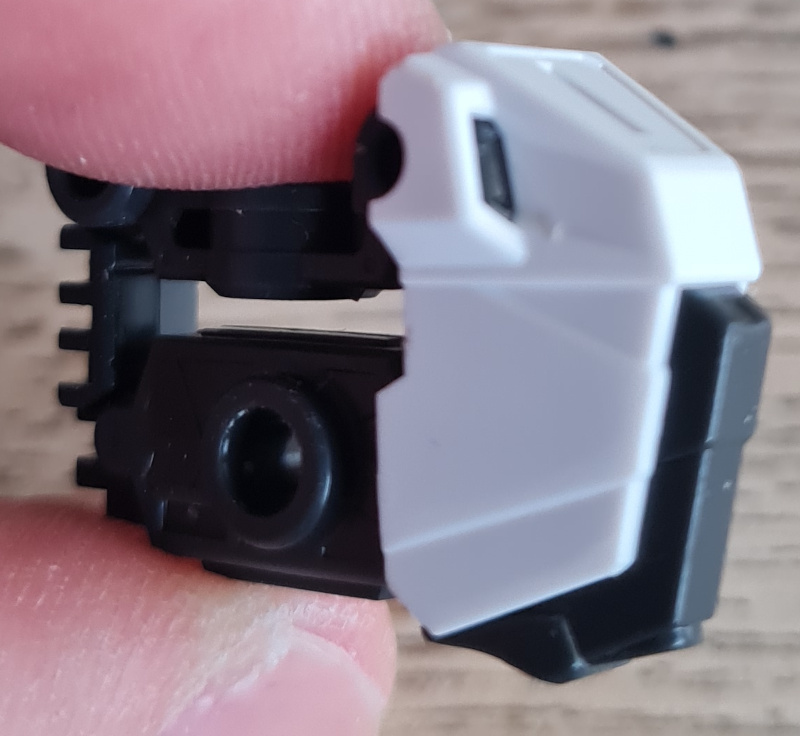
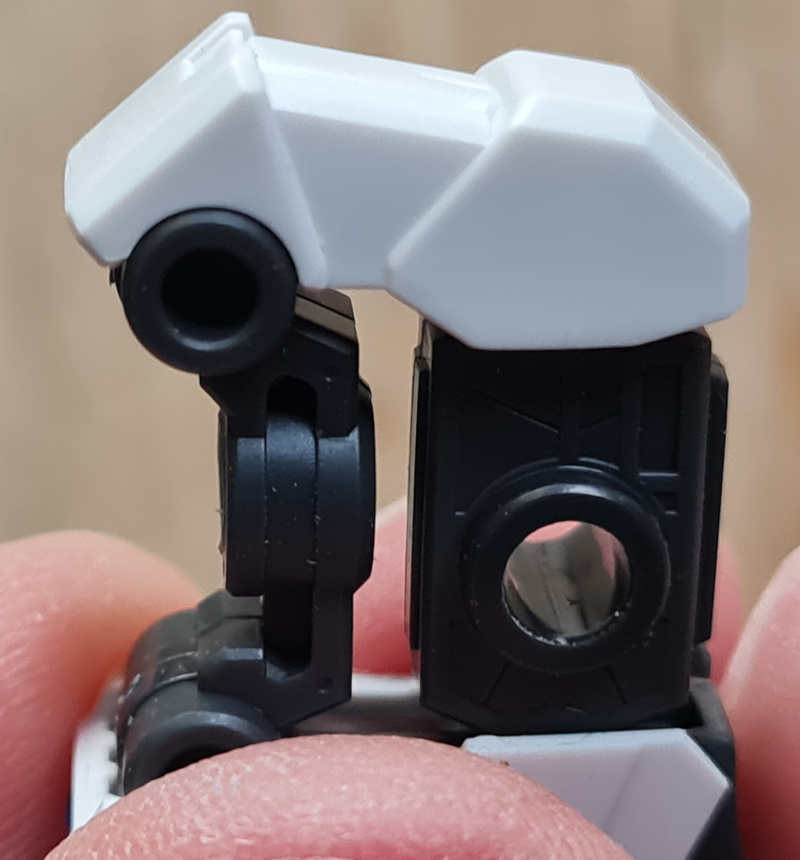
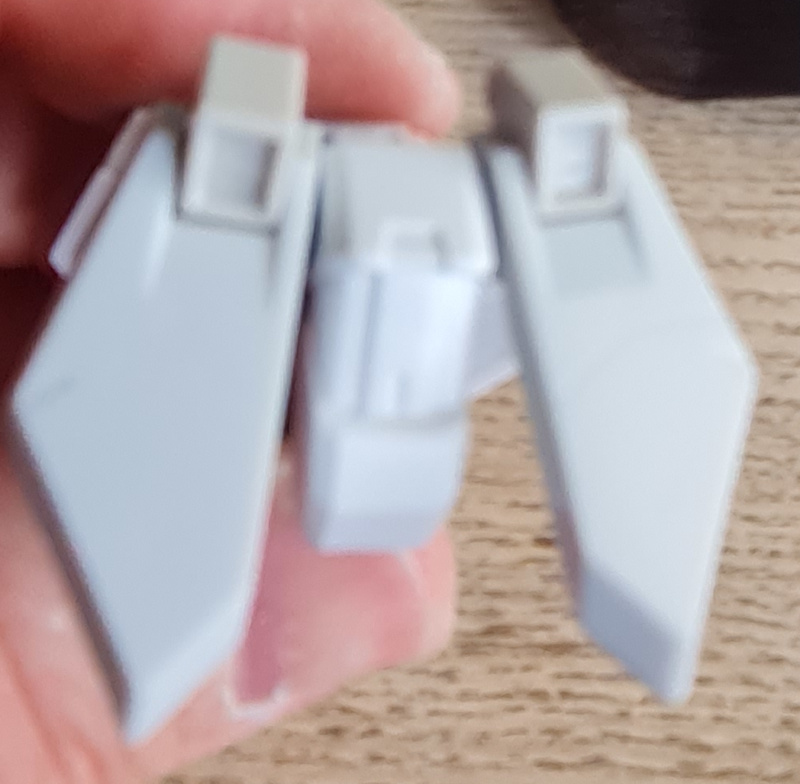
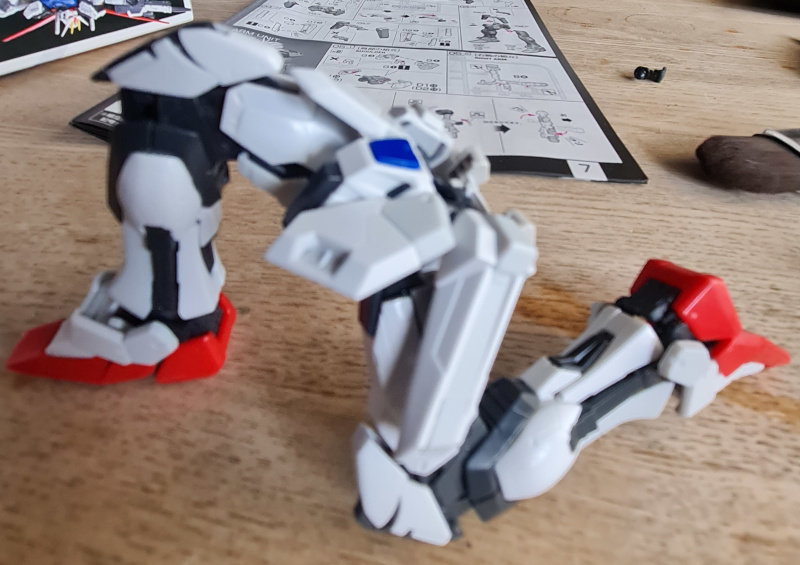
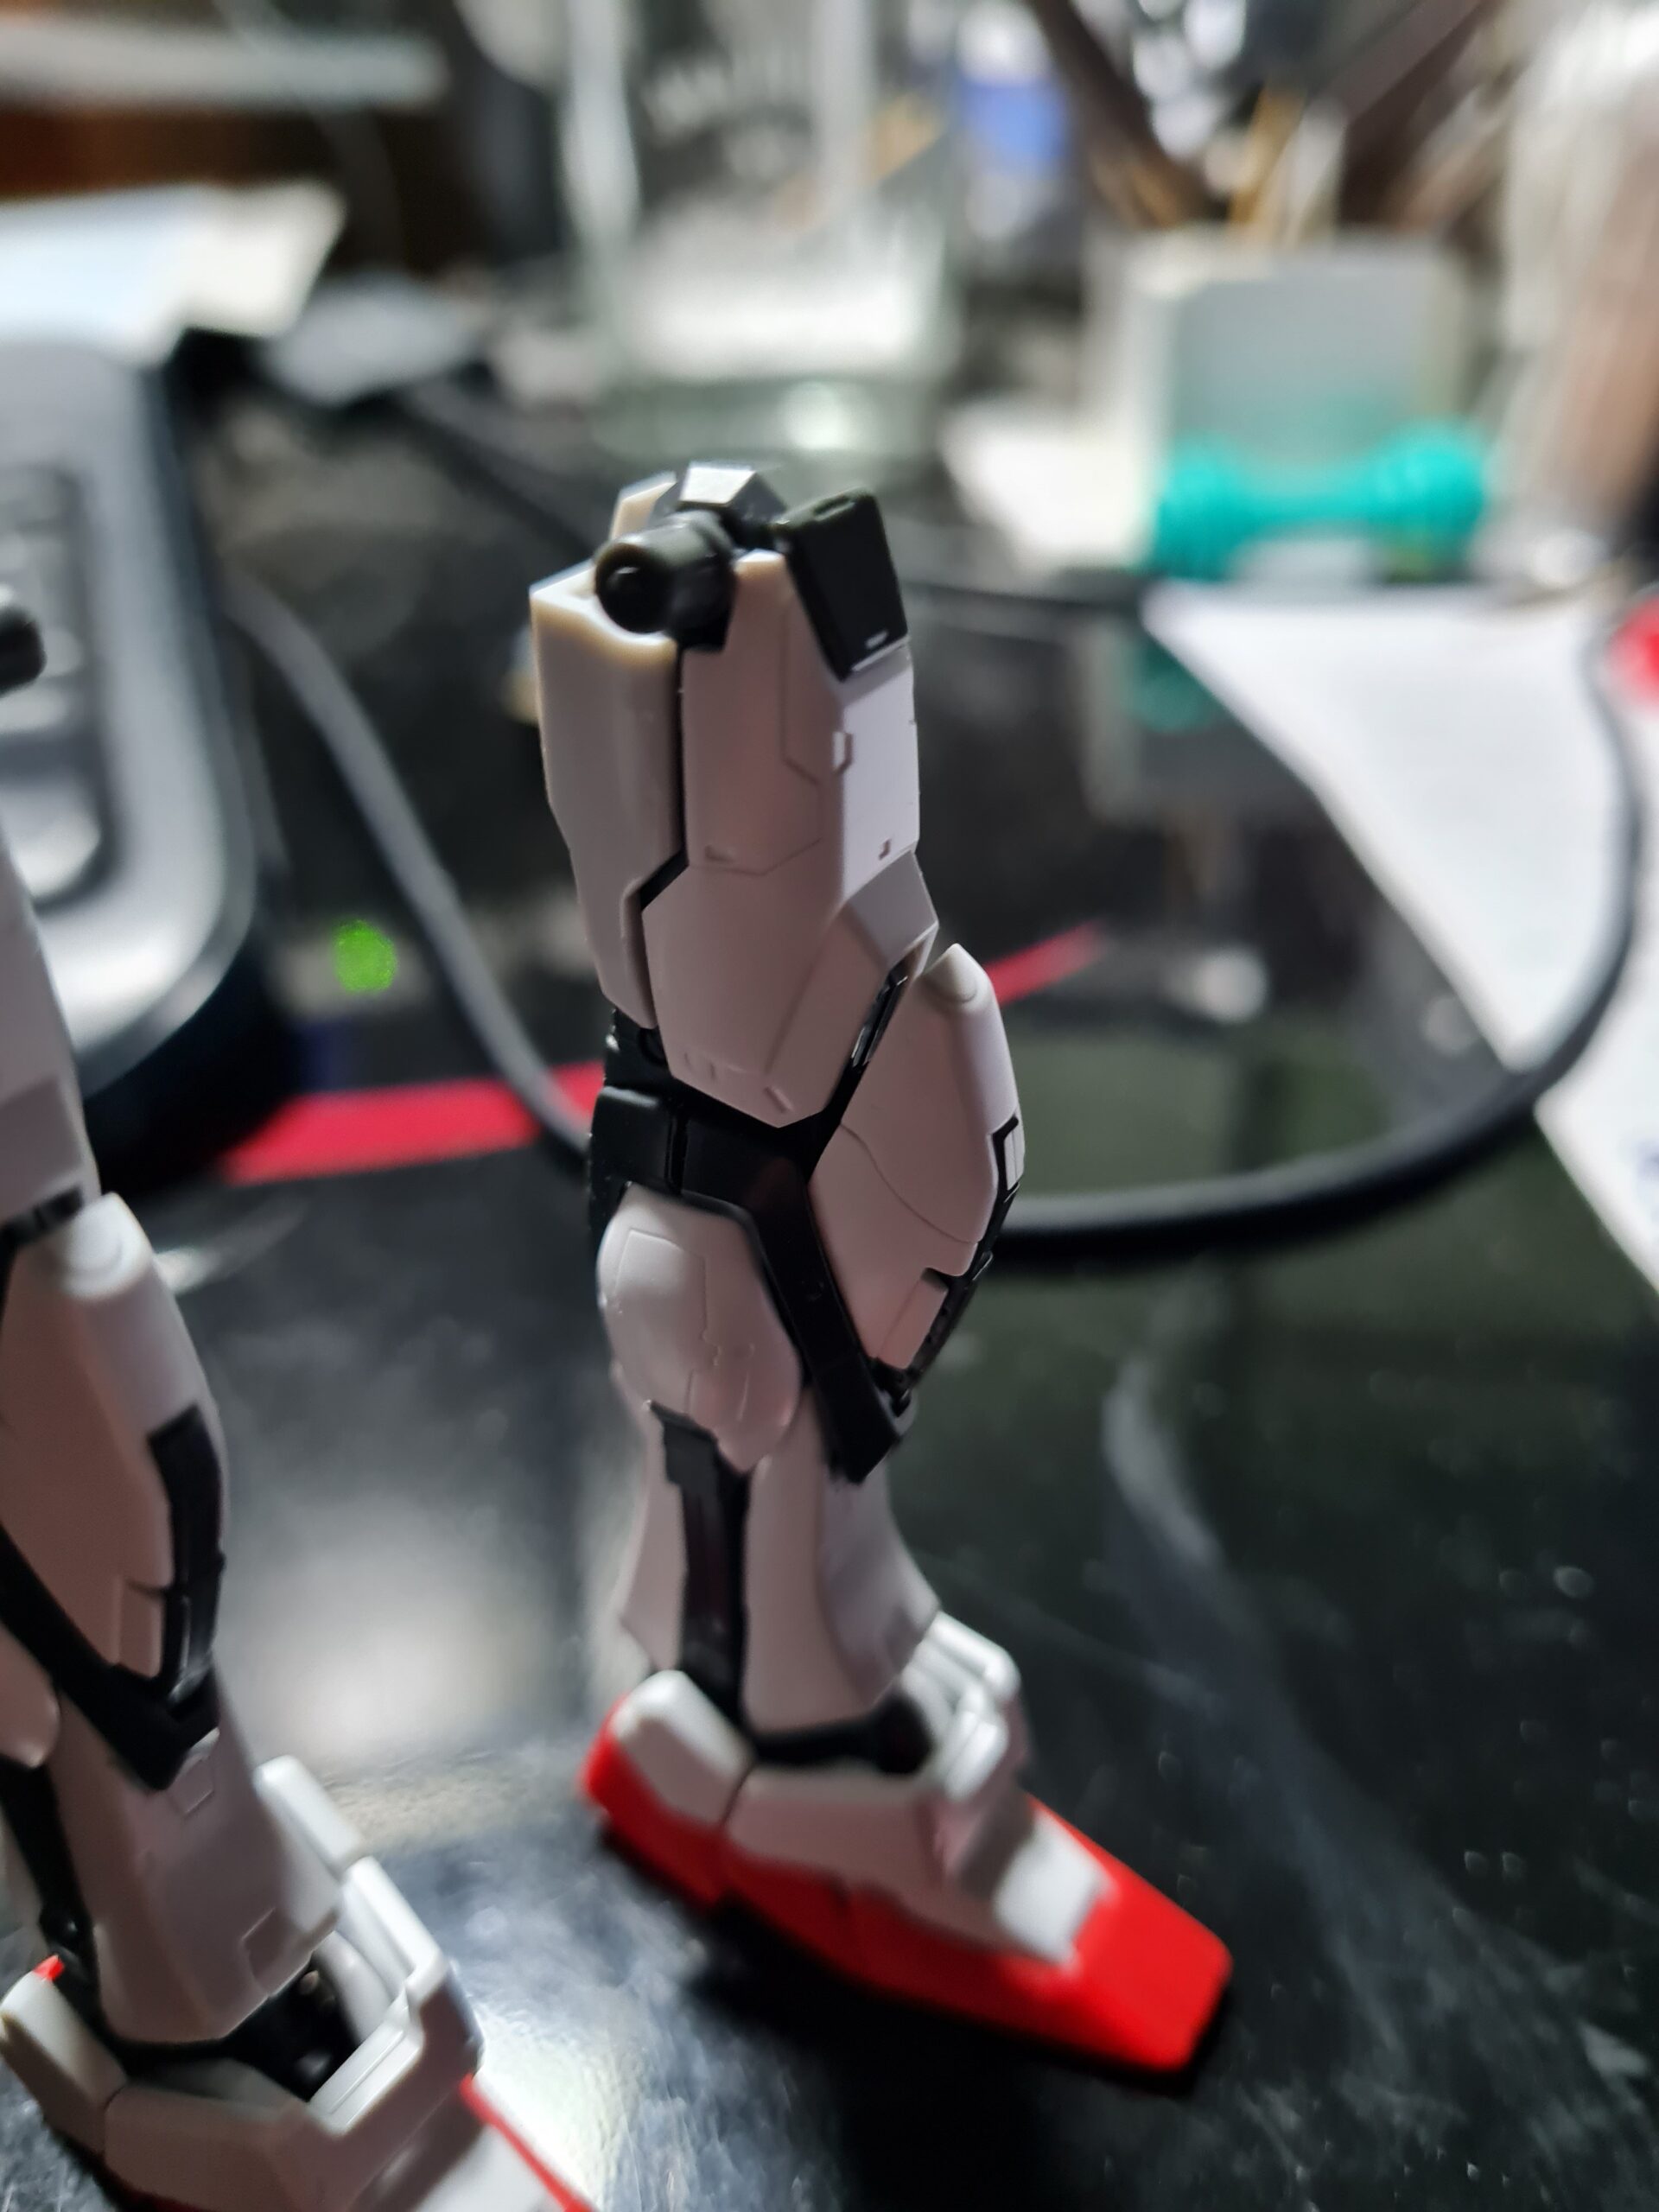
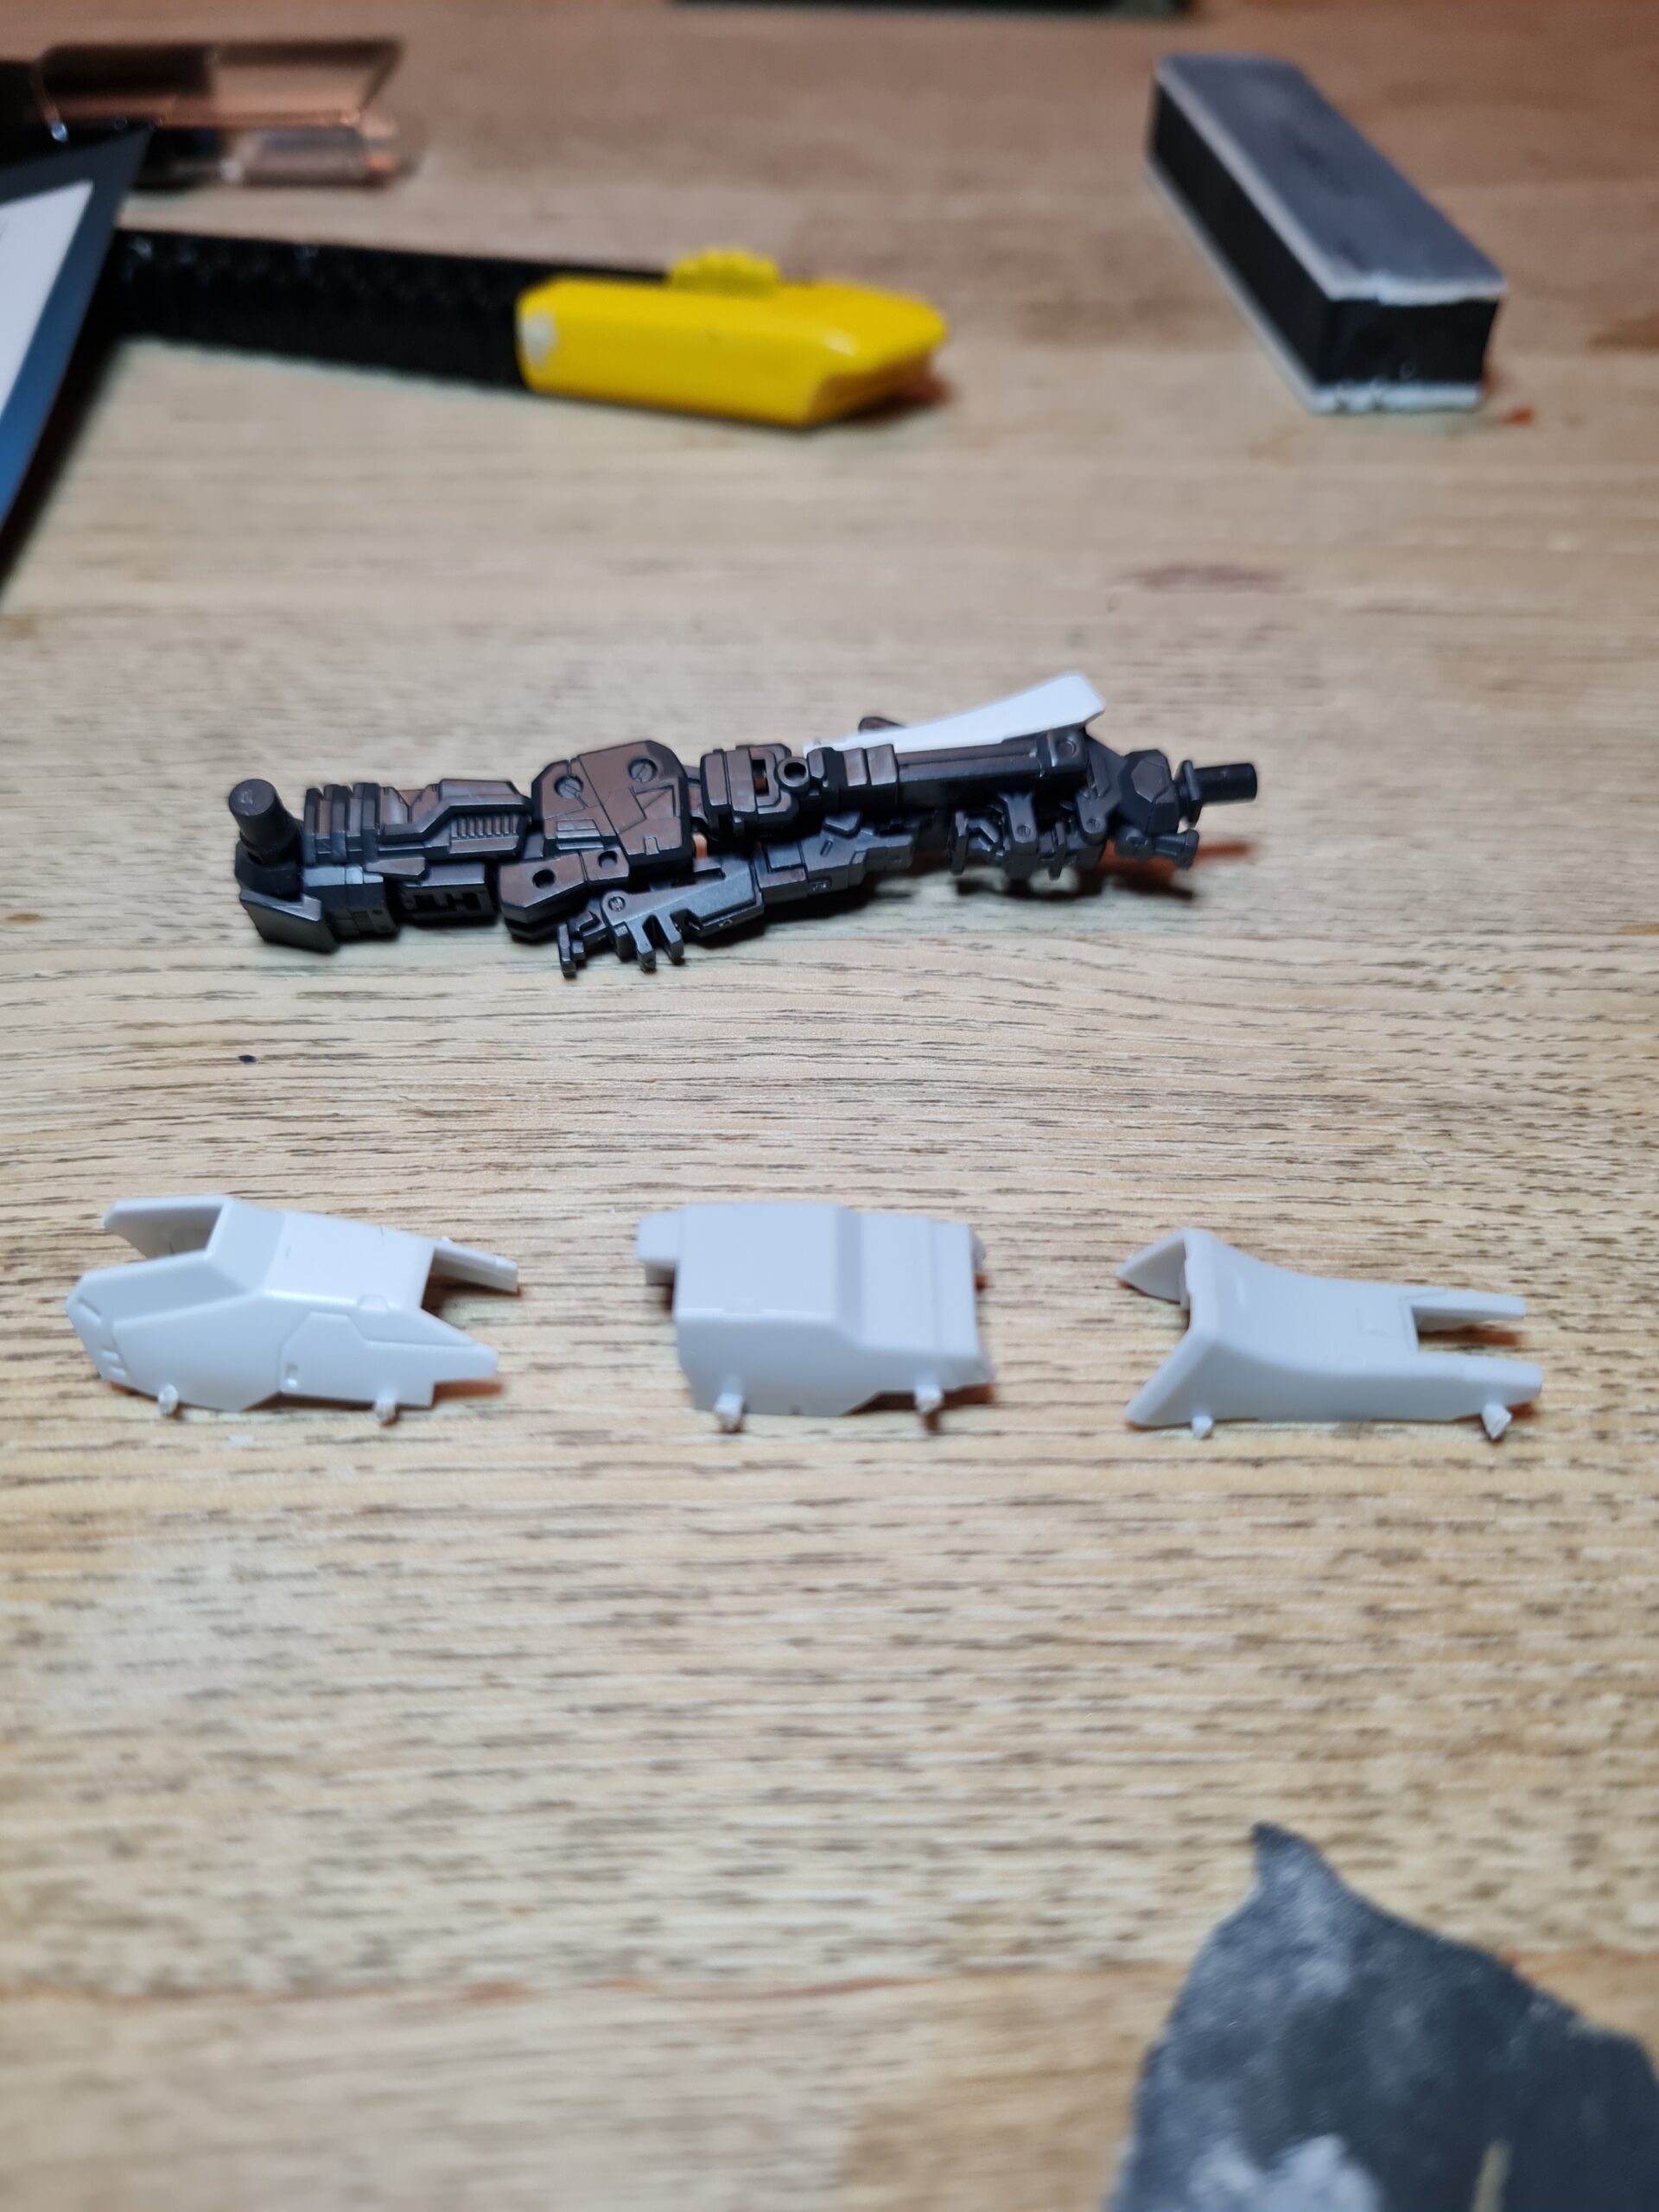
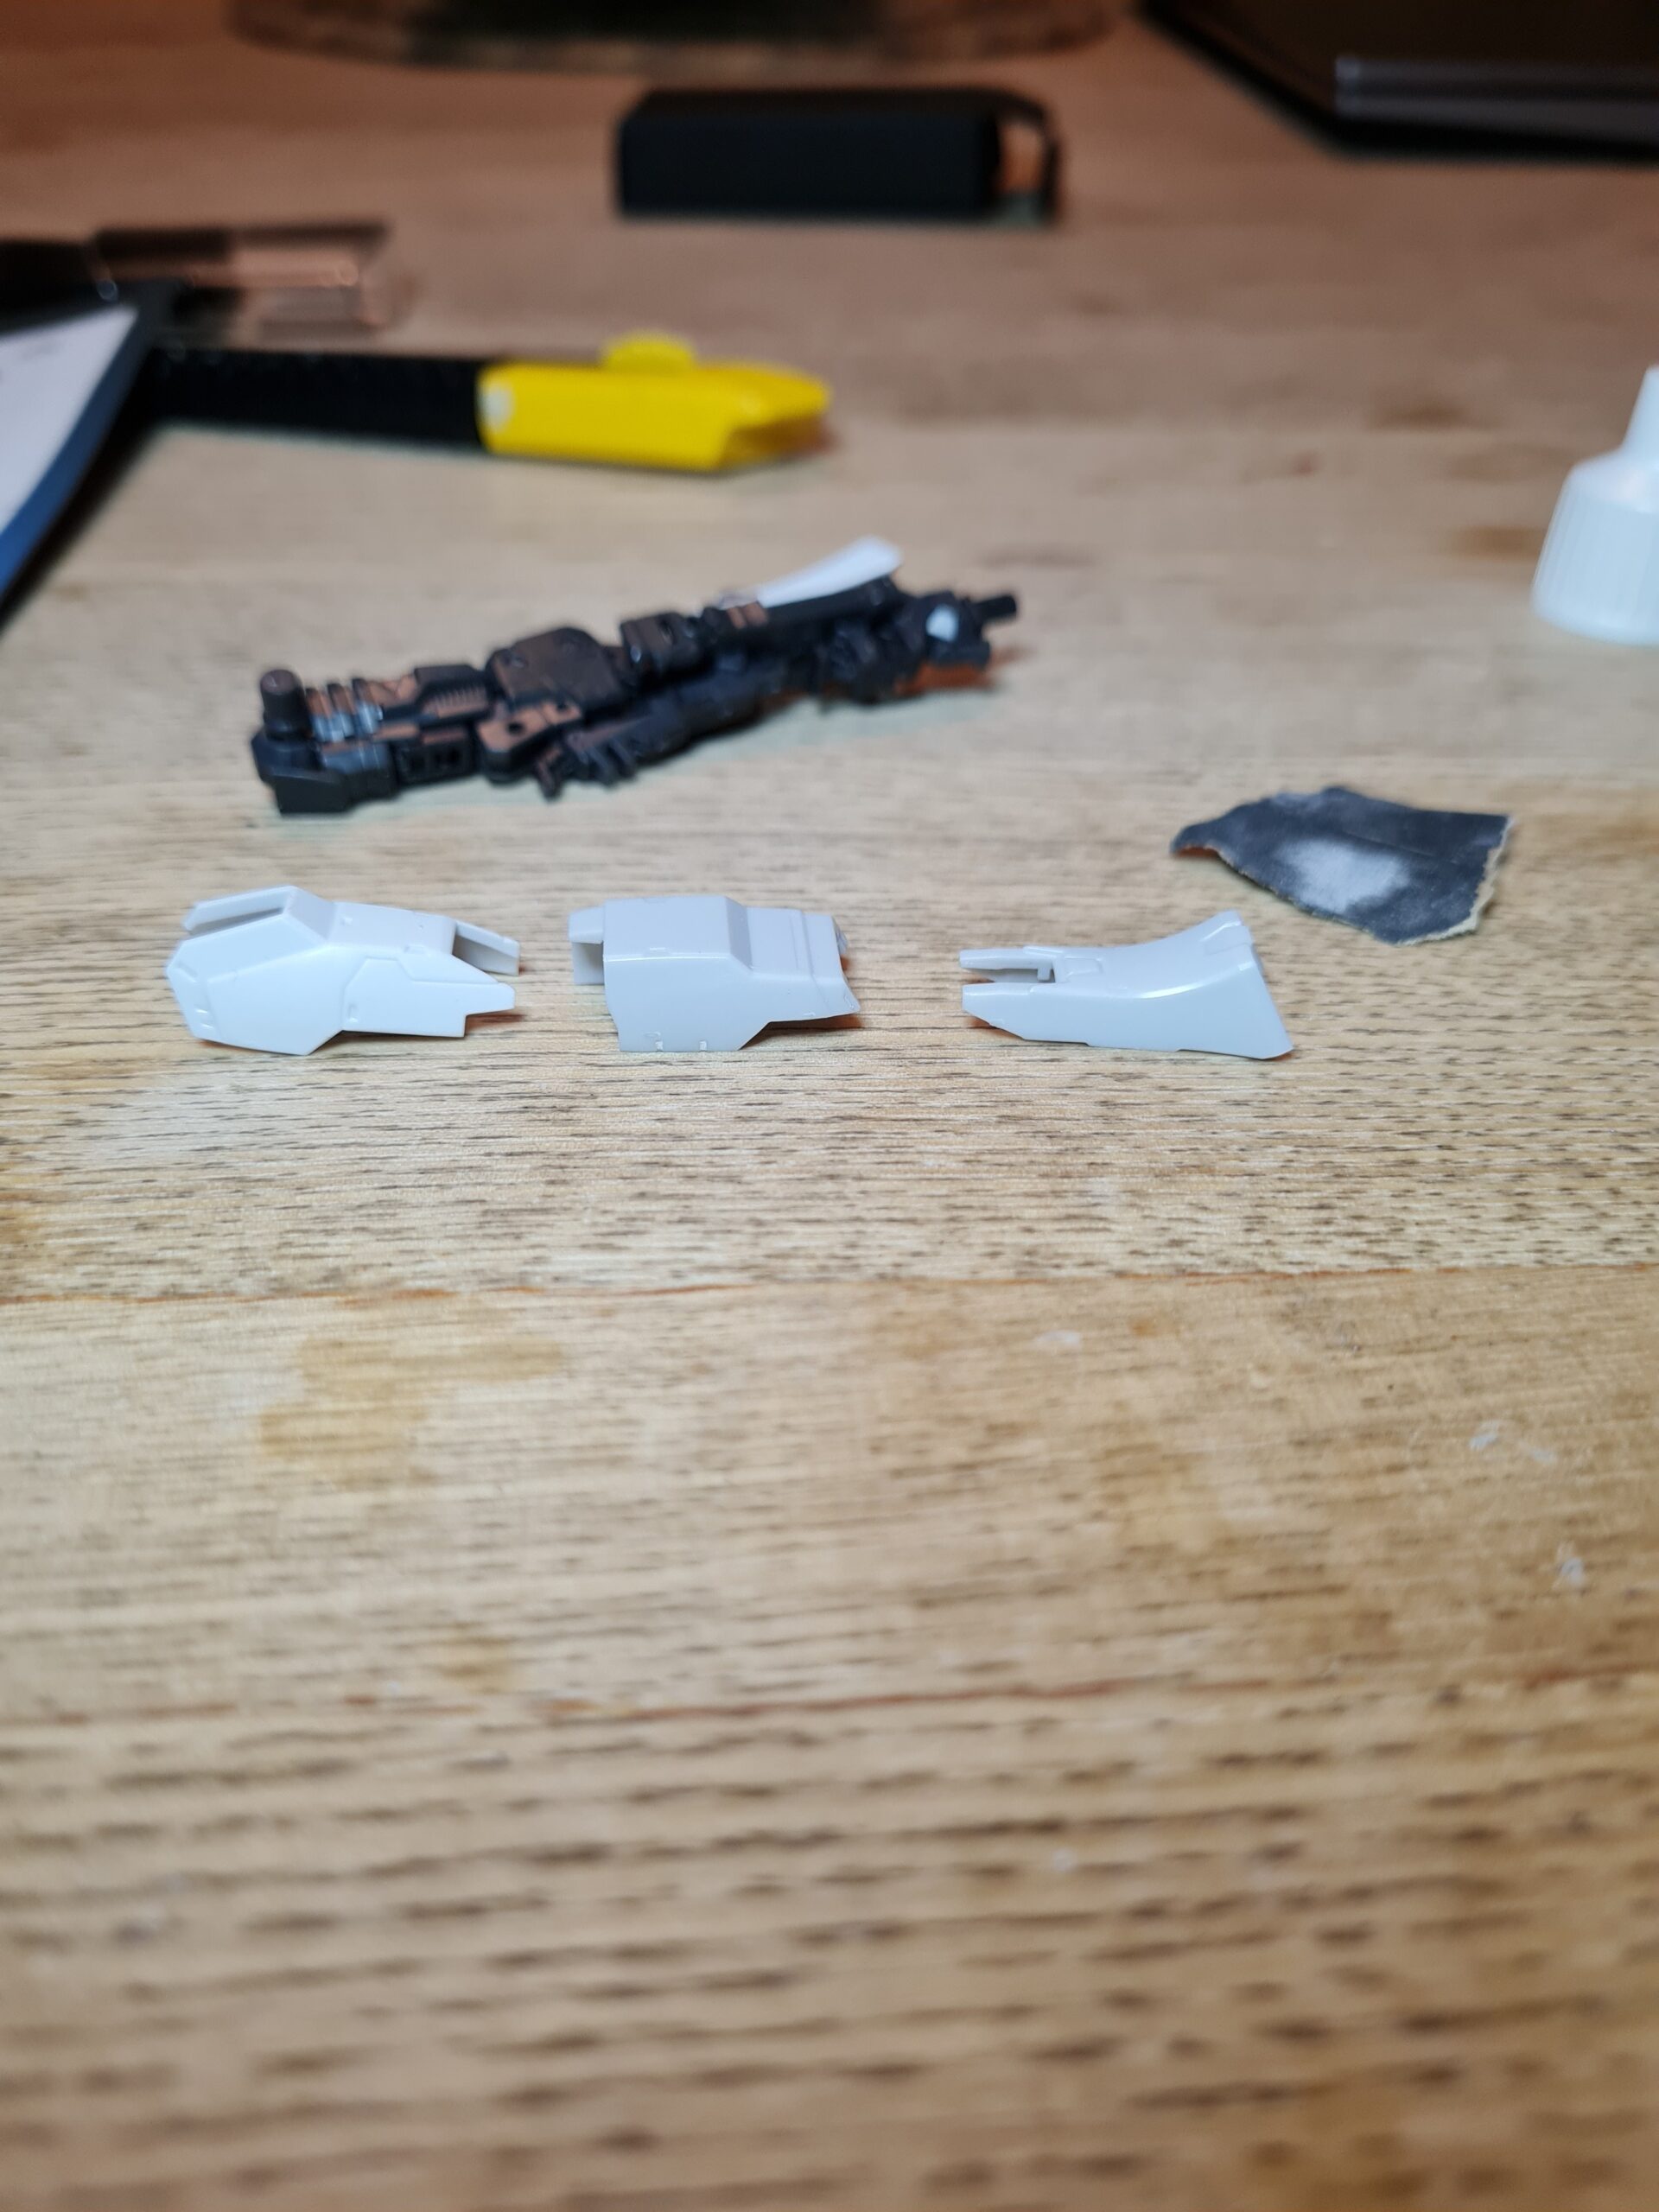
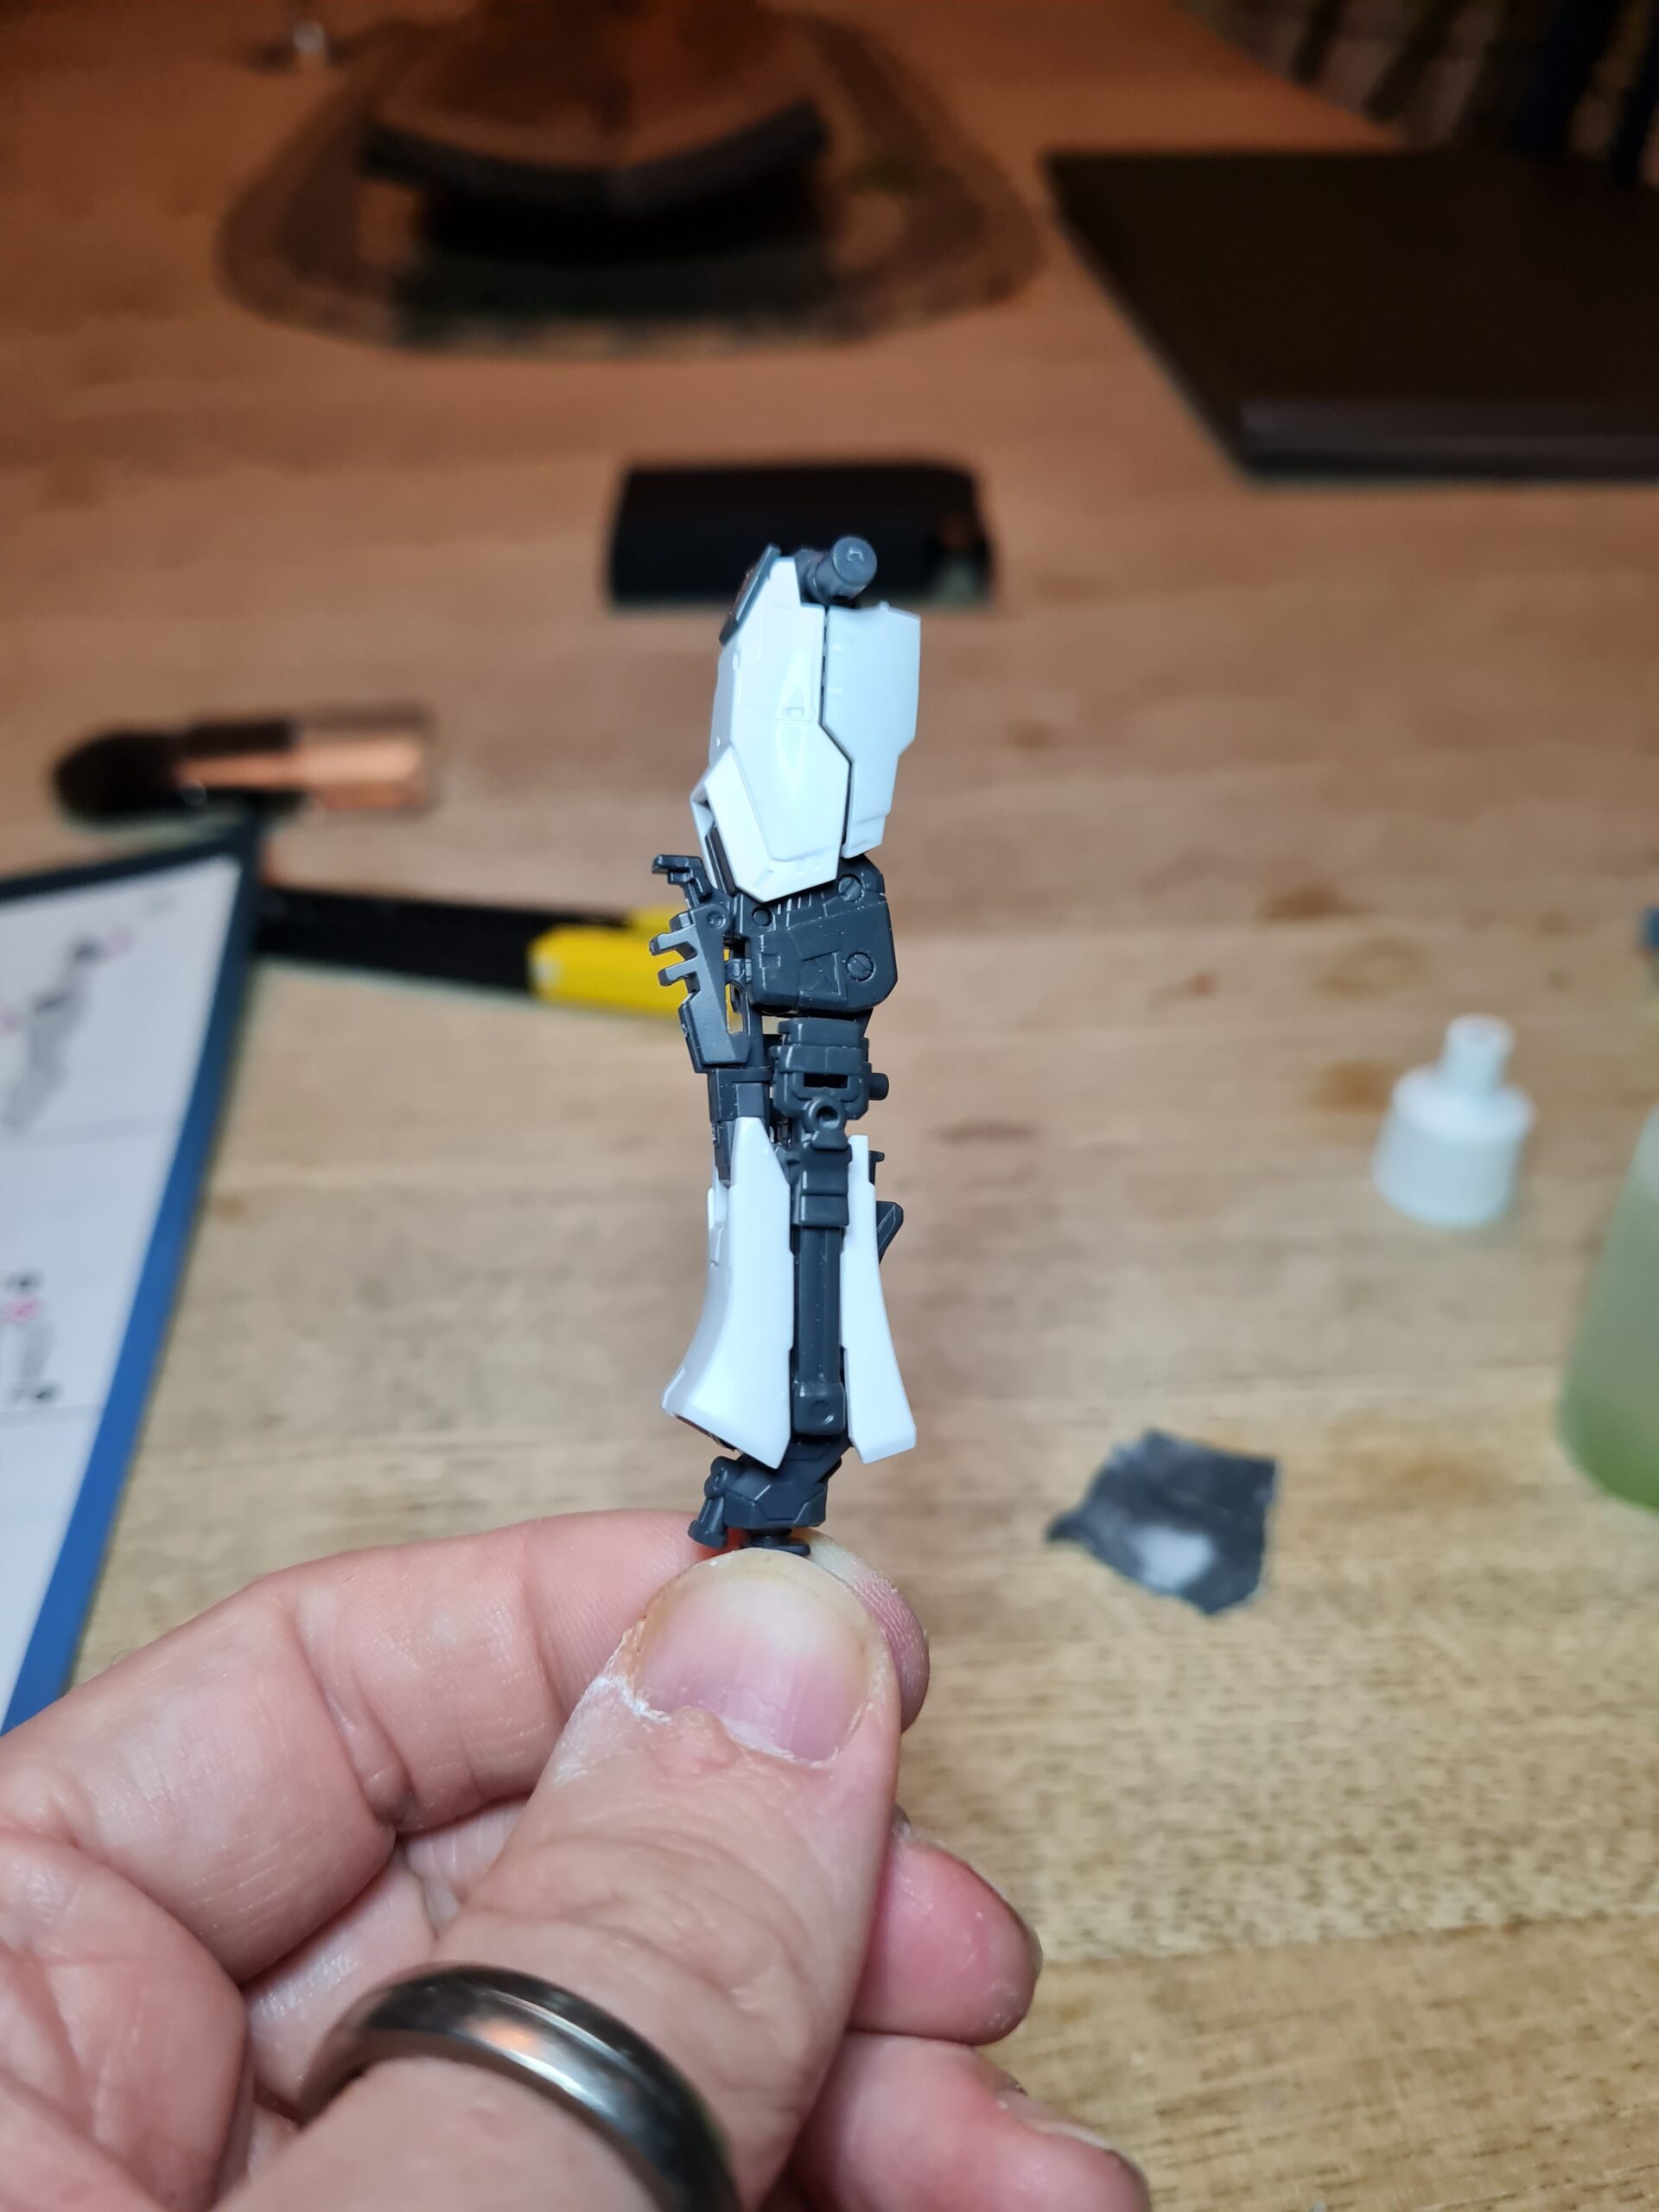
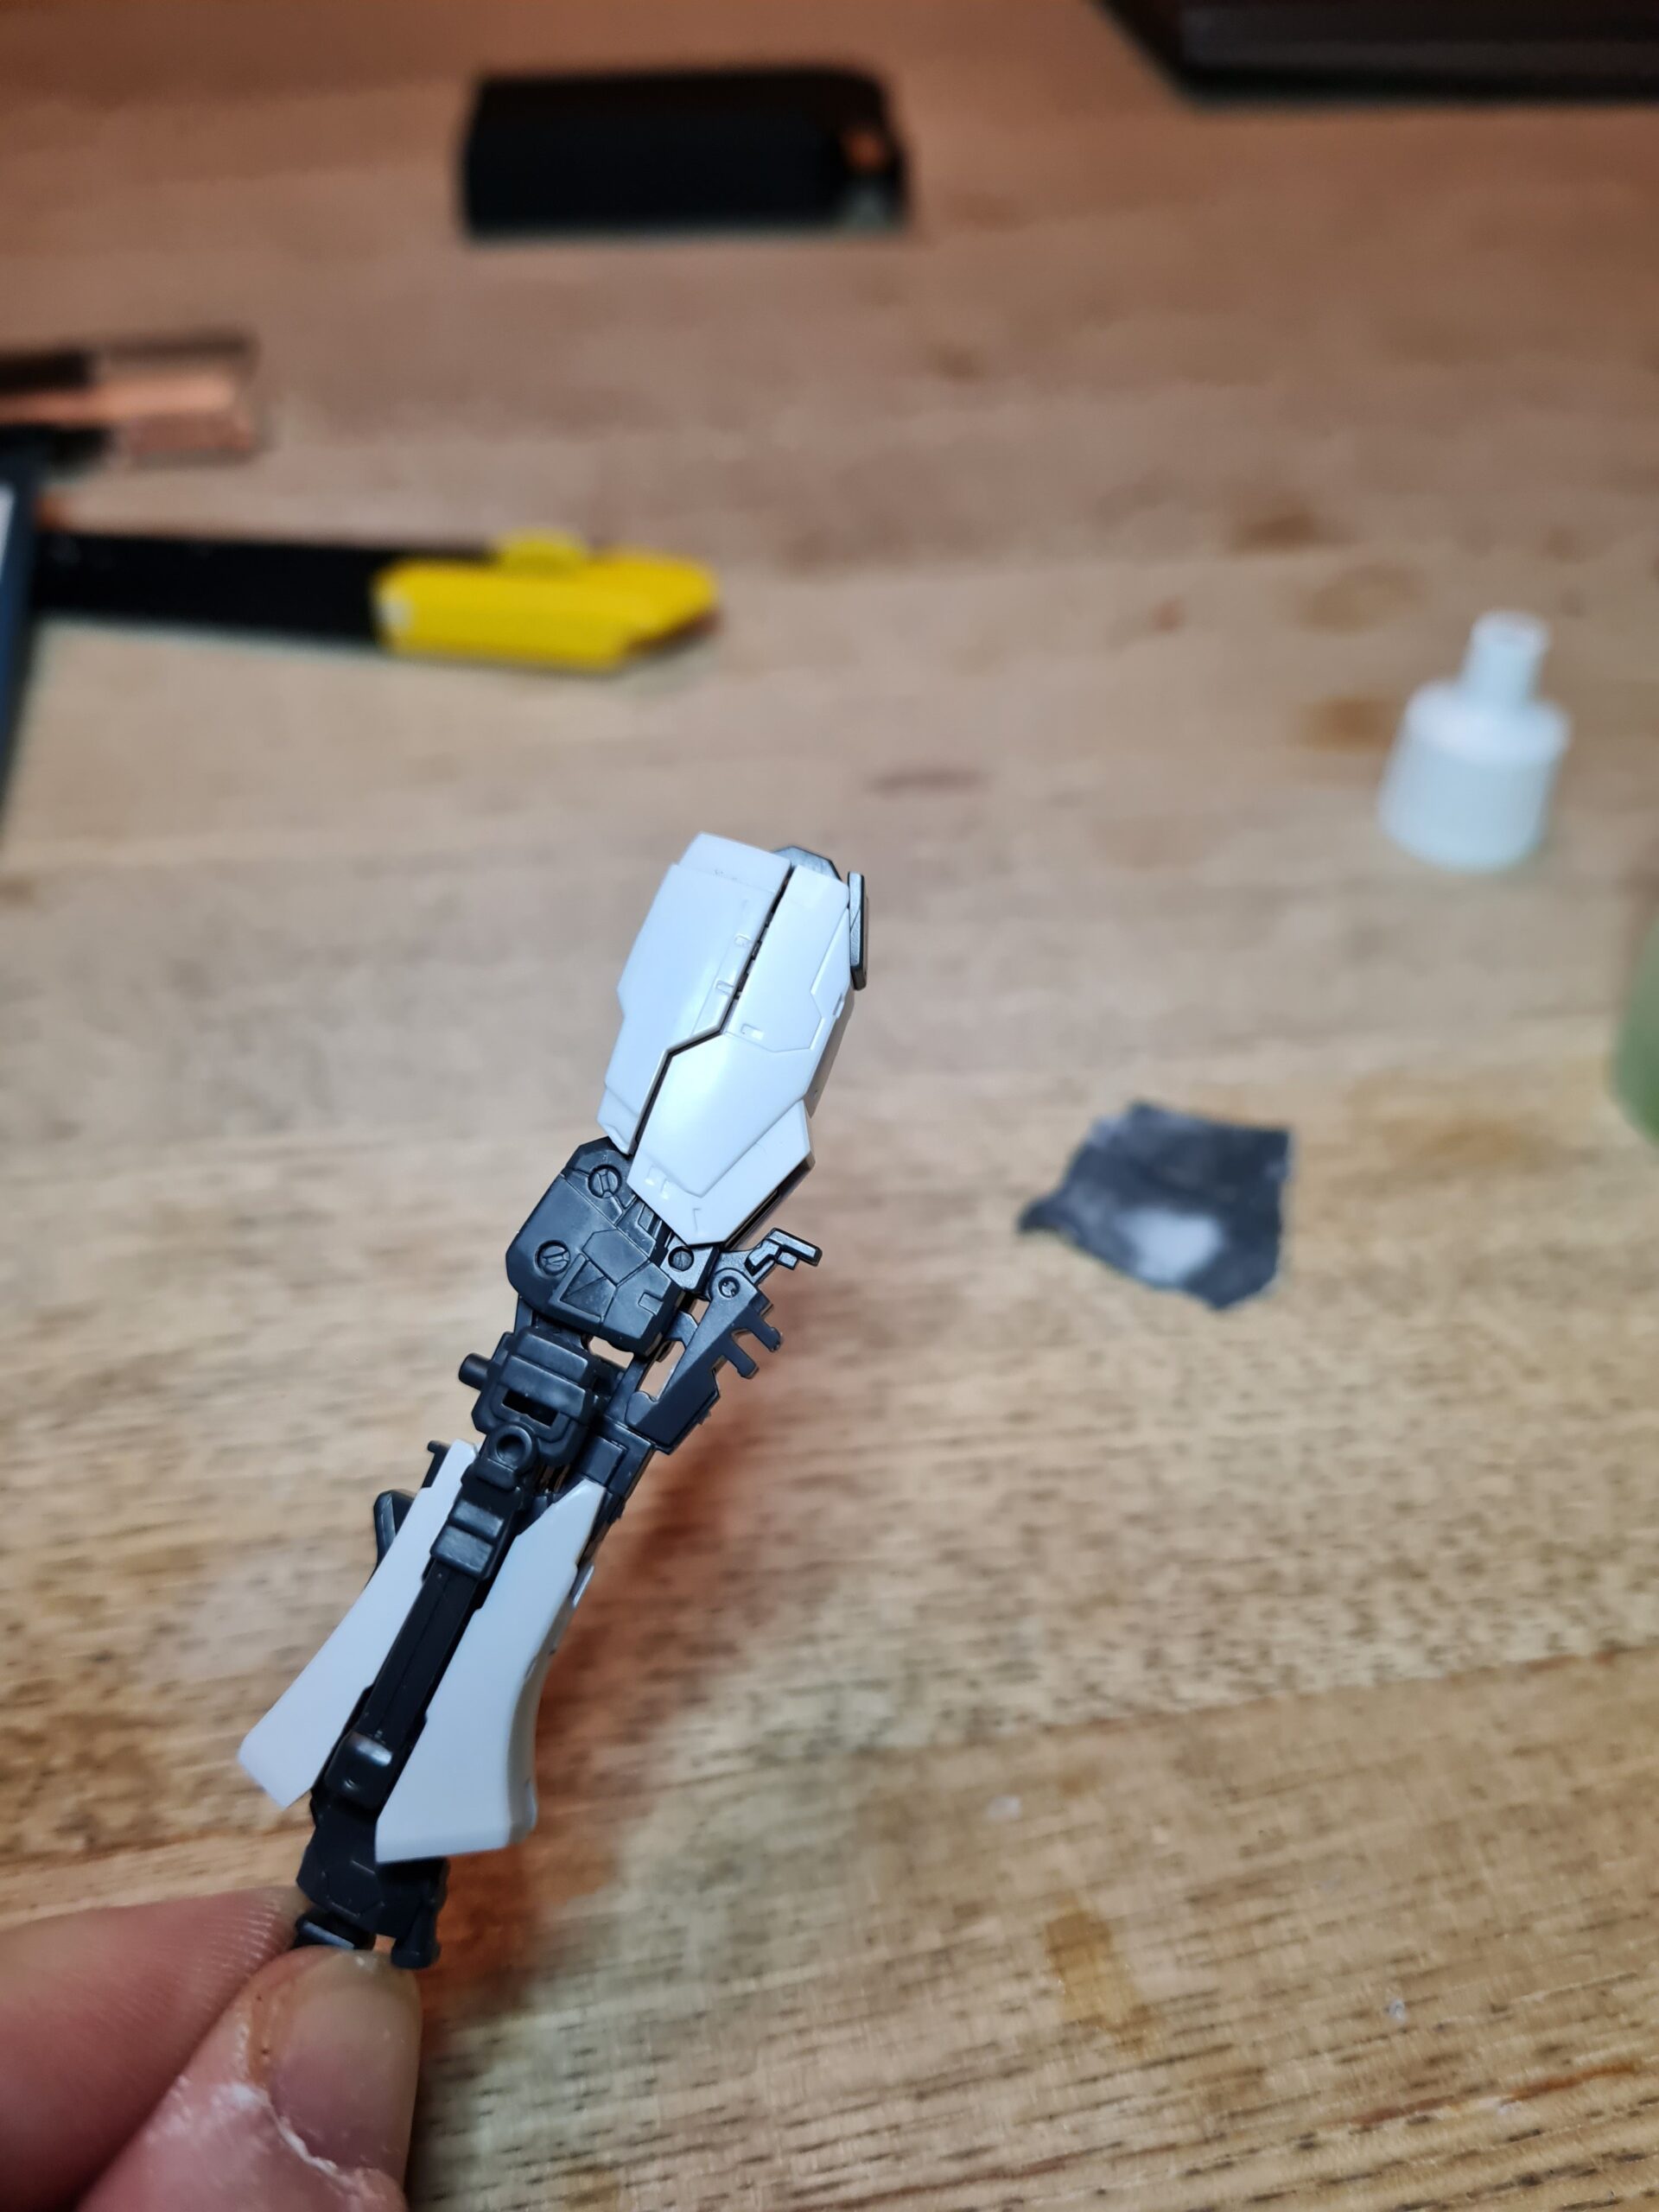
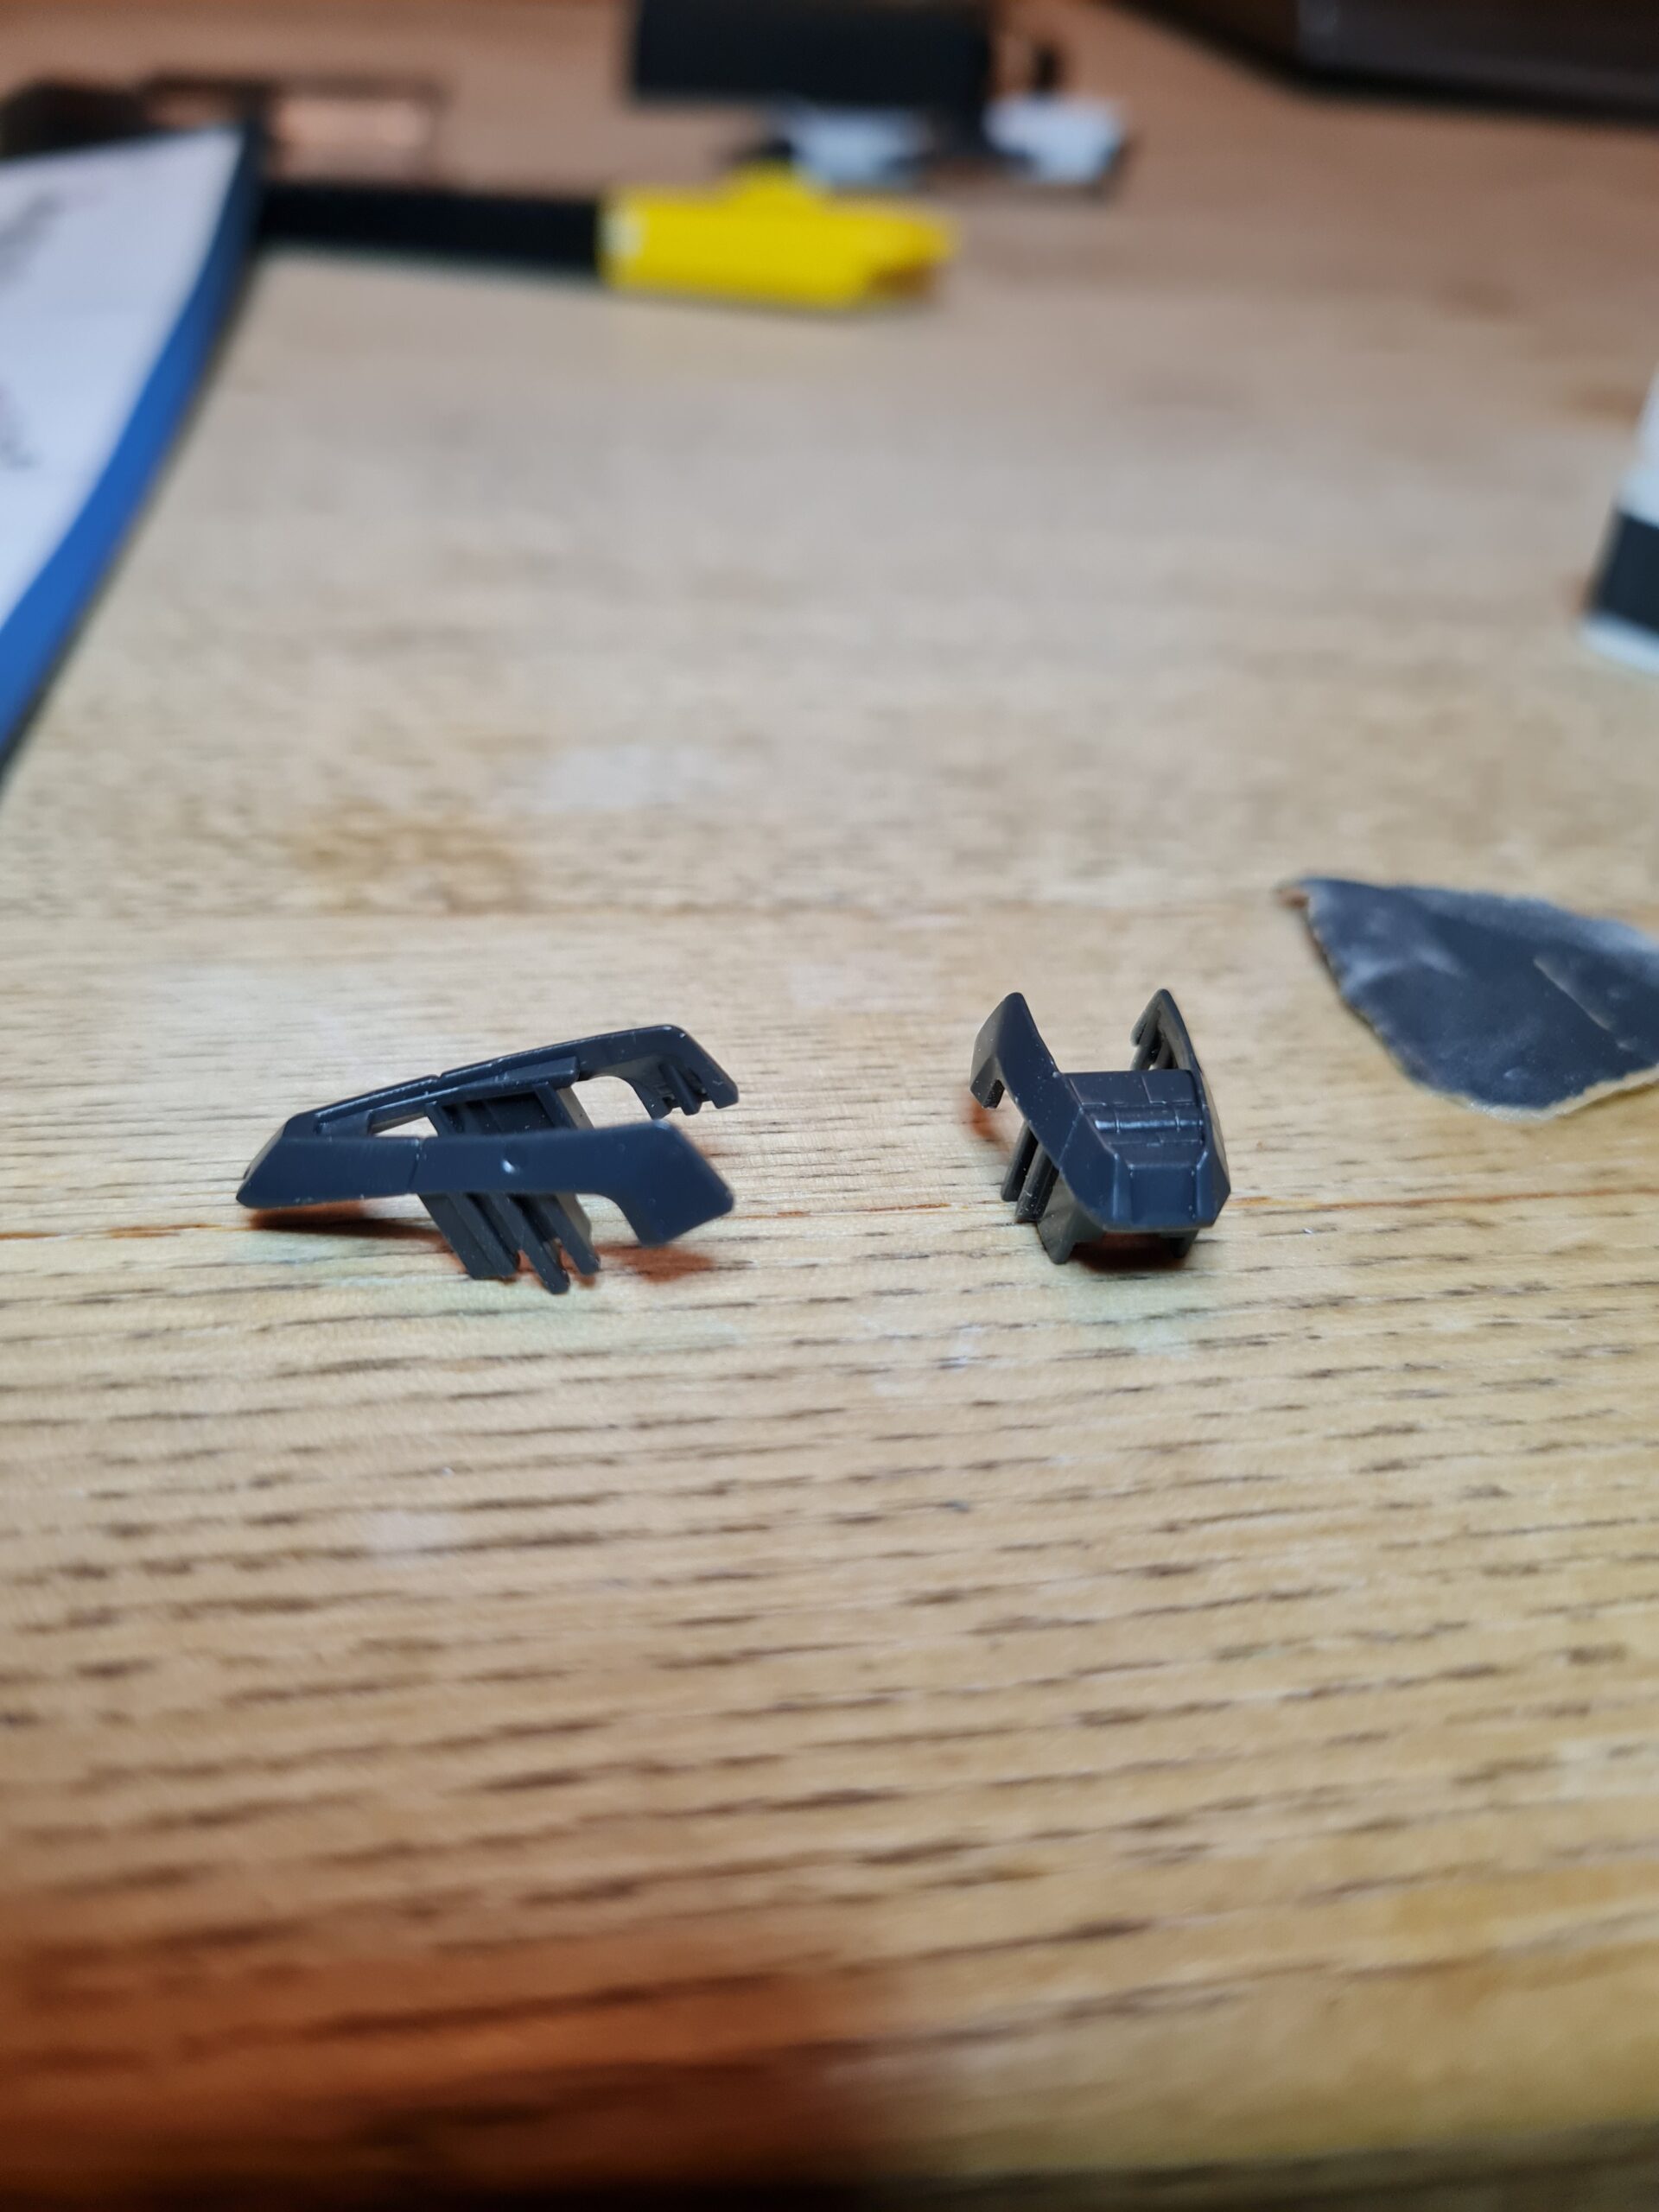
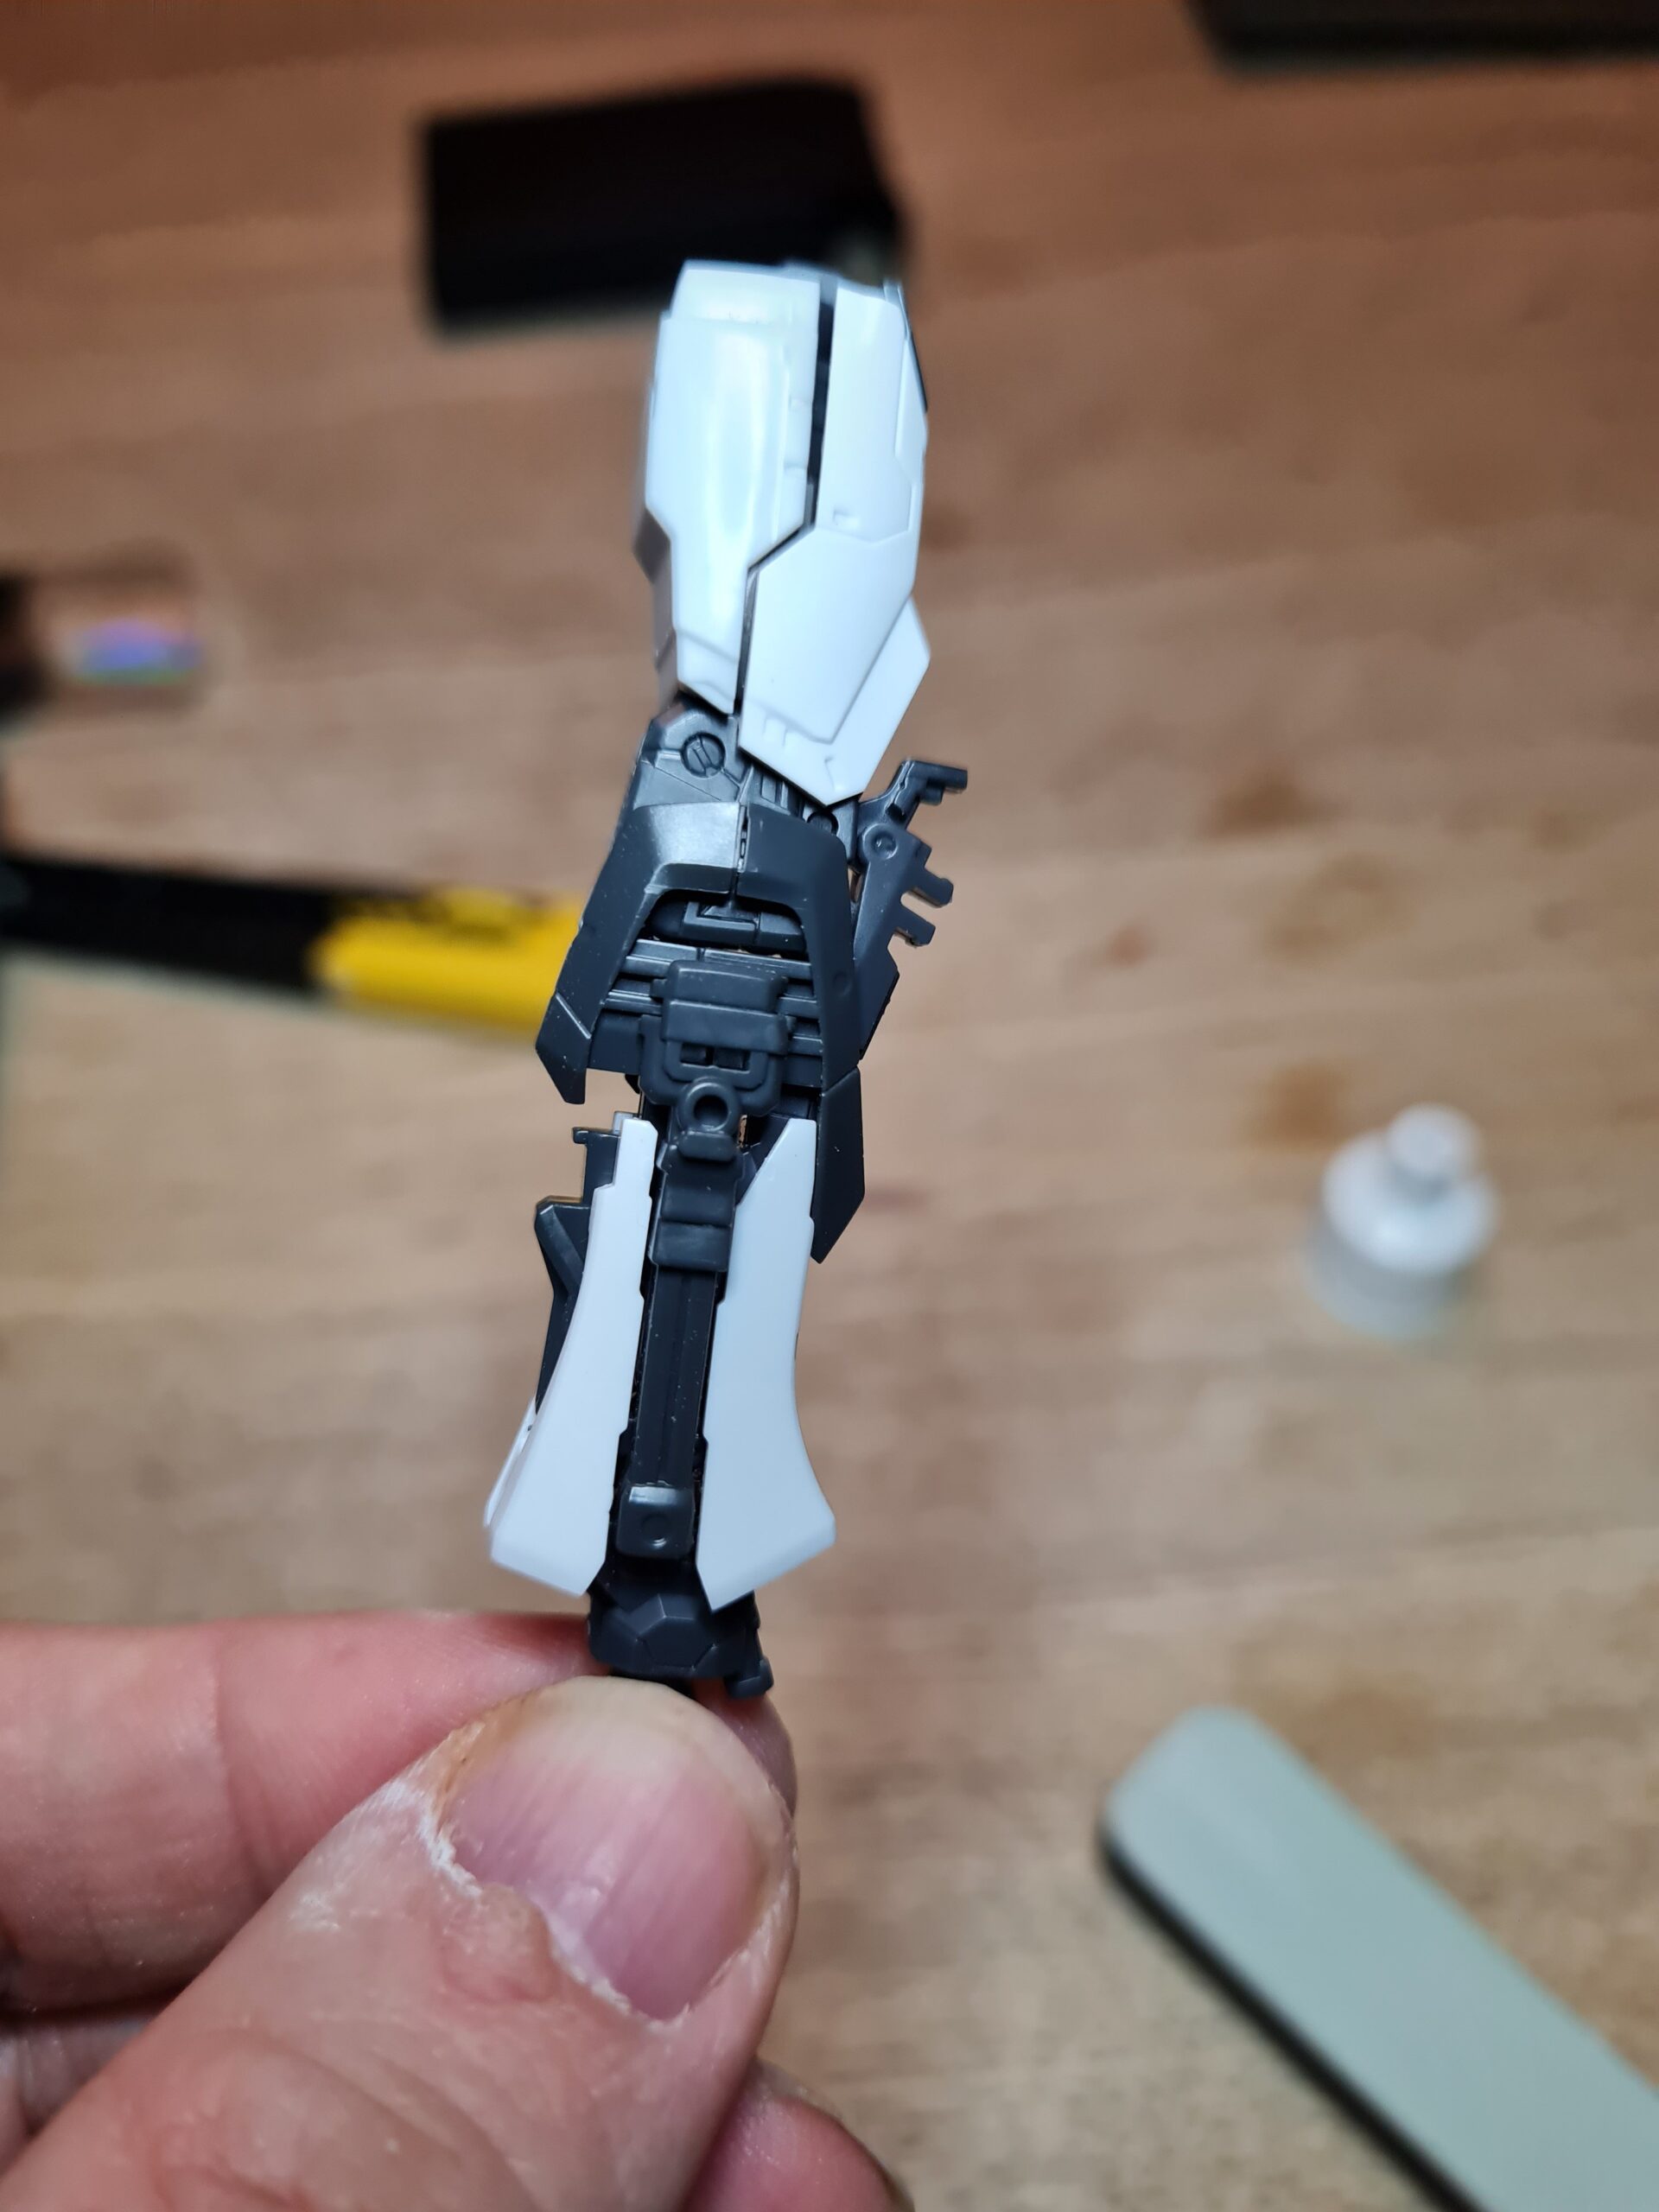
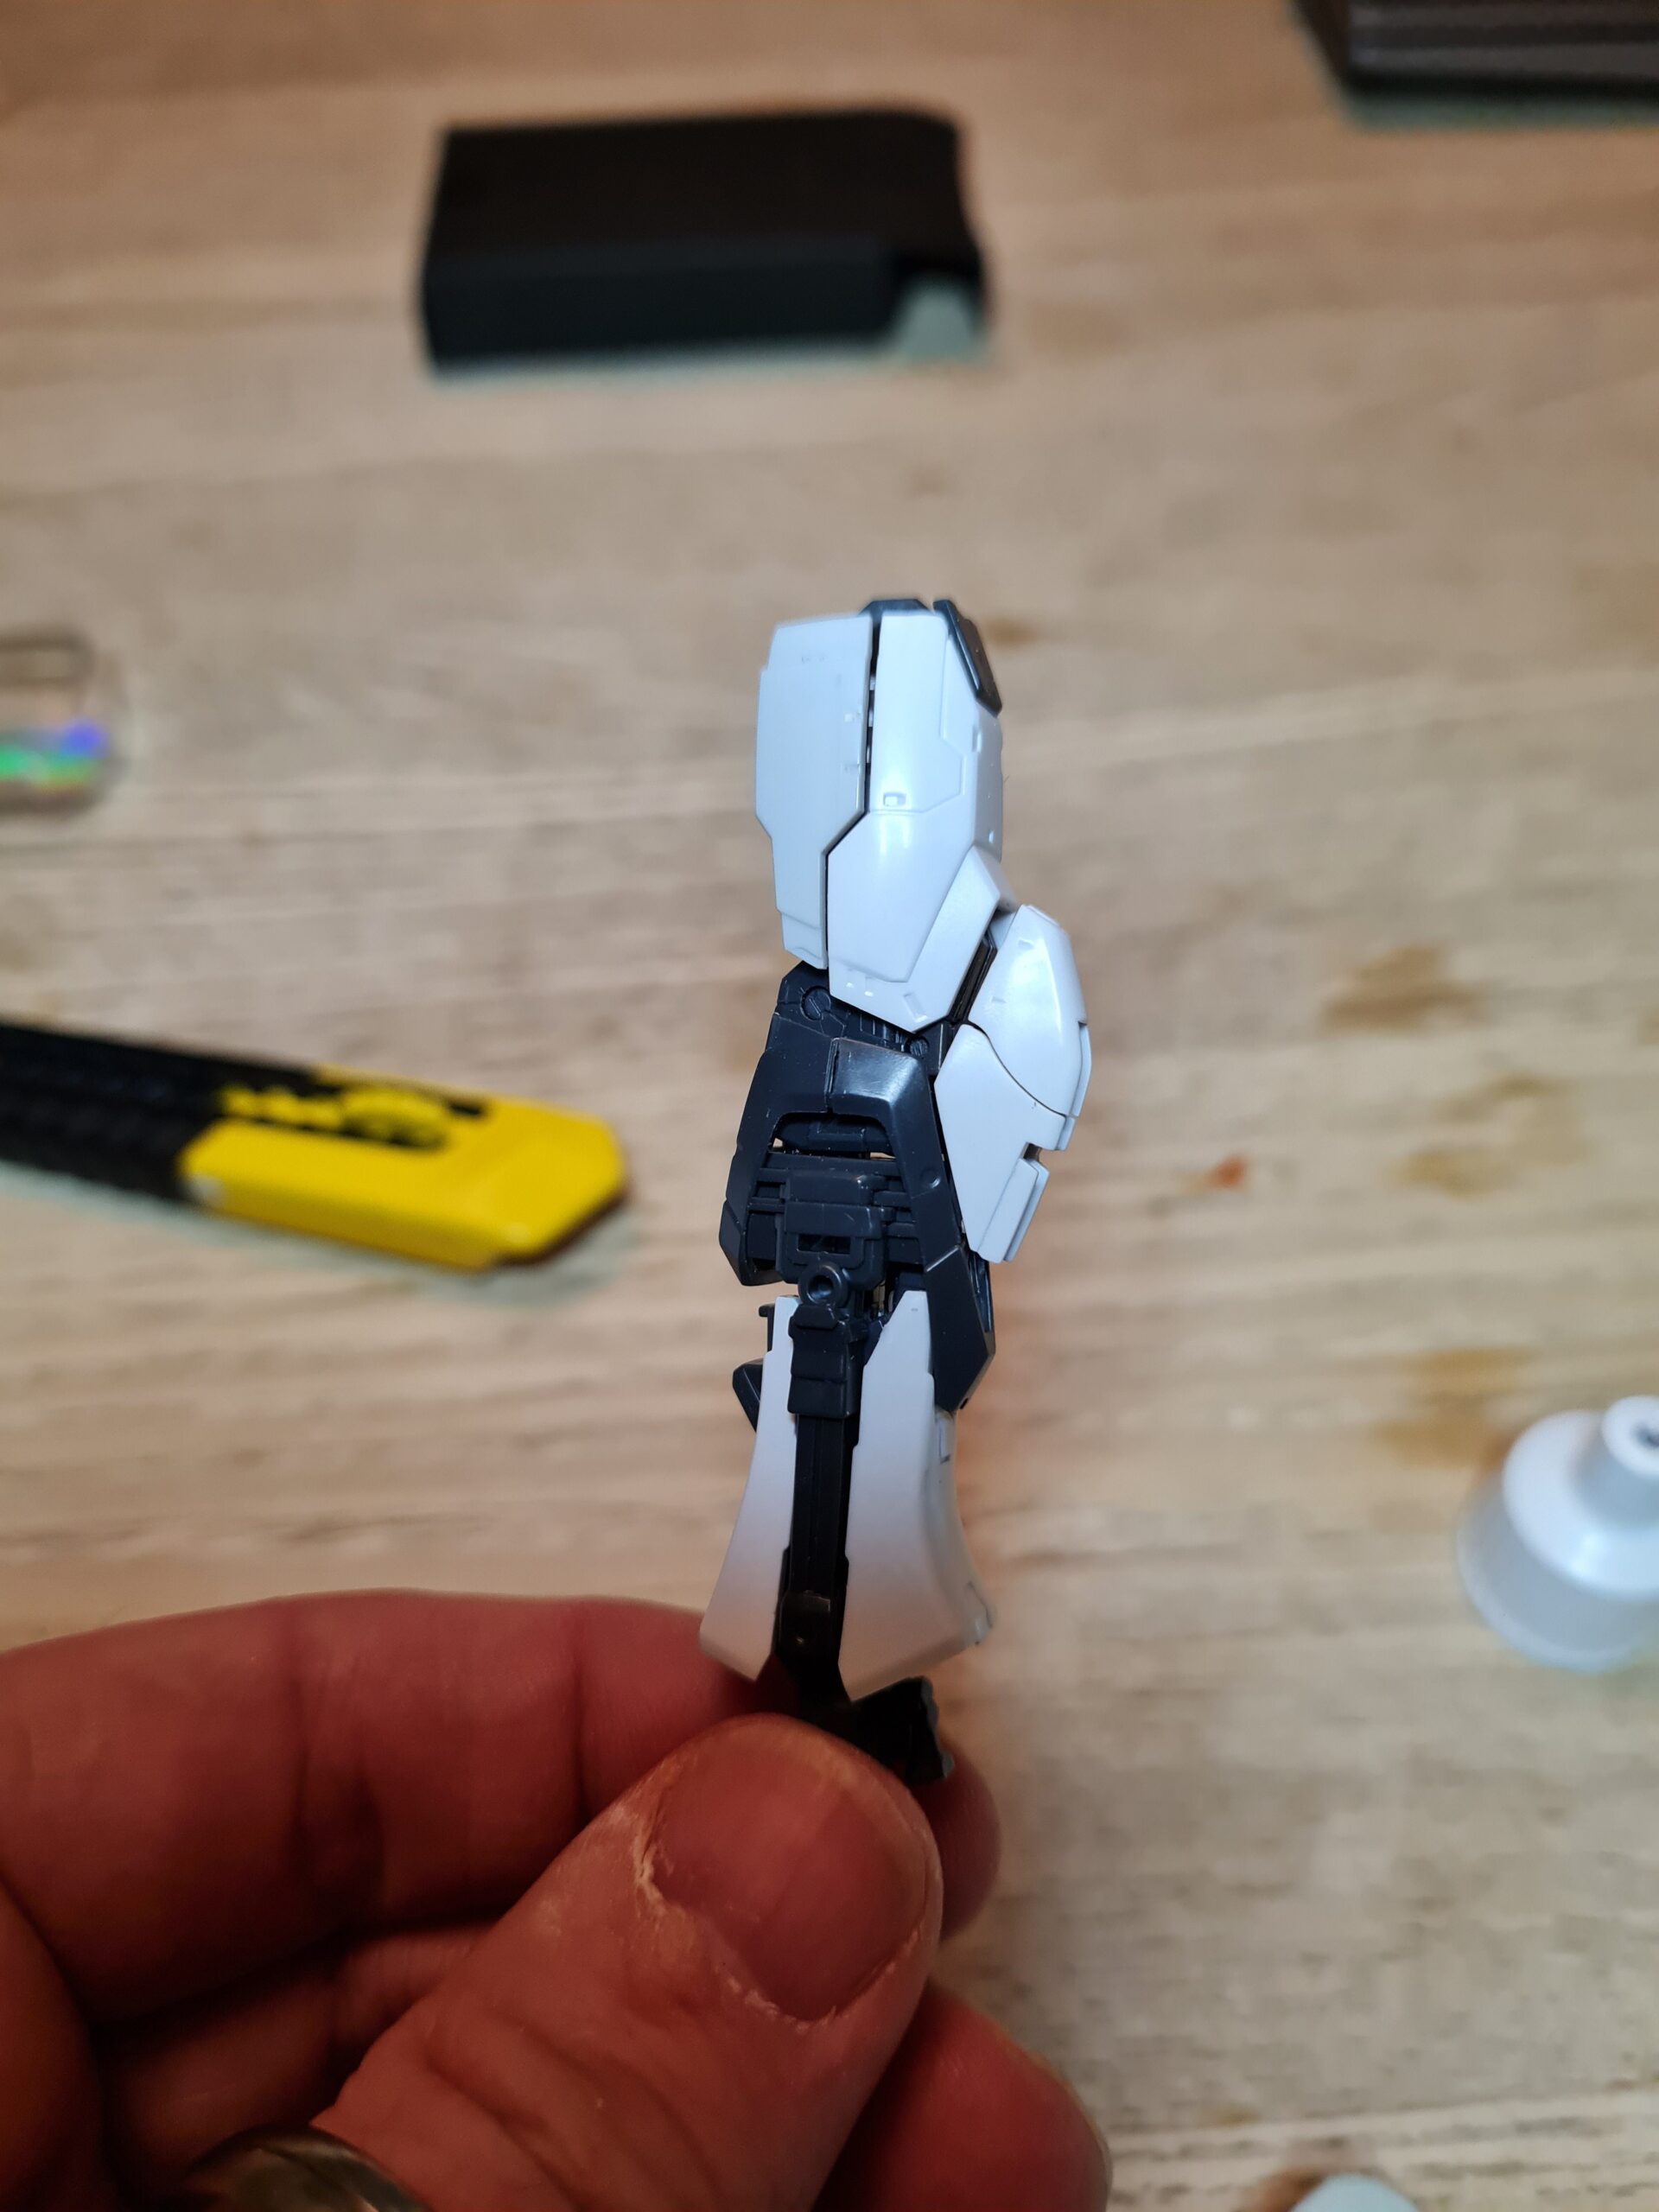
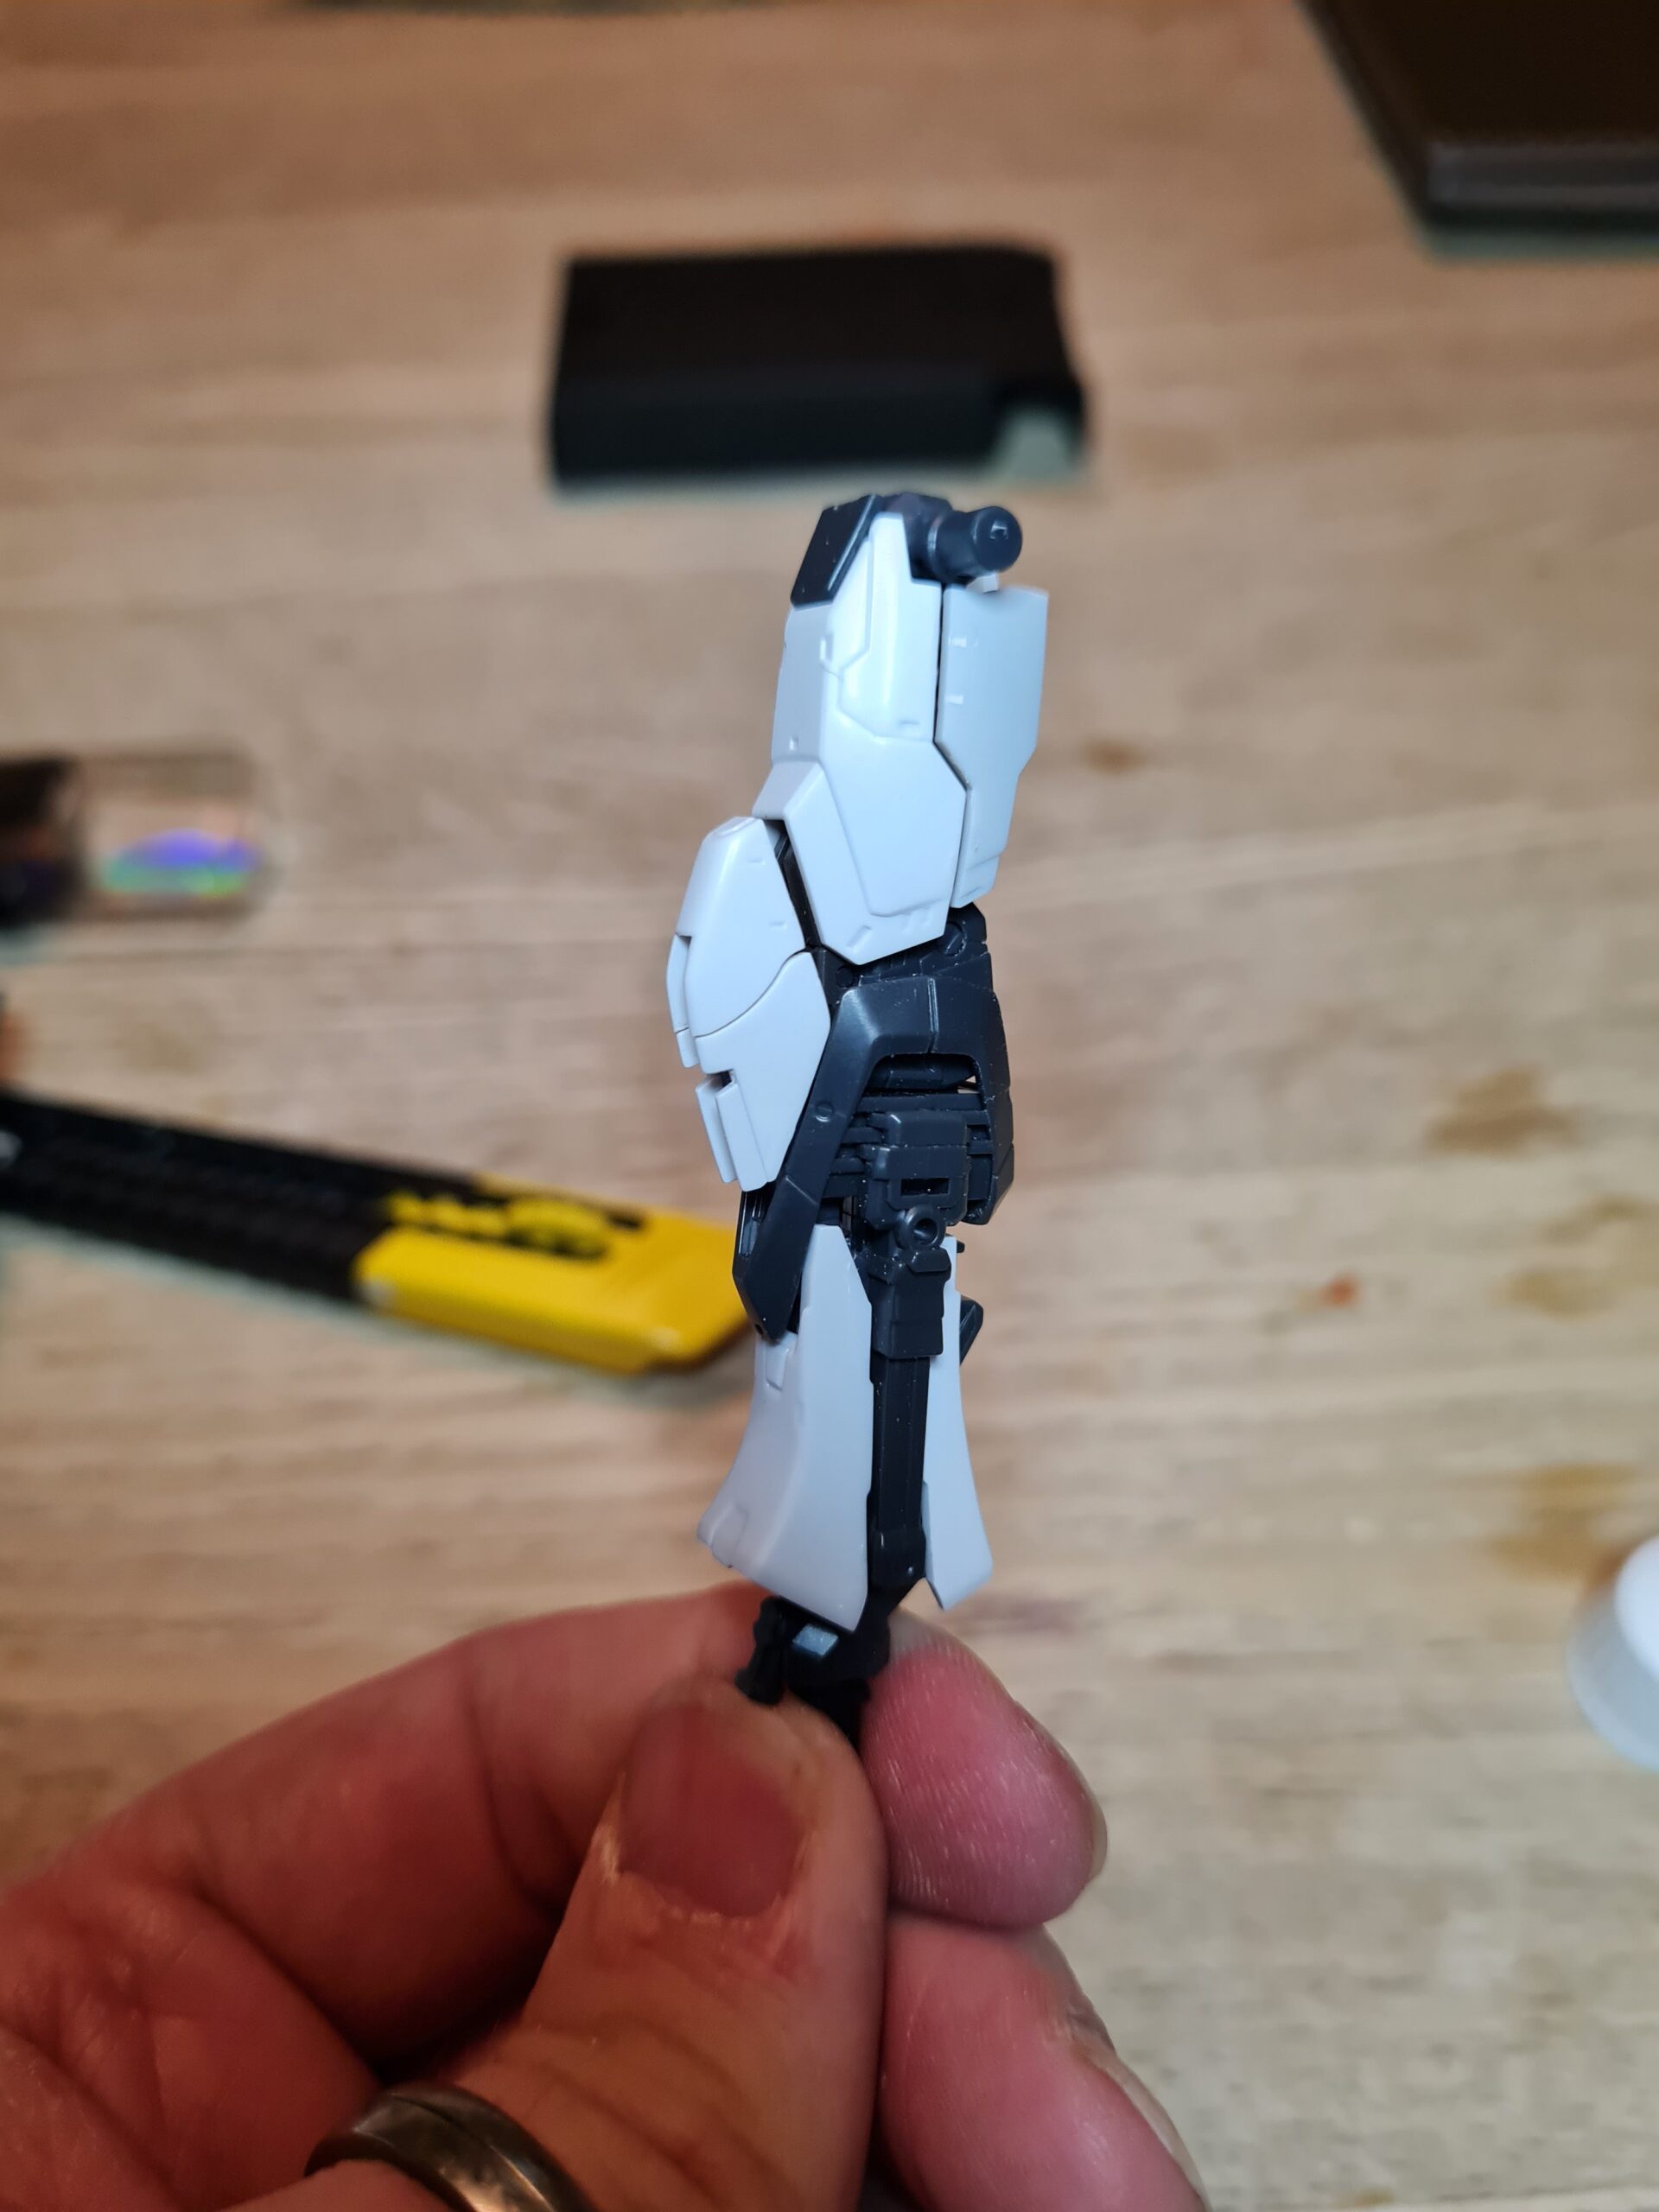
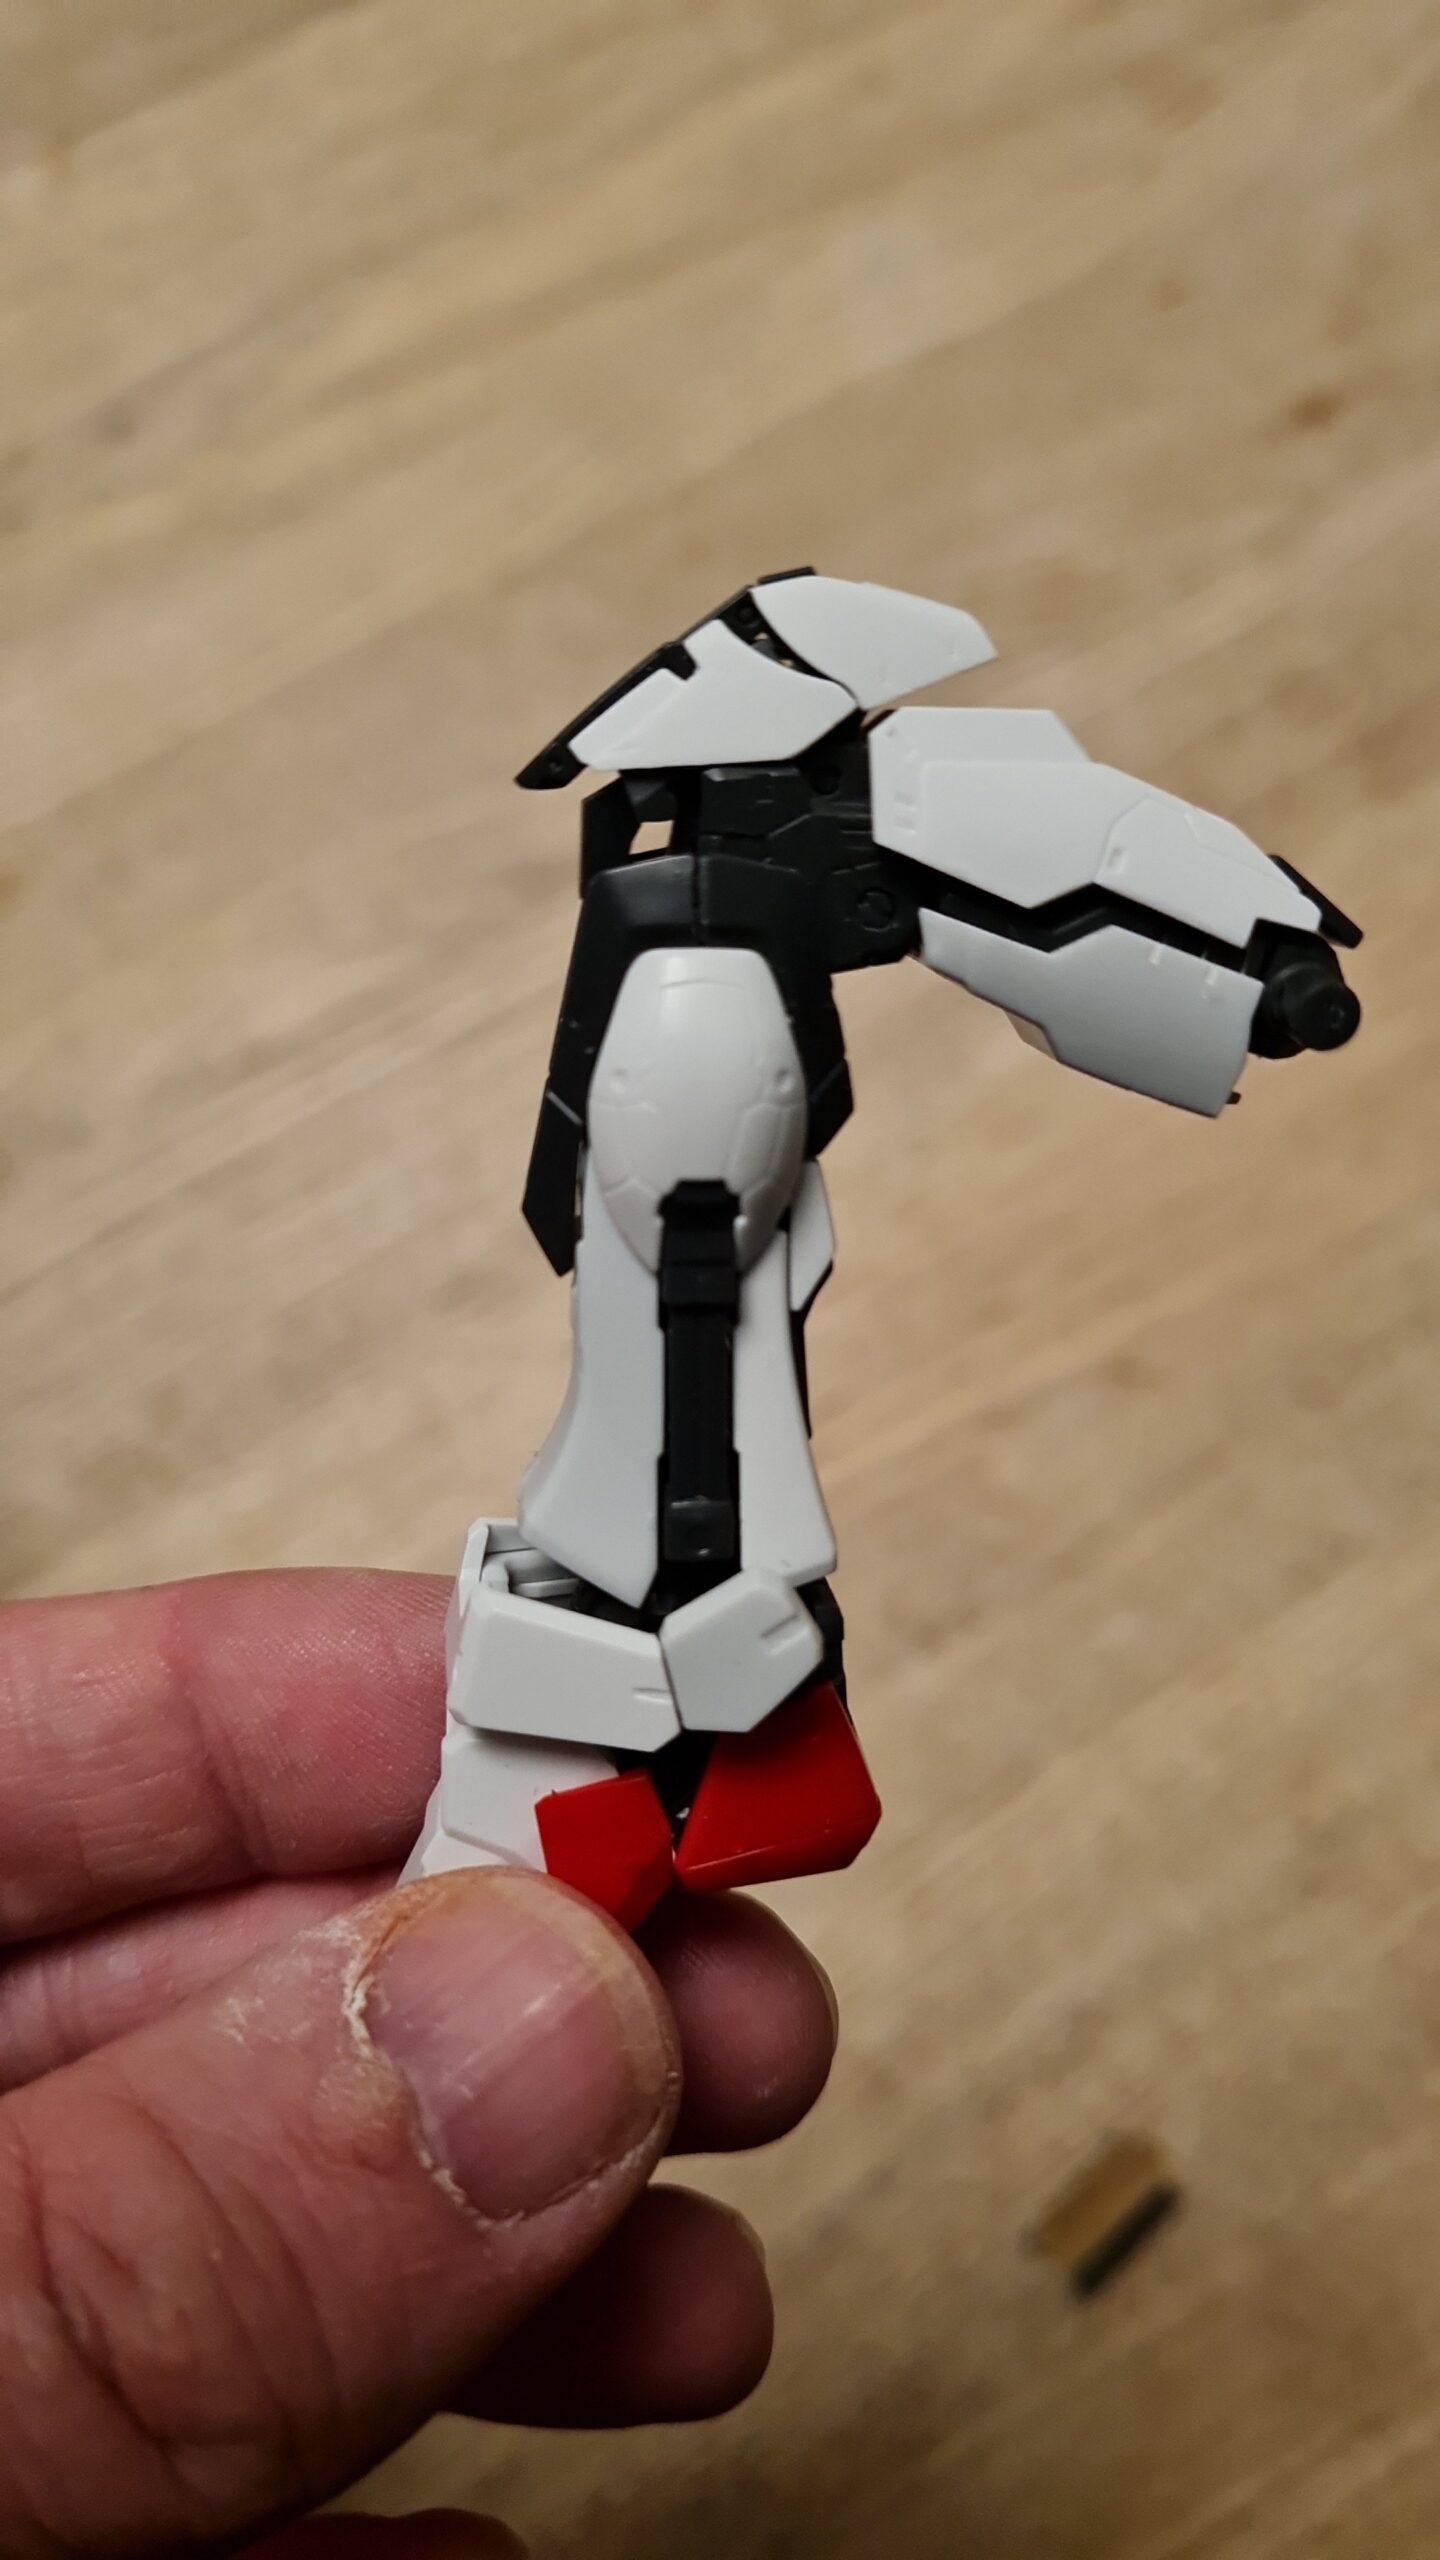
Fourth Parts
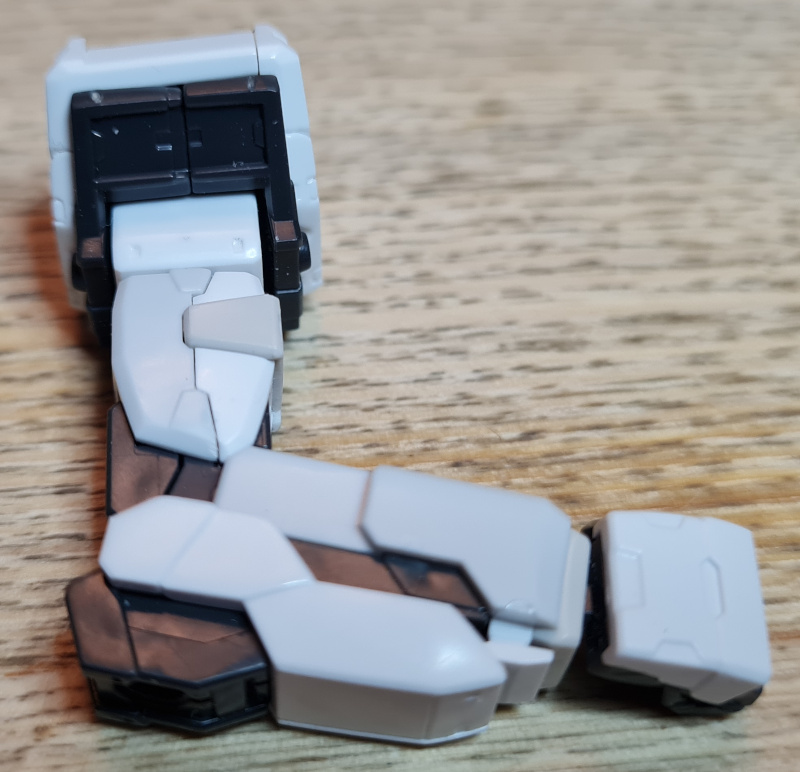
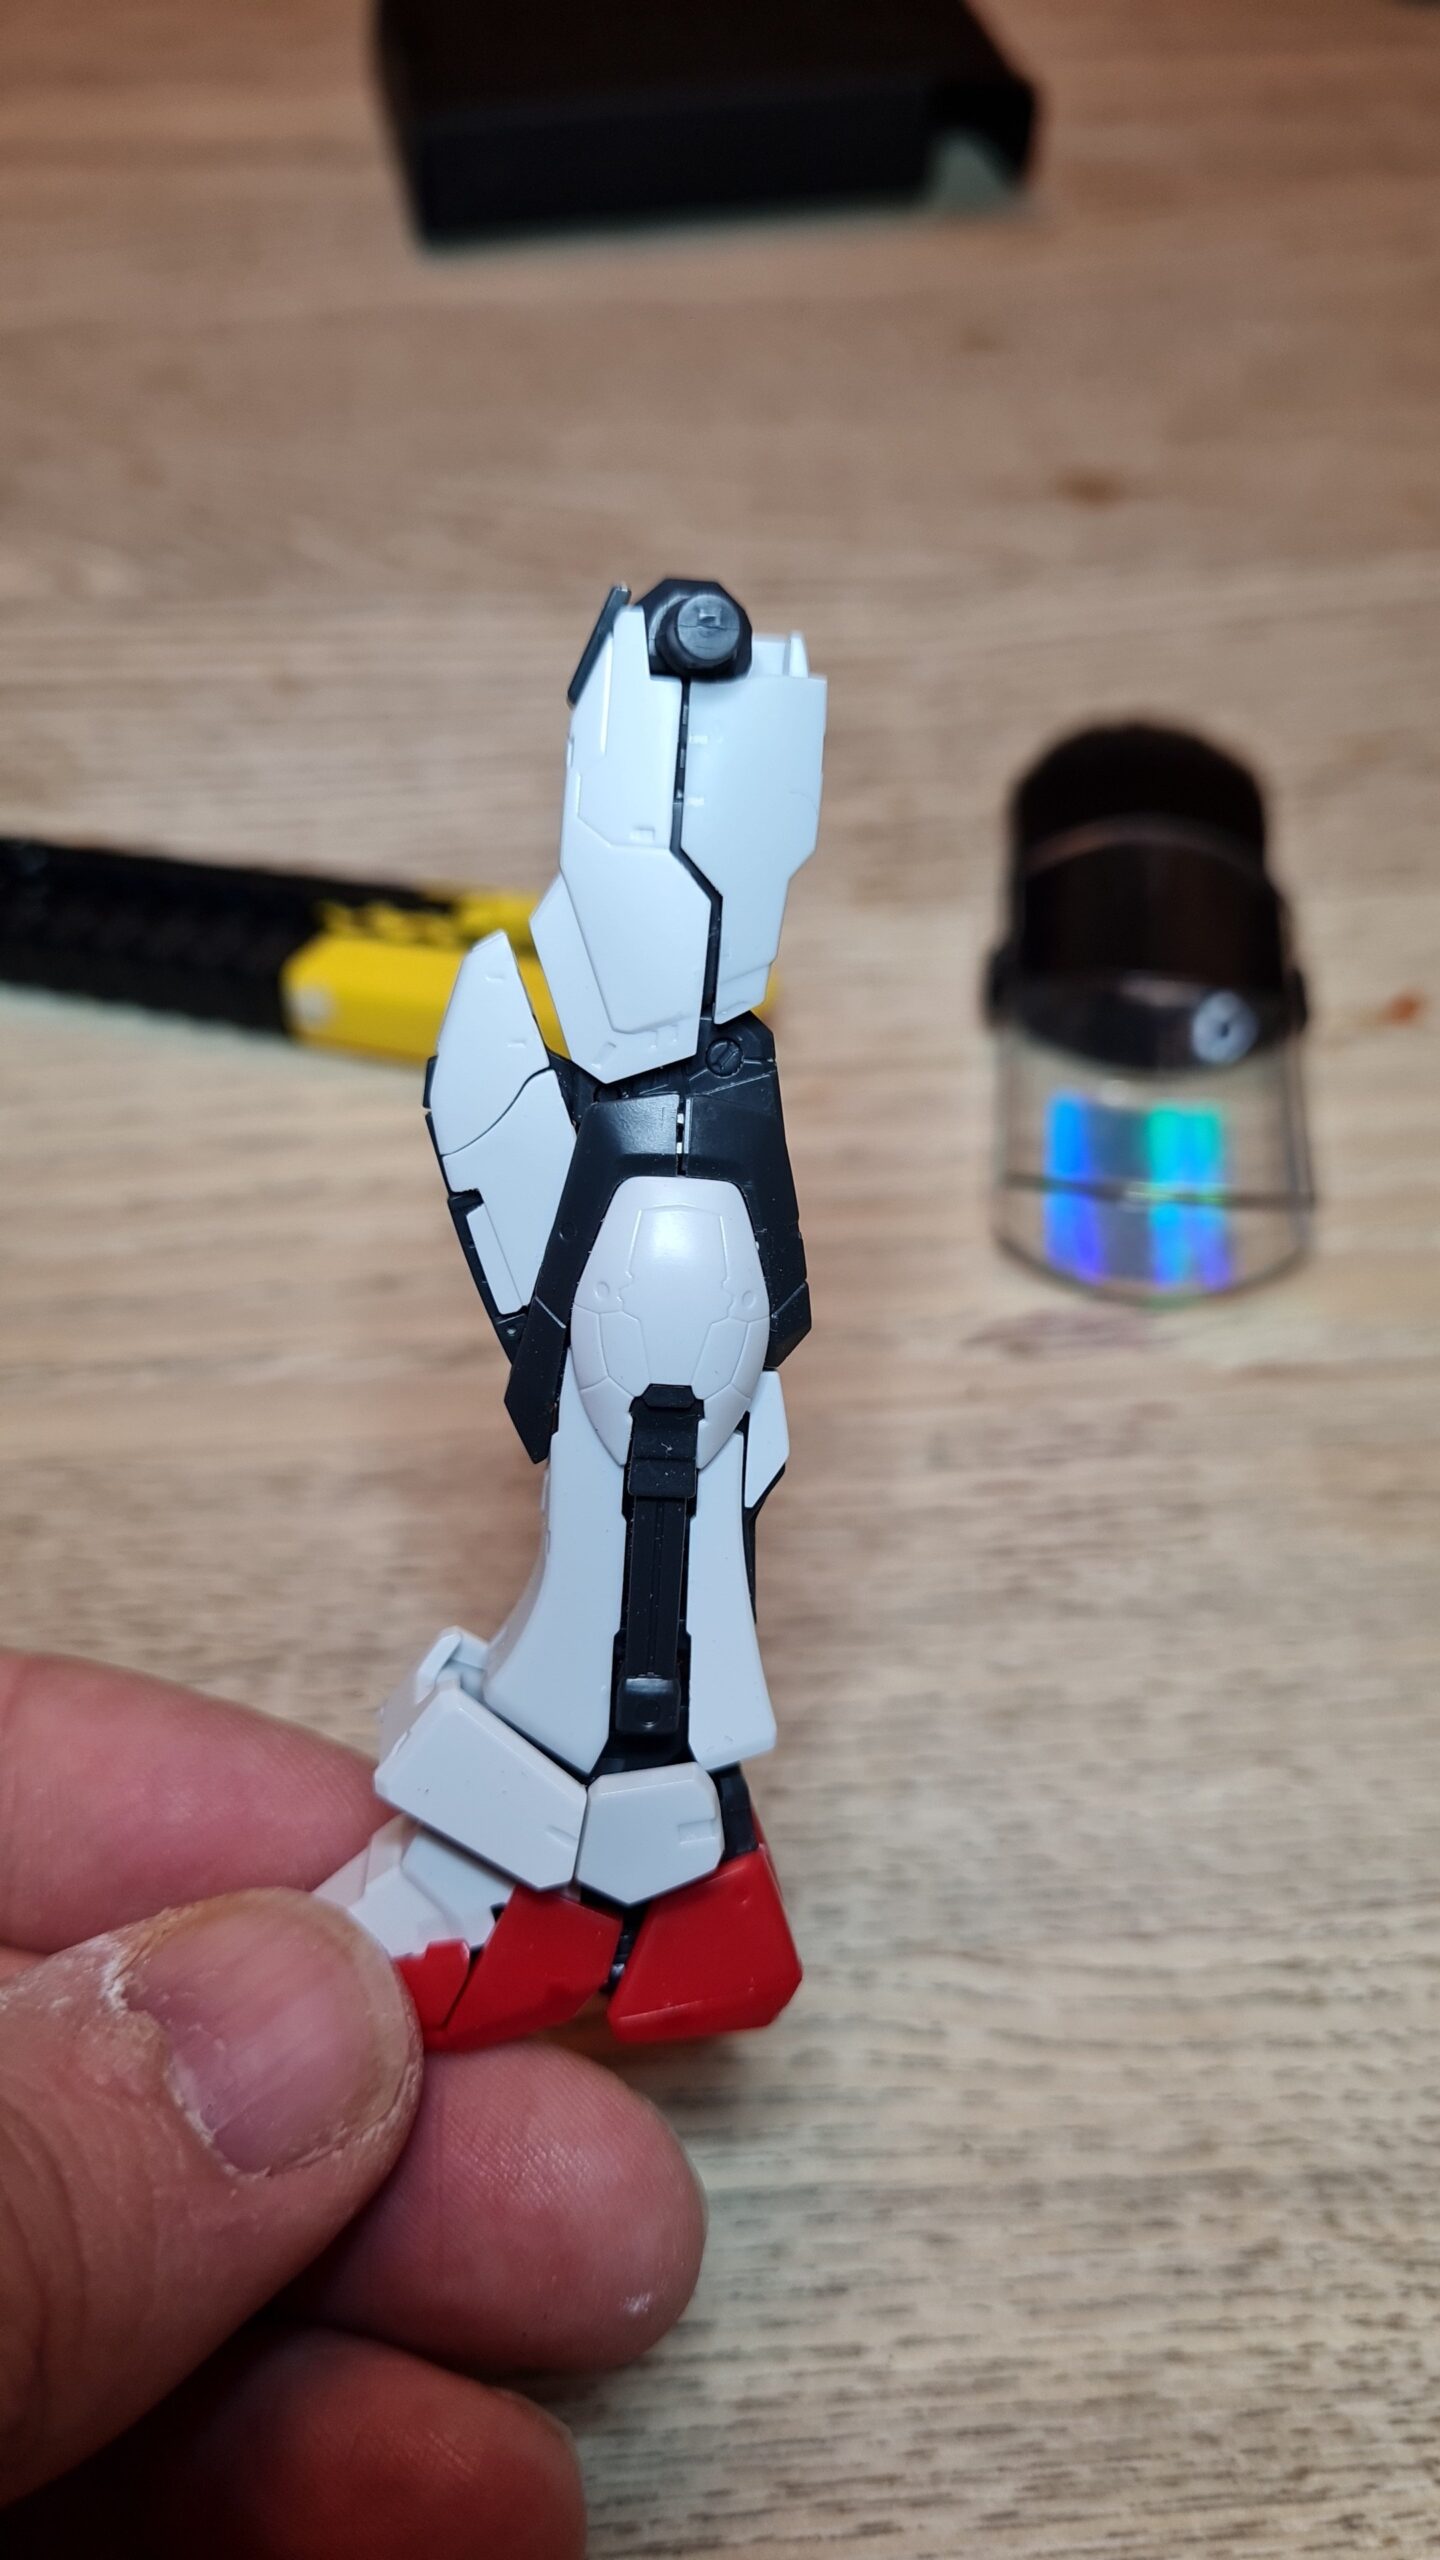
Nubbed PartsClean PartsFitted PartsReverse Side
Ok so this was the last bit I got to work on. The upper arm armour. Again, this shows the detail, the layering of parts to add more detail, and the beautiful way the parts clean up. I know I have said it before but, I am very happy with the way this has been cleaning up so far!
Conclusion
I am really enjoying the build, and the pace. The parts are cleaning up beautifully and the parts are all cleaning up so nicely. That concludes “RG Aile Strike Build Day 7”.
If you wanted to pick up an RG Aile Strike to do the build yourself at the time of writing I have a few in stock available here. I also currently have both the Gray and White Balancers in stock (GrayWhite).
Thank you for taking the time to read this. If you haven’t already done so please like and follow us on our social media platforms and checkout our website!
Welcome to “RG Aile Strike Build Day 6” where I am building up an RG Aile strike model. If you haven’t read any of the other parts I would recommend going back to the start. You can find that here. In the first post I covered the box, runners and provide the manual.
If you want to skip that and just get up to speed. I had in previous posts gone on about how nice I think the RG Aile strike model is. I had gone on so much I decided I should put my money where my mouth was and build one myself. This ongoing series is that process. I am not rushing, as can be seen in the earlier parts, and if I am not happy I will go back, disassemble and re-clean and re-build anything I am not happy with.
With that all out of the way lets get to it!
The process
Unless otherwise noted I followed this process for each piece:
Cut off roughly leaving plenty of nub
Trim back the nub with my better nippers
Apply water to my wet and dry sandpaper and sand the nub marks down
Dry the piece
Brush it off with the tooth brush to remove any bits
Re-apply the matt finish using the Gray Balancer
Prep the part with the green side of the White Balancer
Shine the part up with the white side of the White Balancer
If after this I wasn’t happy I would repeat the sanding steps down, and keep iterating until I was happy with the finish.
First Parts
Waist and thingyWaist and detached thingy
So the first part off the runners is the main body of the waist. It has this piece attached / in it in the runner. The manual has an arrow showing to pull that piece out. I’ll be honest that was the hardest part of the build so far. With how detailed the pieces are I was worried about breaking it. In the end I decided to spin and twist. The turning of the part helped free it up and eventually it came out. However, I could see it causing a problem for some younger builders. However, on the whole it wasn’t “bad”.
Second Parts
Nubbed ArmourClean ArmourAttached PiecesClean Side View
Next up was the start of building up the armour on the waist. Now these pieces were nice and therapeutic. I used the process above, and am extremely happy with how the armour is coming out on this model.
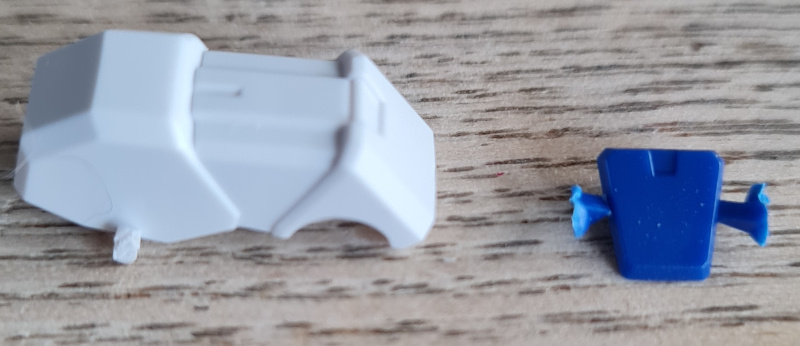
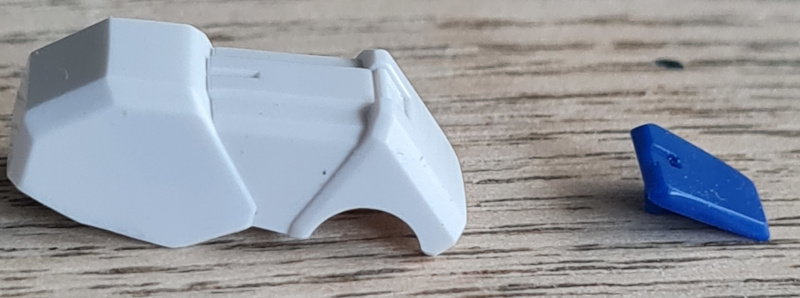
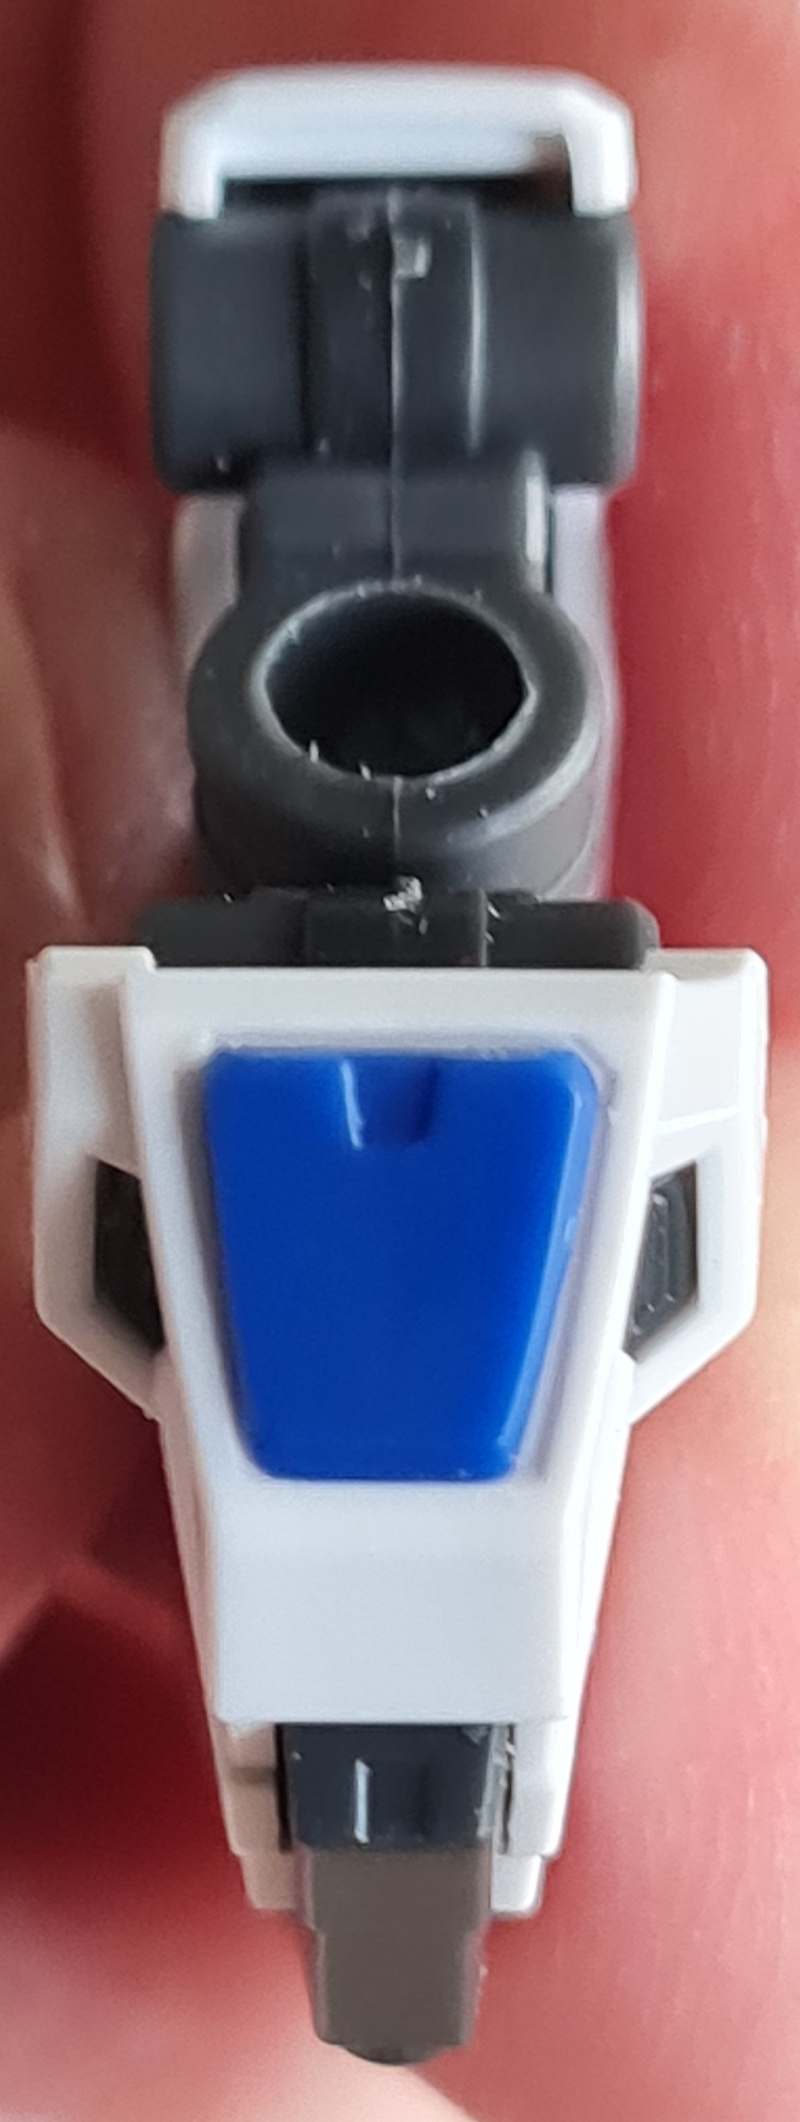
Third Parts
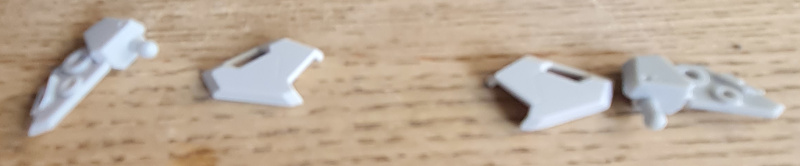
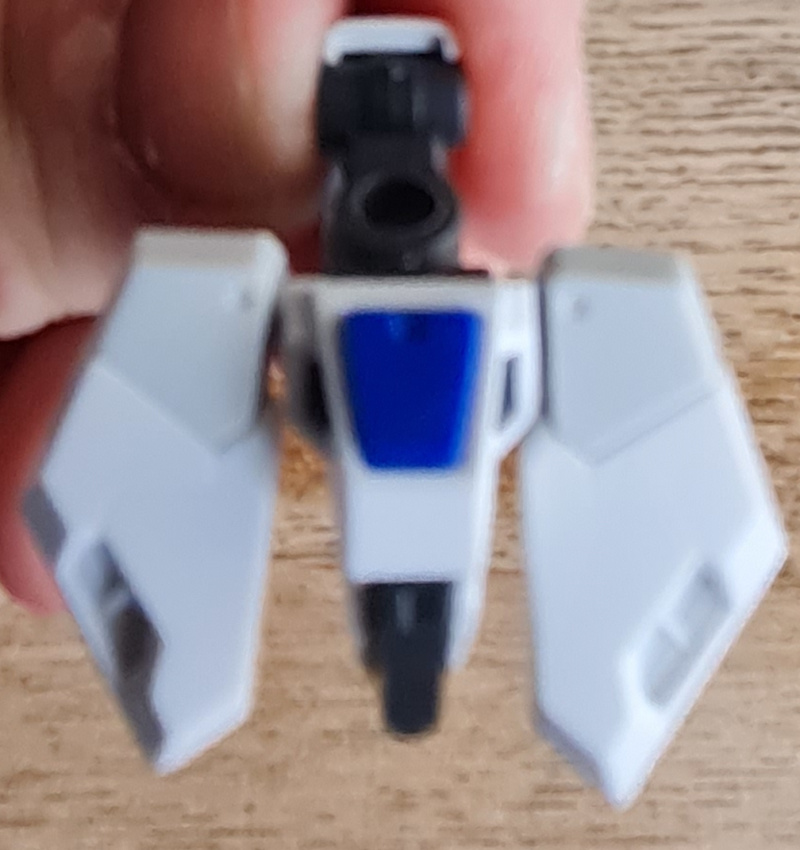
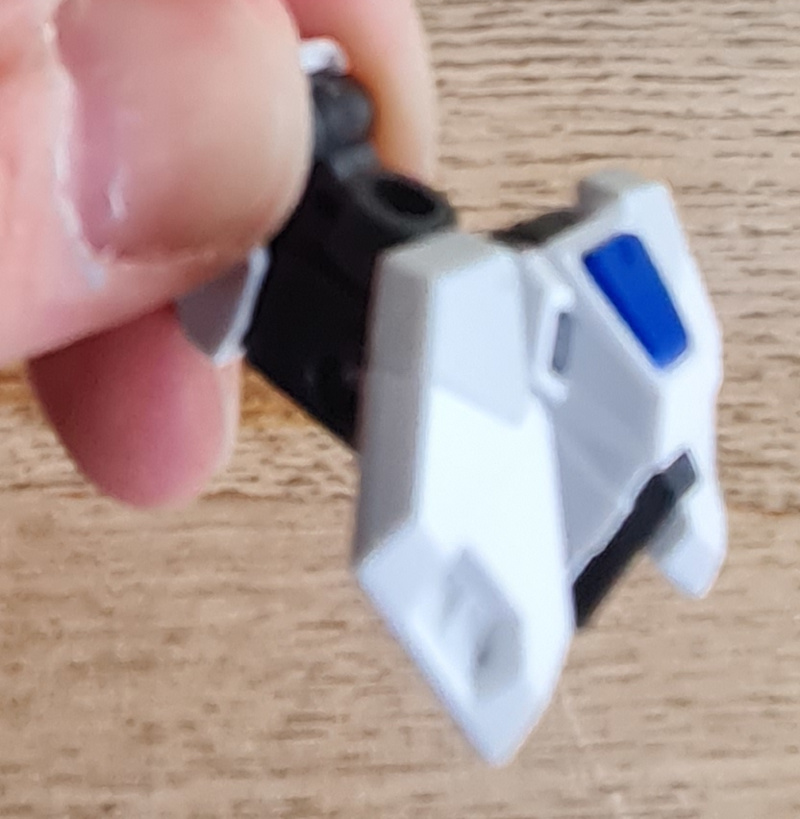
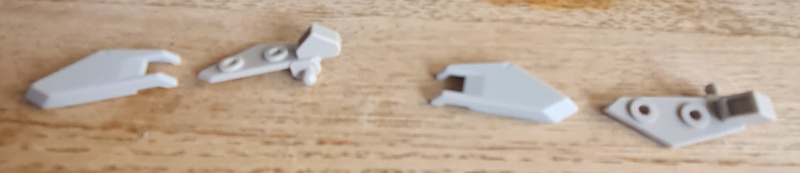
Nubbed ArmourClean ArmourBlue bit in placeClean Side ViewClean Closeup
Again, the armour is building up nicely. Even the small blue piece cleaned up perfectly. The grey piece looks a lot cleaner after a brush btw (sorry about that). However the nubs are a thing of the past and the piece looks really clean. None of the parts have had any issues going together and feel really nice.
Fourth Parts
Nubbed PartsClean PartsFront Armour In placeSide view Front ArmourNubbed PartsClean PartsRear ArmourSide View Rear
I found these parts really satisfying to put together. There aren’t too many of them, and the slight colour differences on some of them add a nice level of contrast. They click together nicely and come together really cleanly.
The final leg
Front waist and legsSide waist and legsFront Knee LegsSide view of the knee
Putting all these things together you can see you have a really striking lower part of the model. All of the pieces so far have been really enjoyable to clean up and put together. There is a center grey piece that goes on top of the main waist part. I admit that is my least favourite part so far. It doesn’t want to clean up properly and just feels very meh. That part has some twisty around pre cast joints that click on to outer side armour. That goes in really snugly once you get it to click in, but getting it to click in was the “hardest” part of the build so far. However, that all said it wasn’t really hard.
Conclusion
That concludes todays “RG Aile Strike Build Day 6”. Remember if you want the model it is available (at time of writing) here.
Thank you for taking the time to read this. If you haven’t already done so please like and follow us on our social media platforms and checkout our website!
Welcome to “Advert / Stock 19/02/2023”. A post that does what it says on the tin.
I have had a fairly quiet week this week stock wise, leading to the opportunity to sort some other pieces. I have, however, listed some basic stands for sale. They are £2 each. I will be honest, they make more sense to get with a model so the postage is already covered.
I think they are quite flexible and allow you do do all sorts with your 1/144 scale models. You can find them here.
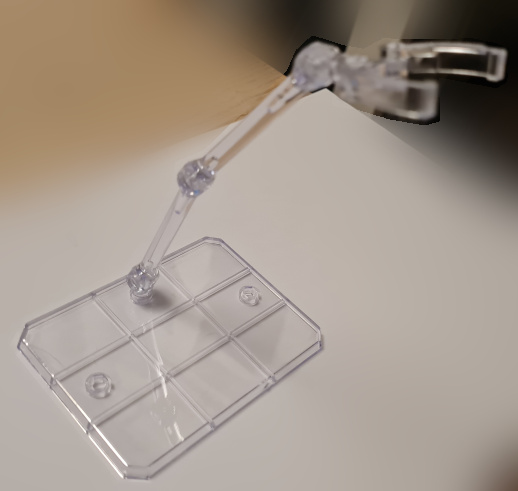
The look like this.
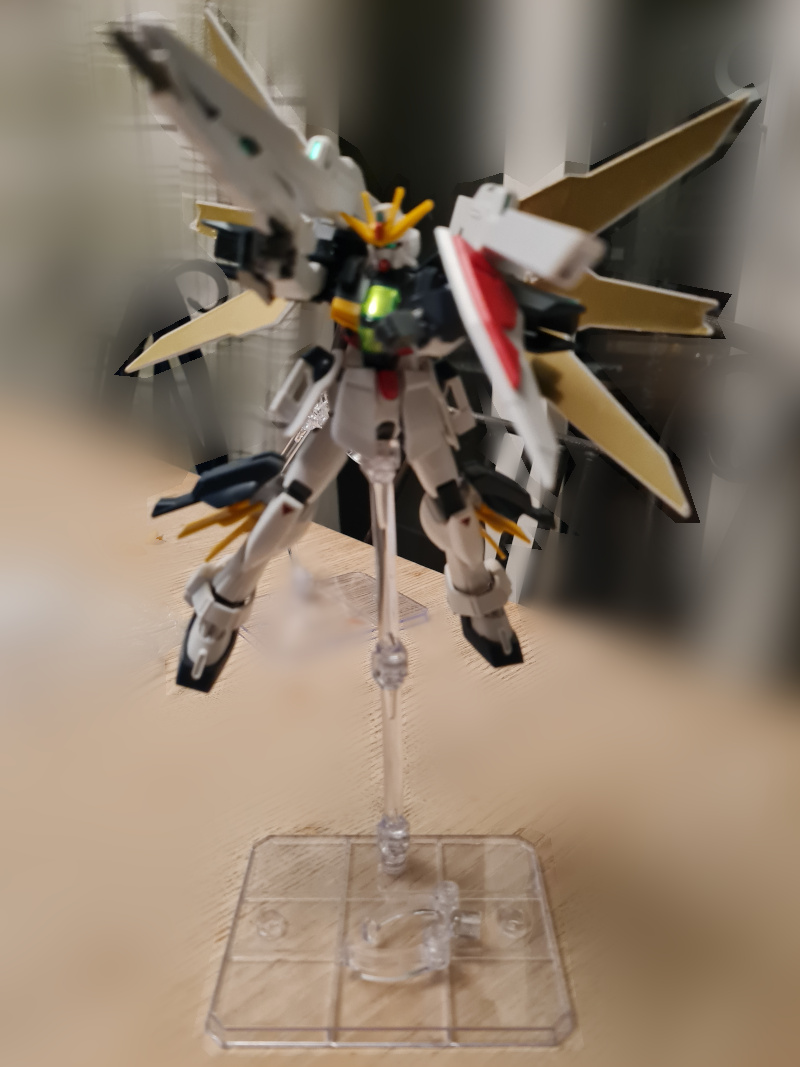
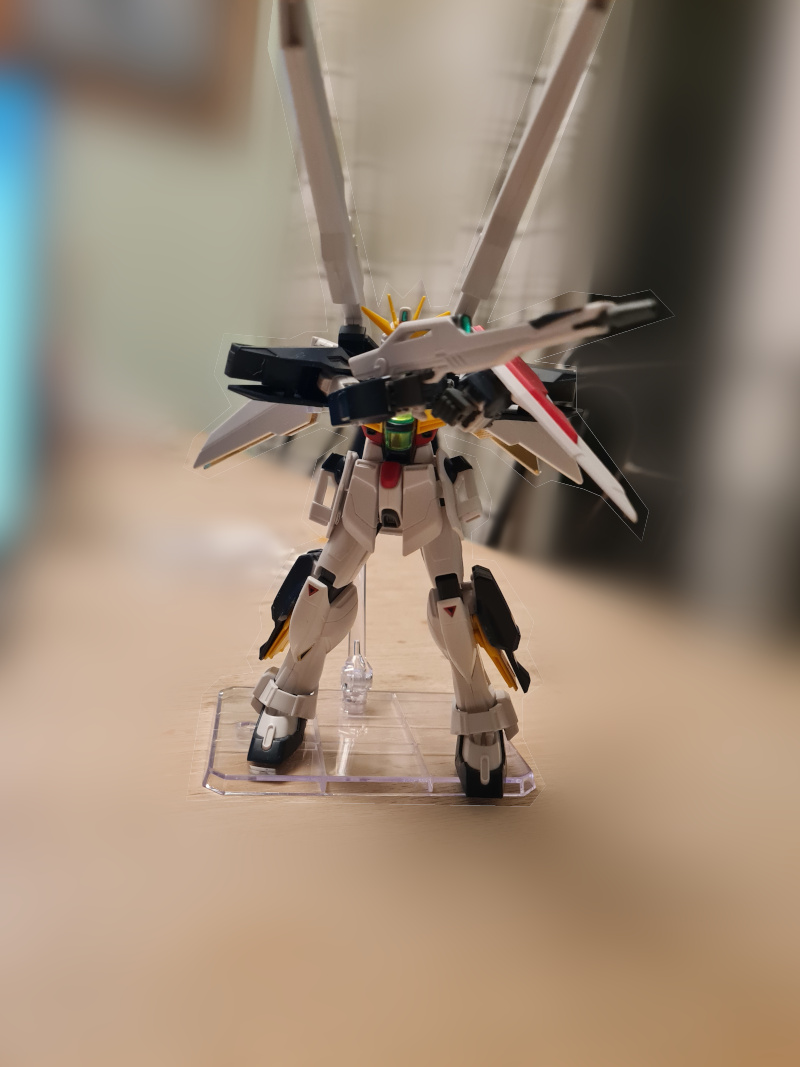
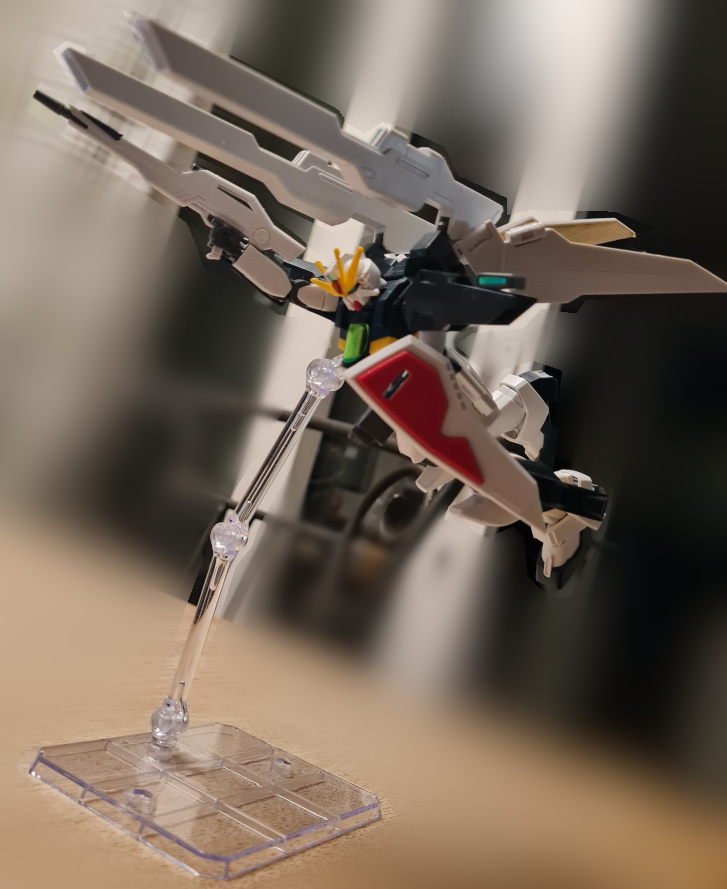
Gundam Stand
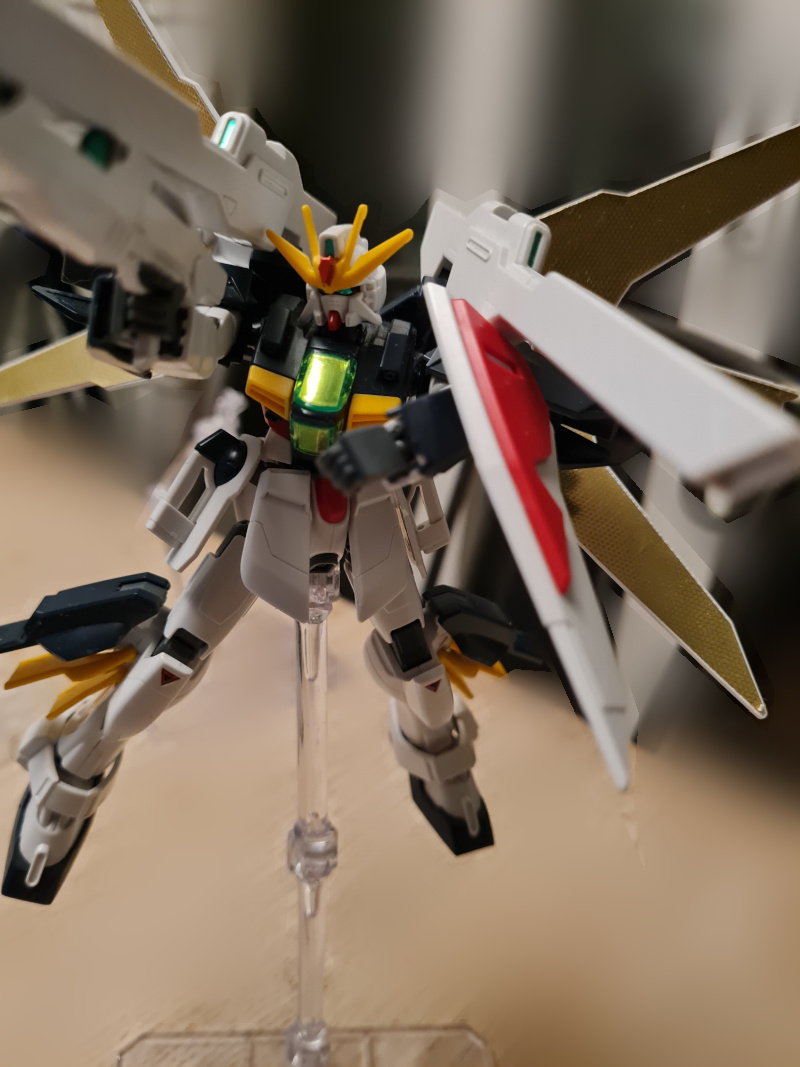
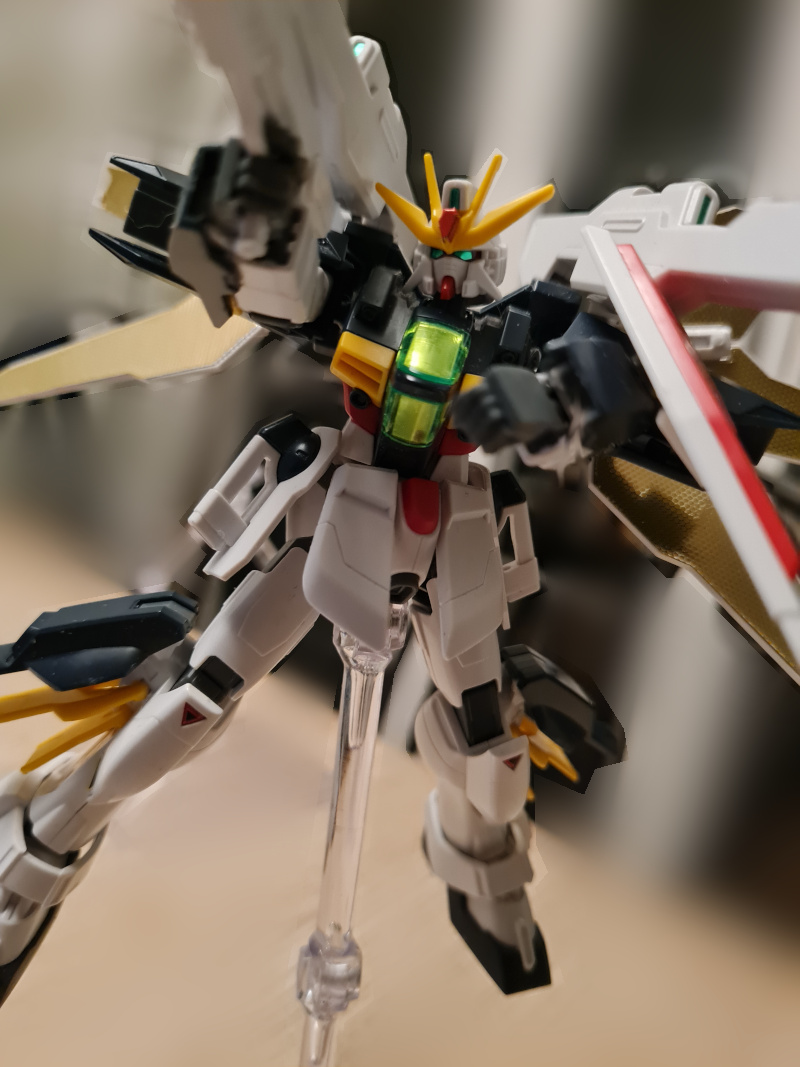
Here are a few pictures of one of my models taking advantage of the stand!
FlyingAirbourneView with the baseStanding SupportSideview
Please excuse my photography skills, I am working on it, but I just need some time to sit down and work on it!
I am also continuing to work on my build of the RG Aile Strike. You can buy yours here. So far it is living up to expectations and building beautifully.
I have been looking at some of the Moderoid pre-orders. At the moment the following are on pre-order:
If you would like me to put in a pre-order to see if I can get any of them let me know!
That is is for “Advert / Stock 19/02/2023”, I will update further when I get more updates!
Thank you for taking the time to read this. If you haven’t already done so please like and follow us on our social media platforms and checkout our website!
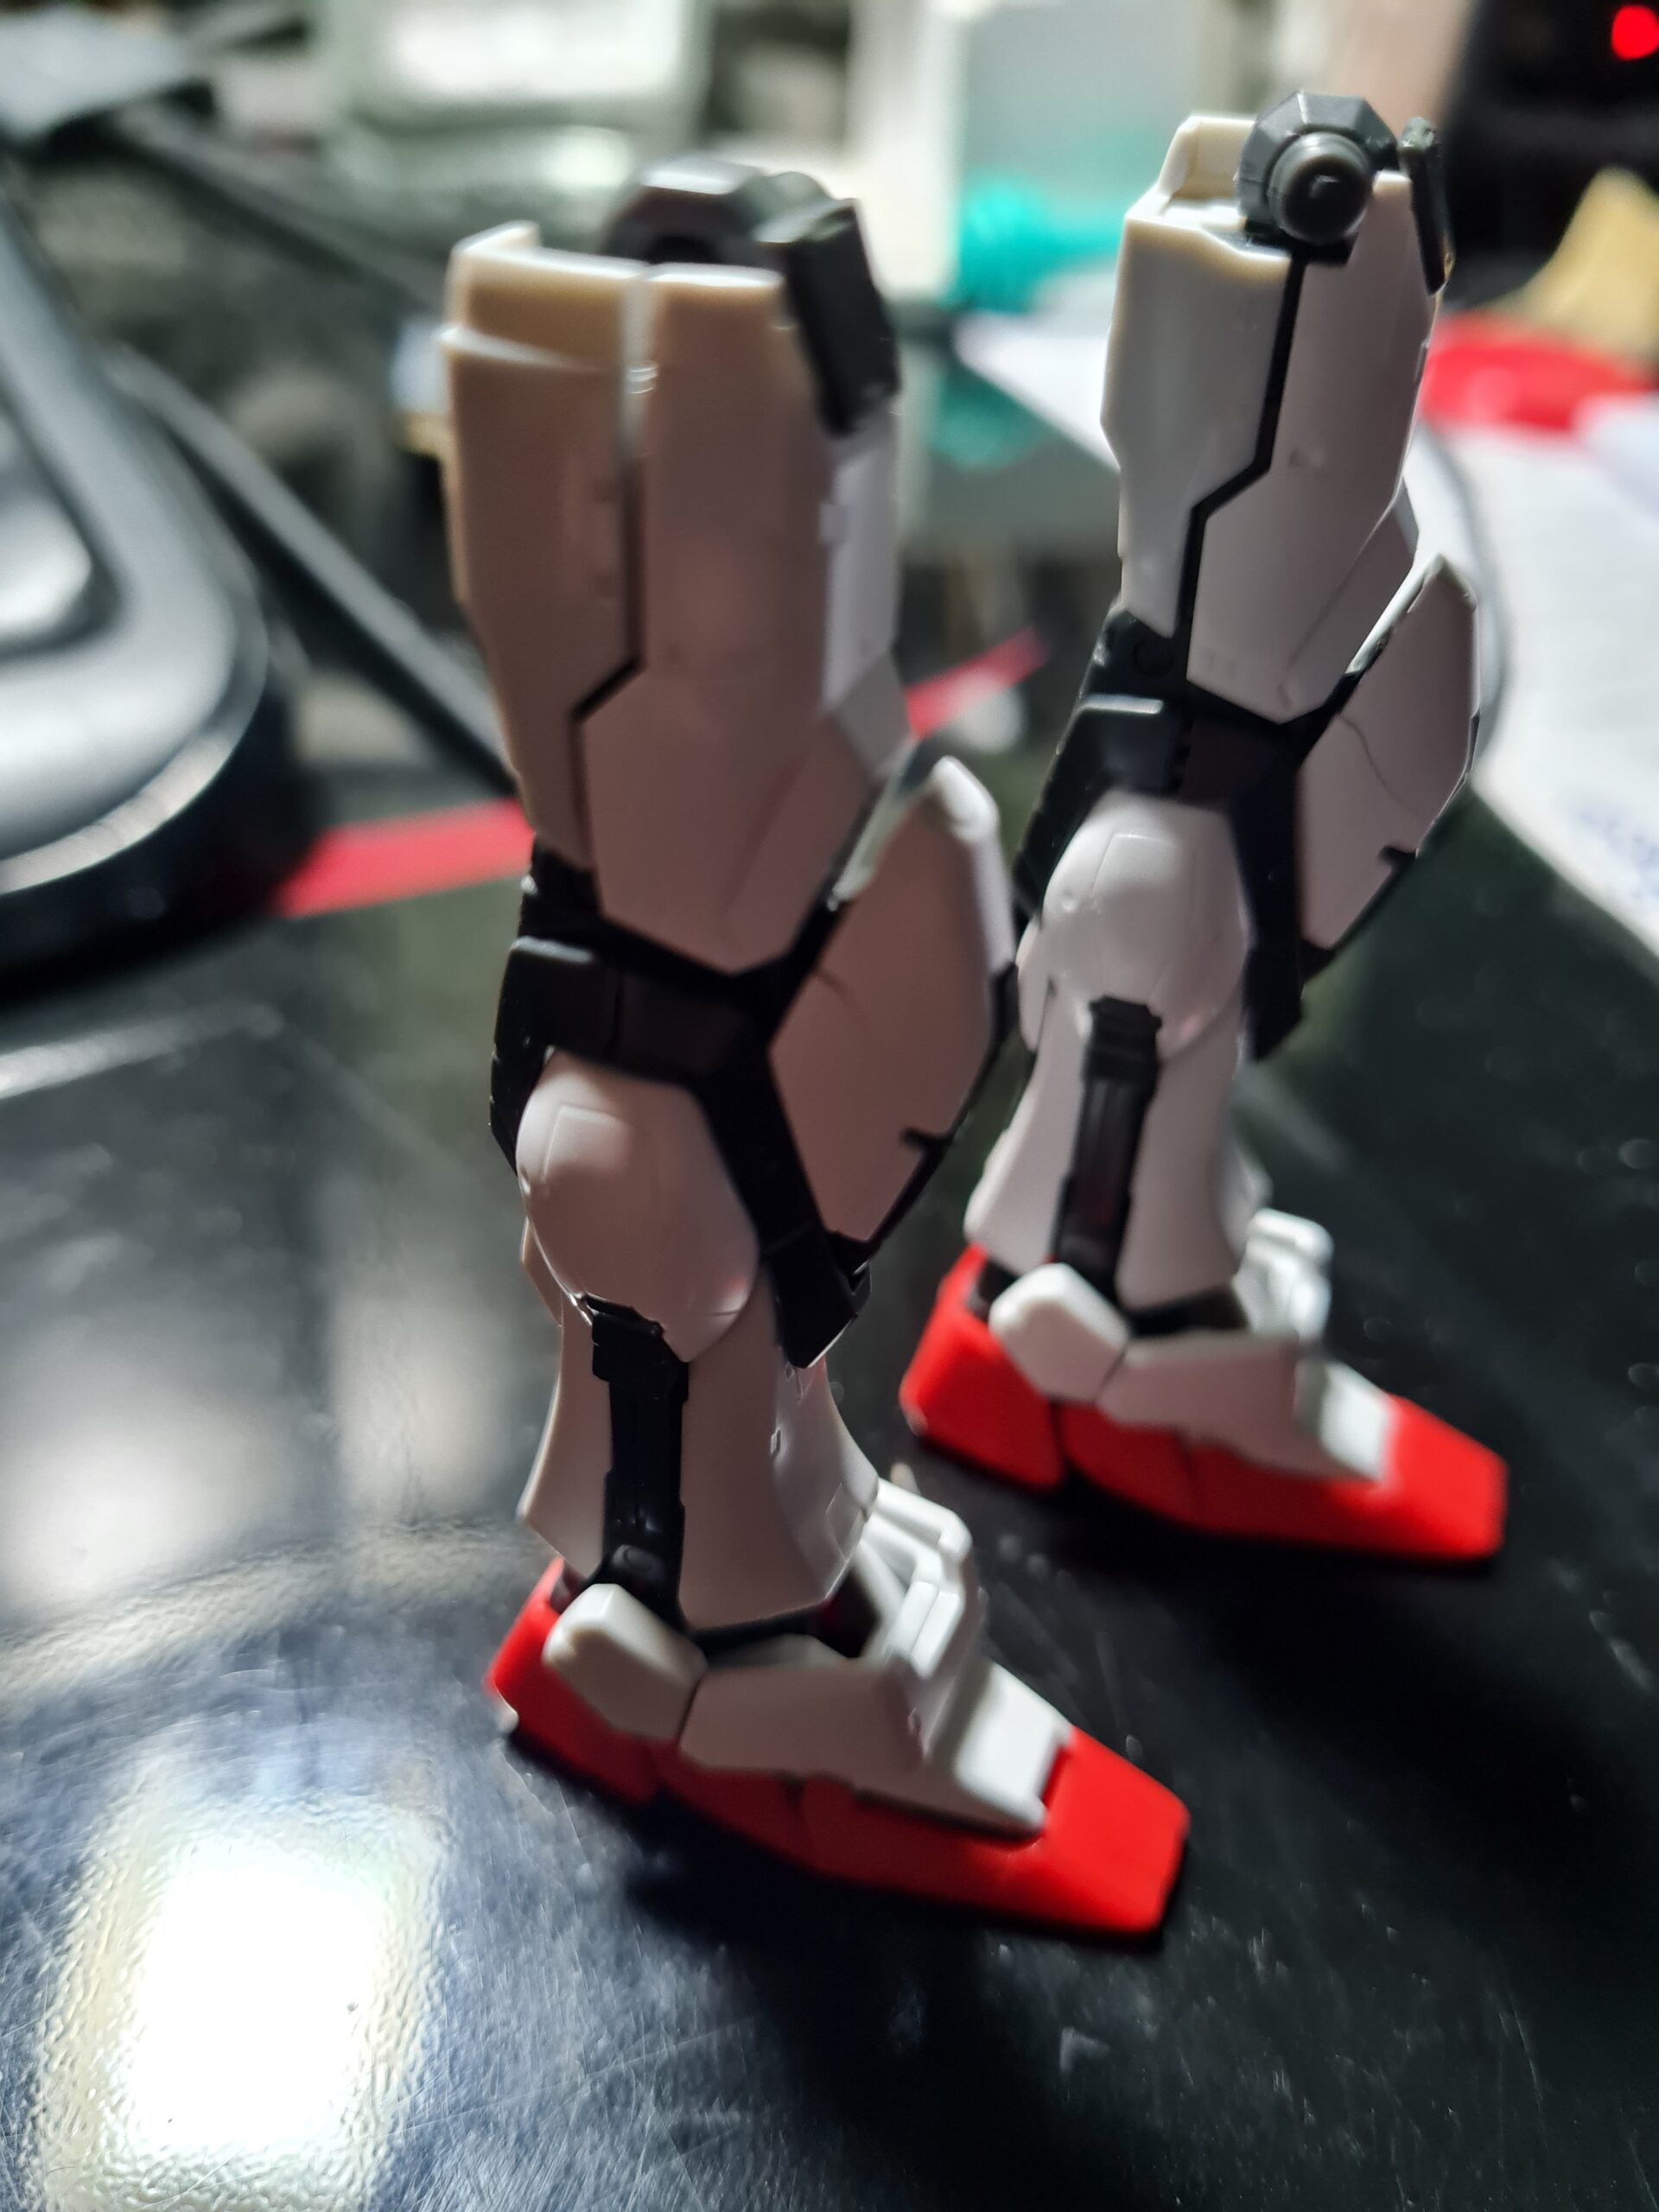
Welcome back to “RG Aile Strike Build Day 5”! After yesterdays little break, I’m back with the latest update. For anyone catching up, I have made a few posts saying how fantastic I thought the RG Aile Strike model is. However, I hadn’t actually built one yet. So I decided it was time for me to put my money where my mouth was.
This series is documenting my build of the Aile Strike along with plenty of pictures.
The Update
Ok well today I was working on the other leg, as Day 4 was the first leg. As this is a carbon copy of the previous post (you can find it here) I didn’t do all the pre and post nub cleaning pictures. Feel free to check out yesterdays post to catch up on that. Again, I can’t say how great the Gray and White Balancers are from GUNPRIMER. They really help polish parts back up to a fantastic finish.
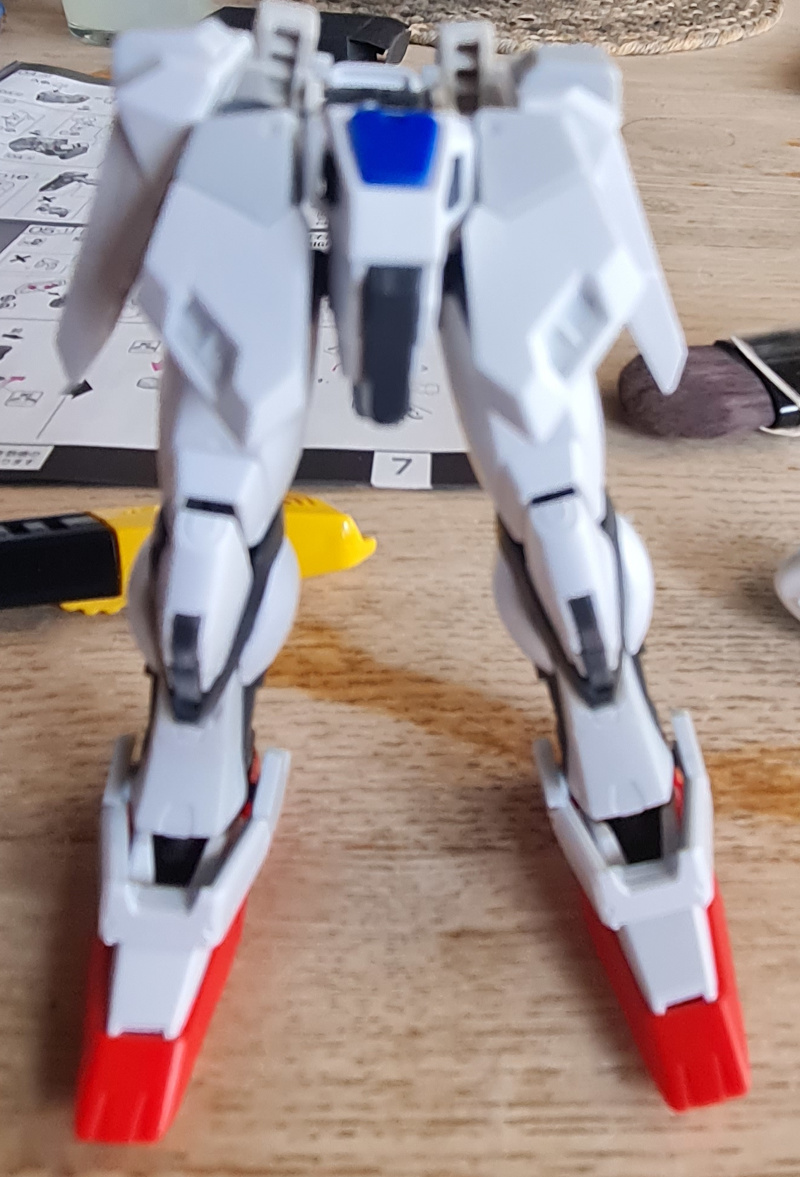
Legs to LeftLegs to RightSide LegsSingle Leg SideLit Side Leg
As you can see from the pictures these parts have also come together really nicely. So far the build hasn’t had anything other than nicely fit together sections. The detailing on the neg parts is brilliant, and I can’t wait to do the panel lining on this model. I think it might take me a while though with all those bits!
Conclusion
I believe the next part is the waist. I often find these sections some of the least interesting parts to build, so I am looking forward to seeing how this one holds up. So far, this build has been a pleasure, and the outer armour has been cleaning up beautifully. Possibly my only niggle so far is I could argue the feet feel a little weird. But once posed the look brilliant.
Thank you for taking the time to read this. If you haven’t already done so please like and follow us on our social media platforms and checkout our website!
Ok I admit I didn’t do any building last night. I had so many things on it just got skipped. So this is a mini intermission between the build parts.
Of course that leaves me with the question of what to do to fill the blog! Well thankfully I had a little something in my back pocket.
So I have been trying to work out how to take better photos of my kits. Again, I feel there are going to be a lot more posts on this topic as I learn more.
So before I leap in to what I was playing with let me show you the starting picture.
Ok well after searching my hard drive and my network storage apparently I didn’t keep my original image.
So lesson number 1: Remember to keep the original image!
I will, however, try and describe it.
I posed by RX80-BR figure on one of my stands in front of a green screen. Then I took some pictures. After moving them to the laptop I proceeded to open them up in GIMP and choose what I wanted to work with. After filtering through the images I picked my favourite and got to work.
First I had to set up an alpha channel. Then I used the colour select to select the green and remove a load of it. This highlighted lesson number 2. Lighting is all important. Without good lighting making everything consistent you end up with different shades and bits and pieces of green left. I then moved onto my second tool of choice. I zoomed in and proceeded to use the multi select tool to trace the edges and remove any colour too close to the model.
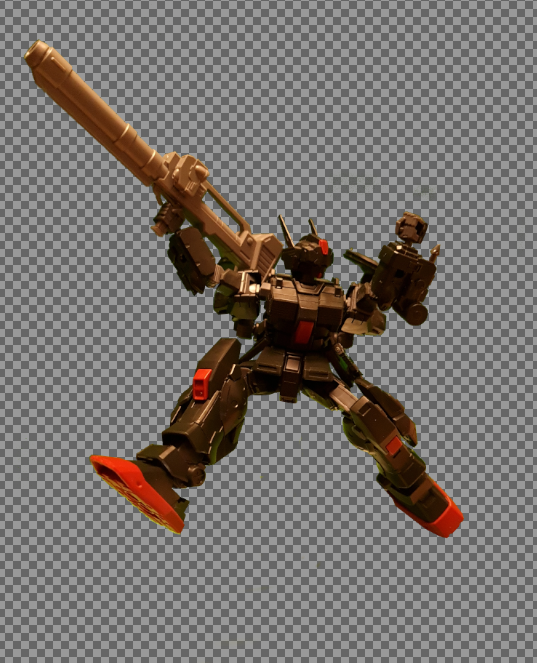
After an hour or twos work I finally had something I could work with … wait I may be able to show you …
No Background!
This brings me to lesson number 3. Always do things in layers, that way you can add and remove them from the view, or even junk them and start again if needed.
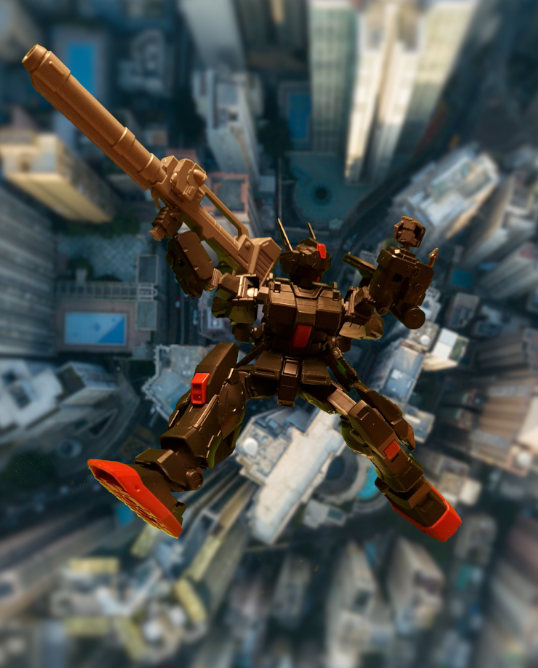
My final step was to select a background and add a blur to it. This gave me the final image which looks like this.
Falling HG
For a first attempt I was quite happy with this. I think it is something that I would enjoy working on improving, and coming up with more ideas for.
If you would like me to do a post in more detail on the GIMP steps I used, and the whole process let me know. I can do a step by step guide for beginners (like me).
Thank you for taking the time to read this. If you haven’t already done so please like and follow us on our social media platforms and checkout our website!
Welcome to “RG Aile Strike Build Day 4” where I am building up an RG Aile strike model. If you haven’t read any of the other parts I would recommend going back to the start. You can find that here. In the first post I covered the box, runners and provide the manual.
If you want to skip that and just get up to speed. I had in previous posts gone on about how nice I think the RG Aile strike model is. I had gone on so much I decided I should put my money where my mouth was and build one myself. This ongoing series is that process. I am not rushing, as can be seen in the earlier parts, and if I am not happy I will go back, disassemble and re-clean and re-build anything I am not happy with.
With that all out of the way lets get to it!
The process
Unless otherwise noted I followed this process for each piece:
Cut off roughly leaving plenty of nub
Trim back the nub with my better nippers
Apply water to my wet and dry sandpaper and sand the nub marks down
Dry the piece
Brush it off with the tooth brush to remove any bits
Re-apply the matt finish using the Gray Balancer
Prep the part with the green side of the White Balancer
Shine the part up with the white side of the White Balancer
If after this I wasn’t happy I would repeat the sanding steps down, and keep iterating until I was happy with the finish.
First Parts
Leg FrameSide ViewFirst PartsParts Attached
As you can see the next thing to build was this leg. The inner frame is straight off the runner. You need to take your time on this. The manual shows you the bits you want to cut. Pay special attention to this as the nubs are tiny and you don’t want to snip anything by accident. The first two parts go on either side of the leg. They clip right on and fit really nicely.
Second Parts
With NubsCleaned UpSide CleanAttached
The next pieces start to attach the armour. As you can see I was leaving healthy nubbage on each piece. I followed the process outlined at the top of the article. Once clean, and seated I moved on to the next armour parts.
Third Parts
Parts With NubsNubs TrimmedPolished PartsApplied rmourArmour Reverse
As you can see this section is adding more armour on to the frame. Each piece fits really nicely. I did have to slow down and double check how everything was sliding in to place. But after slowing myself down a little it all slotted together really nicely. Again I was really happy with how the white armour pieces were cleaning up.
Next … you guessed it more armour parts. Each one I’ve tried to show the nubbed parts and the cleaned parts. Hopefully the end result warrants all this time … I feel that it is looking really nice so far.
Fifth Part
Final Nubs!Cleaned PartsBent LegStraight LegBent Leg
The final set of armour pieces on the leg really do complete the piece. Also look at that articulation!
Conclusion
There are several parts here that have to slide or clip into specific places. However, I found that slowing down, have a close look at the manual, the structure of the grooves and ridges on the parts led to them fitting together beautifully. I am really happy with how the parts have cleaned up, and the current state of the leg.
Thank you for taking the time to read this. If you haven’t already done so please like and follow us on our social media platforms and checkout our website!
We use cookies on our website to give you the most relevant experience by remembering your preferences and repeat visits. By clicking “Accept All”, you consent to the use of ALL the cookies. However, you may visit "Cookie Settings" to provide a controlled consent.
This website uses cookies to improve your experience while you navigate through the website. Out of these, the cookies that are categorized as necessary are stored on your browser as they are essential for the working of basic functionalities of the website. We also use third-party cookies that help us analyze and understand how you use this website. These cookies will be stored in your browser only with your consent. You also have the option to opt-out of these cookies. But opting out of some of these cookies may affect your browsing experience.
Necessary cookies are absolutely essential for the website to function properly. These cookies ensure basic functionalities and security features of the website, anonymously.
Cookie
Duration
Description
cookielawinfo-checkbox-analytics
11 months
This cookie is set by GDPR Cookie Consent plugin. The cookie is used to store the user consent for the cookies in the category "Analytics".
cookielawinfo-checkbox-functional
11 months
The cookie is set by GDPR cookie consent to record the user consent for the cookies in the category "Functional".
cookielawinfo-checkbox-necessary
11 months
This cookie is set by GDPR Cookie Consent plugin. The cookies is used to store the user consent for the cookies in the category "Necessary".
cookielawinfo-checkbox-others
11 months
This cookie is set by GDPR Cookie Consent plugin. The cookie is used to store the user consent for the cookies in the category "Other.
cookielawinfo-checkbox-performance
11 months
This cookie is set by GDPR Cookie Consent plugin. The cookie is used to store the user consent for the cookies in the category "Performance".
viewed_cookie_policy
11 months
The cookie is set by the GDPR Cookie Consent plugin and is used to store whether or not user has consented to the use of cookies. It does not store any personal data.
Functional cookies help to perform certain functionalities like sharing the content of the website on social media platforms, collect feedbacks, and other third-party features.
Performance cookies are used to understand and analyze the key performance indexes of the website which helps in delivering a better user experience for the visitors.
Analytical cookies are used to understand how visitors interact with the website. These cookies help provide information on metrics the number of visitors, bounce rate, traffic source, etc.
Advertisement cookies are used to provide visitors with relevant ads and marketing campaigns. These cookies track visitors across websites and collect information to provide customized ads.