Introduction
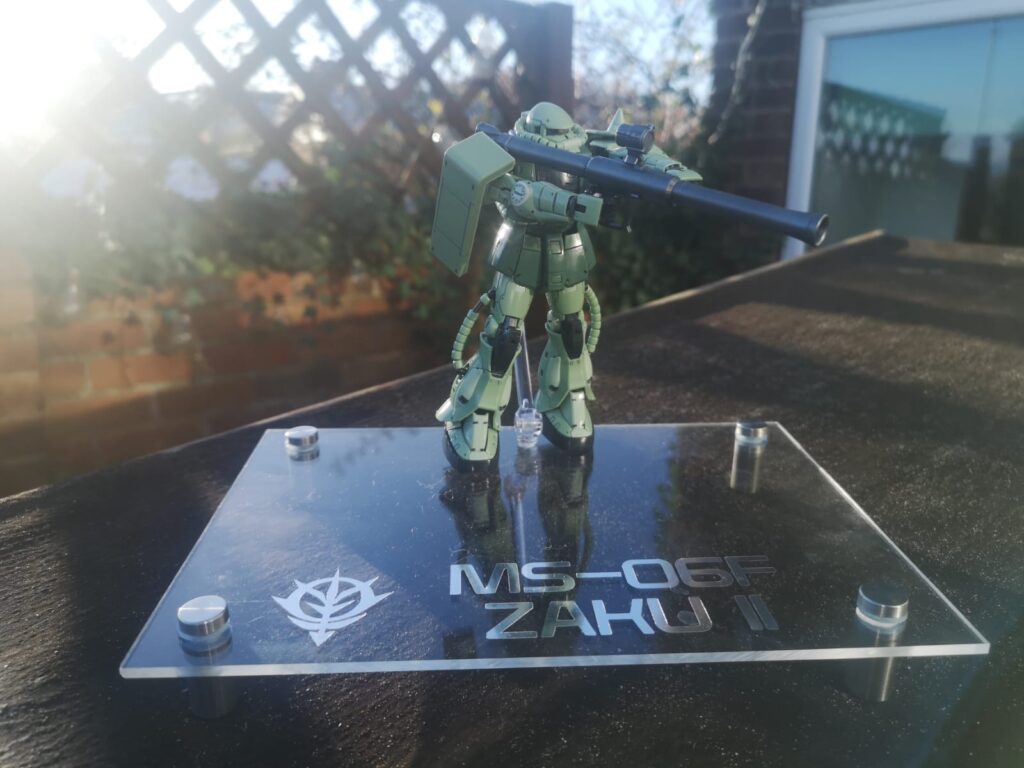
Ok. I know I have done quite a few posts on the RG Zaku II. But I have to do this one, sort of a show and tell, after finally getting all the bits together to make him his own stand. I am quite proud of the final piece so I thought I would show off what my RG Zaku II looks like now complete.
Display
After spending so long teasing this piece, and working on the model, I felt he really needed a decent display. I am lucky enough to have a Cricut machine. So I used that to cut out the logo and wording. I also happened to have the feet and acrylic sheet from thinking about this as an idea previously. The arm helping to support him was salvaged from some cheap imported stands I have. I will do a more detailed piece on the stand at some point in case anyone else wants to make one.
Final Lessons
I have learnt so much from this build. Firstly panel lining can go awry if you aren’t careful. Secondly, pieces can easily break if you are a bit of a muppet and try to bend something that doesn’t have a joint. Thirdly, panel lining really does make a world of different to a model.
The more I work with the models the more I appreciate the build, and the options available to customise them. Everything from decals, to painting, to custom builds. I can’t wait to do some more techniques and to improve on everything from my basic building skills, to my more advanced painting and customising.
If you would like to learn more about the suit then there is some fantastic information over here at gundam.fandom.com.
Thank you for taking the time to read this. If you haven’t already done so please like and follow us on our social media platforms and checkout our website!
Facebook: https://www.facebook.com/profile.php?id=100086701512793
Instagram: https://www.instagram.com/modelkitsltd/
Website: https://modelkitsltd.co.uk
#gundam #gundammodel #model #kit #gunpla
