Introduction
Ok so I was planning on this being Part 3 of the guess the model series. However, I found I had a great opportunity to show people why I love the GUNPRIMER Balancers so much!
What are they?
They come in two colours and you want them both. The GRAY sticks remove scratches from the surface of a piece of plastic (like you would get from sanding down a nub or imperfection). The WHITE sticks (actually one side is green and the other is white) are used for polishing the piece back to its original condition.
The example
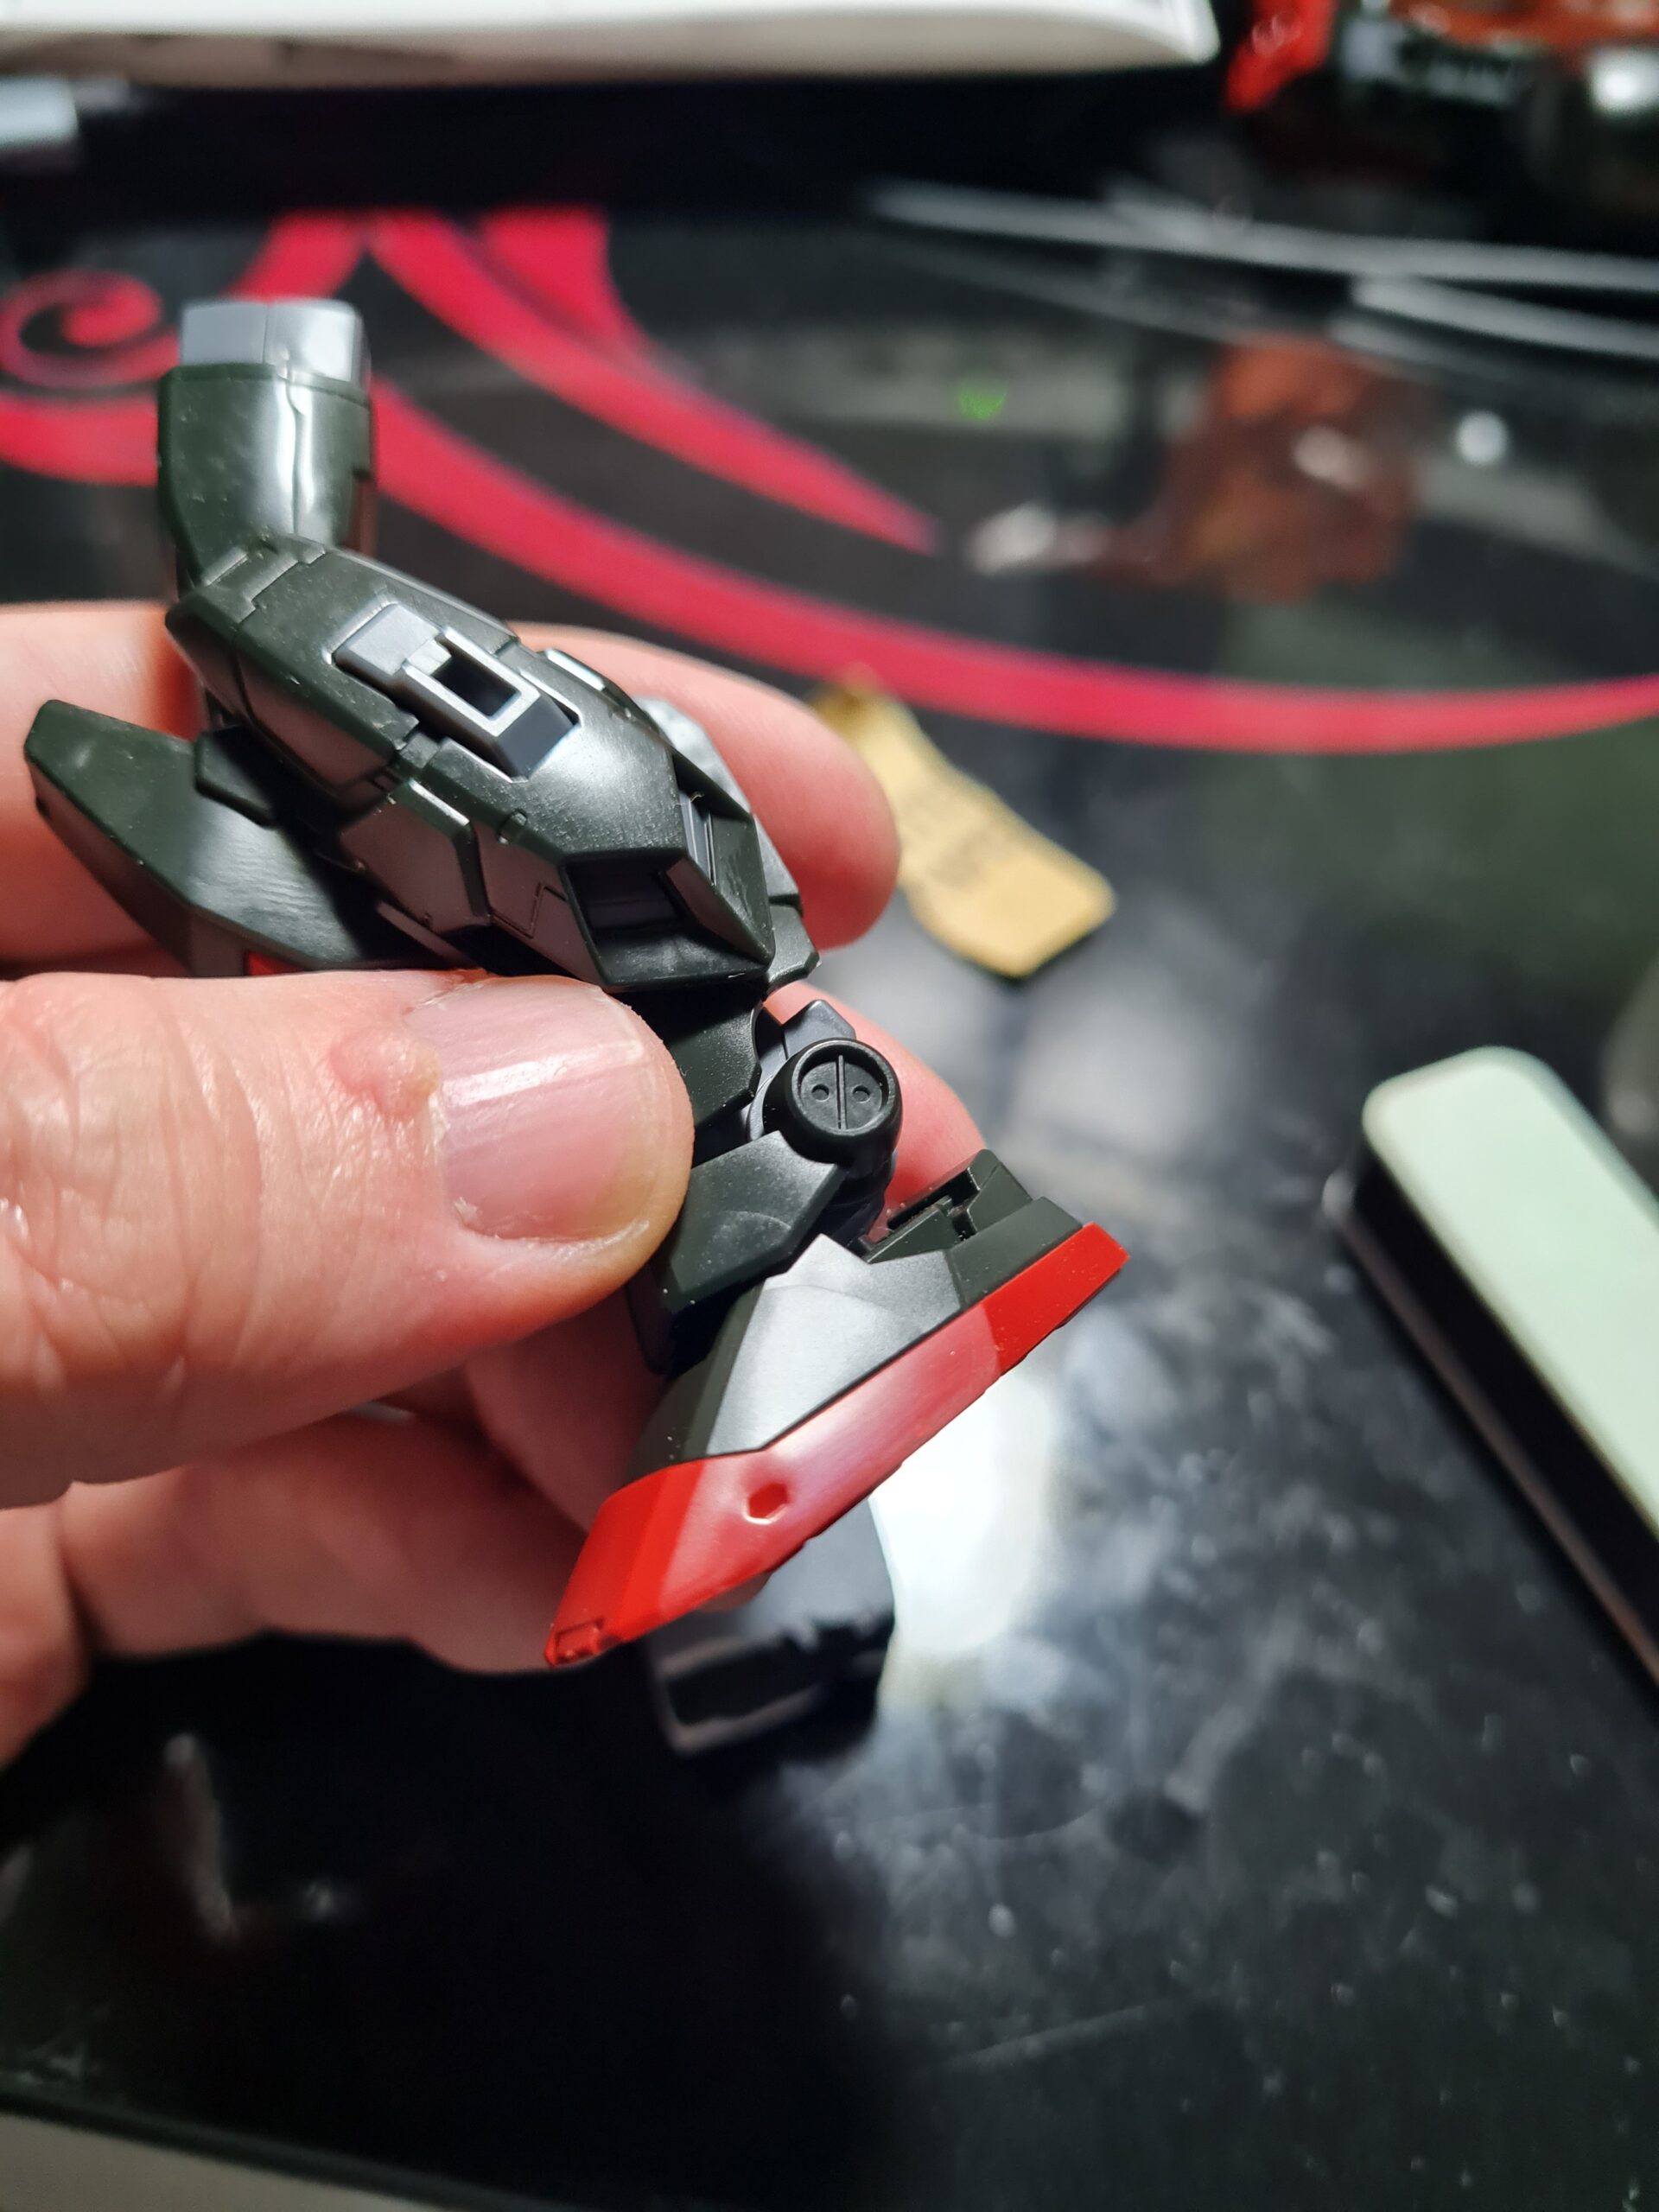
I was taking some pictures of a finished leg for the guess the model series when I noticed a nub. This is the picture:
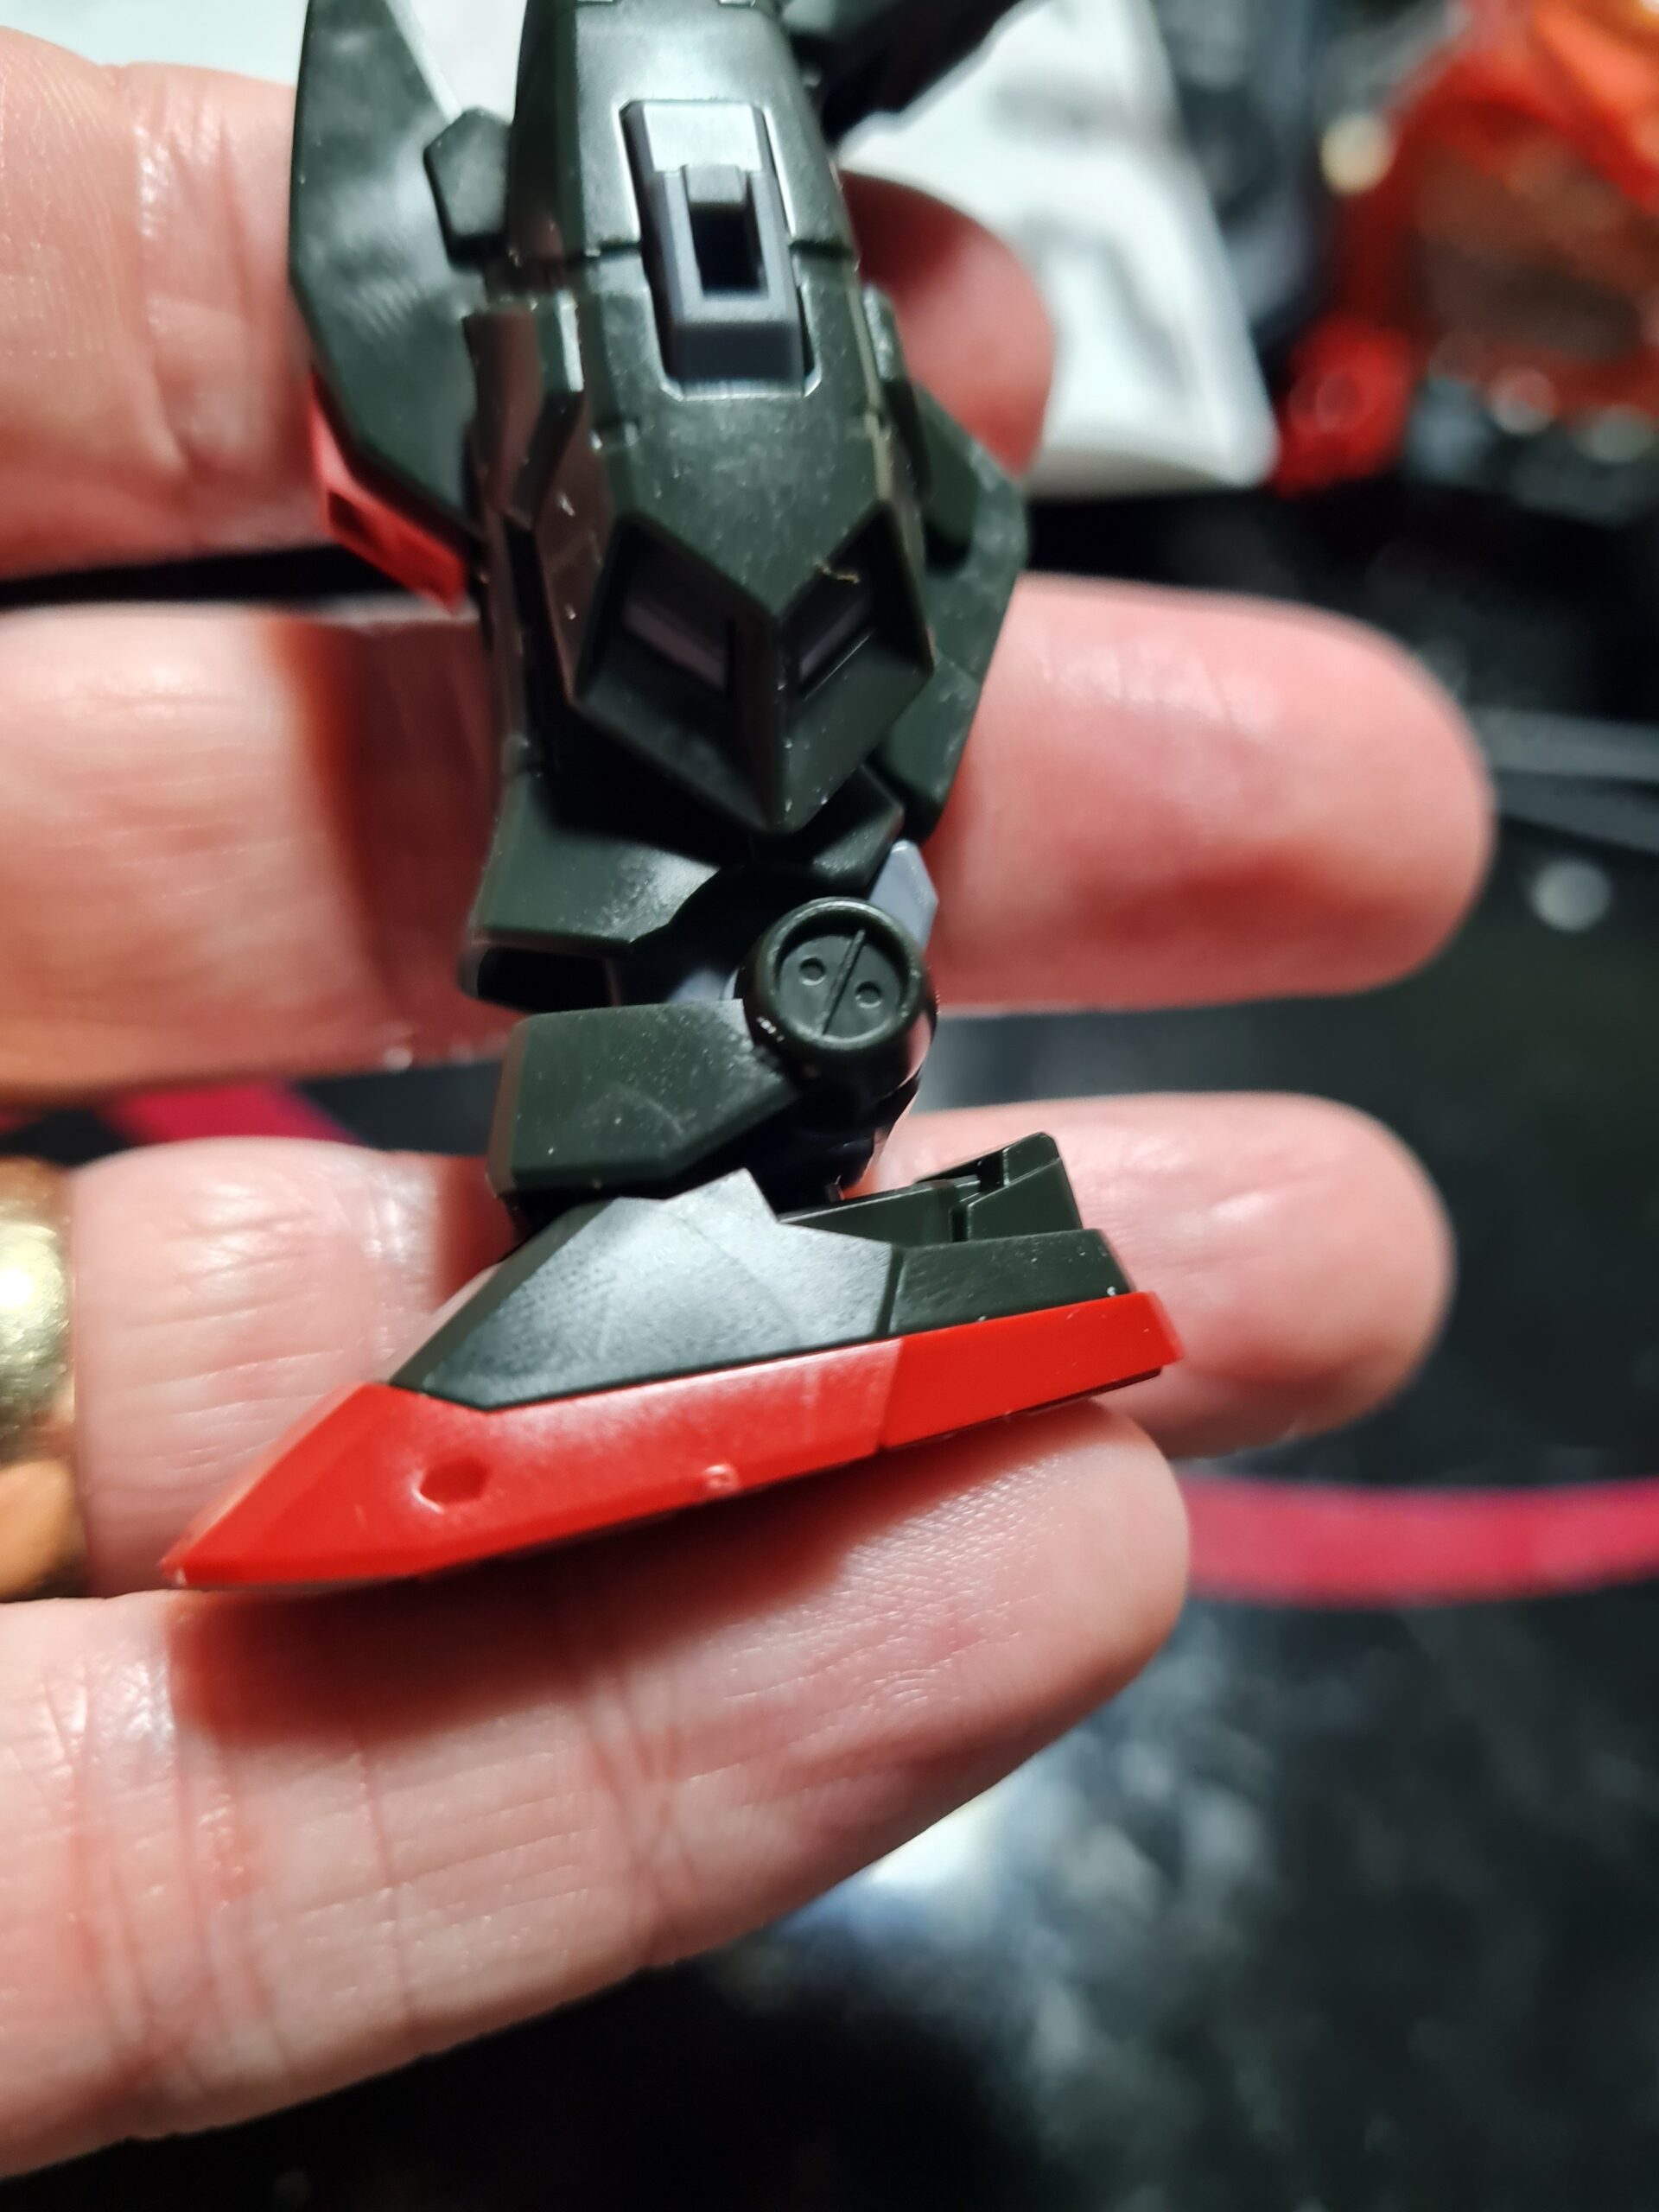
I took one look at this and thought … now here is a great chance to show off the Balancers! I mean look at that little nub. It is quite offensive to the eye!
Sanding
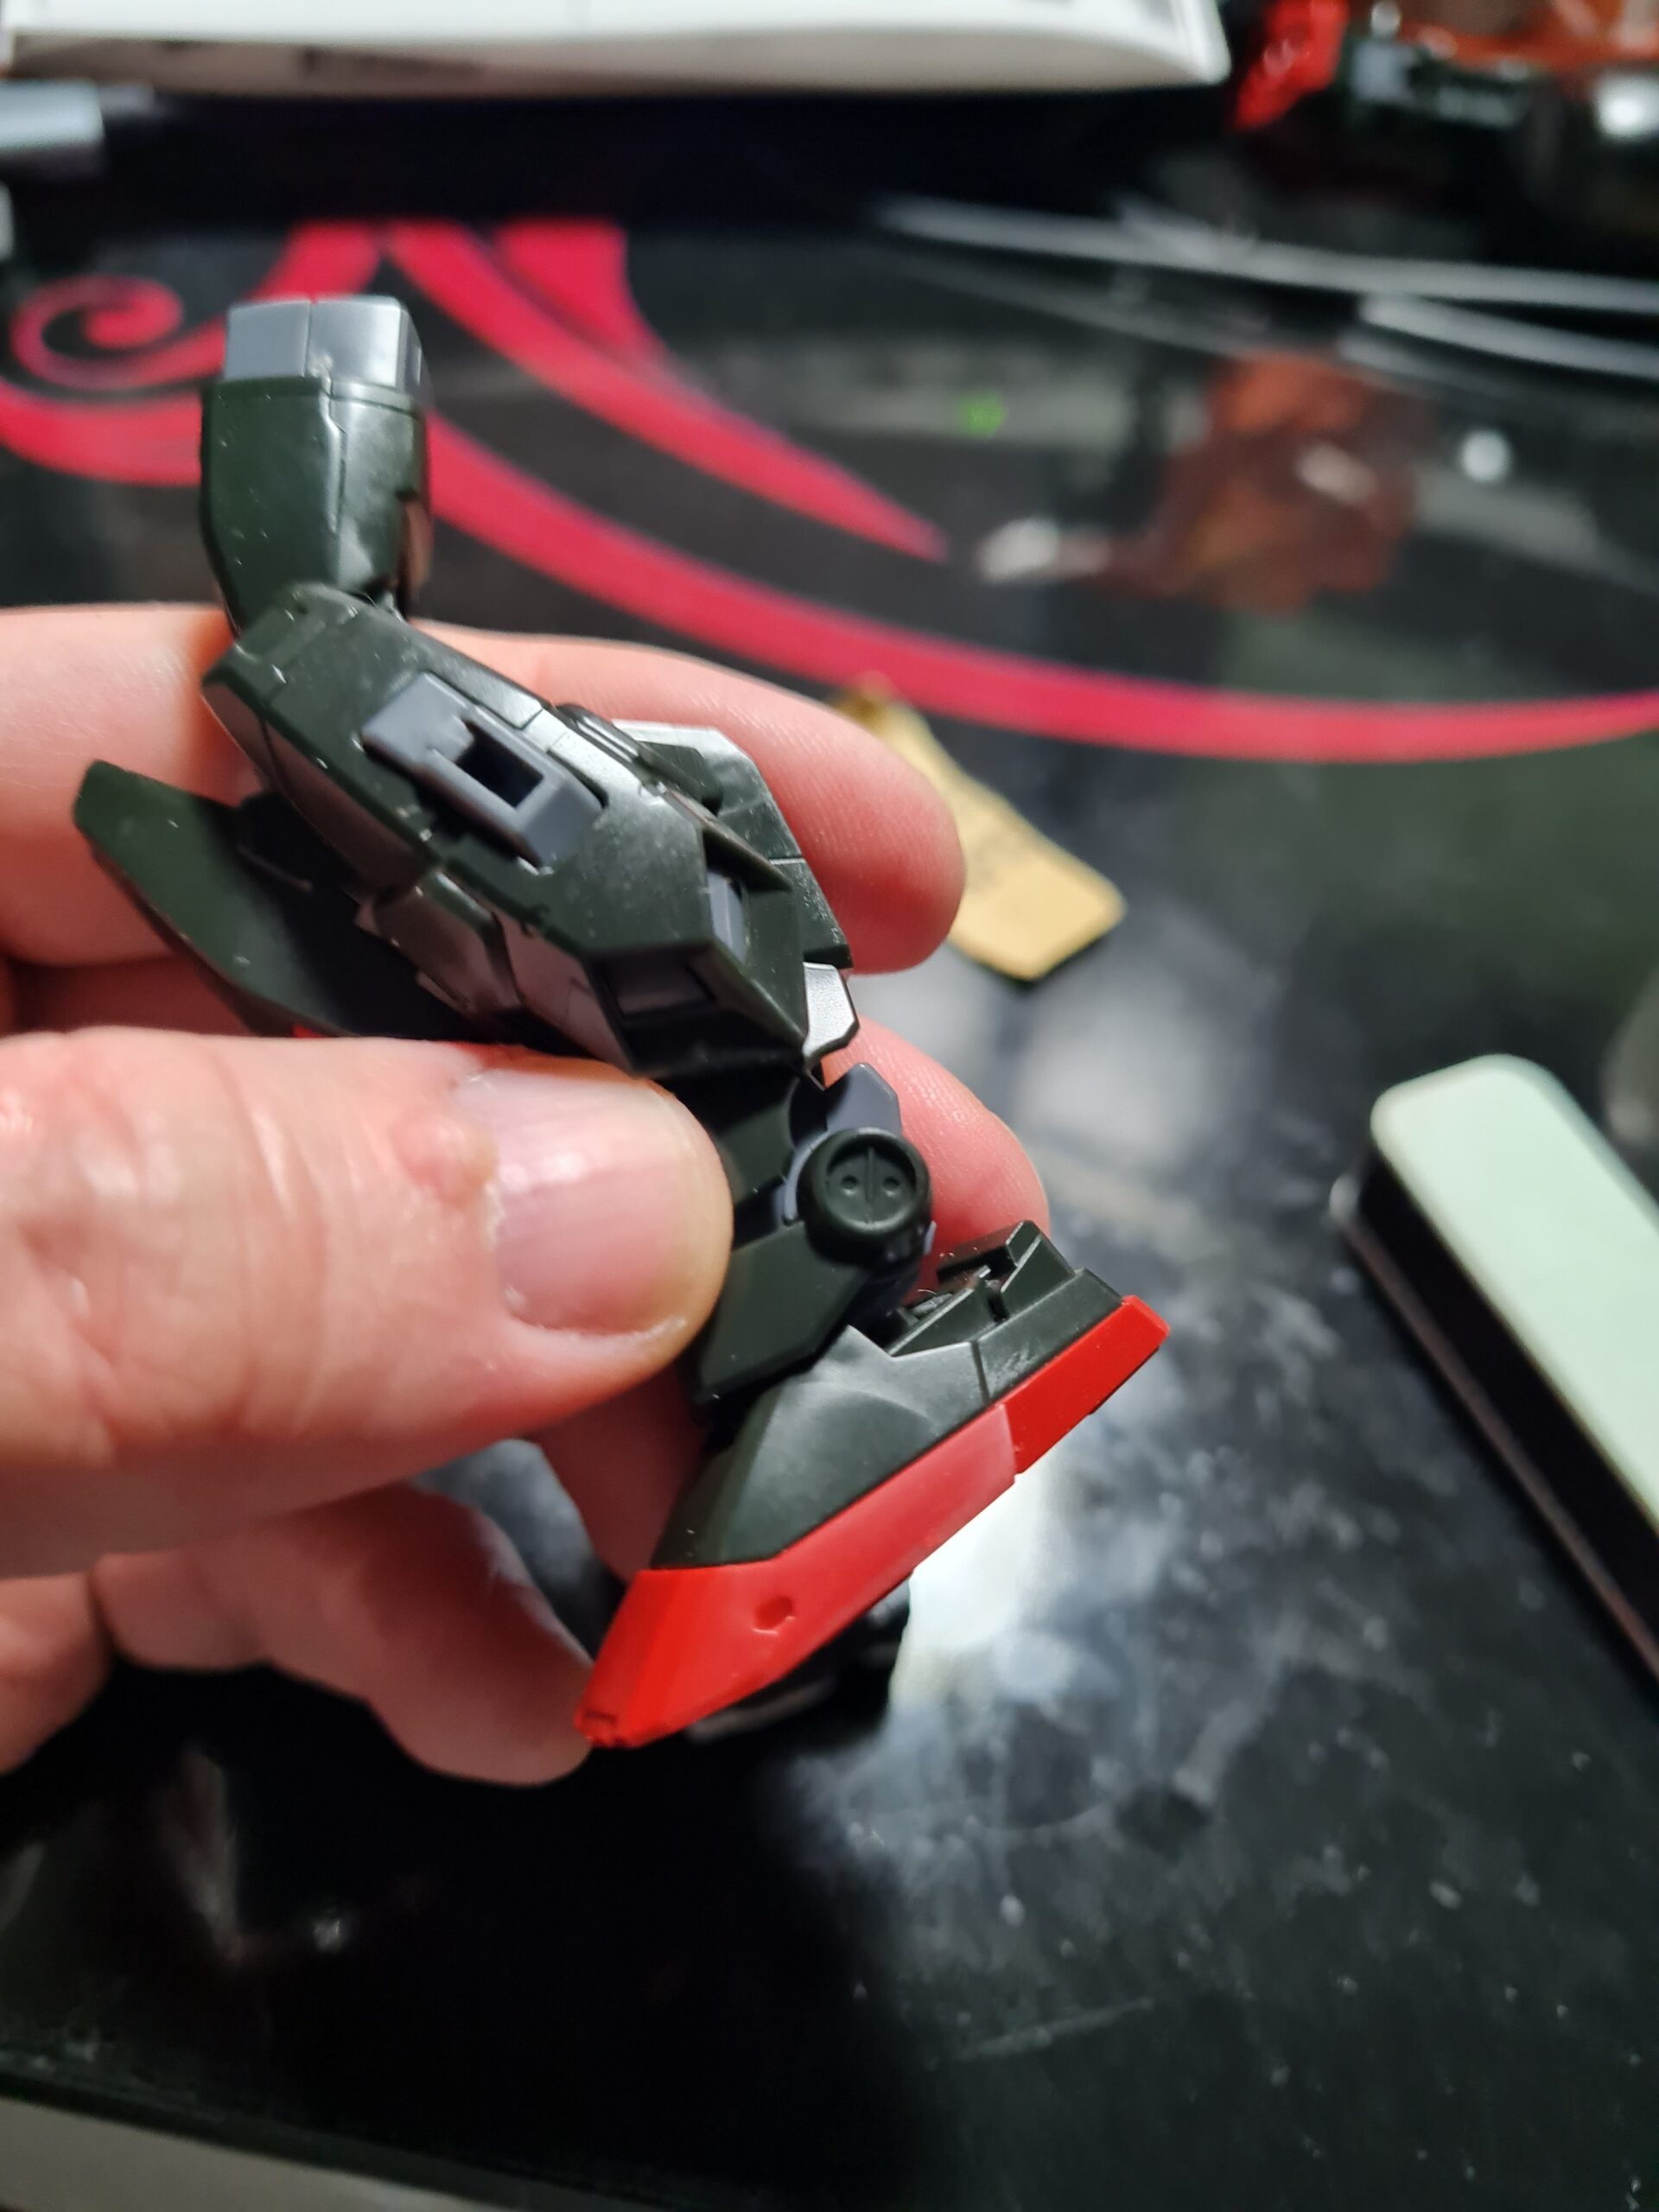
Step 1 was for me to sand the nub down. I did this with wet and dry sandpaper with a little water. In the future I will use the Raser but I want to use up all my sandpaper first as I don’t have any other use for it 🙂
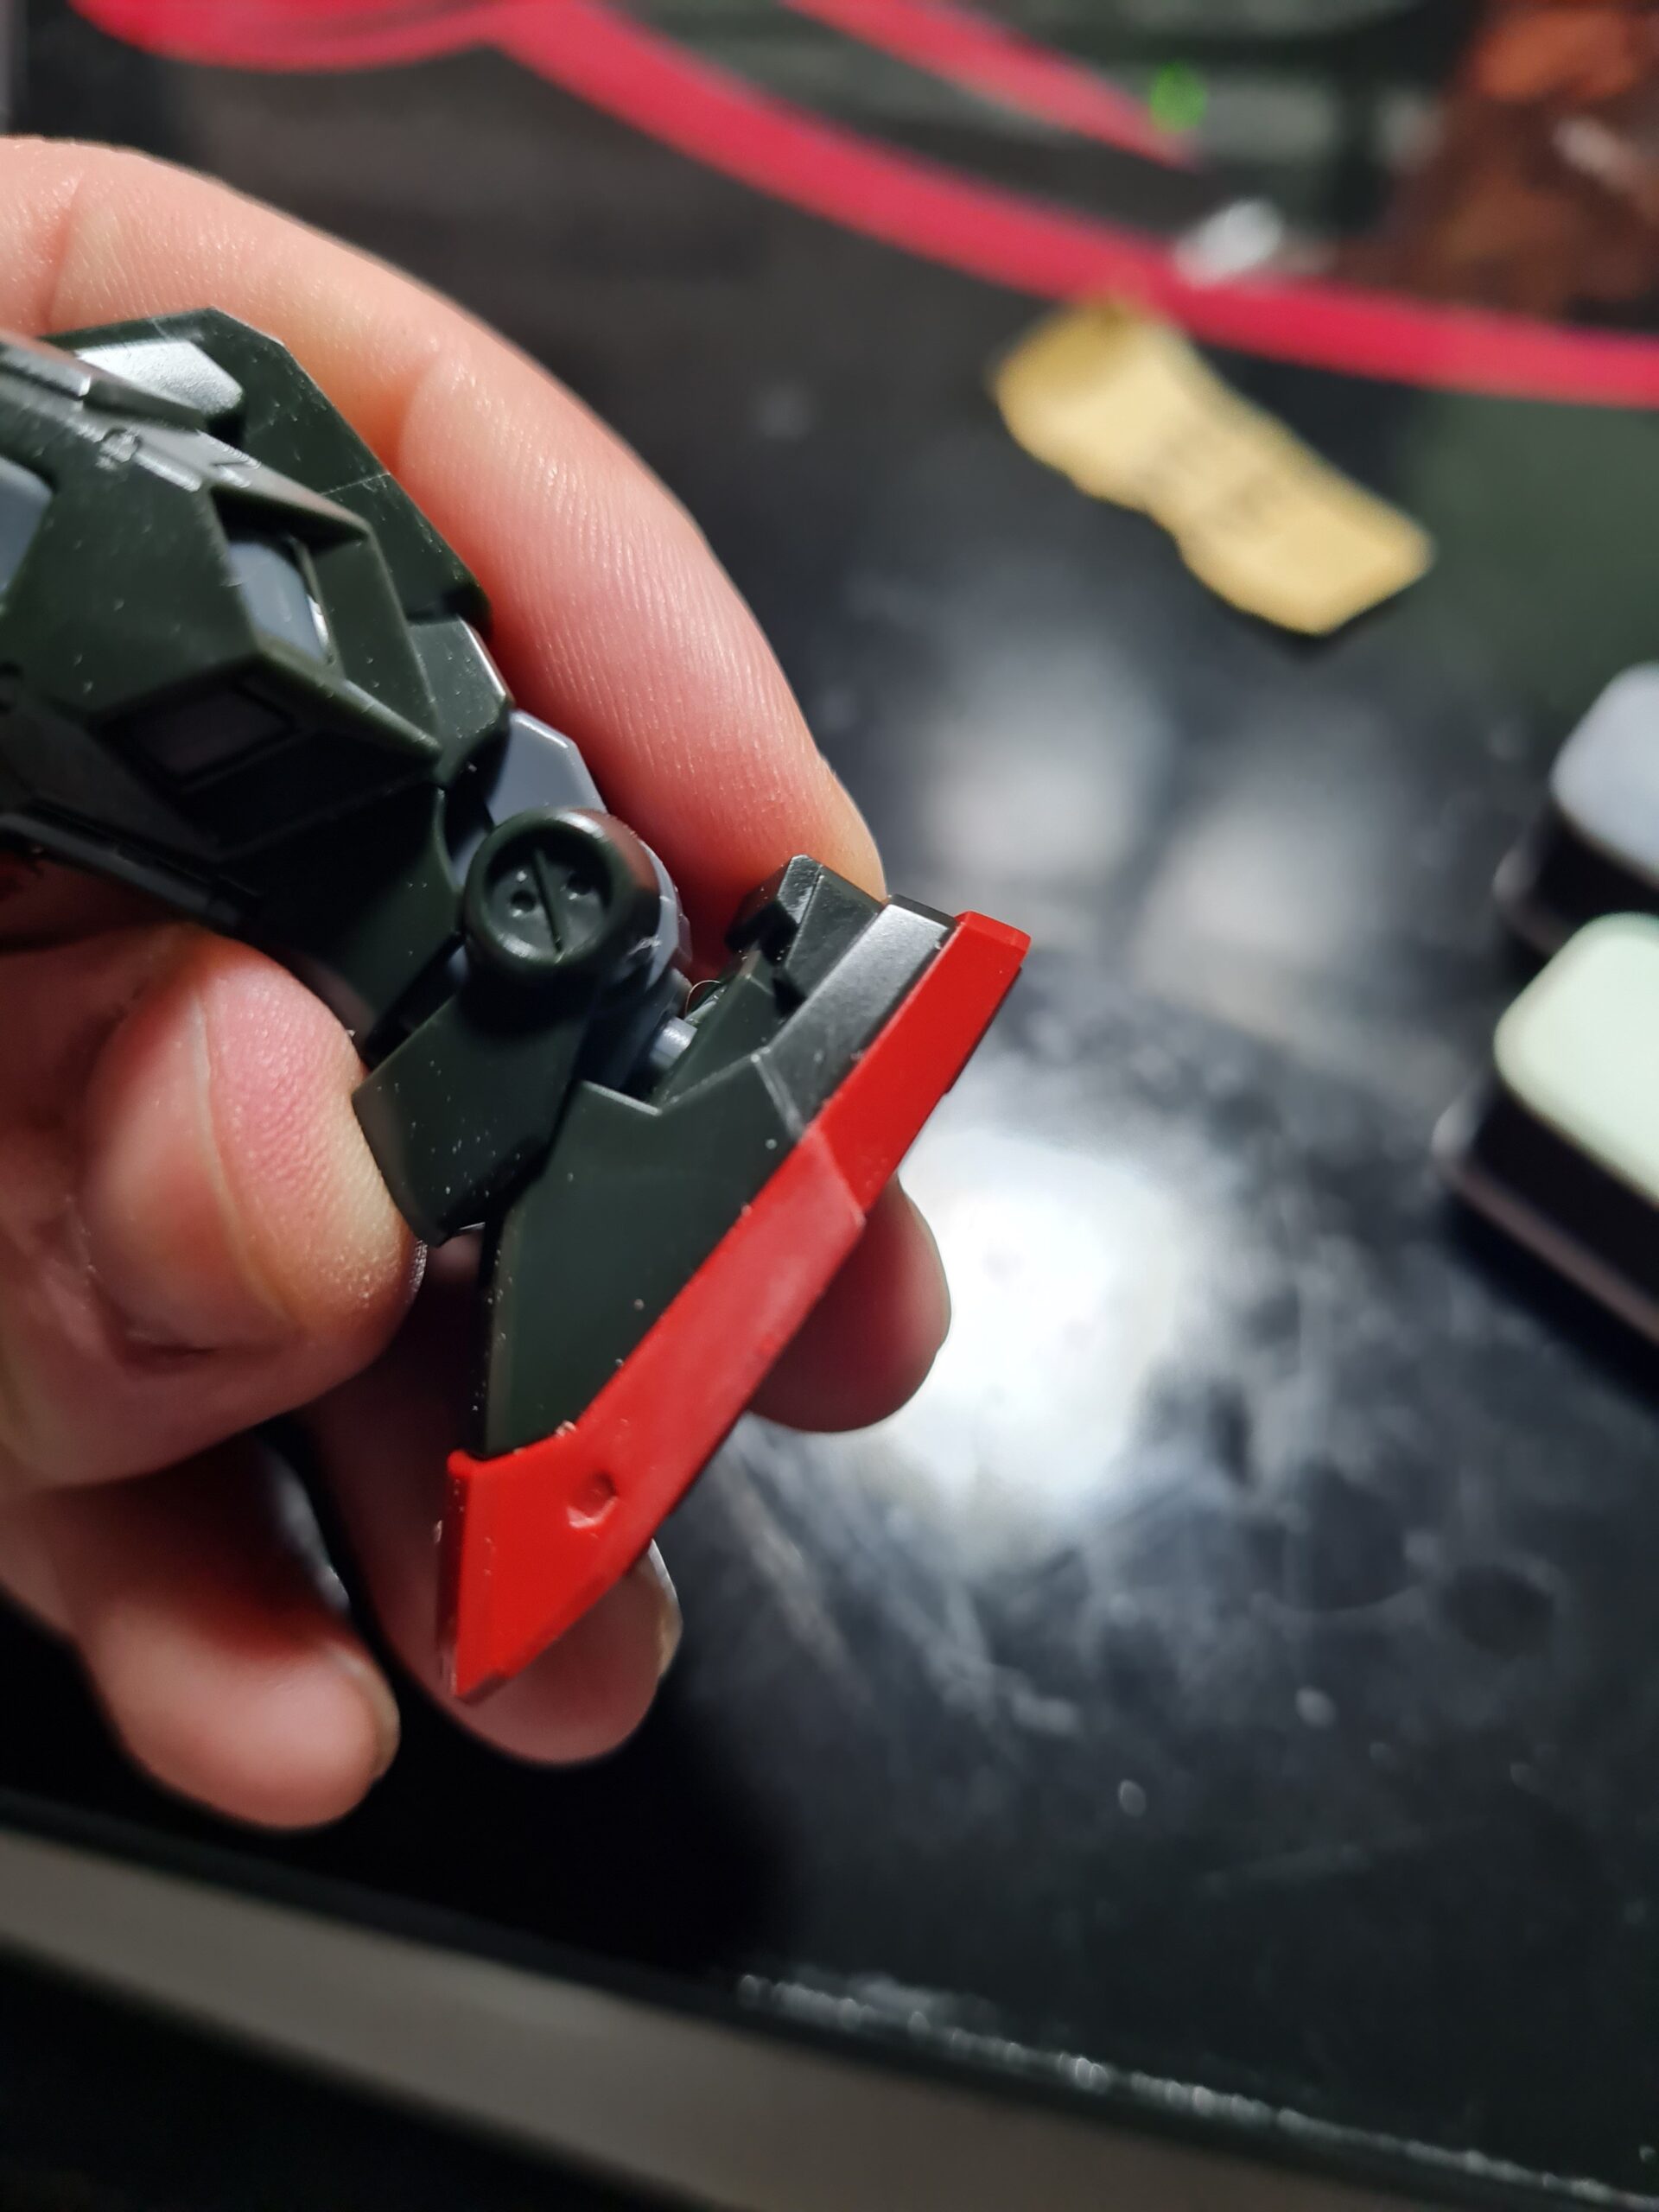
As you can see in the image above, the offending nub has been sanded to oblivion! This does, unfortunately have the side effect of really scuffing up the plastic. I deliberately went all over the side to make it easier to see.
GRAY Gunprimer
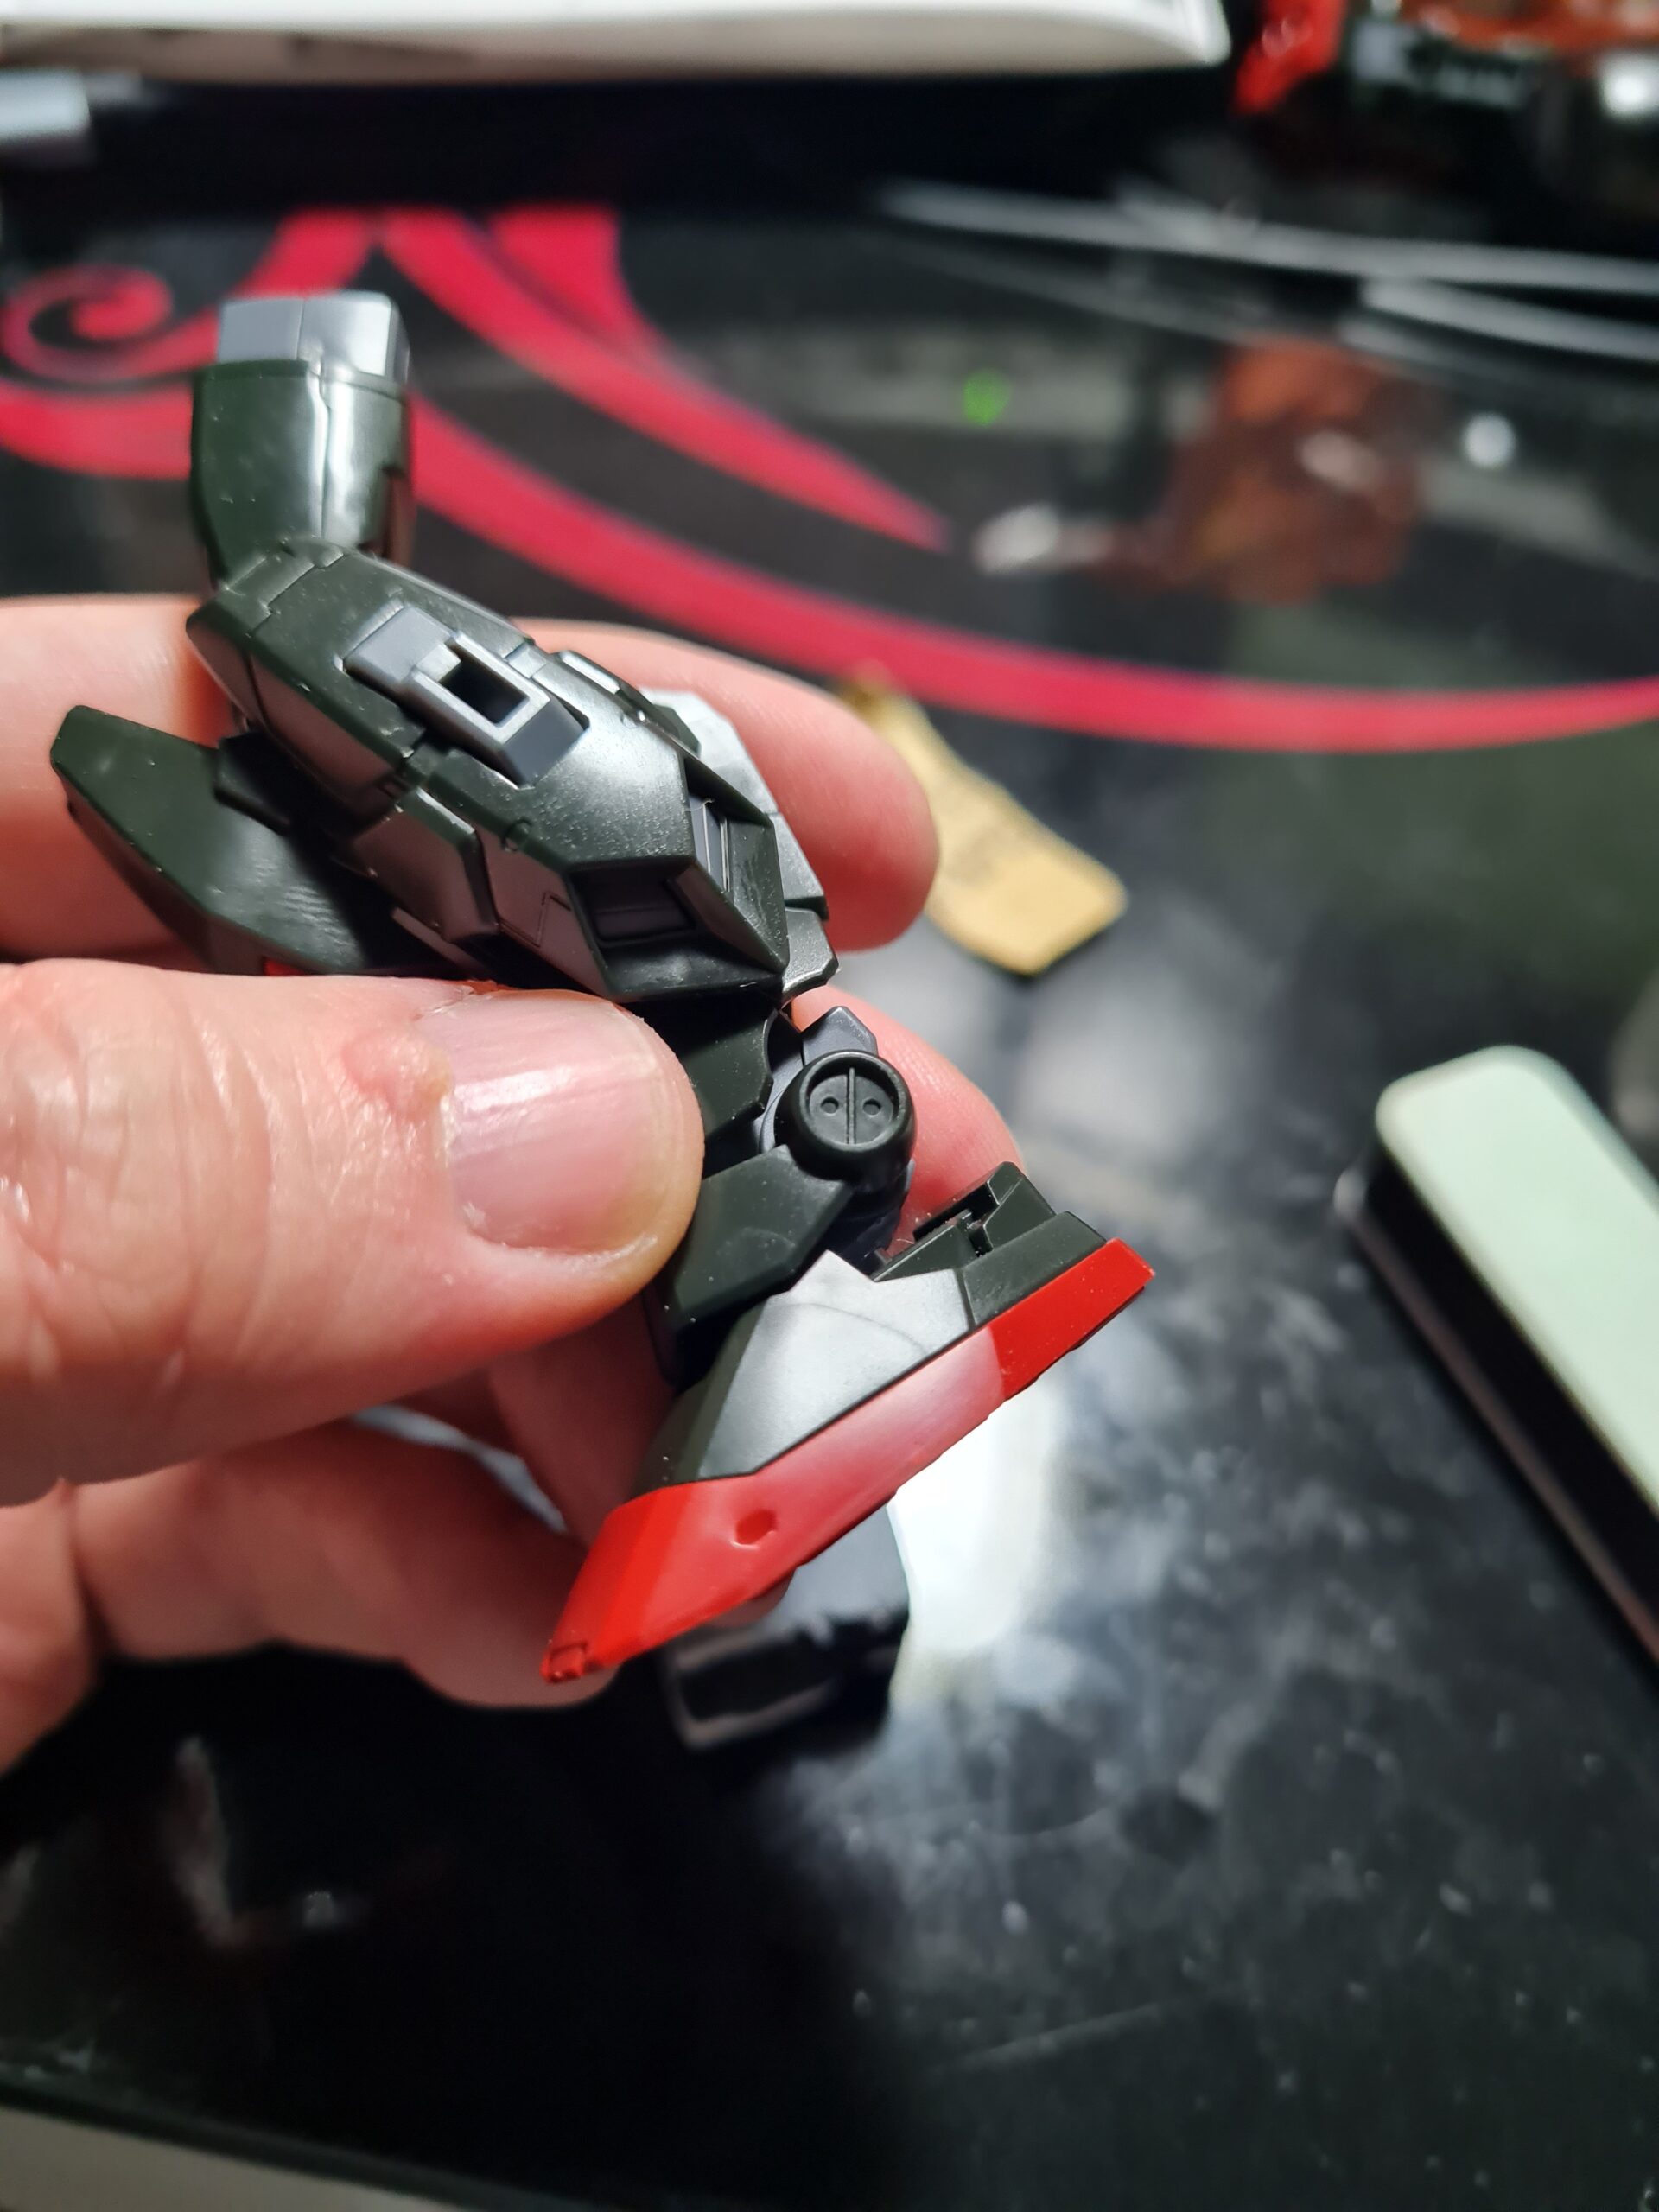
The next step was to use the Gray GUNPRIMER stick to remove those scratches. This restores the piece to a matt finish. If that is the look you like then you can stop there. It is worth noting that both sides of the Gray stick can be used for this stage.
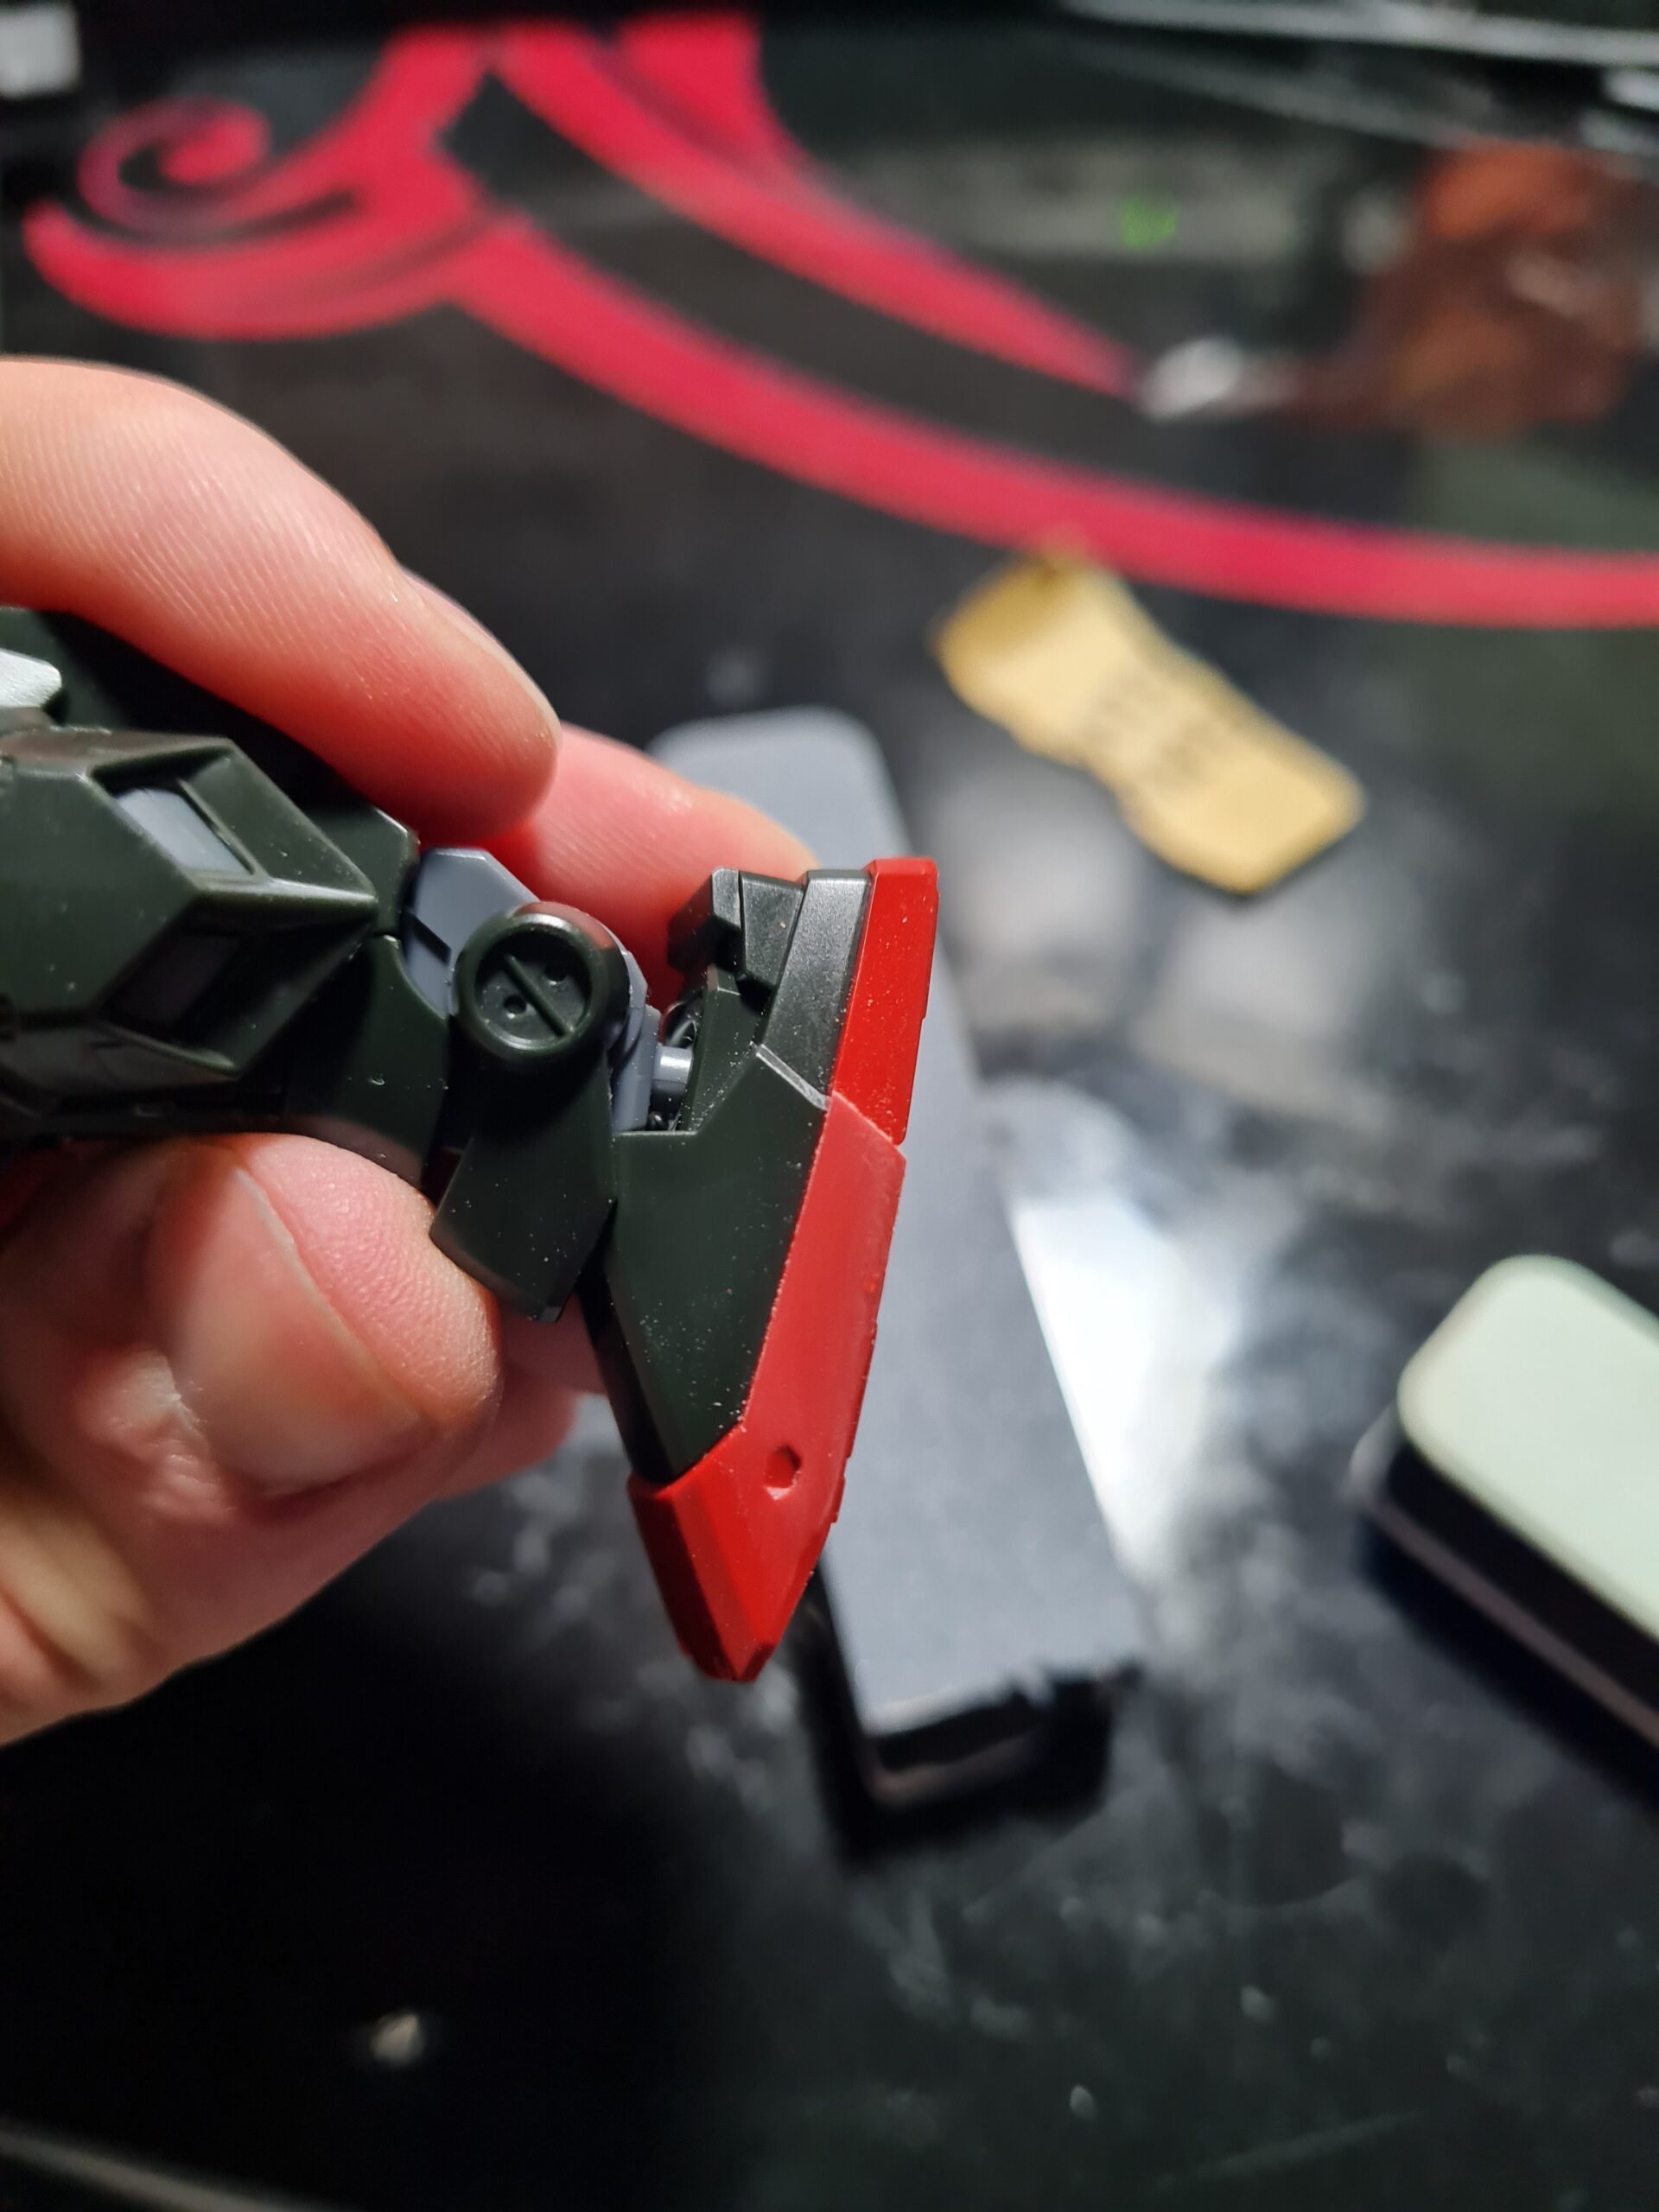
As you can see from the image above the foot has been restored to a flat matt finish. It could do with a couple more passes along the edge. I think you can see how effective that is though.
Polish
So for me, I prefer the shiny finish, so the end step is to use the White balancer. This has two sides; a green, and a white. The green prepares the surface, the white then polishes it back up. Once finished it looks something like this.
As you can see, I have completely removed the nub, and the plastic is nice and shiny again with no scratches or flaws on it. I think I did 6 strokes on the green side and 4 on the white to give than shine.
Where can I get these magical devices?
I would agree, they do indeed work like some sort of magic! Fortunately I have them in stock! You can find the GRAY Balancers here and the White BALANCERS here.
Conclusion
I am, it is fair to say, a real convert to these products, I think they allow you to quickly, and easily, get really top notch quality finishes on parts.
Thank you for taking the time to read this. If you haven’t already done so please like and follow us on our social media platforms and checkout our website!
Facebook: https://www.facebook.com/profile.php?id=100086701512793
Instagram: https://www.instagram.com/modelkitsltd/
Website: https://modelkitsltd.co.uk