Once you have spent all that time building your model(s) then people often want to display them. The options range from standing them up, to full on dioramas. Obviously some of it all comes down to how much time you want to spend on the display. However, if you want cheap, but effective the stands I have in stock may just be right for you!
Why would I want a stand?
Well to put it simple, it increases the number of poses for your model. That allows you to get even more out of the model you built. You can have them posed as jumping, or mid flight or all sorts when adding a stand in to the mix.
Examples
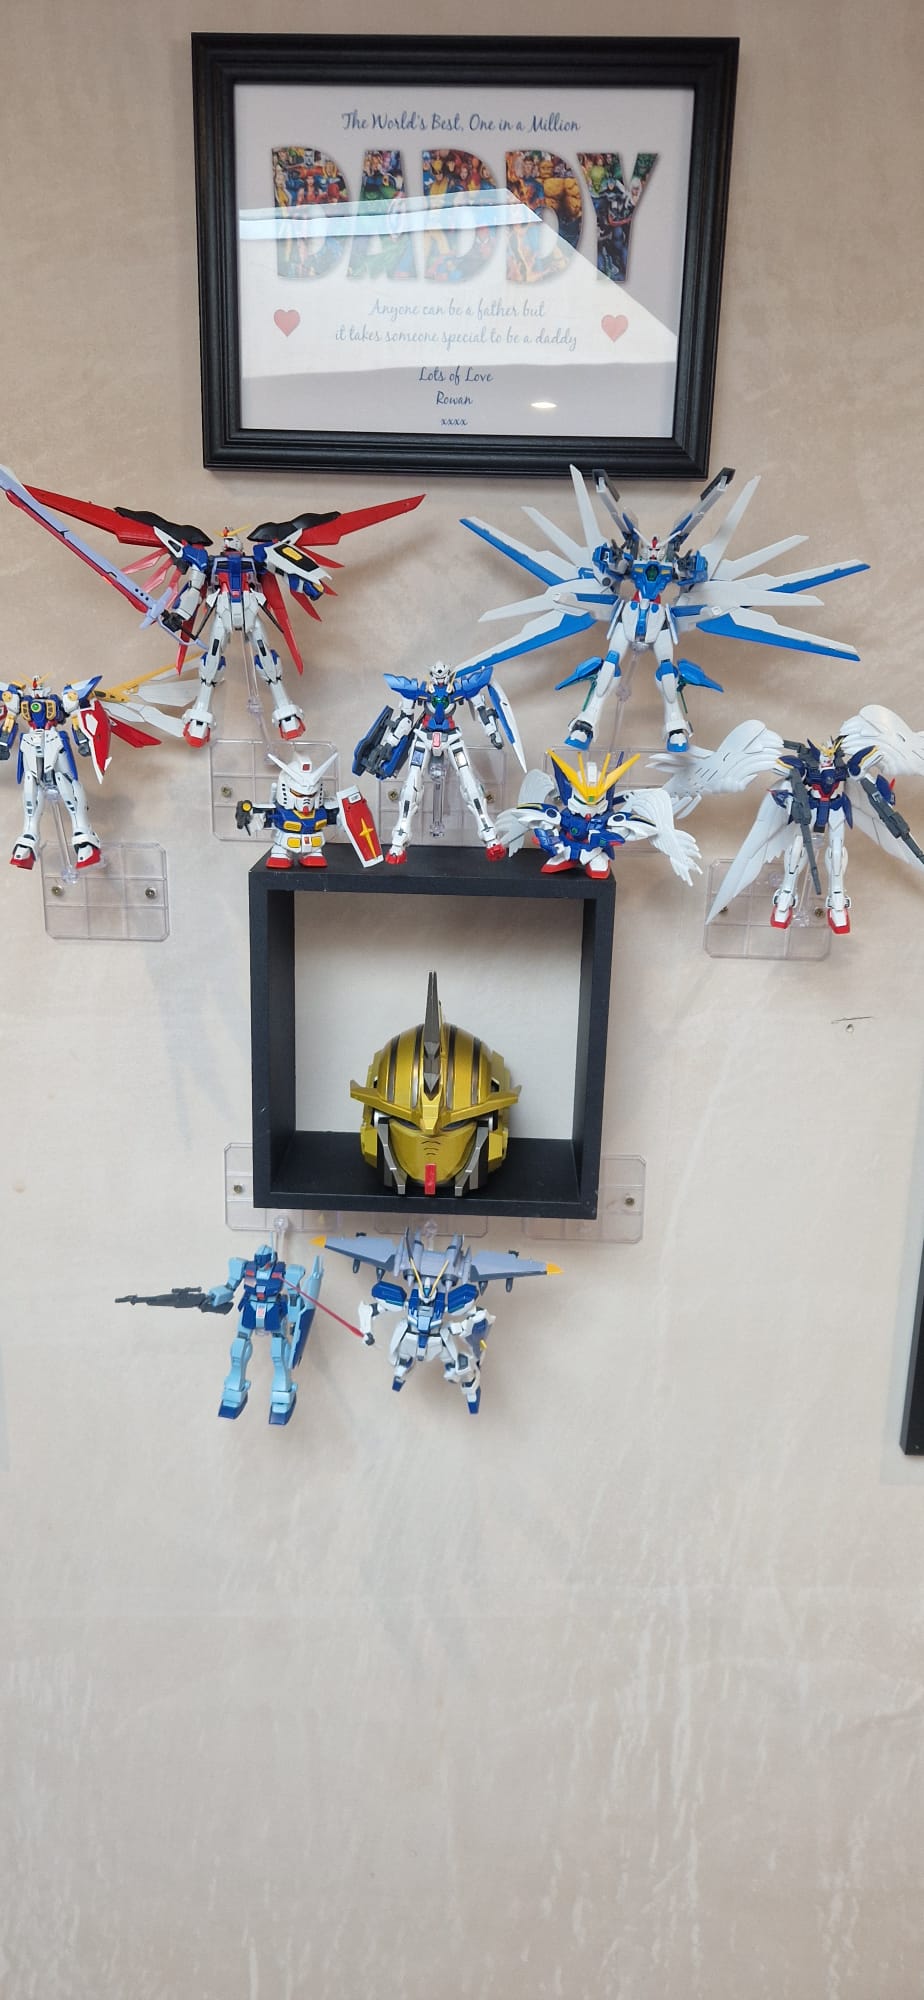
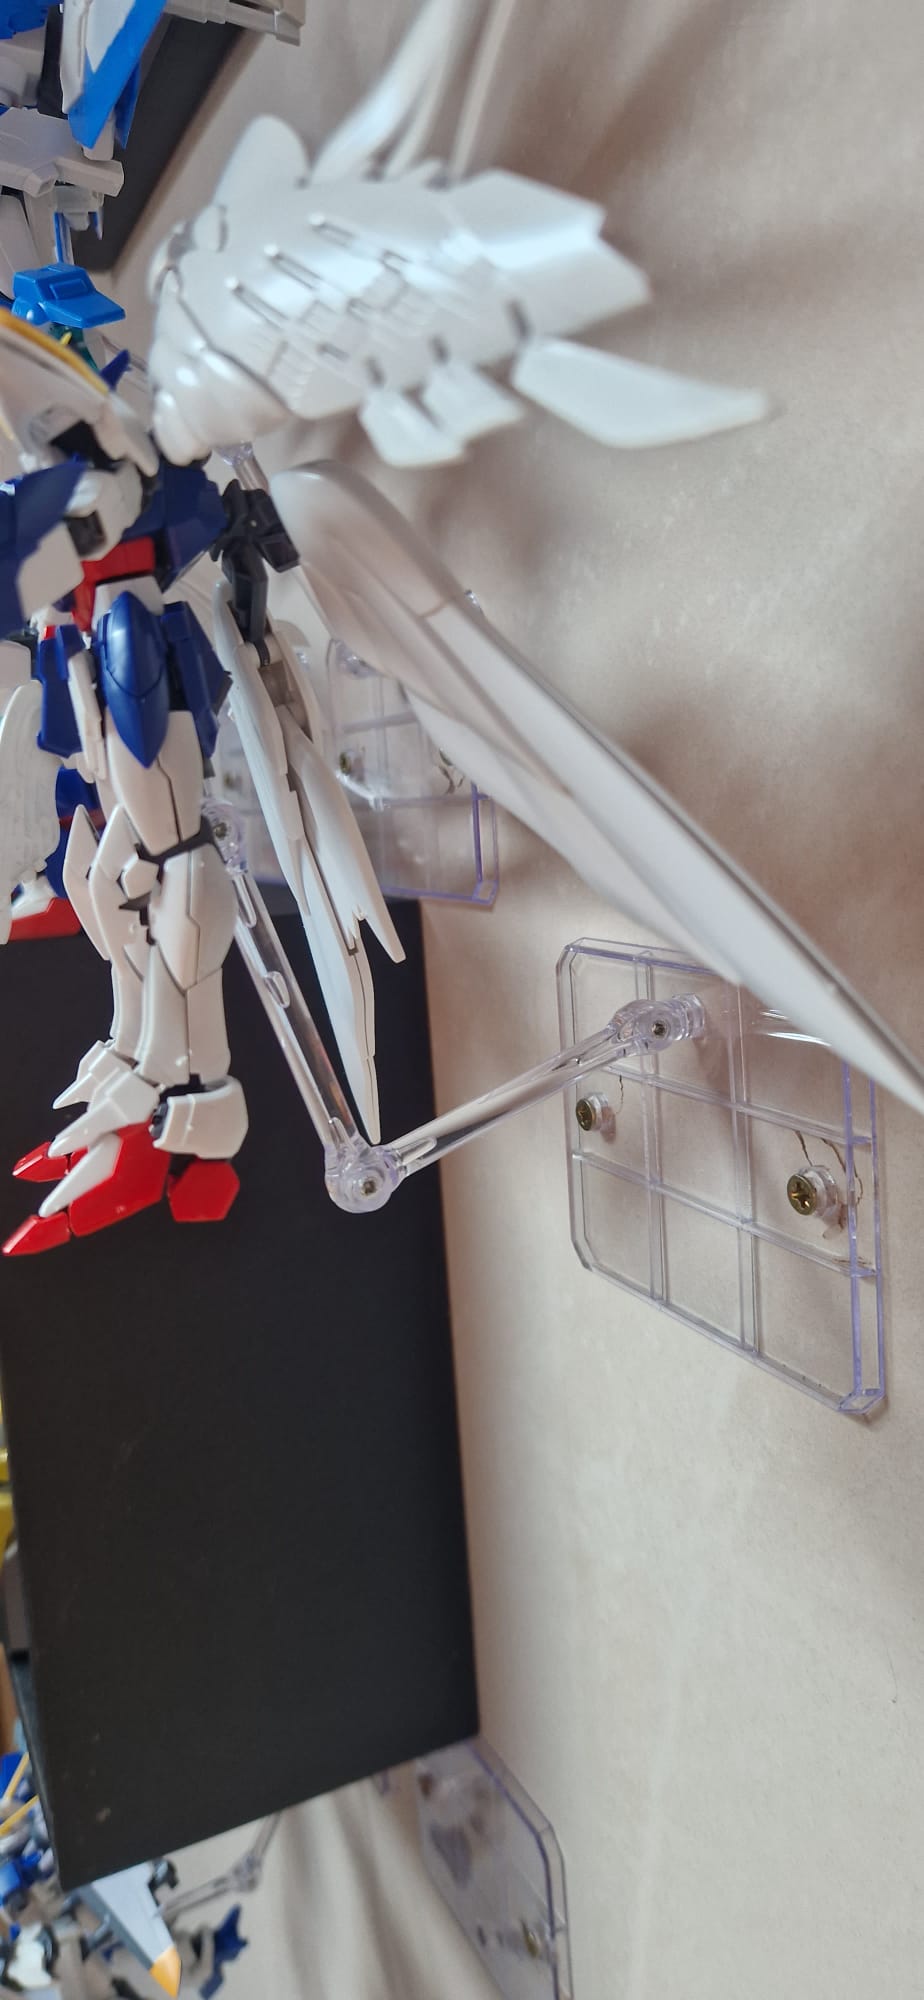
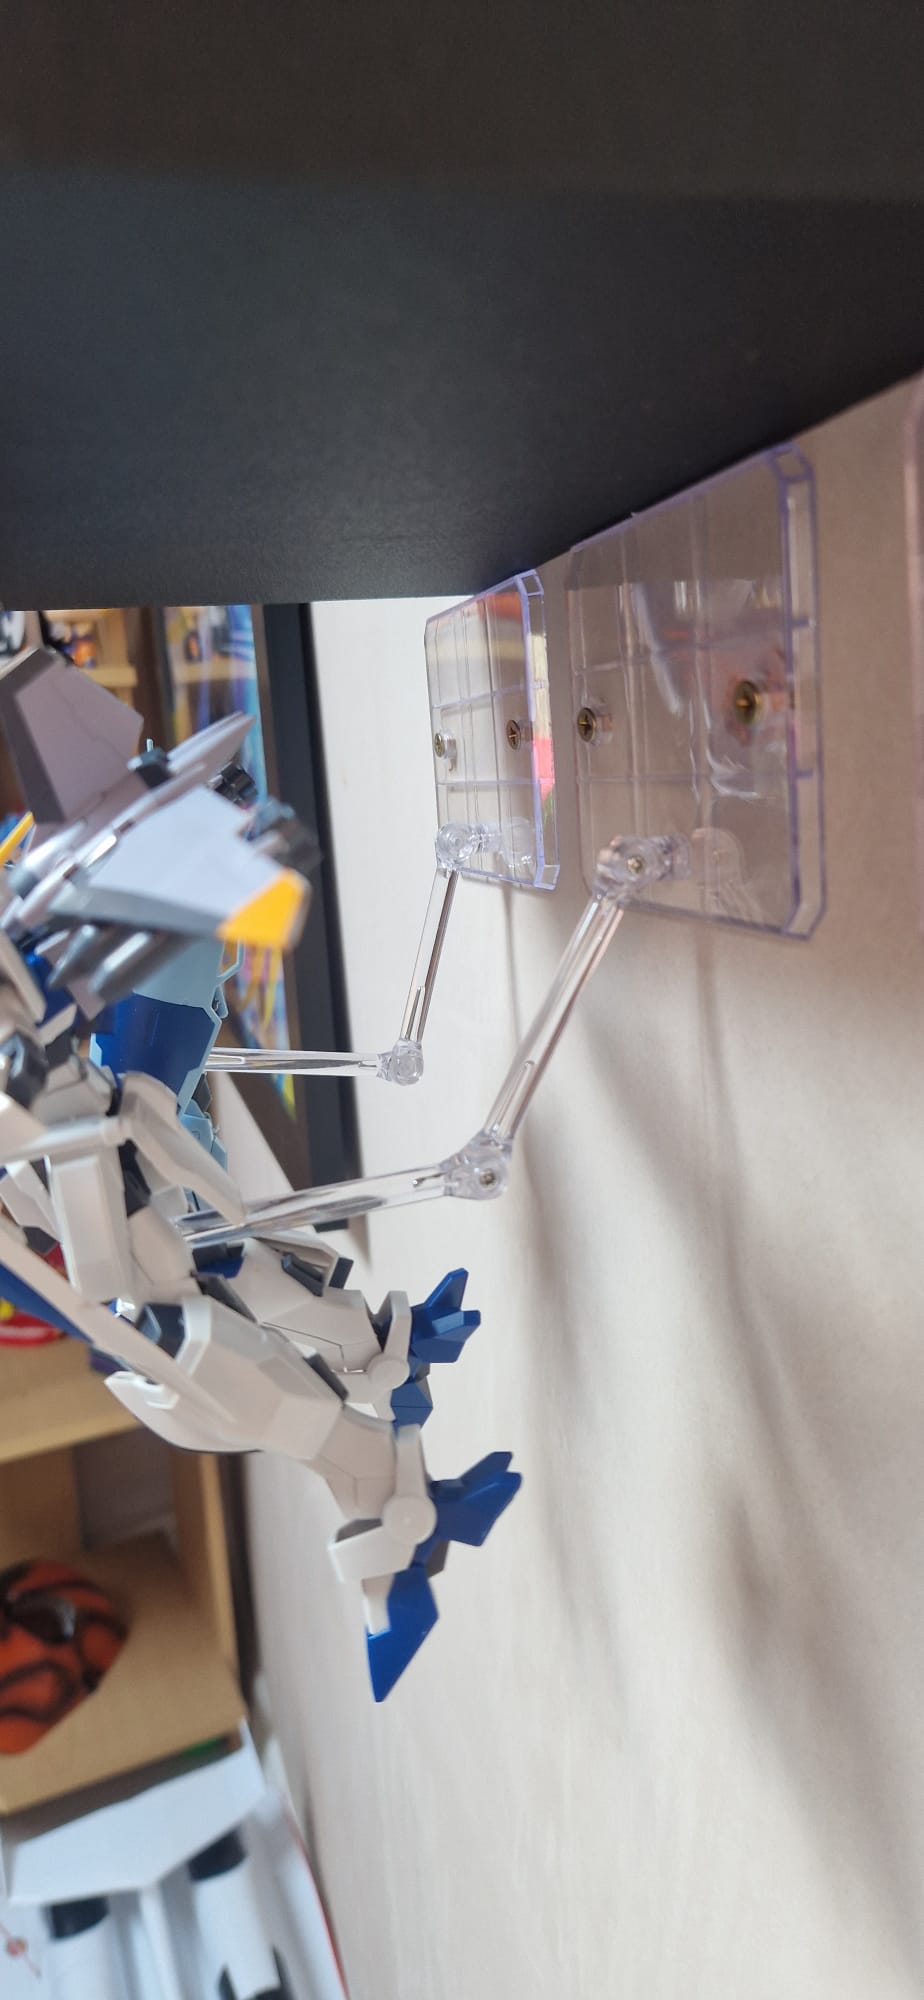
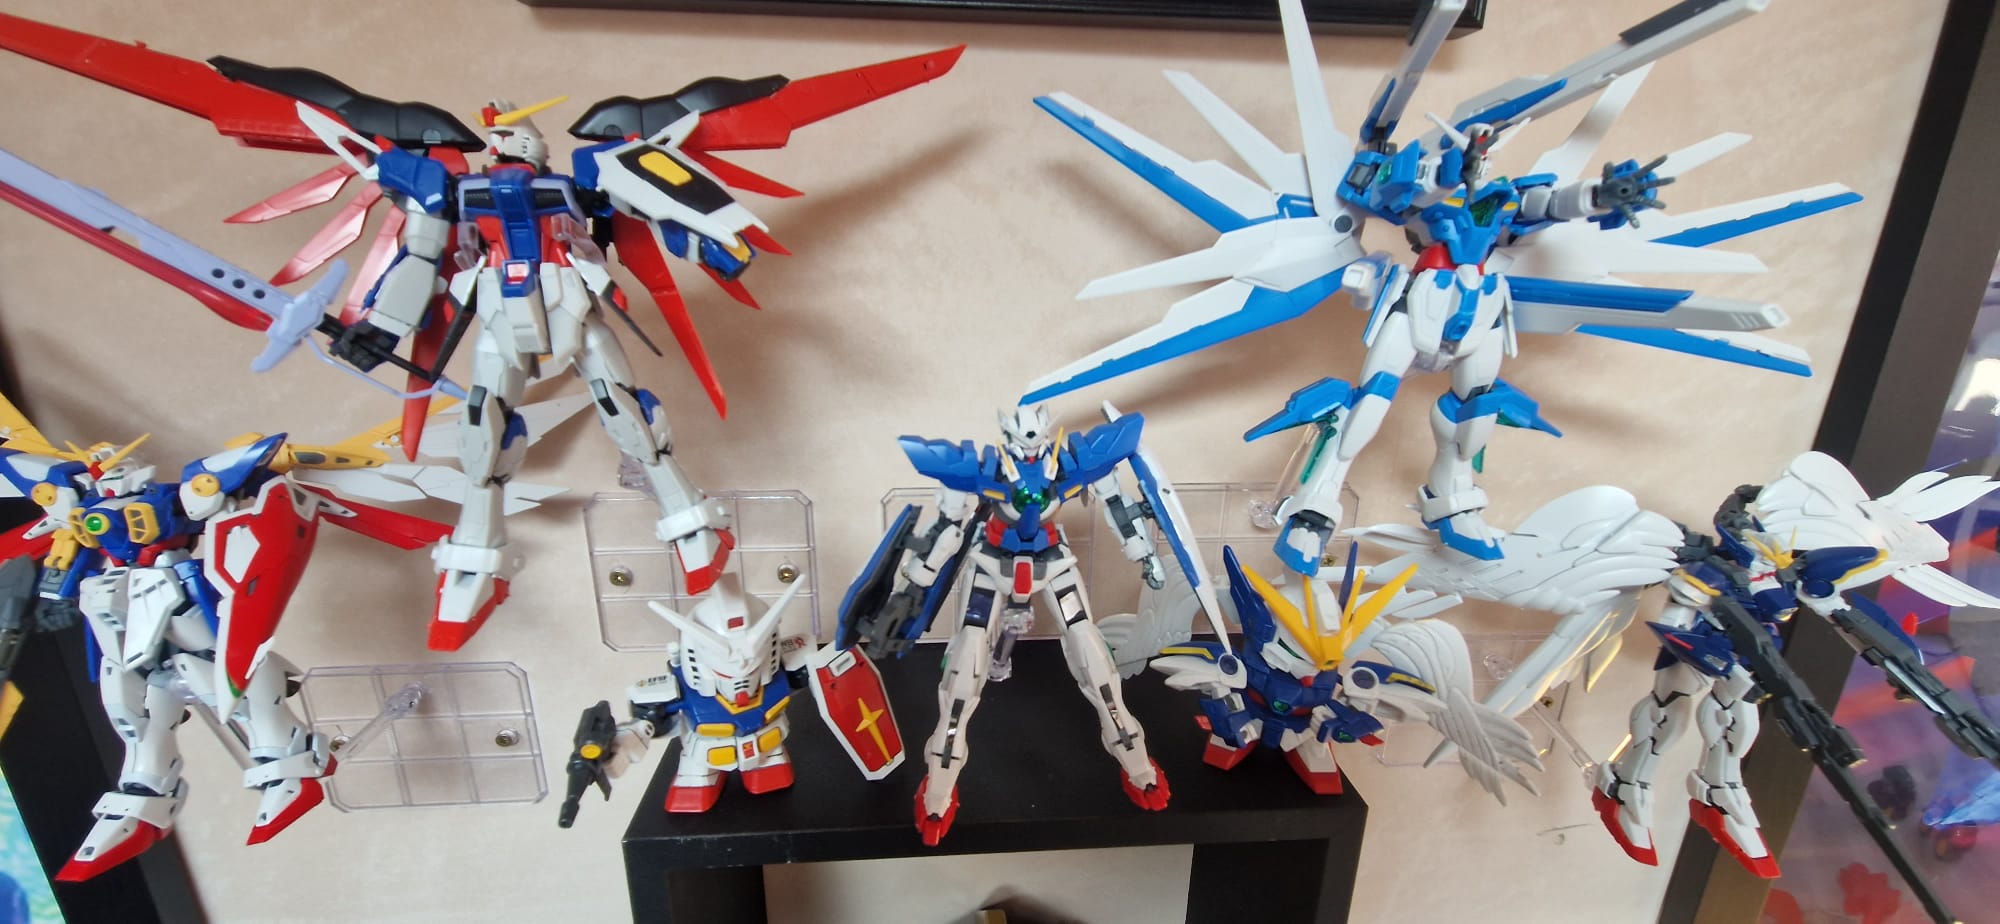
One of my friends and customers very kindly allowed me to use the following images from their collection:
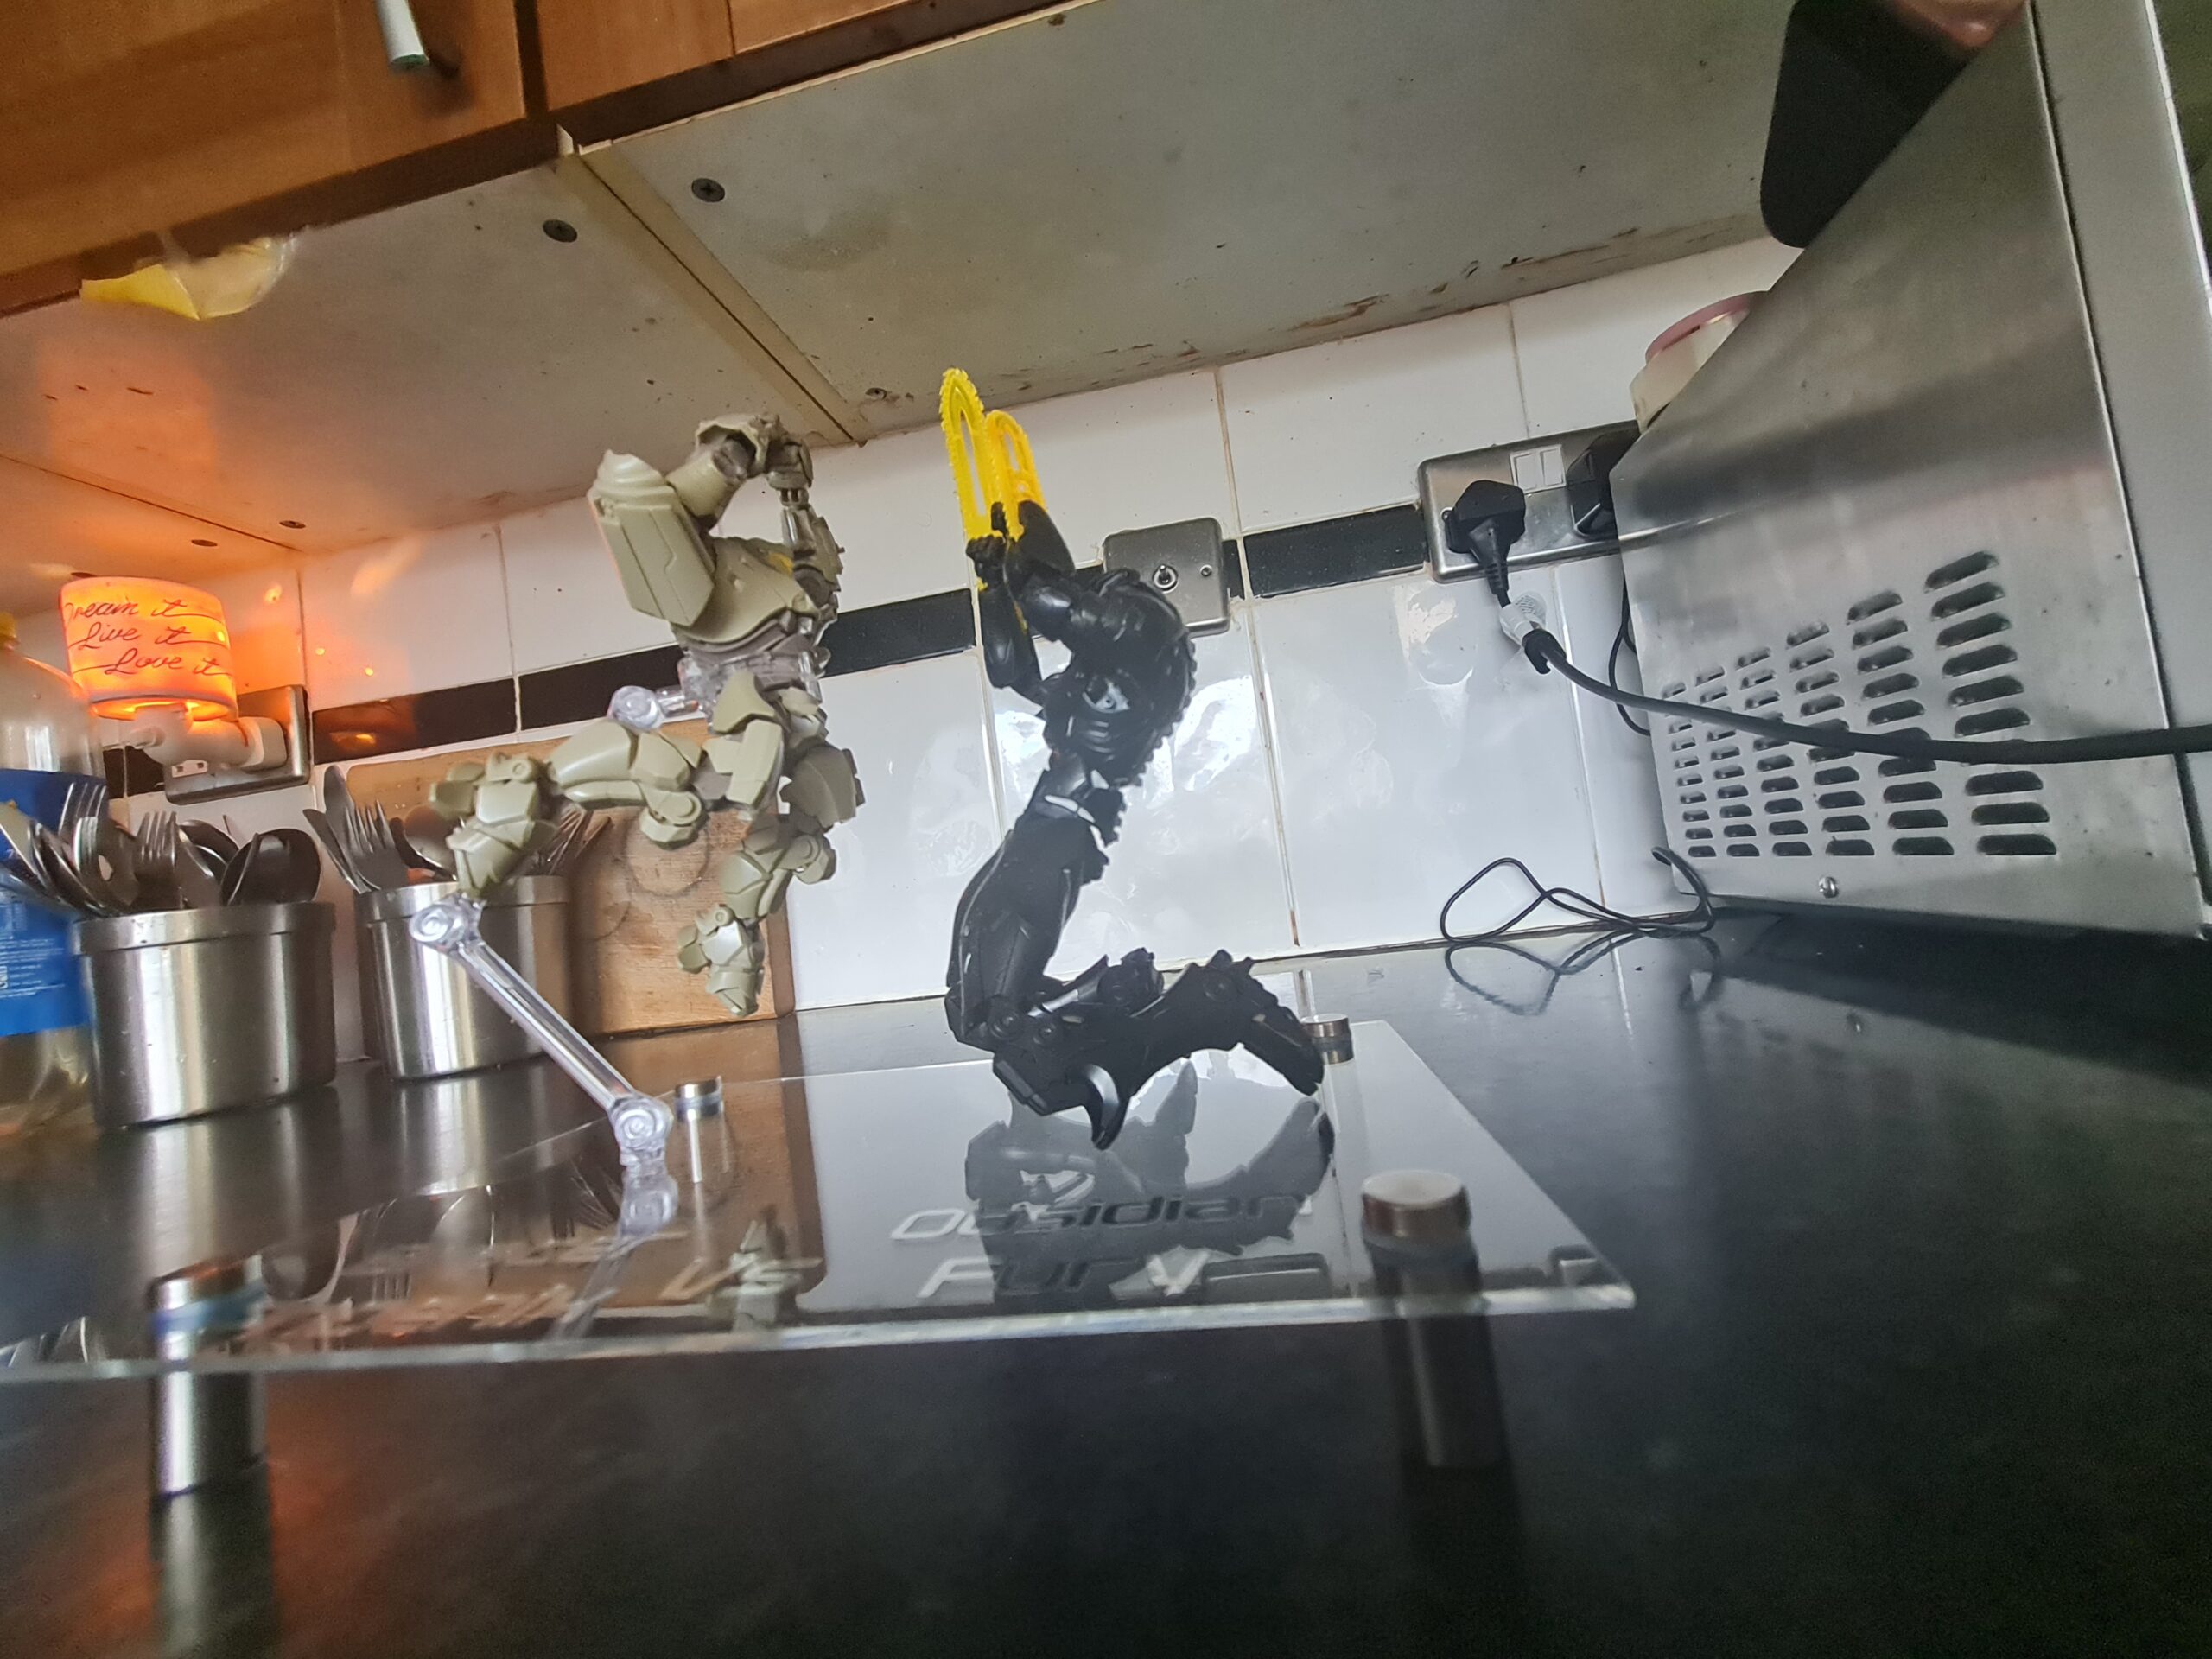
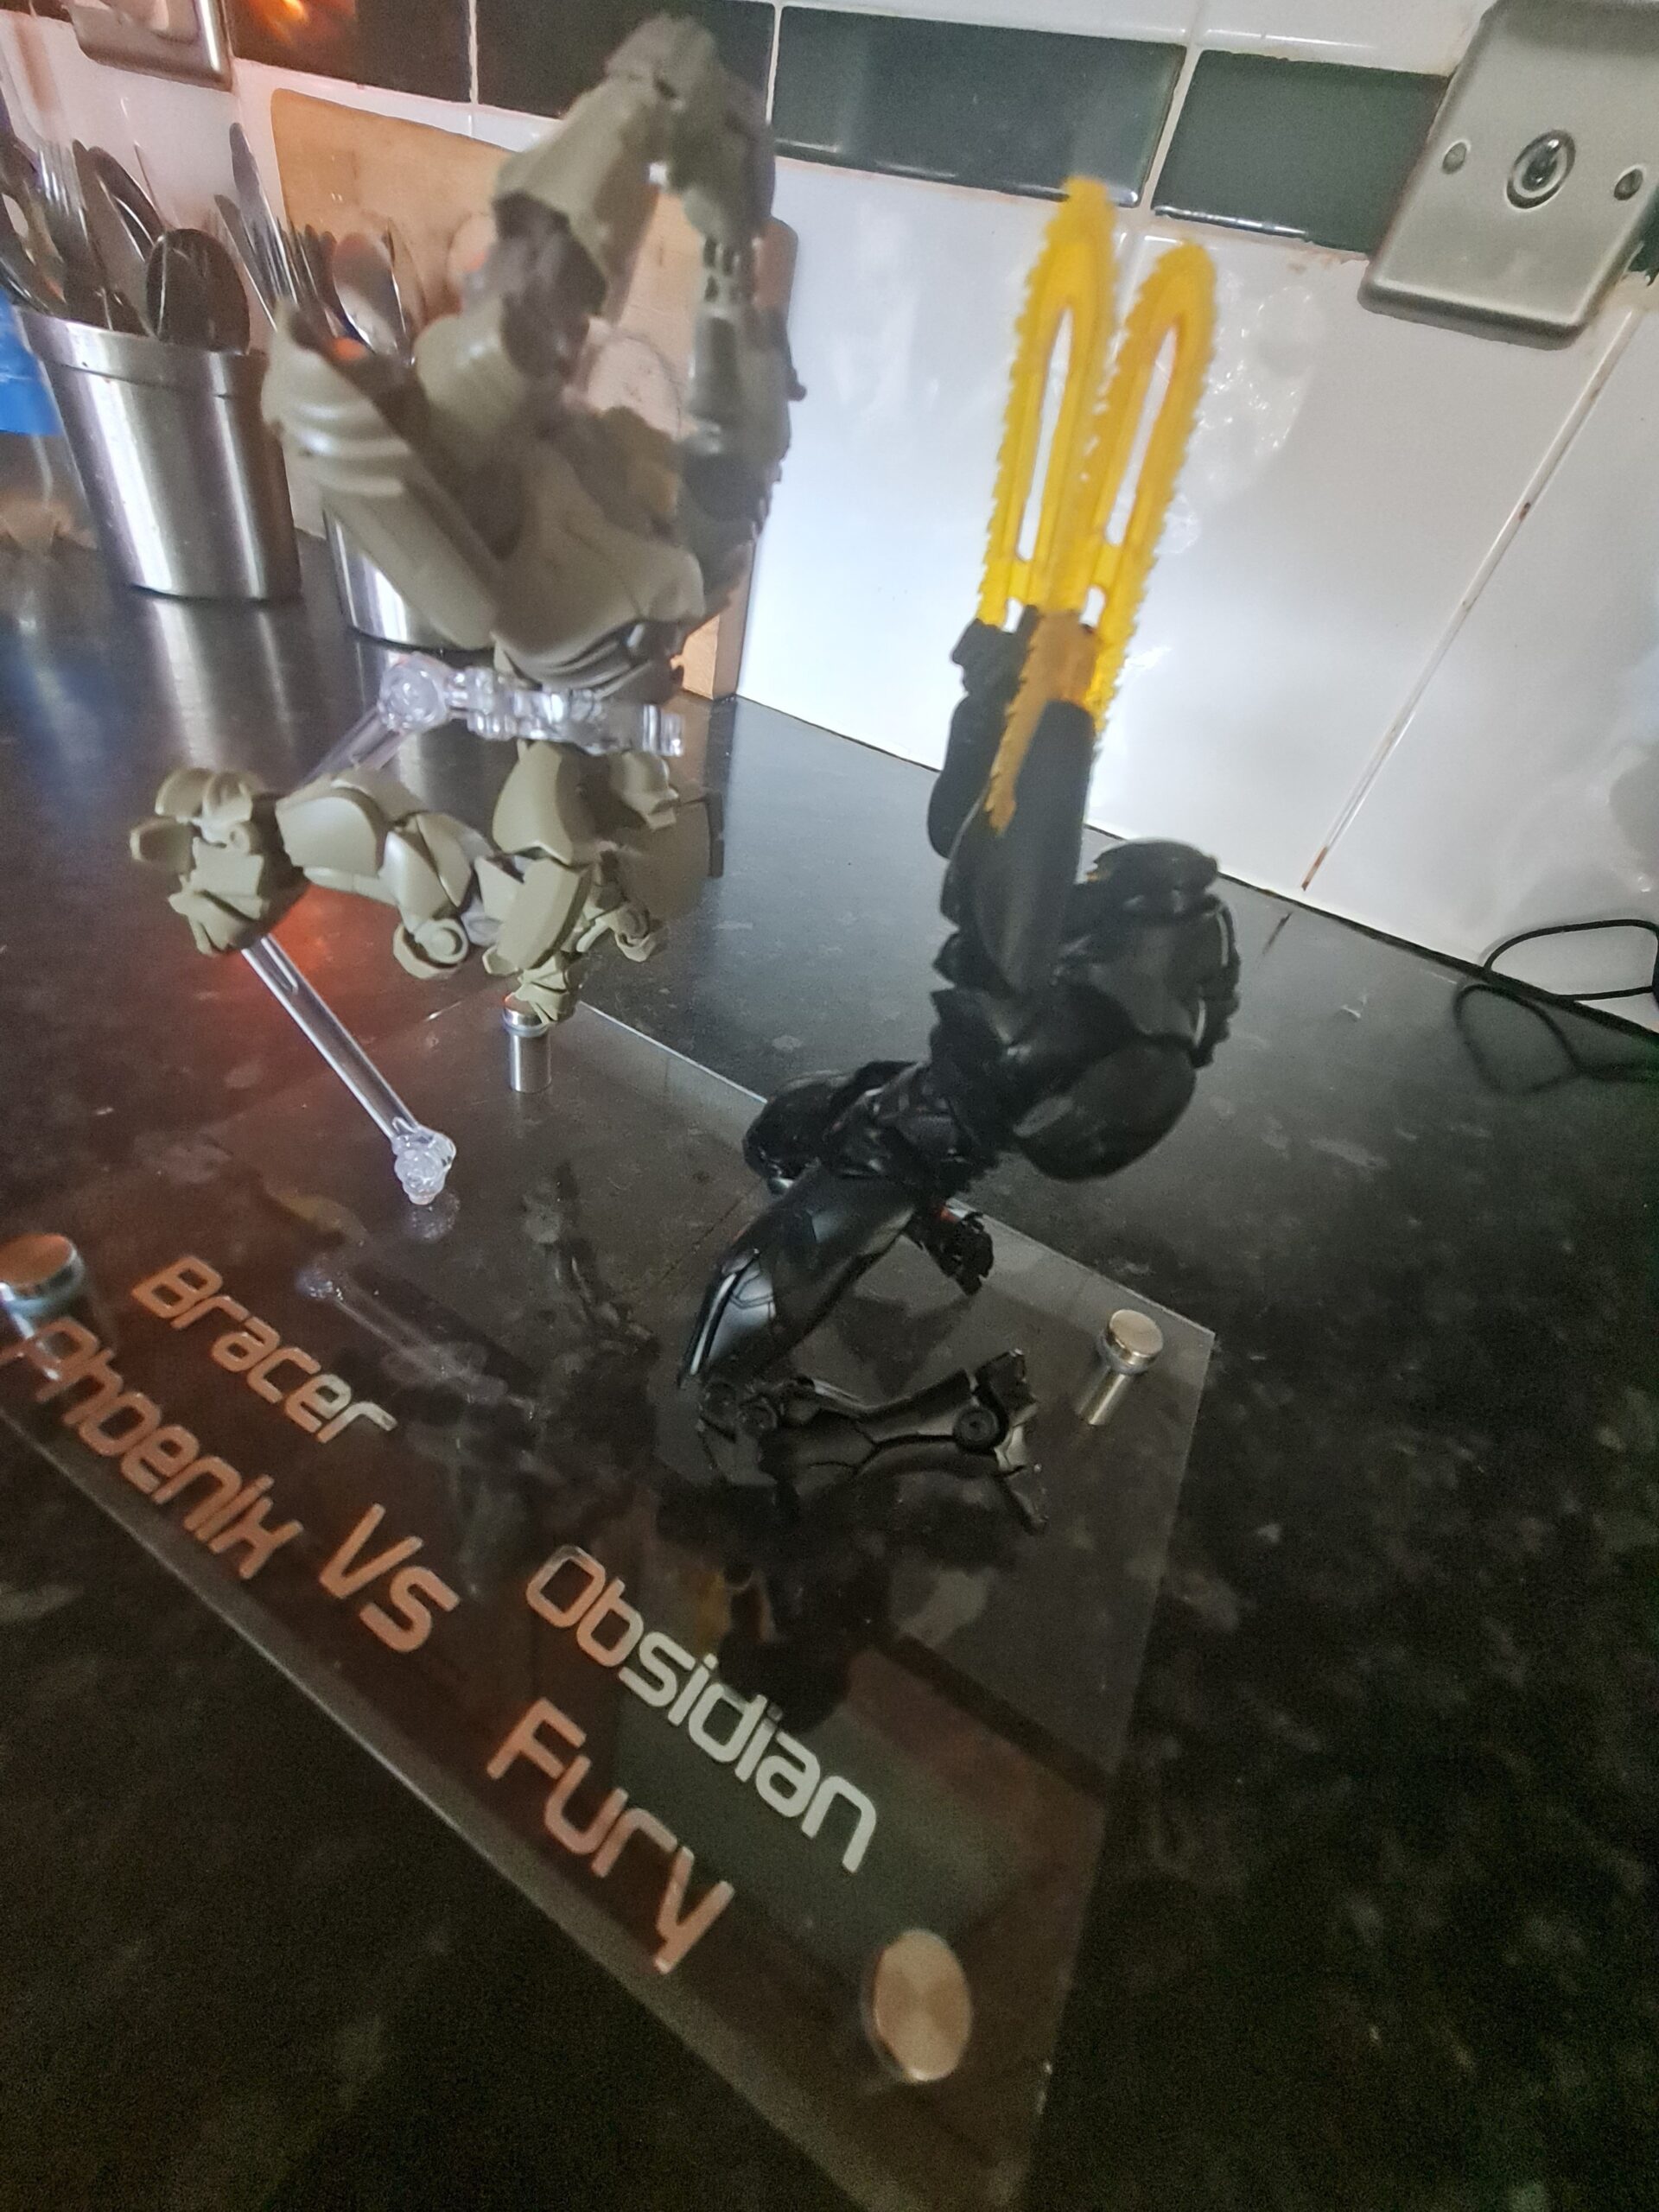
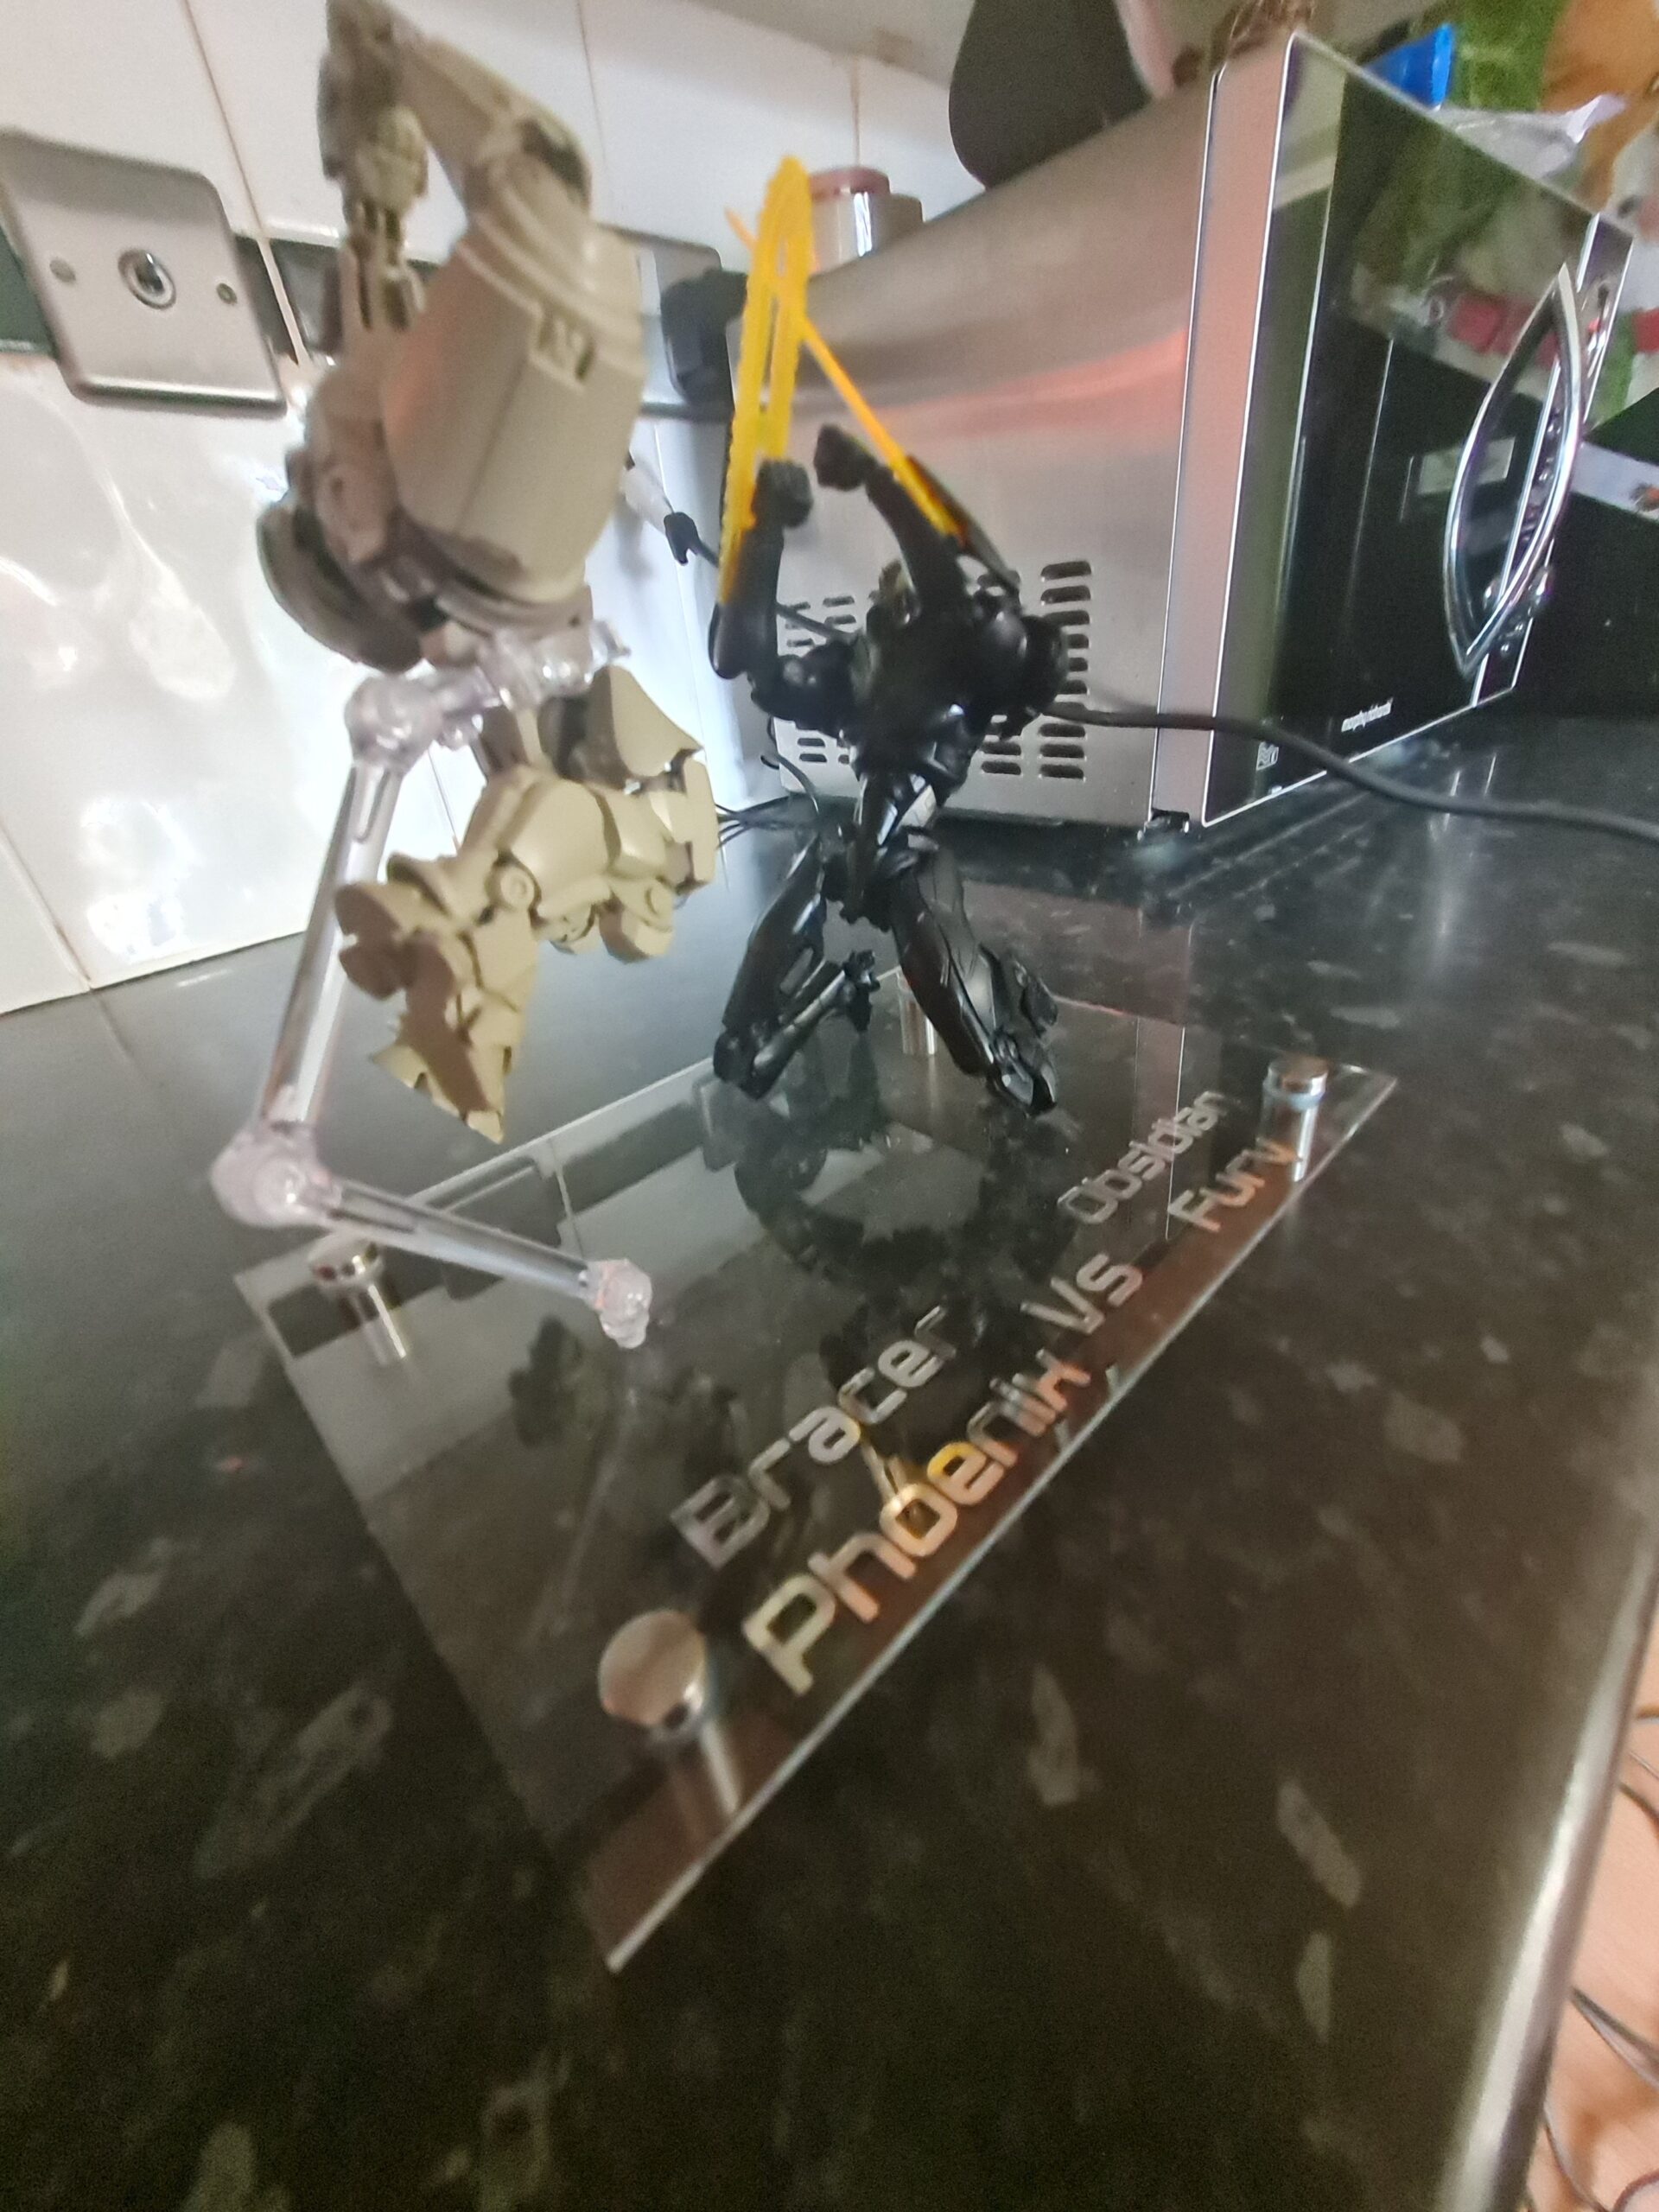
Display1Display2Display3Display4Display5
As you can see the use of space has been maximised by attaching the bases to the wall allowing the models to float in mid air. This provides an excellent example of how ingenuity and these cheap stands can provide a great way to display your models.
Where can I get these wonderful stands?
Well I am very glad you asked me about that! I happen to have these very models in stock over at the shop here! Reasonably prices, and as you can see from the photos, they offer great options.
Conclusion
There are plenty of ways to display your models. There are no right, or wrong ways to do it. If you are having fun, and you like how they look then that is right.
Thank you for taking the time to read this. If you haven’t already done so please like and follow us on our social media platforms and checkout our website!
Recently I got asked about the cheap stands or bases, and whether they were a real viable alternative to the more standard bases. You can often, if you shop around, get 3 or 4 of the cheaper bases for the price of one of the standard ones.
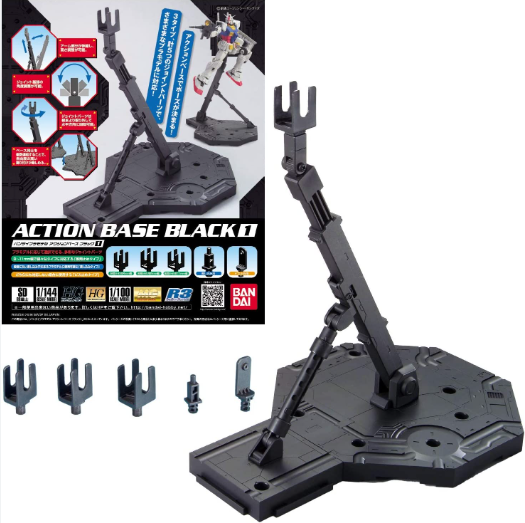
The standard ones look like this (or some variation on this):
Standard Action Base
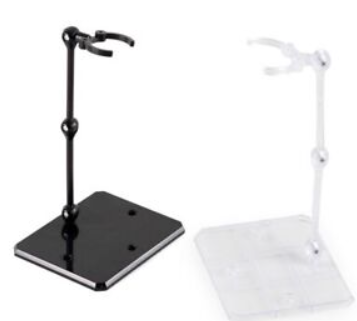
The cheaper options normally look something like this:
Unbranded Stand
Both sets of bases can be purchased in a variety of colours. I’ll admit I favour clear bases as I can always paint them if I want them a different colour.
The “Standard” base
There are loads of reasons to get one of these bases. They have a nice aesthetic to them, and if you want one, they aren’t crazy expensive. They have the attachments to allow you to connect them to a variety of models with no fuss. But this isn’t an article about those!
Unbranded Base
However, despite the reasons for getting a standard base, there are other options, and they can be just as effective. The generic unbranded stands normally comes flat packed, with multiple screws and parts to put together. As in the image above these are normally assembled with the grasping arms on the end. However these can sometimes cause problems where the models like to split. The torso and upper part goes one way and the waist and legs go another. This can be a real pain when trying to post a model. So what can we do with them.
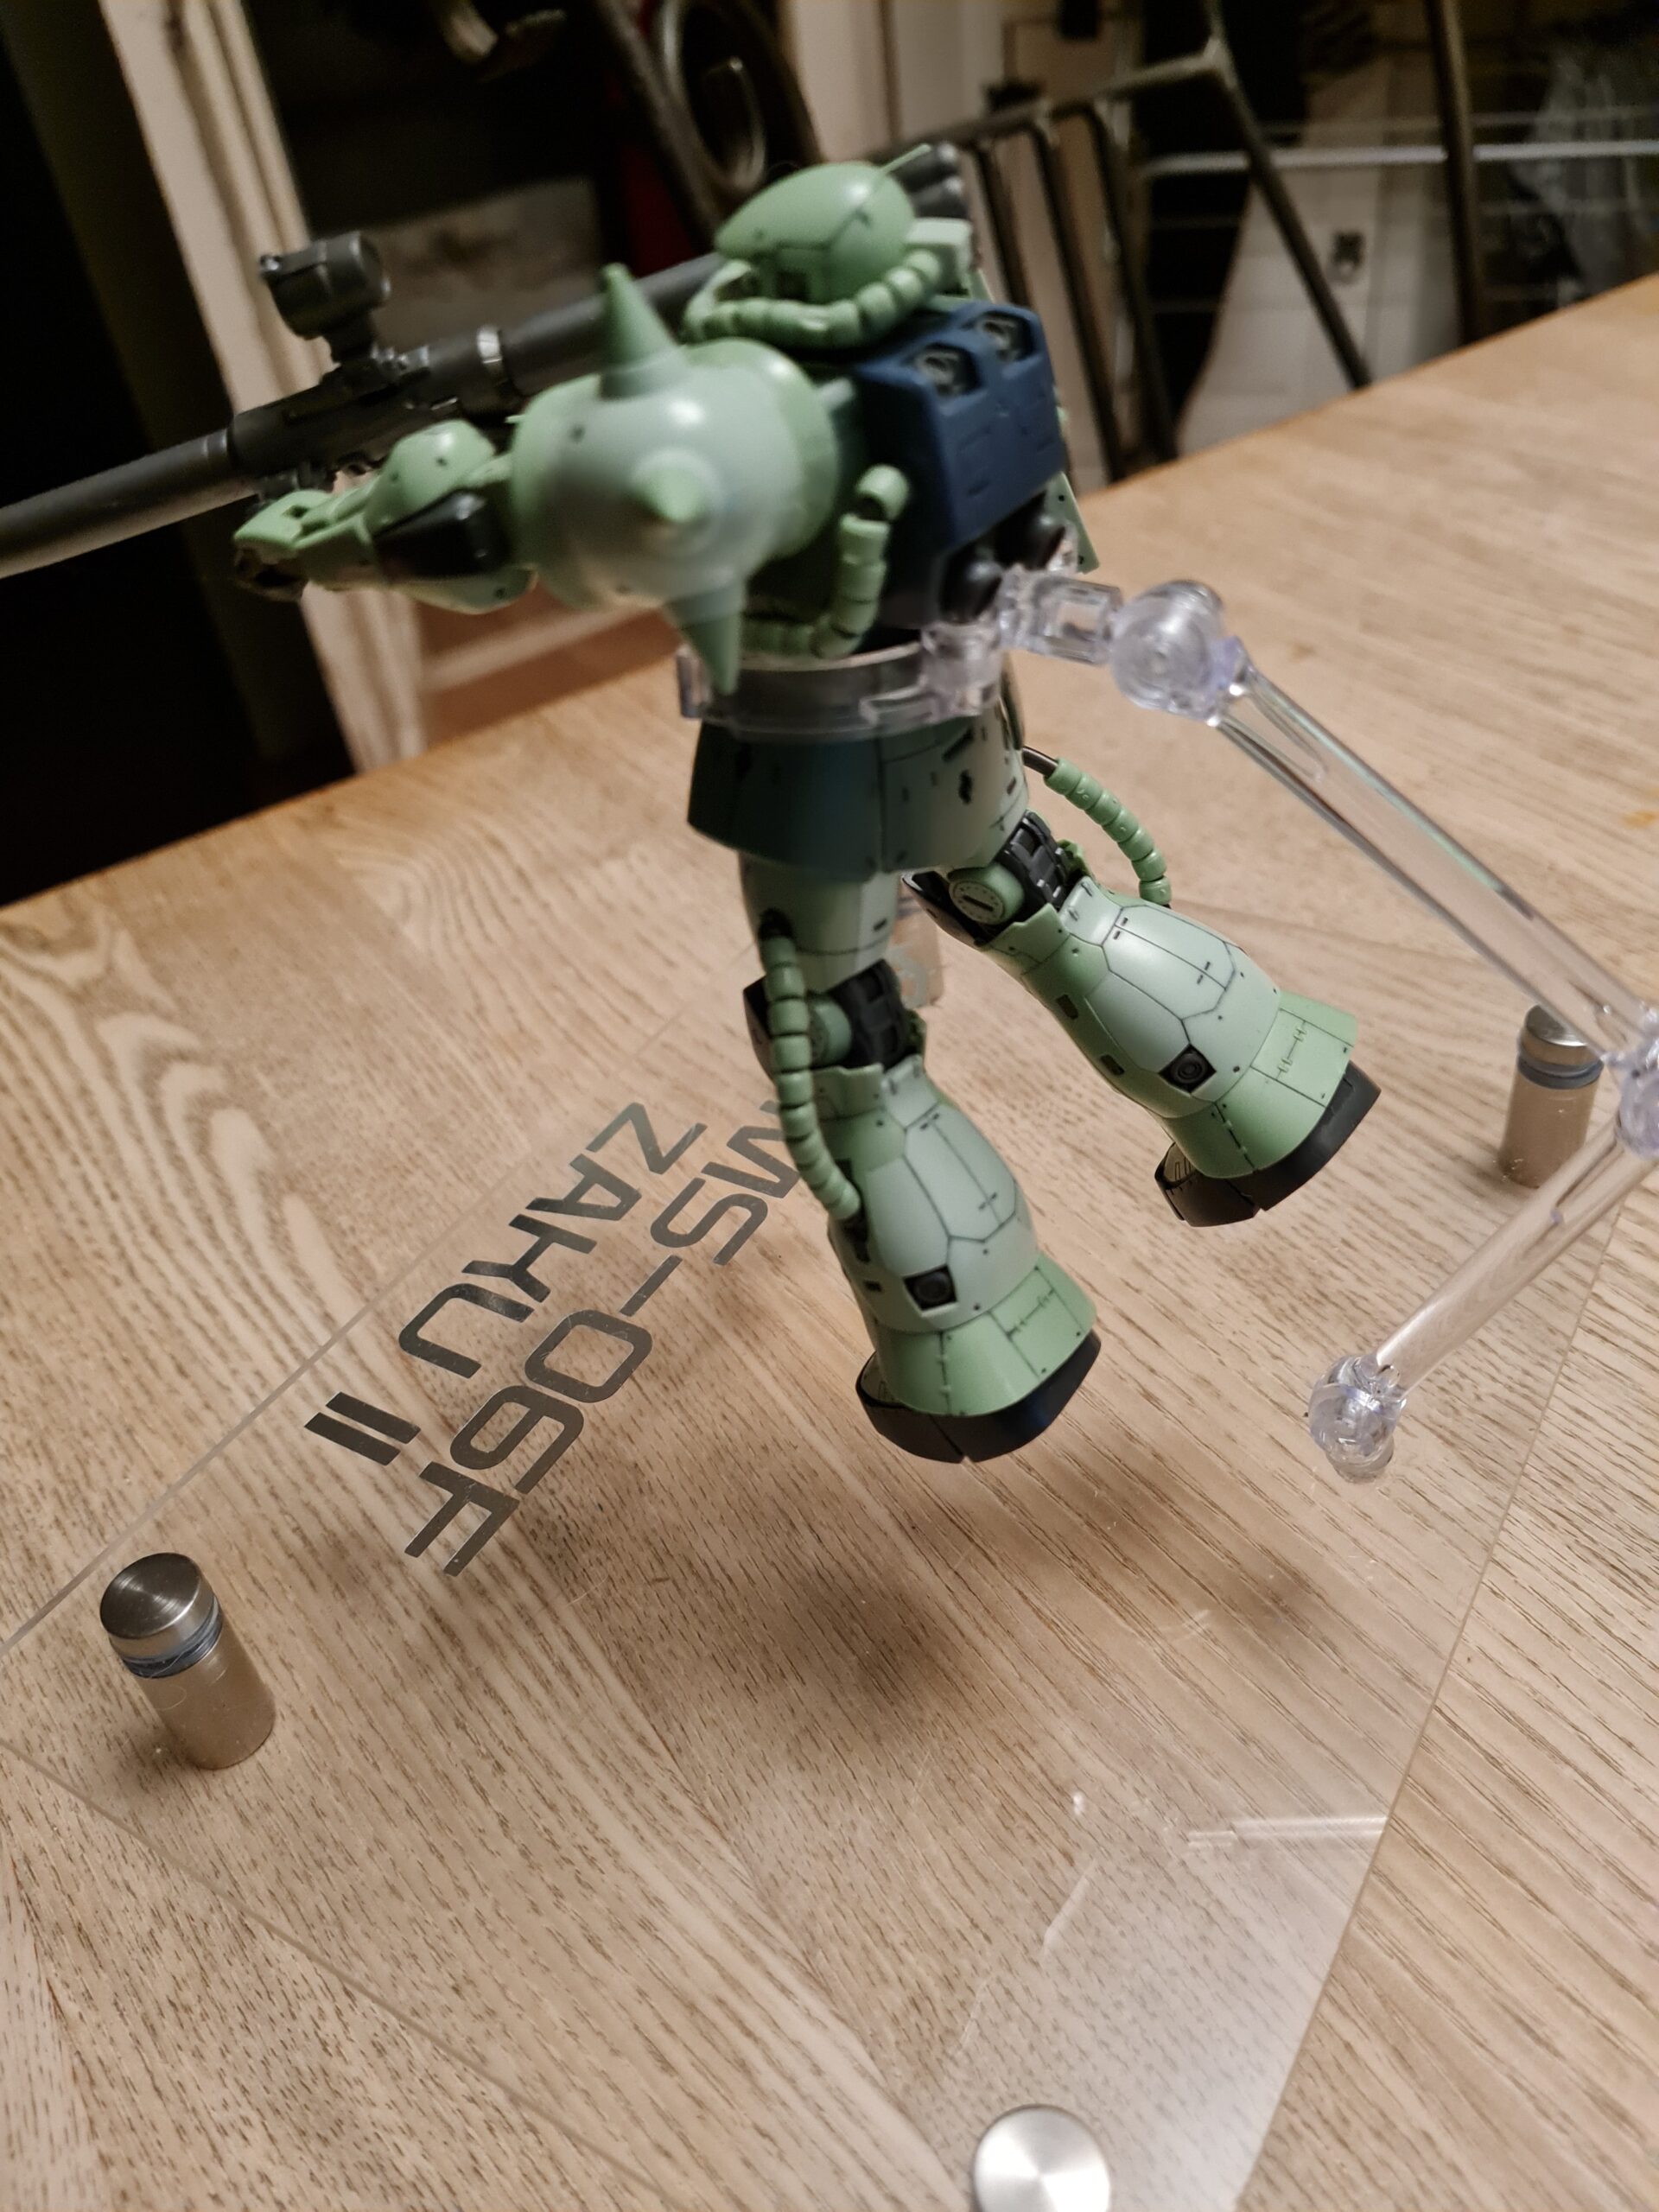
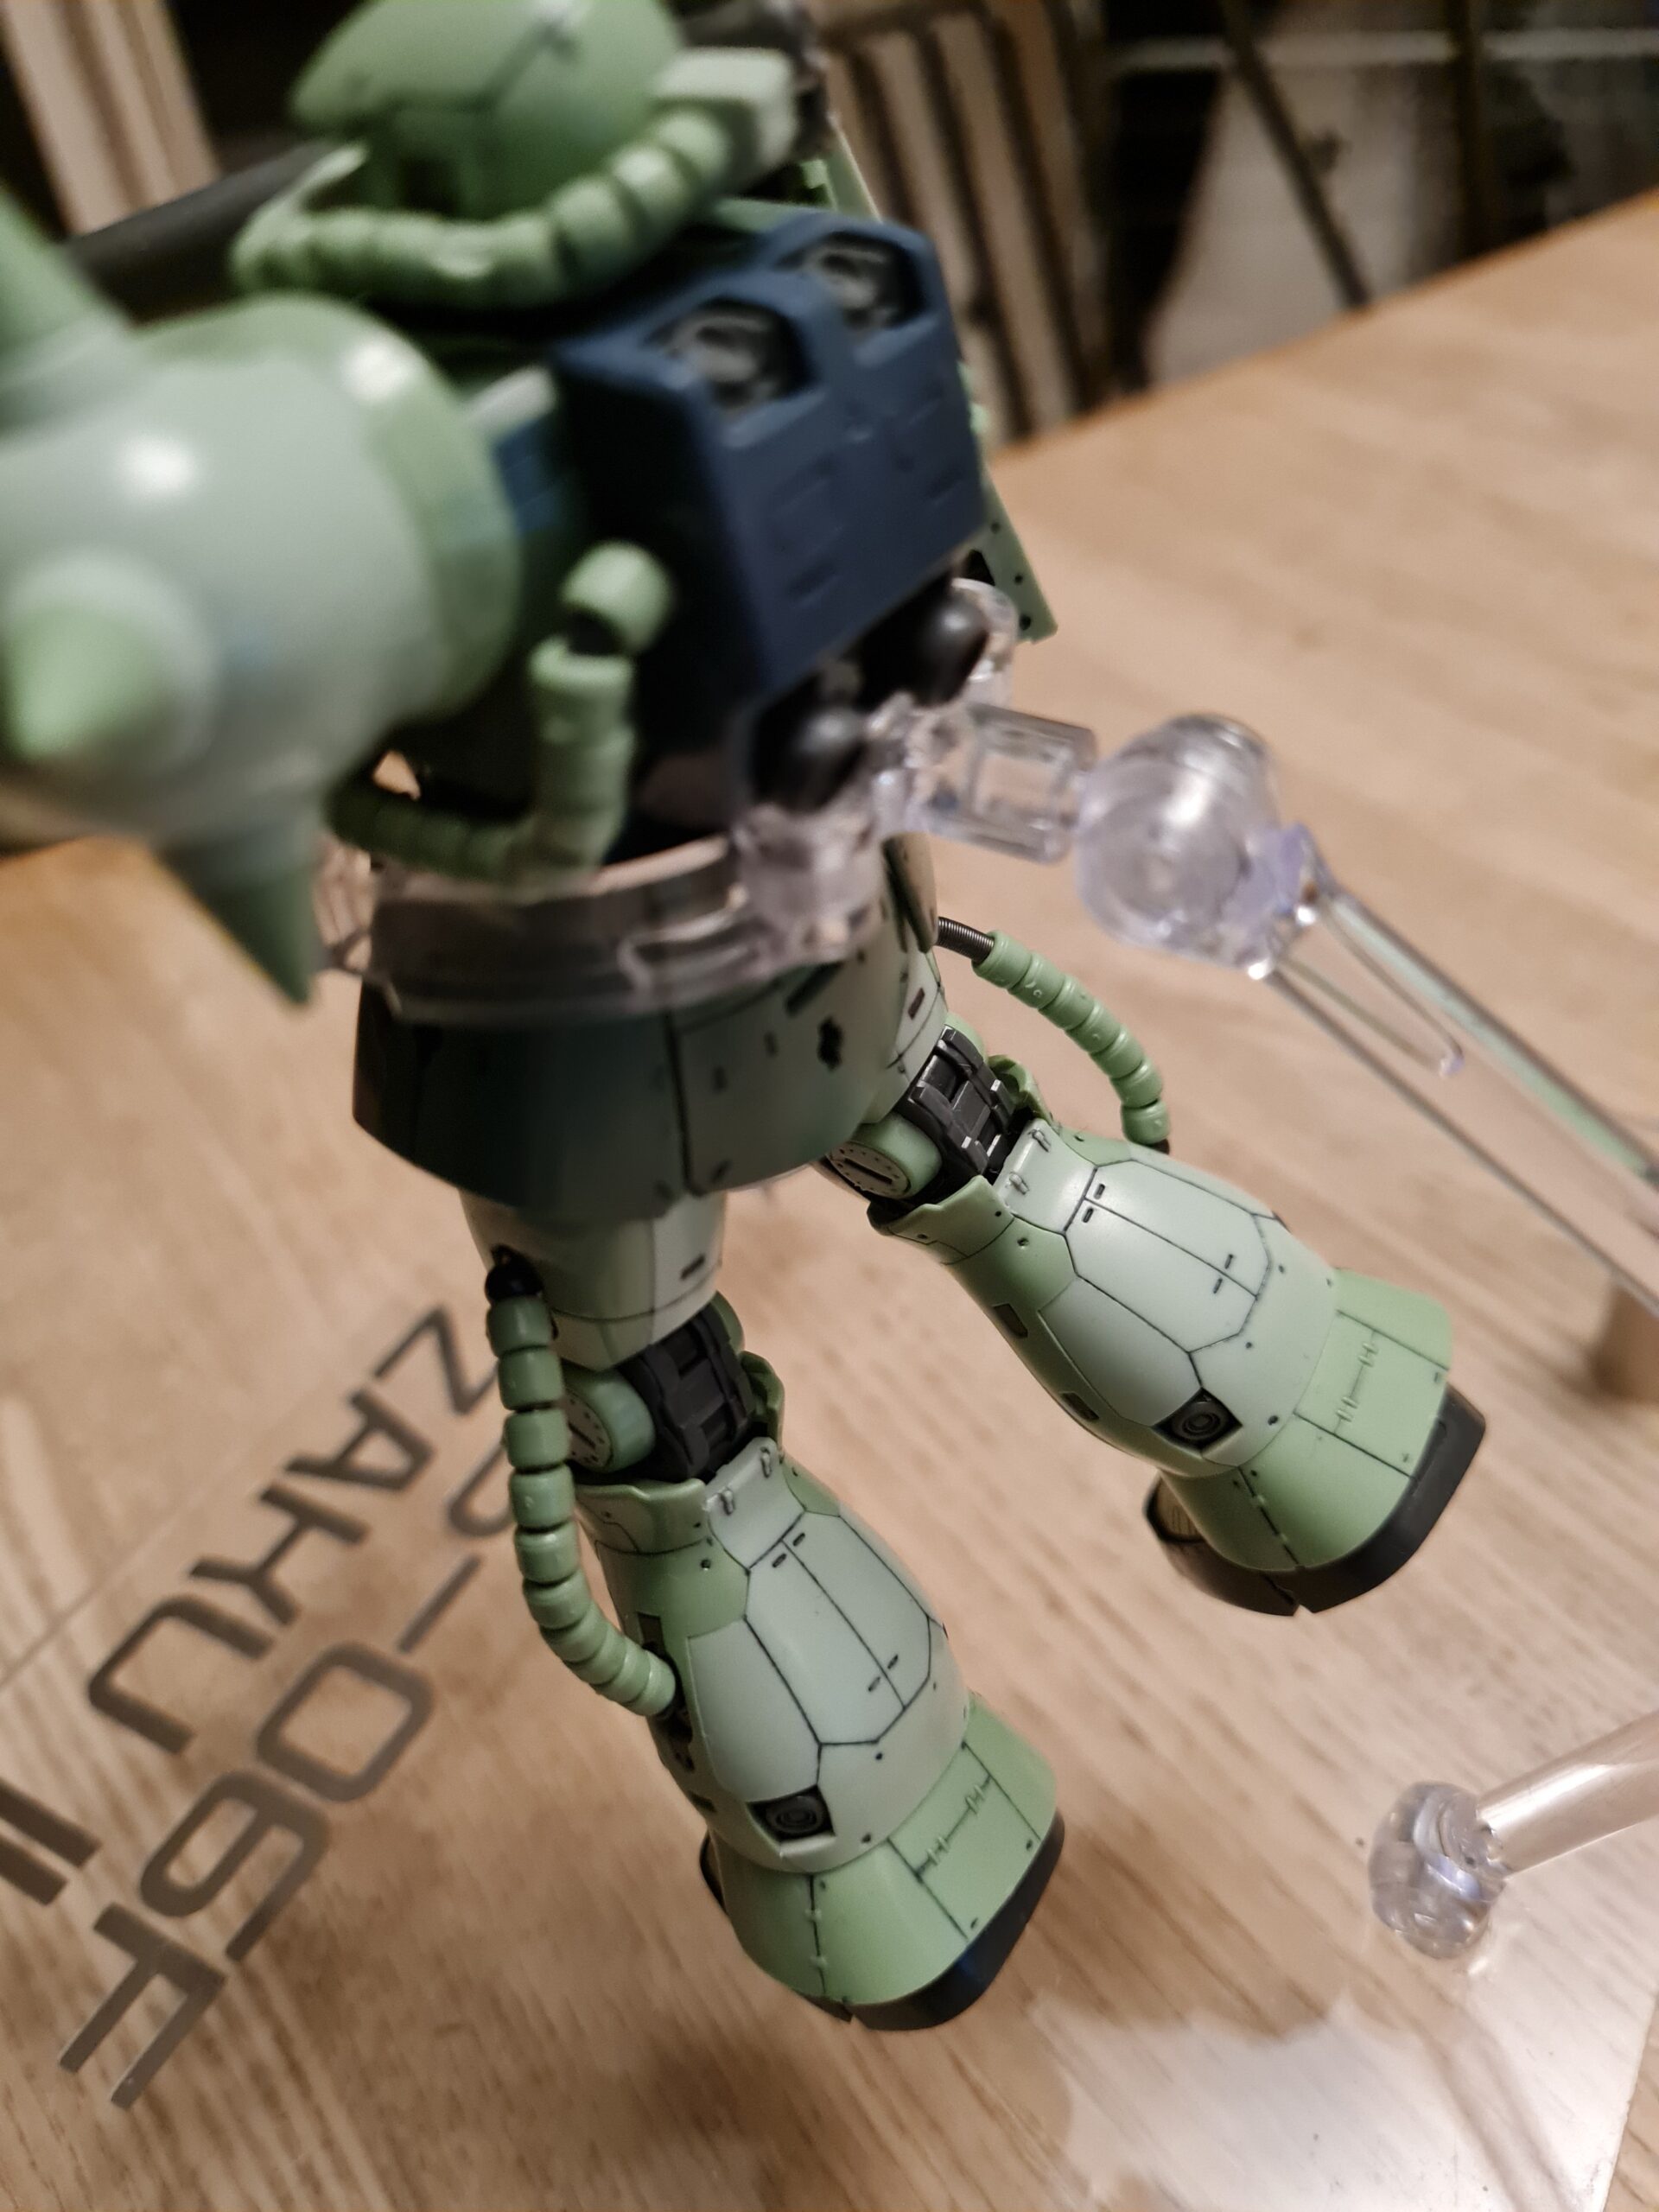
Total Custom Base
Zaku Rear StandCloseup Zaku Rear Stand
As you can see in the images above I used the arms and grabber from the cheap base to provide the hold for my Zaku. The whole process for making that base can be found here.
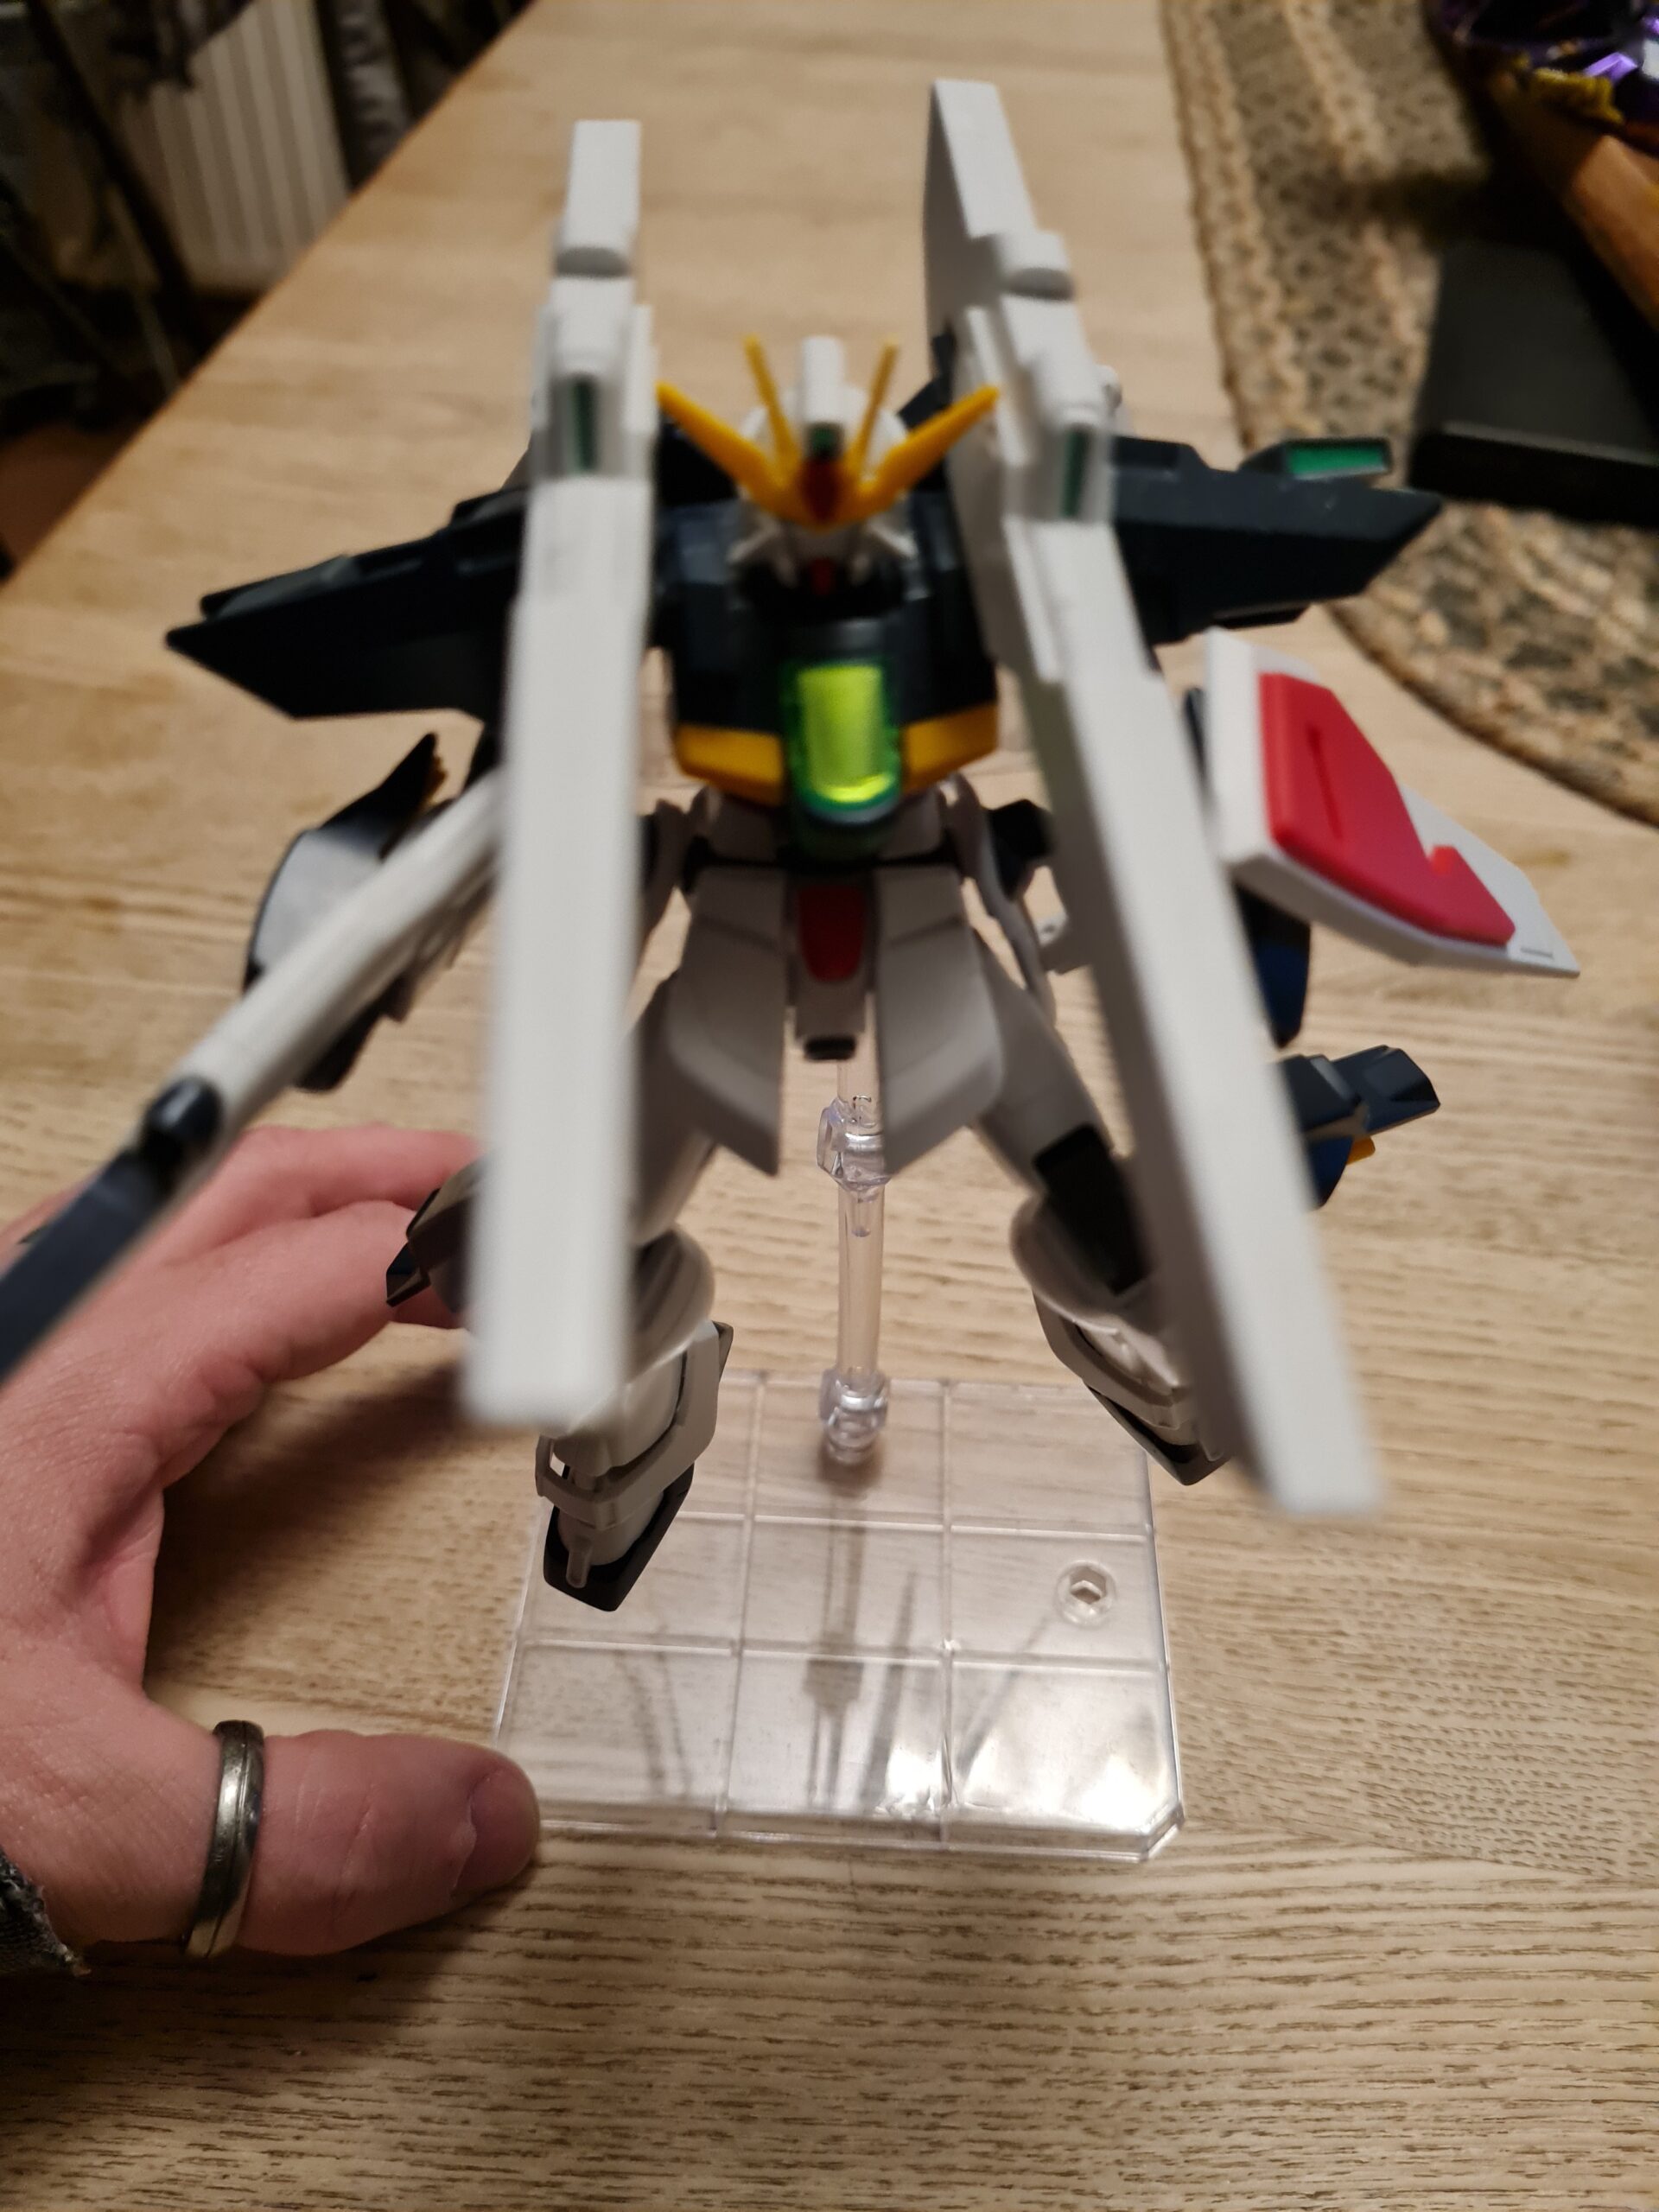
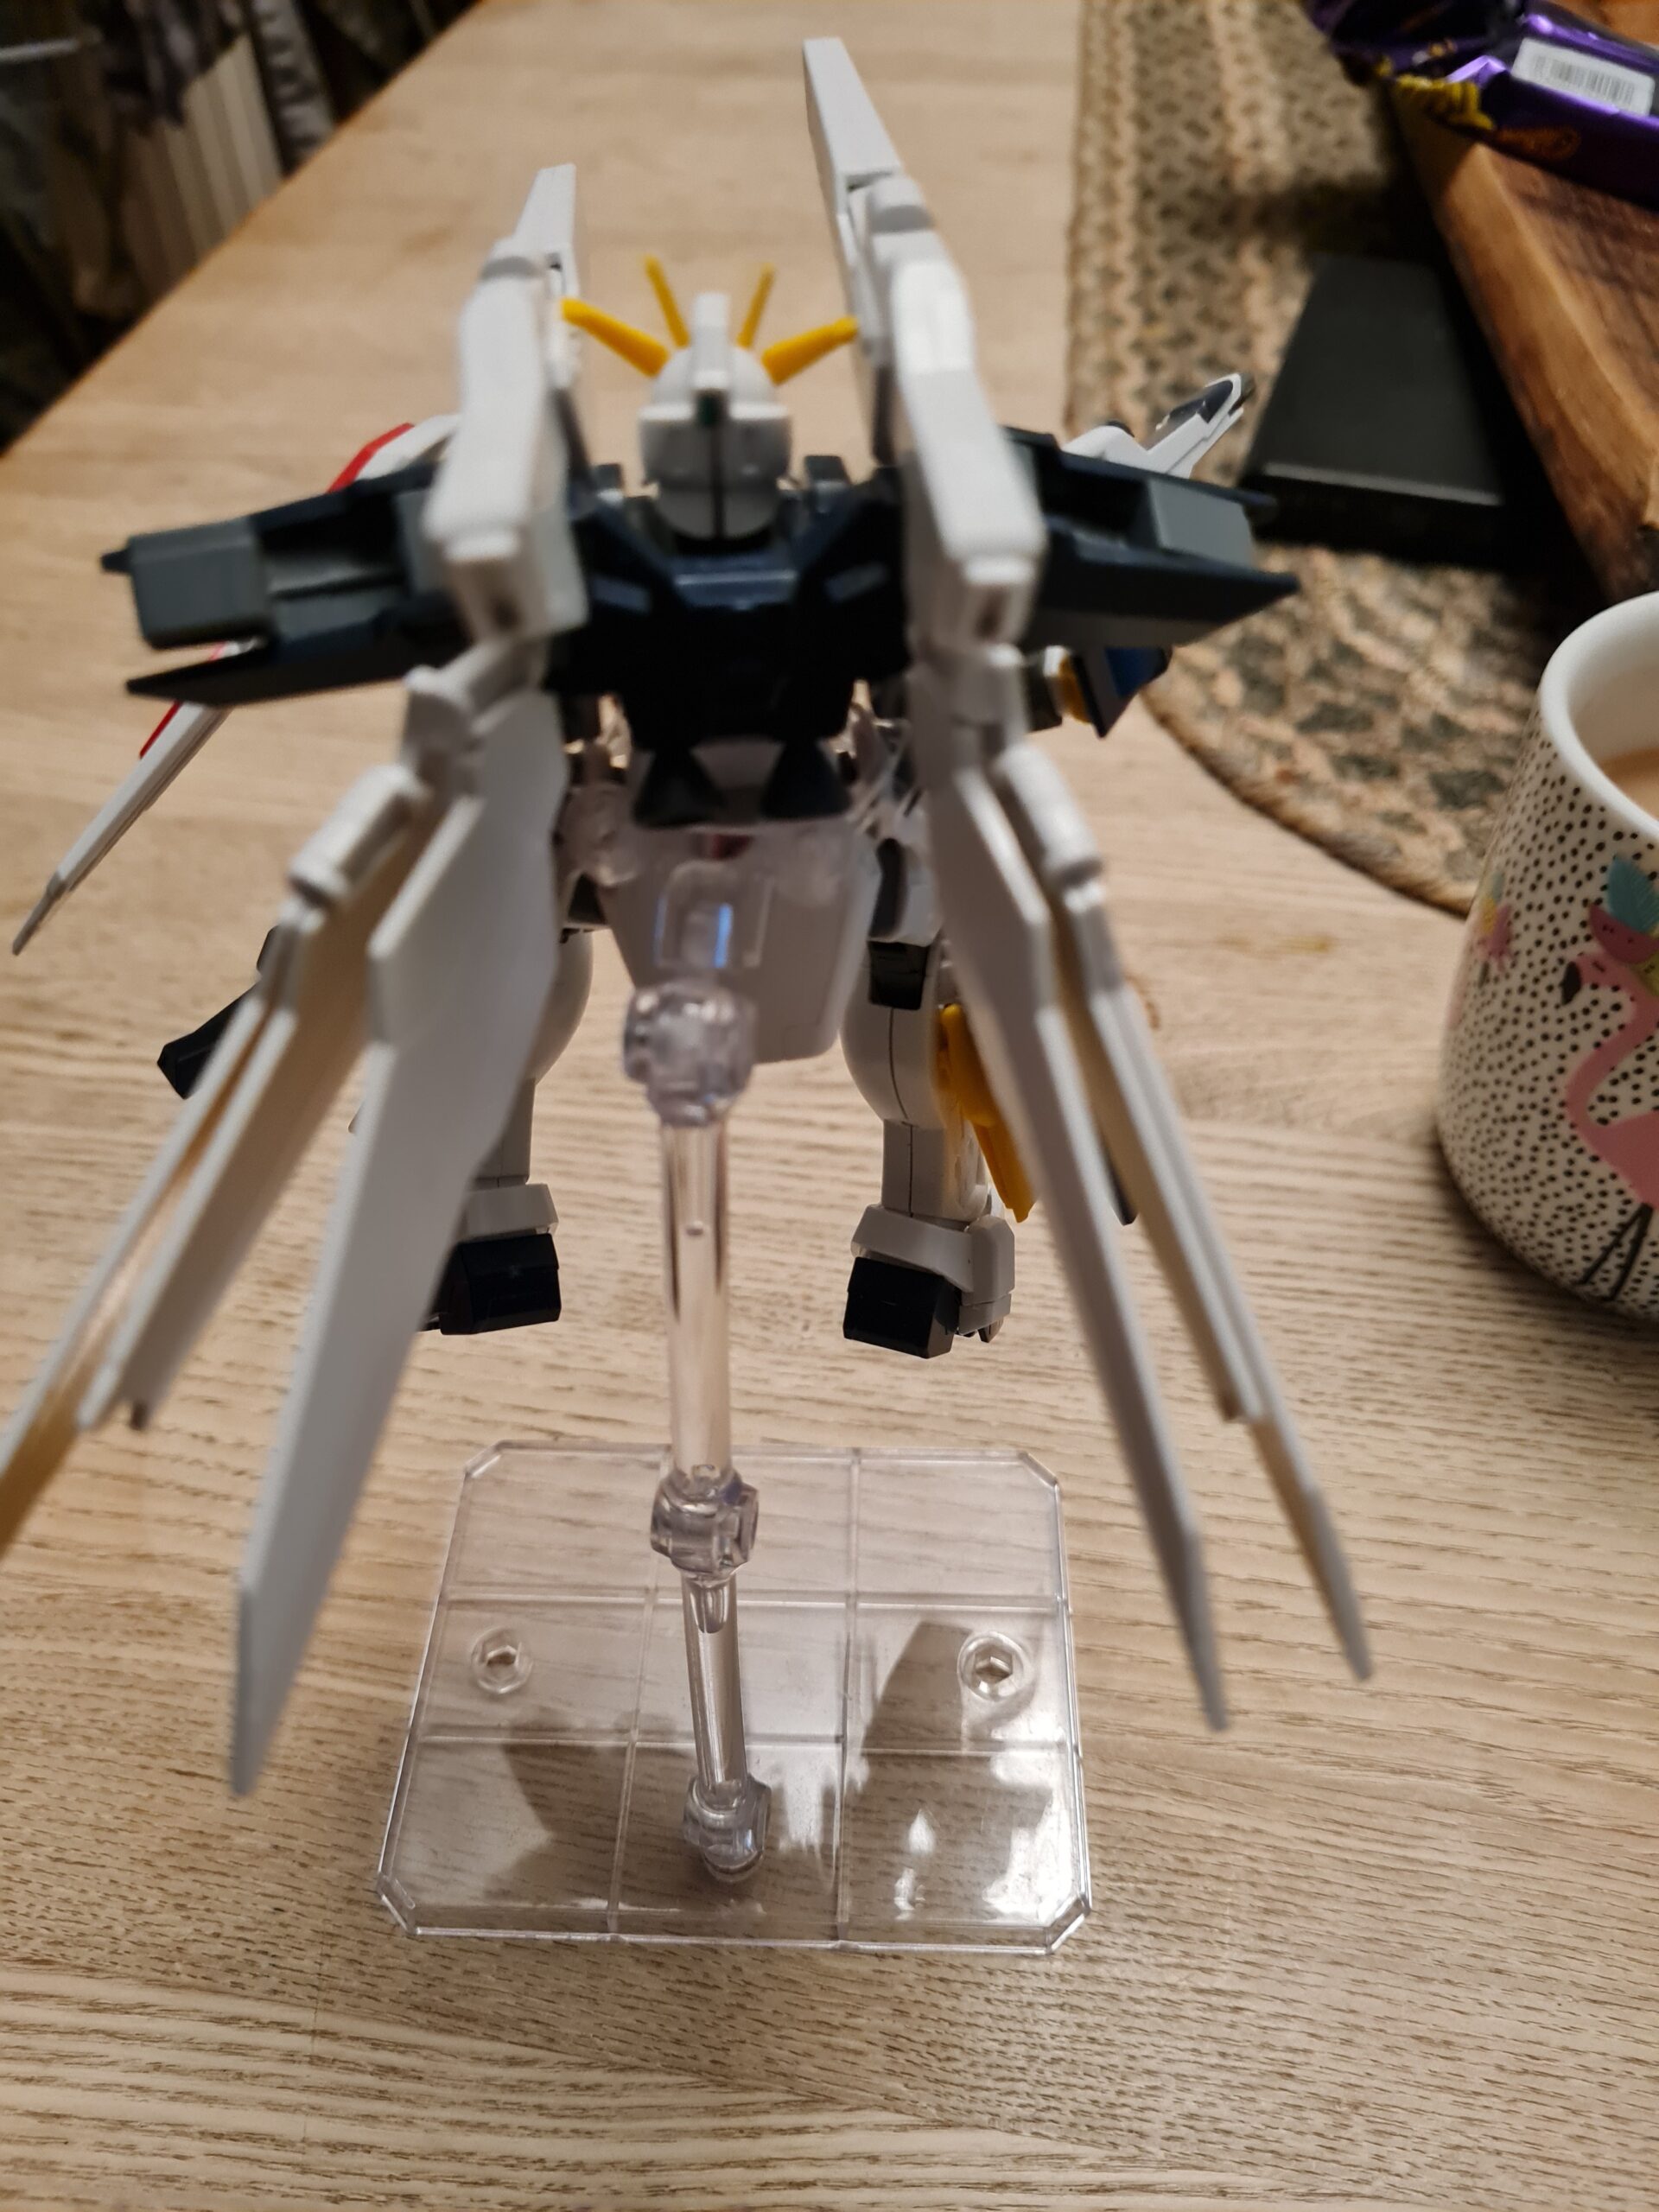
Use it as is
Closeup Rear BaseFront on standRear on Stand
As you can see from the images above the two pieces along with the grabbing arms allow me to elevate the model and provide a lot of options for poses. However, these still have the issue that the model will often have a tendency to come apart at the waist while tightening the arms of the stand to hold the model.
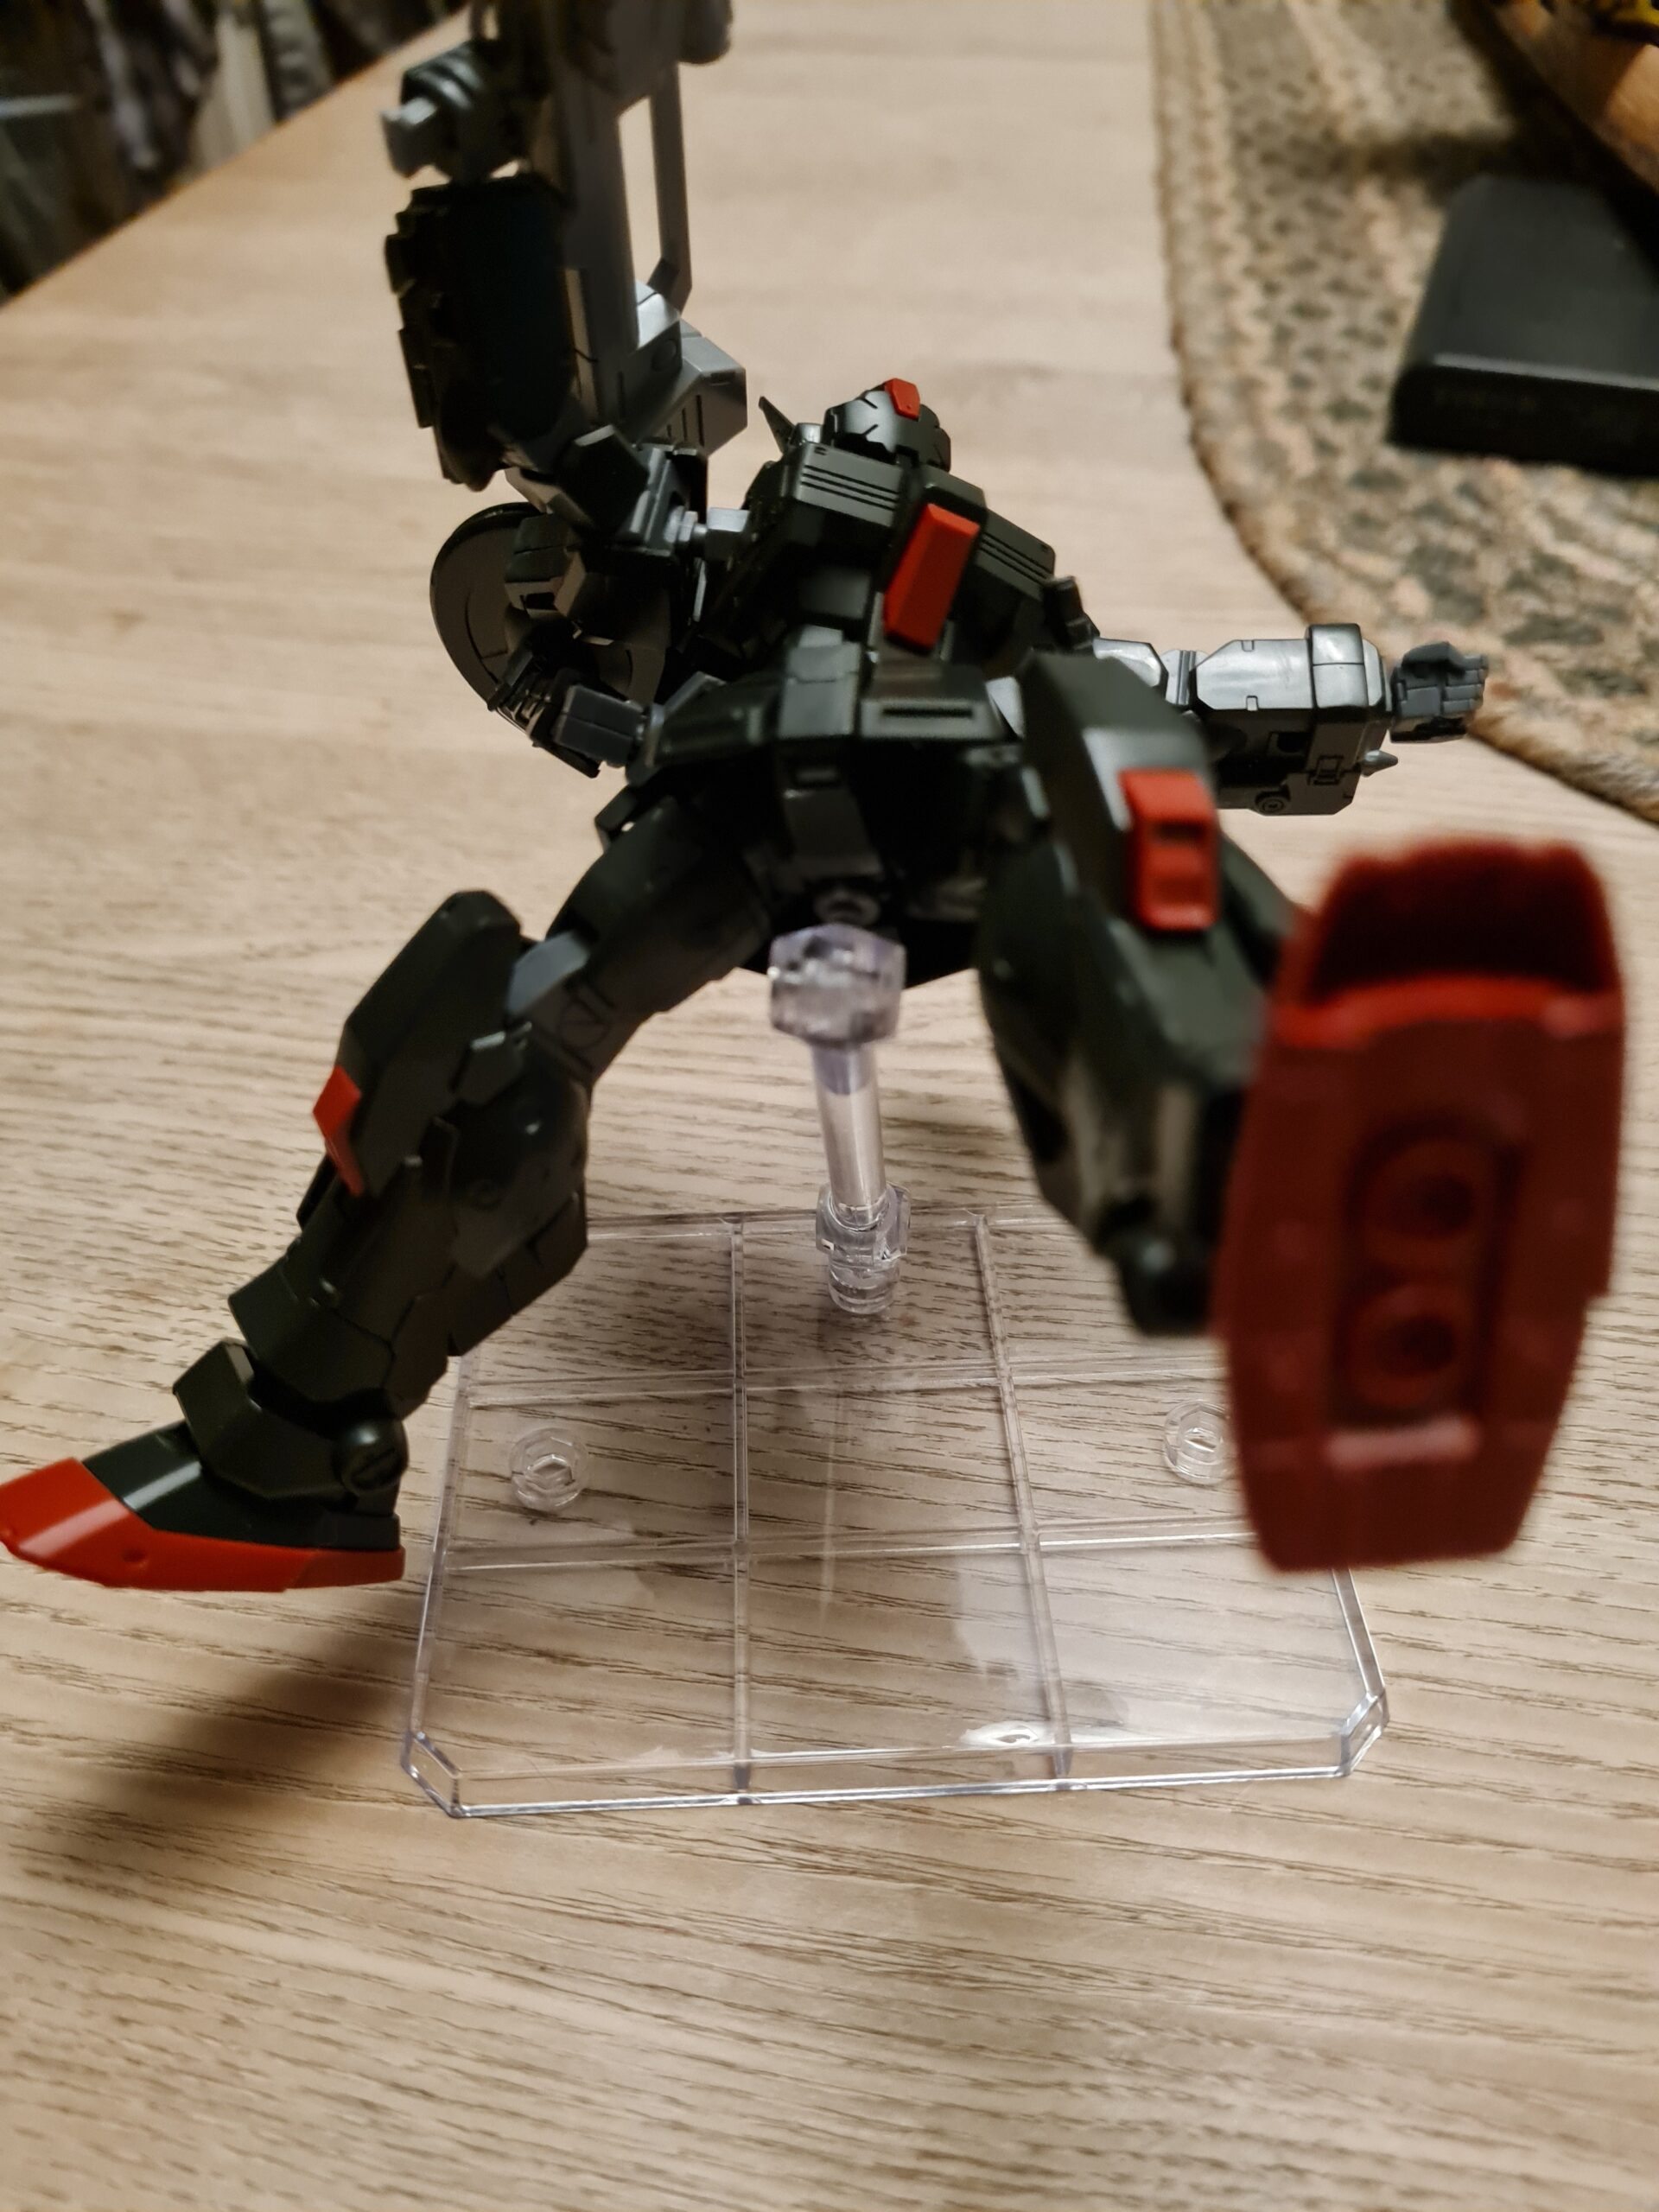
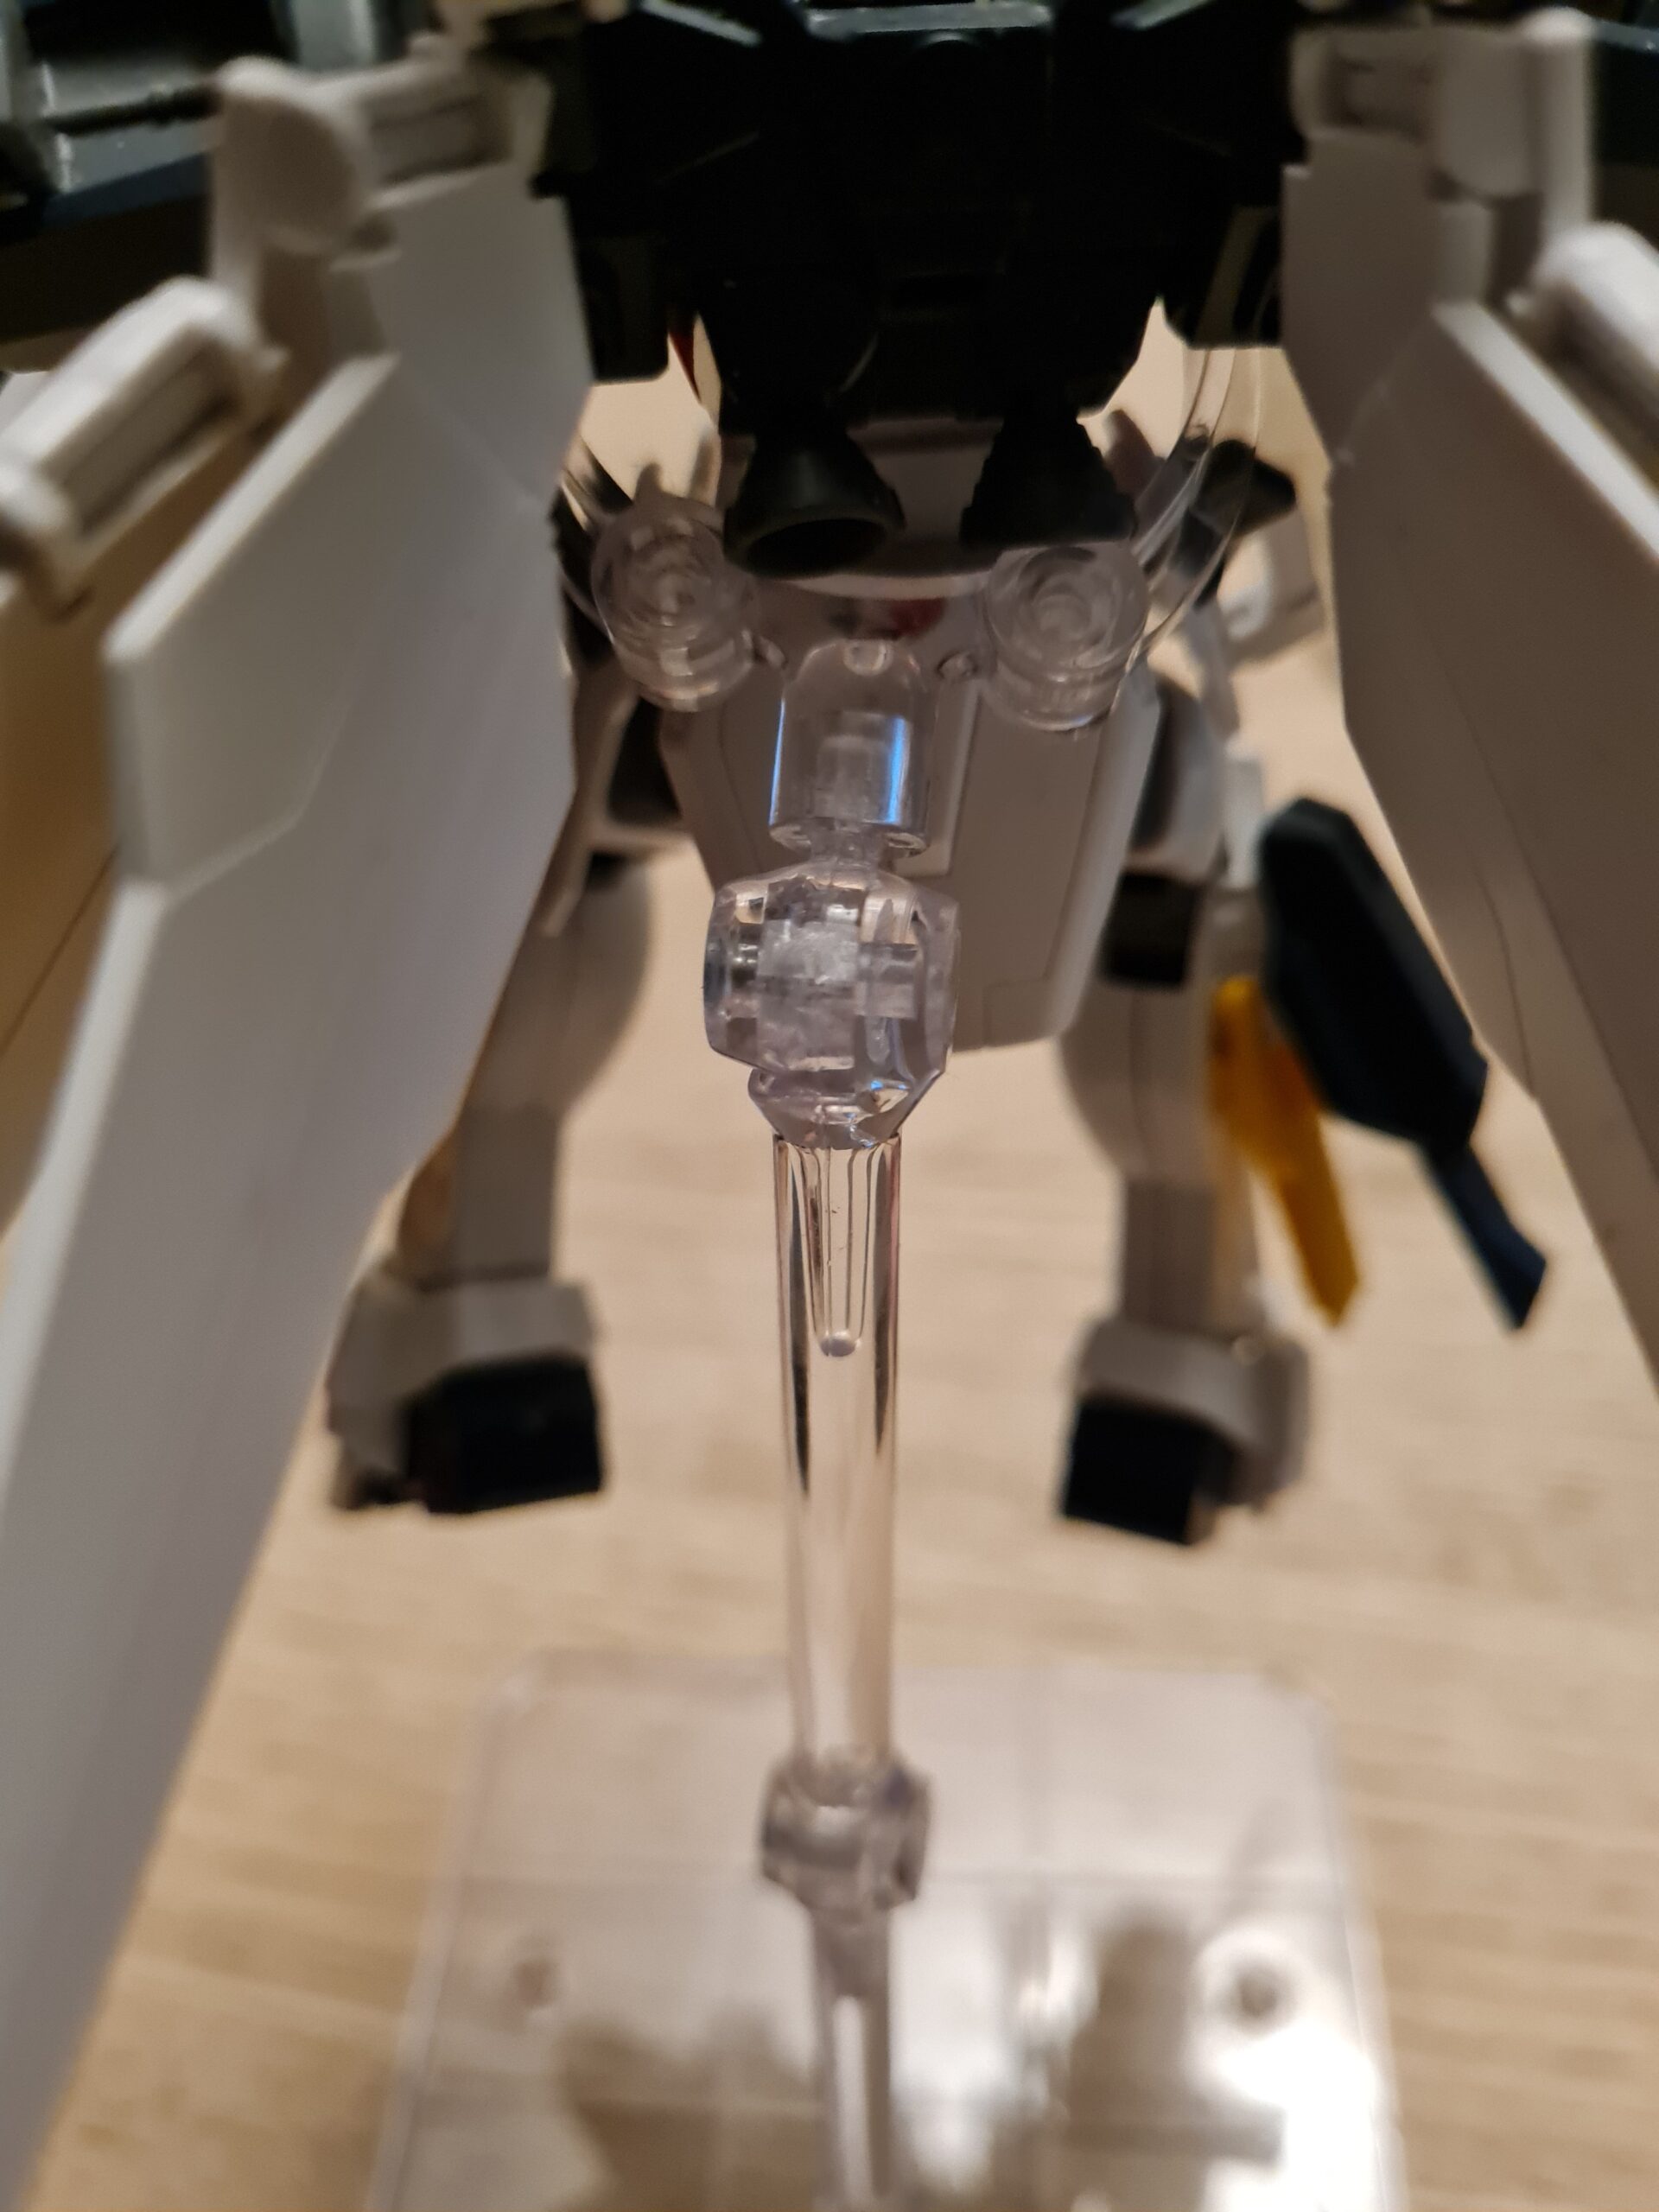
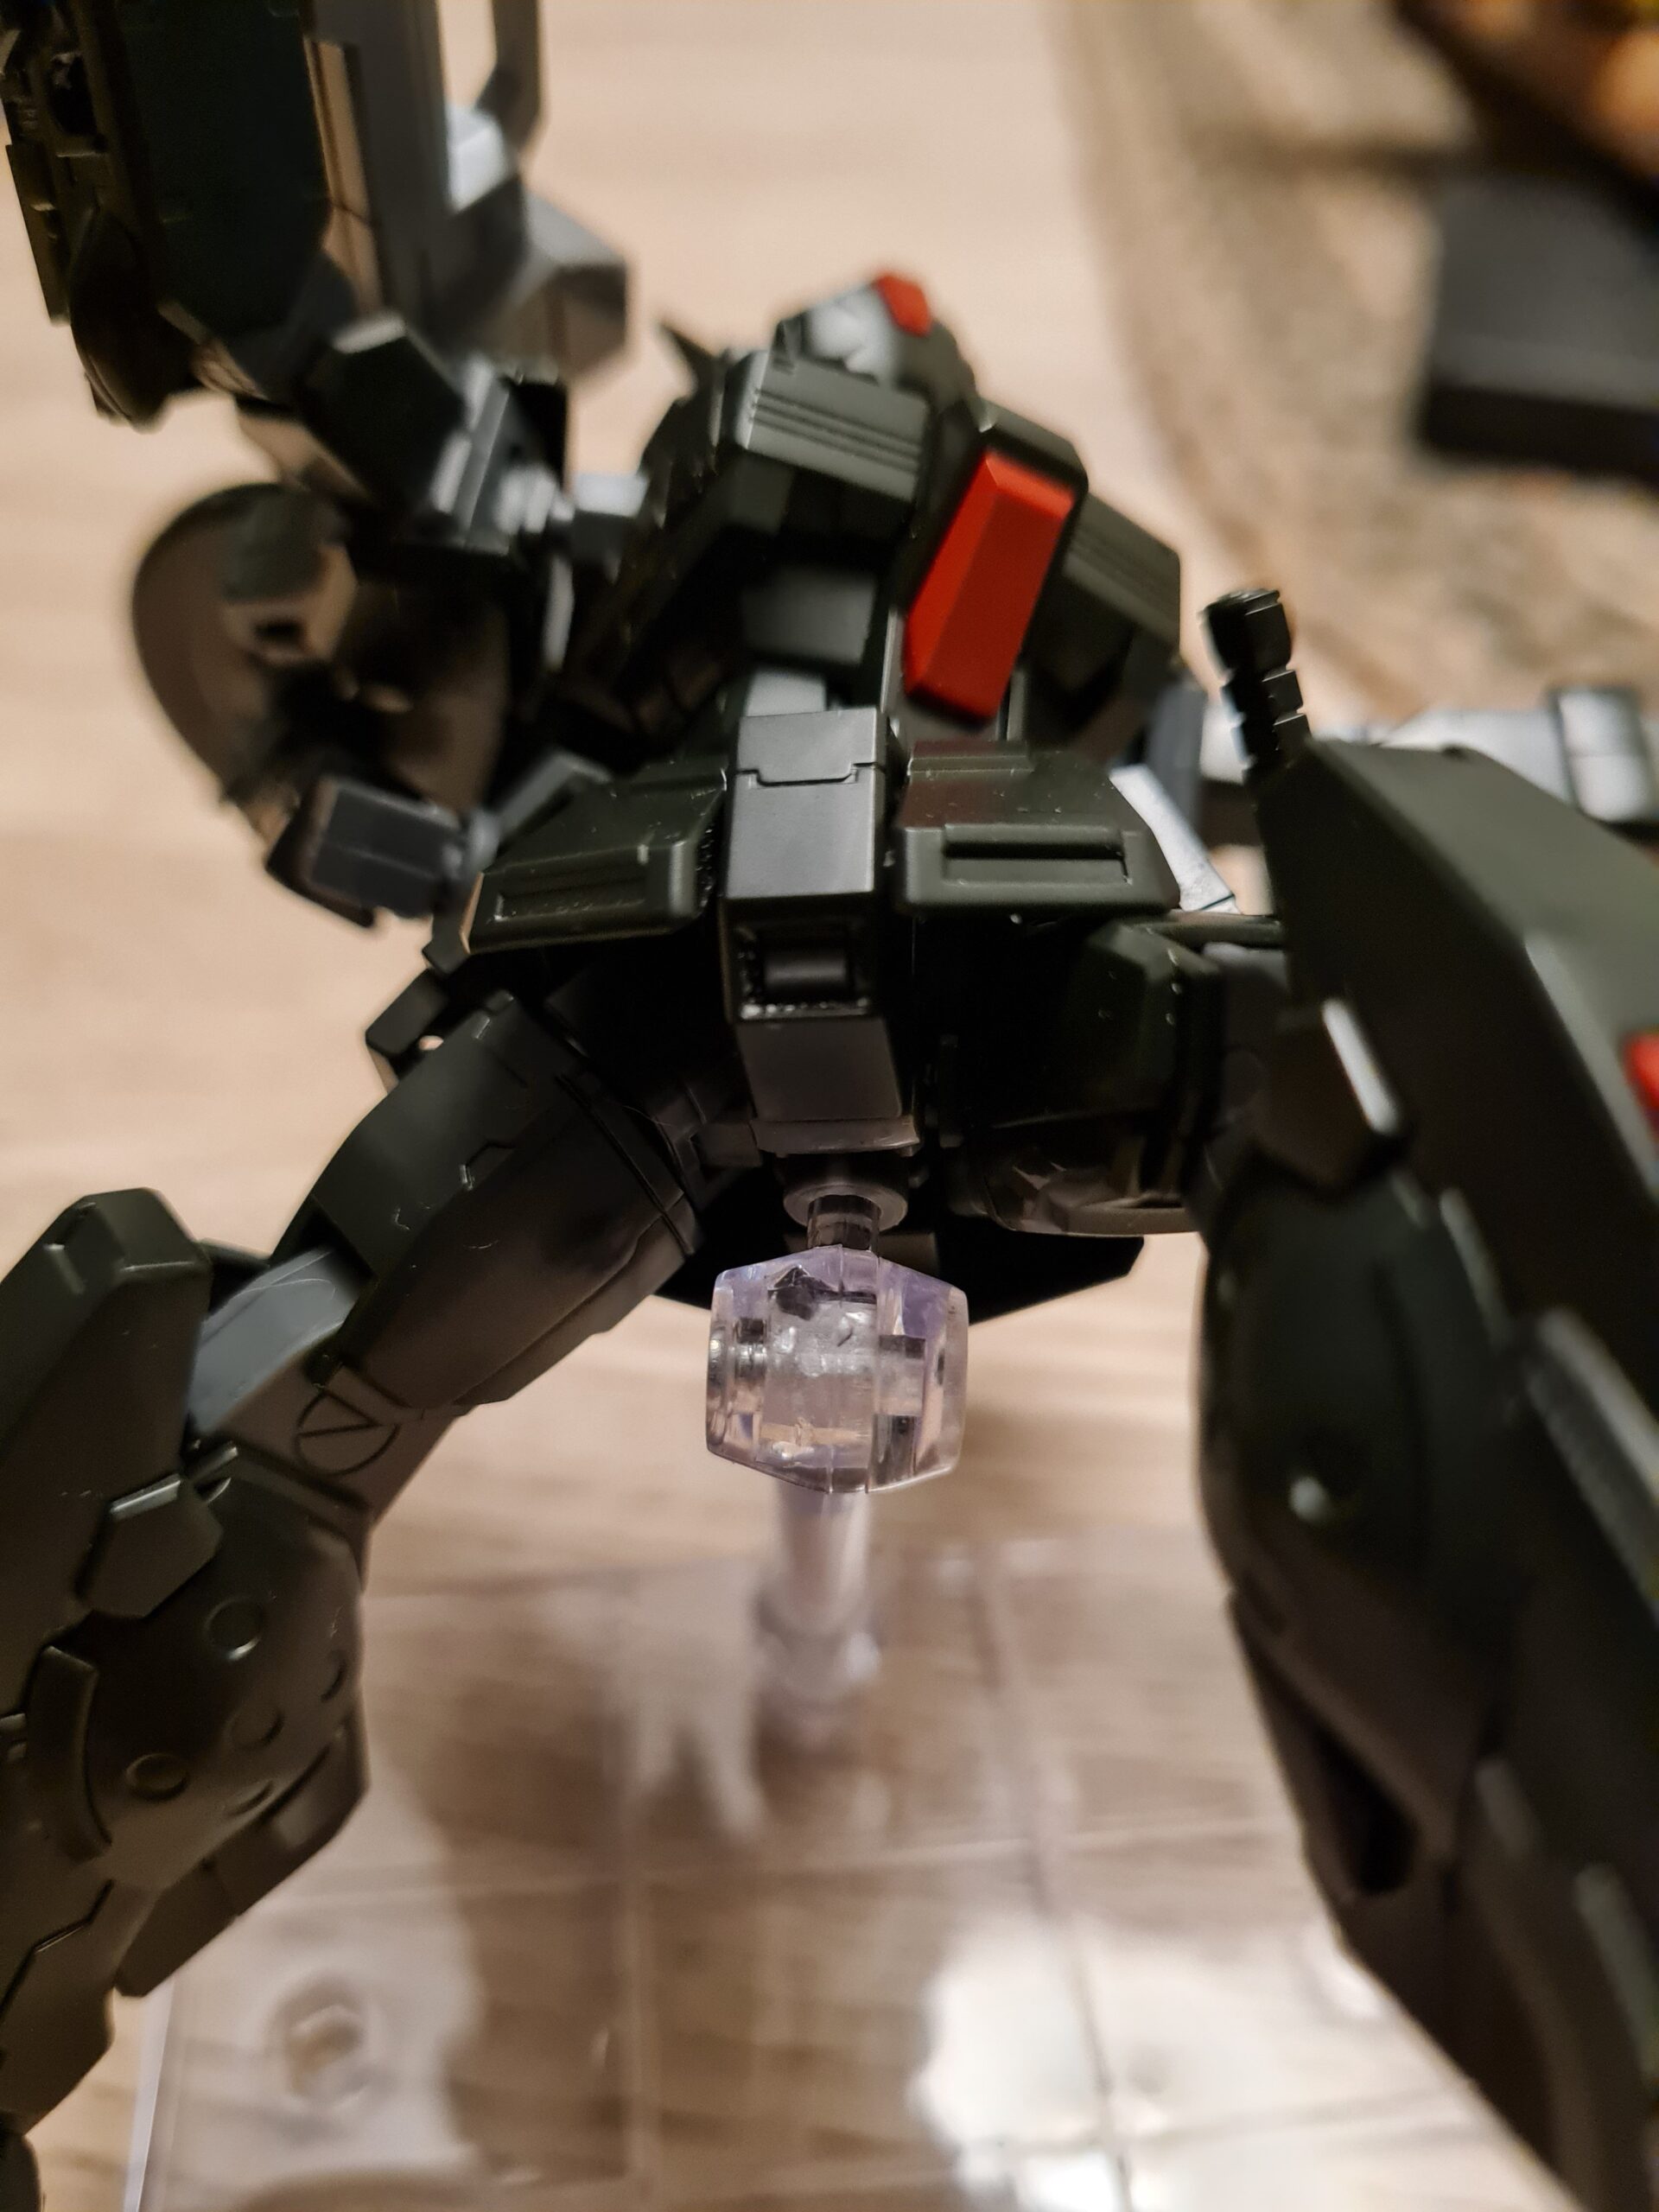
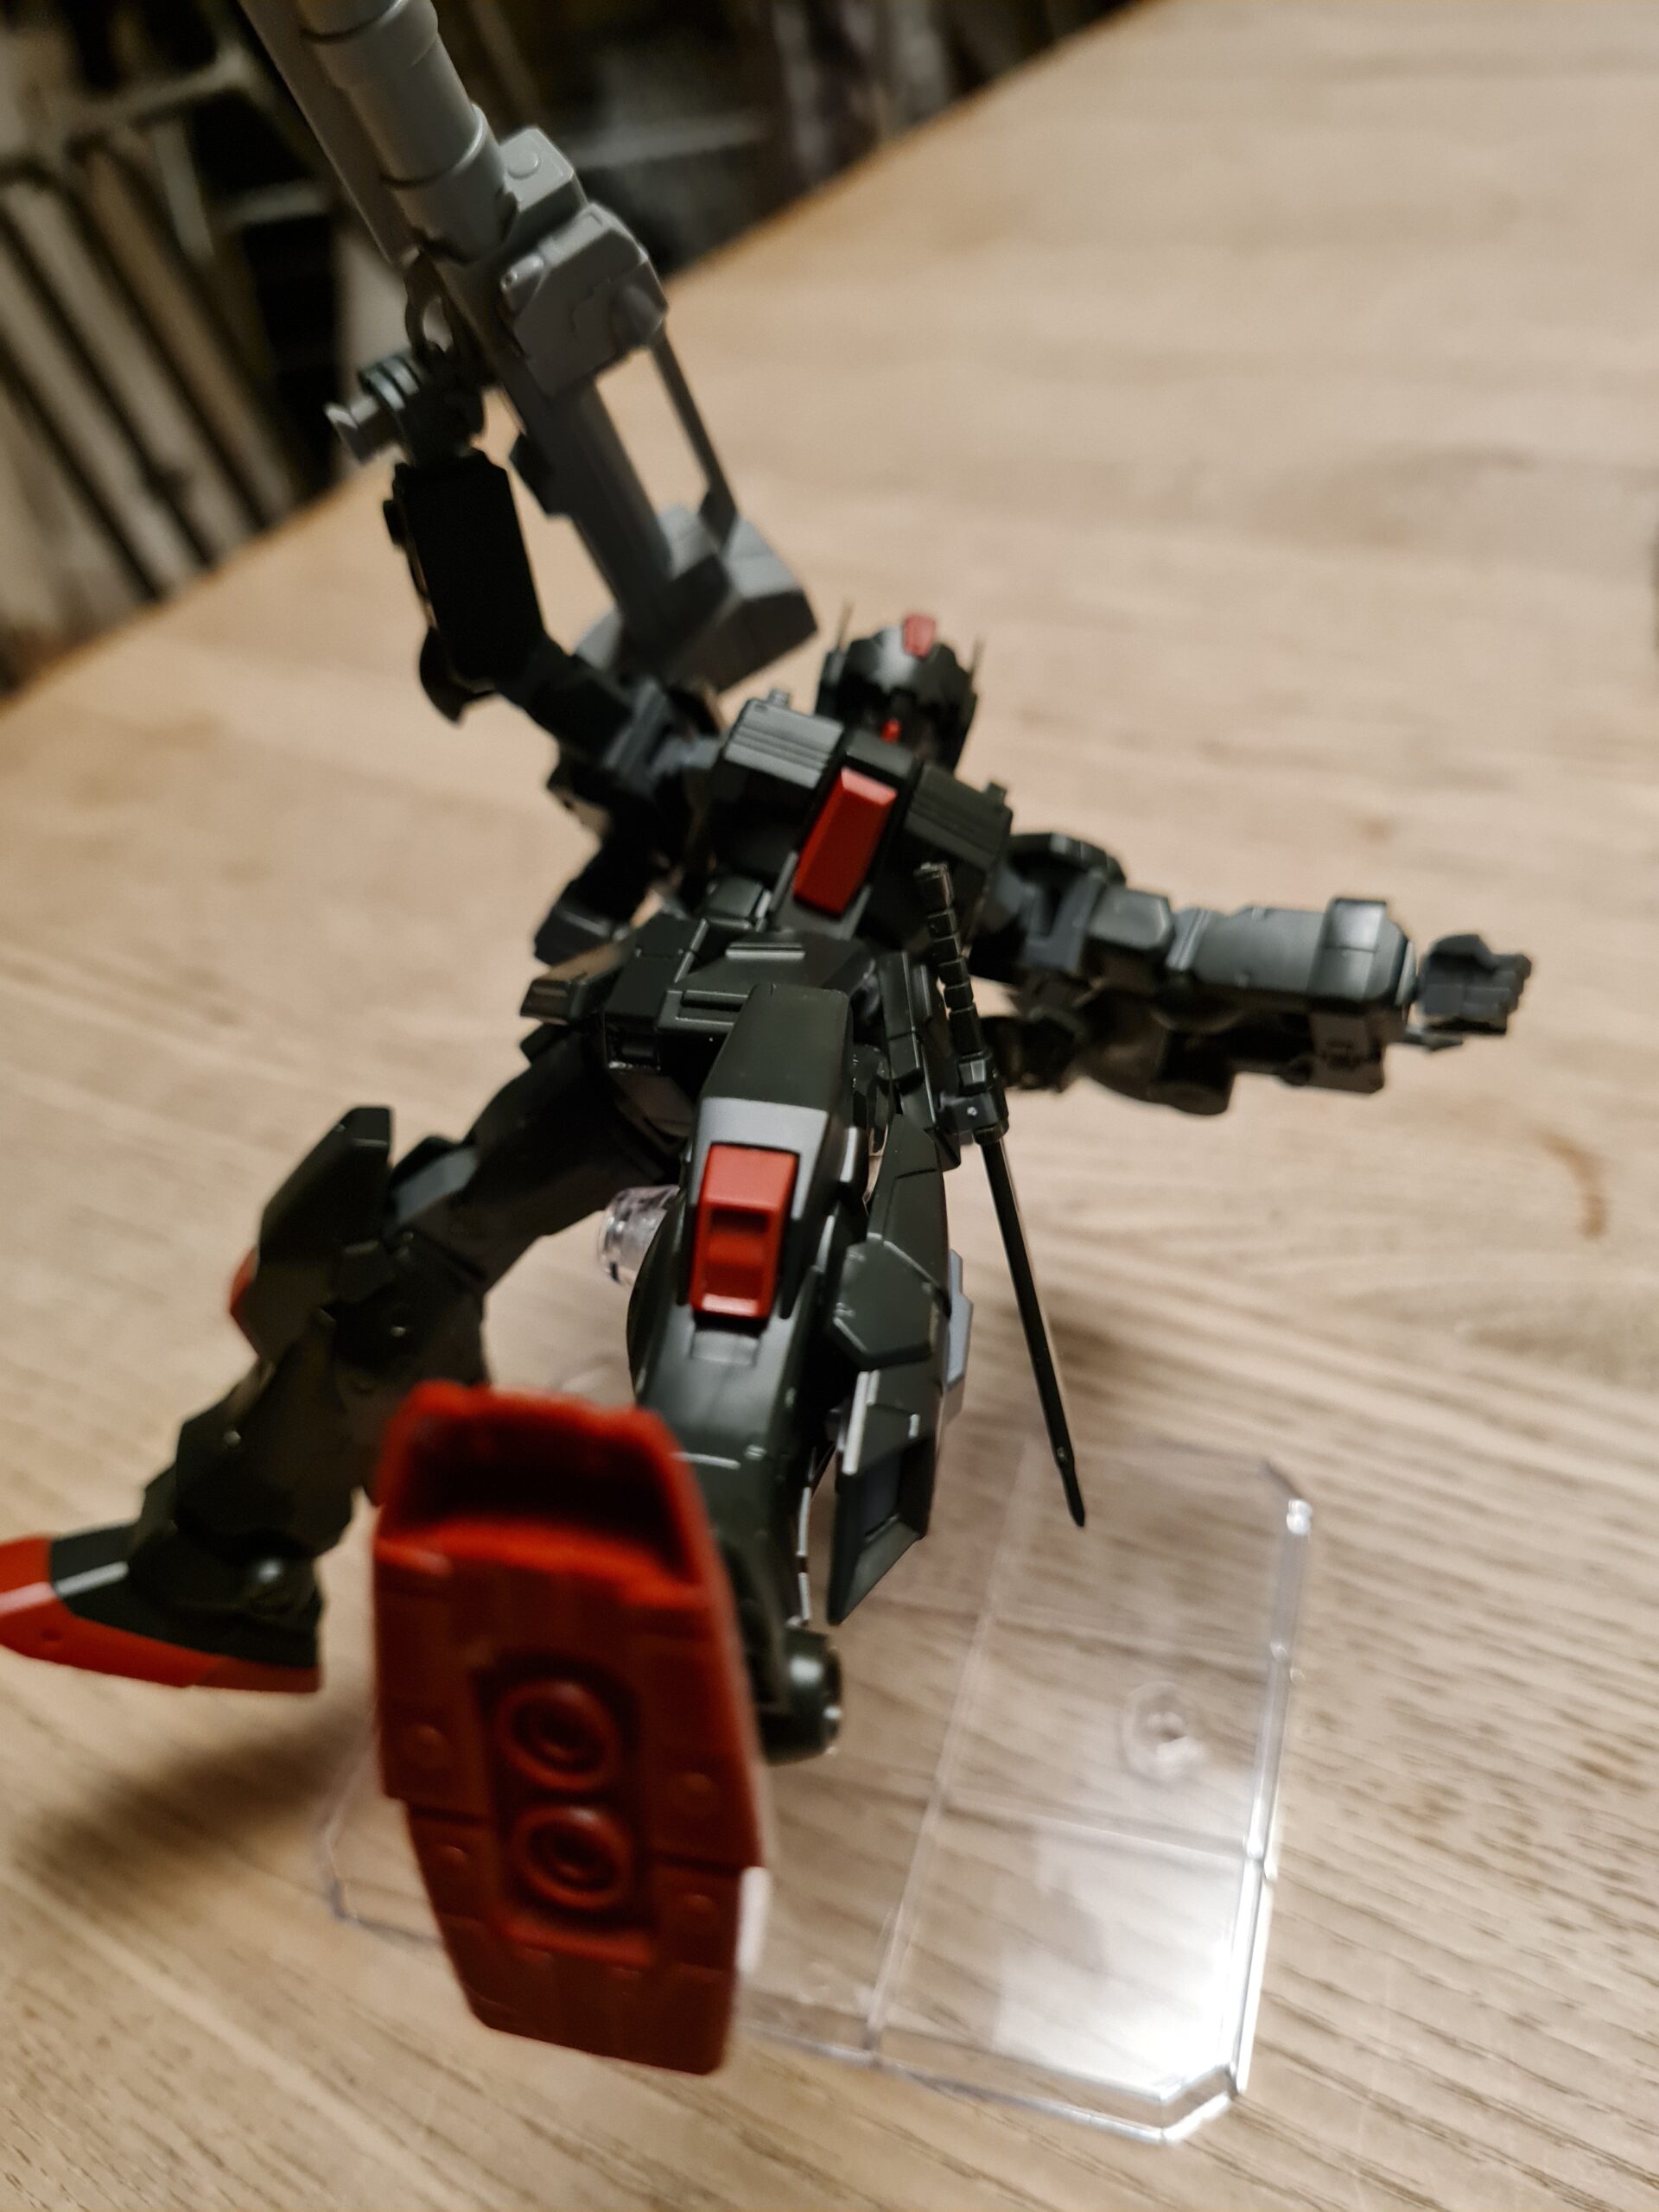
Remove the Hands / Grasper
Front Blown AwayConnector CloseupSide View Blown AwayBlown Away
As you can see from the images above, I only used 1 of the two arms, and then rather than connecting the graspers, I used the adapter that goes into the grasper to go into the hold in the under side of the model. It was, I admit, a tight squeeze, but it did go in without any filing. This again offers a whole range of dynamic poses.
Conclusion
If you like the standard bases, or one of the more scenic bases then go for it, they are lovely. If however, you want to make the most of the cheaper bases then as you can see above, there are a lot of poses you can get with them where they will look awesome. I’m going to have a look and see if I can do more around the options to use them with other models. I may put up a post on that after I have had chance to look.
Thank you for taking the time to read this. If you haven’t already done so please like and follow us on our social media platforms and checkout our website!
In one of my previous posts I showed off my RK Zaku II on the custom stand. I thought that I would do a piece on making the custom stand.
Materials
Silver Vinyl (sticky backed)
Transfer tape
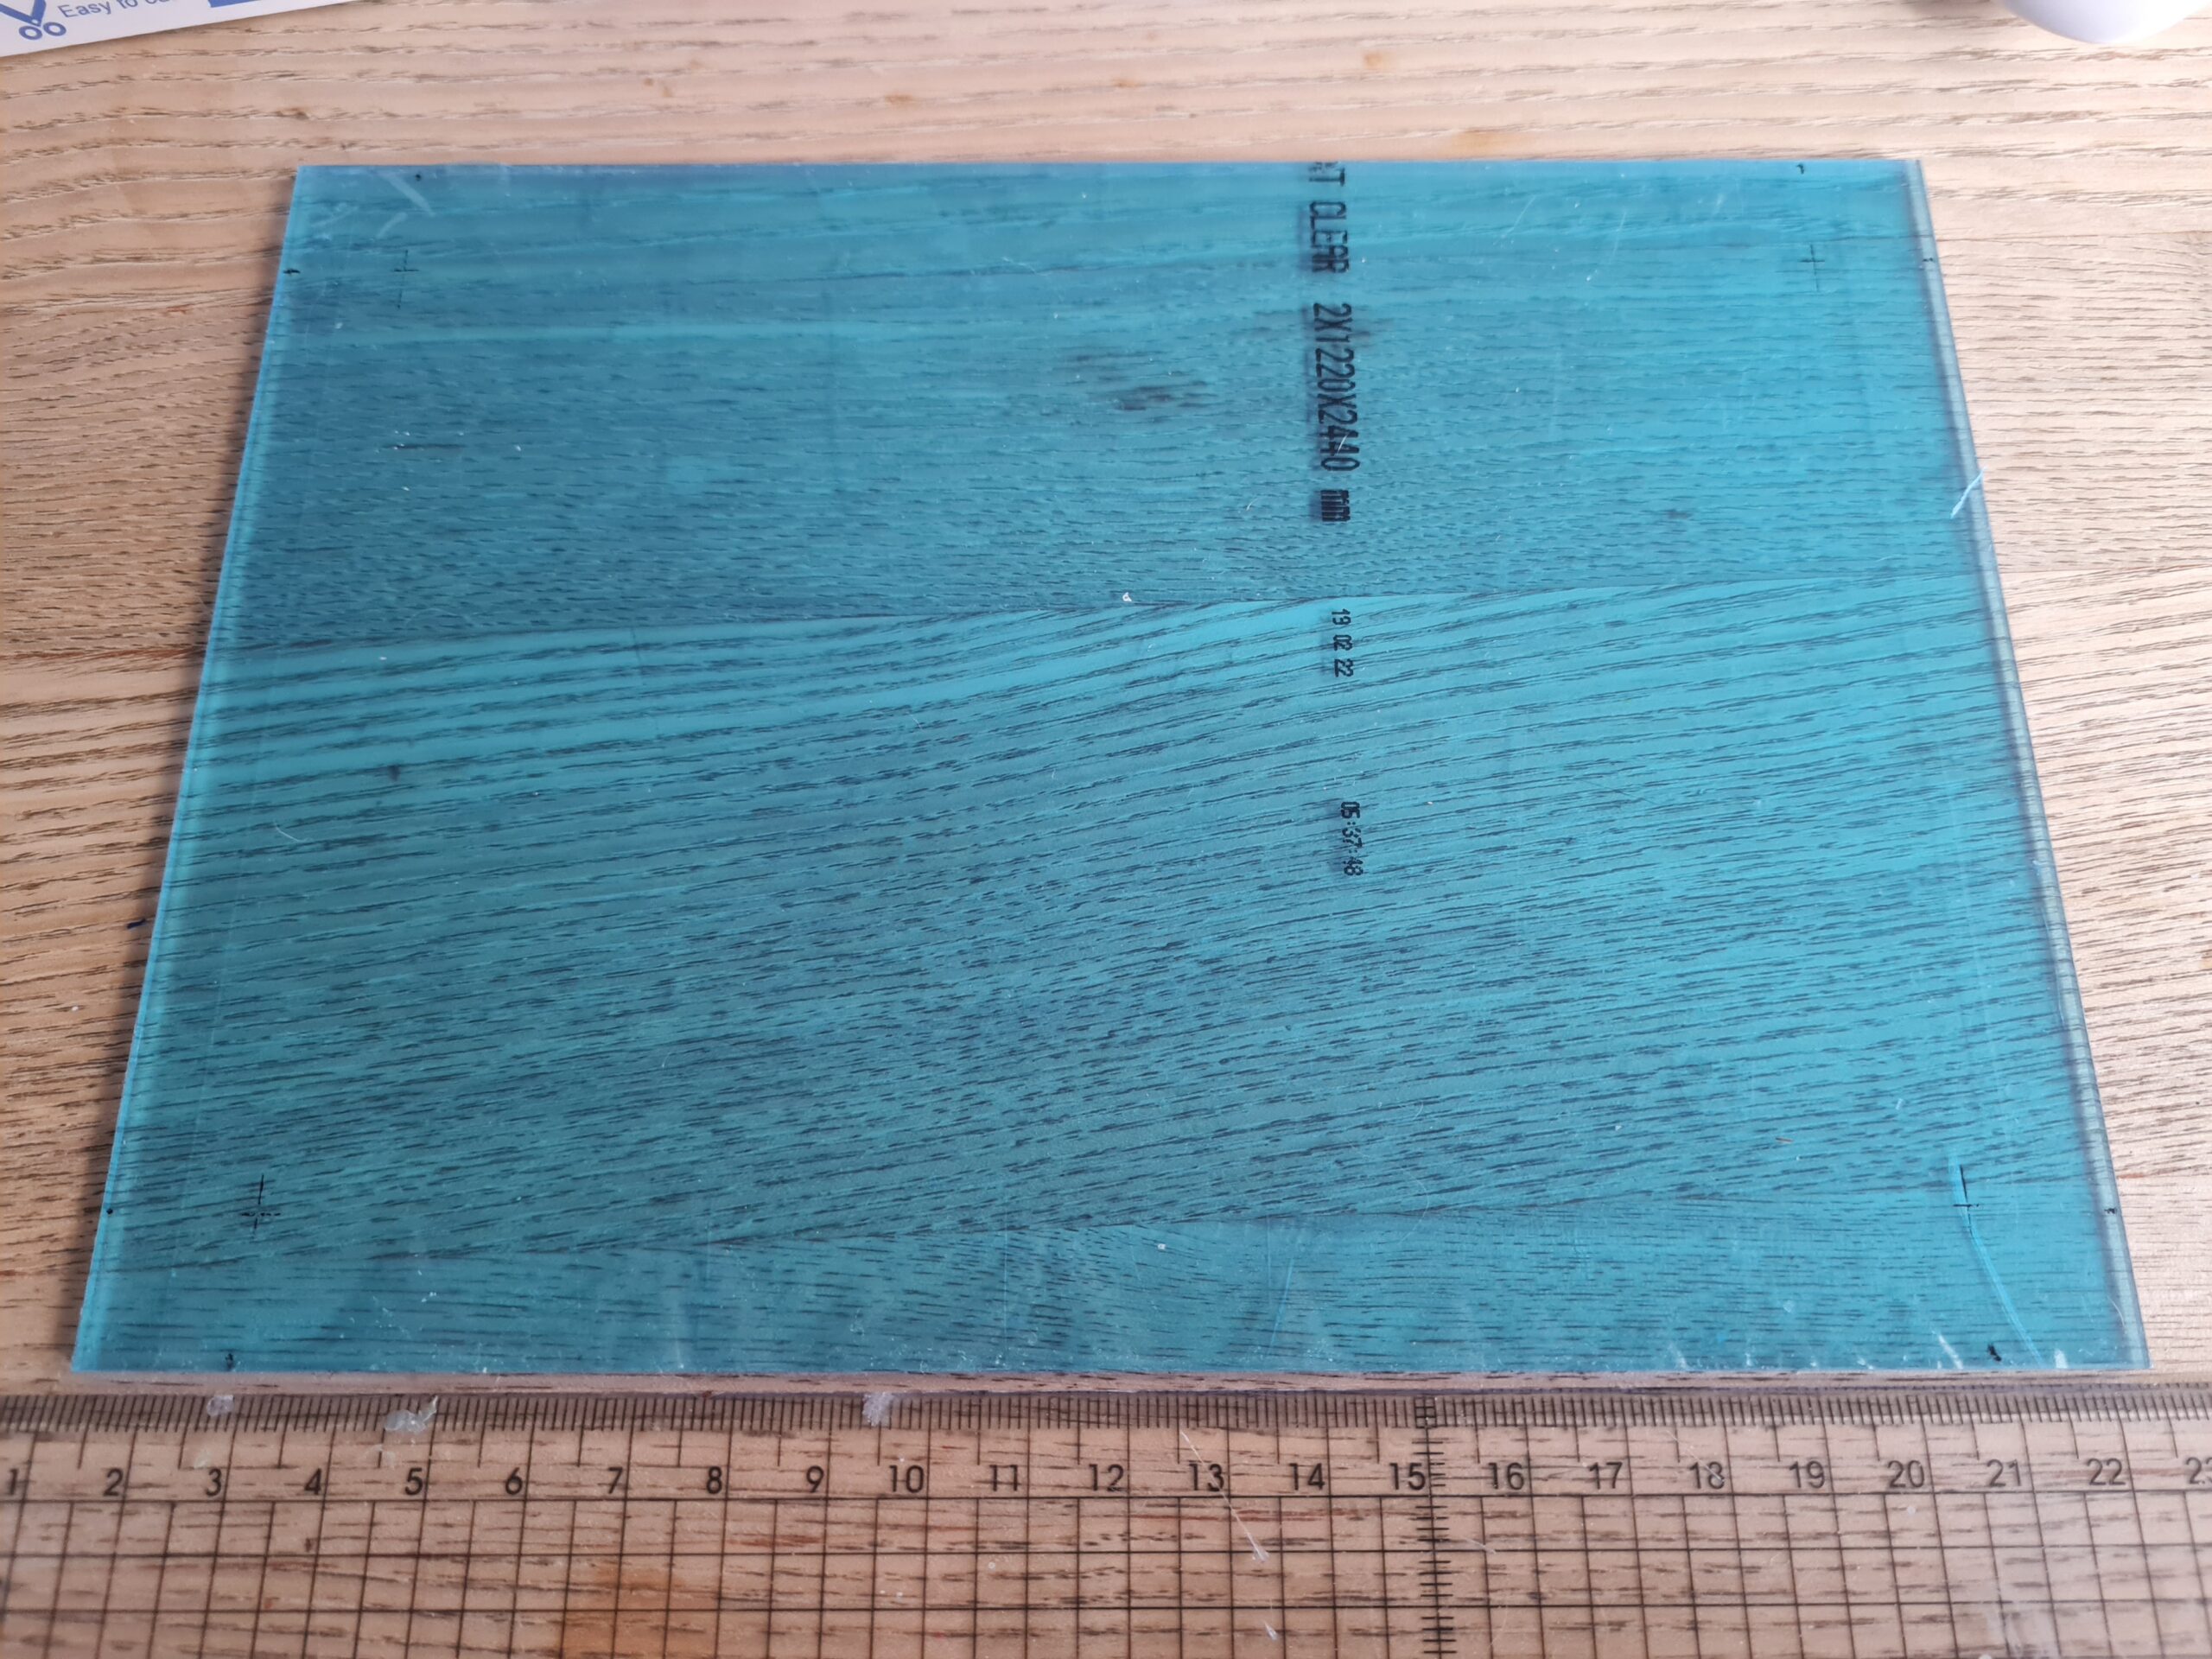
A5 2mm thick acrylic sheet
Stainless steel standoff fixings (for the feet)
Tools
Drill
Pen
Drill bits
Cricut
Scissors
Weeder
Squidger (I have no idea what it is really called)
Ruler
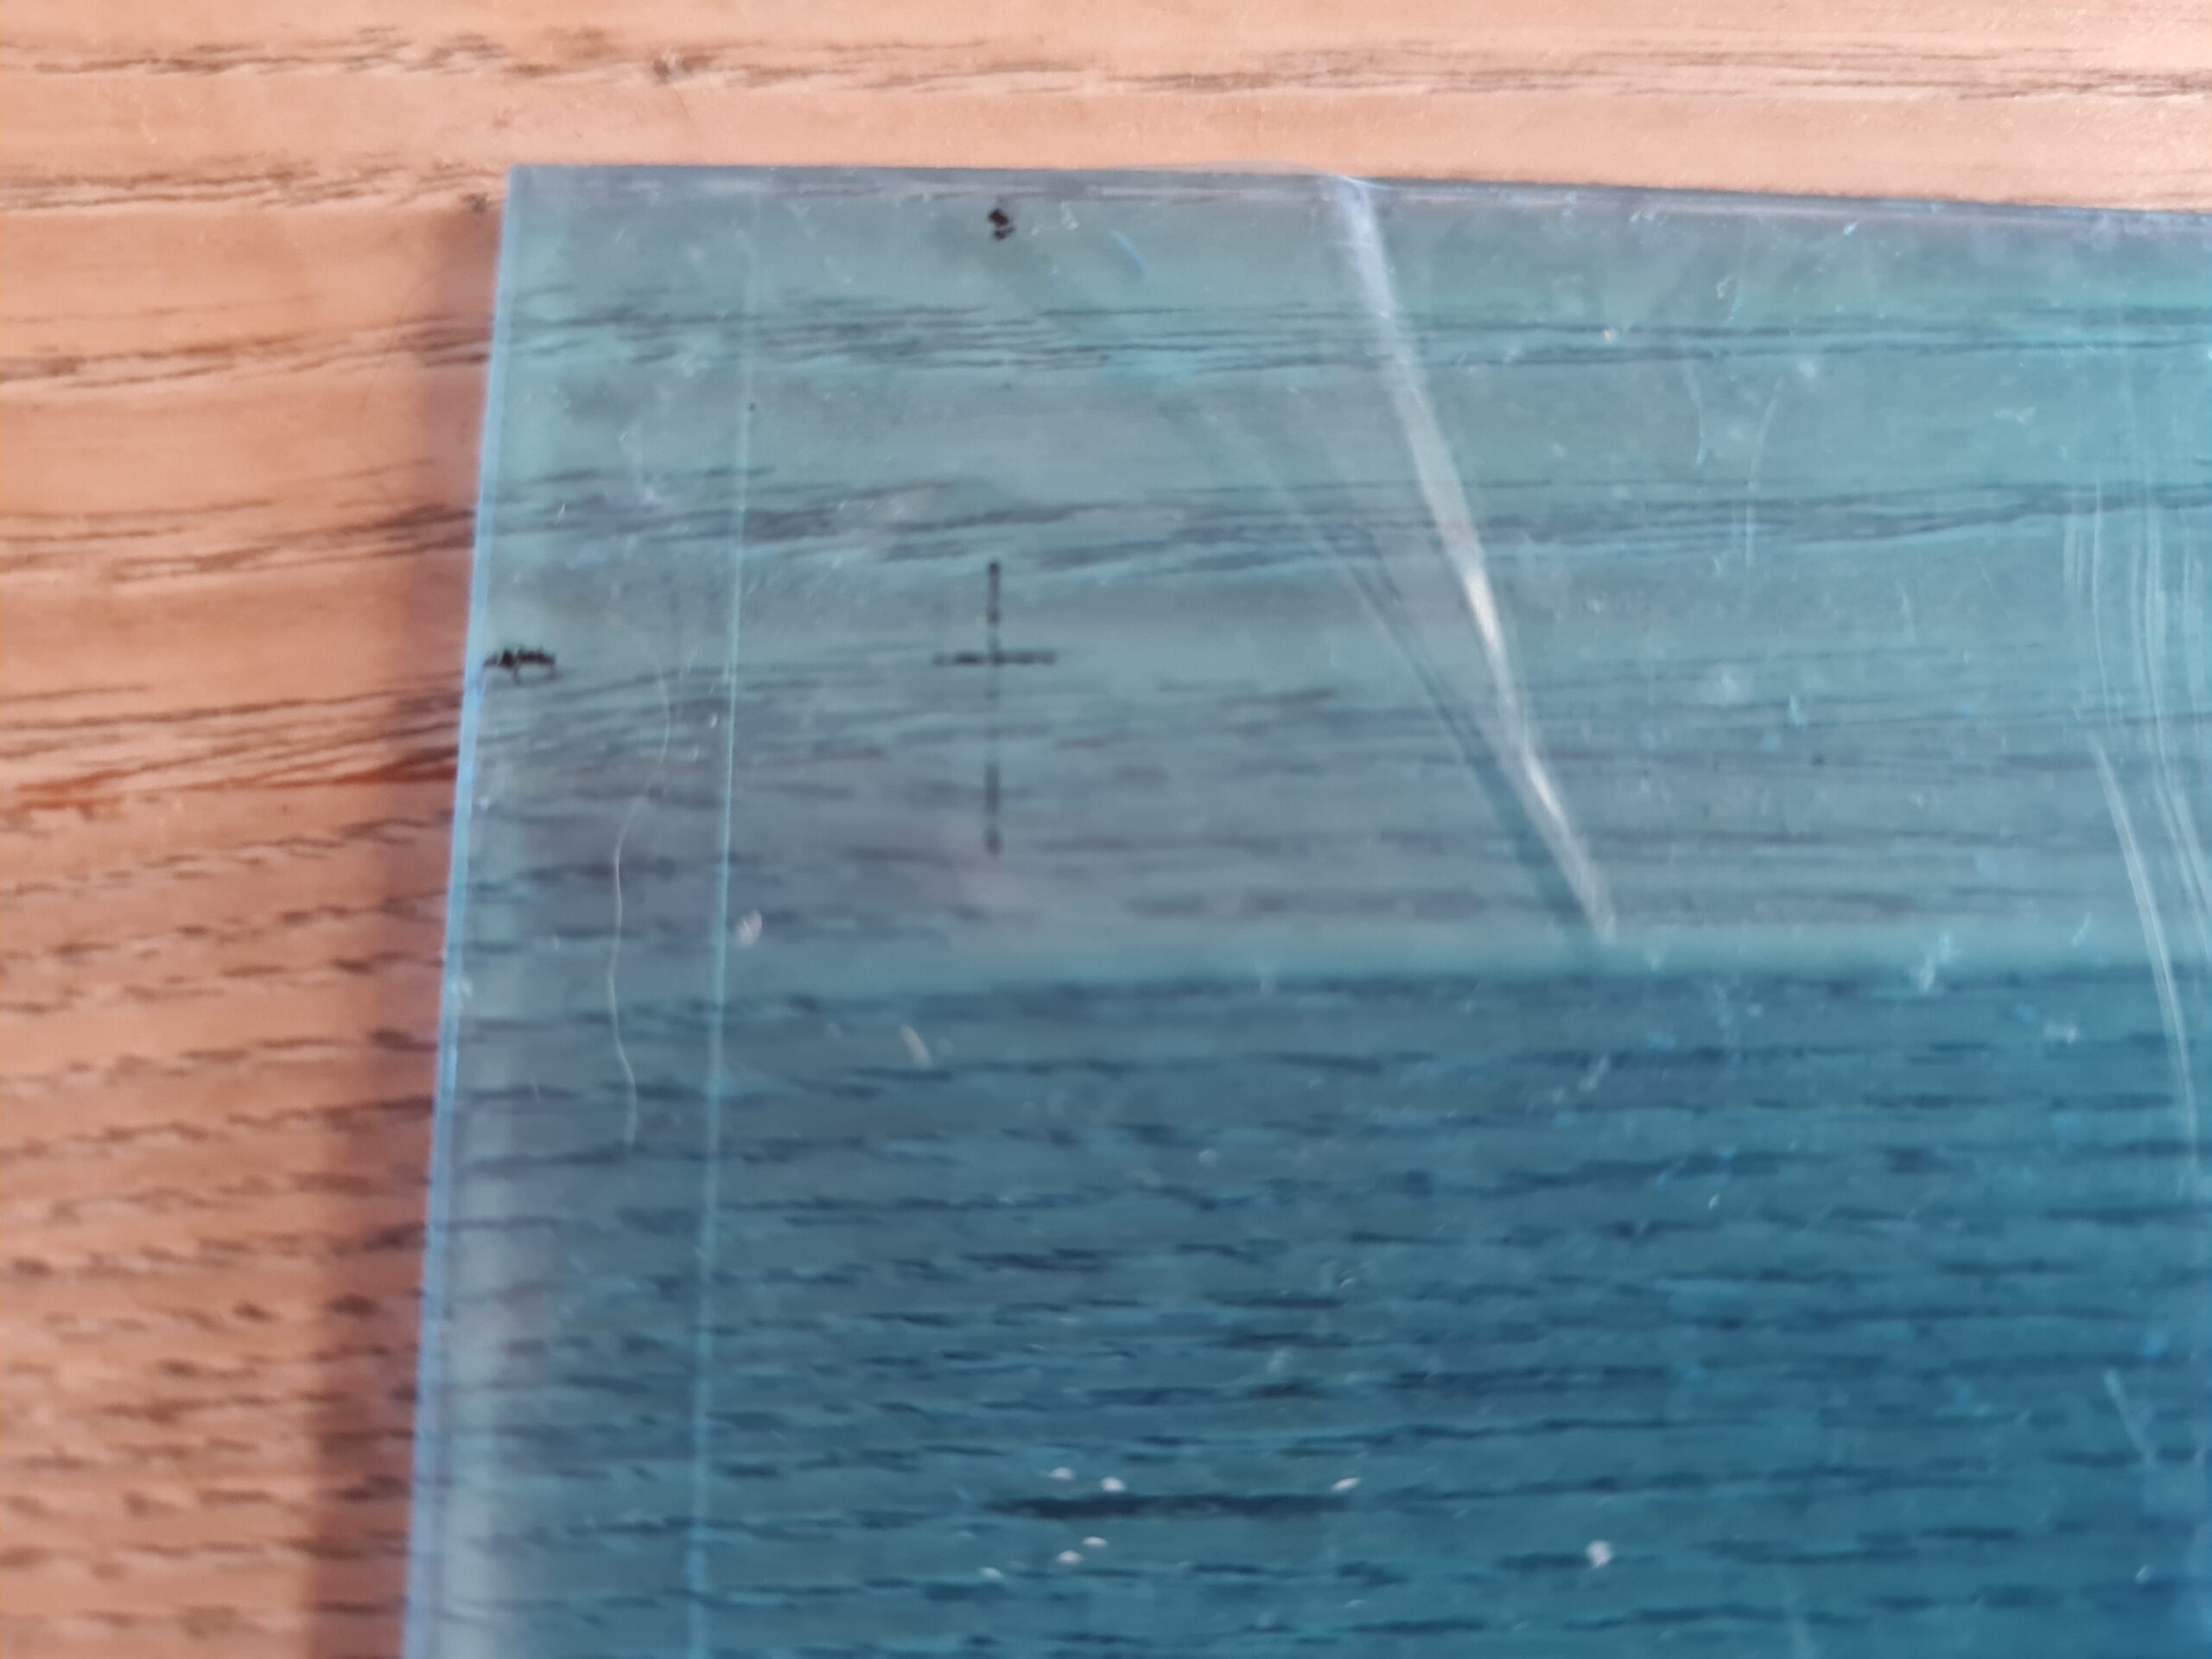
Stage 1 – Measuring out
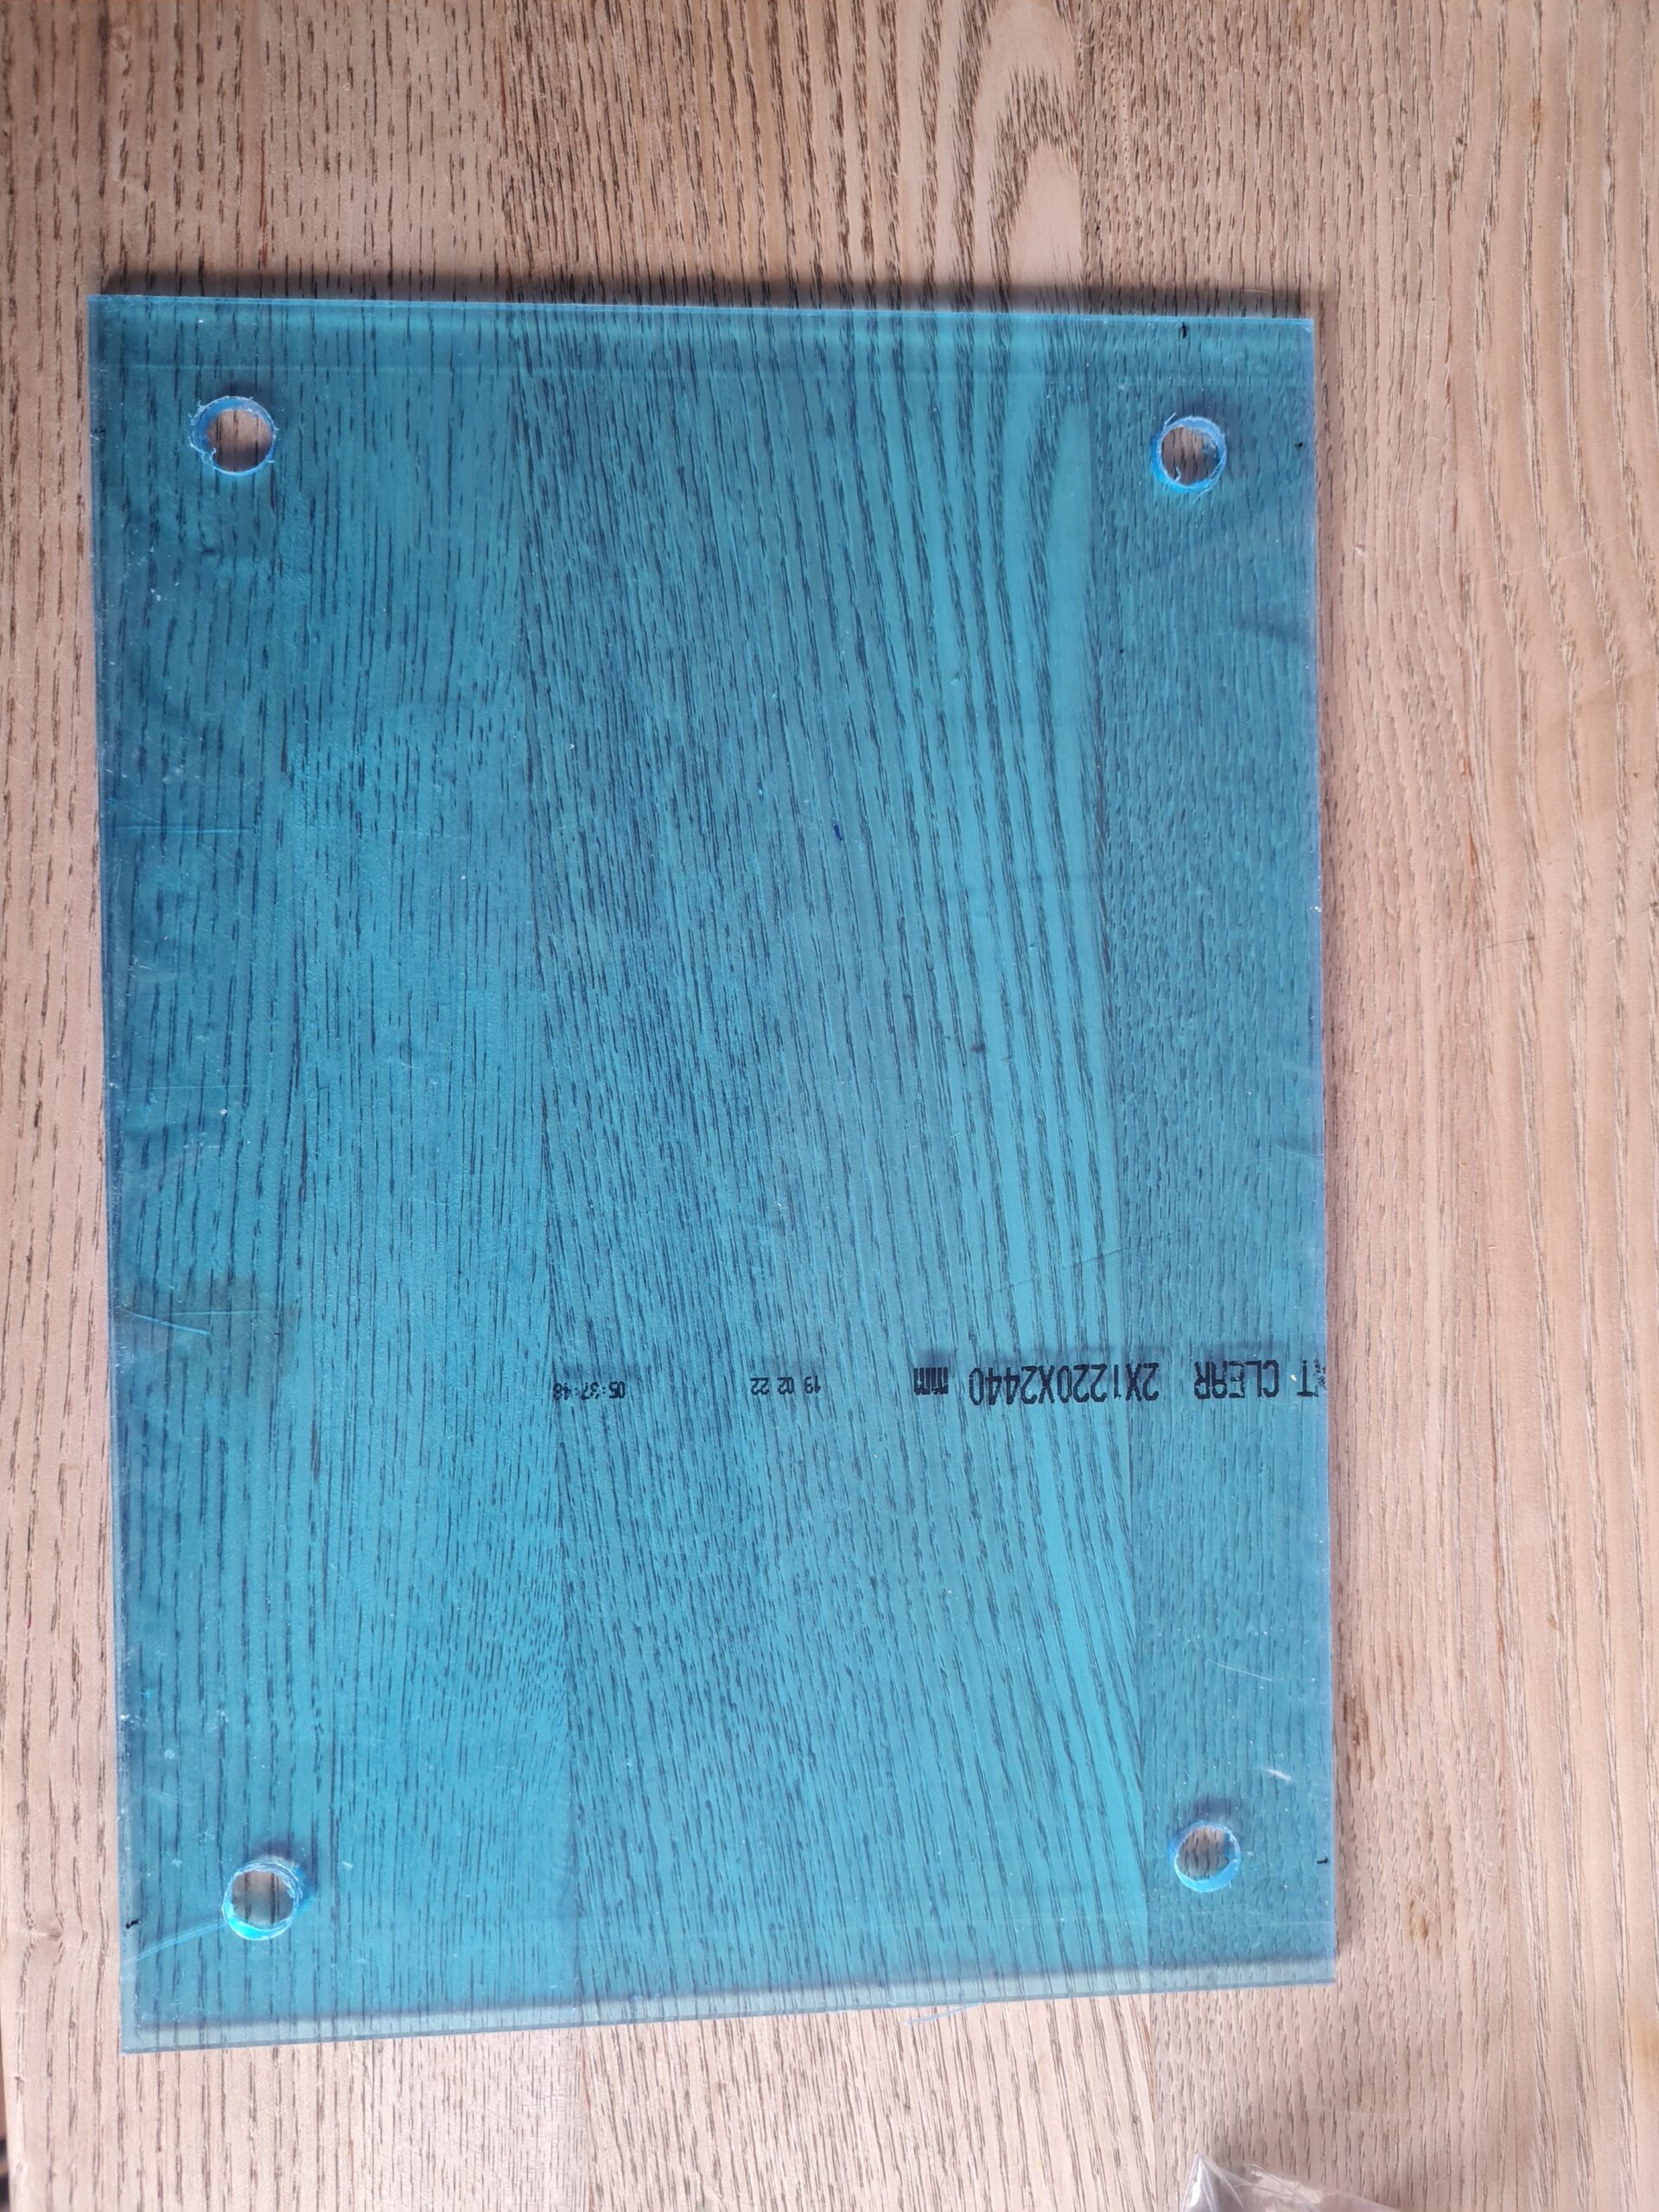
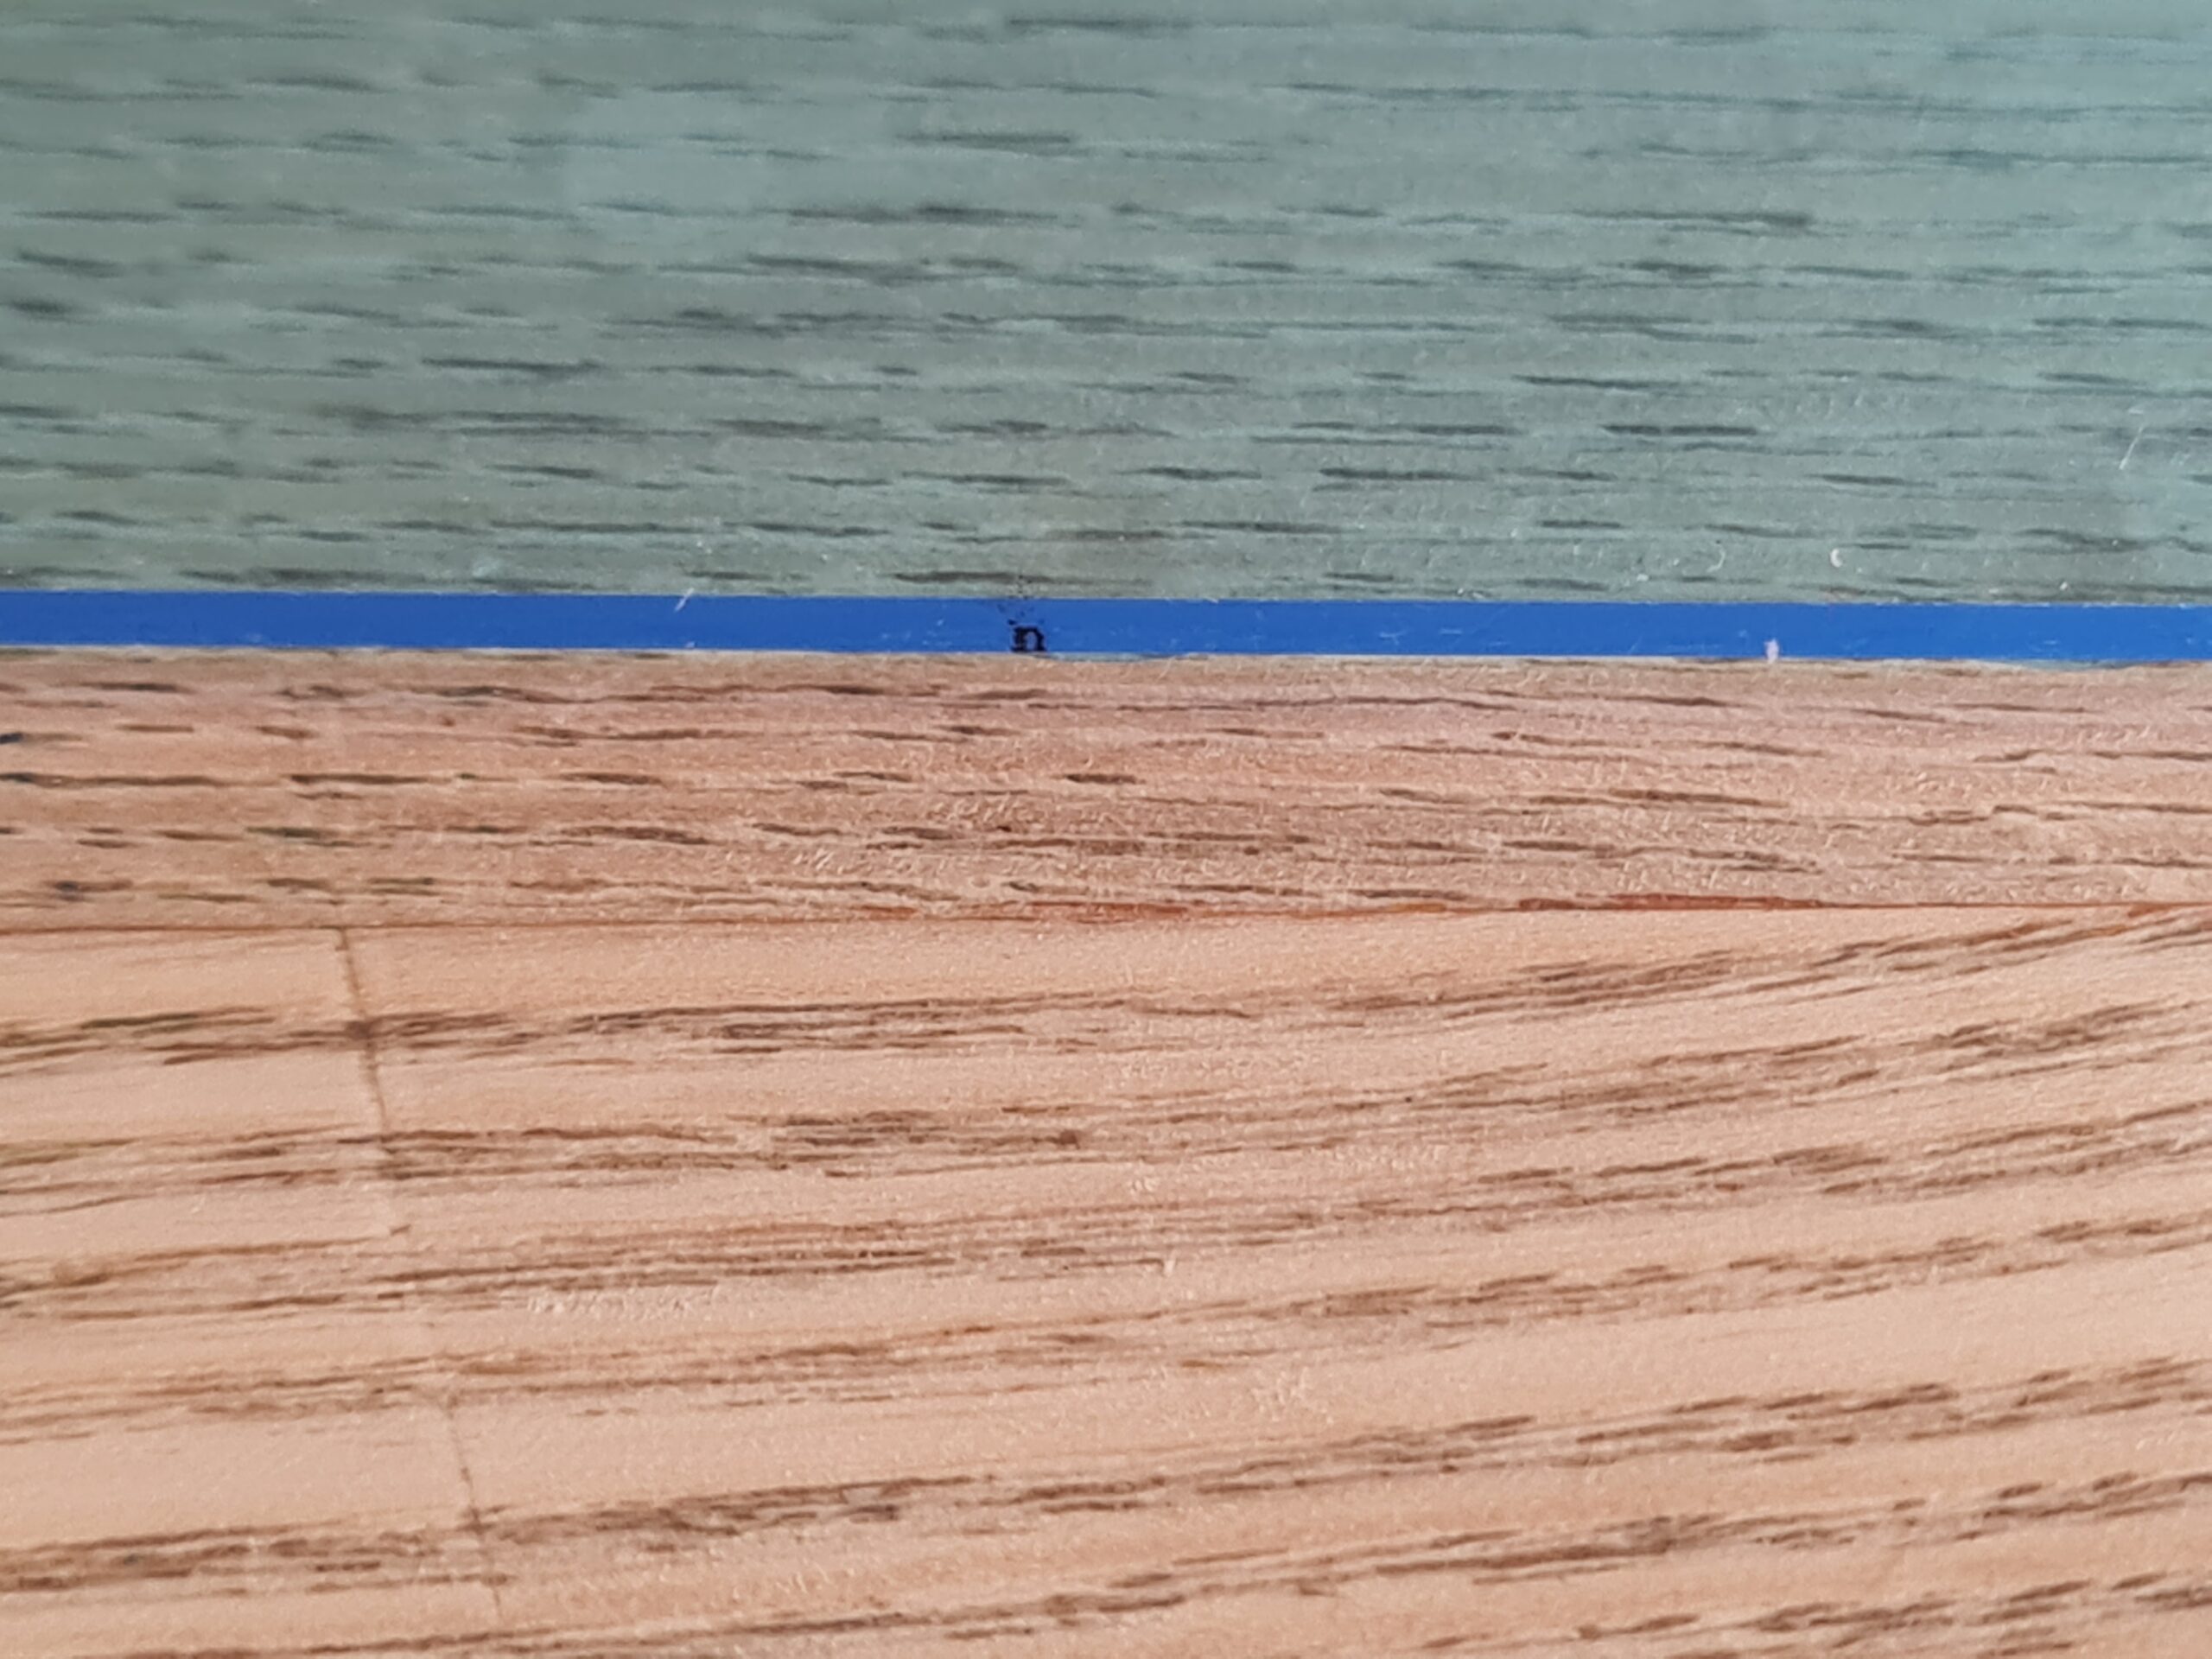
I like to have the feet in pretty much the same position. I also like them to be symmetrical. To do this I measure 1.5cm from each corner.
Measuring for the feetMarking the feetMarking out for the feet
The acrylic is covered on both sides with a protective covering. I leave this on as long as possible to help protect the acrylic, and also to mark on wherever possible.
Drilling the holes
Once the holes are marked out, I moved on to drilling the holes.
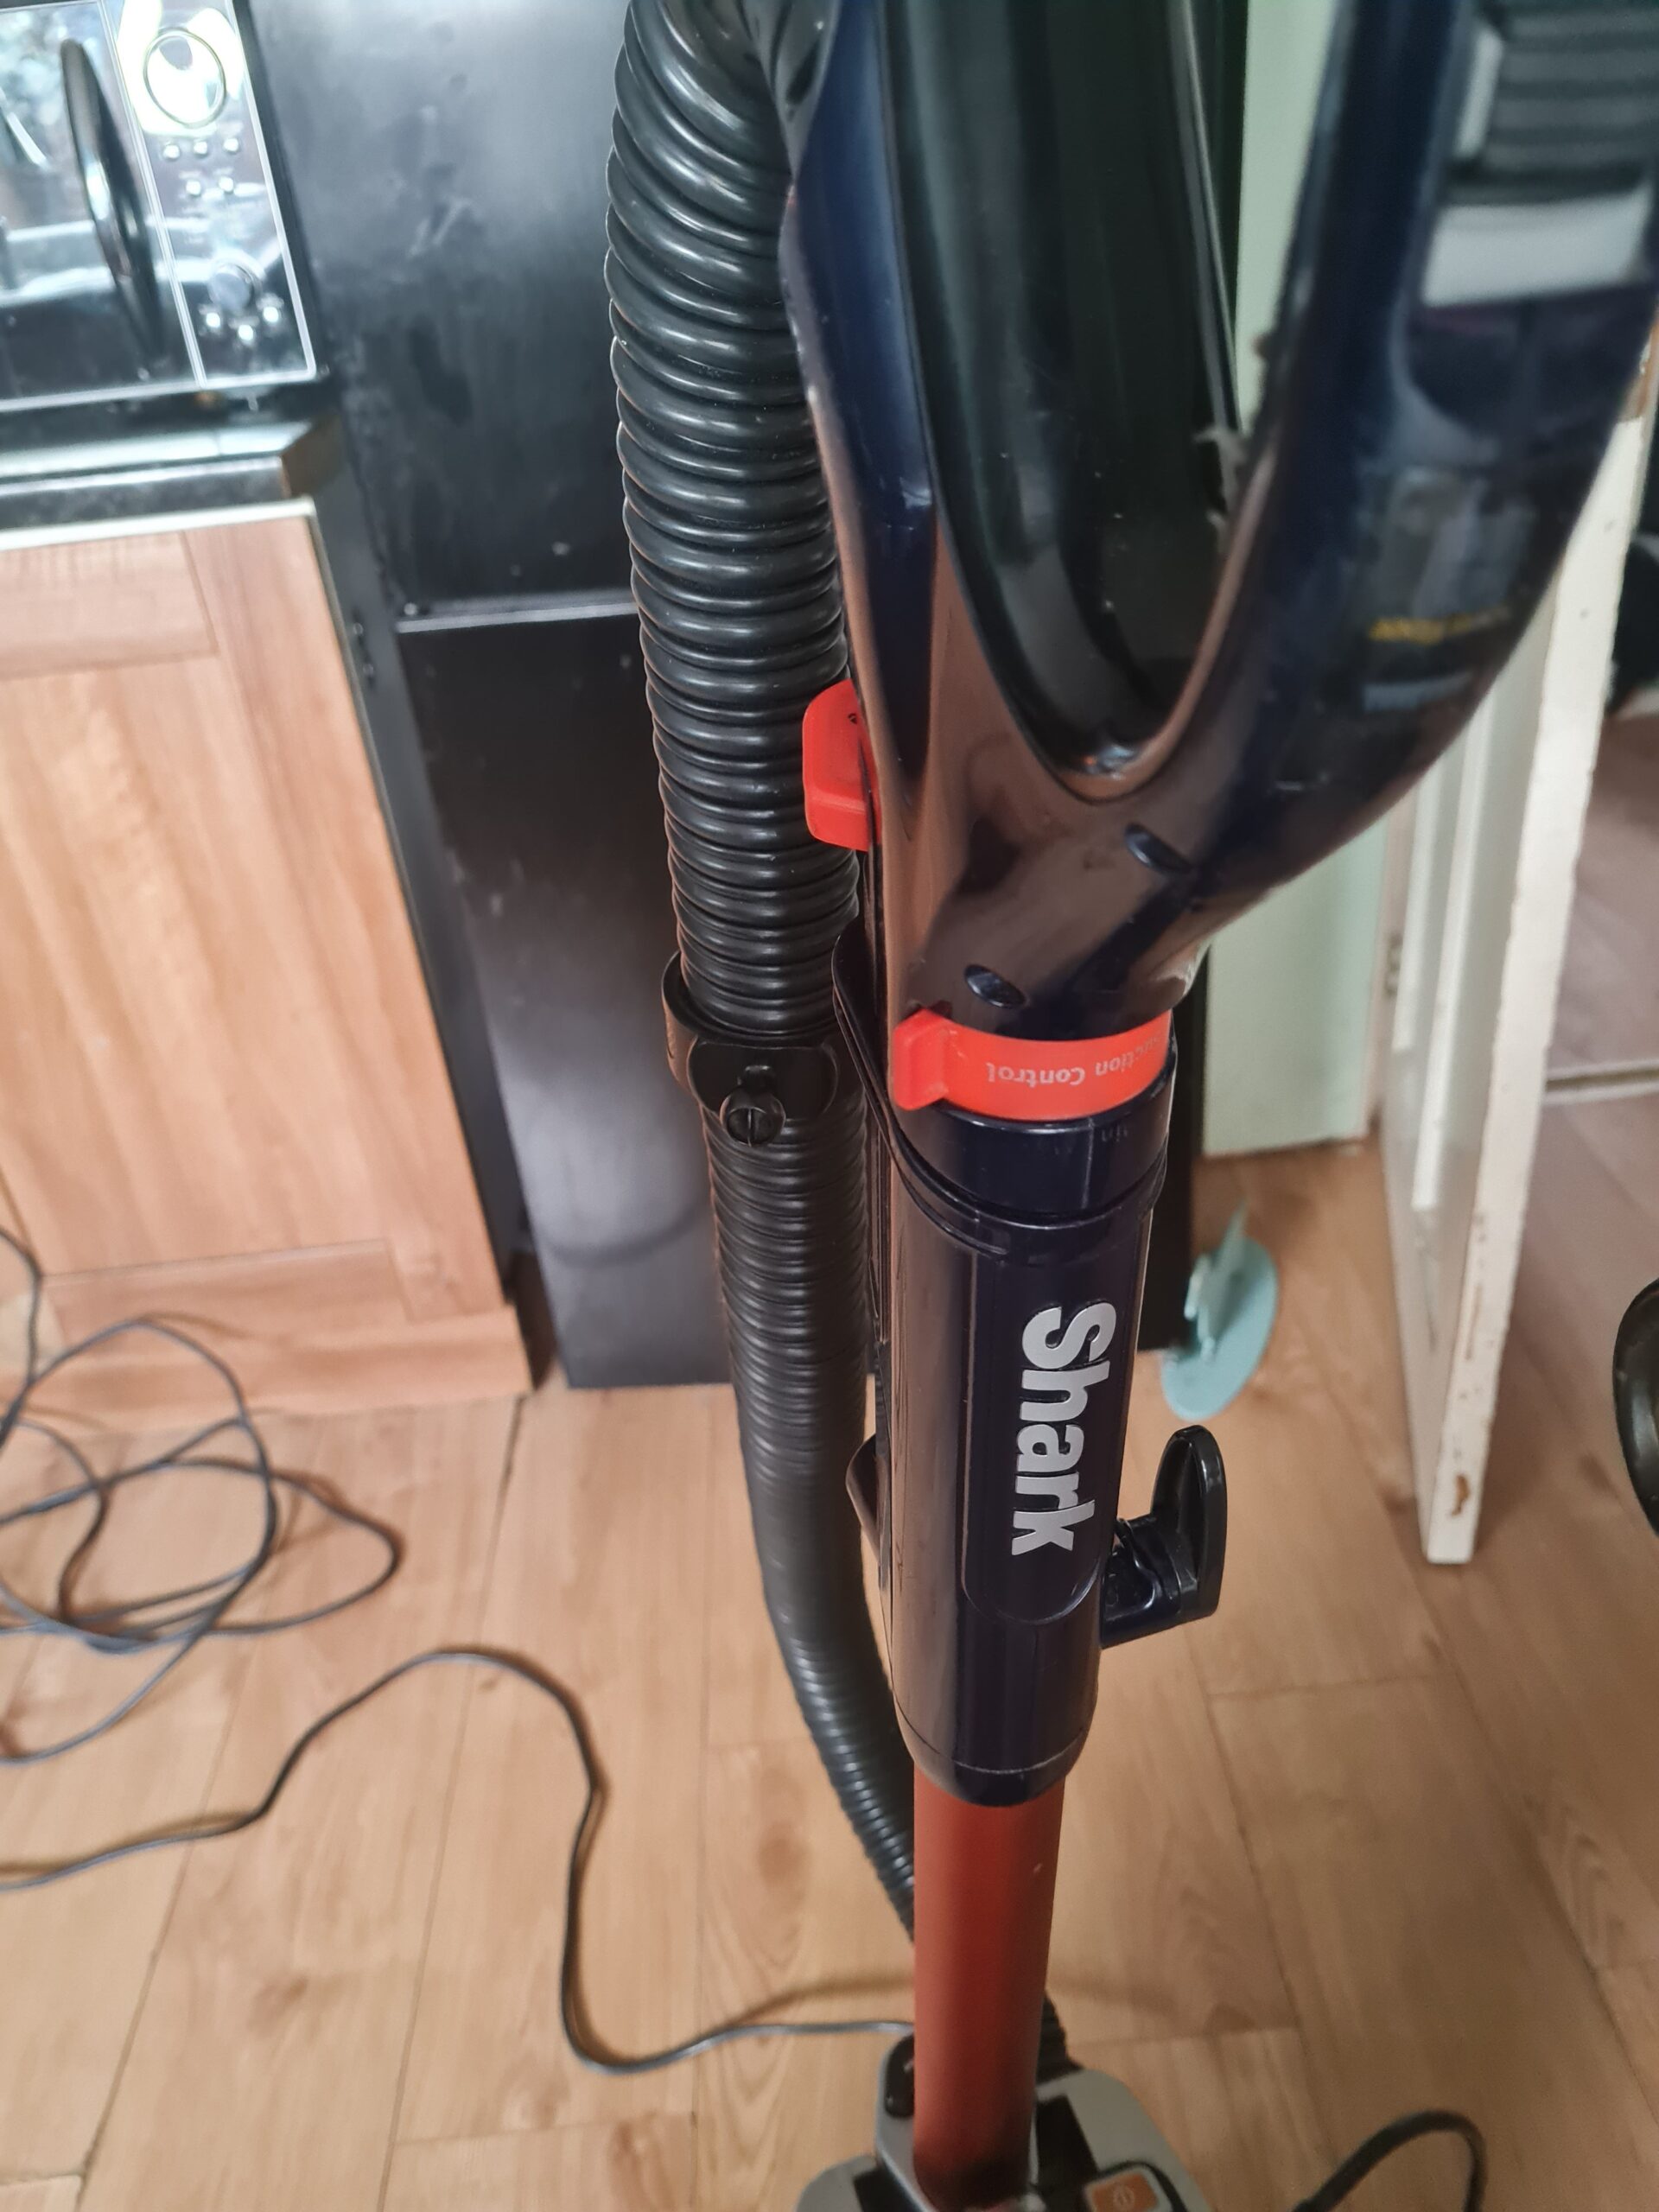
Drill and bitsHooverChecking bit width
To do this I needed the drill bits, the drill, and the hoover. The drill bits are actually for drilling into tiles and work perfectly for this job. The first thing I had to do was find the right size. I had to unscrew one of the feet and check the width of the drill bit to the thread size of the bolt. You want one marginally bigger than the thread so the bolt drops in nicely.
Once that was done I placed the acrylic sheet flat on the table edge, as close to the marked spot as possible (allowing room to drill through and not hit the table). I also used a finger to support the outer side of the sheet to help stop it flexing. Then using the drill I made the hole in the sheet.
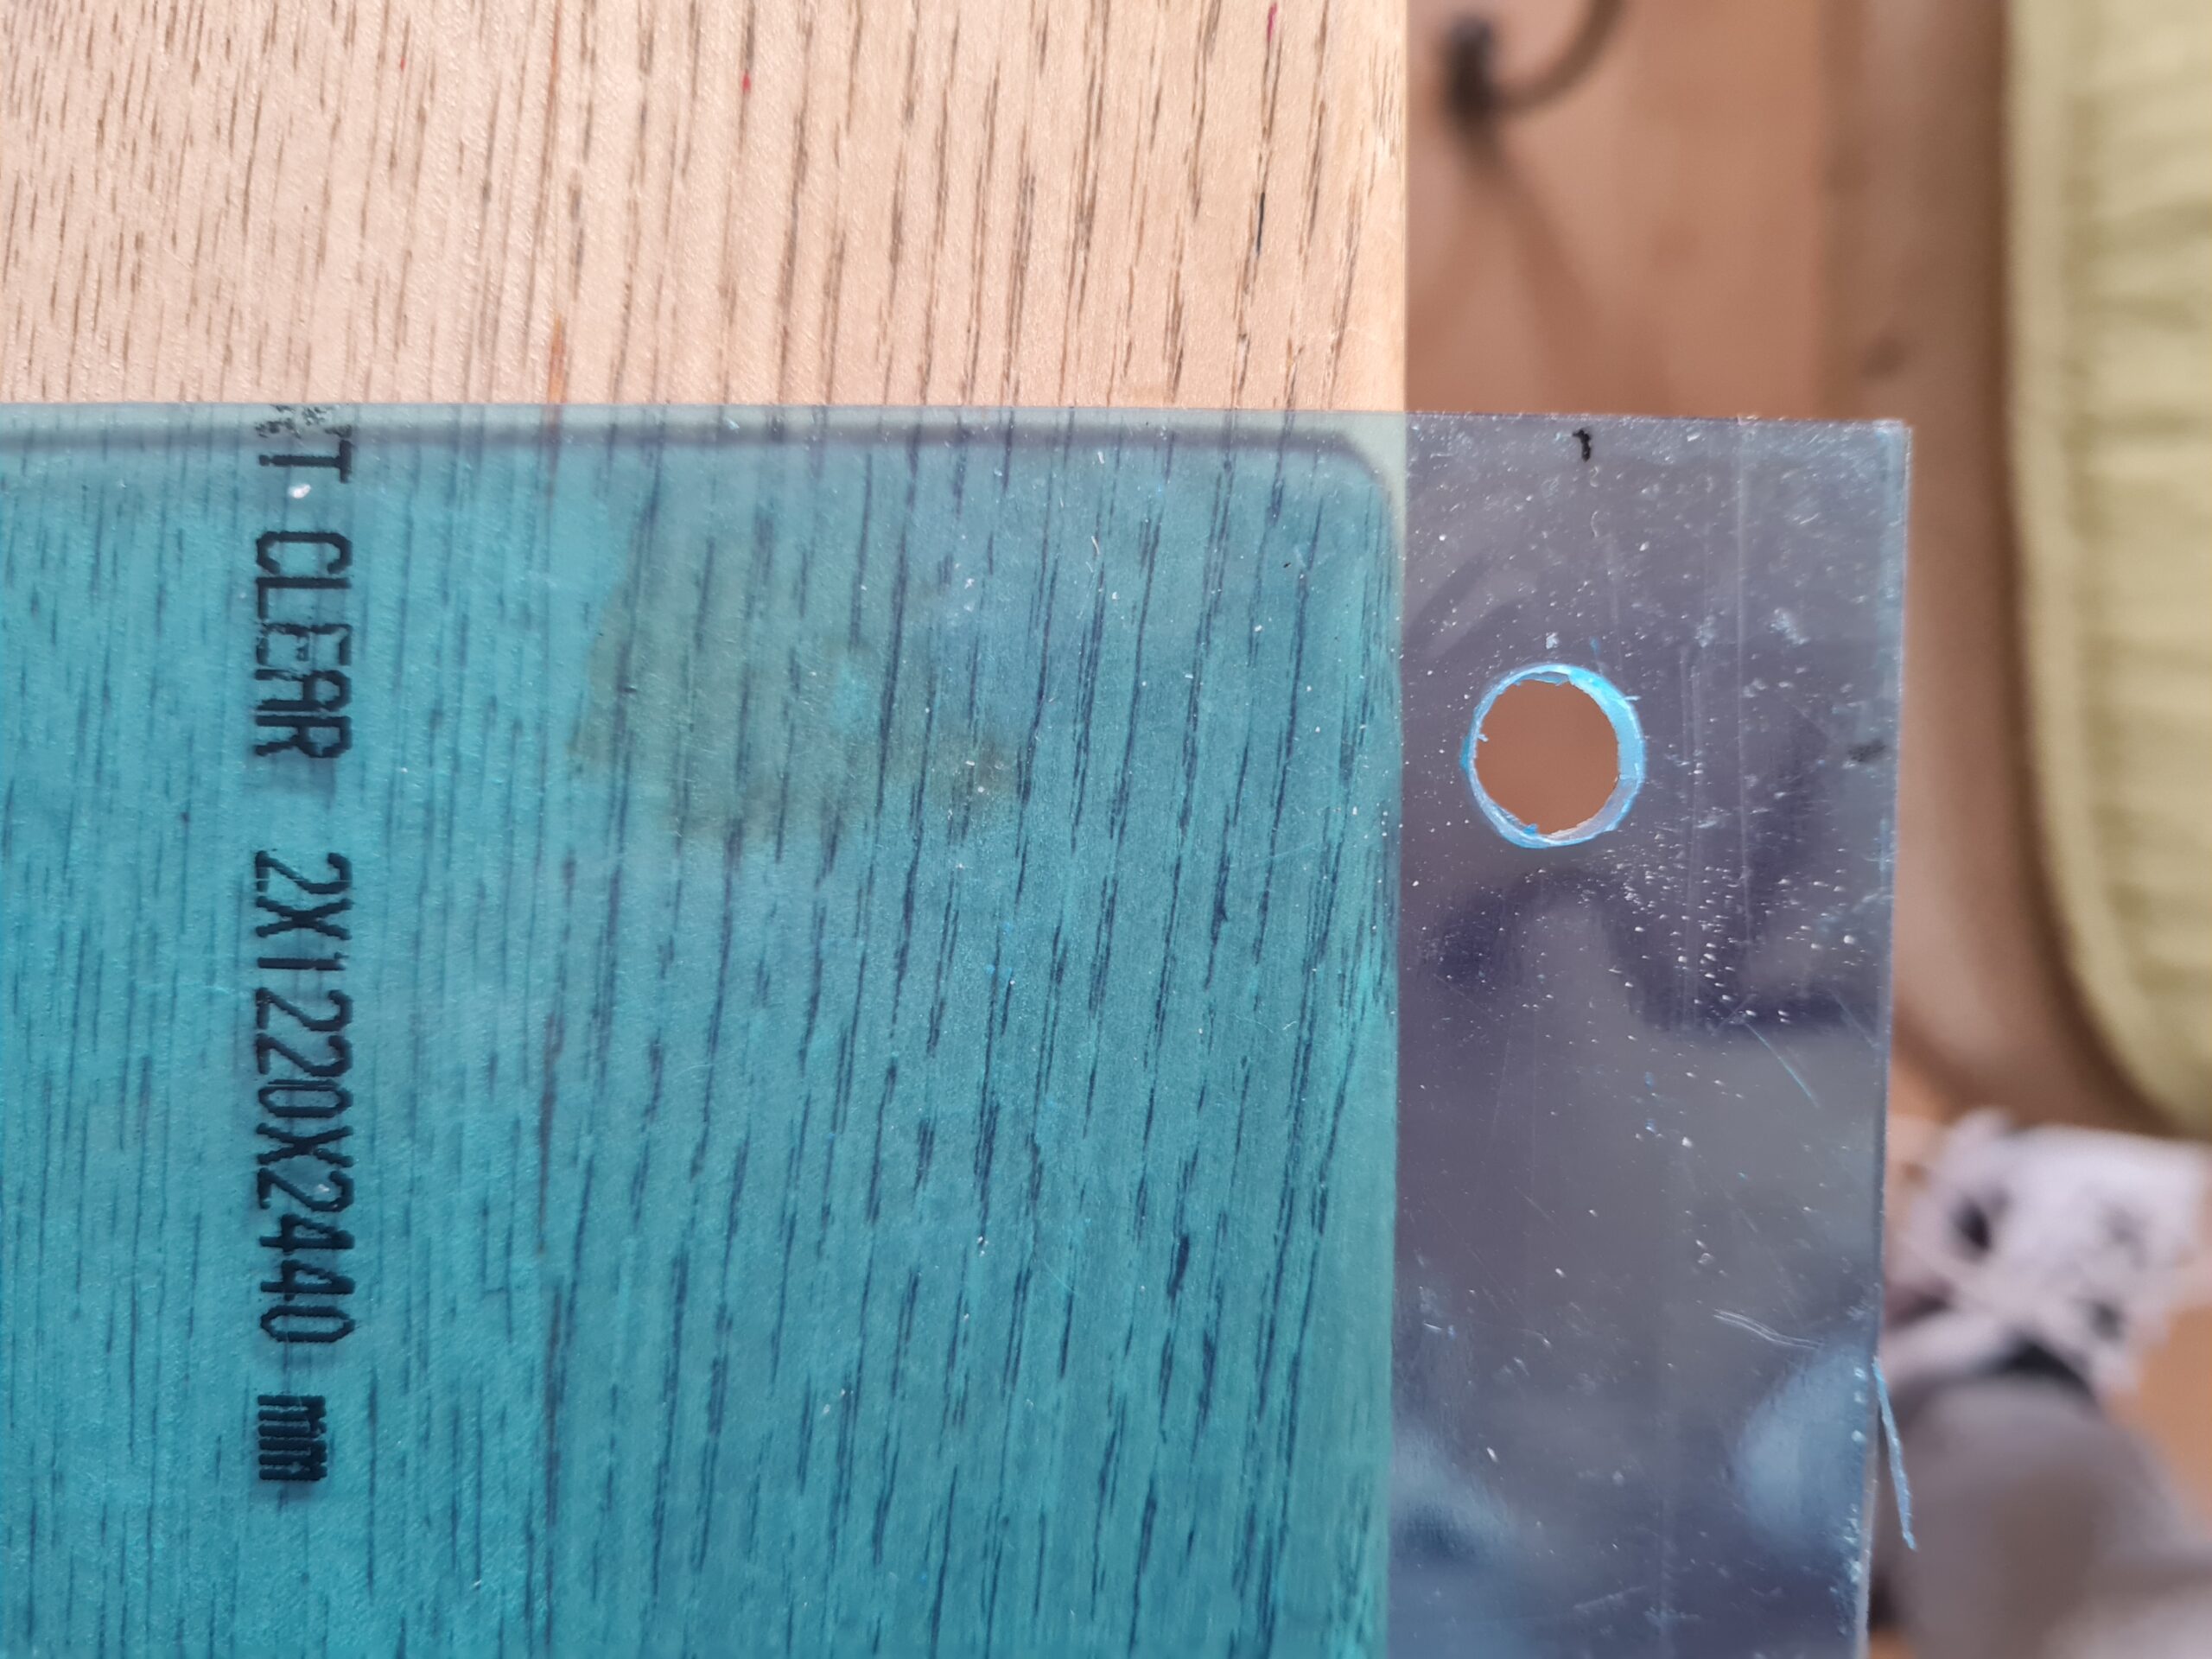
Hole CloseupAll Four holes drilledTesting a foot
As can be seen above I also tested one of the feet int he hole to make sure it was fitting securely. I then removed this to do the rest of the work.
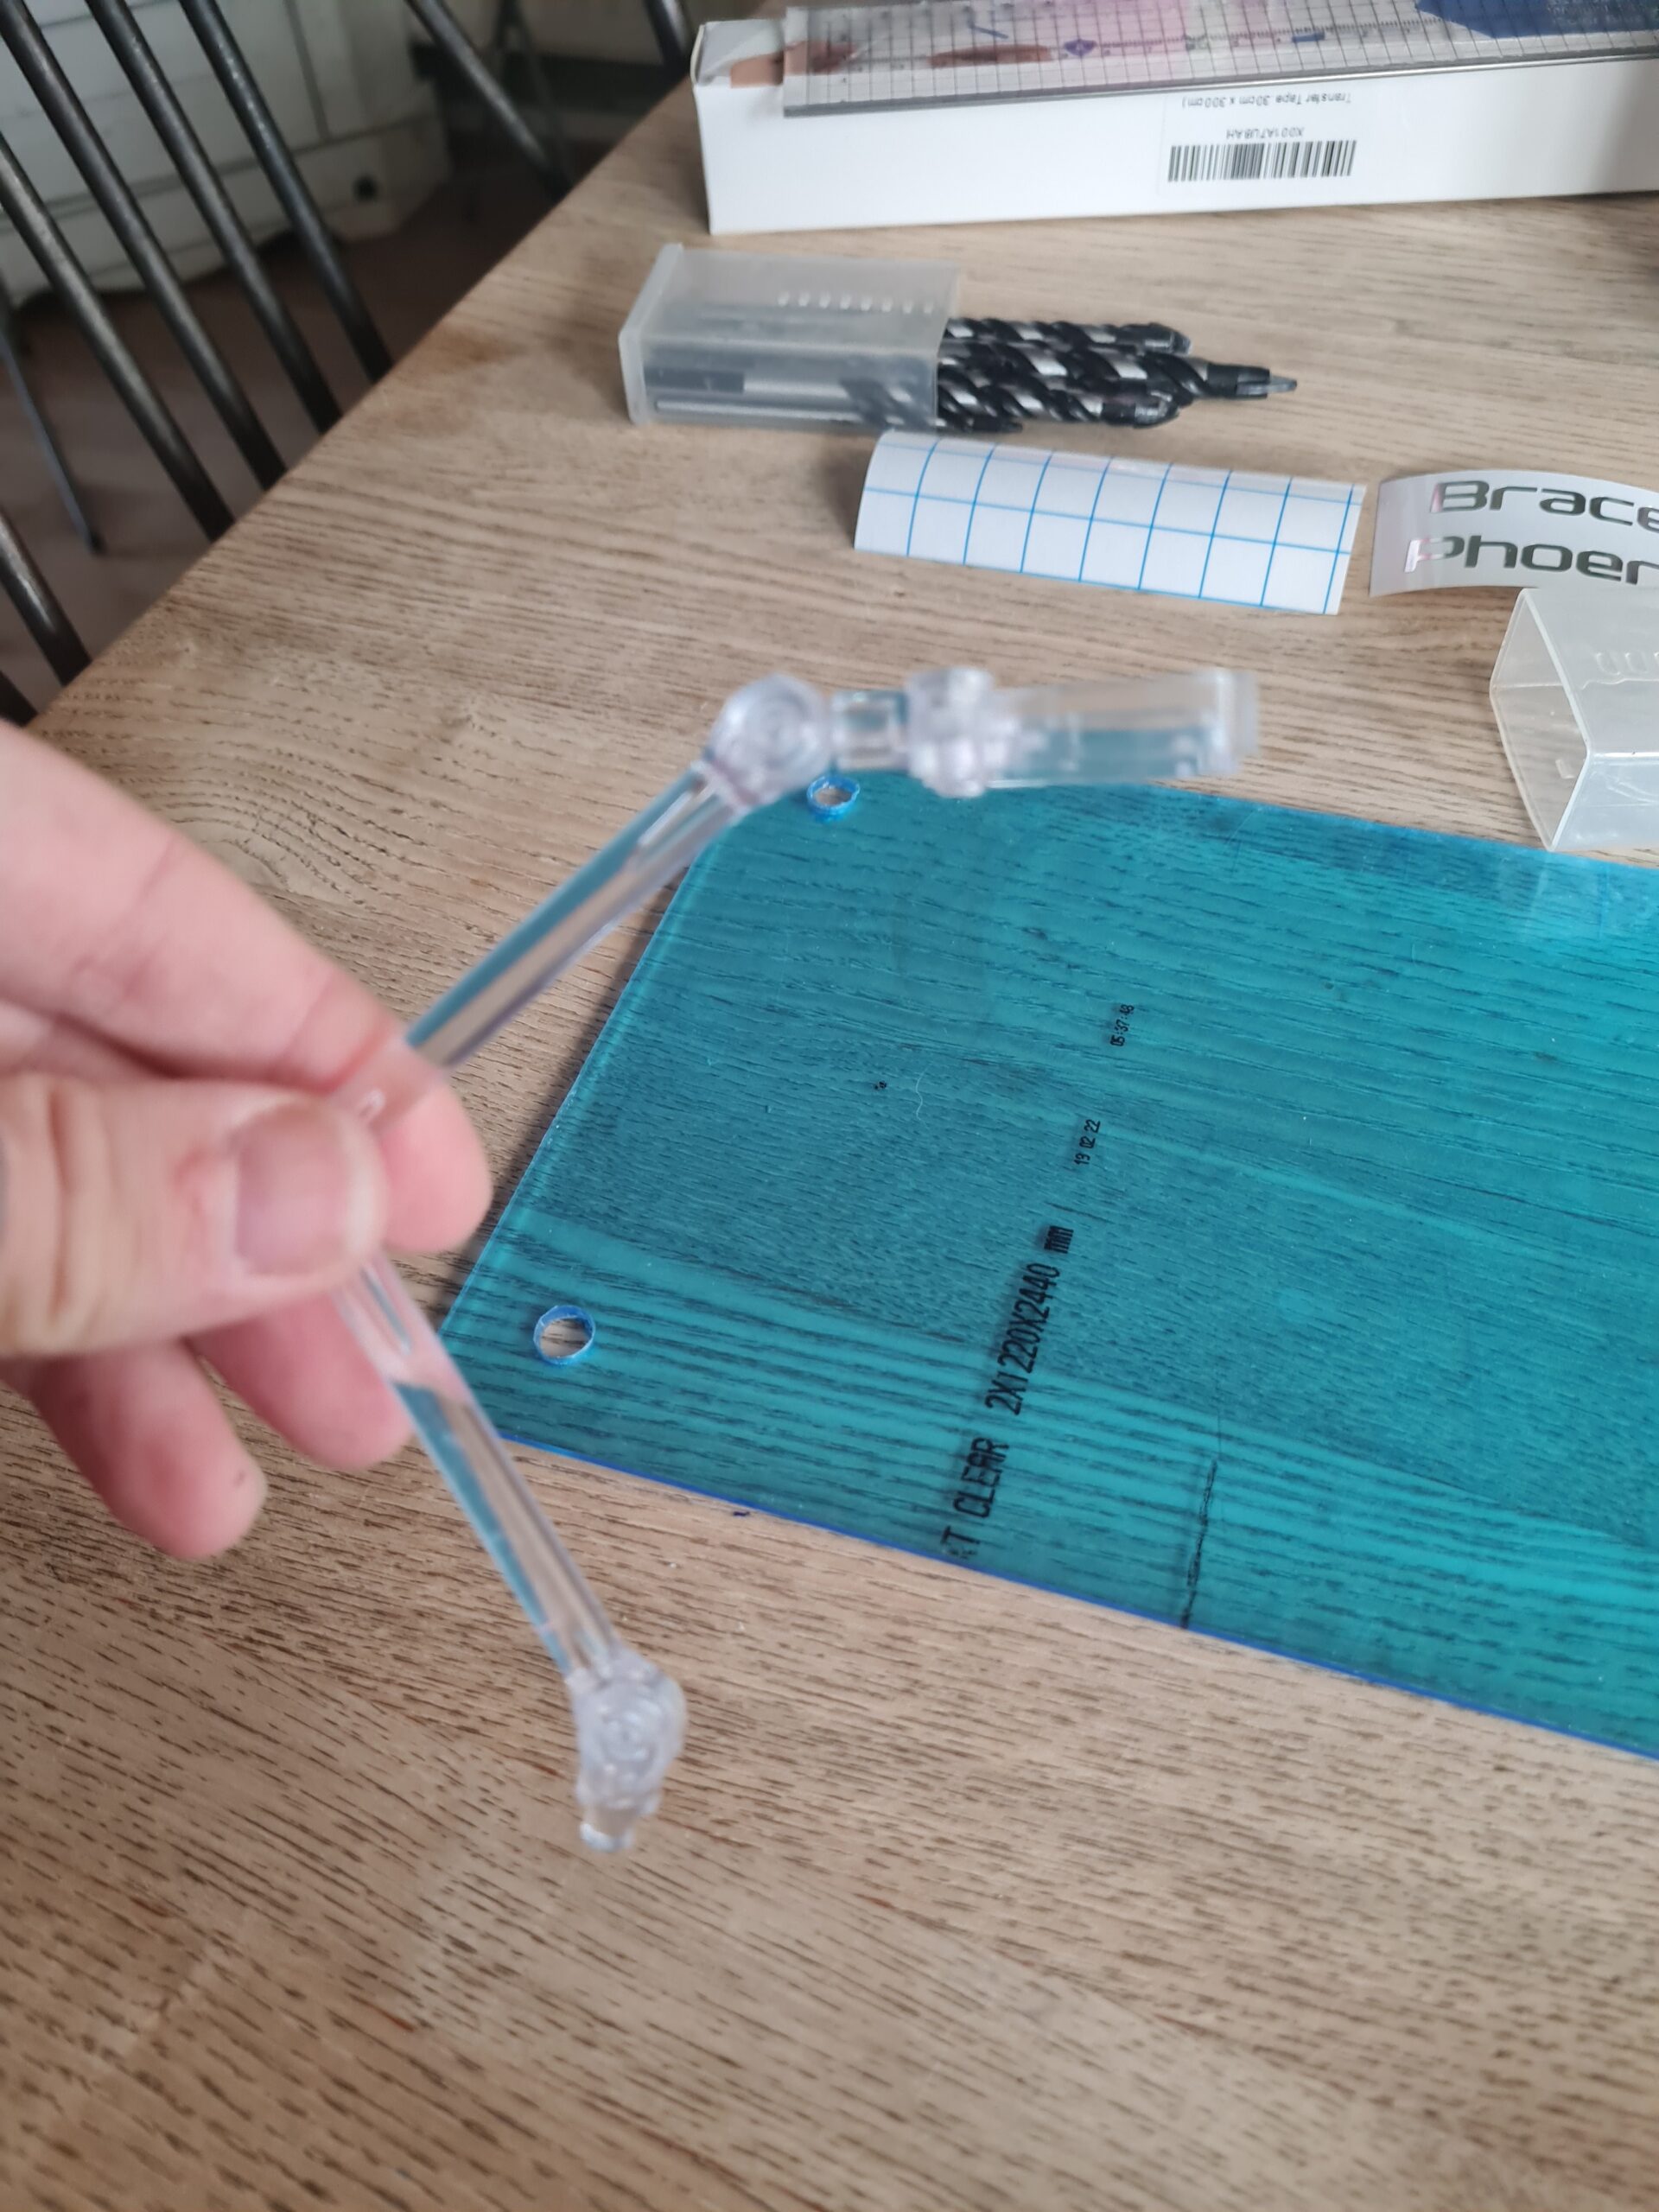
I did drill an extra hole for the stand. Normally I would put this at the halfway point. However, for this I wanted it in a specific place. The methodology though was the same as above. Find the right size bit, drill the hole, and finally test. I do think I will add some glue to help hold it in place, but it works well.
Cheap stand armChecking width
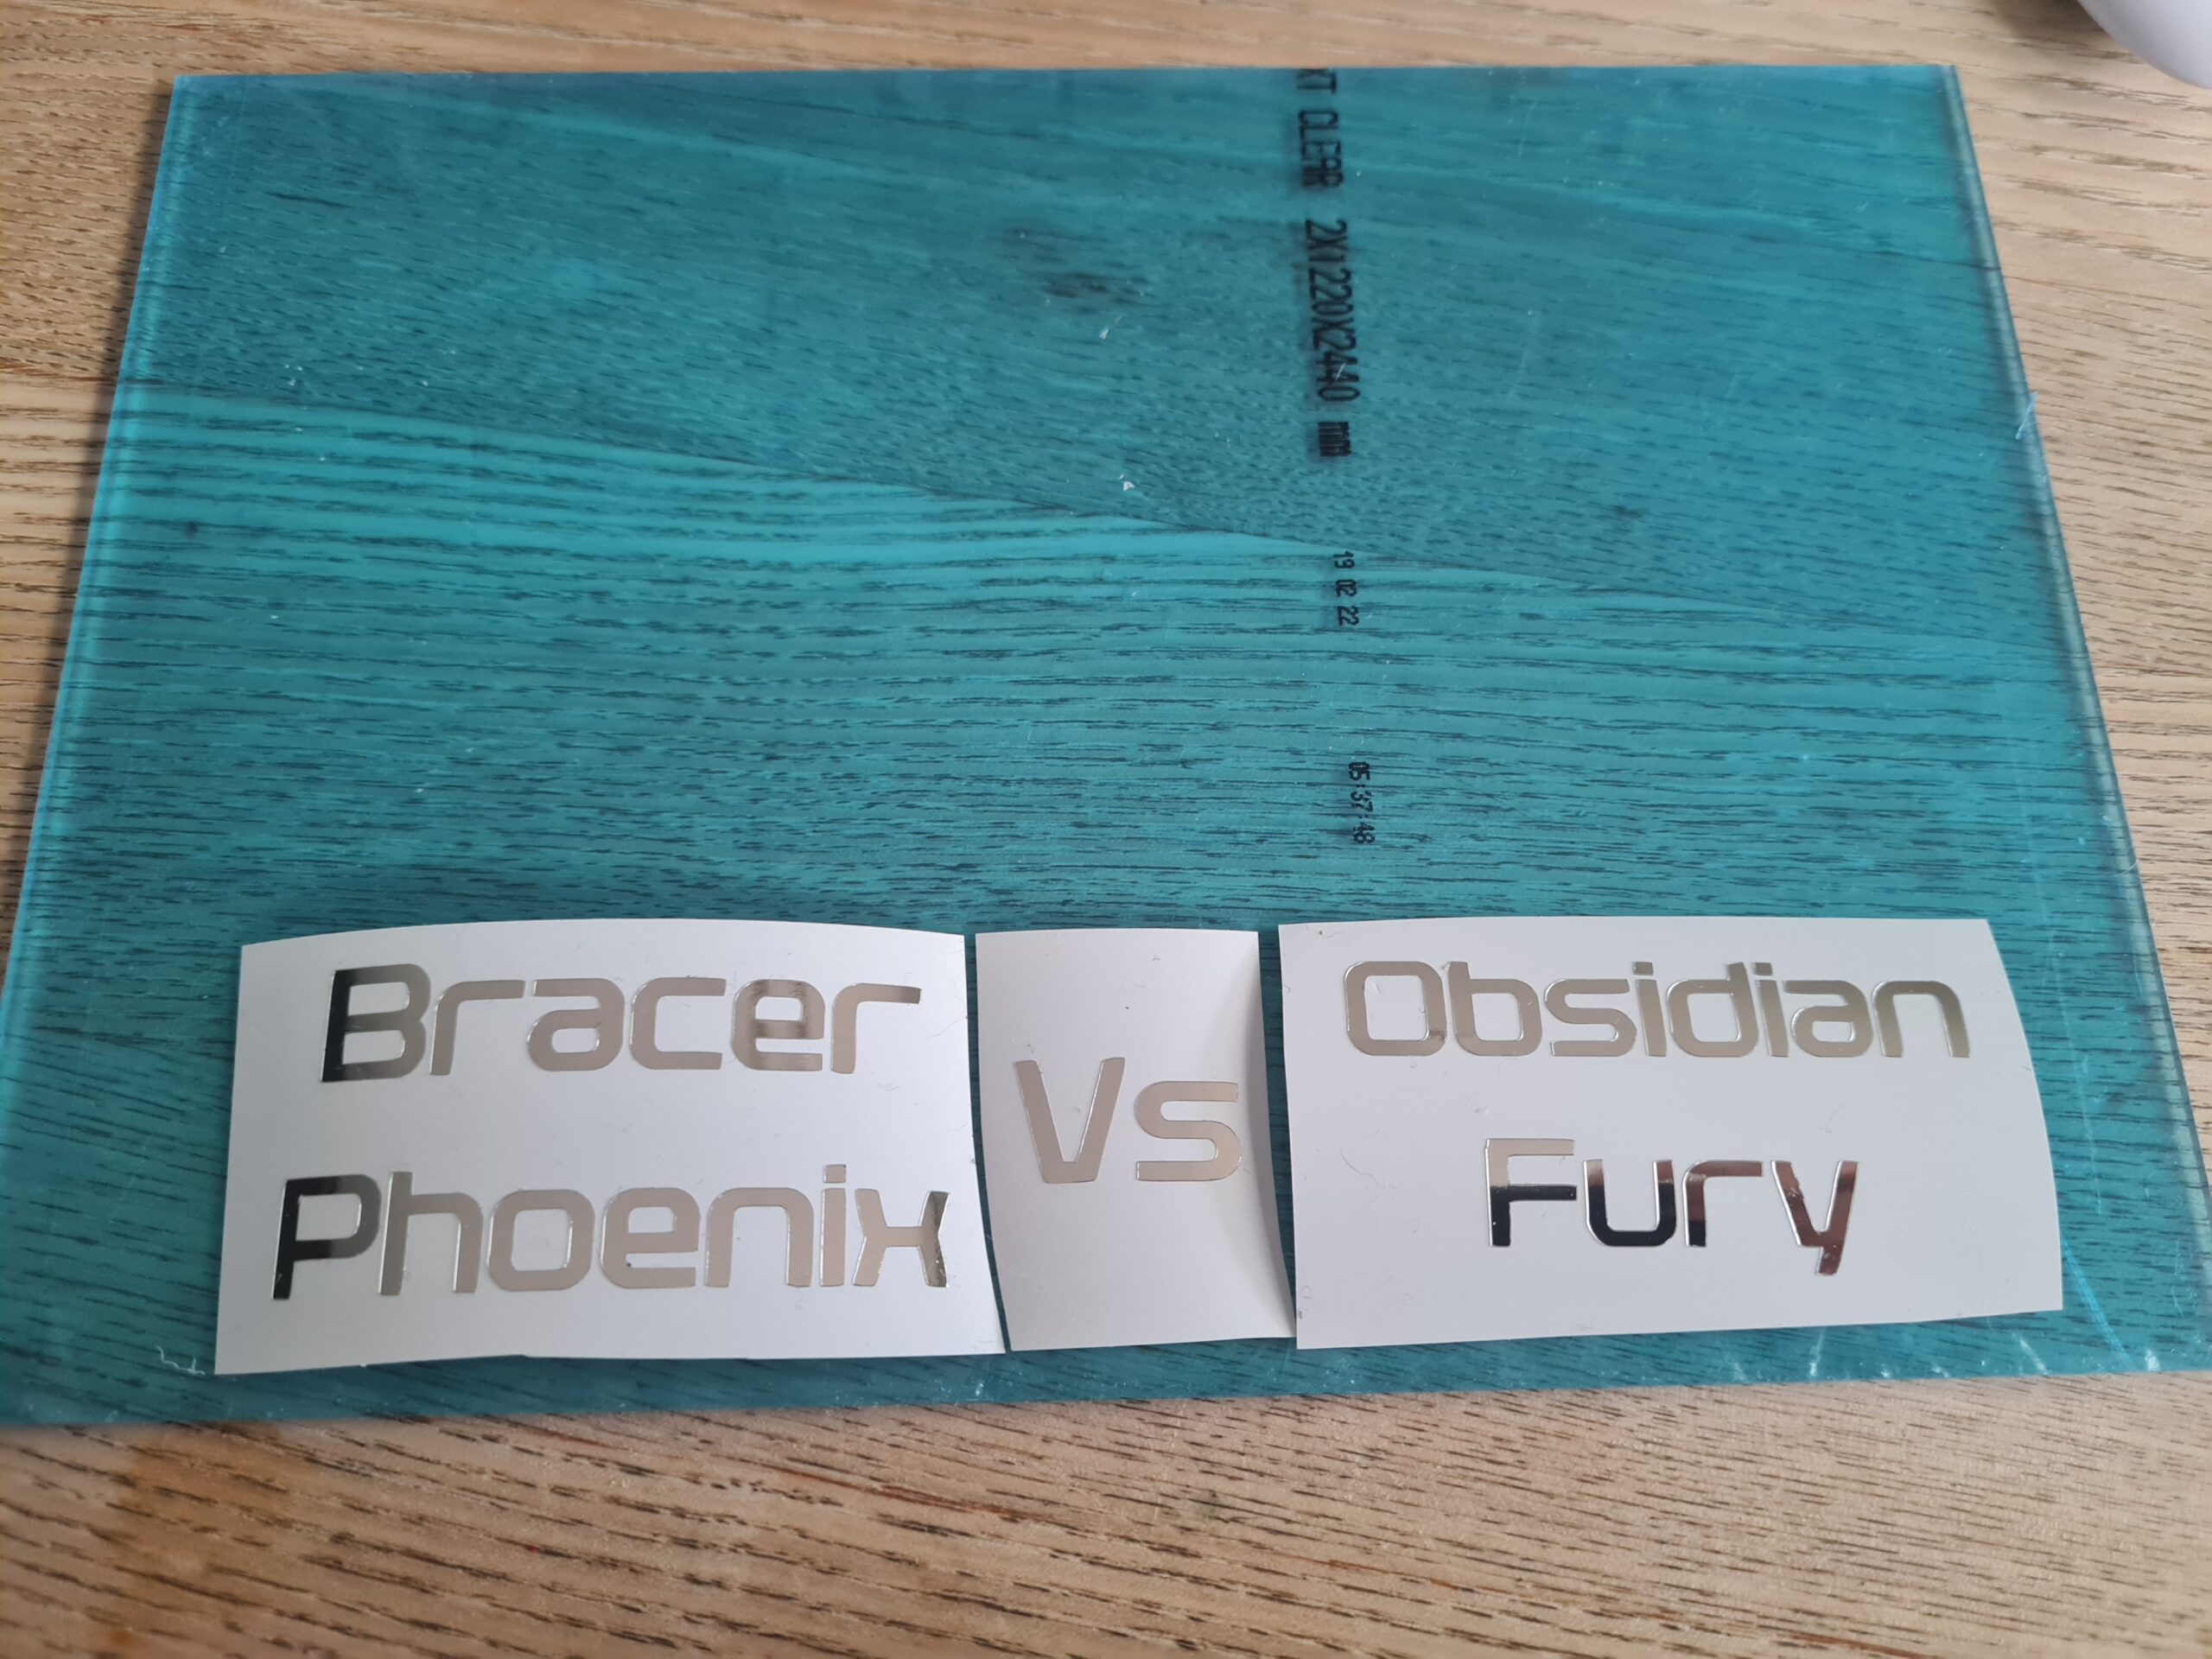
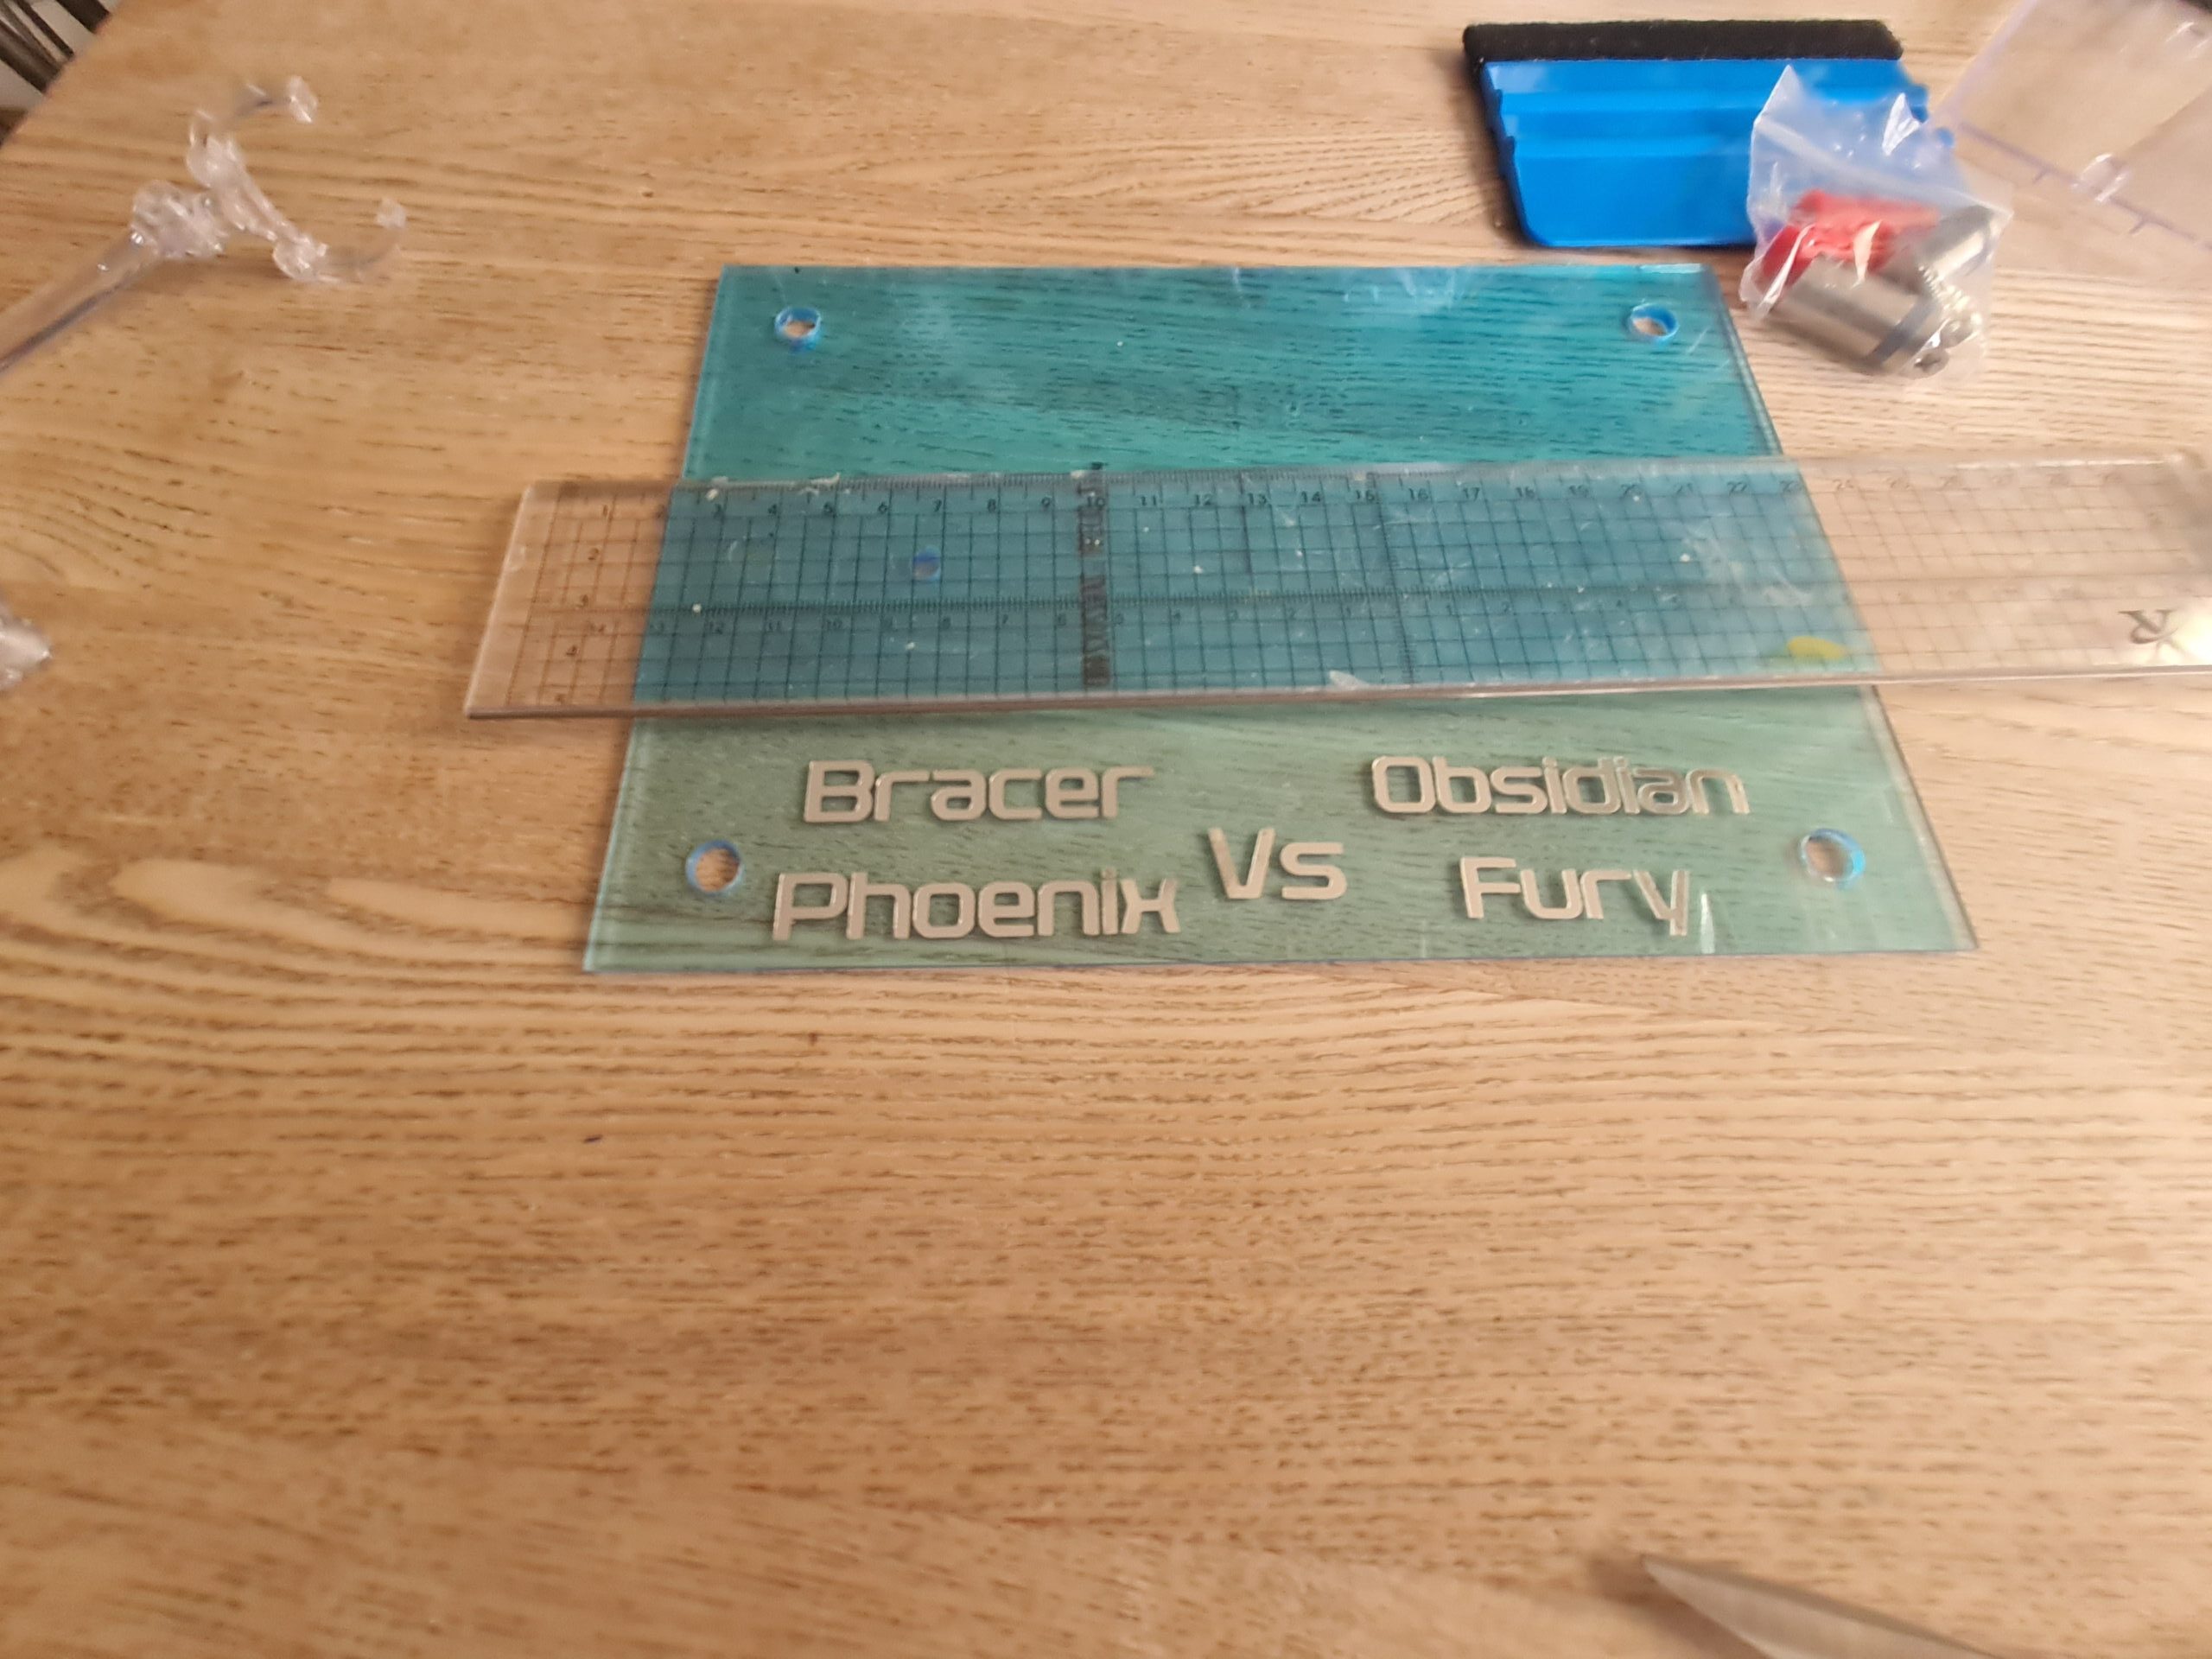
The Text
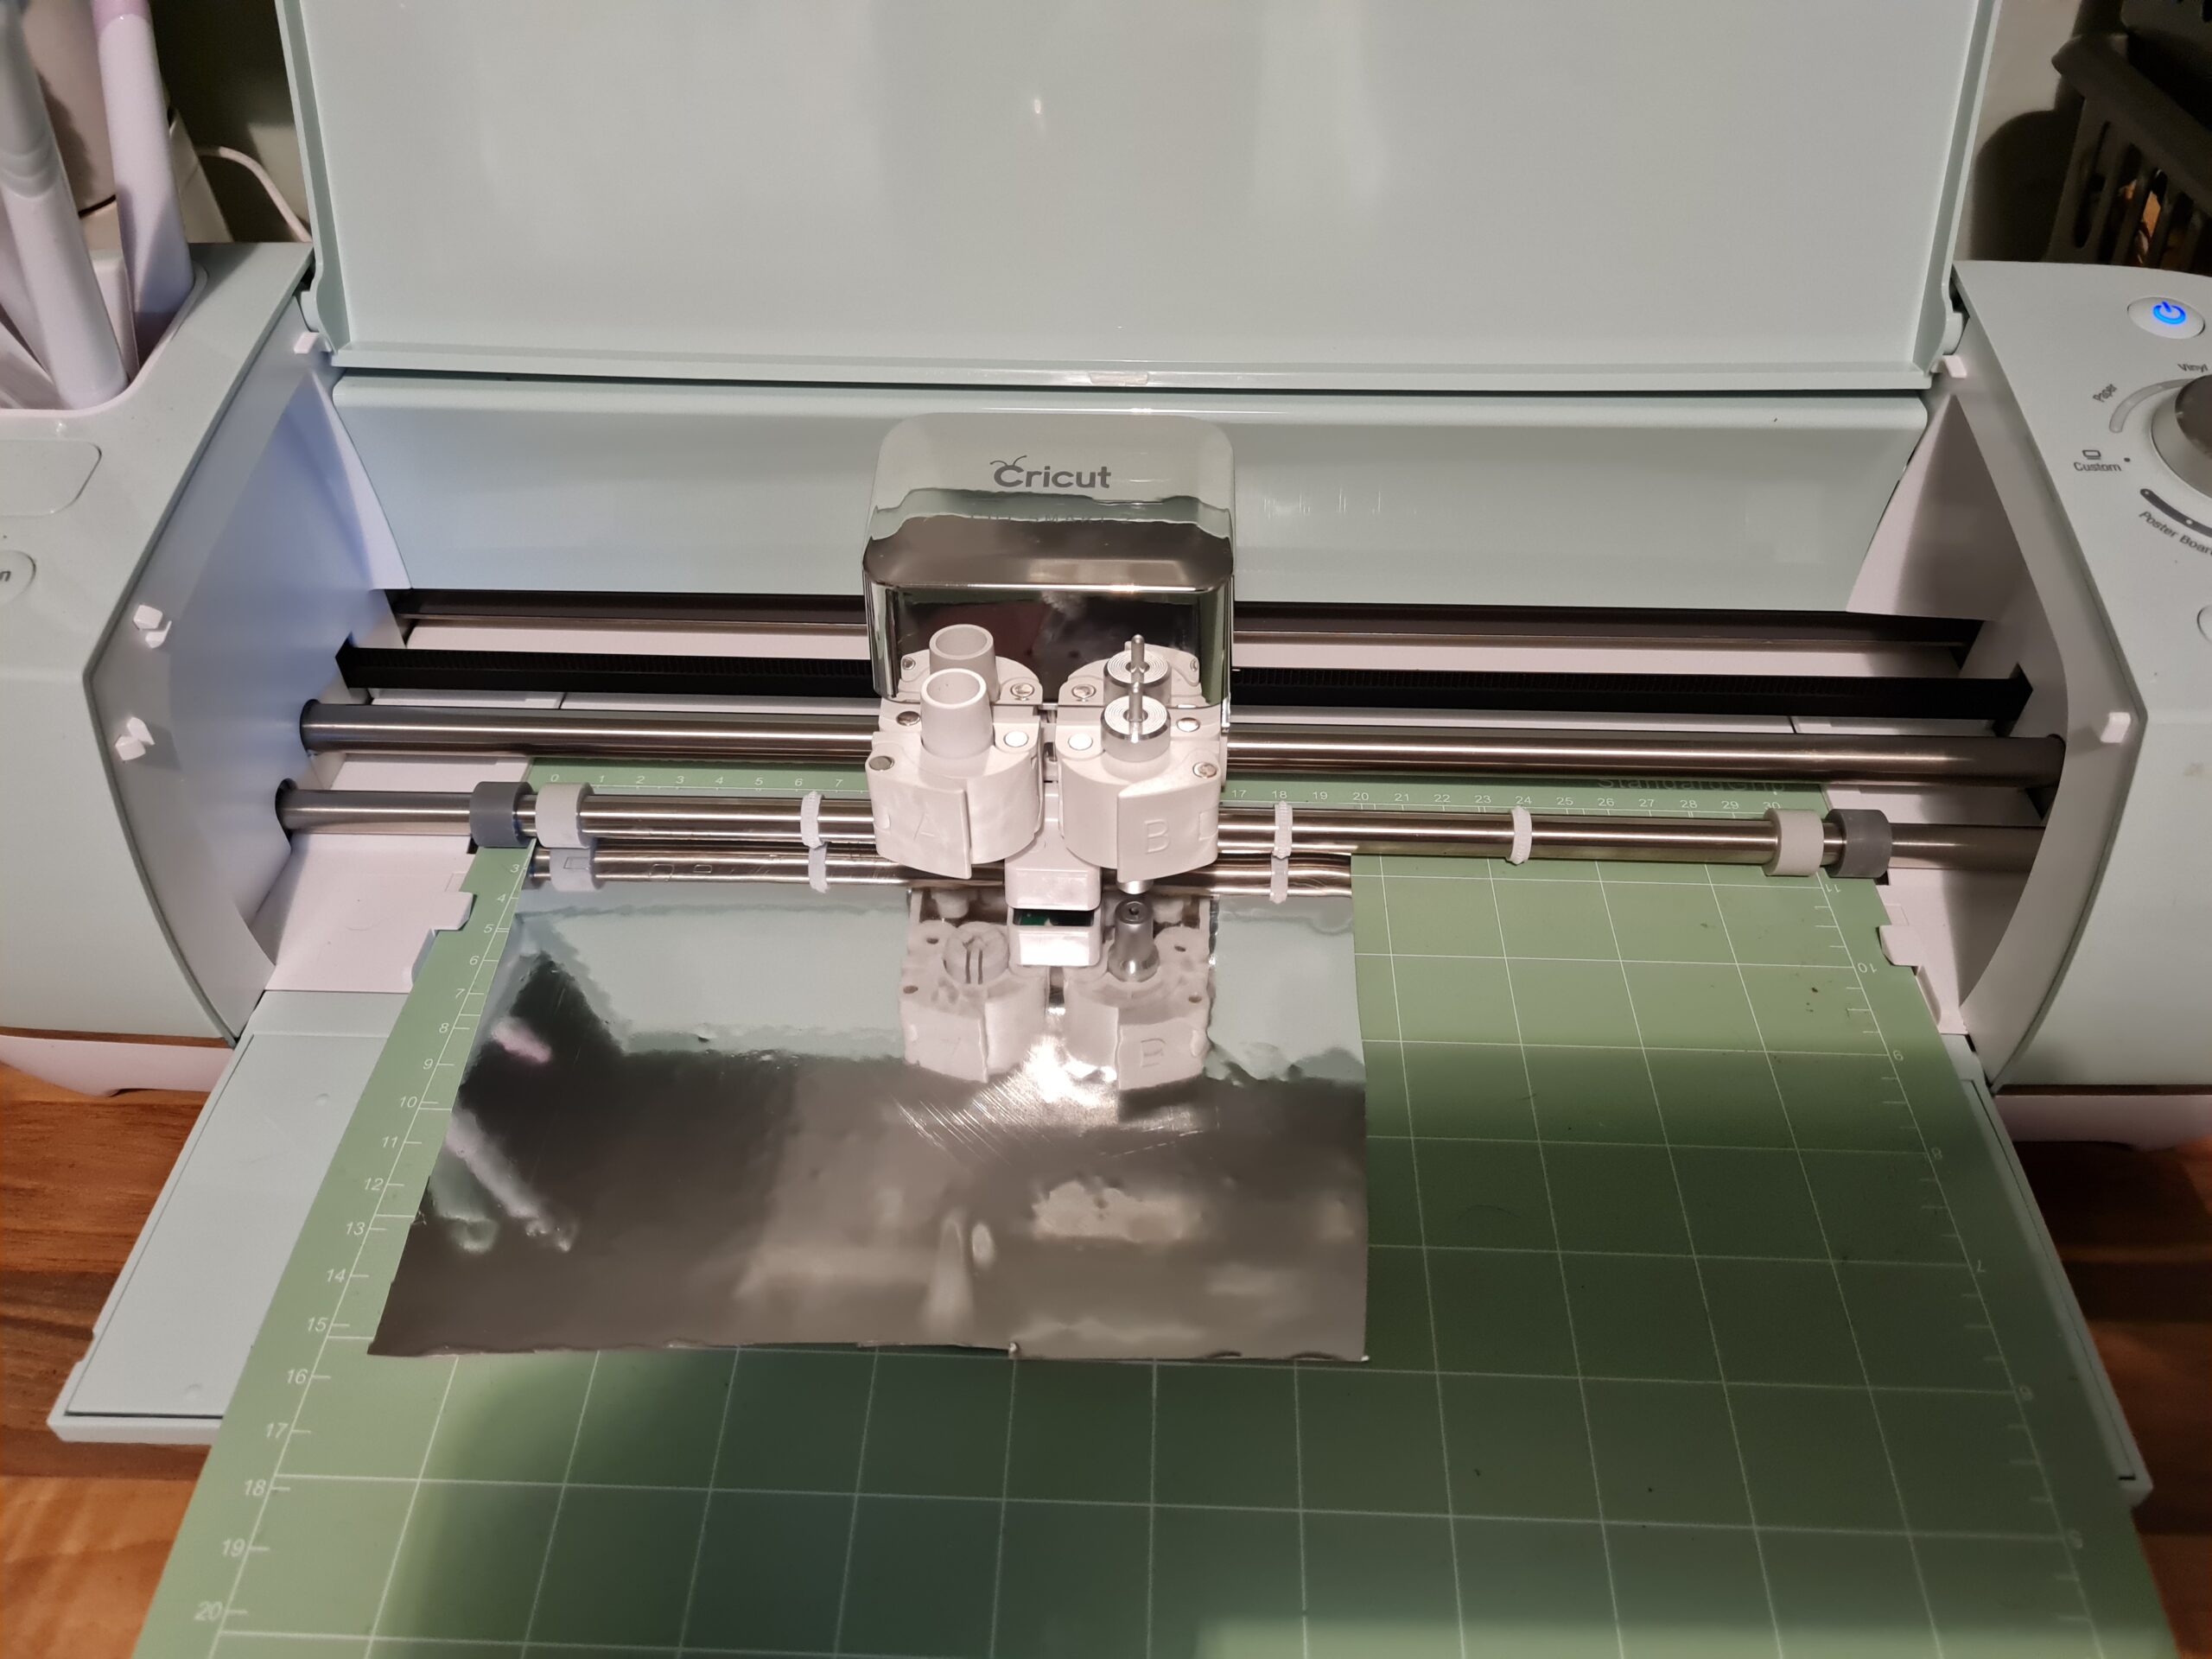
I am fortunate enough to have a cricut. I used the software for that to write out the words I wanted on the stand.
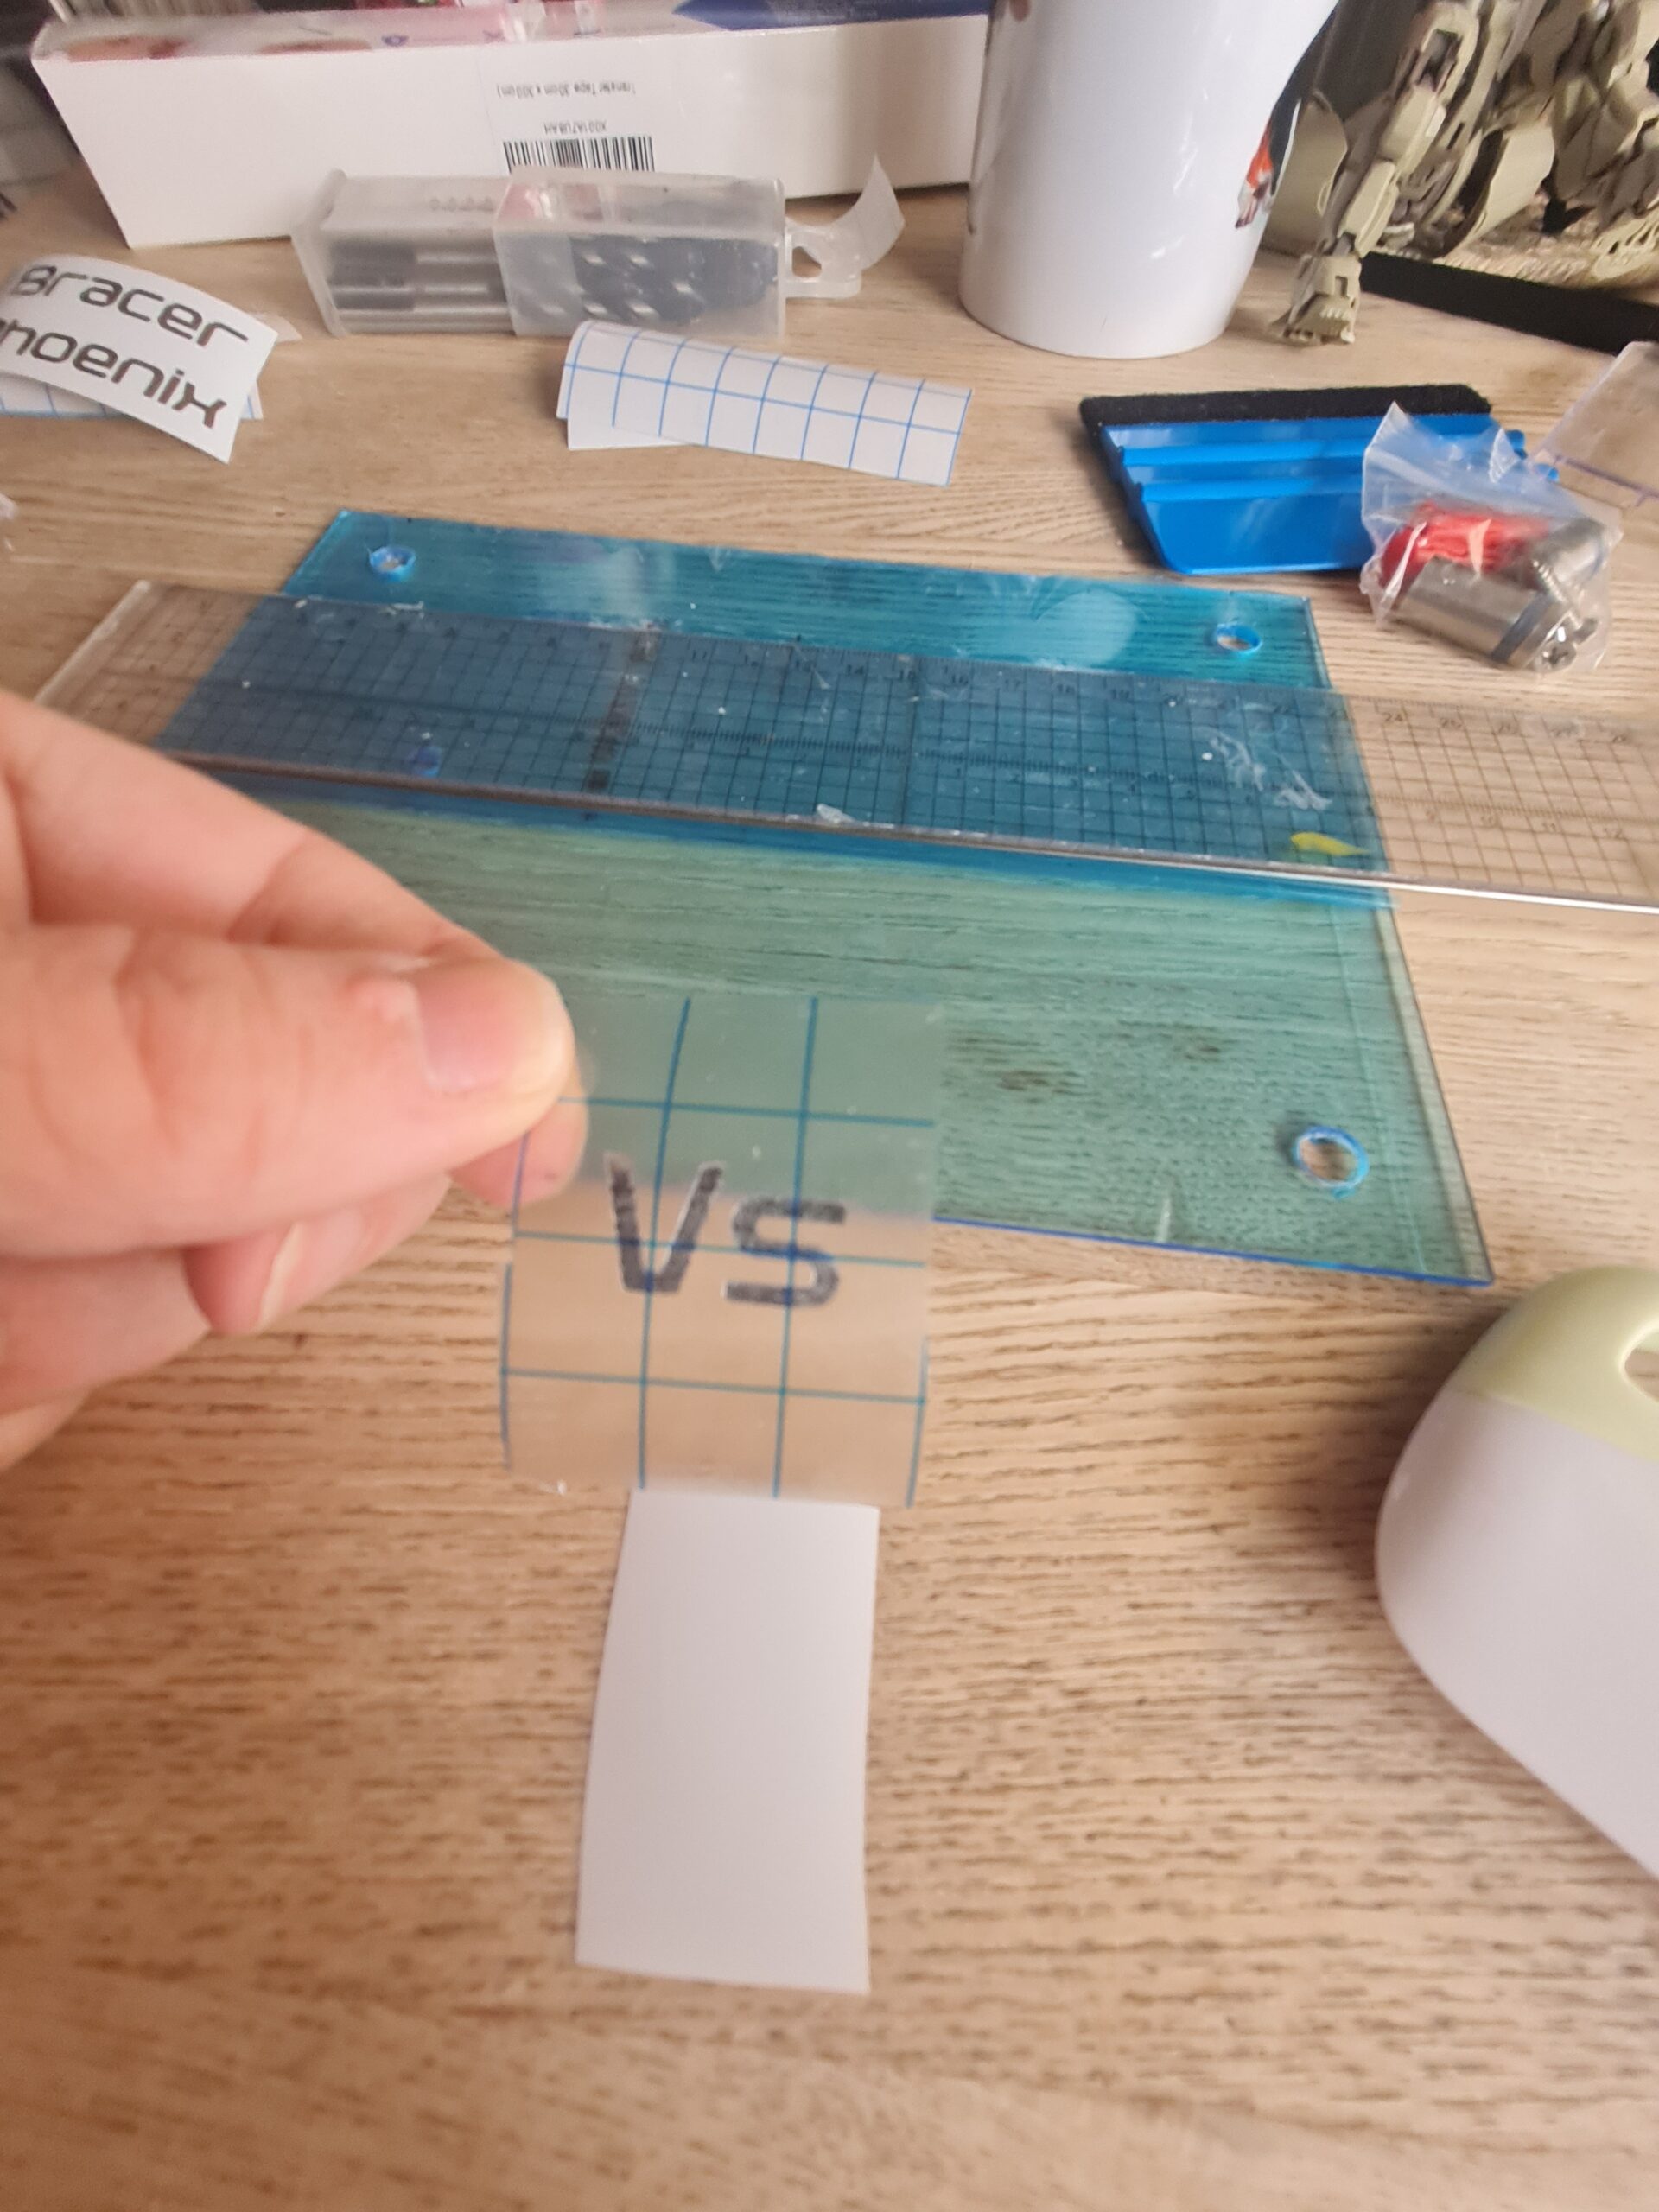
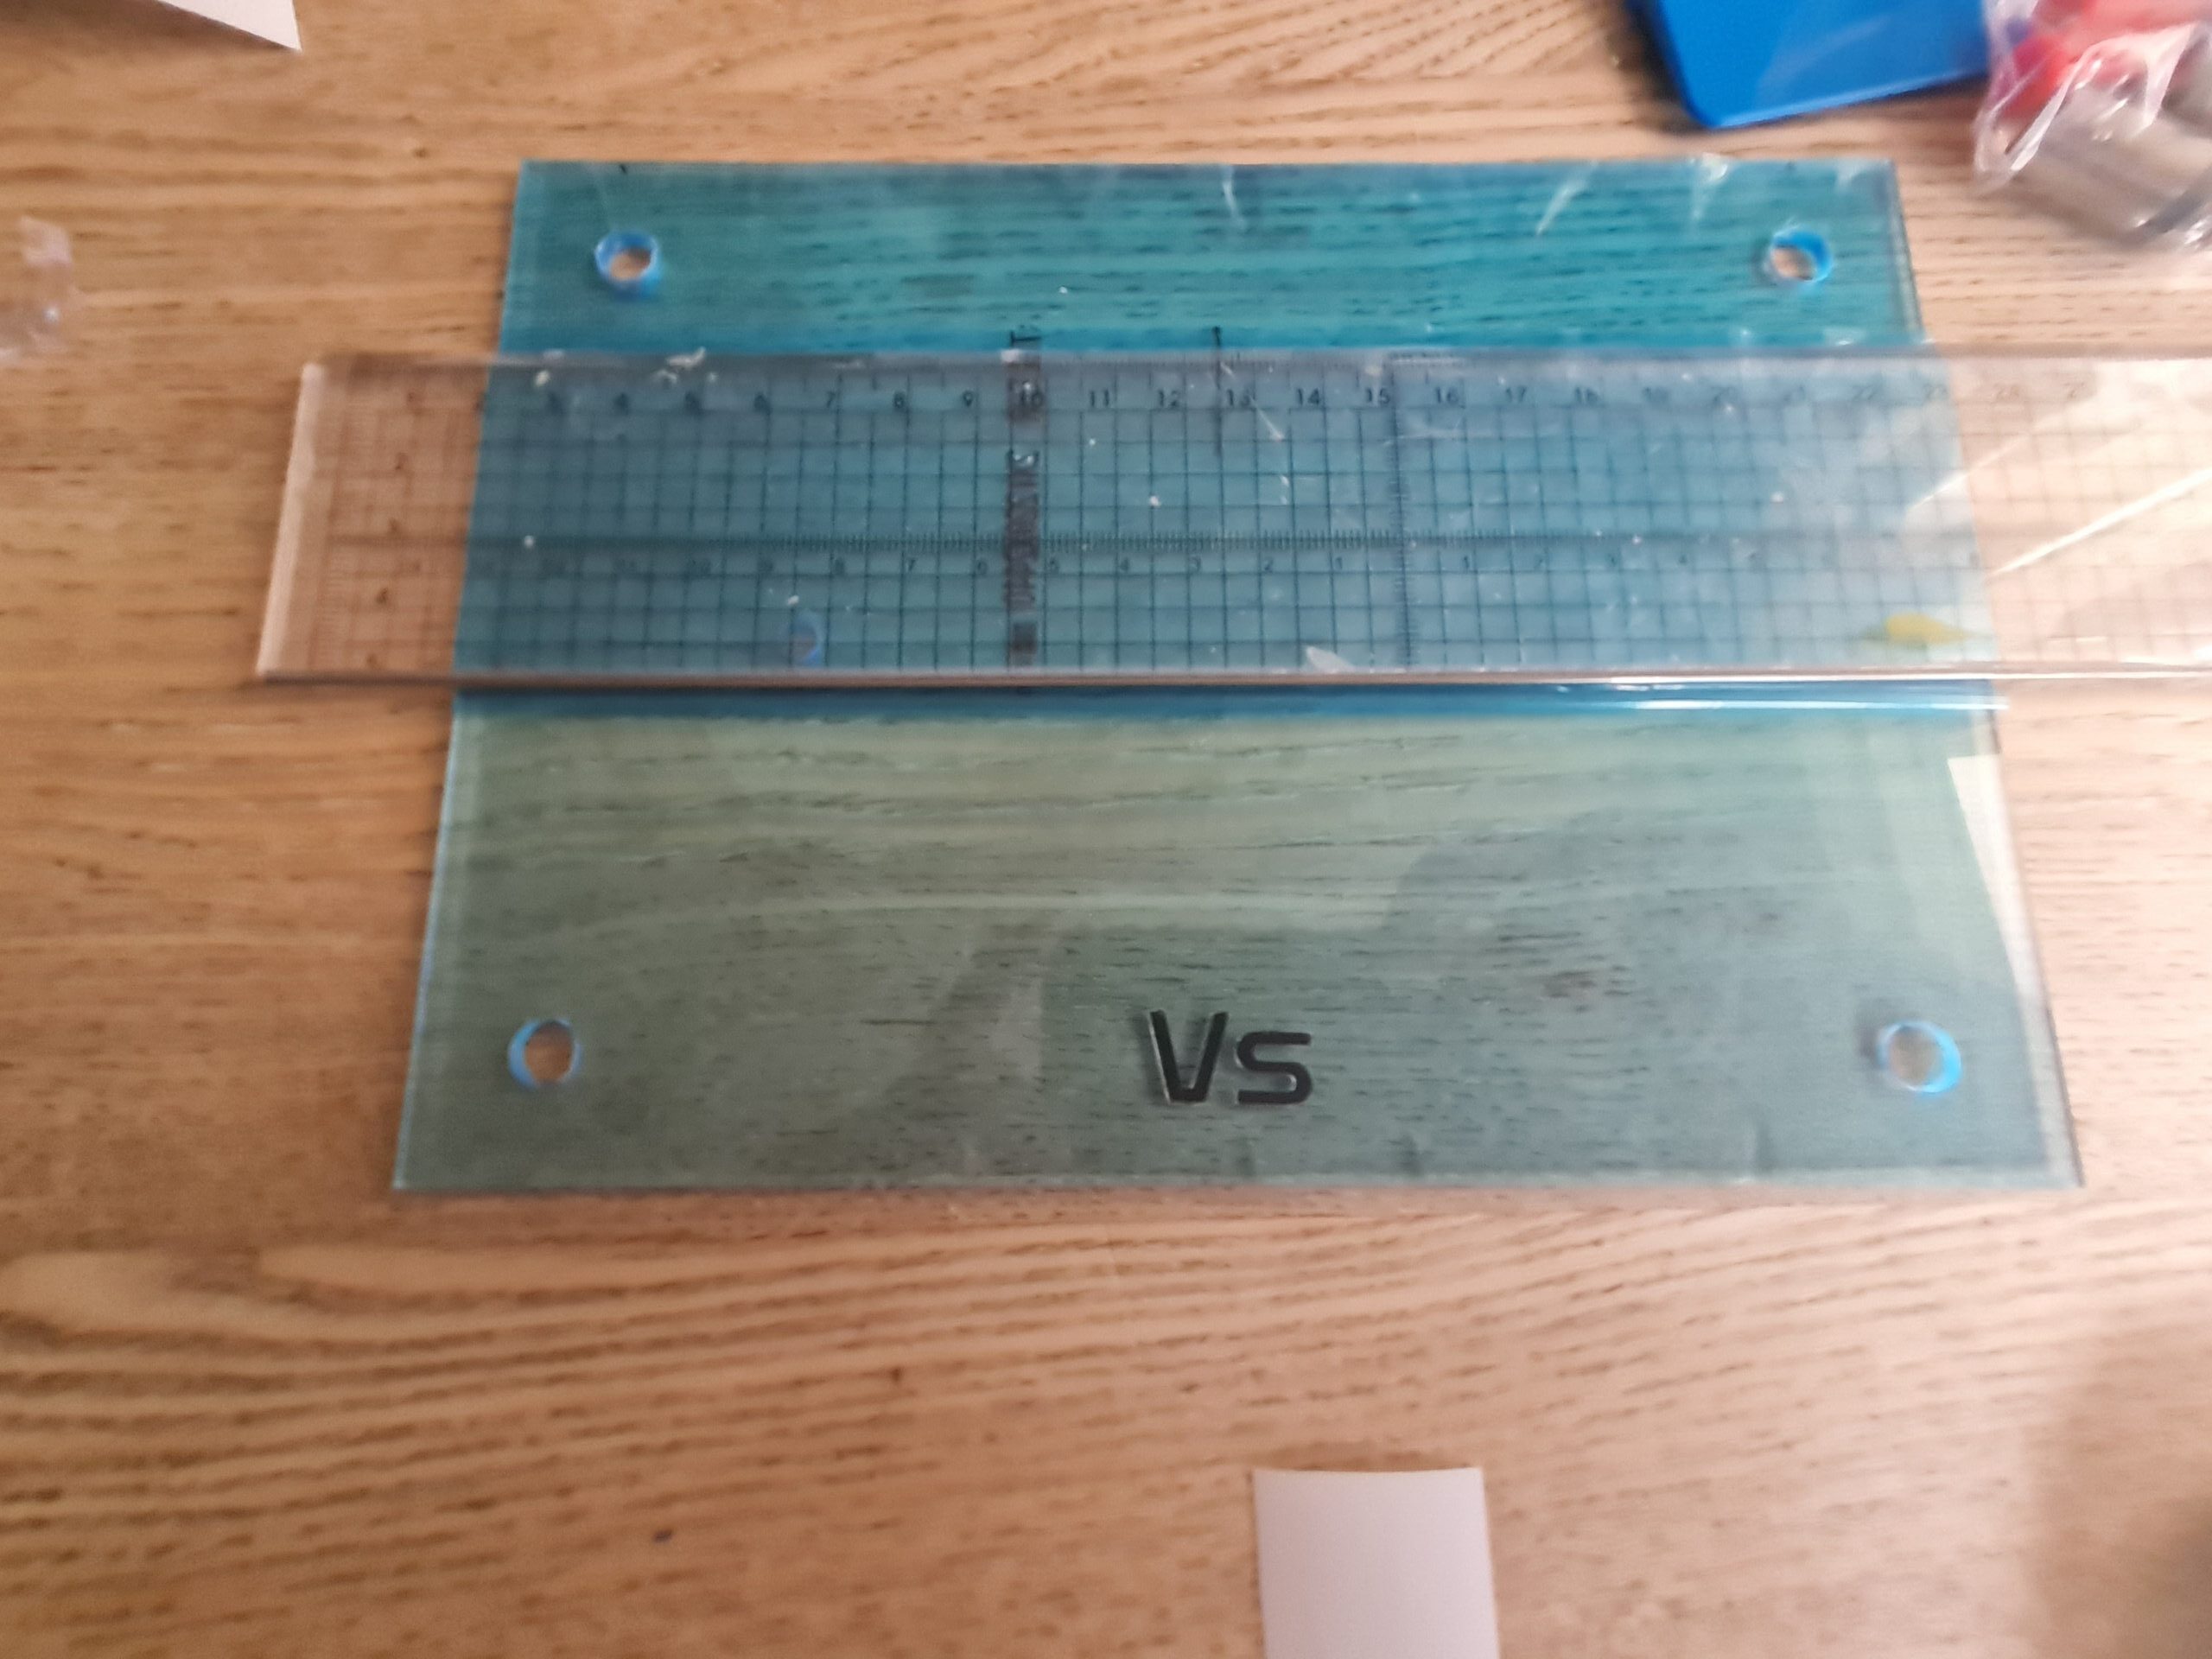
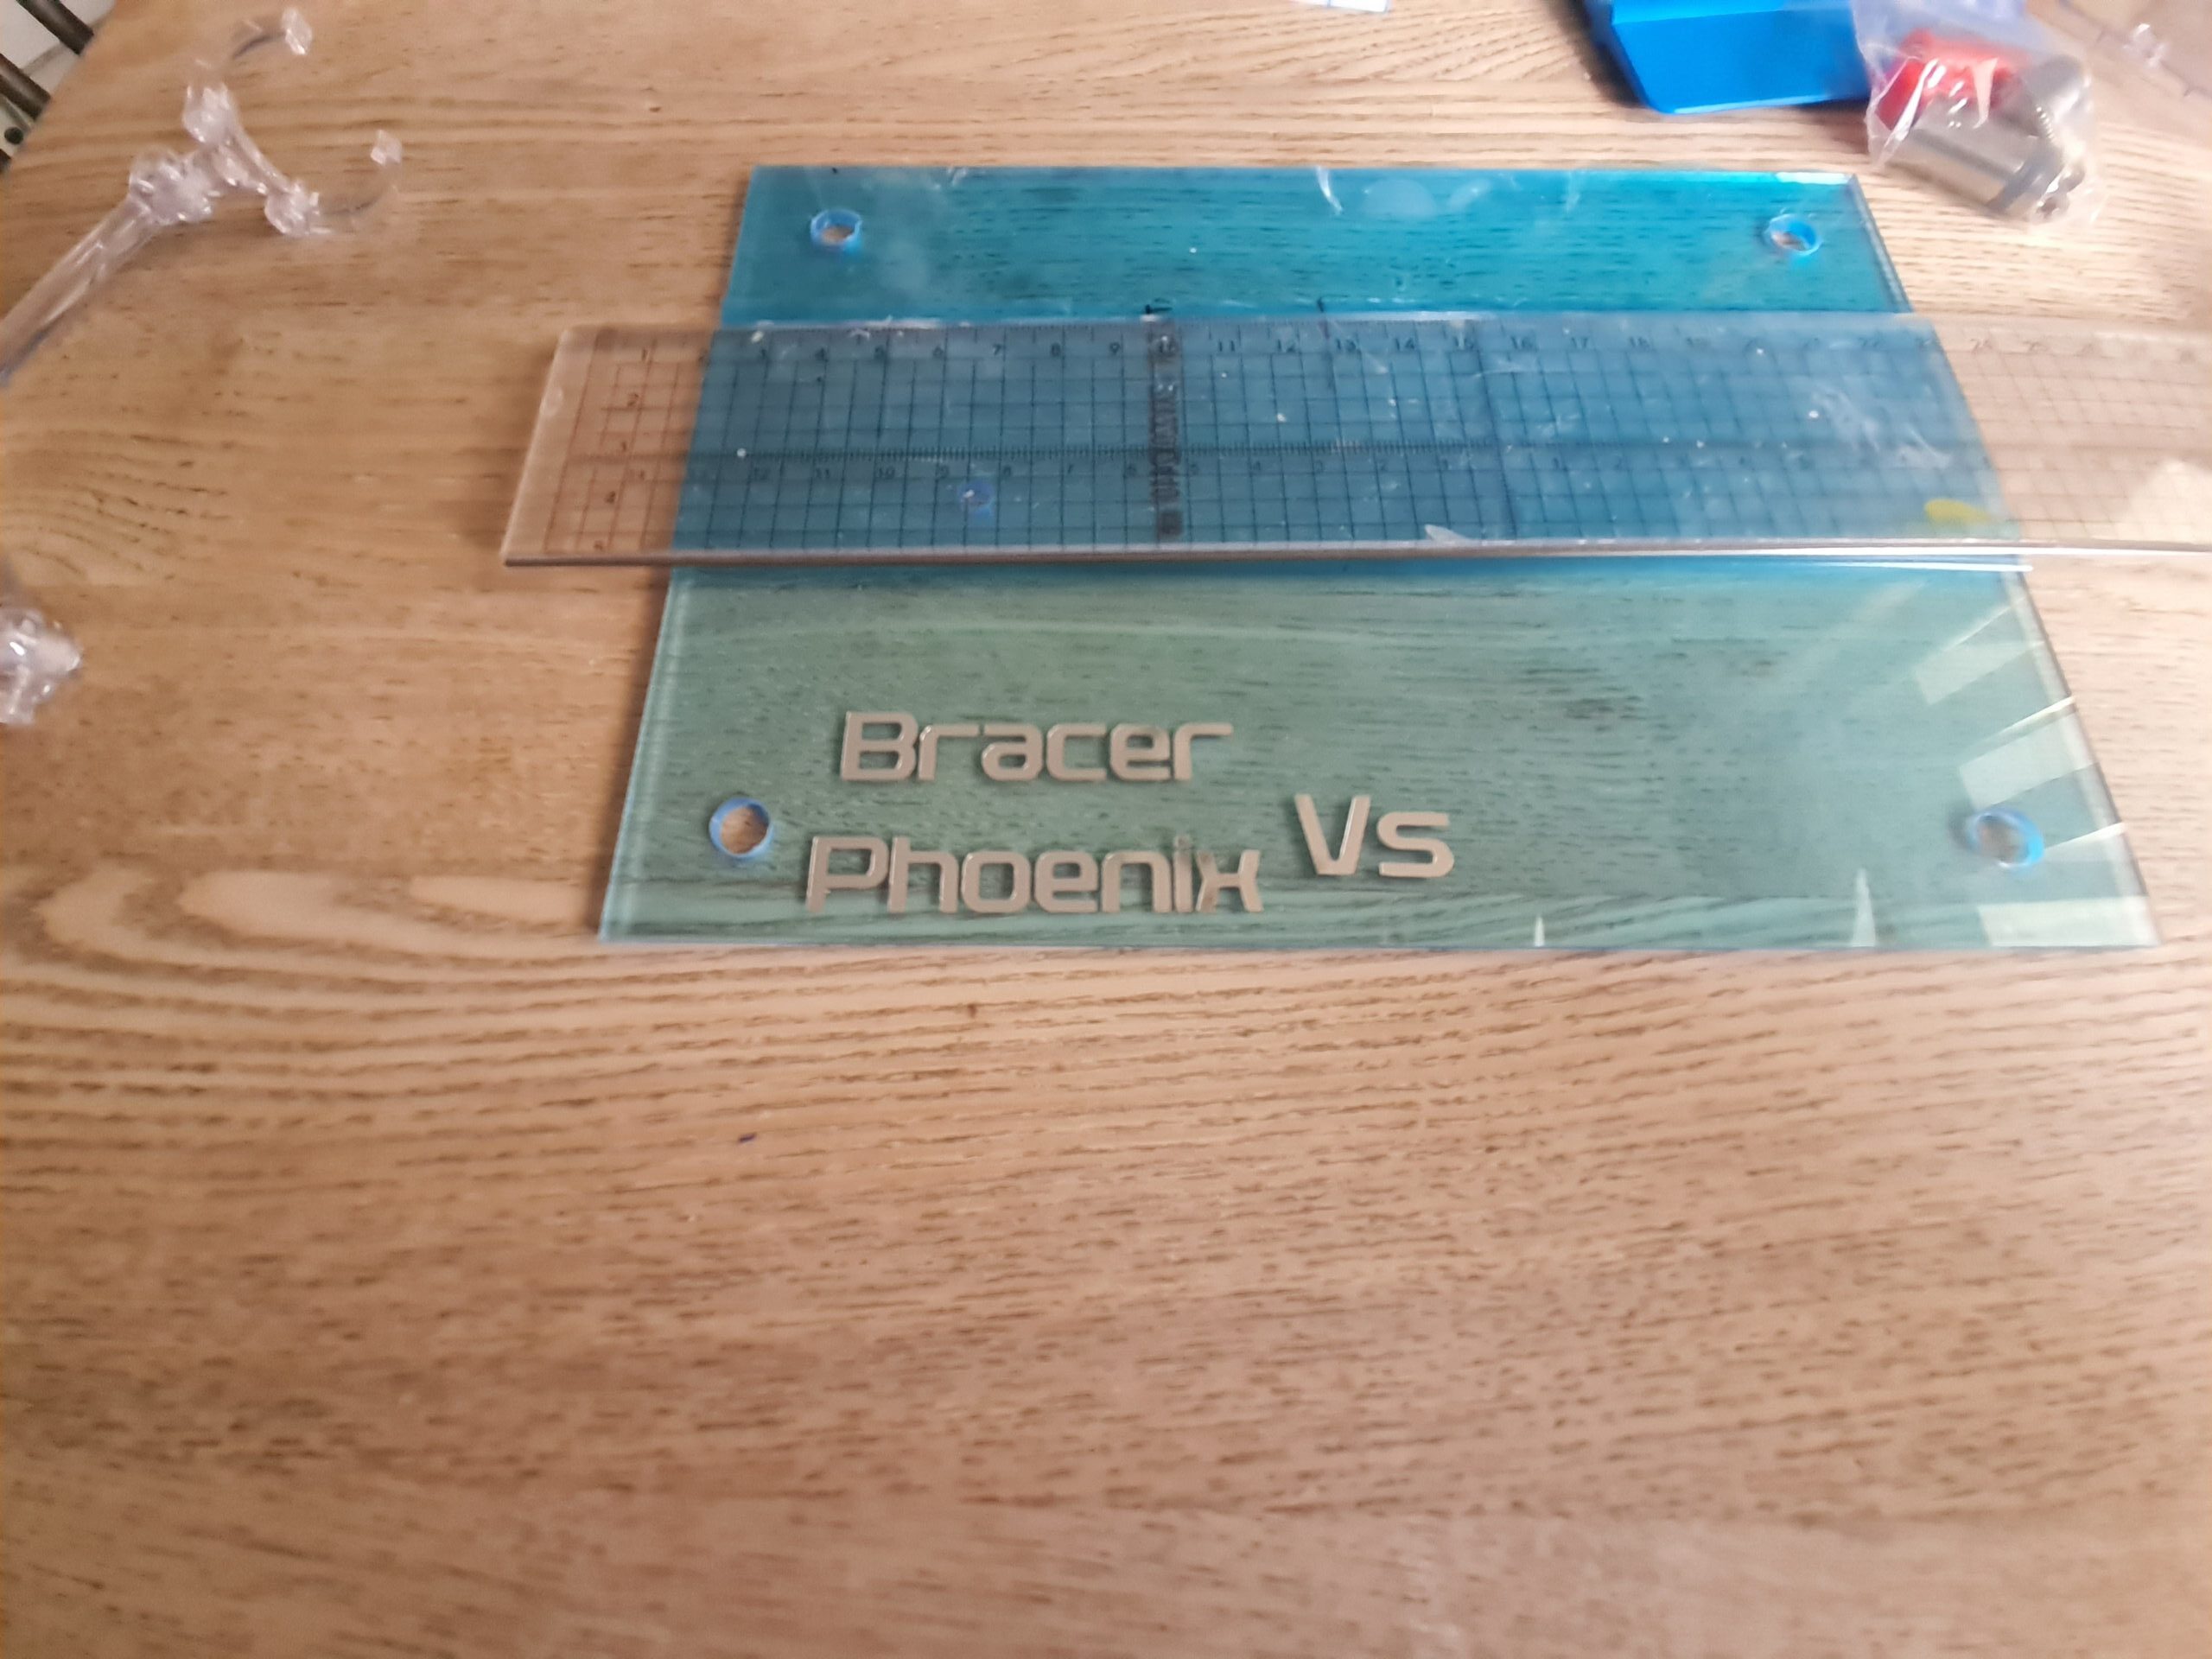
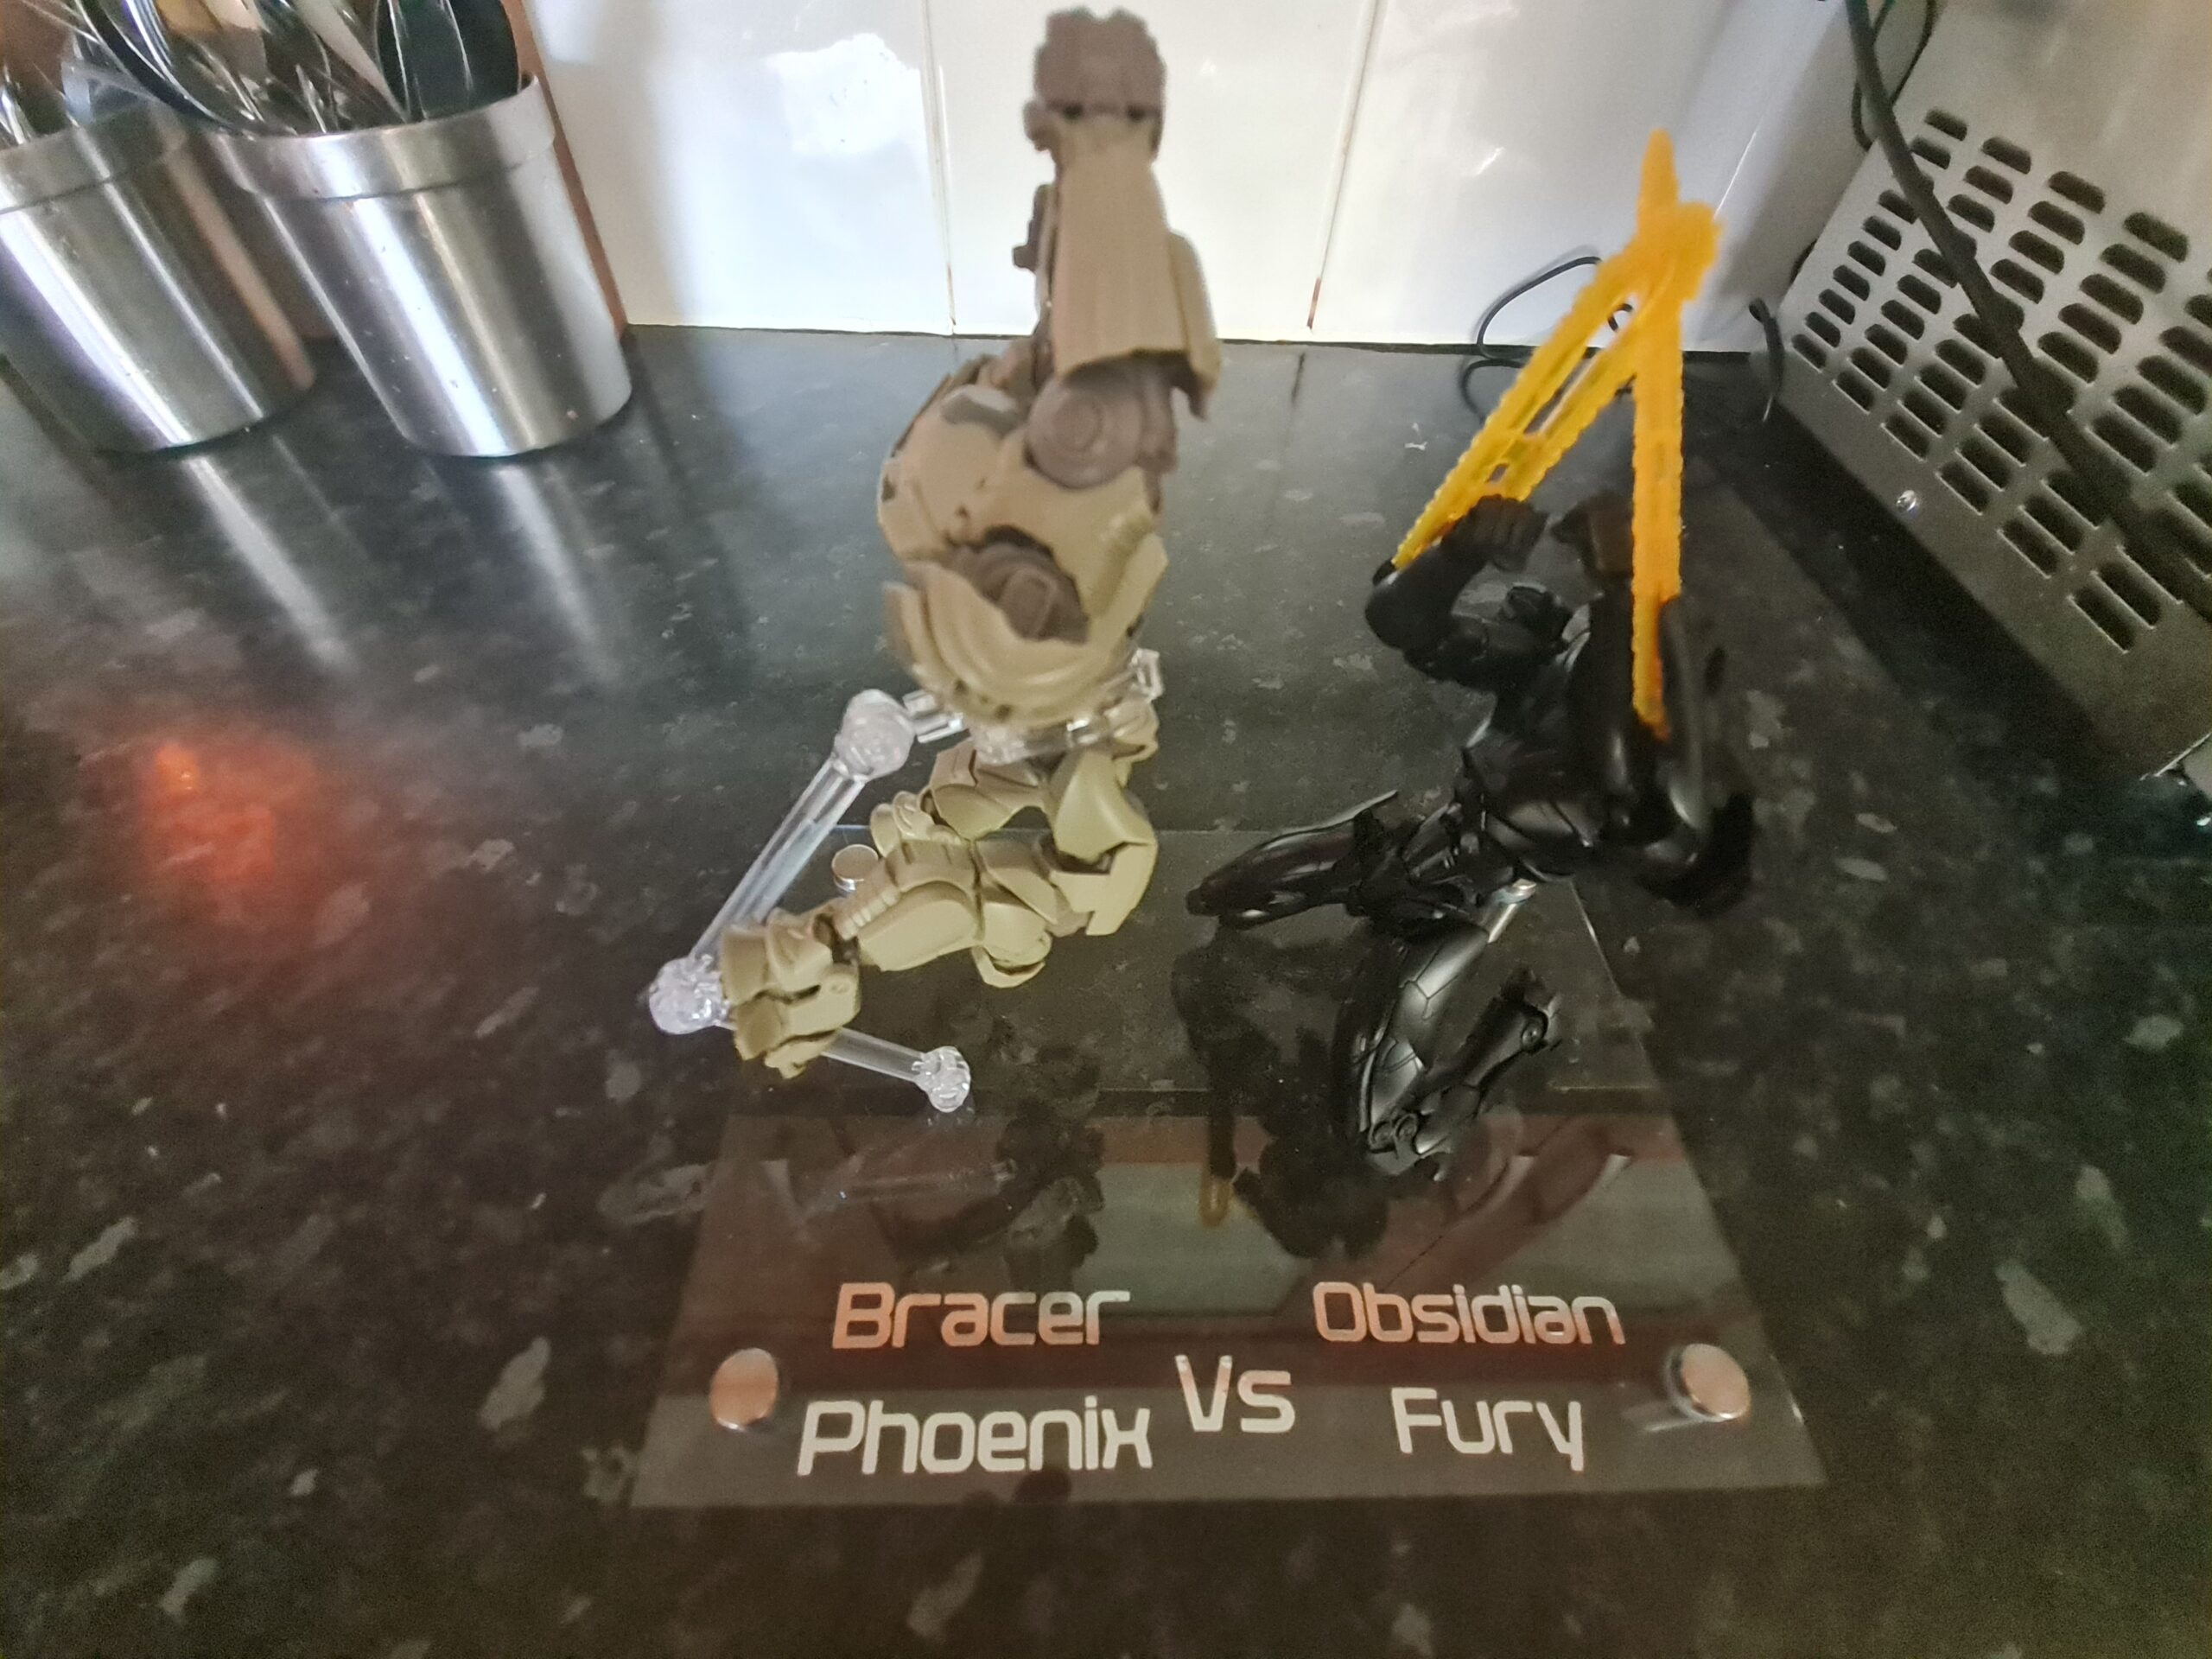
Cricut at workCenter pointChecking LayoutPrepping the VsVs in placeBracer in placeObsidian in place
Once the cricut had done its job. I measured out the center point on the acrylic and market it out. I then peeled back the protective cover on one side of the acrylic. The last photo above the ruler is holding it back out of the way. I then quickly checked the layout. I needed to make sure everything was going to fit! Once I was happy, I transferred the Vs to some transfer tape and placed it centrally on the acrylic. I then repeated this process with the Bracer Phoenix and Obsidian Fury pieces of text.
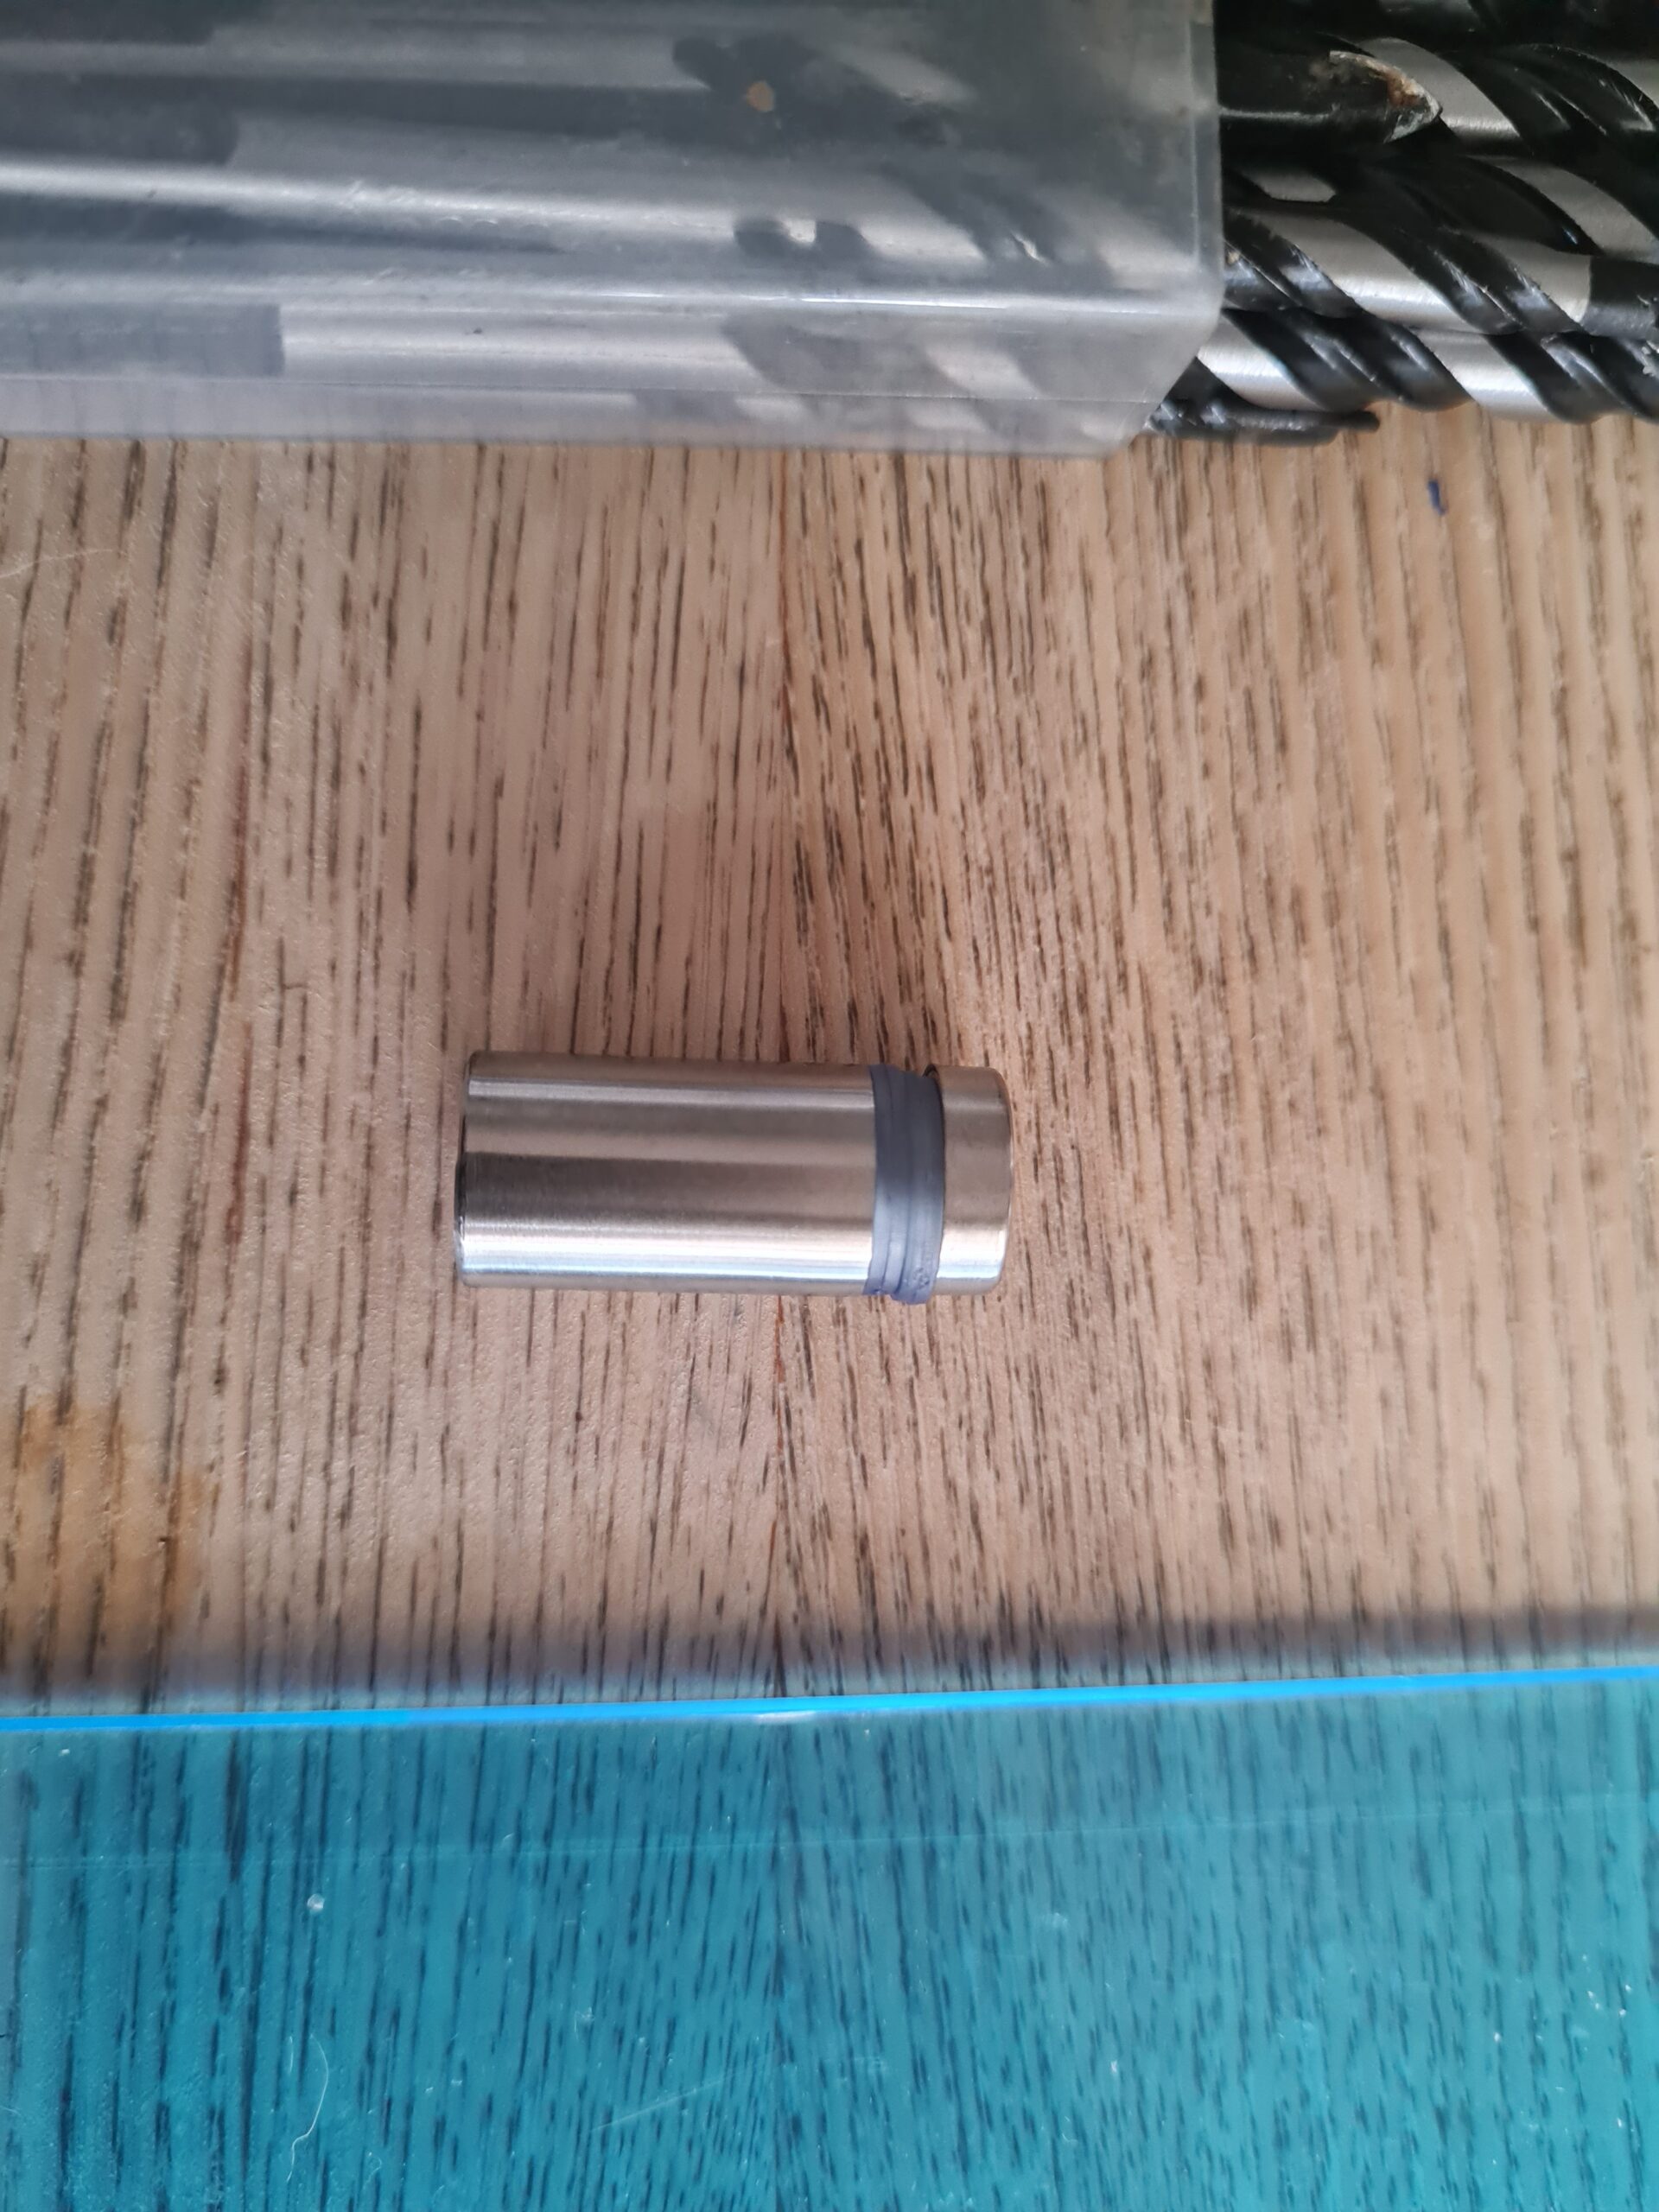
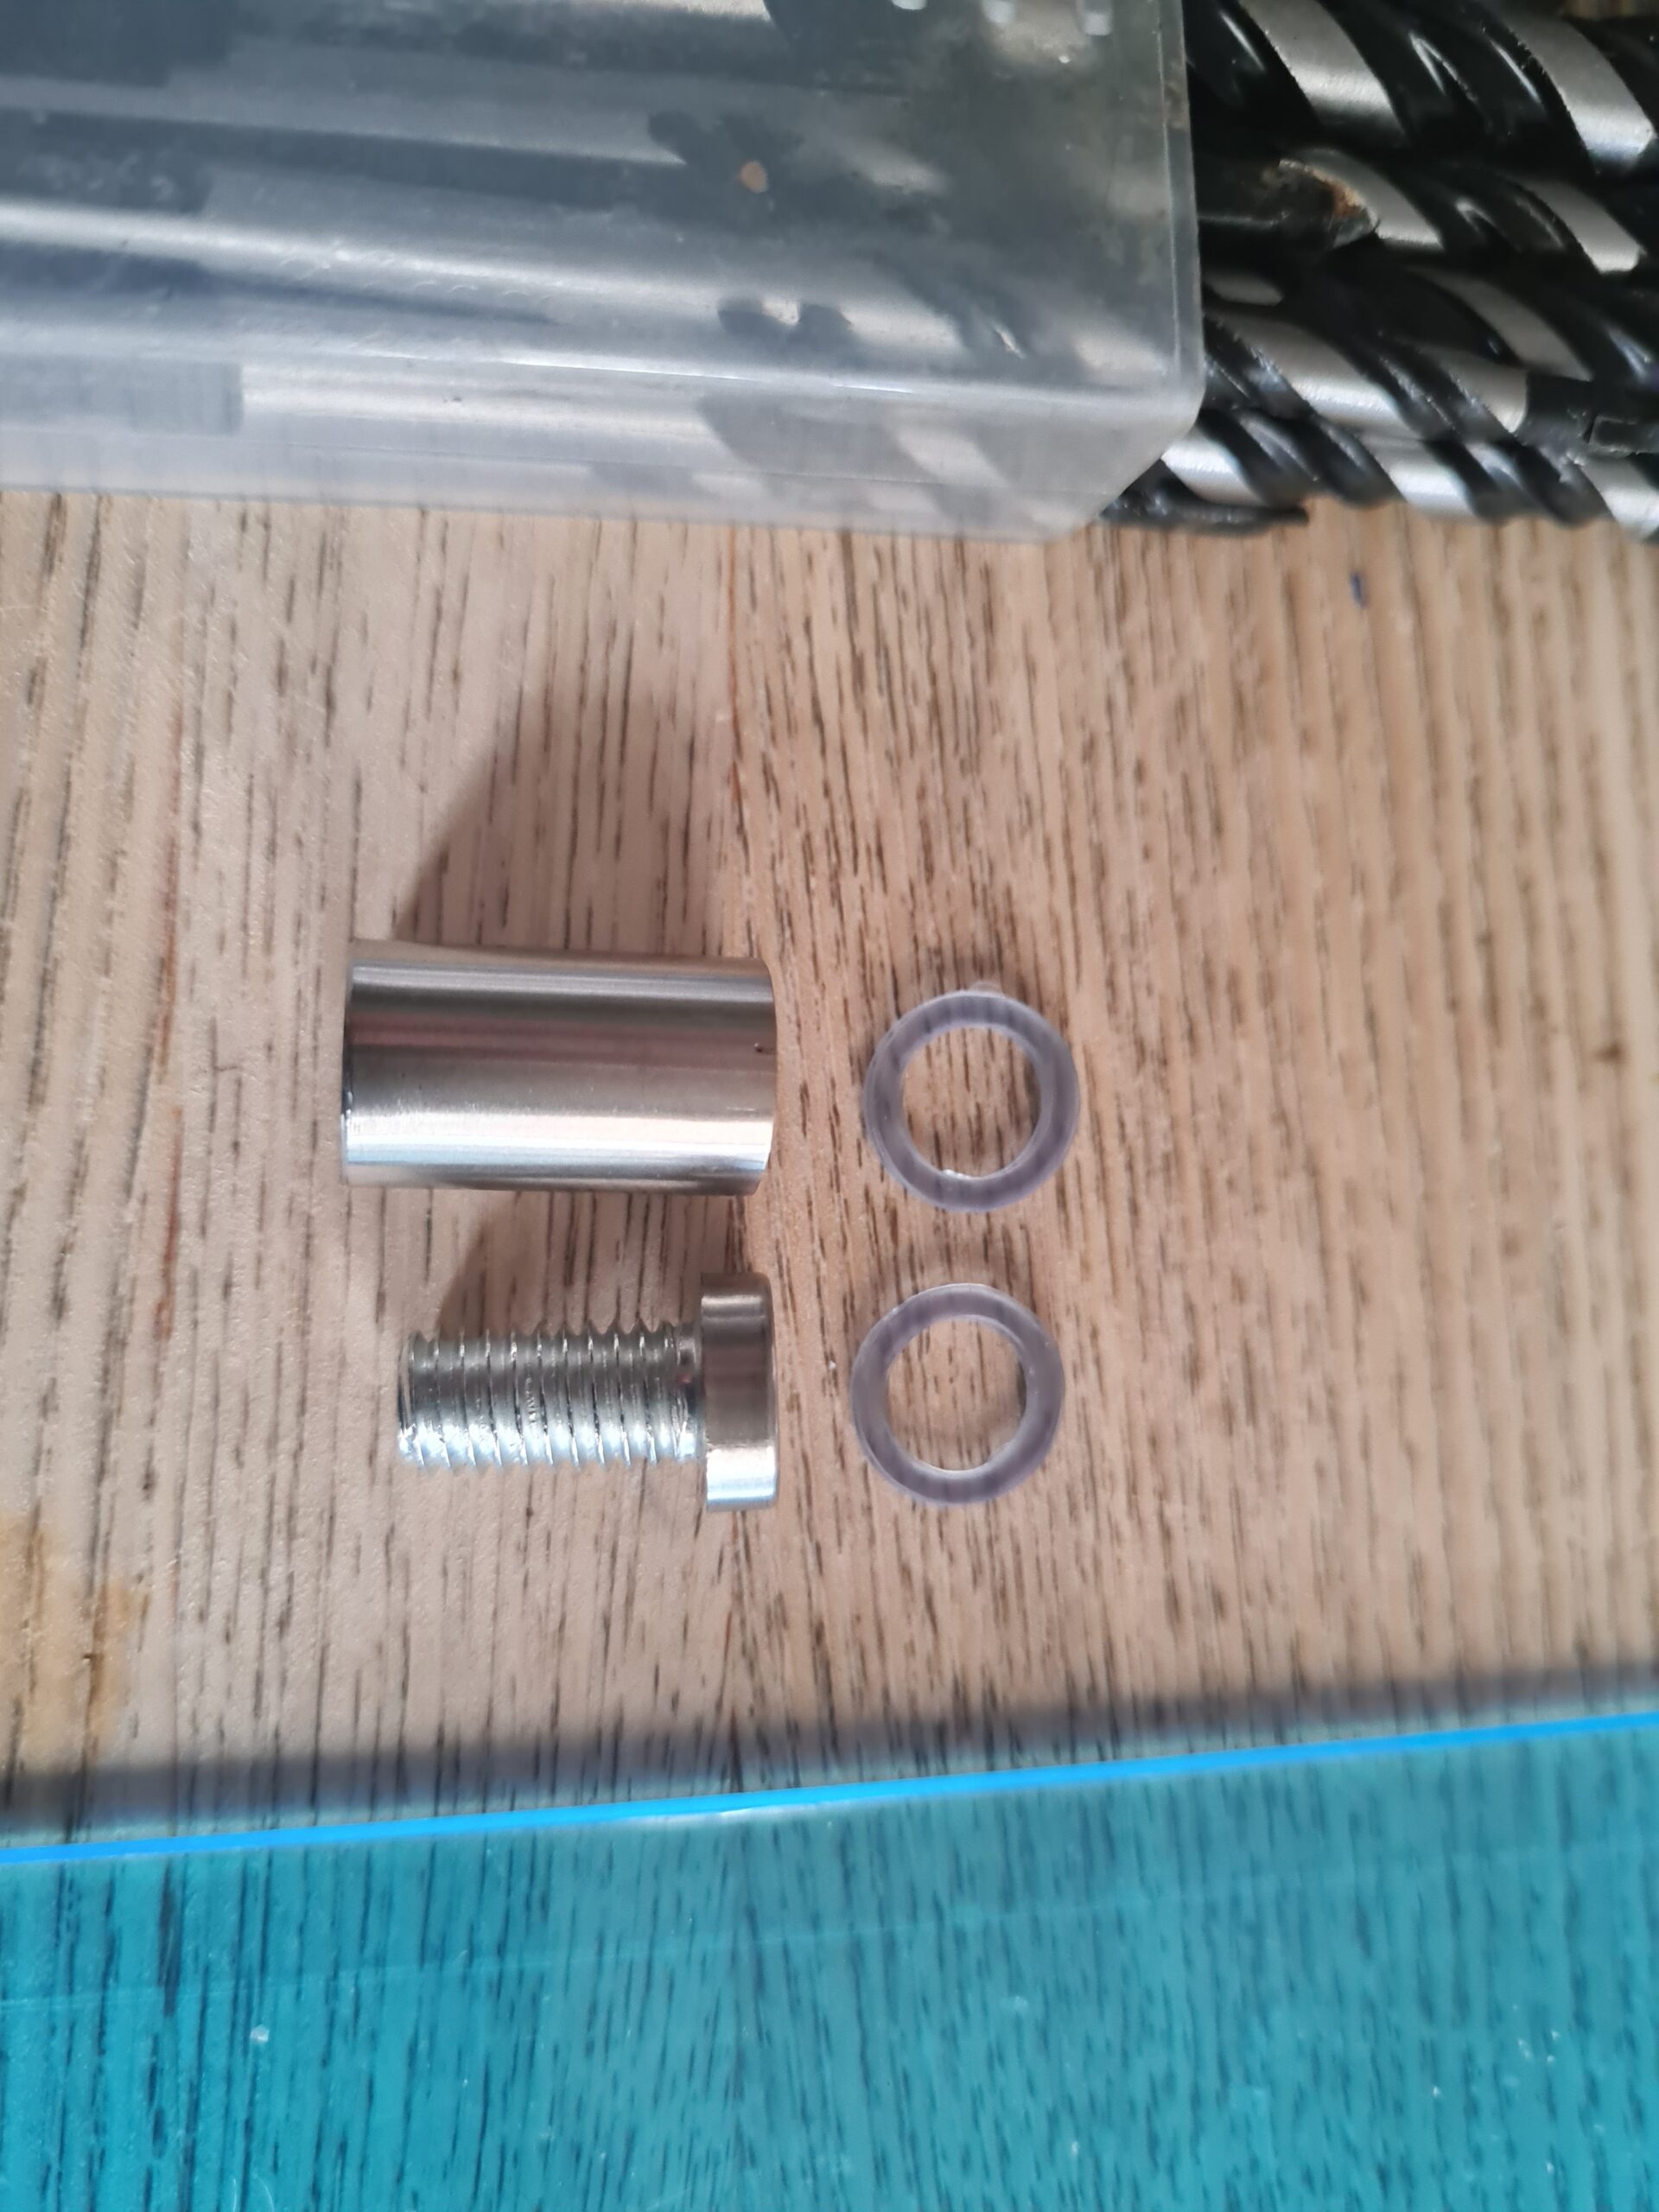
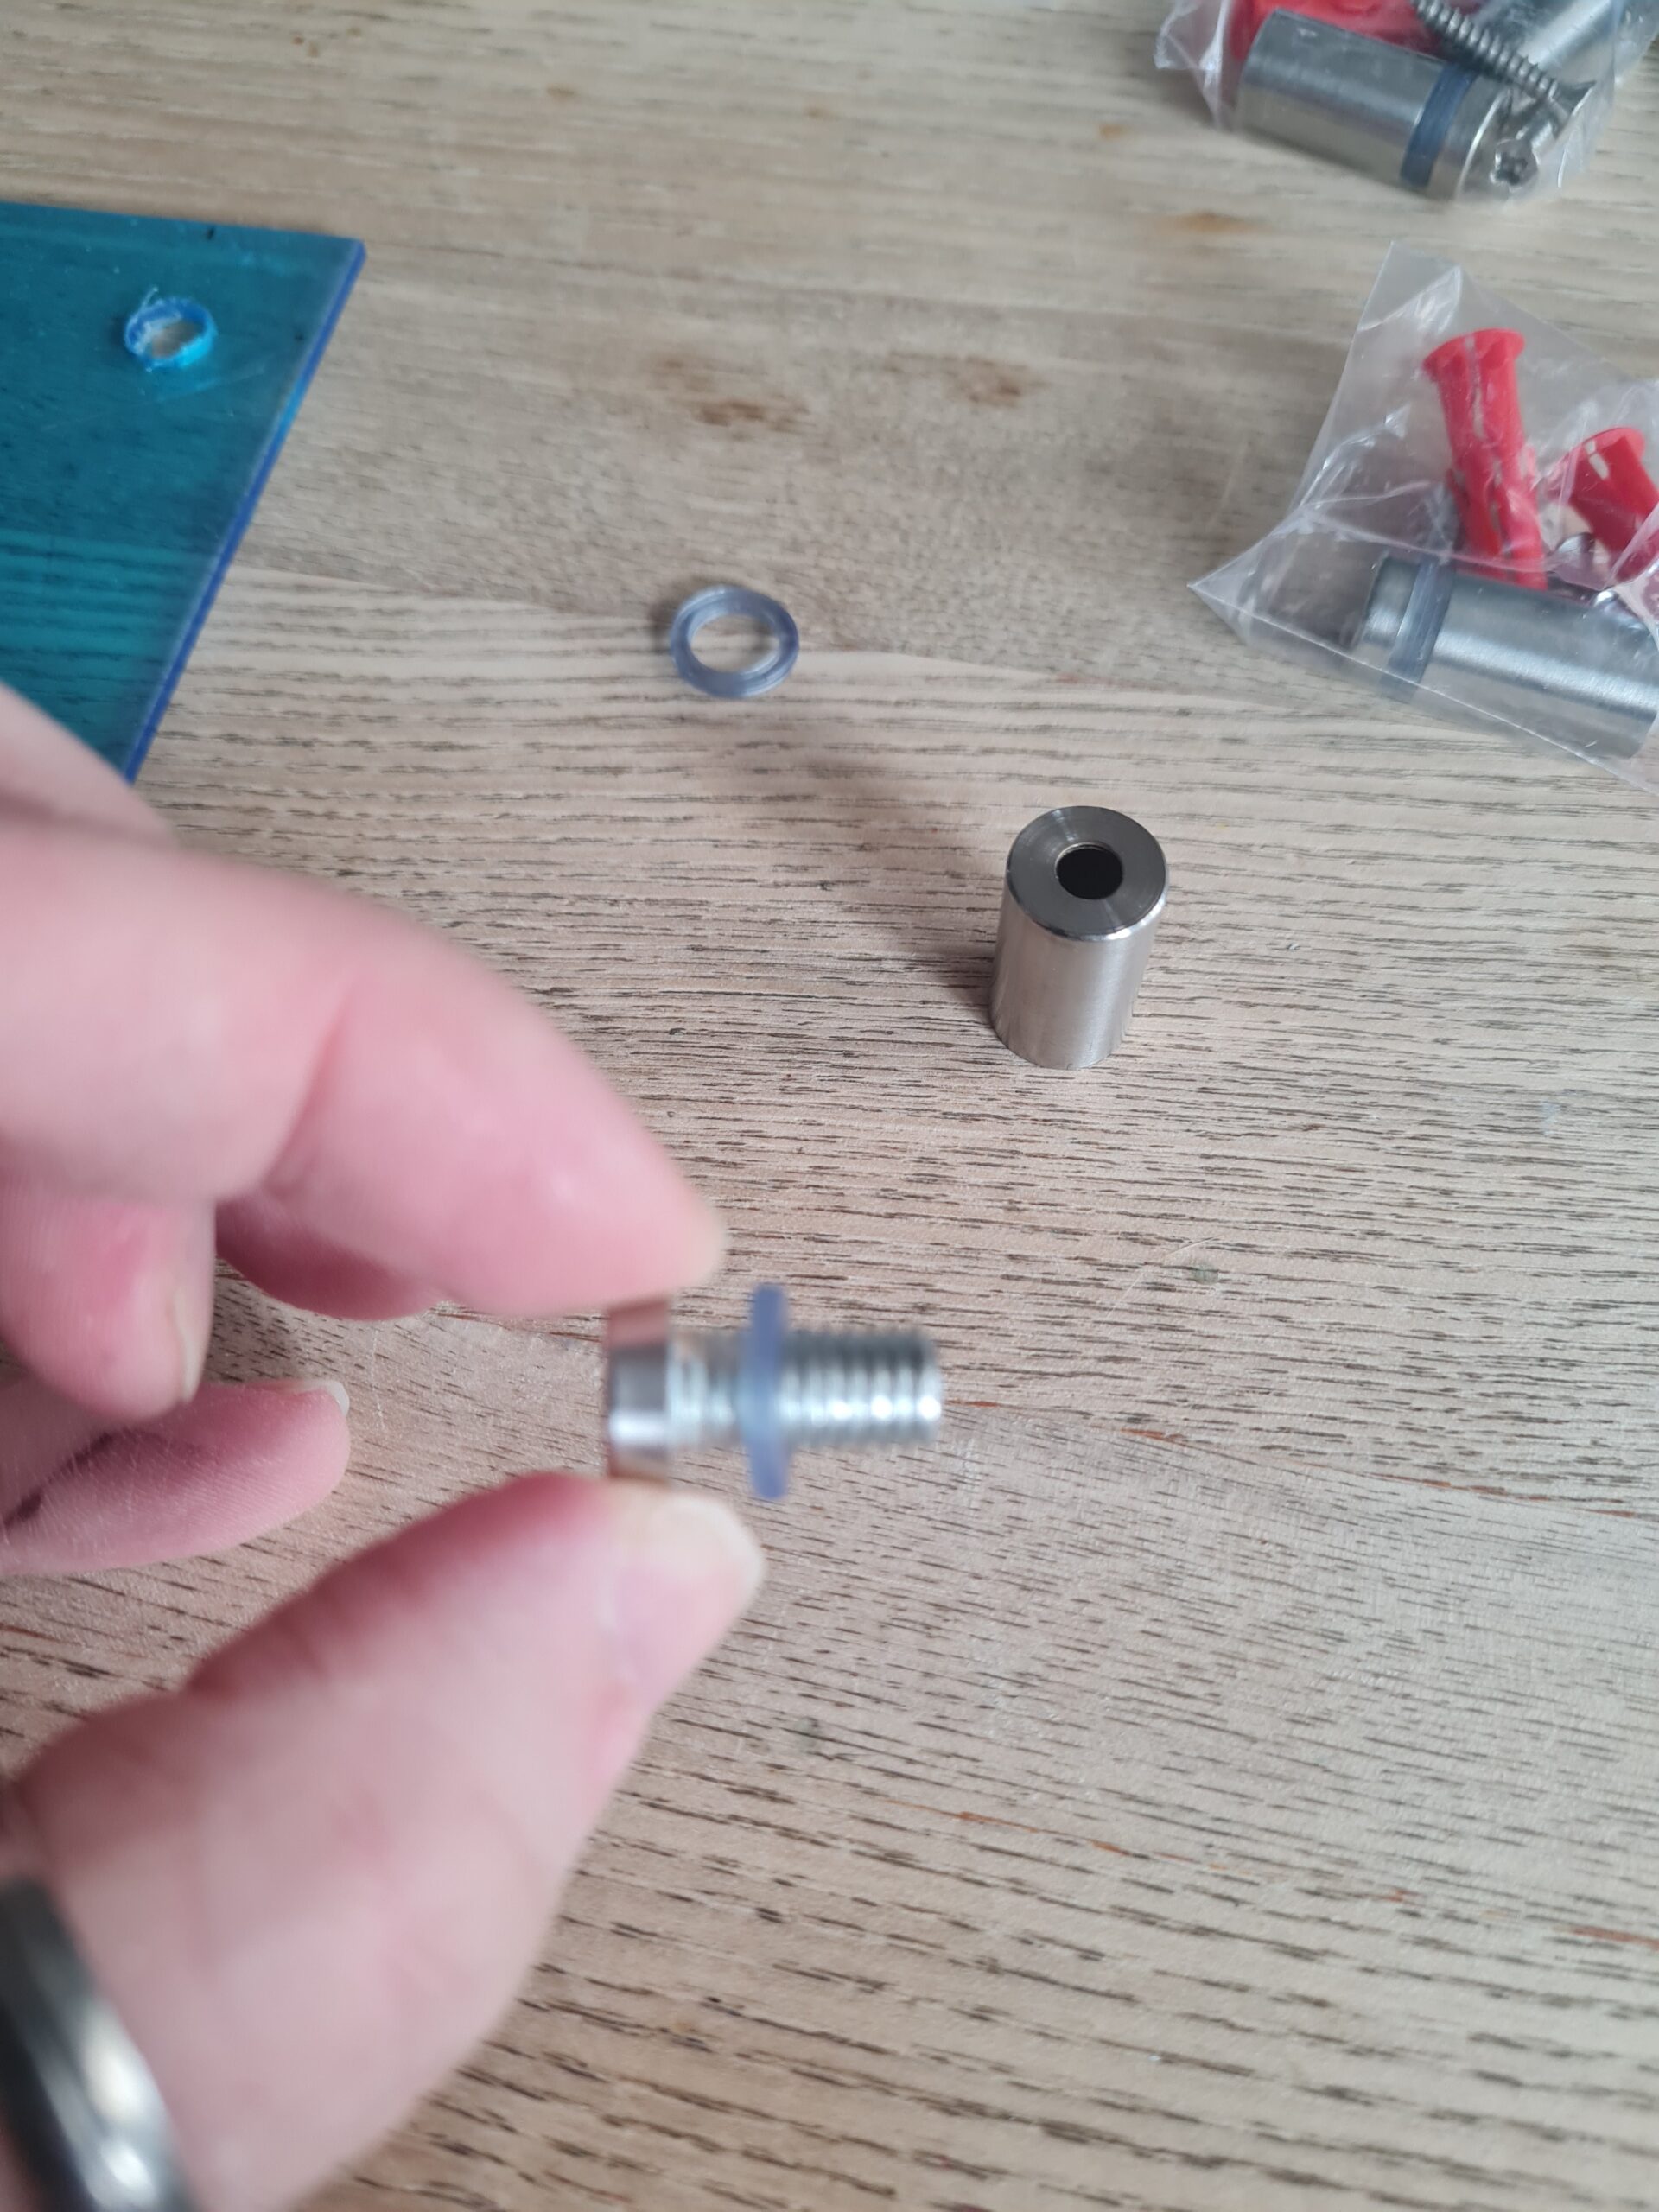
The feet!
The next stage is to put the feet on. Prior to this I peeled off the protective cover from both sides of the acrylic sheet.
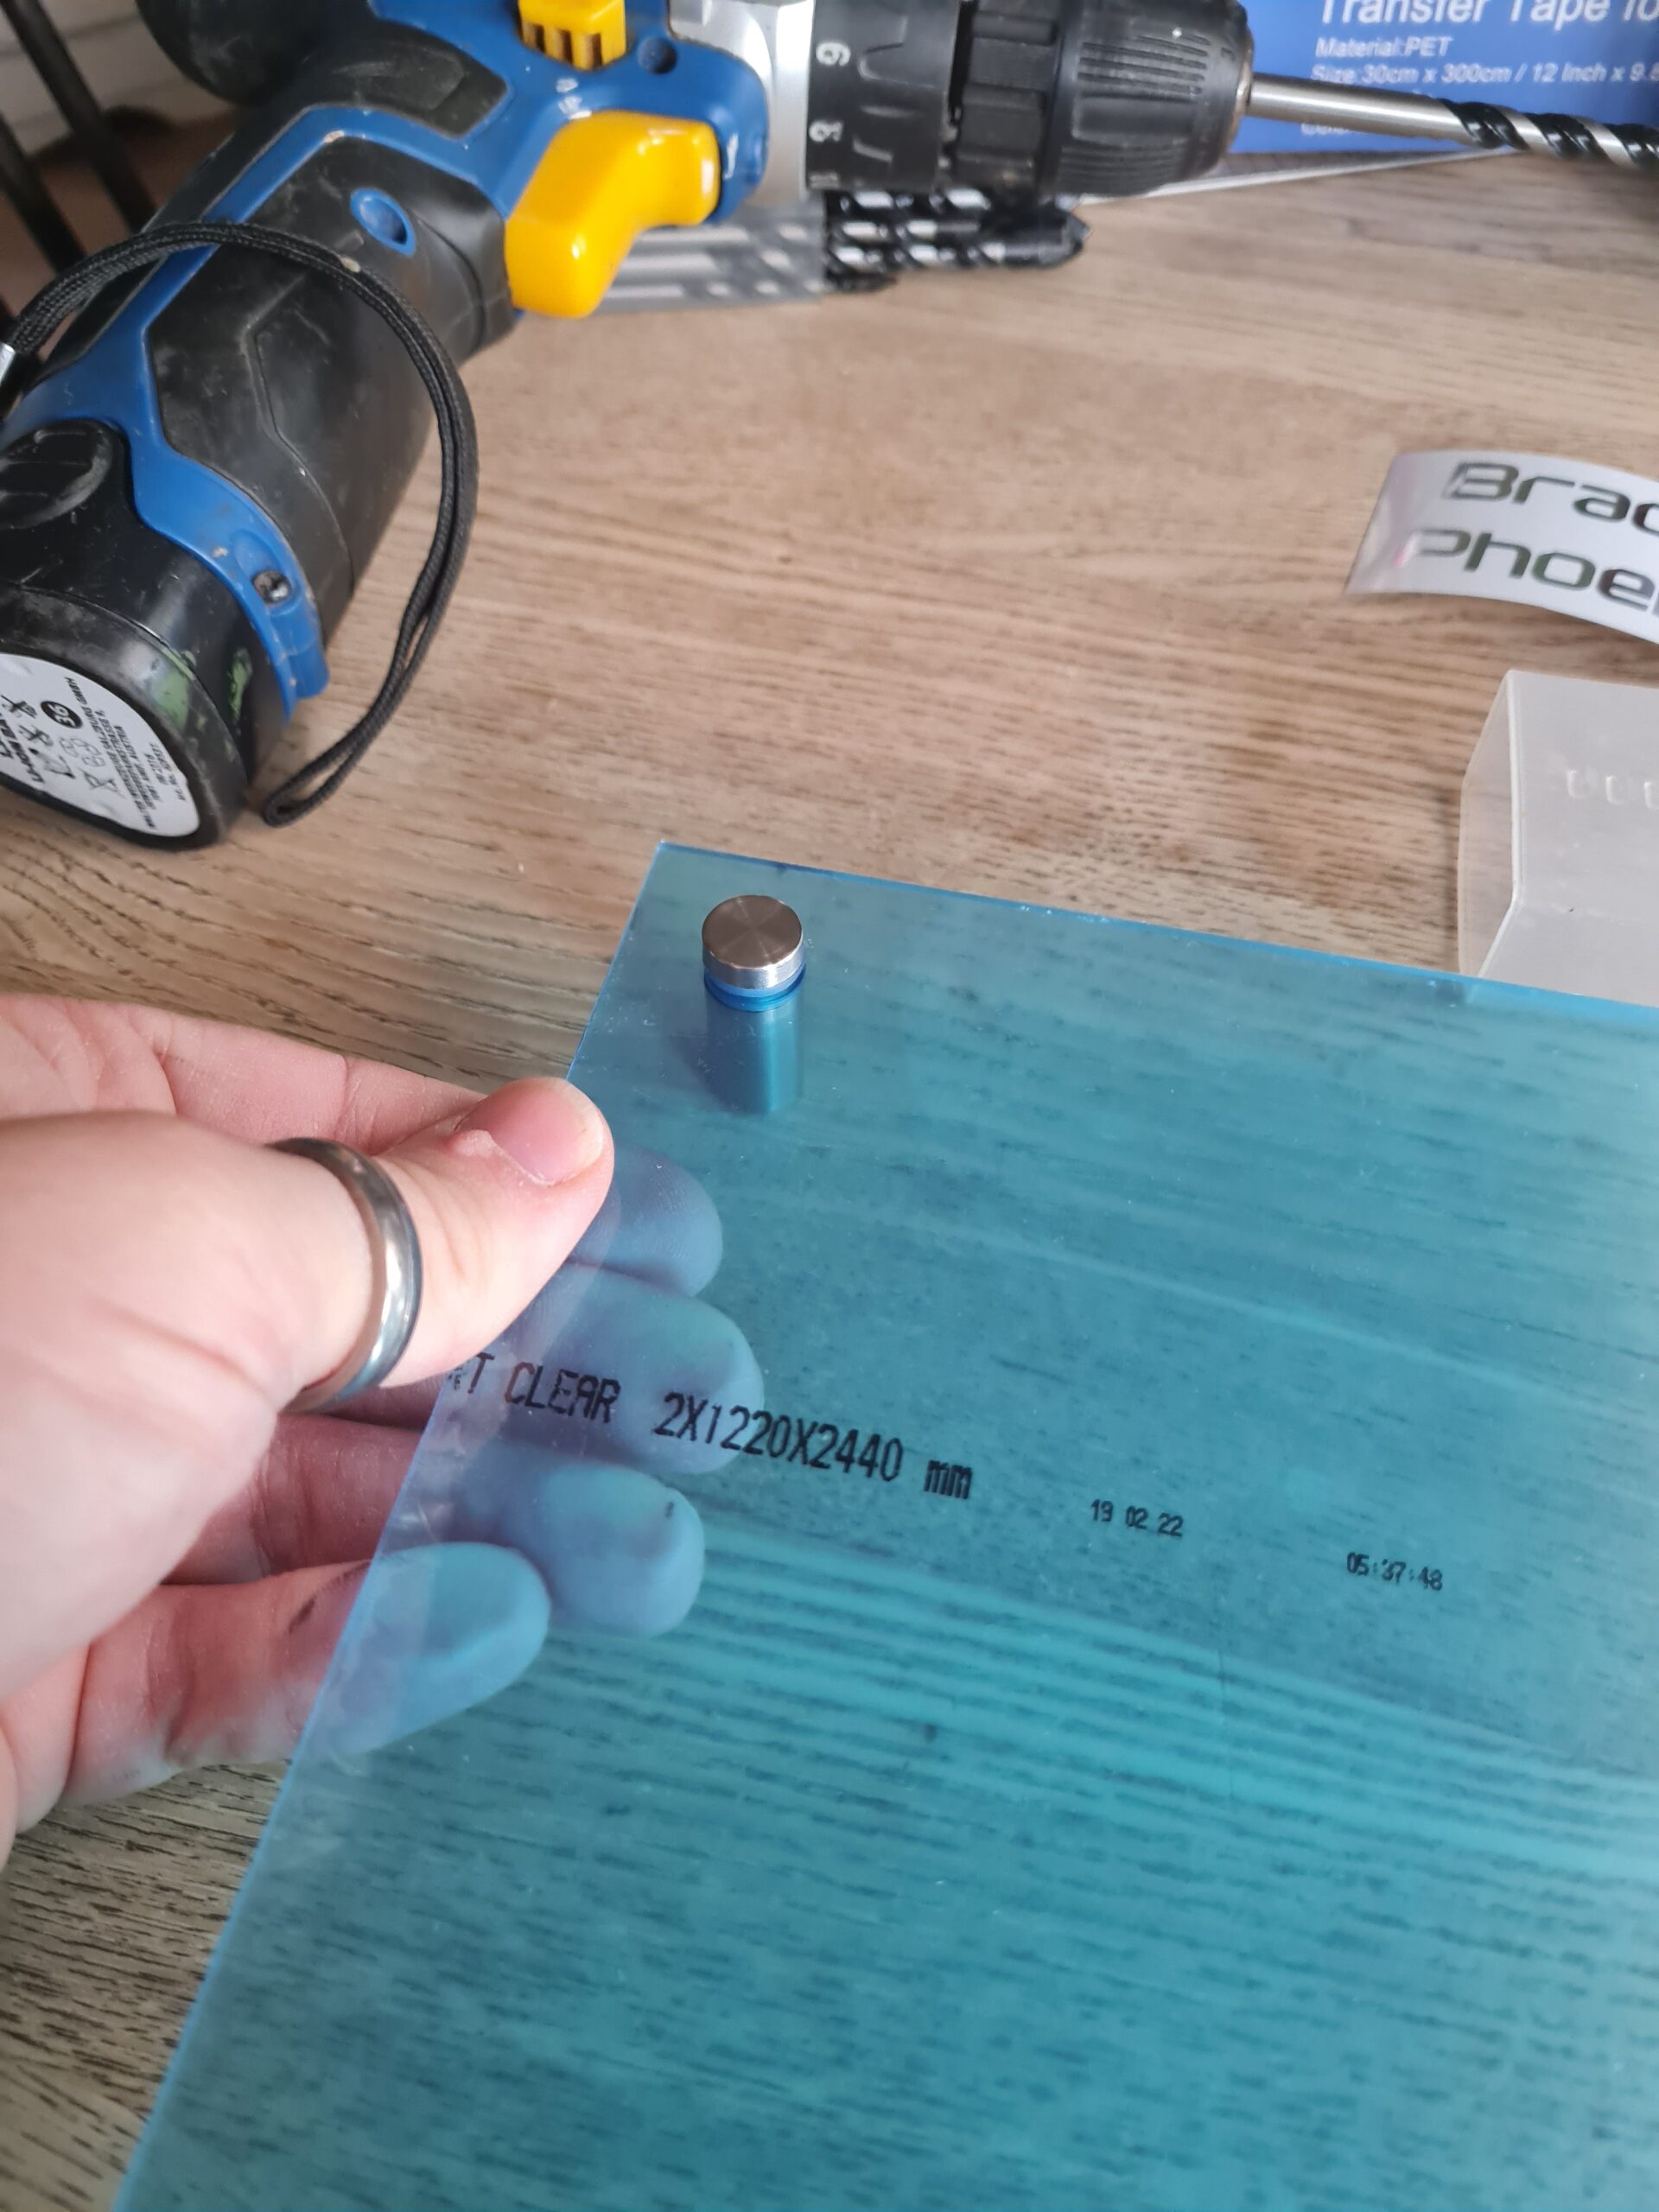
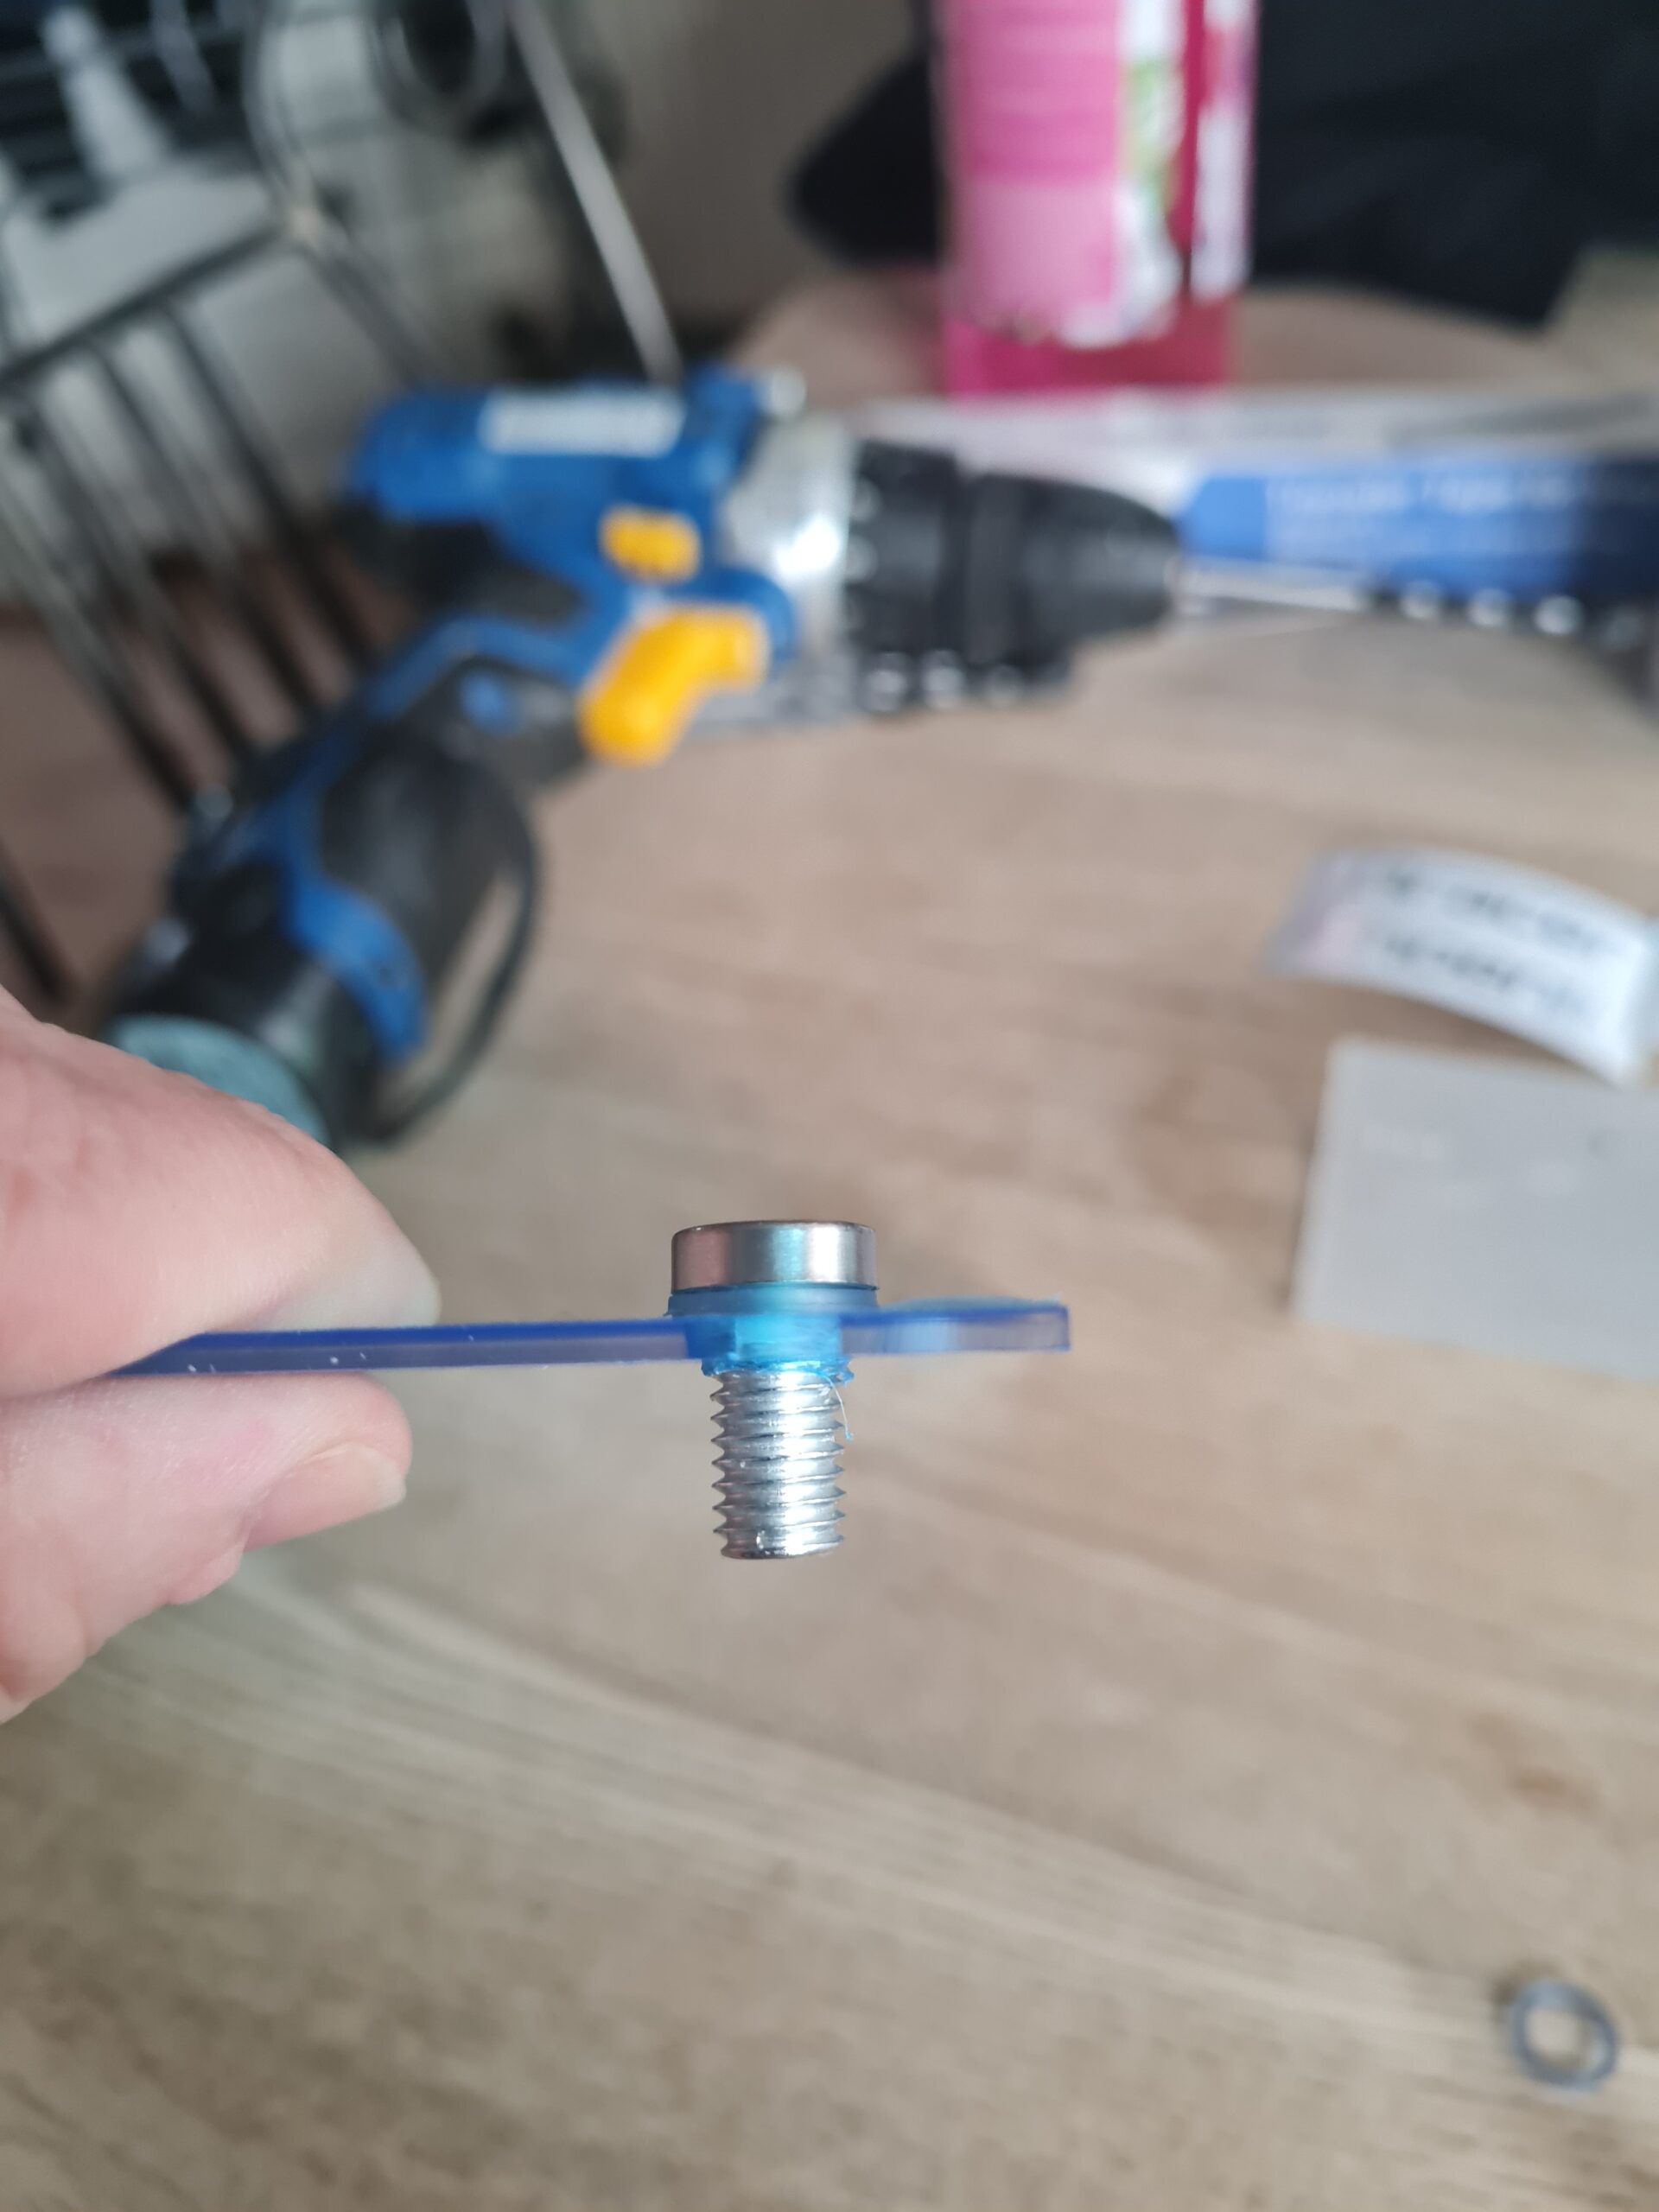
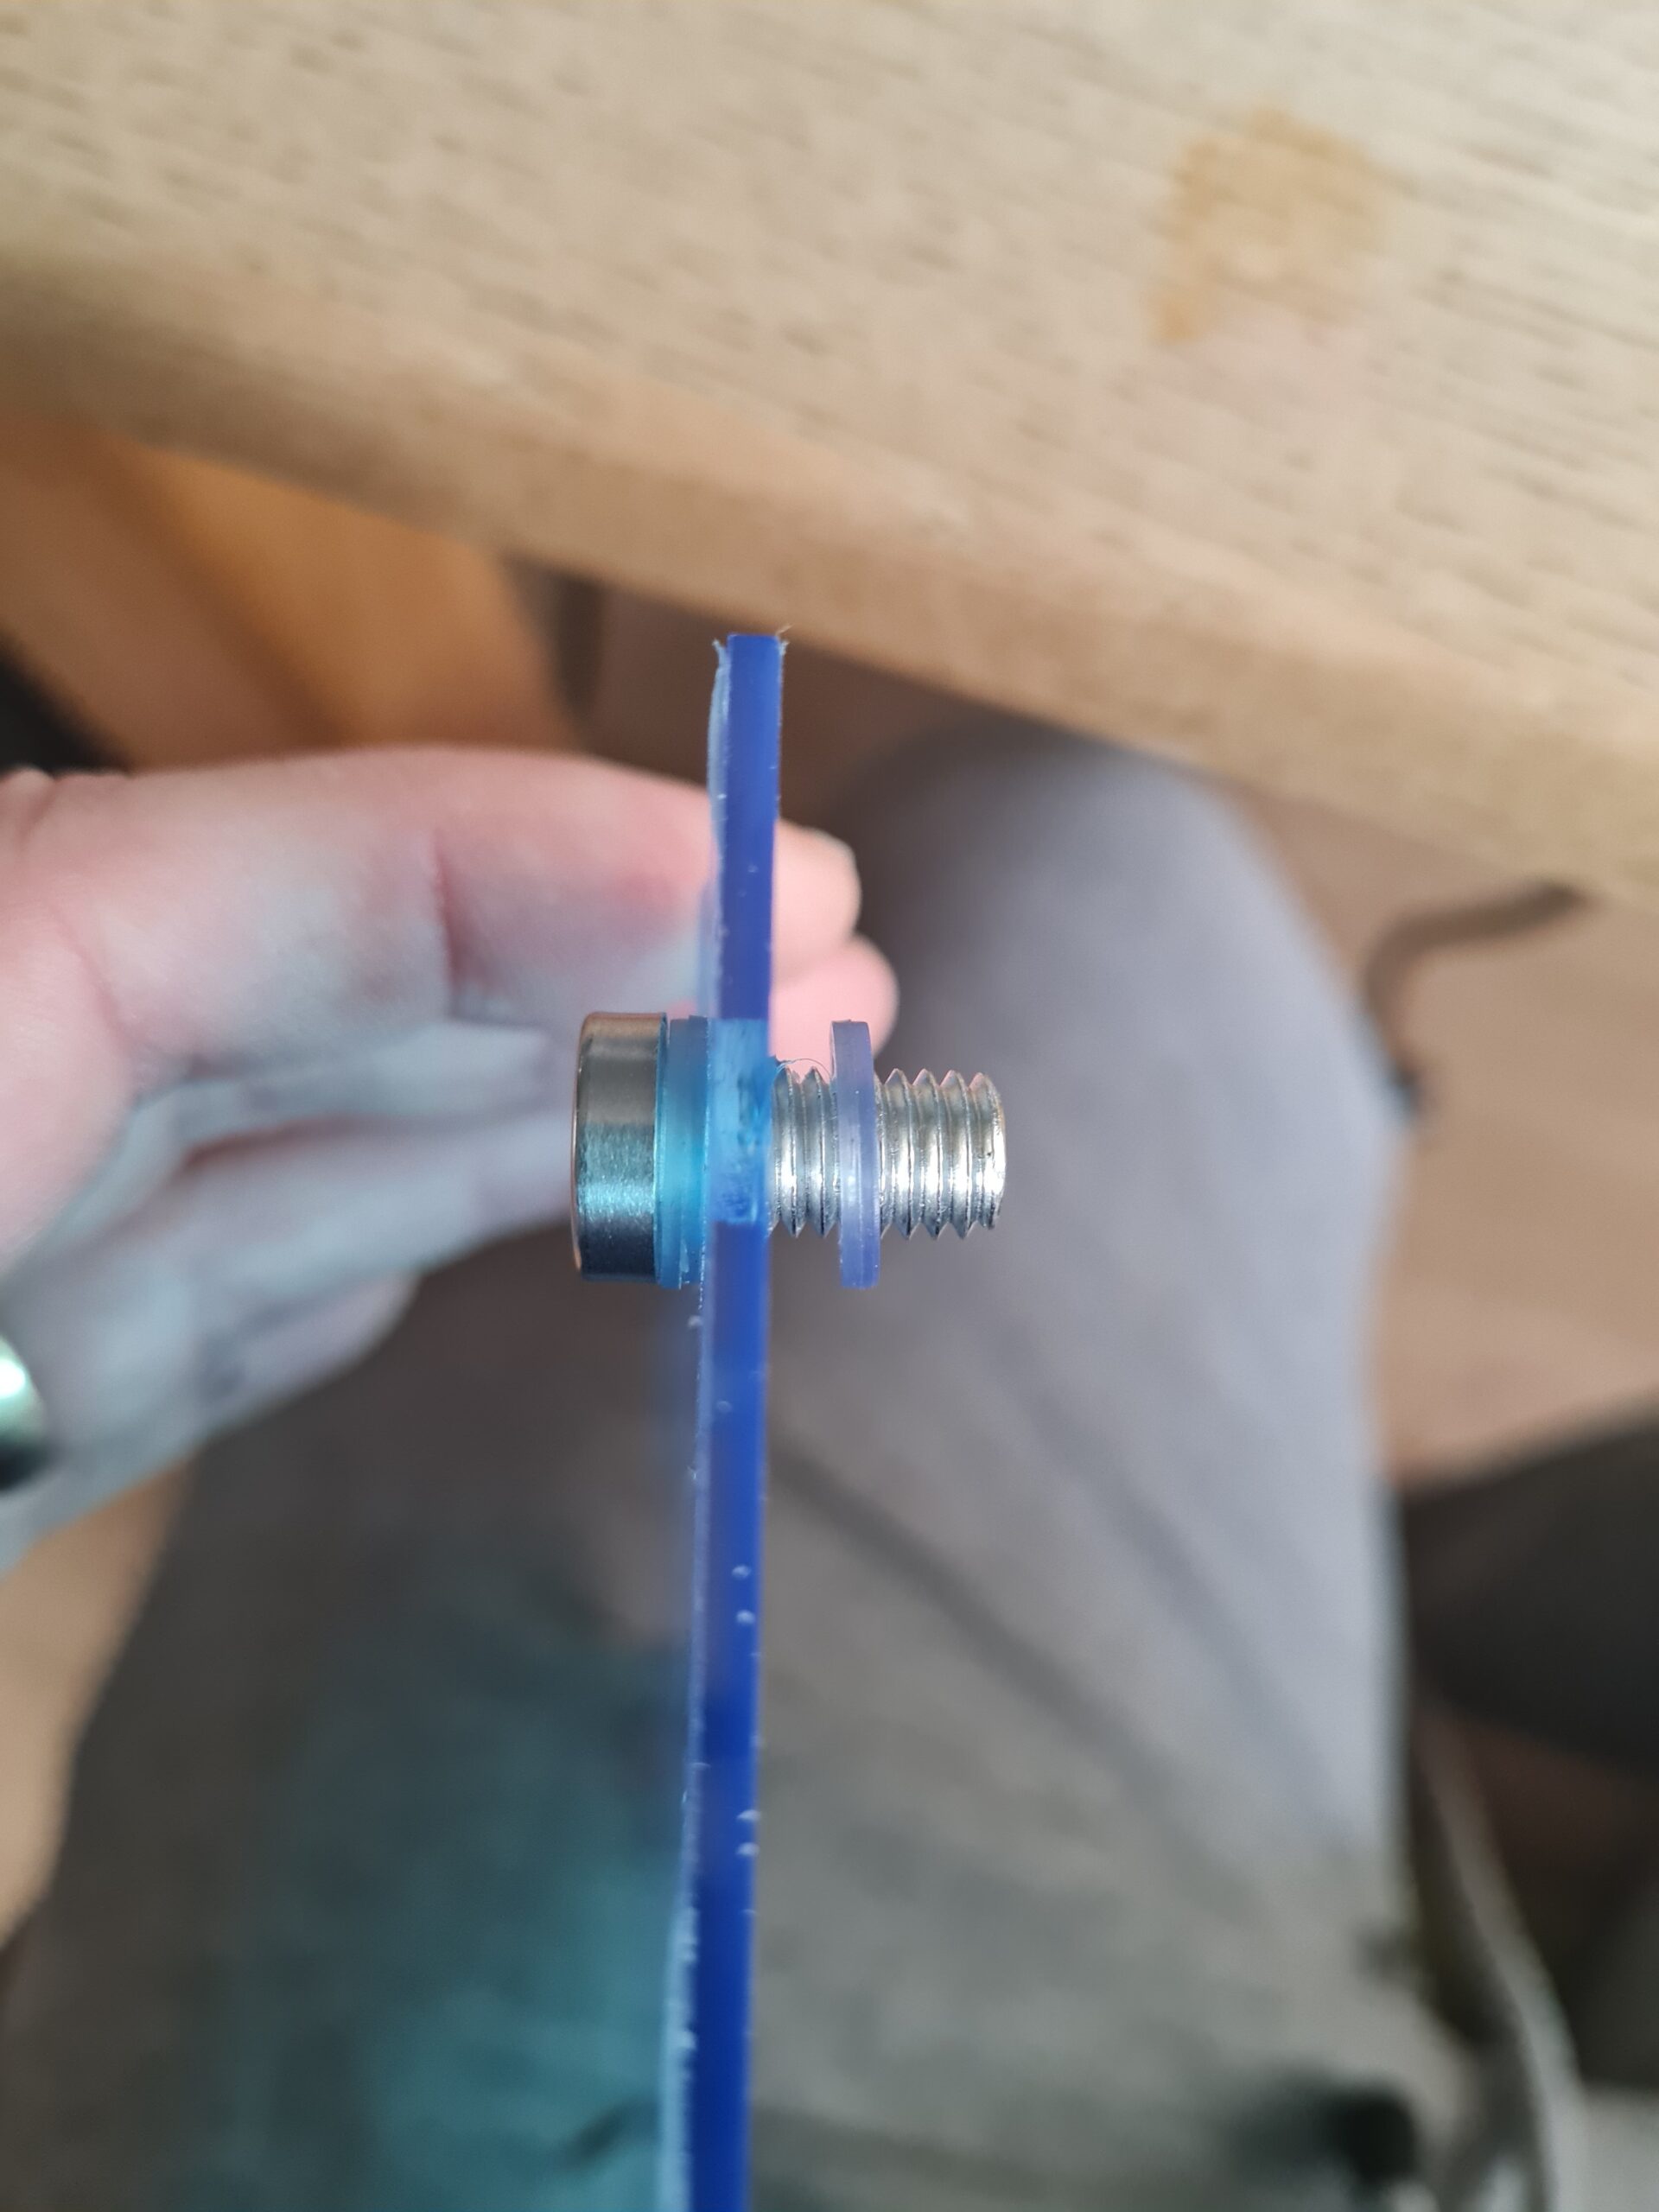
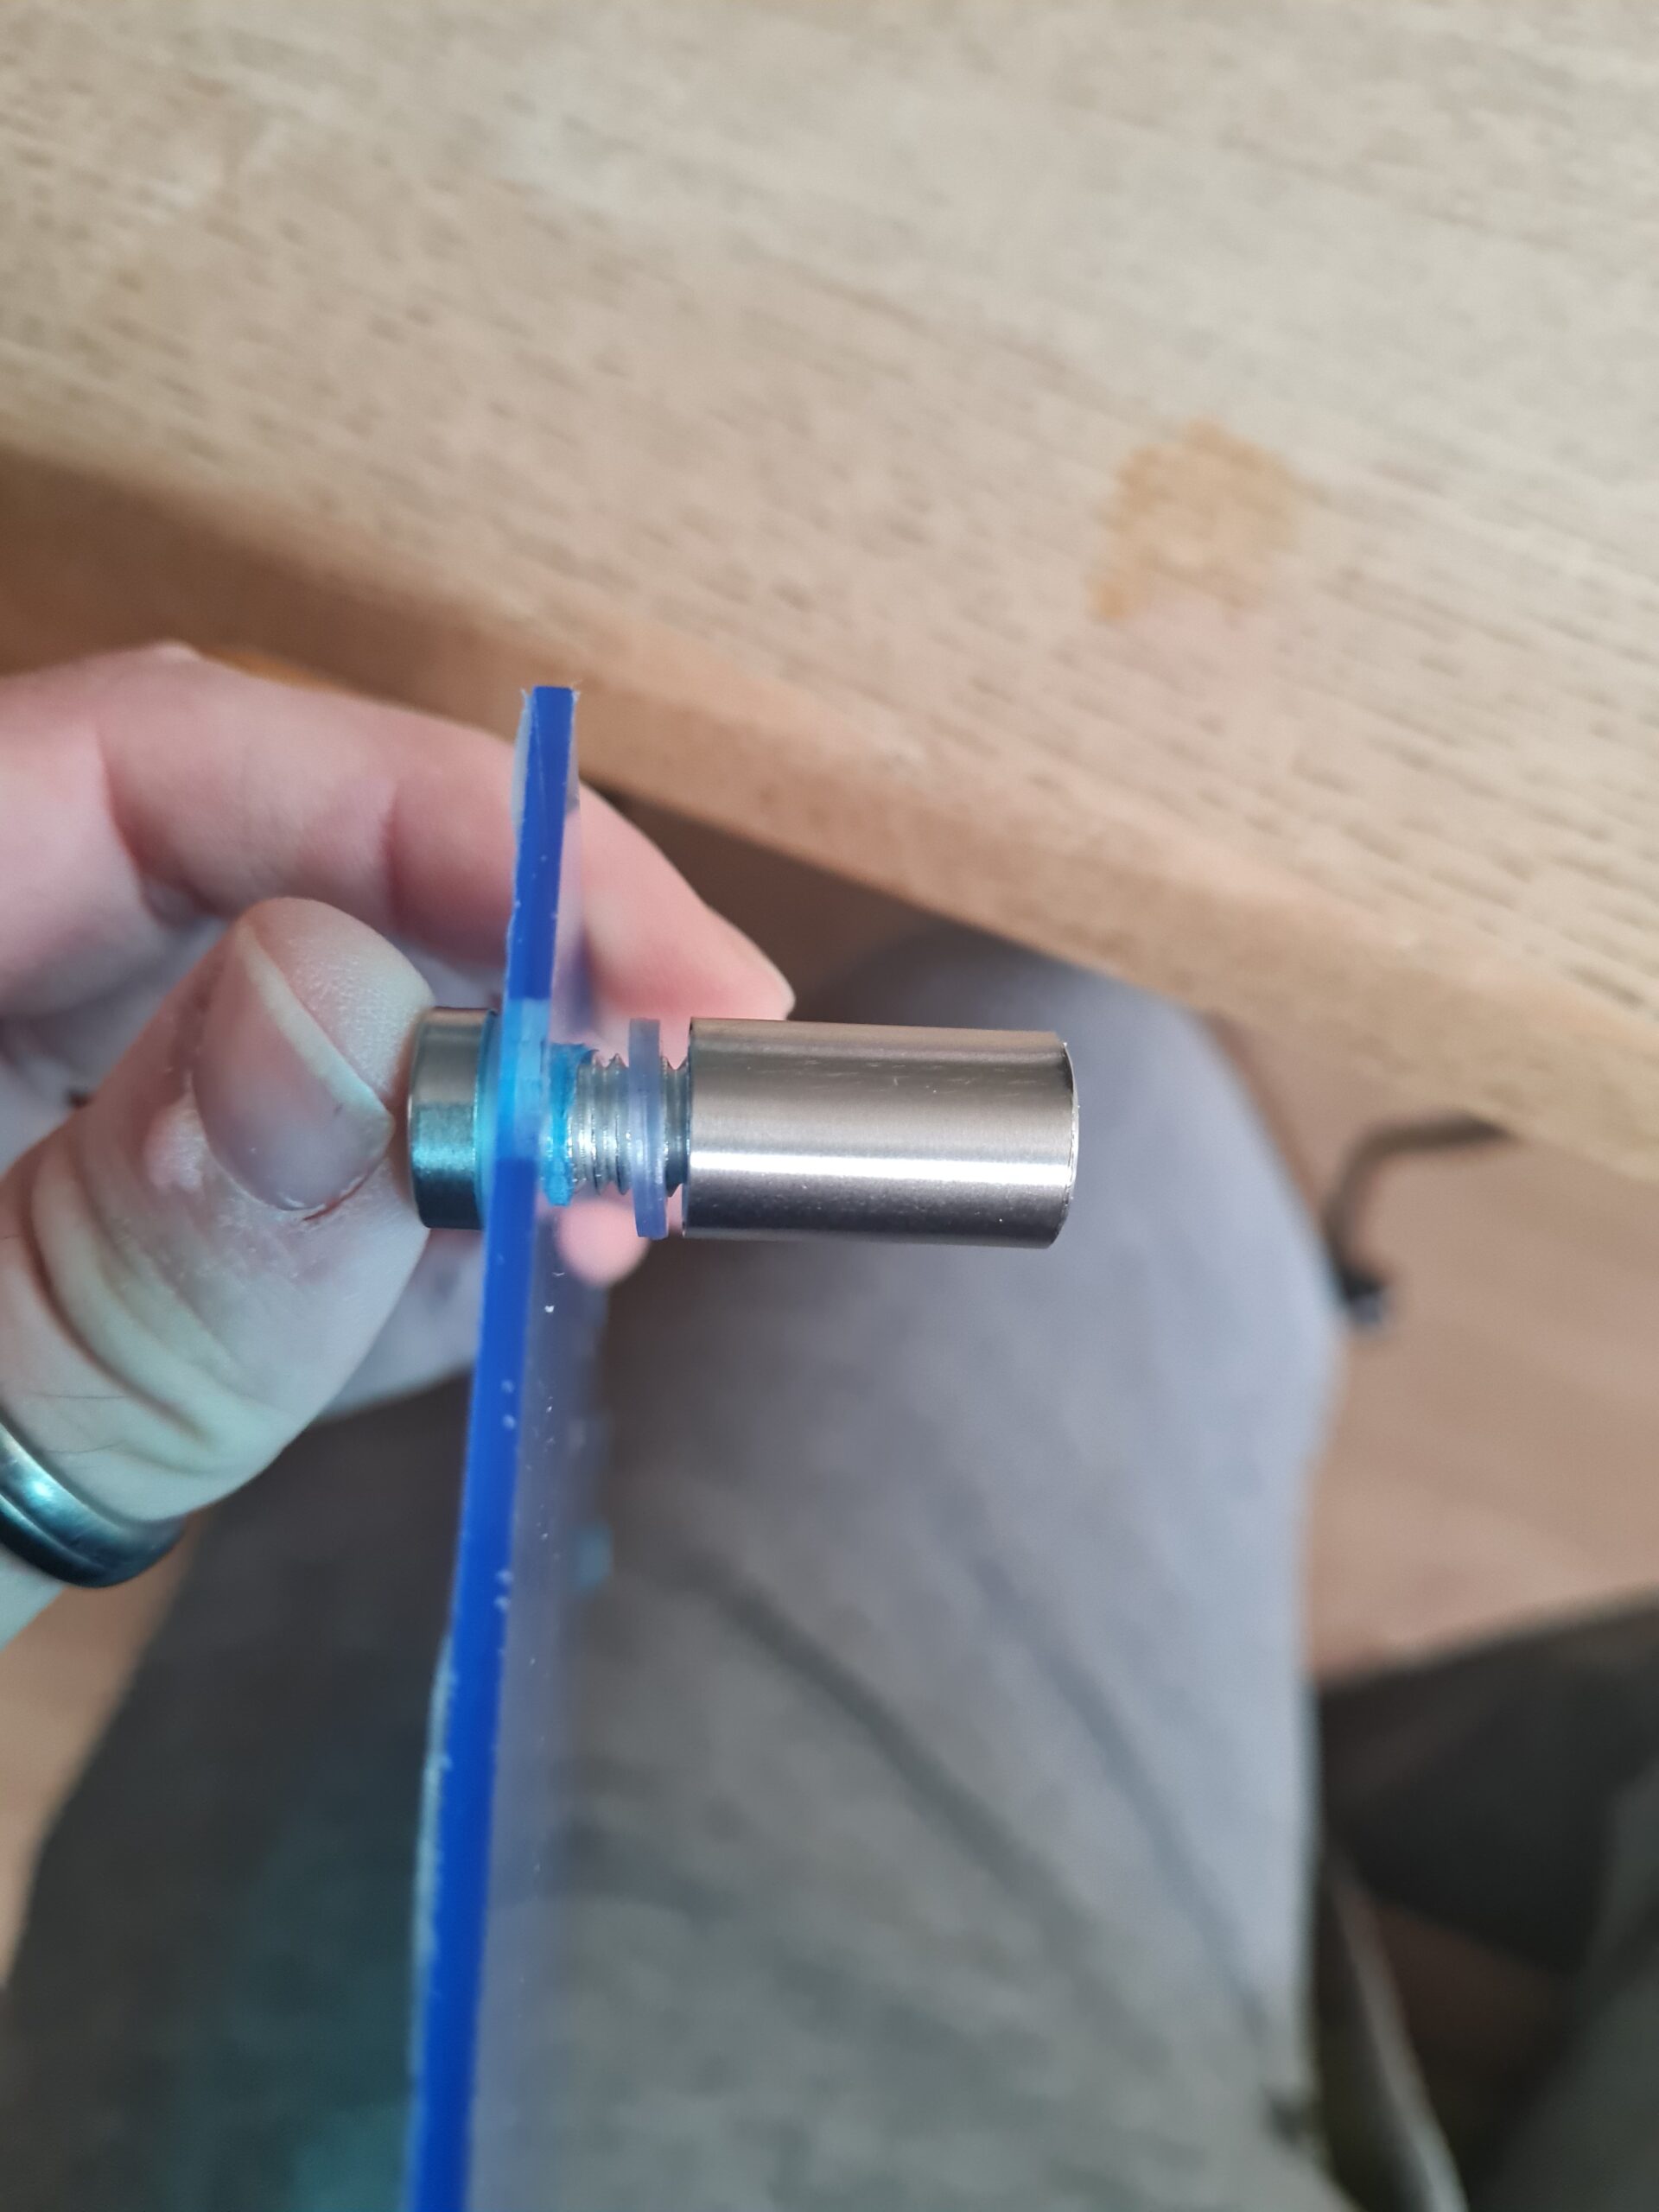
FootFoot in partsBolt and washerBolt in holeSecond Washer addedFoot casing screwed onAttached Foot Closeup
As can be seen above the process to attach the feet is simple. I first take it apart, and then put the first washer onto the bolt. Next I place the bolt through the acrylic sheet and add the second washer. Finally I screw the foot case part on and finger tighten. This is repeated for all 4 feet.
Conclusion
I really enjoyed making this custom stand. All that was left was to add the stand and figures and it was done. I will leave you with those images at the bottom of this post. Any questions please just ask.
Thank you for taking the time to read this. If you haven’t already done so please like and follow us on our social media platforms and checkout our website!
We use cookies on our website to give you the most relevant experience by remembering your preferences and repeat visits. By clicking “Accept All”, you consent to the use of ALL the cookies. However, you may visit "Cookie Settings" to provide a controlled consent.
This website uses cookies to improve your experience while you navigate through the website. Out of these, the cookies that are categorized as necessary are stored on your browser as they are essential for the working of basic functionalities of the website. We also use third-party cookies that help us analyze and understand how you use this website. These cookies will be stored in your browser only with your consent. You also have the option to opt-out of these cookies. But opting out of some of these cookies may affect your browsing experience.
Necessary cookies are absolutely essential for the website to function properly. These cookies ensure basic functionalities and security features of the website, anonymously.
Cookie
Duration
Description
cookielawinfo-checkbox-analytics
11 months
This cookie is set by GDPR Cookie Consent plugin. The cookie is used to store the user consent for the cookies in the category "Analytics".
cookielawinfo-checkbox-functional
11 months
The cookie is set by GDPR cookie consent to record the user consent for the cookies in the category "Functional".
cookielawinfo-checkbox-necessary
11 months
This cookie is set by GDPR Cookie Consent plugin. The cookies is used to store the user consent for the cookies in the category "Necessary".
cookielawinfo-checkbox-others
11 months
This cookie is set by GDPR Cookie Consent plugin. The cookie is used to store the user consent for the cookies in the category "Other.
cookielawinfo-checkbox-performance
11 months
This cookie is set by GDPR Cookie Consent plugin. The cookie is used to store the user consent for the cookies in the category "Performance".
viewed_cookie_policy
11 months
The cookie is set by the GDPR Cookie Consent plugin and is used to store whether or not user has consented to the use of cookies. It does not store any personal data.
Functional cookies help to perform certain functionalities like sharing the content of the website on social media platforms, collect feedbacks, and other third-party features.
Performance cookies are used to understand and analyze the key performance indexes of the website which helps in delivering a better user experience for the visitors.
Analytical cookies are used to understand how visitors interact with the website. These cookies help provide information on metrics the number of visitors, bounce rate, traffic source, etc.
Advertisement cookies are used to provide visitors with relevant ads and marketing campaigns. These cookies track visitors across websites and collect information to provide customized ads.