Introduction
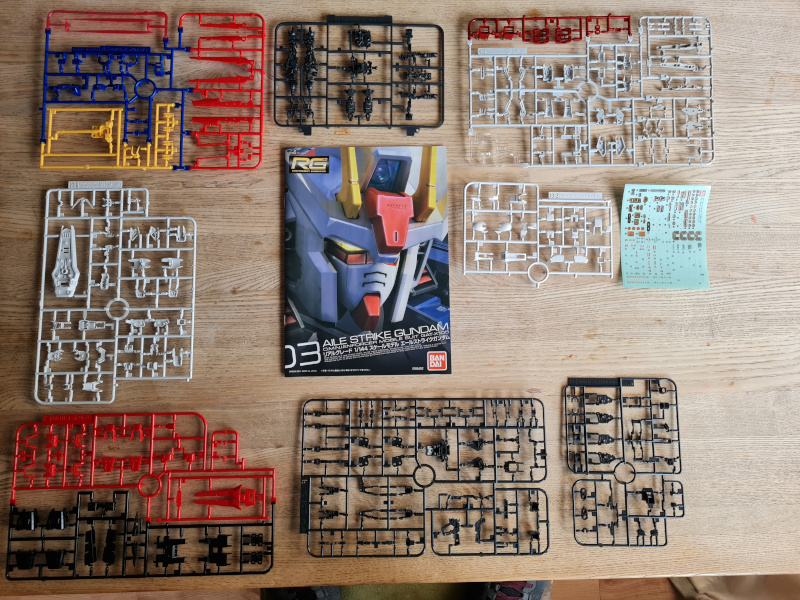
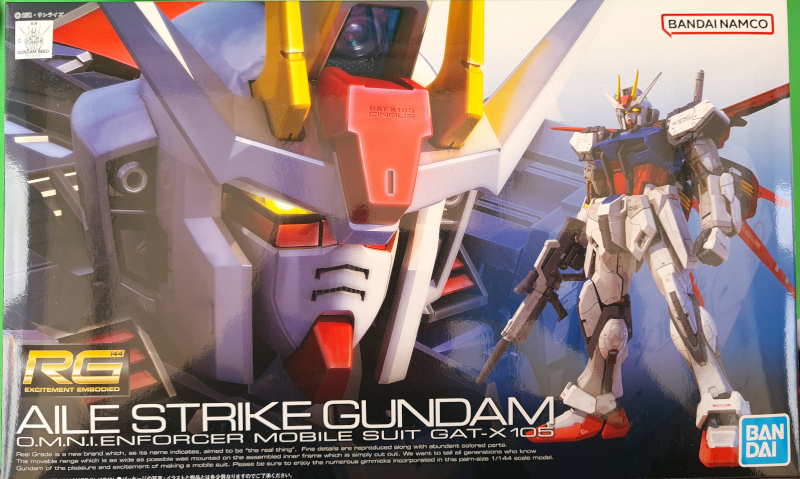
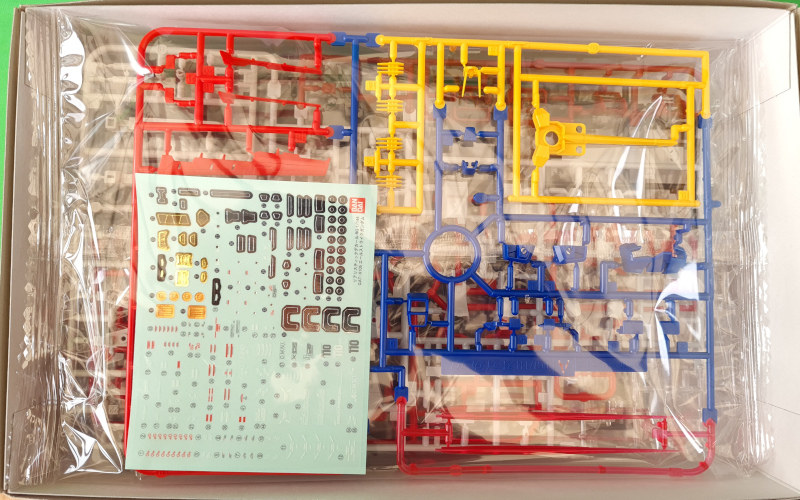
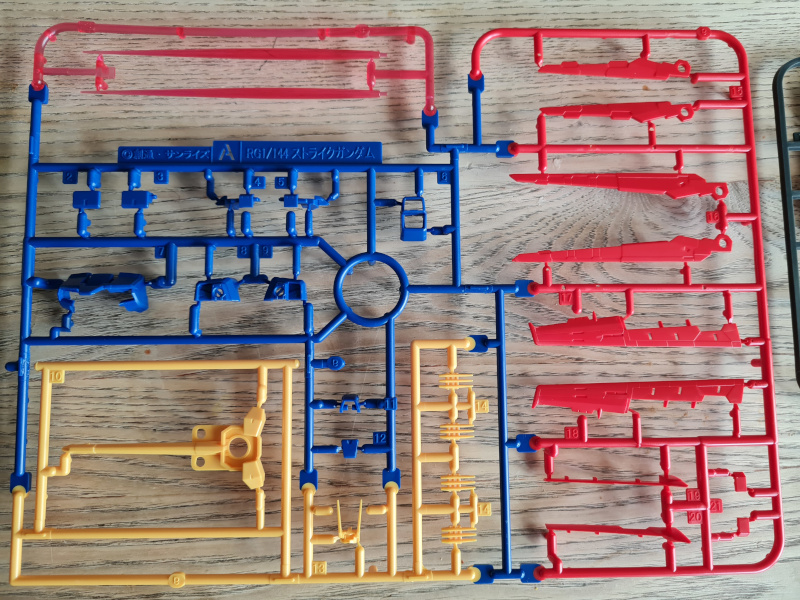
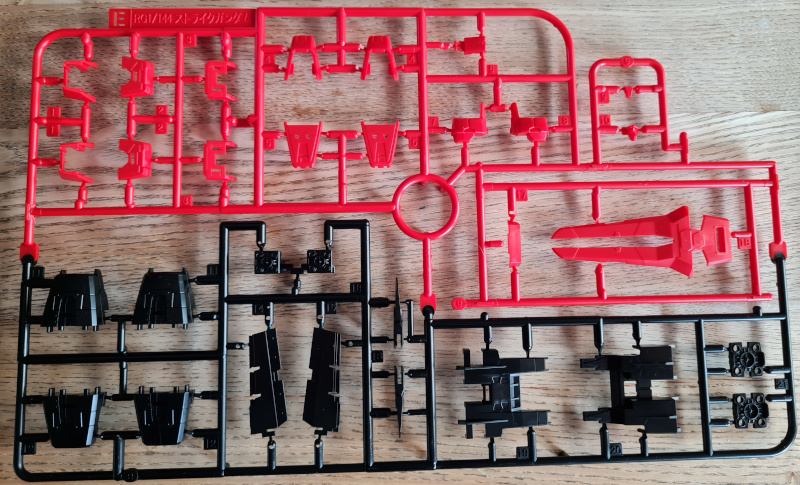
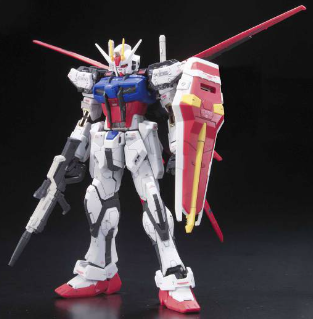
Welcome to “RG Aile Strike Build Day 10” where I am building up an RG Aile strike model. If you haven’t read any of the other parts I would recommend going back to the start. You can find that here. In the first post I covered the box, runners and provide the manual.
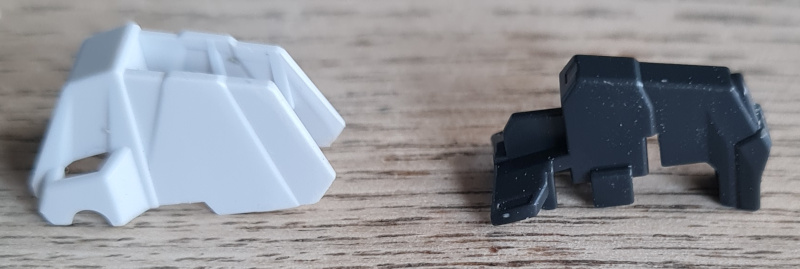
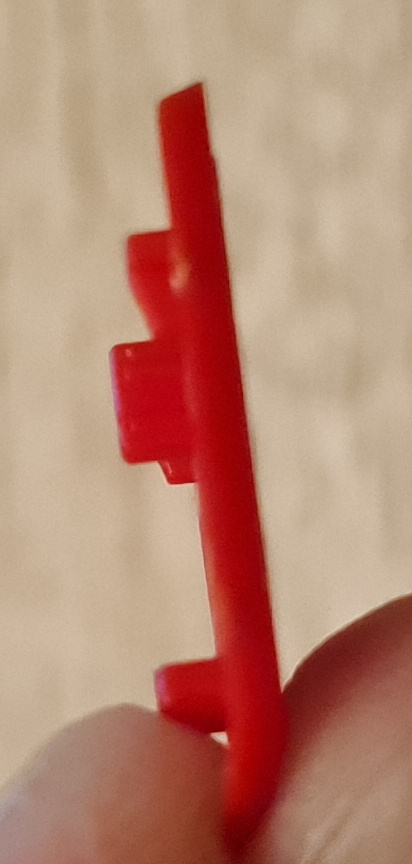
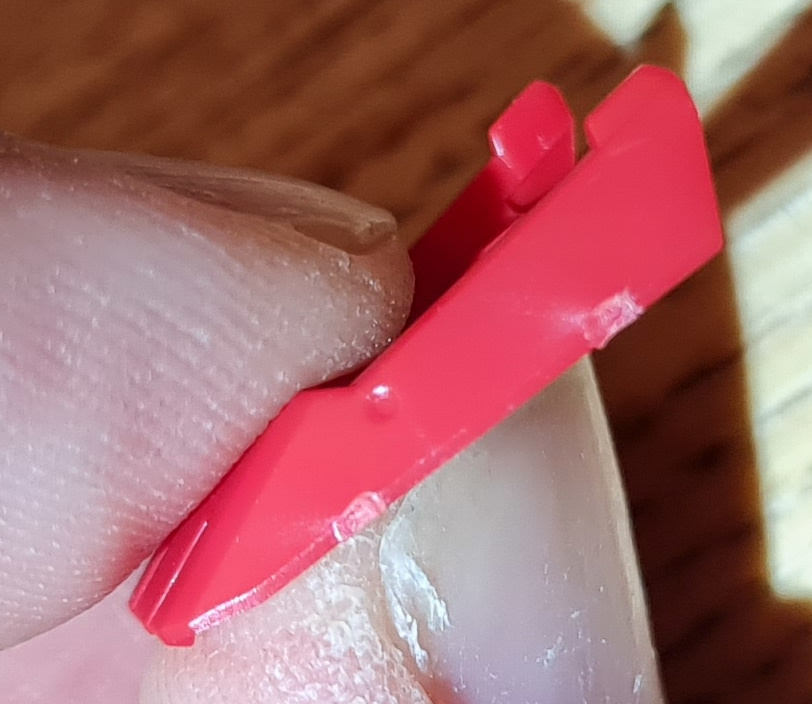
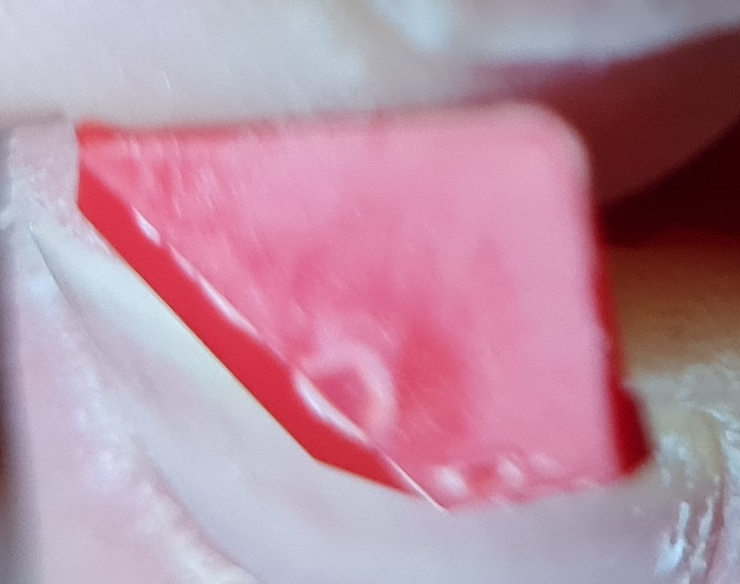
I am taking my time to ensure I clean up all the marks that can be cleaned up. As with any build like this, if you end up with discolouration or a small white “stress” mark you are likely to need painting to get rid of those. I may have a look at simple quick methods of dealing with those items, especially as I find that it has a habit of happening on the grey pieces. I also accept I may need to work on my cutting style as I’m sure that will contribute to it!
The Process
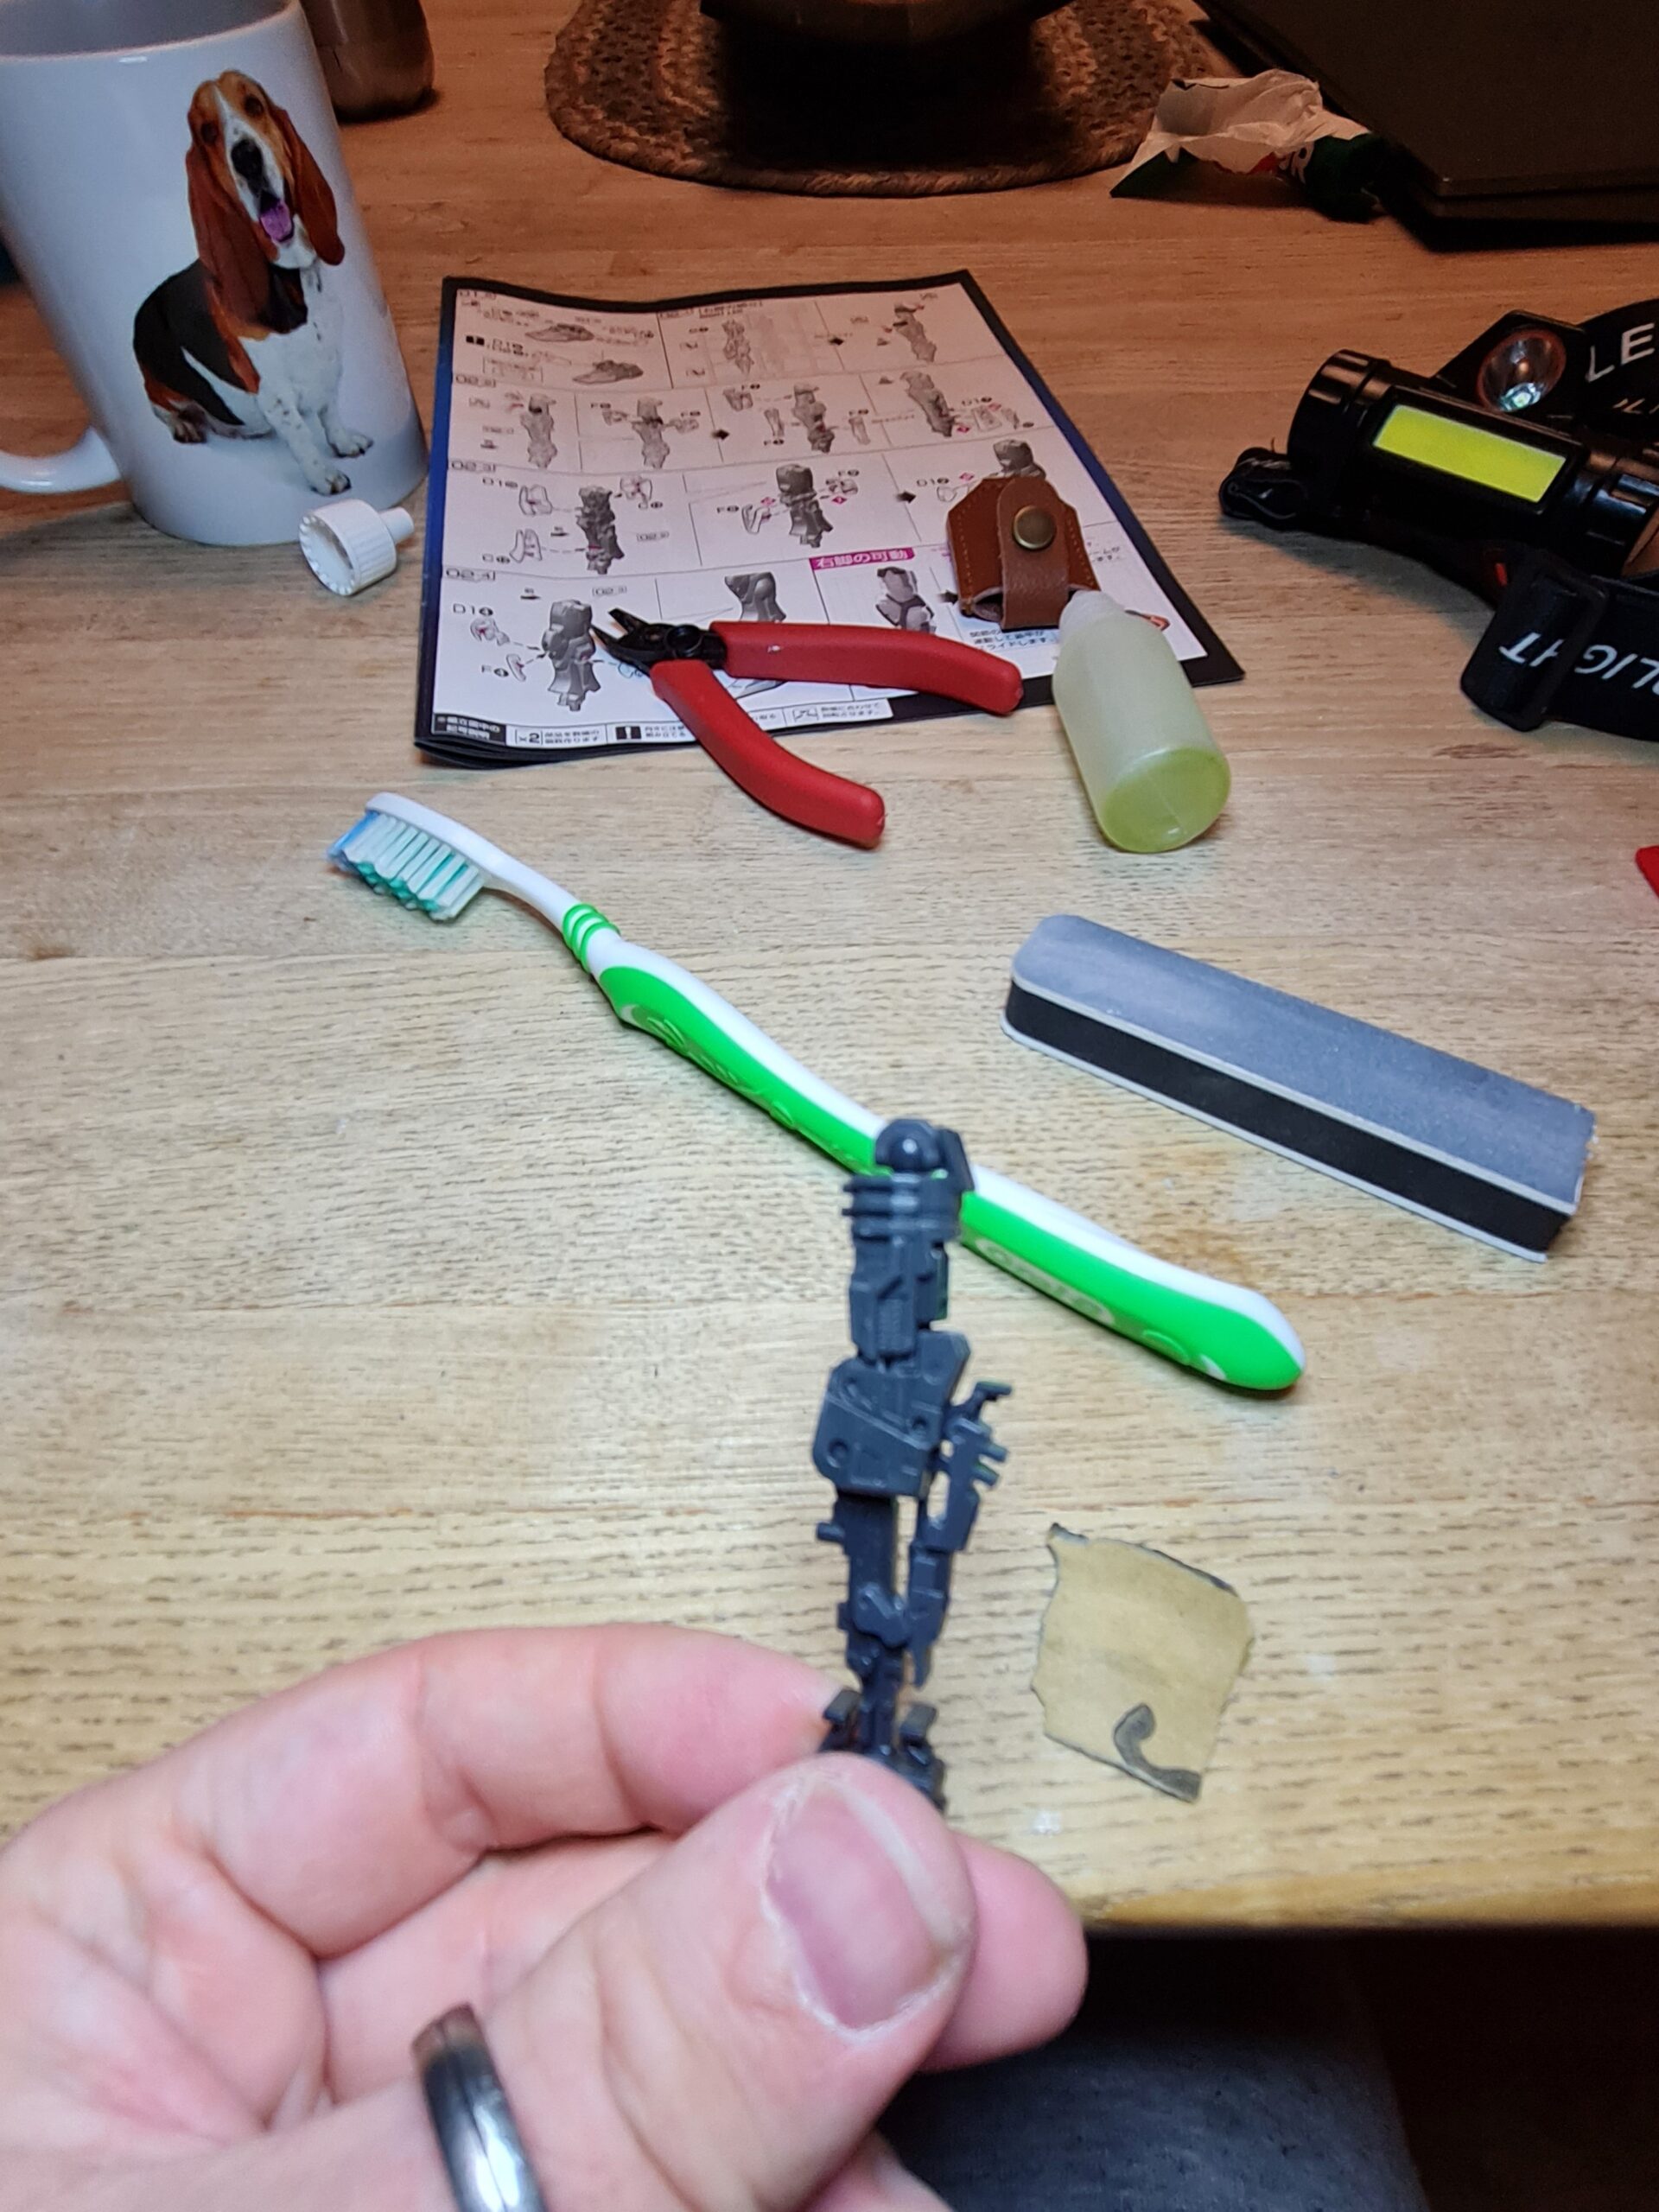
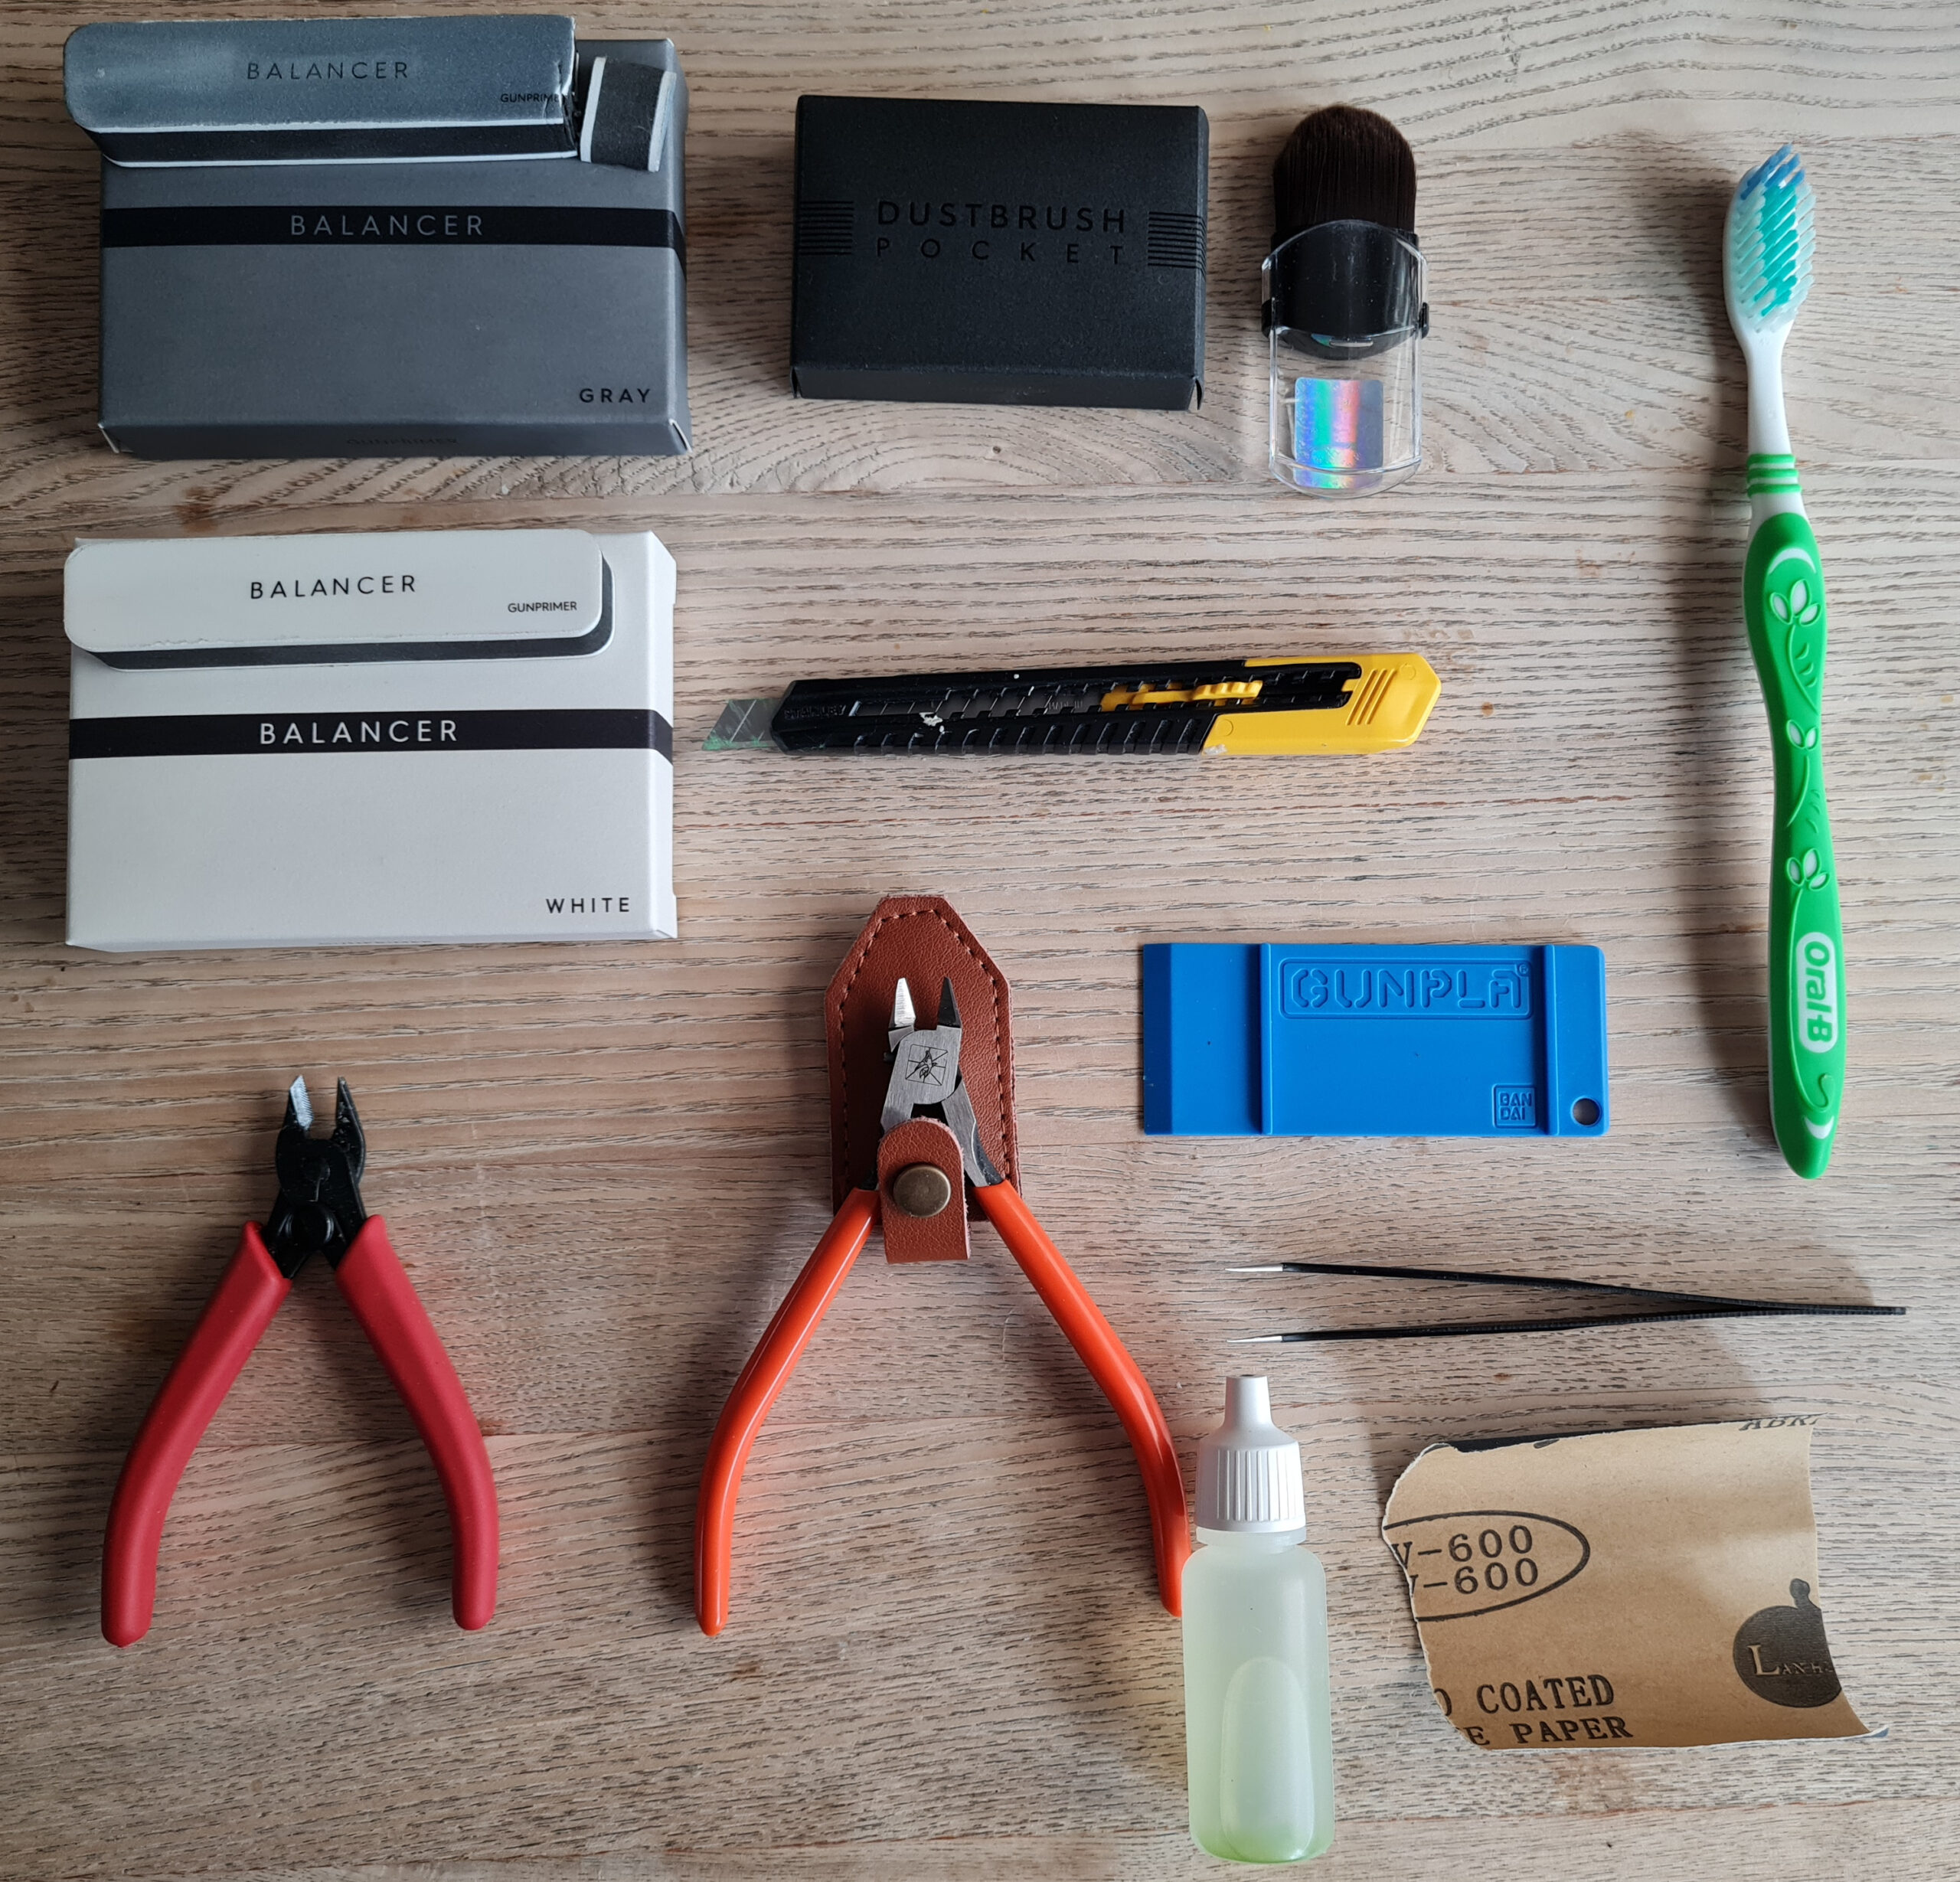
Unless otherwise noted I followed this process for each piece:
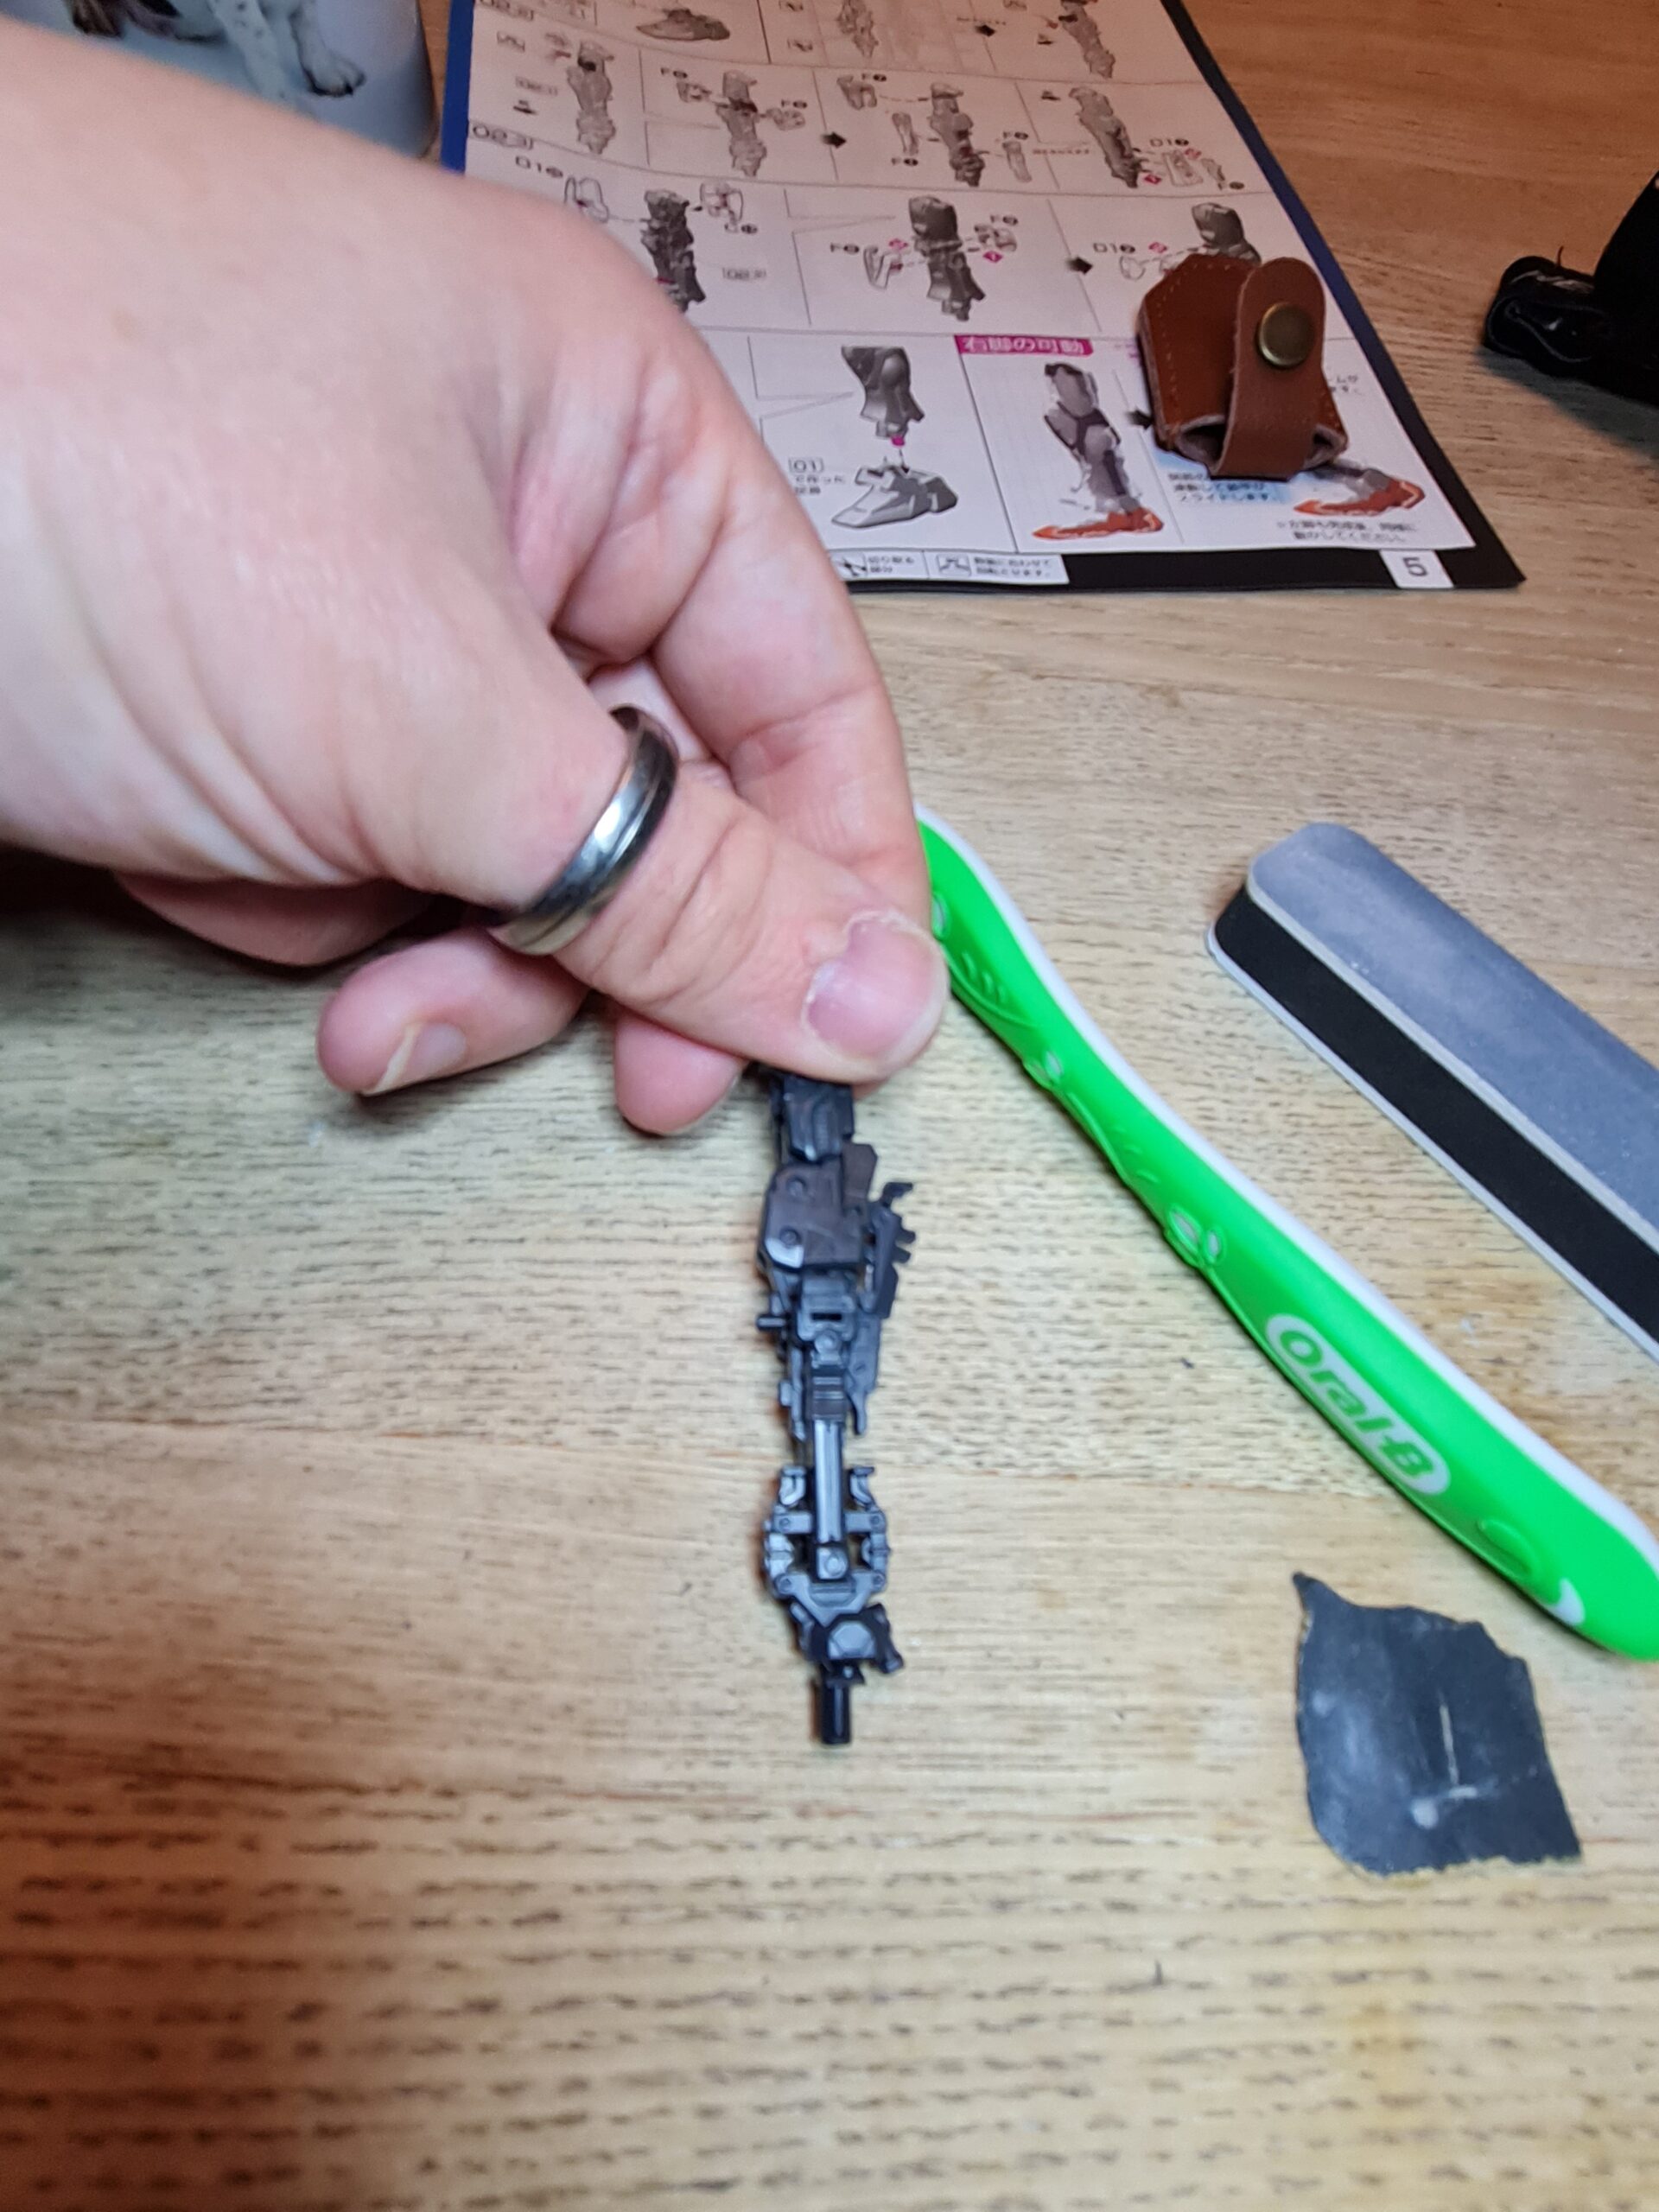
- Cut off roughly leaving plenty of nub
- Trim back the nub with my better nippers
- Apply water to my wet and dry sandpaper and sand the nub marks down
- Dry the piece
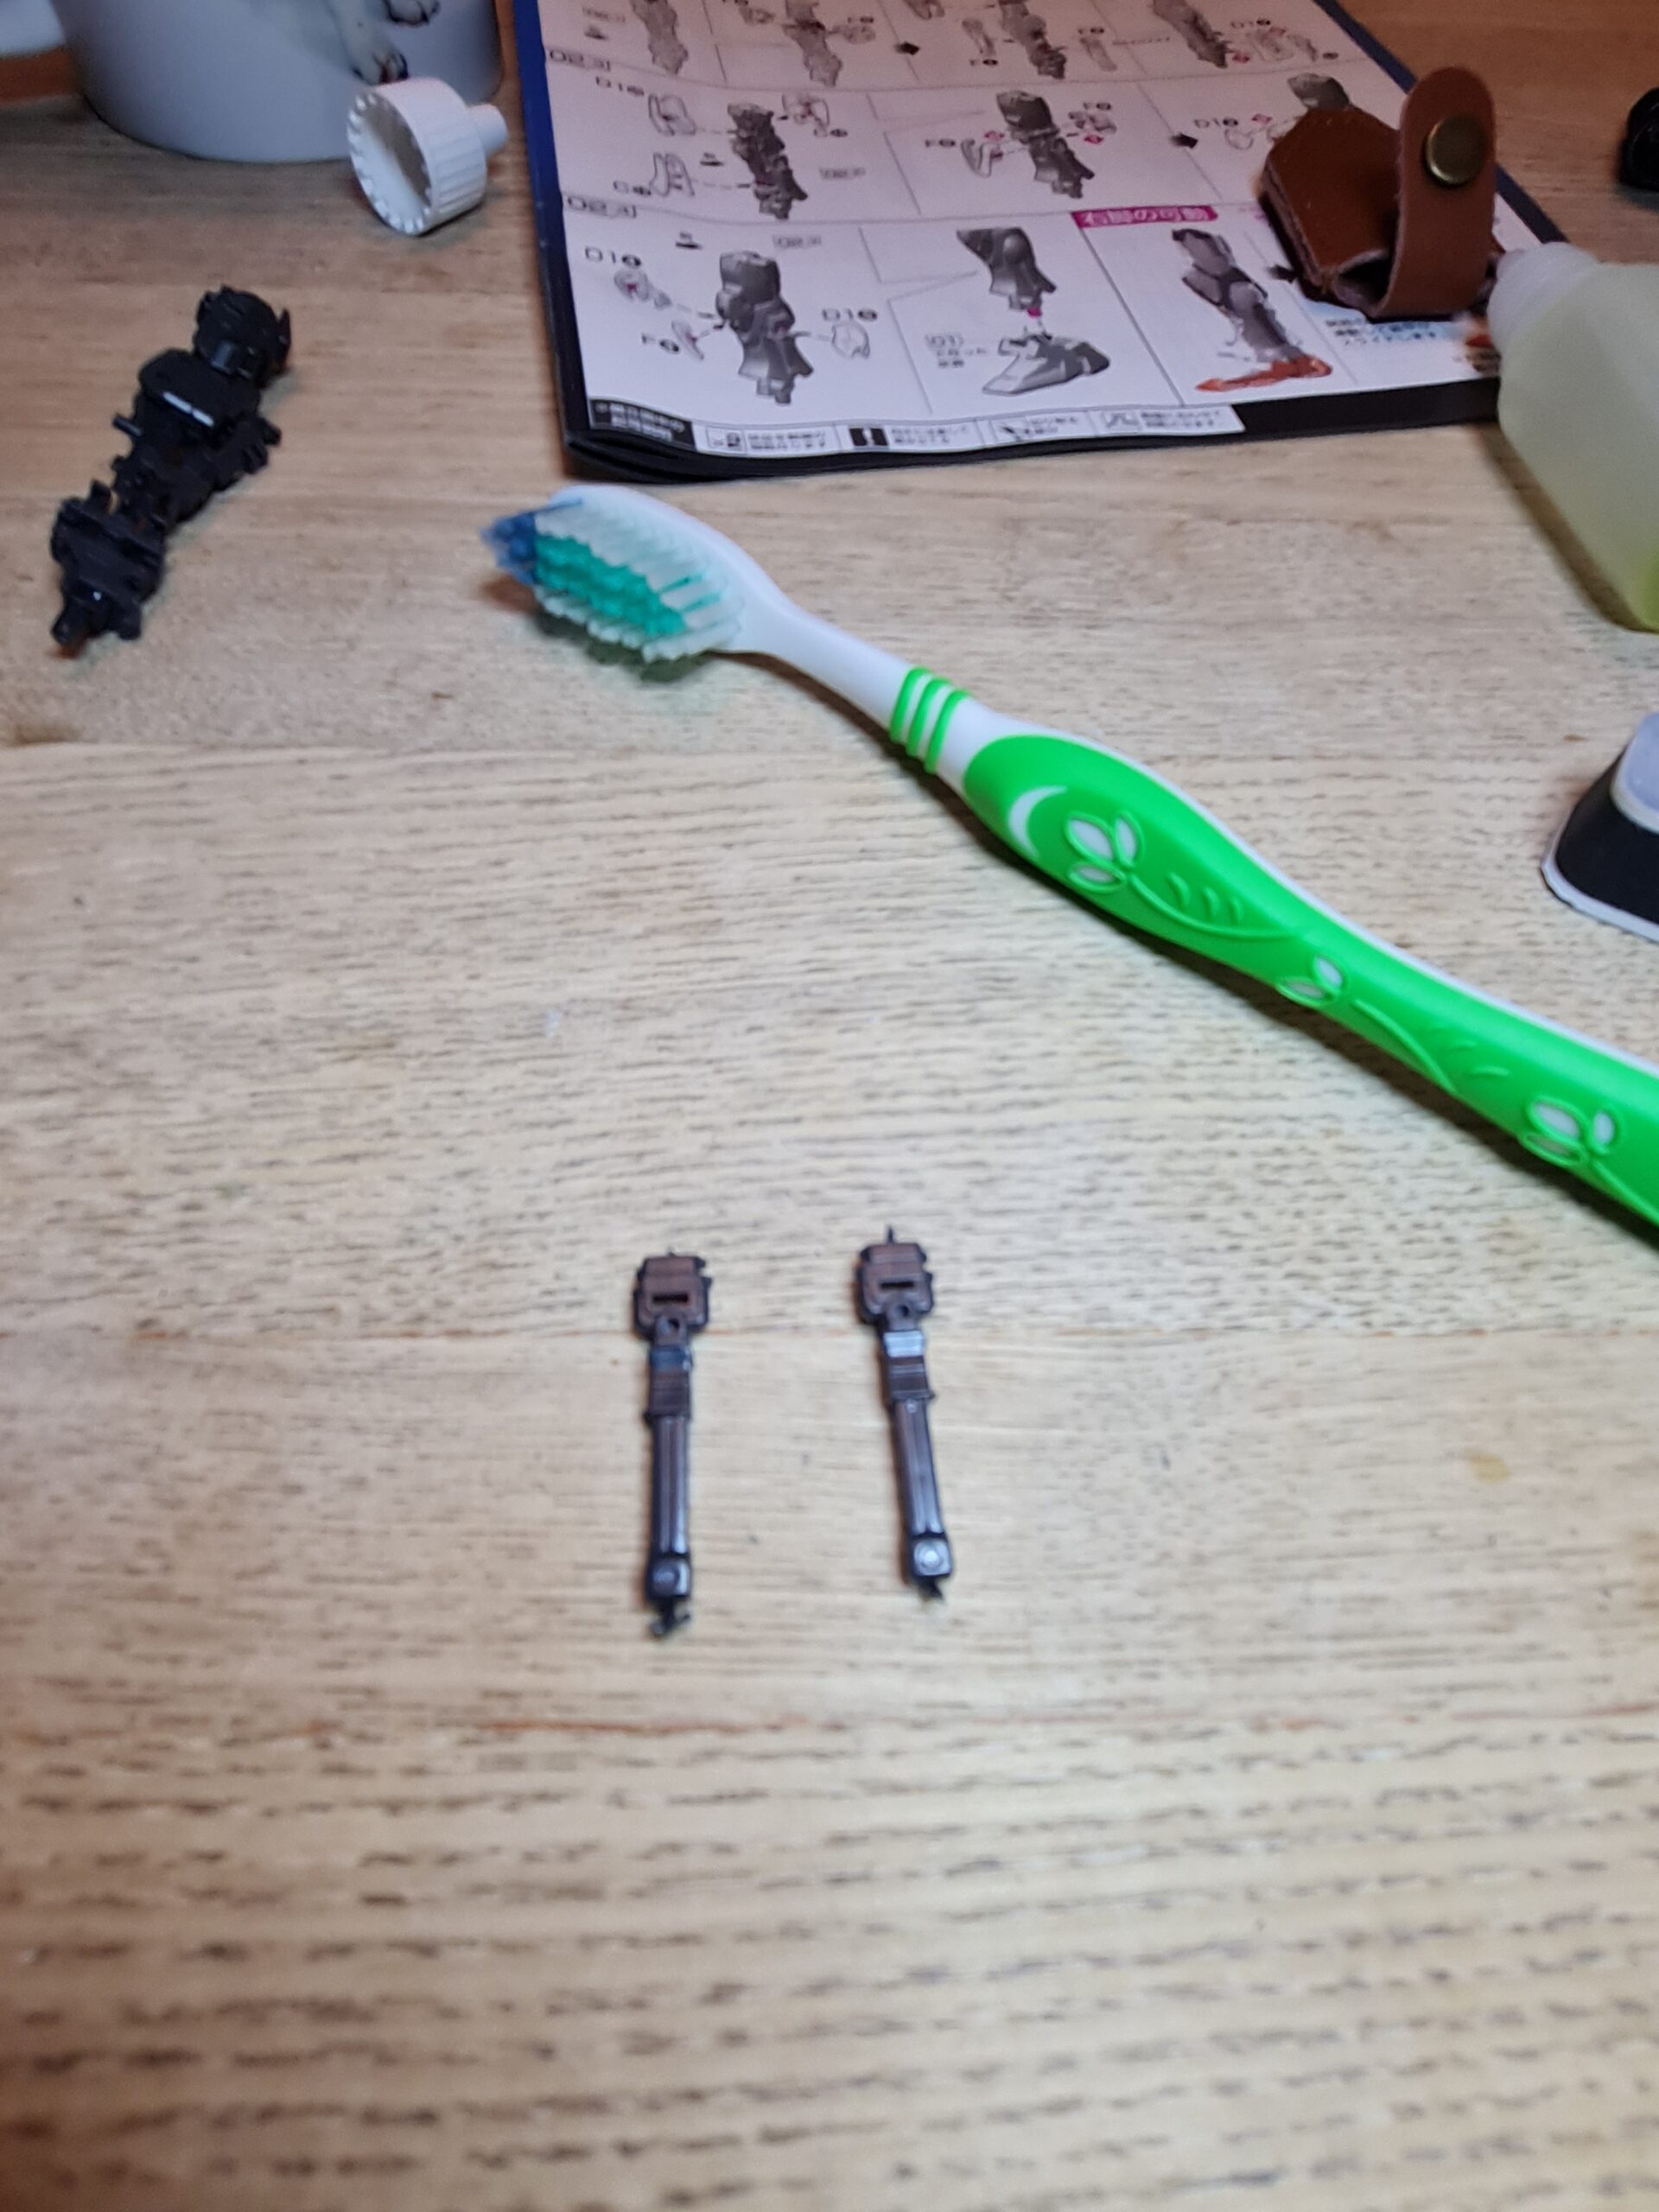
- Brush it off with the tooth brush to remove any bits
- Re-apply the matt finish using the Gray Balancer
- Prep the part with the green side of the White Balancer
- Shine the part up with the white side of the White Balancer
If after this I wasn’t happy I would repeat the sanding steps down, and keep iterating until I was happy with the finish.
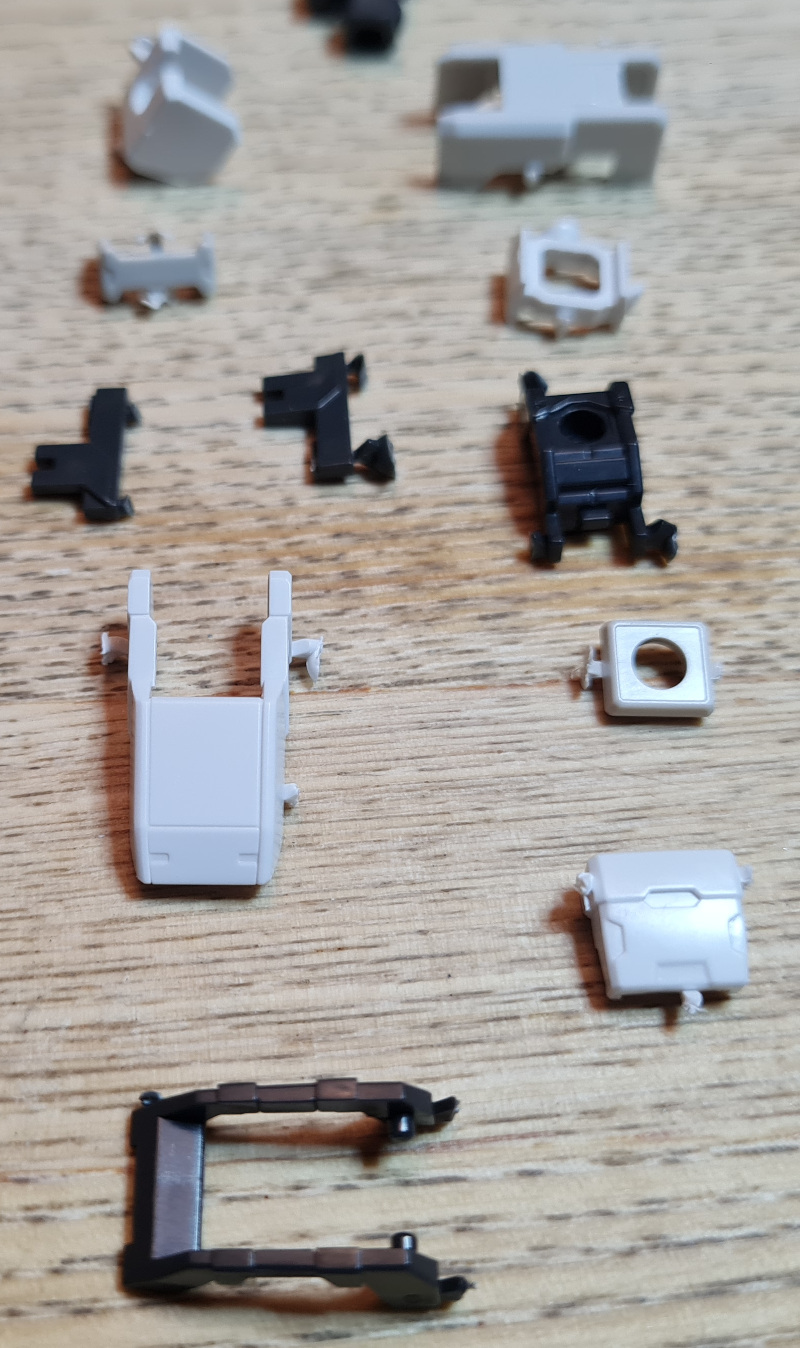
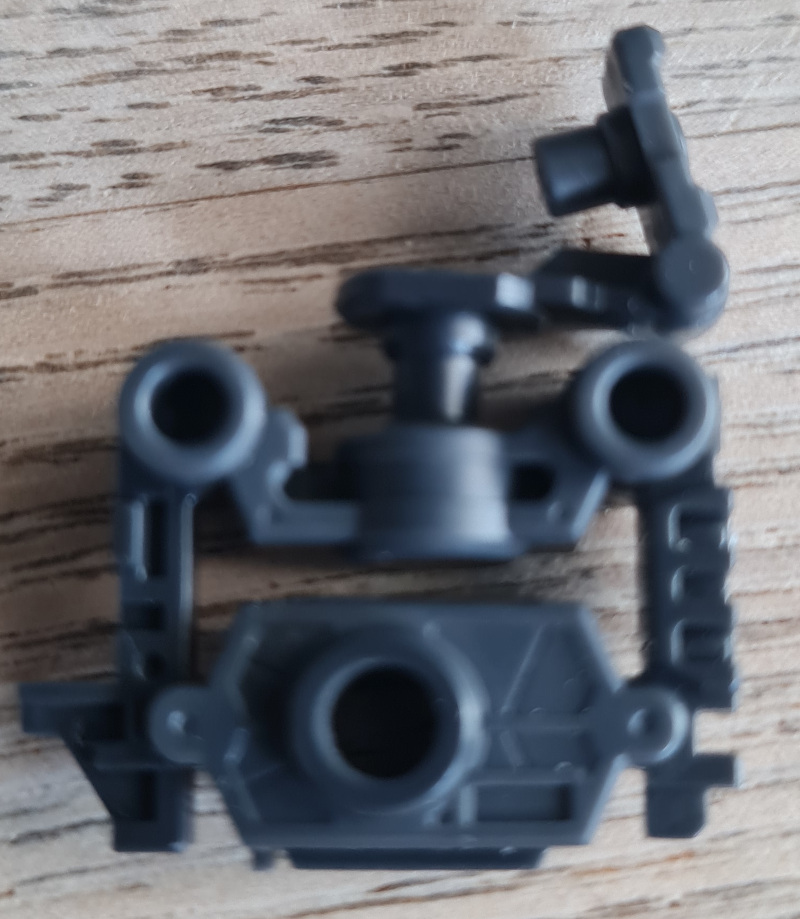
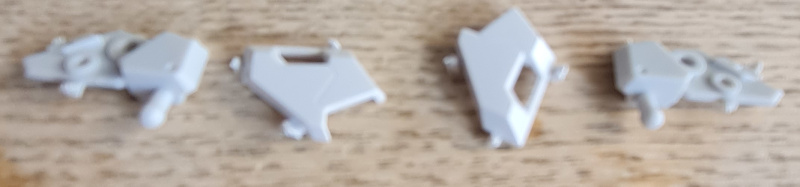
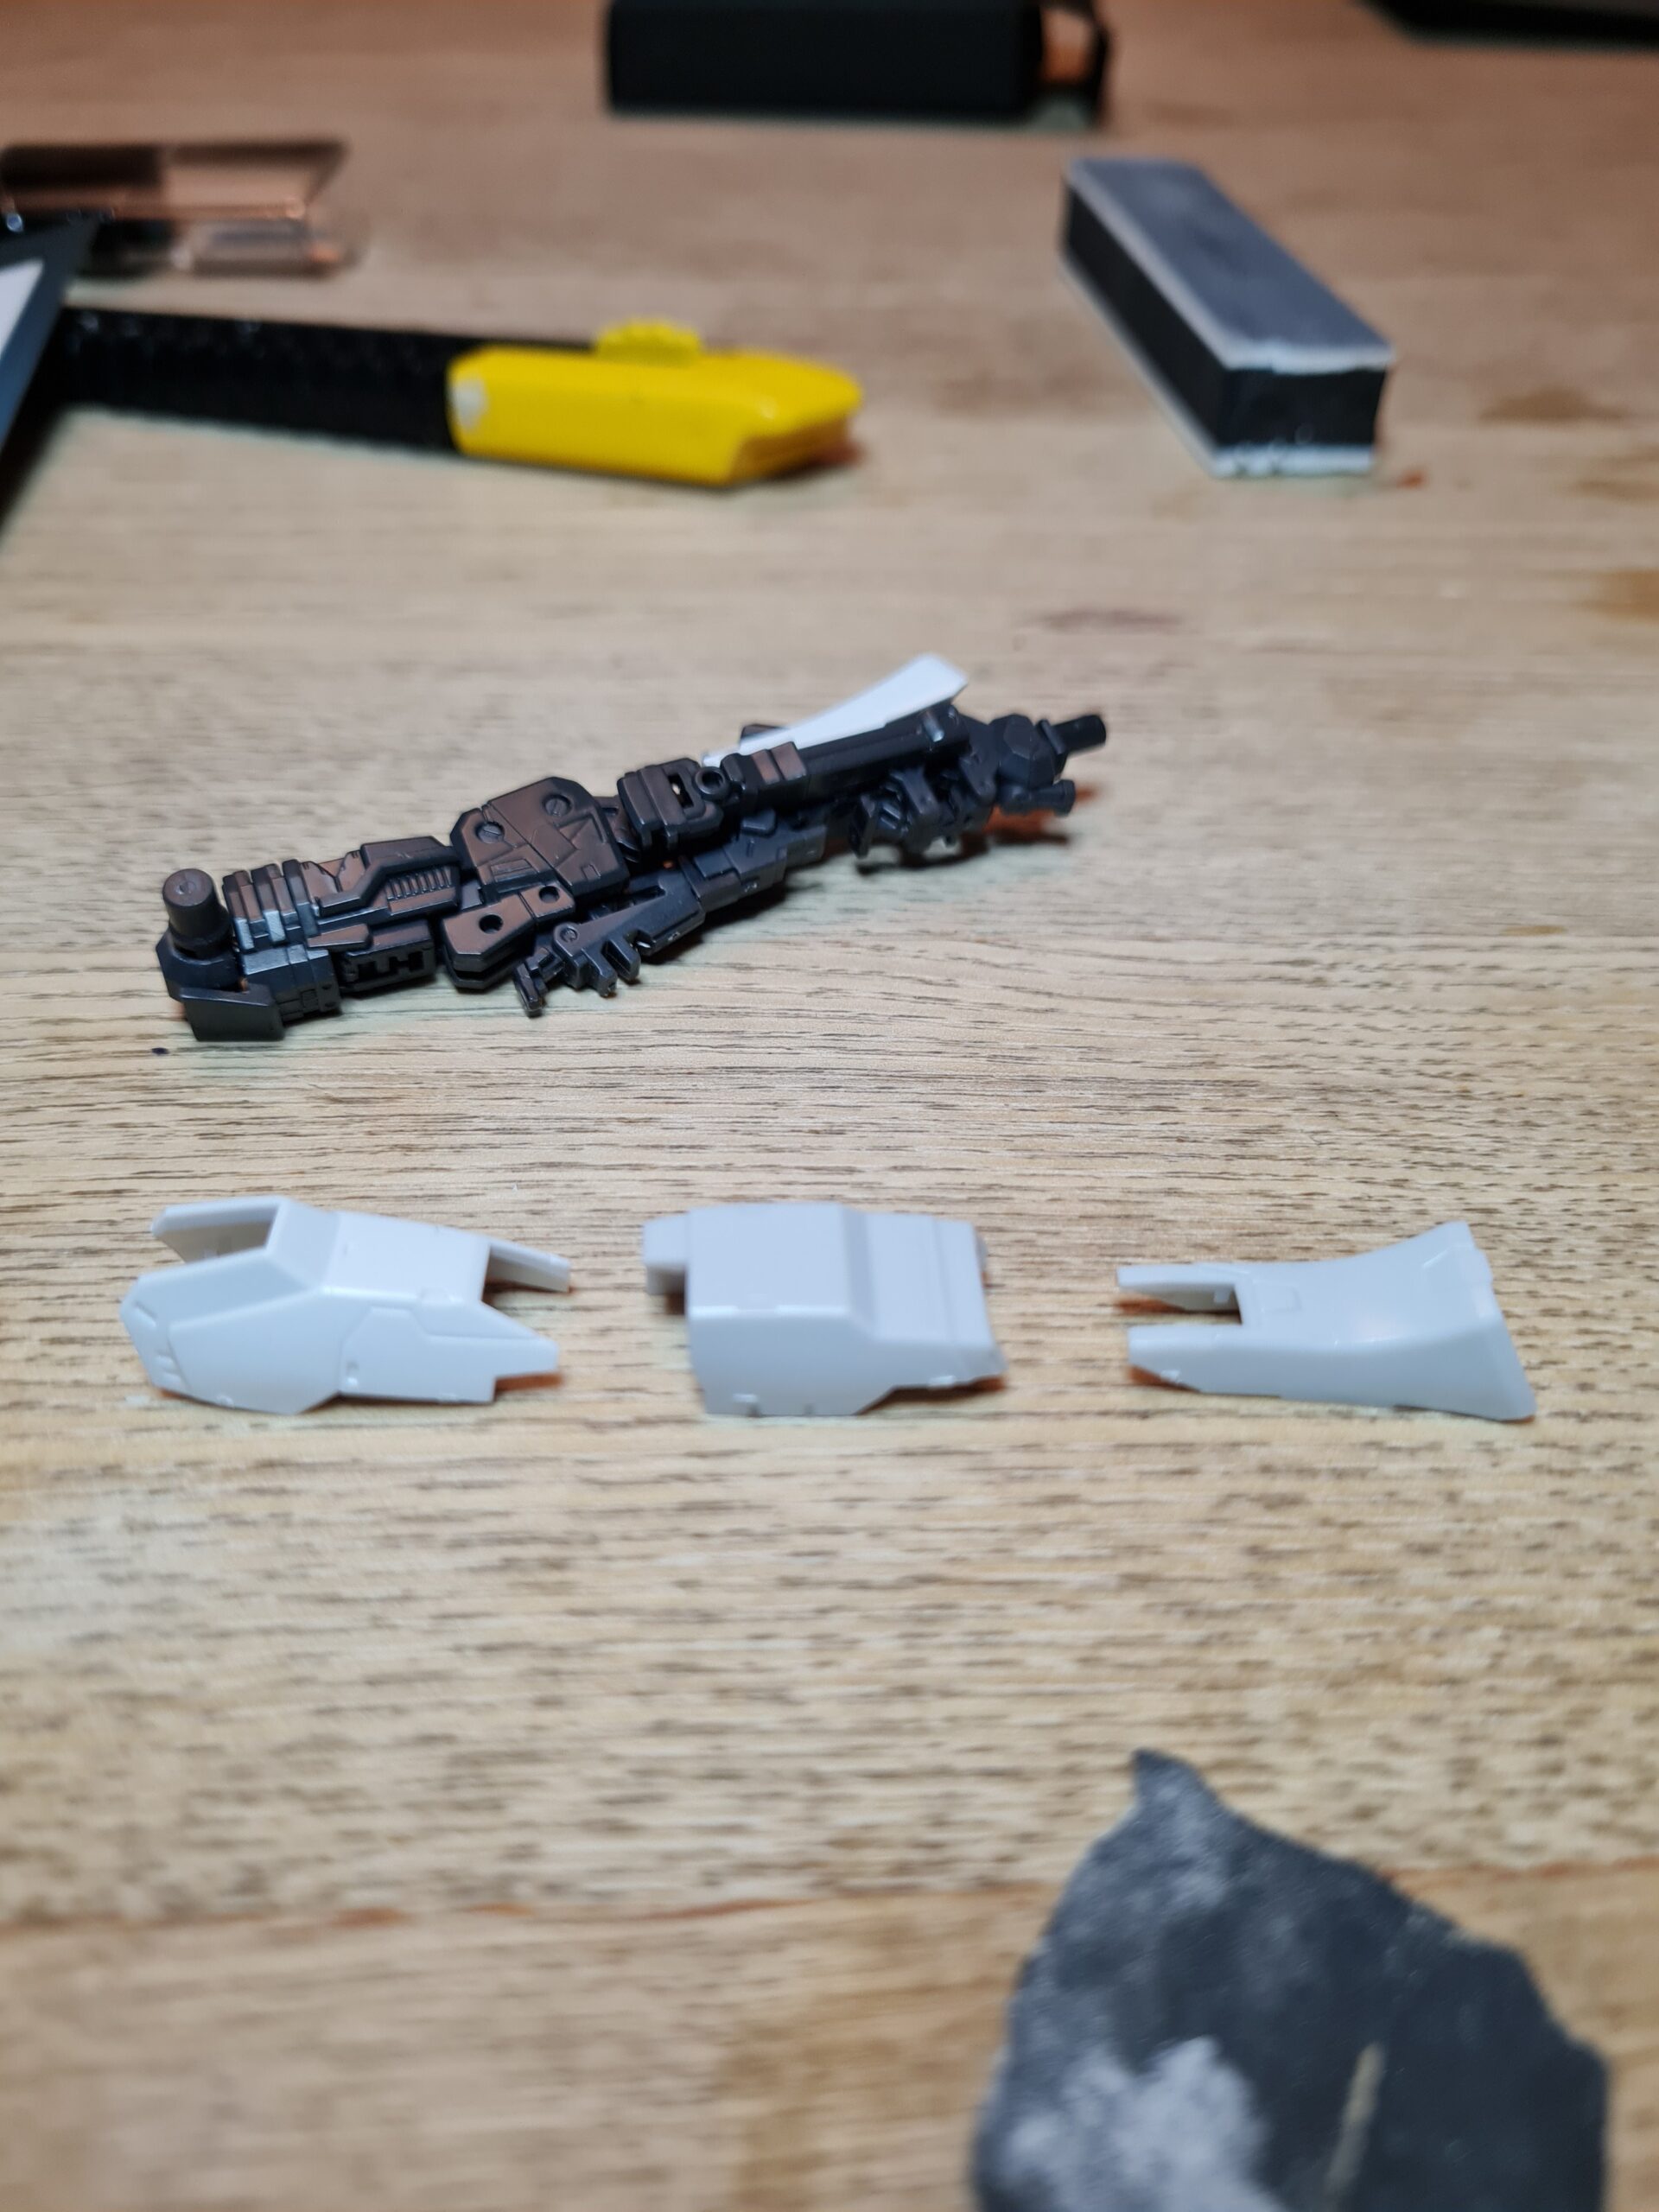
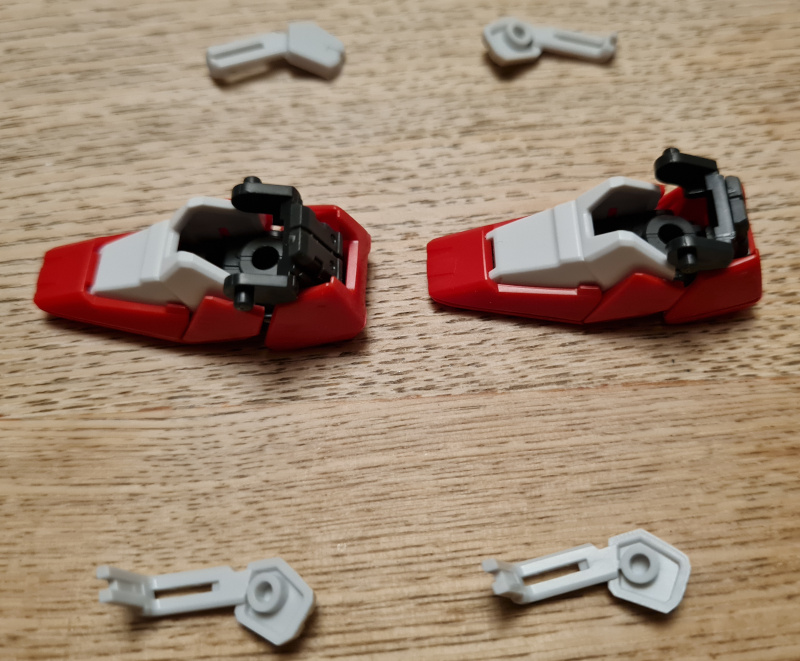
The Parts
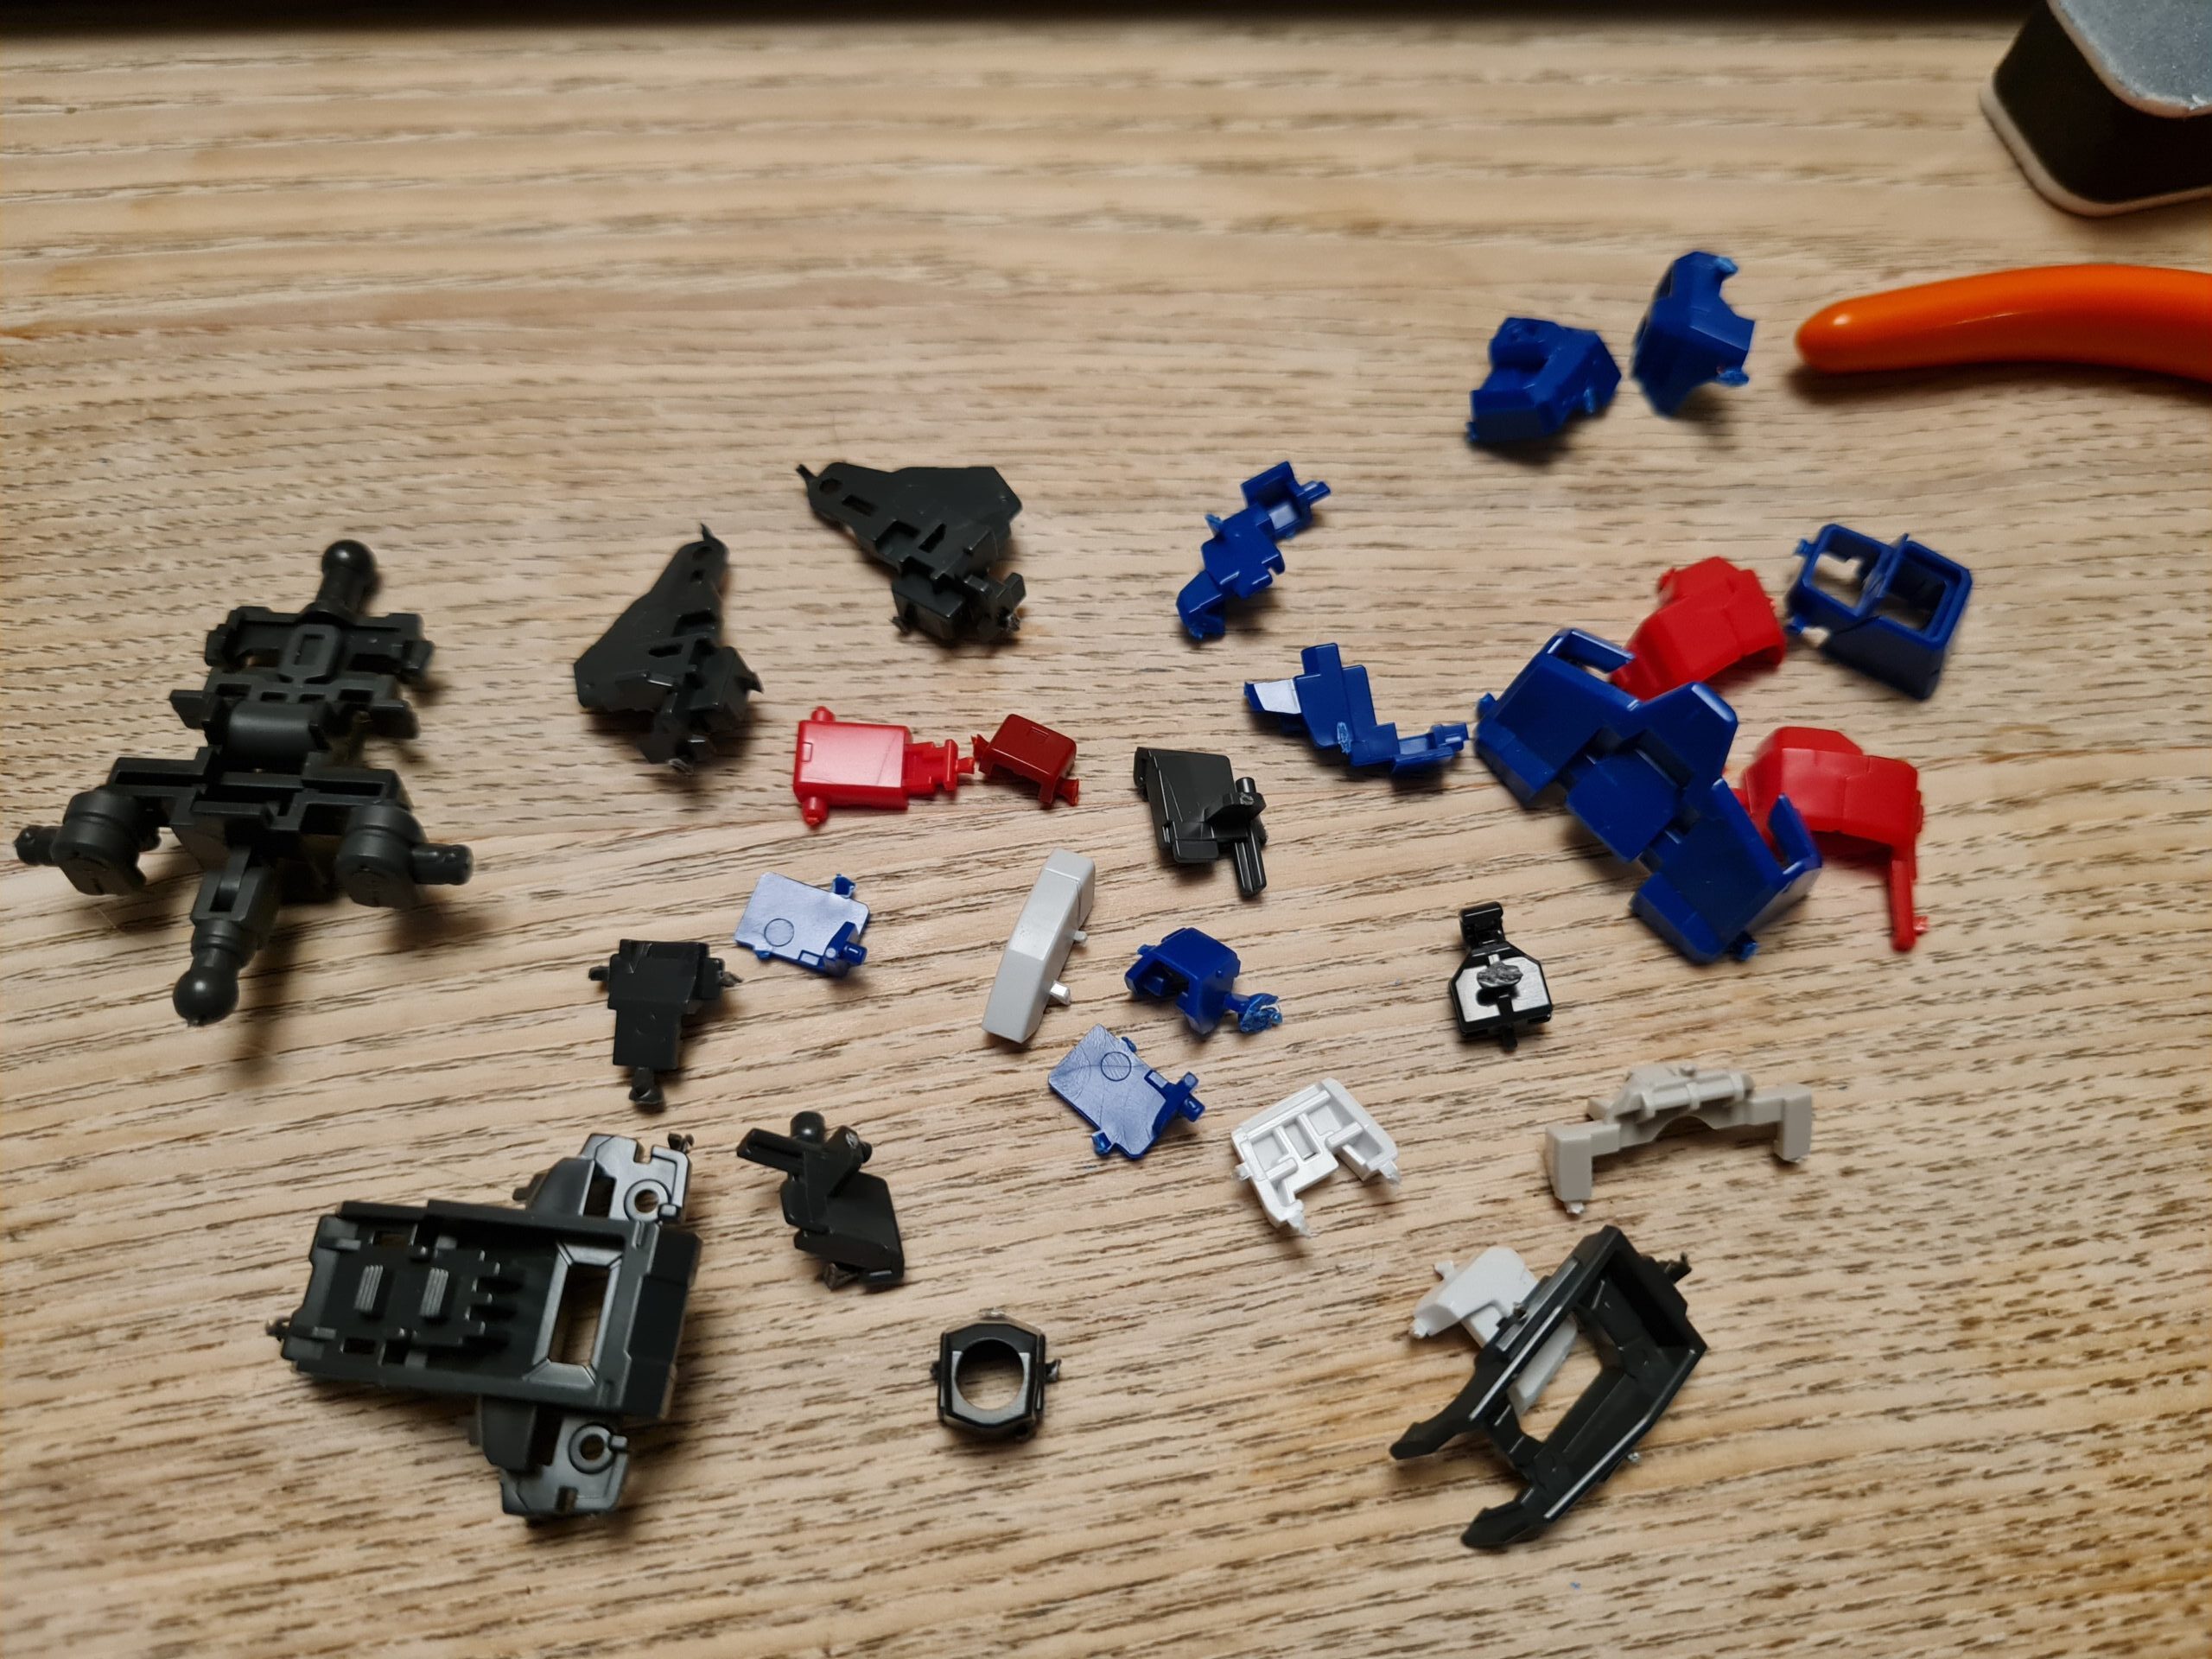
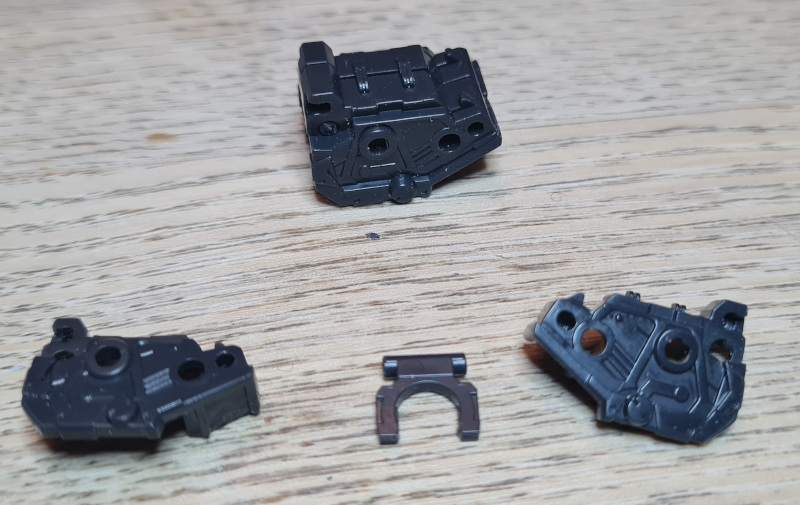
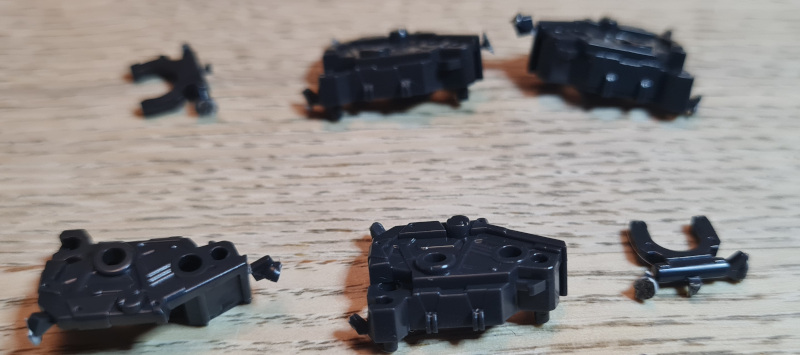
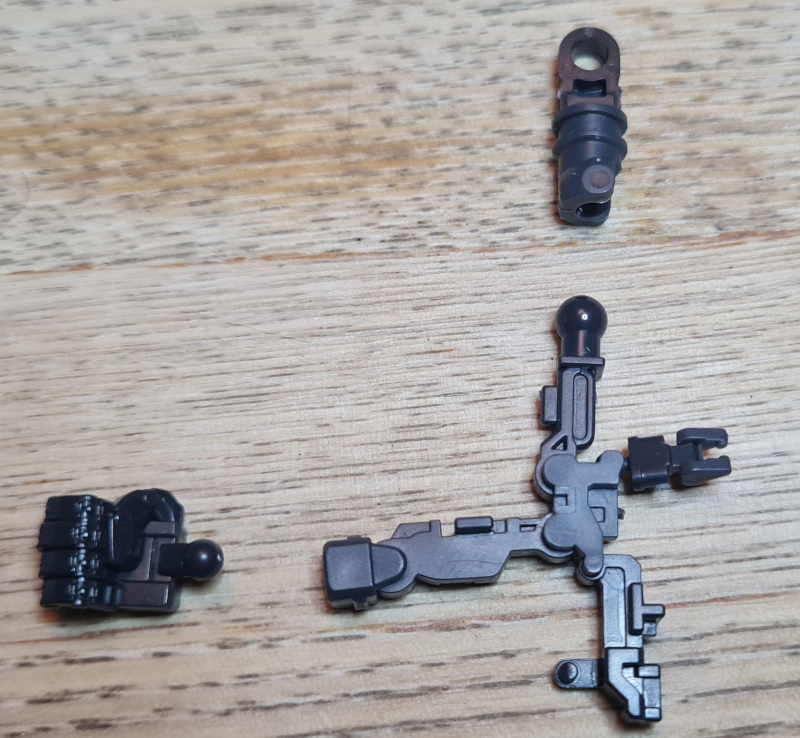
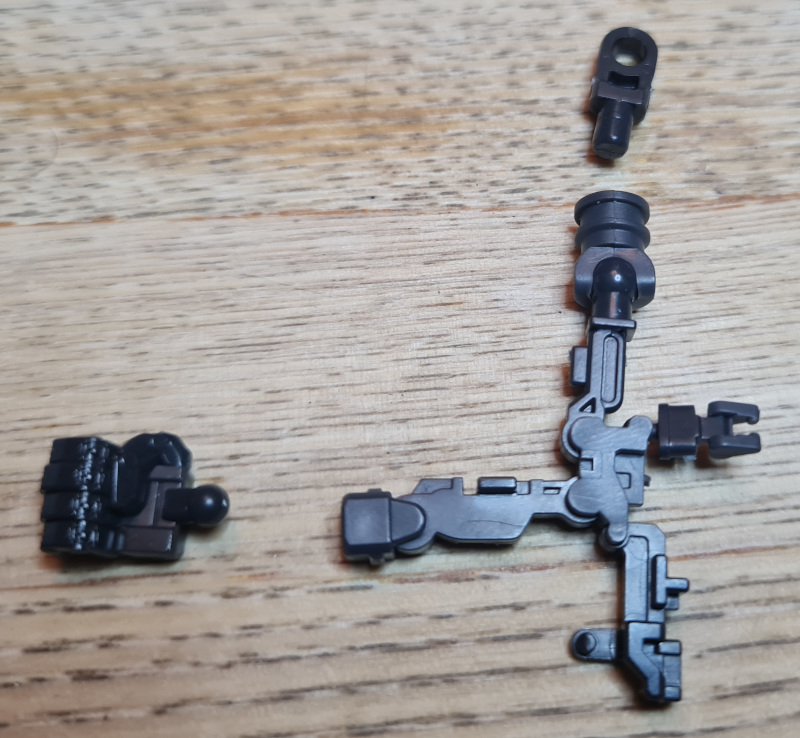
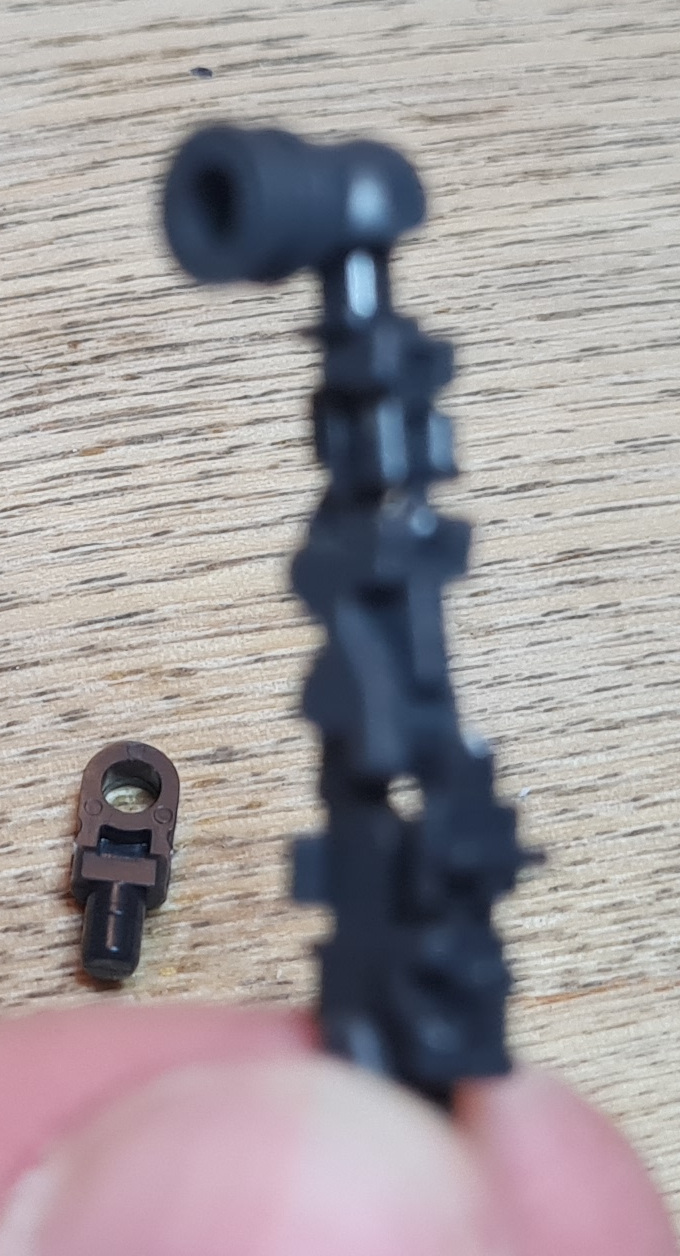
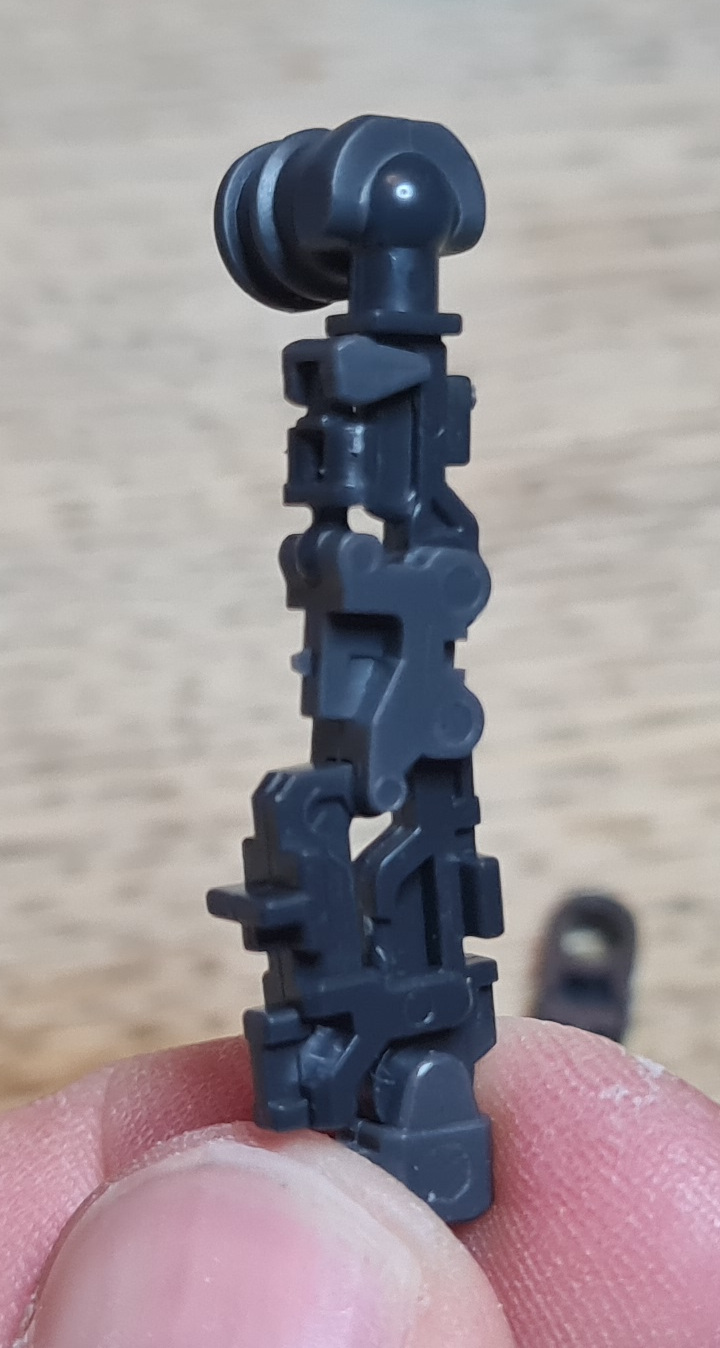
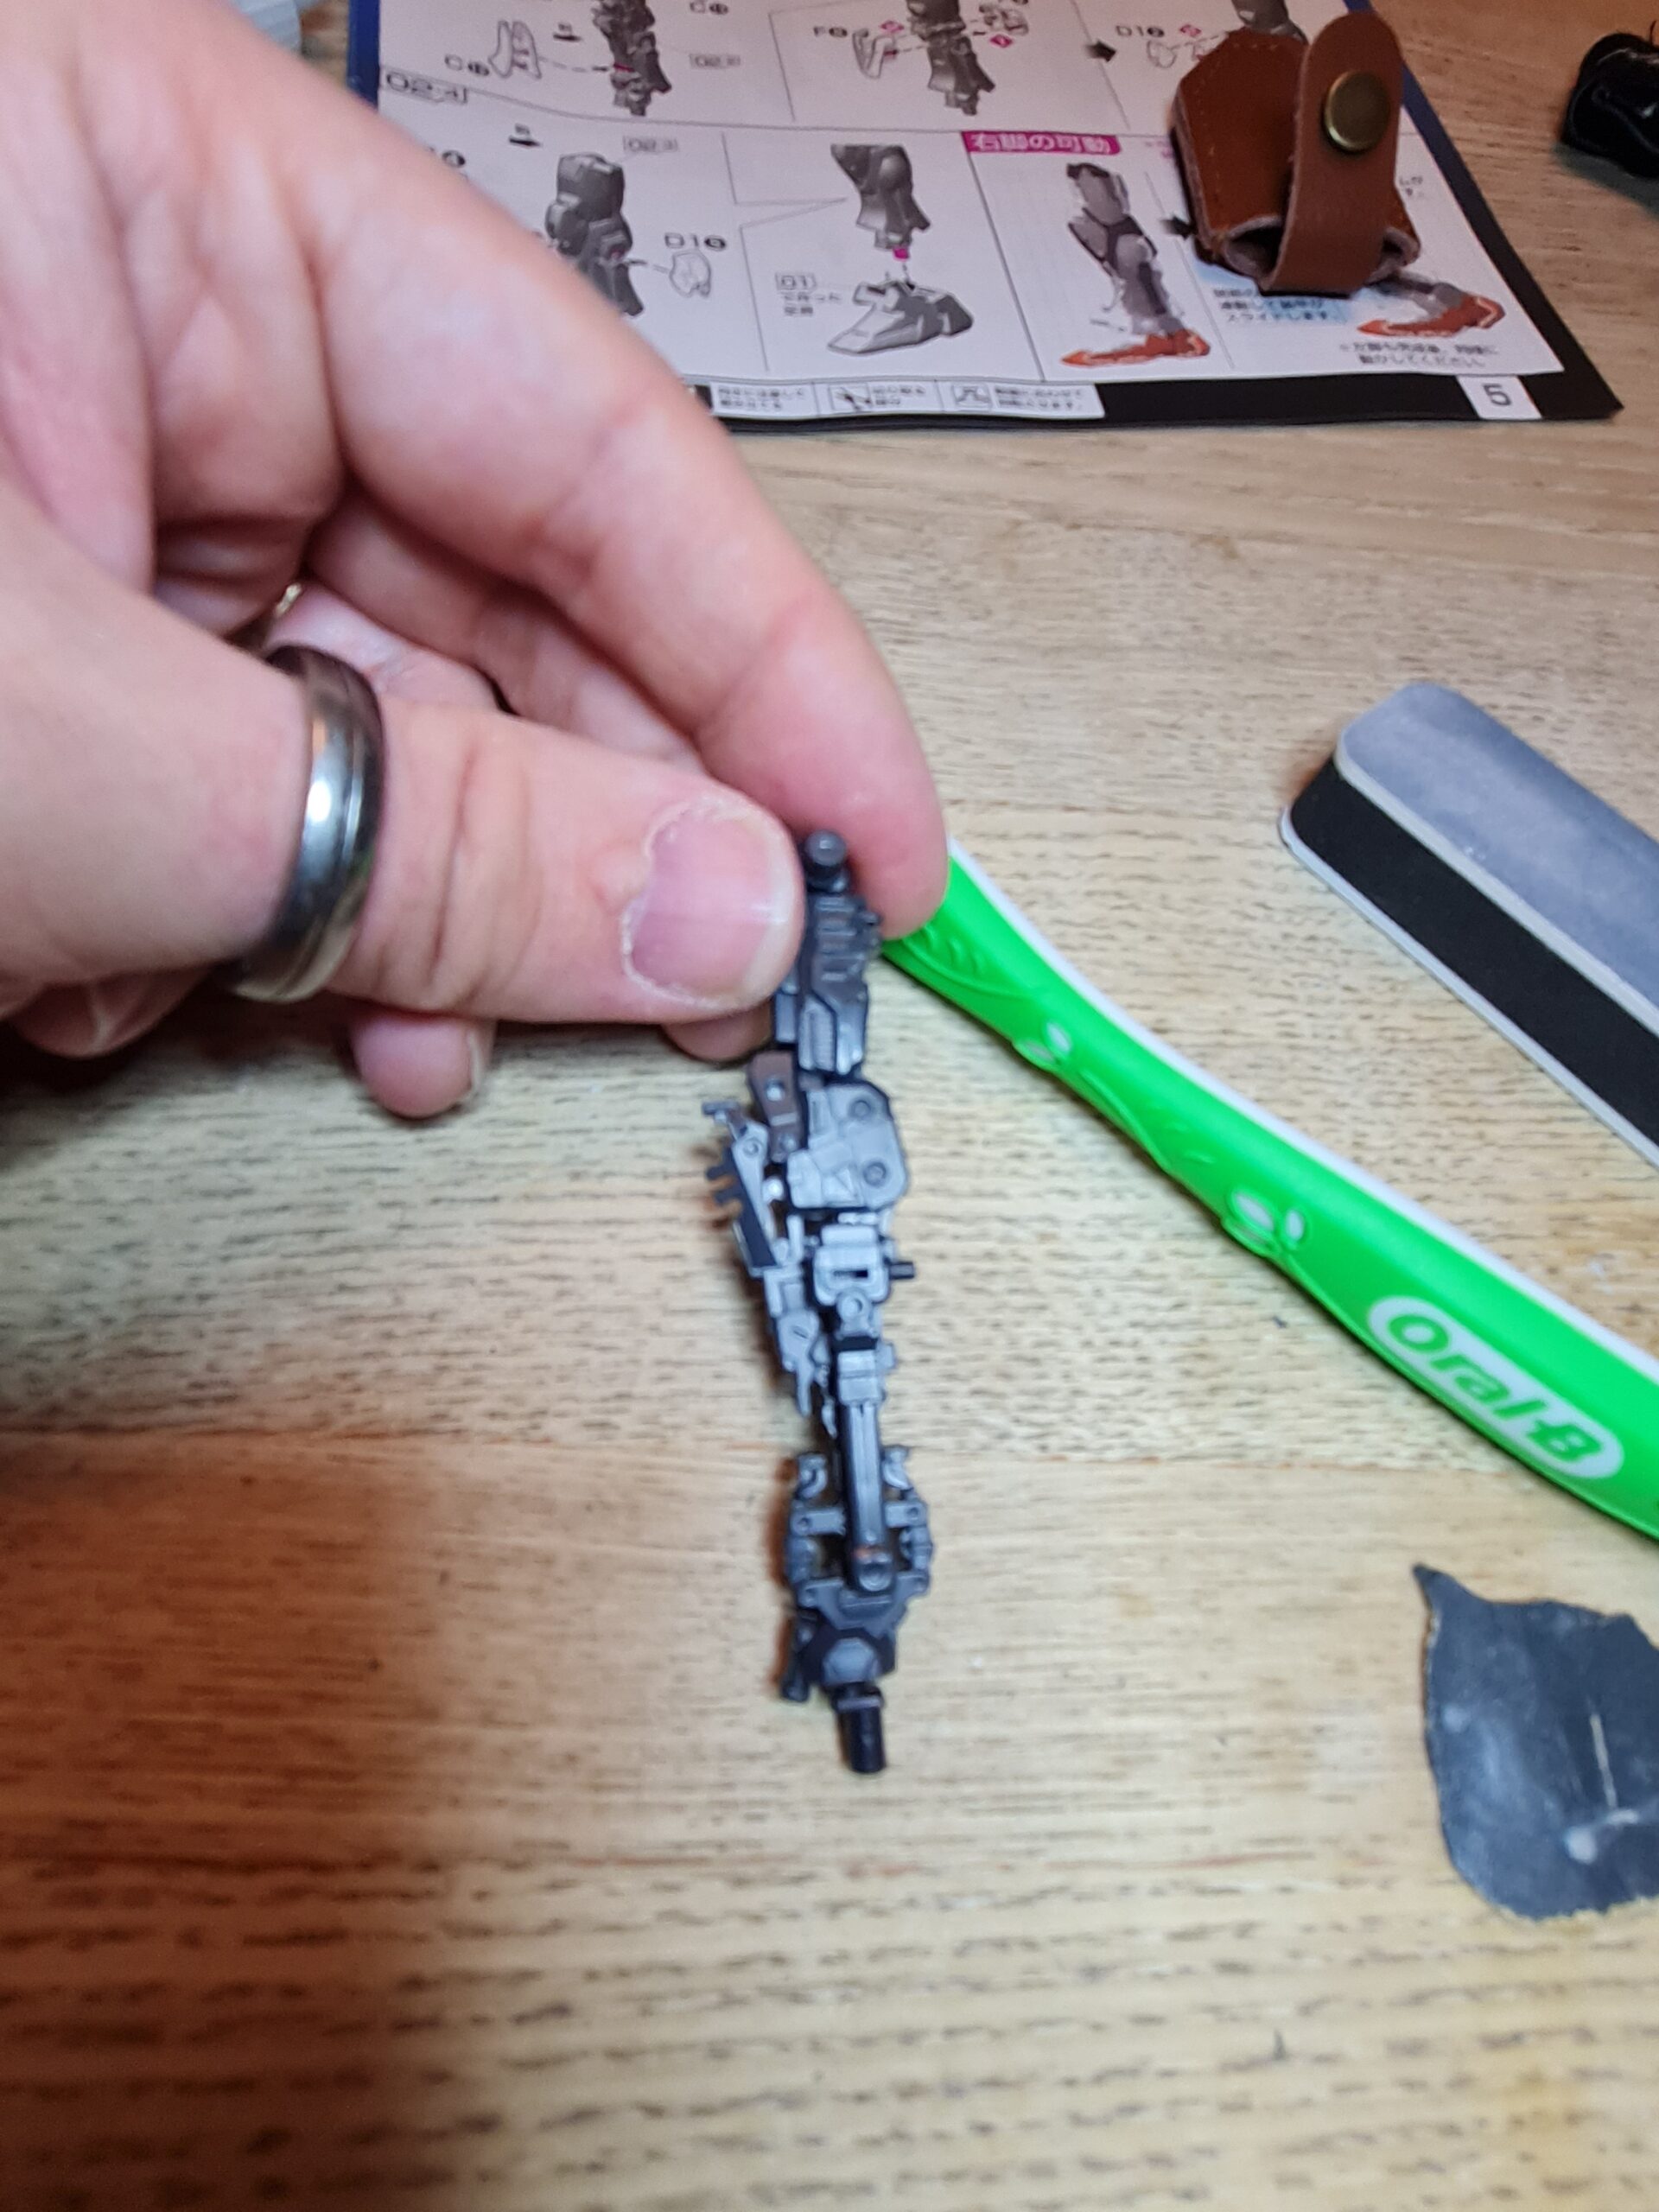
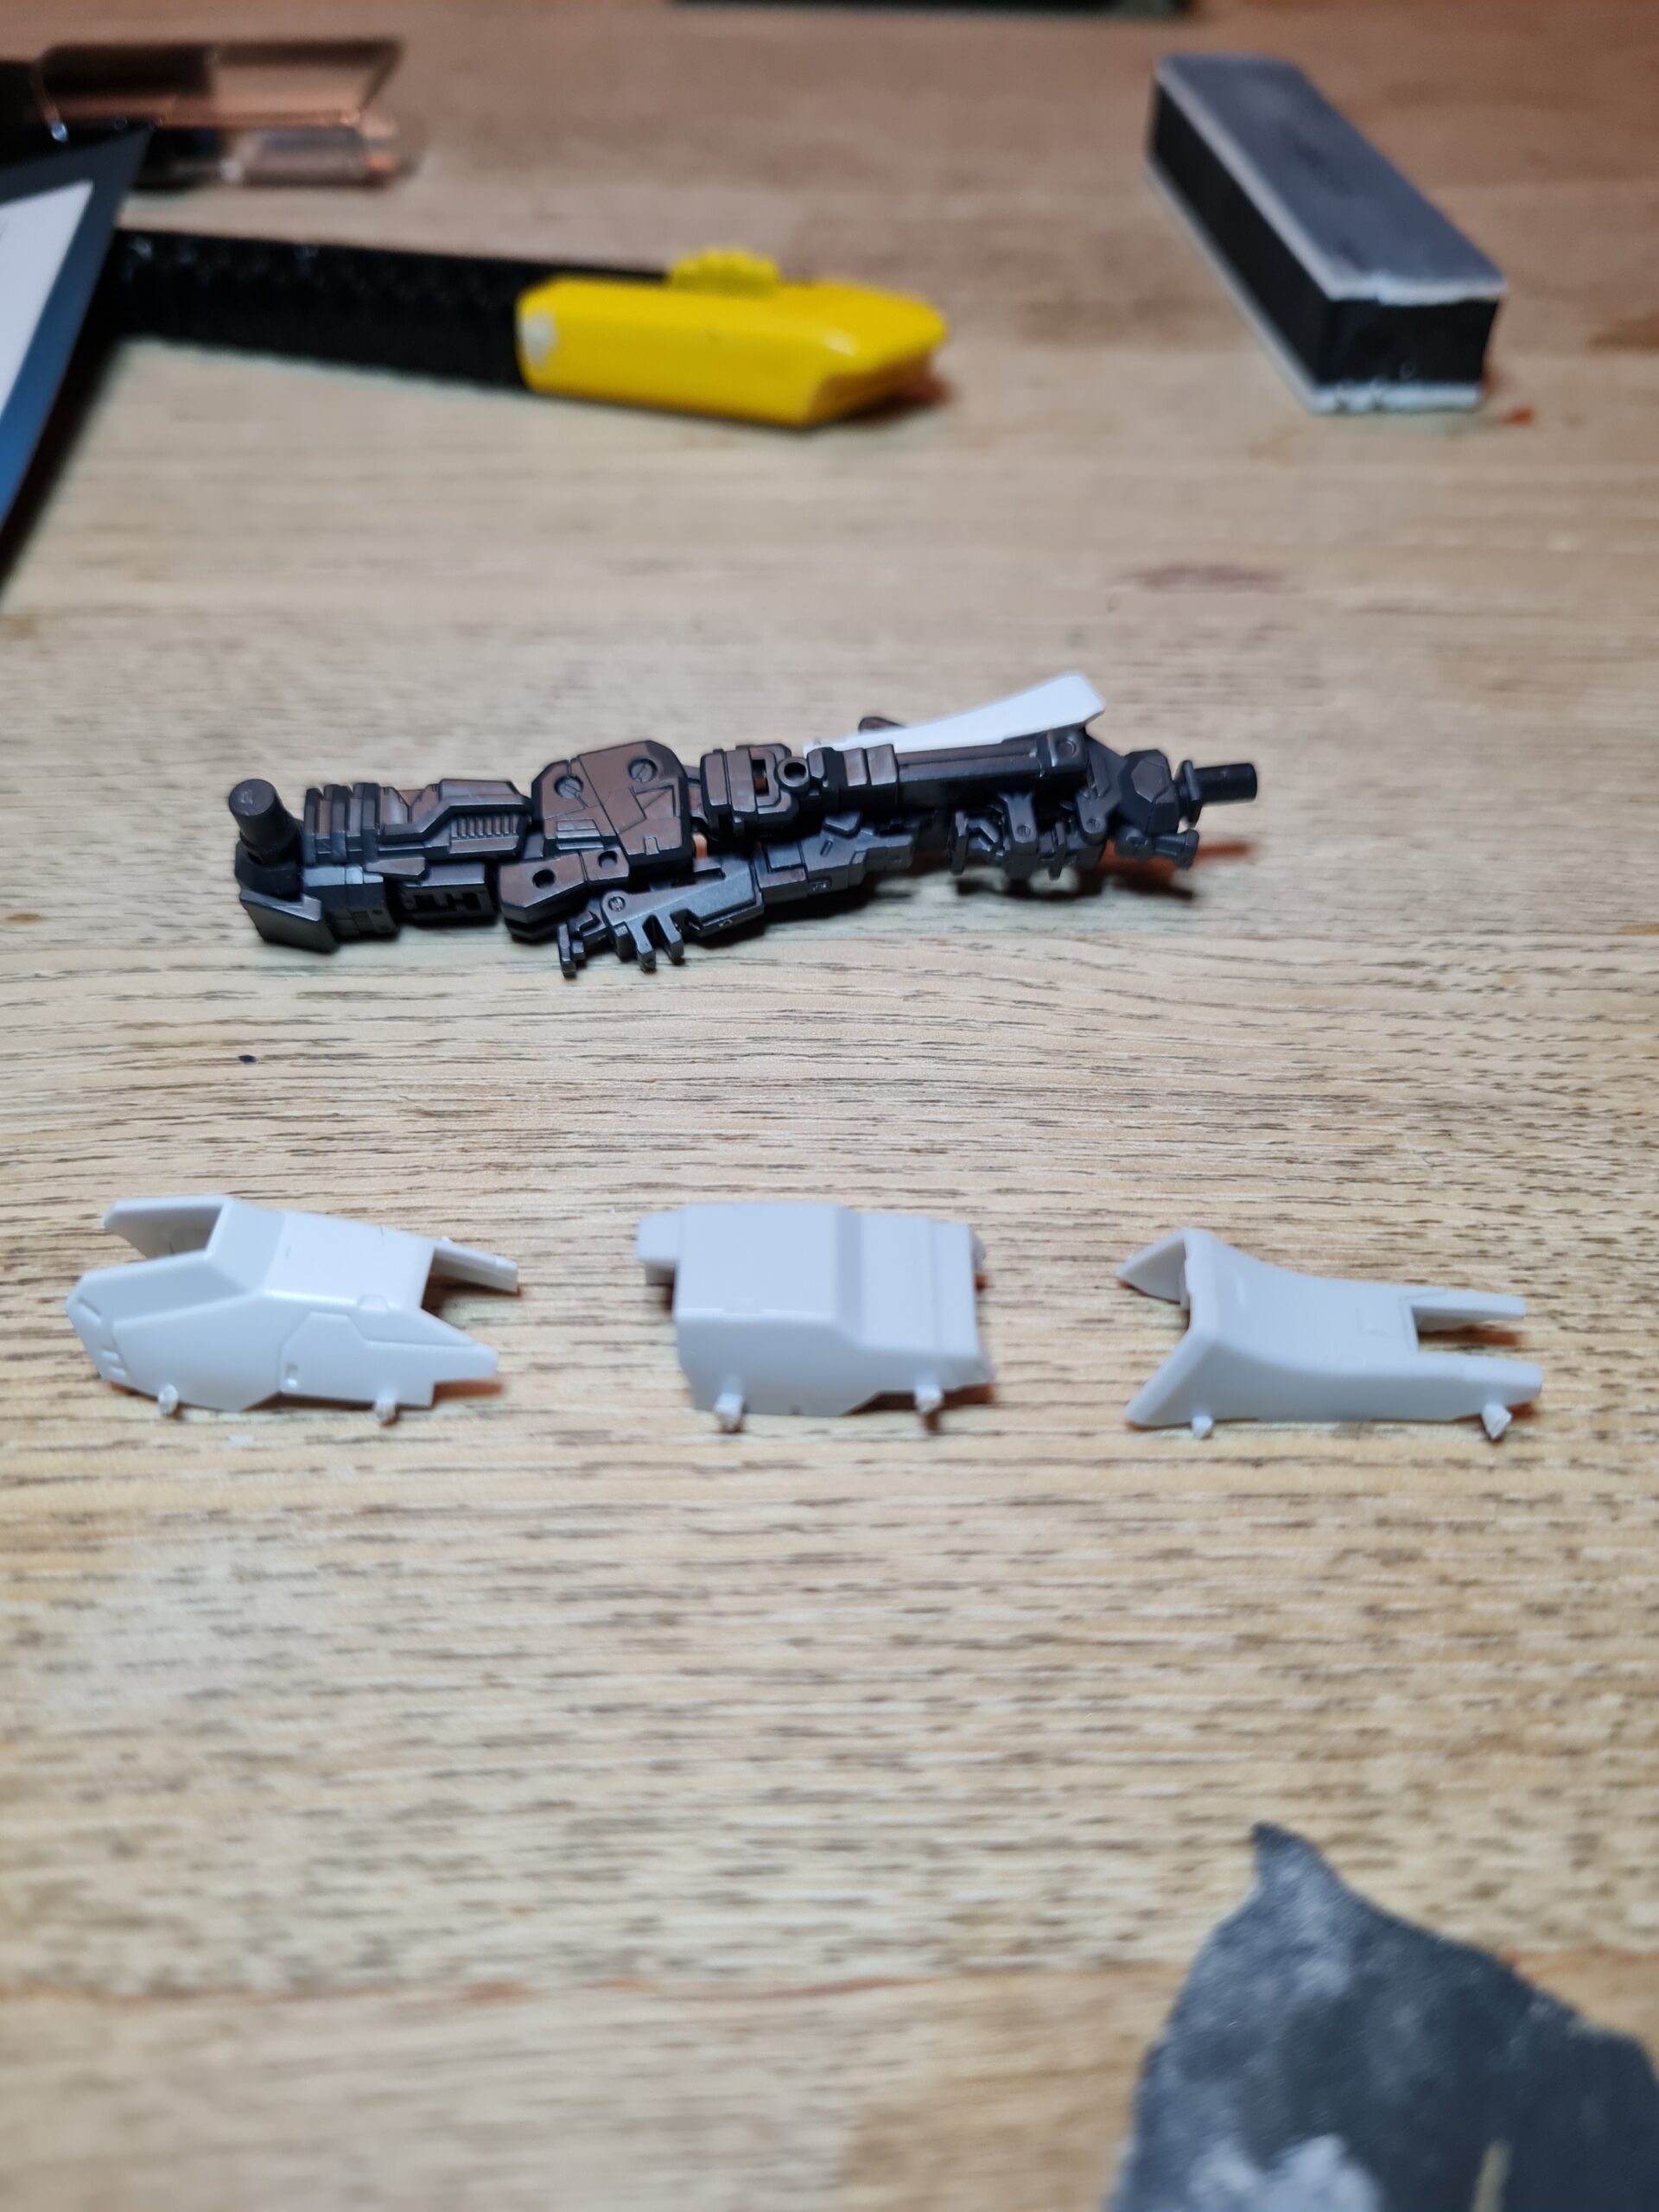
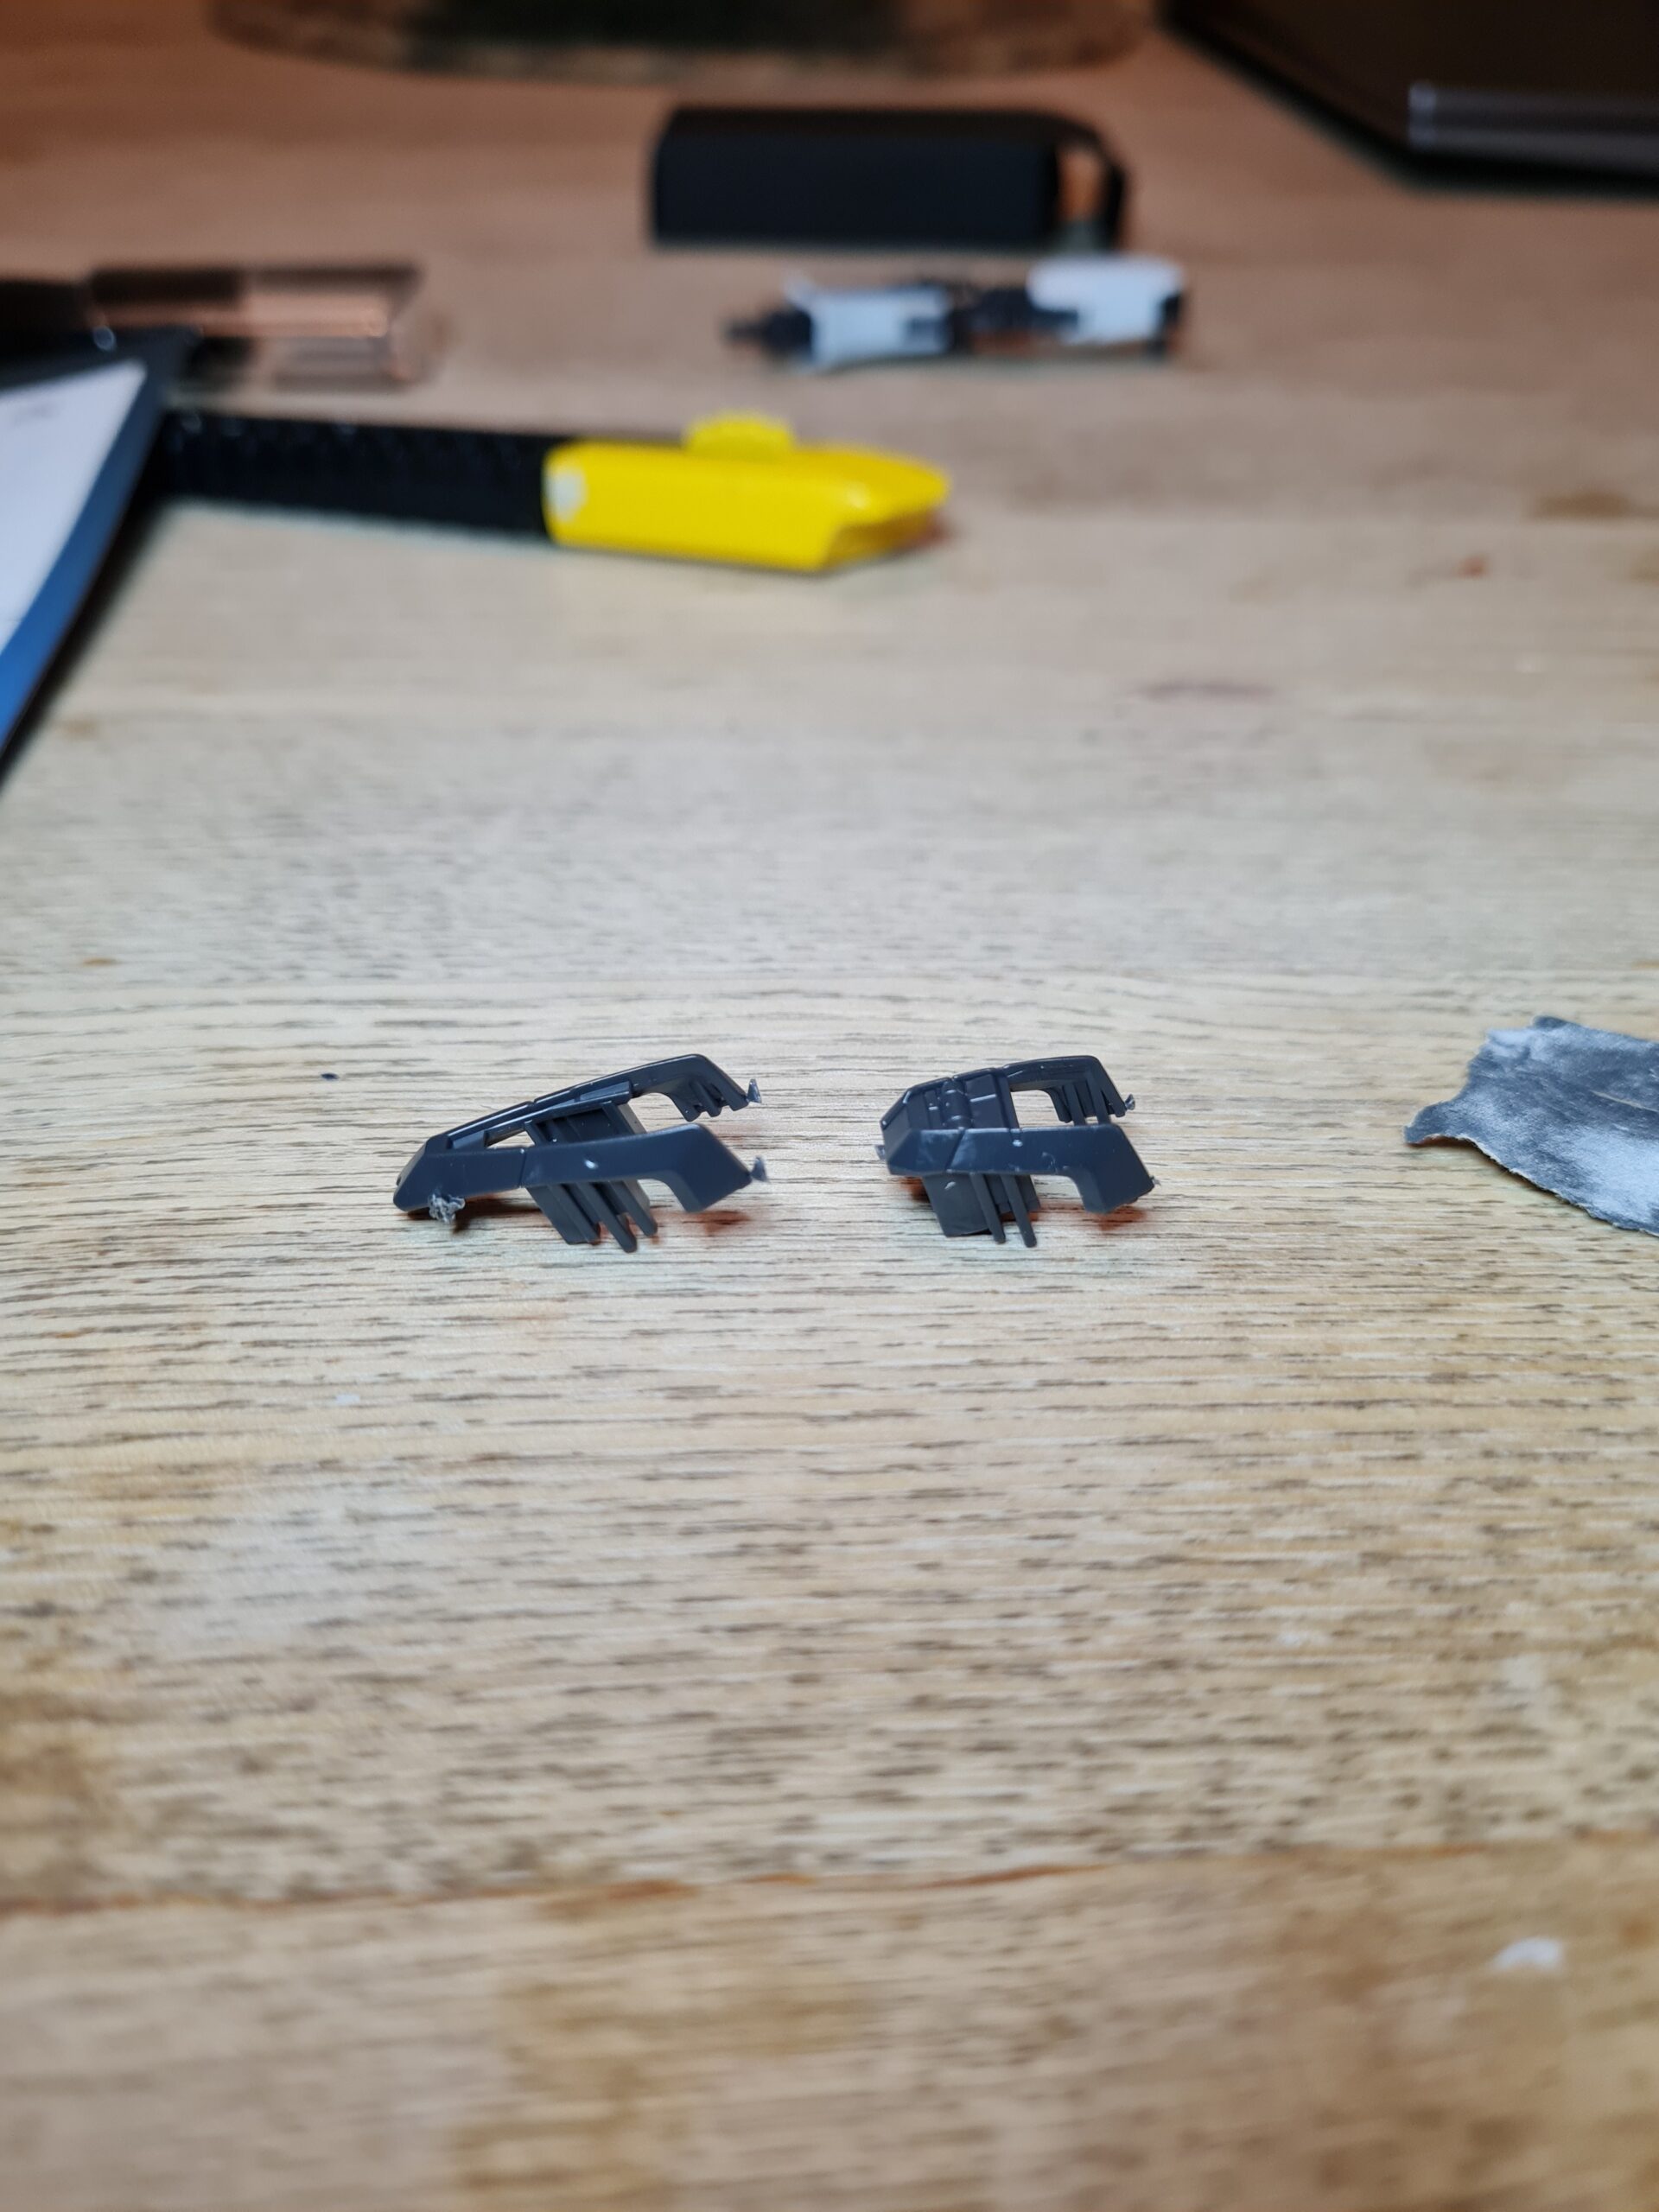
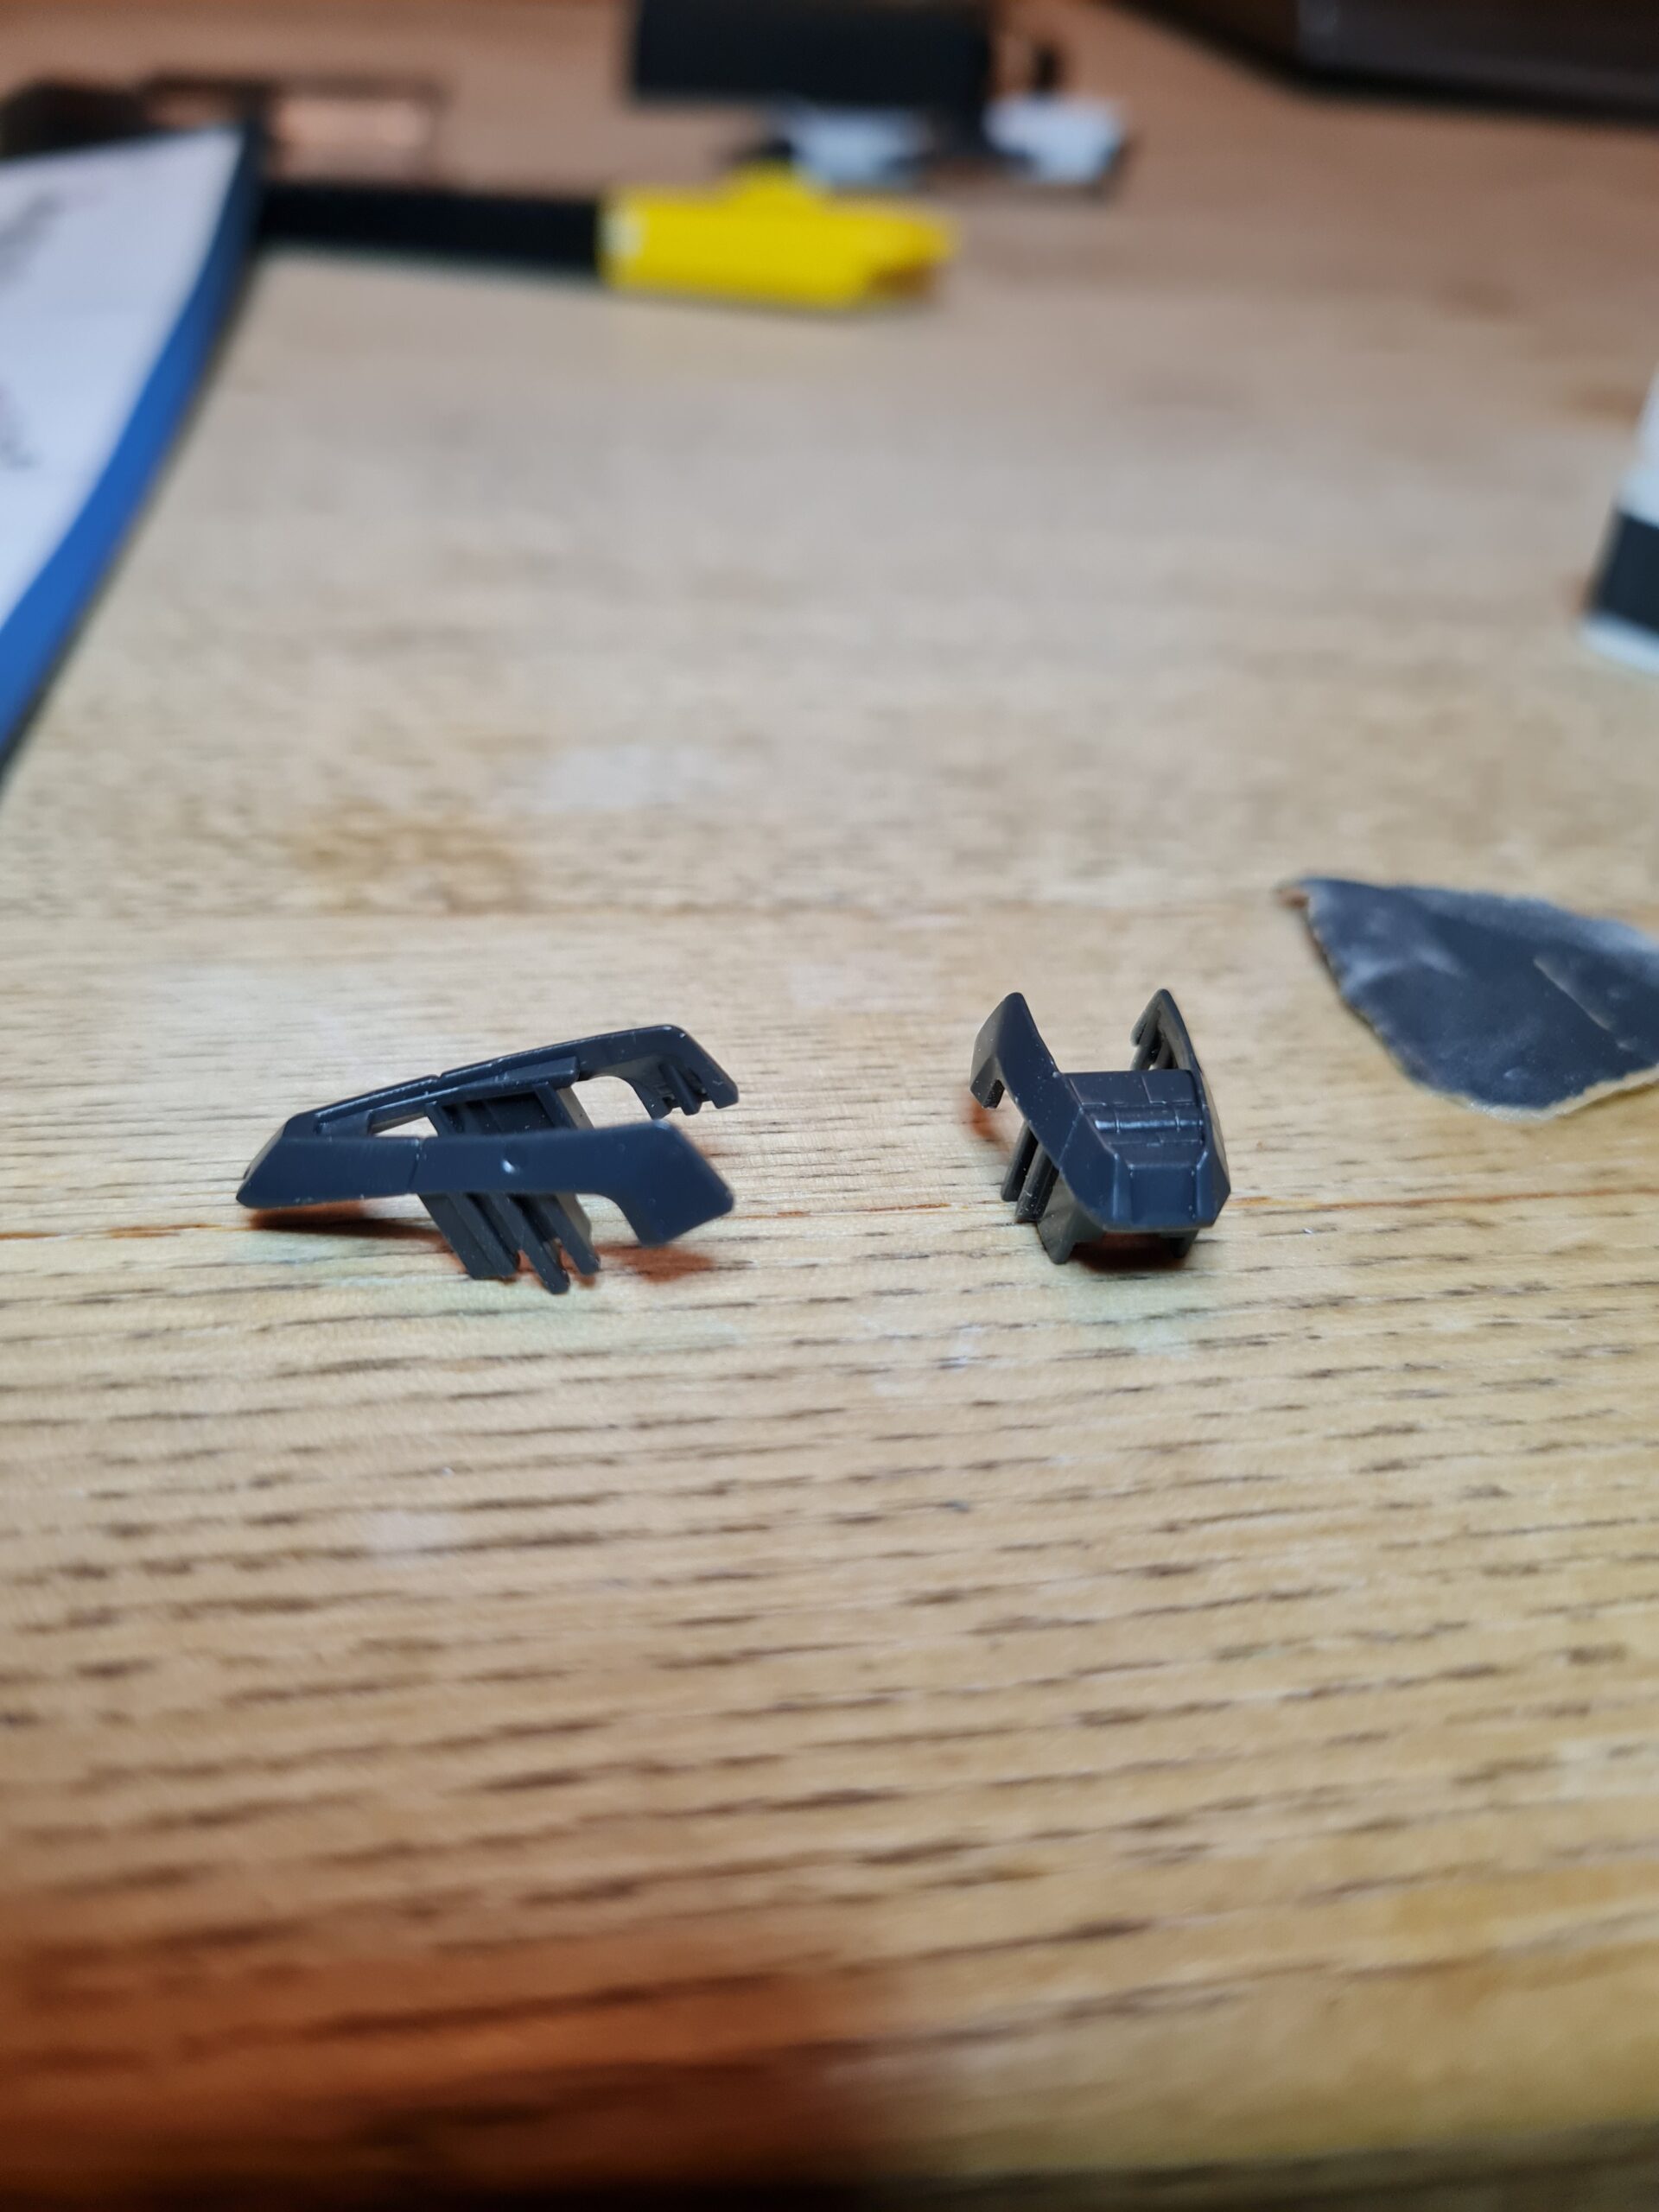
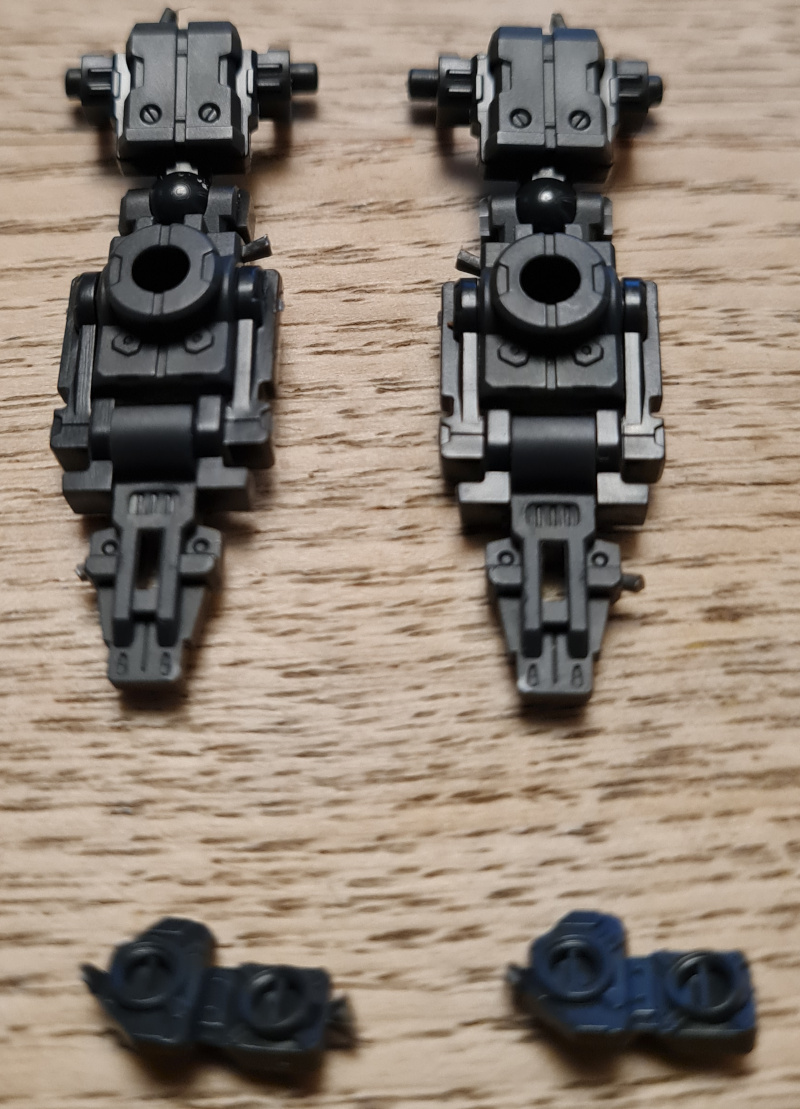
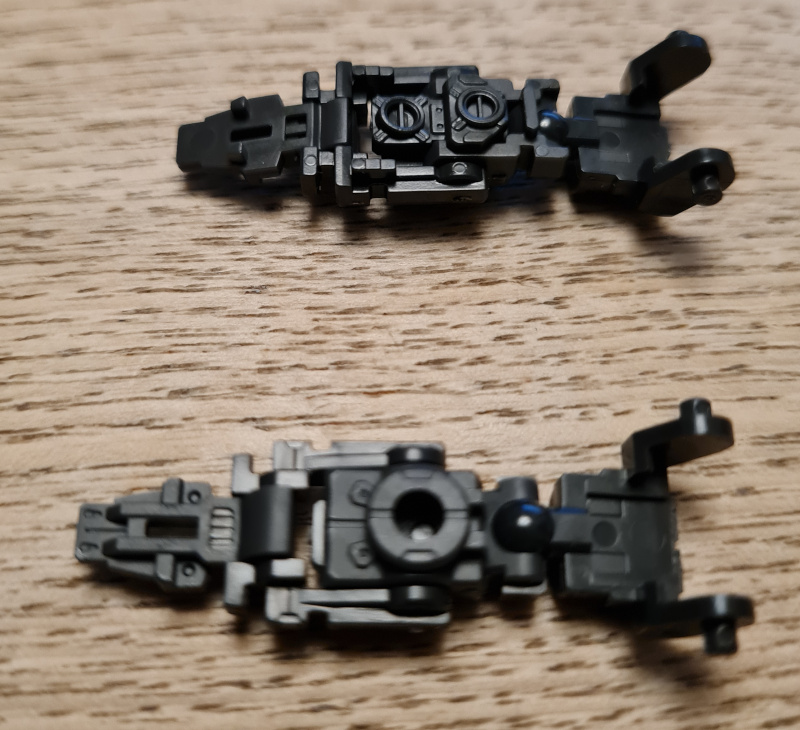
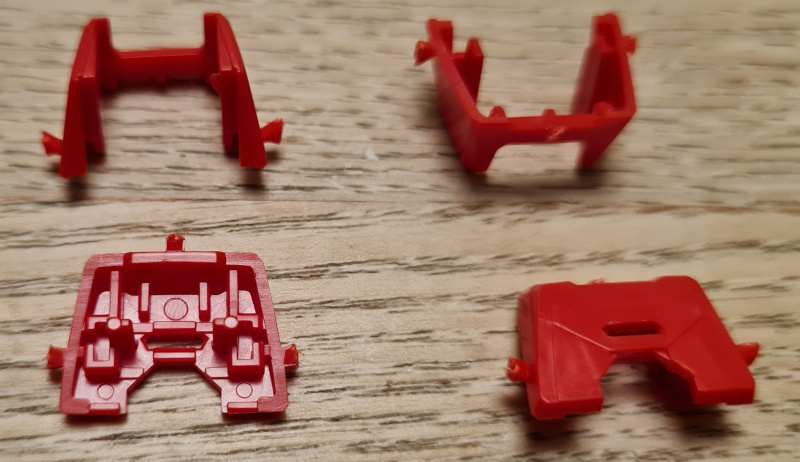
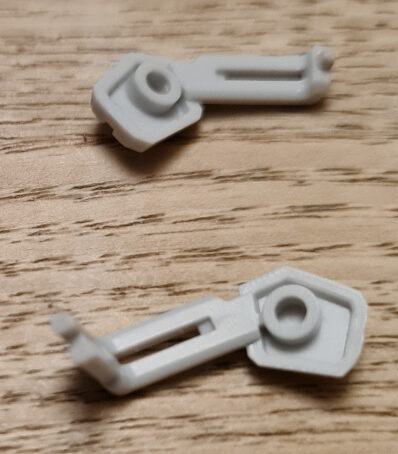
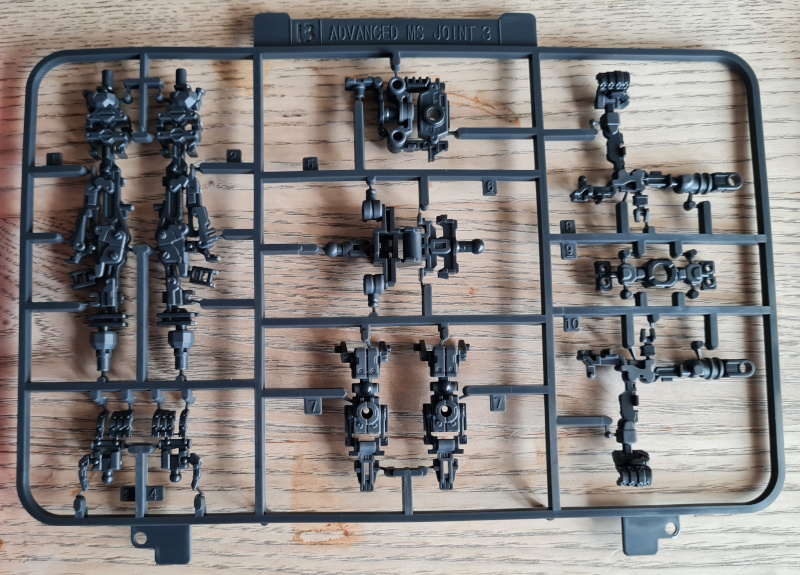
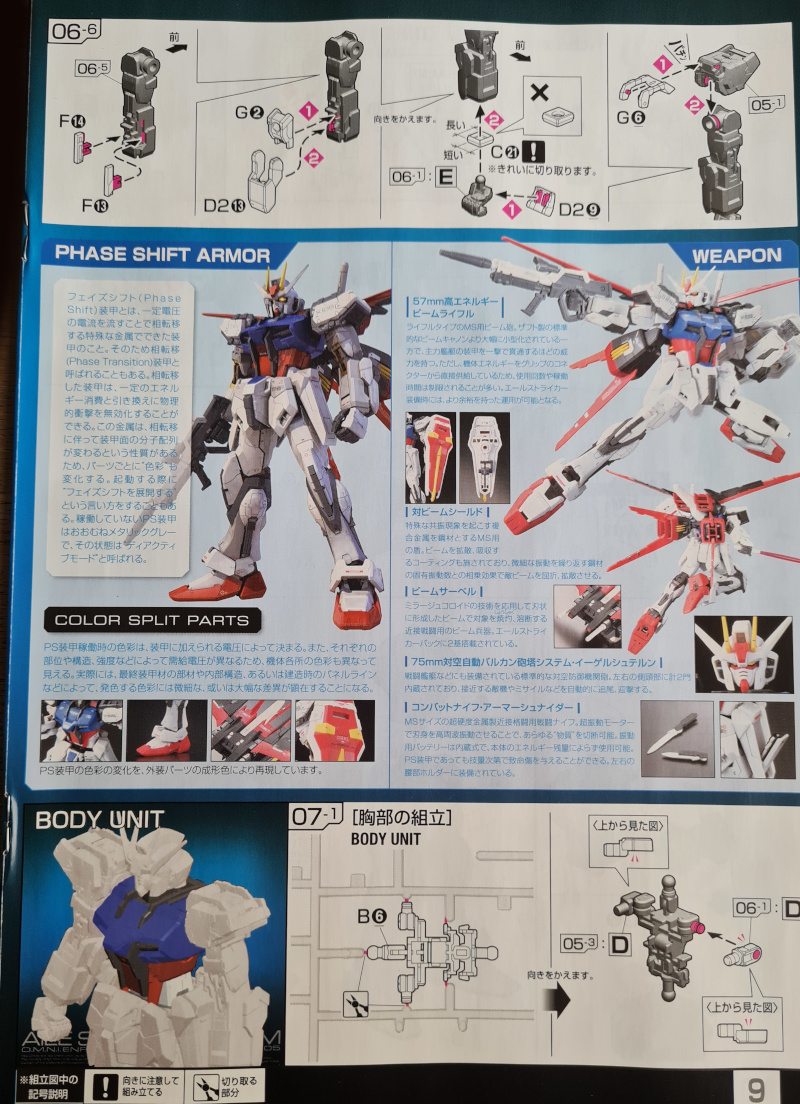
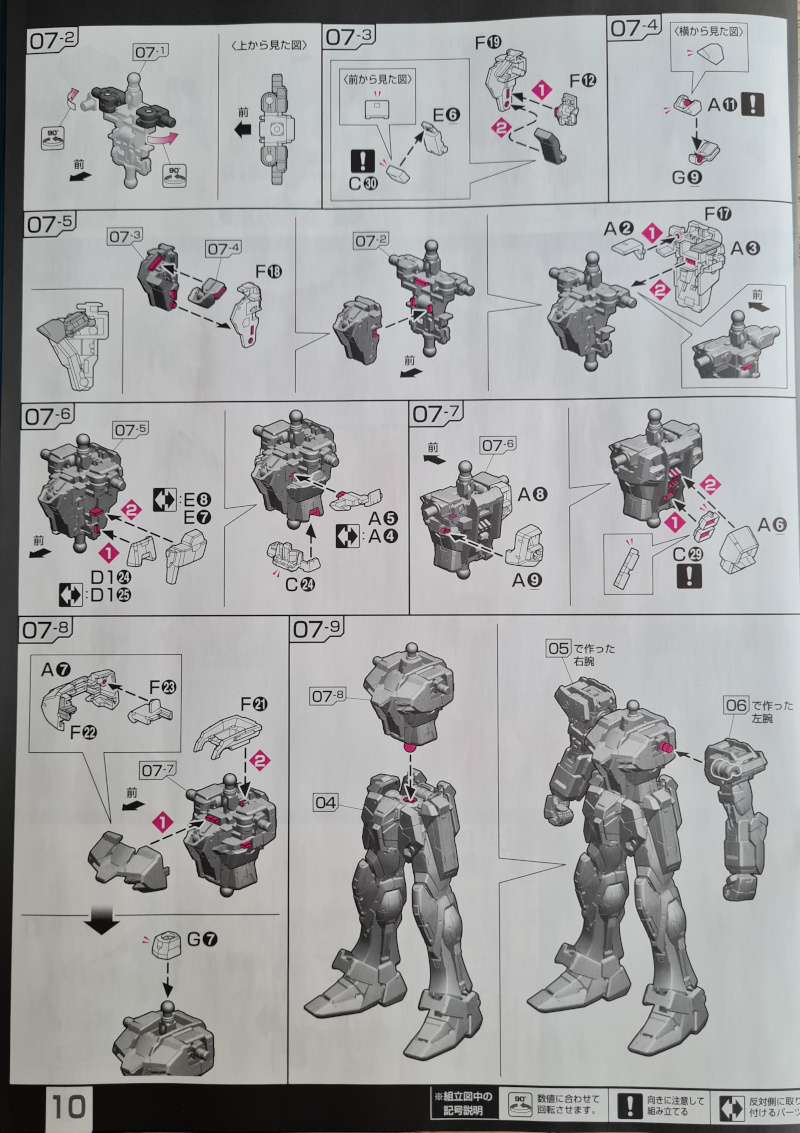
There are approximately 27 parts to the torso. However, you do need the two joint parts that were extracted from the top of the arm skeletons.
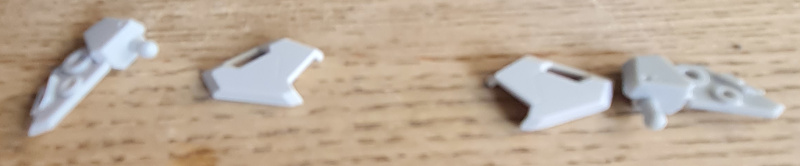
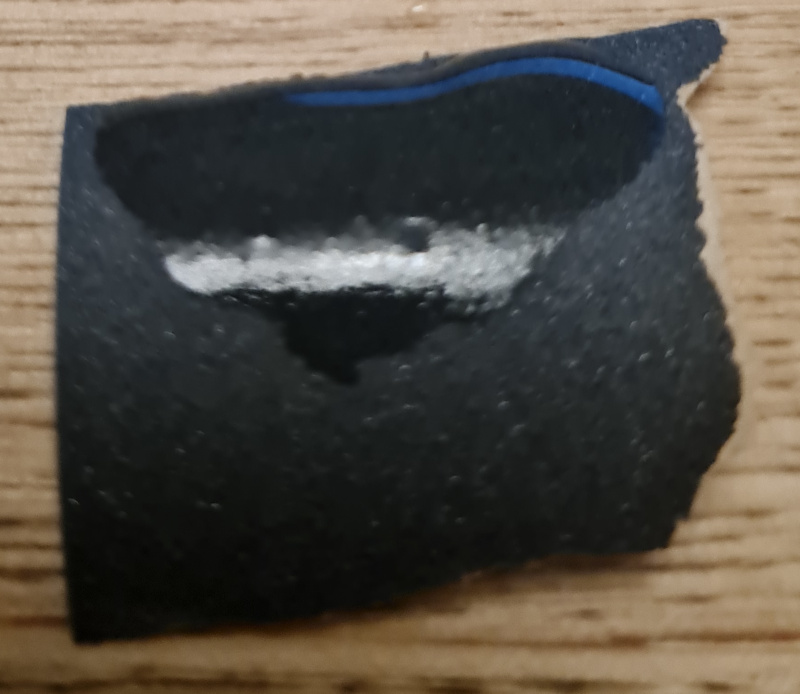
For the image above I cut the pieces out roughly and then put them into a small plastic bag overnight. No reason other than I was working on a few things 🙂
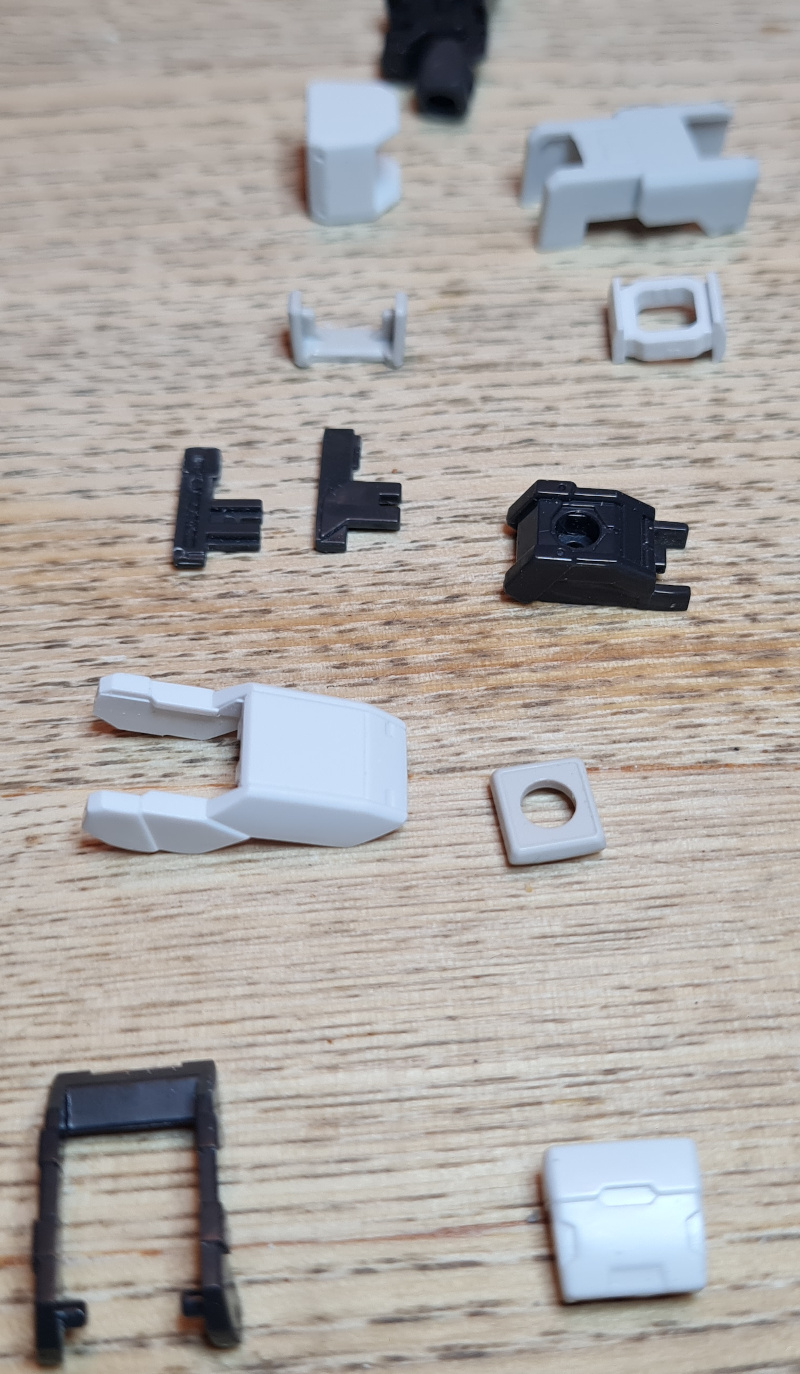
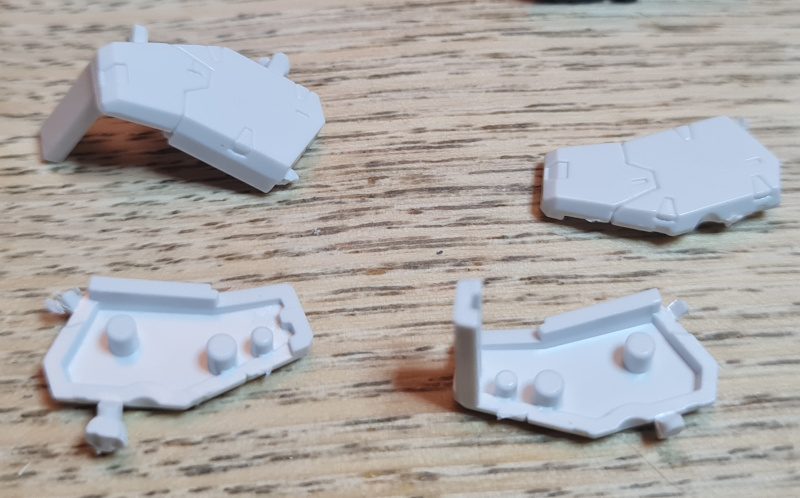
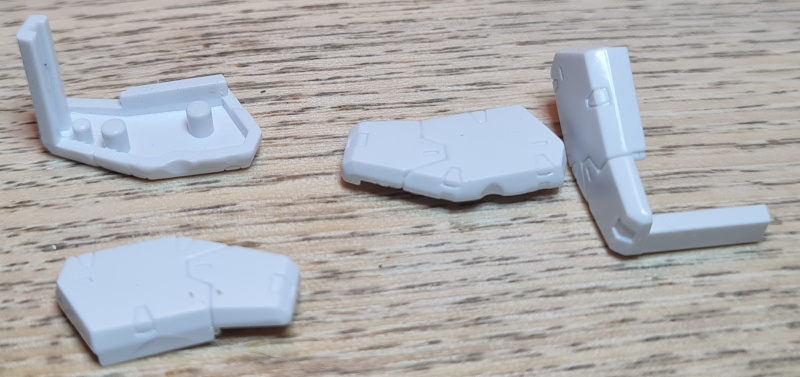
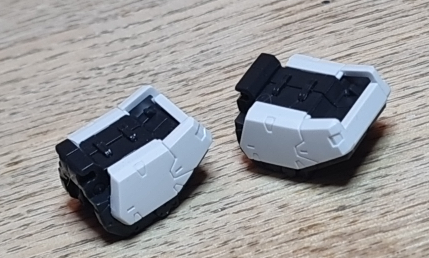
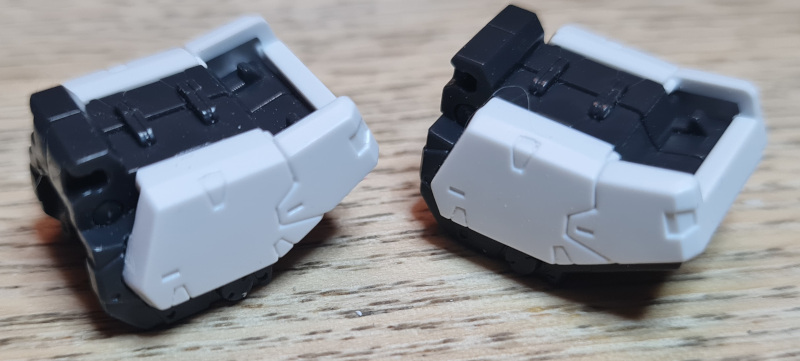
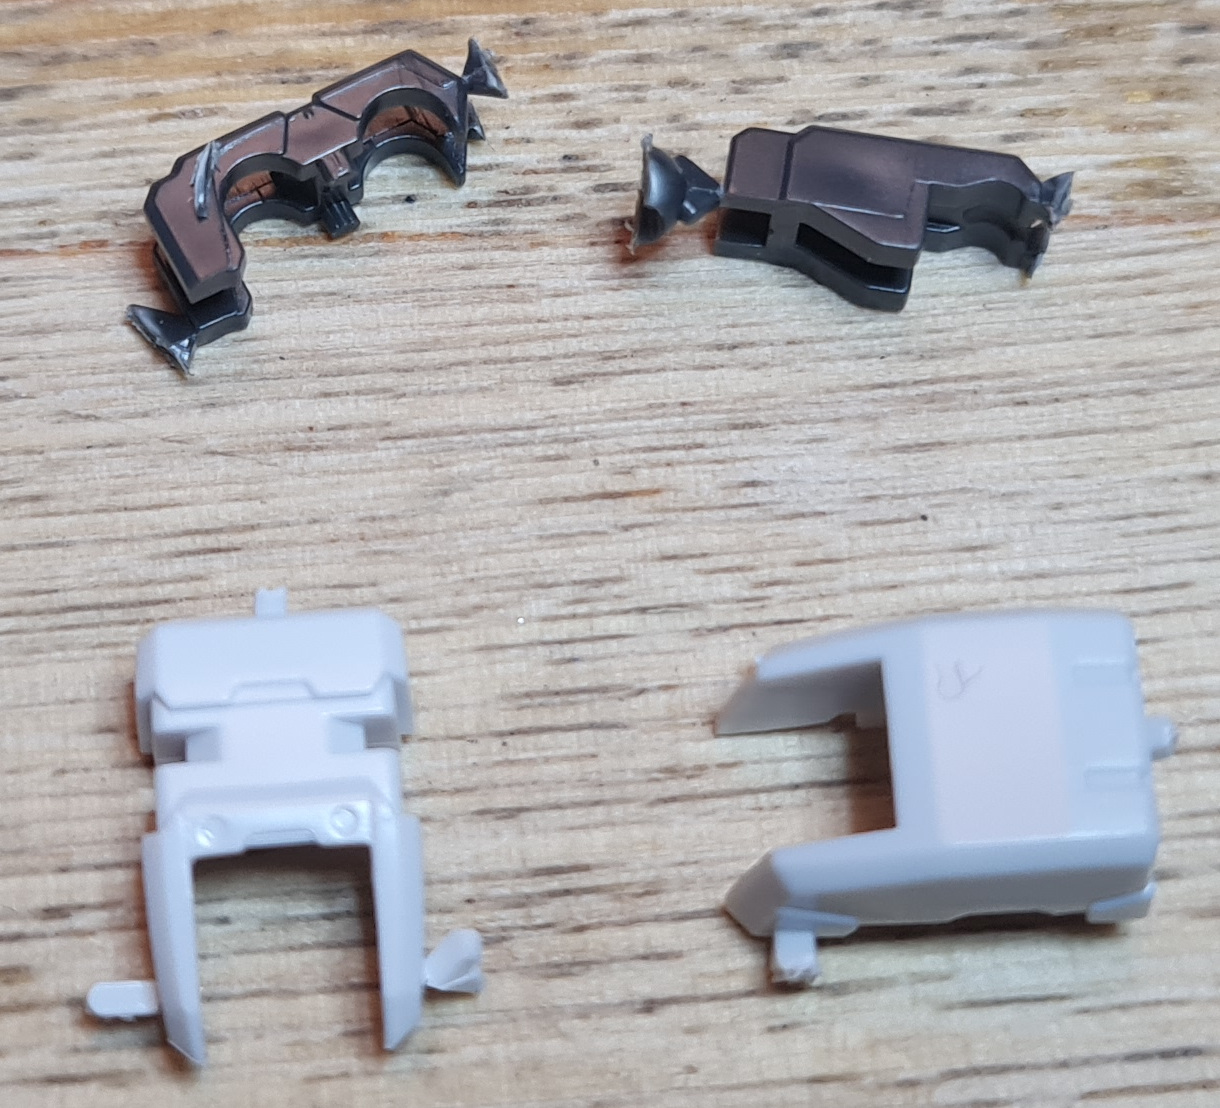
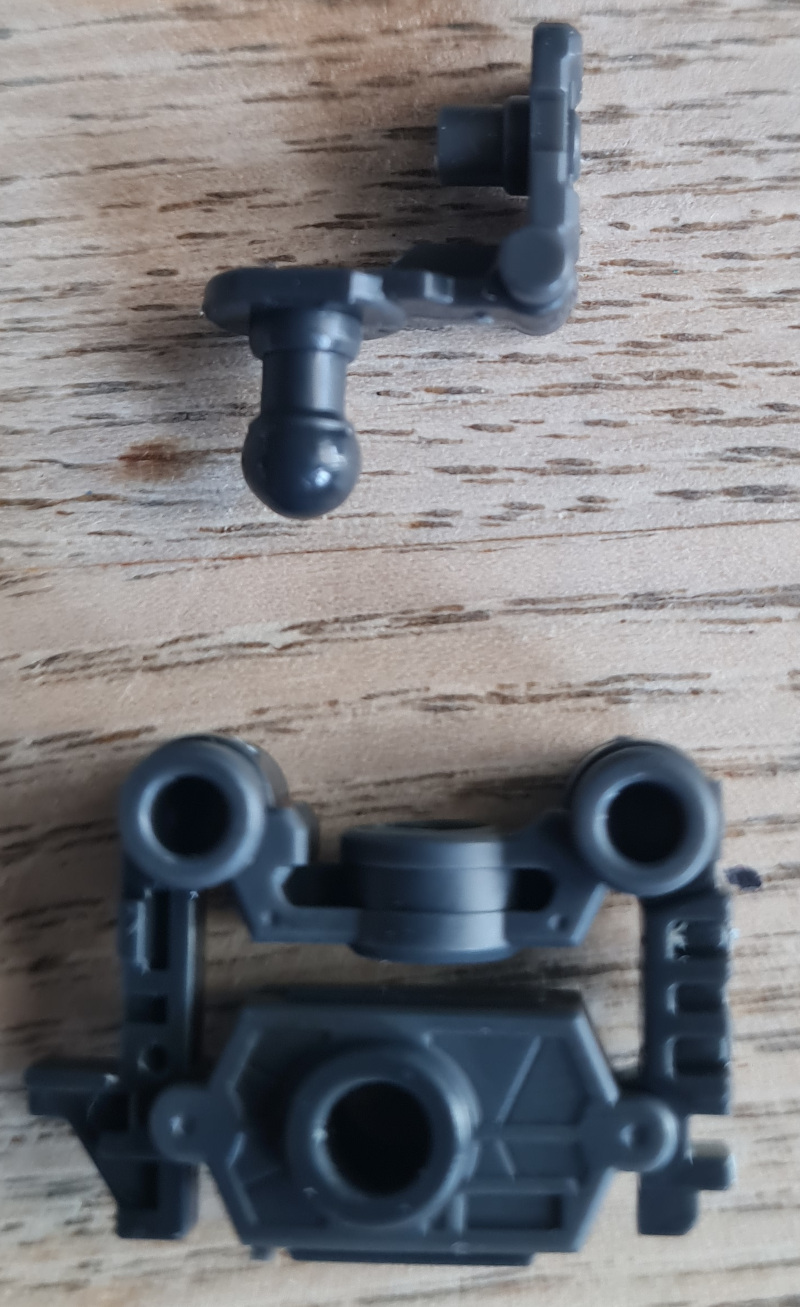
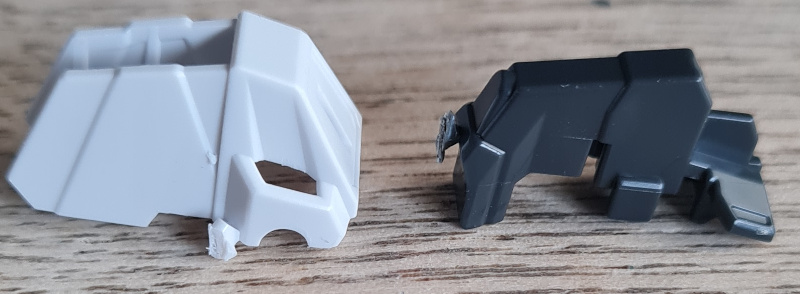
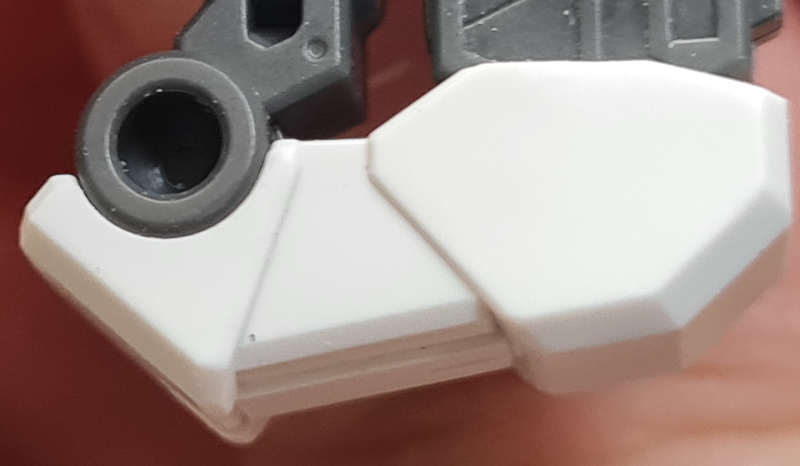
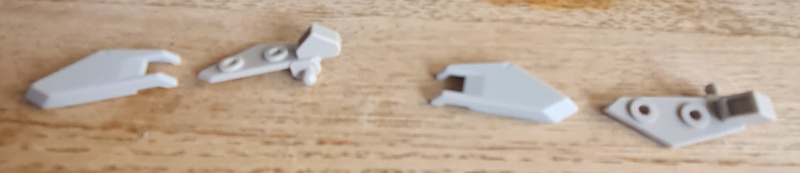
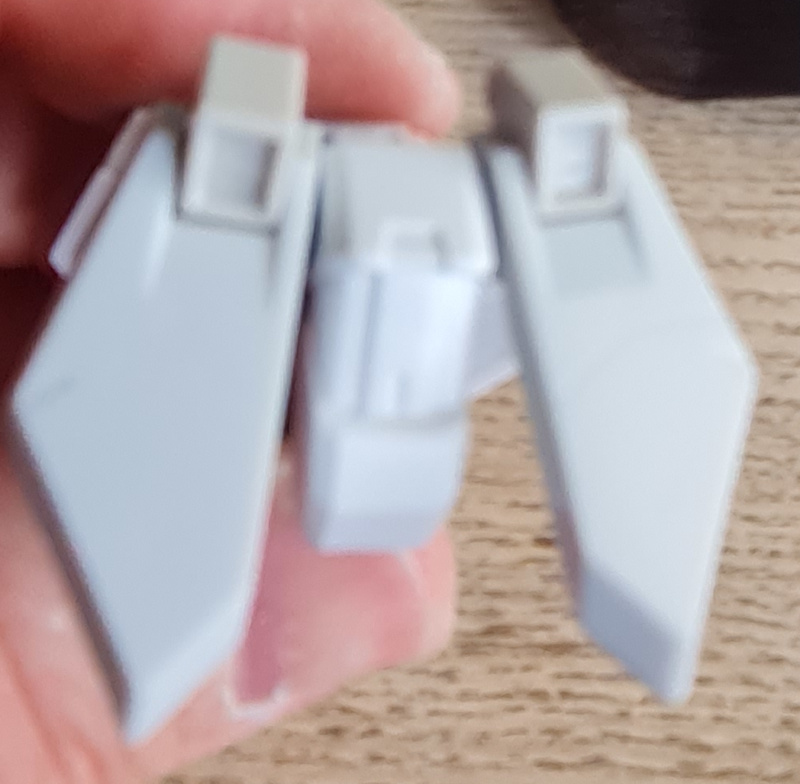
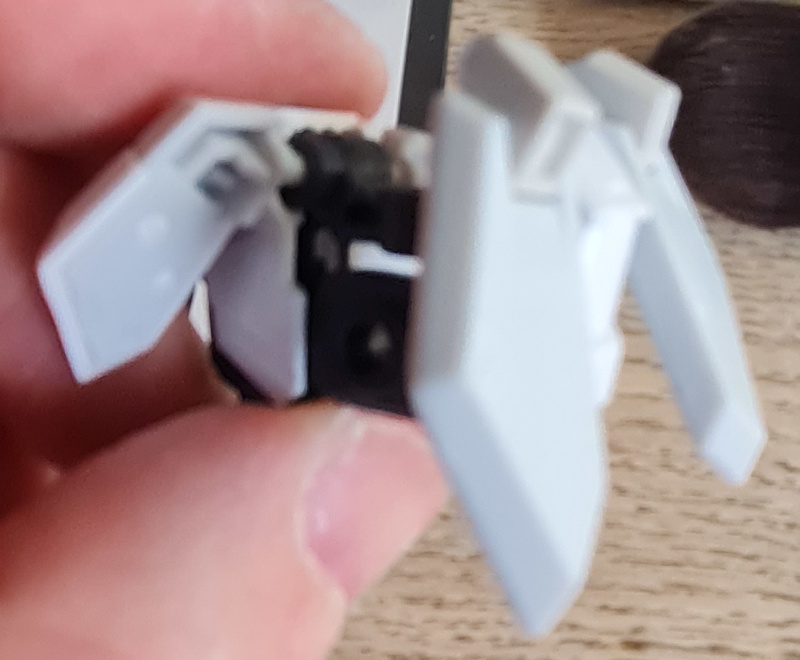
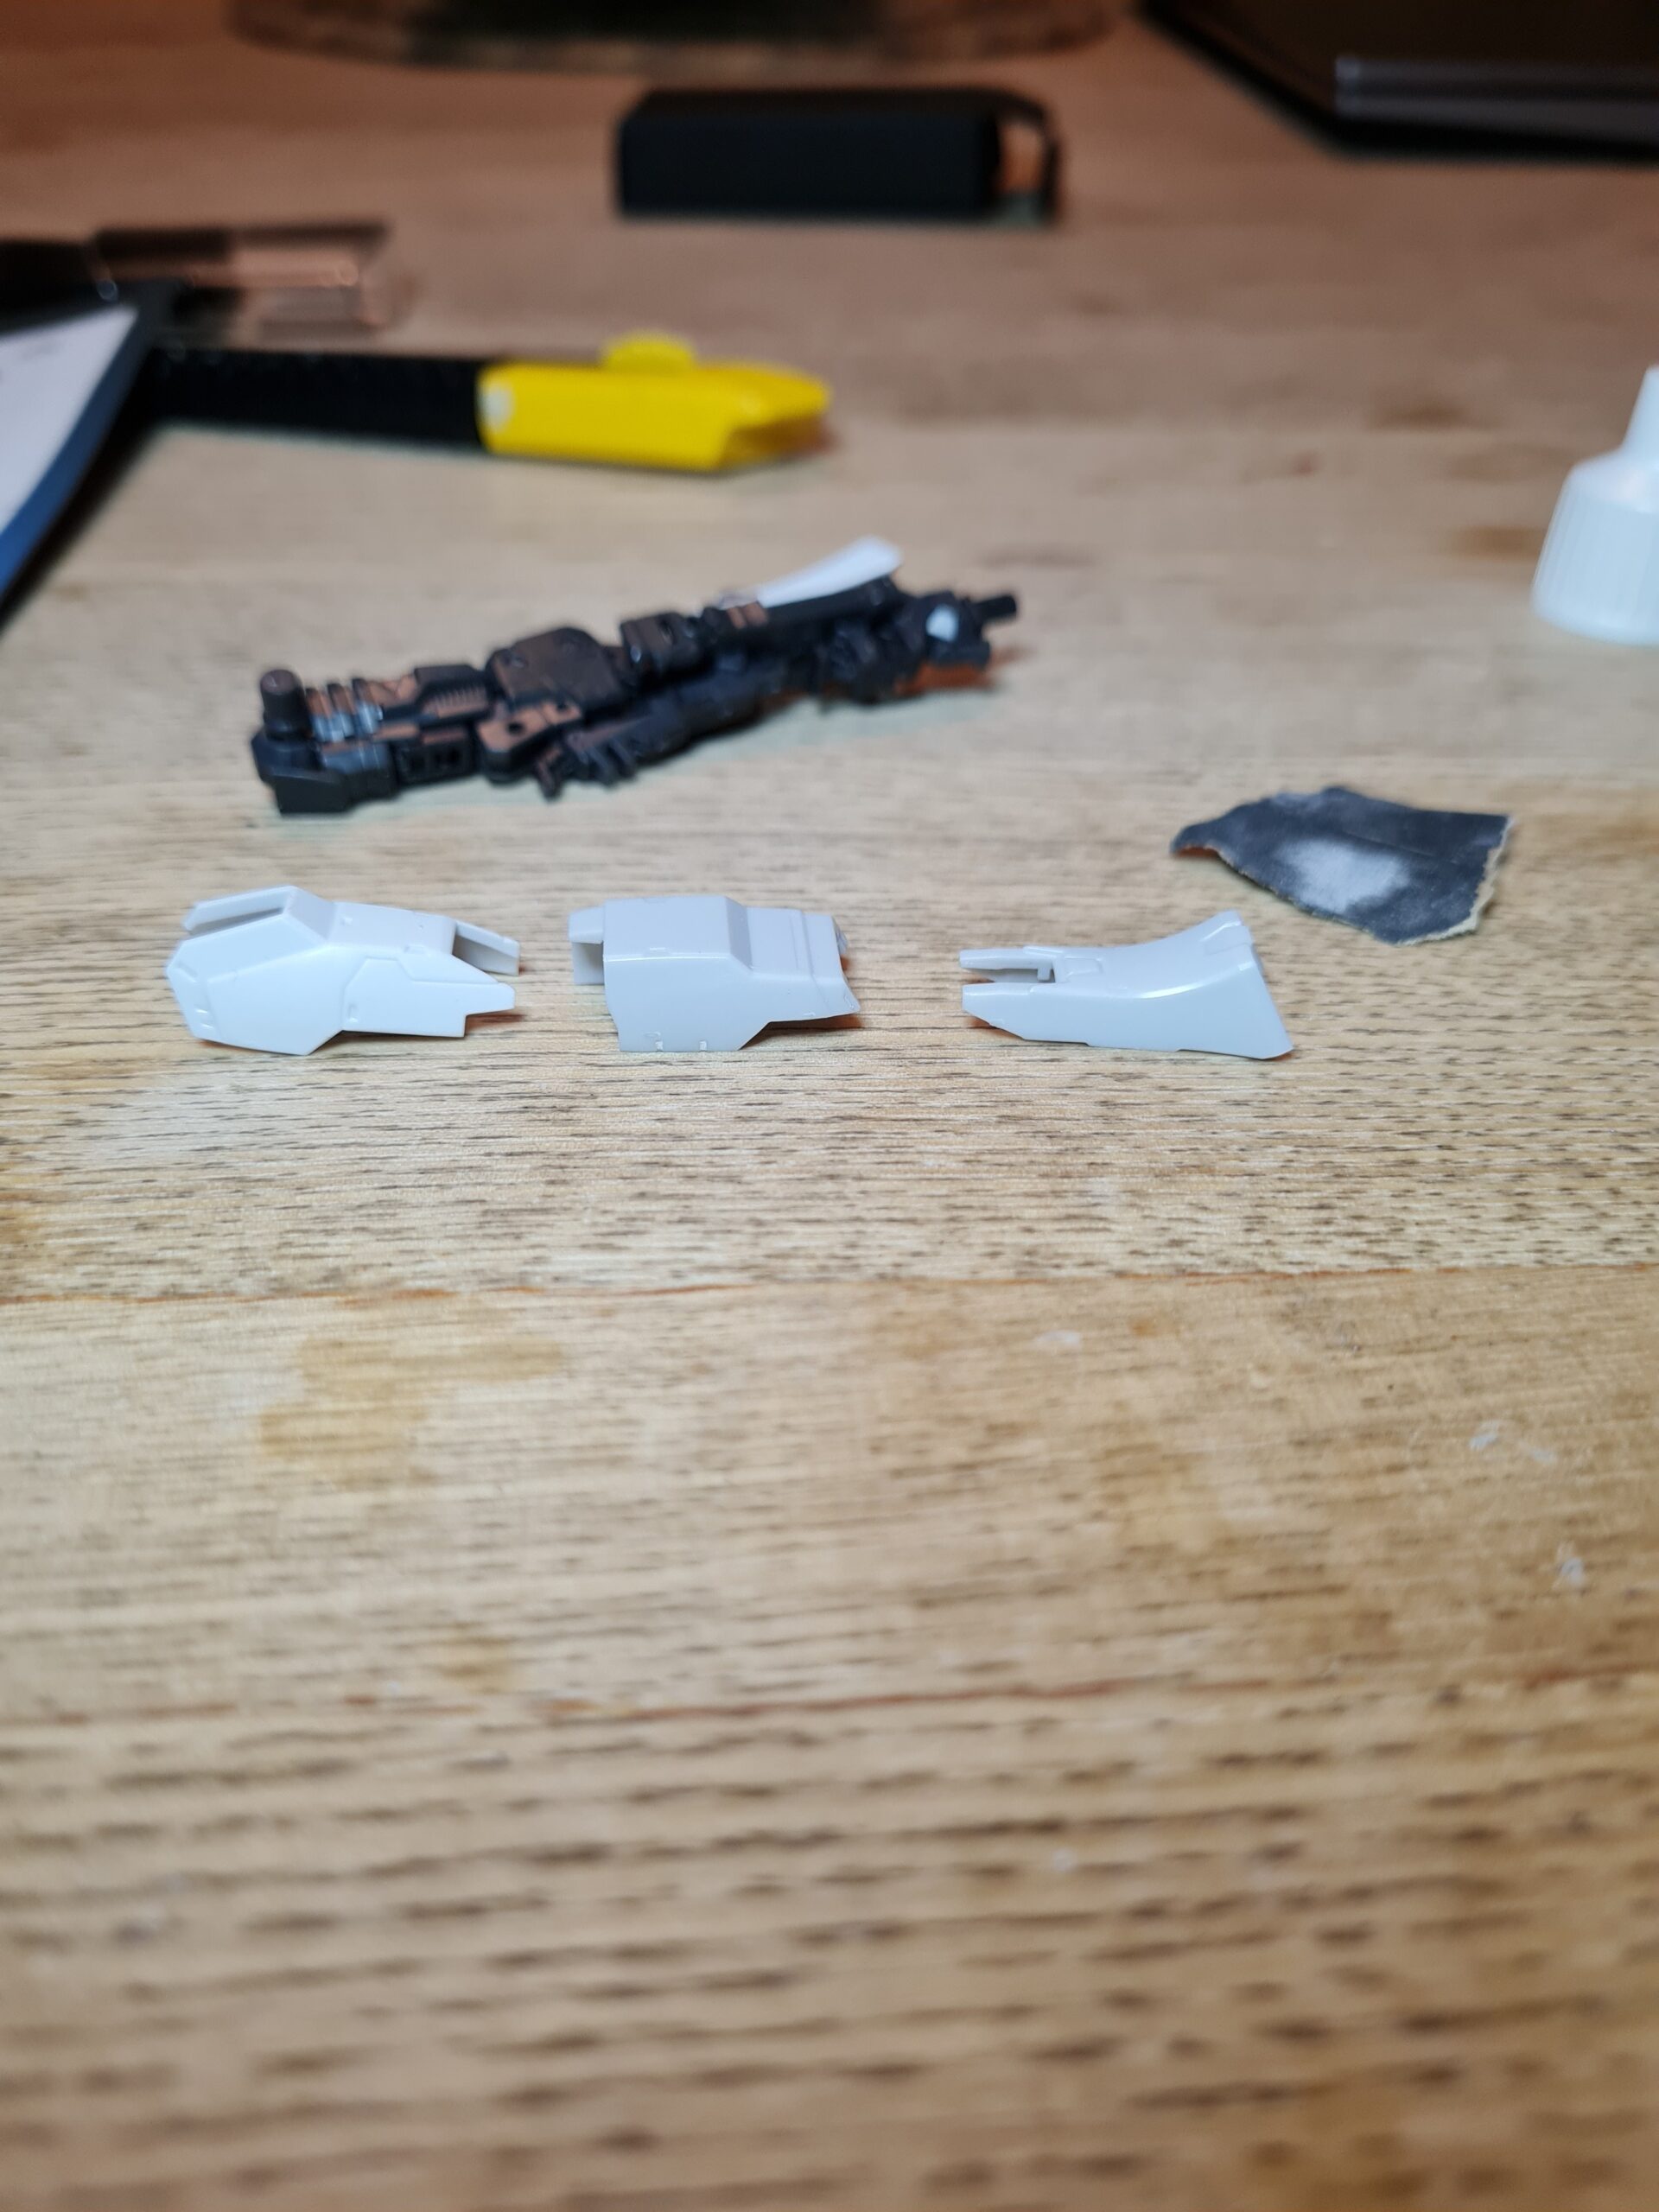
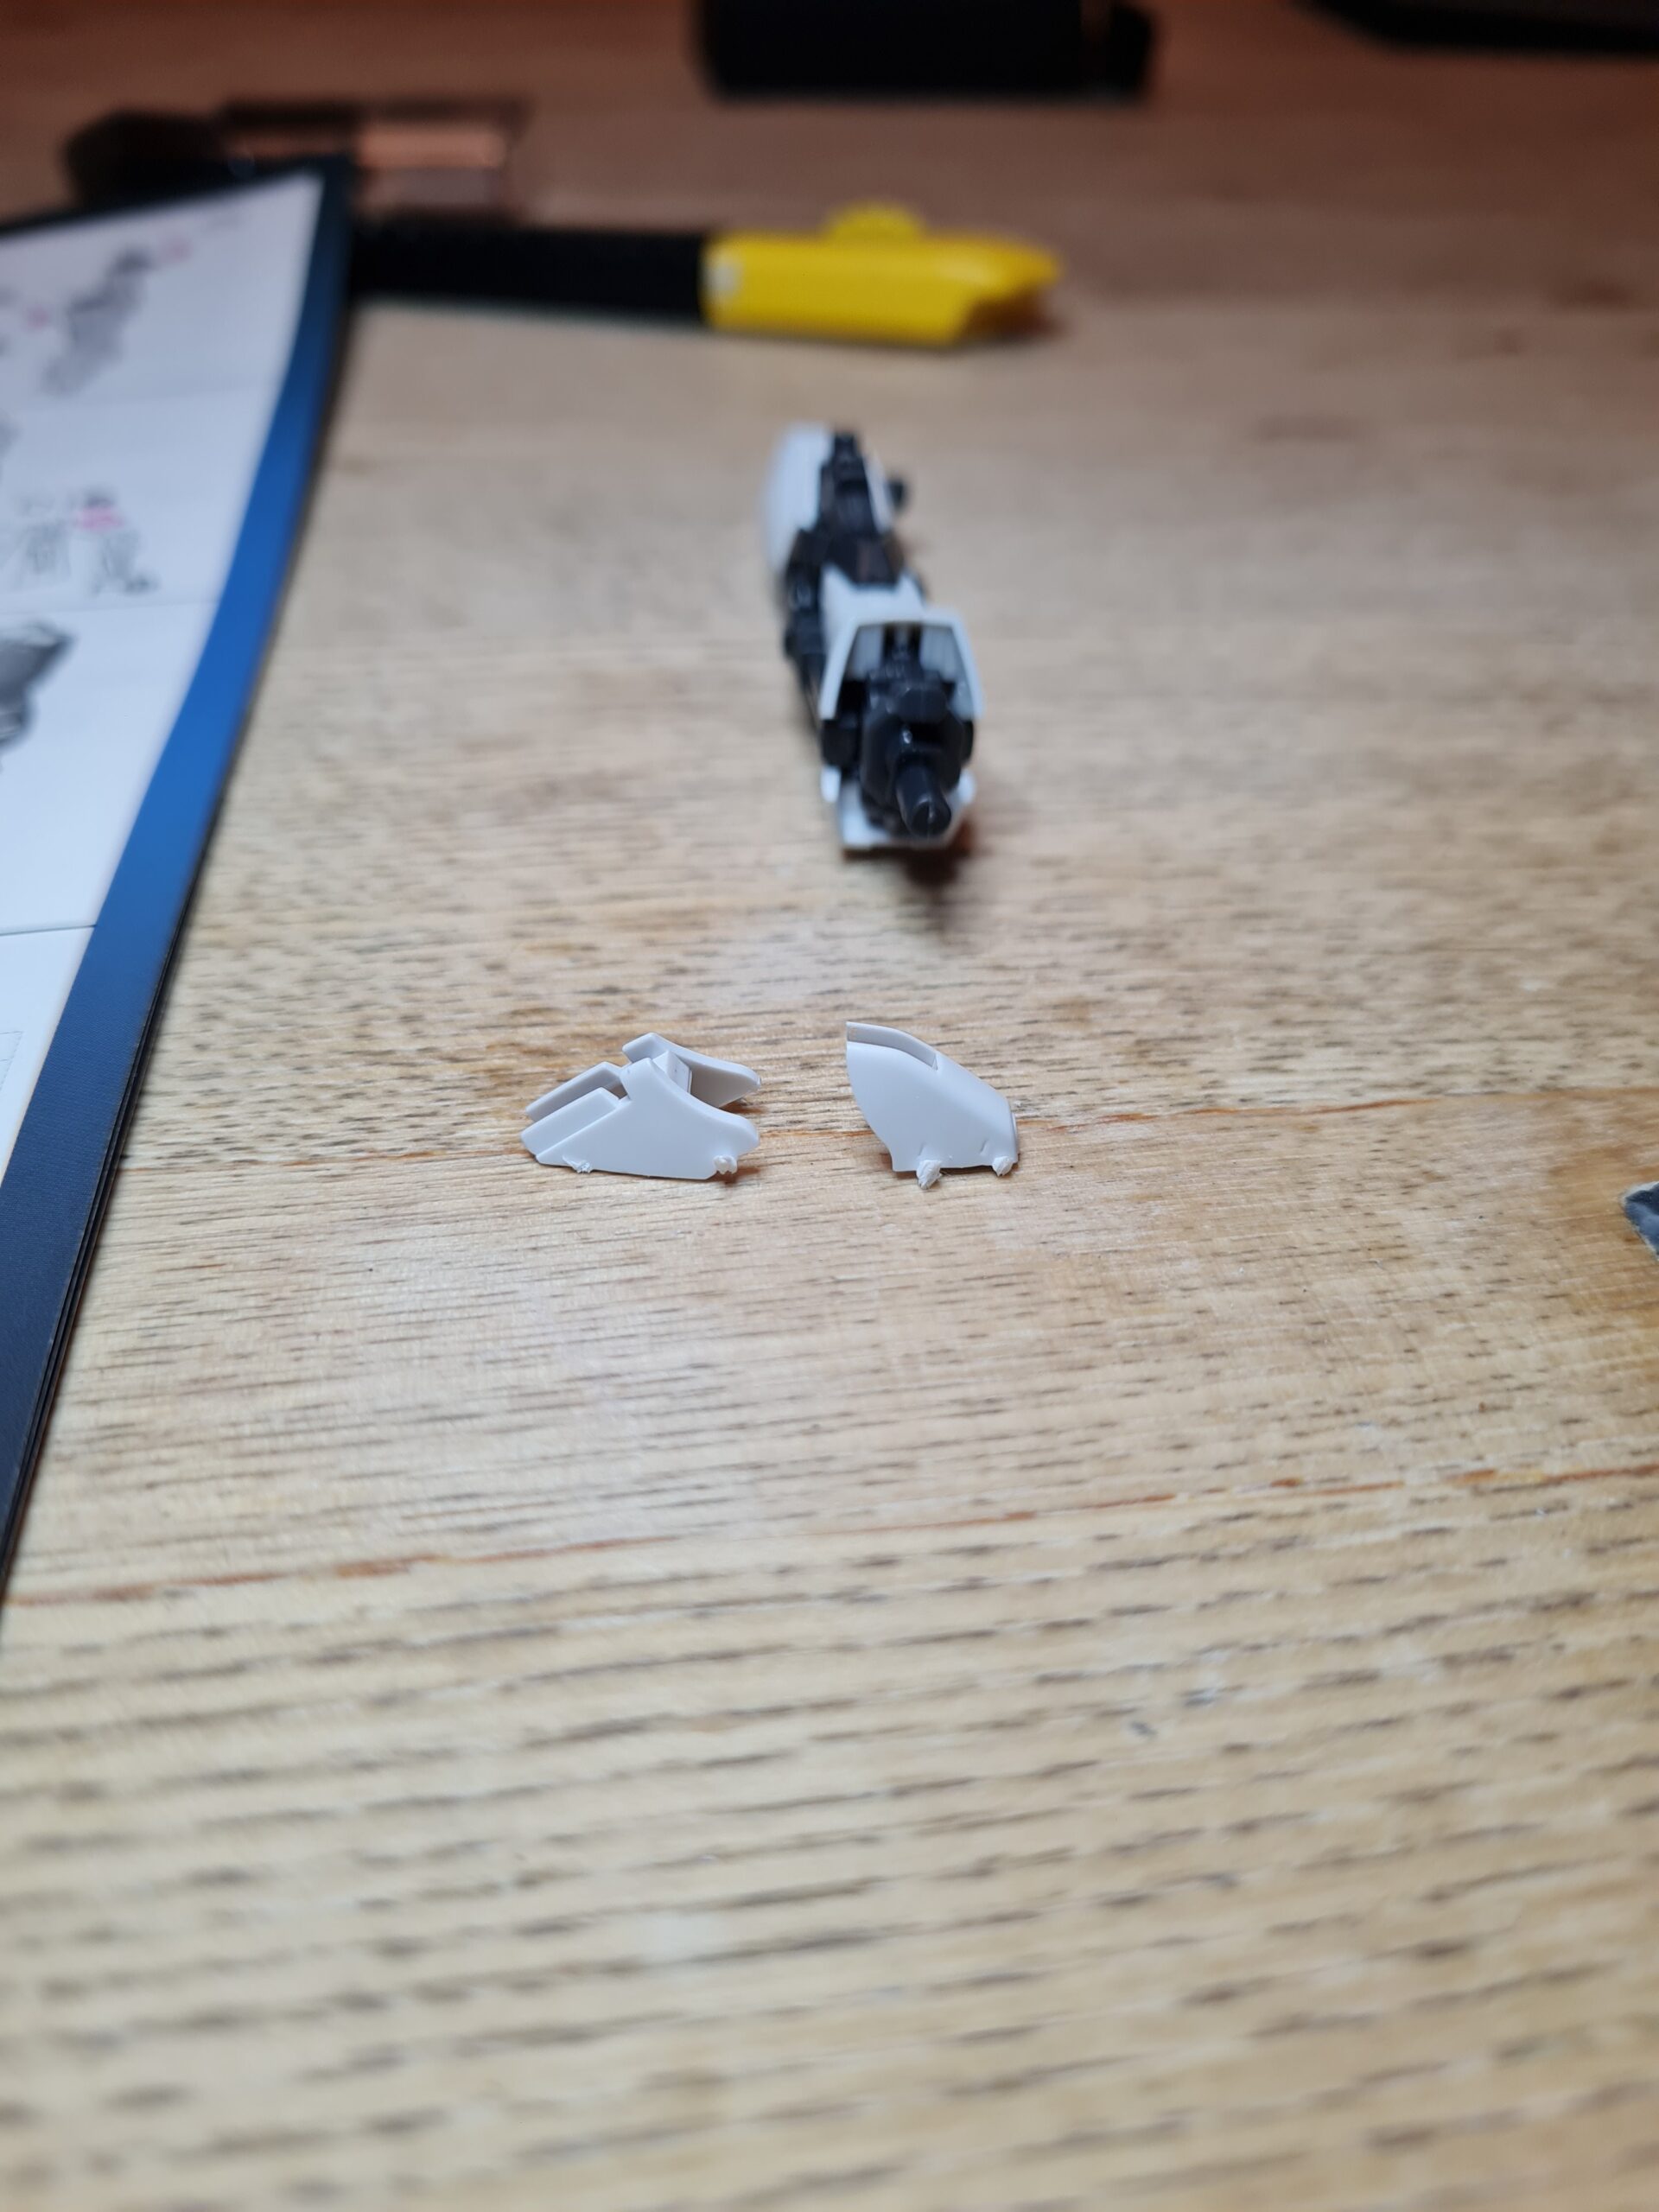
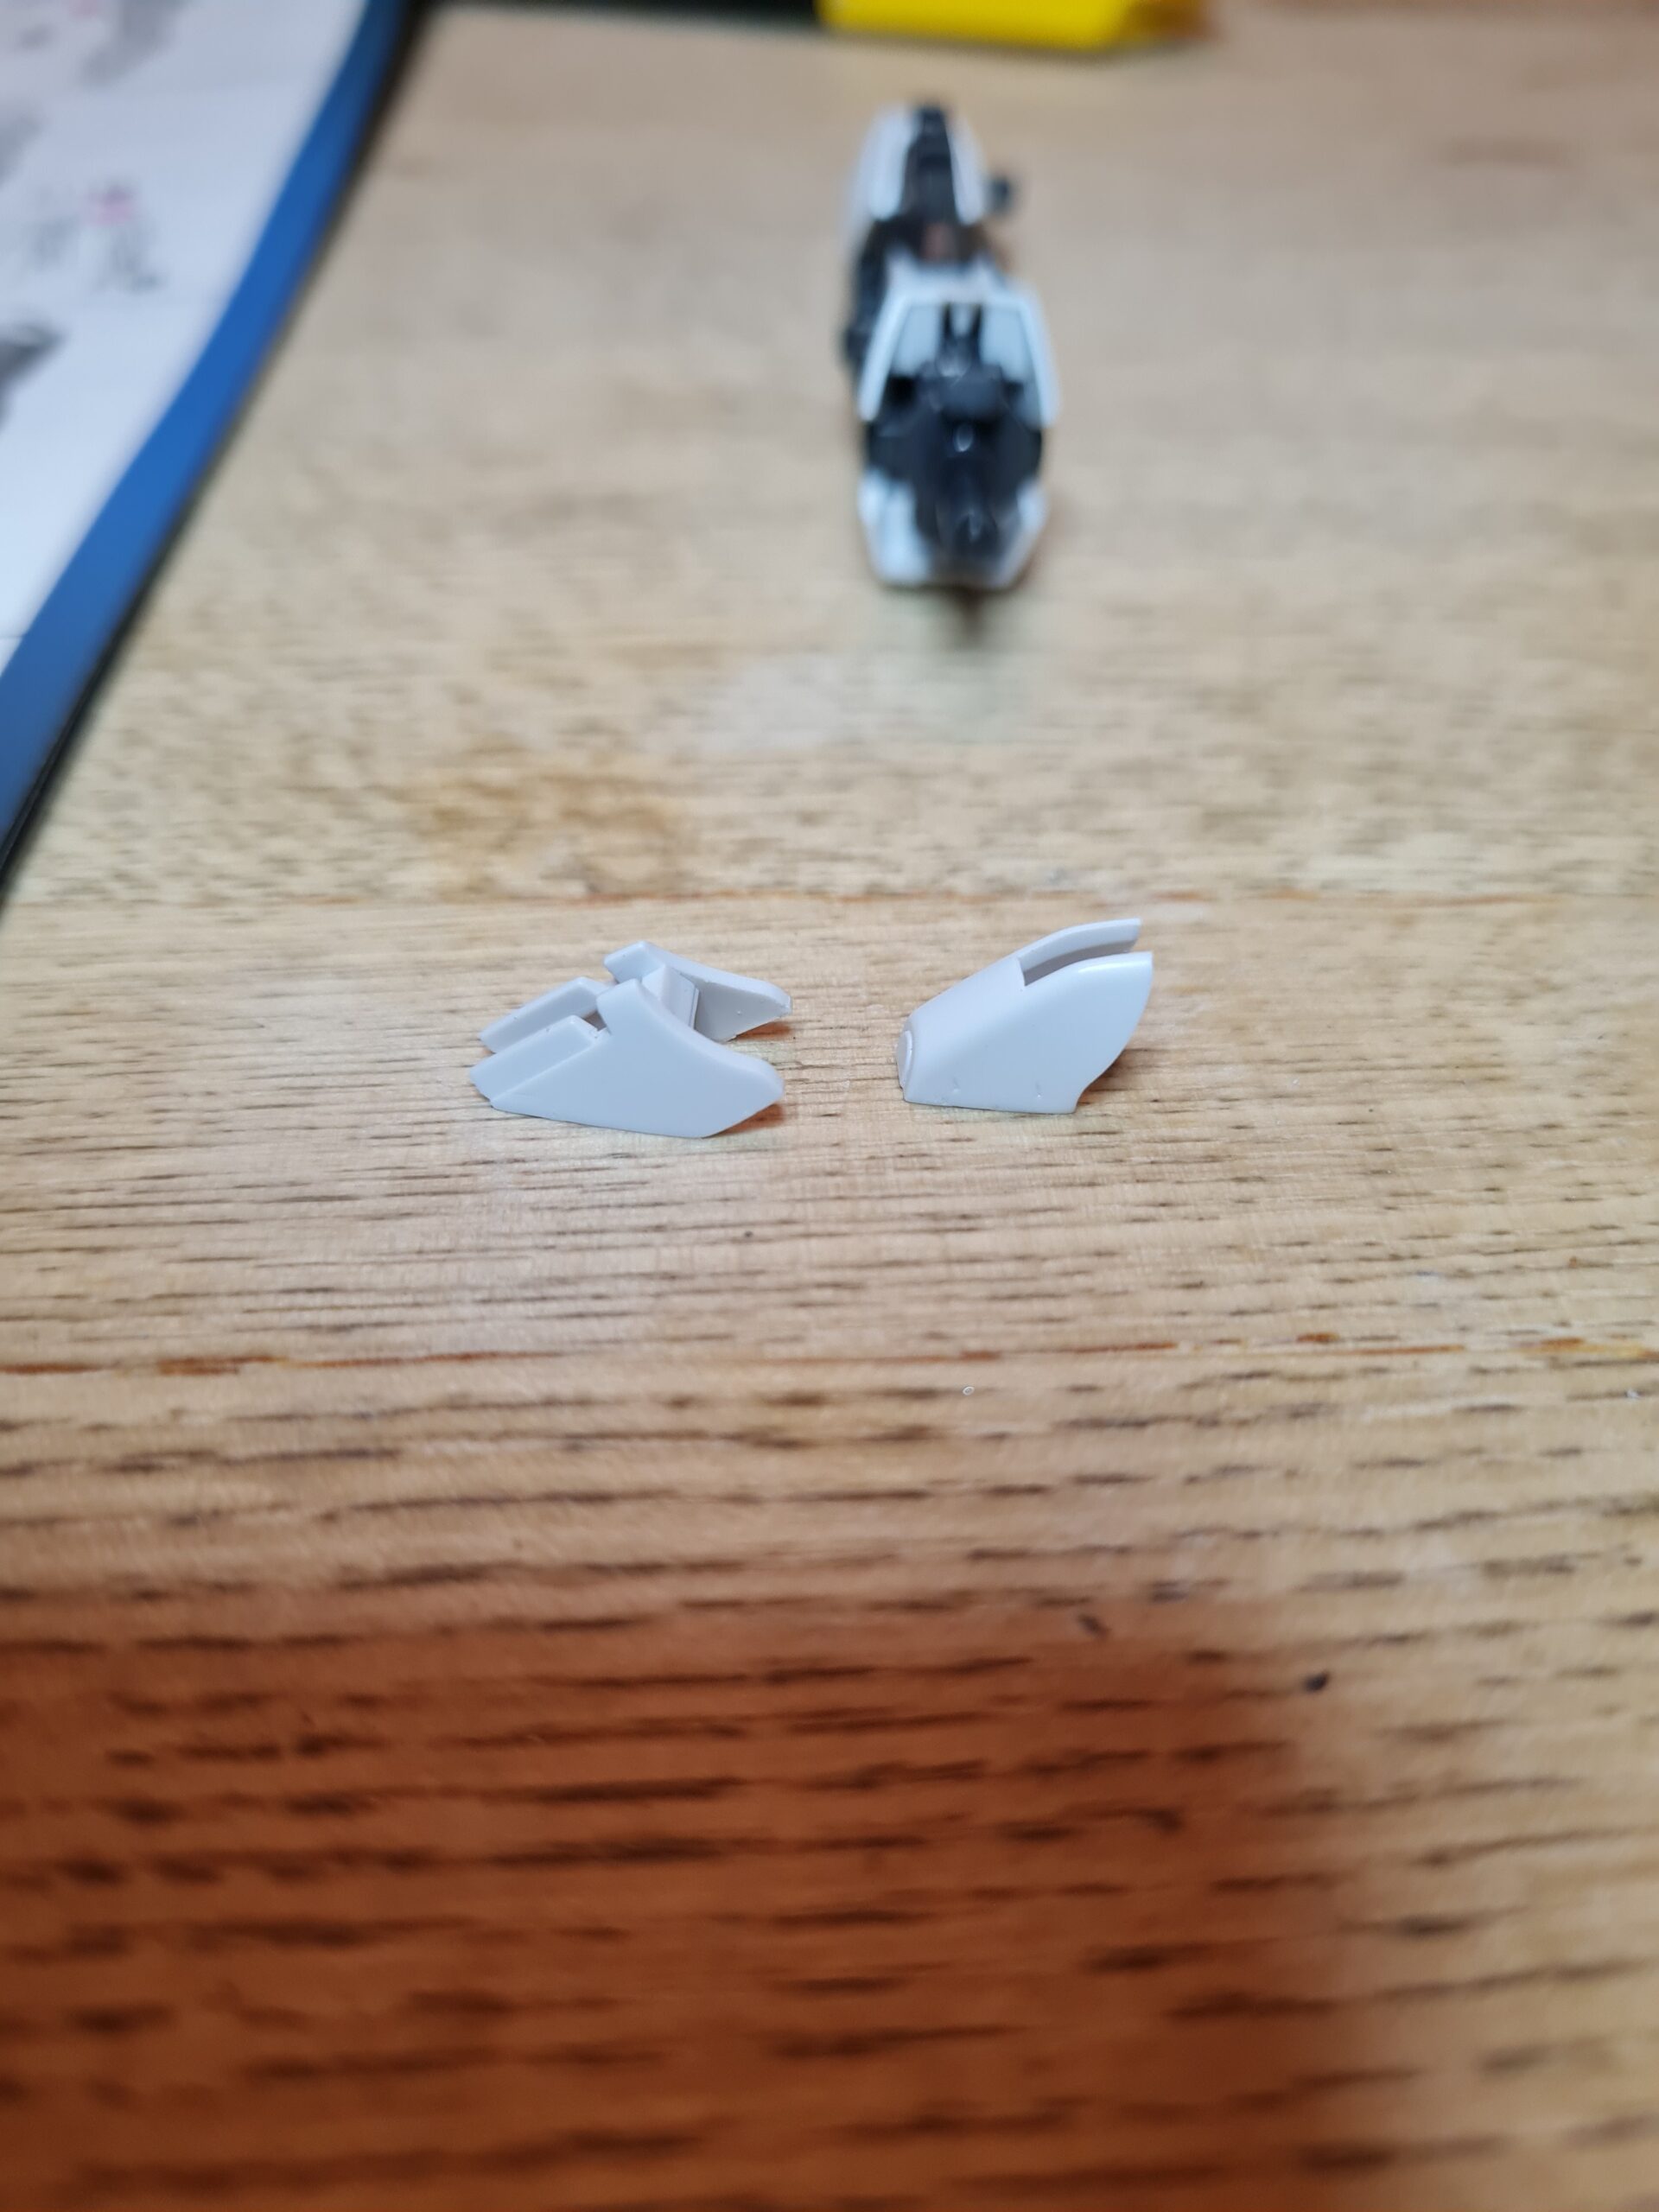
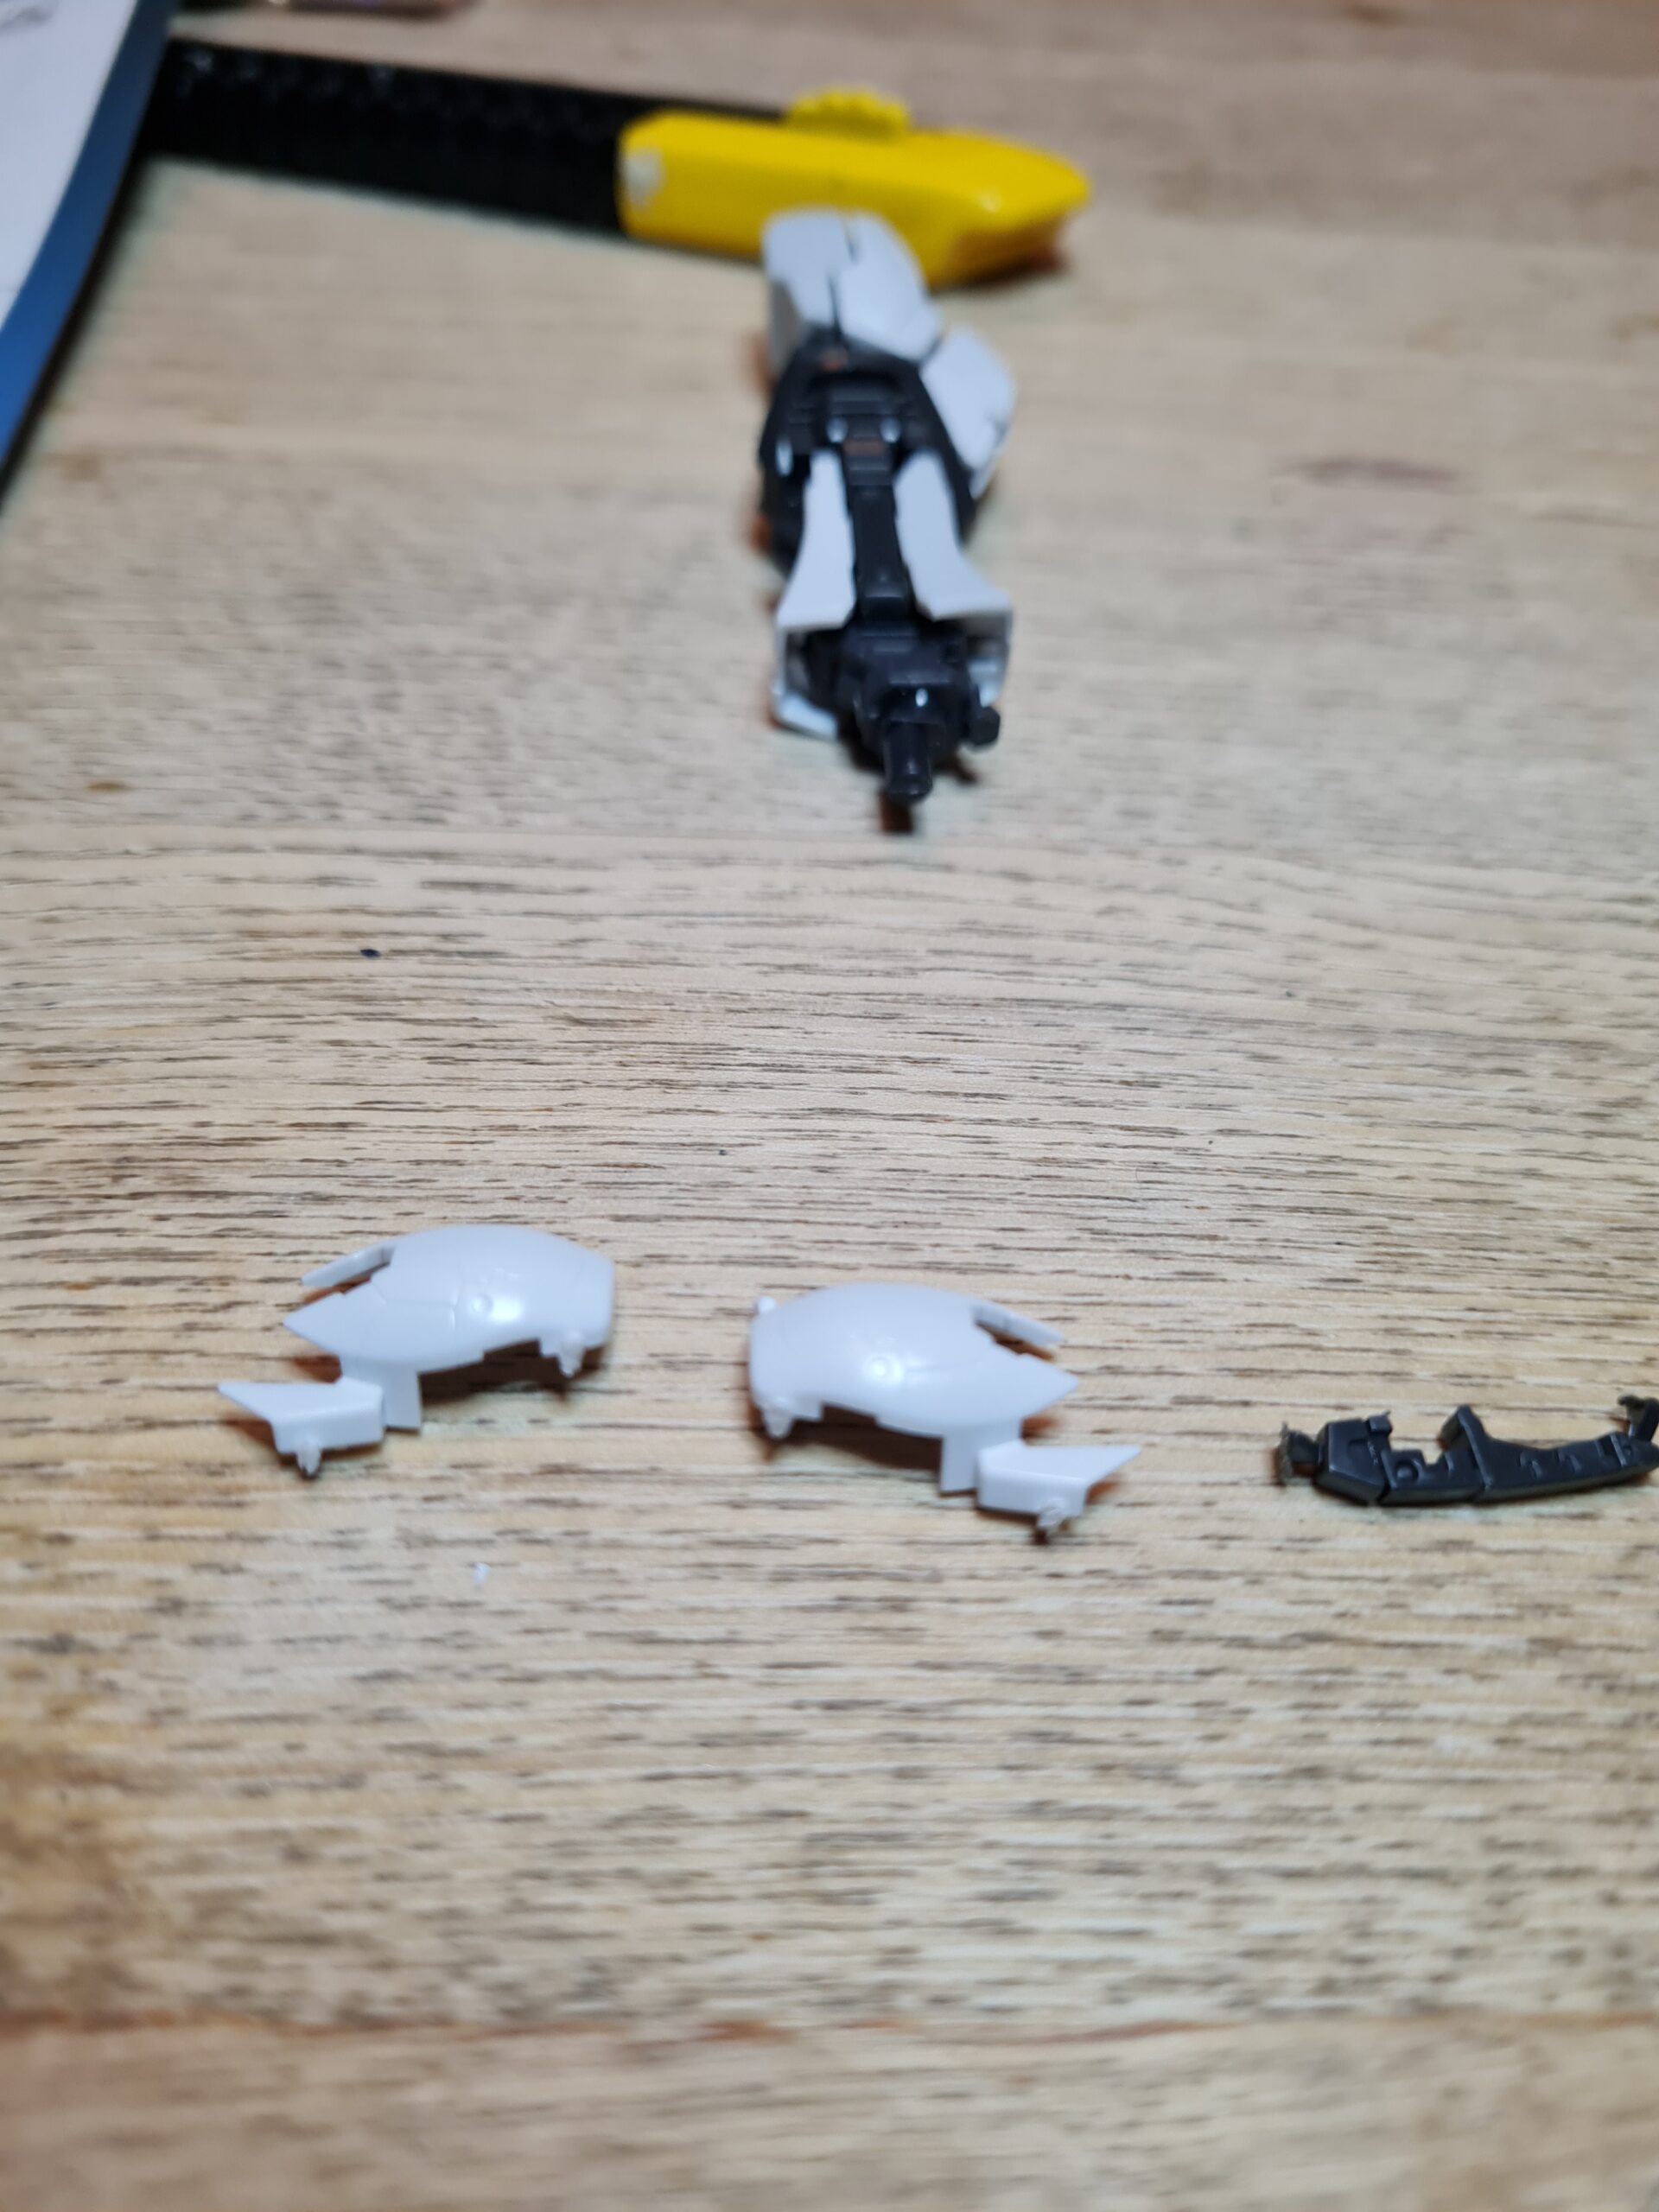
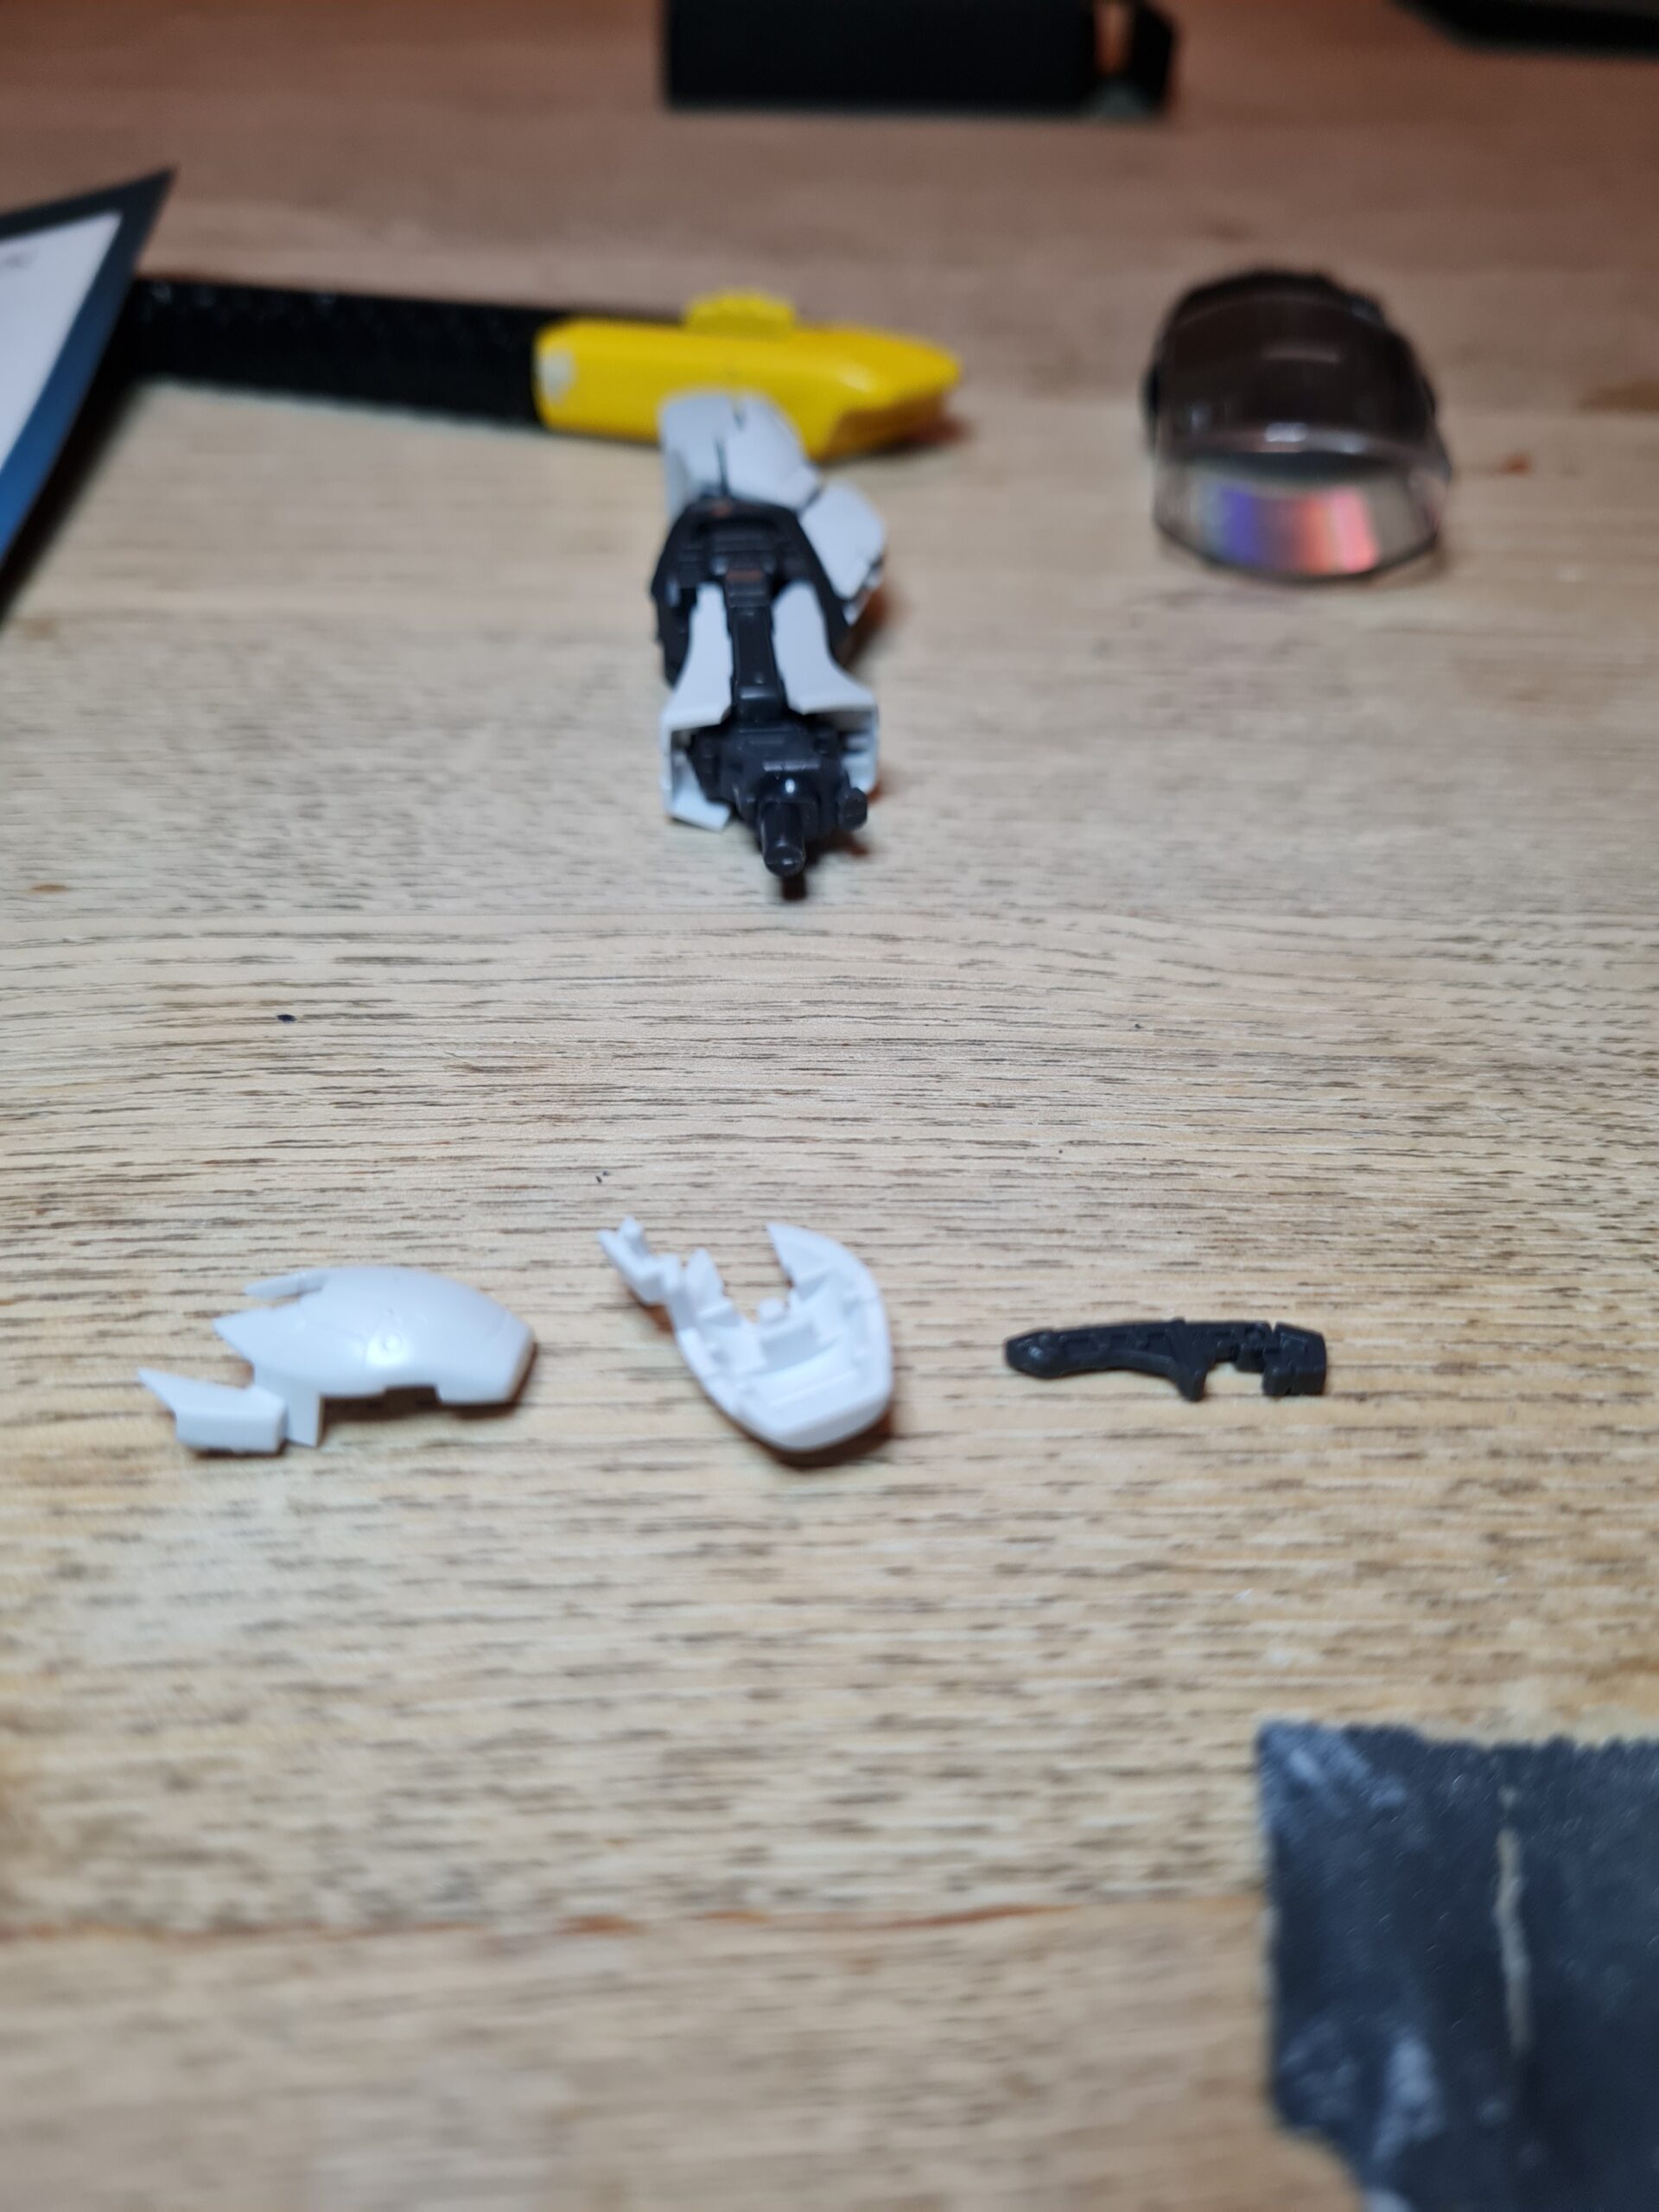
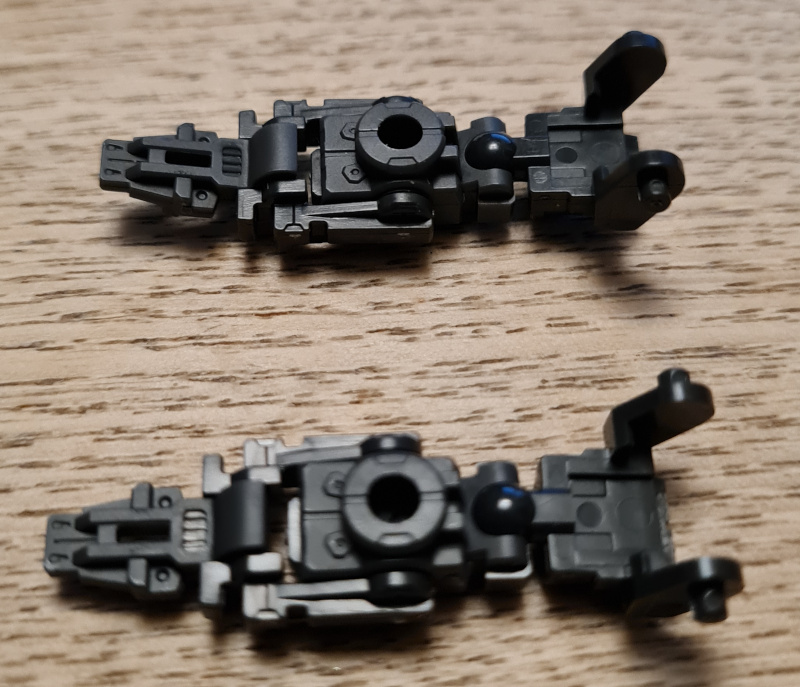
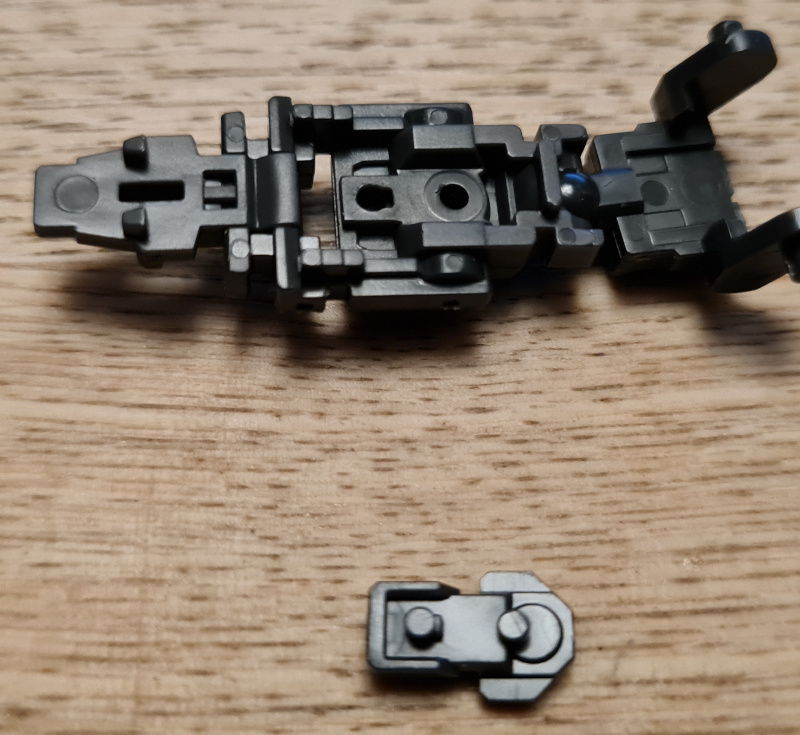
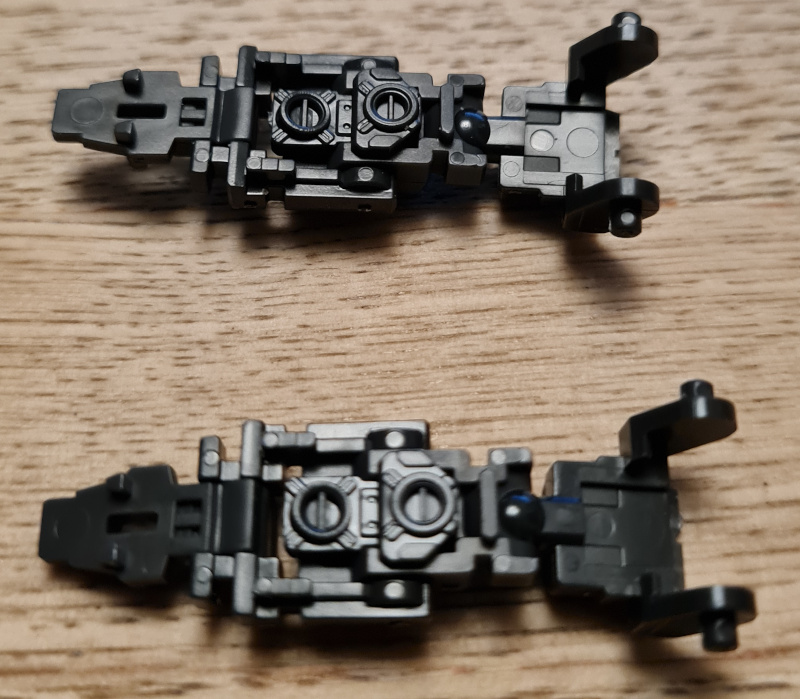
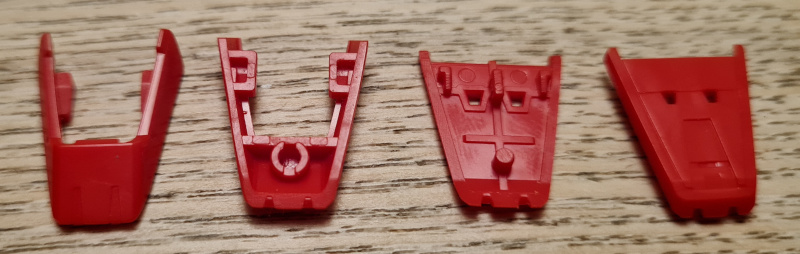
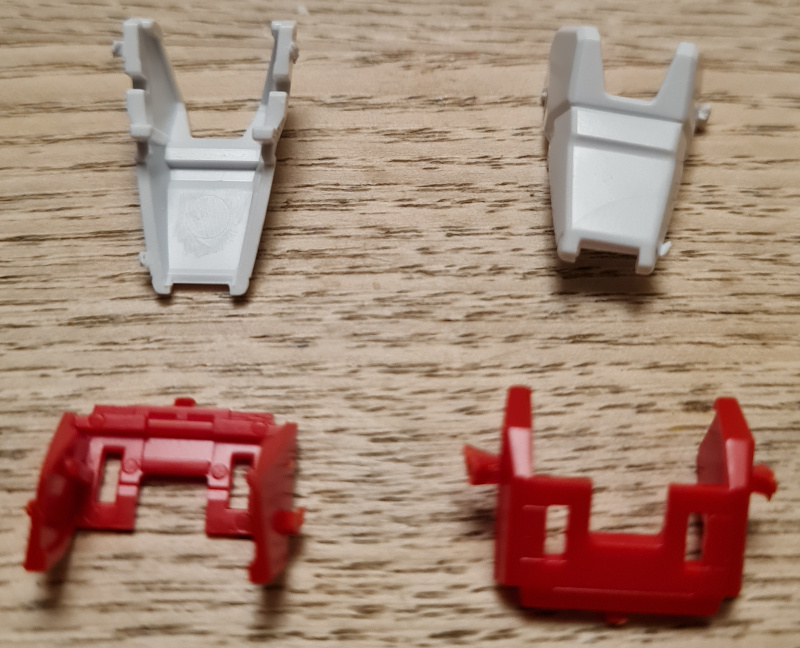
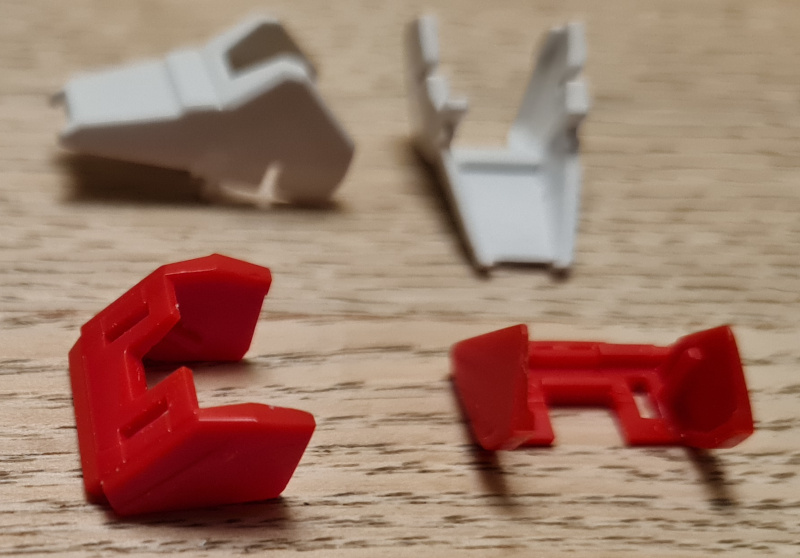
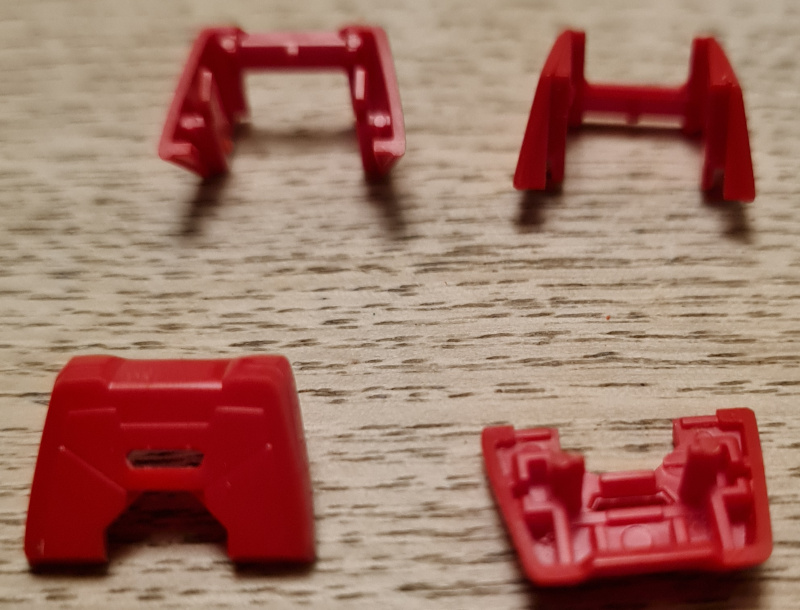
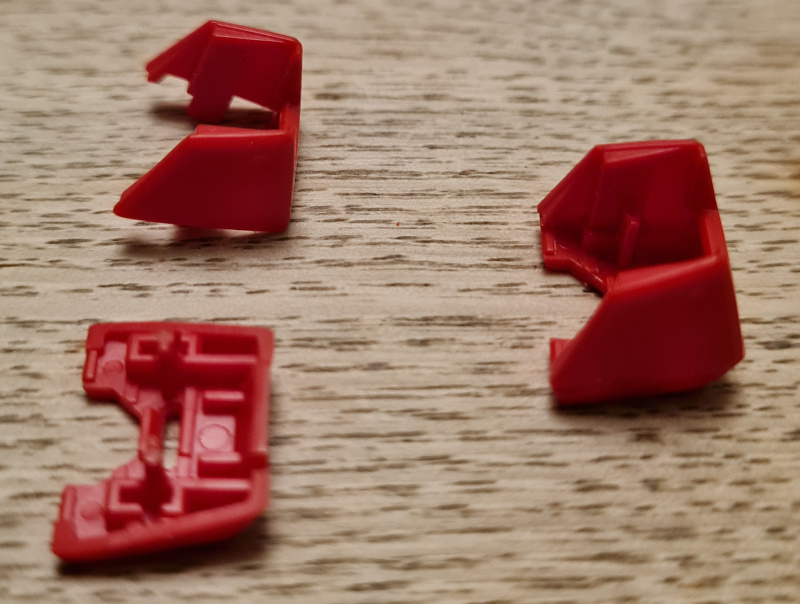
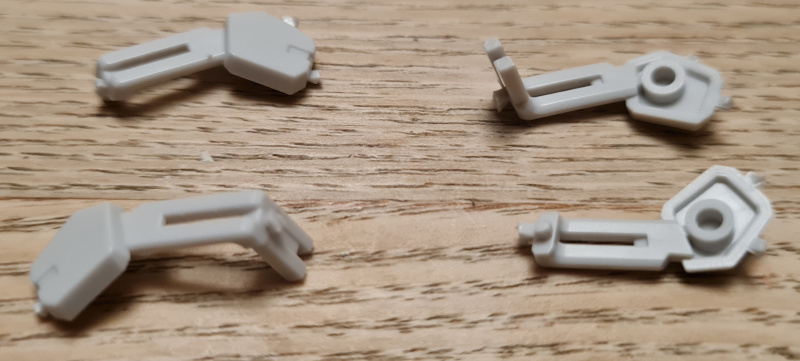
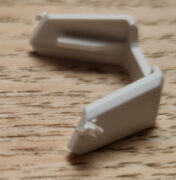
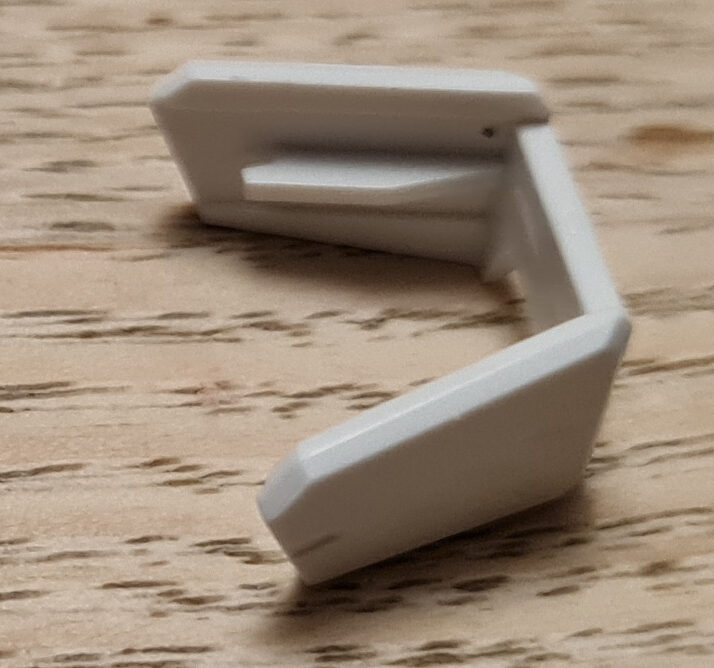
Cleaned Parts
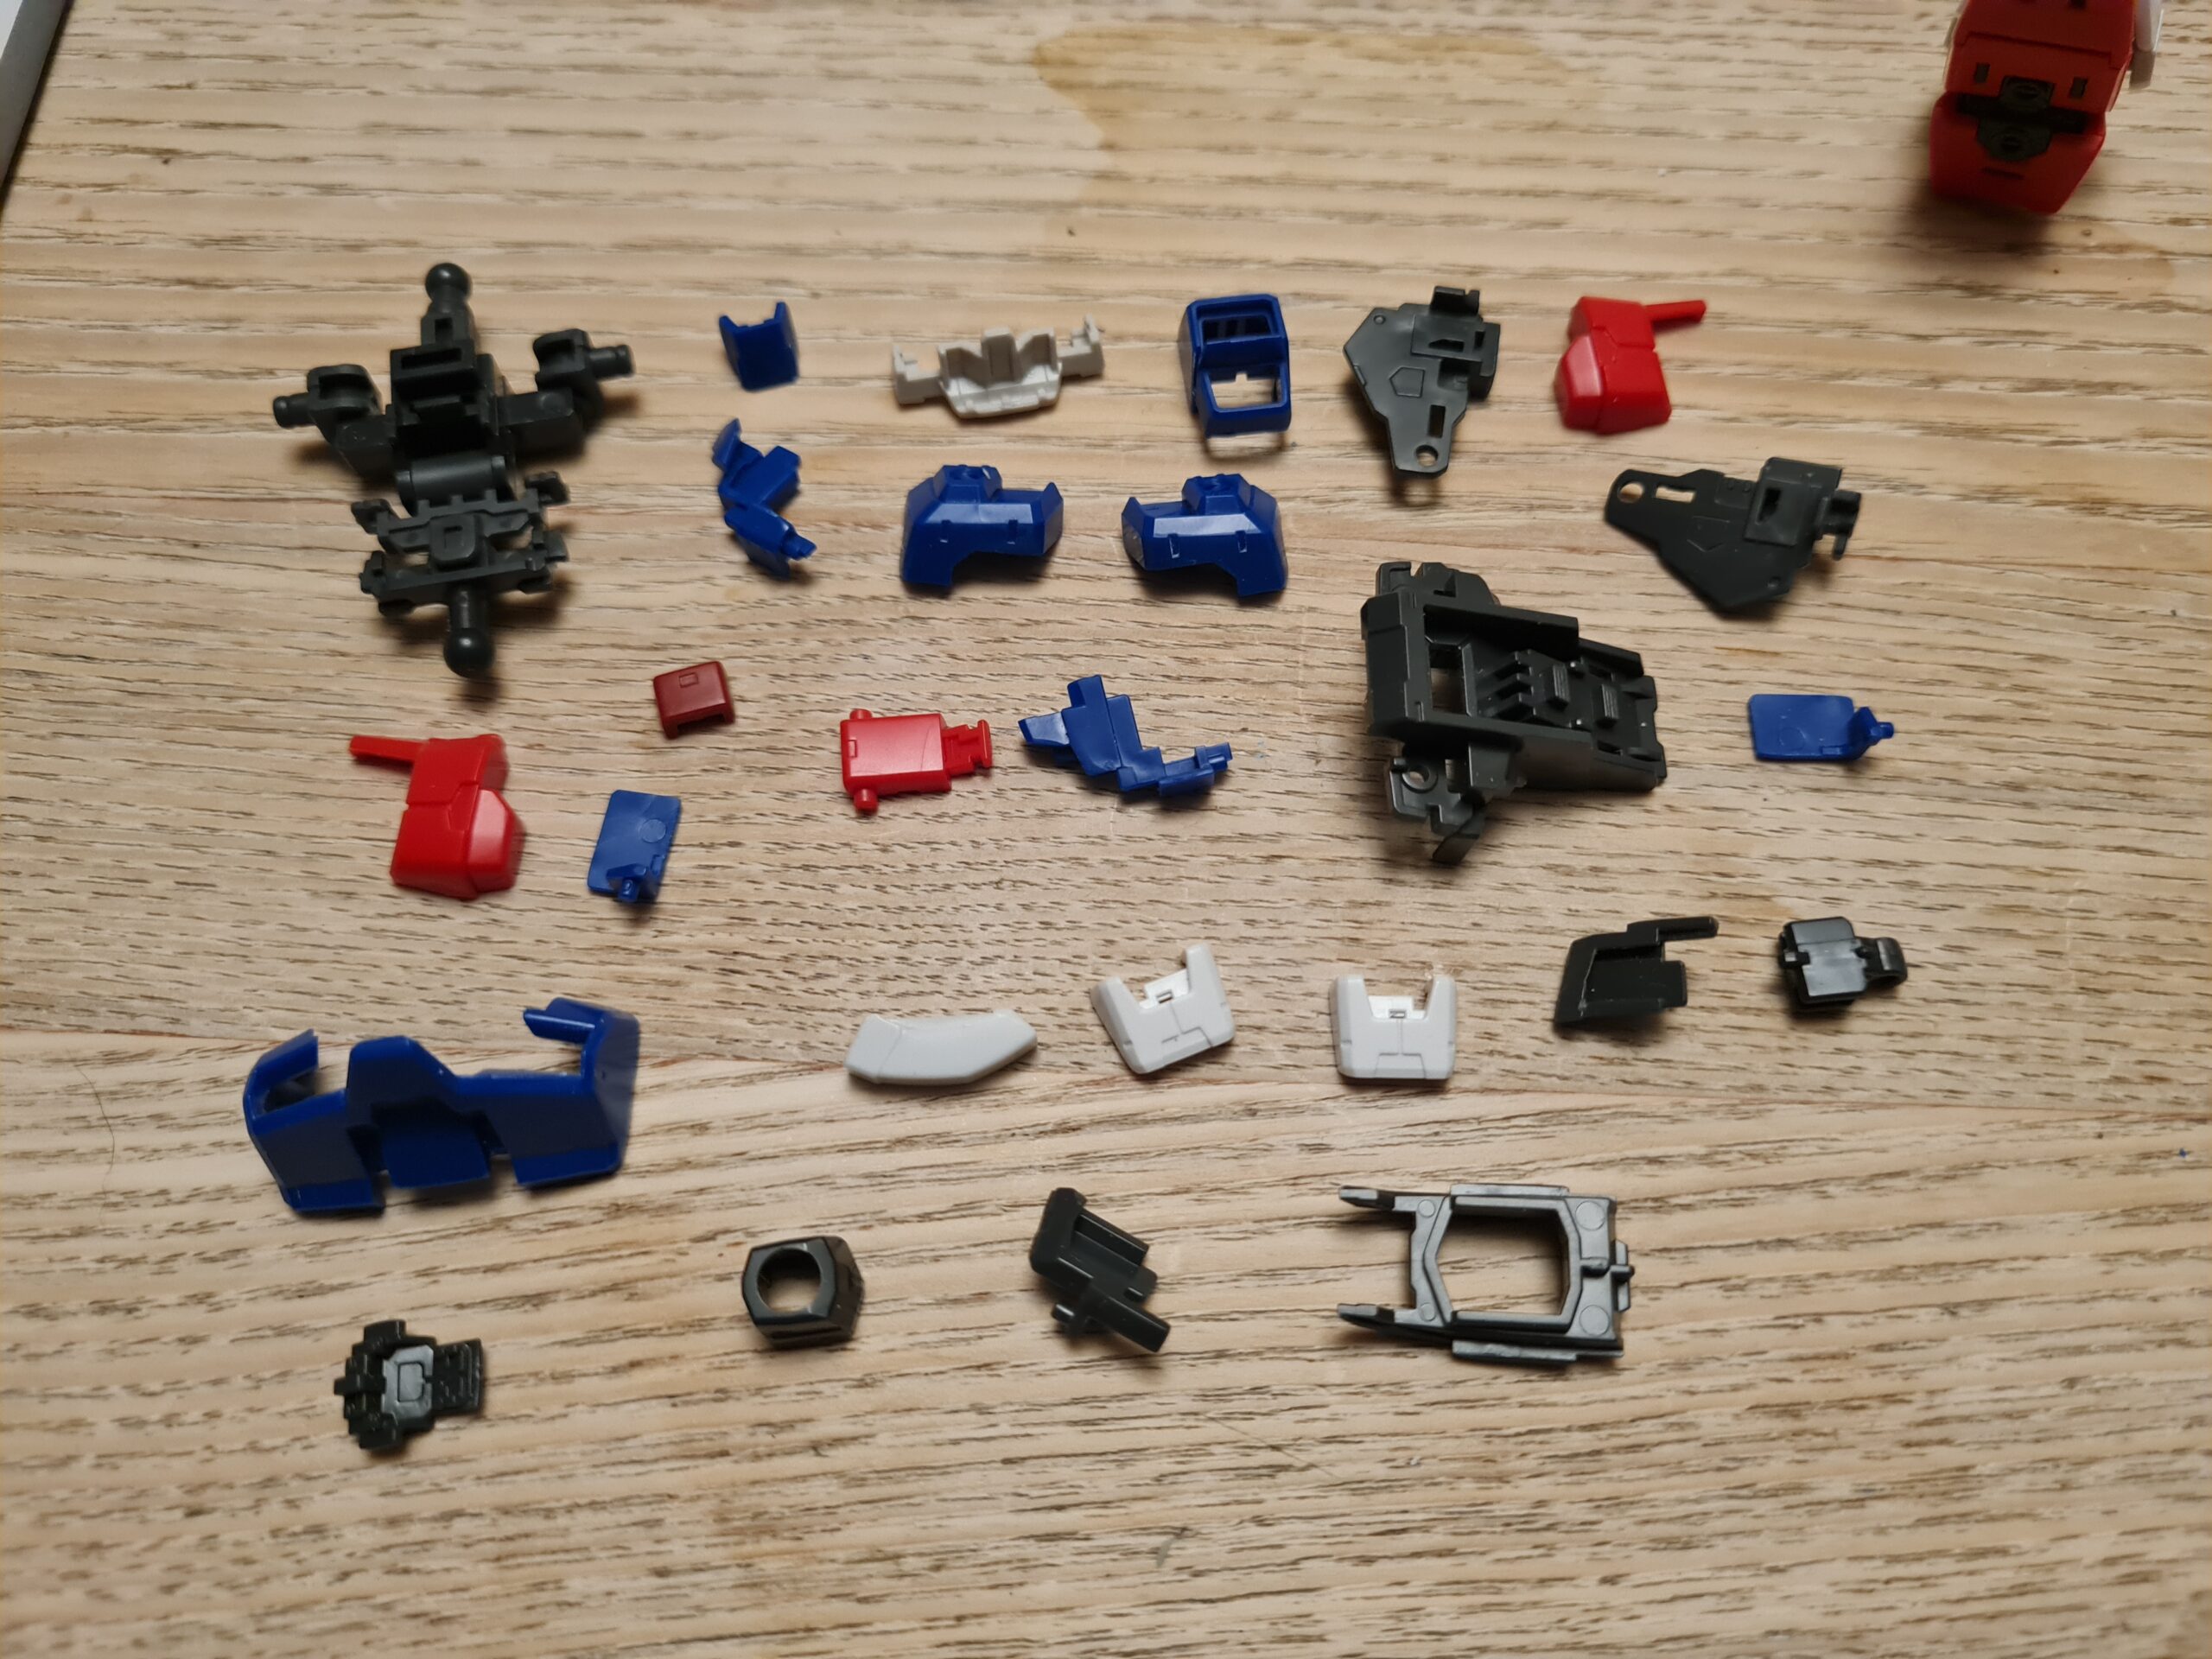
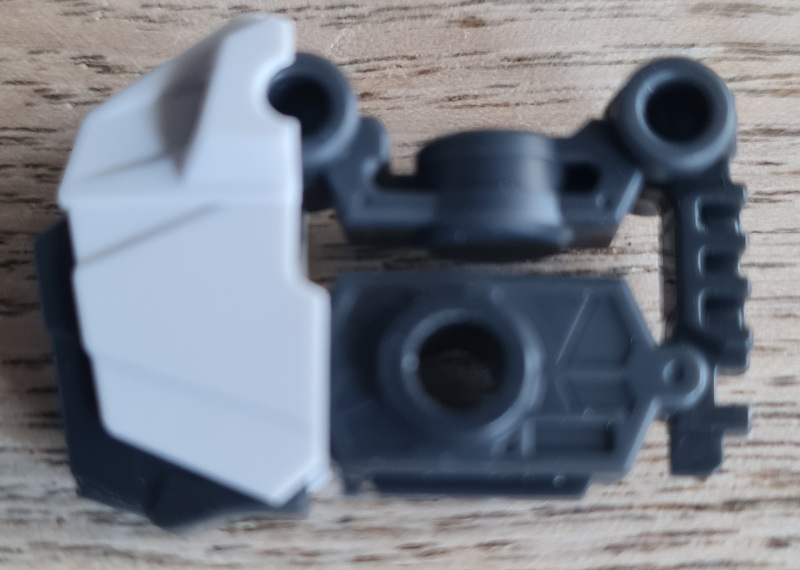
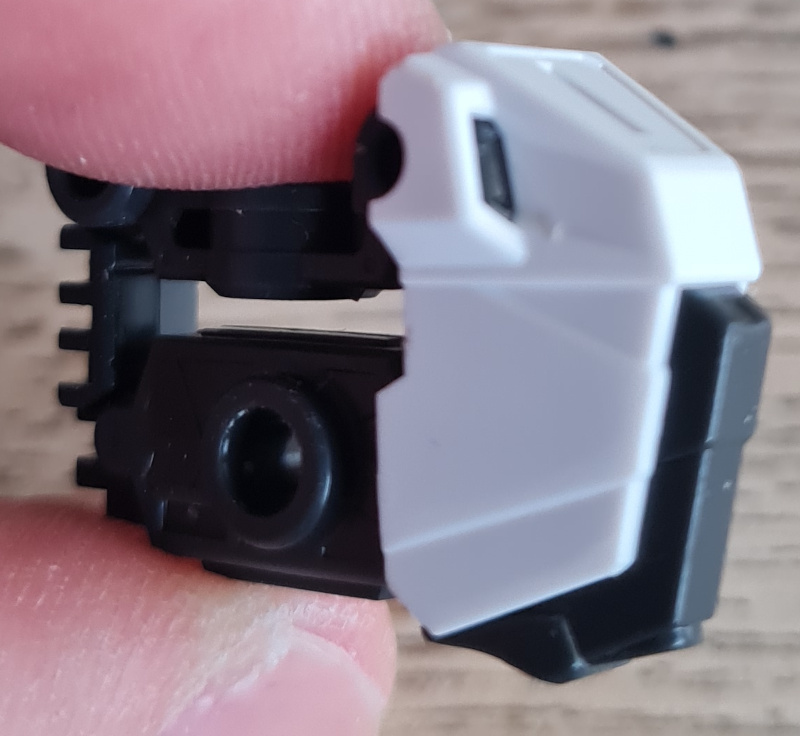
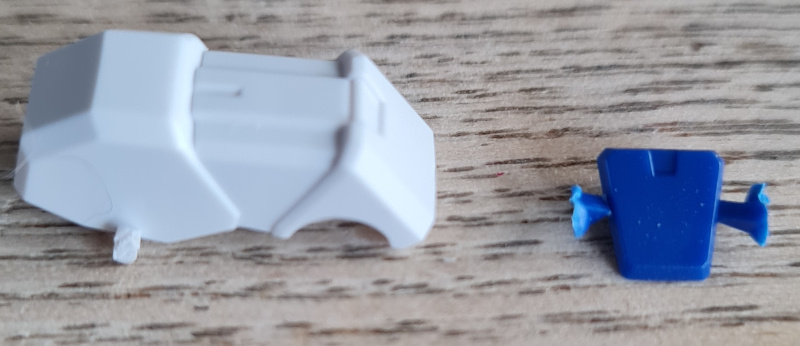
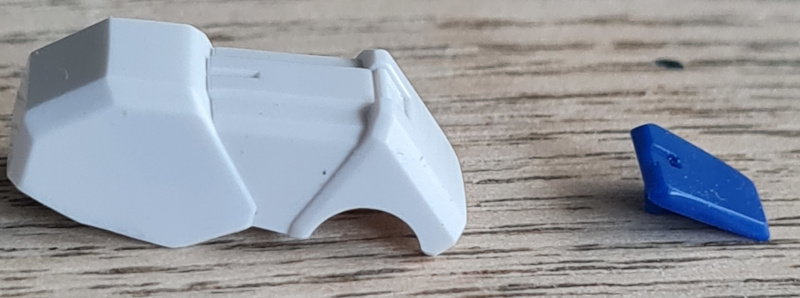
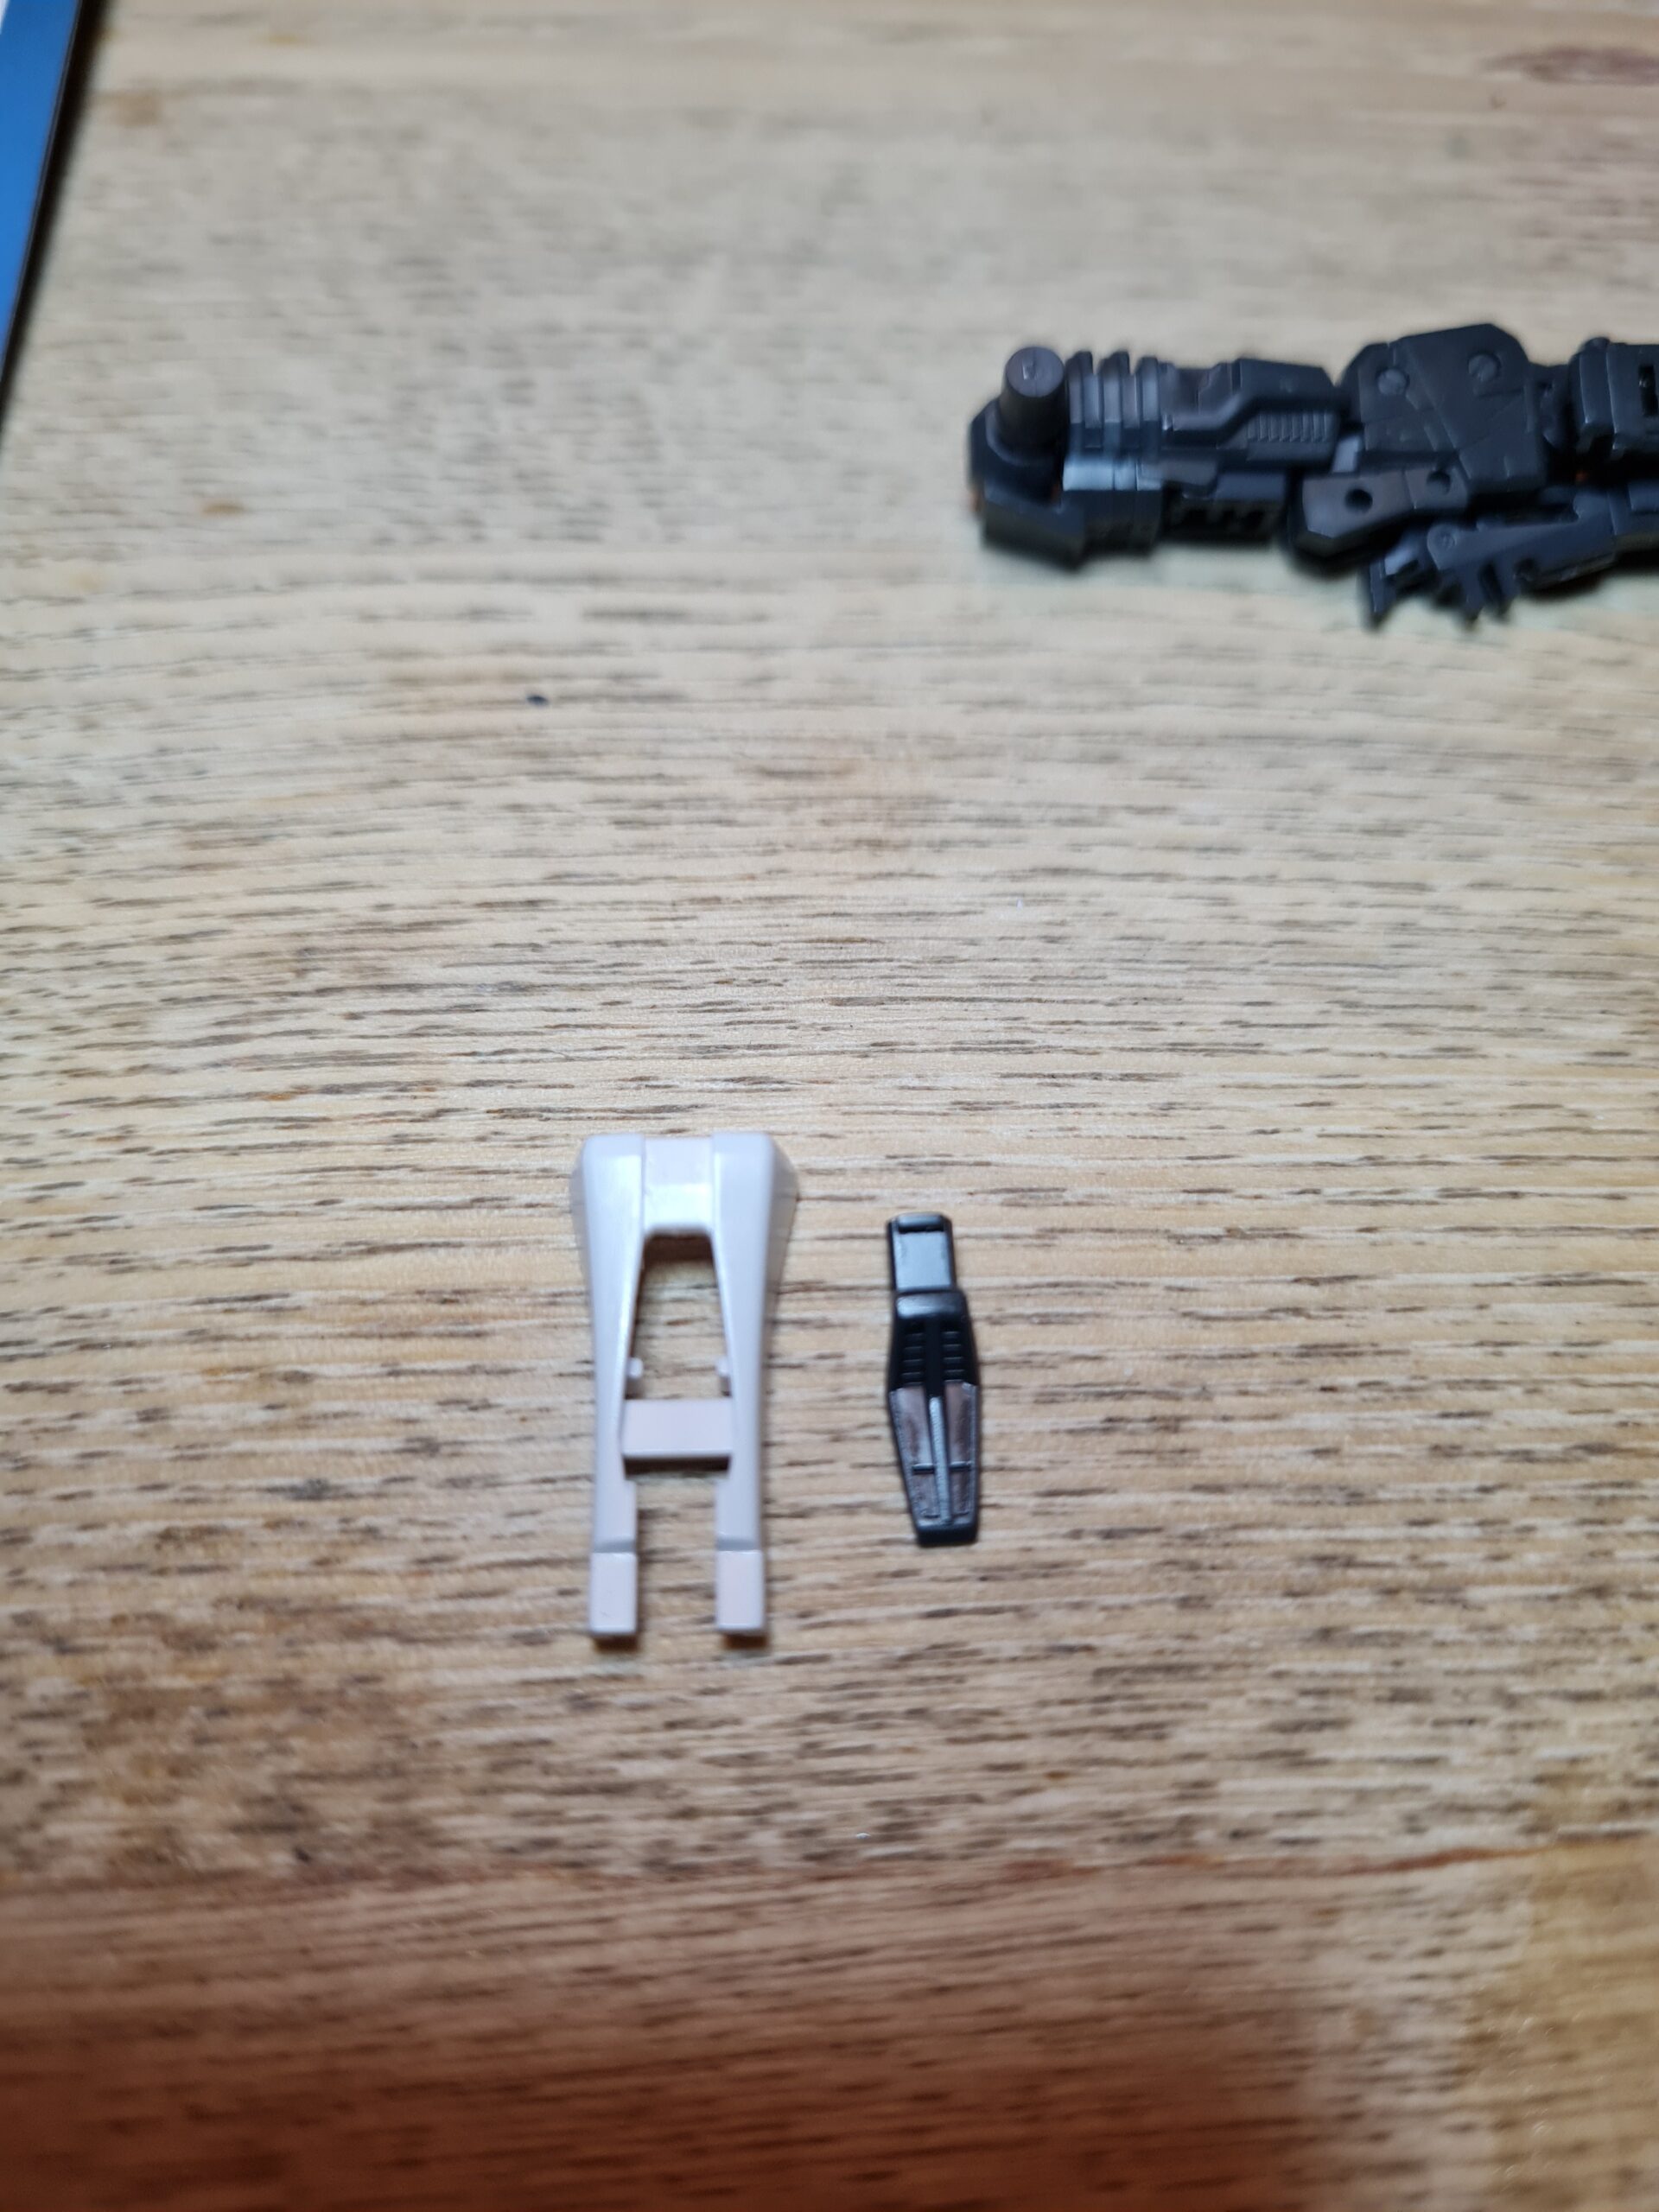
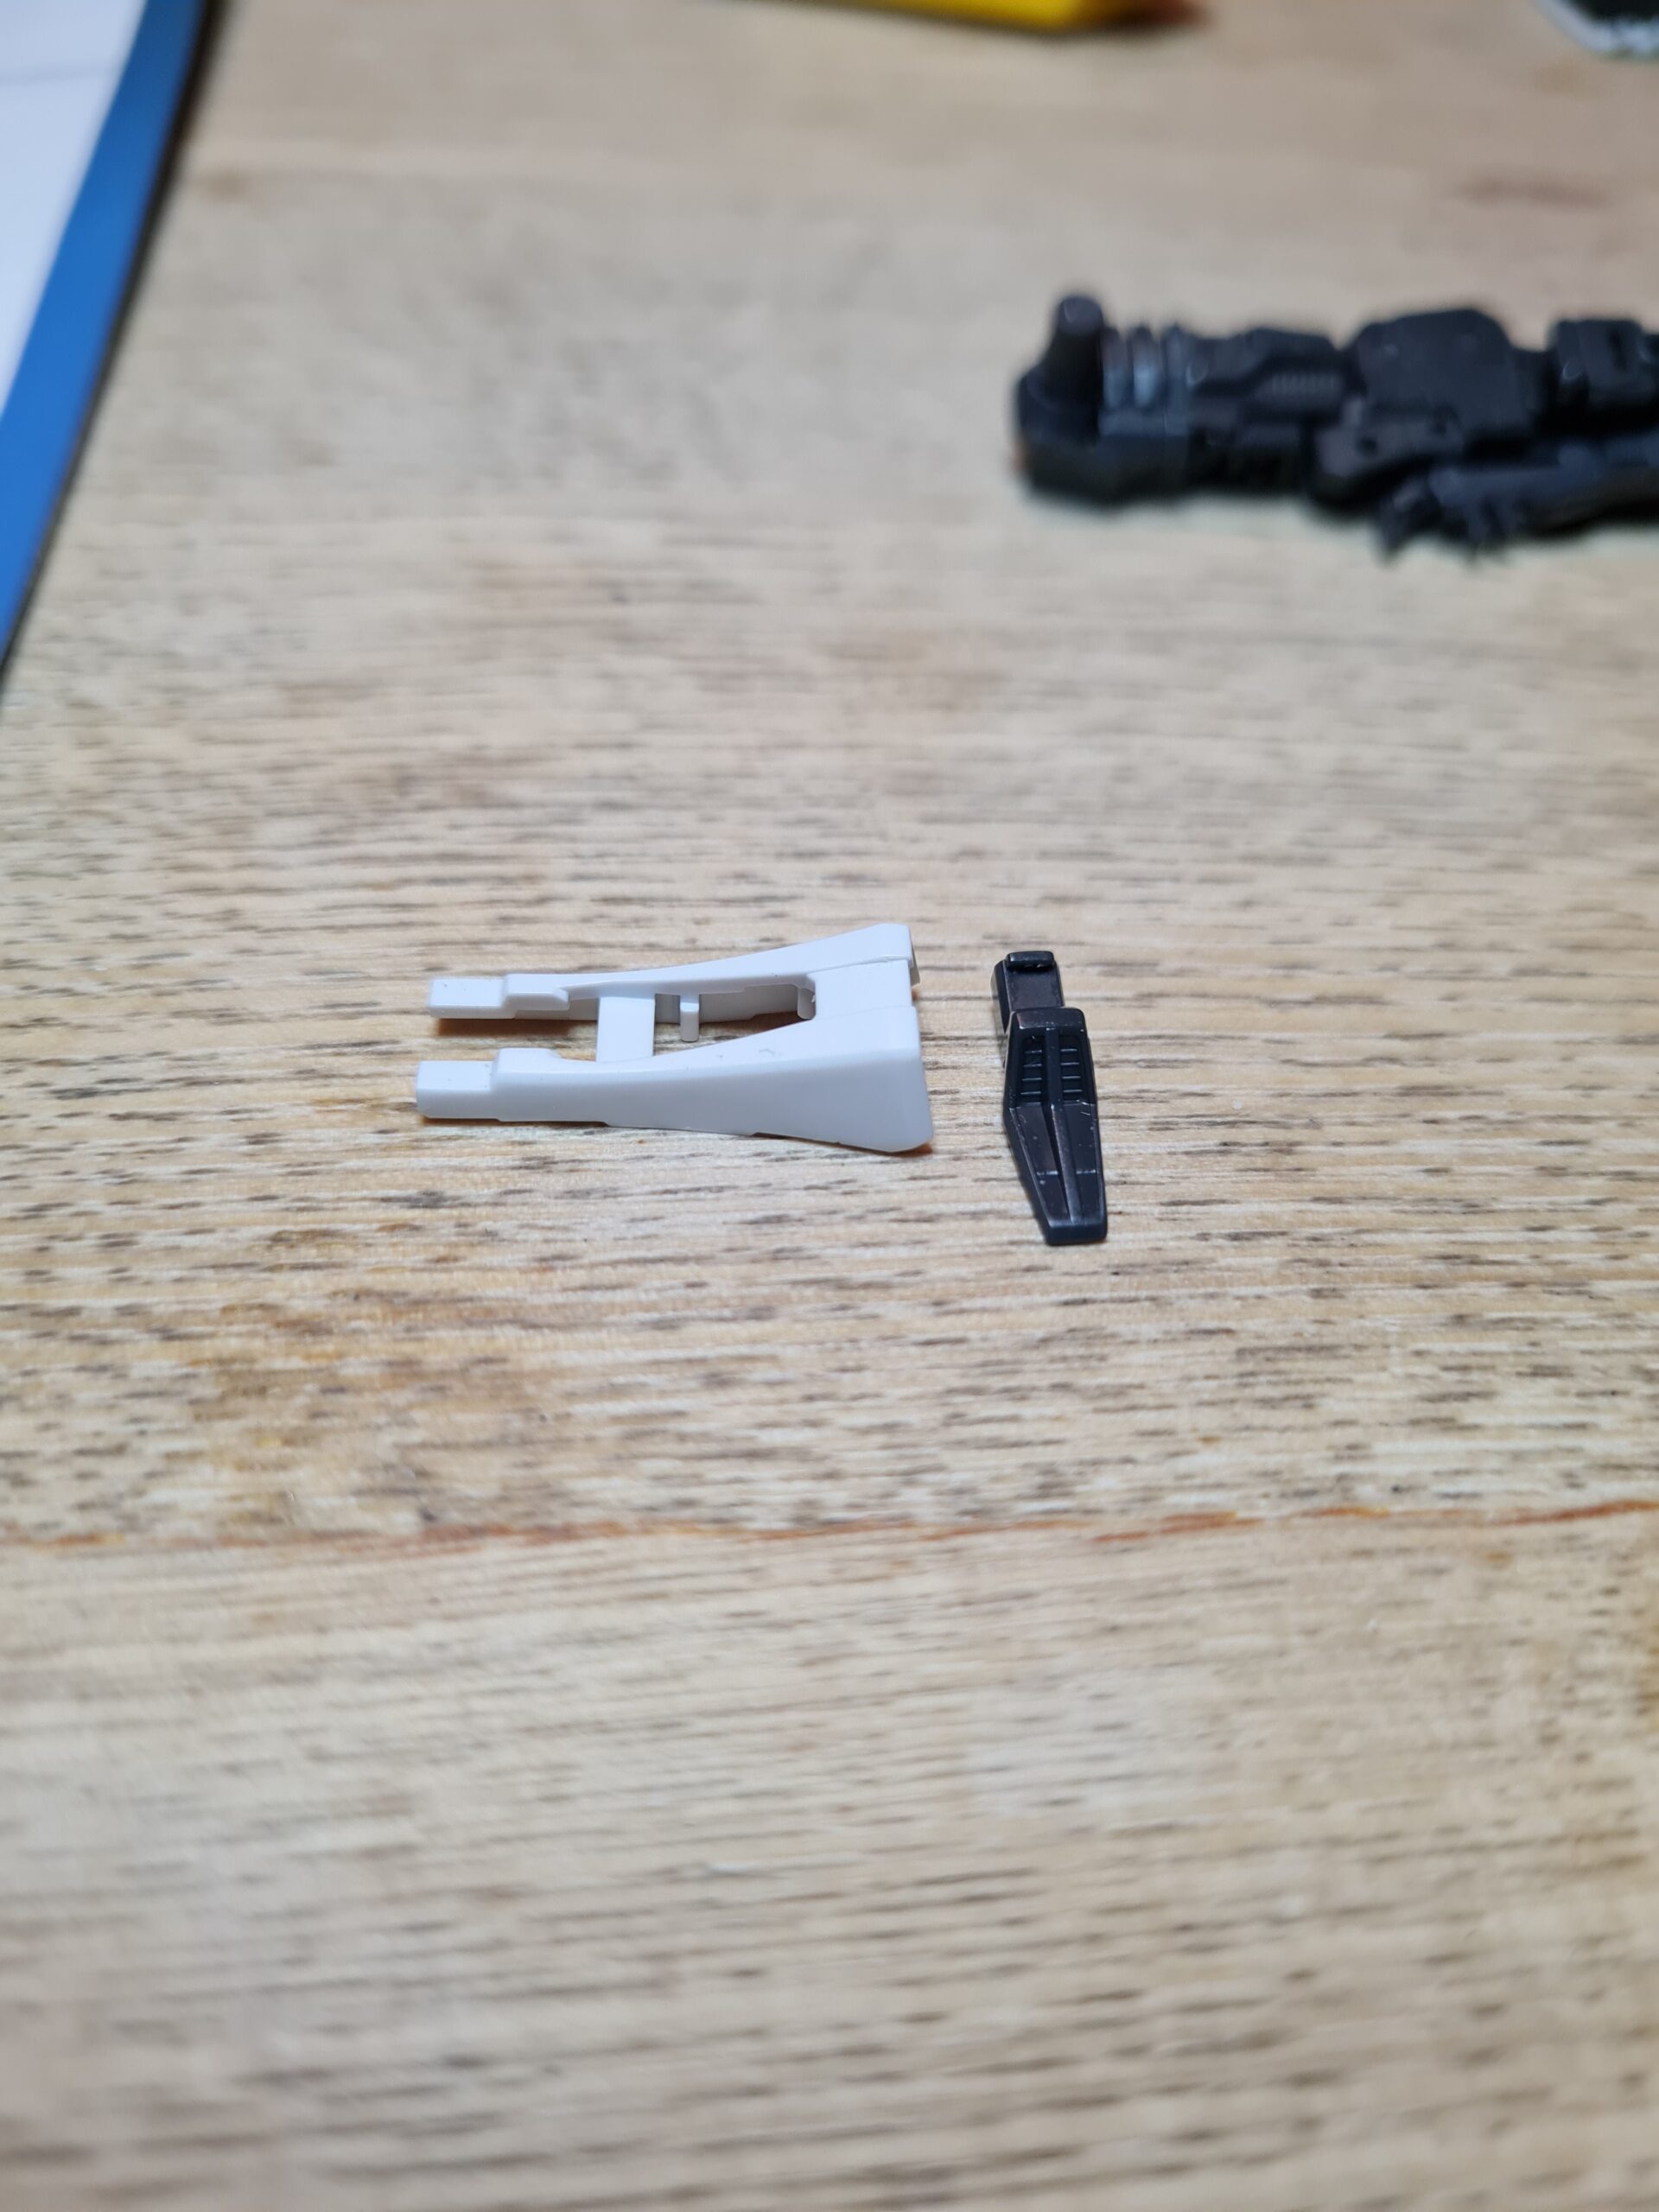
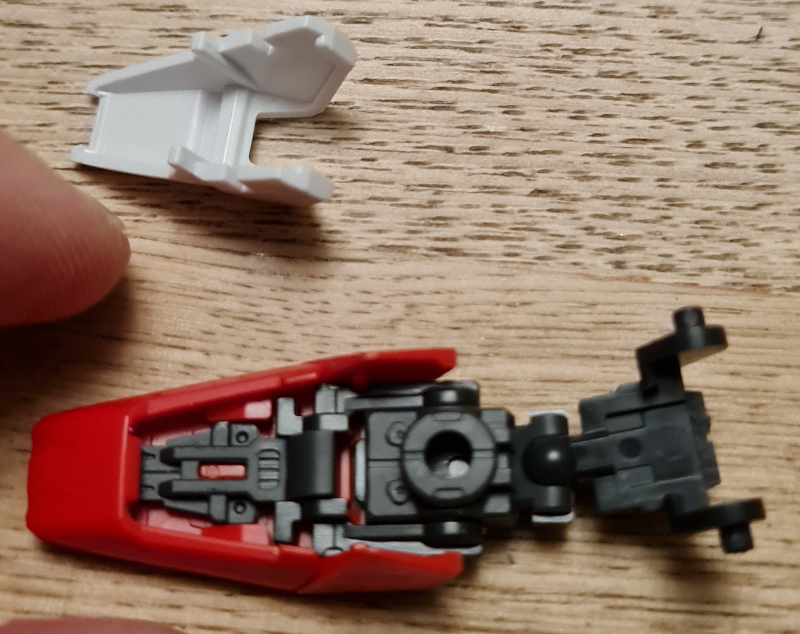
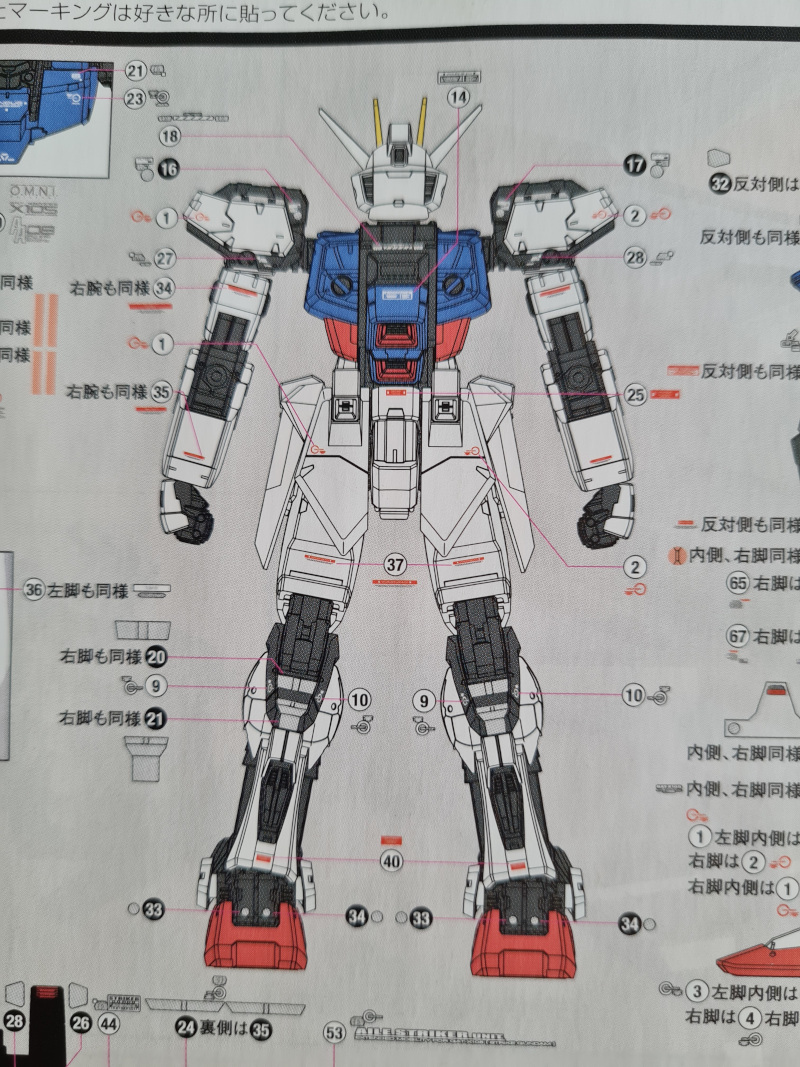
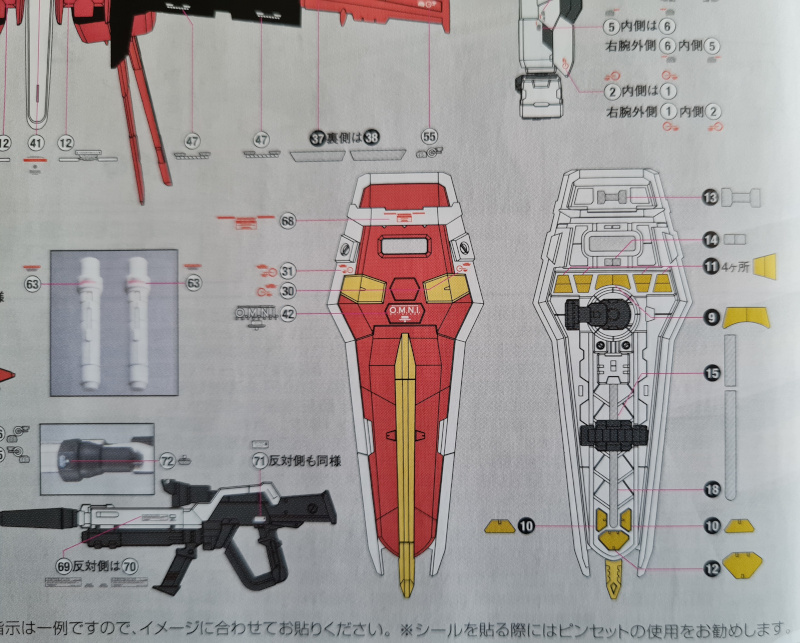
I cleaned up the parts using the process outlined about. I also at this point have no idea what order I am going to need them. However, it wasn’t a massive problem. I will, however, note that the two white pieces of armour have a slot on the inner piece that goes to the front or back depending on what side you attach them. This is important as the longish white piece (on the top line of pieces third from the top left, and surrounded by blue pieces), fits into those slots. I found out that if you attach those on the wrong side then you have to take it apart again (2 pieces on top of them) and refit.
This was because I decided to give myself a blast from the past, and just put them all together in a bag. It reminded me of the old lego bags where all the parts for a specific section of the build were all together. This looked like this.
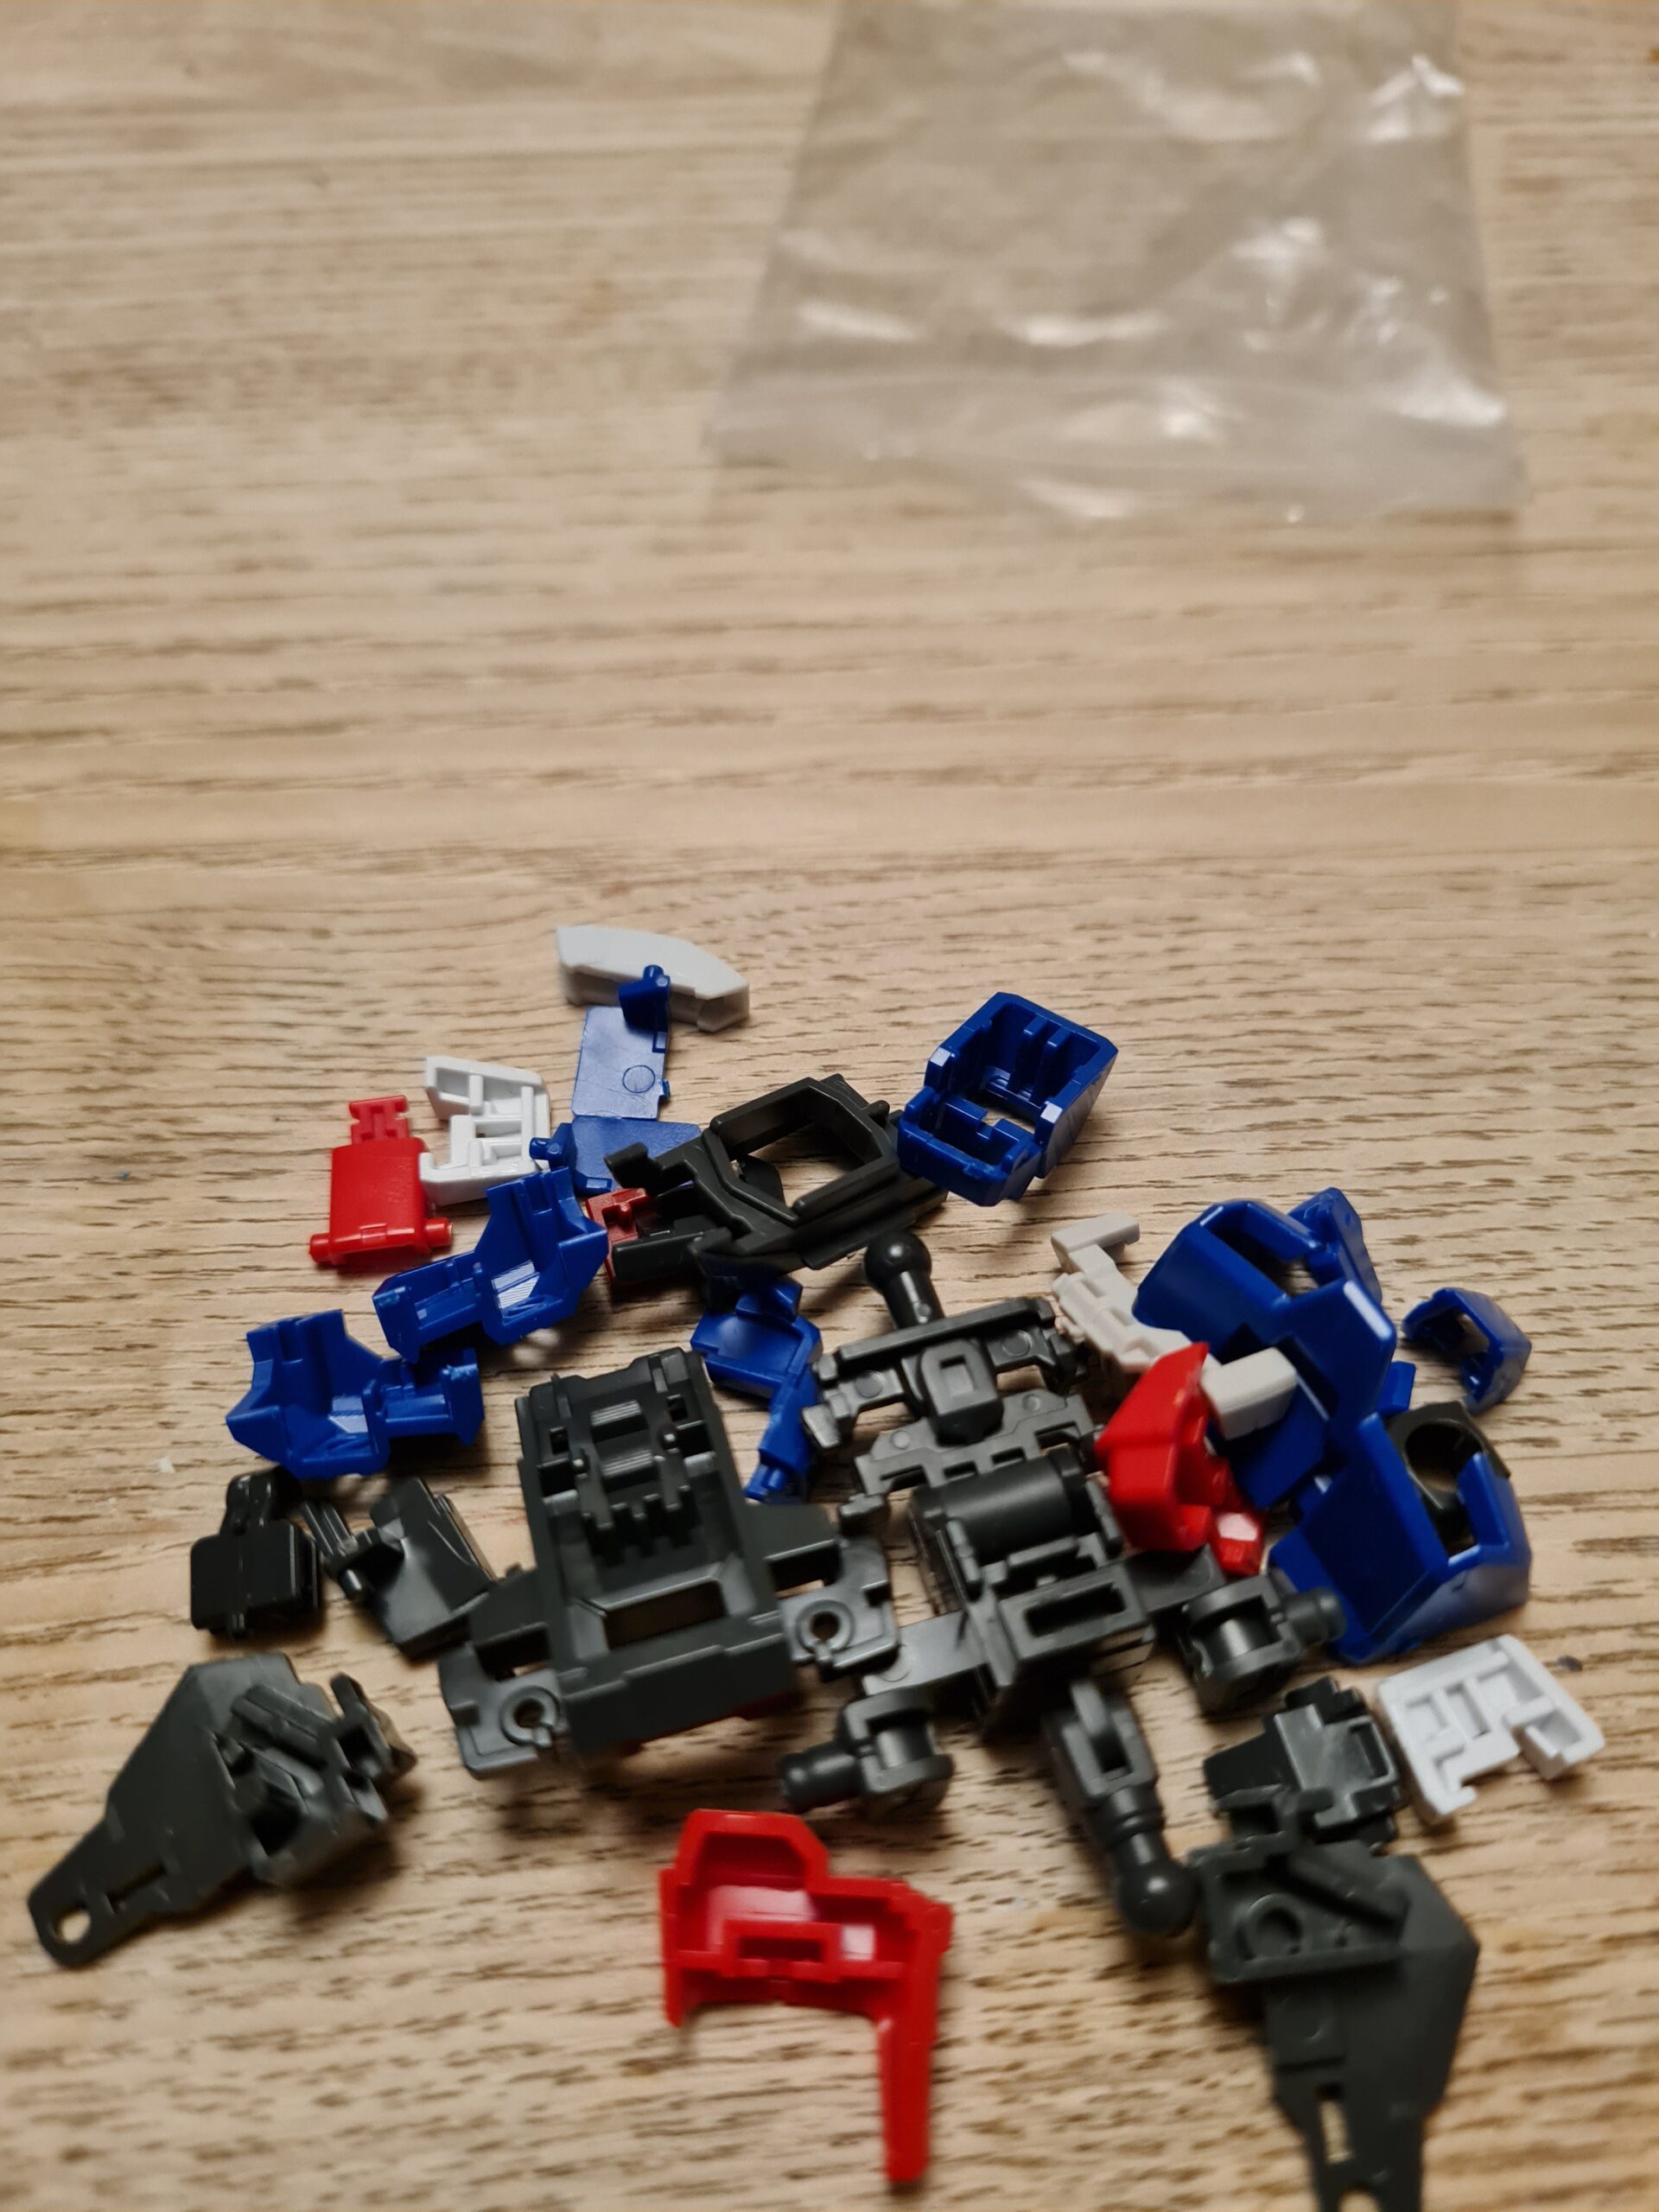
I actually enjoyed identifying the pieces from the manual and then finding them in my pile 🙂 Ultimately you should have a build process that you enjoy.
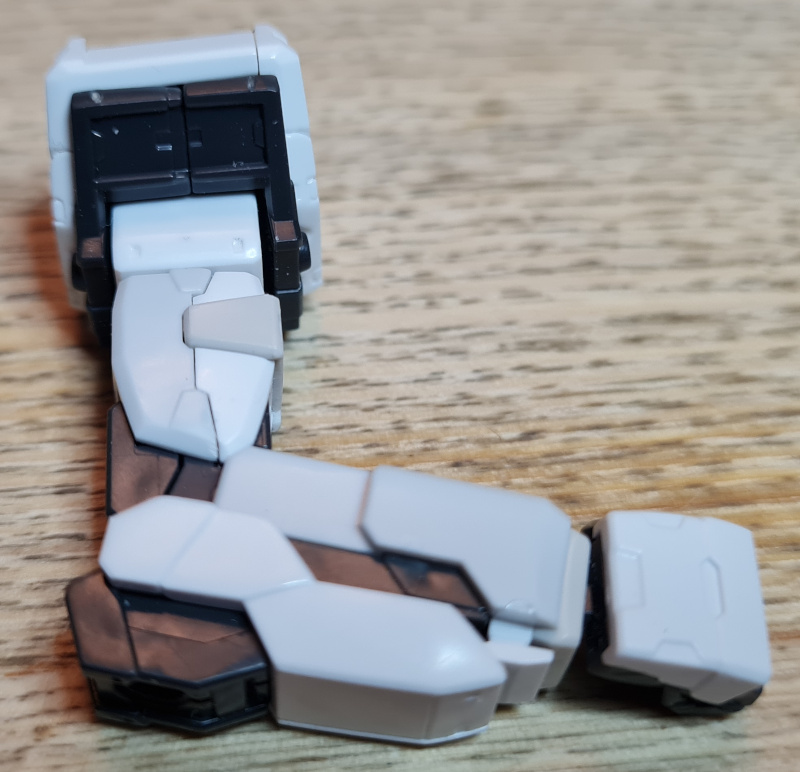
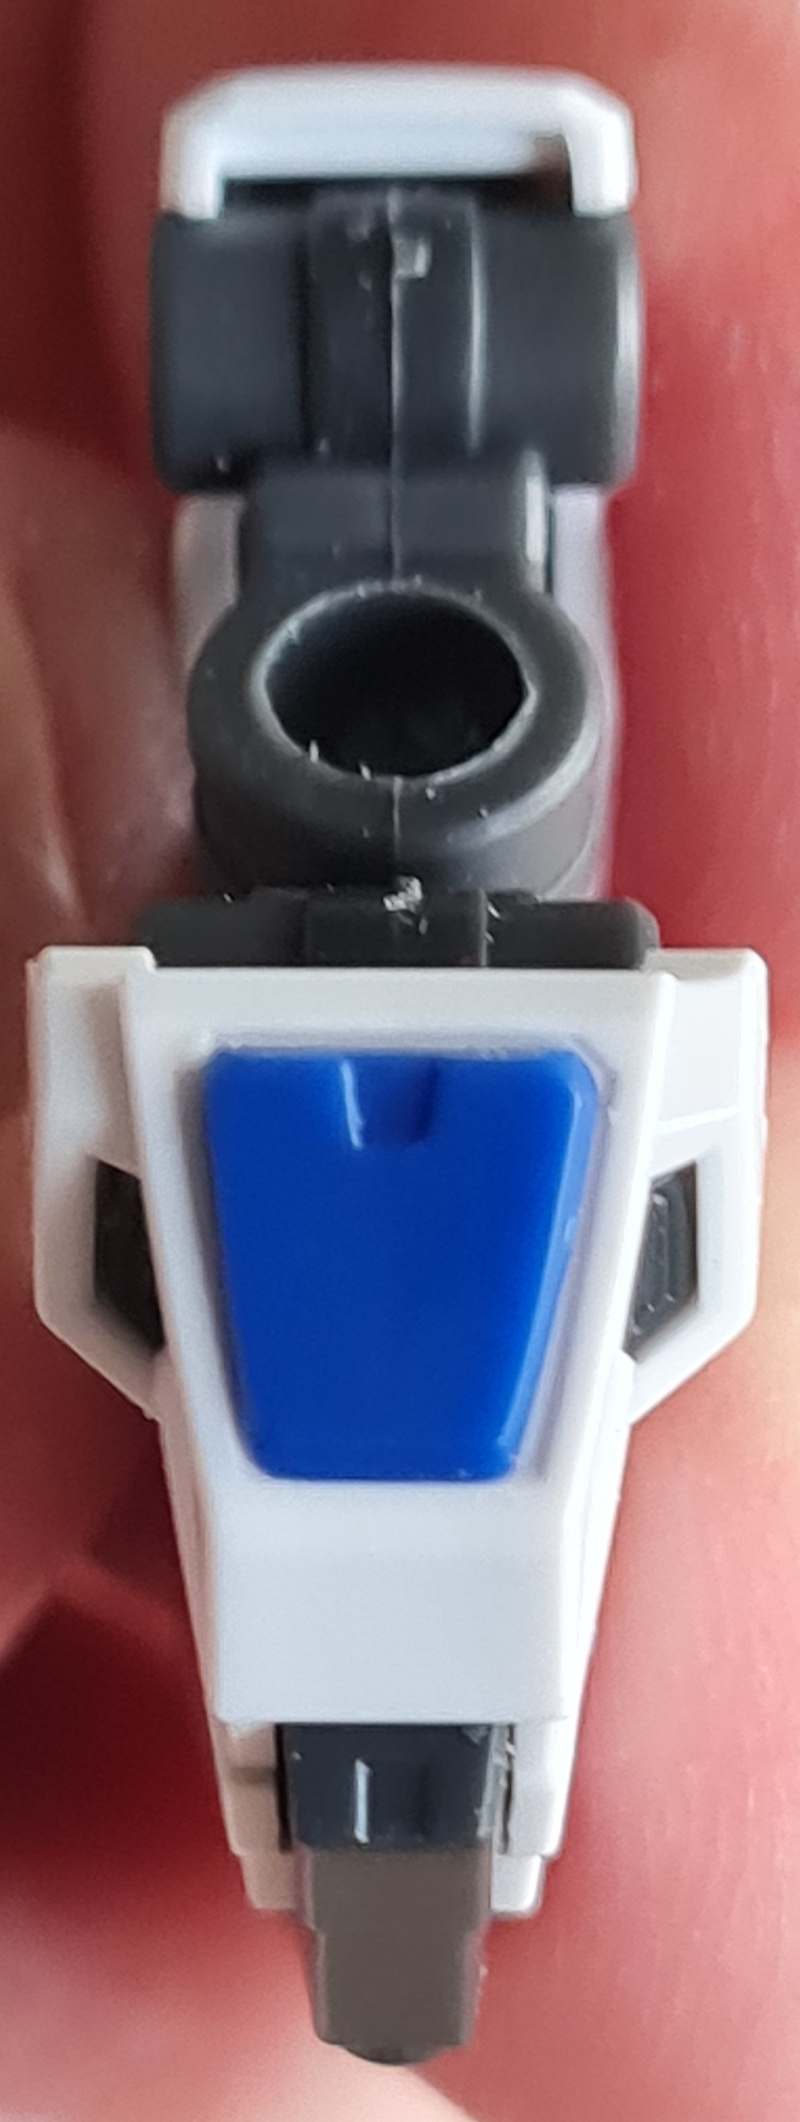
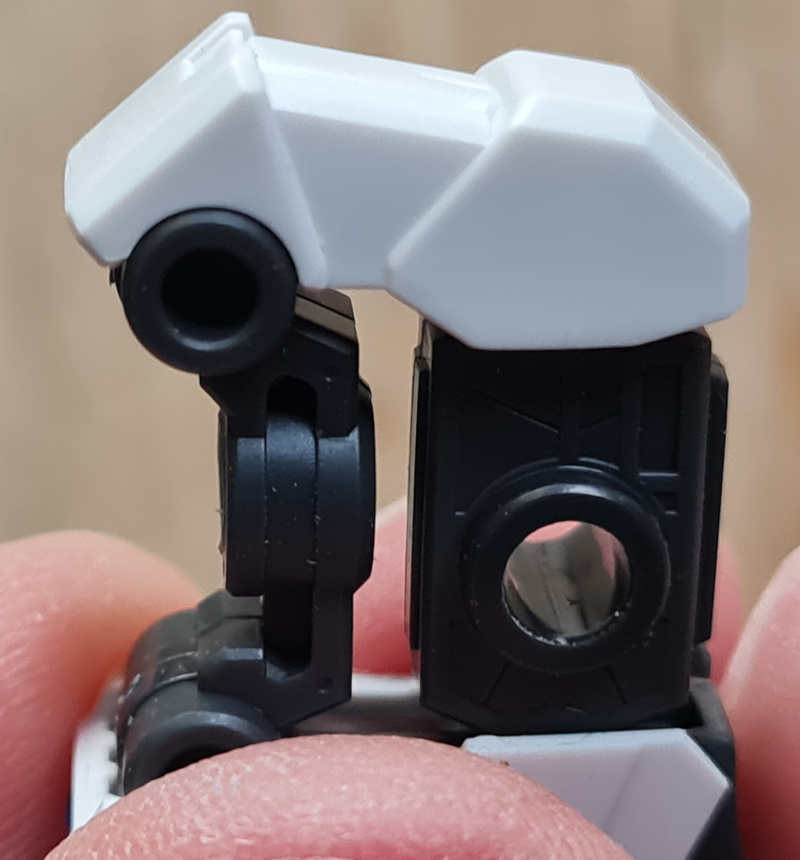
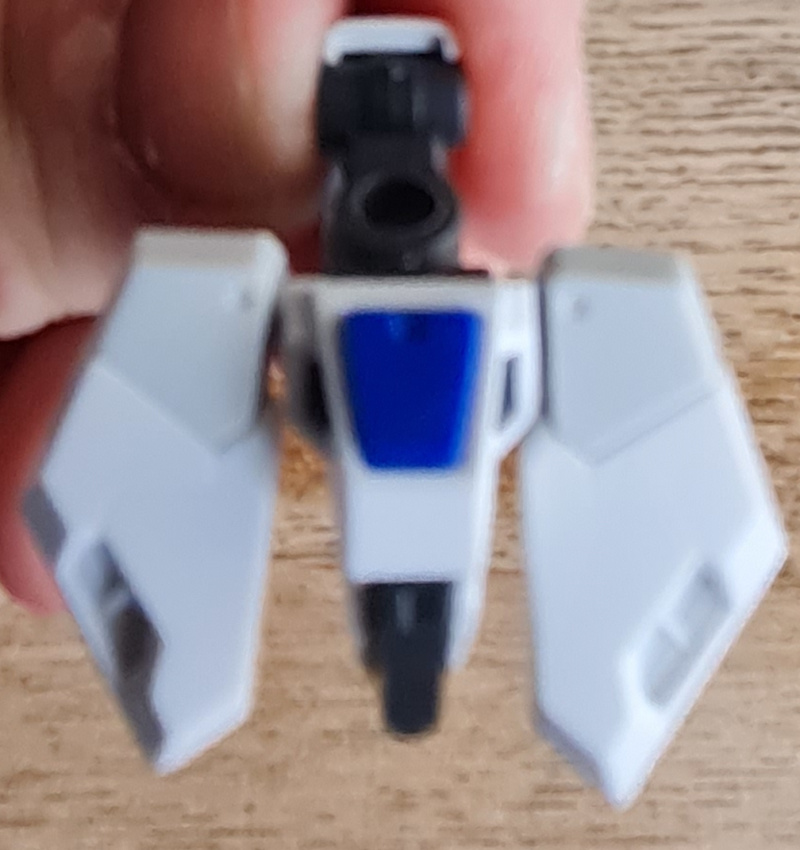
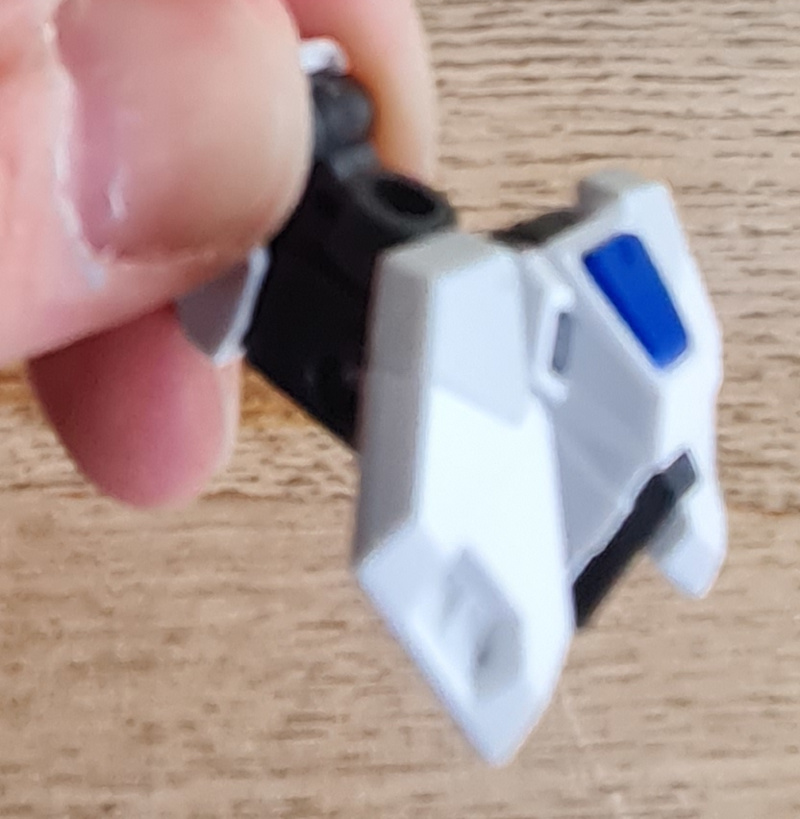
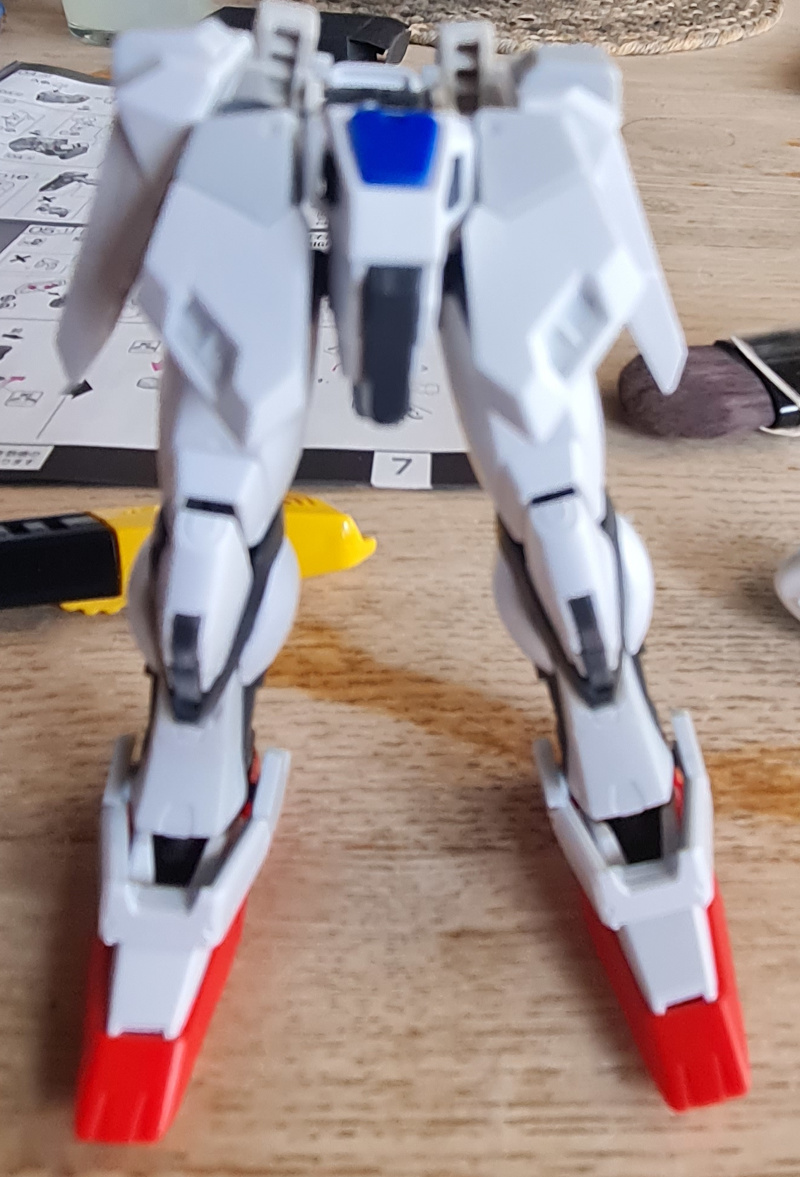
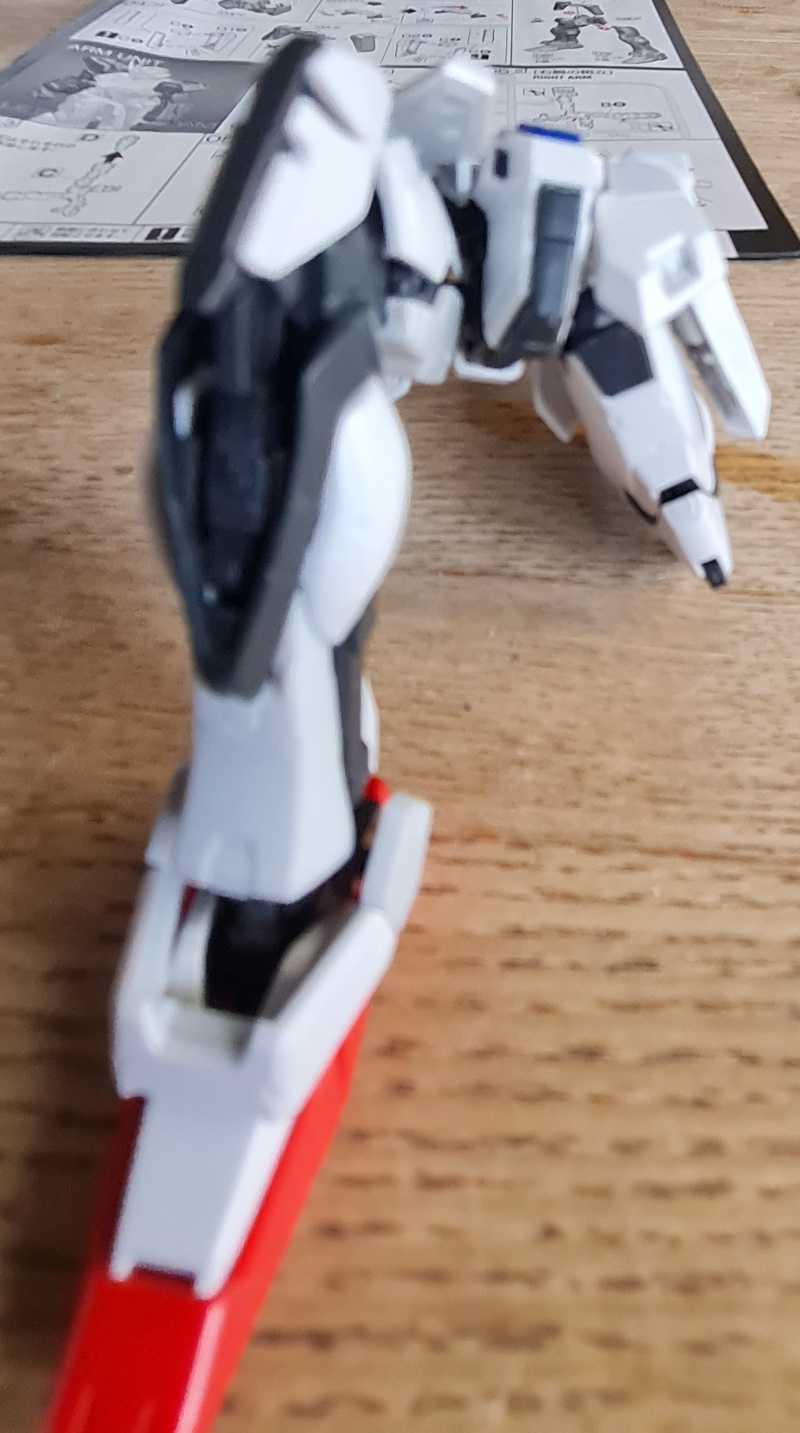
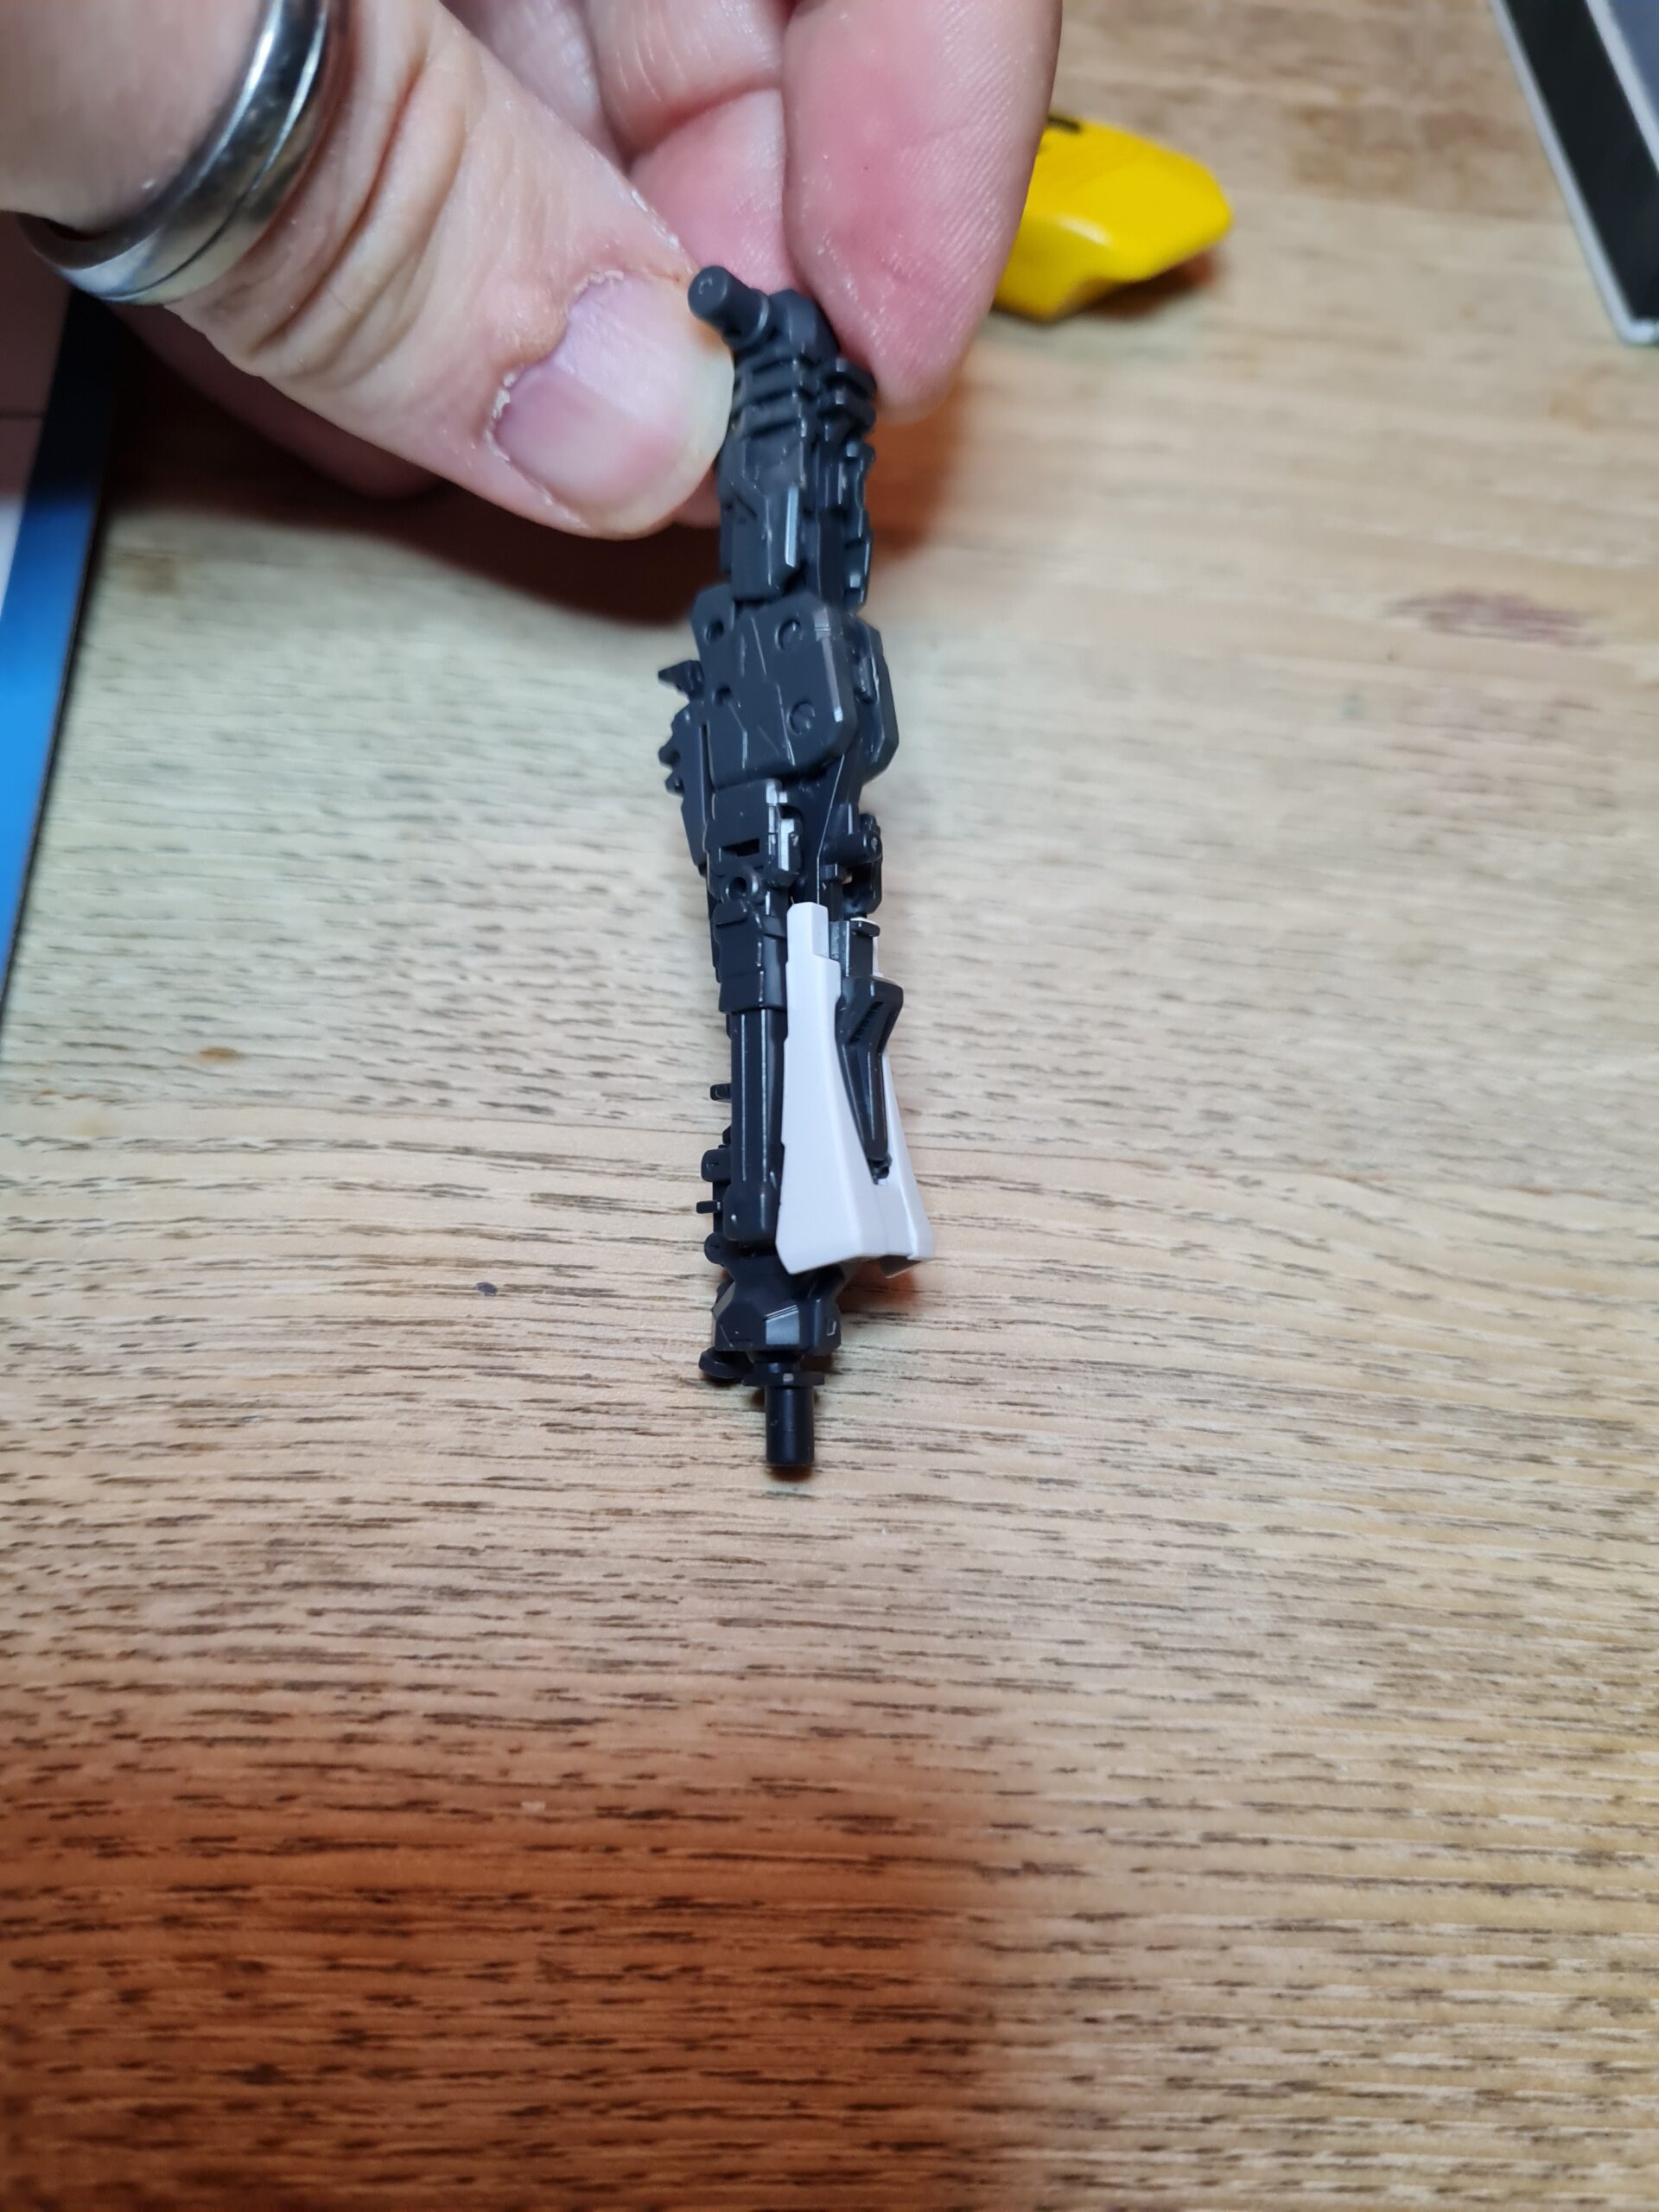
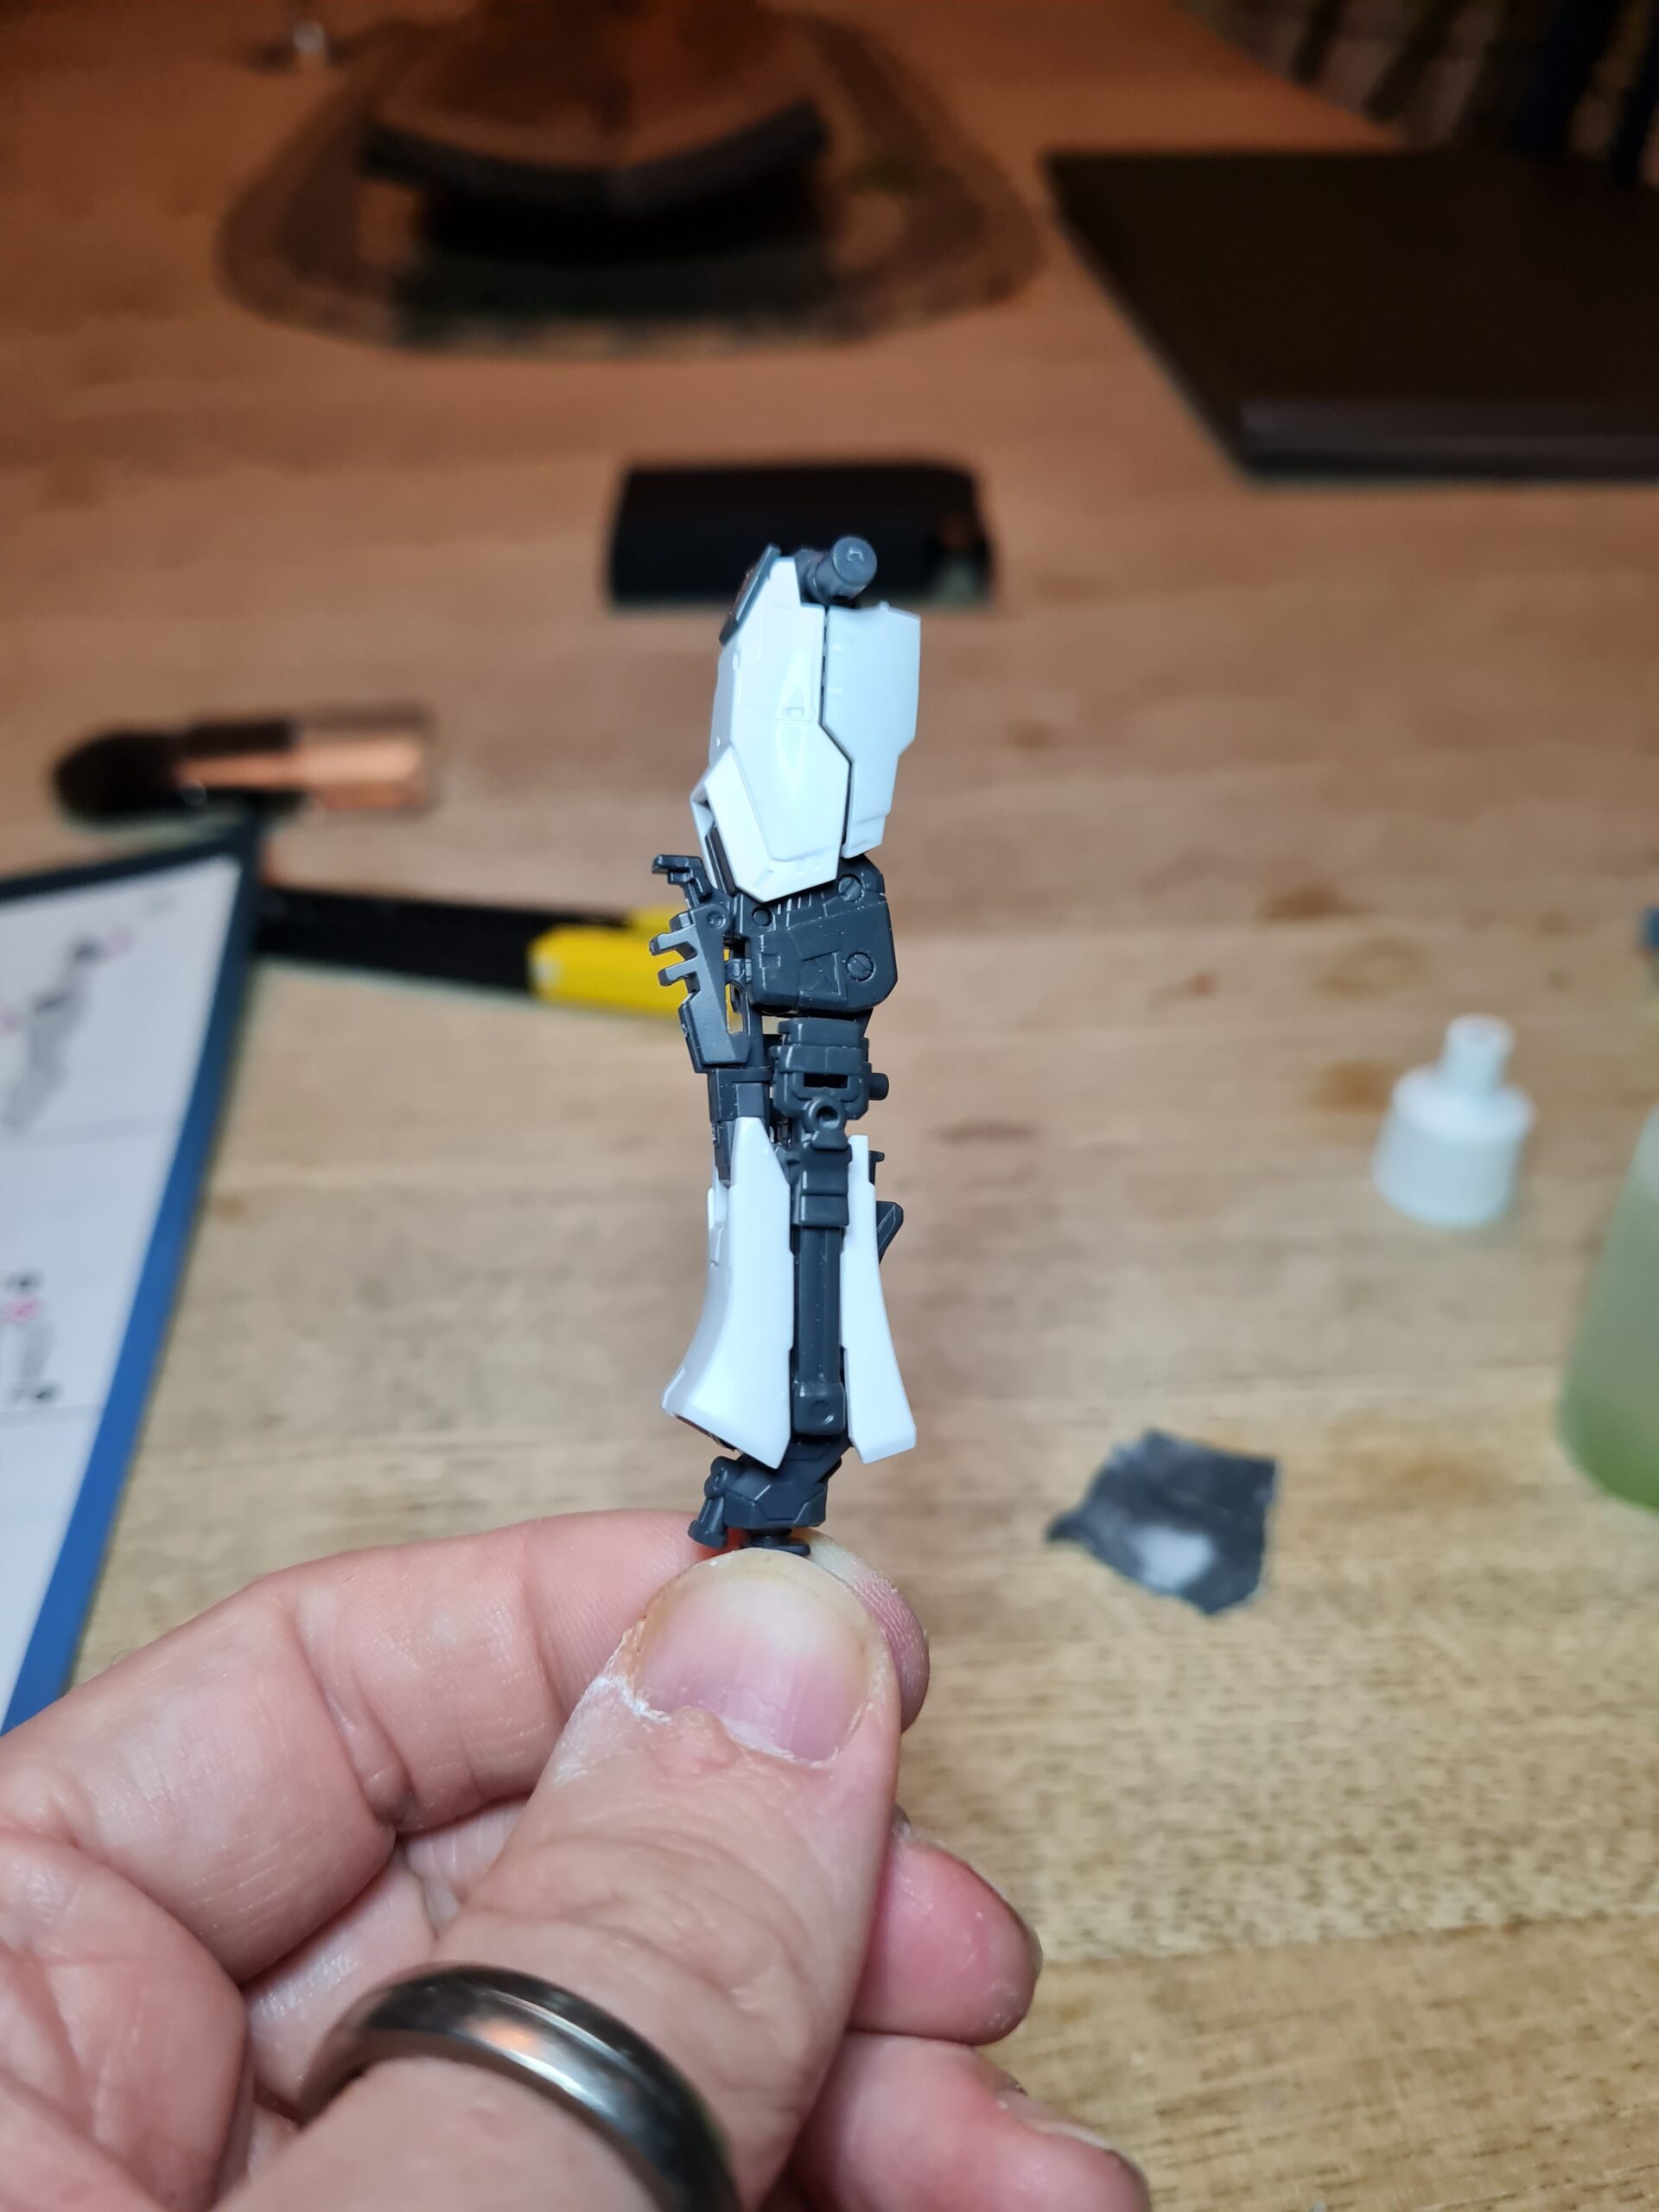
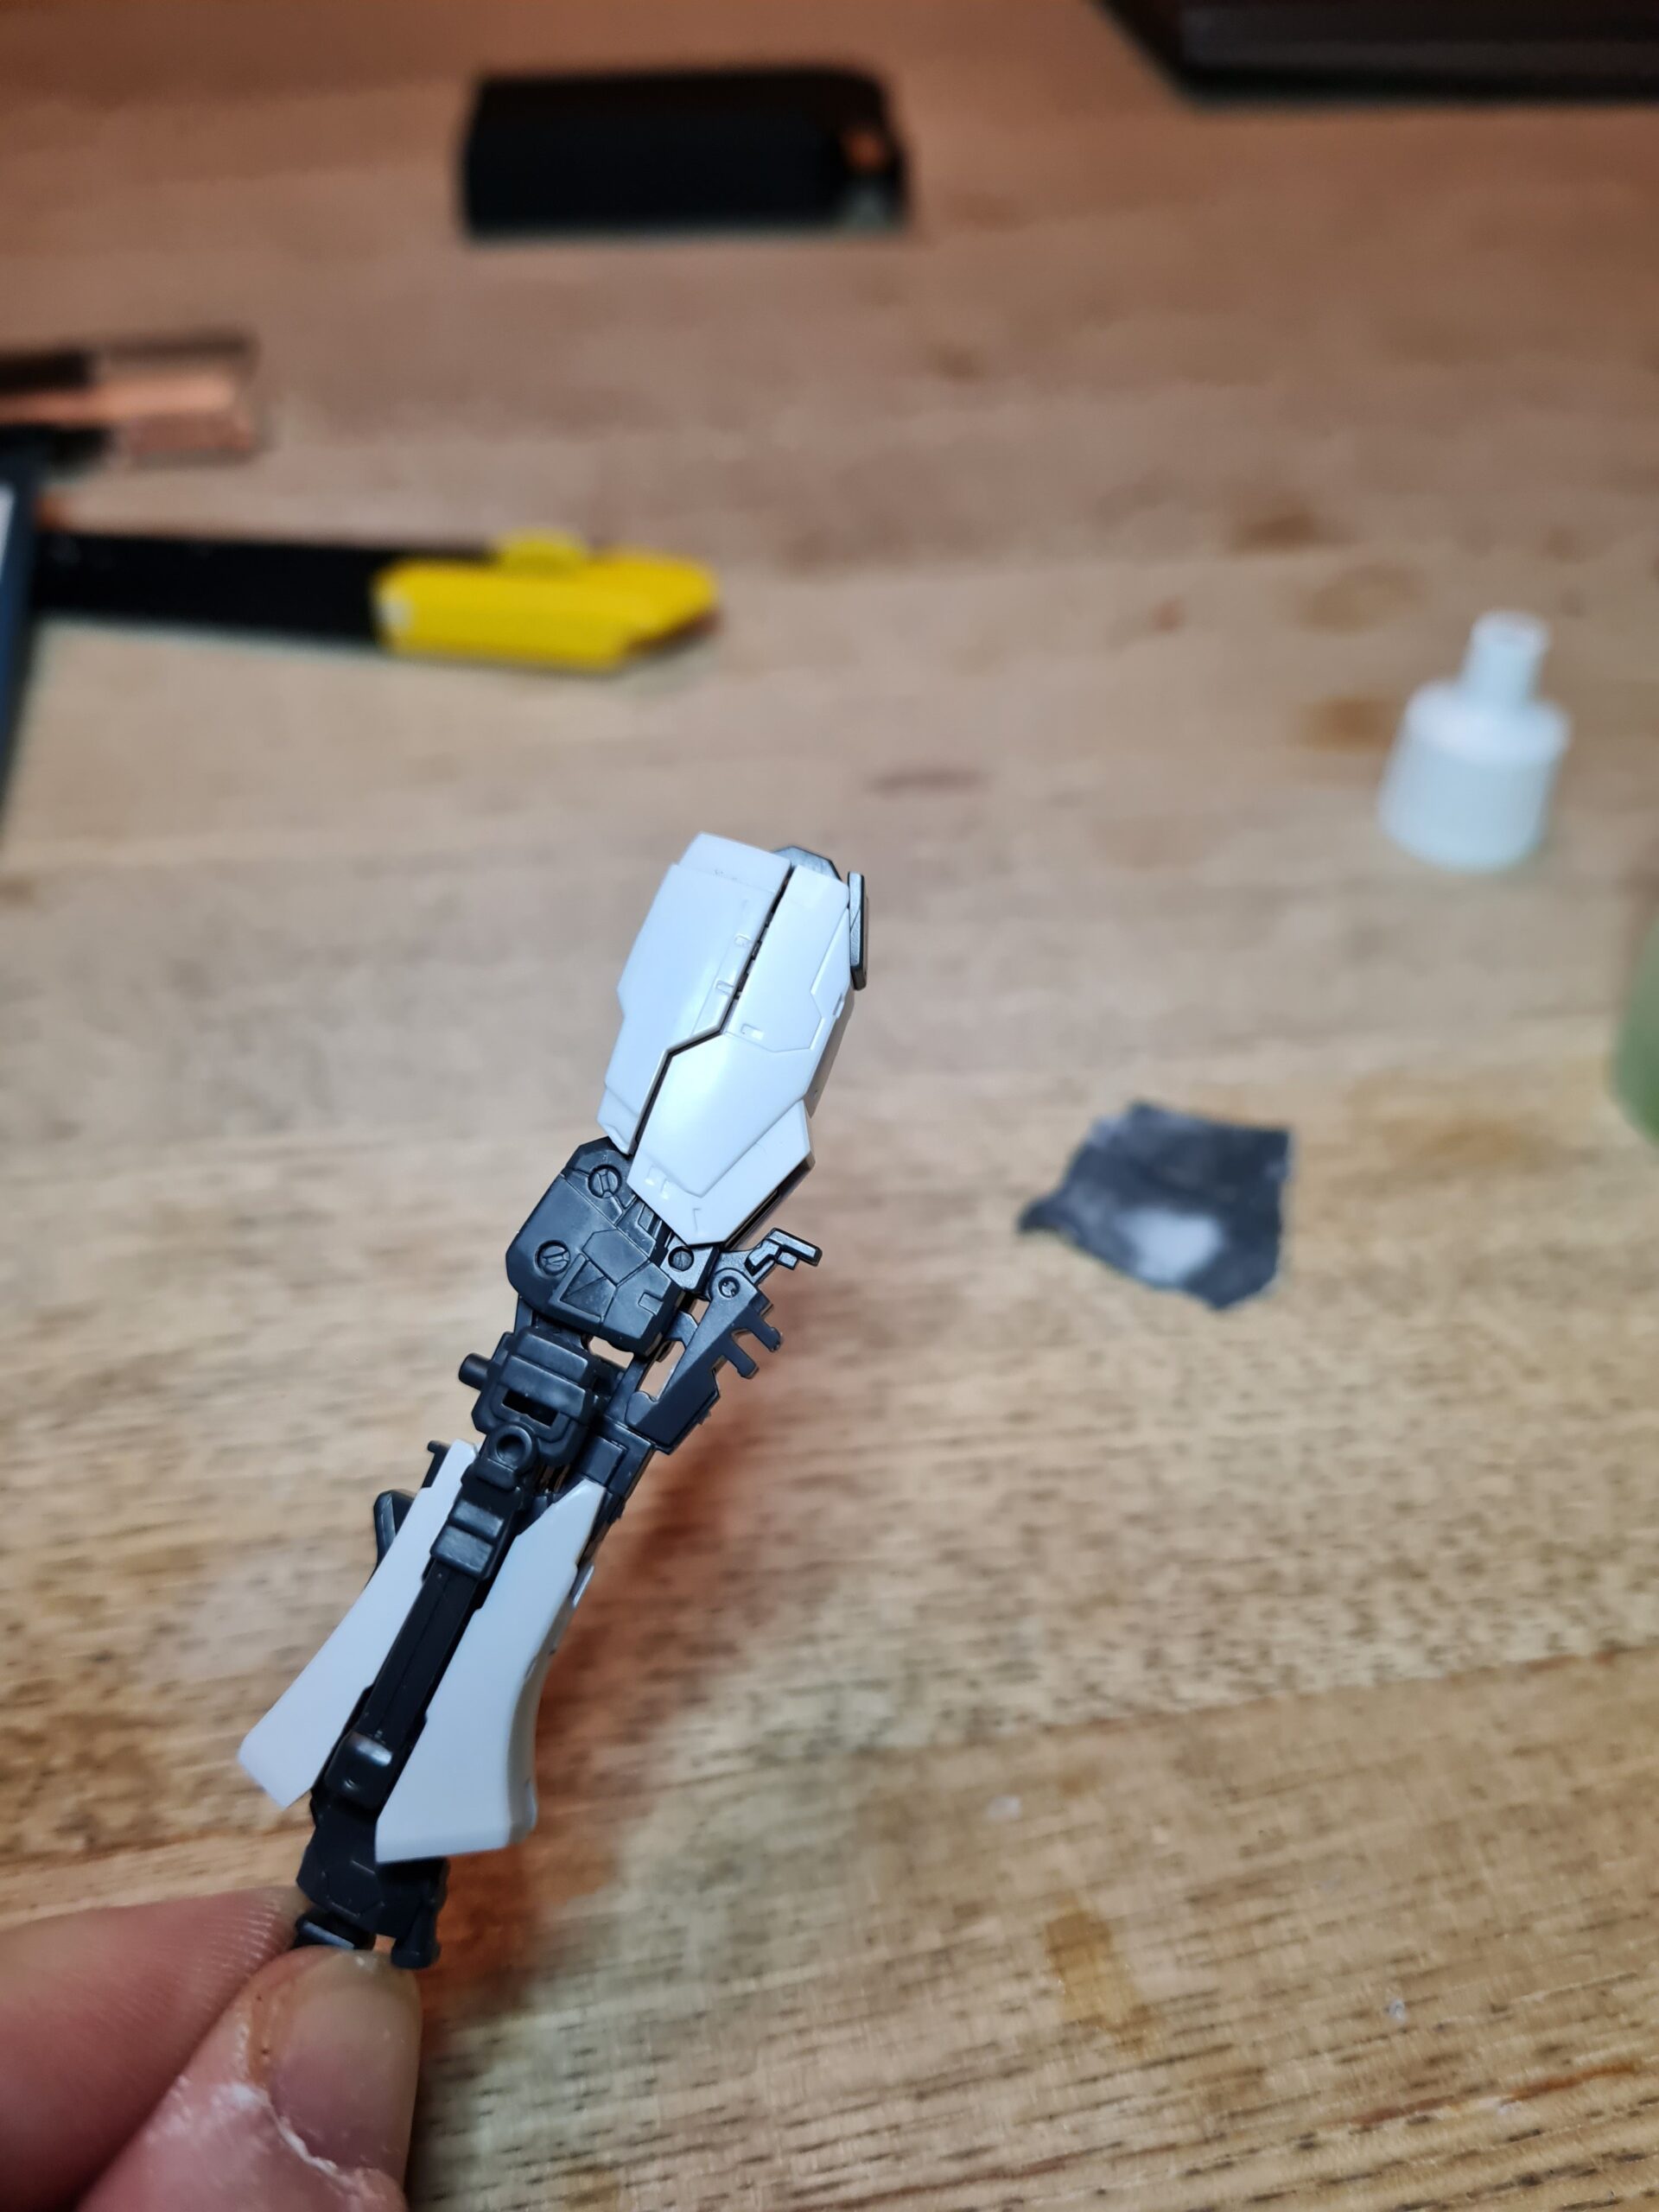
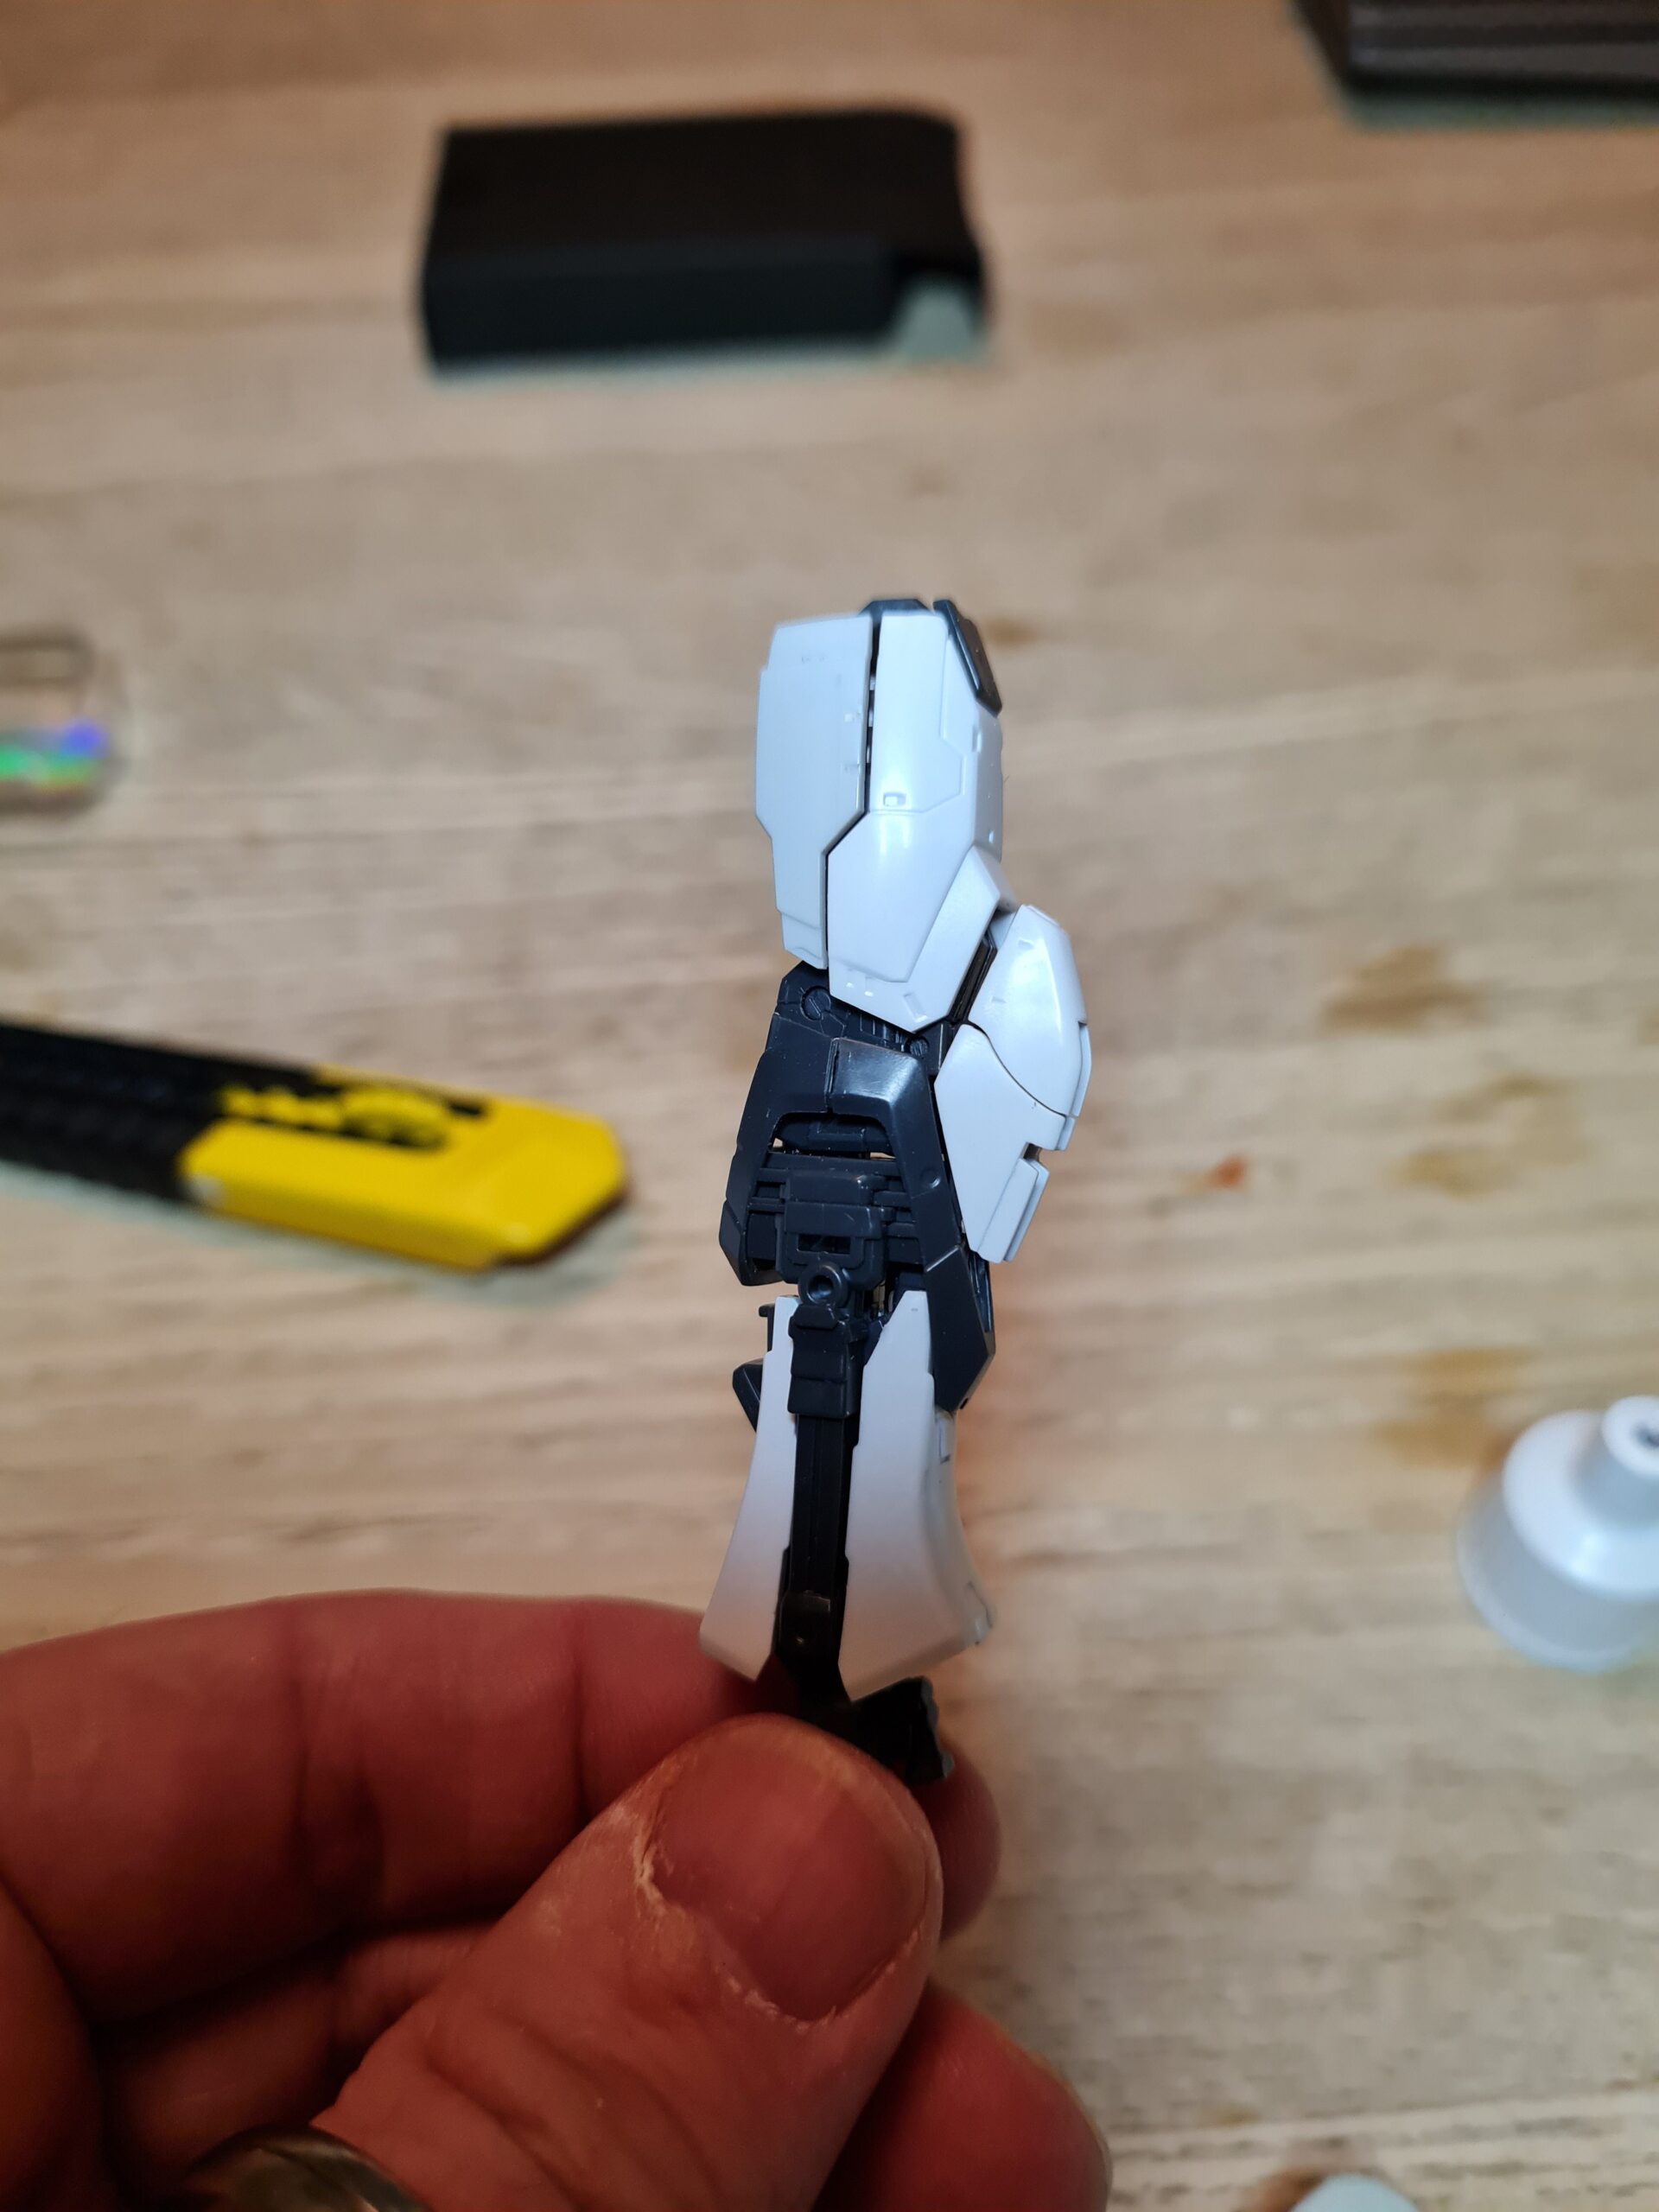
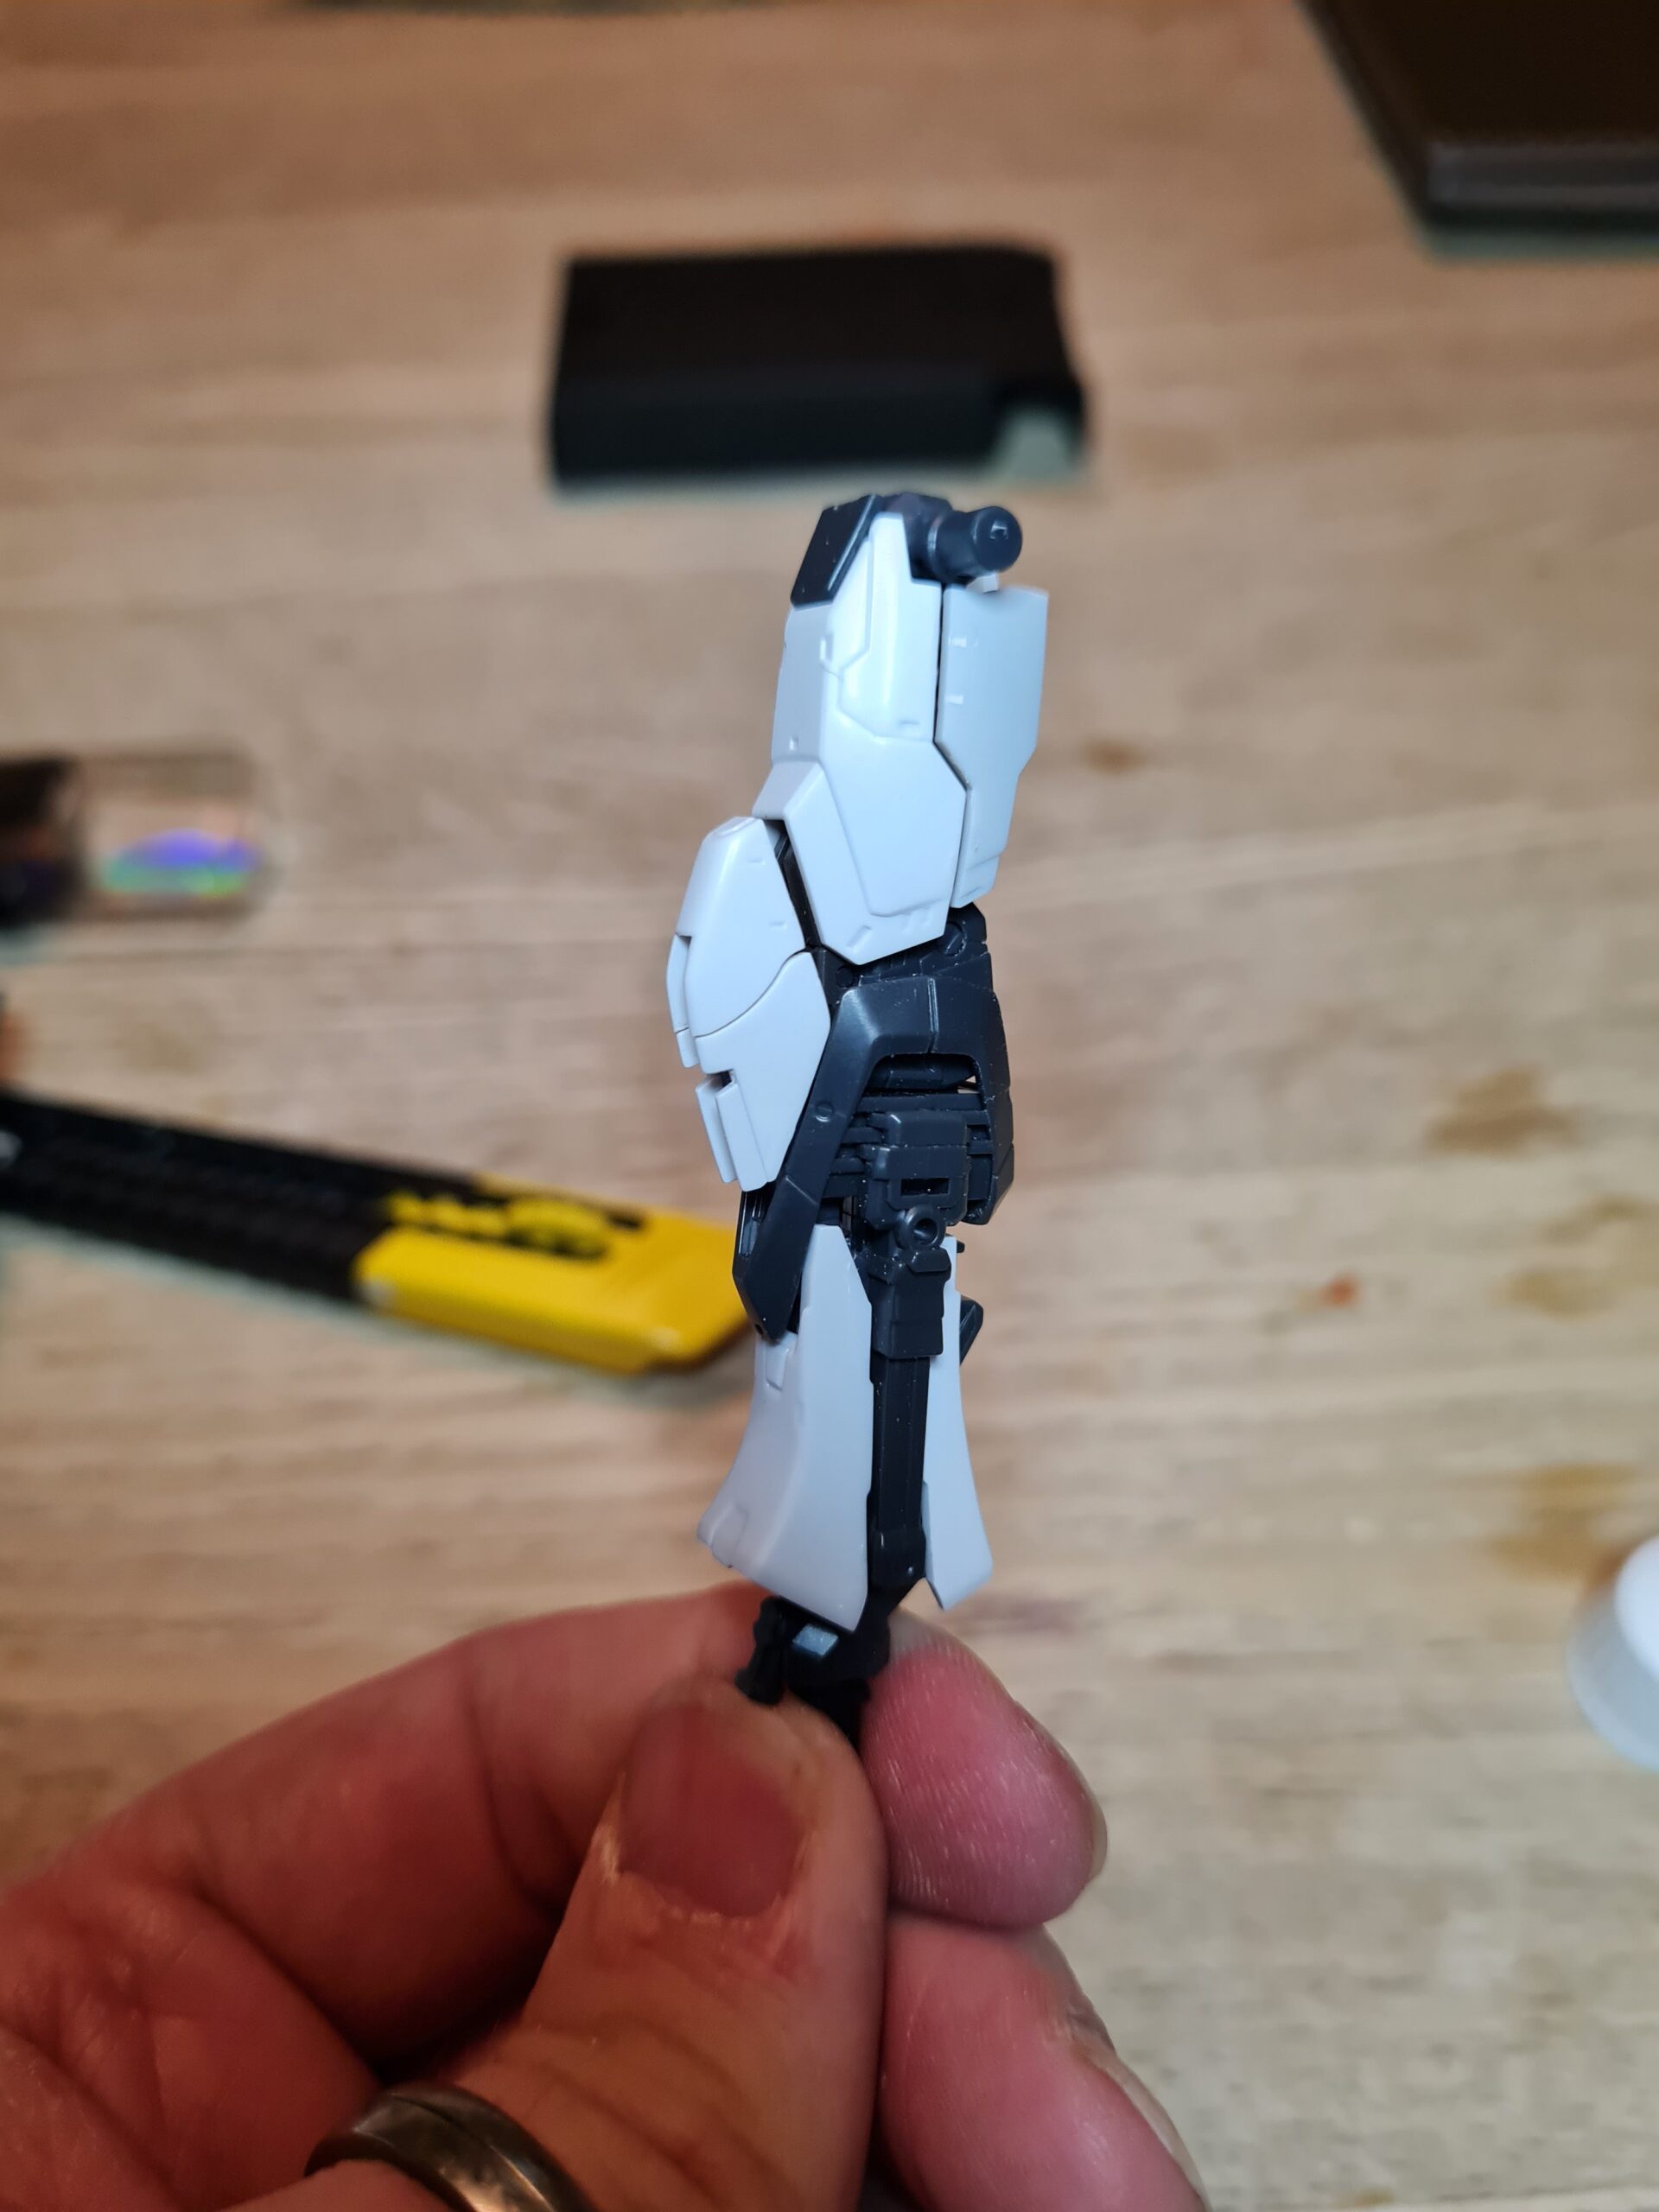
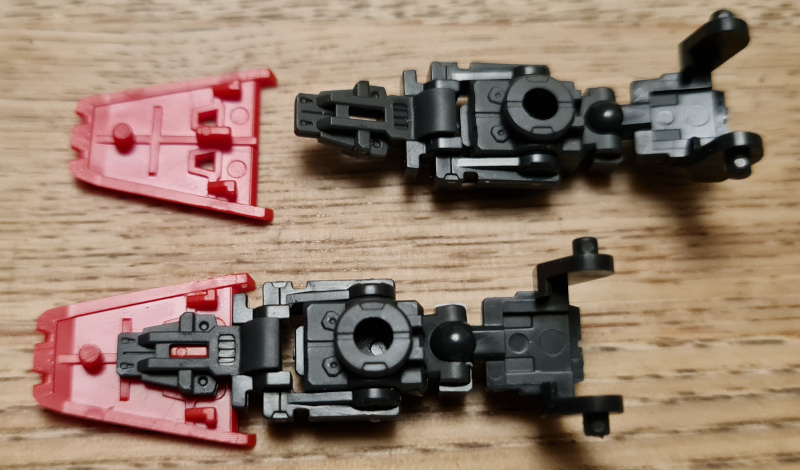
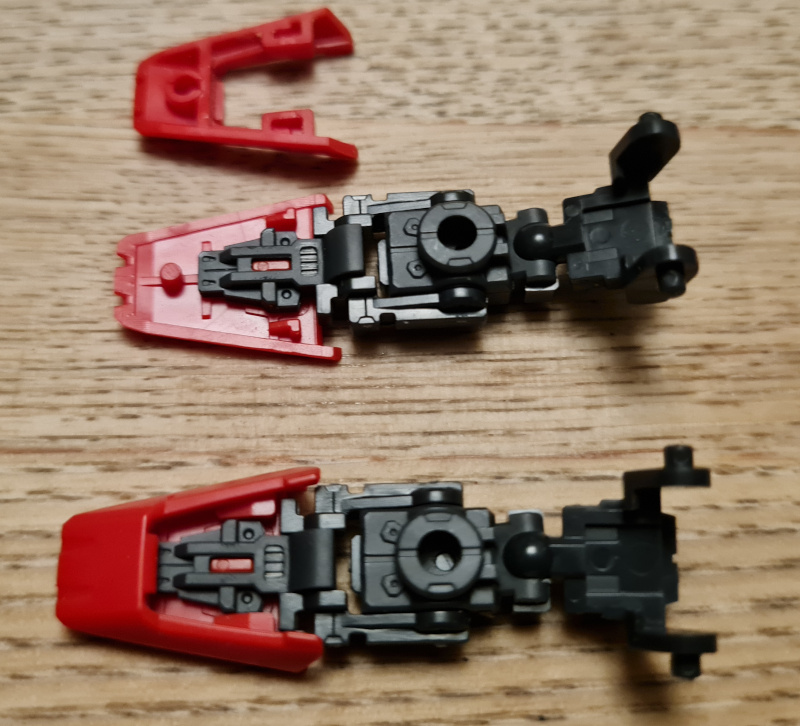
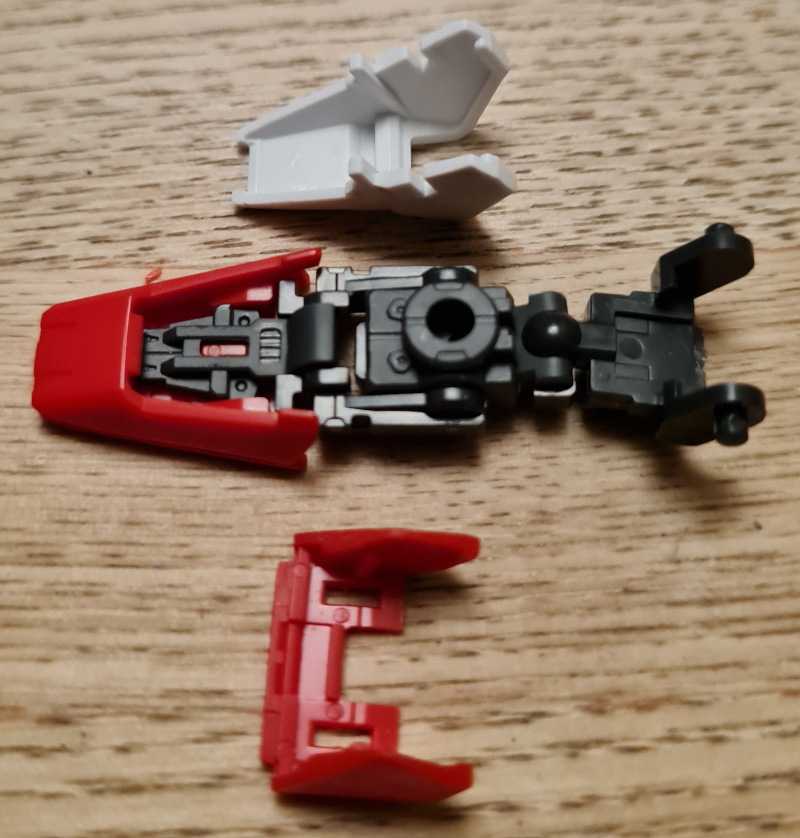
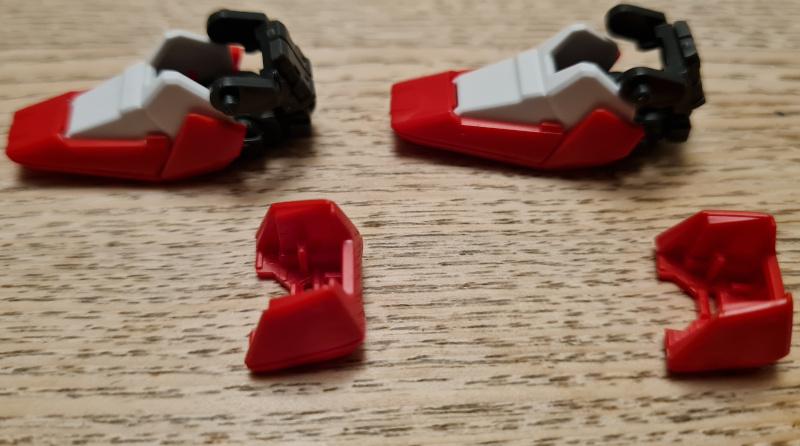
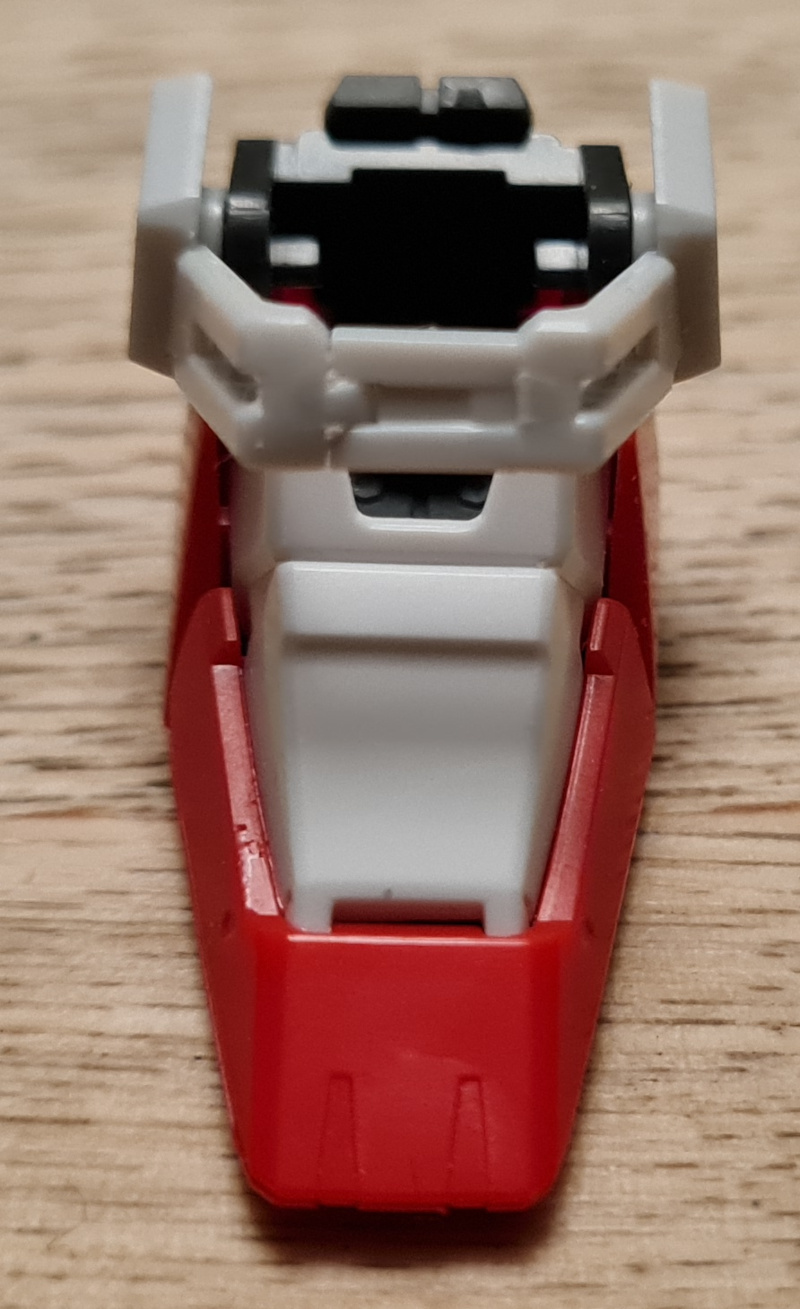
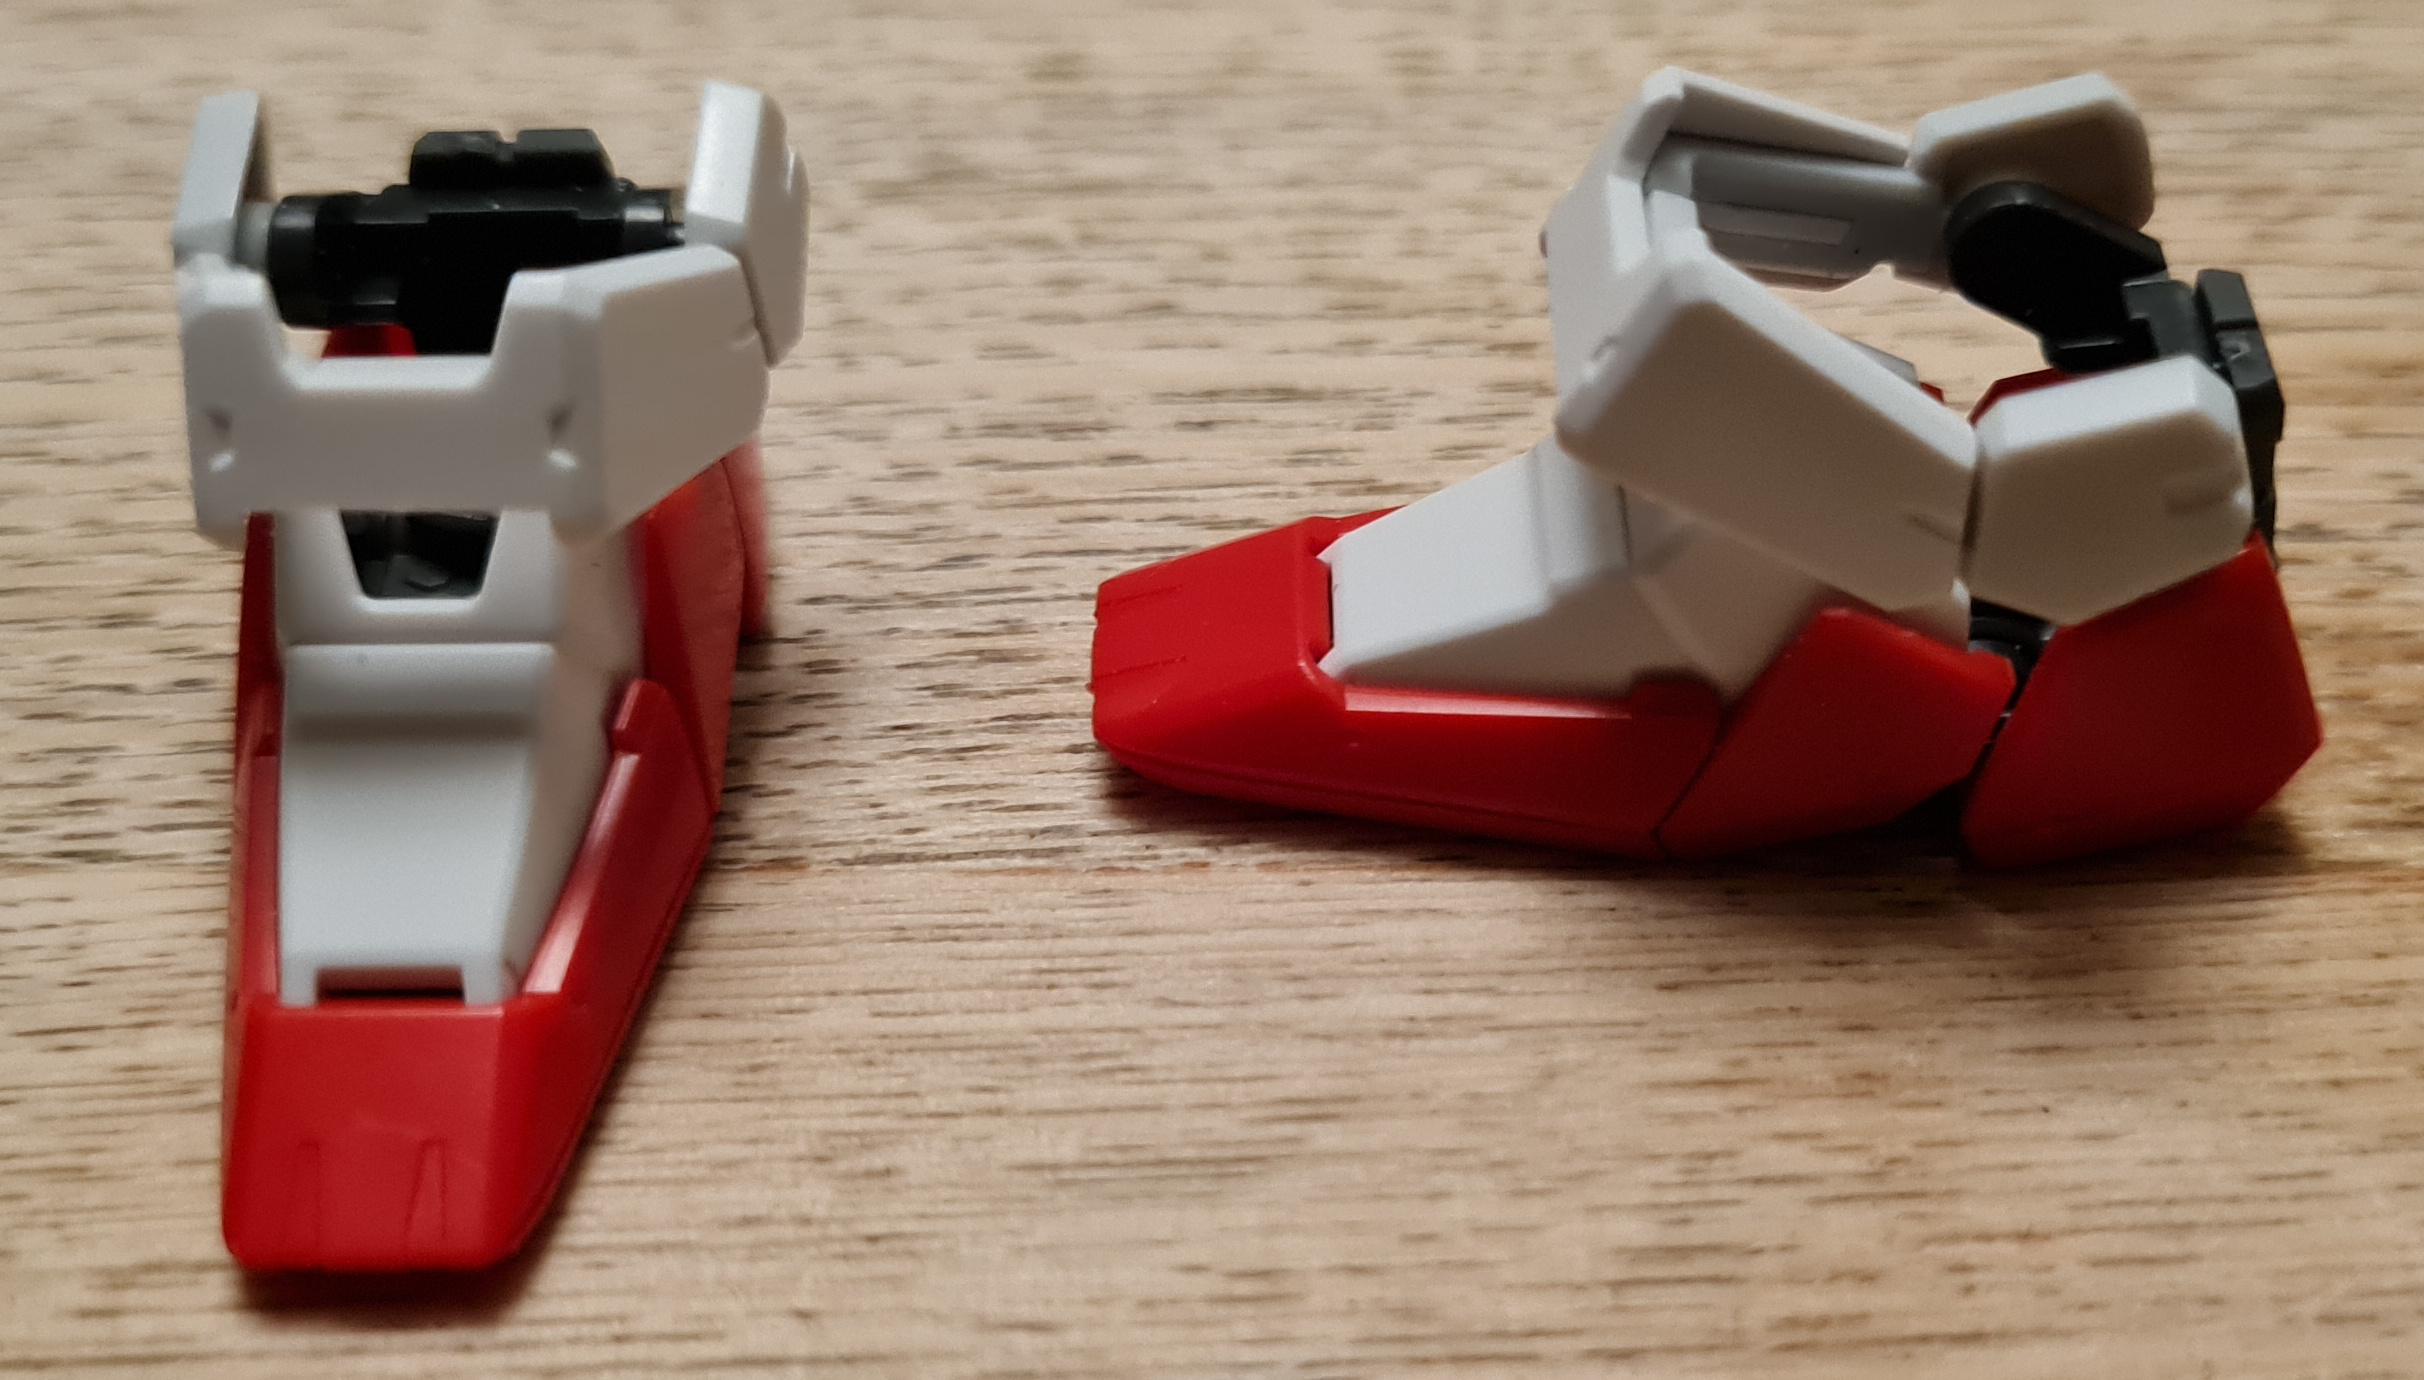
Putting it together
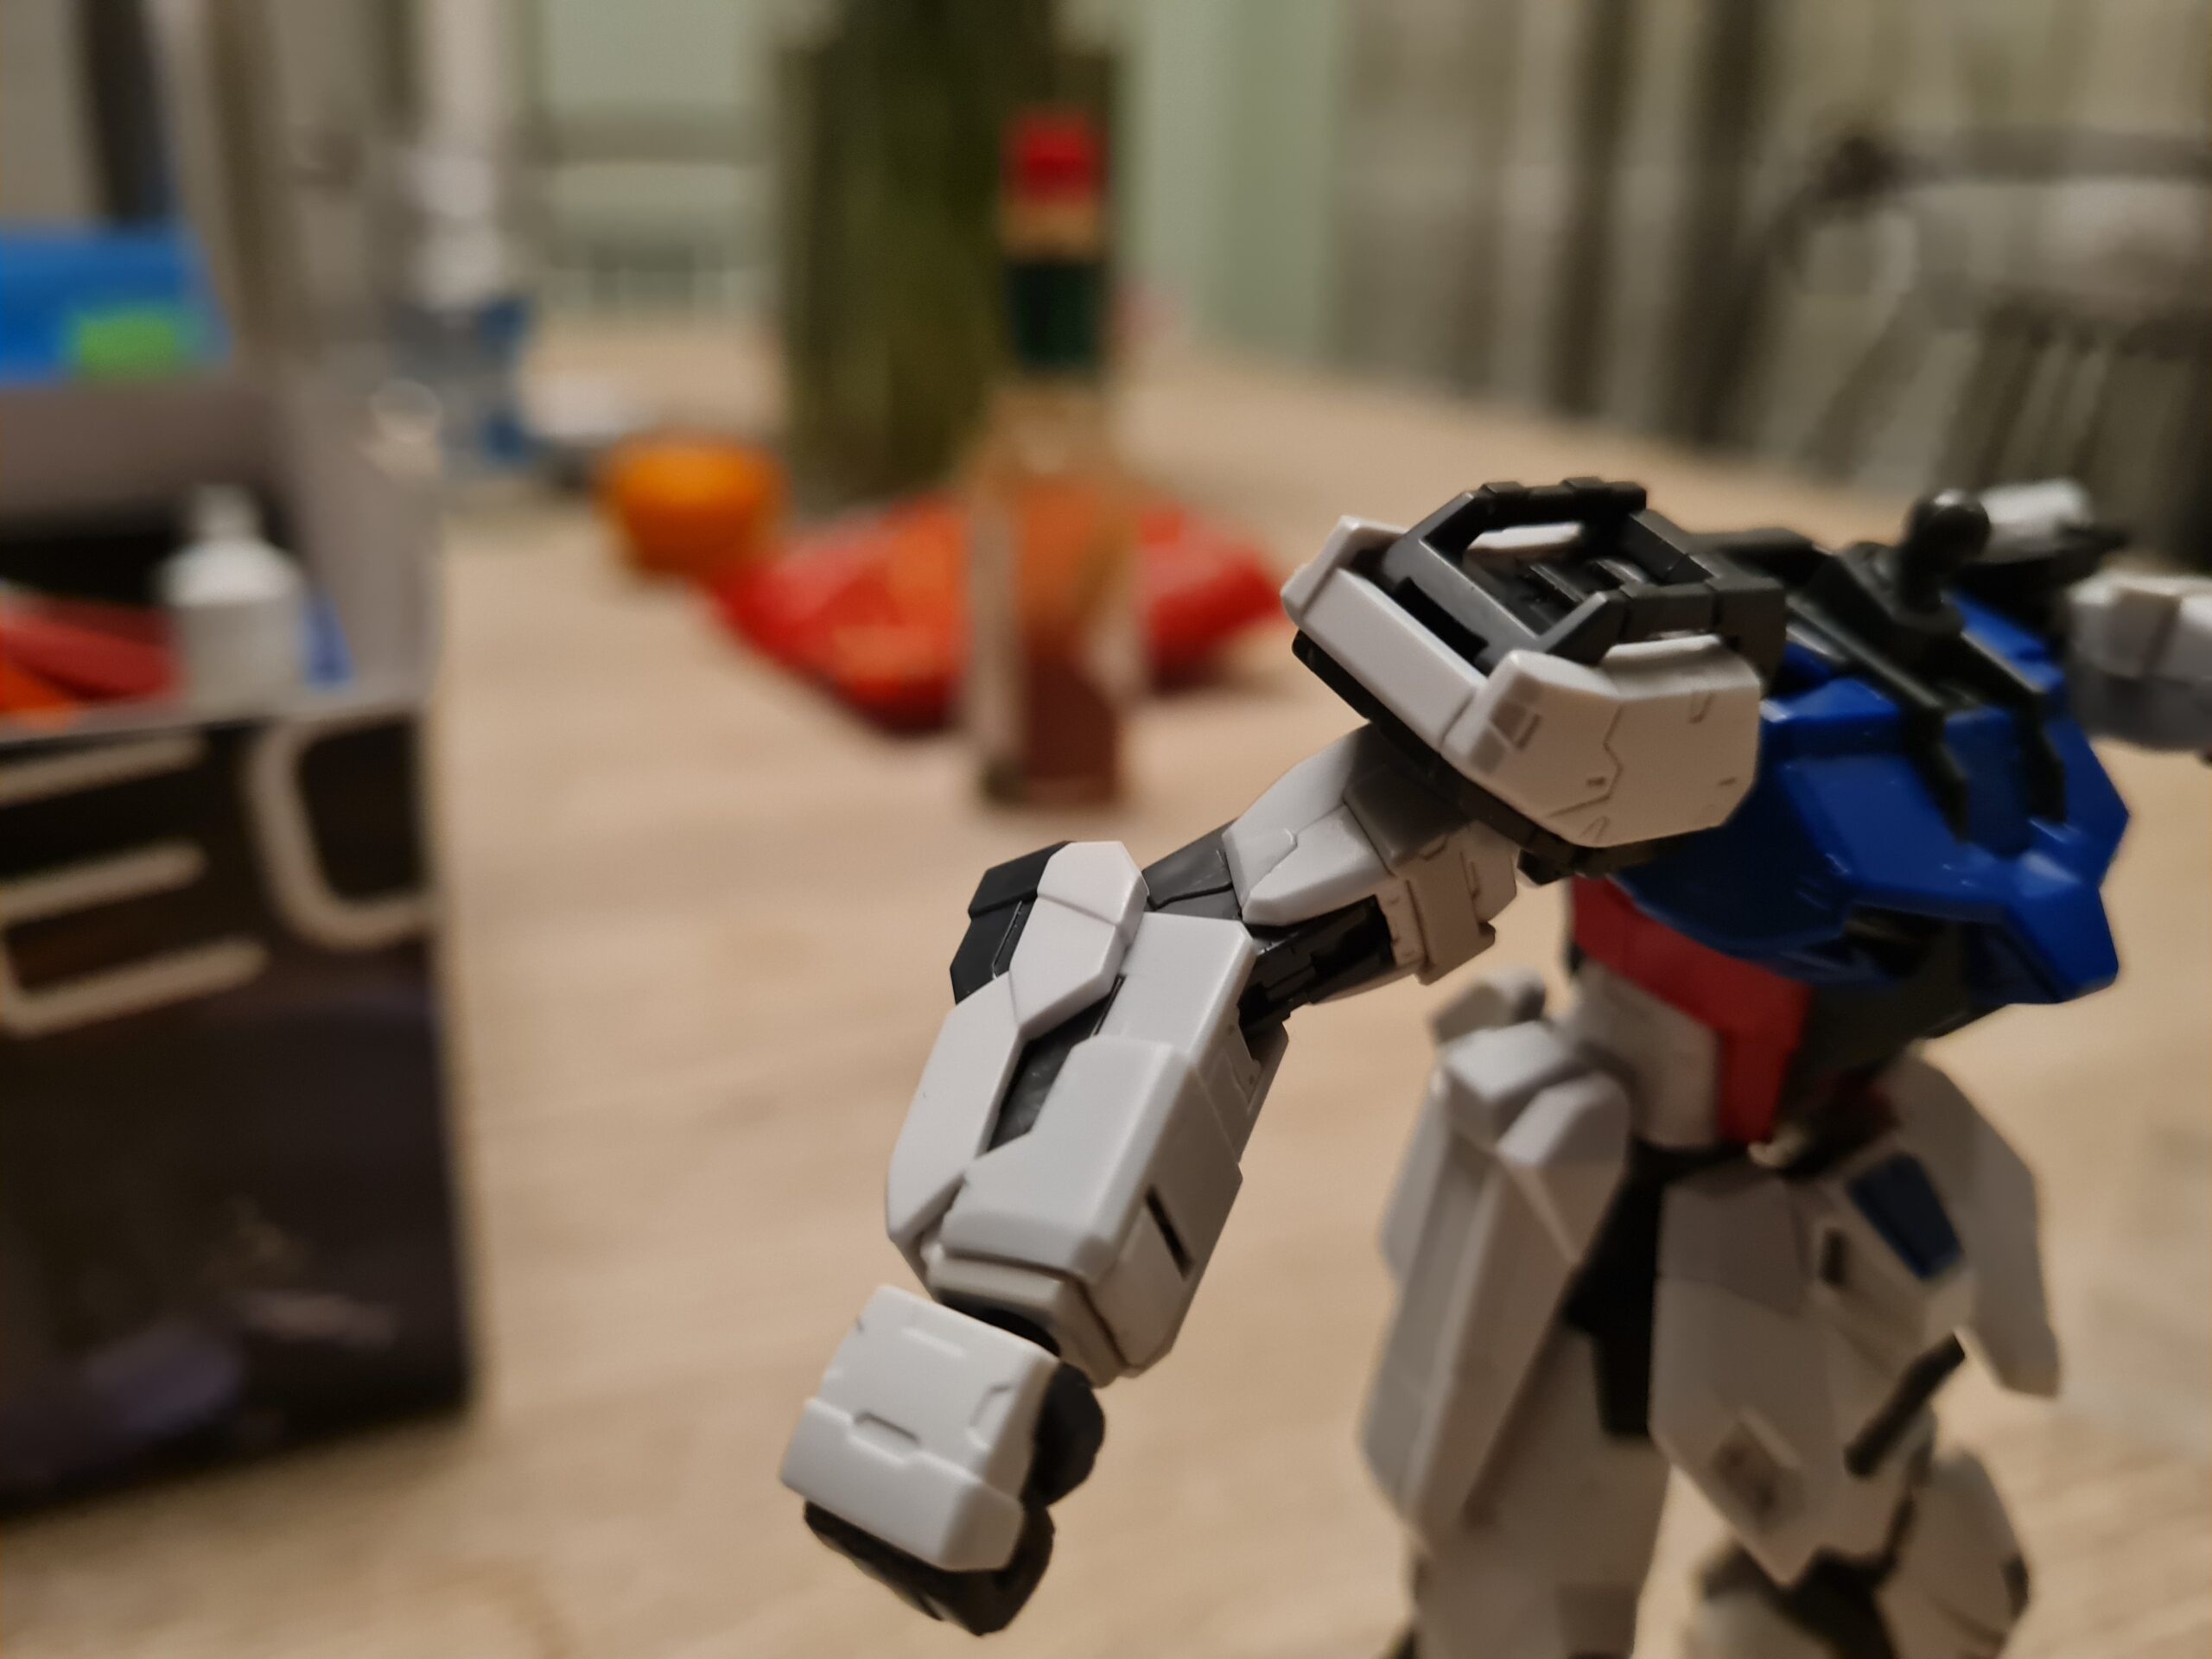
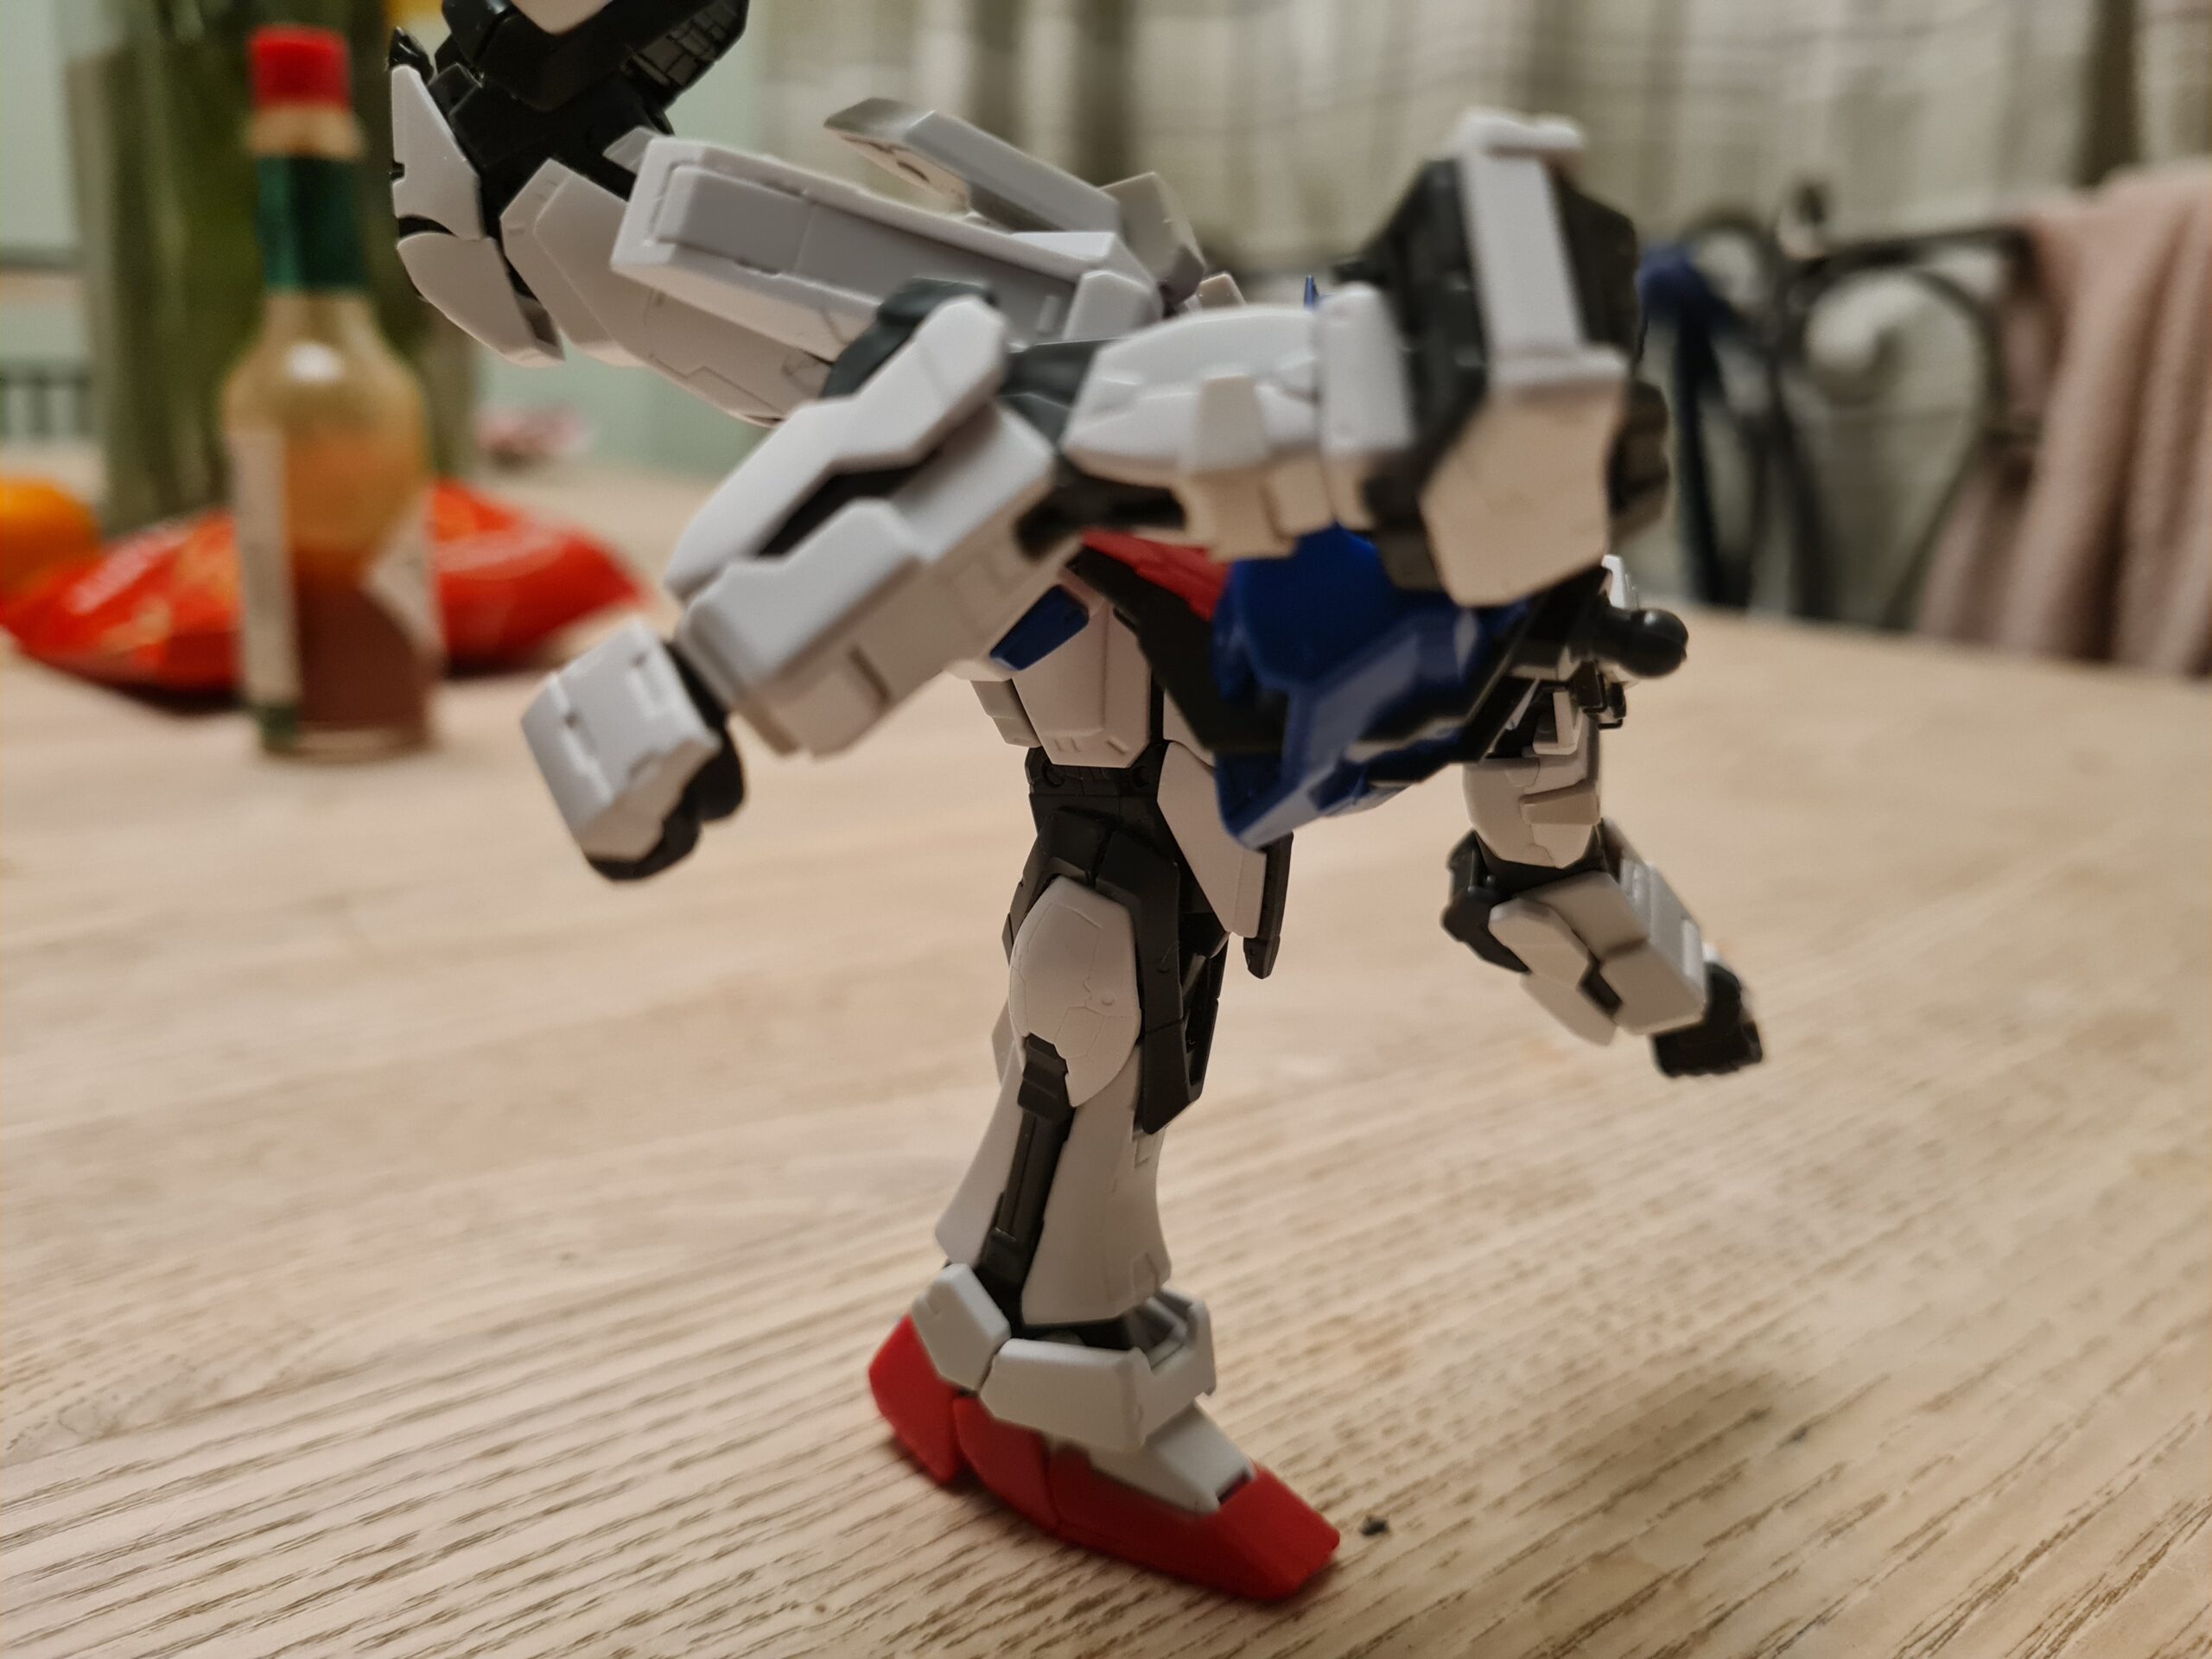
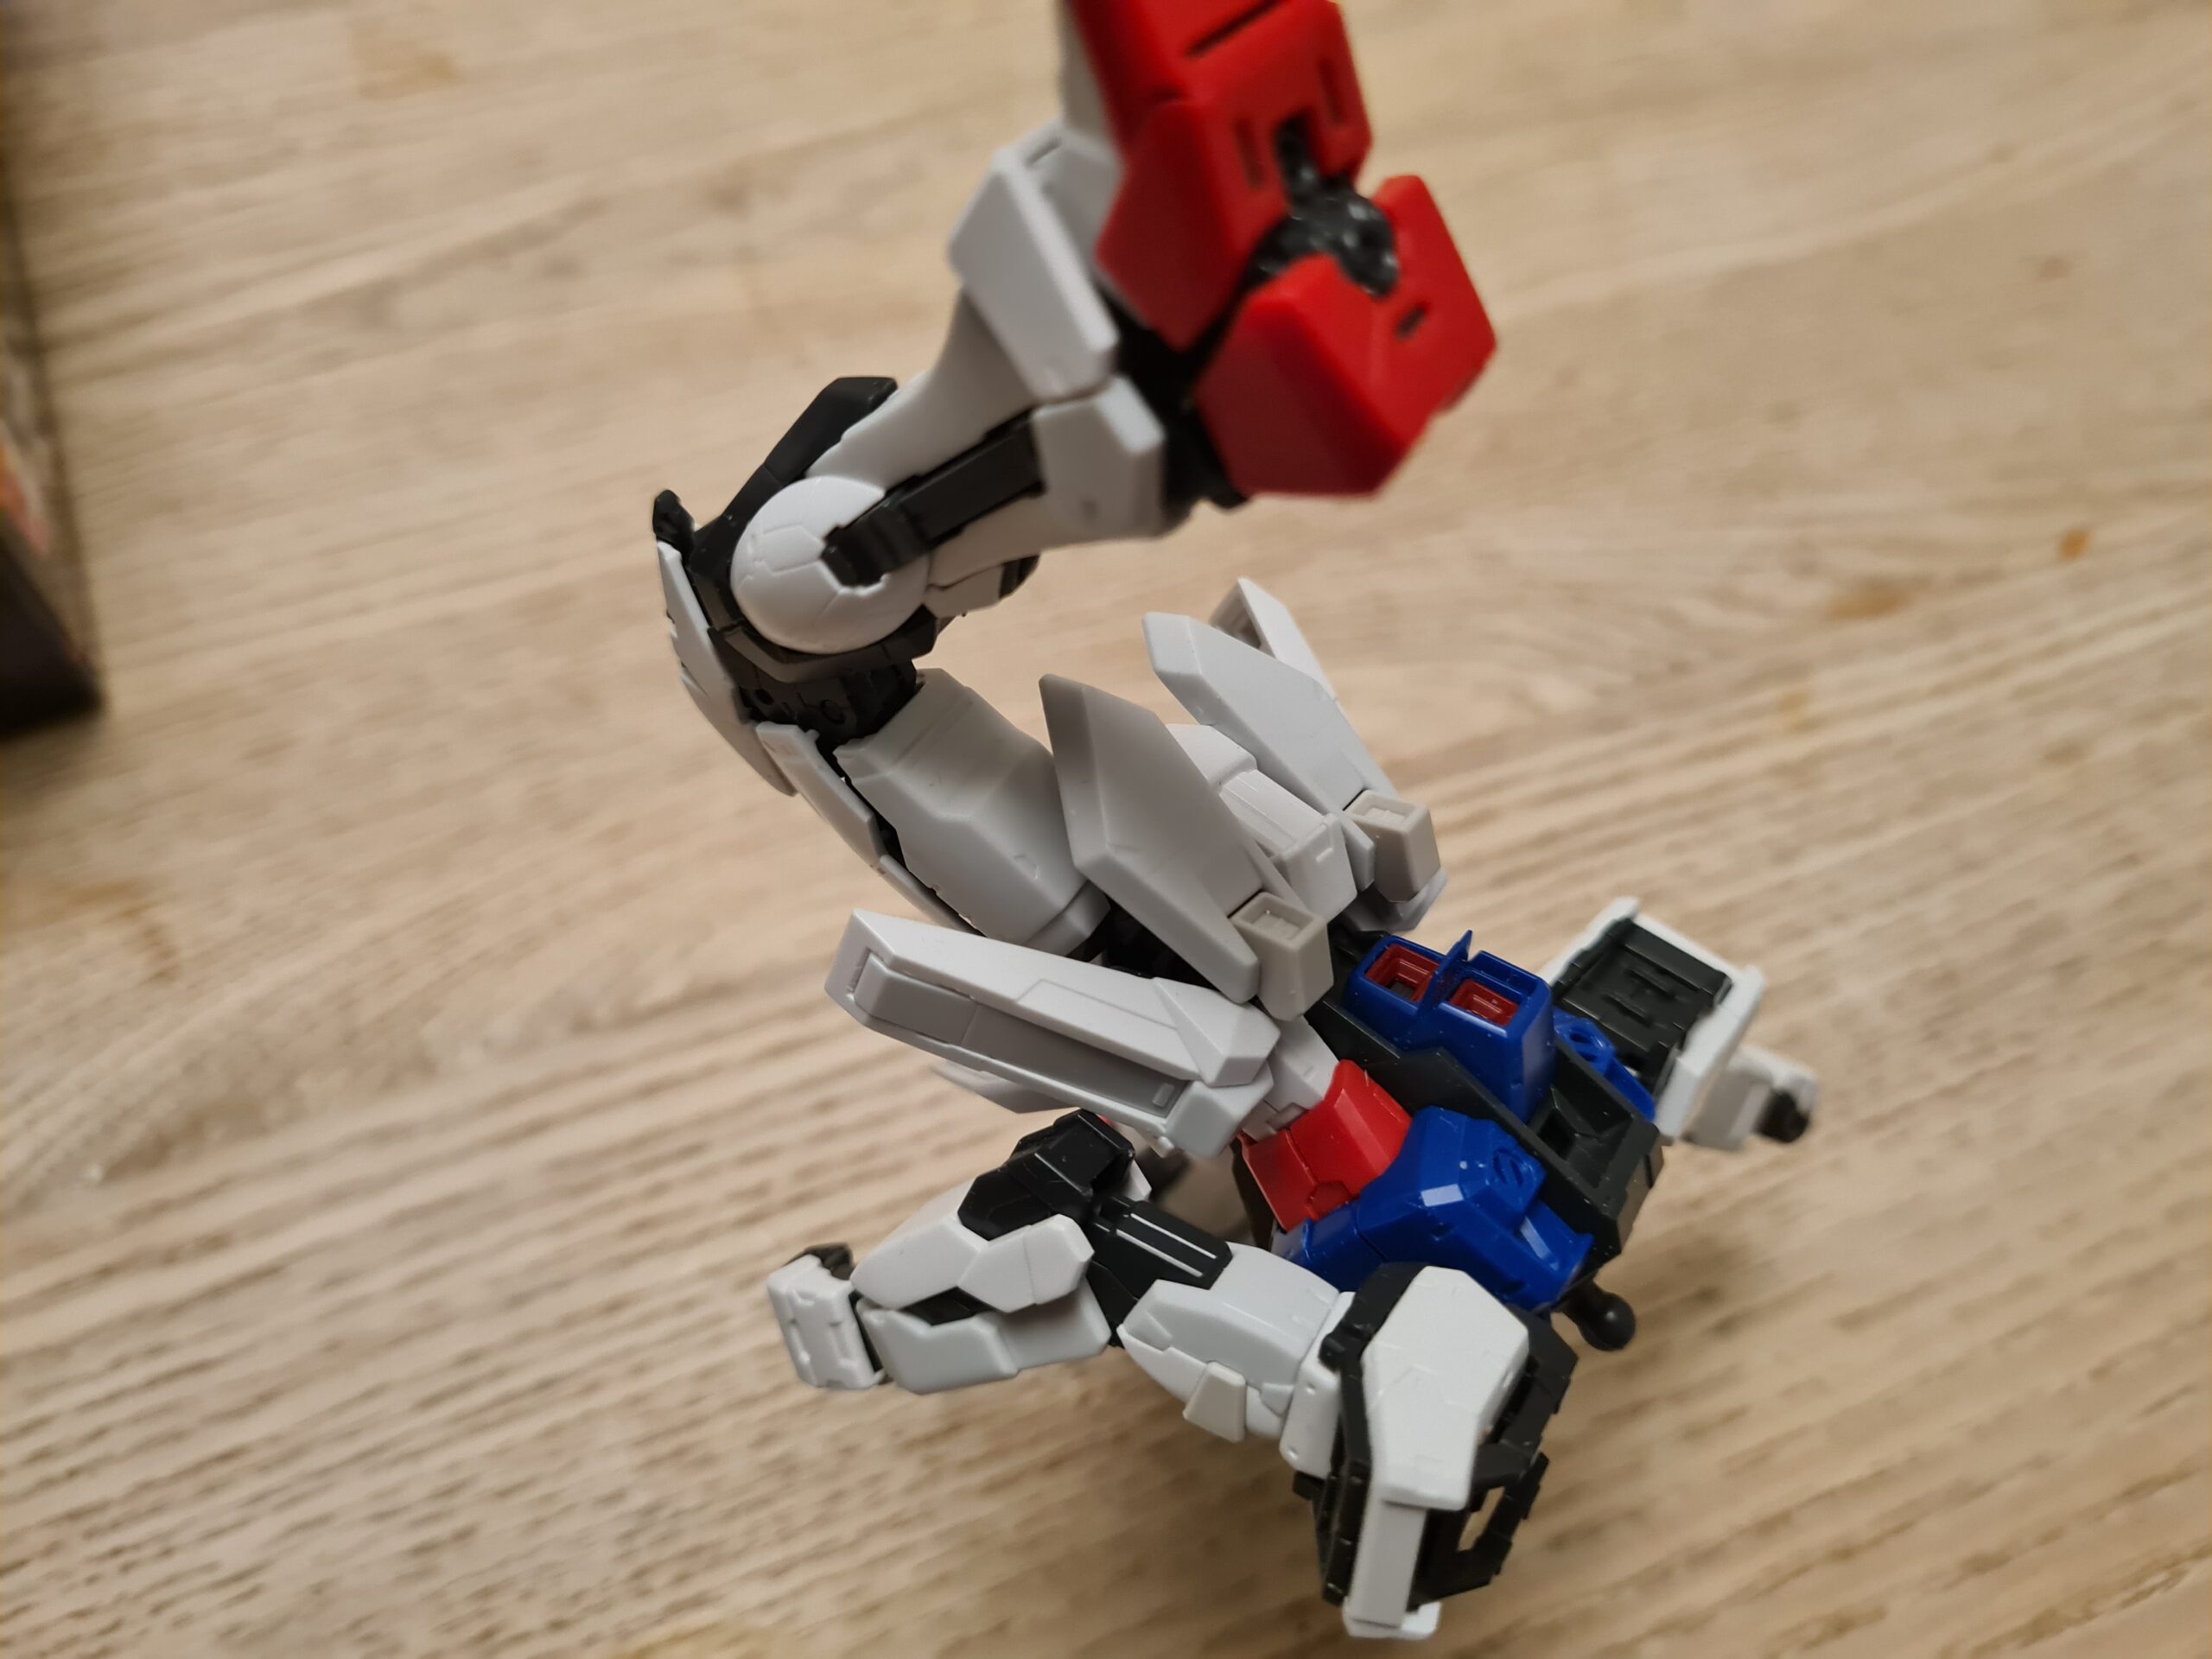
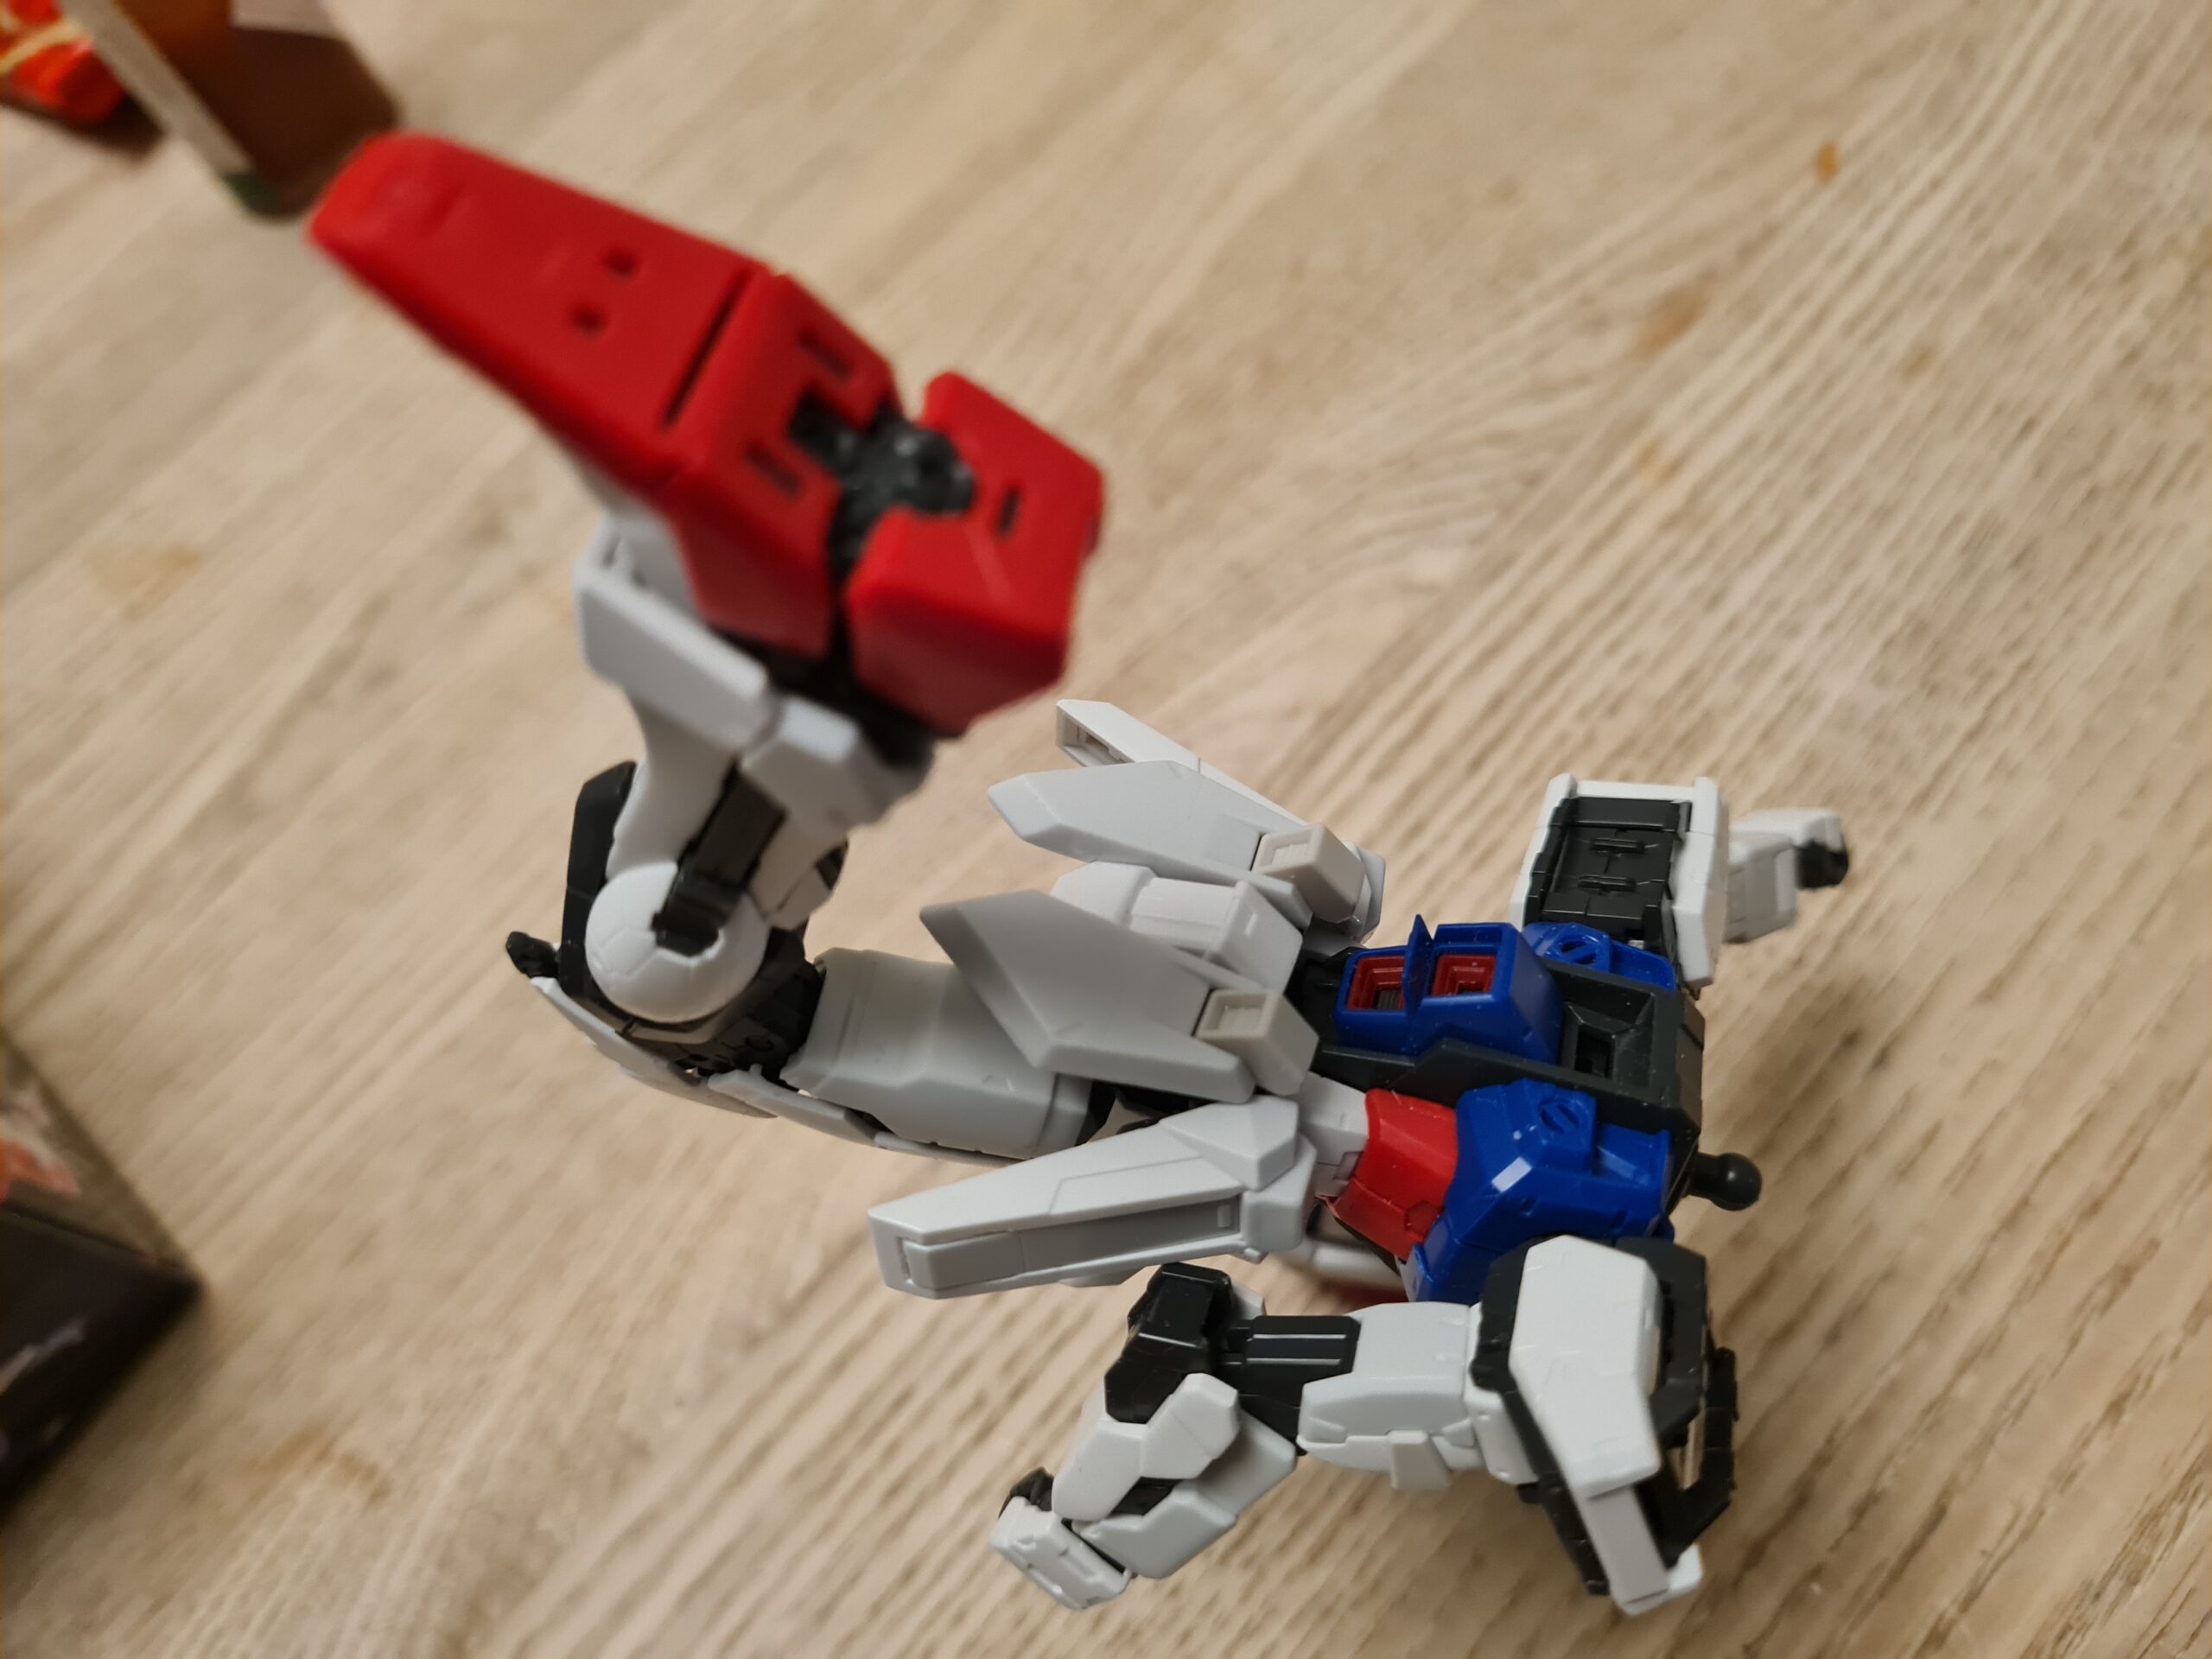
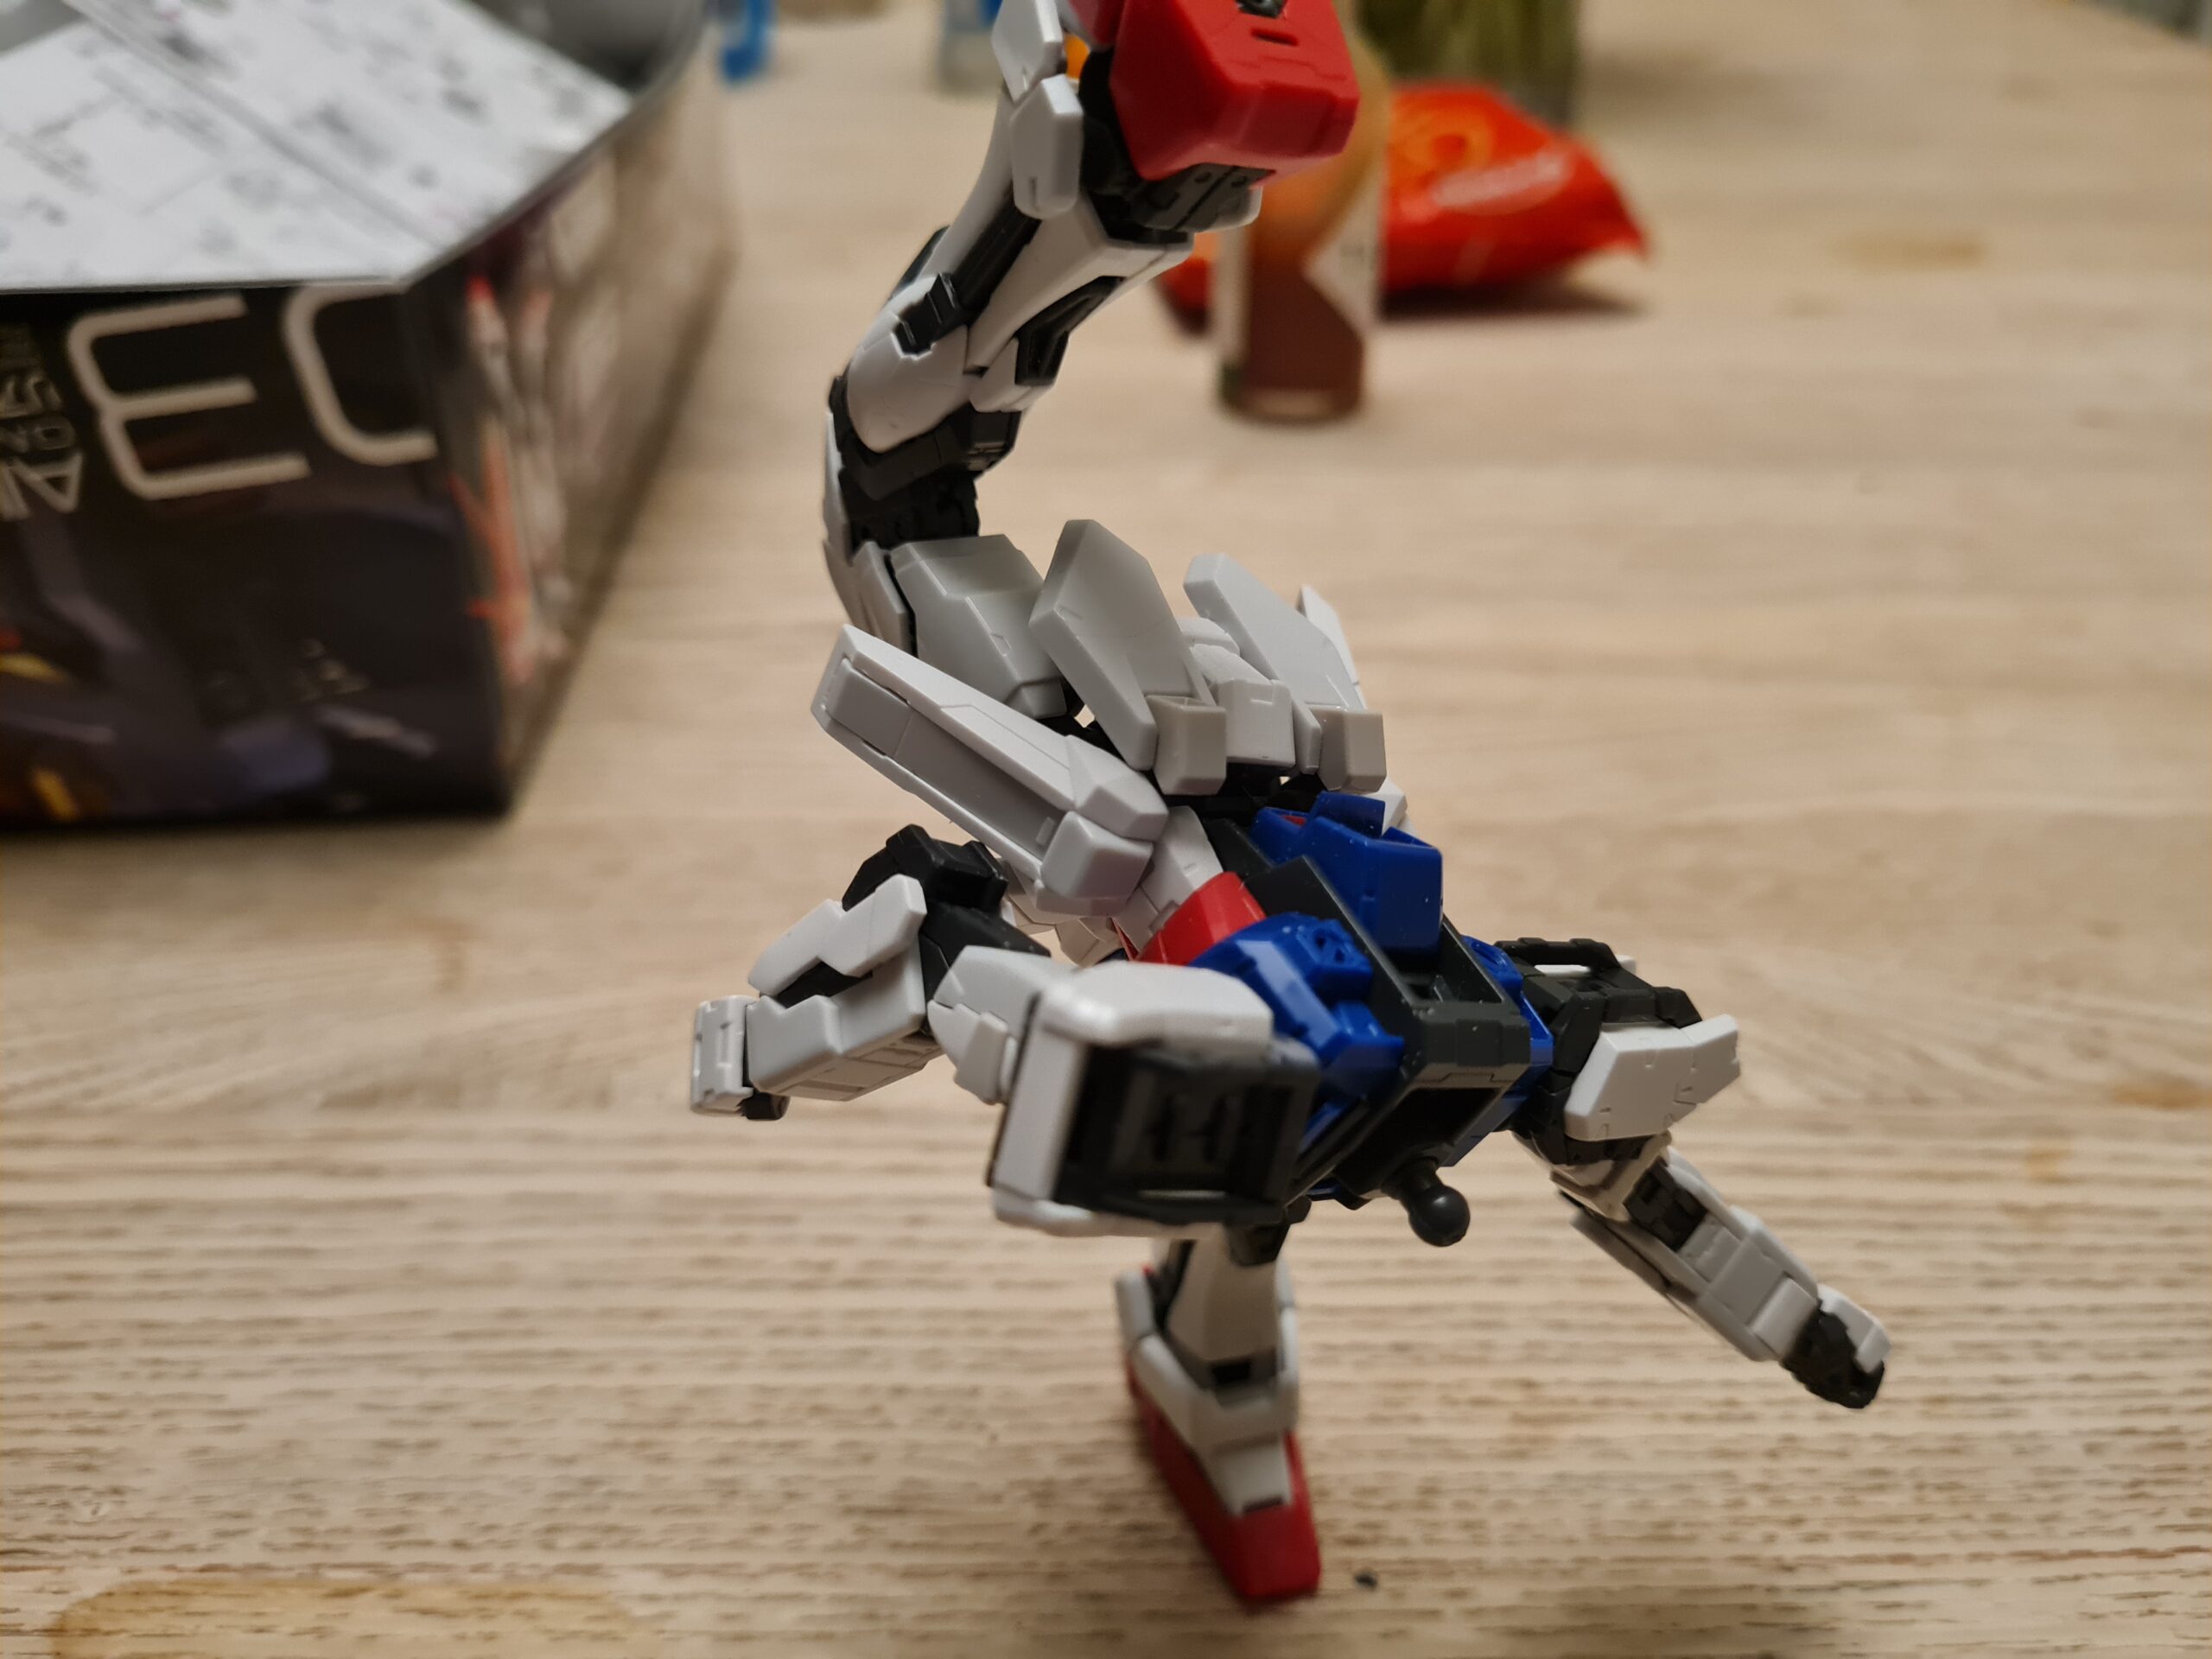
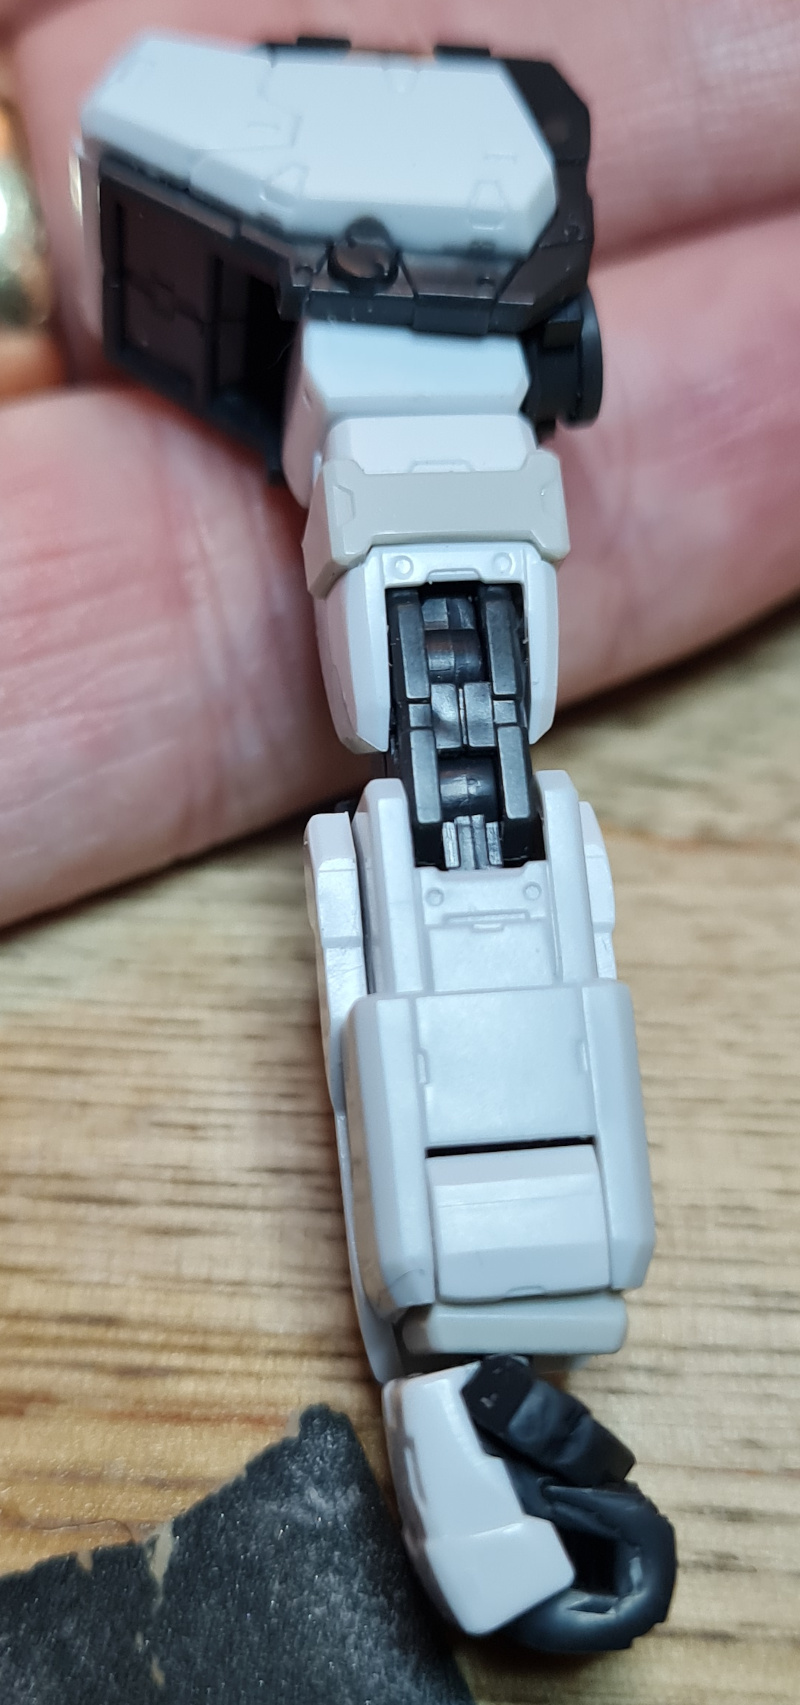
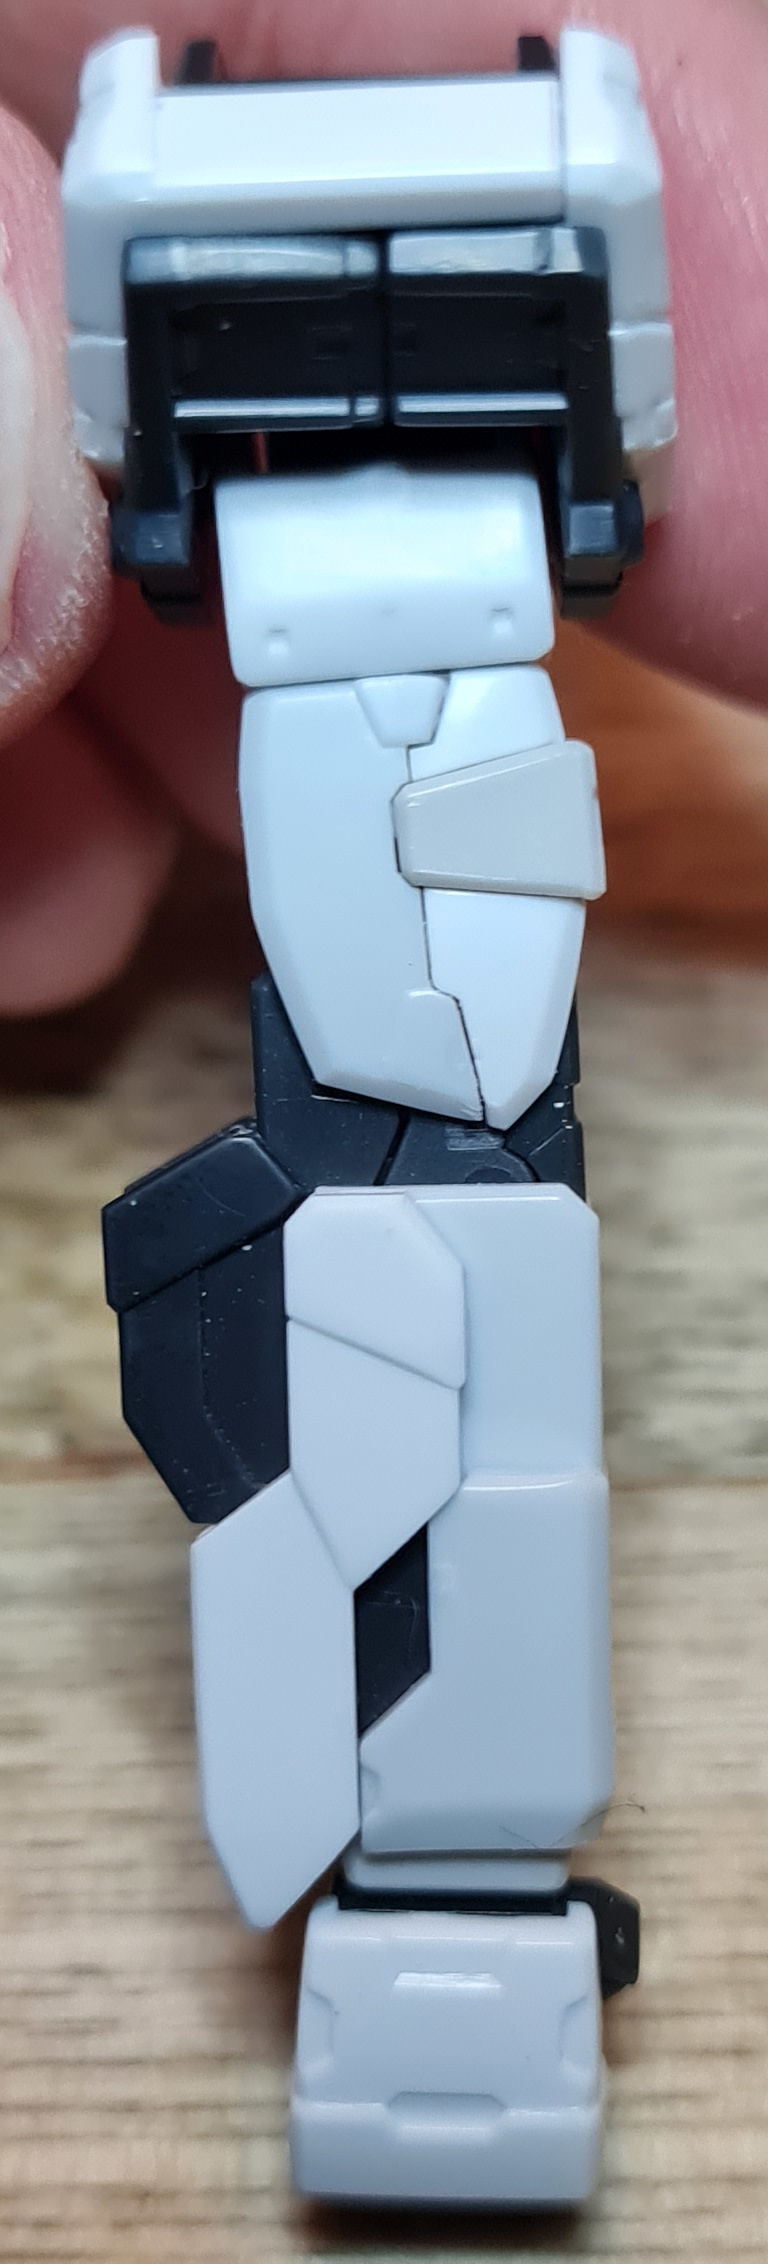
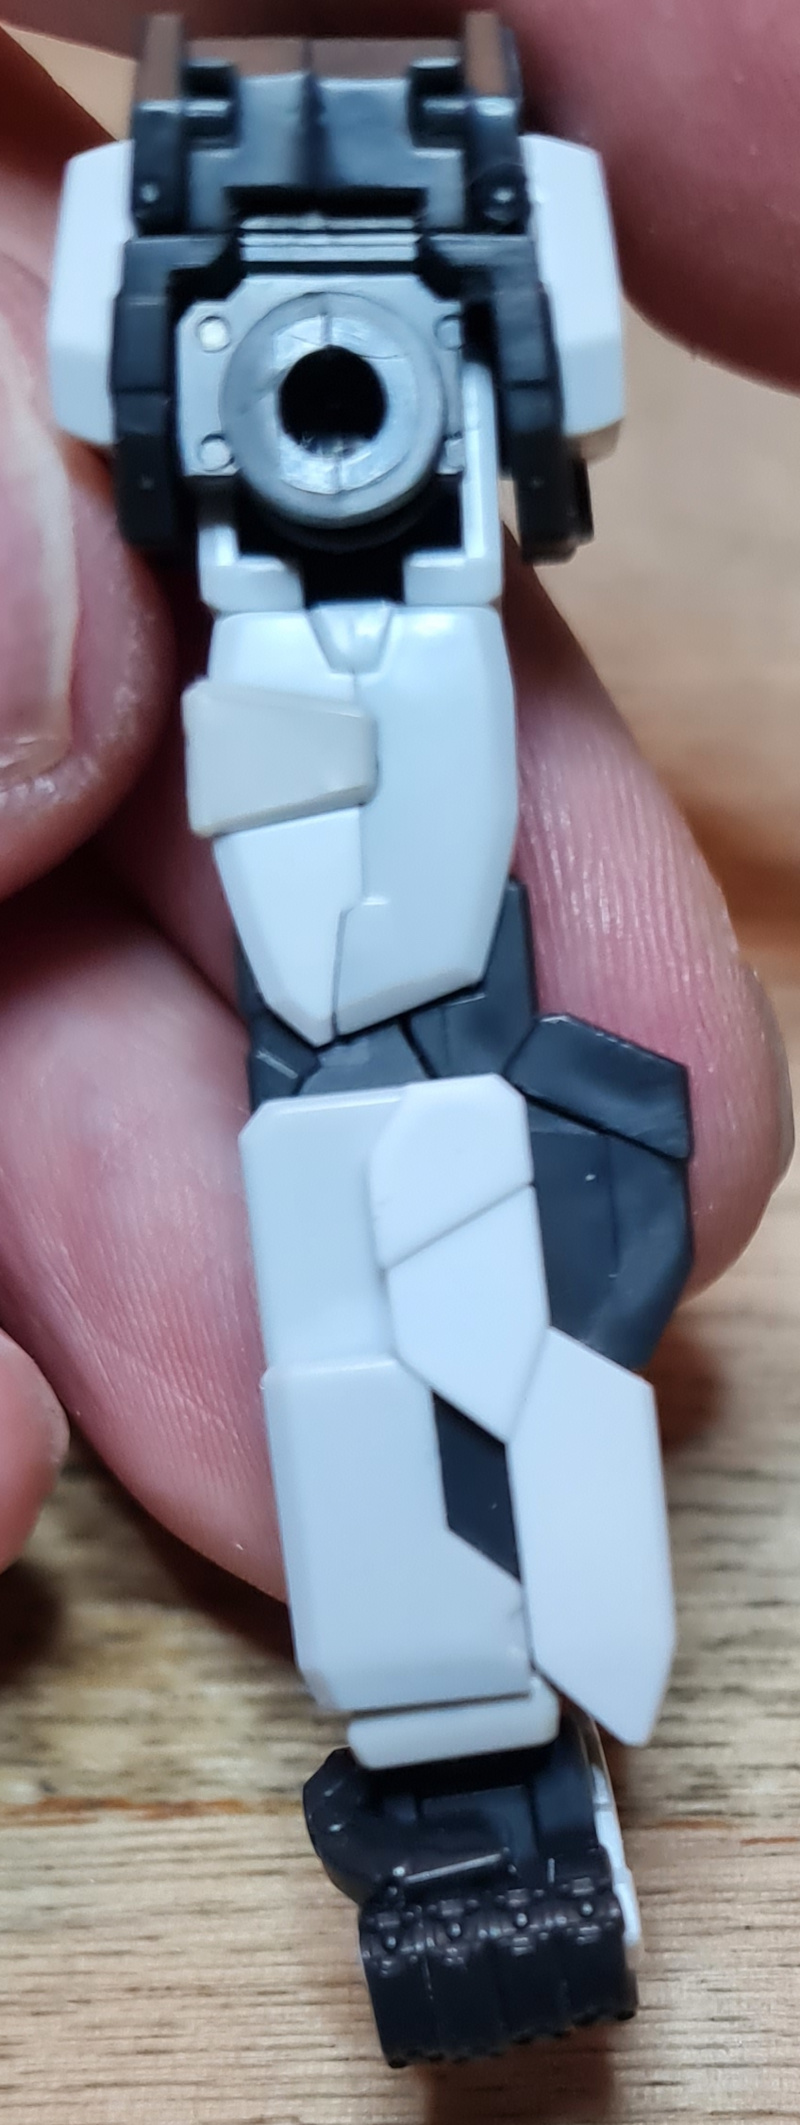
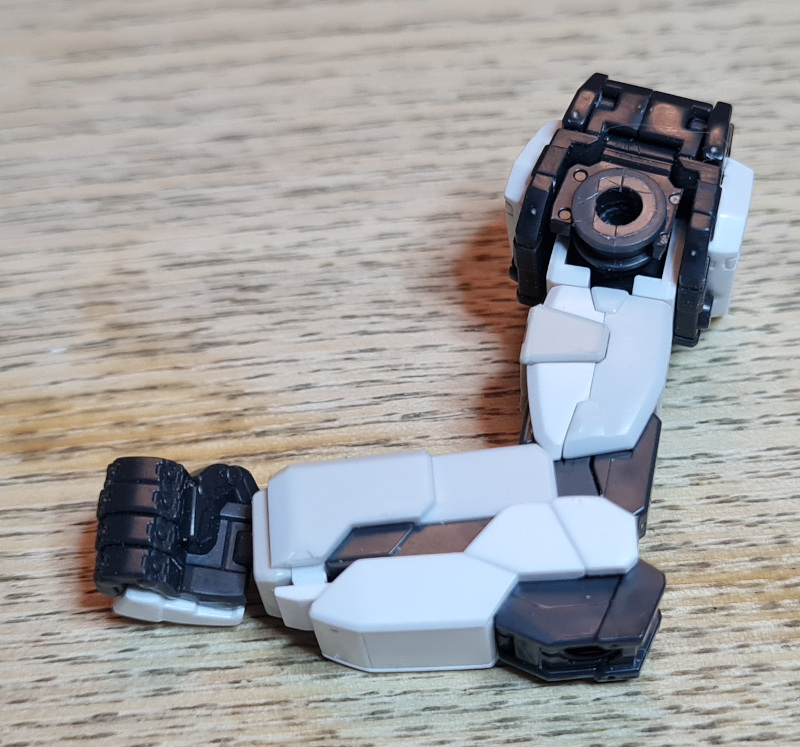
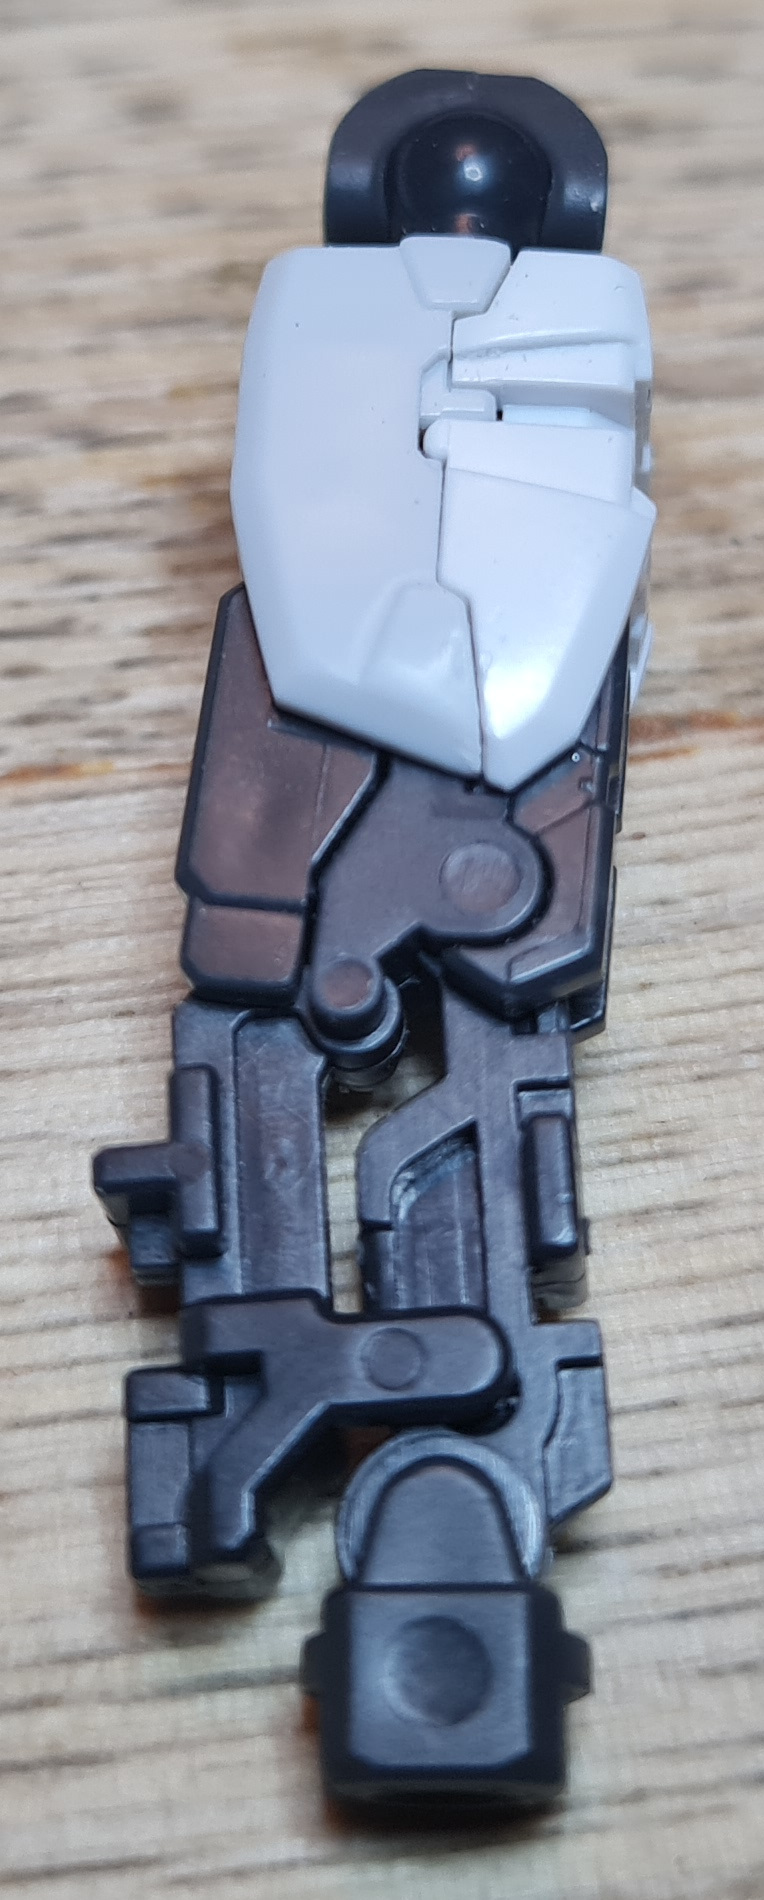
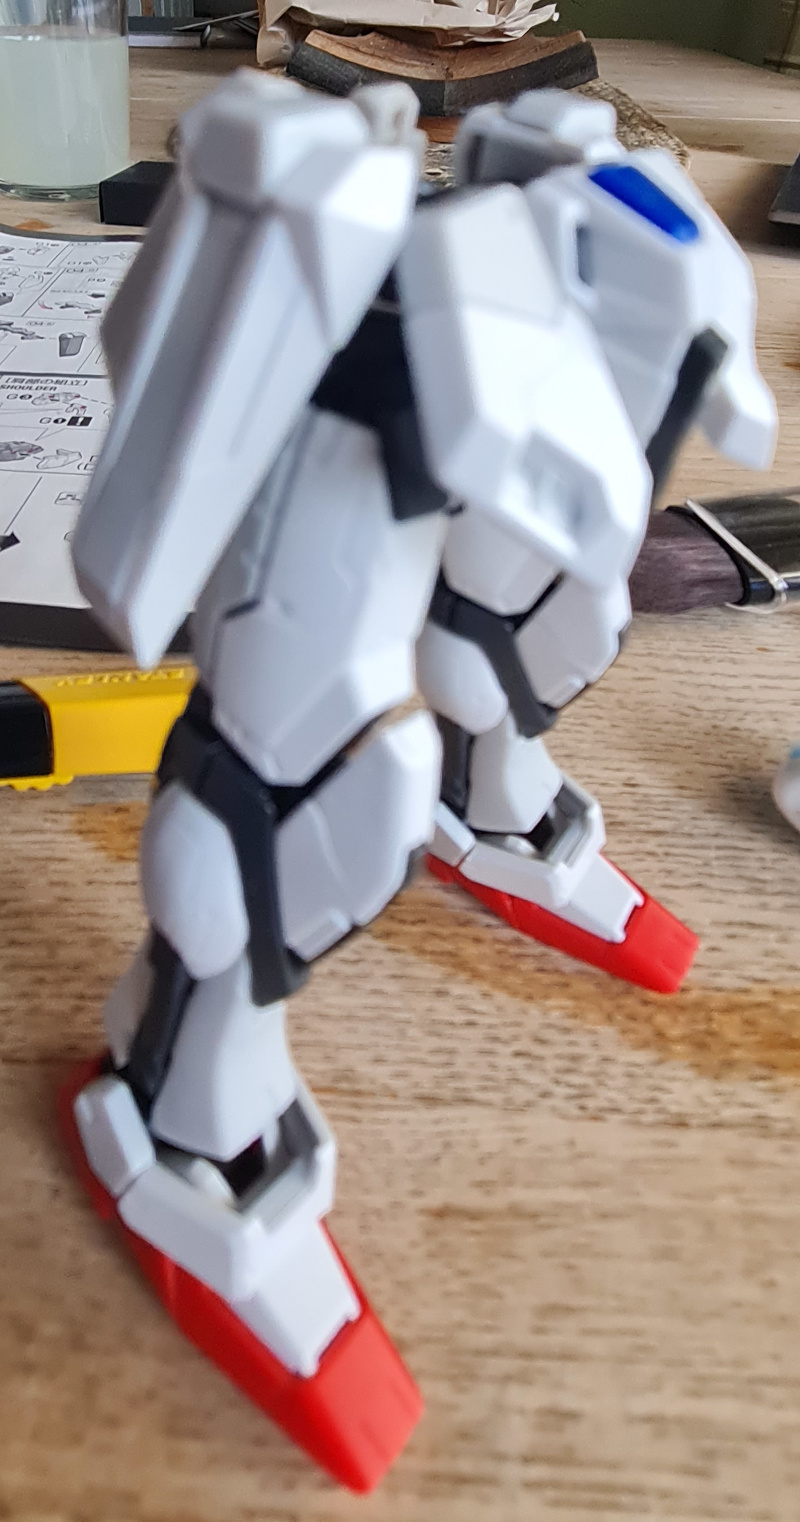
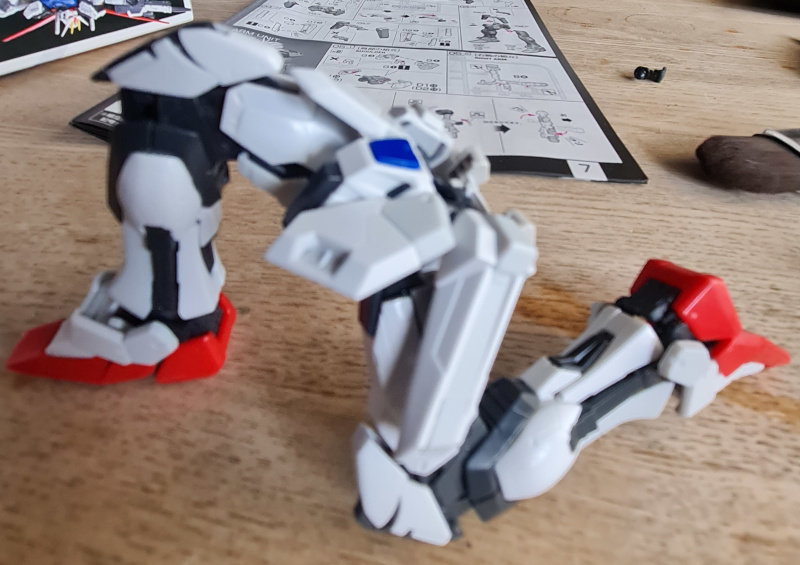
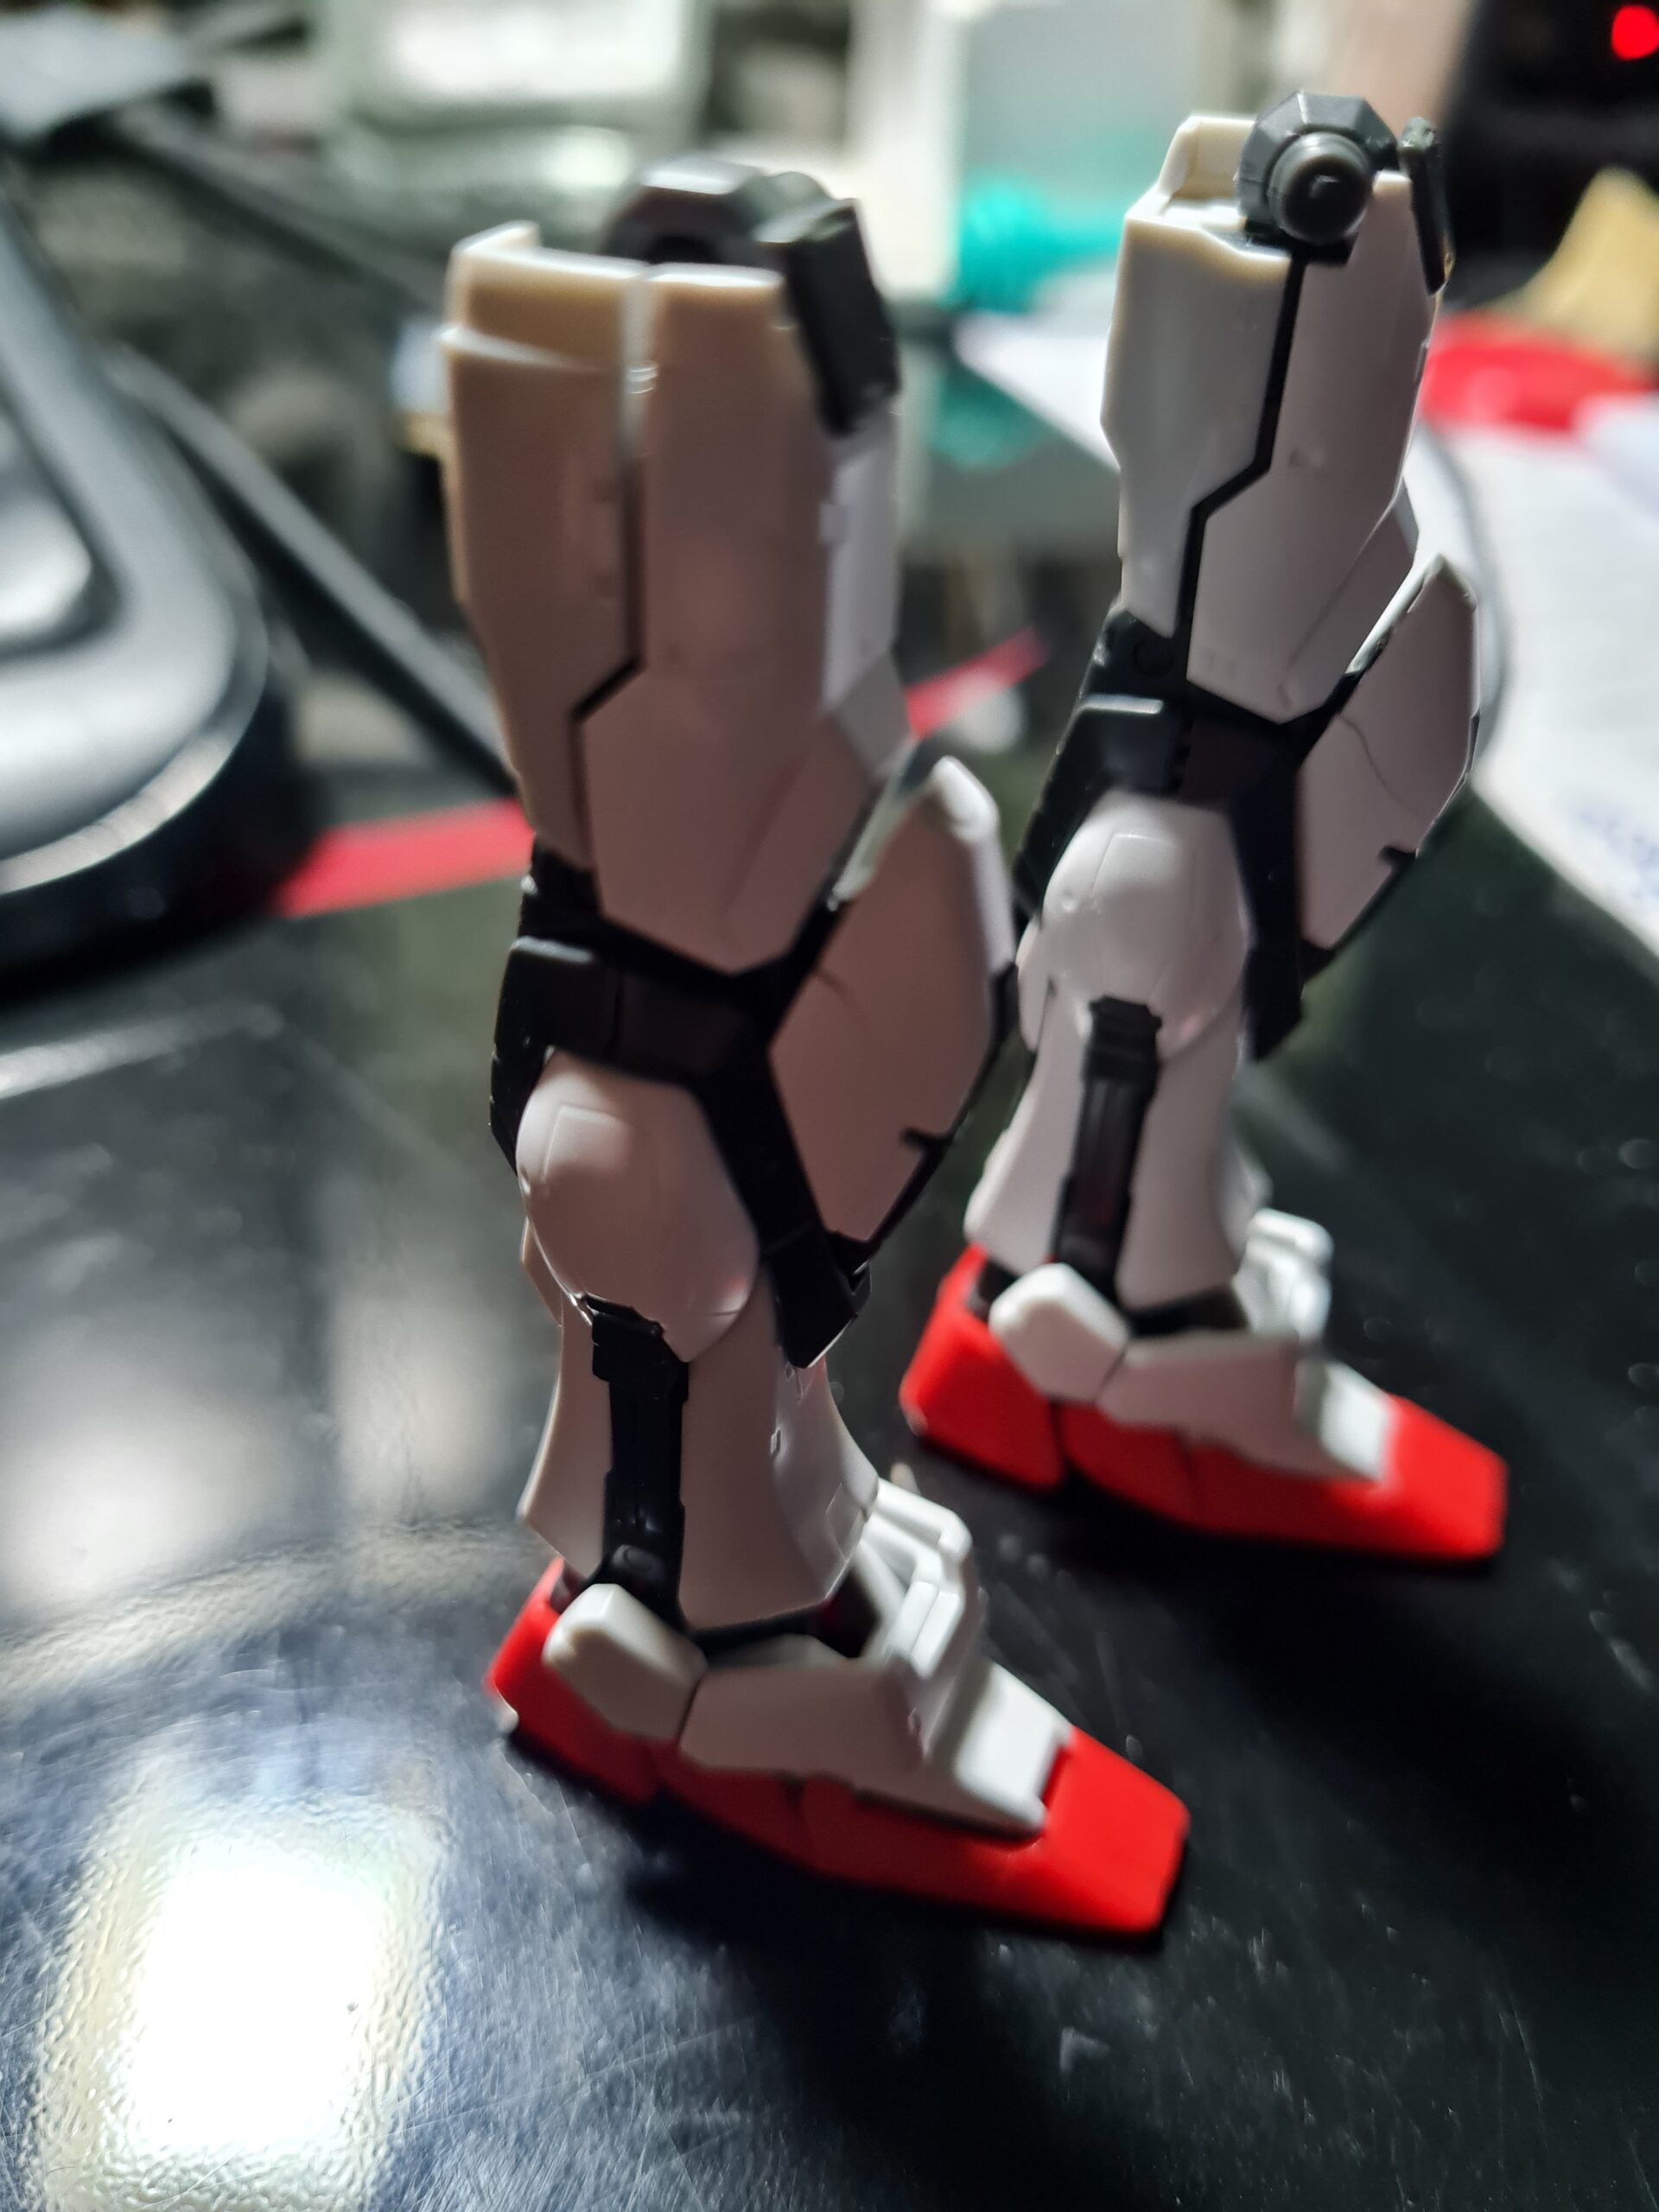
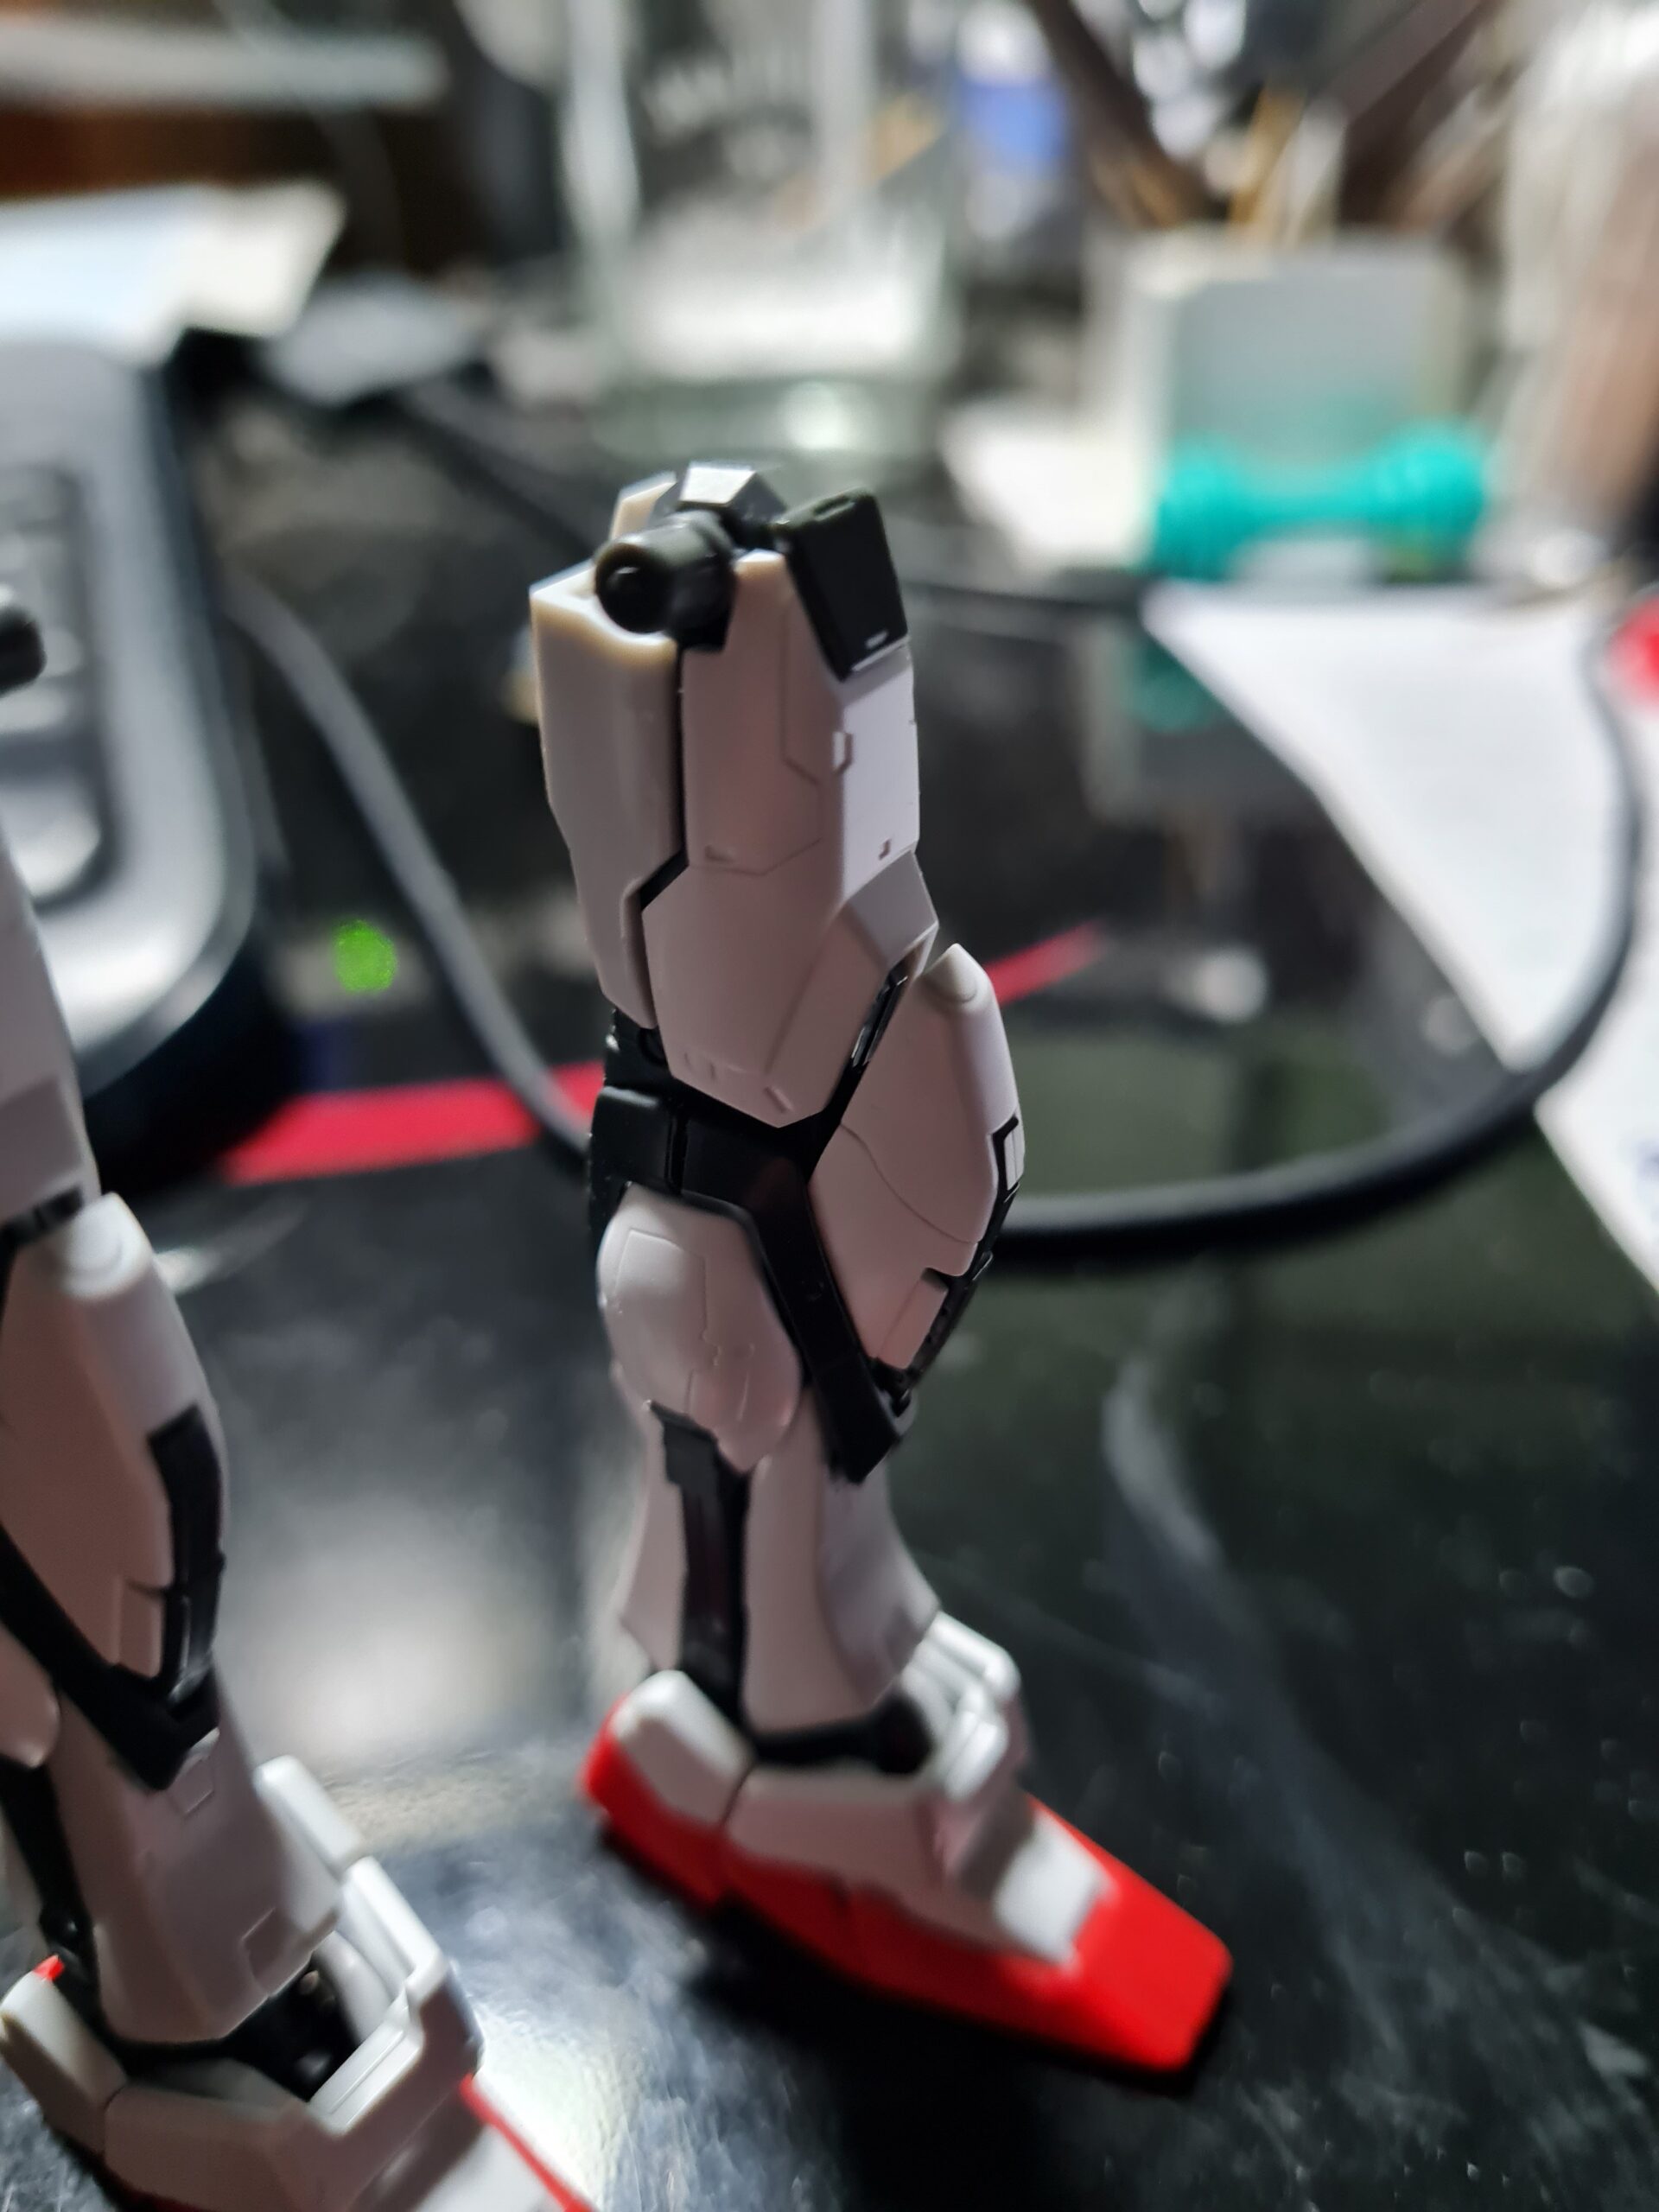
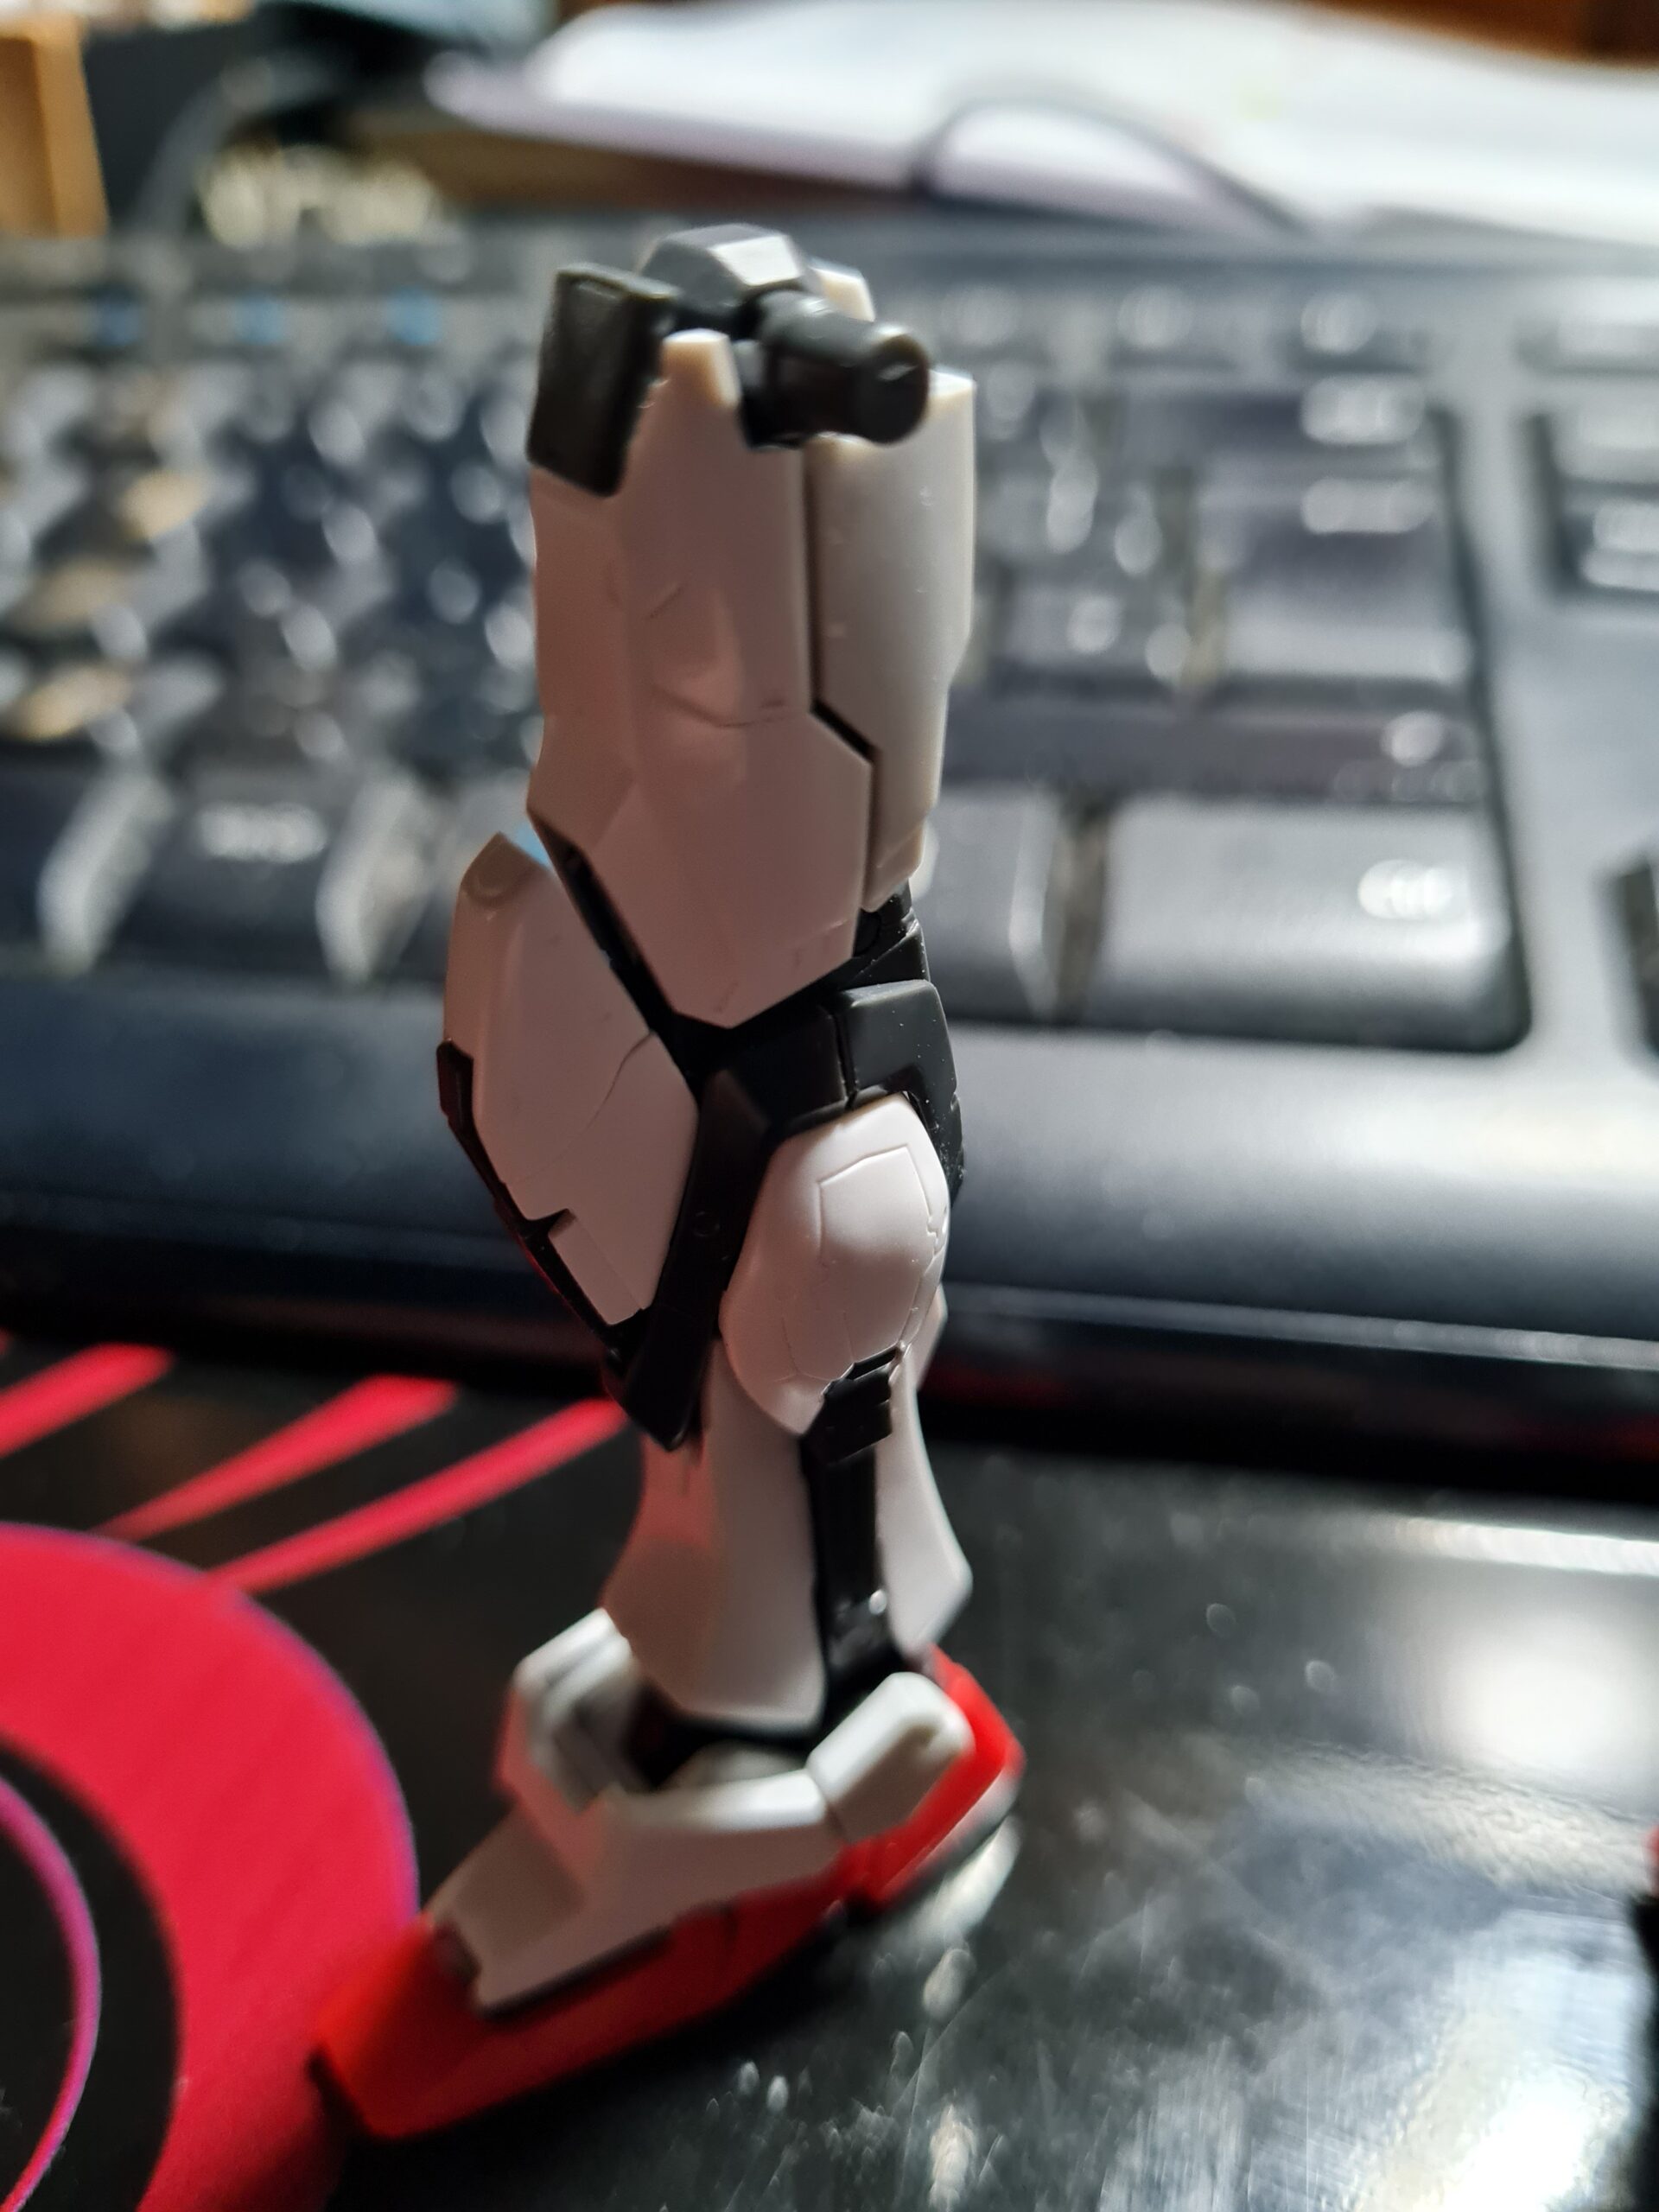
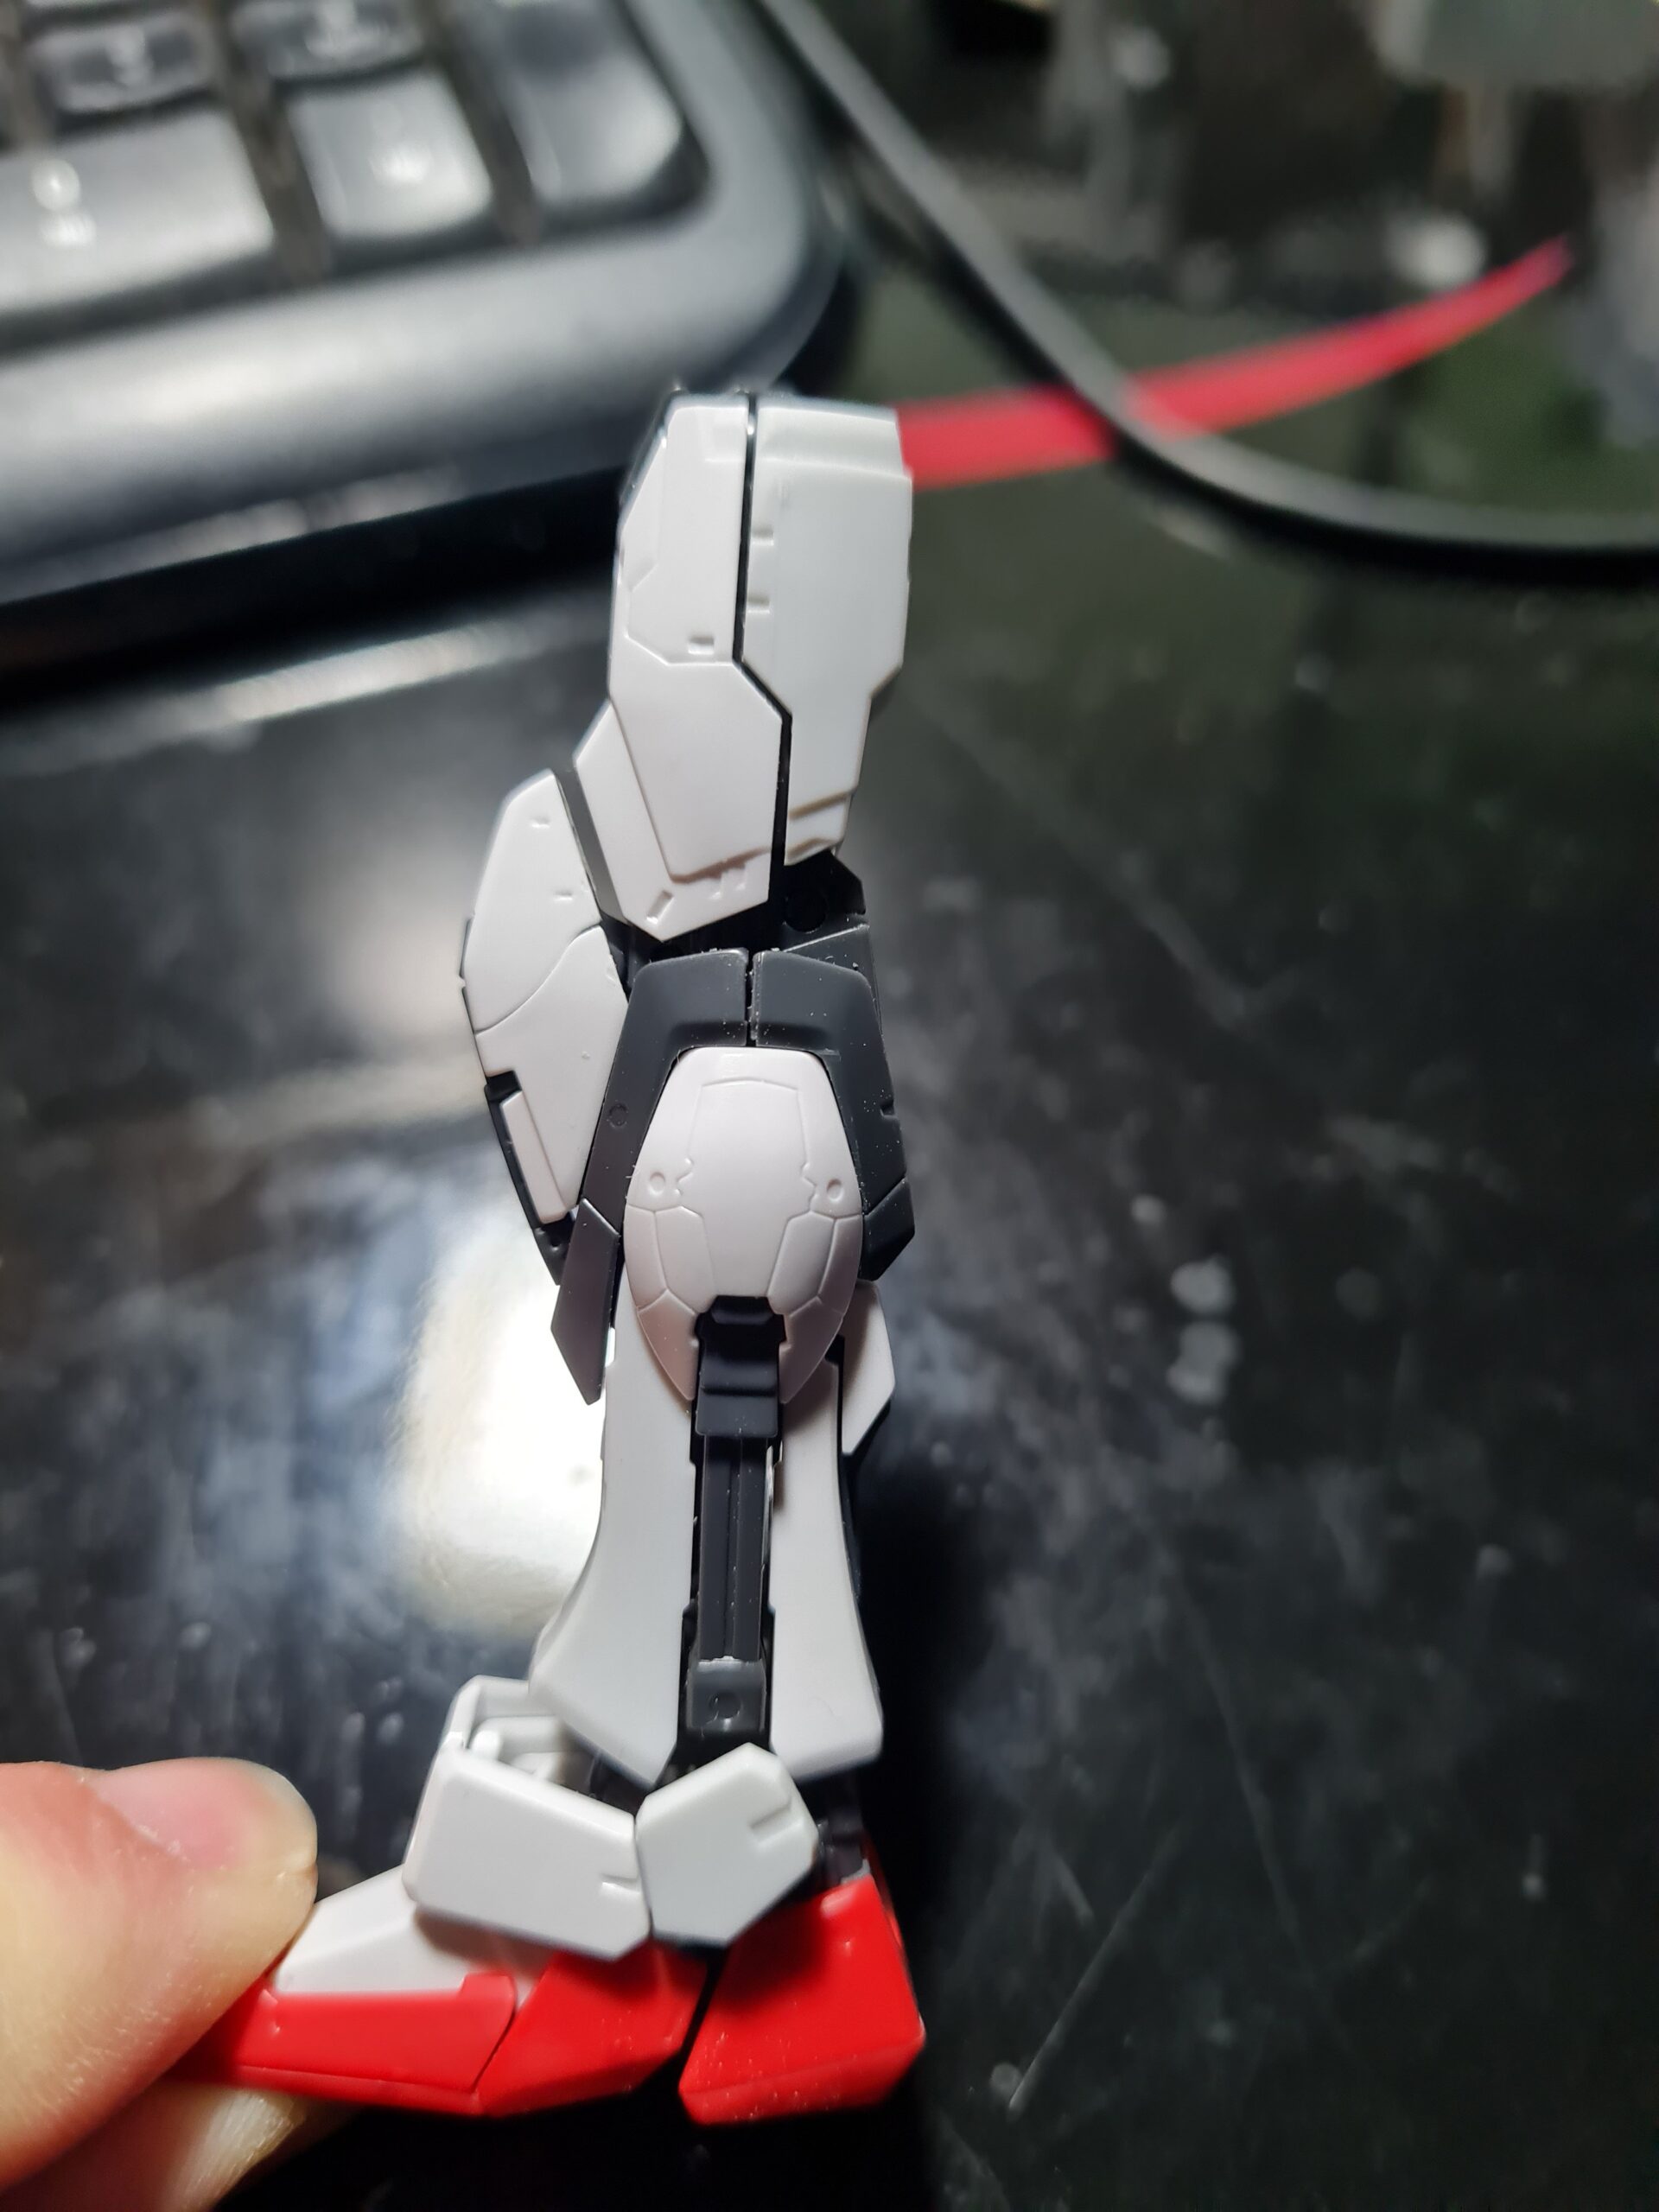
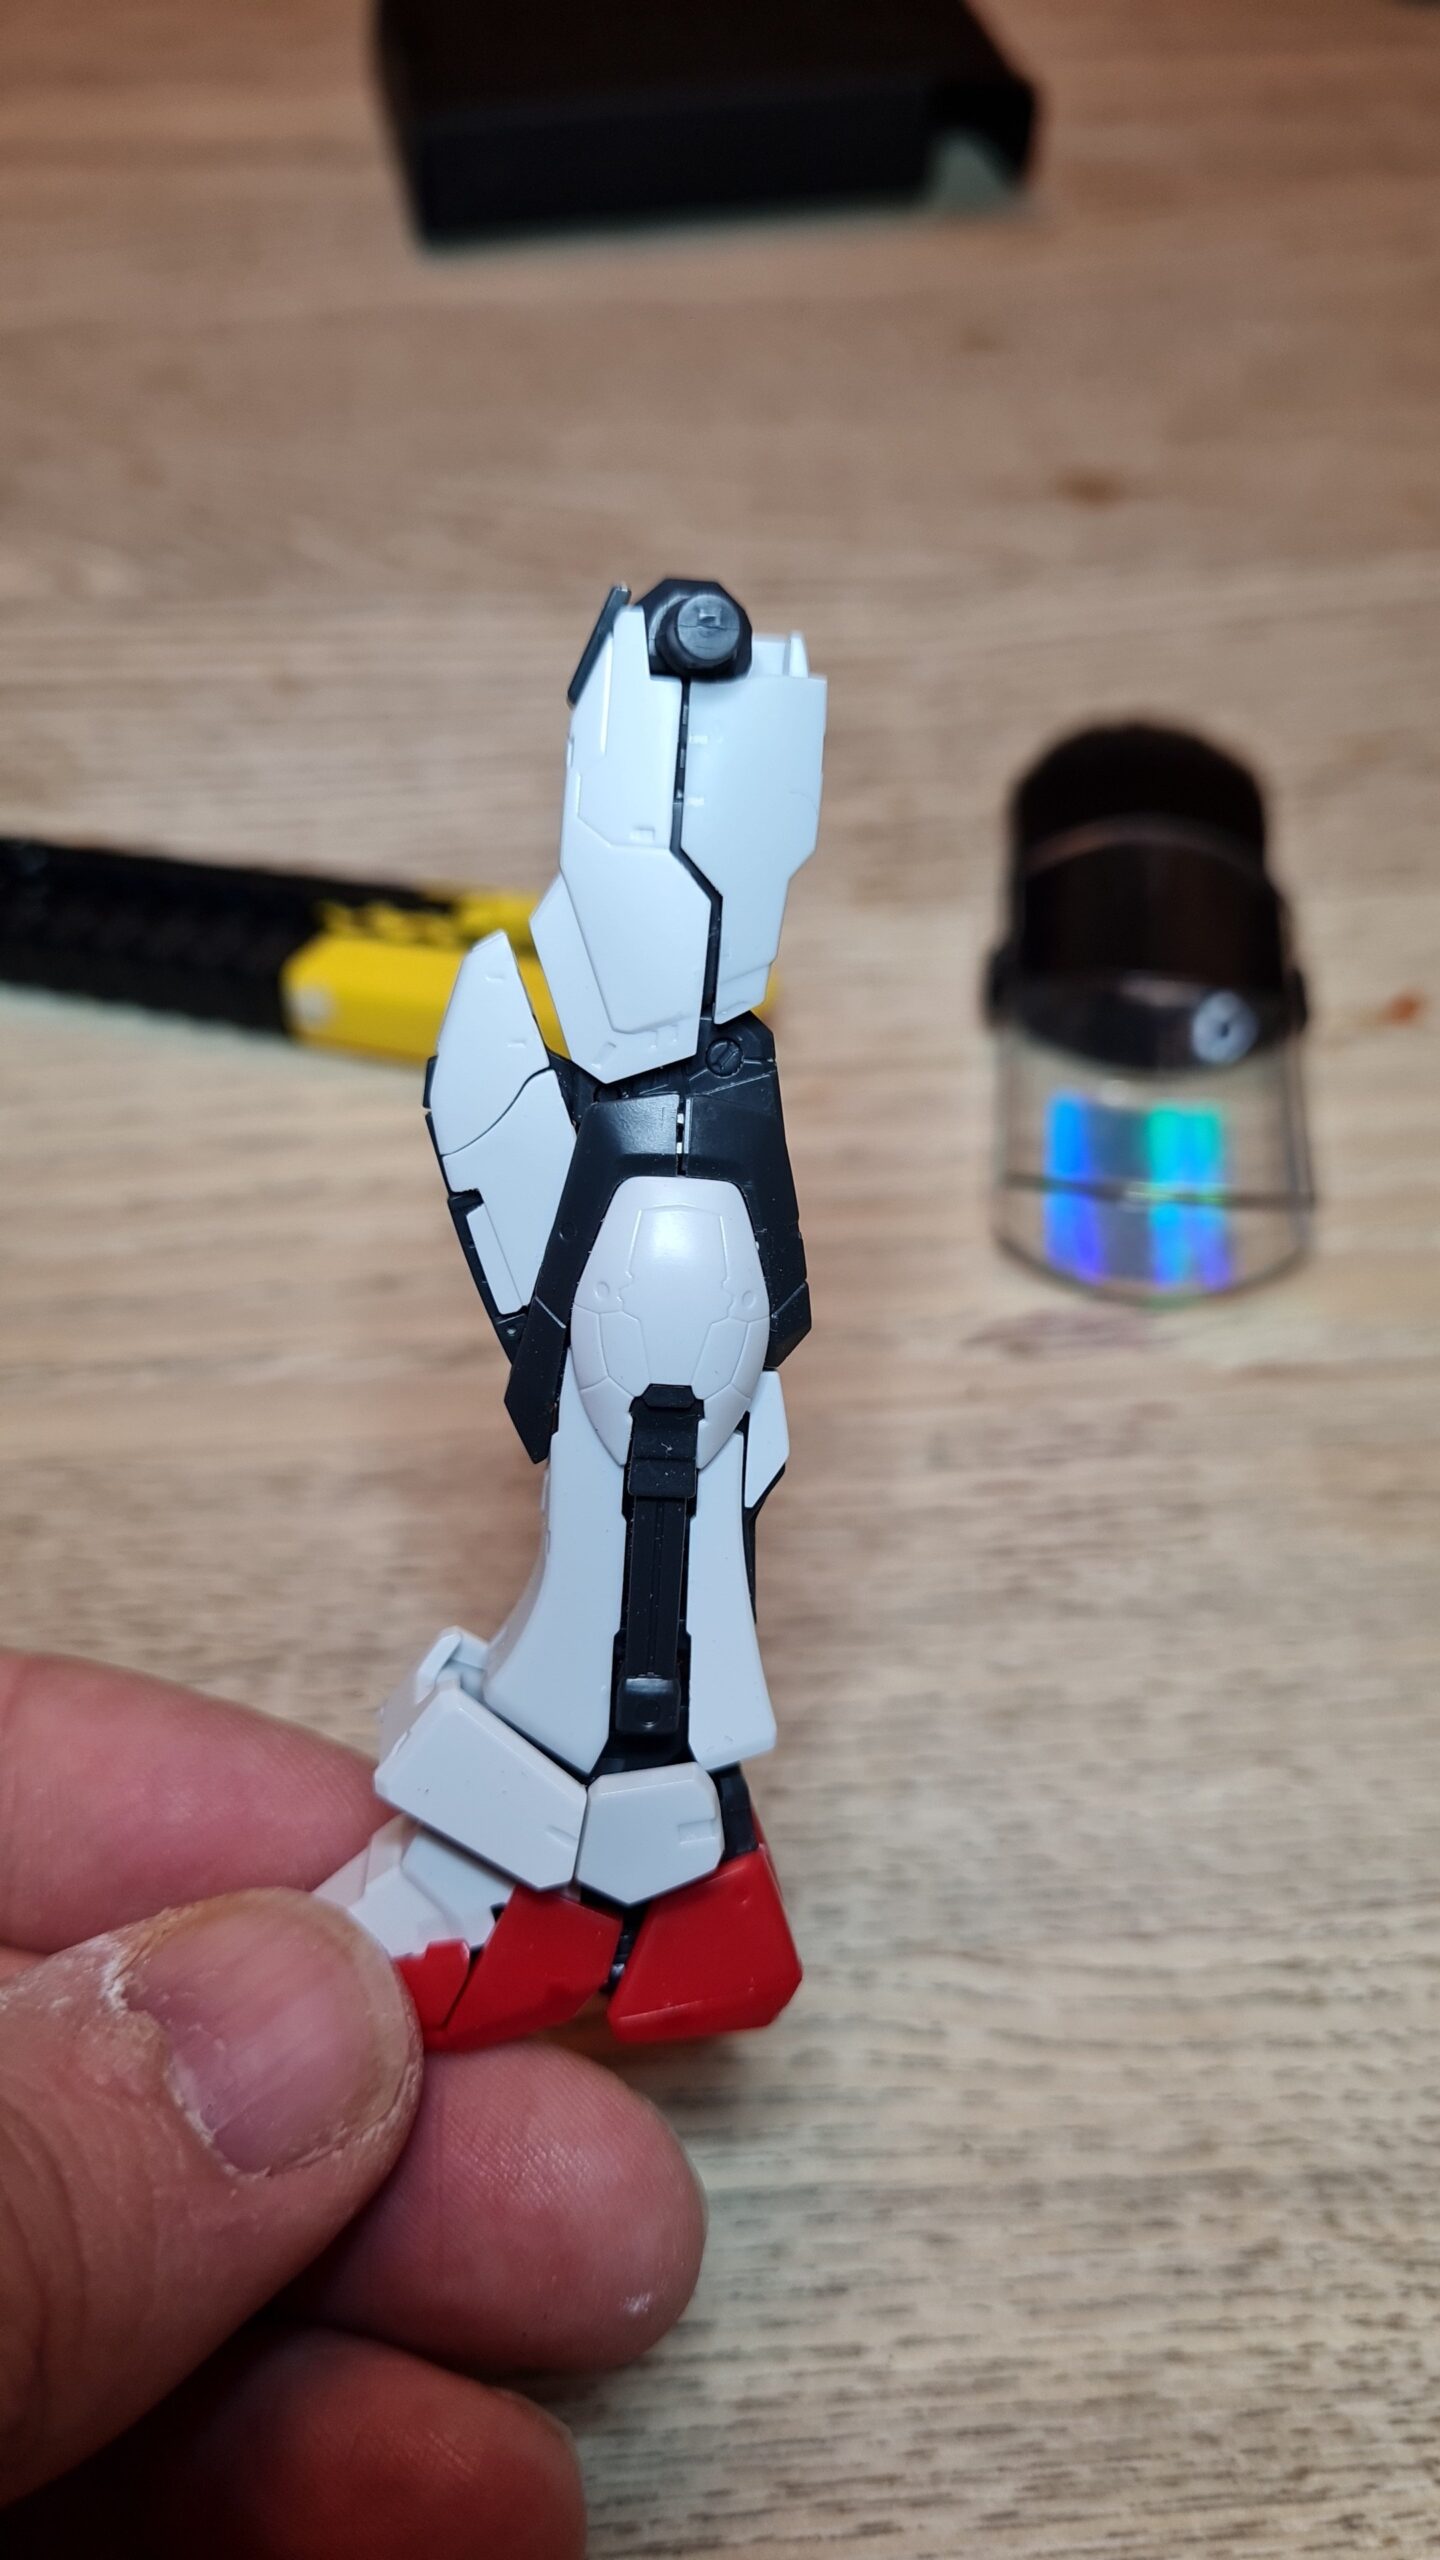
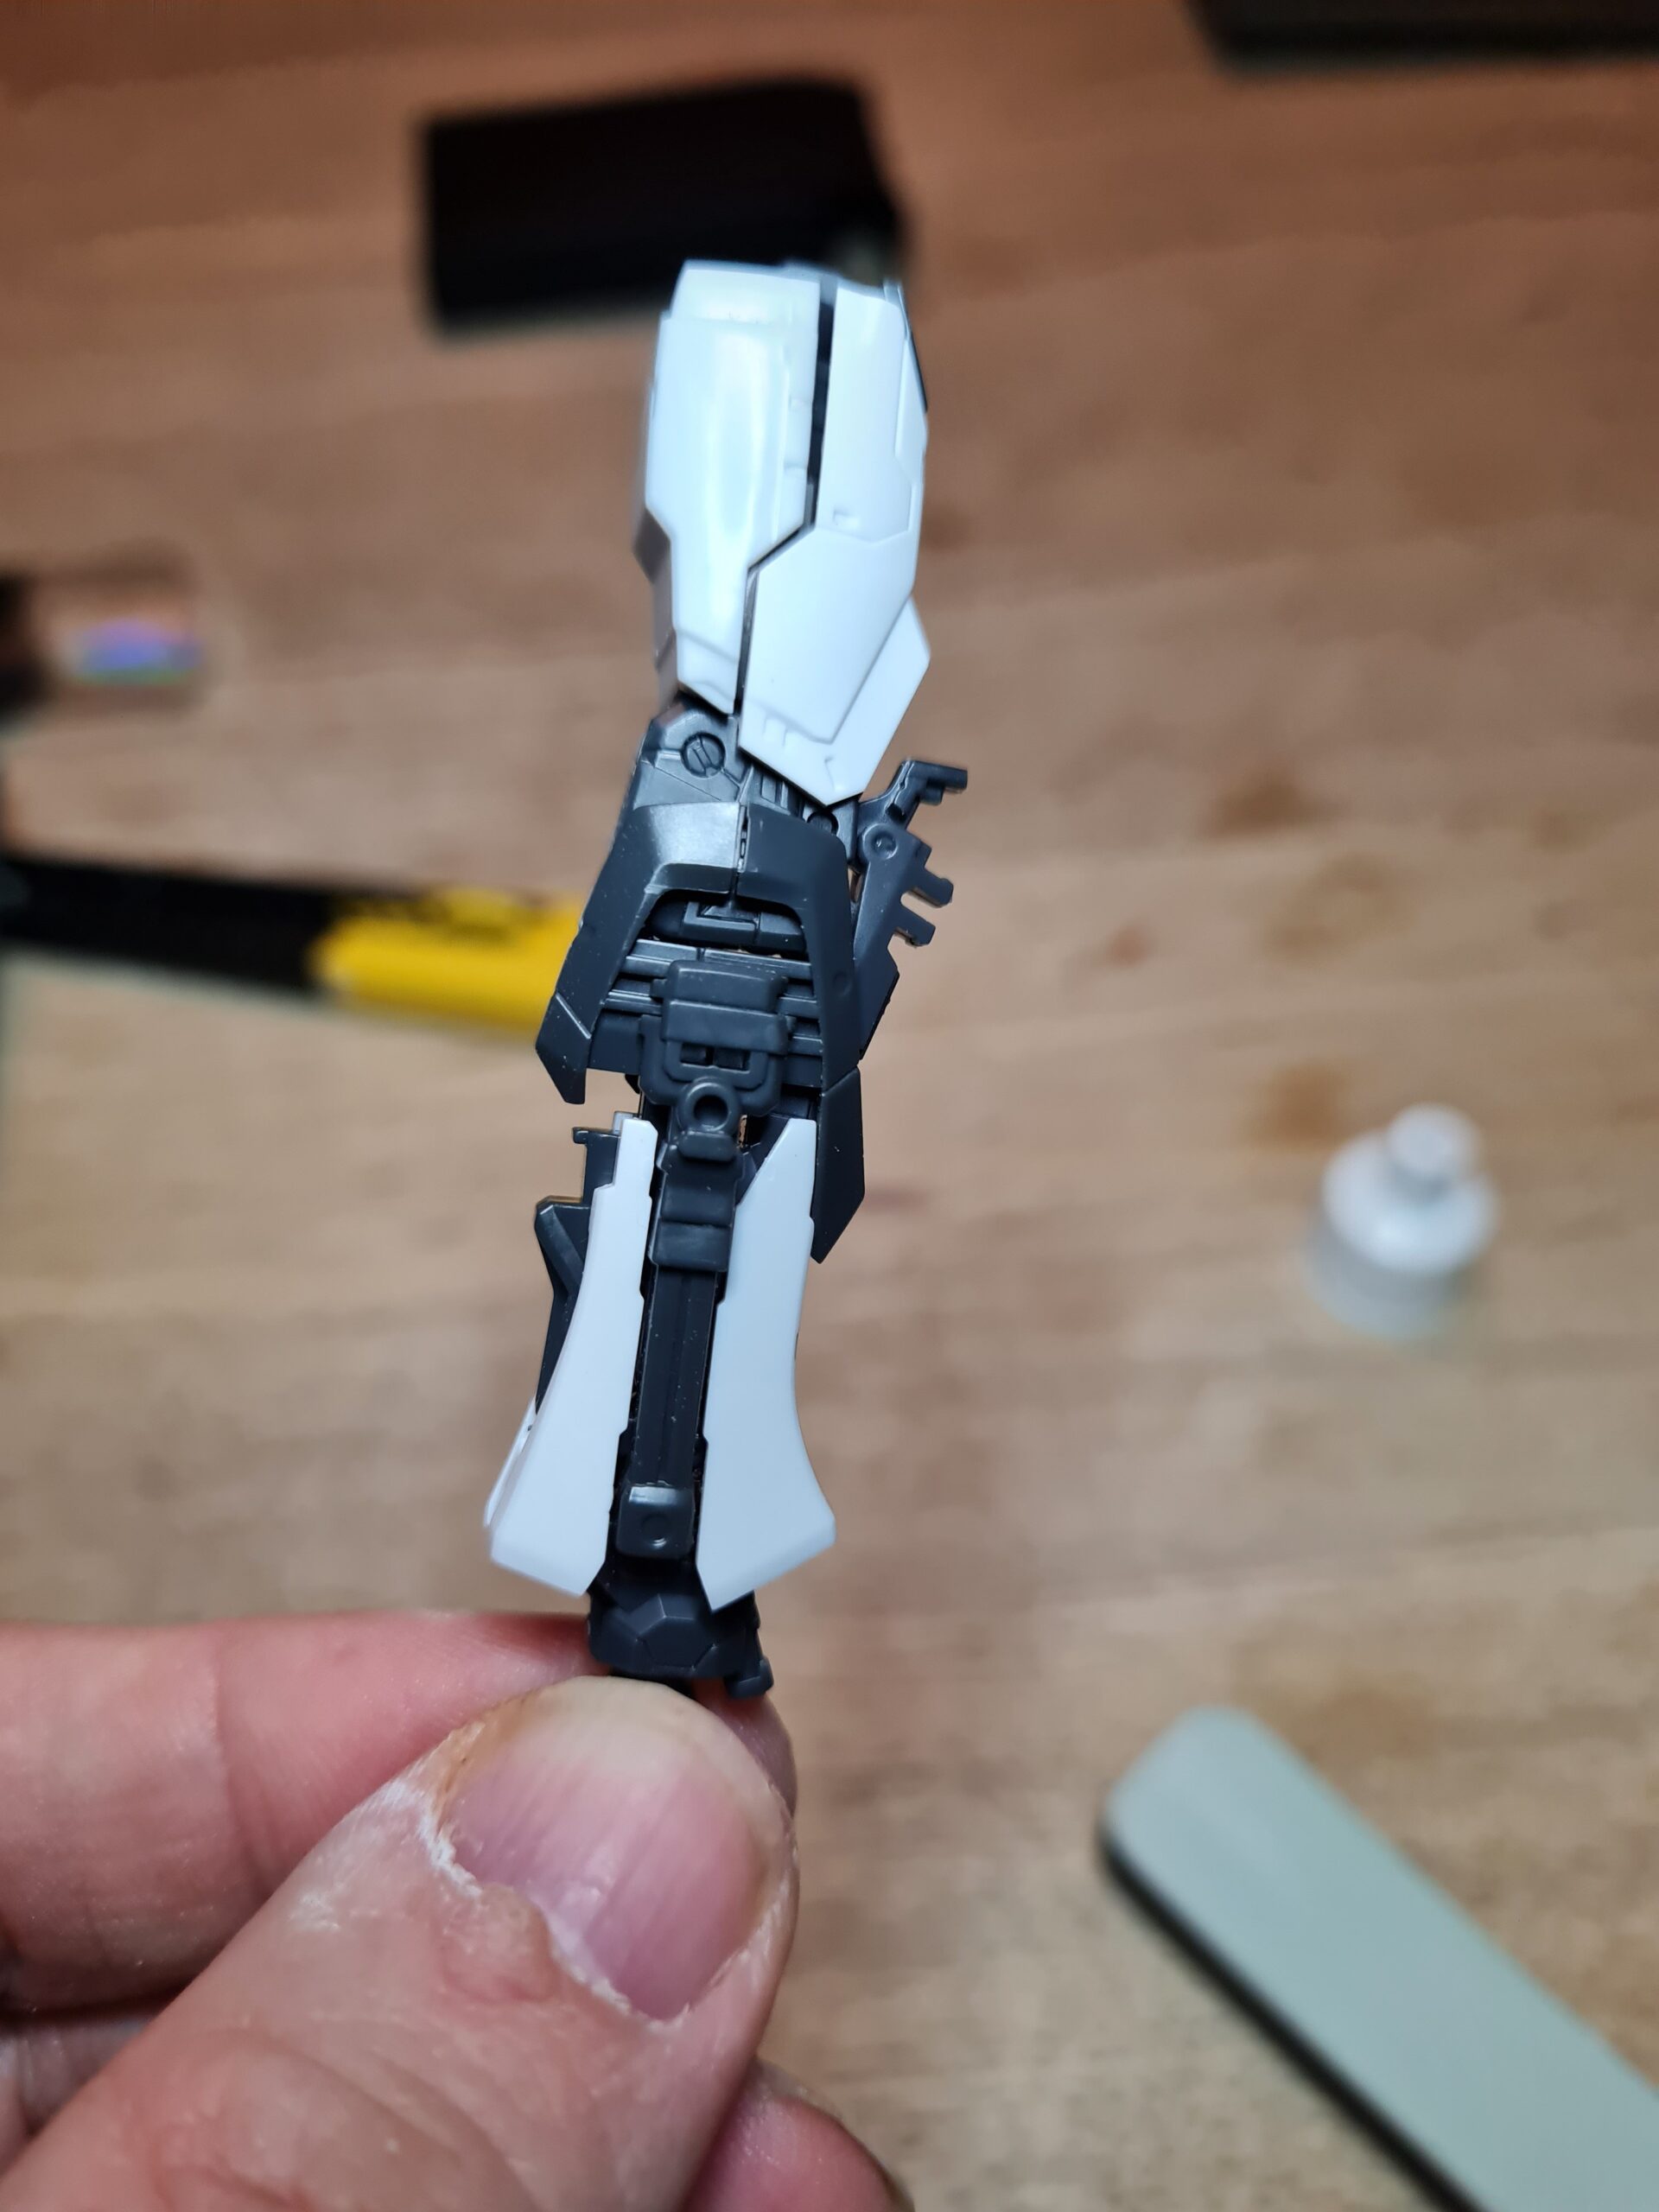
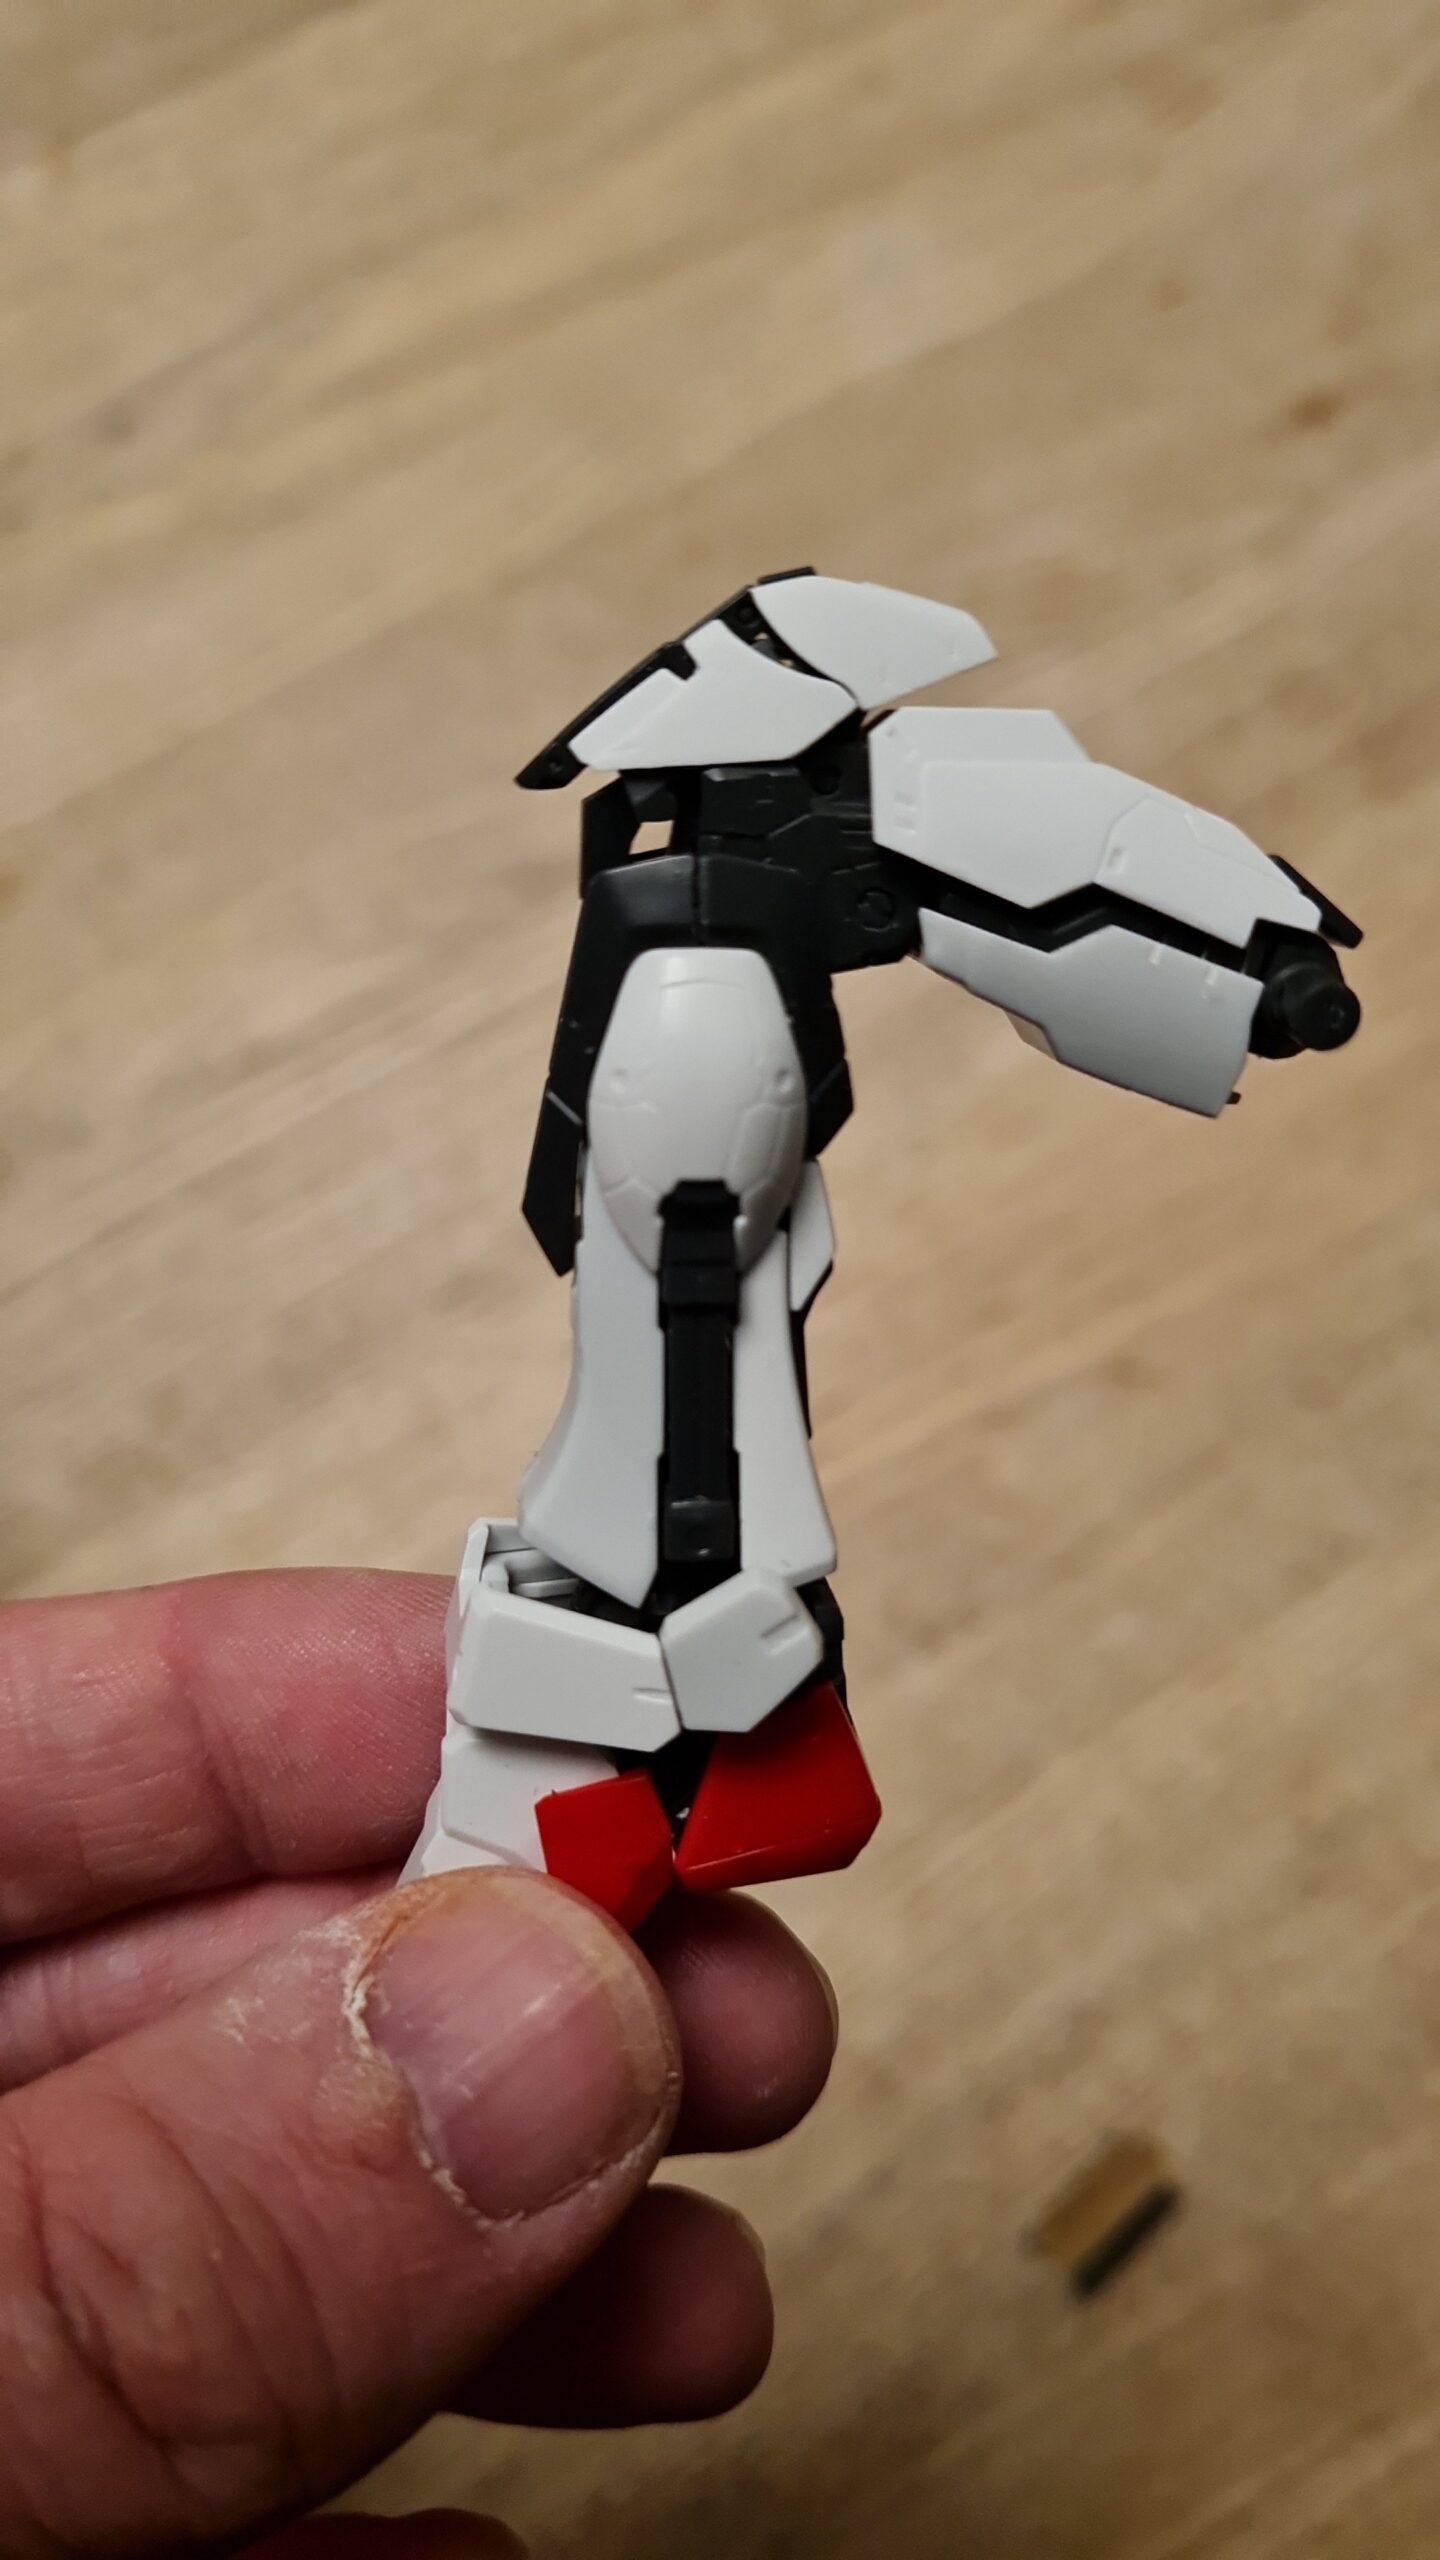
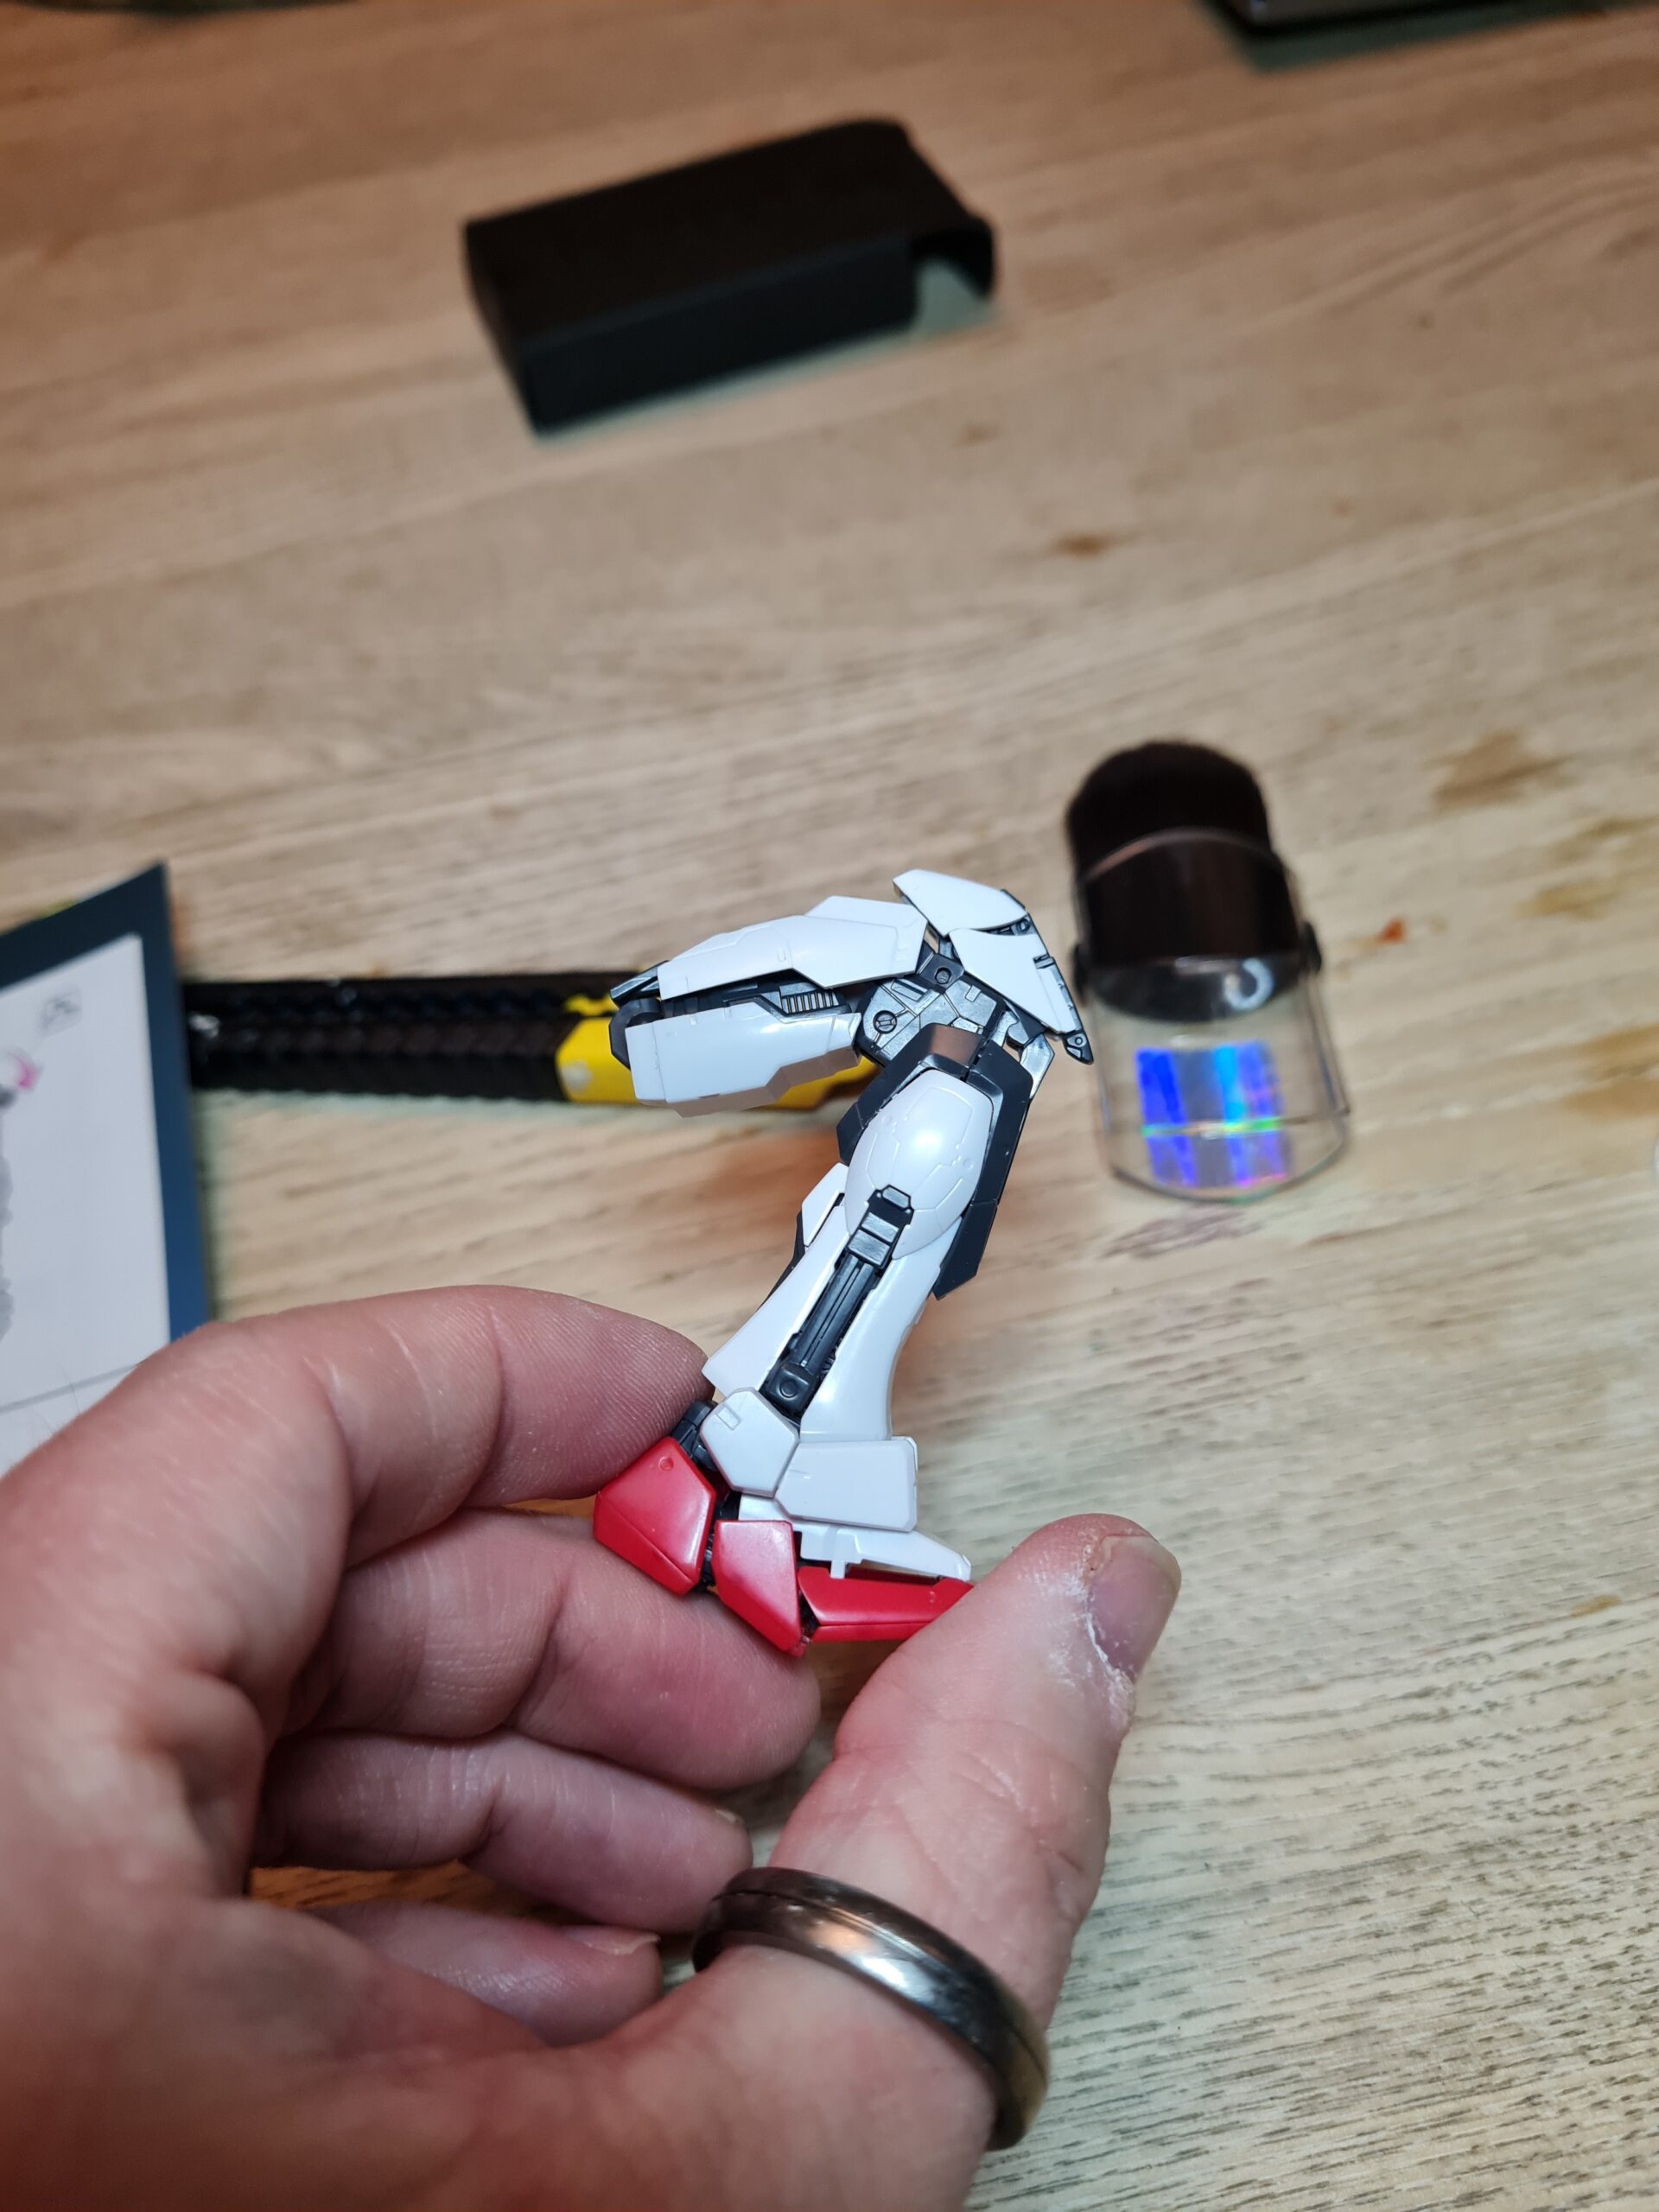
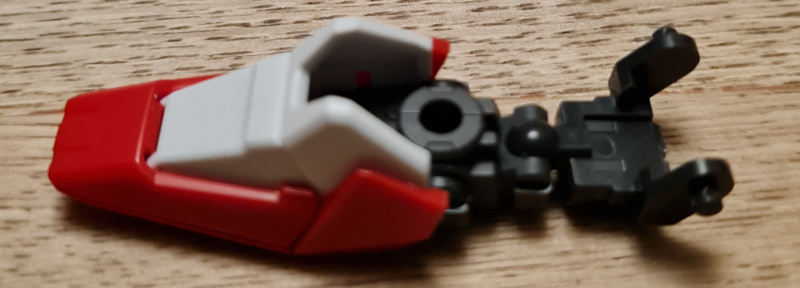
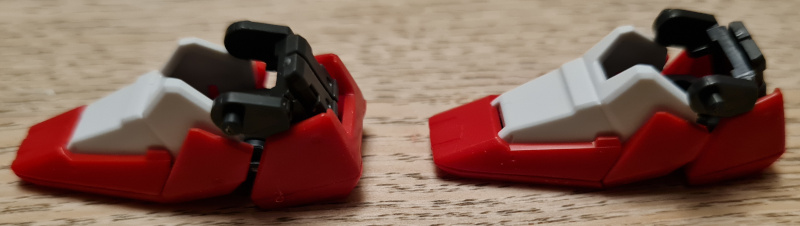
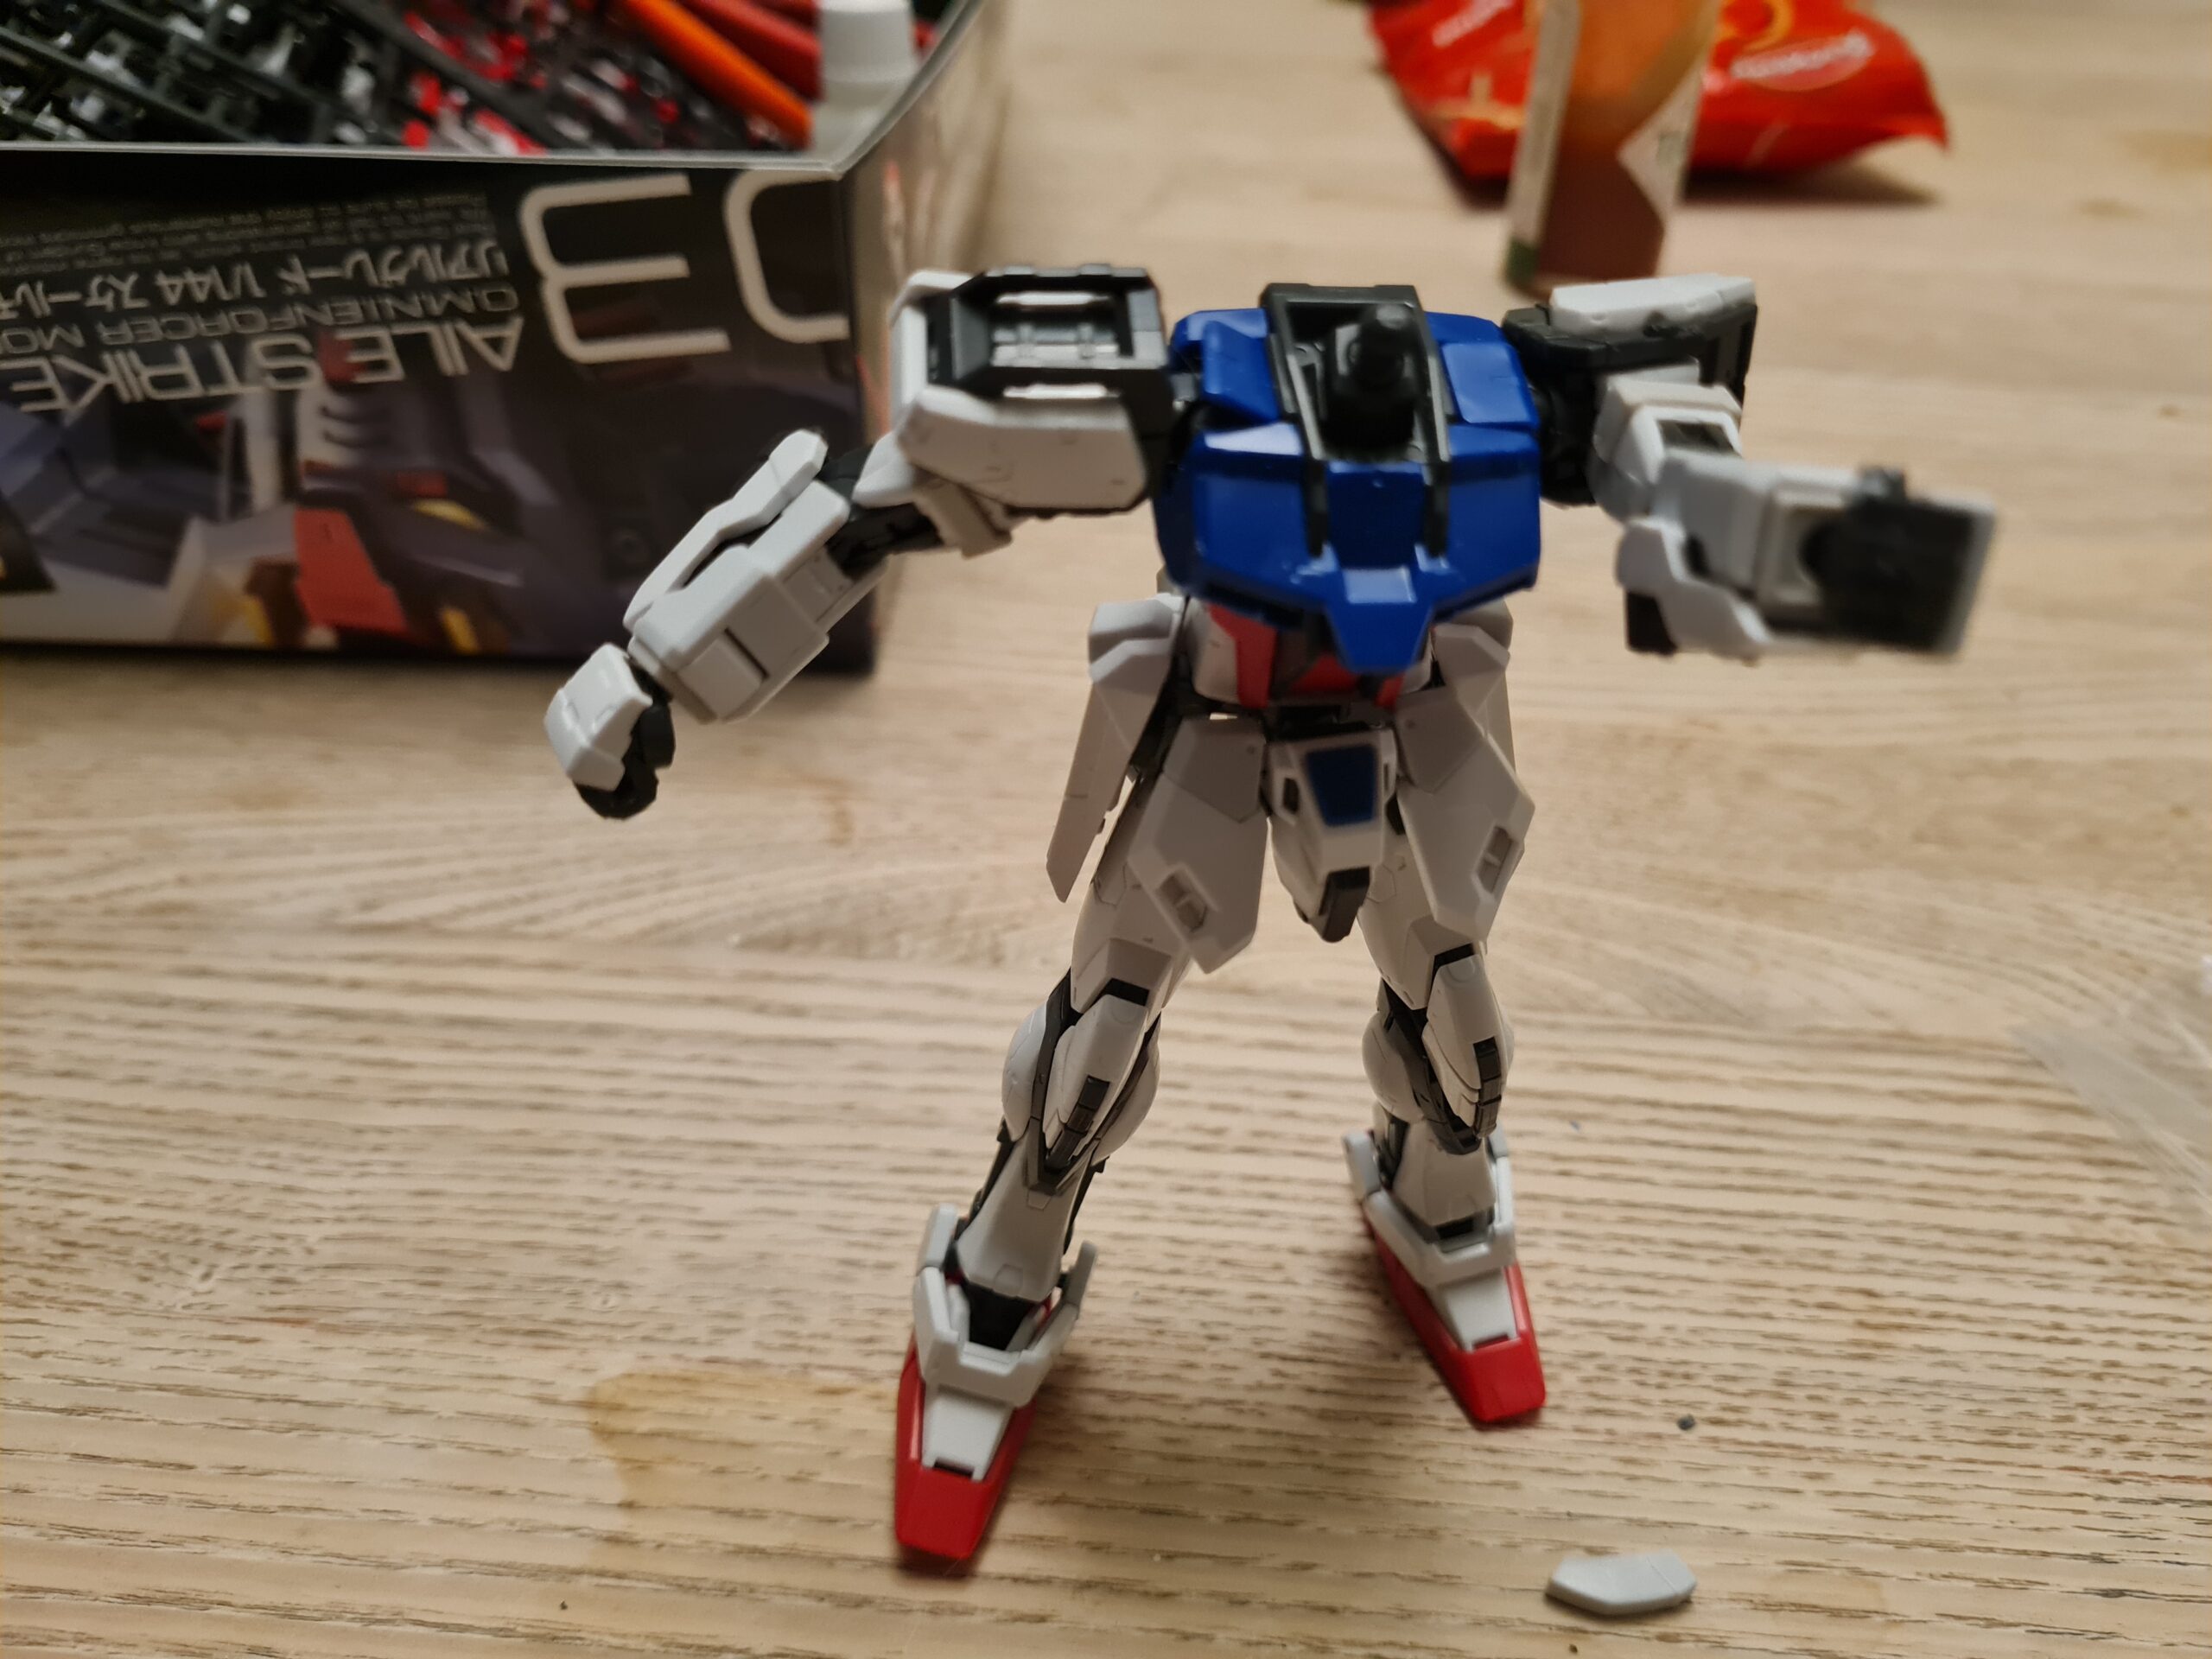
Once the torso was built I was able to attach the legs and arms. I then had a play with the posing on what I had so far. The articulation is great on the model. The “trying to do the splits” is limited due to the side parts that limit it. However, there is more than enough there to pose in a range of stances.
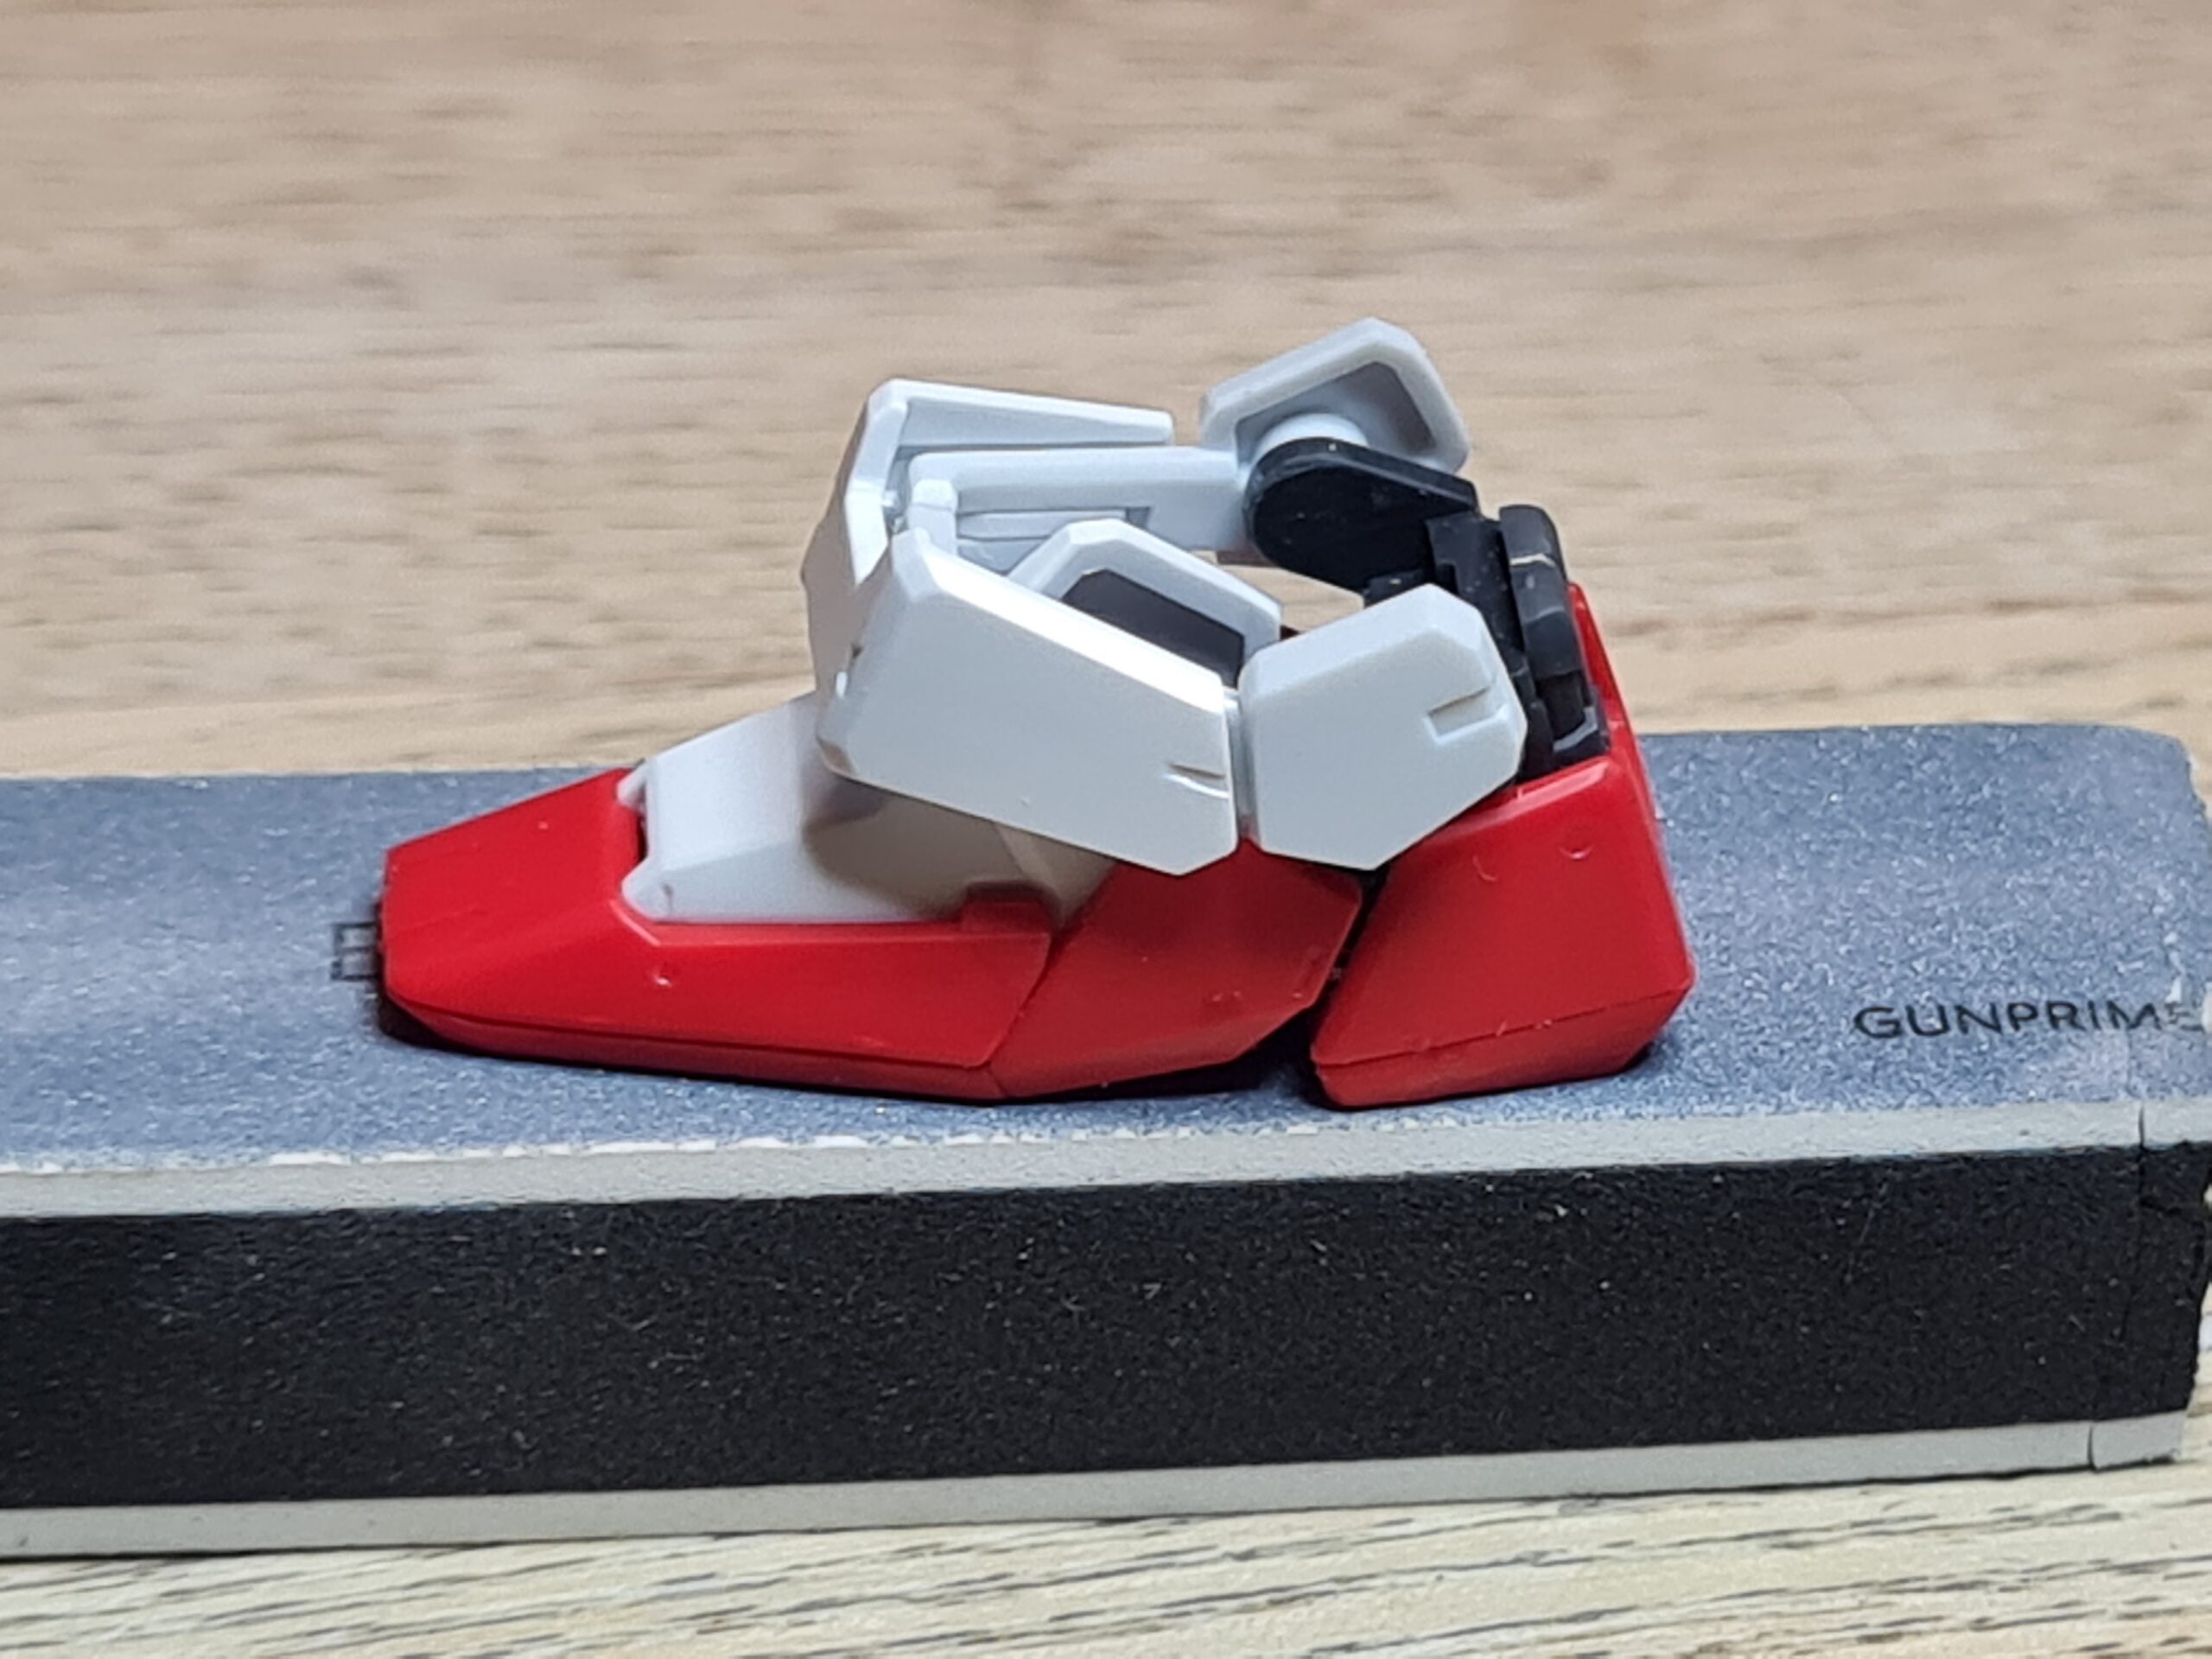
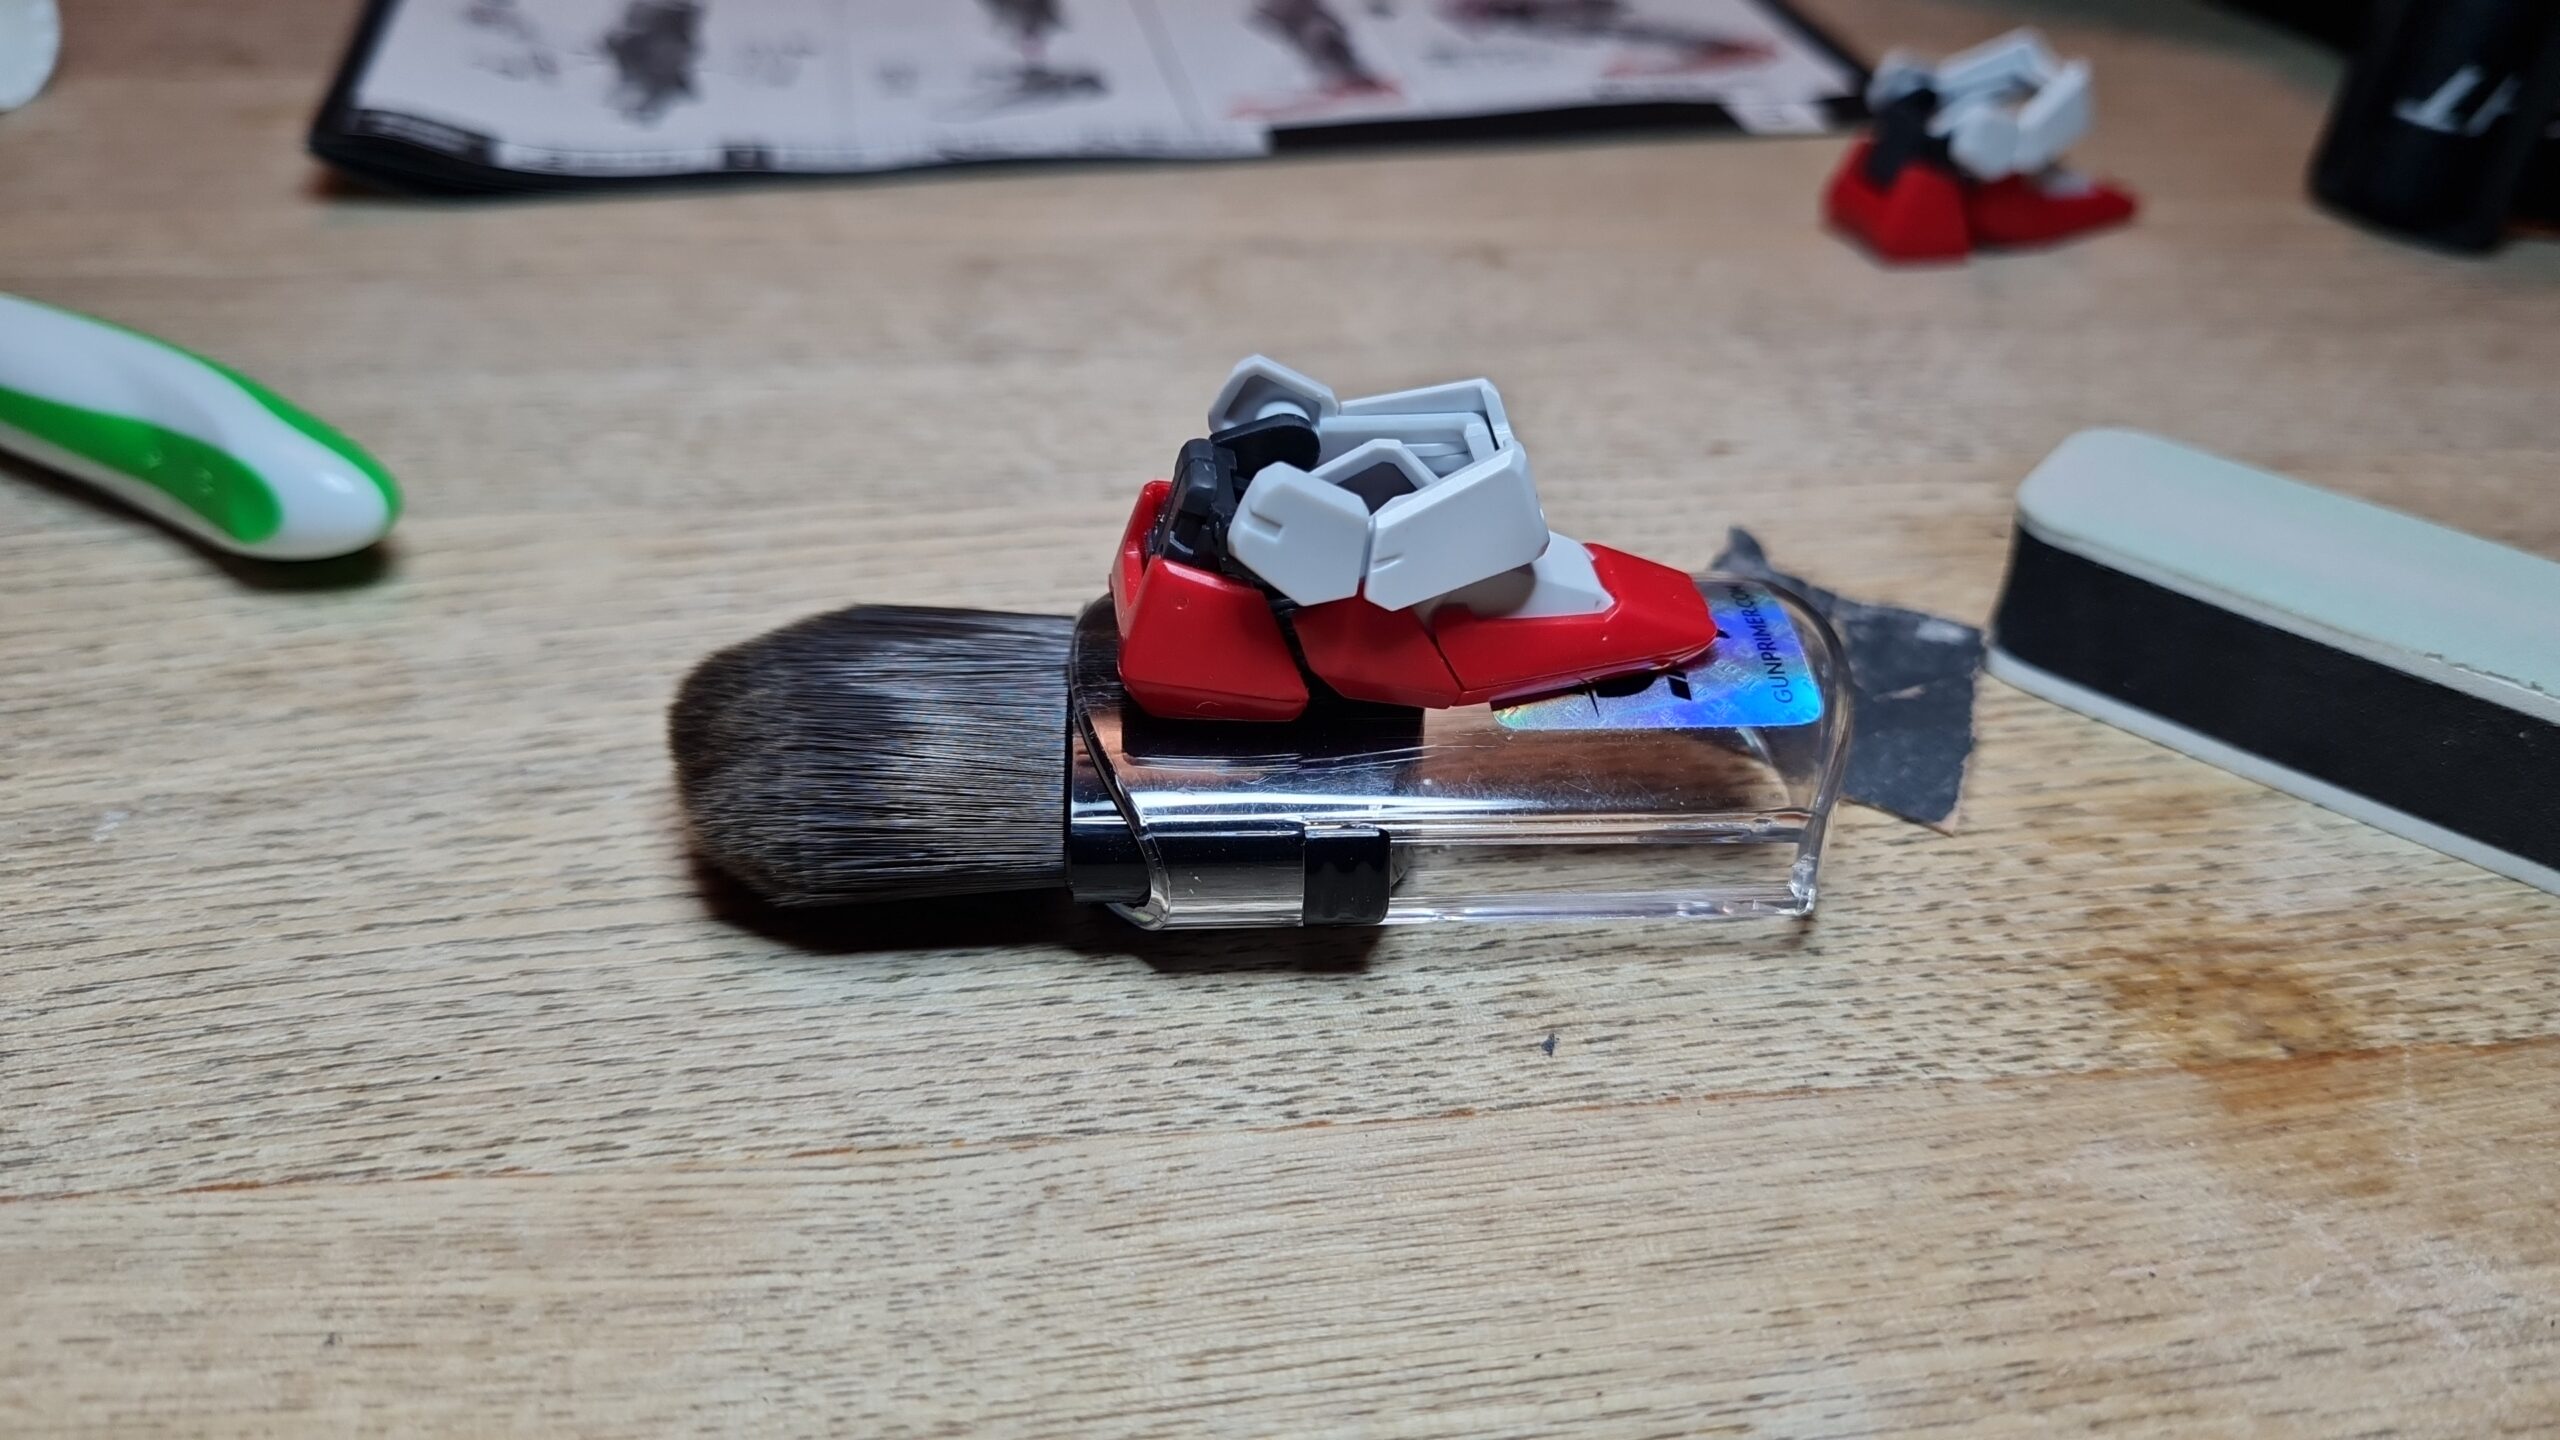
Also, as you can see from the pictures, at the moment the model can balance amazingly. With a little patience we can balance it really nicely.
Conclusion
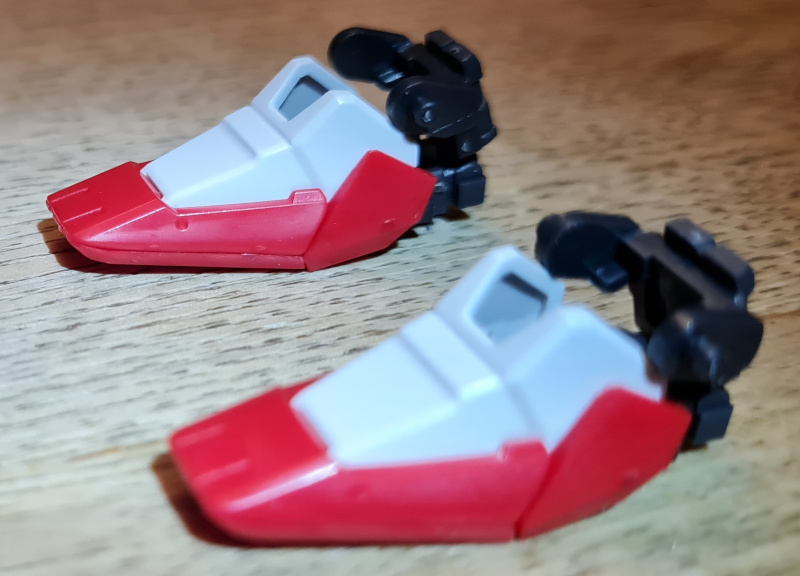
I am still really happy with this. The model is building amazingly, and the way the parts layer up is really satisfying. The detail and articulation on this model are also fantastic. If you then add to this the great way the parts can clean up it is shaping up to meet all my expectations.
Thank you for taking the time to read this. If you haven’t already done so please like and follow us on our social media platforms and checkout our website!
Facebook: https://www.facebook.com/profile.php?id=100086701512793
Instagram: https://www.instagram.com/modelkitsltd/
Website: https://modelkitsltd.co.uk