Introduction
Welcome to “RG Aile Strike Build Day 8” where I am building up an RG Aile strike model. If you haven’t read any of the other parts I would recommend going back to the start. You can find that here. In the first post I covered the box, runners and provide the manual.
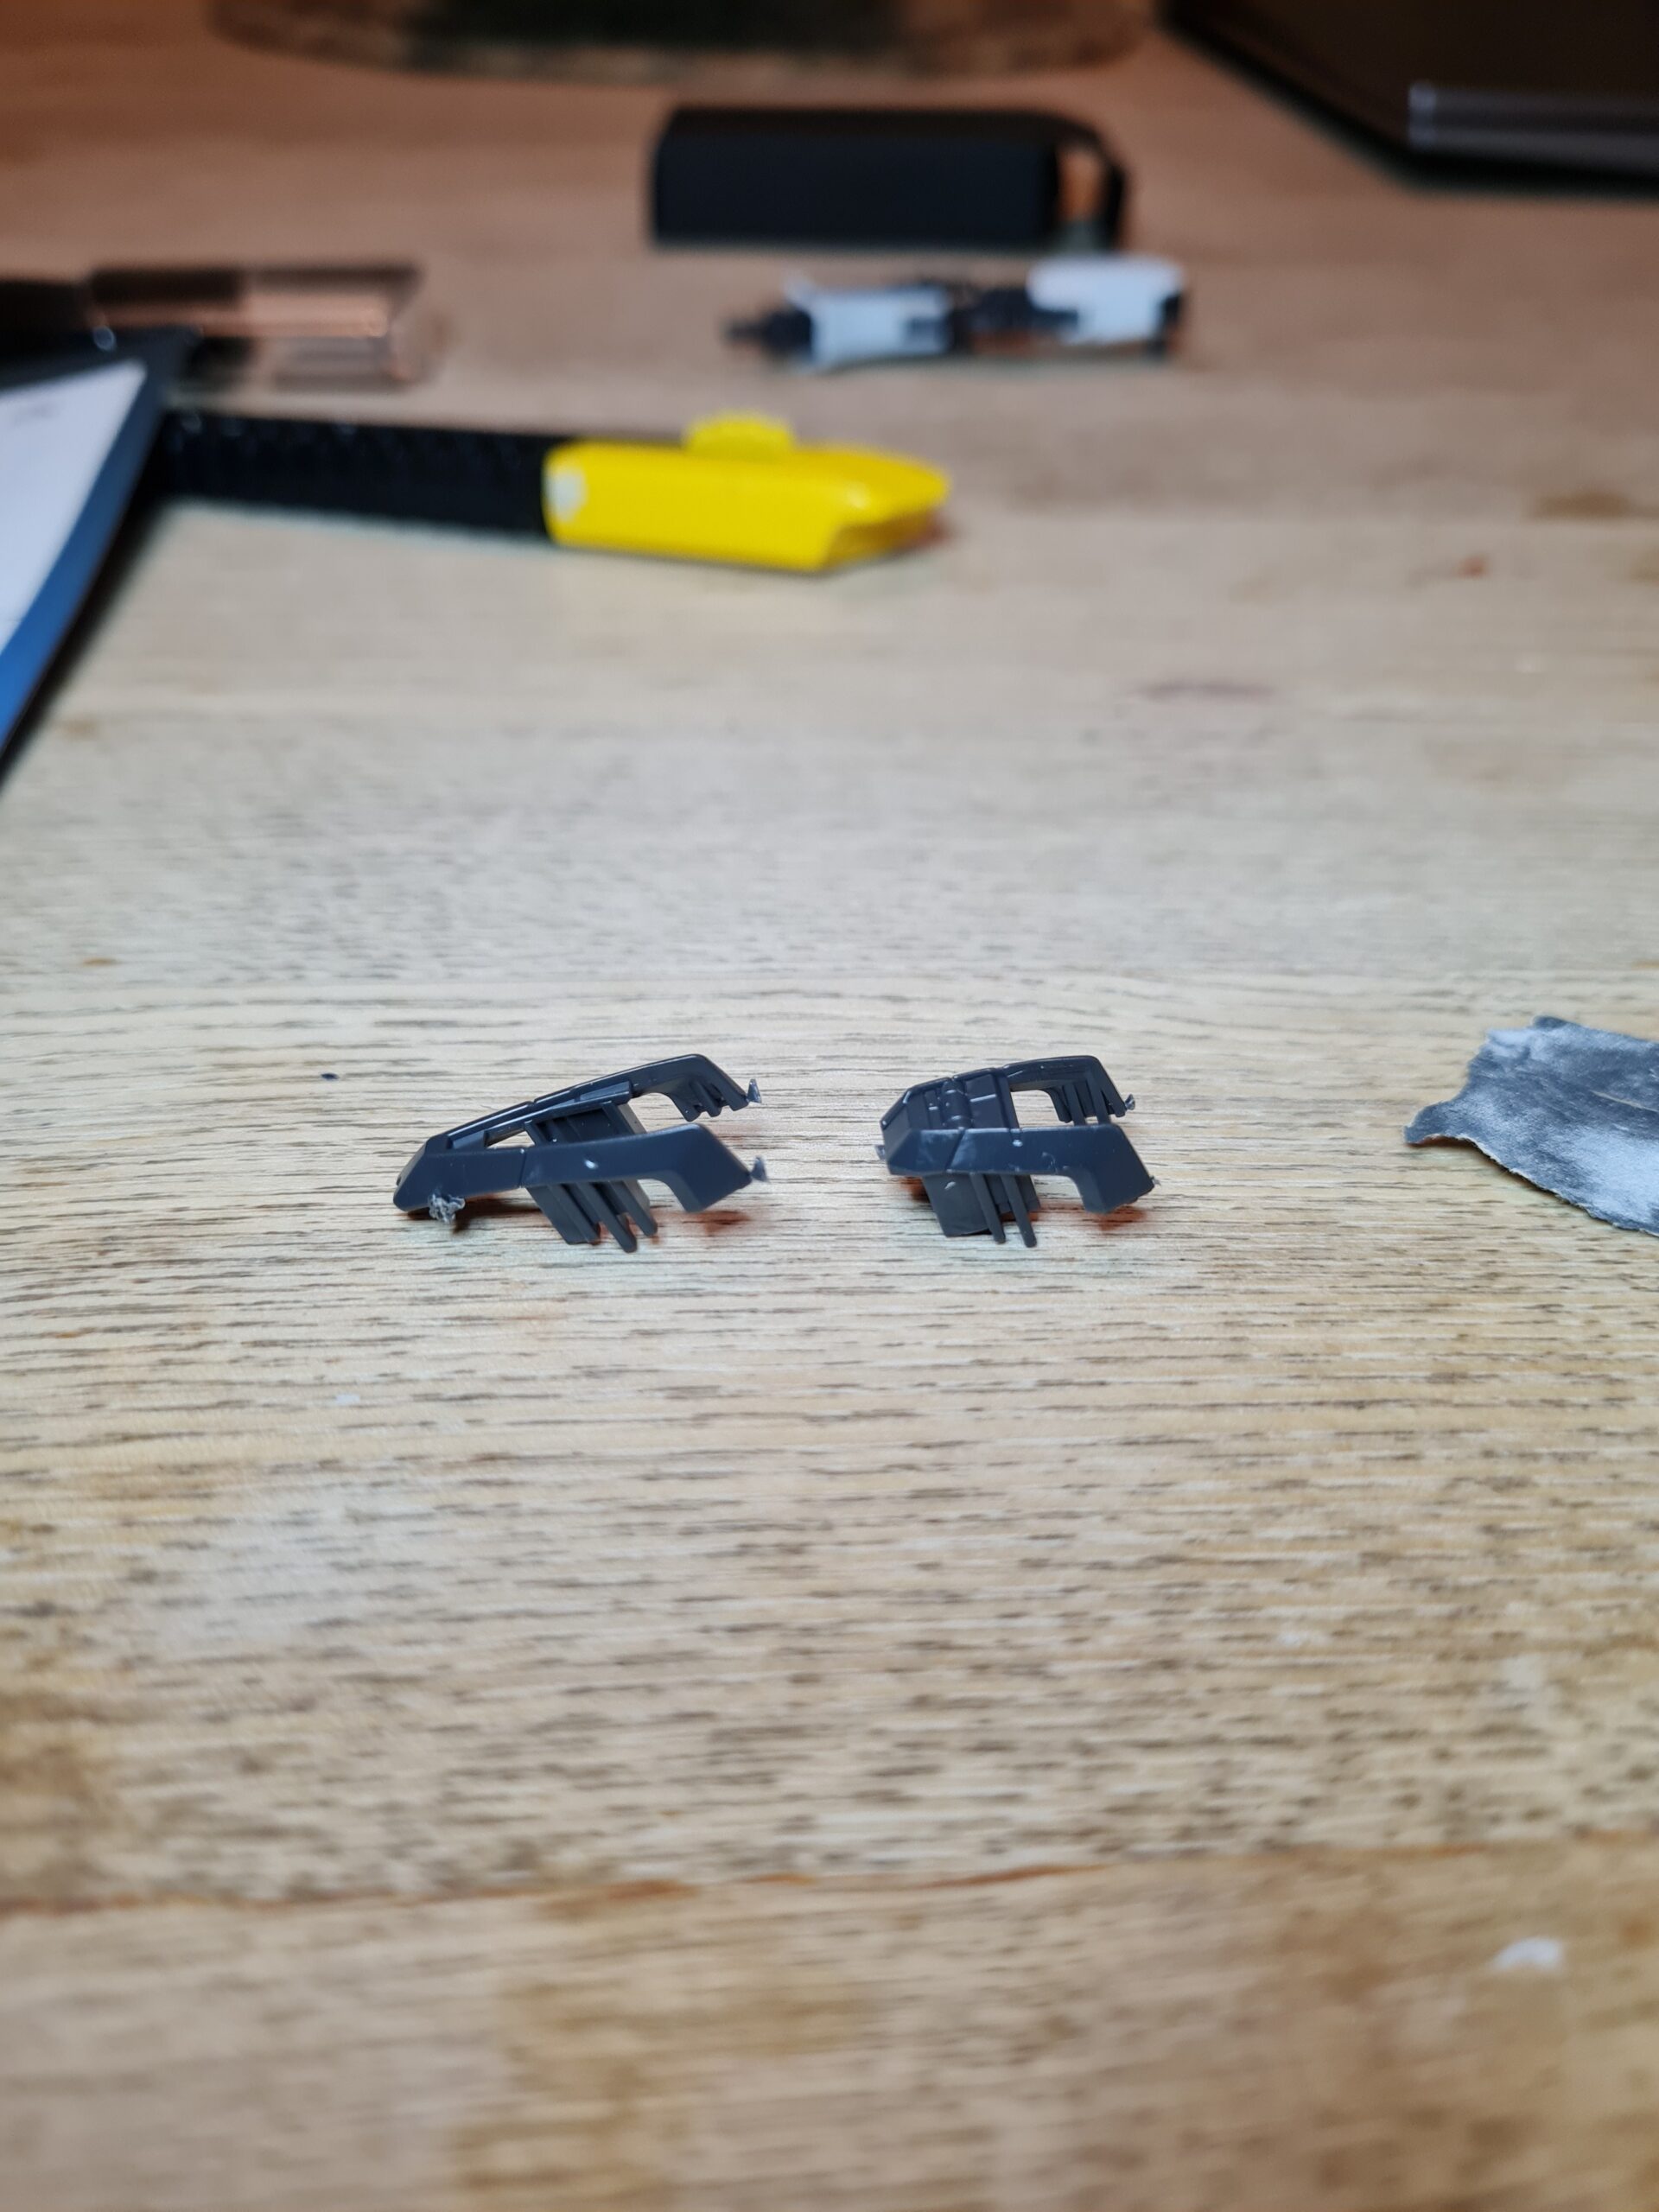
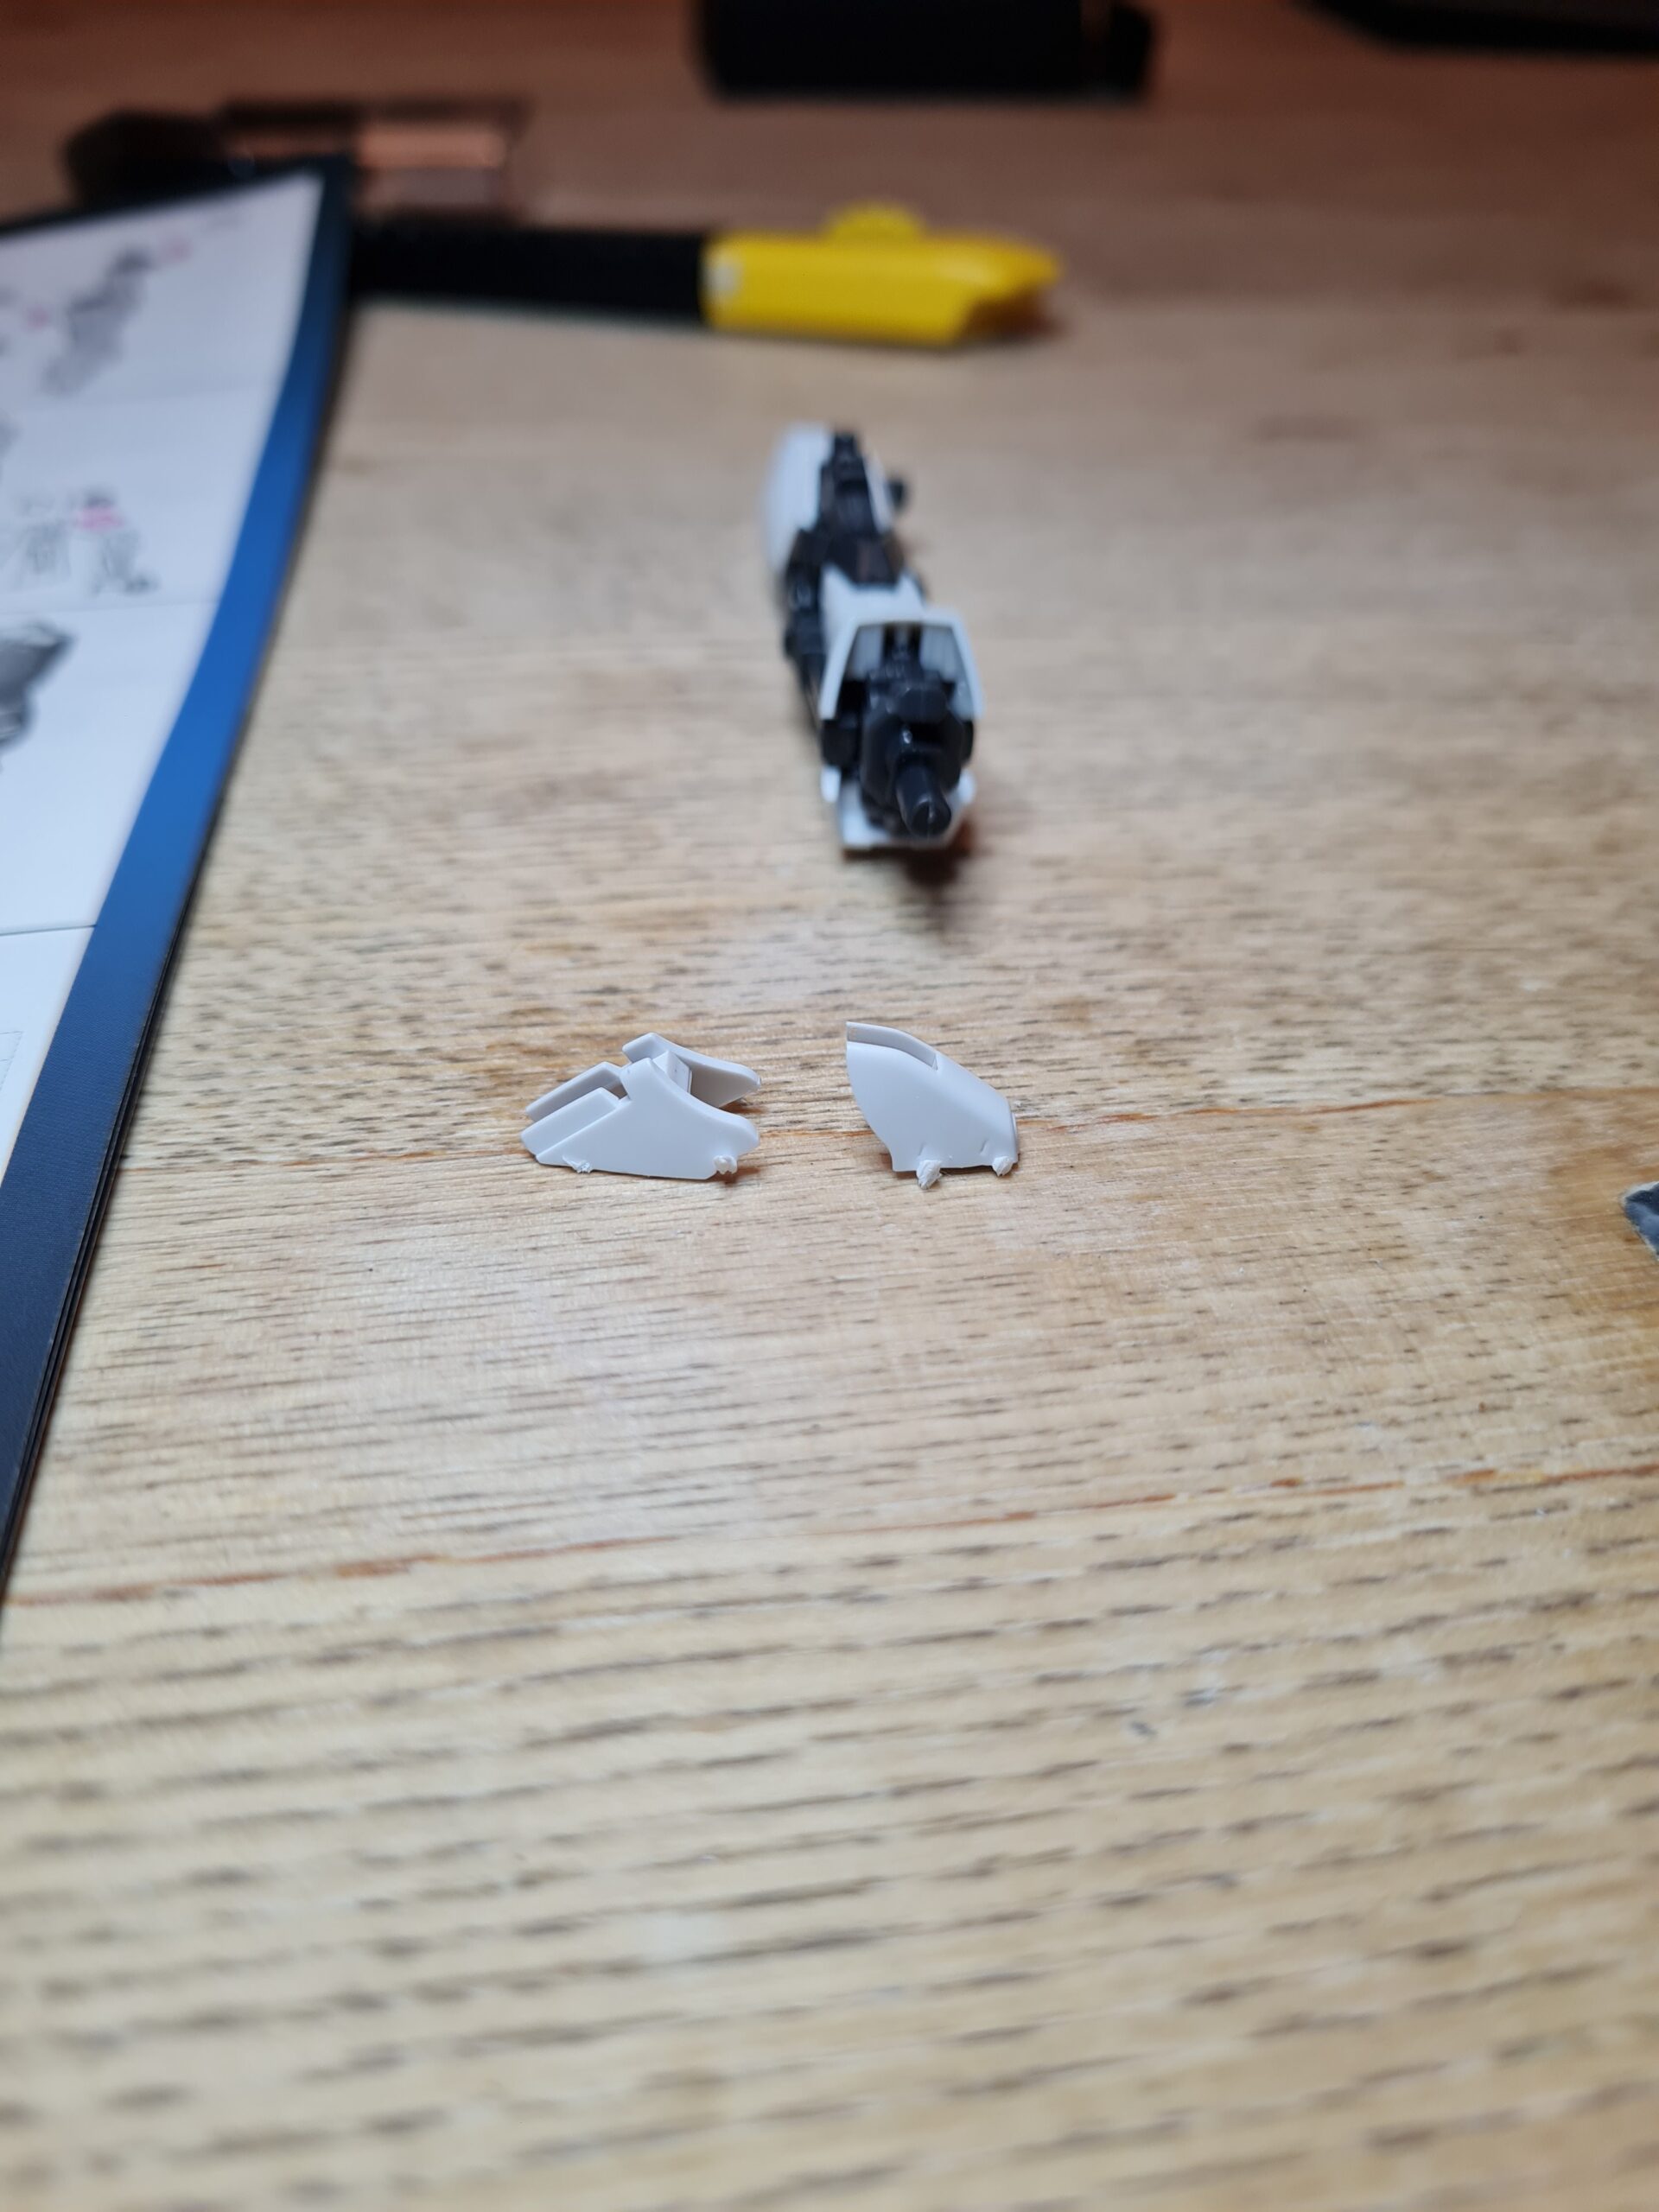
I am taking my time to ensure I clean up all the marks that can be cleaned up. As with any build like this, if you end up with discolouration or a small white “stress” mark you are likely to need painting to get rid of those. I may have a look at simple quick methods of dealing with those items, especially as I find that it has a habit of happening on the grey pieces. I also accept I may need to work on my cutting style as I’m sure that will contribute to it!
The Process
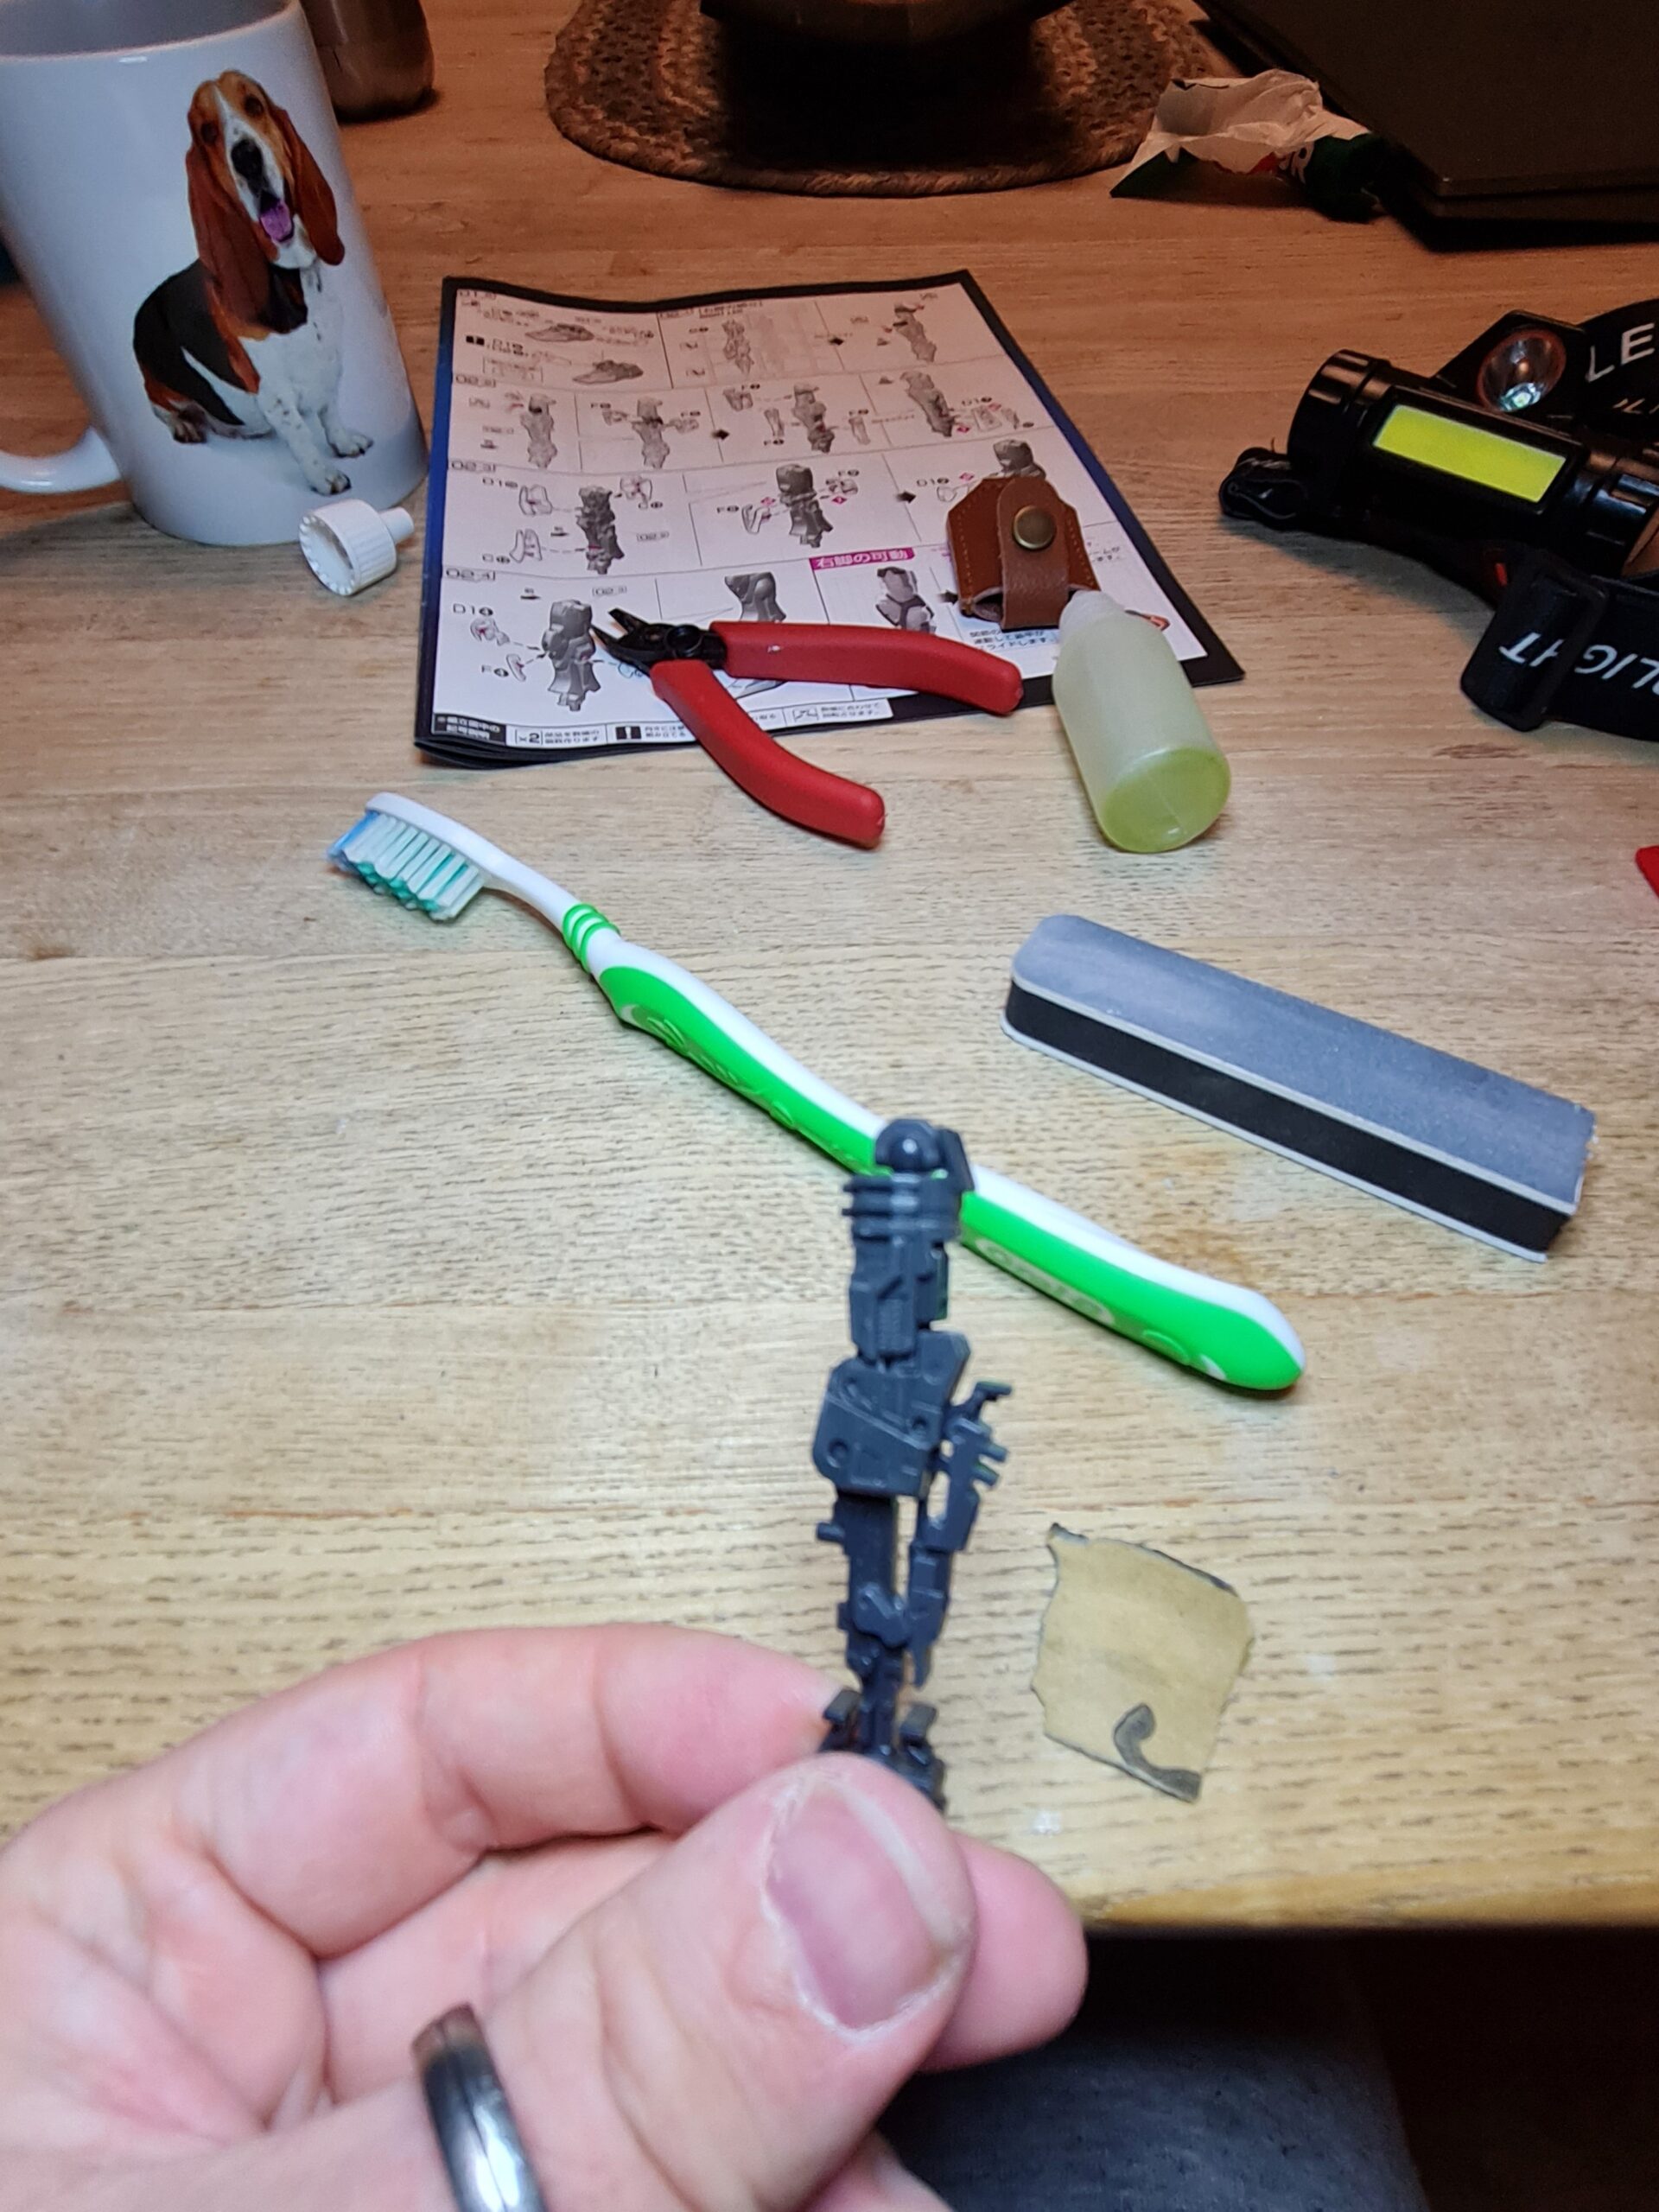
Unless otherwise noted I followed this process for each piece:
- Cut off roughly leaving plenty of nub
- Trim back the nub with my better nippers
- Apply water to my wet and dry sandpaper and sand the nub marks down
- Dry the piece
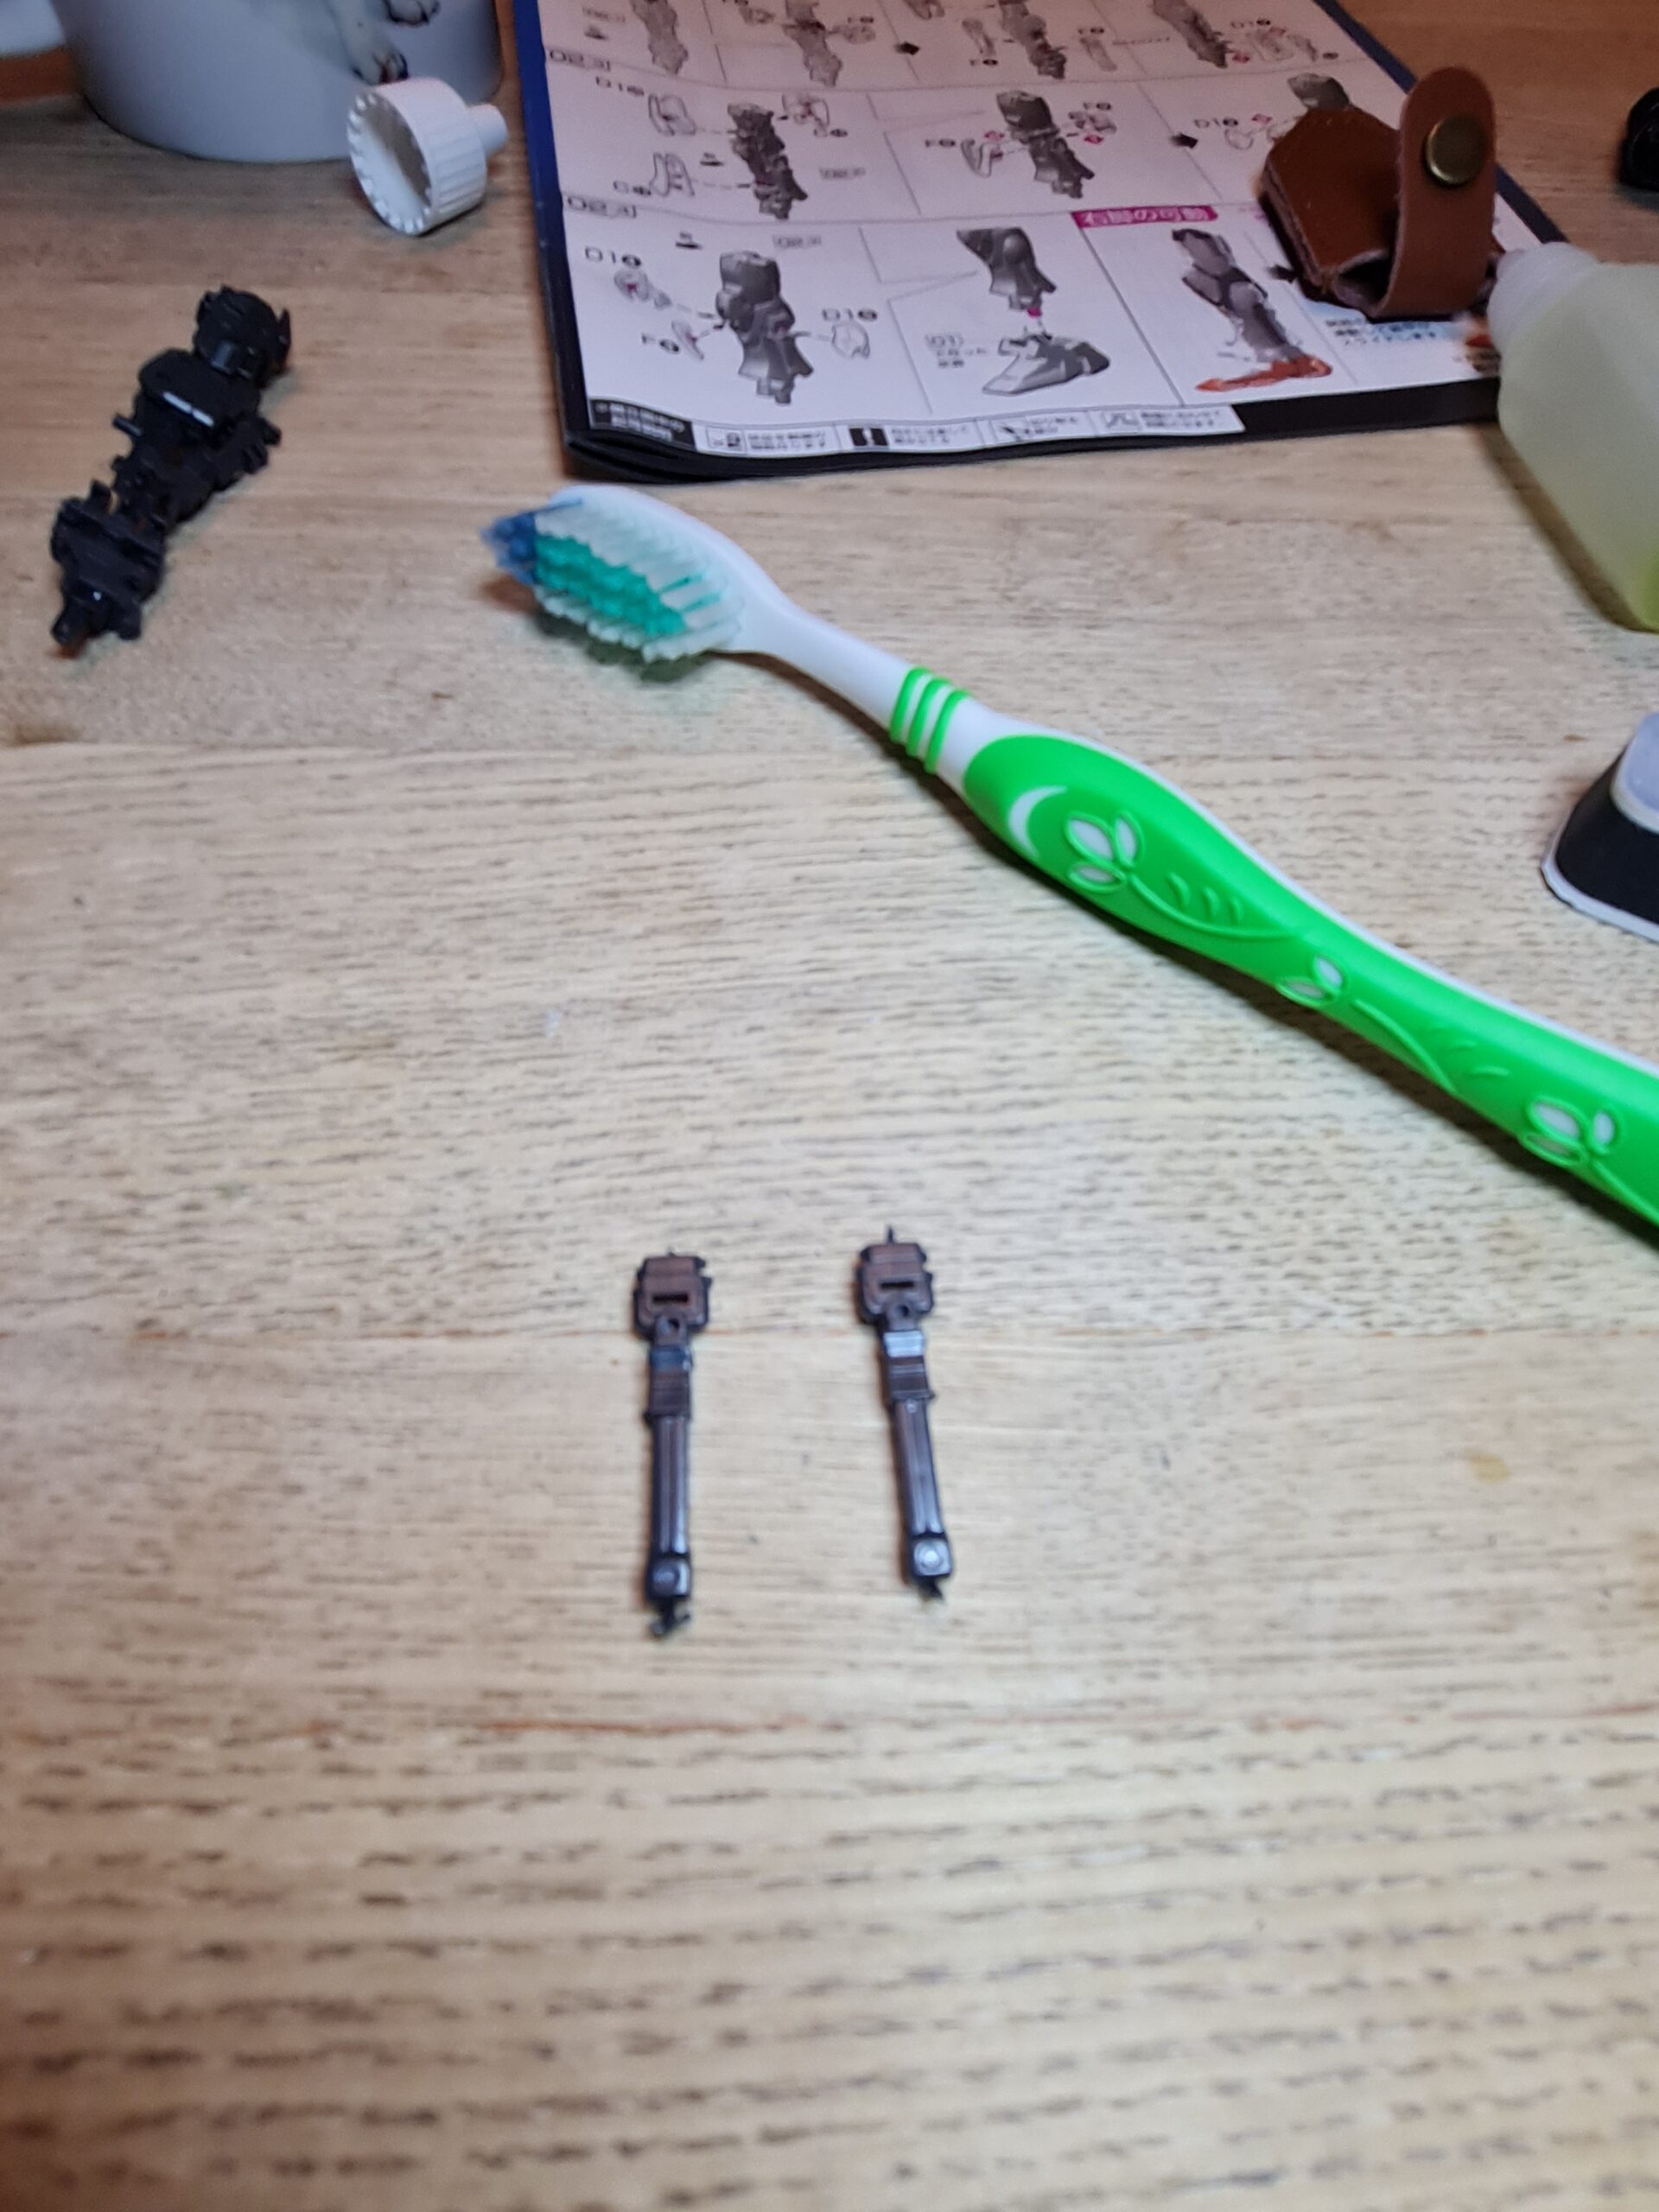
- Brush it off with the tooth brush to remove any bits
- Re-apply the matt finish using the Gray Balancer
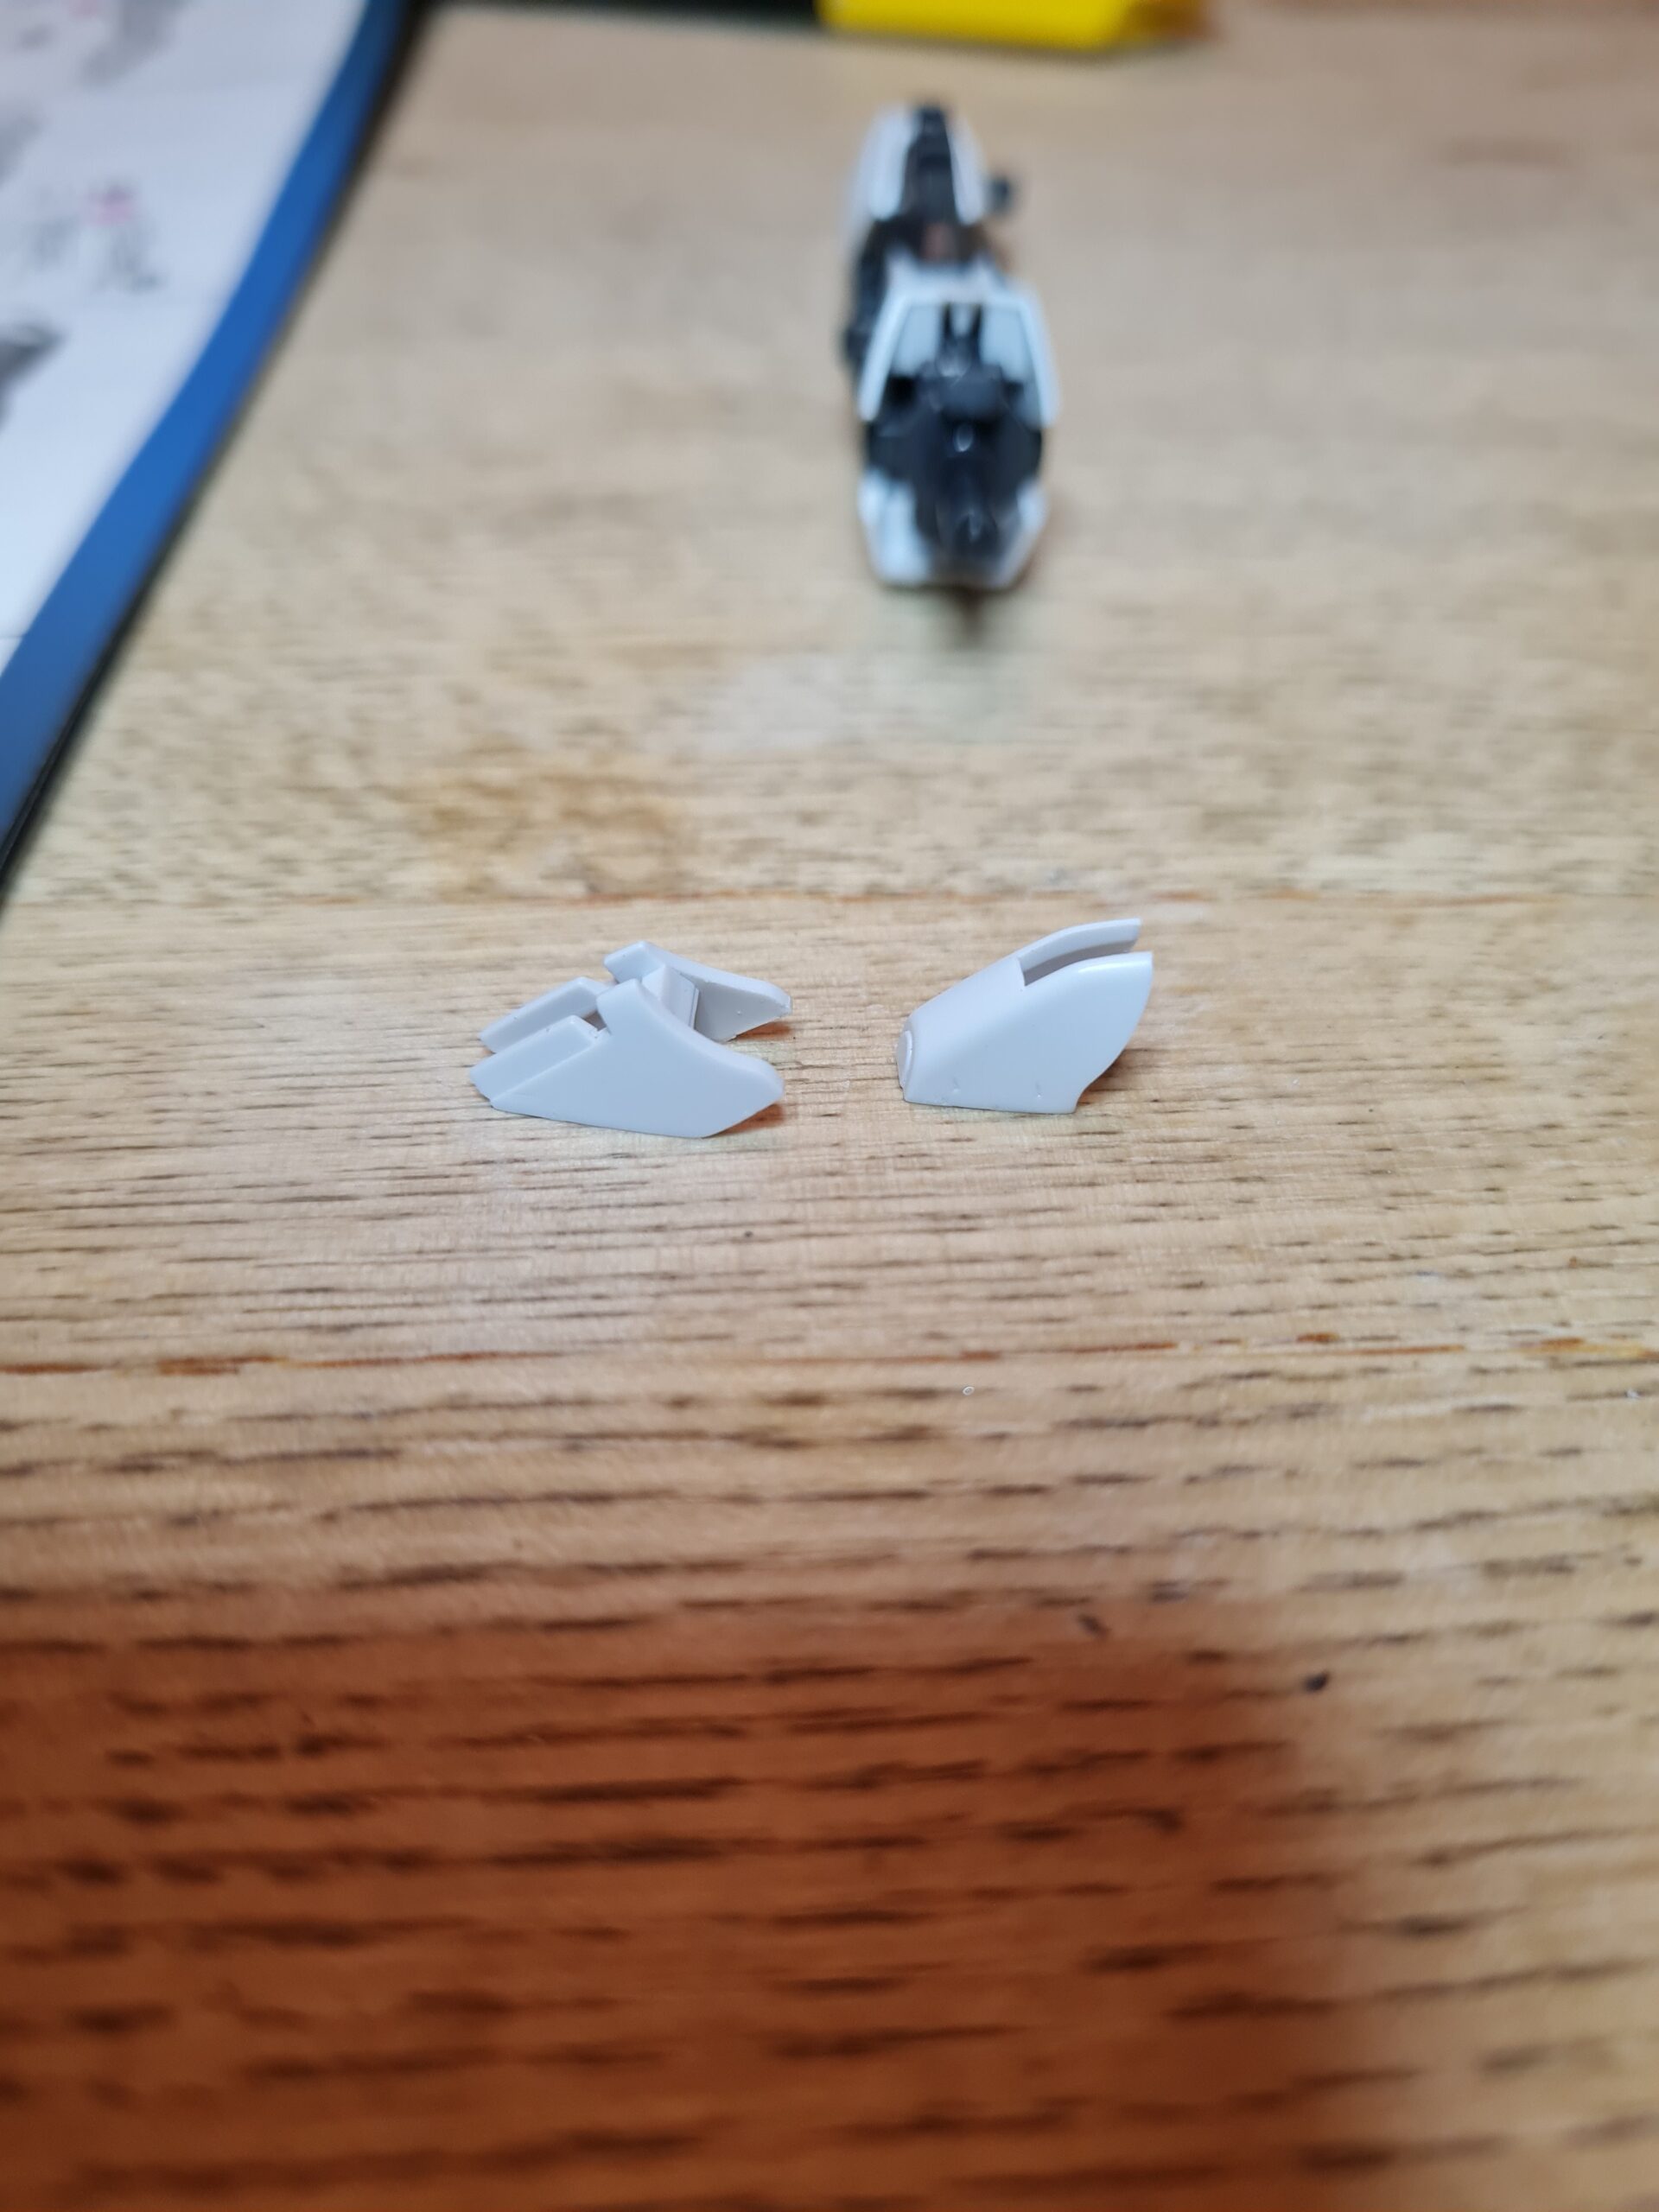
- Prep the part with the green side of the White Balancer
- Shine the part up with the white side of the White Balancer
If after this I wasn’t happy I would repeat the sanding steps down, and keep iterating until I was happy with the finish.
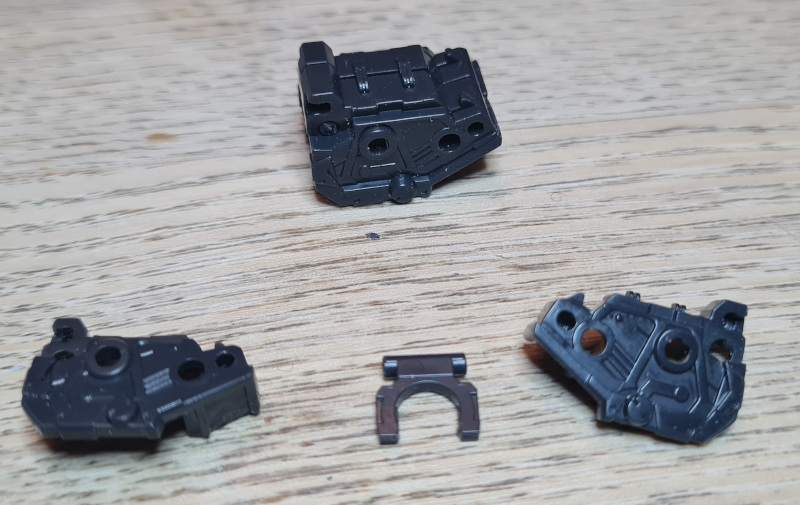
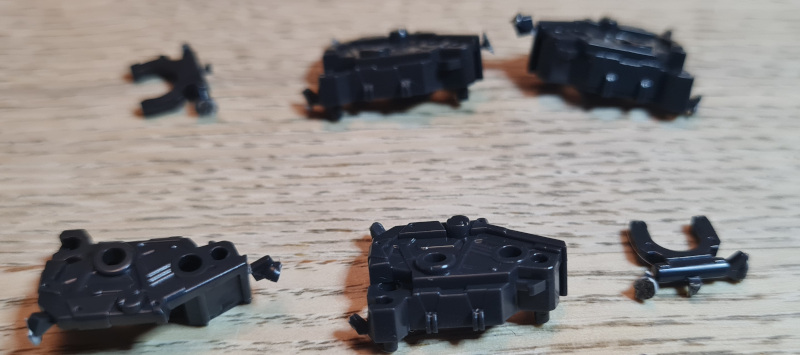
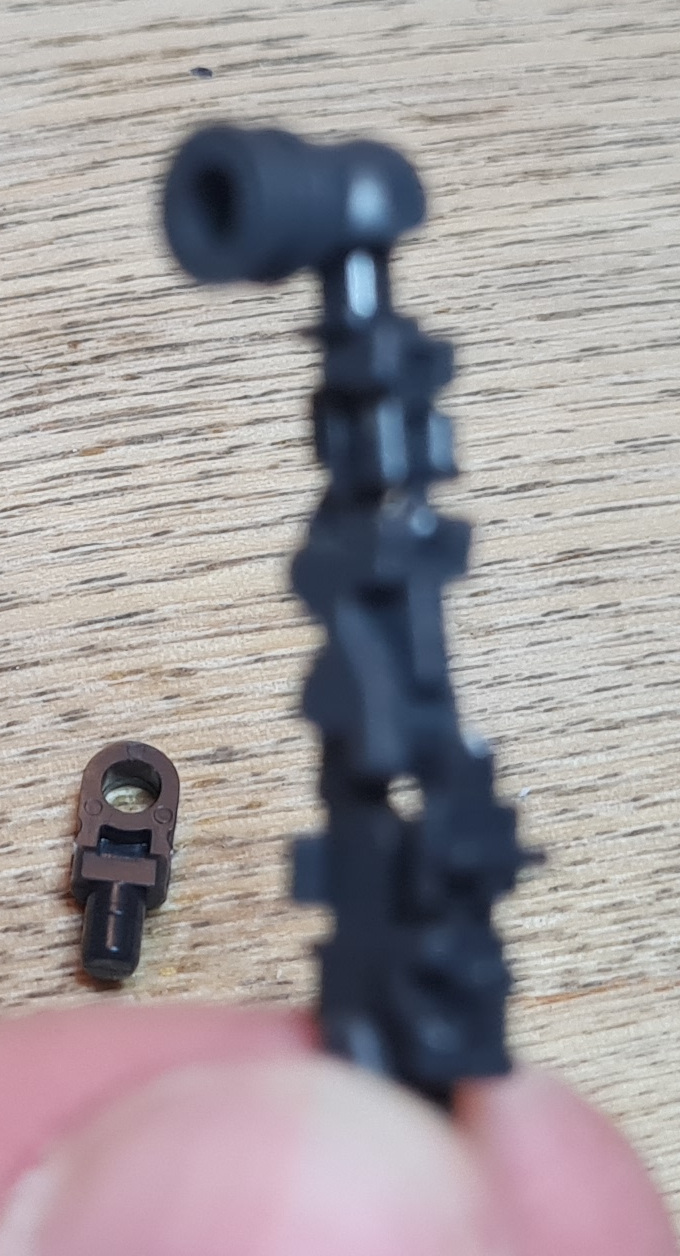
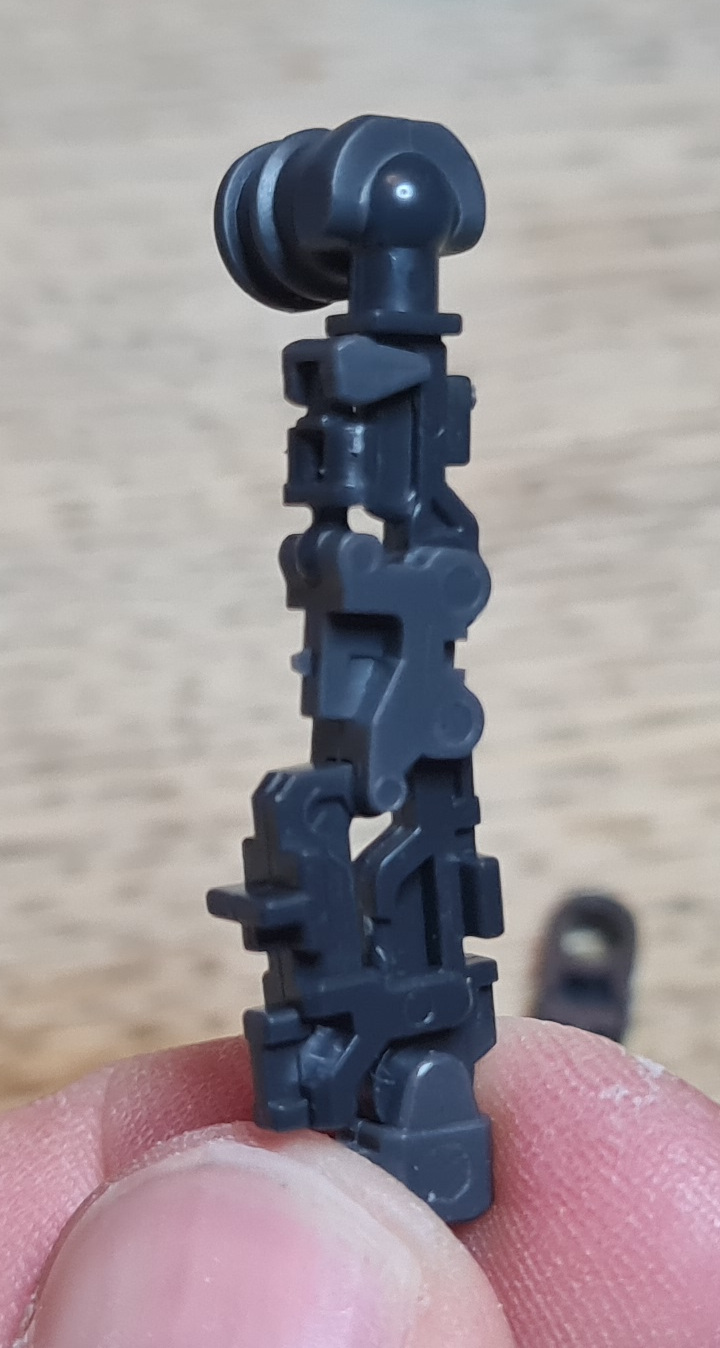
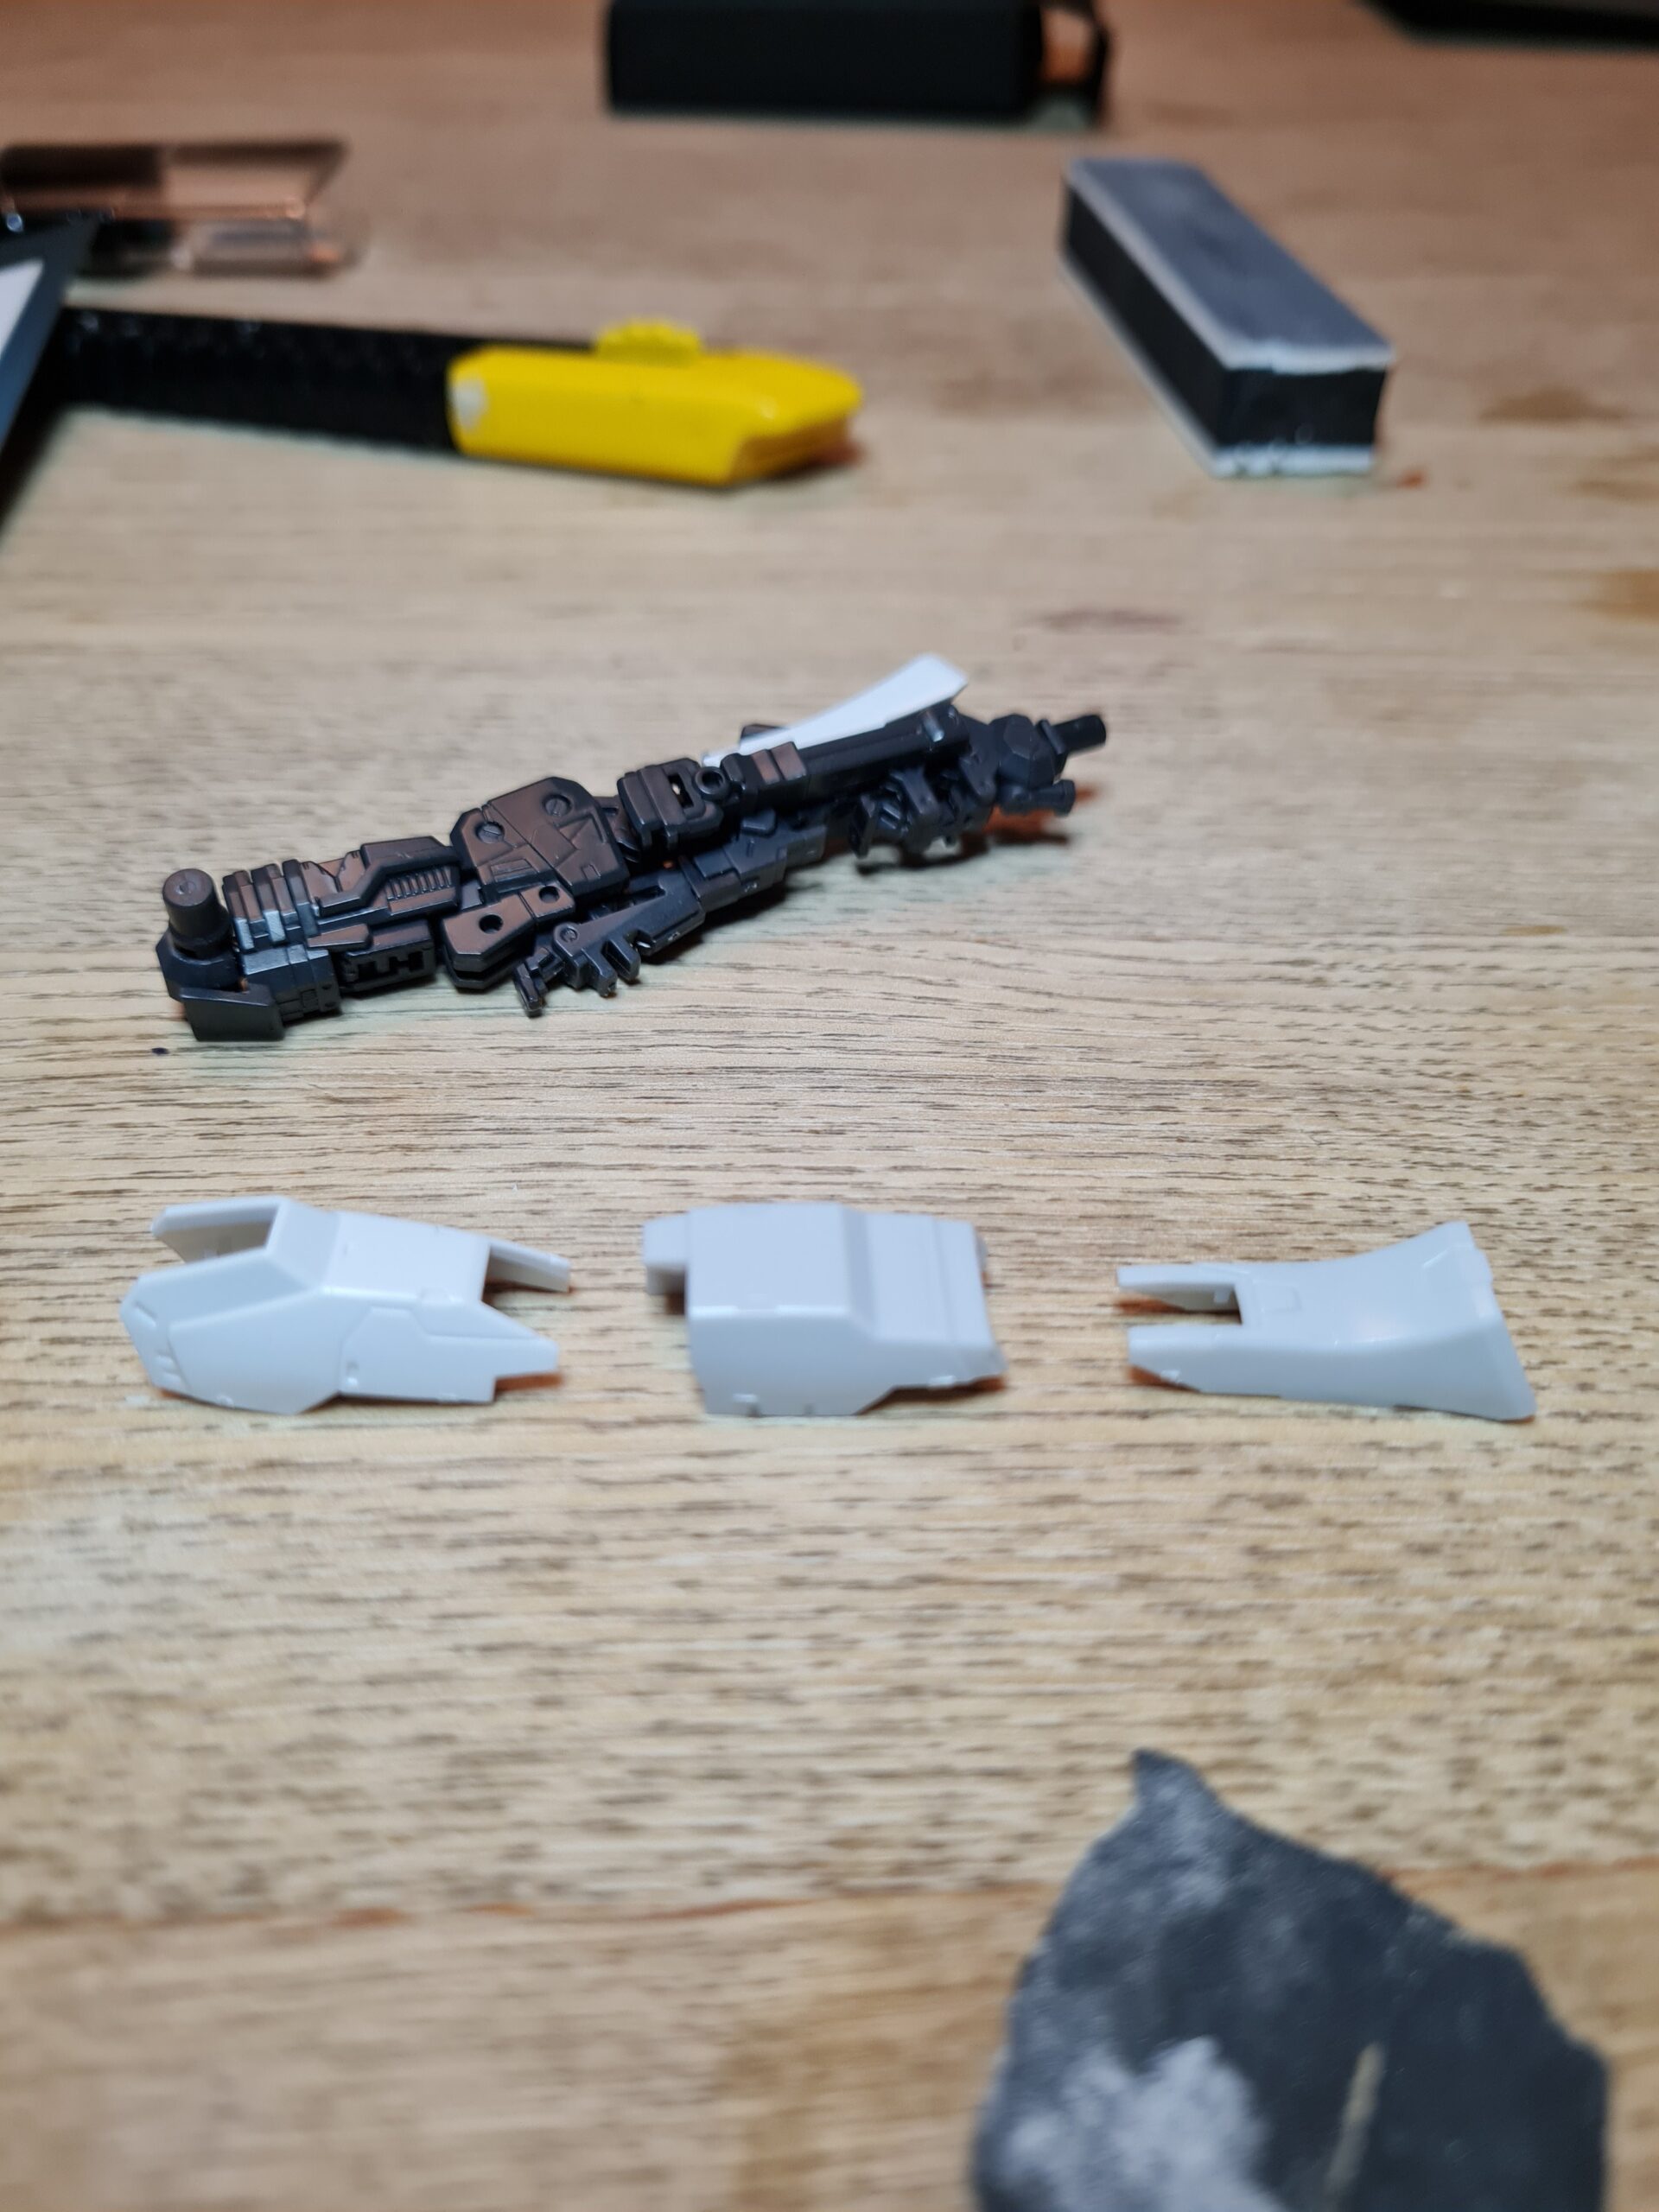
Todays Parts
I decided to take a slightly different approach tonight as I knew I could finish this arm off. Taking this approach also allowed me to take less photos which sped the process. Again I may look into getting some sort of setup to help with that. However, at the moment I only have my phone, table, and patience 🙂
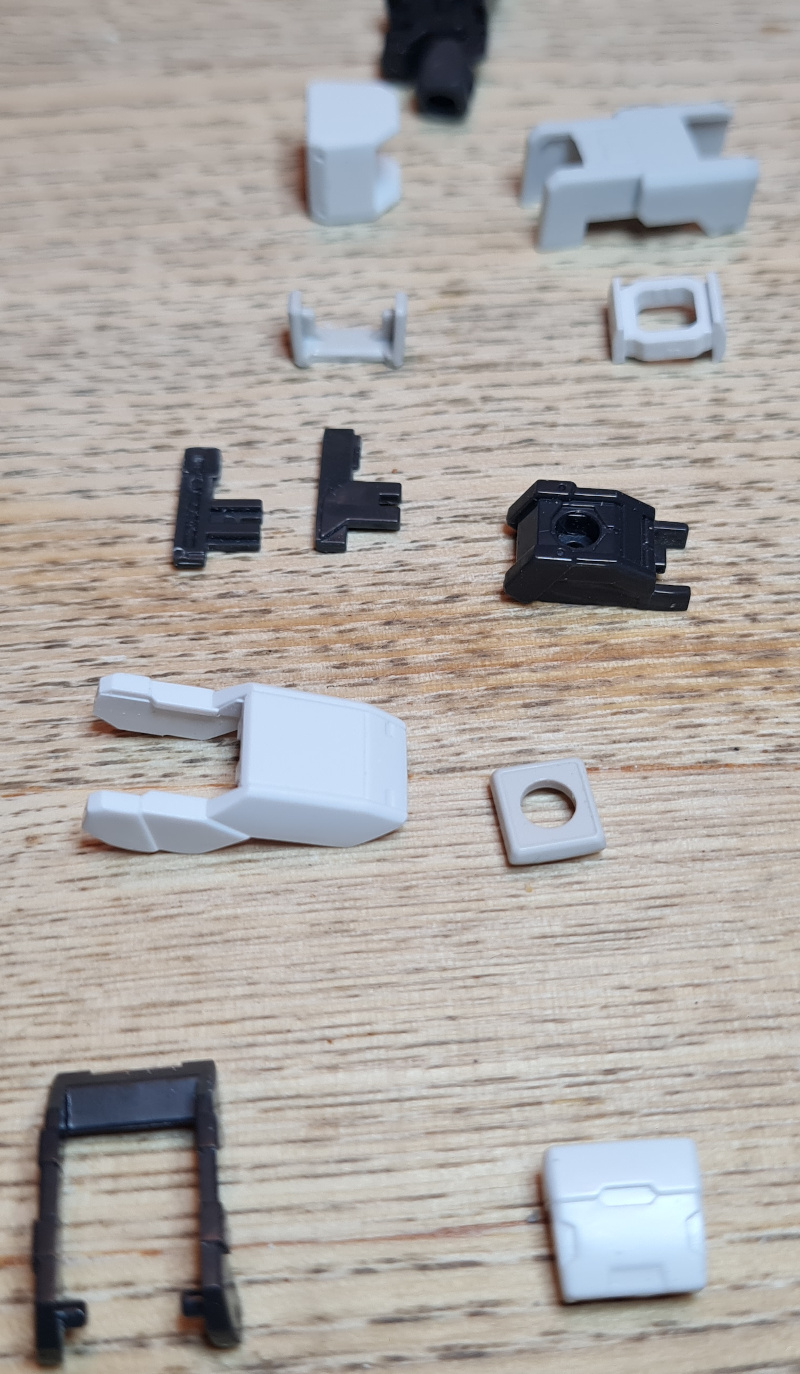
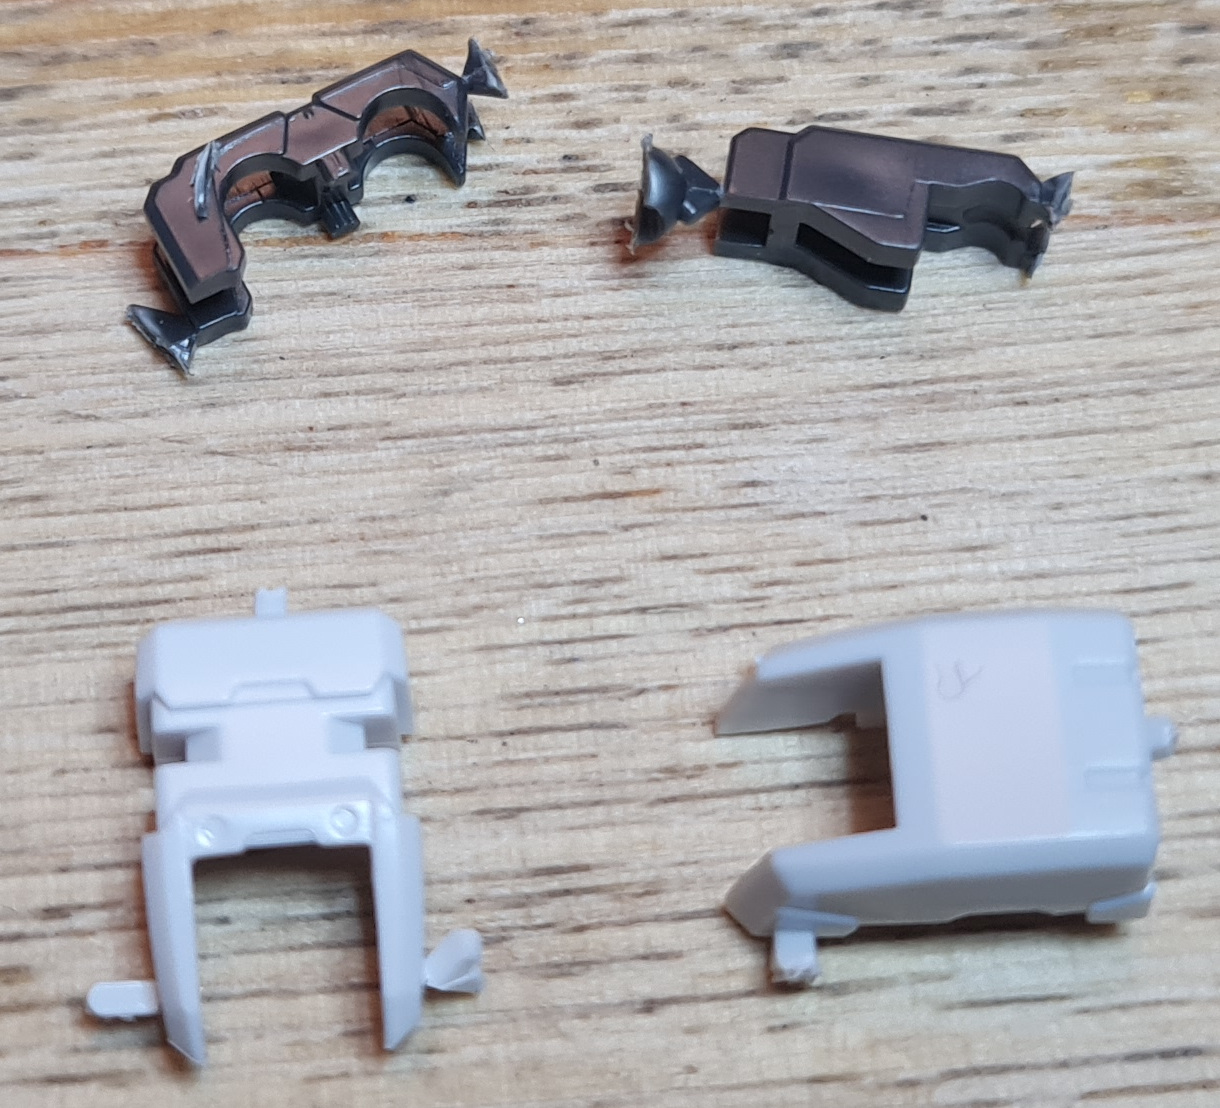
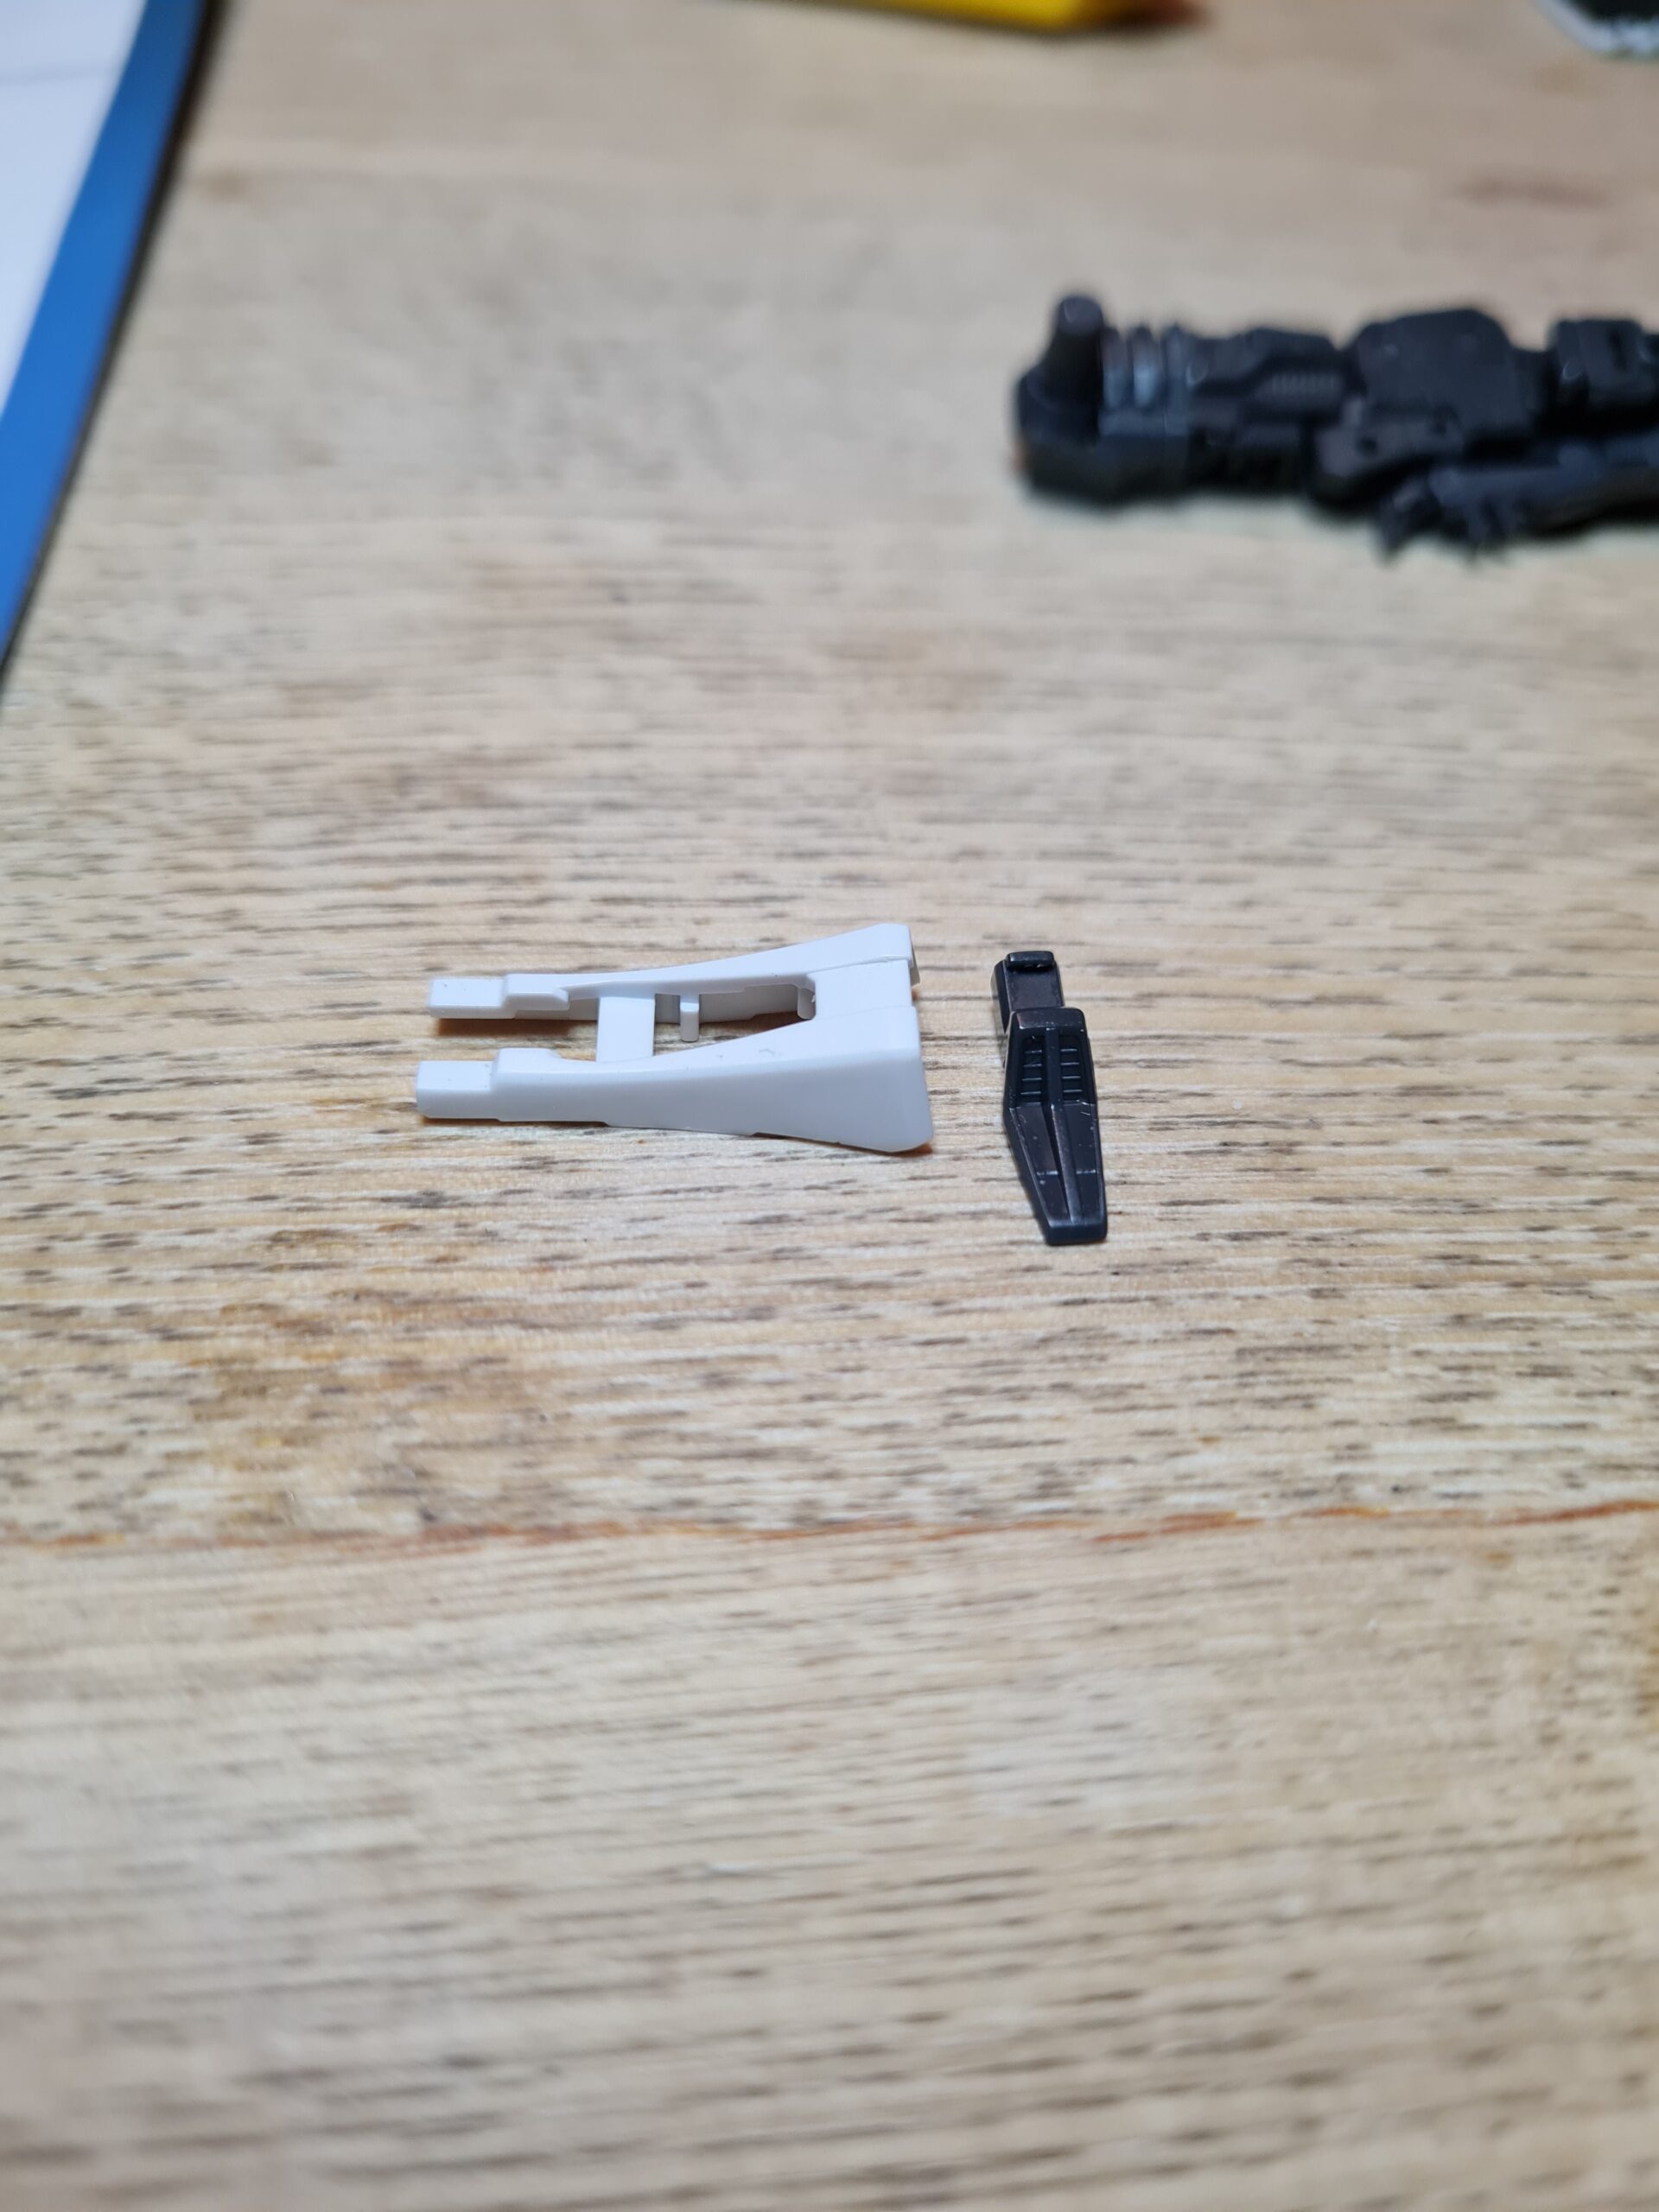
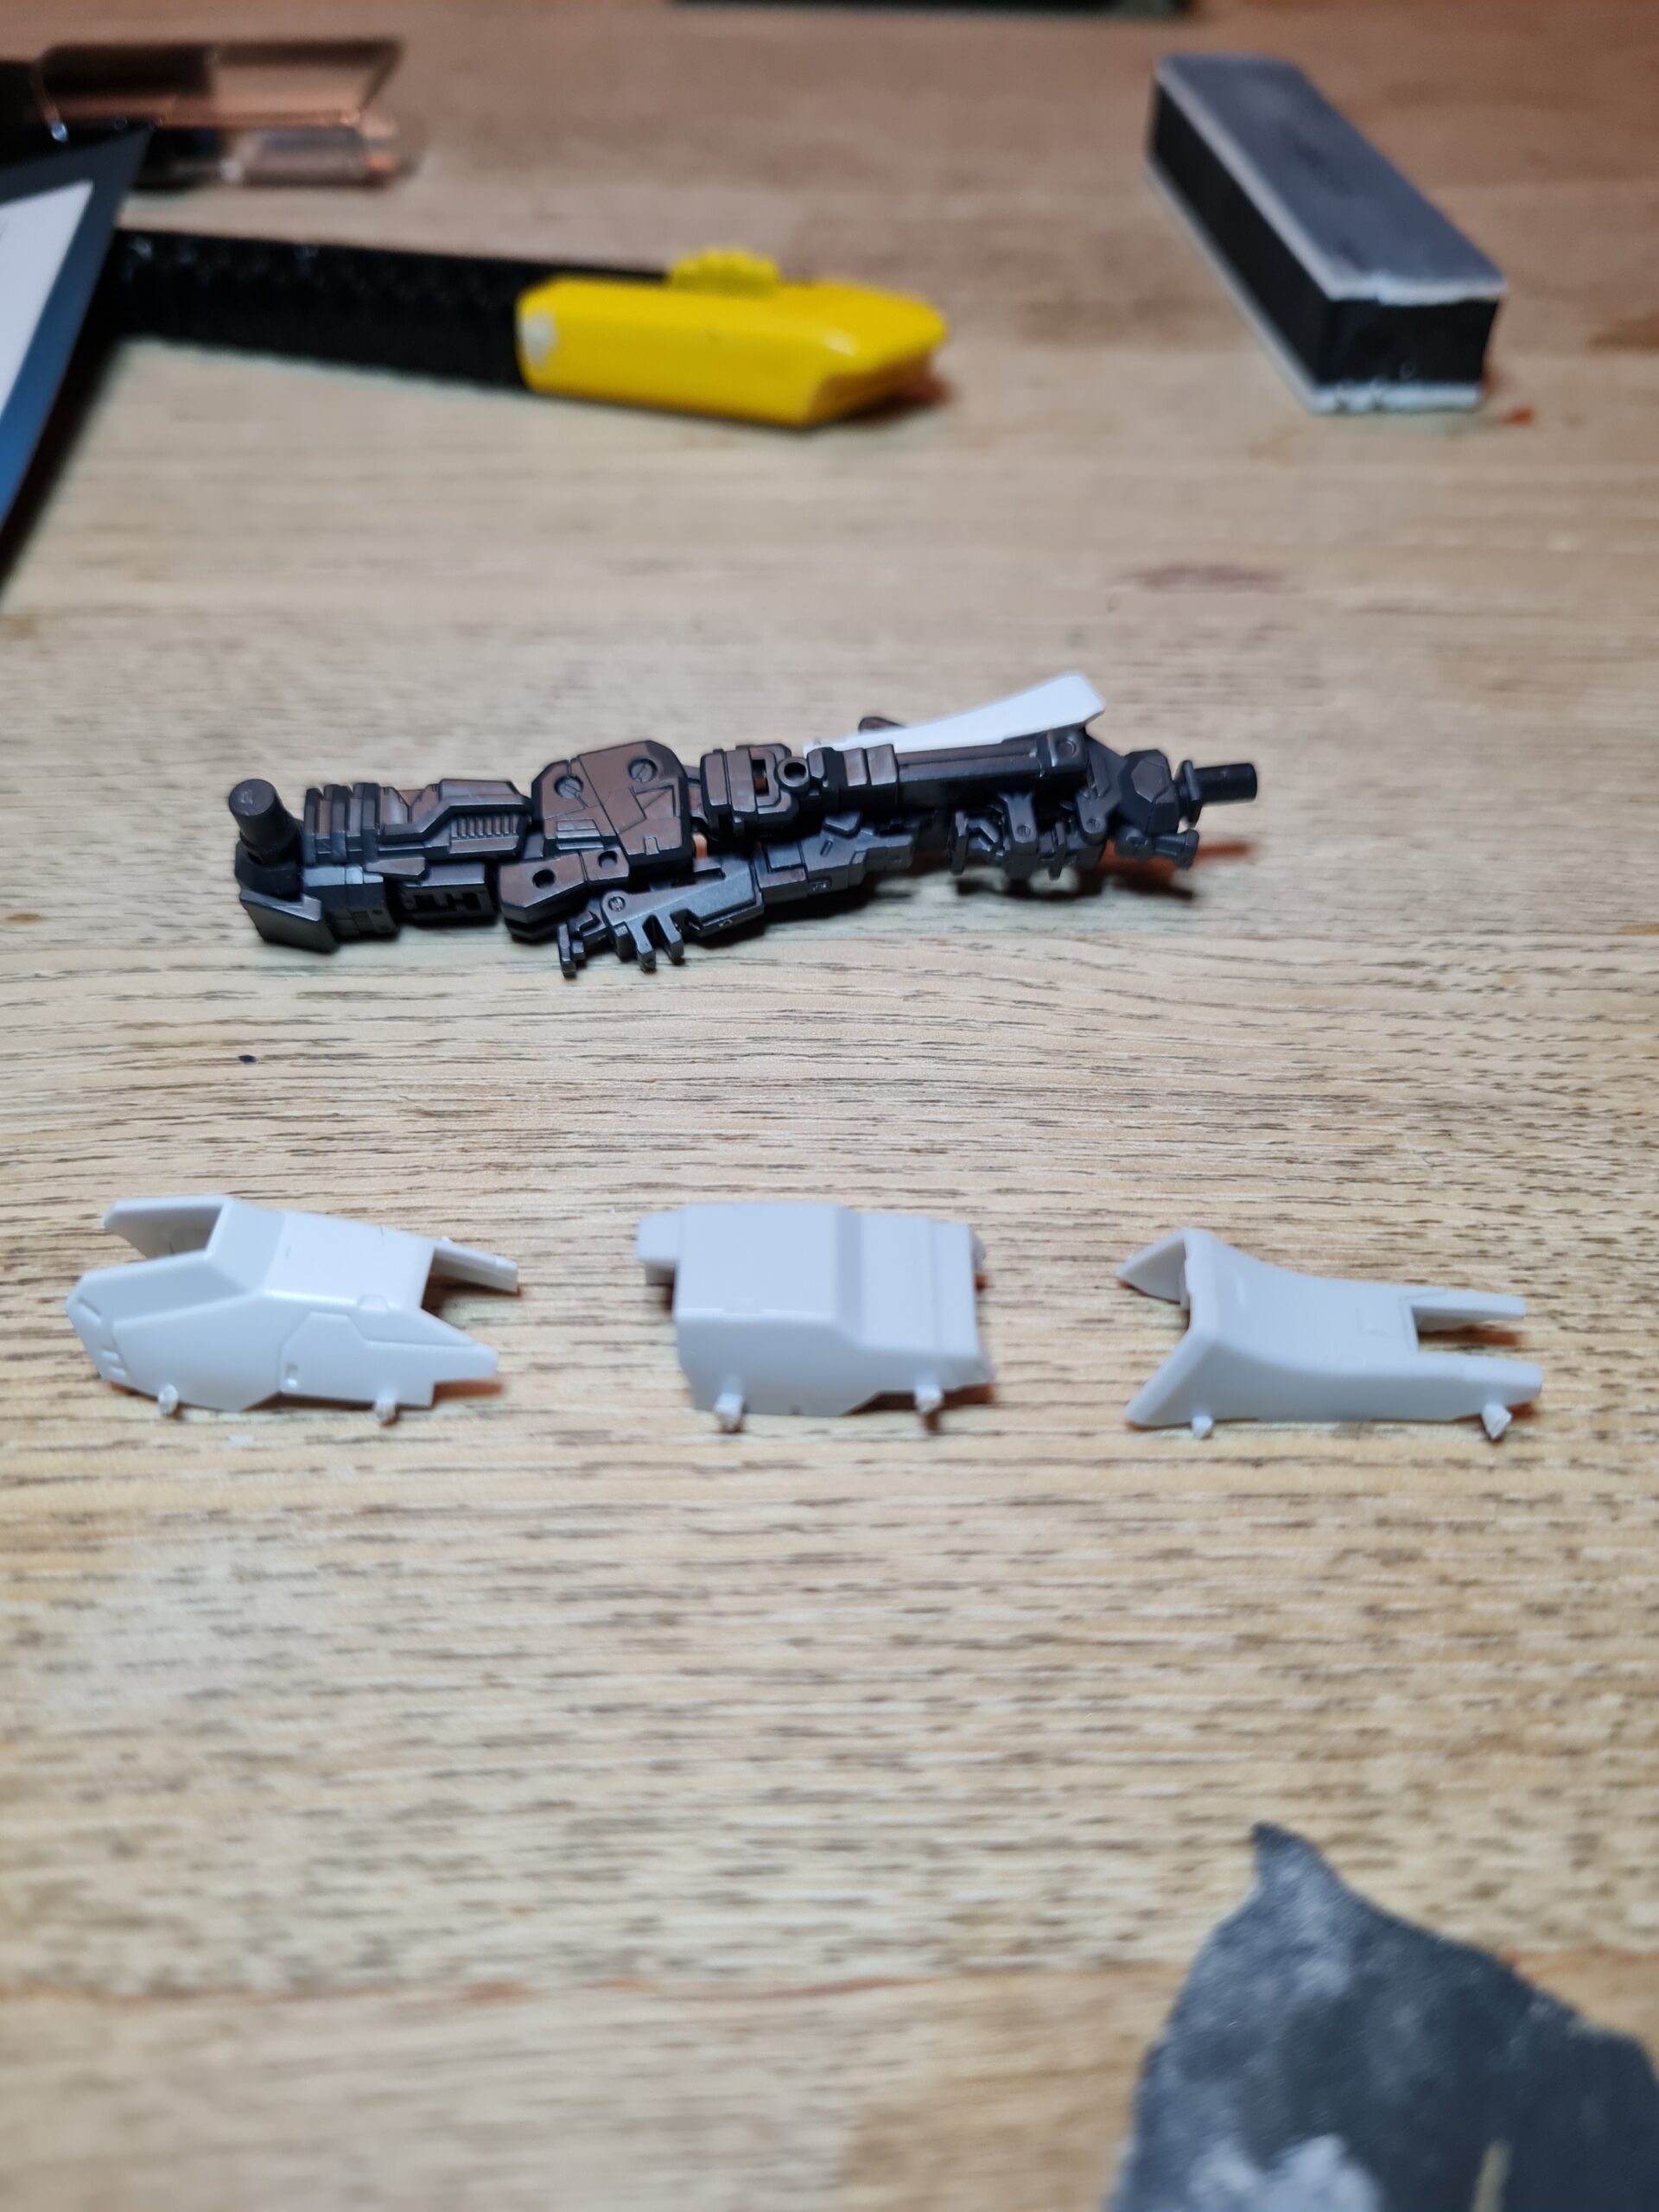
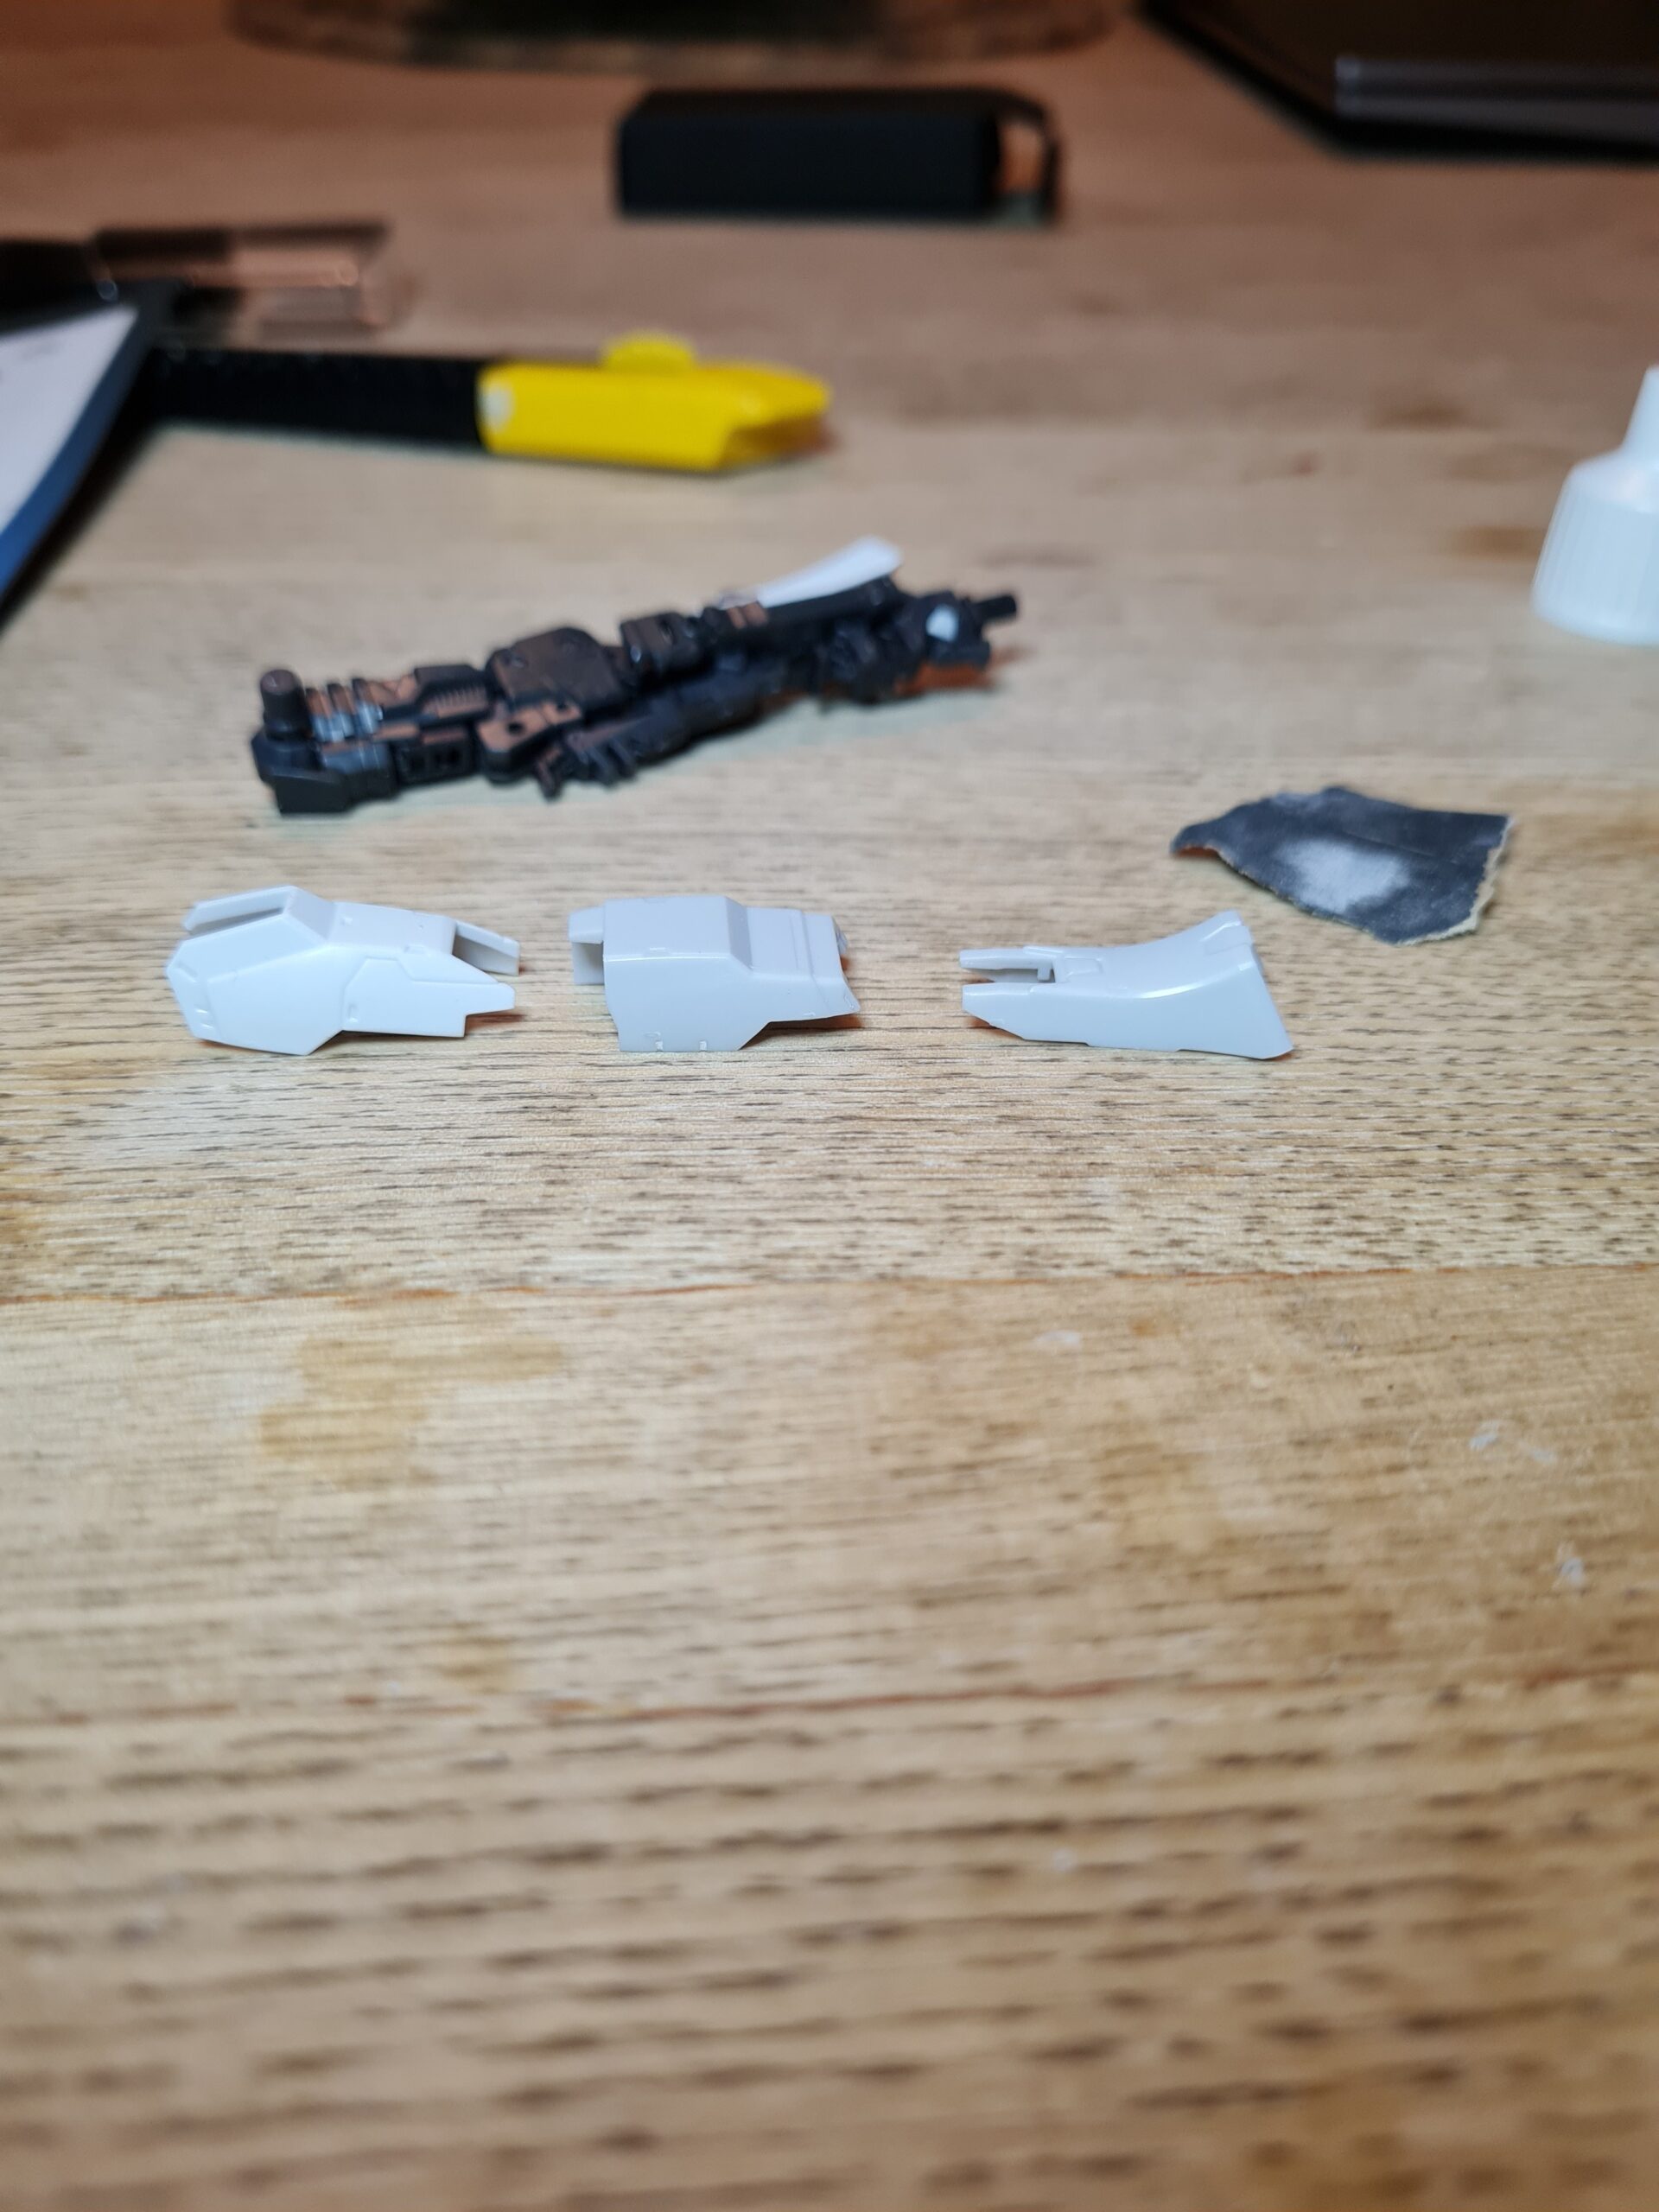
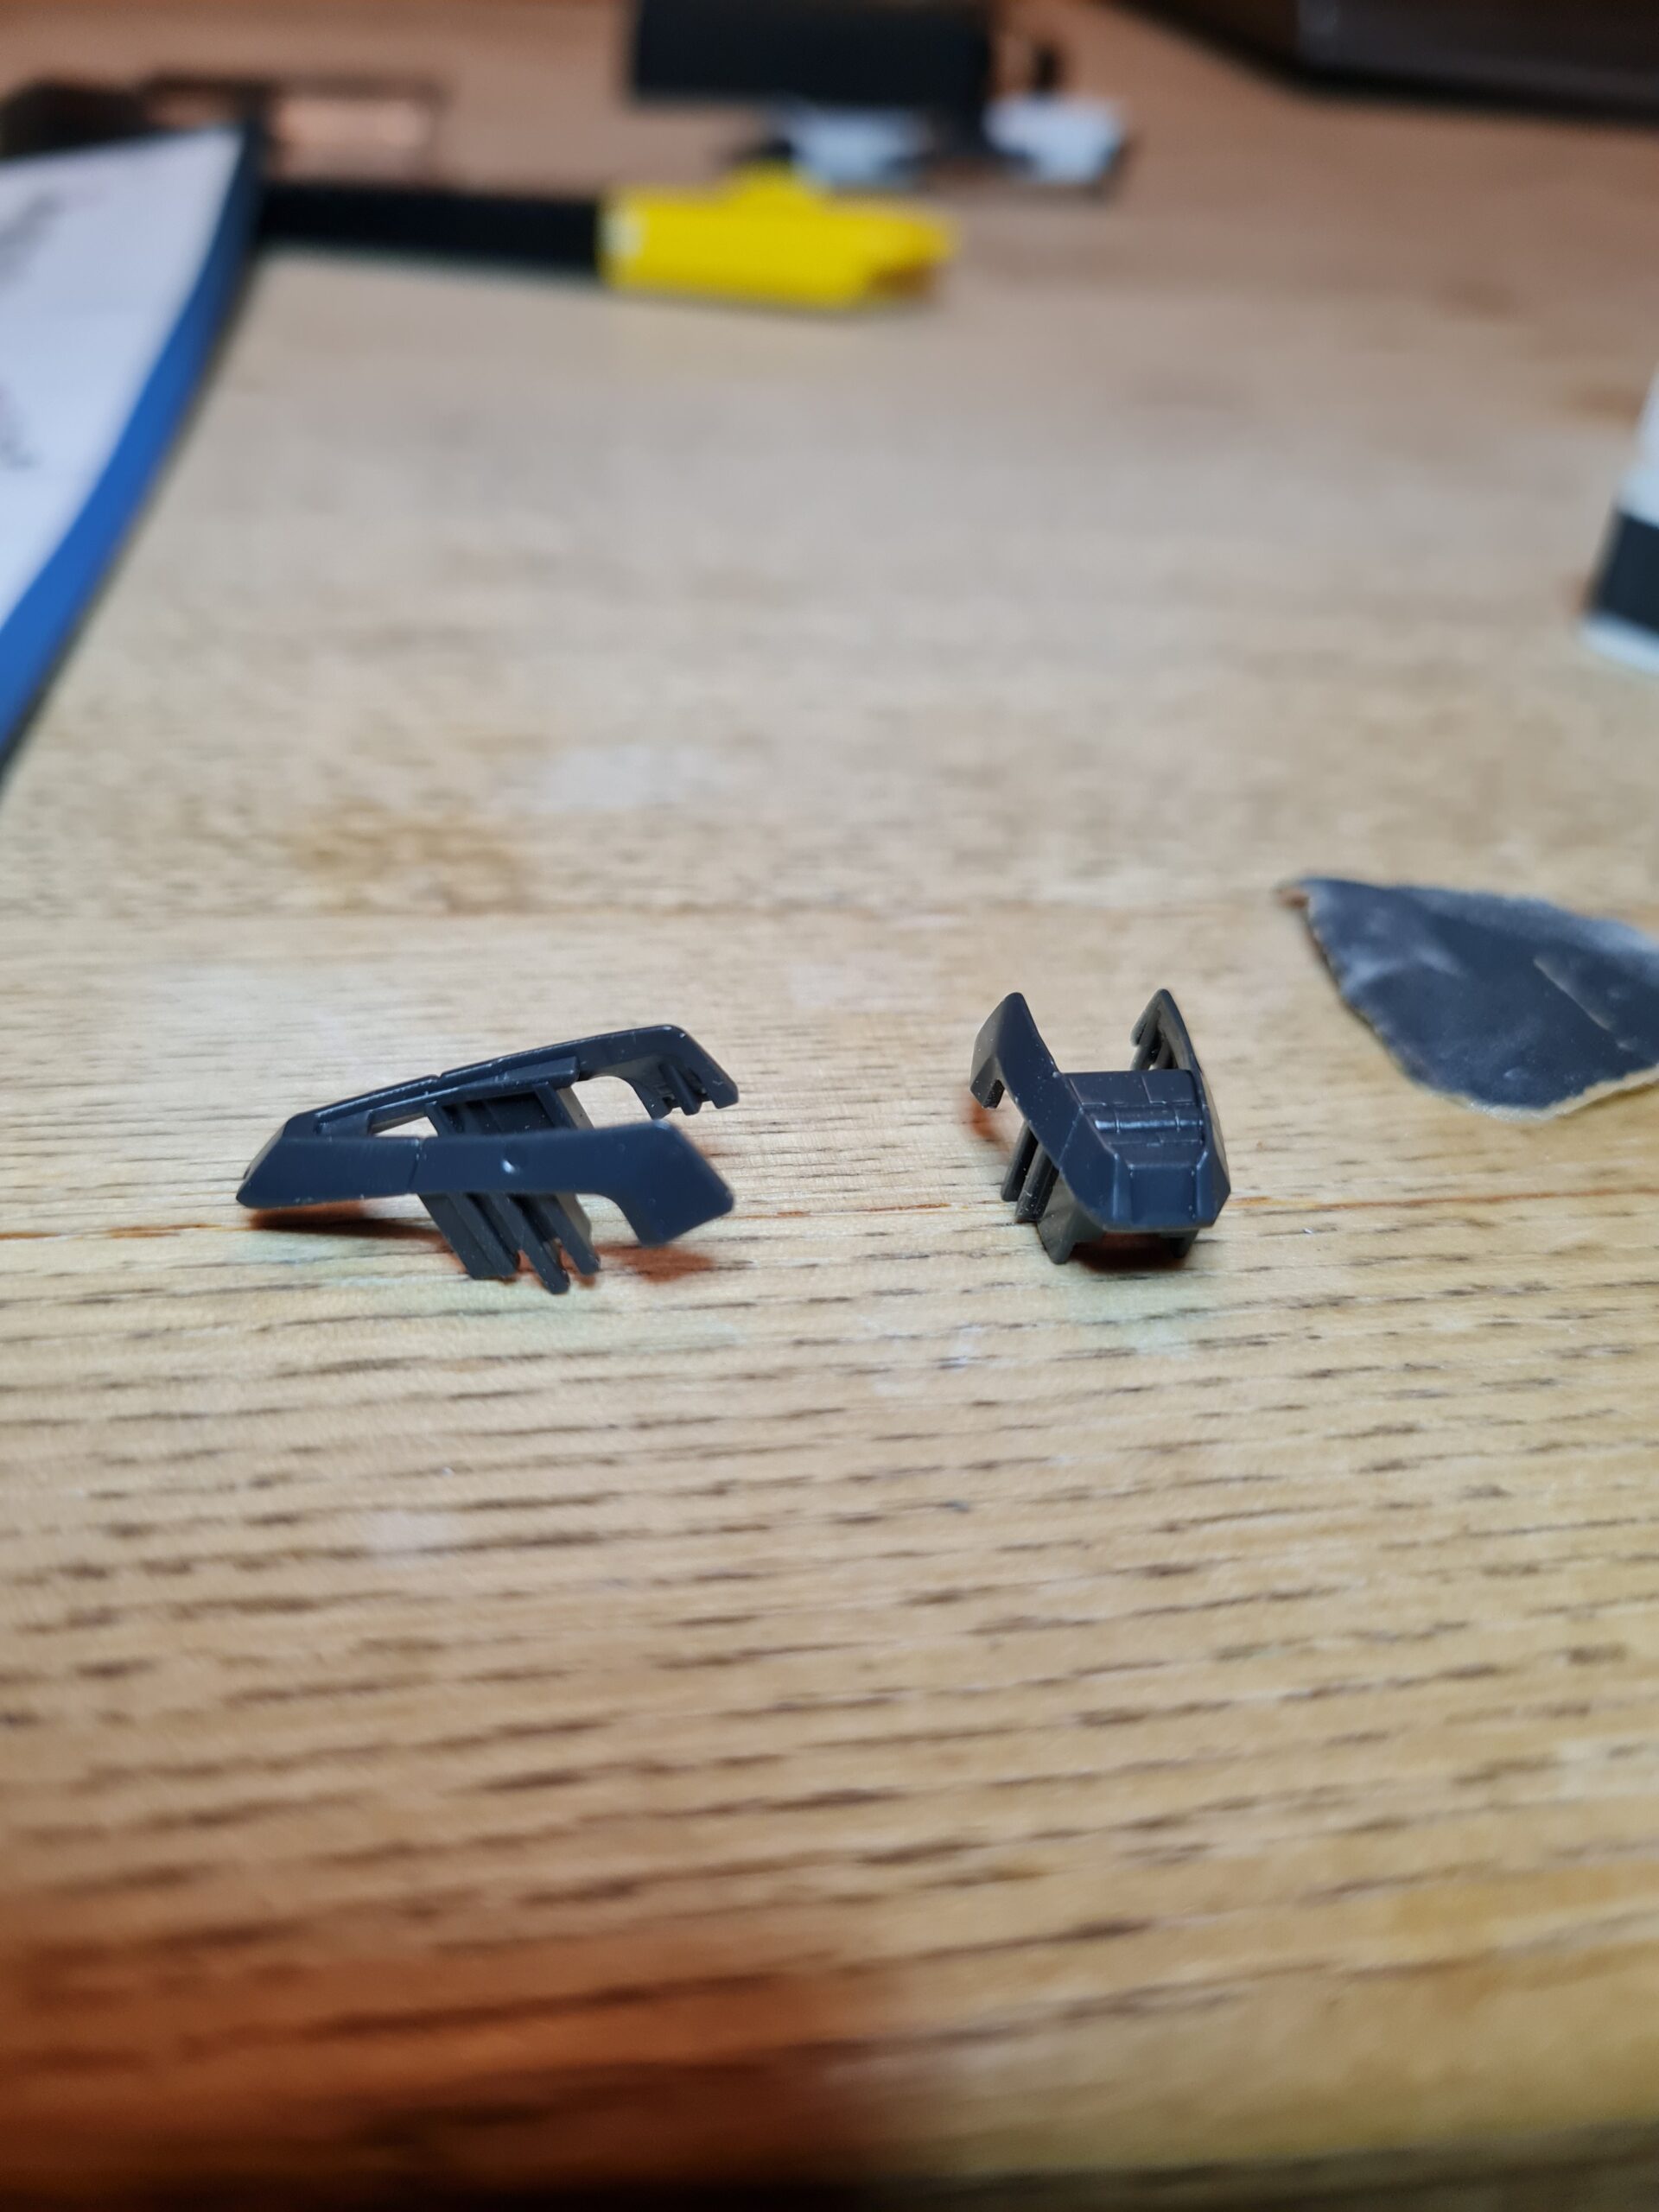
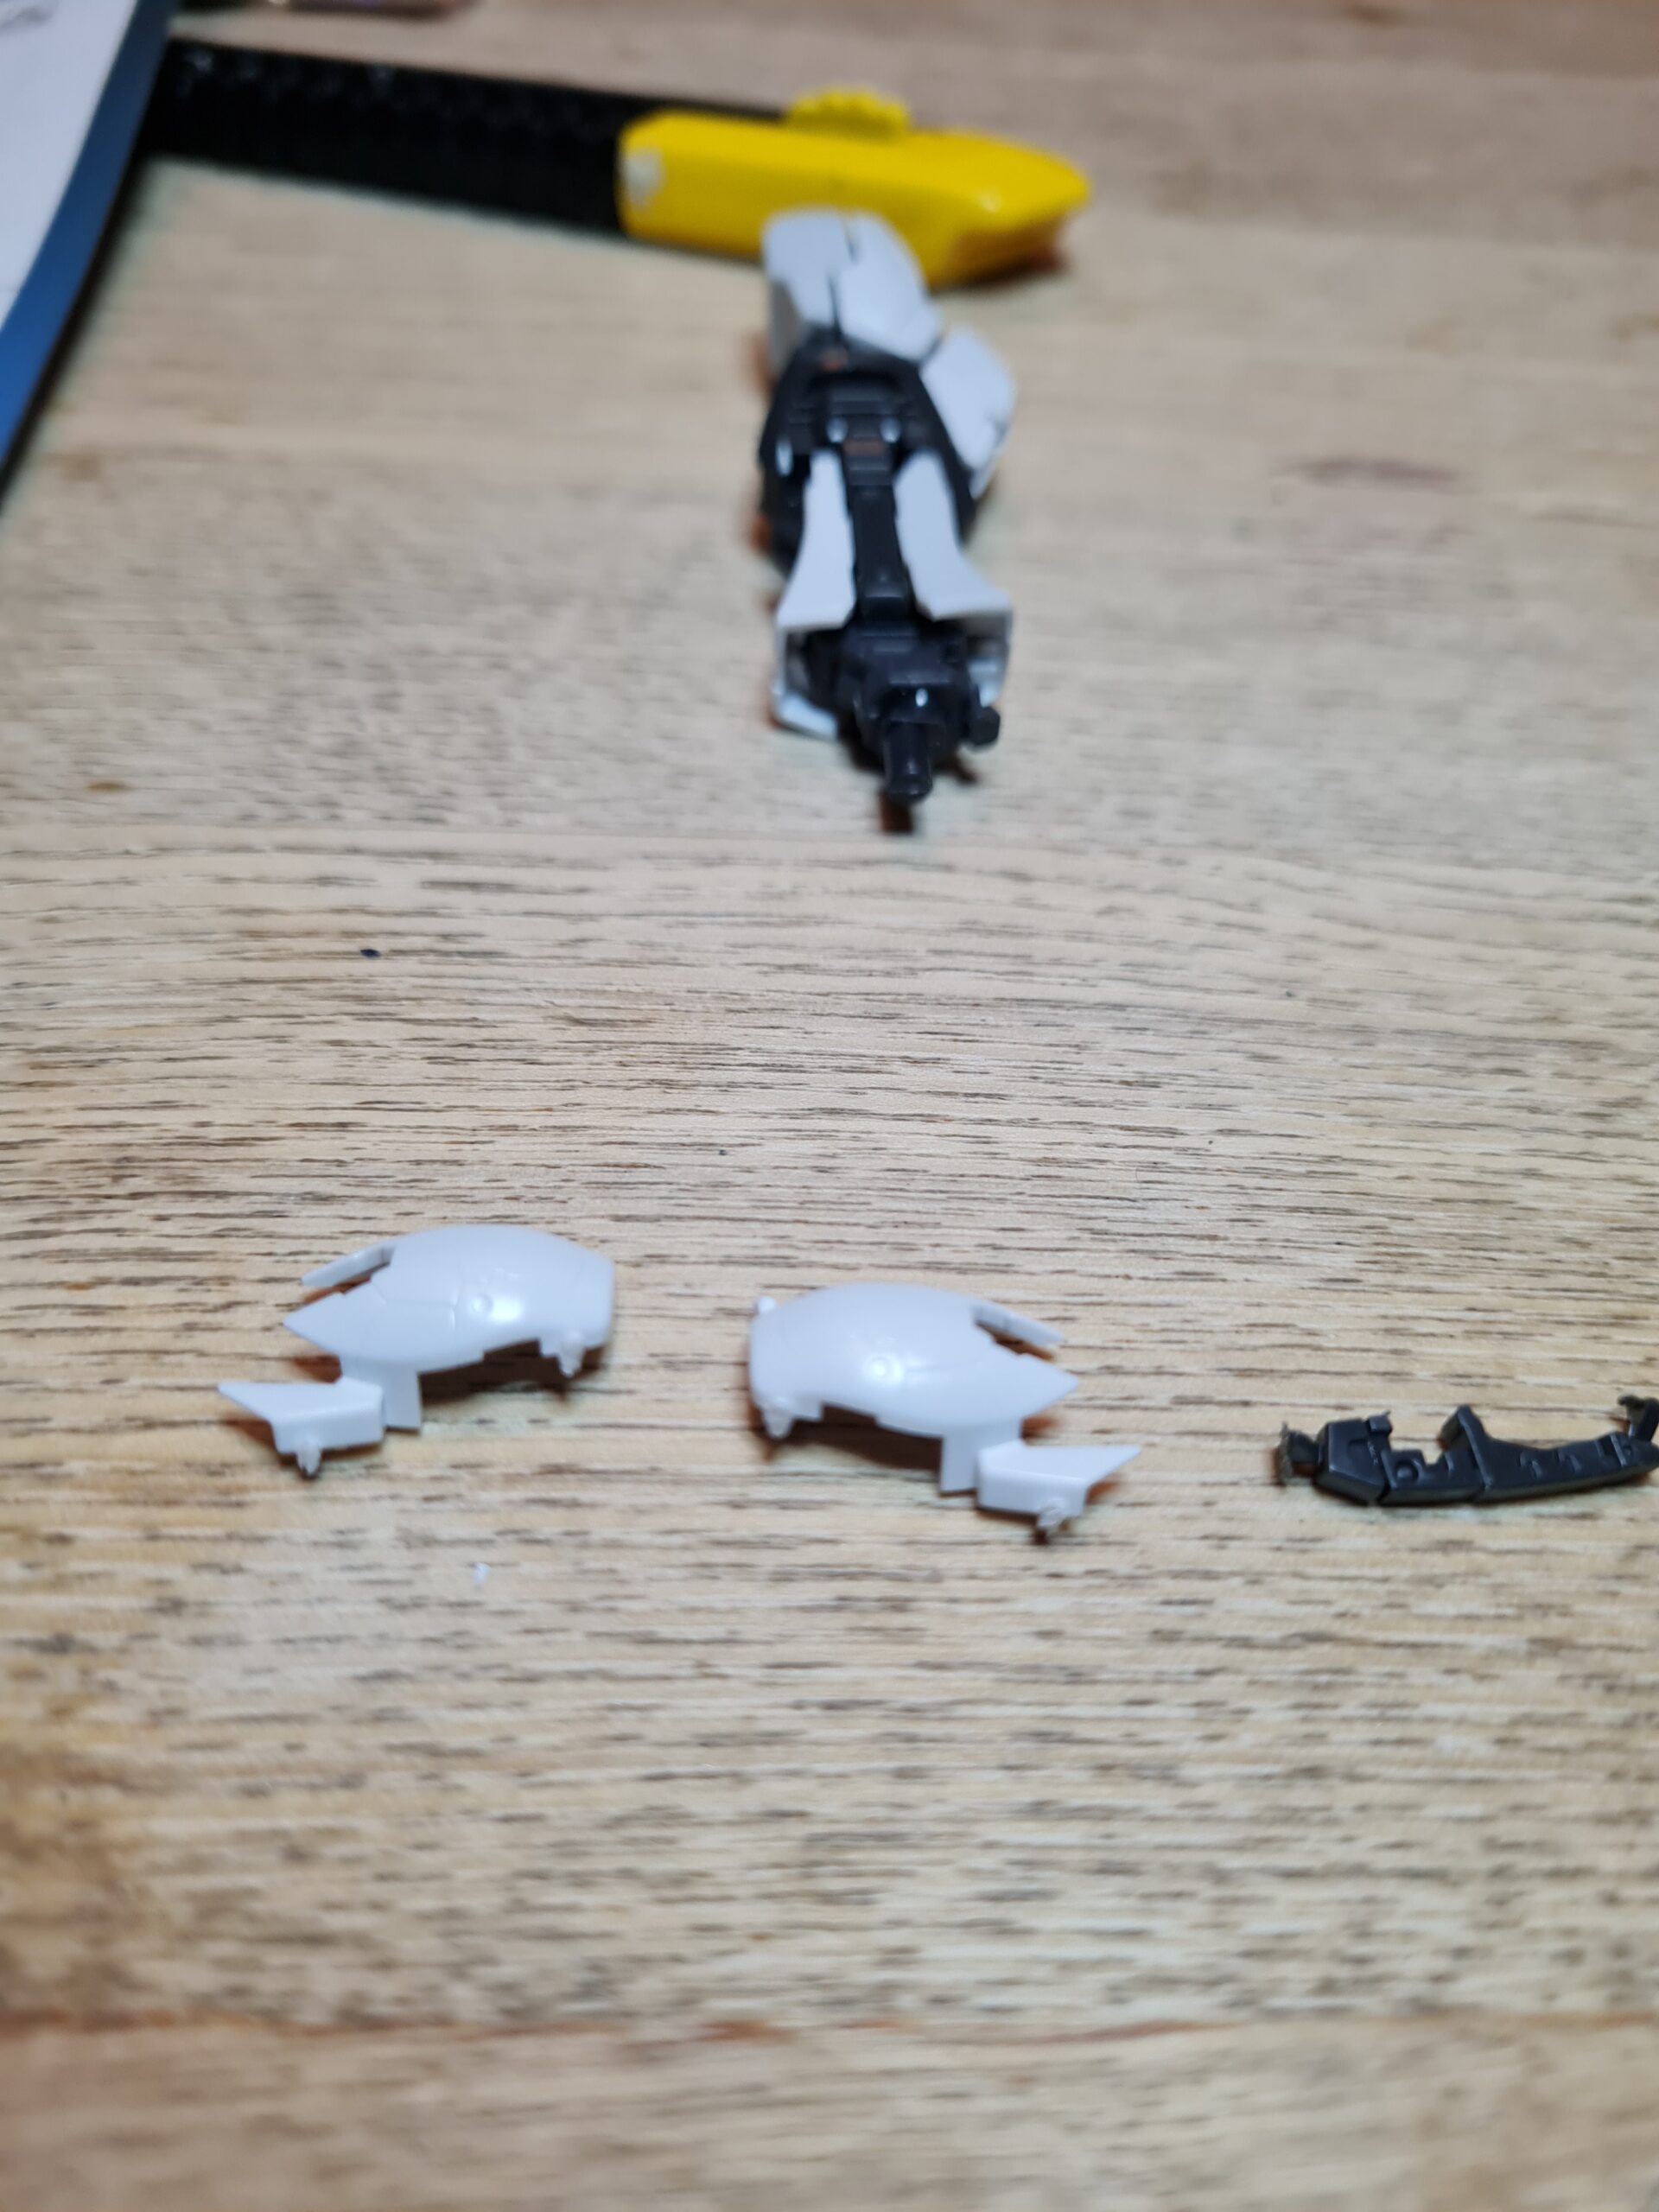
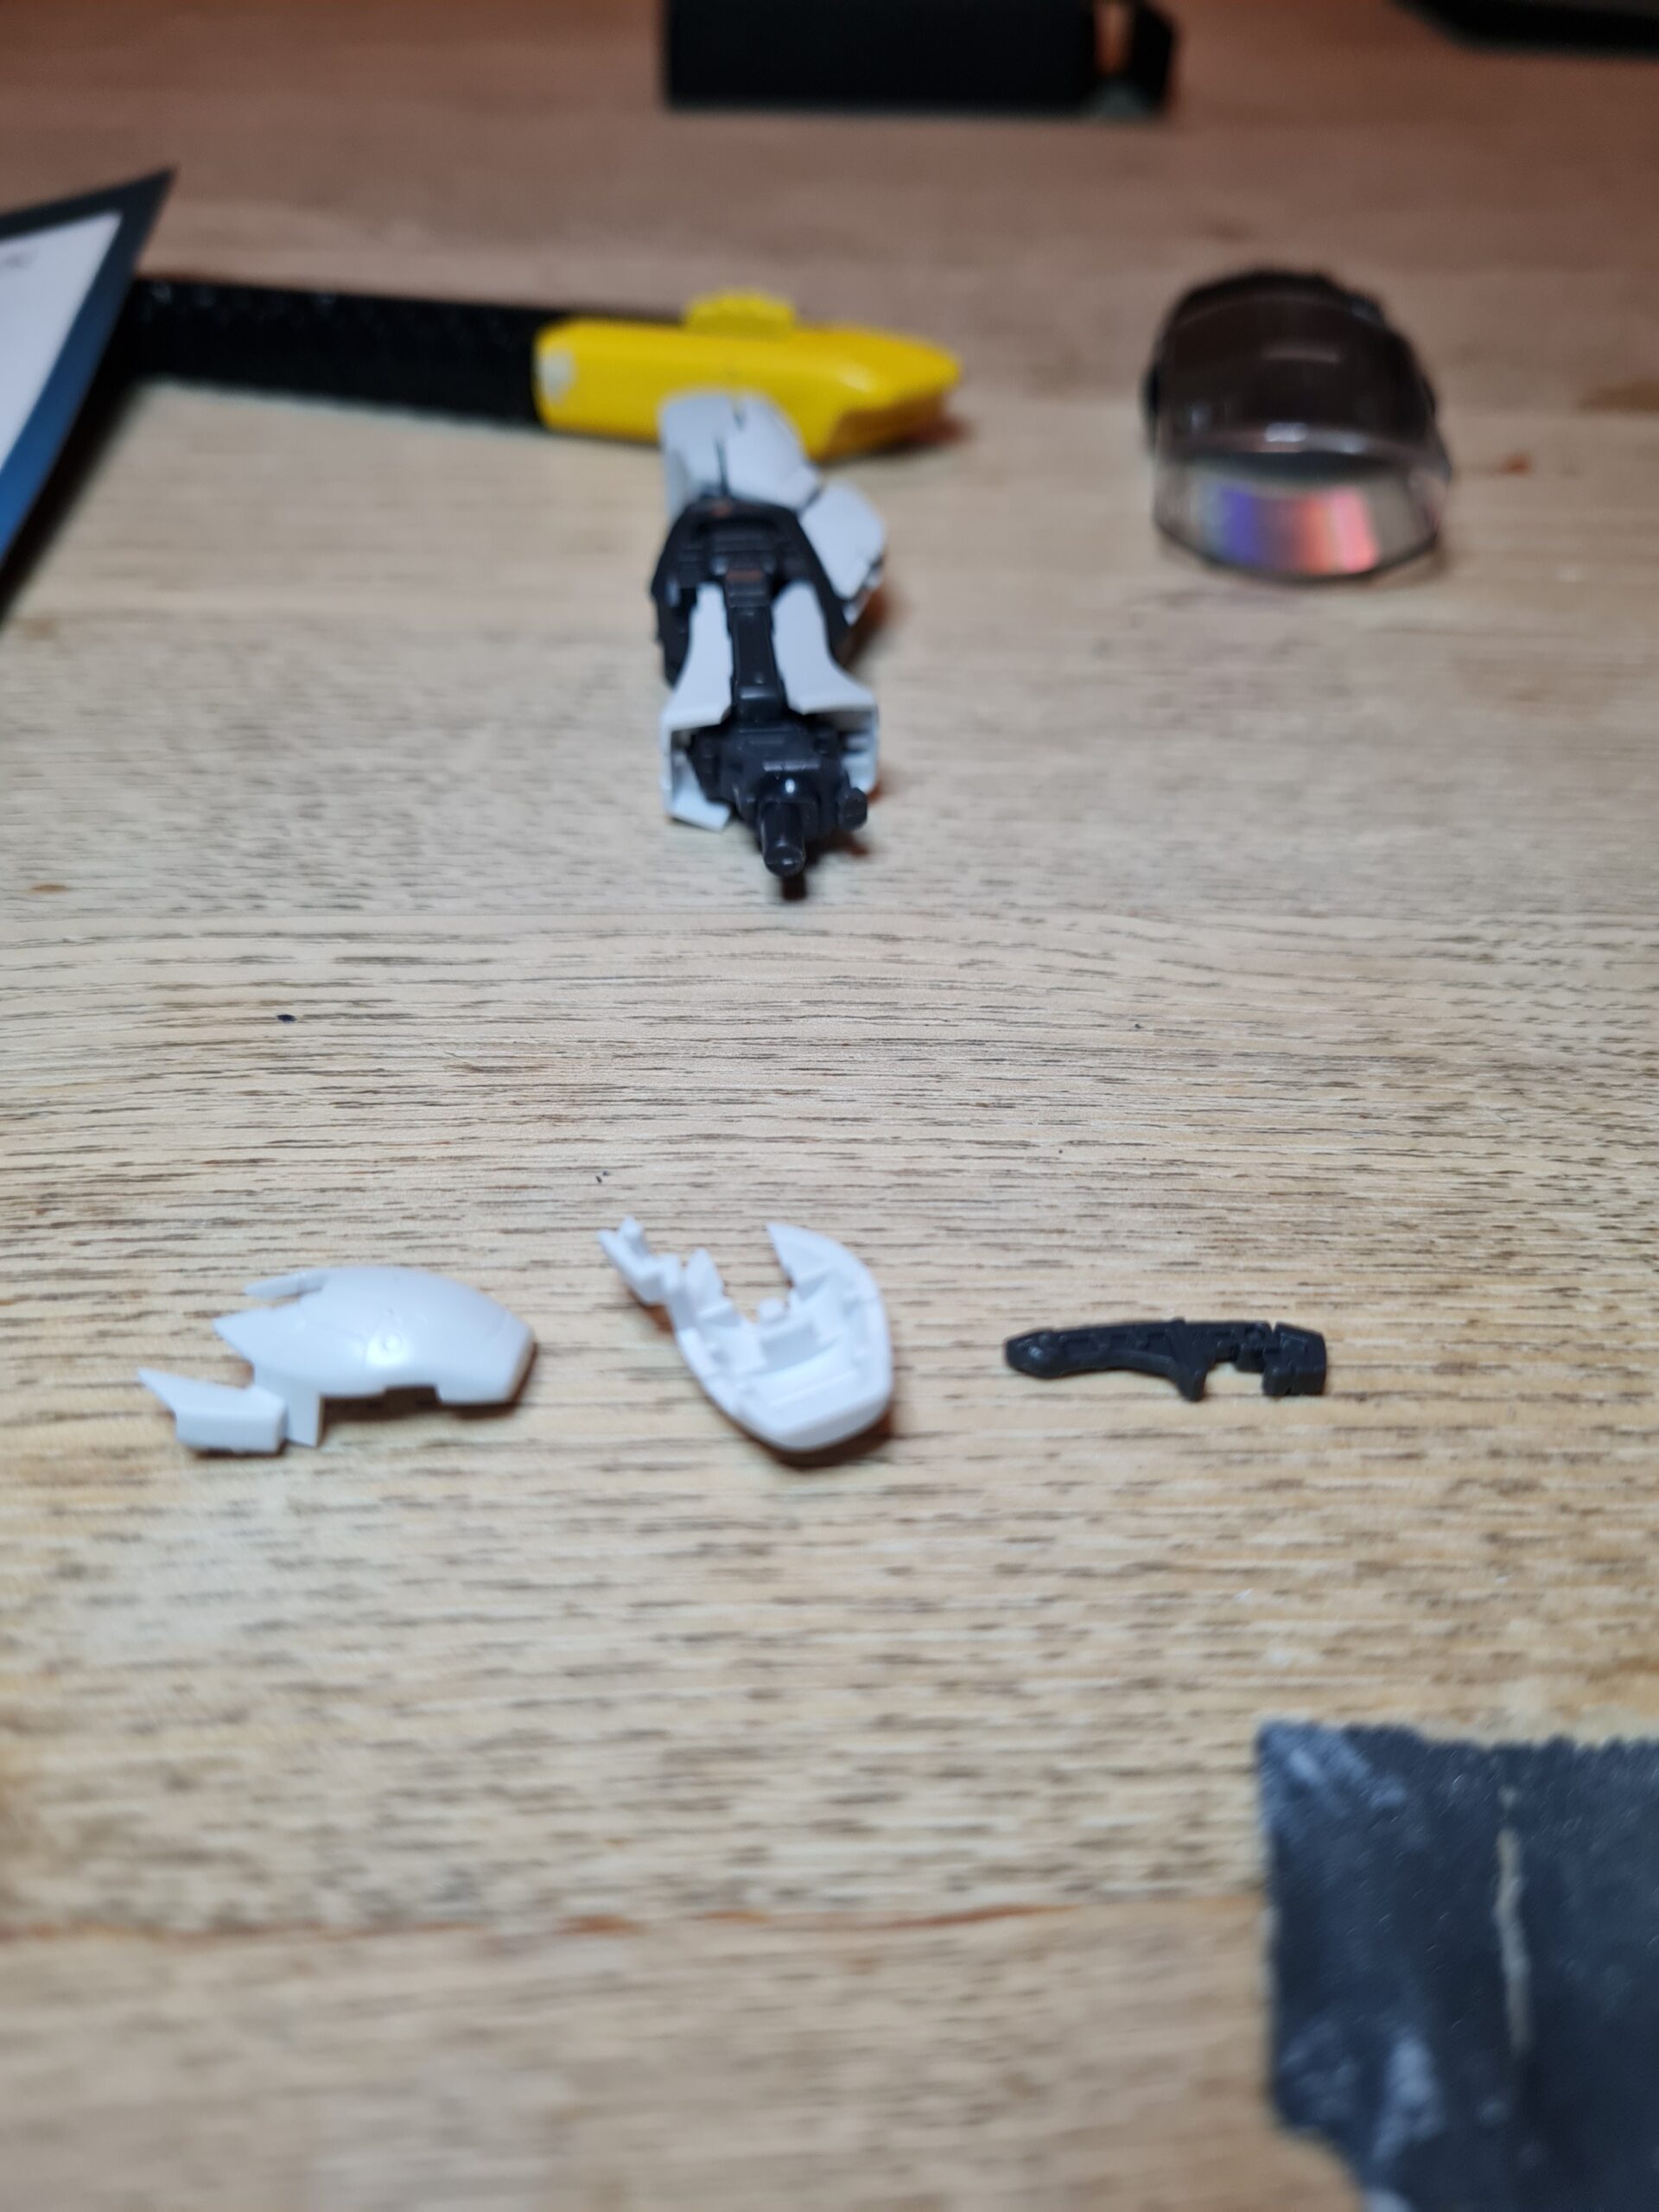
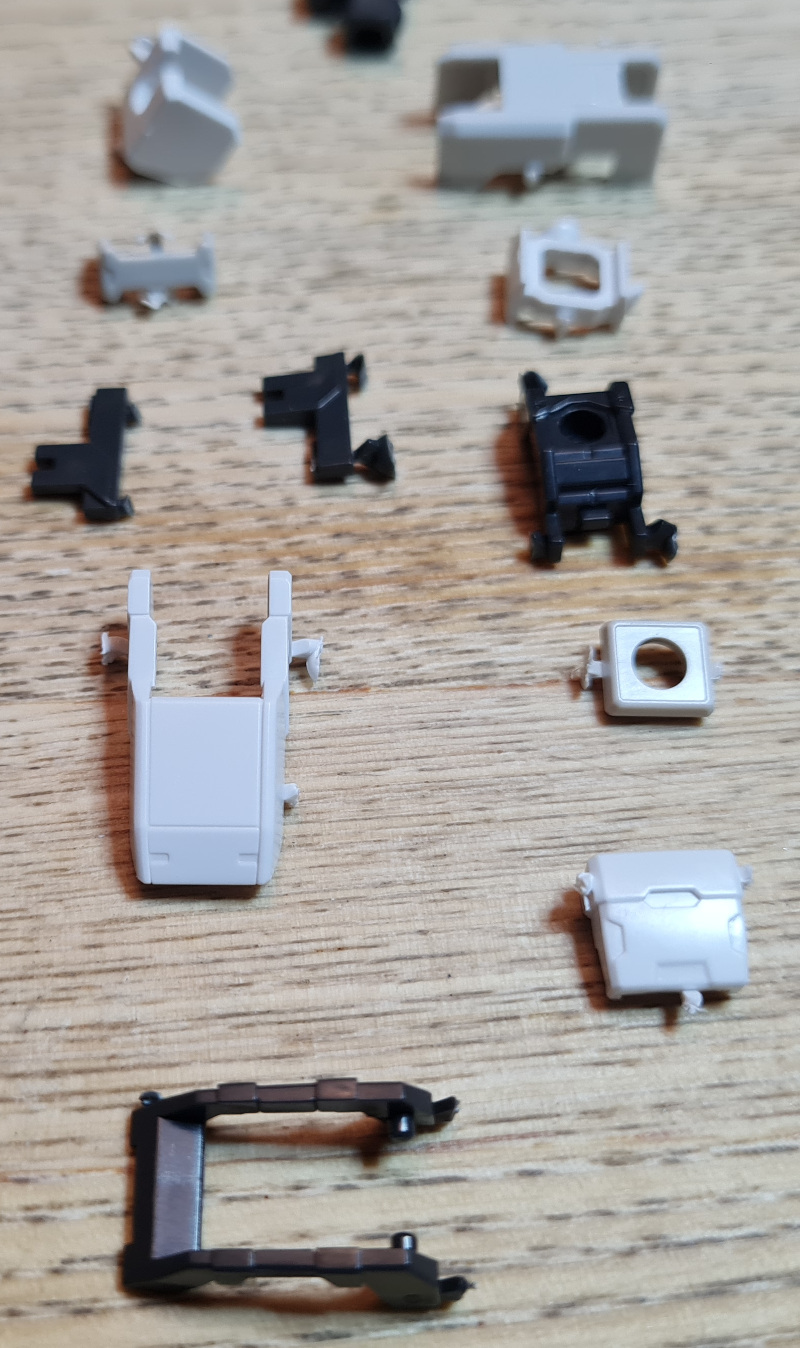
So, as I knew I was approaching this differently, I also cleaned up all the parts I had to work with tonight. I actually found this a nice change to the pace. Rather than cut 2 – 3 pieces, clean them, put them together, photograph them, rinse and repeat, I found doing multiple sets of pieces together meant when it came to the assembly I could just enjoy the build of the arm.
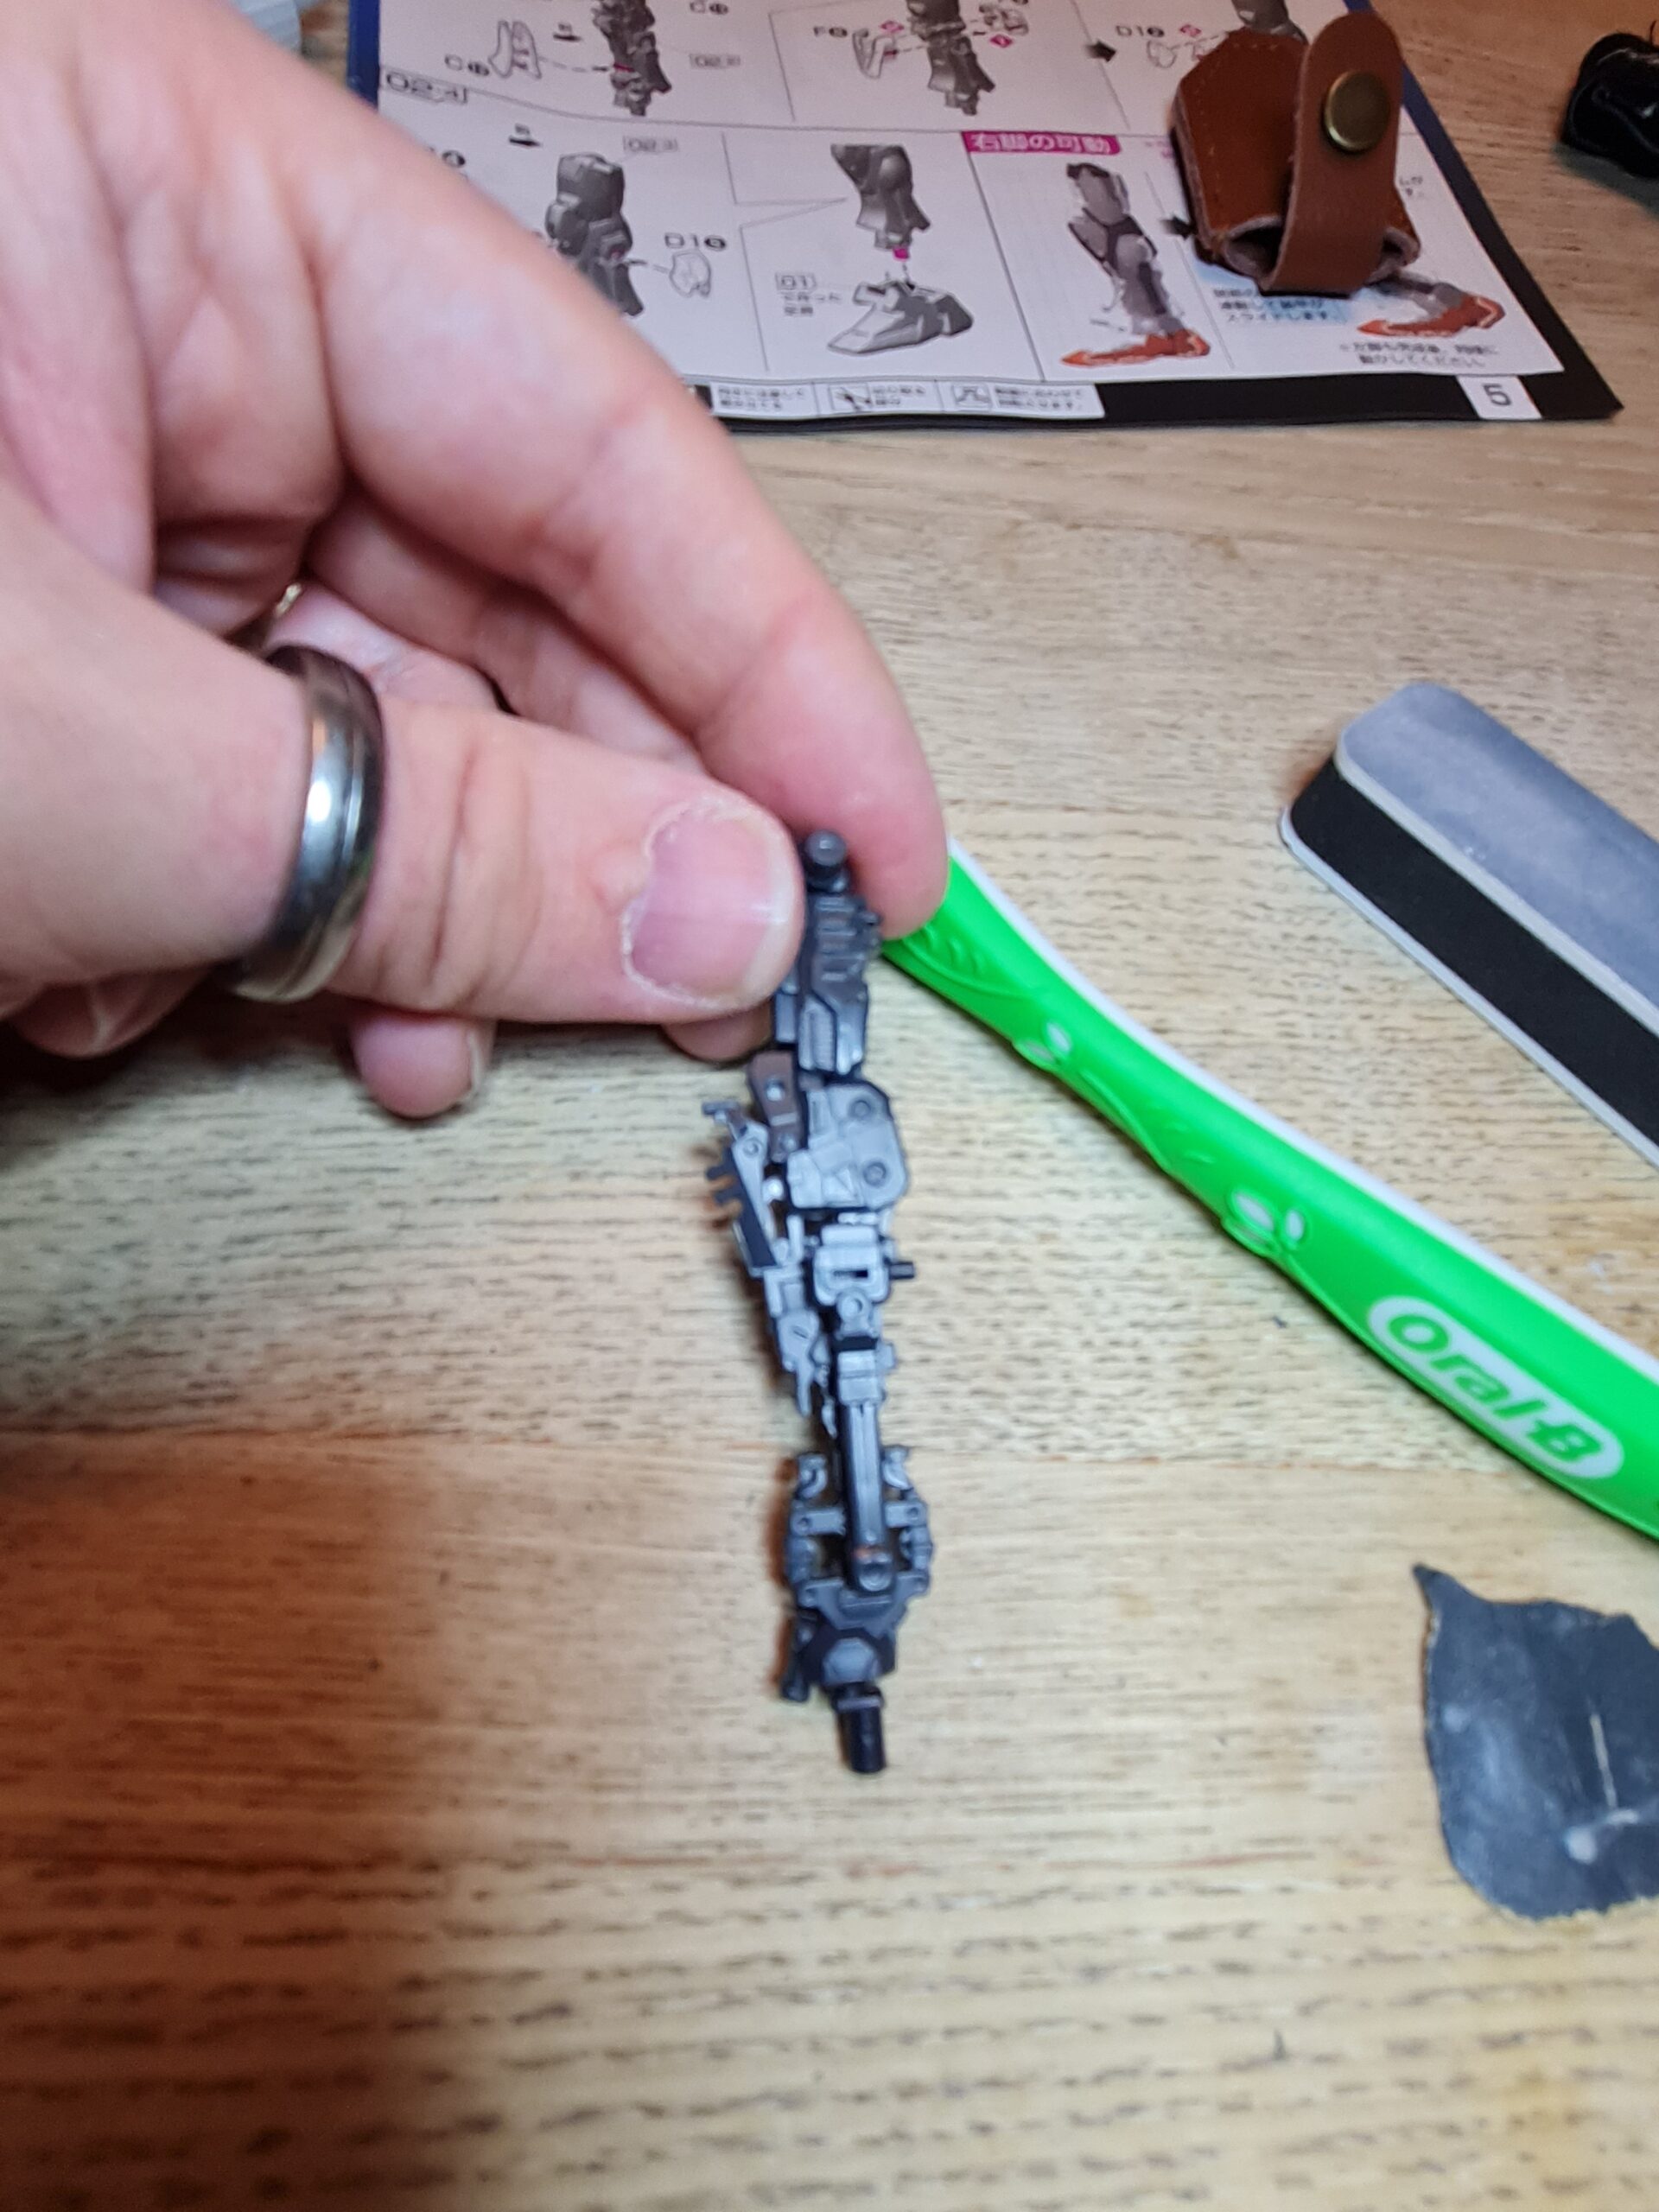
The Build
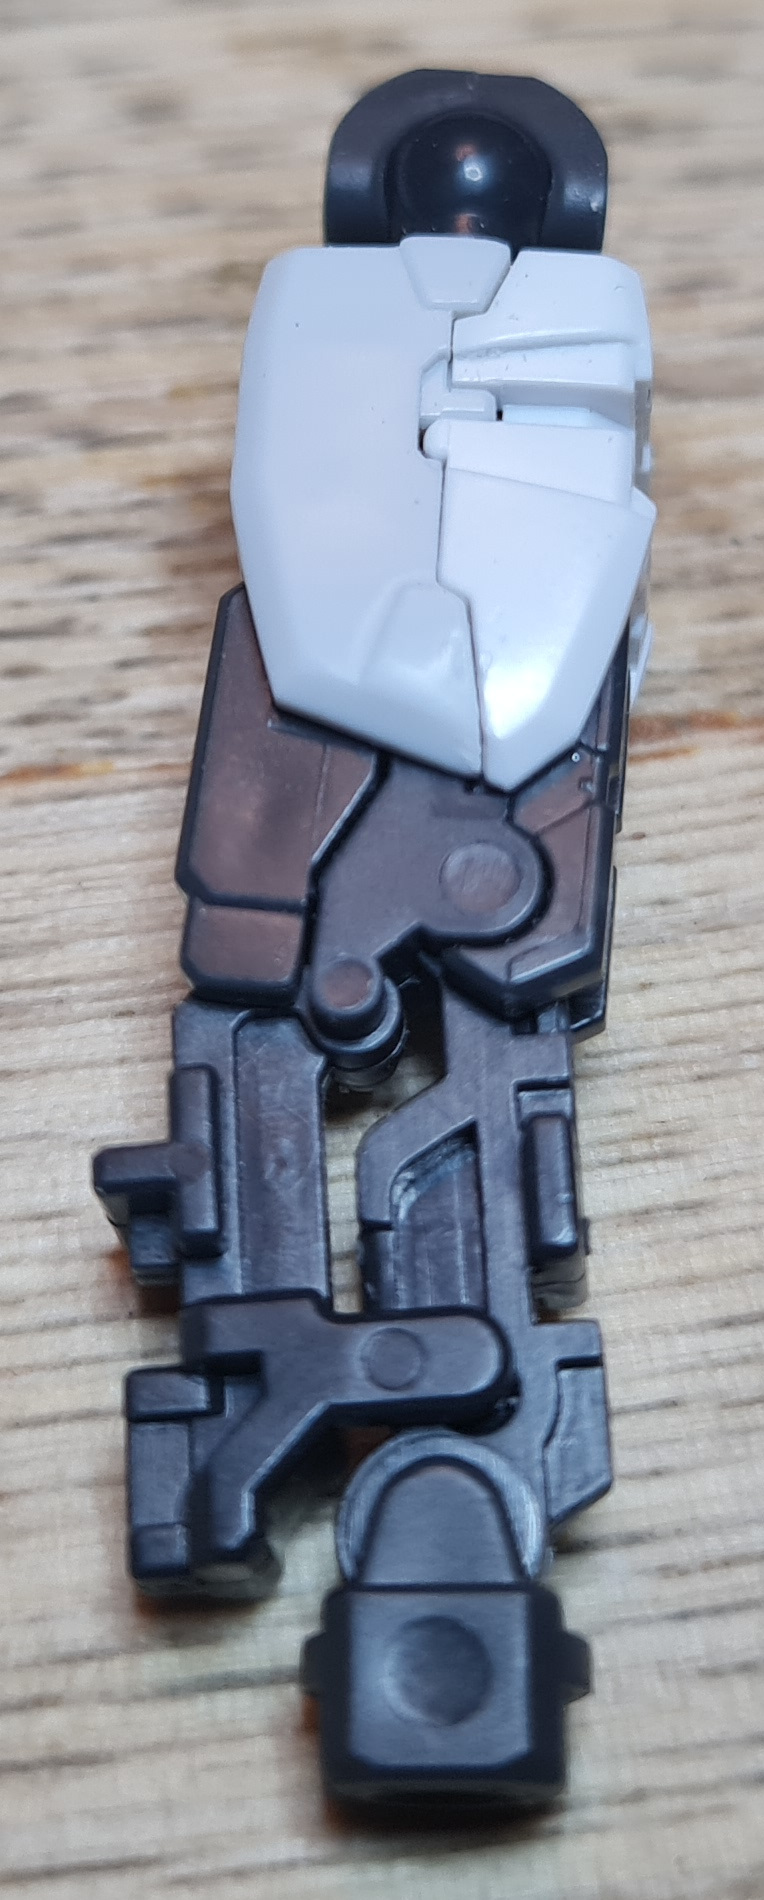
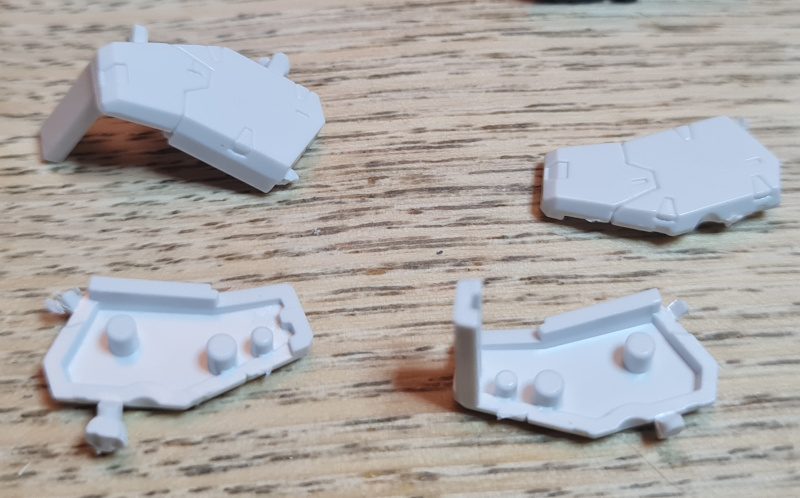
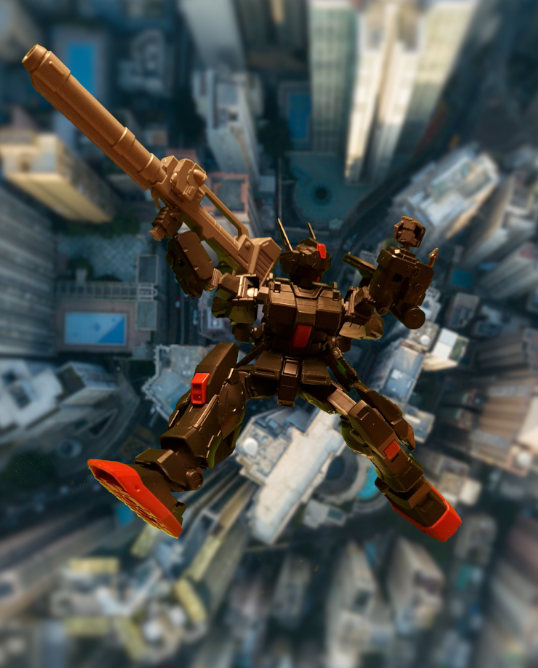
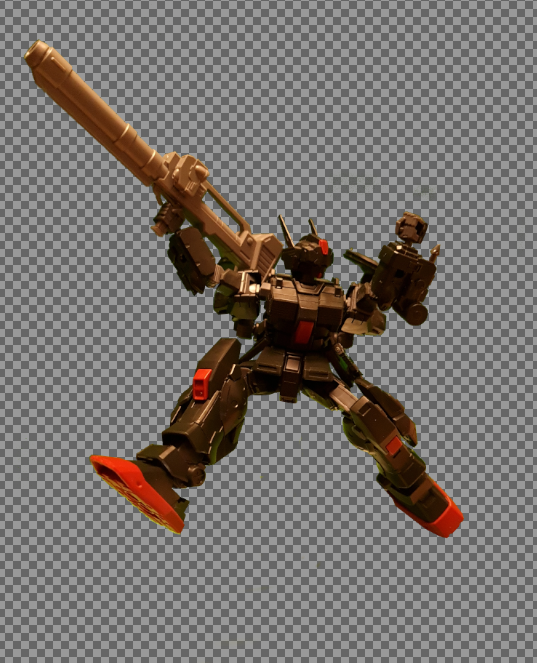
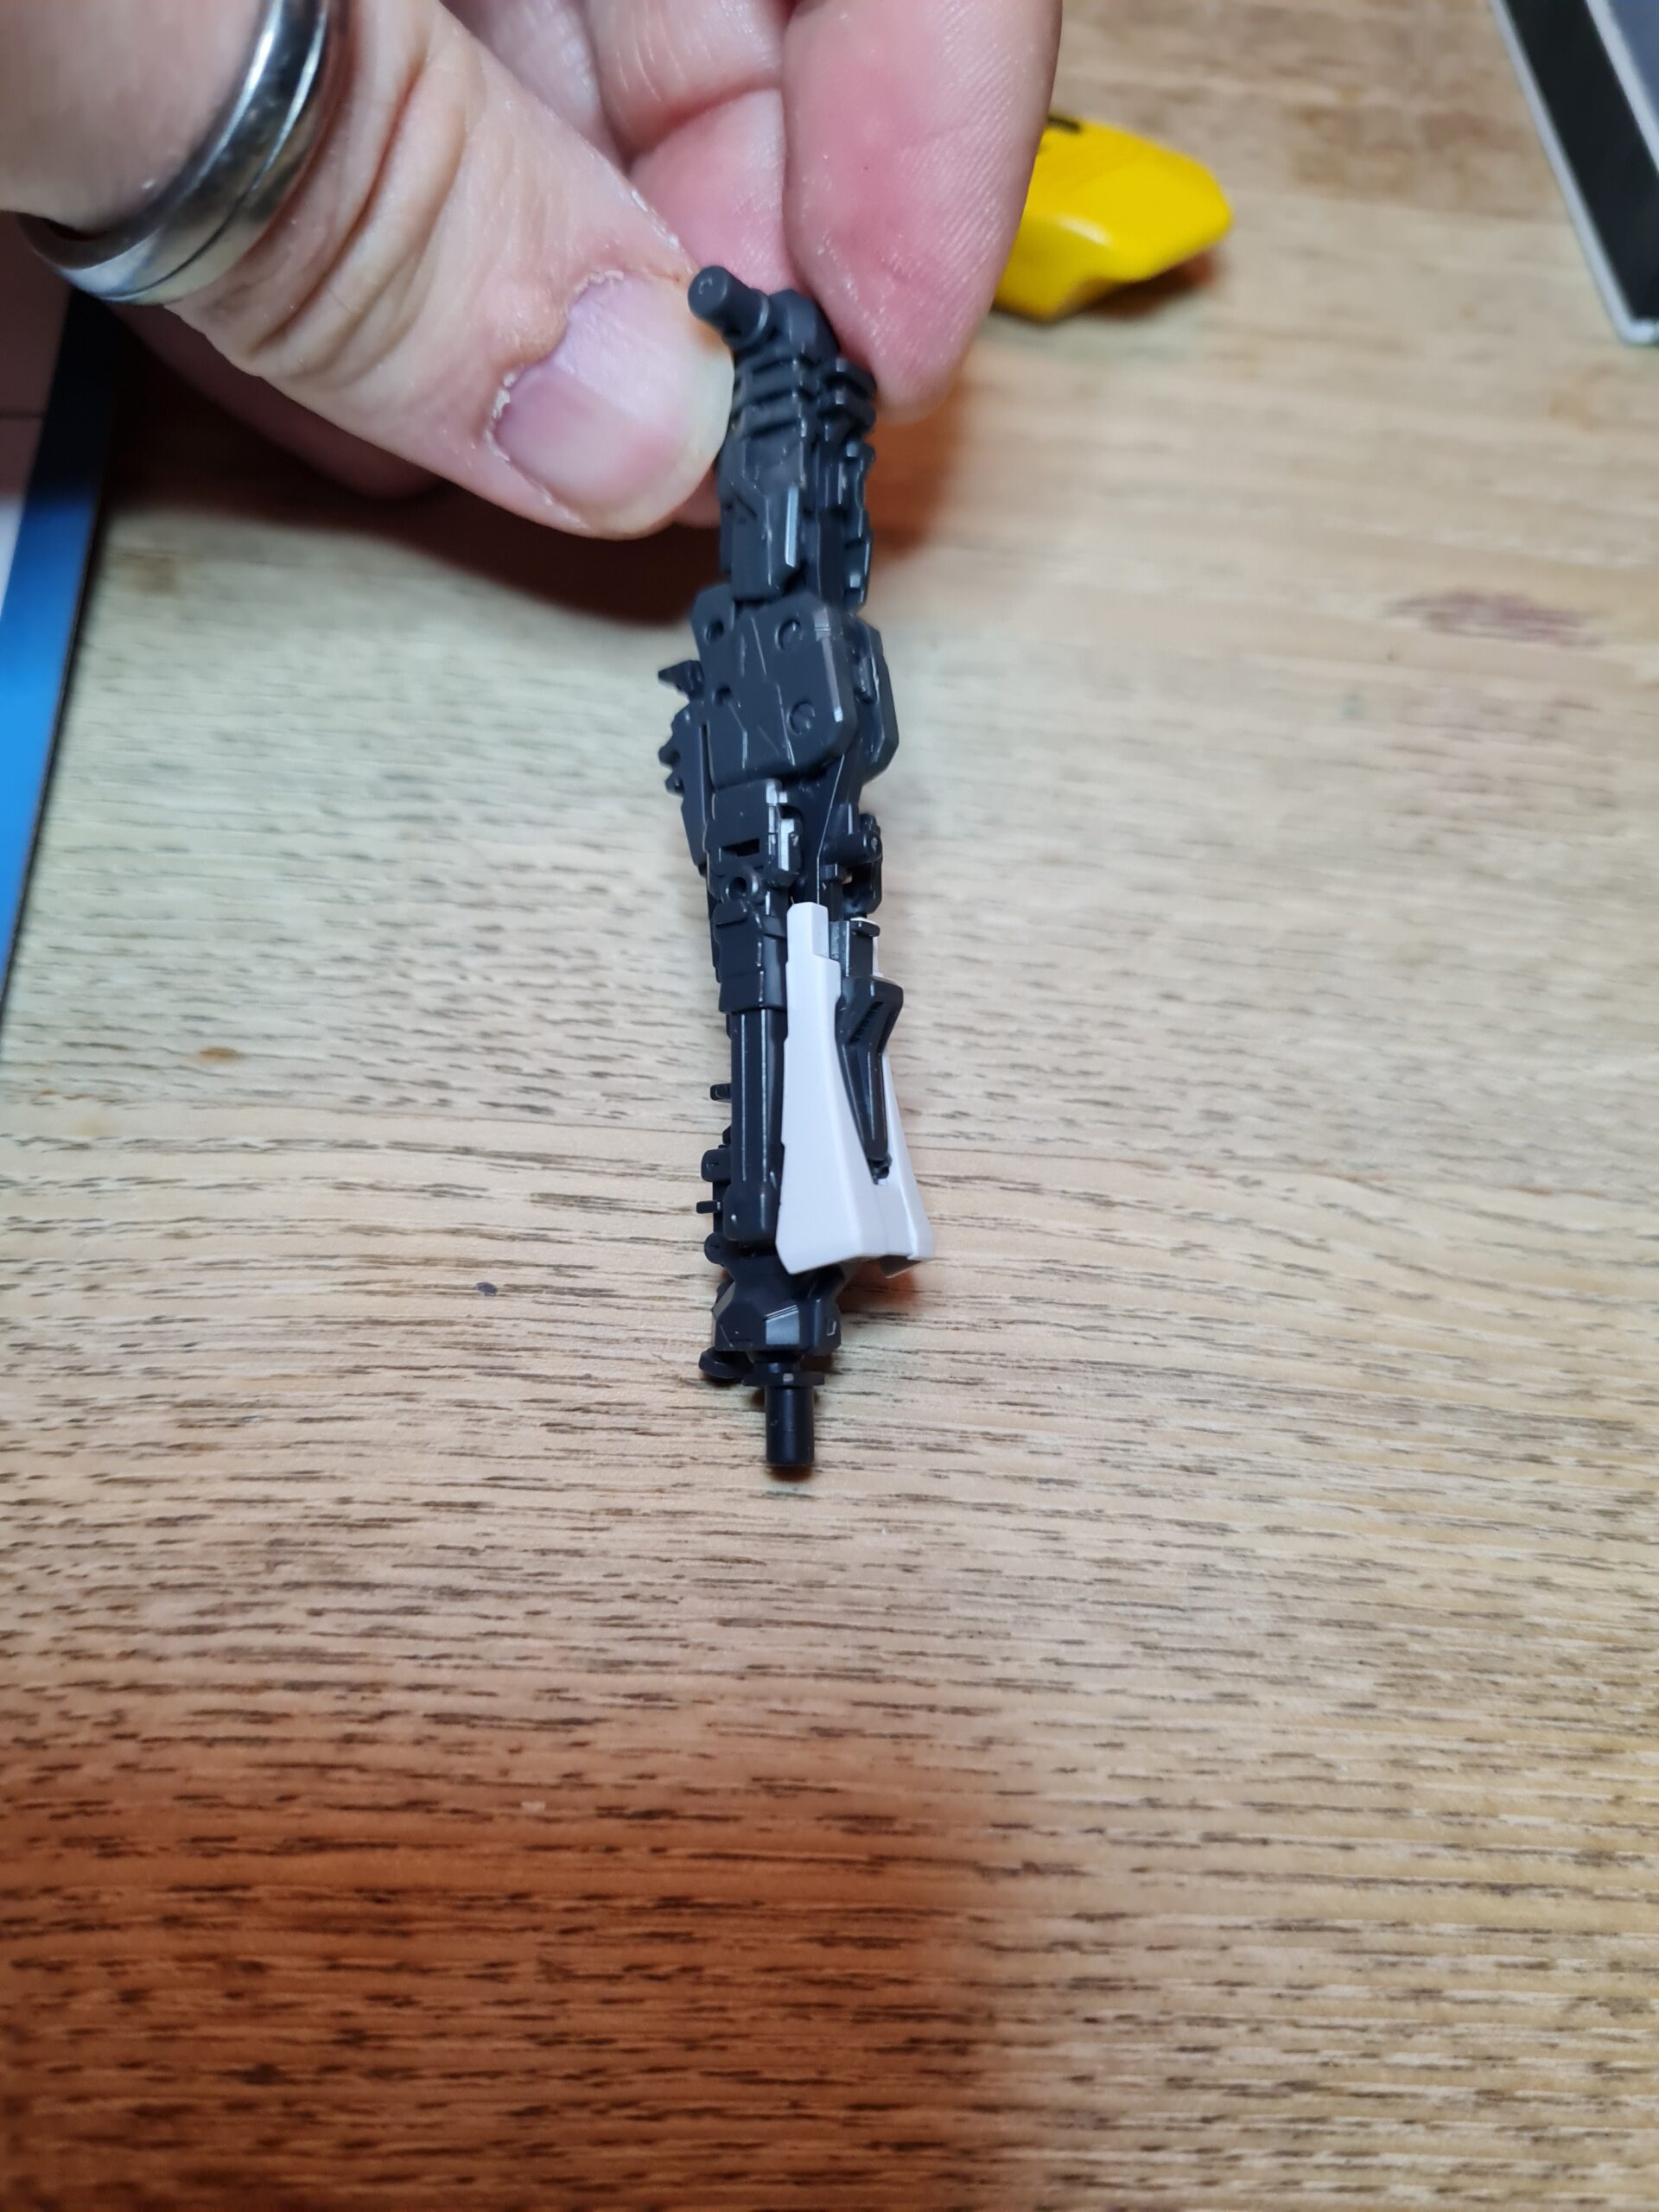
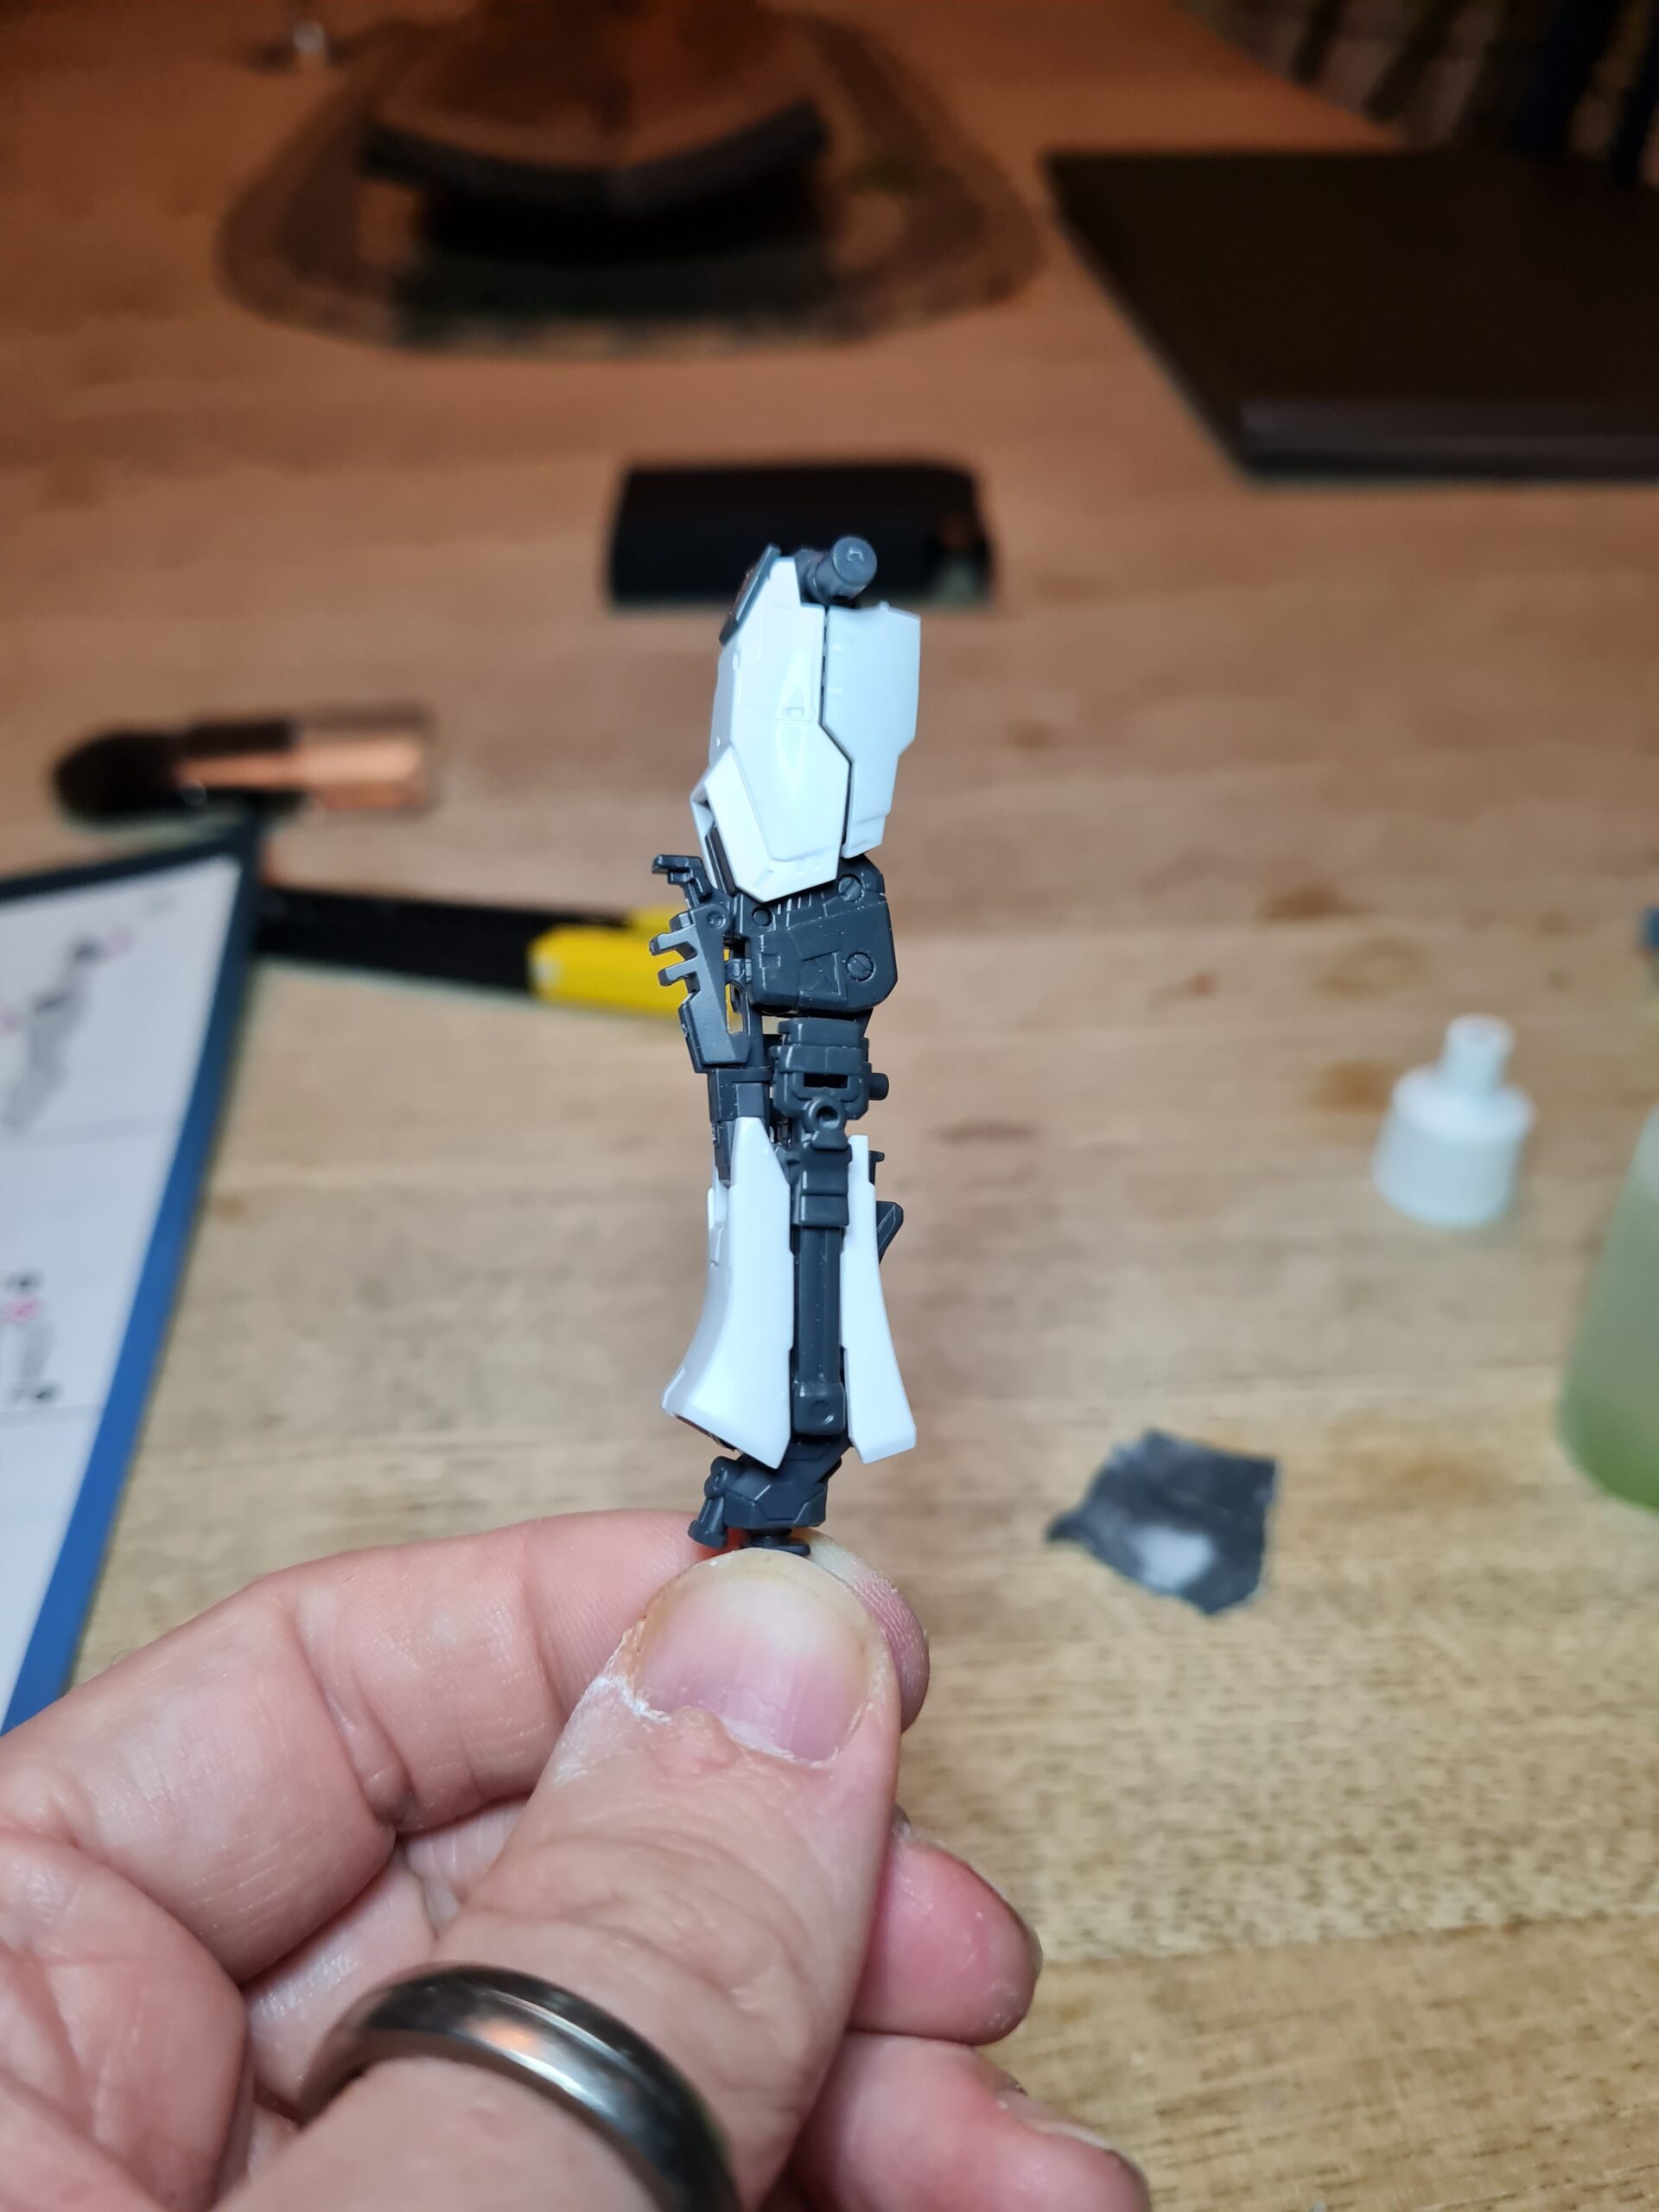
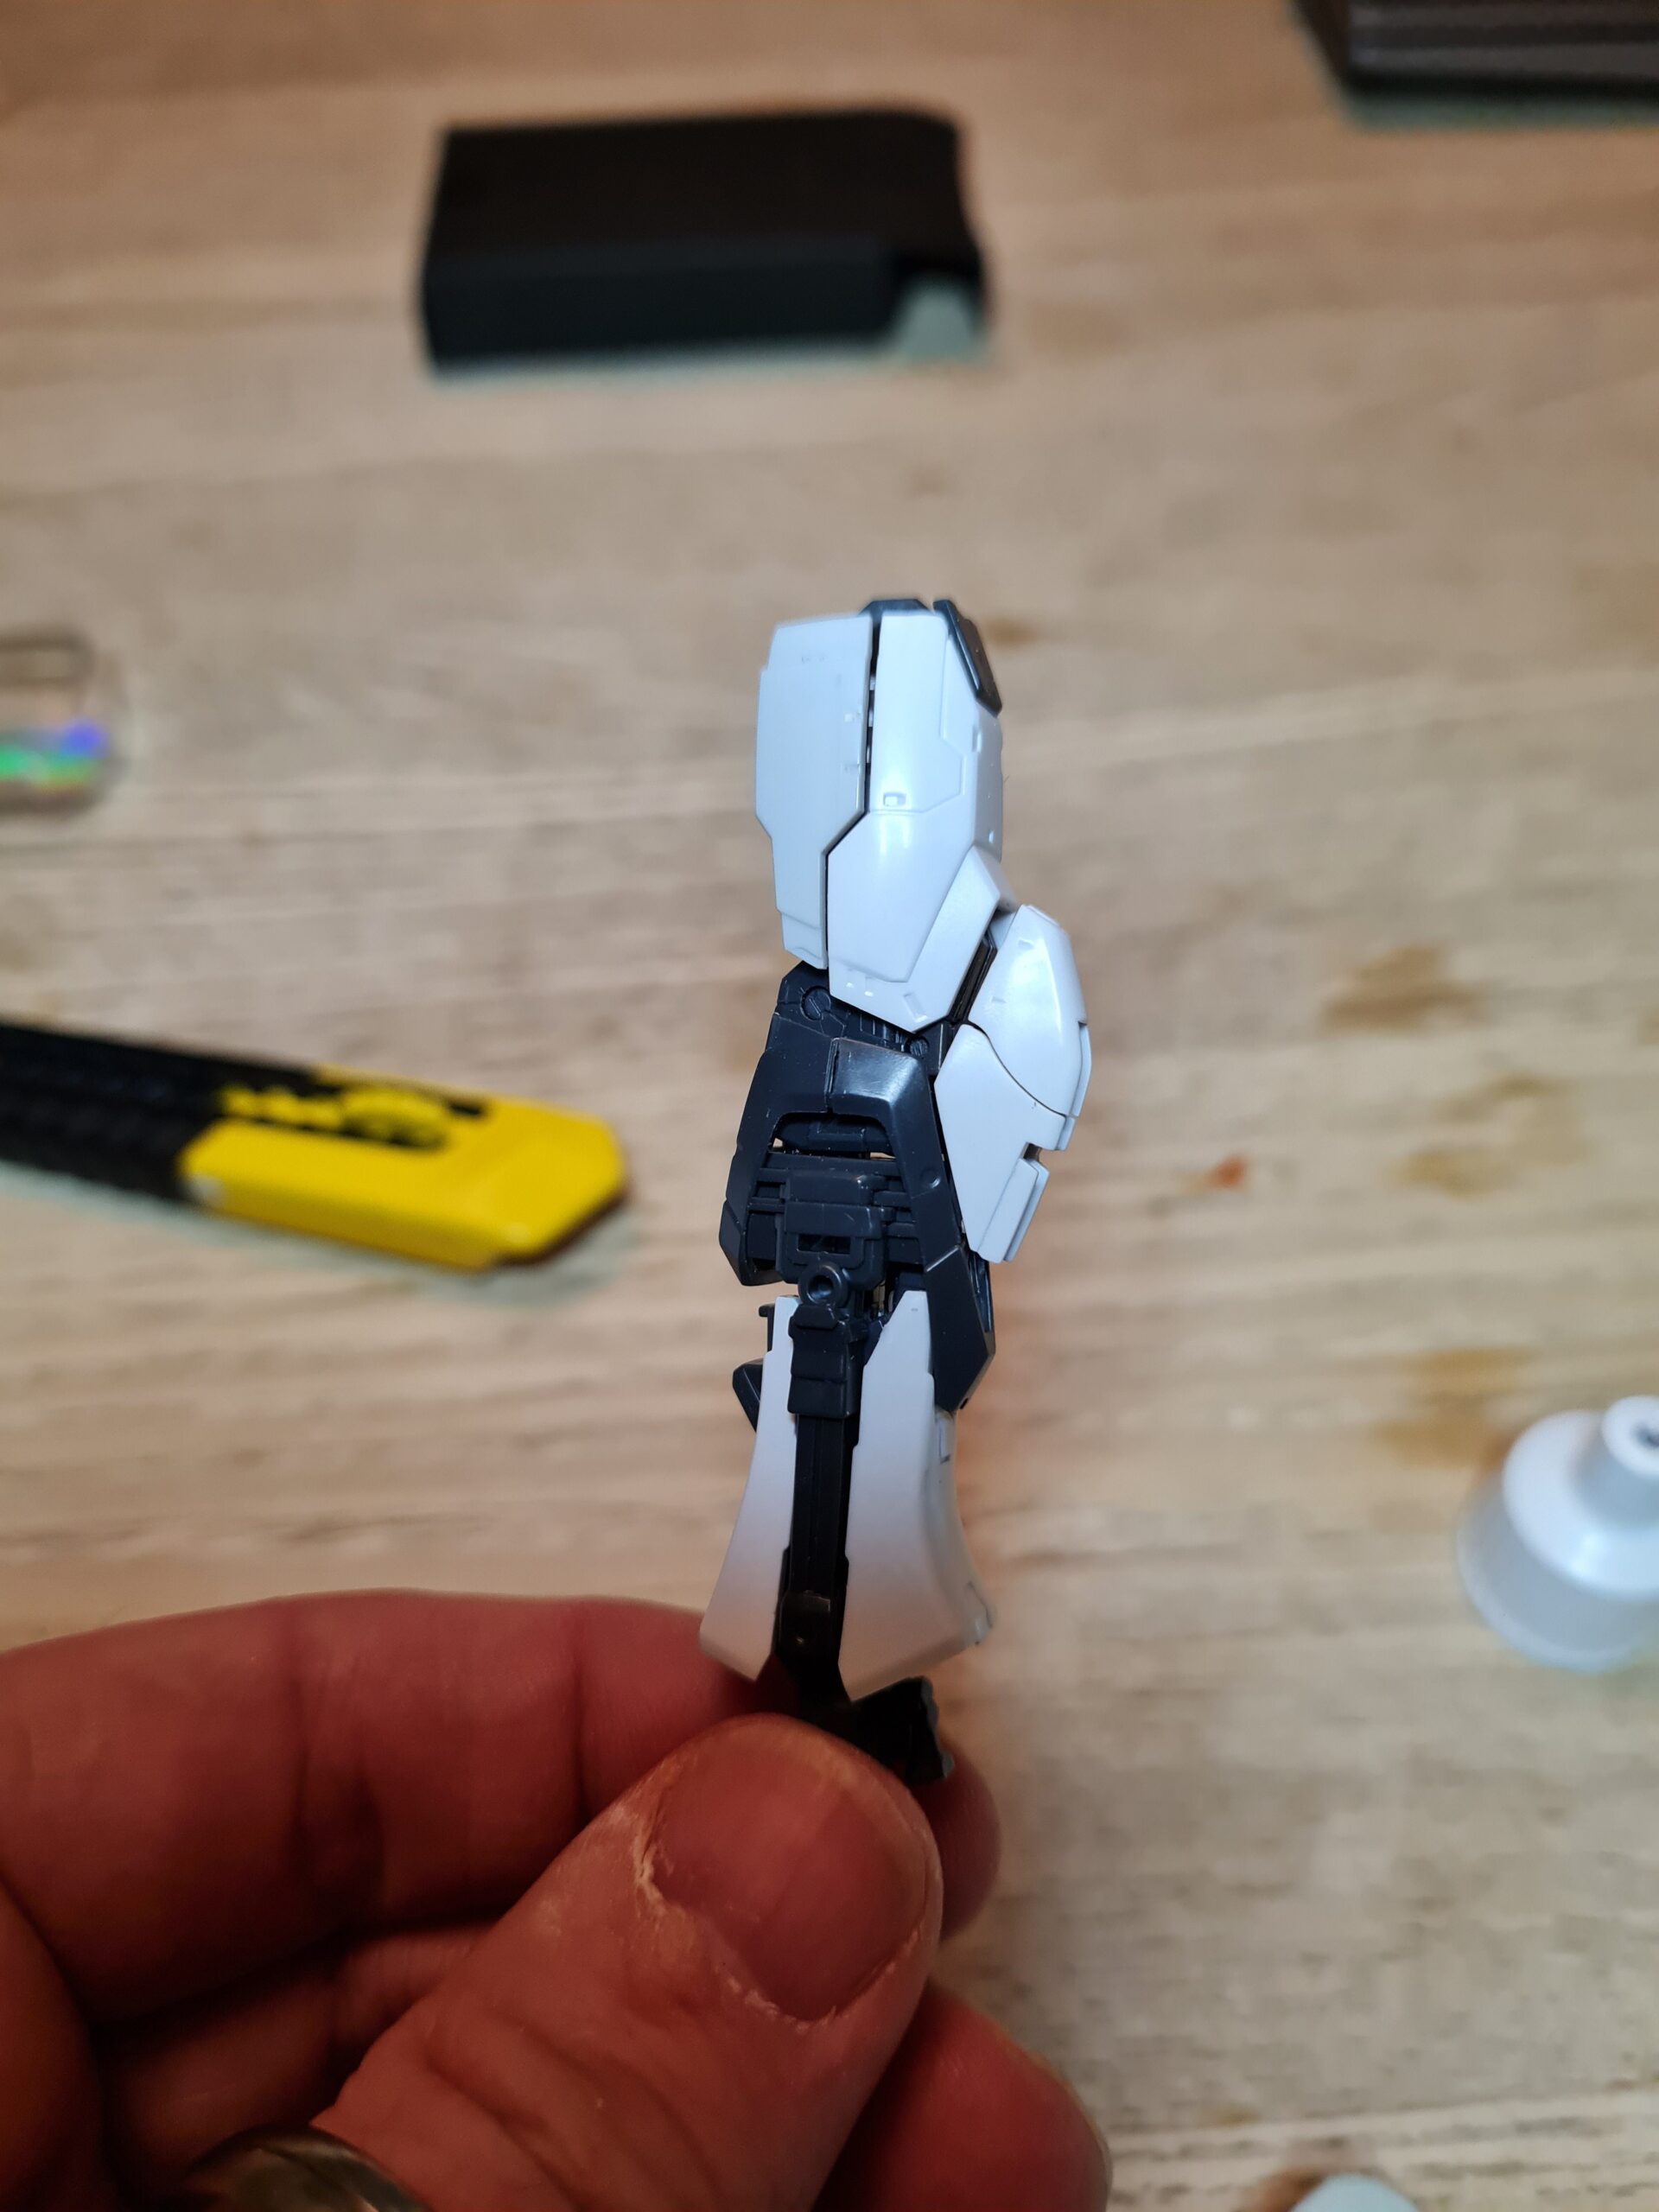
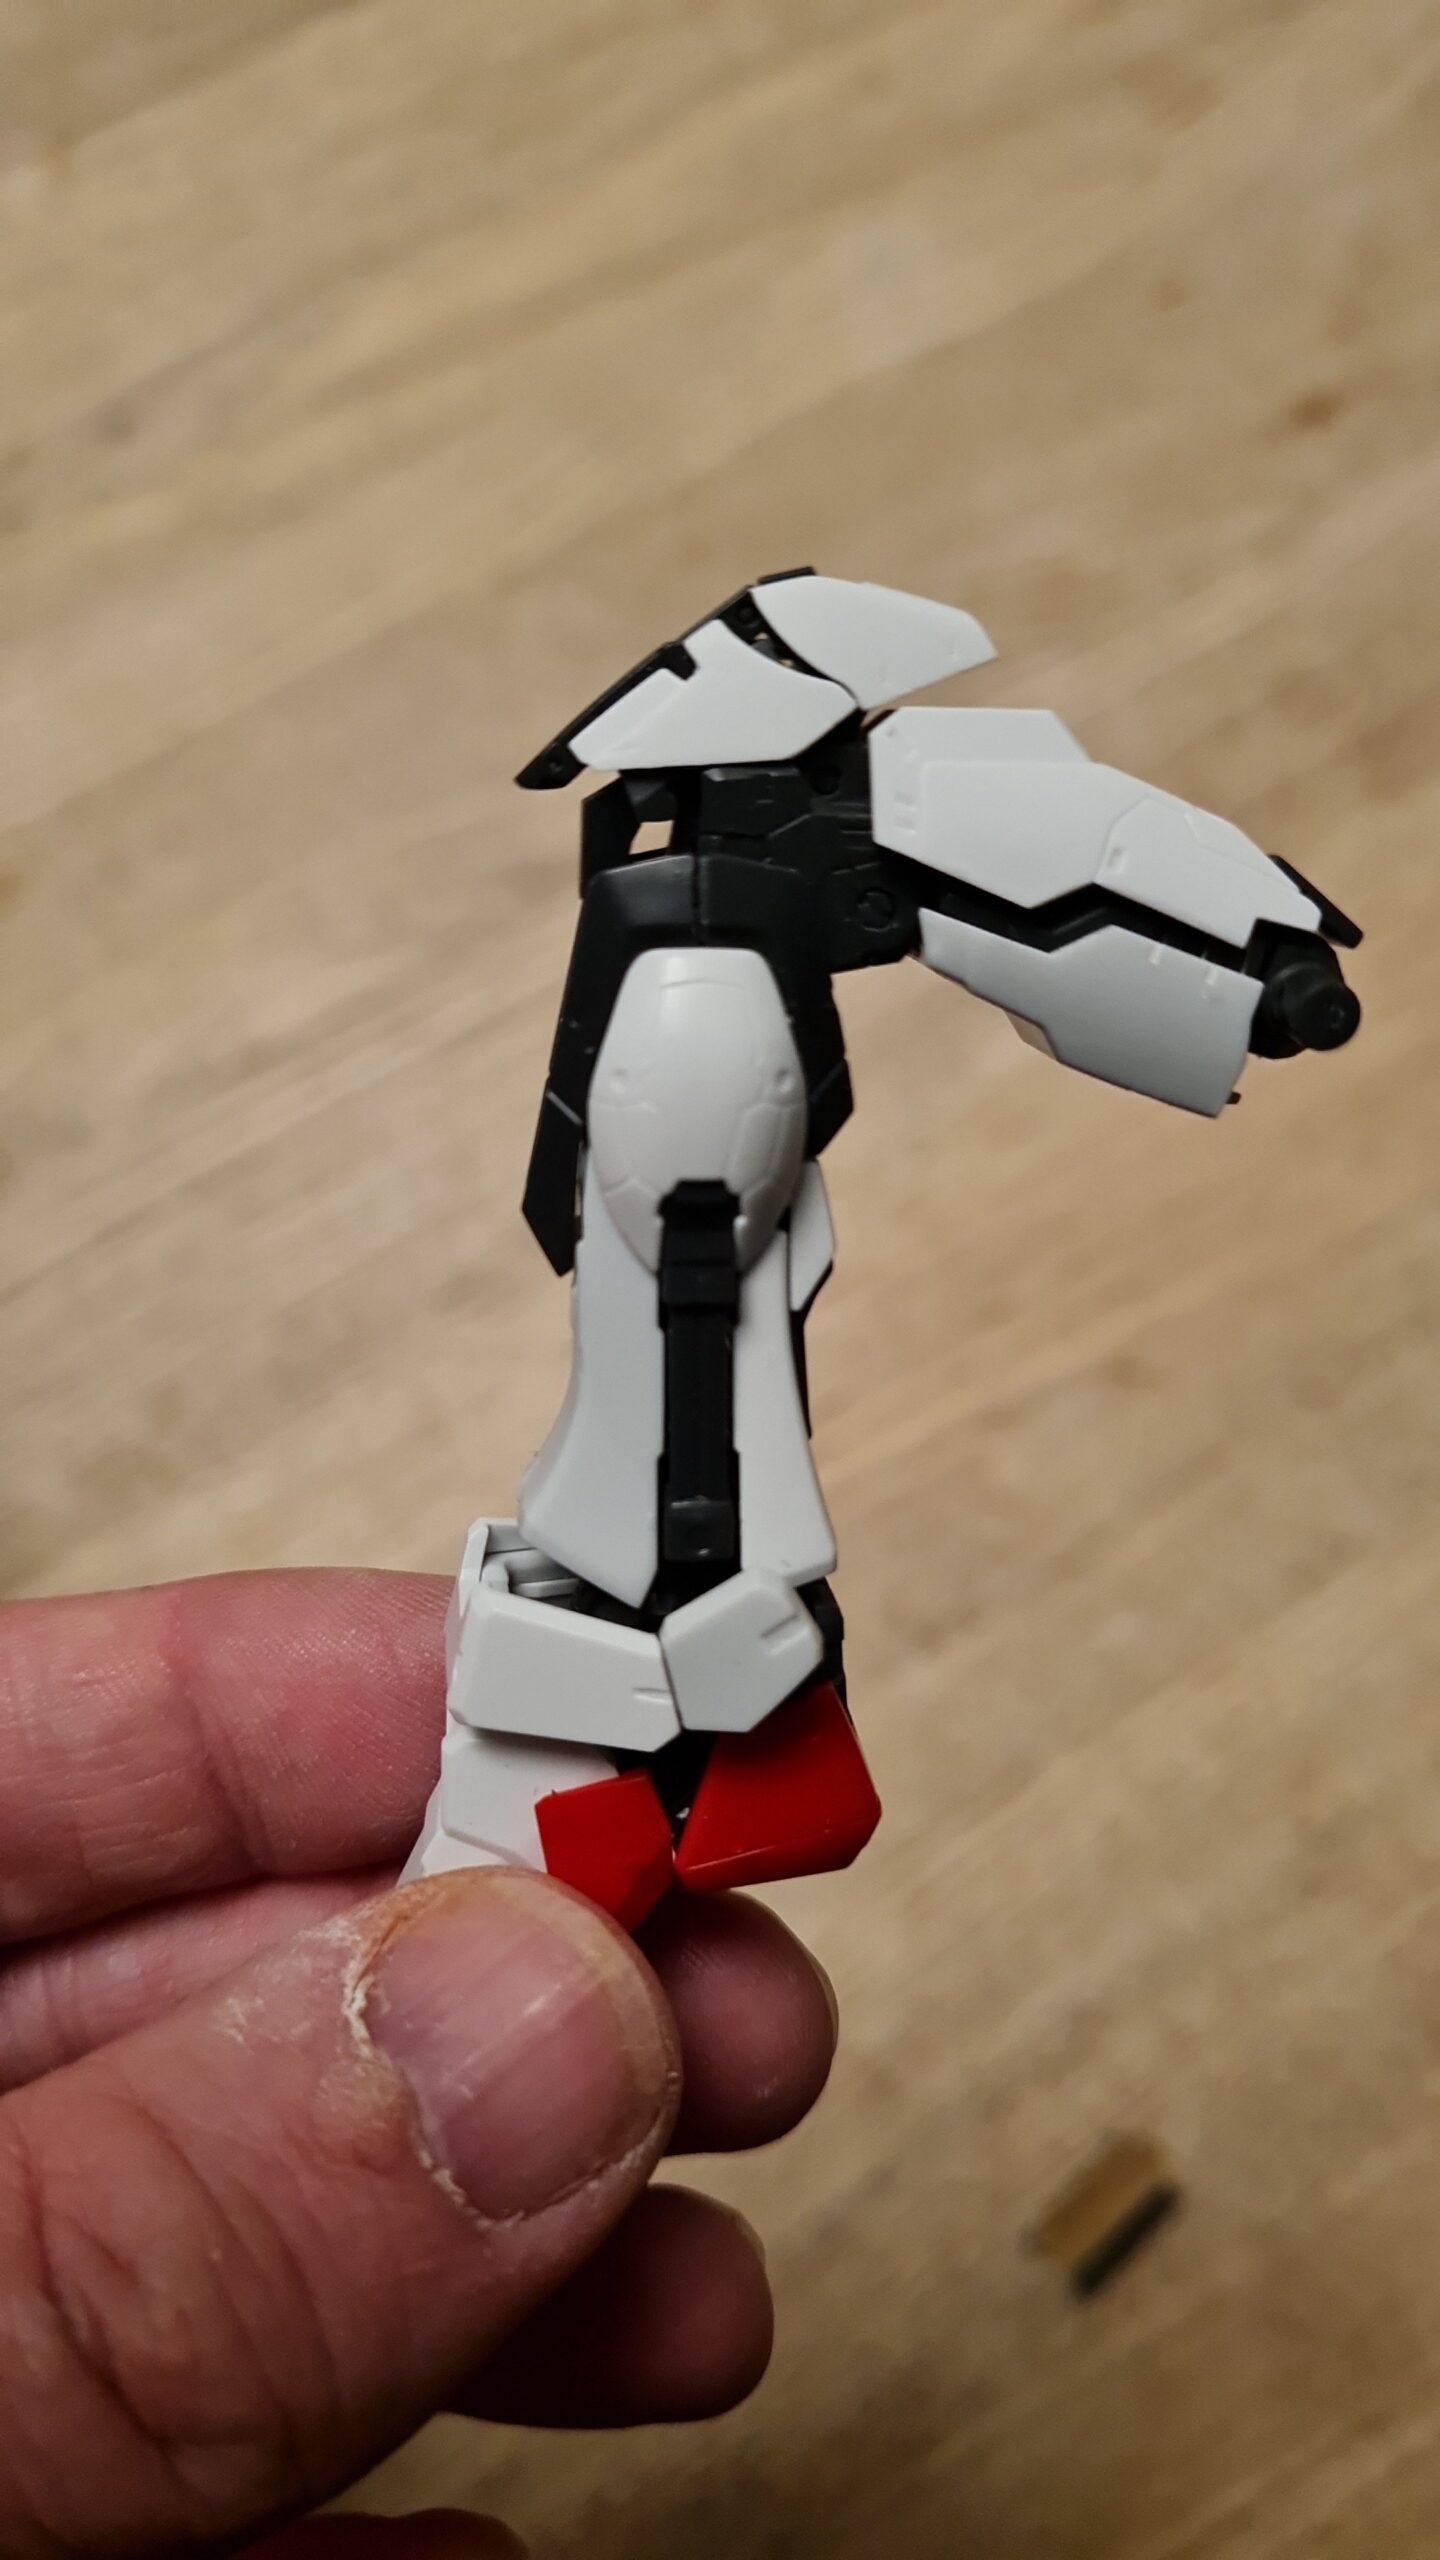
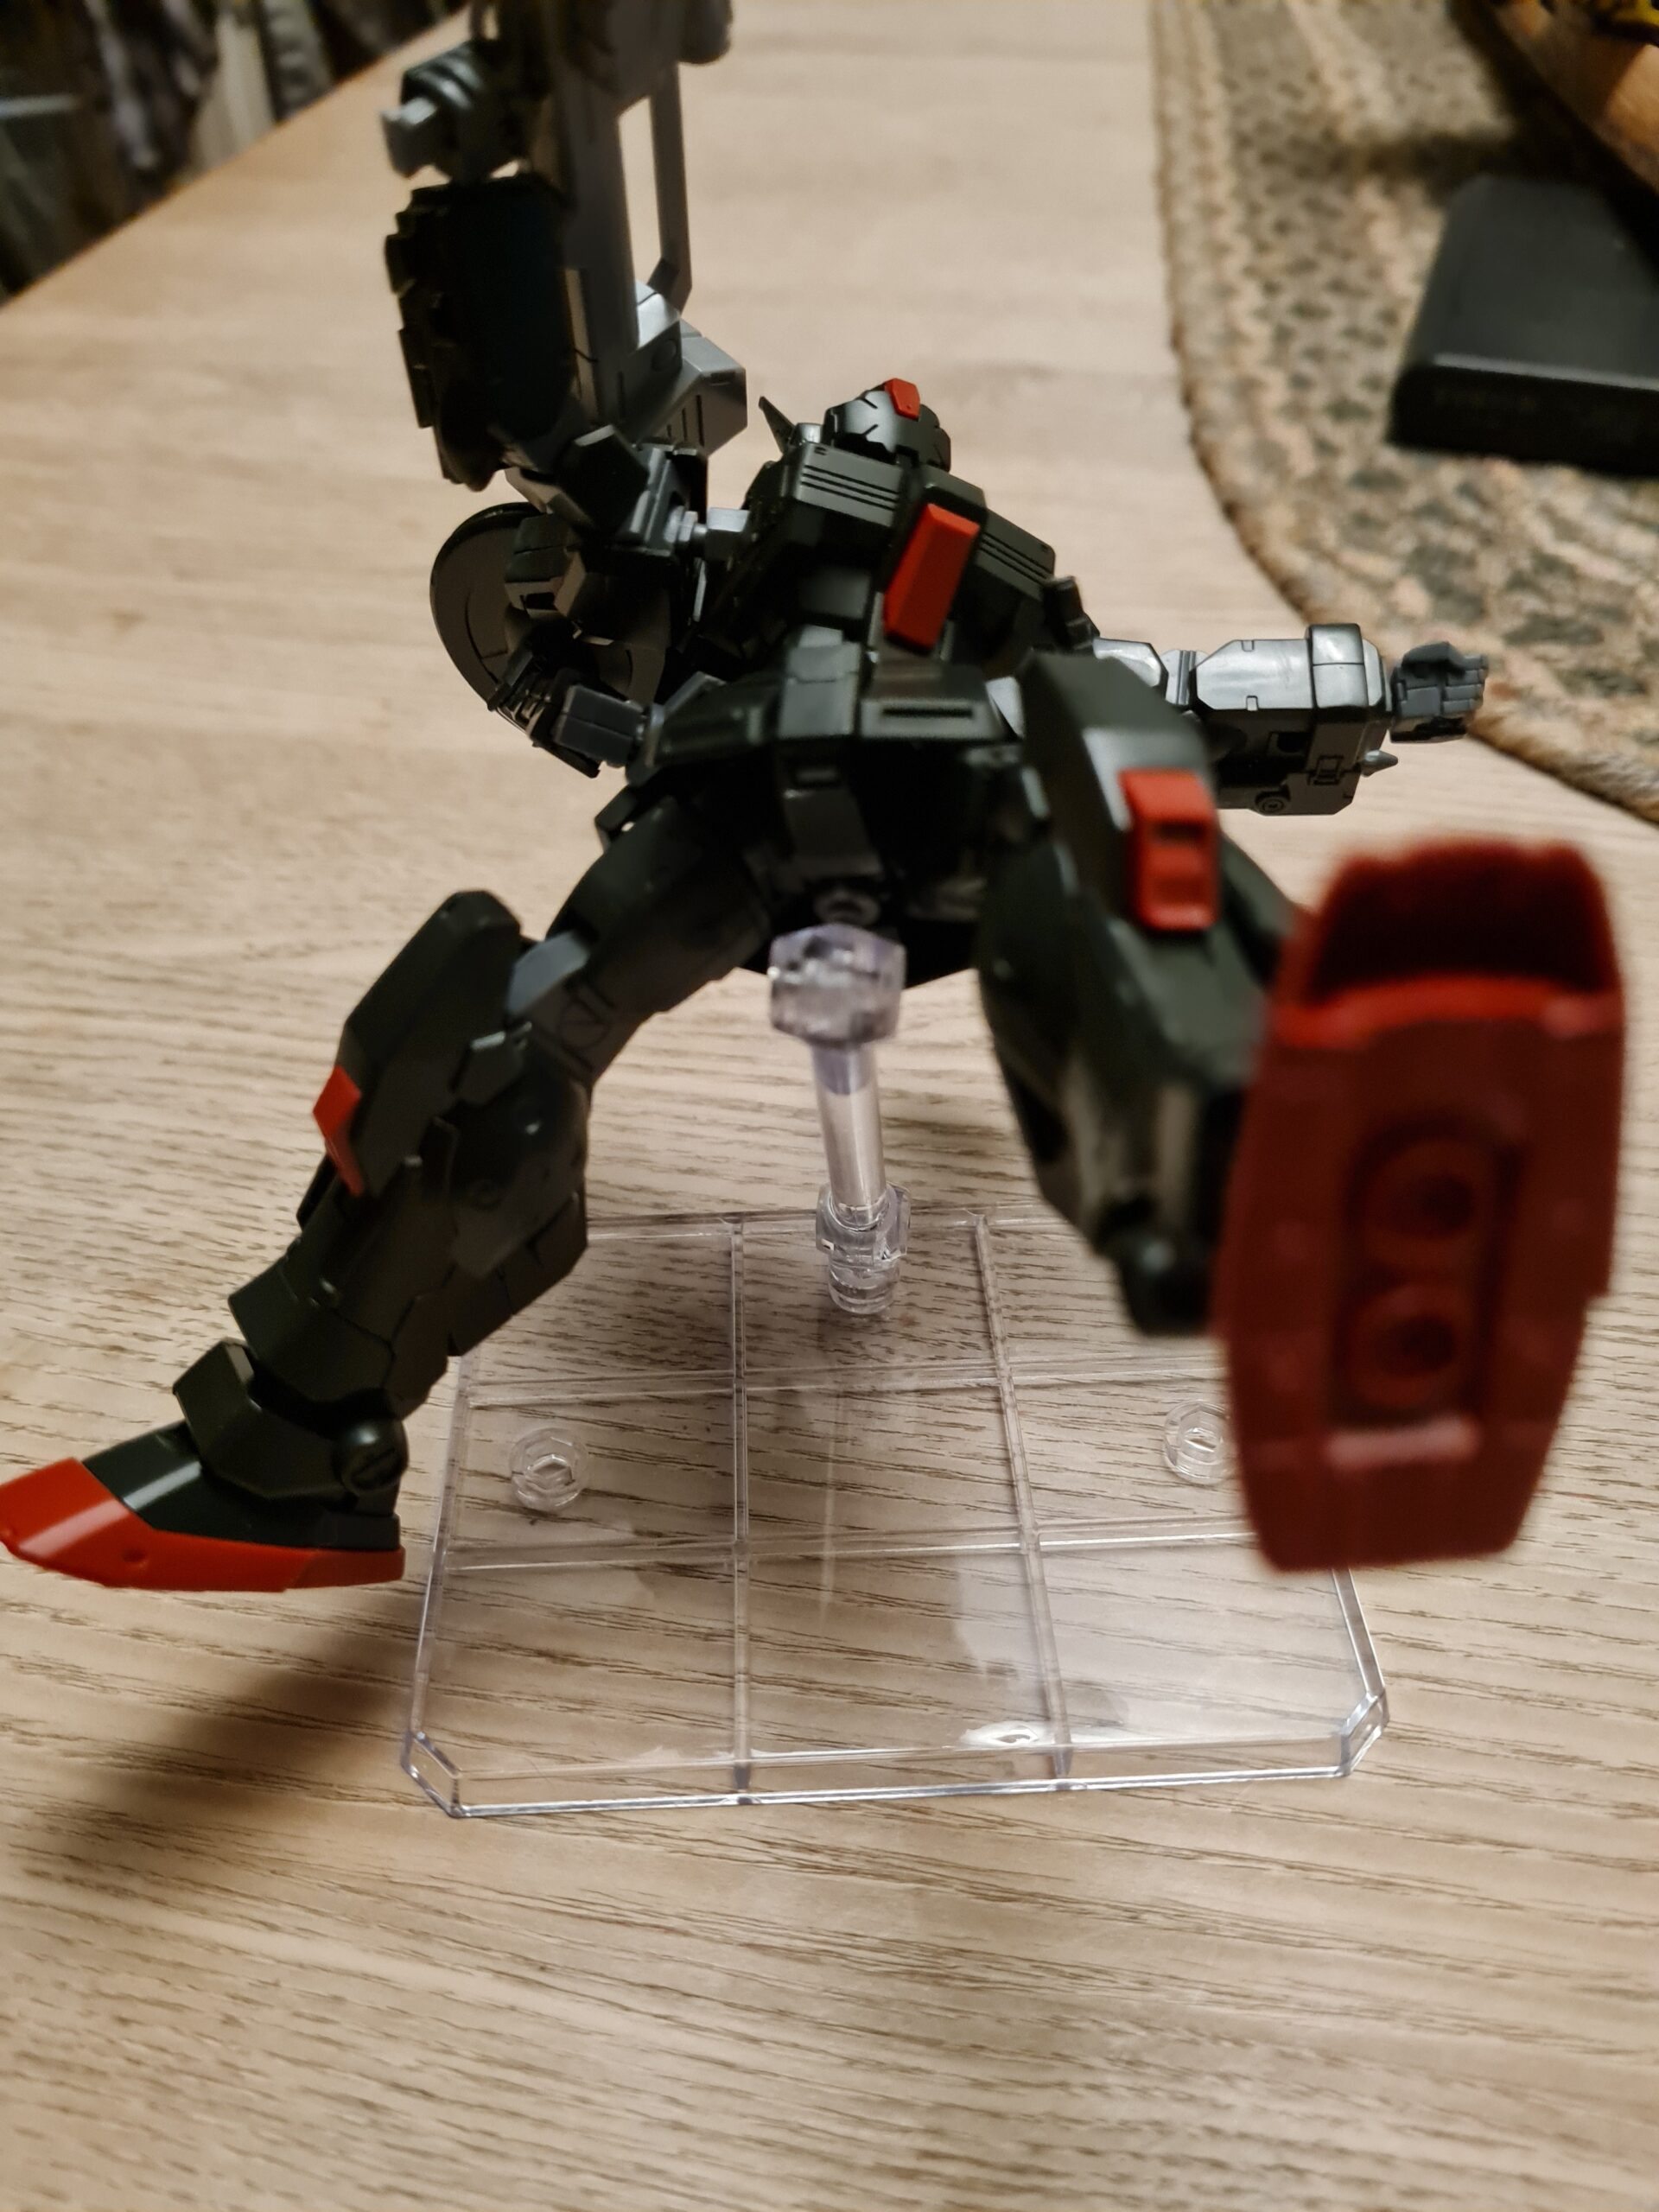
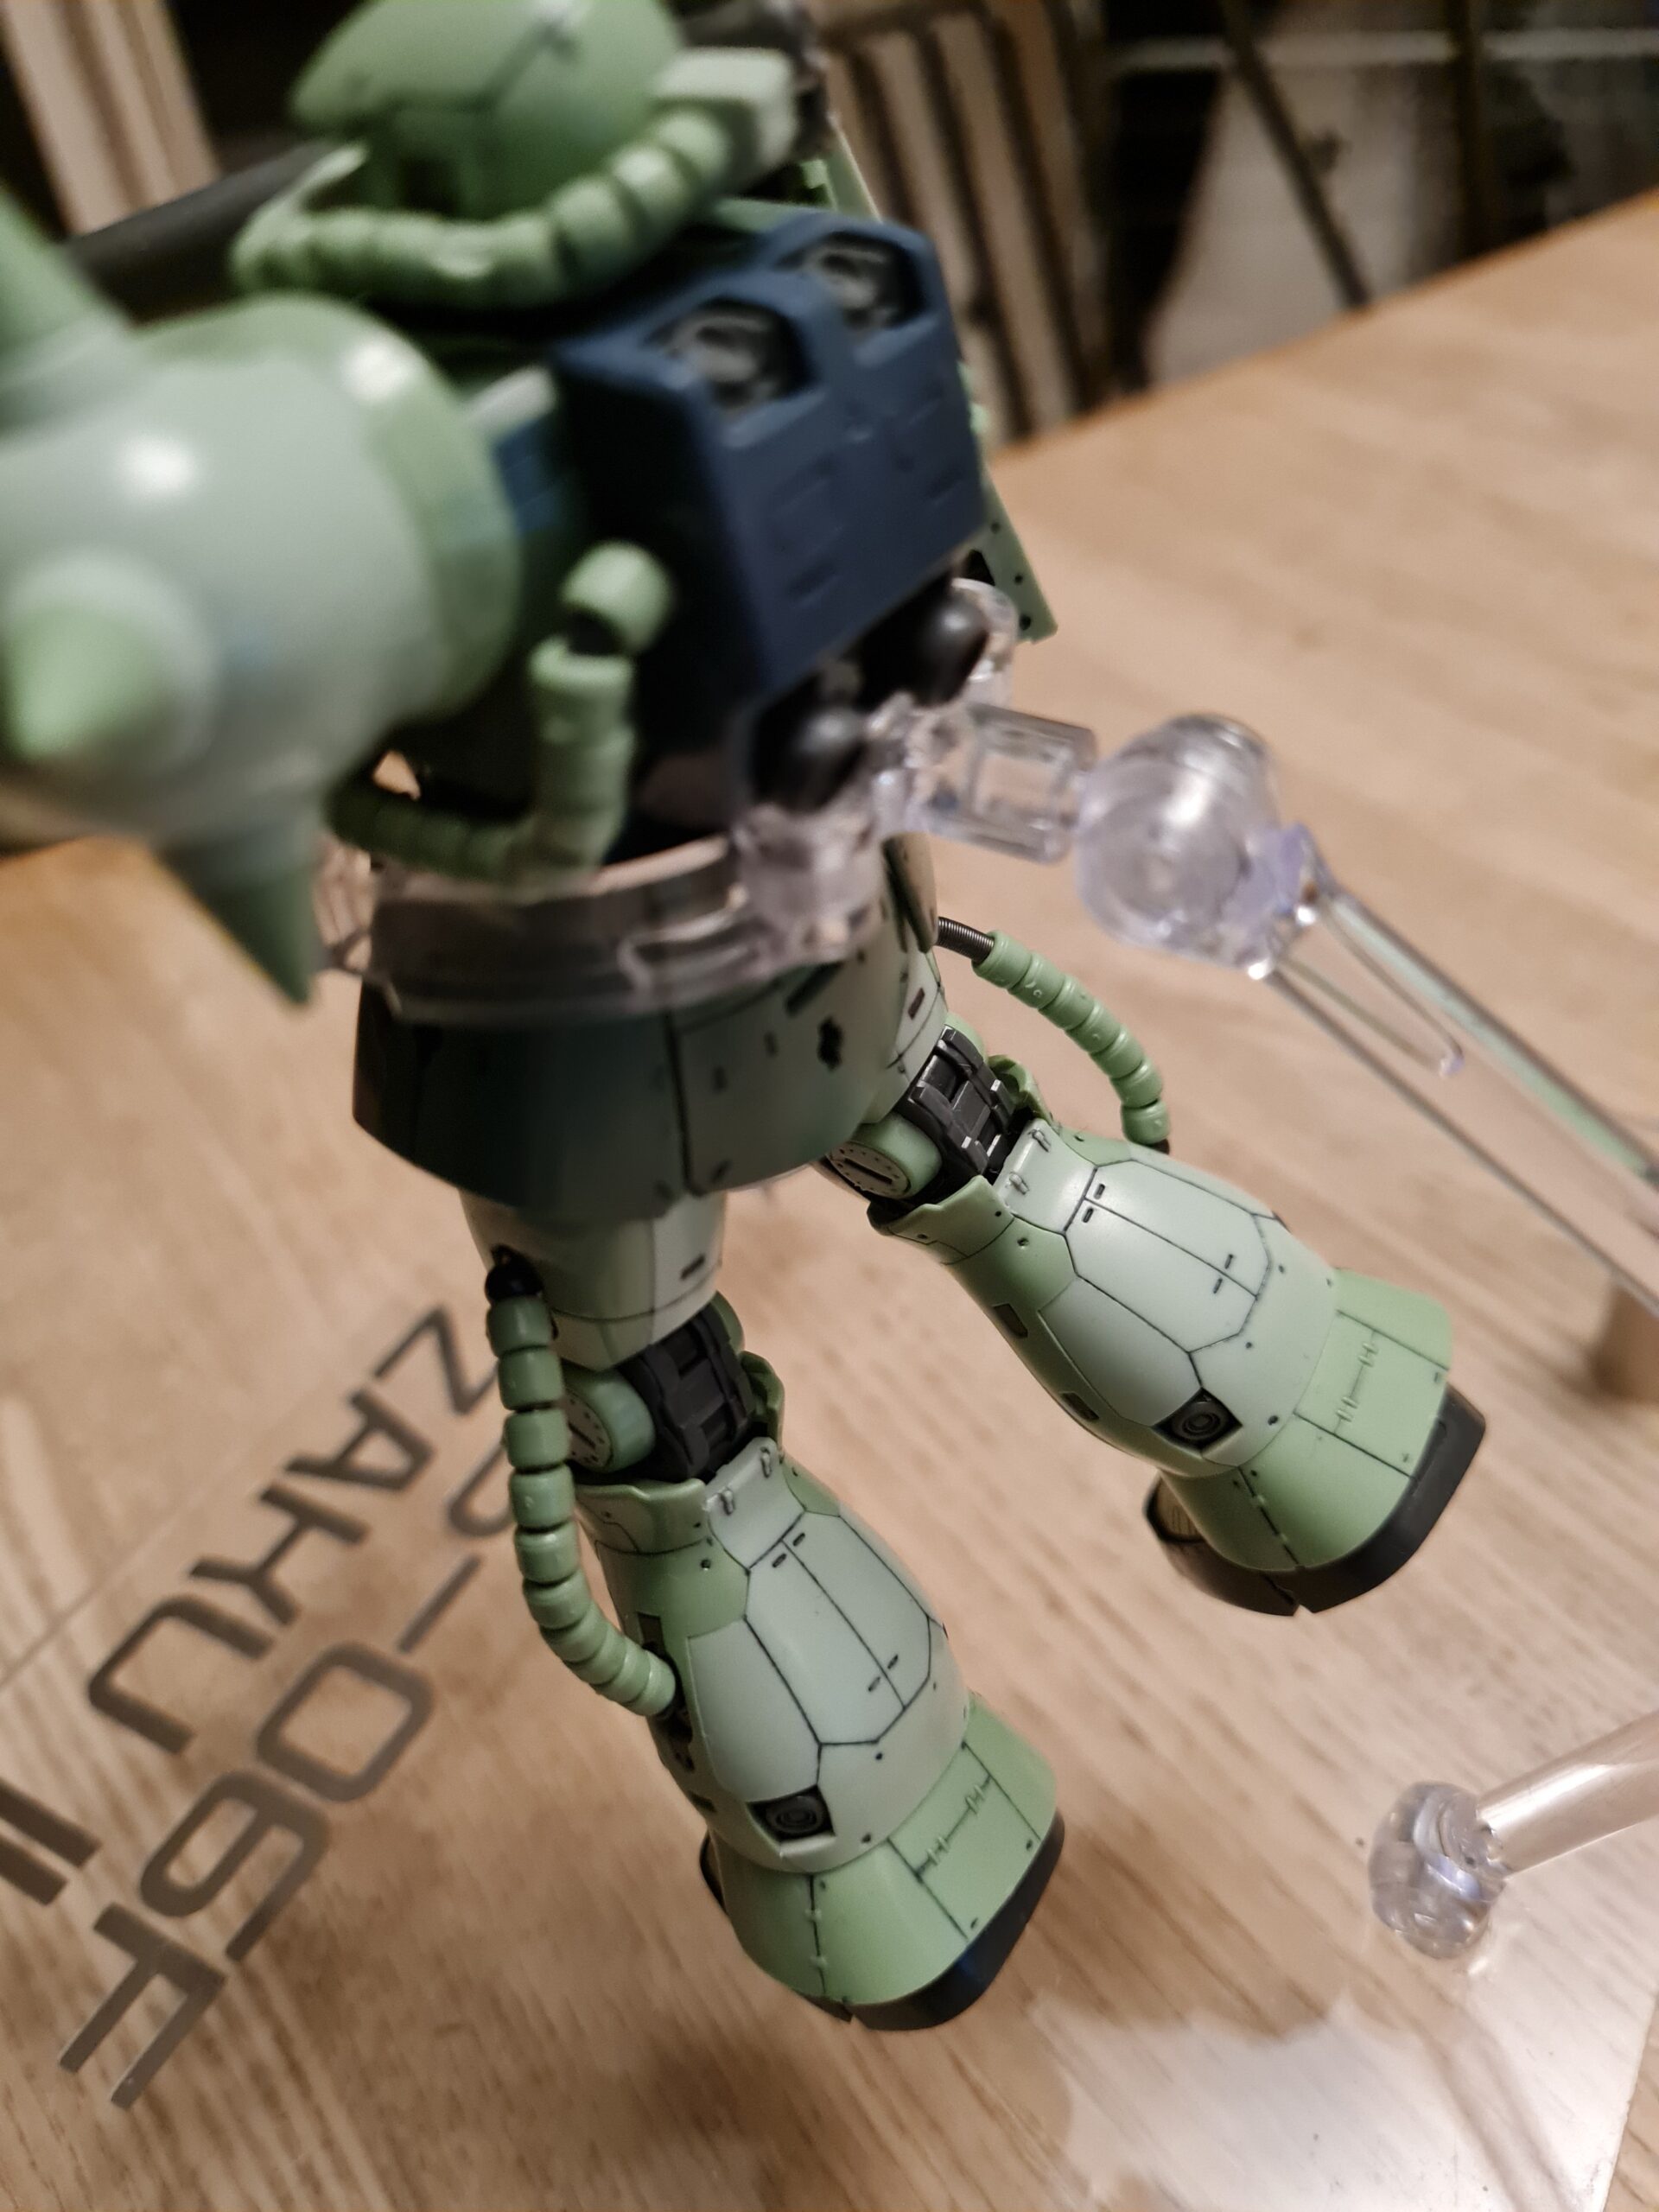
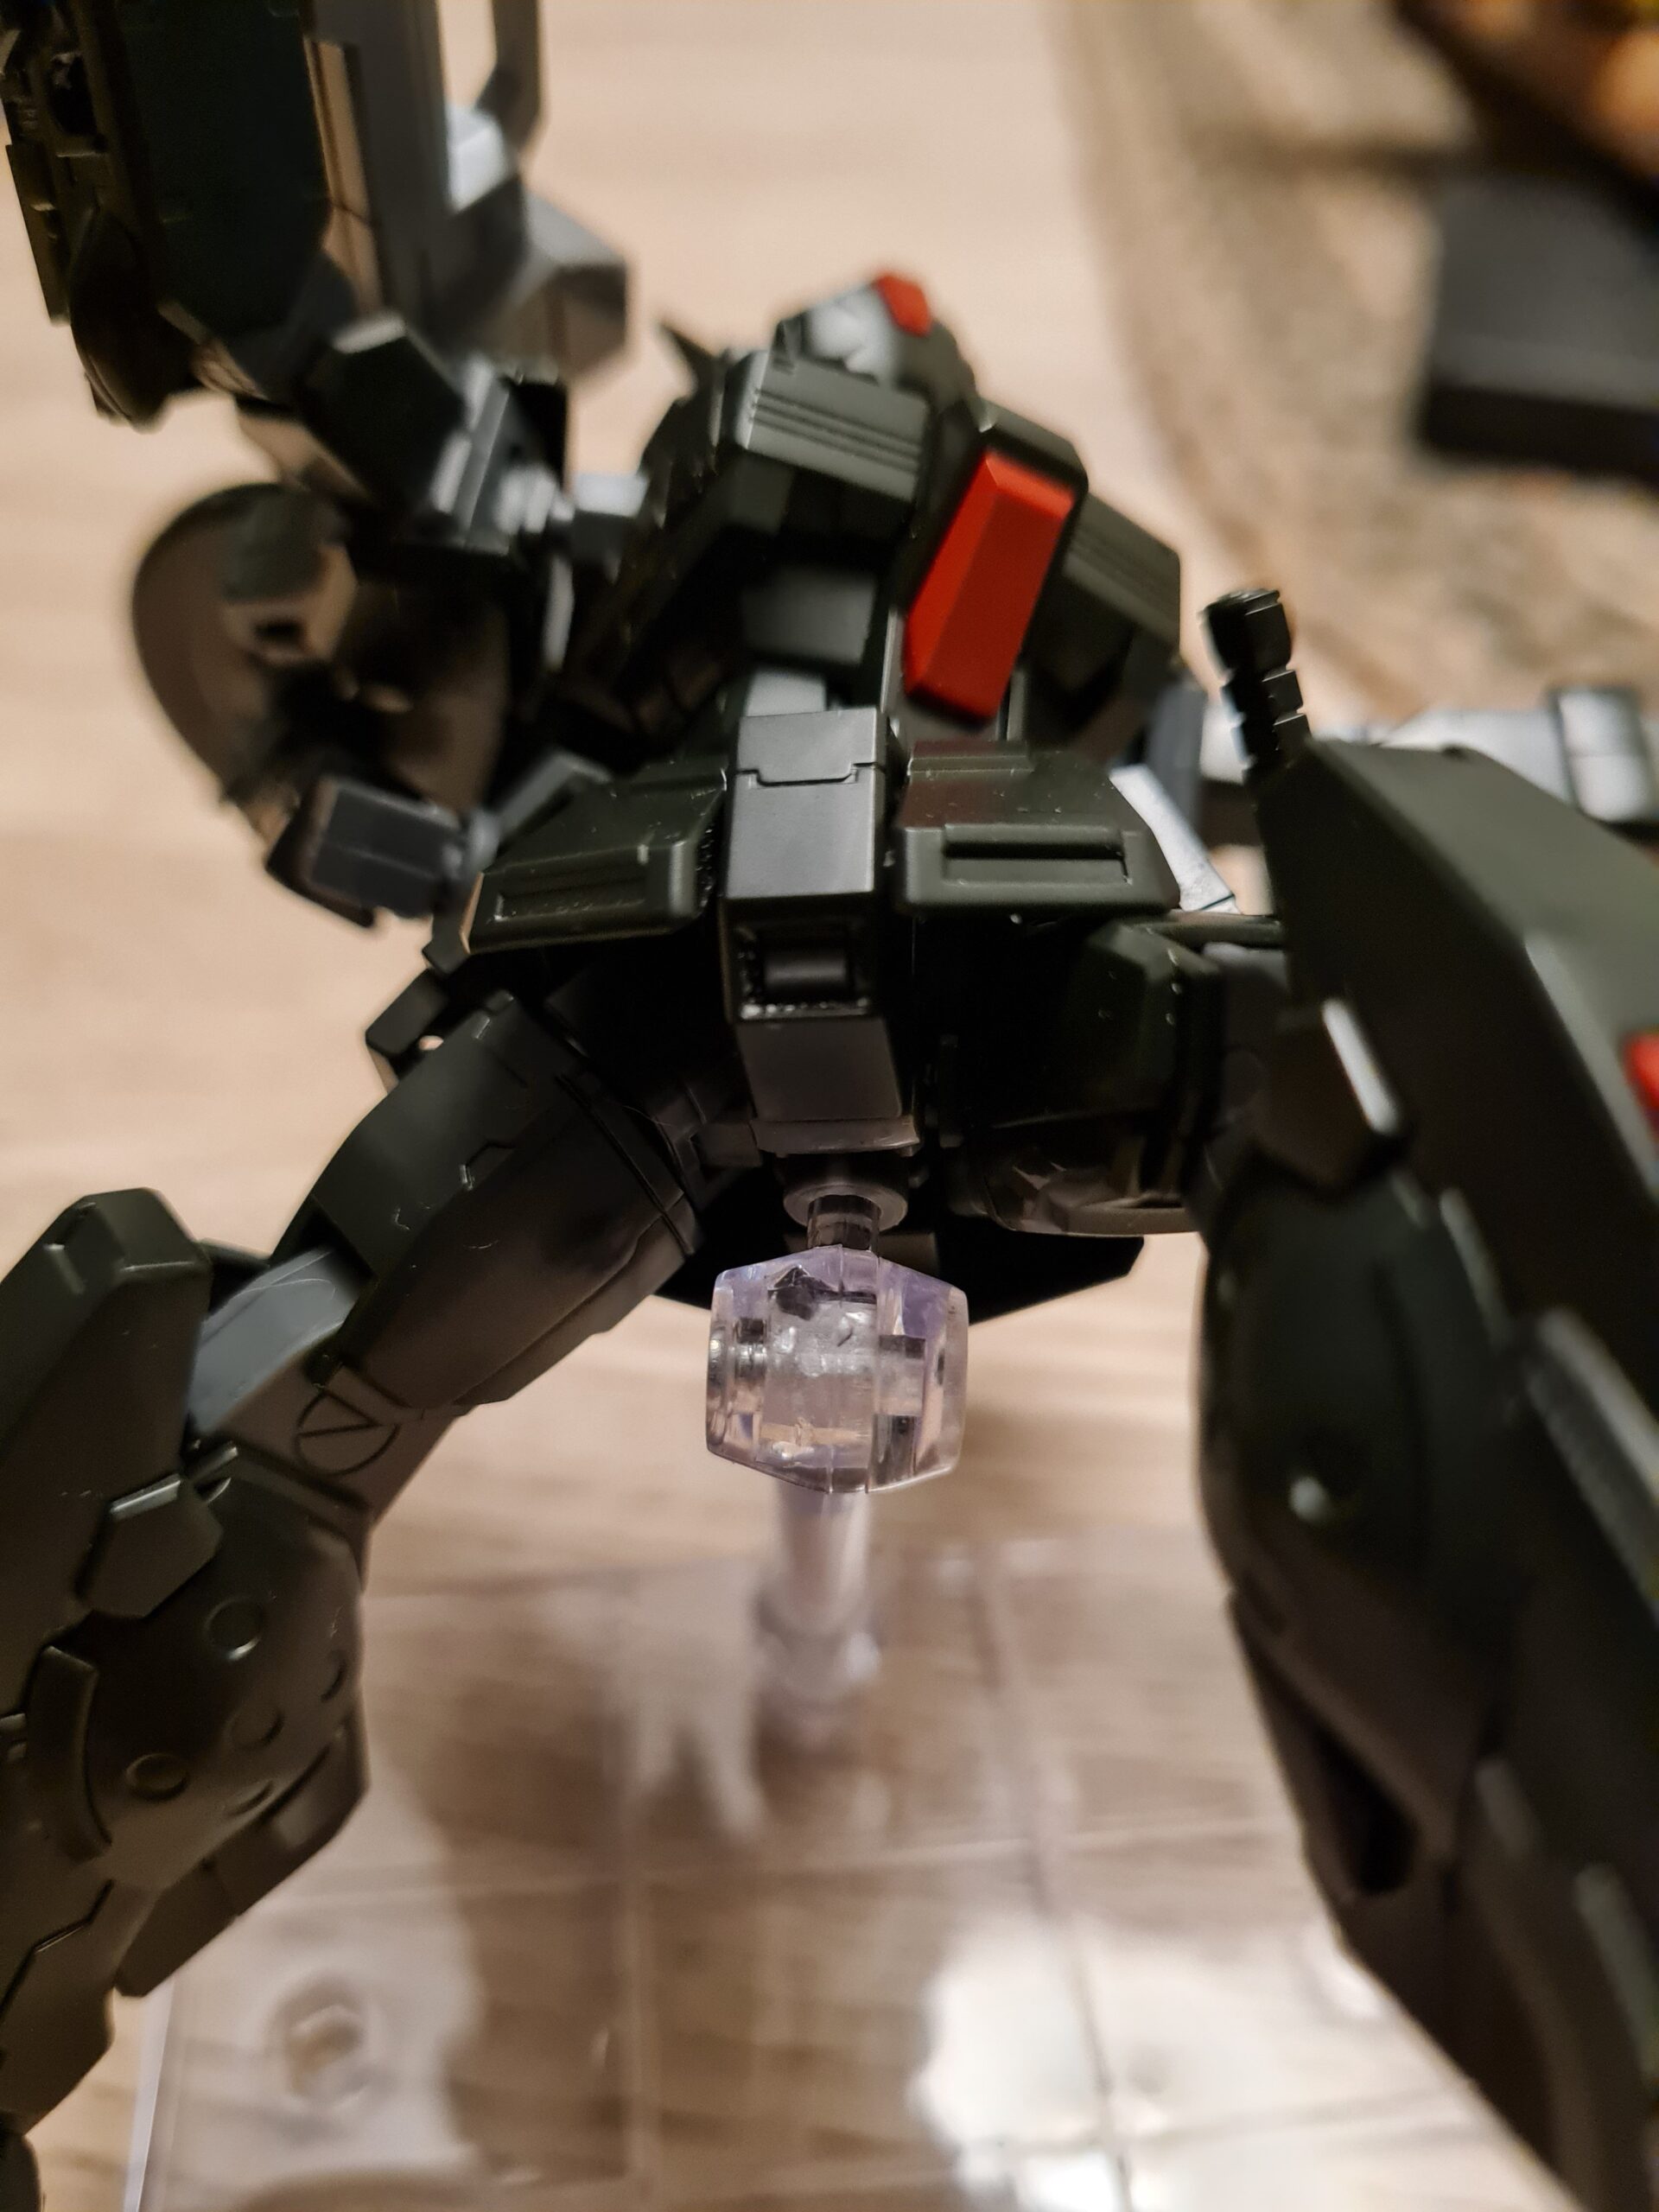
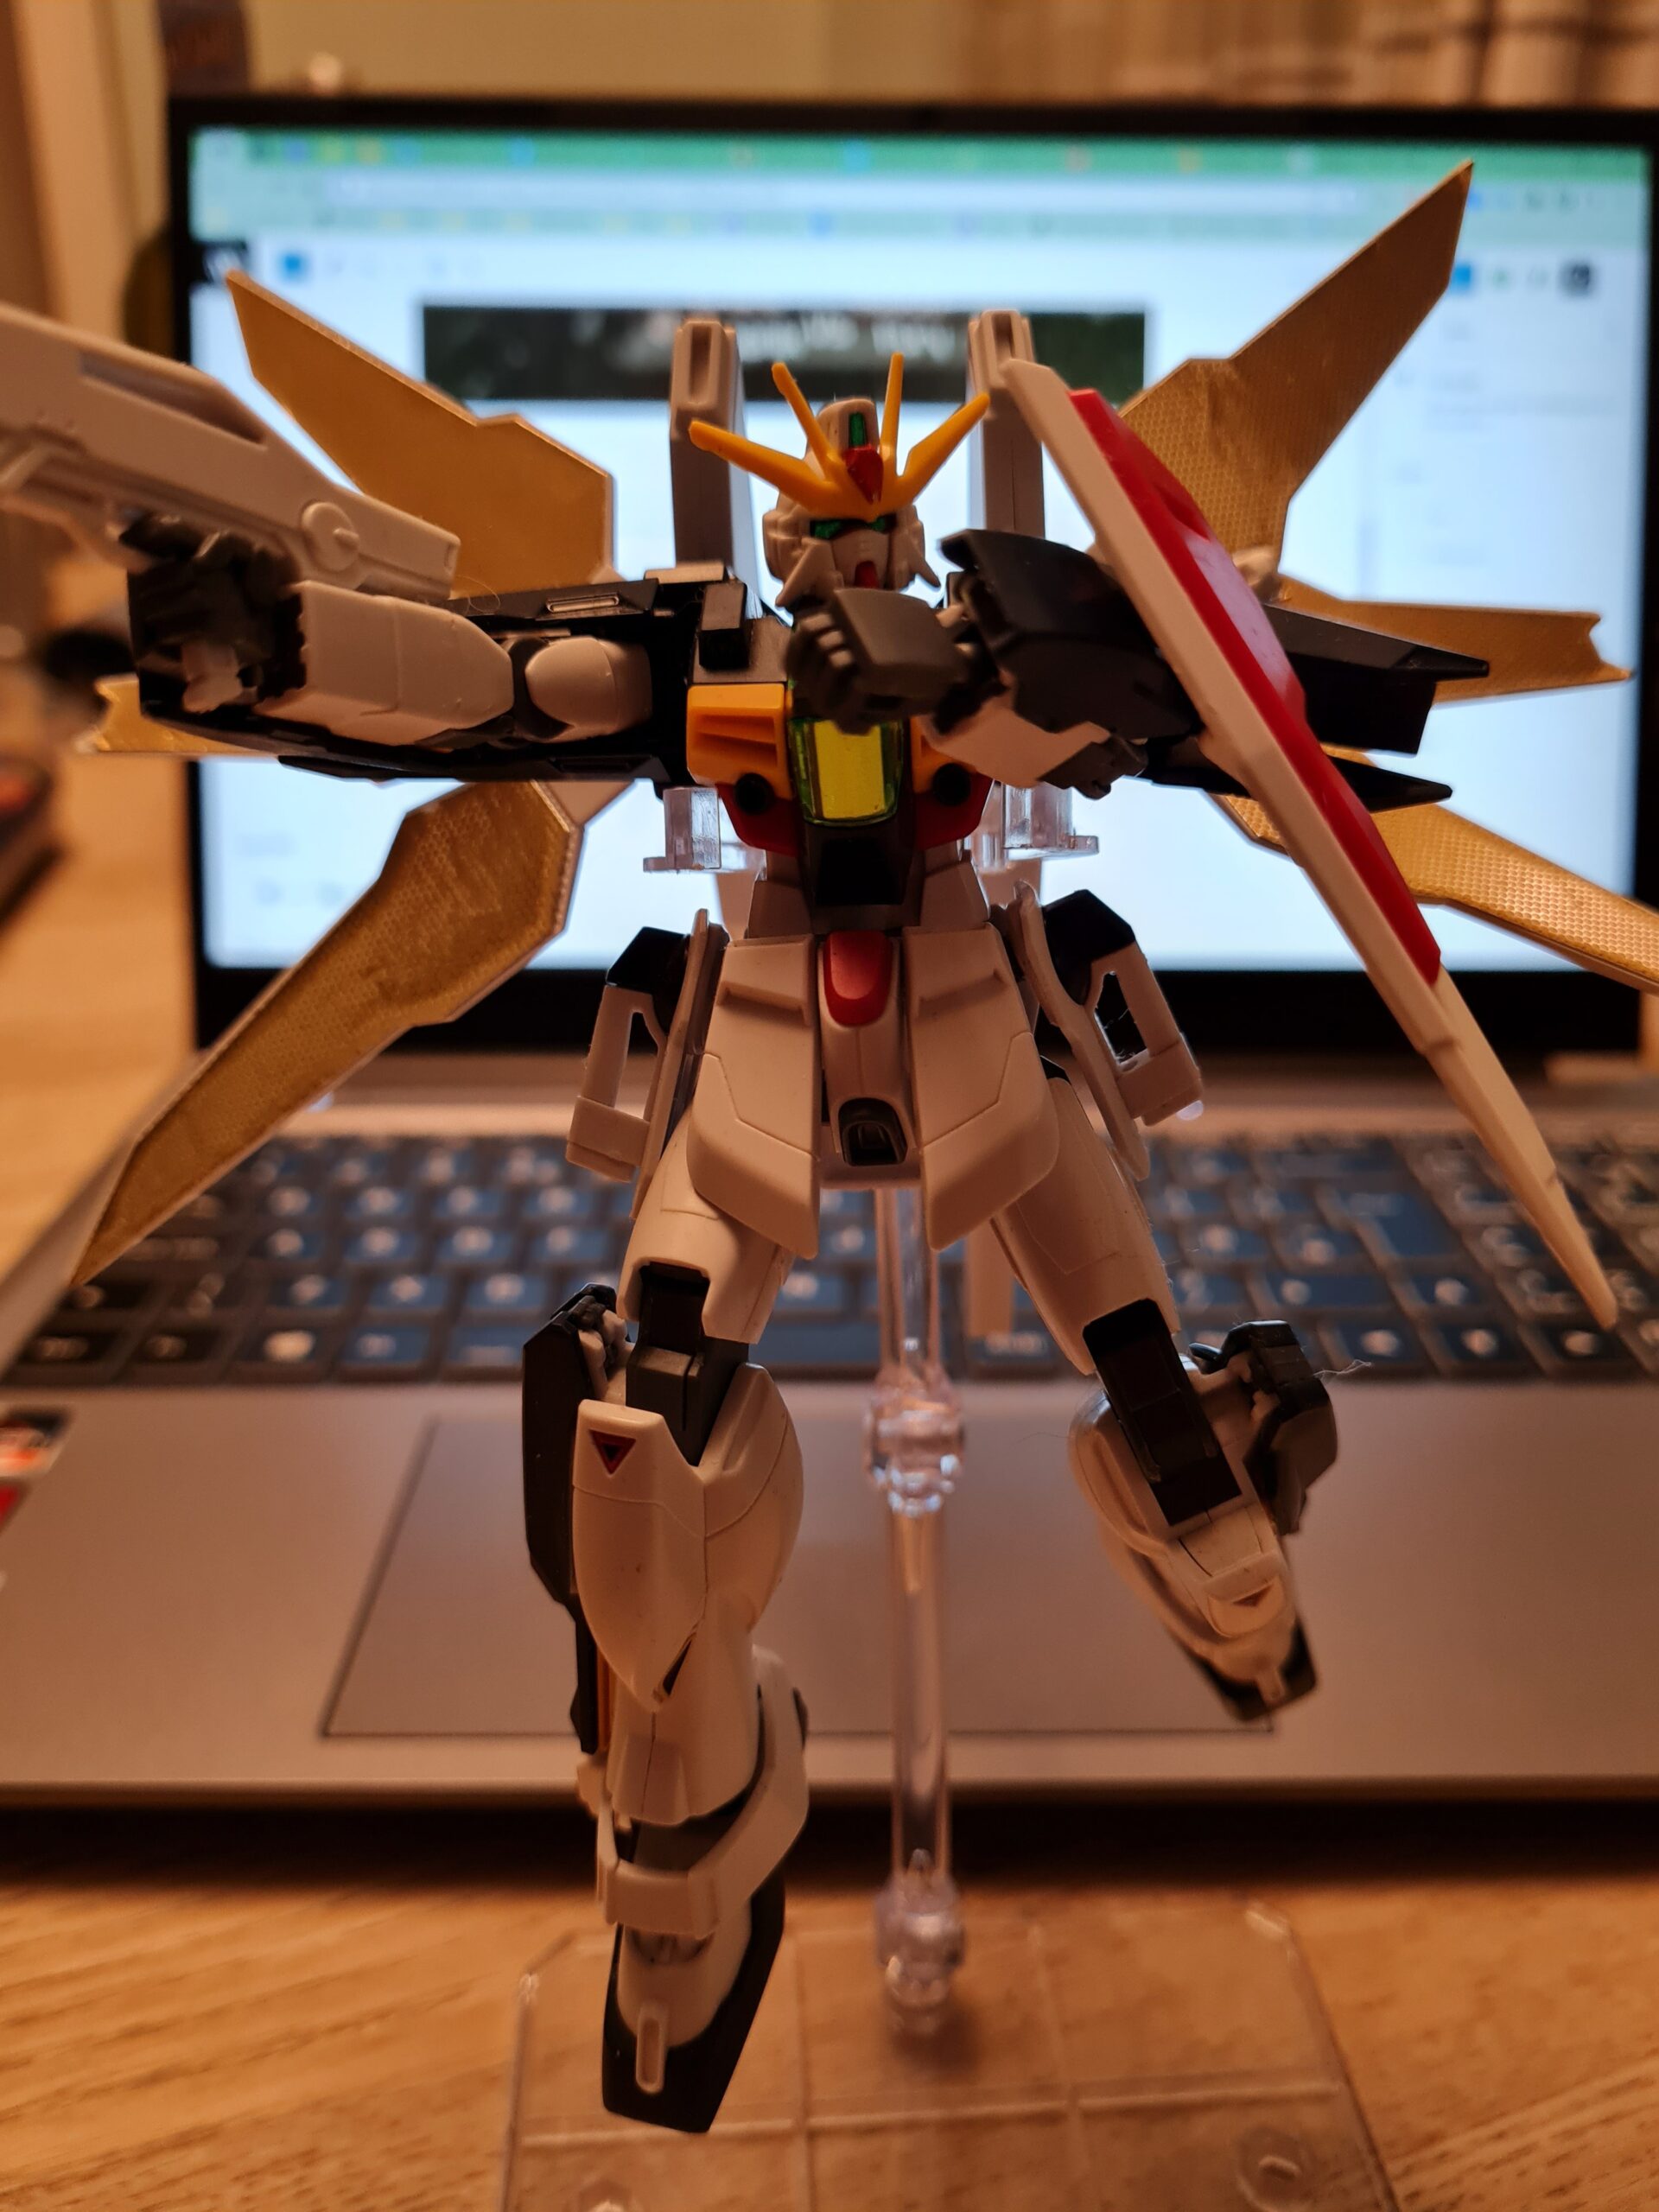
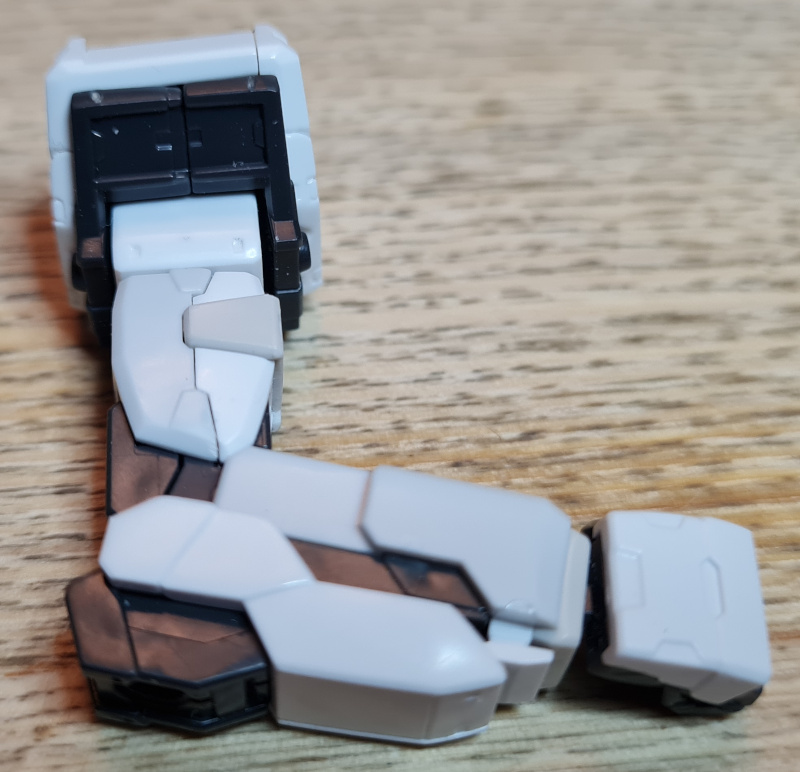
As I had approached it differently I had multiple bits to put together. Building this arm up was a really excellent experience. Seeing the parts layer on top of one another, and finally forming into the arm was a really enjoyable experience. I did have to consult the manual a couple of times, and work out which bits went where, but when in the right place the went together beautifully.
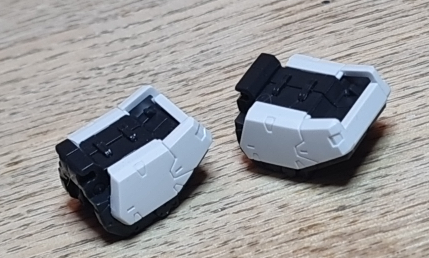
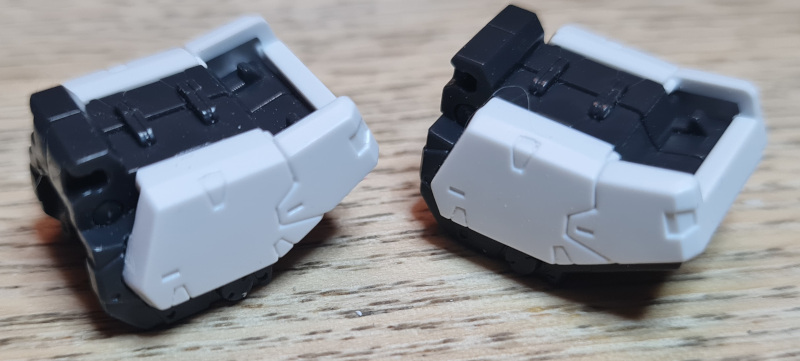
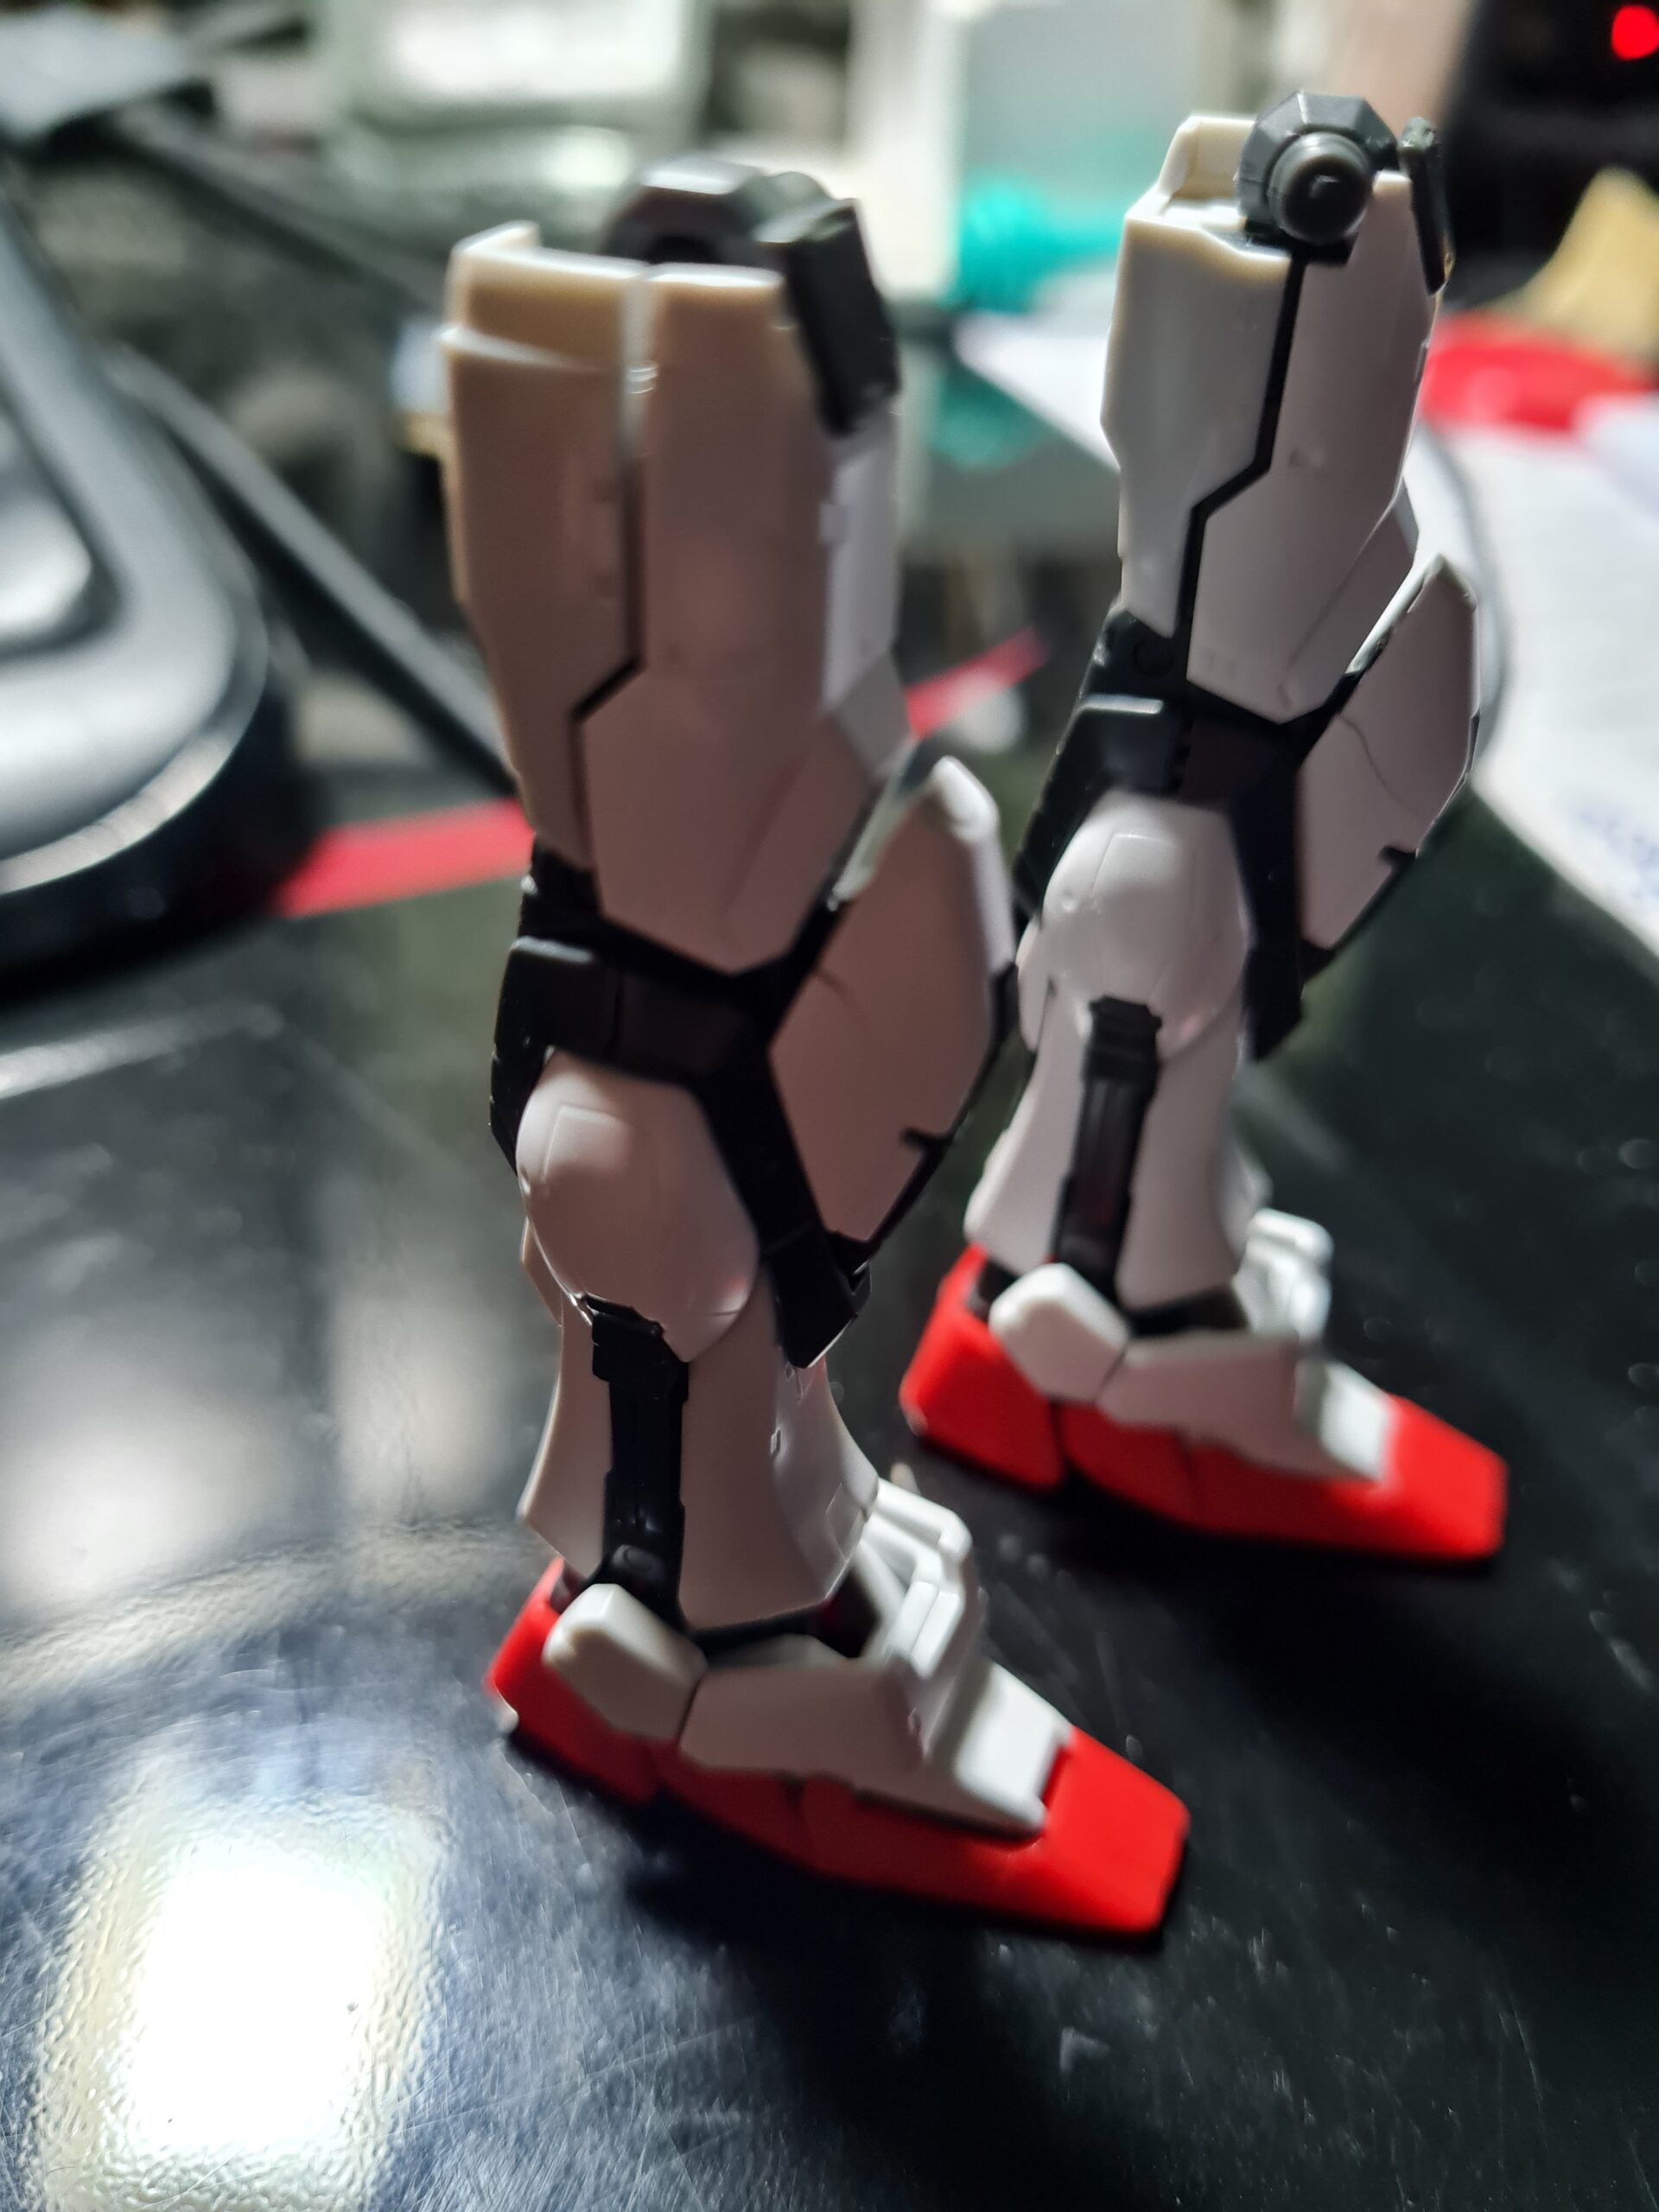
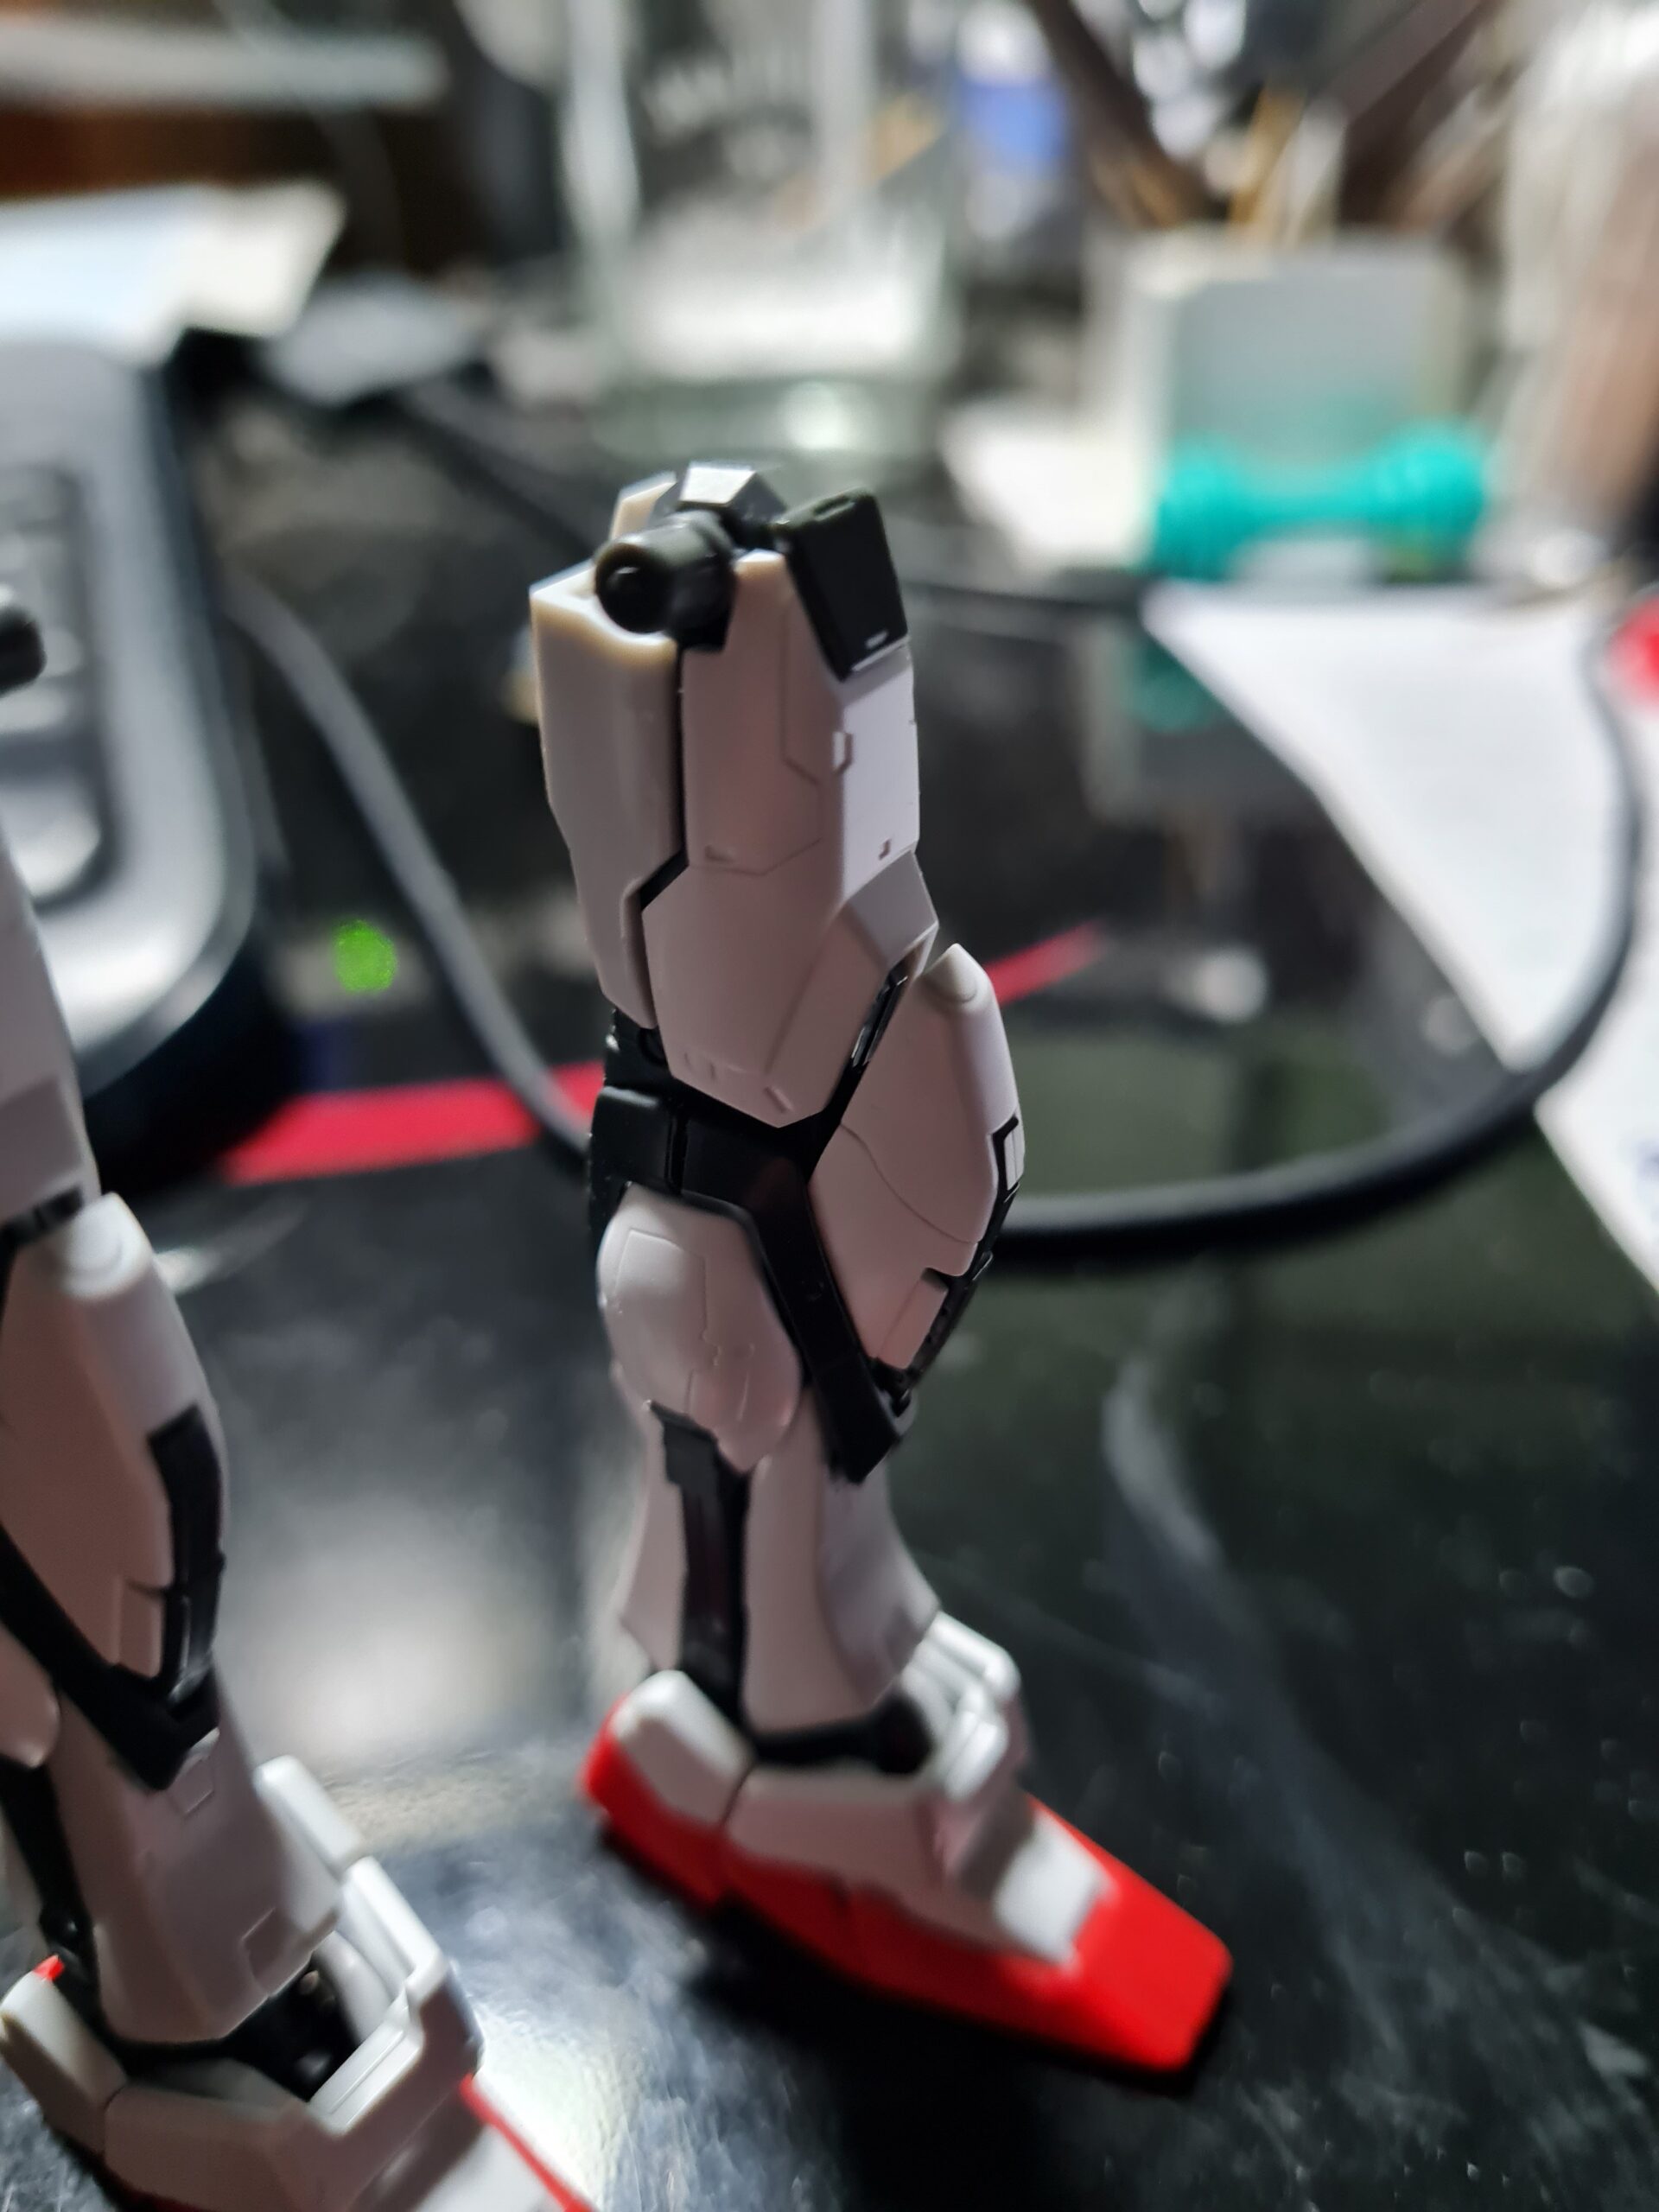
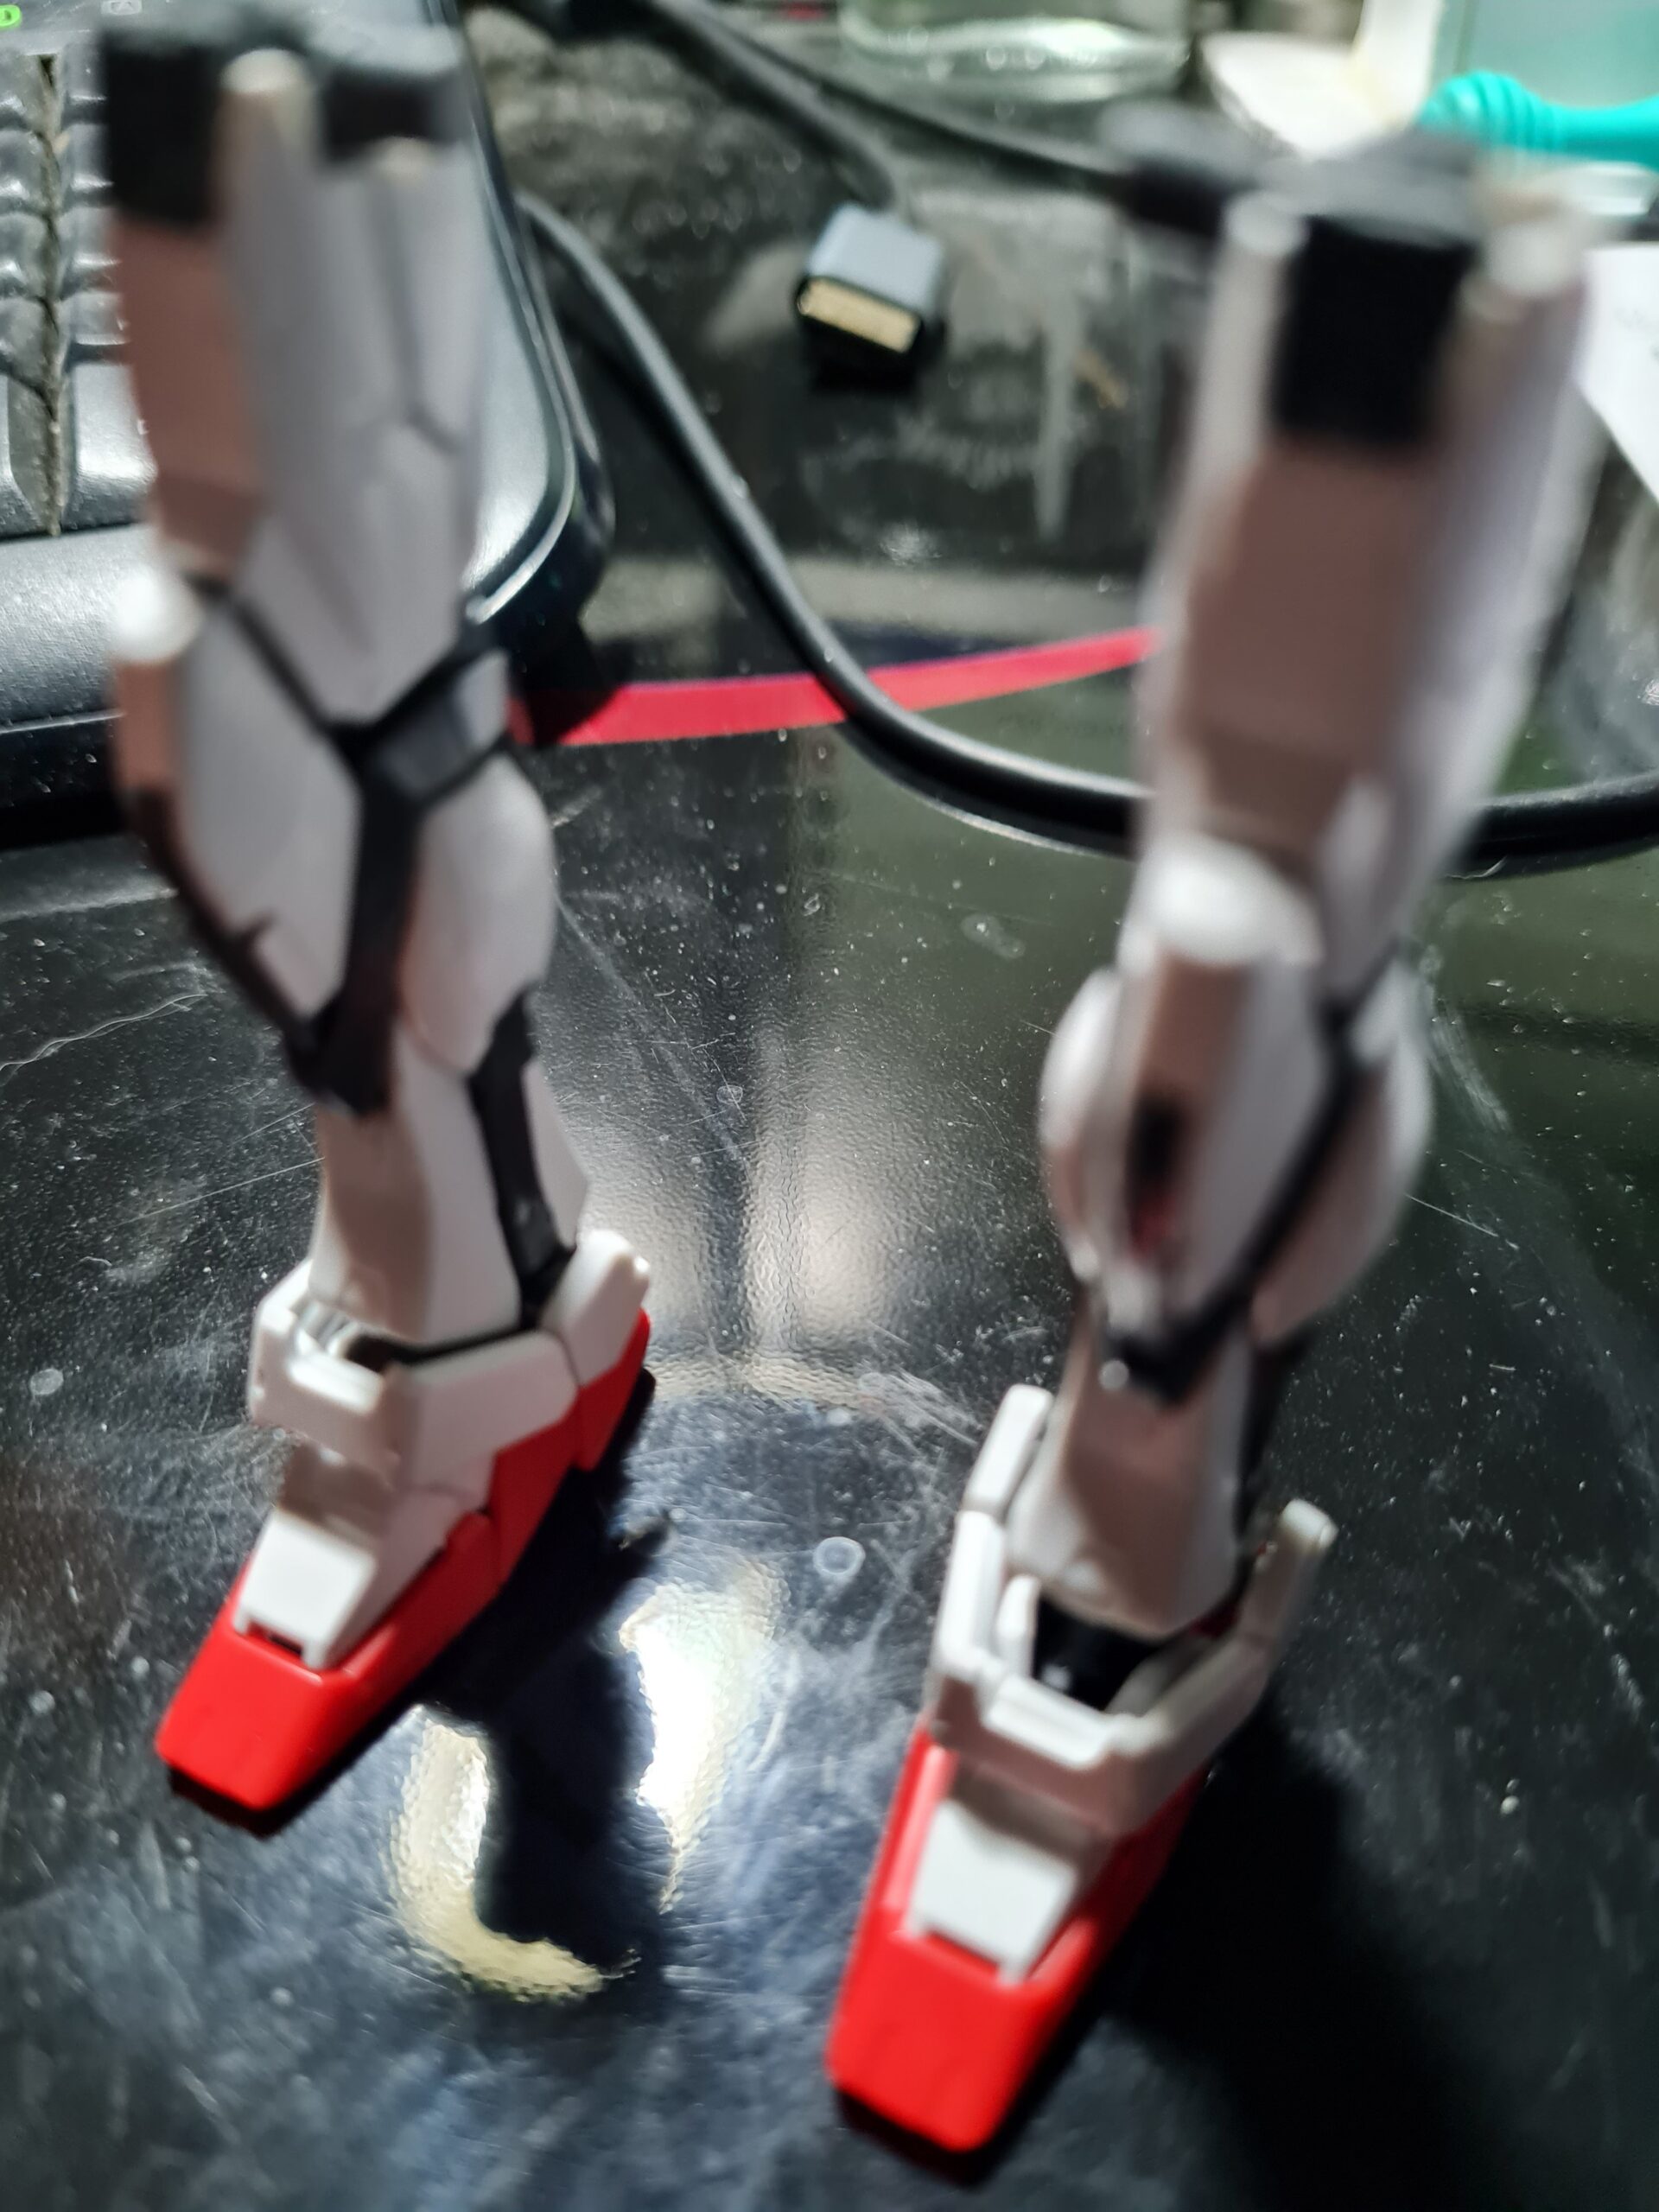
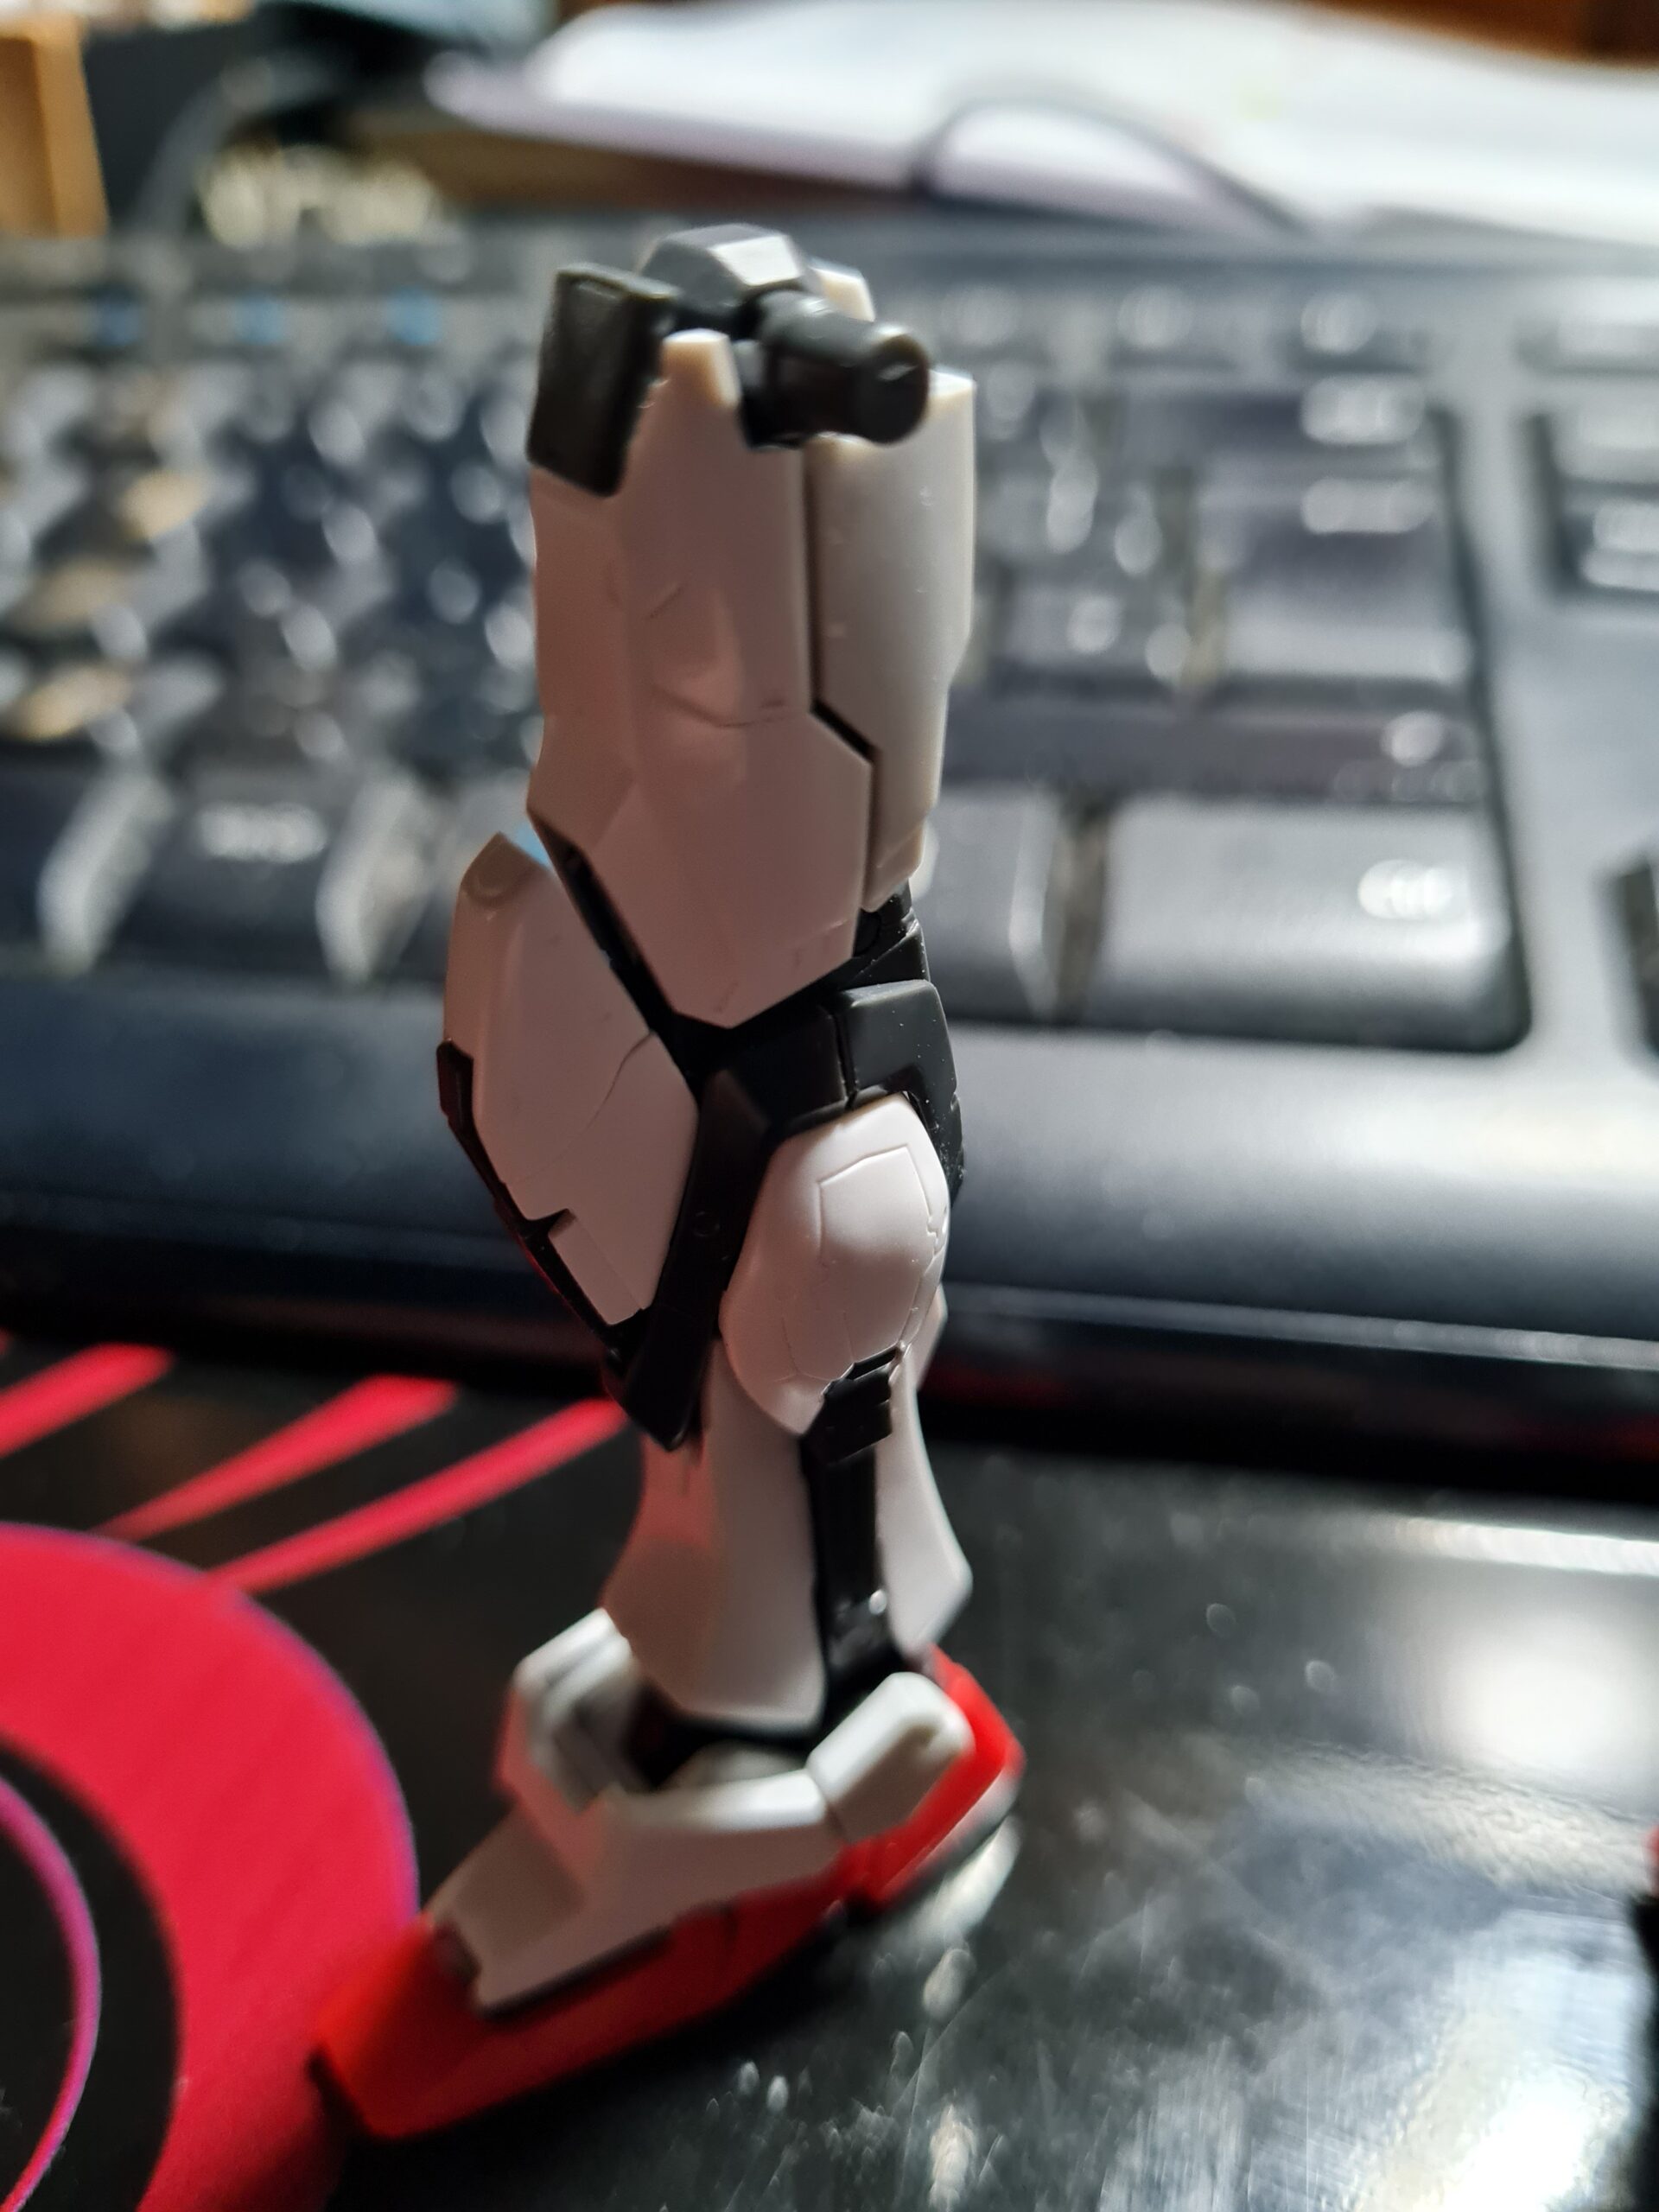
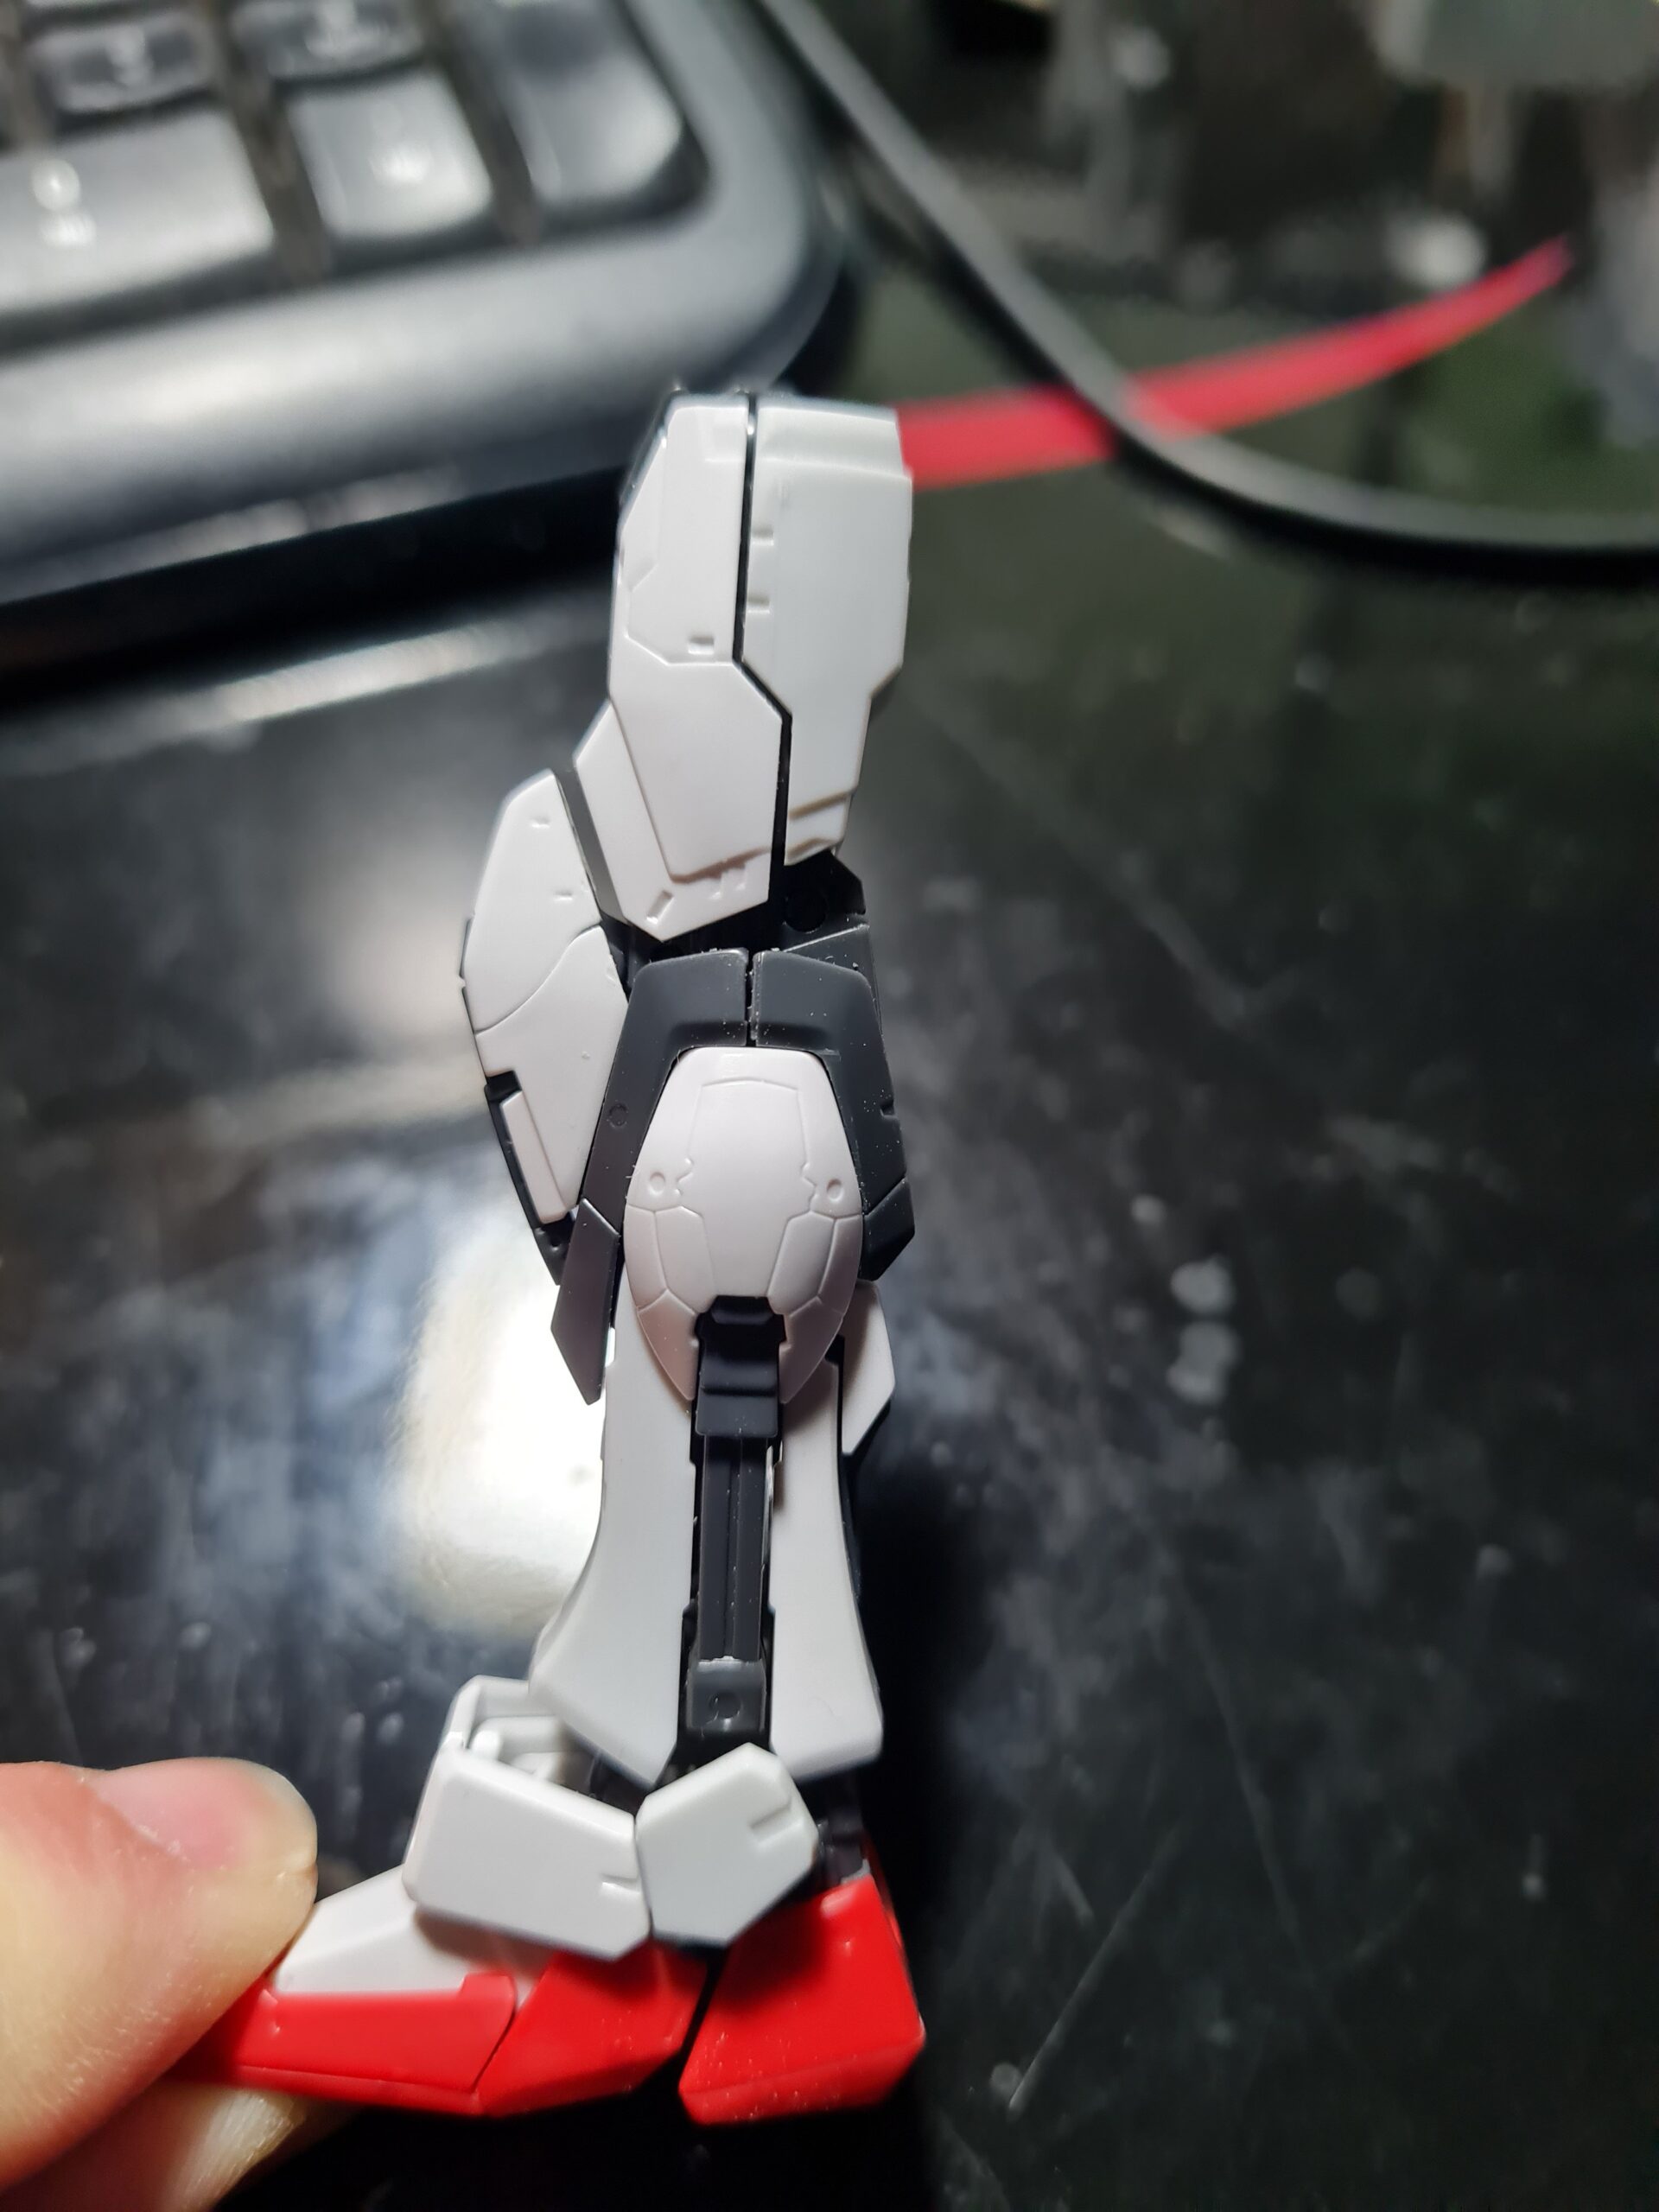
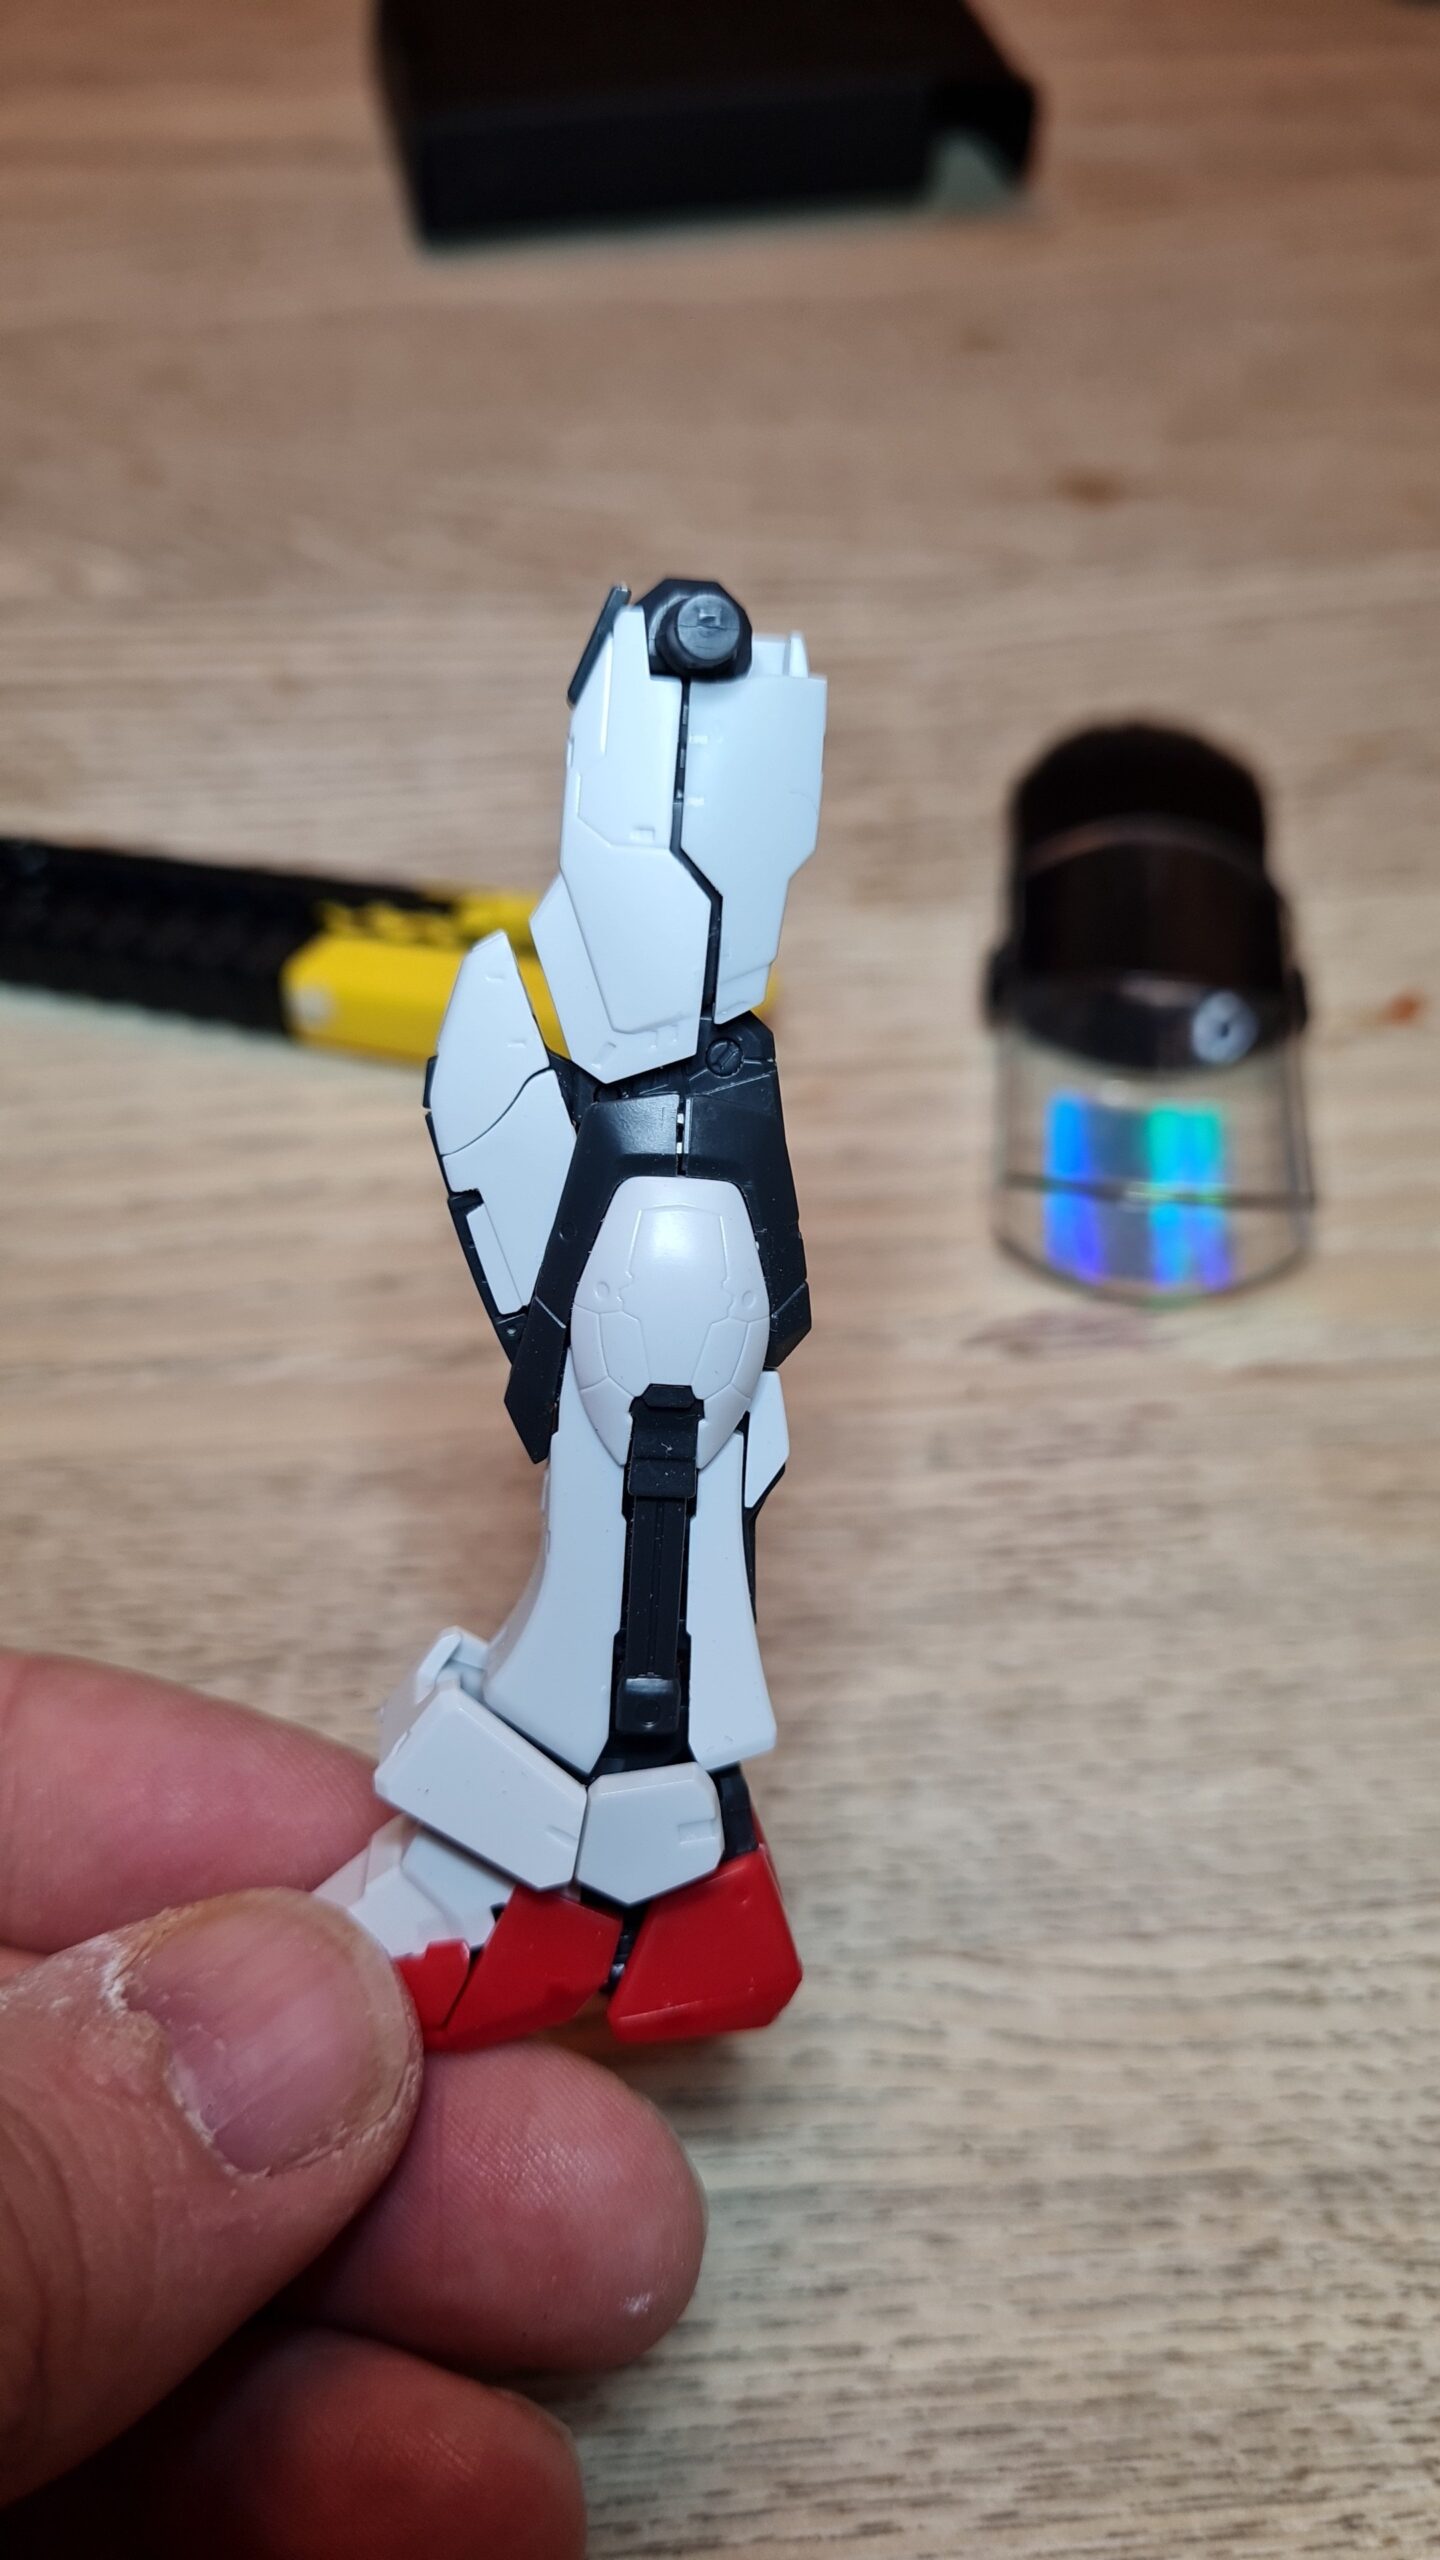
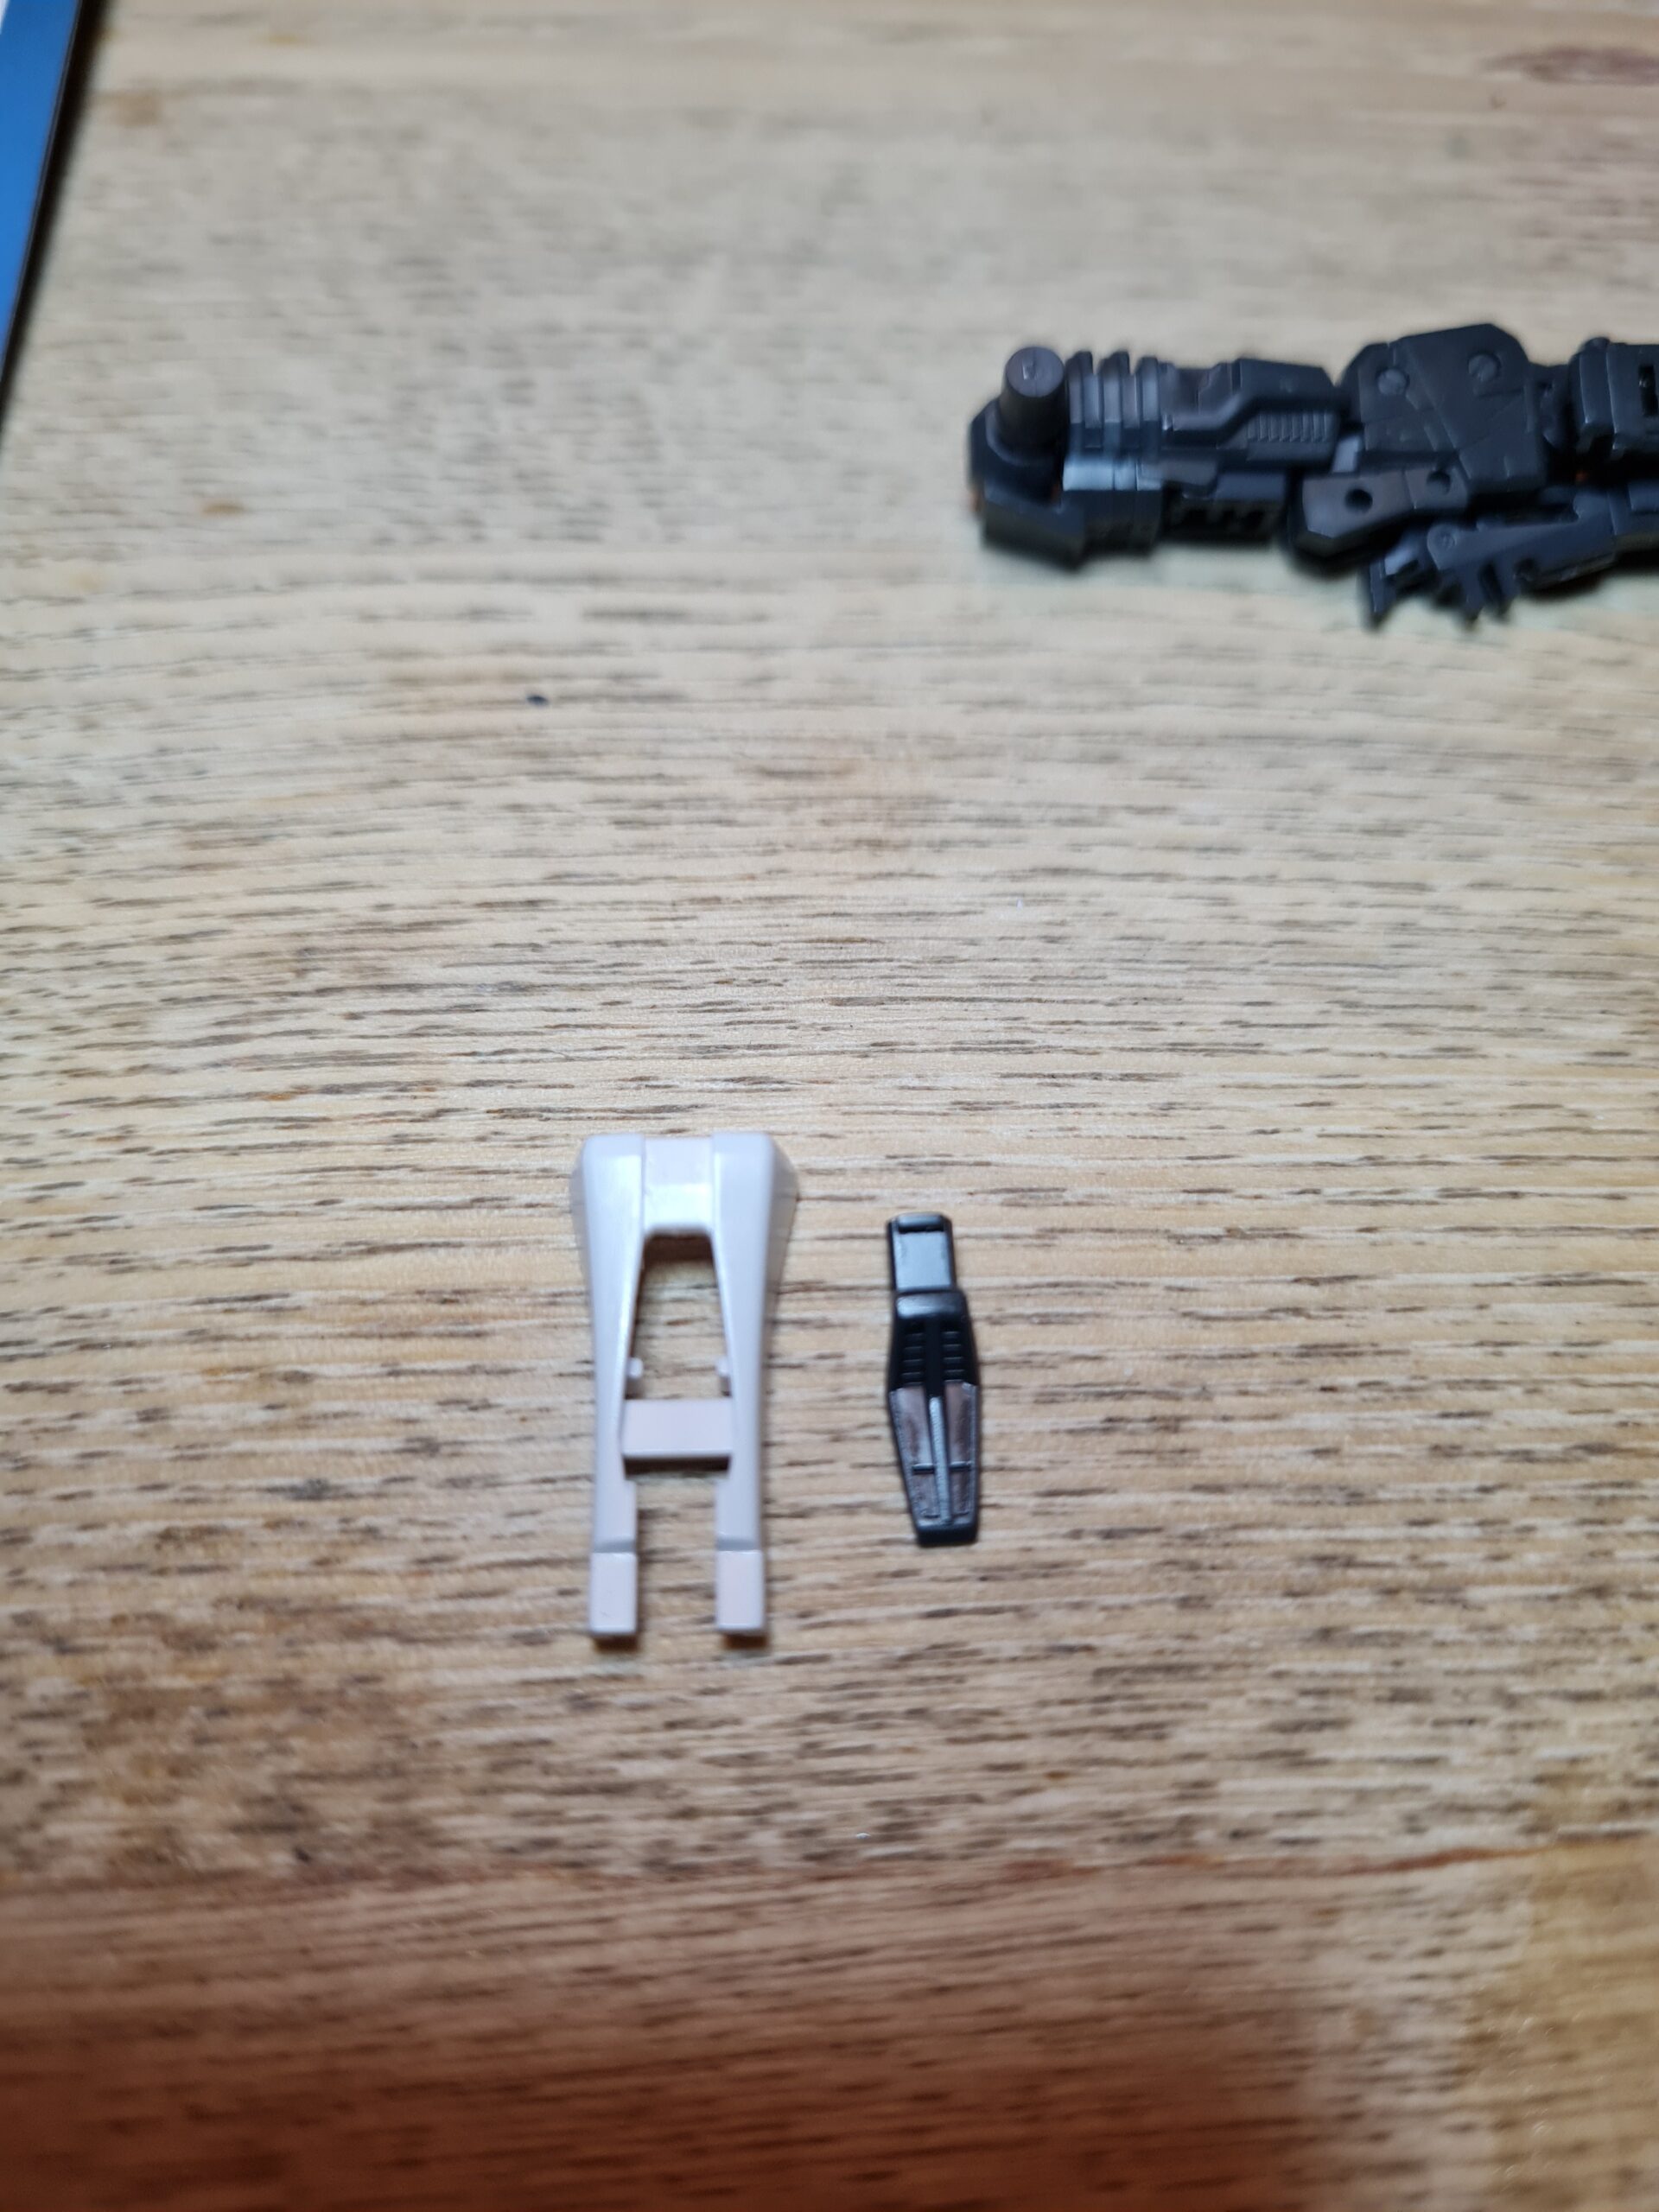
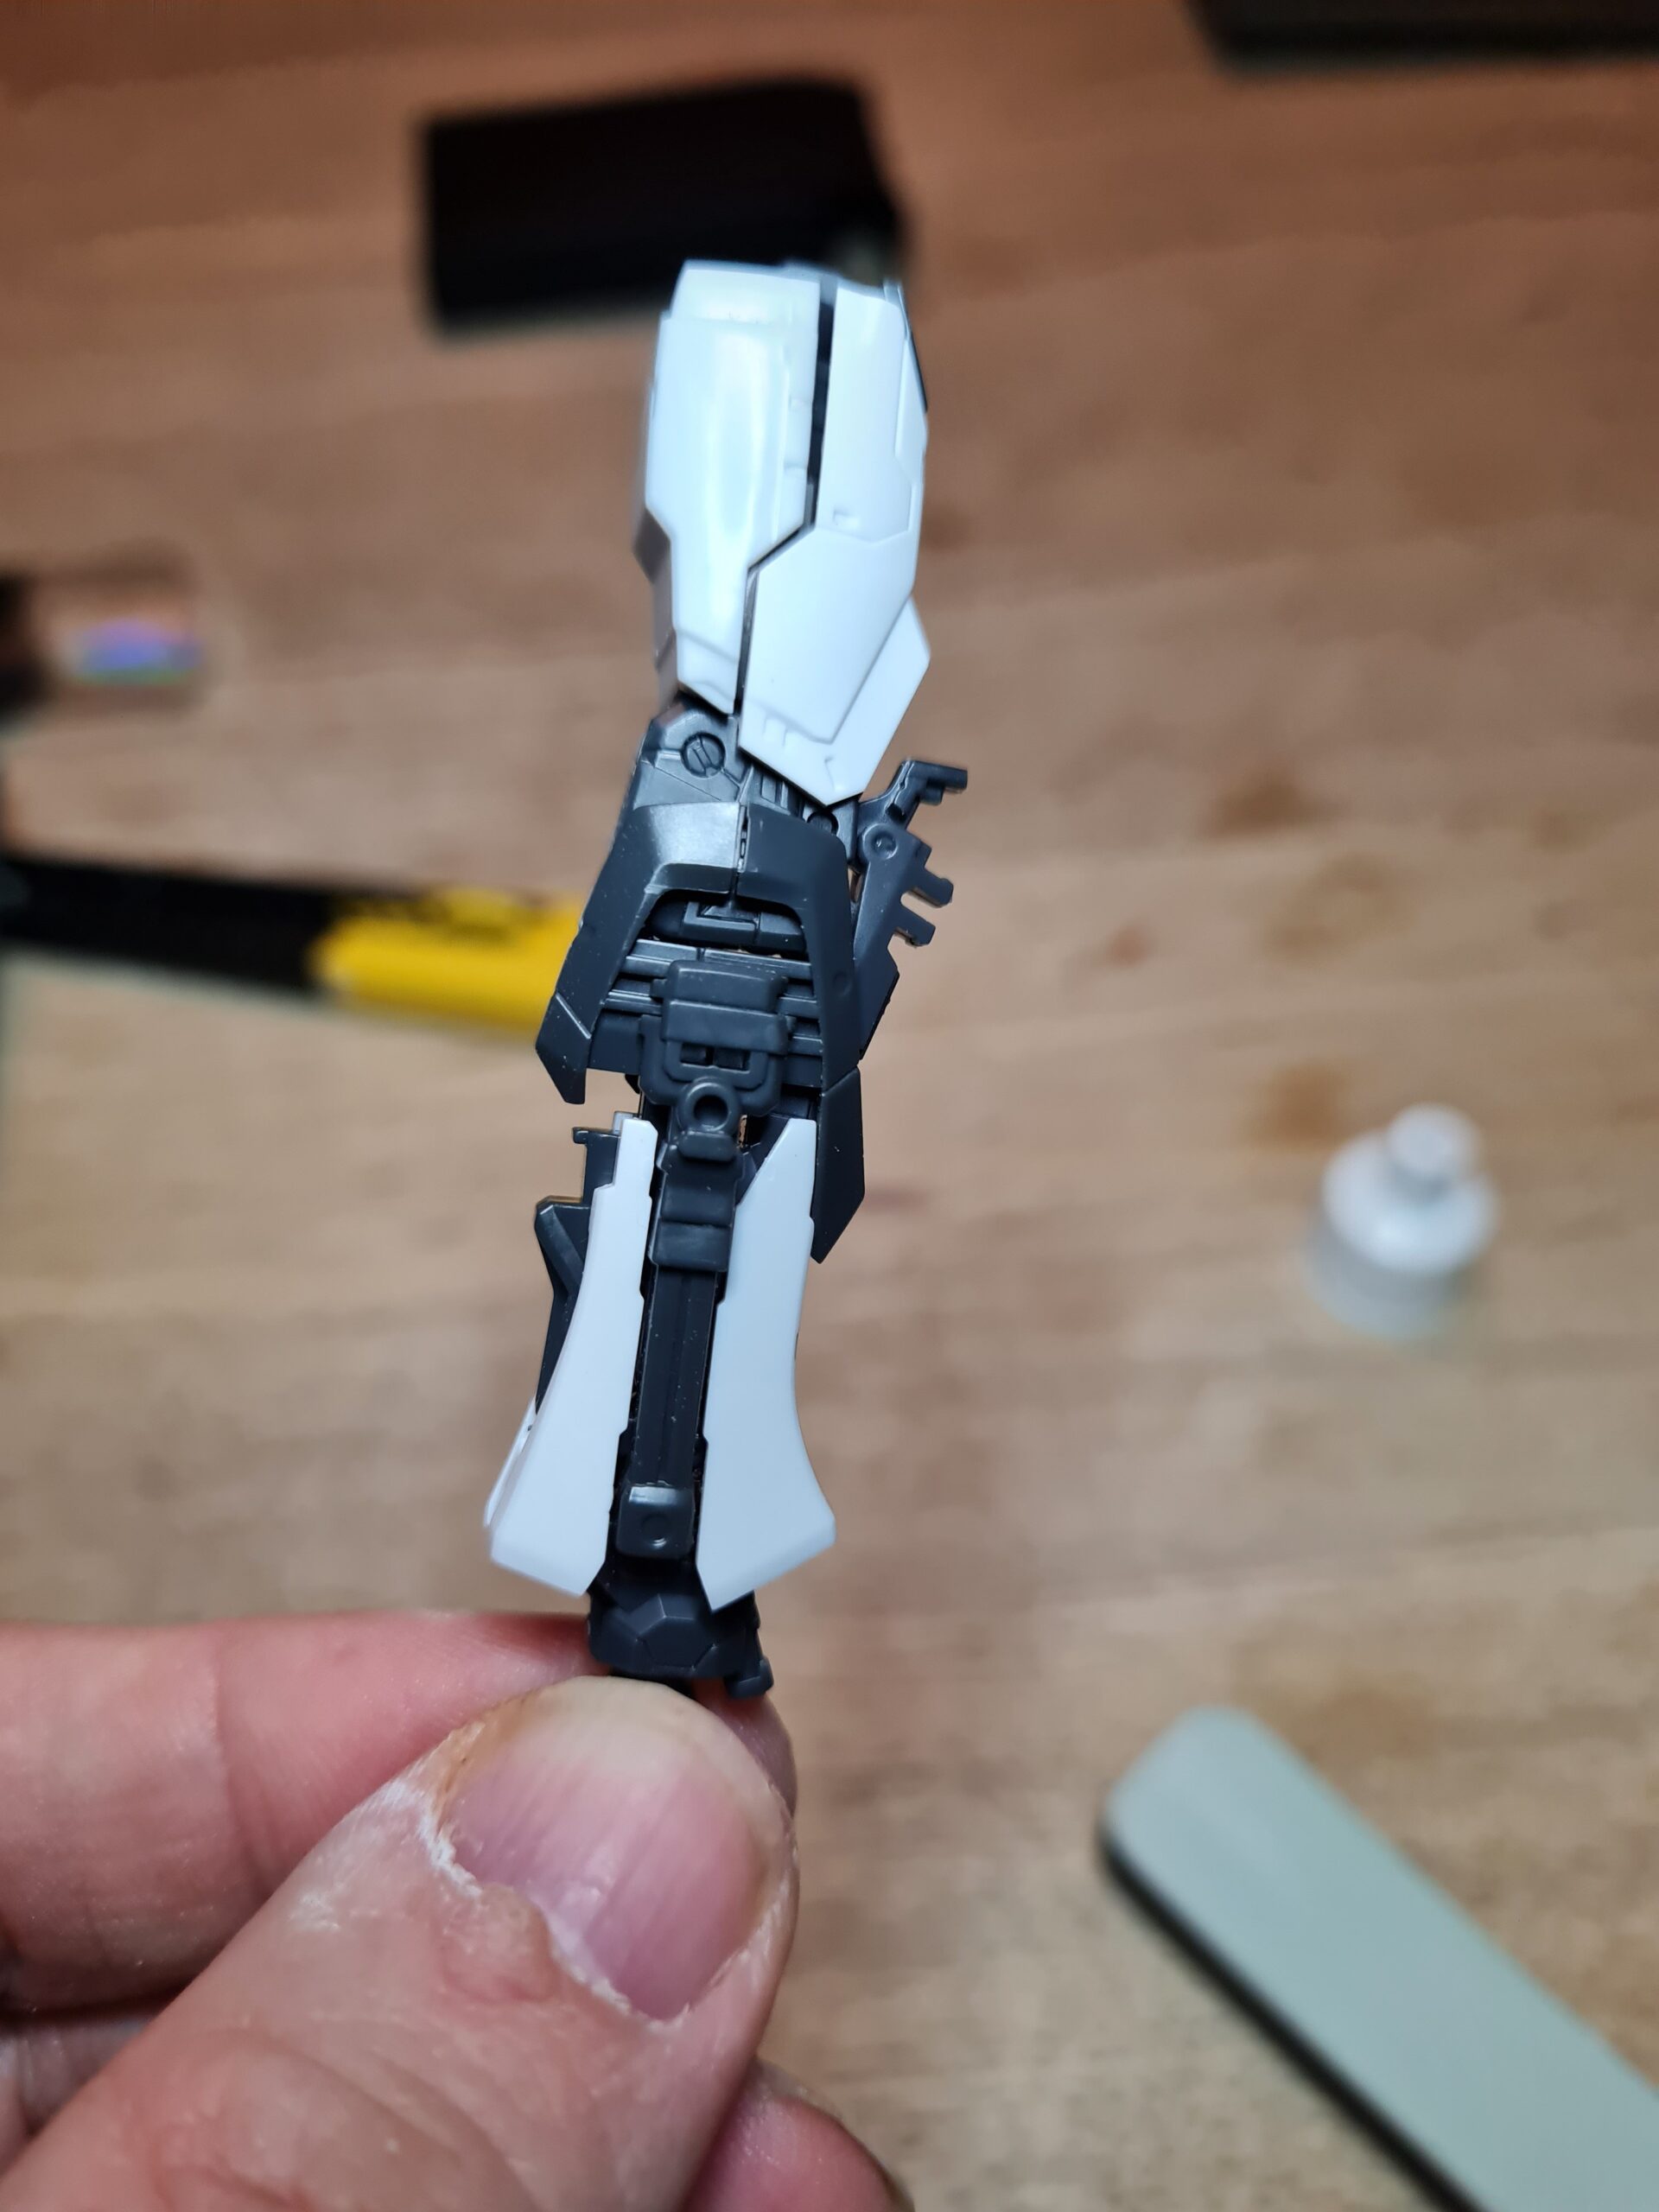
I have said it before in this build, and I’m sure I will say it again, but the armour on this build is an absolute pleasure to work with. The way the white parts clean up when you have that little bit extra time on them, they look really stunning.
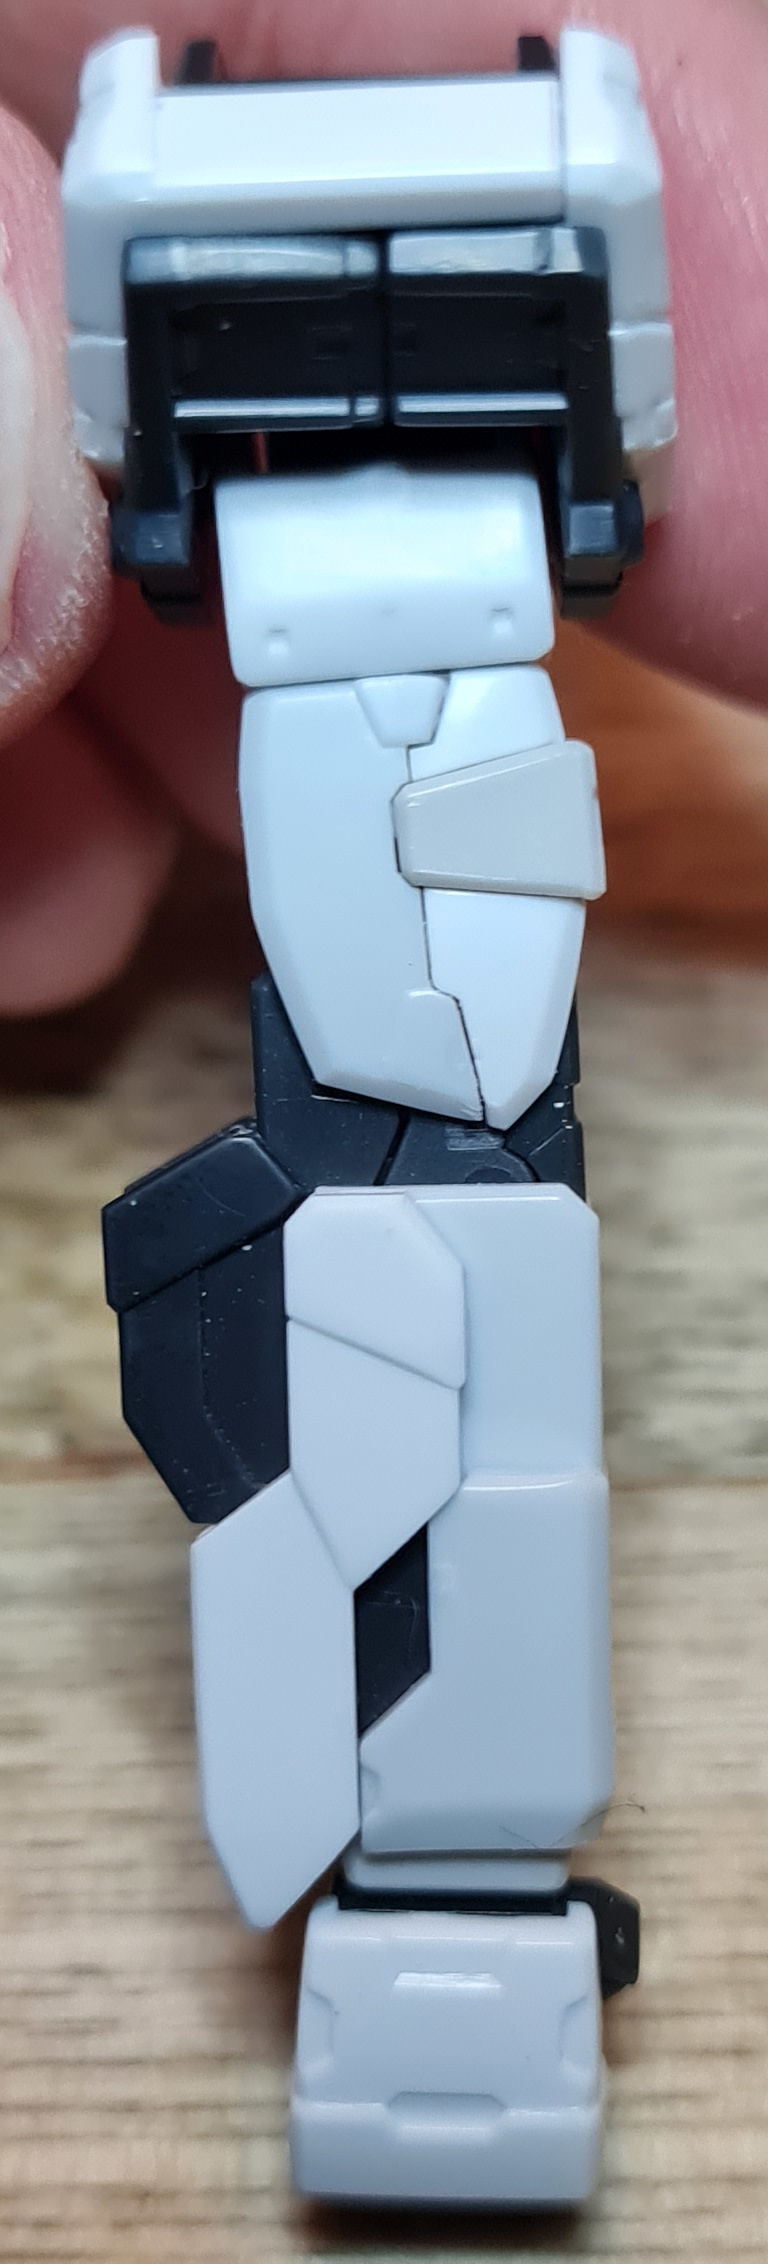

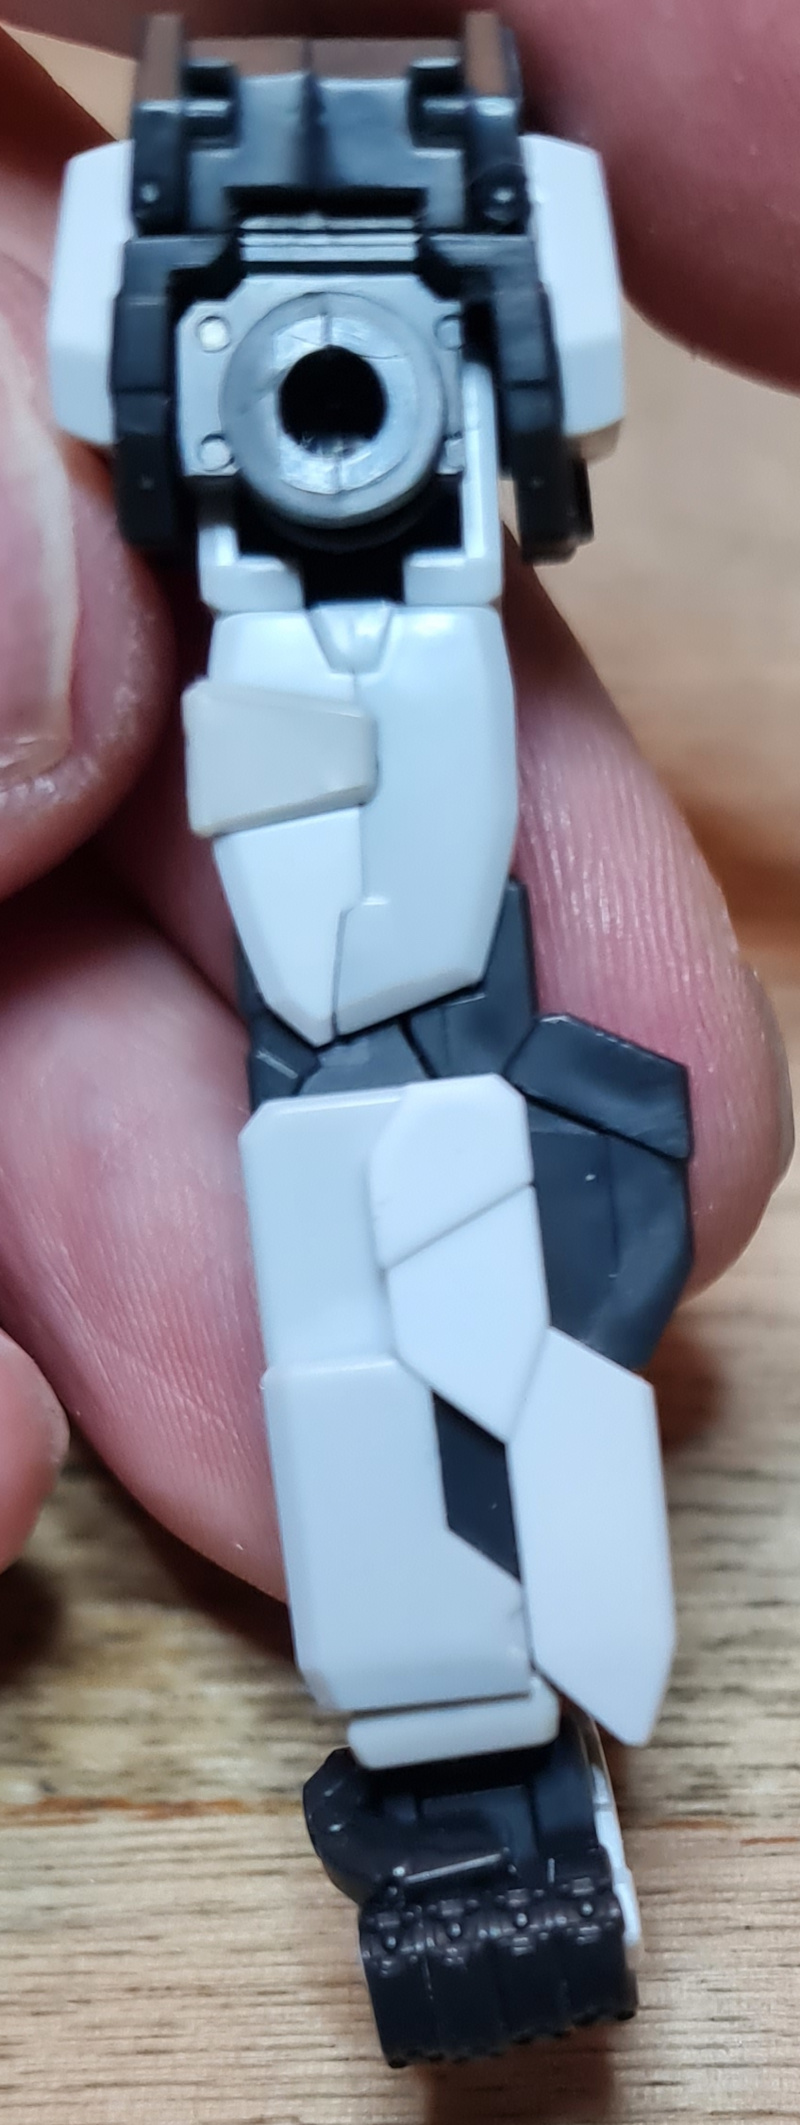
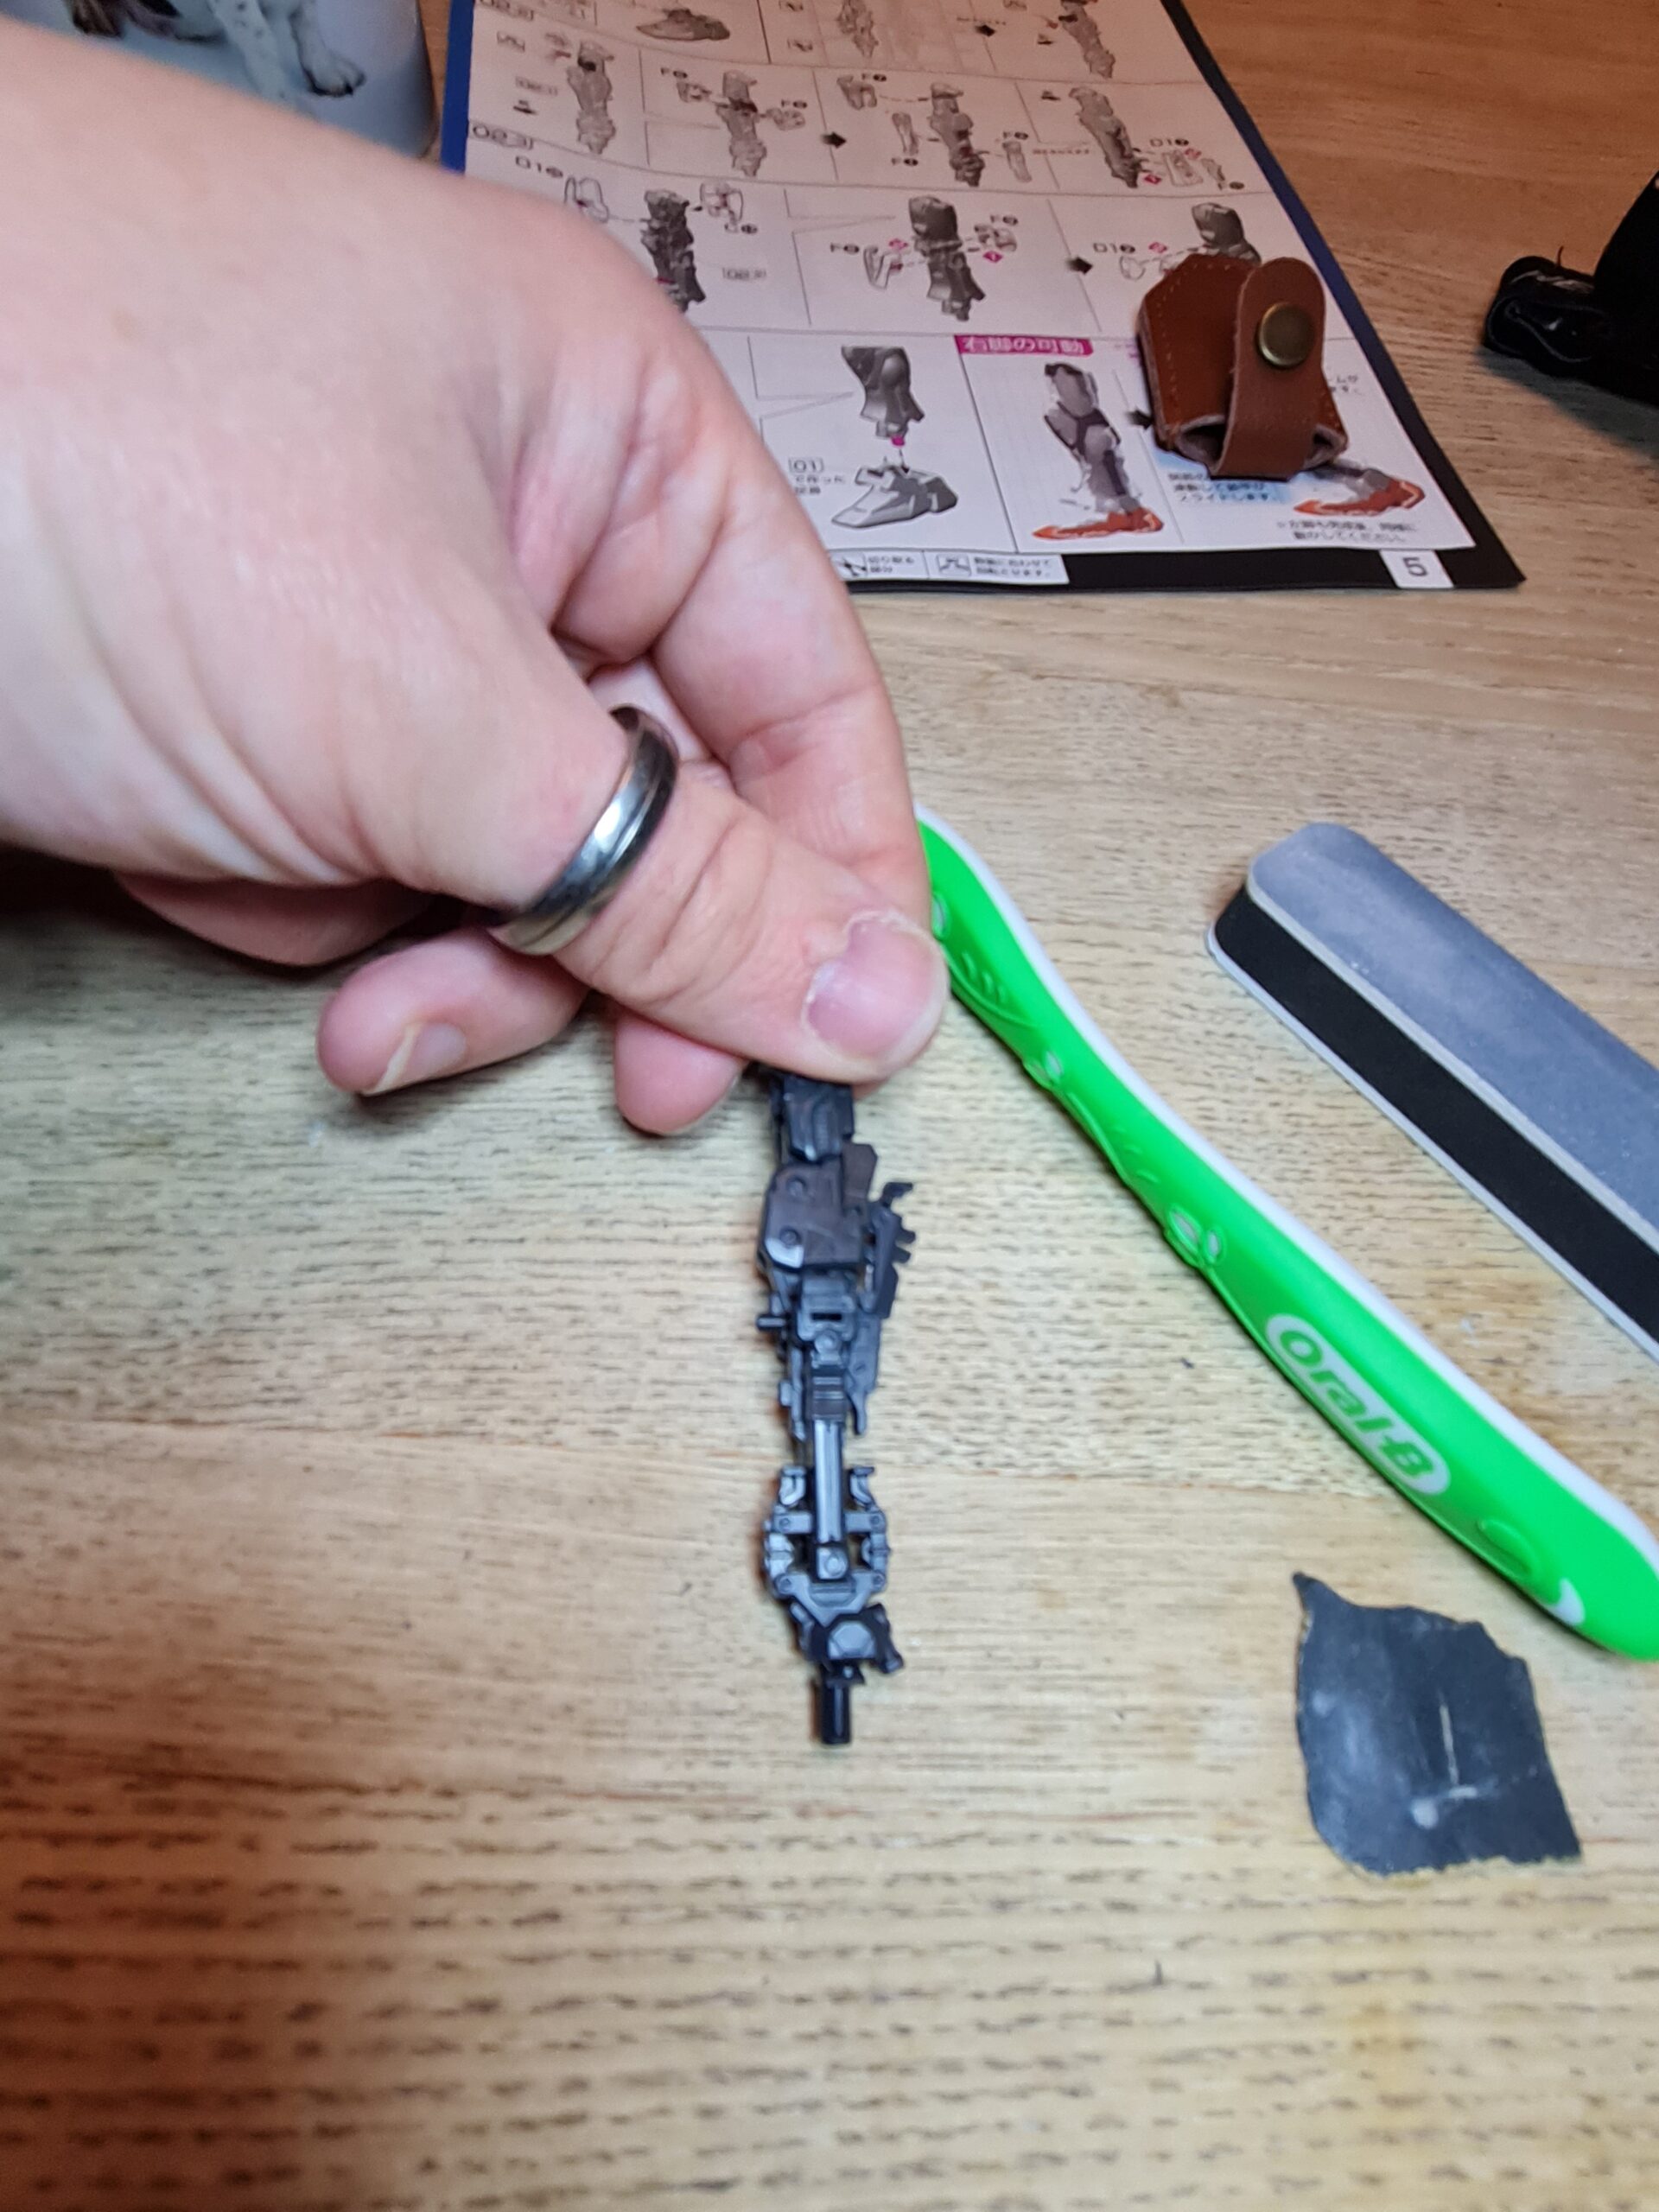
As can be seen in the pictures above, the arm, in my opinion has come out really cleanly.
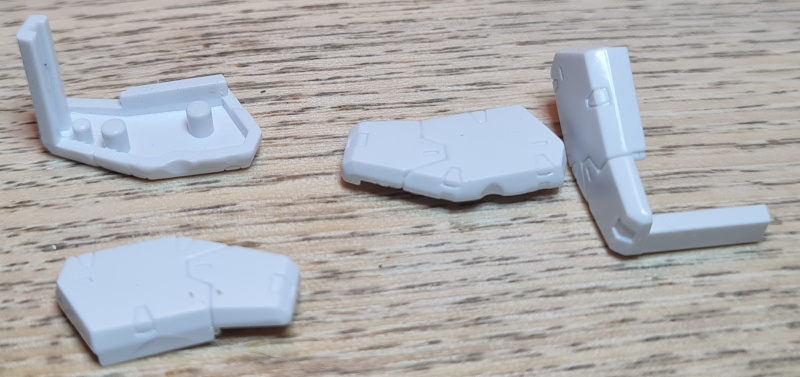
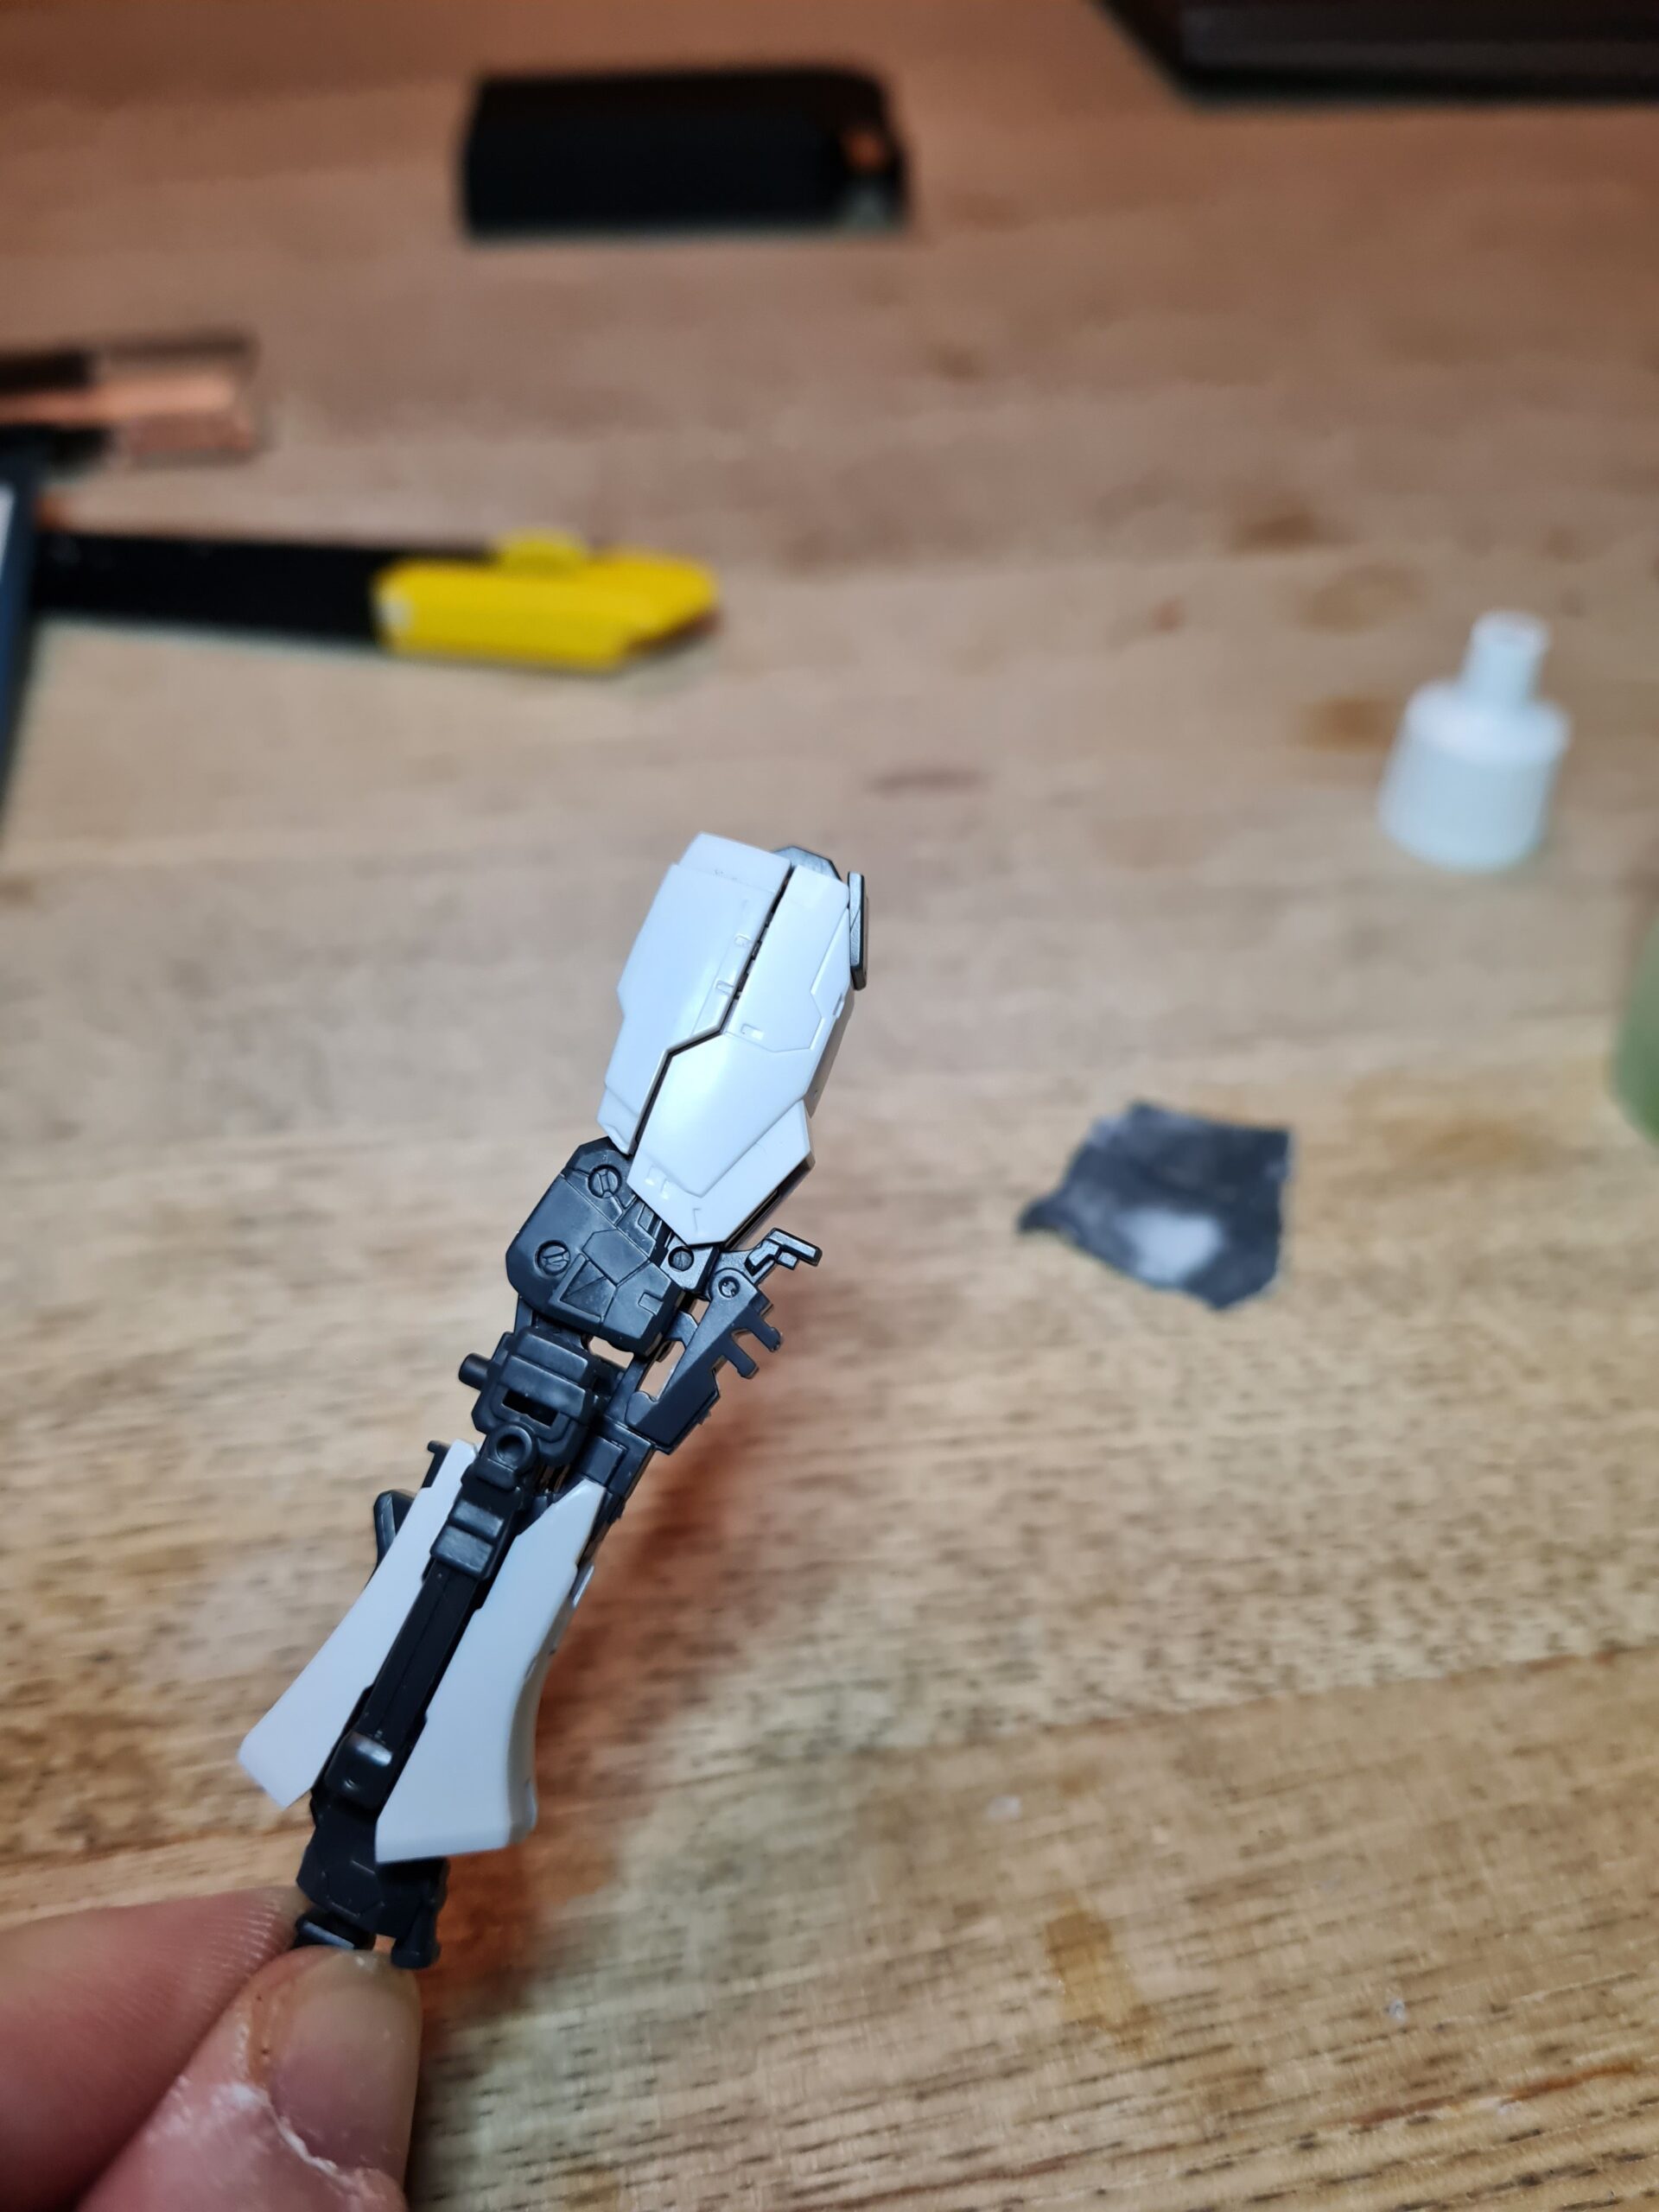
Articulation
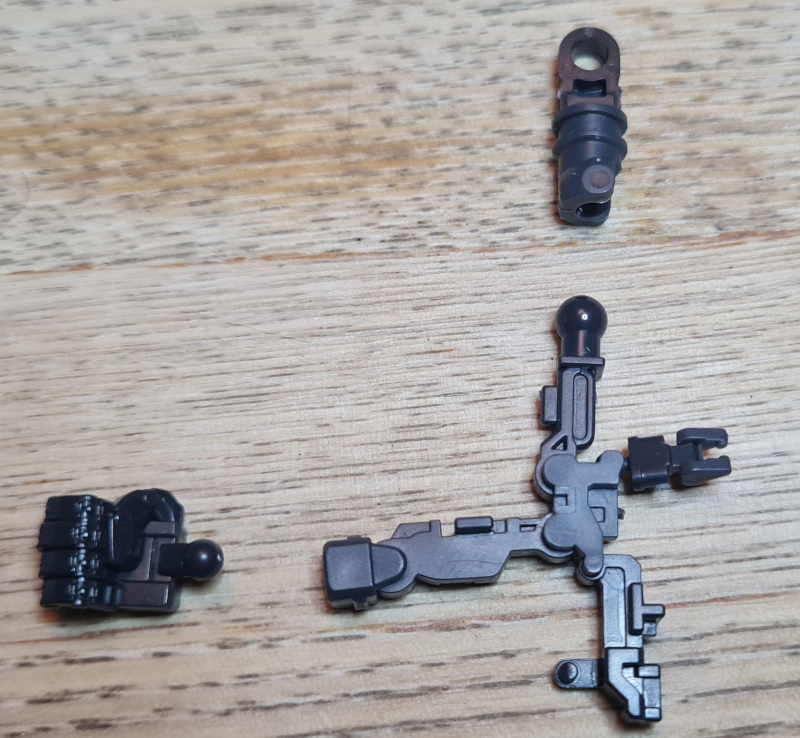
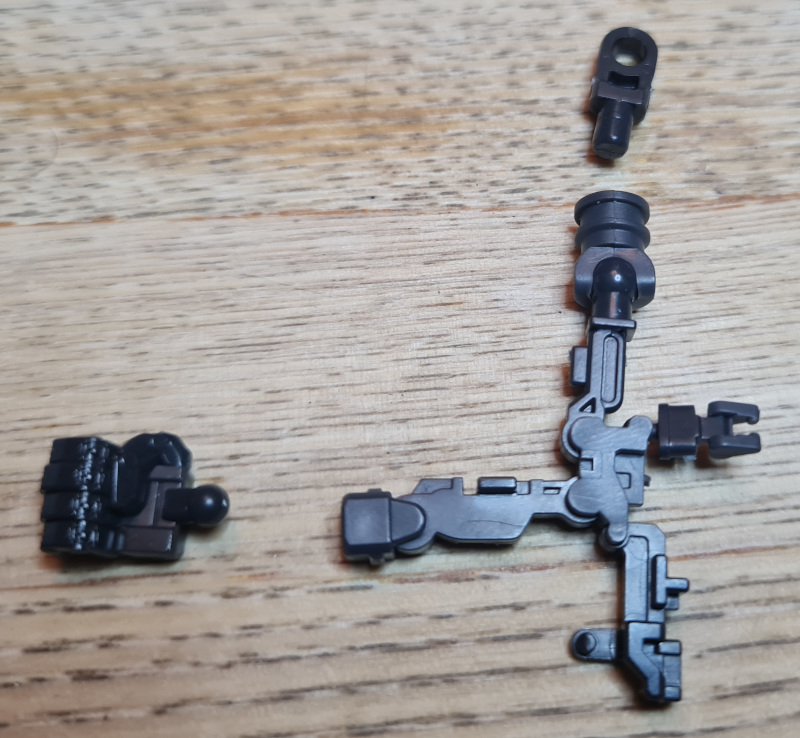
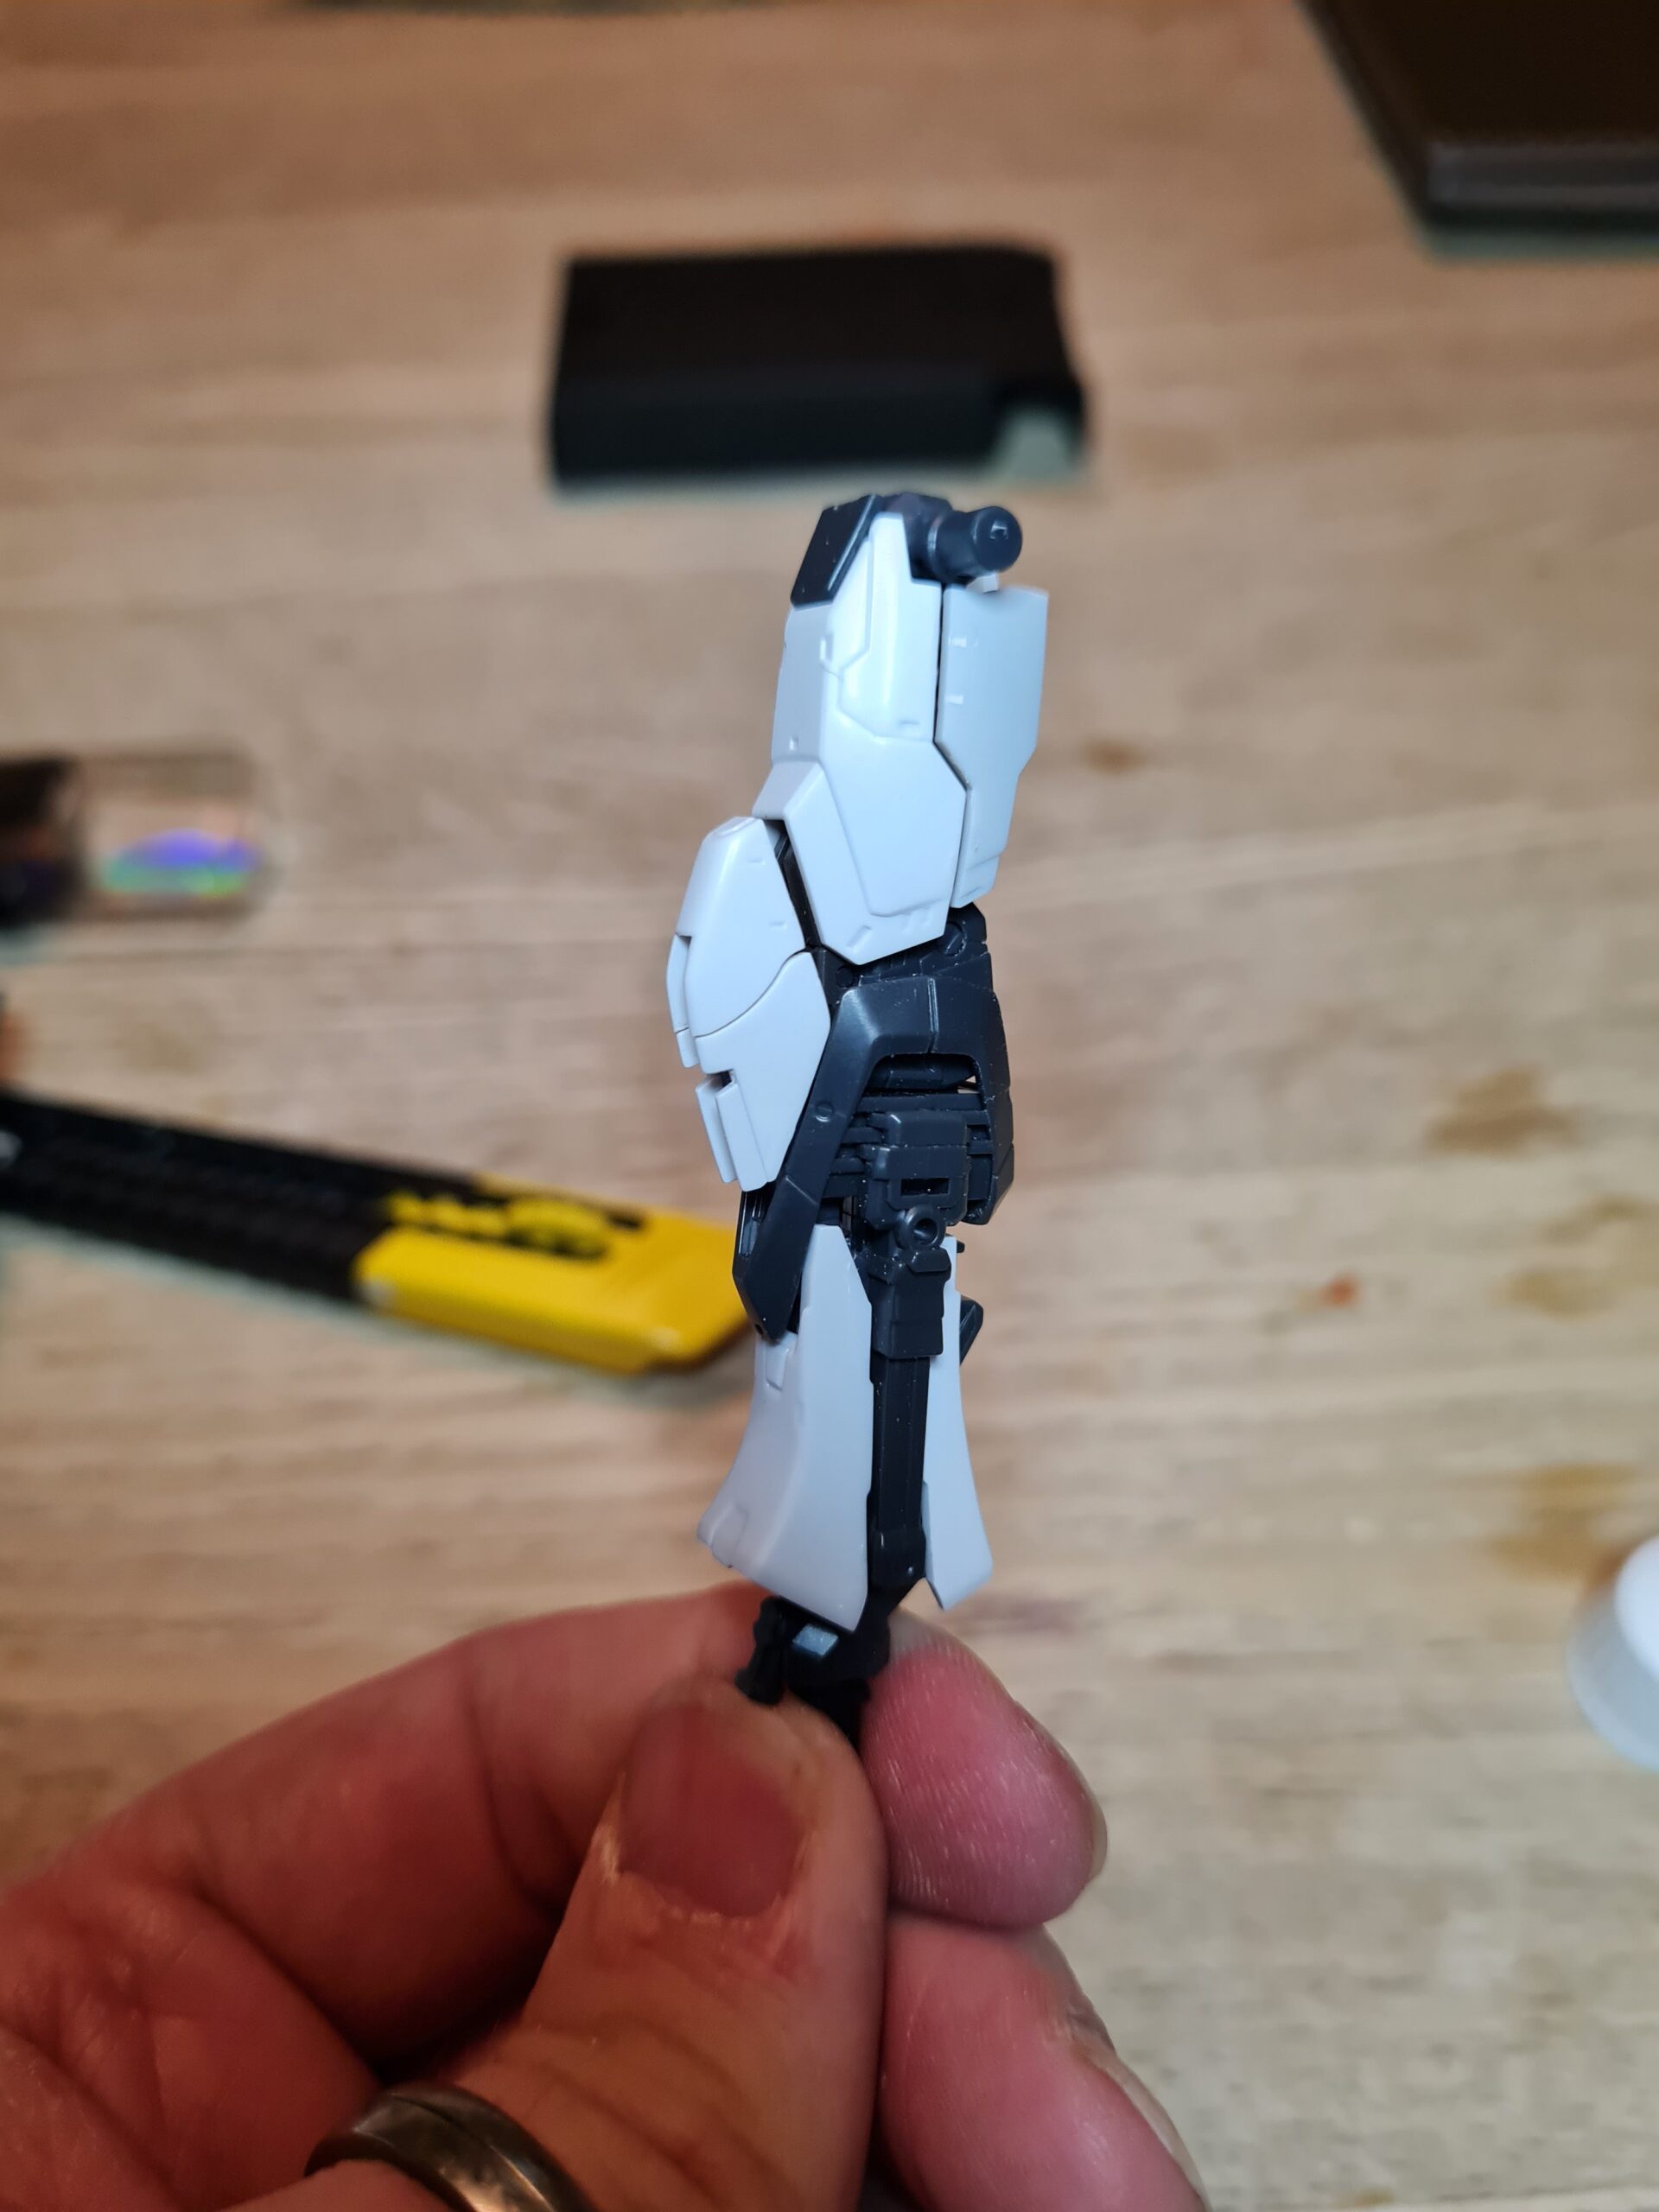
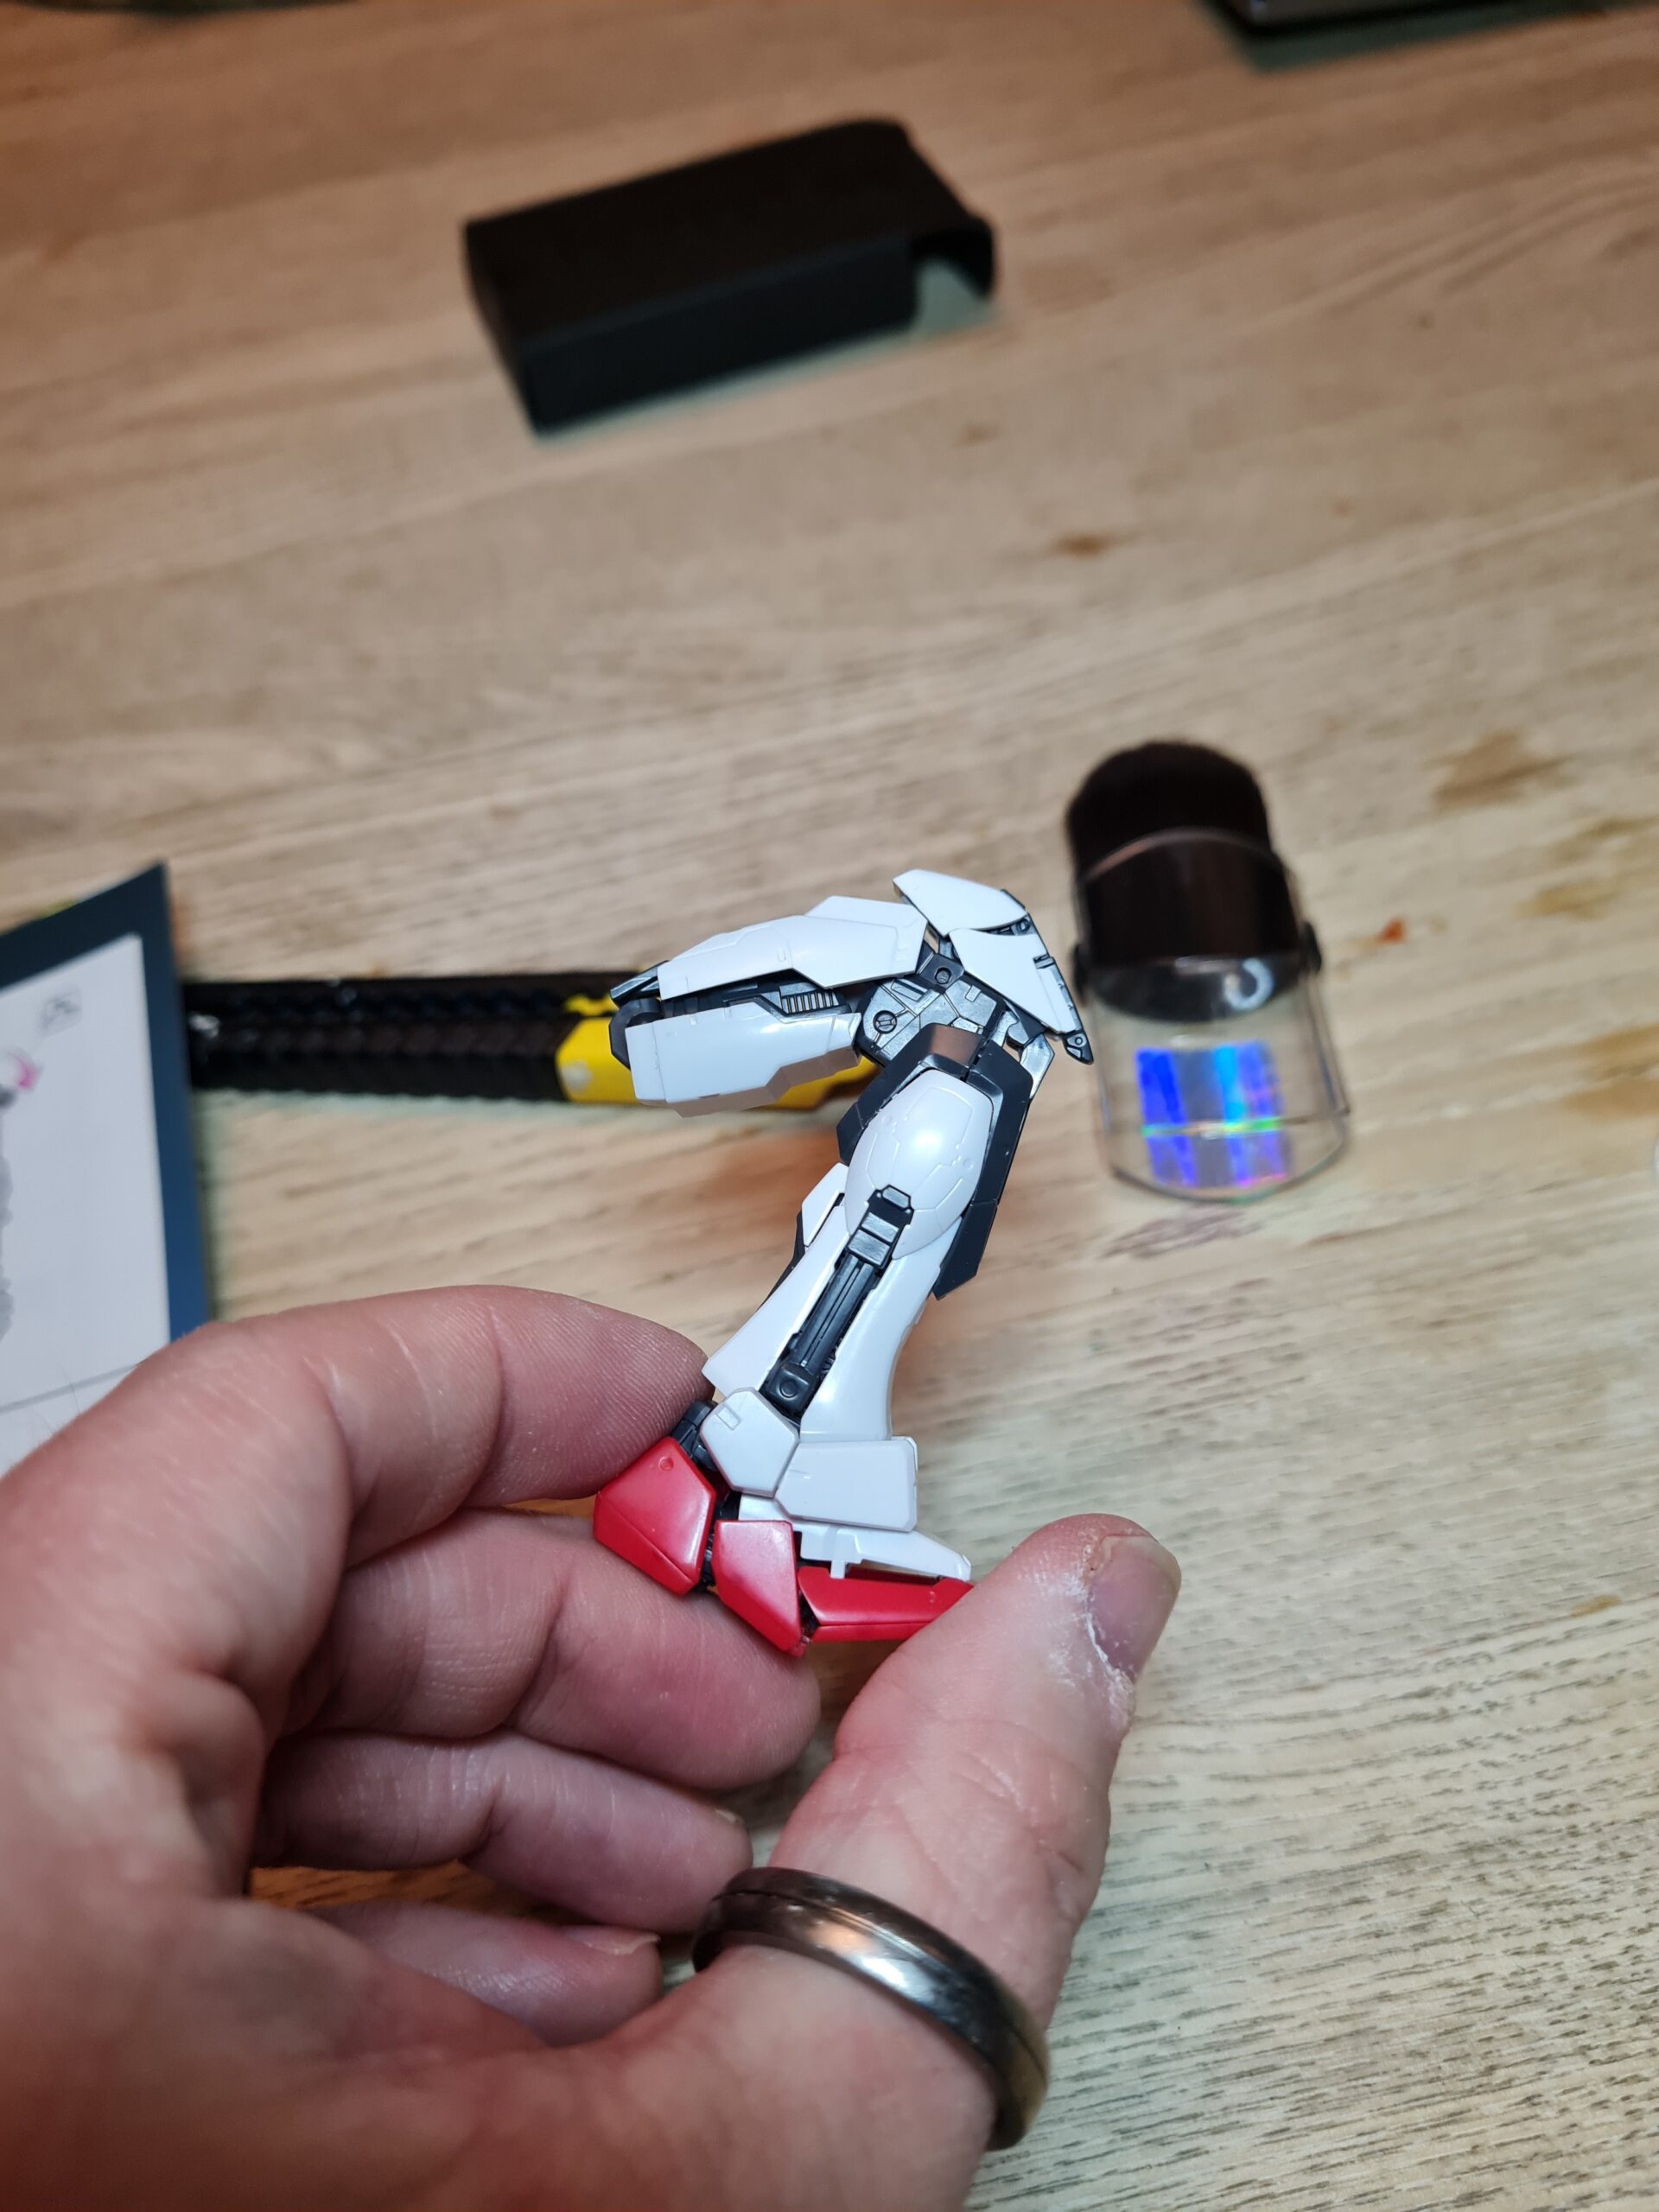
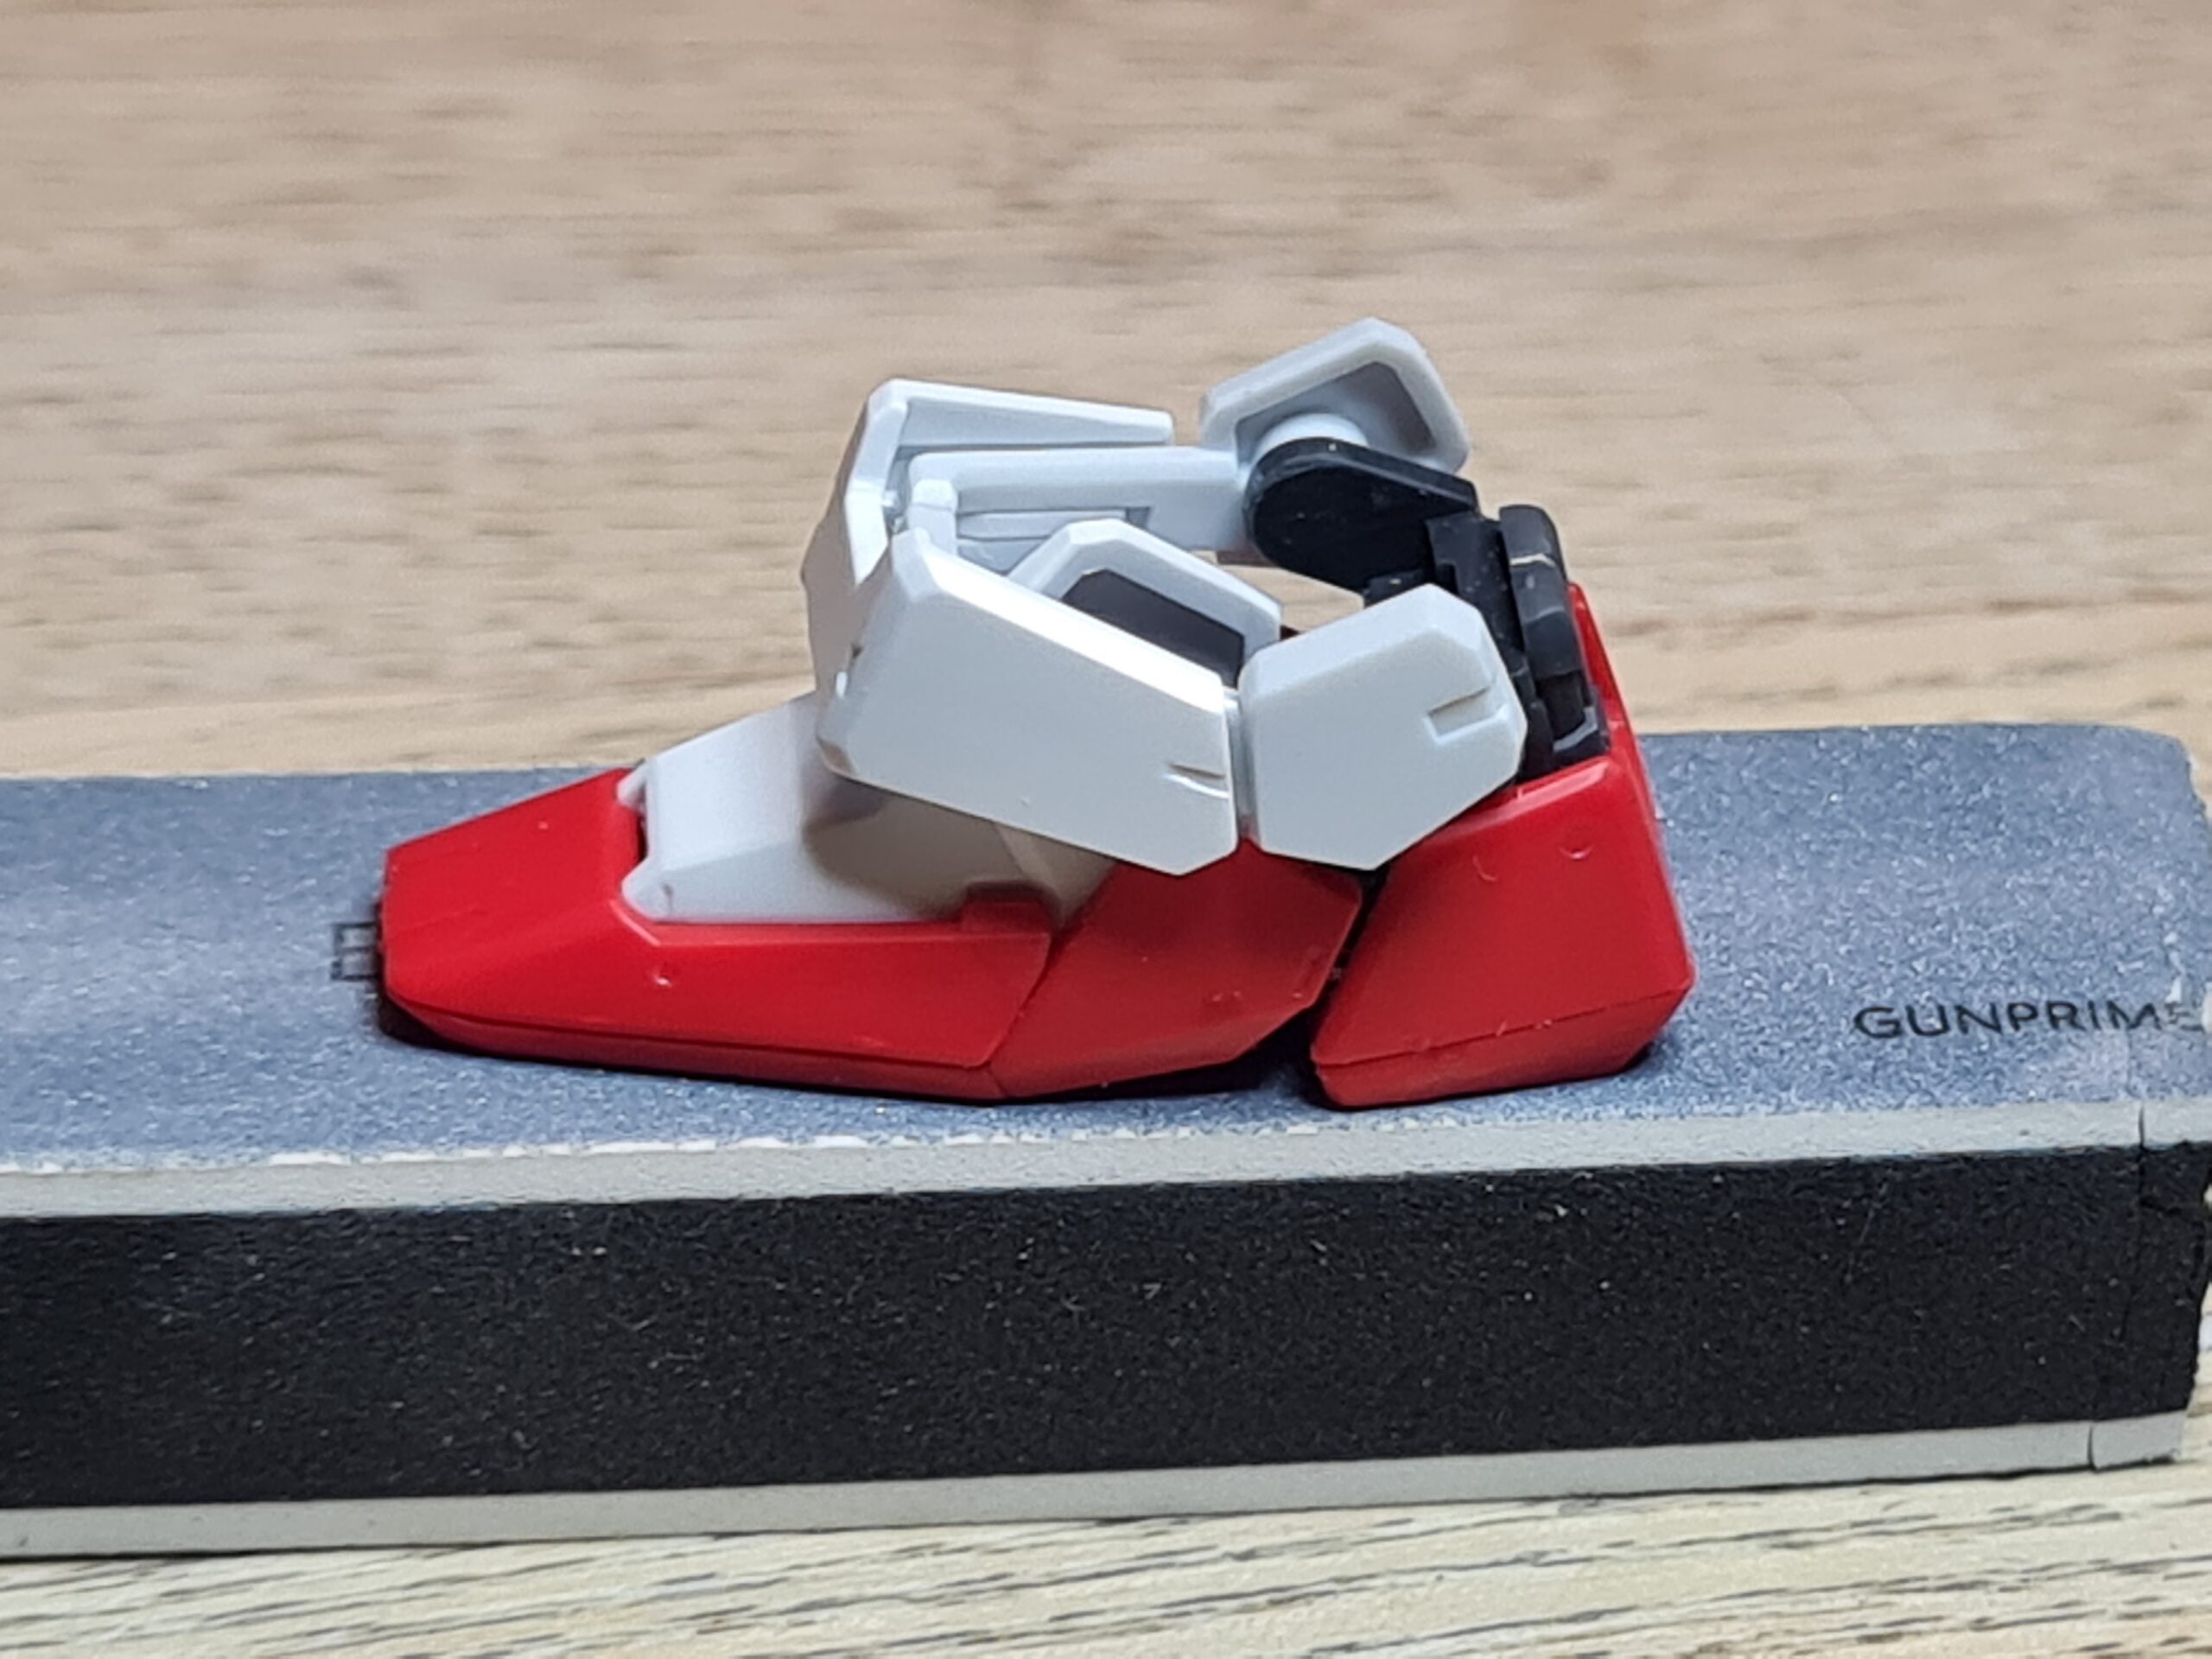
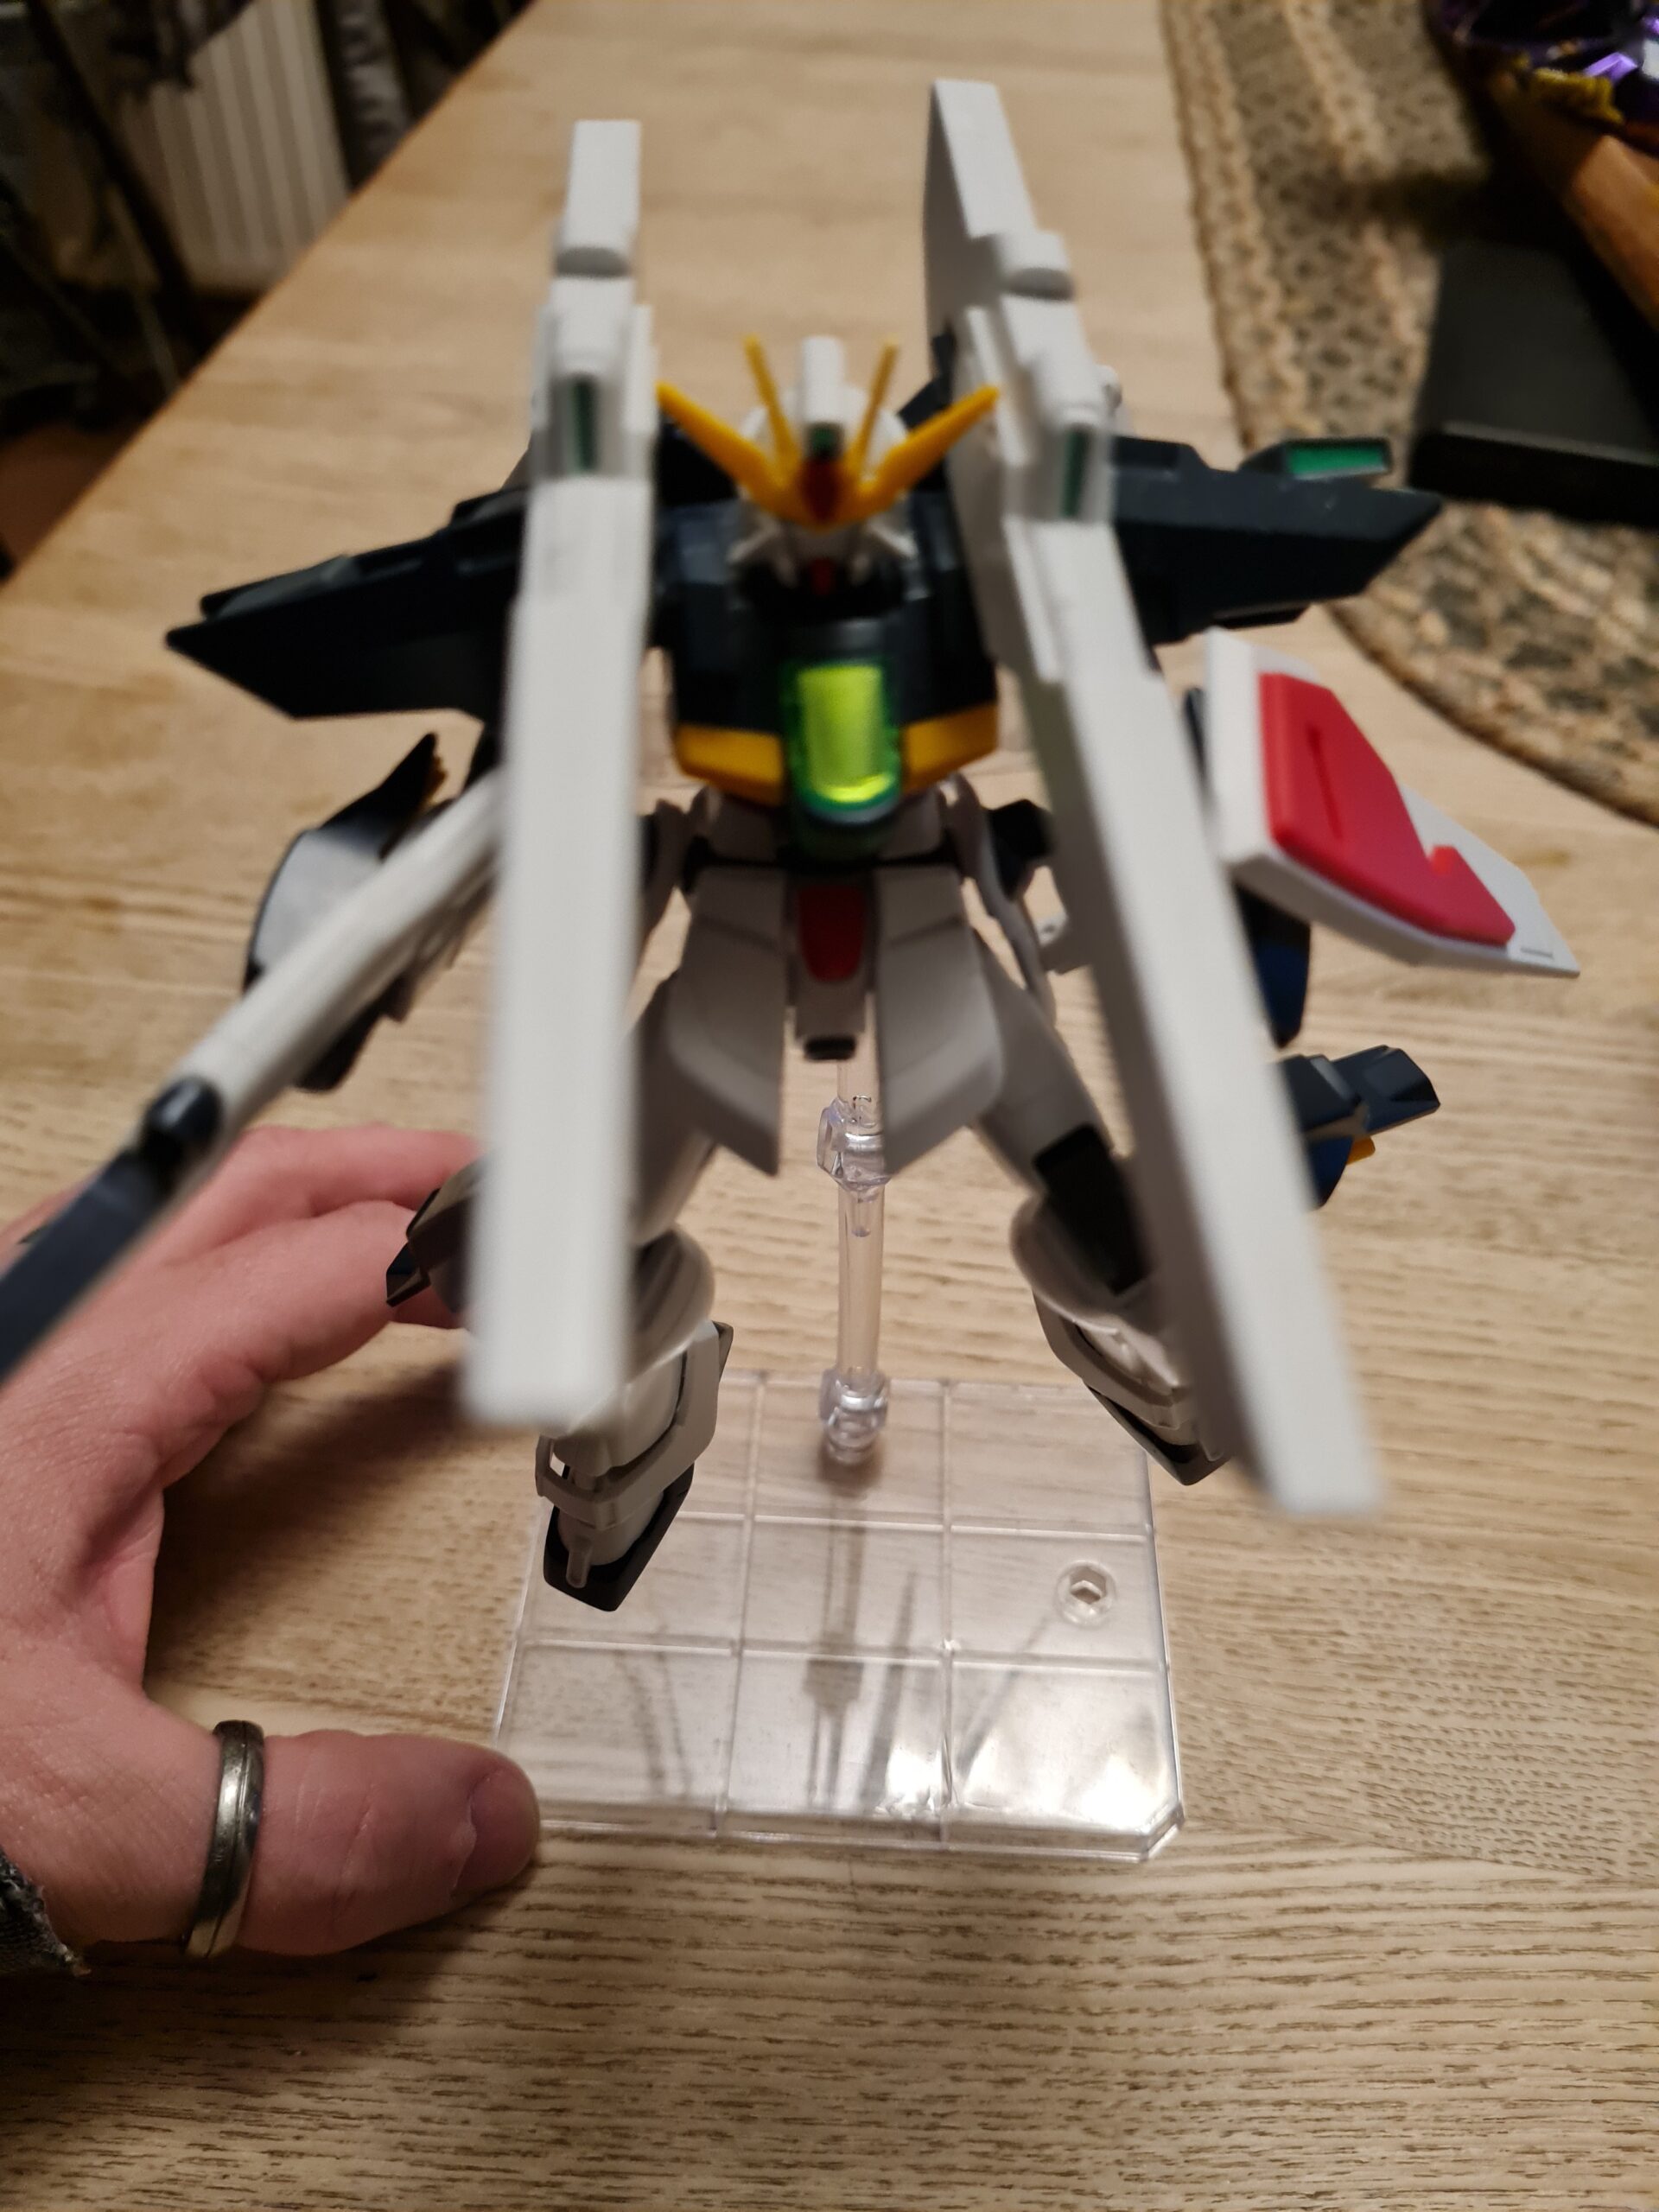
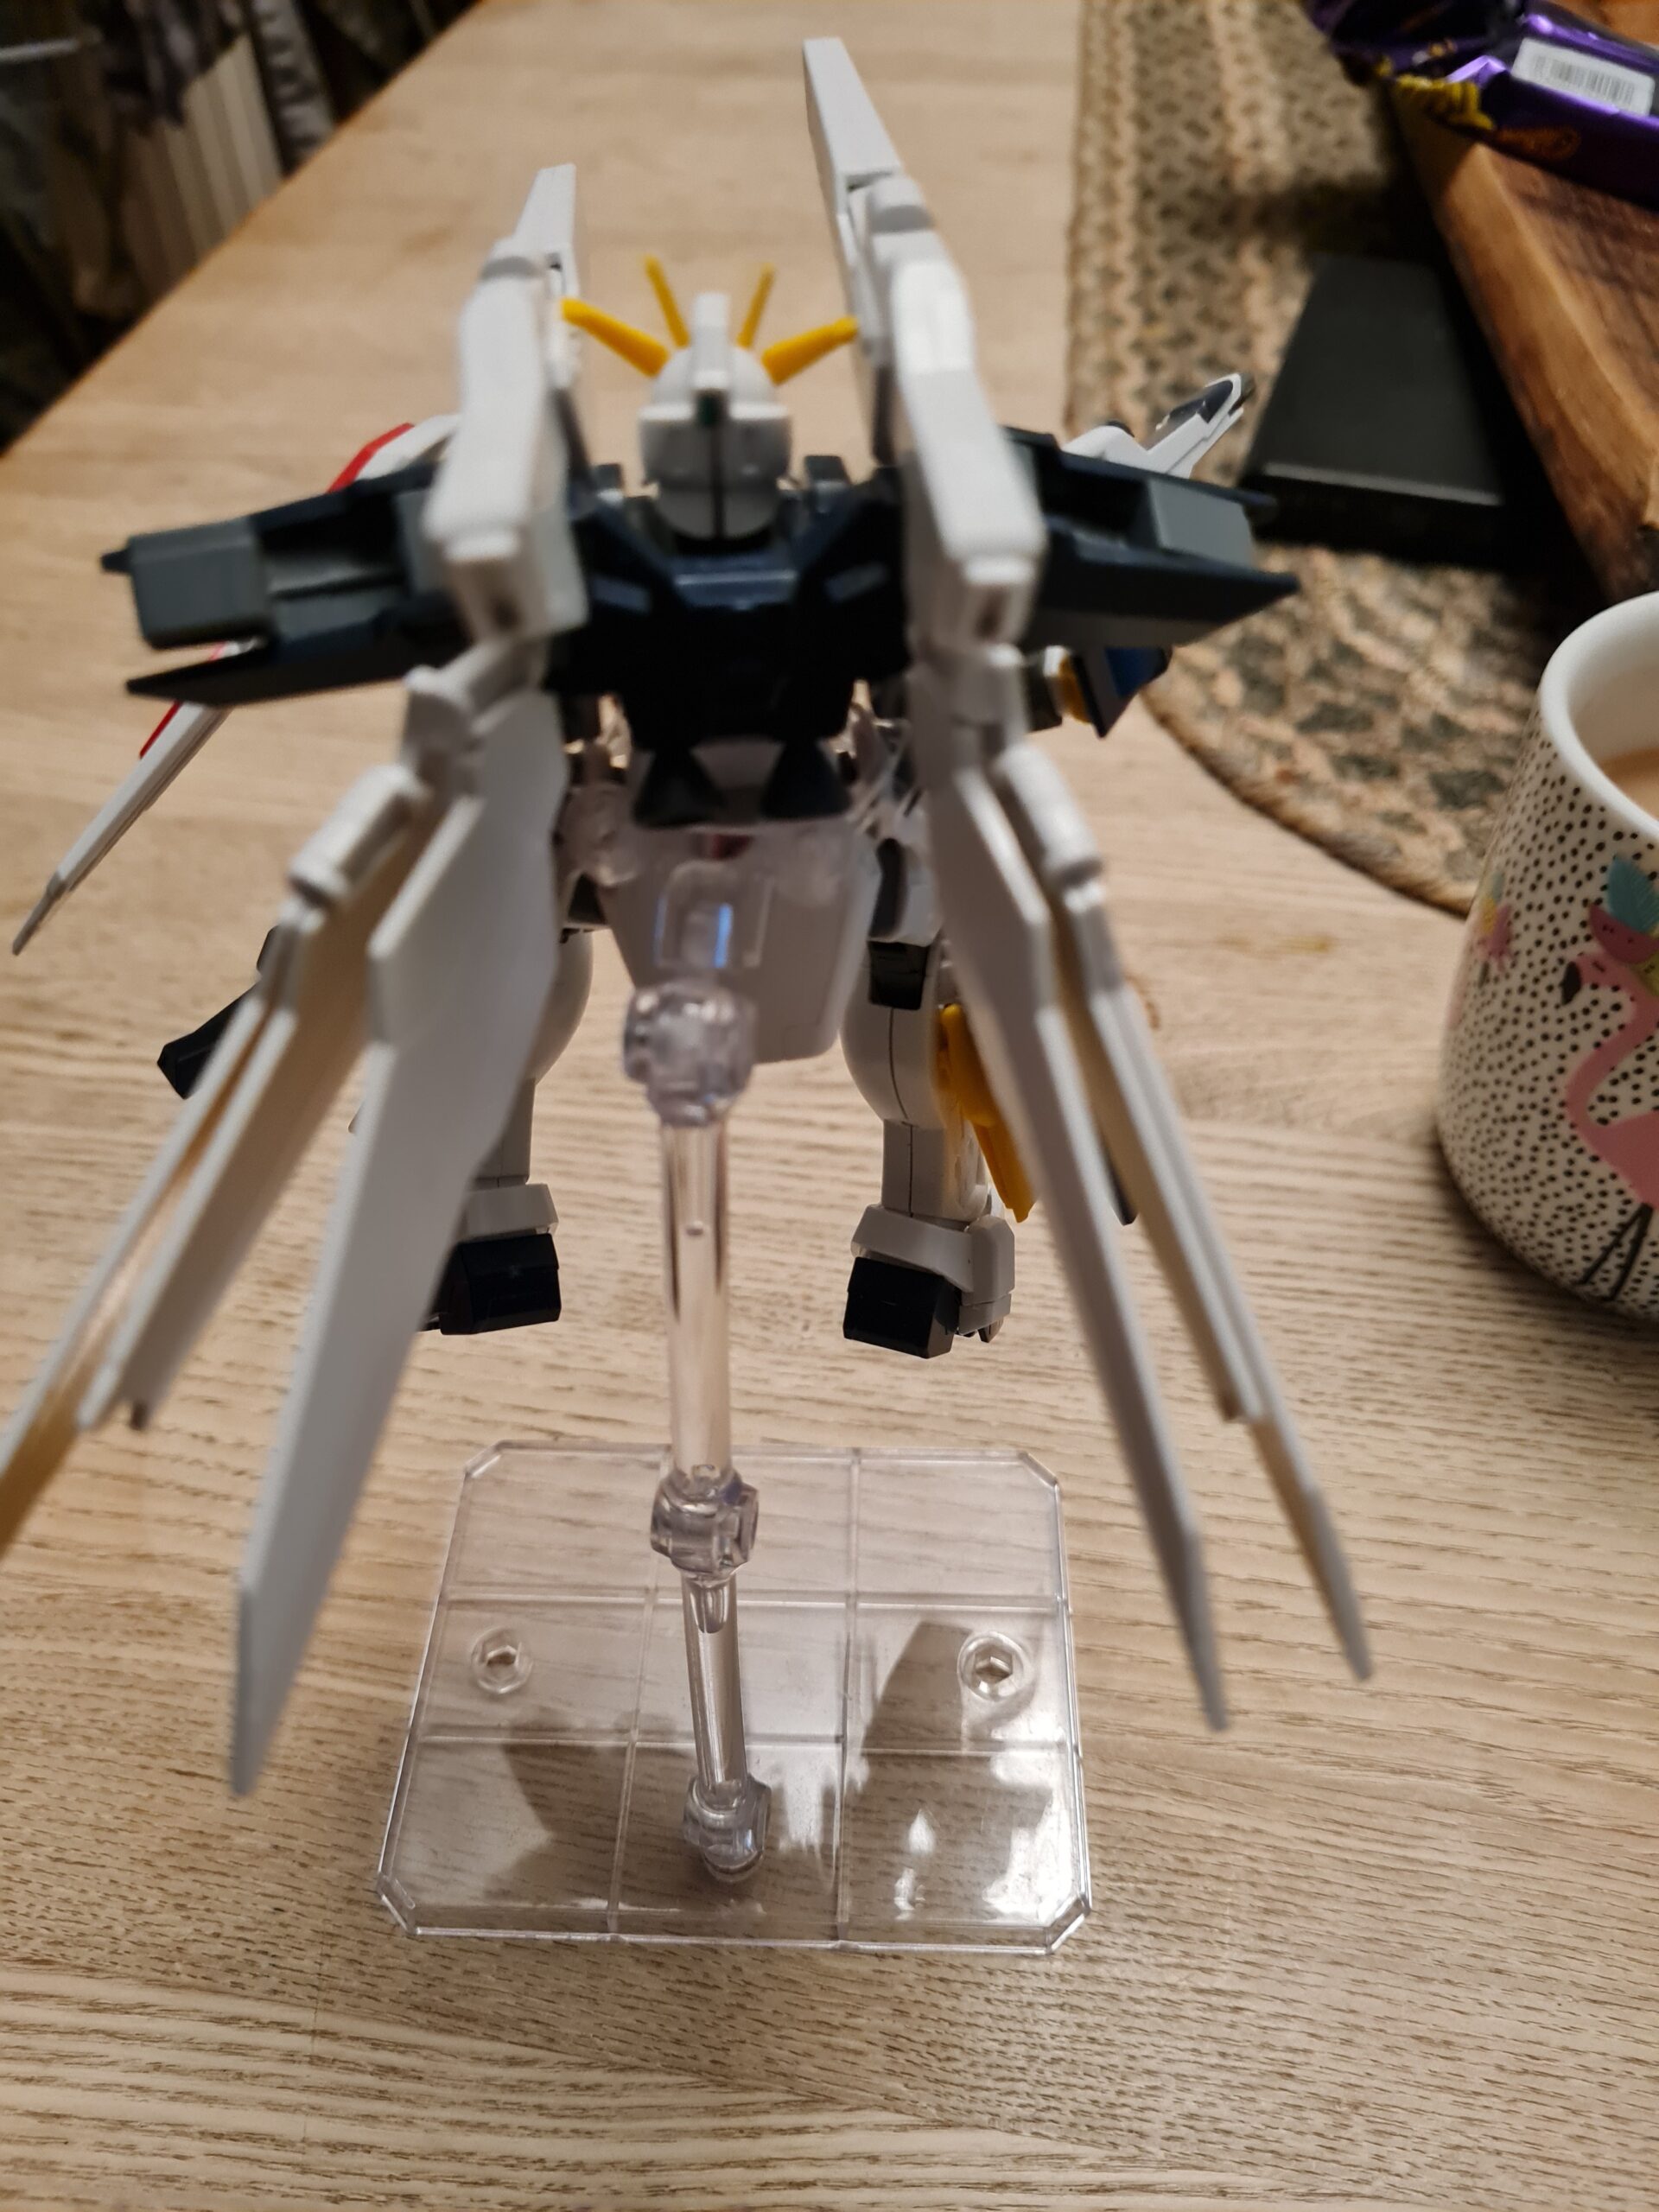
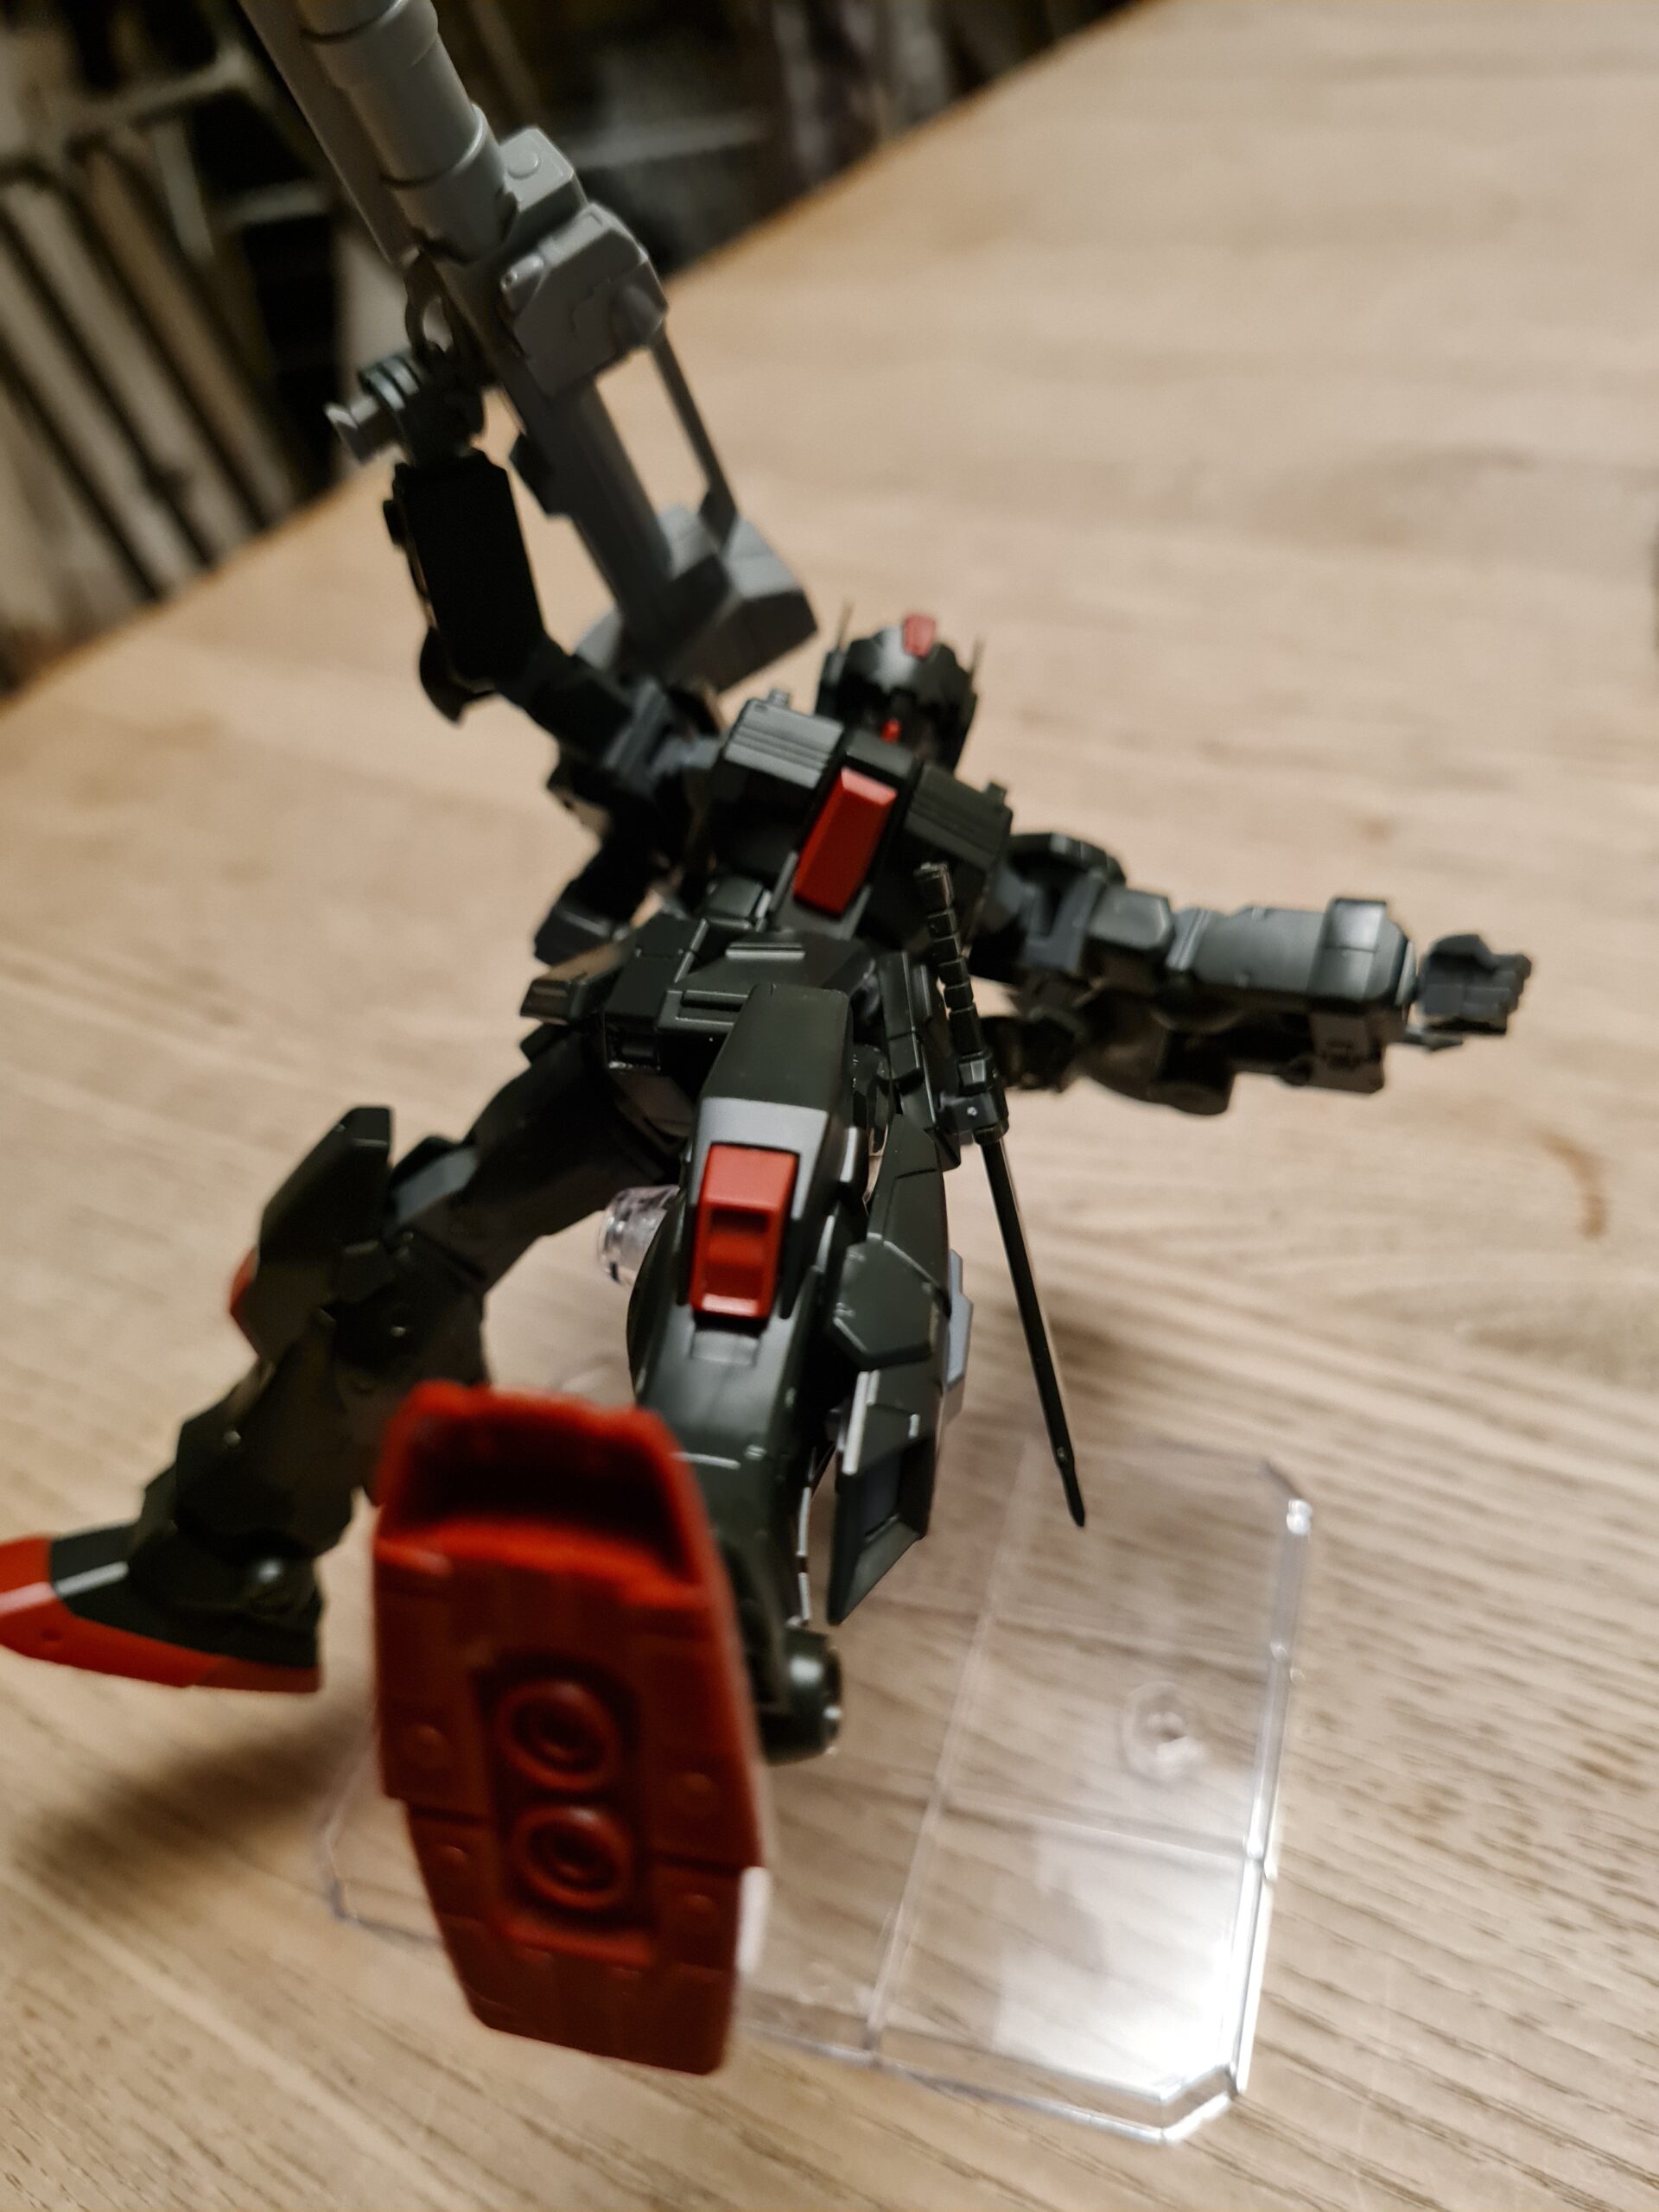
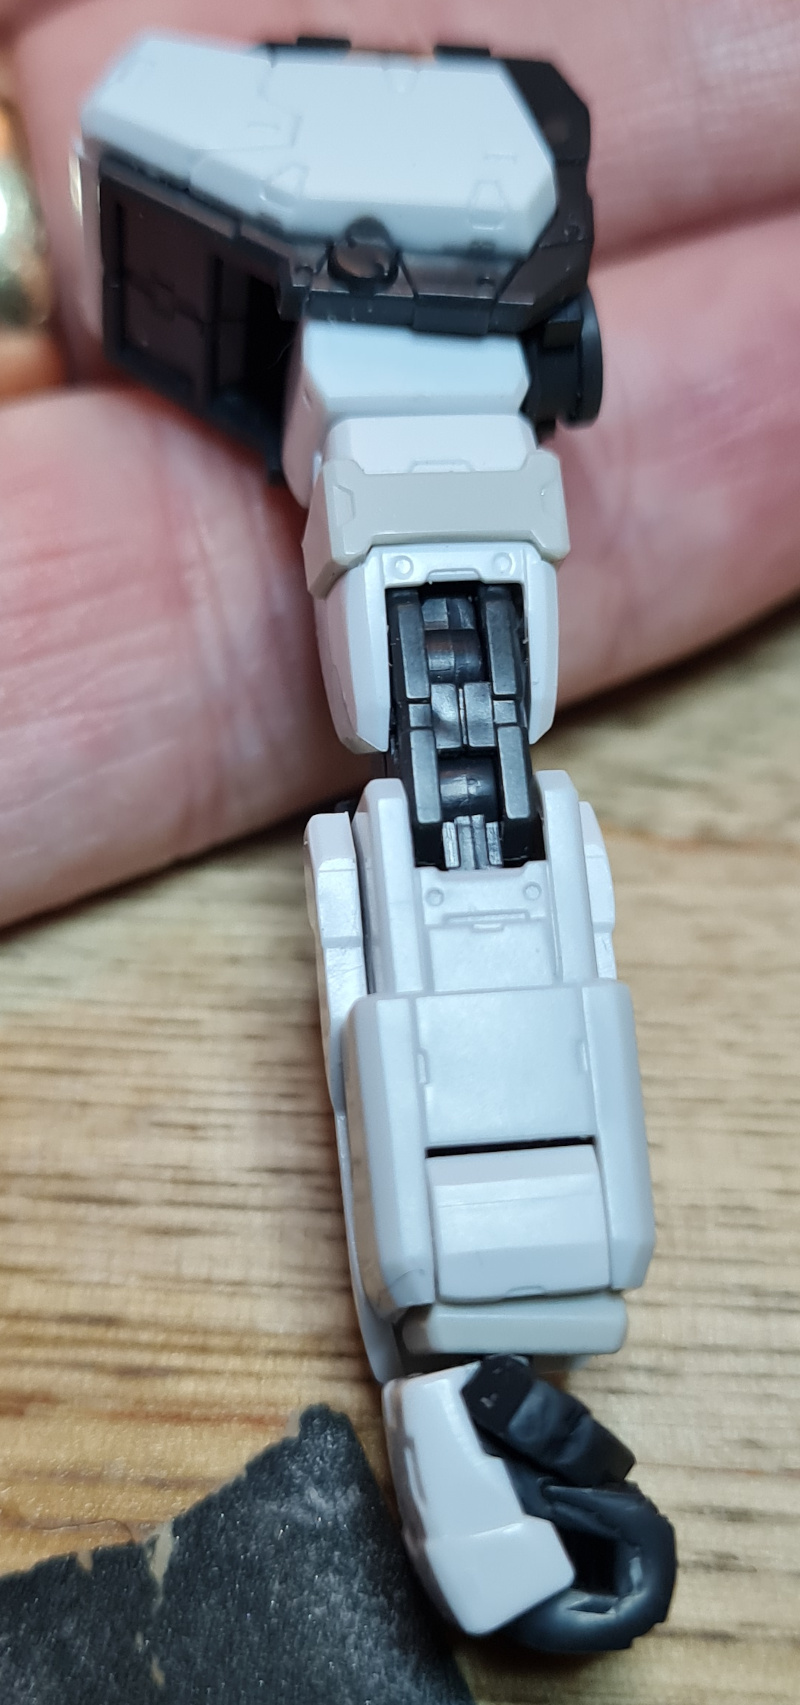
The other main thing on these parts, after how stunning and detailed they are, is the articulation you get with these pieces.
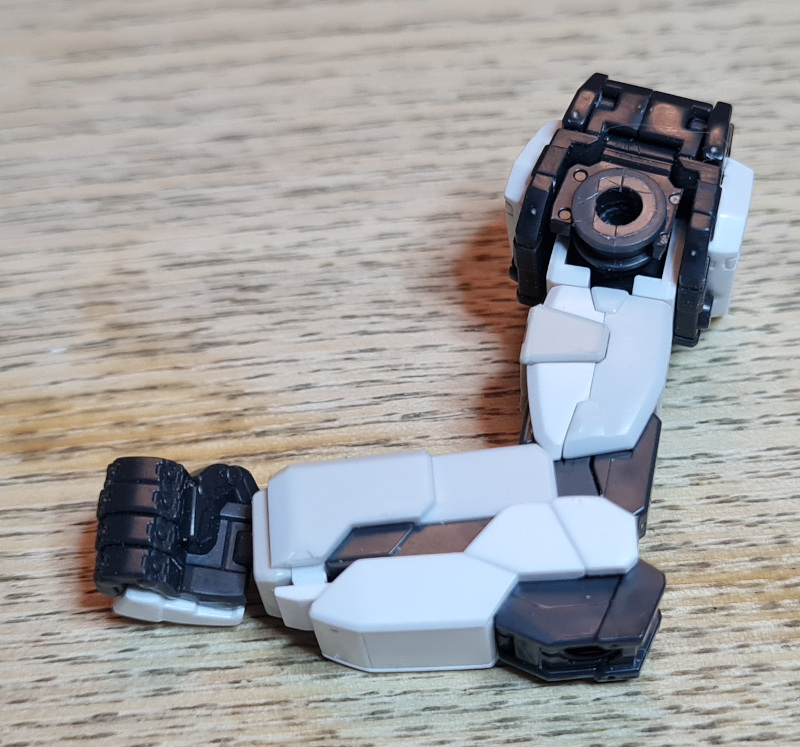
As can be seen in the images above, the arm has solid articulation as well. Bending nicely, allowing for various poses.
Conclusion
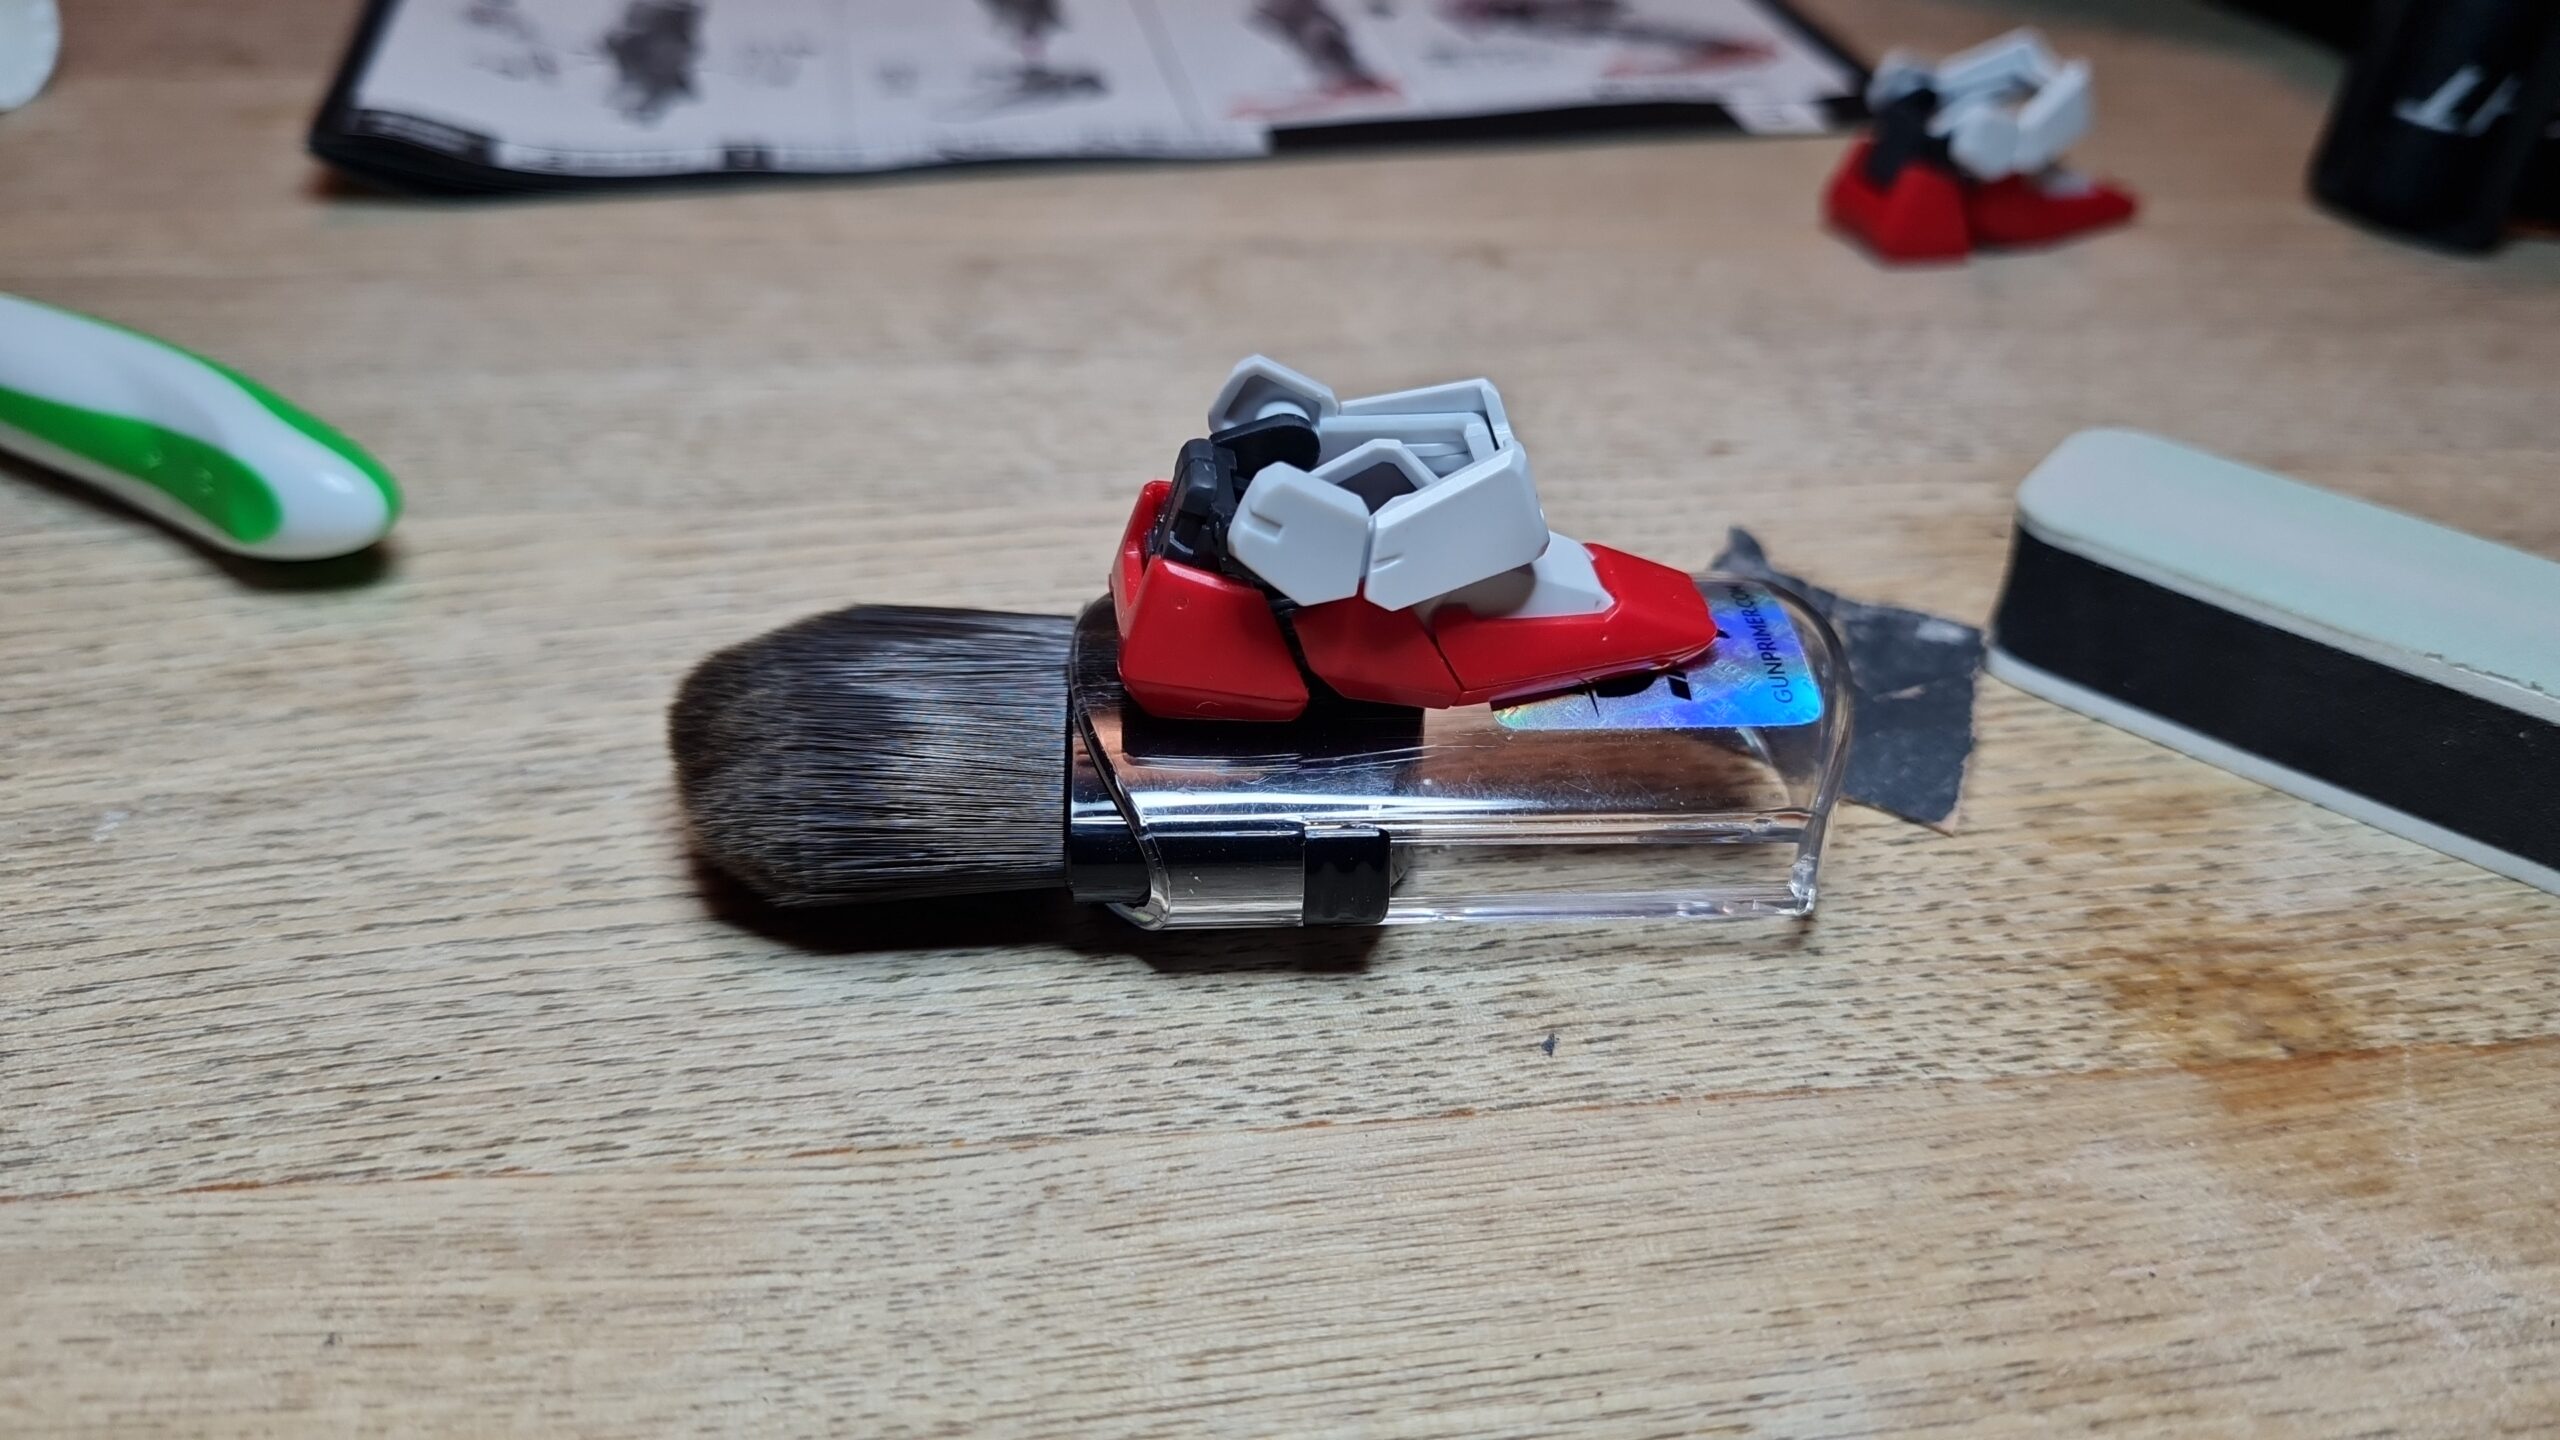
So in summary. So far I have the legs, waist and an arm. However, there is not a piece in there at the moment that I am not happy with. The build has been really smooth and enjoyable so far. Apart from me wanting to examine by technique on removing the grey pieces from the sprues, I am super happy with this. I definitely think that extra bit of time, and making use of the GUNPRIMER Balancers really does make it shine.
Thank you for taking the time to read this. If you haven’t already done so please like and follow us on our social media platforms and checkout our website!
Facebook: https://www.facebook.com/profile.php?id=100086701512793
Instagram: https://www.instagram.com/modelkitsltd/
Website: https://modelkitsltd.co.uk