Introduction
RG Aile Strike Build Day 1 is the first part in the RG build. In a previous post I said I needed to put my money where my mouth is and show off this model. I think it looks stunning, and I am really looking forward to this. I will post up the progress I make on this. However, unlike my “Guess the Model” series I won’t be ensuring I complete a section in a day. I will rather focus on more detail.
The setup
Before starting the build I wanted to show the box, parts tools, etc.
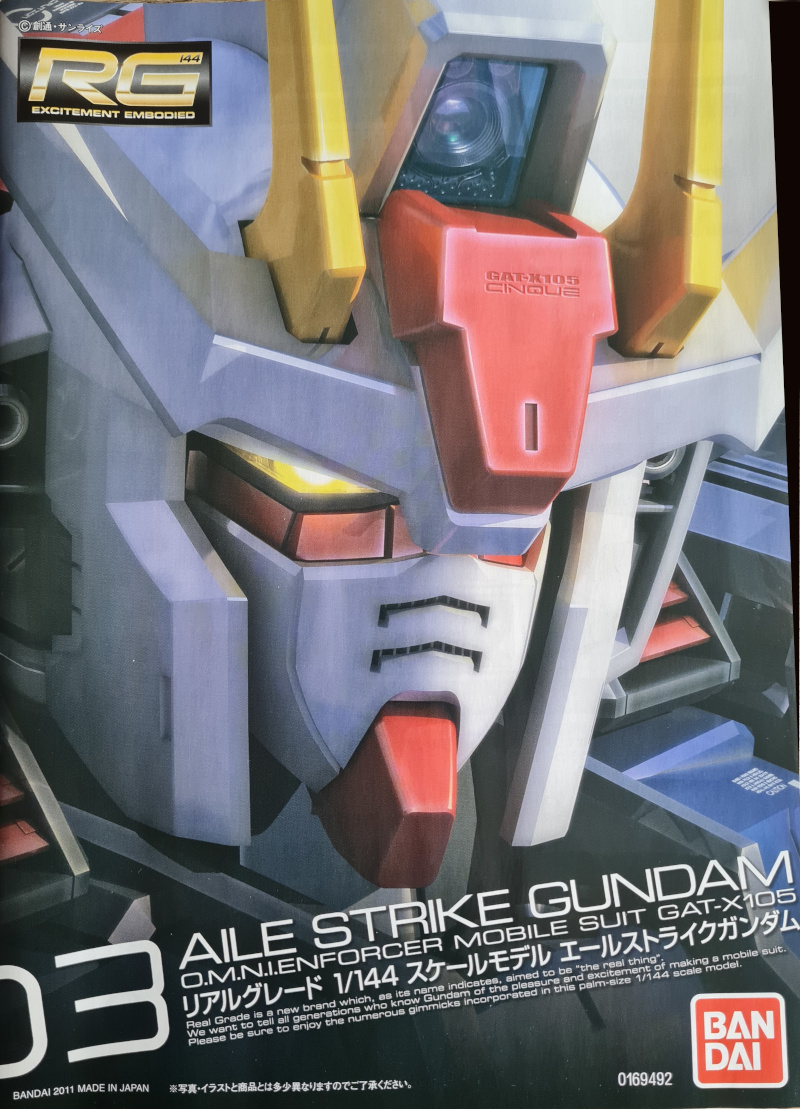
The Box
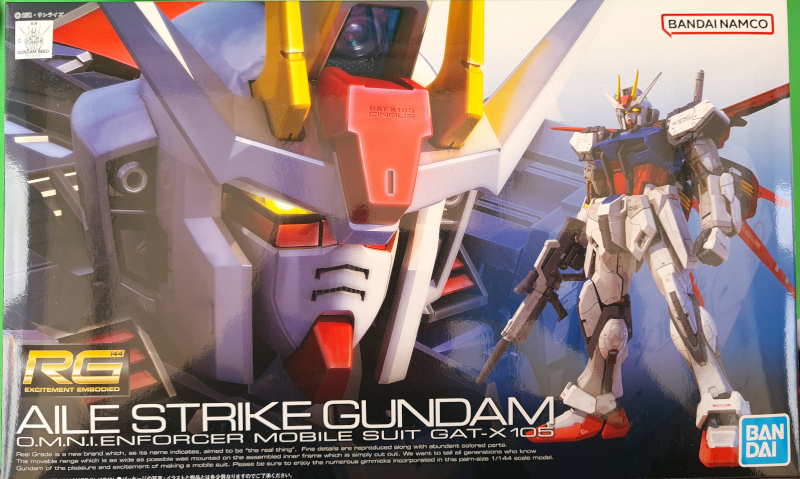
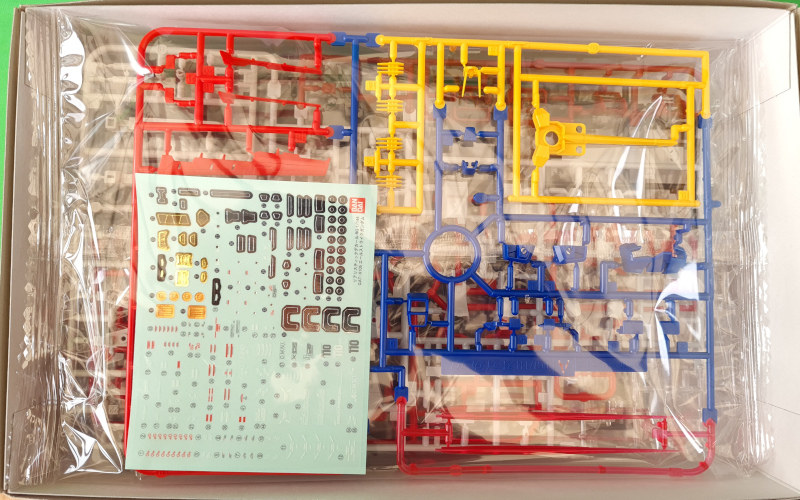
The box, like many RG boxes, is relatively compact. When you open it up you are greeted by the usual clear plastic packed Runners. I have to say I’m a little unsure as to why the runners are packed into clear plastic bags. It doesn’t seem to add anything. However, that is a different disccussion!
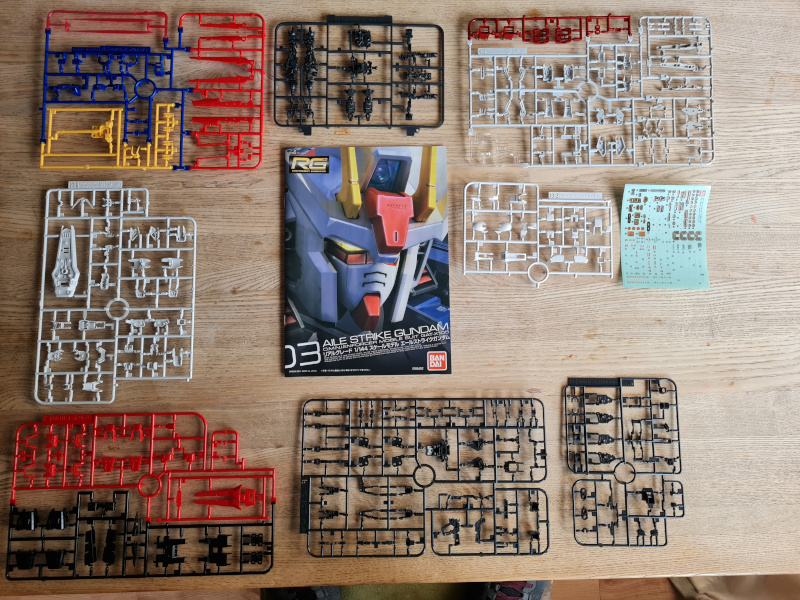
When you unpack everything you get to see what the kits is actually going to be made of.
As you can see the kit consists of 8 runners, a decal sheet (stickers) and the manual.
The runners
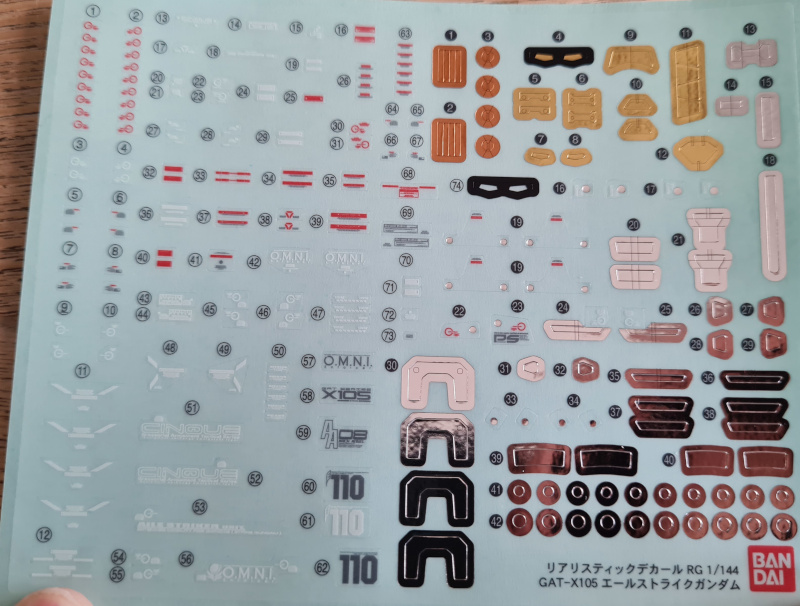
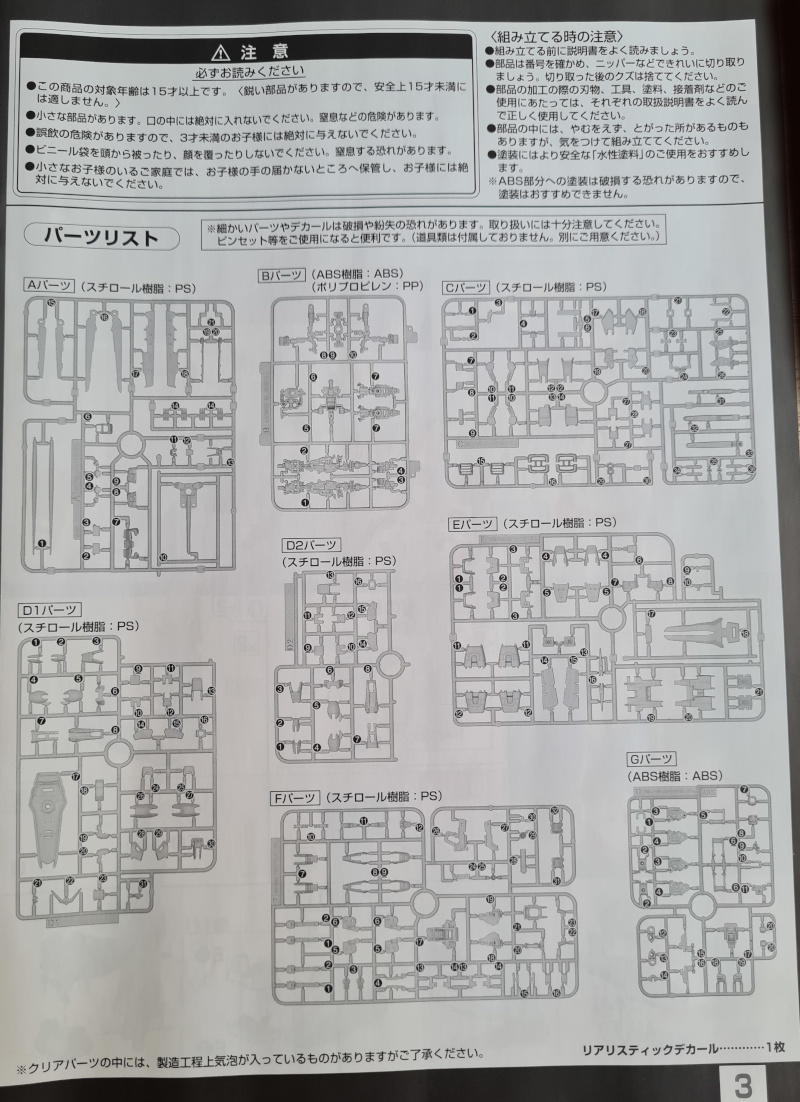
Here is a closeup of the individual runners and the decal sheet.
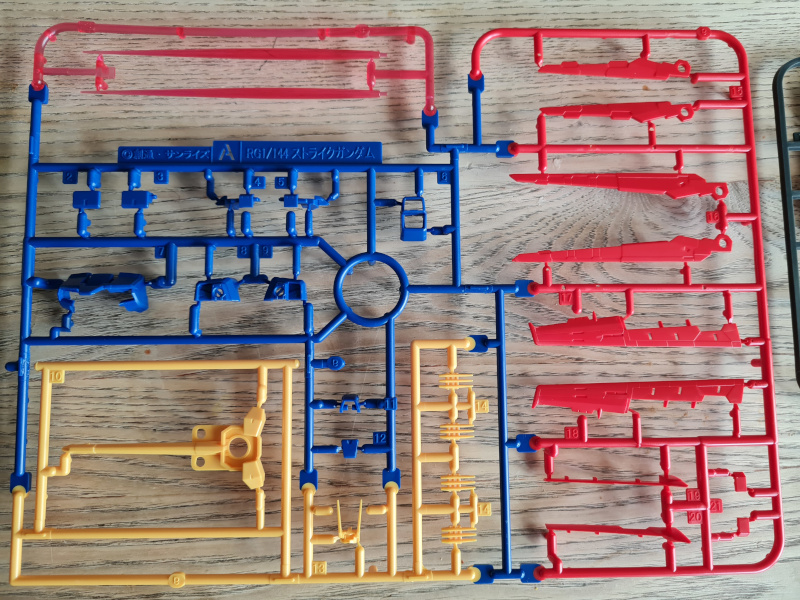
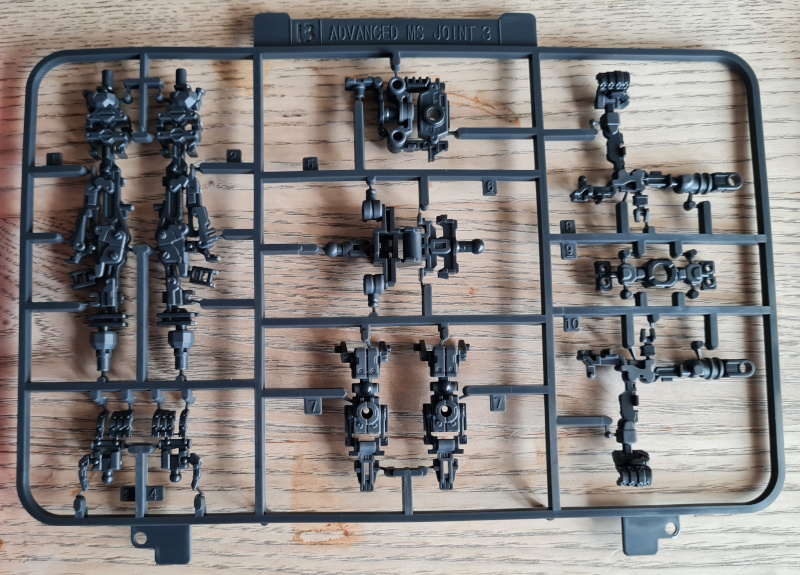
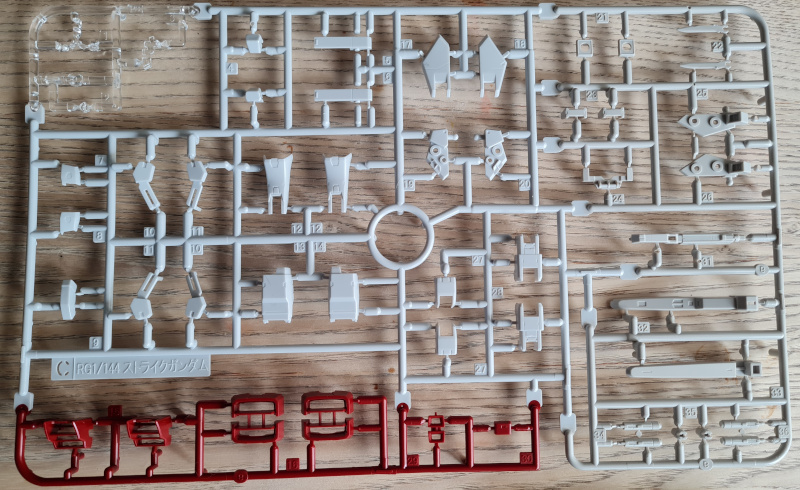
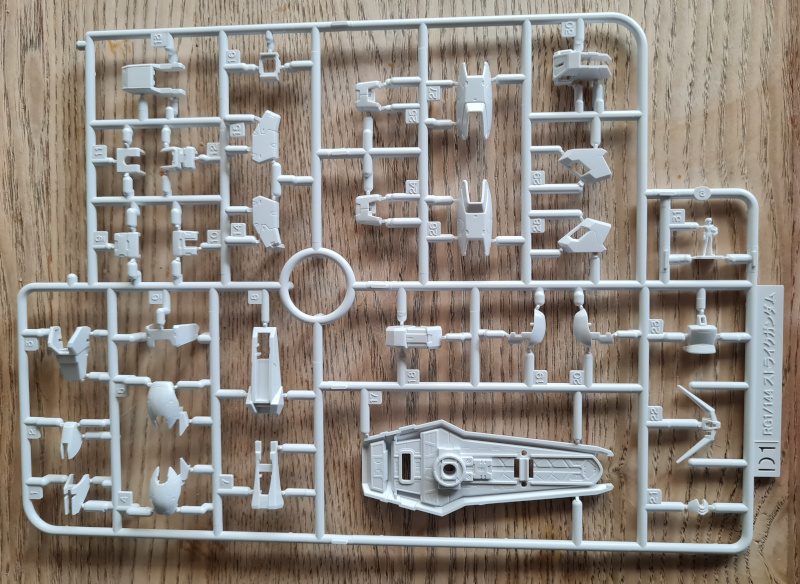
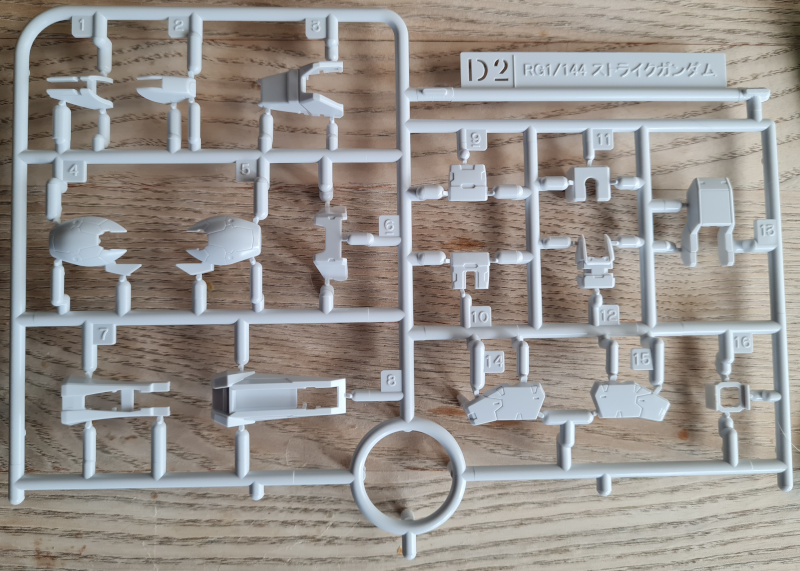
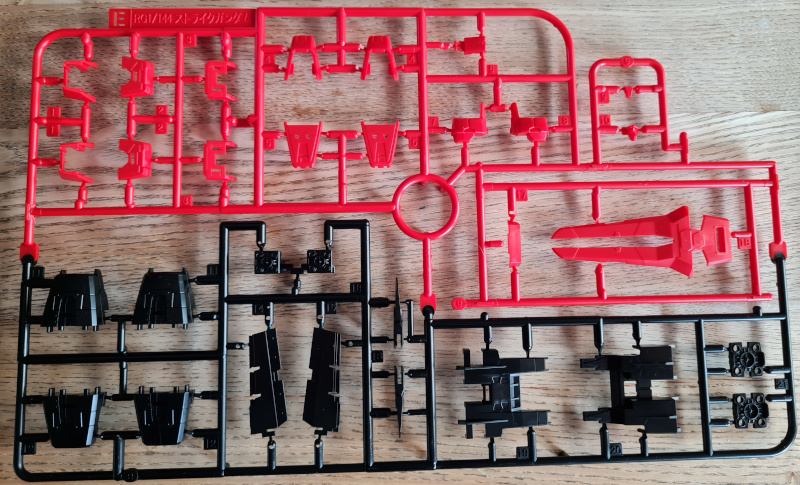
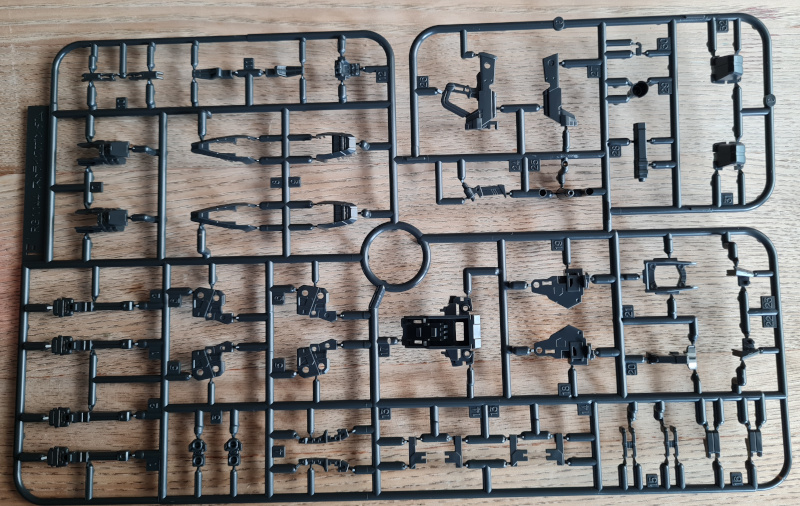
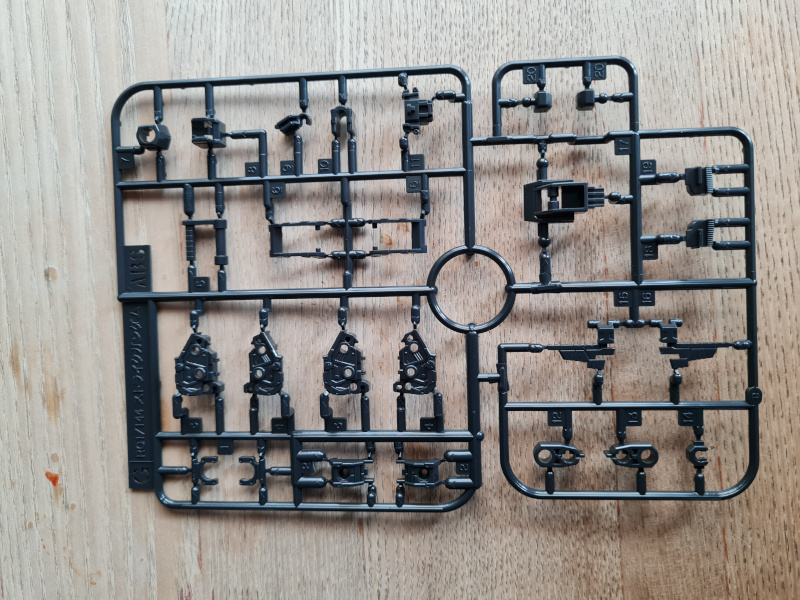
As you can see you have runners, A, B, C, D1, D2, E, F, and G. So far so good!
The Manual
Next up on the list of items is the RG Aile Strike Manual. This consists of 16 pages, including the front and rear cover.
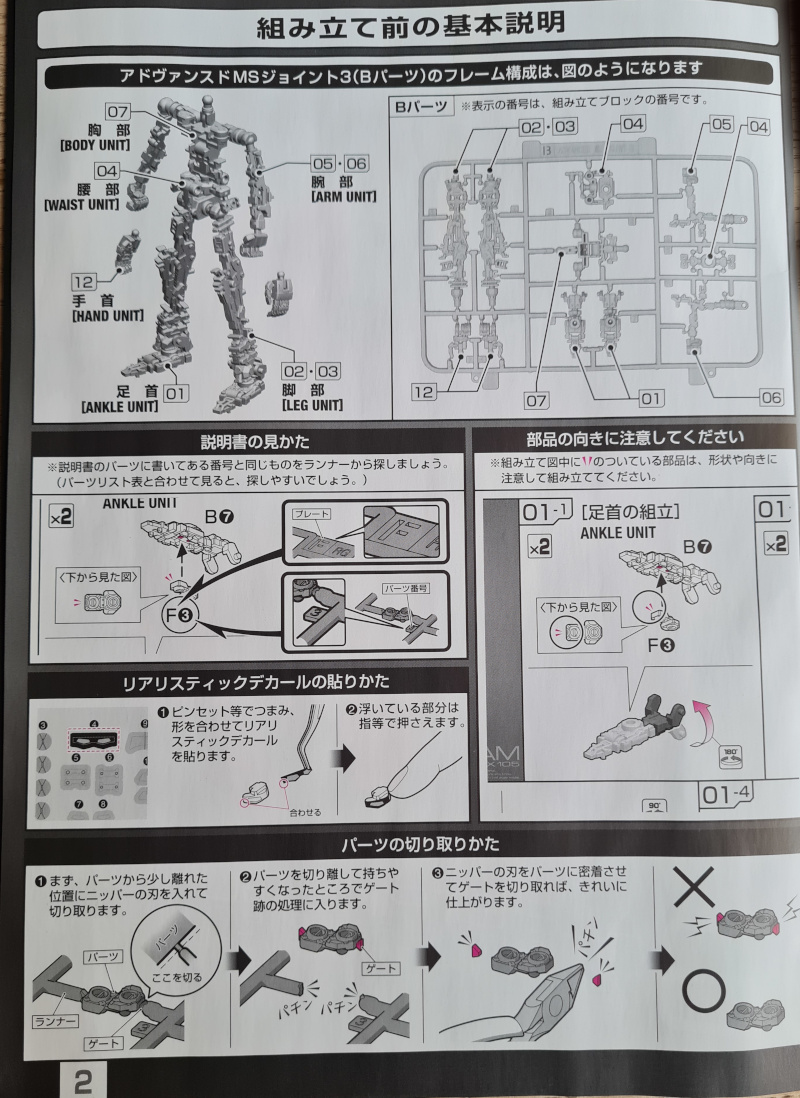
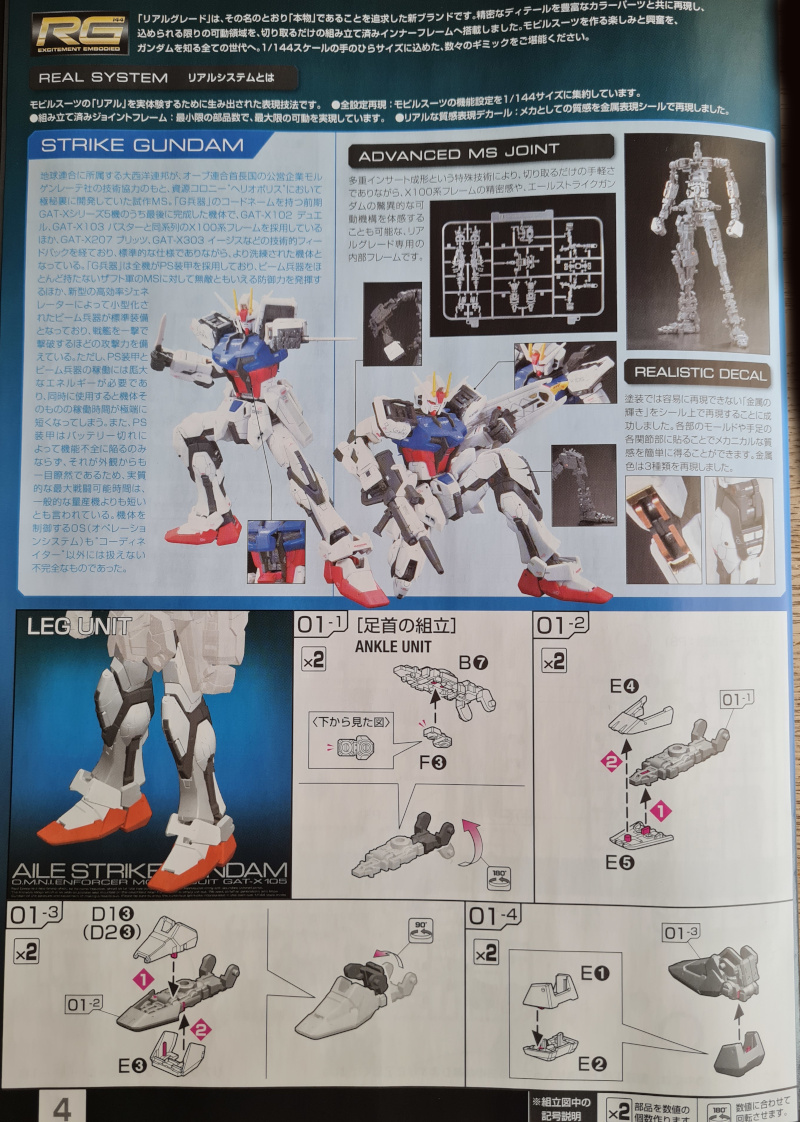
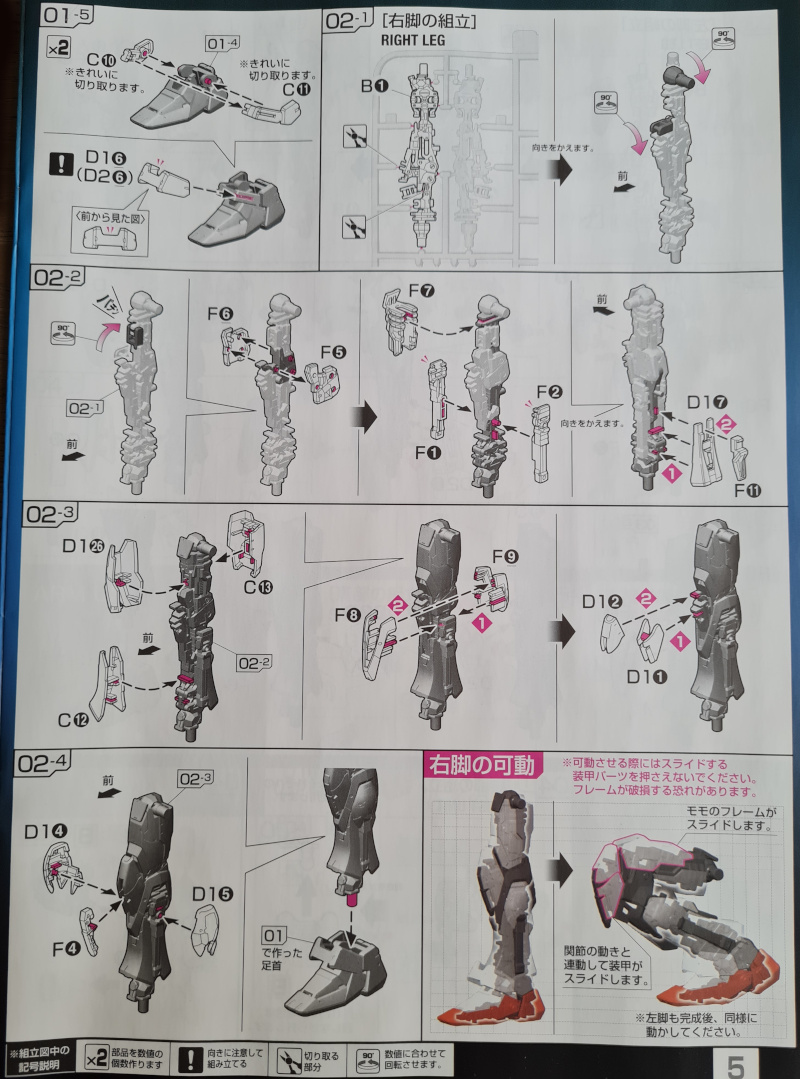
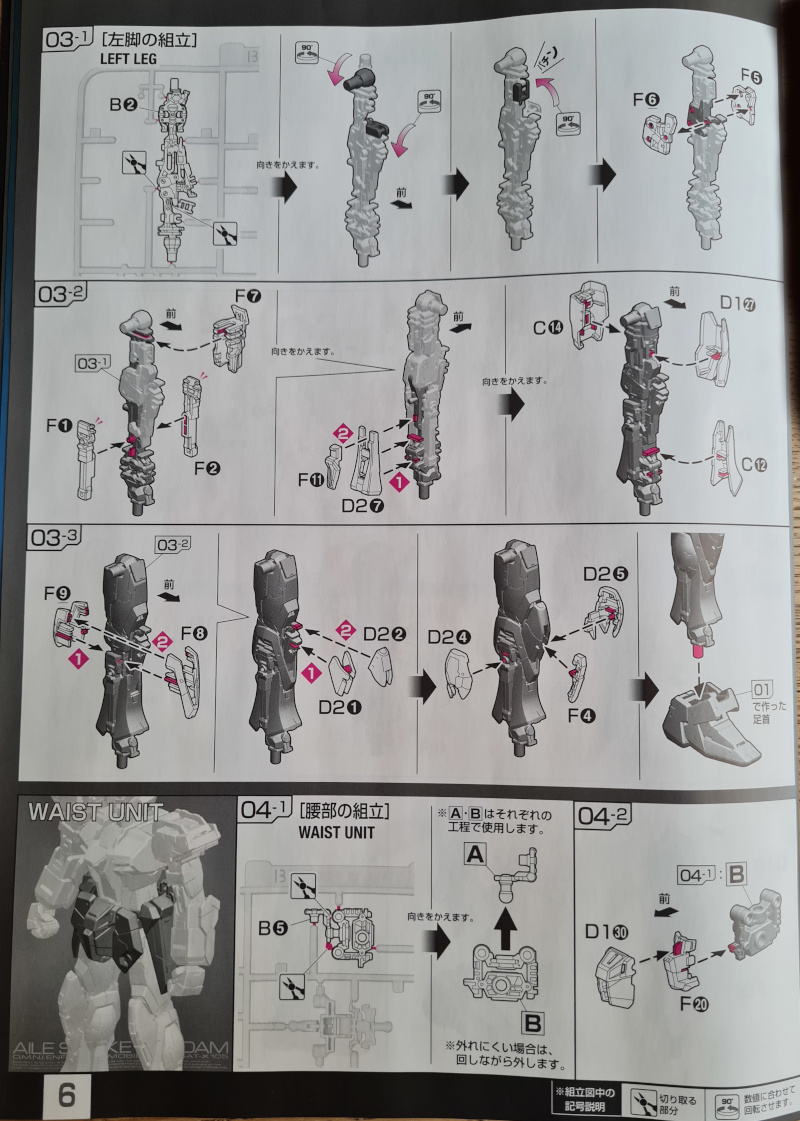
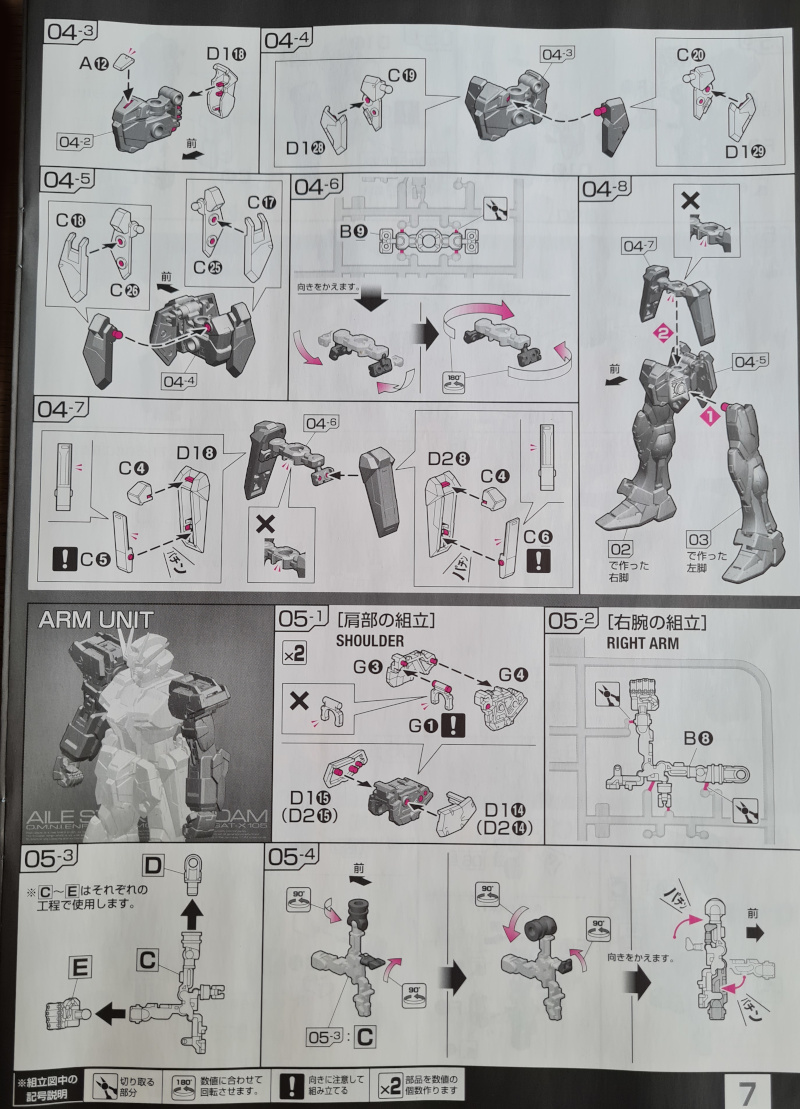
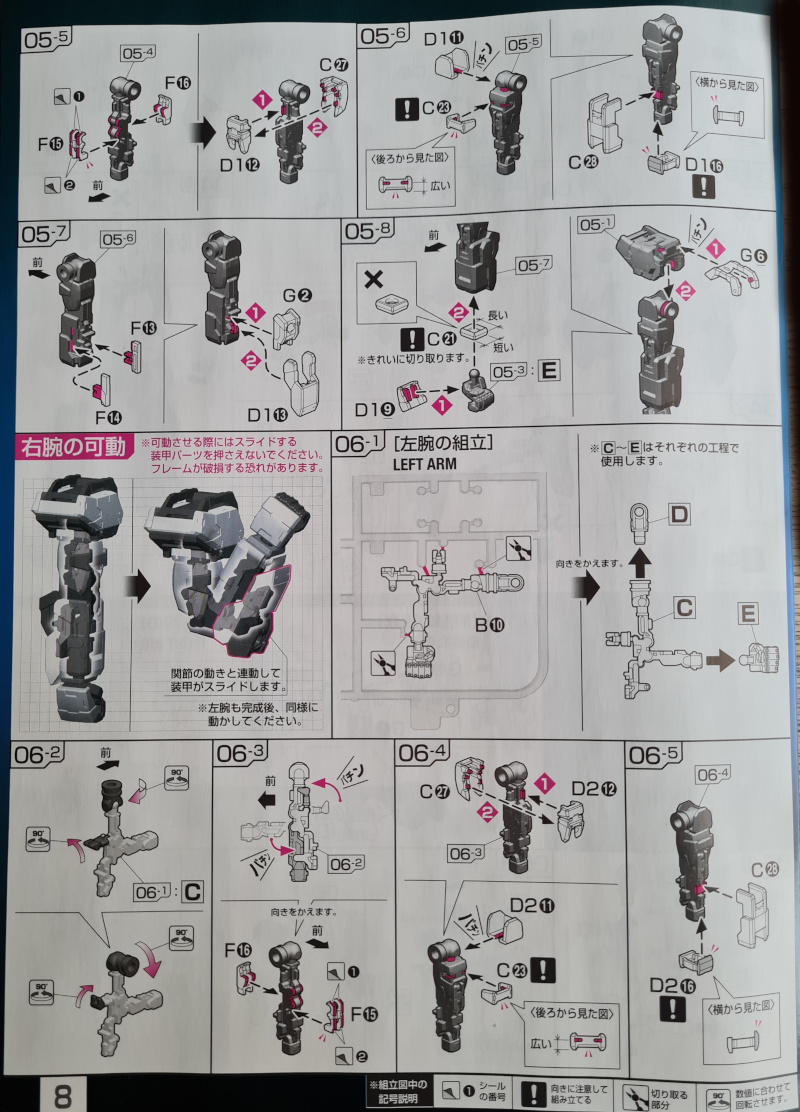
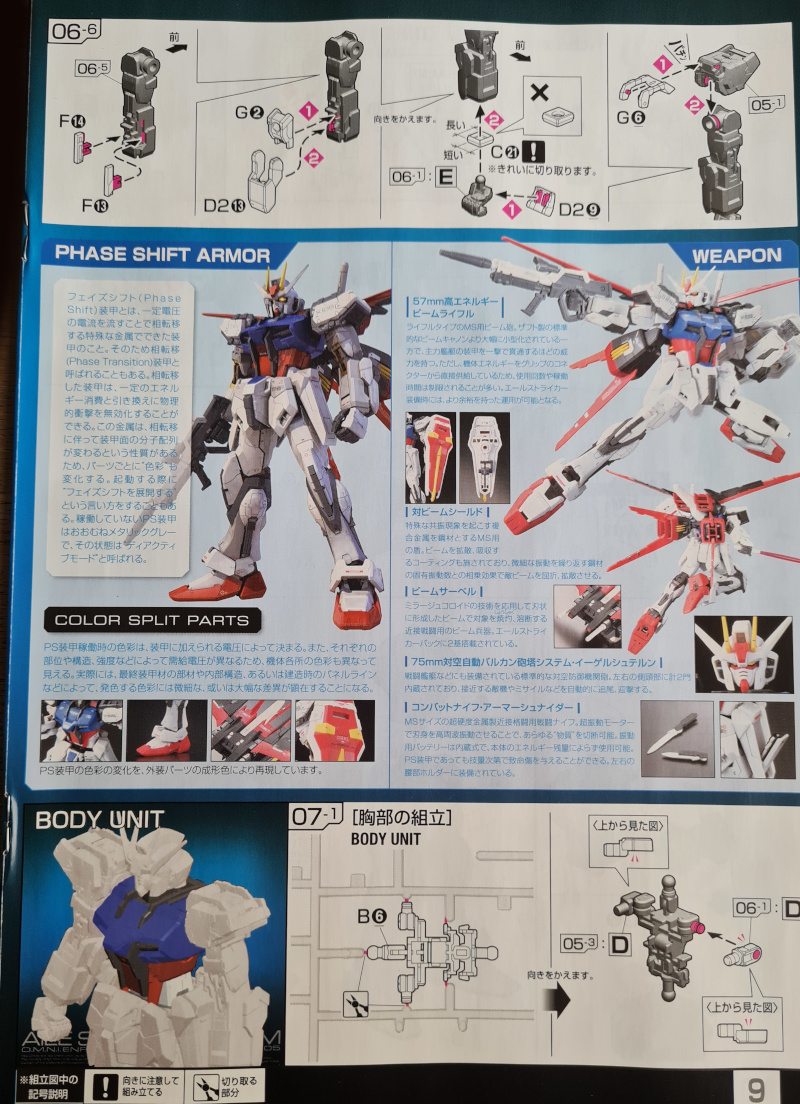
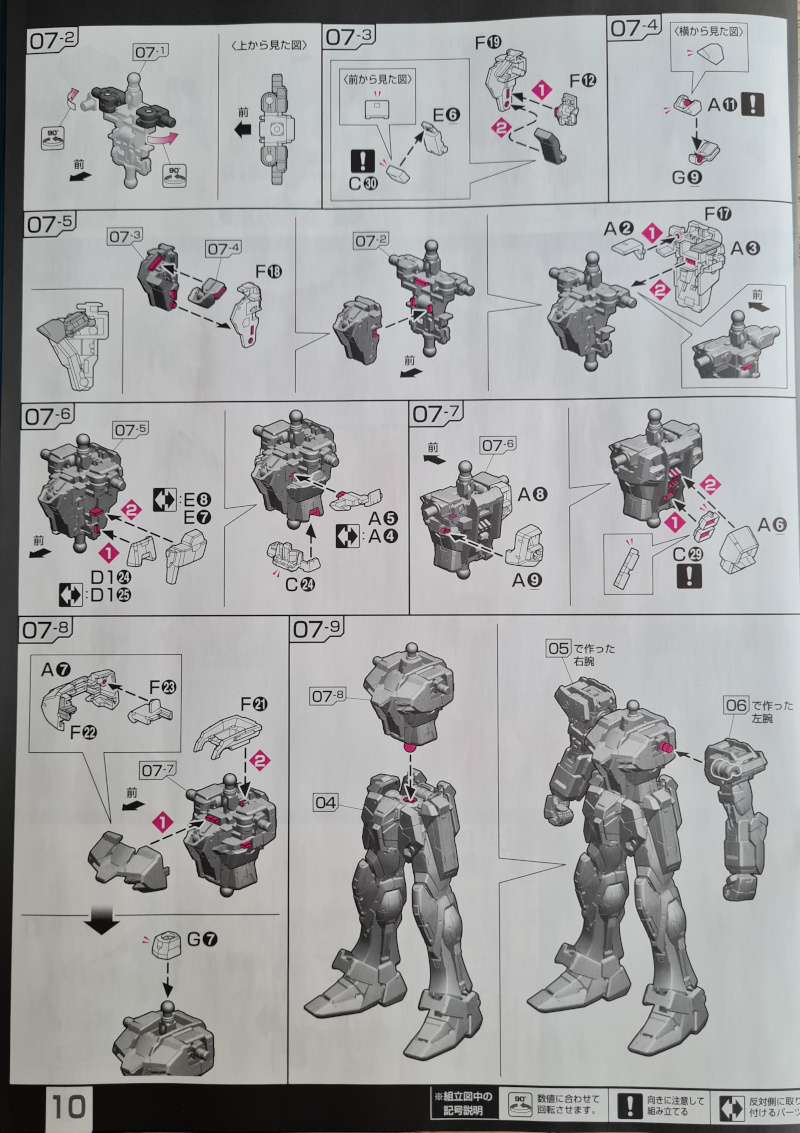
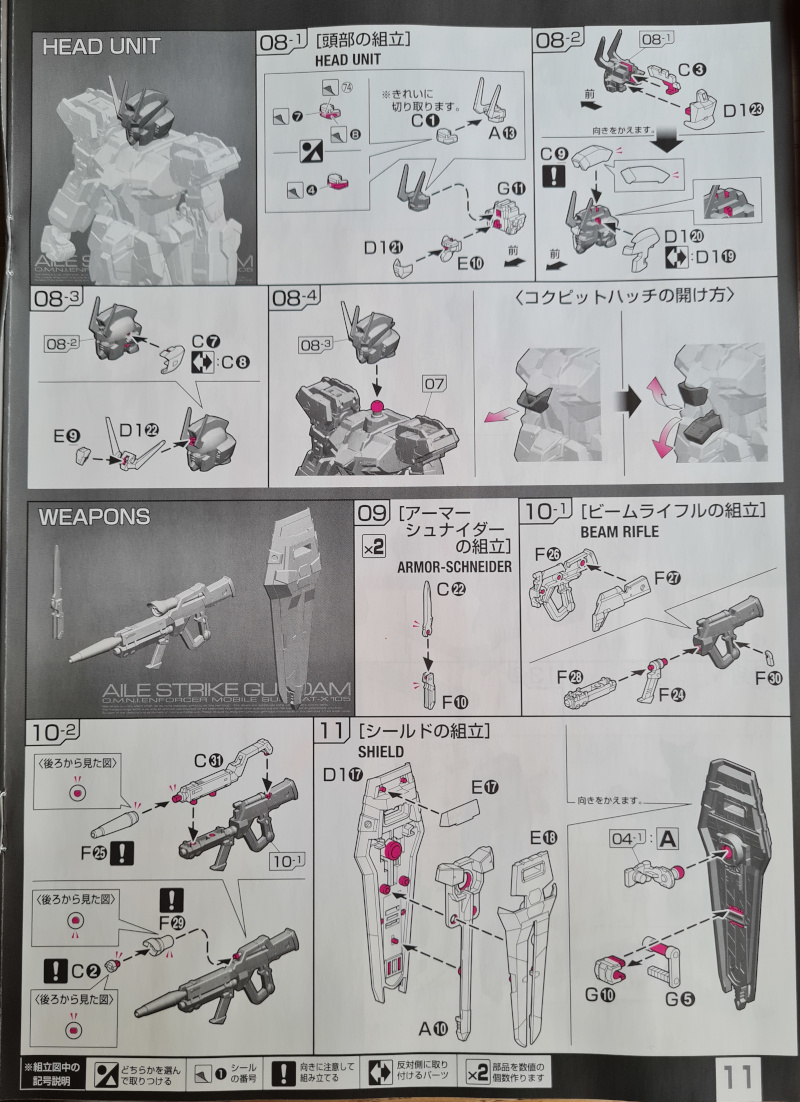
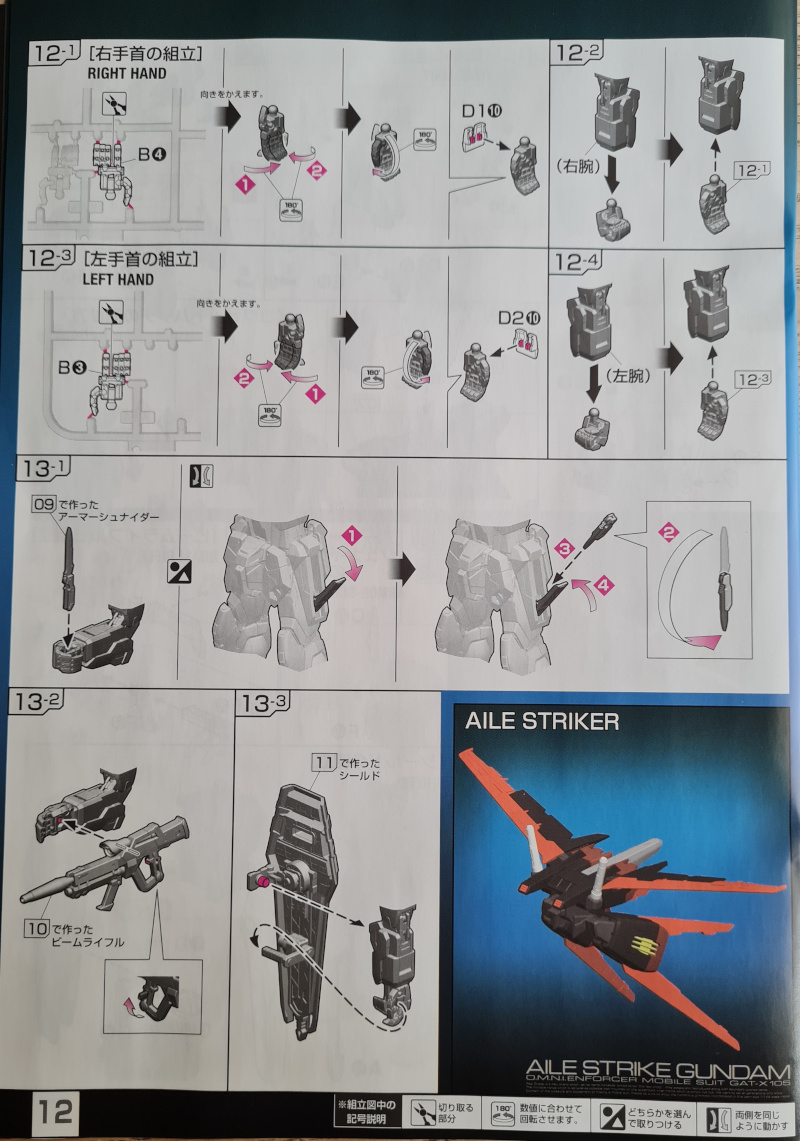
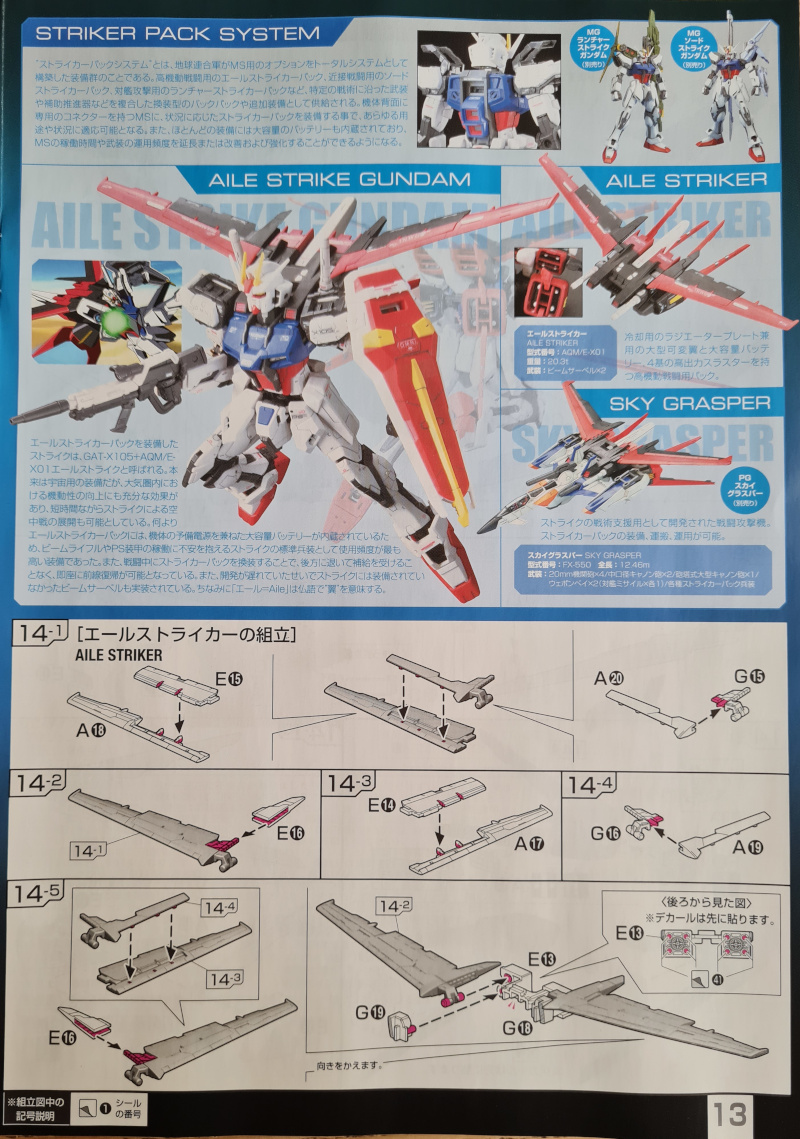
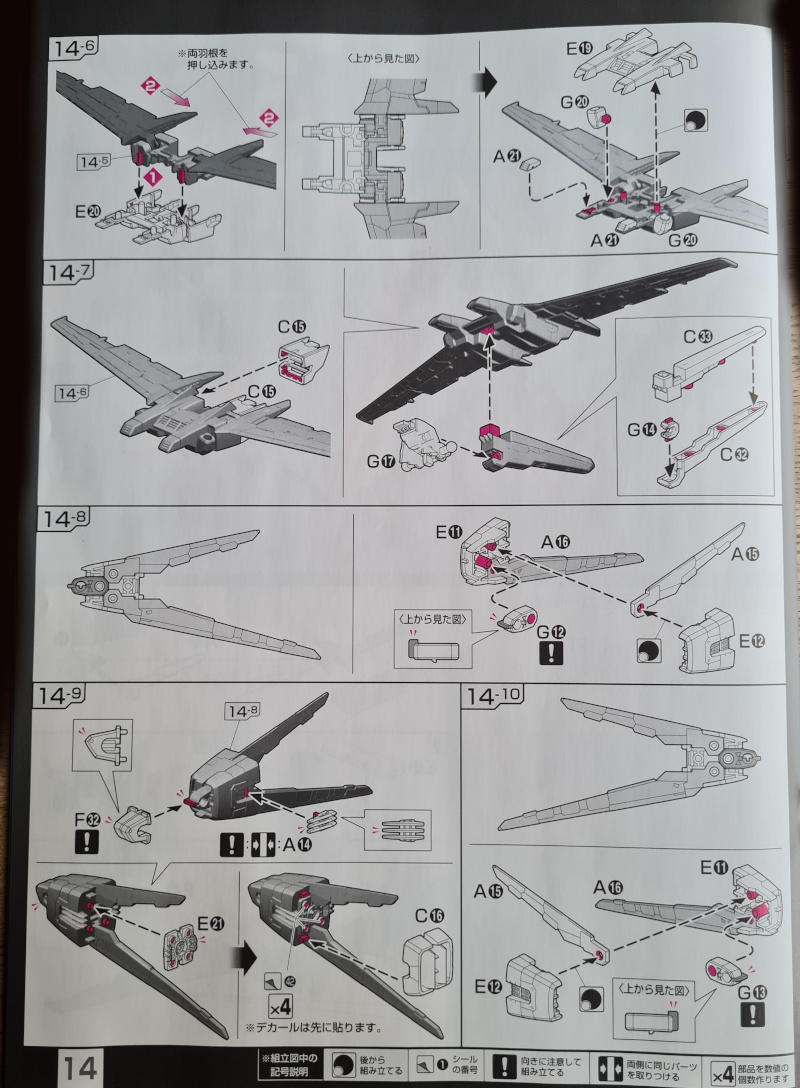
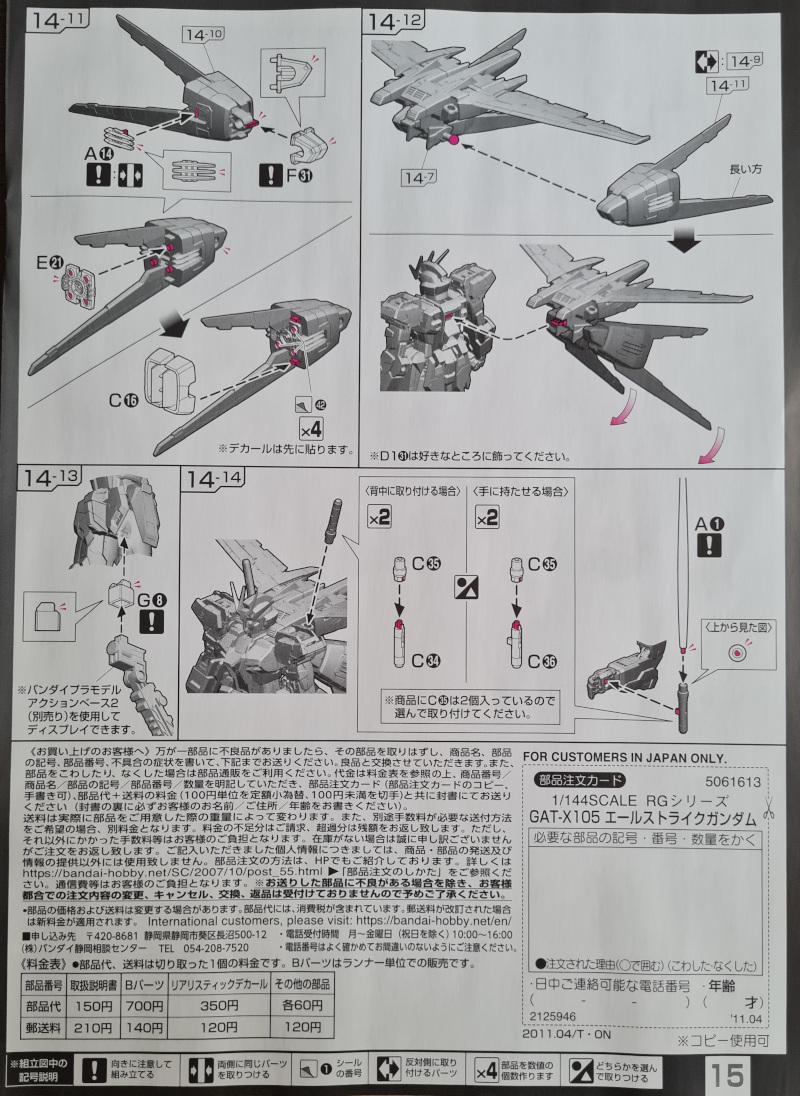
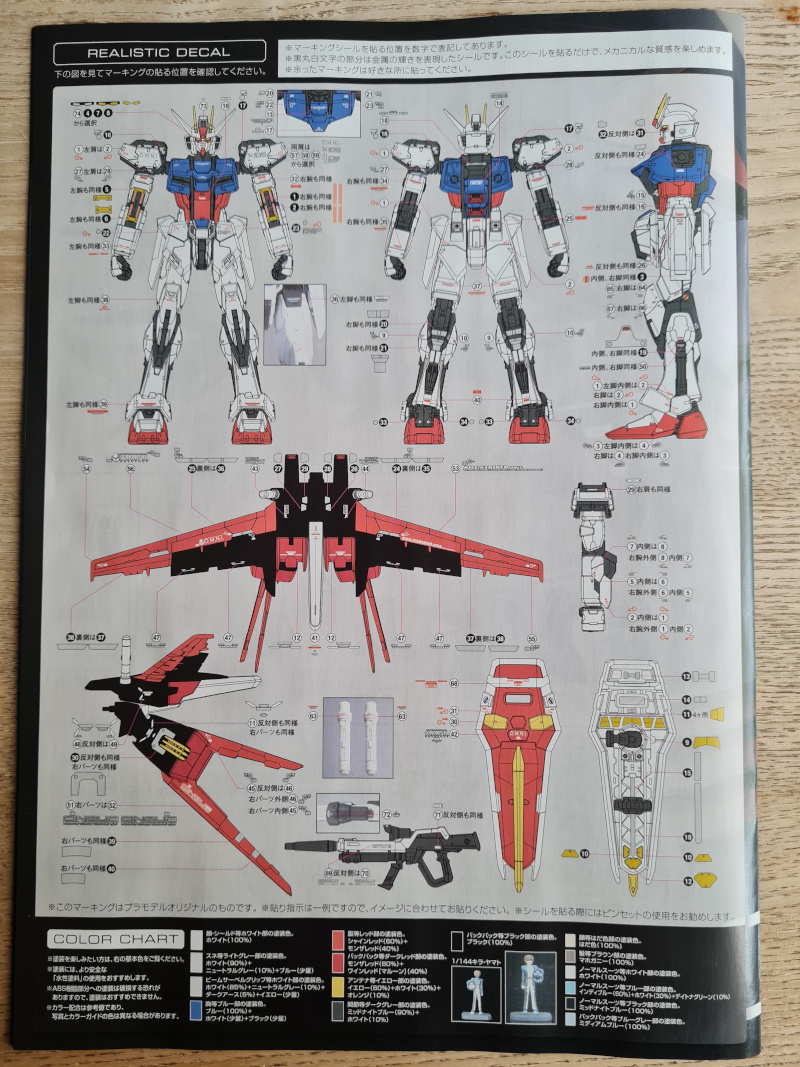

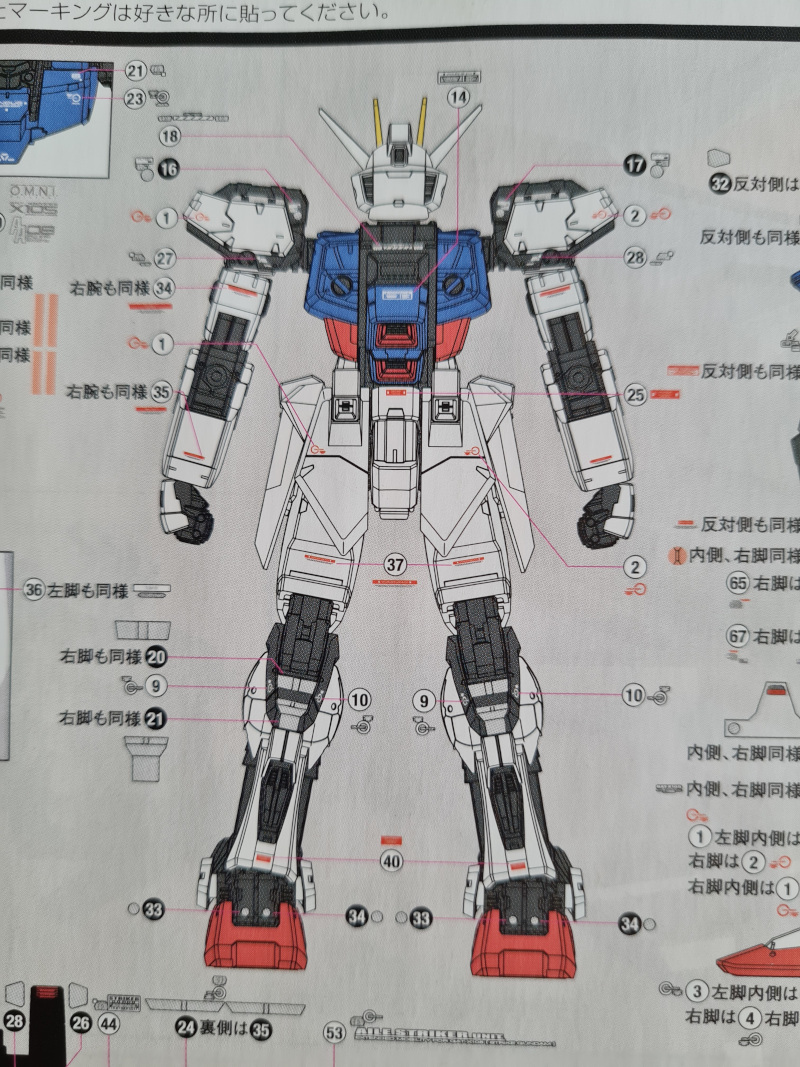
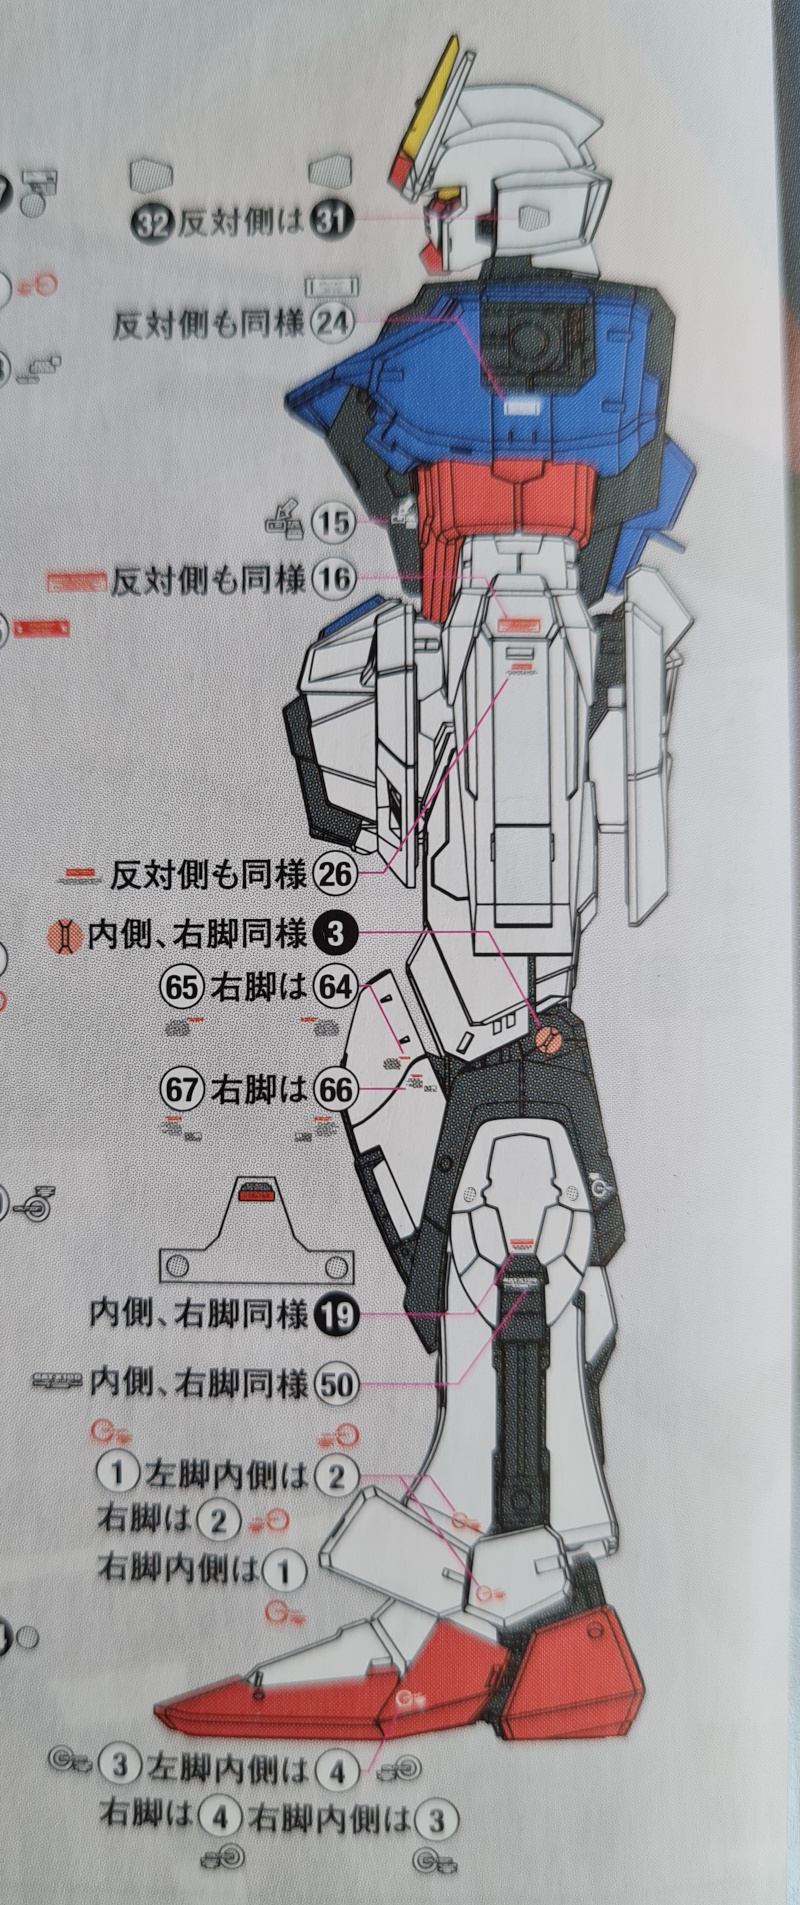
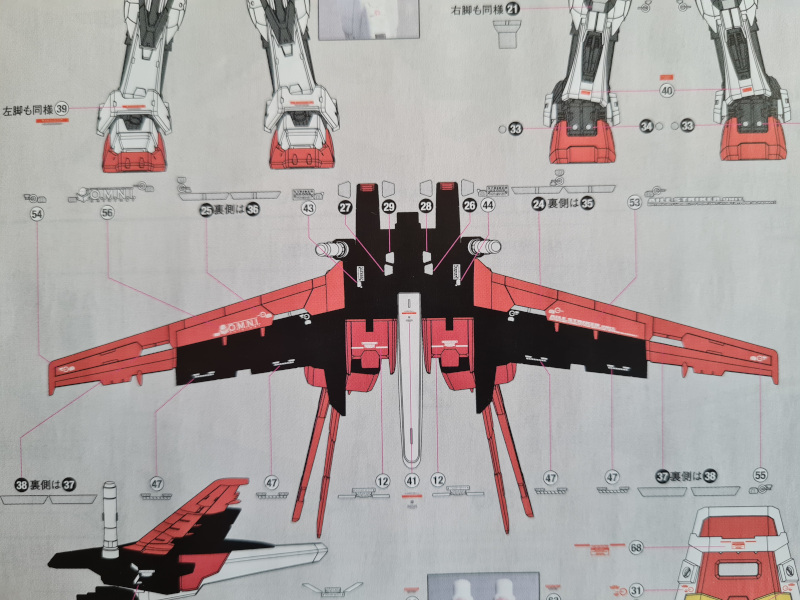
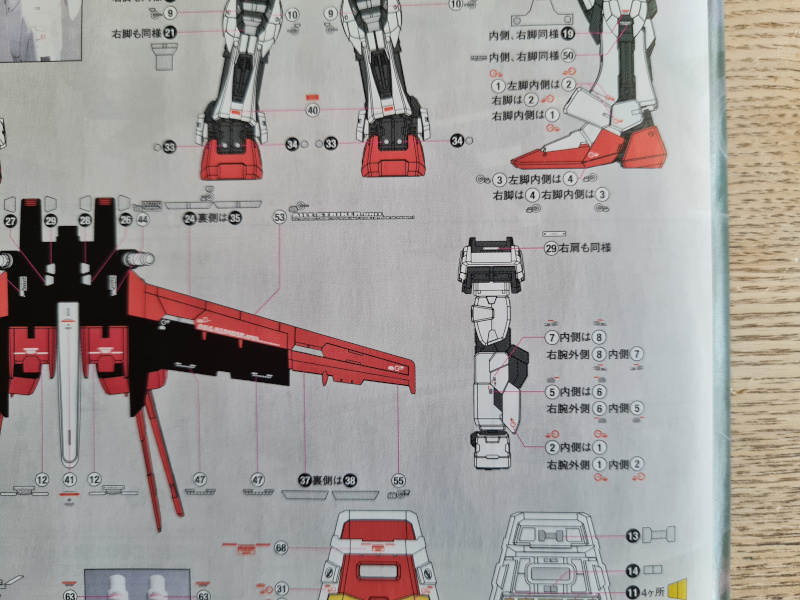

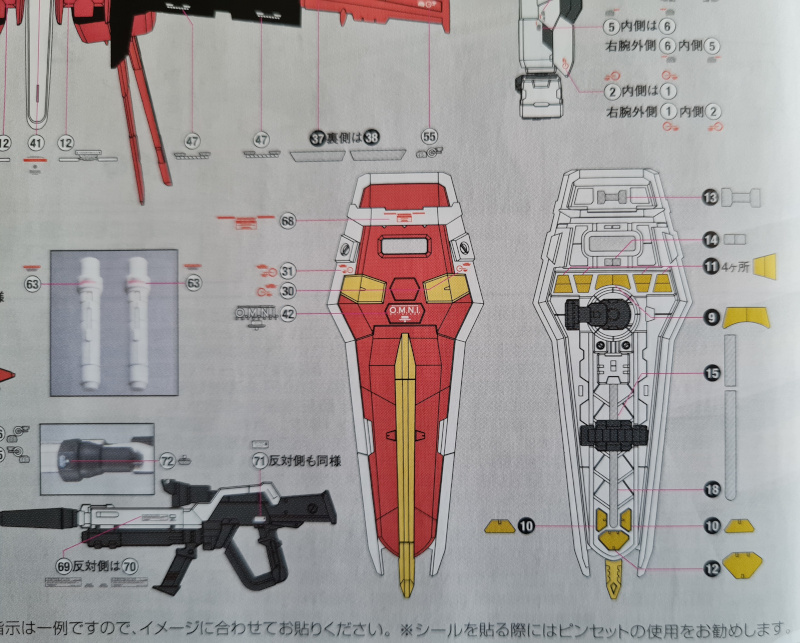
Although the manual only has 16 pages I added some closeups on the Decal page on the rear of the manual. I also ombined the above images into a single PDF that you can get here if you need it.
The Tools
Everything above covers the box, and its contents. Next up are the tools I plan on using to complete the build.
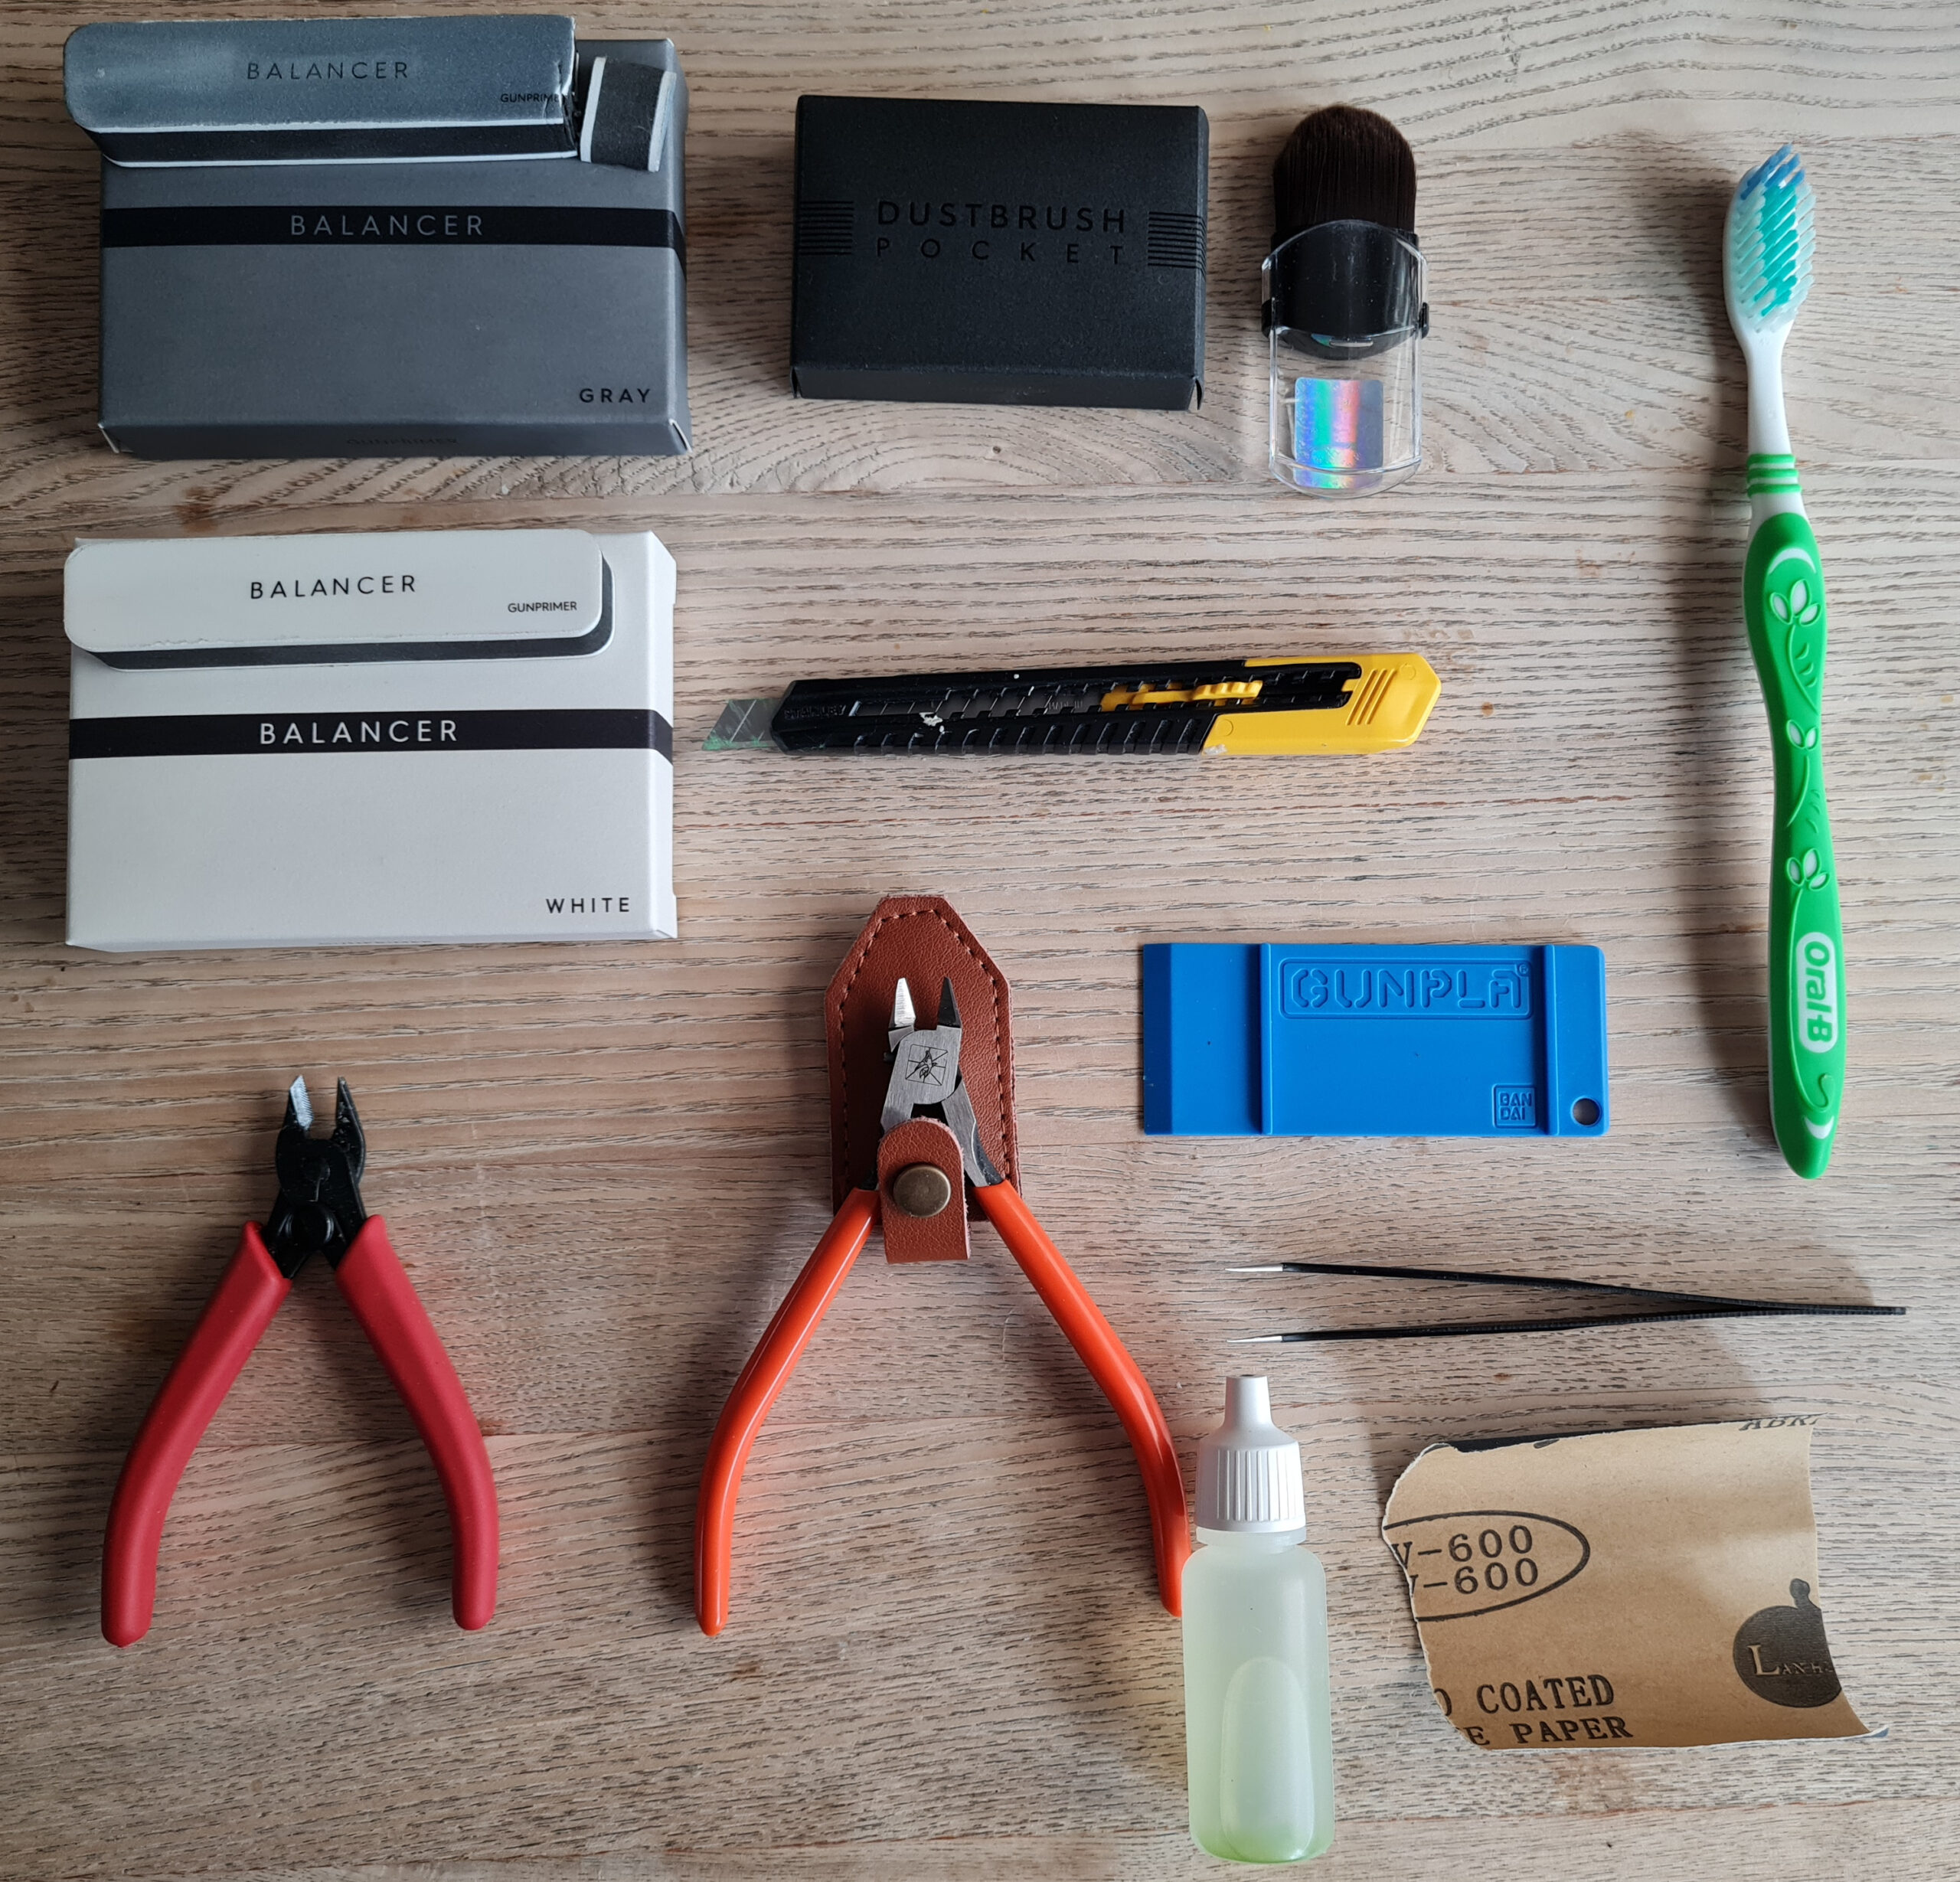
As you can see they are pretty standard fare. The Red handled nippers are for first cuts. The orange handled ones for the closer cut. The knife in case I need to shave anything closer. The 600 grit to smooth things down and the dropper bottle of water as it is wet and dry sandpaper so adding water prolongs the life of it. the Gunprimer balancers and brush for cleaning up after the nubs and removing particles from the balancers. The Oral-B to clean up bits from the model after sanding. Finally the tweezers and parts separator. The tweezers are to help me place decals, and the separator in case I need to split anything back apart.
I think, I will likely also use my panel lining pens and various top coat cans. I will include those when / if I use them.
Conclusion
I am really looking forward to this build. After all the bigging up I have done on how great I think it looks, I am super excited!
Thank you for taking the time to read this. If you haven’t already done so please like and follow us on our social media platforms and checkout our website!
Facebook: https://www.facebook.com/profile.php?id=100086701512793
Instagram: https://www.instagram.com/modelkitsltd/
Website: https://modelkitsltd.co.uk