Good morning, and welcome to the 28/05/2023 Update. I wanted to cover a few things and just update everyone so they know where I am at!
Decals
As you may, or may not, know I stock Delpi Decals. I am working on building up the supply I have in the UK. A couple of weeks ago my latest order came in. However, last week I was sick all week so I haven’t gotten everything done I was planning on doing. I just need to work my way through the decals and grab the barcodes then I’m good to go with those!
Kits
I have also been beavering away trying to continue increasing my available stock. For anyone new here I don’t list anything I don’t already have my hands on. If it is on the shop then it is in my storage where I can get it and post it. My next delivery has got a handful of more Good Smile kits as well as some very tasty Bandai kits.
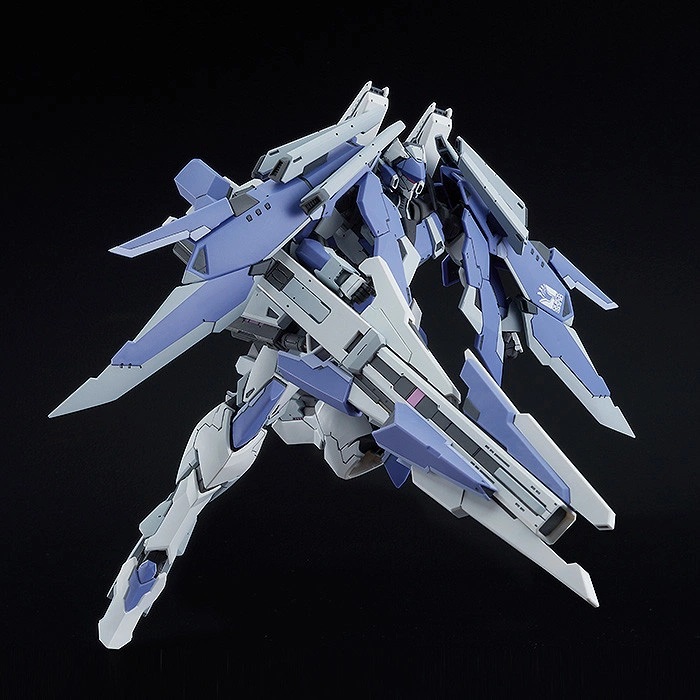
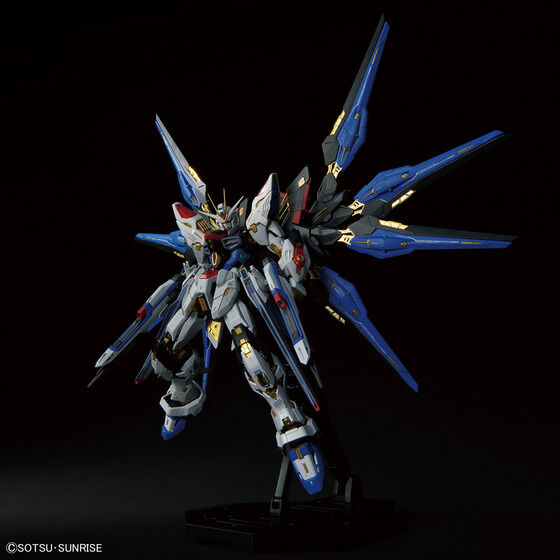
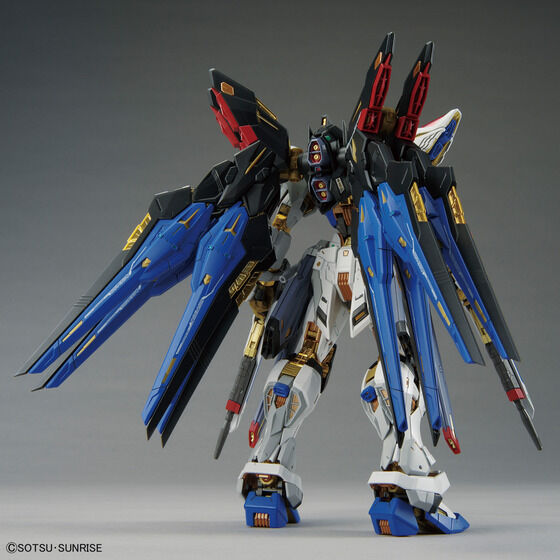
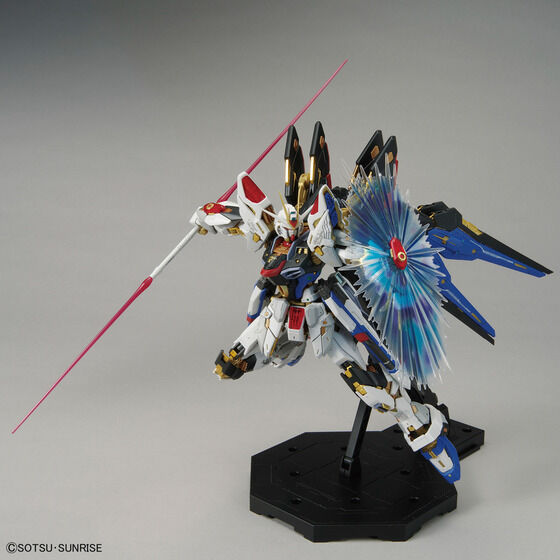
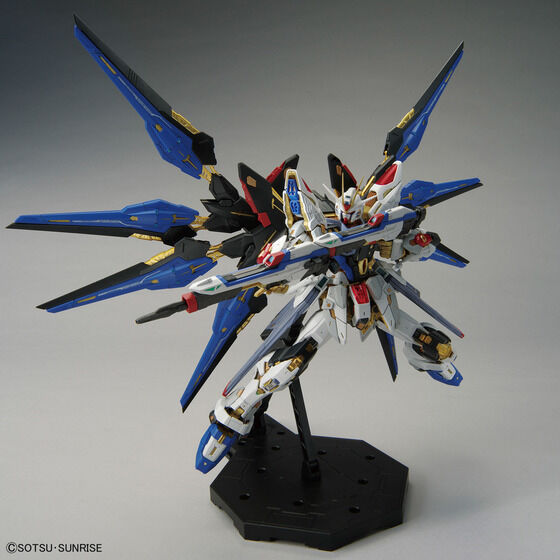
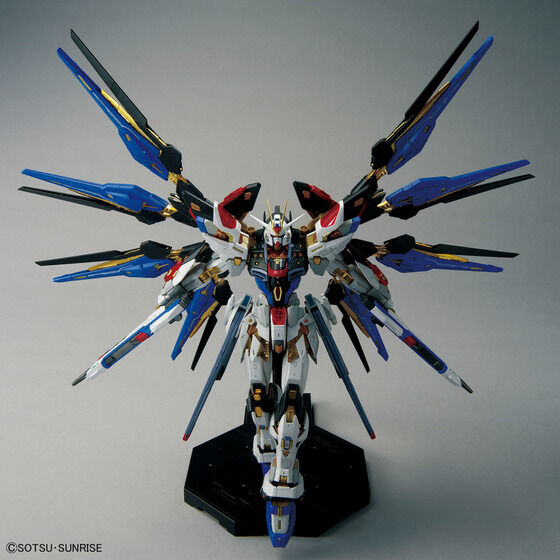
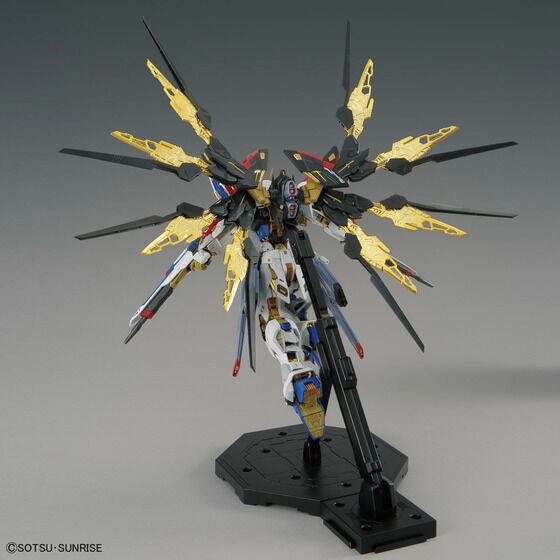
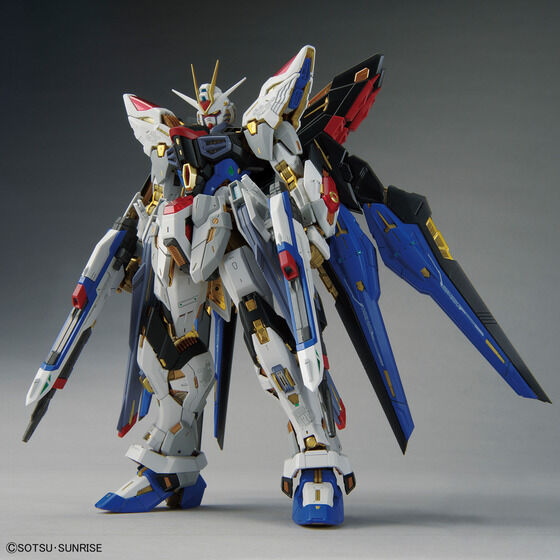
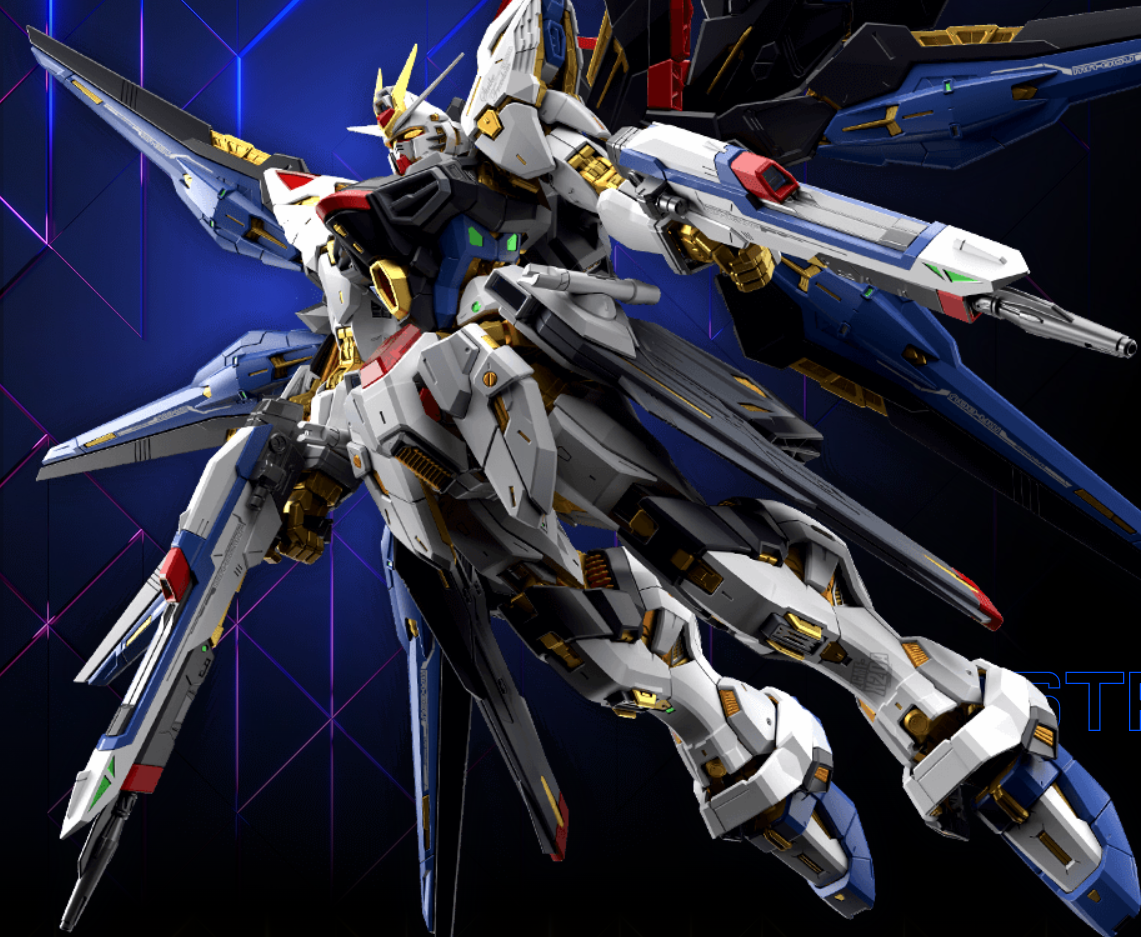
MGSD Freedom
Using my no-pre-order system I have, as far as I am aware, sorted MGSD kits for everyone who got back to me wanting one. With that in mind I have now made the rest of them generally available on the site. Why not go to the shop and treat yourself!
MGSD_FREEDOM_12
Conclusion
Hopefully the 28/05/2023 update has brought everyone back up to speed. As always if there are any questions then please just let me know.
Welcome to “07/05/2023 Quick Update”. I am really sorry I haven’t been updating more regularly! I will try and get a lot more model kit information up over the coming weeks! The last few weeks have been busy to say the least!
Stock
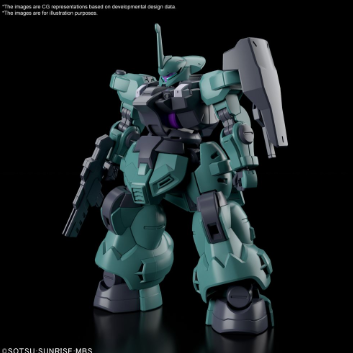
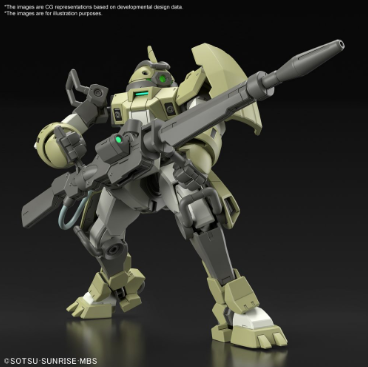
Well there are a few things to update on stock. I have for starters got some of the Witch from Mercury kits in stock. Starting with these beauties!
On top of what I currently have in I will also be getting a fresh supply of MGSD Freedom models. If you are interested in those then let me know as they seem to shift fast and I can put it aside for you.
It is also worth noting that although stock is low on the Beguir-Pente and Michaelis I am due an fresh shipment of them on Tuesday.
Delpi Decals
You may, or may not be aware, but I also stock Delpi Decals. I have a selection in stock, and I have just put in an order for a load more. If you want to pick up some custom decal sheets then have a look here.
Moderoid
I have also picked up a couple of Moderoid models. I have put in orders for some more, just to give people a slightly different selection from the standard. For those I have these three currently.
So stock wise I am continuing to grow the selection in stock and to try and make sure people get what they want at reasonable prices. That pretty much concludes “07/05/2023 Quick Update”. All that is left is for me to thank everyone for their support, and to wish you all a great week.
Once you have spent all that time building your model(s) then people often want to display them. The options range from standing them up, to full on dioramas. Obviously some of it all comes down to how much time you want to spend on the display. However, if you want cheap, but effective the stands I have in stock may just be right for you!
Why would I want a stand?
Well to put it simple, it increases the number of poses for your model. That allows you to get even more out of the model you built. You can have them posed as jumping, or mid flight or all sorts when adding a stand in to the mix.
Examples
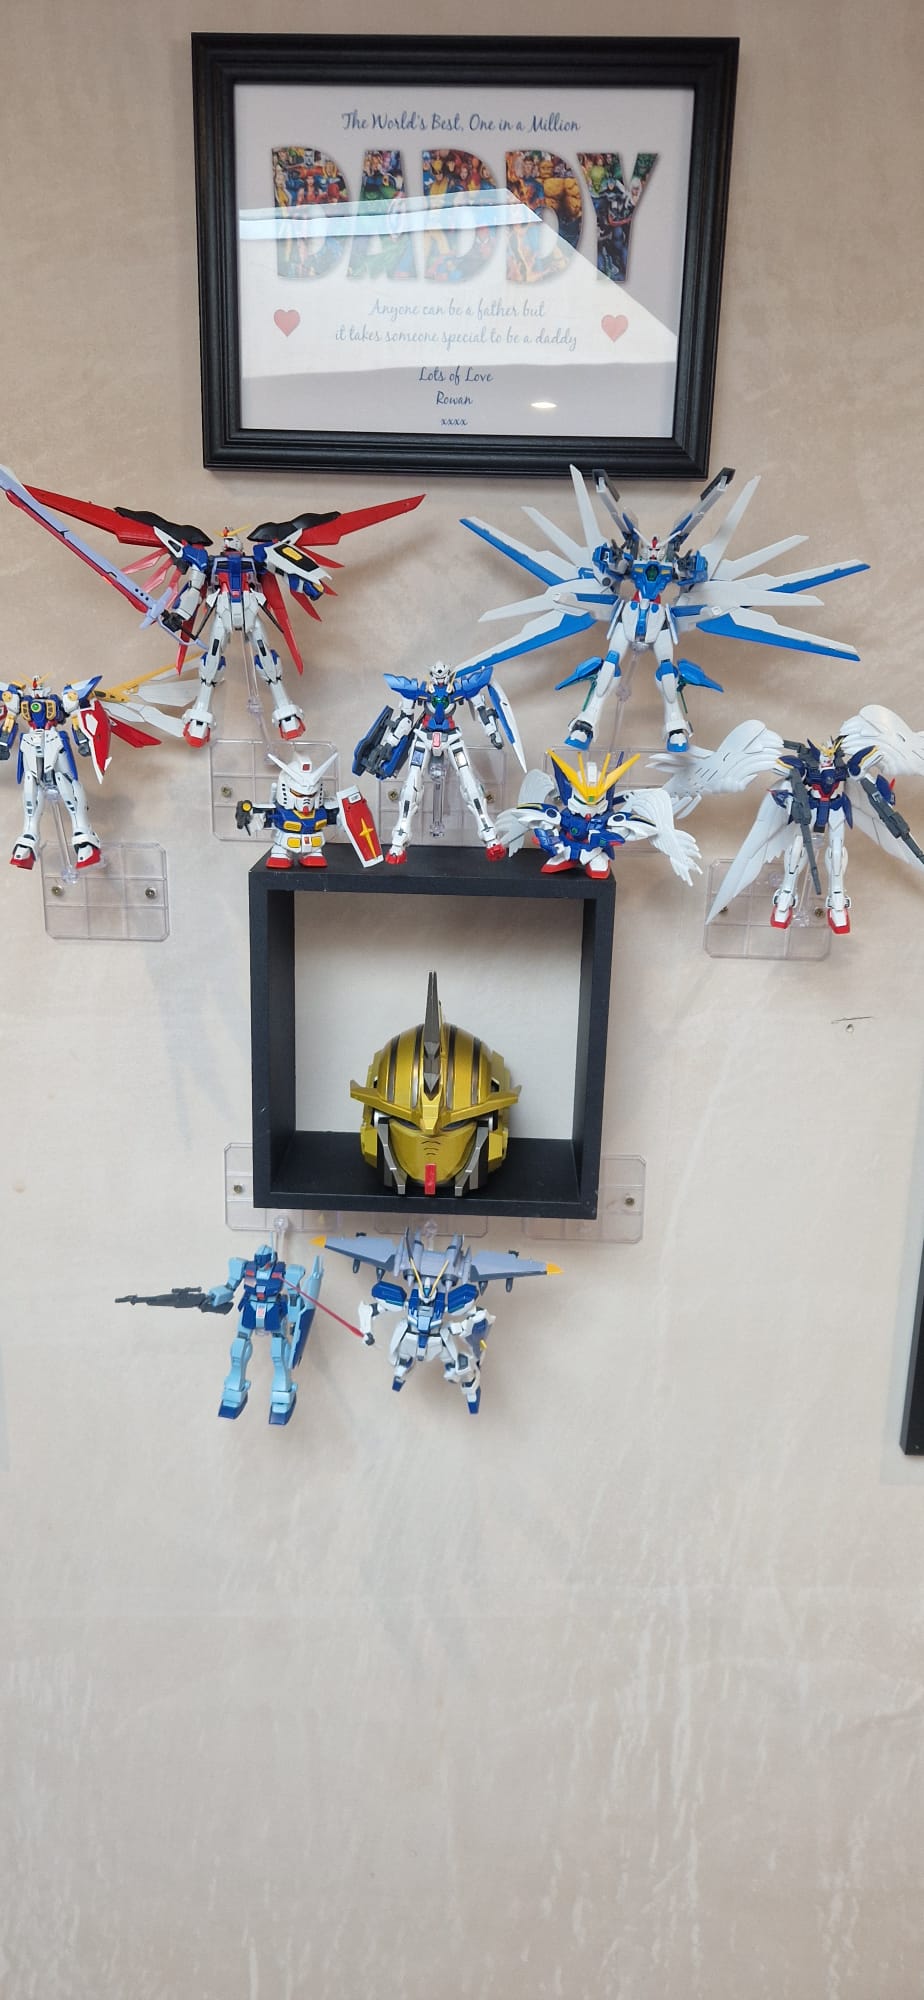
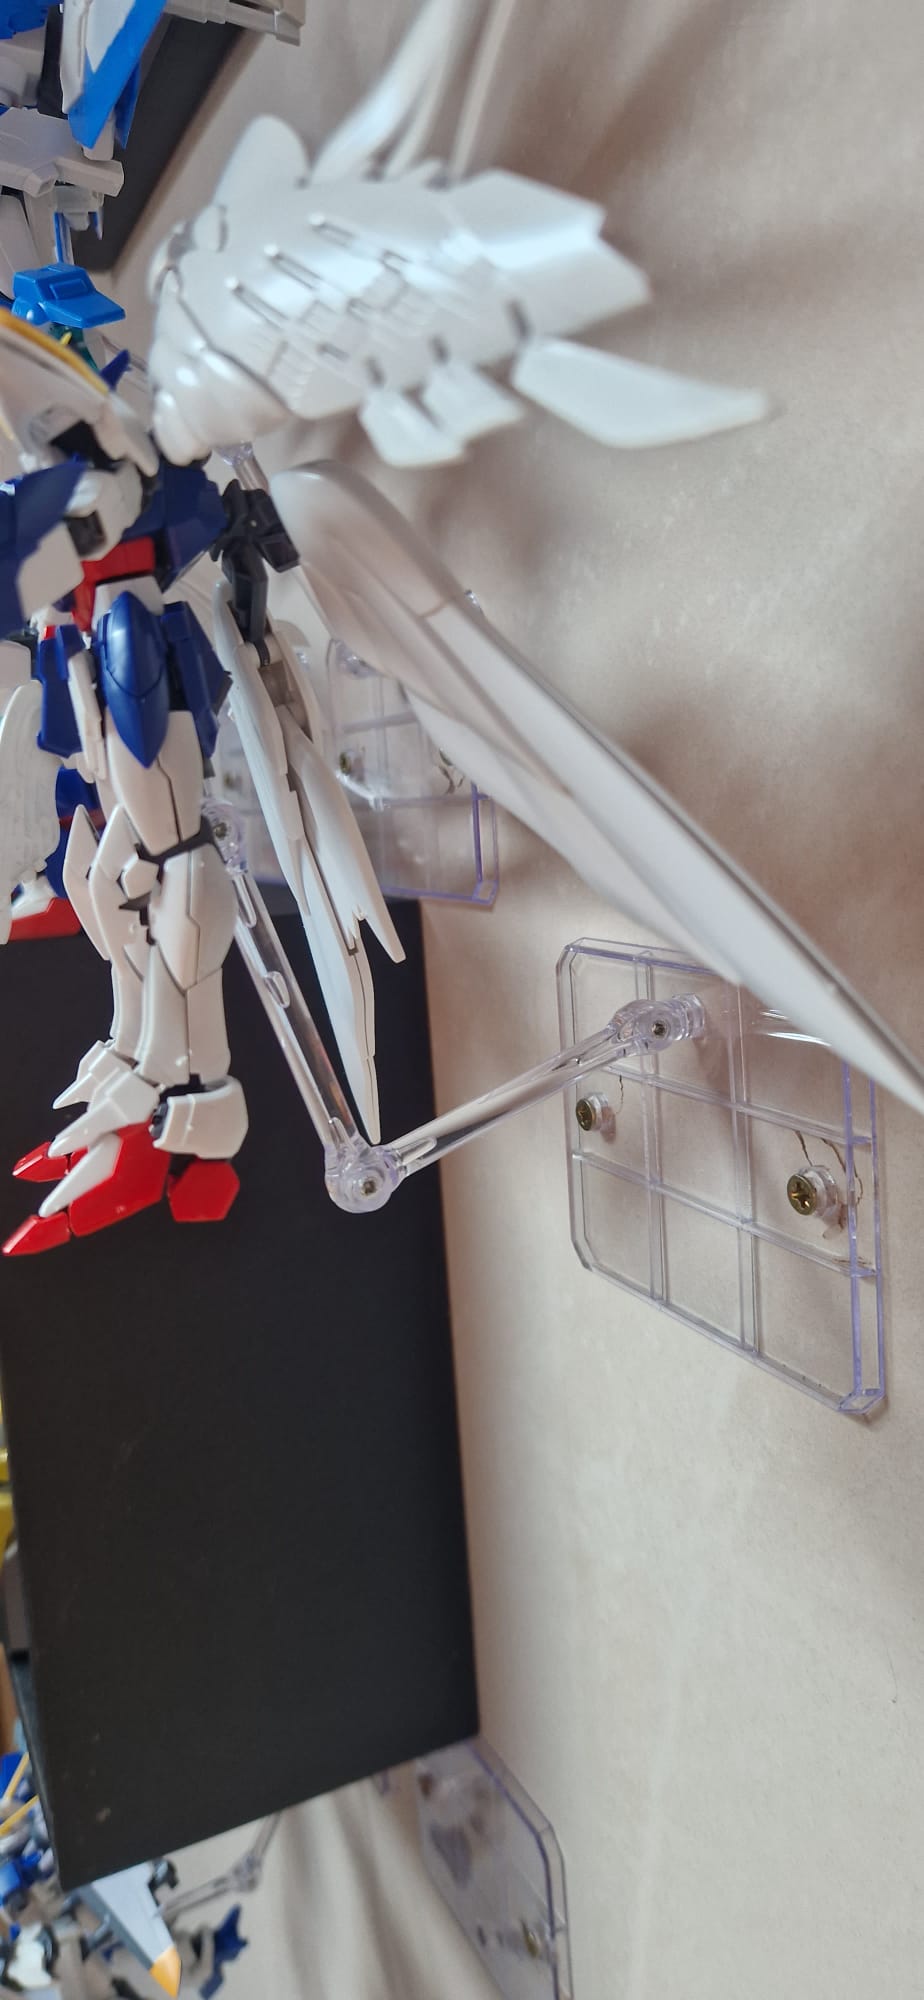
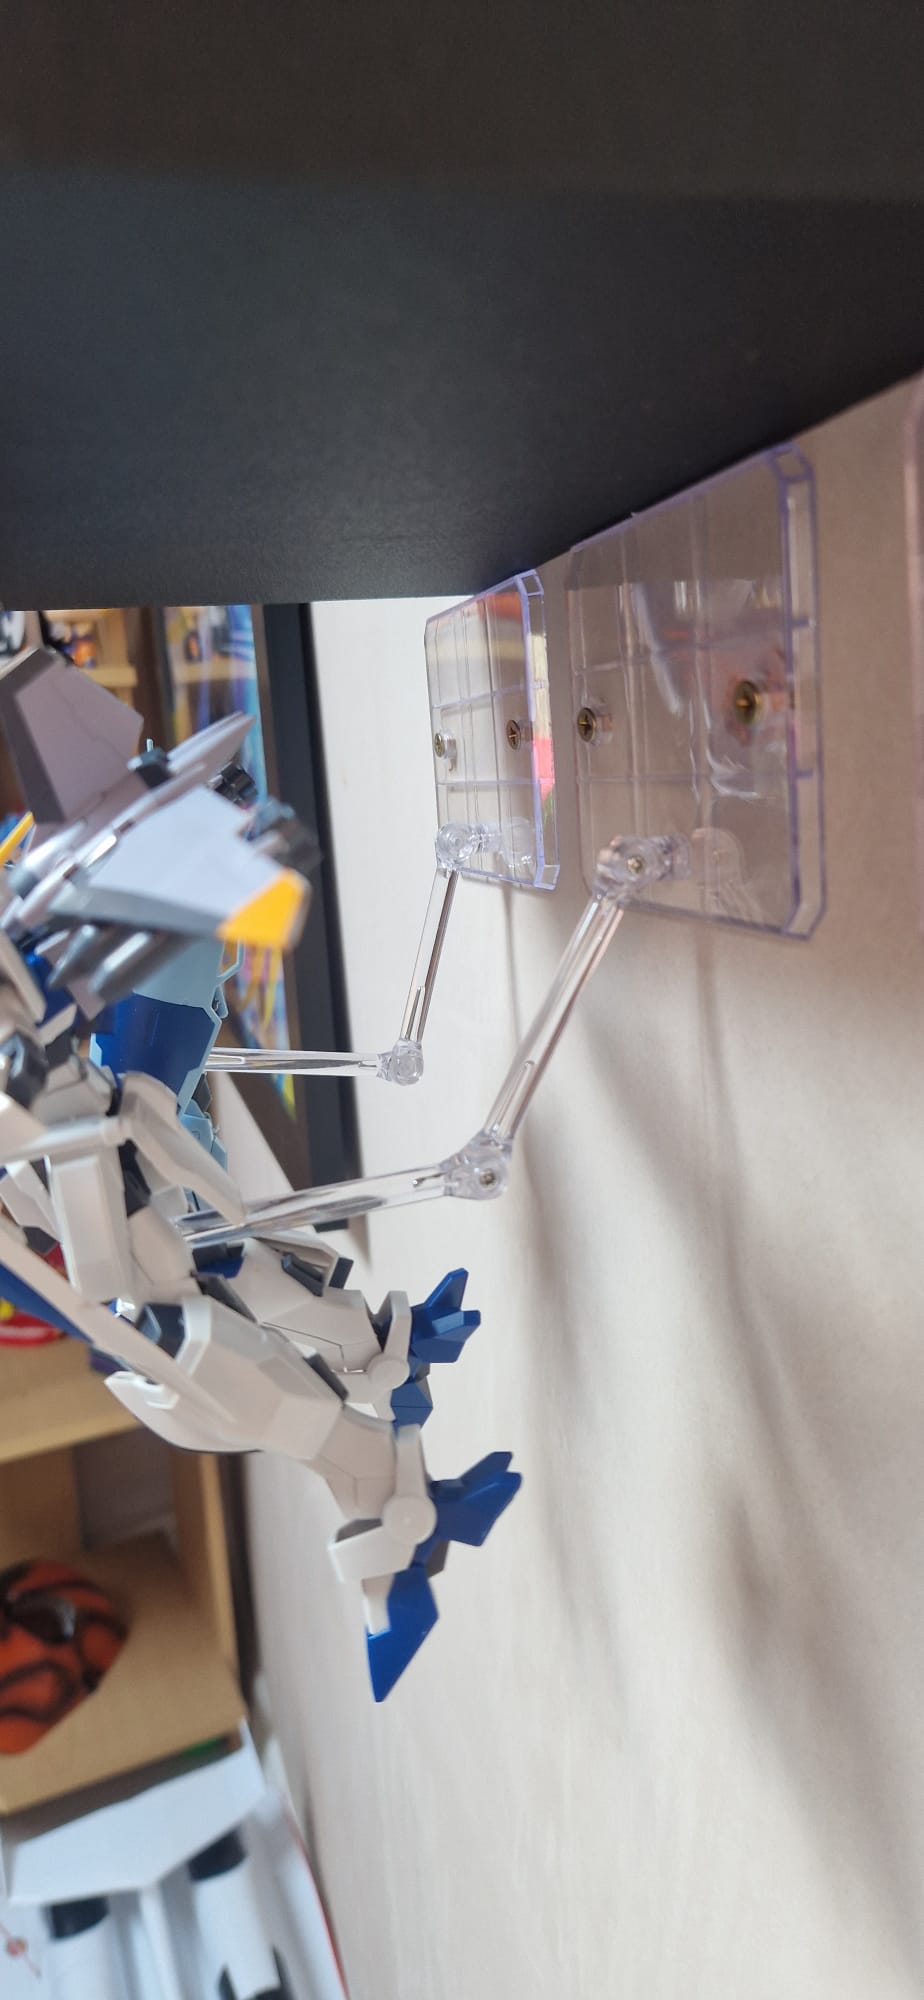
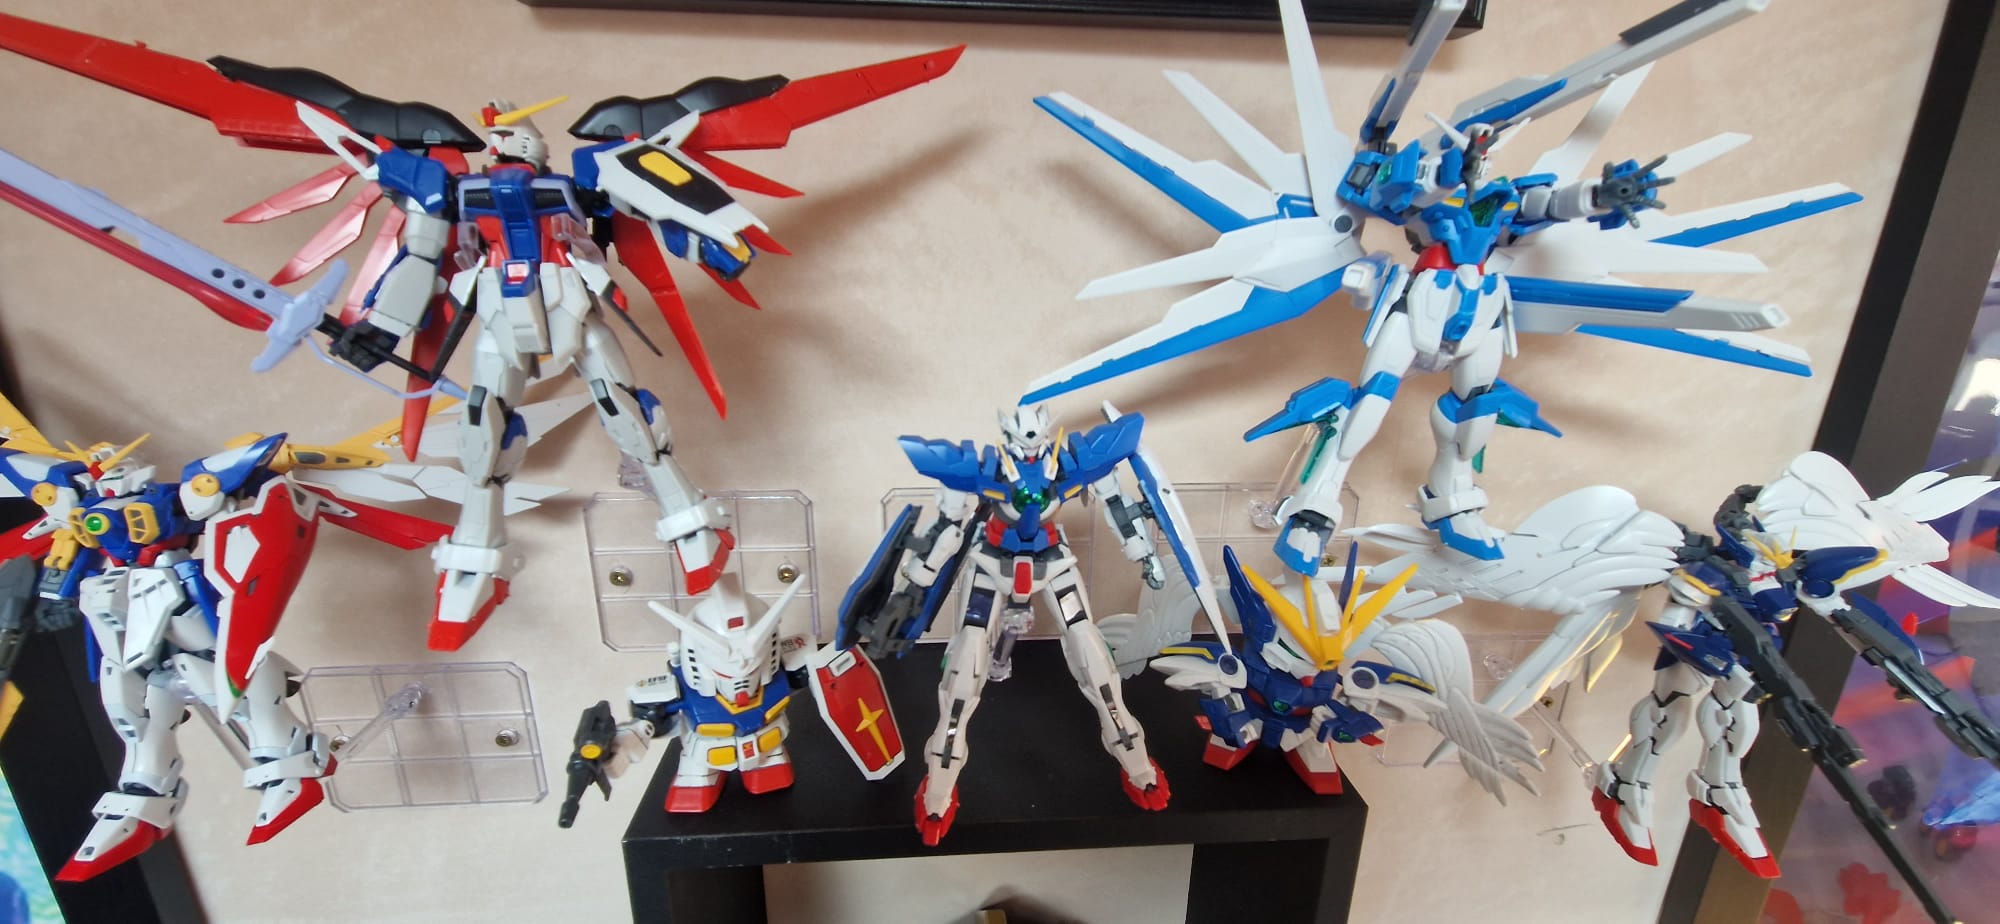
One of my friends and customers very kindly allowed me to use the following images from their collection:
Display1Display2Display3Display4Display5
As you can see the use of space has been maximised by attaching the bases to the wall allowing the models to float in mid air. This provides an excellent example of how ingenuity and these cheap stands can provide a great way to display your models.
Where can I get these wonderful stands?
Well I am very glad you asked me about that! I happen to have these very models in stock over at the shop here! Reasonably prices, and as you can see from the photos, they offer great options.
Conclusion
There are plenty of ways to display your models. There are no right, or wrong ways to do it. If you are having fun, and you like how they look then that is right.
Thank you for taking the time to read this. If you haven’t already done so please like and follow us on our social media platforms and checkout our website!
“General Update 09/04/2022” is a quick opportunity to catch everyone up on where I, and the shop, are at the moment.
Hours in the Day
As the title says, I sometimes find myself wishing that a day was 48 hours, or I could make 48 hours. After managing to get the PG models I had in, packaged and sent, I then got the rest of that box onto the site. Over the last week or so I also managed to get the rest of the models on the site.
I have now managed to get a nice (and slowly growing) selection of Master Grade models on the store, as well as a growing selection of The Witch From Mercury models as well.
I am starting to work through the list of people who had pre-ordered the Delpi Decals with me. Once that is done I will add everything else to the site for general availability. If you can’t find what you are looking for in the Decals when I release them please have a look at https://delpidecal.com/ and let me know if there is anything specific you would like me to order in.
Miscellaneous
As well as all the other items I have also been sorting out some technical items. I have been trying to make keeping all the data I have on stock organised. To this end I’ve moved the database to an online solution. I have also automated loading sales into the database so I can accurately check the stock.
In my previous post (or one of them) I mentioned that I updated the product search plugin. This adds the functionality that it now searches the tags. I am also slowly, but surely, working my way through adding codes and series names to the tags. This widens the options people have for finding the products they want.
Conclusion
All this means that as I work on slightly different strands things are slowly, but surely, improving. The amount of products in stock is slowly growing, and the data and access to the products is growing.
Welcome to “RG Aile Strike Build Day 12” where I am building up an RG Aile strike model. If you haven’t read any of the other parts I would recommend going back to the start. You can find that here. In the first post I covered the box, runners and provide the manual.
I am taking my time to ensure I clean up all the marks that can be cleaned up. As with any build like this, if you end up with discolouration or a small white “stress” mark you are likely to need painting to get rid of those. I may have a look at simple quick methods of dealing with those items, especially as I find that it has a habit of happening on the grey pieces. I also accept I may need to work on my cutting style as I’m sure that will contribute to it!
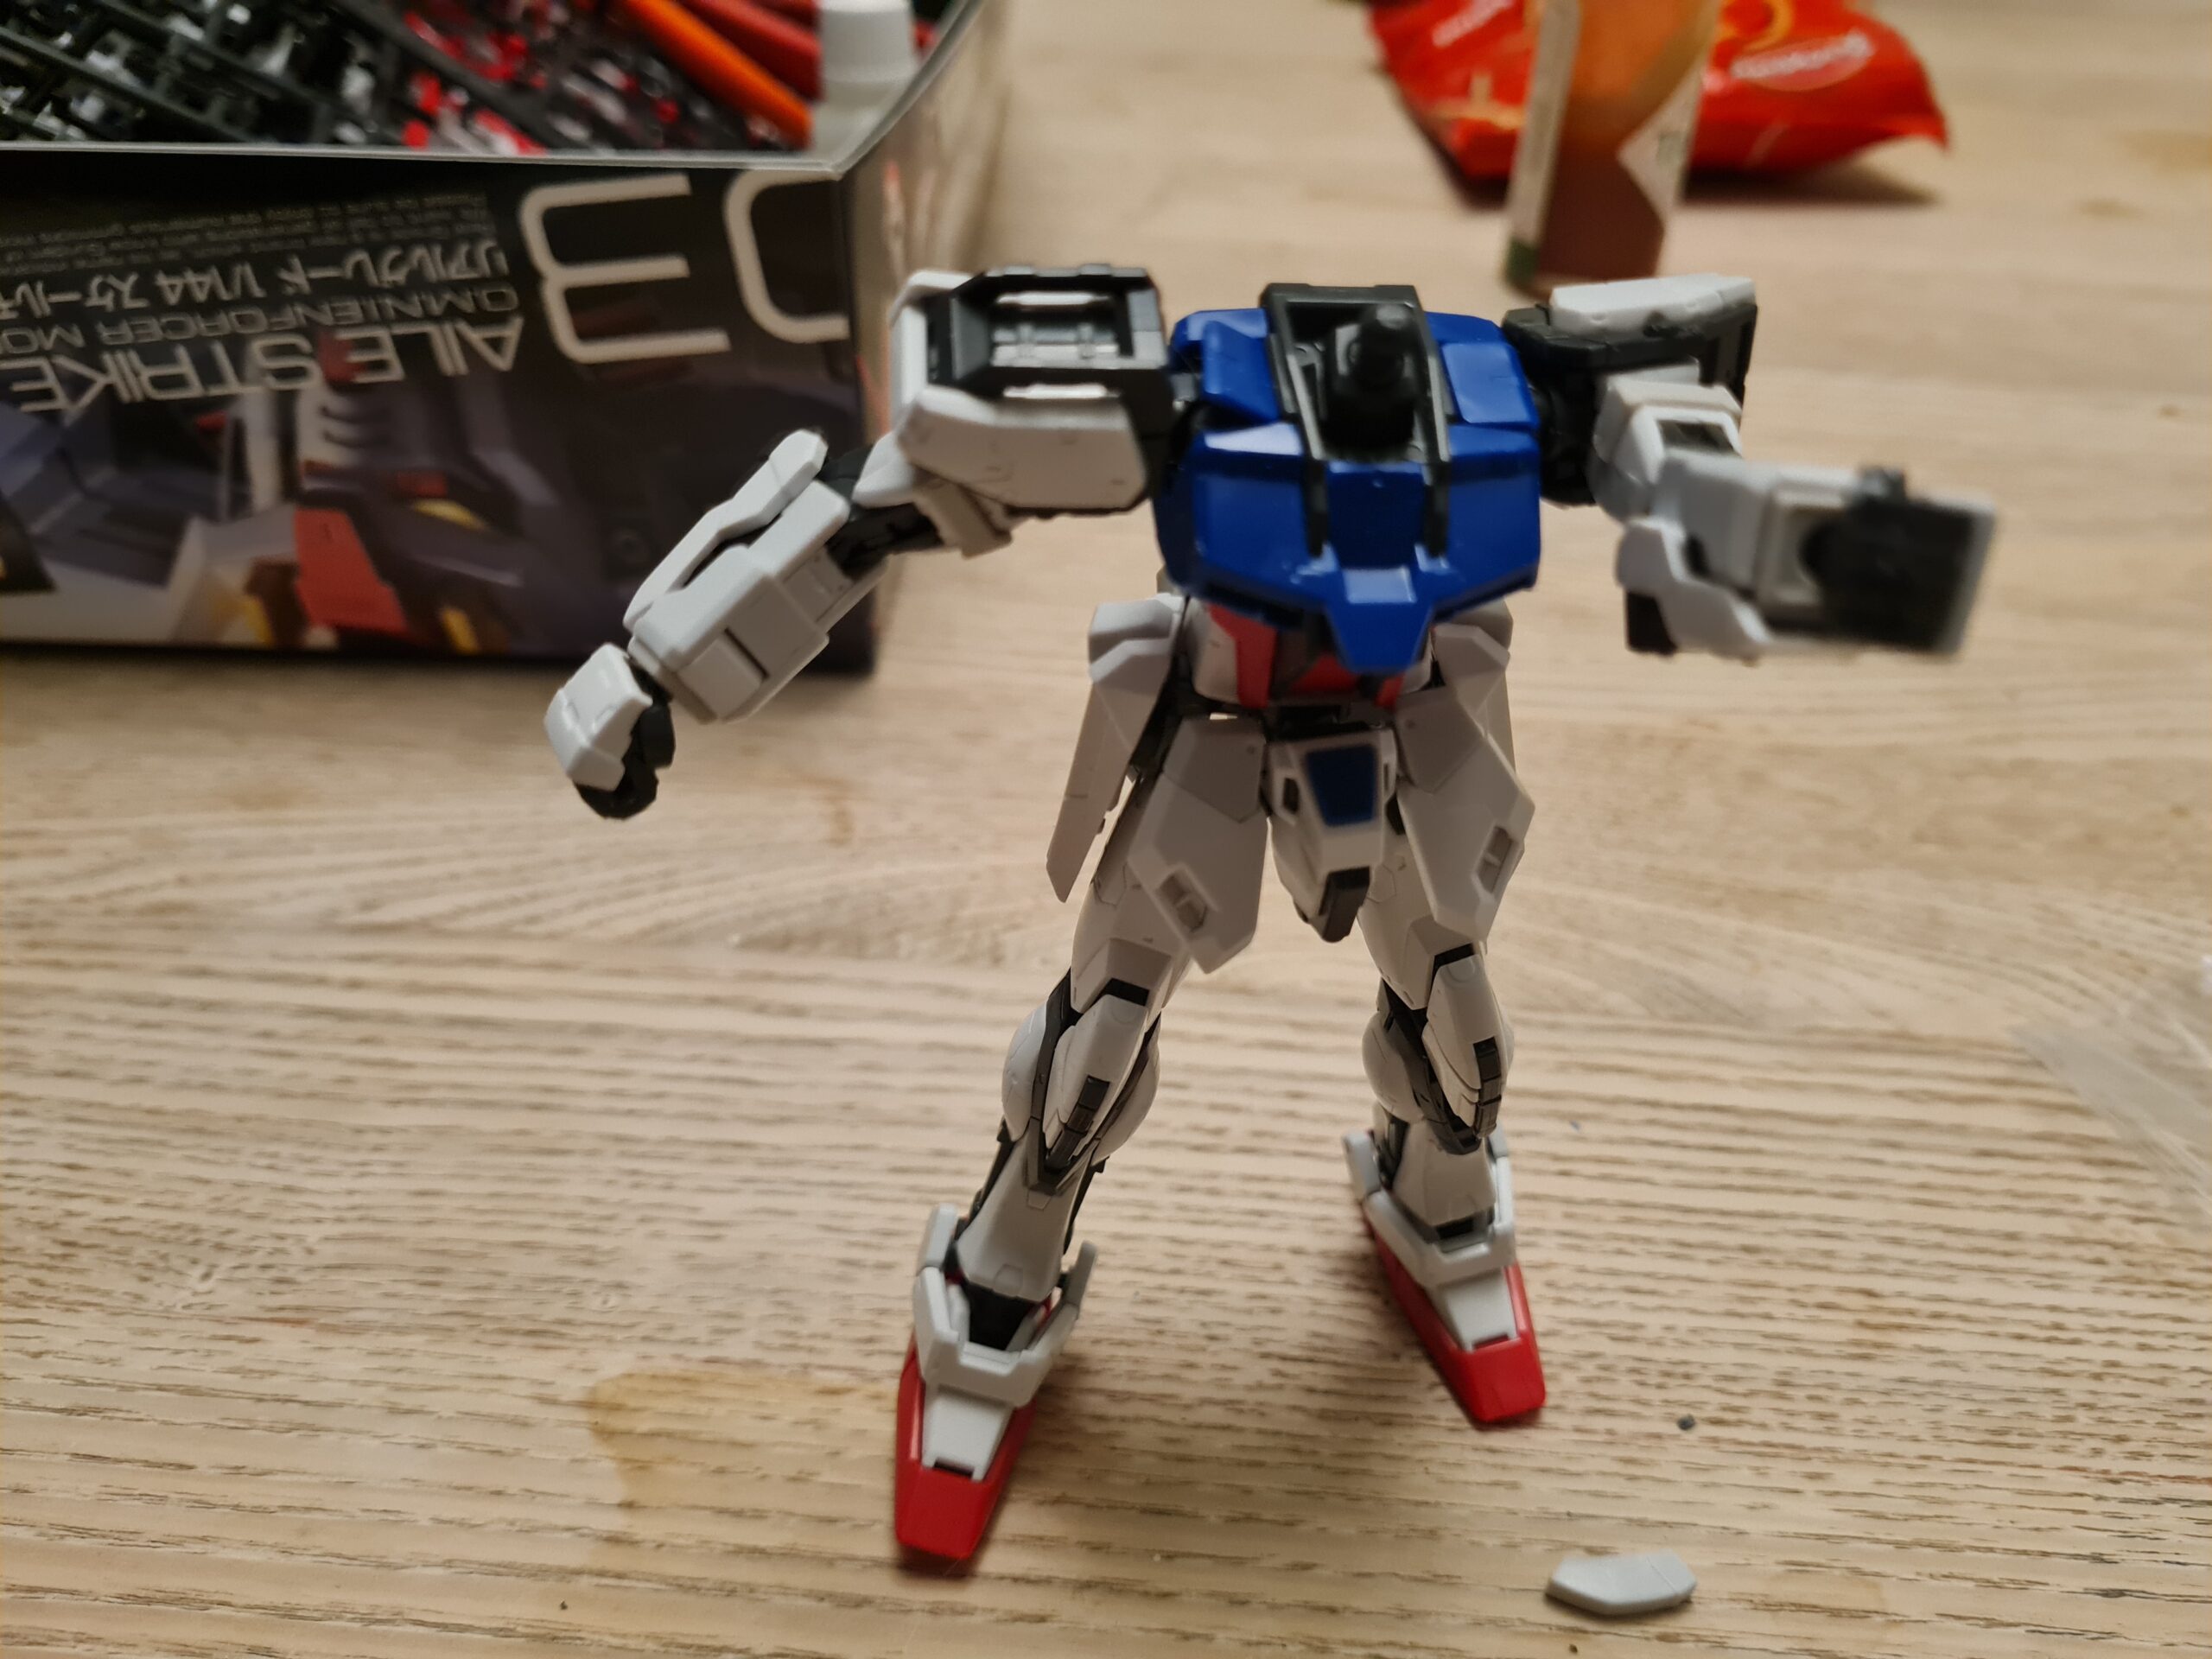
The Break
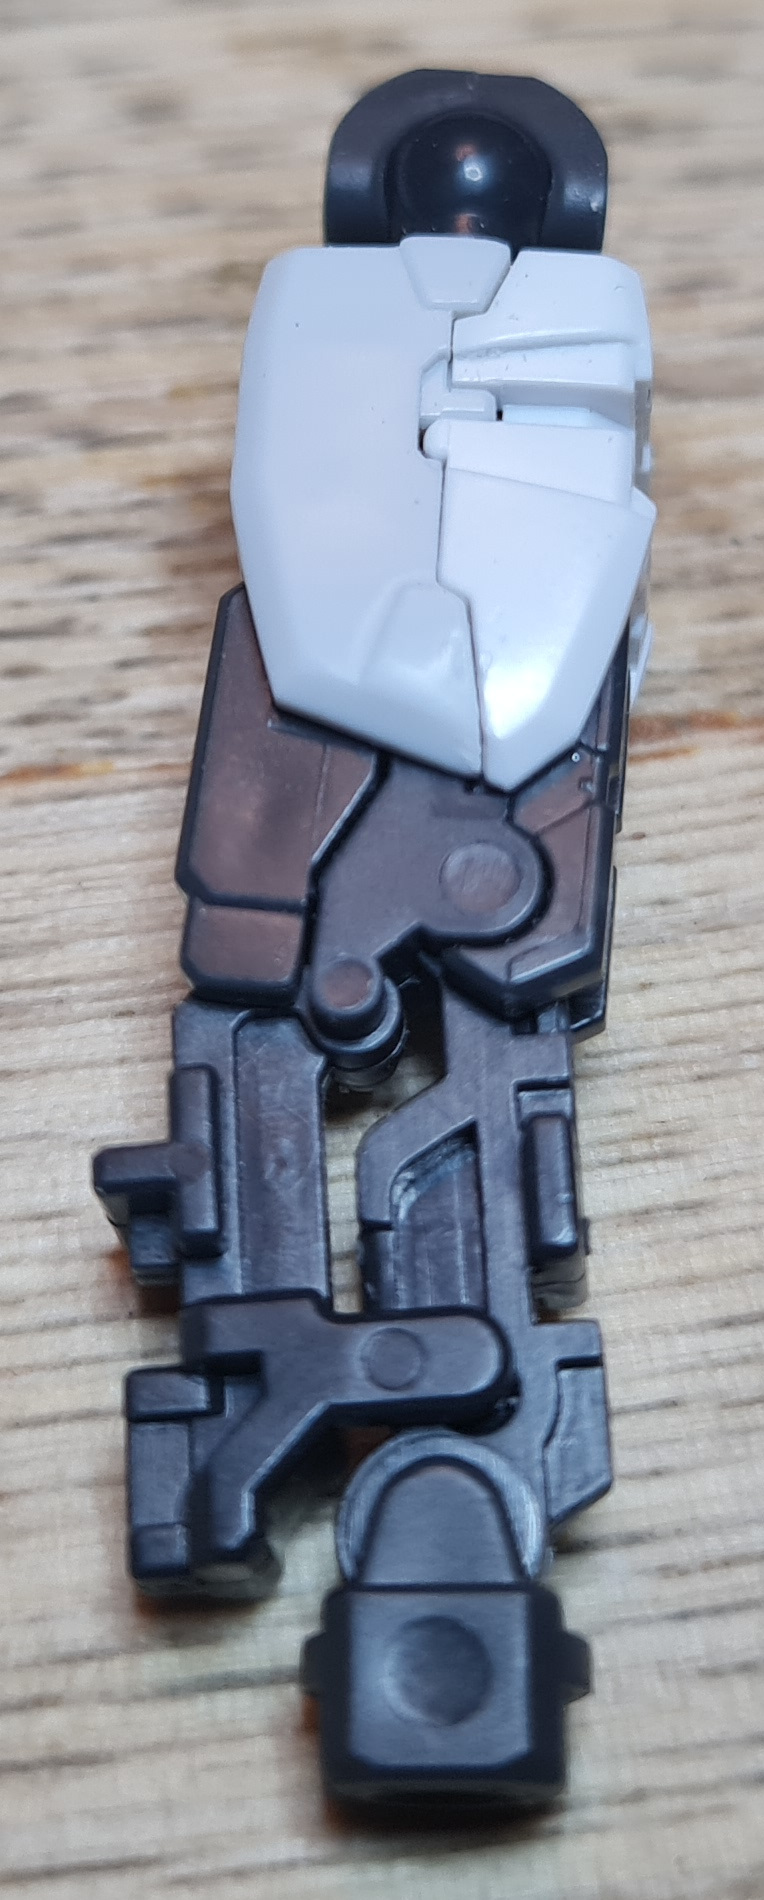
Ok, normally at this point I outline the process that I follow for taking the parts from the runners and cleaning them up. However I have a confession. You may, or may not, have noticed that recent pictures the model was nor sporting their right shoulder pad. This was, I had to admit, not the models fault. Rather I had been a little too keen with the nippers and rendered the joint that clips over the arm to hold the shoulder in place weak.
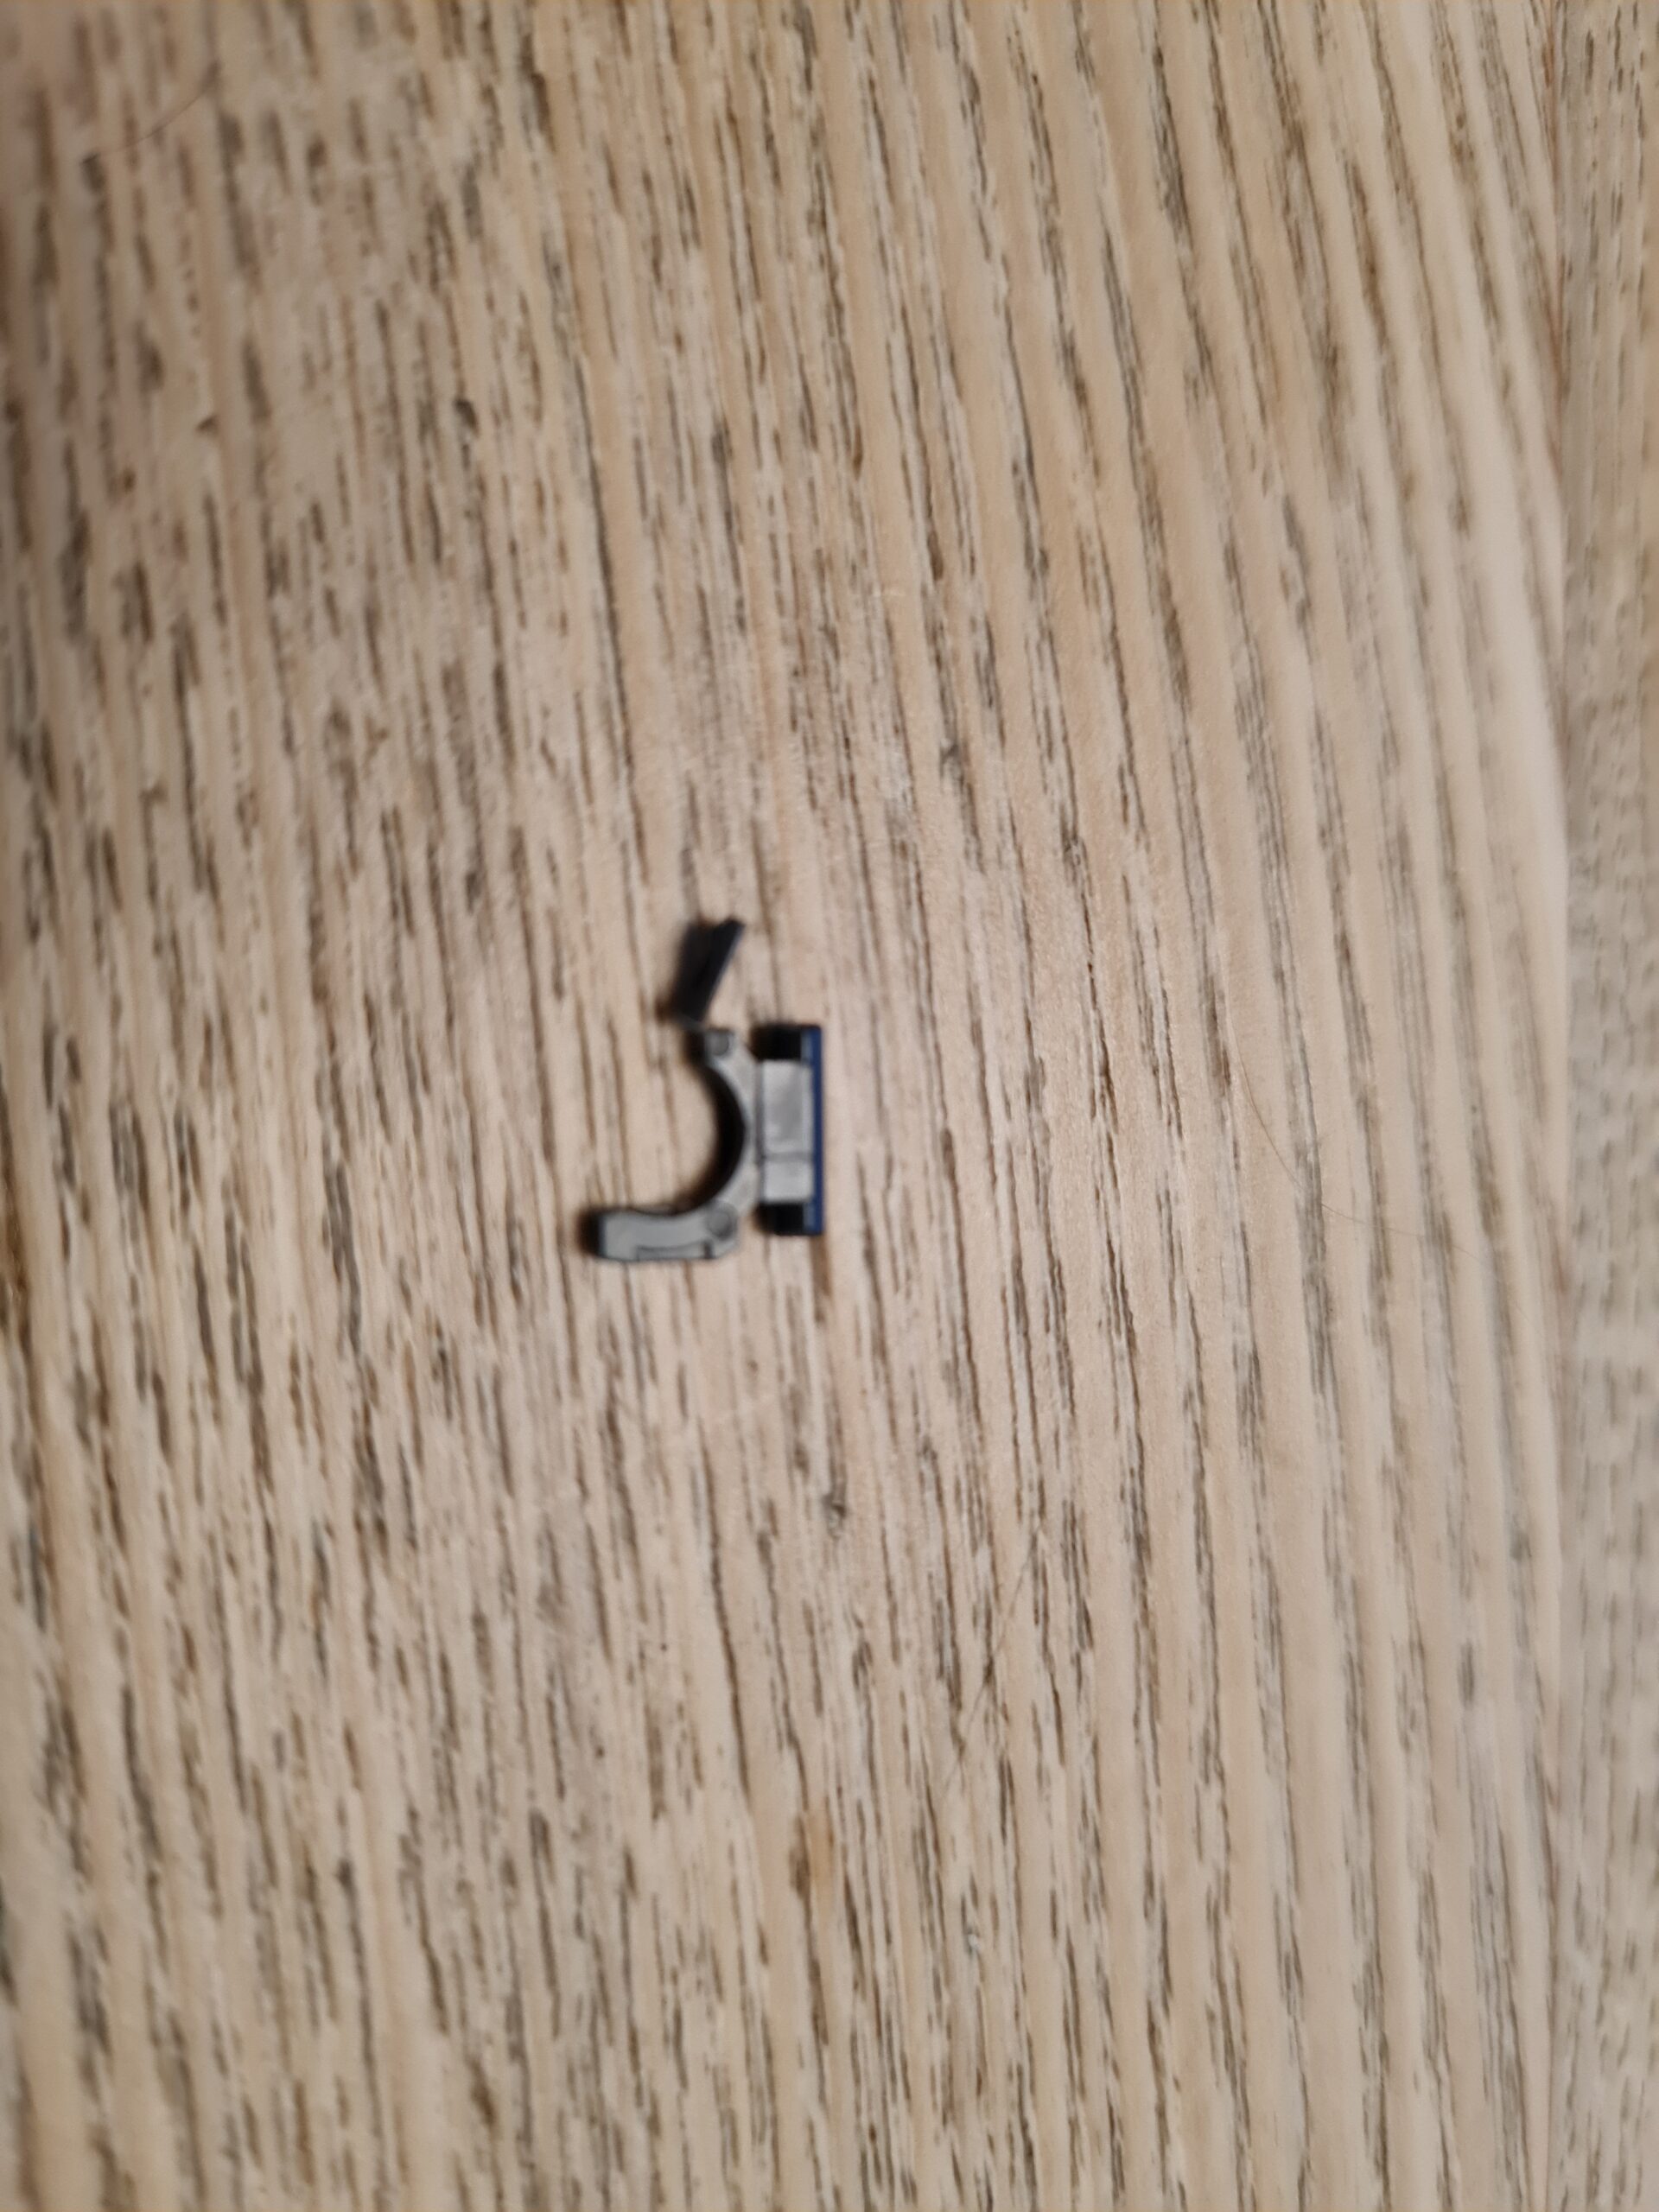
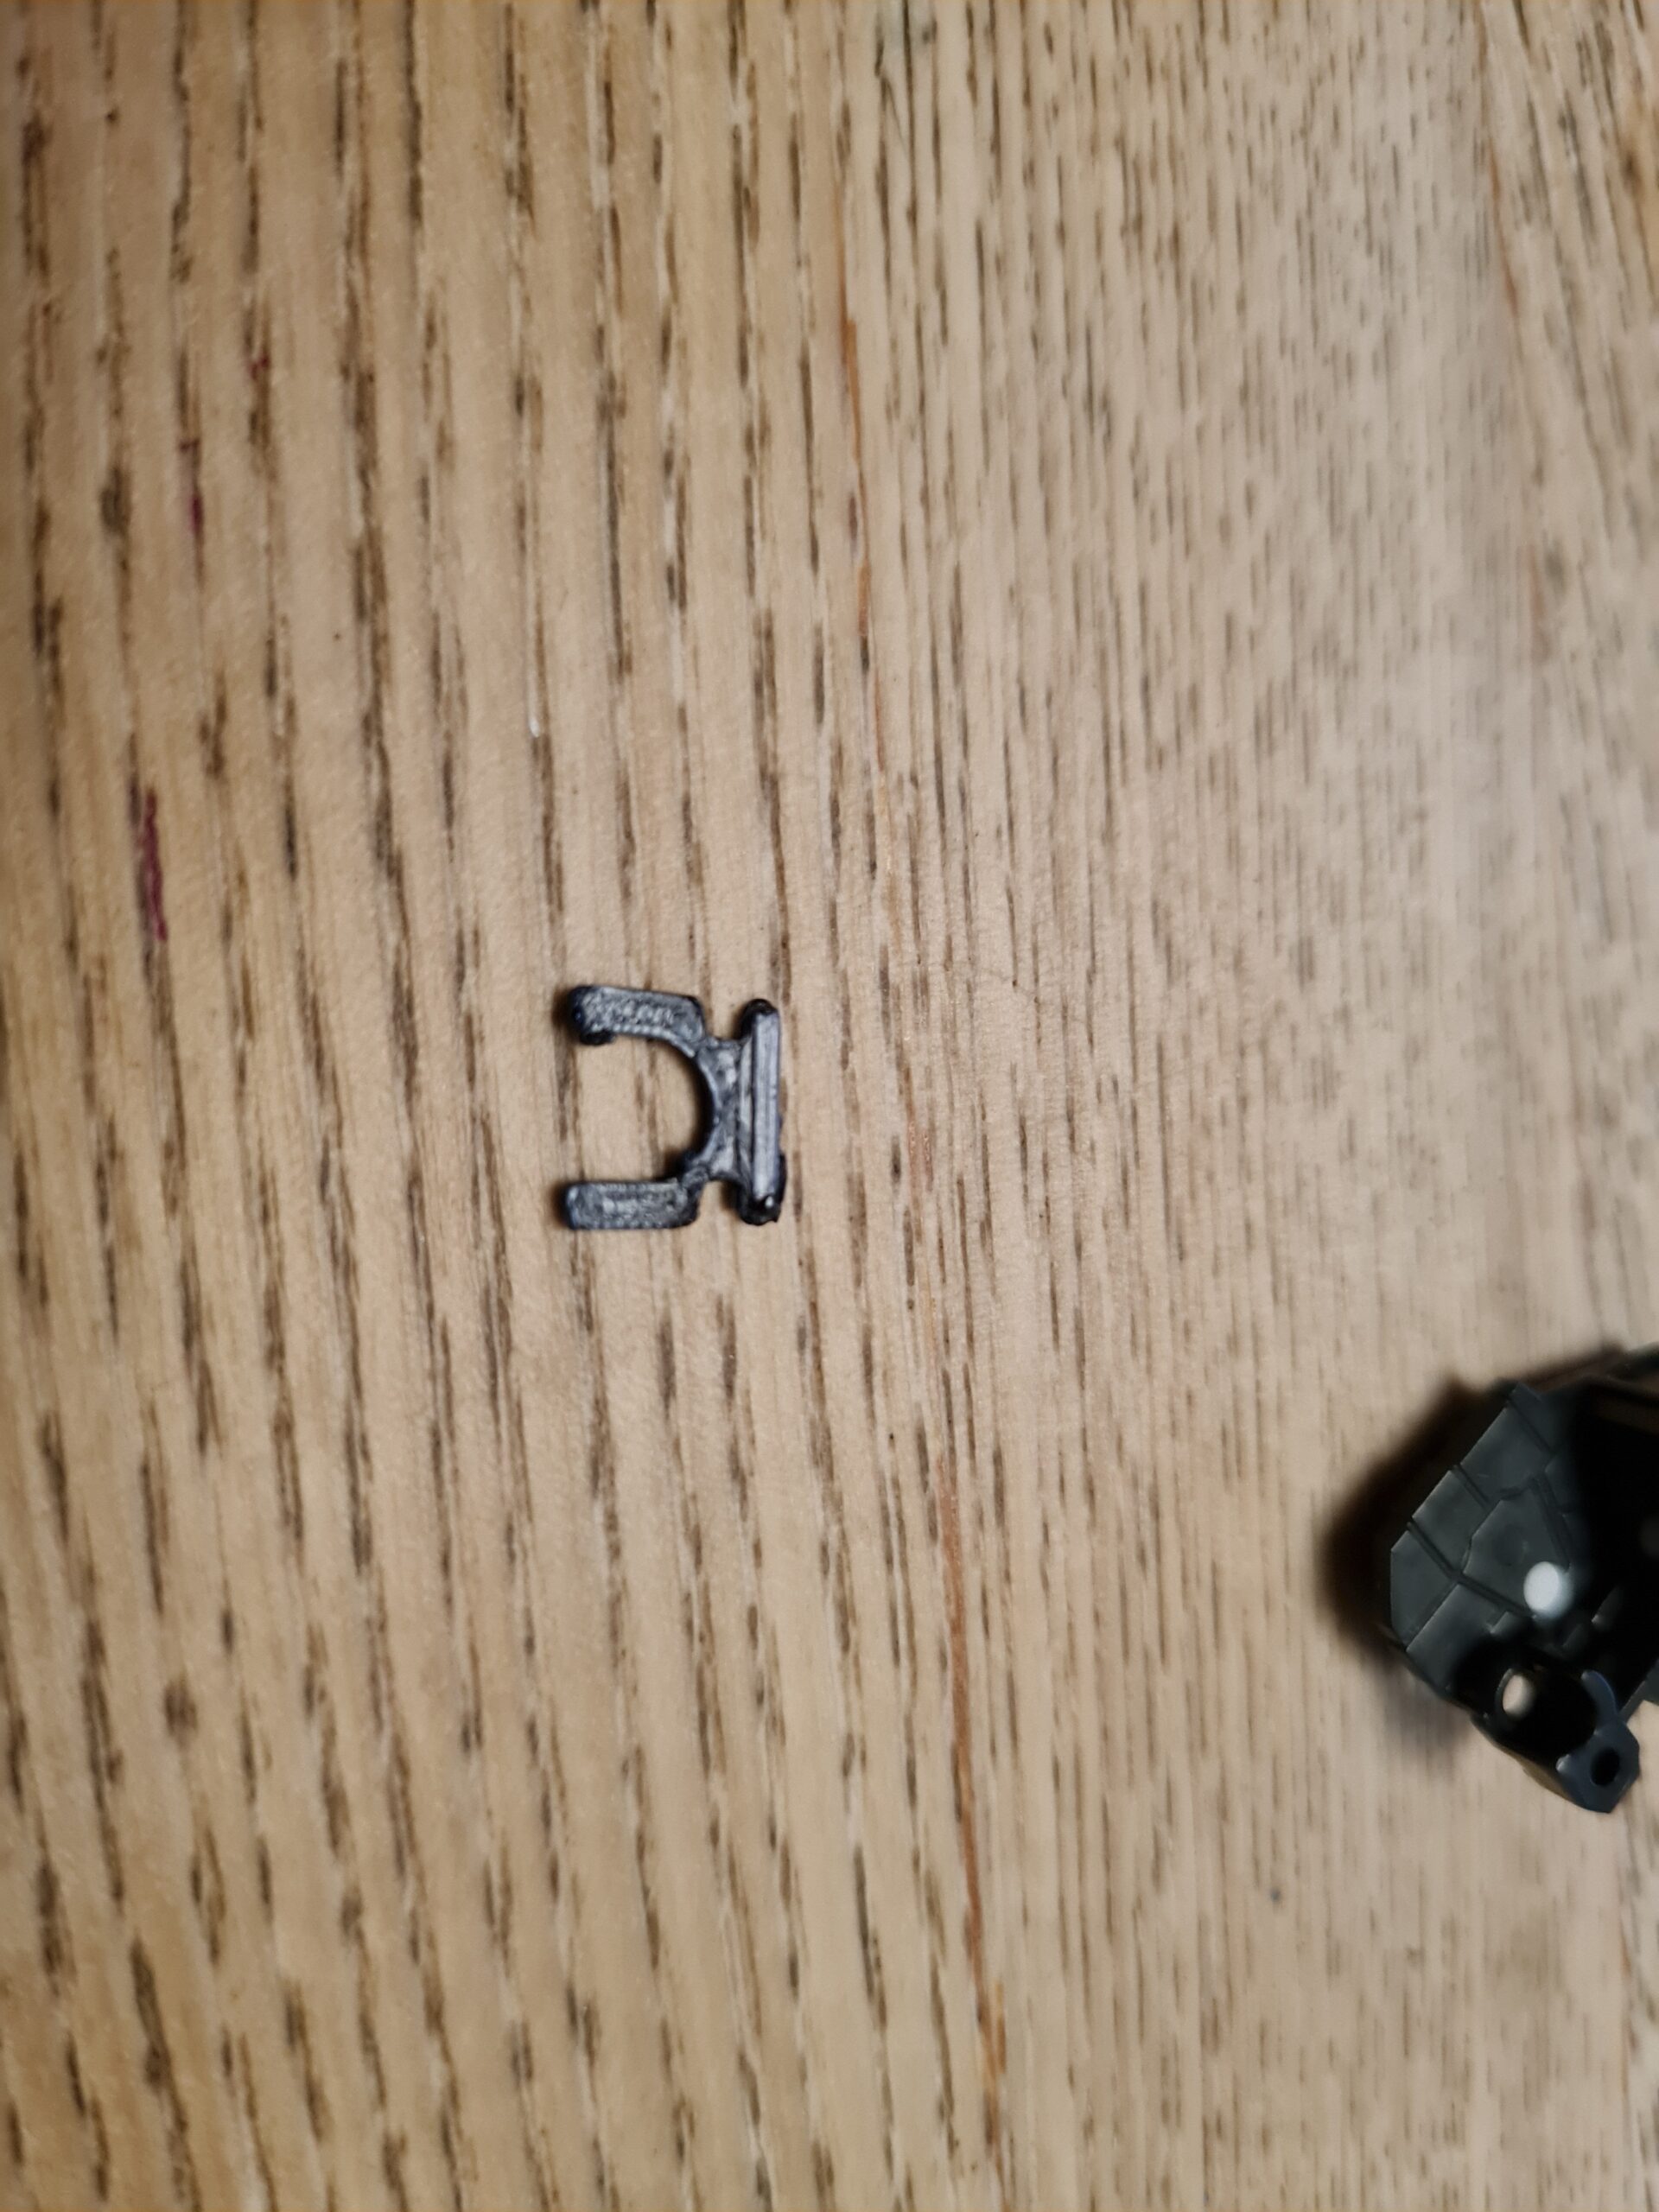
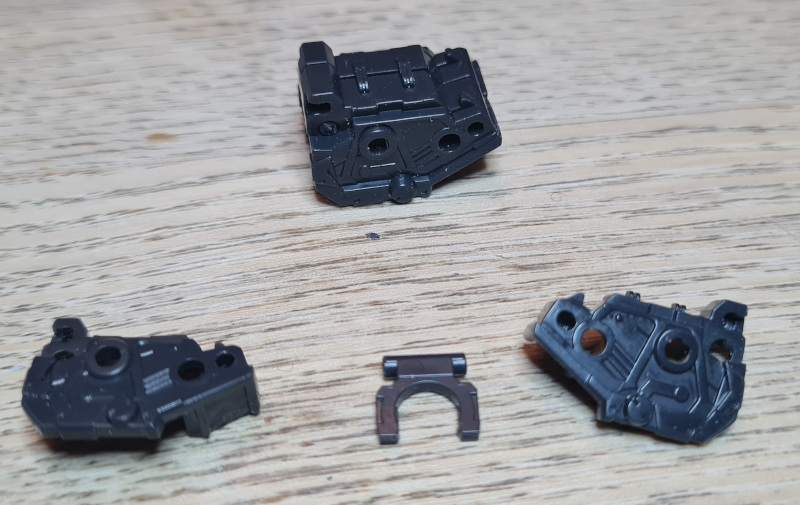
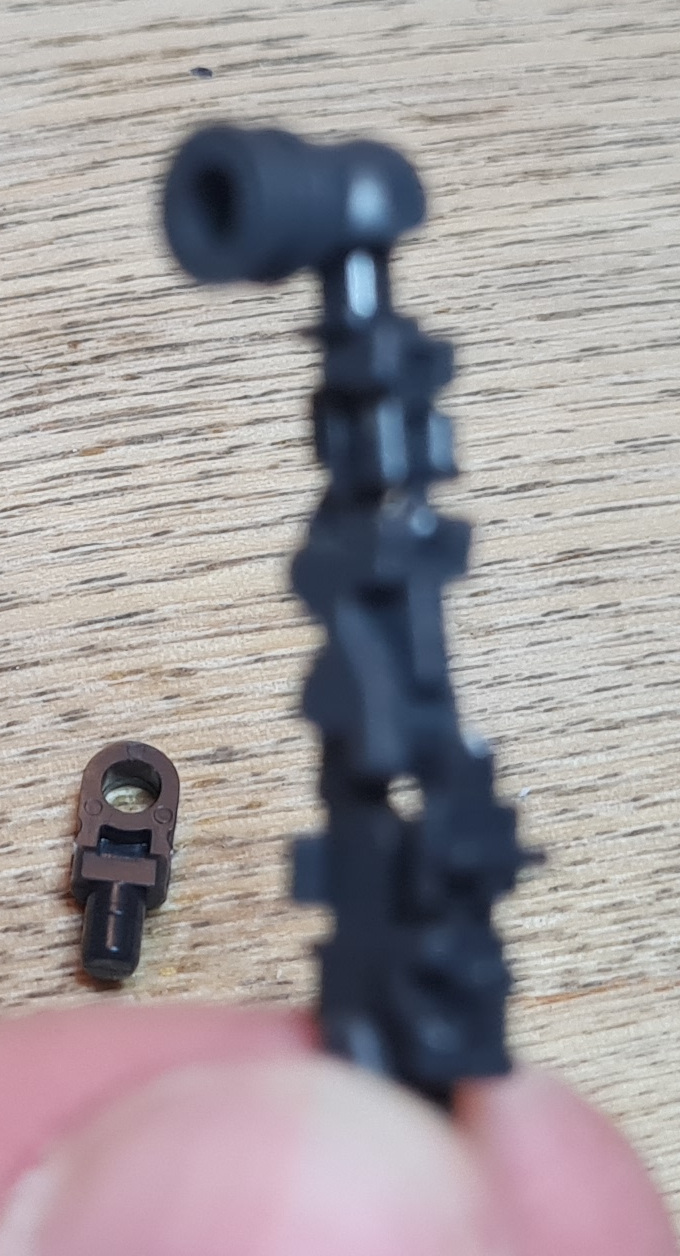
The part looks like this:
Broken part
I guess it would probably be more accurate to say the piece shouldn’t look like that. It should be more a horseshoe shape and less of a “on no some spoon broke me” shape.
What to do?
There there were a few potential options. The first would be to just glue it in place, but that would render the arm with very limited mobility. The next option would be to cut a small square of plasticard to size and then file away till I have something that works. The final, and far more fun option would be to design a piece in some 3d software and print one out.
Which did I choose?
I’m guessing from the way I loaded the what the options were, we all know I went down the 3d route. I recently bought a small 3d printer with the specific view of printing adapters for the stands I sell in the shop (here). They are cheap and versatile but I wanted to offer people the opportunity to get some slightly different connectors.
So that means I have a small 3d printer to-hand (*whew*).
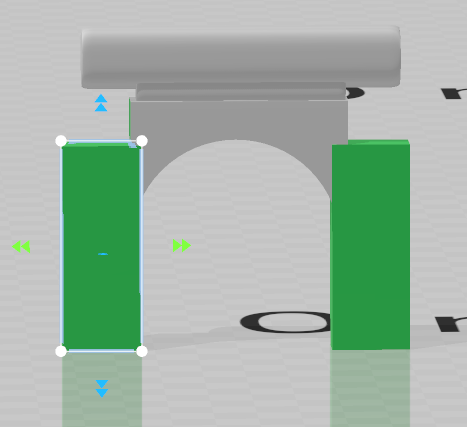
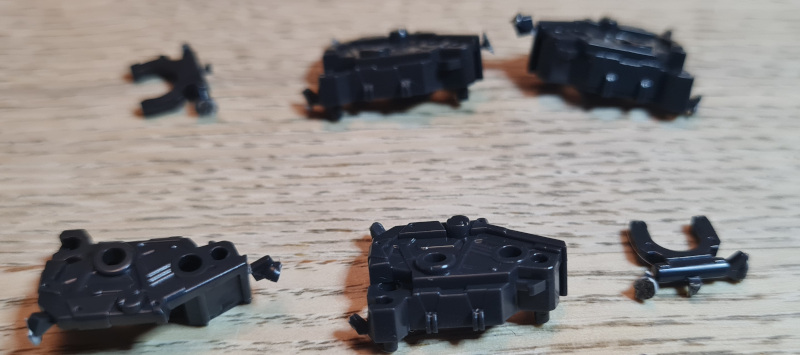
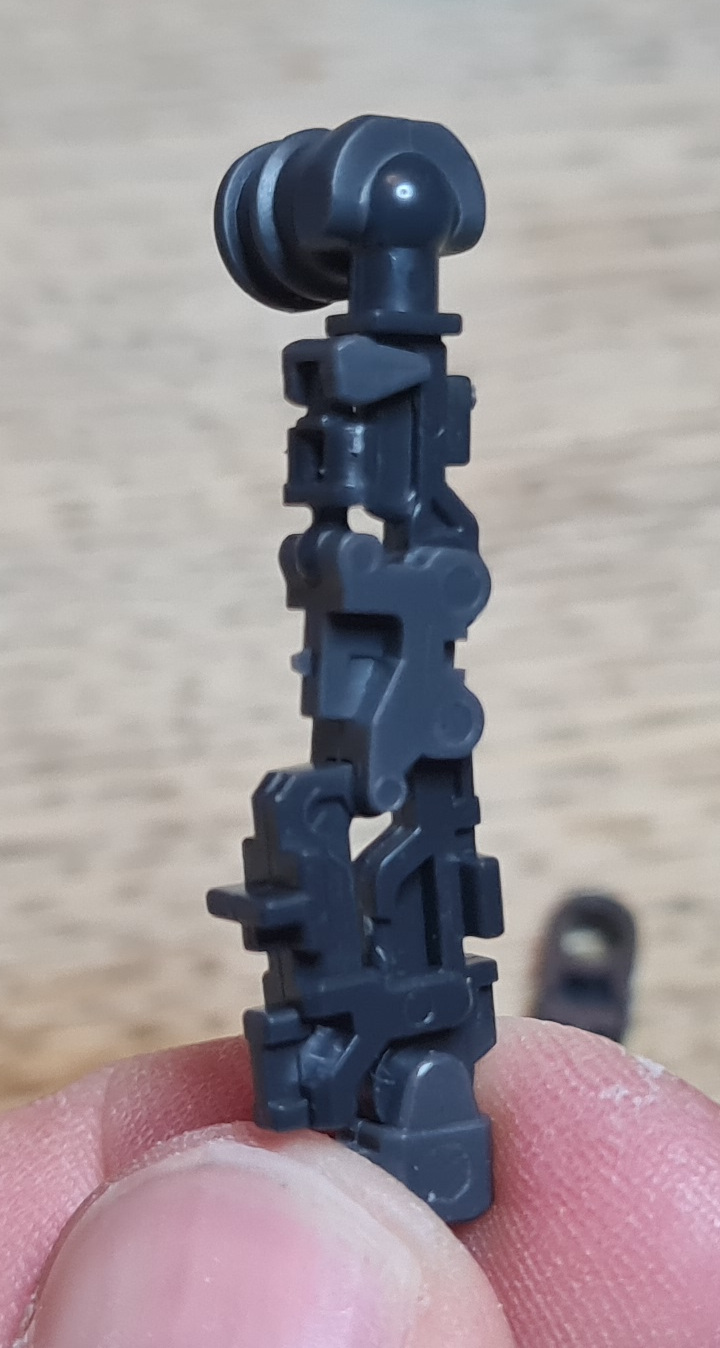
My final model looks like this:
Simple shoulder joint
During the process I printed and tested multiple pieces tweaking the width of the legs etc.
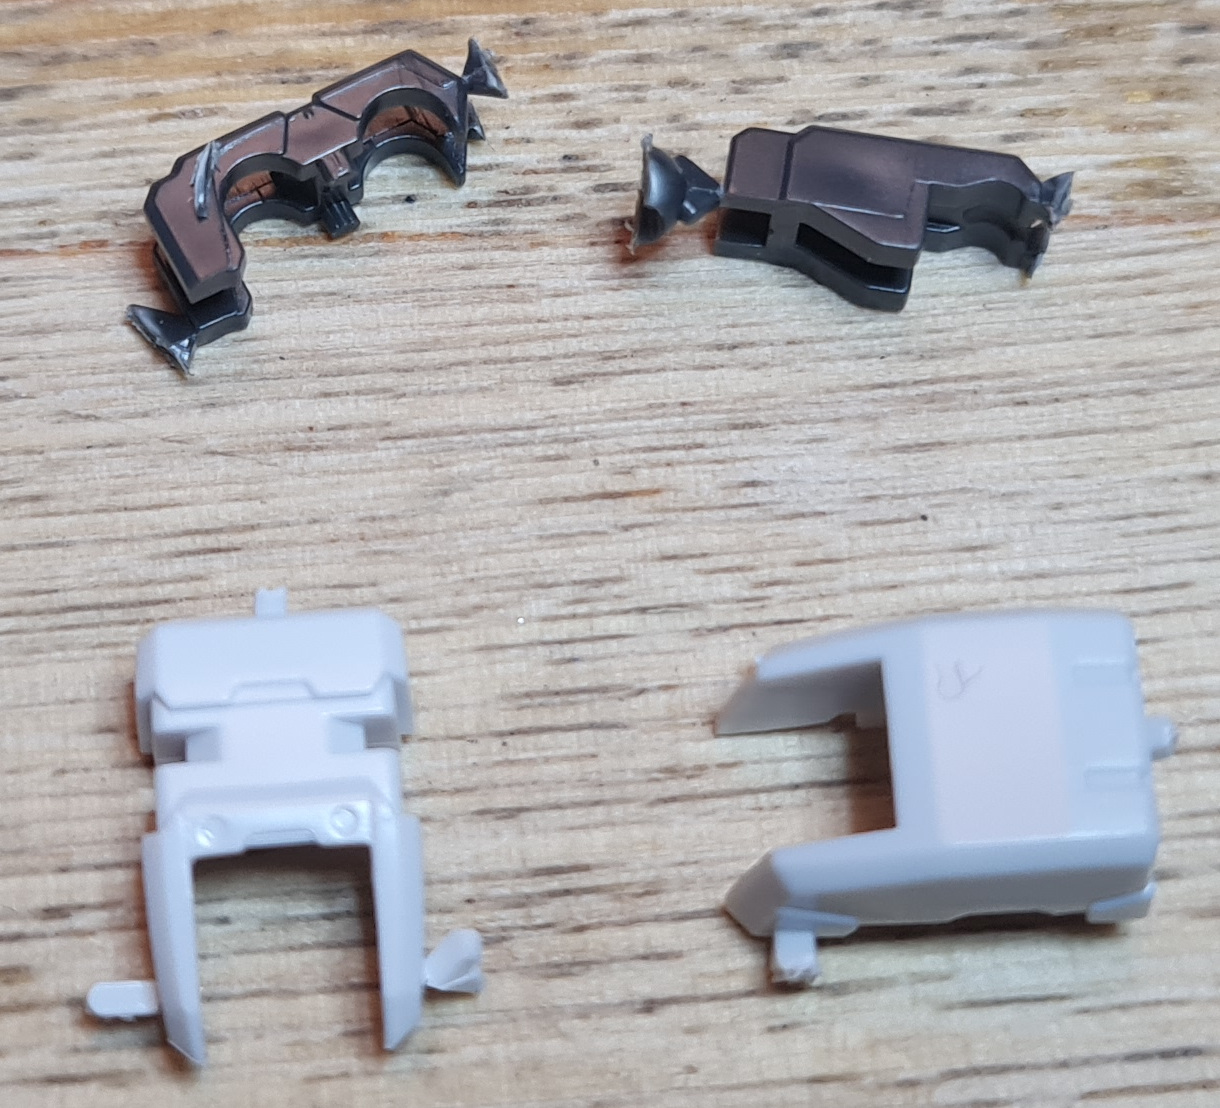
Pile of shame
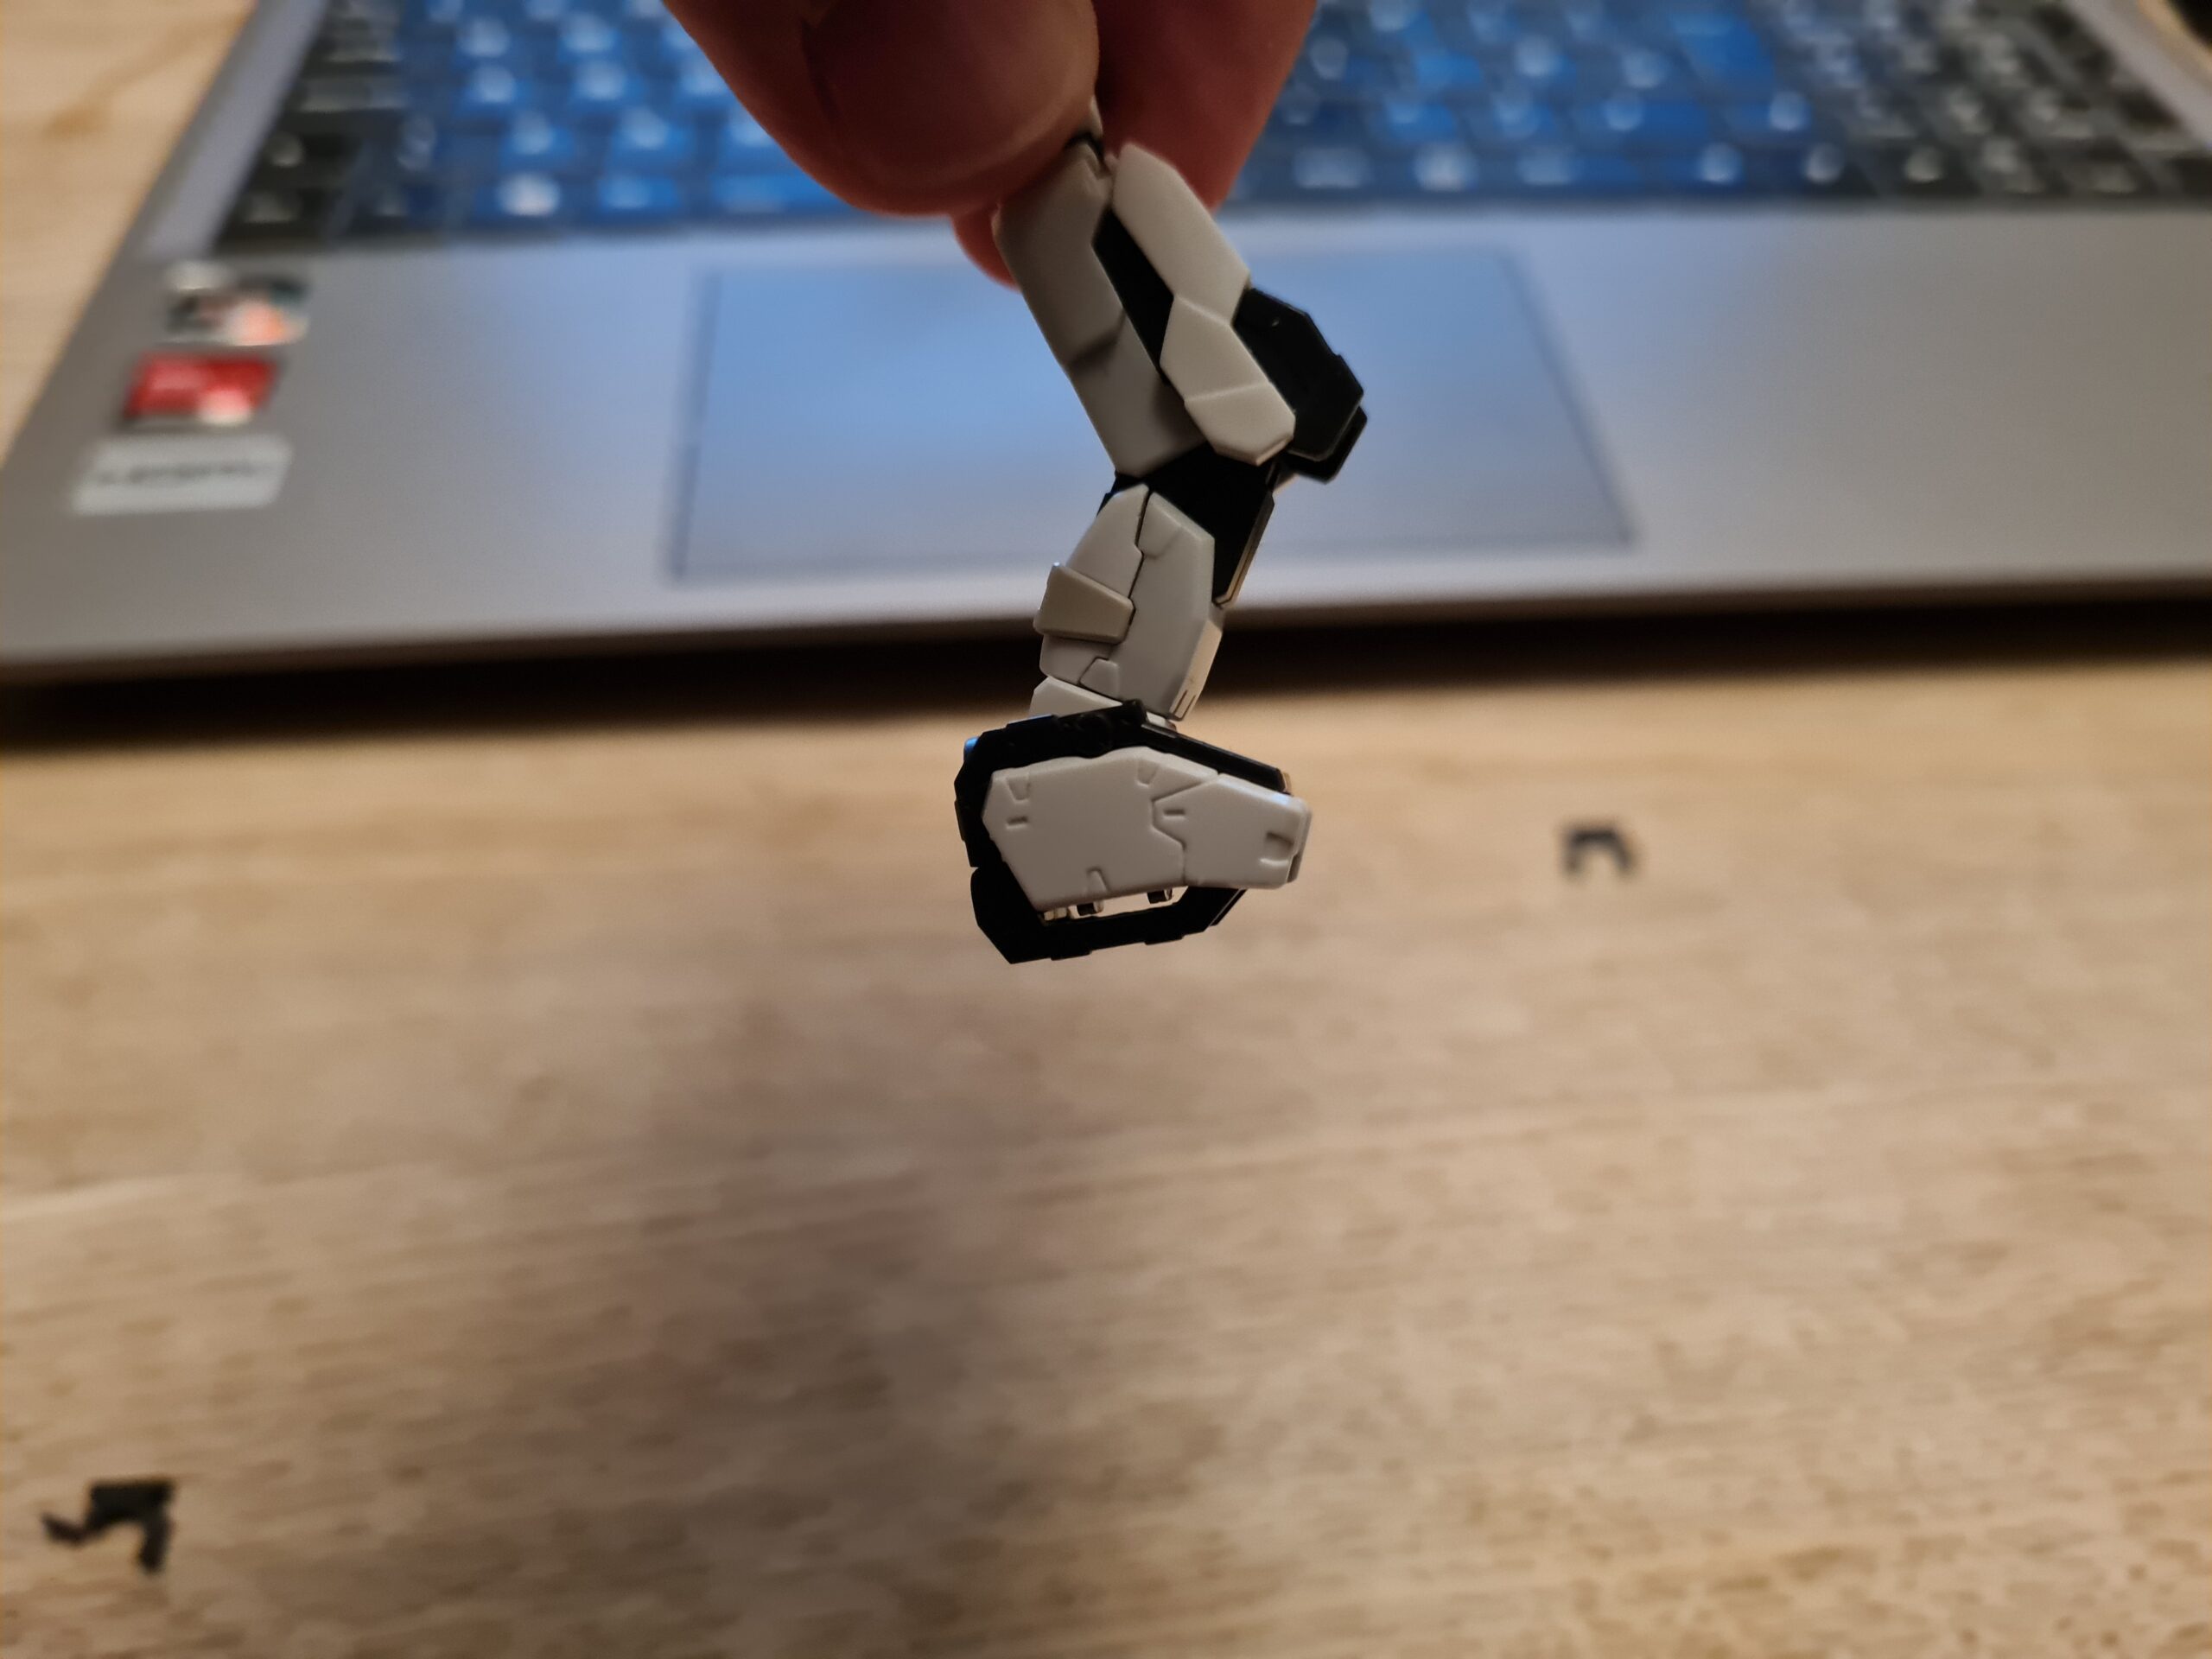
Finally I reached one I was happy with and slotted everything back together. It isn’t perfect, and I may need to tweak it further but I can print more if needed!
Final PiecePiece in placeShoulder back togetherHolds it upside down
As you can see it appears to be doing the job. On the whole an evening well spent I feel. I also got to use the 3d printer which is a bonus!
Conclusion
I was the one who broke the part. I must have trimmed it too close when using the nippers. However, this goes to show that with a little time and patience there are options to work around broken pieces.
Thank you for taking the time to read this. If you haven’t already done so please like and follow us on our social media platforms and checkout our website!
Friday update 03/03/2023 is, to be fair, a very brief update.
I am just putting in some items that arrived in the week into the shop. I still have 3 RG models to add in (OO Quant, Zaku II MS-06F, and Zaku MS-06S).
There are some new HG models, a MG Deathscythe and some RG models also.
I also have 1 MGEX left in stock. It is £125 + p&p and it is ready to ship … well ok I need to box it, but it is there!
These are, at the moment, pretty hard to get hold of. So I’m not expecting it to stick around very long.
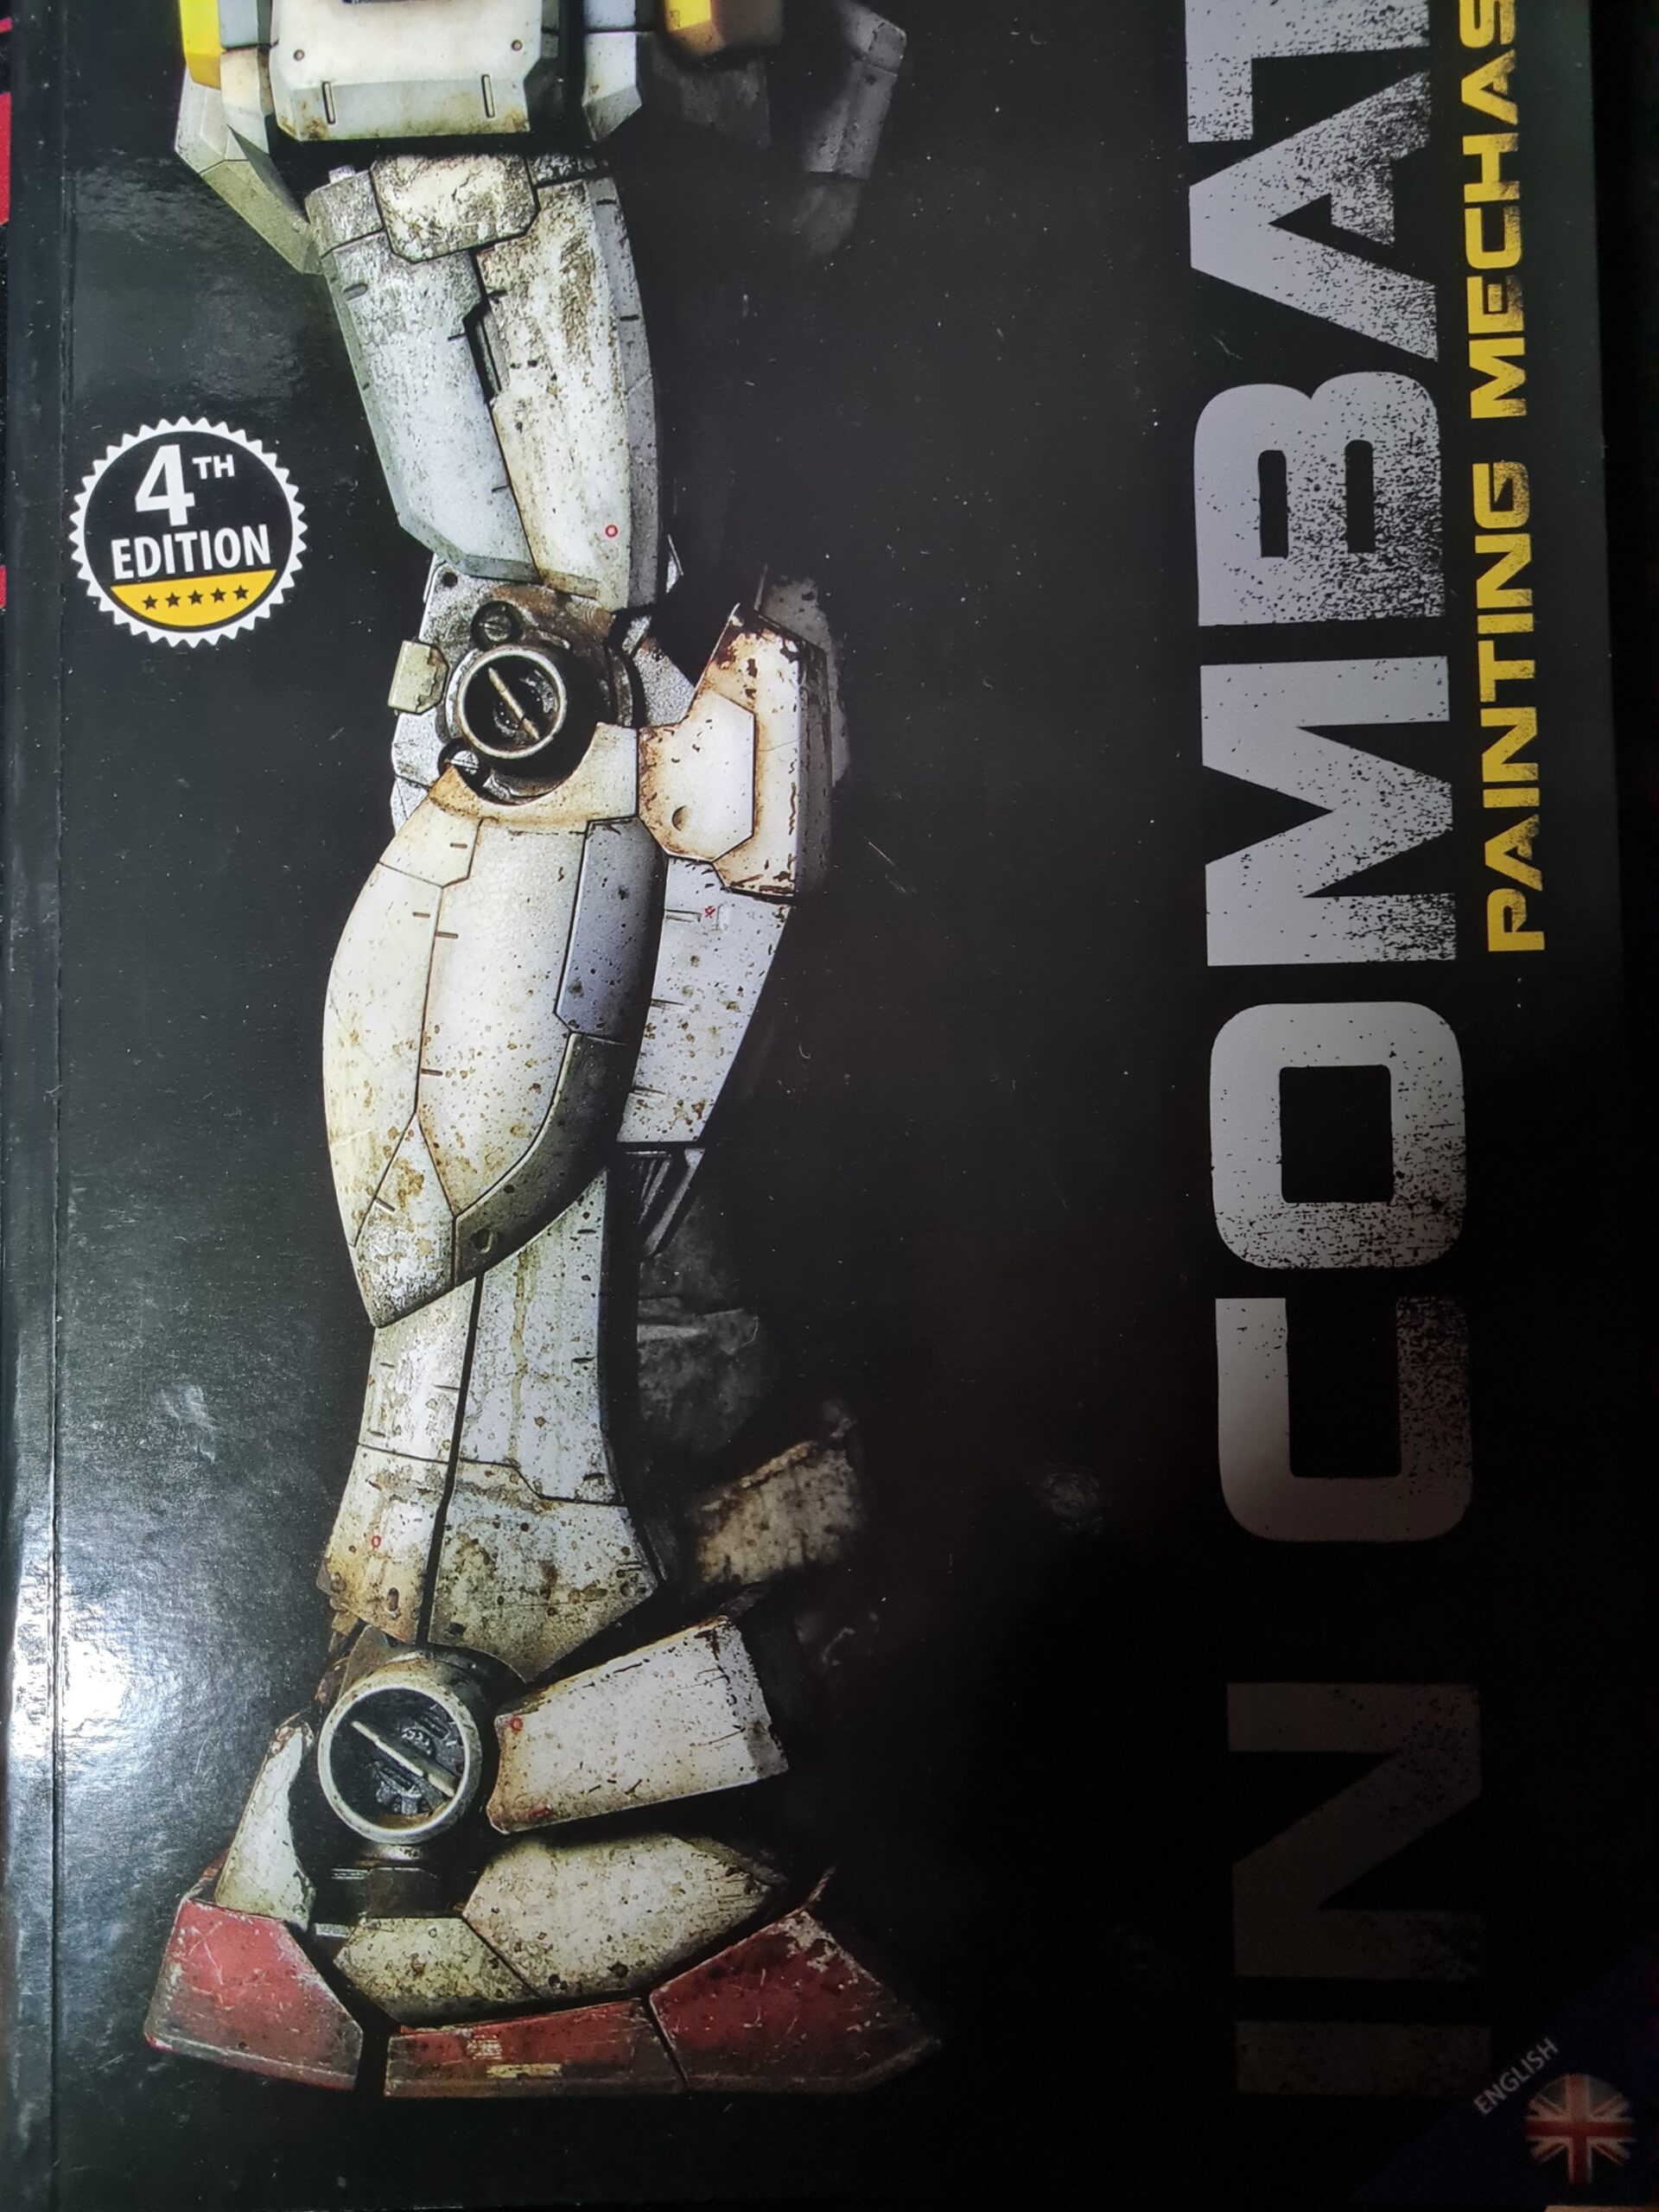
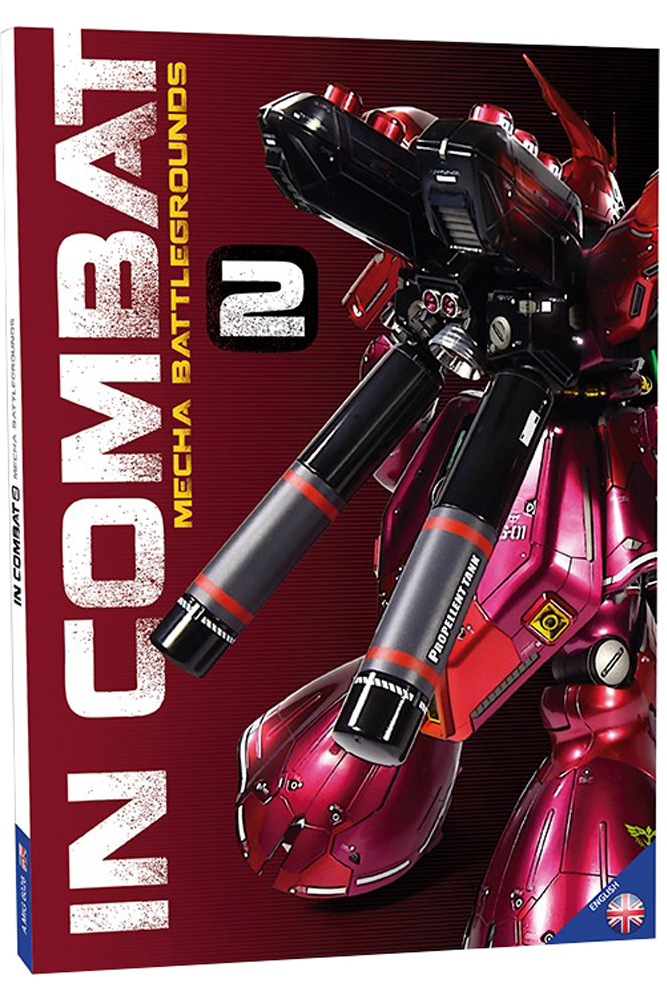
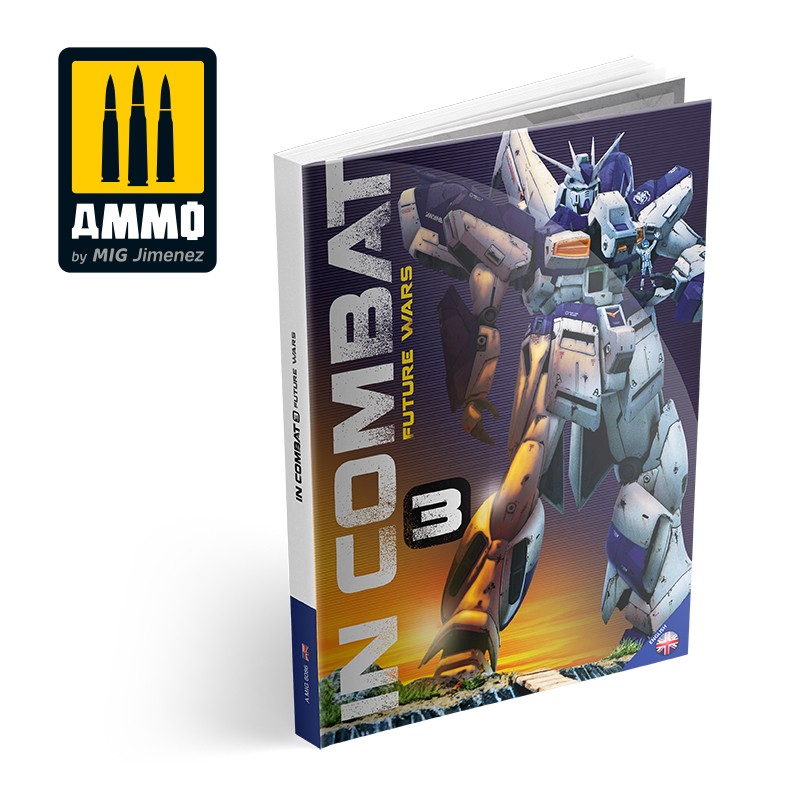
I also have 2 full sets of the AMMO Mig books that are the series aimed at painting mecha. They look absolutely awesome.
1st Book2nd Book3rd Book
If you are into painting your mecha, or want to get into it, they are more than worth a consideration.
That concludes my “Friday update 03/03/2023” update!
Thank you for taking the time to read this. If you haven’t already done so please like and follow us on our social media platforms and checkout our website!
Welcome to “RG Aile Strike Build Day 10” where I am building up an RG Aile strike model. If you haven’t read any of the other parts I would recommend going back to the start. You can find that here. In the first post I covered the box, runners and provide the manual.
I am taking my time to ensure I clean up all the marks that can be cleaned up. As with any build like this, if you end up with discolouration or a small white “stress” mark you are likely to need painting to get rid of those. I may have a look at simple quick methods of dealing with those items, especially as I find that it has a habit of happening on the grey pieces. I also accept I may need to work on my cutting style as I’m sure that will contribute to it!
The Process
Unless otherwise noted I followed this process for each piece:
Cut off roughly leaving plenty of nub
Trim back the nub with my better nippers
Apply water to my wet and dry sandpaper and sand the nub marks down
Dry the piece
Brush it off with the tooth brush to remove any bits
Re-apply the matt finish using the Gray Balancer
Prep the part with the green side of the White Balancer
Shine the part up with the white side of the White Balancer
If after this I wasn’t happy I would repeat the sanding steps down, and keep iterating until I was happy with the finish.
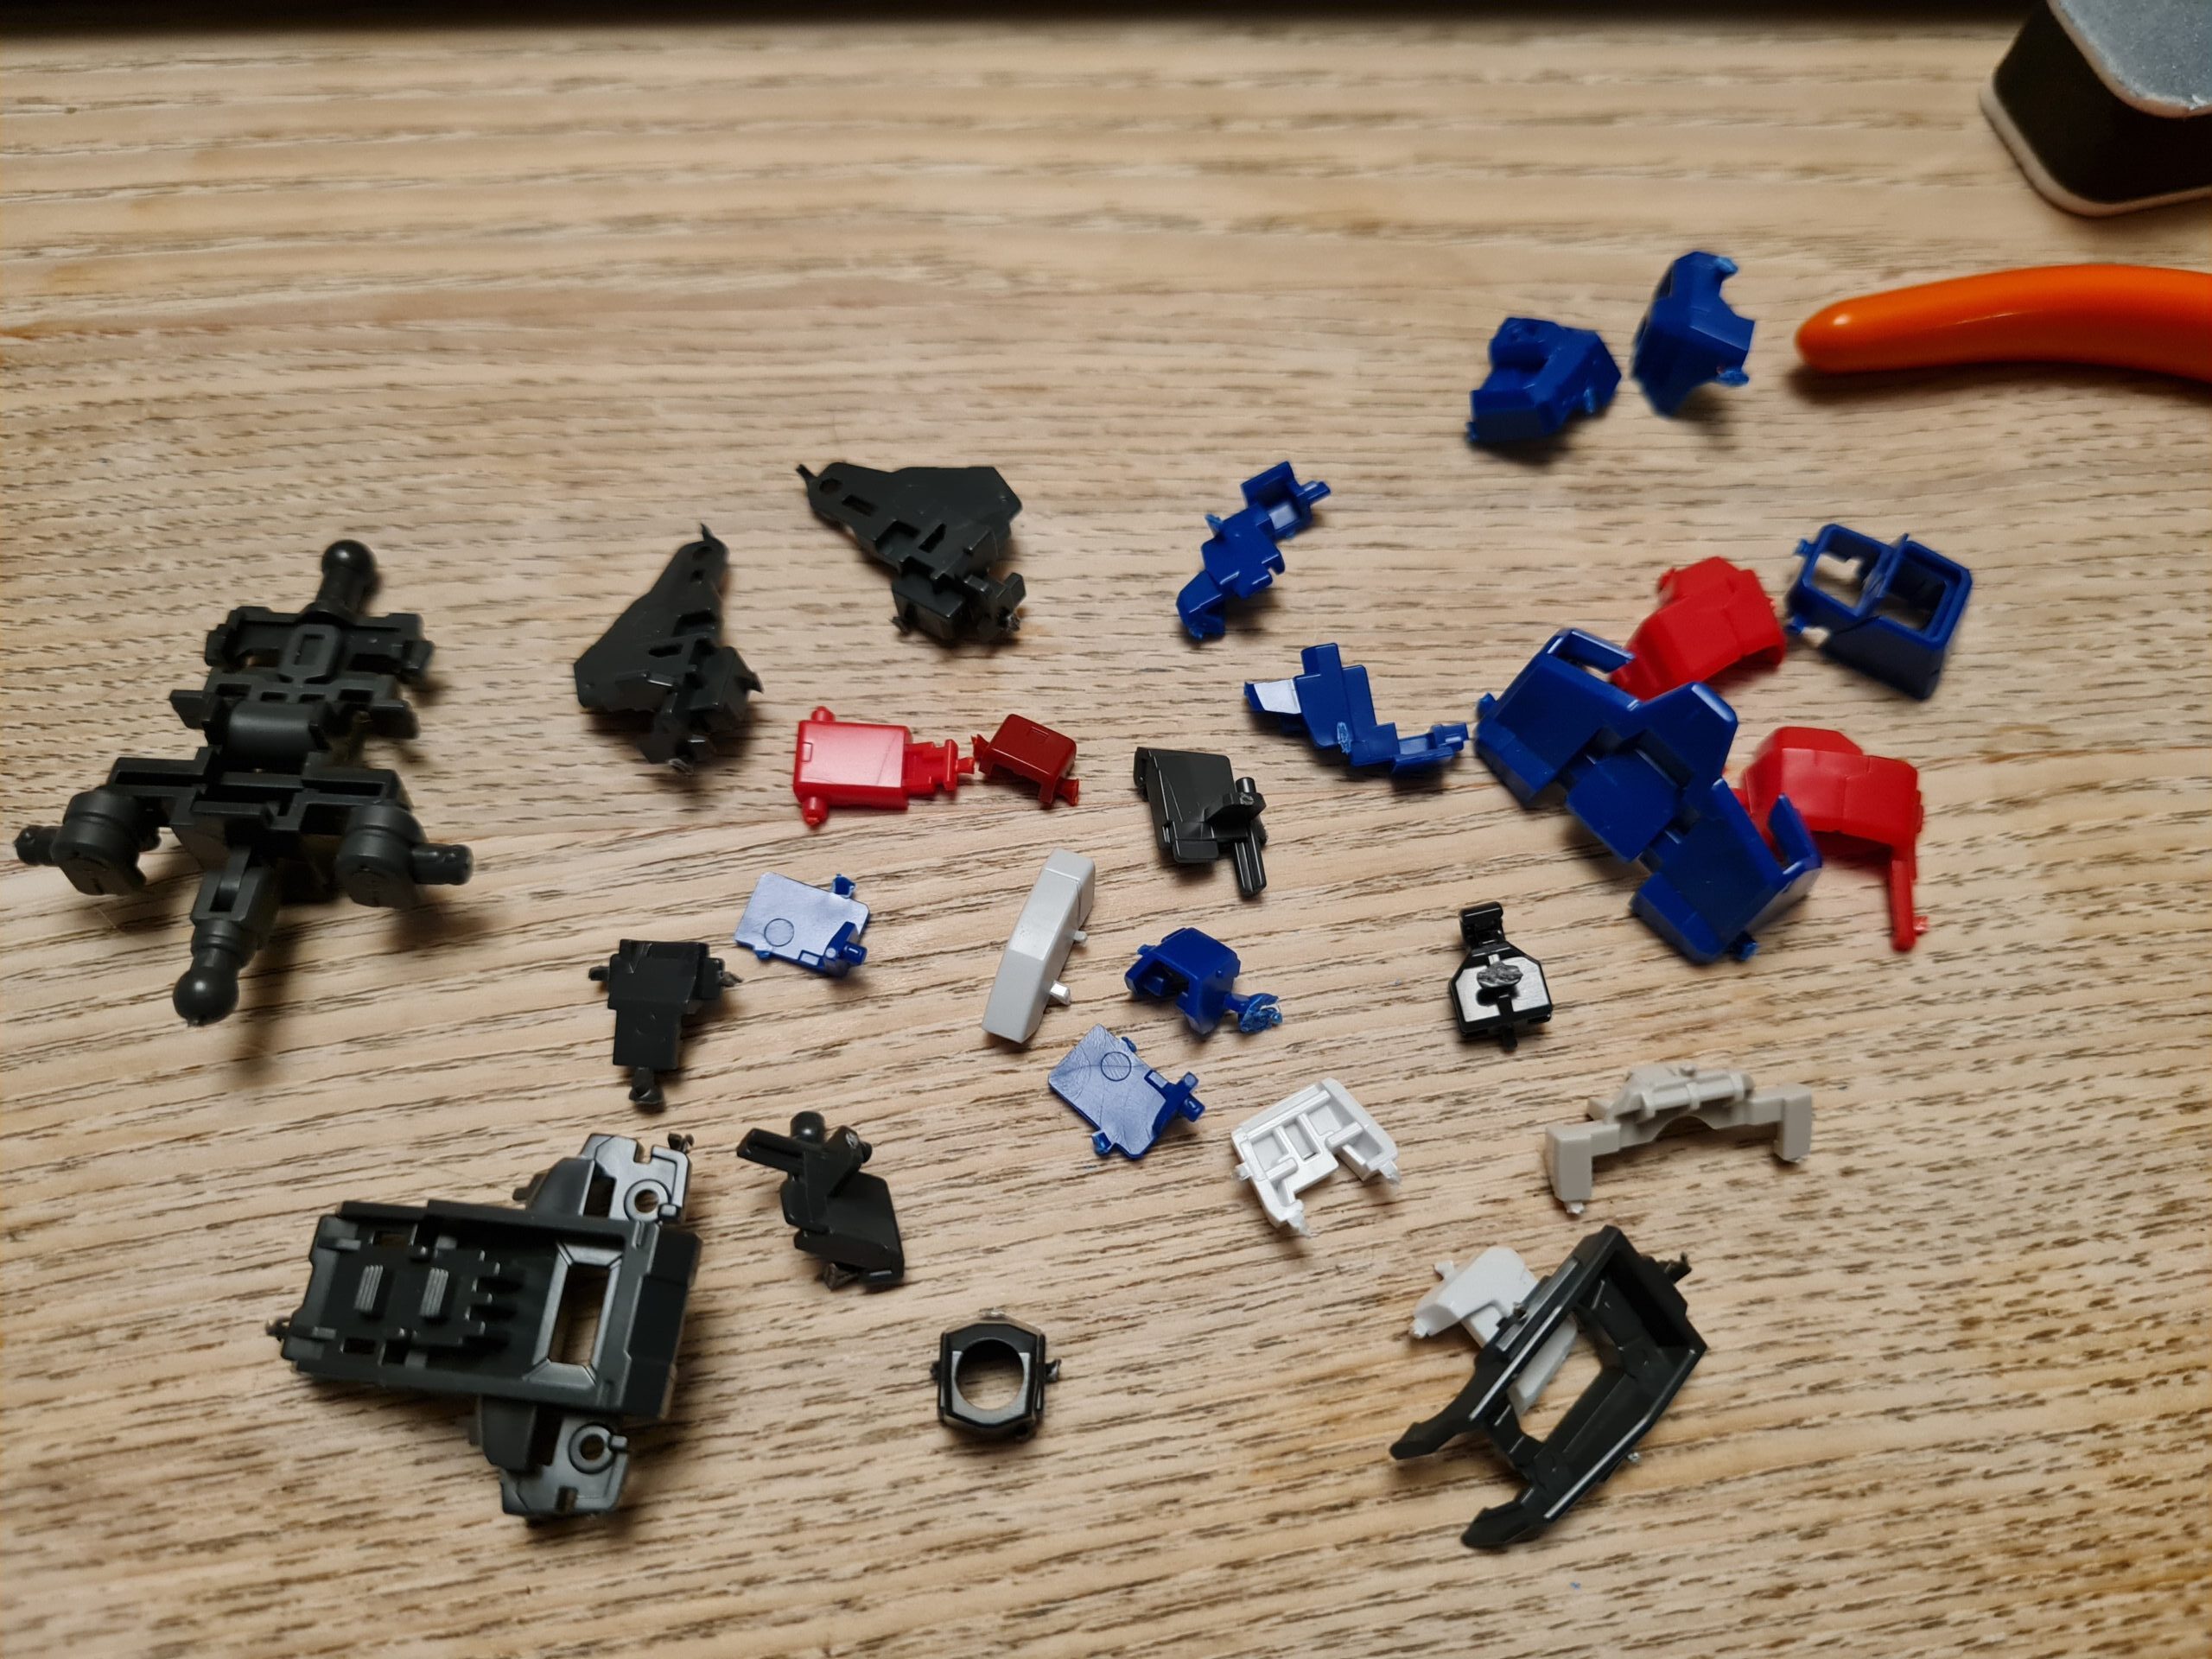
The Parts
Nubbed Parts
There are approximately 27 parts to the torso. However, you do need the two joint parts that were extracted from the top of the arm skeletons.
For the image above I cut the pieces out roughly and then put them into a small plastic bag overnight. No reason other than I was working on a few things 🙂
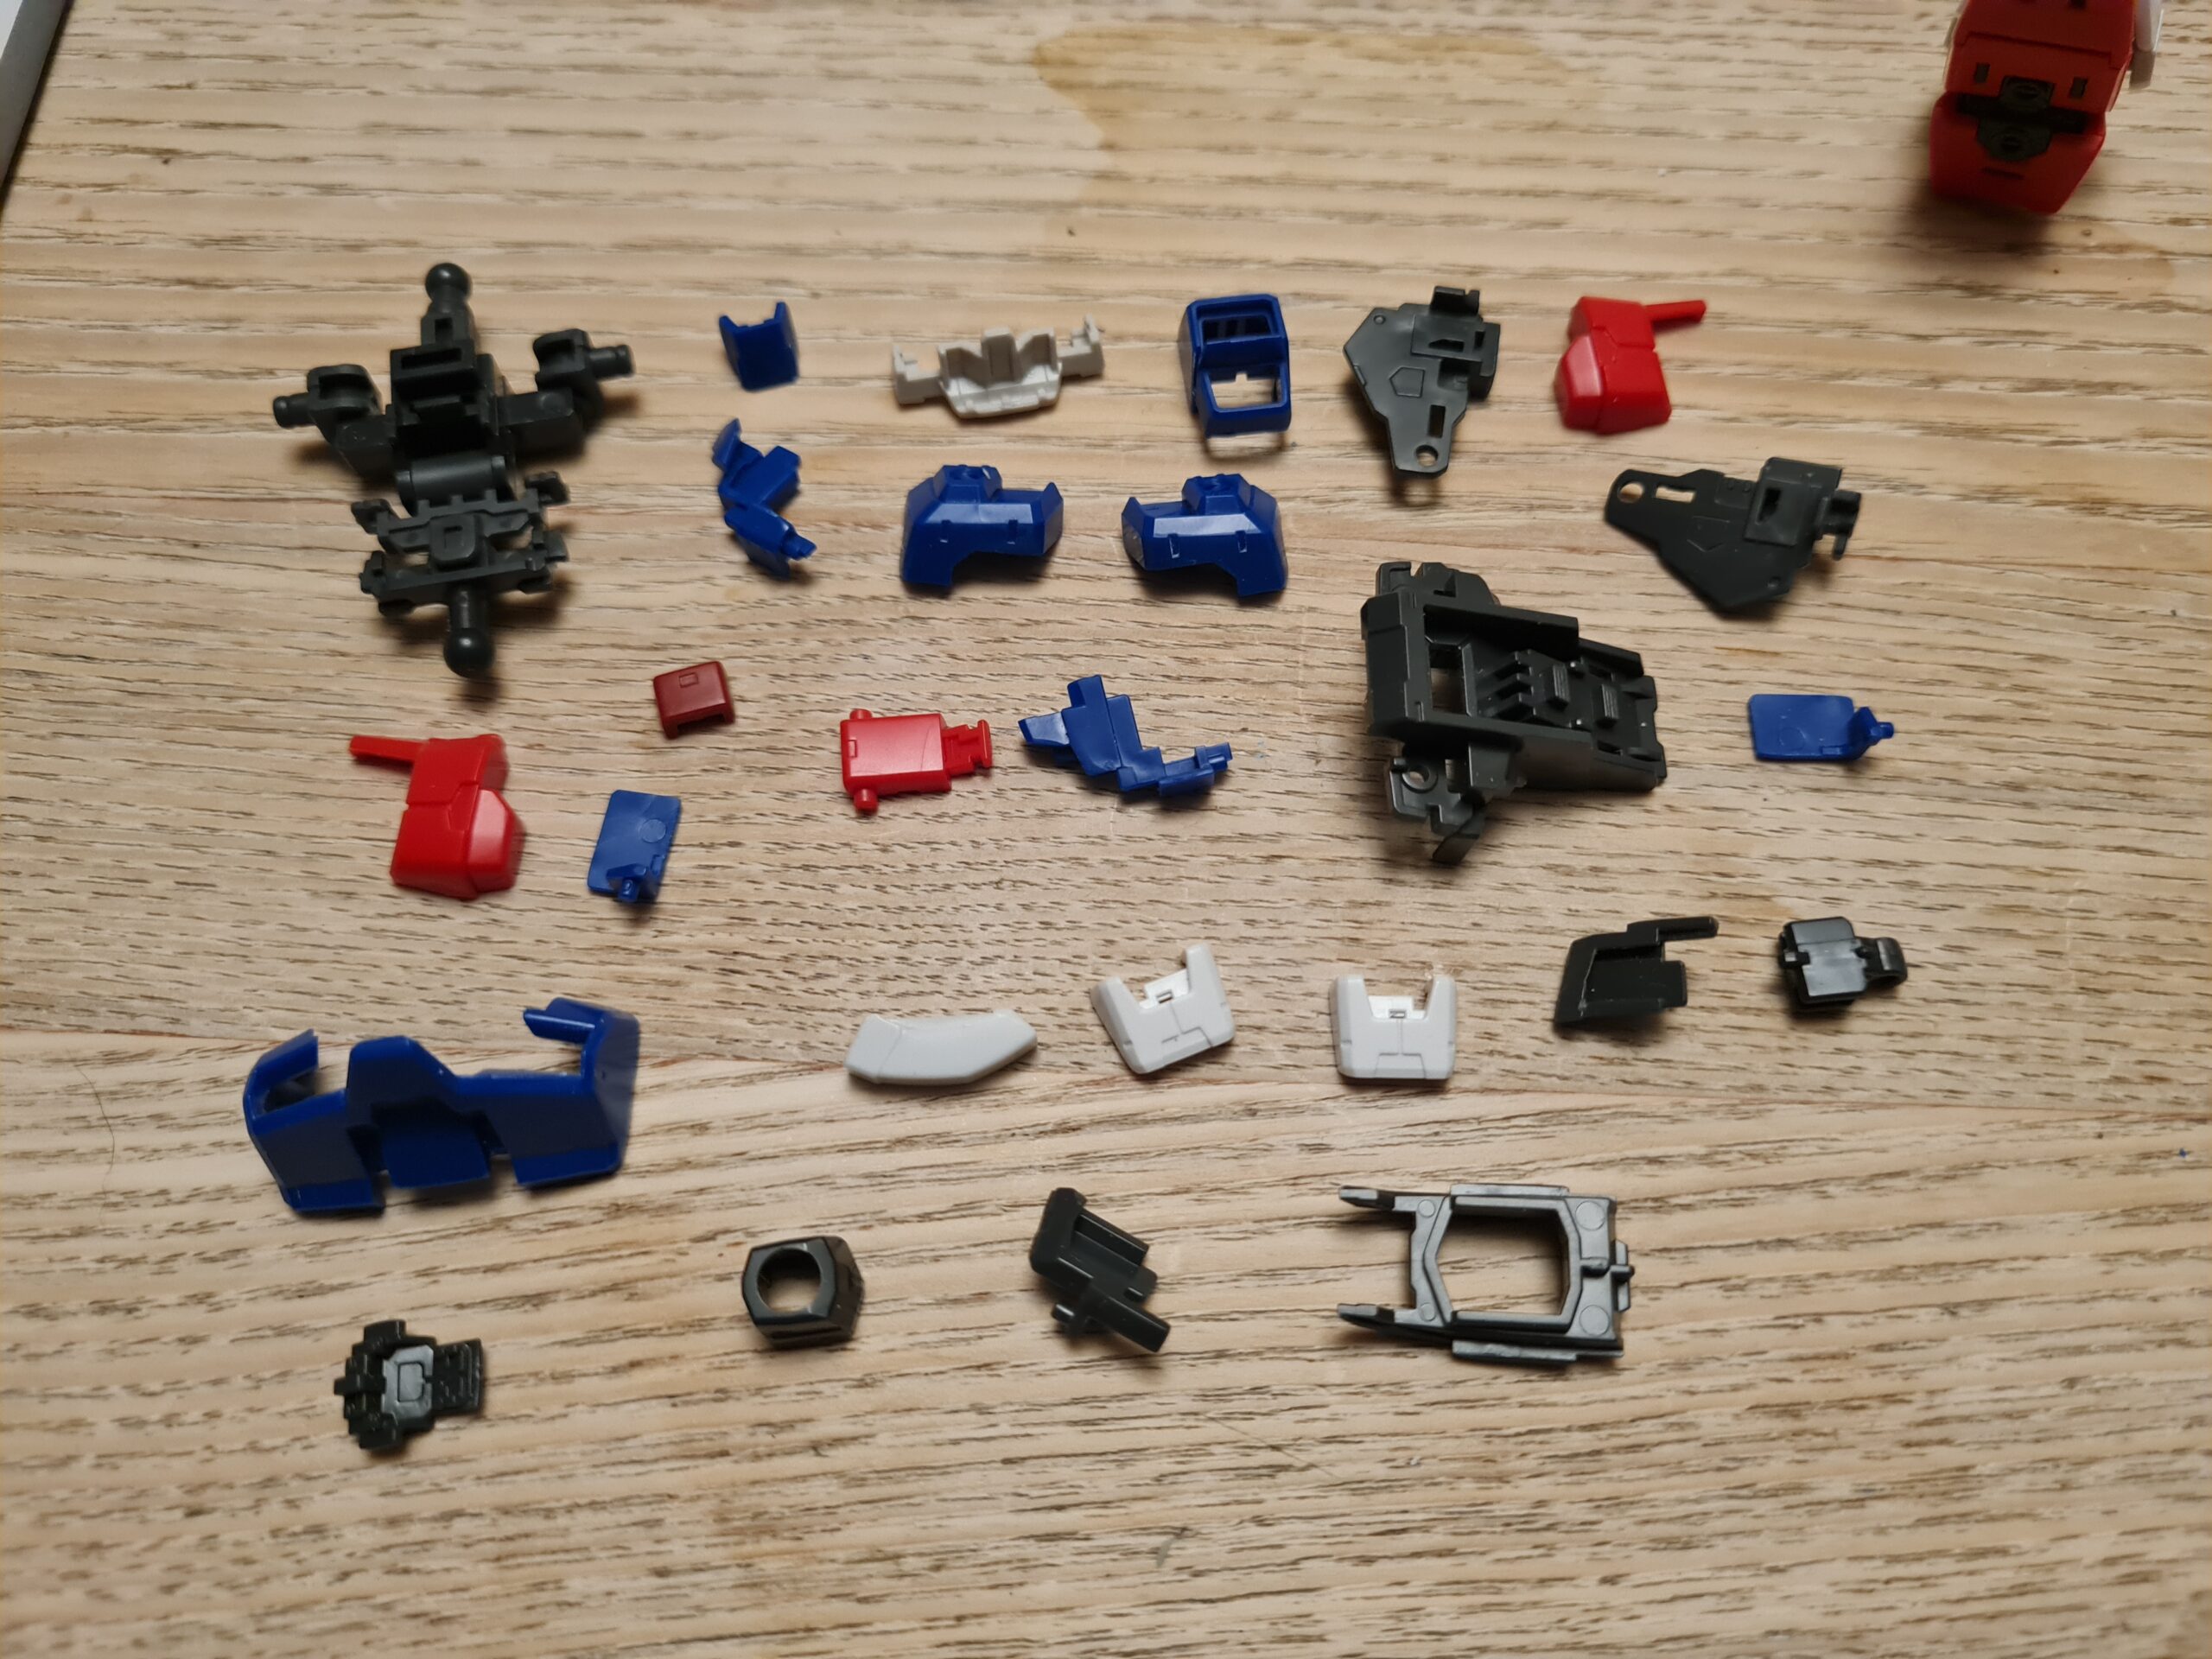
Cleaned Parts
Cleaned Parts
I cleaned up the parts using the process outlined about. I also at this point have no idea what order I am going to need them. However, it wasn’t a massive problem. I will, however, note that the two white pieces of armour have a slot on the inner piece that goes to the front or back depending on what side you attach them. This is important as the longish white piece (on the top line of pieces third from the top left, and surrounded by blue pieces), fits into those slots. I found out that if you attach those on the wrong side then you have to take it apart again (2 pieces on top of them) and refit.
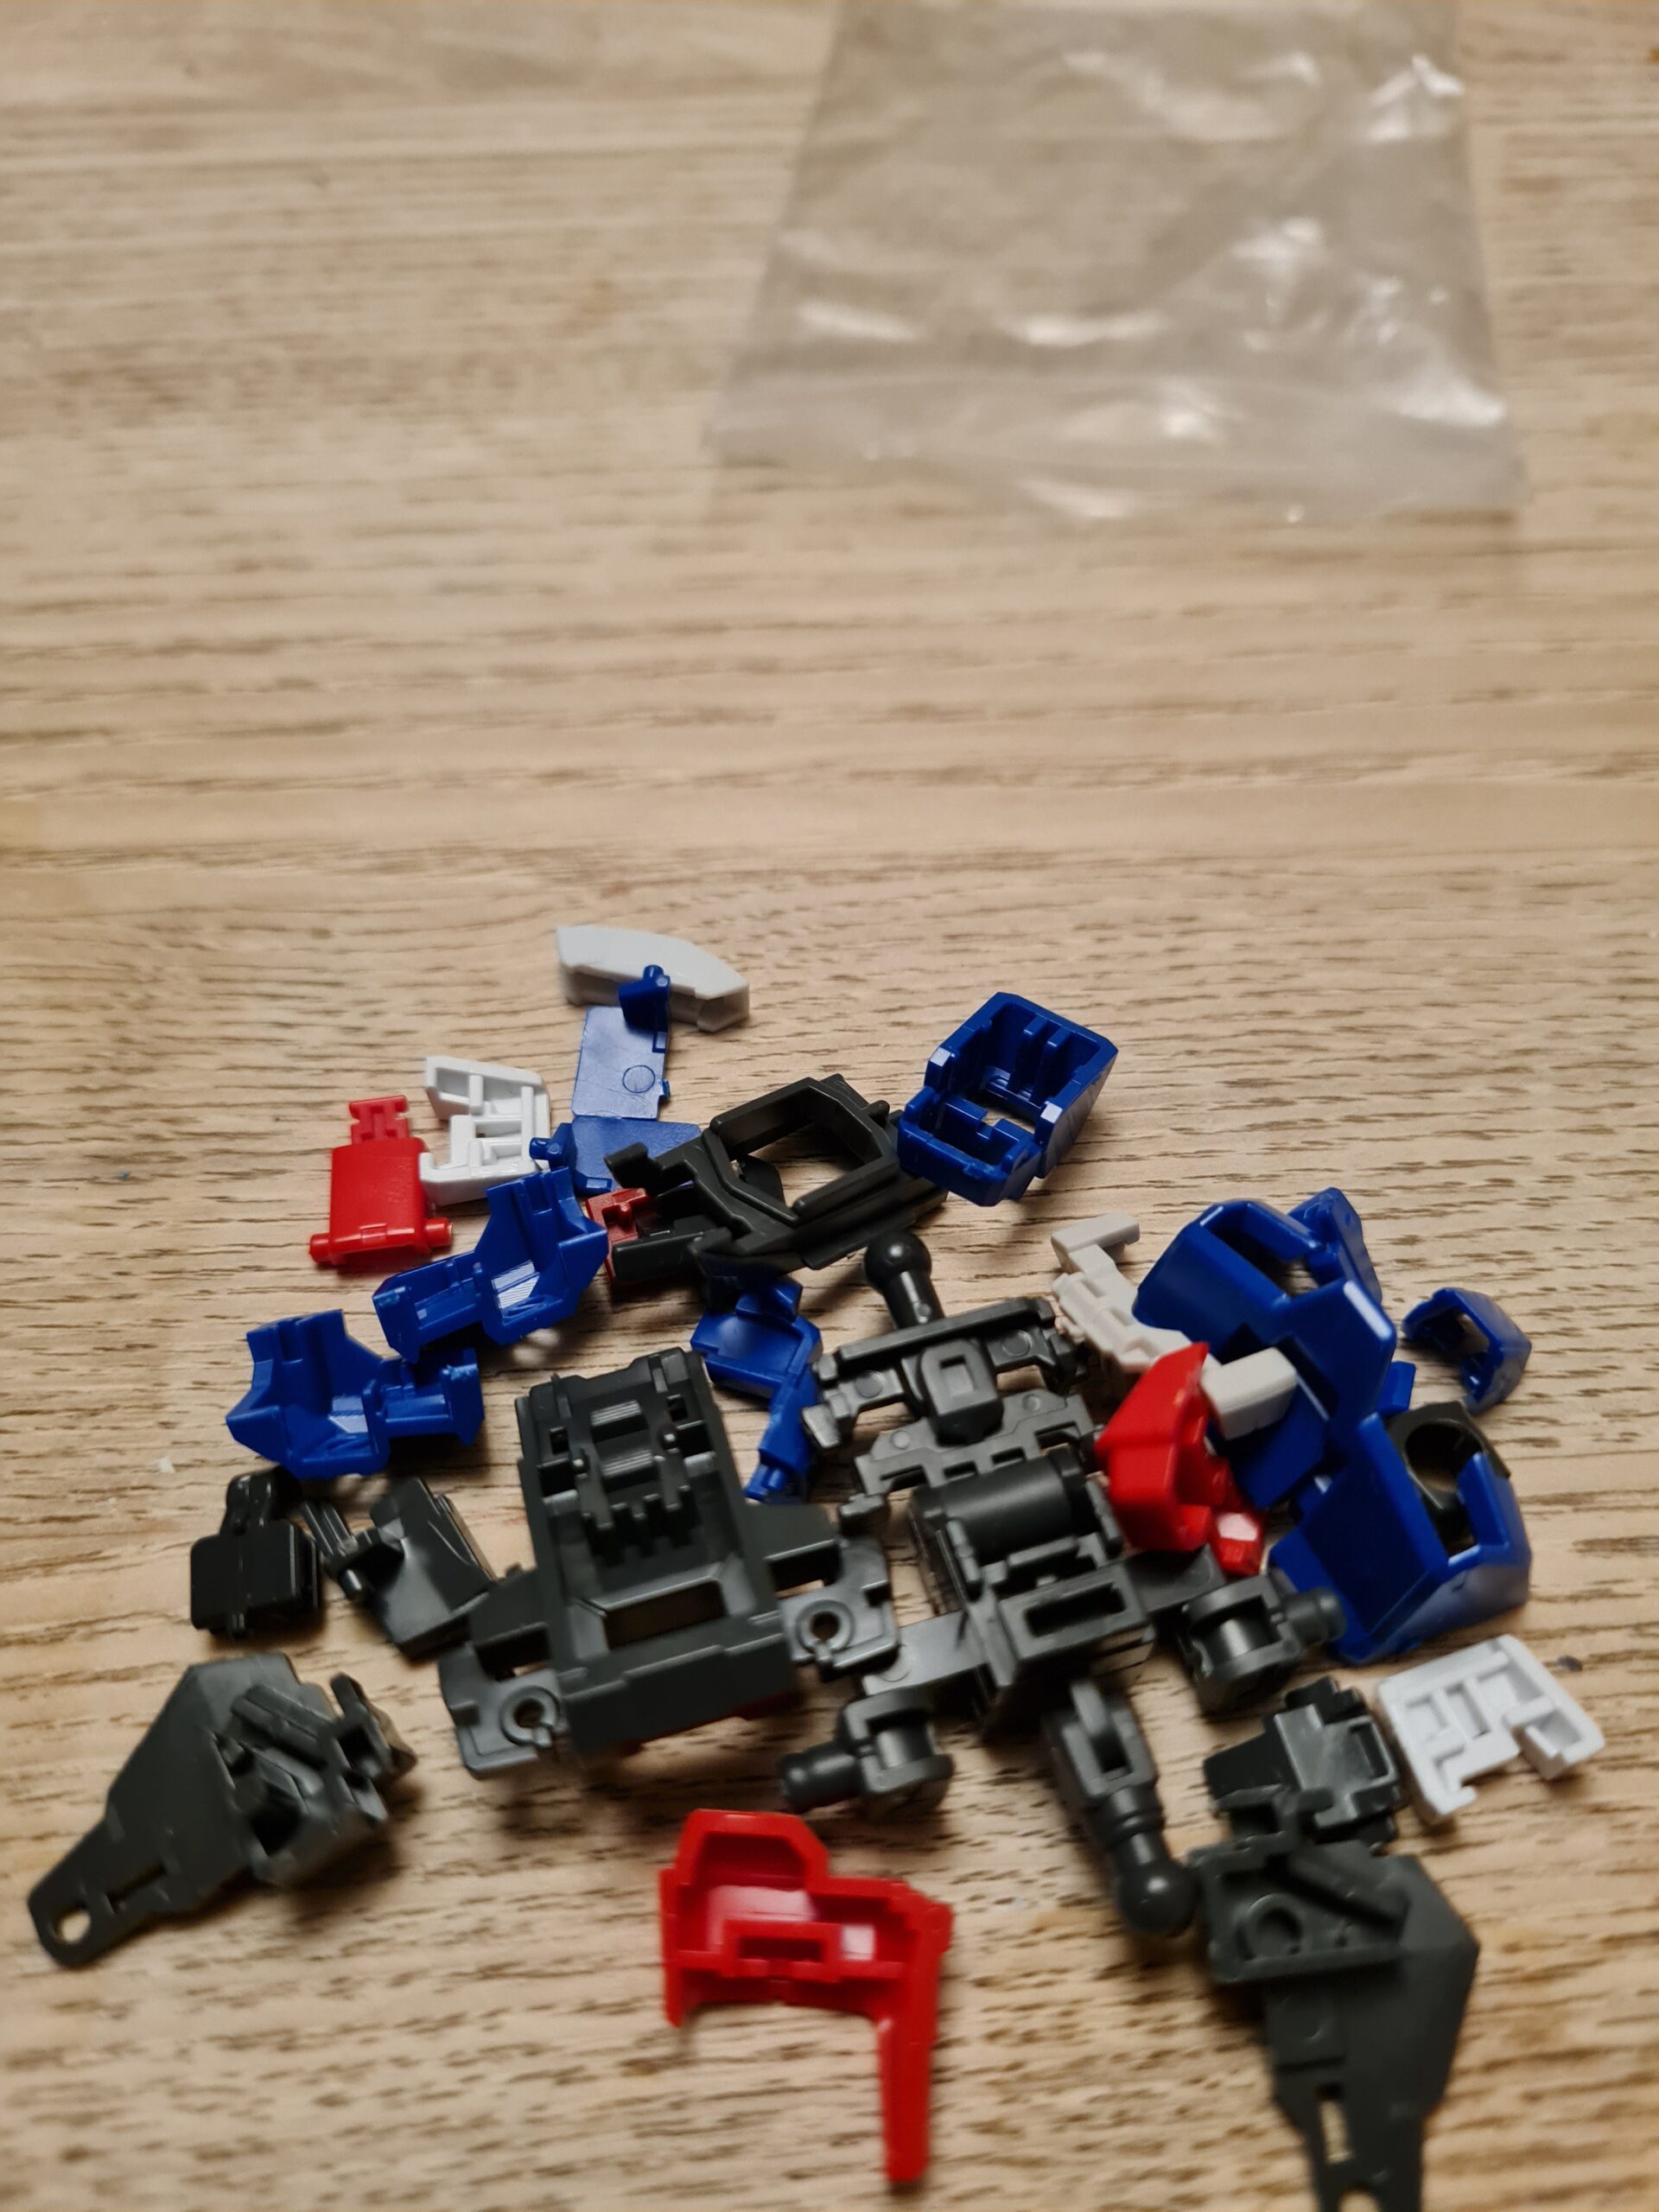
This was because I decided to give myself a blast from the past, and just put them all together in a bag. It reminded me of the old lego bags where all the parts for a specific section of the build were all together. This looked like this.
Ready To Build
I actually enjoyed identifying the pieces from the manual and then finding them in my pile 🙂 Ultimately you should have a build process that you enjoy.
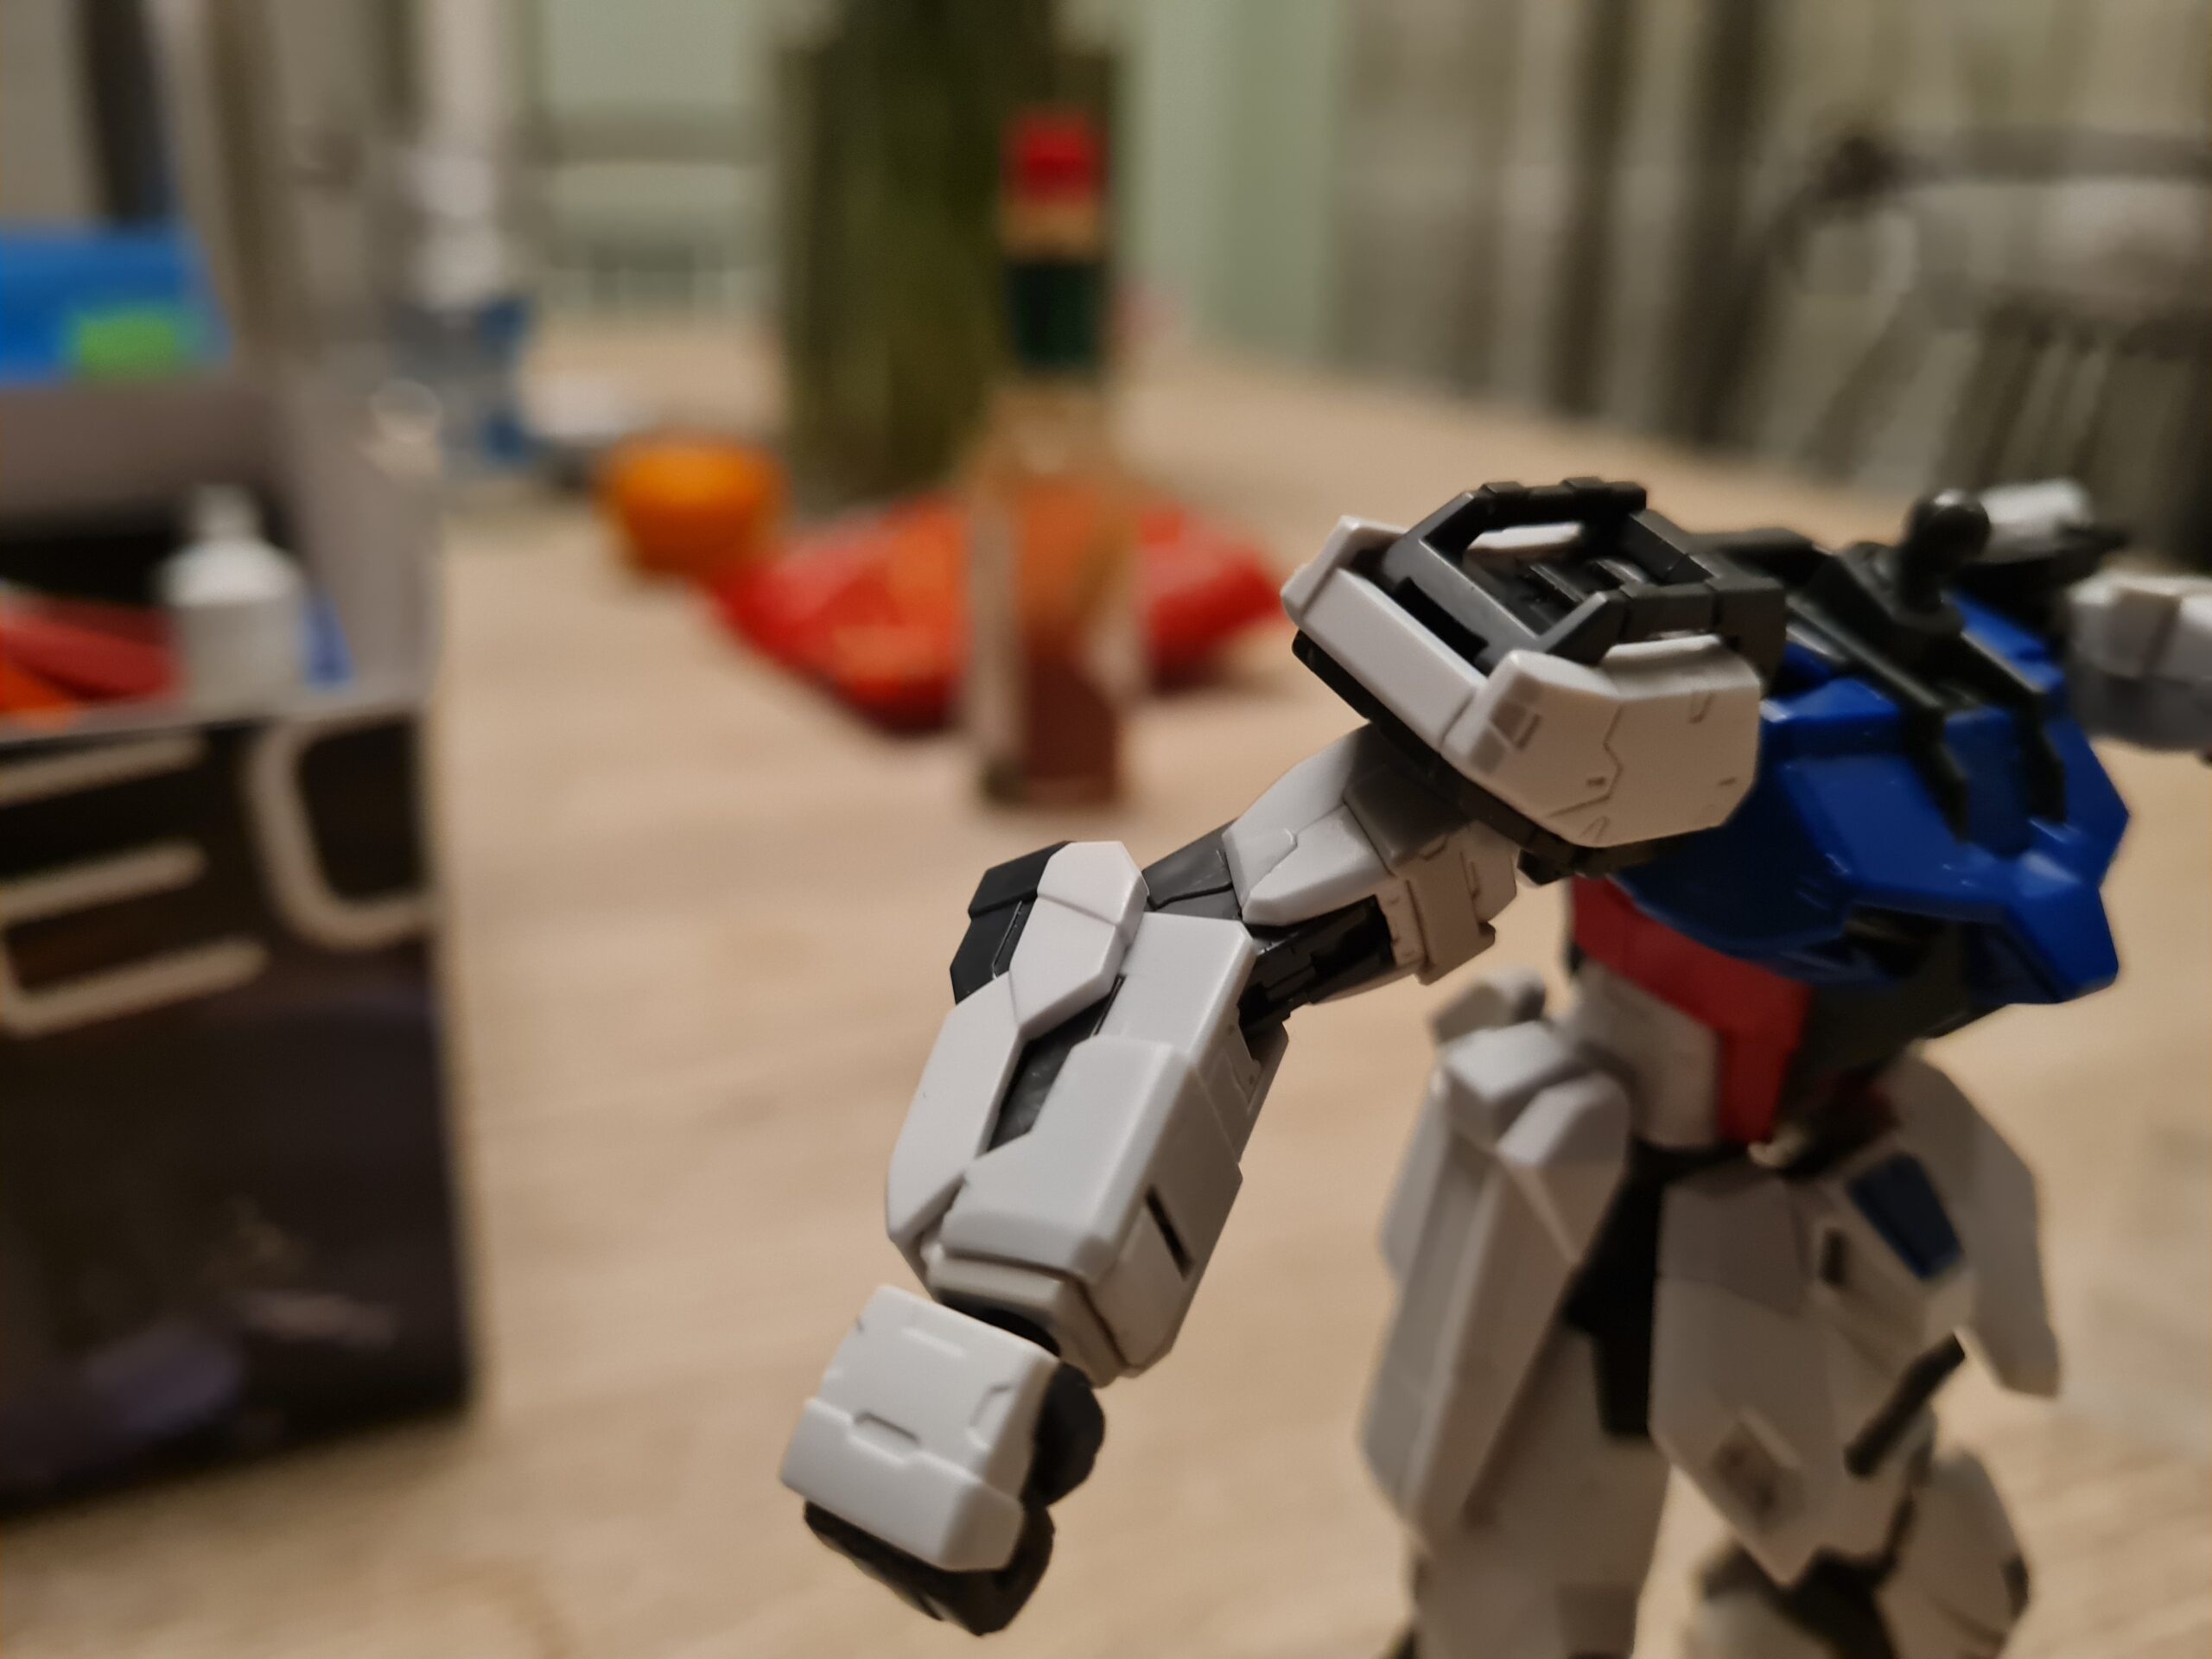
Putting it together
Complete FrontSide TorsoBalance 1Cleaned PartsTop Down BalanceTop Balance View
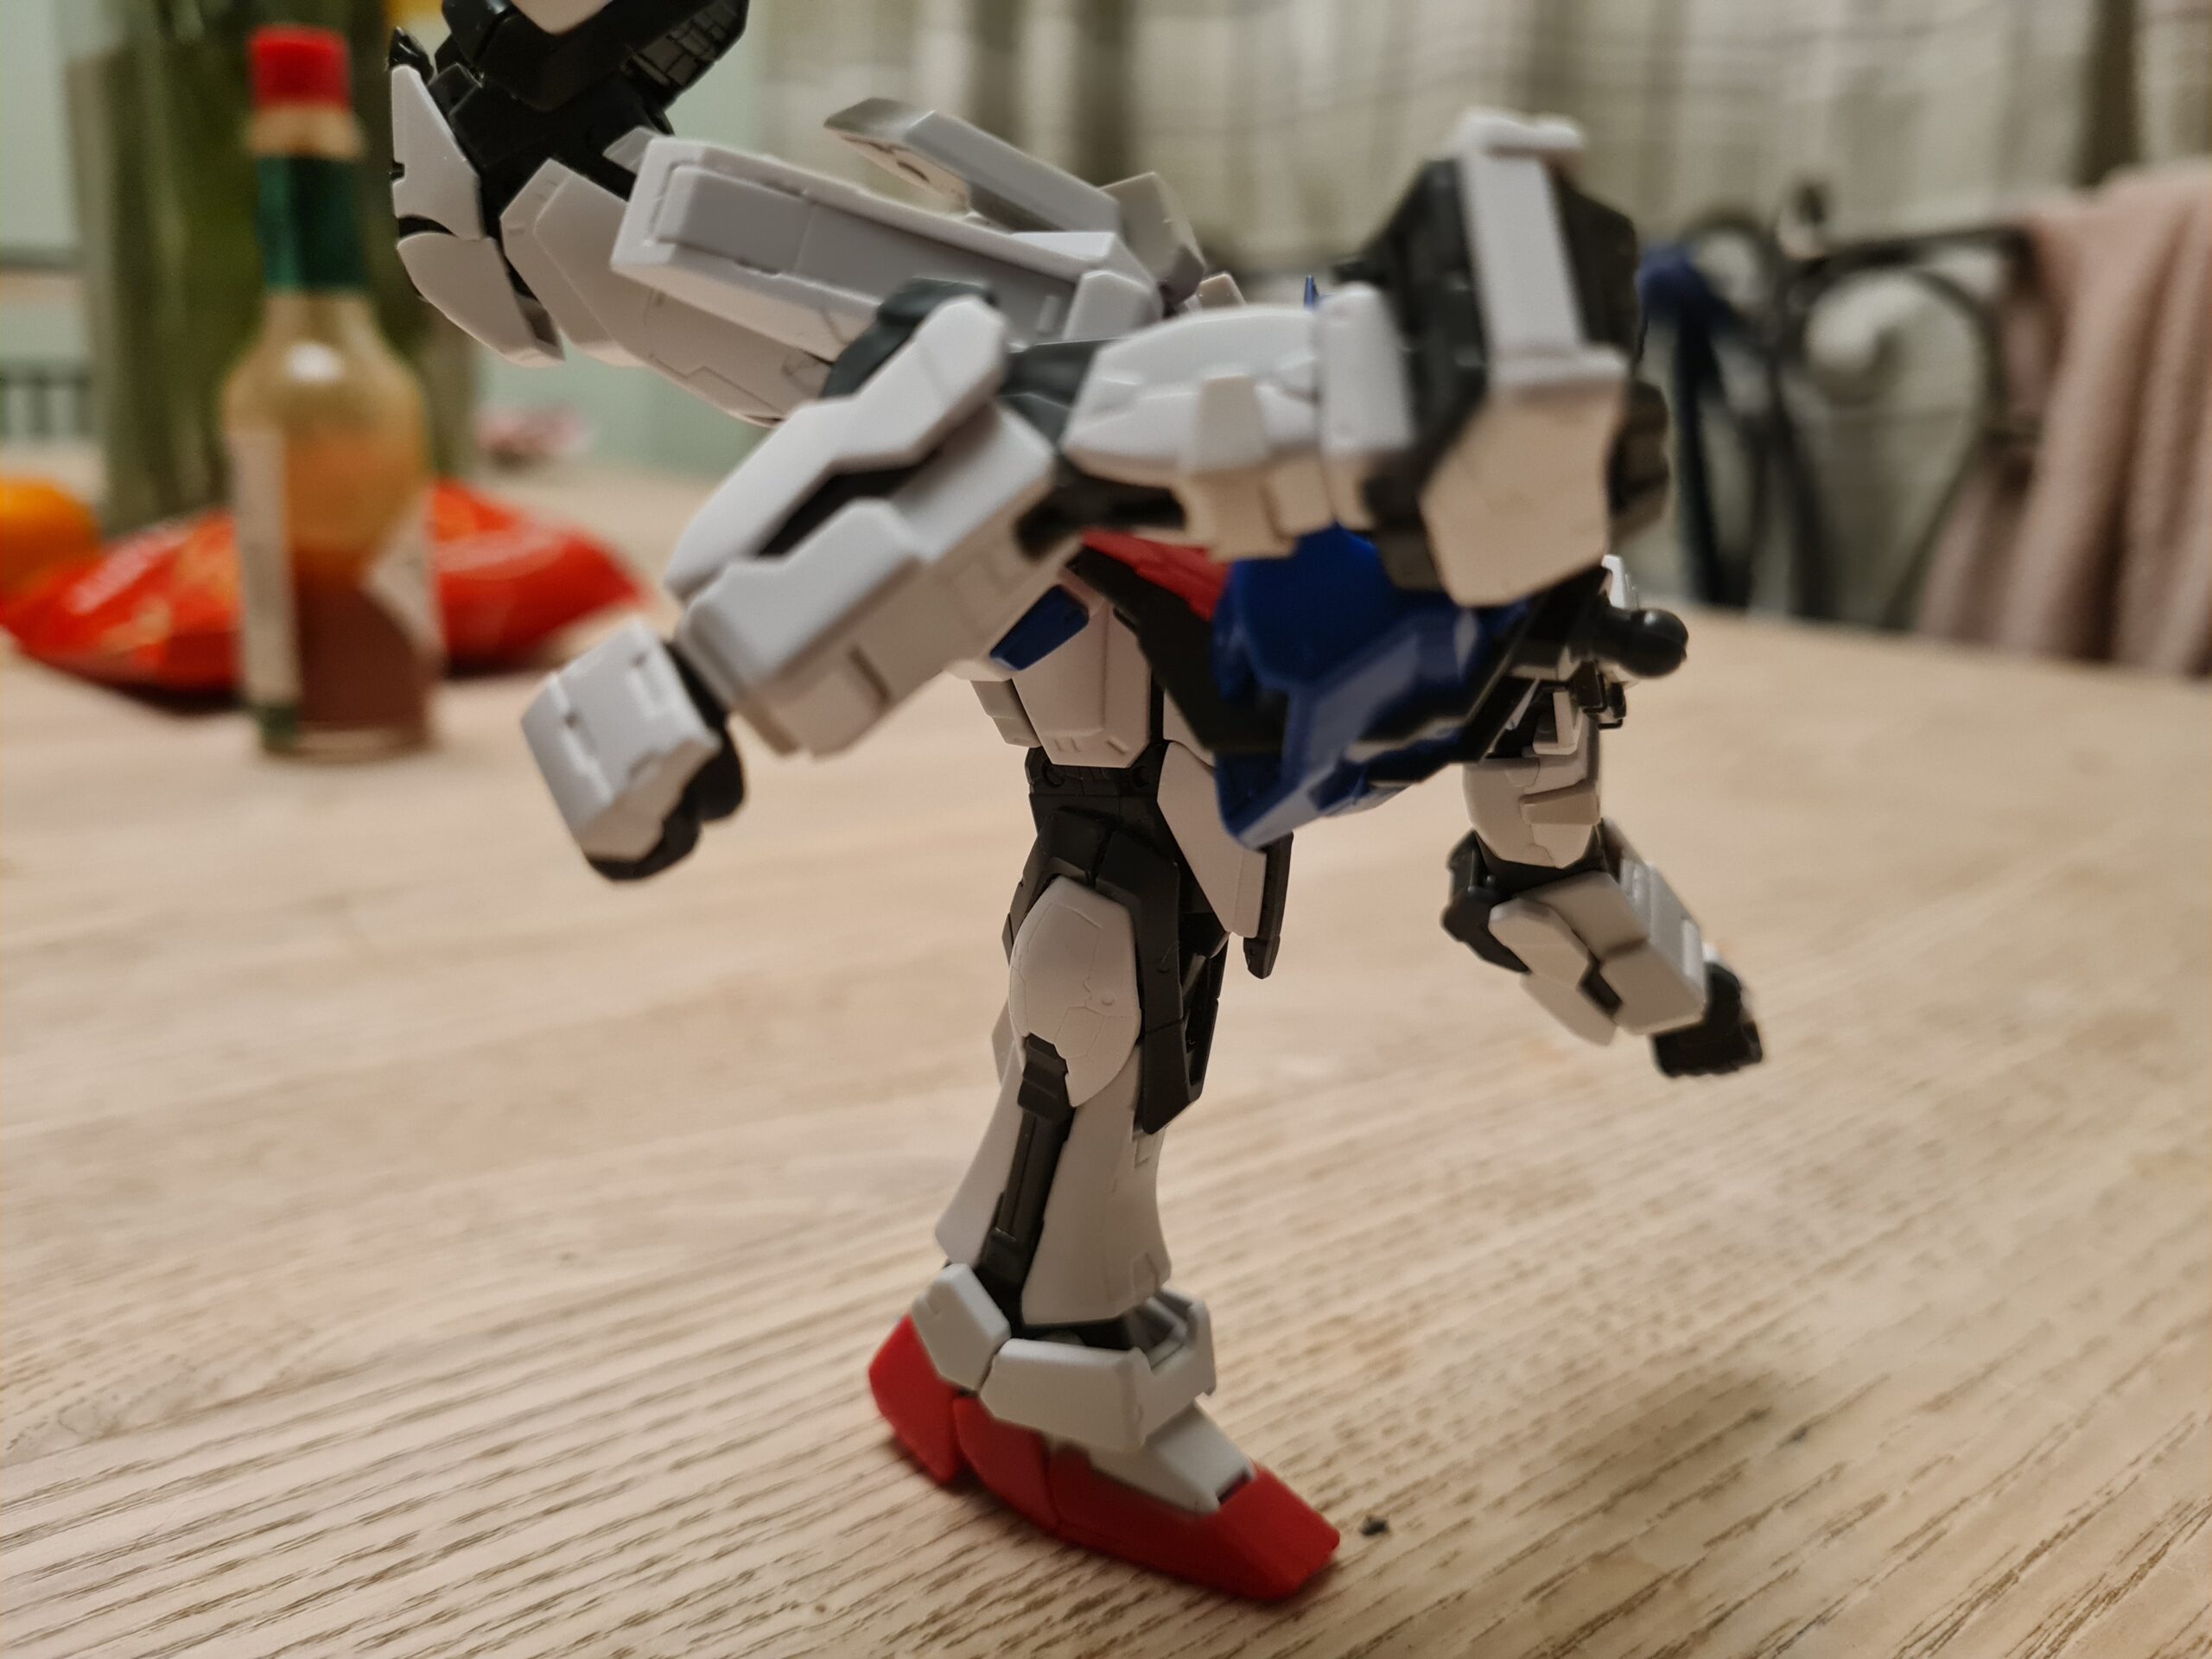
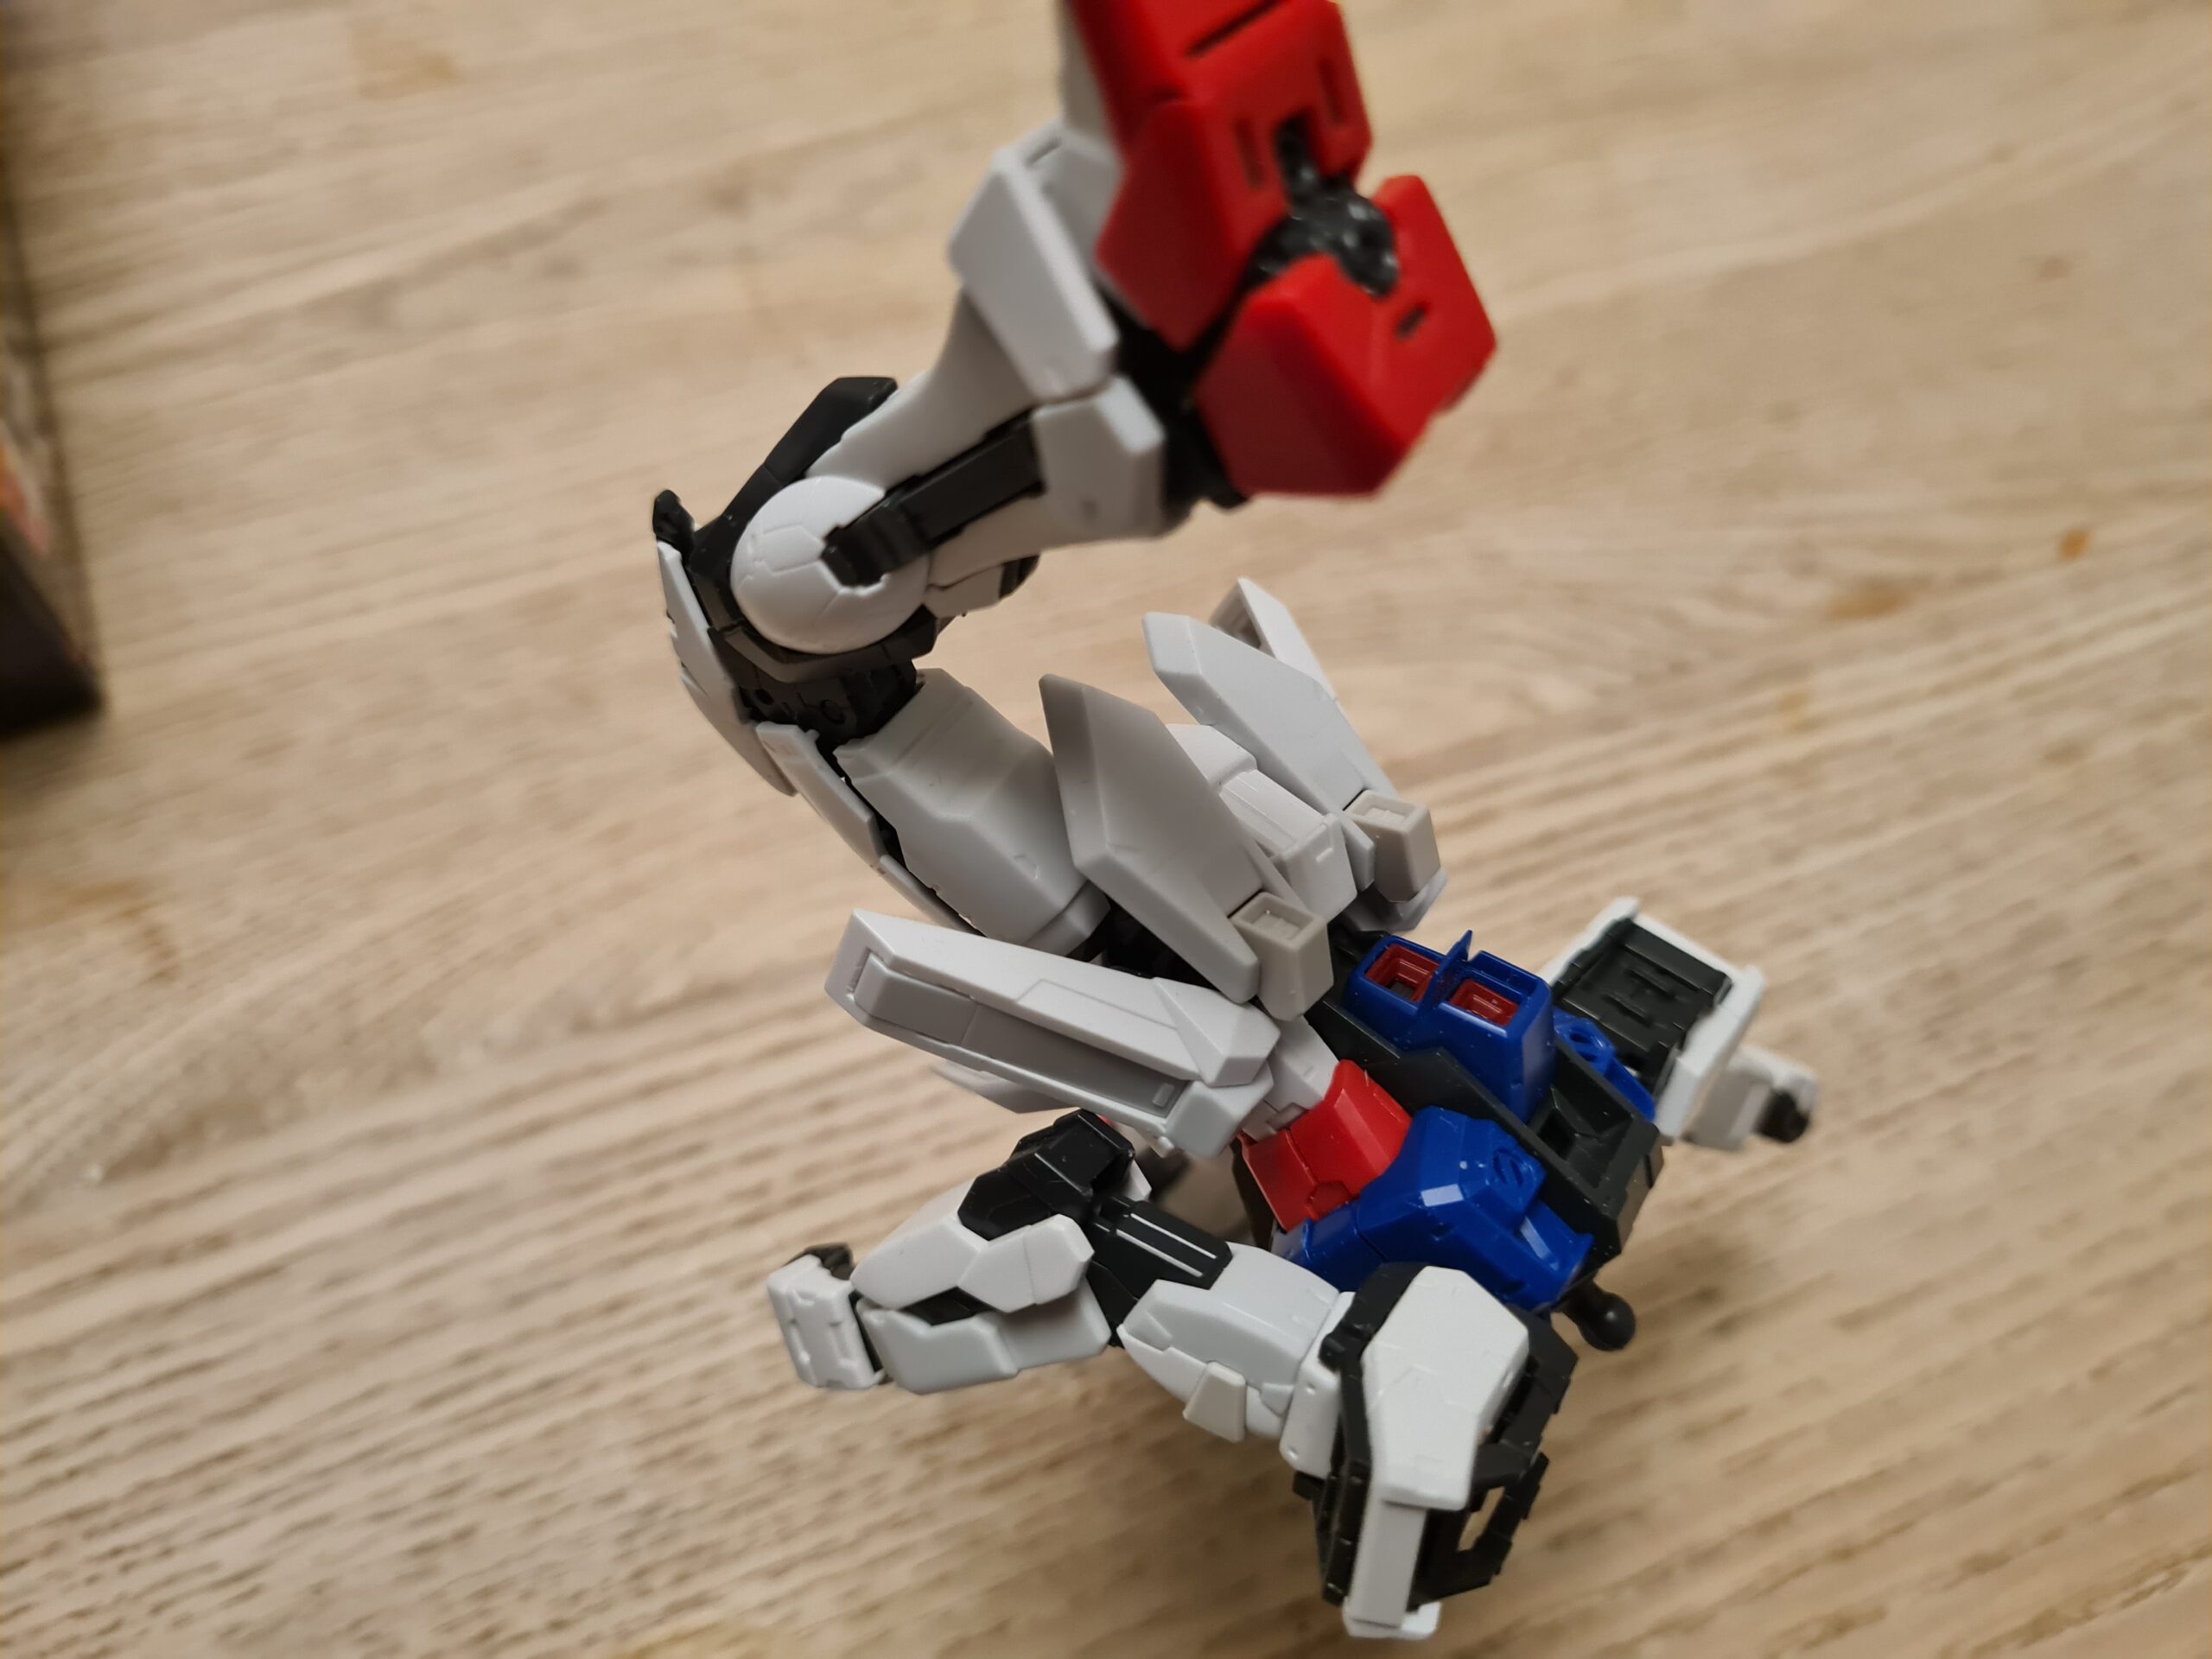
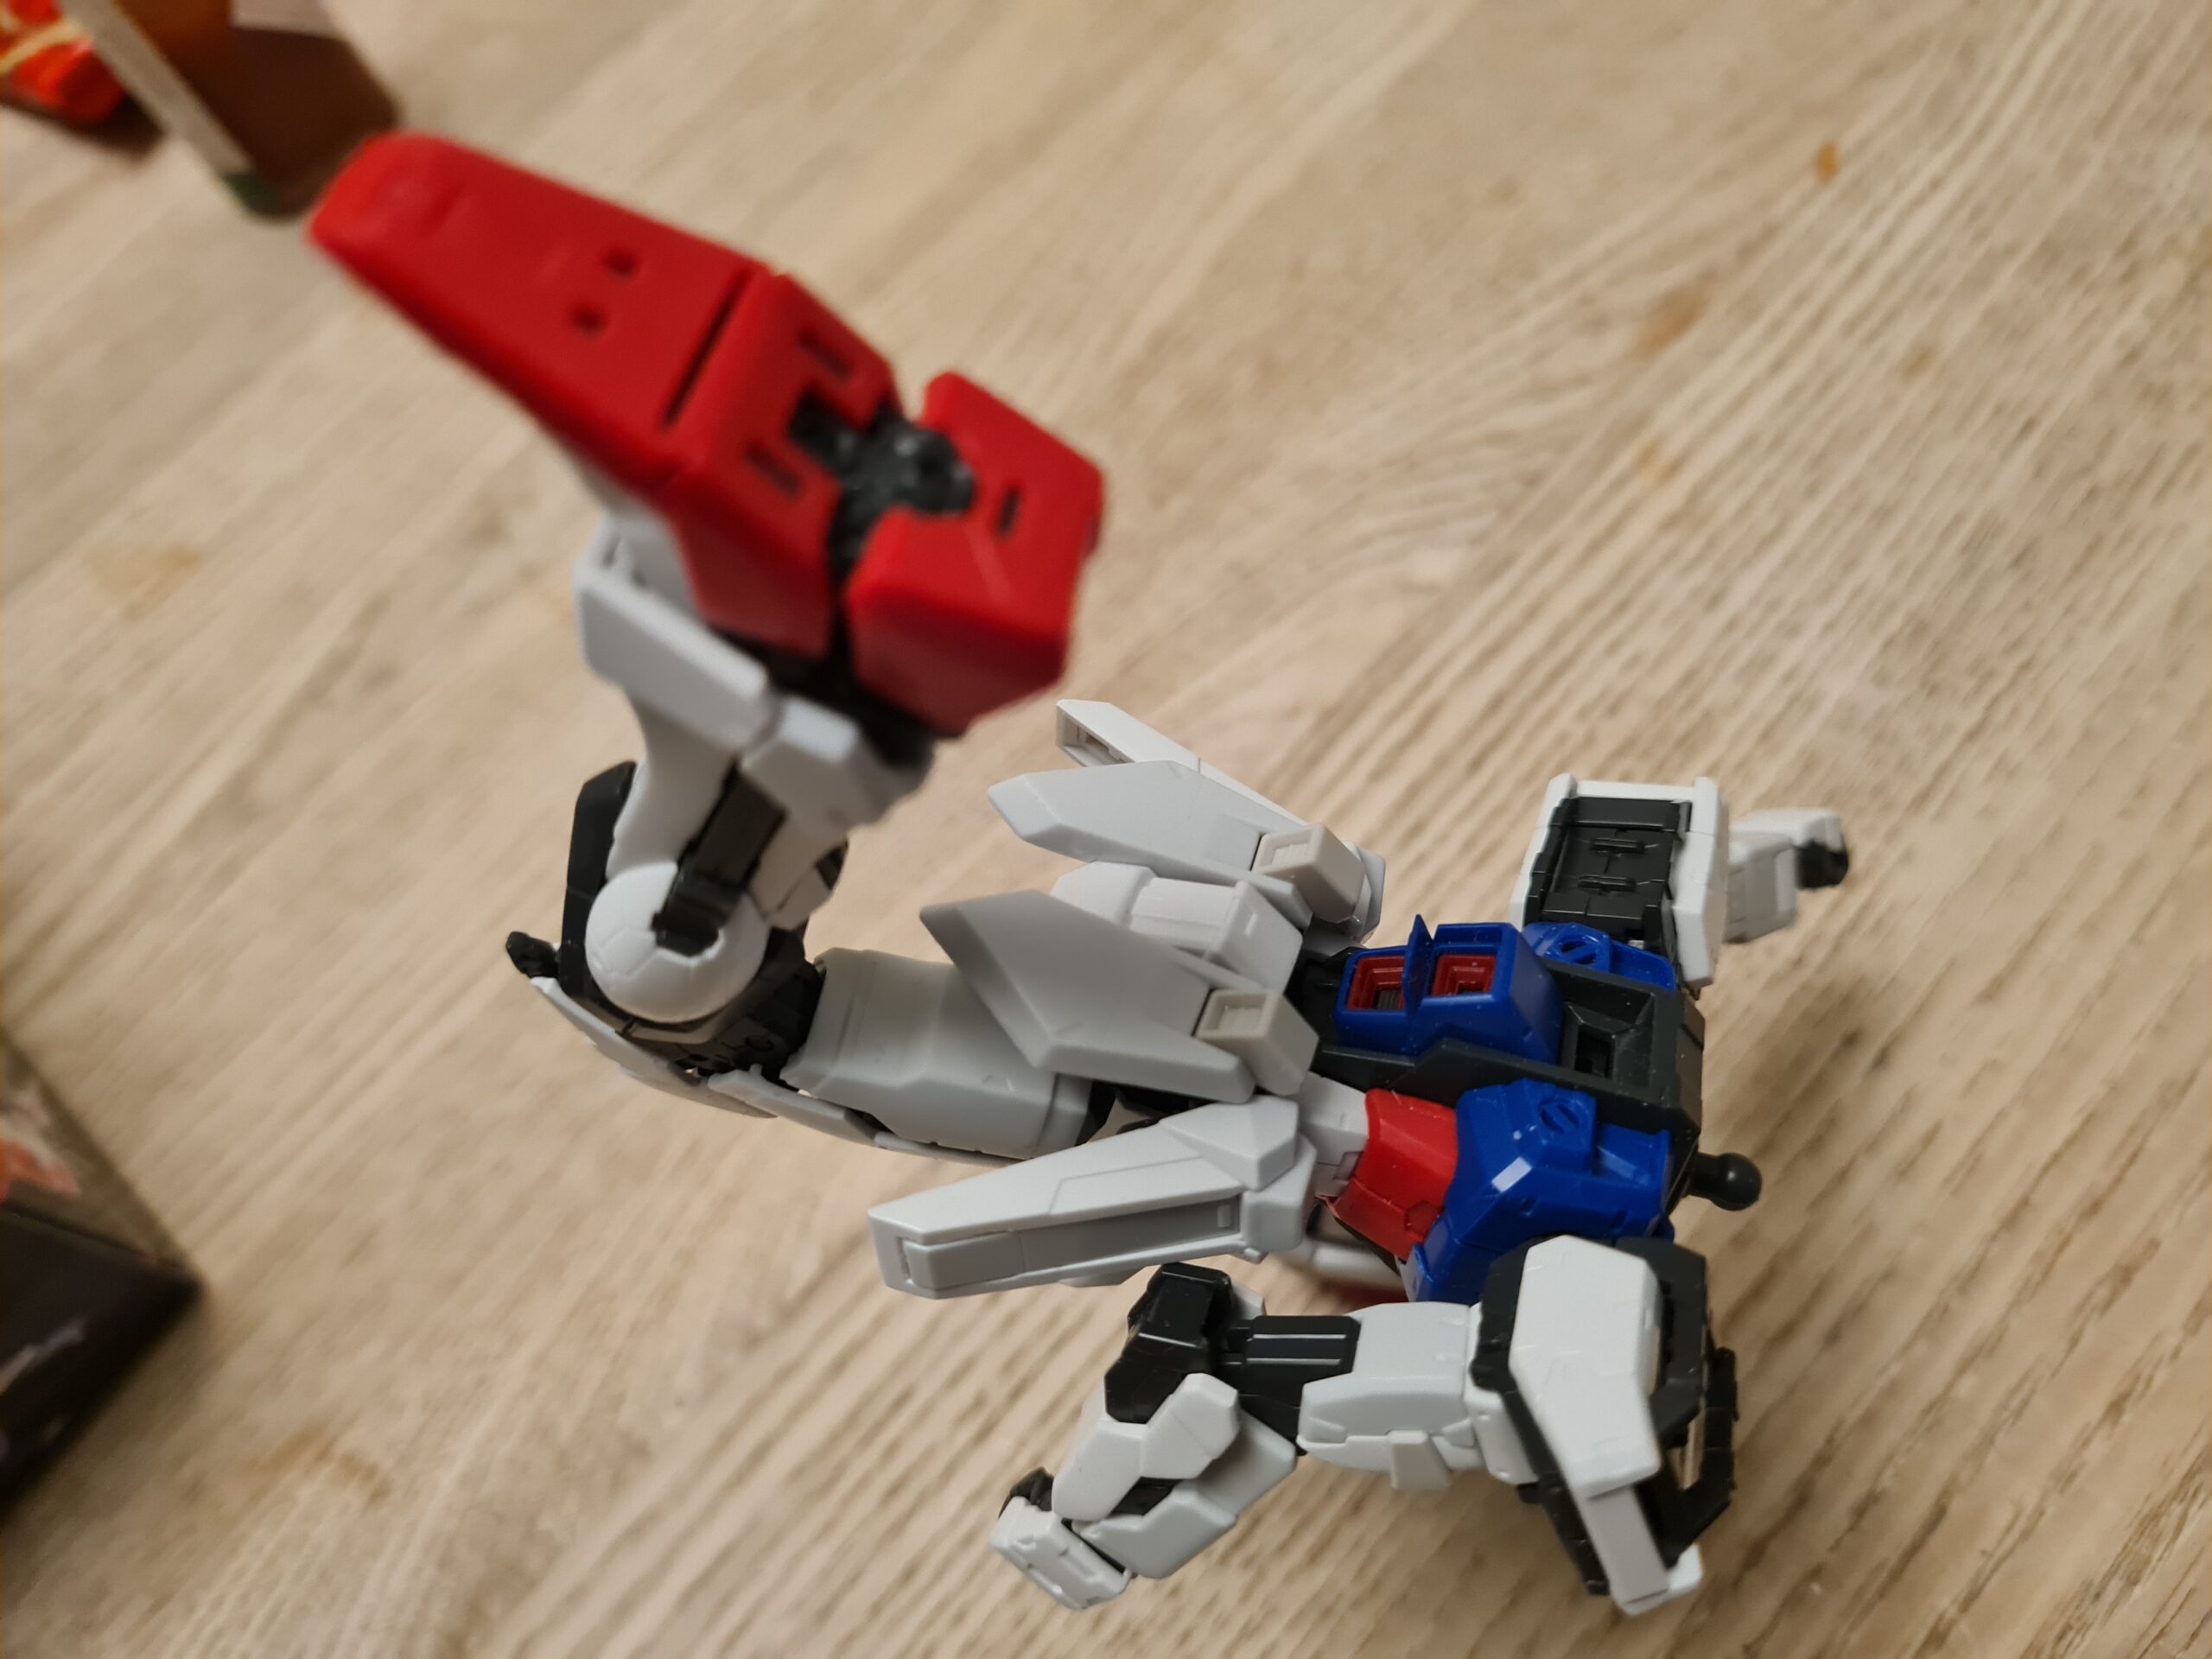
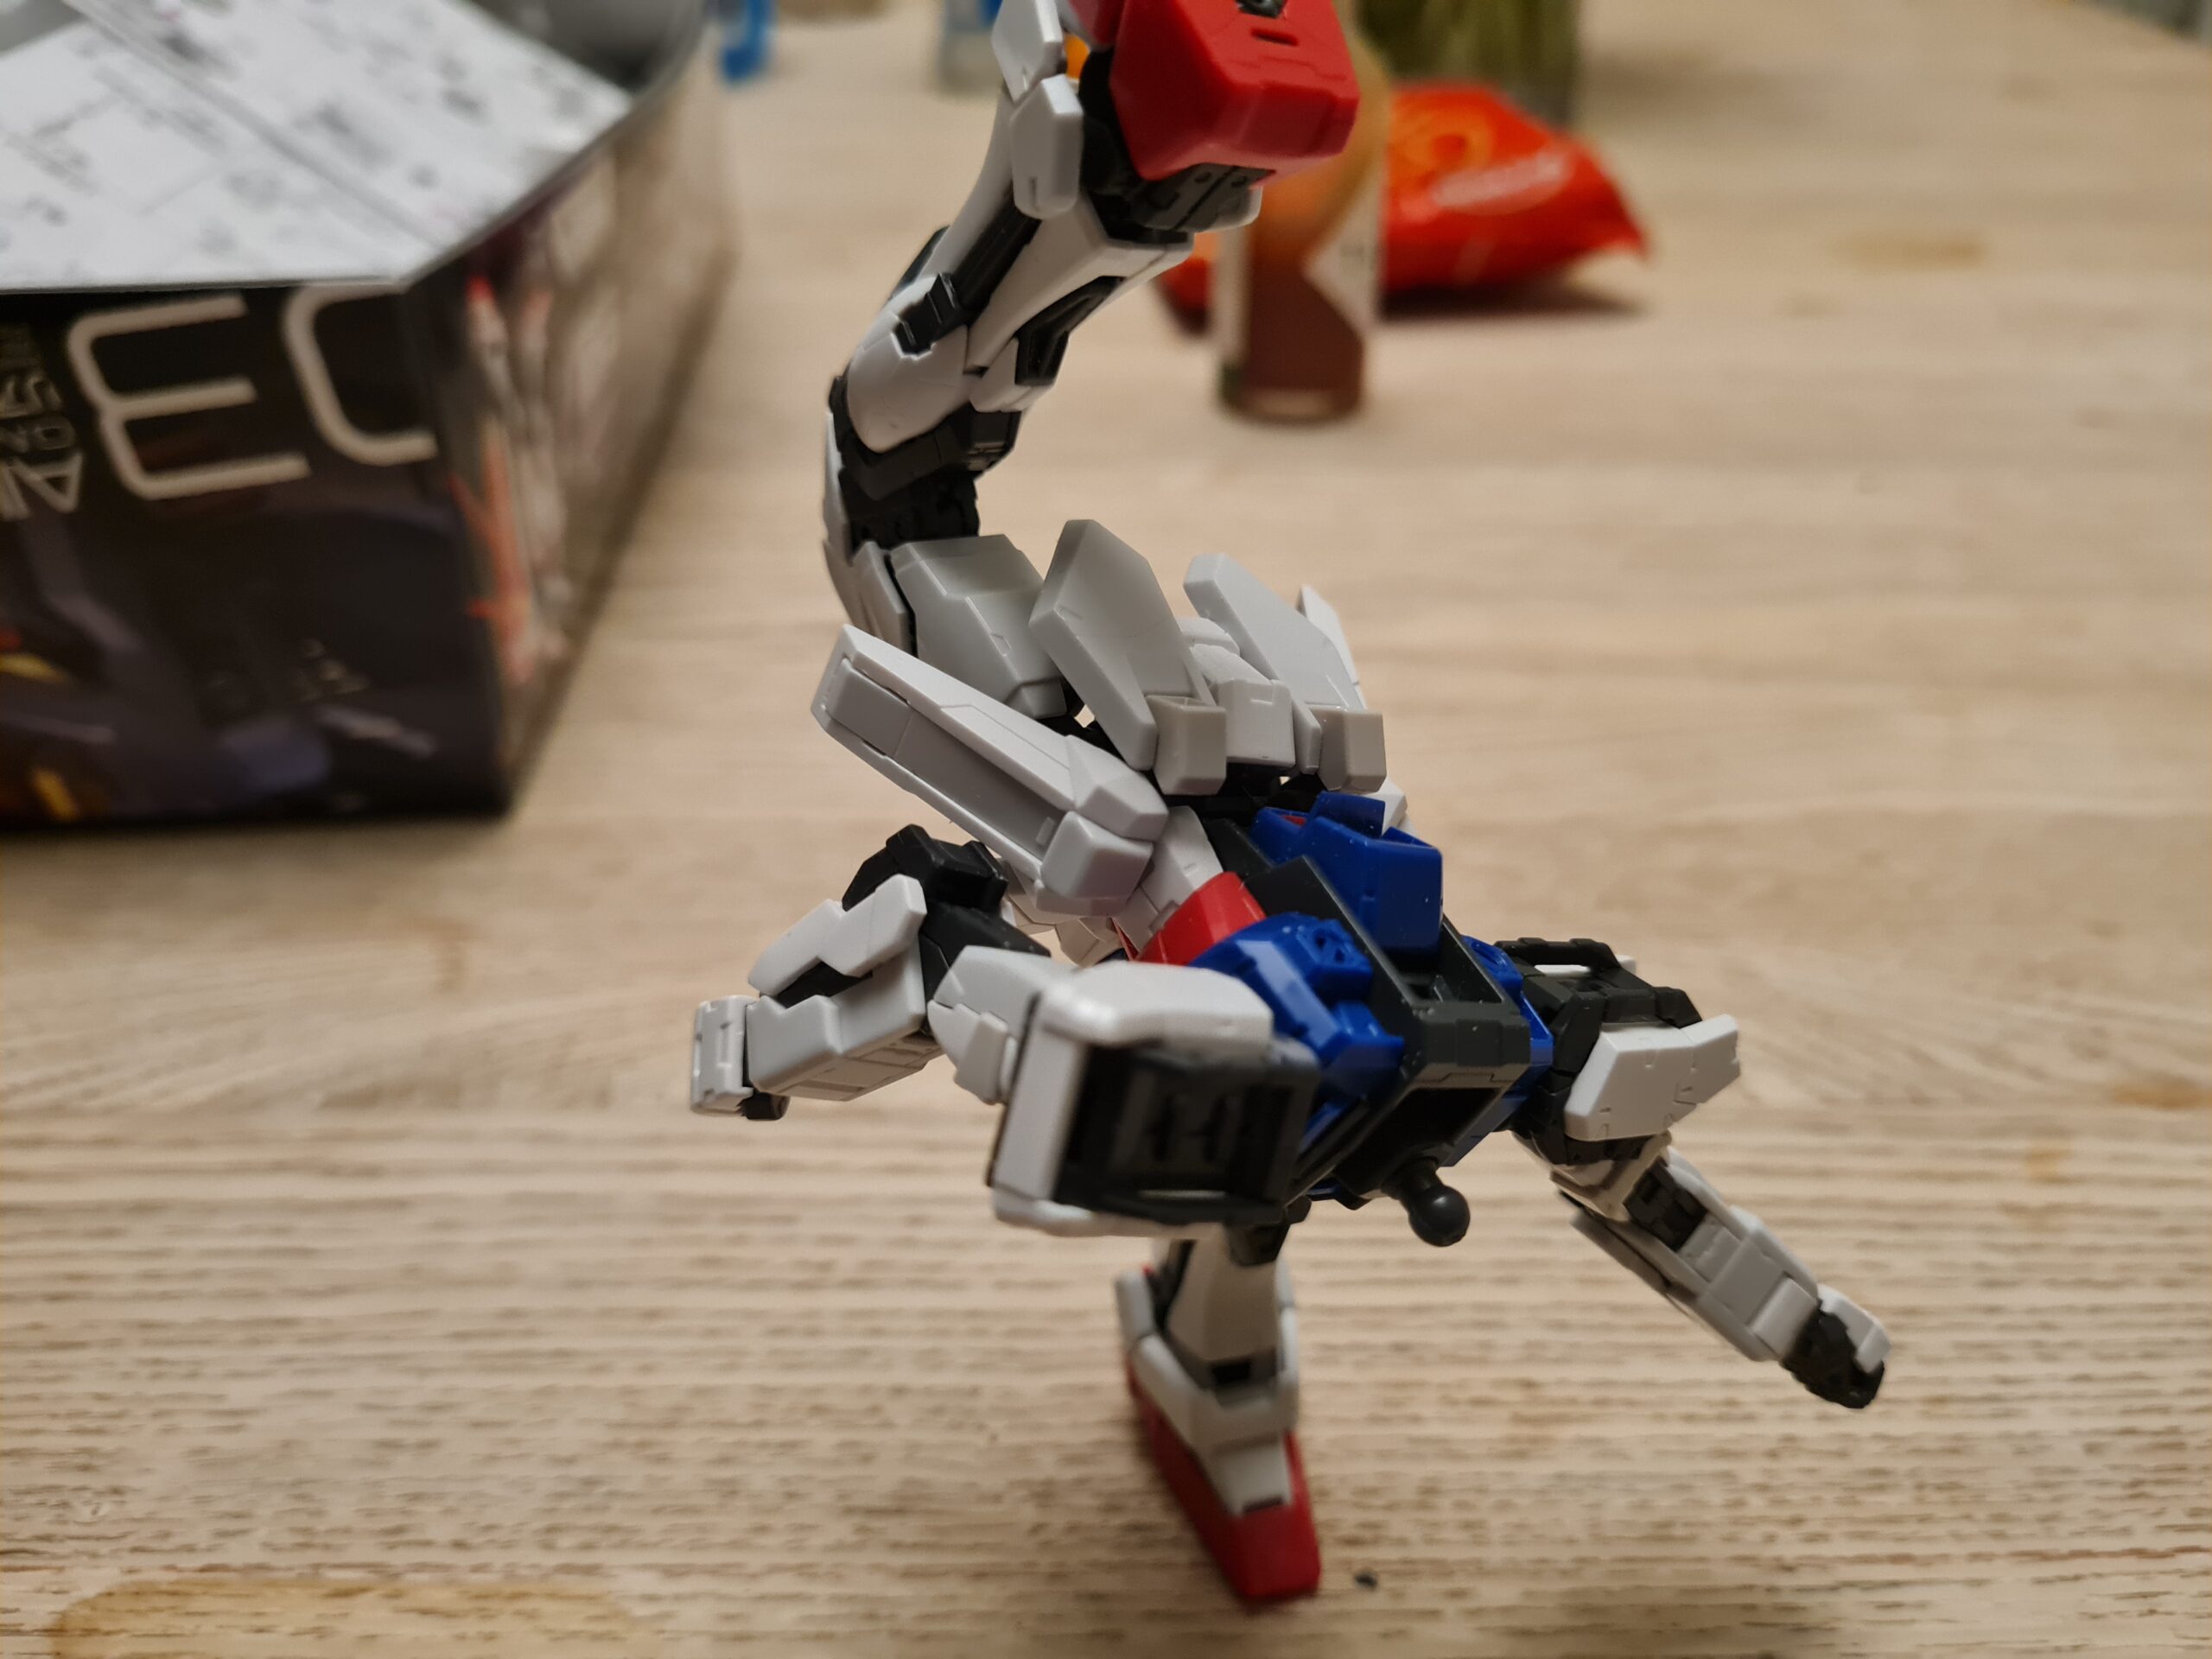
Once the torso was built I was able to attach the legs and arms. I then had a play with the posing on what I had so far. The articulation is great on the model. The “trying to do the splits” is limited due to the side parts that limit it. However, there is more than enough there to pose in a range of stances.
Also, as you can see from the pictures, at the moment the model can balance amazingly. With a little patience we can balance it really nicely.
Conclusion
I am still really happy with this. The model is building amazingly, and the way the parts layer up is really satisfying. The detail and articulation on this model are also fantastic. If you then add to this the great way the parts can clean up it is shaping up to meet all my expectations.
Thank you for taking the time to read this. If you haven’t already done so please like and follow us on our social media platforms and checkout our website!
Ok well, this should have been the next part of the Aile Strike build. However, procrastination, and the delivery of a second hand 3d printer both got in the way, making this a mixed bag! Then there was a few episodes of Knight’s and Magic on Crunchyroll.
So what have I been doing?
Thing I was doing Saturday
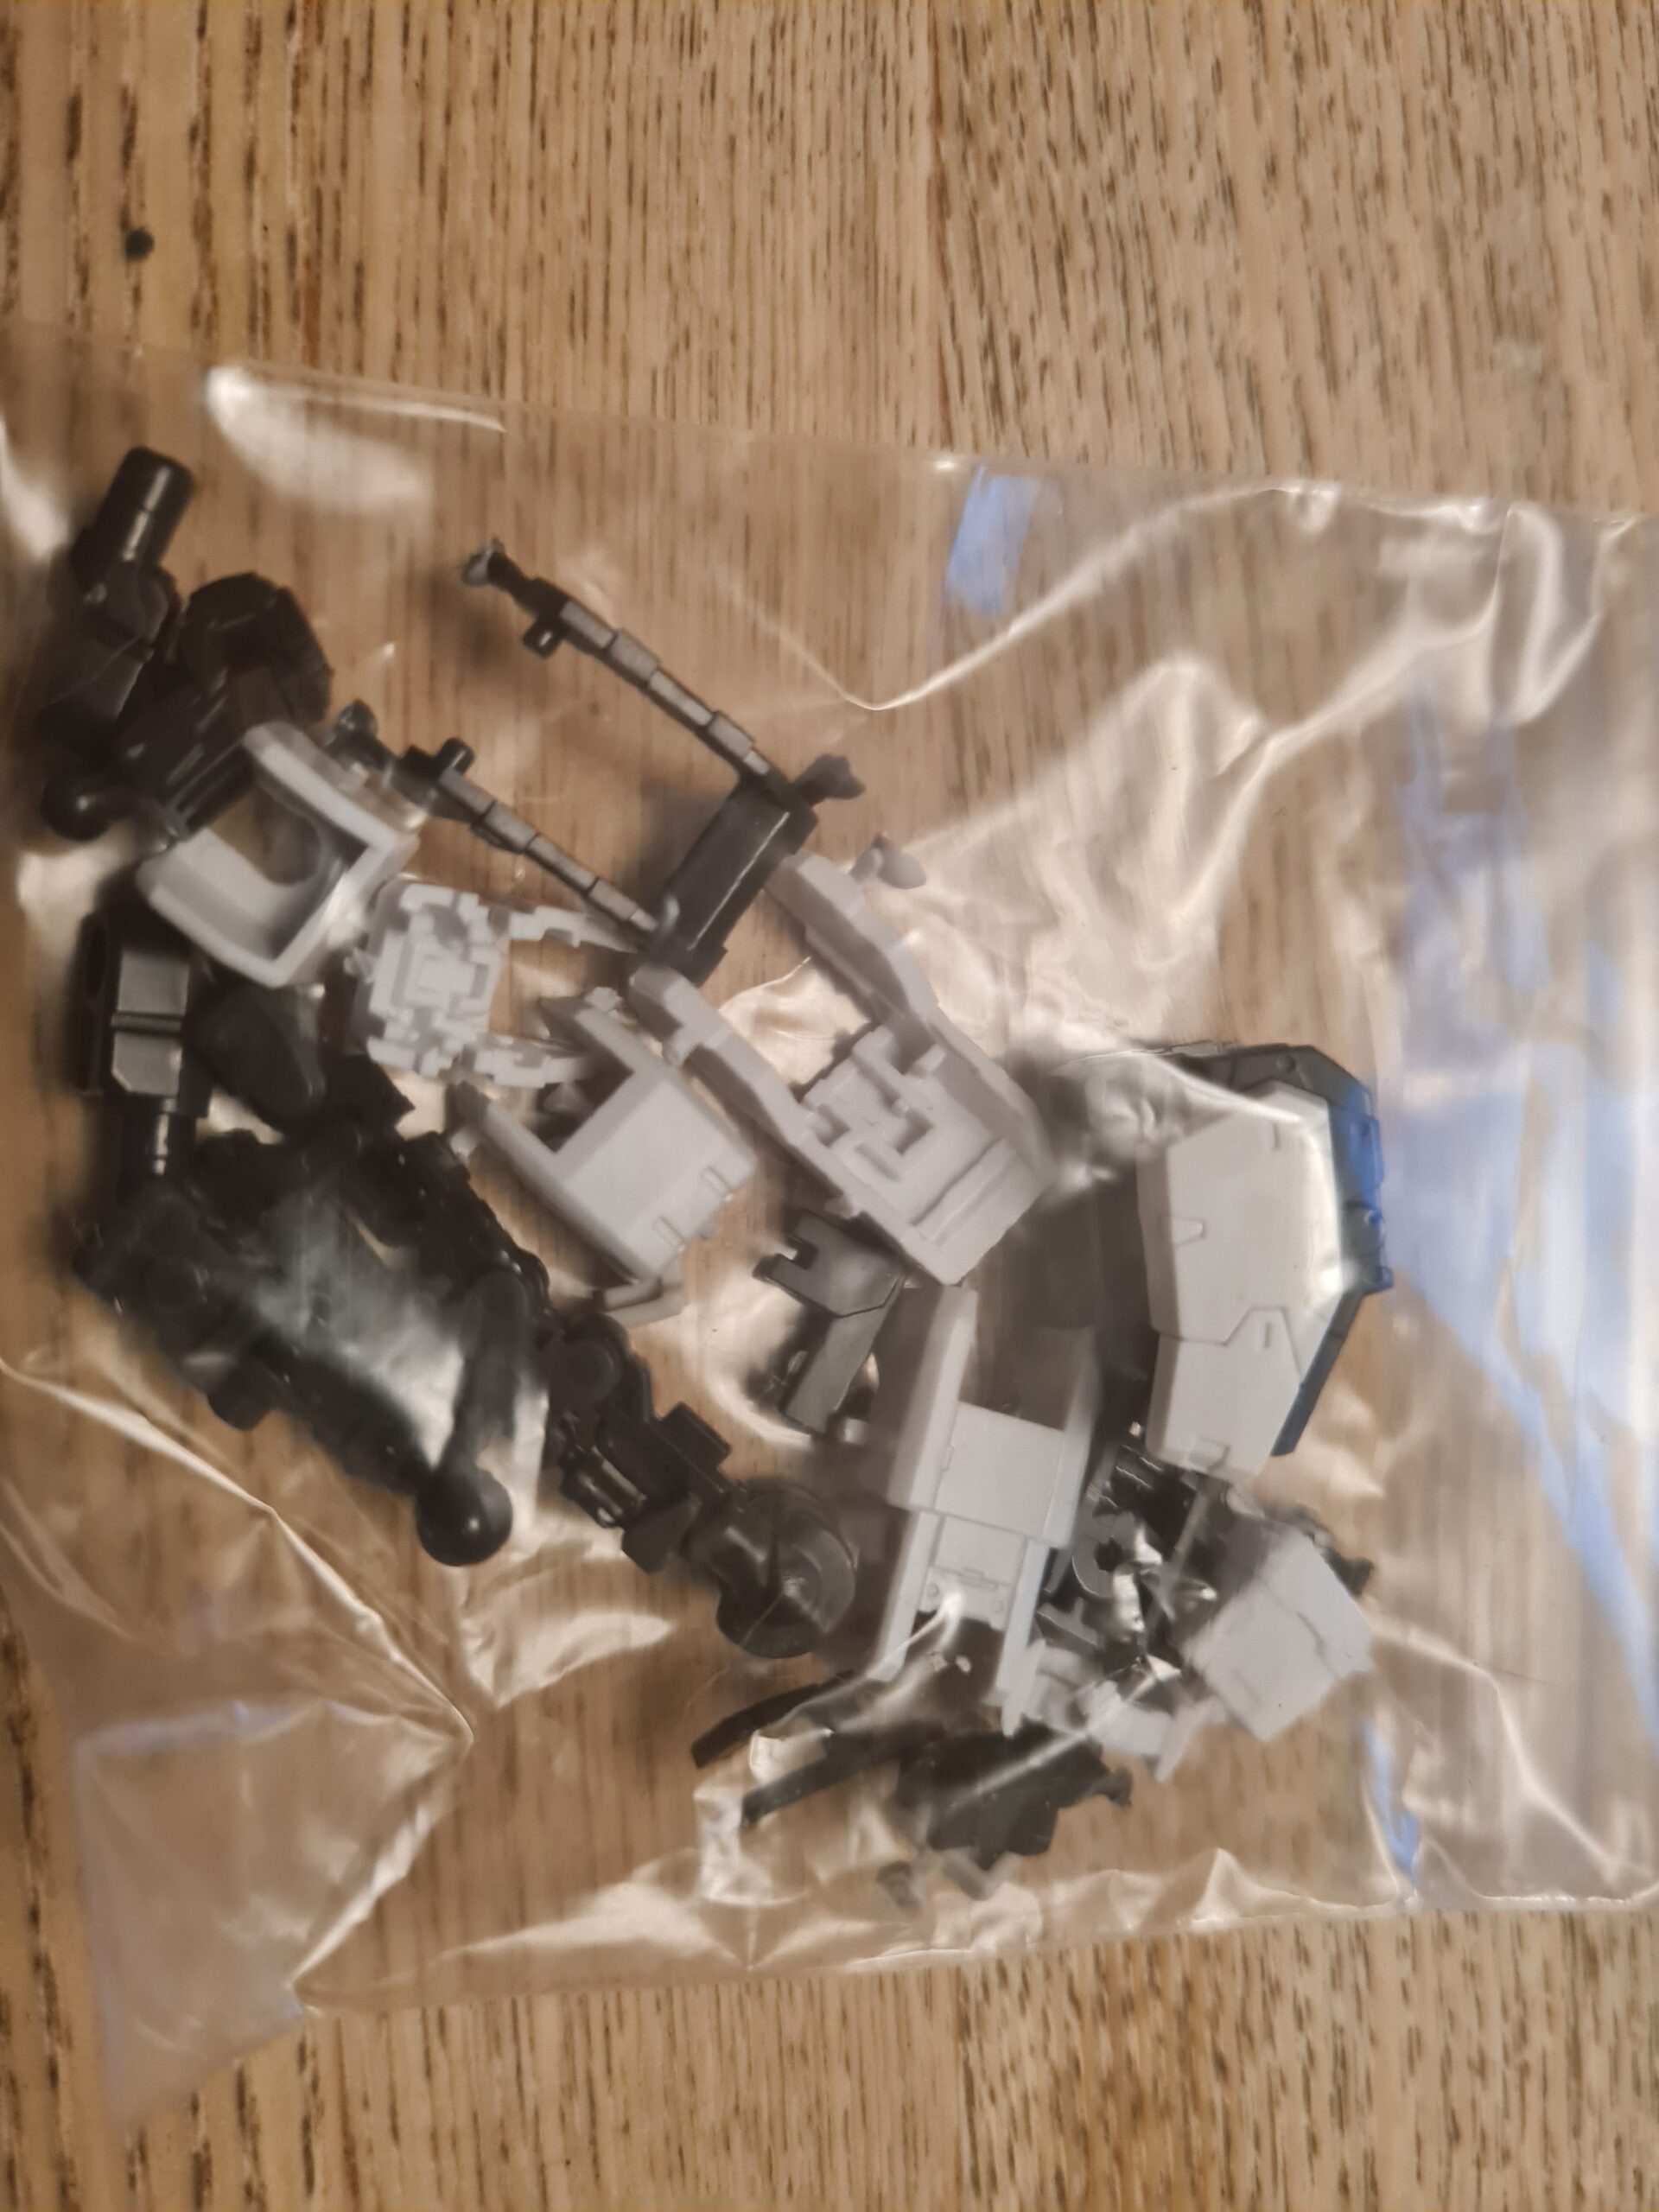
Well I did start to prep parts for the build. In fact here is the proof!
Bits Ready To Clean
This little bag contains all the bits I need to build the next arm. I need to do the second cut wit the nippers, the clean-up, the final polish and assembly. They got cut out with the intention of me working on them this evening. However I just sort of had a nap and then struggled to get started again. However, tomorrow is another day!
What else have I been doing?
As you may, or may not, be aware, I listed some reasonably priced basic 1/144 bases recently. You can find them here. They are only £2 each a real bargain! However, I have been working on creating some 3d models to print for adapters to add to them as additions so that you can benefit from different adapter types if you want them.
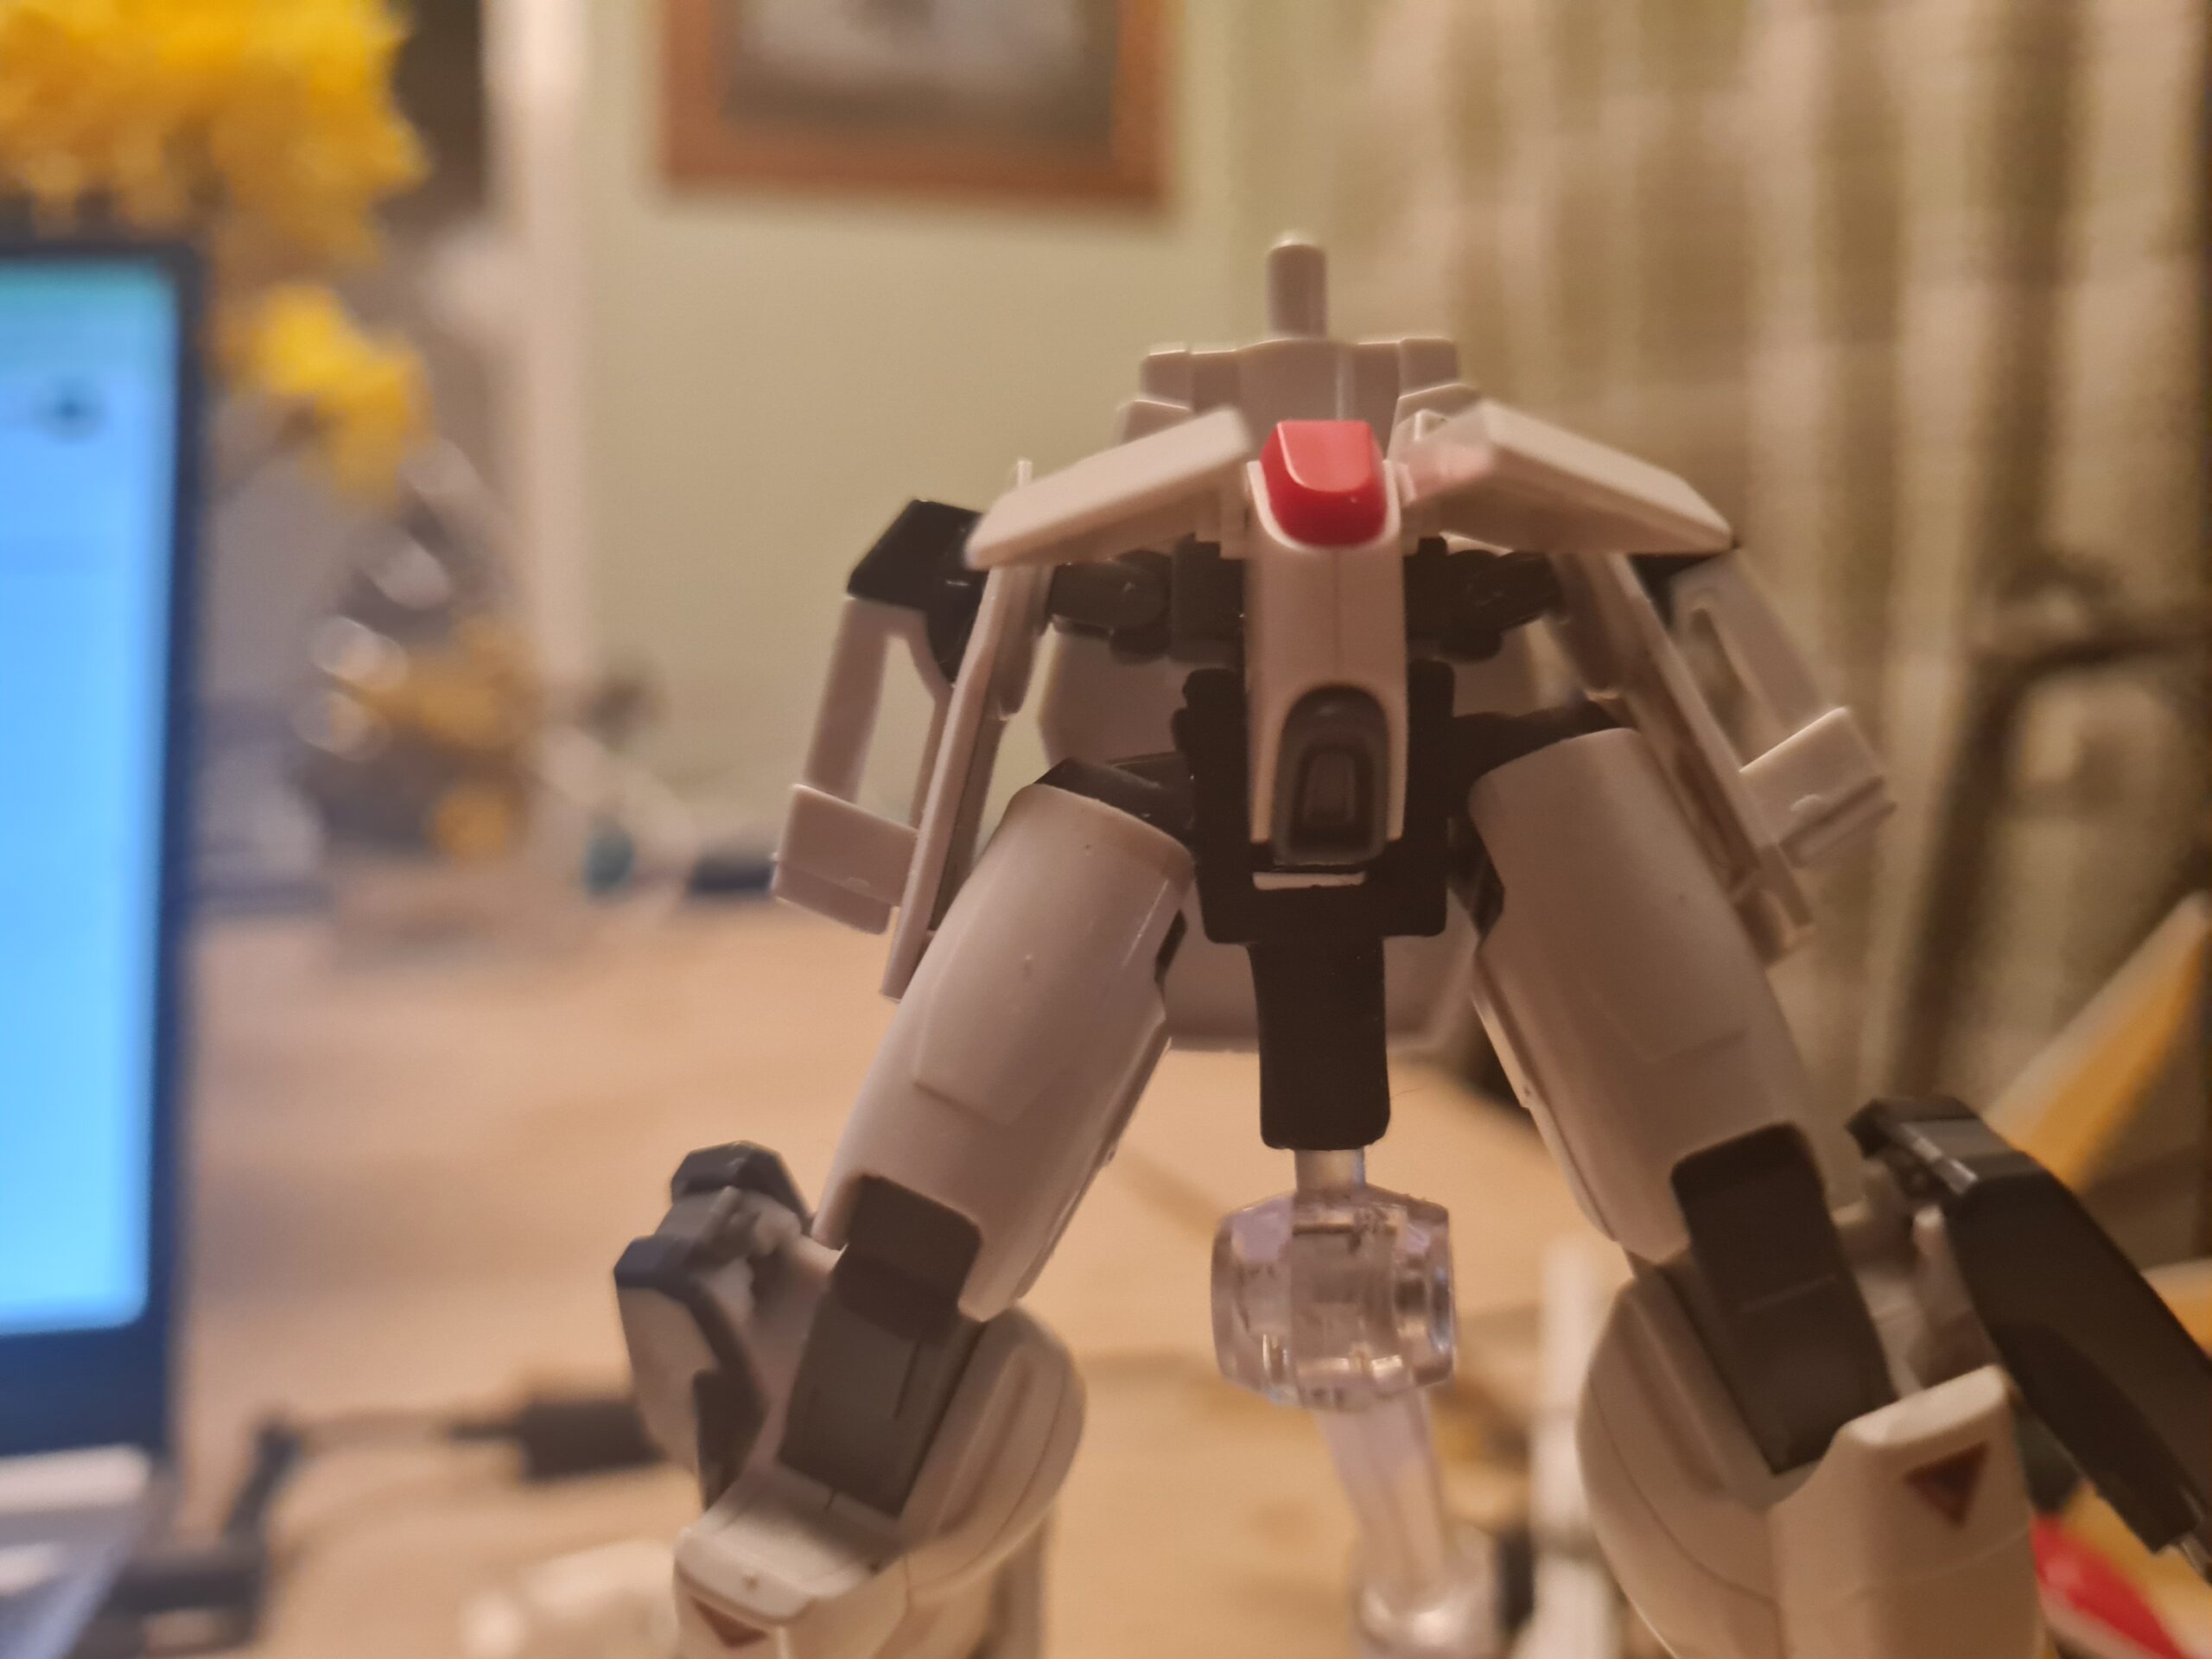
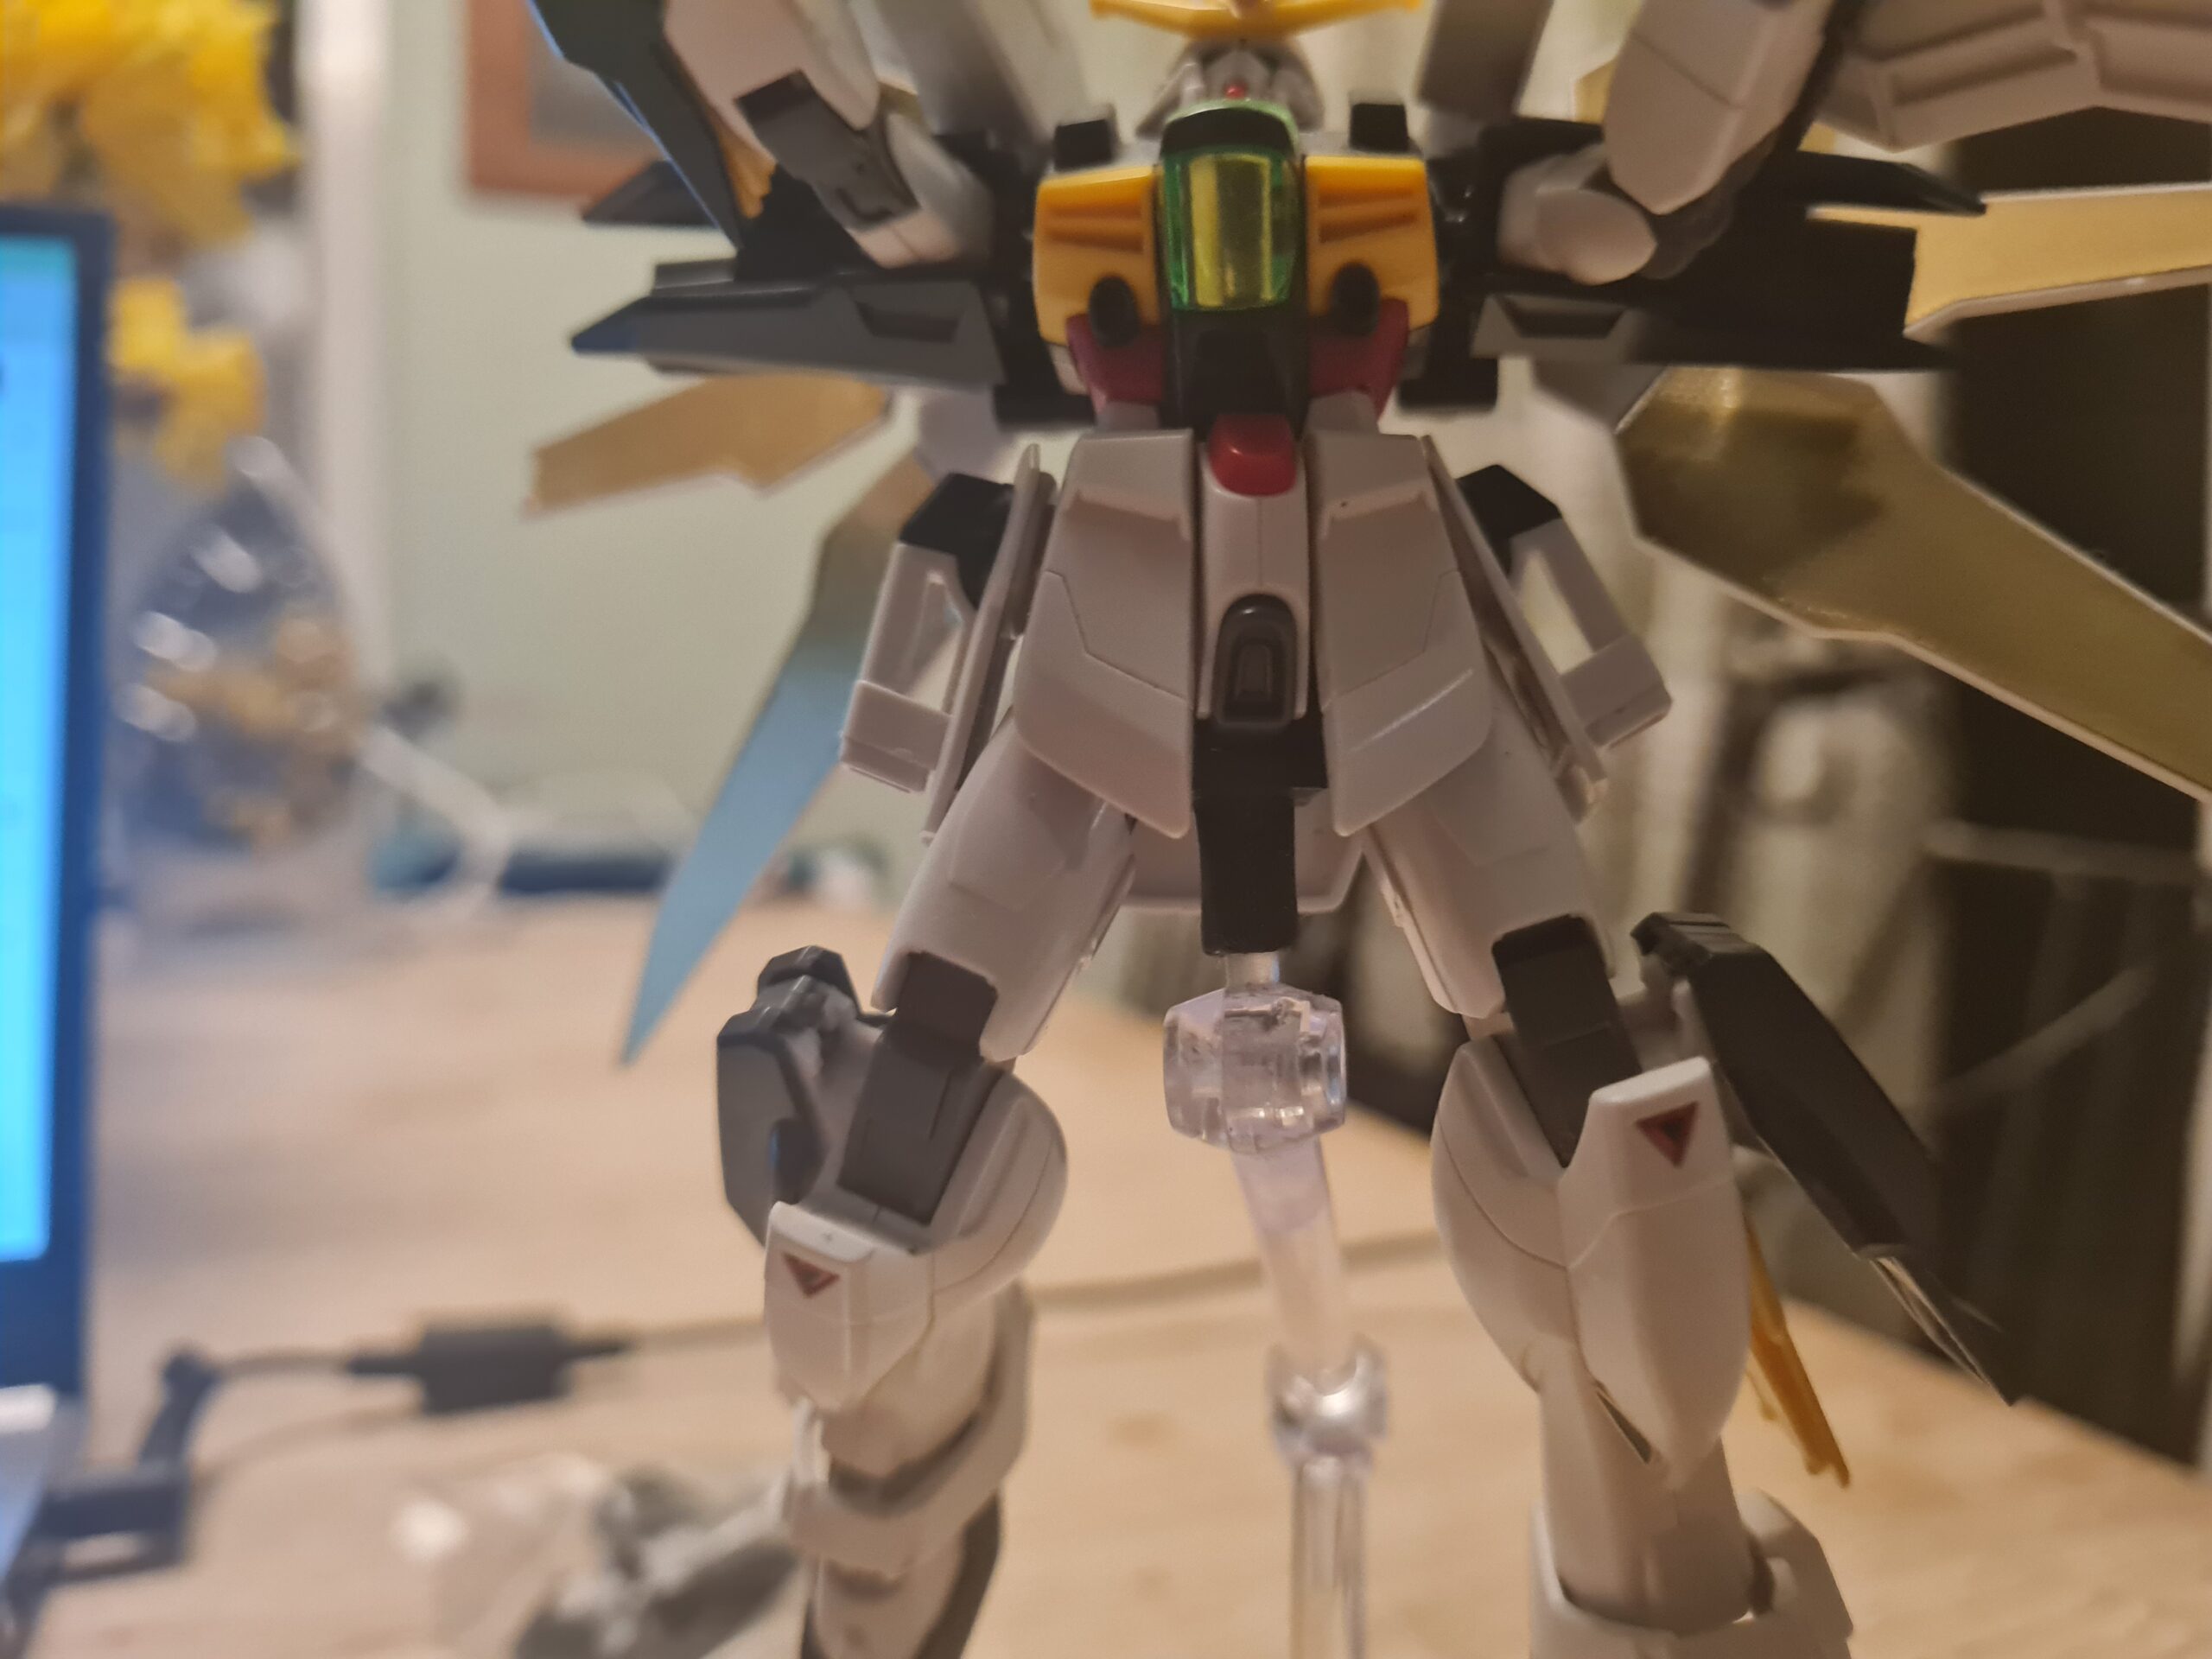
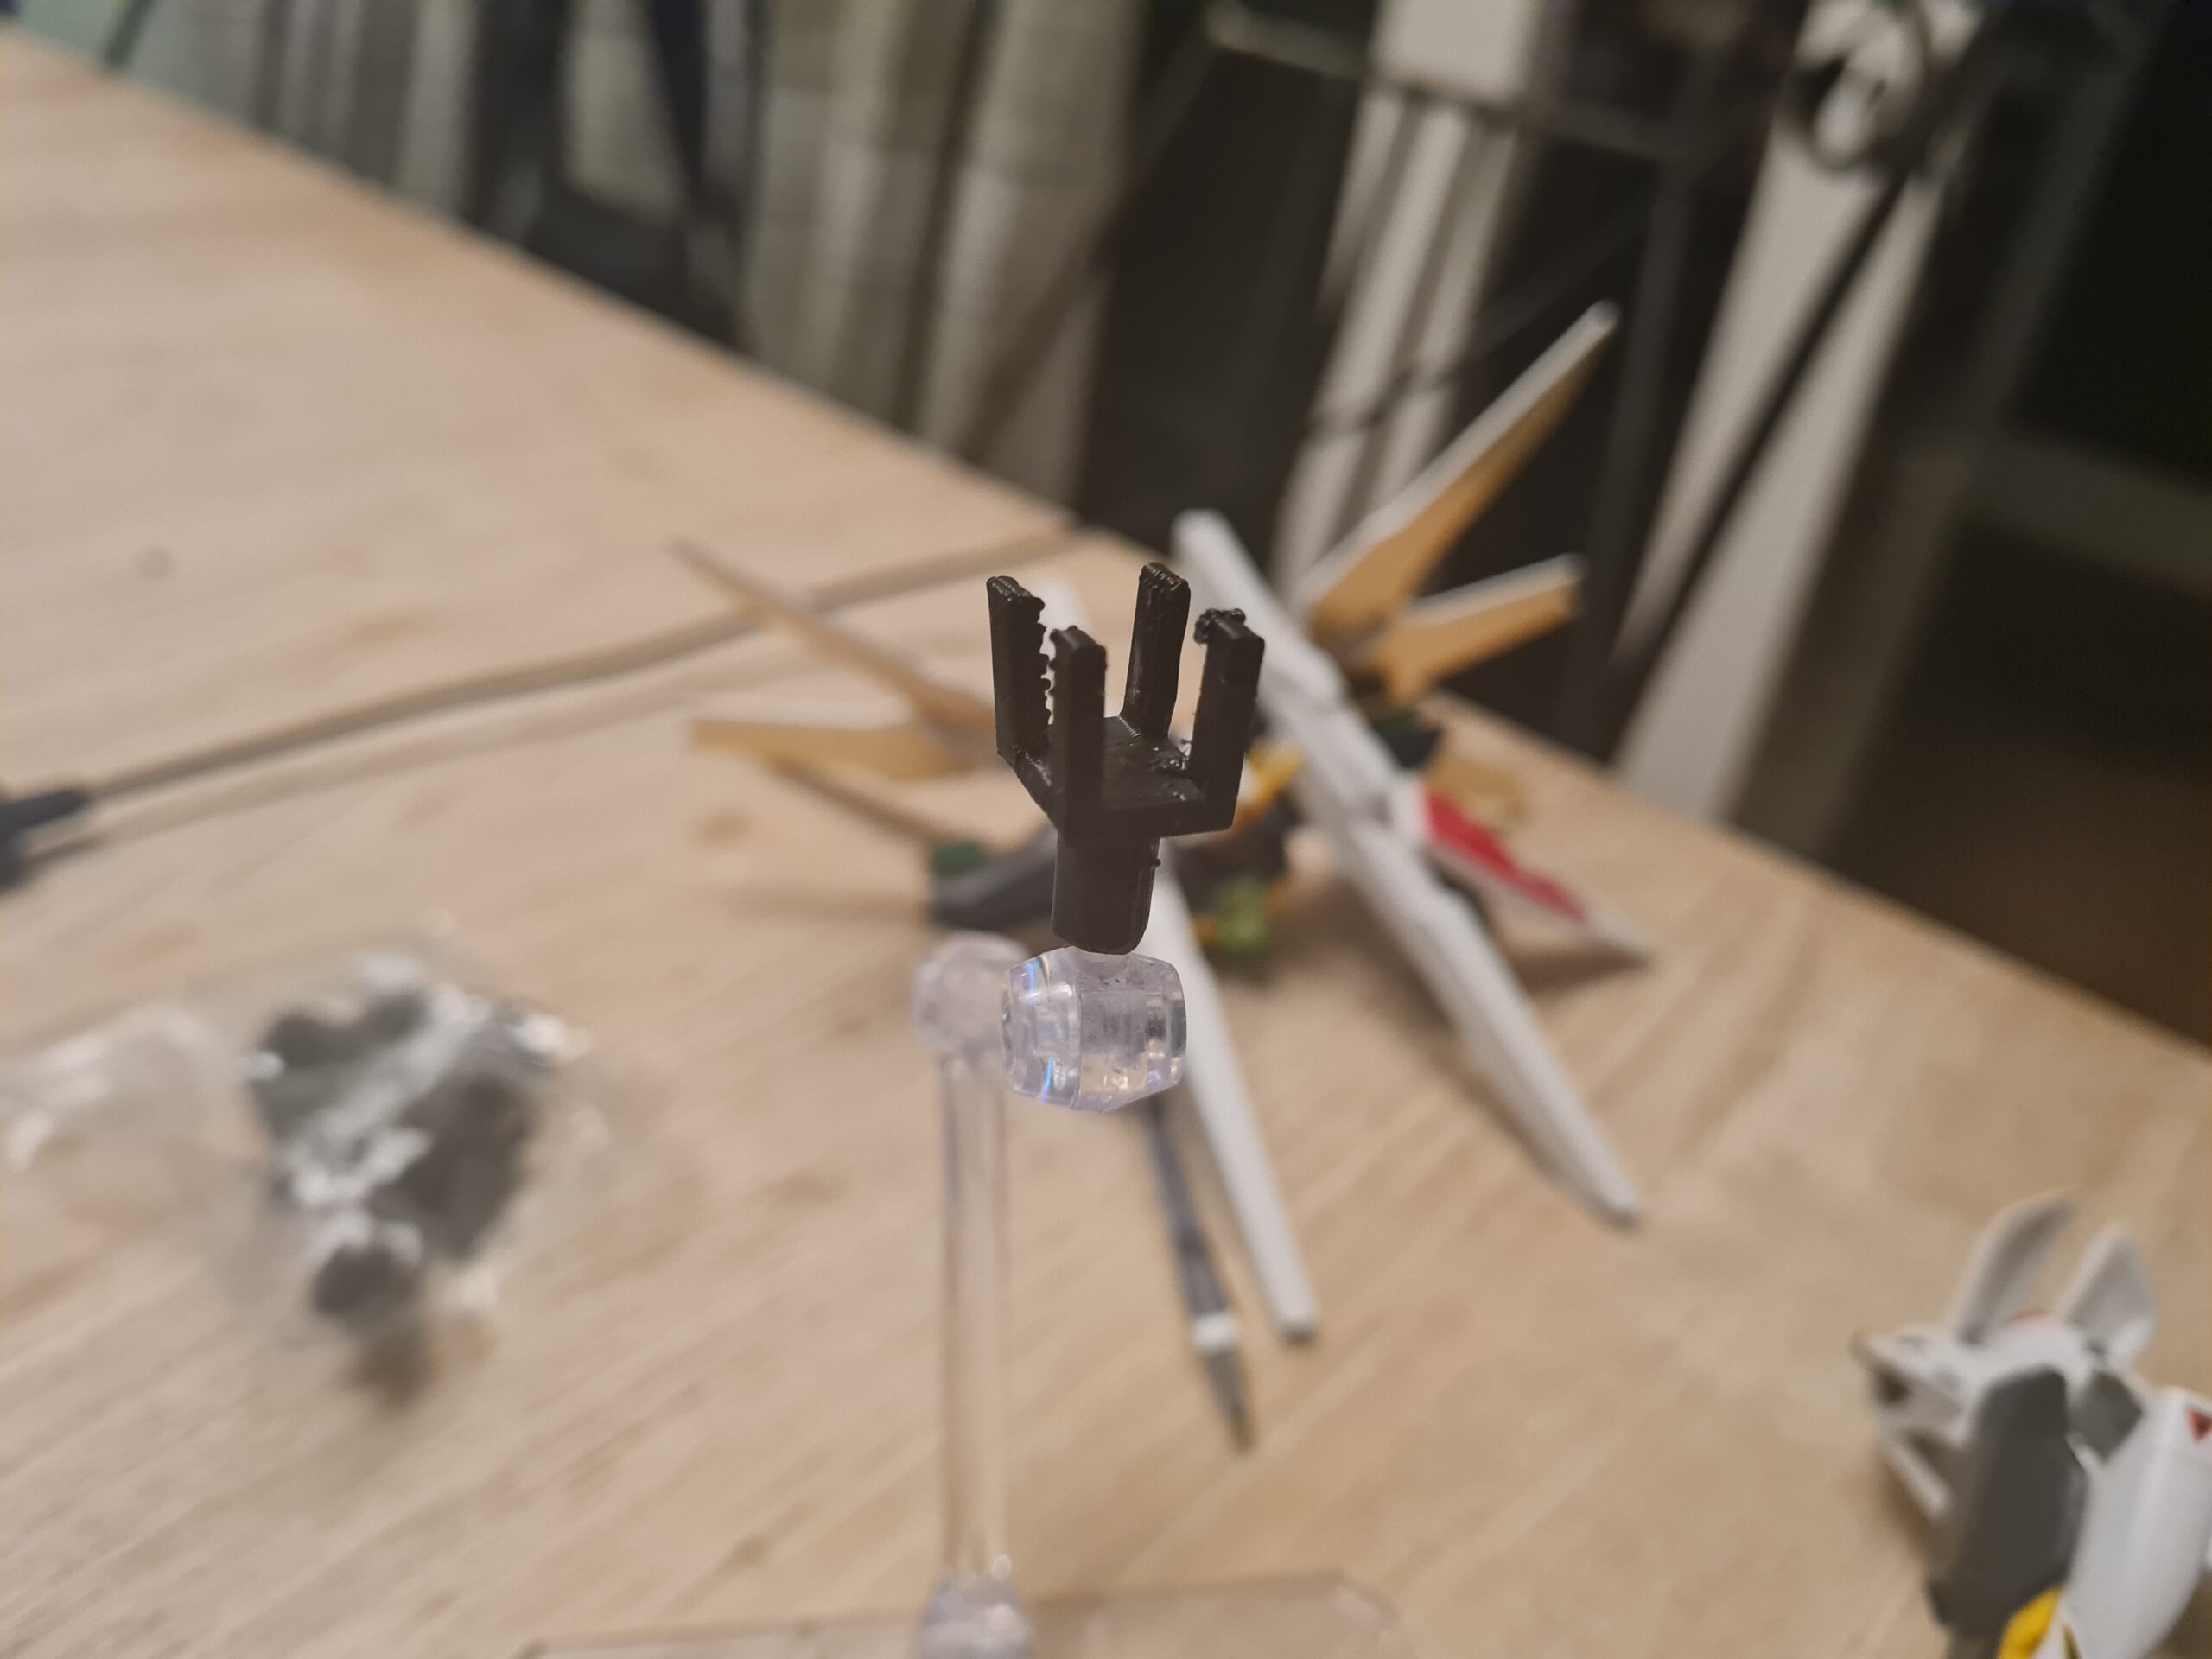
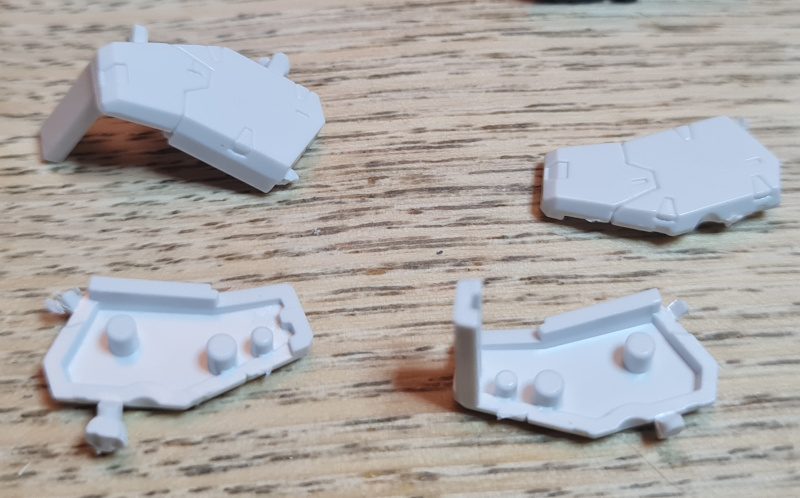
Here is my first experiment.
Without the distracting torsoModel on adapterModel on adapterAdapter
As you can see it is in the planning and test phase at the moment. This version fits the double strike really nicely. I am, however, having issues with print consistency. Tomorrow I should have a new delivery of filament which I am hoping may resolve that problem. Being new to the whole 3d printing world, this is a whole new thing.
Once I manage to get the printer printing consistently, next will be testing various different sizes, shapes etc. to find what work best. As soon as I am happy with them they will go up as an optional add on to the stands. Current thinking is that the adapter would be something like 50p.
Conclusion
Apart from watching my 3d printer not do what I want it do, I did get some parts rough cut out. Hopefully tomorrow will be a more productive modelling day!
Thank you for taking the time to read this. If you haven’t already done so please like and follow us on our social media platforms and checkout our website!
So this should, again, have been the next step in the Aile Strike build, but I have just sorted my next invoice and wanted to share some details! So instead of that, welcome to “Lightening Stock Update 21/02/2023”!
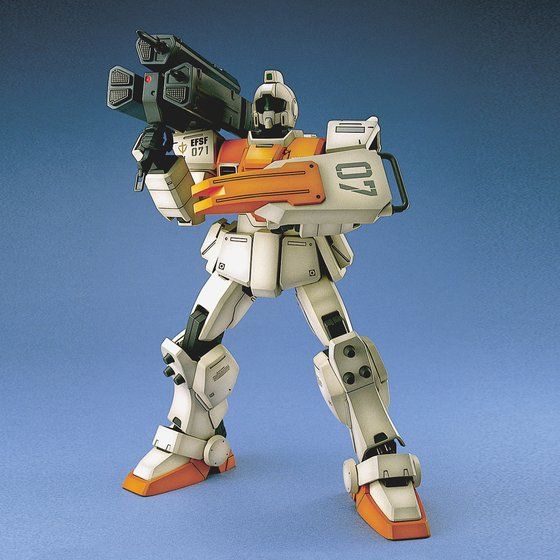
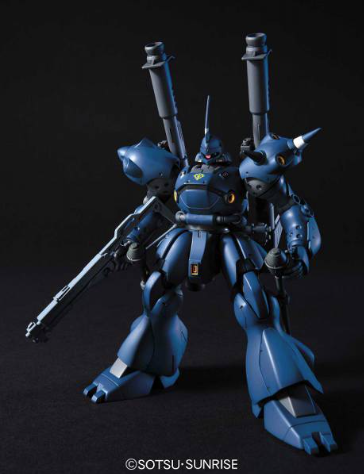
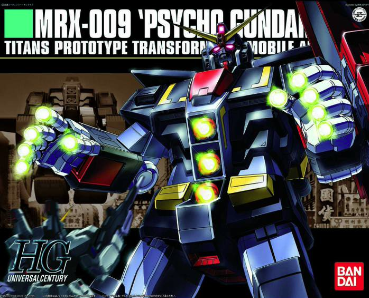
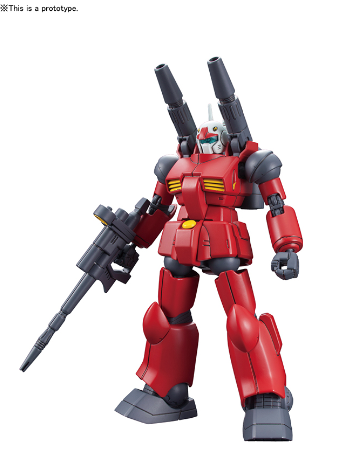
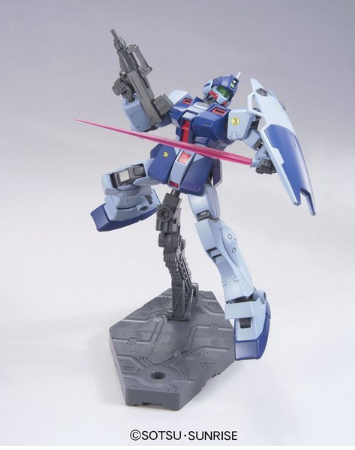
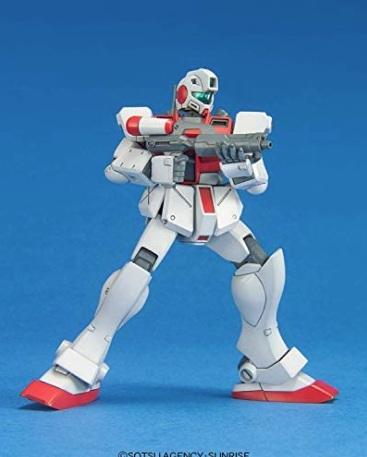
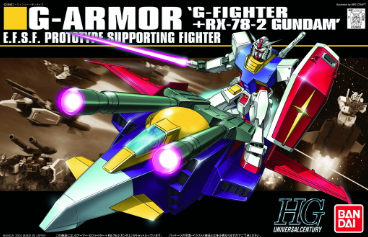
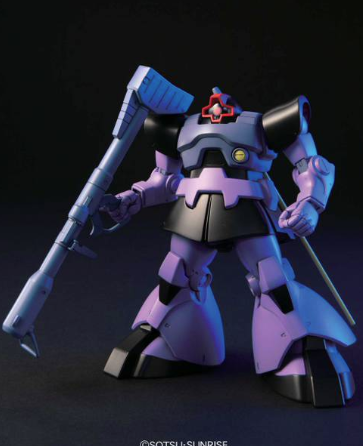
On the HG side I will have the ChuChu Demi Trainer, the Dilanza Standard, Dom RickDom, G Armour, GM Command Space, GM Sniper II, Gundam Psycho, Guncannon RX-77-2 Revive, and Kampfer.
That is just the HGs that are coming in. As normal as a small company slowly growing I will have limited numbers of items so if there is something there you are interested in then you will want to be on the ball!
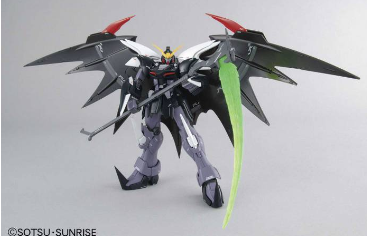
I will also have the MG DeathScythe coming in.
DEATHSCYTHE
Again this is an absolutely awesome looking model. It looks outstanding!
Talking of MG models I will also hopefully have a spare MGEX Strike Freedom looking for a home. So if that is your sort of thing then you may want to get on that one as I’m sure that will go fast.
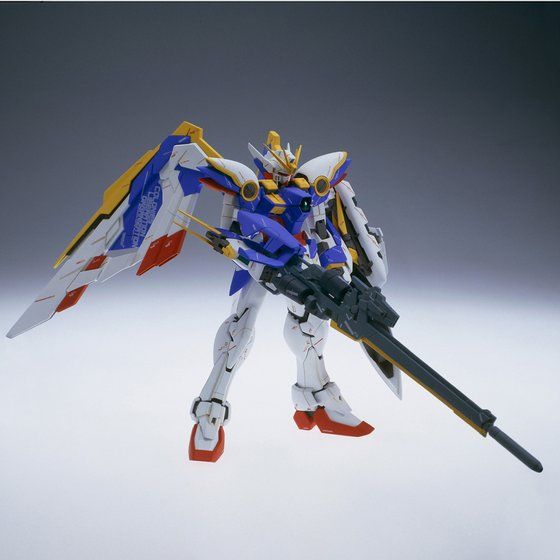
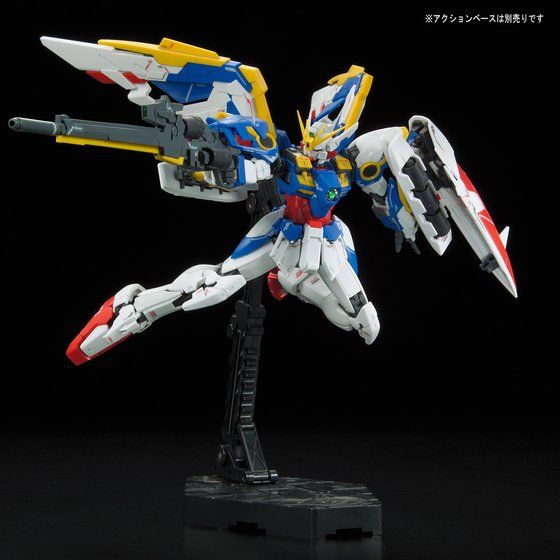
On the RG side, I will be having the GOD, Exia, RX-78-2, Wing, Wing XXXG-01W EW, OO QANT. Z’Gok Char Custom, Zaku II MS-06F and Zaku MS-06S also coming in.
Conclusion
As always the invoice is paid, I just need it to ship. Now as you all know I tend to have what I lovingly call hit and miss luck with UPS packages coming in to the country. However, I’m going to be hopeful that this is a smooth one and I will be seeing these all very soon!
Thank you for taking the time to read this. If you haven’t already done so please like and follow us on our social media platforms and checkout our website!
Welcome to “RG Aile Strike Build Day 7” where I am building up an RG Aile strike model. If you haven’t read any of the other parts I would recommend going back to the start. You can find that here. In the first post I covered the box, runners and provide the manual.
Round about now you are probably thinking to yourself … blimey he is not a fast builder I would have had that done days ago! However, in my defence I am working full time, plus running my company, and then building after I have done everything for those. I am also really taking my time, and if I’m not happy re-visiting parts and re-doing them. I used to take months to paint a single model, to the point where my friend offers to paint them for me so that he can play against painted minis 😀 (Thank you Steve 🙂 )
So my normal steady pace aside, I do want to really enjoy the build and not rush at any stage. I want to show how stunning the model is, not just to build, but how beautifully clean it looks once complete.
Without further ado, lets just outline my process on each part so that I don’t repeat is throughout the post 🙂
The Process
Unless otherwise noted I followed this process for each piece:
Cut off roughly leaving plenty of nub
Trim back the nub with my better nippers
Apply water to my wet and dry sandpaper and sand the nub marks down
Dry the piece
Brush it off with the tooth brush to remove any bits
Re-apply the matt finish using the Gray Balancer
Prep the part with the green side of the White Balancer
Shine the part up with the white side of the White Balancer
If after this I wasn’t happy I would repeat the sanding steps down, and keep iterating until I was happy with the finish.
First Parts
Clean and AssembledParts with Numbs
So this section is the build up of the arms. The first thing I had to do was build up the two shoulders. Then it steps into building each arm individually. The core of the shoulder is really simple but the plastic cleans up from the nubs really nicely and fits together nicely.
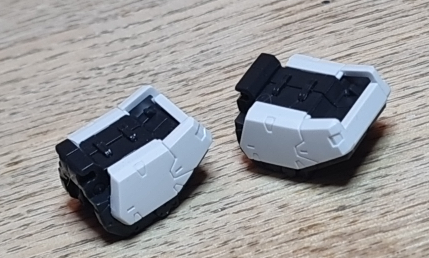
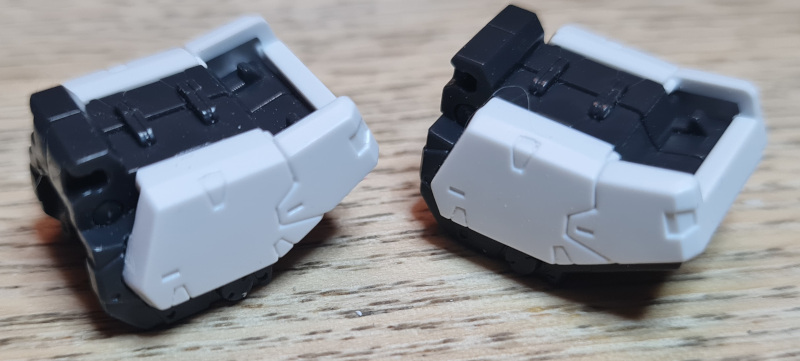
Second Parts
Nubbed PartsClean PartsFitted PartsFitted Parts
Next up is the armour that wraps around the core of the shoulders. Now I love these shite armour pieces. With the GUNPRIMER Balancers they clean up so nicely and shine back up to new. The pictures show how clean these pieces end up after a little TLC even given those horrendous first rough cuts of mine!
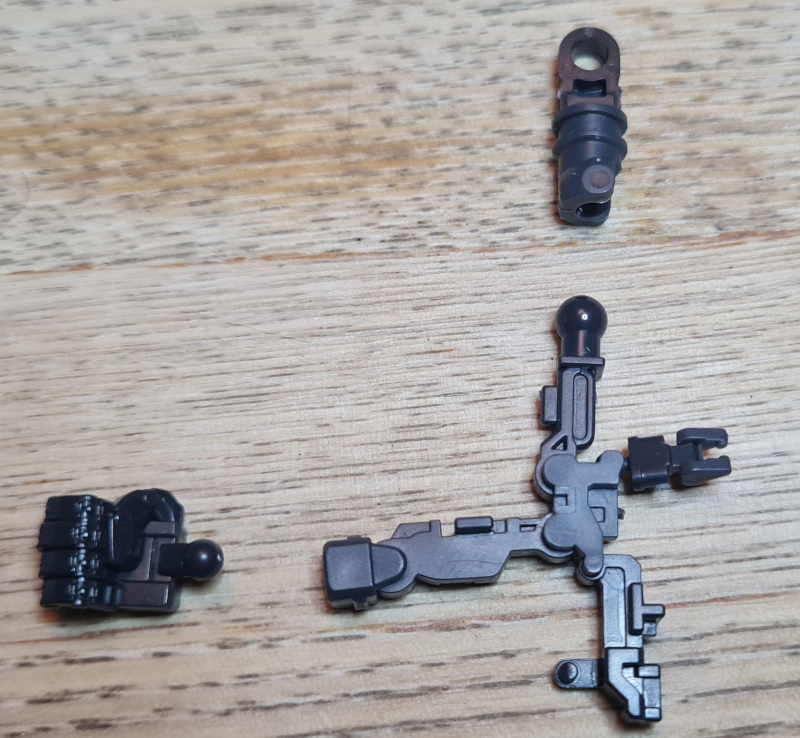
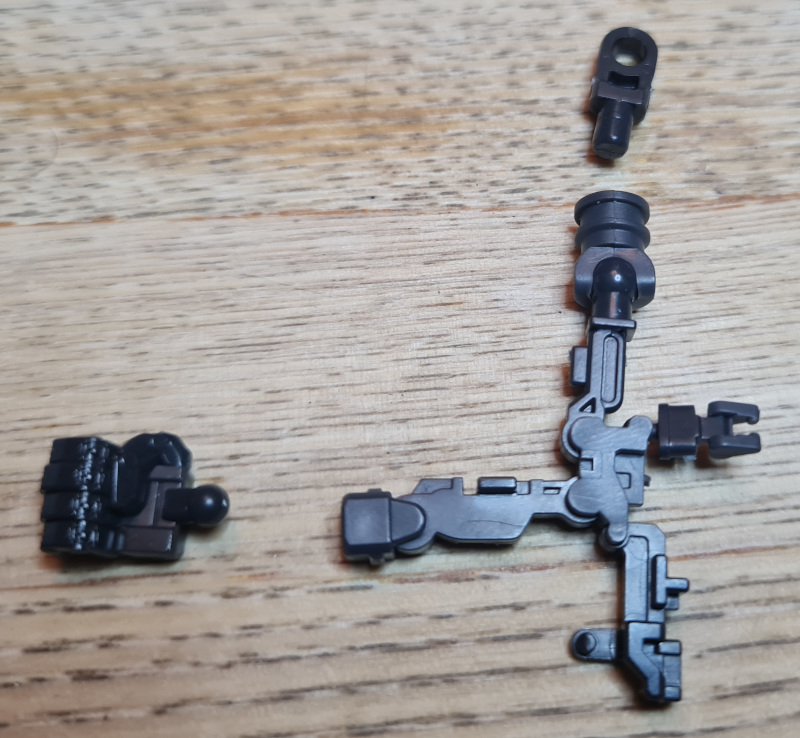
Third Parts
Arm From RunnerOopssFixedAll ClippedAngled Clipped
Ok there is no running away from it. These are, for me at least, not my favourite part of any build. I can, however, appreciate the quality and skill that has gone into making these pieces. The articulation and the fact they are moulded like this on the runner.
However, I just don’t like these bits. Thankfully once they are done it will be back to the bits I enjoy. The first image shows exactly how the piece comes off the runner. Pay very close attention to the manual, and where it says to cut. I then had to detach the hand, and the top part.
As you can see I managed to detach more than I was meant to, so I had to reattach the joint. However, I really didn’t enjoy getting the top piece out. Once that was done, all I had to do was twizzle and push bits into place. I have to admit I do enjoy that bit.
You have to pay special attention to the piece that in the first image is on the right hand side. That teeny piece actually bends in the middle, and the outer piece actually forms the part that clicks into place when you bend the rest up.
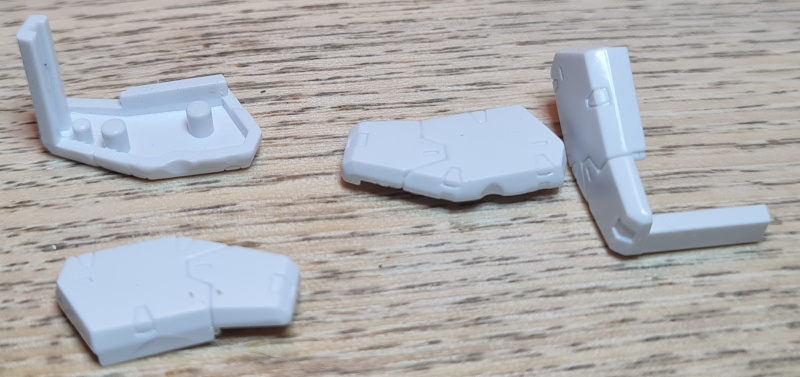
Fourth Parts
Nubbed PartsClean PartsFitted PartsReverse Side
Ok so this was the last bit I got to work on. The upper arm armour. Again, this shows the detail, the layering of parts to add more detail, and the beautiful way the parts clean up. I know I have said it before but, I am very happy with the way this has been cleaning up so far!
Conclusion
I am really enjoying the build, and the pace. The parts are cleaning up beautifully and the parts are all cleaning up so nicely. That concludes “RG Aile Strike Build Day 7”.
If you wanted to pick up an RG Aile Strike to do the build yourself at the time of writing I have a few in stock available here. I also currently have both the Gray and White Balancers in stock (GrayWhite).
Thank you for taking the time to read this. If you haven’t already done so please like and follow us on our social media platforms and checkout our website!
We use cookies on our website to give you the most relevant experience by remembering your preferences and repeat visits. By clicking “Accept All”, you consent to the use of ALL the cookies. However, you may visit "Cookie Settings" to provide a controlled consent.
This website uses cookies to improve your experience while you navigate through the website. Out of these, the cookies that are categorized as necessary are stored on your browser as they are essential for the working of basic functionalities of the website. We also use third-party cookies that help us analyze and understand how you use this website. These cookies will be stored in your browser only with your consent. You also have the option to opt-out of these cookies. But opting out of some of these cookies may affect your browsing experience.
Necessary cookies are absolutely essential for the website to function properly. These cookies ensure basic functionalities and security features of the website, anonymously.
Cookie
Duration
Description
cookielawinfo-checkbox-analytics
11 months
This cookie is set by GDPR Cookie Consent plugin. The cookie is used to store the user consent for the cookies in the category "Analytics".
cookielawinfo-checkbox-functional
11 months
The cookie is set by GDPR cookie consent to record the user consent for the cookies in the category "Functional".
cookielawinfo-checkbox-necessary
11 months
This cookie is set by GDPR Cookie Consent plugin. The cookies is used to store the user consent for the cookies in the category "Necessary".
cookielawinfo-checkbox-others
11 months
This cookie is set by GDPR Cookie Consent plugin. The cookie is used to store the user consent for the cookies in the category "Other.
cookielawinfo-checkbox-performance
11 months
This cookie is set by GDPR Cookie Consent plugin. The cookie is used to store the user consent for the cookies in the category "Performance".
viewed_cookie_policy
11 months
The cookie is set by the GDPR Cookie Consent plugin and is used to store whether or not user has consented to the use of cookies. It does not store any personal data.
Functional cookies help to perform certain functionalities like sharing the content of the website on social media platforms, collect feedbacks, and other third-party features.
Performance cookies are used to understand and analyze the key performance indexes of the website which helps in delivering a better user experience for the visitors.
Analytical cookies are used to understand how visitors interact with the website. These cookies help provide information on metrics the number of visitors, bounce rate, traffic source, etc.
Advertisement cookies are used to provide visitors with relevant ads and marketing campaigns. These cookies track visitors across websites and collect information to provide customized ads.