Posted on

Guess The Model Part 3

Assembled Front Bent Arm Guess the Model Part 3

Introduction

Guess The Model Part 3 is the latest instalment in my current model build. As I follow the manual and build it section by section. If you missed them the previous parts are available here:

Today’s Part

Next up in the manual I am going to be building the right arm. Something I have found with this build, so far, is that it goes together really nicely. I think it has a nice balance between chunky and thin with some nice detail.

The Parts

Guess the Model Part 3 Bits

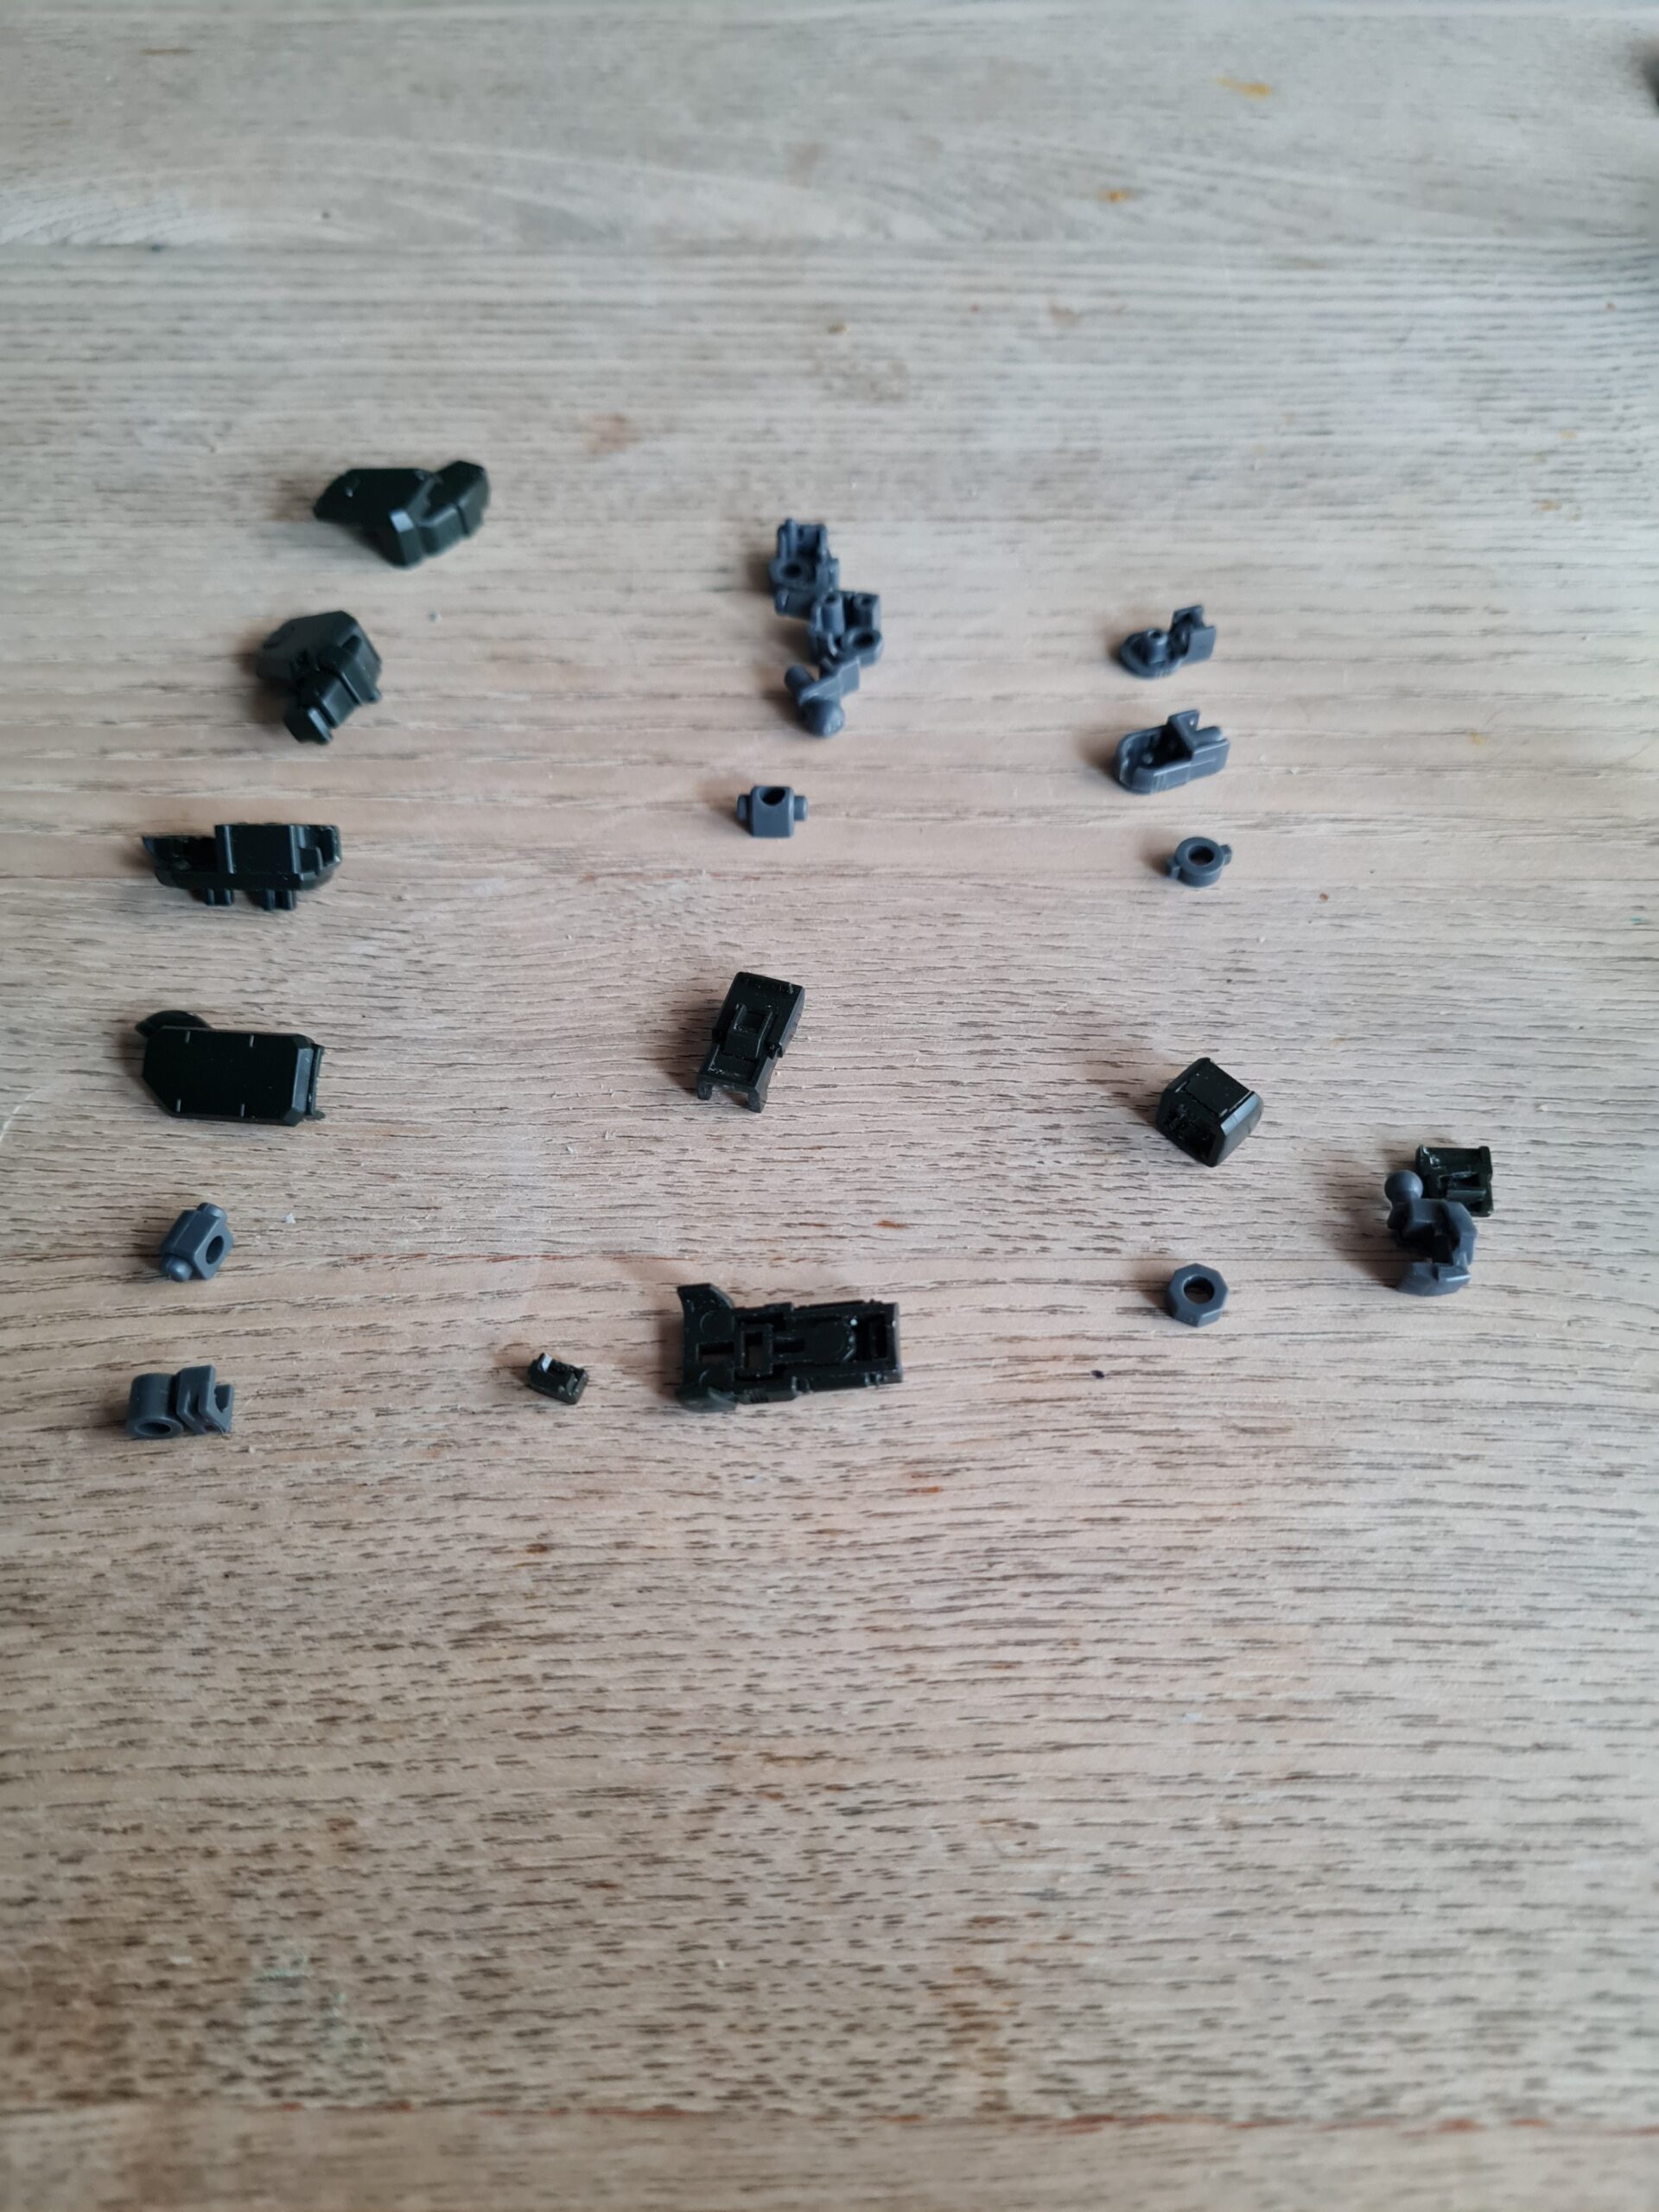
As you can see above the right arm consists of 20 parts. I found several of them to be quite small, but still easy to handle. Cutting them out, and sanding them down wasn’t a problem, and by the time I had cleaned them up with the GUNPRIMER Balancers they were as good as new. (You can see a post I did on that here.)
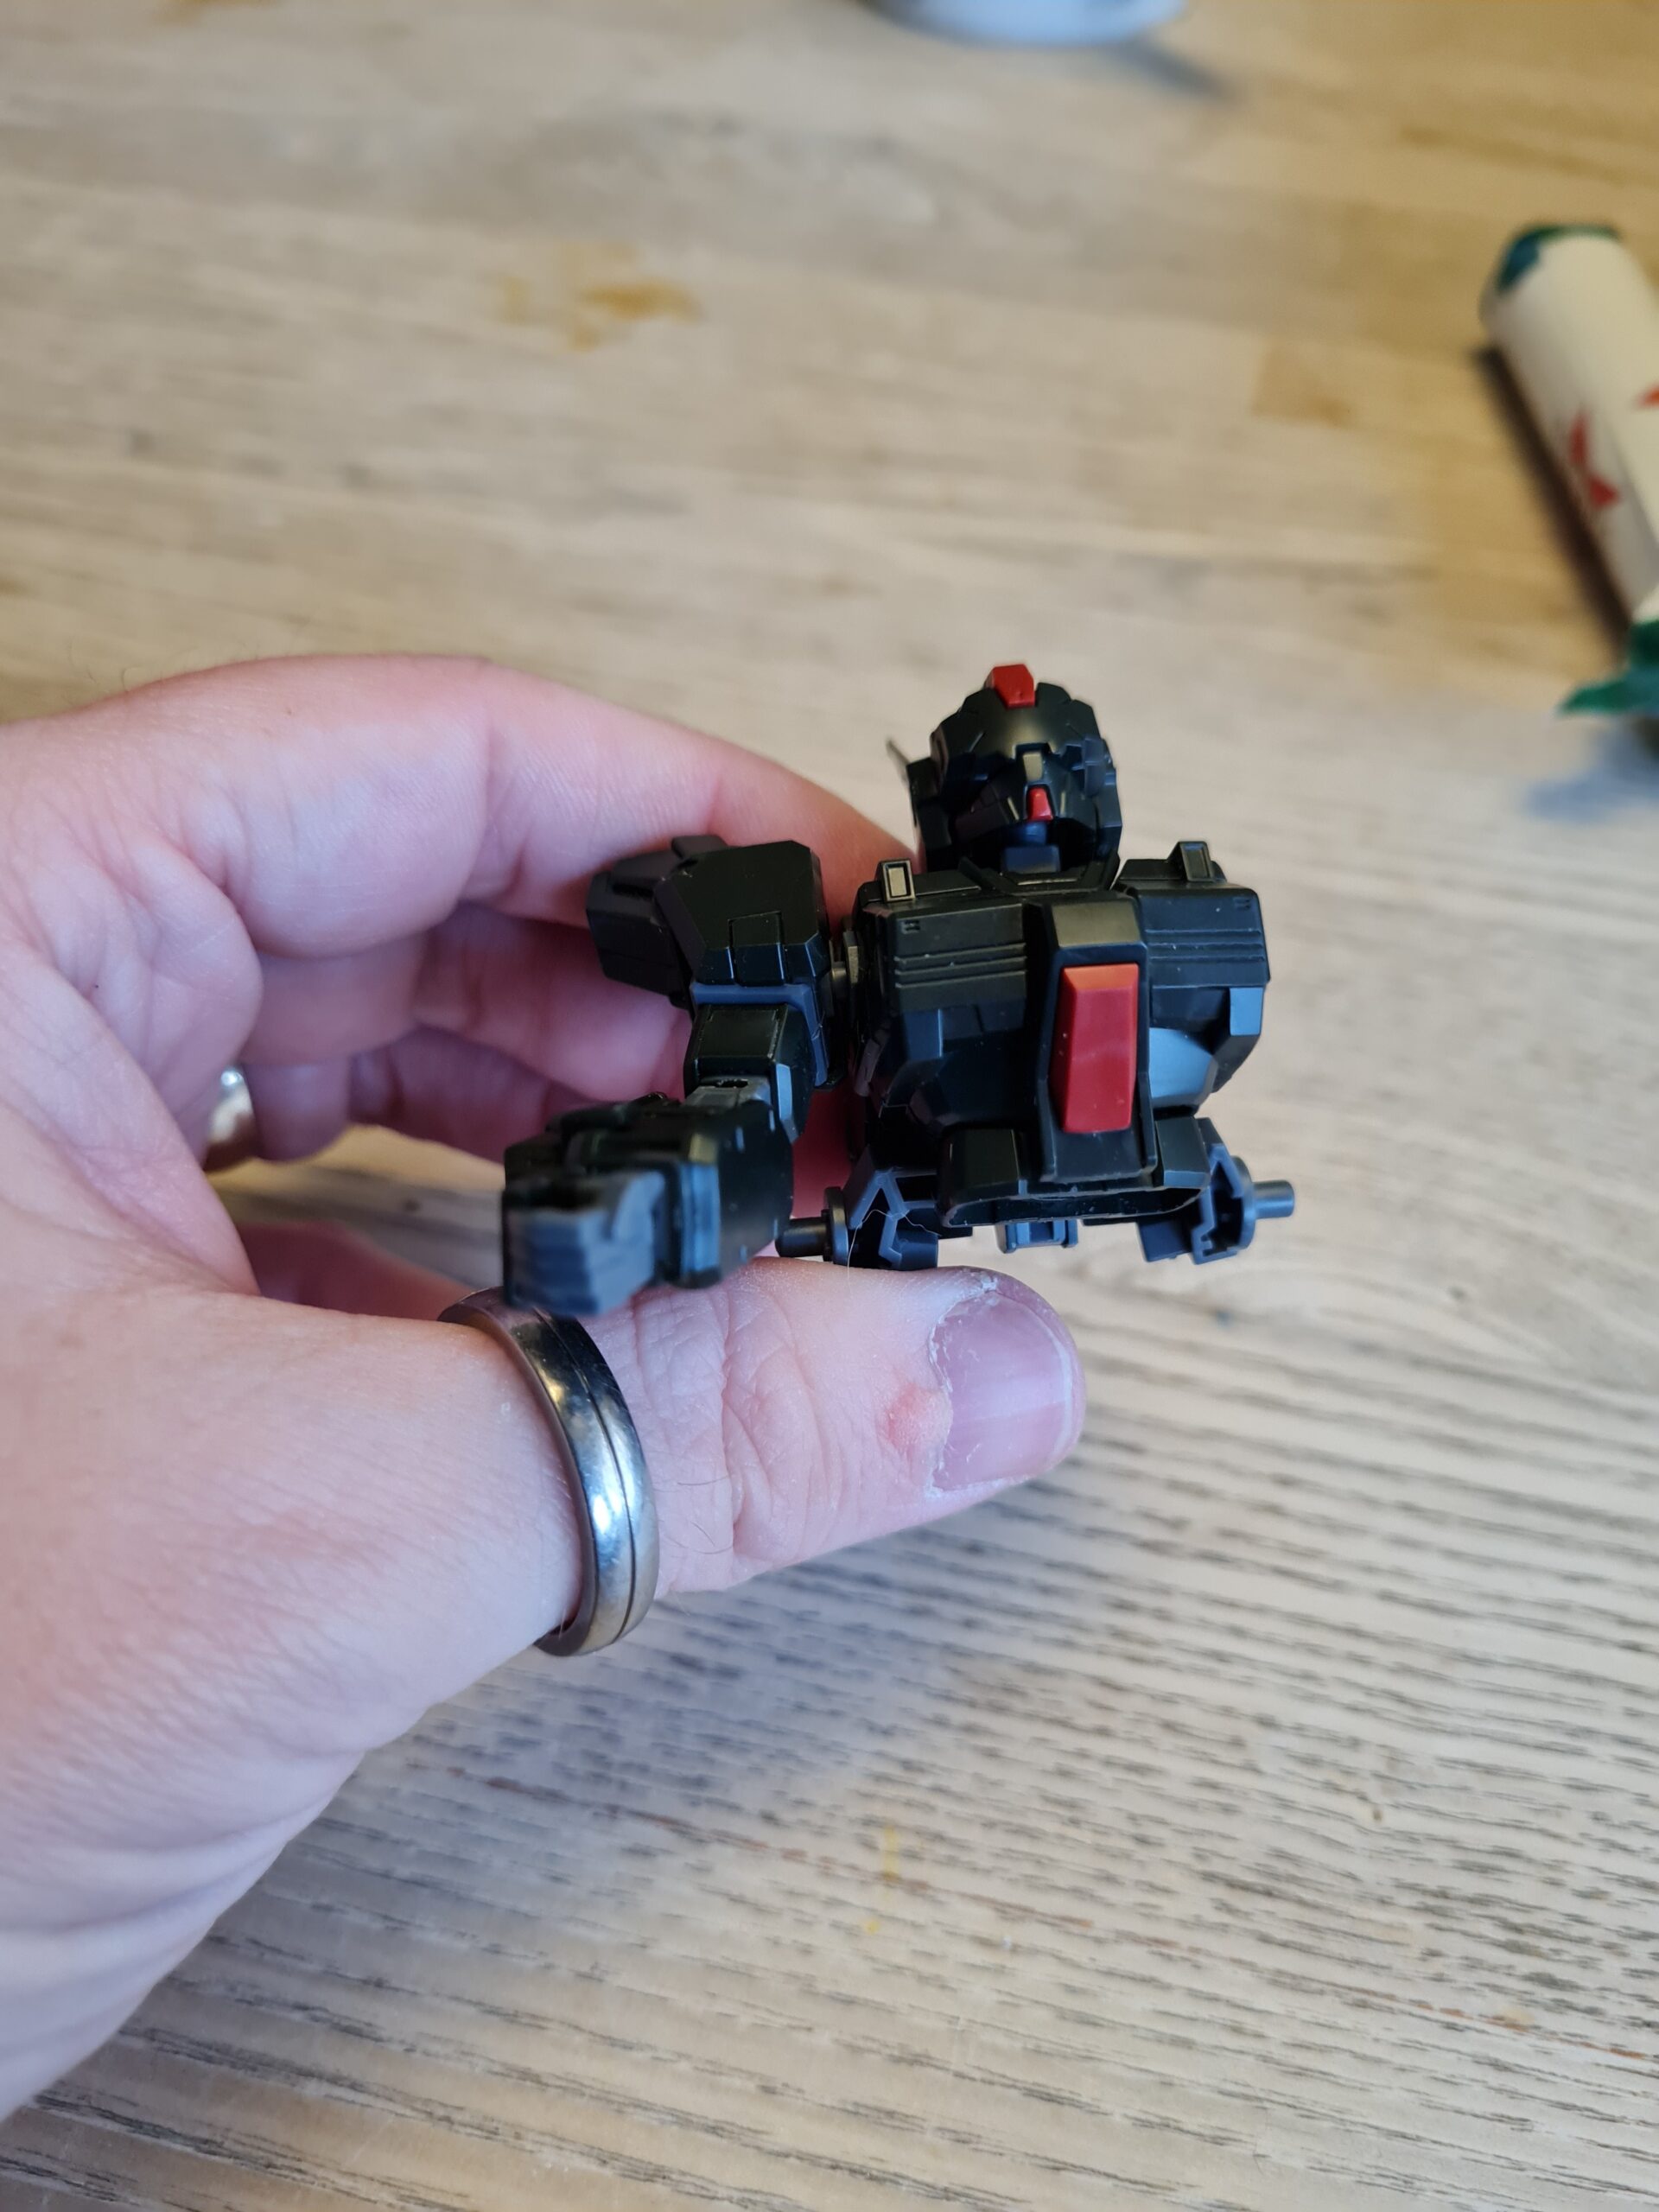
Assembled Arm

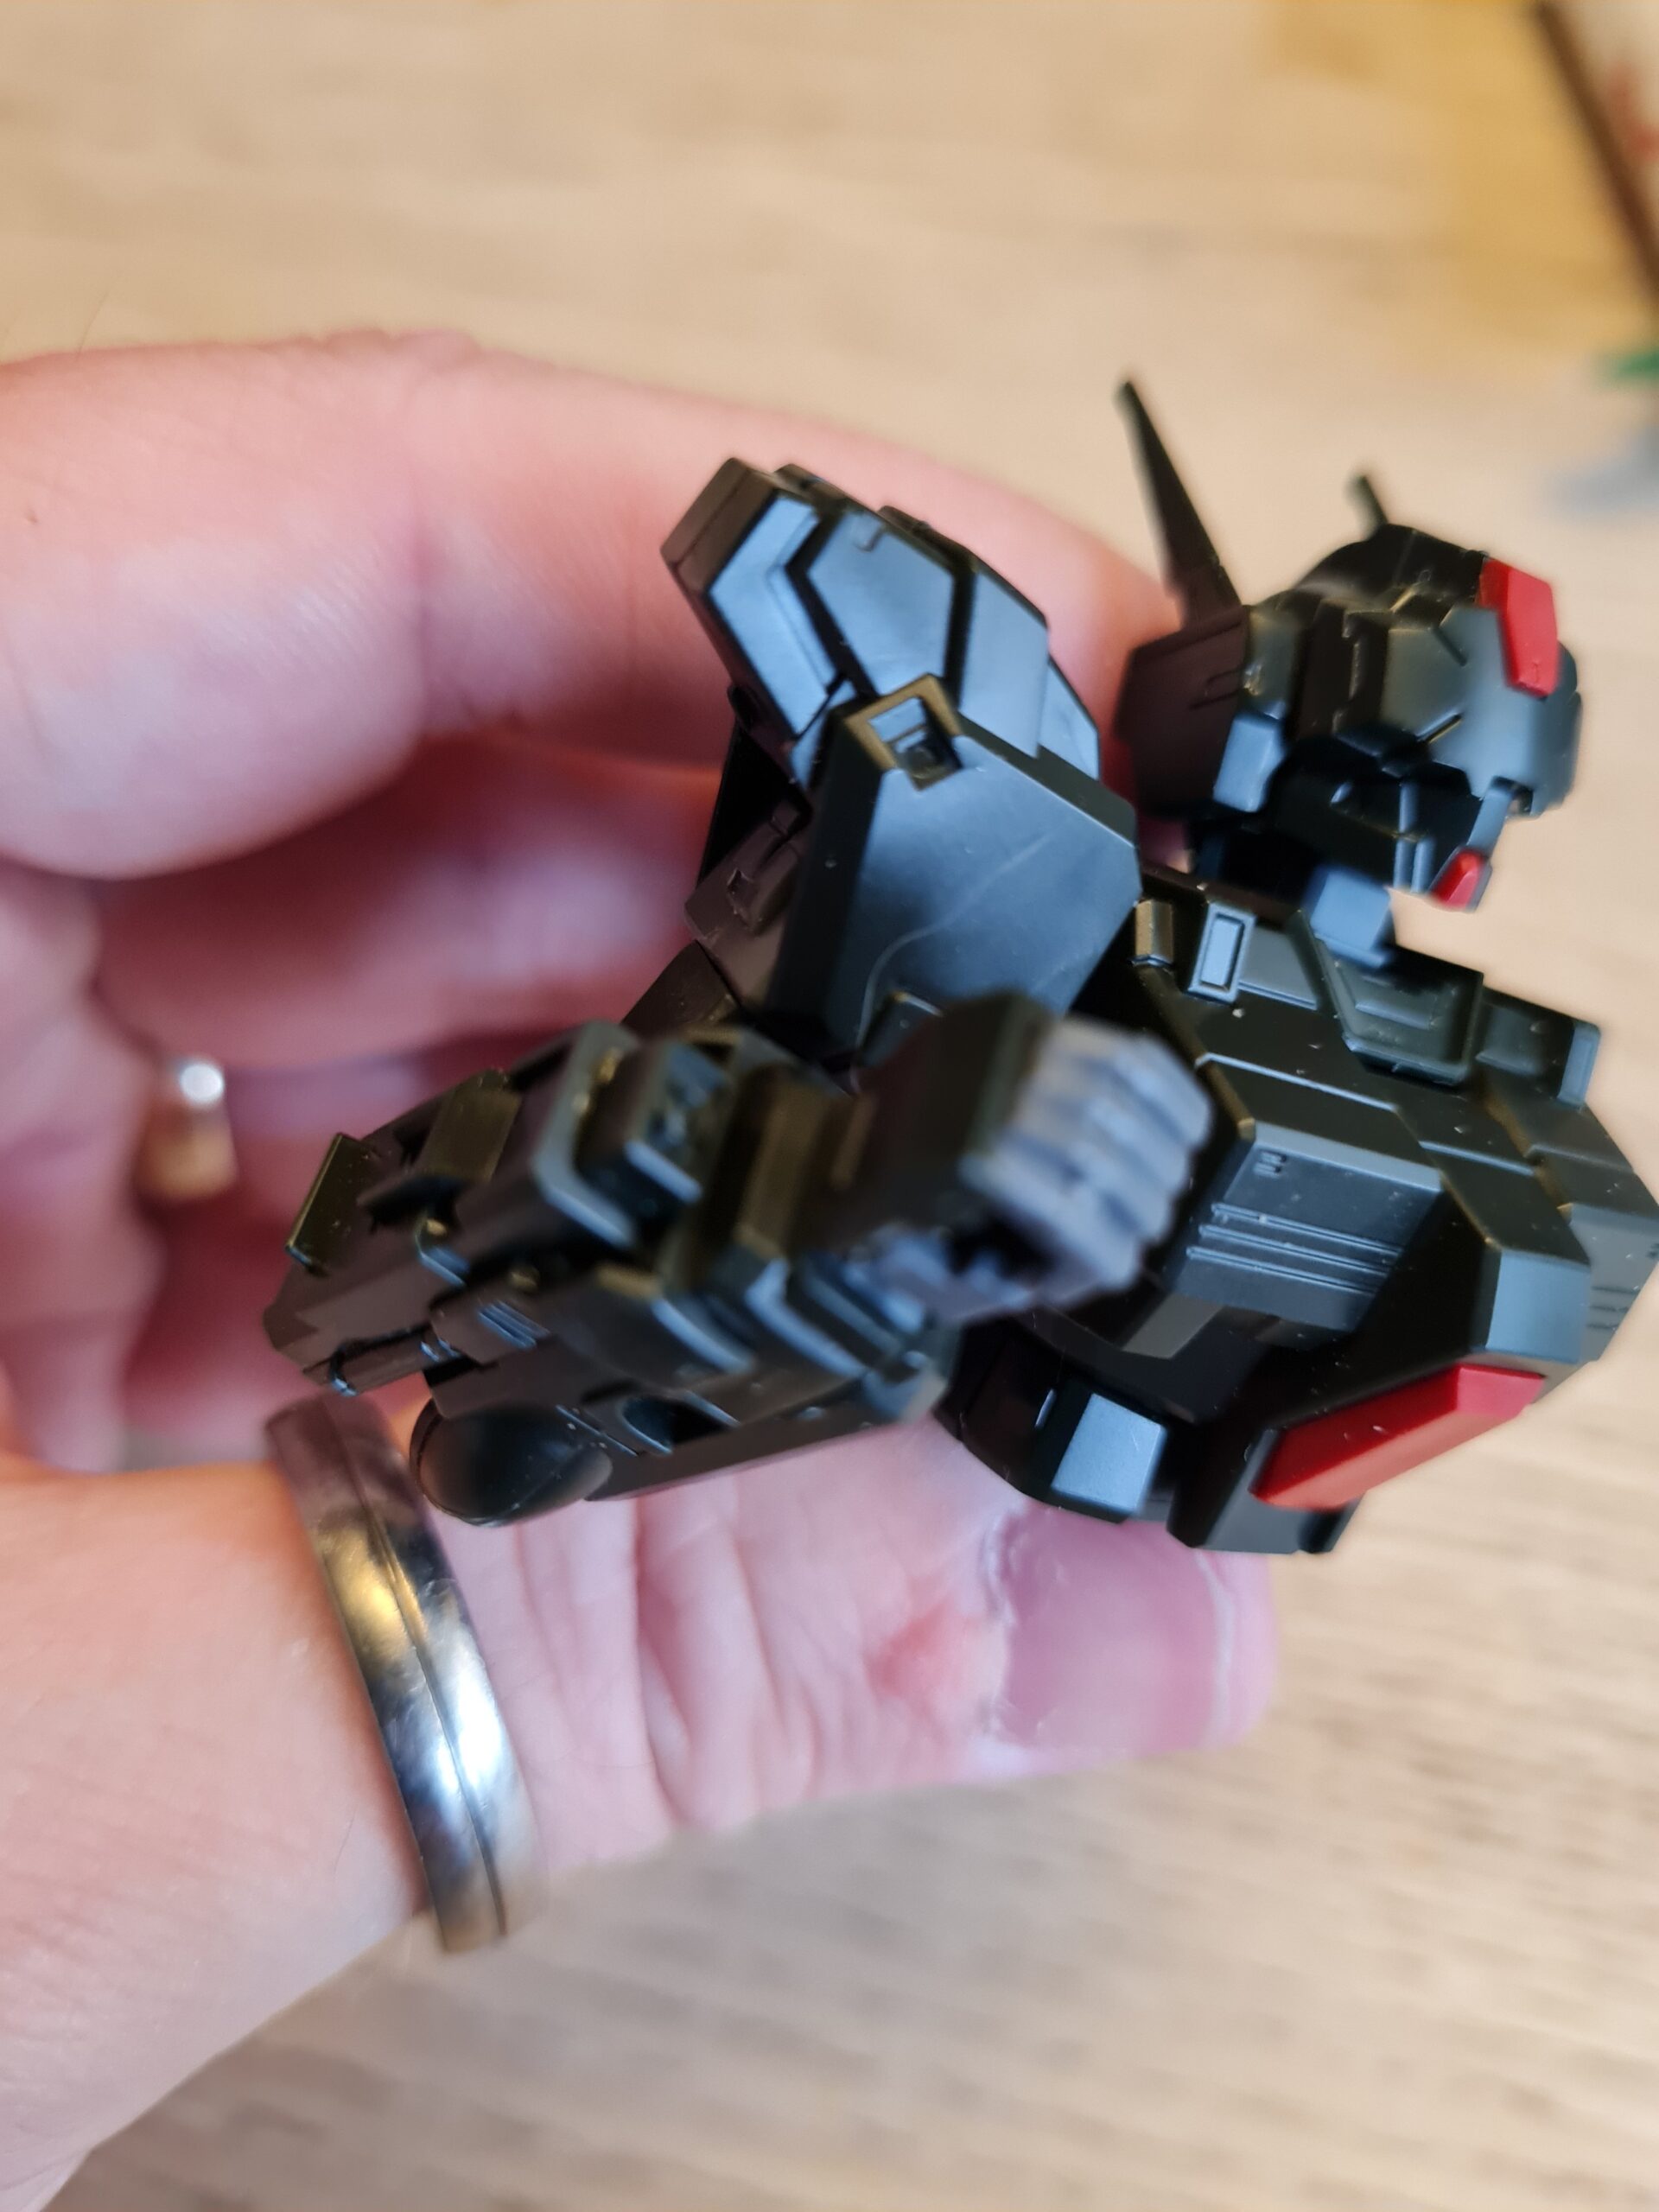
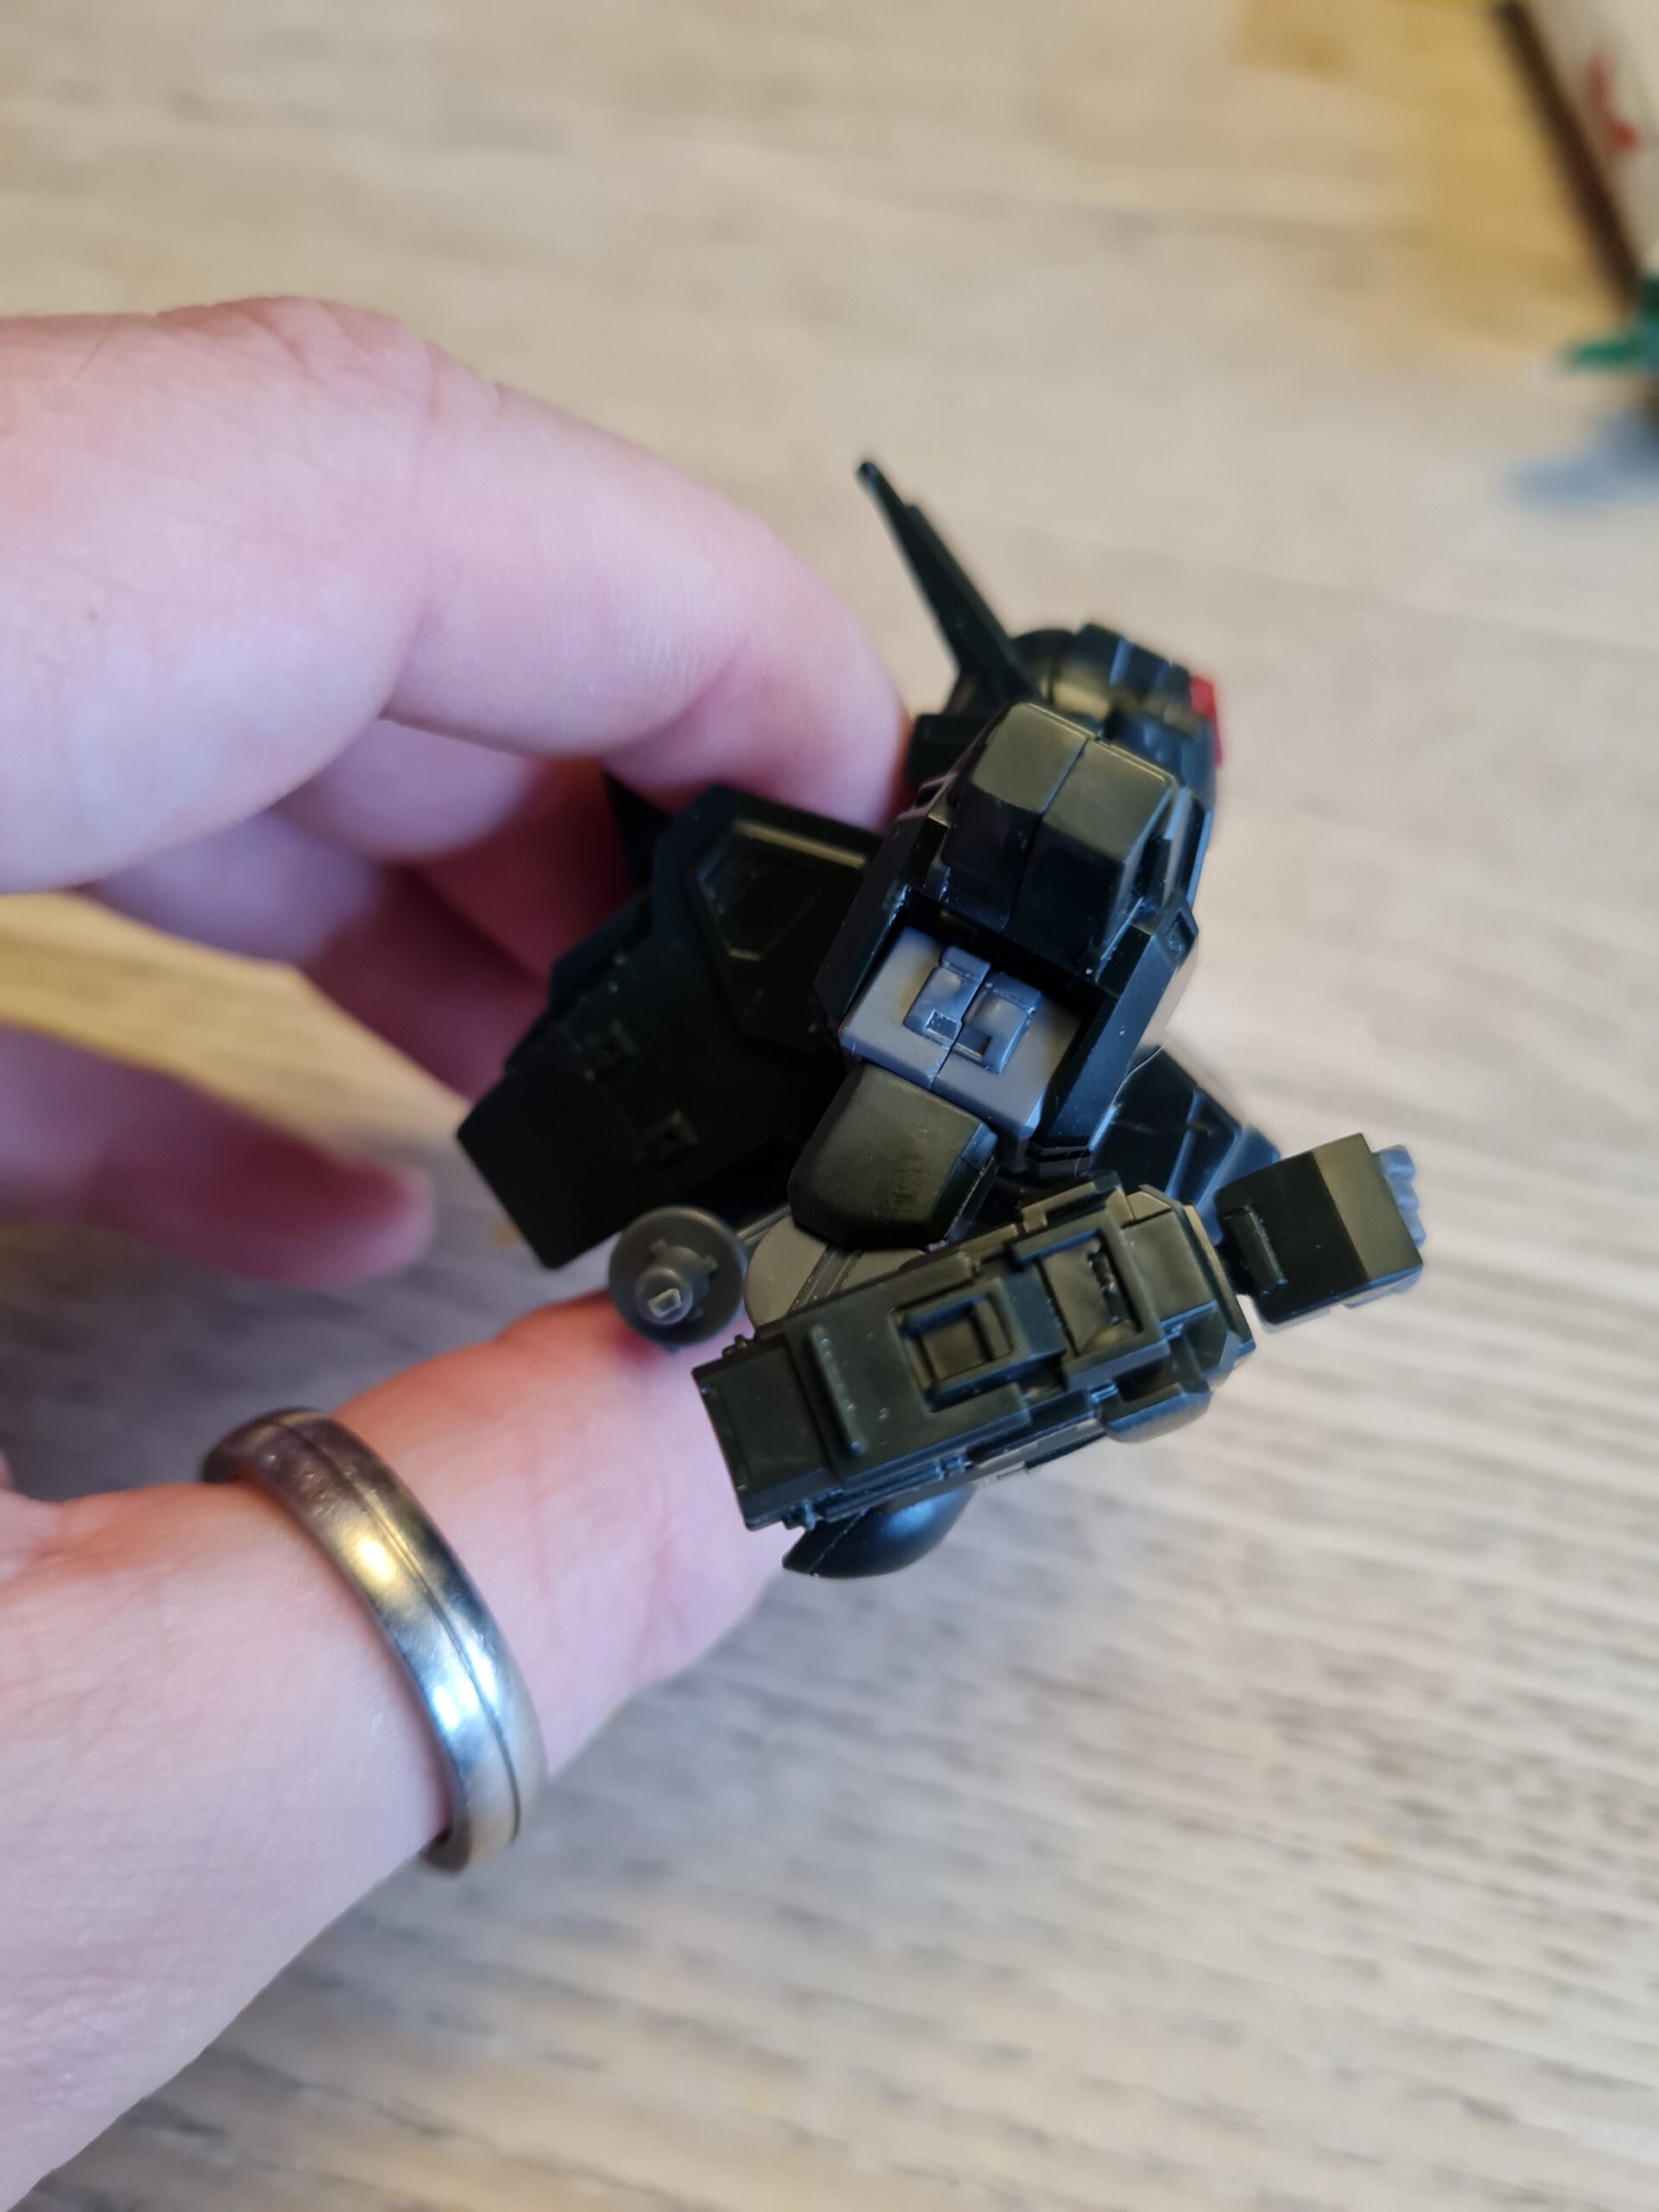
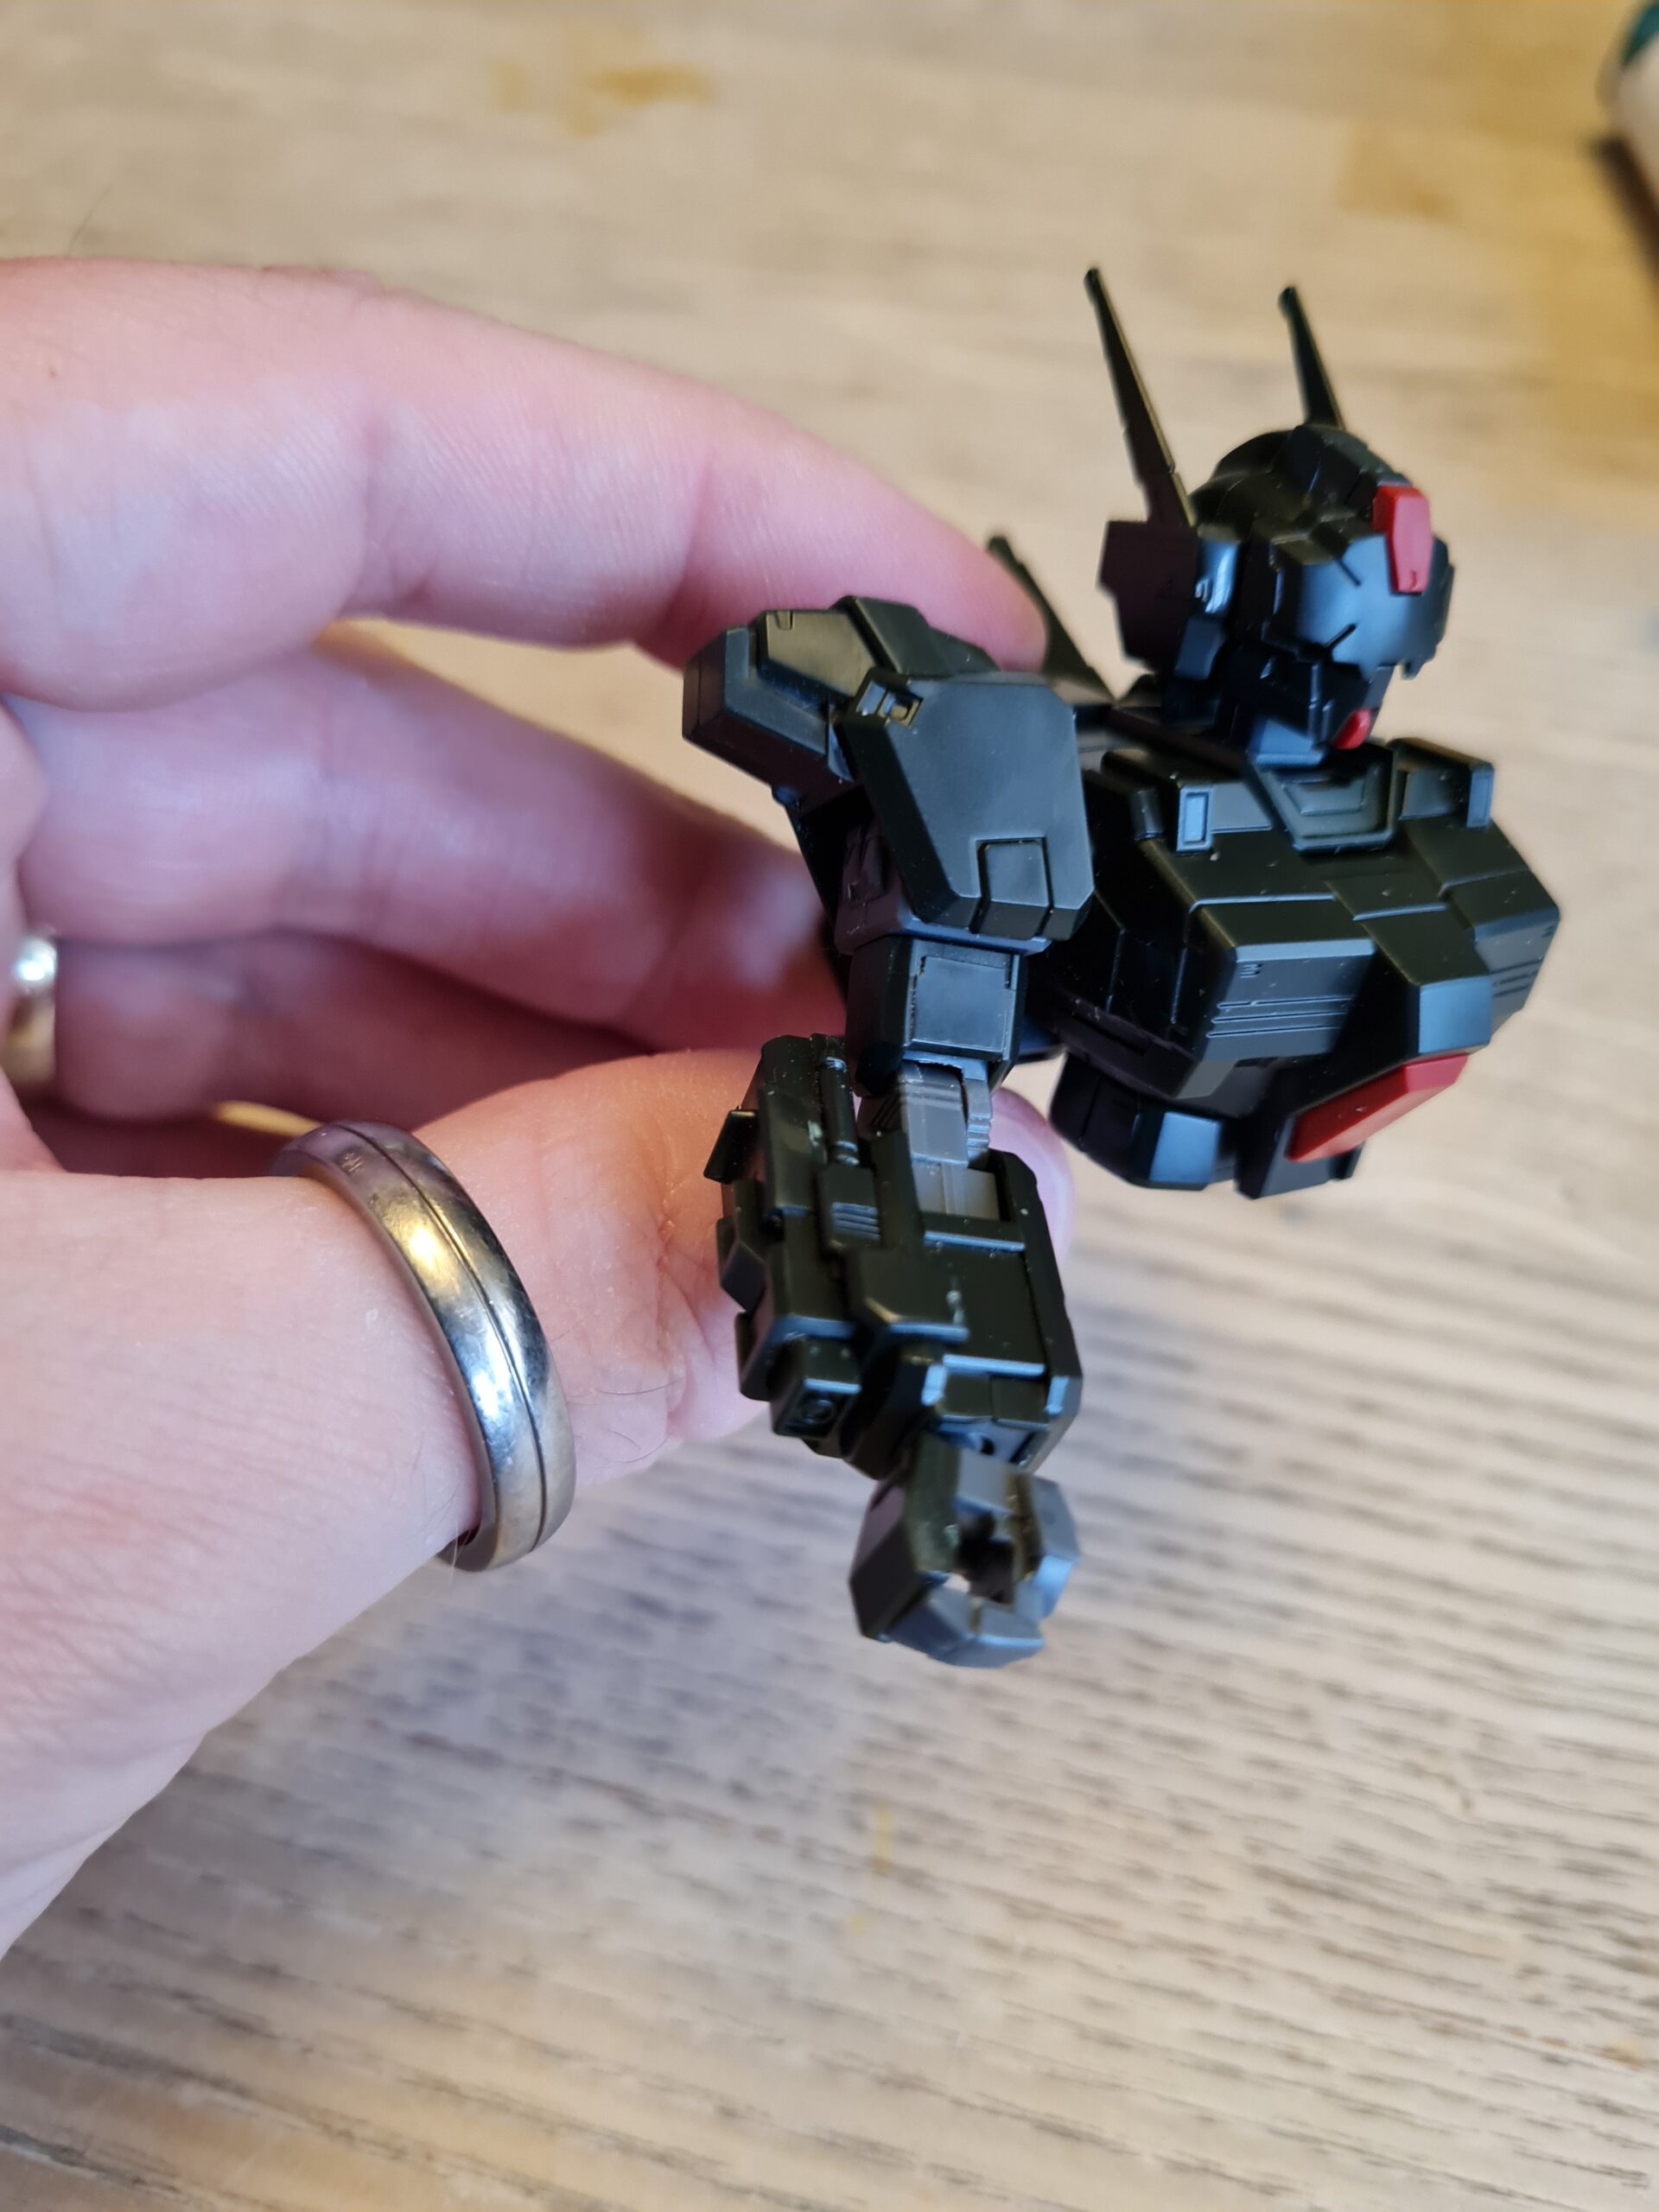
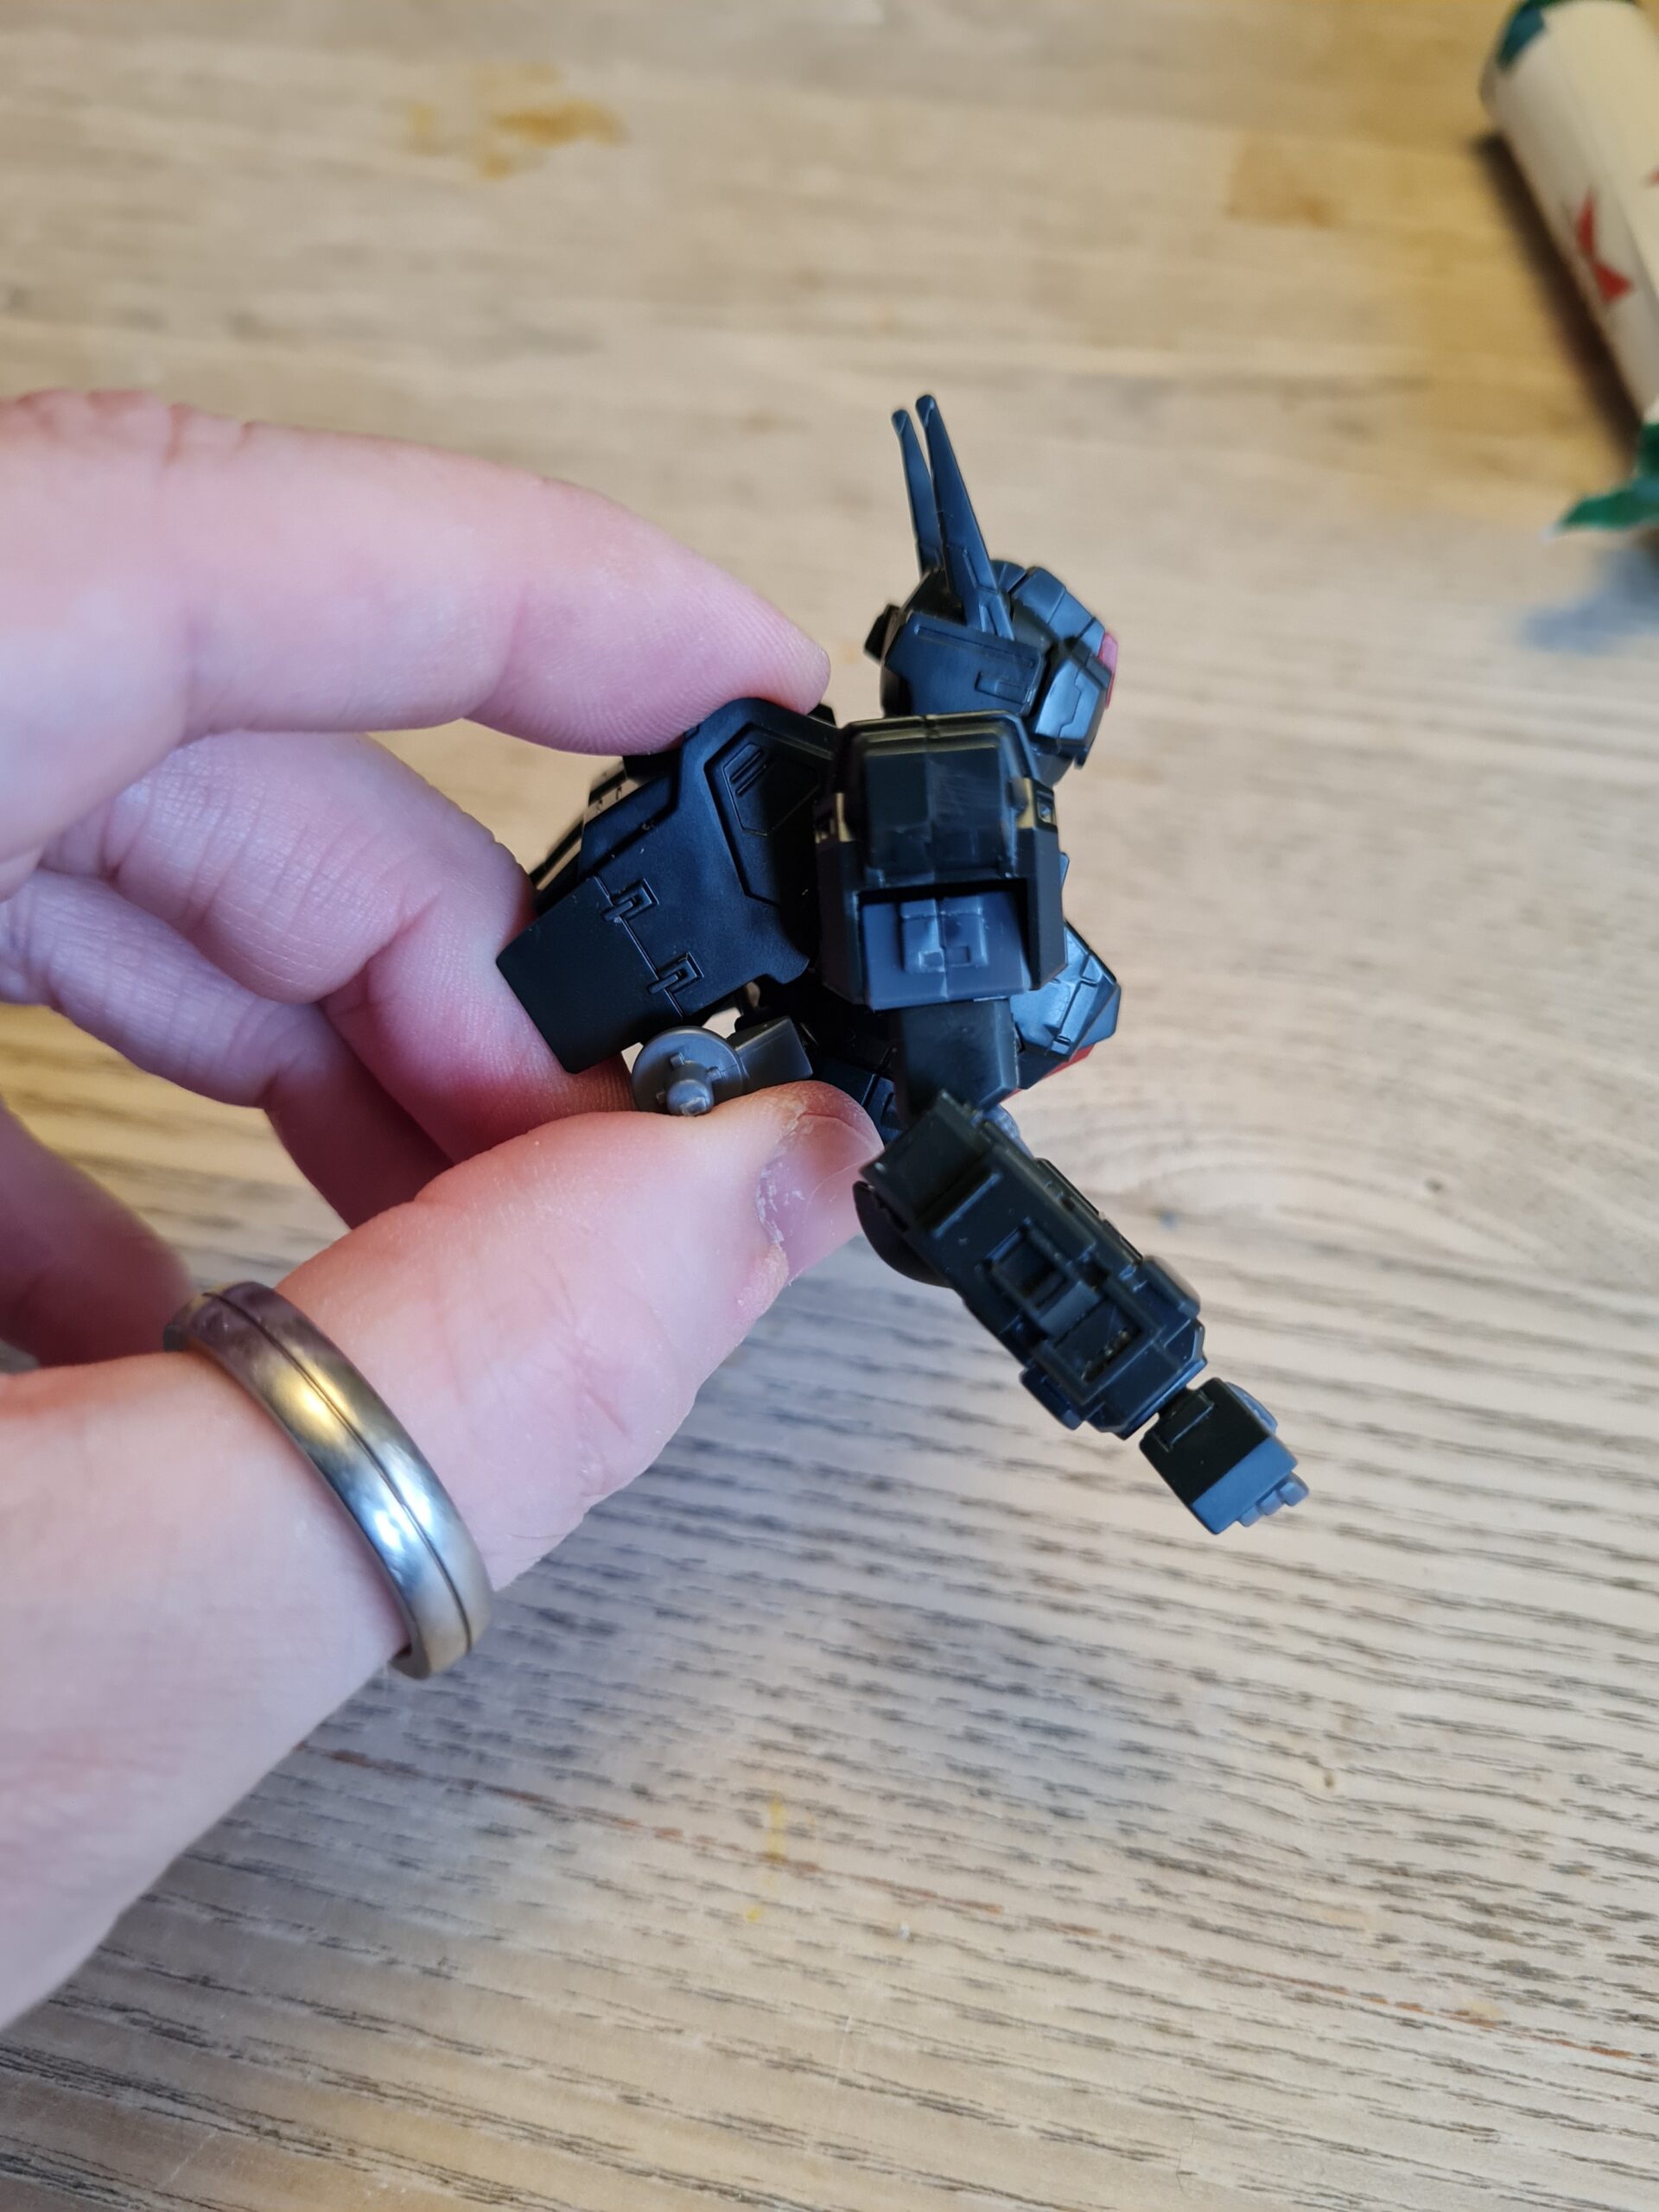
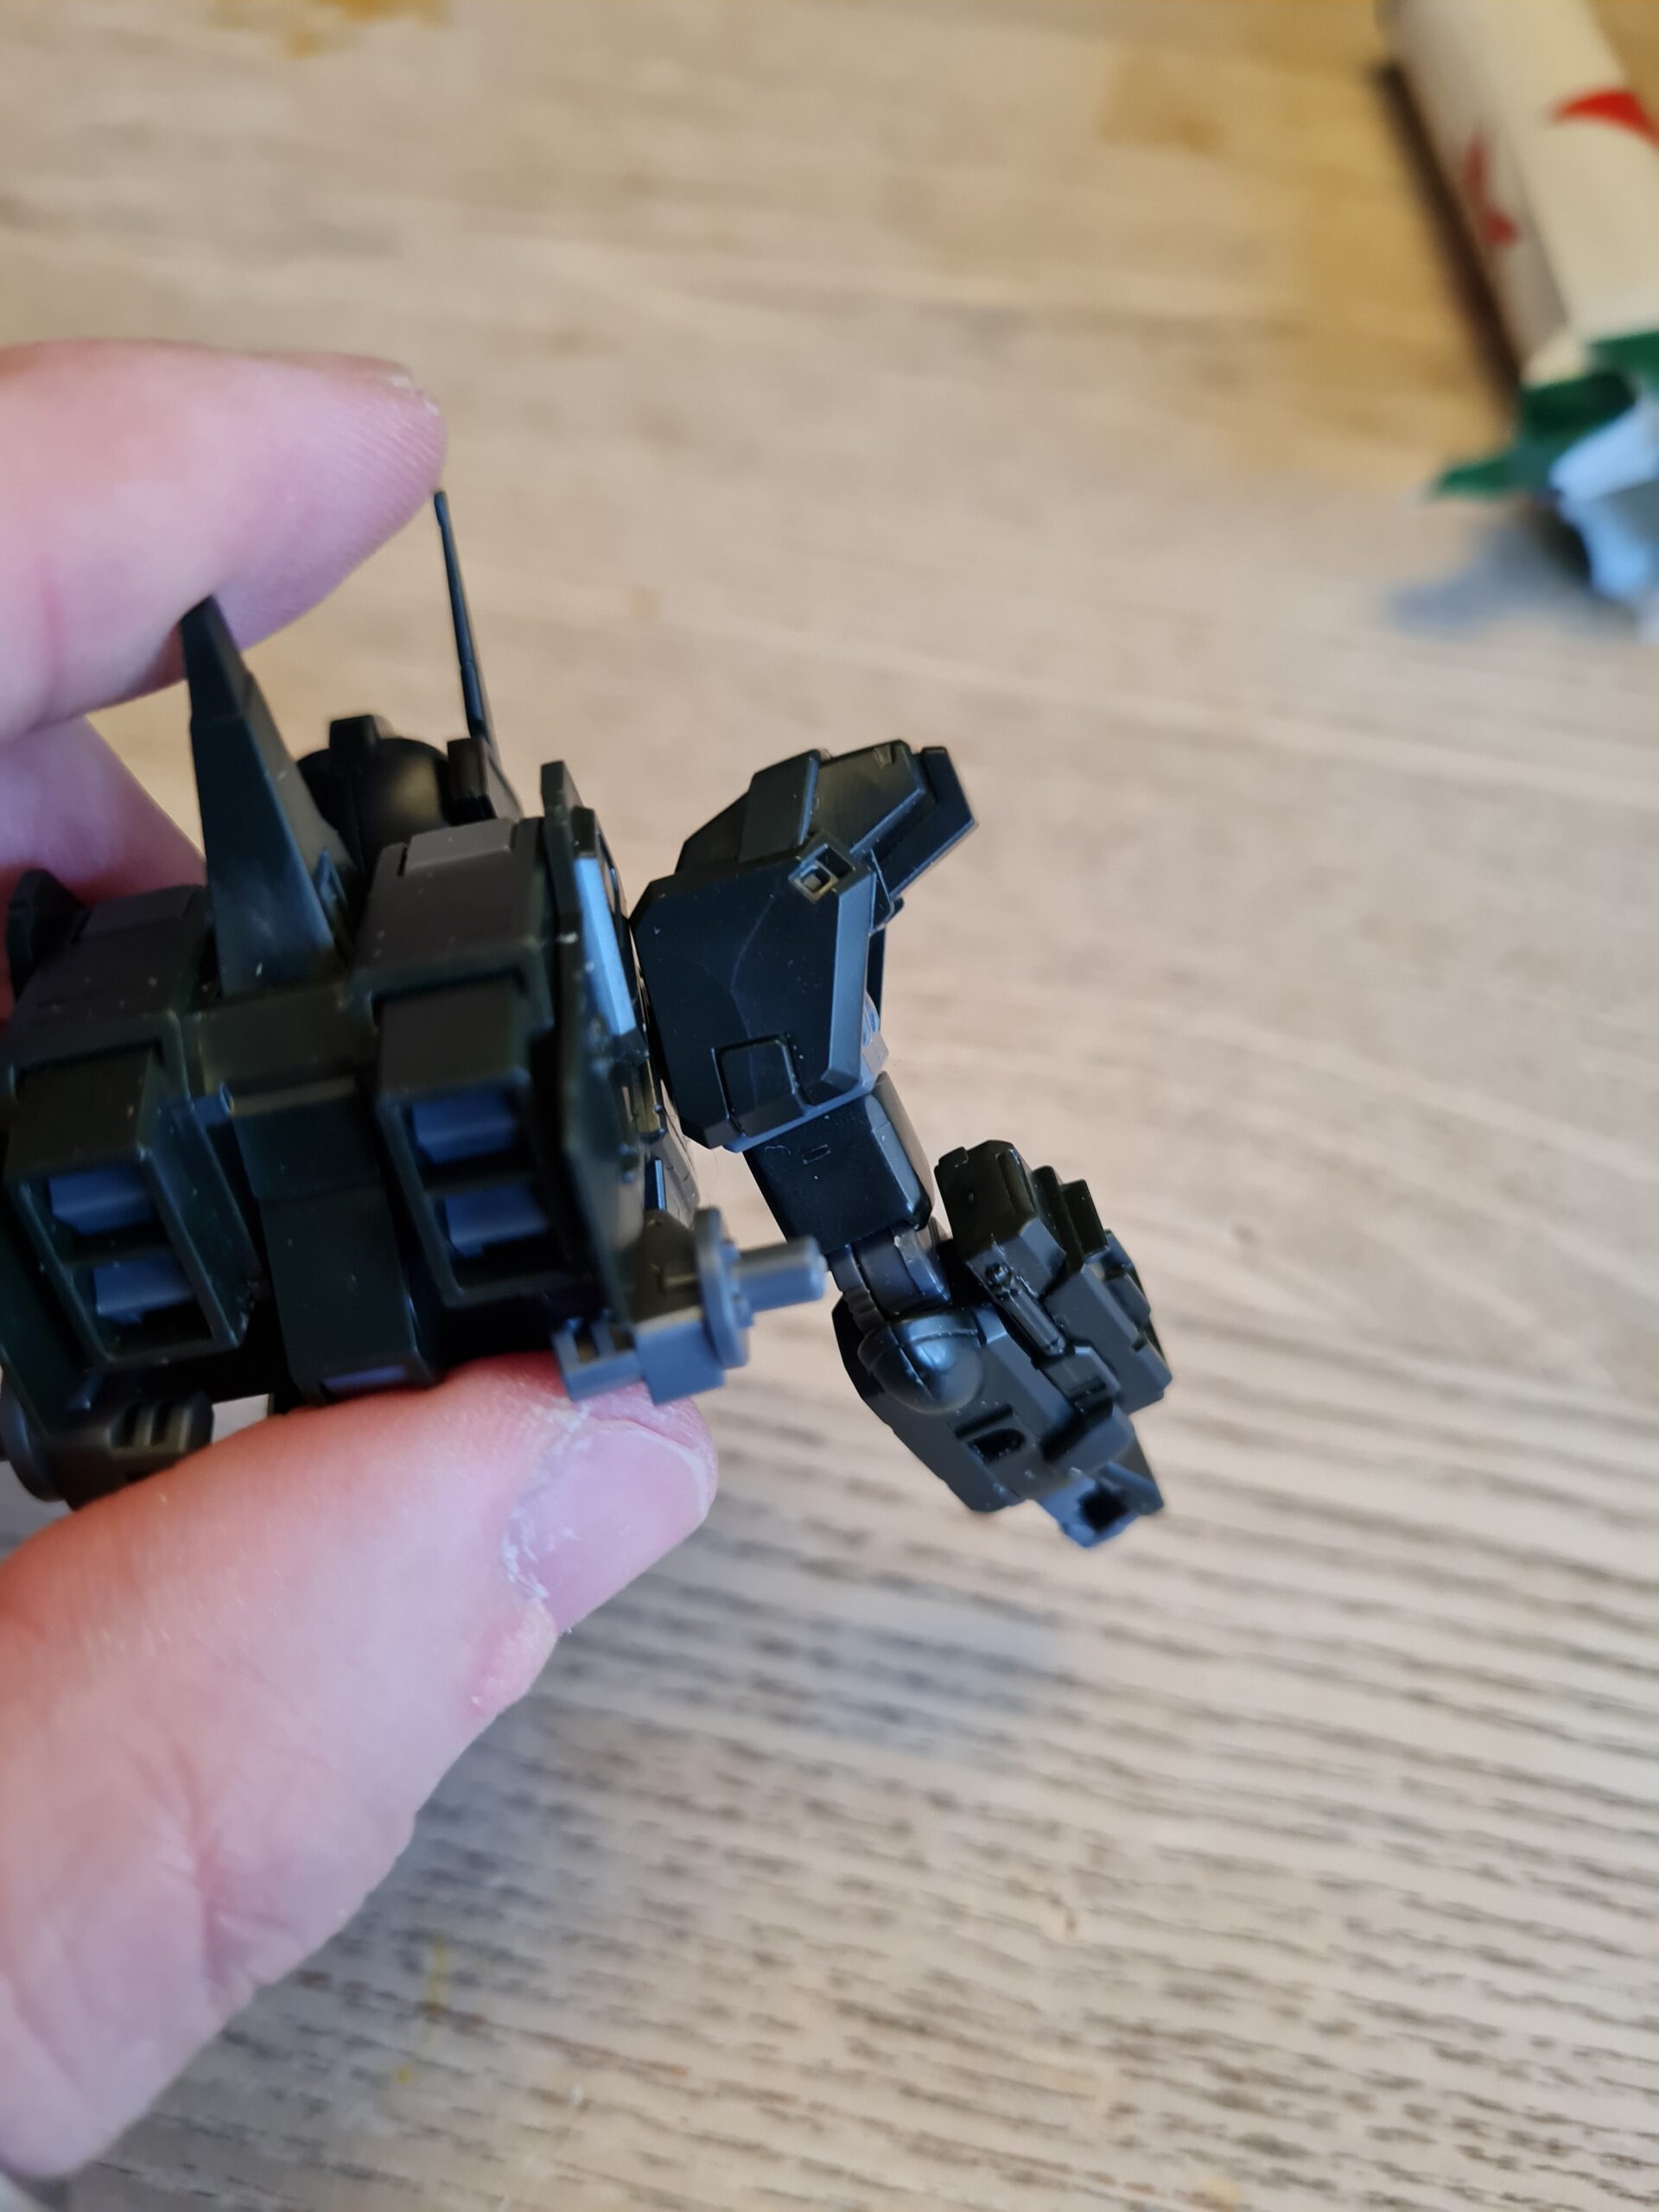
I was surprised by the level of articulation that the arm had in the elbow joint. Overall I am quite happy with how it fits, looks and moves. It is worth mentioning, as I have earlier, that multiple pieces in this build should have stickers on them. However, personally, I feel they look a little cheap. As I have an airbrush sitting at my feet, I think it would do the model more justice to add those parts via paint.

Conclusion

I have to say this is turning out to be a really enjoyable build. There is not a single part so far I have found frustrating, or awkward. I’m guessing a lot of you will already know what model it is by now! If not feel free to guess away. I will continue on with the build, as step by step I edge it towards completion!

Thank you for taking the time to read this. If you haven’t already done so please like and follow us on our social media platforms and checkout our website!

Facebook: https://www.facebook.com/profile.php?id=100086701512793
Instagram: https://www.instagram.com/modelkitsltd/
Website: https://modelkitsltd.co.uk

Posted on

RX-78-2 Revive

RX_78_2_Revive_1

Introduction

Anyone who has been around the Gundam / Gunpla world is more than likely going to have come across the RX-78-2 models. For anyone coming late to the party the RX-78-2 was the Gundam piloted by Amuro in the original series. It is the poster boy of the franchise and has had many iterations and releases.

Attainability

Arguably none as attainable as the RX-78-2 Revive. For only £12.99 (you can get it here) this HG model is both affordable and is great fun to build. Not only that but is ripe for customisation, and at that price you don’t mind experimenting!

The RX-78-2 Revive looks like this:

RX_78_2_Revive_1
RX_78_2 Revive

In my case mine currently looks more like this:

As you can see I’m doing an attempt at an undercoat and paint on this. I have also wired up an LED in his helmet, and made space/holes down the inside of the suit to get the wires down to his feet. There was, I have to admit, a fair amount of butchery had to go on. However, a lot of this was a learning curve. I really want to get another once this one is done and do it totally differently.

Conclusion

If you don’t have one in your collection I really would recommend one. The Revive version is a really enjoyable build. At the end you have an iconic looking model, that has a timeless look and feel. I think when I look at this model I see the groundwork being laid for many of the suits / designs that have followed it. They may have more details, but the feel and general layout of items is often very similar.

Thank you for taking the time to read this. If you haven’t already done so please like and follow us on our social media platforms and checkout our website!

Facebook: https://www.facebook.com/profile.php?id=100086701512793
Instagram: https://www.instagram.com/modelkitsltd/
Website: https://modelkitsltd.co.uk