Posted on

Build Intermission

Falling HG

Ok I admit I didn’t do any building last night. I had so many things on it just got skipped. So this is a mini intermission between the build parts.

Of course that leaves me with the question of what to do to fill the blog! Well thankfully I had a little something in my back pocket.

So I have been trying to work out how to take better photos of my kits. Again, I feel there are going to be a lot more posts on this topic as I learn more.

So before I leap in to what I was playing with let me show you the starting picture.

Ok well after searching my hard drive and my network storage apparently I didn’t keep my original image.

So lesson number 1: Remember to keep the original image!

I will, however, try and describe it.

I posed by RX80-BR figure on one of my stands in front of a green screen. Then I took some pictures. After moving them to the laptop I proceeded to open them up in GIMP and choose what I wanted to work with. After filtering through the images I picked my favourite and got to work.

First I had to set up an alpha channel. Then I used the colour select to select the green and remove a load of it. This highlighted lesson number 2. Lighting is all important. Without good lighting making everything consistent you end up with different shades and bits and pieces of green left. I then moved onto my second tool of choice. I zoomed in and proceeded to use the multi select tool to trace the edges and remove any colour too close to the model.

After an hour or twos work I finally had something I could work with … wait I may be able to show you …

No Background!
No Background!

This brings me to lesson number 3. Always do things in layers, that way you can add and remove them from the view, or even junk them and start again if needed.

My final step was to select a background and add a blur to it. This gave me the final image which looks like this.

Falling HG
Falling HG

For a first attempt I was quite happy with this. I think it is something that I would enjoy working on improving, and coming up with more ideas for.

If you would like me to do a post in more detail on the GIMP steps I used, and the whole process let me know. I can do a step by step guide for beginners (like me).

Thank you for taking the time to read this. If you haven’t already done so please like and follow us on our social media platforms and checkout our website!

Facebook: https://www.facebook.com/profile.php?id=100086701512793
Instagram: https://www.instagram.com/modelkitsltd/
Website: https://modelkitsltd.co.uk

Posted on

Guess The Model Part 6

Visible Completed!

Introduction

Guess The Model Part 6 is the latest instalment in my current model build. As I follow the manual and build it section by section. If you missed them the previous parts are available here:

Today’s Part(s)

Today I am sort of doing a “everything else” post. I would feel like a bit of a cheat if I strung out the smallest parts of the model! So today I am going to roundup everything that was left to build on the core of the model.

The Parts

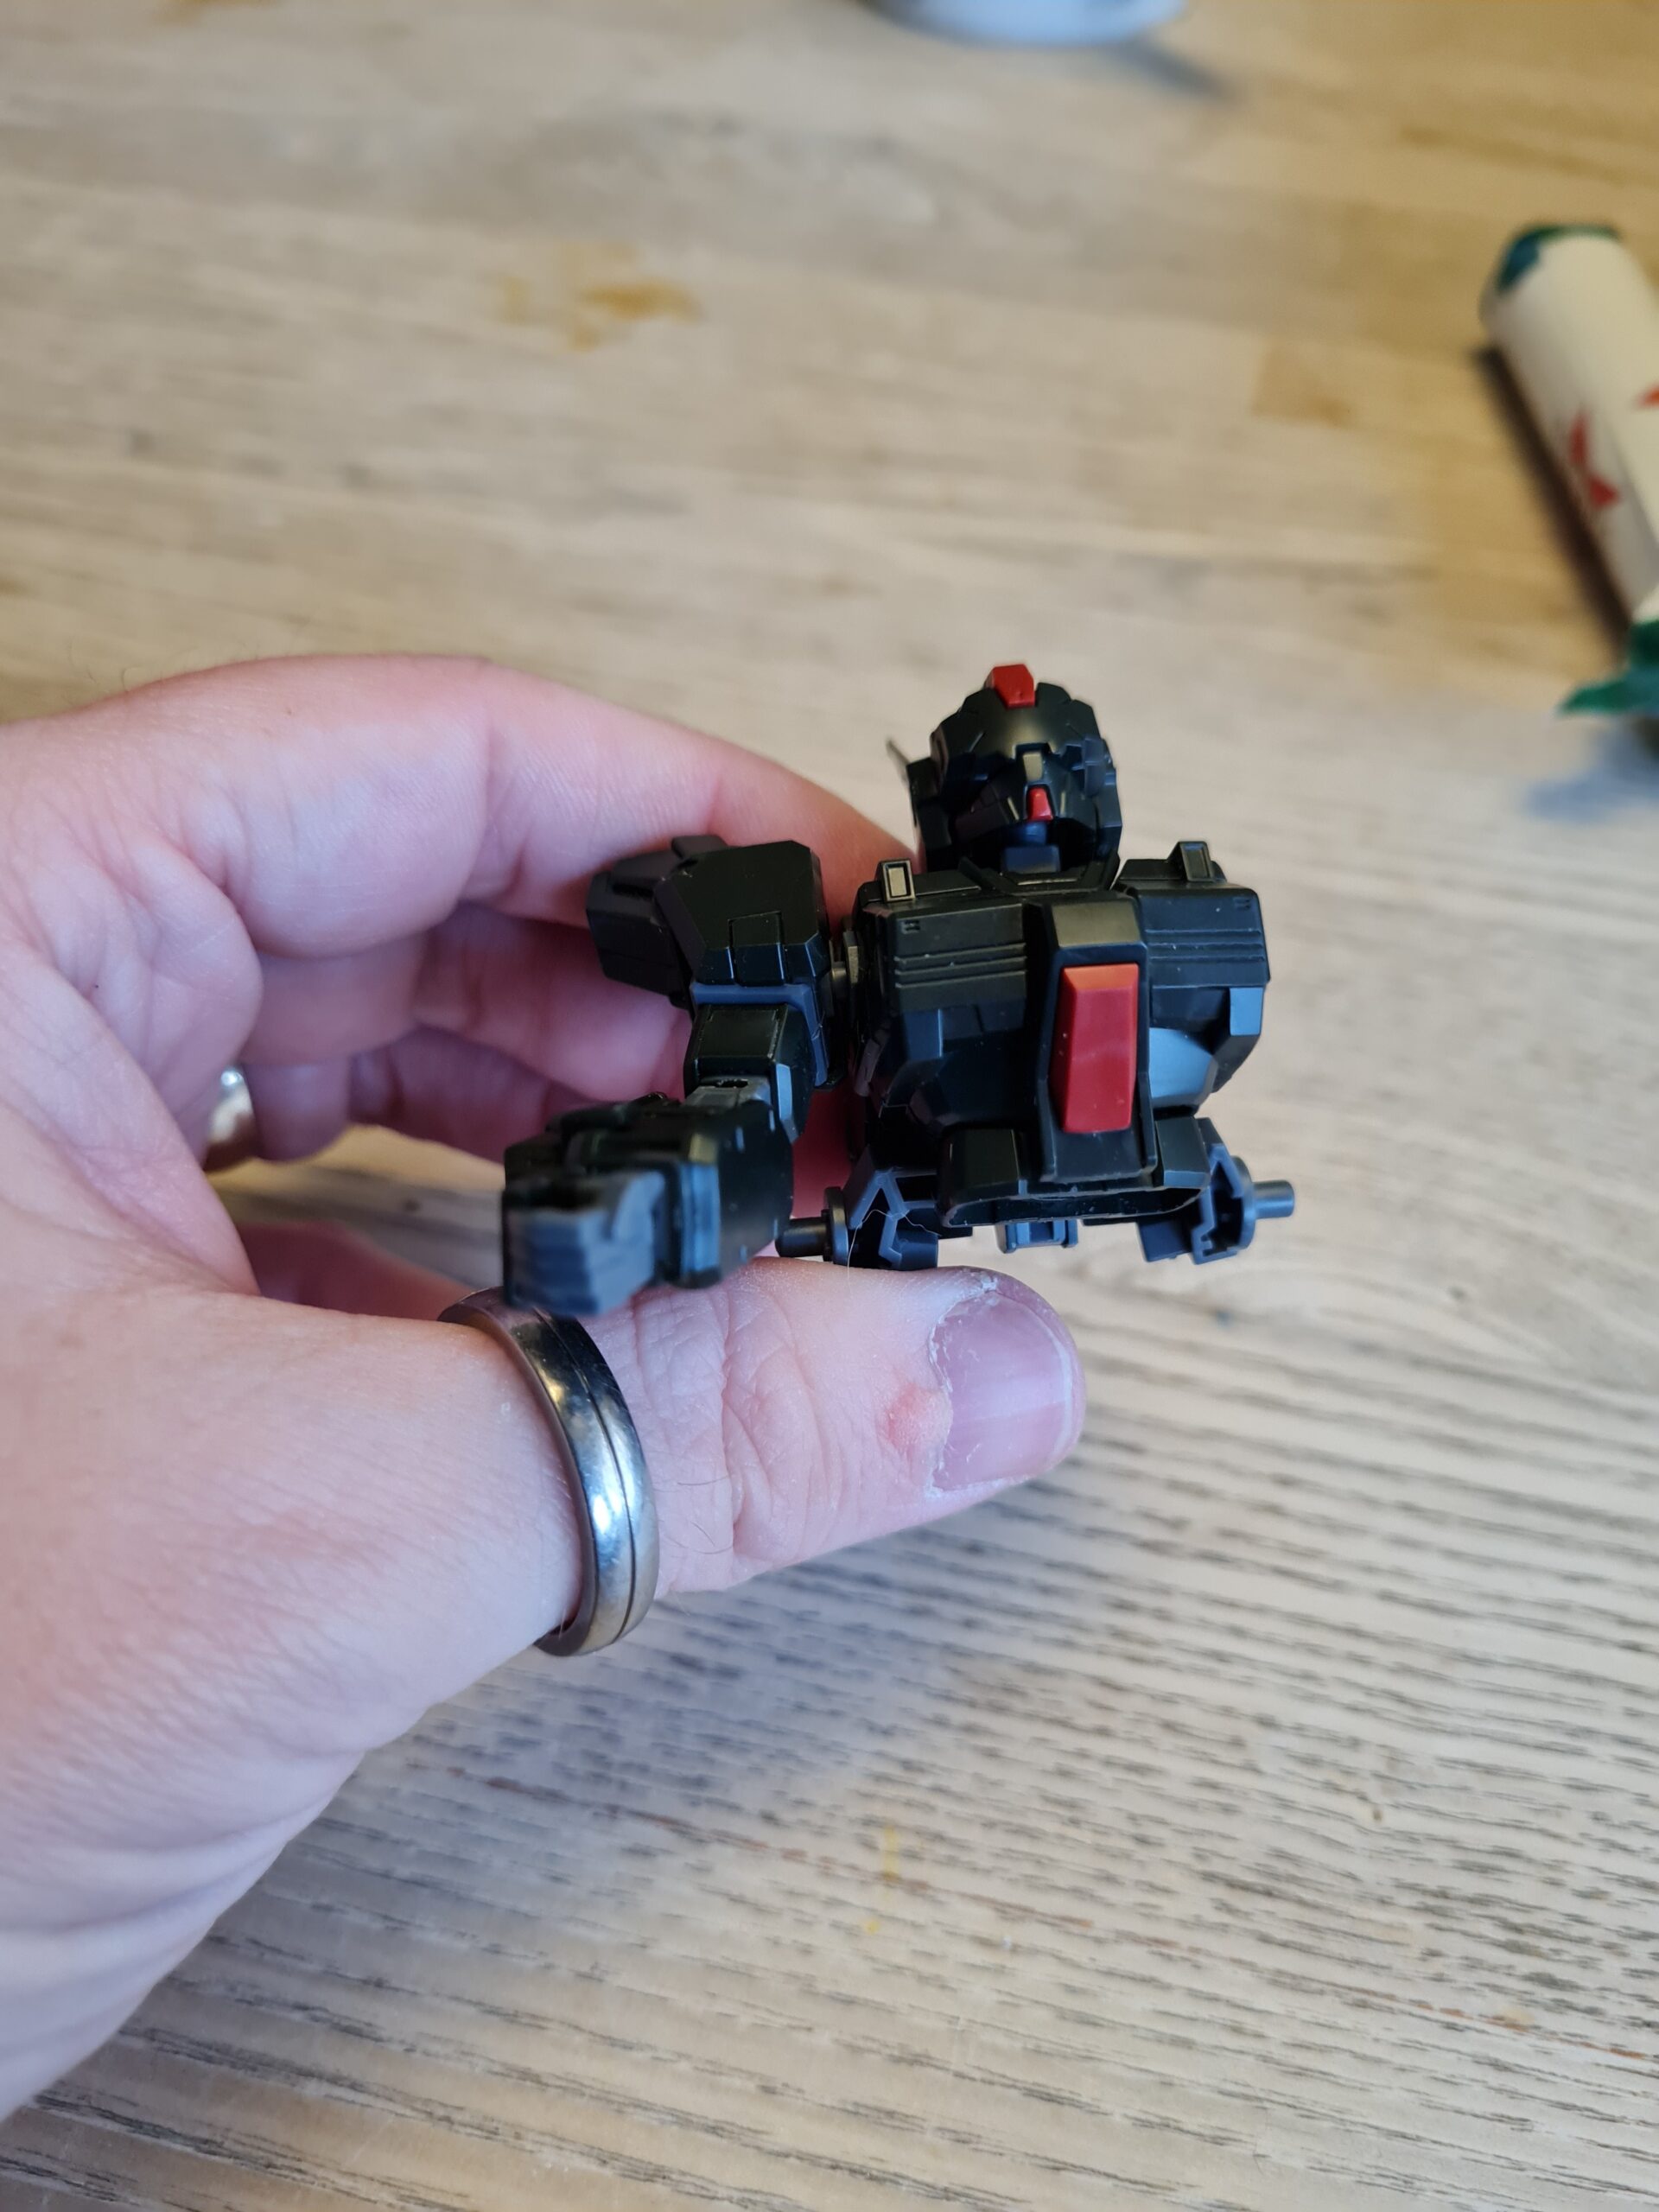
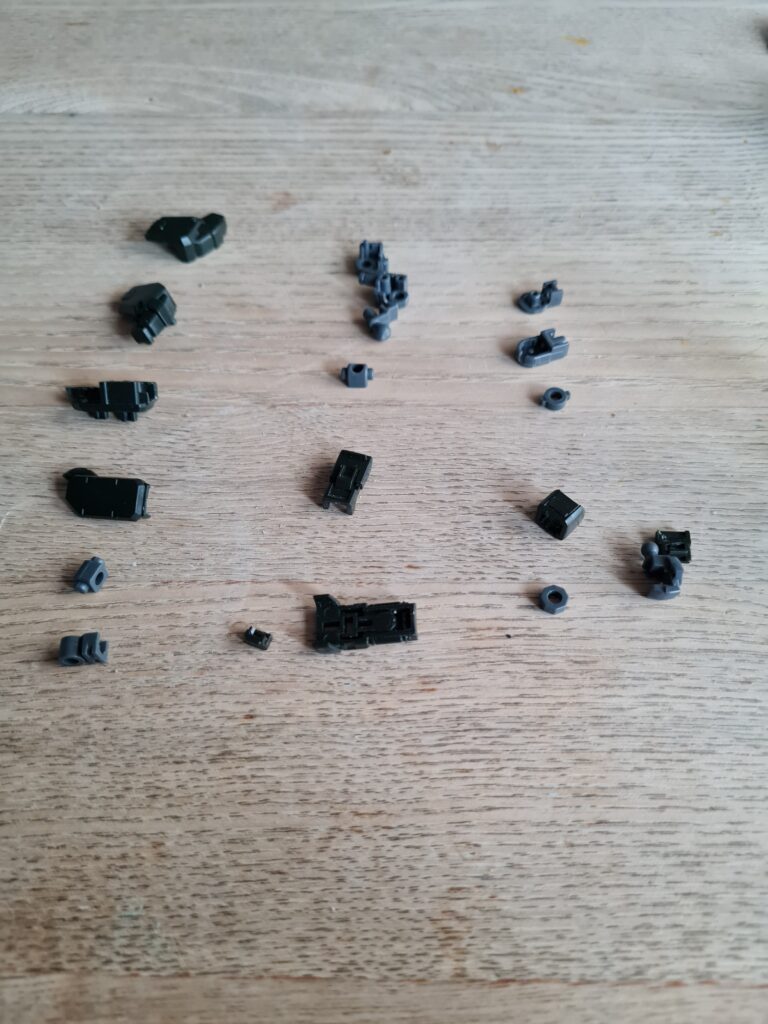
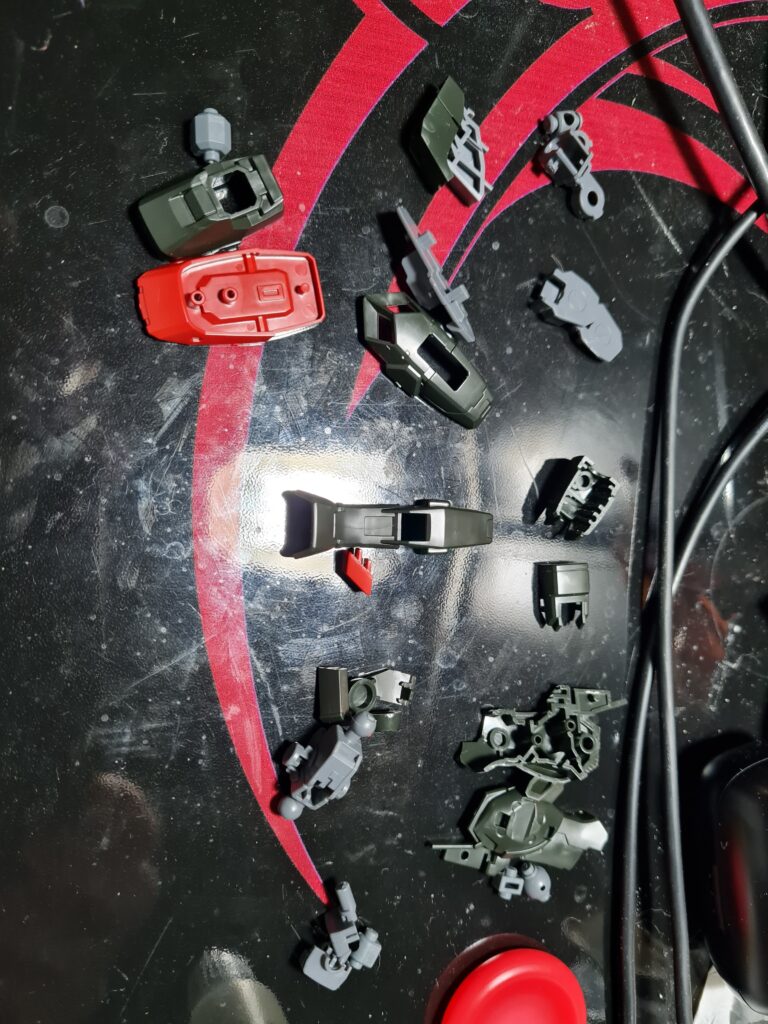
As you can see above, as well as the 21(ish) parts I had to assemble for the leg, there were miscellaneous other parts to bring it together and finish the main build.

The Finished Article (ish)

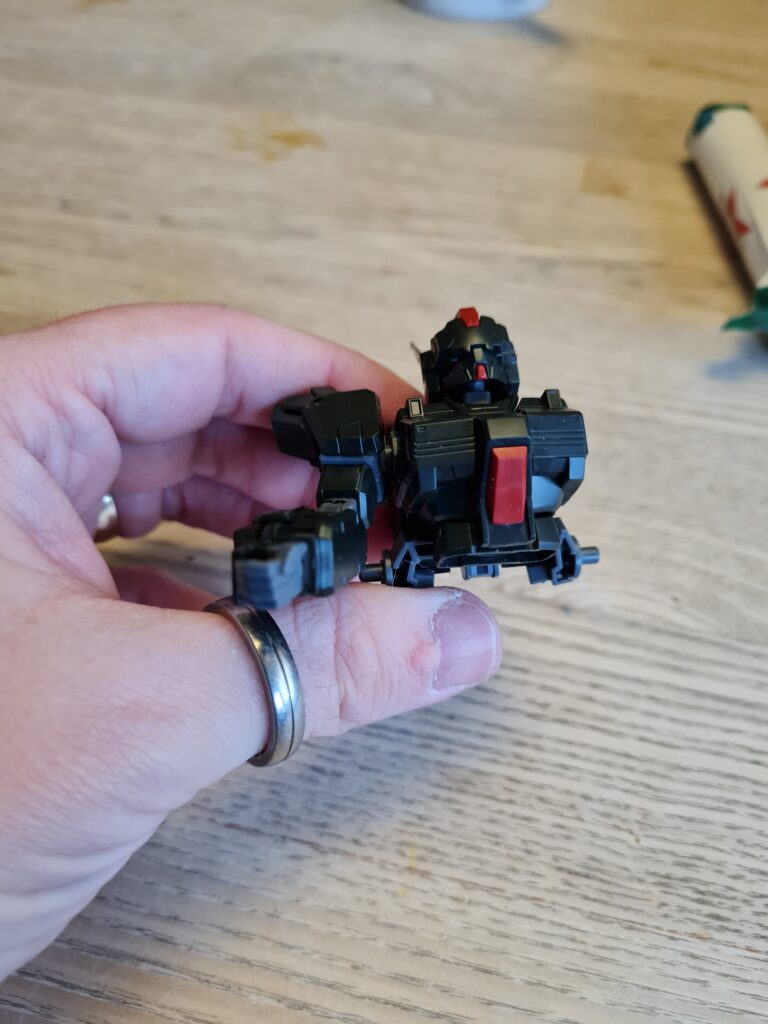
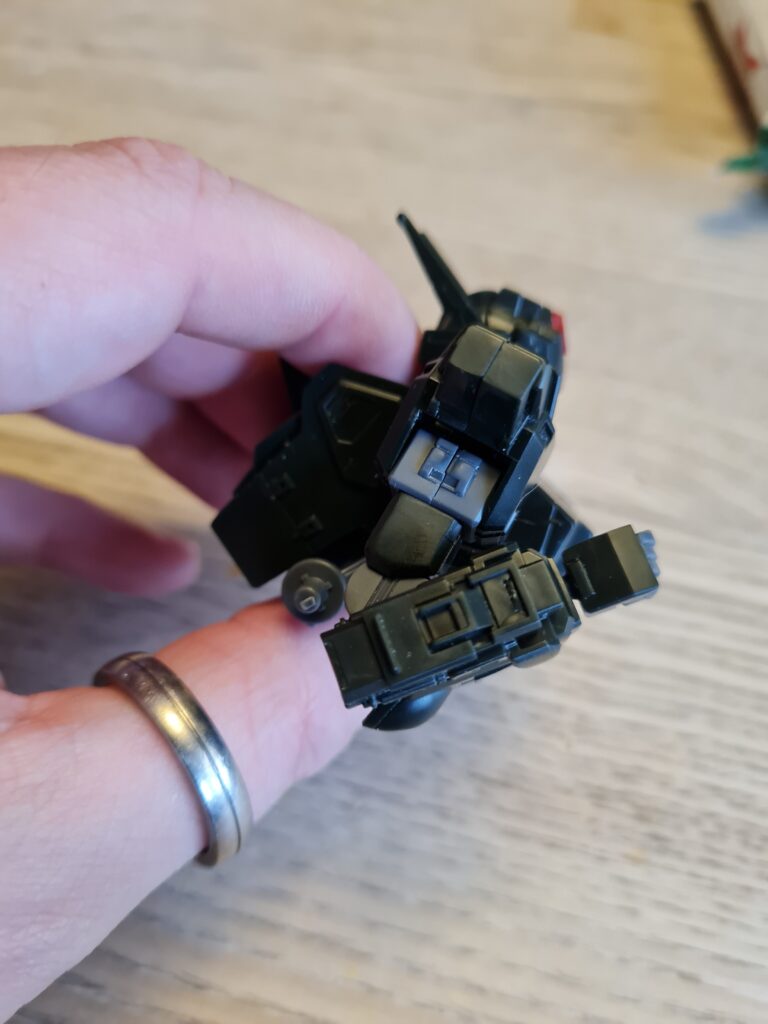
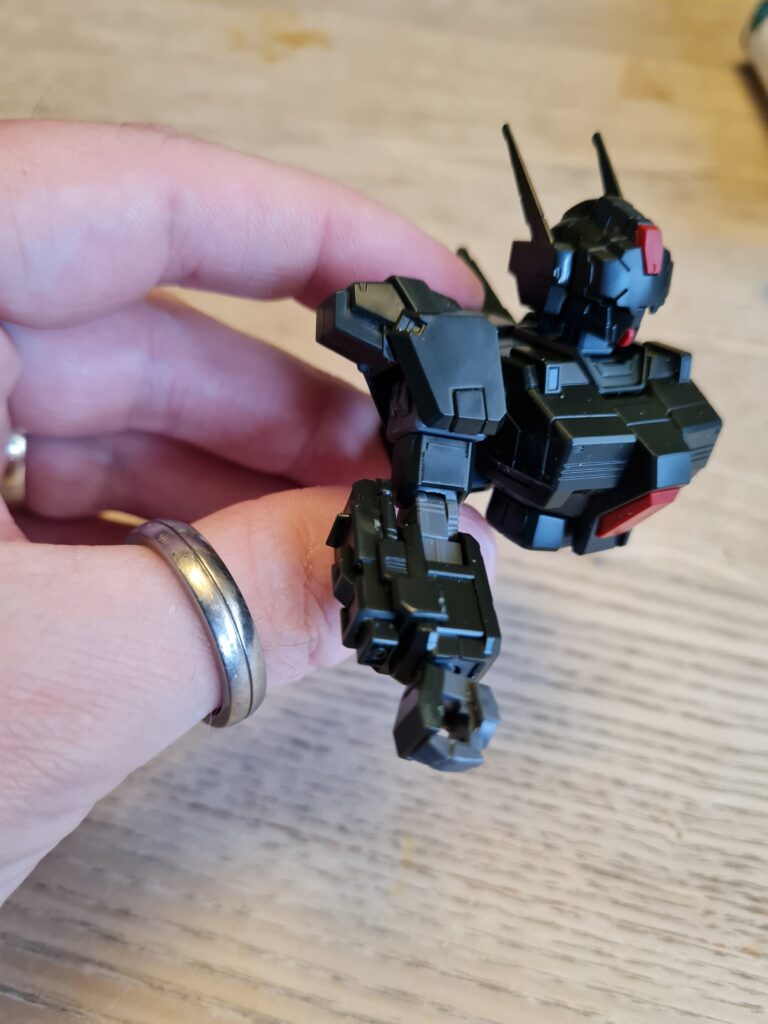
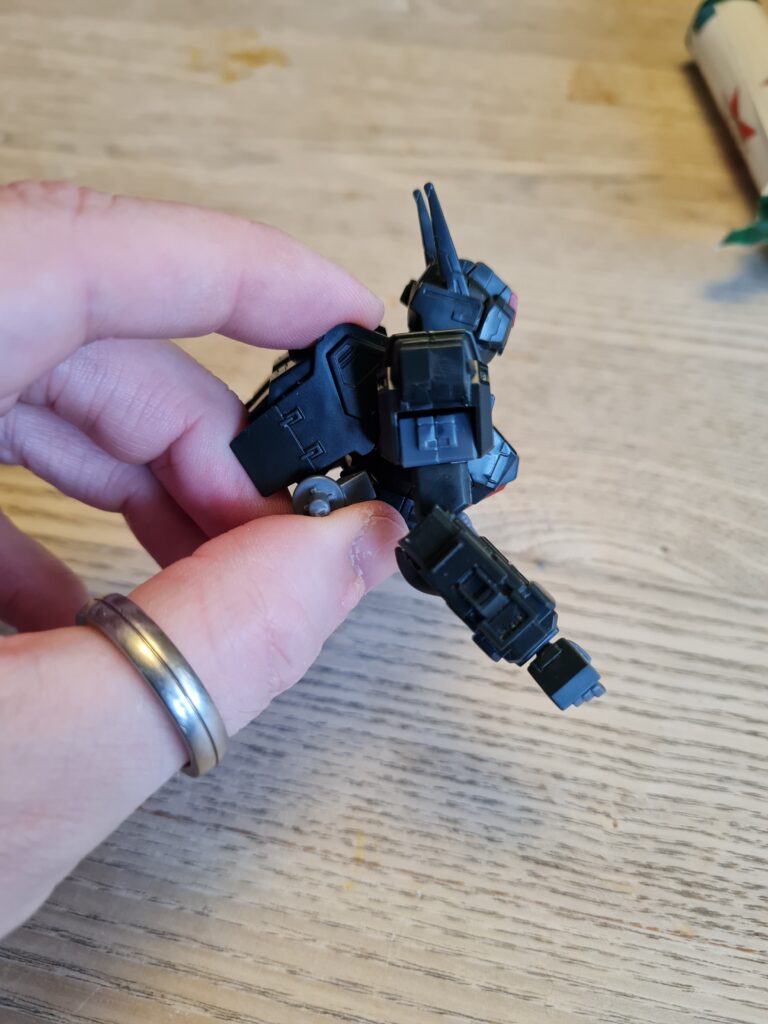
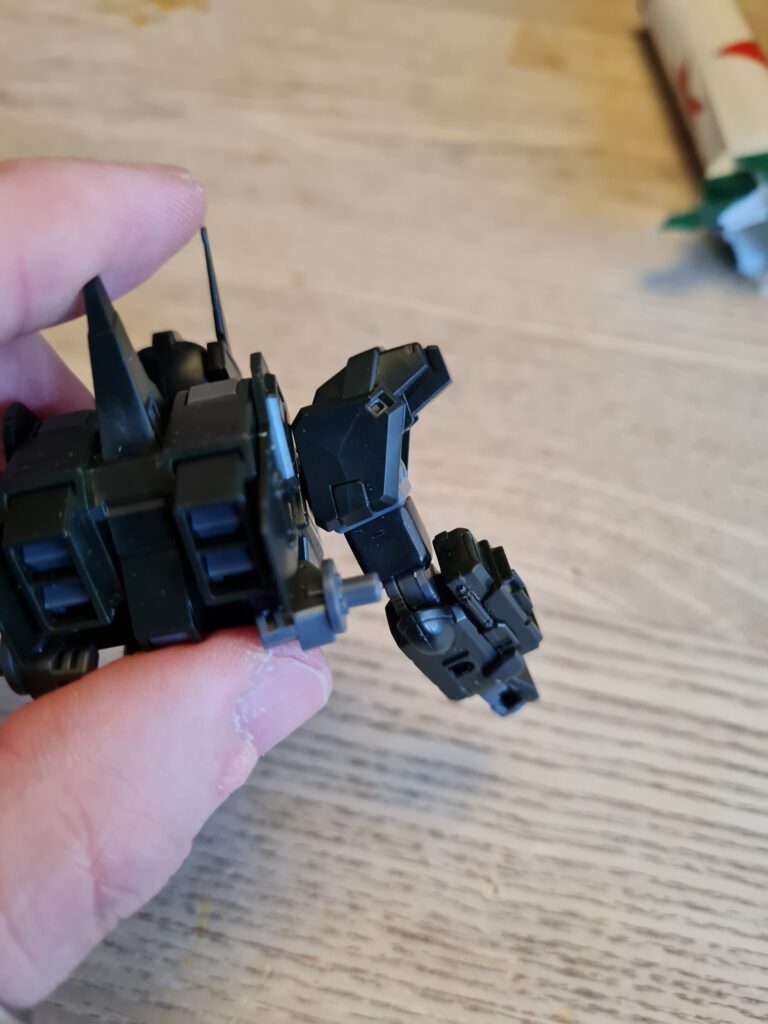
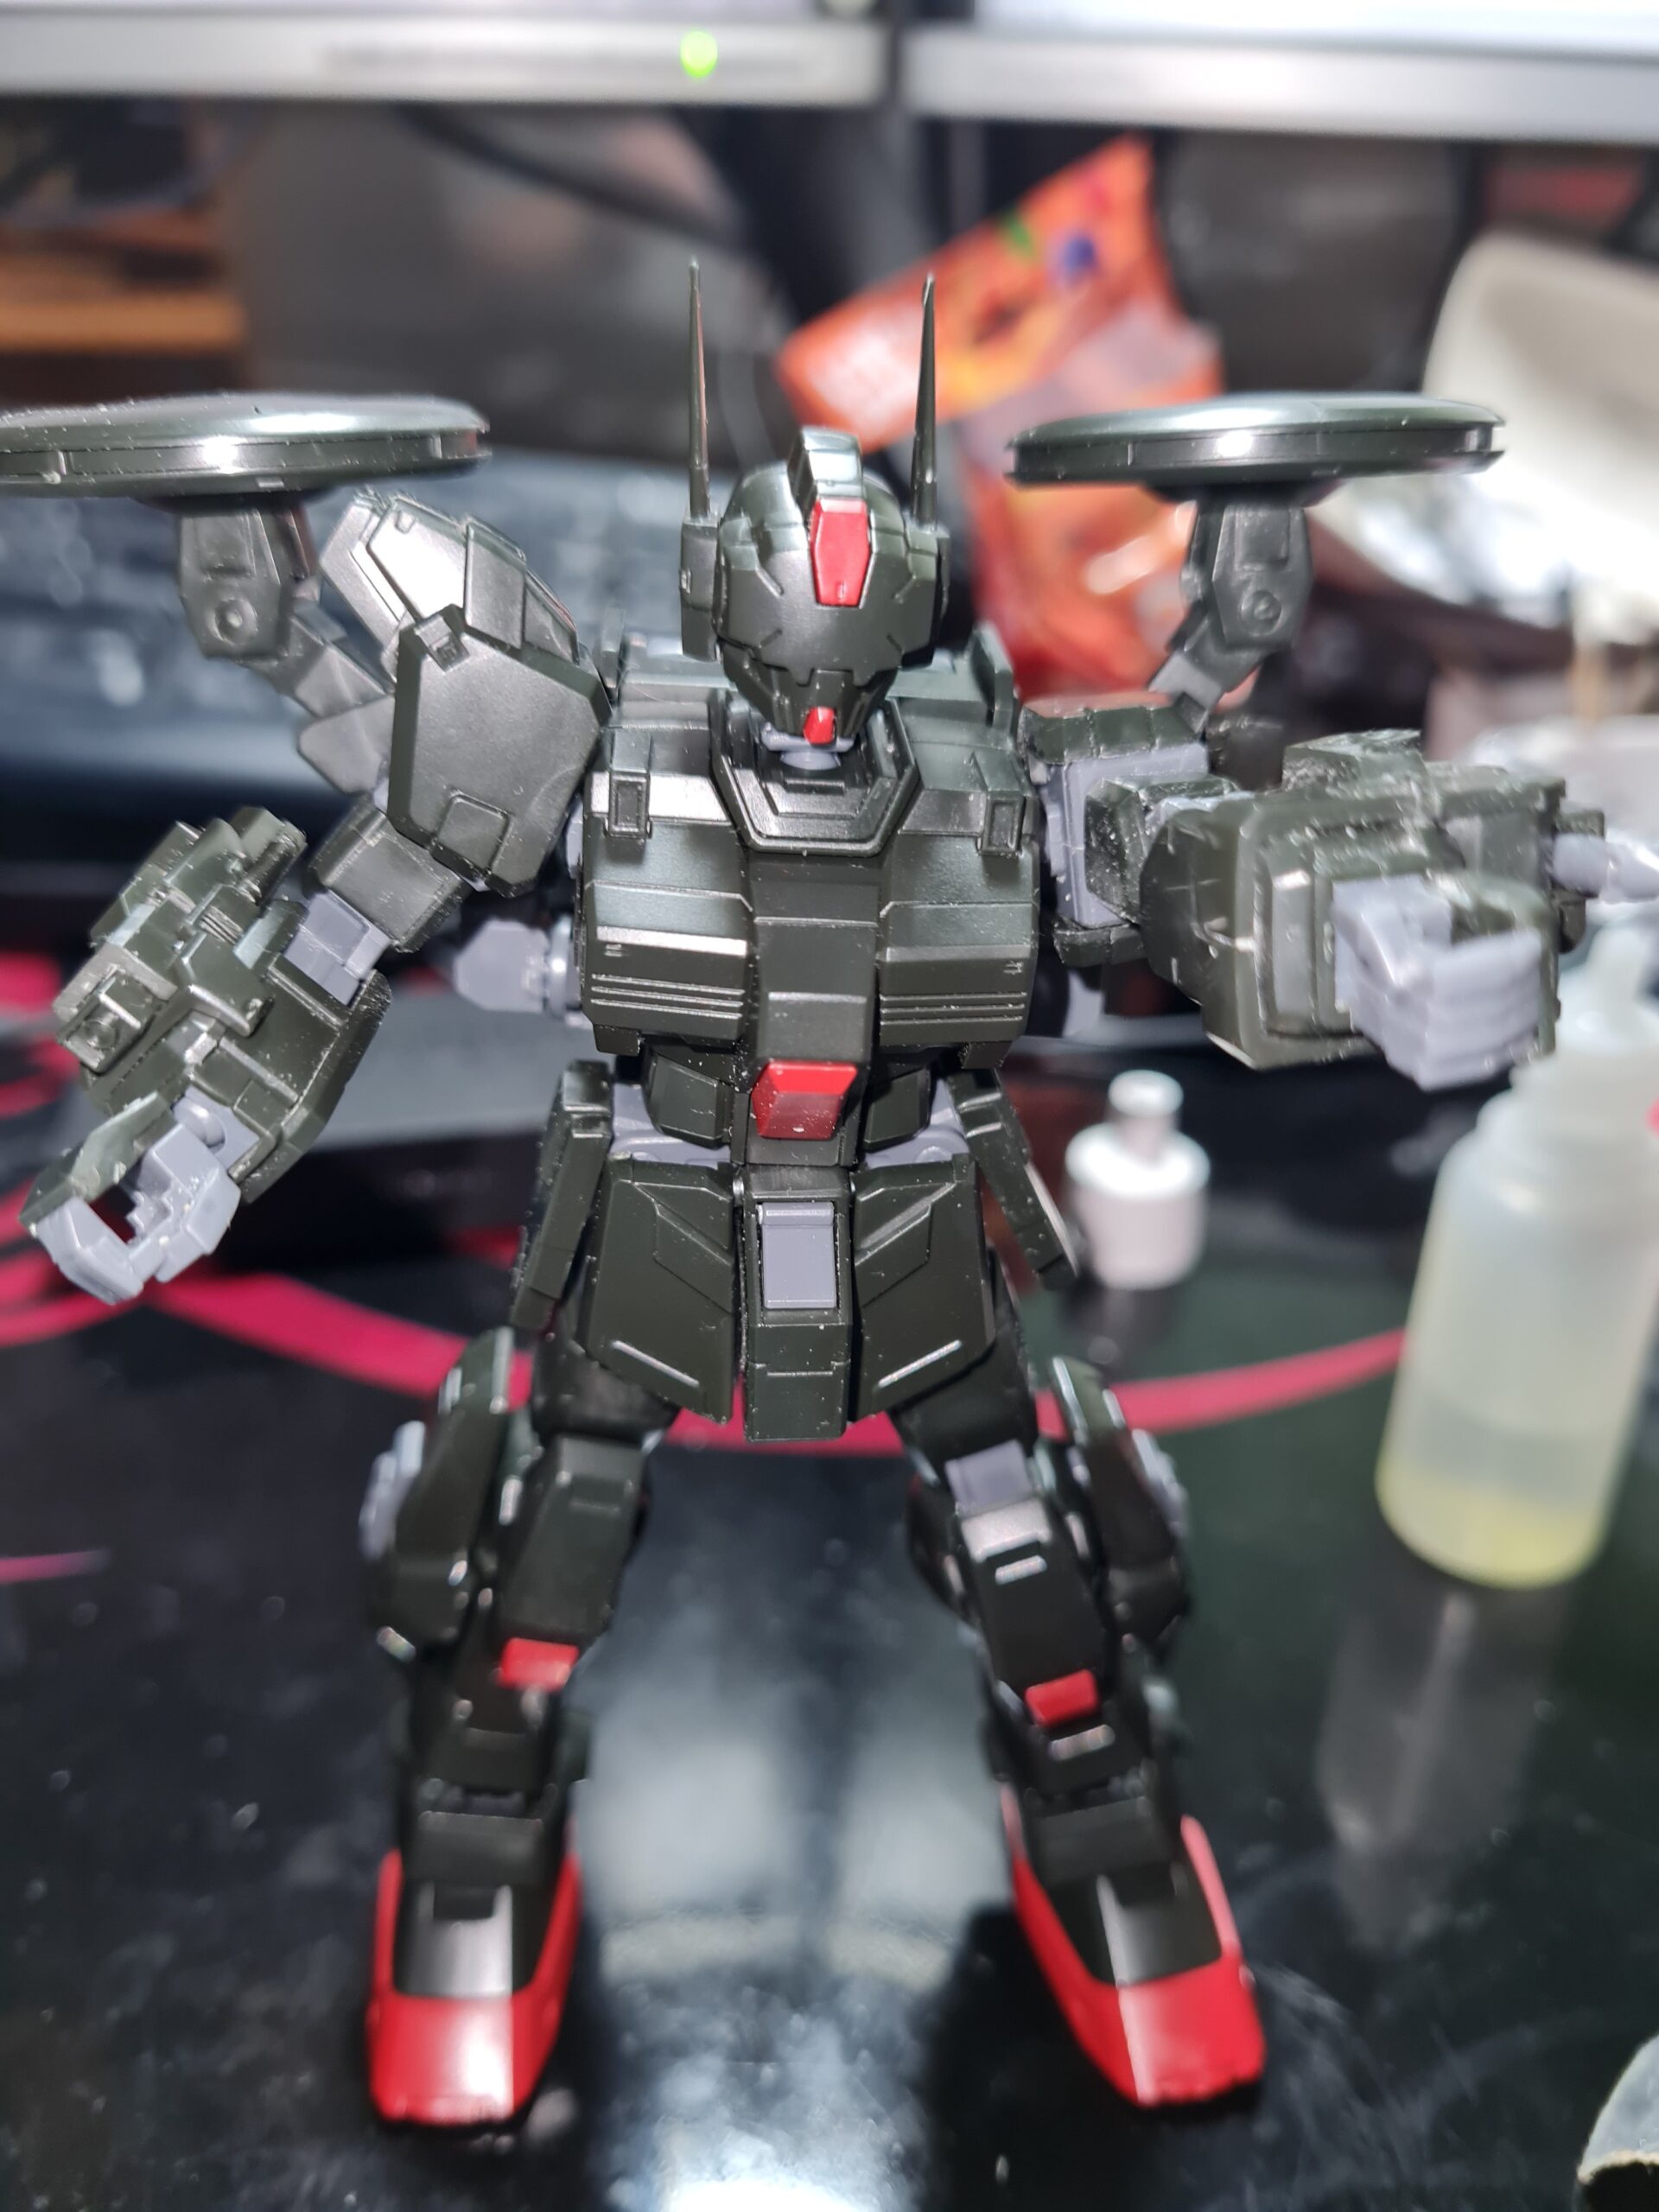
I was really happy with the build of this model. It is, in my opinion, a really relaxing build. There was nothing there I would class as “taxing” but a fantastic model to build while listening to the radio, or an audio book. All the parts went together (sometimes with a very satisfying snicking noise as they clicked into place).

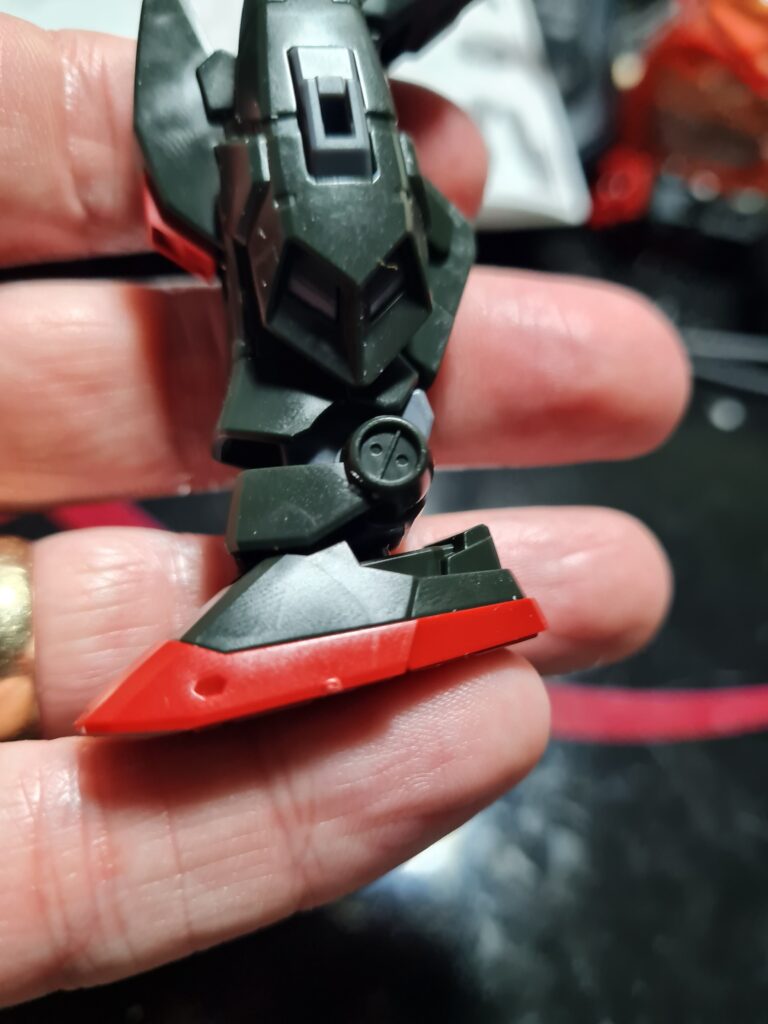
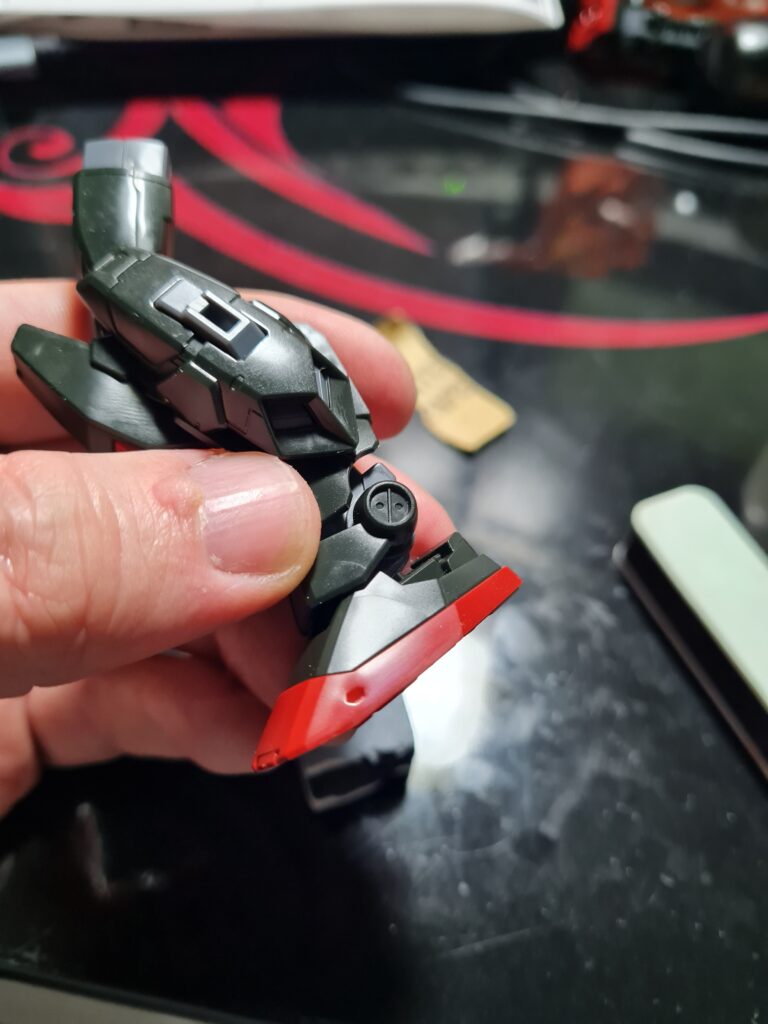
The foot and nub removal and cleaning I did a whole post on here. In essence I used the GUNPRIMER balancers to clean up the nub and re polish the foot. I’m really happy with how well they work!

Conclusion

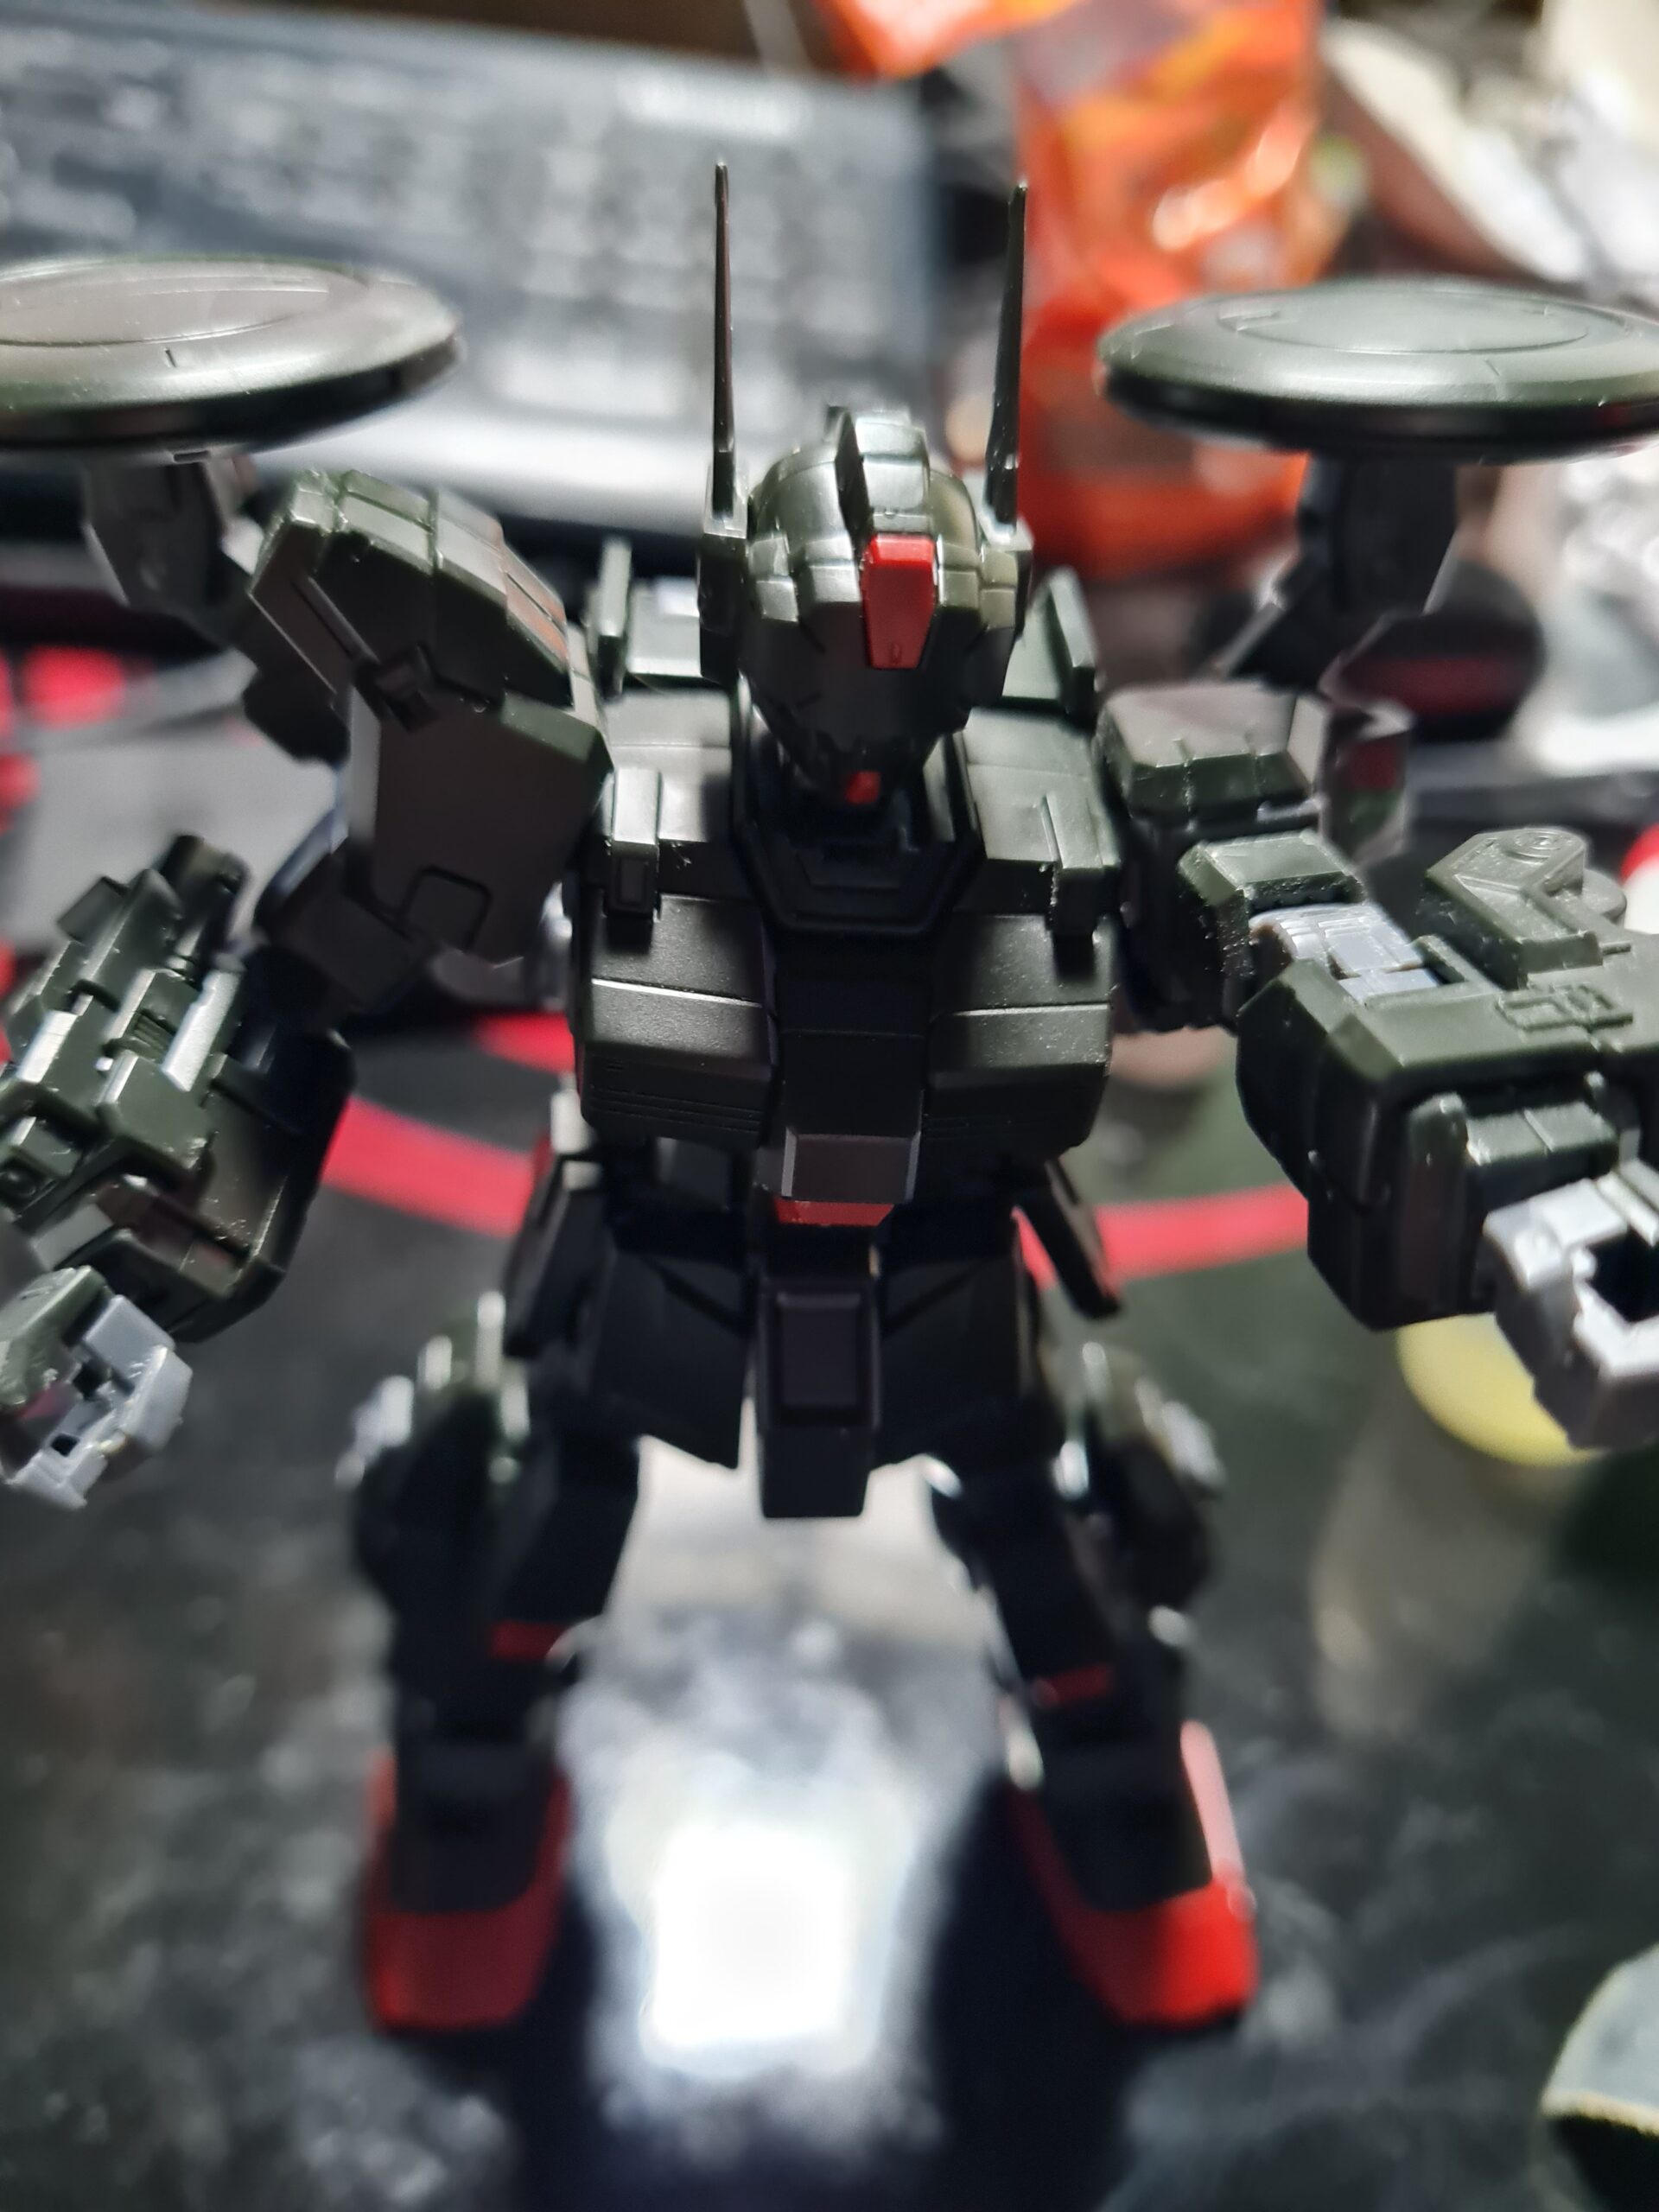
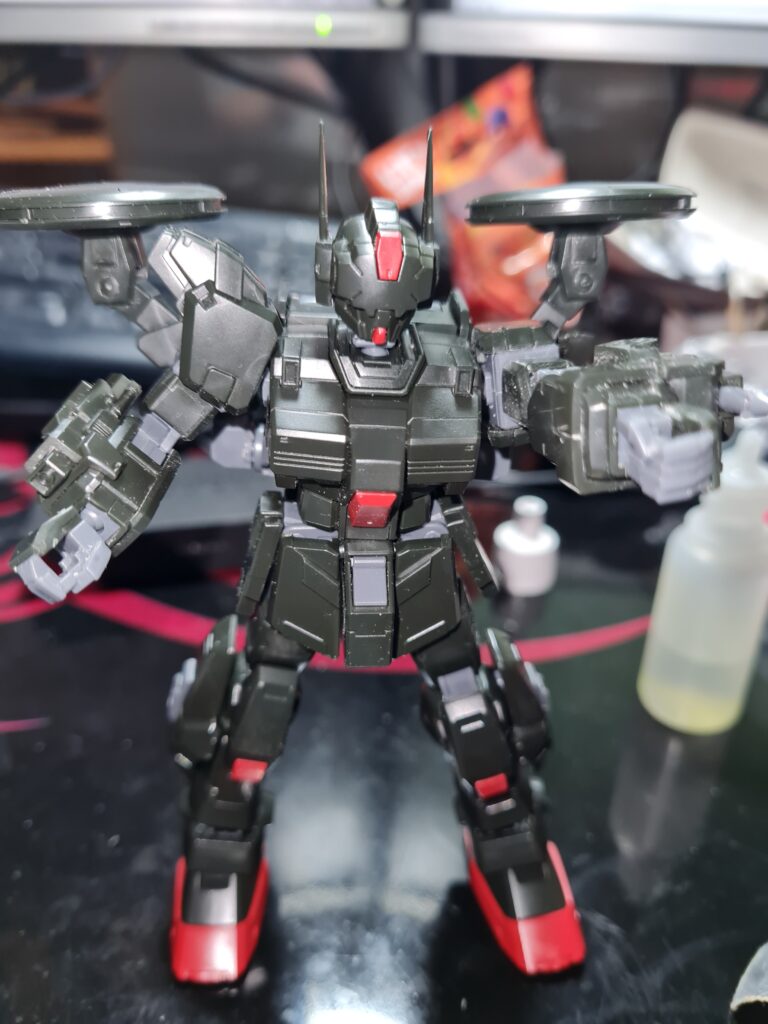
So there you have it! If you haven’t already guessed this is the RX-80BR Black Rider model. It is a HGUC kit, and despite its simplicity, is really enjoyable to build.

I have, as noted previously, taken advice from those with more experience and avoided using the stickers on this kit. My plan is to undercoat some sections and paint the red on. I am still wondering what, if anything, I should do on top of that. However with so many kits, and so little time, I had better probably keep it realistic.

Thank you for taking the time to read this. If you haven’t already done so please like and follow us on our social media platforms and checkout our website!

Facebook: https://www.facebook.com/profile.php?id=100086701512793
Instagram: https://www.instagram.com/modelkitsltd/
Website: https://modelkitsltd.co.uk
Posted on

Guess The Model Part 3

Assembled Front Bent Arm Guess the Model Part 3

Introduction

Guess The Model Part 3 is the latest instalment in my current model build. As I follow the manual and build it section by section. If you missed them the previous parts are available here:

Today’s Part

Next up in the manual I am going to be building the right arm. Something I have found with this build, so far, is that it goes together really nicely. I think it has a nice balance between chunky and thin with some nice detail.

The Parts

Guess the Model Part 3 Bits

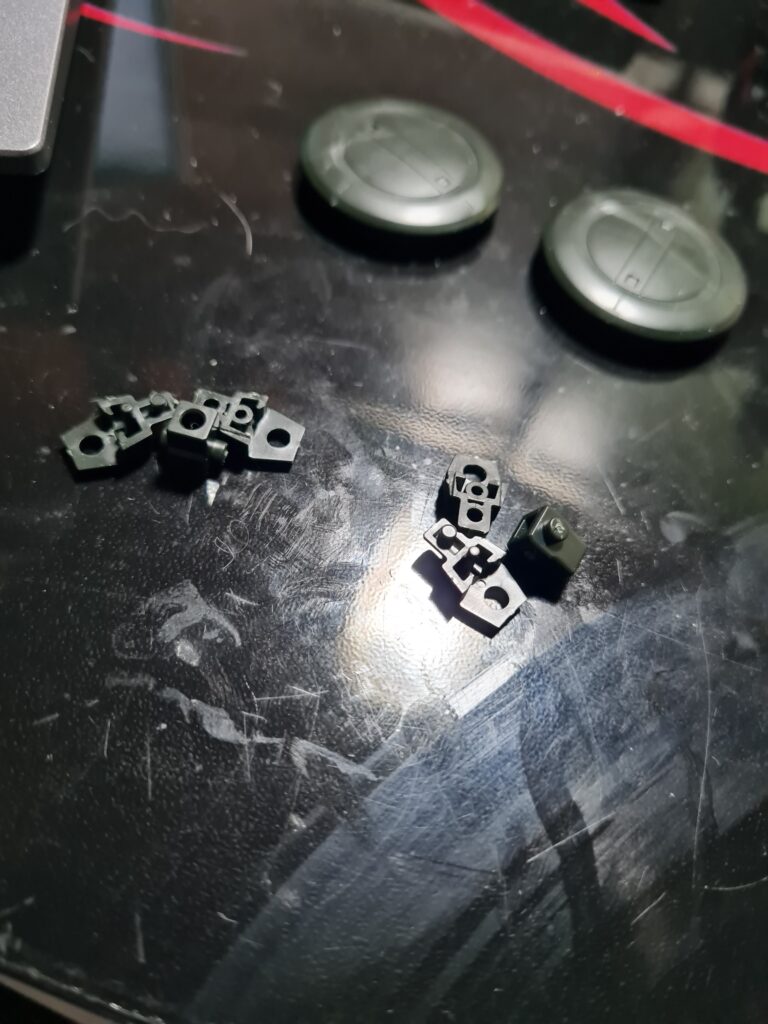
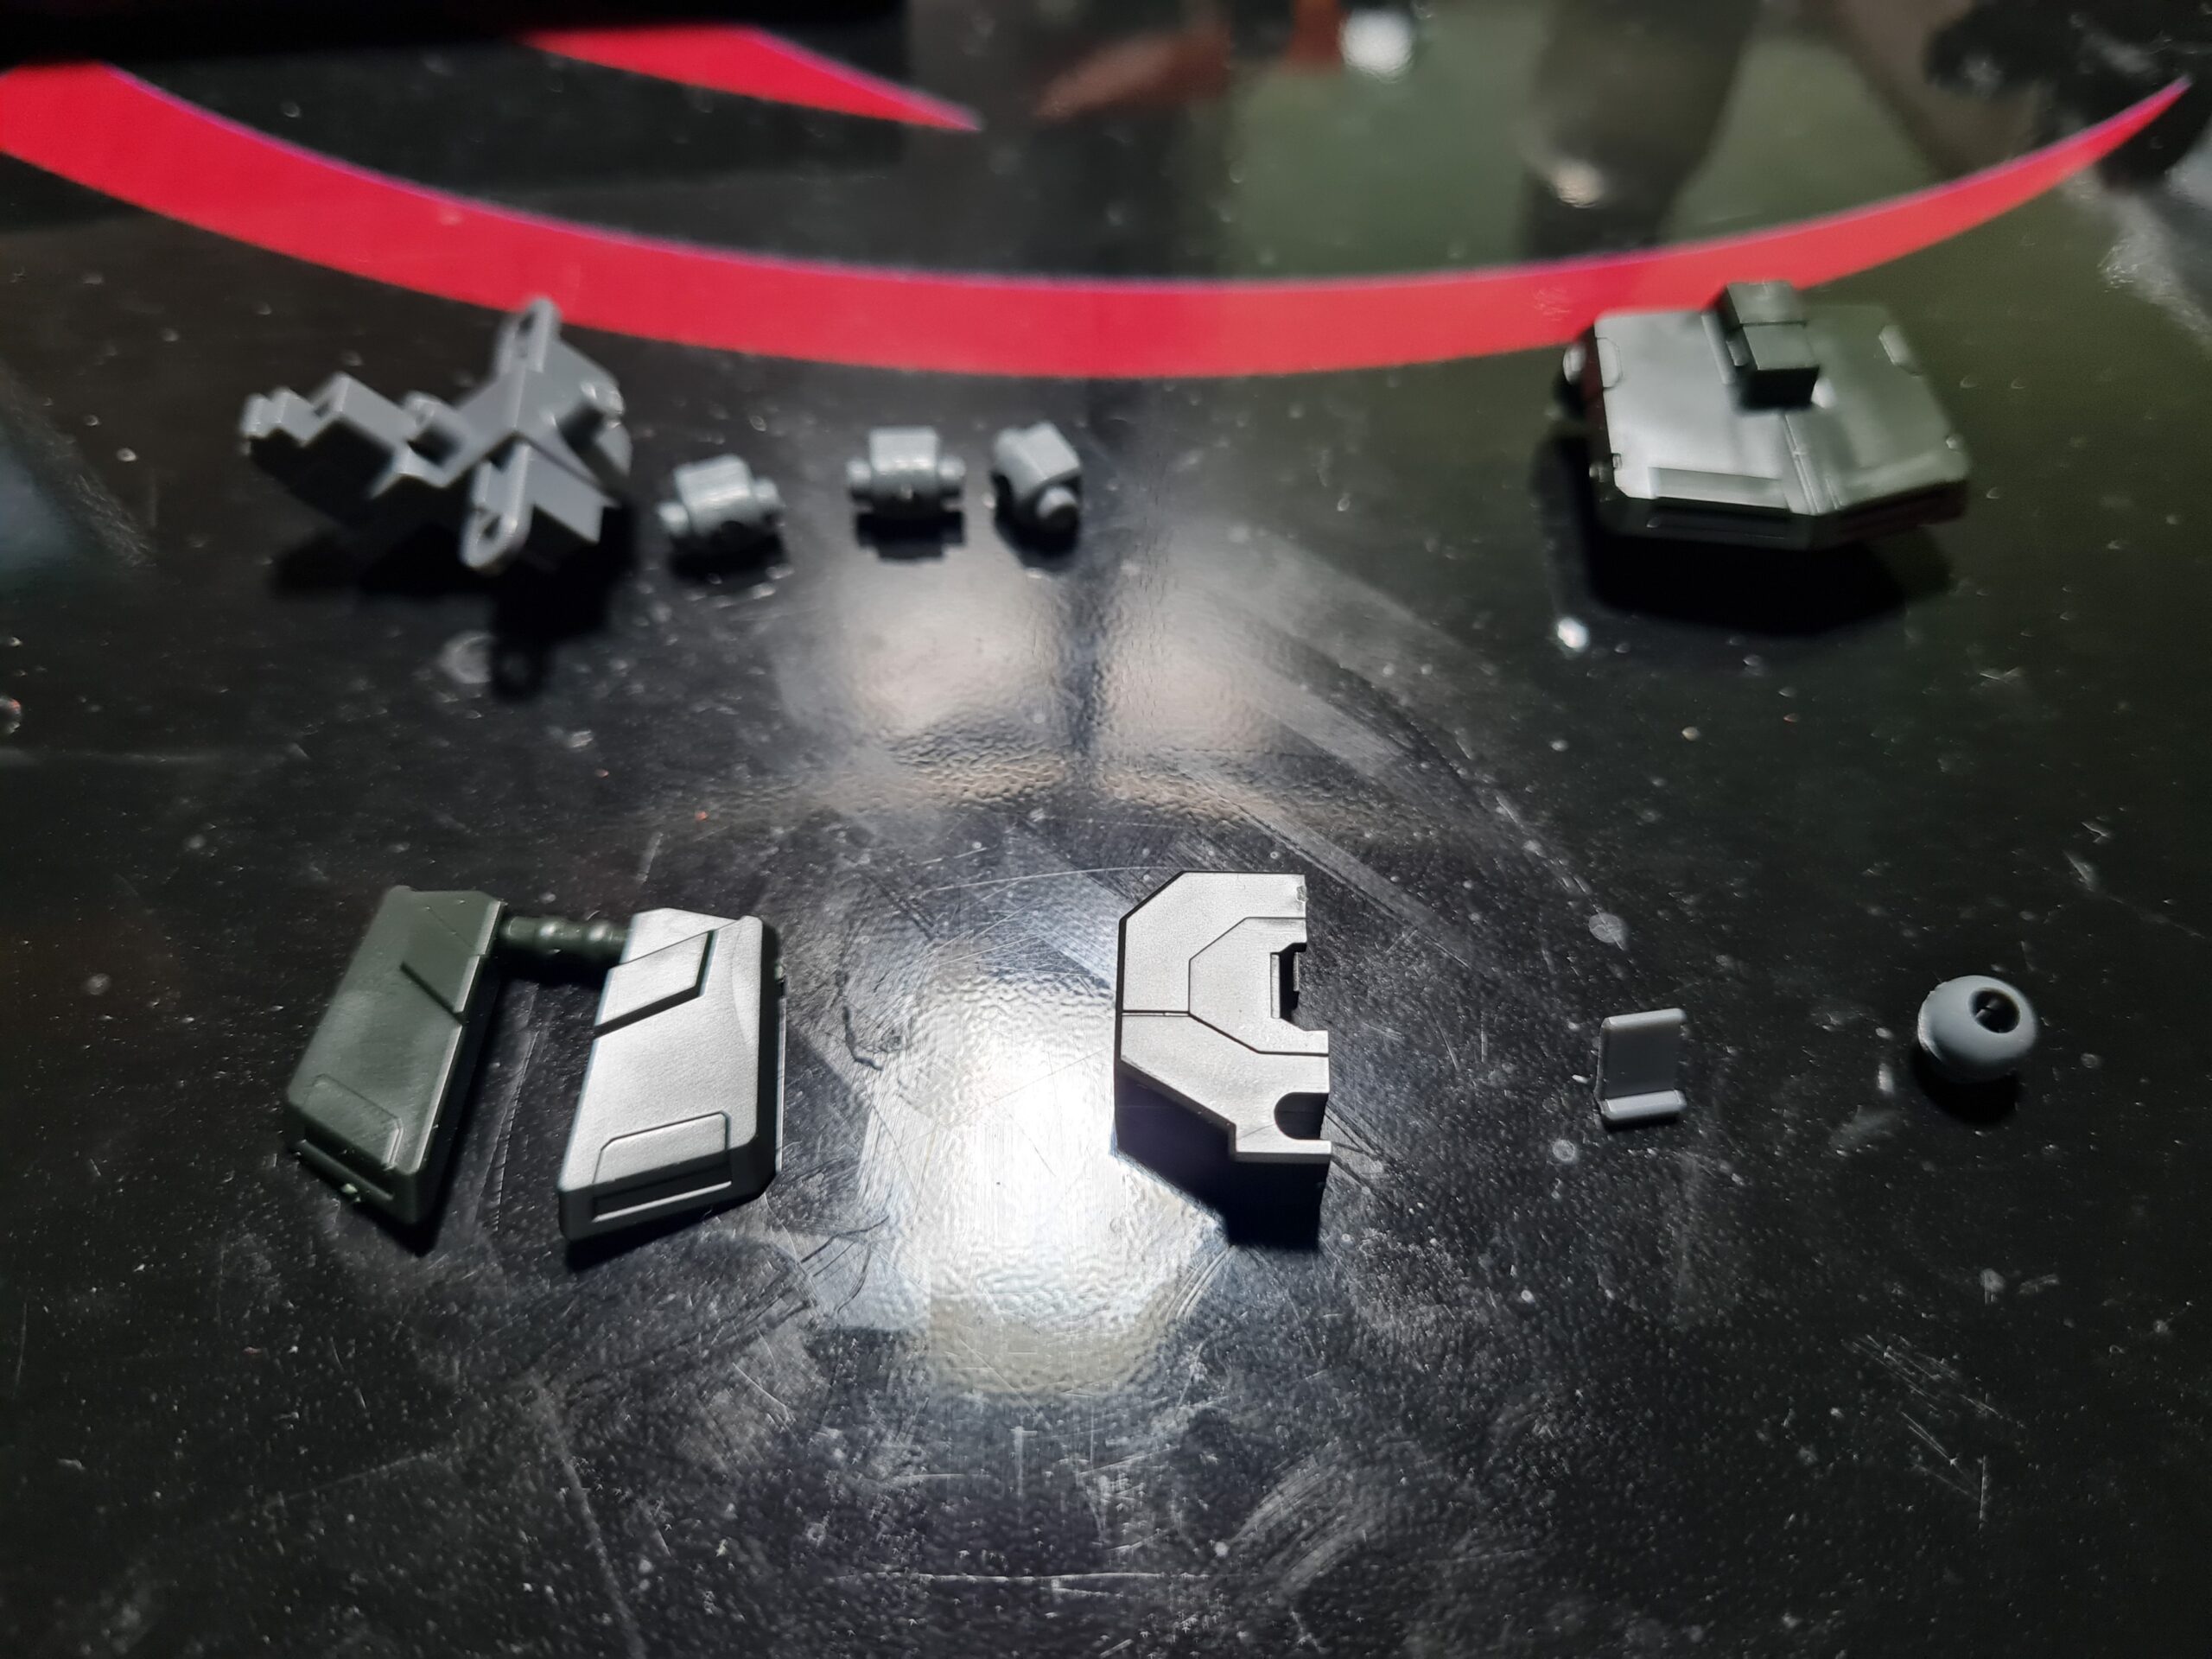
As you can see above the right arm consists of 20 parts. I found several of them to be quite small, but still easy to handle. Cutting them out, and sanding them down wasn’t a problem, and by the time I had cleaned them up with the GUNPRIMER Balancers they were as good as new. (You can see a post I did on that here.)

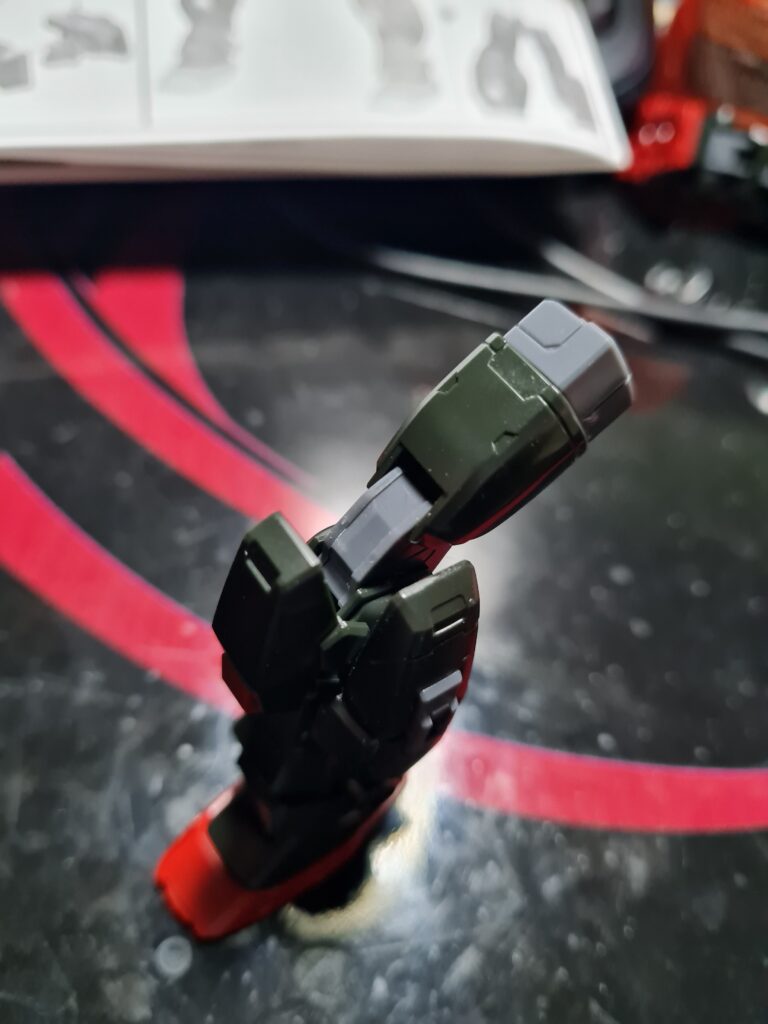
Assembled Arm

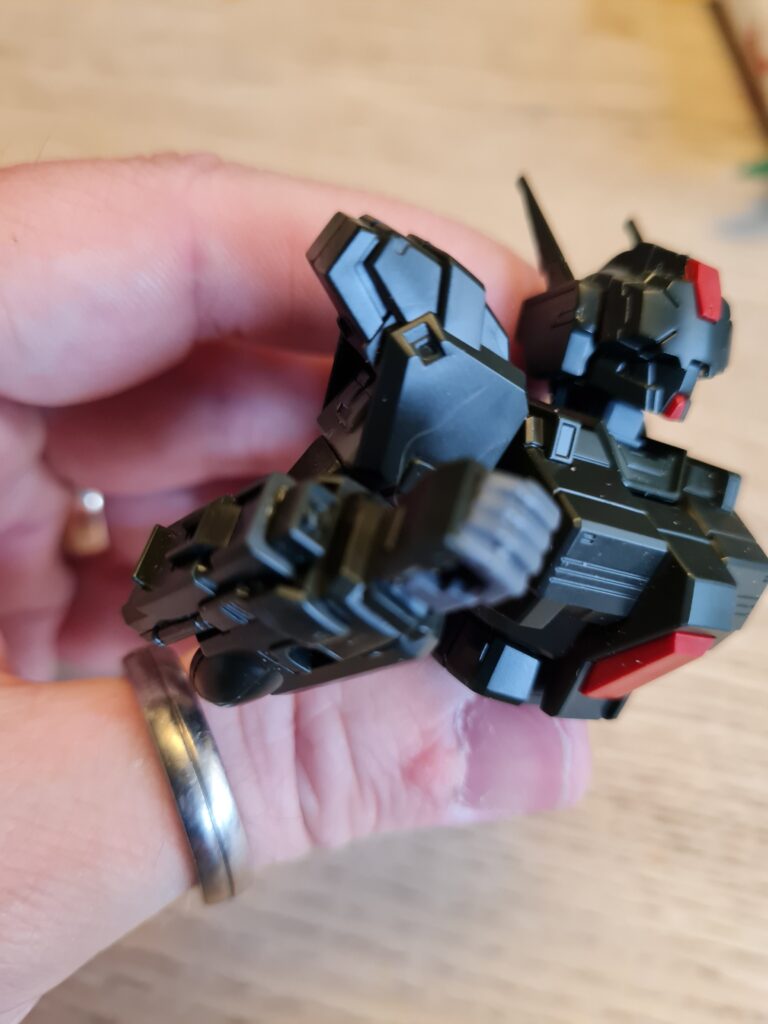
I was surprised by the level of articulation that the arm had in the elbow joint. Overall I am quite happy with how it fits, looks and moves. It is worth mentioning, as I have earlier, that multiple pieces in this build should have stickers on them. However, personally, I feel they look a little cheap. As I have an airbrush sitting at my feet, I think it would do the model more justice to add those parts via paint.

Conclusion

I have to say this is turning out to be a really enjoyable build. There is not a single part so far I have found frustrating, or awkward. I’m guessing a lot of you will already know what model it is by now! If not feel free to guess away. I will continue on with the build, as step by step I edge it towards completion!

Thank you for taking the time to read this. If you haven’t already done so please like and follow us on our social media platforms and checkout our website!

Facebook: https://www.facebook.com/profile.php?id=100086701512793
Instagram: https://www.instagram.com/modelkitsltd/
Website: https://modelkitsltd.co.uk
Posted on

RX-78-2 Revive

RX_78_2_Revive_1

Introduction

Anyone who has been around the Gundam / Gunpla world is more than likely going to have come across the RX-78-2 models. For anyone coming late to the party the RX-78-2 was the Gundam piloted by Amuro in the original series. It is the poster boy of the franchise and has had many iterations and releases.

Attainability

Arguably none as attainable as the RX-78-2 Revive. For only £12.99 (you can get it here) this HG model is both affordable and is great fun to build. Not only that but is ripe for customisation, and at that price you don’t mind experimenting!

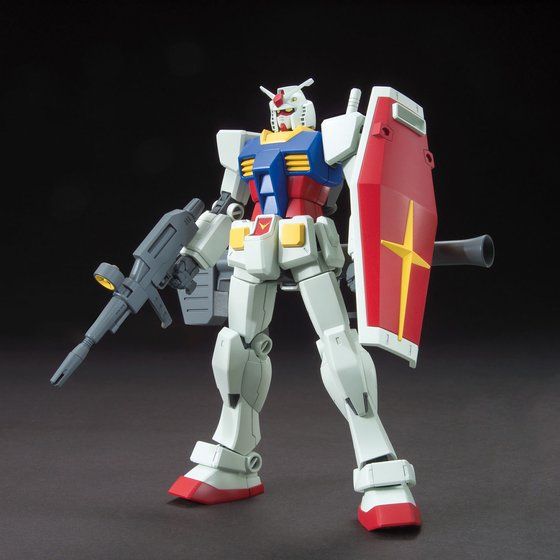
The RX-78-2 Revive looks like this:

RX_78_2_Revive_1
RX_78_2 Revive

In my case mine currently looks more like this:

As you can see I’m doing an attempt at an undercoat and paint on this. I have also wired up an LED in his helmet, and made space/holes down the inside of the suit to get the wires down to his feet. There was, I have to admit, a fair amount of butchery had to go on. However, a lot of this was a learning curve. I really want to get another once this one is done and do it totally differently.

Conclusion

If you don’t have one in your collection I really would recommend one. The Revive version is a really enjoyable build. At the end you have an iconic looking model, that has a timeless look and feel. I think when I look at this model I see the groundwork being laid for many of the suits / designs that have followed it. They may have more details, but the feel and general layout of items is often very similar.

Thank you for taking the time to read this. If you haven’t already done so please like and follow us on our social media platforms and checkout our website!

Facebook: https://www.facebook.com/profile.php?id=100086701512793
Instagram: https://www.instagram.com/modelkitsltd/
Website: https://modelkitsltd.co.uk
Posted on

New Stock Alert 12/01/2023

New Stock

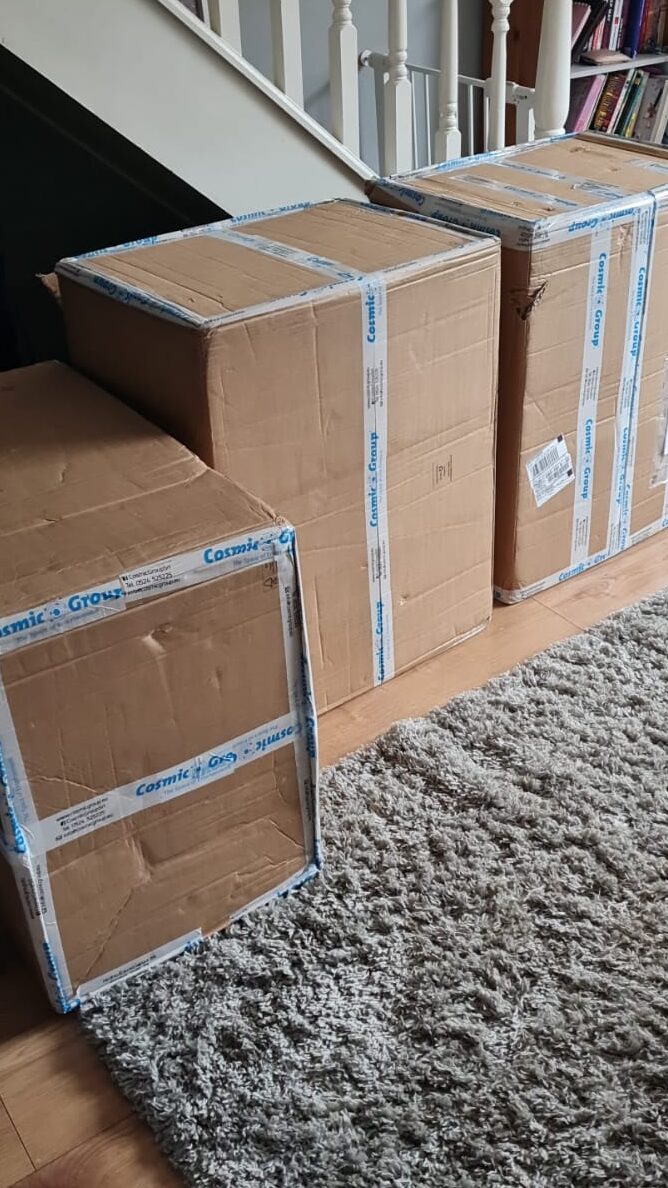
At last, after much chasing and trials and tribulations this finally happened today! New Stock Alert 12/01/2023.

New Stock
New Stock

As you can see the outer boxes look like someone decided that dragging them everywhere was the best mode of transport. However, I am happy to say, that those are packing boxes, and inside those boxes are 3 other big boxes. So, as far as I can tell so far, the inner actual GunPla boxes are ok. I will know more when I finally unpack them (Hopefully today!).

So my current plan / timeline:

Friday 13th Jan 2023 – Unpack and validate everything that I expect in the order is there. This also includes weighing and measuring the box sizes so that I can get them on the site.

Saturday 14th Jan 2023 – Make the listings public on the site.

So you are probably wondering, this is all great and everything but what has he got coming into stock?

Well amongst the items coming in are:

  • PG Gundam Unicorn RX-0 1/60
  • MG 00 Raiser 1/100
  • RG Gundam God
  • RG Z’GOK Char Custom 1/144
  • HGCE Windam
  • HG Gundam Heavyarms

There is also plenty of other stuff coming in but I wouldn’t want to spoil it for you! Head across to https://modelkitsltd.co.uk/shop and have a look what else has come in!

Thank you for taking the time to read this. If you haven’t already done so please like and follow us on our social media platforms and checkout our website!

Facebook: https://www.facebook.com/profile.php?id=100086701512793
Instagram: https://www.instagram.com/modelkitsltd/
Website: https://modelkitsltd.co.uk
#gundam #gundammodel #model #kit #gunpla

Posted on

HG Gunpla Arms

Labelled Arm Parts

Introduction

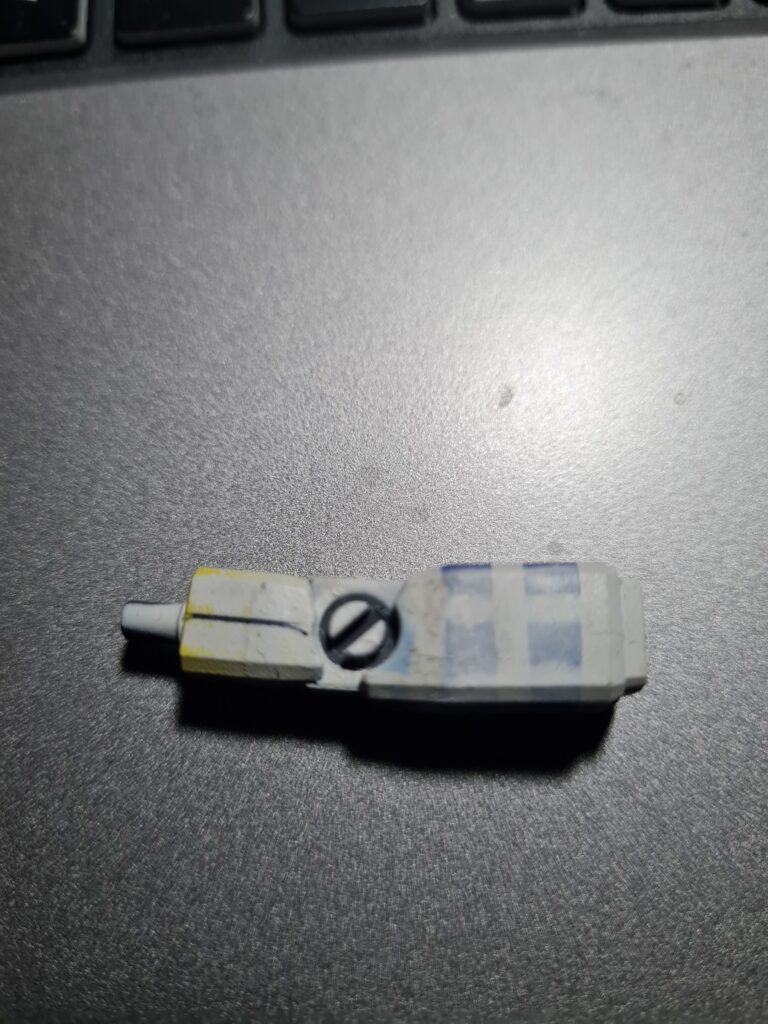
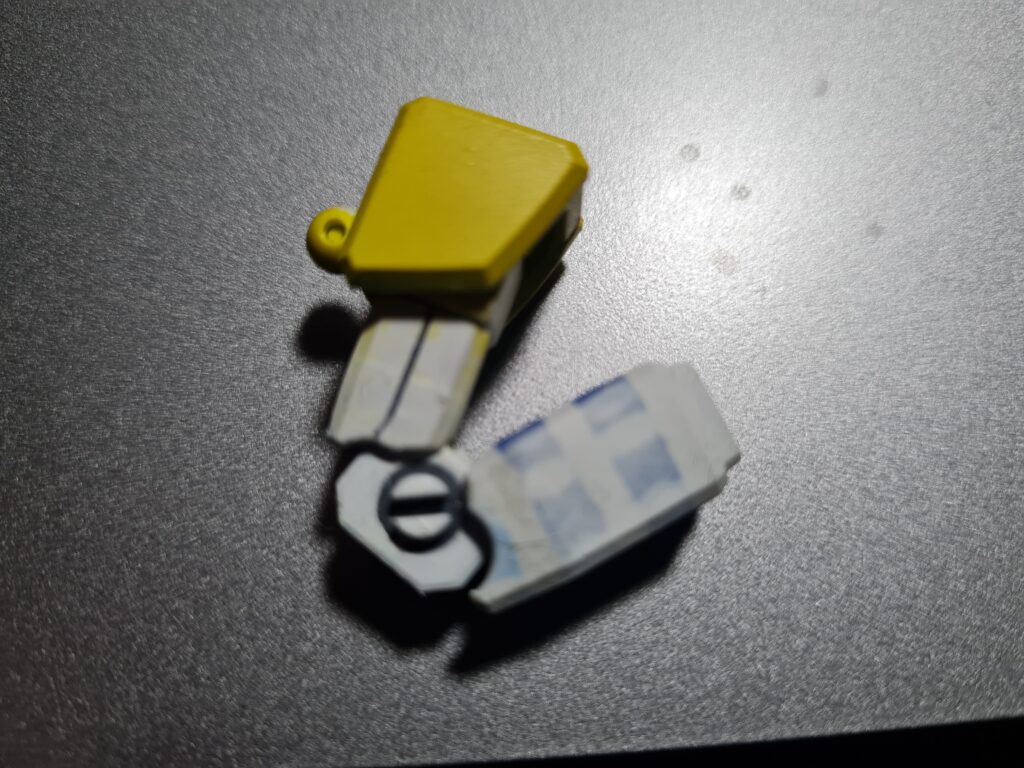
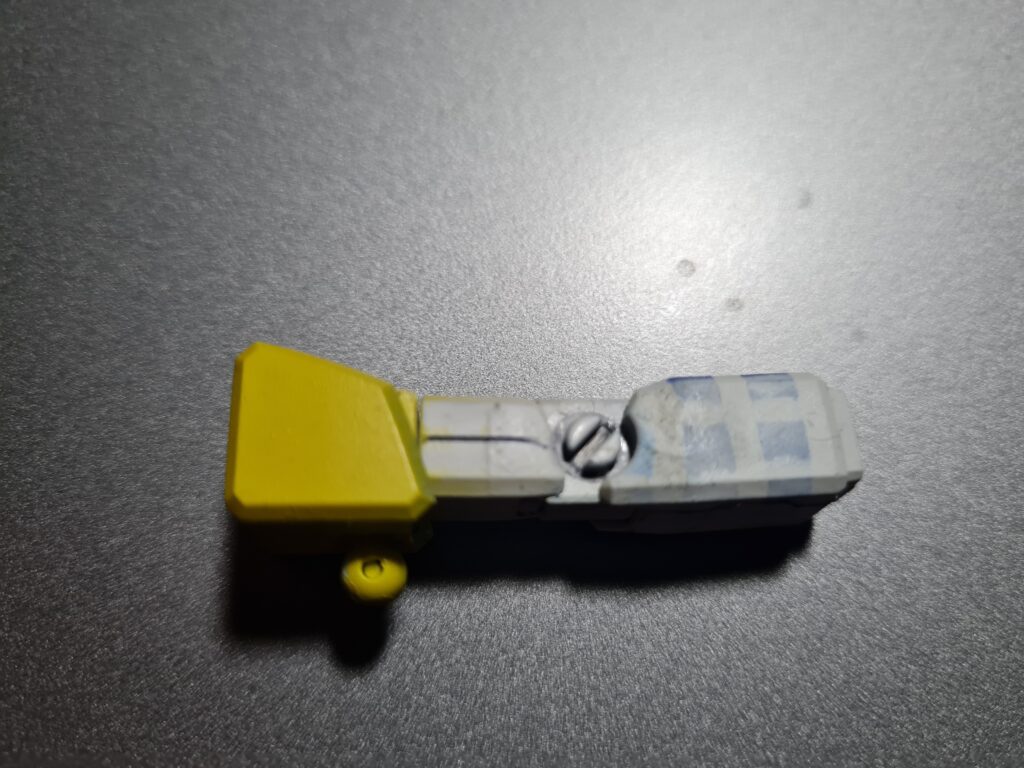
In this post I want to highlight the lovely technicalities that Bandai have built into the models. This post specifically I want to focus on looking at the HG GunPla arms … or more specifically my RX-78-2 Revive arm.

Before I go any further I must, I feel, apologise for the state of the arm. I have been doing a lot of testing different things with it. It has been painted, cleaned painted and generally messed with. It looks currently in a slightly sorry state. I will, soon I hope, restore it to a much better condition. When I get chance I will show it off in its restored glory!

The Arm Basics

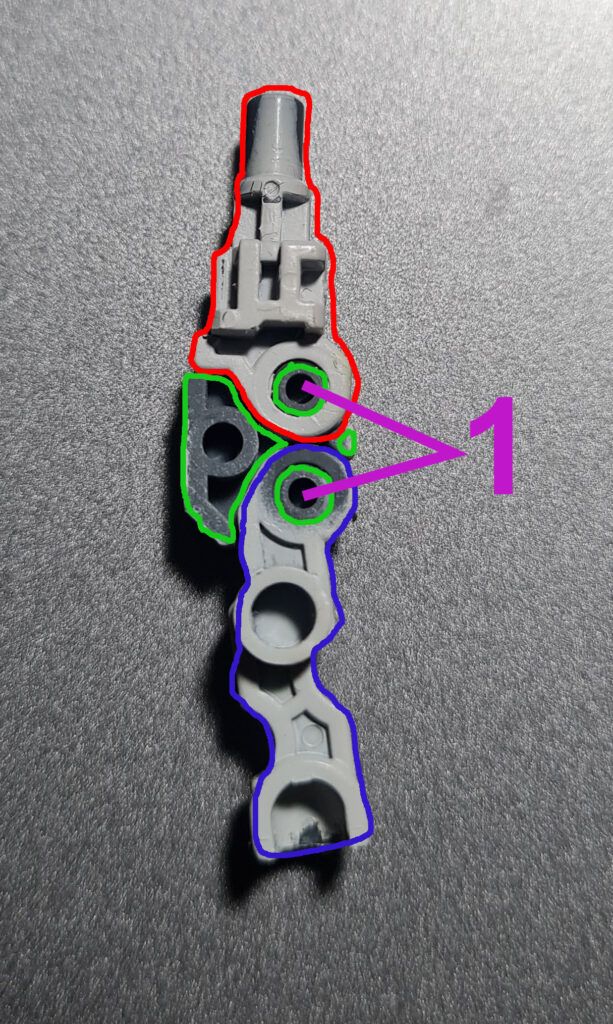
So this model, and a few others I have built, follow a similar pattern for the arms. This model has a lower section which would serve as the ulna and radius. Then a top section that would be the humerus. The ulna and radius part has two parts clip over it, with the humerus having a piece slide down over it.

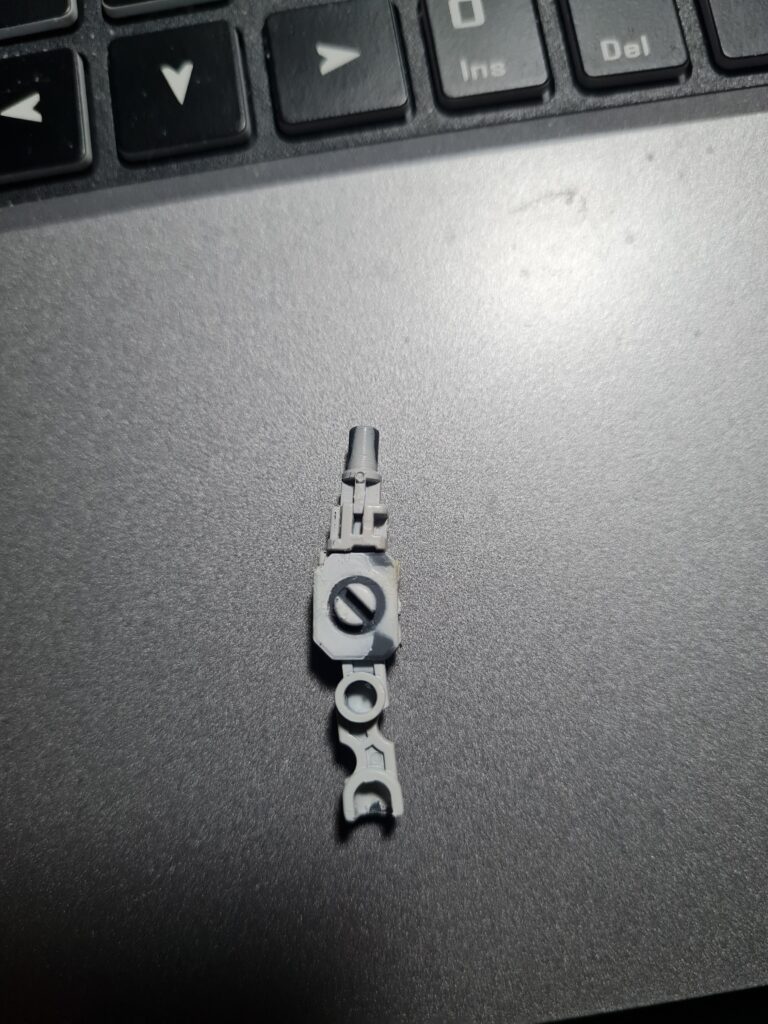
In the images above the parts have been colour coded. Firstly the red highlighted part is the humerus. Next is the blue highlighted part which acts as the ulna and radius. Finally is the green highlighted part which is the plate which holds them together. You can see in the next picture the top plate of that is in place holding the main “bones” of the arm together. In the first image the parts labelled 1 shows where the top and bottom part hook over the posts allowing them to pivot.

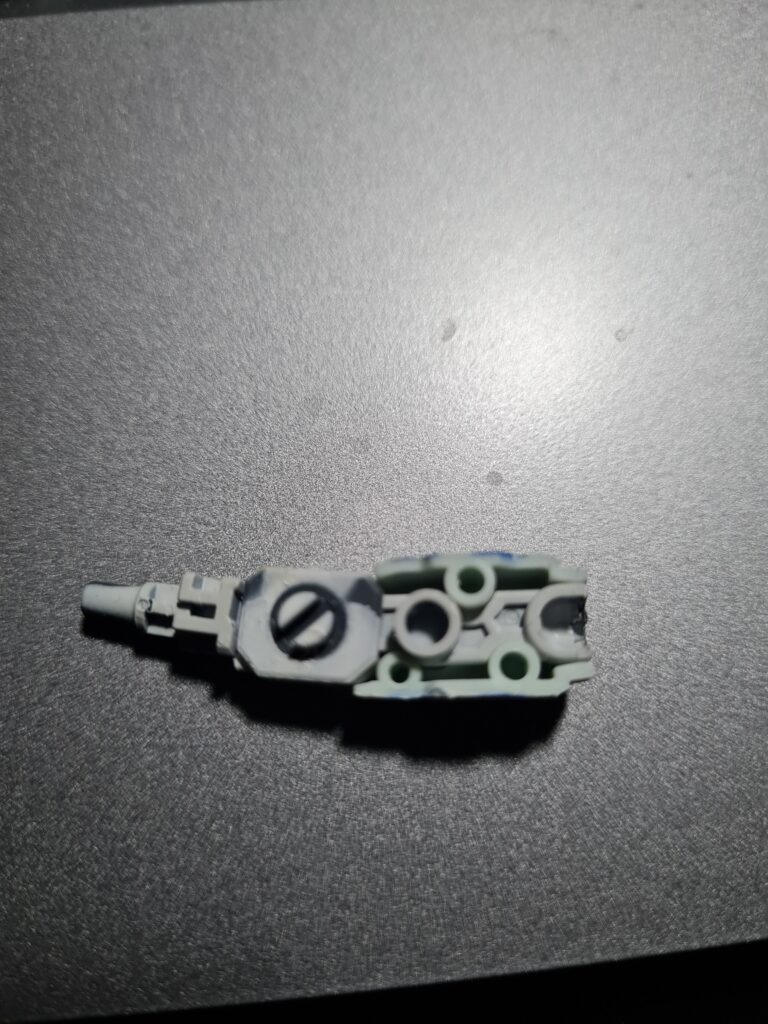
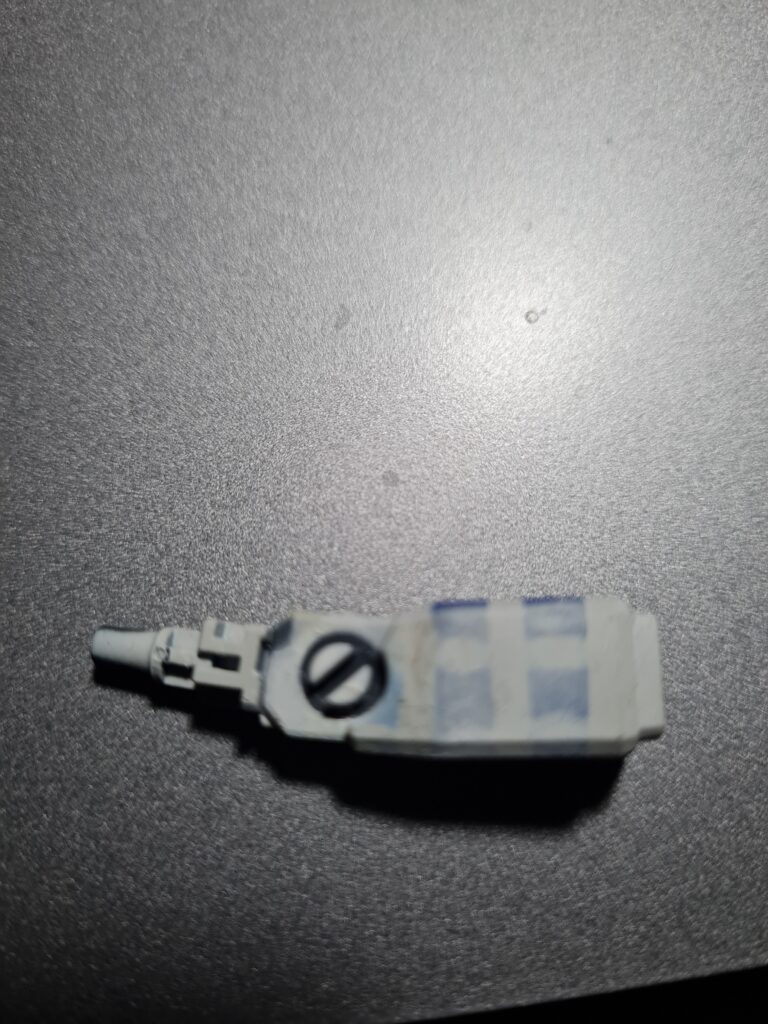
The following images show the arm being built up, and the level of movement it has once put together.

What do I like?

This design is both robust and flexible. Once put together it allows for a great range of movement bending the arm and thus allowing me to put the model into far more poses. The pieces can break (I did it on the other arm) but that was user headspace error, rather than the parts. There is a load of detail on the parts, but a lot of those details are also functional. It looks like there are grooves and sections, but a lot of them, as well as looking nice, aid in guiding, and holding, the pieces in the right places. The final thing I wanted to mention is the high quality / precision of the pieces. They fit together snugly, helping to hold everything where it should be, and provide a level of stability that looser pieces just couldn’t. All of these small details add up to make the arm a fantastic piece. Both from an engineered point of view, but also from a pure aesthetic point of view.

Conclusion

I am a massive fan of the thought and design that has gone into the HG Gunpla arms. Ultimately the models really shine because of the attention to detail.

Thank you for taking the time to read this. If you haven’t already done so please like and follow us on our social media platforms and checkout our website!

Facebook: https://www.facebook.com/profile.php?id=100086701512793
Instagram: https://www.instagram.com/modelkitsltd/
Website: https://modelkitsltd.co.uk
#gundam #gundammodel #model #kit #gunpla