Introduction
Today I am going to strip down a MG Heavyarms Foot and build it back up. On the whole this isn’t a difficult process, but for anyone who hasn’t built one and curious, here it goes!
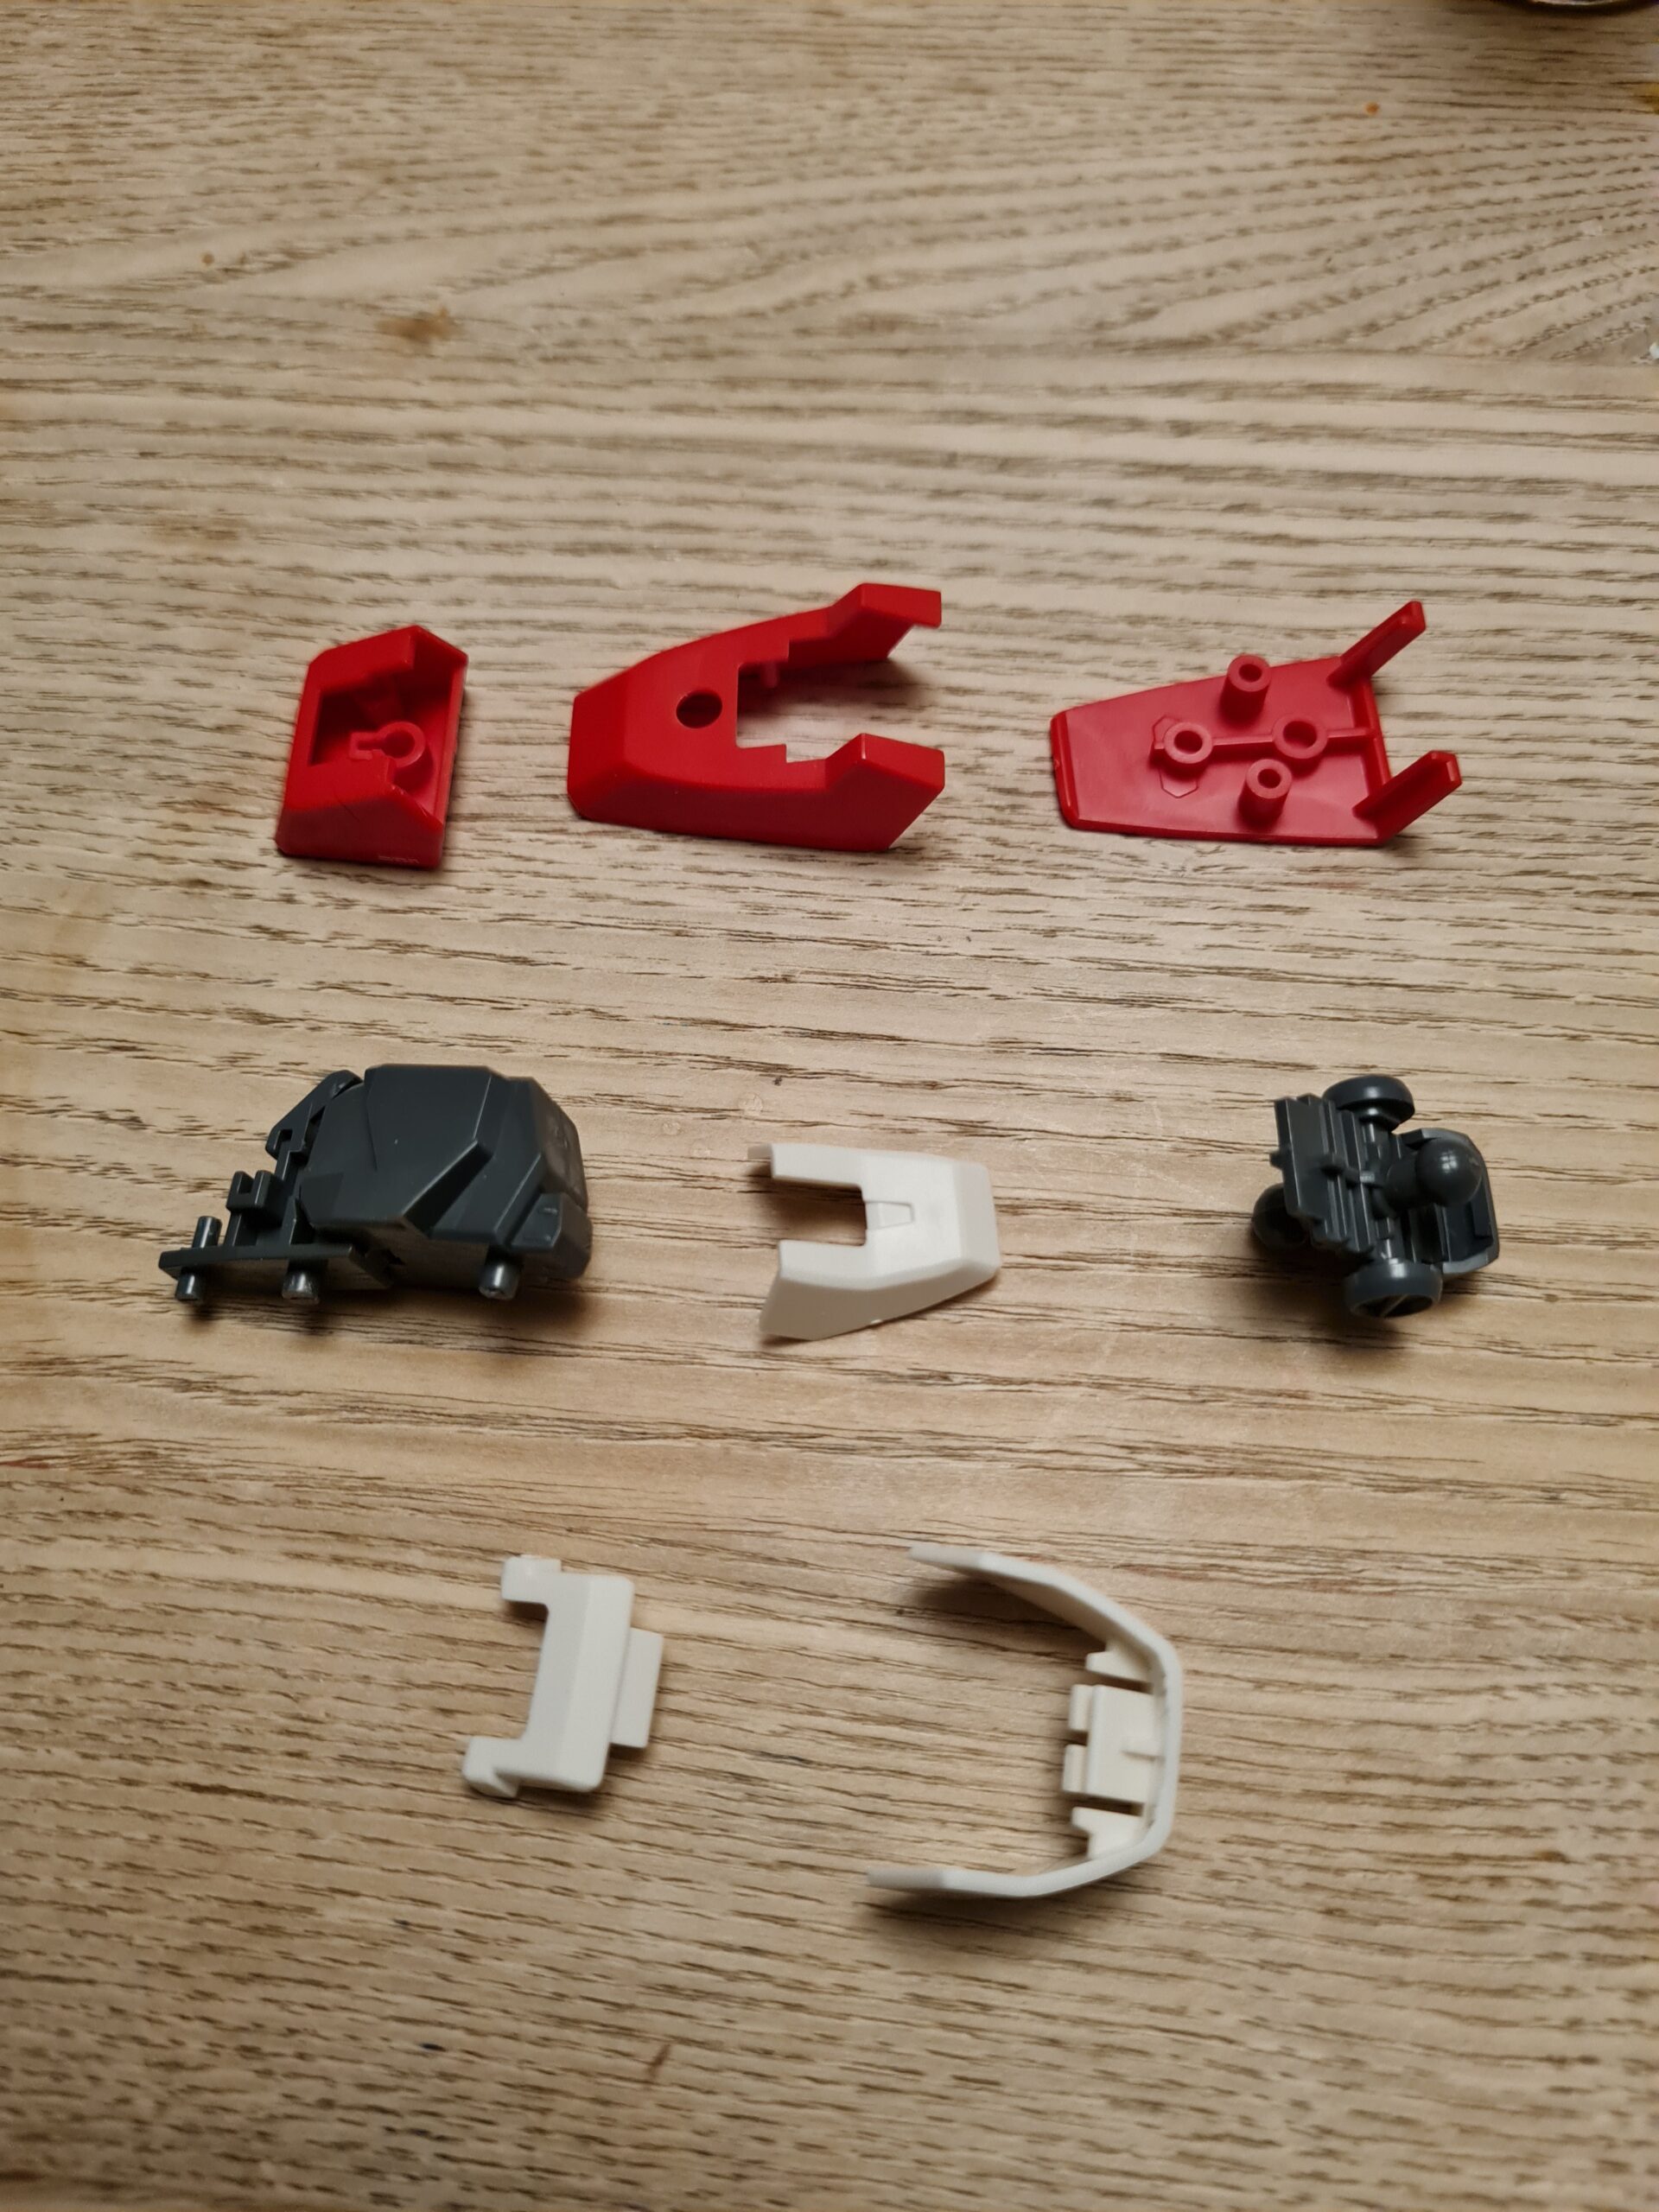
The Parts
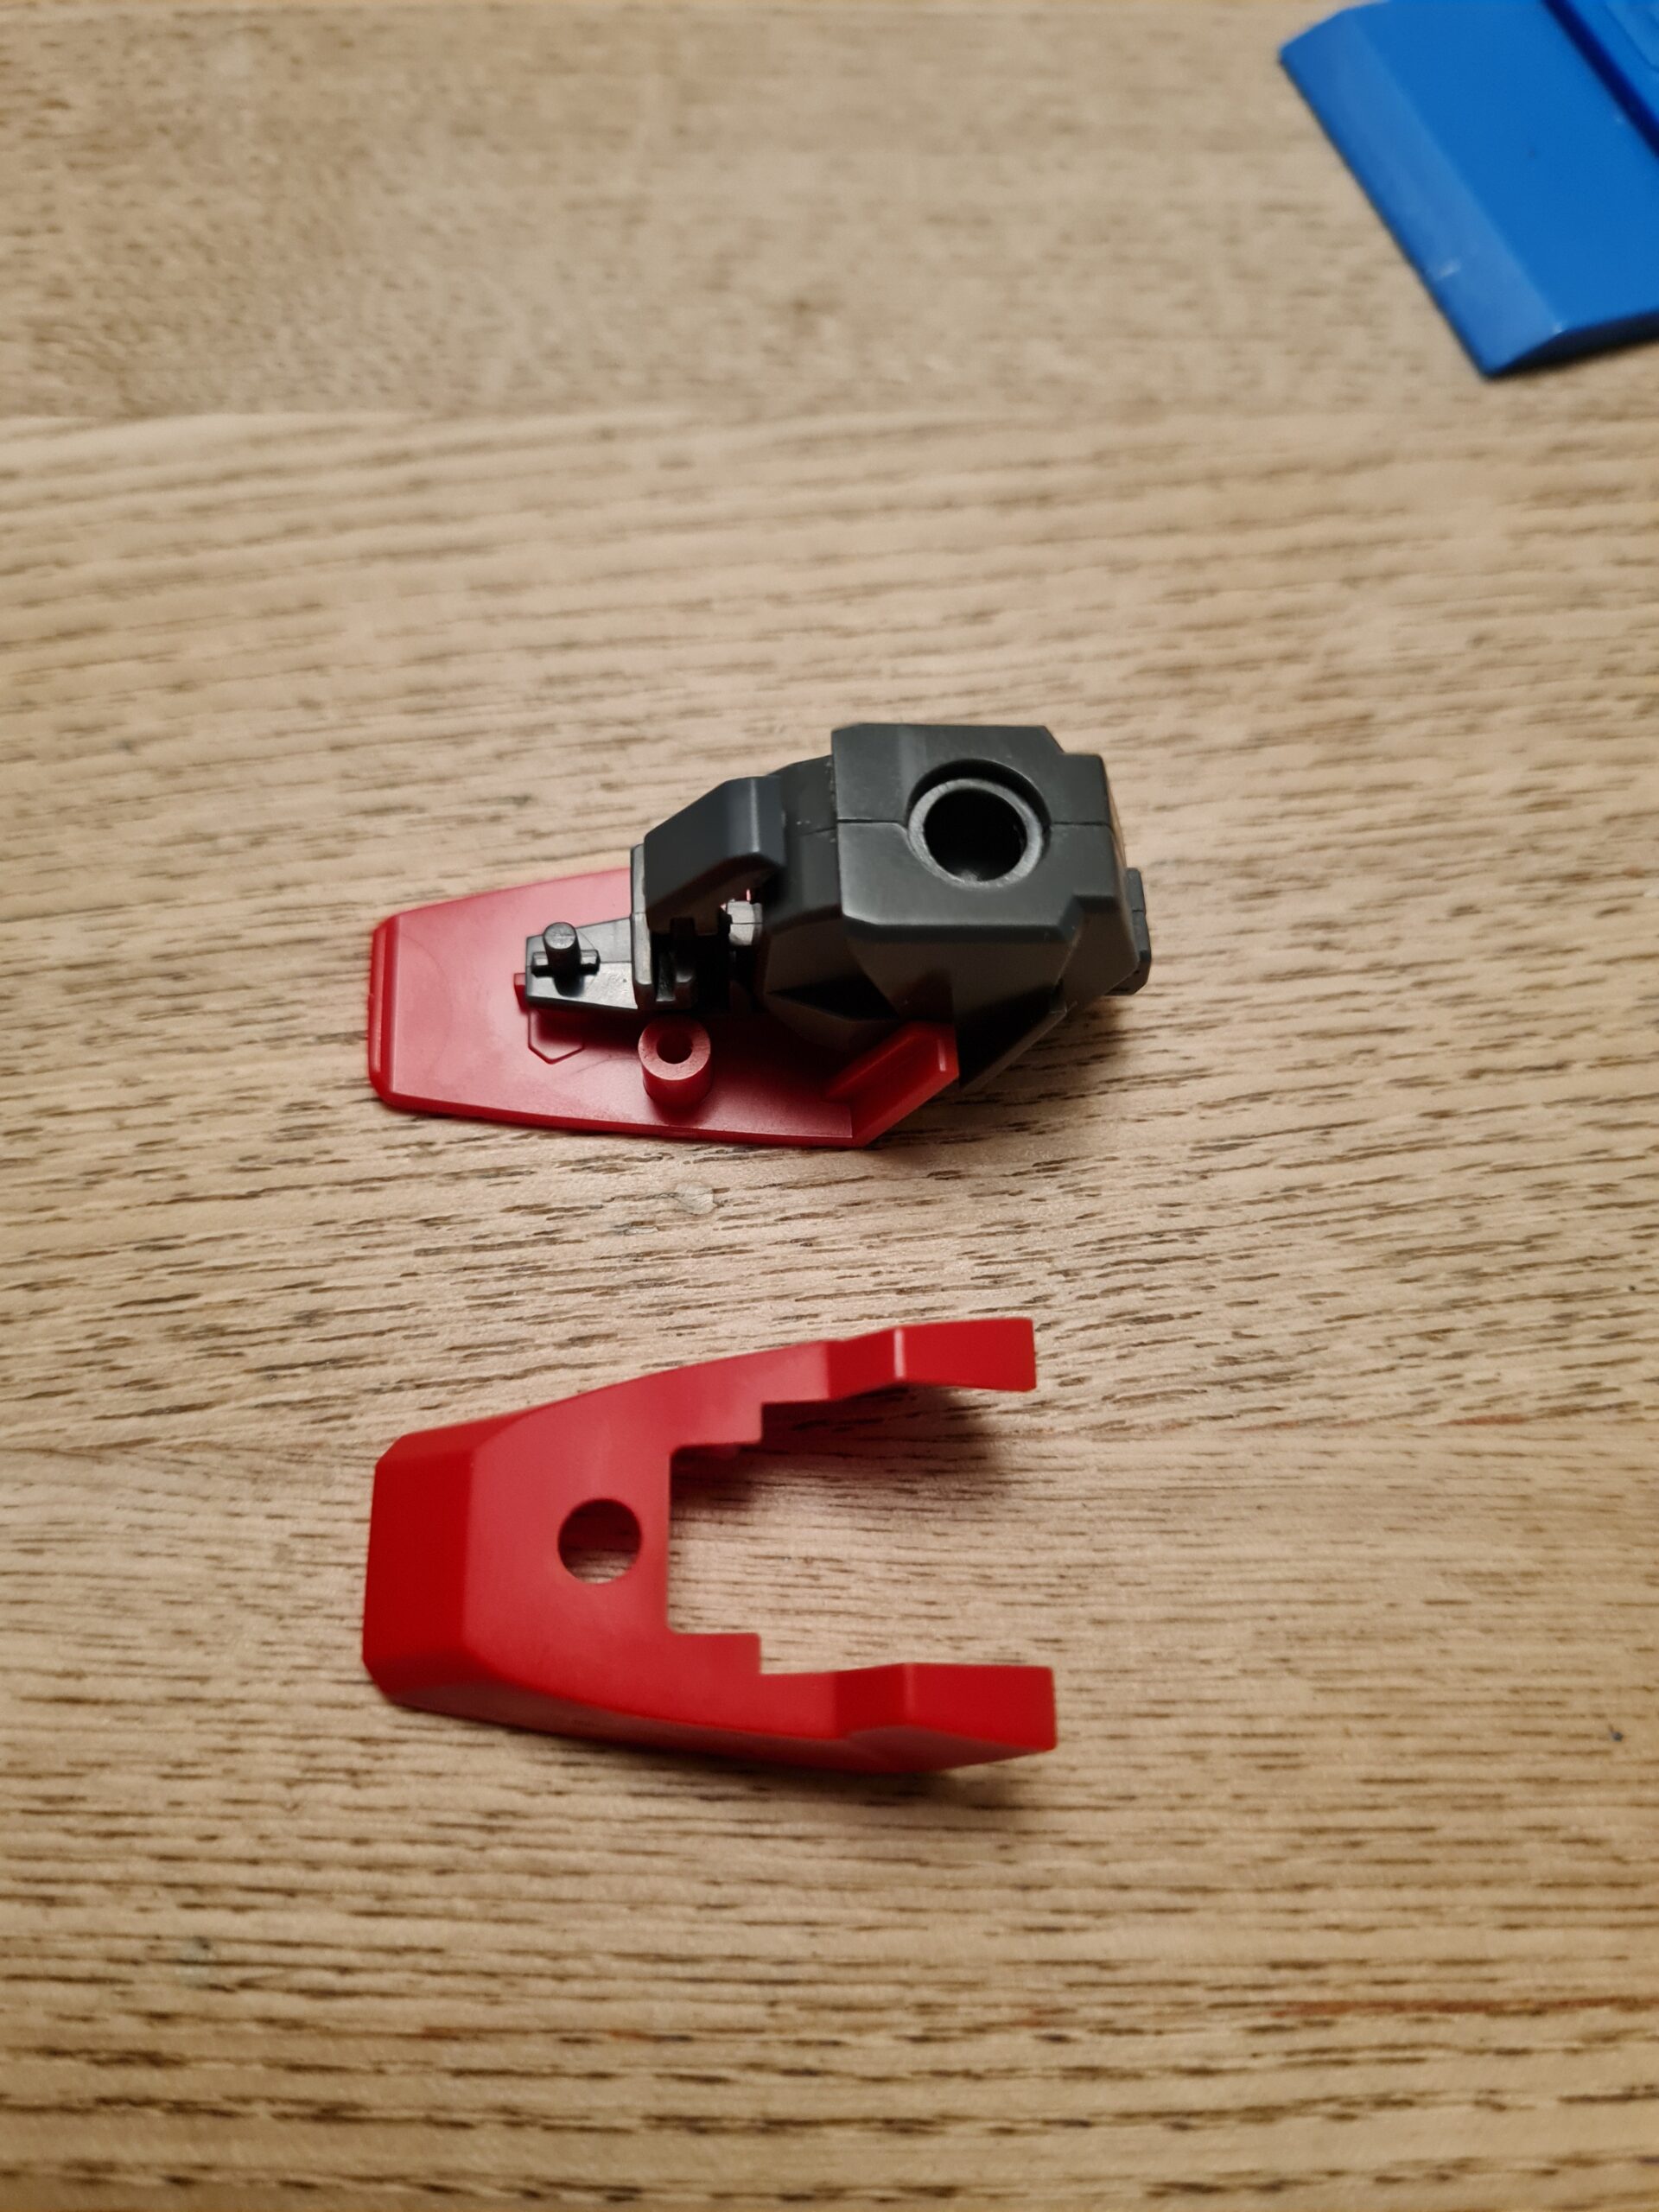
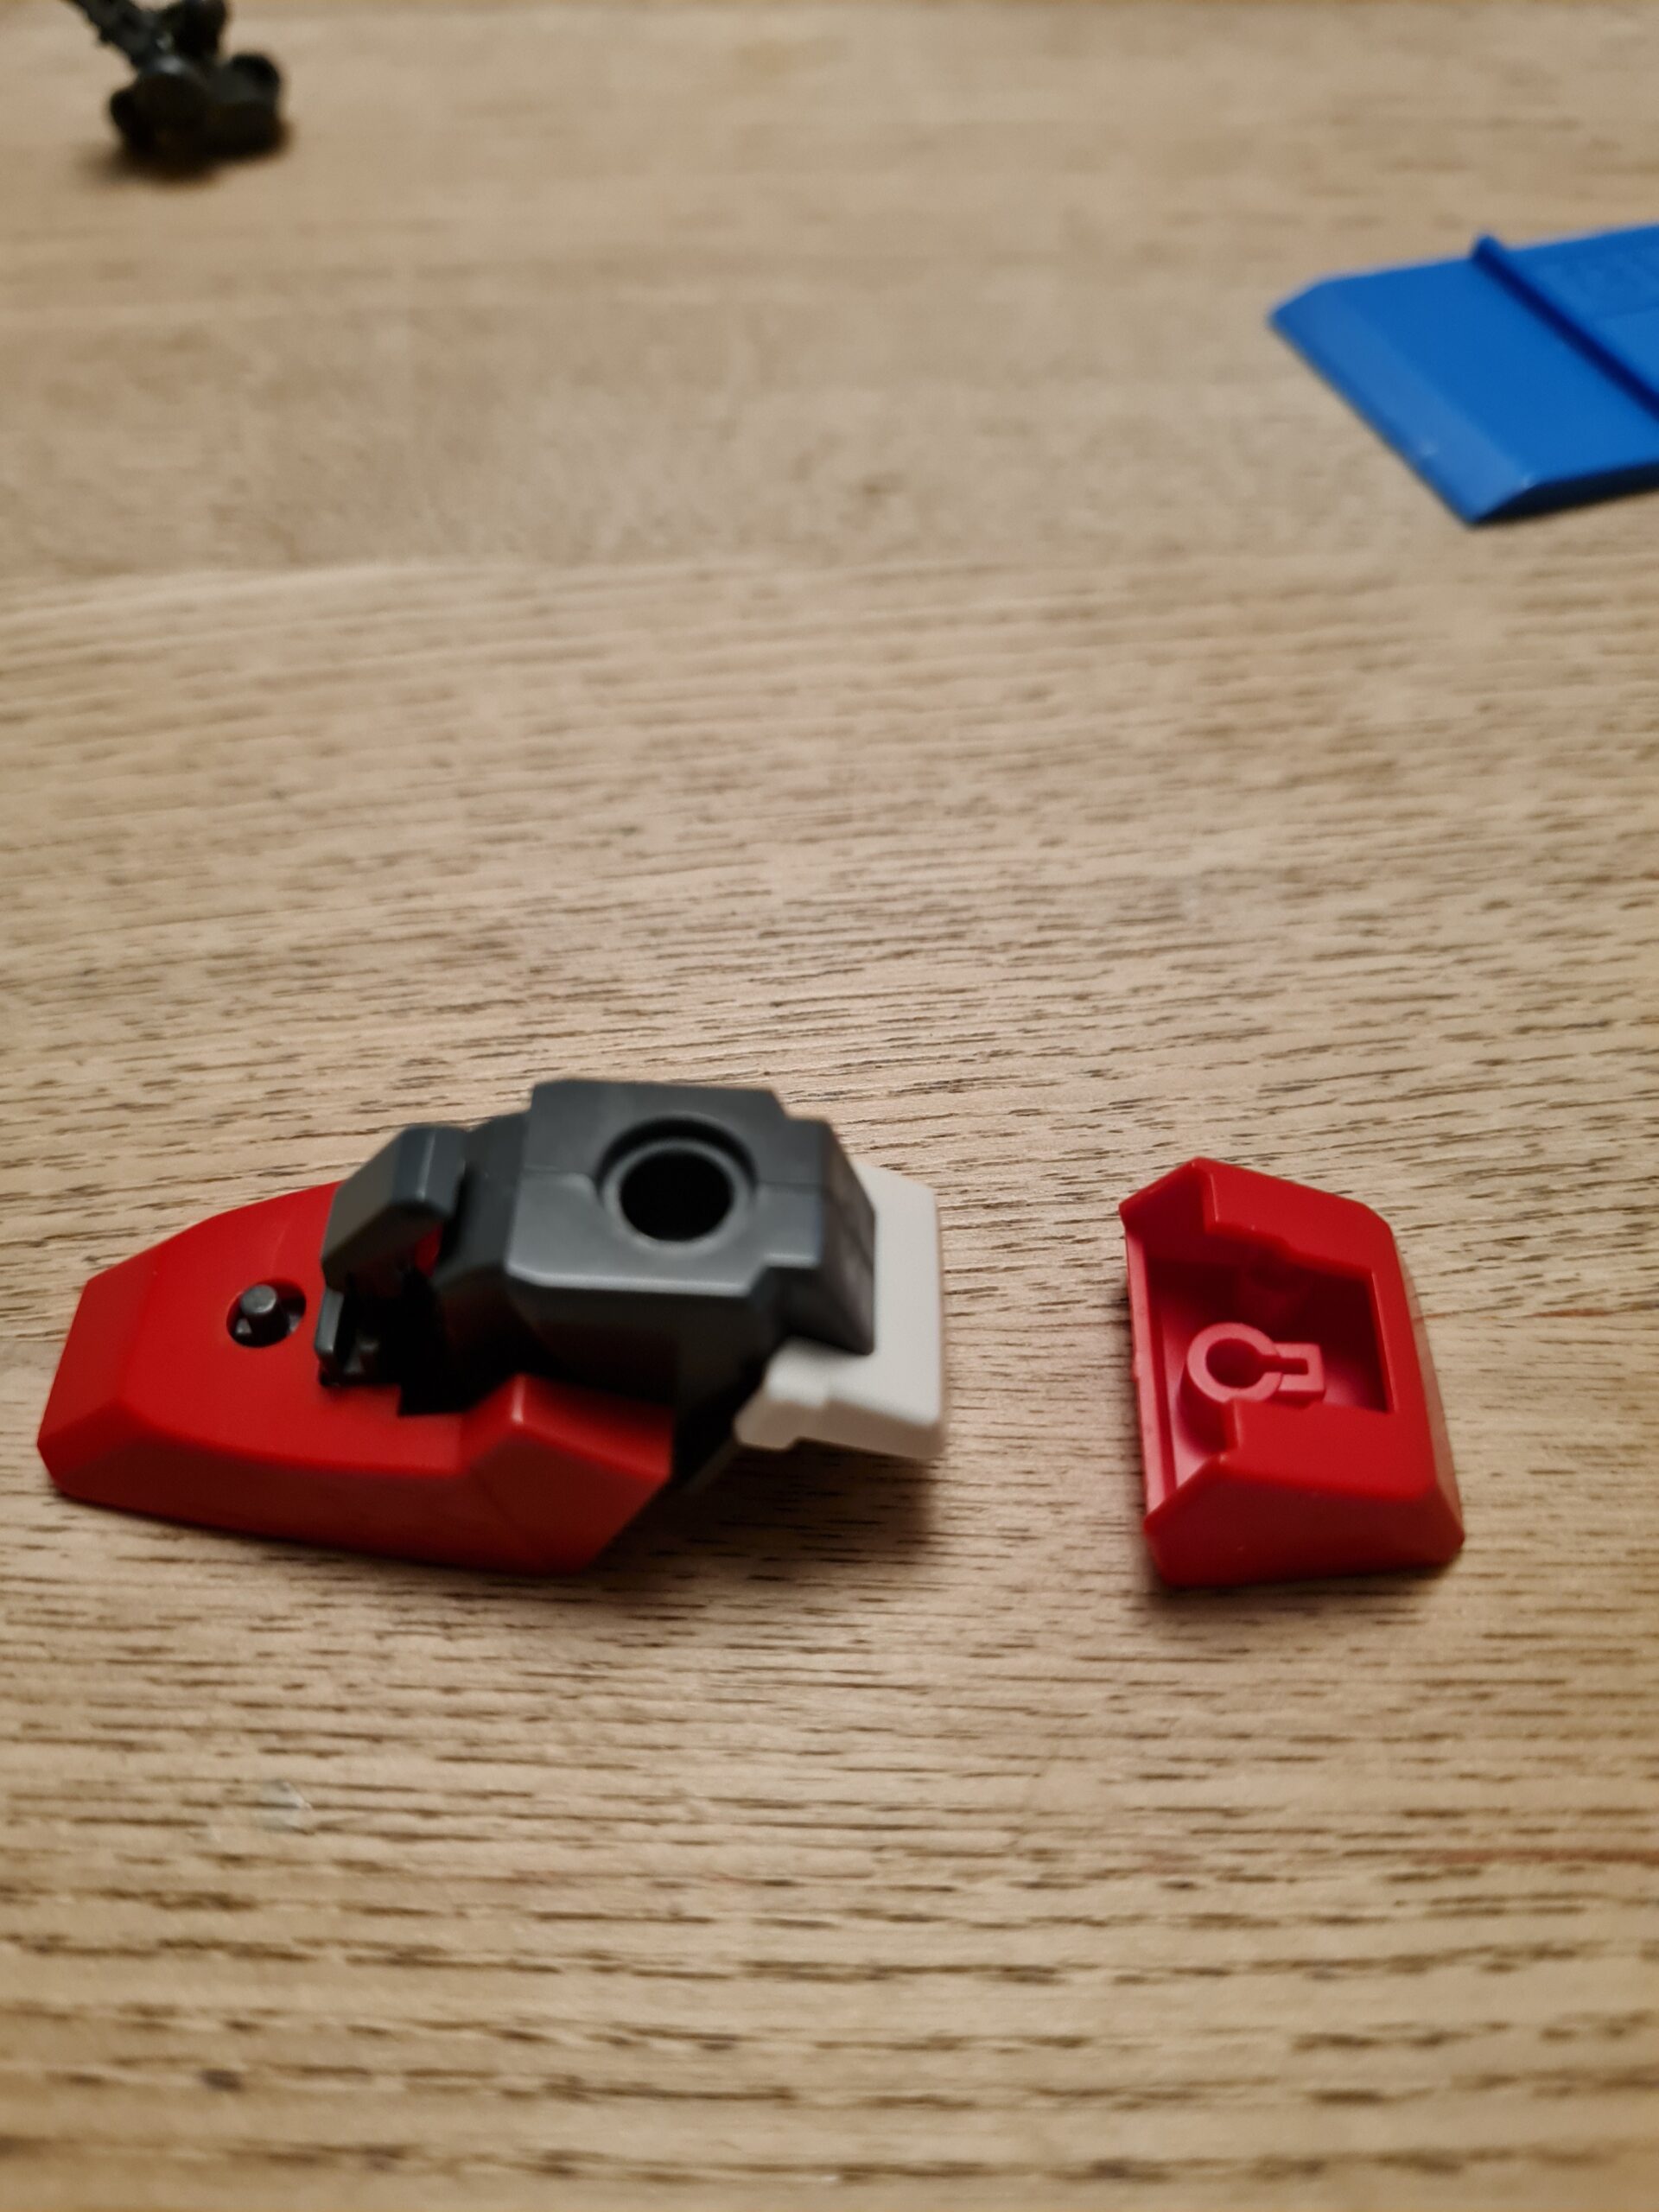
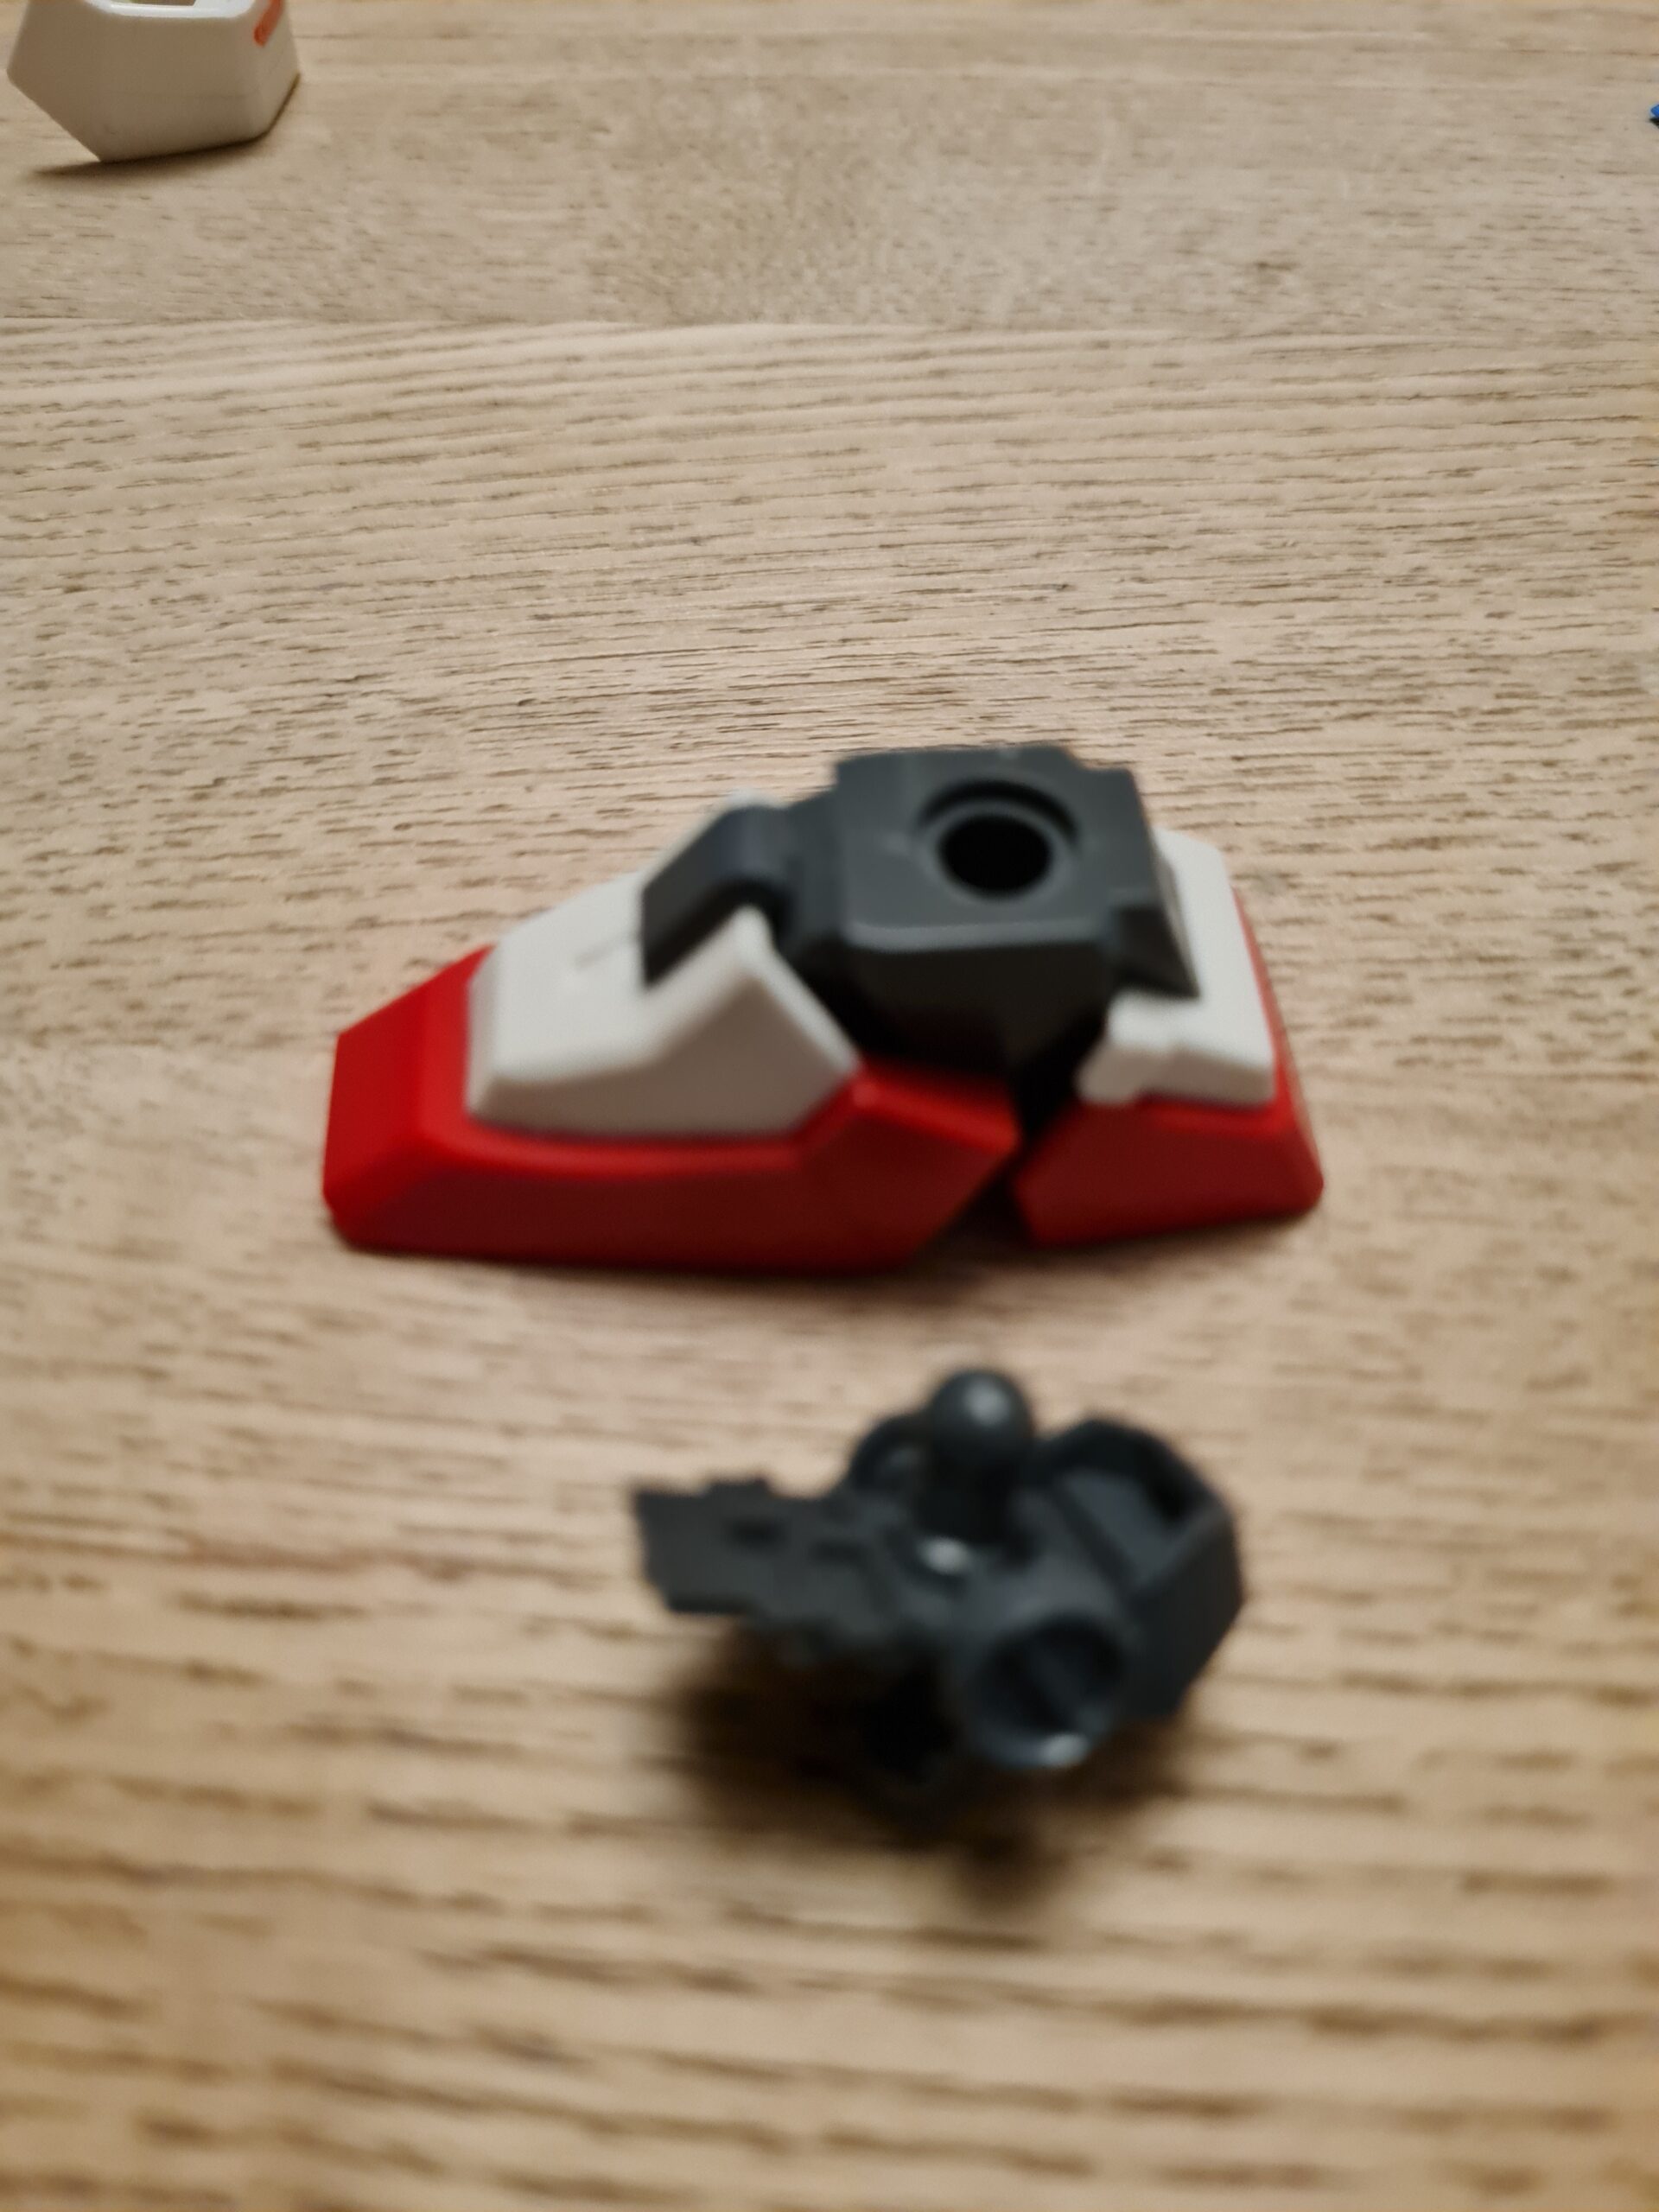
With a little help from a parts separator I split apart the pieces. As you can see the MH Heavyarms foot consists of 8 separate parts.
First Step
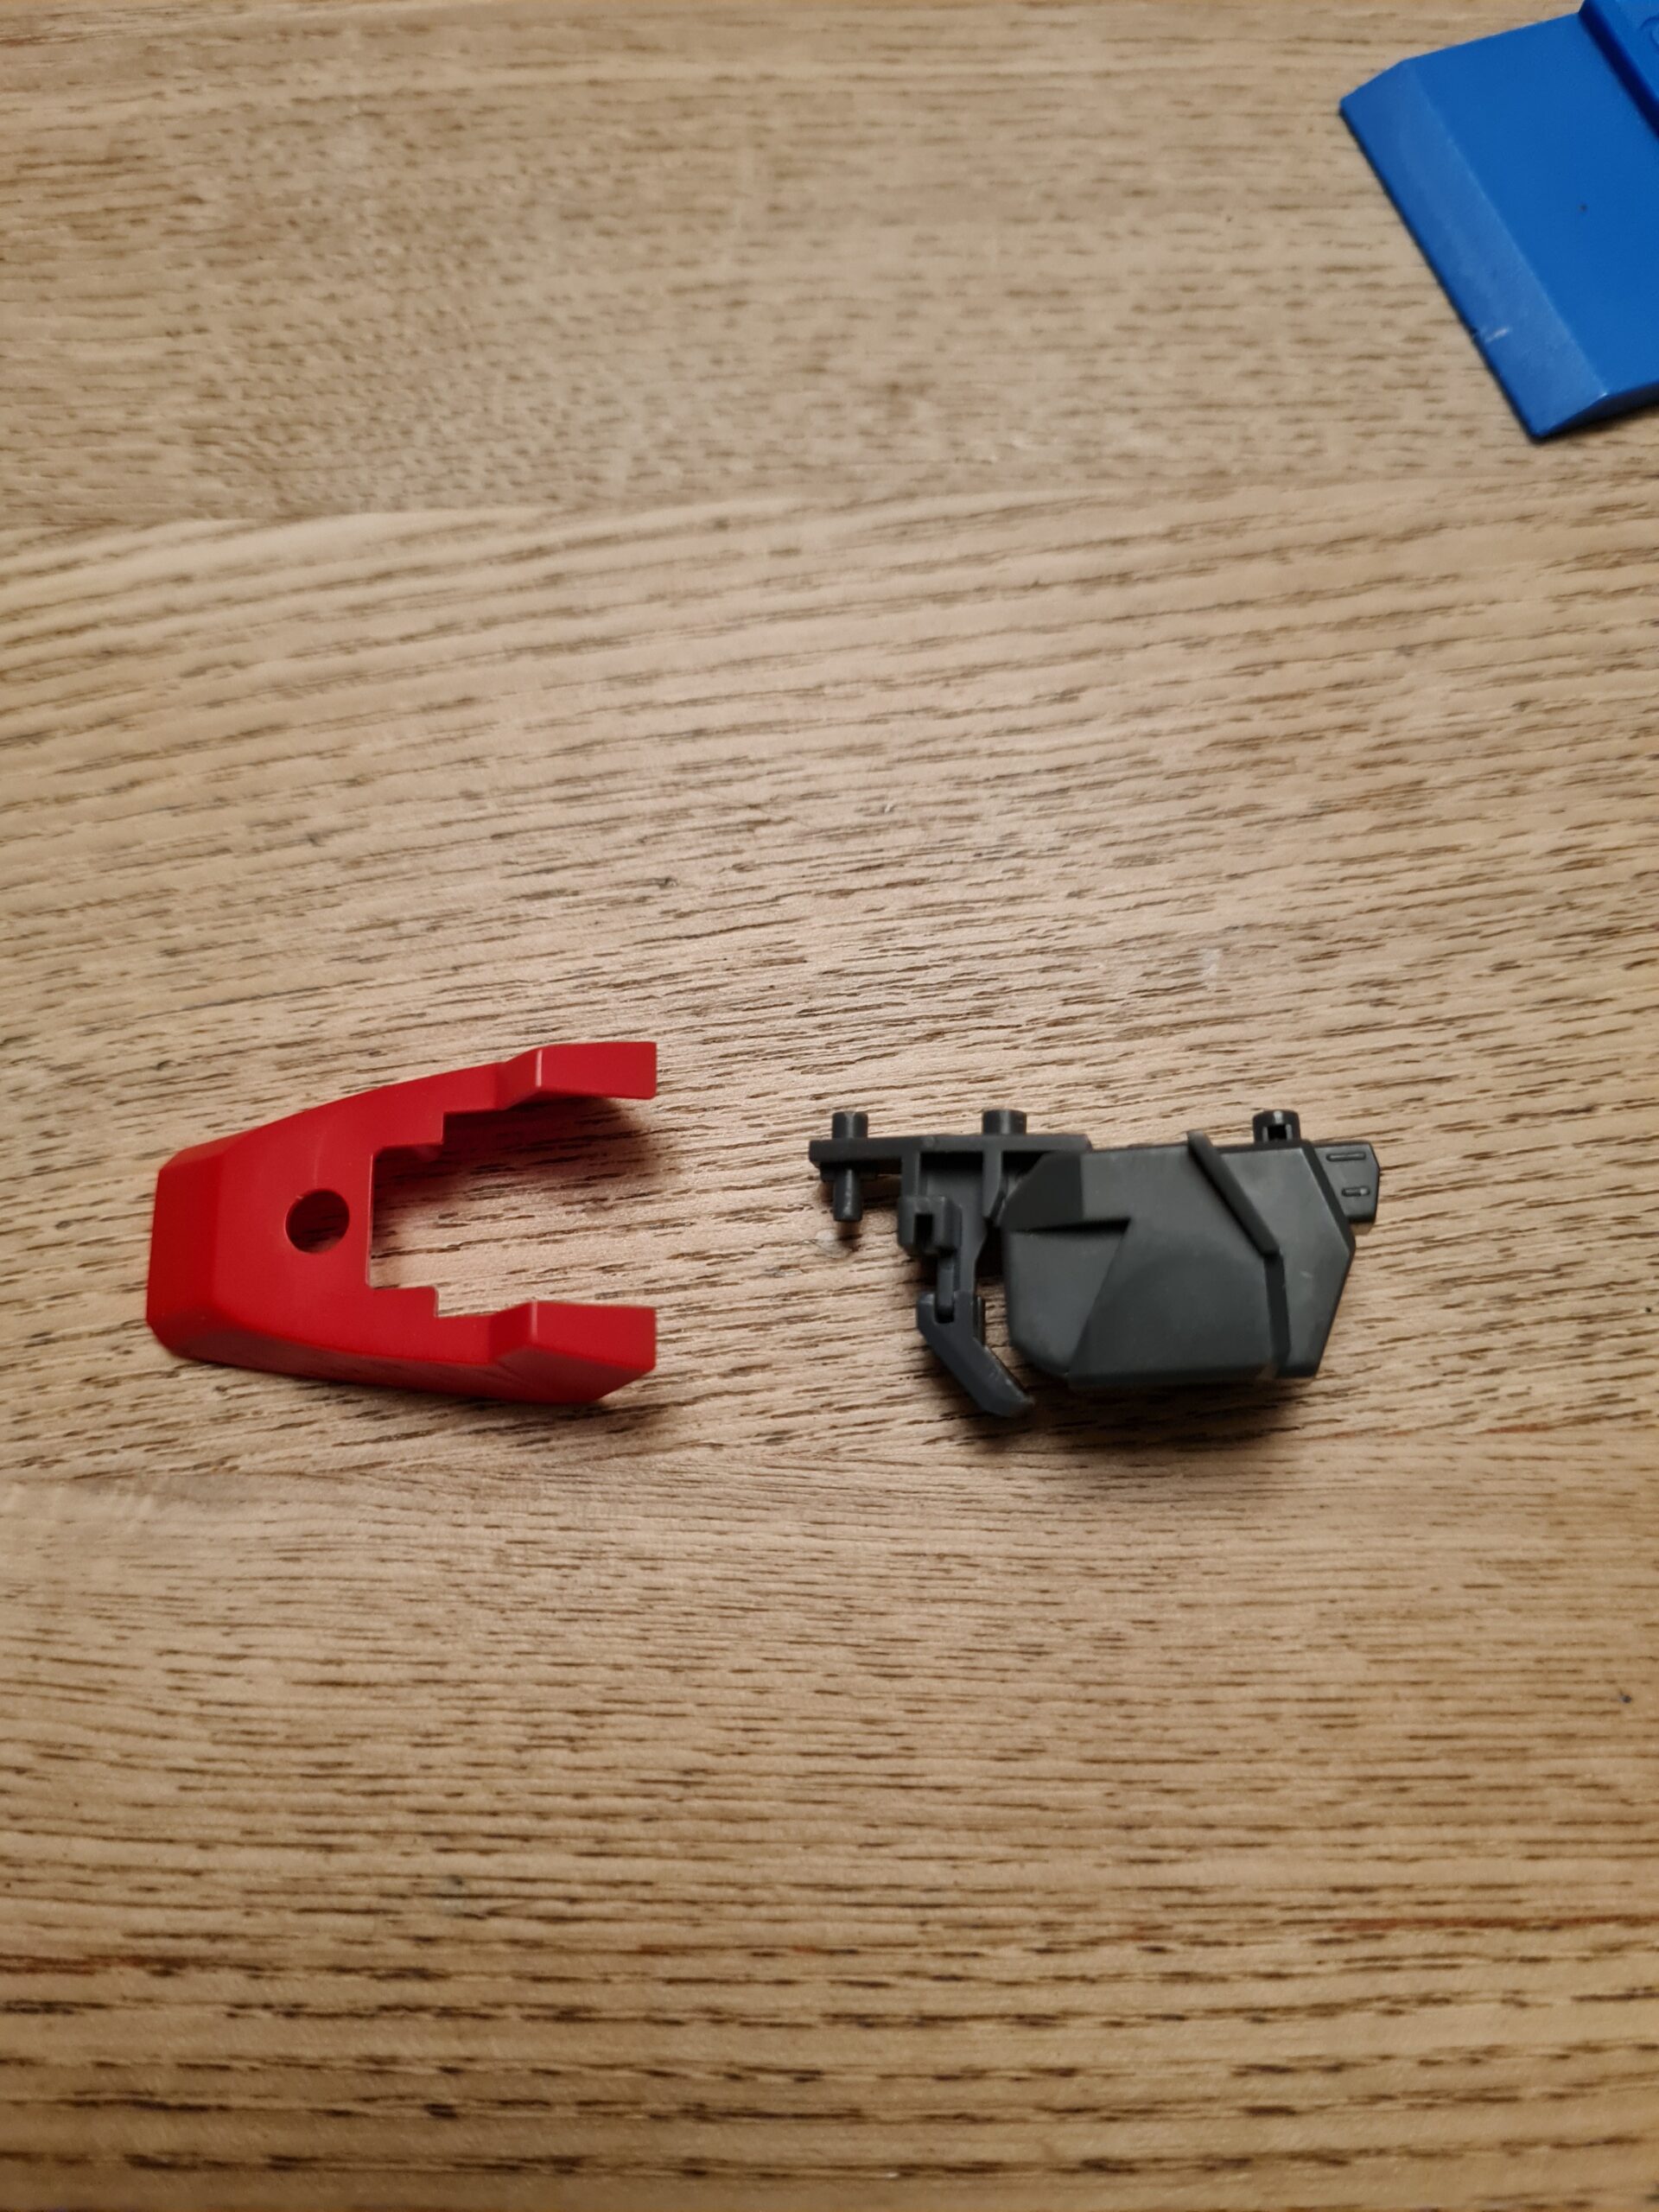
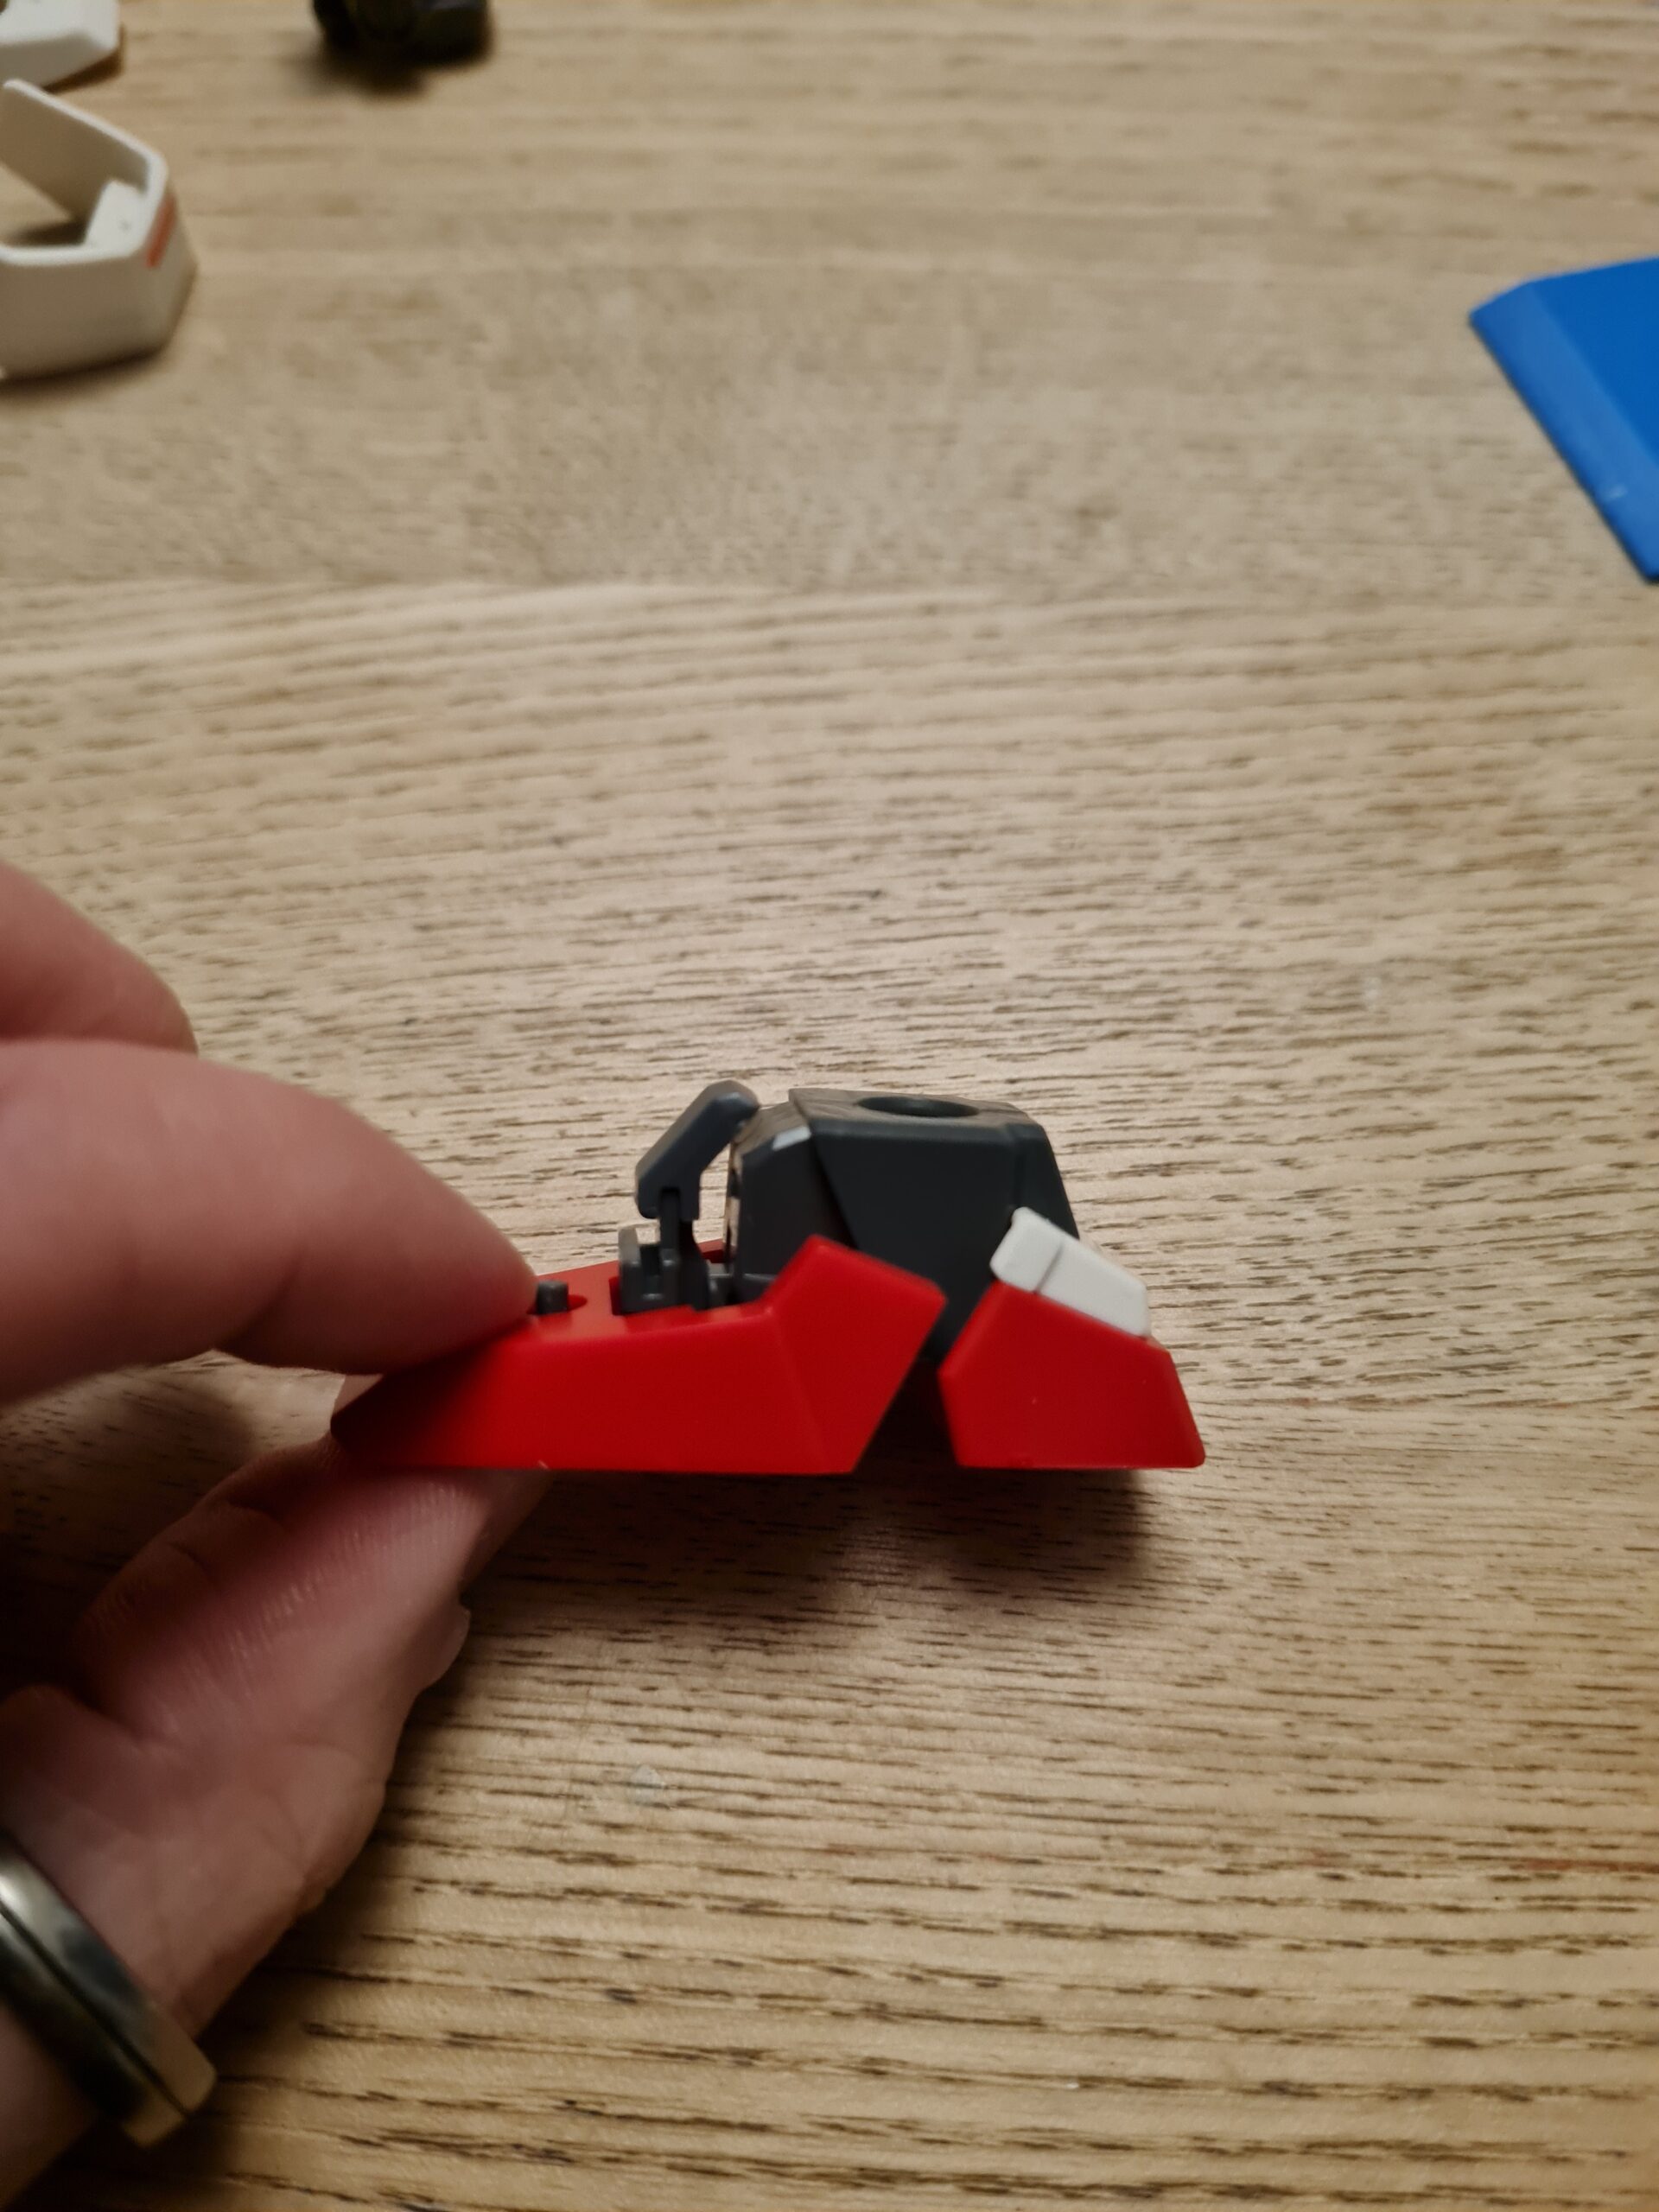
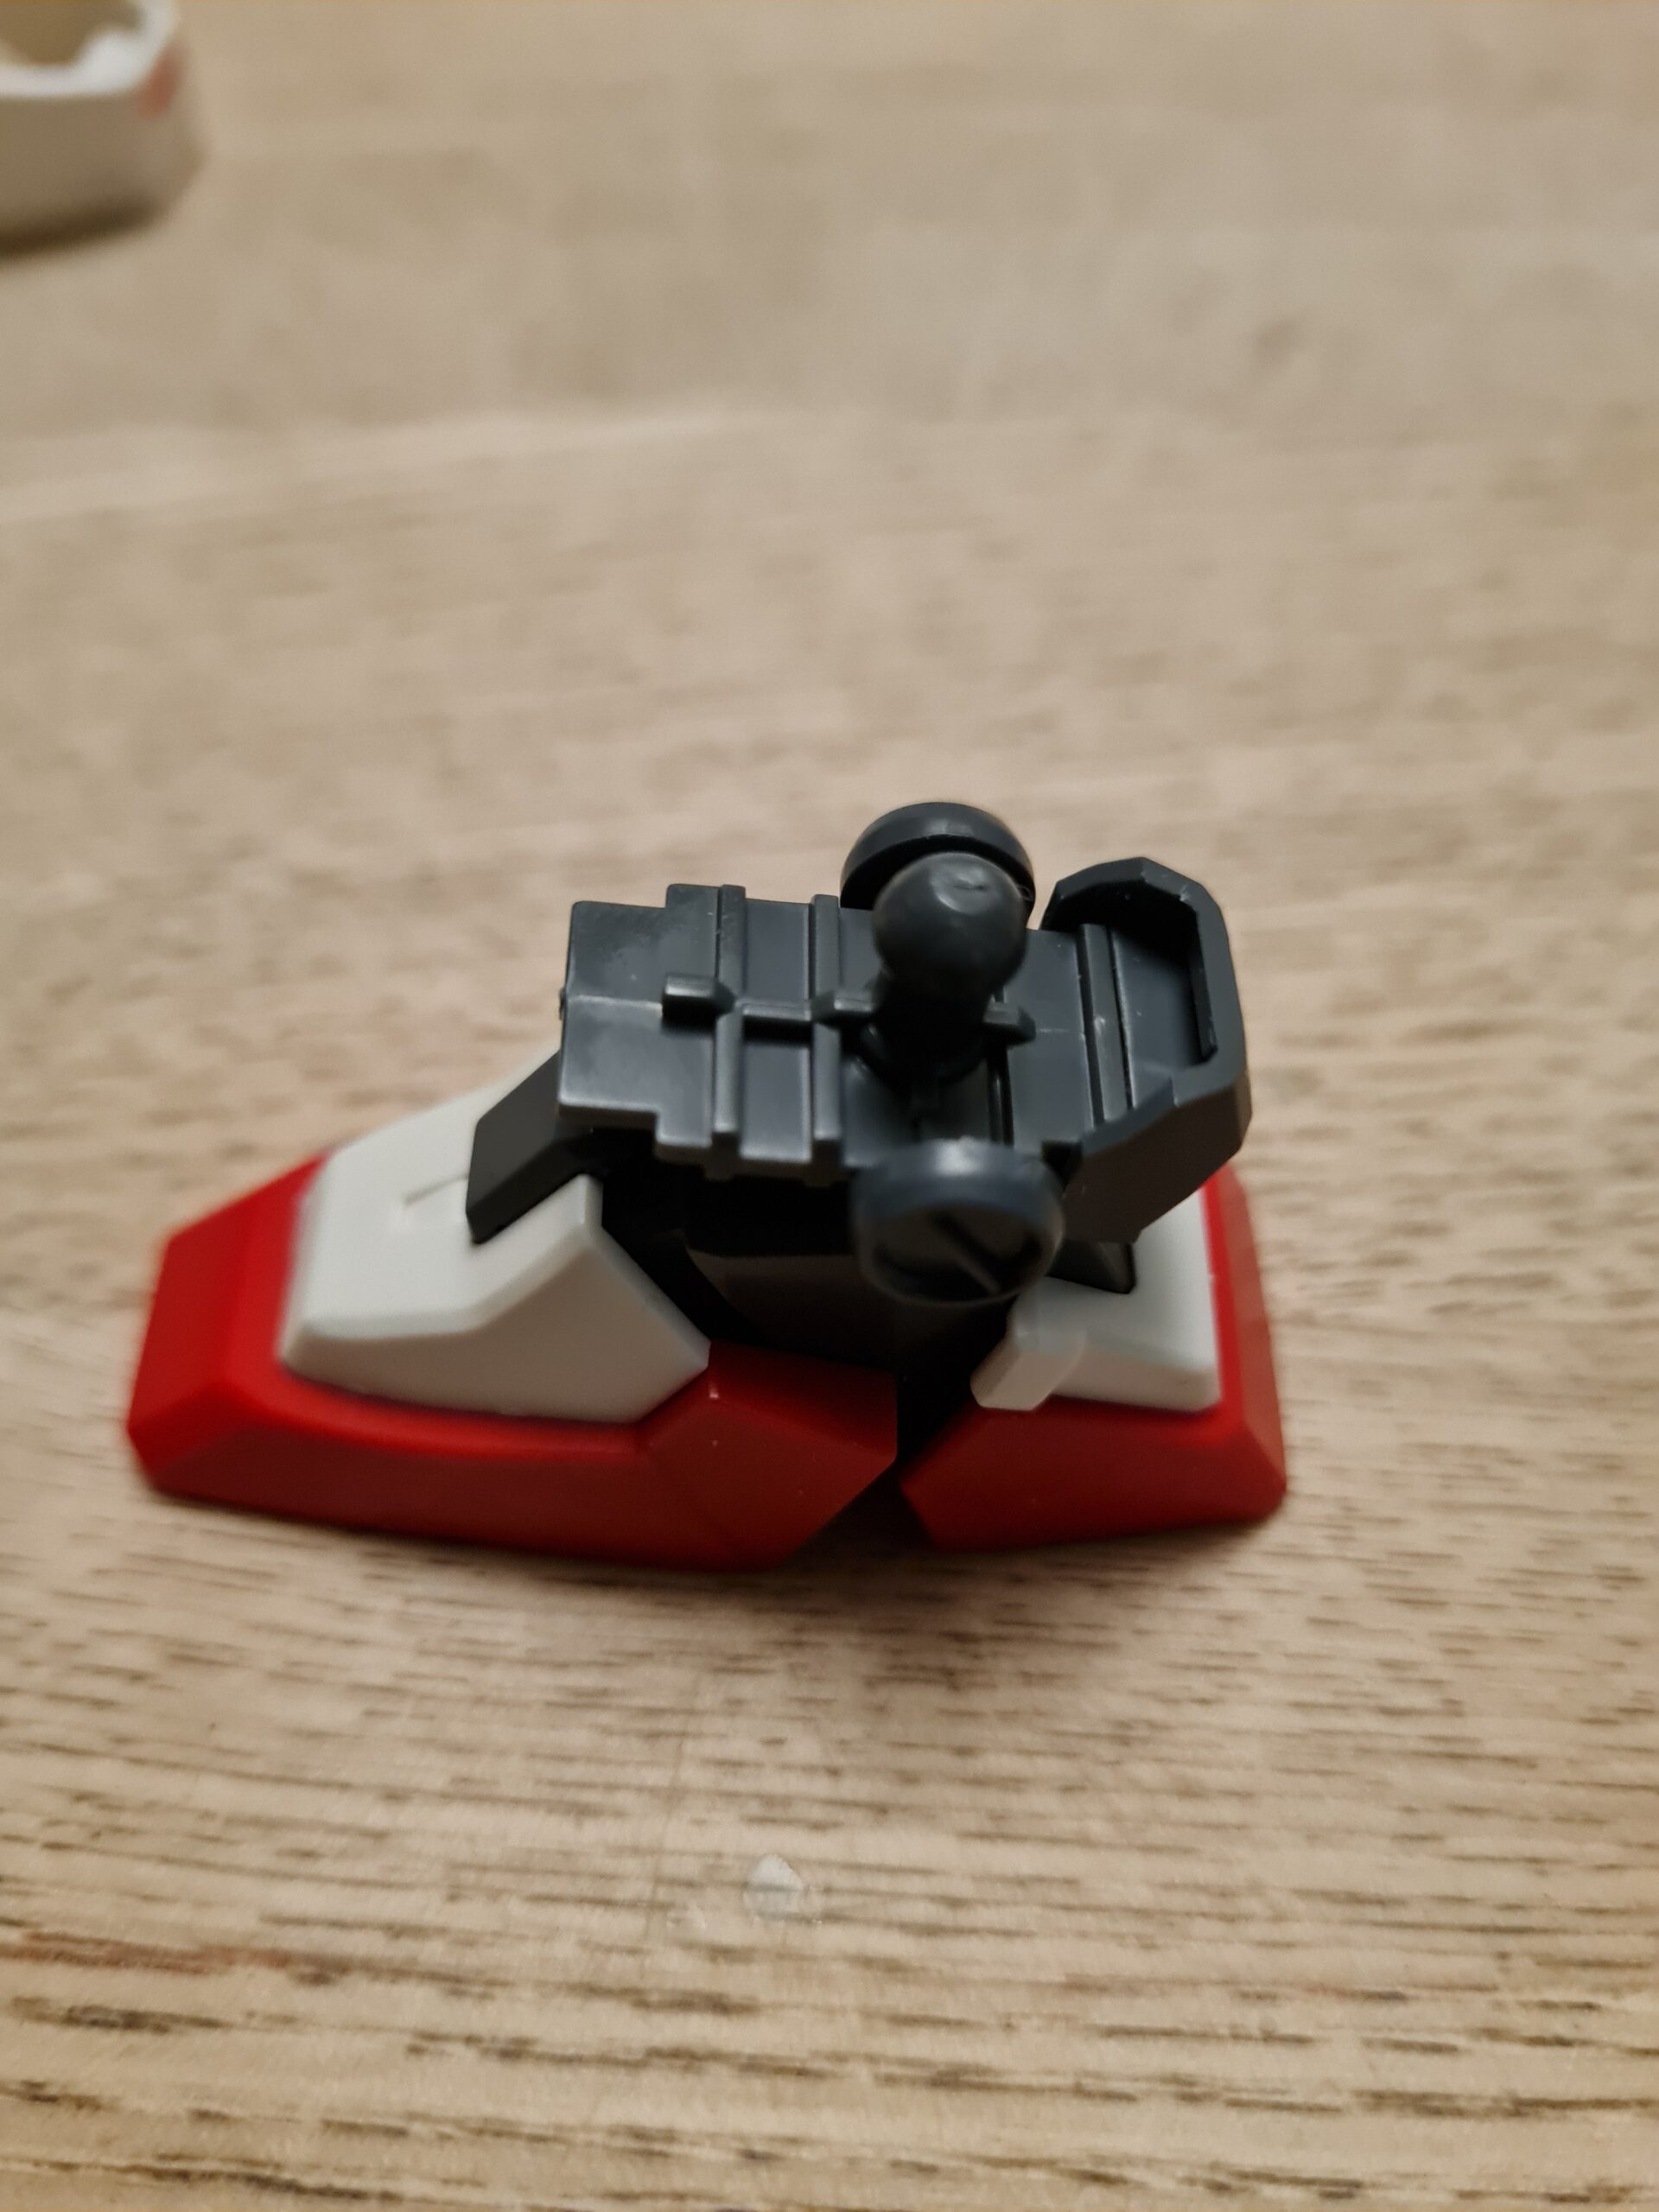
I decided to show you the first two images to show what is happening. When the main foot bod (the big solid grey piece) is in place you will get a small “nub” style post sticking up through the hole of the red top cover. The first step is to attach the main body to the flat bottom of the foot.
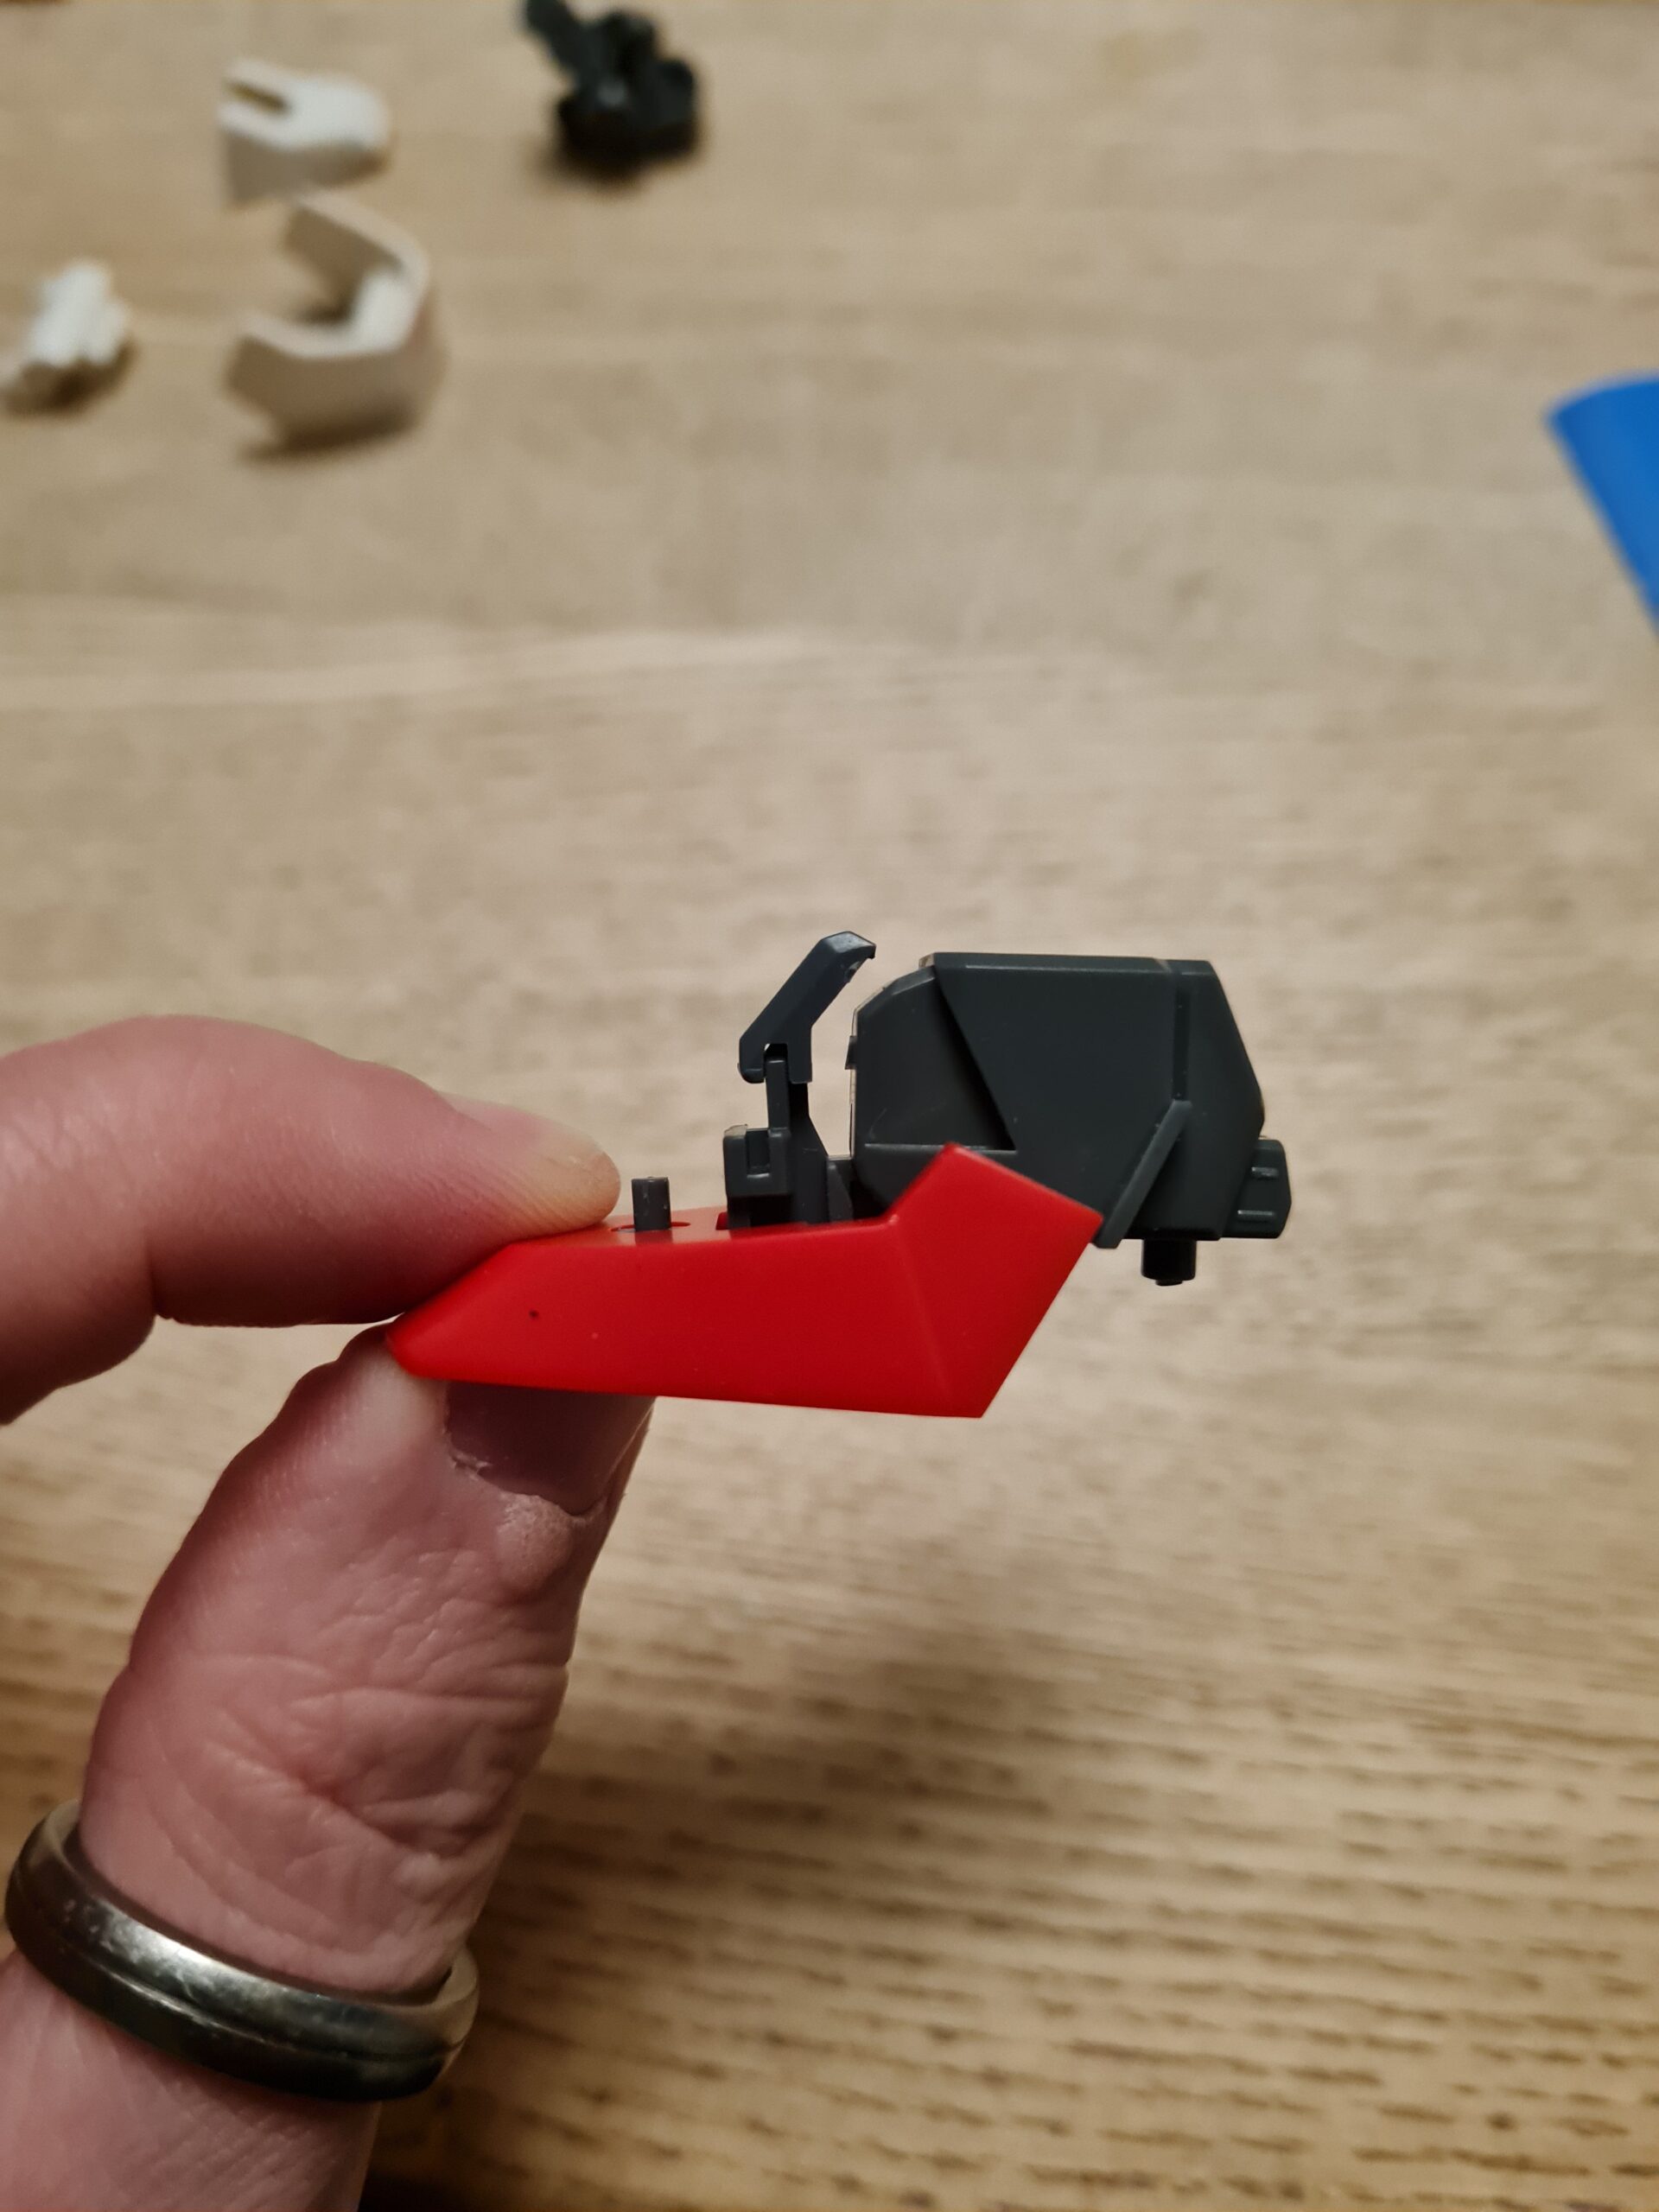
Step 2
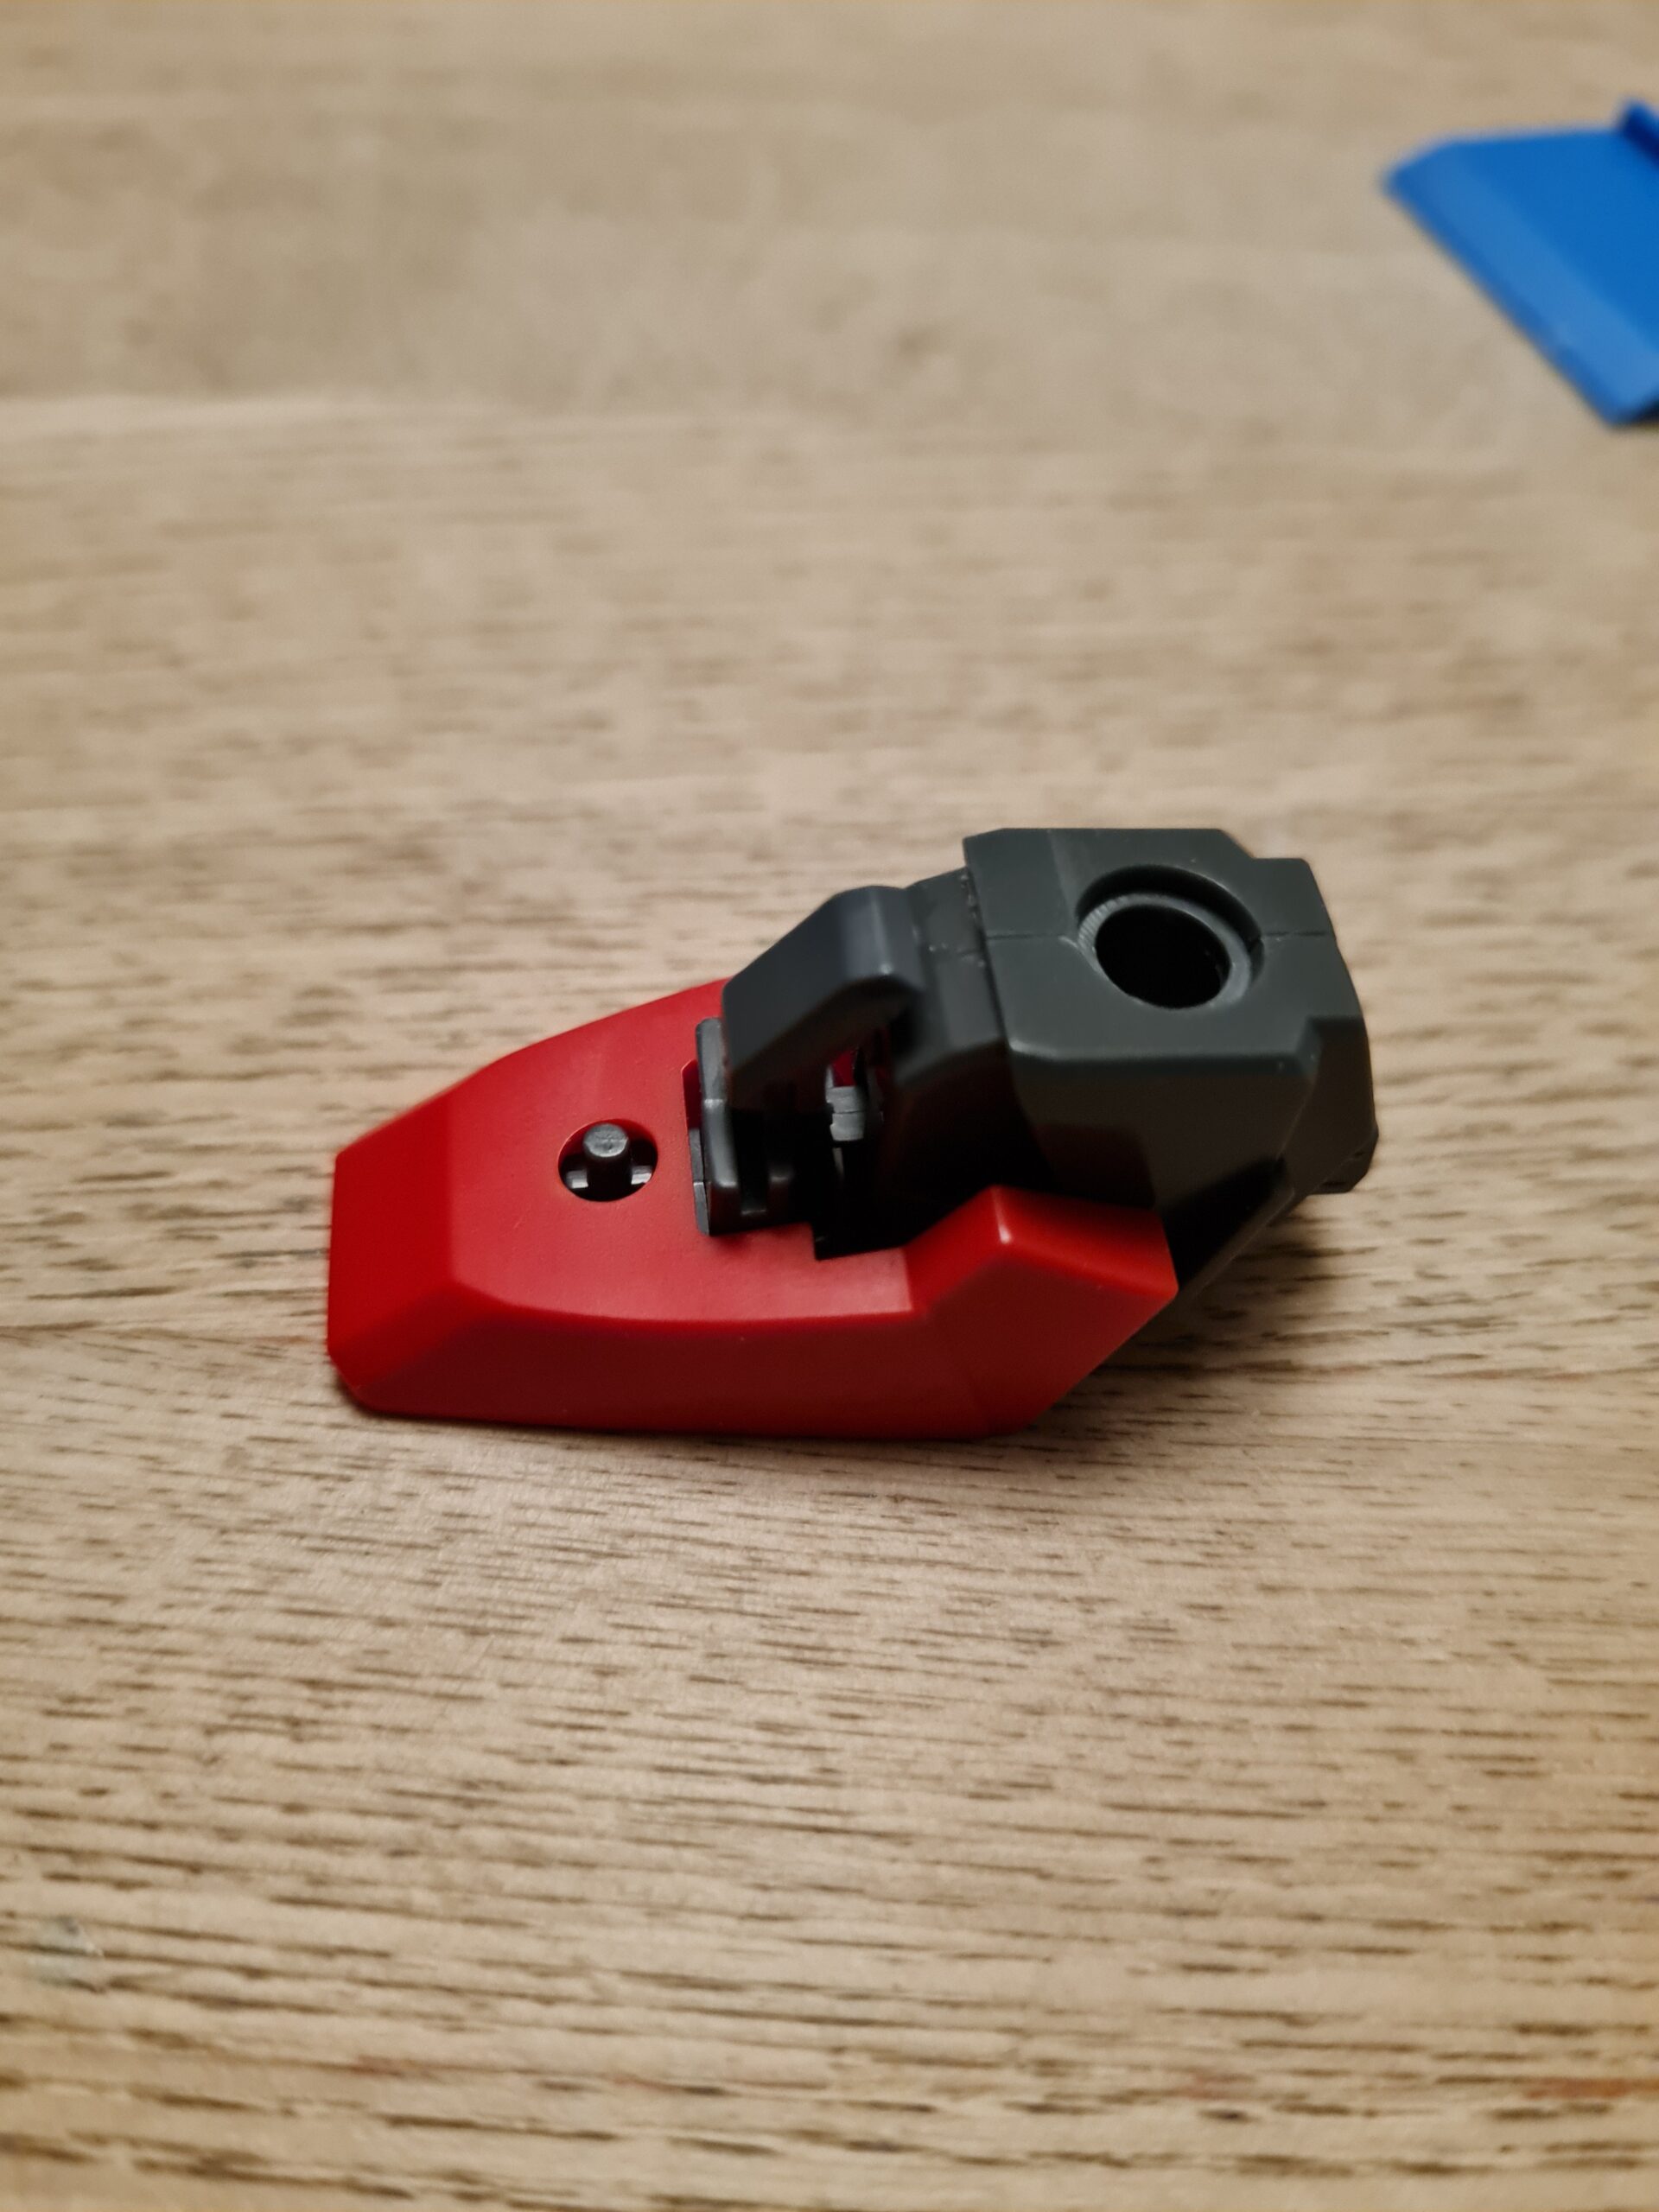
Next you need to attach the top red cover over the top. As you can see the small post sticks out of the hole. Everything should fit snugly. Any problems and the likelihood is nubs that need to be sanded back / removed.
Step 3
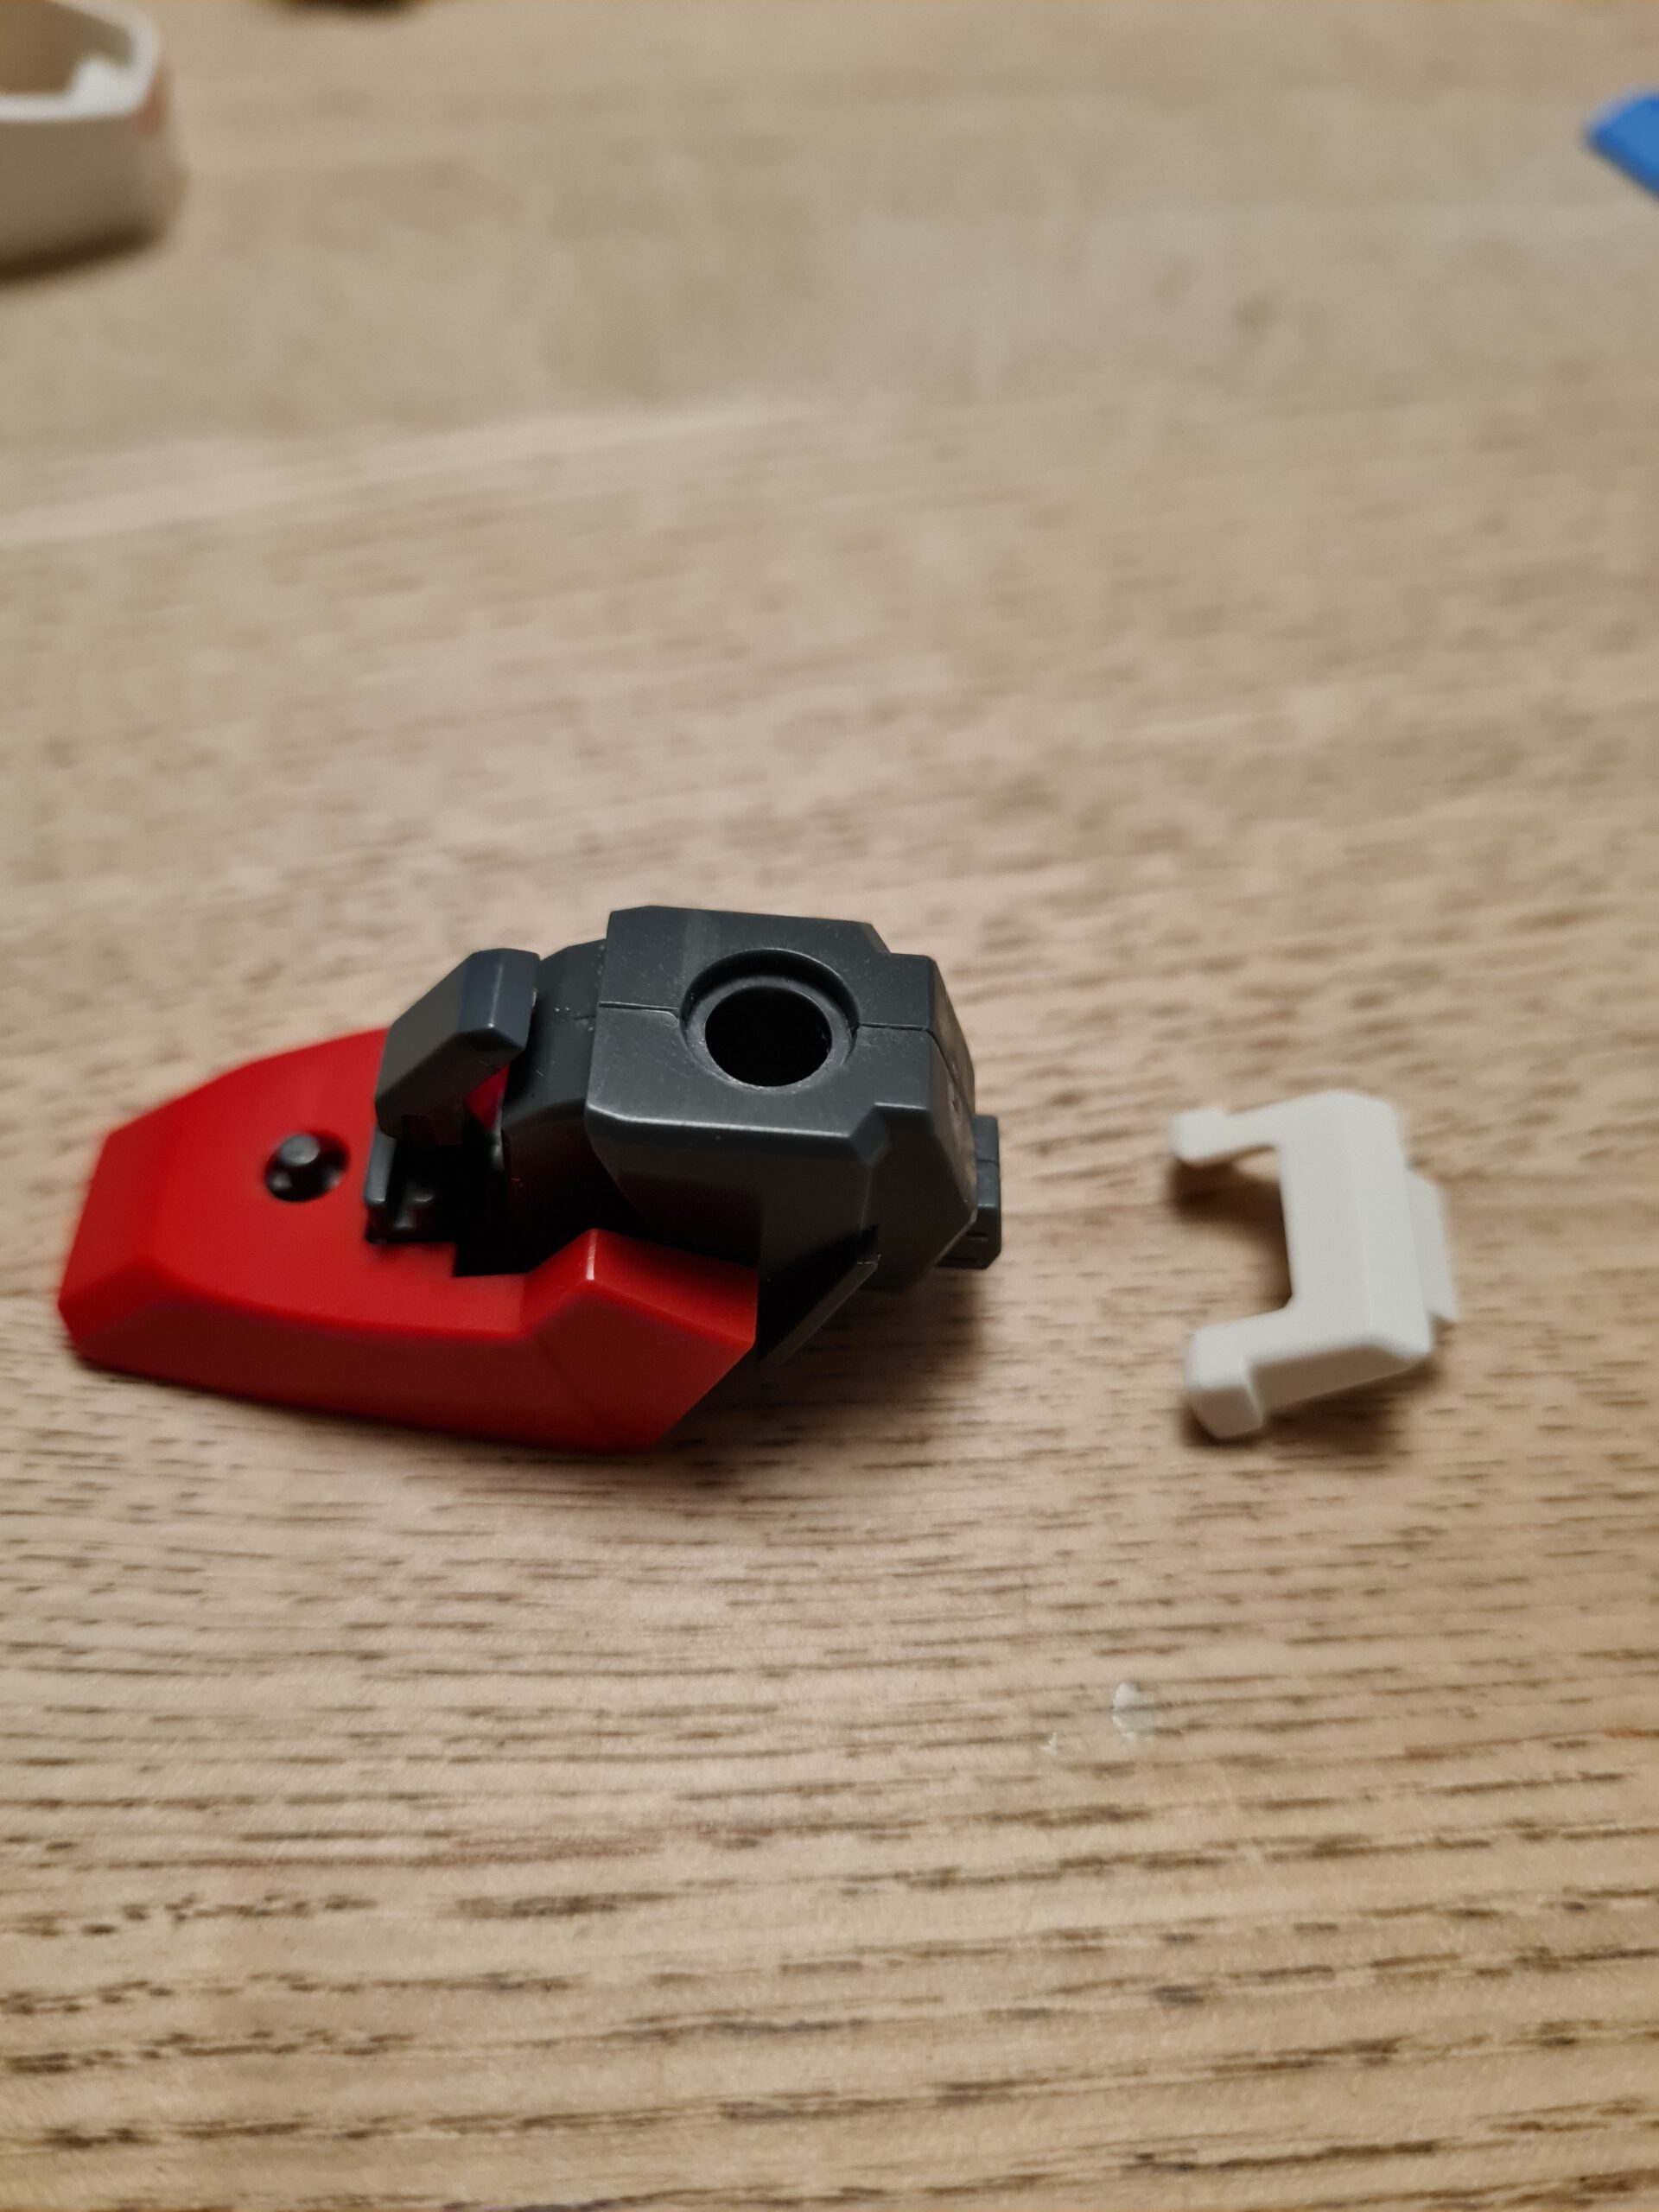
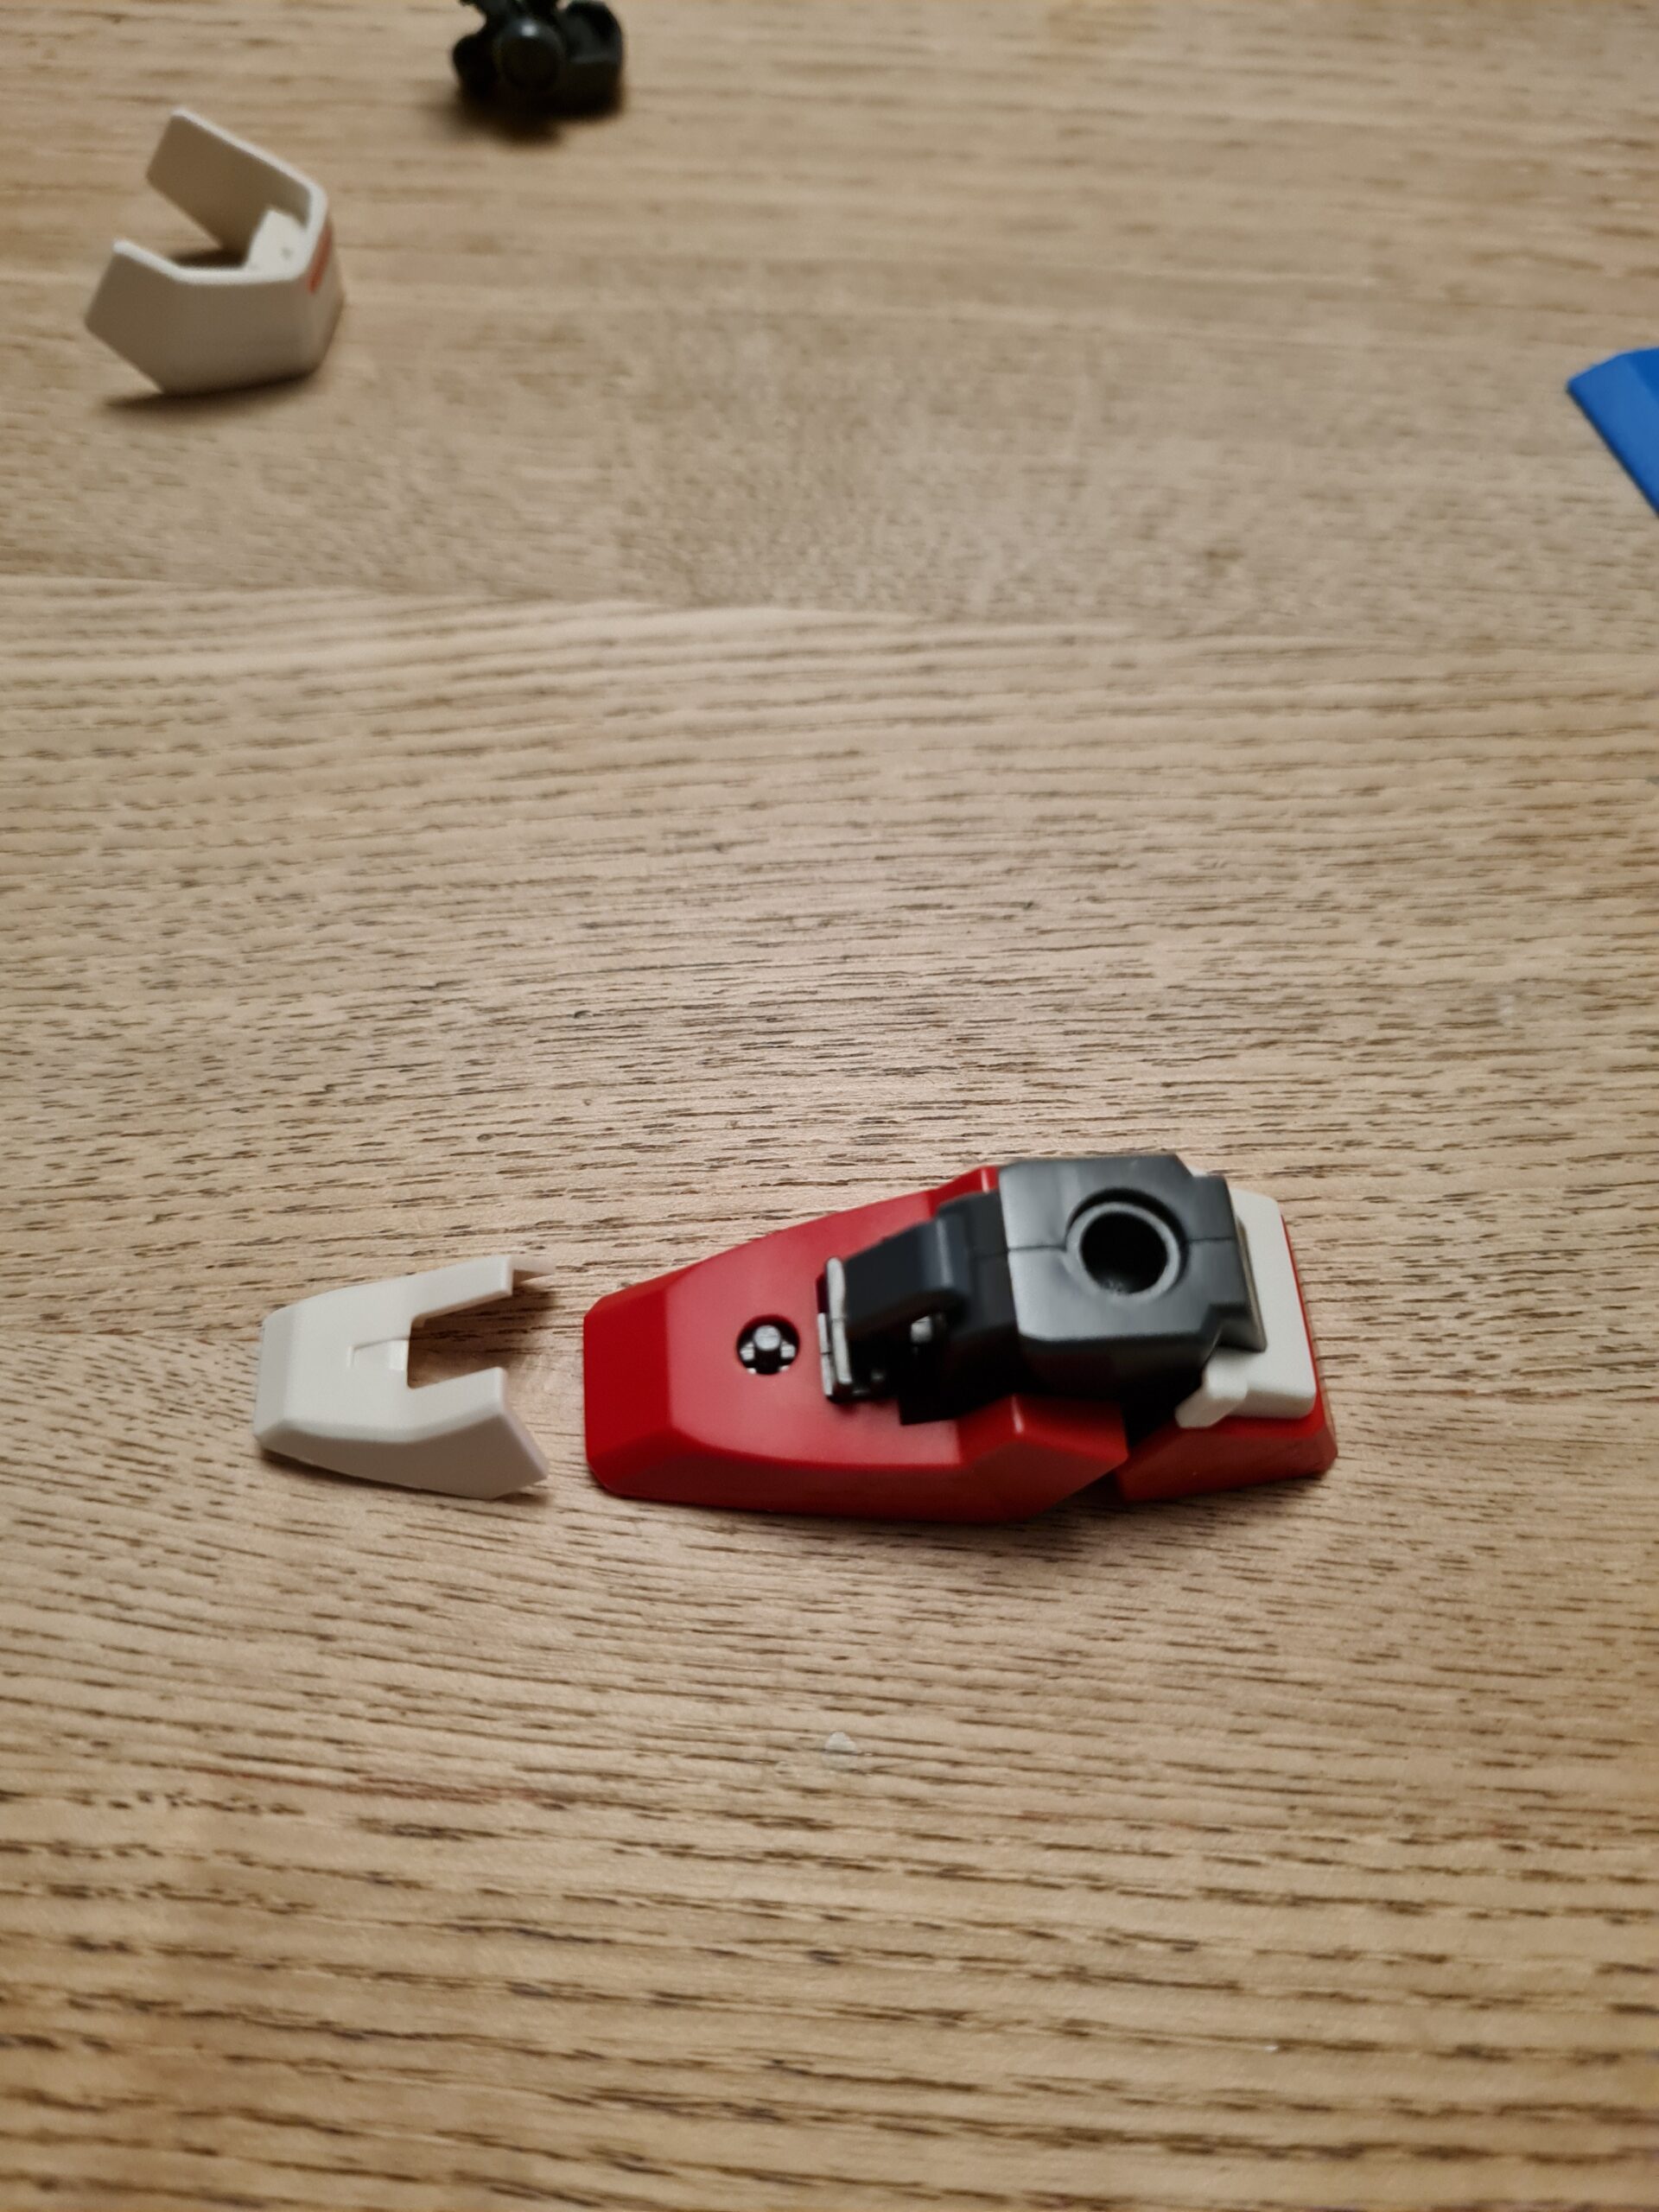
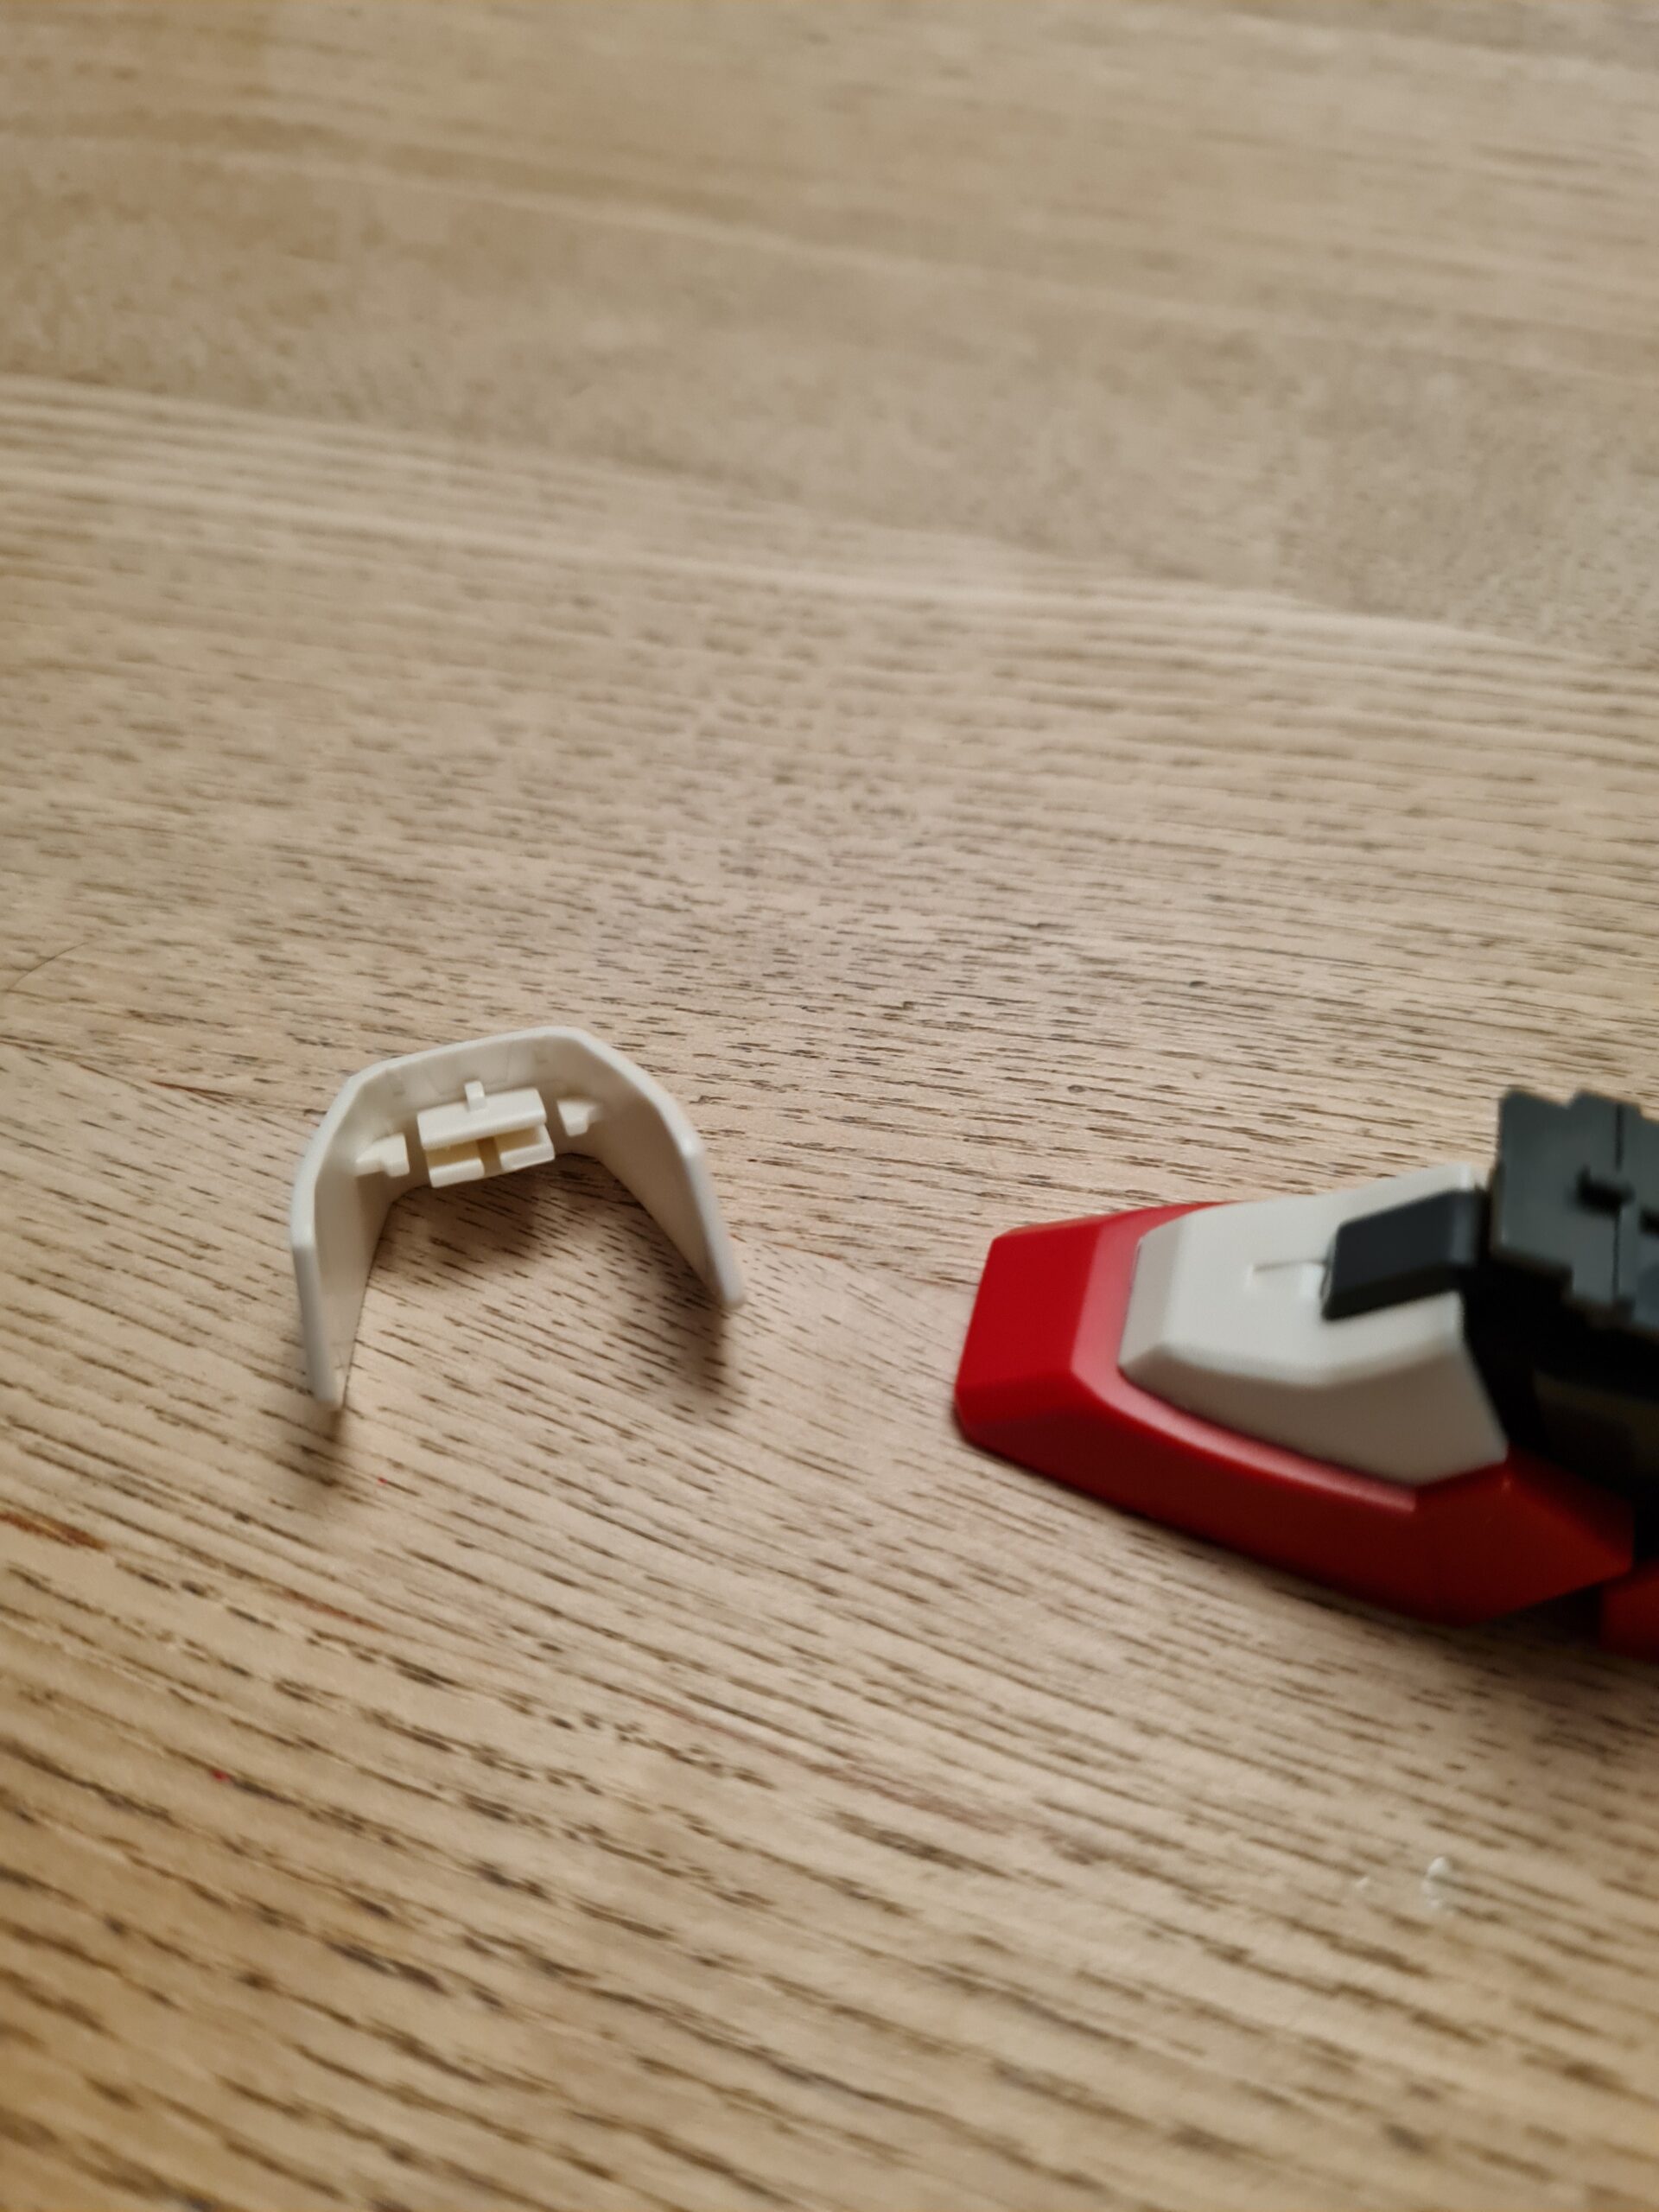
The next piece that needs to be attached is the white section of the heel. This slides into place and is quite snug. I found that it fits perfectly though.
Step 4
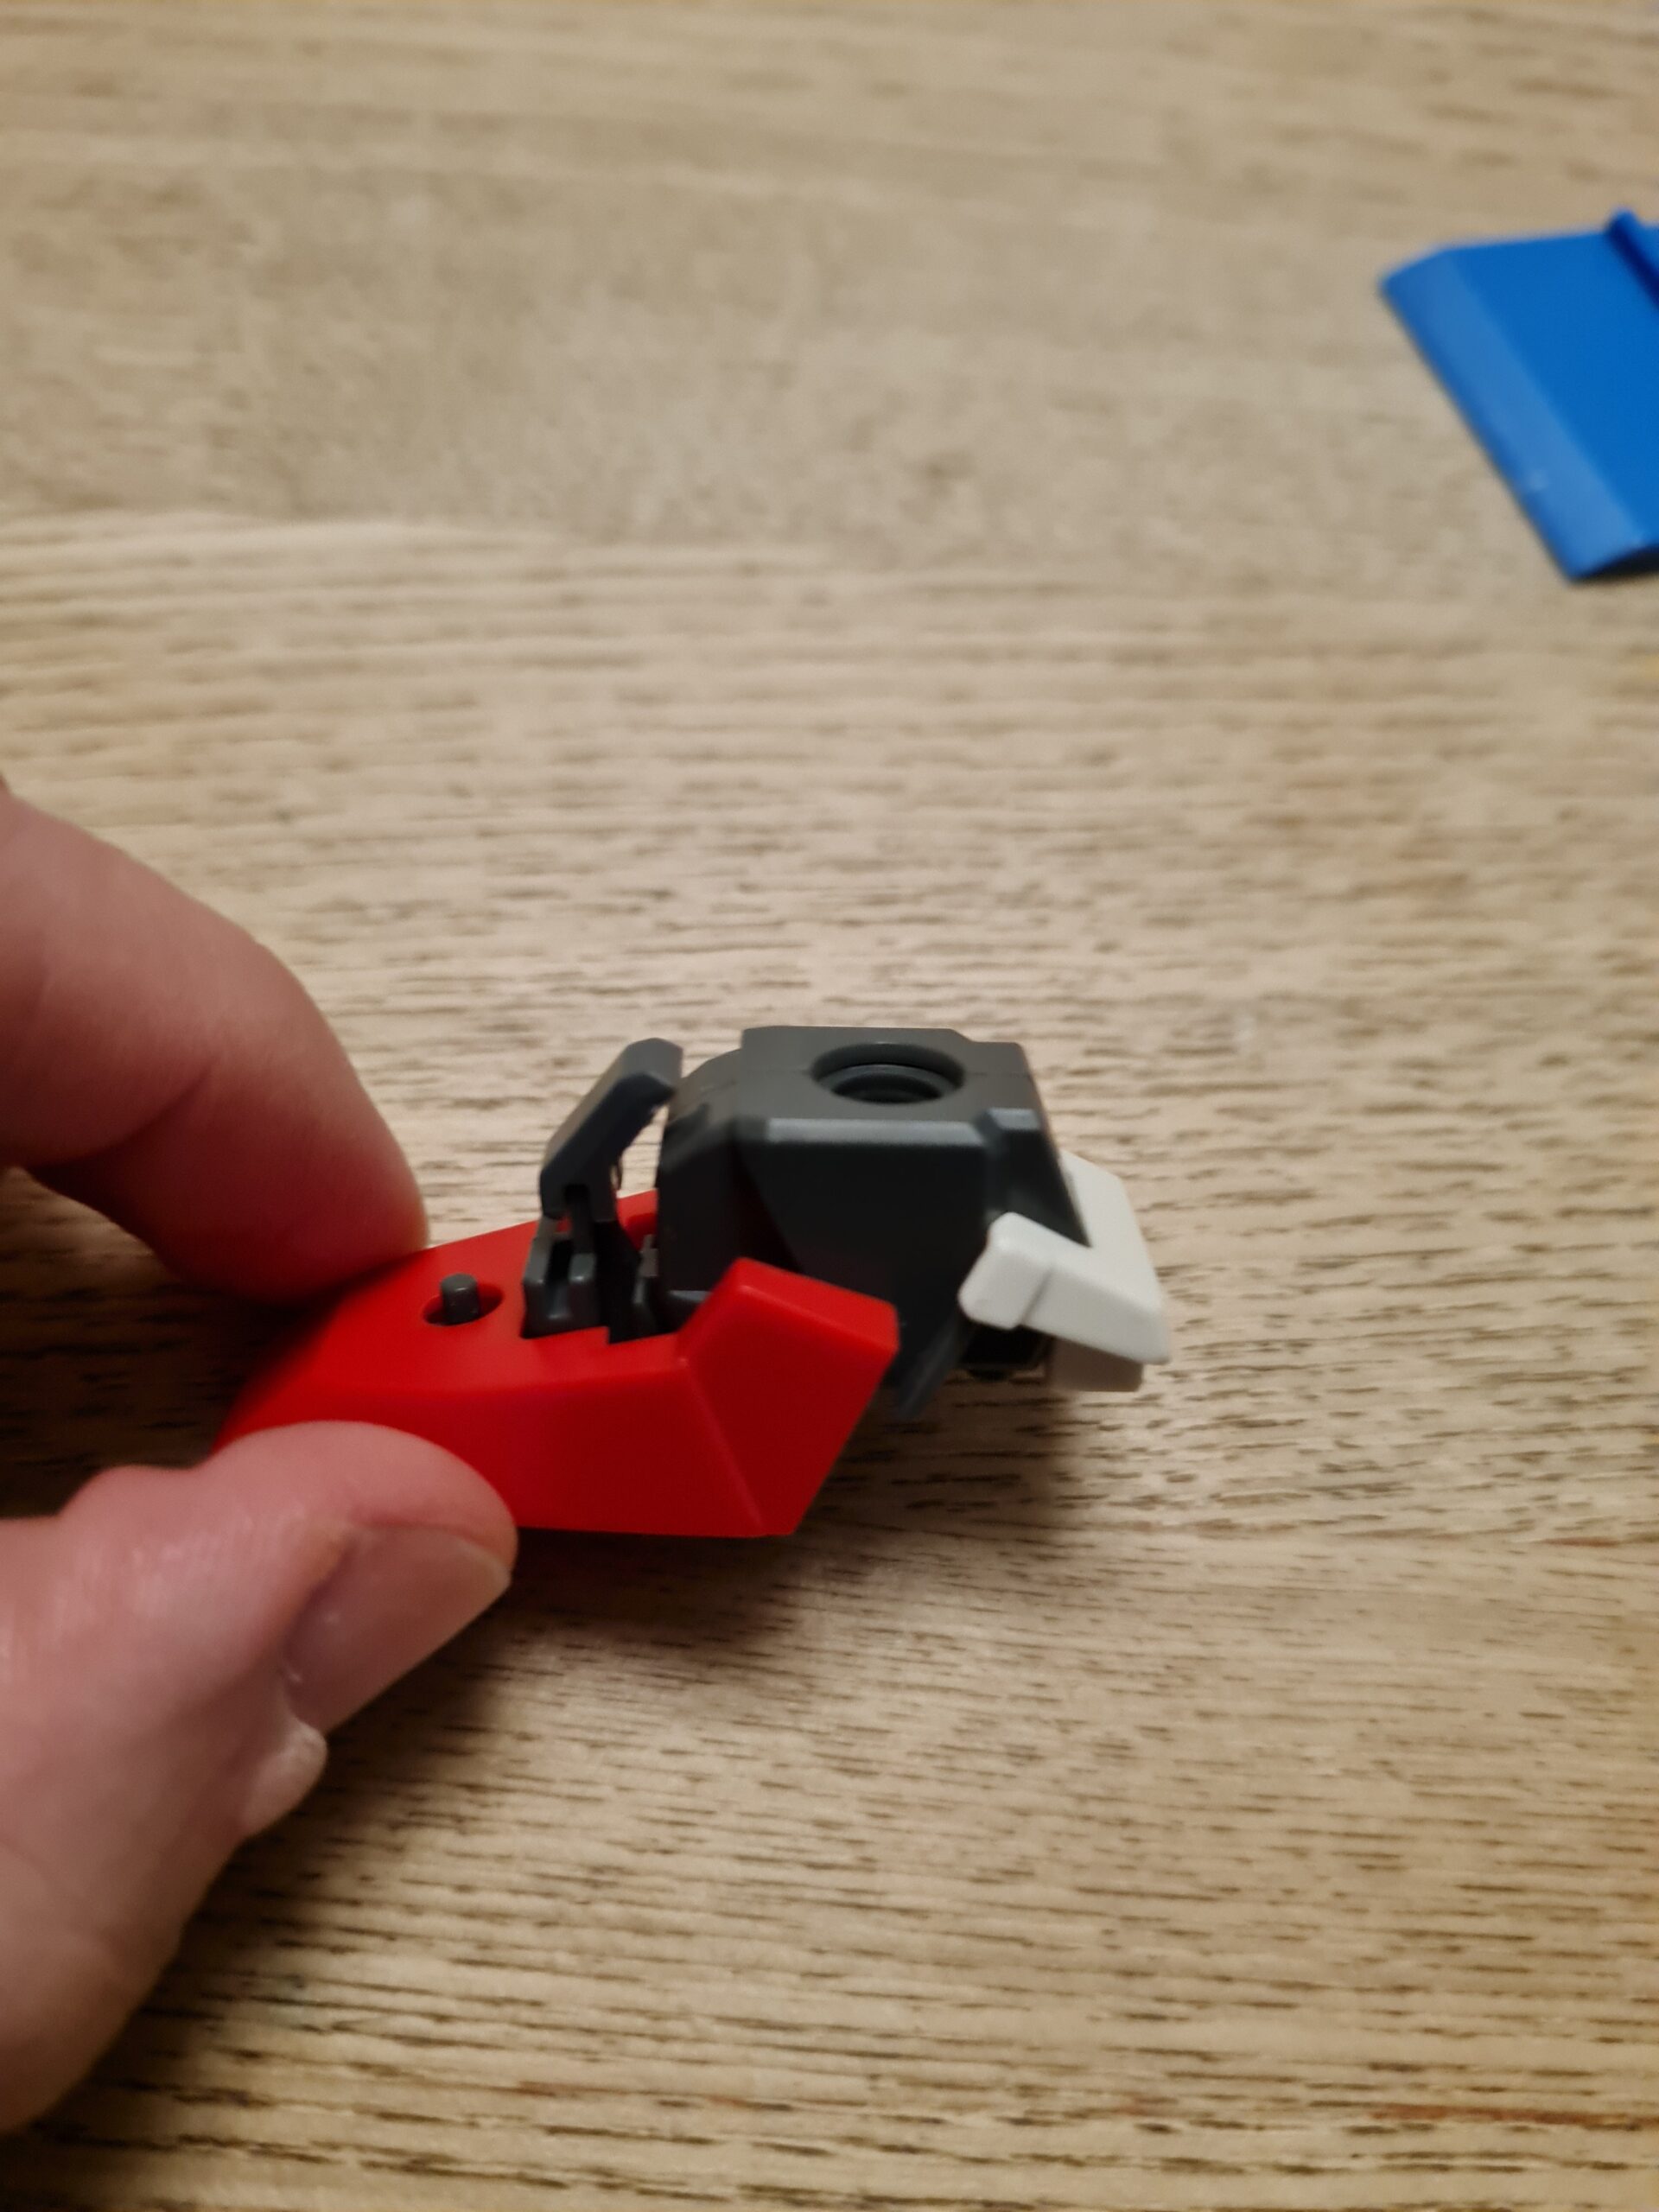
Next is the heel piece. Again this fits in snugly and isn’t a problem. I found that all the pieces clipped together in a really satisfying way.
Step 5
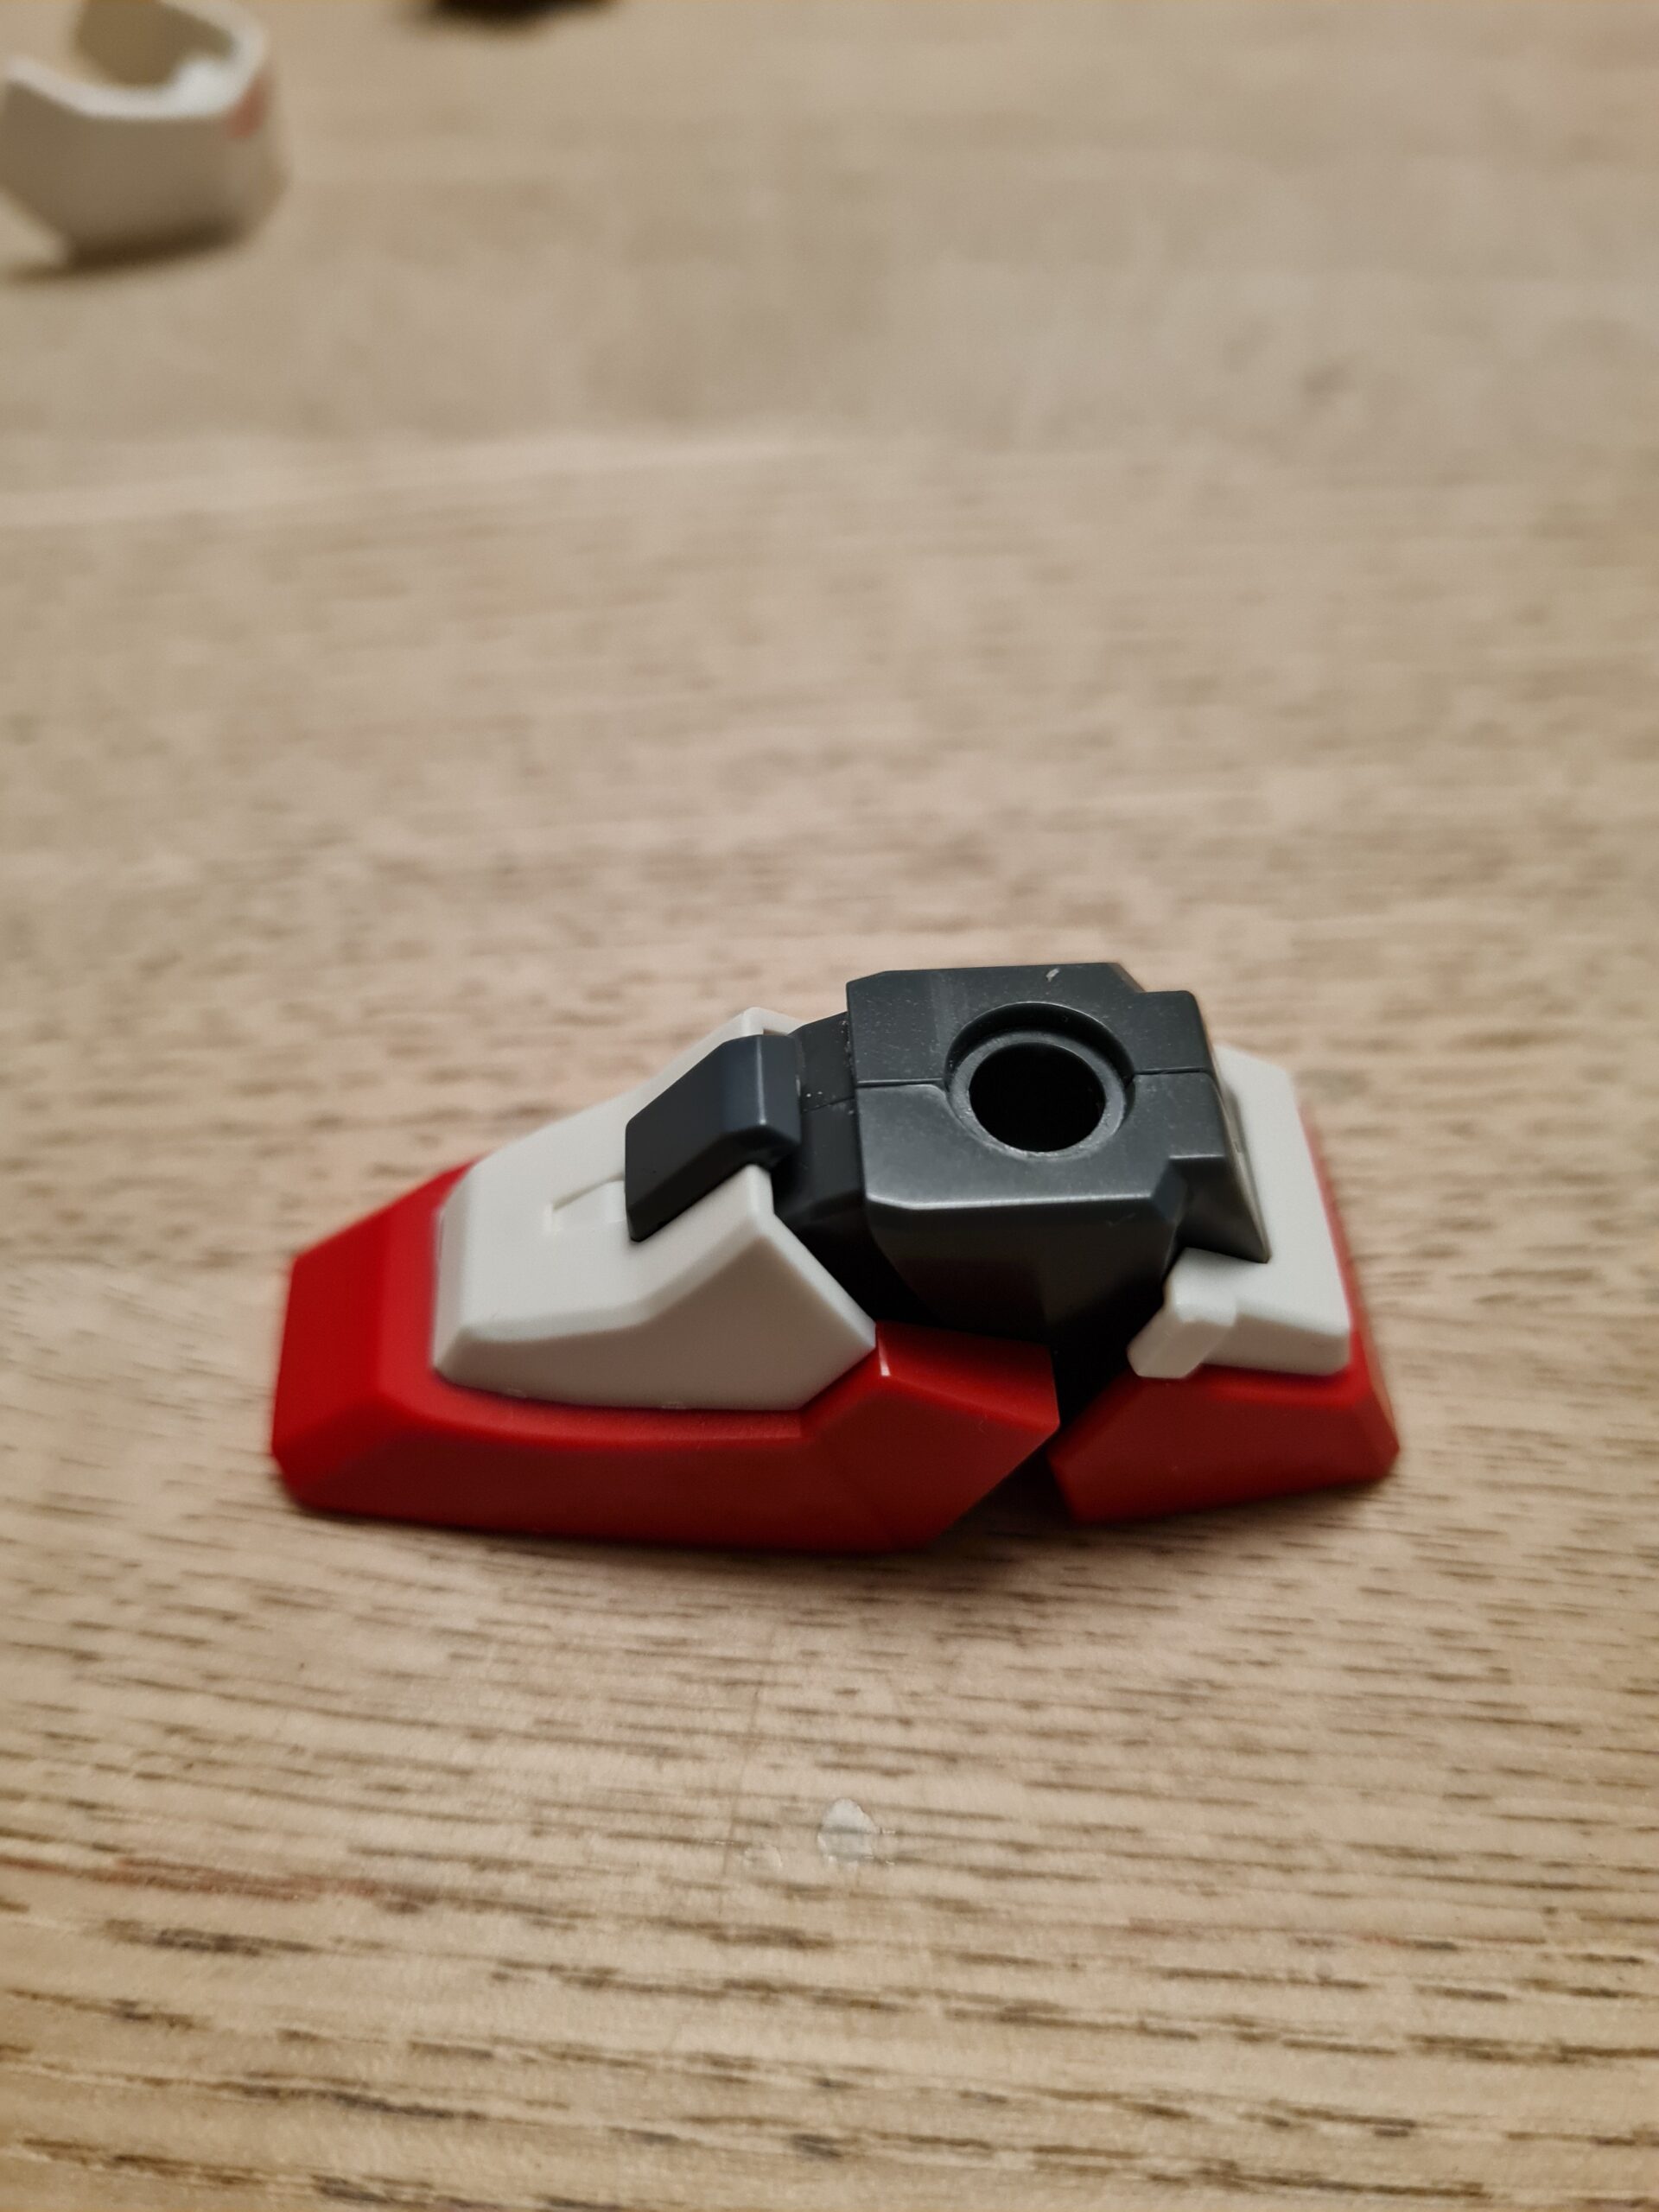
After the heel I started to build up for the rest of the foot. The white section fits down into the post that sticks up from the hole in the middle of the large red part.
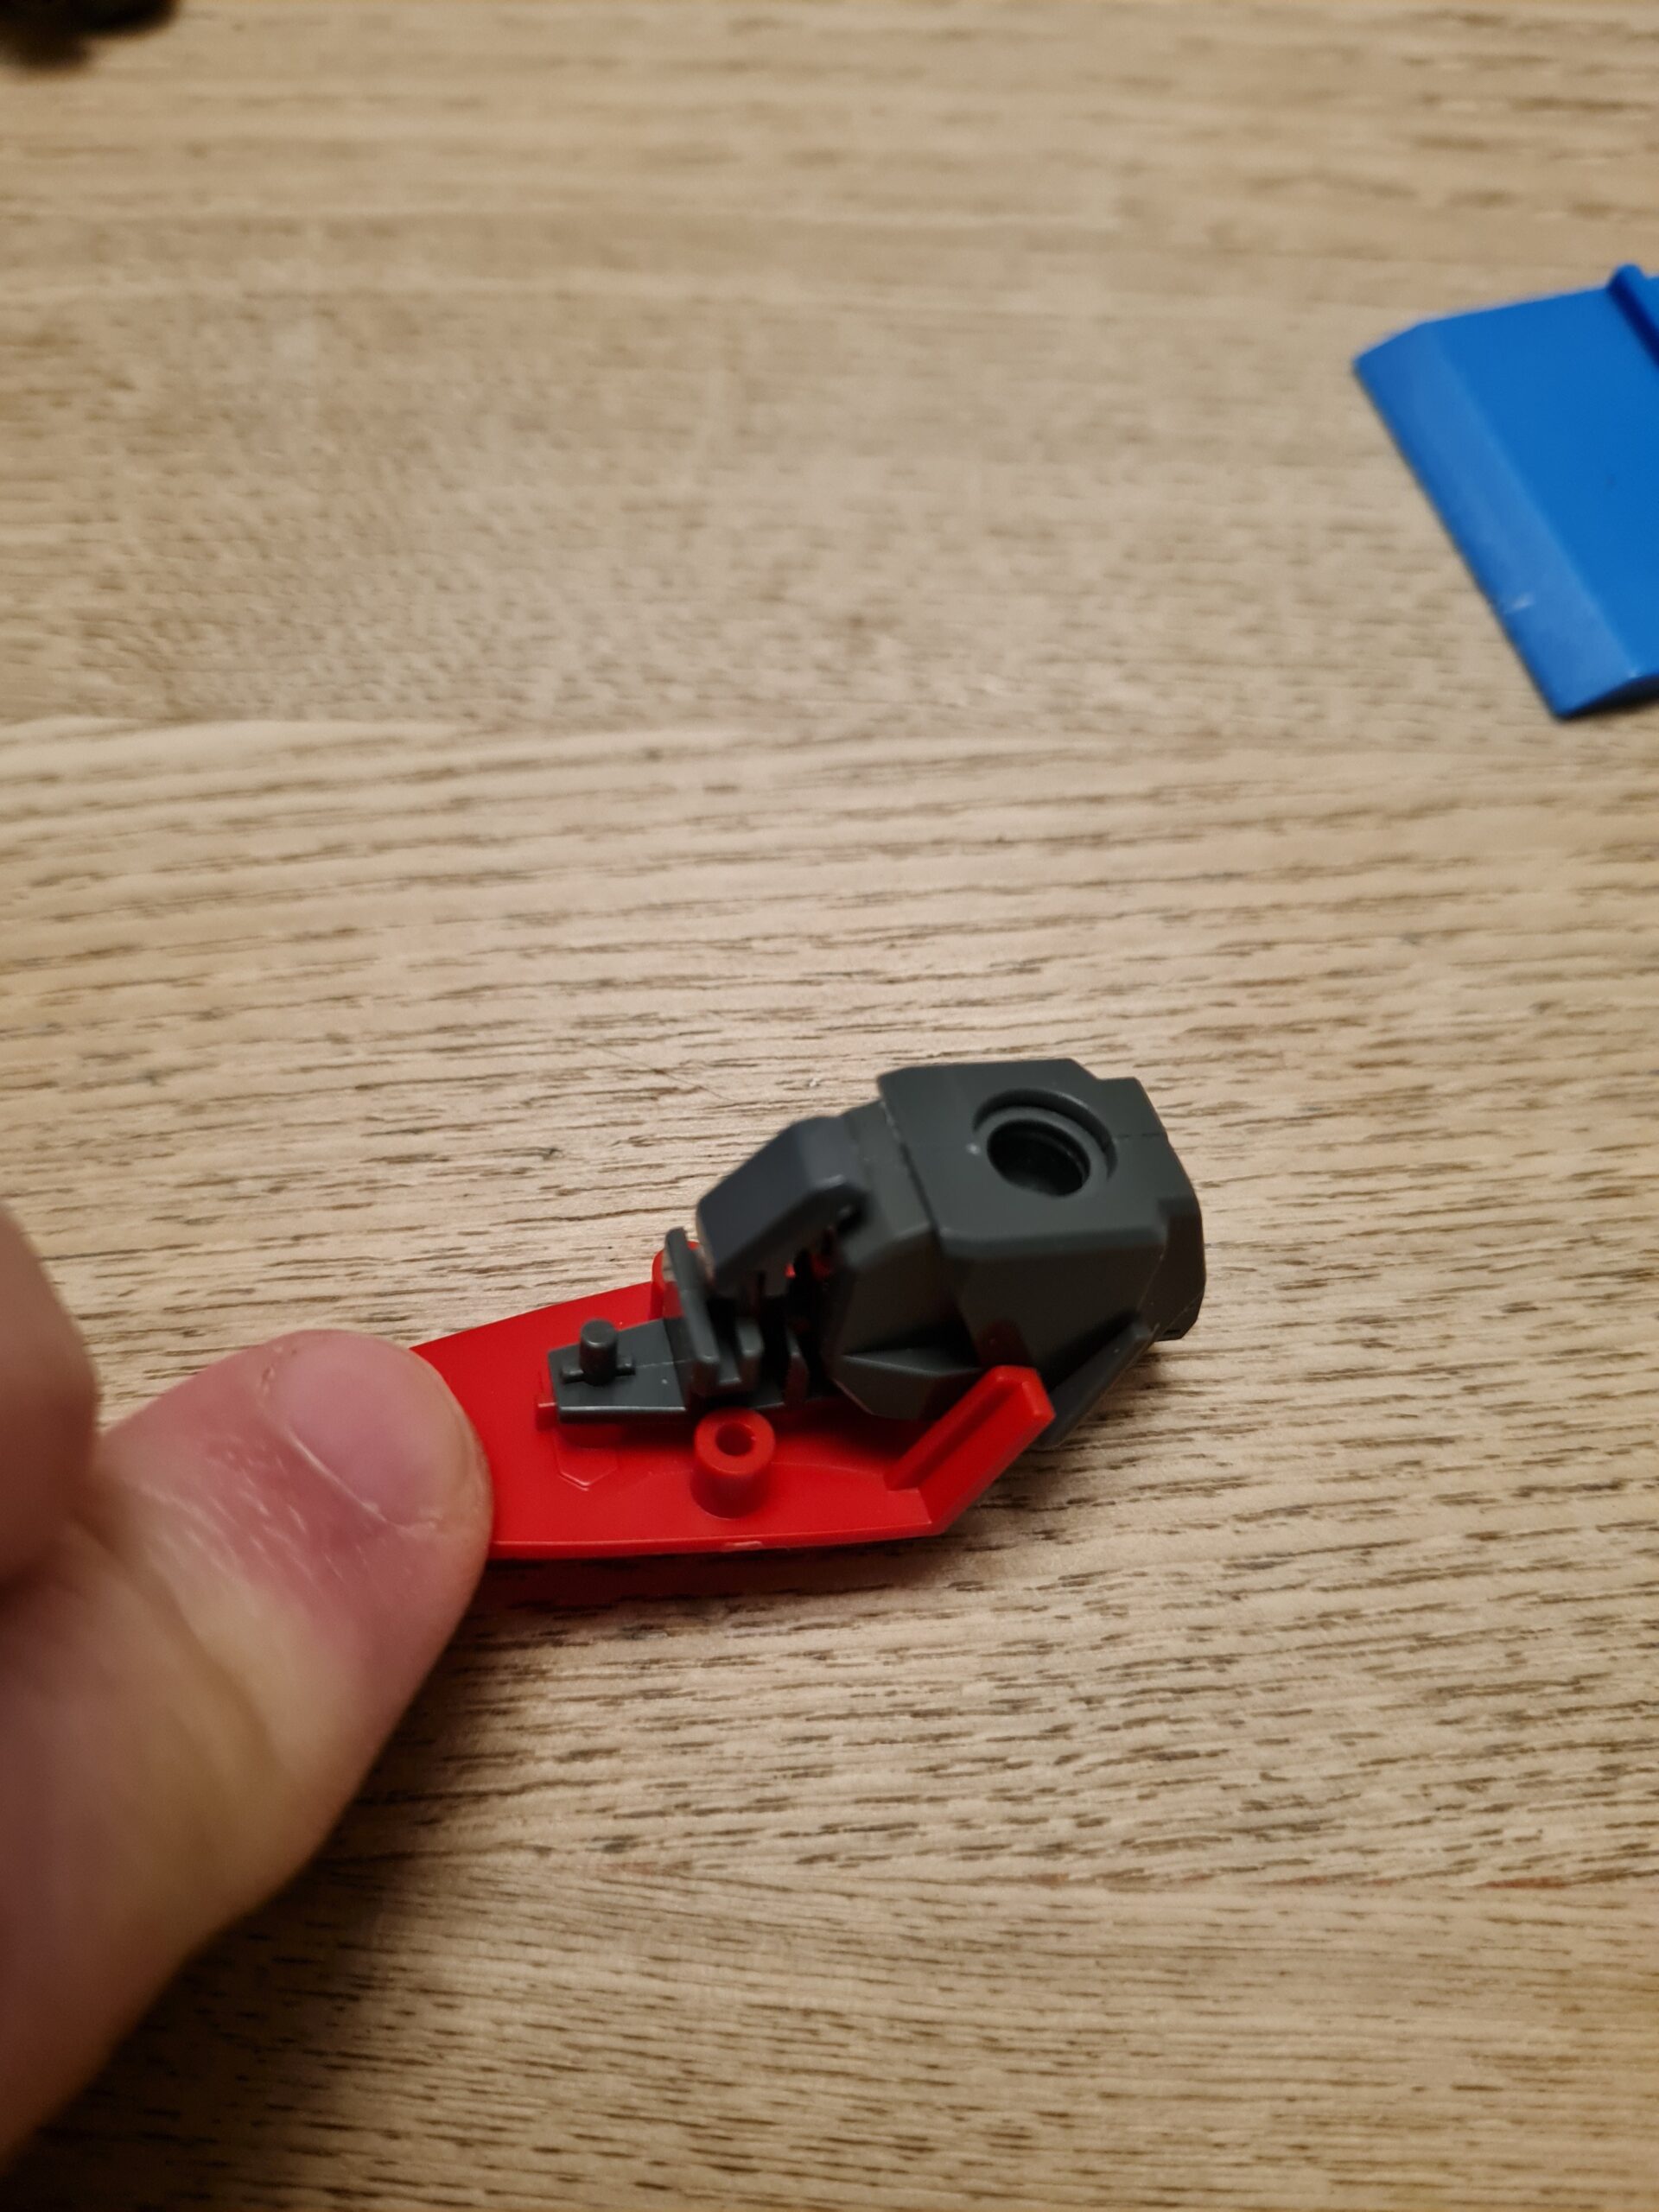
Step 6
Now the main body of the foot is attached it is time to connect the ankle joint. The top of this part has a small ball joint to go into the bottom of the leg, and a larger ball joint that goes into the socket in the foot. This clicks in really snuggly, and I found, gives a good combination of friction and articulation.
Step 7
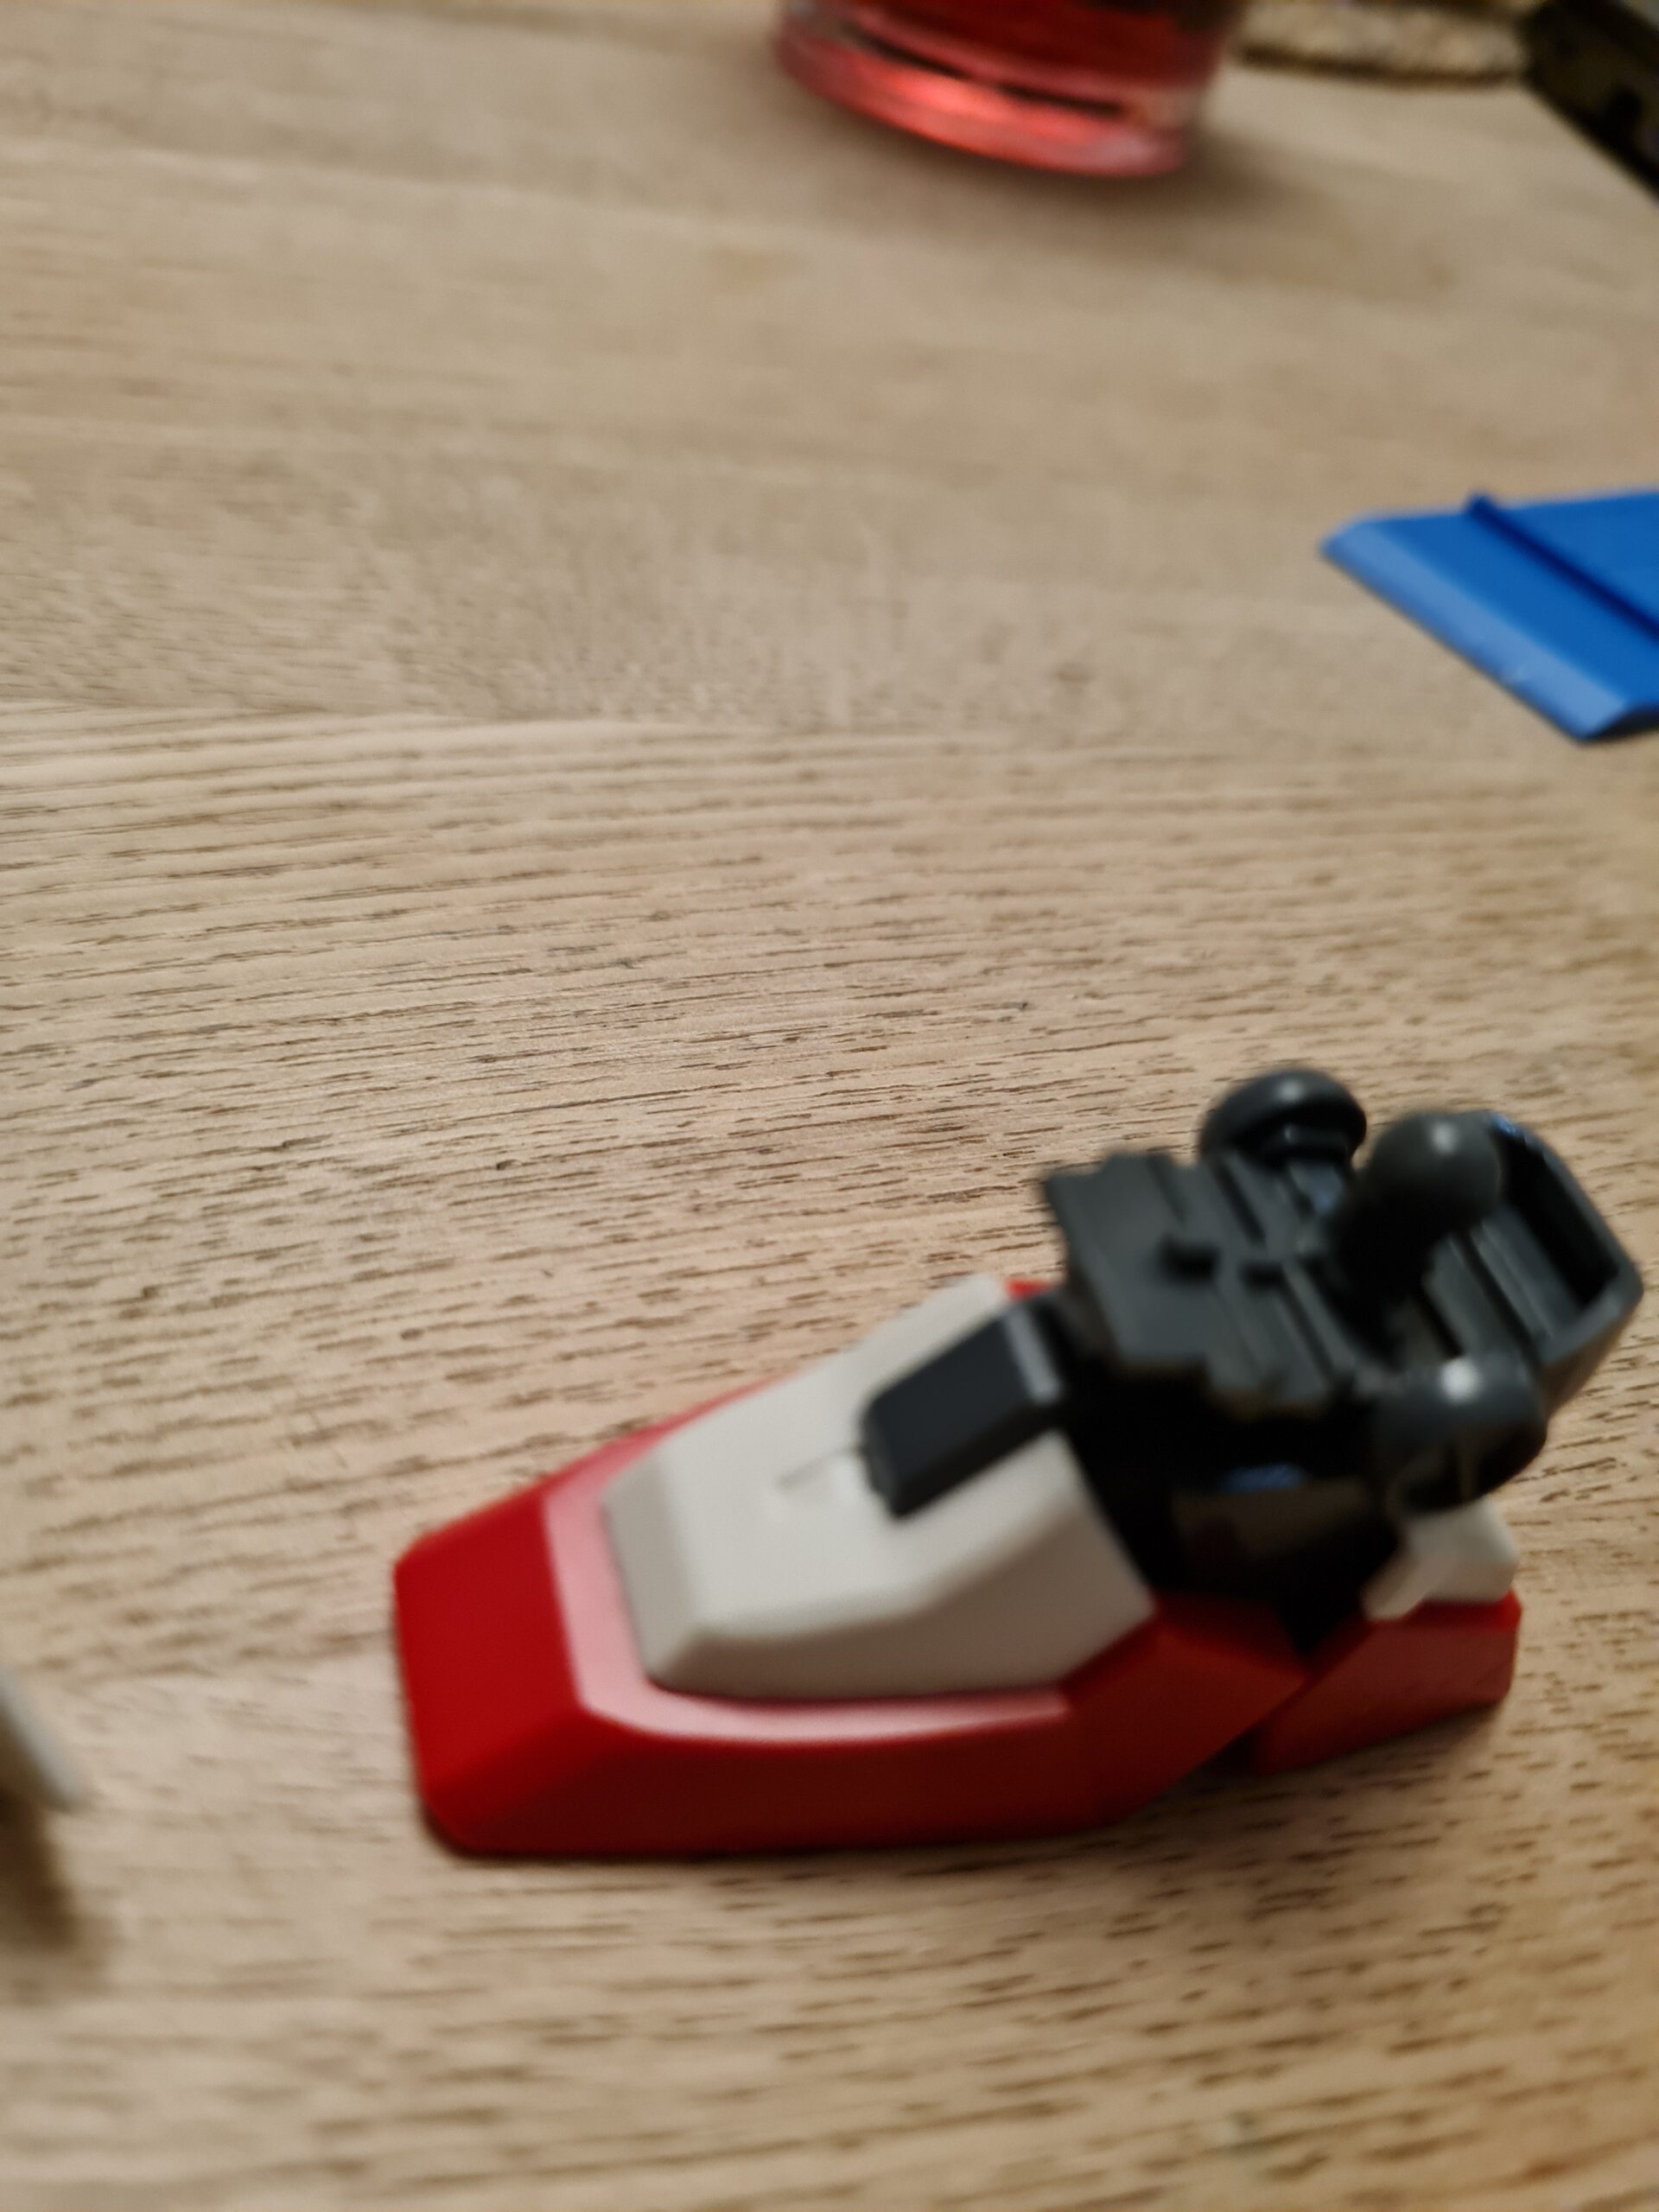
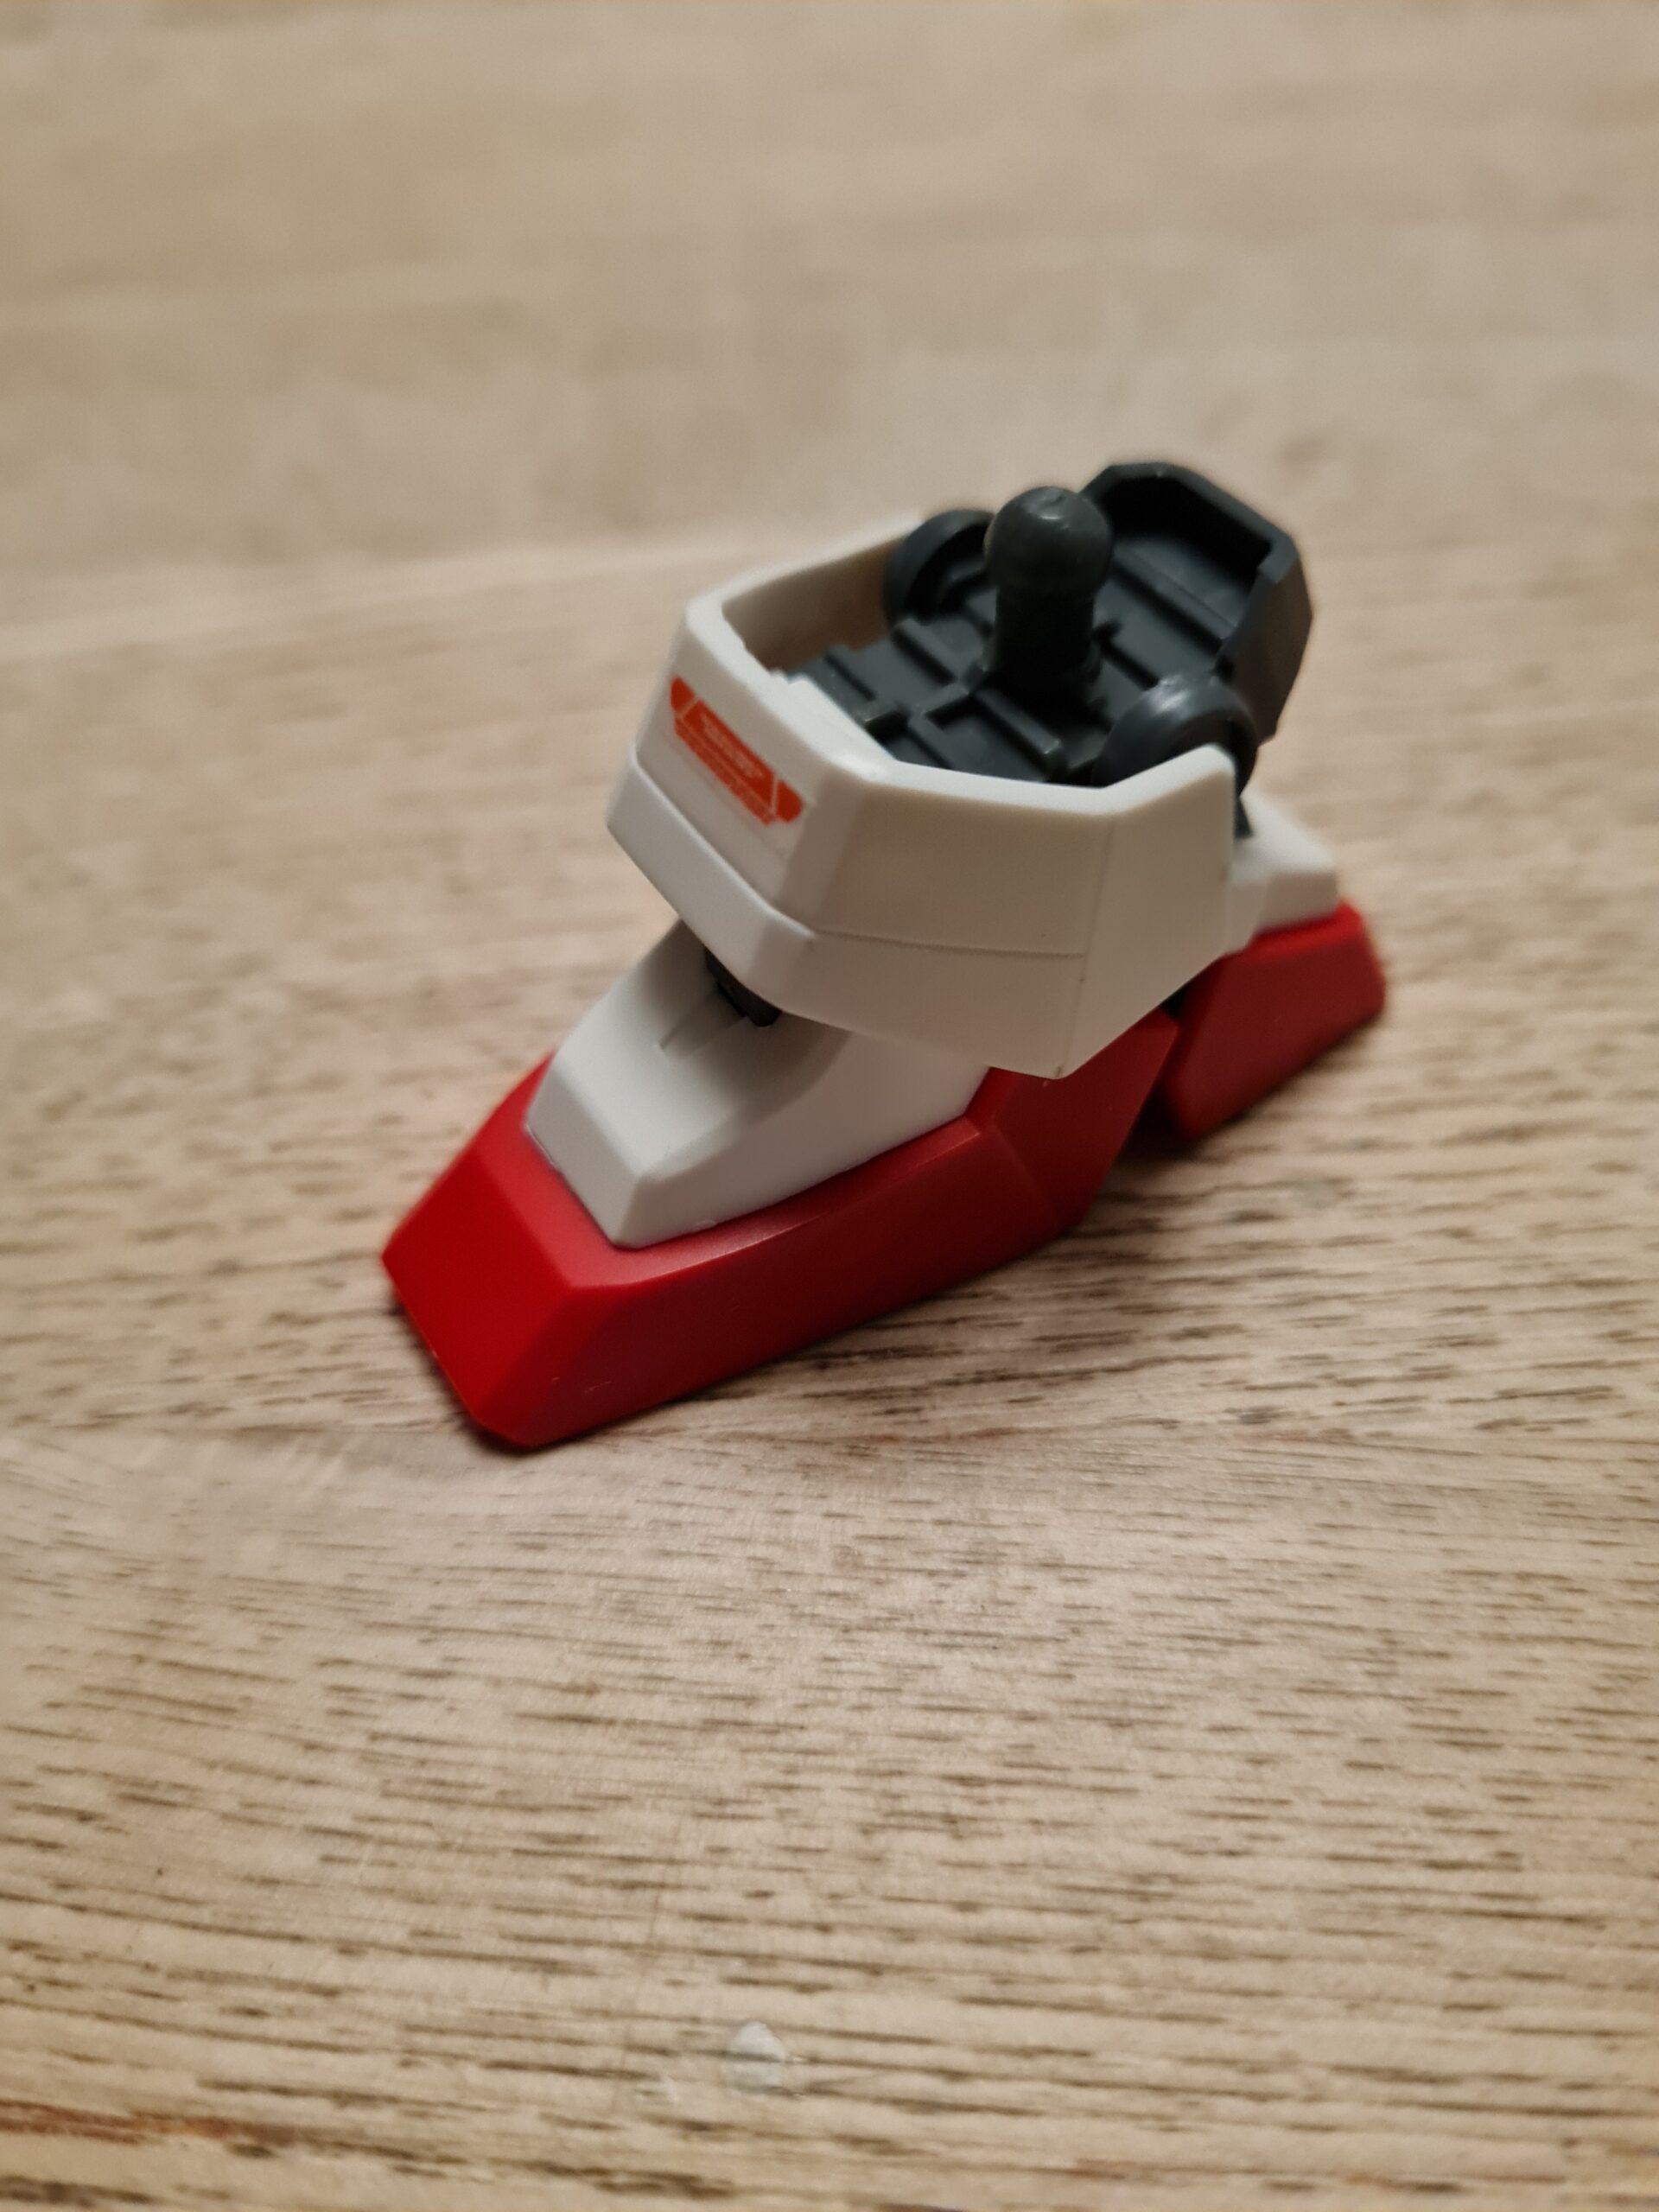
The front section of the foot has a clip/connector that slots onto the front grey section of the ankle joint. Again I feel Bandai have done a great job as the pieces slide together and hold really nicely. That concludes the build up of the foot. A simple part of the build, but for me I always find them really satisfying due to the way the pieces go together, and the speed with which you see that model part take shape.
Articulation
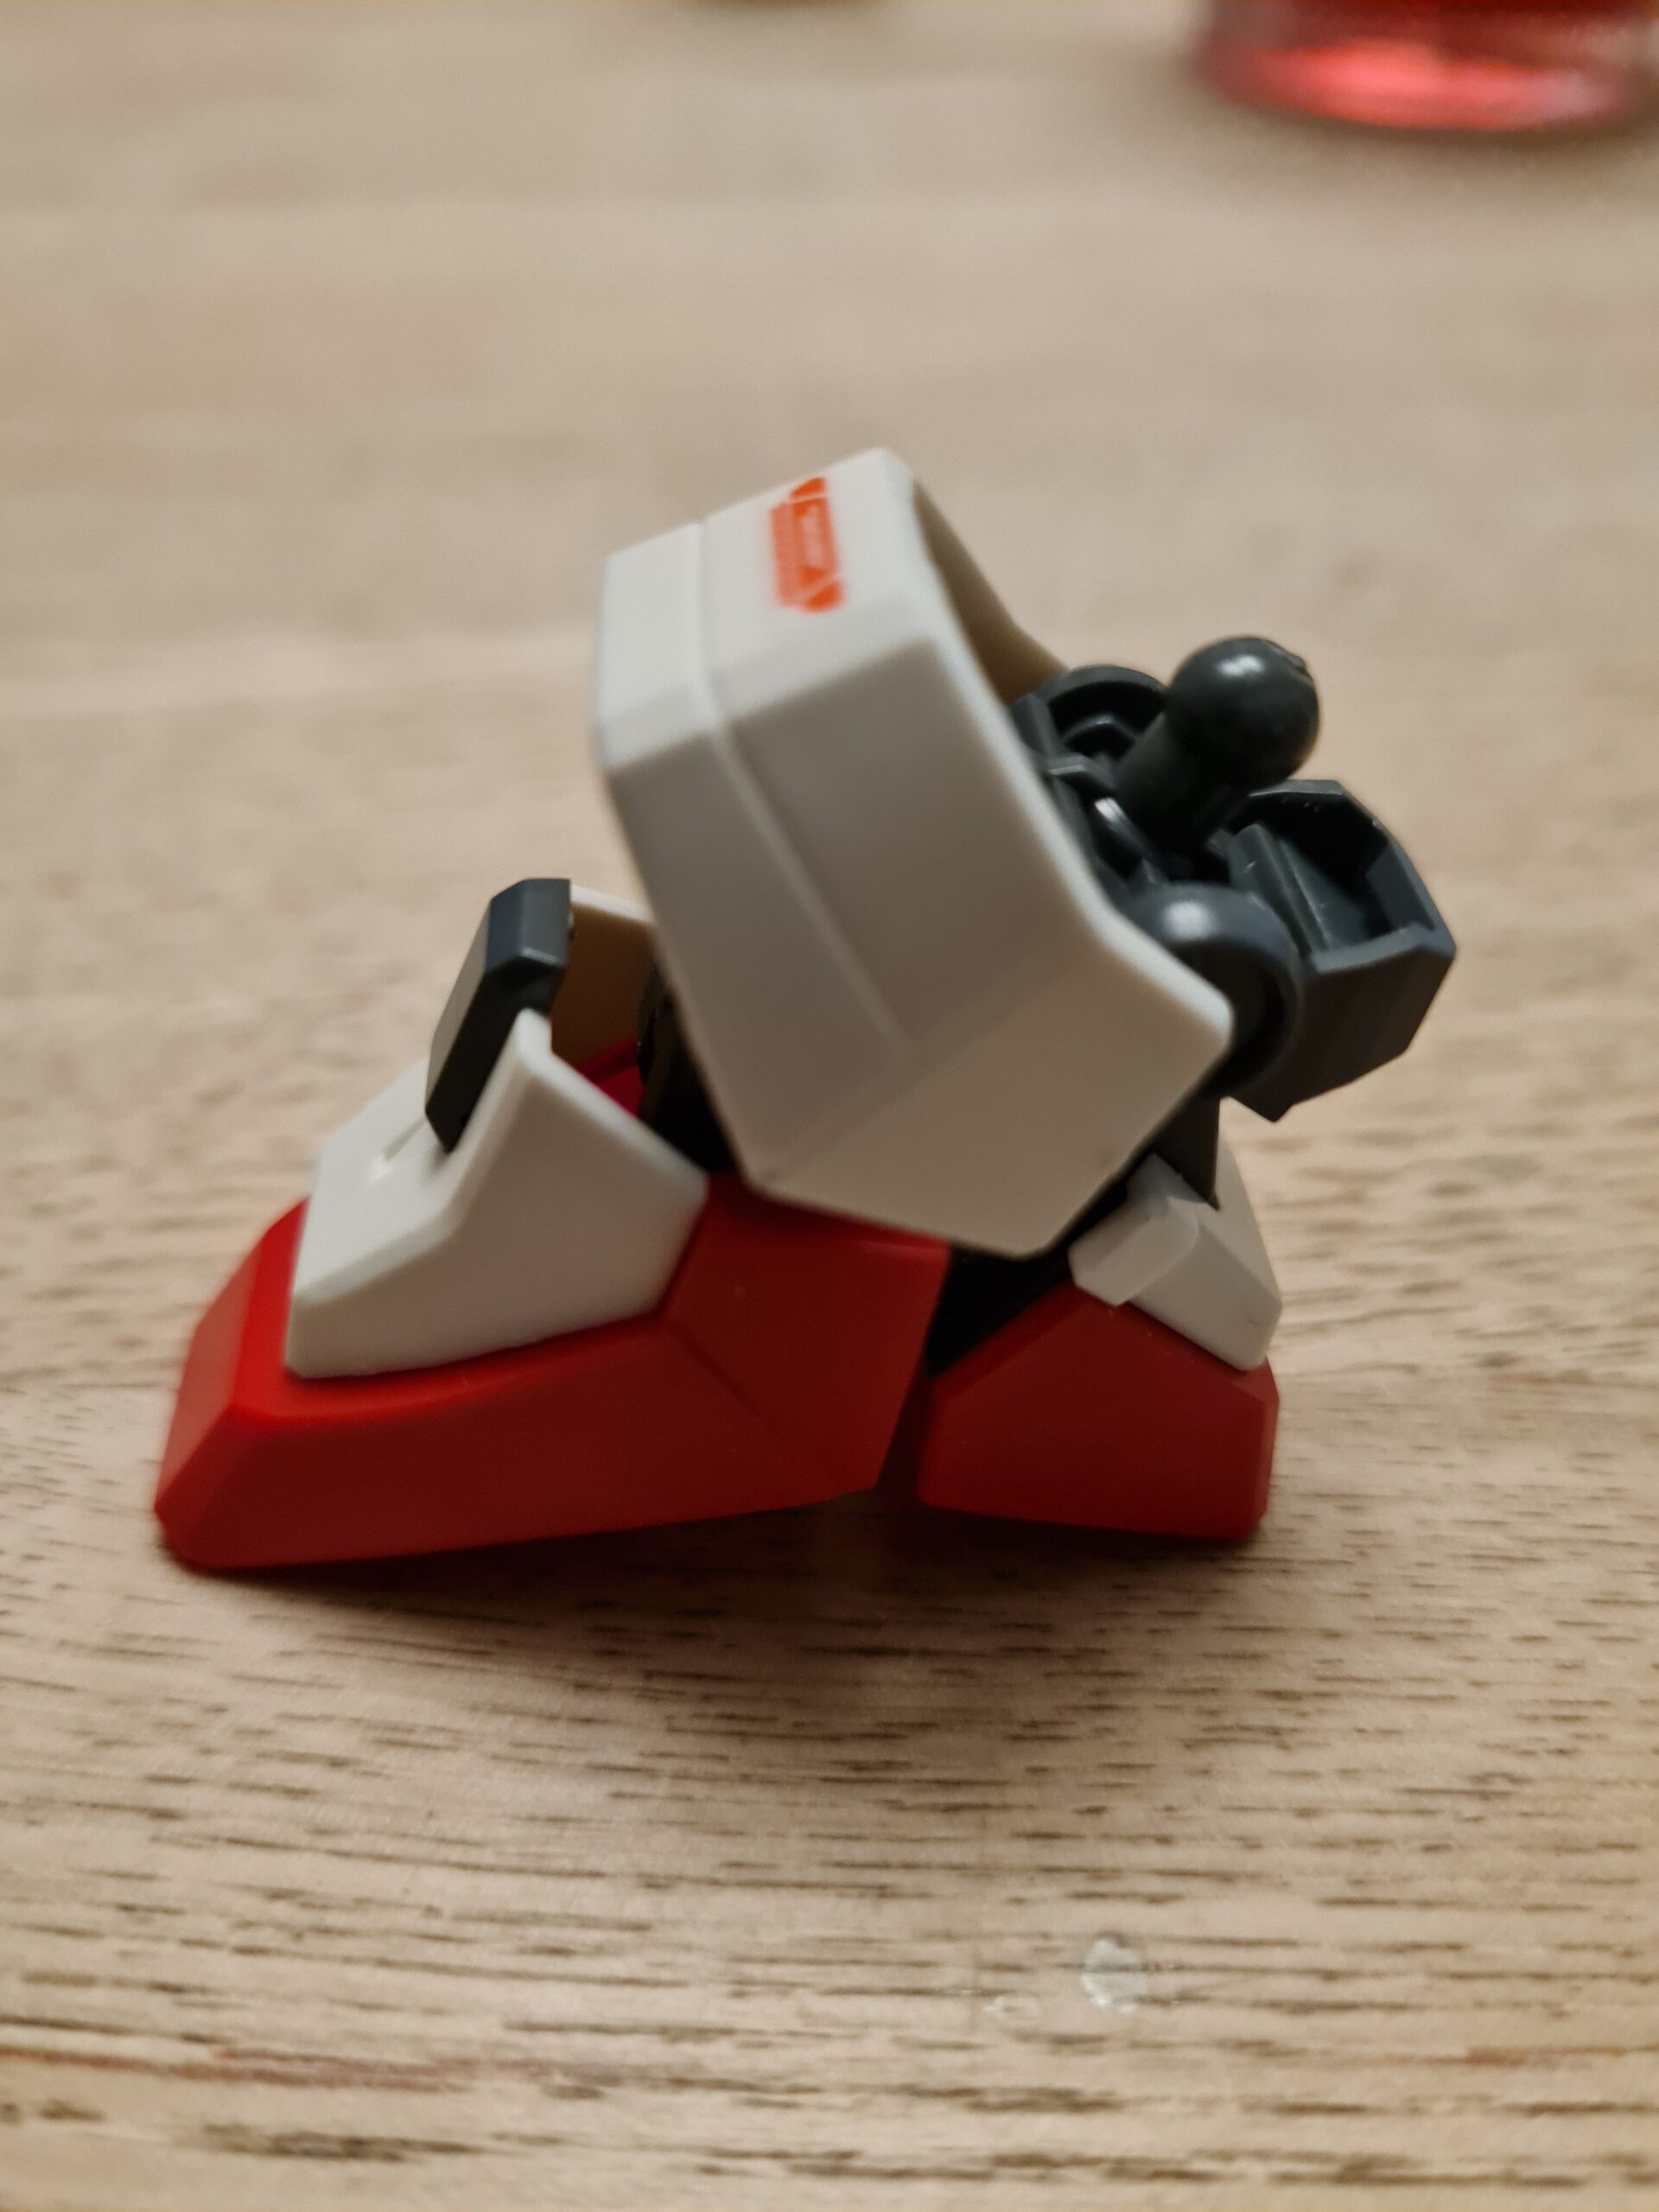
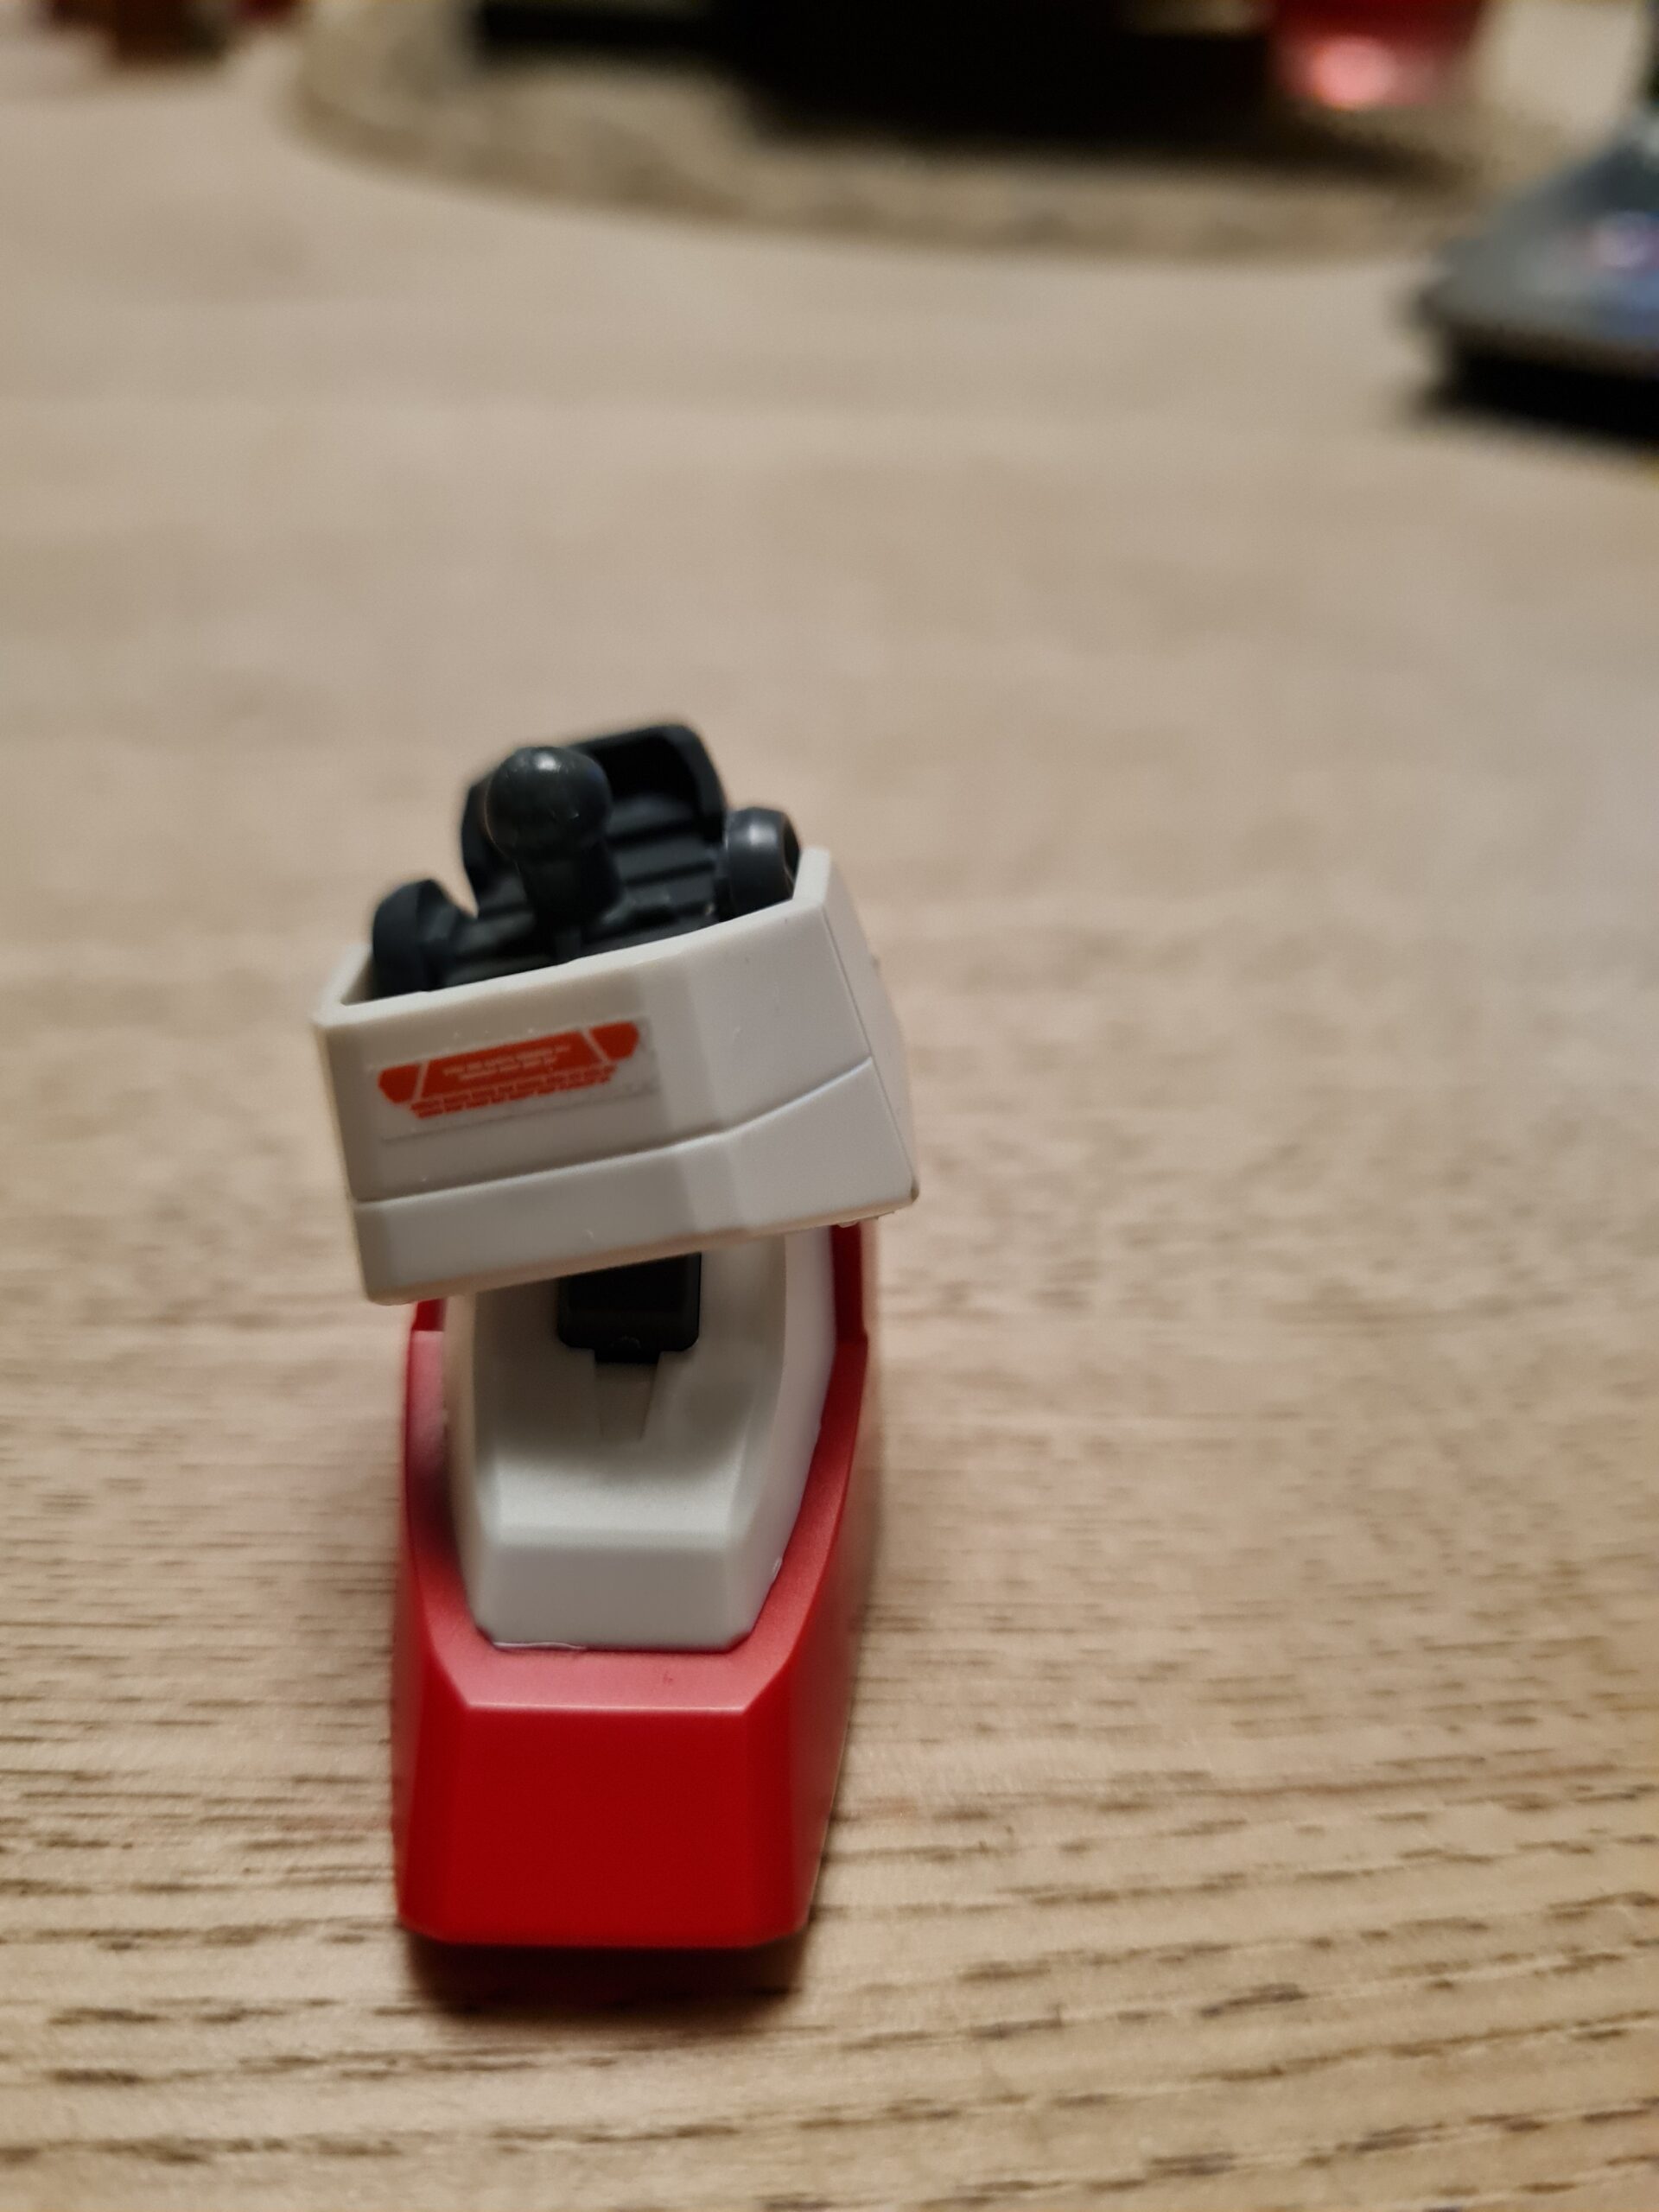
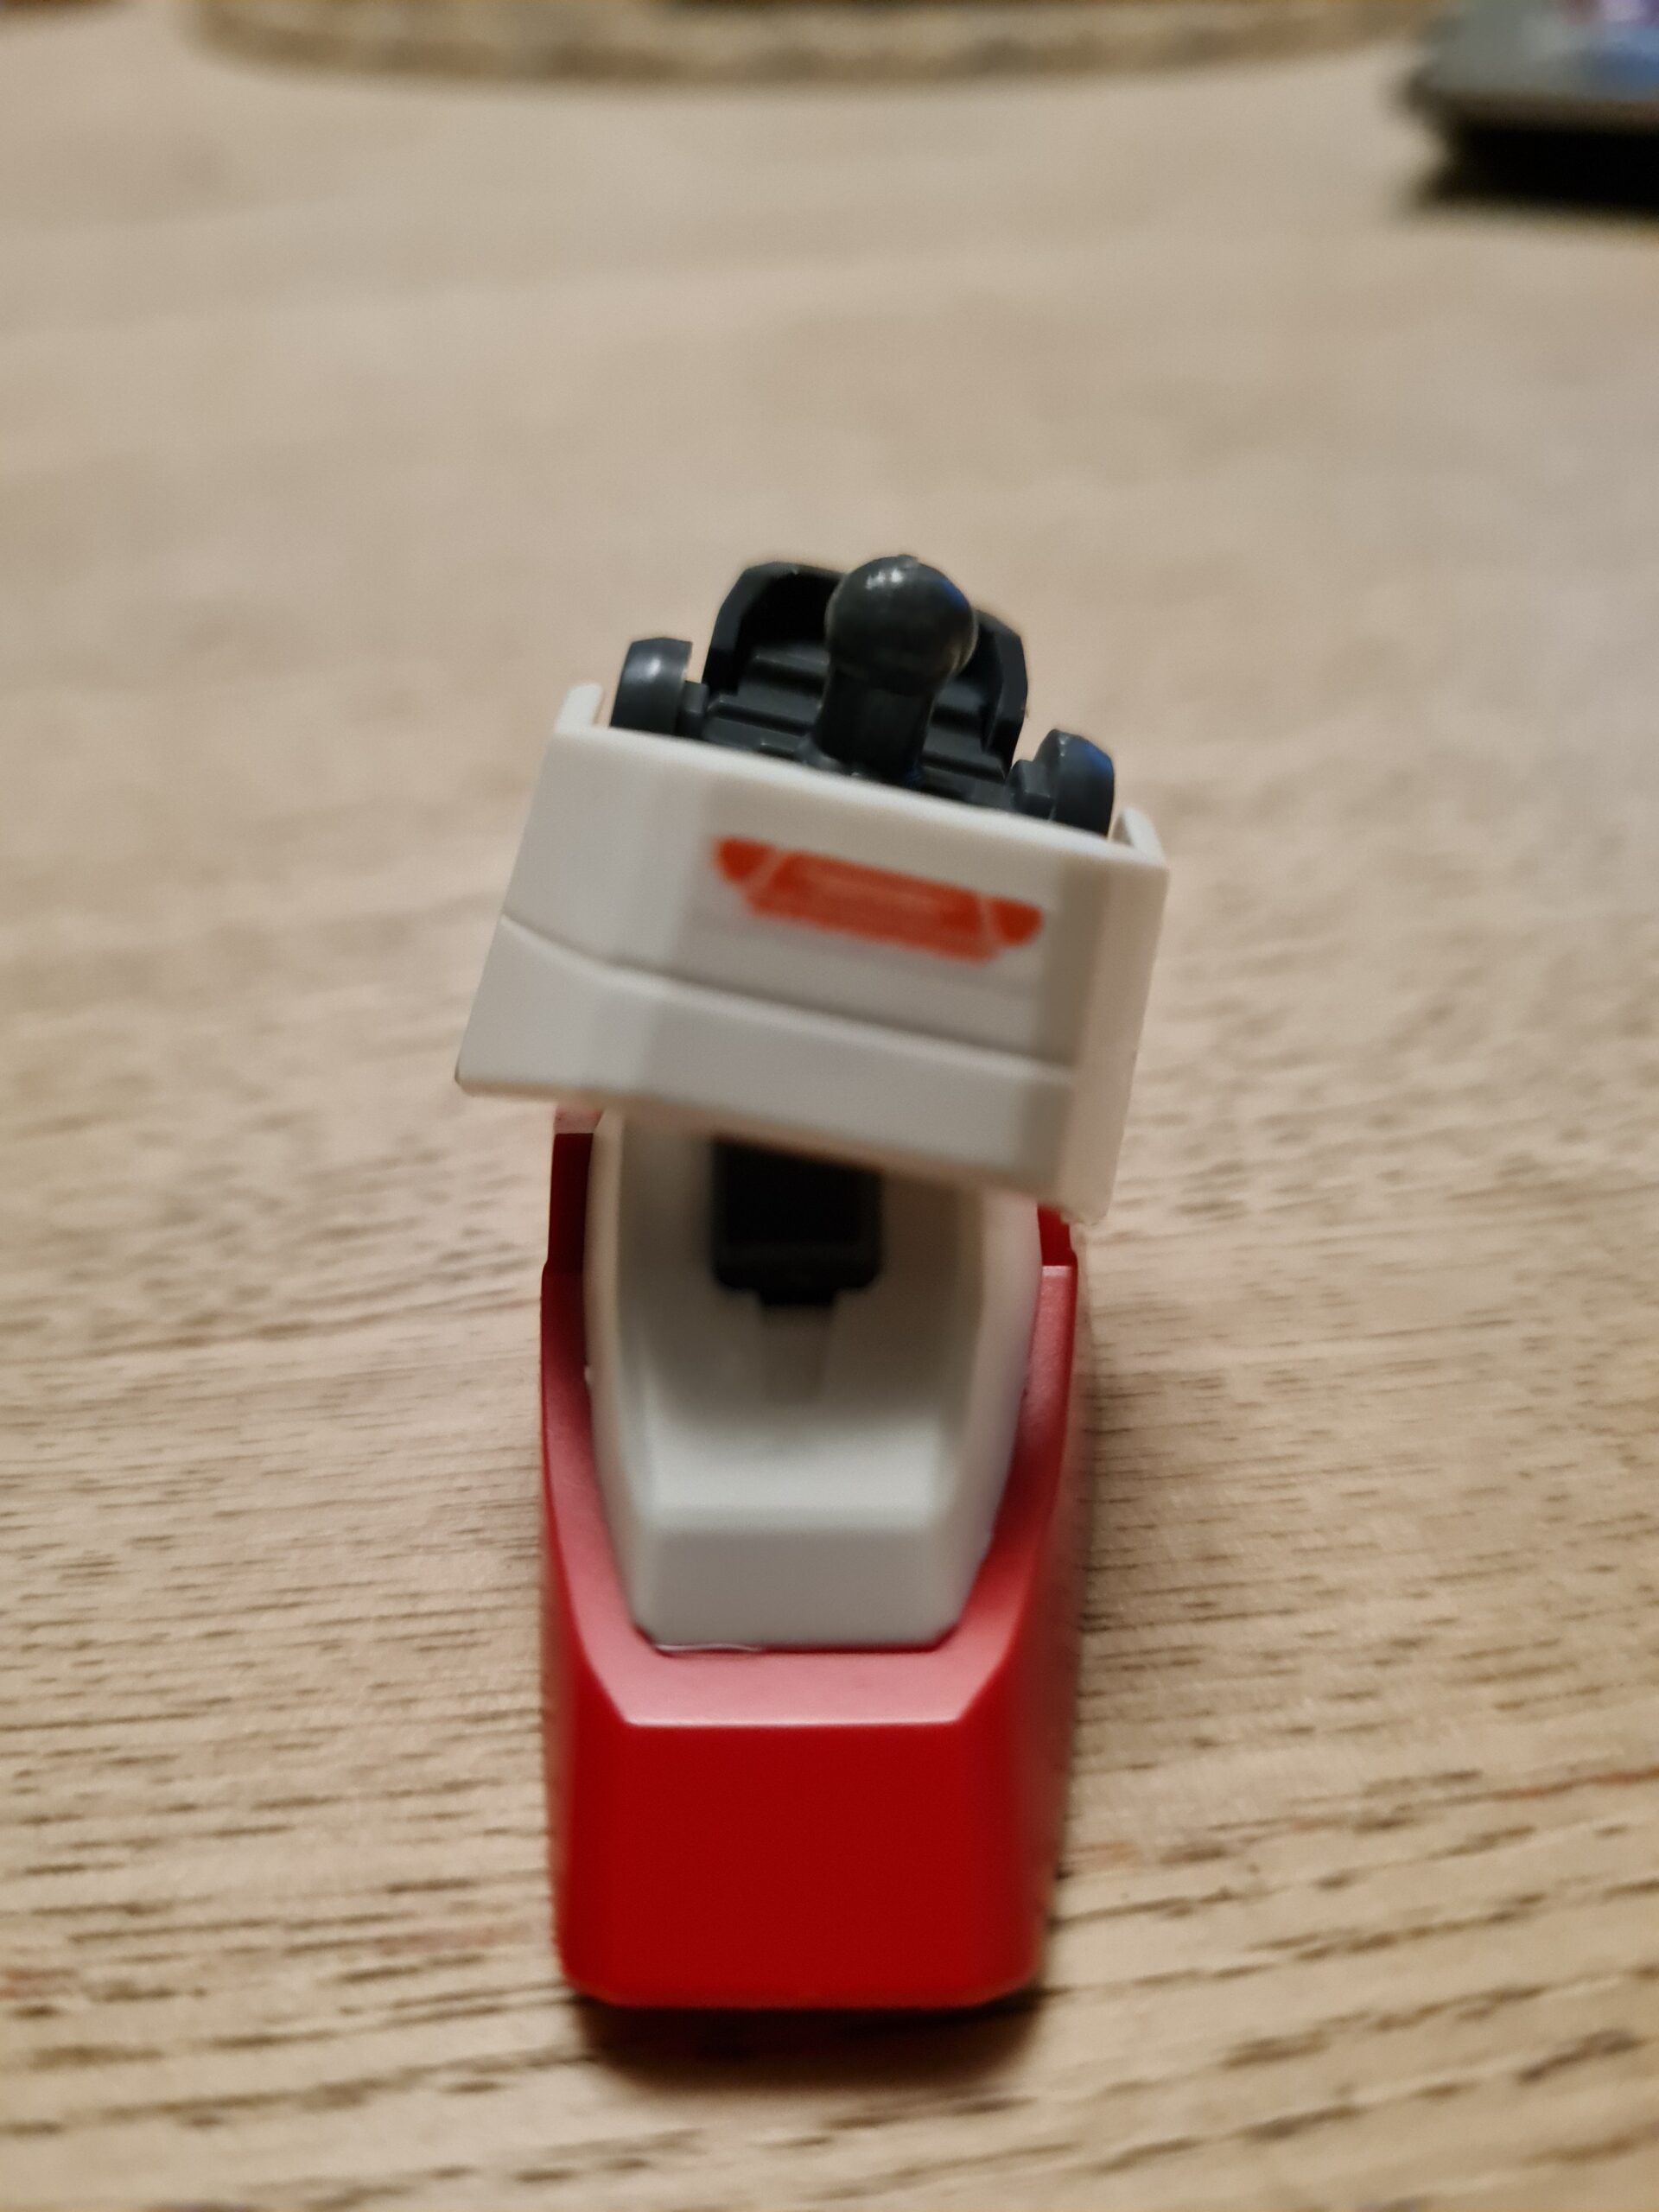
As you can see in the images above the articulation is pretty good. I don’t think it is “the best” but it is certainly good enough for Heavyarms! Lets be honest, with all that weaponry the suit is likely to spend most of its time in some form of standing position. The left and right articulation on the ankle is adequate, and the arching on the foot is about the same, in my opinion.
Conclusion
There we have a mini tear down and rebuild of the foot on the MG Heavyarms. I found taking it apart and rebuilding it oddly therapeutic. However, as soon as I had it apart I had it back together again! As you may have noticed I haven’t panel lined this model. I may do that at some point, but first I need to put on a matt coat!
Thank you for taking the time to read this. If you haven’t already done so please like and follow us on our social media platforms and checkout our website!
Facebook: https://www.facebook.com/profile.php?id=100086701512793
Instagram: https://www.instagram.com/modelkitsltd/
Website: https://modelkitsltd.co.uk