Posted on

Gunpla Decals

presson

Introduction

I learnt a lot in the last 24 hours about GunPla Decals. I was aware of a few things coming out the gate. However, before going any further you may be asking yourself what actually is a “decal”. A decal is a design placed on a medium that allows you to transfer it onto another surface. Think like those crappy fake tattoos you could get as a kid, but way cooler, and way better looking on your models.

What I knew so far

I knew that various kits come with different options or levels of decals. In fact one of the things when originally reading around GunPla was that the Ver Ka. kits often come with a lot of decals. From working with the various kits I have, so far, I’ve always shied away from the decals on the whole. I would tend to use the one for the visor if it is say a shiny silver or something that sits behind a clear visor. However, on the whole I avoided them till I decided to try and work with my MG Heavy Arms.

I found myself bamboozled about the different types I had.

Images

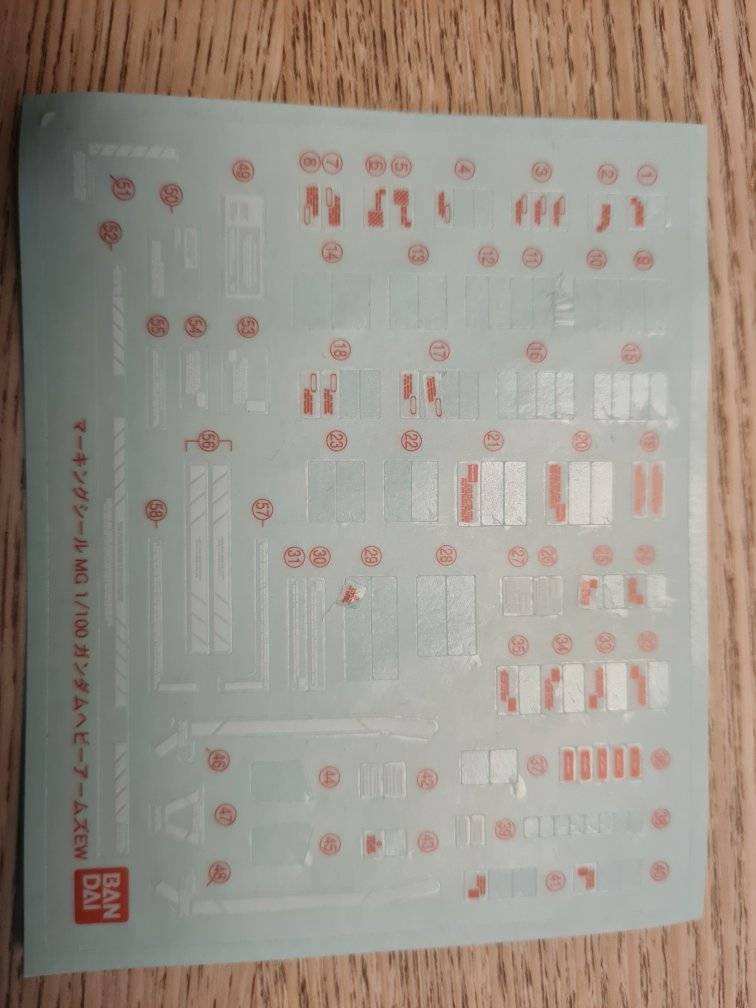
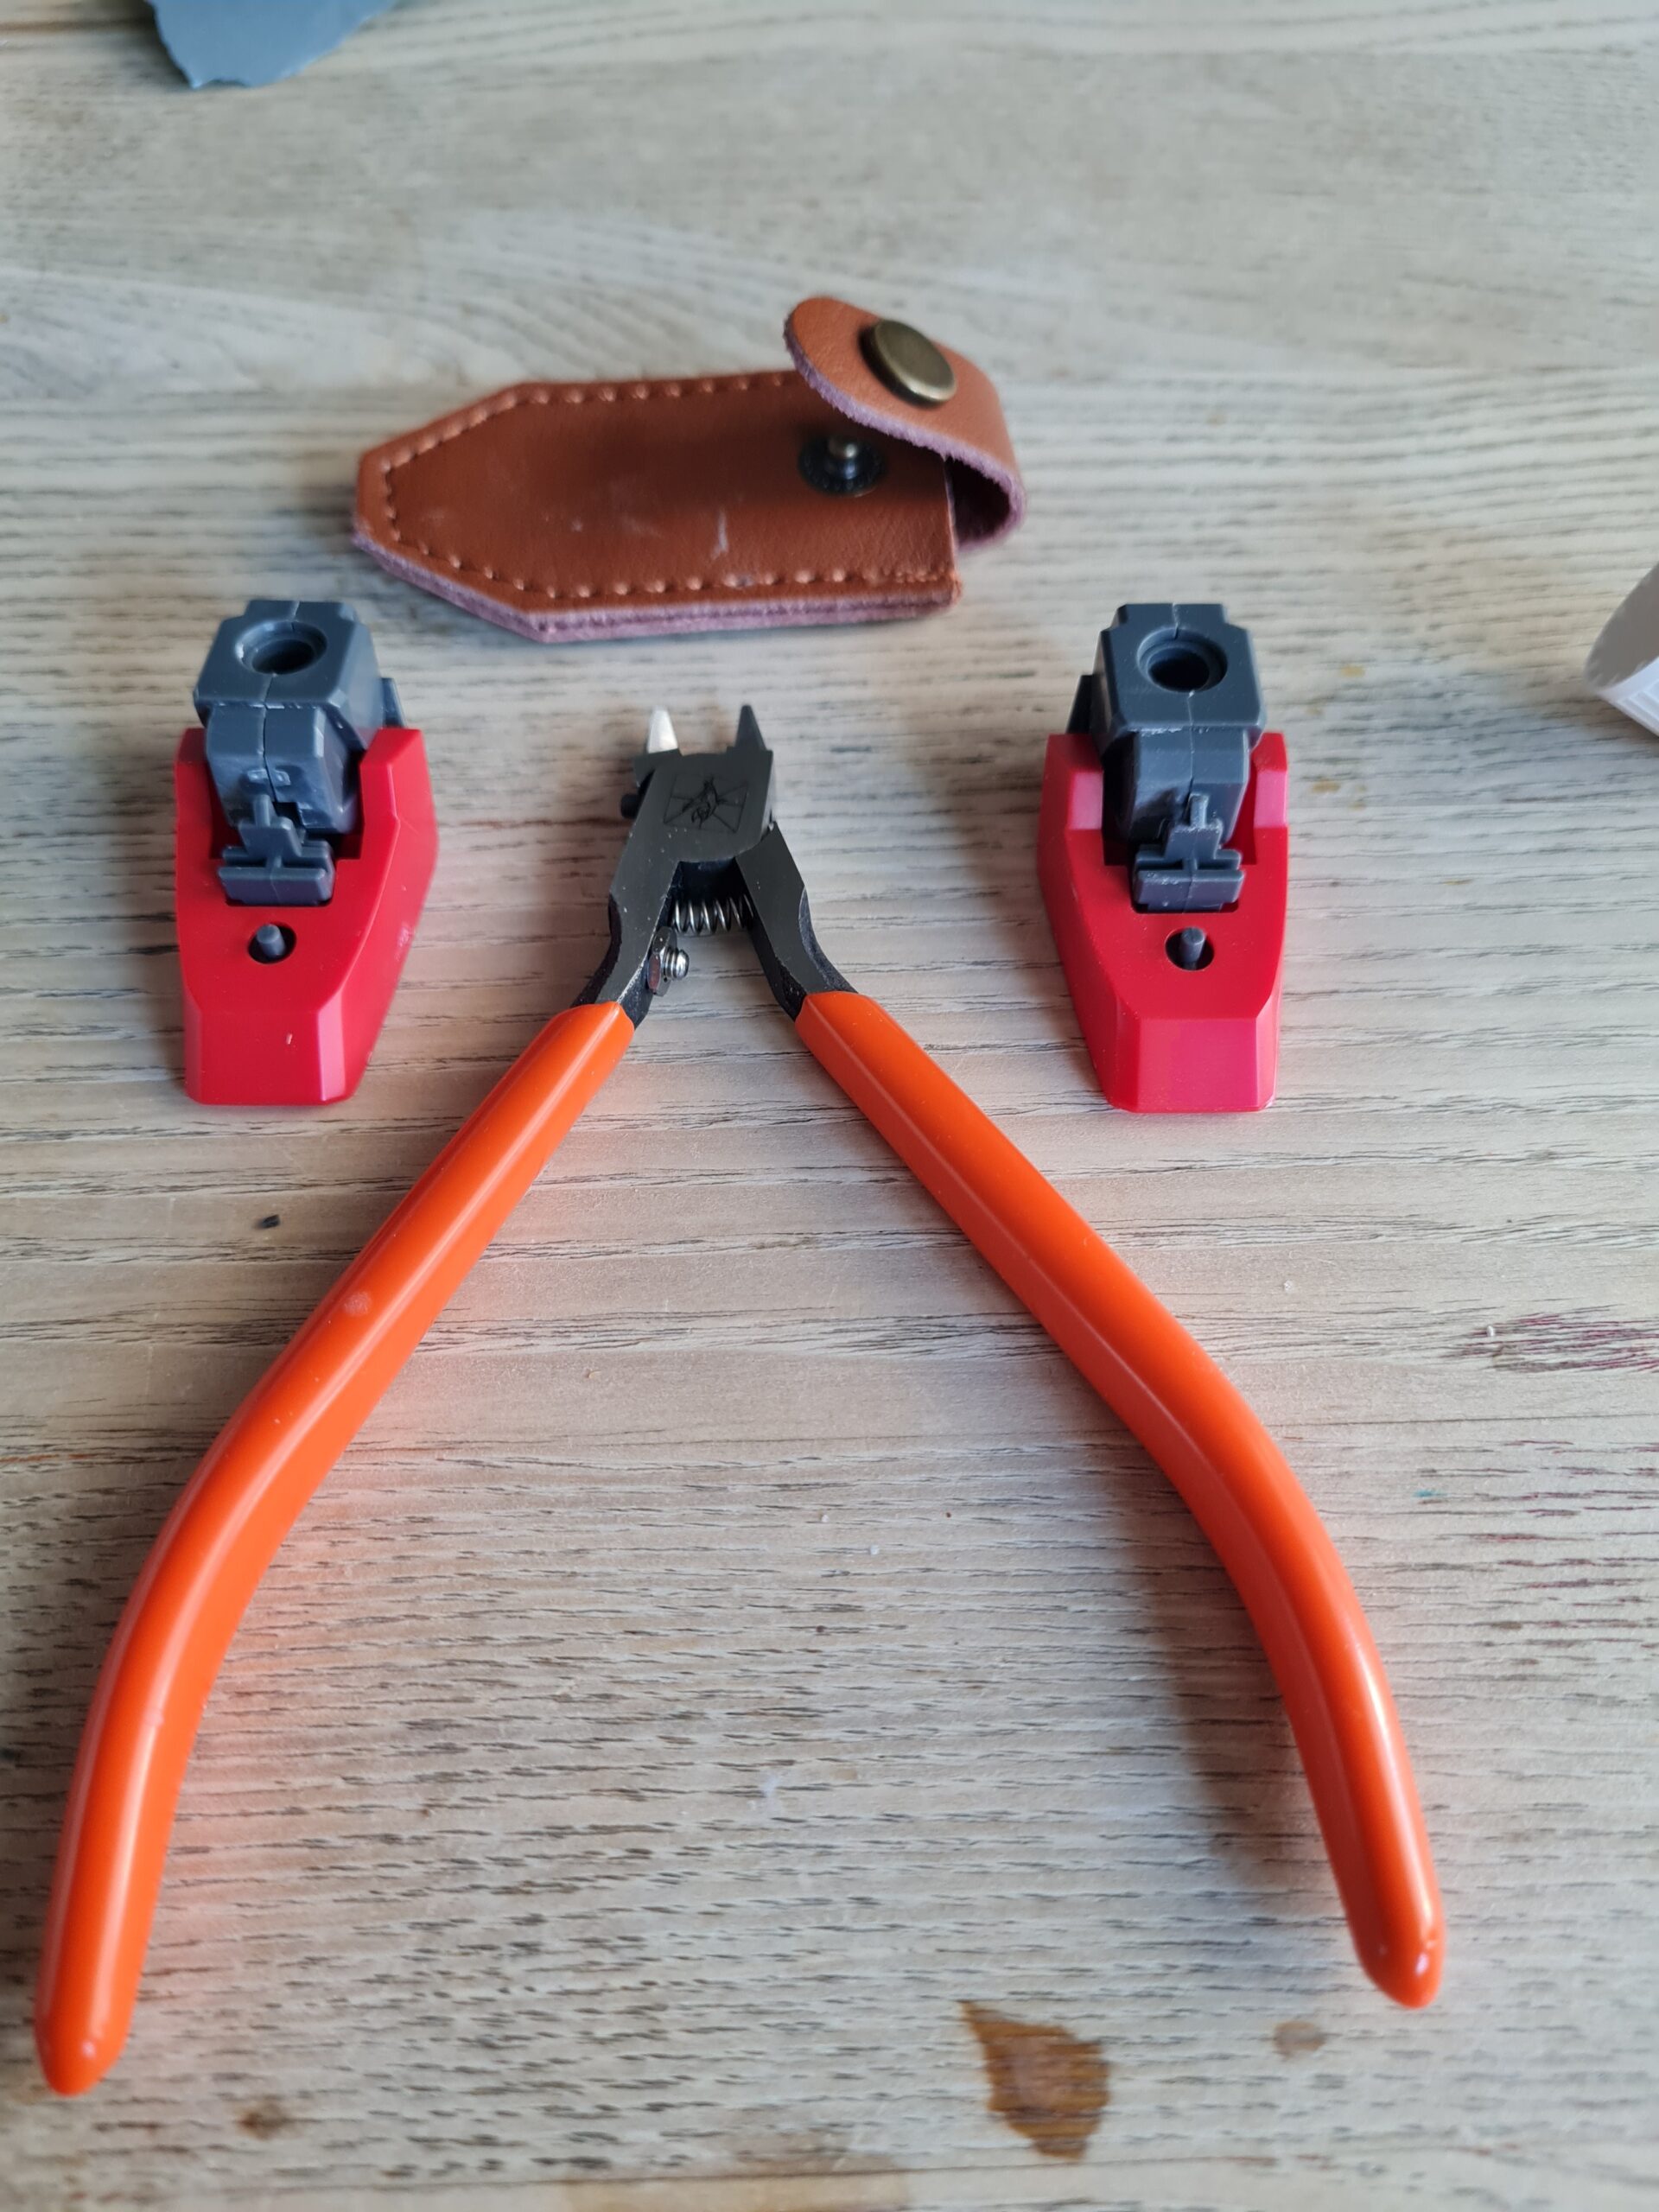
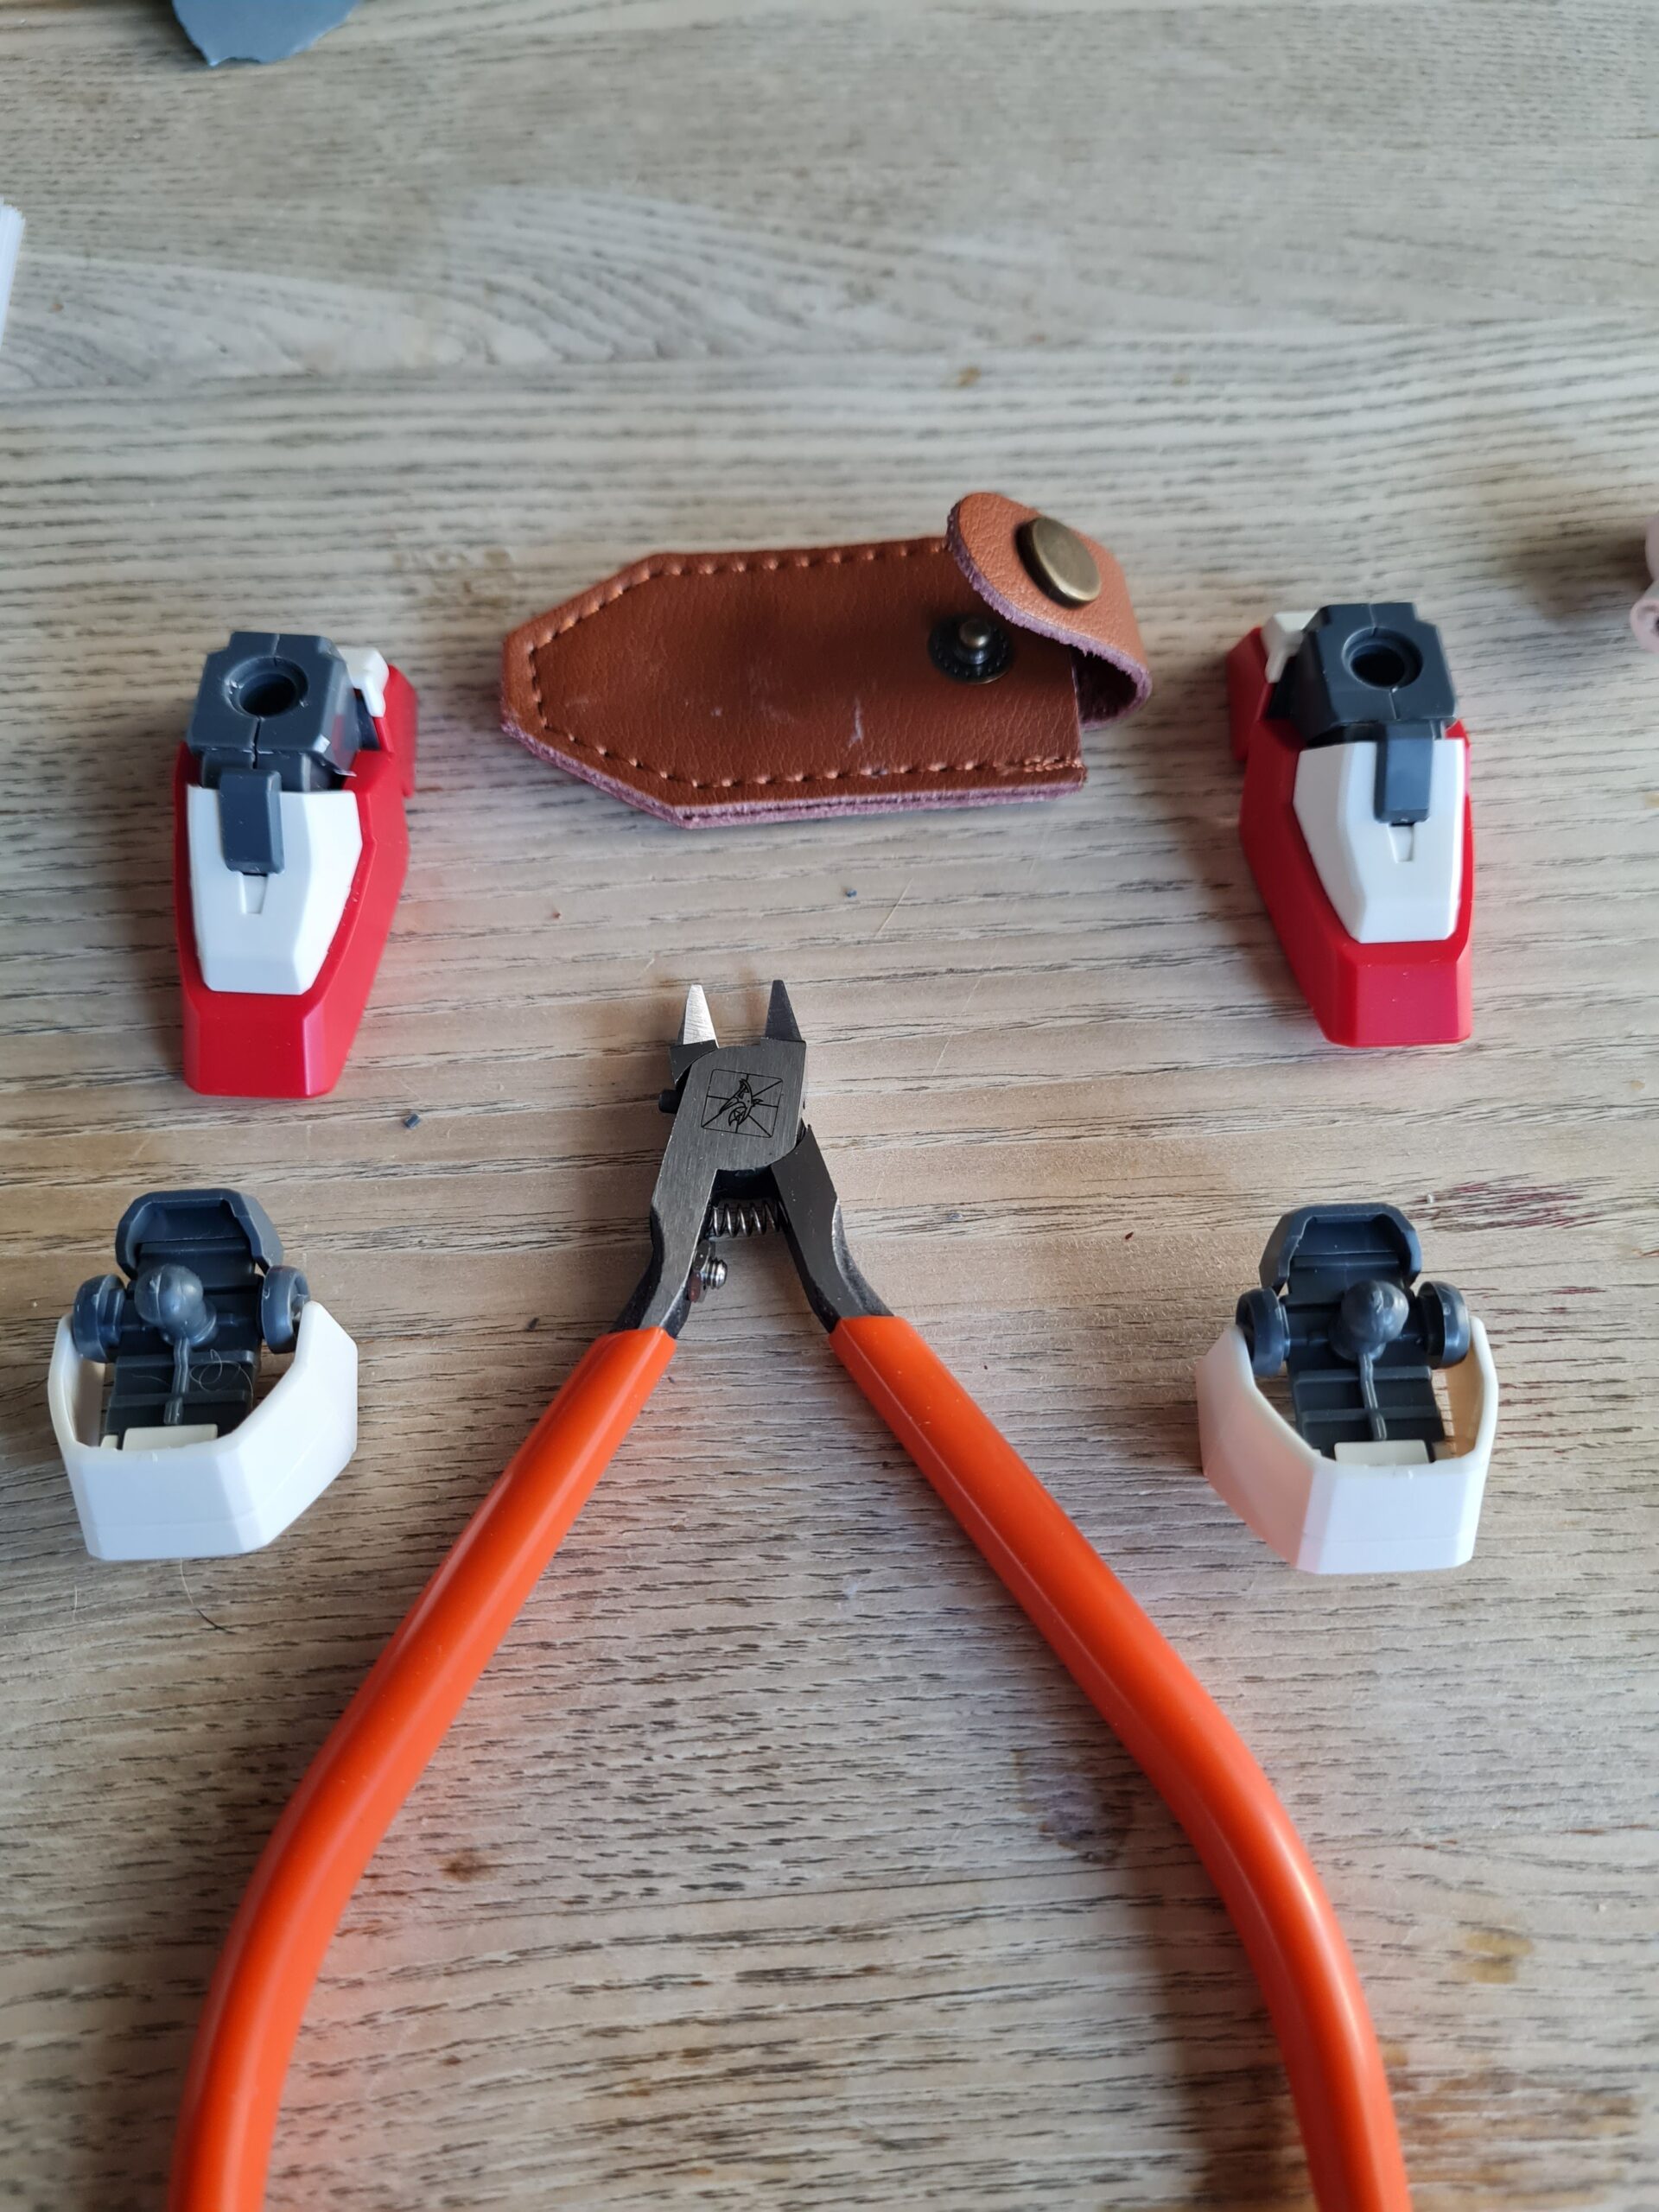
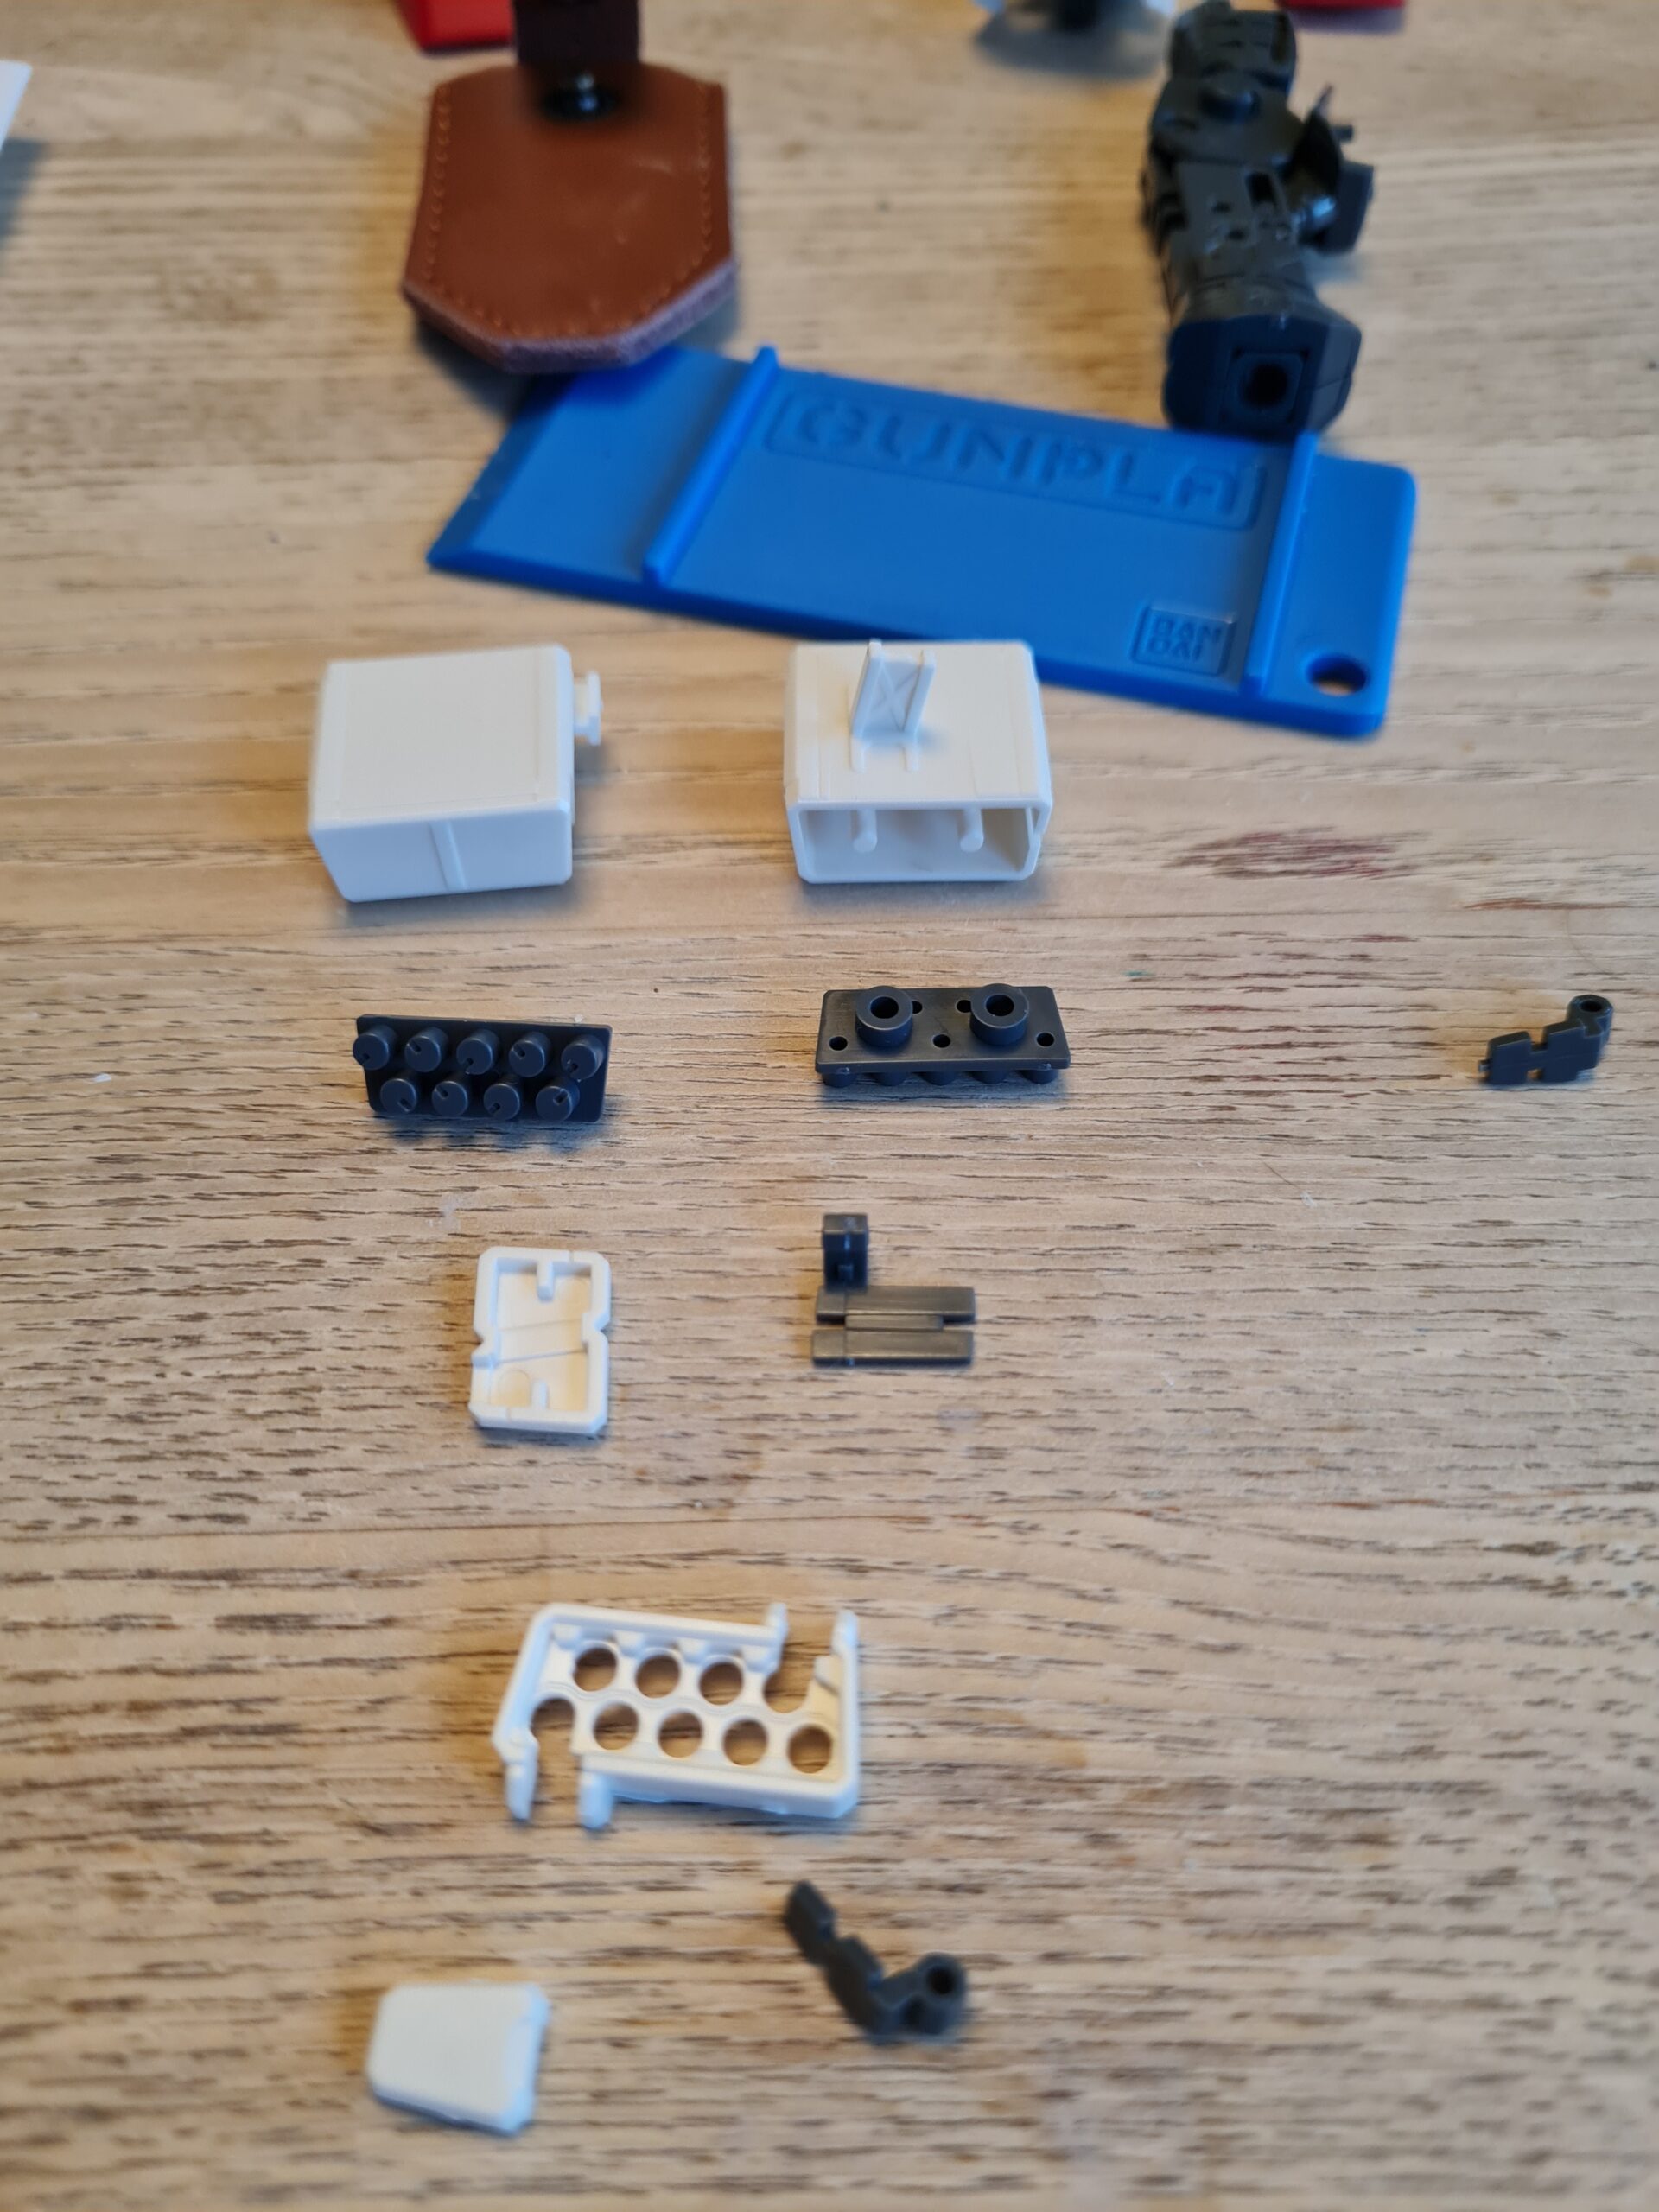
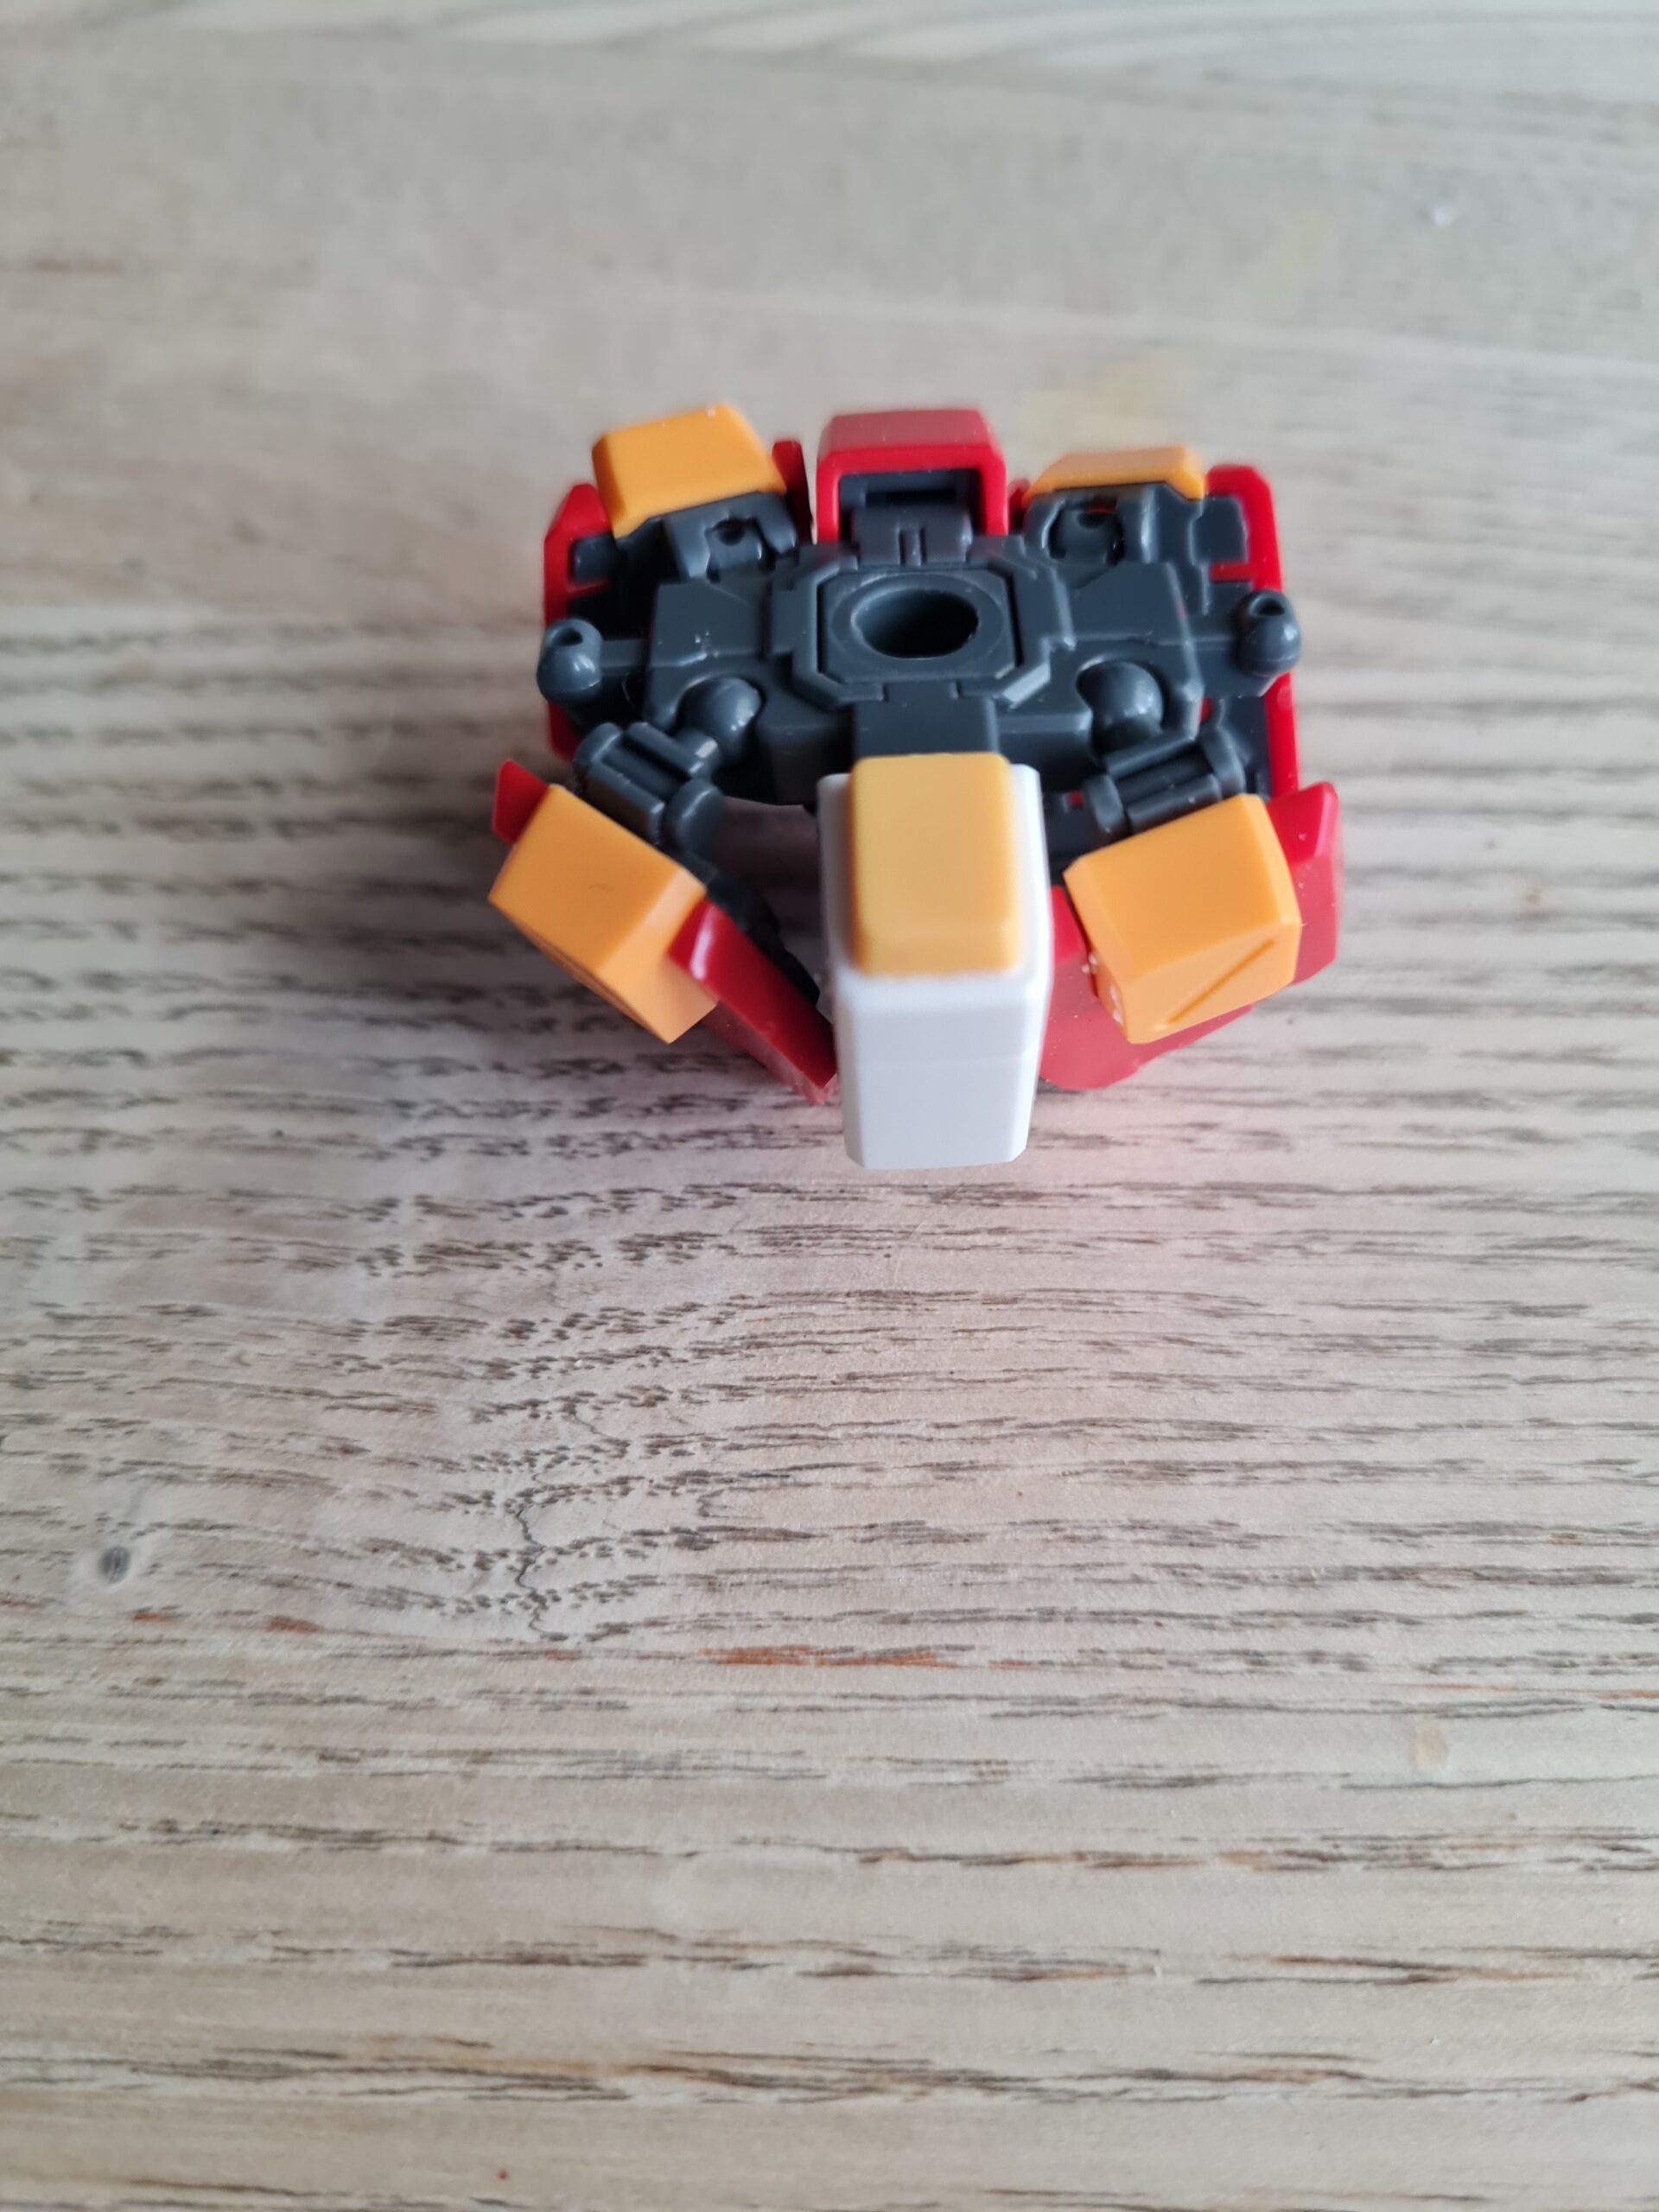
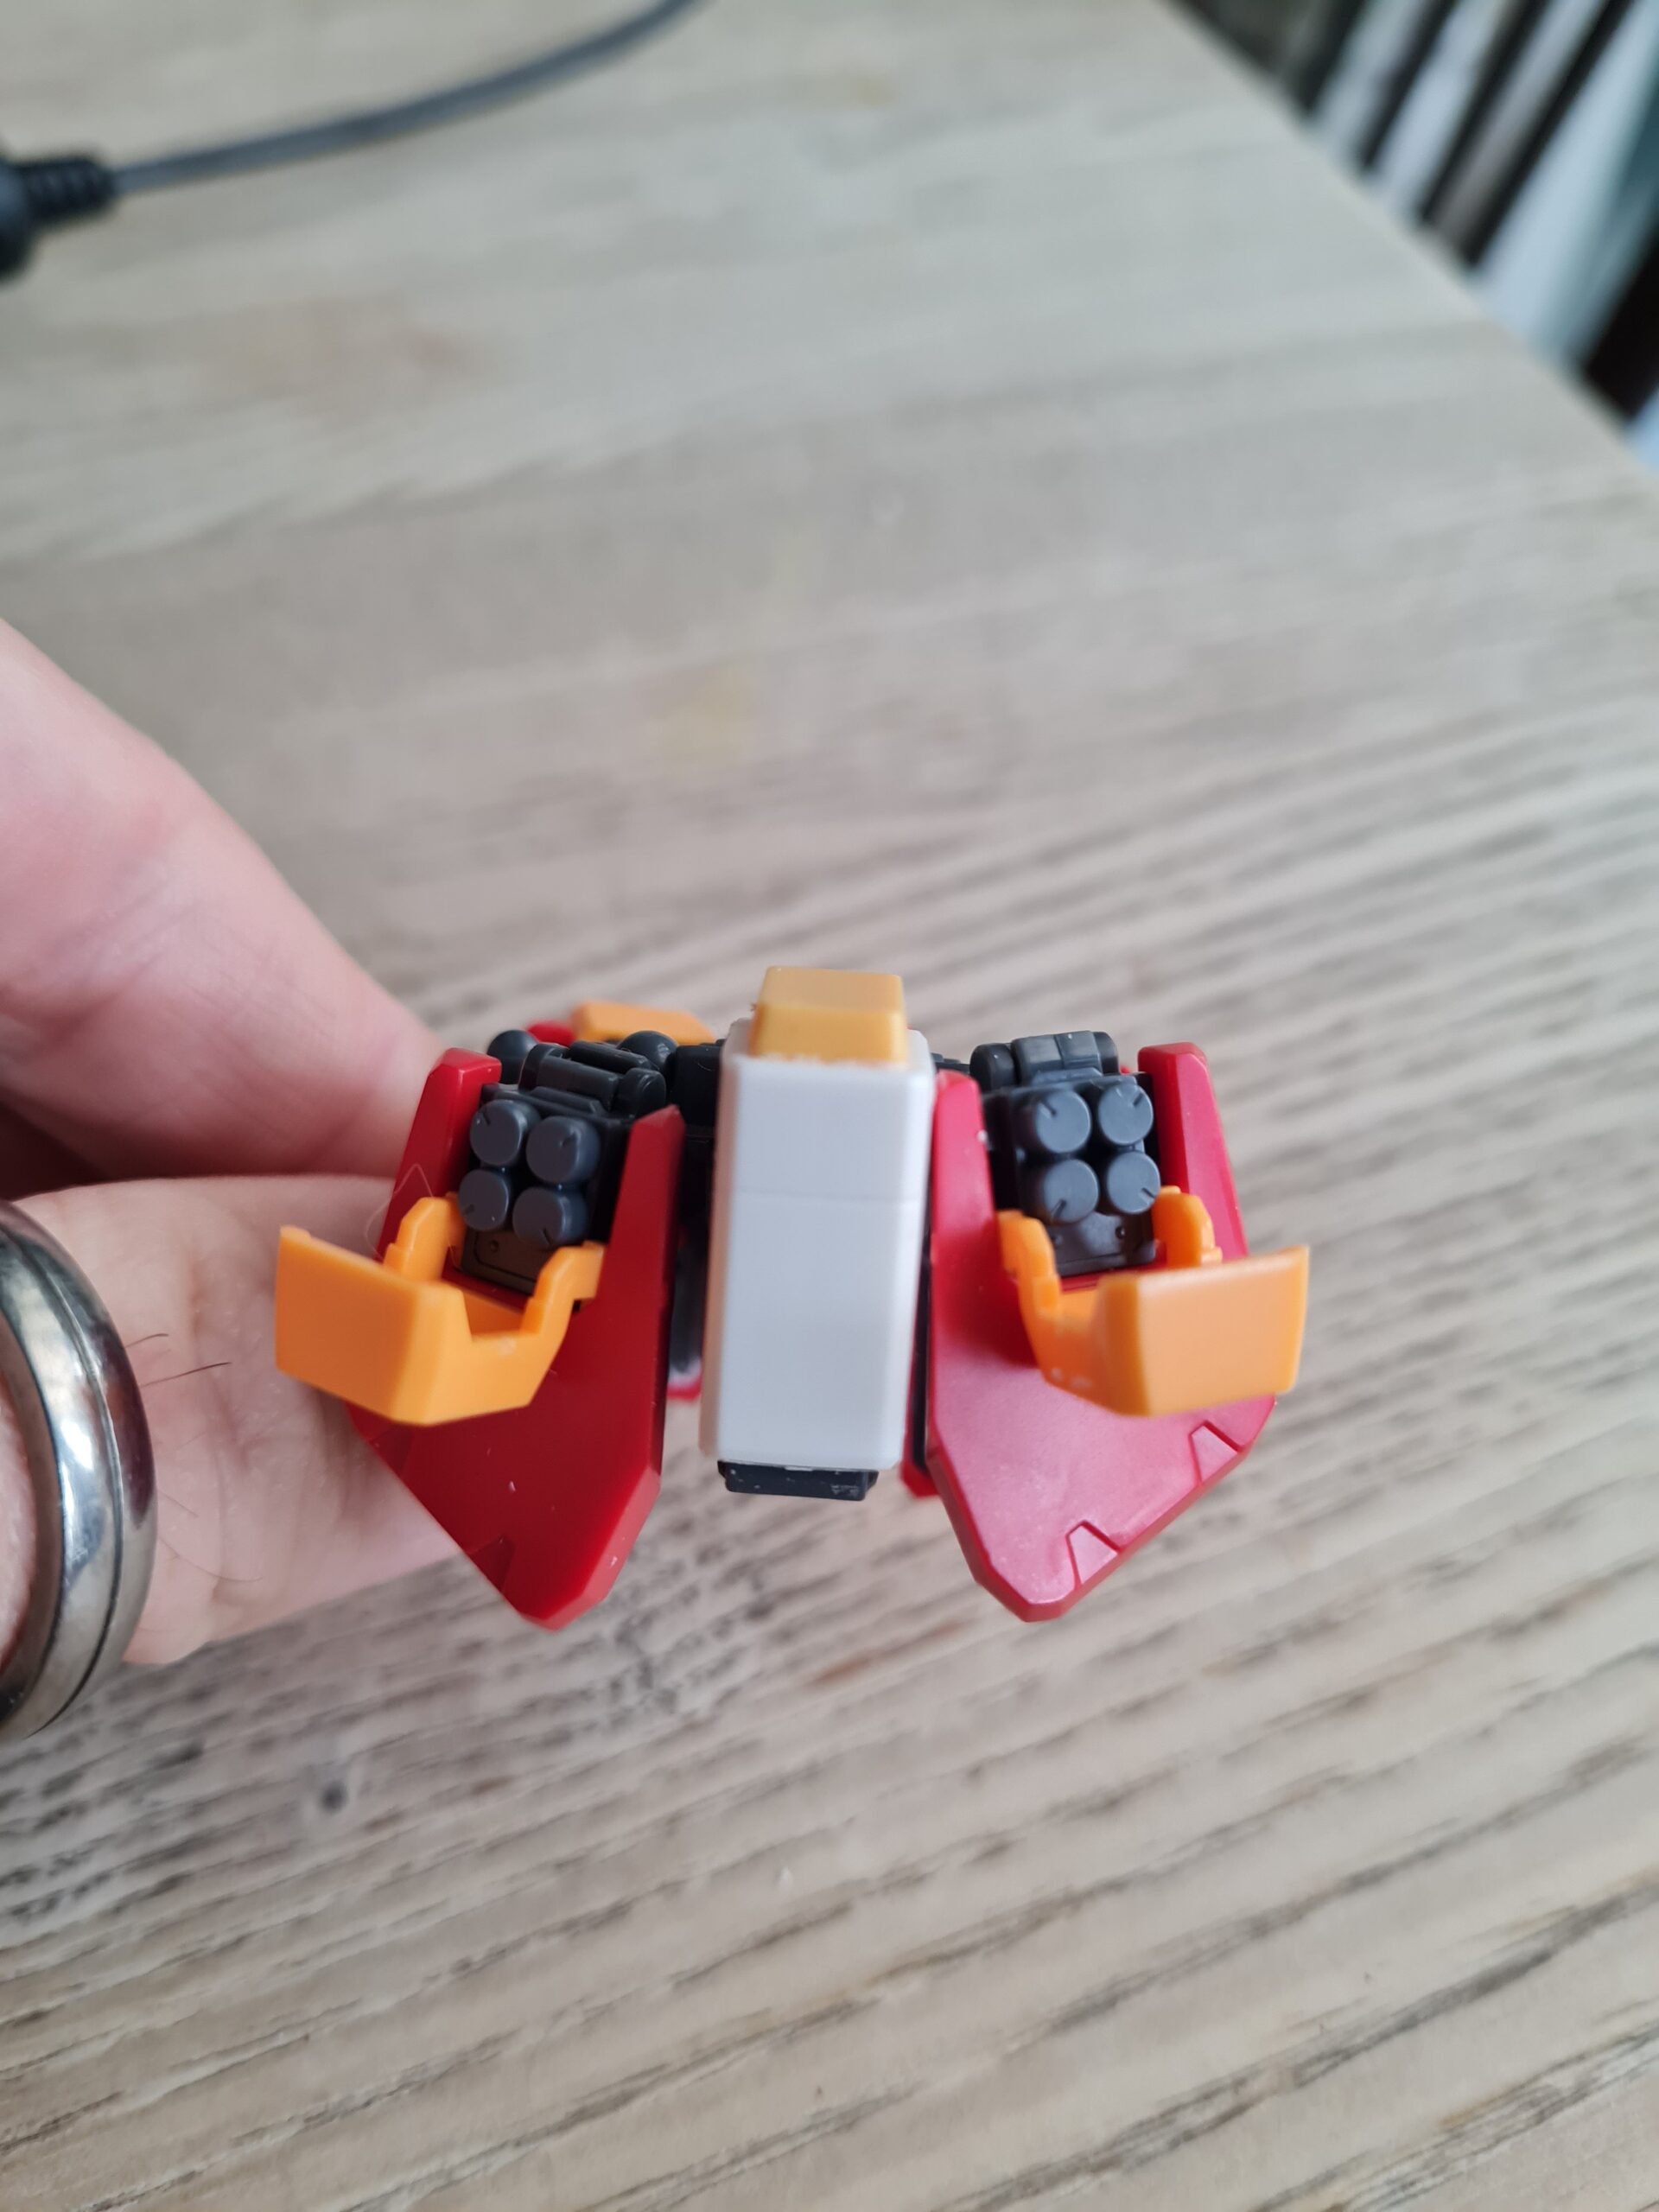
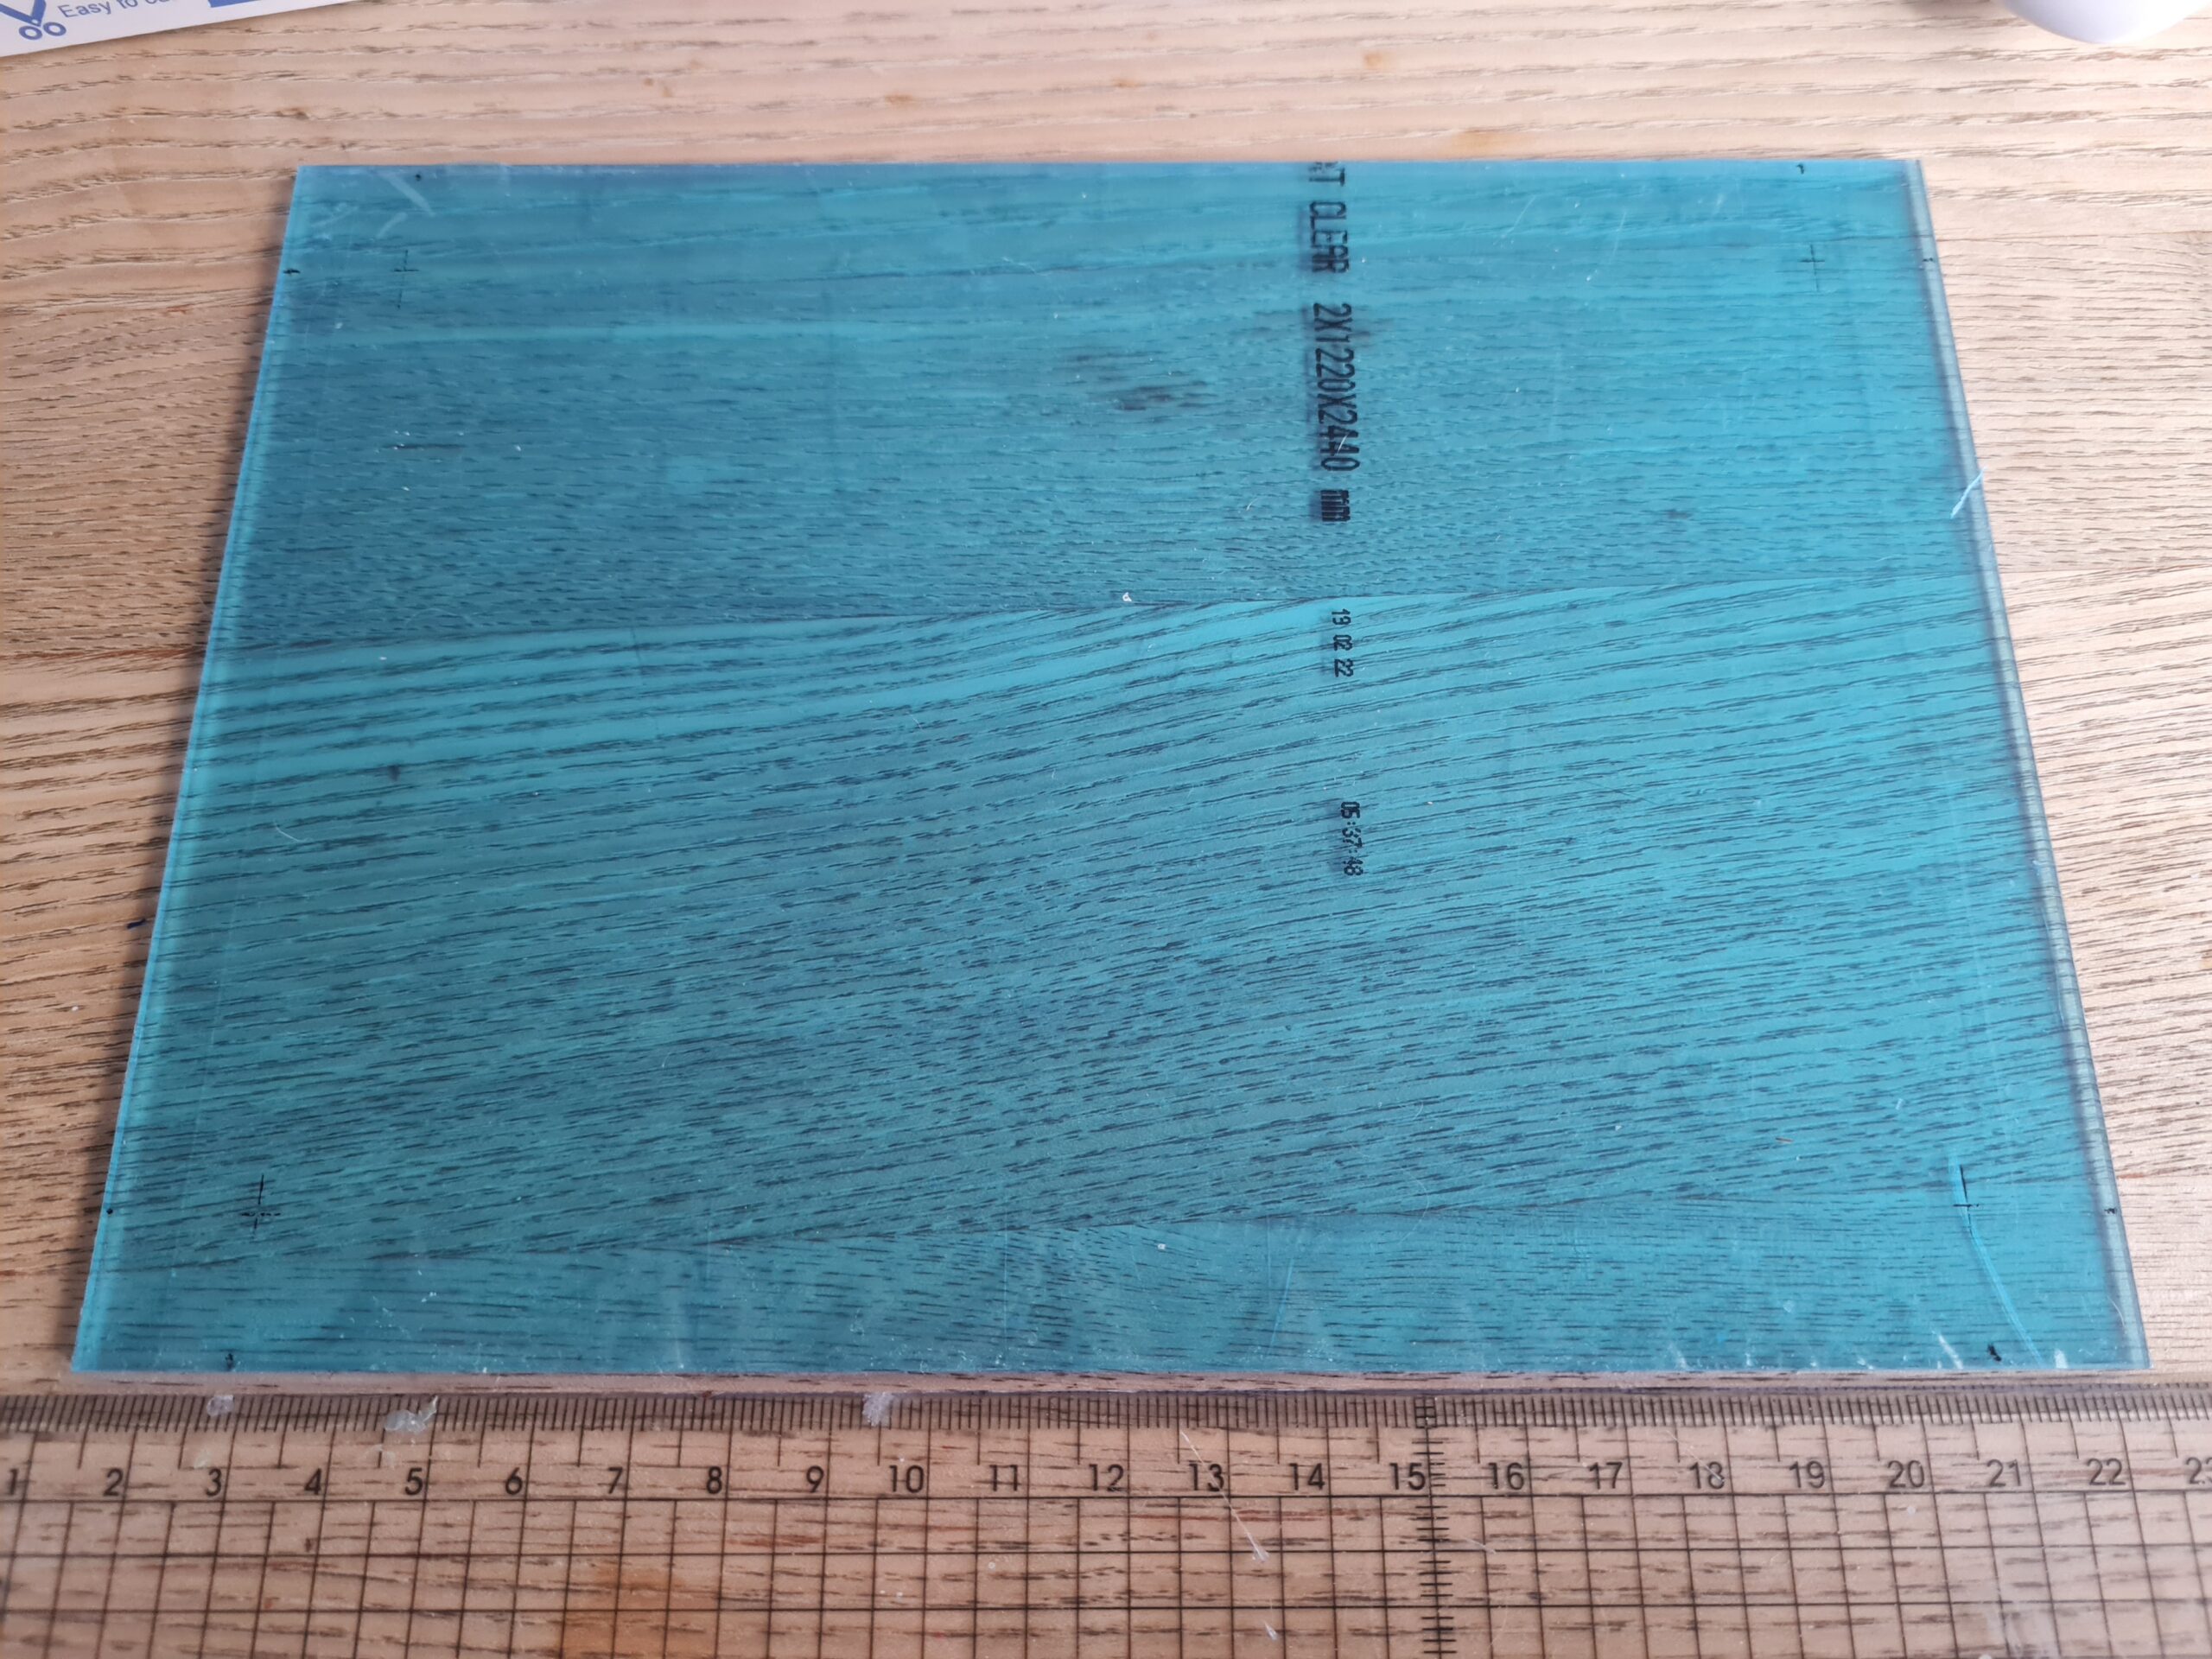
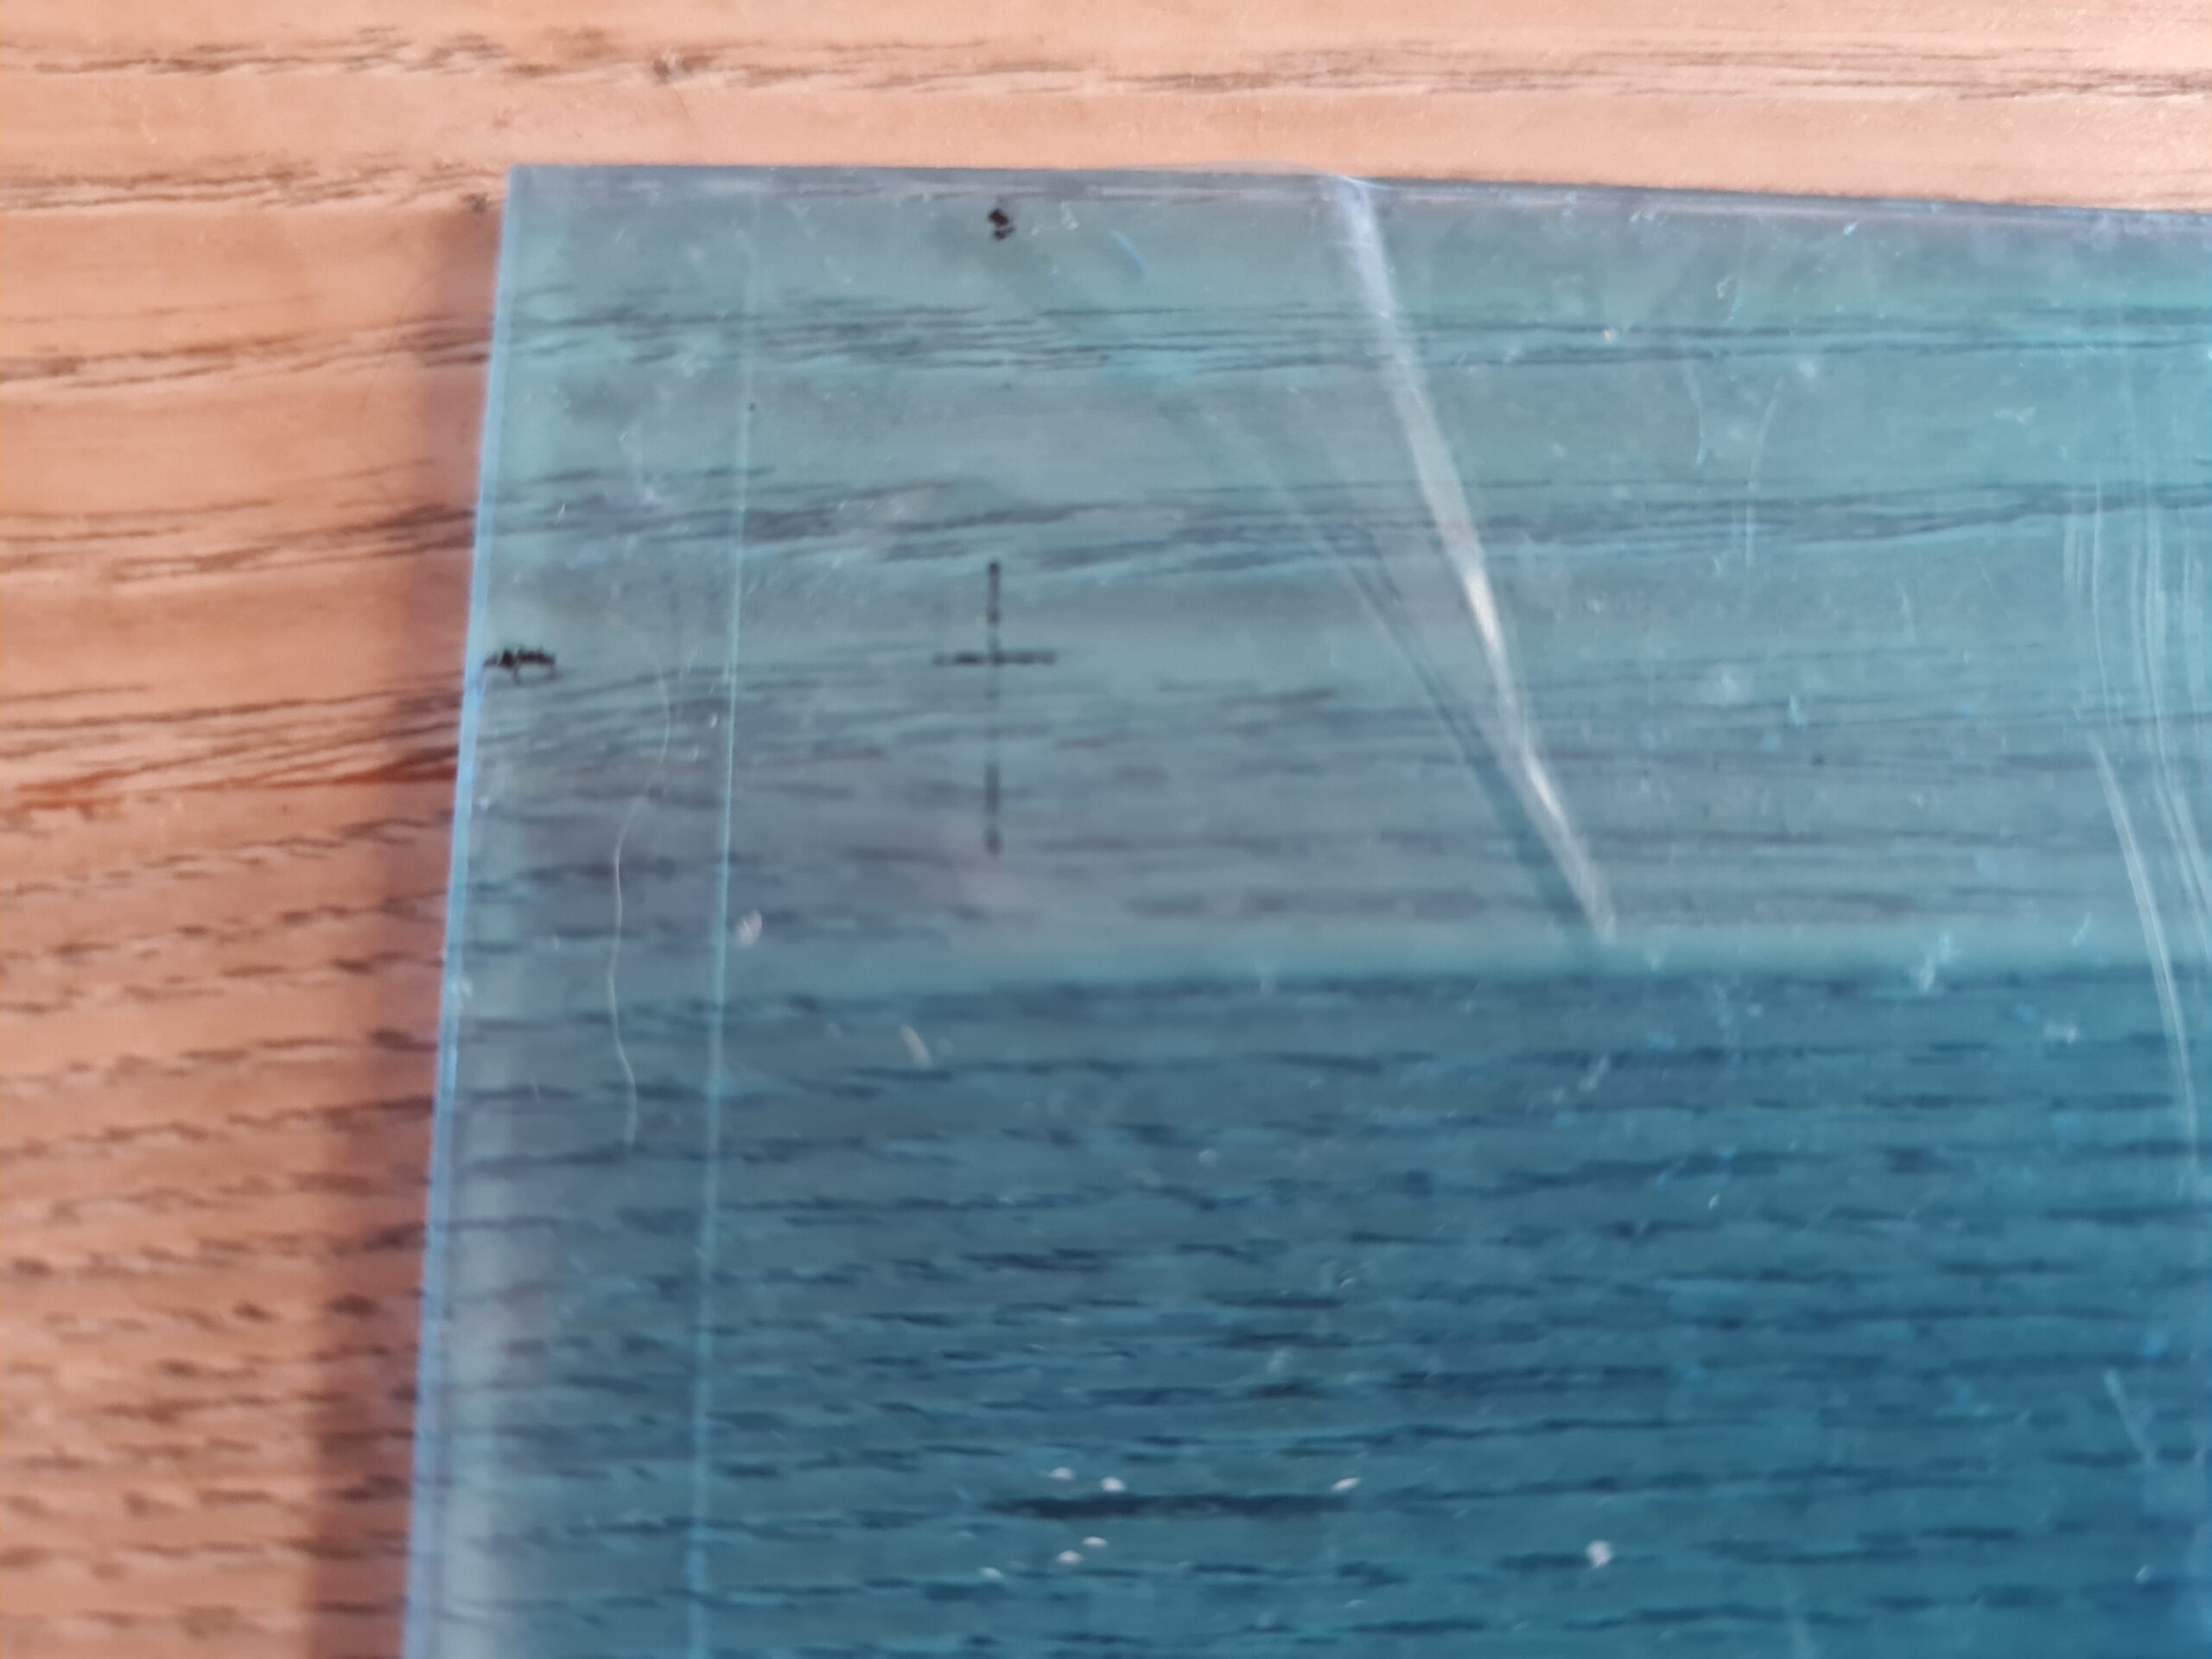
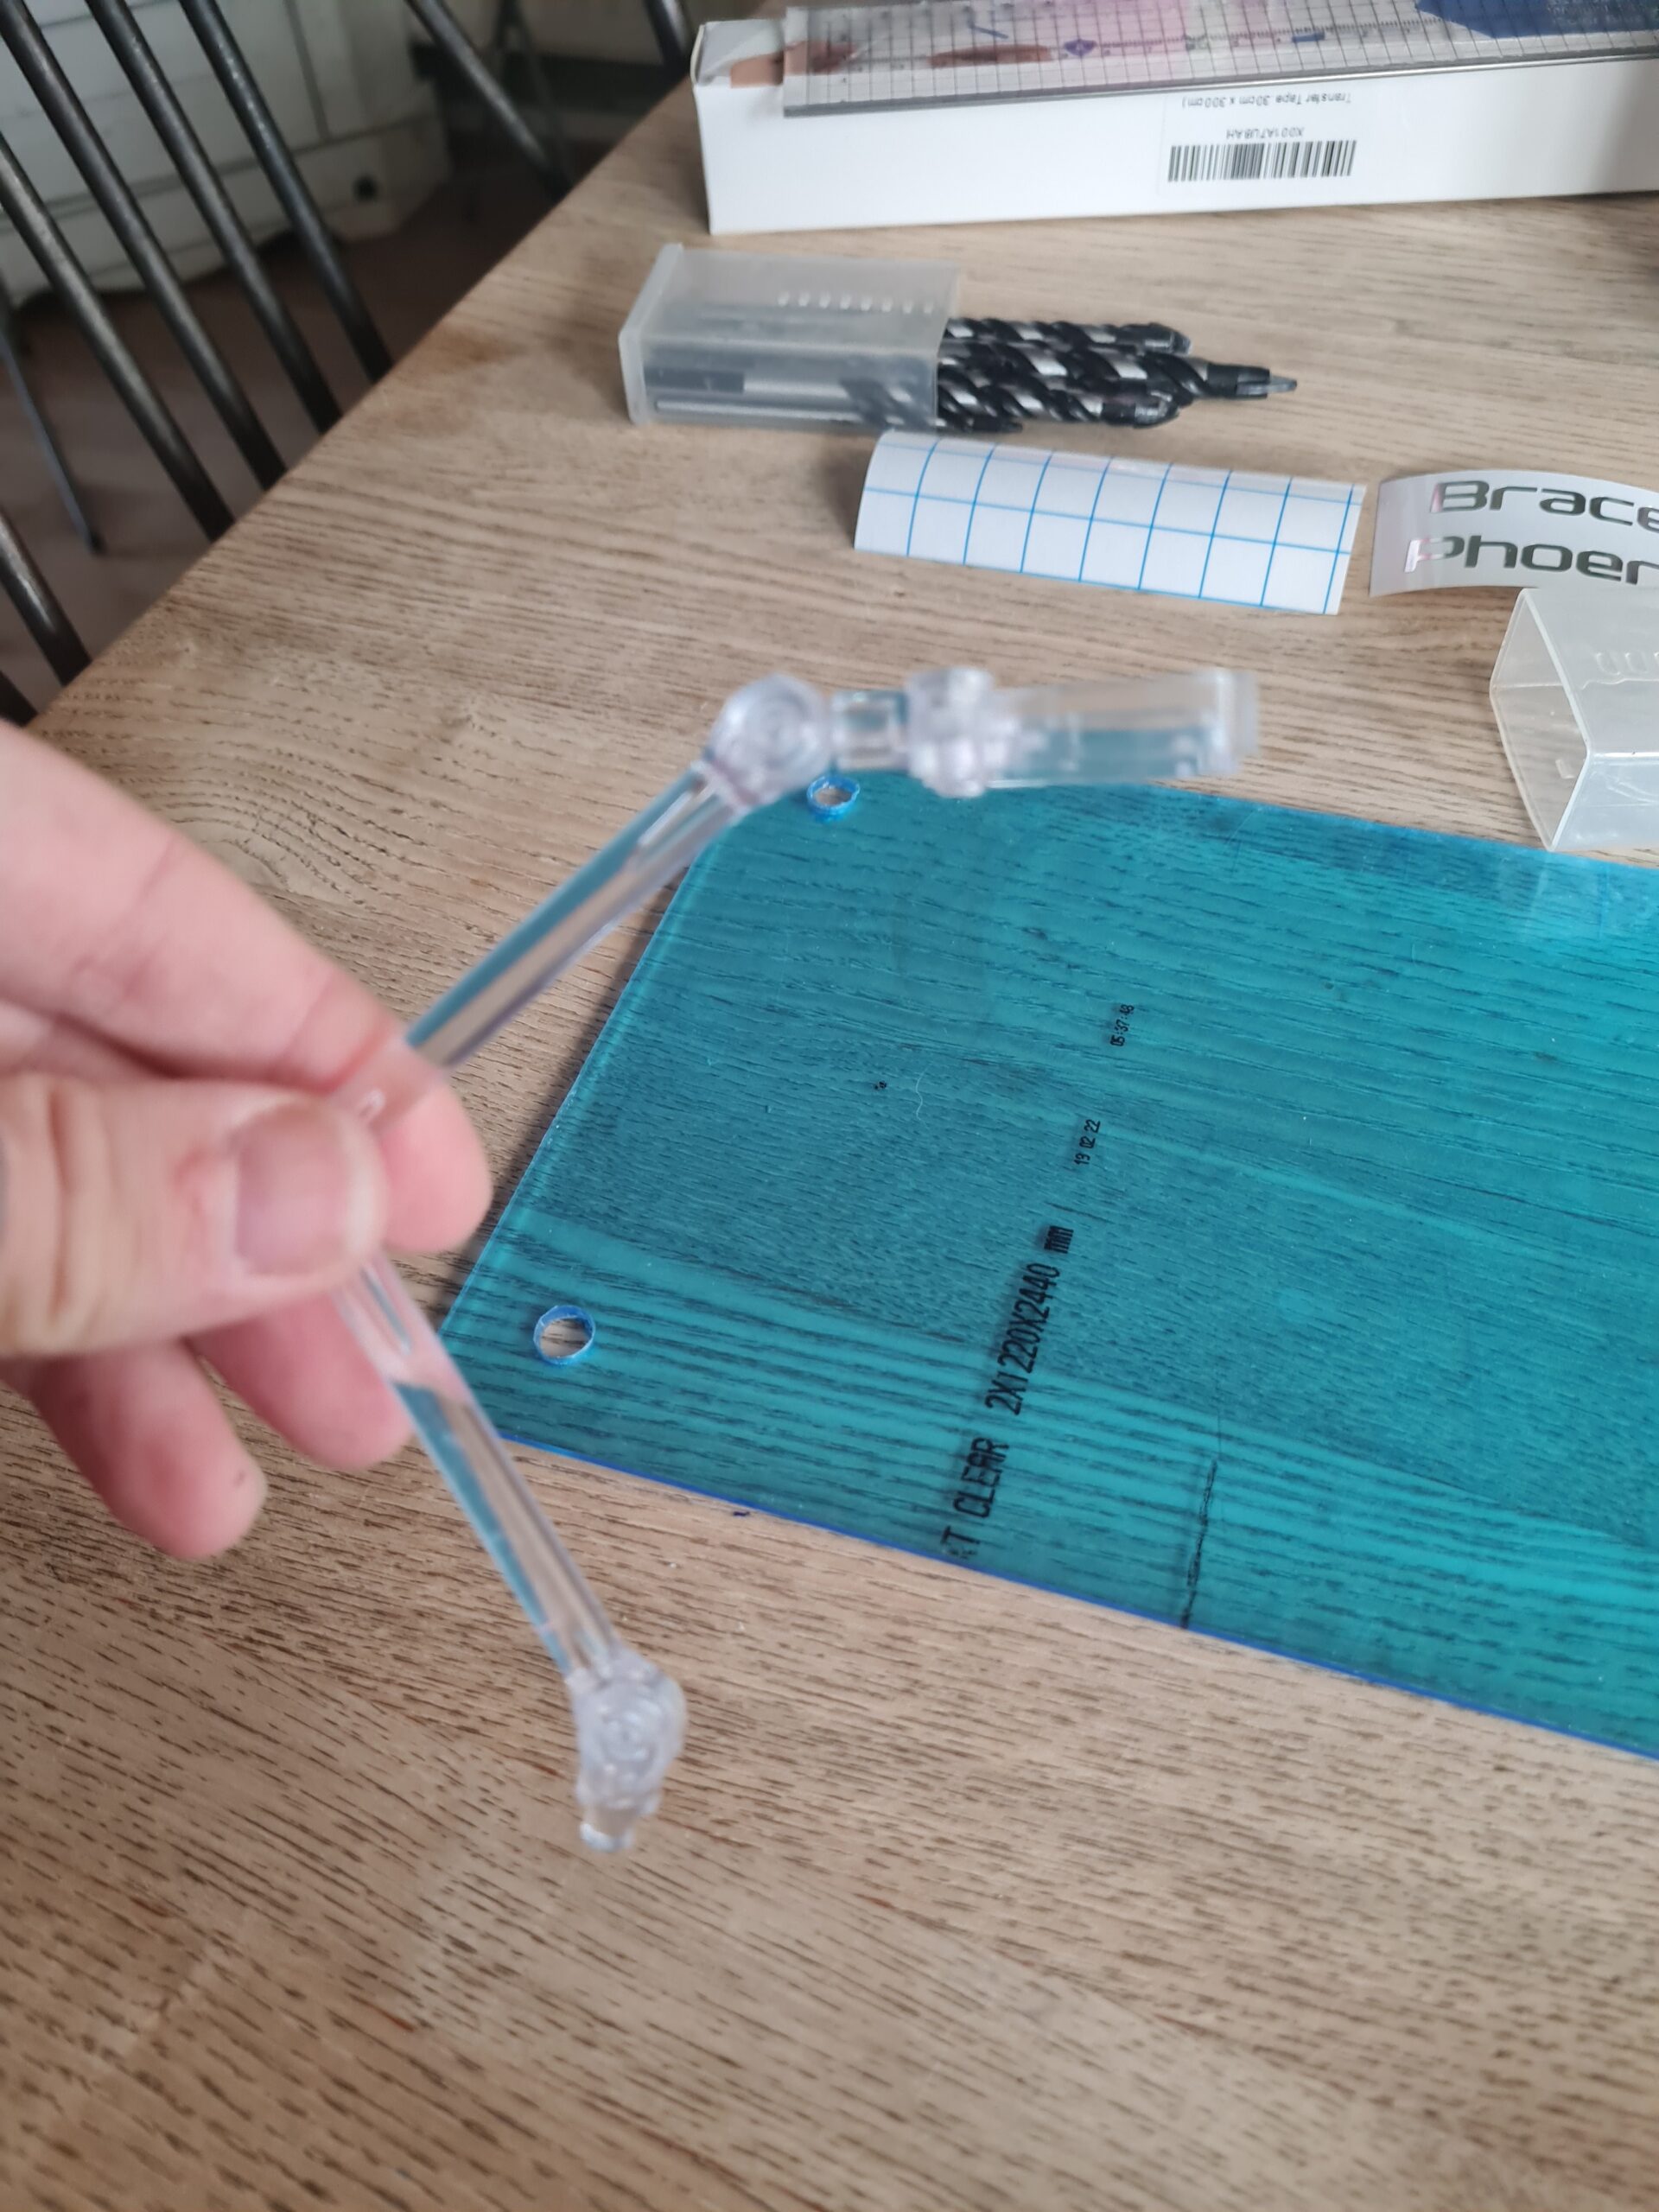
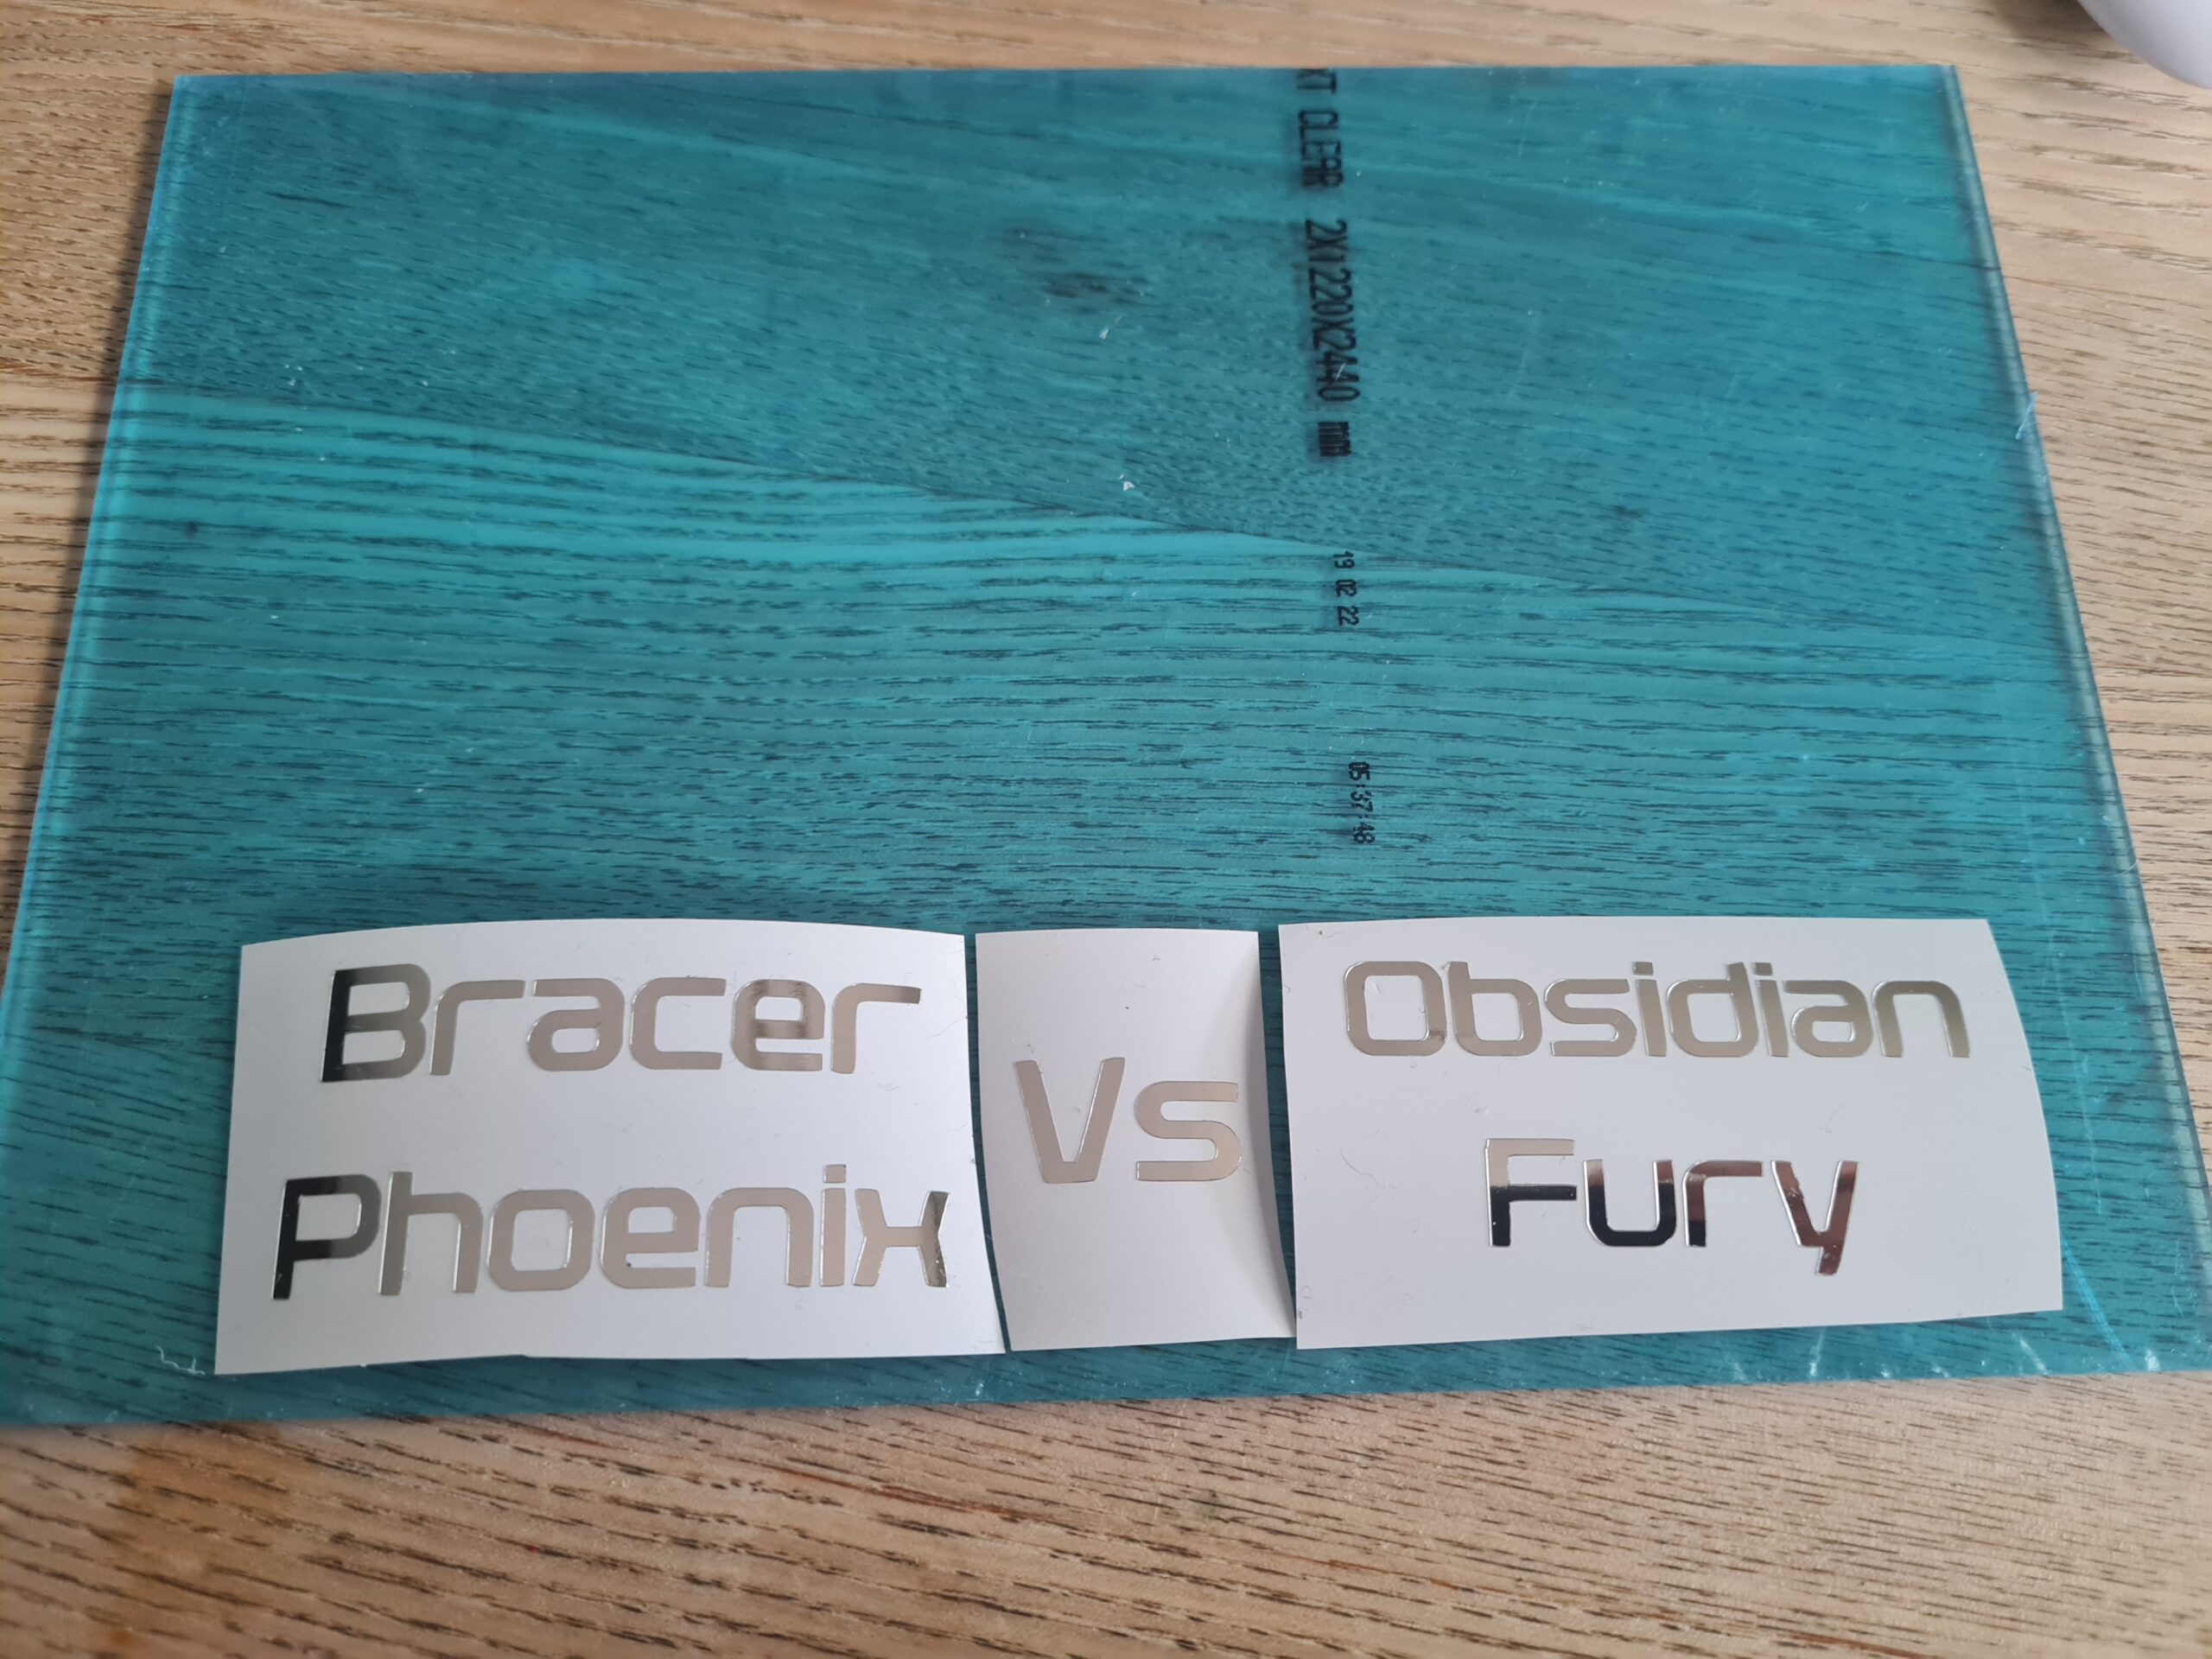
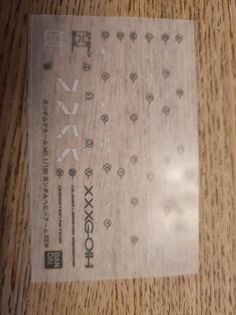
The previous ones I had received in a kit had a shiny silver backing and were, quite obviously stickers. However, the translucence of both of these threw me. After speaking to some wonderful people online in the UKGunpla group (you can find it here), I discovered that the ones on the right are stickers, and the ones on the left are press on decals.

Application

Now I’m sure everyone has their own method for working with these so I’ll just outline what I did.

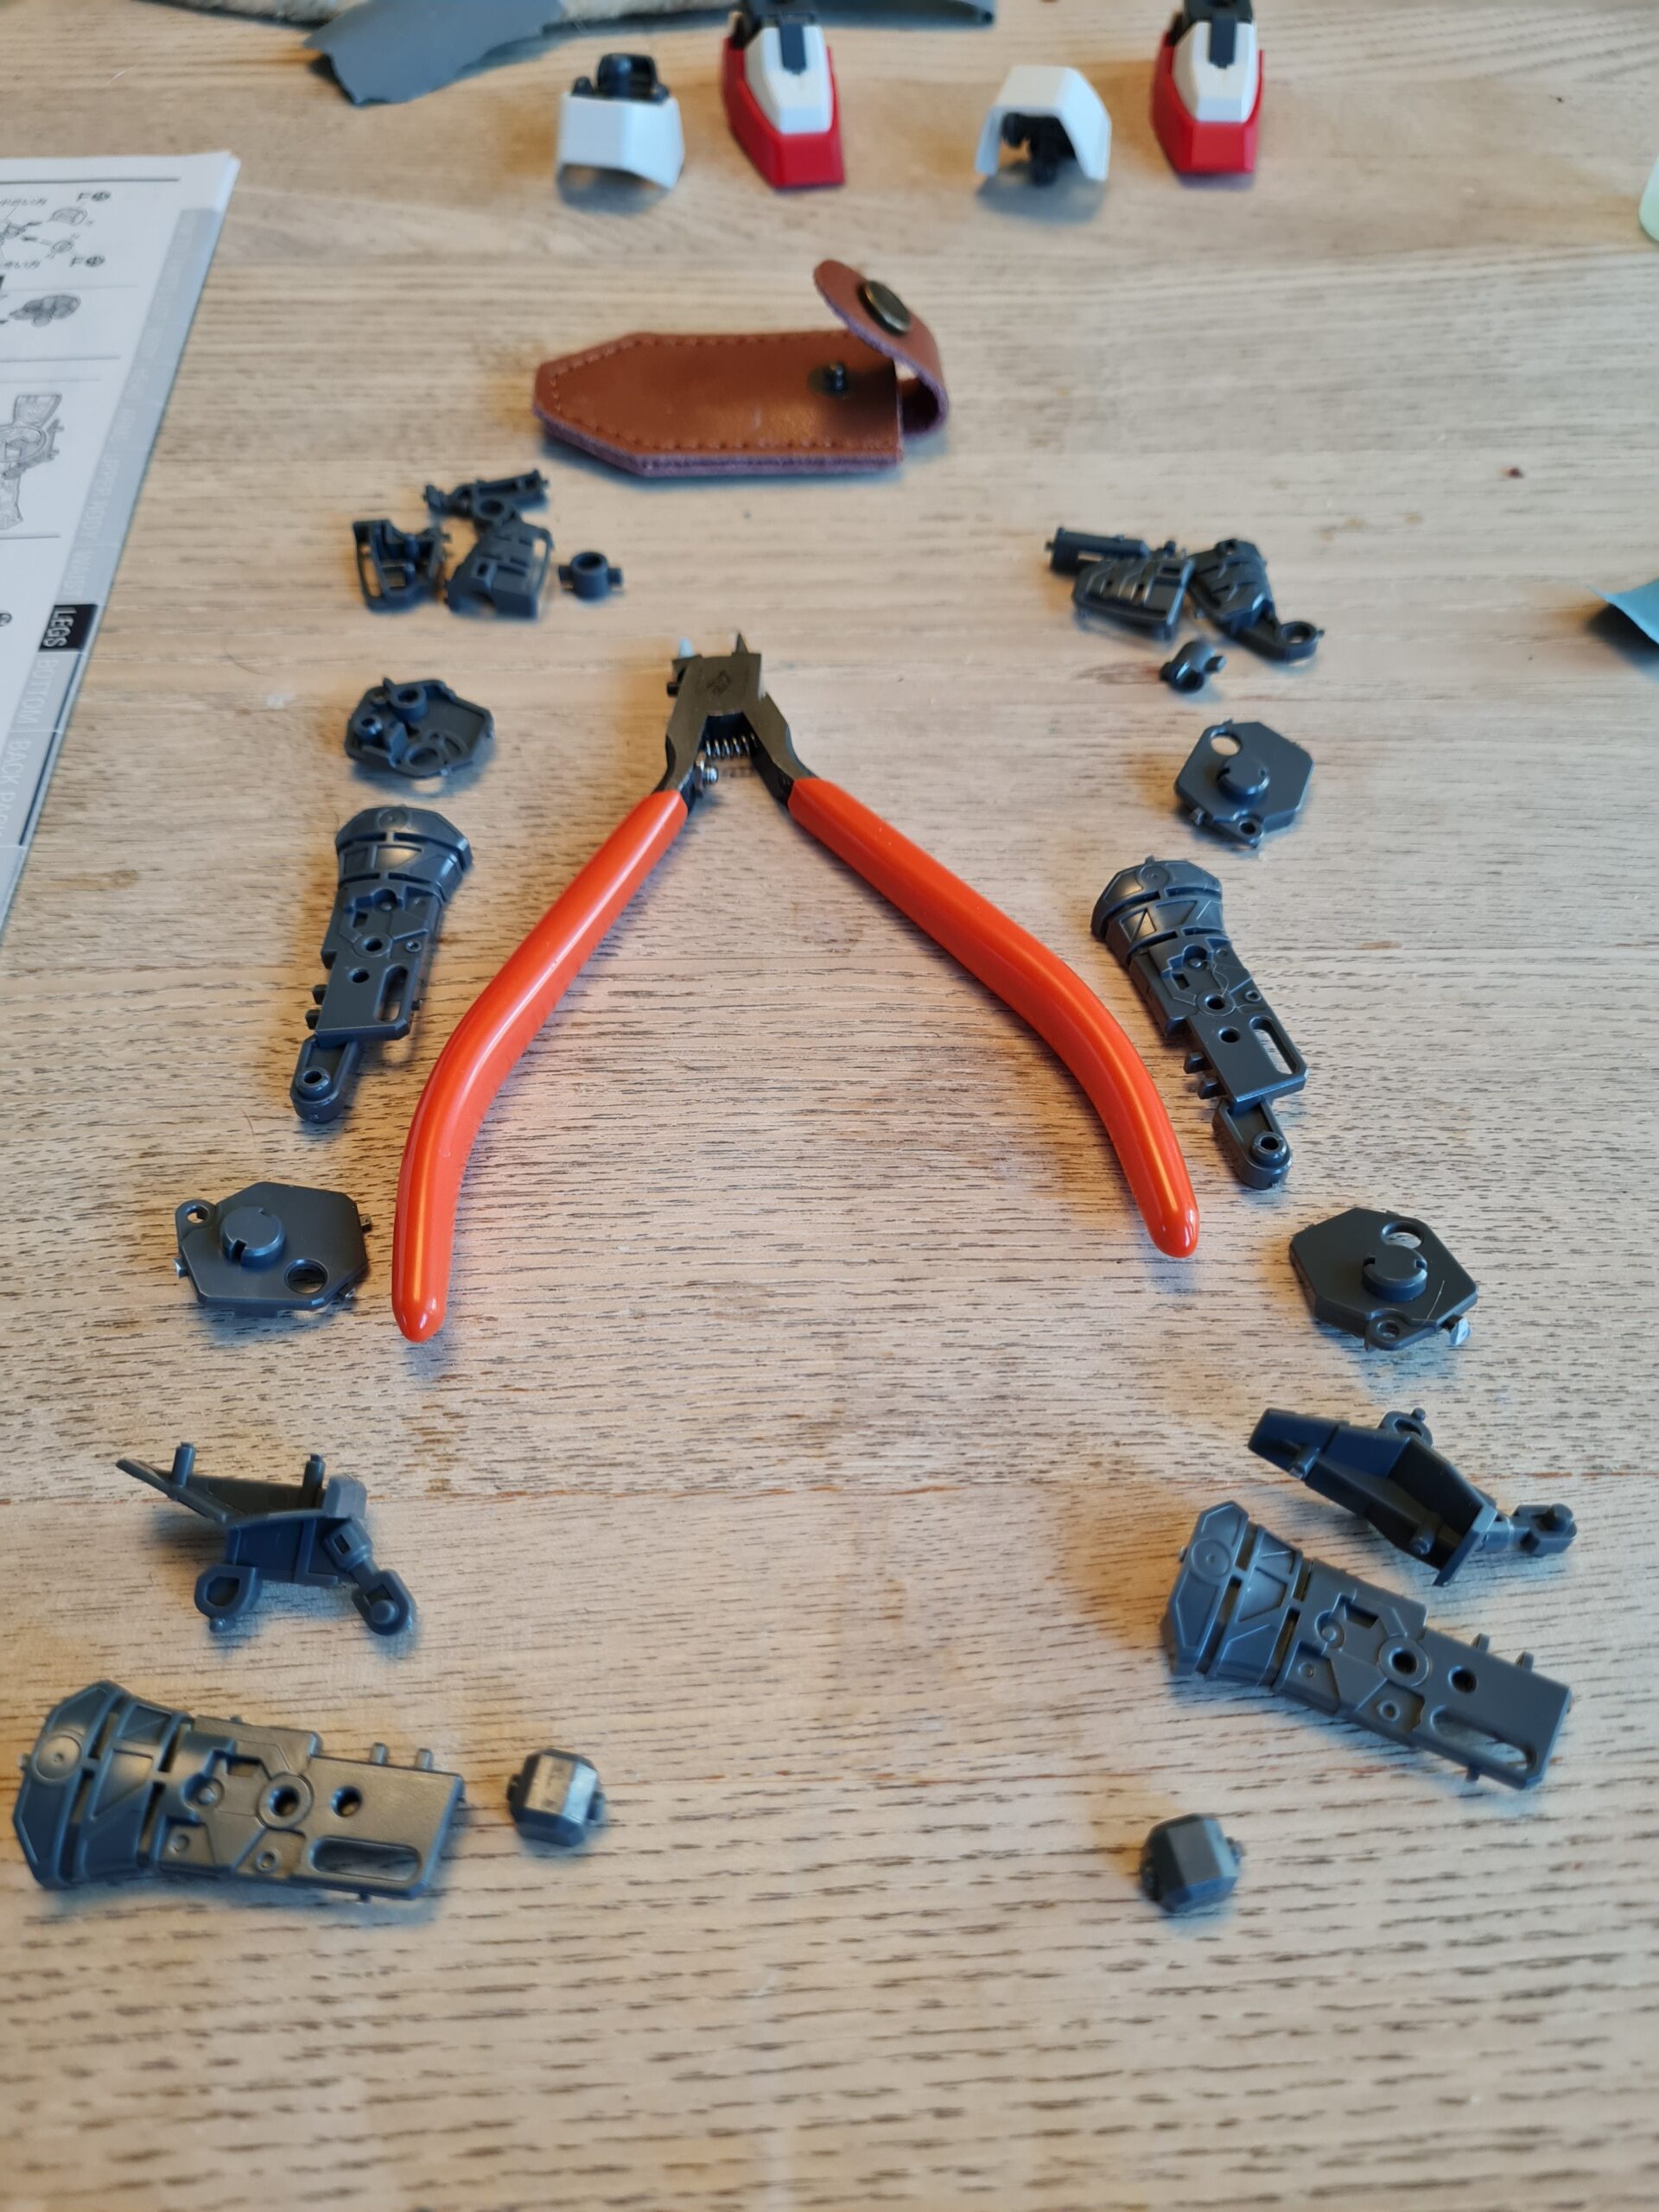
Firstly, you will find the “map” for the decals placements in the manual for the model. I also found using my magnifying glass meant I wasn’t constantly straining. Secondly as a lot of these go into nooks and crannies and corners, you will potentially benefit from taking apart some of the kit to make it easier to work with them and apply the decals. Thirdly, do not rush; a badly applied decal will make the kit look terrible.

First up were the sticker decals (Type 2 Decals in the image above). I used the tip of a stanley knife to gently lift the sticker off the backing (I also found that with multiple stickers in close proximity I would often have to hold down the next sticker to avoid lifting two). Next I would then position the sticker above where I wanted it to go on the model based on the map from the instruction manual, then gently place it down, using my thumb to apply pressure to the sticker against the part and sliding the knife blade out from under it.

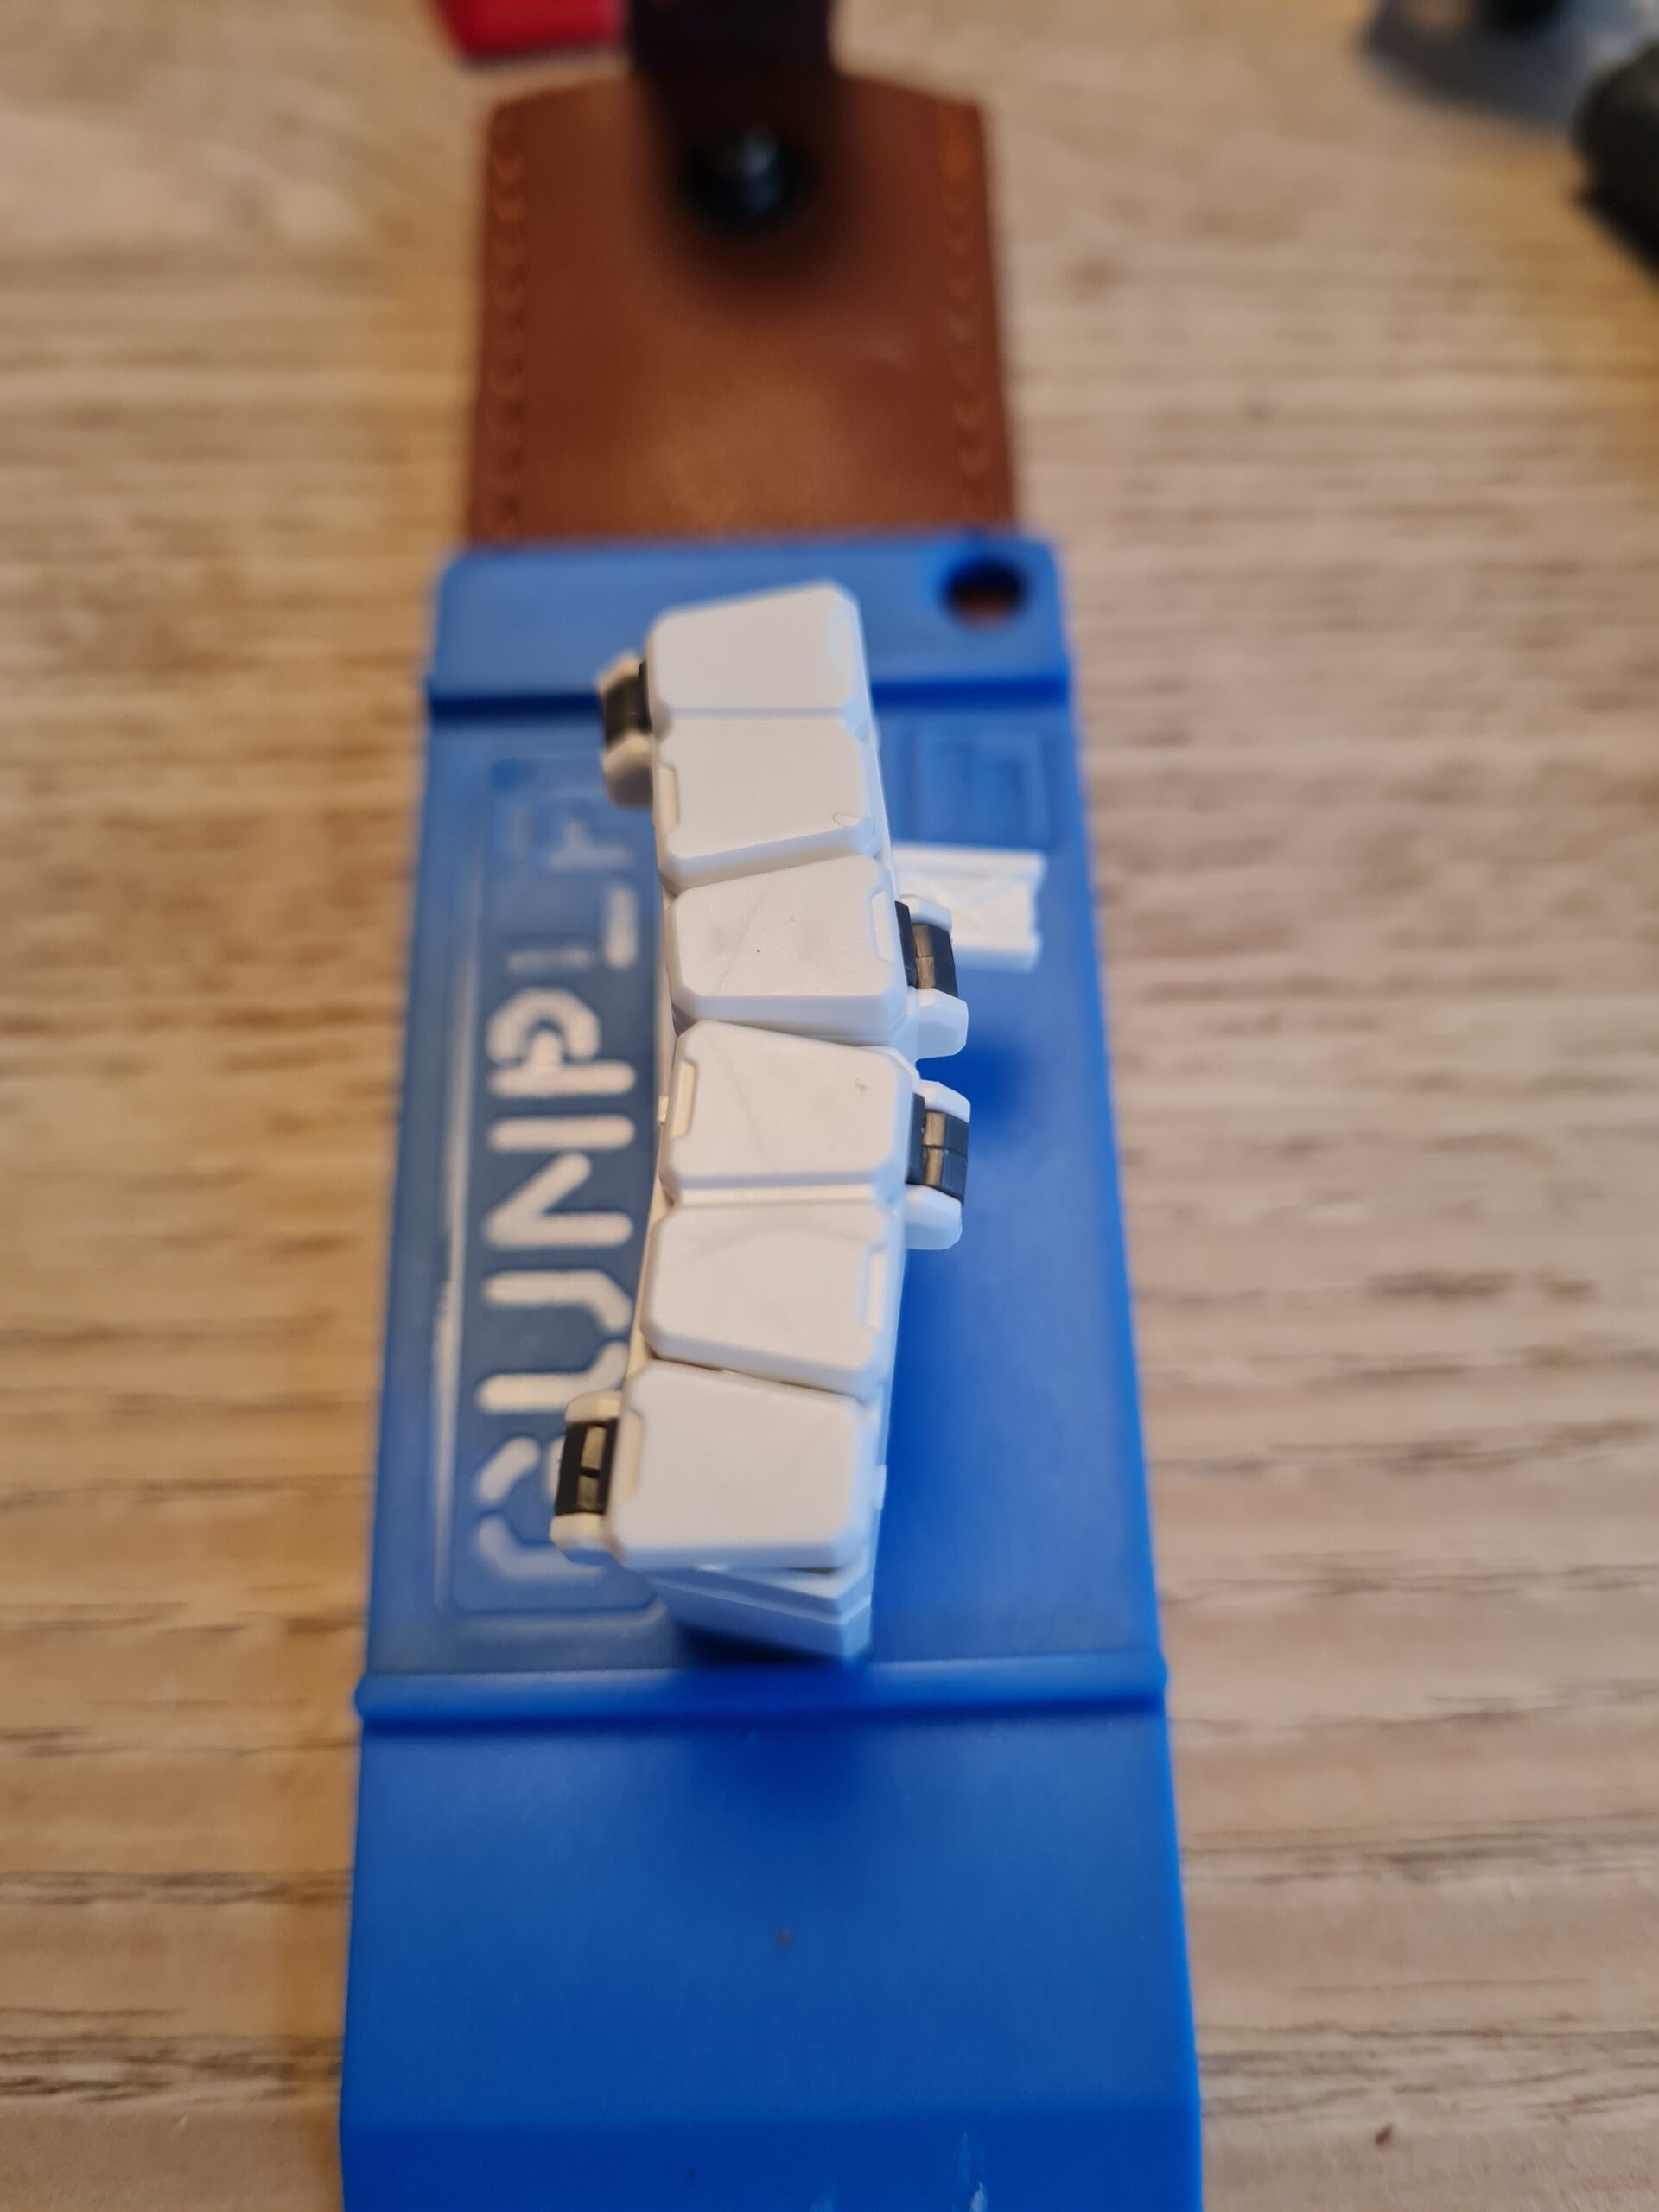
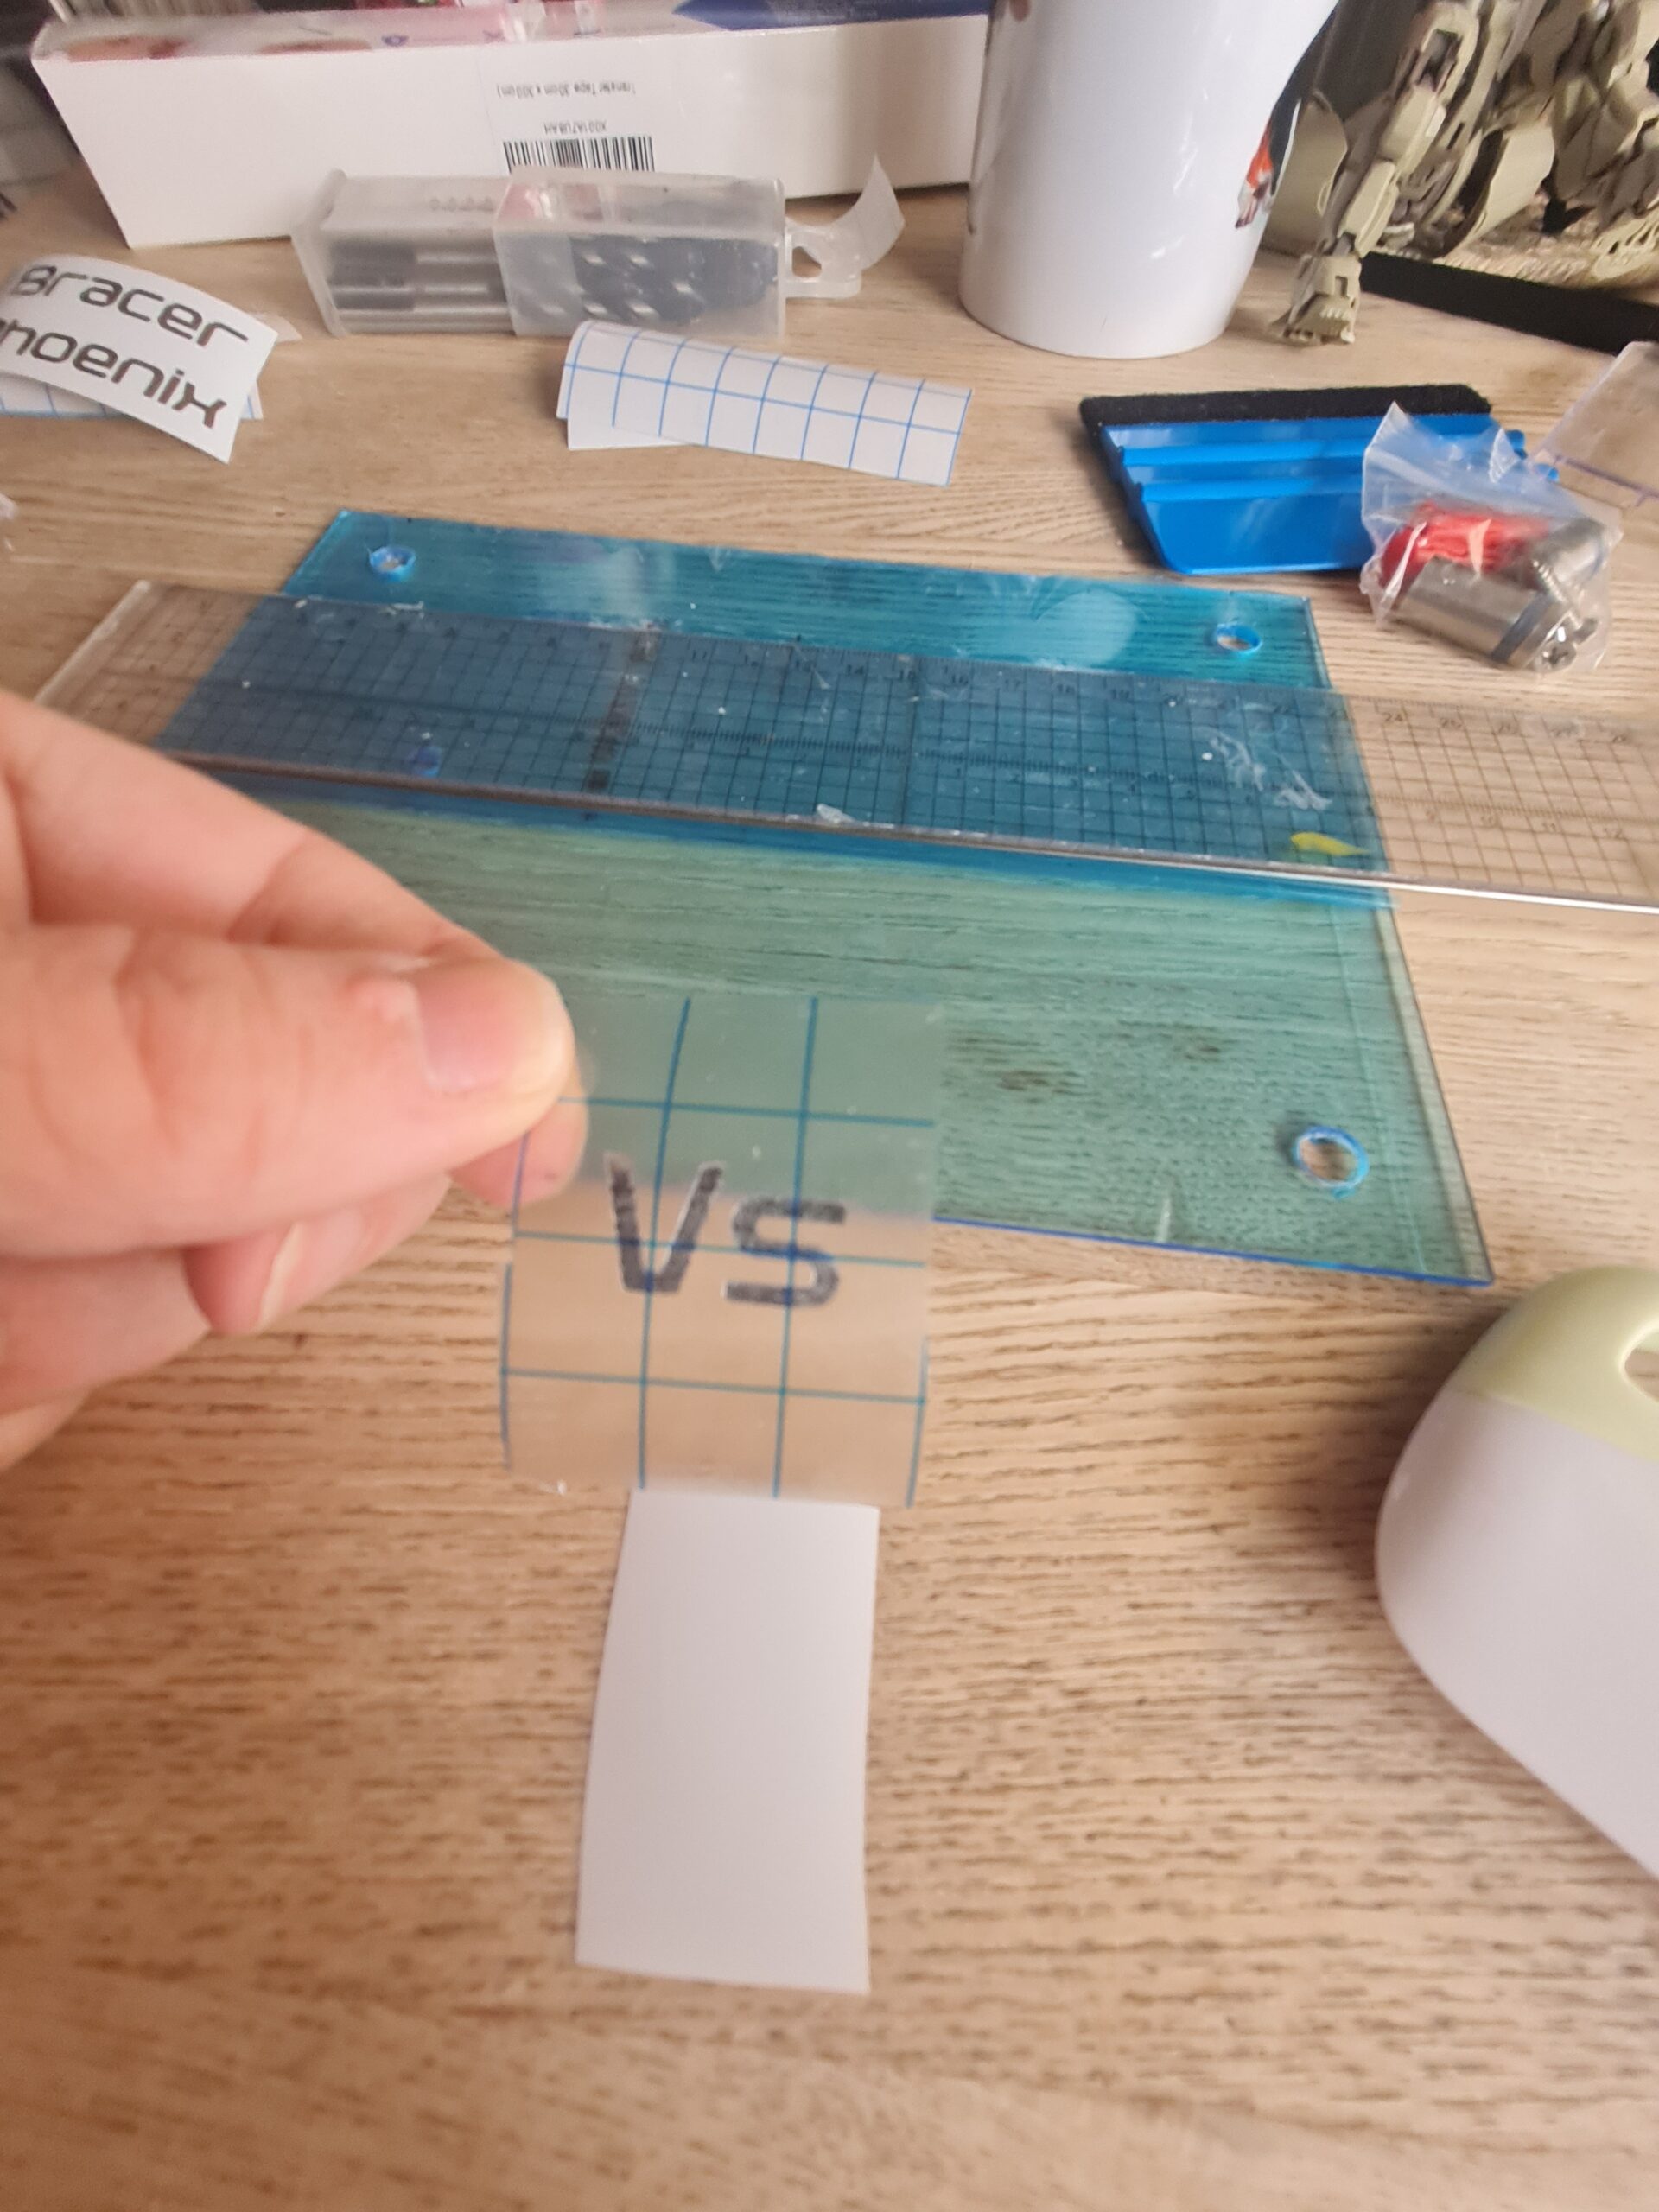
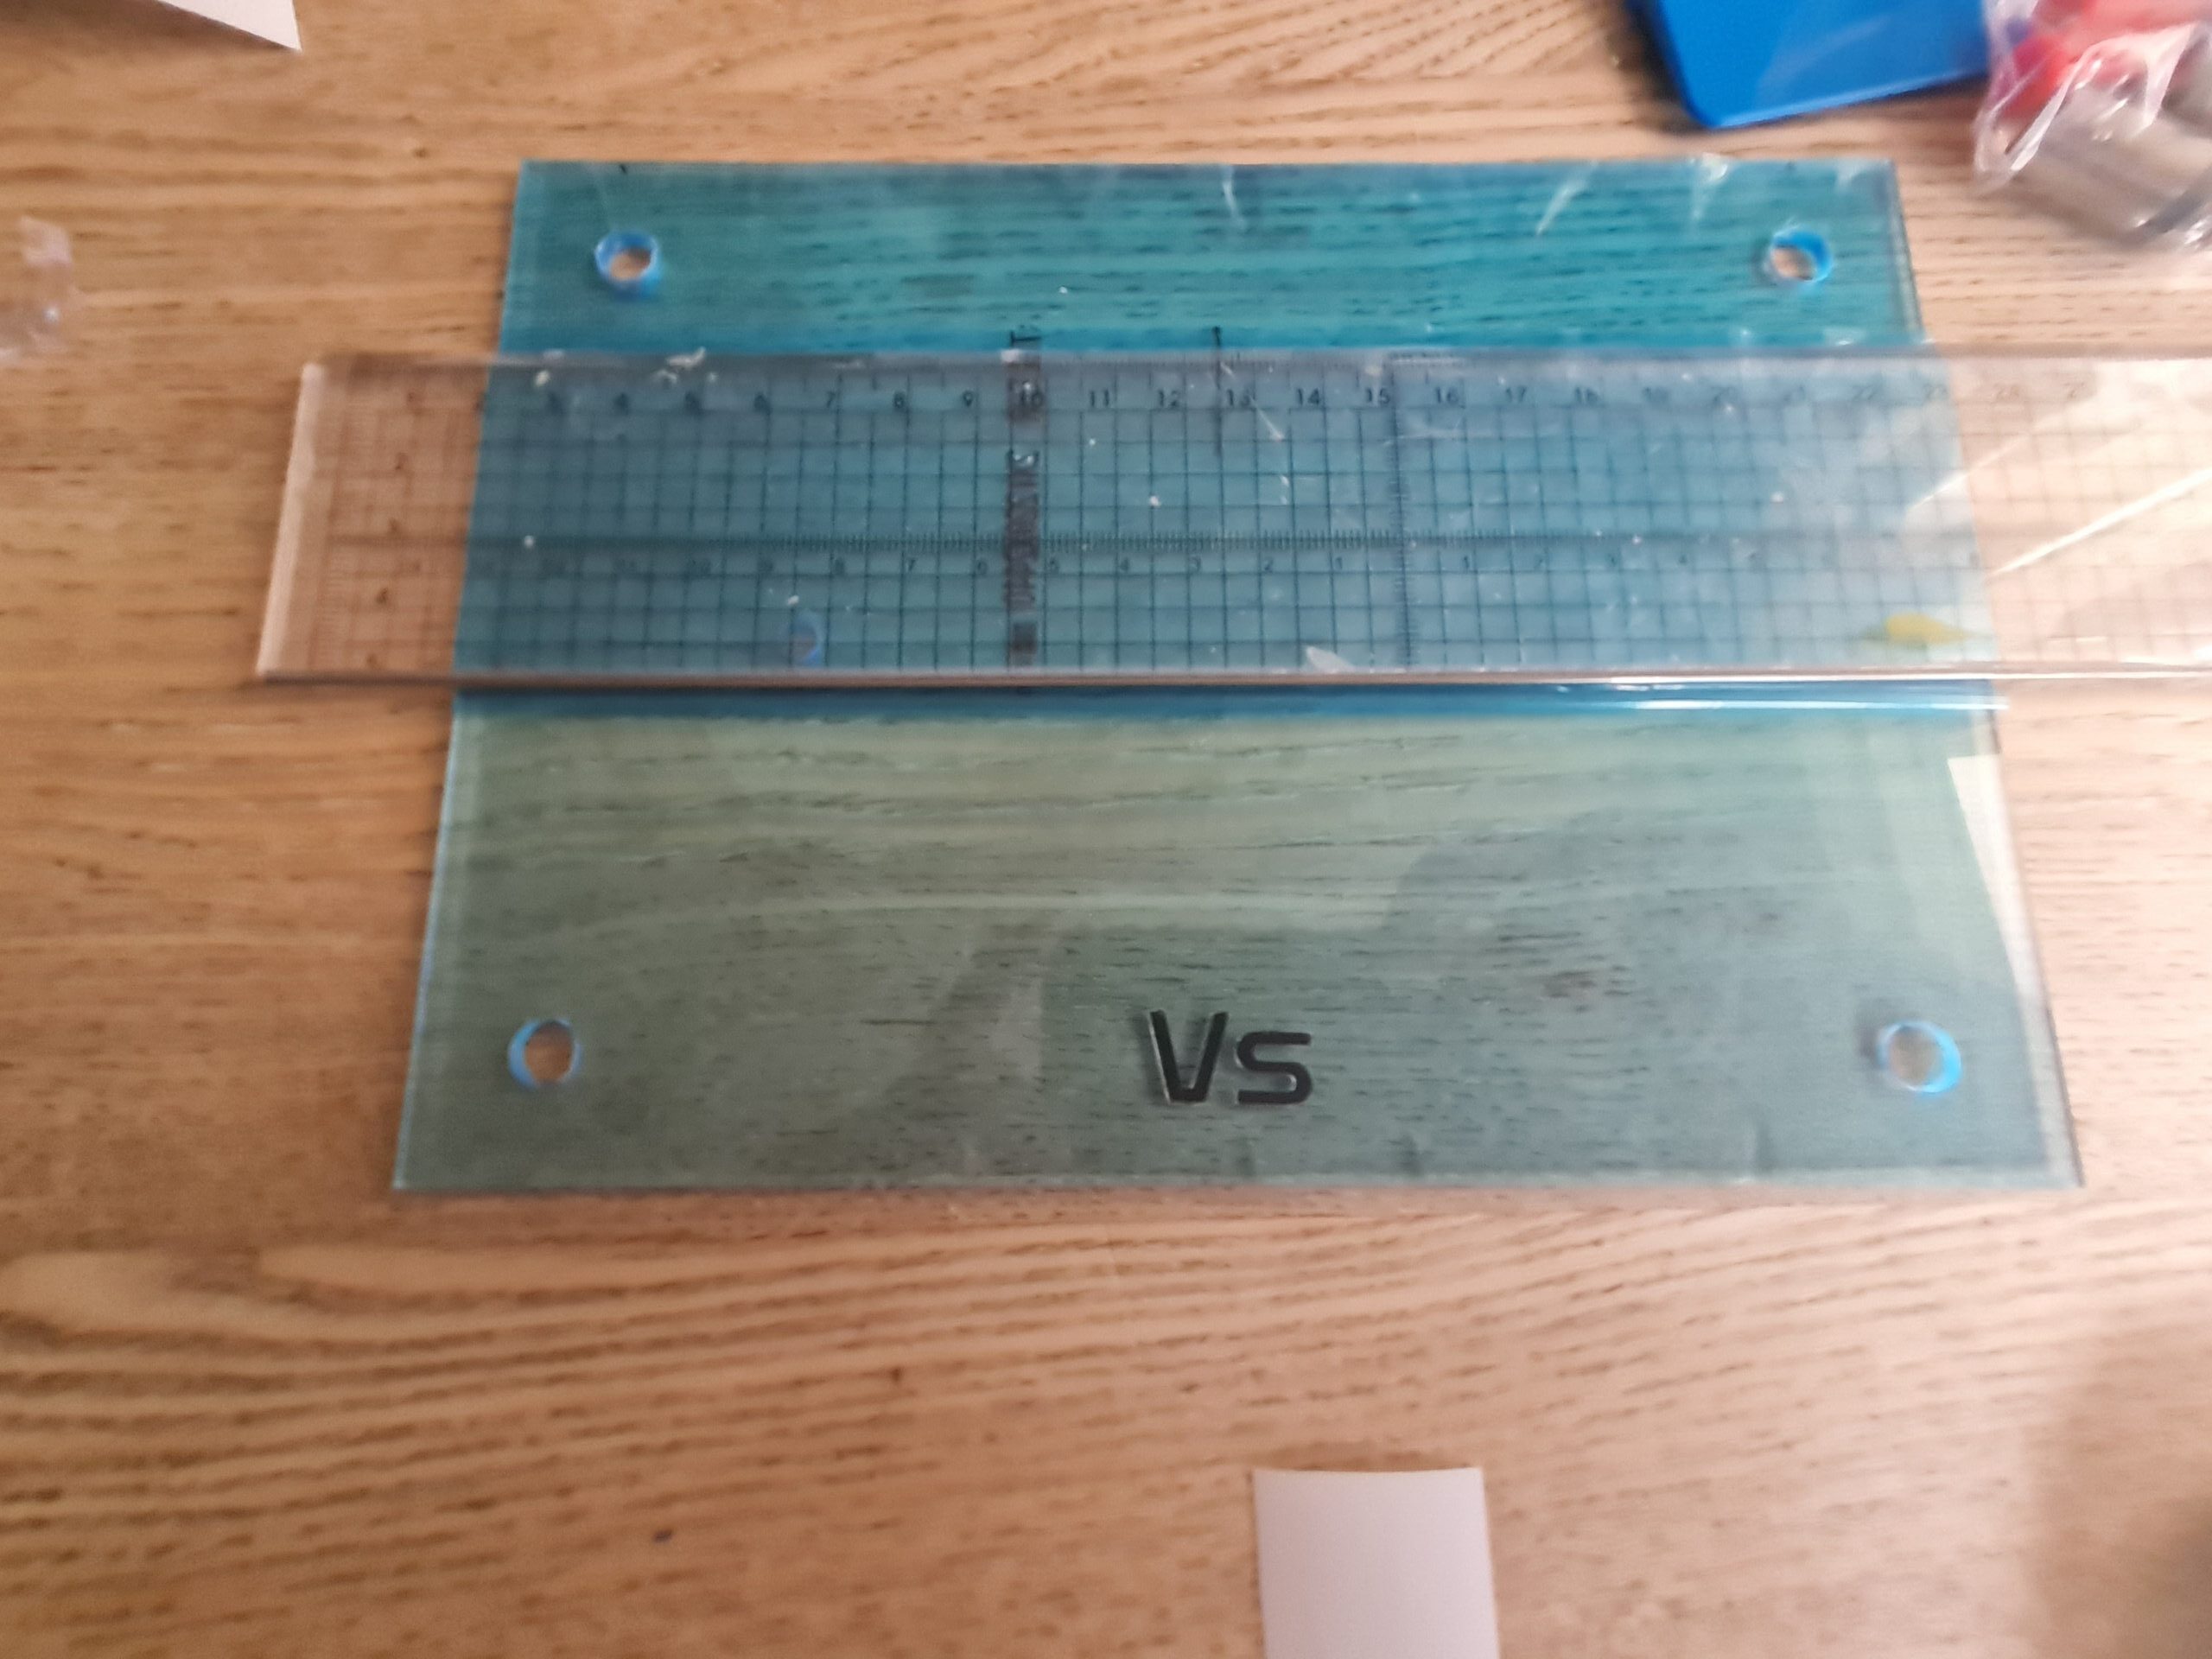
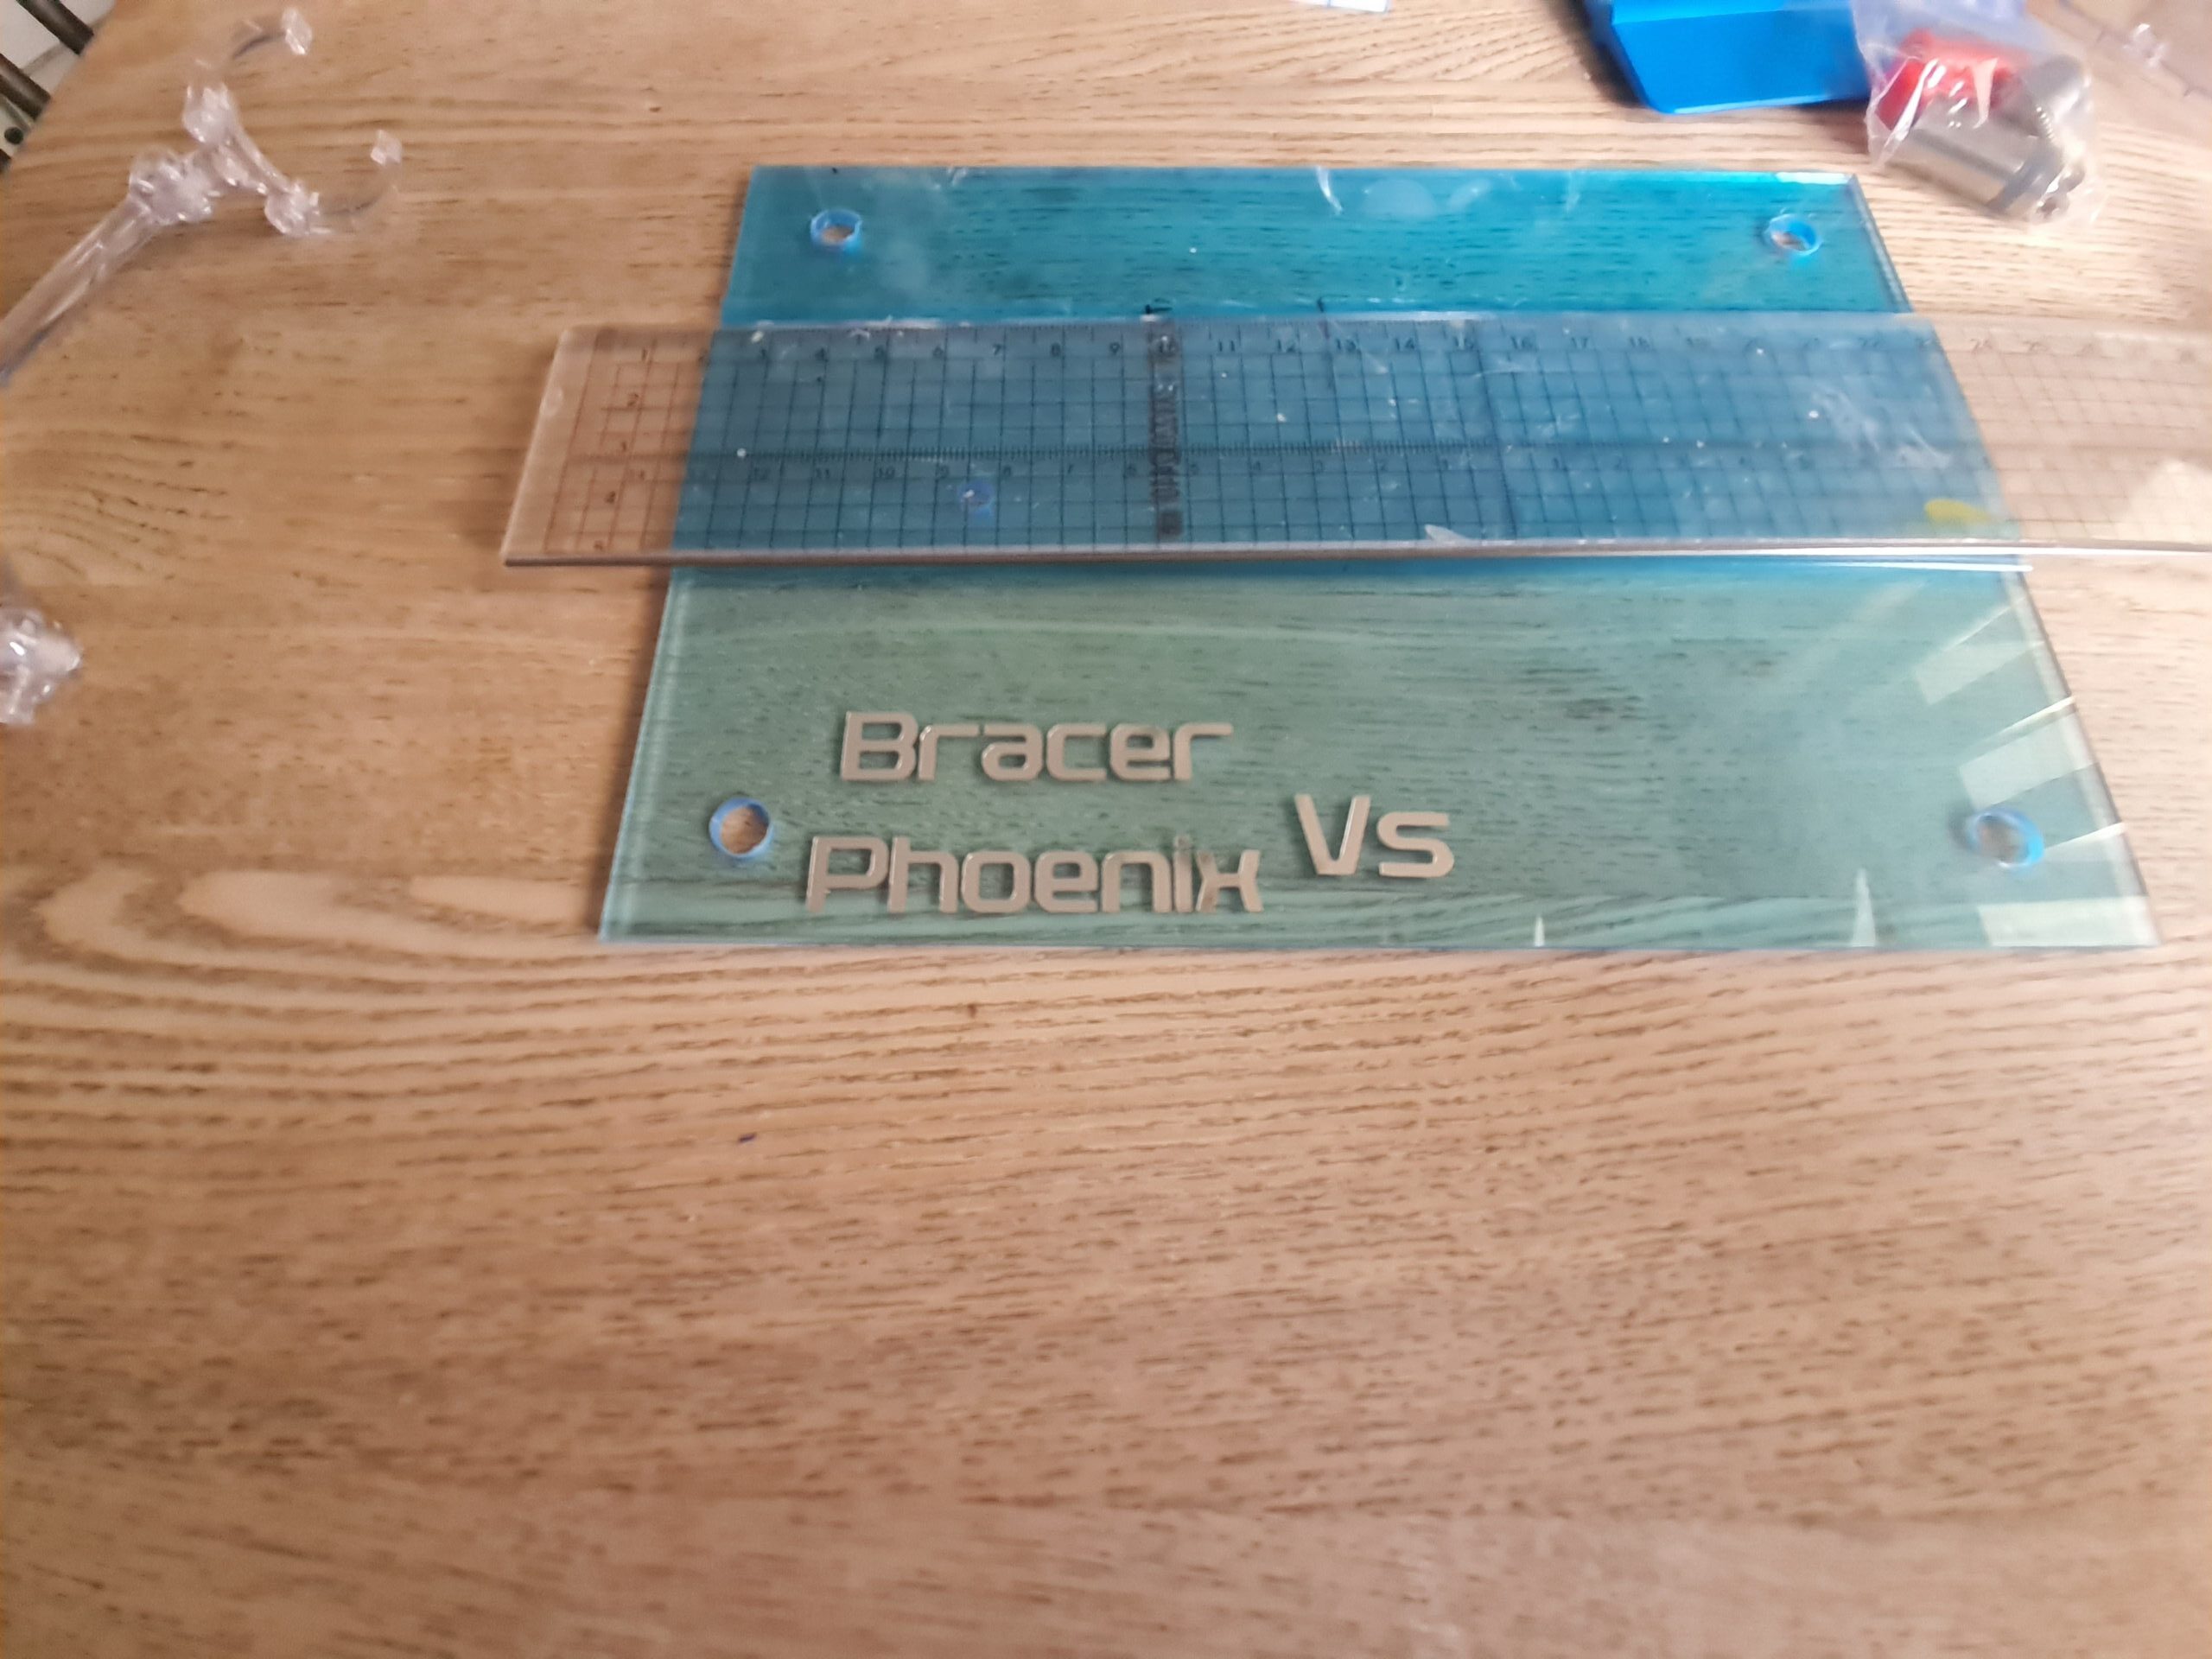
Second up were the press on decals (Type 1 Decals in the image above). For these I ensured there was a piece of foam board underneath to be safe. I then used the stanley knife to cut out a specific decal. I then freed 3 sides of the cut out before laying a piece of masking tape over the top and using that to lift it. Note that the masking tape is thin enough to see the decal underneath/through it. I then placed it on the part where I wanted the decal to reside and rubbed it apply a gentle pressure using the flat end of my tweezers. Then when lifting the masking tape the decal is left in place, and the plastic it was adhered to lifts with the masking tape.

Conclusion

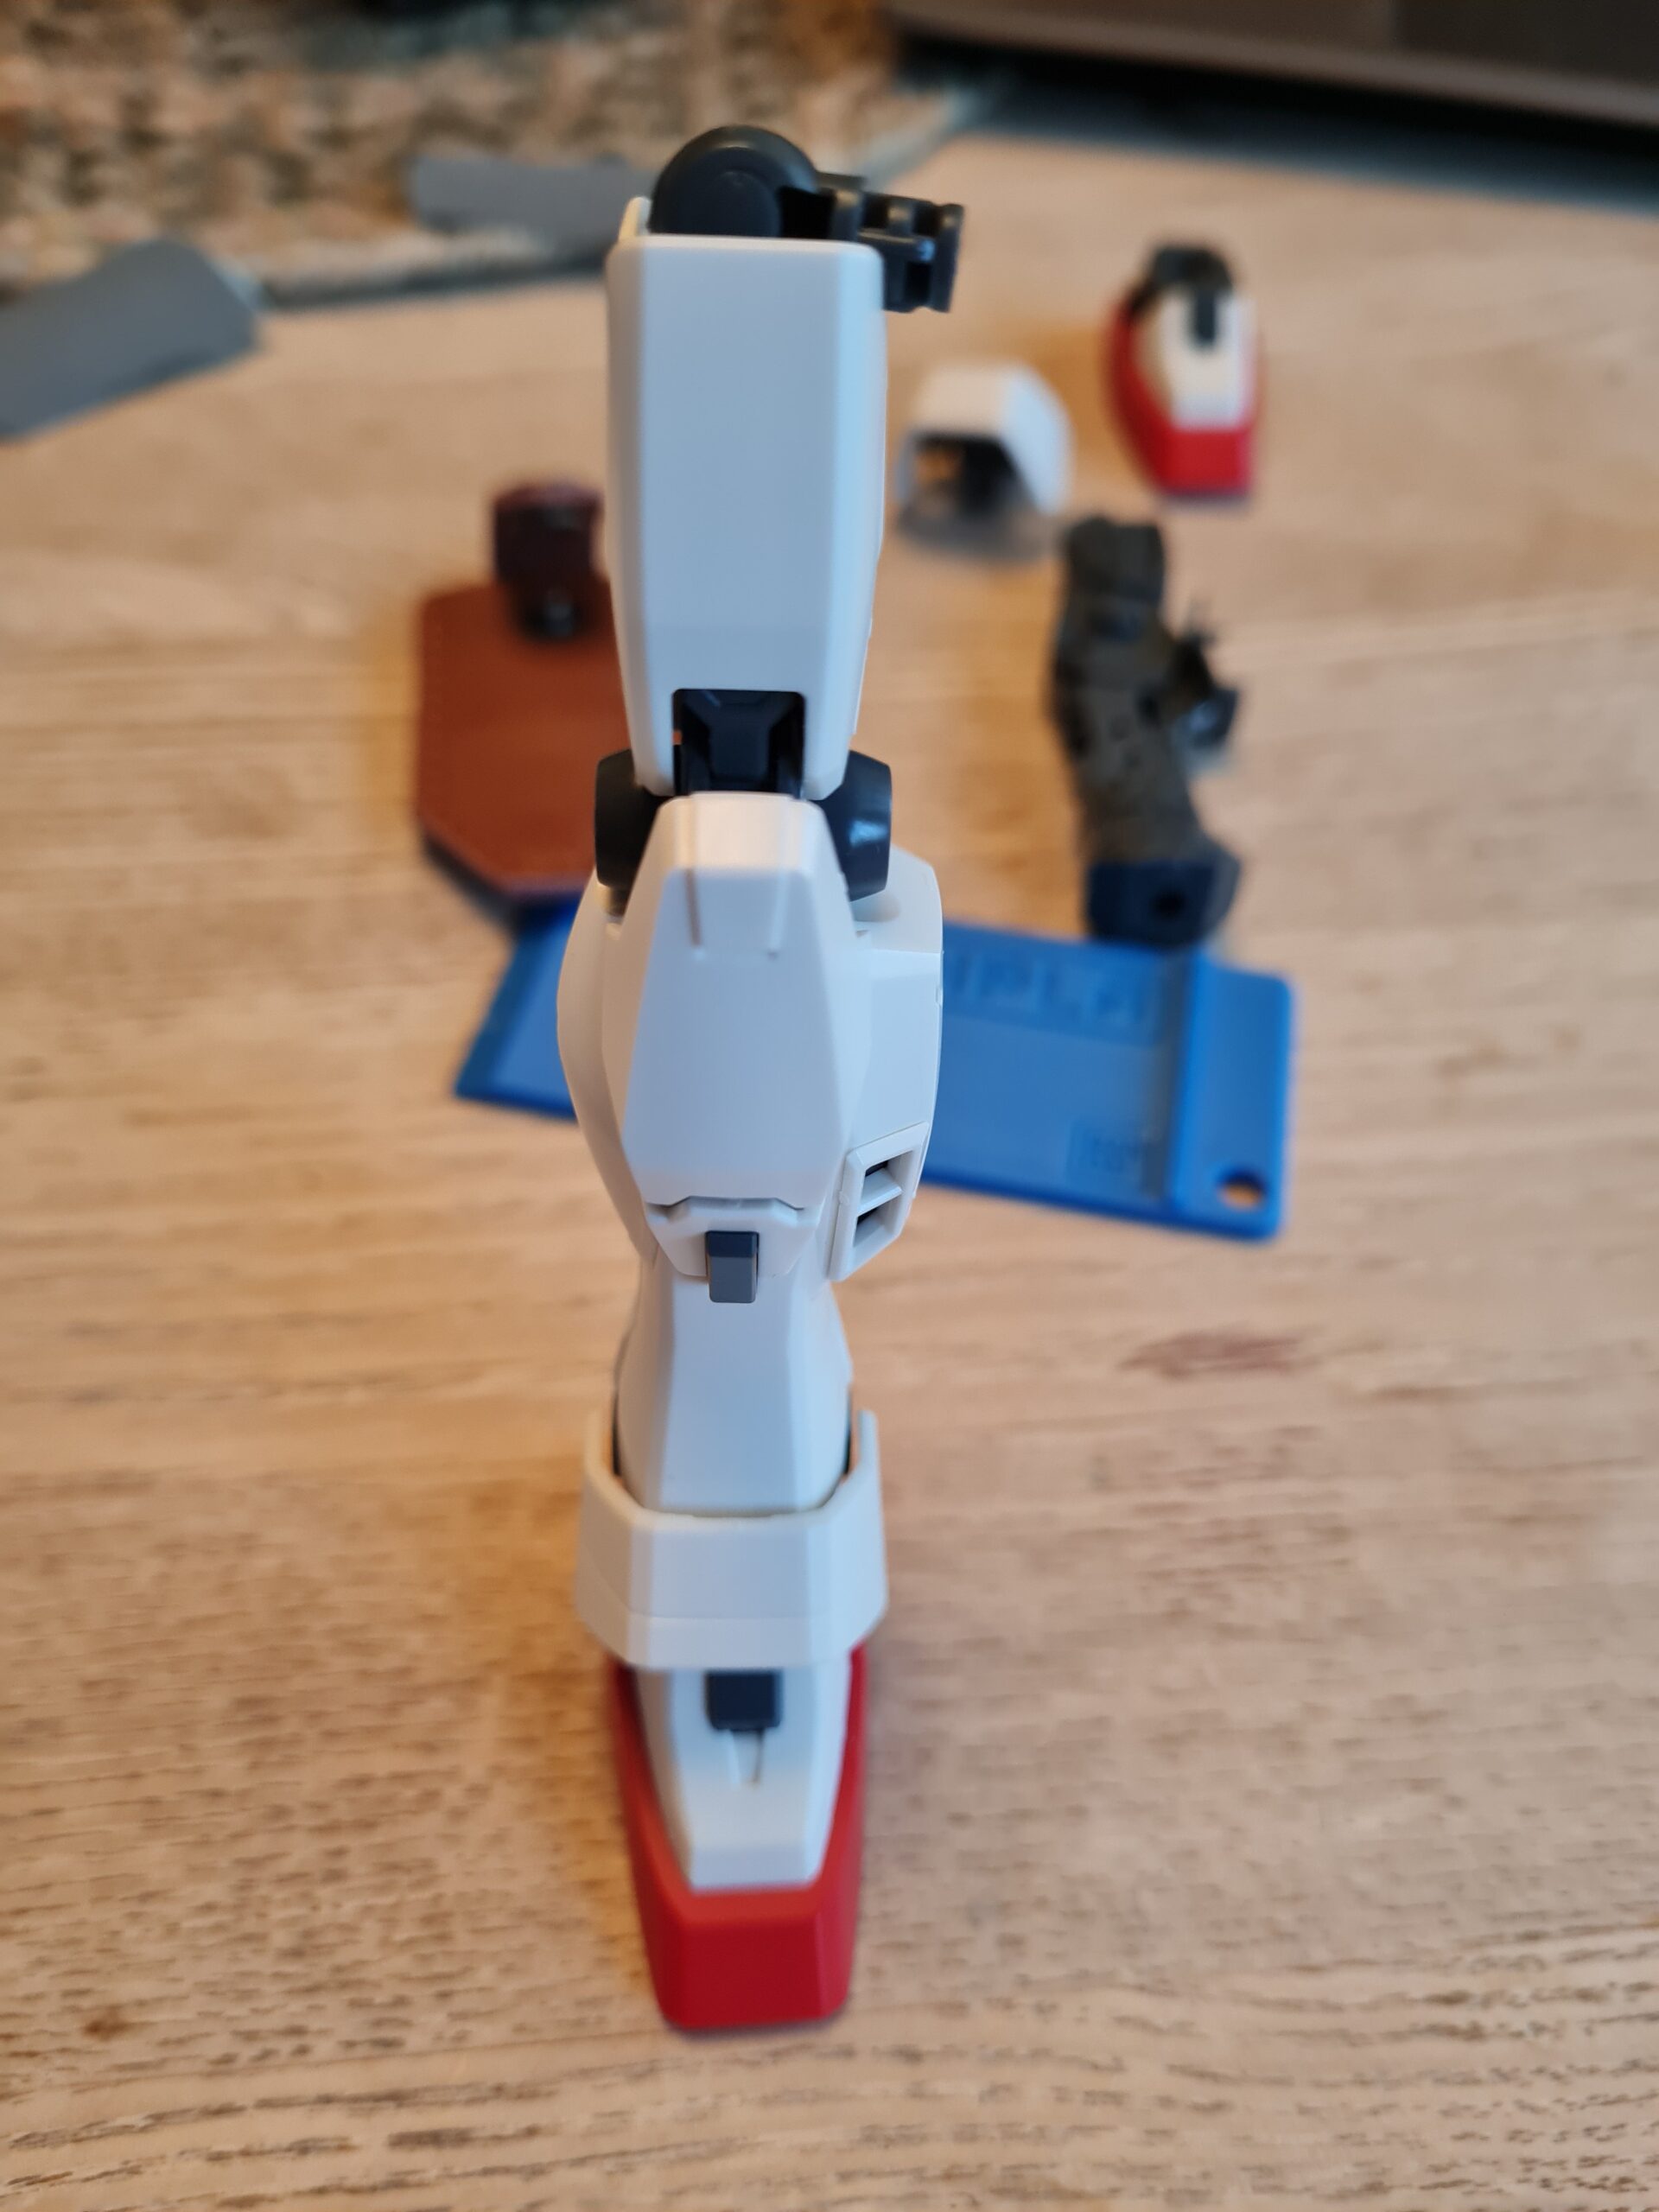
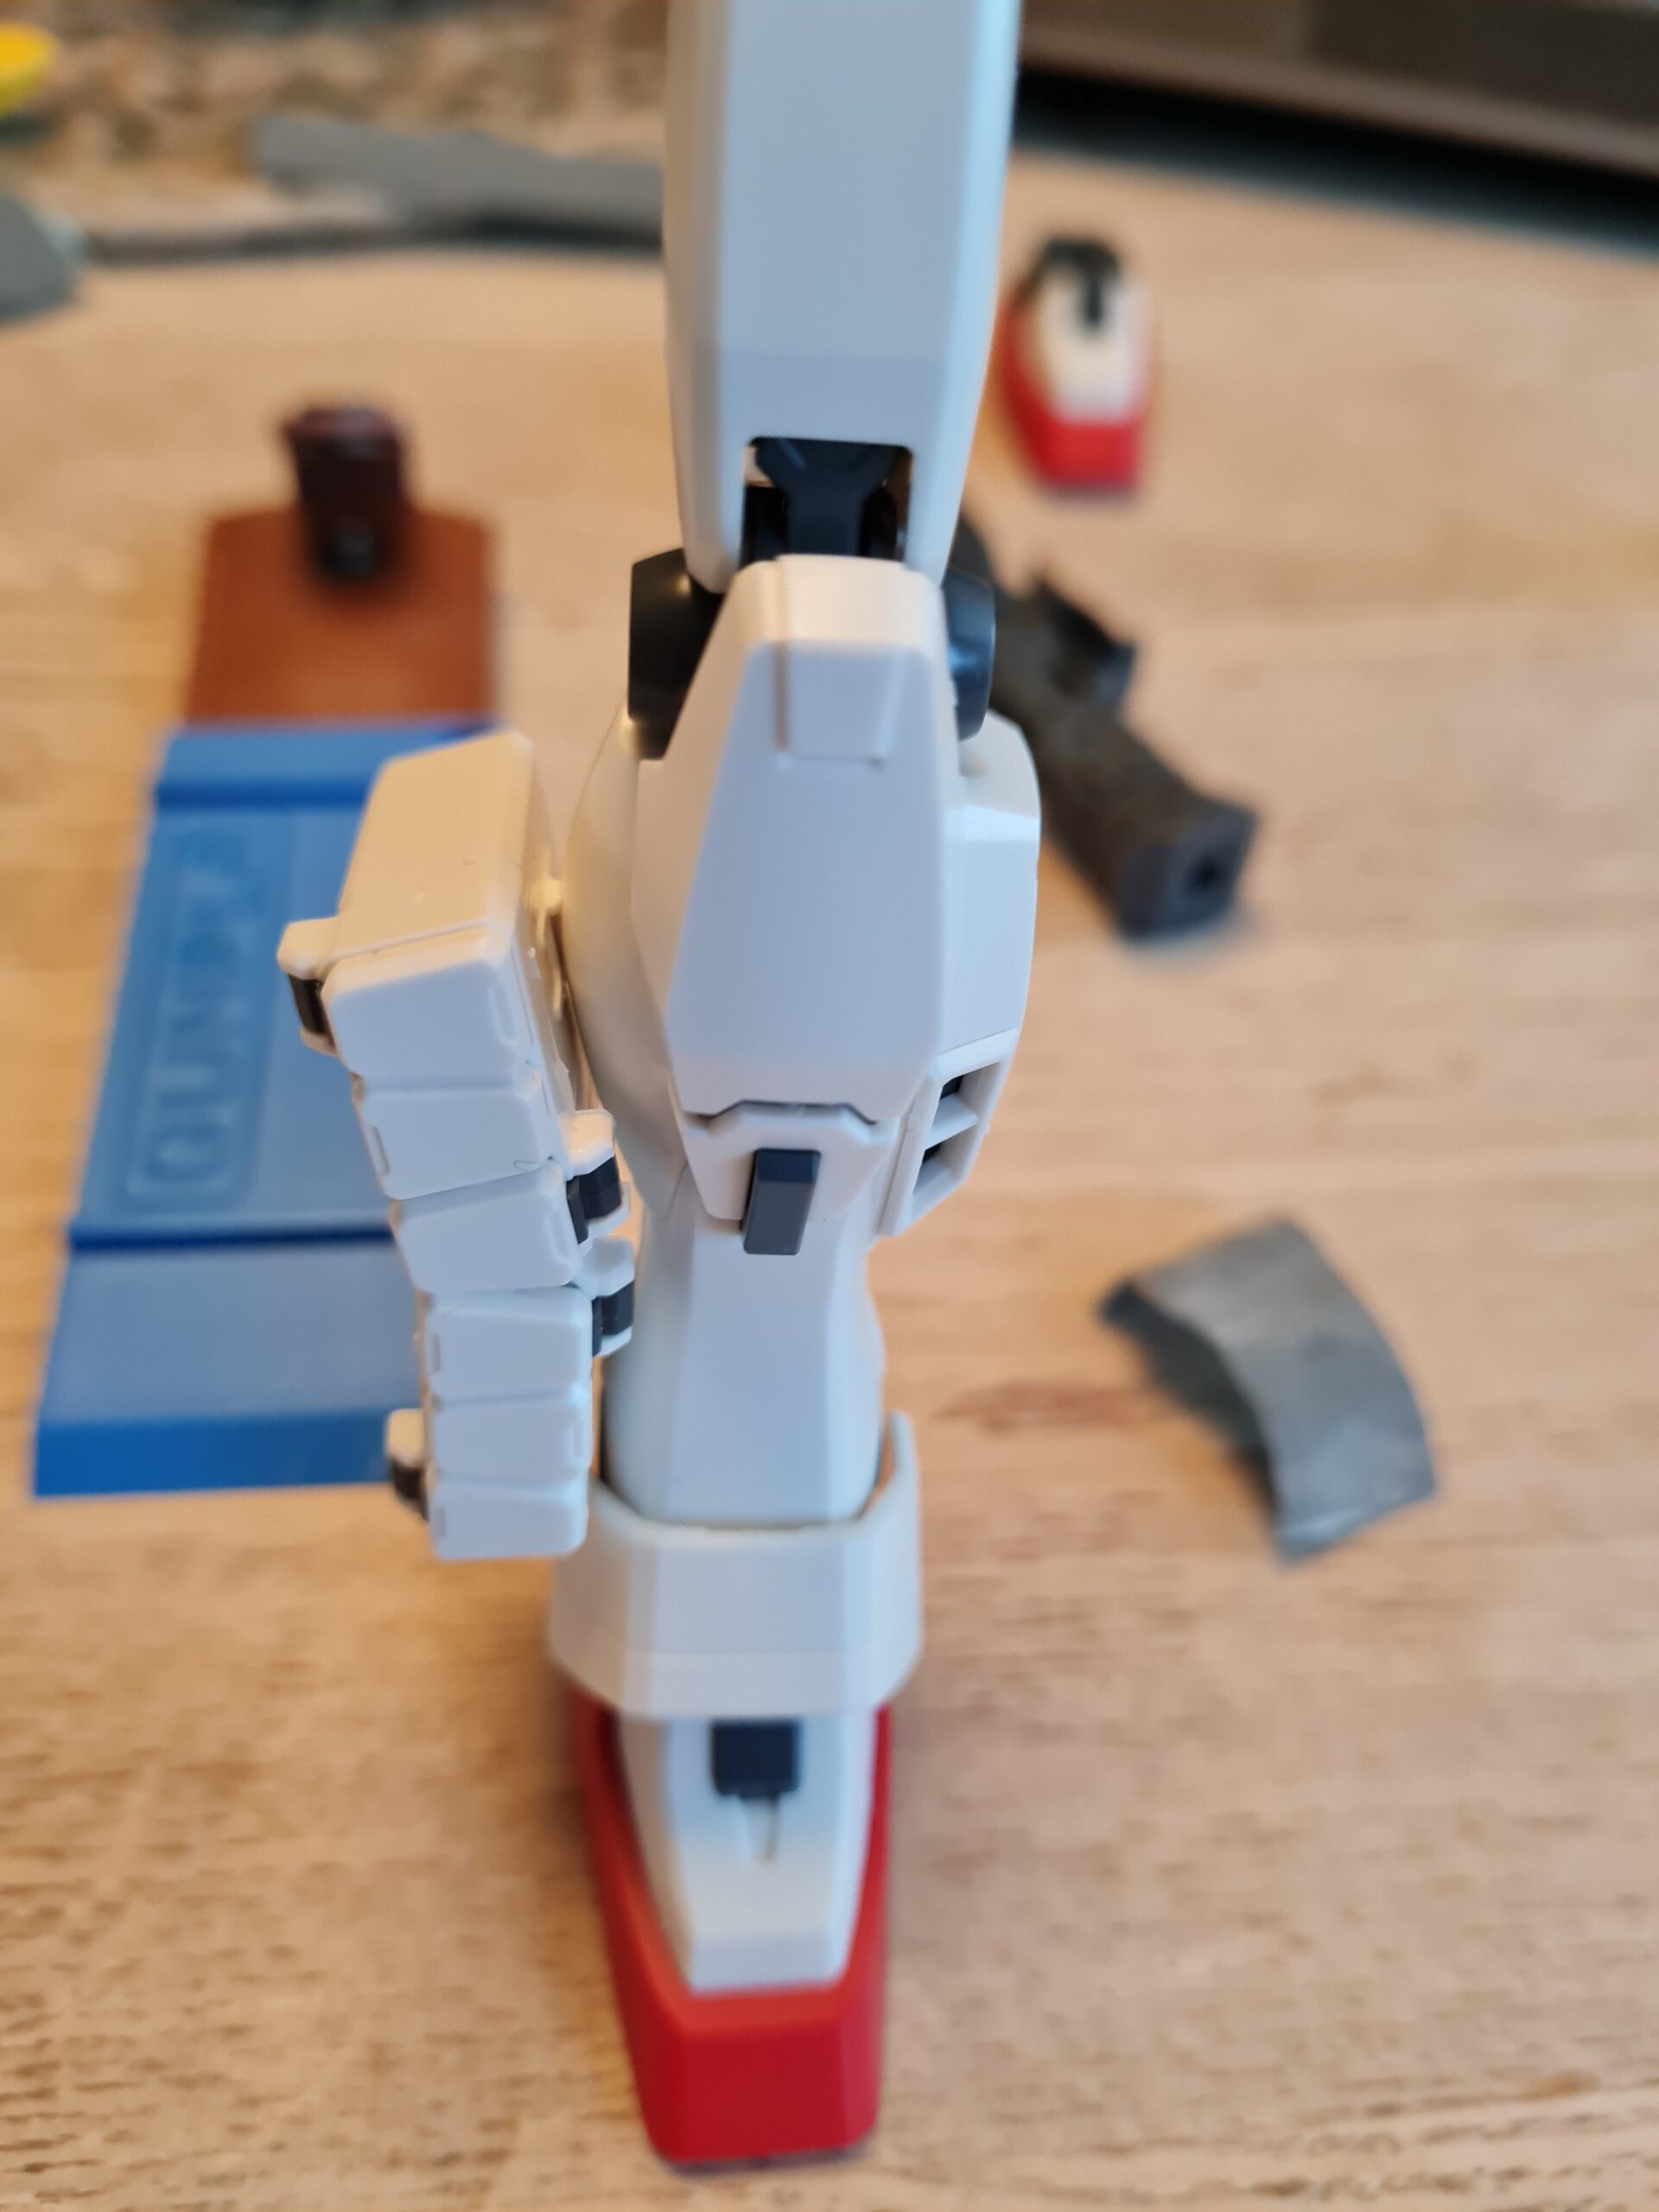
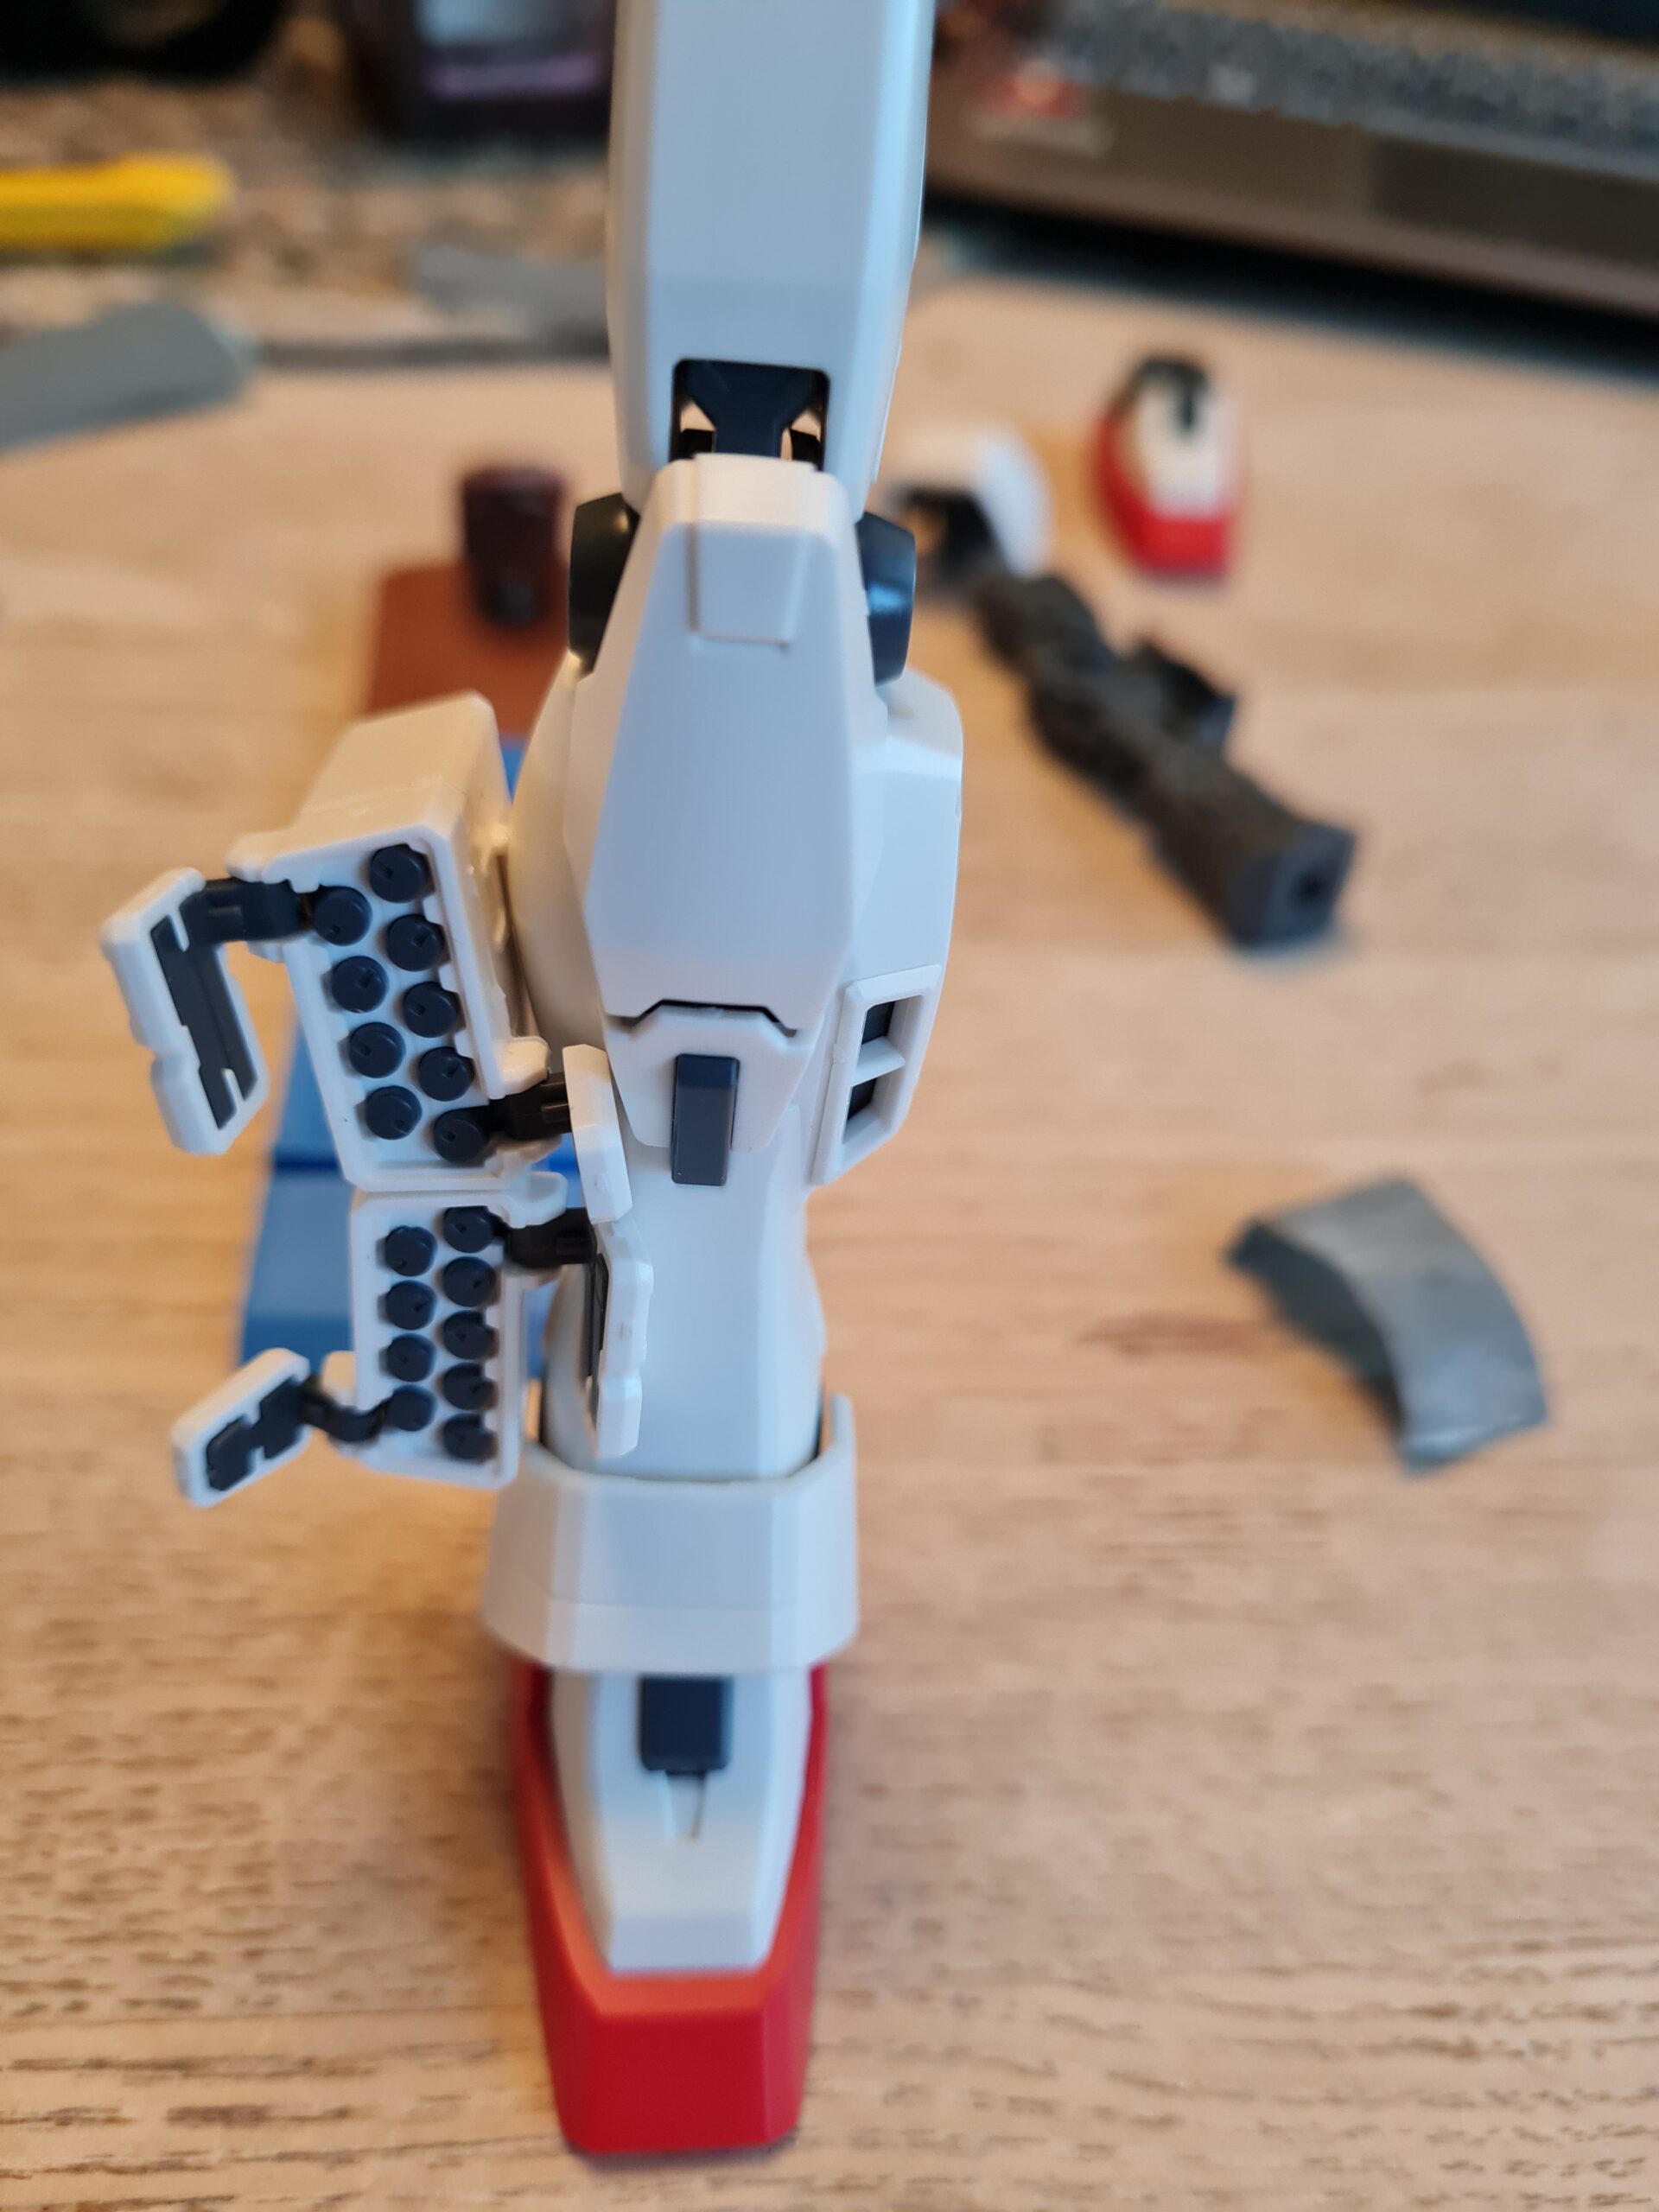
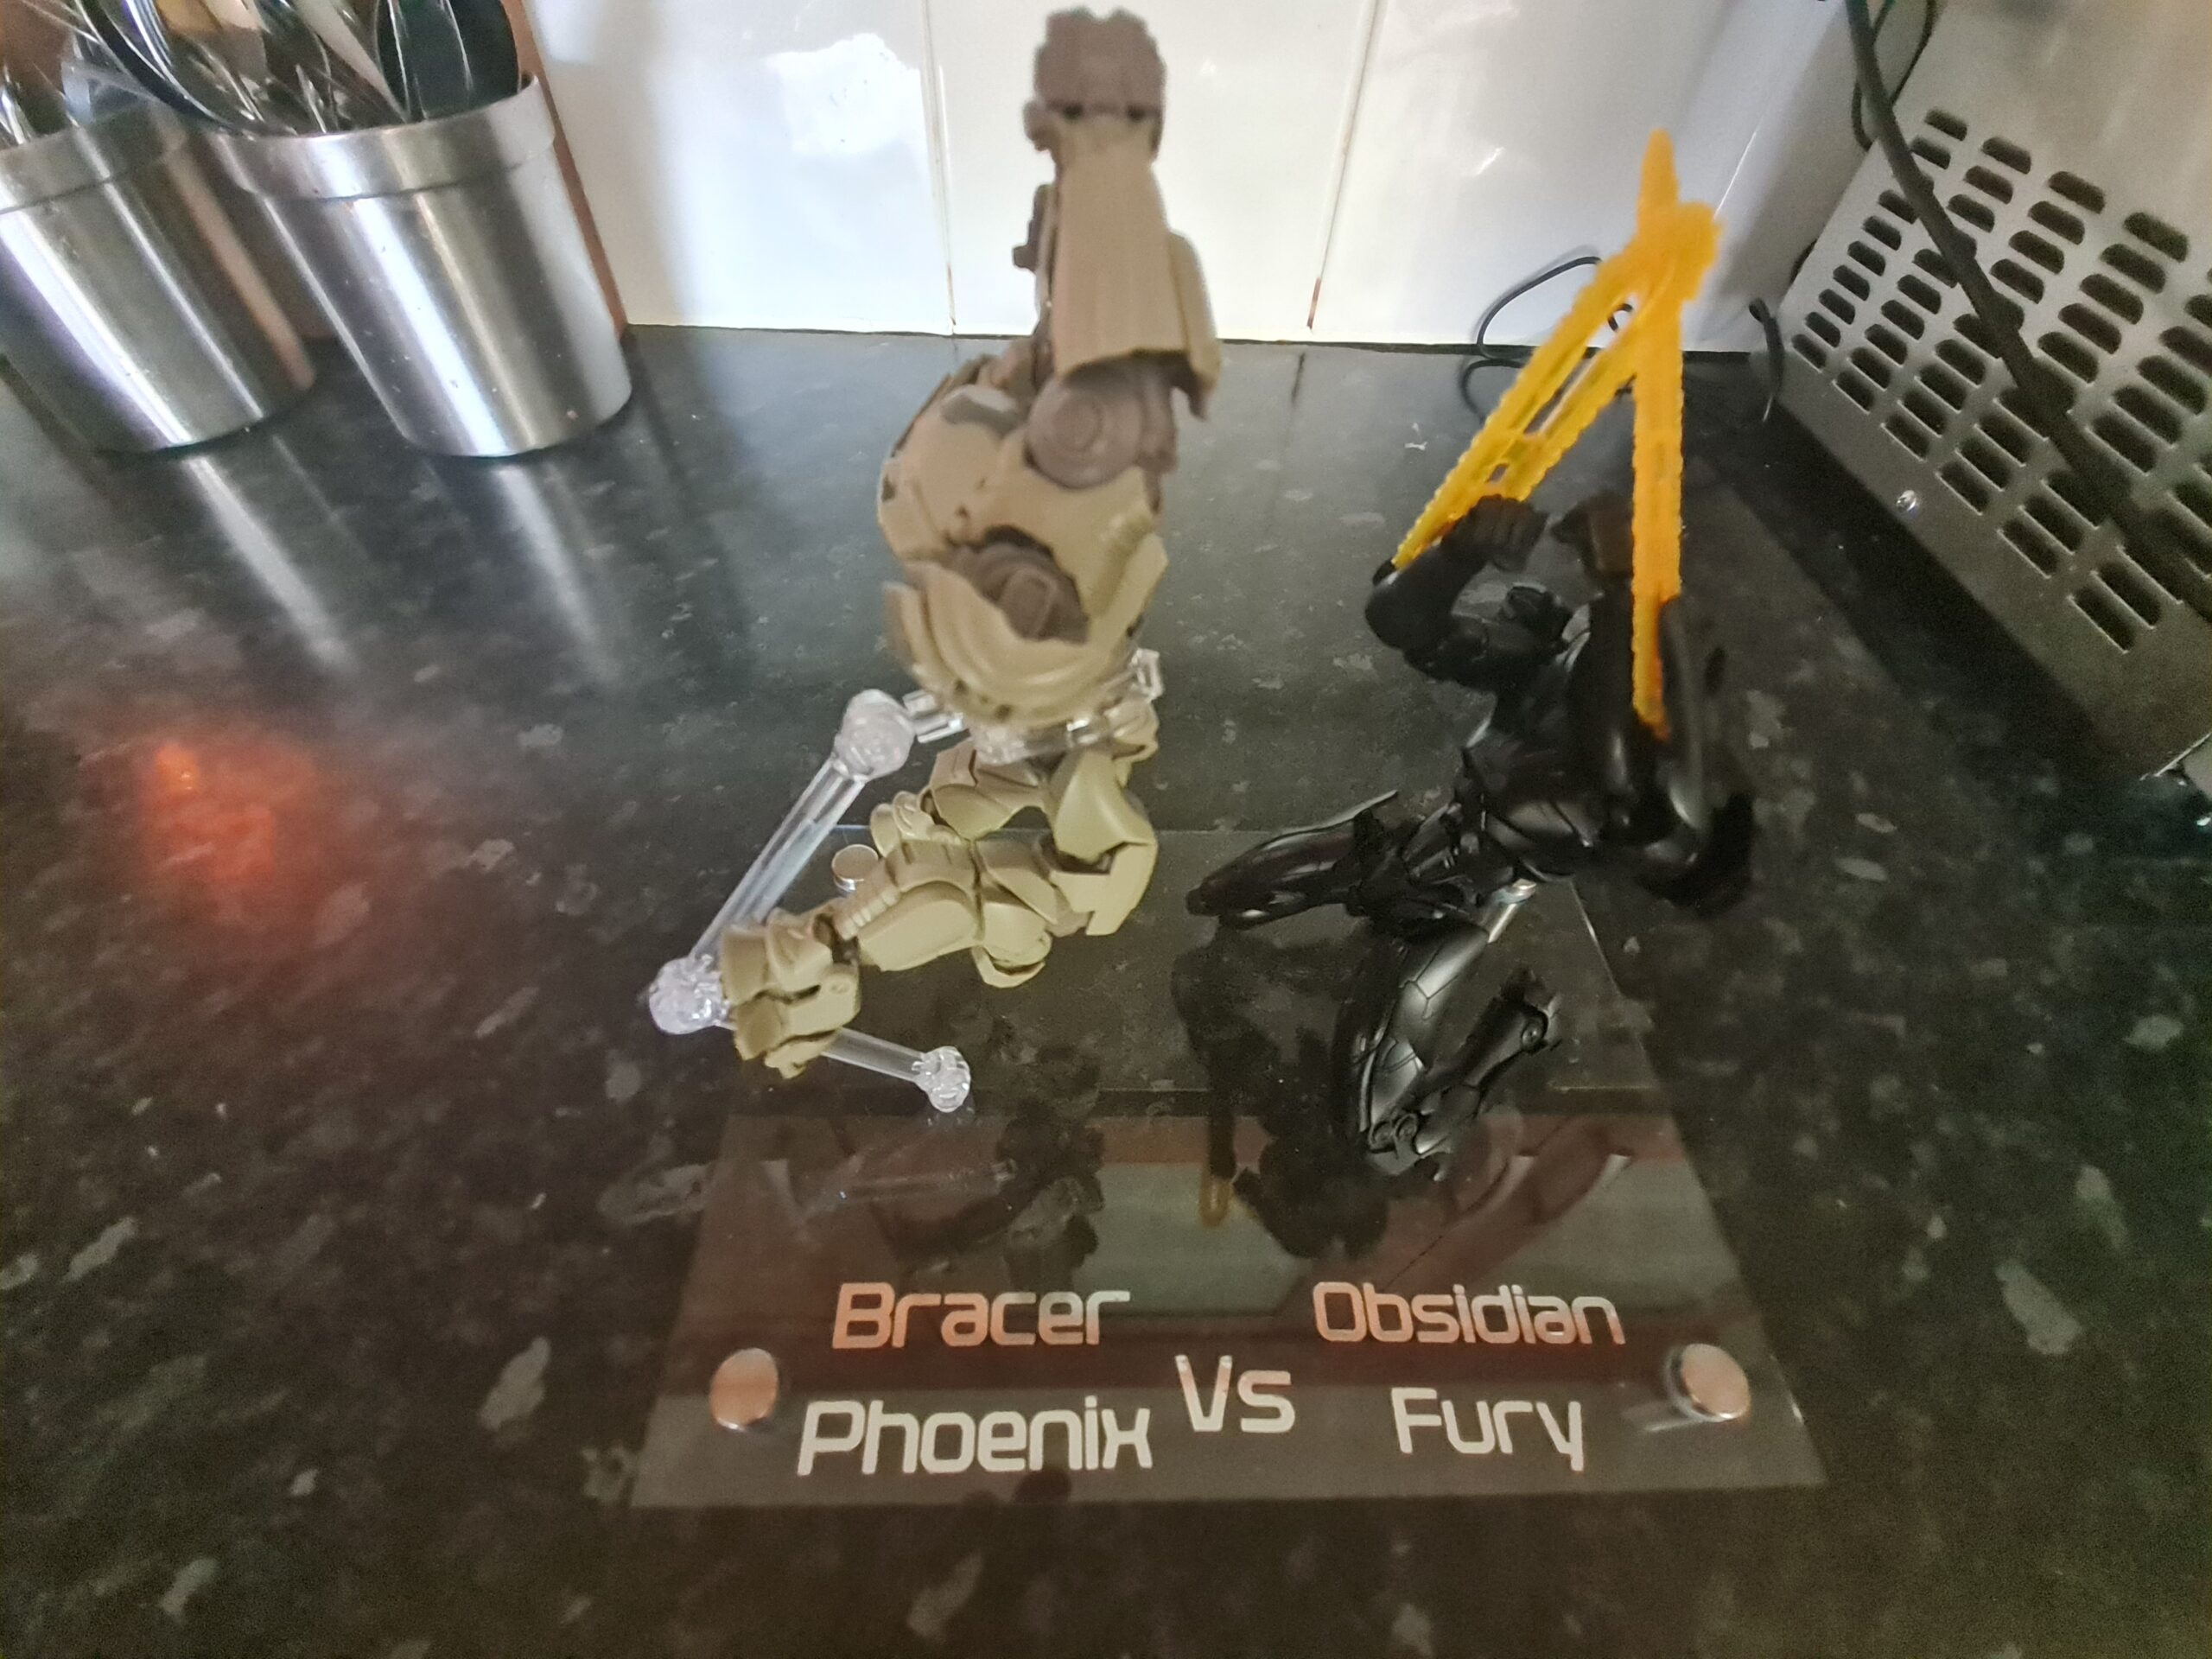
I still have some work to do on this, and I know that I need to also work through the weapons and build them up. However, I am, very happy with the results.

Thank you for taking the time to read this. If you haven’t already done so please like and follow us on our social media platforms and checkout our website!

Facebook: https://www.facebook.com/profile.php?id=100086701512793
Instagram: https://www.instagram.com/modelkitsltd/
Website: https://modelkitsltd.co.uk

#gundam #gundammodel #model #kit #gunpla

Posted on

Incoming Stock – RG God Gundam

RG_God_02

Introduction

So with my next shipment listed by UPS it should be looking to head over this way in the next week. I am assuming it will arrive after Christmas. However, continuing on updating people, and showcasing what is coming in, today we have the RG God Gundam 1/144.

The RG God Gundam was released in 2022. This model incorporates a lot of the latest features and enhancements that Bandai have worked on. This includes enhanced joints that allow it to strike the arms crossed pose.

Images

I absolutely love the way that the new joints allow you to pose this model. Checkout these images from the Bandai Spirits page.

More Information

I found the original Bandai Spirits information here. Reading through that information it is obvious that Bandai have spent a lot of time recreating more realistic movements in this model. I certainly would love to build it and see how it holds up to the other models.

I should have, all being well, two of these coming in to stock when my next shipment arrives. So if this is something you are looking for keep checking the store as it will be on there soon!

If you haven’t already built an RG model then this, from the looks of all the information and enhancements Bandai have made, looks like it would be an absolutely stunning model to put together.

If you are interested in reading up more on this the Bandai Spirits page is linked above, and there is also a load of information on the Gundam Fandom Wiki page you can find here.

Conclusion

Thank you for taking the time to read this. If you haven’t already done so please like and follow us on our social media platforms and checkout our website!

Facebook: https://www.facebook.com/profile.php?id=100086701512793
Instagram: https://www.instagram.com/modelkitsltd/
Website: https://modelkitsltd.co.uk

#gundam #gundammodel #model #kit #gunpla

Posted on

Incoming Stock – PG 1/60 RX-0 Unicorn

Unicorn_3

Introduction

One of the products I will be getting into stock is the PG 1/60 RX-0 Unicorn. With them being so hard to get I only managed to source 1 of them this time round but I will continue working on trying to get more in stock.

For anyone new to the hobby PG is short for Perfect Grade and is Bandai’s top tier of models. They are traditionally the largest (physically) as well as having more parts and details than other models in other grades.

Images

Information / Overview

The kit was originally released around December 2014, and although you need to purchase it separately, there is also a lighting kit that can be used with this kit.

I always like to read up around the kits, and the history on them and any other available information. I found the original Bandai Spirits page here, although I had to run it through google translate!

Amongst its features this model boasts

  • The ability to transform between unicorn mode and destroy mode (including the deployment of the face guard).
  • The resin for the red elements of the frame/suit are specifically designed to improve the look of the model
  • The blade antenna that opens and closes during “transformation” has a magnet inserted to reproduce the single horn in unicorn mode. 
  • The inner surface exposed in destroy mode is already coloured with gold.
  • A variety of weapons are included, including Beam Magnum, Hyper Bazooka, and Beam Gatling Gun.
  • Dedicated display base included. 

If you would like to read more about the suit and the history surrounding it another great resource is gundam.fandom.com and you can find the Unicorn information here.

I can’t wait to get this into stock and I have to admit I want to see the size of the box! I will, as always update people as I find out more.

Conclusion

Thank you for taking the time to read this. If you haven’t already done so please like and follow us on our social media platforms and checkout our website!

Facebook: https://www.facebook.com/profile.php?id=100086701512793
Instagram: https://www.instagram.com/modelkitsltd/
Website: https://modelkitsltd.co.uk

#gundam #gundammodel #model #kit #gunpla

Posted on

The Witch From Mercury

Introduction

If you have been living under a Gundam wreck for the last year or so then you may have missed the fact that there is a new major show. I have, I will admit, come to this a little later than I would have hoped. However, in my defence that did allow me to binge watch the first few episodes of the show and really get into the world.

Models

The new show “The Witch from Mercury” is a new main show from Sunrise. Sunrise itself is a subsidiary of Bandai Namco Holdings (I believe). Along with the new show there will be new models being released with my previous posts covering some of the models available from the range. You can find those here:

Schedule

I have been enjoying the show. As I have written about previously I think it works on multiple levels, and is enjoyable however you wish to enjoy it. Whether that is looking at the changing of the guard, with the new / next generation of business leaders starting to wrestle control from their fathers/elders. Or, just a straight forward view of watching big mecha beat each other up.

The next episode (11 at the time of writing) is due on on Christmas day. I will, I think, be trying to find a space to watch it, as I was disappointed this Sunday didn’t have an episode.

WitchFromMercury
Witch From Mercury

At the time of writing the show is due to air at 18:00 JST. With Japan being 9 hours ahead of GMT that means it will air in Japan at 11:00 GMT. I will be keeping a close eye on crunchyroll for when it appears so I can watch it.

I also believe the 12th episode is scheduled for the 8th of January at 18:00 JST so that should be running at 11:00 GMT as well.

Conclusion

Thank you for taking the time to read this. If you haven’t already done so please like and follow us on our social media platforms and checkout our website!

Facebook: https://www.facebook.com/profile.php?id=100086701512793
Instagram: https://www.instagram.com/modelkitsltd/
Website: https://modelkitsltd.co.uk

#gundam #gundammodel #model #kit #gunpla

Posted on

Entry Grade Models

Introduction

Following on from yesterdays post, I wanted to showcase another Entry Grade model that is coming back in to stock, the RX-78-2 Full Weapon Set.

As I covered yesterday (here) the Entry Grade models seem to have a popularity all of their own. Today I wanted to look at the RX-78-2 Full Weapon Set as it really offers amazing value for money.

What is to love?

So what is it about this Entry Grade kit that I think makes it such good value, and such a great kit. I’ll start with the images.

Looking at those images, it is amazing that in an Entry Grade kit that Bandai have managed to create such an authentic looking, visually stunning suit. I realise that this is a suit that has been done many times, and was always going to be a stalwart, but for me it is a classic that I never tire of.

So not only do you get the model itself, which I absolutely love, you also get the additional weapons. These aid in creating the pose or scene that you really favour with the model. That is a lot of kit, for an absolutely amazing price. The accessories in this kit are.

  • Beam Rifle x 1
  • Shield x 1
  • Beam Saber x 2
  • Hyper Bazooka x 1
  • Beam Javelin x 1
  • Gundam Hammer x 1

Conclusion

With all this packed in to one kit I can see why it is popular with builders! I will have a couple of these in stock, once my new order is completed and in. This may be the new year, so stay posted and I’ll update everyone when I update the stock on the shop.

Thank you for taking the time to read this. If you haven’t already done so please like and follow us on our social media platforms and checkout our website!

Facebook: https://www.facebook.com/profile.php?id=100086701512793
Instagram: https://www.instagram.com/modelkitsltd/
Website: https://modelkitsltd.co.uk

#gundam #gundammodel #model #kit #gunpla

Posted on 1 Comment

Entry Grade Models

Introduction

I thought with the new stock hopefully coming soon that I would look a little closer at the Entry Grade models. In particular one of the models I am getting back in stock is the Gundam Nu 1/144 Entry Grade model.

If you haven’t seen it before it looks like this

EG_Nu
EG_Nu

As you can see this is quite a stunning model. I like it for the relative simplicity, as well as how it stays true to the original style of the models. It is very reminiscent of the early Gundam suits that are seen in the shows. However, they have changed enough features in there to give it a unique look and feel. I also love the shape and look of the shield which I think looks amazing with this model.

Why do people get them?

From speaking to people, and reading the various message groups there seem to be a few reasons that people get these models. I find that some people want them as a quick easy build to do before some of the more intense bigger builds that they work on. They can start and finish the build quickly and get that sense of satisfaction from a job well done.

I also think that many people look to these models so that they can use them as a cheap and easy way to do customisations. The models are quick to build, and the customiser can get down to business a lot quicker, and if their experimentations go awry then no real harm is done.

Conclusion

Whatever the reasons I find that the Entry Grade models remain popular with all modelers. So I have a few of these coming into stock in case people want them.

Thank you for taking the time to read this. If you haven’t already done so please like and follow us on our social media platforms and checkout our website!

Facebook: https://www.facebook.com/profile.php?id=100086701512793
Instagram: https://www.instagram.com/modelkitsltd/
Website: https://modelkitsltd.co.uk

#gundam #gundammodel #model #kit #gunpla

Posted on

Latest Stock is on the way!

I am super happy to say that the latest stock has reached the European distributors. I have sorted my invoice and should have some new stock coming in very soon!

The likelihood of getting things in before Christmas is slim to none. However, it is a great way to look at starting the new year!

So, I am sure that you are wondering what sort of things are coming in this next batch.

Top of the list has to be the PG Gundam Unicorn RX-0 1/60

PG Unicorn
PG Unicorn

I can’t wait to get this, and to see the size of the box when it arrives! I’m guessing this may be quite a large one!

Next up on my list of what is coming in is the HGUC Gundam Unic Full Arm Dest Red 1/144

Unicorn Full Armour
Unicorn Full Armour

I am also re-stocking up on some of the EG models as well as those seem to be in high demand so I want to make sure I keep them around in case anyone wants them.

With me being a new business I can’t afford to buy everything I would like! Some of the kits coming in I will only have 1 or 2 of so if you are interested you may need to get in there quick to snag one!

Thank you for taking the time to read this. If you haven’t already done so please like and follow us on our social media platforms and checkout our website!

Facebook: https://www.facebook.com/profile.php?id=100086701512793
Instagram: https://www.instagram.com/modelkitsltd/
Website: https://modelkitsltd.co.uk

#gundam #gundammodel #model #kit #gunpla

Posted on

Guess the Model Part 5 – The Legs

Welcome back to Guess the Model Part 5 – The Legs. If you haven’t seen the rest of the series then the first post can be found here. The premise is simple. I grab a model from my backlog. Each day (or each post at least) I build one section from the manual, in the order that it appears in the manual. You then get to guess what model this is.

Today we are covering the legs.

I will admit that I never really grasped the size of the model. All the parts so far didn’t feel so much bigger. However when I put the legs together I began to really get a feel for the scale. I just put the legs next to my RG Zaku II and it makes the RG look small. I just went to have another look and with the hips attached that is pretty much the Zaku II in size!

There you have it, I’m pretty sure you will have guessed the mode by now but I’ll carry on with the other bits just for completion.

Thank you for taking the time to read this. If you haven’t already done so please like and follow us on our social media platforms and checkout our website!

Facebook: https://www.facebook.com/profile.php?id=100086701512793
Instagram: https://www.instagram.com/modelkitsltd/
Website: https://modelkitsltd.co.uk

#gundam #gundammodel #model #kit #gunpla

Posted on

Guess the Mode Part 4 (The Hips)

The latest series in the guess the model is going to cover the hips. If you haven’t seen the other parts it starts here. To quickly summarise for anyone just joining the series.

I take a model I have to build. Then following the exact order in the manual I build the pieces and post here. Readers can then guess what the mode is. Hopefully, it will also highlight how I am building the models, and I will also highlight any gotchas or issues as well as any high points I find while building the section.

Without further ado here are the hips!

As you can see this was a relatively short piece to put together. I have to say I enjoyed making this section. Although very simple, there are some very nice. For example the yellow covers on the front lift slightly then pivot forwards to give this:

Guns showing
Guns showing

I think that is an amazing mechanic, and a lovely touch to the model. I could quite literally sit there all day opening and closing those as the fit is so smooth.

So that is it for todays guess the model. I imagine that most people have it from the earlier parts but we will continue on!

Thank you for taking the time to read this. If you haven’t already done so please like and follow us on our social media platforms and checkout our website!

Facebook: https://www.facebook.com/profile.php?id=100086701512793
Instagram: https://www.instagram.com/modelkitsltd/
Website: https://modelkitsltd.co.uk

#gundam #gundammodel #model #kit #gunpla

Posted on

Custom Stand

Introduction

In one of my previous posts I showed off my RK Zaku II on the custom stand. I thought that I would do a piece on making the custom stand.

Materials

  • Silver Vinyl (sticky backed)
  • Transfer tape
  • A5 2mm thick acrylic sheet
  • Stainless steel standoff fixings (for the feet)

Tools

  • Drill
  • Pen
  • Drill bits
  • Cricut
  • Scissors
  • Weeder
  • Squidger (I have no idea what it is really called)
  • Ruler

Stage 1 – Measuring out

I like to have the feet in pretty much the same position. I also like them to be symmetrical. To do this I measure 1.5cm from each corner.

The acrylic is covered on both sides with a protective covering. I leave this on as long as possible to help protect the acrylic, and also to mark on wherever possible.

Drilling the holes

Once the holes are marked out, I moved on to drilling the holes.

To do this I needed the drill bits, the drill, and the hoover. The drill bits are actually for drilling into tiles and work perfectly for this job. The first thing I had to do was find the right size. I had to unscrew one of the feet and check the width of the drill bit to the thread size of the bolt. You want one marginally bigger than the thread so the bolt drops in nicely.

Once that was done I placed the acrylic sheet flat on the table edge, as close to the marked spot as possible (allowing room to drill through and not hit the table). I also used a finger to support the outer side of the sheet to help stop it flexing. Then using the drill I made the hole in the sheet.

As can be seen above I also tested one of the feet int he hole to make sure it was fitting securely. I then removed this to do the rest of the work.

I did drill an extra hole for the stand. Normally I would put this at the halfway point. However, for this I wanted it in a specific place. The methodology though was the same as above. Find the right size bit, drill the hole, and finally test. I do think I will add some glue to help hold it in place, but it works well.

The Text

I am fortunate enough to have a cricut. I used the software for that to write out the words I wanted on the stand.

Once the cricut had done its job. I measured out the center point on the acrylic and market it out. I then peeled back the protective cover on one side of the acrylic. The last photo above the ruler is holding it back out of the way. I then quickly checked the layout. I needed to make sure everything was going to fit! Once I was happy, I transferred the Vs to some transfer tape and placed it centrally on the acrylic. I then repeated this process with the Bracer Phoenix and Obsidian Fury pieces of text.

The feet!

The next stage is to put the feet on. Prior to this I peeled off the protective cover from both sides of the acrylic sheet.

As can be seen above the process to attach the feet is simple. I first take it apart, and then put the first washer onto the bolt. Next I place the bolt through the acrylic sheet and add the second washer. Finally I screw the foot case part on and finger tighten. This is repeated for all 4 feet.

Conclusion

I really enjoyed making this custom stand. All that was left was to add the stand and figures and it was done. I will leave you with those images at the bottom of this post. Any questions please just ask.

Thank you for taking the time to read this. If you haven’t already done so please like and follow us on our social media platforms and checkout our website!

Facebook: https://www.facebook.com/profile.php?id=100086701512793
Instagram: https://www.instagram.com/modelkitsltd/
Website: https://modelkitsltd.co.uk

#gundam #gundammodel #model #kit #gunpla