Posted on

How many is too many

GX-9901-DX GUNDAM DOUBLE X

Introduction

I will be honest, I had a few options around this post. I wasn’t sure whether to just look at it from the point of how many is too many when looking at the model count. But then I could look at it from the backlog point of view. Then I realised I may as well write a paragraph or two on each!

Total Model Count

So I guess the first angle I should look at is can you have too many models? I mean the obvious answer is obviously no! However, should you look at packing / storing some and displaying a select few models, or would you rather get them all out? I think, the reality, for a lot of modellers, is that their display space is limited. If that isn’t the case then I say go wild! Shelves, display cases, even from the ceiling or magnetised! If you have the space then go for as many models as you are happy with.

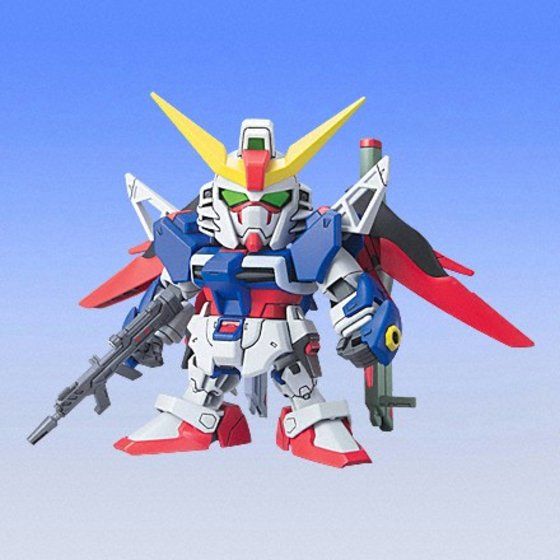
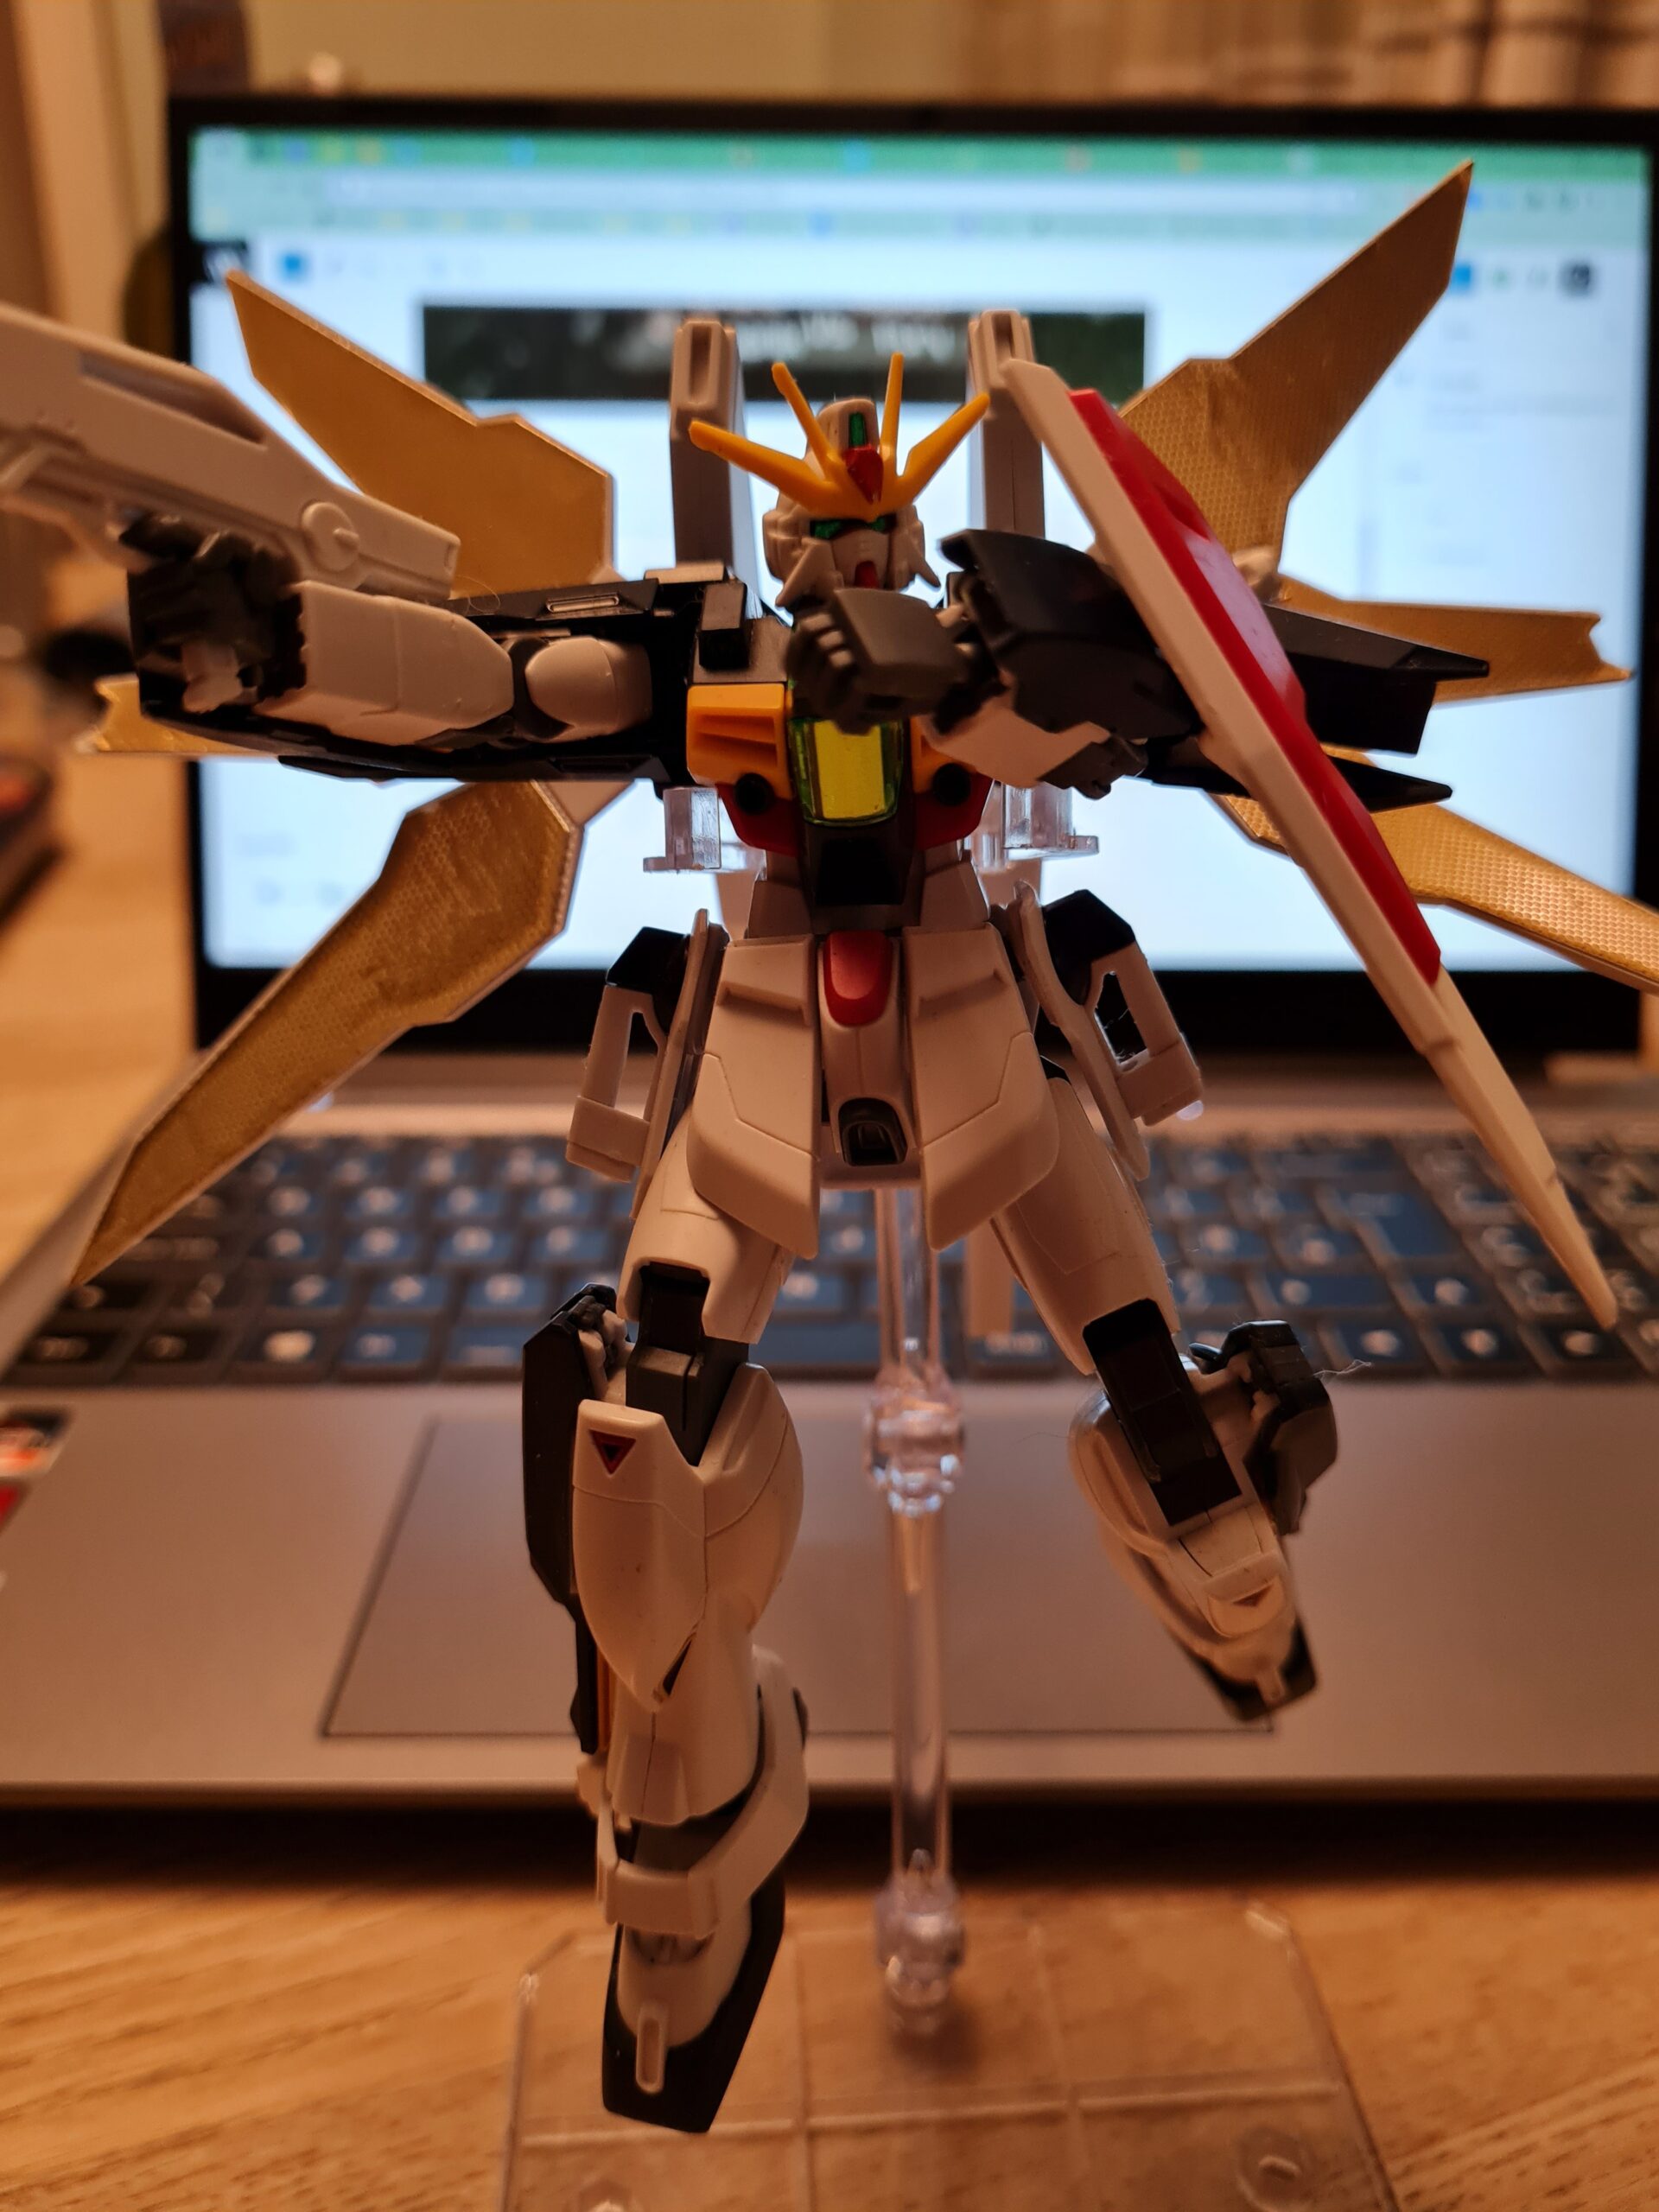
As I say I think for the majority of us we have limited display space. At the moment I’m using the top of my freezer to stand 3 models and a Harry Potter Weasley’s Wizard Wheezes shop model. The space there is limited. I will, I think have to look at a system. Ultimately I think I may look to break them into seasons or months, and cycle them round. The only model that I have that will survive this drastic measure is the Double X. It was my first Gundam and I love it nubs and all.

GX-9901-DX GUNDAM DOUBLE X

I often see people shifting their collections to either make space, or to make room for other models. There certainly seem to be plenty of people who are happy to buy pre-built models. Some to display, some to use as parts, some for kit bashes, and others to practice techniques on. So I guess once you have had your enjoyment from a model is it best to just let it go and find a new home?

Ultimately I would say, if you are happy, then there is no count that is too high!

Backlog

I recently asked a variation of this question on a forum. Ultimately the feedback would seem to be that there is no such thing as too big a backlog. For some people they buy build and buy again. Others prefer to ensure that there is no chance they will ever run out. Whichever side of the fence you fall, or if you are somewhere in between, it is fair to say that there is no right or wrong answer.

Again, as with display space, having space to keep your backlog can become an issue. A lot of people are working with limited space, and I get the feeling that a lot of peoples backlog size is dictated as much by available space as it is desire to not have too many there.

My backlog isn’t too bad at the moment. I have 1 MG, 1RG, and the USS Voyager to build. I have however also got a Kotobukiya Muv-Luv Shiranui Second Yuya Bridges model coming from ebay. I also put in an order with my supplier to try and get a hold of some of the models for the shop … well ok I ordered 2 of 1 of the models… the other 6 or so were for me … I’ll cross that bridge when I get to it!

Conclusion

How many is too many is a very subjective question. There are likely to be people in your life who tell you that you have too many models, or kits to build. I would say it is your hobby and as long as it is not disruptive, as long as you aren’t spending money you need for food, heating, rent etc. then where you spend your money is your decision. A bit like the gambling adverts say, when the fun stops stop. It is similar with the models. As long as you are enjoying the hobby then carry on. Personally I am loving all the options, and exploring the painting, lighting, and dioramas, as well as just straight builds. As long as I am enjoying myself then I will continue to build!

Thank you for taking the time to read this. If you haven’t already done so please like and follow us on our social media platforms and checkout our website!

Facebook: https://www.facebook.com/profile.php?id=100086701512793
Instagram: https://www.instagram.com/modelkitsltd/
Website: https://modelkitsltd.co.uk

Posted on

Airbrush Clogging

Airbrush

Introduction

Airbrush clogging is a problem I have had since returning to modelling, and deciding to look to do custom paint jobs on some I have returned to using my airbrush. Airbrushes have, in my opinion, many advantages with traditional brush painting. Don’t get me wrong, there are still parts that I favour brush painting for. However, if you want to get good smooth coverage, and beautiful blends an airbrush really is outstanding.

The setup

Now fortunately for me, I still had my original airbrush compressor and tank. It does, I admit require new feet, but on the whole it works. The brush itself is an Iwata Neo that I picked up a few months ago. I do have some cheaper brushes that I may use for more general base coats etc.

The problem

So as the title would suggest I have been having major issues with my airbrush clogging. On the whole this happens most when trying to do the base coating on the parts. I decided to do some research on potential causes, and potential fixes.

Iwata Neo
Iwata Neo

Dirty Airbrush

So the first thing I came across was that the airbrush itself could be dirty. In as much that if there is old paint / paint particles / chunks in the airbrush that haven’t been cleaned out they could cause it to clog.

The solution to this one is pretty simple. Strip the airbrush down and thoroughly clean. If there are manufacturers instructions on cleaning the airbrush then follow those. If not there are loads of youtube tutorials on cleaning airbrushes. This one for example goes through it in quite a lot of detail.

Damaged Needle

So a good way to check the needle is to remove it from the airbrush, then draw it backwards through a piece of tissue paper. If you feel any snagging or catching you potentially have a bent tip. At that point replacing the needle is really your only option.

Paint Viscosity

Basically this is how watery / flowy the paint is. On the whole the advice I got on the forums was you want your primer to flow with the consistency of milk. If the paint is to thick then it can clog the airbrush and give you real issues. At this point you are going to want to tip out any remaining paint, and start trying to clean it with airbrush cleaner. I’ll often try and get it to back flow to shift anything stuck back into the cleaner to help dissolve it.

If you don’t know what back flow is you cover the end of the airbrush with your finger (please ensure the needle cap is on) and then activate the airbrush as if you were going to spray a little paint. The air is forced back and into the paint pot. If you have cleaner or water or paint in there it will bubble a little. Do this a few times, then empty the pot and clean again and test spraying. If you really can’t get it to unblock then do a total strip and clean of the airbrush.

Time

In essence as soon as you have put that paint into the pot it is going to start to dry. Dried paint makes bits which can clog the airbrush. Don’t put too much paint in the pot and feel free to give it a rinse through every few minutes to keep it clear and working properly.

Dry Tip

This is quite a simple one. The paint is being blown out the end of your airbrush. When this happens some of it will dry, teeny tiny bits. The longer you airbrush for, the more teeny tiny bits will stick eventually messing up the air flow and clogging the brush. One tip I found was to keep a small bit of sponge to hand soaked in water or cleaner or the like, and every couple of minutes or so give the tip a clean. Essentially just keep removing those teeny tiny bits and keep the air flowing. The other side effect of not doing this is you may periodically get bits blown off the needle onto your work area ruining what you are painting.

Conclusion

For my personal journey I’m due to try again this weekend. Testing different things to try and alleviate my clogging issues. My advice for anyone having problems would be change 1 thing at a time. Eliminate it as a problem, then change the next. You want to know ultimately what fixed your problem. In all likelihood it will be a combination of things.

Airbrush clogging is without a doubt a frustration. But with time, practice and patience, I’m sure I’ll work it out, and I recon you can too!

Thank you for taking the time to read this. If you haven’t already done so please like and follow us on our social media platforms and checkout our website!

Facebook: https://www.facebook.com/profile.php?id=100086701512793
Instagram: https://www.instagram.com/modelkitsltd/
Website: https://modelkitsltd.co.uk

Posted on

Guess The Model Part 6

Visible Completed!

Introduction

Guess The Model Part 6 is the latest instalment in my current model build. As I follow the manual and build it section by section. If you missed them the previous parts are available here:

Today’s Part(s)

Today I am sort of doing a “everything else” post. I would feel like a bit of a cheat if I strung out the smallest parts of the model! So today I am going to roundup everything that was left to build on the core of the model.

The Parts

As you can see above, as well as the 21(ish) parts I had to assemble for the leg, there were miscellaneous other parts to bring it together and finish the main build.

The Finished Article (ish)

I was really happy with the build of this model. It is, in my opinion, a really relaxing build. There was nothing there I would class as “taxing” but a fantastic model to build while listening to the radio, or an audio book. All the parts went together (sometimes with a very satisfying snicking noise as they clicked into place).

The foot and nub removal and cleaning I did a whole post on here. In essence I used the GUNPRIMER balancers to clean up the nub and re polish the foot. I’m really happy with how well they work!

Conclusion

So there you have it! If you haven’t already guessed this is the RX-80BR Black Rider model. It is a HGUC kit, and despite its simplicity, is really enjoyable to build.

I have, as noted previously, taken advice from those with more experience and avoided using the stickers on this kit. My plan is to undercoat some sections and paint the red on. I am still wondering what, if anything, I should do on top of that. However with so many kits, and so little time, I had better probably keep it realistic.

Thank you for taking the time to read this. If you haven’t already done so please like and follow us on our social media platforms and checkout our website!

Facebook: https://www.facebook.com/profile.php?id=100086701512793
Instagram: https://www.instagram.com/modelkitsltd/
Website: https://modelkitsltd.co.uk

Posted on

Guess The Model Part 5

Bent Leg

Introduction

Guess The Model Part 5 is the latest instalment in my current model build. As I follow the manual and build it section by section. If you missed them the previous parts are available here:

Today’s Part

Today the manual moved on to the legs. This comes with the foot and ankle.

The Parts

Leg Parts
Leg Parts

As can be seen from the image there are approximately 21 pieces to form the leg. This includes the foot and ankle joint. Cutting the pieces from the runner was, as is normally the case with Bandai models, a simple process. The clean-up on the parts also didn’t take too long to complete. In the image I had partially completed the clean-up, but I still had some work to do.

Assembled Leg

I found building the leg really enjoyable. None of the parts, for me at least, were too small. They also have, as is normally the case with the Bandai kits, really close tolerances, so the pieces fit together snugly. The part that fits onto the outside of the calf adds nice definition to the leg and some extra detail. As you can see from the pictures I was happy with the level of articulation the kit has in the legs. The knee joint bends really well and there is enough movement in the ankle to help make multiple poses stable.

Conclusion

As with the arms, this was a very smooth, and pleasant experience to build the leg. There were no real “challenges” to it. I found myself able to just enjoy the build process, the cutting, cleaning and assembly of the part.

I’m guessing a lot of you will already know what model it is by now! If not feel free to guess away. I will continue on with the build, as step by step I edge it towards completion!

Thank you for taking the time to read this. If you haven’t already done so please like and follow us on our social media platforms and checkout our website!

Facebook: https://www.facebook.com/profile.php?id=100086701512793
Instagram: https://www.instagram.com/modelkitsltd/
Website: https://modelkitsltd.co.uk

Posted on

Advert / Stock 29/01/2023

RG_Freedom_2

Advert / Stock 29/01/2023 is a quick update on the stock and the shop and a blatant advert for the shop 🙂

The items below you will need to contact me directly, however, I have provided quick links to the store and the specific grades at the bottom of the post for all other models.

As you may be aware I still have some models that the boxes were damaged from packing / transit. I’m trying to shift them directly if possible so that it is easier to communicate any box damage. If you are interested in any of them they are:

RG Freedom £26.99 + P&P

RG_Freedom_2
RG_Freedom_2

HG Setsuro £25.99 + P&P

SETSURO
SETSURO

HGUC Gundam RX-0 Unic Full Arm Dest Red 1/144 £34.99 + P&P

HGUC_Unicorn_Red
HGUC_Unicorn_Red

BB Gundam Destiny £9.99 + P&P

Destiny
Destiny

They are all stunning models which would look fantastic in any collection. You can also just browse the shop which is available here. Note the models above are not listed there at present due to the boxes. However, if you are interested in them please contact me directly. I also have lots of other models available on the shop, as well as the awesome GUNPRIMER Balancers and starter kit and Raser products. You can see them here.

Conclusion

That concludes this weeks “Advert / Stock 29/01/2023” roundup. Thank you for taking the time to read this. If you haven’t already done so please like and follow us on our social media platforms and checkout our website!

Facebook: https://www.facebook.com/profile.php?id=100086701512793
Instagram: https://www.instagram.com/modelkitsltd/
Website: https://modelkitsltd.co.uk

Posted on

Guess The Model Part 4

Assembled Arm Top Down Guess the Model Part 4

Introduction

Guess The Model Part 4 is the latest instalment in my current model build. As I follow the manual and build it section by section. If you missed them the previous parts are available here:

Today’s Part

With yesterdays part being the right arm, it is probably not a shock that today we have the left arm. This comes with the added bonus of the anchor and launcher.

The Parts

Unassembled Parts Guess the Model Part 4

I should probably mention the mints are not a mandatory part of the build, but they are certainly acceptable additions. There are twenty individual parts making up the arm. I did find, as with the other arm, that some of them are quite small. However, they all fit together nicely, everything was to the high standard I have come to expect from Bandai.

Assembled Arm

Again I found myself really happy with the level of articulation on the kit. The arms have a great range of motion. I also love the stun anchor which with the added wire, can be used to make an awesome look. As with the rest of the kit I am not going to put the red stickers on it. I am planning on masking off pieces and undercoating and painting the parts that should be red. I am also tempted to add a little white into the mix as well but I haven’t decided yet.

Conclusion

The kit is coming together nicely. If you want a kit that is as satisfying to build as it is simple and relaxing then this is a great option.

I’m guessing a lot of you will already know what model it is by now! If not feel free to guess away. I will continue on with the build, as step by step I edge it towards completion!

Thank you for taking the time to read this. If you haven’t already done so please like and follow us on our social media platforms and checkout our website!

Facebook: https://www.facebook.com/profile.php?id=100086701512793
Instagram: https://www.instagram.com/modelkitsltd/
Website: https://modelkitsltd.co.uk

Posted on

Guess The Model Part 3

Assembled Front Bent Arm Guess the Model Part 3

Introduction

Guess The Model Part 3 is the latest instalment in my current model build. As I follow the manual and build it section by section. If you missed them the previous parts are available here:

Today’s Part

Next up in the manual I am going to be building the right arm. Something I have found with this build, so far, is that it goes together really nicely. I think it has a nice balance between chunky and thin with some nice detail.

The Parts

Guess the Model Part 3 Bits

As you can see above the right arm consists of 20 parts. I found several of them to be quite small, but still easy to handle. Cutting them out, and sanding them down wasn’t a problem, and by the time I had cleaned them up with the GUNPRIMER Balancers they were as good as new. (You can see a post I did on that here.)

Assembled Arm

I was surprised by the level of articulation that the arm had in the elbow joint. Overall I am quite happy with how it fits, looks and moves. It is worth mentioning, as I have earlier, that multiple pieces in this build should have stickers on them. However, personally, I feel they look a little cheap. As I have an airbrush sitting at my feet, I think it would do the model more justice to add those parts via paint.

Conclusion

I have to say this is turning out to be a really enjoyable build. There is not a single part so far I have found frustrating, or awkward. I’m guessing a lot of you will already know what model it is by now! If not feel free to guess away. I will continue on with the build, as step by step I edge it towards completion!

Thank you for taking the time to read this. If you haven’t already done so please like and follow us on our social media platforms and checkout our website!

Facebook: https://www.facebook.com/profile.php?id=100086701512793
Instagram: https://www.instagram.com/modelkitsltd/
Website: https://modelkitsltd.co.uk

Posted on

Guess the Model – Part 2

Assembled Head

Introduction

Welcome back to “Guess the Model – Part 2” the second instalment in my latest guess the model series. If you want to catch up Part 1 is here. I did a quick summary of the tools I was using, and then got right on into it!

Todays Part

Todays part is short and sweet. After the Torso, which was a nice simple, and quite cool build, the manual has the head. So without further ado!

The Parts

Head Parts
Head Parts

As you can see the head consists of 7 parts, two of which are quite small indeed. To be fair, it does also have some stickers to go on it. However, I feel I’m going to forgo the stickers in favour of painting some of the bits to give is a slicker finish.

Assembled Head

Assembled Head
Assembled Head

As you can see without the stickers it is a little bland. However, once I add a little paint I’m hoping it will just elevate it that extra bit. This is a mobile suit that took a while to grow on me, but once it did I really wanted the kit. I like the little details on it. The vents etc. on the torso from yesterday, and the antenna being on the side giving the head a distinctive look.

Conclusion

If you think you know what it is then please drop me a comment and let me know. I am happy with how this build is going, and learning a lot on using all my tools to the best of their ability… or the best of my ability at the moment 🙂

That concludes todays “Guess the Model – Part 2”. Tune in tomorrow (hopefully) for the next installment!

Thank you for taking the time to read this. If you haven’t already done so please like and follow us on our social media platforms and checkout our website!

Facebook: https://www.facebook.com/profile.php?id=100086701512793
Instagram: https://www.instagram.com/modelkitsltd/
Website: https://modelkitsltd.co.uk

Posted on

Advert / Stock 21/01/2023

RG_Freedom_2

Introduction

Sunday comes around so fast! Advert / Stock 21/01/2023 is both an advert and quick stock update.

Items coming in

I have the following items due in soon. I am just waiting on the UPS delivery to leave Italy, but while we wait here is the mini list.

MG GUNDAM BUSTER 1/100

MG GUNDAM JUSTICE 2.0 1/100

RG GUNDAM DESTINY 1/144

RG GUNDAM FREEDOM 1/144

RG GUNDAM STRIKE FREEDOM ZGMF-X20A 1/144

RG GUNDAM WING ZERO CUSTOM EW 1/144

RG ZAKU II MS-06F 1/144

RG ZEONG 1/144

RG Freedom
RG Freedom

Other Items

As you know, my previous delivery had some boxes that had some bangs and knocks, and eventually I may have to list those on the site with big notices at the top. However, my preference is to deal with people directly so they know up front the box may be bent or slightly damaged. To the best of my knowledge the kits inside are fine, it is just packaging damage. However, I believe in transparency. Of those kits I have the following available.

RG Freedom £26.99 + P&P

RG Freedom £26.99 + P&P

HG Setsuro £25.99 + P&P

HG Setsuro £25.99 + P&P

HGUC Gundam RX-0 Unic Full Arm Dest Red 1/144 £34.99 + P&P

HGUC Gundam RX-0 Unic Full Arm Dest Red 1/144 £34.99 + P&P

BB Gundam Destiny £9.99 + P&P

BB Gundam Destiny £9.99 + P&P

Conclusion

Because I am a one man band, I get to do the ordering, unpacking, storing, cataloguing, website updates, posting, blogs, and advertisements. I would love to see this small business flourish so that I could make it my full time occupation. At the moment Model Kits Ltd is done alongside the day job, as a result I have some very busy days! However, I wouldn’t have it any other way 🙂

Thank you to everyone who supports us, follows us, and just enjoys hobbying. If you get chance please like and follow us on the various social media accounts, and feel free to share the links to the shop and facebook page.

Thank you for taking the time to read this. If you haven’t already done so please like and follow us on our social media platforms and checkout our website!

Facebook: https://www.facebook.com/profile.php?id=100086701512793
Instagram: https://www.instagram.com/modelkitsltd/
Website: https://modelkitsltd.co.uk

Posted on

RX-78-2 Revive

RX_78_2_Revive_1

Introduction

Anyone who has been around the Gundam / Gunpla world is more than likely going to have come across the RX-78-2 models. For anyone coming late to the party the RX-78-2 was the Gundam piloted by Amuro in the original series. It is the poster boy of the franchise and has had many iterations and releases.

Attainability

Arguably none as attainable as the RX-78-2 Revive. For only £12.99 (you can get it here) this HG model is both affordable and is great fun to build. Not only that but is ripe for customisation, and at that price you don’t mind experimenting!

The RX-78-2 Revive looks like this:

RX_78_2_Revive_1
RX_78_2 Revive

In my case mine currently looks more like this:

As you can see I’m doing an attempt at an undercoat and paint on this. I have also wired up an LED in his helmet, and made space/holes down the inside of the suit to get the wires down to his feet. There was, I have to admit, a fair amount of butchery had to go on. However, a lot of this was a learning curve. I really want to get another once this one is done and do it totally differently.

Conclusion

If you don’t have one in your collection I really would recommend one. The Revive version is a really enjoyable build. At the end you have an iconic looking model, that has a timeless look and feel. I think when I look at this model I see the groundwork being laid for many of the suits / designs that have followed it. They may have more details, but the feel and general layout of items is often very similar.

Thank you for taking the time to read this. If you haven’t already done so please like and follow us on our social media platforms and checkout our website!

Facebook: https://www.facebook.com/profile.php?id=100086701512793
Instagram: https://www.instagram.com/modelkitsltd/
Website: https://modelkitsltd.co.uk