Introduction
Welcome to “RG Aile Strike Build Day 6” where I am building up an RG Aile strike model. If you haven’t read any of the other parts I would recommend going back to the start. You can find that here. In the first post I covered the box, runners and provide the manual.
If you want to skip that and just get up to speed. I had in previous posts gone on about how nice I think the RG Aile strike model is. I had gone on so much I decided I should put my money where my mouth was and build one myself. This ongoing series is that process. I am not rushing, as can be seen in the earlier parts, and if I am not happy I will go back, disassemble and re-clean and re-build anything I am not happy with.
With that all out of the way lets get to it!
The process
Unless otherwise noted I followed this process for each piece:
- Cut off roughly leaving plenty of nub
- Trim back the nub with my better nippers
- Apply water to my wet and dry sandpaper and sand the nub marks down
- Dry the piece
- Brush it off with the tooth brush to remove any bits
- Re-apply the matt finish using the Gray Balancer
- Prep the part with the green side of the White Balancer
- Shine the part up with the white side of the White Balancer
If after this I wasn’t happy I would repeat the sanding steps down, and keep iterating until I was happy with the finish.
First Parts
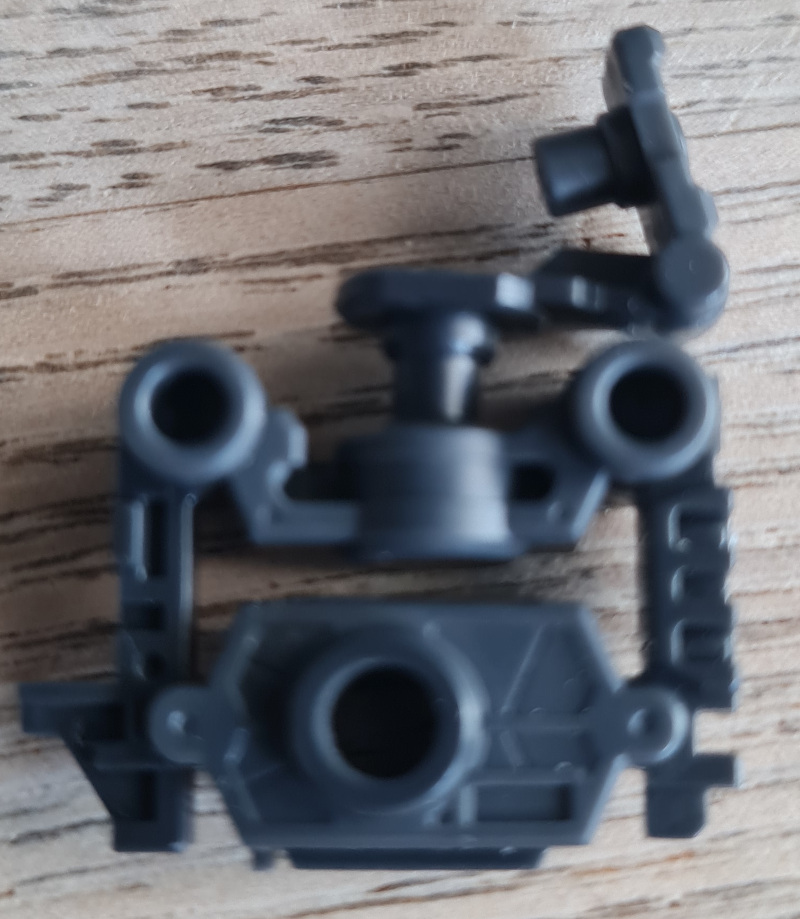
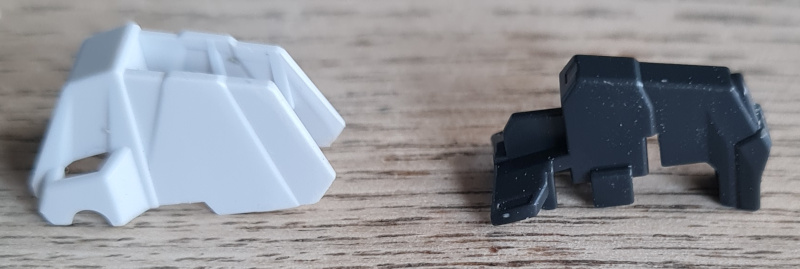
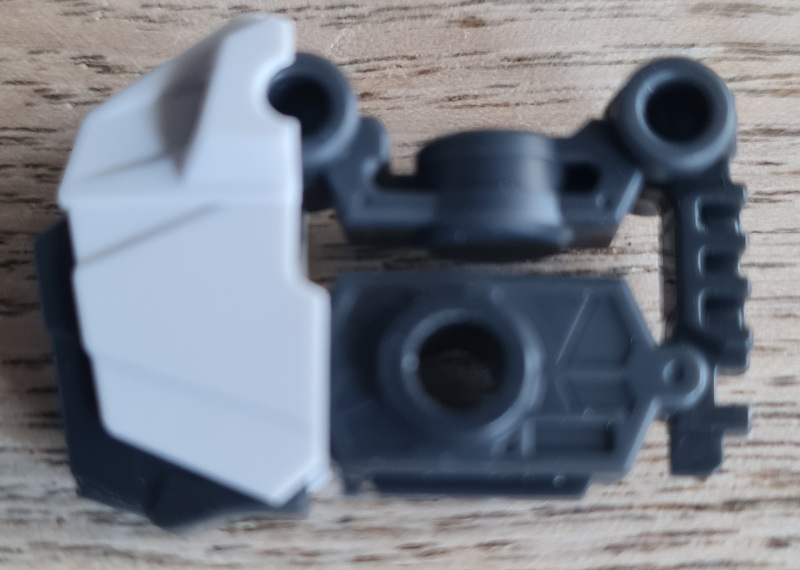
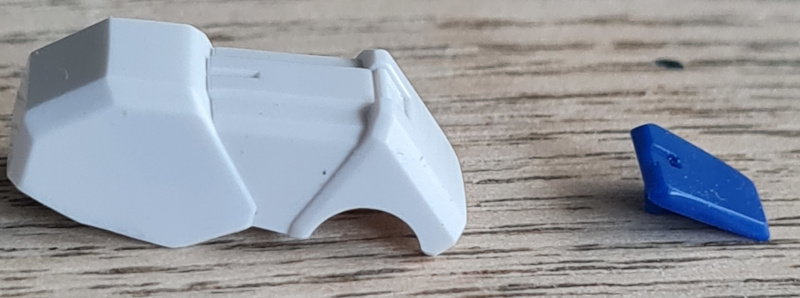
So the first part off the runners is the main body of the waist. It has this piece attached / in it in the runner. The manual has an arrow showing to pull that piece out. I’ll be honest that was the hardest part of the build so far. With how detailed the pieces are I was worried about breaking it. In the end I decided to spin and twist. The turning of the part helped free it up and eventually it came out. However, I could see it causing a problem for some younger builders. However, on the whole it wasn’t “bad”.
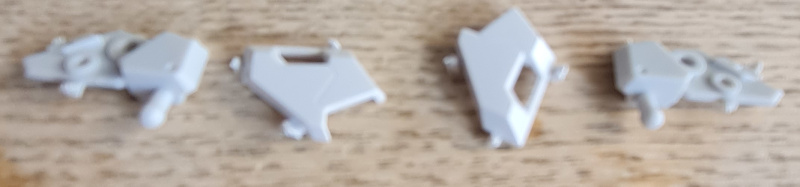
Second Parts
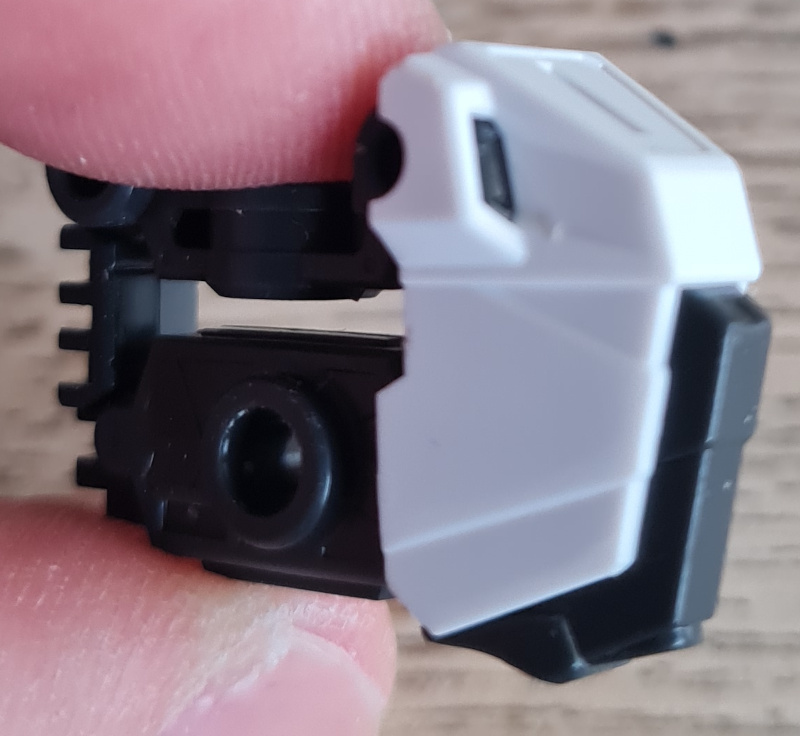
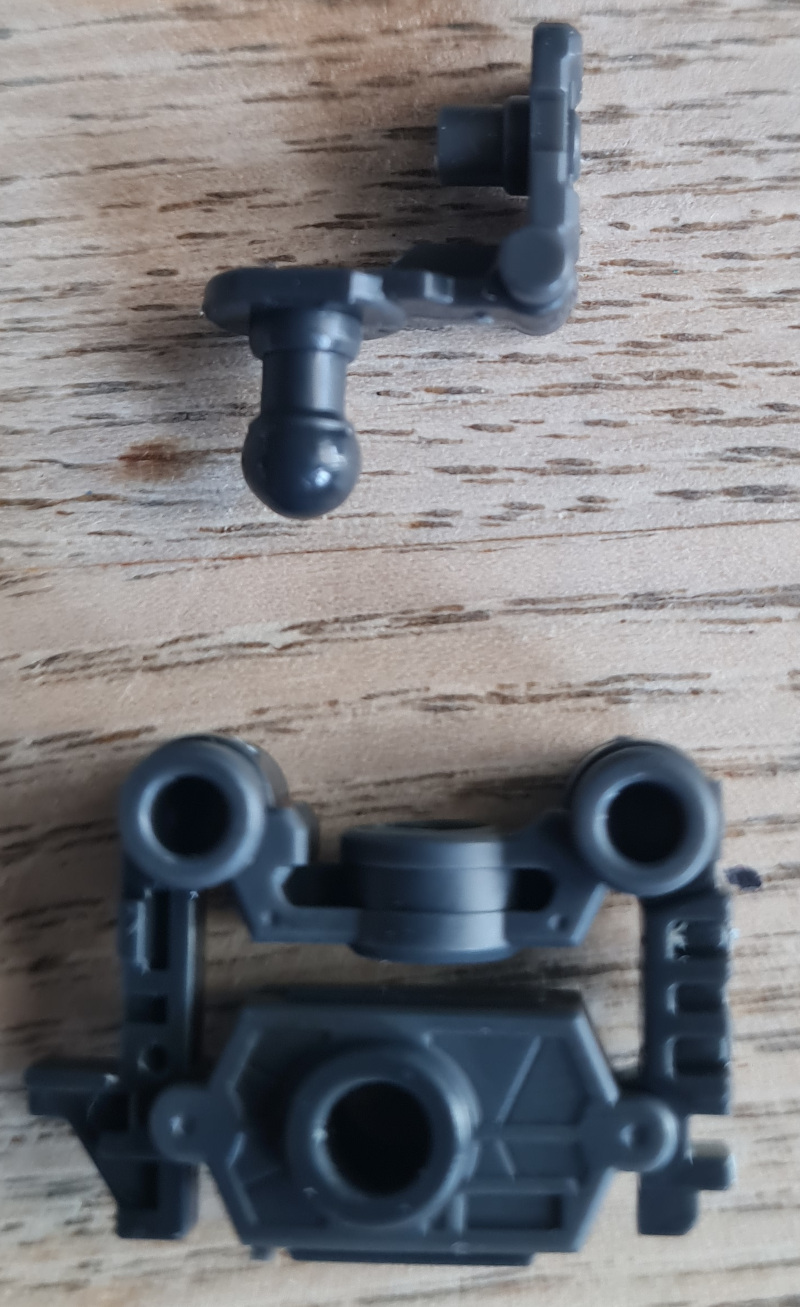
Next up was the start of building up the armour on the waist. Now these pieces were nice and therapeutic. I used the process above, and am extremely happy with how the armour is coming out on this model.
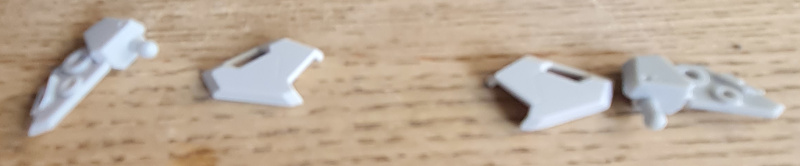
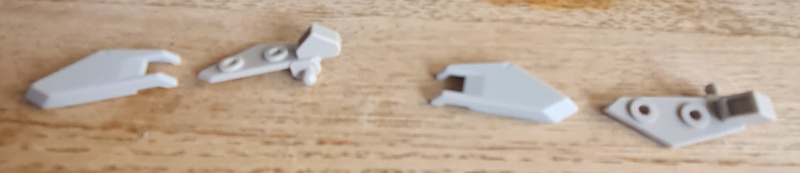
Third Parts
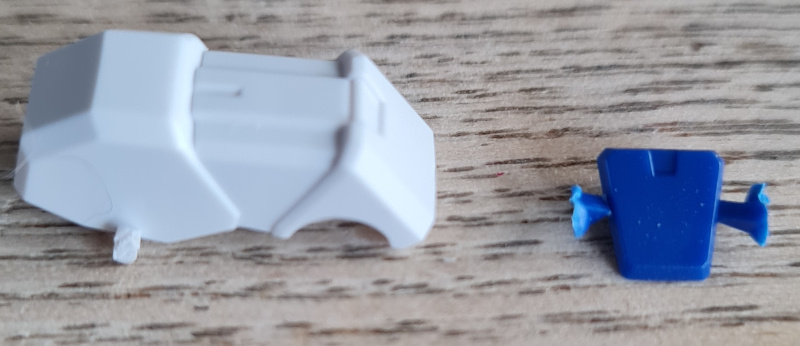
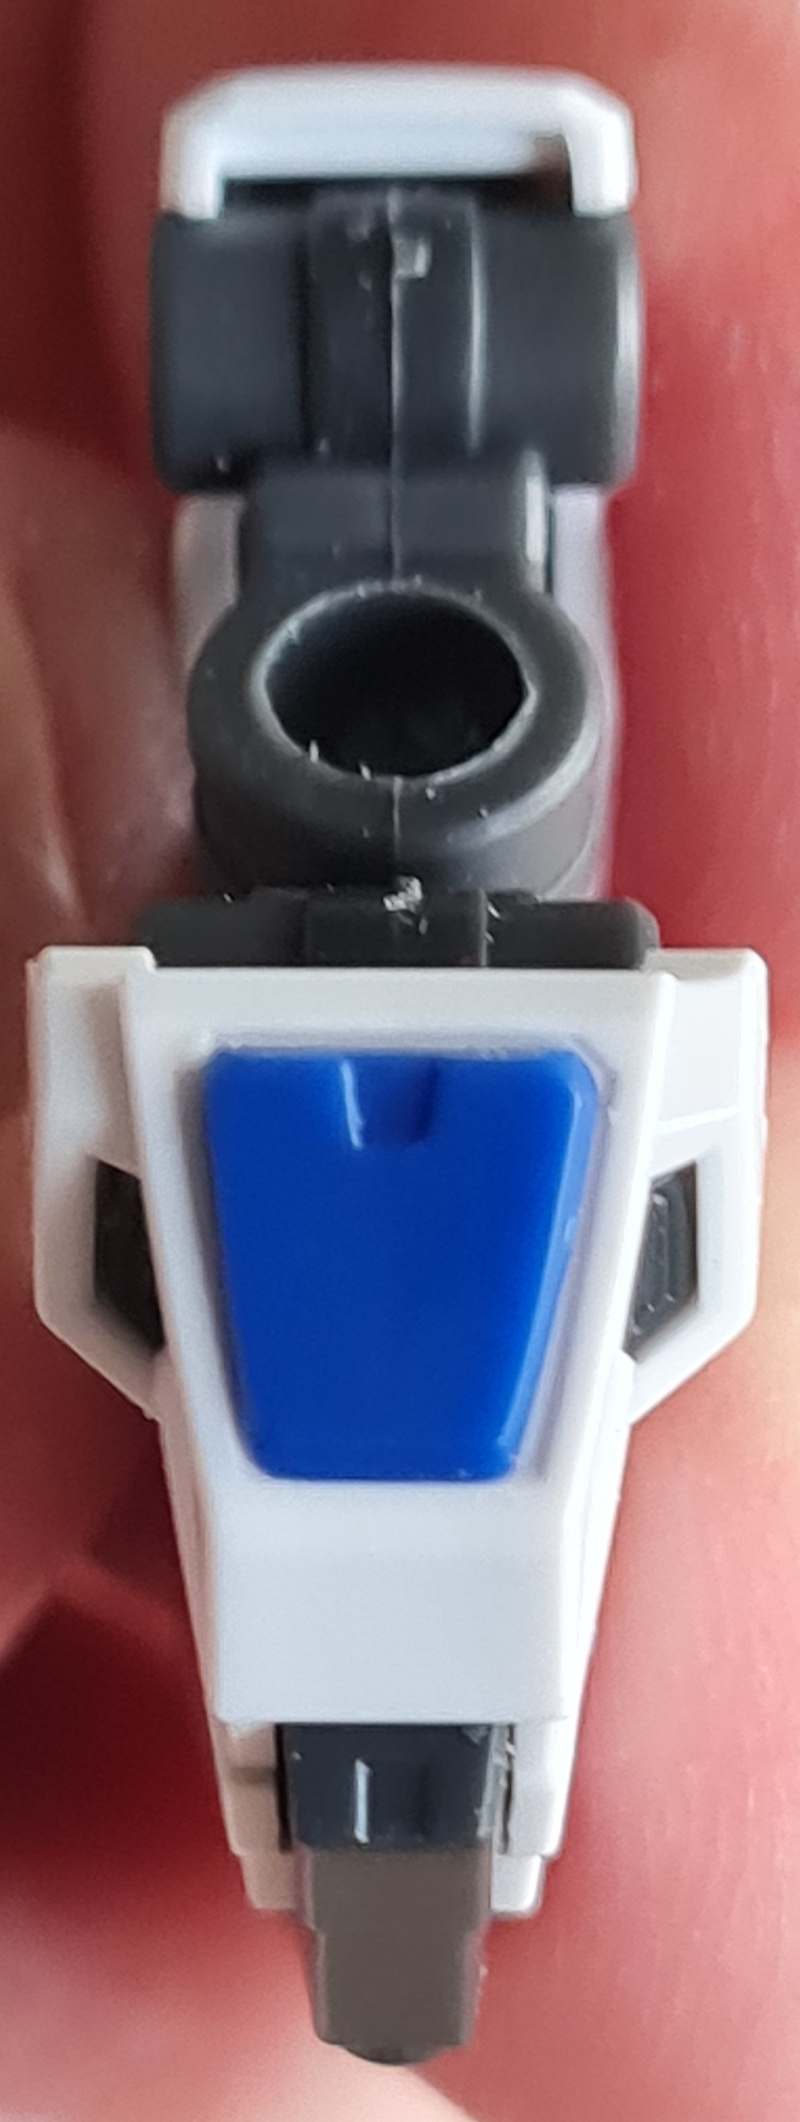
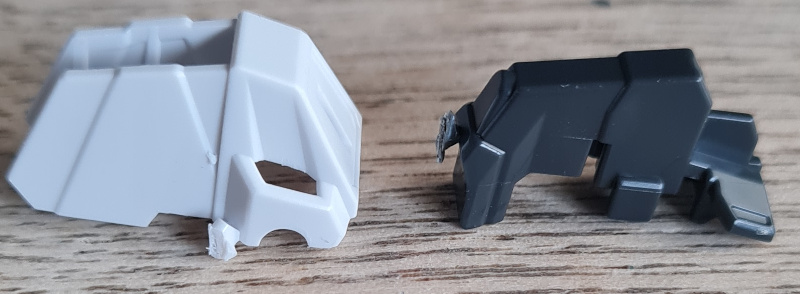
Again, the armour is building up nicely. Even the small blue piece cleaned up perfectly. The grey piece looks a lot cleaner after a brush btw (sorry about that). However the nubs are a thing of the past and the piece looks really clean. None of the parts have had any issues going together and feel really nice.
Fourth Parts
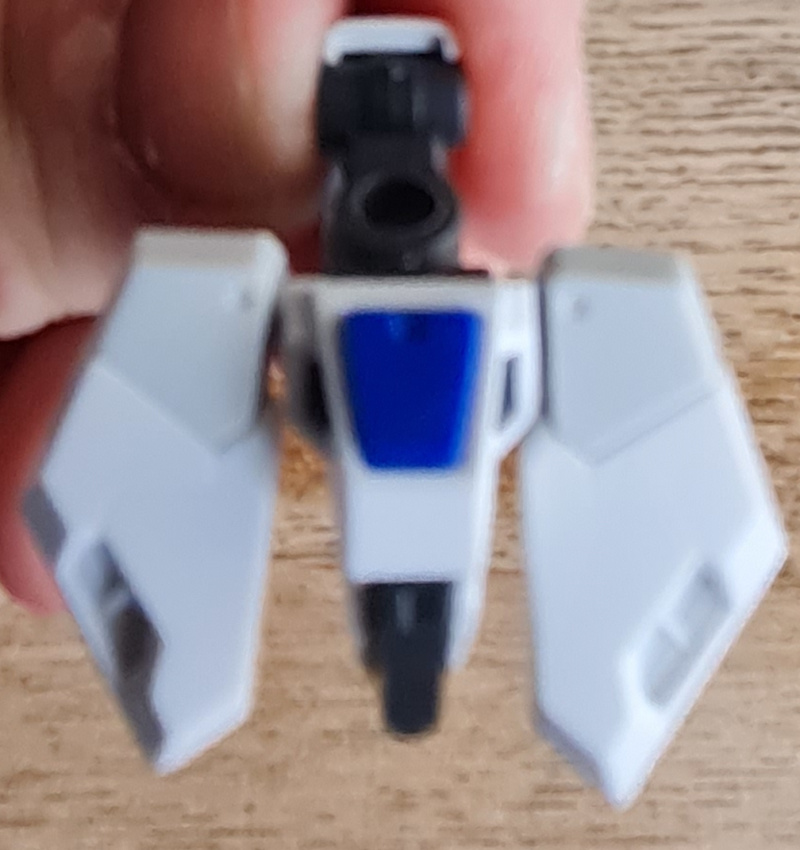

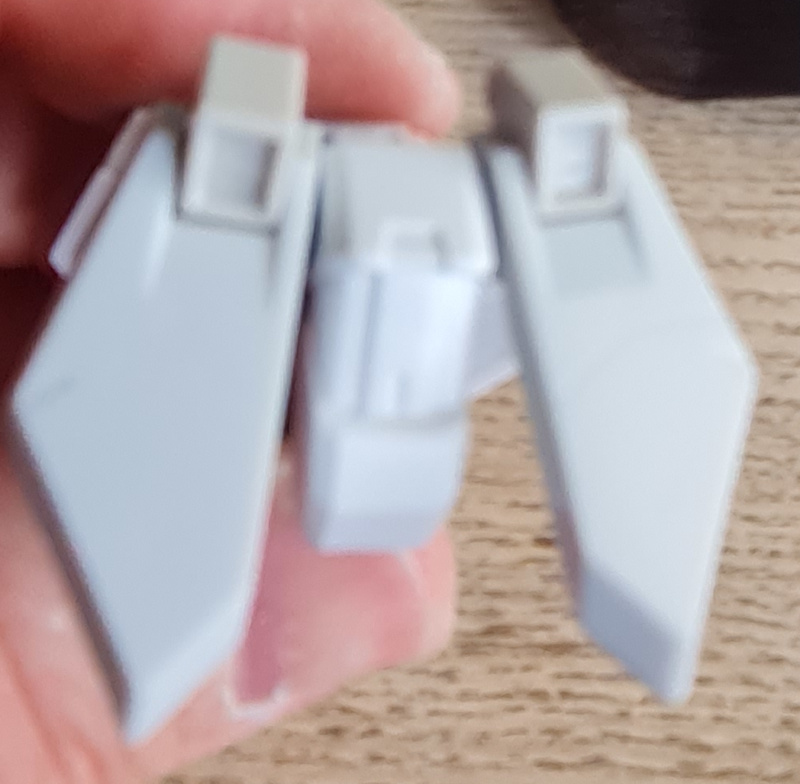
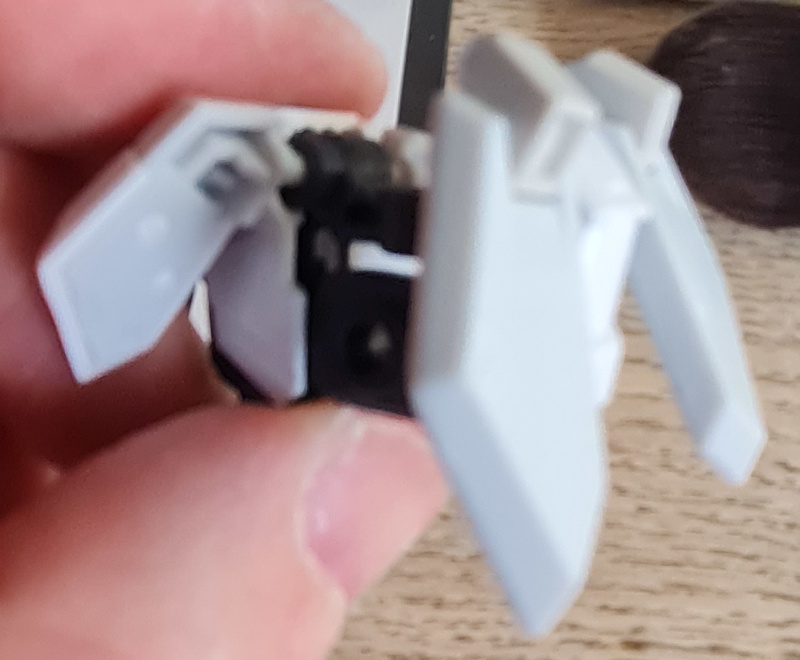
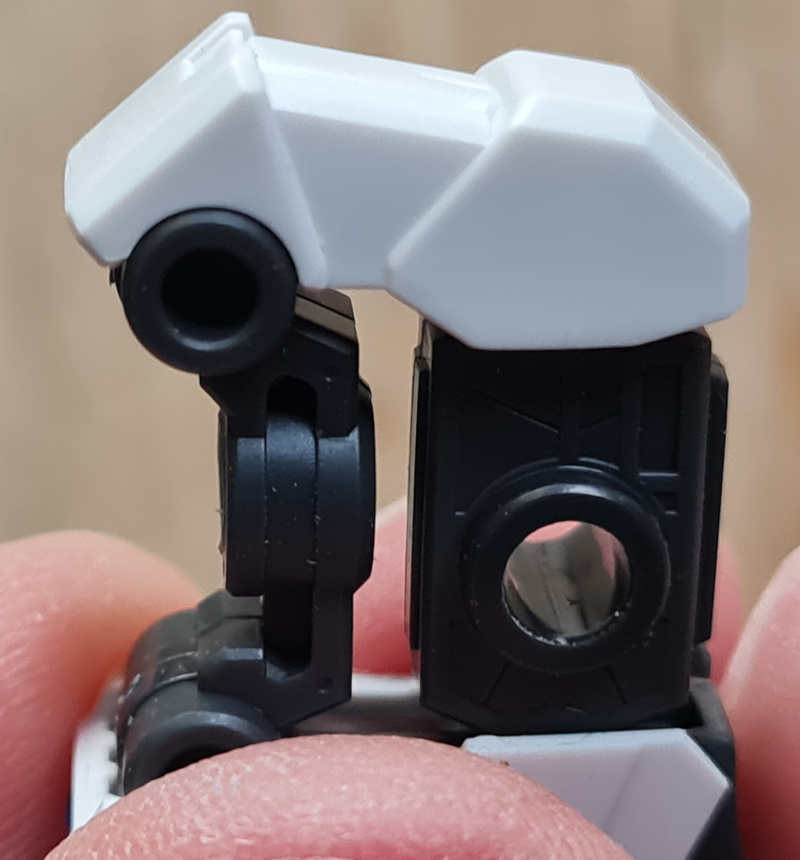
I found these parts really satisfying to put together. There aren’t too many of them, and the slight colour differences on some of them add a nice level of contrast. They click together nicely and come together really cleanly.
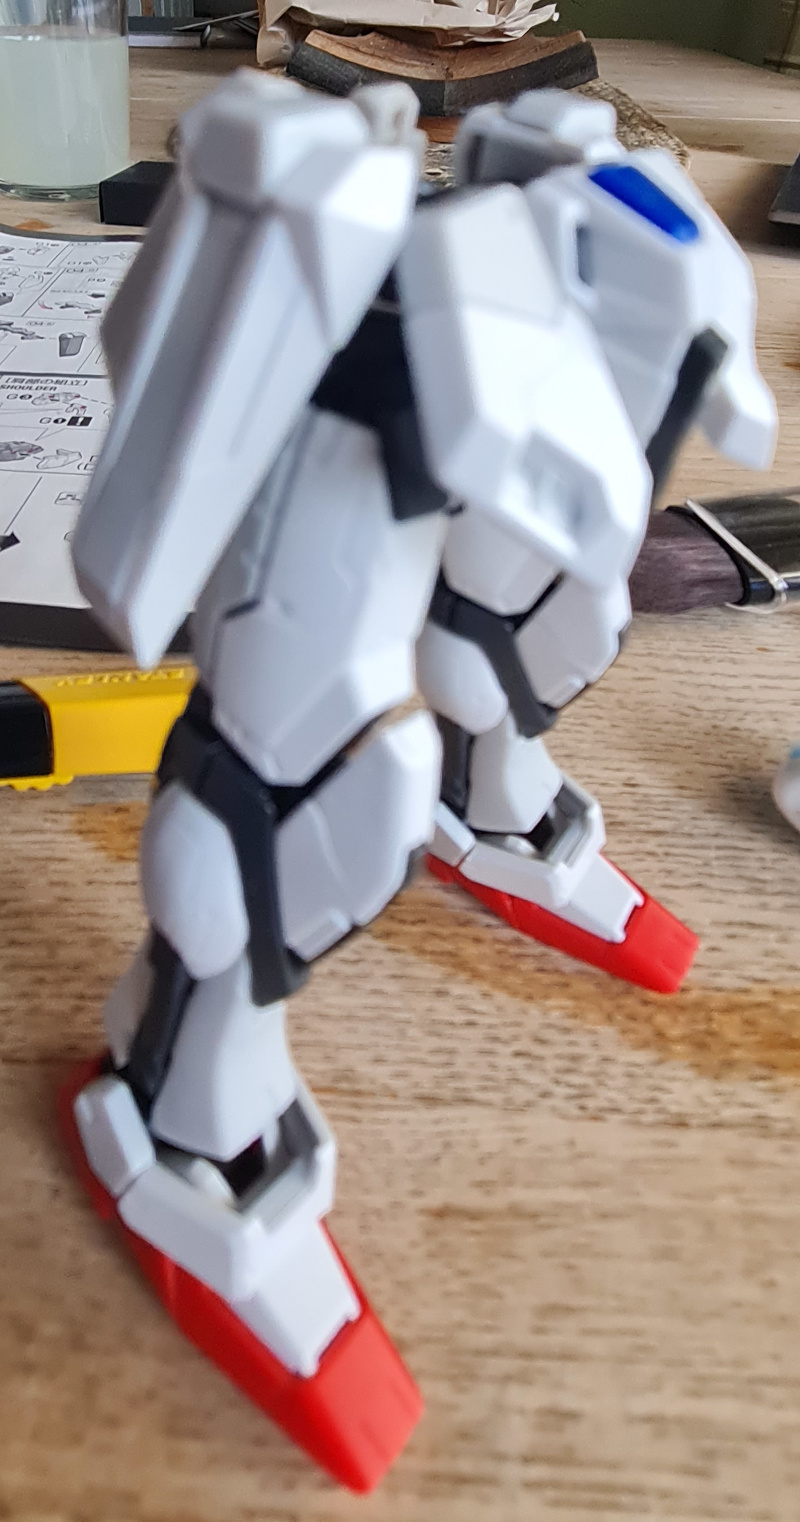
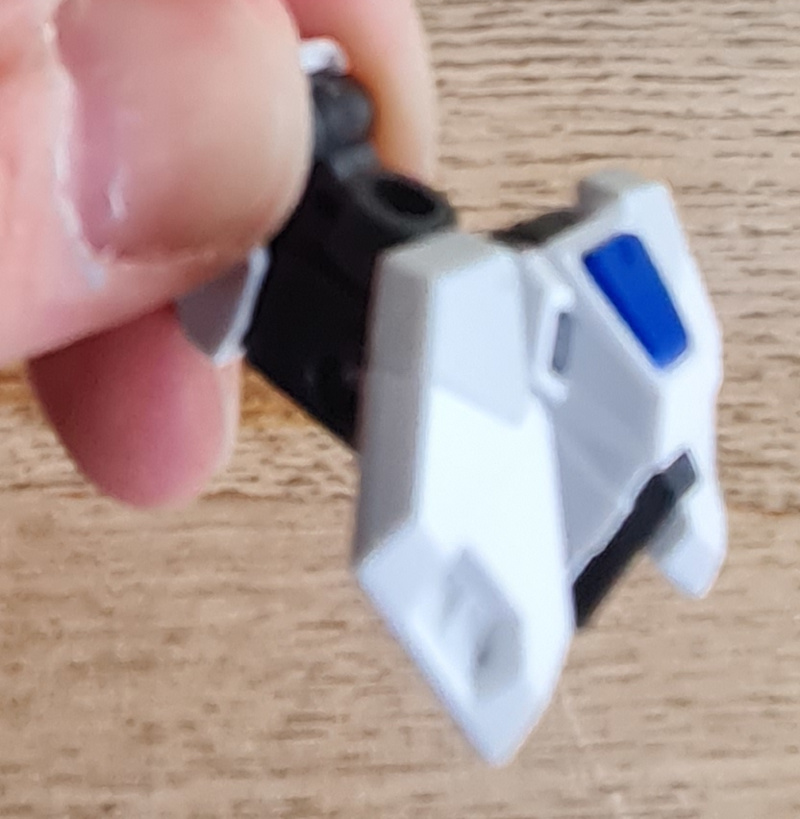
The final leg
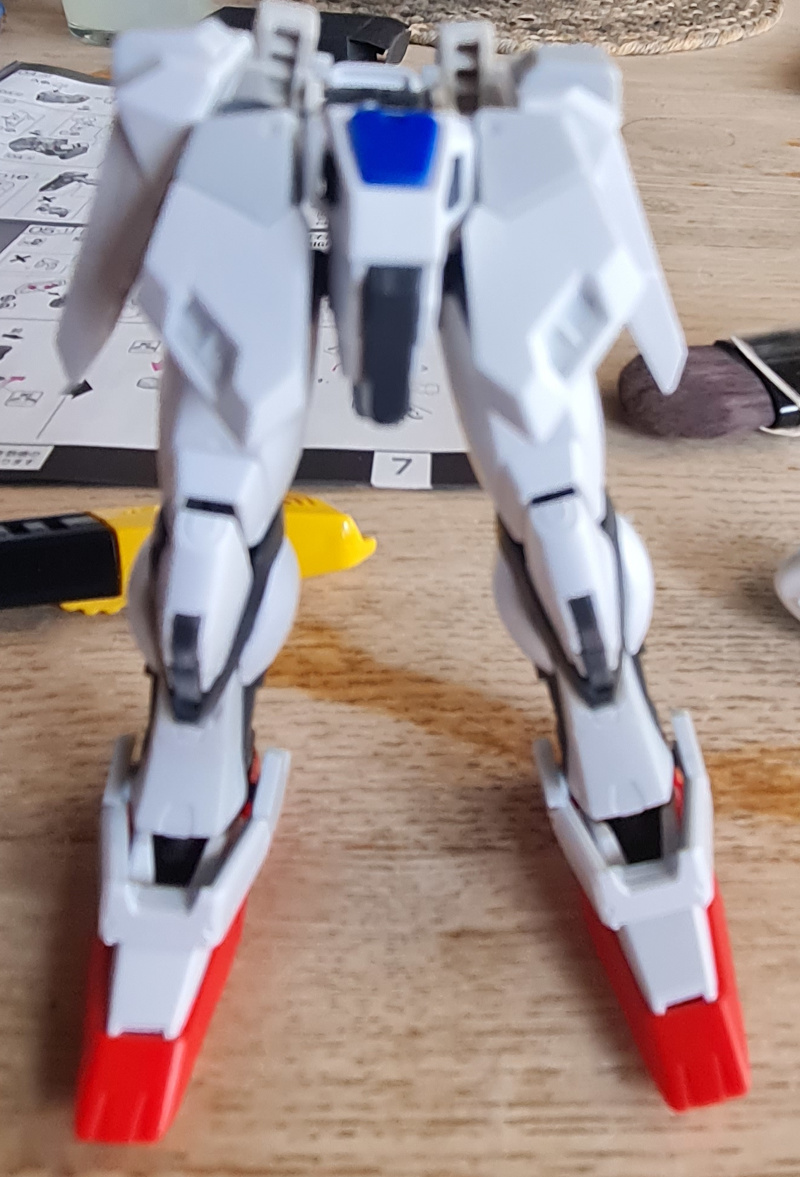
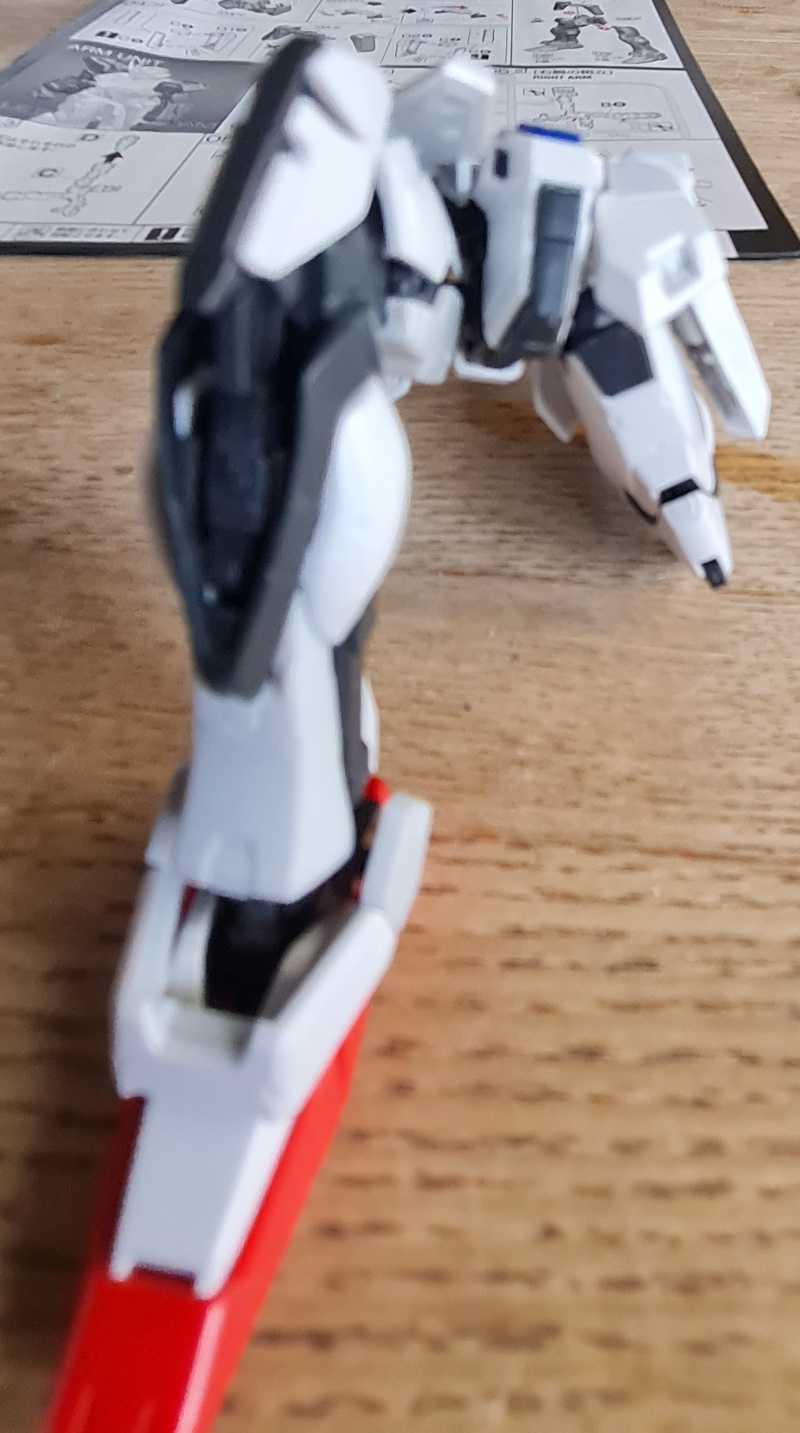
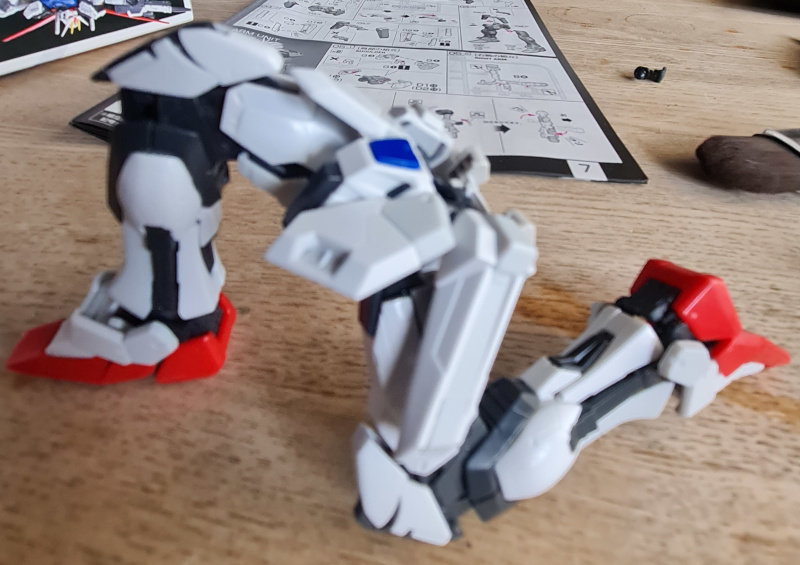
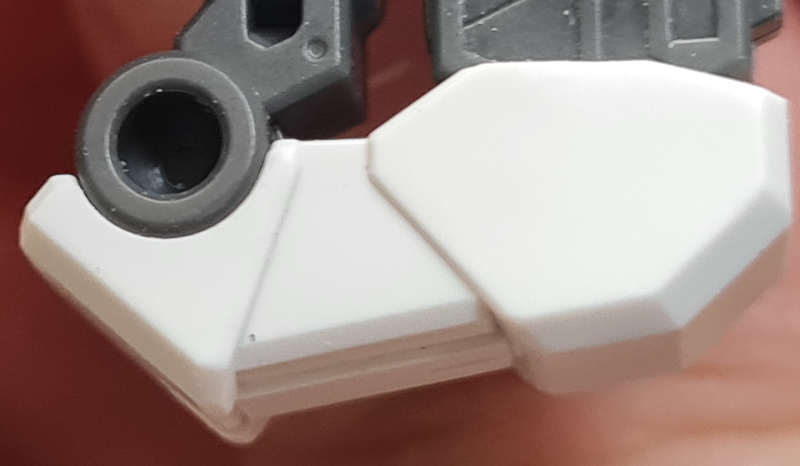
Putting all these things together you can see you have a really striking lower part of the model. All of the pieces so far have been really enjoyable to clean up and put together. There is a center grey piece that goes on top of the main waist part. I admit that is my least favourite part so far. It doesn’t want to clean up properly and just feels very meh. That part has some twisty around pre cast joints that click on to outer side armour. That goes in really snugly once you get it to click in, but getting it to click in was the “hardest” part of the build so far. However, that all said it wasn’t really hard.
Conclusion
That concludes todays “RG Aile Strike Build Day 6”. Remember if you want the model it is available (at time of writing) here.
Thank you for taking the time to read this. If you haven’t already done so please like and follow us on our social media platforms and checkout our website!
Facebook: https://www.facebook.com/profile.php?id=100086701512793
Instagram: https://www.instagram.com/modelkitsltd/
Website: https://modelkitsltd.co.uk