Good morning, and welcome to the 28/05/2023 Update. I wanted to cover a few things and just update everyone so they know where I am at!
Decals
As you may, or may not, know I stock Delpi Decals. I am working on building up the supply I have in the UK. A couple of weeks ago my latest order came in. However, last week I was sick all week so I haven’t gotten everything done I was planning on doing. I just need to work my way through the decals and grab the barcodes then I’m good to go with those!
Kits
I have also been beavering away trying to continue increasing my available stock. For anyone new here I don’t list anything I don’t already have my hands on. If it is on the shop then it is in my storage where I can get it and post it. My next delivery has got a handful of more Good Smile kits as well as some very tasty Bandai kits.
MGSD Freedom
Using my no-pre-order system I have, as far as I am aware, sorted MGSD kits for everyone who got back to me wanting one. With that in mind I have now made the rest of them generally available on the site. Why not go to the shop and treat yourself!
MGSD_FREEDOM_12
Conclusion
Hopefully the 28/05/2023 update has brought everyone back up to speed. As always if there are any questions then please just let me know.
I was curious, about making some custom decals. Now this wasn’t a case of I had to, this was purely an experiment. As the sticks are sometimes a bit jarring when they are applied, I thought I would look at how hard it would be to make my own decals.
Tools of the trade
After some research I found that really, you don’t need a lot of things to do this.
Water slide decal paper
A printer (suitable for use with the paper you bought)
A graphics application
Some topcoat
Water Slide decal paper can be bought online. It isn’t the cheapest, and it normally stipulates what type of printer it works with (for example inkjet). The printer, topcoat and graphics application I actually already had. So the only thing I had to buy specifically for this was the paper.
For the graphics manipulation I chose to use GIMP (available here) as it is free, and there are plenty of online tutorials that can help you get the best from it.
Making the images
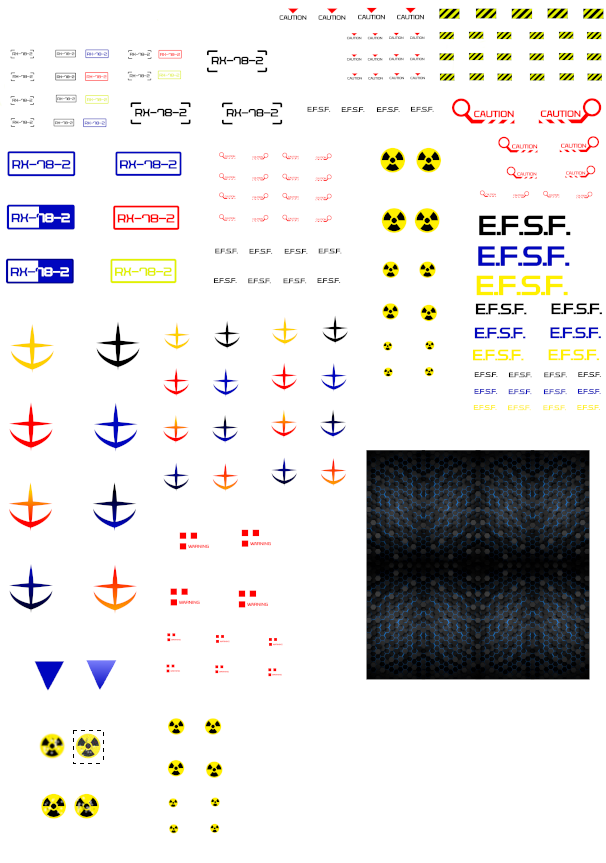
To create my sample page / decals I decided to do some googling. I found some great examples that I used as inspiration for creating my first sheet. The final A4 page looked like this:
Decal Sheet
I realise there is a lot of wasted paper here but I just wanted to test it all out. Next I used the waterslide paper I purchased off ebay and printed the above image onto it.
I left it overnight then just to make sure the ink had dried. I realise this is overkill, but I wasn’t in a rush.
The next step was to apply top coat to the sheet. I opted for 3 coats leaving it well over 10 minutes between each coat.
I finally had my sheet to try!
Testing
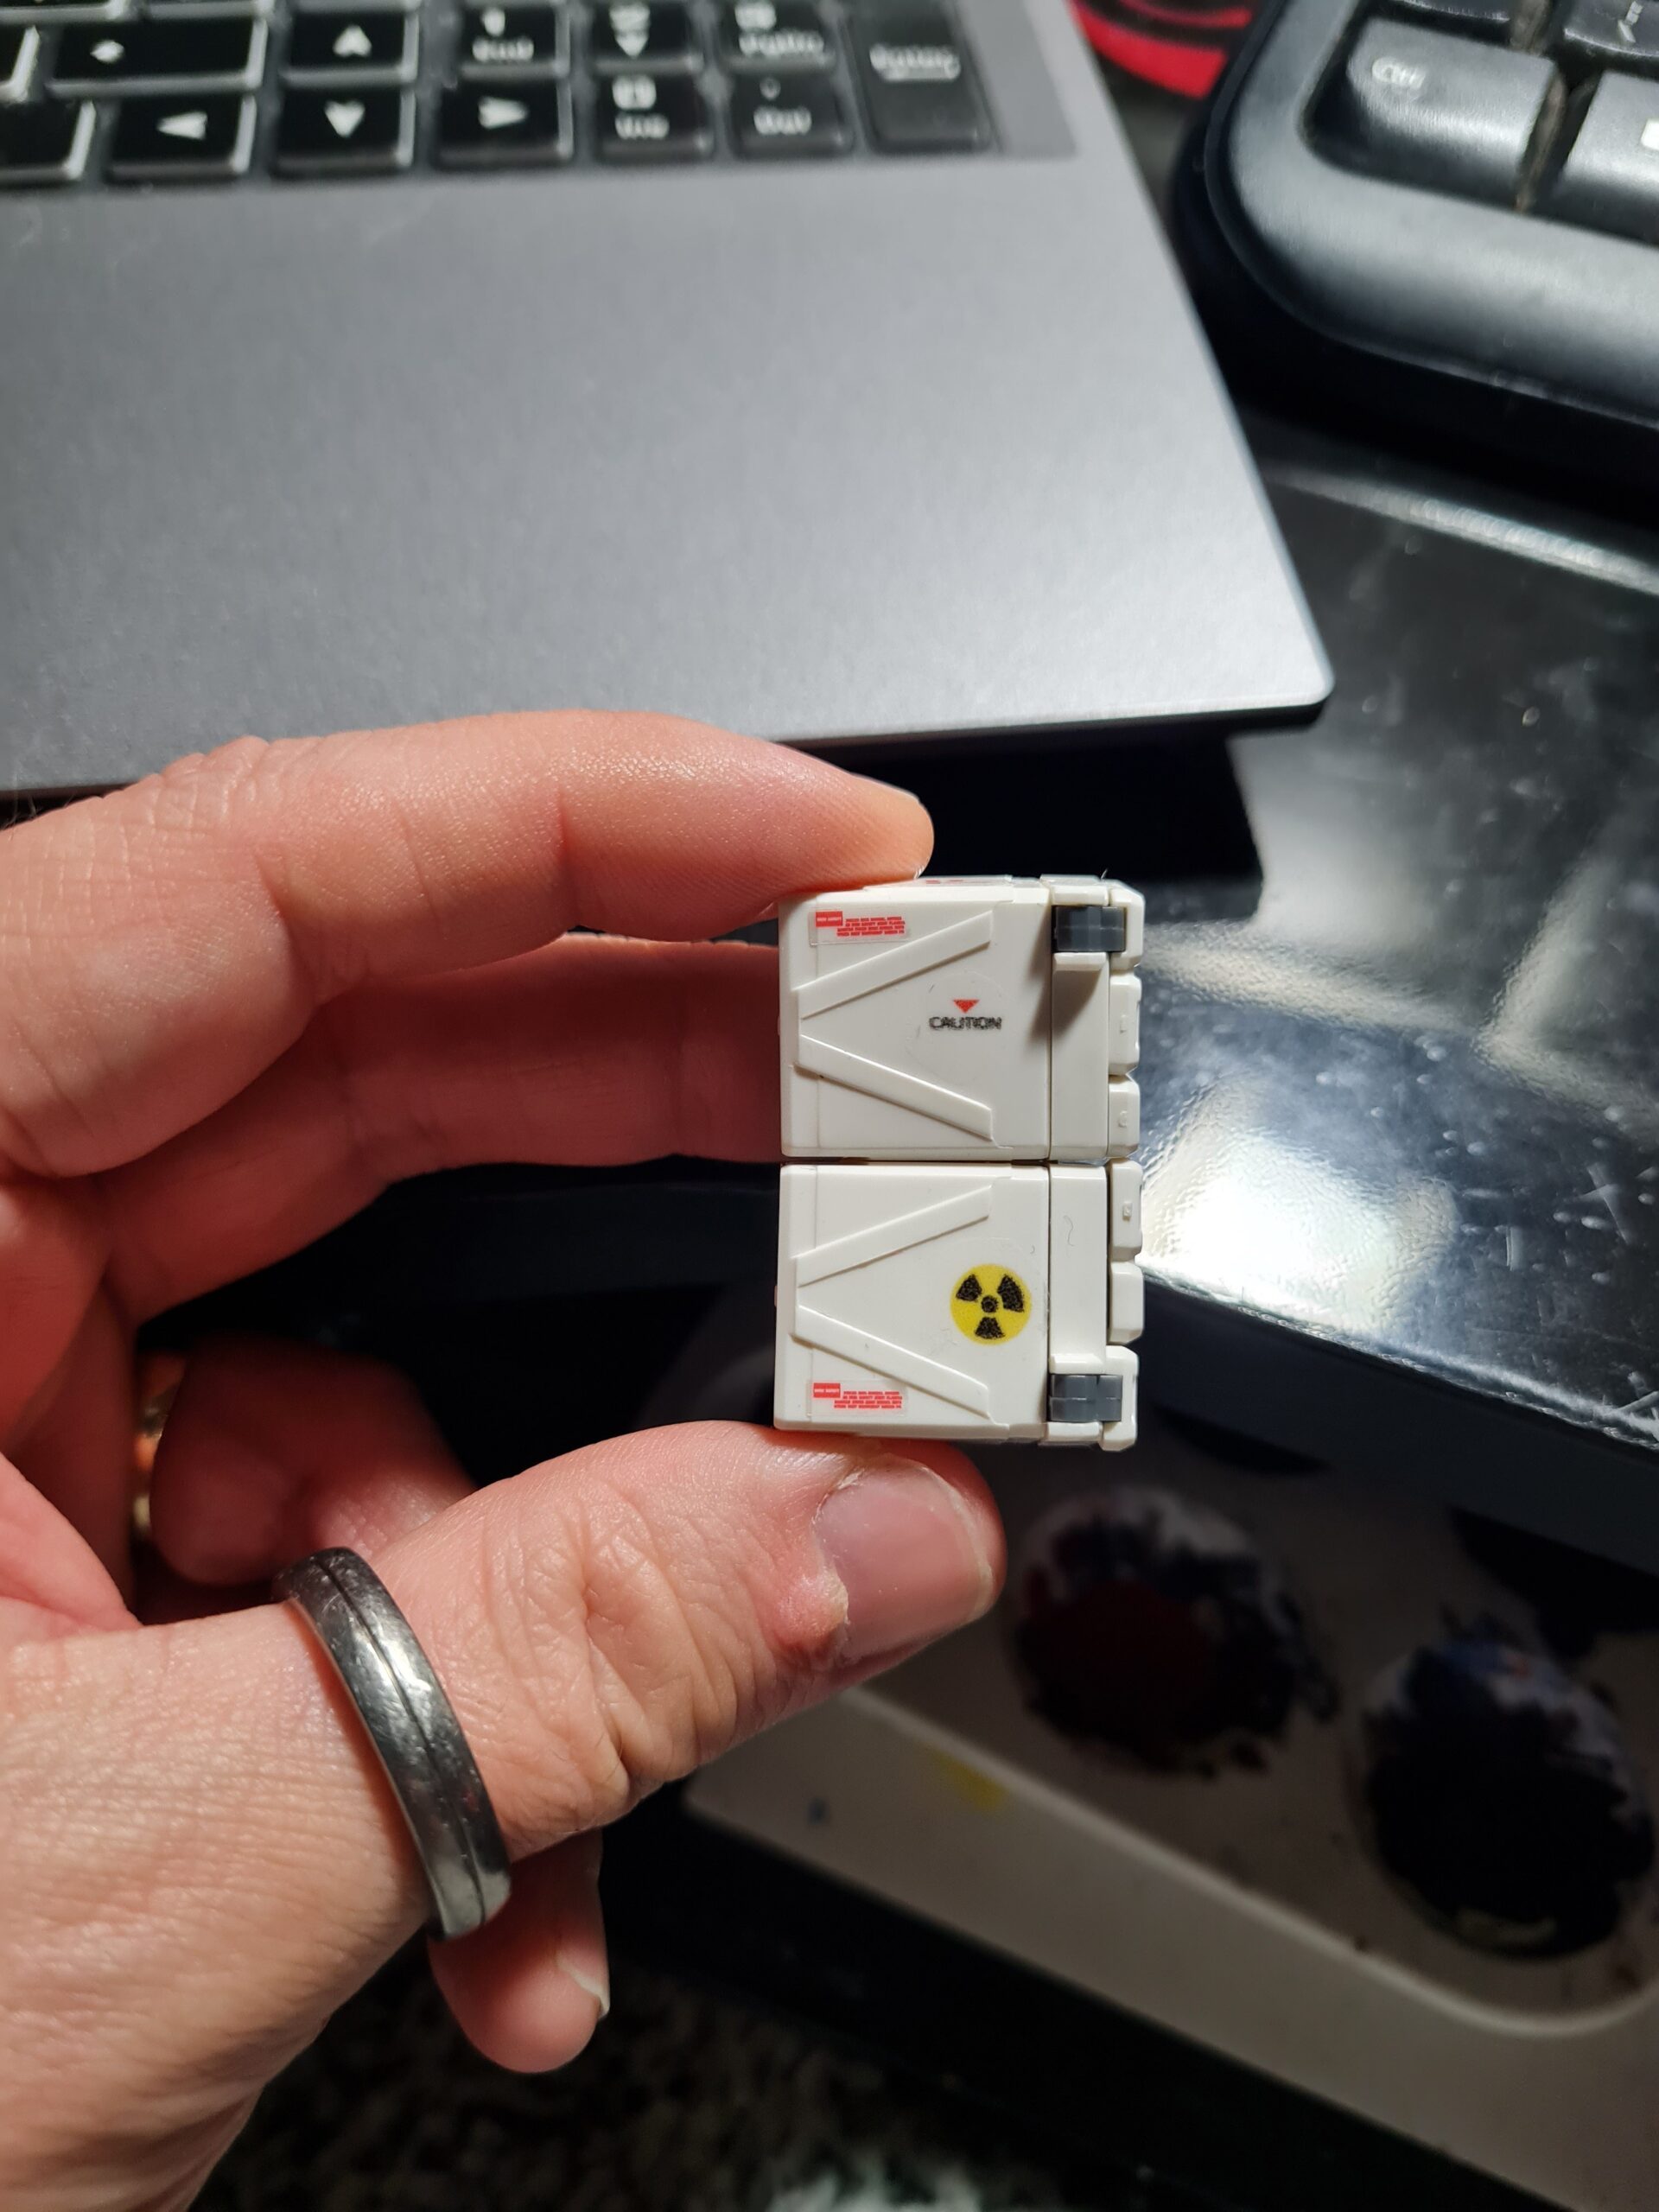
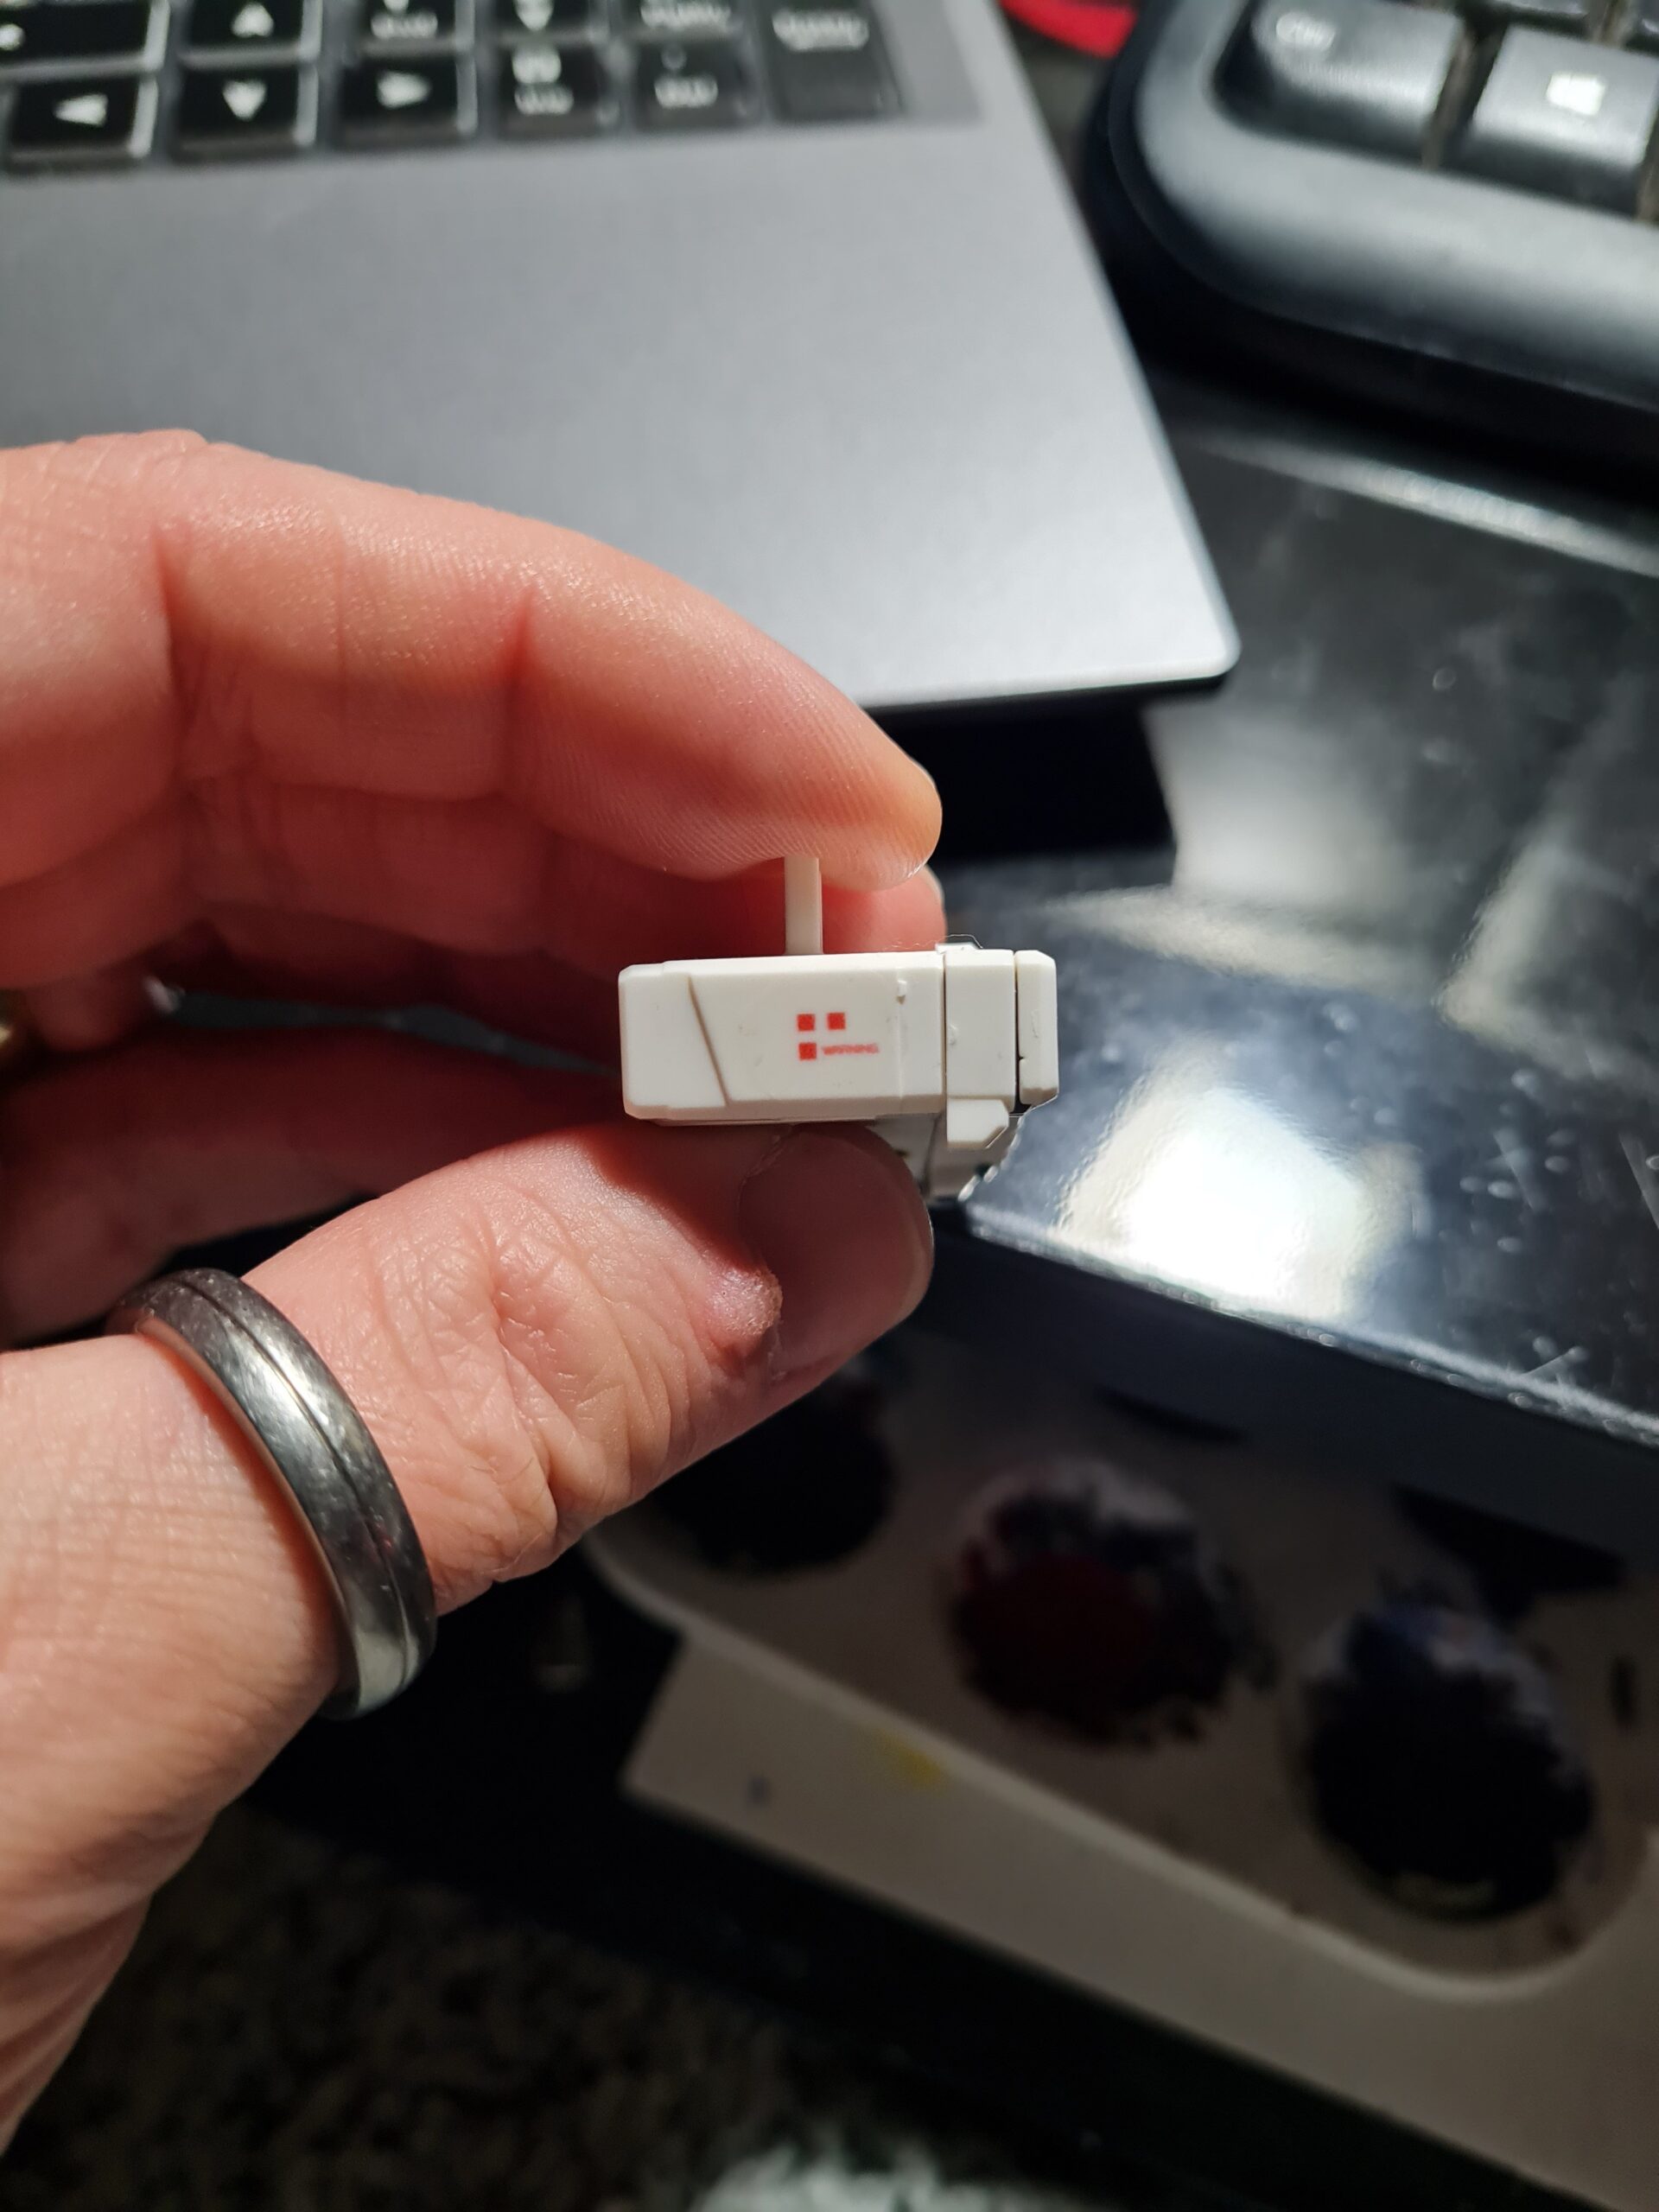
Ok I won’t lie. My first test was a disaster. But I think that was more to do with me not understanding how to apply them, and less to do with the decal. Applying them was, once I had some practice, easy enough. I ended up adding some to my heavy arms leg launchers.
Side DecalsTop Decals
On the images above the little nuclear sign, and the red triangle and “caution” sign on the left image were custom ones from my print. The one on the image to the right is also a custom one.
Conclusion
All told I think the experiment was a success. I definitely found they worked best on lighter/white backgrounds but other than that I was very happy with the end result.
Thank you for taking the time to read this. If you haven’t already done so please like and follow us on our social media platforms and checkout our website!
I learnt a lot in the last 24 hours about GunPla Decals. I was aware of a few things coming out the gate. However, before going any further you may be asking yourself what actually is a “decal”. A decal is a design placed on a medium that allows you to transfer it onto another surface. Think like those crappy fake tattoos you could get as a kid, but way cooler, and way better looking on your models.
What I knew so far
I knew that various kits come with different options or levels of decals. In fact one of the things when originally reading around GunPla was that the Ver Ka. kits often come with a lot of decals. From working with the various kits I have, so far, I’ve always shied away from the decals on the whole. I would tend to use the one for the visor if it is say a shiny silver or something that sits behind a clear visor. However, on the whole I avoided them till I decided to try and work with my MG Heavy Arms.
I found myself bamboozled about the different types I had.
Images
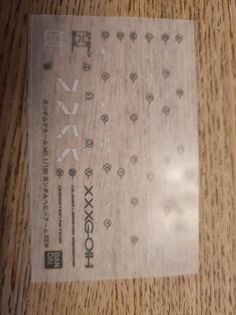
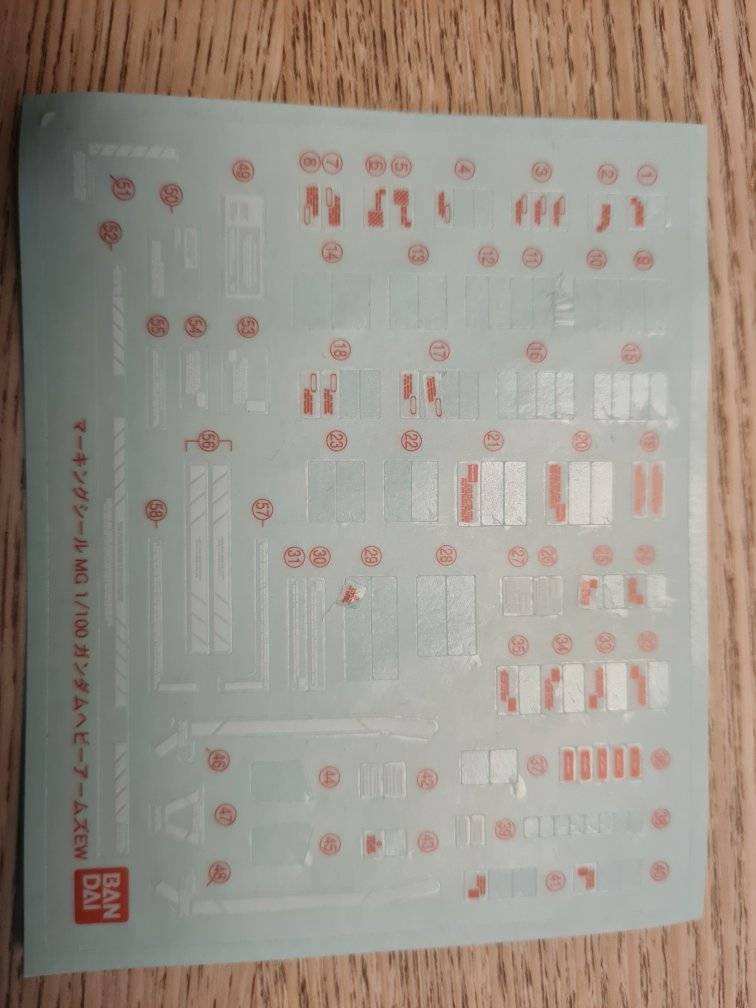
Type 1 DecalsType 2 Decals
The previous ones I had received in a kit had a shiny silver backing and were, quite obviously stickers. However, the translucence of both of these threw me. After speaking to some wonderful people online in the UKGunpla group (you can find it here), I discovered that the ones on the right are stickers, and the ones on the left are press on decals.
Application
Now I’m sure everyone has their own method for working with these so I’ll just outline what I did.
Firstly, you will find the “map” for the decals placements in the manual for the model. I also found using my magnifying glass meant I wasn’t constantly straining. Secondly as a lot of these go into nooks and crannies and corners, you will potentially benefit from taking apart some of the kit to make it easier to work with them and apply the decals. Thirdly, do not rush; a badly applied decal will make the kit look terrible.
First up were the sticker decals (Type 2 Decals in the image above). I used the tip of a stanley knife to gently lift the sticker off the backing (I also found that with multiple stickers in close proximity I would often have to hold down the next sticker to avoid lifting two). Next I would then position the sticker above where I wanted it to go on the model based on the map from the instruction manual, then gently place it down, using my thumb to apply pressure to the sticker against the part and sliding the knife blade out from under it.
Second up were the press on decals (Type 1 Decals in the image above). For these I ensured there was a piece of foam board underneath to be safe. I then used the stanley knife to cut out a specific decal. I then freed 3 sides of the cut out before laying a piece of masking tape over the top and using that to lift it. Note that the masking tape is thin enough to see the decal underneath/through it. I then placed it on the part where I wanted the decal to reside and rubbed it apply a gentle pressure using the flat end of my tweezers. Then when lifting the masking tape the decal is left in place, and the plastic it was adhered to lifts with the masking tape.
Conclusion
I still have some work to do on this, and I know that I need to also work through the weapons and build them up. However, I am, very happy with the results.
Thank you for taking the time to read this. If you haven’t already done so please like and follow us on our social media platforms and checkout our website!
We use cookies on our website to give you the most relevant experience by remembering your preferences and repeat visits. By clicking “Accept All”, you consent to the use of ALL the cookies. However, you may visit "Cookie Settings" to provide a controlled consent.
This website uses cookies to improve your experience while you navigate through the website. Out of these, the cookies that are categorized as necessary are stored on your browser as they are essential for the working of basic functionalities of the website. We also use third-party cookies that help us analyze and understand how you use this website. These cookies will be stored in your browser only with your consent. You also have the option to opt-out of these cookies. But opting out of some of these cookies may affect your browsing experience.
Necessary cookies are absolutely essential for the website to function properly. These cookies ensure basic functionalities and security features of the website, anonymously.
Cookie
Duration
Description
cookielawinfo-checkbox-analytics
11 months
This cookie is set by GDPR Cookie Consent plugin. The cookie is used to store the user consent for the cookies in the category "Analytics".
cookielawinfo-checkbox-functional
11 months
The cookie is set by GDPR cookie consent to record the user consent for the cookies in the category "Functional".
cookielawinfo-checkbox-necessary
11 months
This cookie is set by GDPR Cookie Consent plugin. The cookies is used to store the user consent for the cookies in the category "Necessary".
cookielawinfo-checkbox-others
11 months
This cookie is set by GDPR Cookie Consent plugin. The cookie is used to store the user consent for the cookies in the category "Other.
cookielawinfo-checkbox-performance
11 months
This cookie is set by GDPR Cookie Consent plugin. The cookie is used to store the user consent for the cookies in the category "Performance".
viewed_cookie_policy
11 months
The cookie is set by the GDPR Cookie Consent plugin and is used to store whether or not user has consented to the use of cookies. It does not store any personal data.
Functional cookies help to perform certain functionalities like sharing the content of the website on social media platforms, collect feedbacks, and other third-party features.
Performance cookies are used to understand and analyze the key performance indexes of the website which helps in delivering a better user experience for the visitors.
Analytical cookies are used to understand how visitors interact with the website. These cookies help provide information on metrics the number of visitors, bounce rate, traffic source, etc.
Advertisement cookies are used to provide visitors with relevant ads and marketing campaigns. These cookies track visitors across websites and collect information to provide customized ads.