Posted on

Custom Decals – My First Attempt

Side Decals

Introduction

I was curious, about making some custom decals. Now this wasn’t a case of I had to, this was purely an experiment. As the sticks are sometimes a bit jarring when they are applied, I thought I would look at how hard it would be to make my own decals.

Tools of the trade

After some research I found that really, you don’t need a lot of things to do this.

  • Water slide decal paper
  • A printer (suitable for use with the paper you bought)
  • A graphics application
  • Some topcoat

Water Slide decal paper can be bought online. It isn’t the cheapest, and it normally stipulates what type of printer it works with (for example inkjet). The printer, topcoat and graphics application I actually already had. So the only thing I had to buy specifically for this was the paper.

For the graphics manipulation I chose to use GIMP (available here) as it is free, and there are plenty of online tutorials that can help you get the best from it.

Making the images

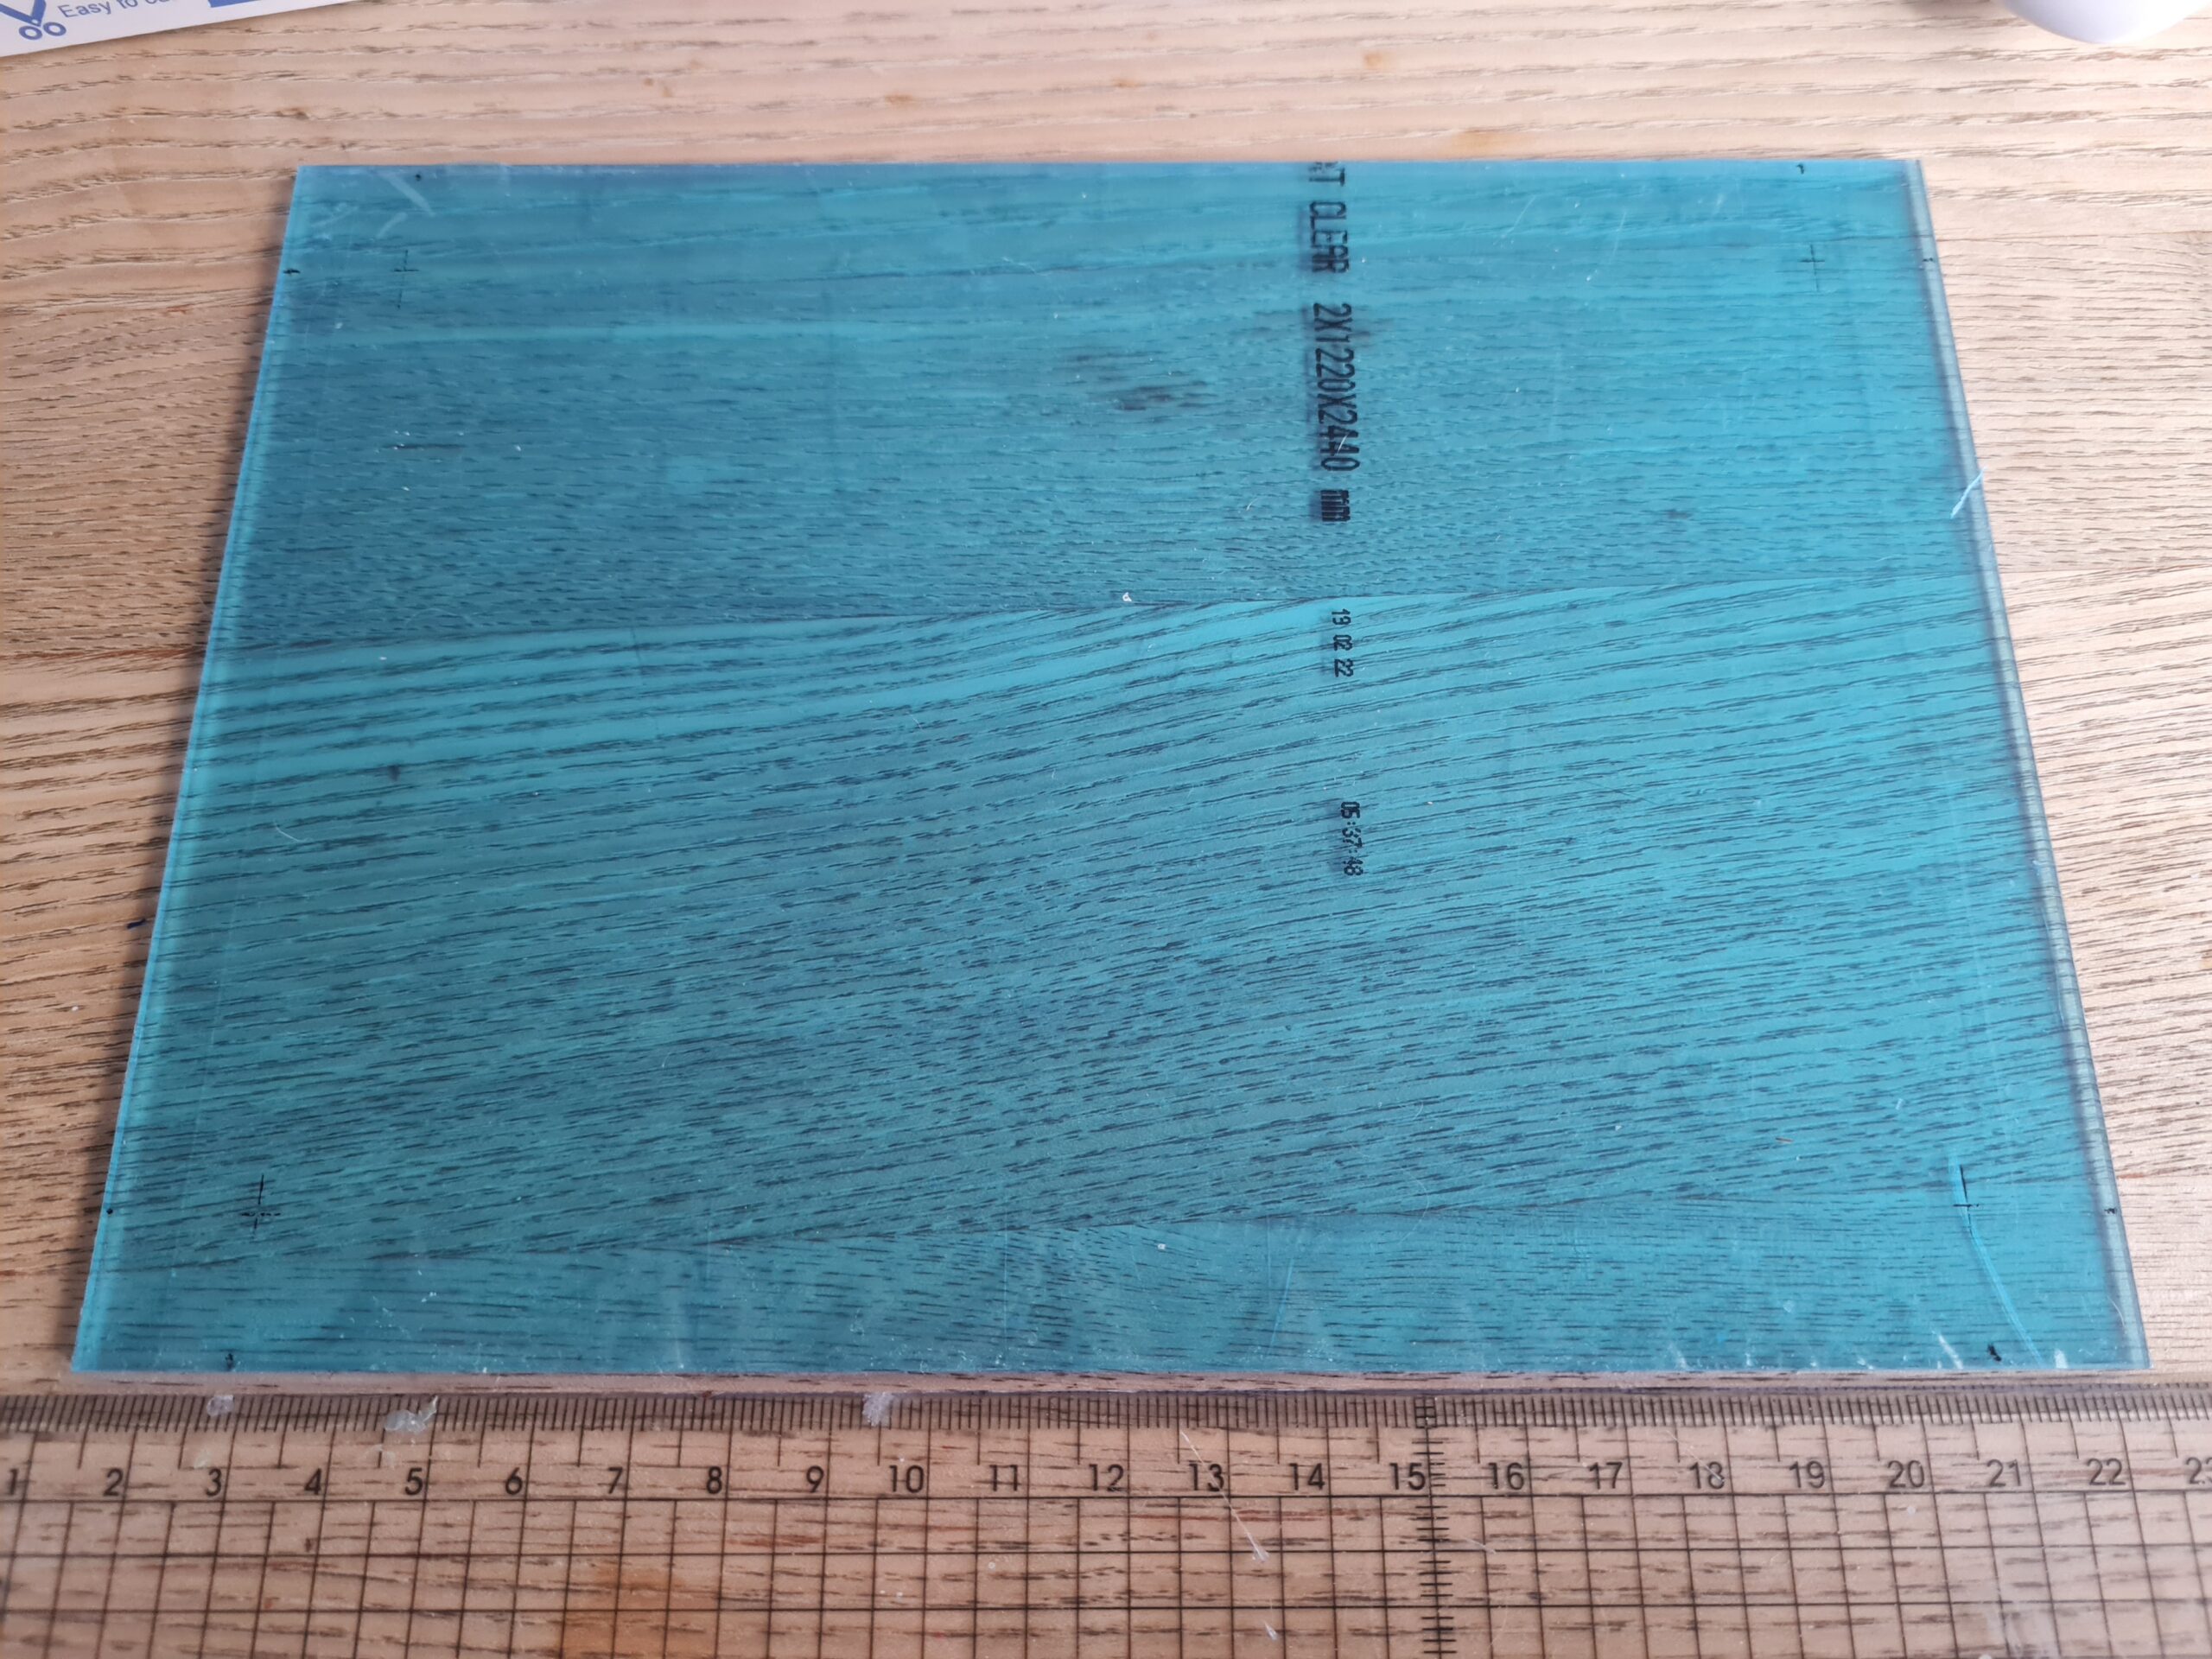
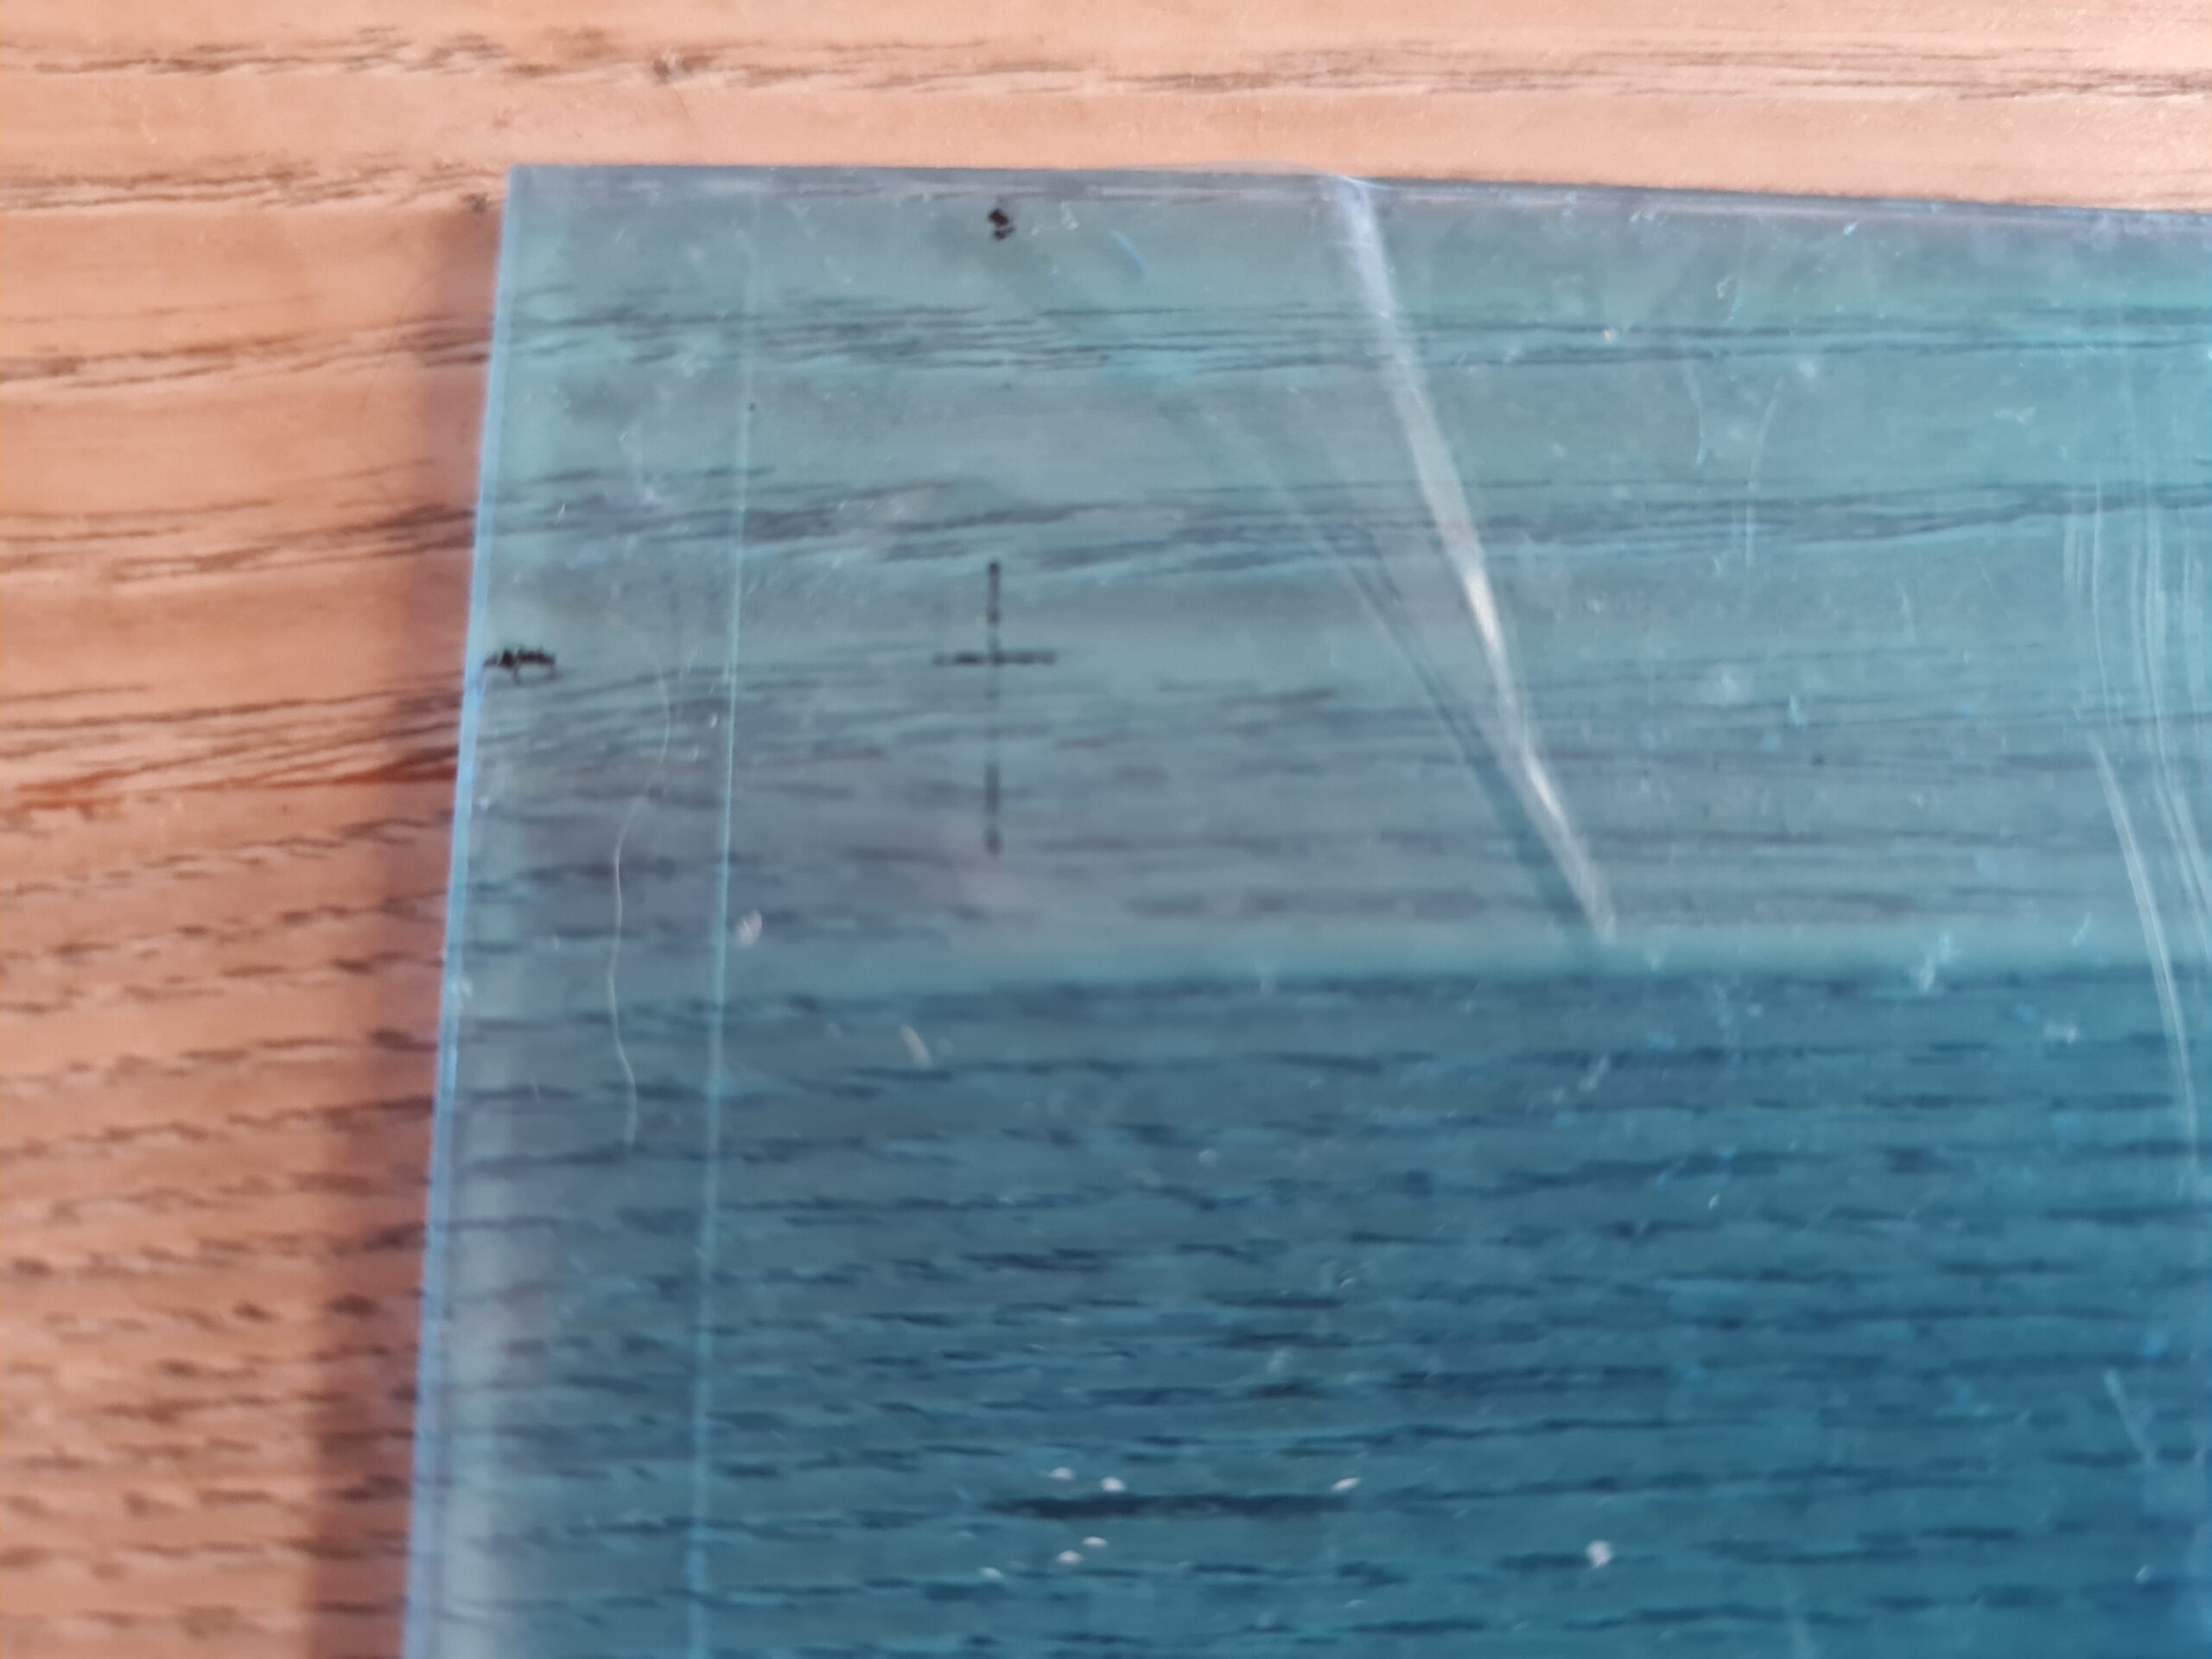
To create my sample page / decals I decided to do some googling. I found some great examples that I used as inspiration for creating my first sheet. The final A4 page looked like this:

Decal Sheet
Decal Sheet

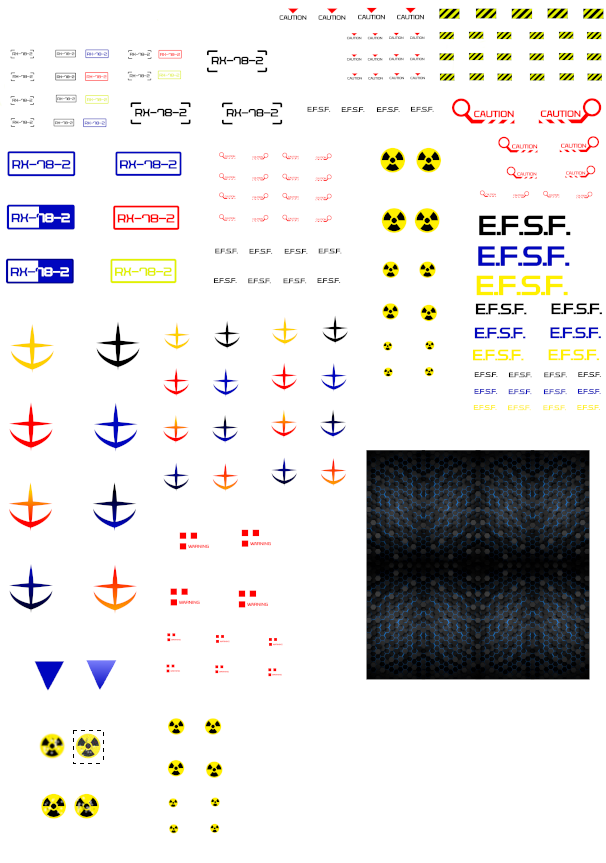
I realise there is a lot of wasted paper here but I just wanted to test it all out. Next I used the waterslide paper I purchased off ebay and printed the above image onto it.

I left it overnight then just to make sure the ink had dried. I realise this is overkill, but I wasn’t in a rush.

The next step was to apply top coat to the sheet. I opted for 3 coats leaving it well over 10 minutes between each coat.

I finally had my sheet to try!
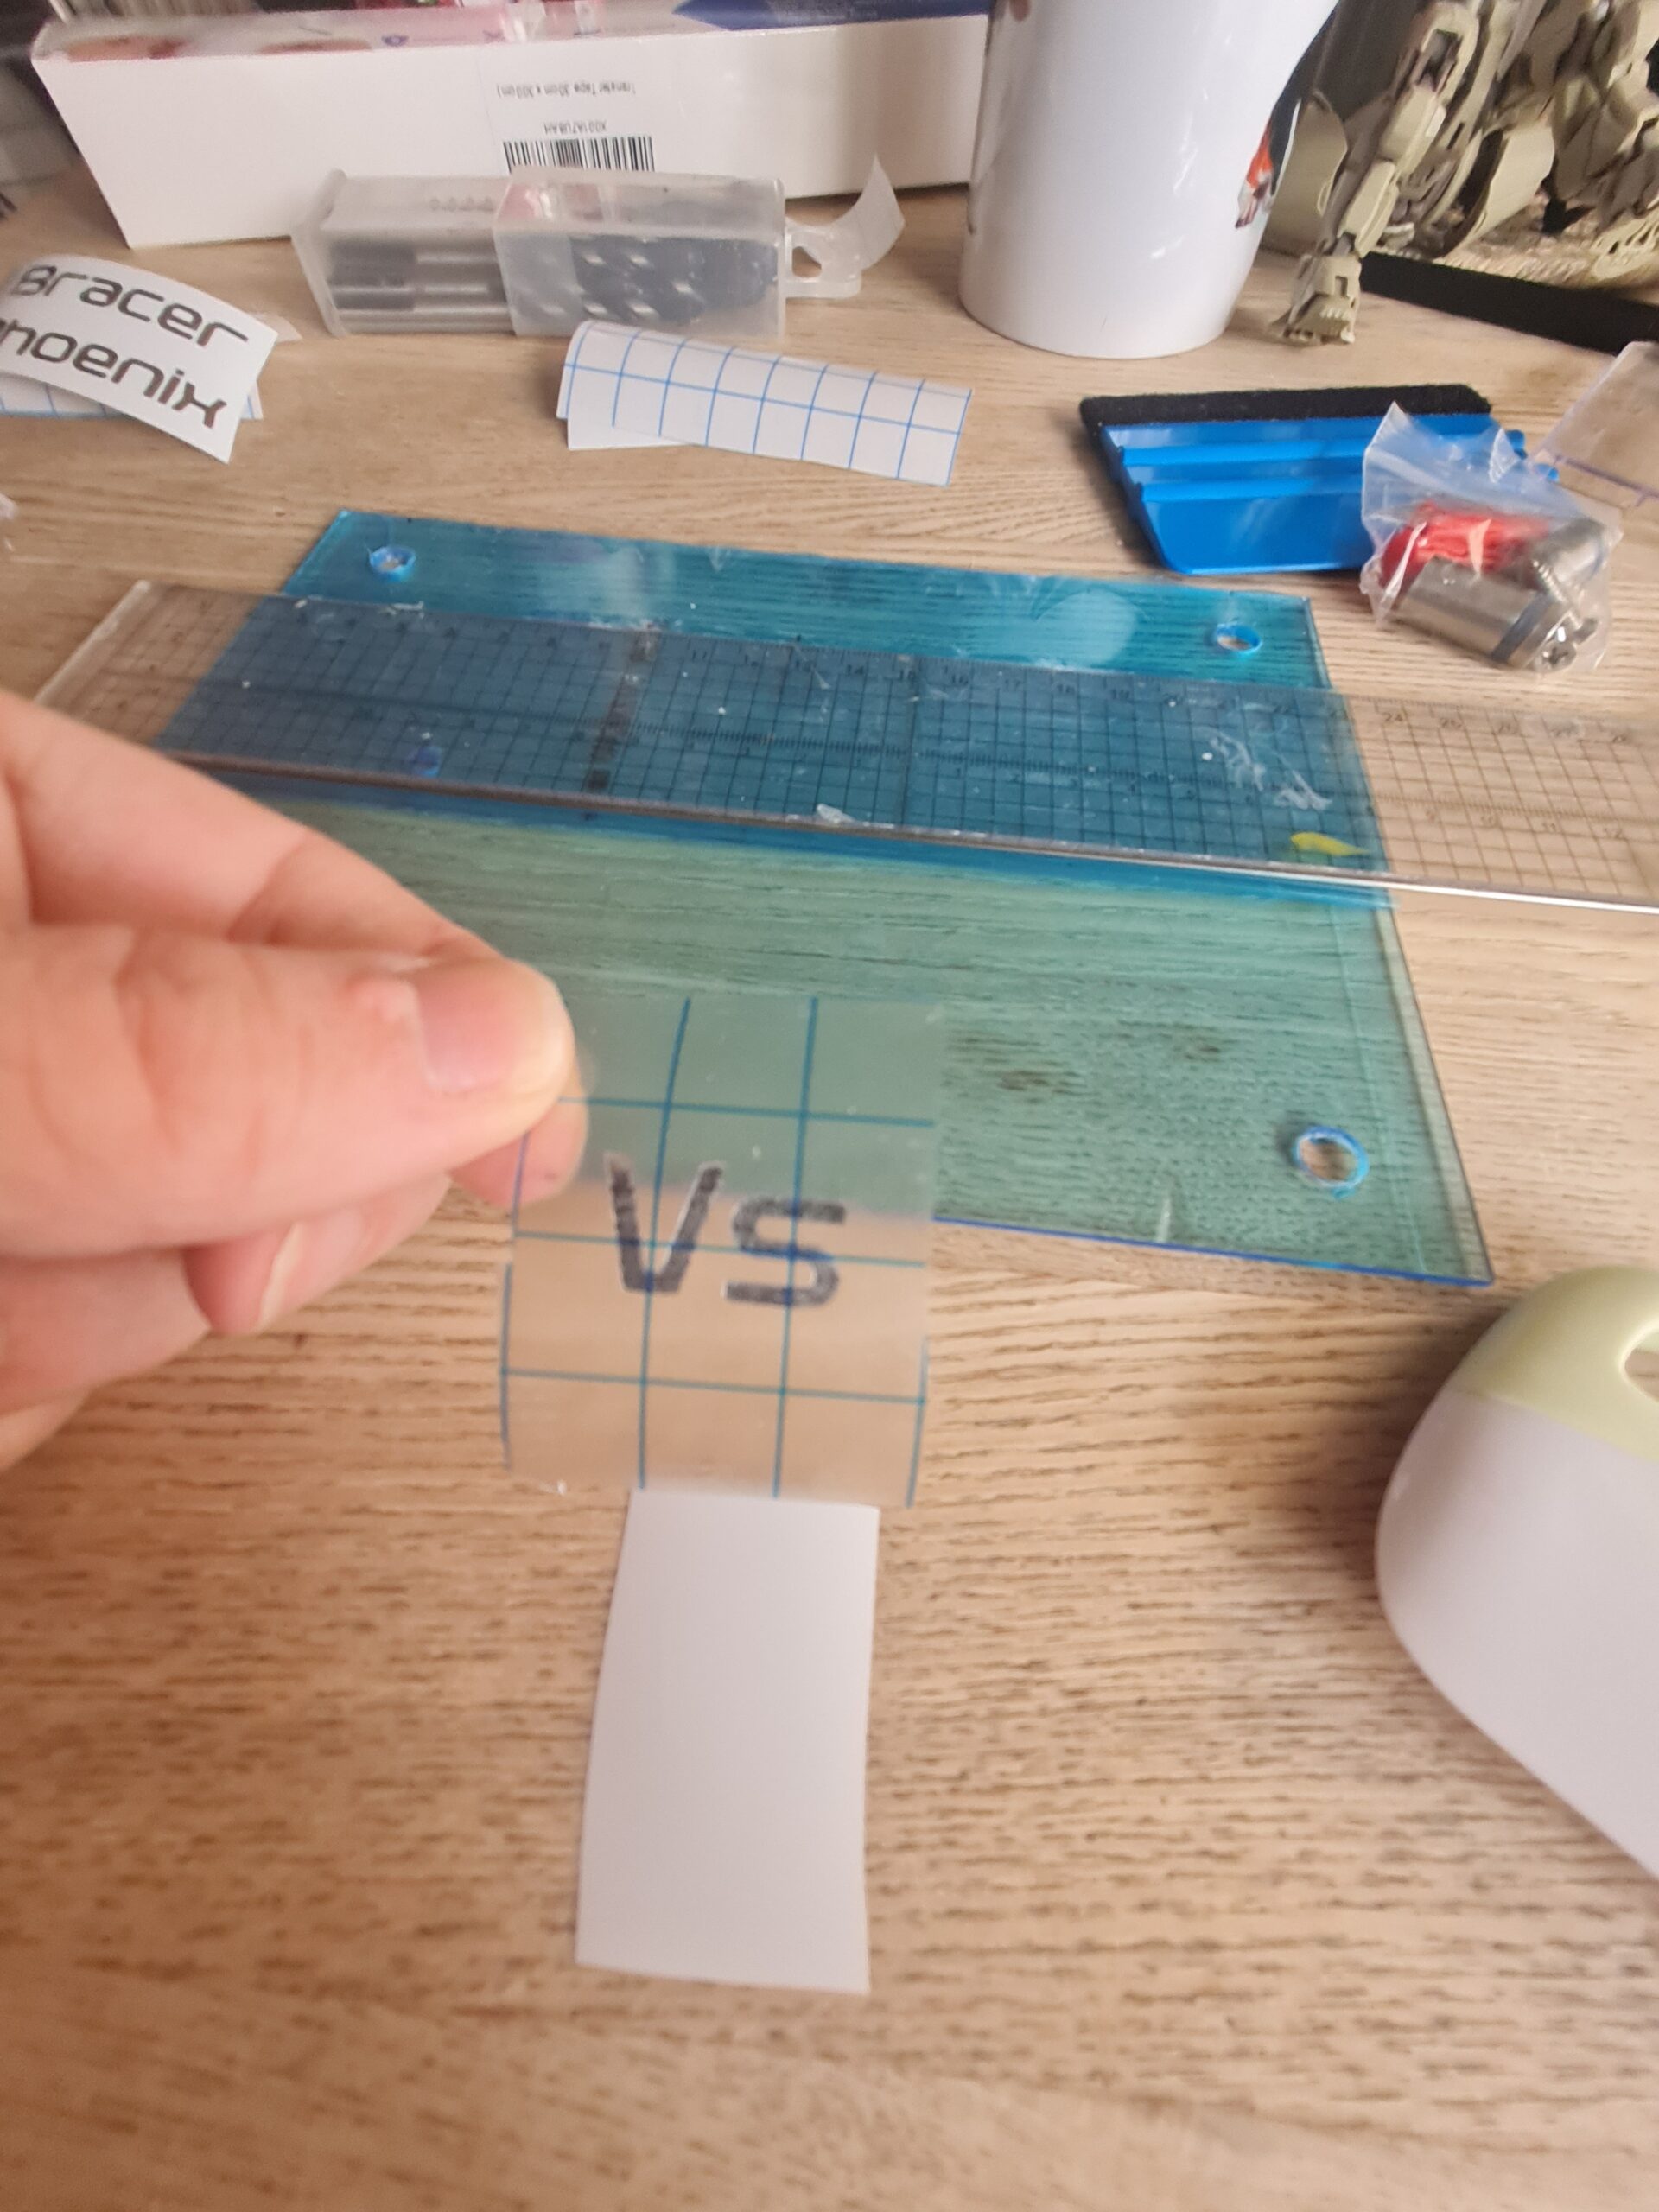
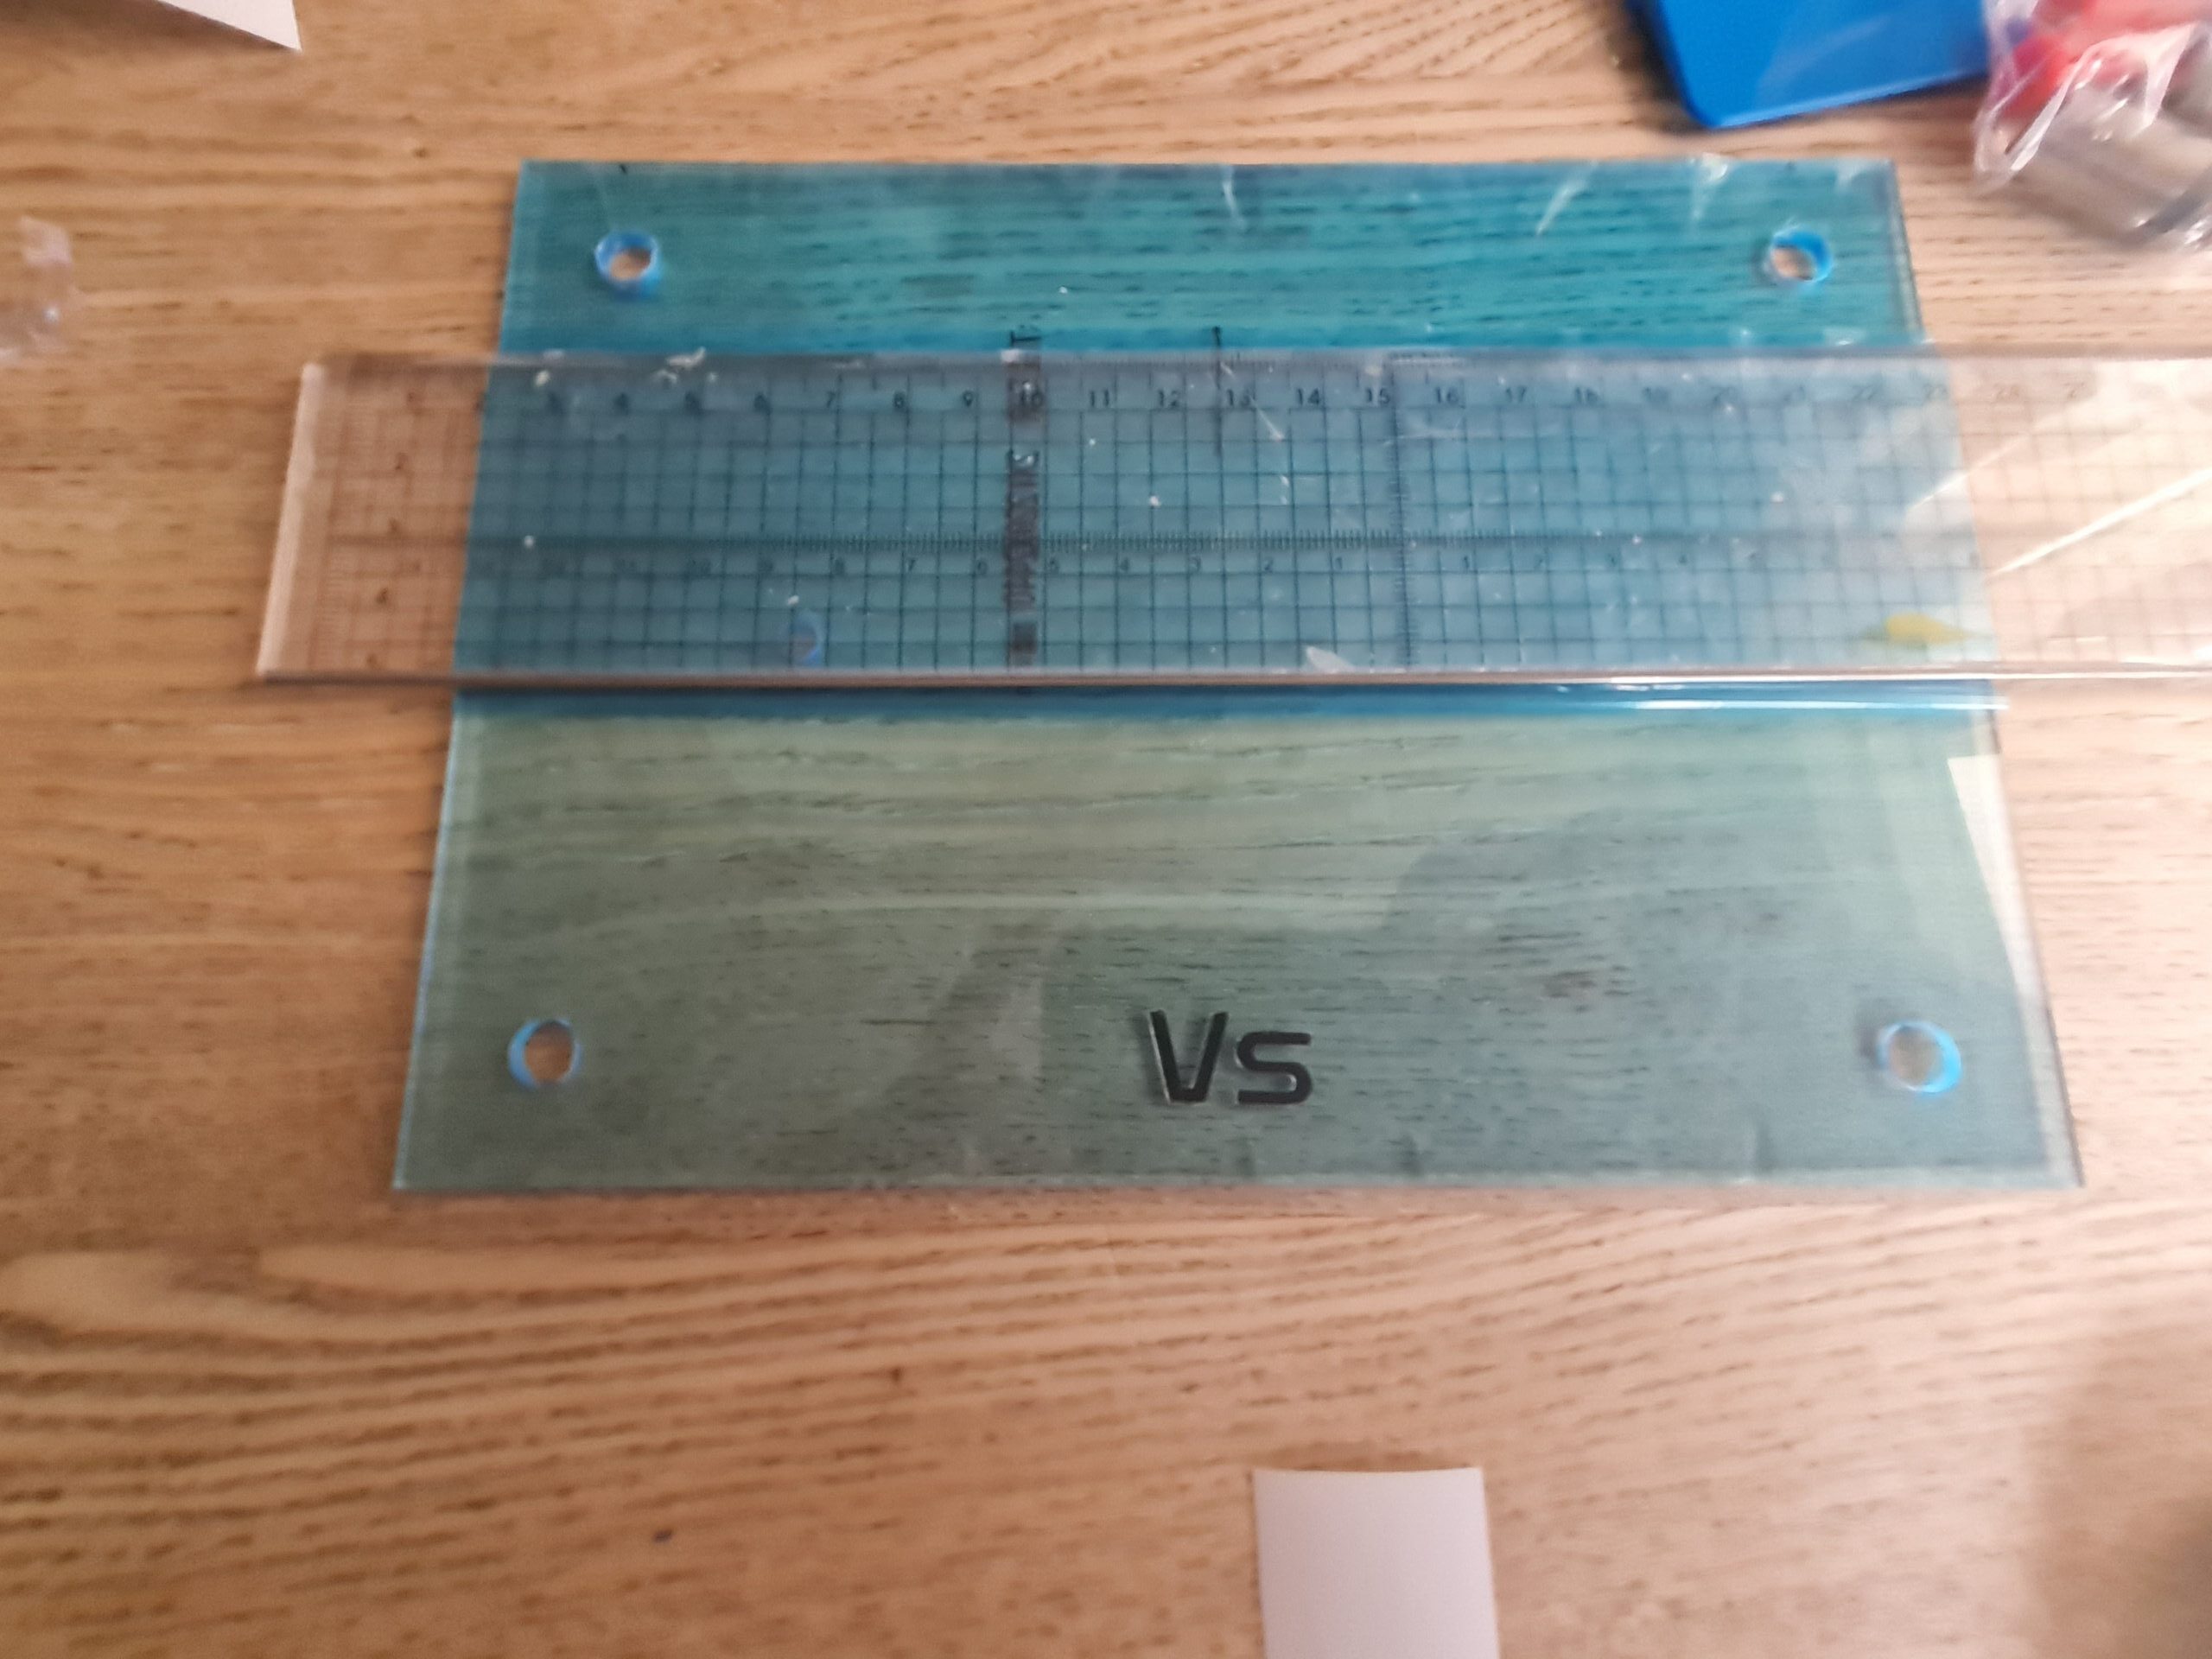
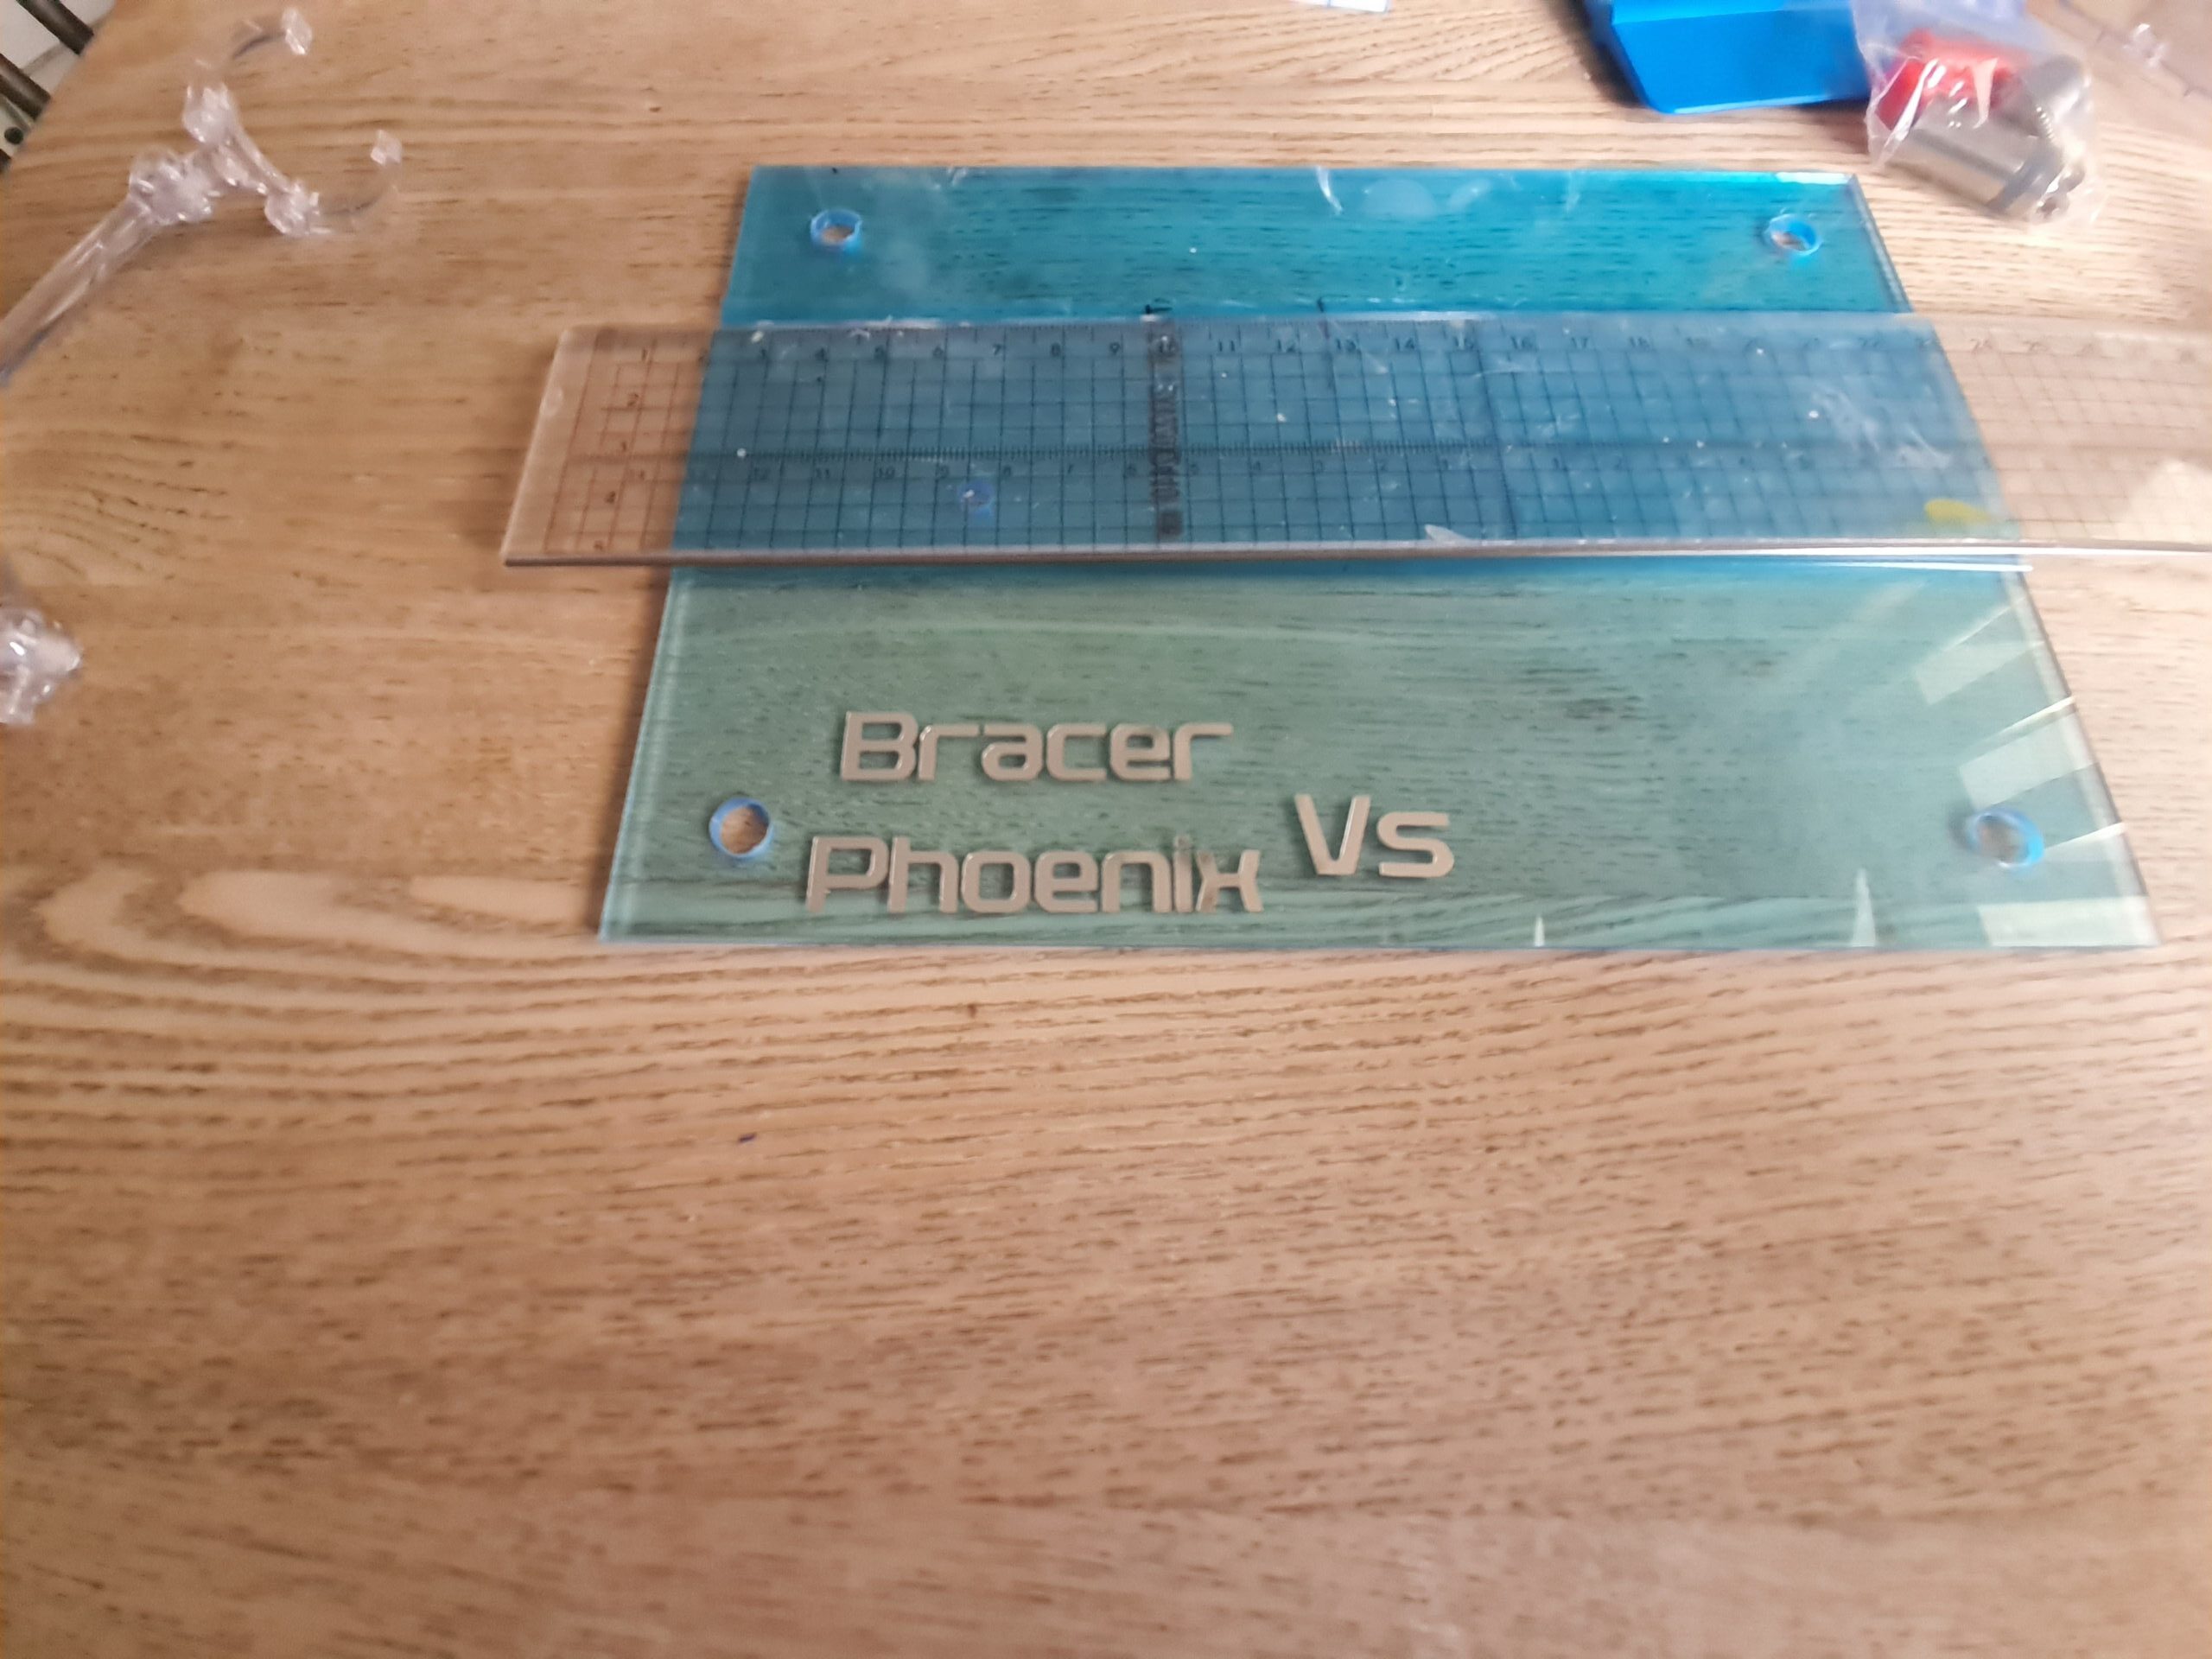
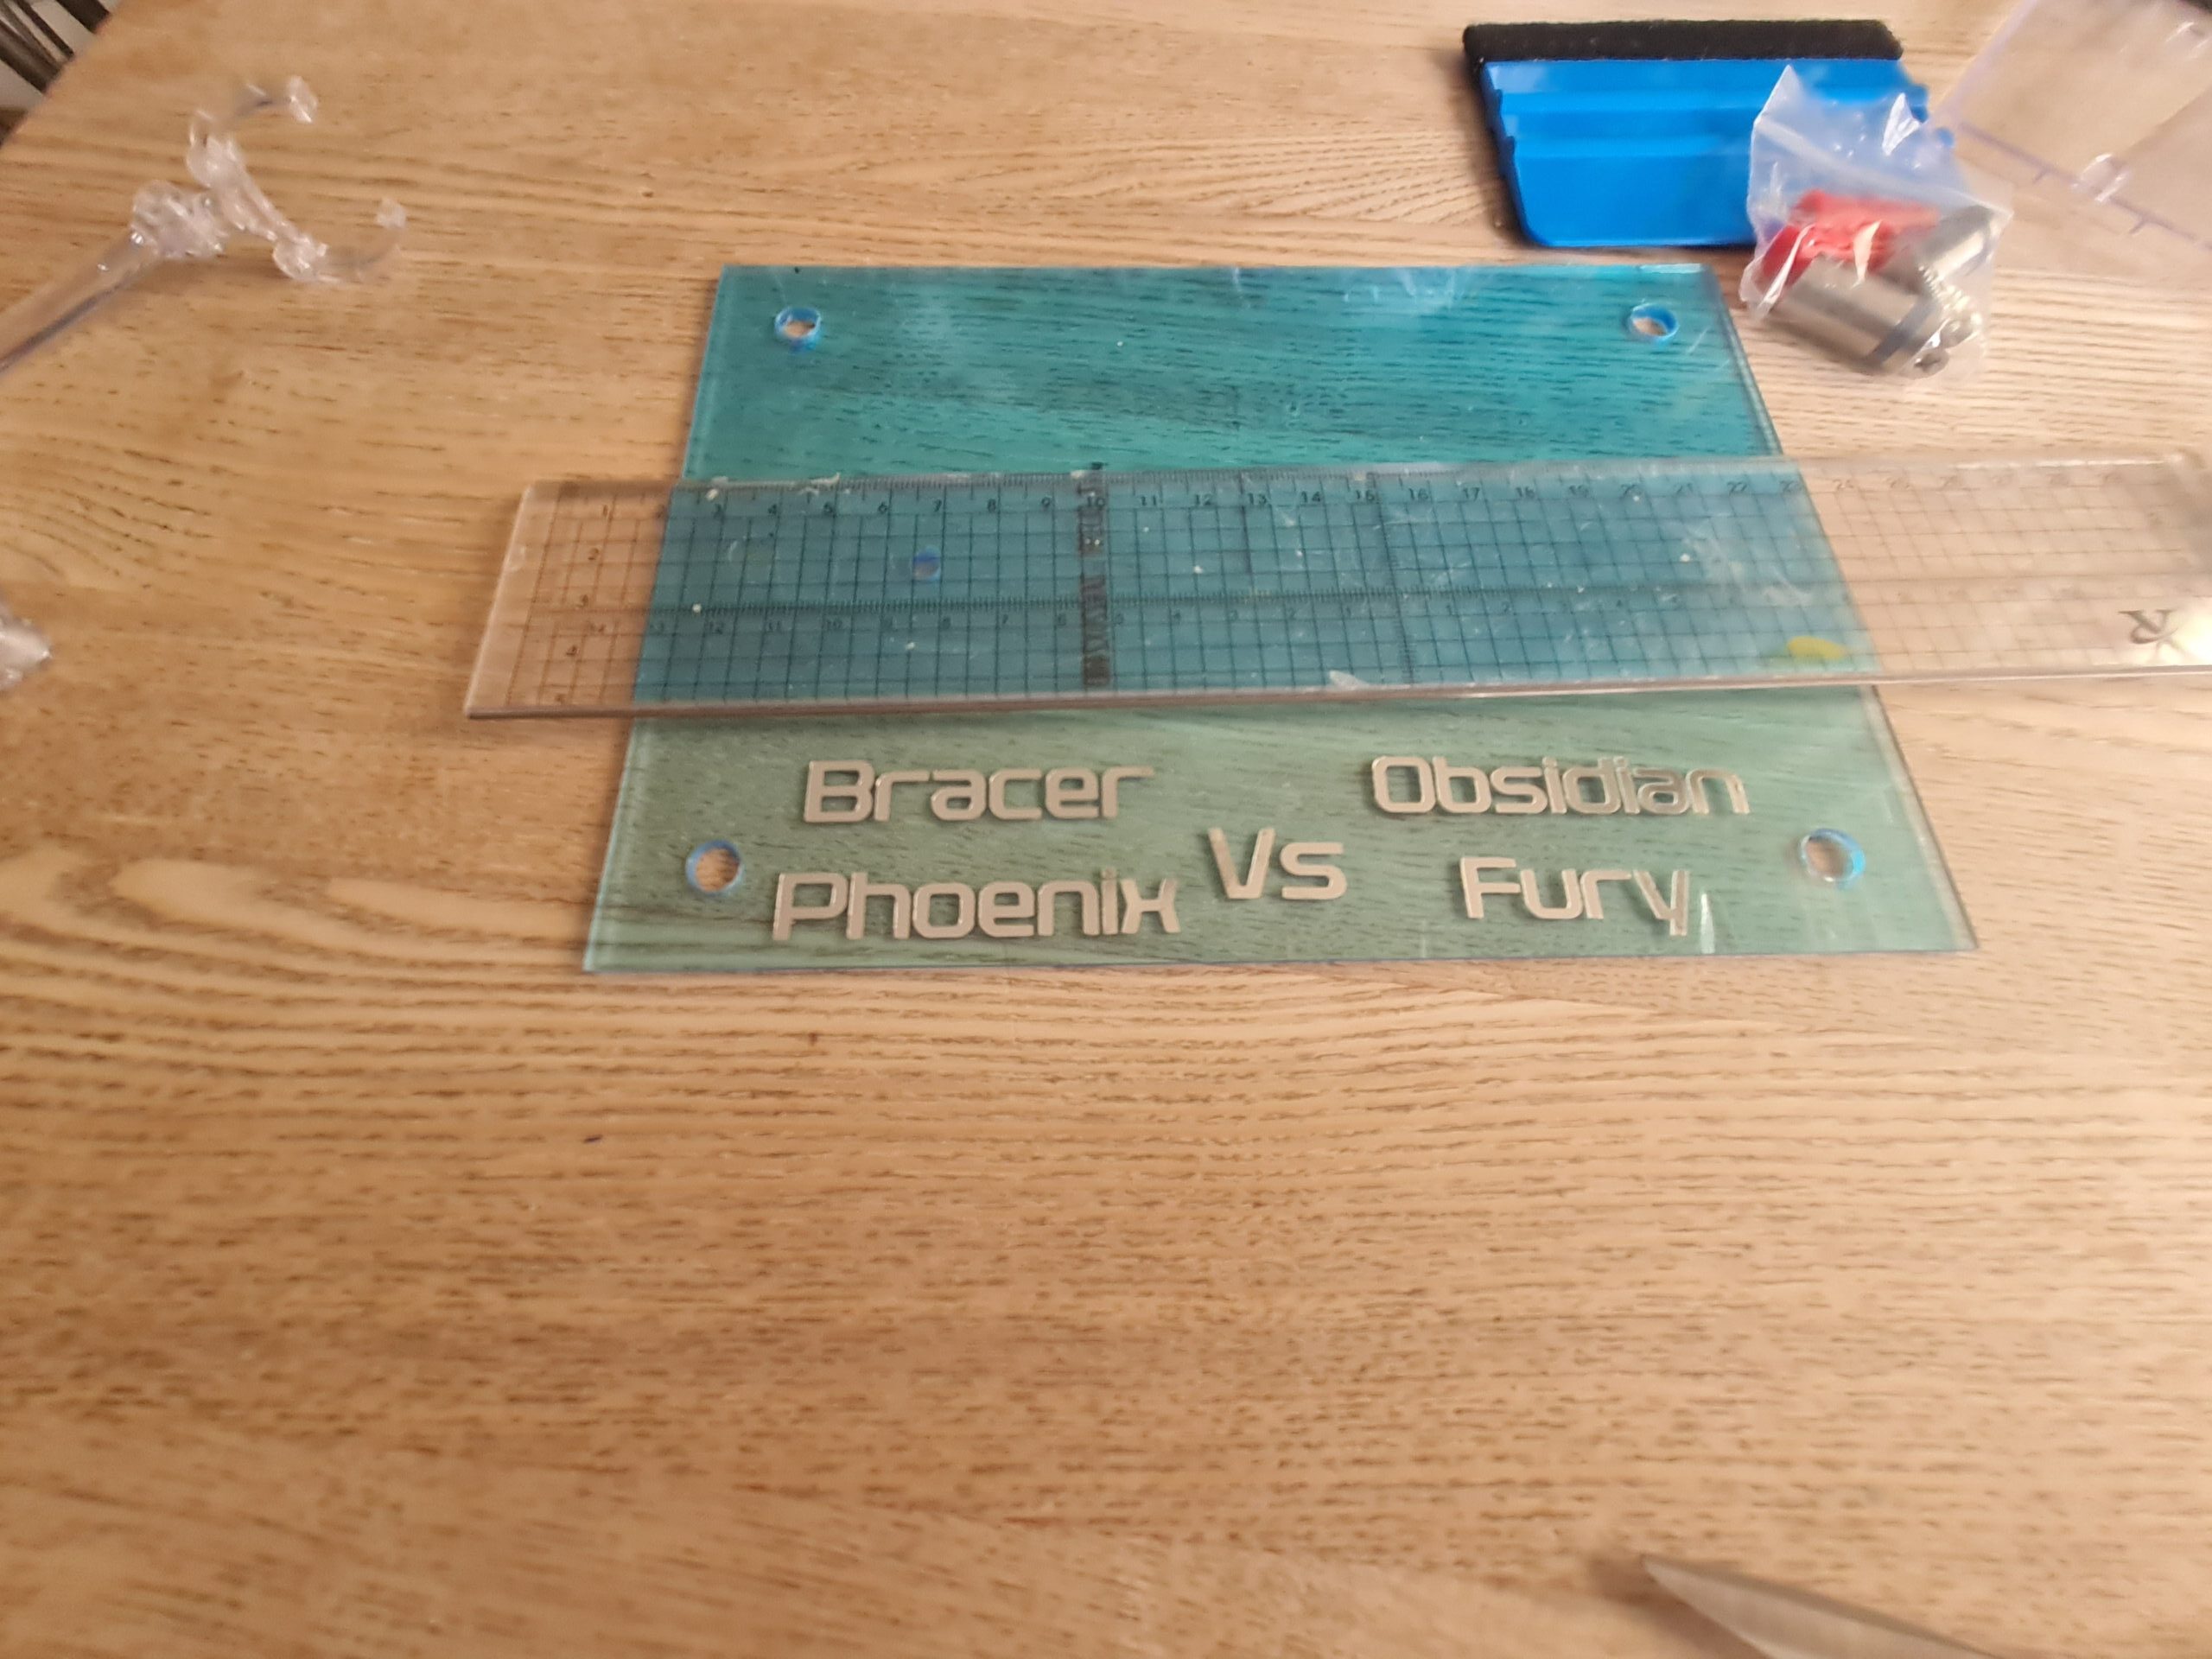
Testing

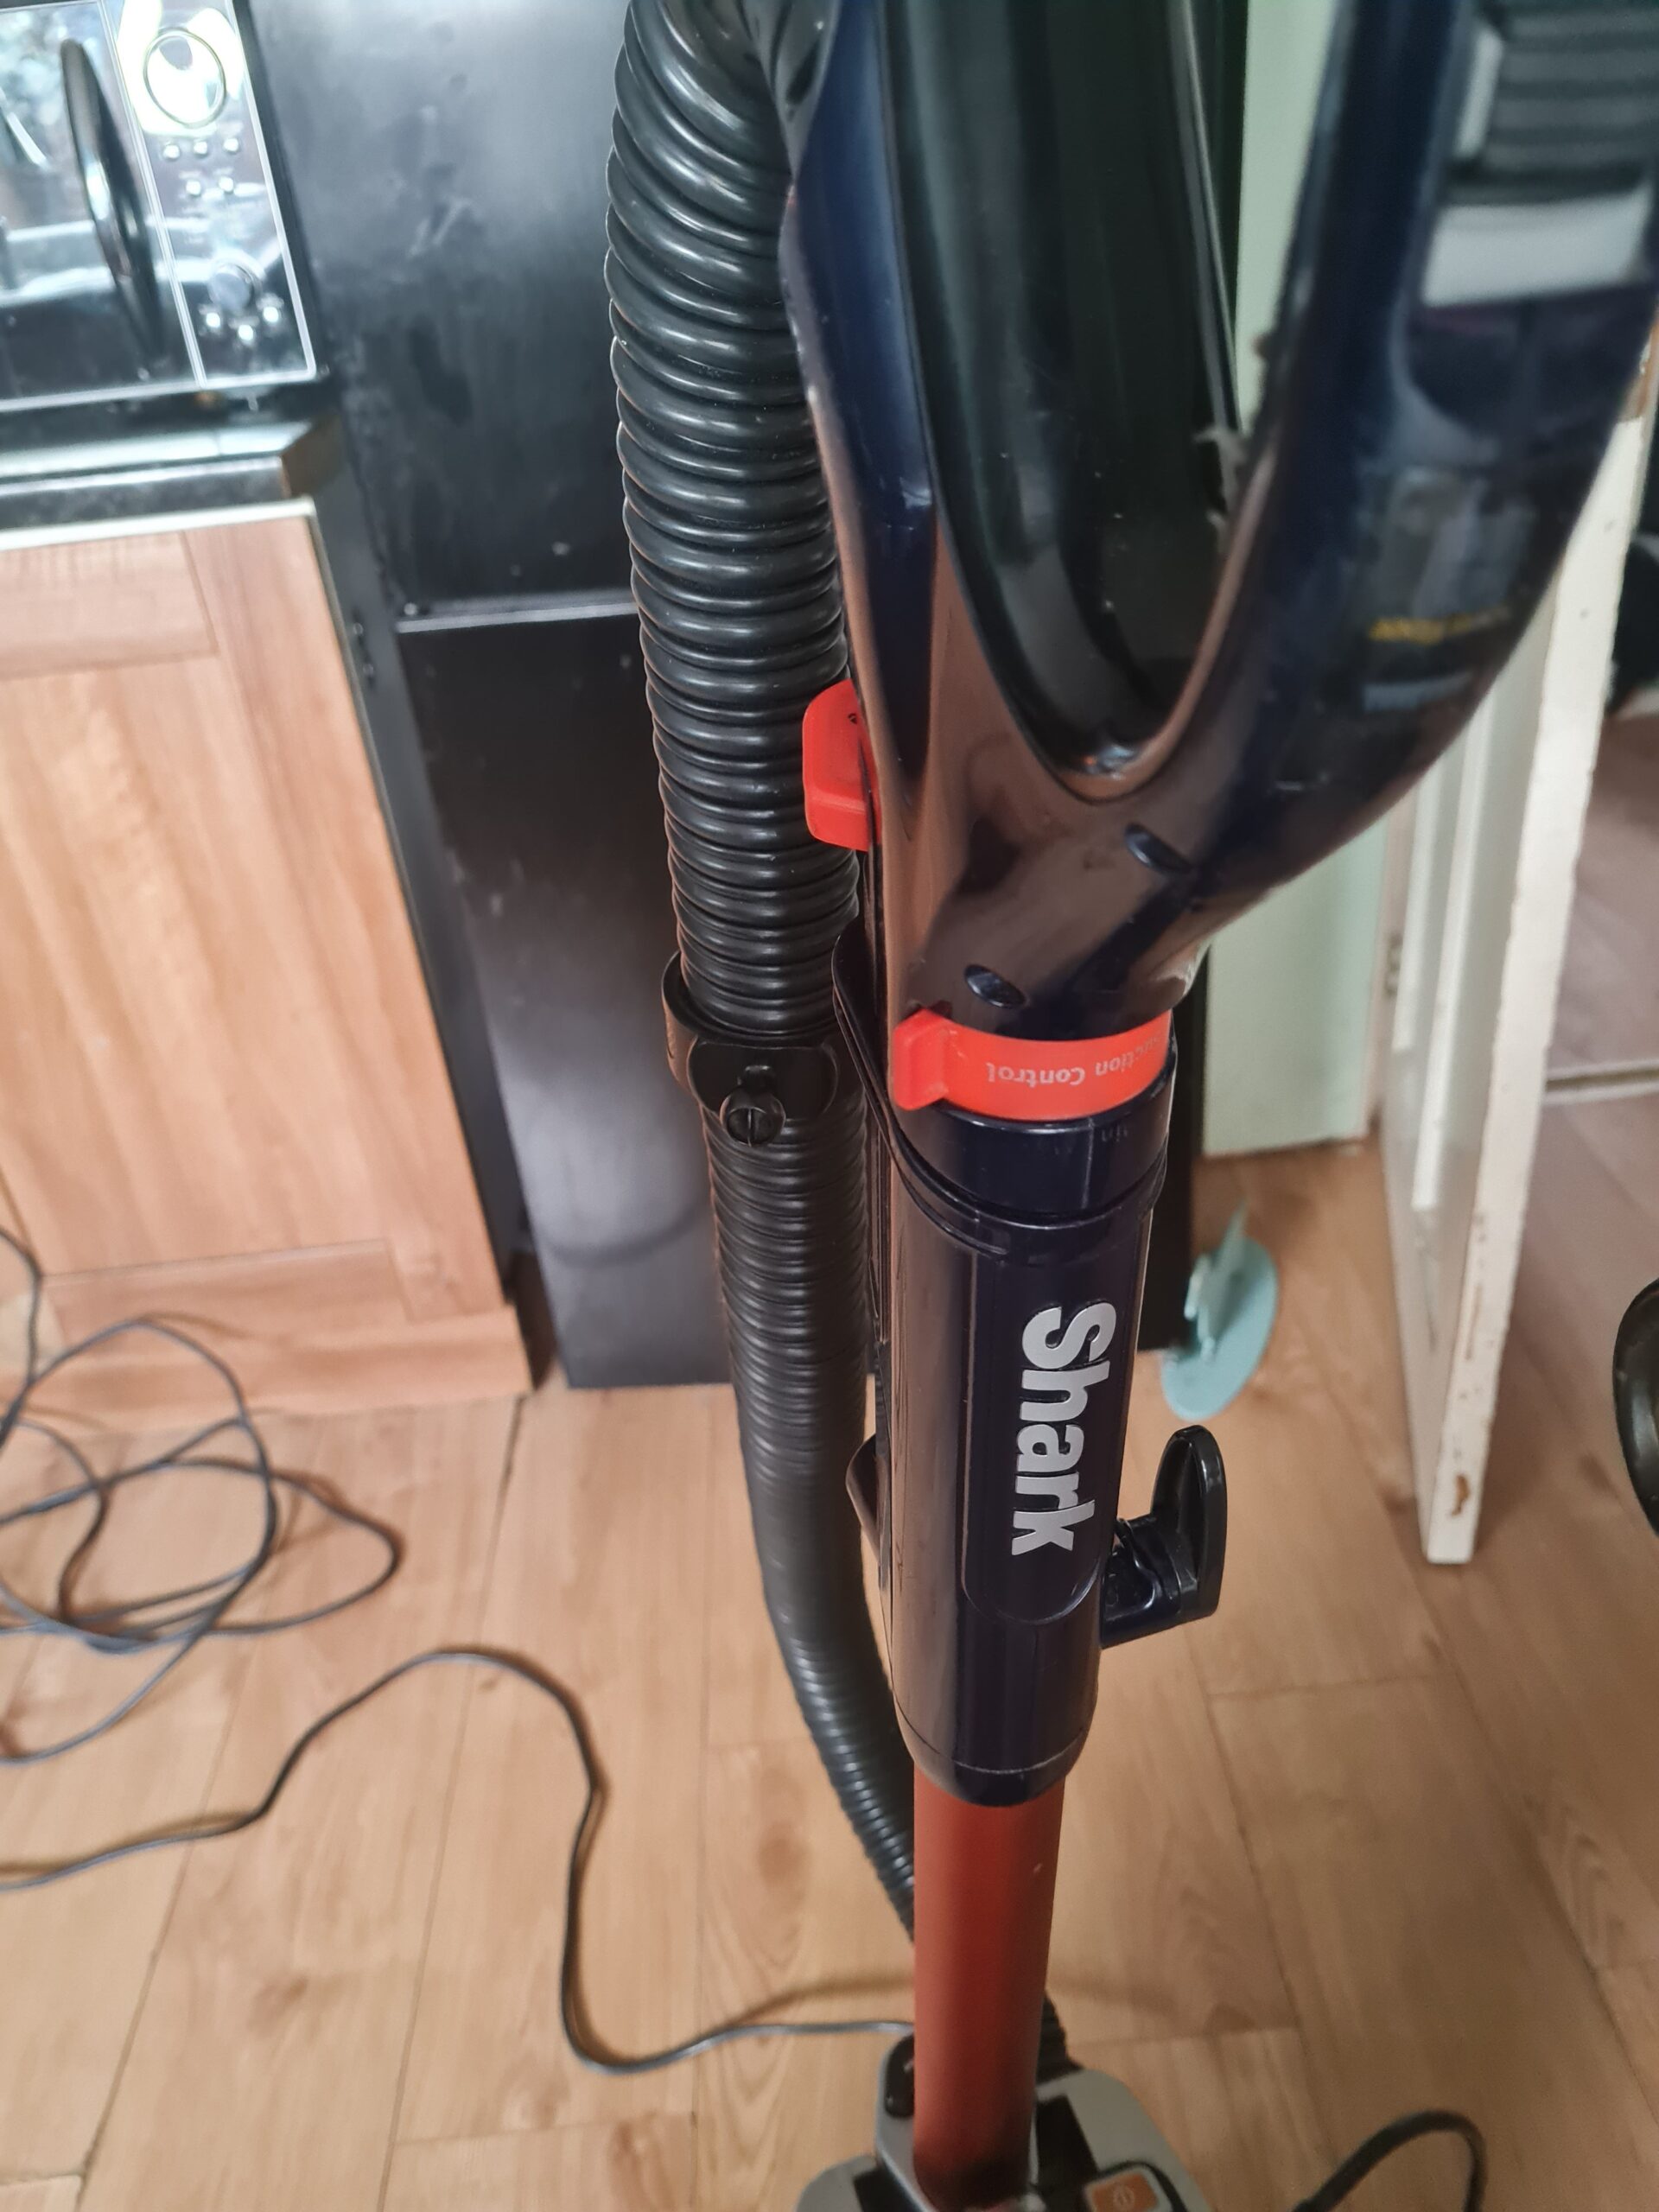
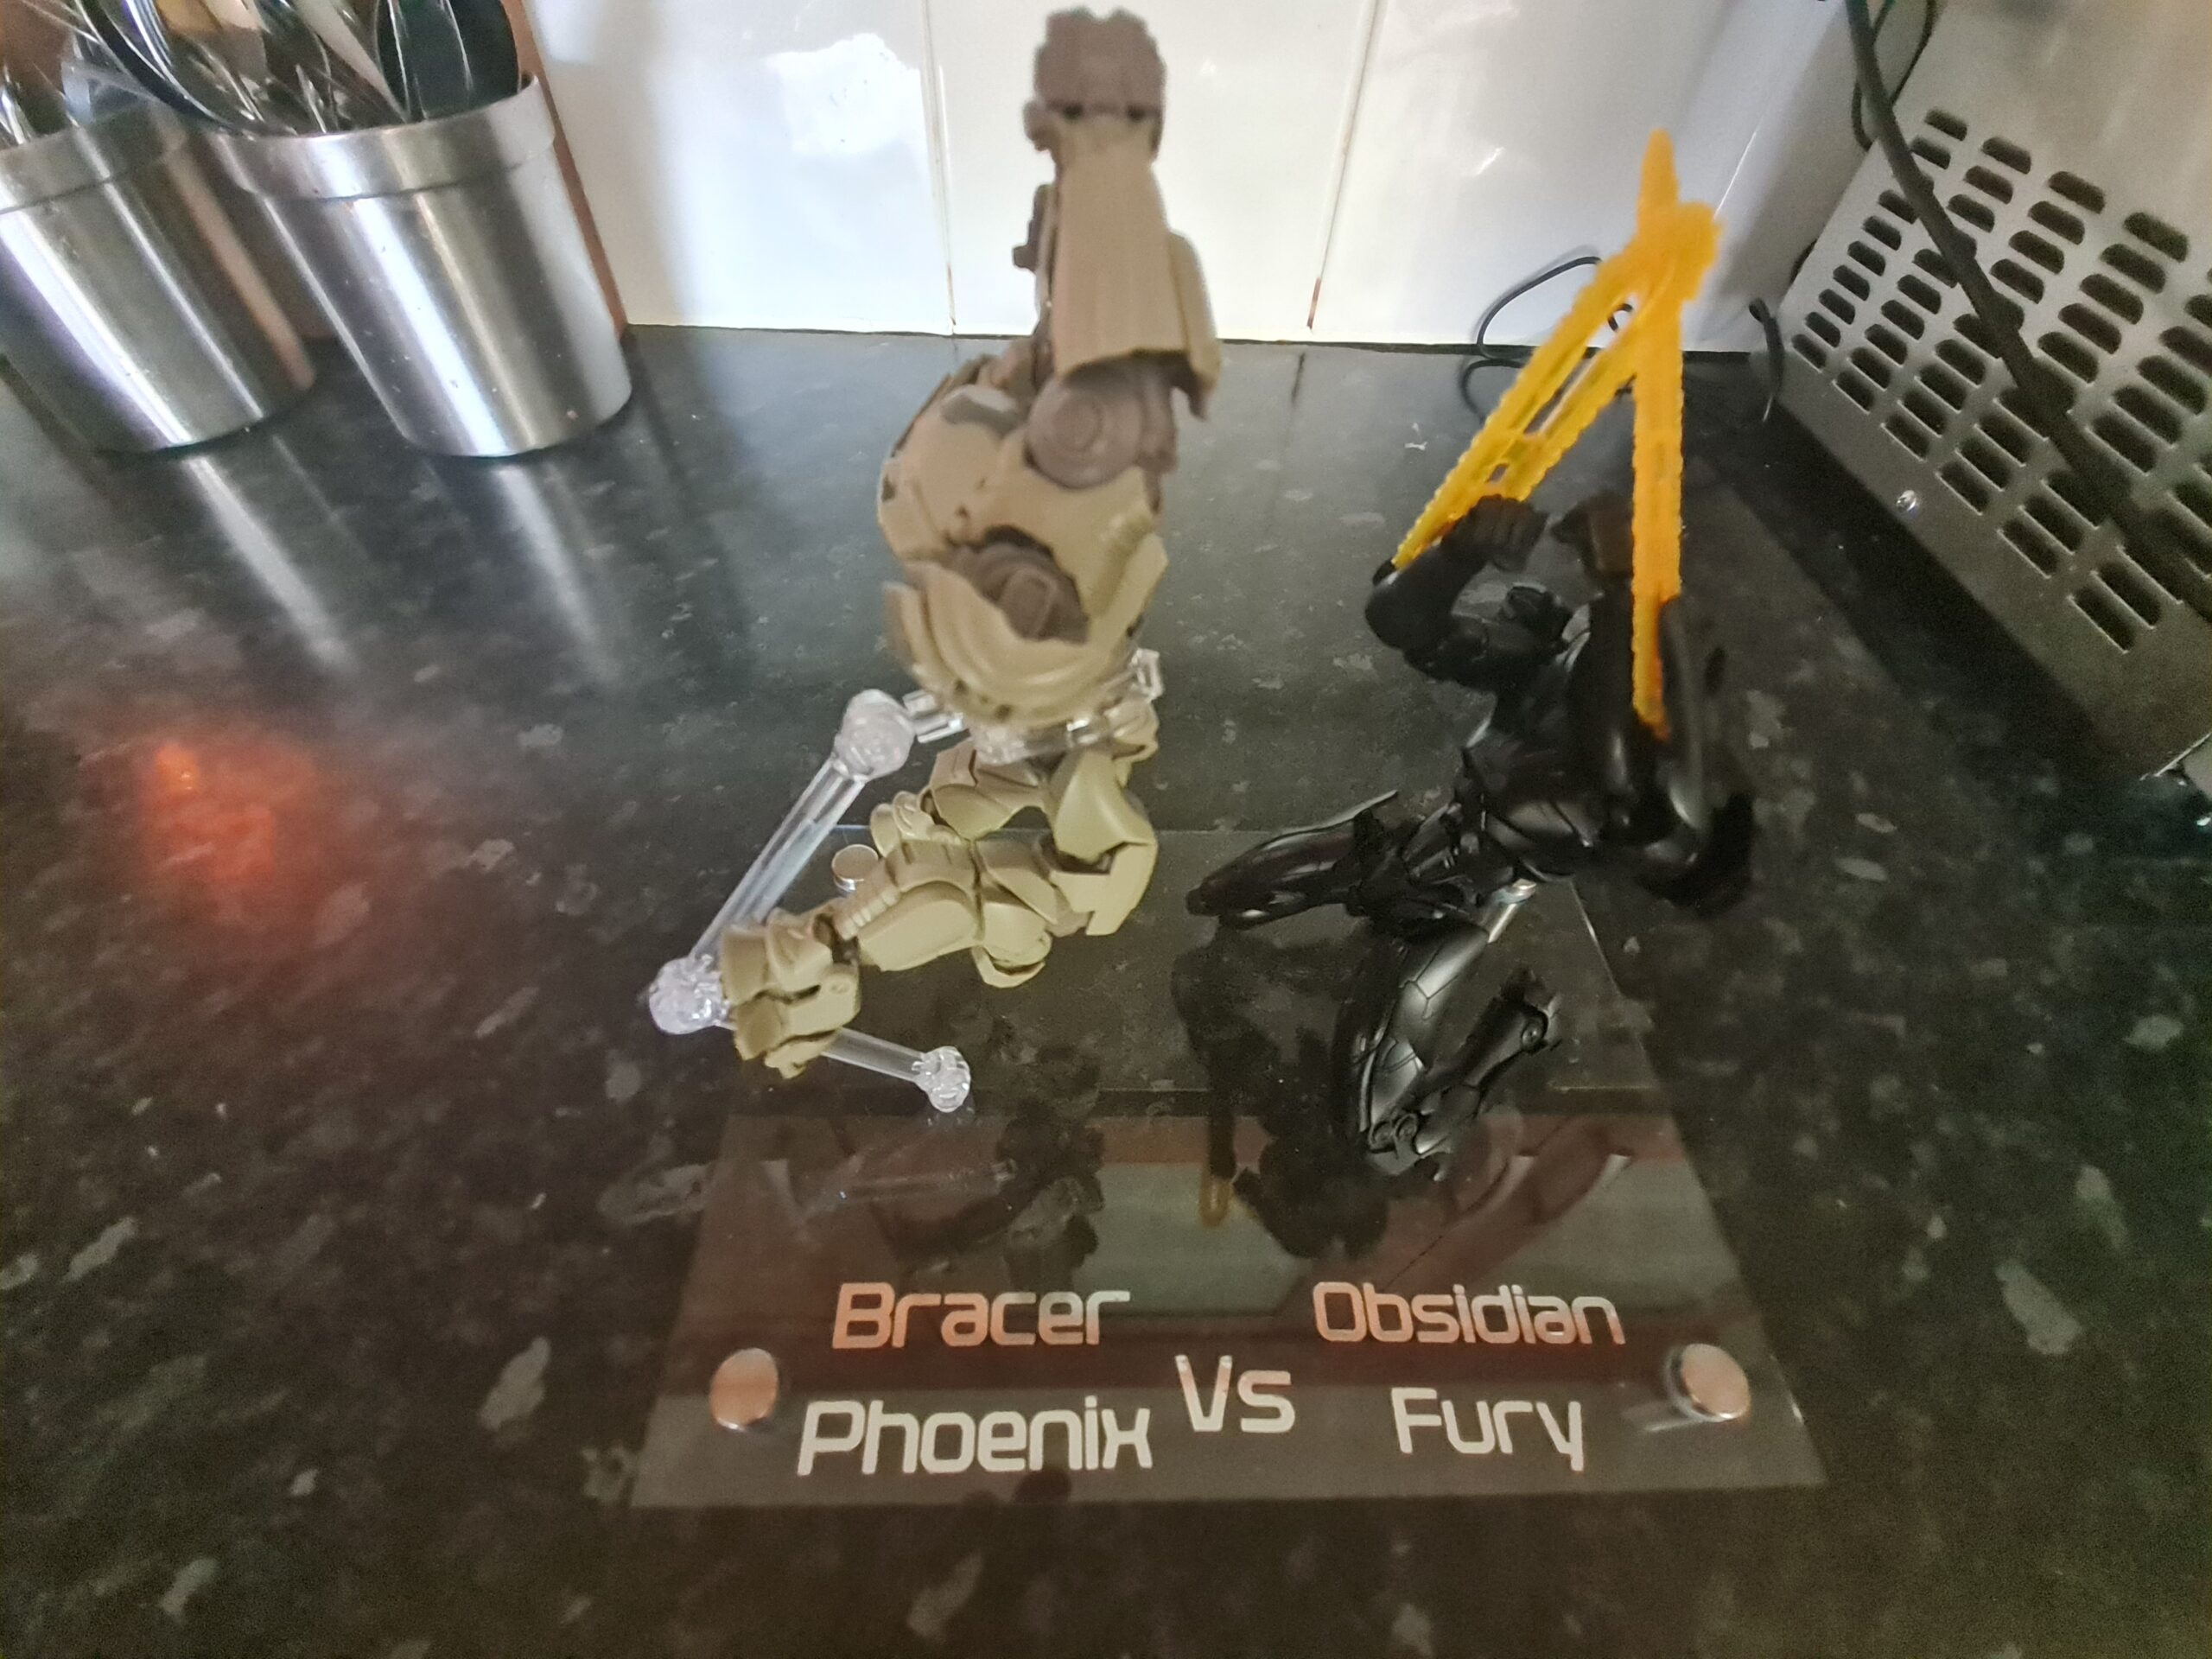
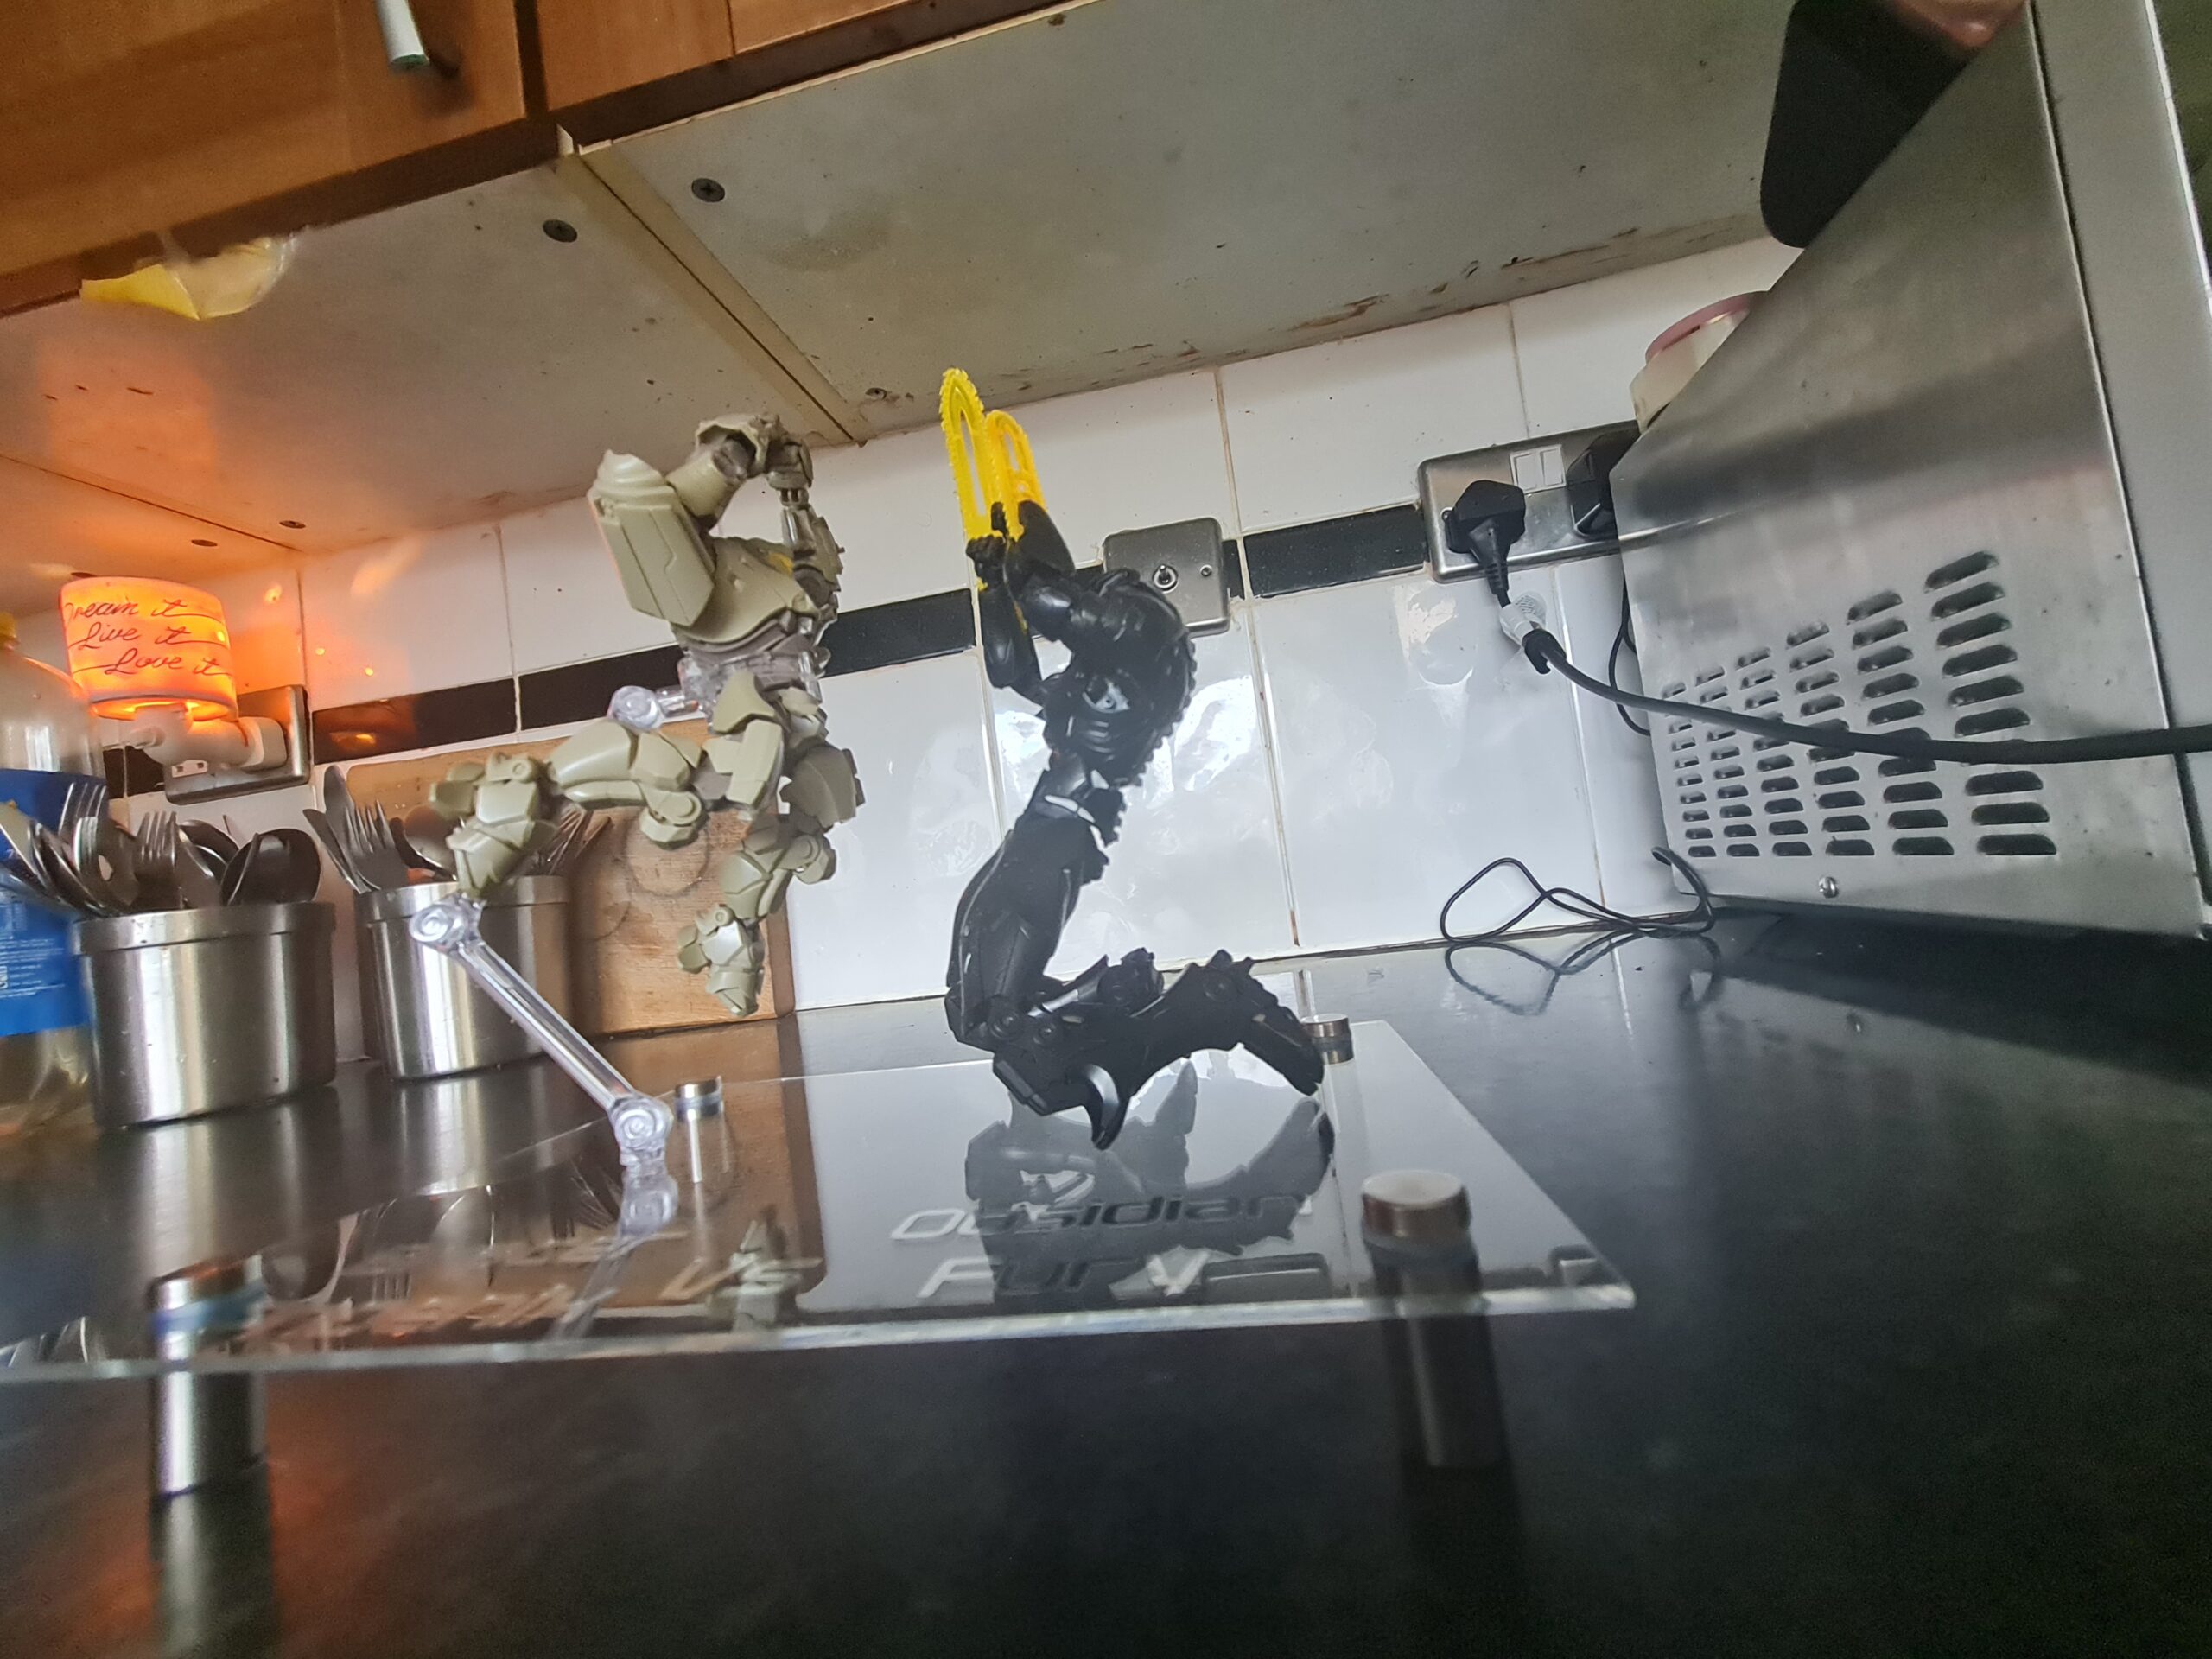
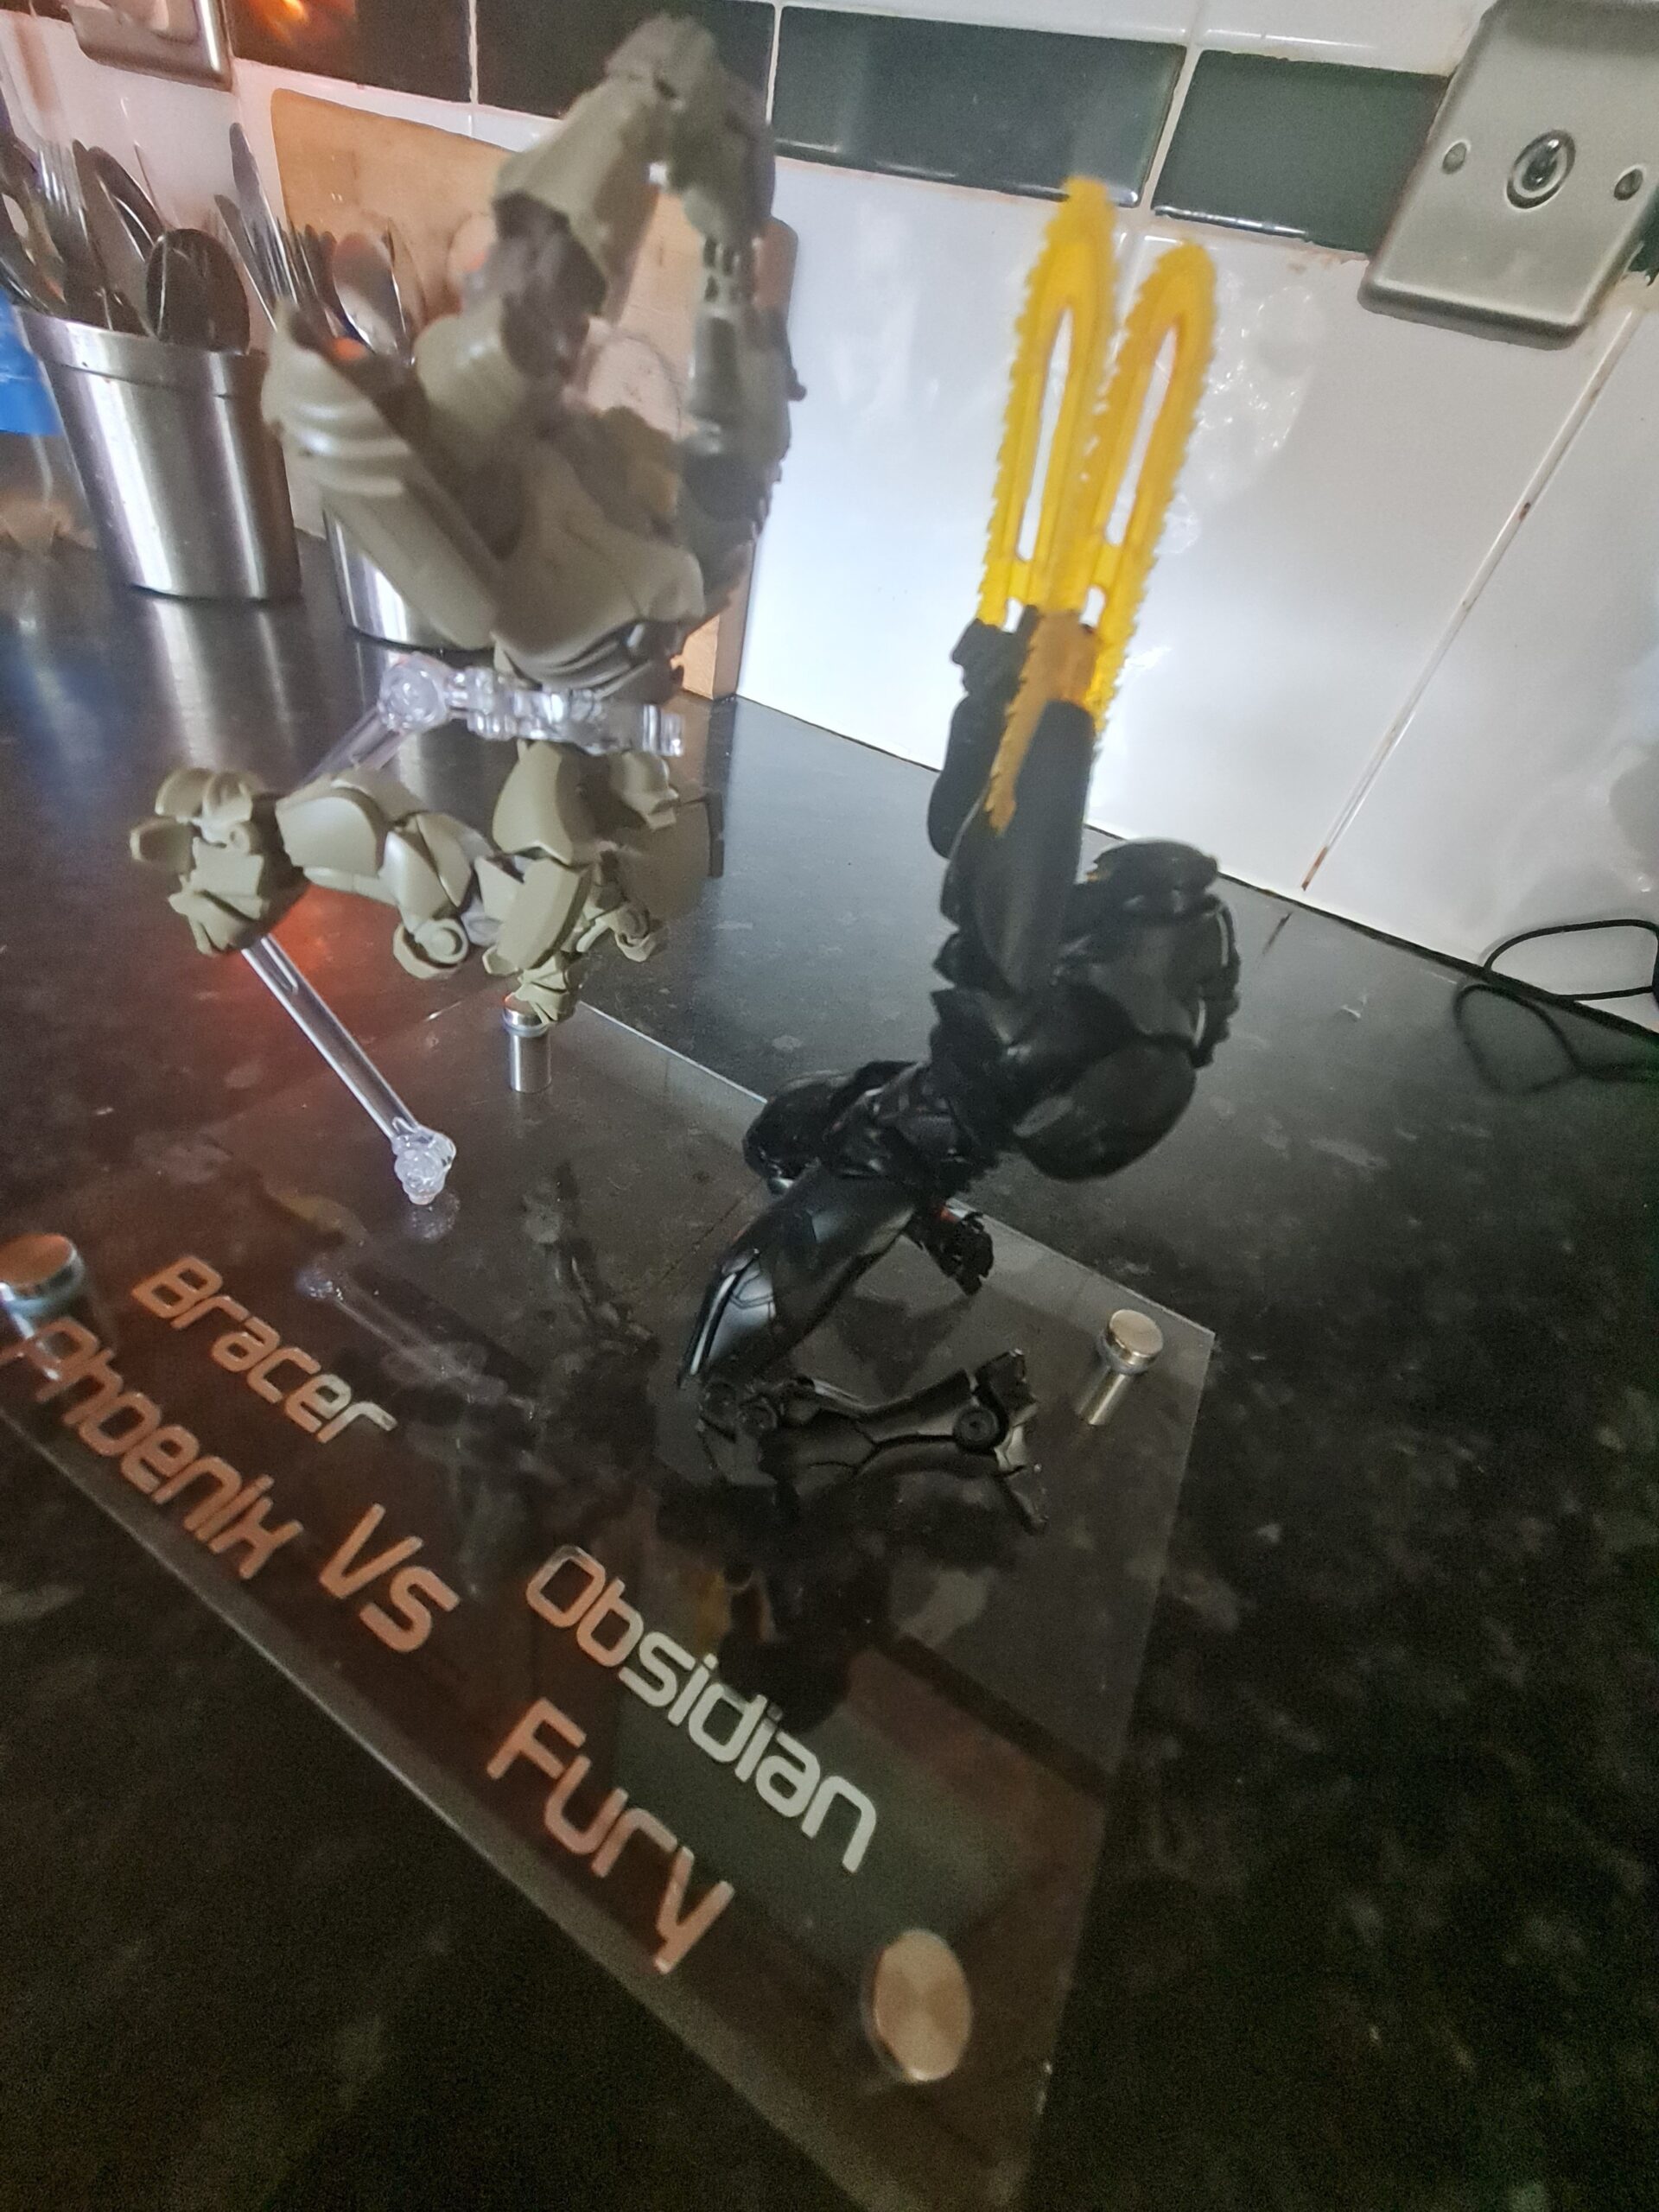
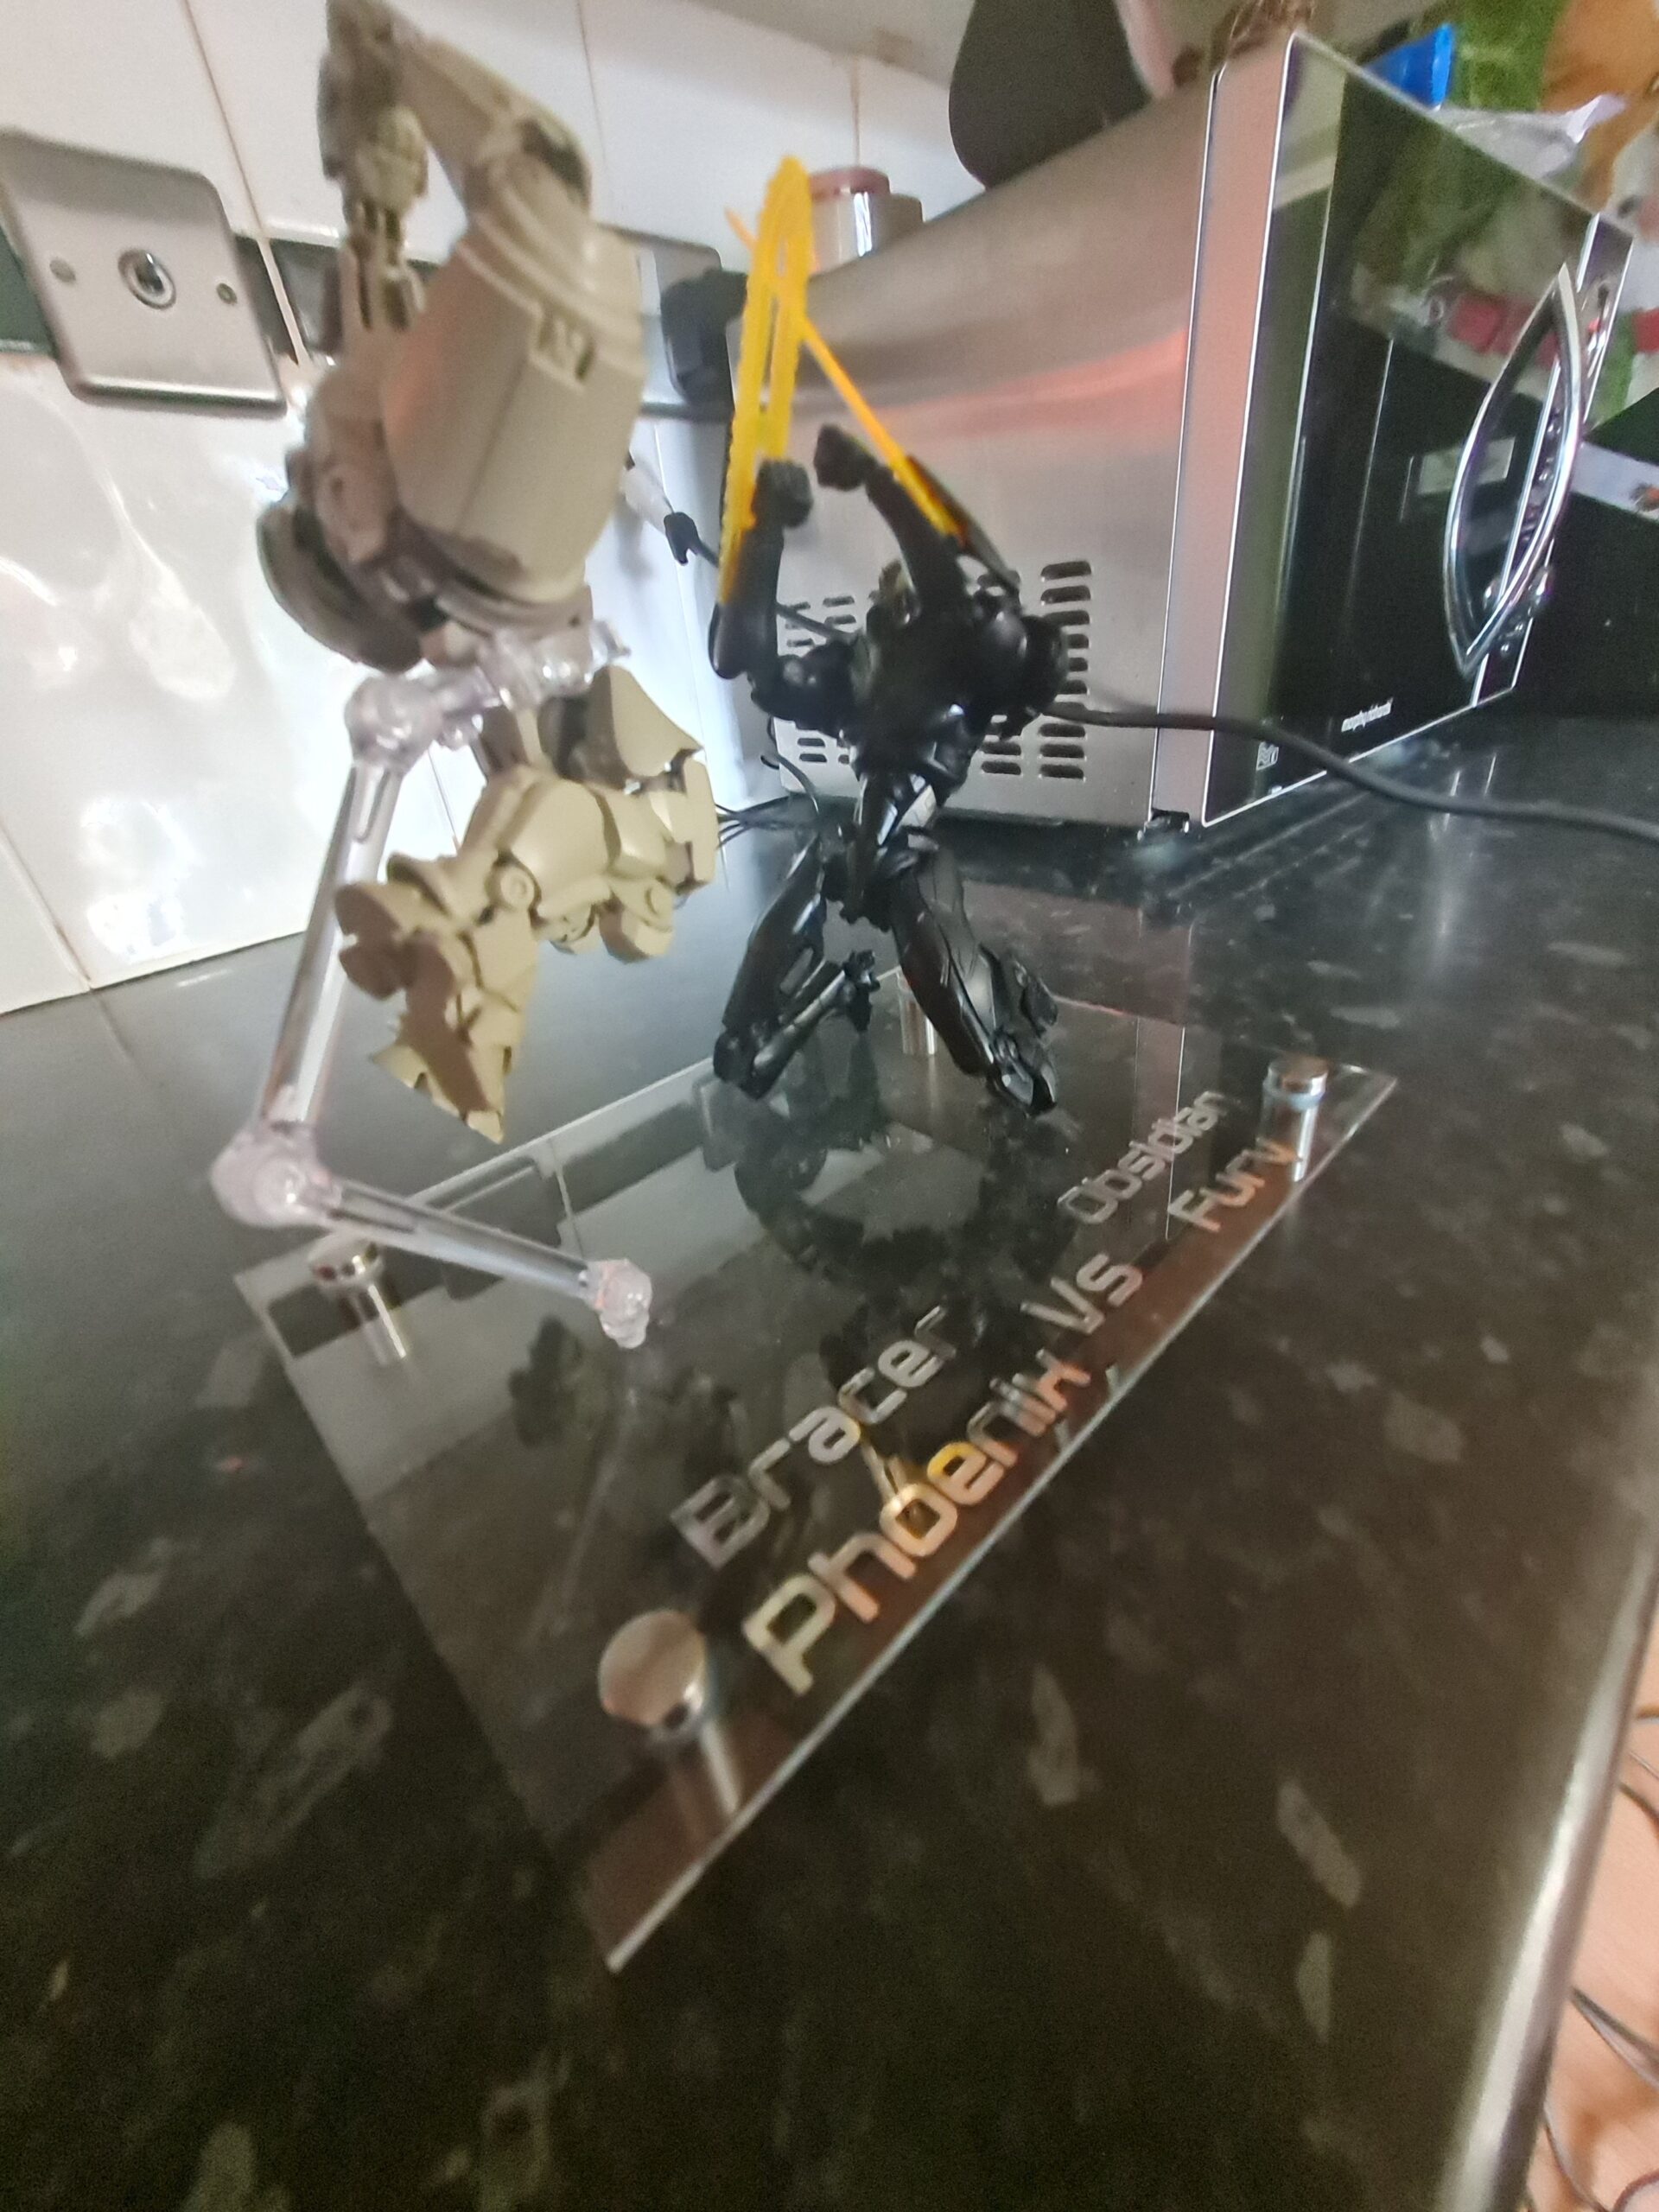
Ok I won’t lie. My first test was a disaster. But I think that was more to do with me not understanding how to apply them, and less to do with the decal. Applying them was, once I had some practice, easy enough. I ended up adding some to my heavy arms leg launchers.

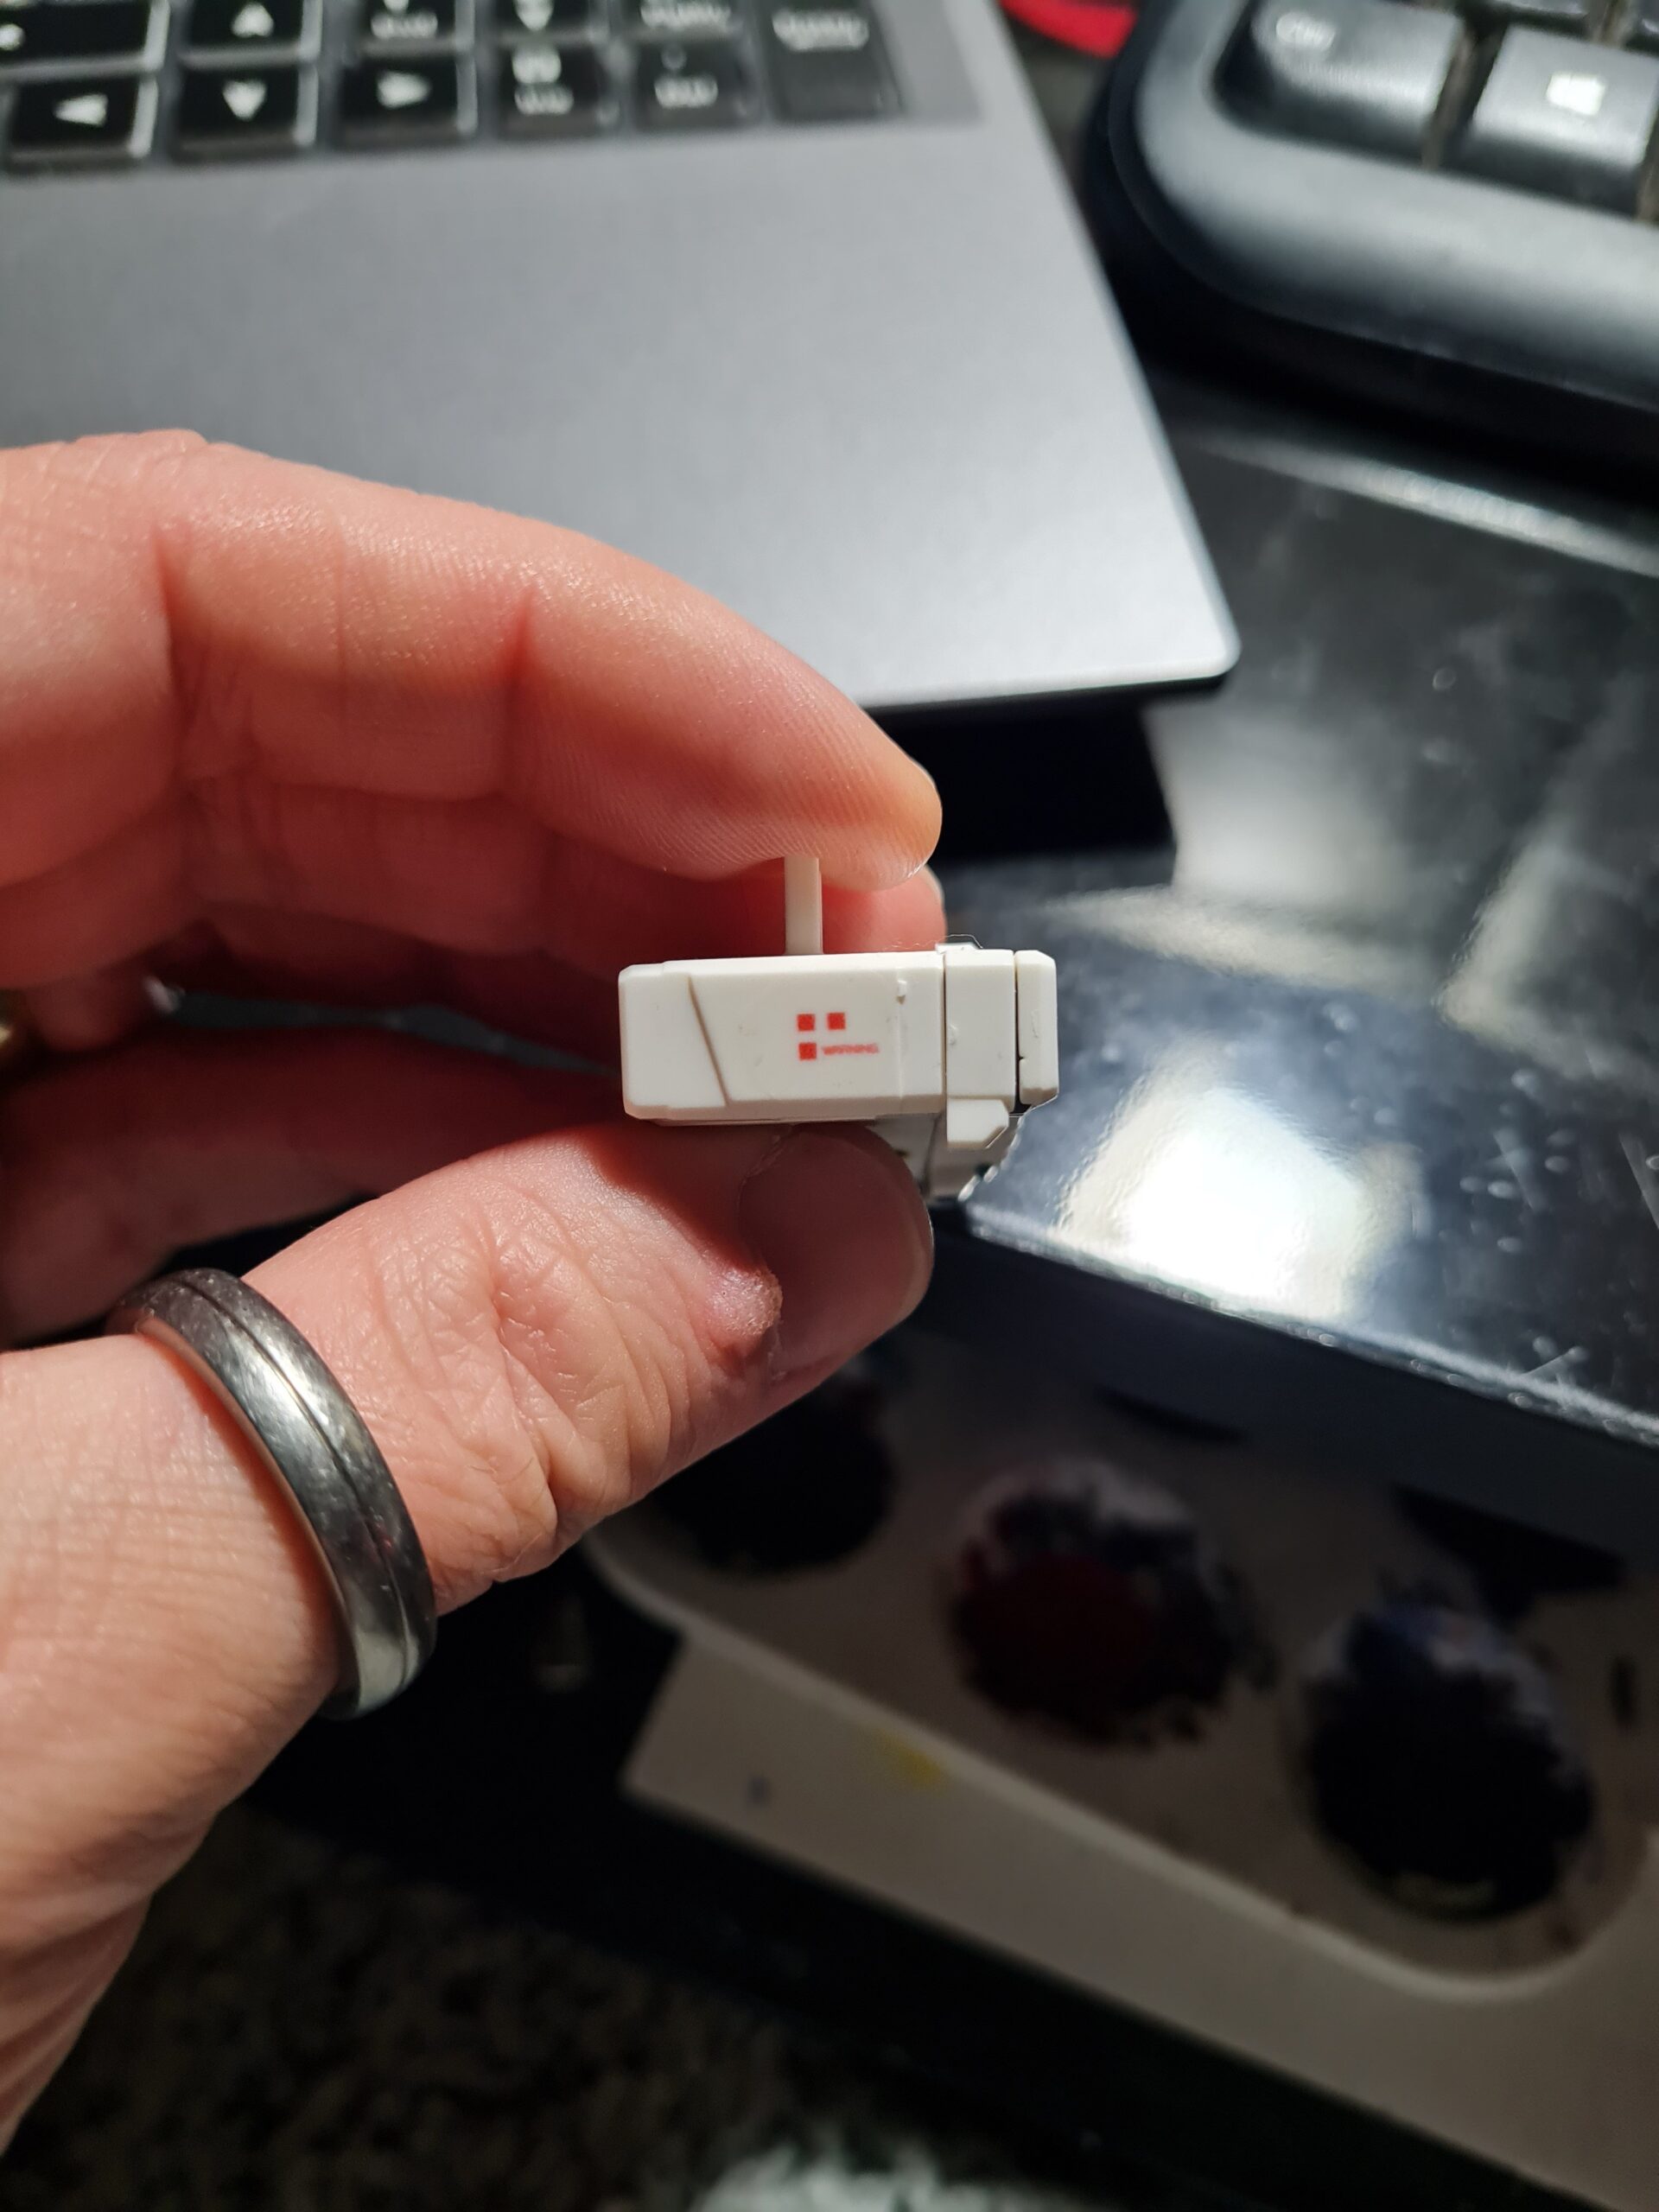
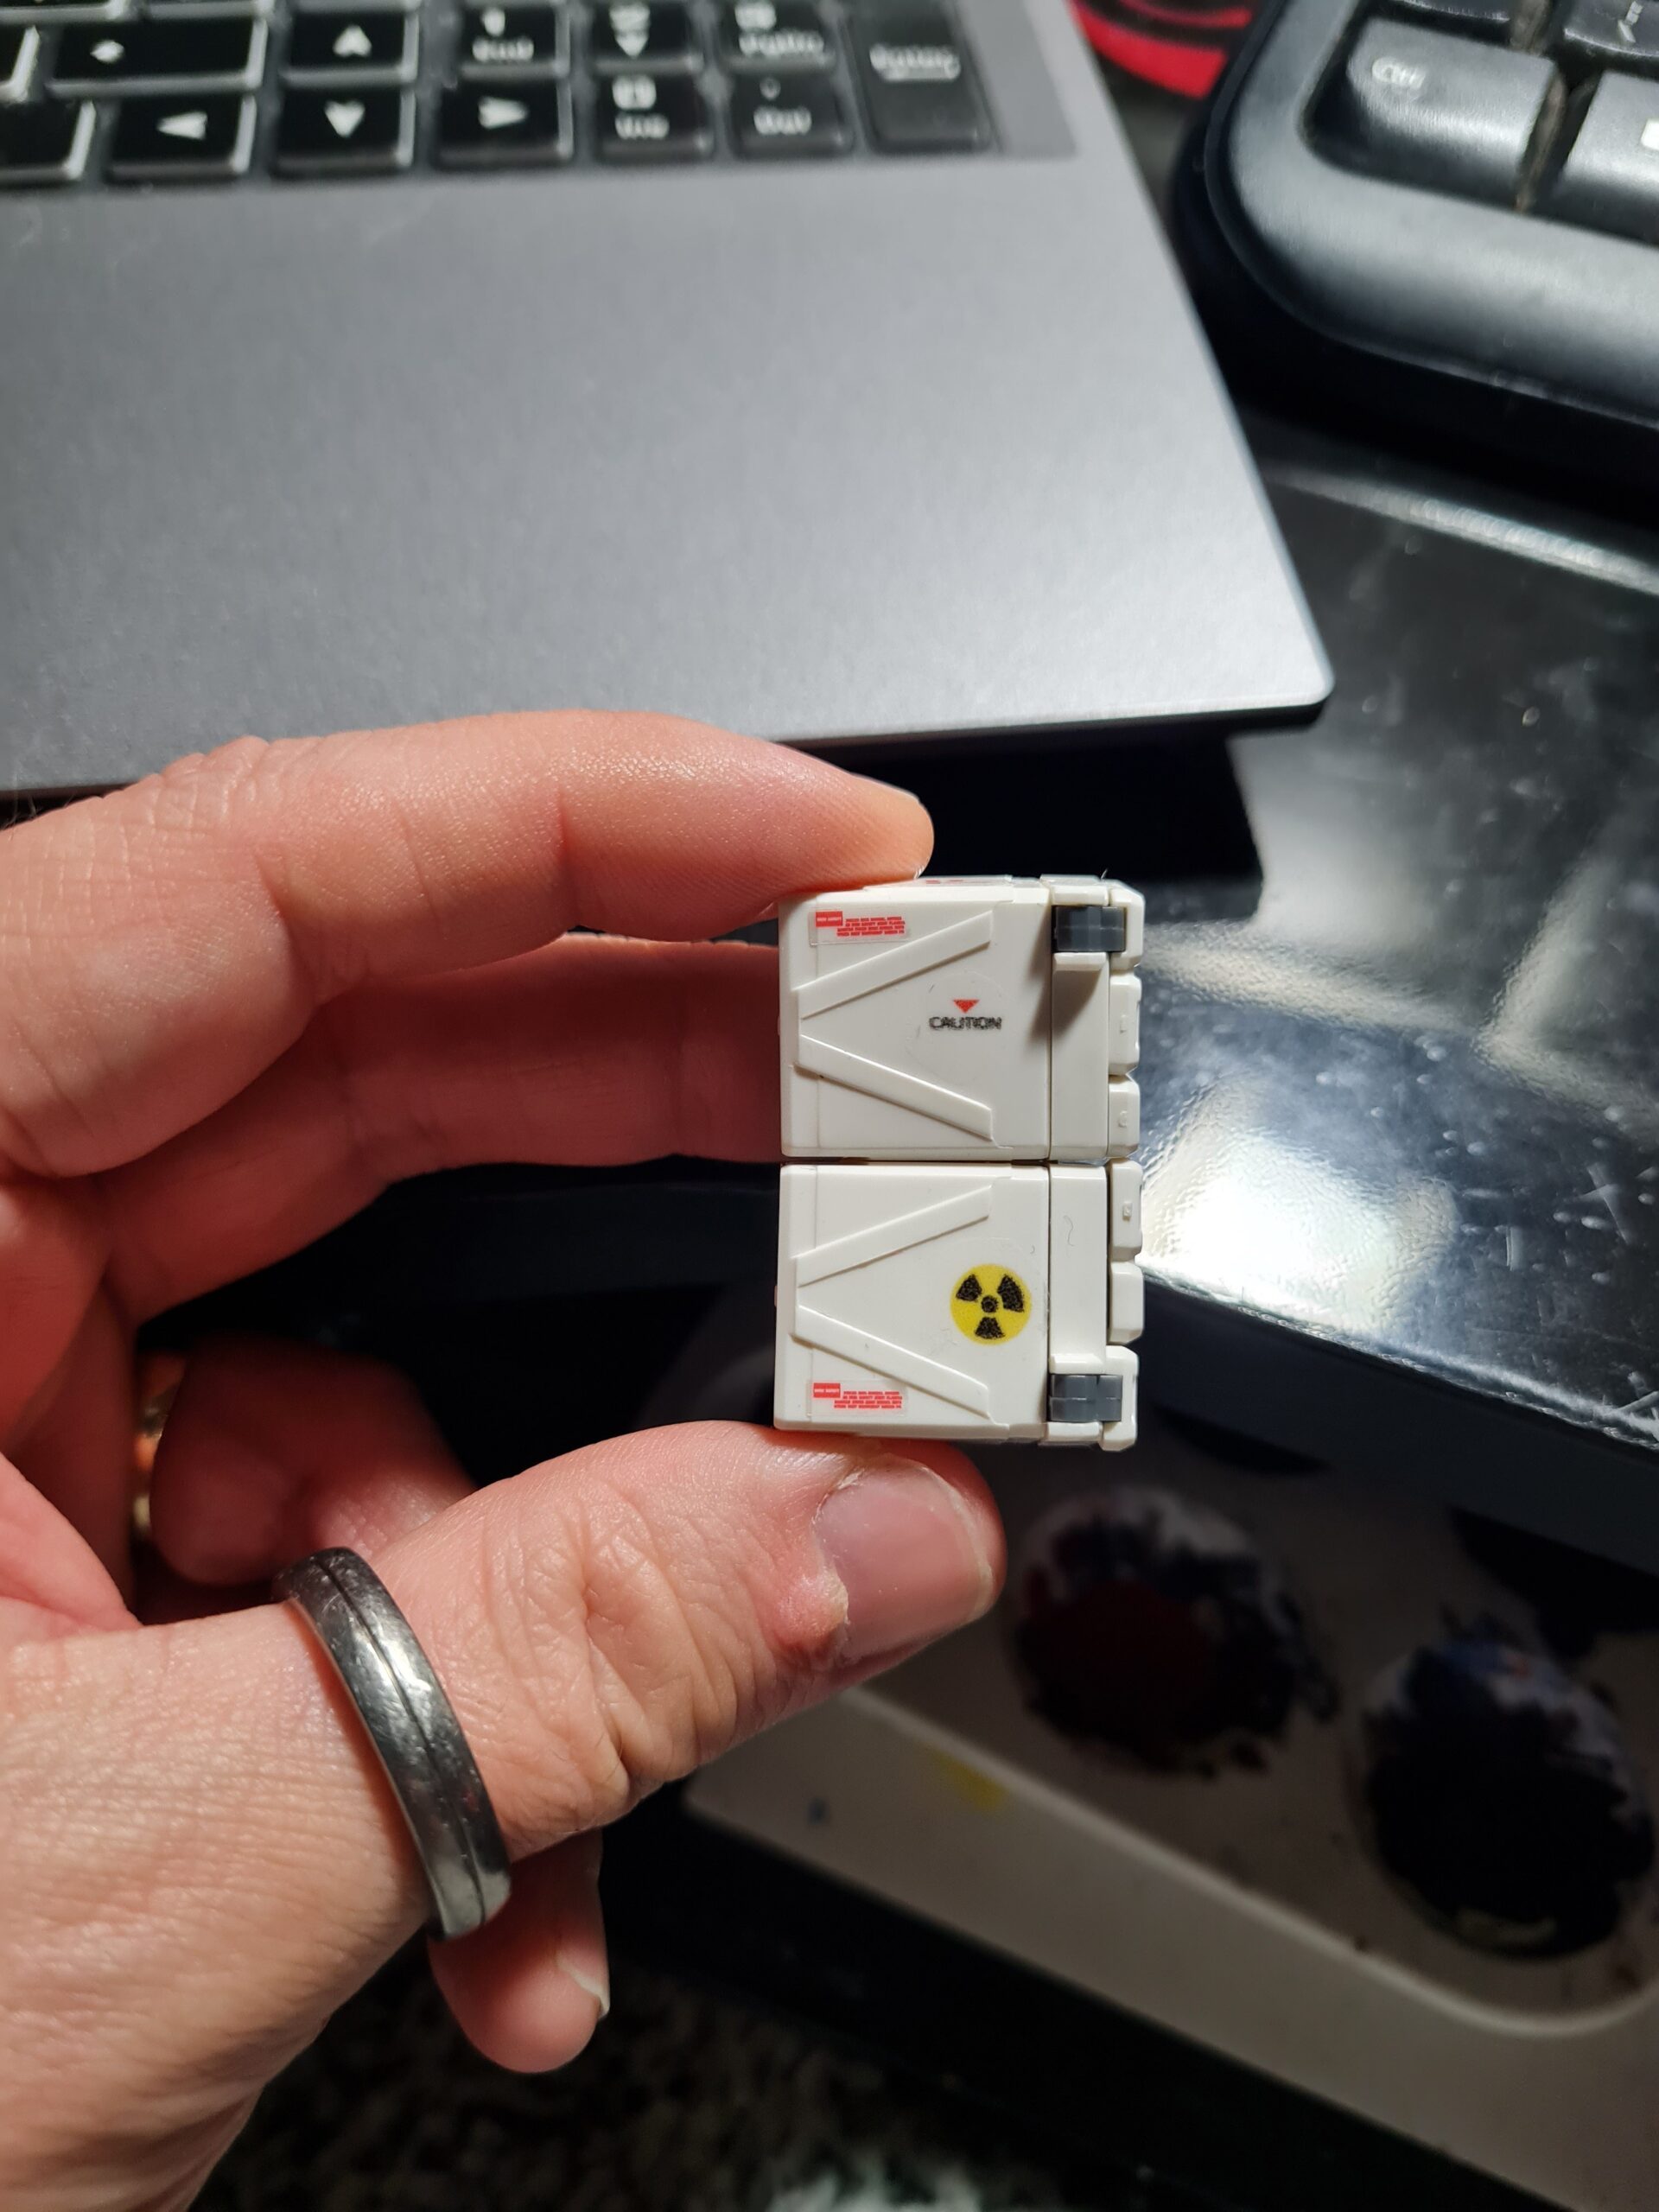
On the images above the little nuclear sign, and the red triangle and “caution” sign on the left image were custom ones from my print. The one on the image to the right is also a custom one.

Conclusion

All told I think the experiment was a success. I definitely found they worked best on lighter/white backgrounds but other than that I was very happy with the end result.

Thank you for taking the time to read this. If you haven’t already done so please like and follow us on our social media platforms and checkout our website!

Facebook: https://www.facebook.com/profile.php?id=100086701512793
Instagram: https://www.instagram.com/modelkitsltd/
Website: https://modelkitsltd.co.uk

Posted on

Entry Grade (EG) Model Options

EG_Nu

I mentioned in my earlier posts that I have a re-stock of some Entry Grade (EG) models coming in. I thought I would go through some of the things that are possible with these models. There are so many model options with these I think they are sometimes overlooked.

Firstly I think for the money they are awesome models. They have less detail than the other grades, but the ease of the snap fit, coupled with the details they do have make them look awesome. They will never reach the heady heights of the detail or joint articulation of the other lines, but they are fantastic standalone models.

Secondly looking at the EG Nu model it already looks like it has stepped out of one of the shows. It could literally have just taken a leap out of the screen and into the room.

Thirdly I love the idea of the EG models for younger builders who, possibly, have a shorter attention span, and who want to see something appear sooner rather than later. I think they would very quickly go from plastic bits on a runner to a model they made themselves that they can be proud of.

Fourthly for those parental figures out there it offers a wonderful opportunity to bond with your young ones, while they are also getting to practice finer motor skills which will be useful in all walks of life.

Fifthly for those who just want them themselves there are so many options available with these models. Take the EG Nu model as a great example.

EG_Nu
EG_Nu

Starting with the panels, looking at this model it offers ample opportunity to learn scribing. There are large panels all over this piece from the shield to the chest and the front flaps and legs. Even the calf muscles look like they really want you to learn scribing using them!

Panel lining is another effect that you could practice on this model. Although I will admit looking at it, you may want to practice scribing first to add a few more bits to panel line 🙂 However, if you are looking to hone your skills this is a great place to start.

I also think this is a great proving ground for painting, and painting styles. Looking at the chest and hips section I think they are so close to many other models that this provides a perfect generic model to test some paint schemes on. You can also practice shading techniques and blending and all other sorts of effects.

Lighting … well ok I need to see inside one to see how hard, or easy, it would be to light this up; I am thinking primarily on the eyes.

After market panels, and hatches. I think this is also the perfect model to try out some after market hatches and panels.

Now you may be thinking, but if I buy all those things and do all that wouldn’t I be better just buying a more detailed model to start with? I would say do both! Customising the models offers you the opportunity to make something totally unique to you. The panels will be where you want, the lines where you want, it has the chance to be exactly as you picture it in your minds eye.

Now obviously none of those things may appeal to you. However, at the end of the day it is all about doing what you enjoy. This should be a hobby, and be enjoyable. Never let anyone tell you that you are having fun “wrong”. If you want mismatched colours, you go for it. If you want one leg longer than the other, then go for it. Whatever makes you happy with your model is what you should go for. I don’t think it matters whether you customise or not, as long as you enjoy what you are doing.

Thank you for taking the time to read this. If you haven’t already done so please like and follow us on our social media platforms and checkout our website!

Facebook: https://www.facebook.com/profile.php?id=100086701512793
Instagram: https://www.instagram.com/modelkitsltd/
Website: https://modelkitsltd.co.uk

#gundam #gundammodel #model #kit #gunpla

Posted on

Custom Stand

Introduction

In one of my previous posts I showed off my RK Zaku II on the custom stand. I thought that I would do a piece on making the custom stand.

Materials

  • Silver Vinyl (sticky backed)
  • Transfer tape
  • A5 2mm thick acrylic sheet
  • Stainless steel standoff fixings (for the feet)

Tools

  • Drill
  • Pen
  • Drill bits
  • Cricut
  • Scissors
  • Weeder
  • Squidger (I have no idea what it is really called)
  • Ruler

Stage 1 – Measuring out

I like to have the feet in pretty much the same position. I also like them to be symmetrical. To do this I measure 1.5cm from each corner.

The acrylic is covered on both sides with a protective covering. I leave this on as long as possible to help protect the acrylic, and also to mark on wherever possible.

Drilling the holes

Once the holes are marked out, I moved on to drilling the holes.

To do this I needed the drill bits, the drill, and the hoover. The drill bits are actually for drilling into tiles and work perfectly for this job. The first thing I had to do was find the right size. I had to unscrew one of the feet and check the width of the drill bit to the thread size of the bolt. You want one marginally bigger than the thread so the bolt drops in nicely.

Once that was done I placed the acrylic sheet flat on the table edge, as close to the marked spot as possible (allowing room to drill through and not hit the table). I also used a finger to support the outer side of the sheet to help stop it flexing. Then using the drill I made the hole in the sheet.

As can be seen above I also tested one of the feet int he hole to make sure it was fitting securely. I then removed this to do the rest of the work.

I did drill an extra hole for the stand. Normally I would put this at the halfway point. However, for this I wanted it in a specific place. The methodology though was the same as above. Find the right size bit, drill the hole, and finally test. I do think I will add some glue to help hold it in place, but it works well.

The Text

I am fortunate enough to have a cricut. I used the software for that to write out the words I wanted on the stand.

Once the cricut had done its job. I measured out the center point on the acrylic and market it out. I then peeled back the protective cover on one side of the acrylic. The last photo above the ruler is holding it back out of the way. I then quickly checked the layout. I needed to make sure everything was going to fit! Once I was happy, I transferred the Vs to some transfer tape and placed it centrally on the acrylic. I then repeated this process with the Bracer Phoenix and Obsidian Fury pieces of text.

The feet!

The next stage is to put the feet on. Prior to this I peeled off the protective cover from both sides of the acrylic sheet.

As can be seen above the process to attach the feet is simple. I first take it apart, and then put the first washer onto the bolt. Next I place the bolt through the acrylic sheet and add the second washer. Finally I screw the foot case part on and finger tighten. This is repeated for all 4 feet.

Conclusion

I really enjoyed making this custom stand. All that was left was to add the stand and figures and it was done. I will leave you with those images at the bottom of this post. Any questions please just ask.

Thank you for taking the time to read this. If you haven’t already done so please like and follow us on our social media platforms and checkout our website!

Facebook: https://www.facebook.com/profile.php?id=100086701512793
Instagram: https://www.instagram.com/modelkitsltd/
Website: https://modelkitsltd.co.uk

#gundam #gundammodel #model #kit #gunpla