Posted on

Shiranui Second Yuya Bridges Ki

Shiranui Front

Introduction

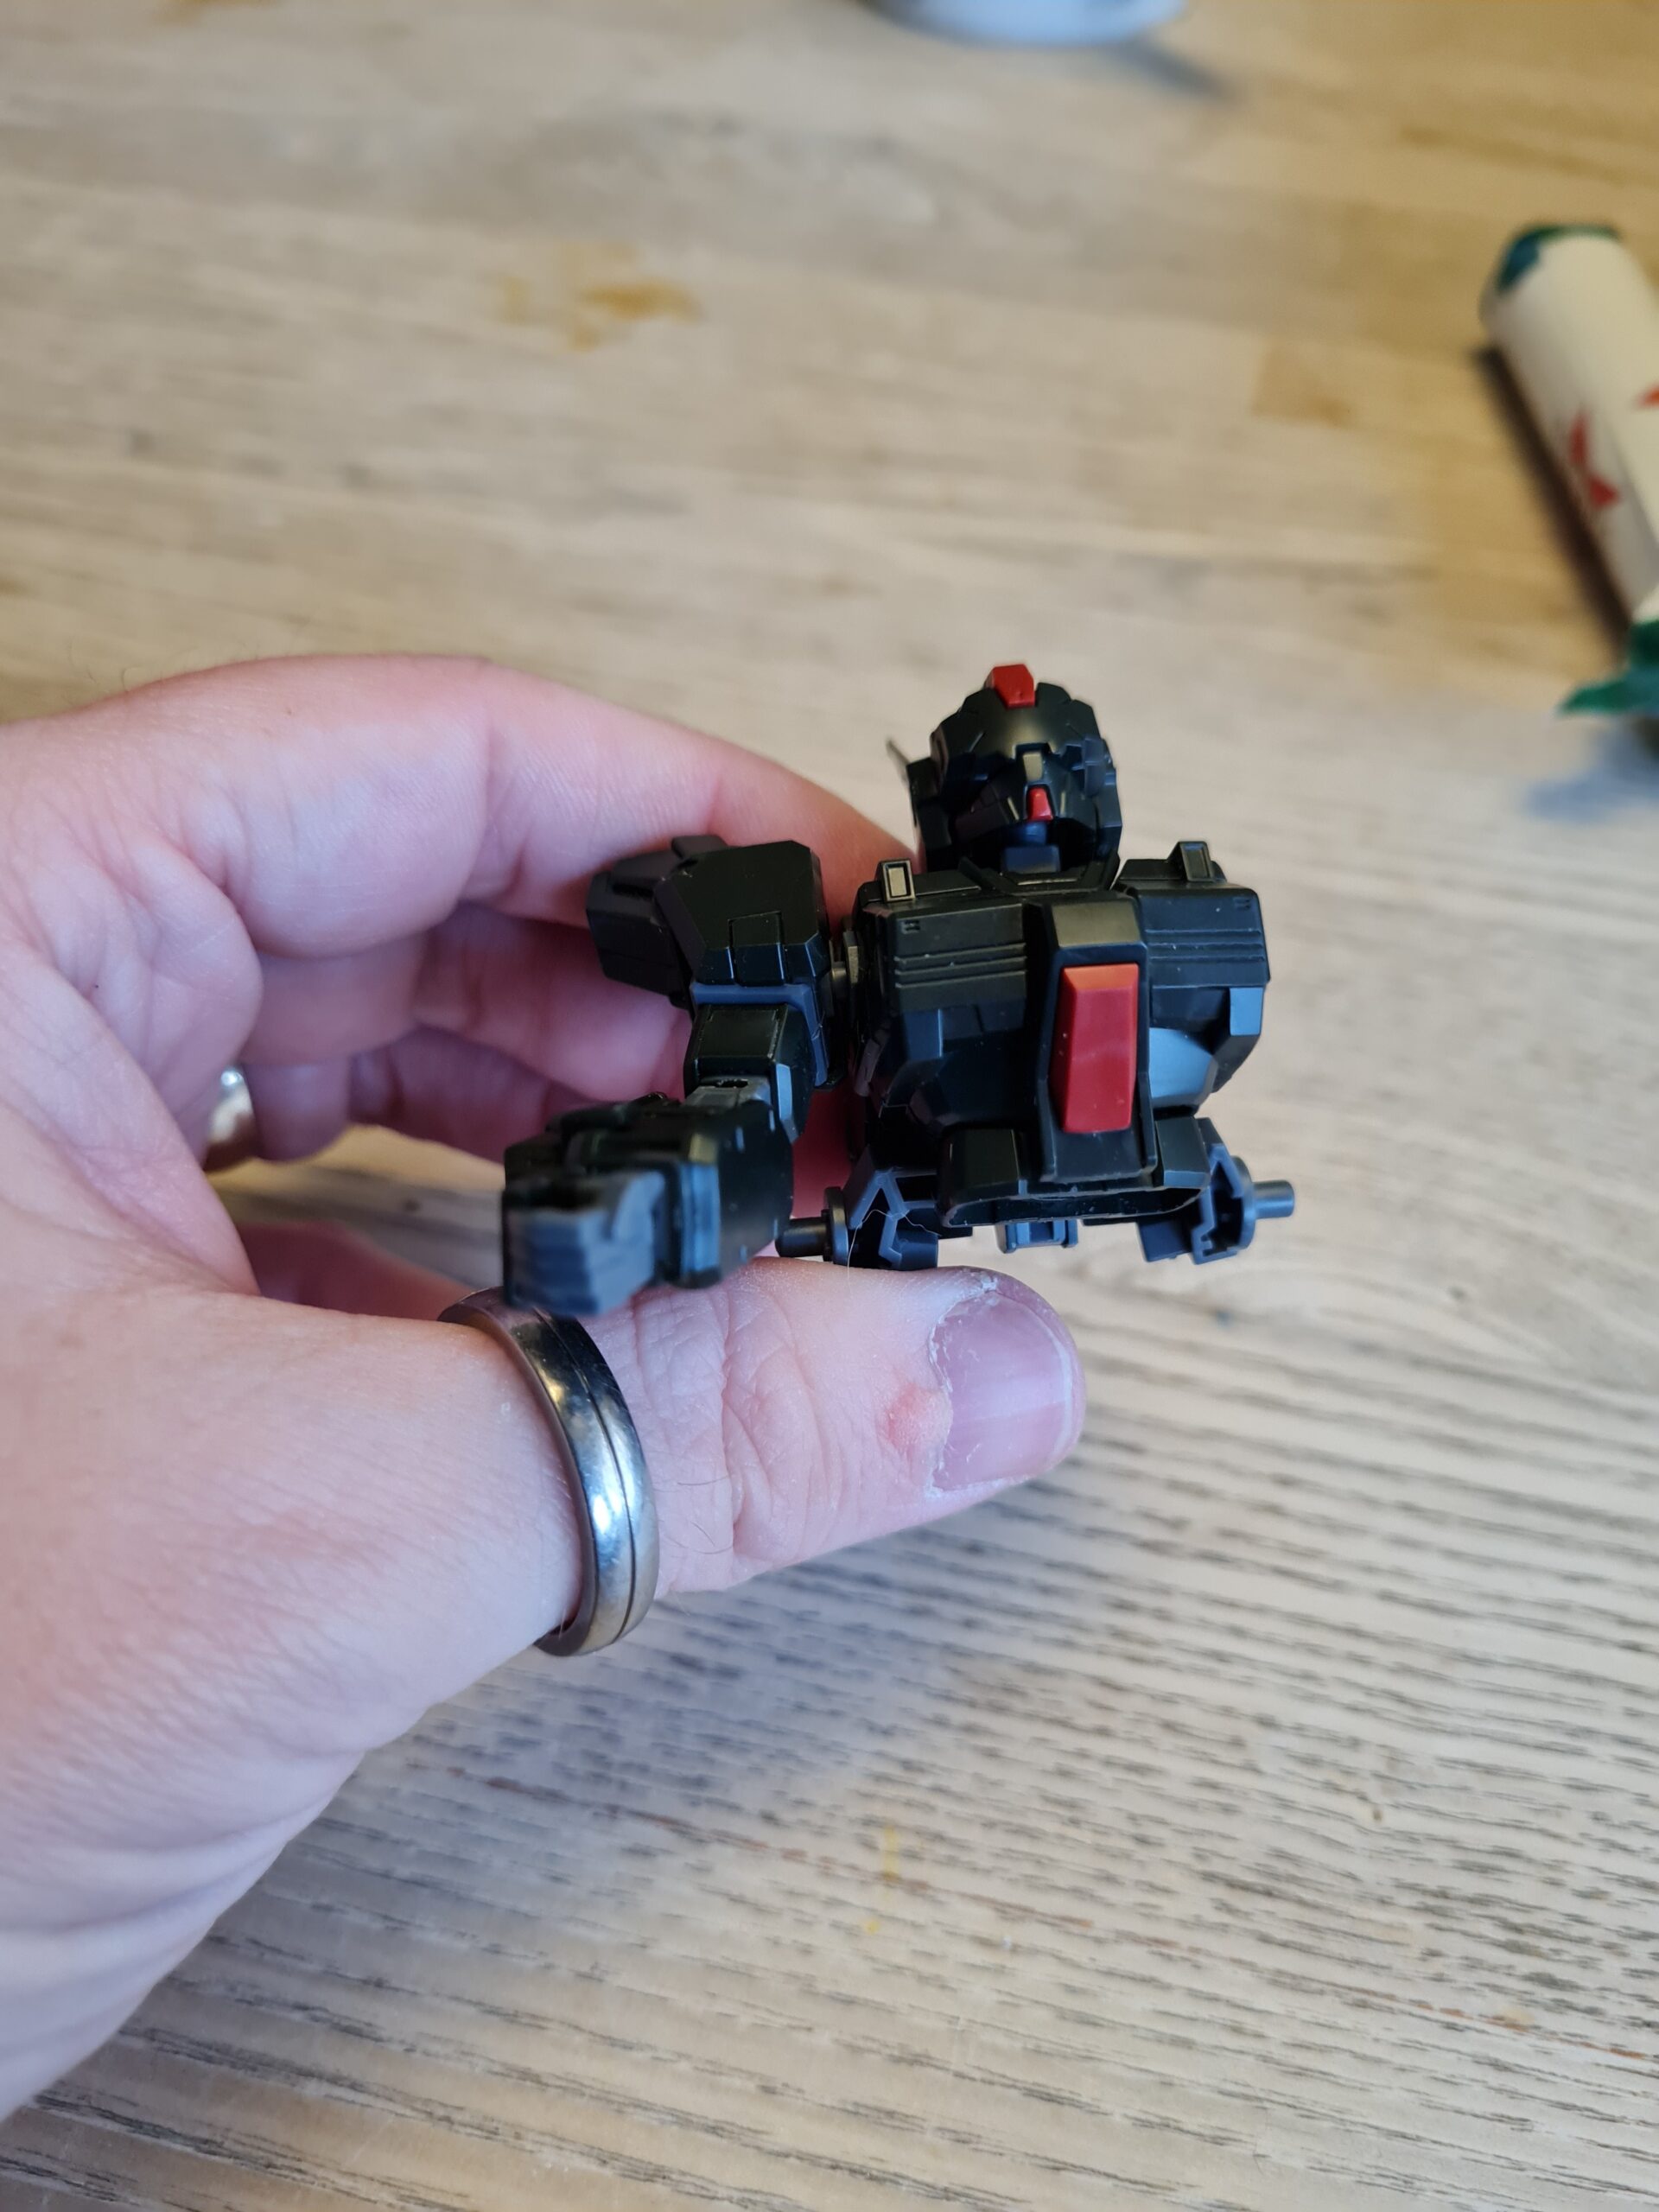
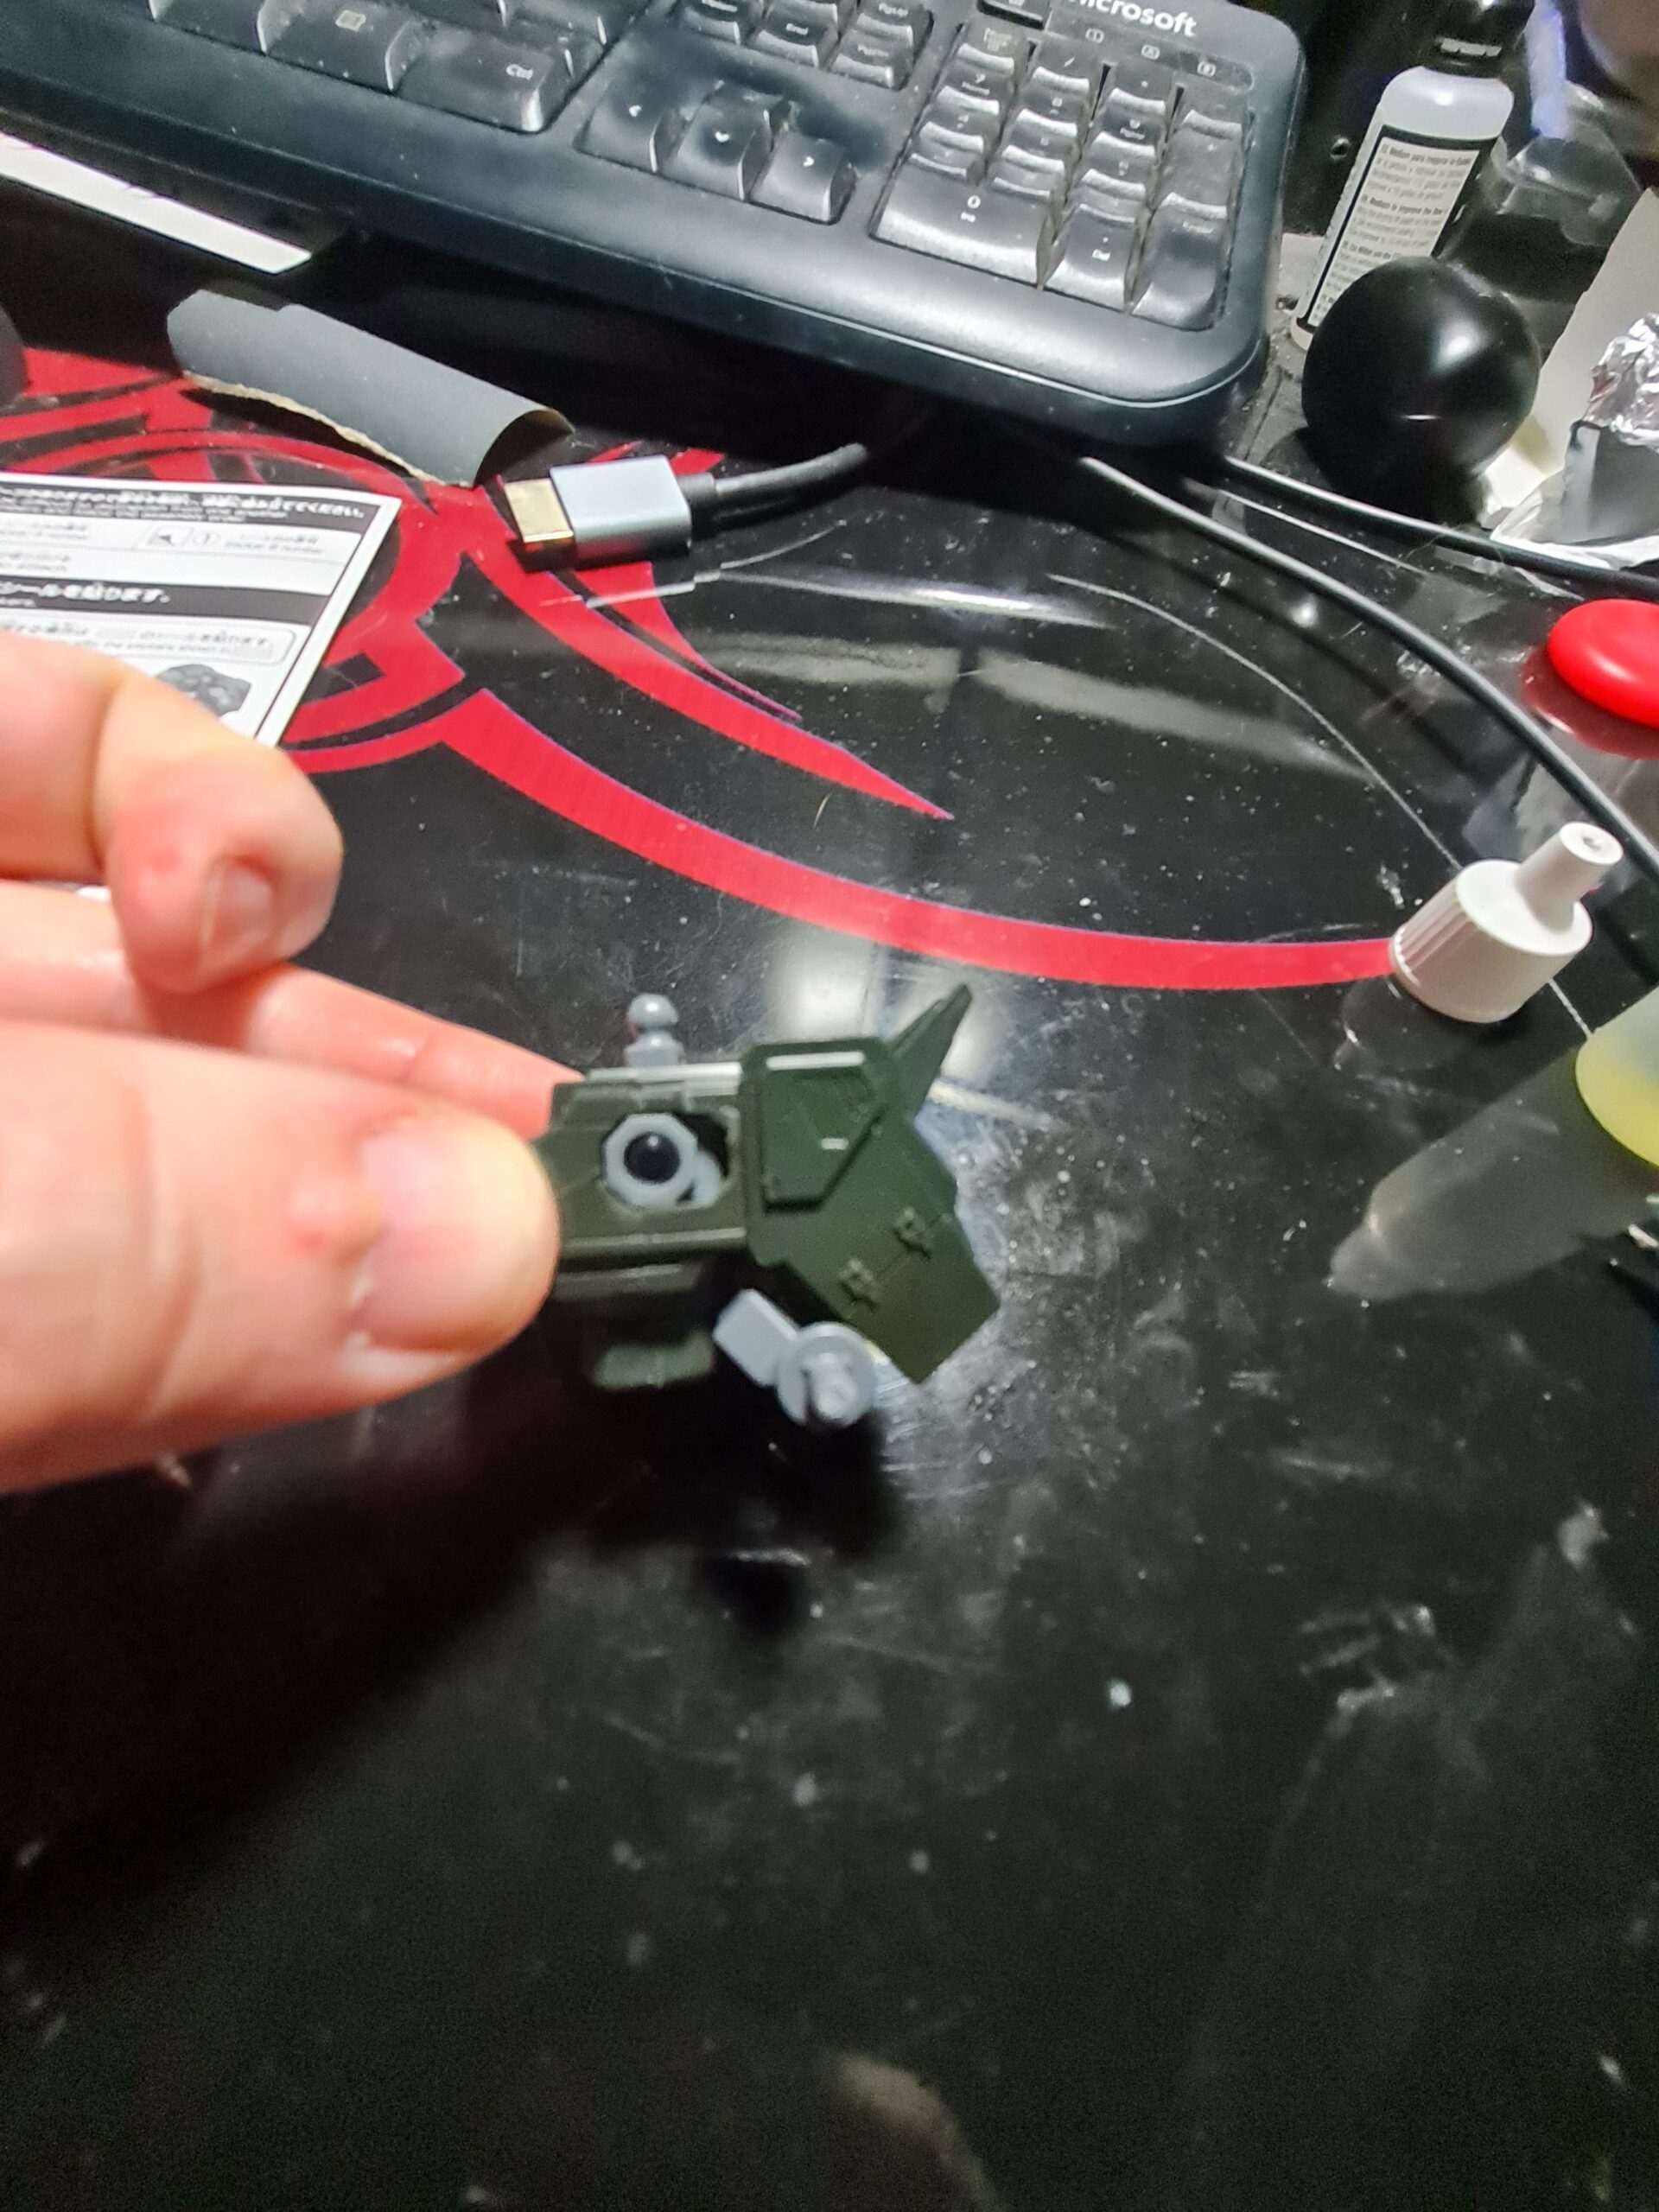
So today this little gem (the Shiranui Second Yuya Bridges Ki kit) arrived with the postman:

Shiranui
Shiranui

The kit is by Kotobukiya and is from the MUV-LUV alternate total eclipse range. After watching the series I really liked some of the suits in there. I had a look around and found this one. I decided to take a chance and pick it up to see what it was like.

Riders

Before I get into it I should point out some riders. The kit is not to a specific scale so like the Bandai SD kits. I have never built one of the Bandai kits so I don’t have a benchmark to put it against. So my comments come with no real standard to measure against. So with that out of the way lets head in to it.
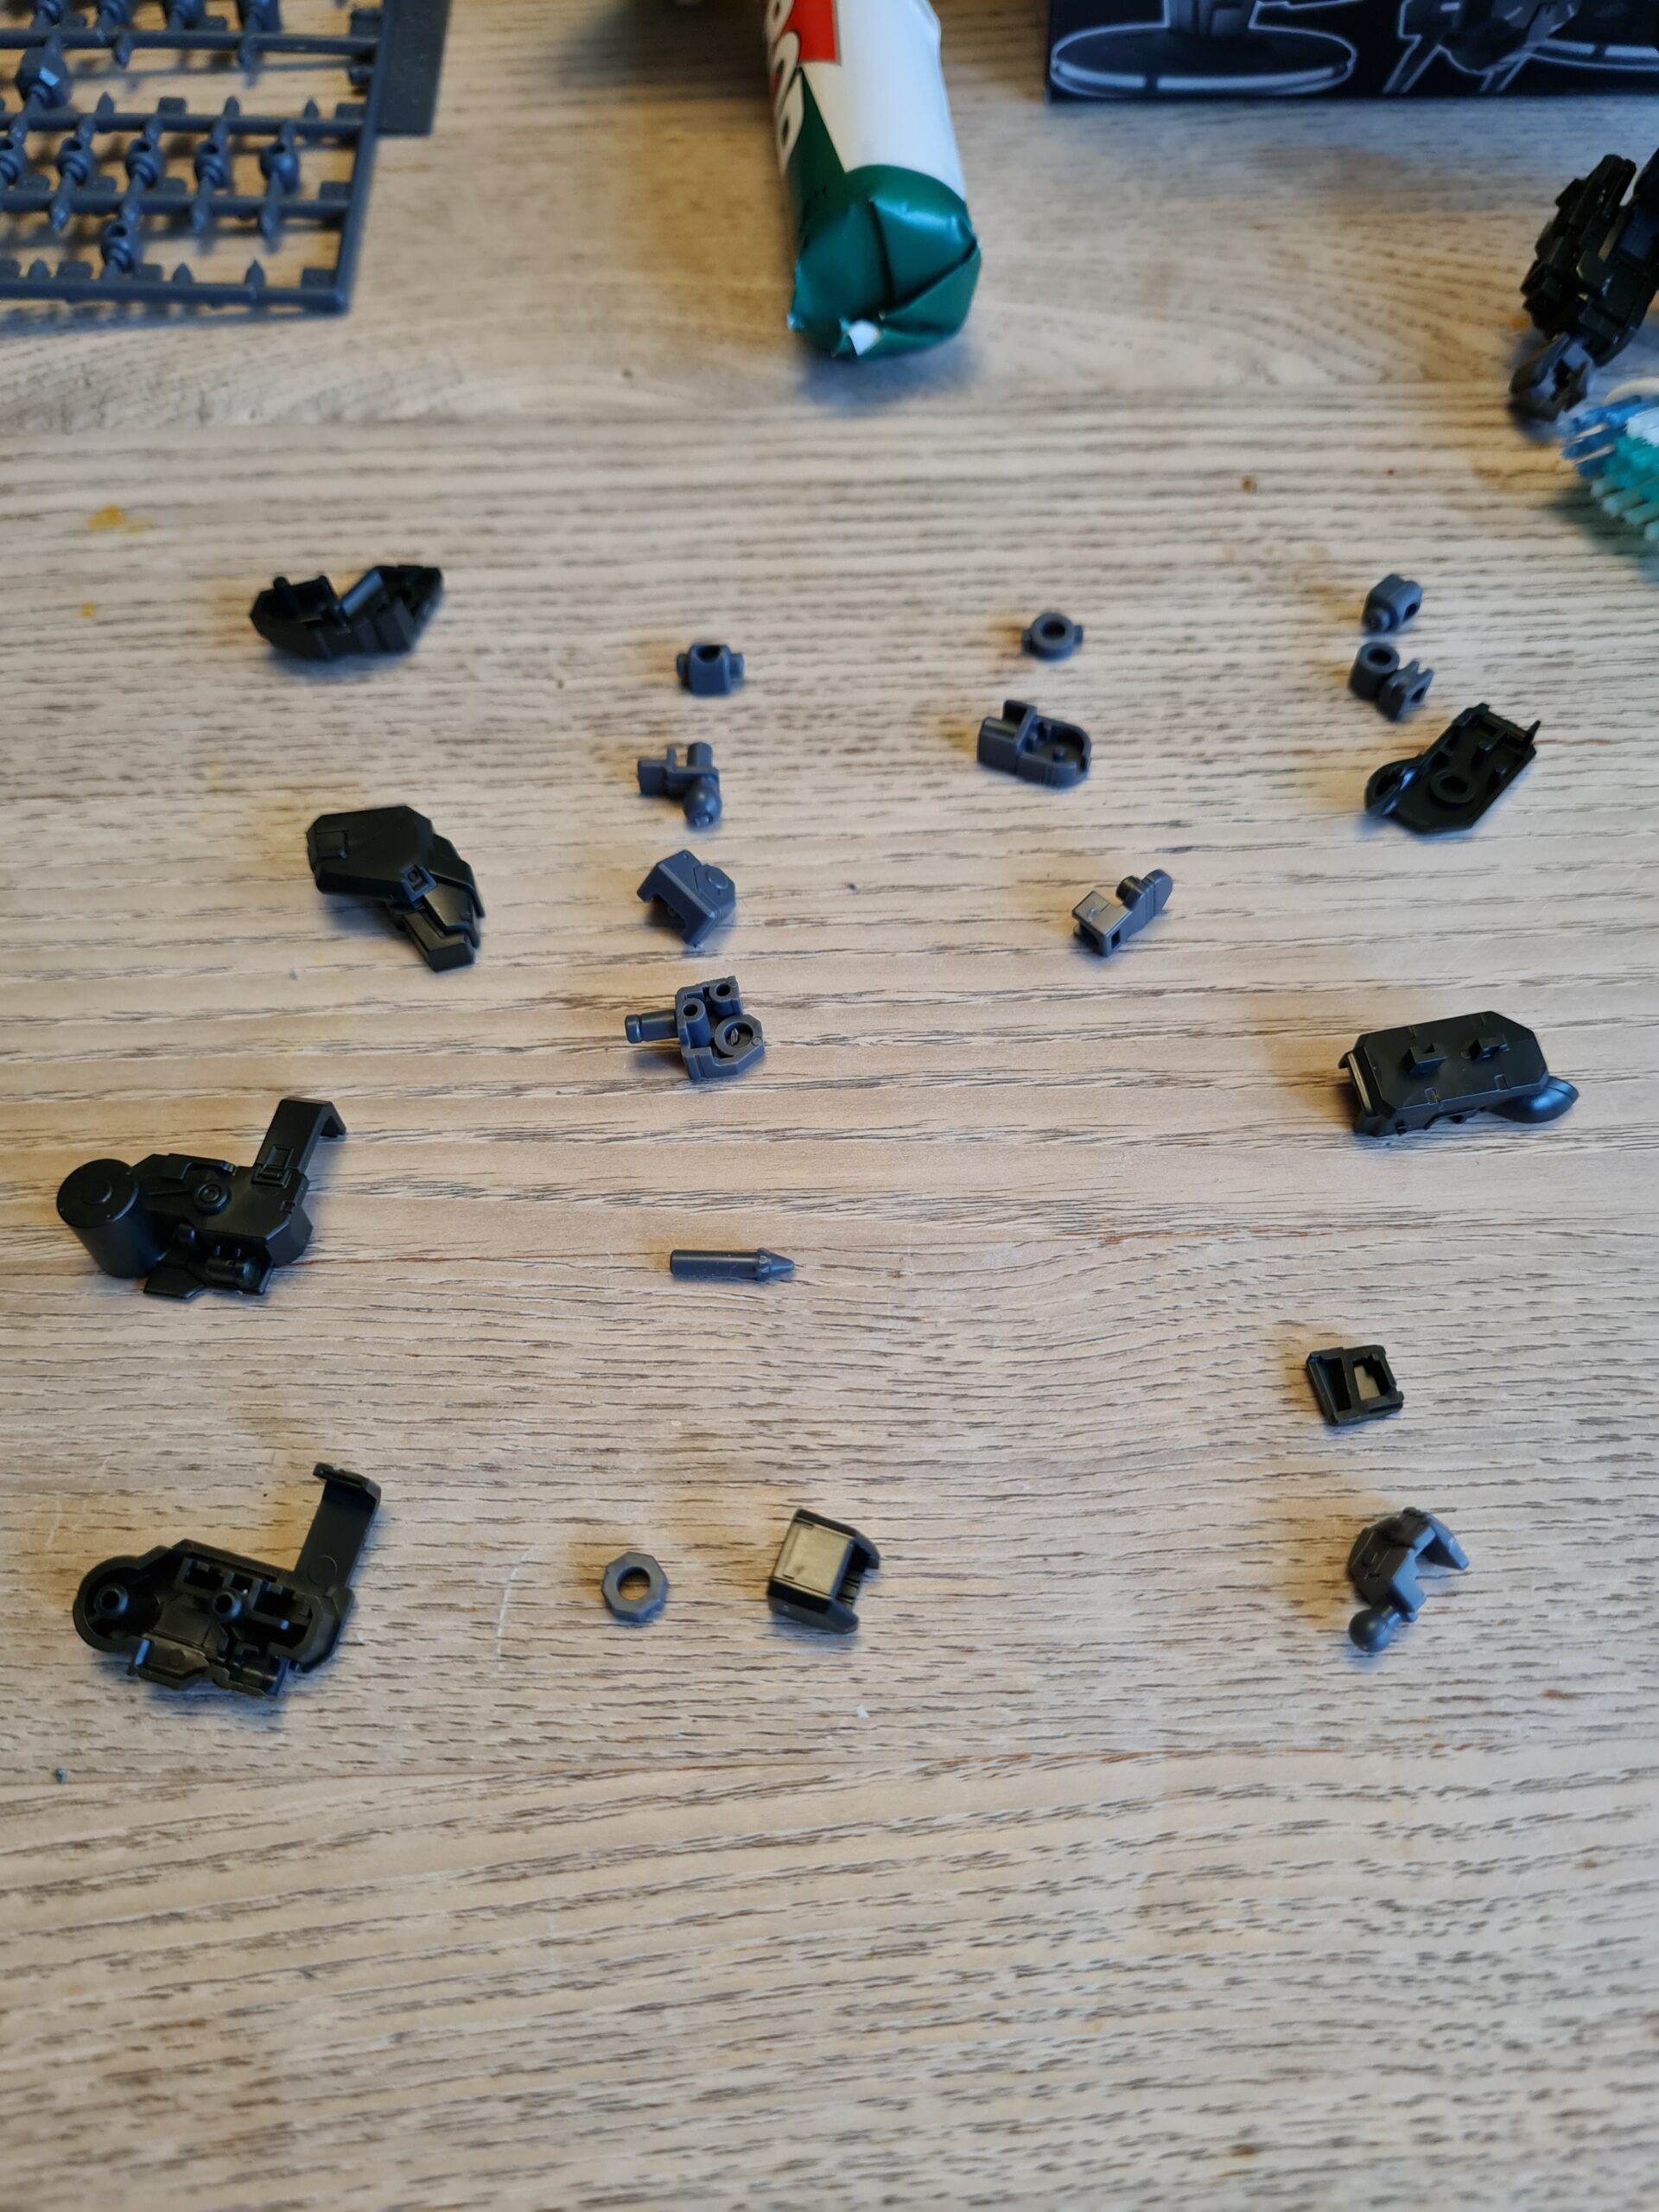
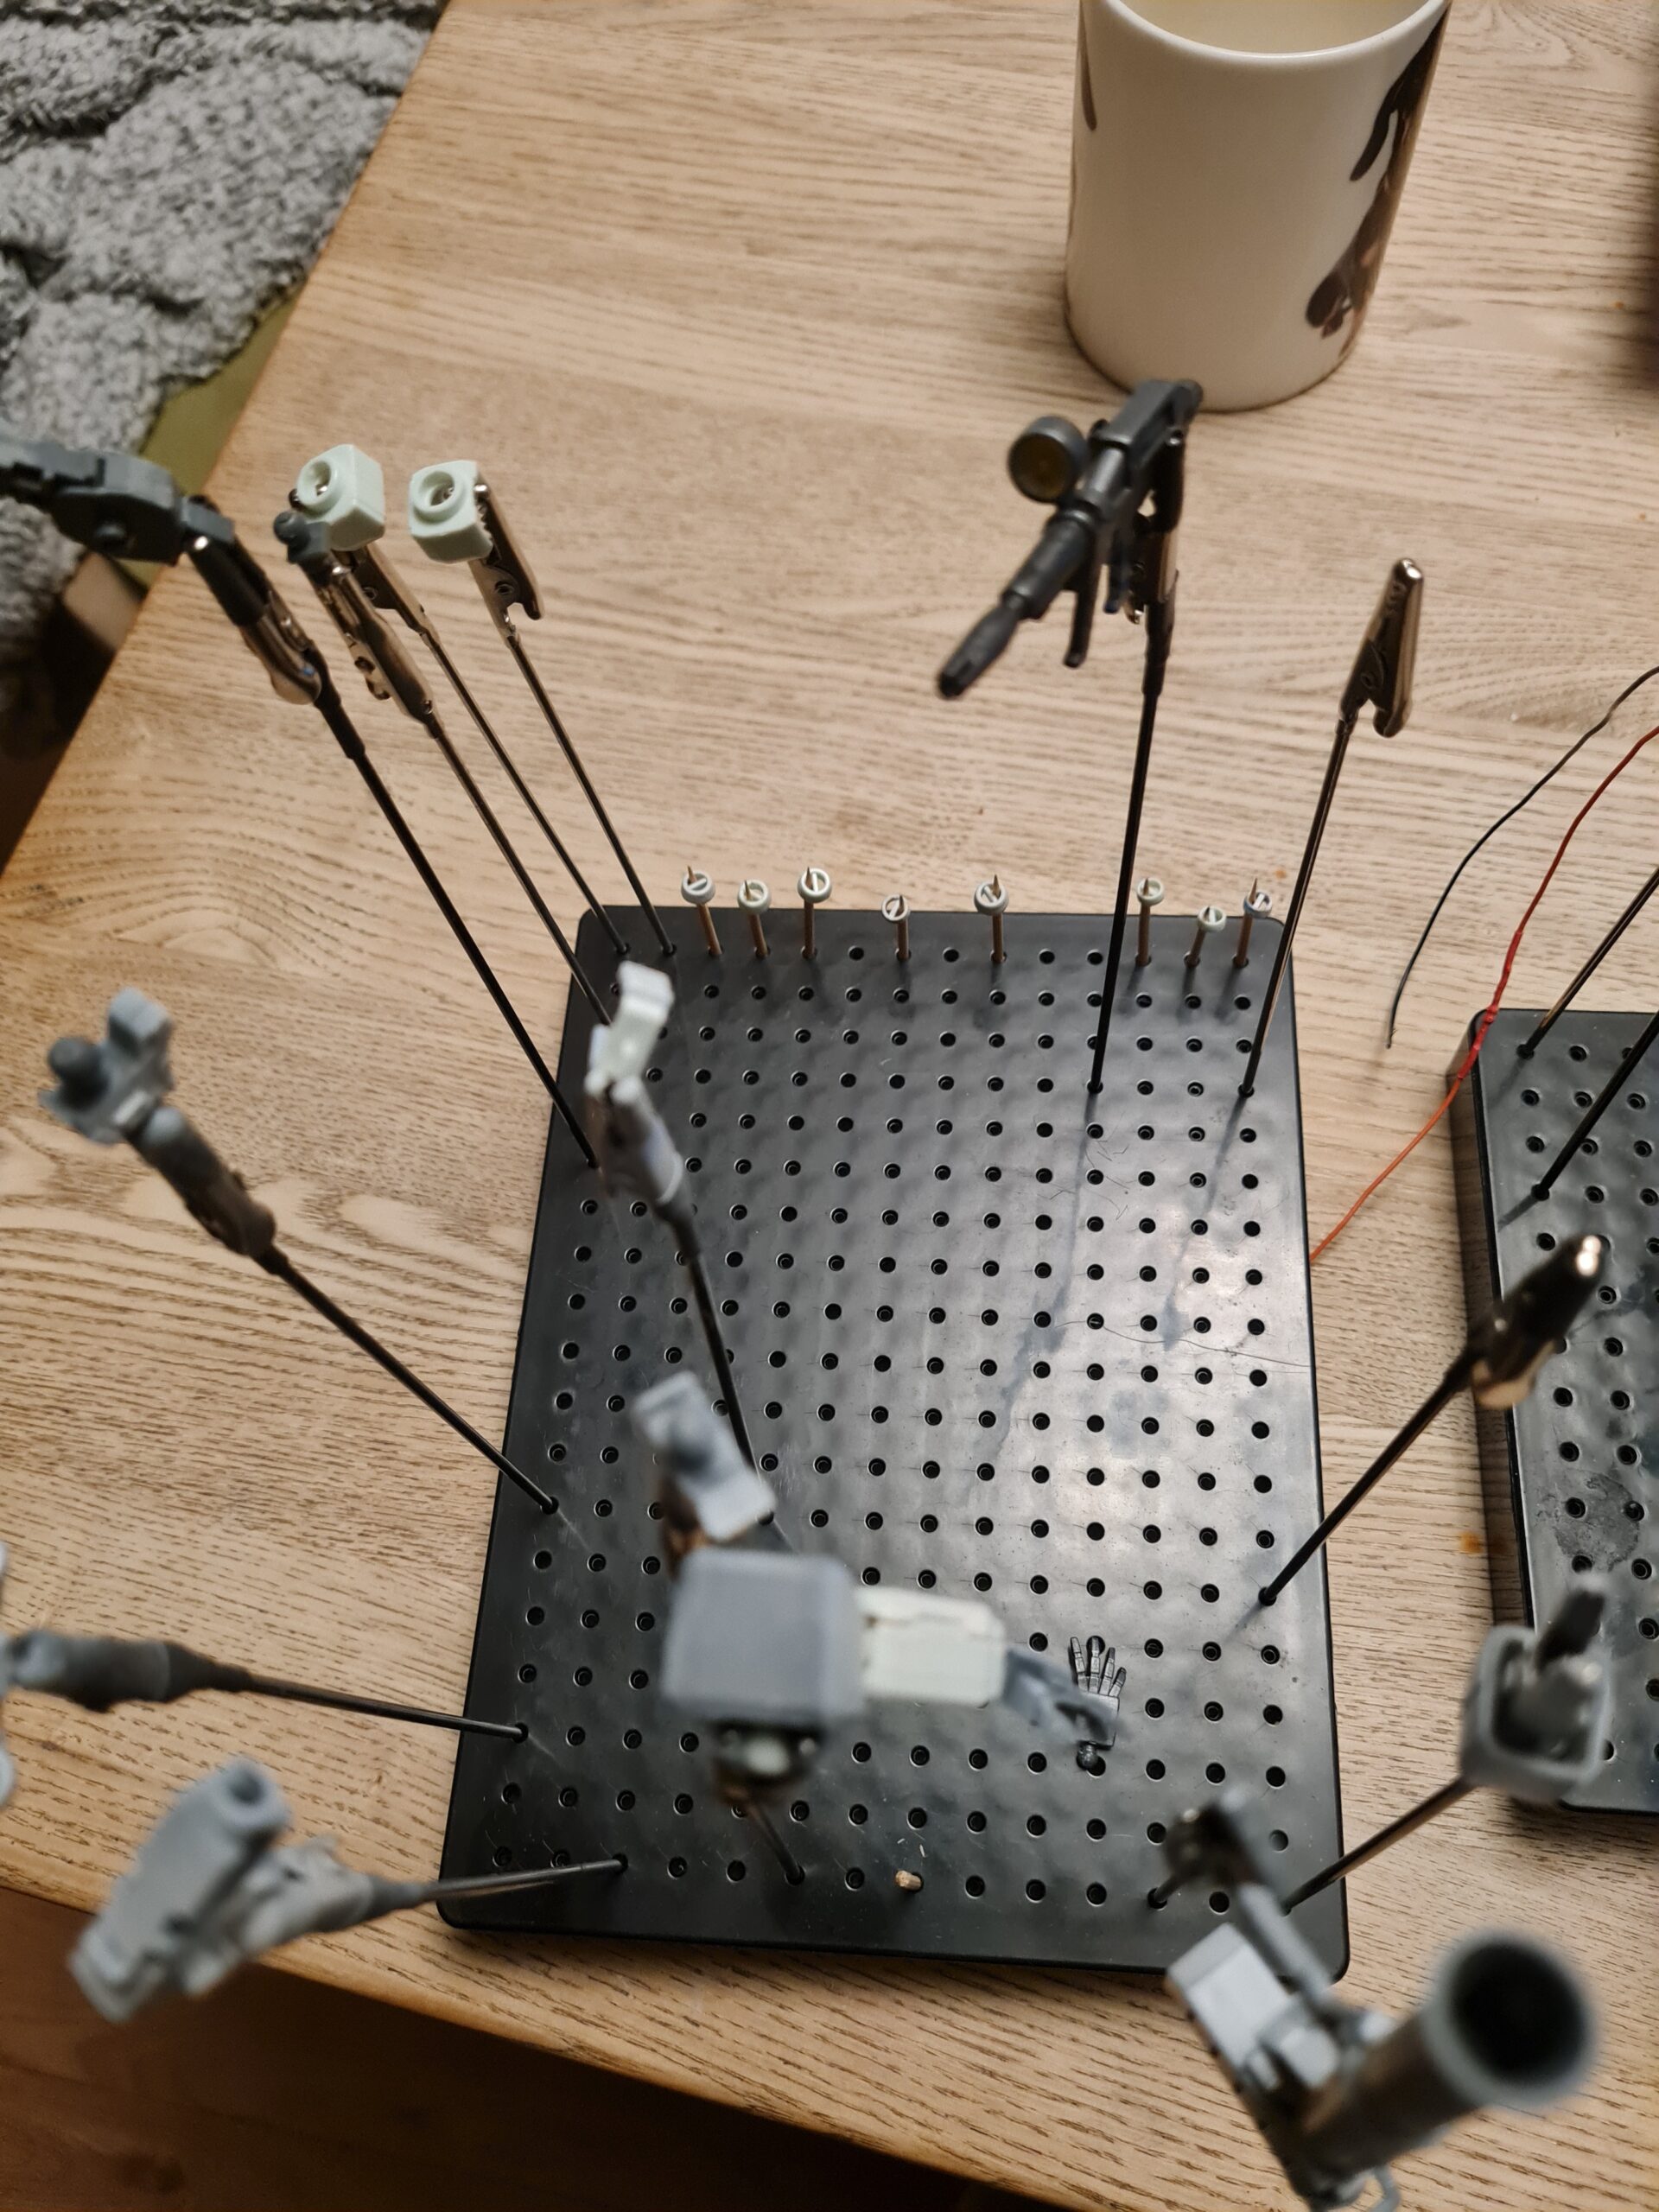
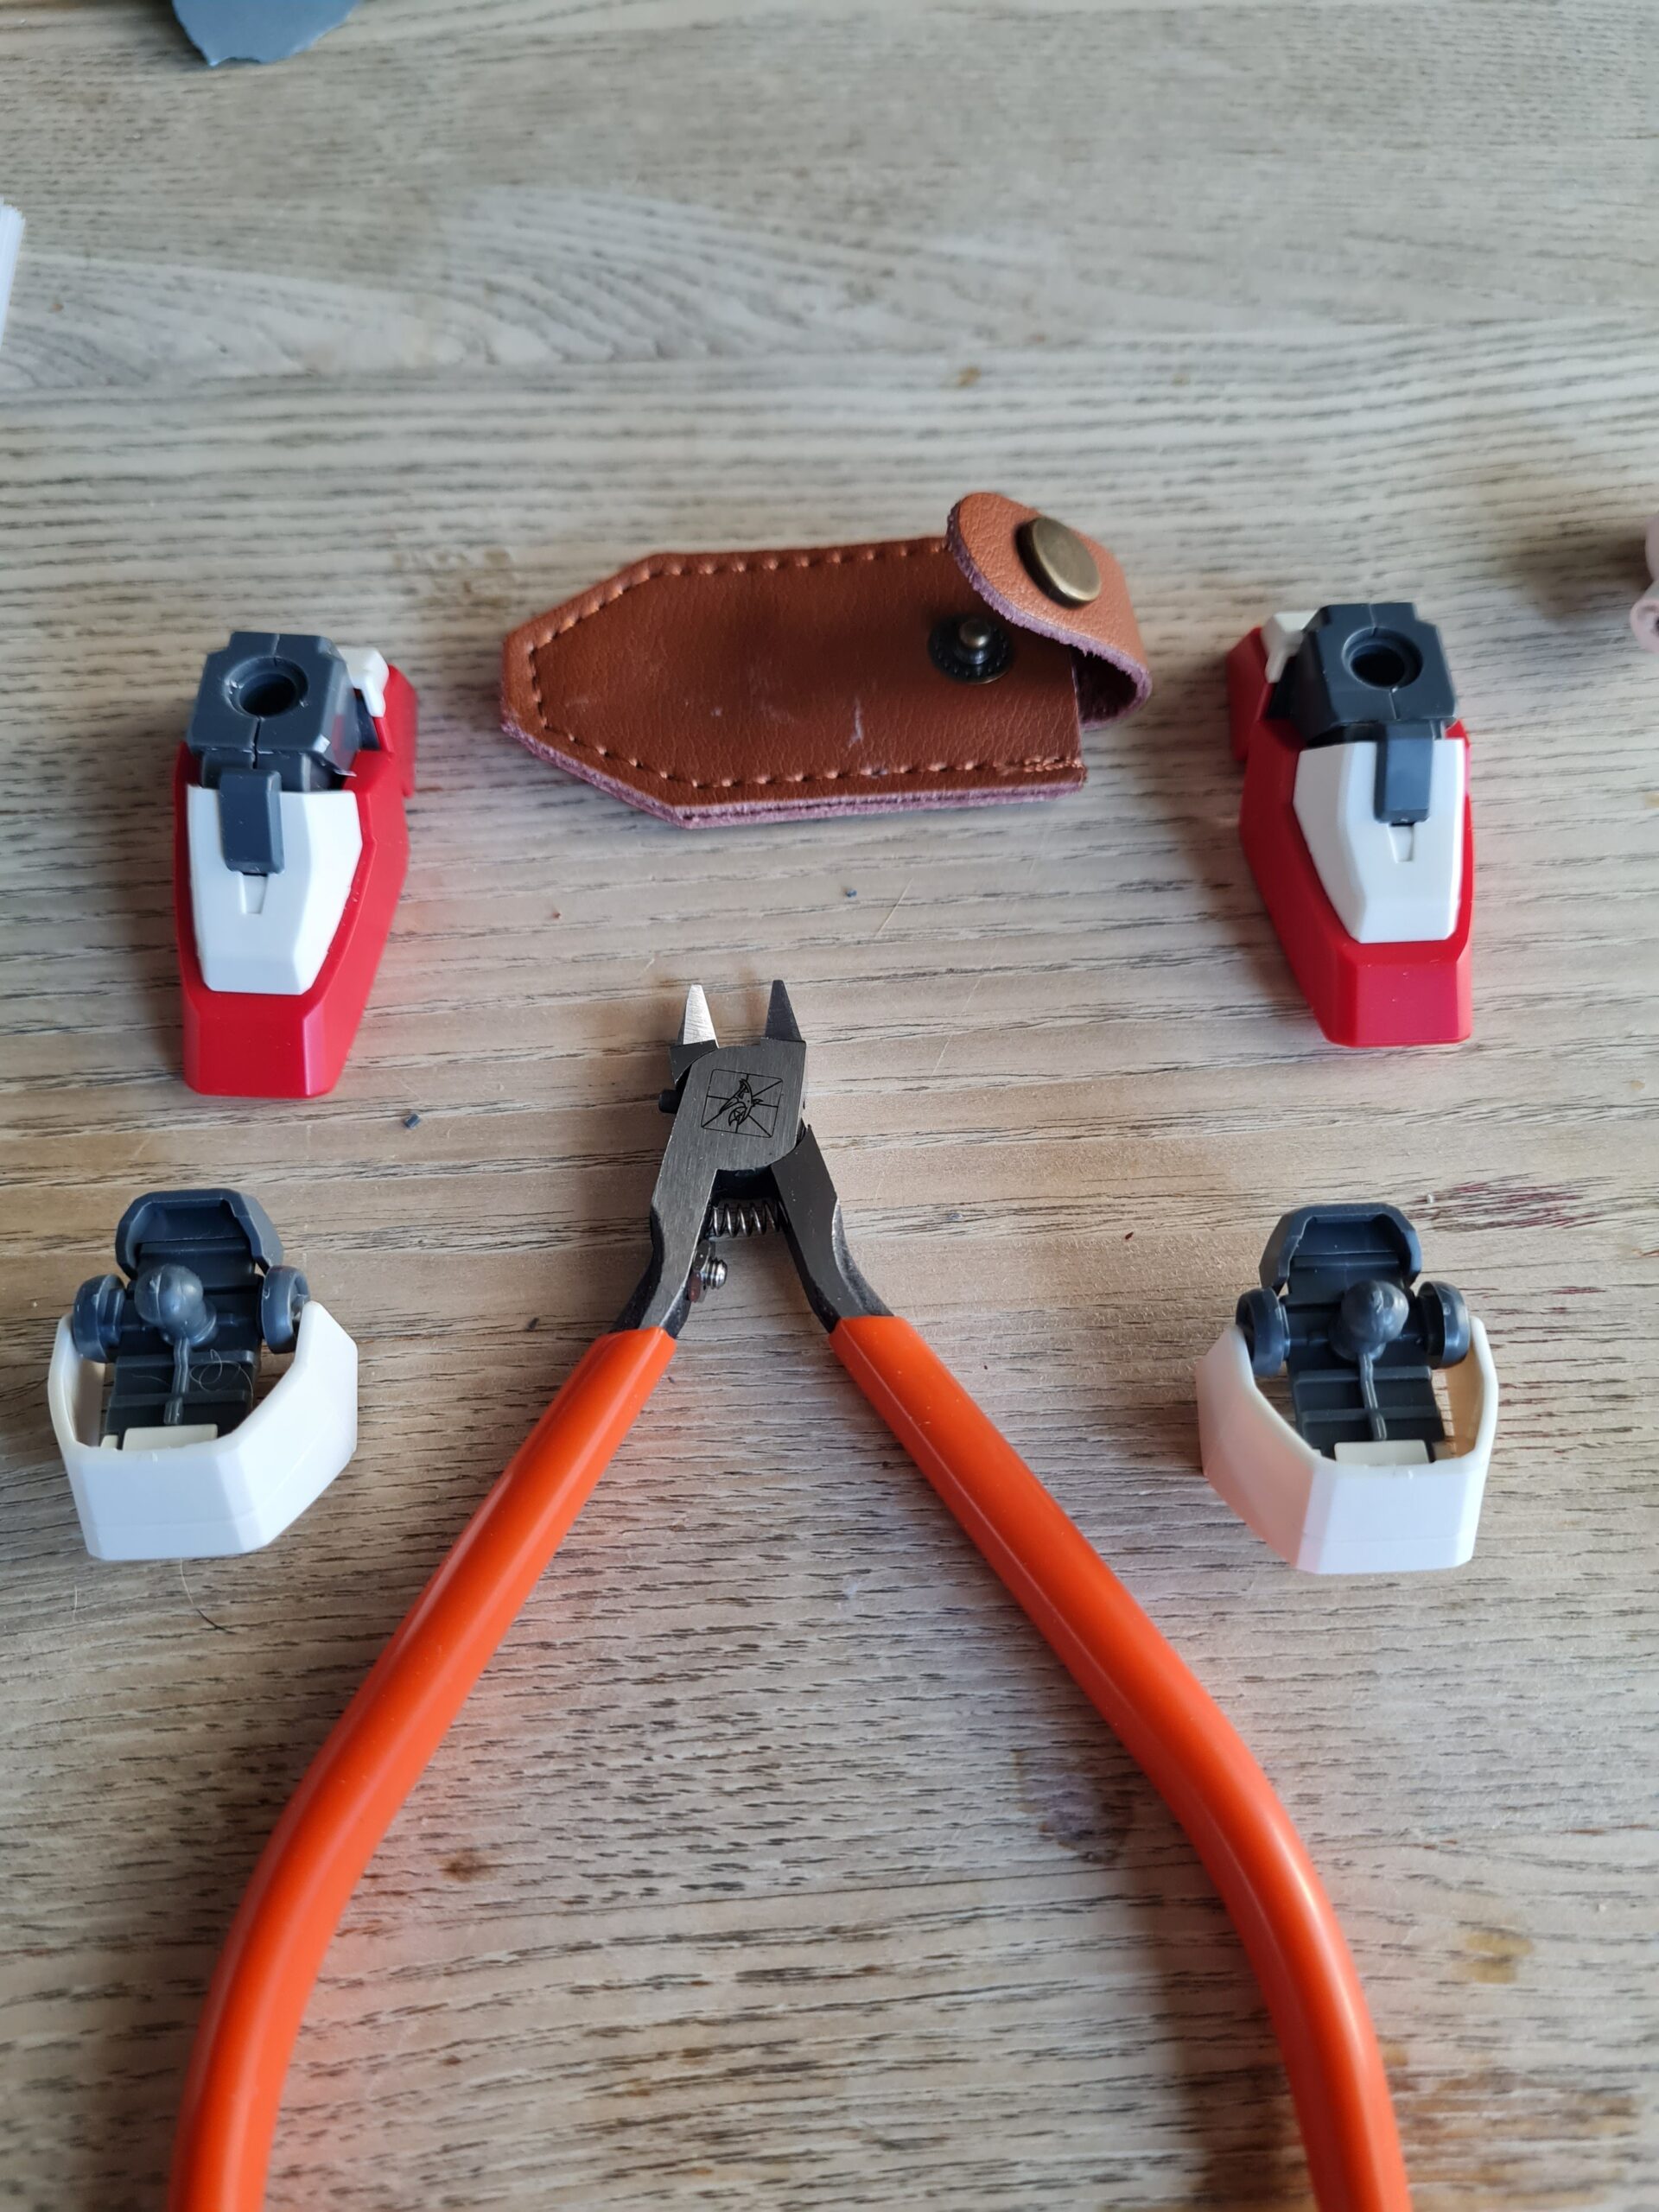
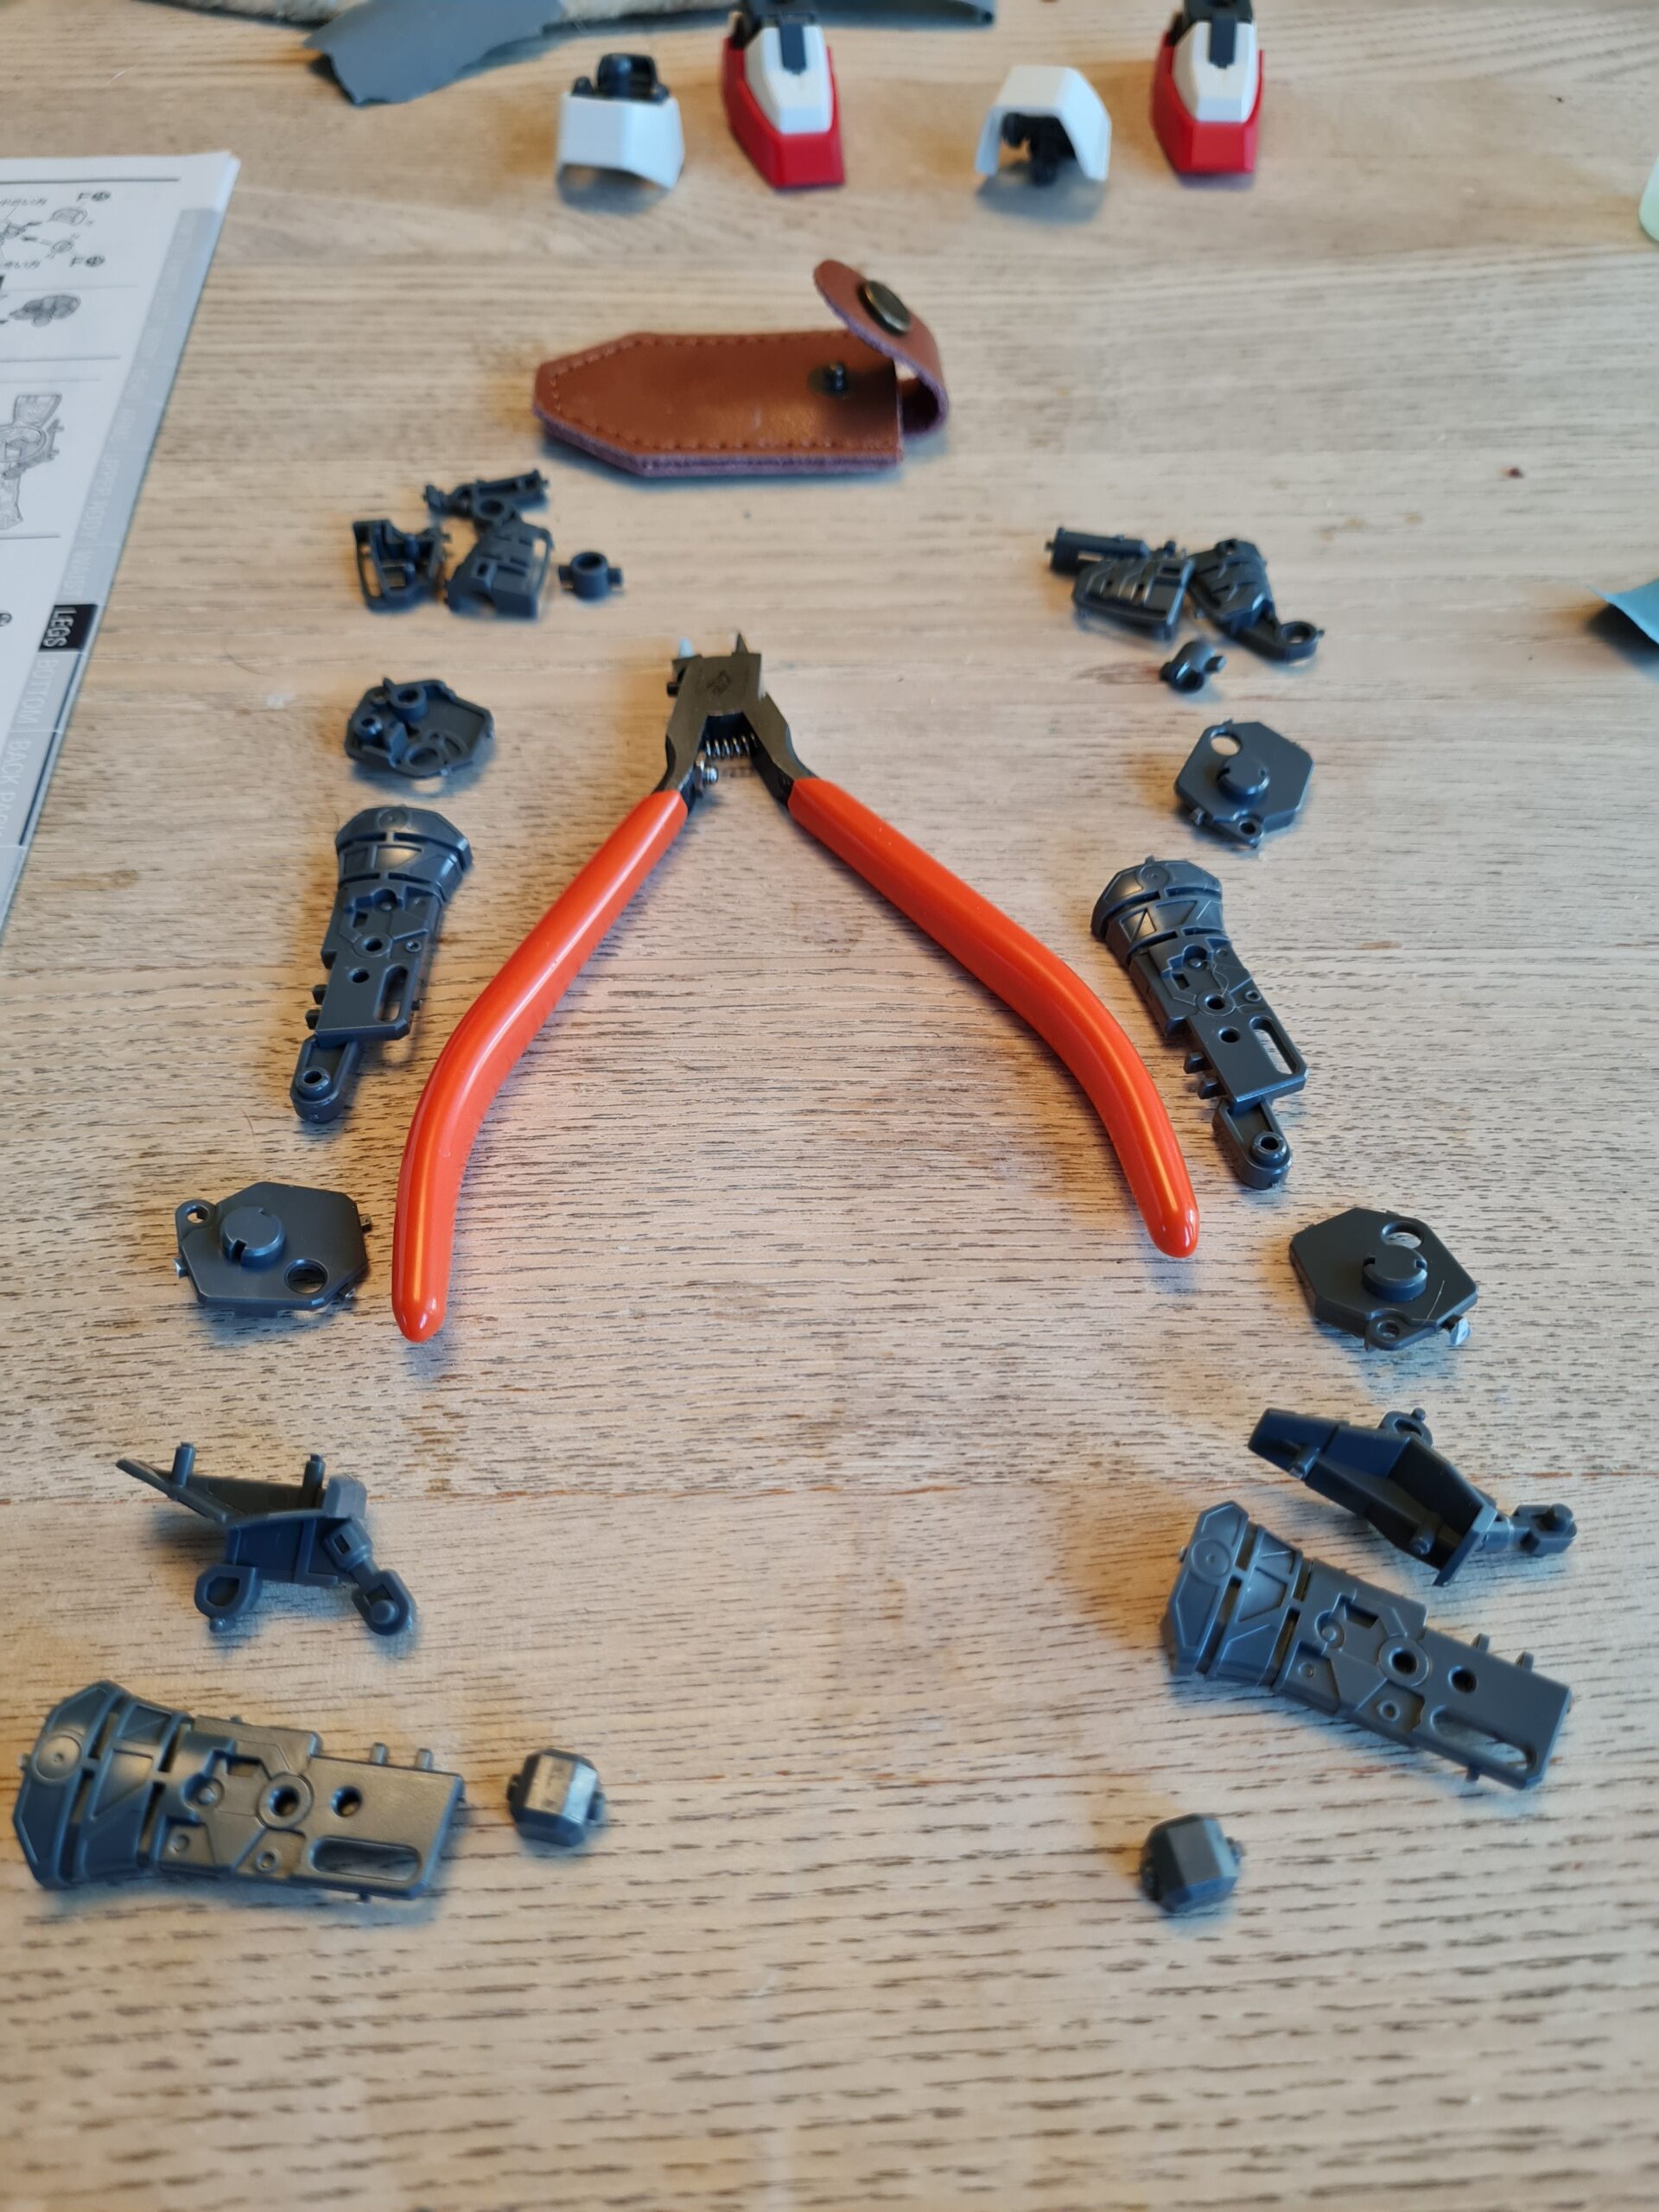
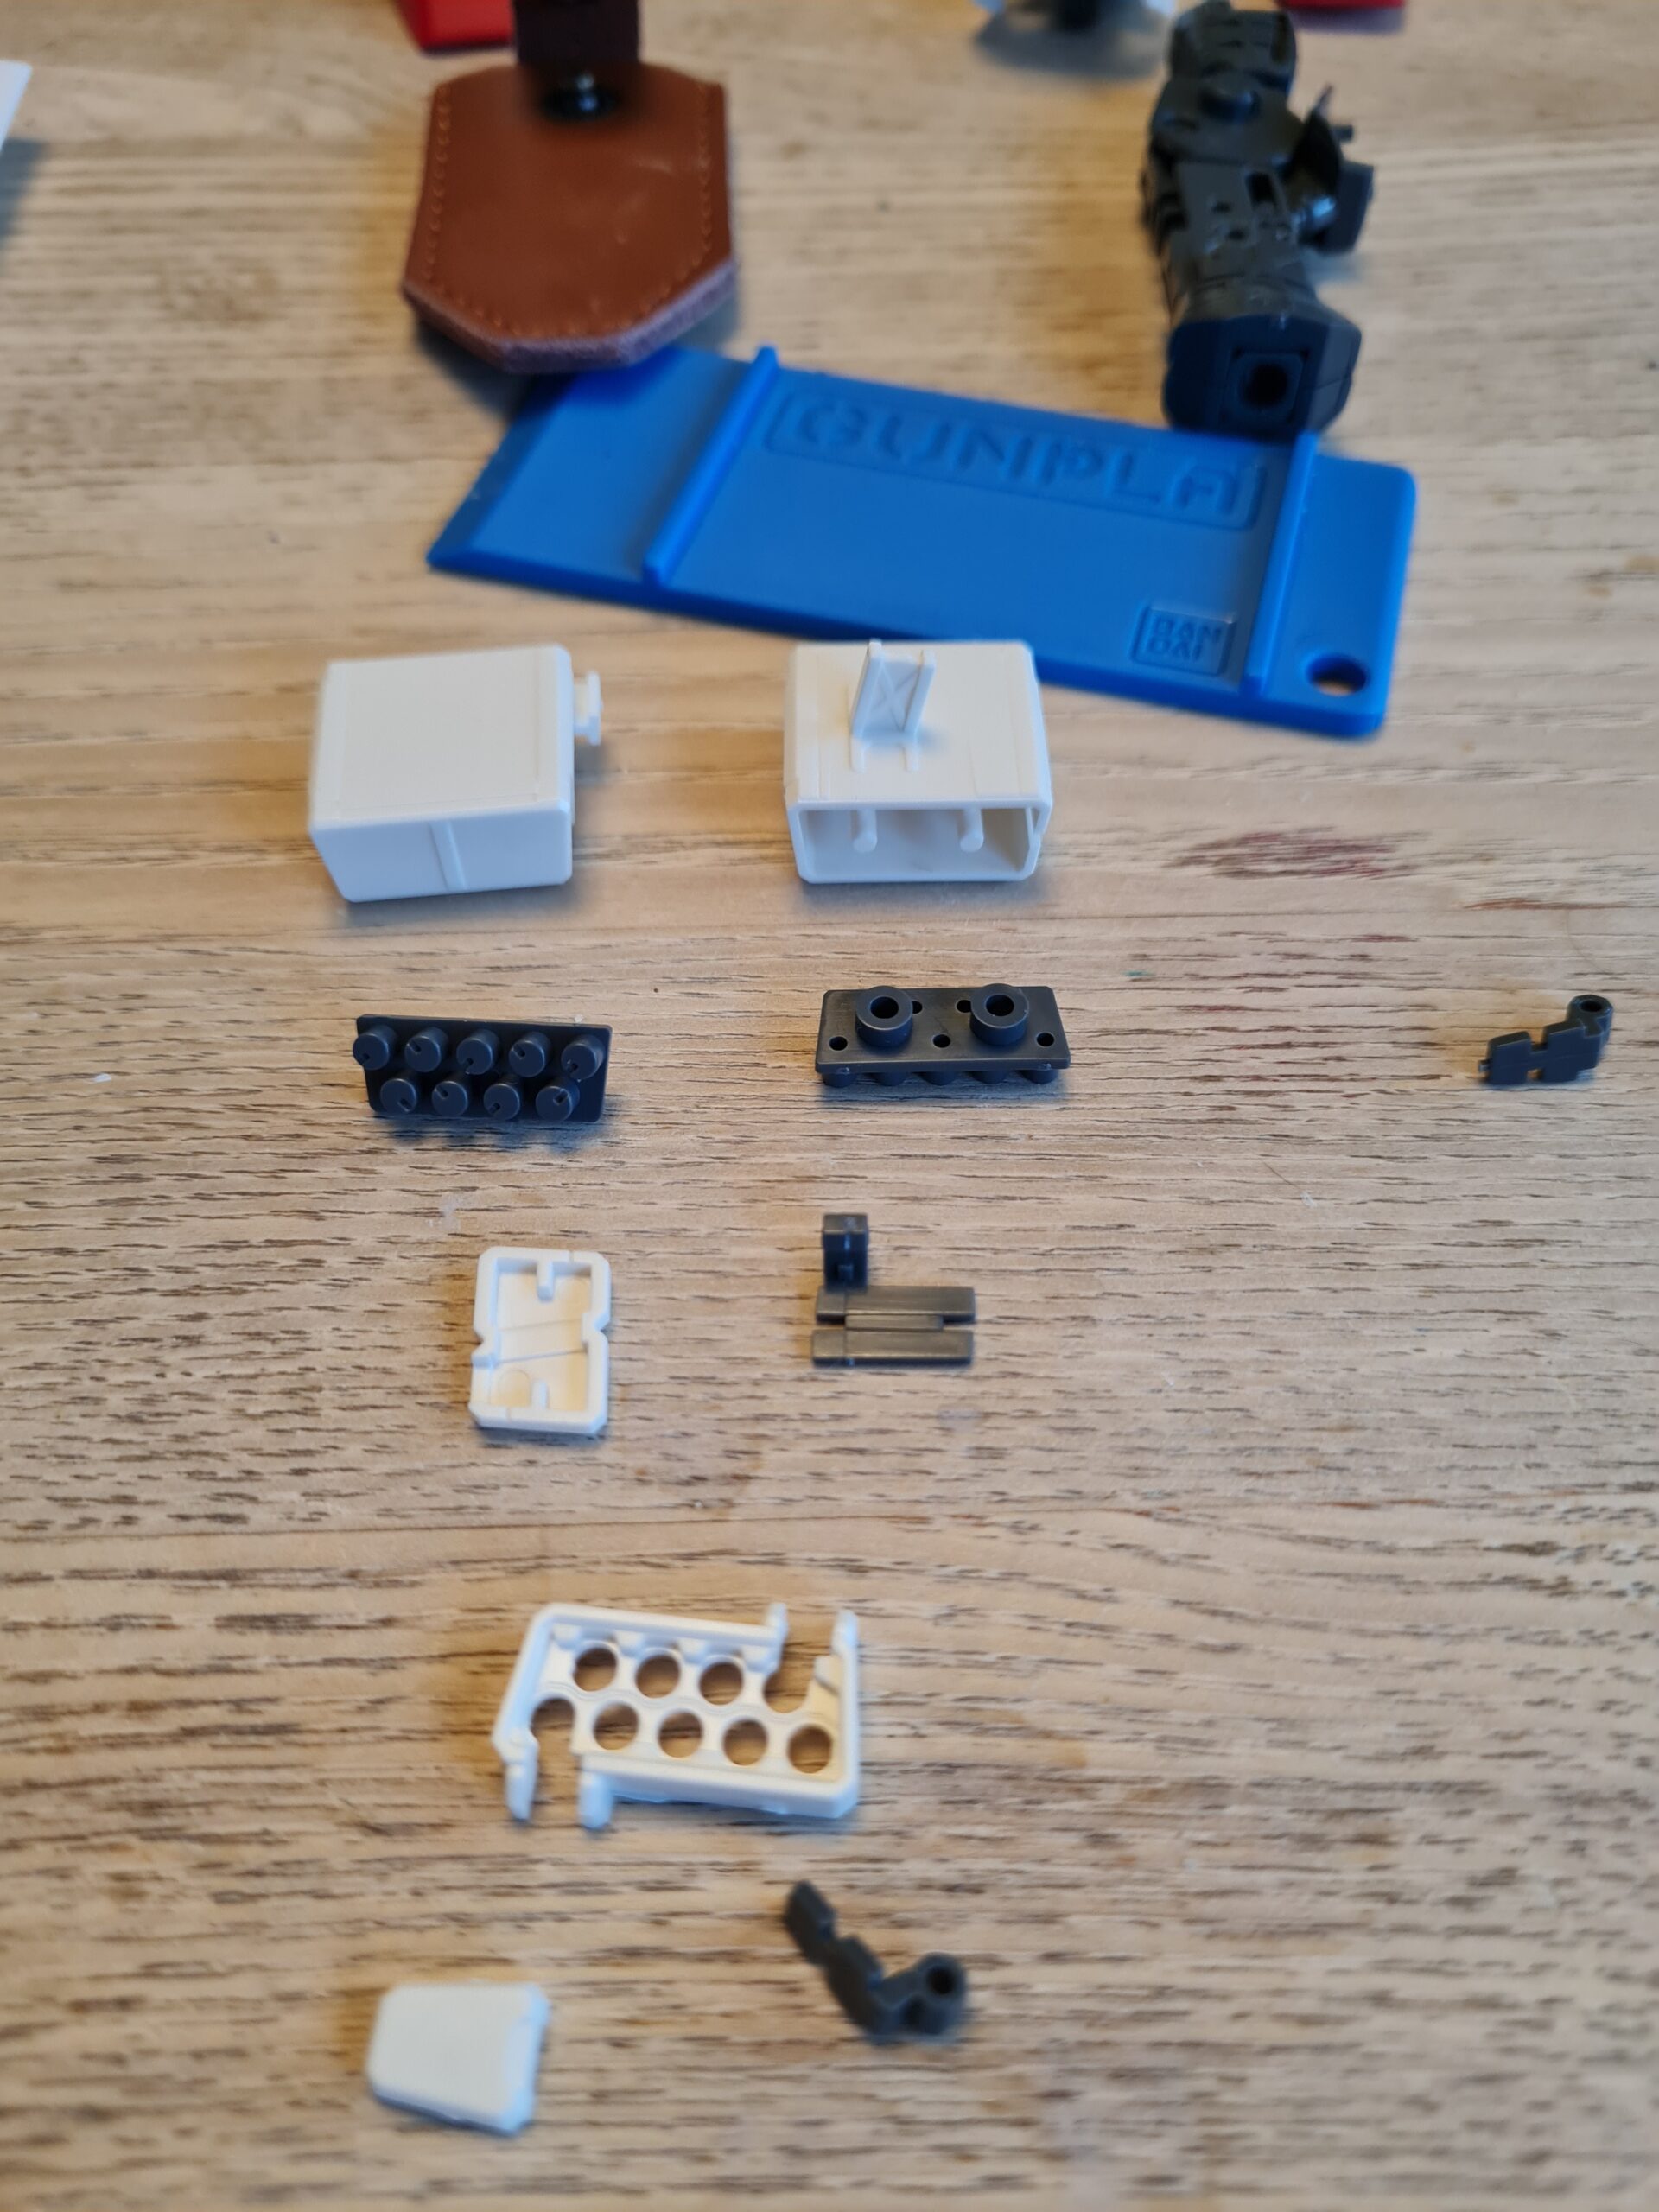
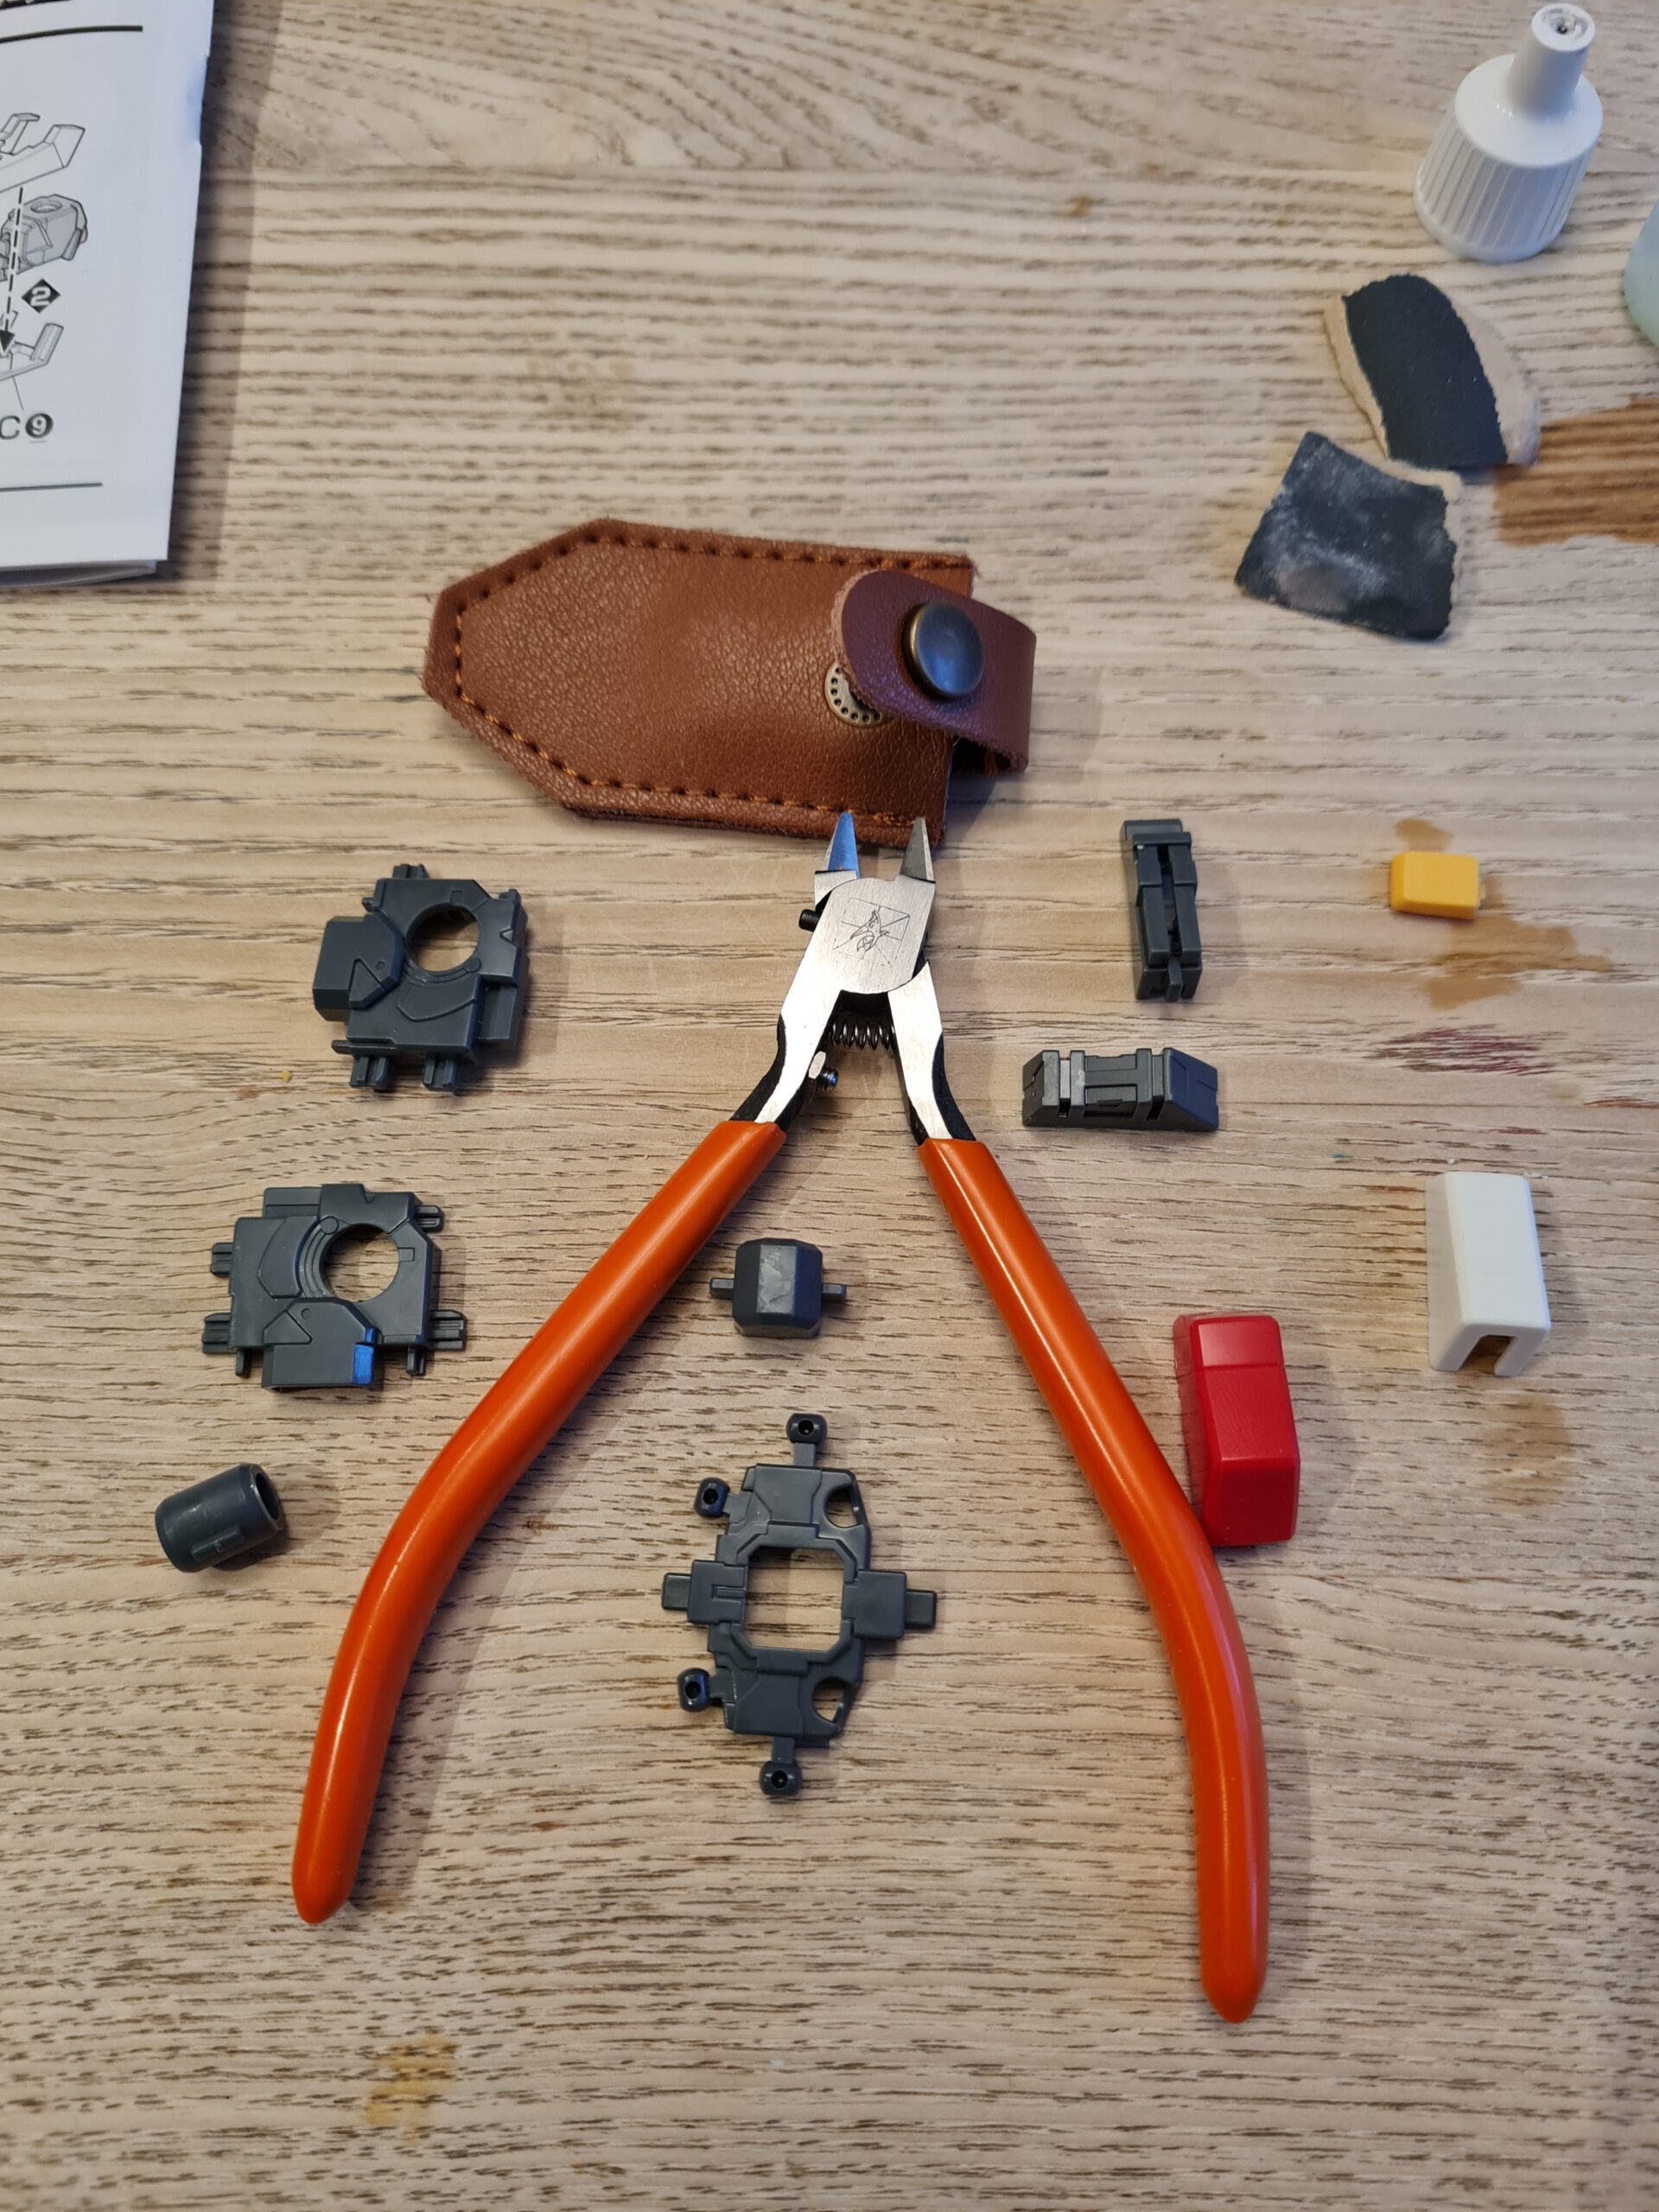
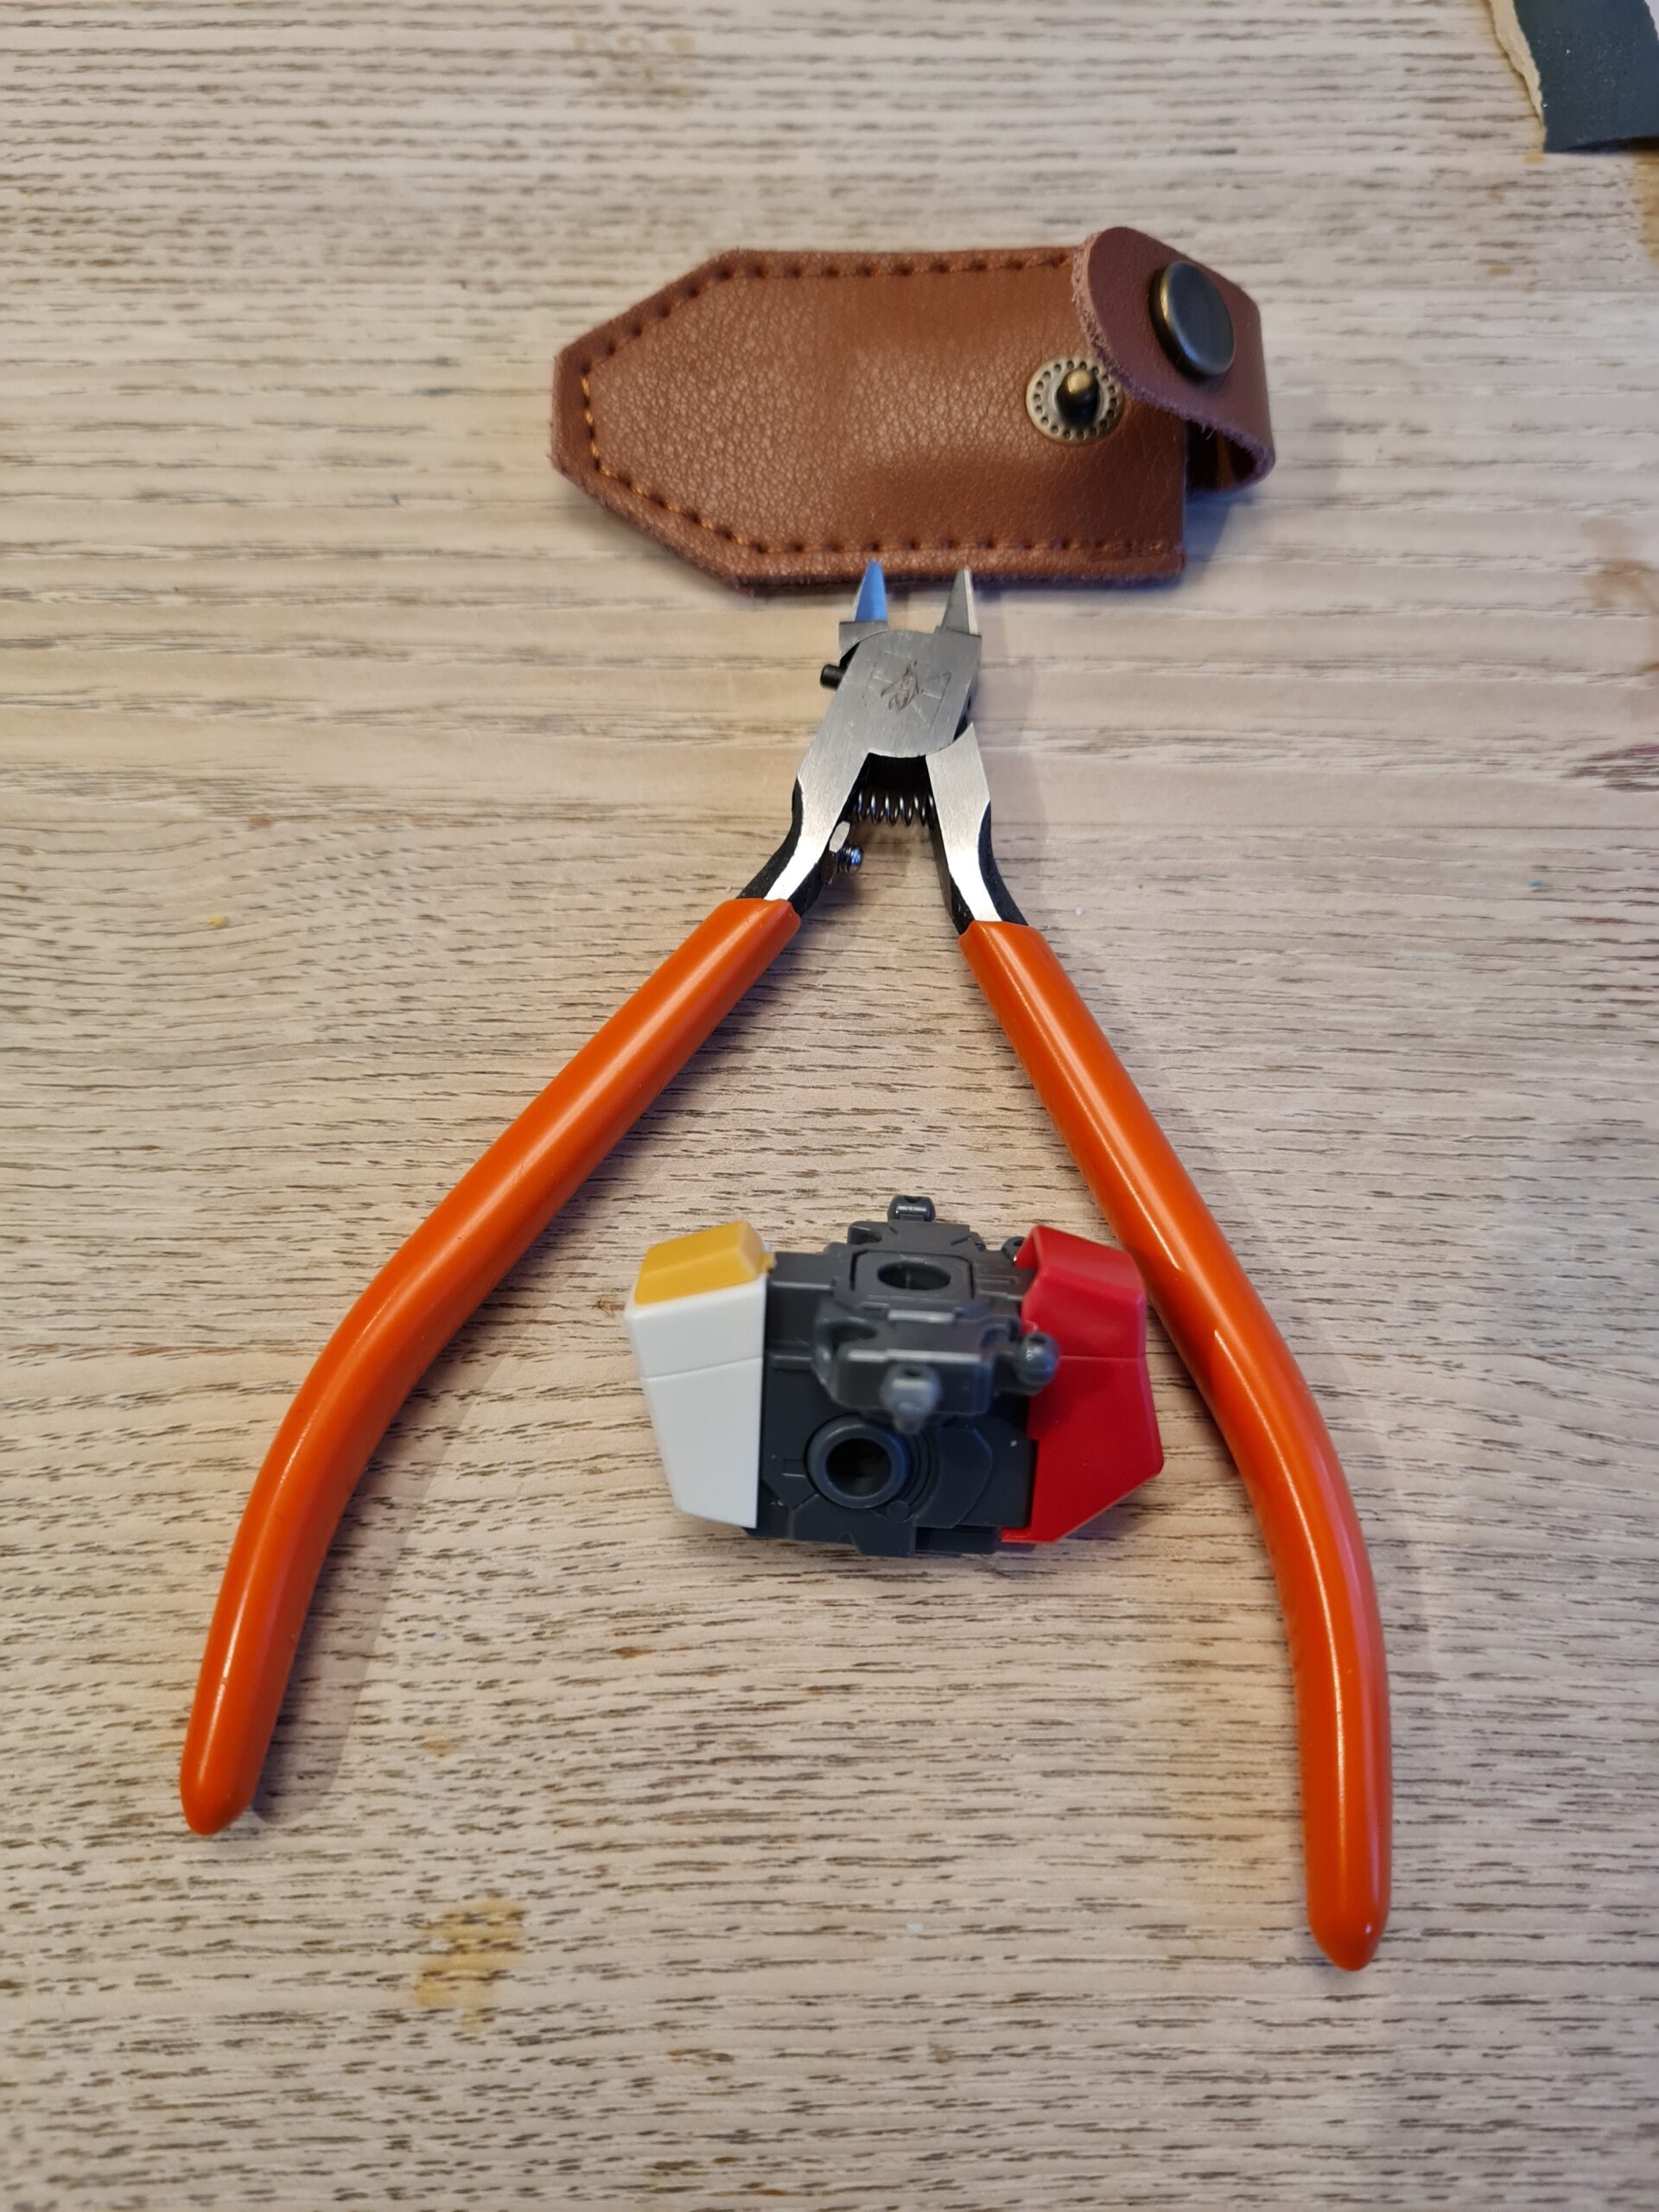
How was the build

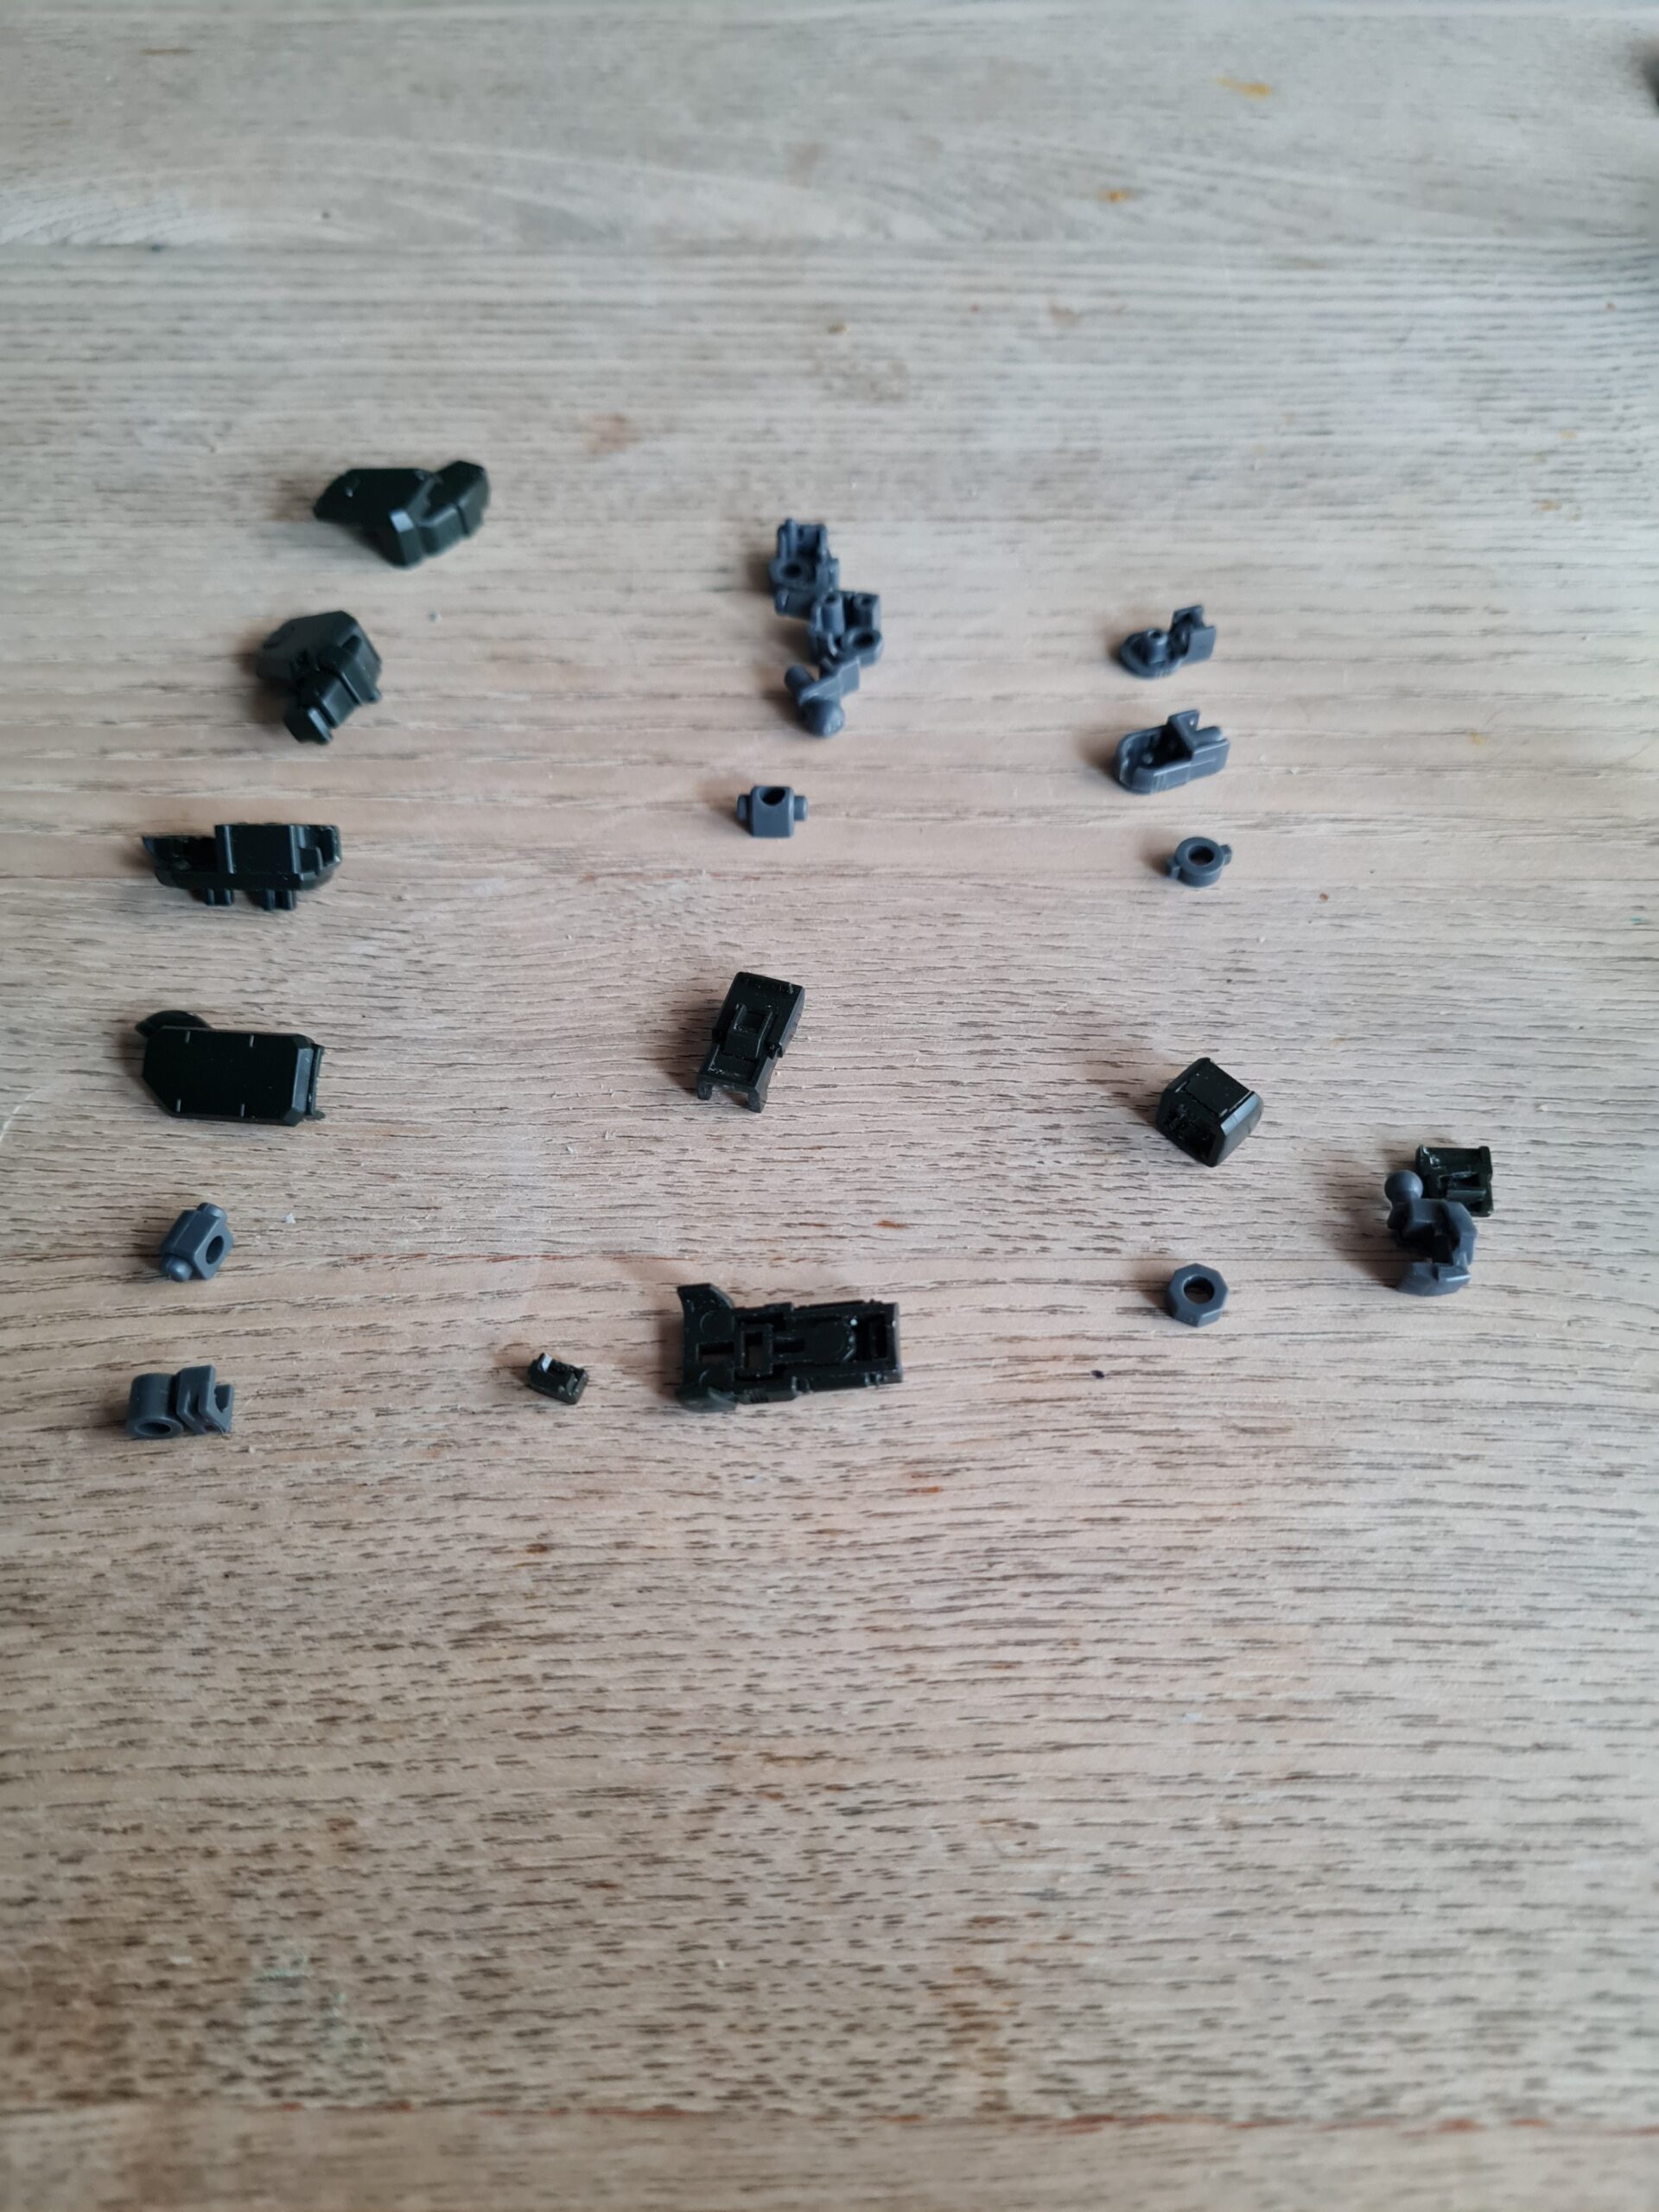
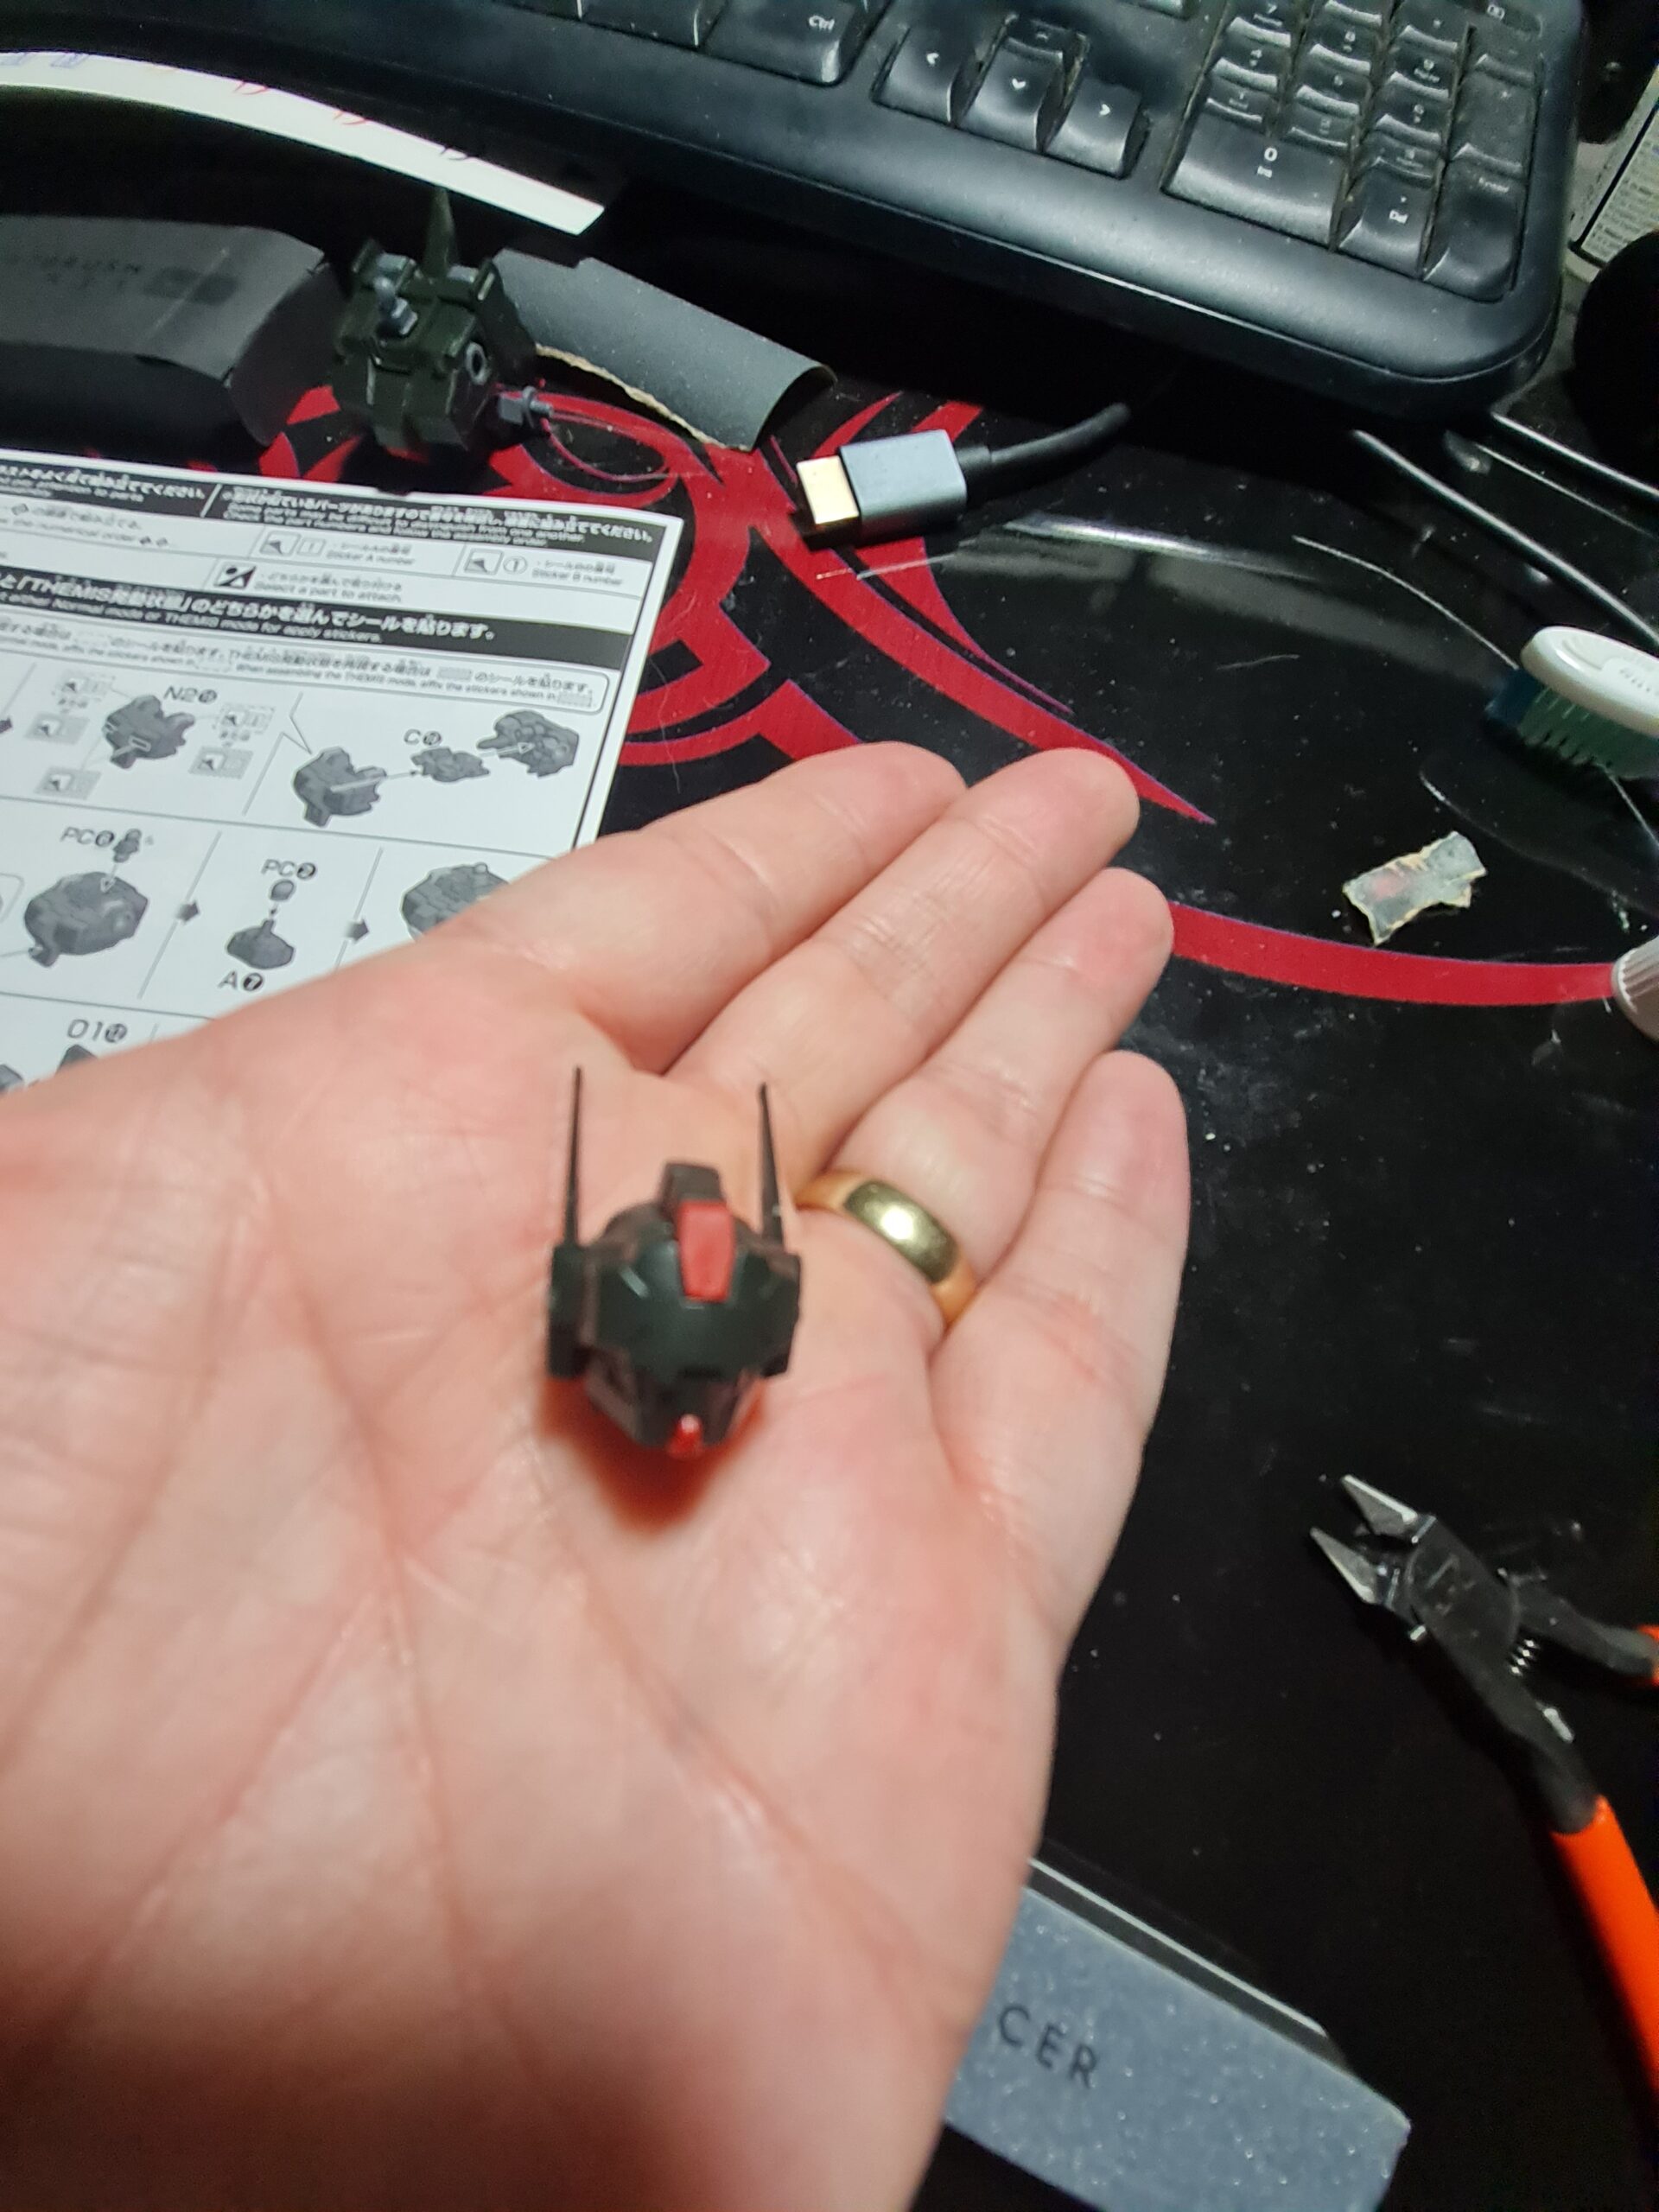
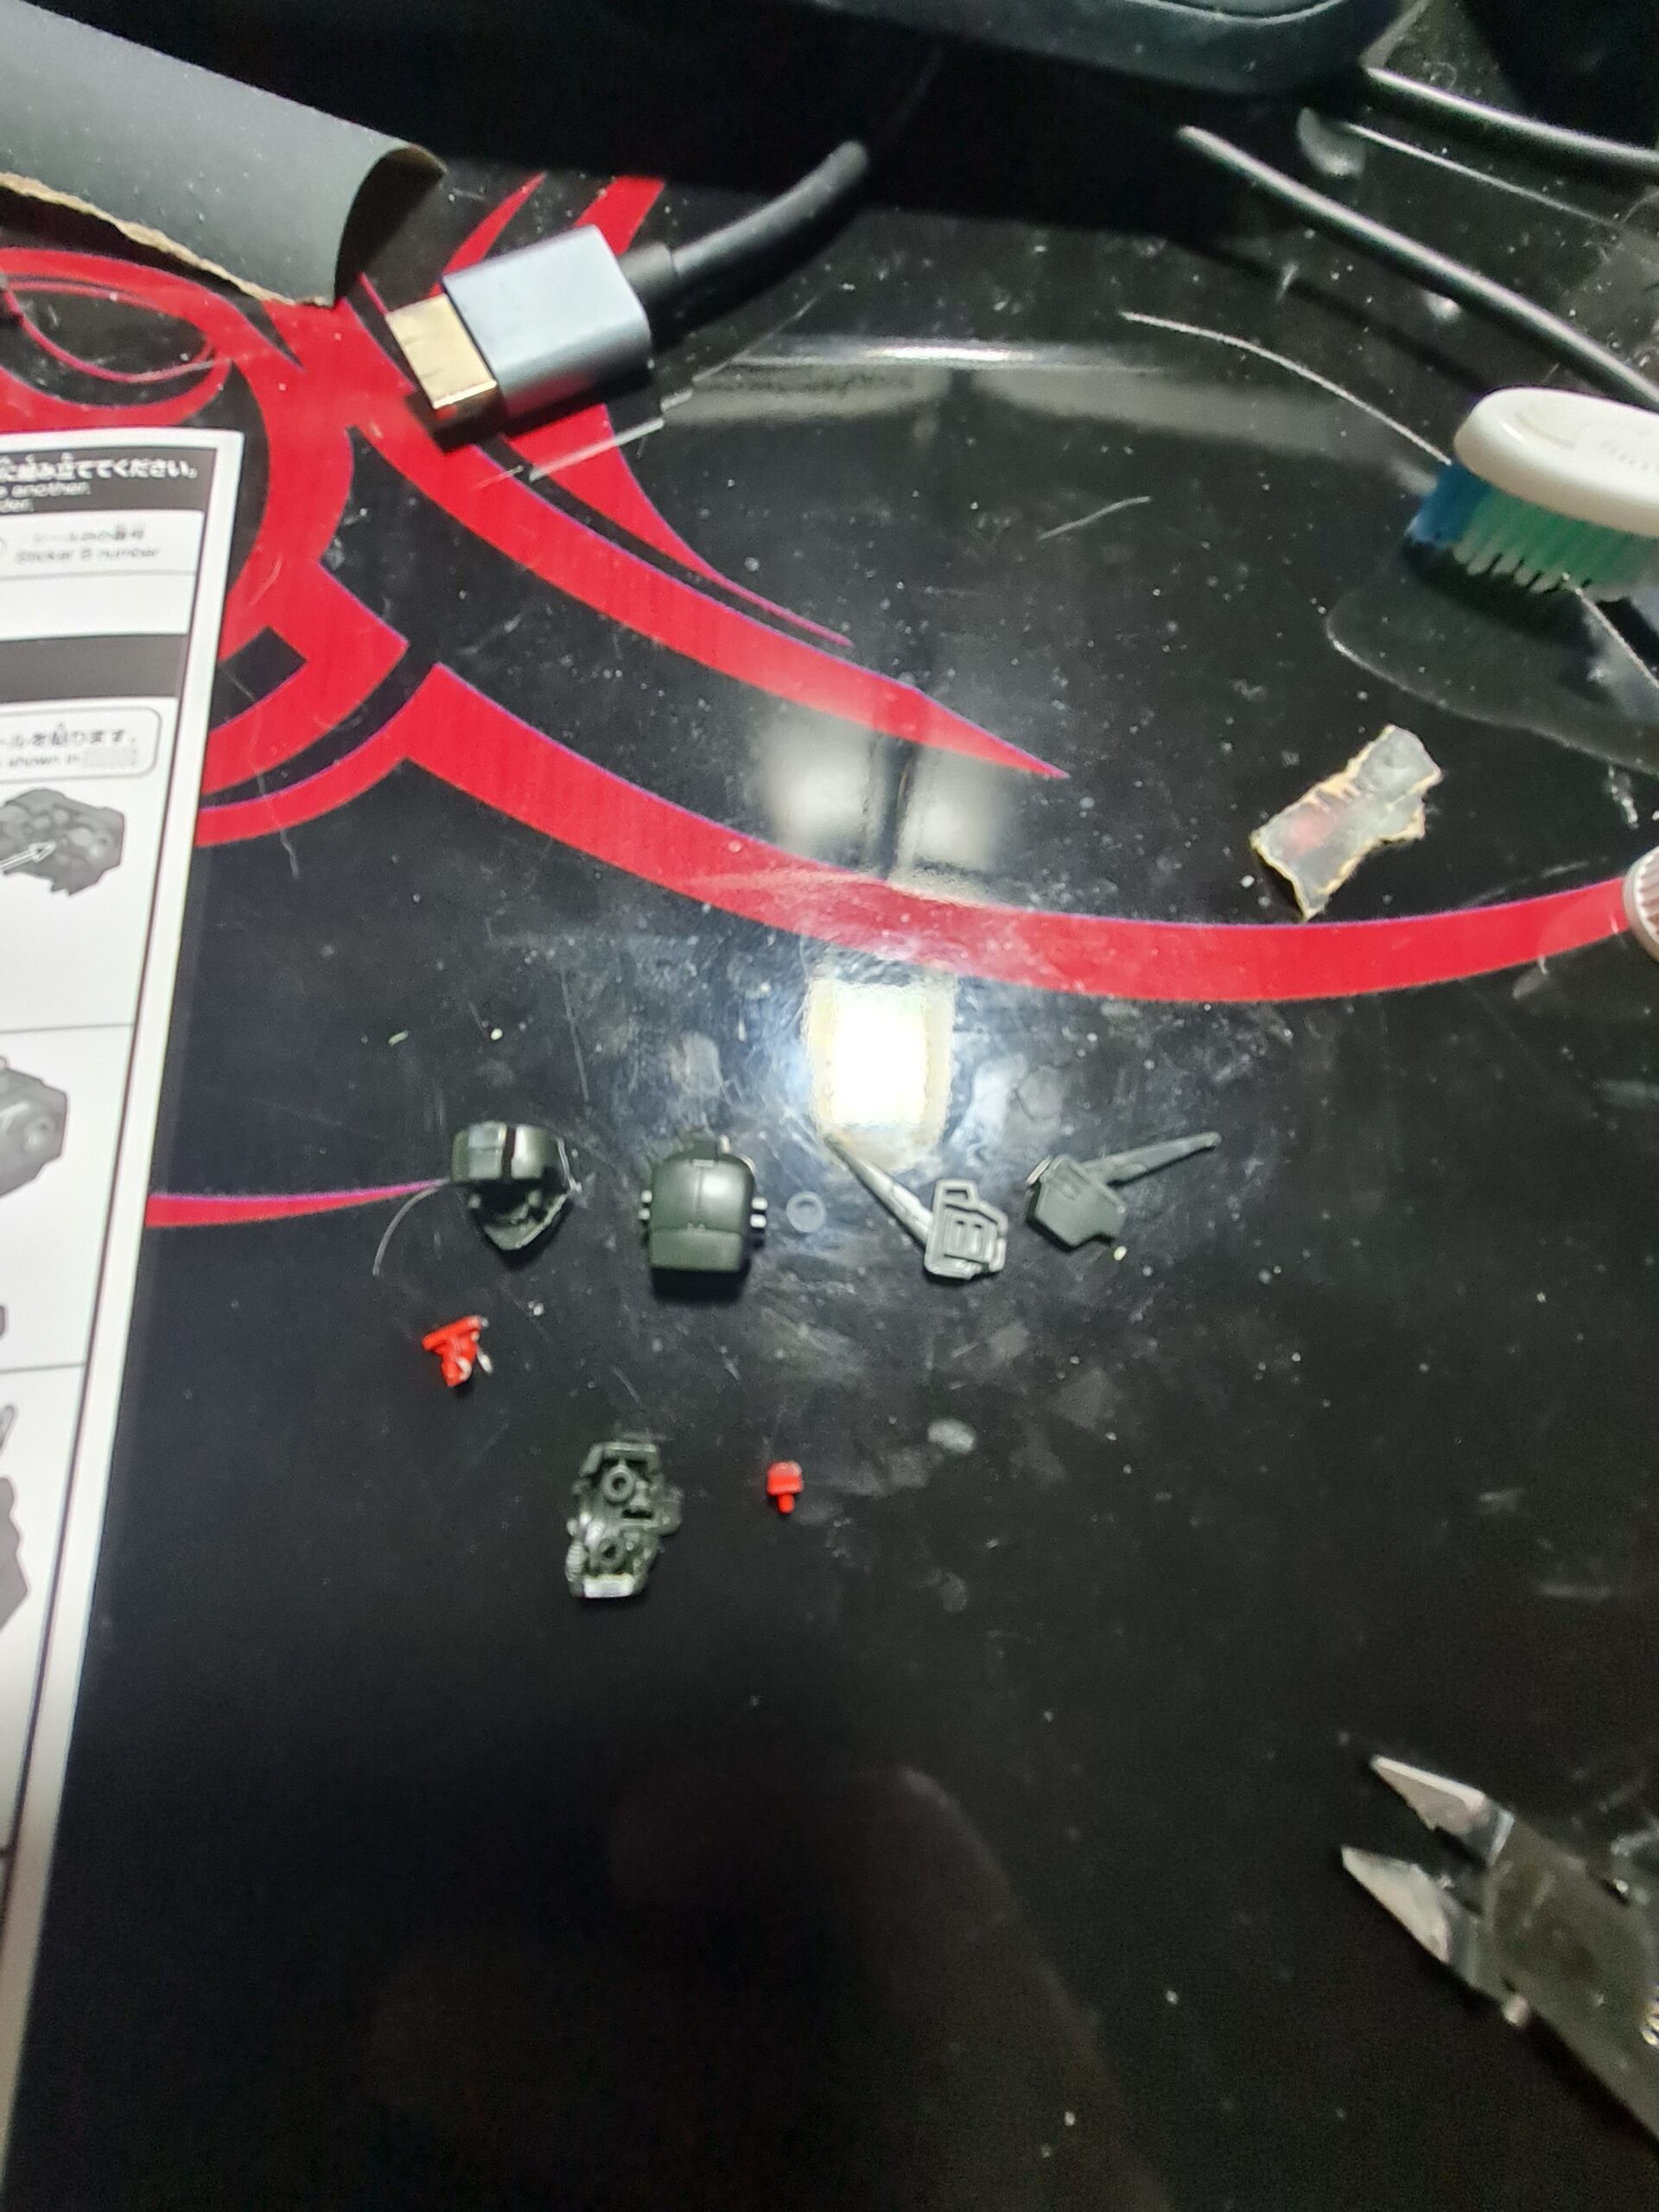
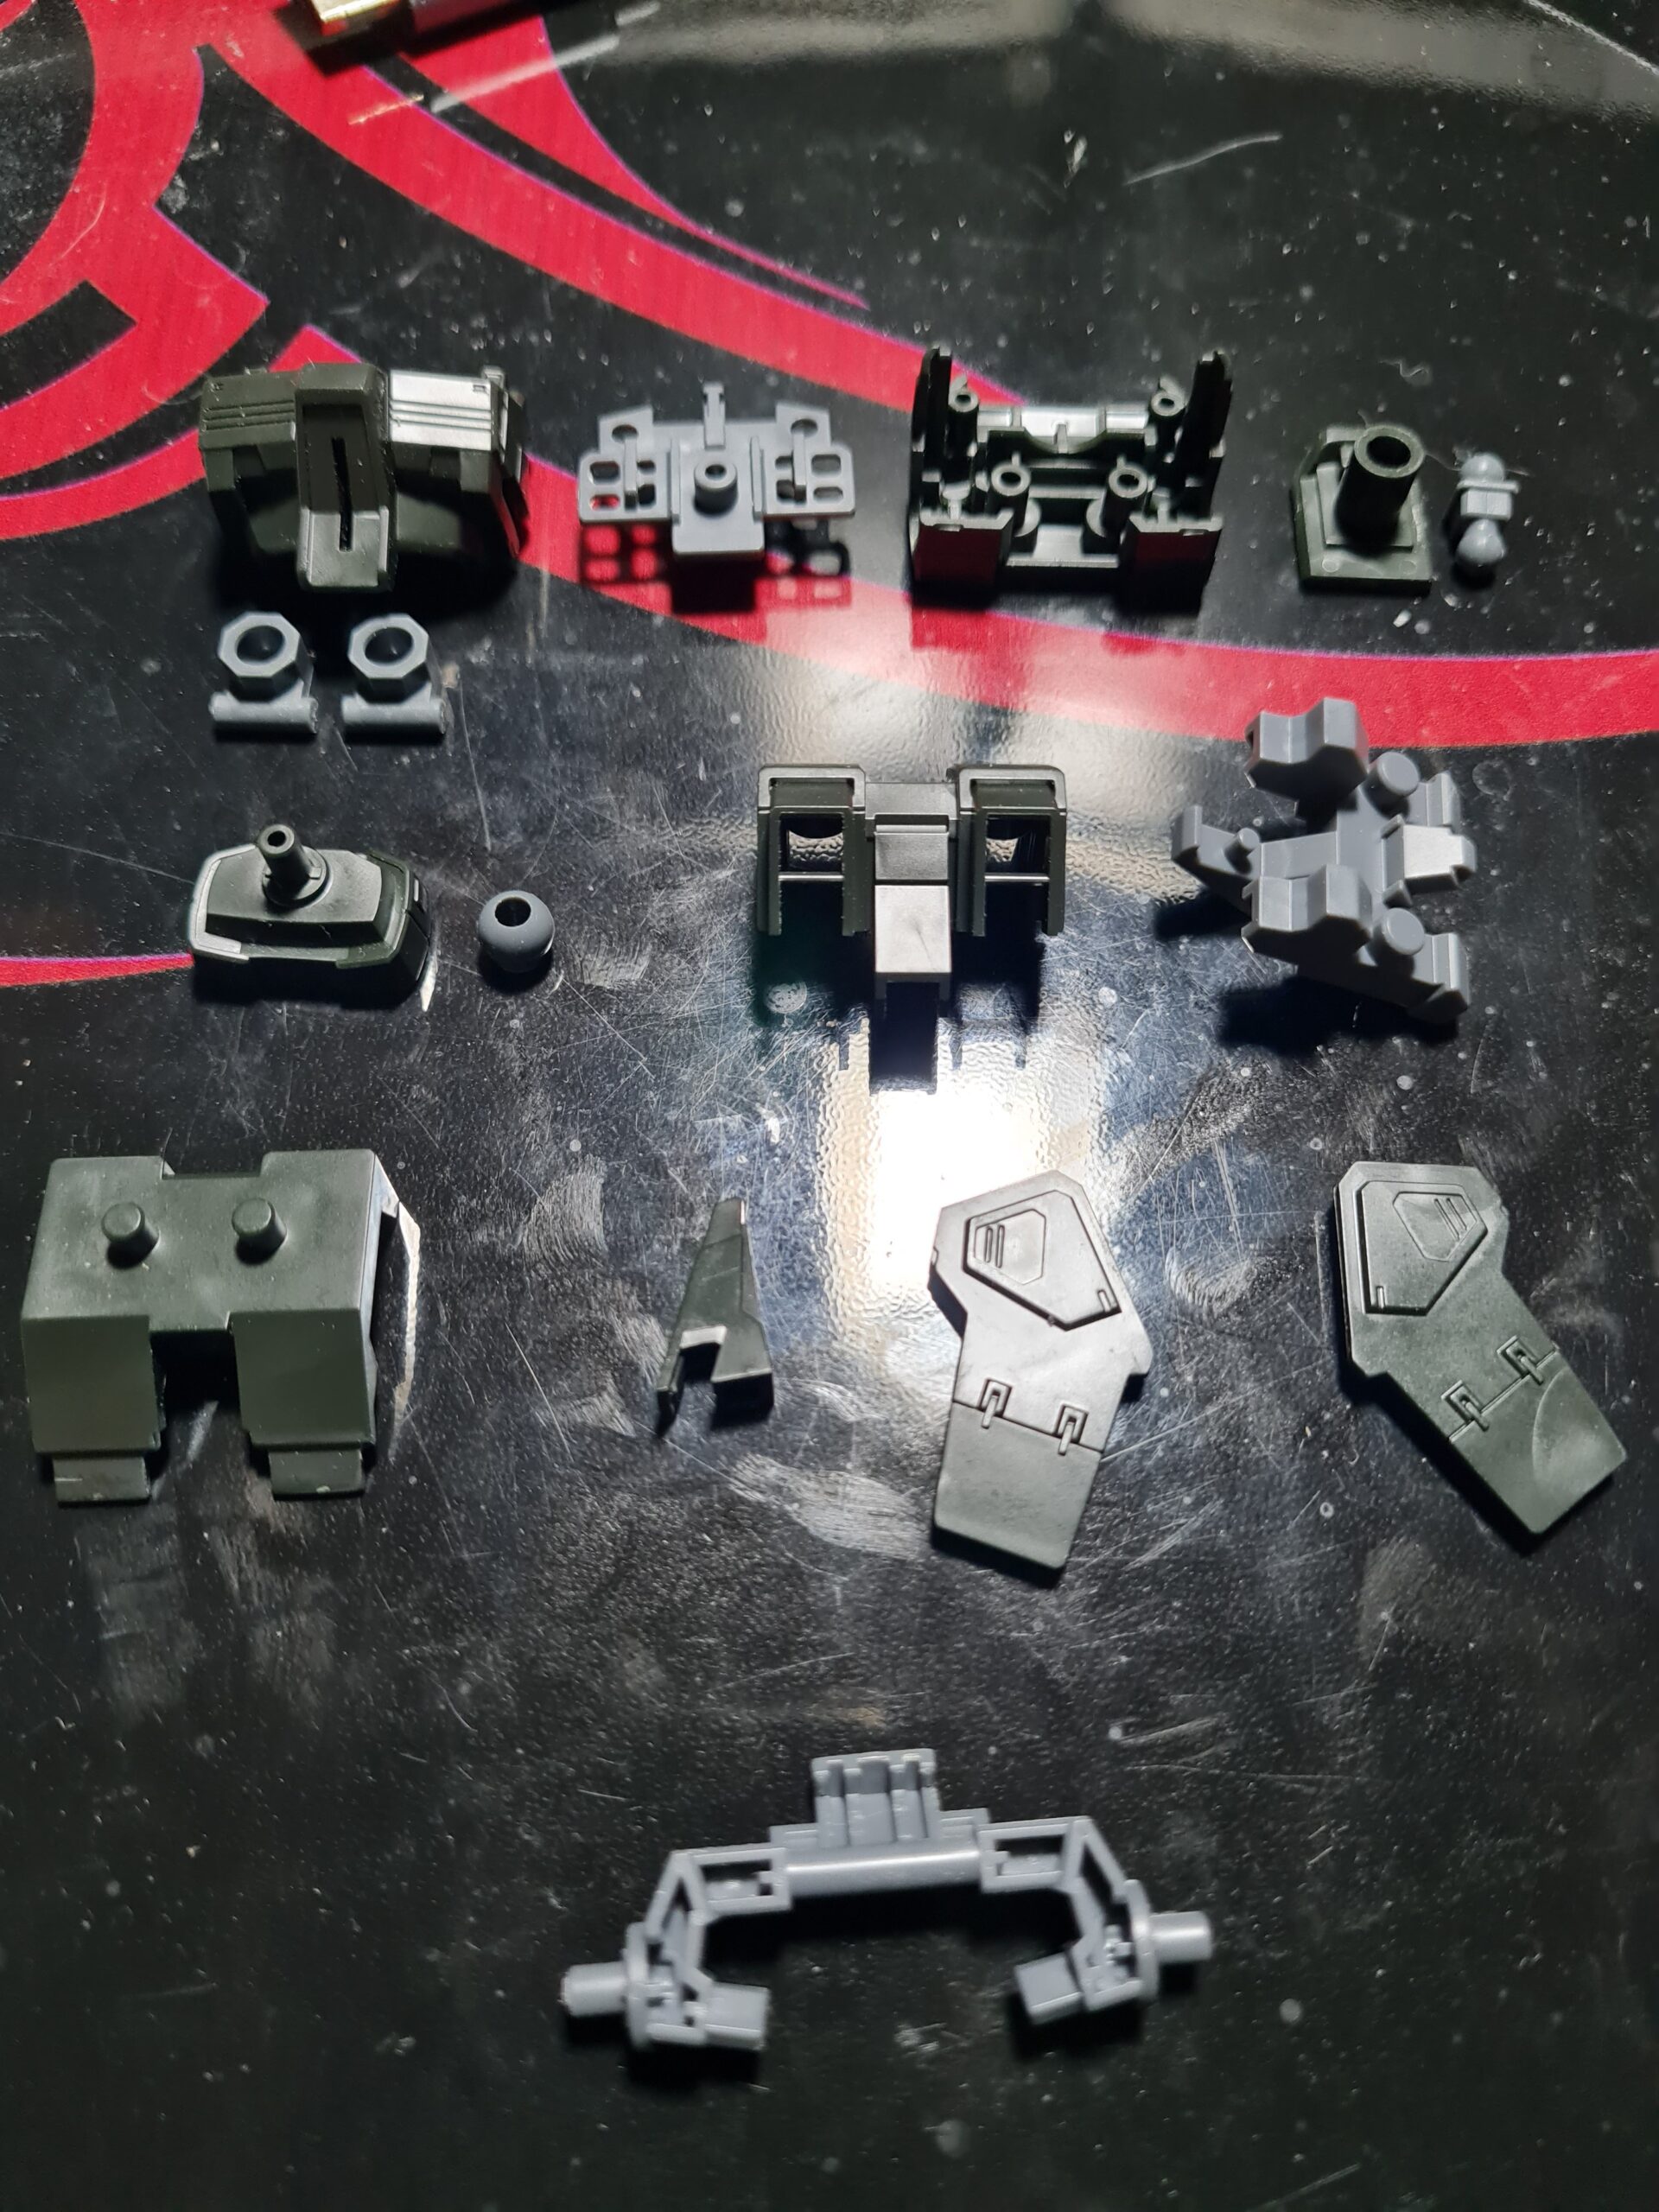
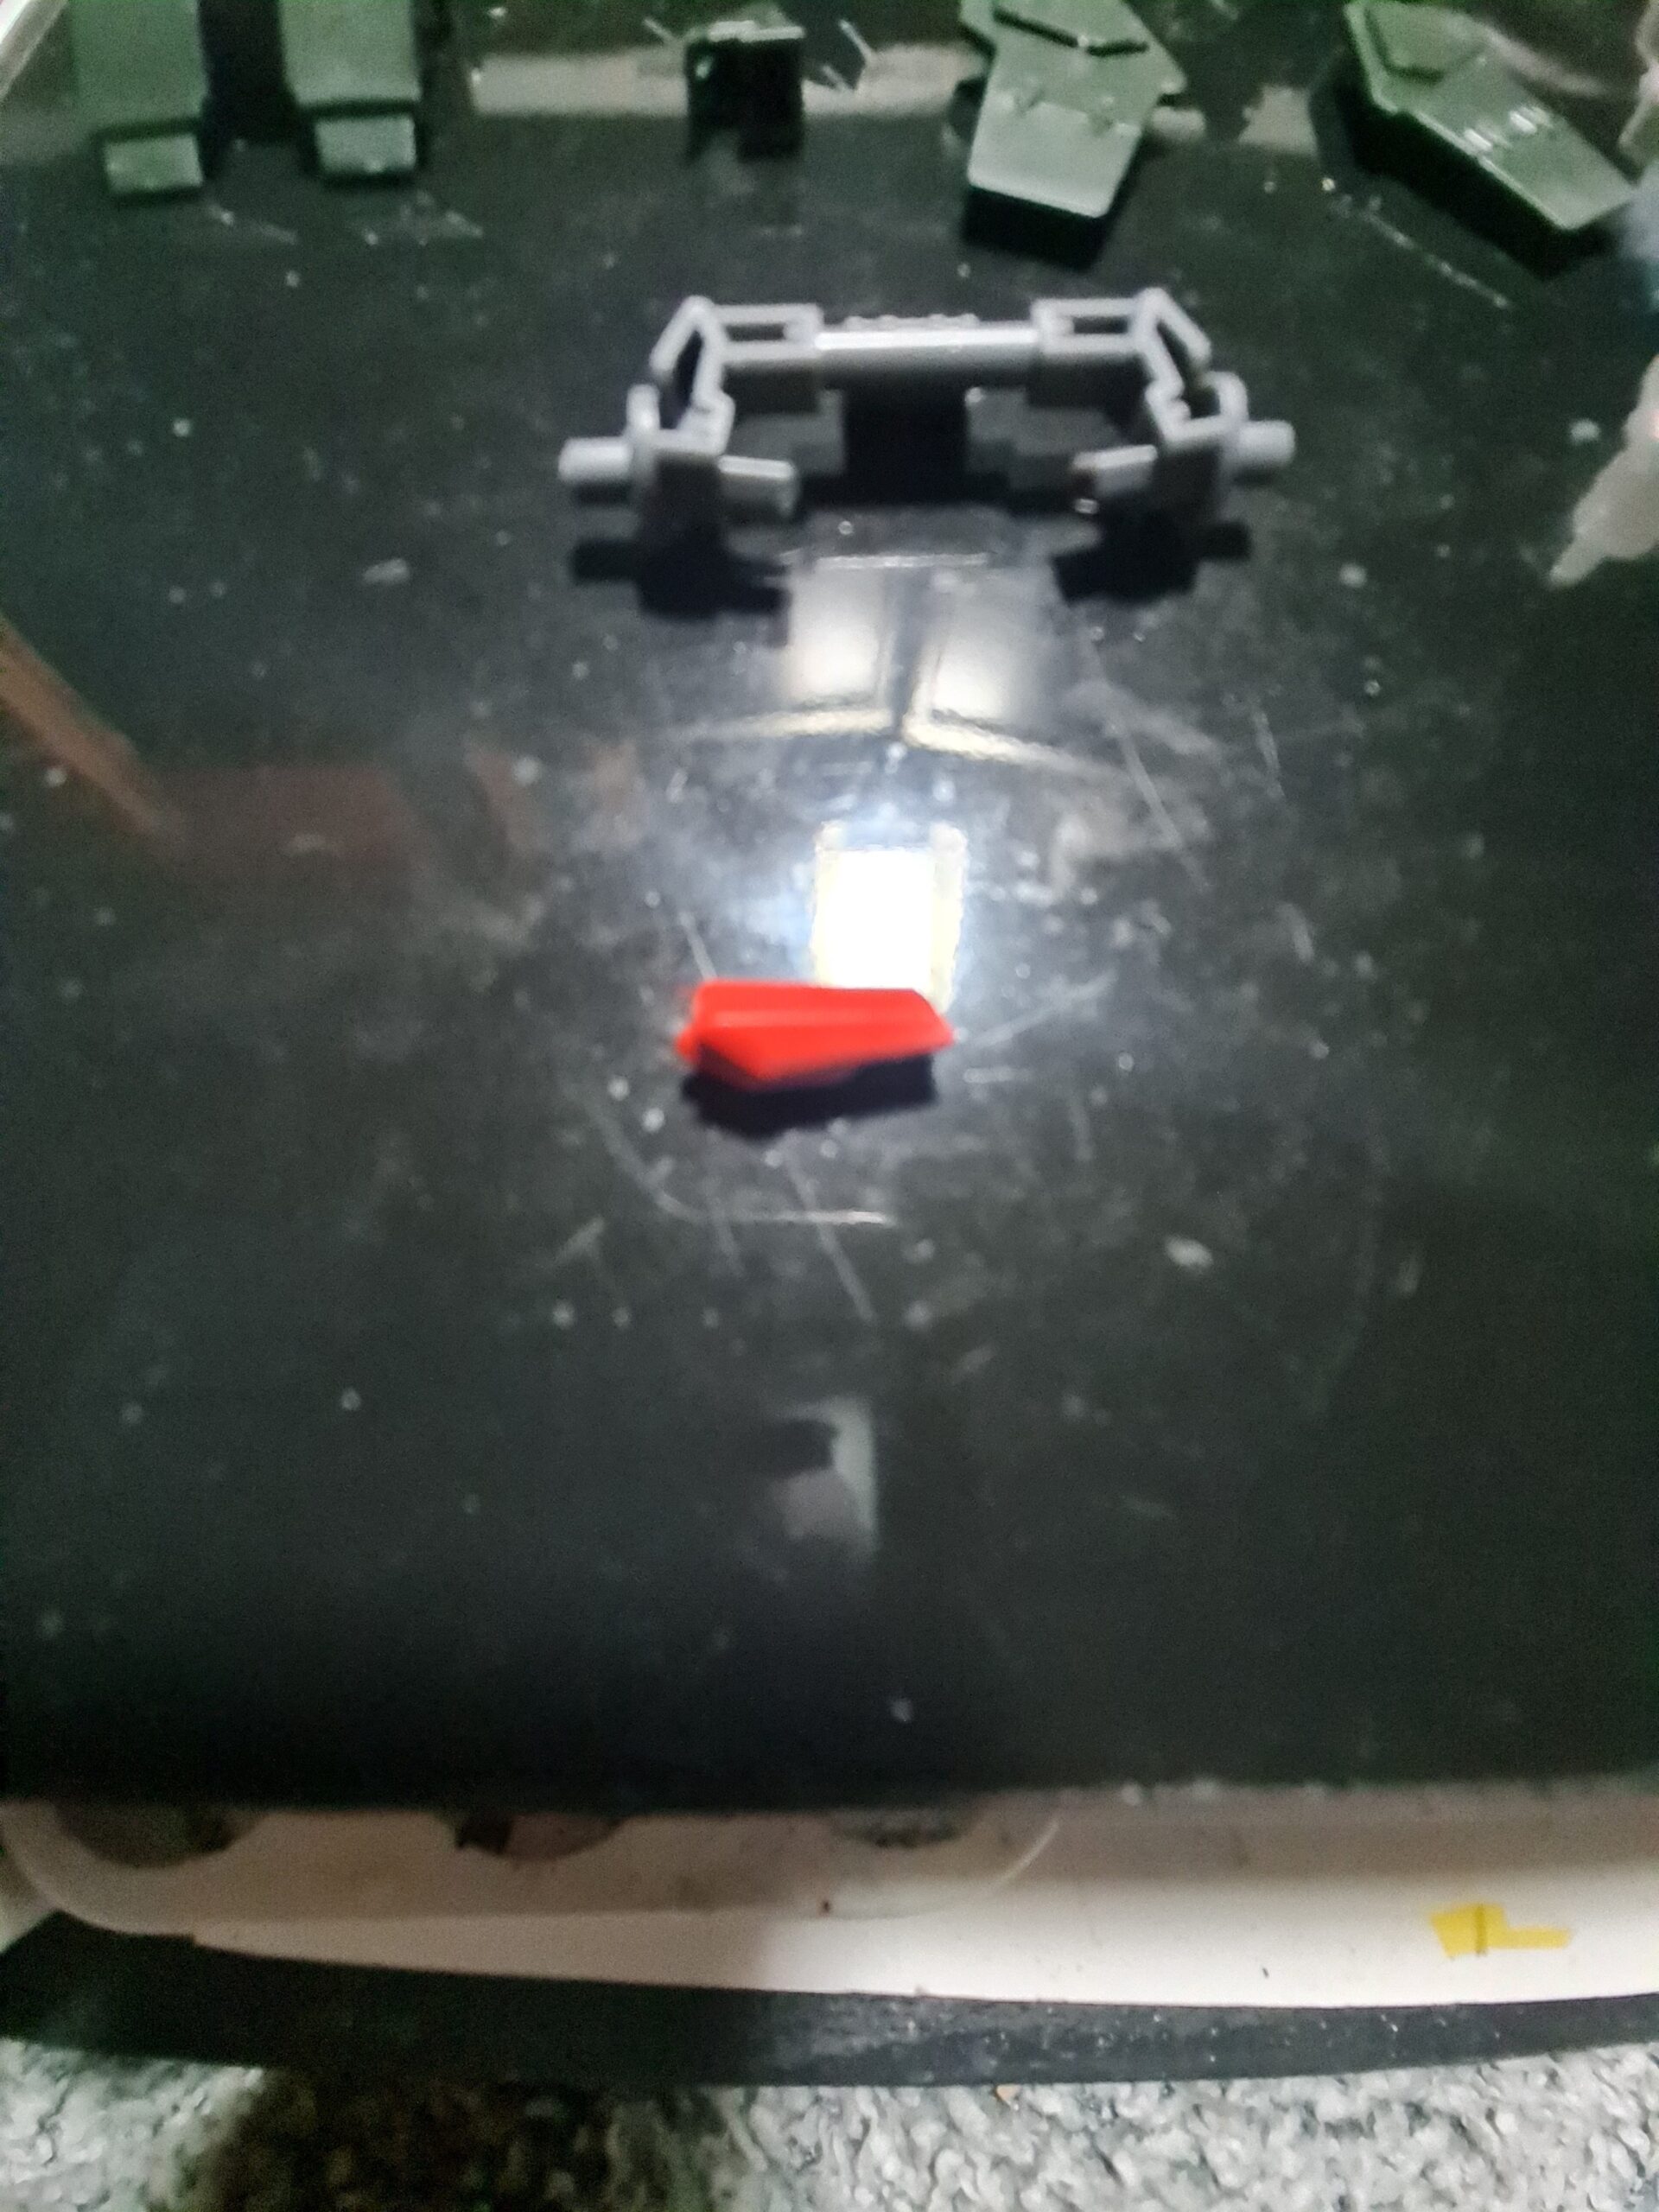
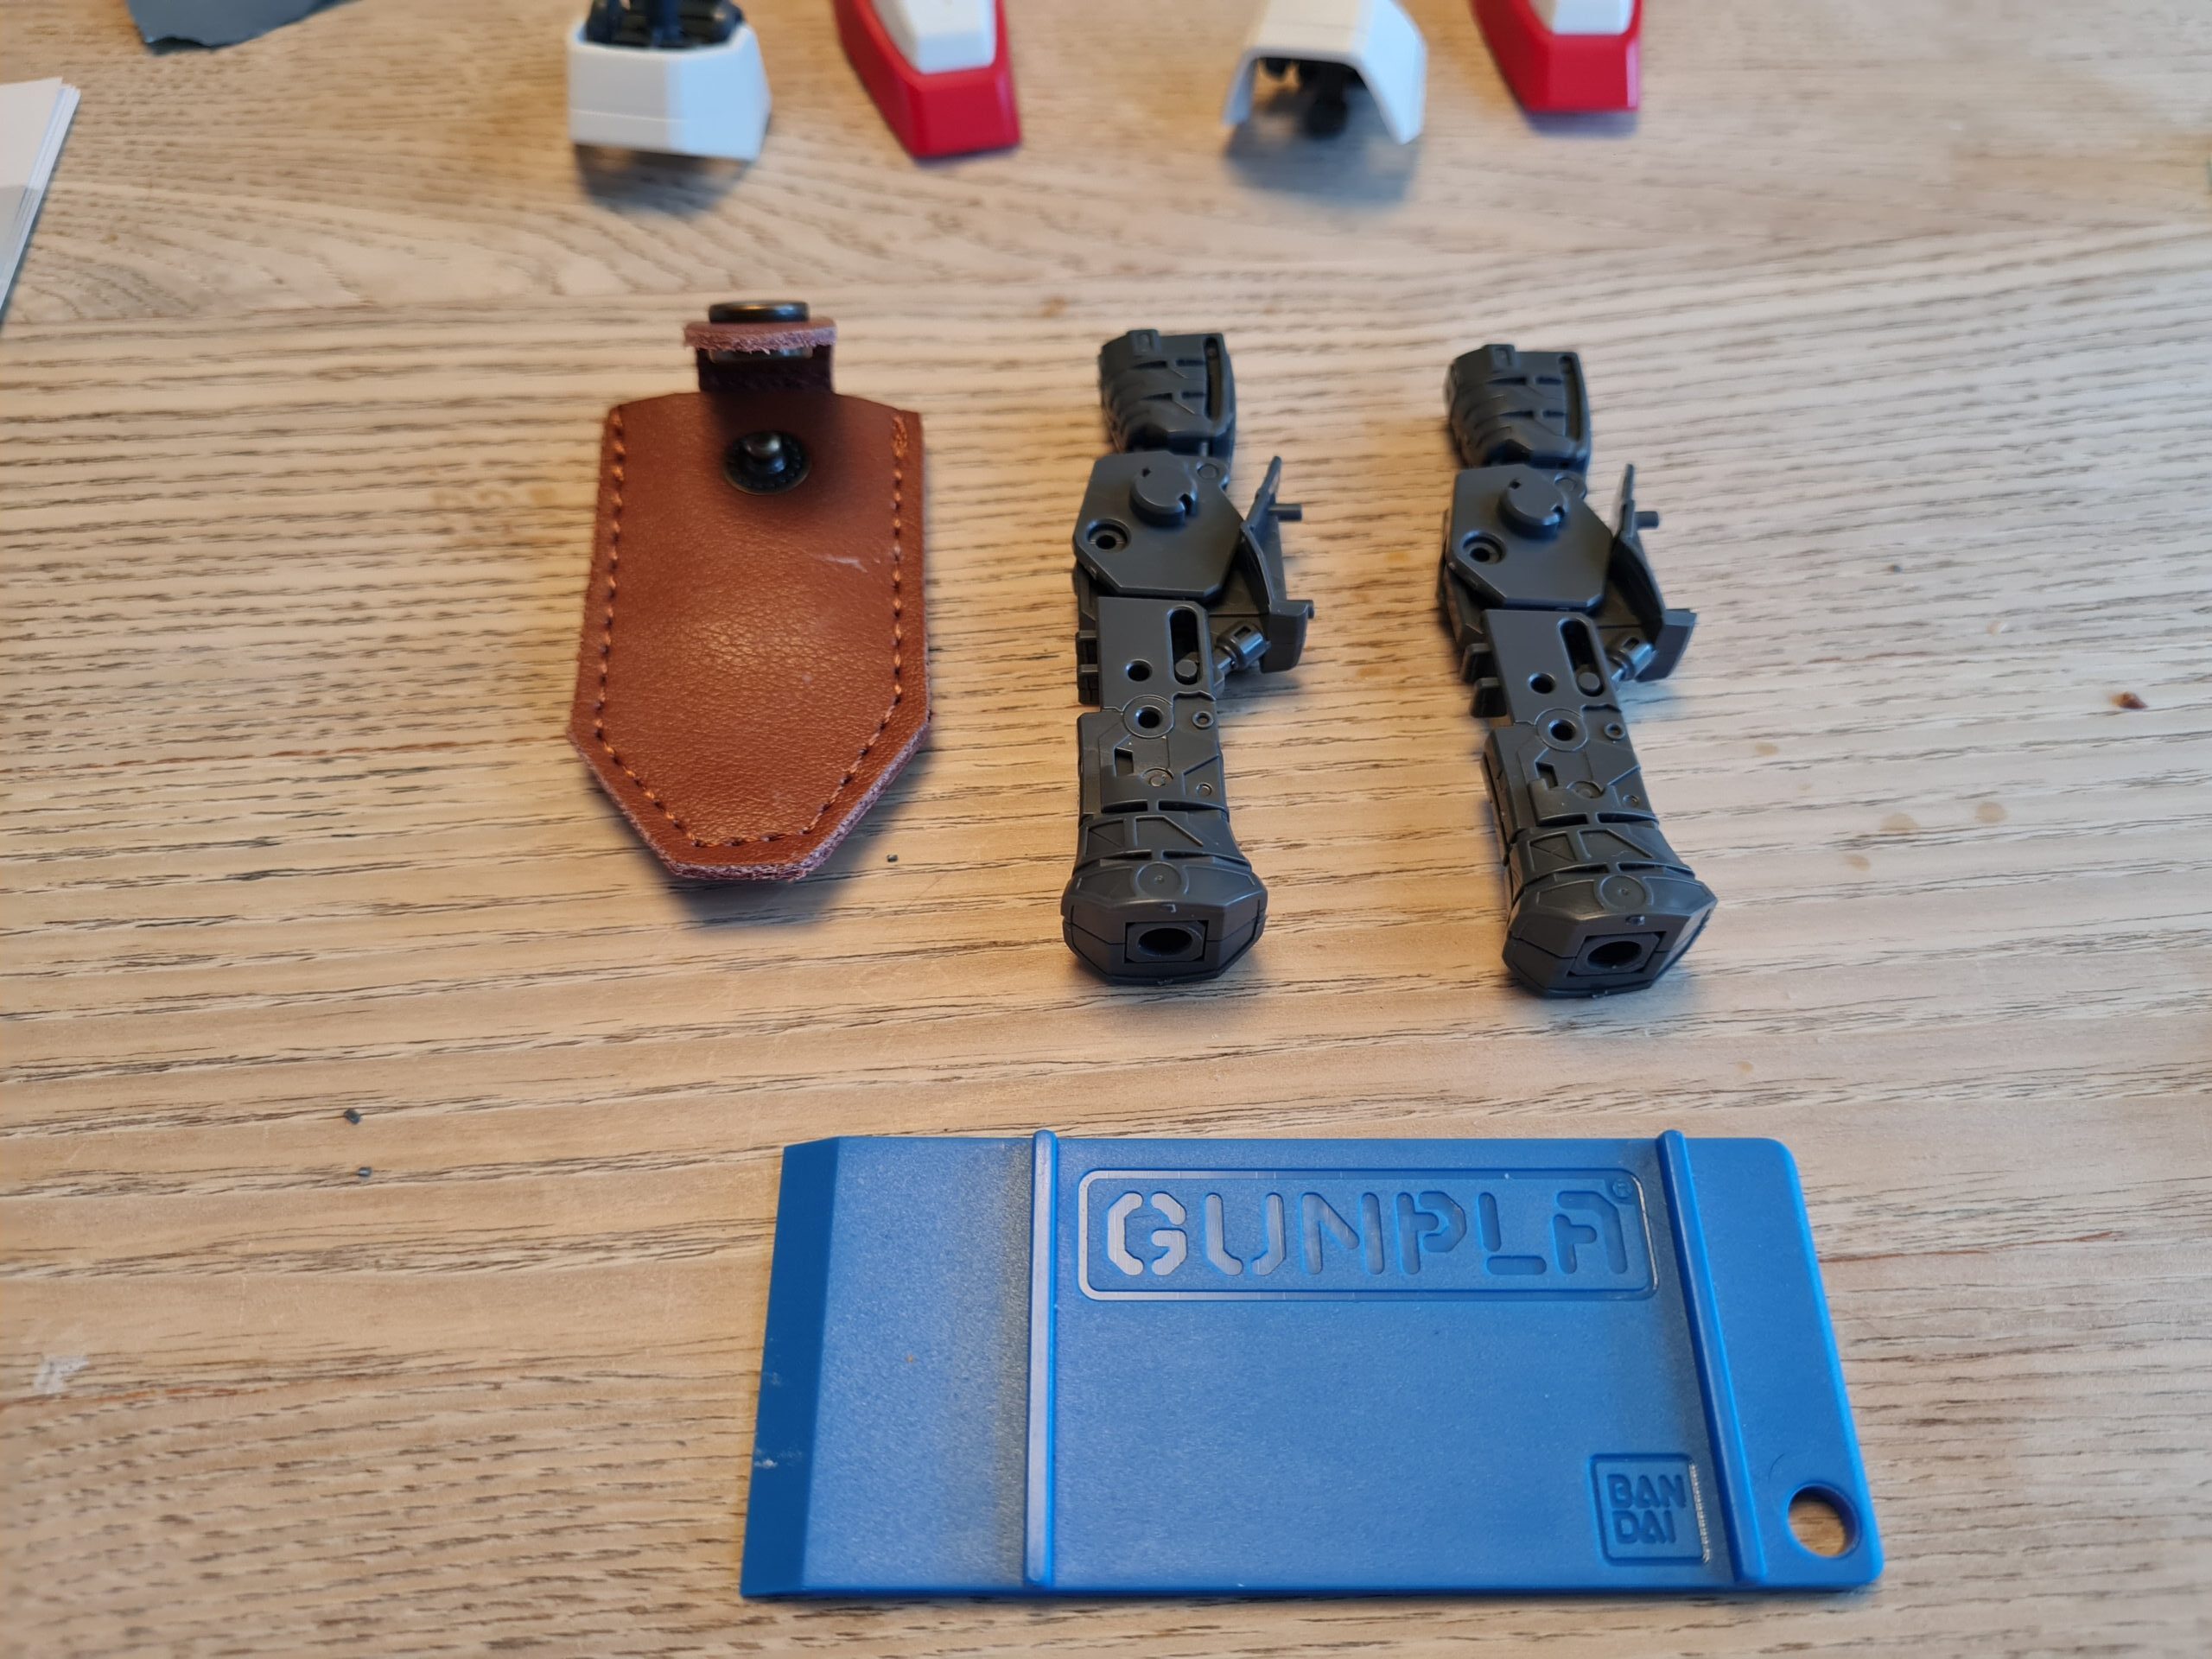
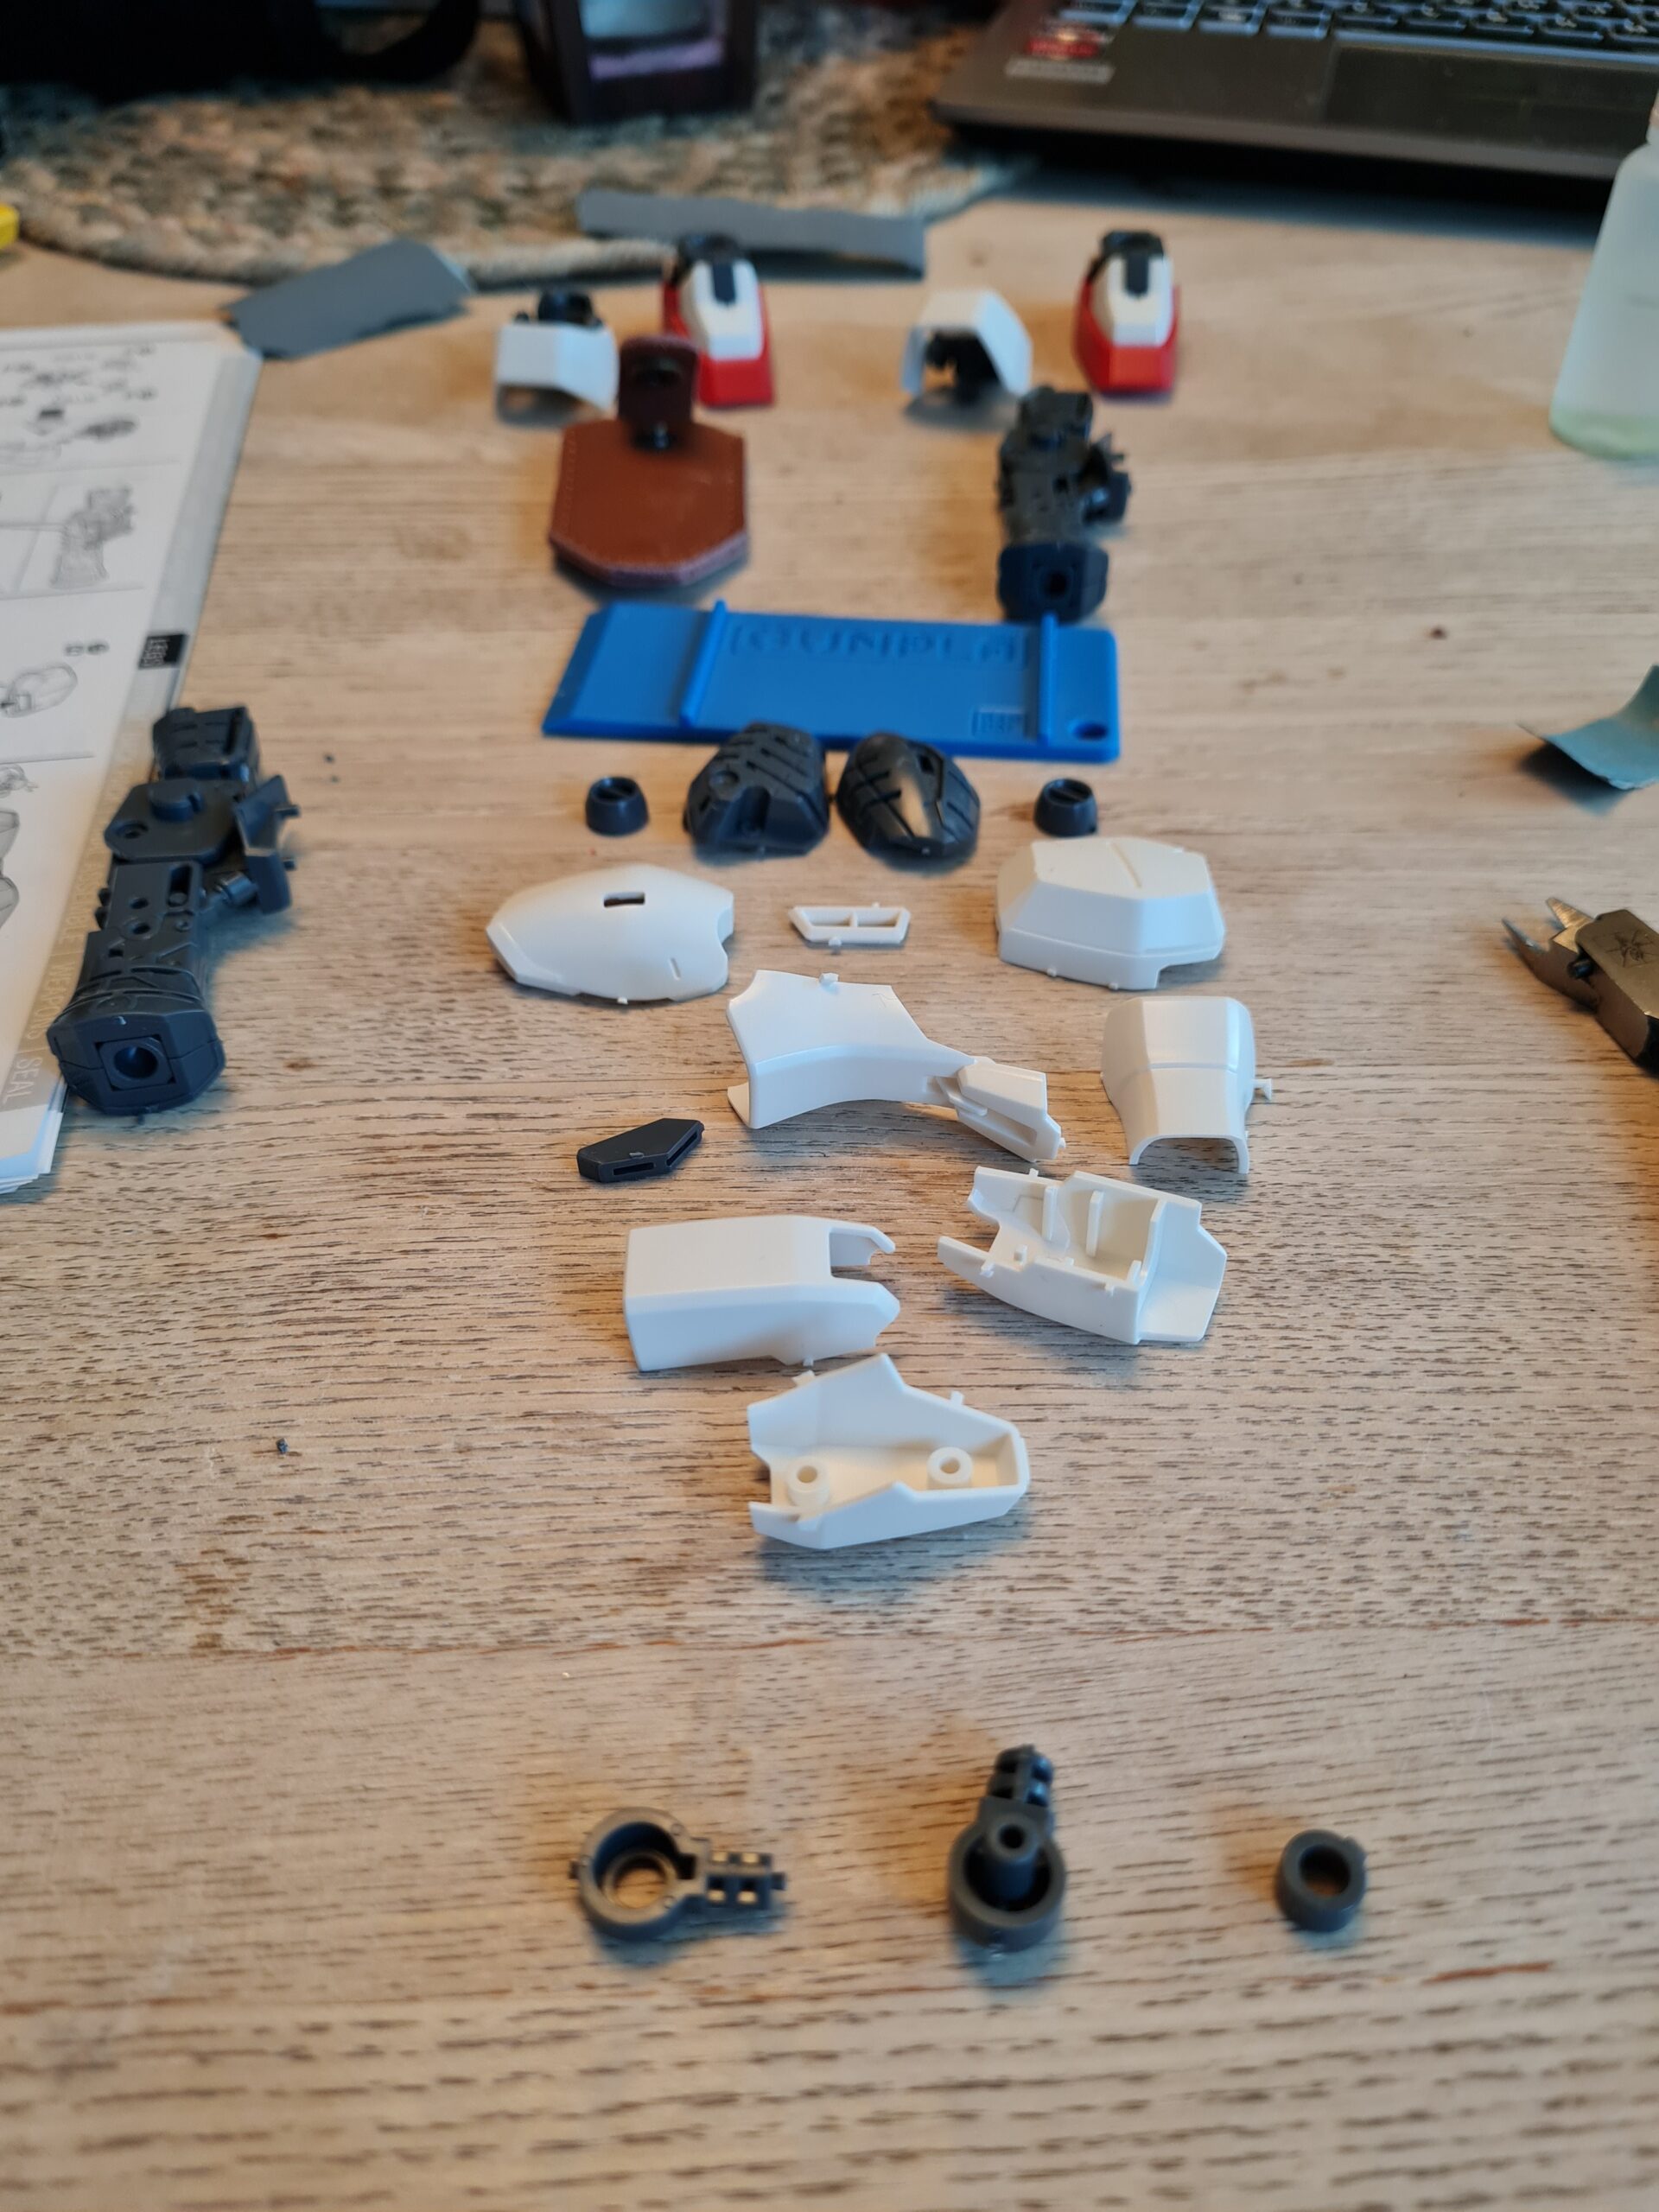
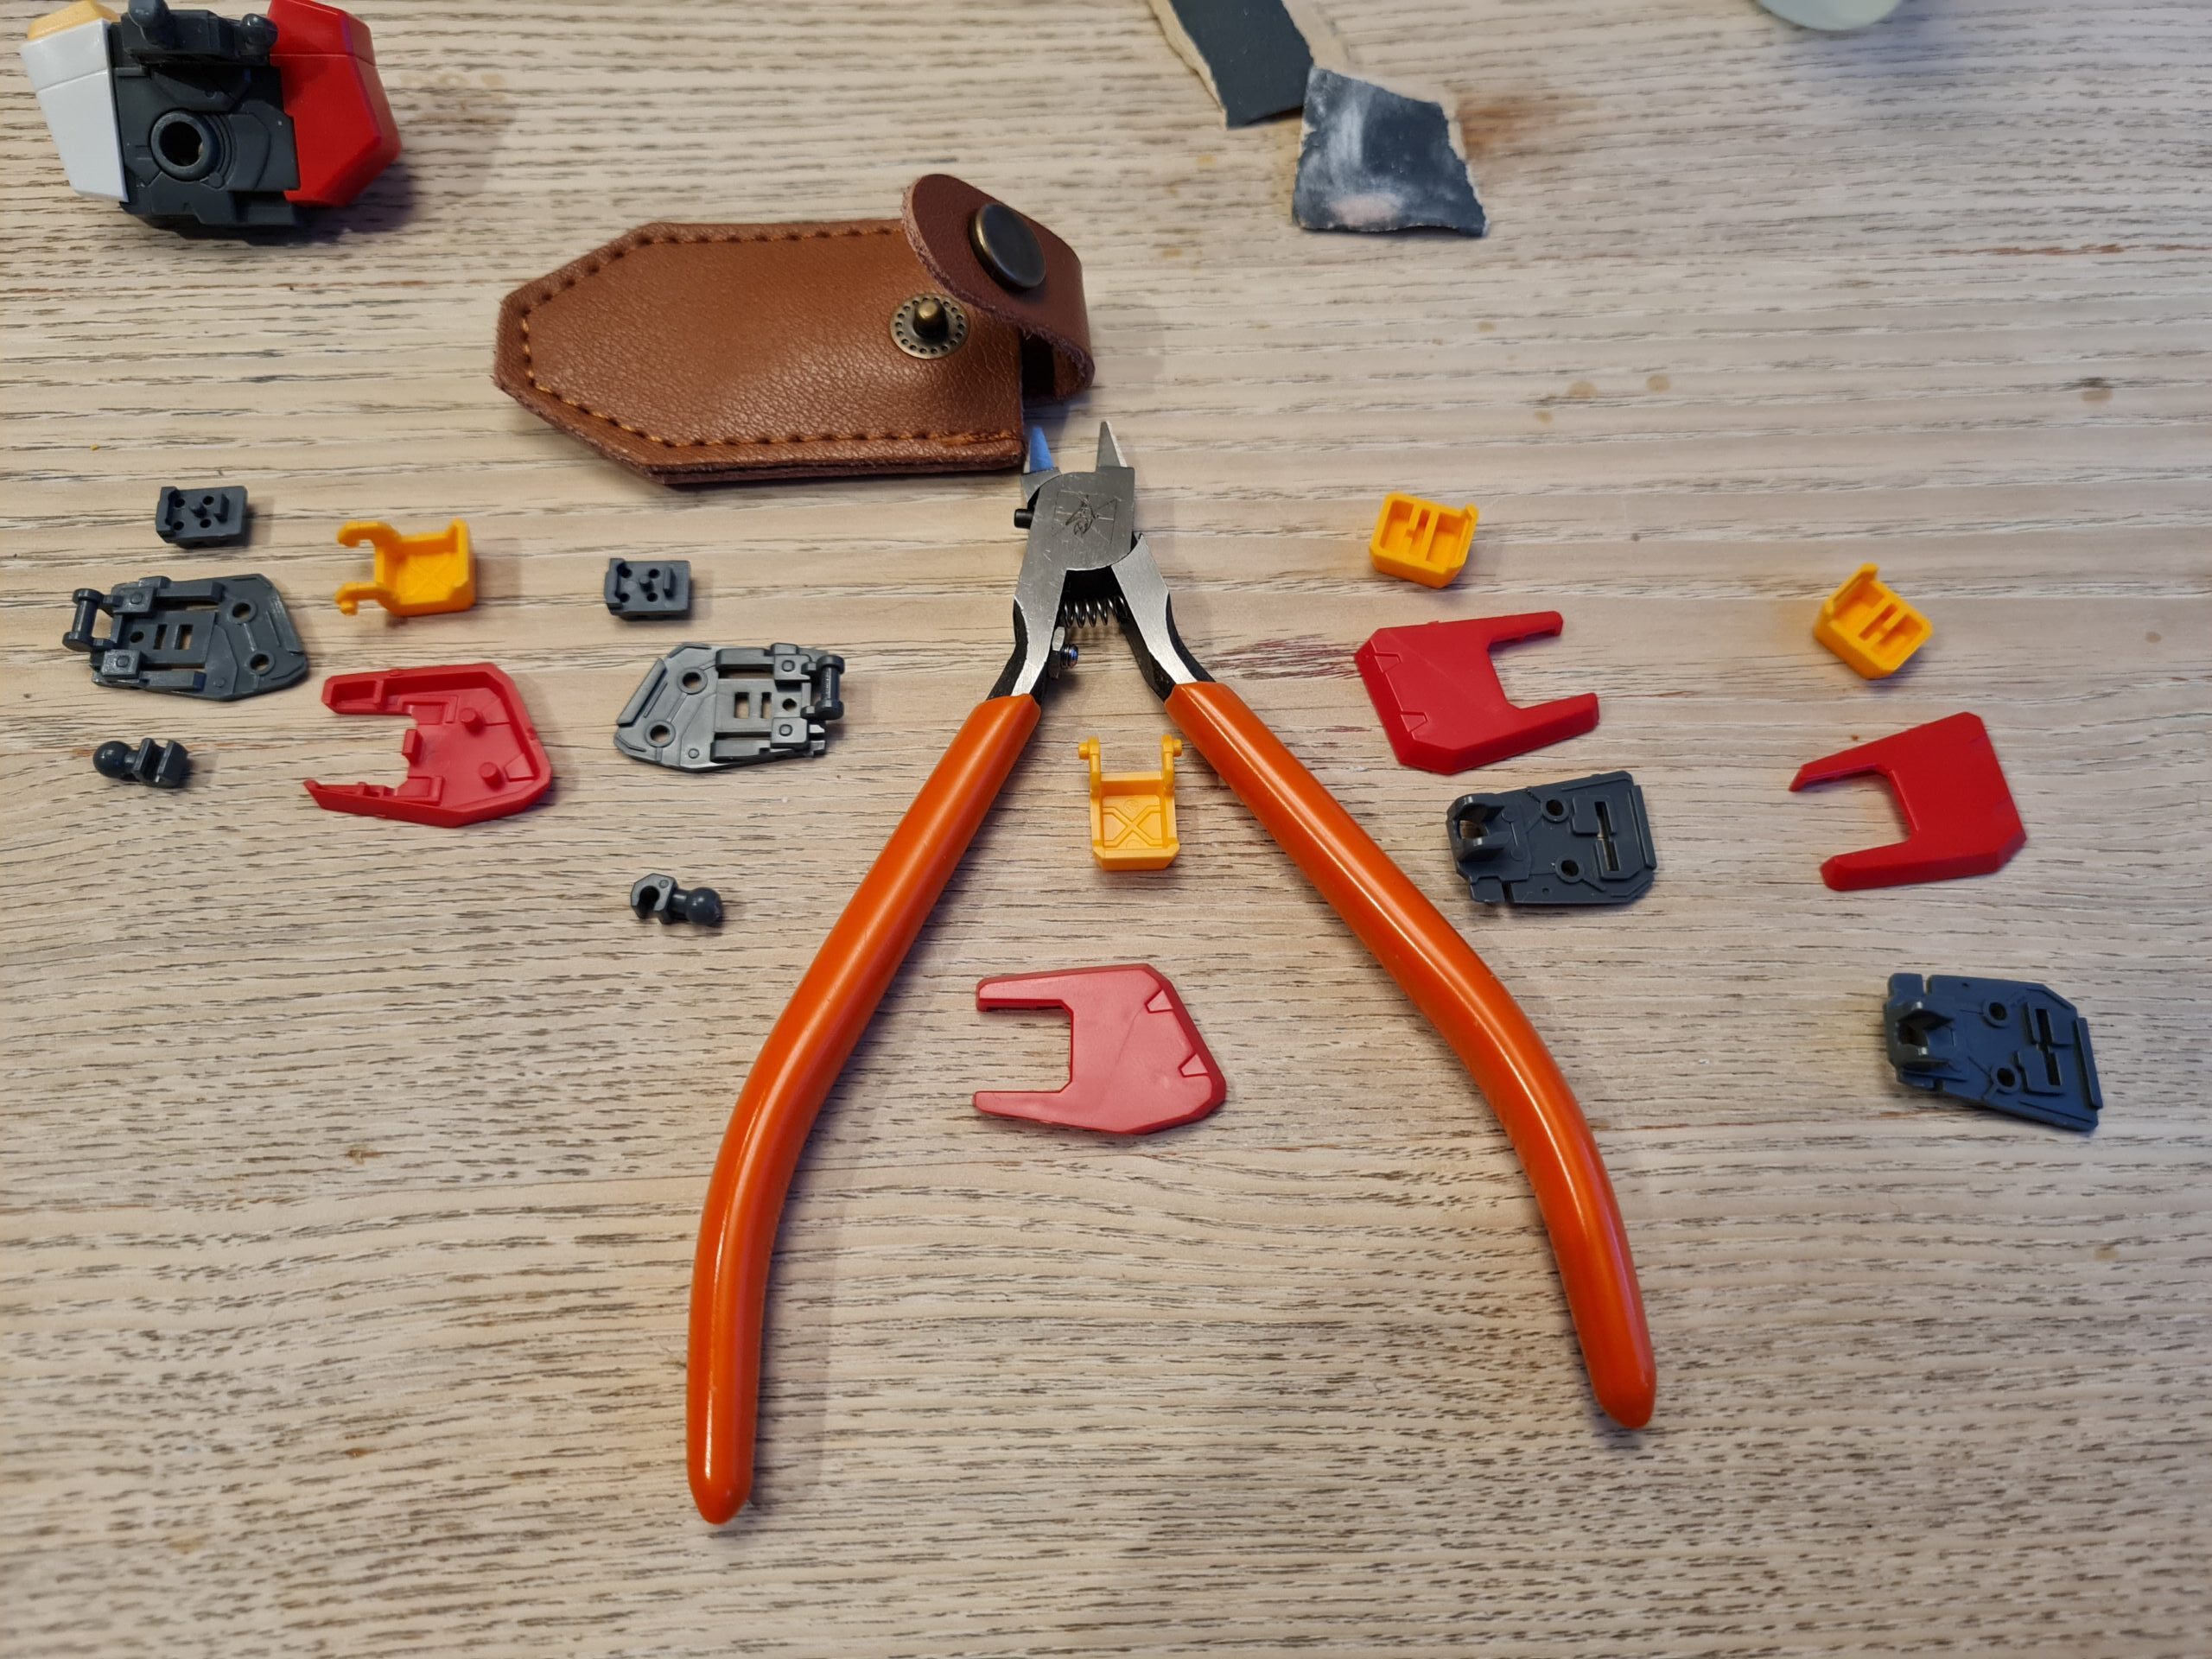
The build was quick, which I expected. I still need to perform a strip down and cleanup, but it went together quickly and simply. I think that all these kits are likely to have similar build times. I have seen some Bandai kits like the Neo that look to be more complex in terms of number of parts, but I haven’t been fortunate to build any of those. My favourite part of this build were the semi transparent blue cast pieces. I found they add some real contrast to the model, and help it stand apart.

Although simple to build, I would say the instruction manual would benefit from some tweaks. In particular there are some steps that you need to do in specific order, and just a 1, 2, 3 etc. on them would make the build go more smoothly. It wasn’t a “massive” problem but it was a little irksome.

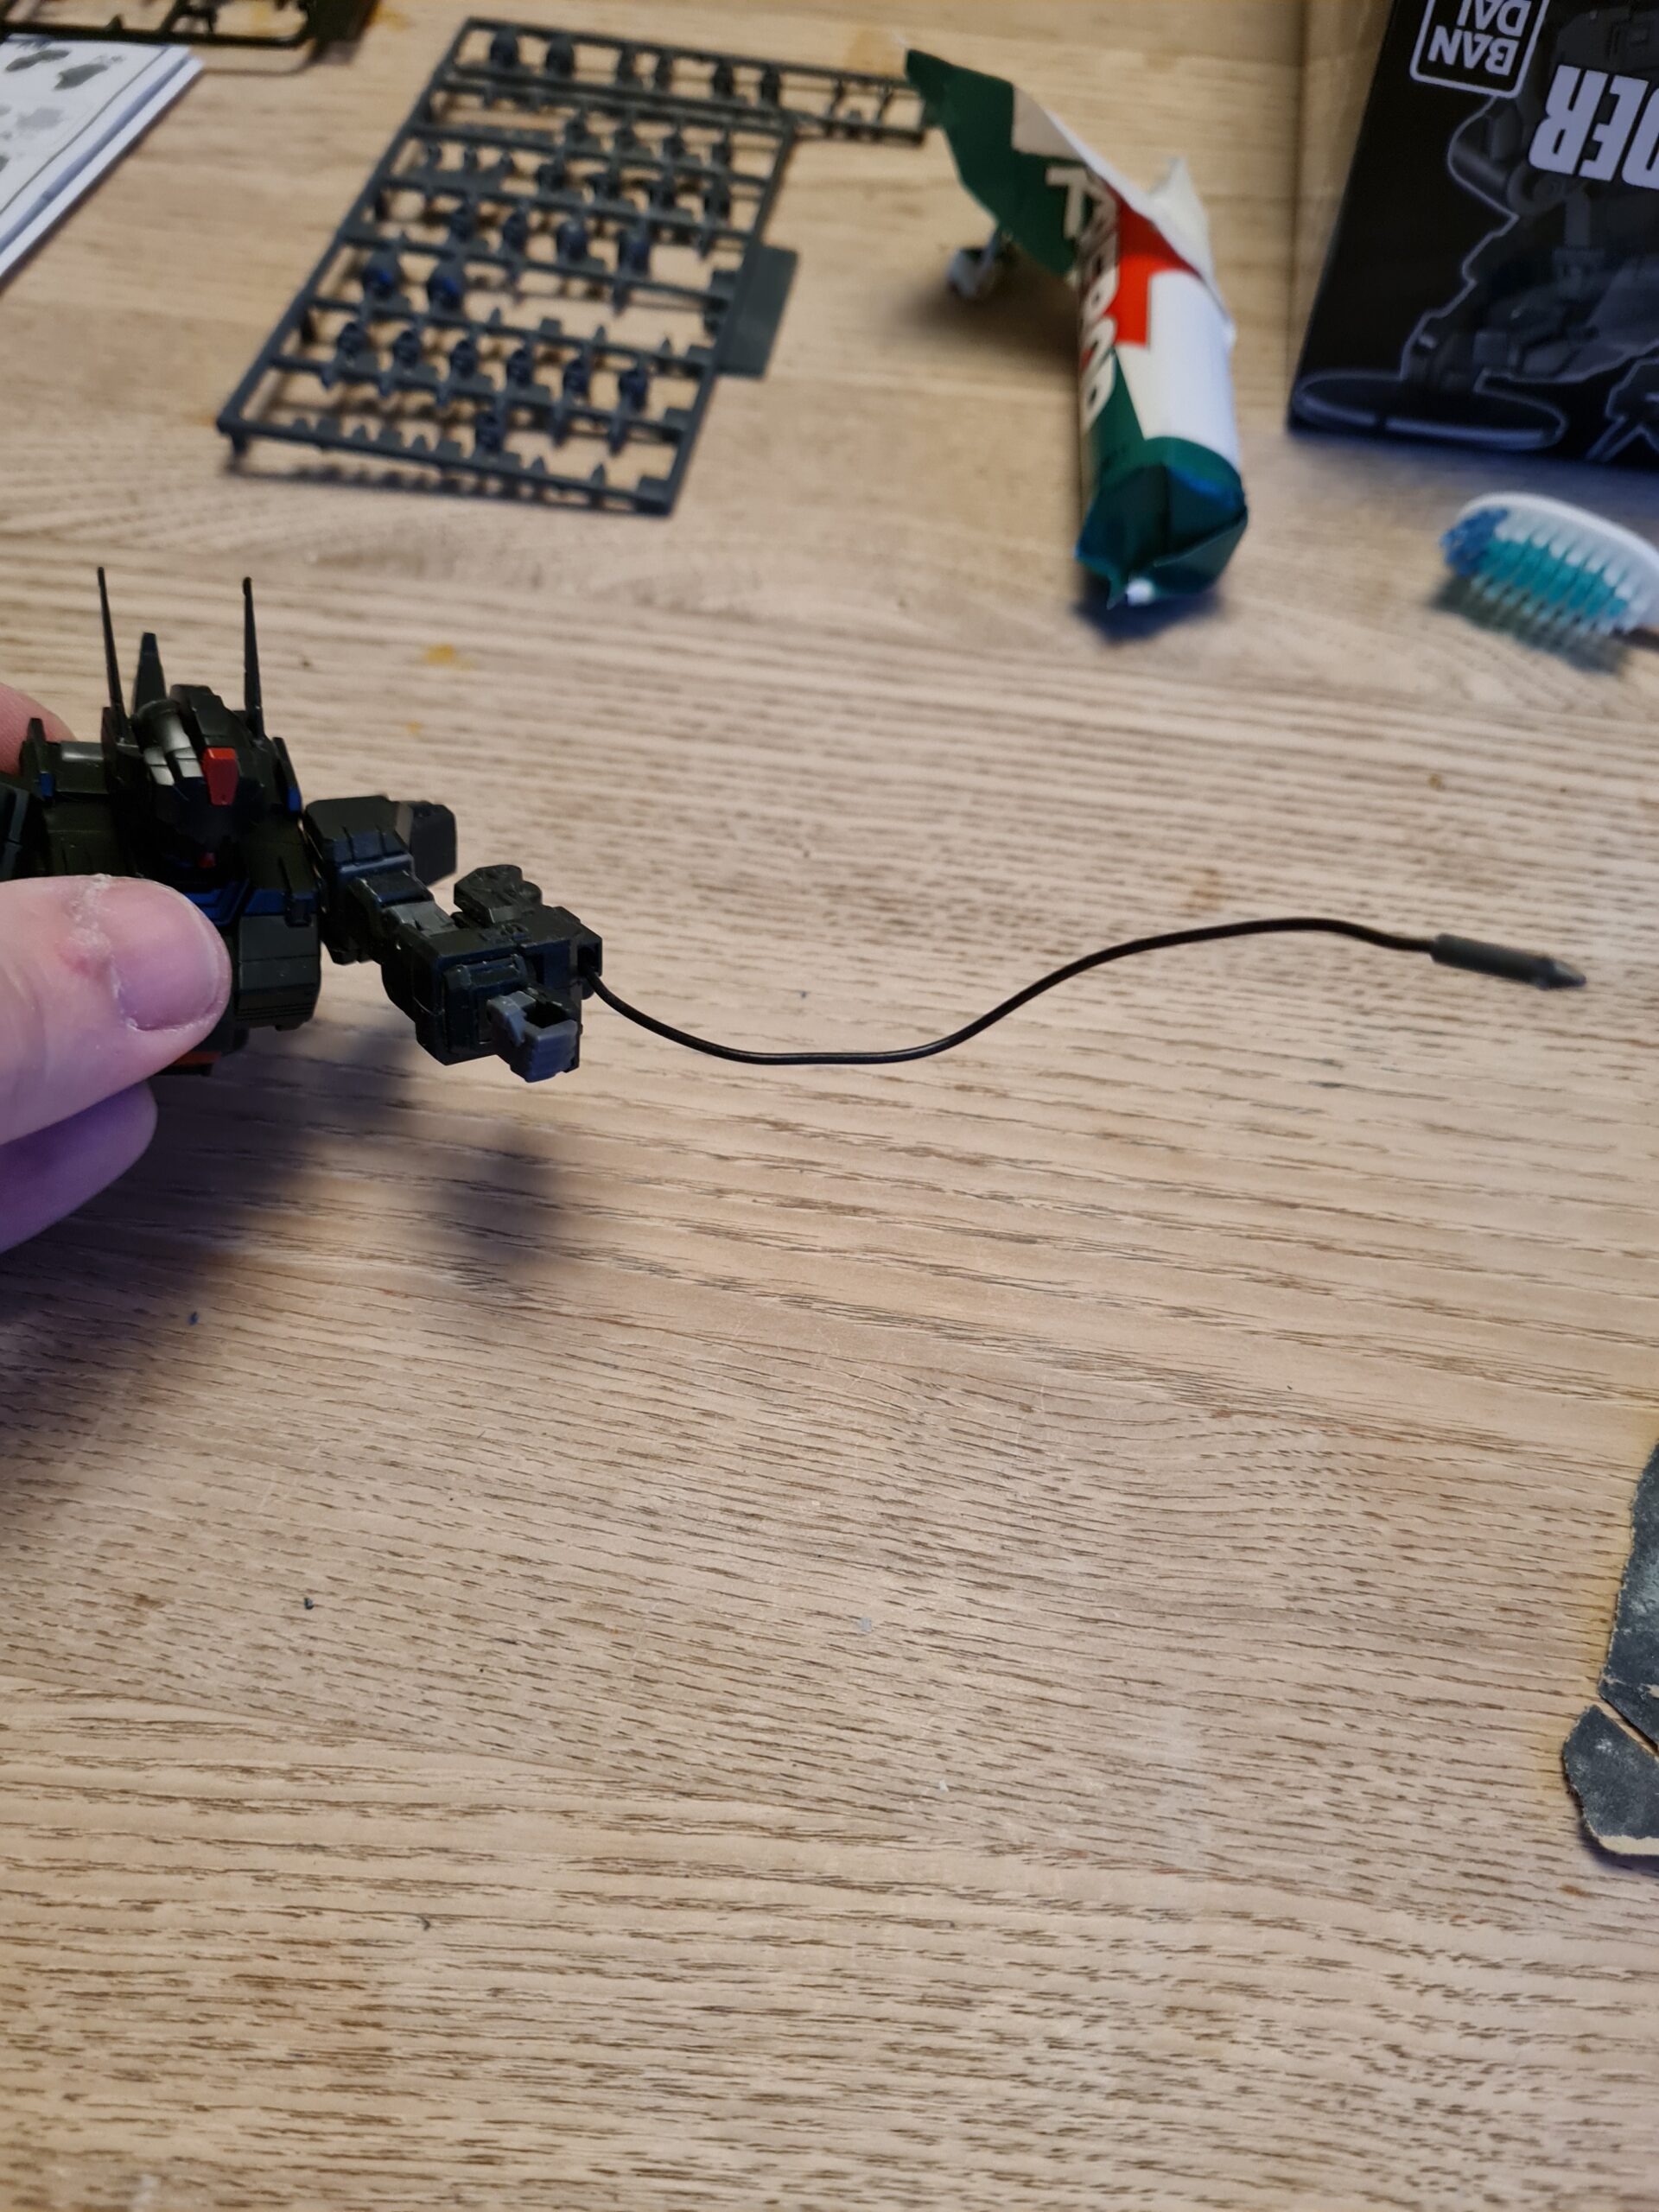
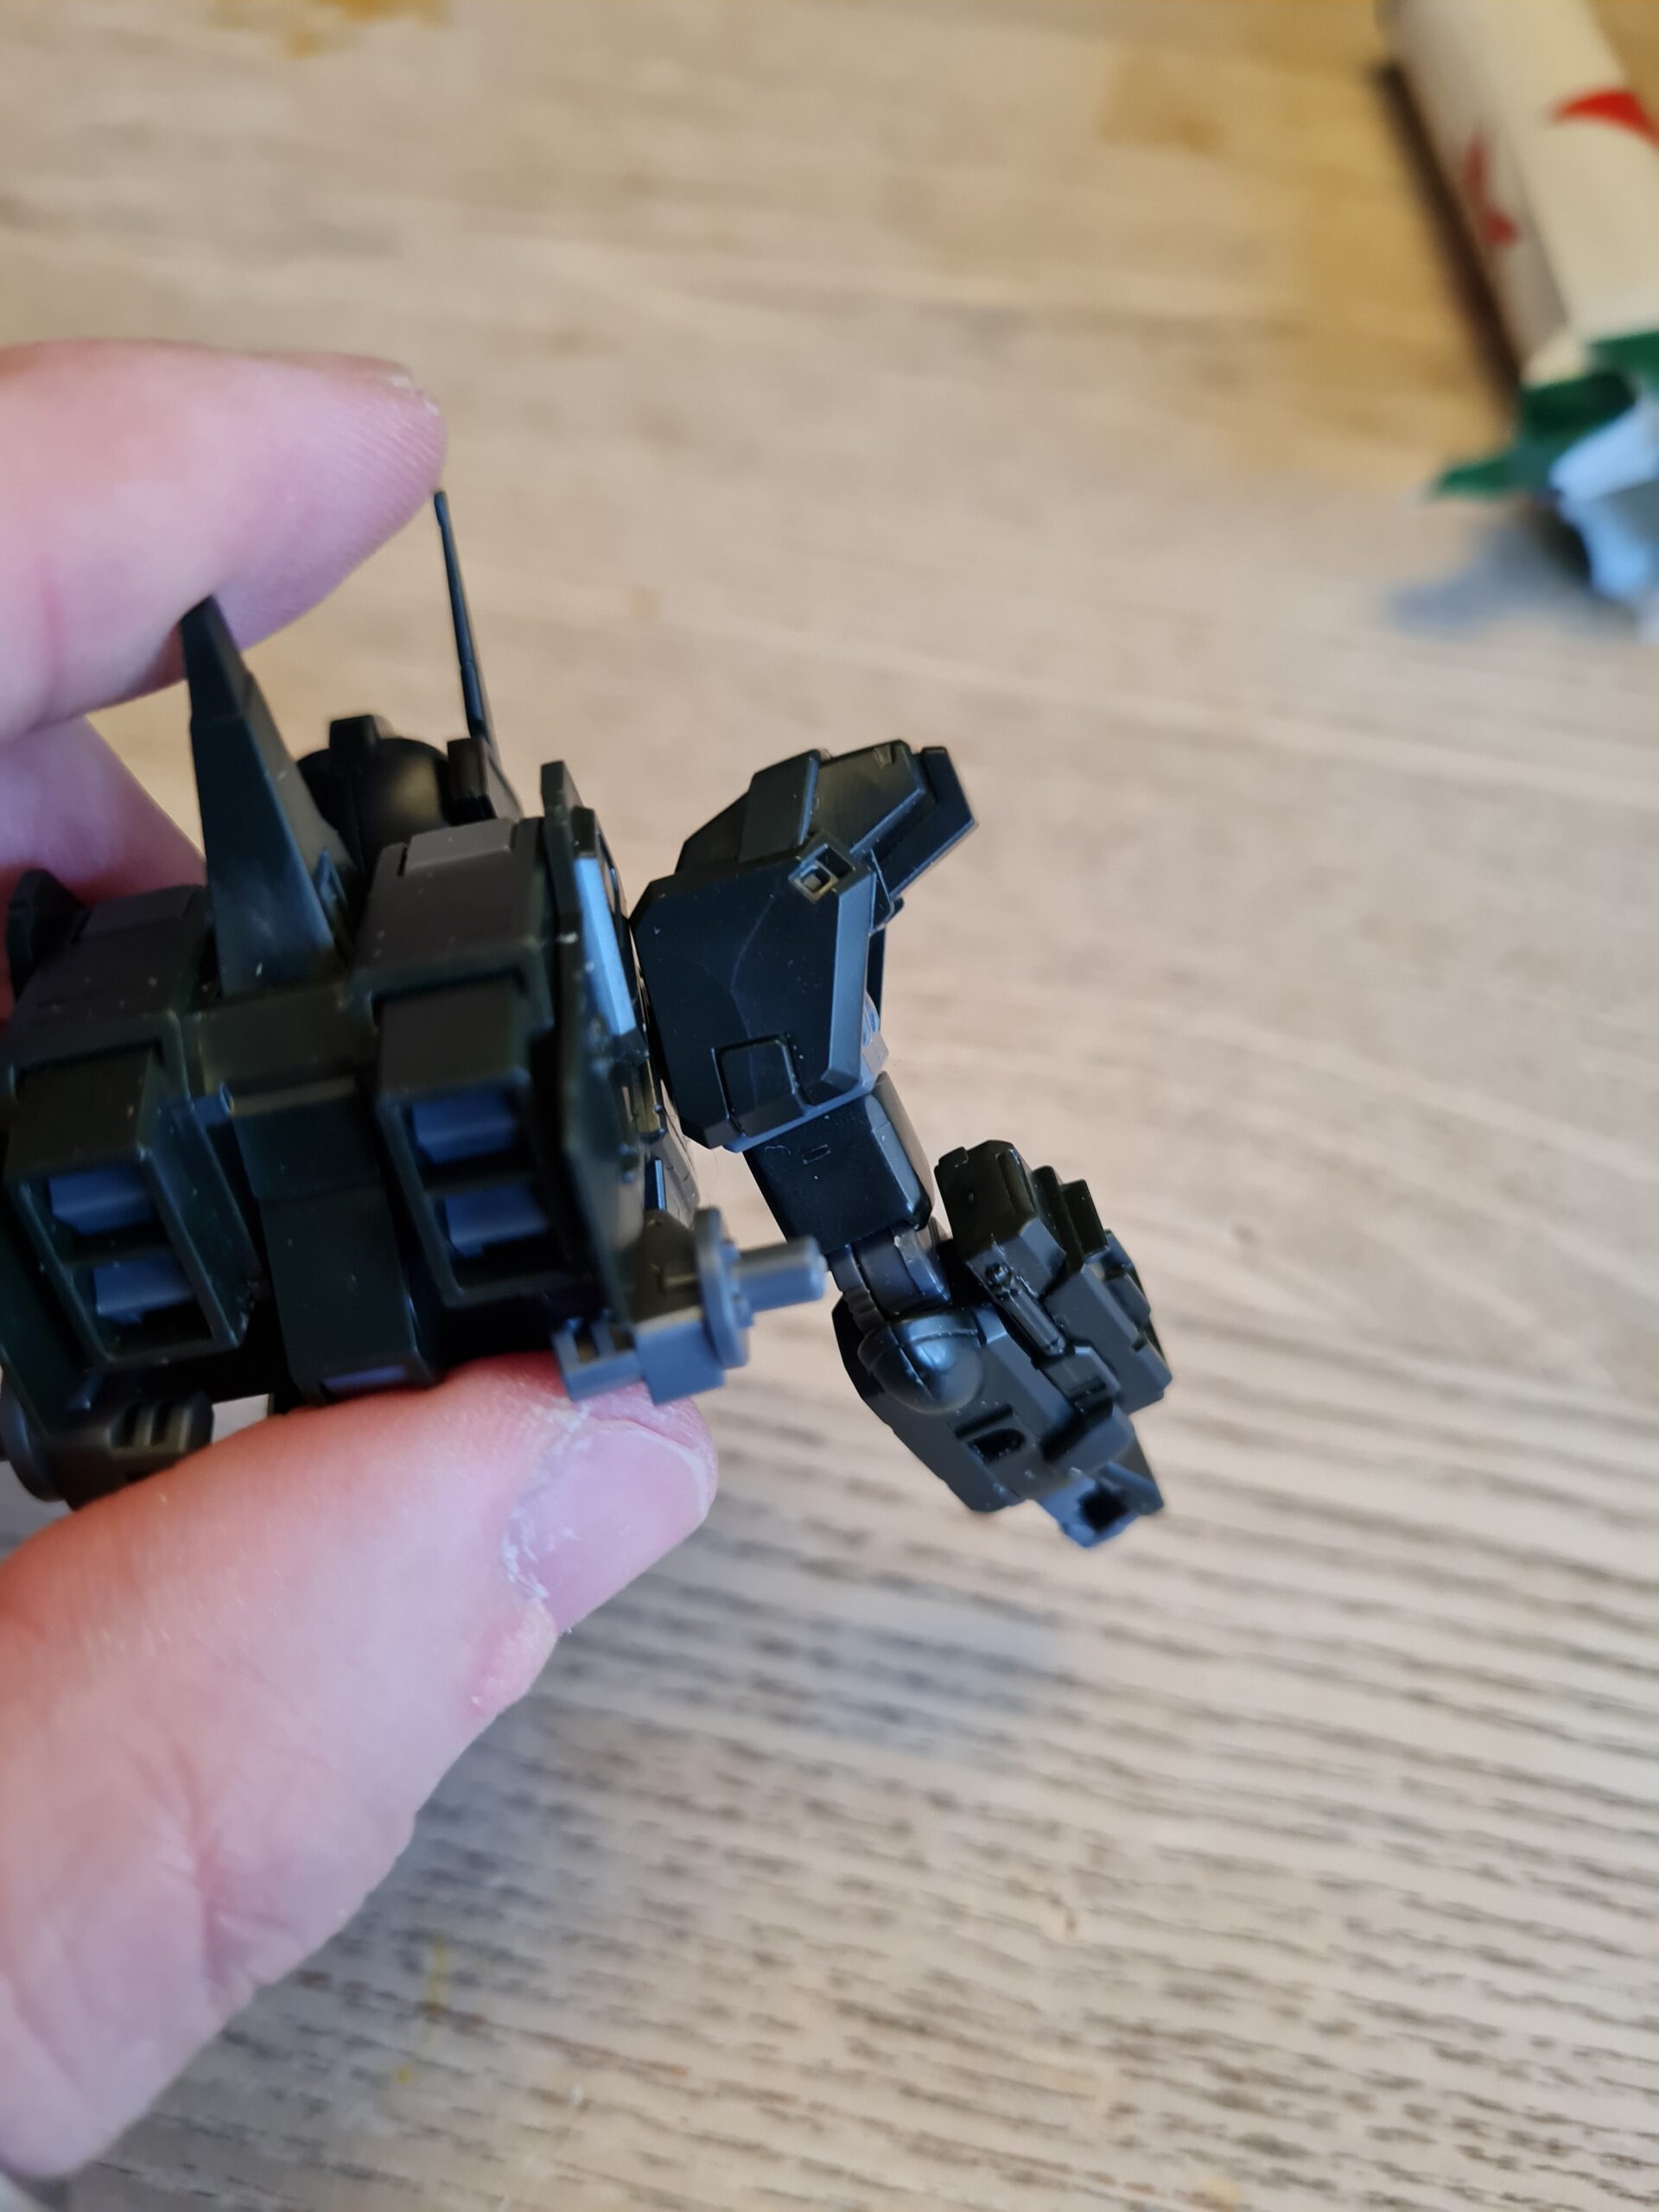
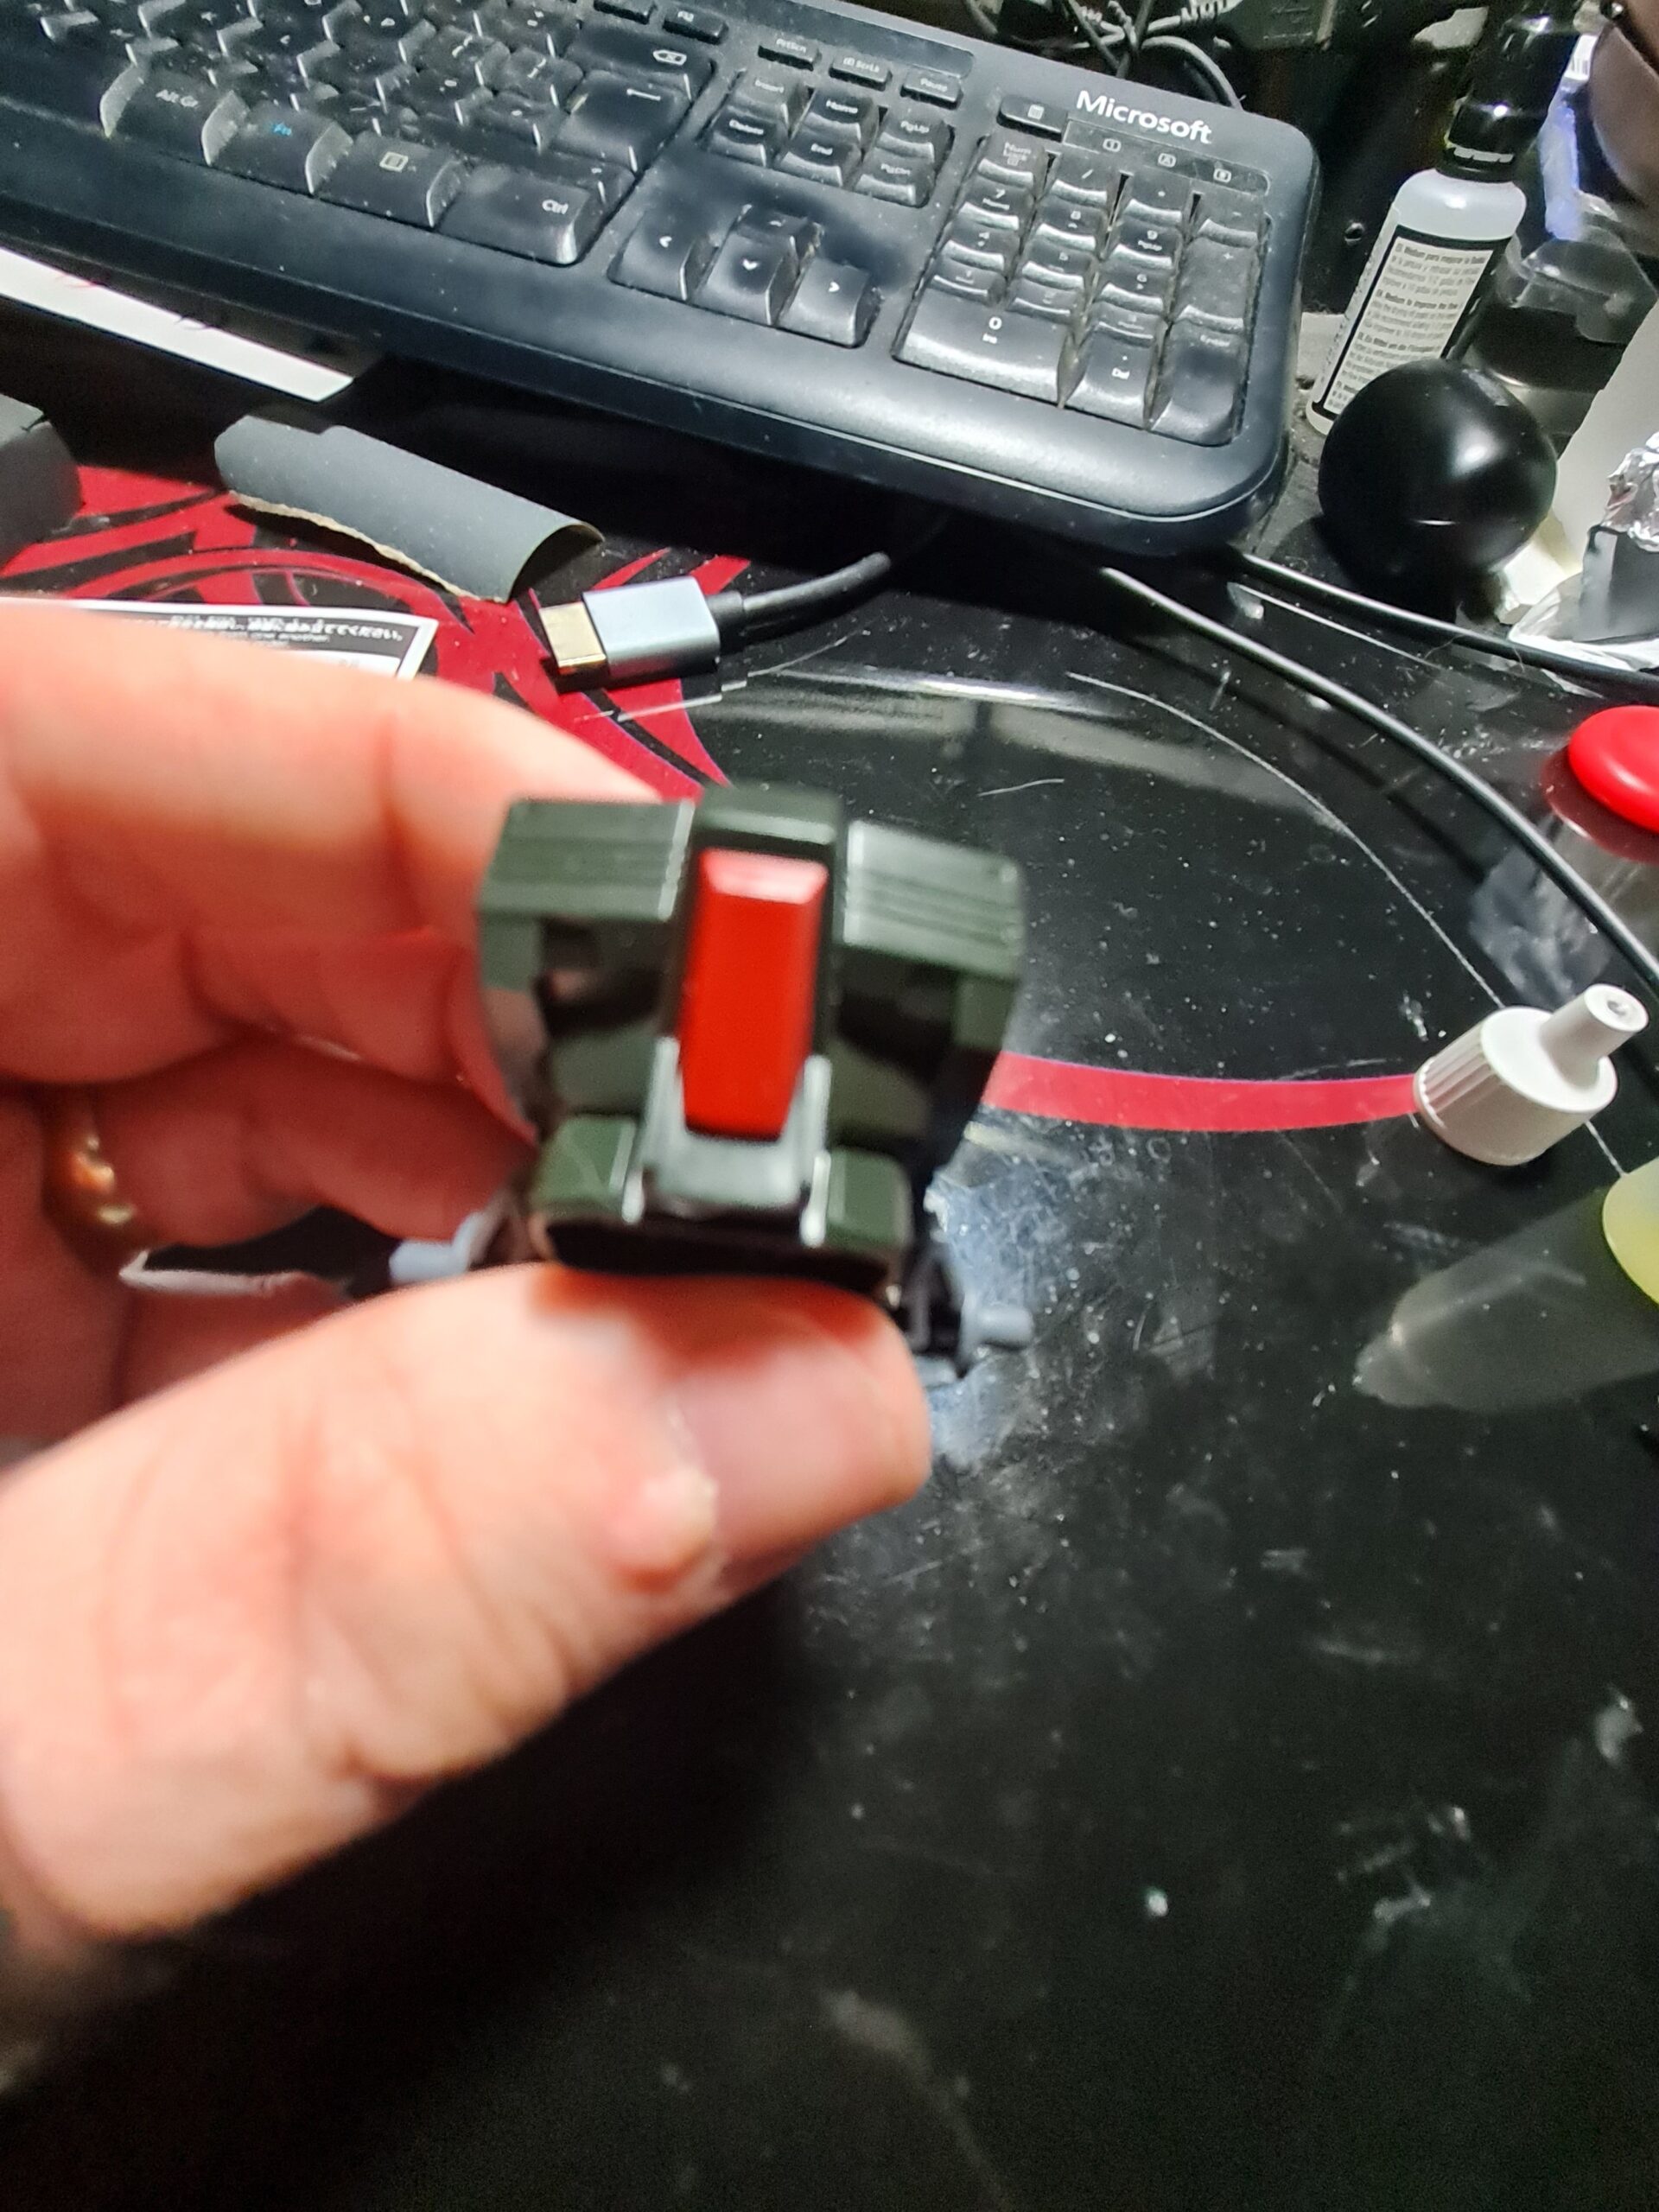
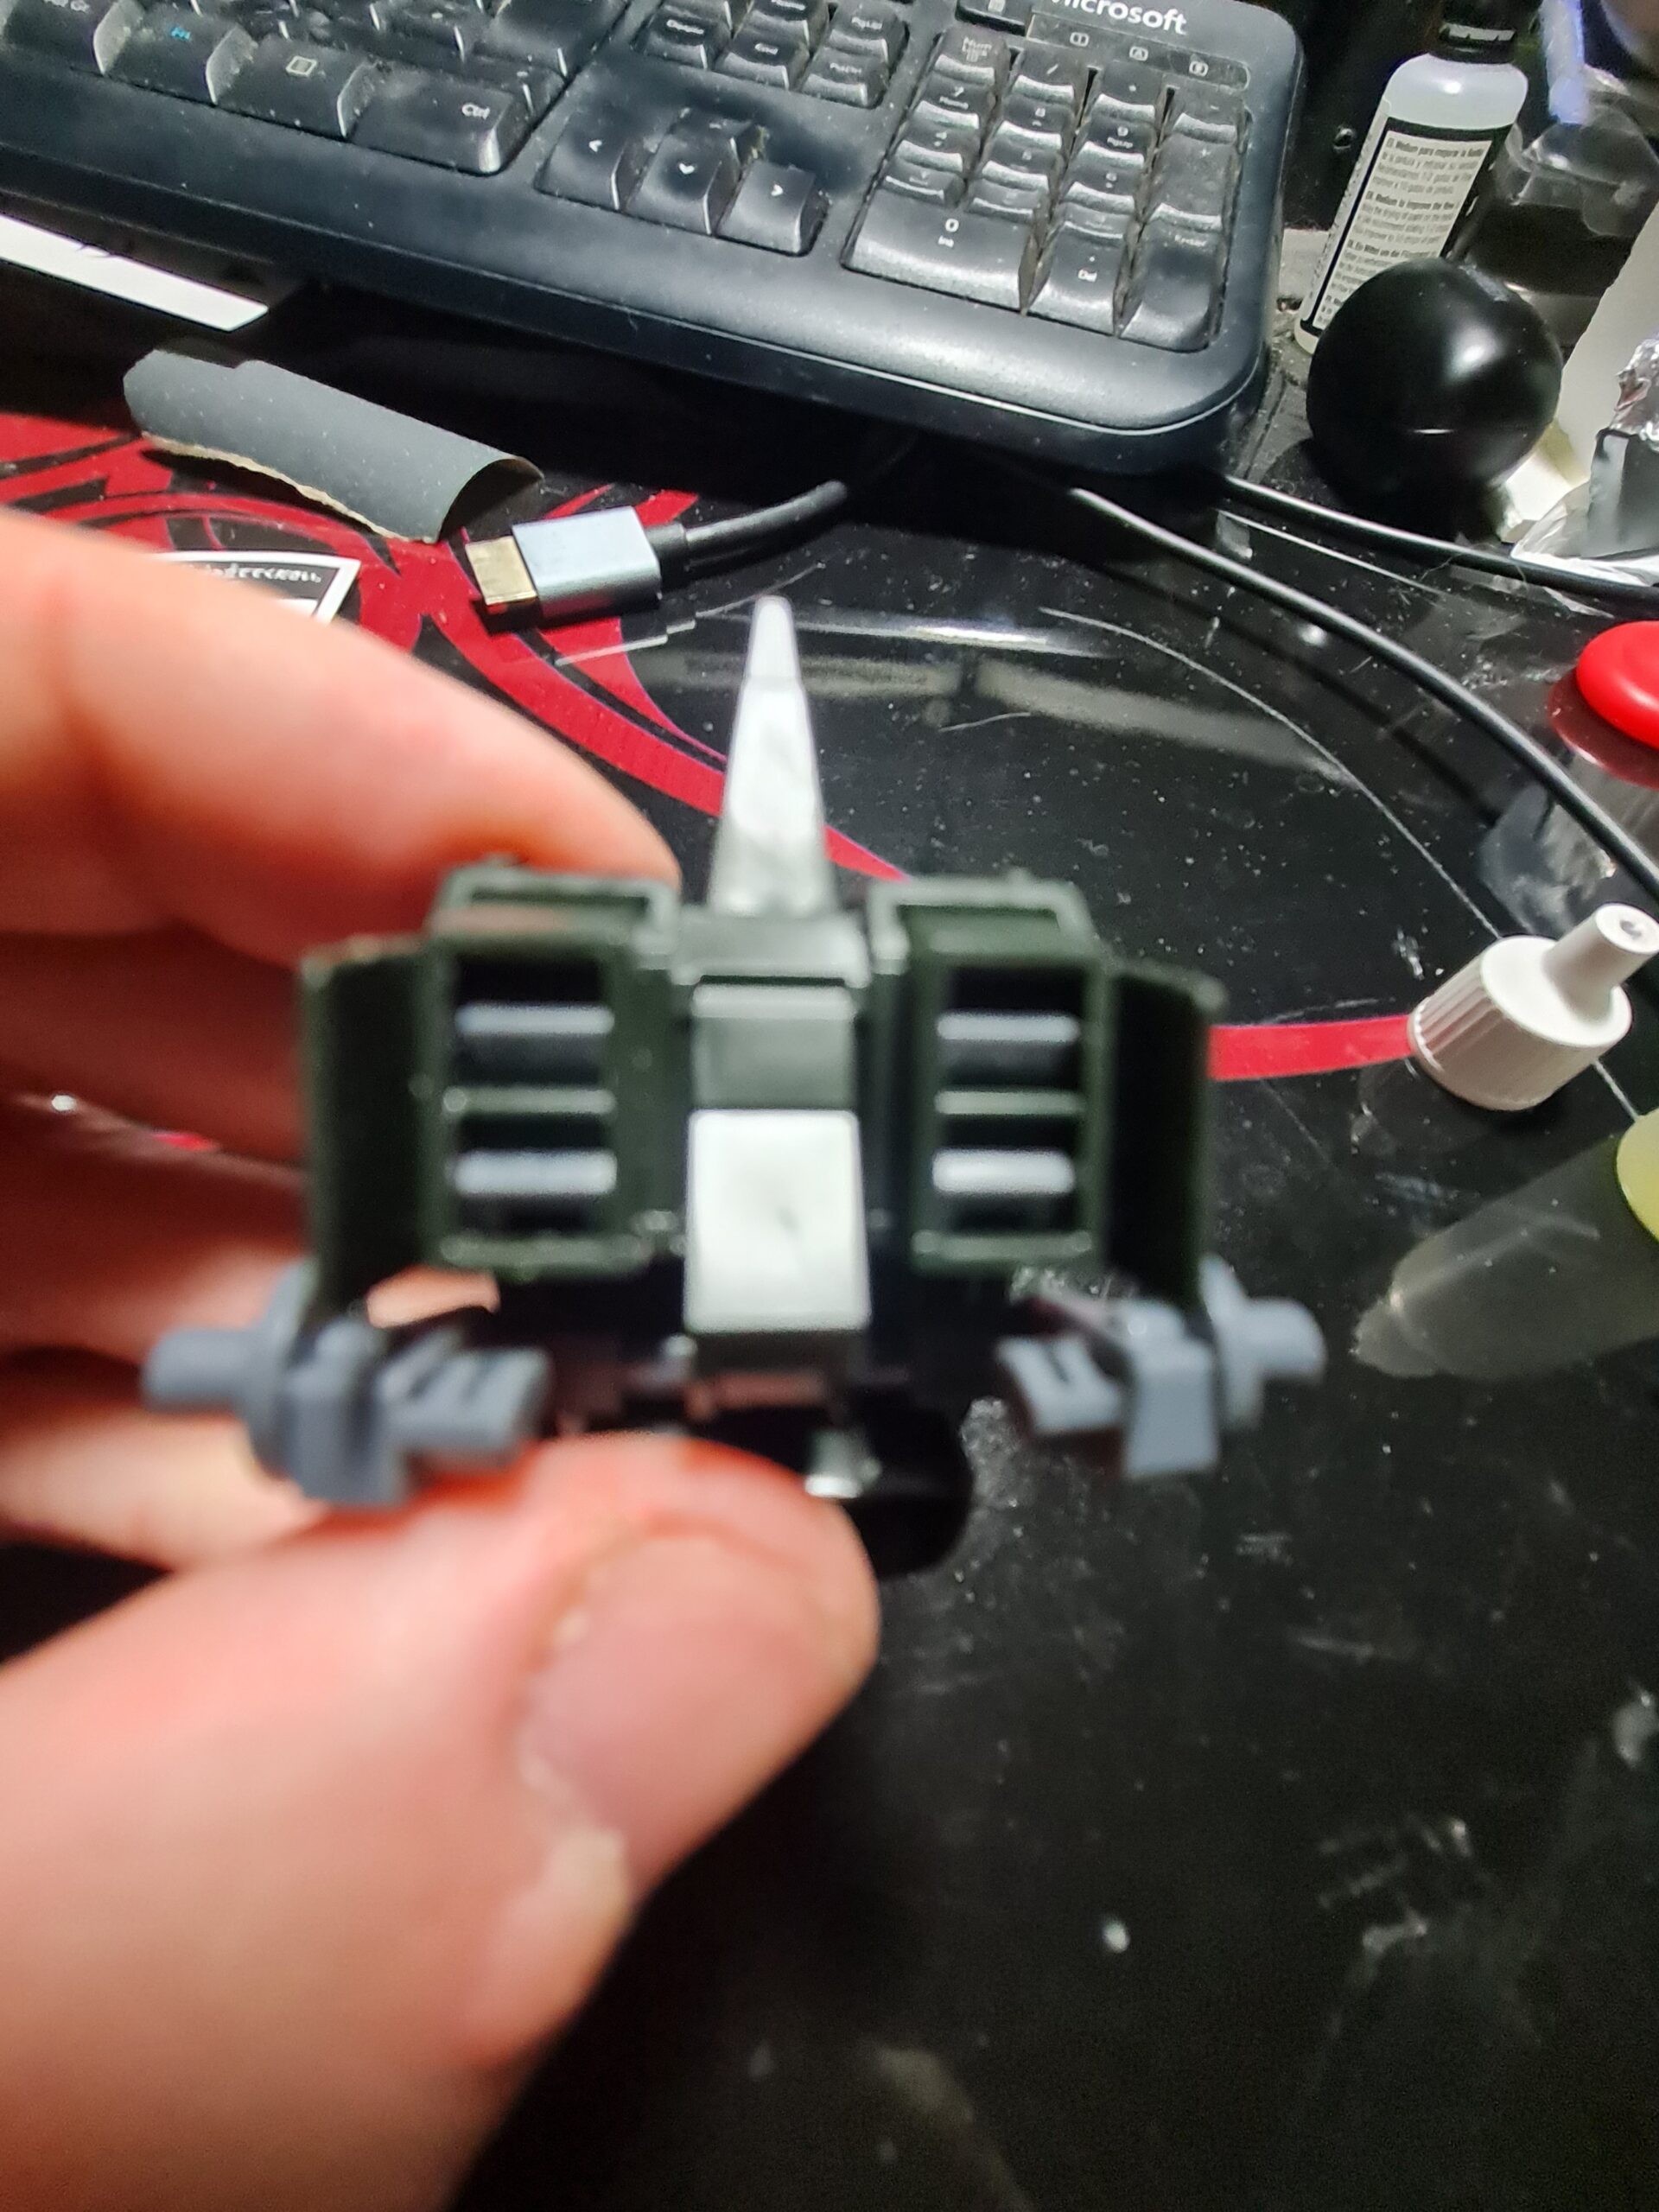
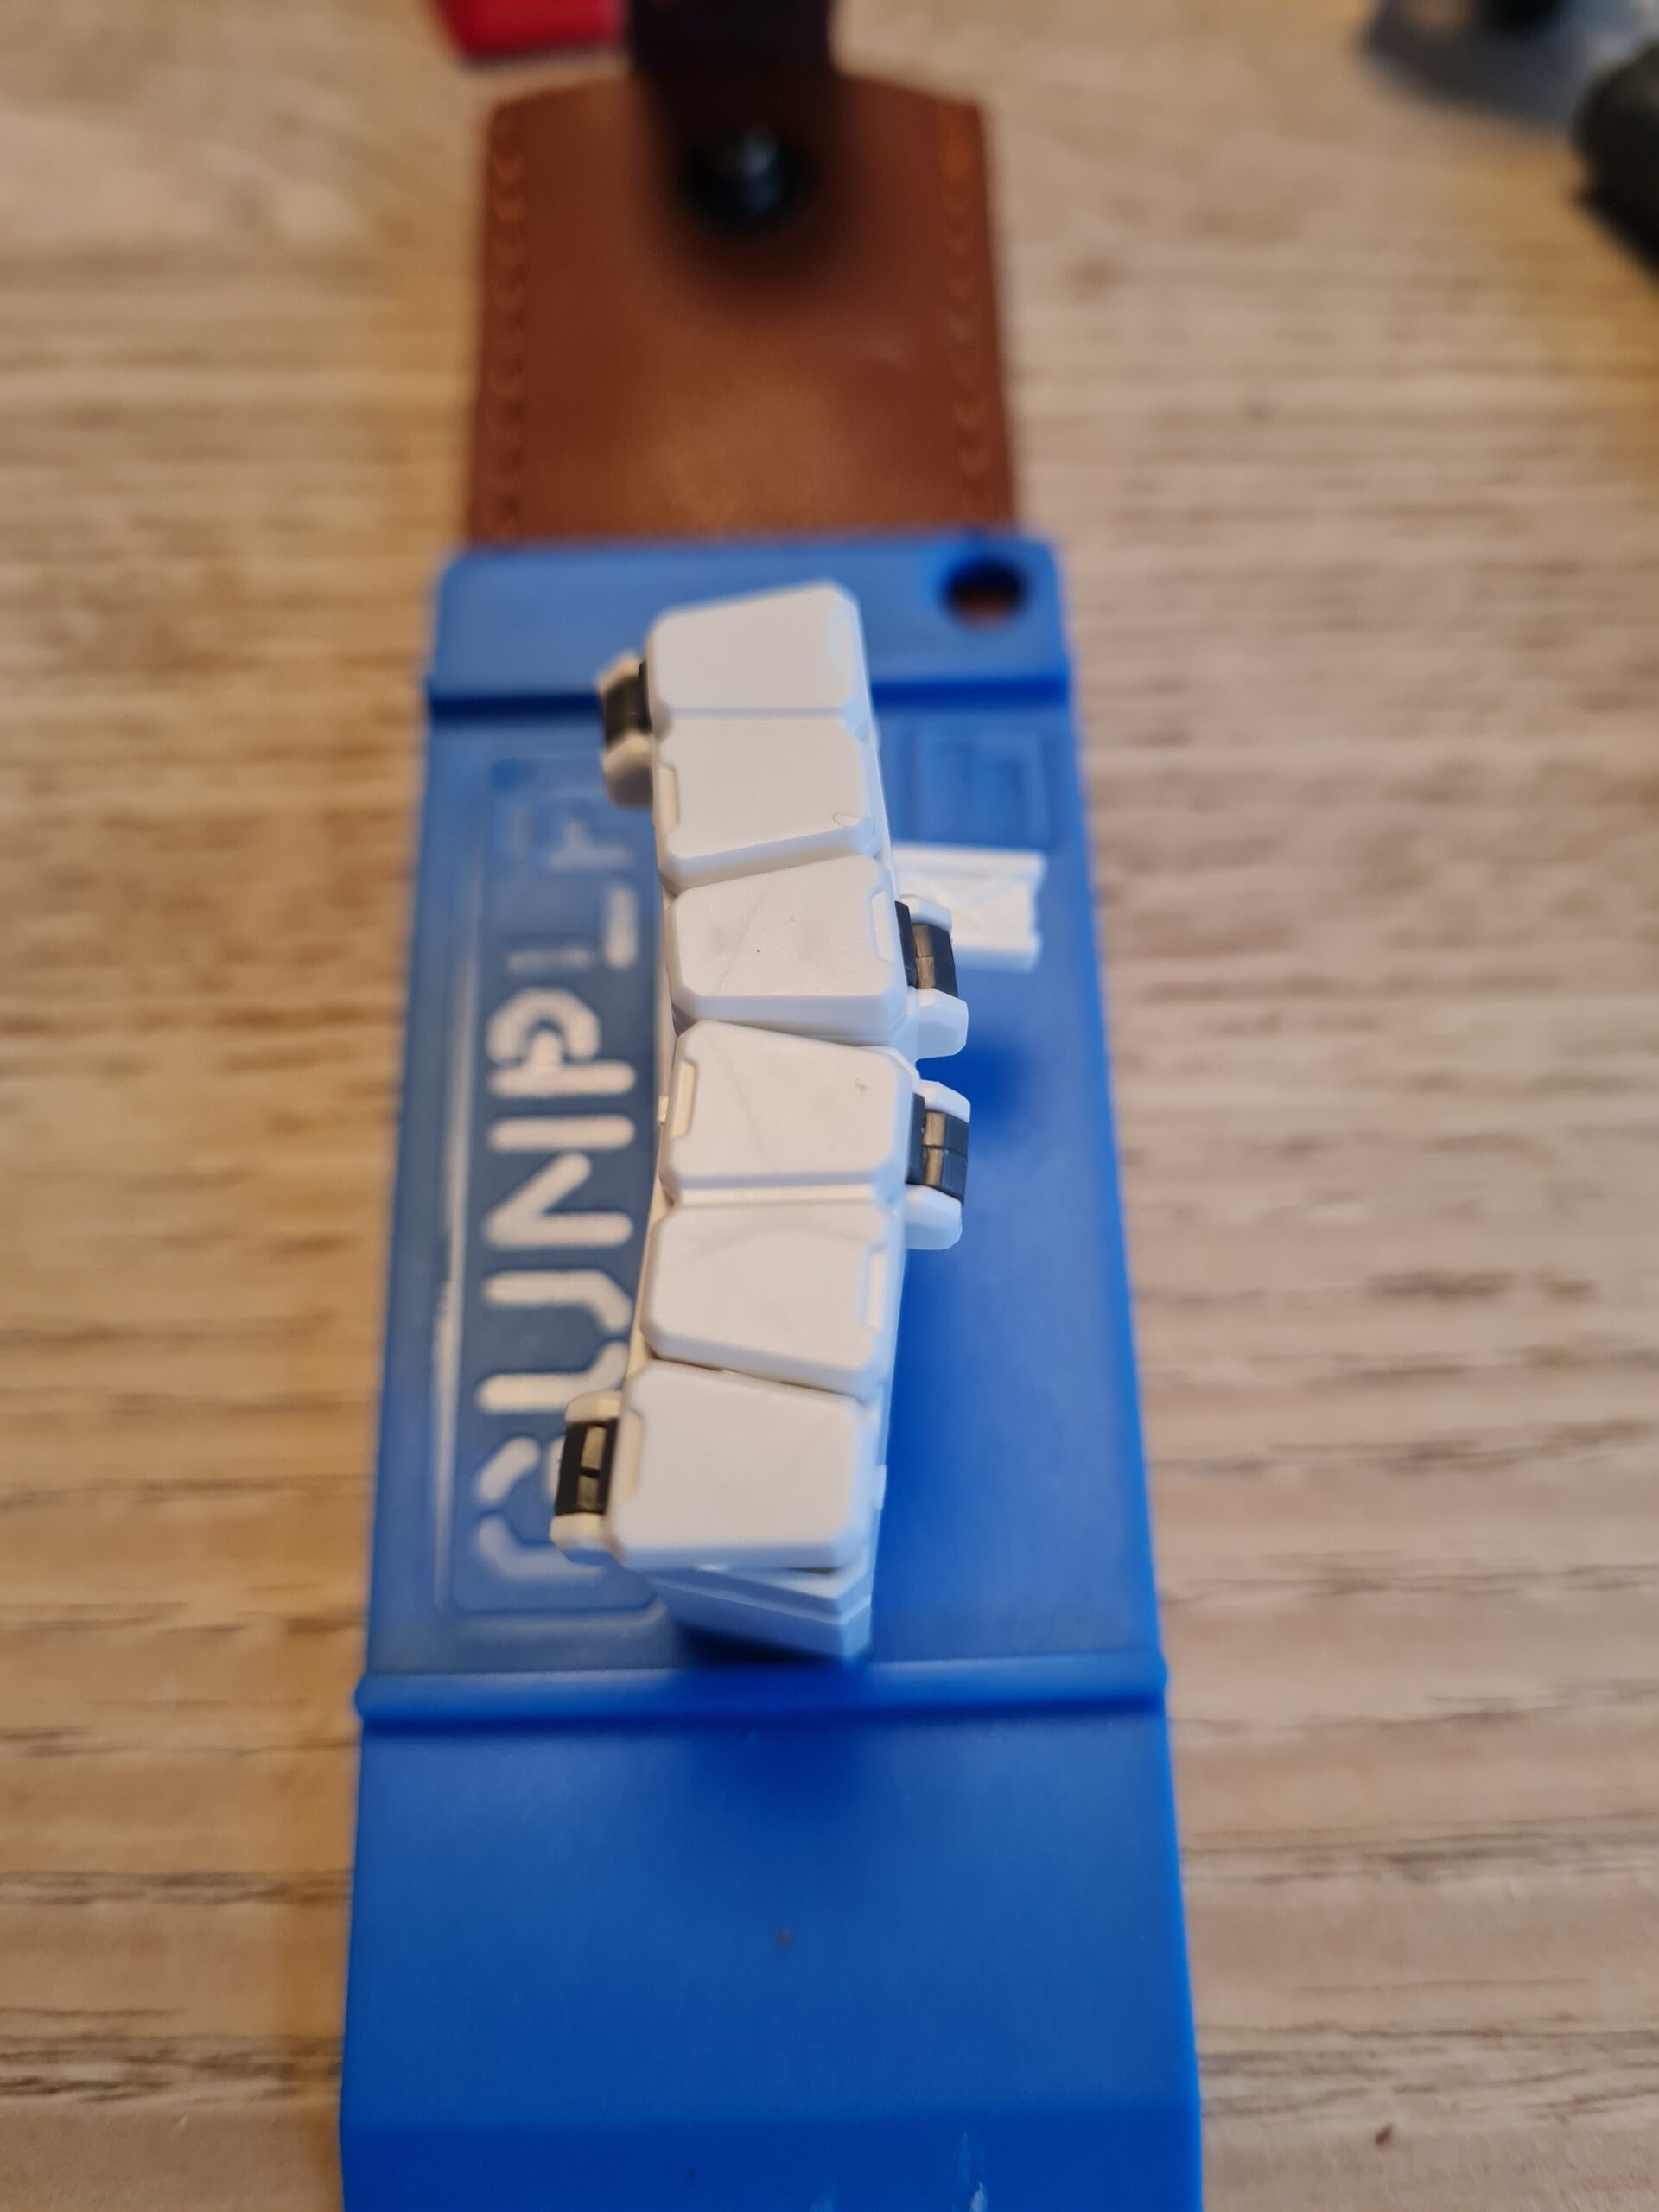
The joints all went together smoothly and the ball joints have a nice combination of friction and ease of movement.

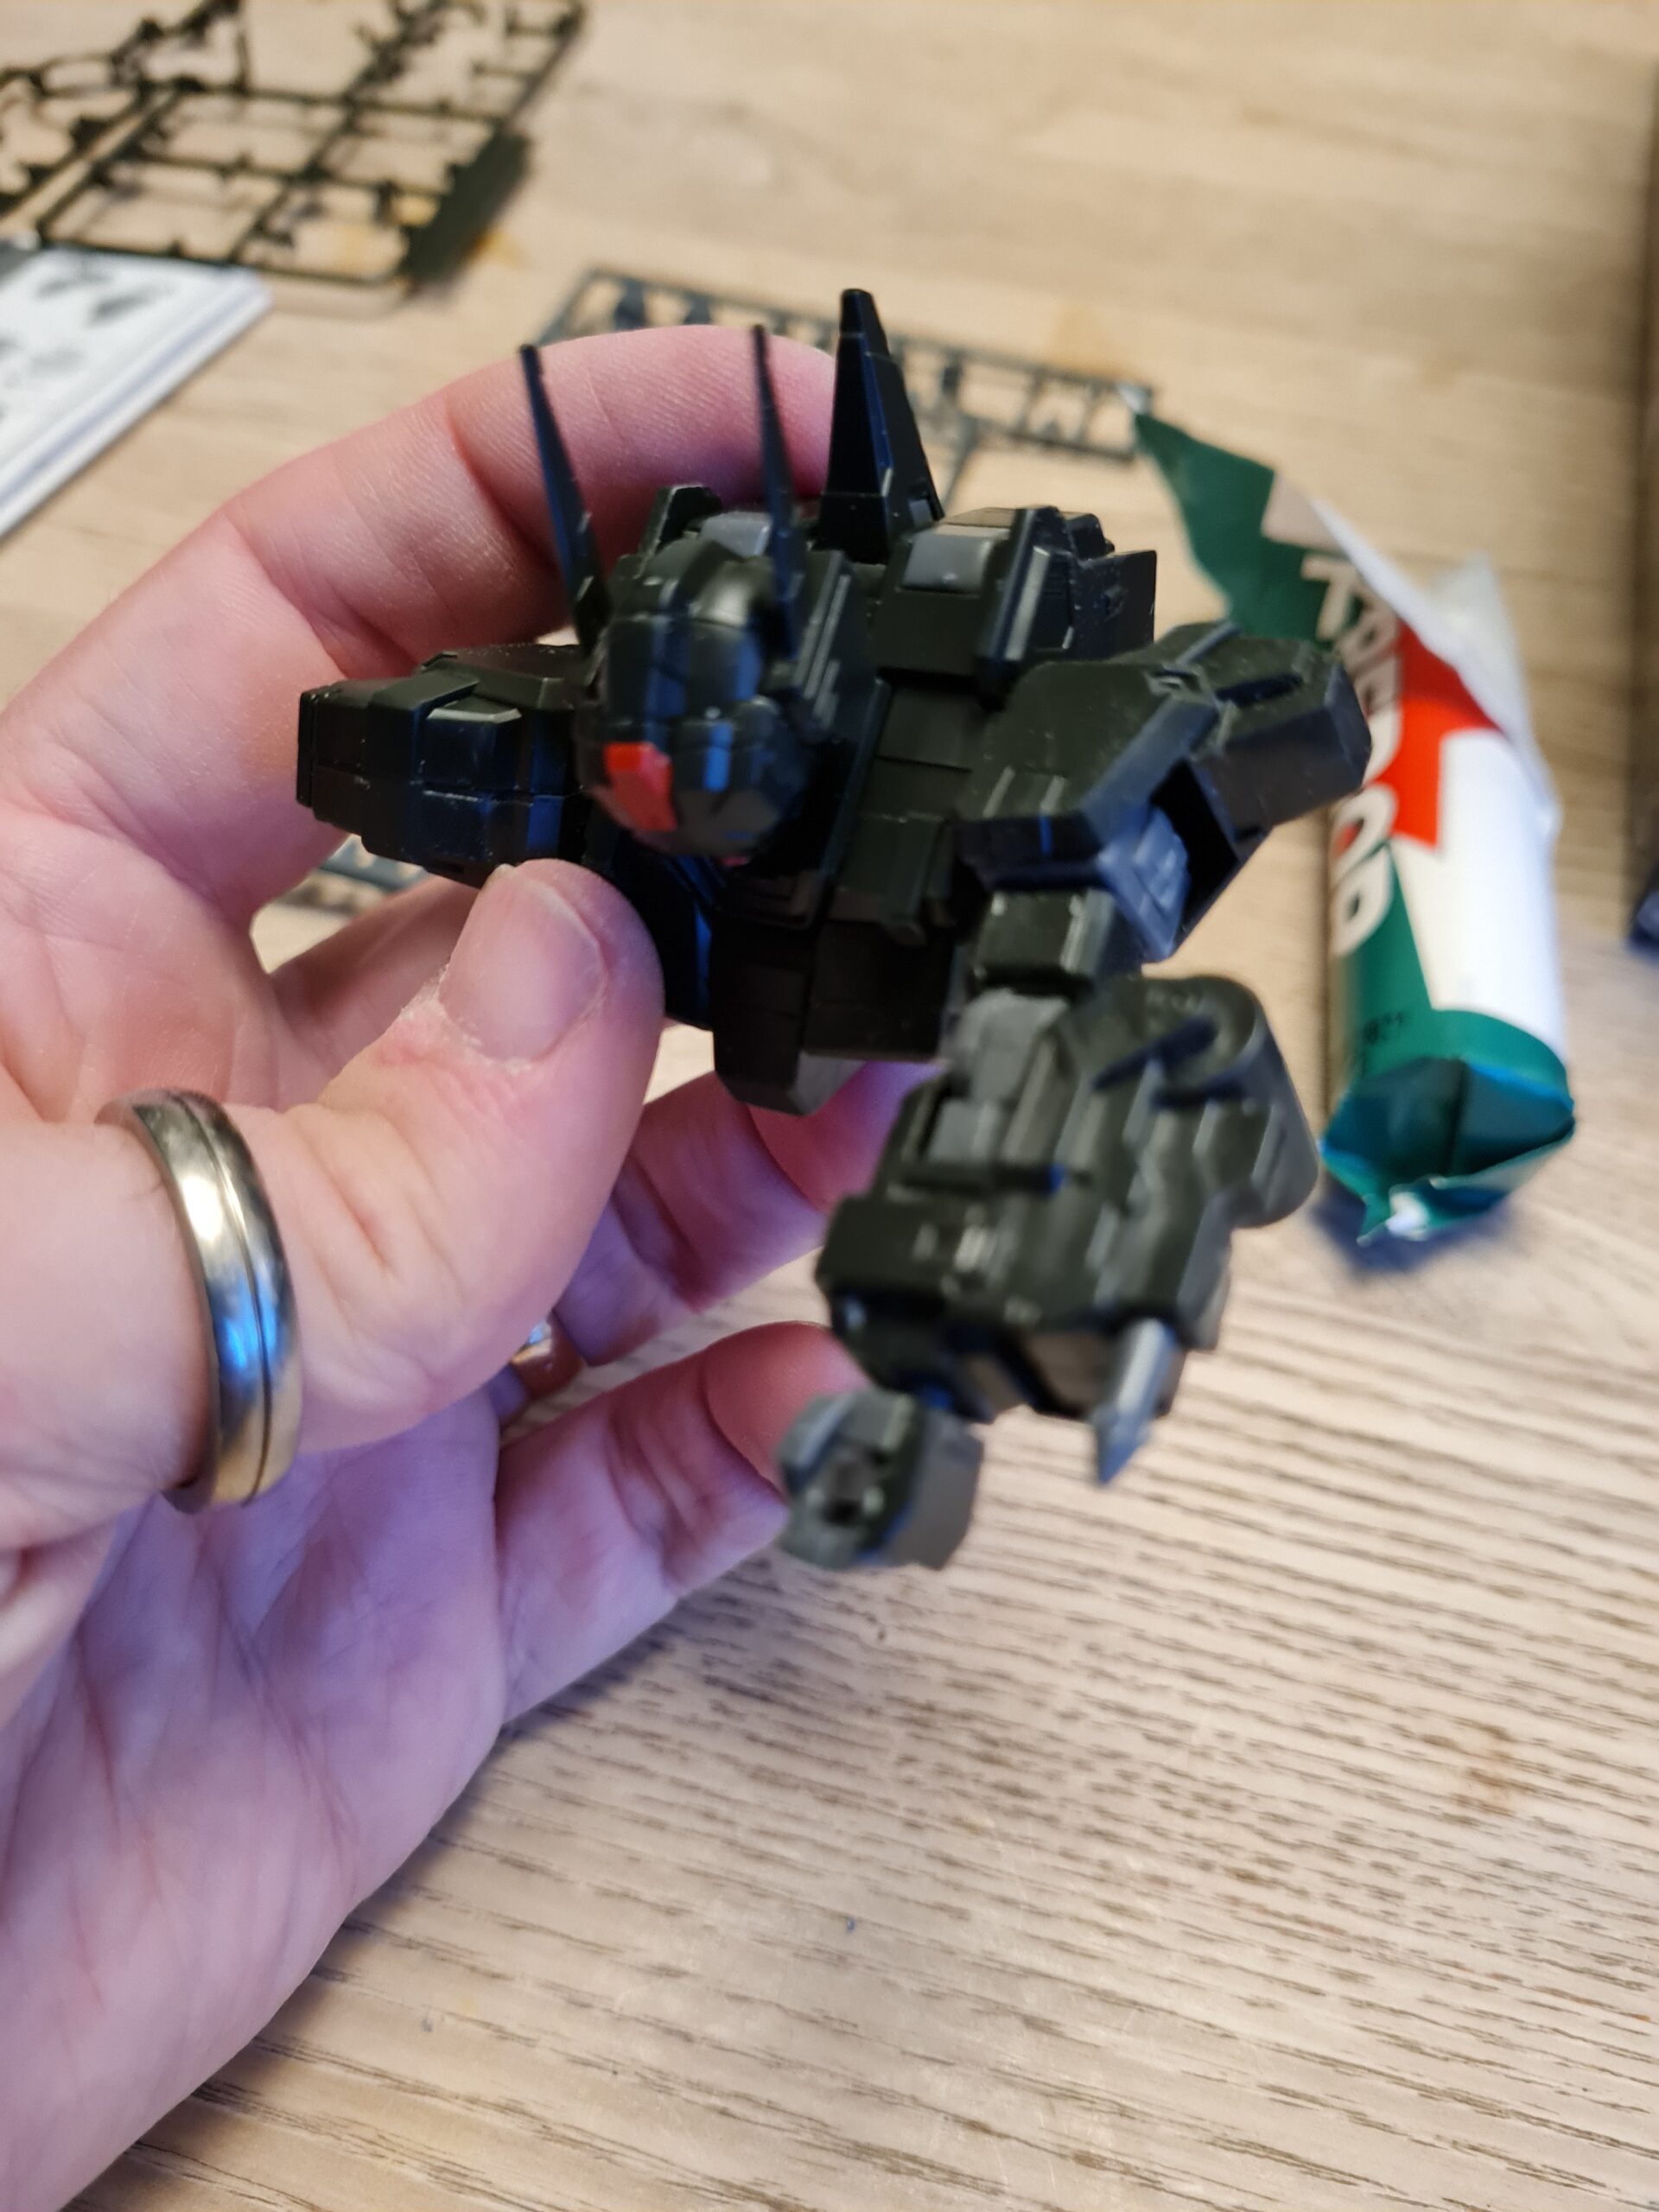
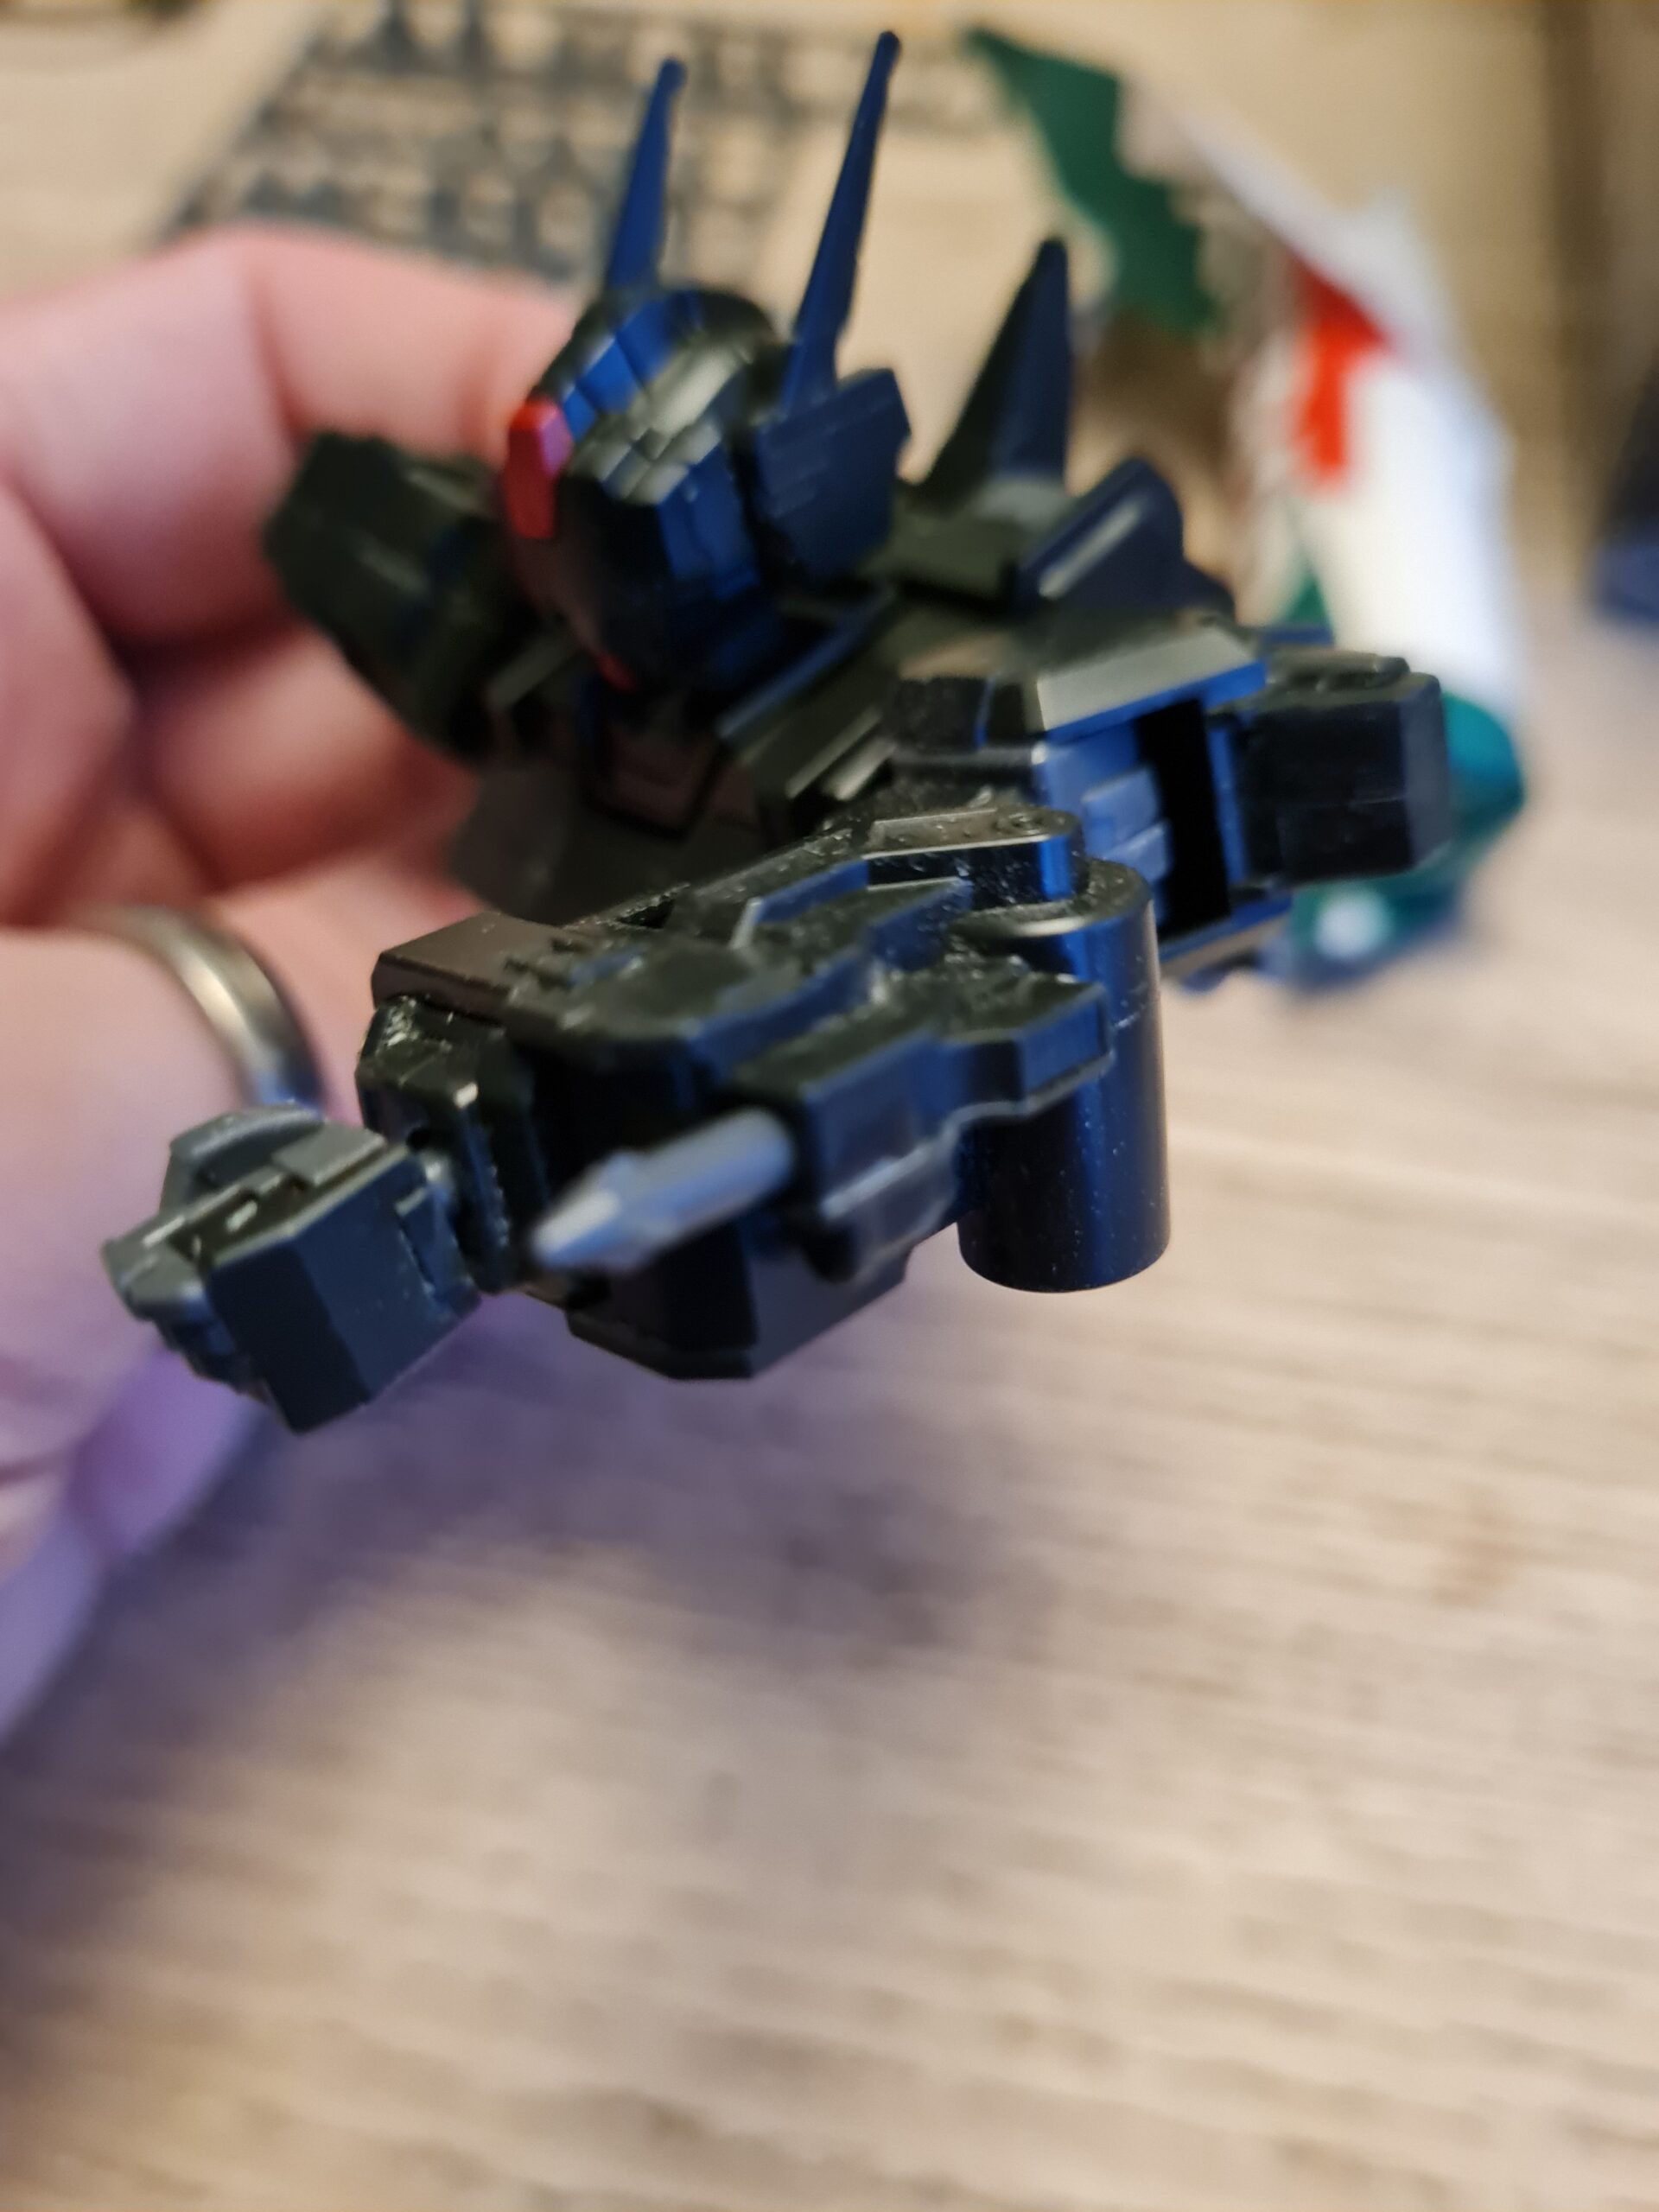
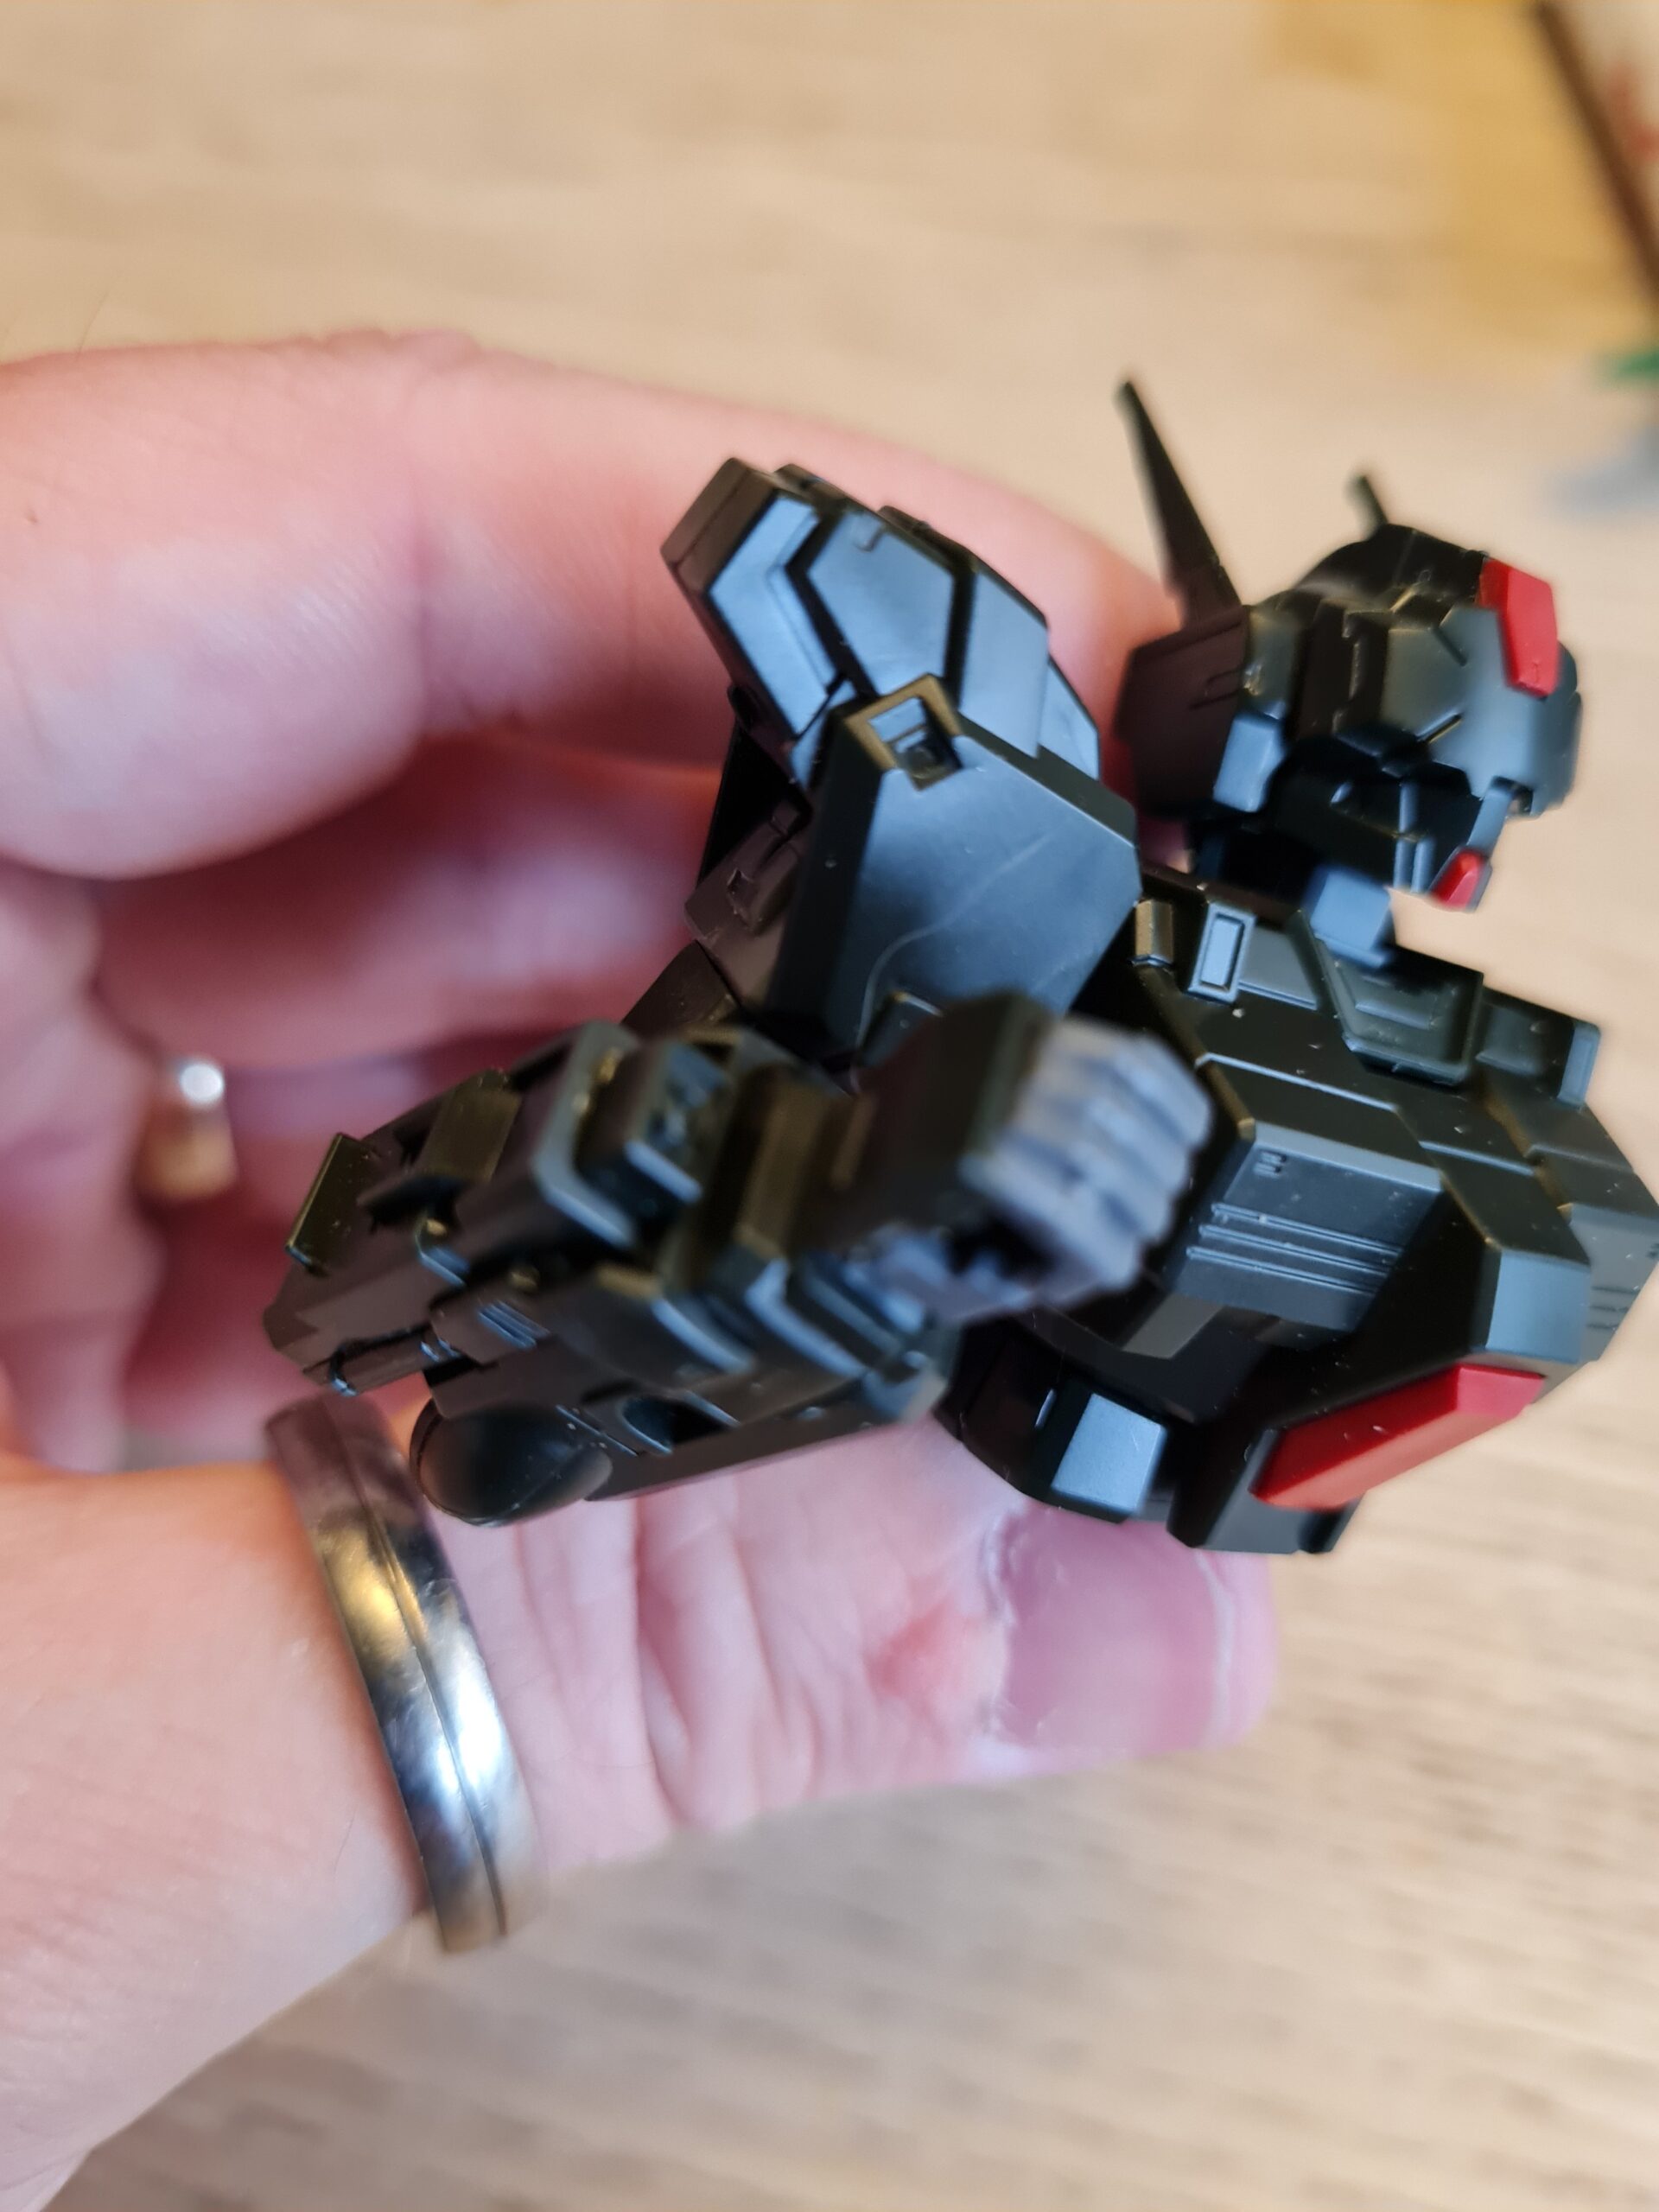
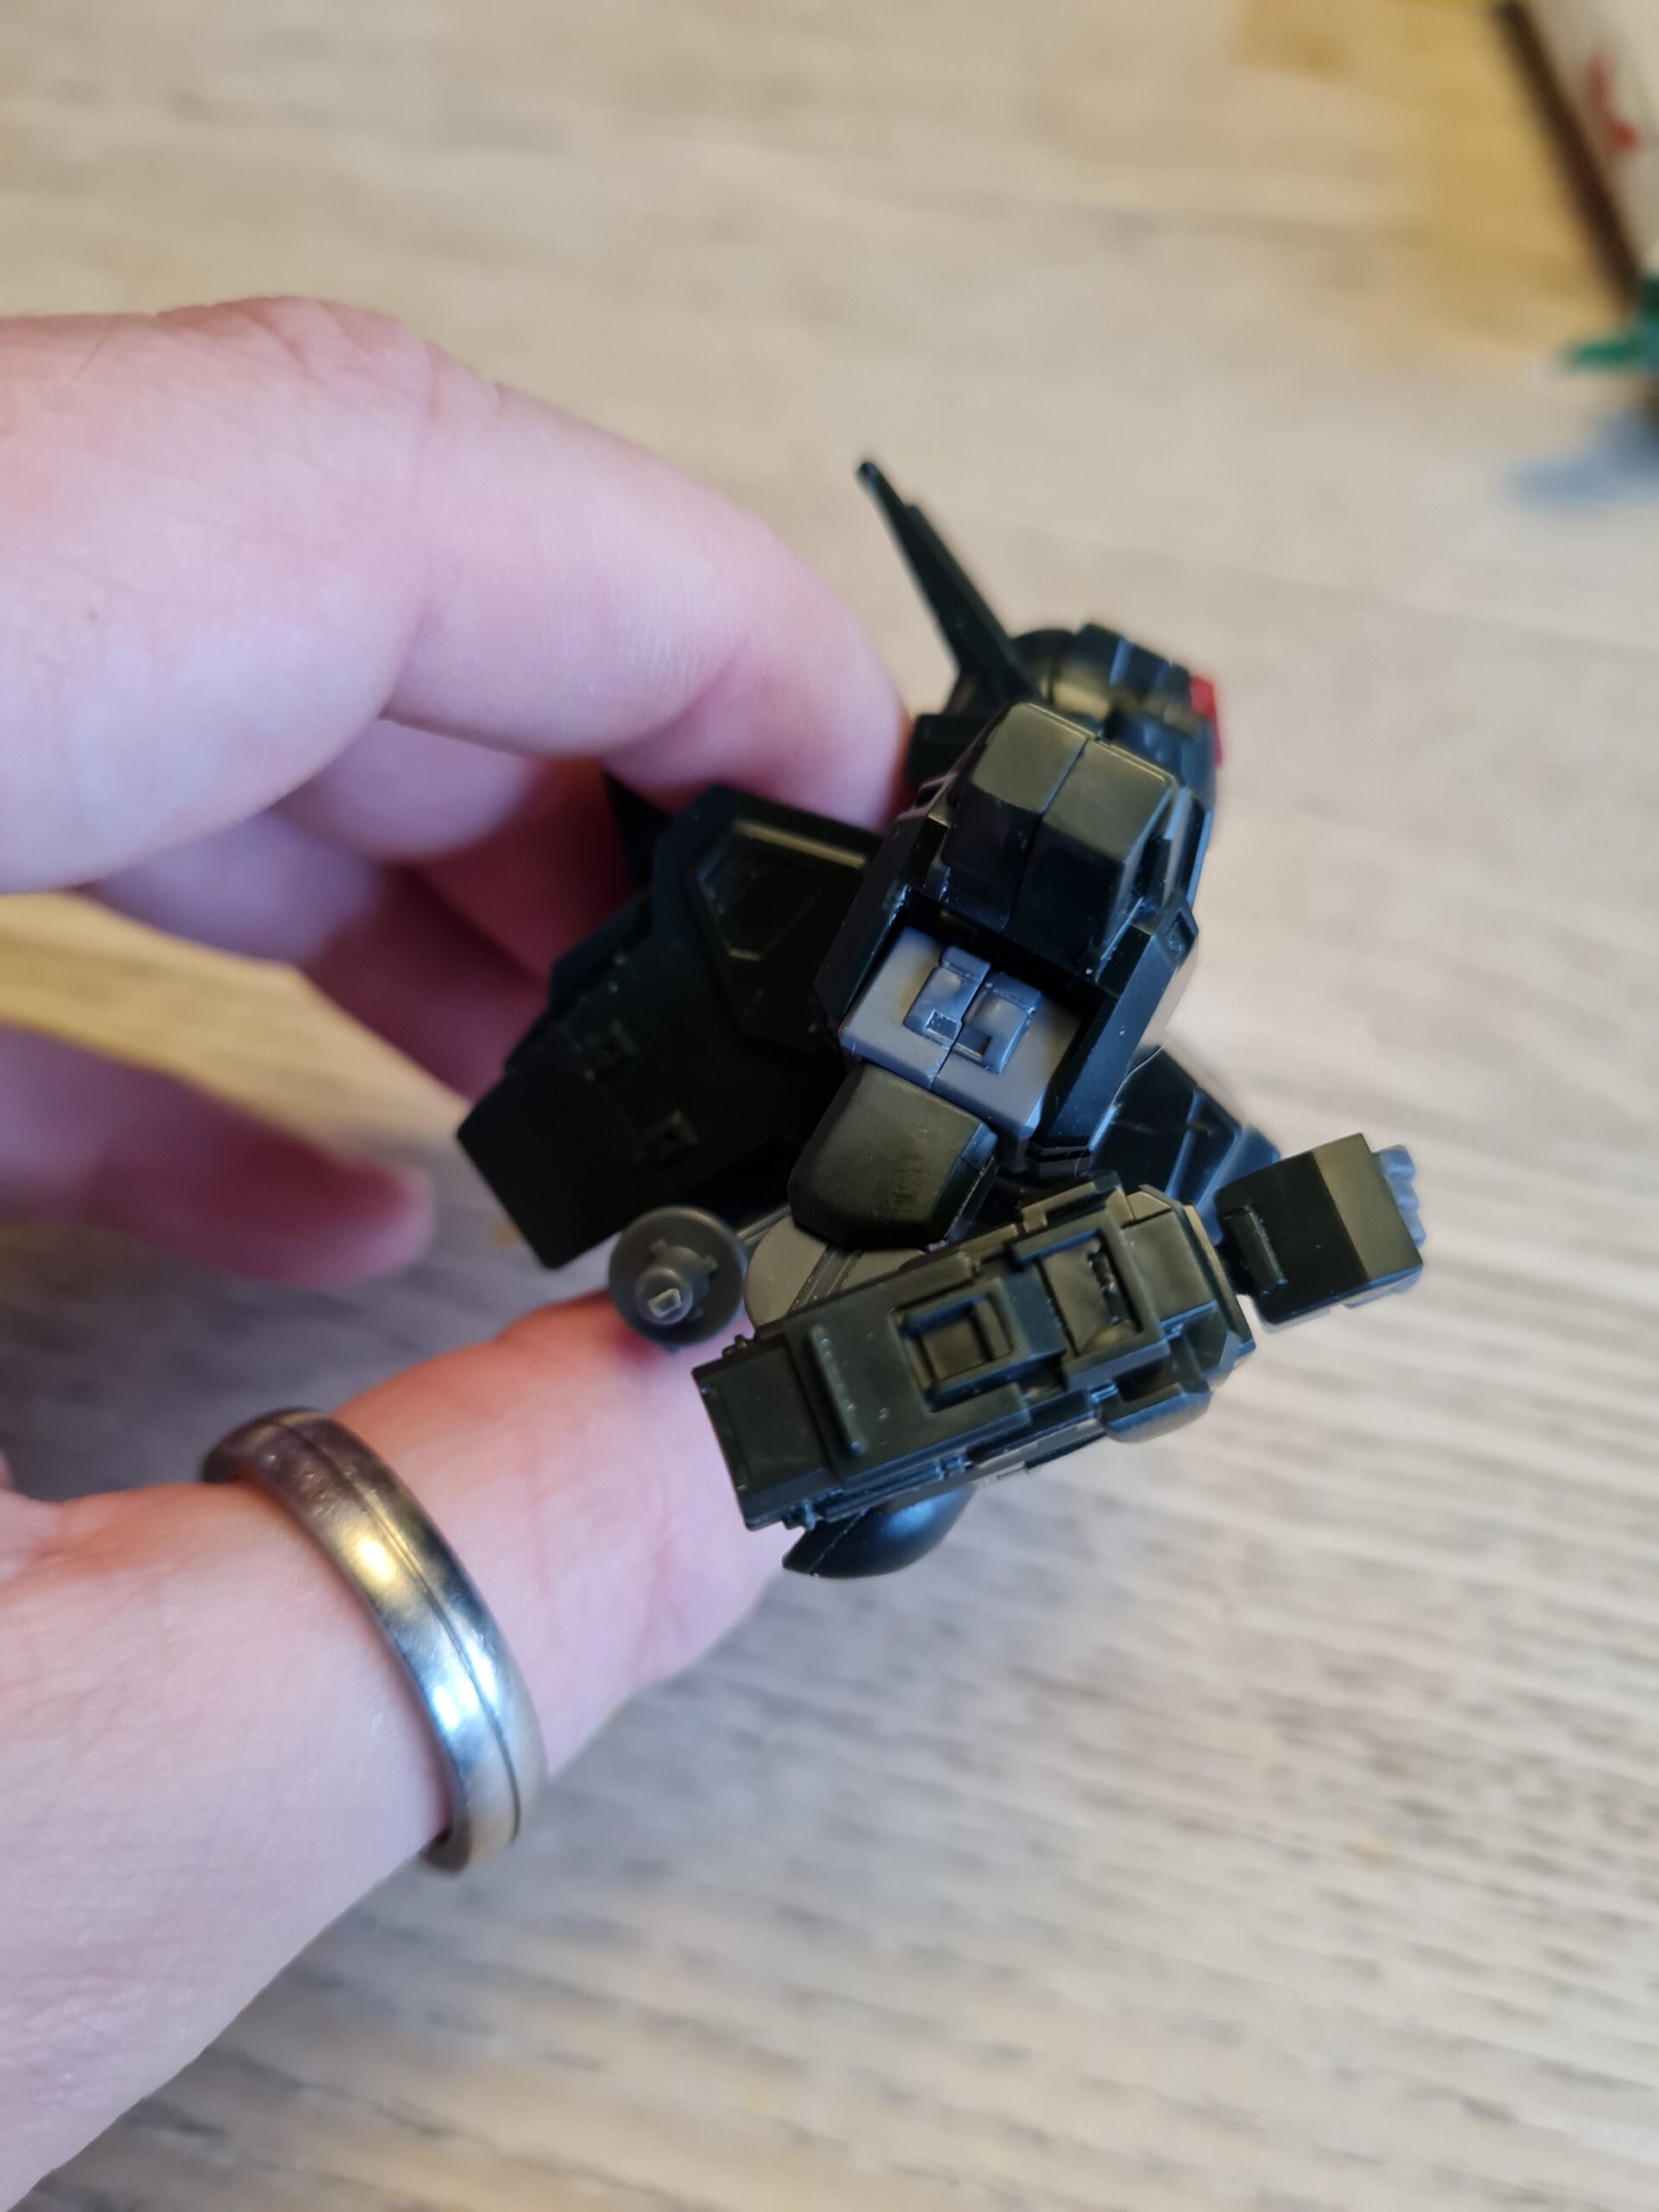
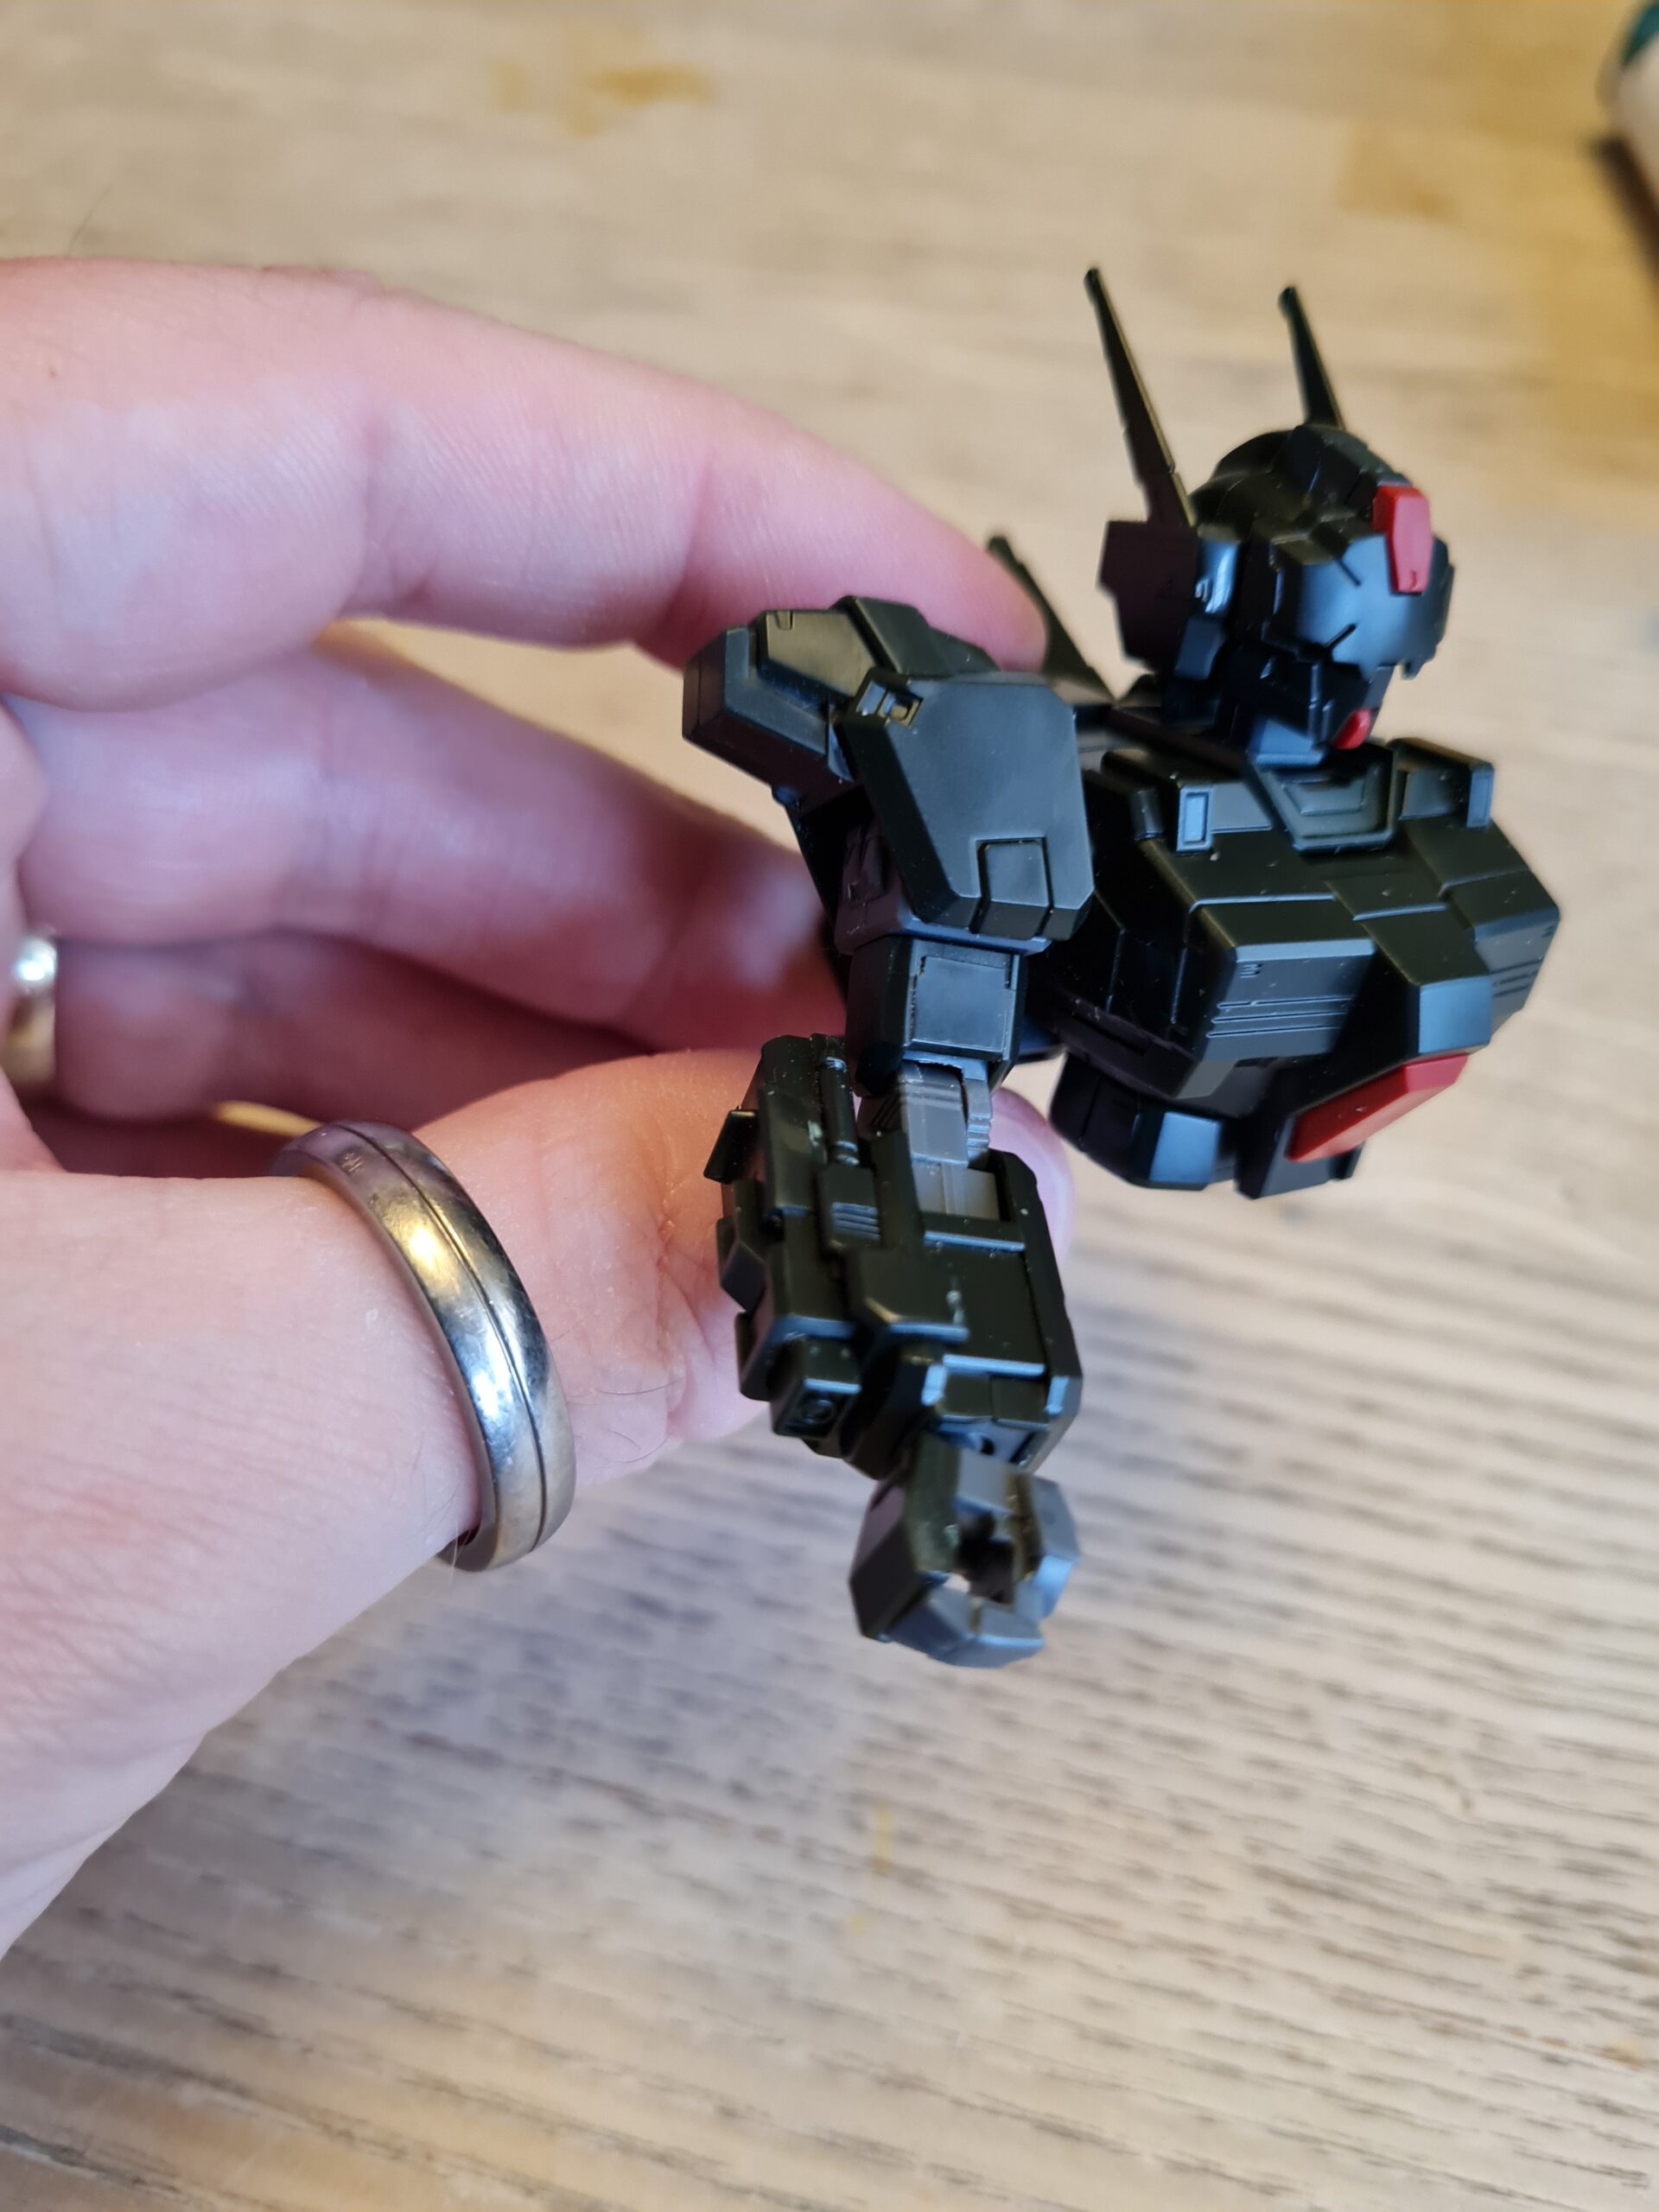
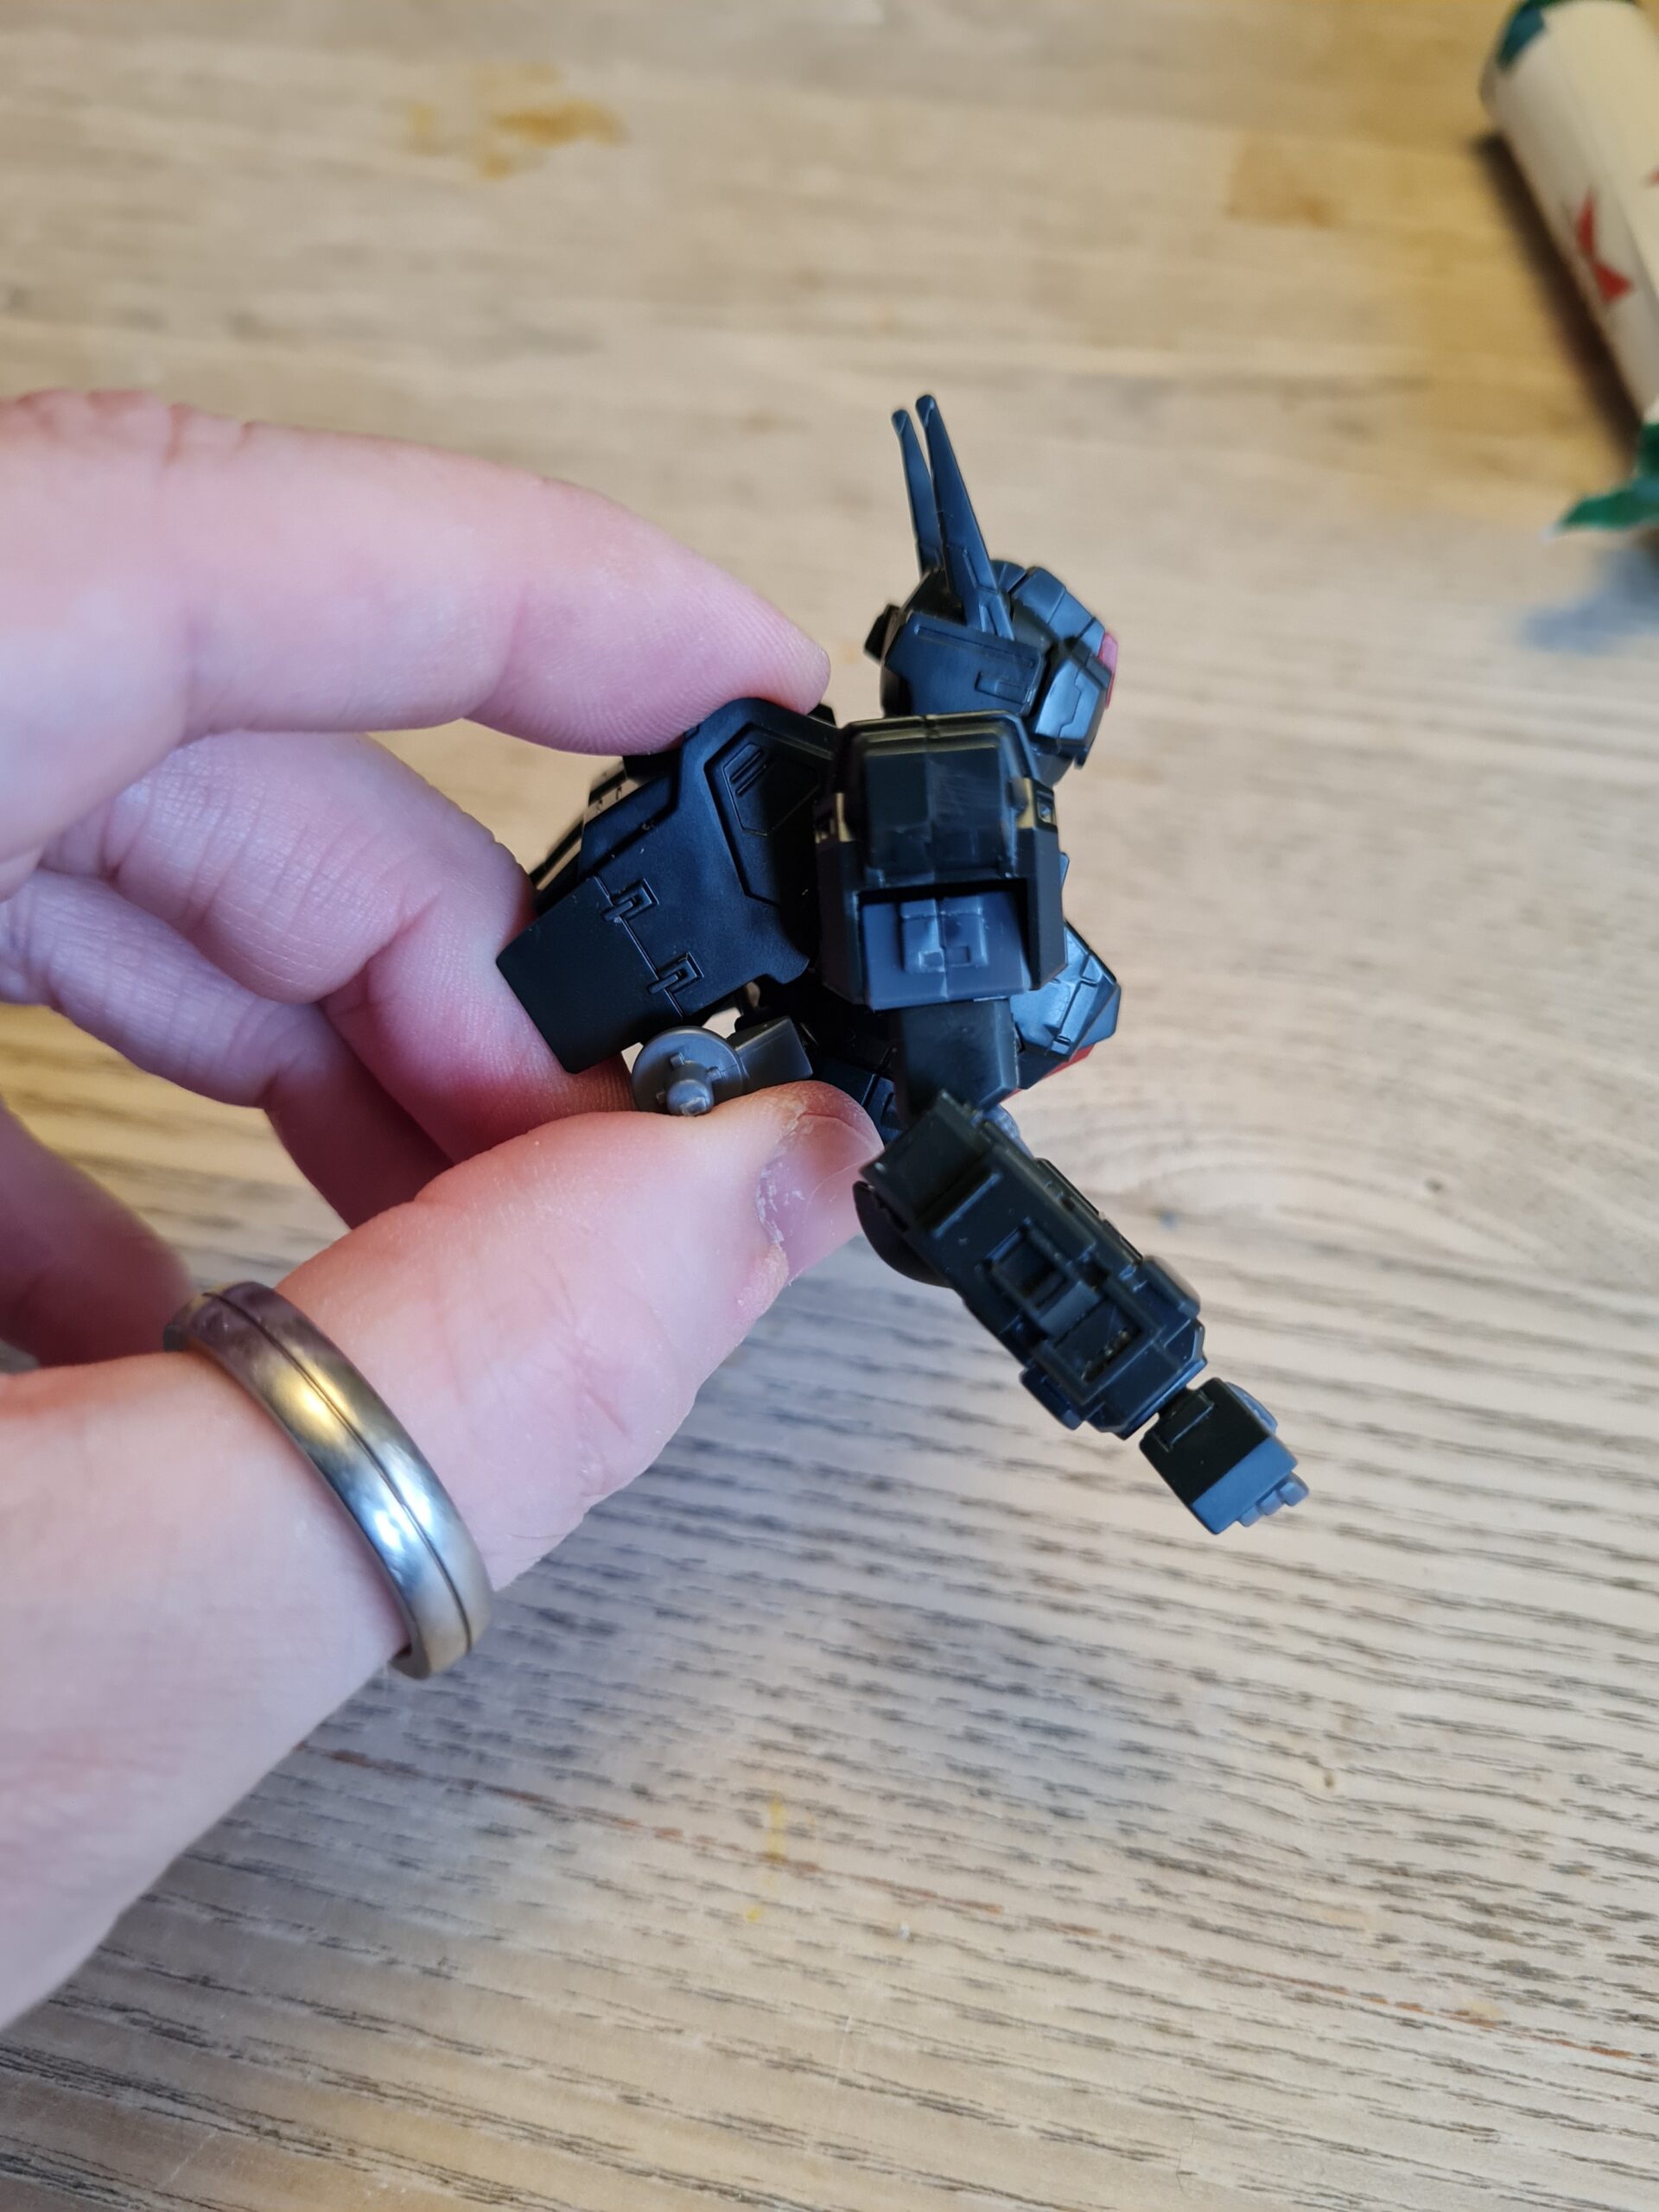
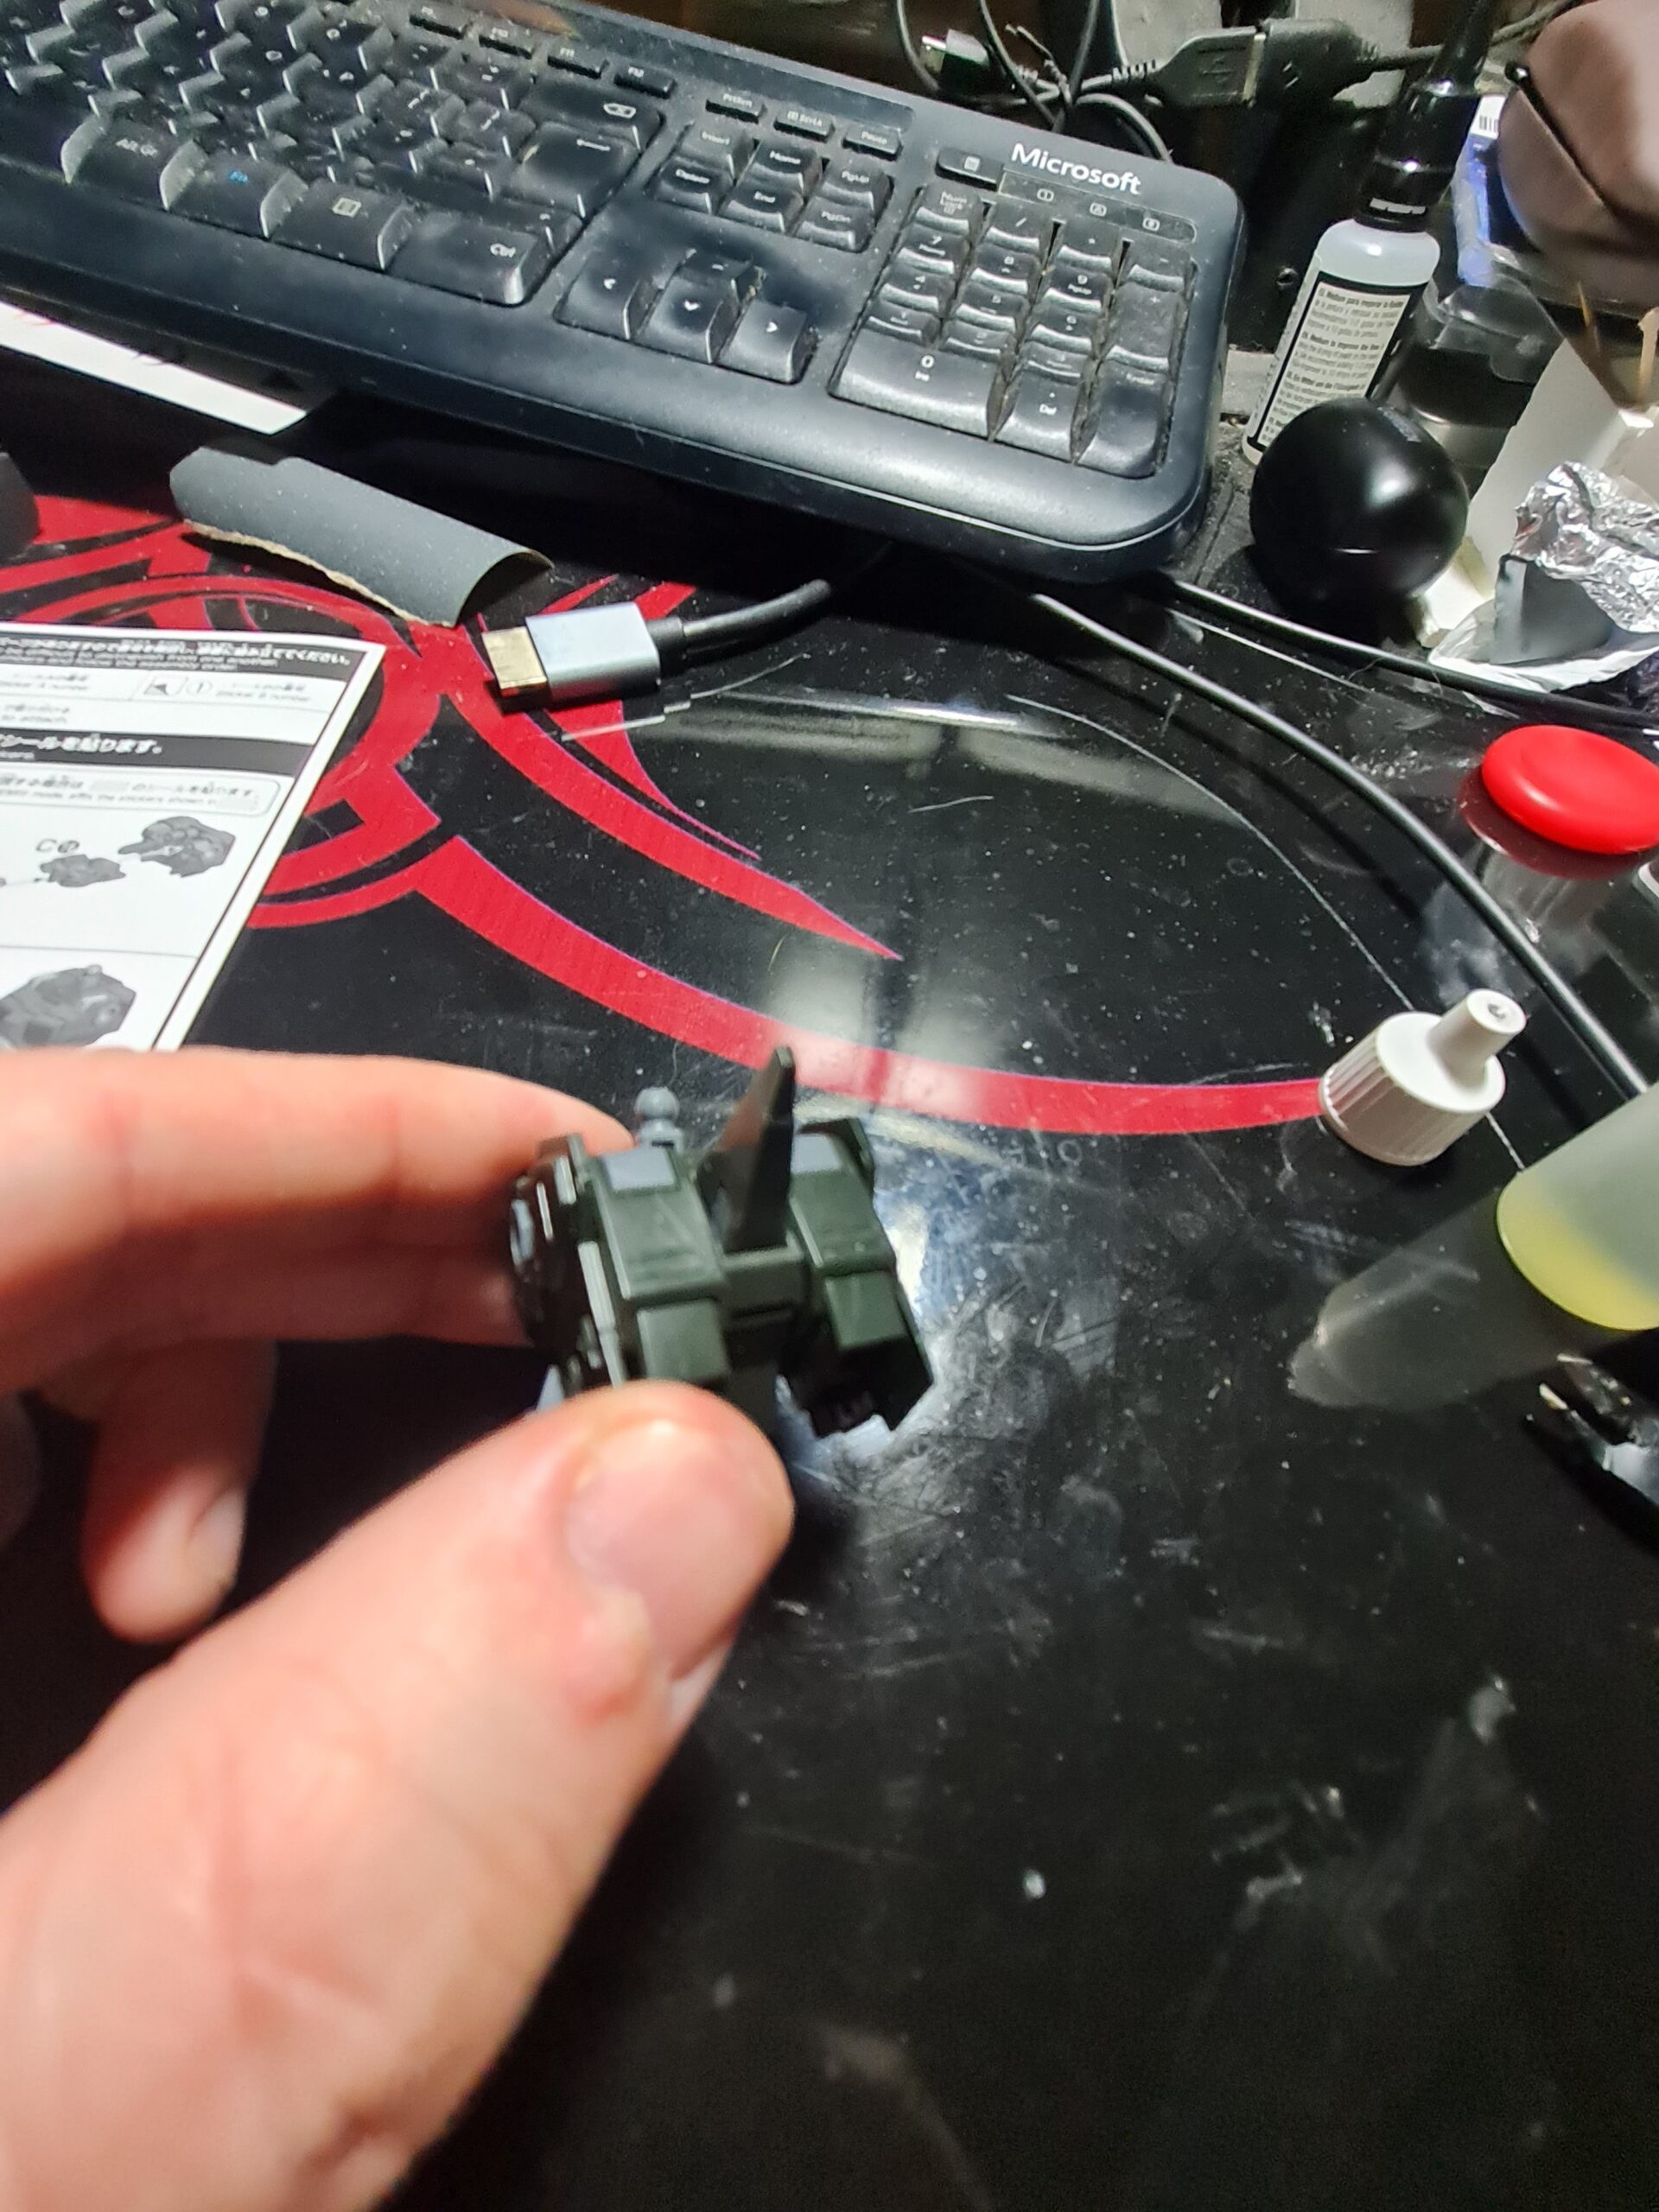
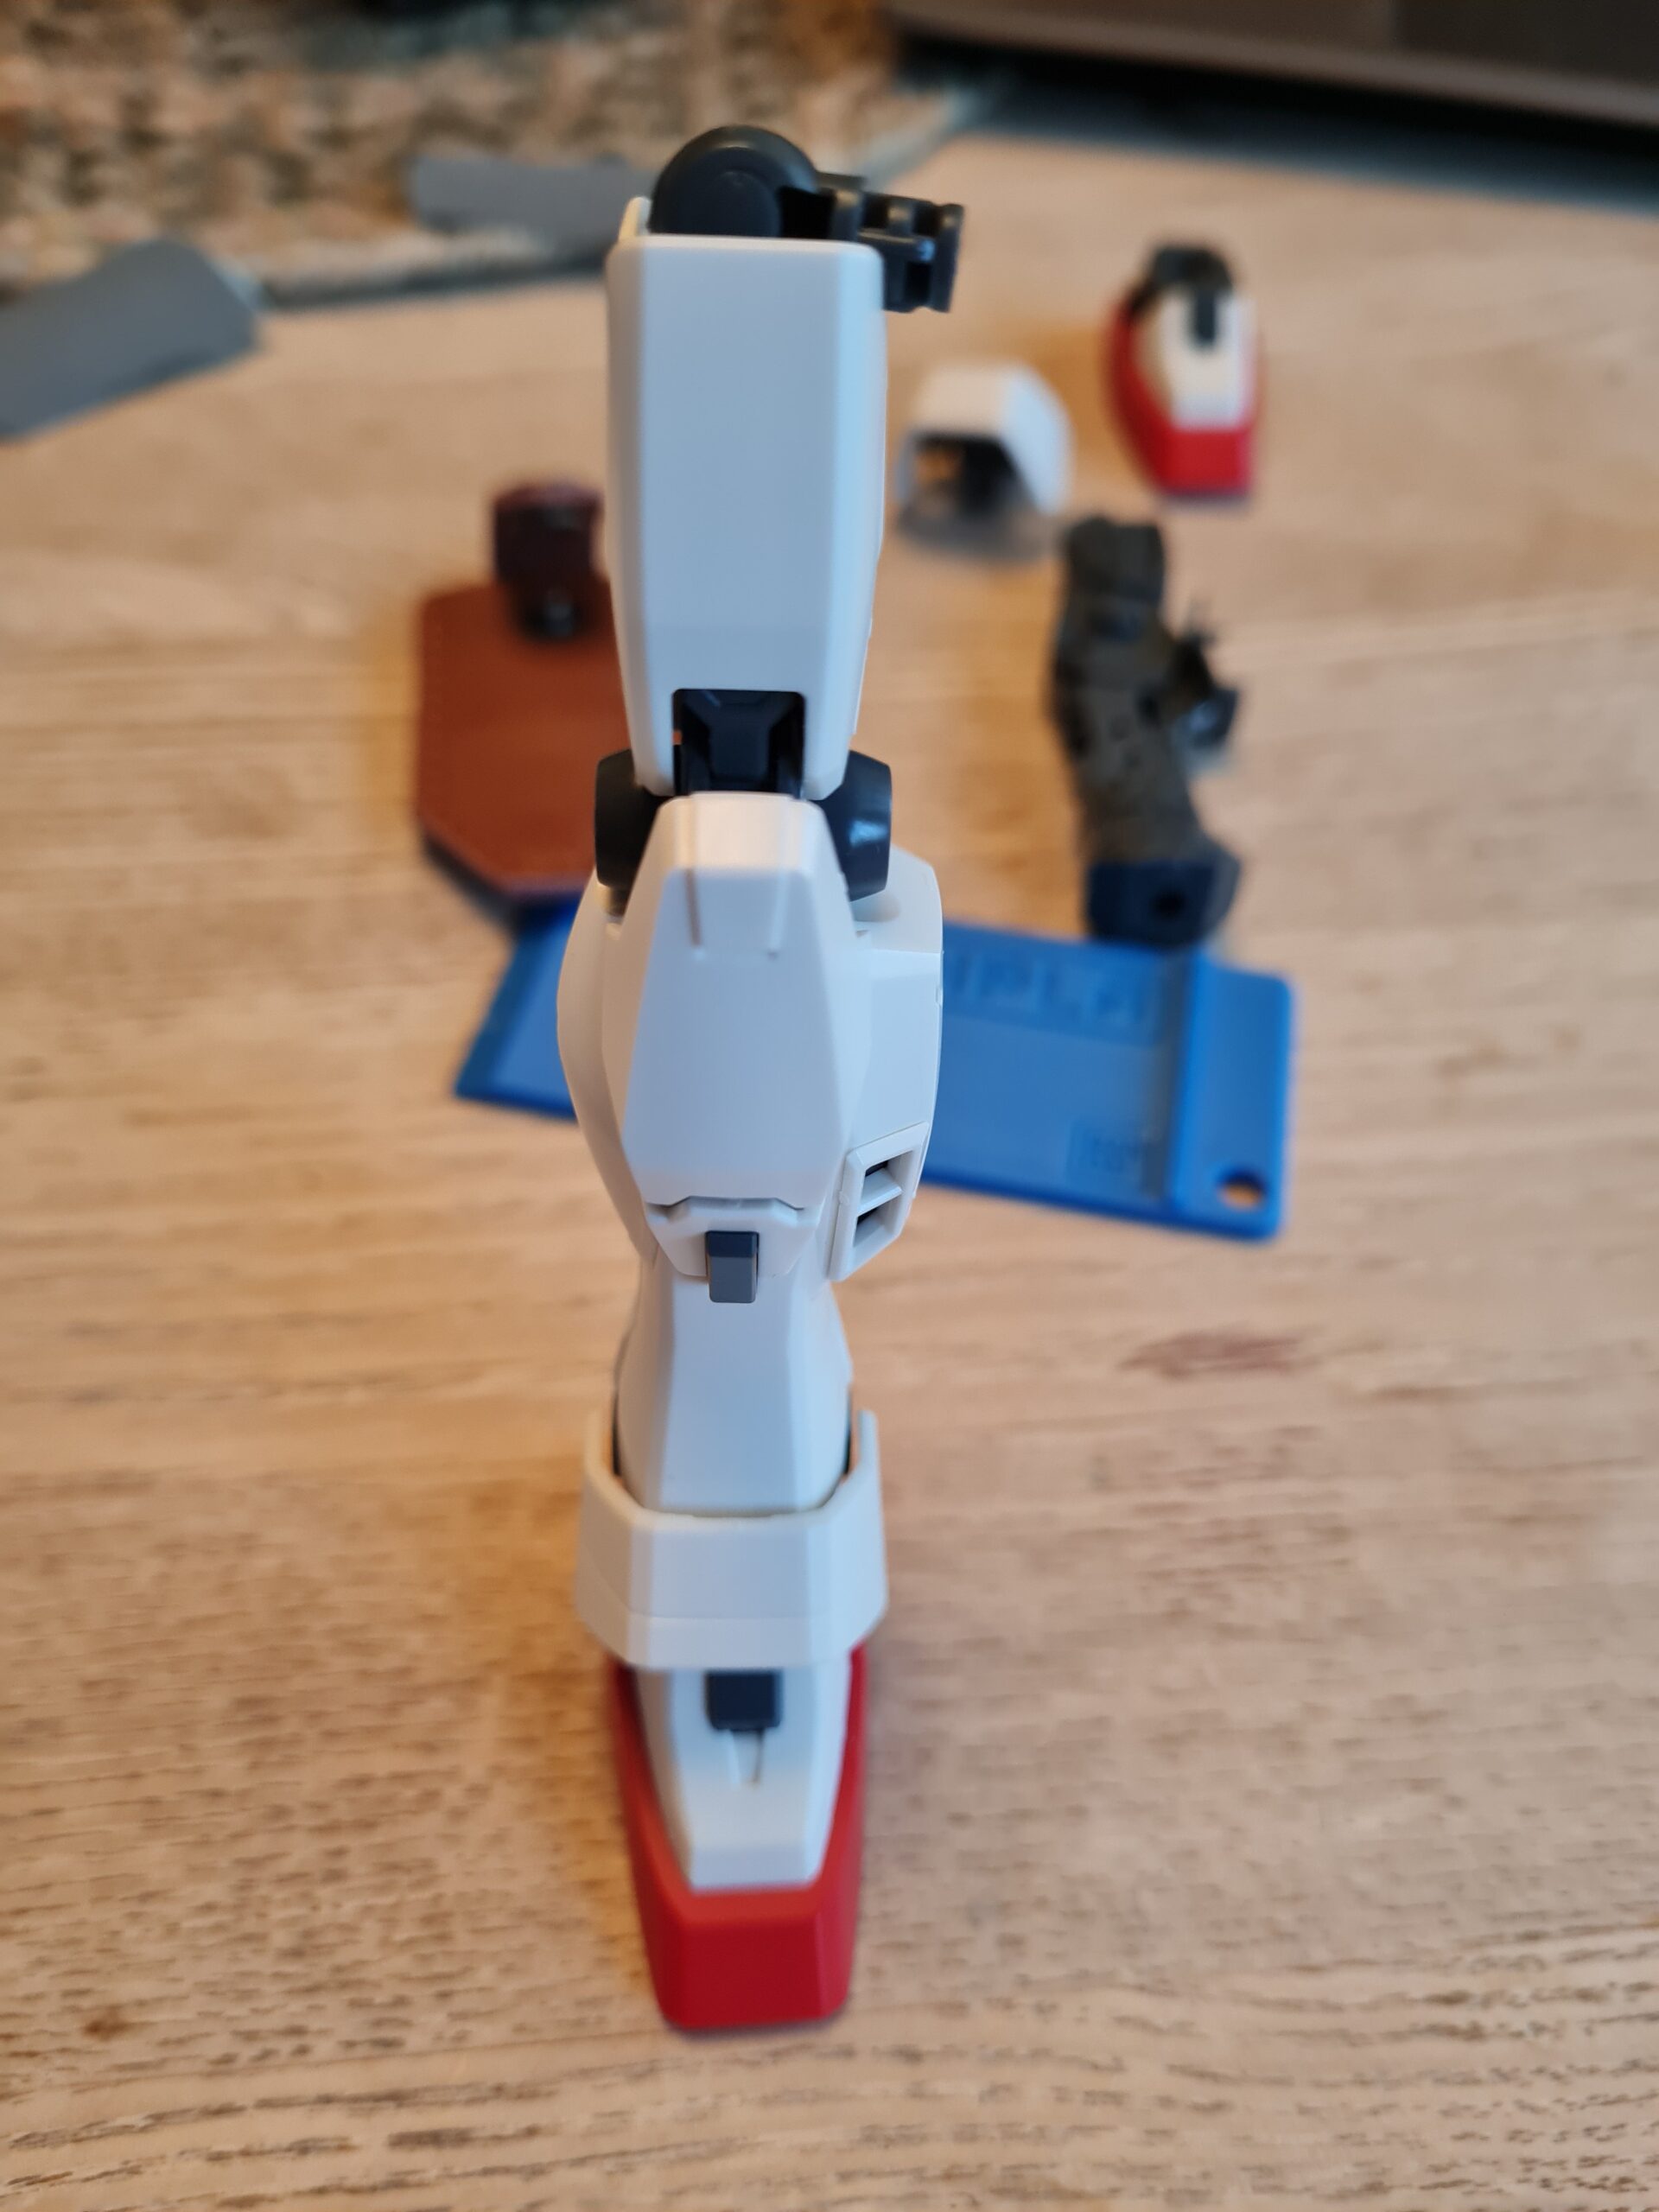
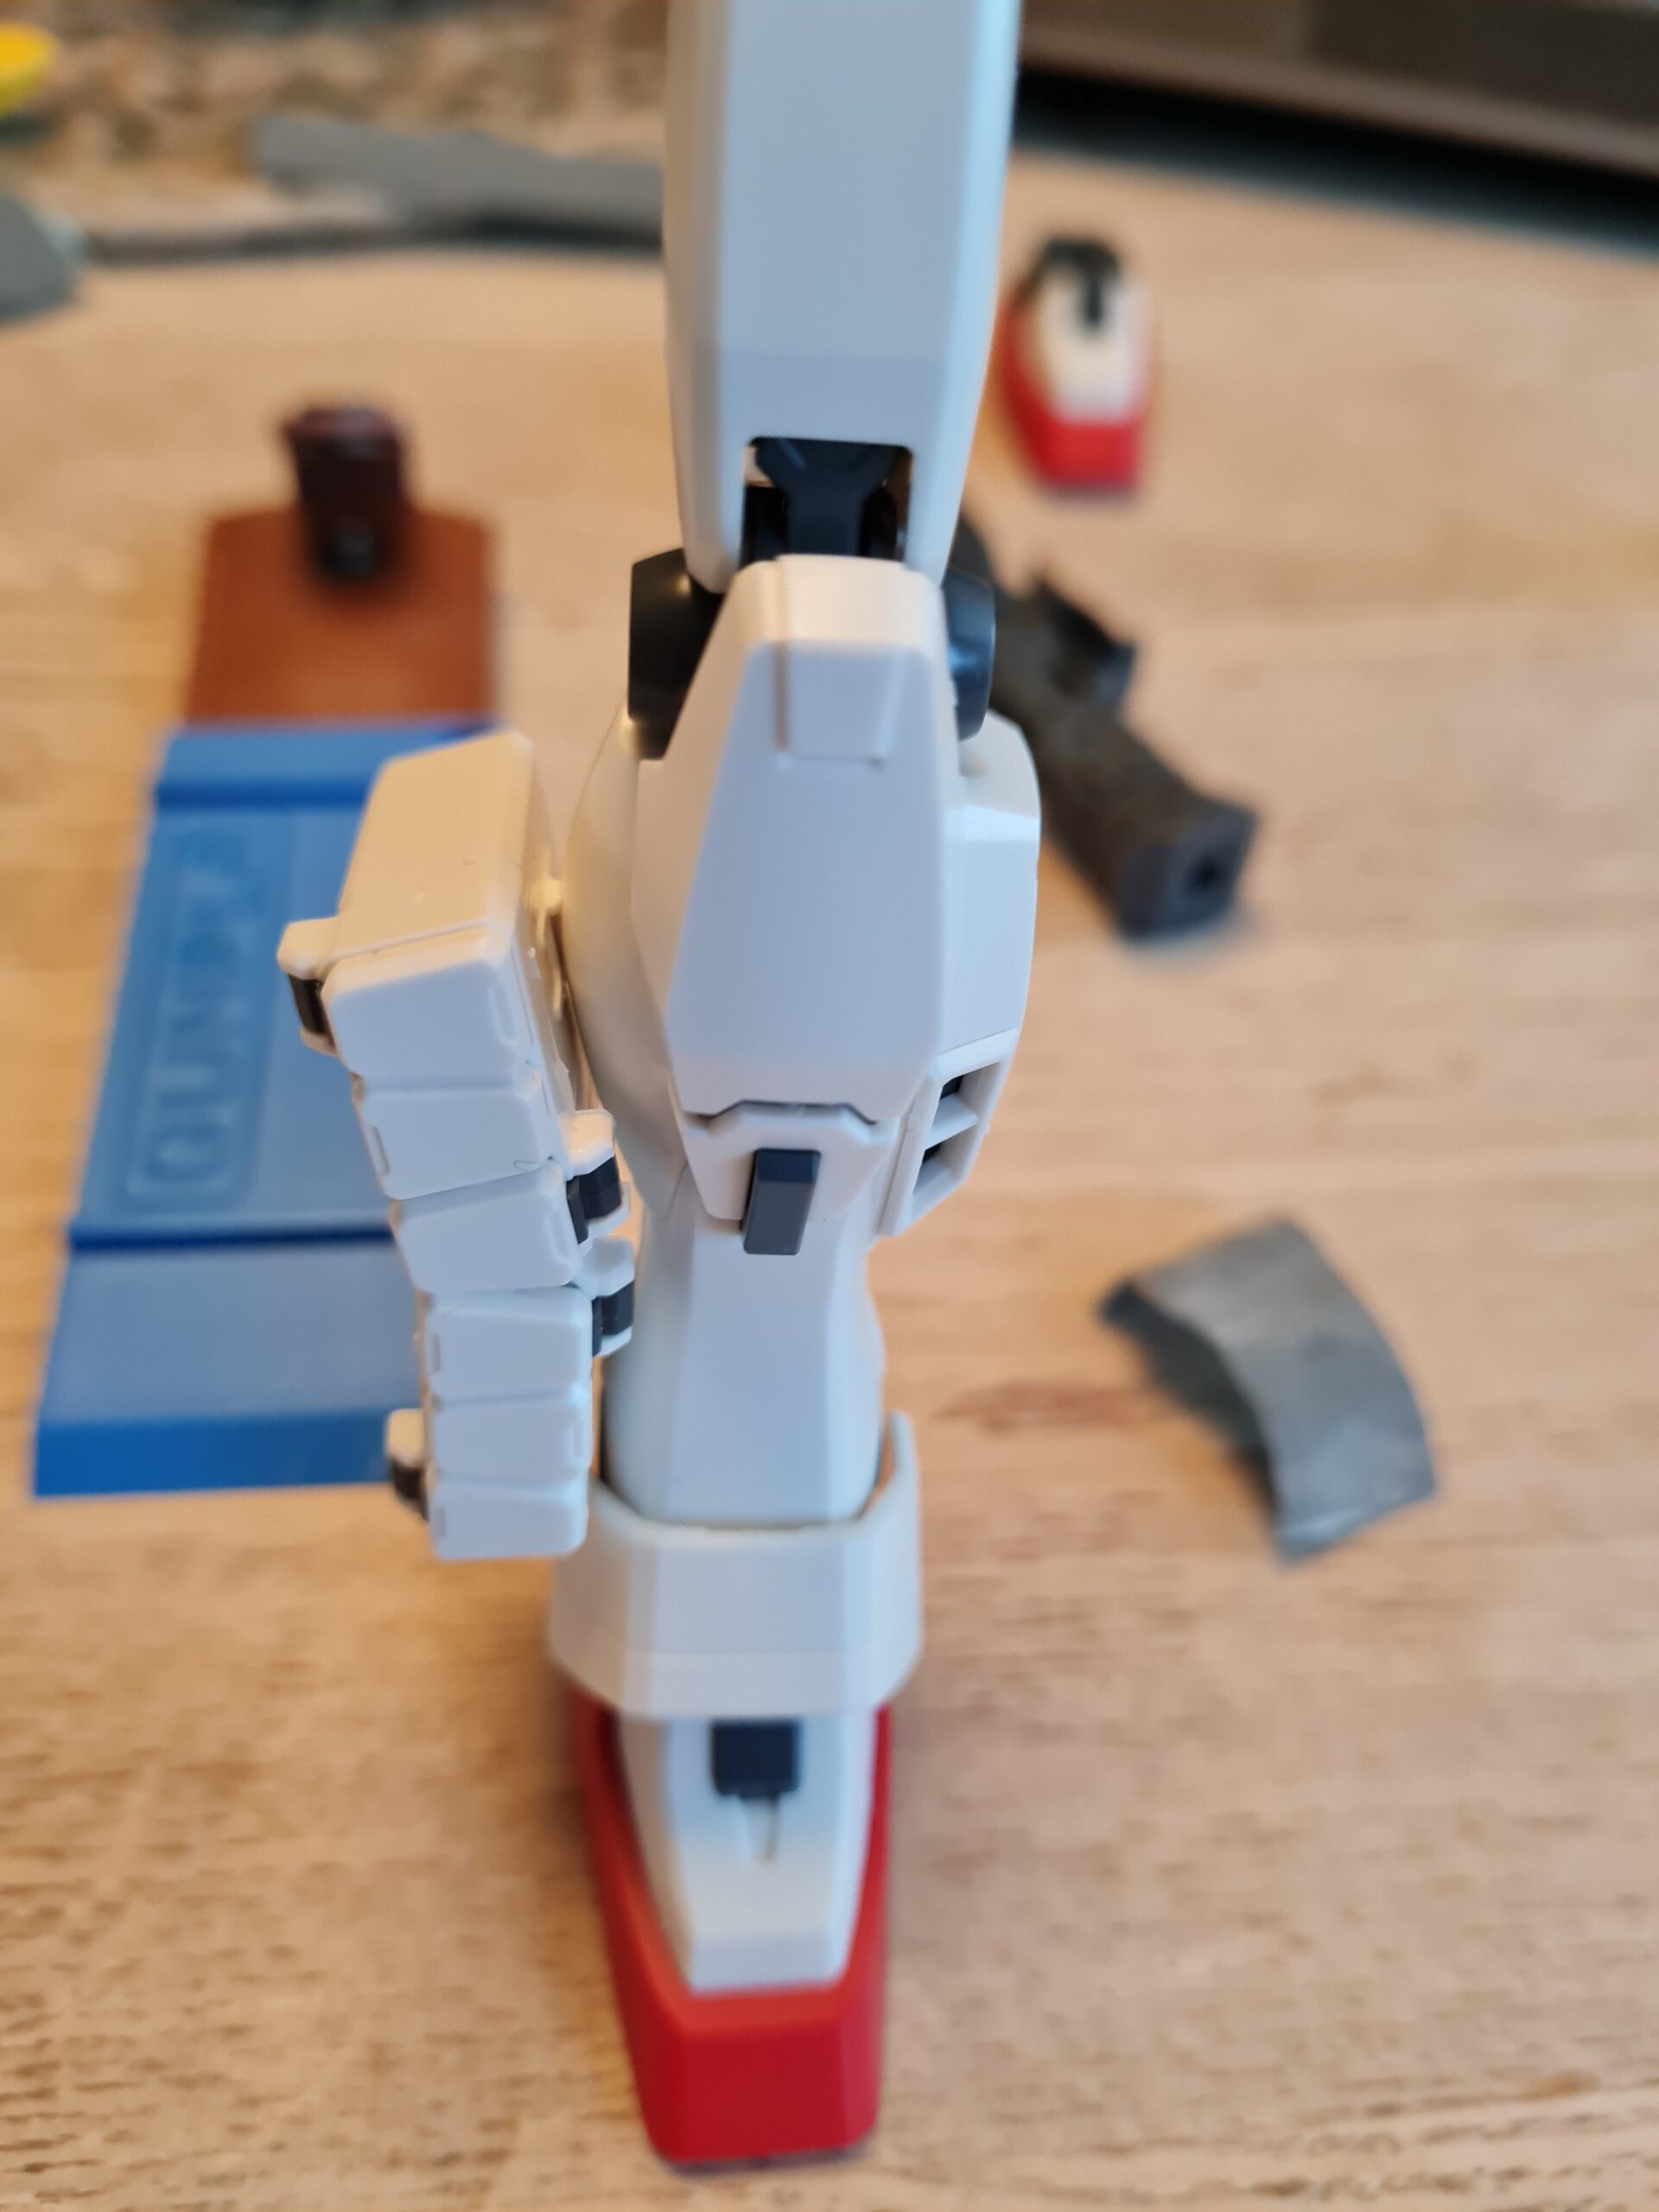
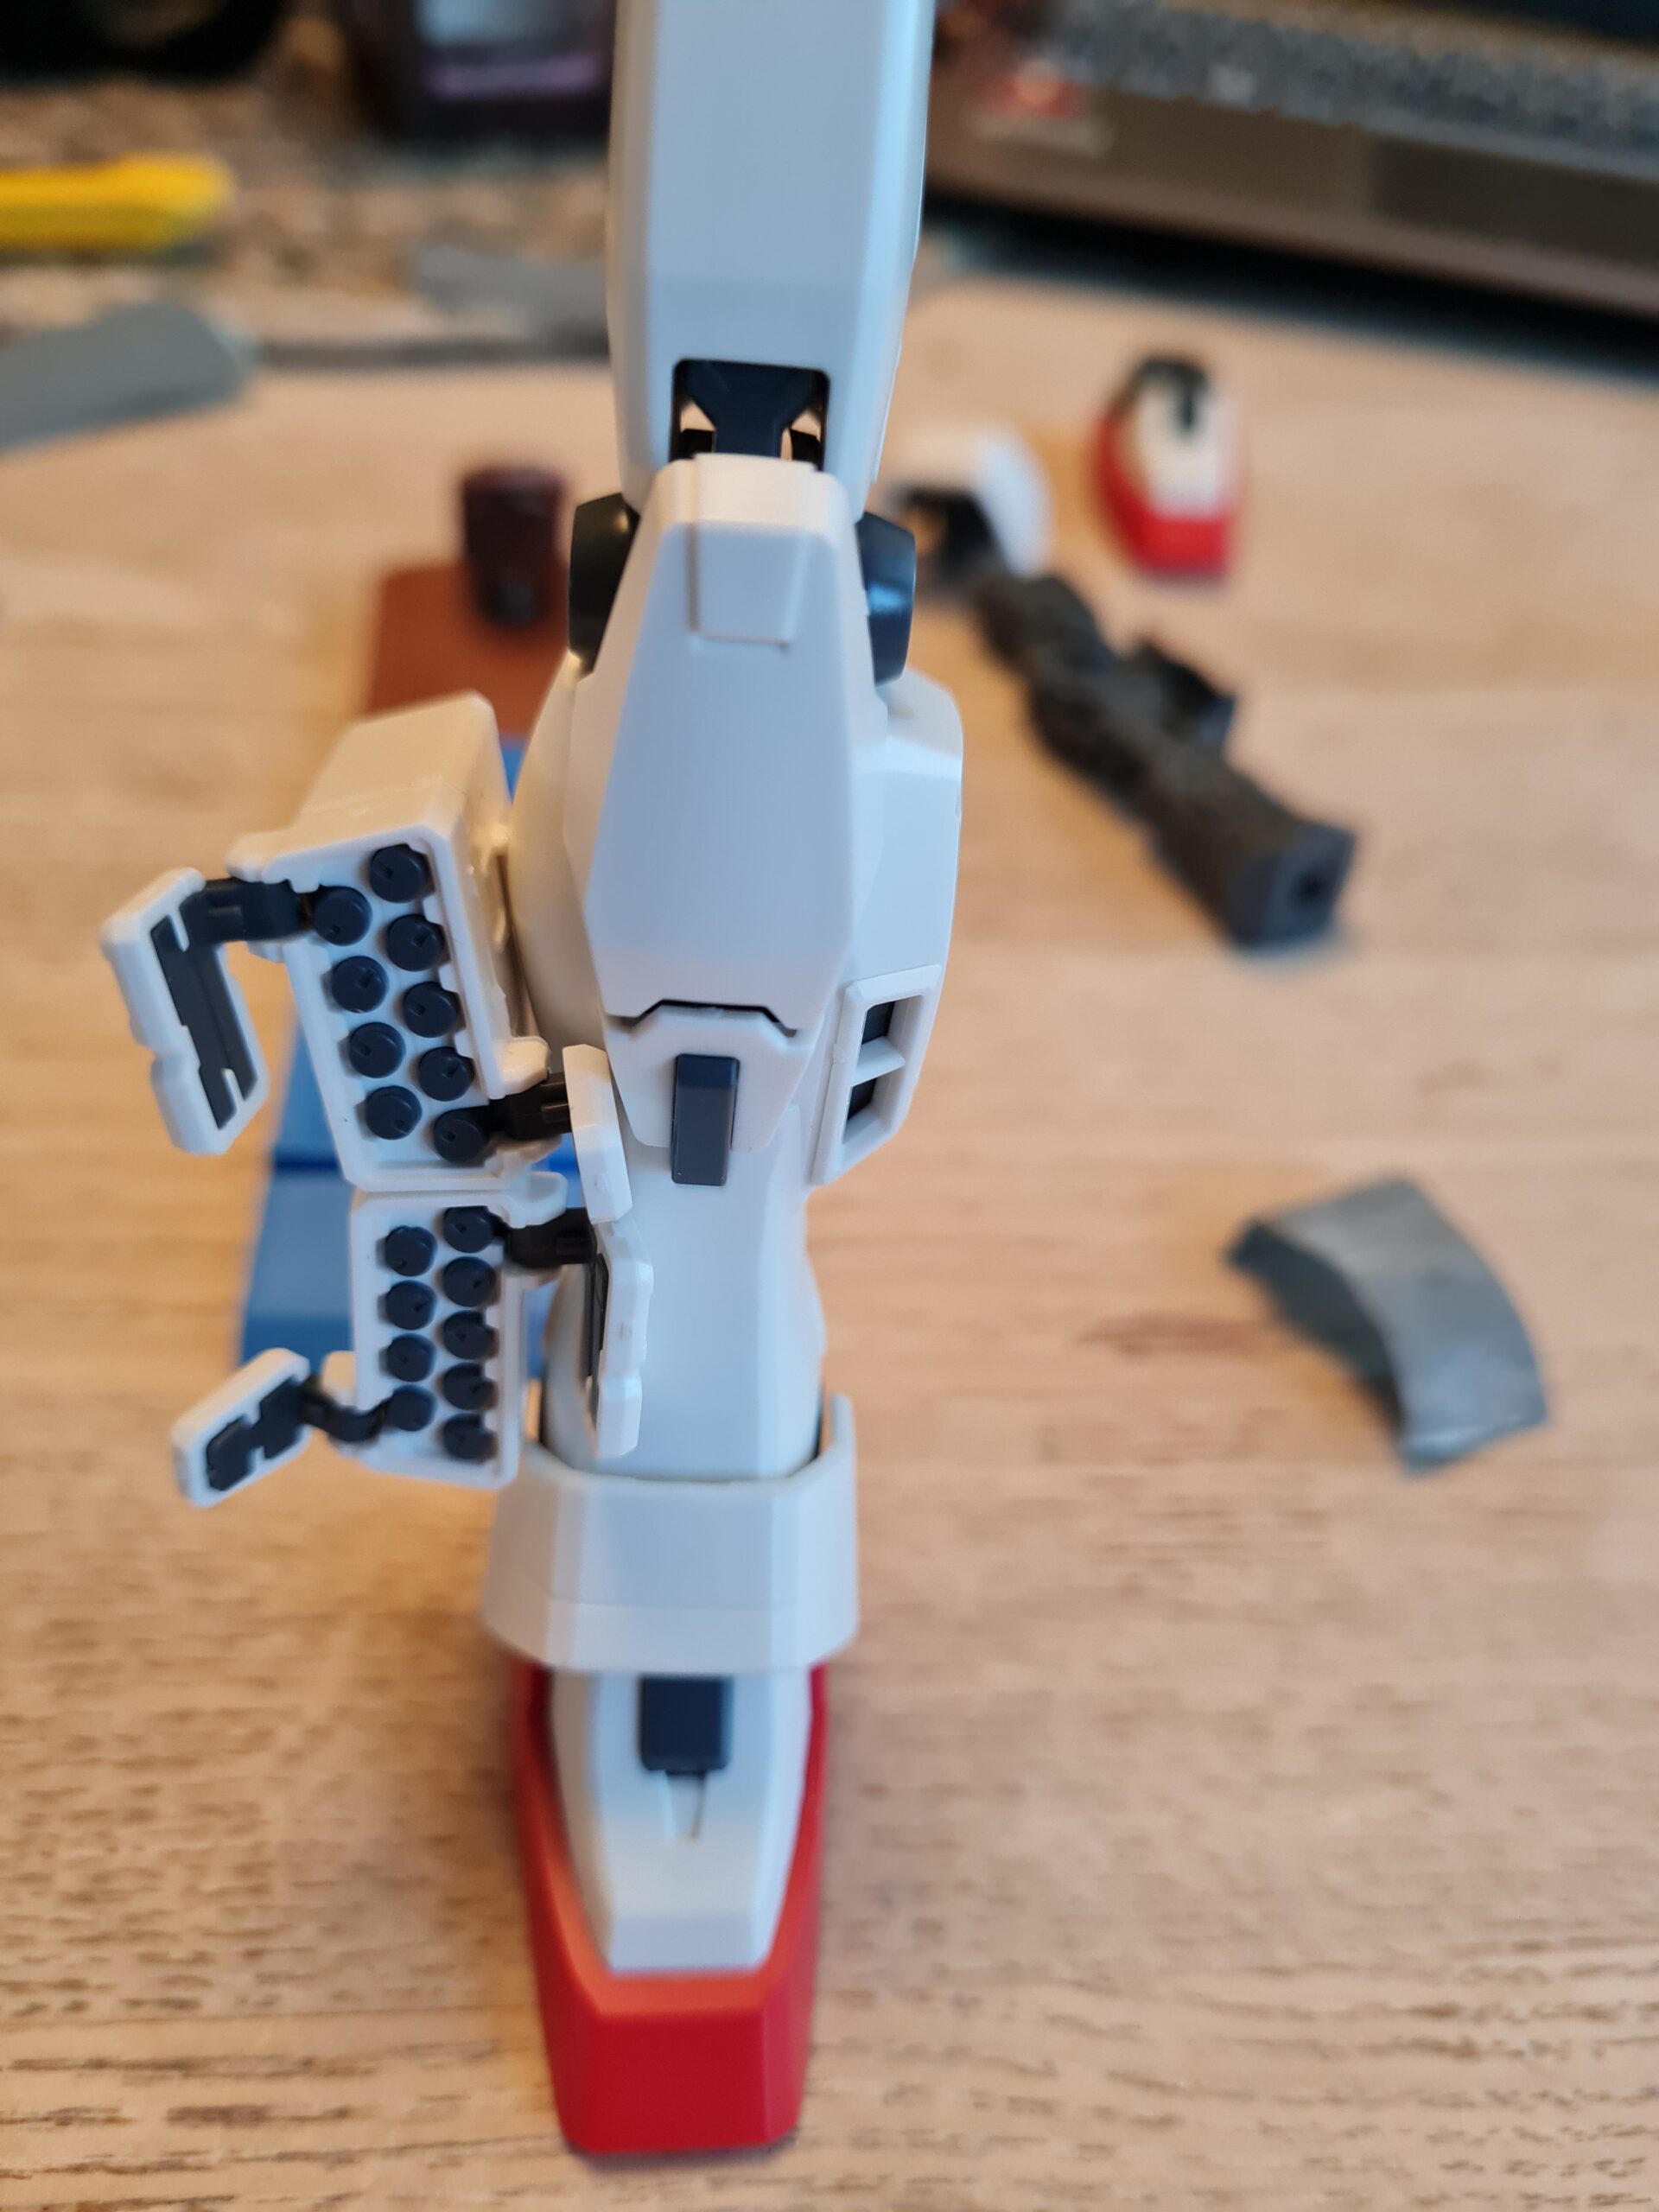
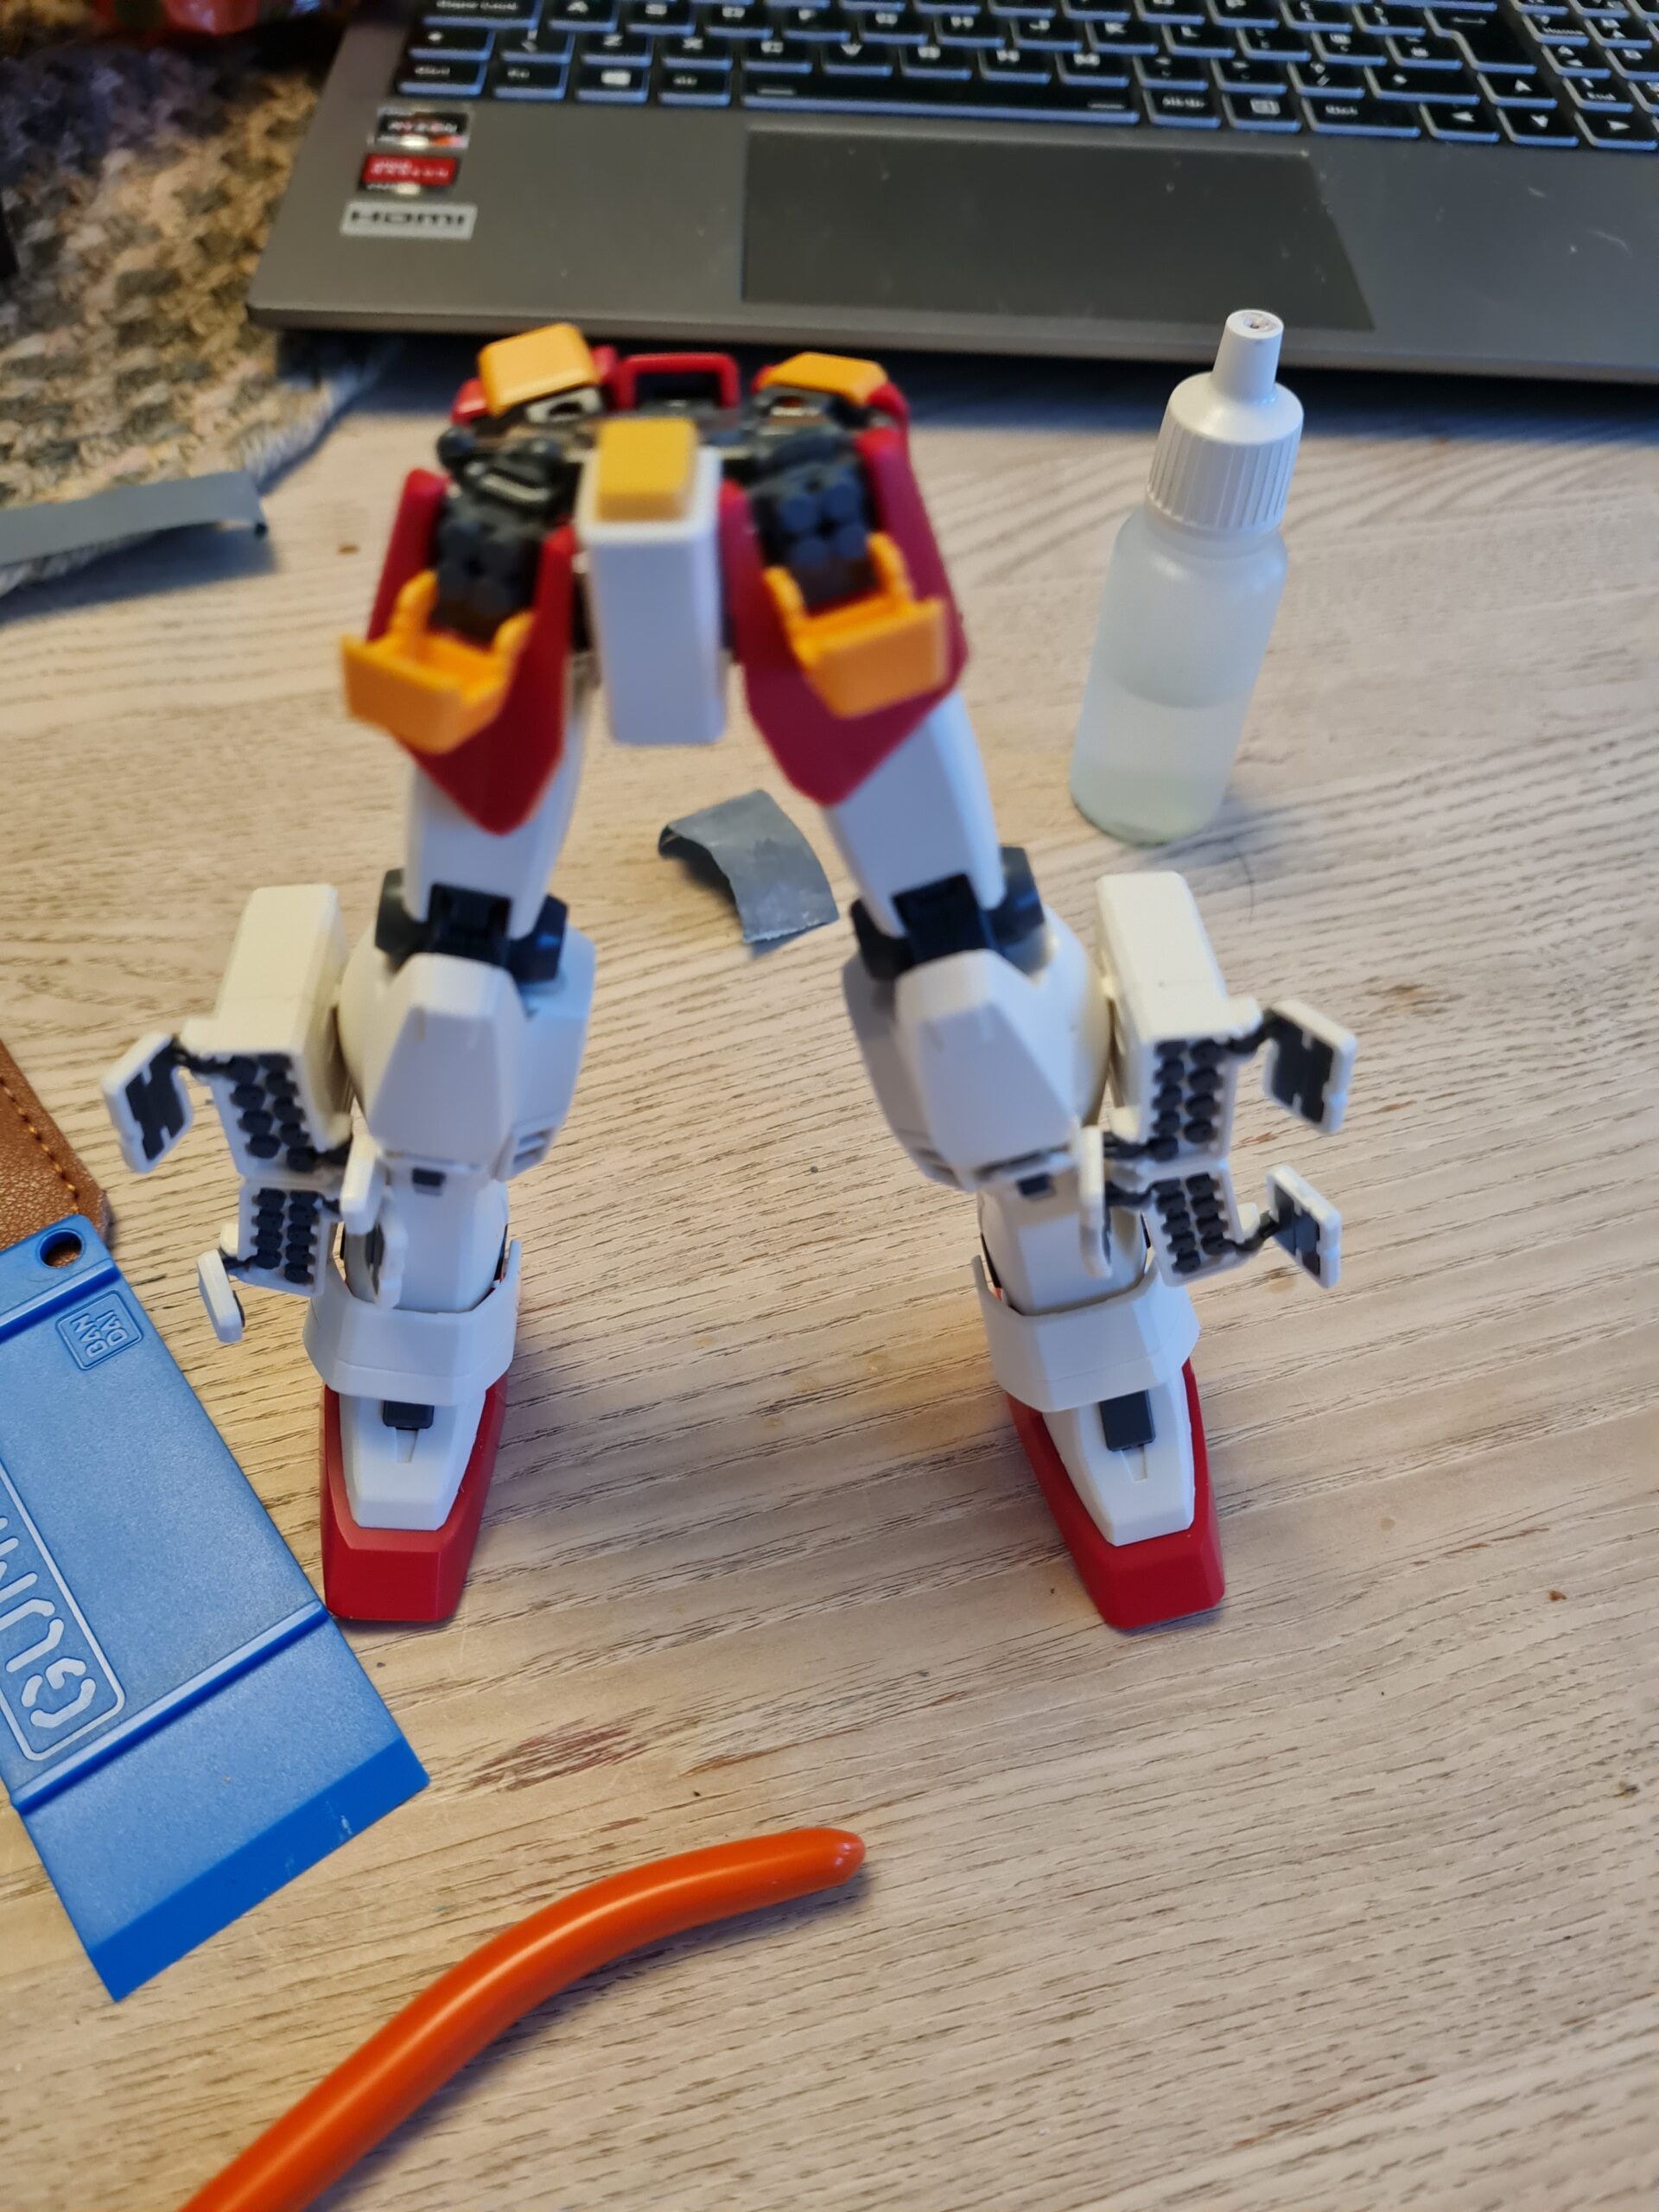
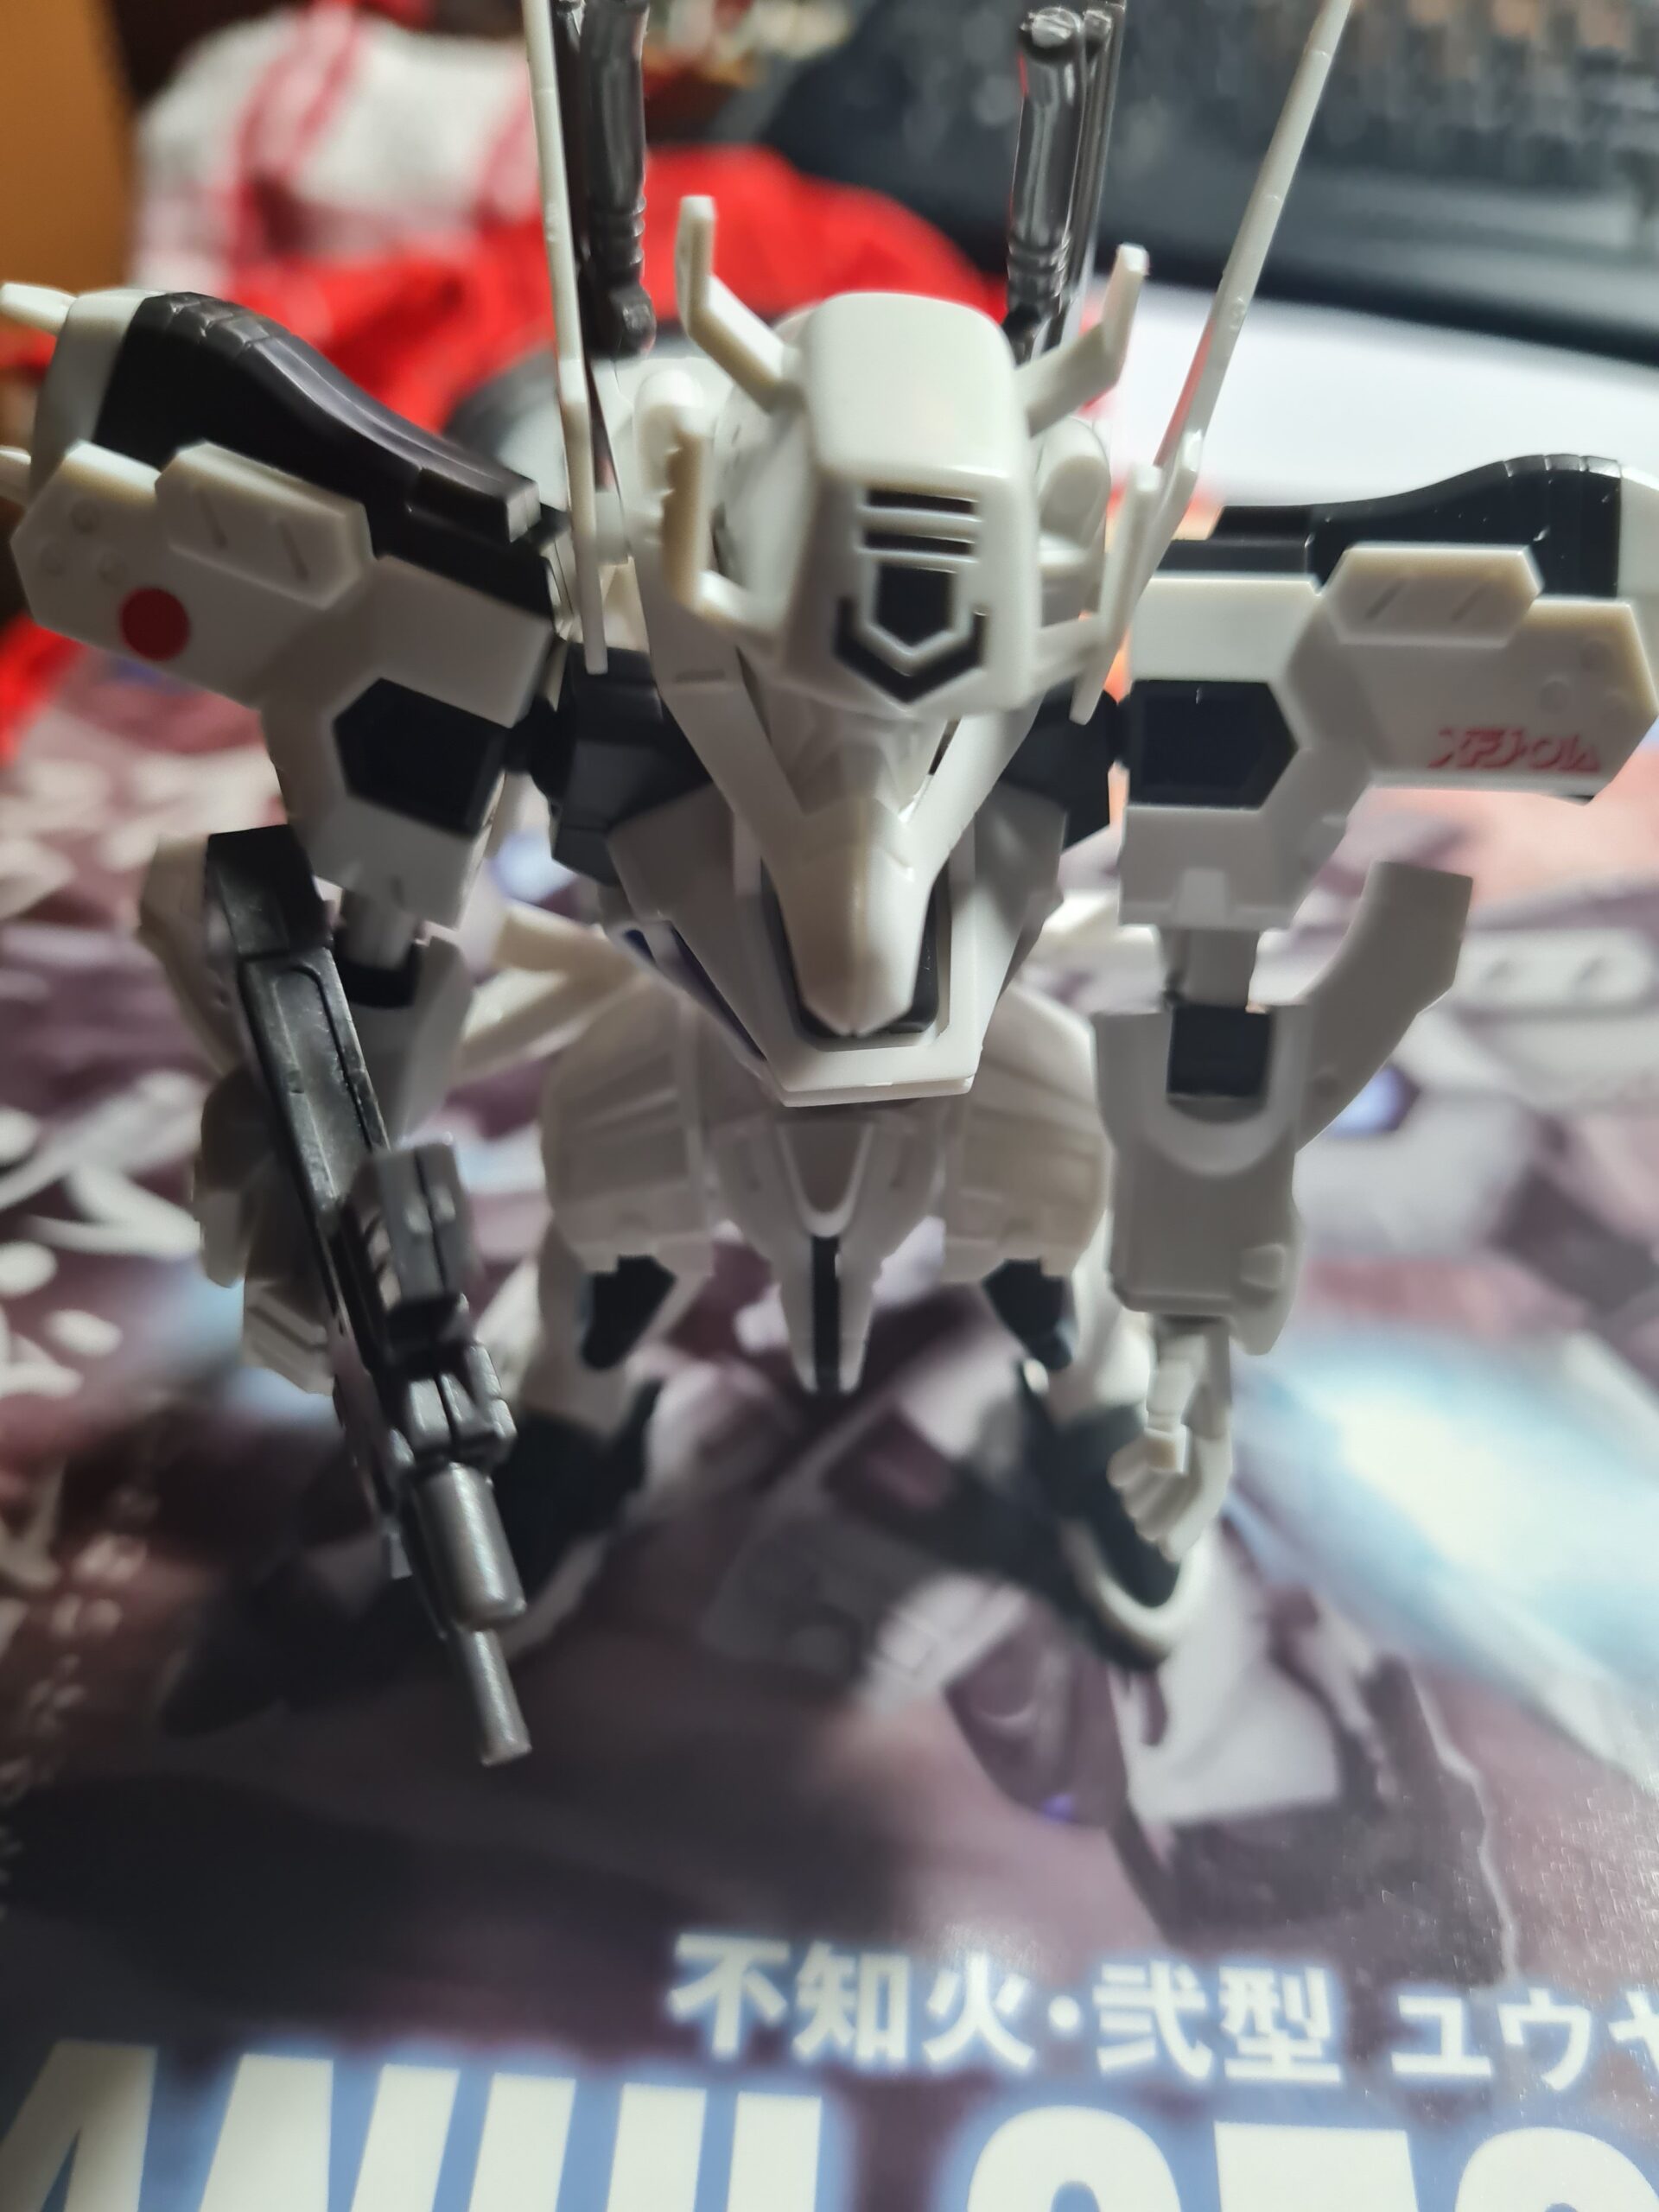
So what does it look like?

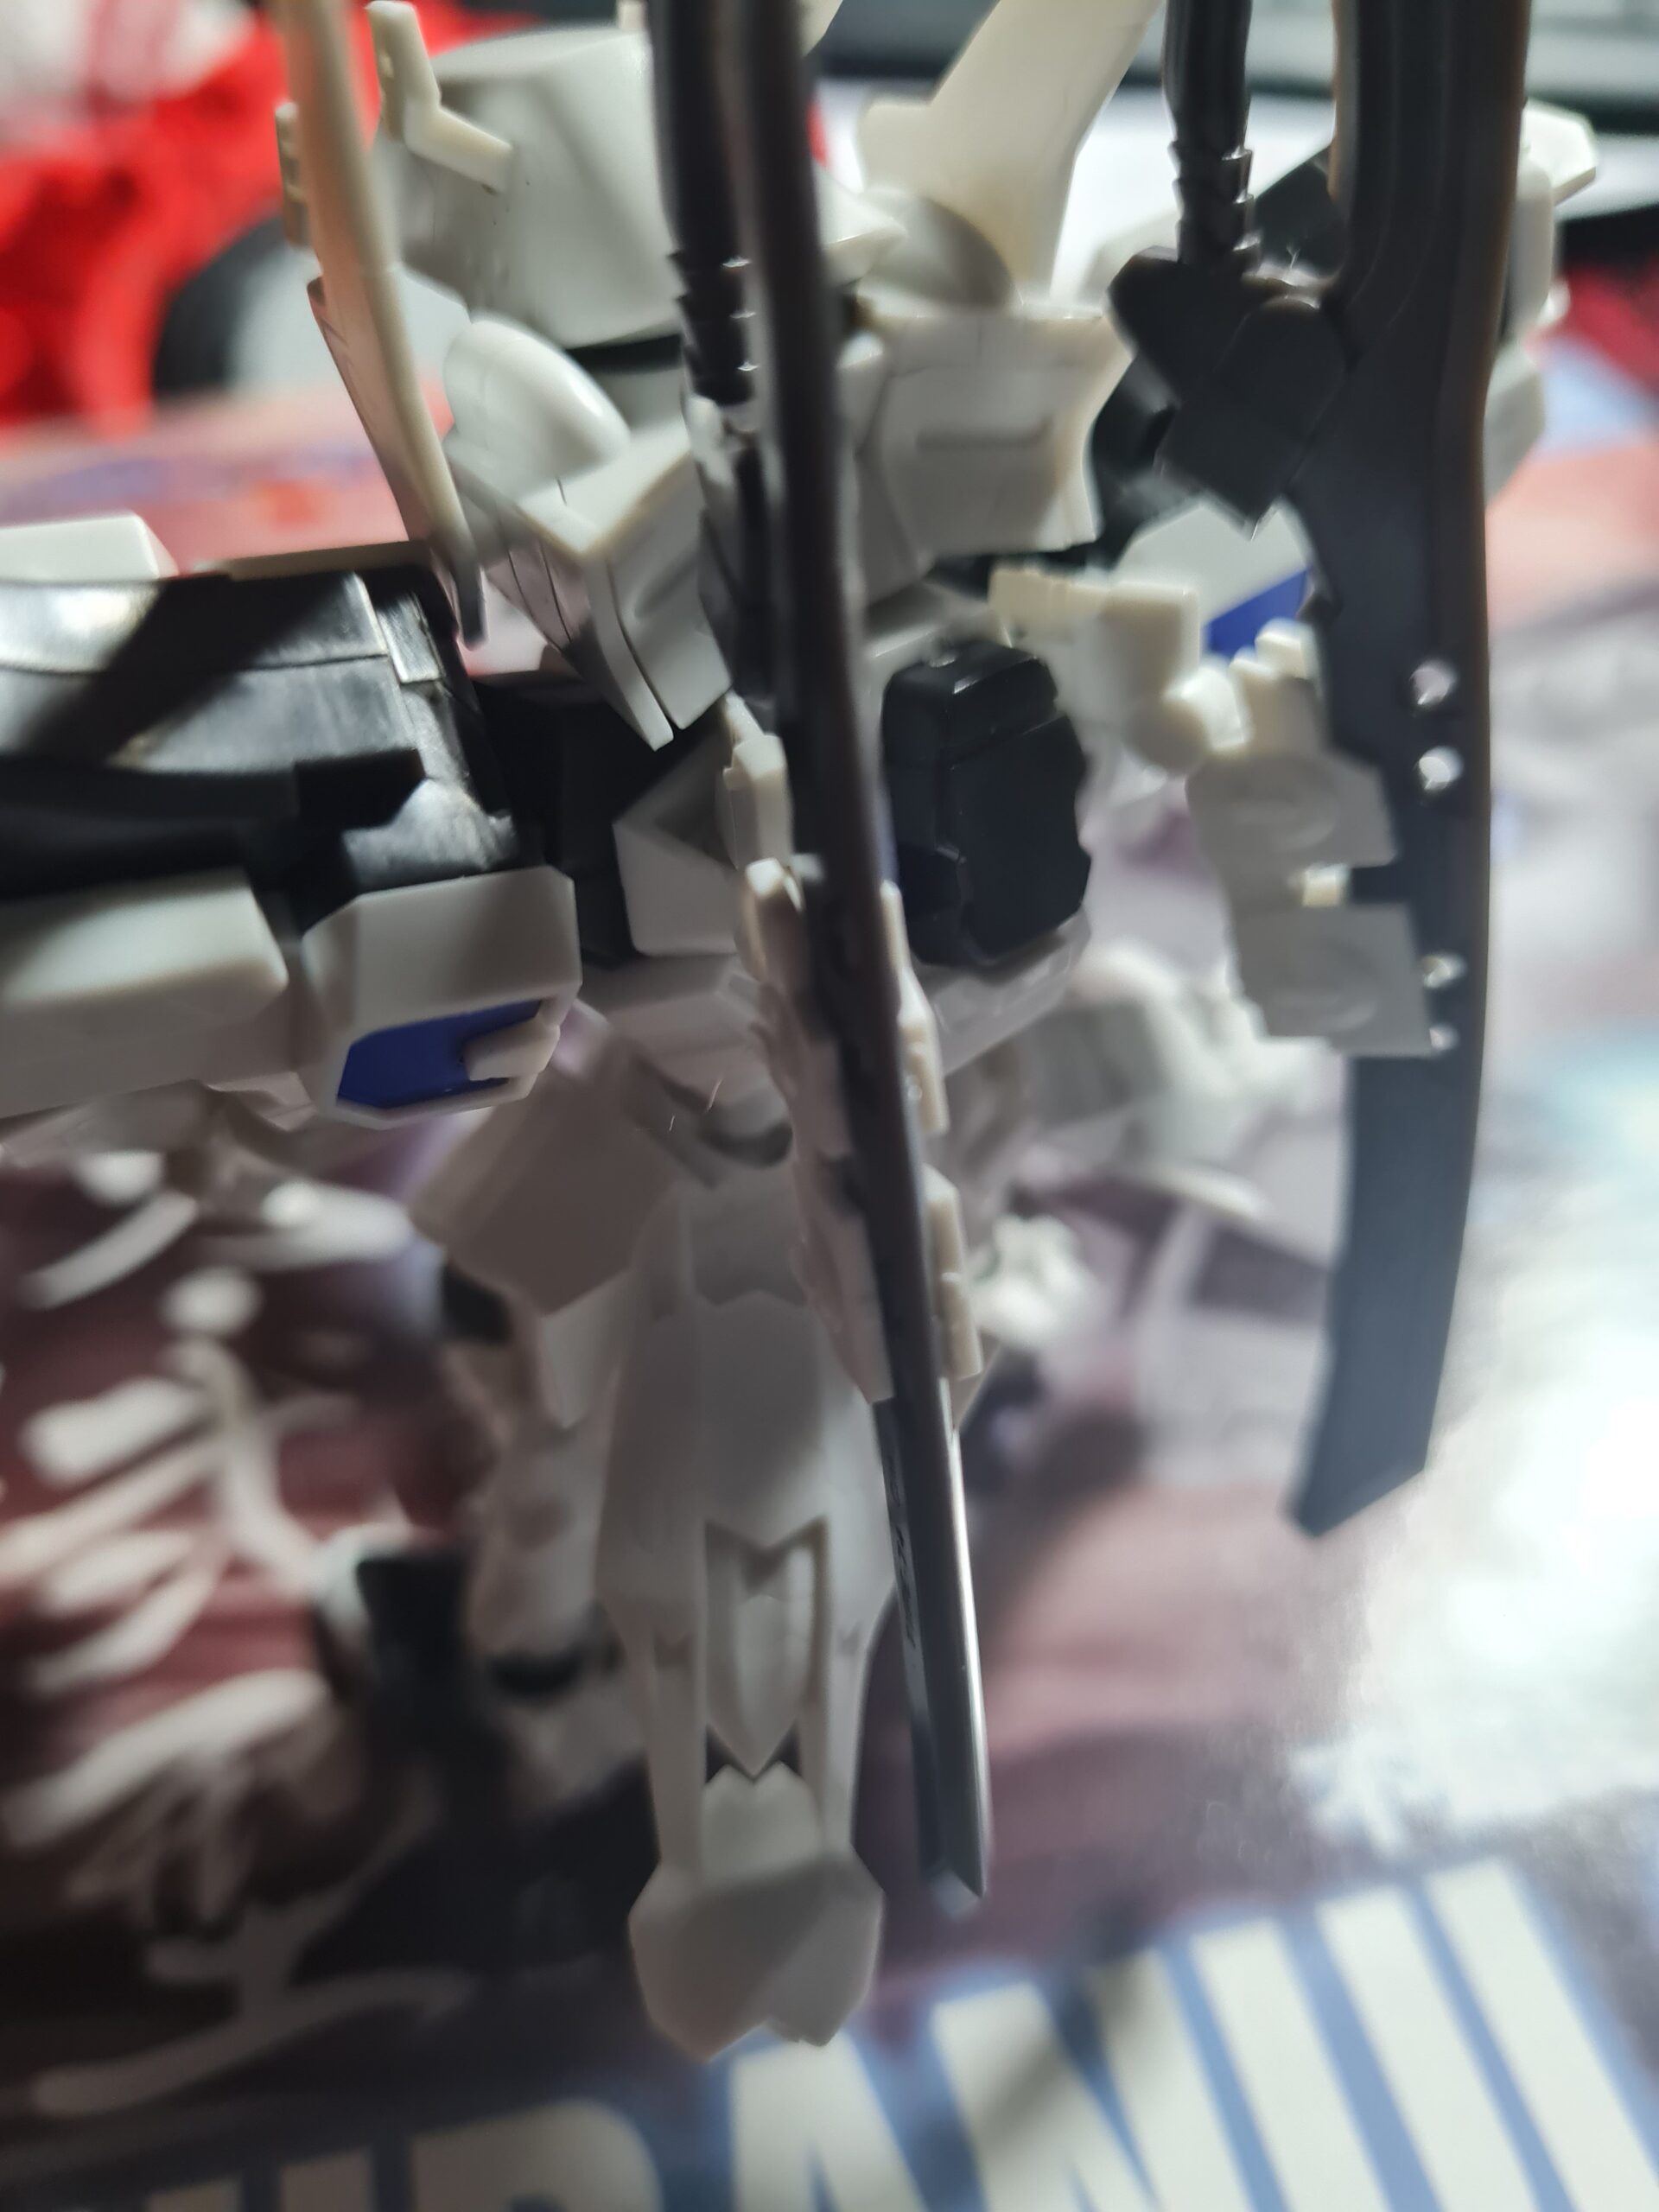
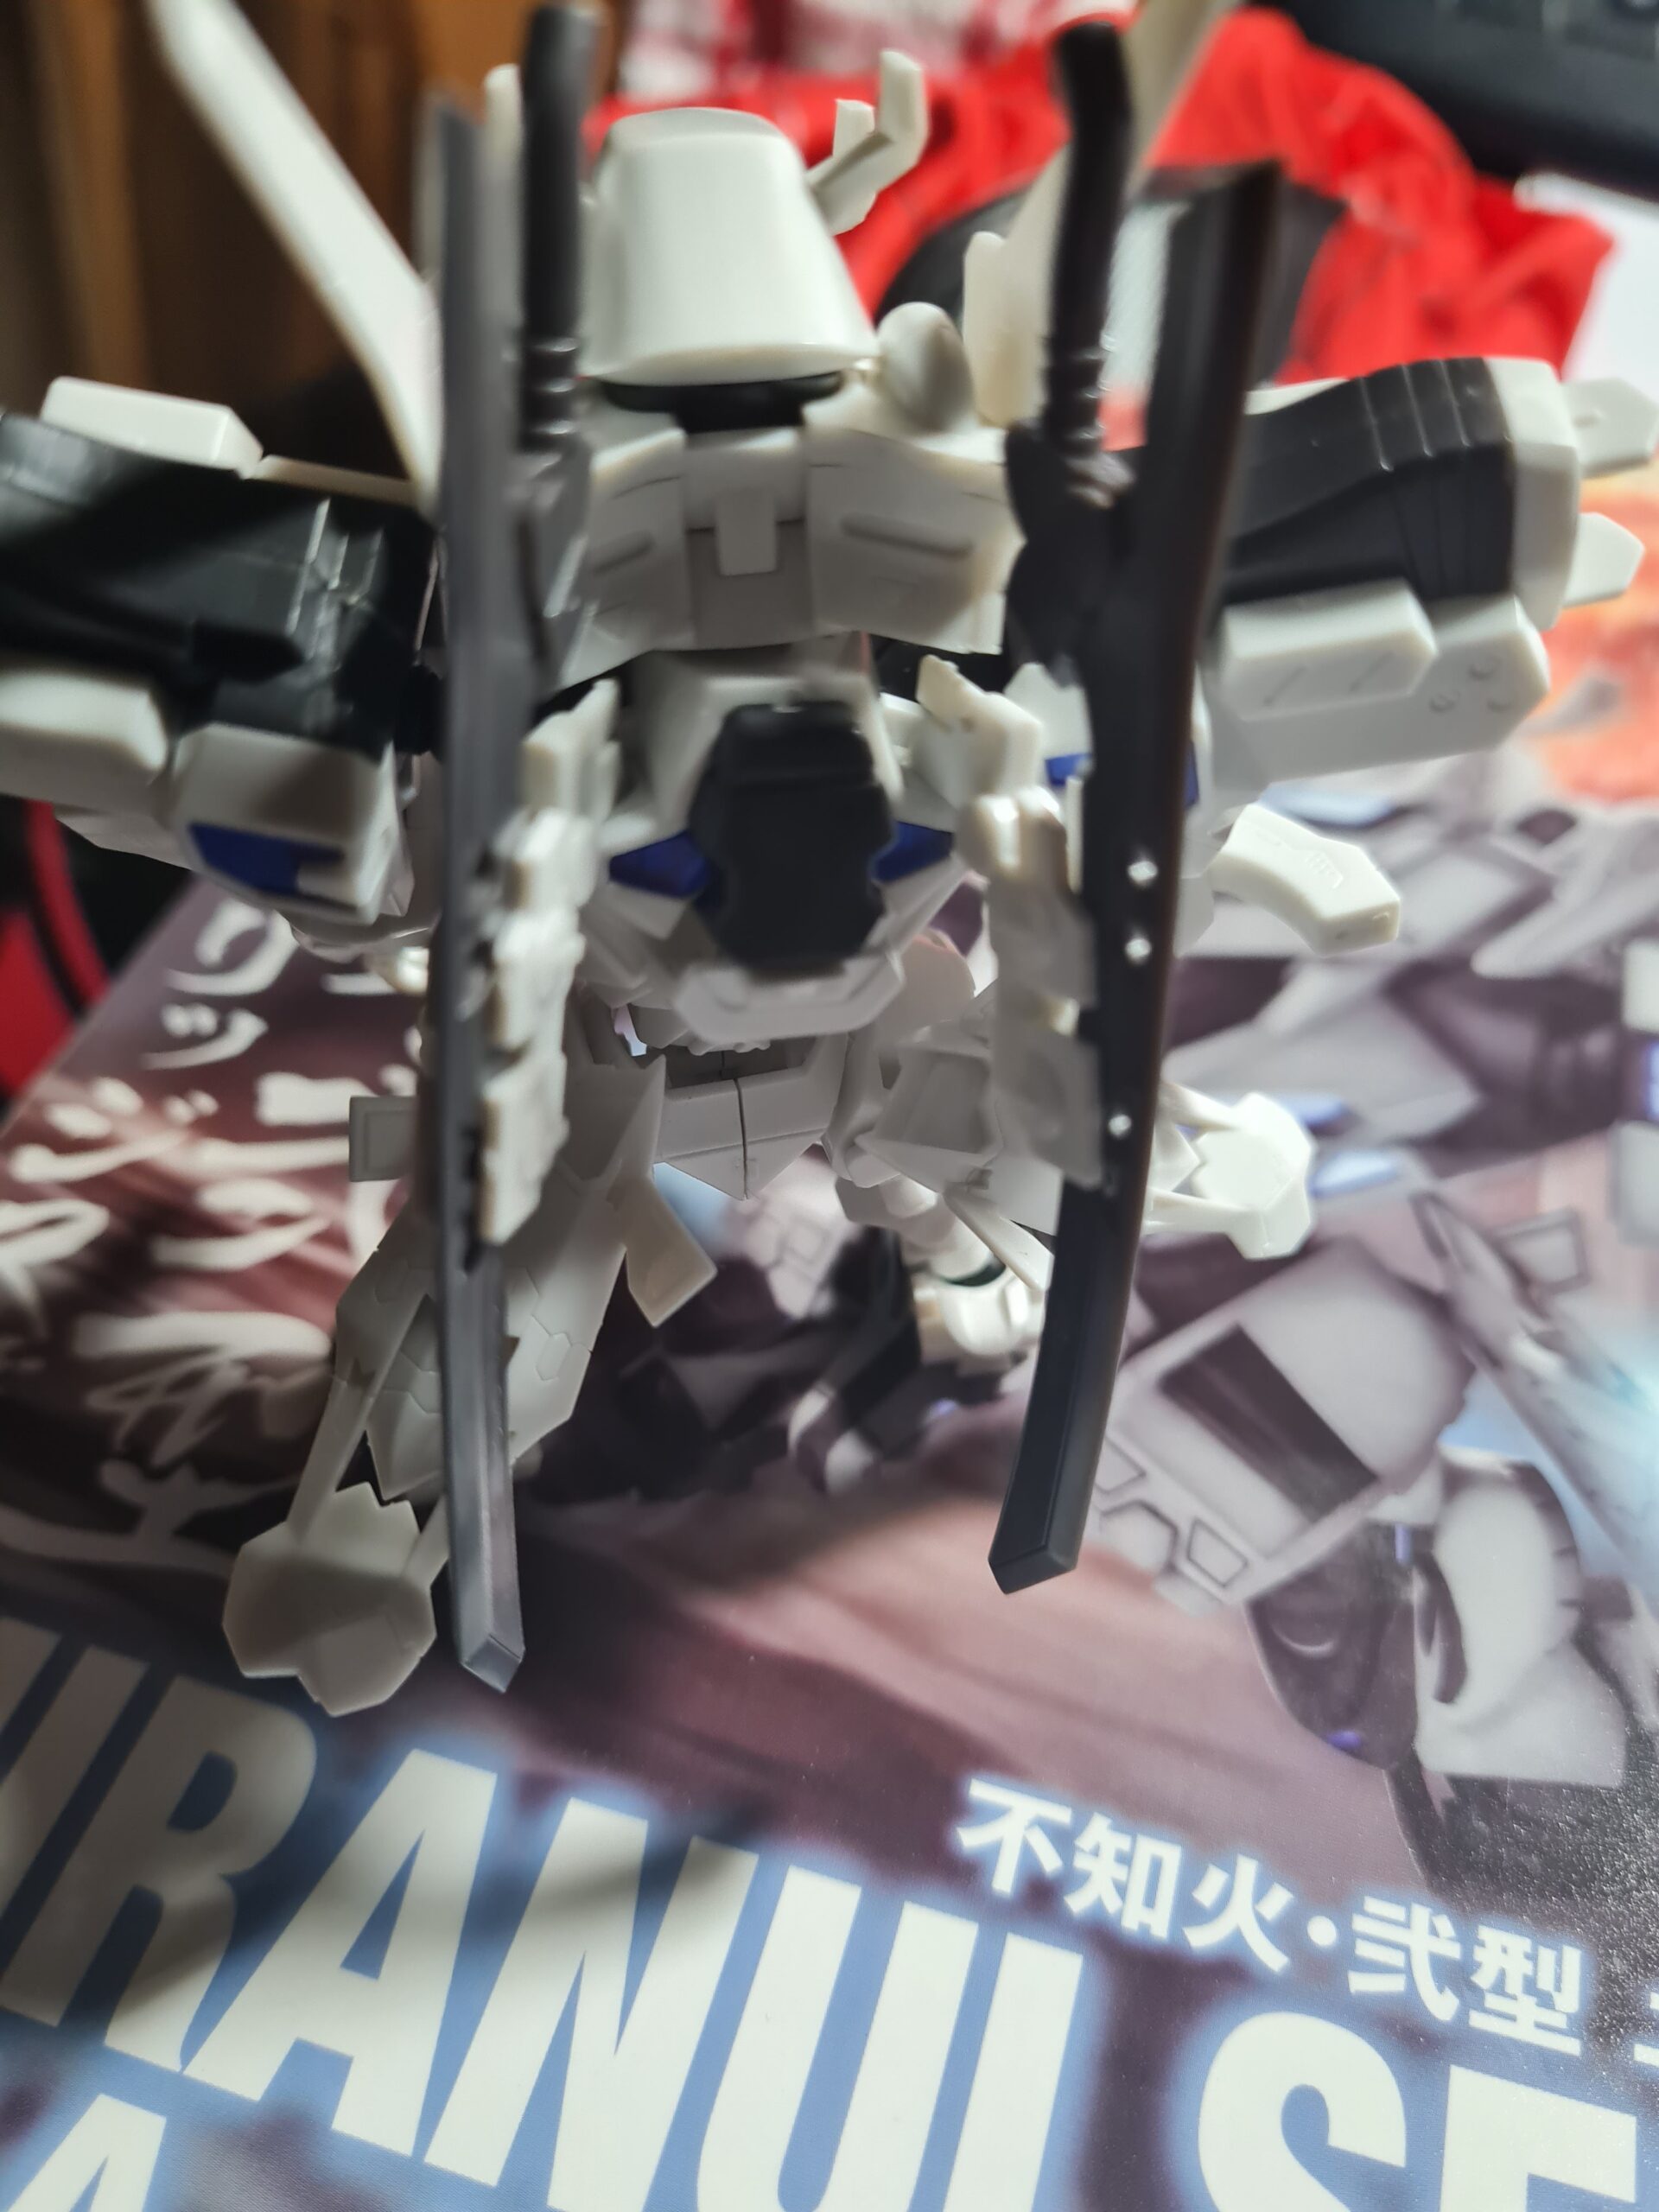
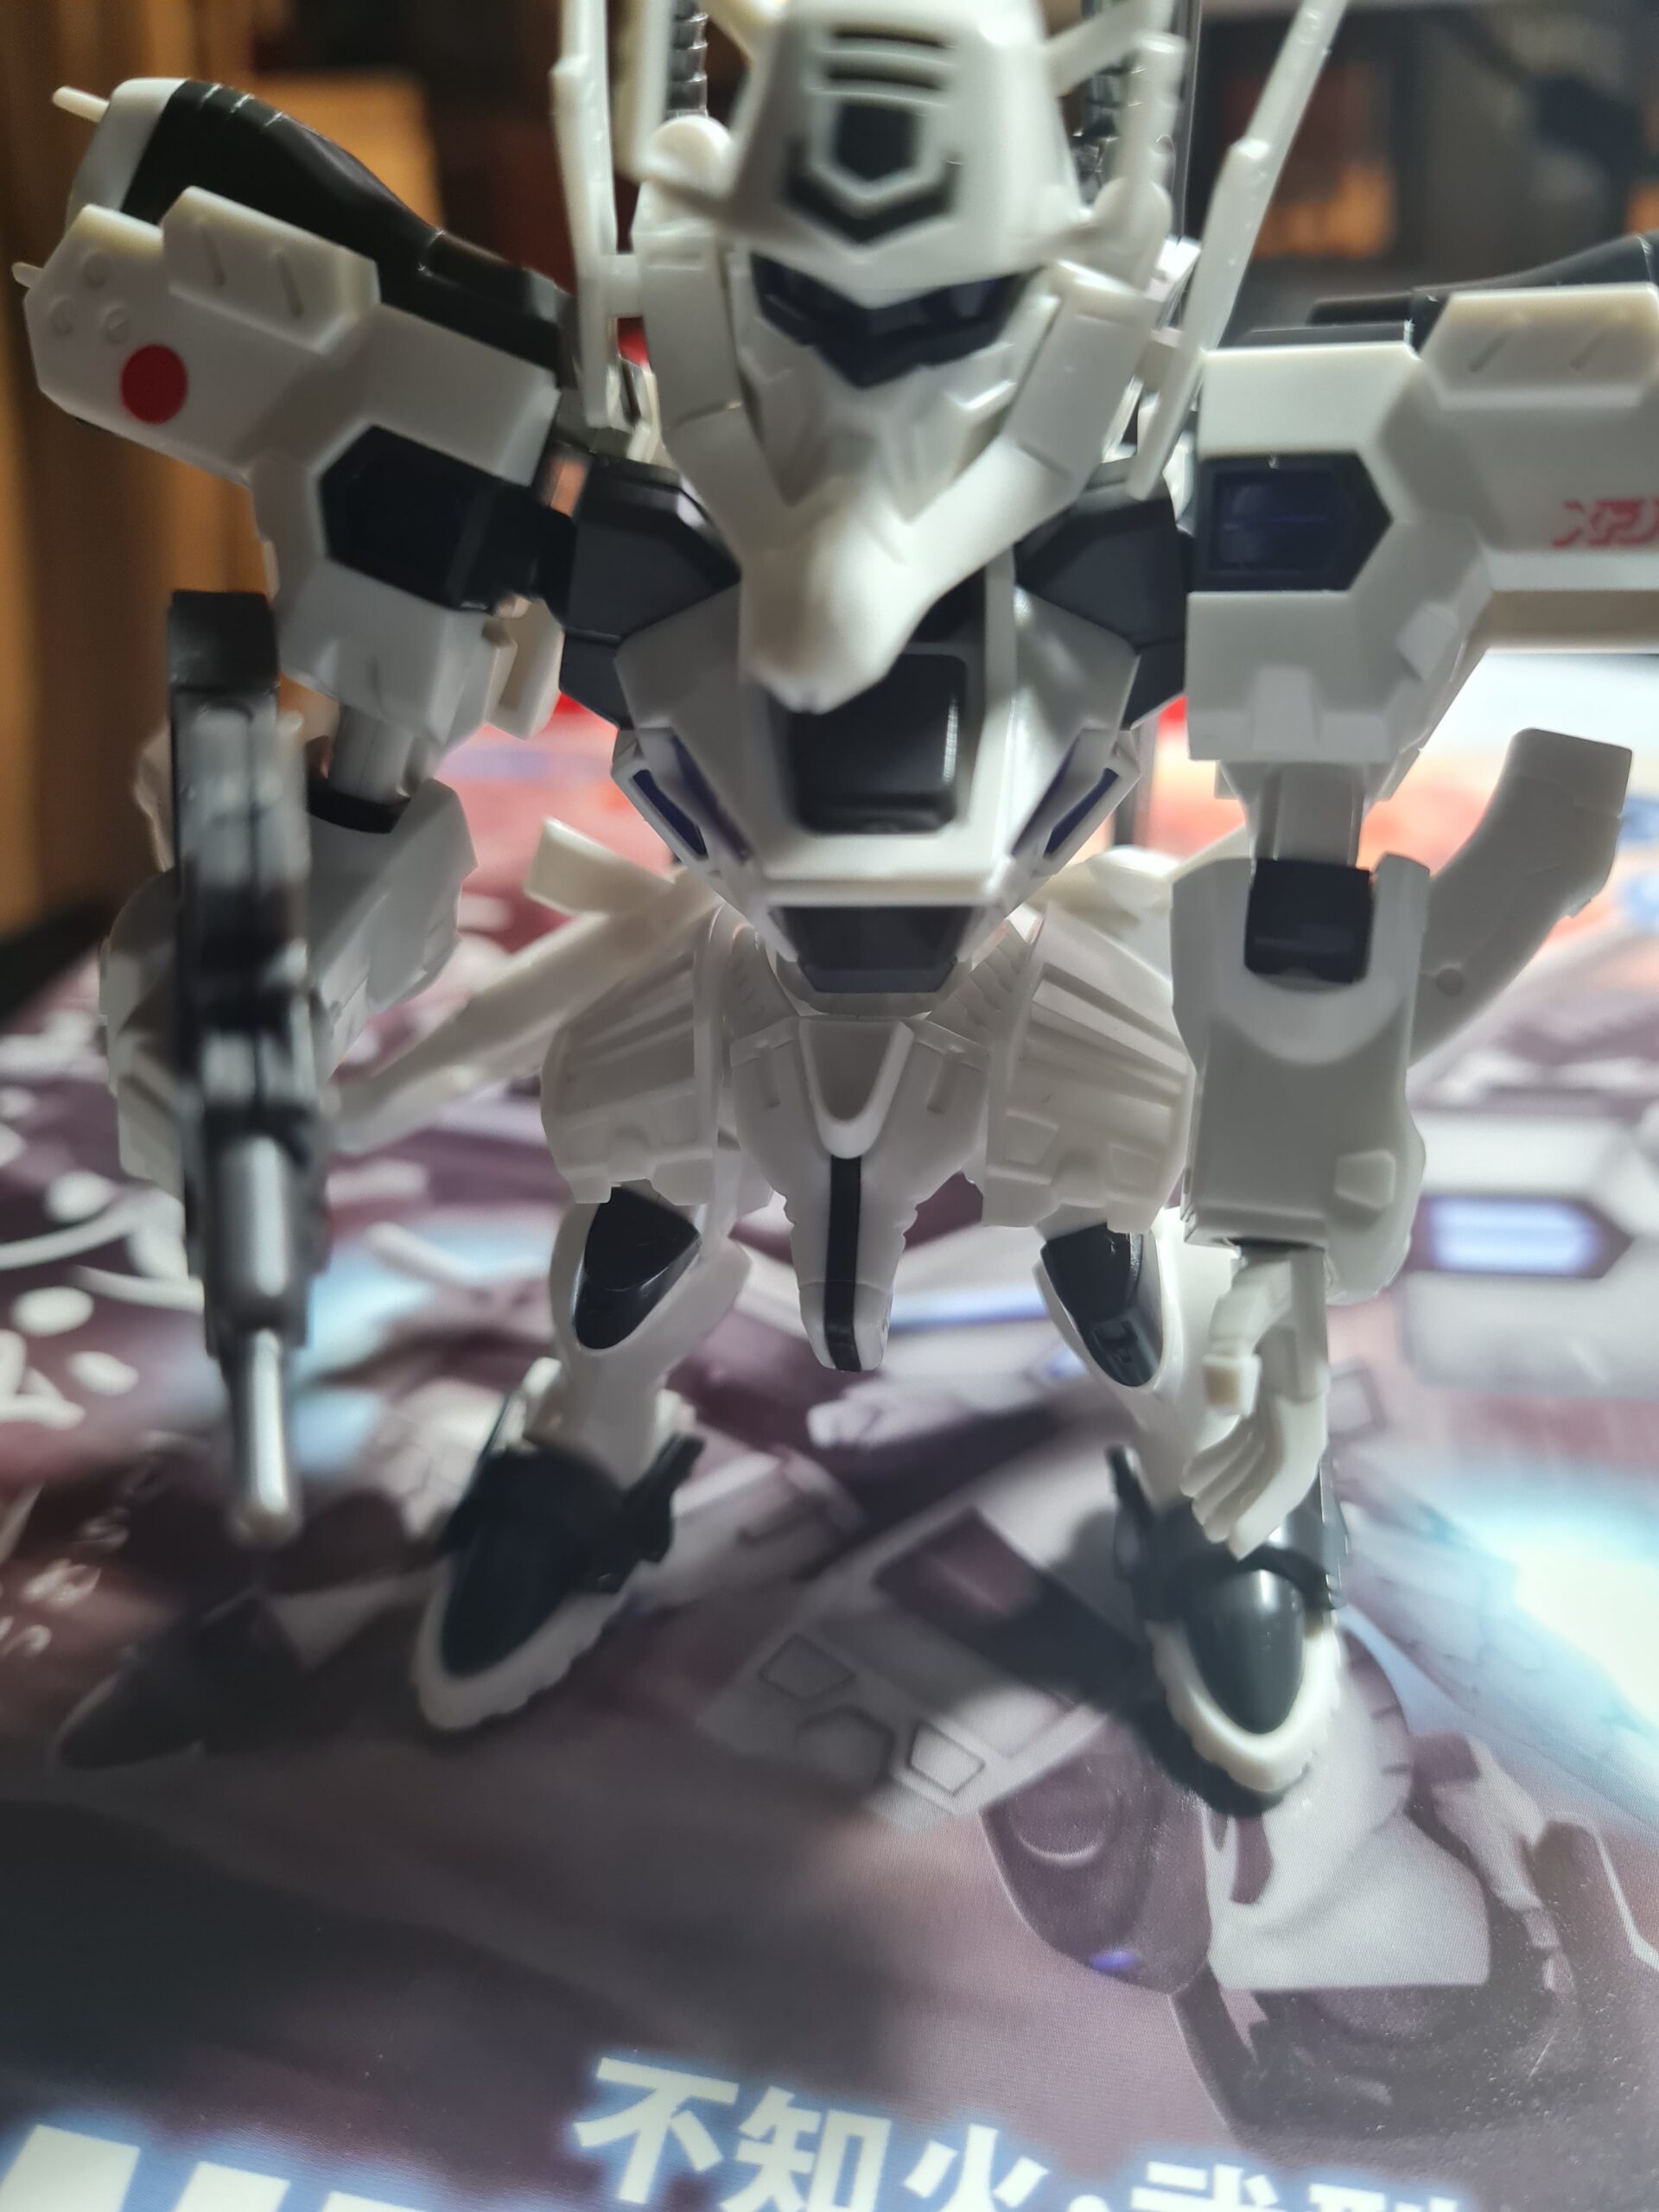
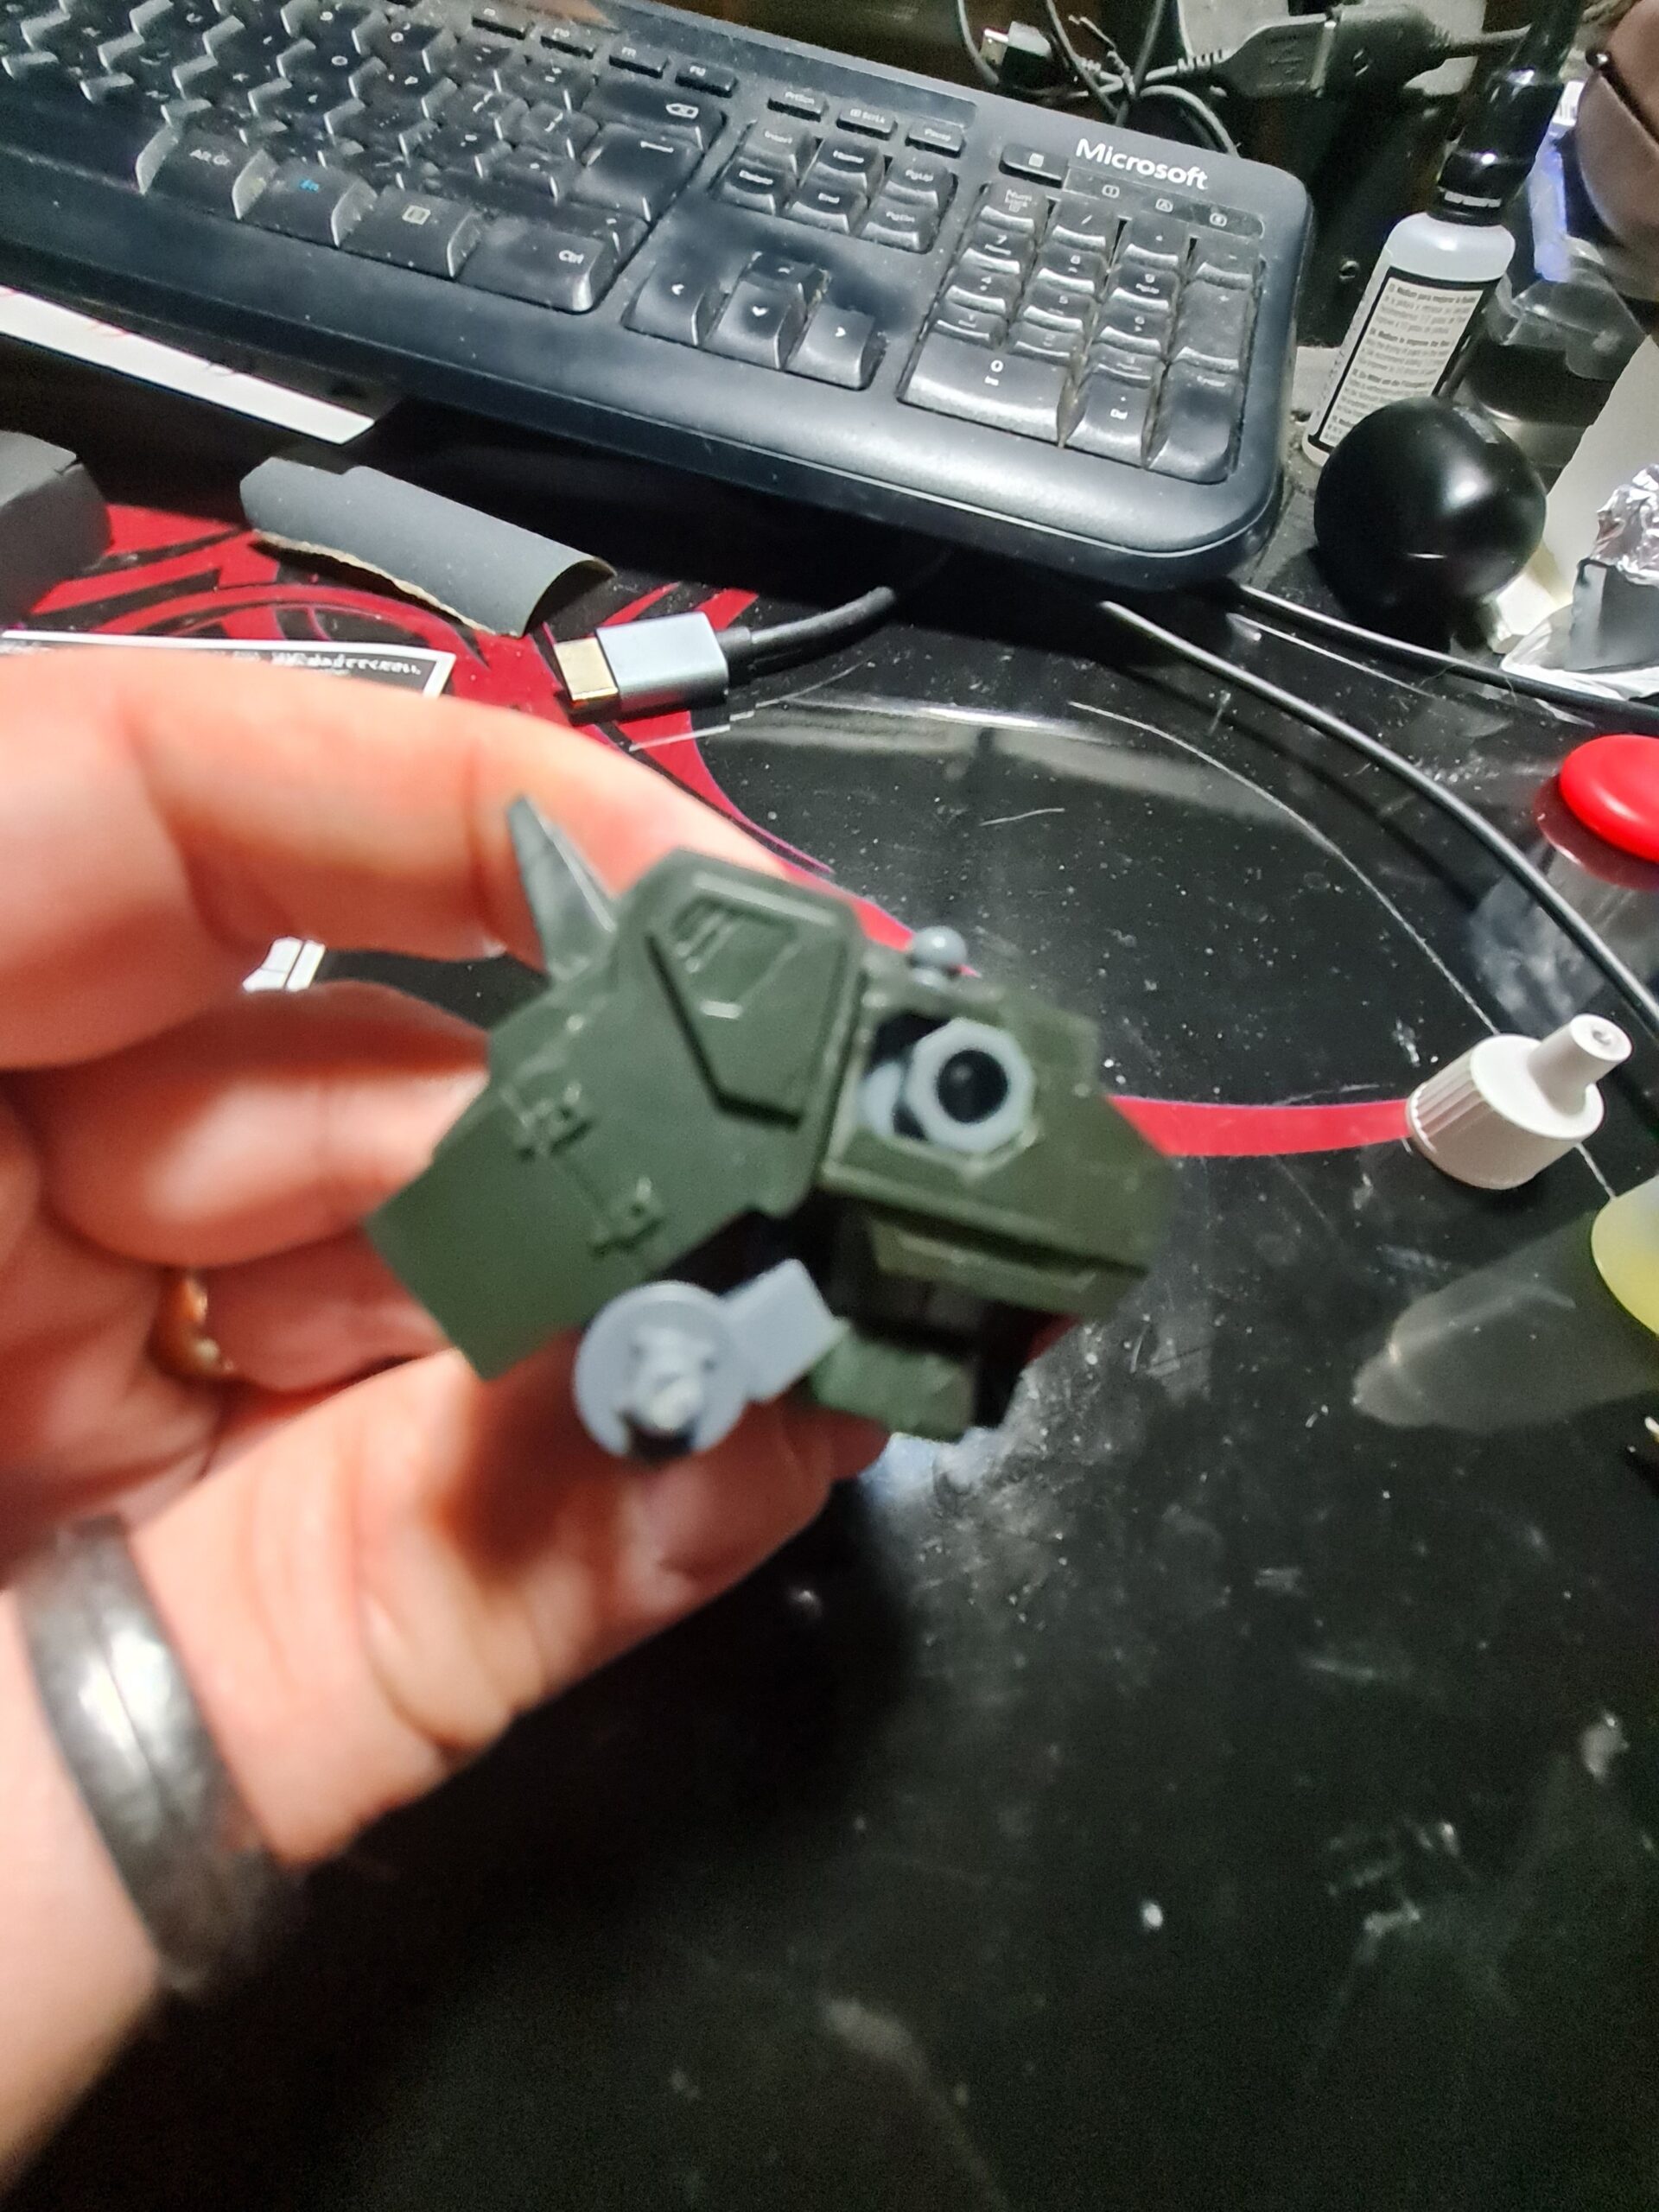
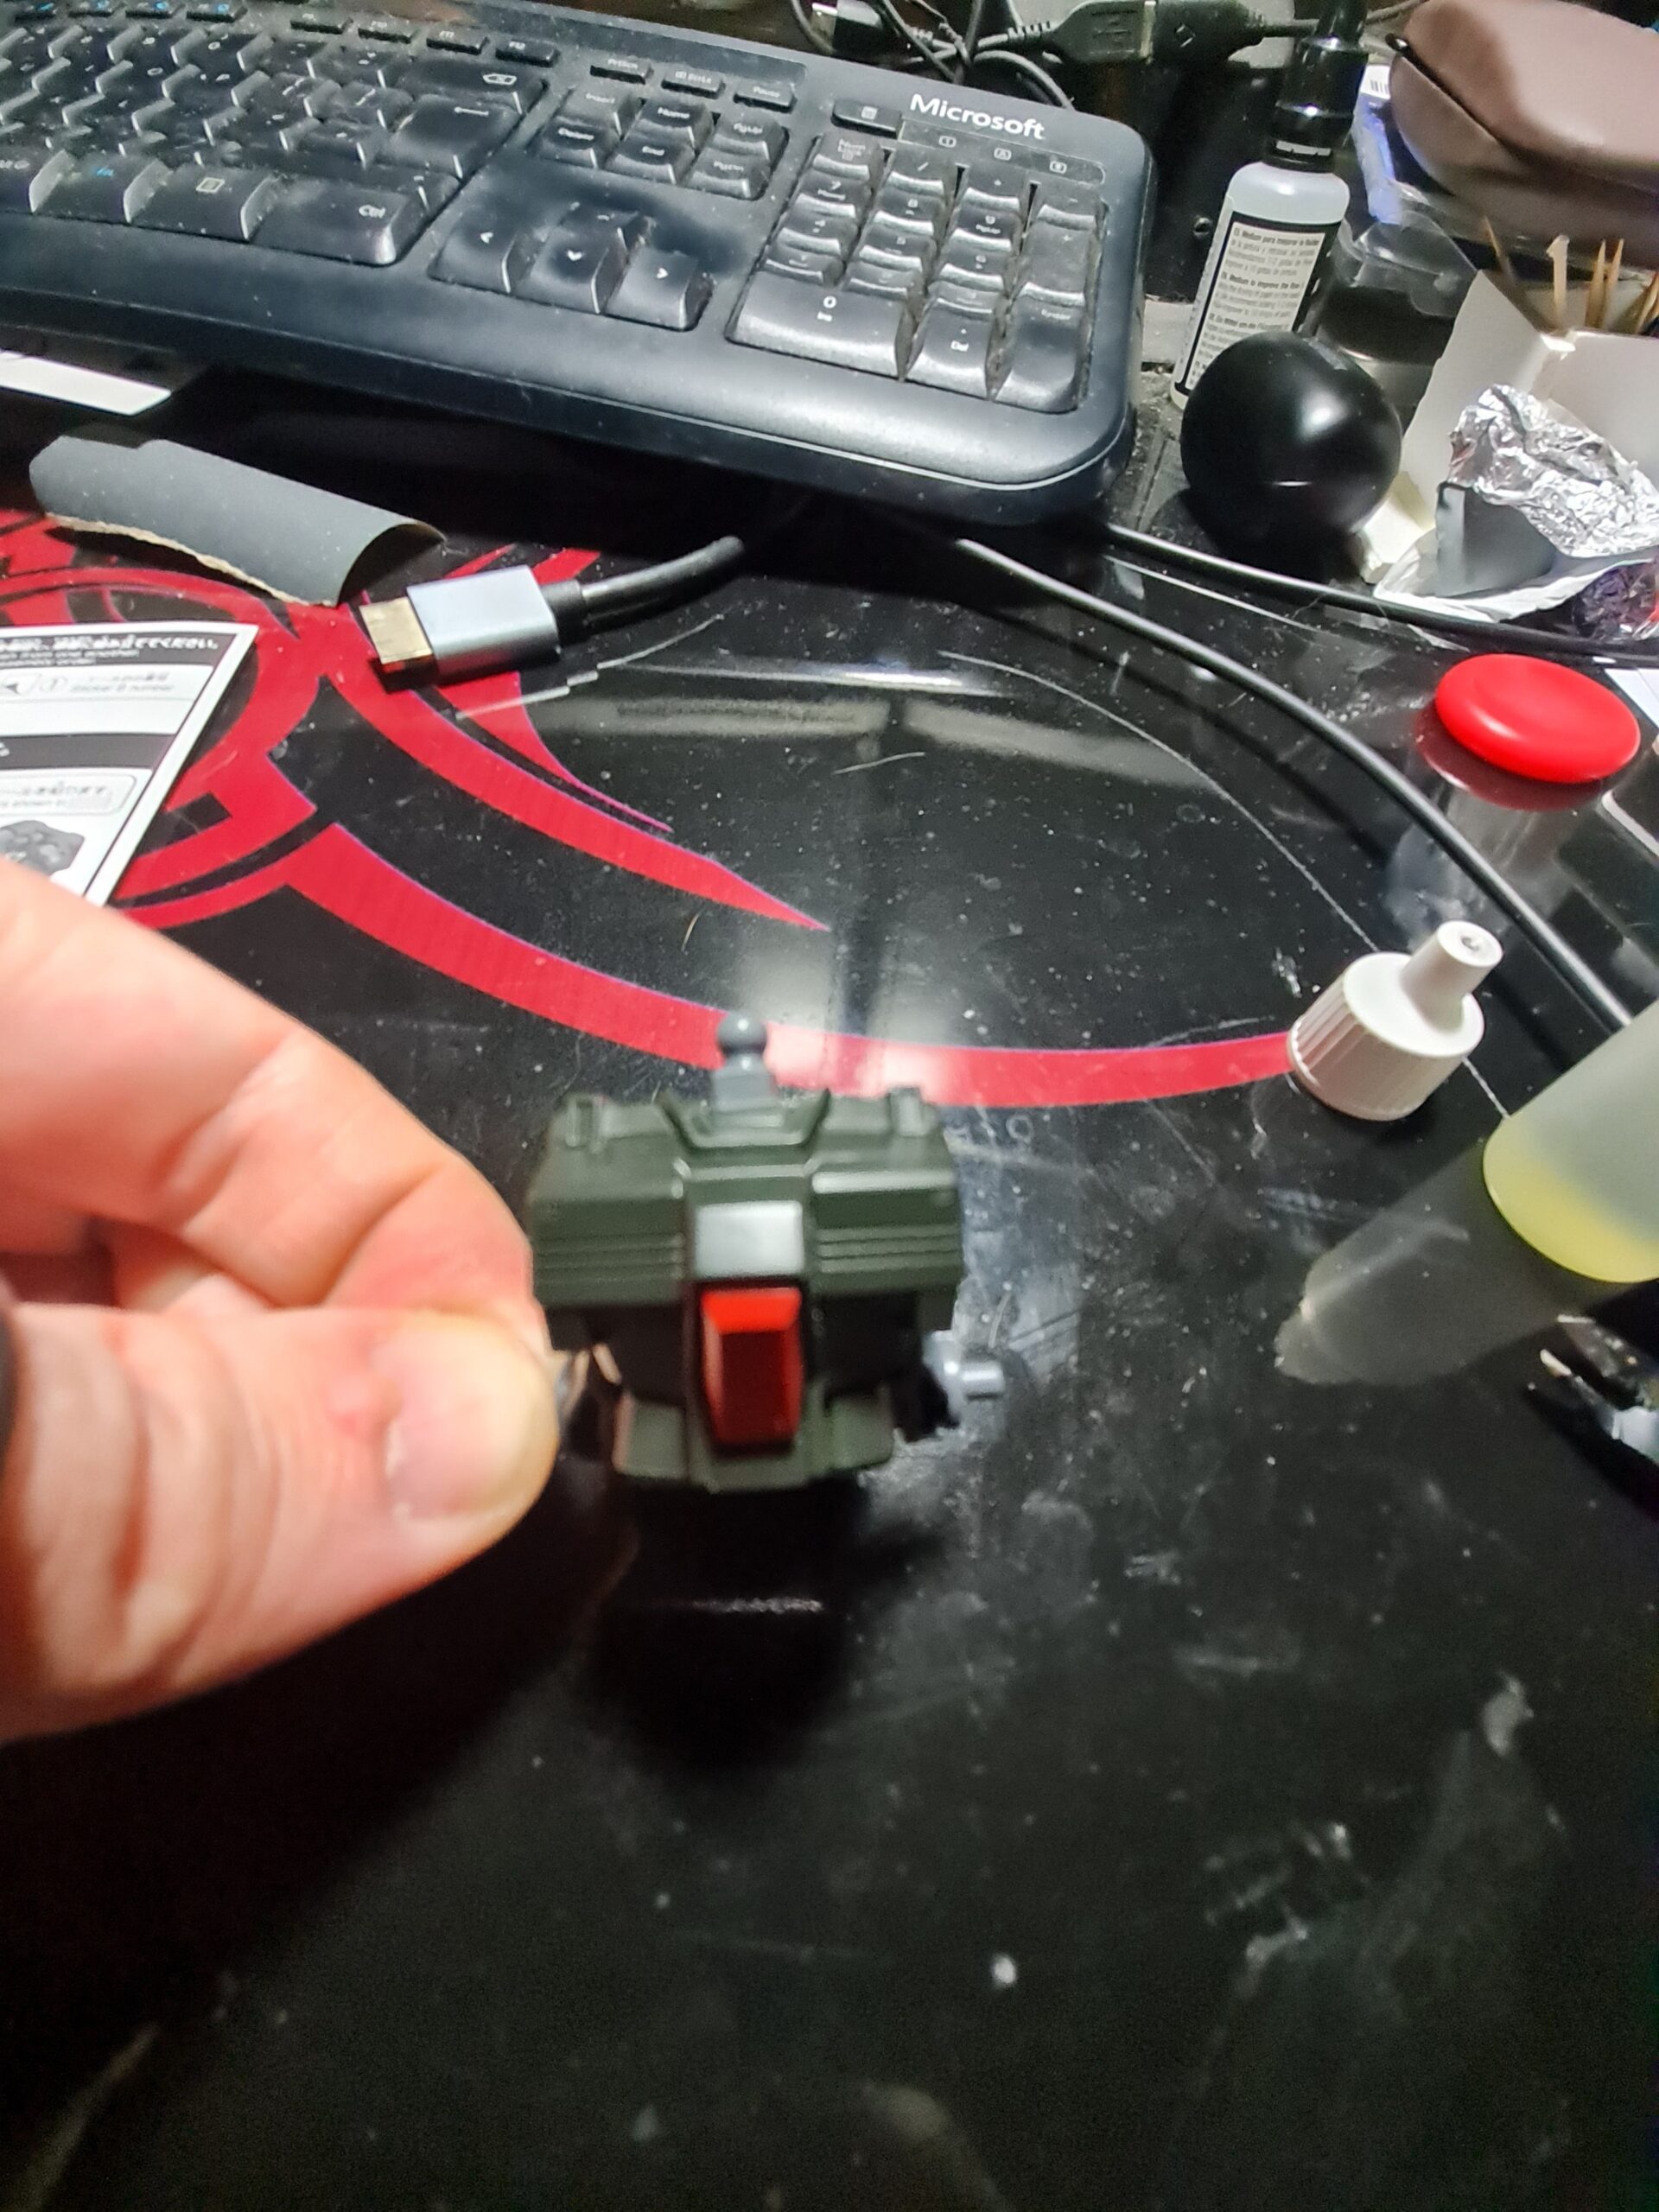
As you can see from a straight build it looks ok. I think some panel lining on it would really make it come alive though. Also to be fair the pictures don’t show off the blue pieces which also add a nice dimension to it.
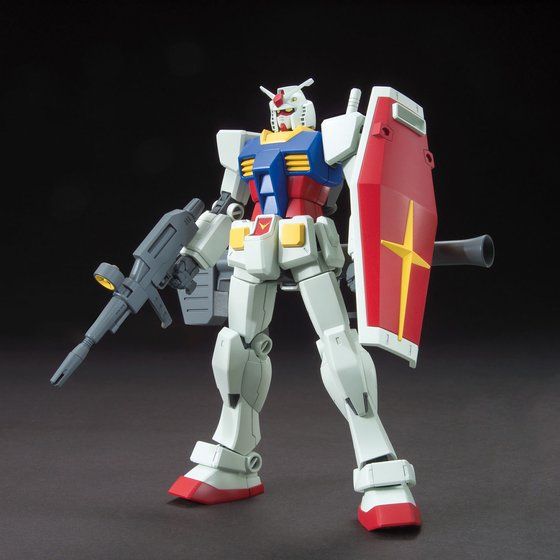
Conclusion

I think I would like to build a Bandai SD so I can compare and contrast. I would also like to get and build one of the bigger versions of the Kotobukiya kits to also compare. On the whole the build was a building version of a palate cleanser. It was simple, and fun. Ultimately a build should be fun. I found it a welcome change of pace to the MG and RG builds. Now, after my mini diversion, I’m ready to dive back into the painting and possibly my next RG on the list. With maybe a little trip to panel lining on this mini kit to just give it a little bit more of a lift.

Thank you for taking the time to read this. If you haven’t already done so please like and follow us on our social media platforms and checkout our website!

Facebook: https://www.facebook.com/profile.php?id=100086701512793
Instagram: https://www.instagram.com/modelkitsltd/
Website: https://modelkitsltd.co.uk

Posted on

Guess The Model Part 4

Assembled Arm Top Down Guess the Model Part 4

Introduction

Guess The Model Part 4 is the latest instalment in my current model build. As I follow the manual and build it section by section. If you missed them the previous parts are available here:

Today’s Part

With yesterdays part being the right arm, it is probably not a shock that today we have the left arm. This comes with the added bonus of the anchor and launcher.

The Parts

Unassembled Parts Guess the Model Part 4

I should probably mention the mints are not a mandatory part of the build, but they are certainly acceptable additions. There are twenty individual parts making up the arm. I did find, as with the other arm, that some of them are quite small. However, they all fit together nicely, everything was to the high standard I have come to expect from Bandai.

Assembled Arm

Again I found myself really happy with the level of articulation on the kit. The arms have a great range of motion. I also love the stun anchor which with the added wire, can be used to make an awesome look. As with the rest of the kit I am not going to put the red stickers on it. I am planning on masking off pieces and undercoating and painting the parts that should be red. I am also tempted to add a little white into the mix as well but I haven’t decided yet.

Conclusion

The kit is coming together nicely. If you want a kit that is as satisfying to build as it is simple and relaxing then this is a great option.

I’m guessing a lot of you will already know what model it is by now! If not feel free to guess away. I will continue on with the build, as step by step I edge it towards completion!

Thank you for taking the time to read this. If you haven’t already done so please like and follow us on our social media platforms and checkout our website!

Facebook: https://www.facebook.com/profile.php?id=100086701512793
Instagram: https://www.instagram.com/modelkitsltd/
Website: https://modelkitsltd.co.uk

Posted on

Guess The Model Part 3

Assembled Front Bent Arm Guess the Model Part 3

Introduction

Guess The Model Part 3 is the latest instalment in my current model build. As I follow the manual and build it section by section. If you missed them the previous parts are available here:

Today’s Part

Next up in the manual I am going to be building the right arm. Something I have found with this build, so far, is that it goes together really nicely. I think it has a nice balance between chunky and thin with some nice detail.

The Parts

Guess the Model Part 3 Bits

As you can see above the right arm consists of 20 parts. I found several of them to be quite small, but still easy to handle. Cutting them out, and sanding them down wasn’t a problem, and by the time I had cleaned them up with the GUNPRIMER Balancers they were as good as new. (You can see a post I did on that here.)

Assembled Arm

I was surprised by the level of articulation that the arm had in the elbow joint. Overall I am quite happy with how it fits, looks and moves. It is worth mentioning, as I have earlier, that multiple pieces in this build should have stickers on them. However, personally, I feel they look a little cheap. As I have an airbrush sitting at my feet, I think it would do the model more justice to add those parts via paint.

Conclusion

I have to say this is turning out to be a really enjoyable build. There is not a single part so far I have found frustrating, or awkward. I’m guessing a lot of you will already know what model it is by now! If not feel free to guess away. I will continue on with the build, as step by step I edge it towards completion!

Thank you for taking the time to read this. If you haven’t already done so please like and follow us on our social media platforms and checkout our website!

Facebook: https://www.facebook.com/profile.php?id=100086701512793
Instagram: https://www.instagram.com/modelkitsltd/
Website: https://modelkitsltd.co.uk

Posted on

Guess the Model – Part 2

Assembled Head

Introduction

Welcome back to “Guess the Model – Part 2” the second instalment in my latest guess the model series. If you want to catch up Part 1 is here. I did a quick summary of the tools I was using, and then got right on into it!

Todays Part

Todays part is short and sweet. After the Torso, which was a nice simple, and quite cool build, the manual has the head. So without further ado!

The Parts

Head Parts
Head Parts

As you can see the head consists of 7 parts, two of which are quite small indeed. To be fair, it does also have some stickers to go on it. However, I feel I’m going to forgo the stickers in favour of painting some of the bits to give is a slicker finish.

Assembled Head

Assembled Head
Assembled Head

As you can see without the stickers it is a little bland. However, once I add a little paint I’m hoping it will just elevate it that extra bit. This is a mobile suit that took a while to grow on me, but once it did I really wanted the kit. I like the little details on it. The vents etc. on the torso from yesterday, and the antenna being on the side giving the head a distinctive look.

Conclusion

If you think you know what it is then please drop me a comment and let me know. I am happy with how this build is going, and learning a lot on using all my tools to the best of their ability… or the best of my ability at the moment 🙂

That concludes todays “Guess the Model – Part 2”. Tune in tomorrow (hopefully) for the next installment!

Thank you for taking the time to read this. If you haven’t already done so please like and follow us on our social media platforms and checkout our website!

Facebook: https://www.facebook.com/profile.php?id=100086701512793
Instagram: https://www.instagram.com/modelkitsltd/
Website: https://modelkitsltd.co.uk

Posted on

Guess the Model – Part 1

Underside Front View

Introduction

Back by popular demand (by me) is my guess the model series; leading off with Guess the Model – Part 1. This is where I post the build up of a model I am working on. The rules are simple. I have to build the model in the order it is in the manual. So if feet come before heads so be it! Actually I said the “rules” but really that is pretty much the only rule. Please feel free to guess the model and let me know what you think.

The Tools

Tools Image
Tools Image

A quick note on the tools. Firstly that is a bit of cheap sandpaper. I have a load that I won’t want to waste. Once it is all used up I will be using a RASER but I’m not a fan of waste so this gets used first! The toothbrush is because the sandpaper is wet and dry. When I use it I put some water on it and get a watery mixture with a sort of white dust from sanding. The toothbrush is perfect for cleaning that off. On the right are the cheap nippers for cut 1, and the left has the slightly less cheap nippers for cut 2. The GUNPRIMER balancers (you can find the grey here and the white here) are for cleaning up and polishing the plastic. Note I cut a piece off one to get into some smaller nooks and crannies. Finally at the top is the GUNPRIMER brush which I use for cleaning off the balancers after use.

The Pieces

The first section in the manual is the main Torso of the model. Below are the images of those pieces.

As you can see I forgot to cut out that little red piece. Still I got there in the end!

Assembled Pieces

As you can see the Torso is quite distinctive. Note I haven’t put the stickers on, mainly because I think they will cheapen the model. I’m going to have a think and paint a few sections to hopefully really make them pop. Then coat and finally panel line and coat again.

Conclusion

There we have it! Can you tell what model it is from that torso? If you can let me know in the comments.

Thank you for taking the time to read this. If you haven’t already done so please like and follow us on our social media platforms and checkout our website!

Facebook: https://www.facebook.com/profile.php?id=100086701512793
Instagram: https://www.instagram.com/modelkitsltd/
Website: https://modelkitsltd.co.uk

Posted on

RX-78-2 Revive

RX_78_2_Revive_1

Introduction

Anyone who has been around the Gundam / Gunpla world is more than likely going to have come across the RX-78-2 models. For anyone coming late to the party the RX-78-2 was the Gundam piloted by Amuro in the original series. It is the poster boy of the franchise and has had many iterations and releases.

Attainability

Arguably none as attainable as the RX-78-2 Revive. For only £12.99 (you can get it here) this HG model is both affordable and is great fun to build. Not only that but is ripe for customisation, and at that price you don’t mind experimenting!

The RX-78-2 Revive looks like this:

RX_78_2_Revive_1
RX_78_2 Revive

In my case mine currently looks more like this:

As you can see I’m doing an attempt at an undercoat and paint on this. I have also wired up an LED in his helmet, and made space/holes down the inside of the suit to get the wires down to his feet. There was, I have to admit, a fair amount of butchery had to go on. However, a lot of this was a learning curve. I really want to get another once this one is done and do it totally differently.

Conclusion

If you don’t have one in your collection I really would recommend one. The Revive version is a really enjoyable build. At the end you have an iconic looking model, that has a timeless look and feel. I think when I look at this model I see the groundwork being laid for many of the suits / designs that have followed it. They may have more details, but the feel and general layout of items is often very similar.

Thank you for taking the time to read this. If you haven’t already done so please like and follow us on our social media platforms and checkout our website!

Facebook: https://www.facebook.com/profile.php?id=100086701512793
Instagram: https://www.instagram.com/modelkitsltd/
Website: https://modelkitsltd.co.uk

Posted on

New Tools Coming – Gunprimer products

GATE-REMOVER-SET-Starter-Kit

I am excited to let you know that in the new year I will be receiving stock of some of the Gunprimer products. It was amazing when I first saw them; their website (here) has great information on the products.

I was introduced to the Gunprimer products by a friend of mine who highly recommended them to me. After seeing the results from the photos they sent me I was impressed. They then, very kindly, gifted me a set. I was so absolutely stoked by the results these give that I contacted the manufacturer. I have been set up as a wholesaler, and put in, and paid for, my first order.

In the early part of next year I will be adding the following products to the online store:

I had, much to my shame, never heard of these products. They are however, absolutely stunning. They aid in the cleaning up of the model with respect to where you would have nub marks, and also help to restore the shine back to the plastic making it look as it nothing ever happened there.

I will cover the products in more detail in further posts along with examples of how they work, and how effective they are. If you haven’t tried them they are, honestly a game changer.

If you want to know more about these, or the availability and/or pricing please feel free to reach out to me.

Thank you for taking the time to read this. If you haven’t already done so please like and follow us on our social media platforms and checkout our website!

Facebook: https://www.facebook.com/profile.php?id=100086701512793
Instagram: https://www.instagram.com/modelkitsltd/
Website: https://modelkitsltd.co.uk

#gundam #gundammodel #model #kit #gunpla

Posted on

Gunpla Decals

presson

Introduction

I learnt a lot in the last 24 hours about GunPla Decals. I was aware of a few things coming out the gate. However, before going any further you may be asking yourself what actually is a “decal”. A decal is a design placed on a medium that allows you to transfer it onto another surface. Think like those crappy fake tattoos you could get as a kid, but way cooler, and way better looking on your models.

What I knew so far

I knew that various kits come with different options or levels of decals. In fact one of the things when originally reading around GunPla was that the Ver Ka. kits often come with a lot of decals. From working with the various kits I have, so far, I’ve always shied away from the decals on the whole. I would tend to use the one for the visor if it is say a shiny silver or something that sits behind a clear visor. However, on the whole I avoided them till I decided to try and work with my MG Heavy Arms.

I found myself bamboozled about the different types I had.

Images

The previous ones I had received in a kit had a shiny silver backing and were, quite obviously stickers. However, the translucence of both of these threw me. After speaking to some wonderful people online in the UKGunpla group (you can find it here), I discovered that the ones on the right are stickers, and the ones on the left are press on decals.

Application

Now I’m sure everyone has their own method for working with these so I’ll just outline what I did.

Firstly, you will find the “map” for the decals placements in the manual for the model. I also found using my magnifying glass meant I wasn’t constantly straining. Secondly as a lot of these go into nooks and crannies and corners, you will potentially benefit from taking apart some of the kit to make it easier to work with them and apply the decals. Thirdly, do not rush; a badly applied decal will make the kit look terrible.

First up were the sticker decals (Type 2 Decals in the image above). I used the tip of a stanley knife to gently lift the sticker off the backing (I also found that with multiple stickers in close proximity I would often have to hold down the next sticker to avoid lifting two). Next I would then position the sticker above where I wanted it to go on the model based on the map from the instruction manual, then gently place it down, using my thumb to apply pressure to the sticker against the part and sliding the knife blade out from under it.

Second up were the press on decals (Type 1 Decals in the image above). For these I ensured there was a piece of foam board underneath to be safe. I then used the stanley knife to cut out a specific decal. I then freed 3 sides of the cut out before laying a piece of masking tape over the top and using that to lift it. Note that the masking tape is thin enough to see the decal underneath/through it. I then placed it on the part where I wanted the decal to reside and rubbed it apply a gentle pressure using the flat end of my tweezers. Then when lifting the masking tape the decal is left in place, and the plastic it was adhered to lifts with the masking tape.

Conclusion

I still have some work to do on this, and I know that I need to also work through the weapons and build them up. However, I am, very happy with the results.

Thank you for taking the time to read this. If you haven’t already done so please like and follow us on our social media platforms and checkout our website!

Facebook: https://www.facebook.com/profile.php?id=100086701512793
Instagram: https://www.instagram.com/modelkitsltd/
Website: https://modelkitsltd.co.uk

#gundam #gundammodel #model #kit #gunpla

Posted on

Guess the Model Part 5 – The Legs

Welcome back to Guess the Model Part 5 – The Legs. If you haven’t seen the rest of the series then the first post can be found here. The premise is simple. I grab a model from my backlog. Each day (or each post at least) I build one section from the manual, in the order that it appears in the manual. You then get to guess what model this is.

Today we are covering the legs.

I will admit that I never really grasped the size of the model. All the parts so far didn’t feel so much bigger. However when I put the legs together I began to really get a feel for the scale. I just put the legs next to my RG Zaku II and it makes the RG look small. I just went to have another look and with the hips attached that is pretty much the Zaku II in size!

There you have it, I’m pretty sure you will have guessed the mode by now but I’ll carry on with the other bits just for completion.

Thank you for taking the time to read this. If you haven’t already done so please like and follow us on our social media platforms and checkout our website!

Facebook: https://www.facebook.com/profile.php?id=100086701512793
Instagram: https://www.instagram.com/modelkitsltd/
Website: https://modelkitsltd.co.uk

#gundam #gundammodel #model #kit #gunpla

Posted on

Guess the Mode Part 4 (The Hips)

The latest series in the guess the model is going to cover the hips. If you haven’t seen the other parts it starts here. To quickly summarise for anyone just joining the series.

I take a model I have to build. Then following the exact order in the manual I build the pieces and post here. Readers can then guess what the mode is. Hopefully, it will also highlight how I am building the models, and I will also highlight any gotchas or issues as well as any high points I find while building the section.

Without further ado here are the hips!

As you can see this was a relatively short piece to put together. I have to say I enjoyed making this section. Although very simple, there are some very nice. For example the yellow covers on the front lift slightly then pivot forwards to give this:

Guns showing
Guns showing

I think that is an amazing mechanic, and a lovely touch to the model. I could quite literally sit there all day opening and closing those as the fit is so smooth.

So that is it for todays guess the model. I imagine that most people have it from the earlier parts but we will continue on!

Thank you for taking the time to read this. If you haven’t already done so please like and follow us on our social media platforms and checkout our website!

Facebook: https://www.facebook.com/profile.php?id=100086701512793
Instagram: https://www.instagram.com/modelkitsltd/
Website: https://modelkitsltd.co.uk

#gundam #gundammodel #model #kit #gunpla