Posted on

Panel Lining Mistakes

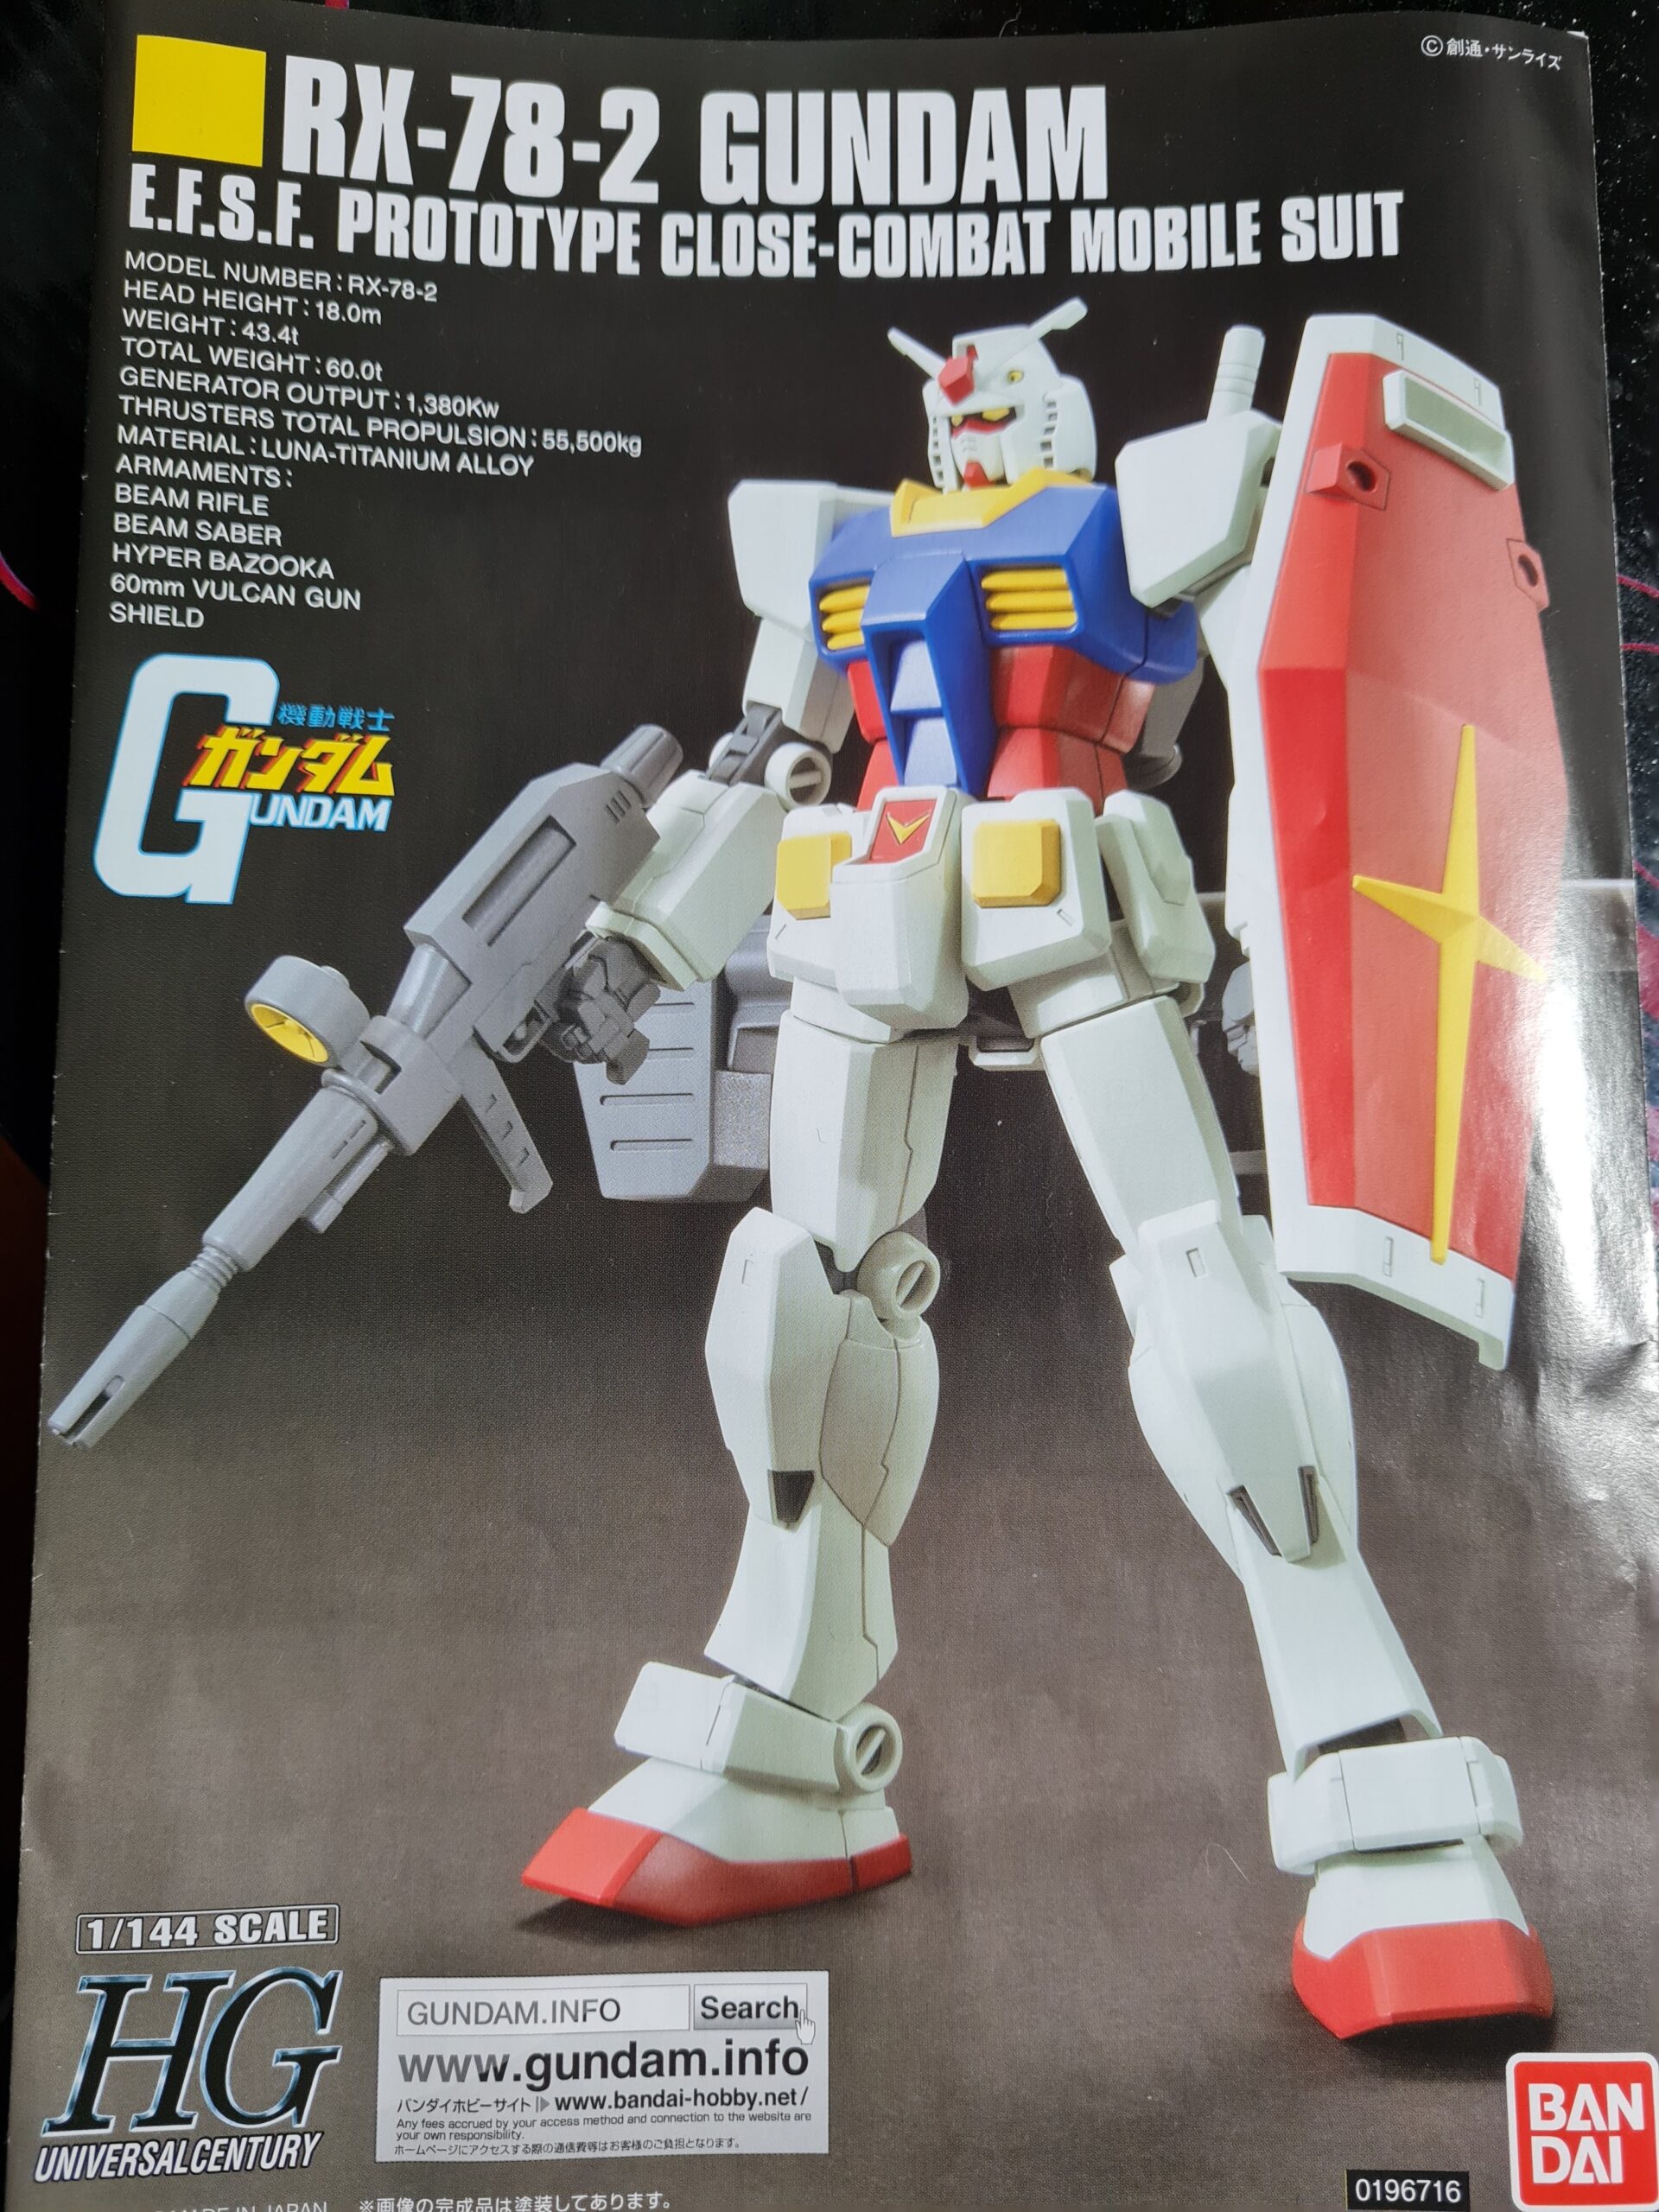
As I continue to build and work on my models I find that sometimes, techniques that I assume will be easy, can in fact be ruined in a multitude of ways! I thought that panel lining would be an easier technique to perfect. How wrong I was!

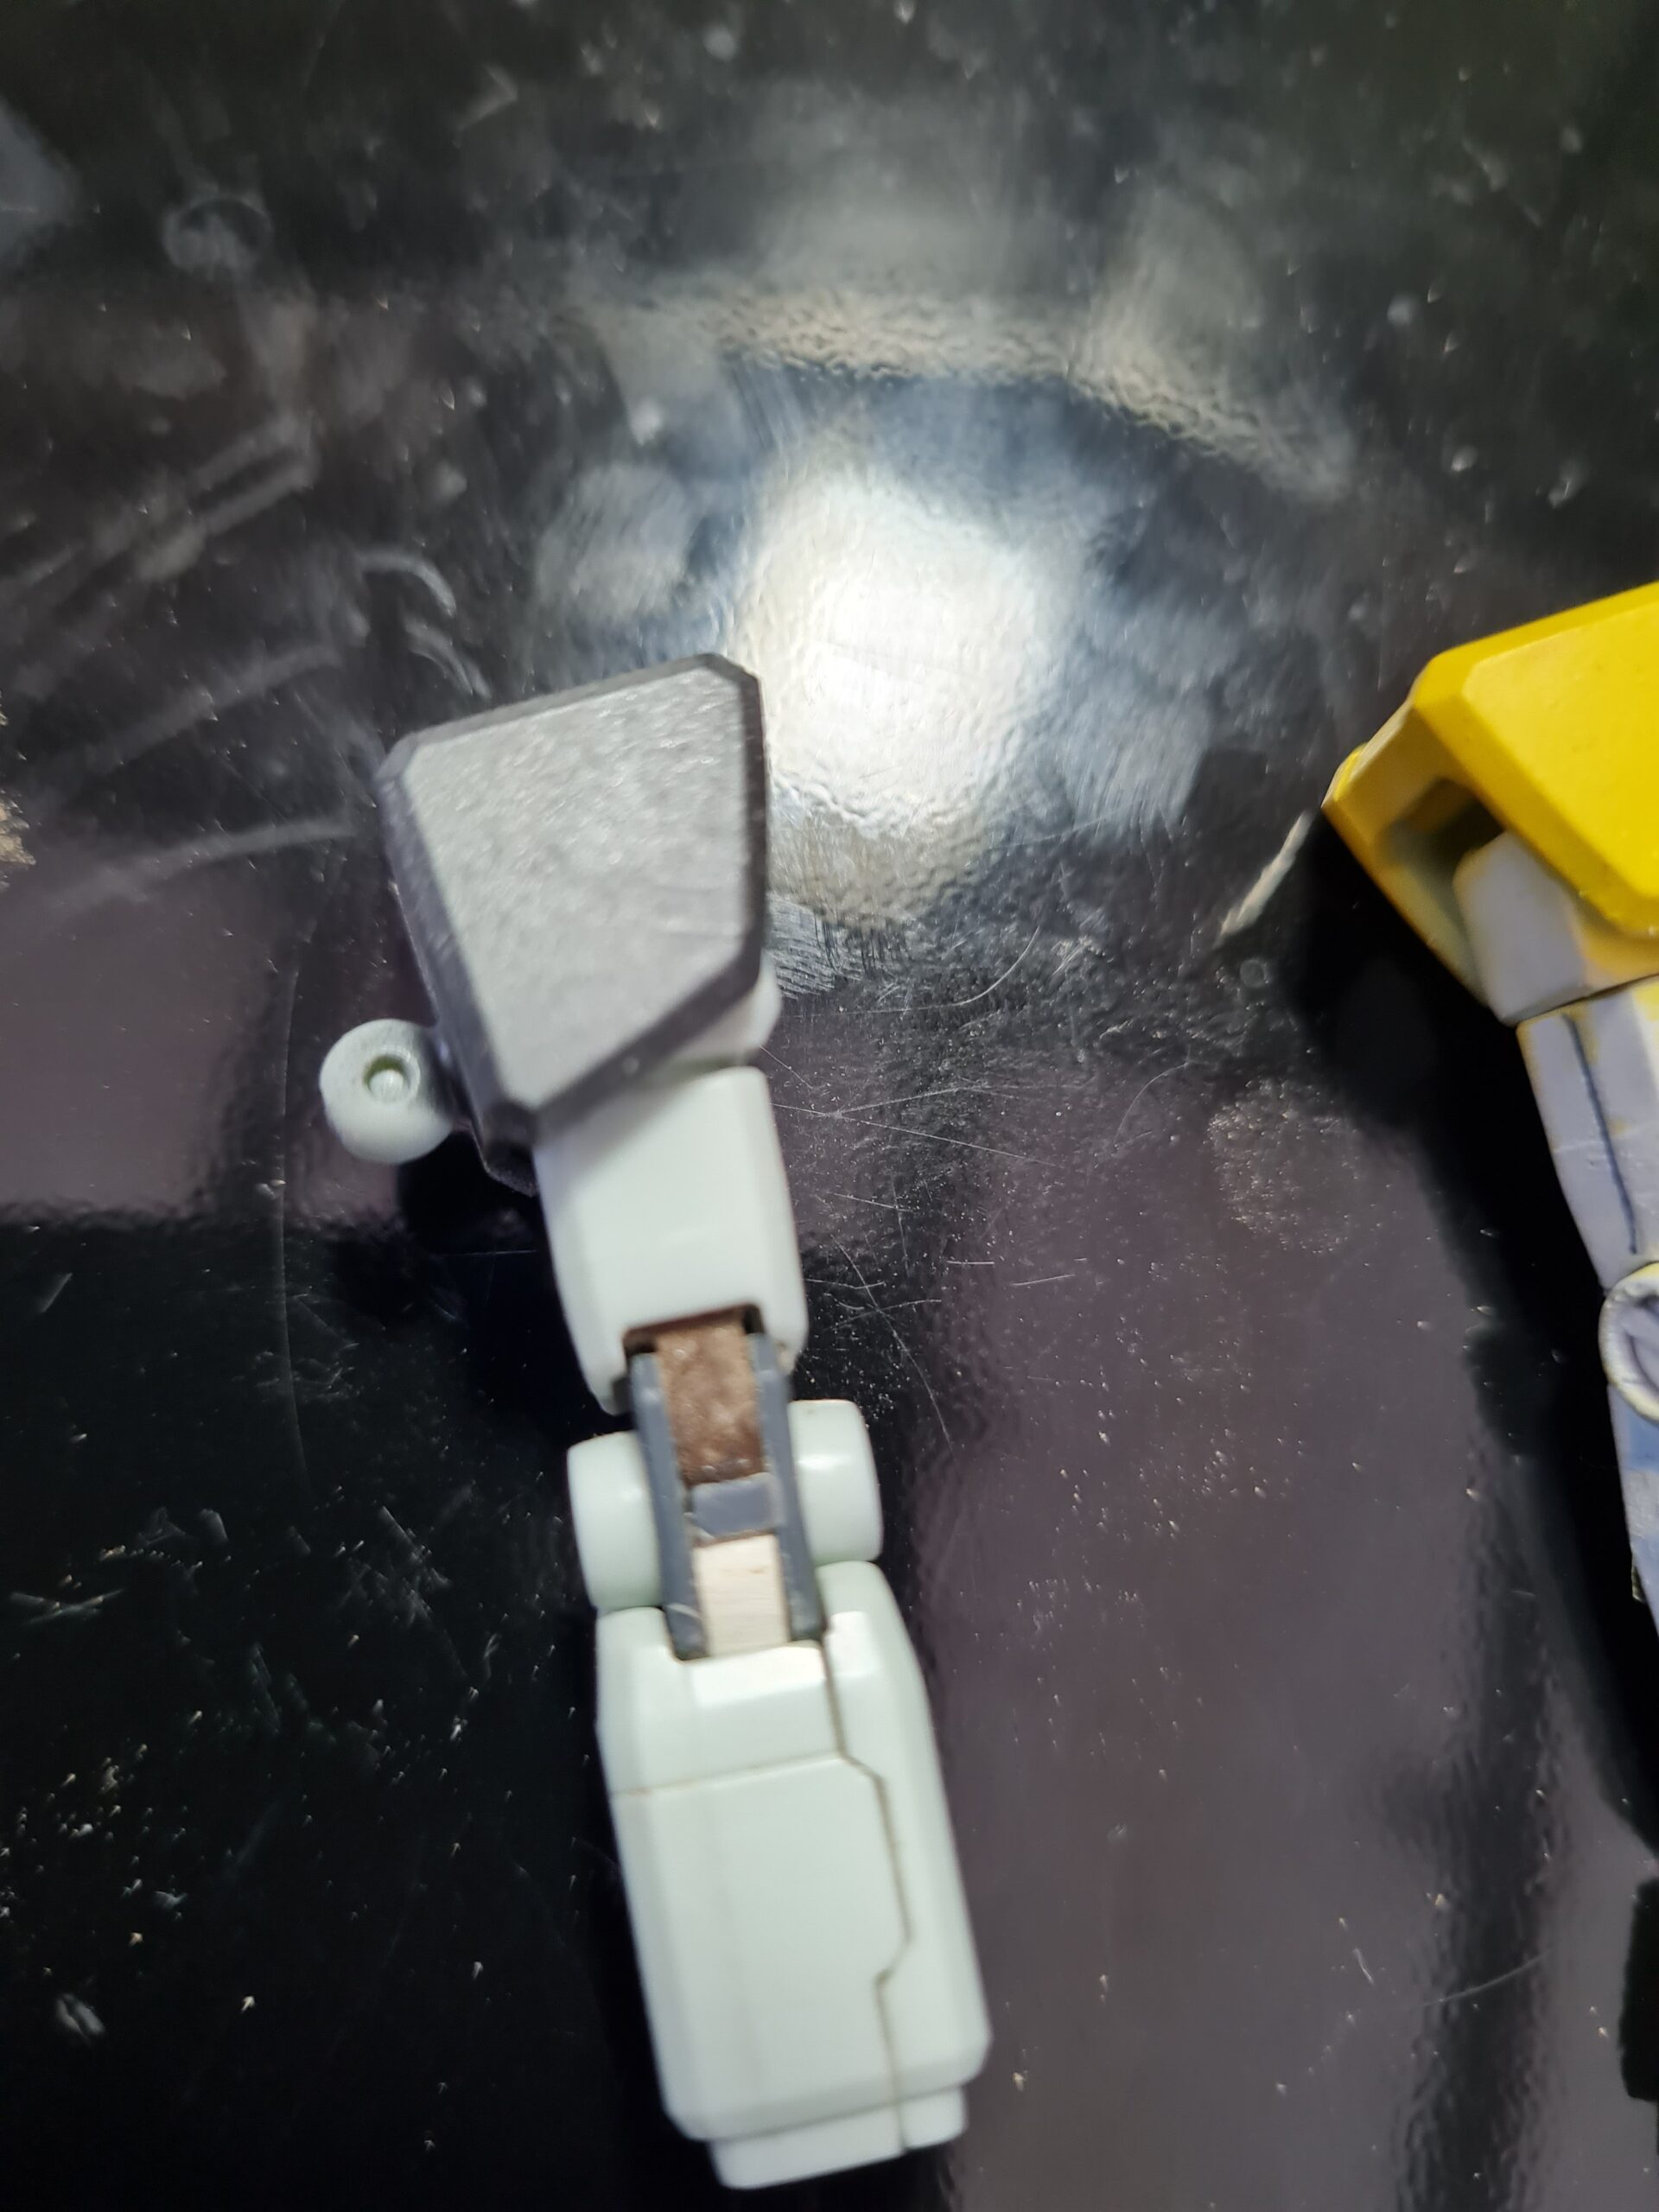
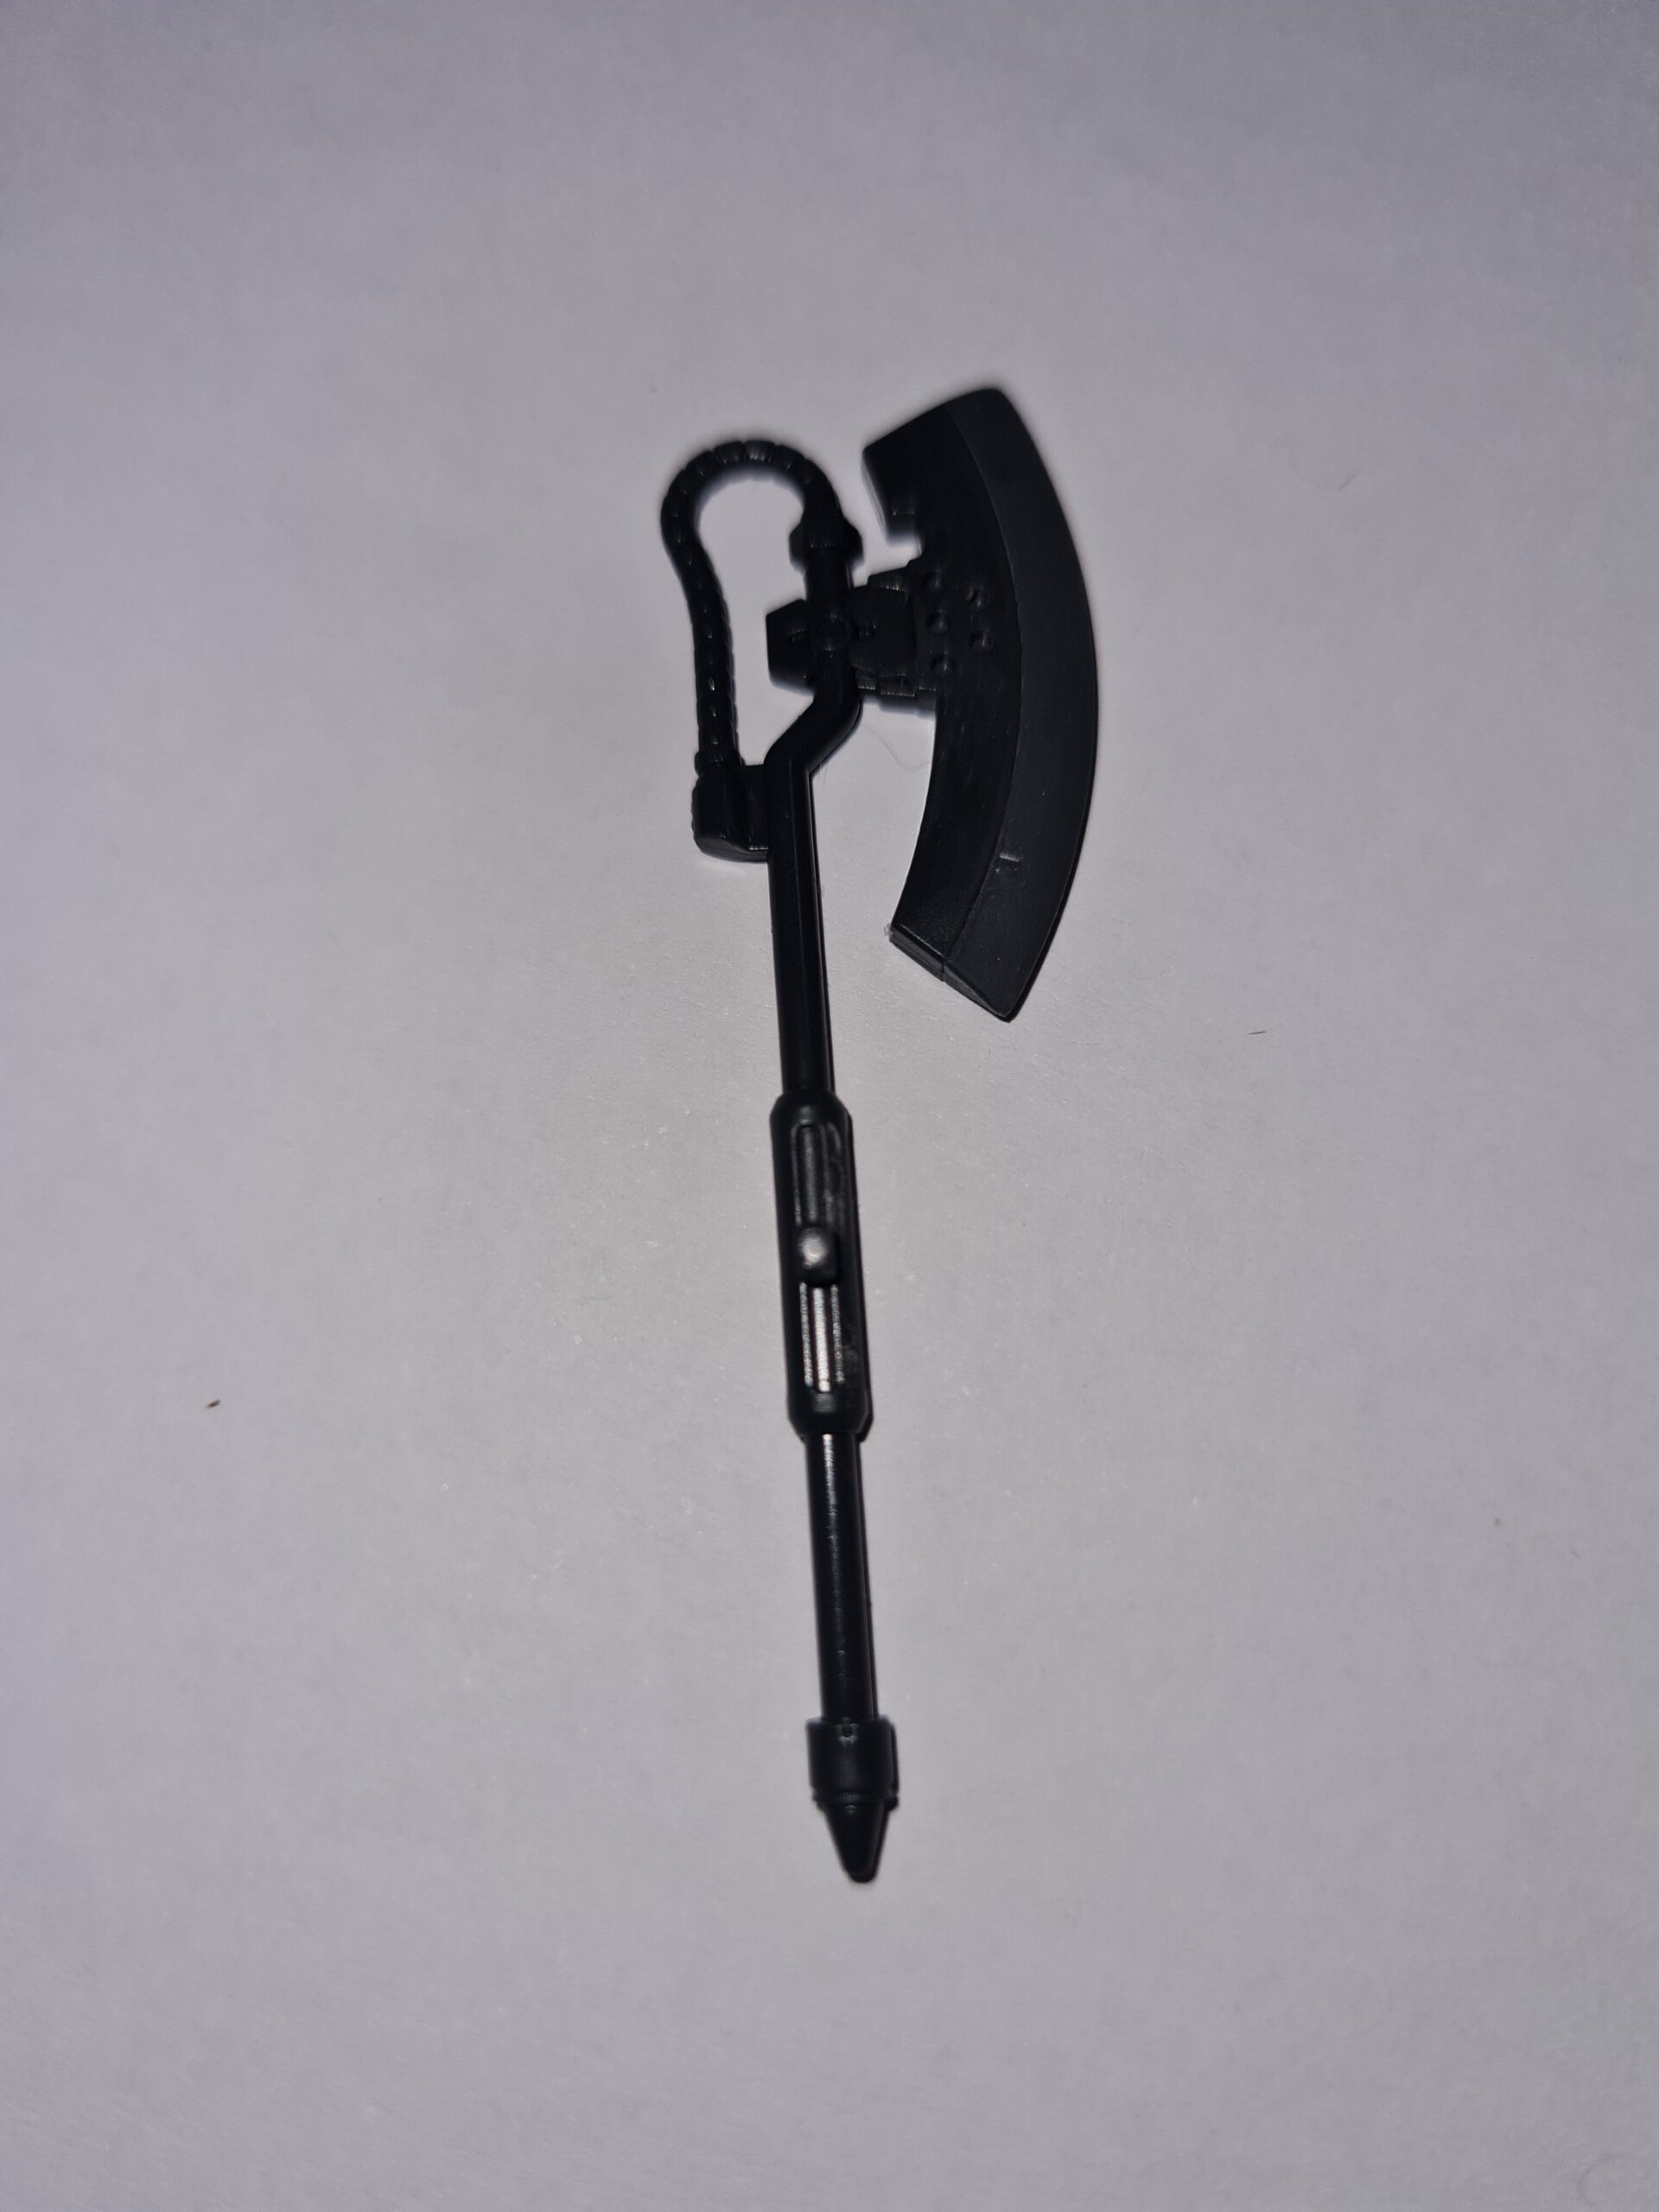
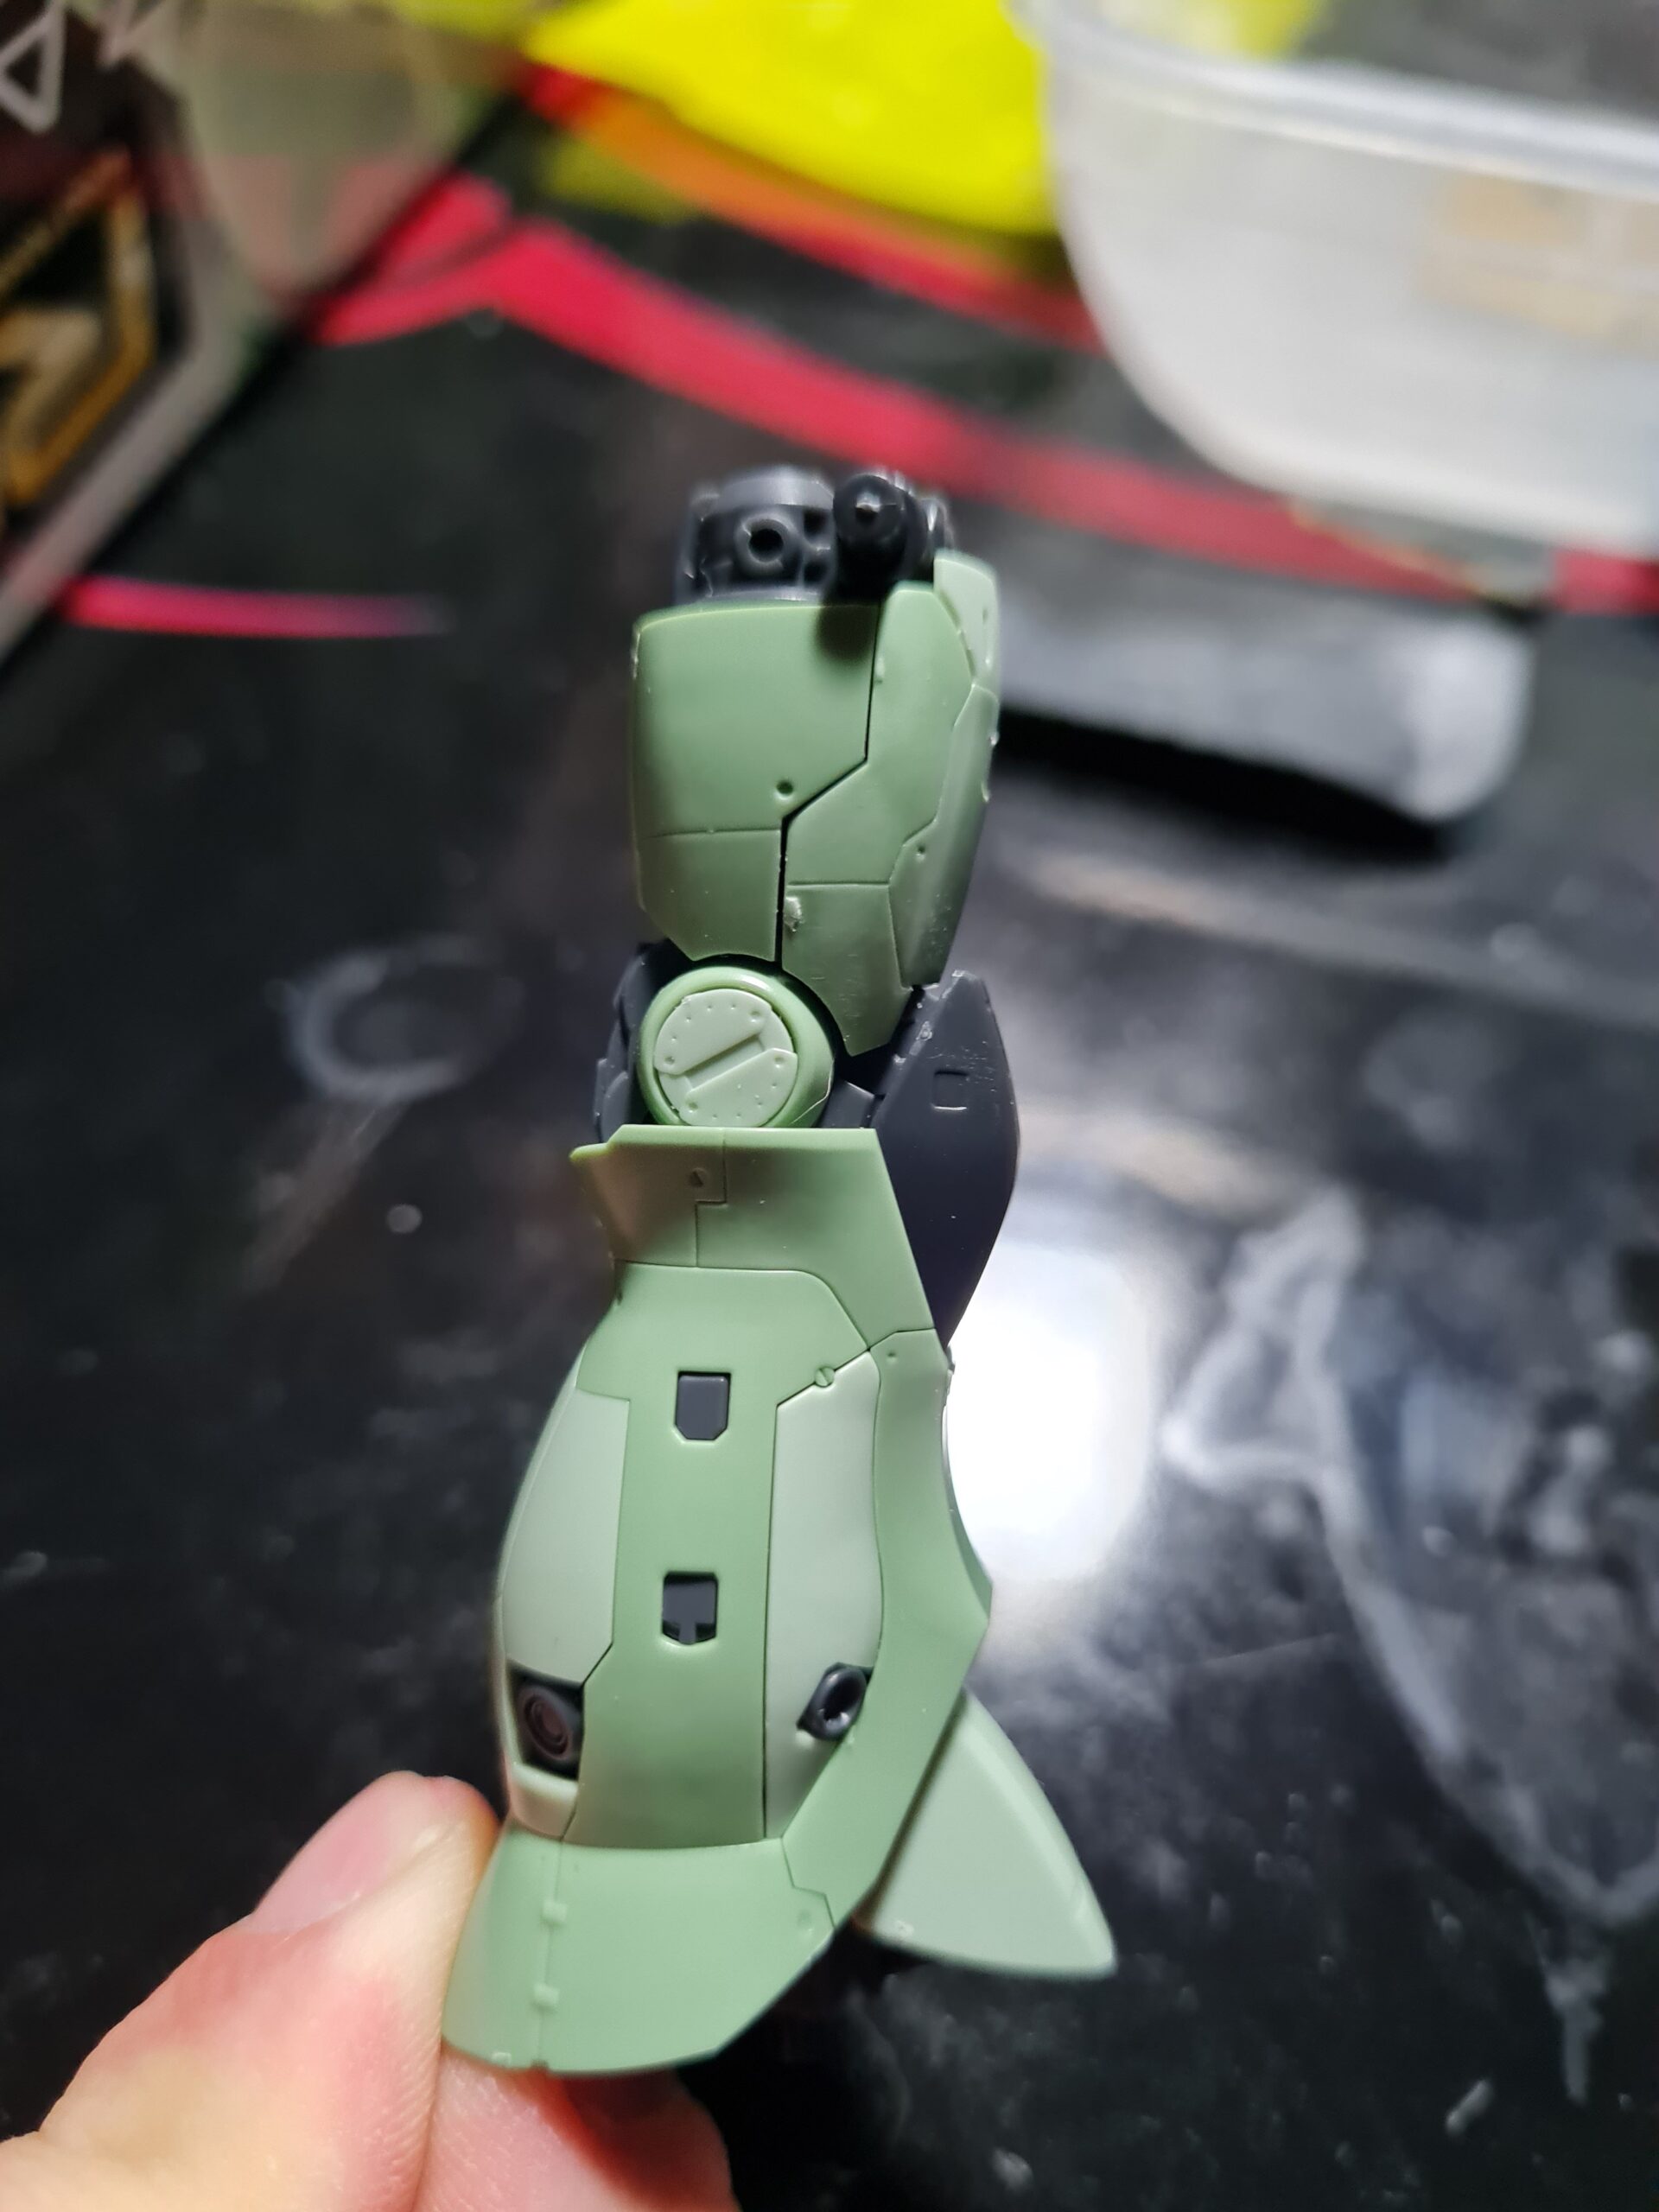
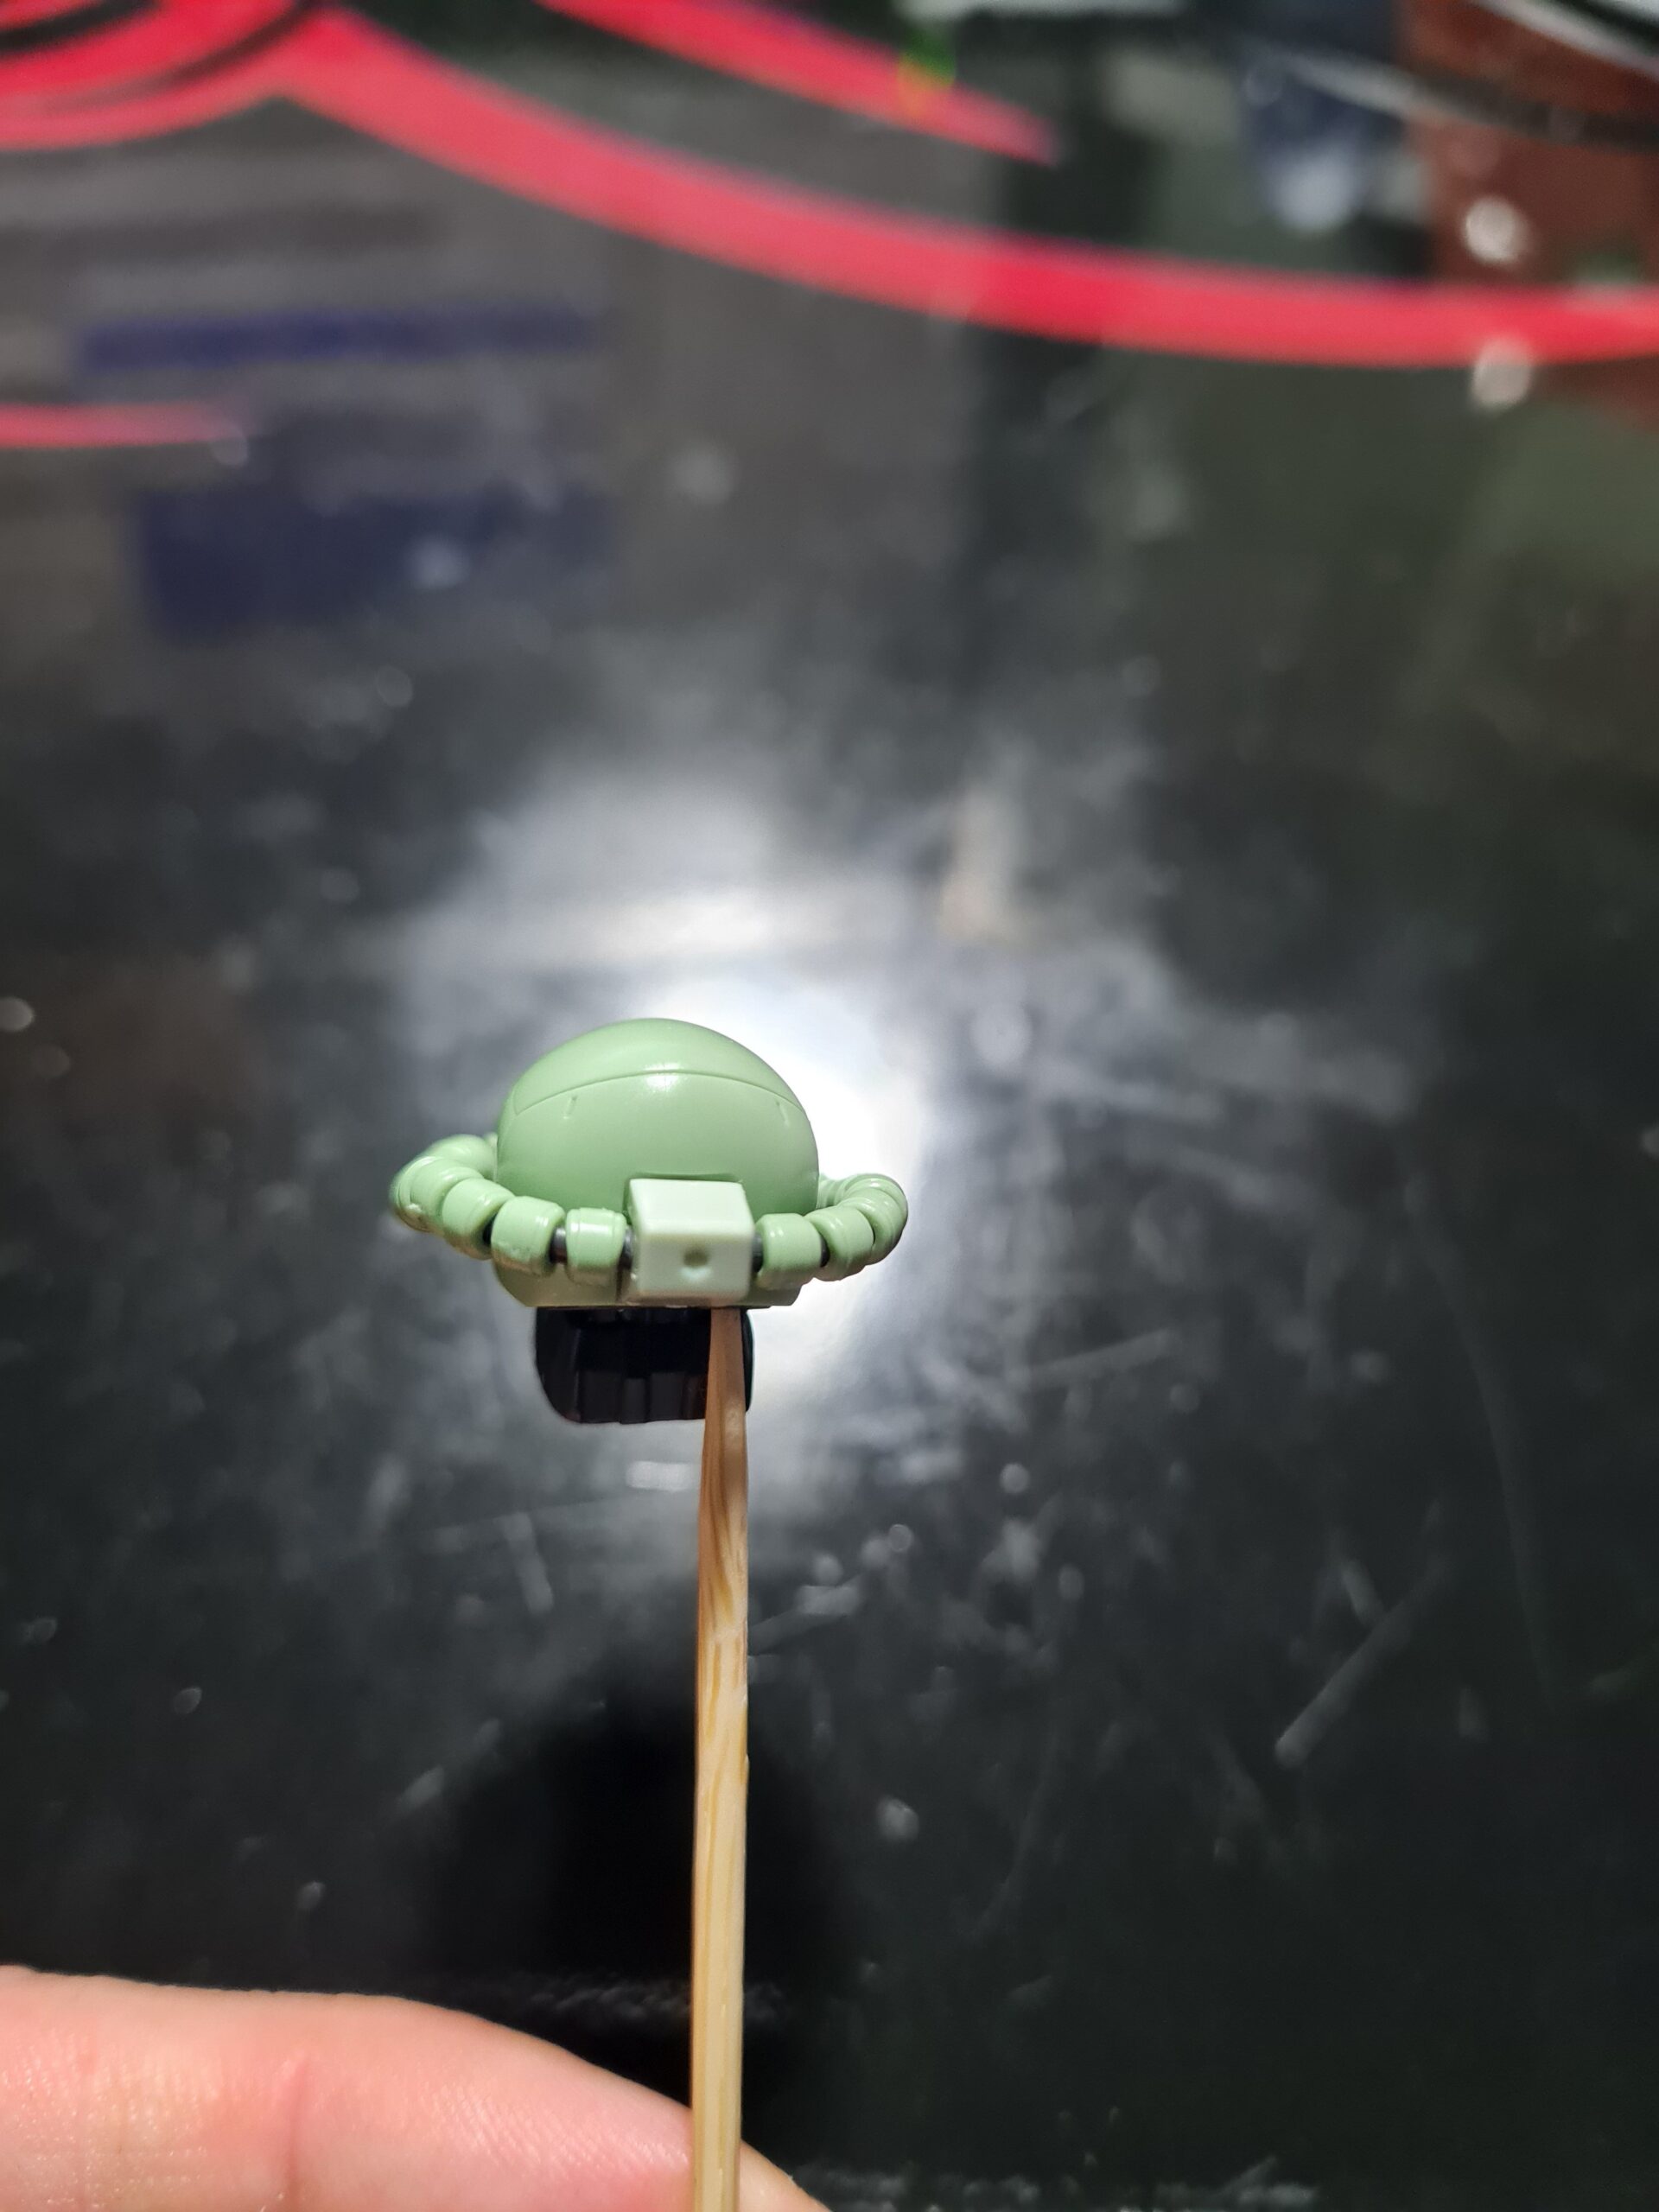
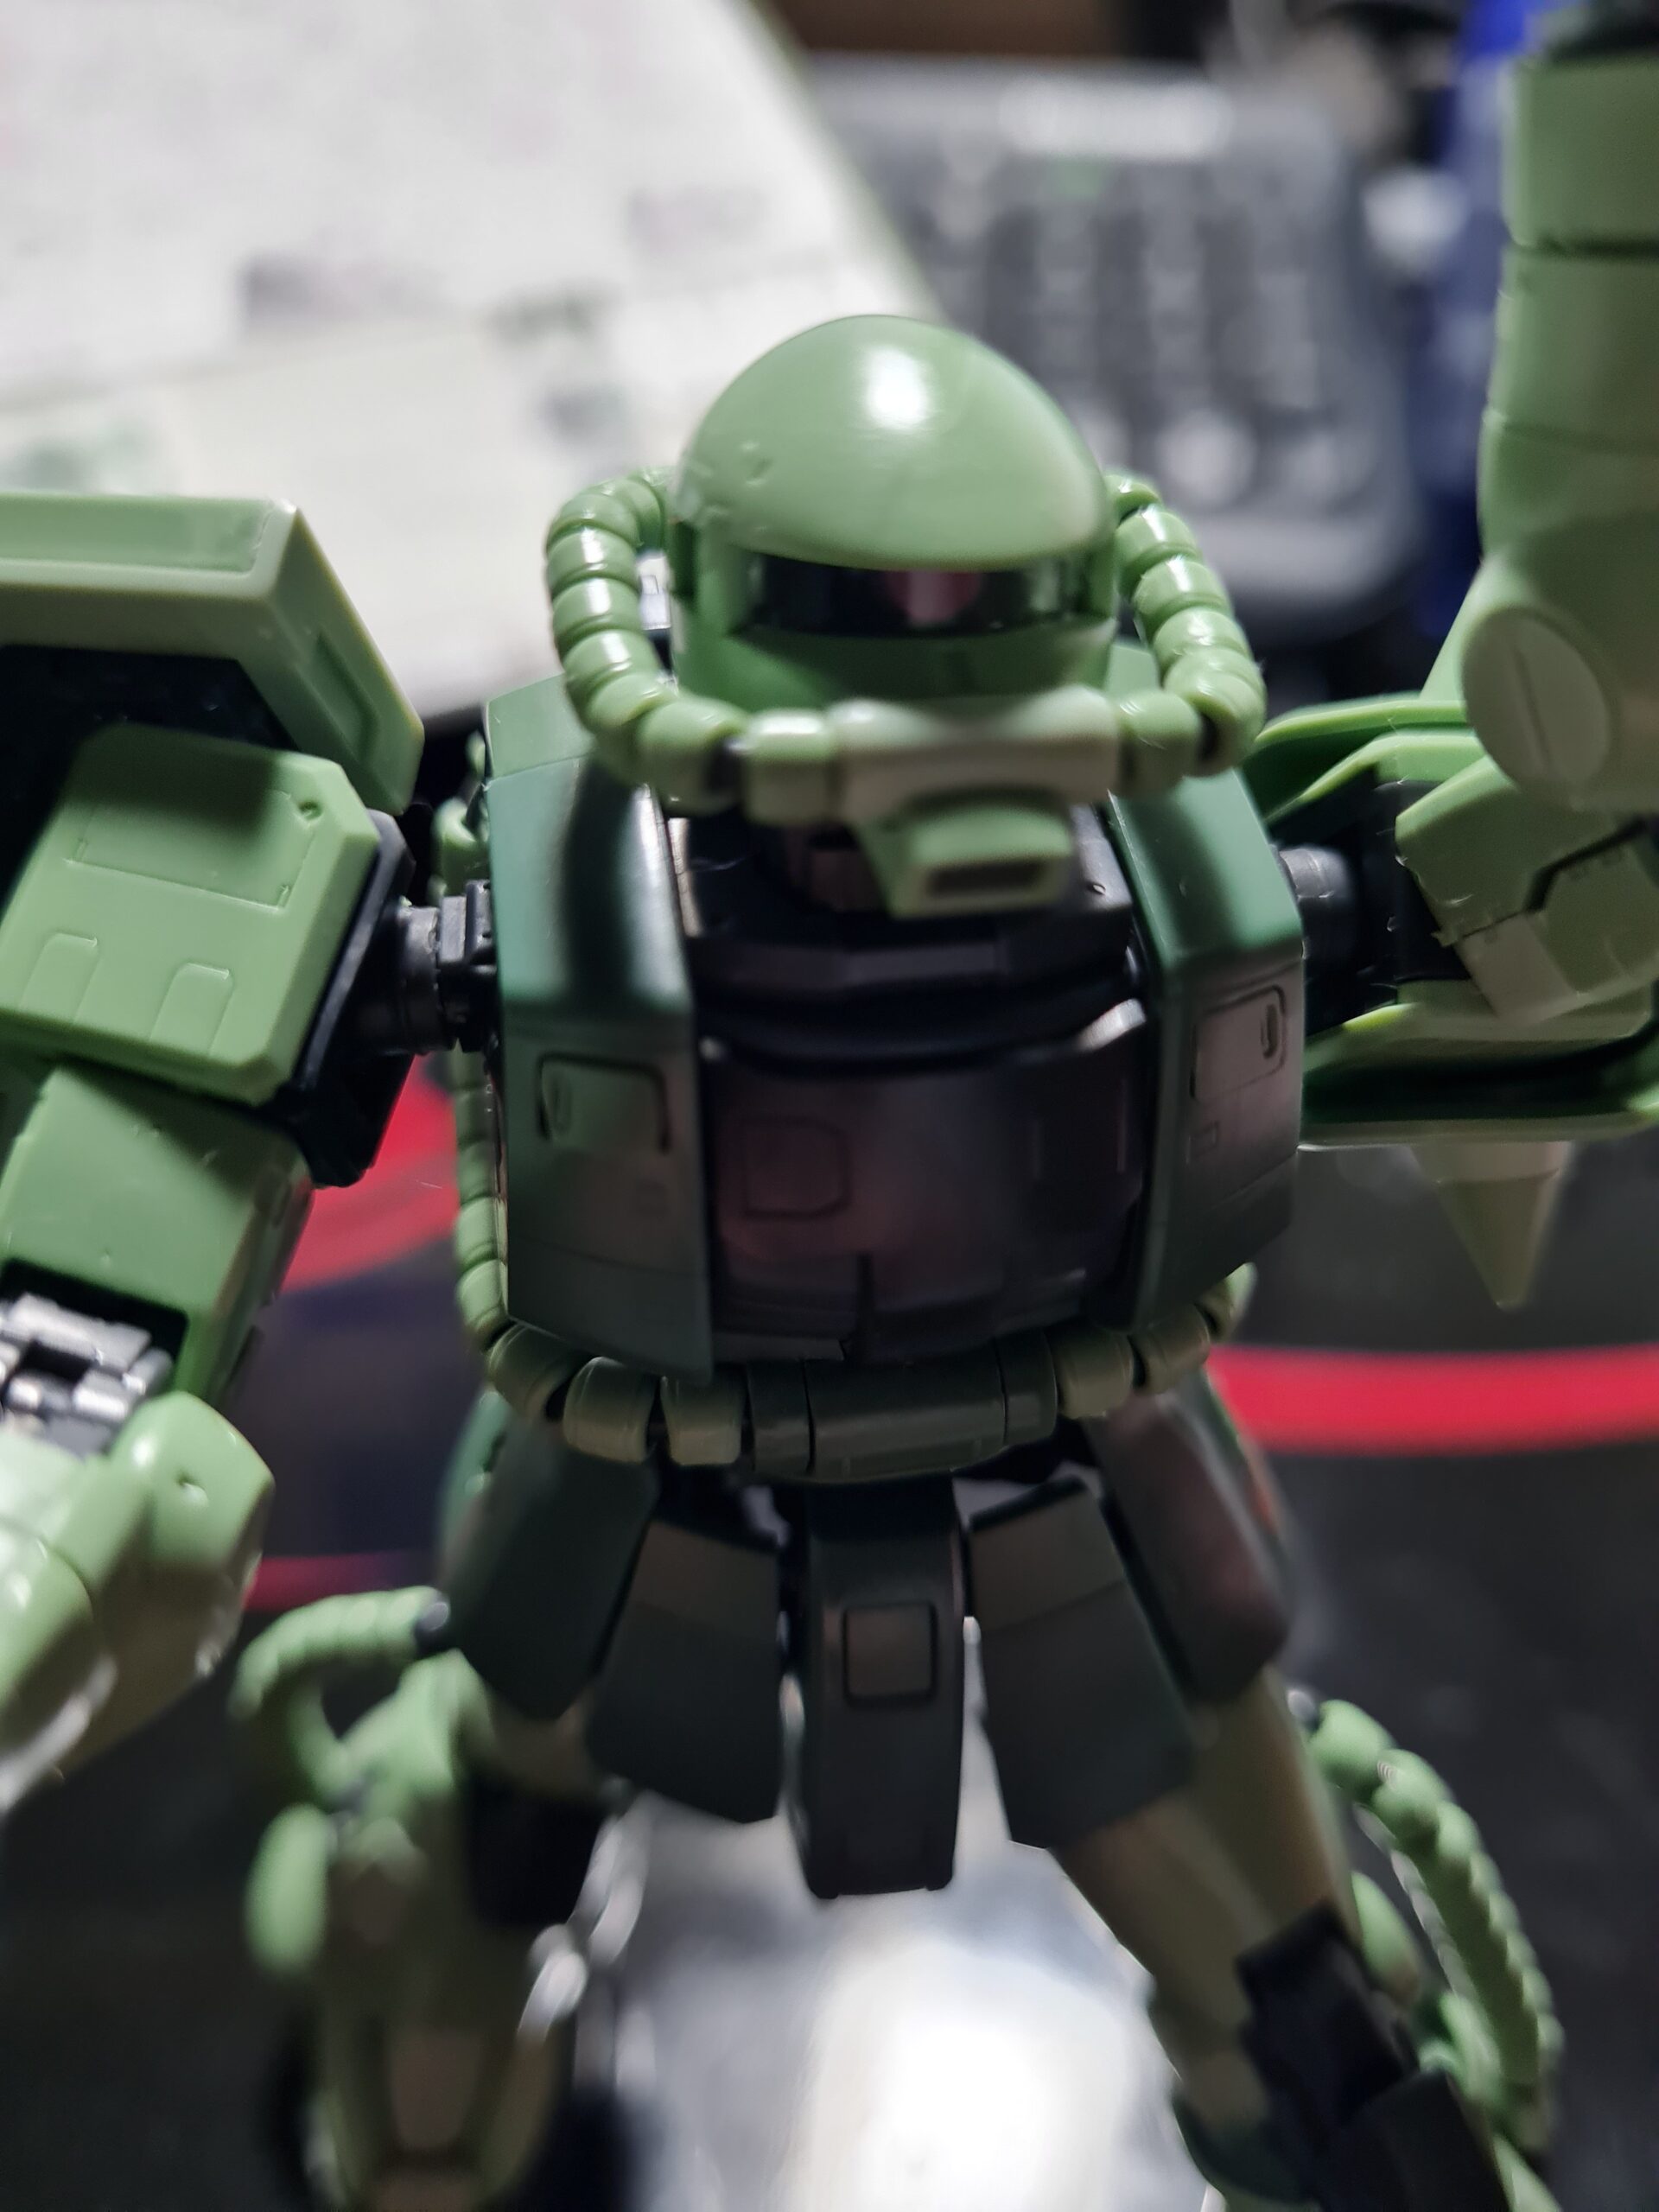
Not that long ago I was showing off my panel lining. I was so proud of the result I had gotten that it looked like the image below.

Panel Line 4
Panel Line 4

I even gave it its own post here. However, little did I know that there was still a way I could mess this up! So in essence, to protect the work I had done I sprayed it with a top coat. I was devastated when the next morning the ink was all run.

After some productive googling I discovered a few things I may have done wrong.

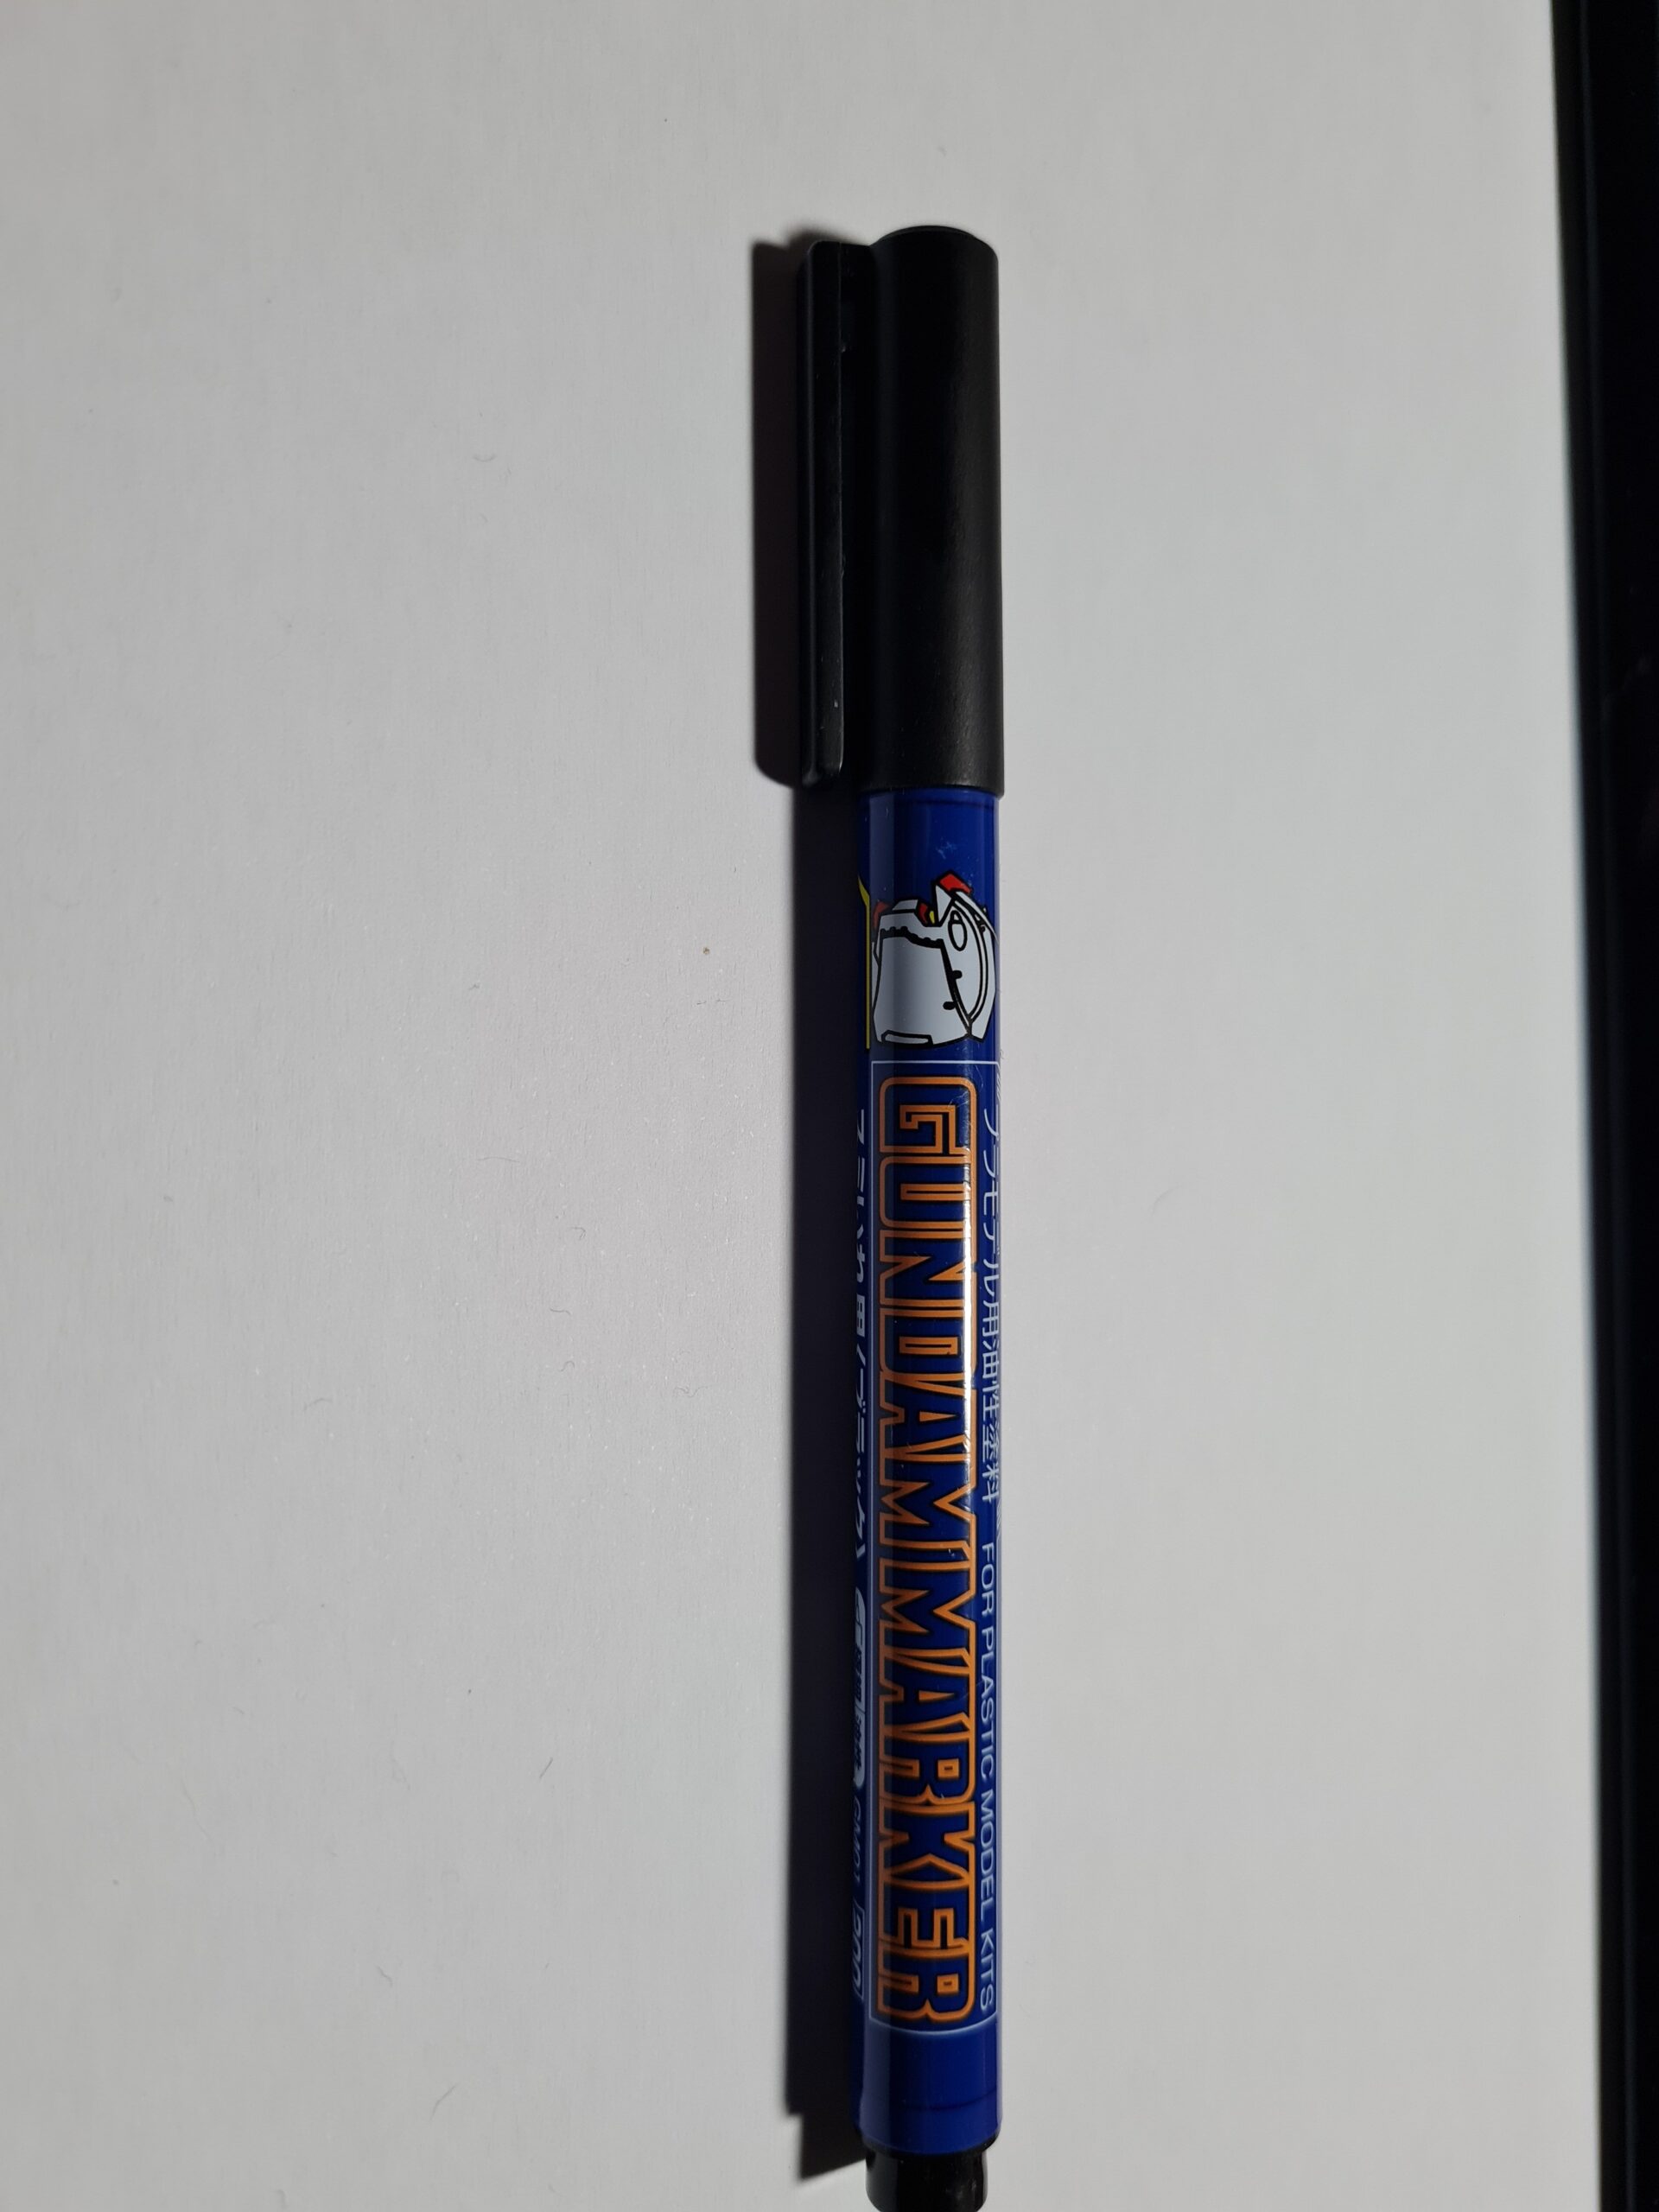
  • Left too much pen/ink on the model
  • Not heated up the can before spraying the piece
  • Spraying too close to the model

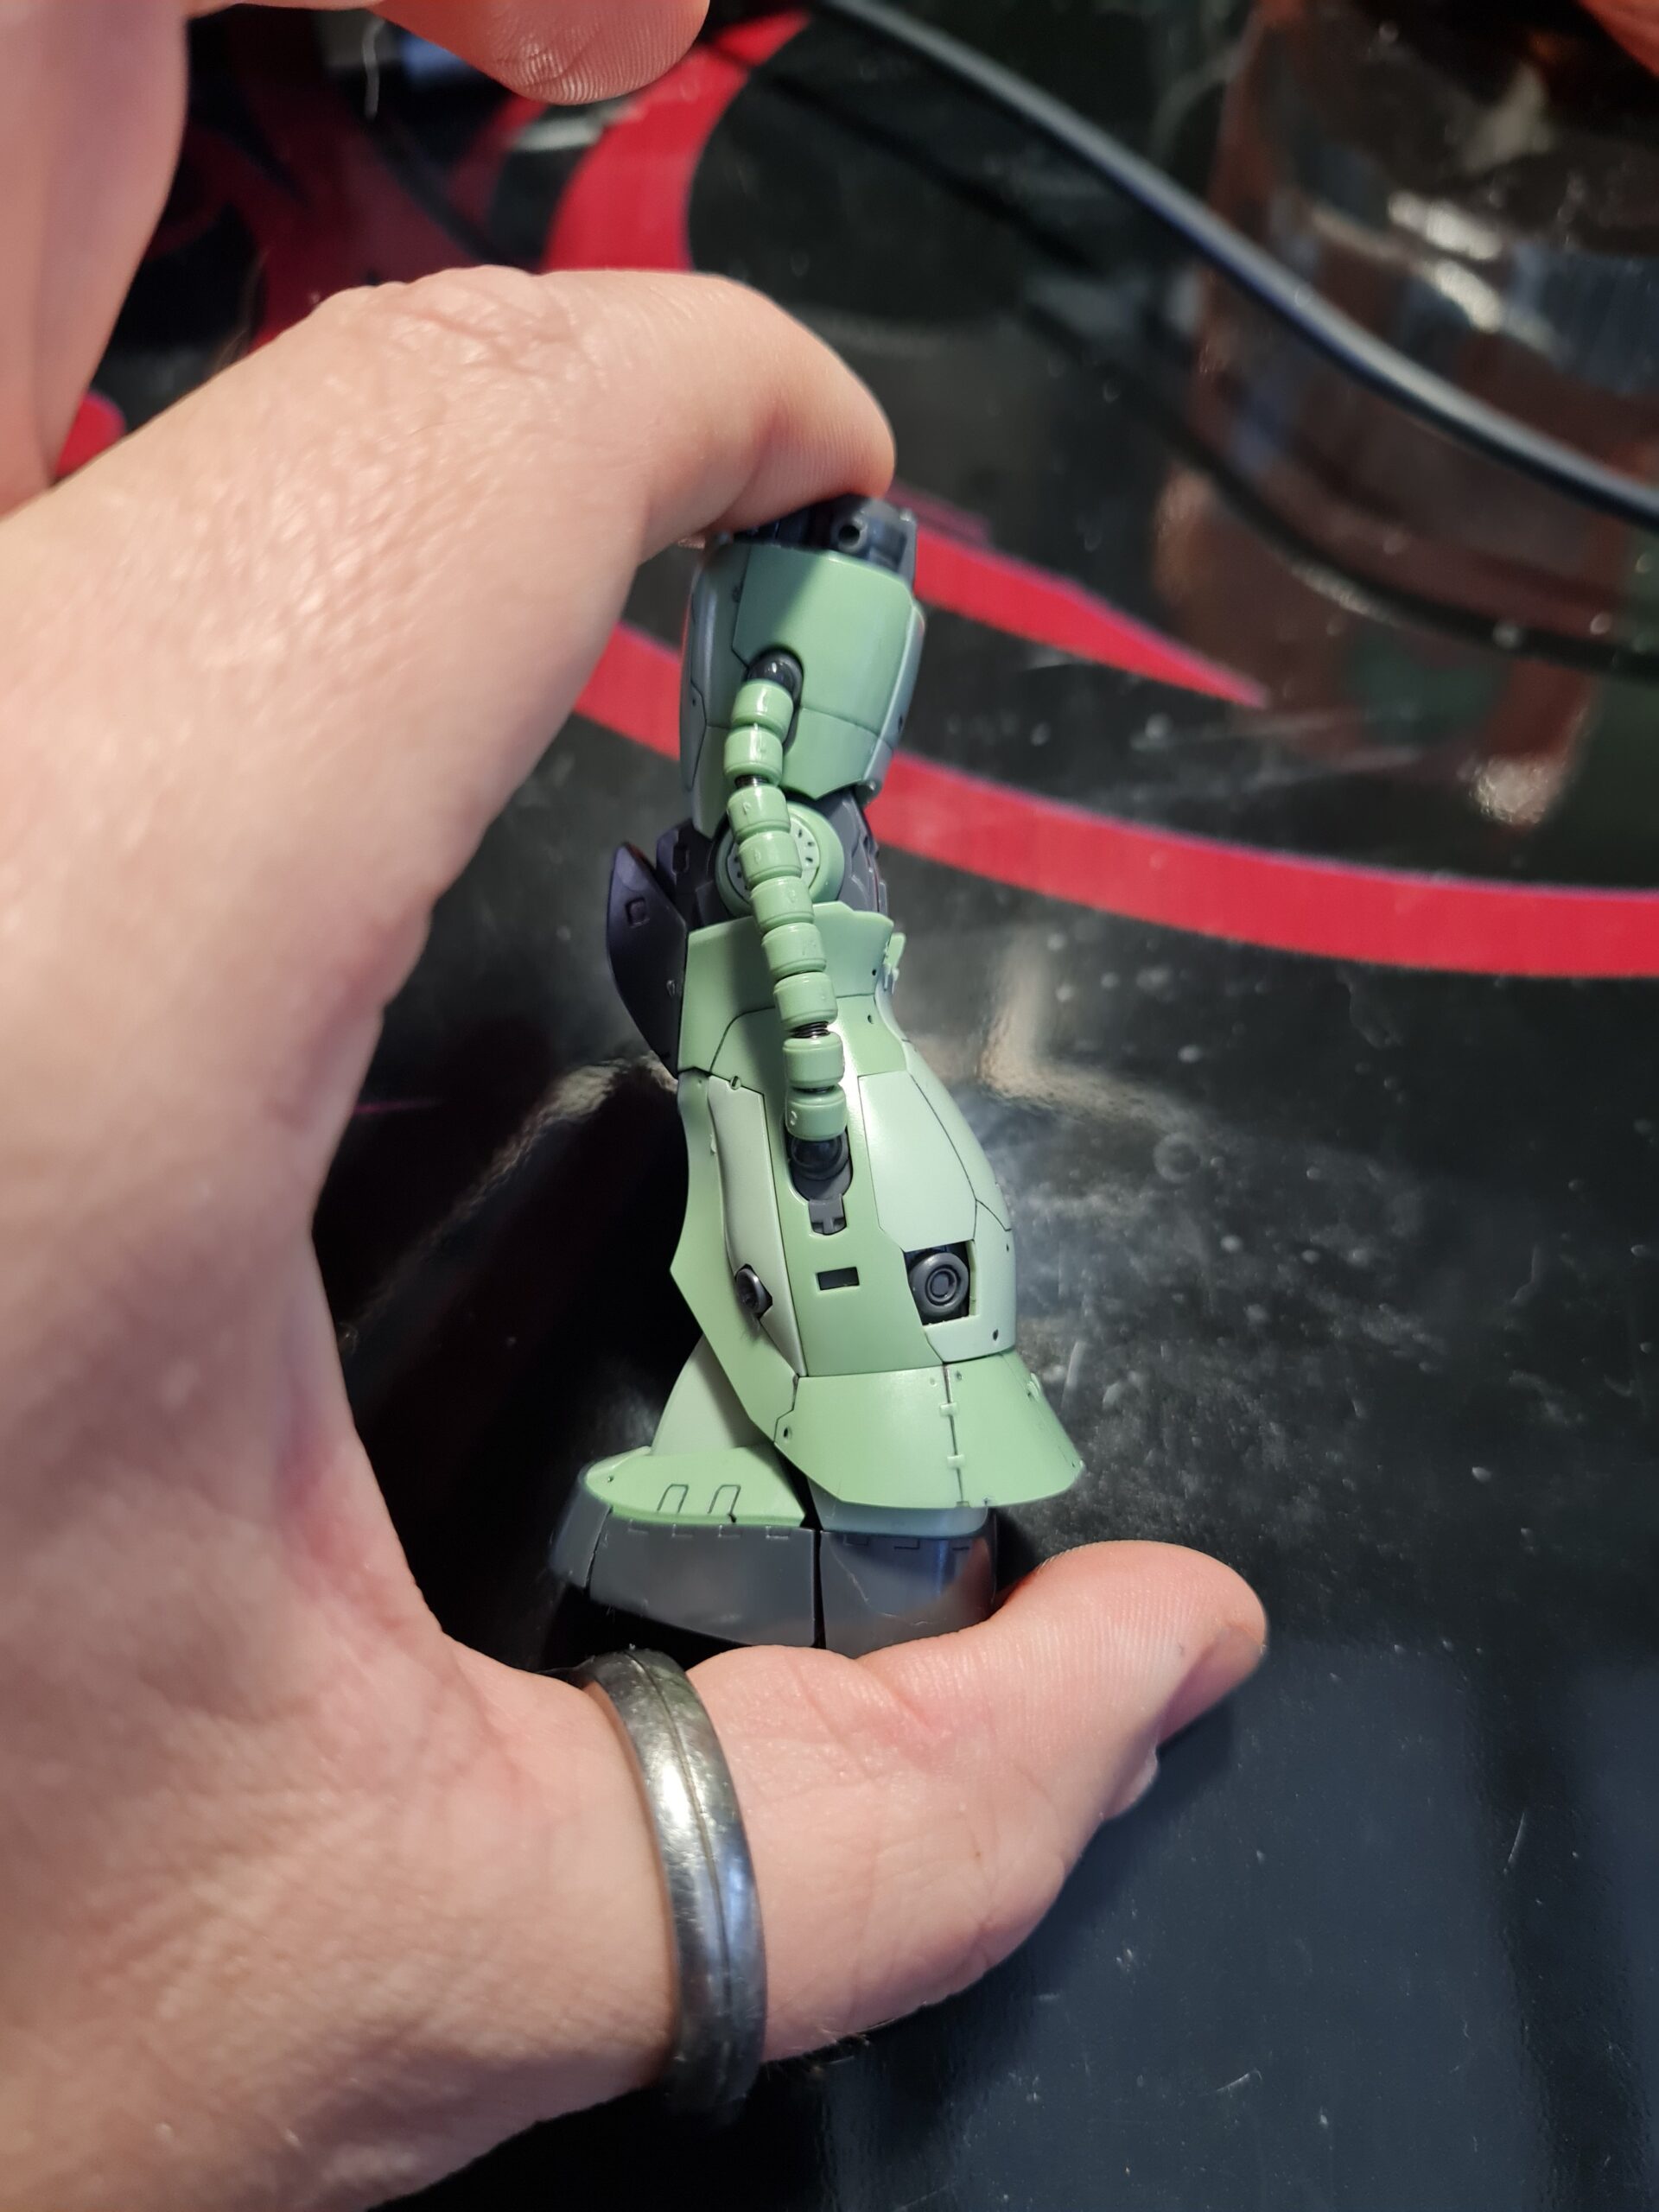
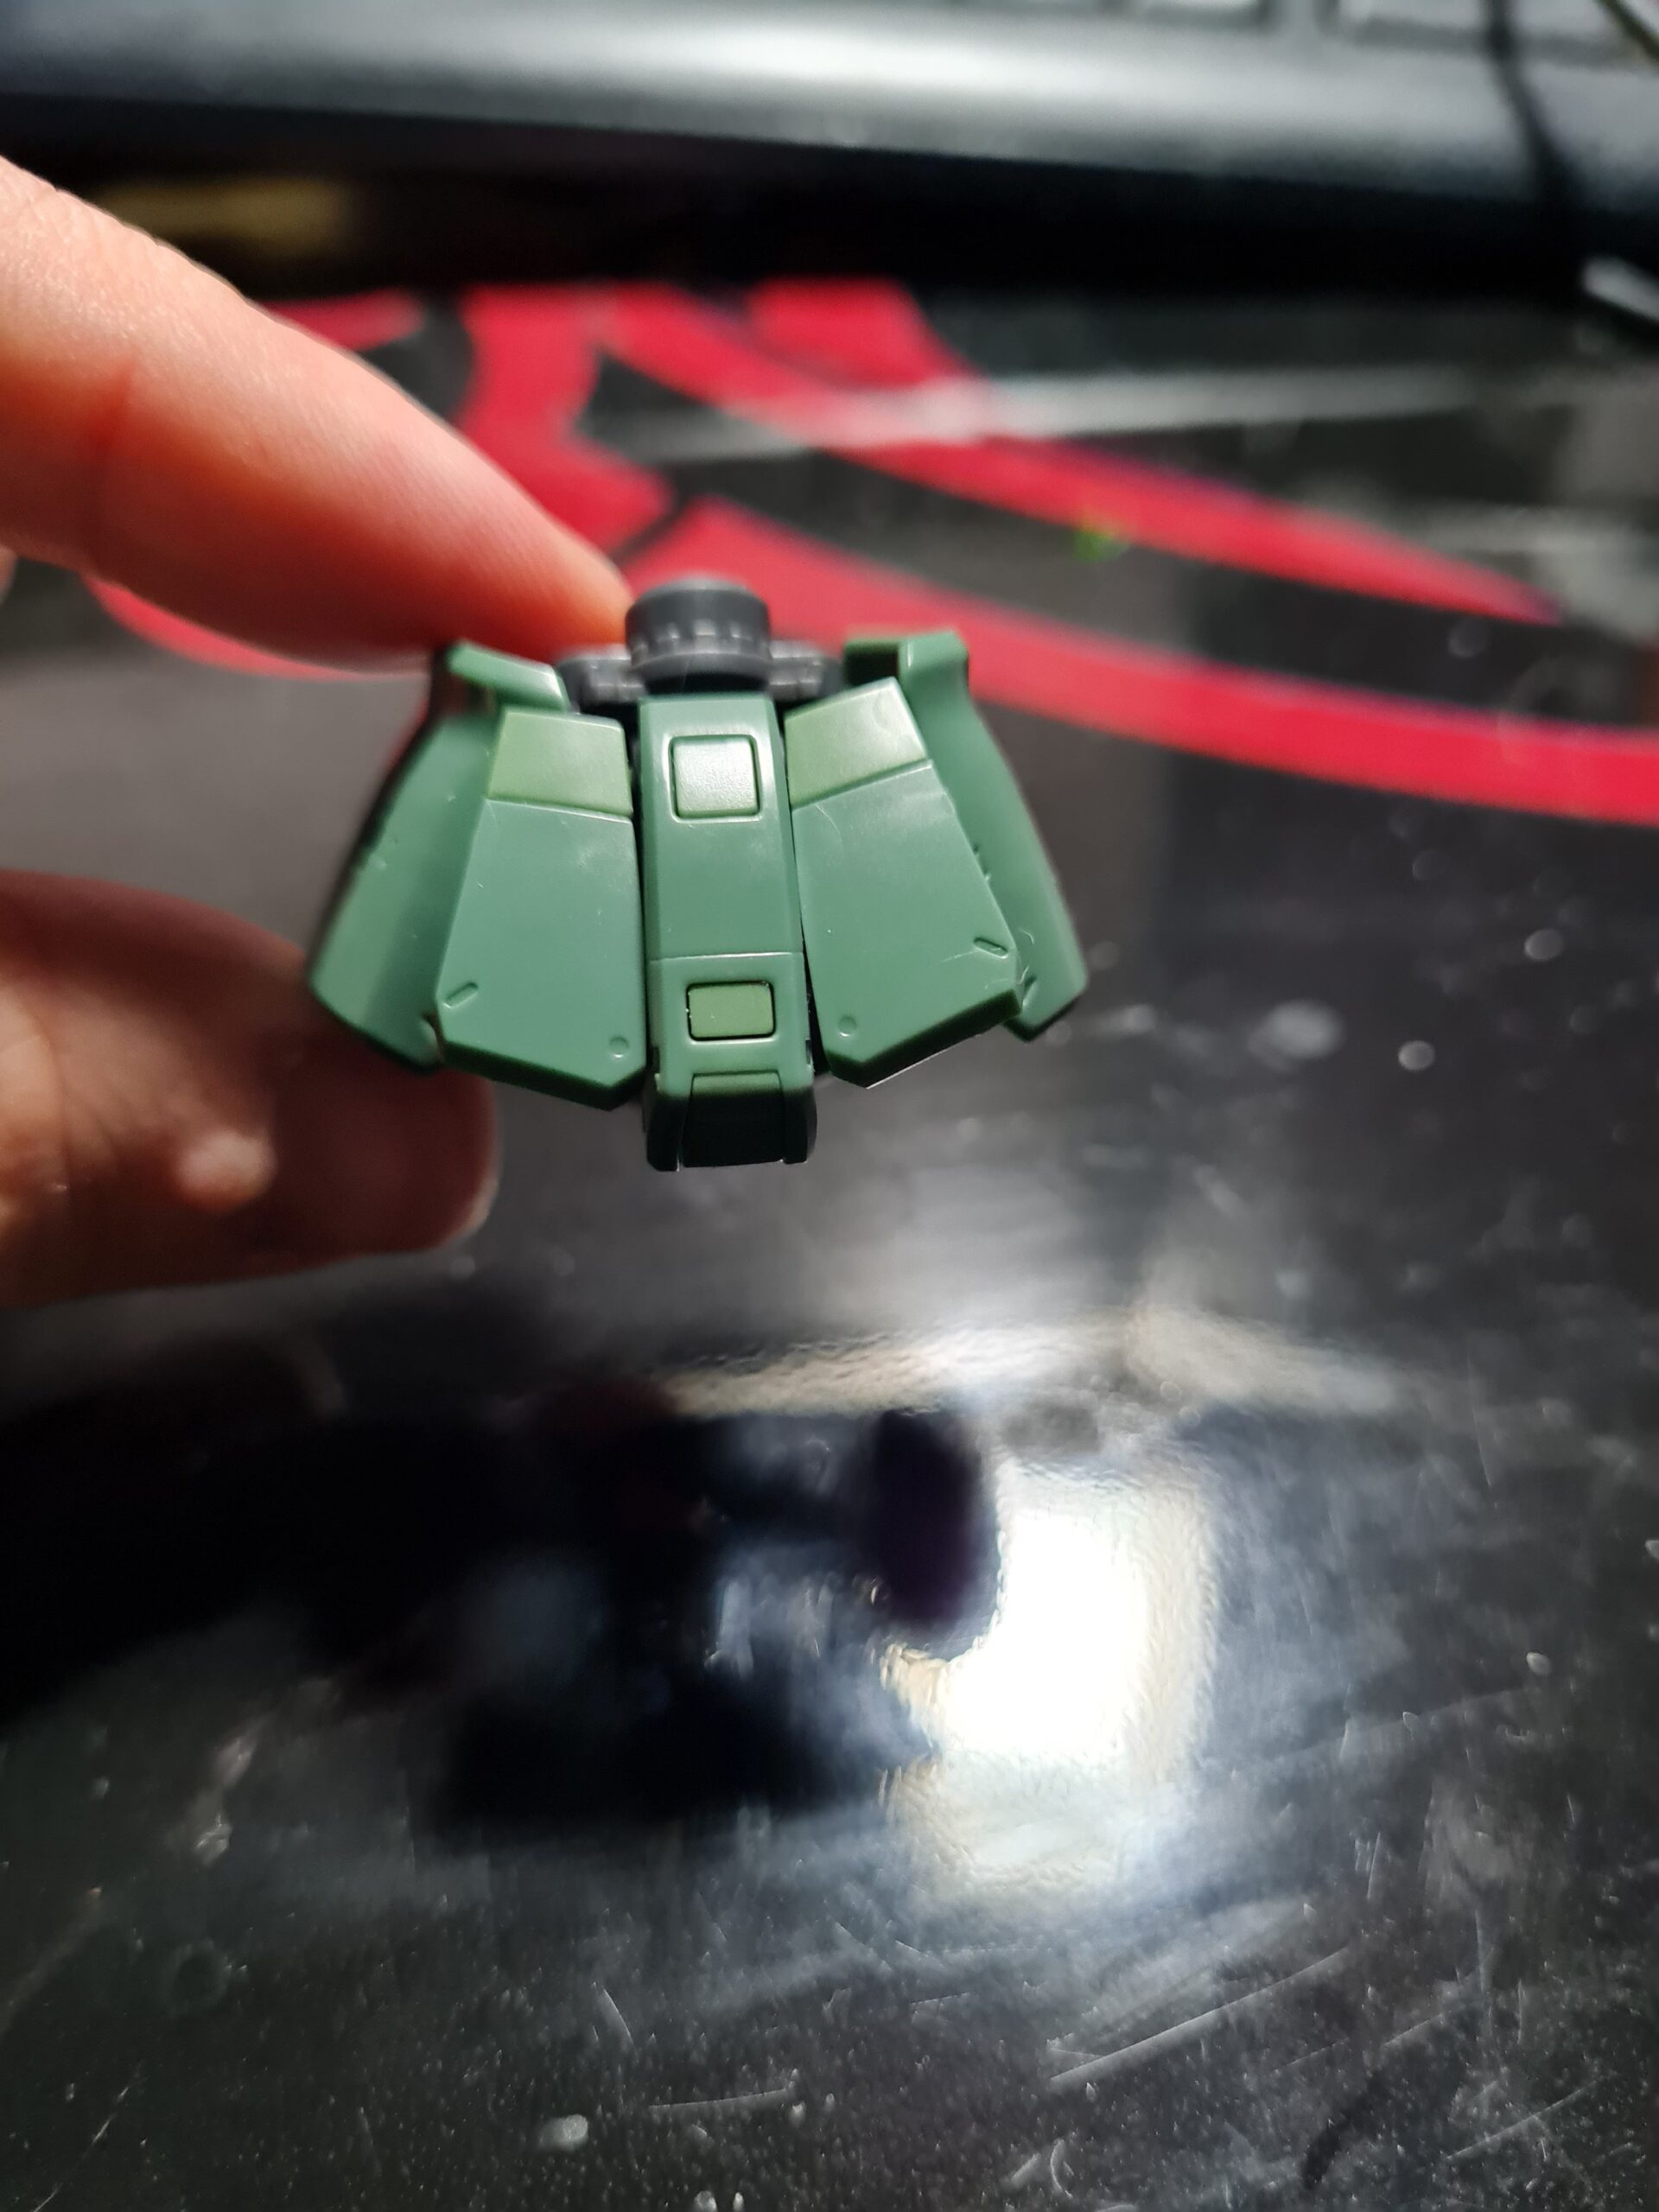
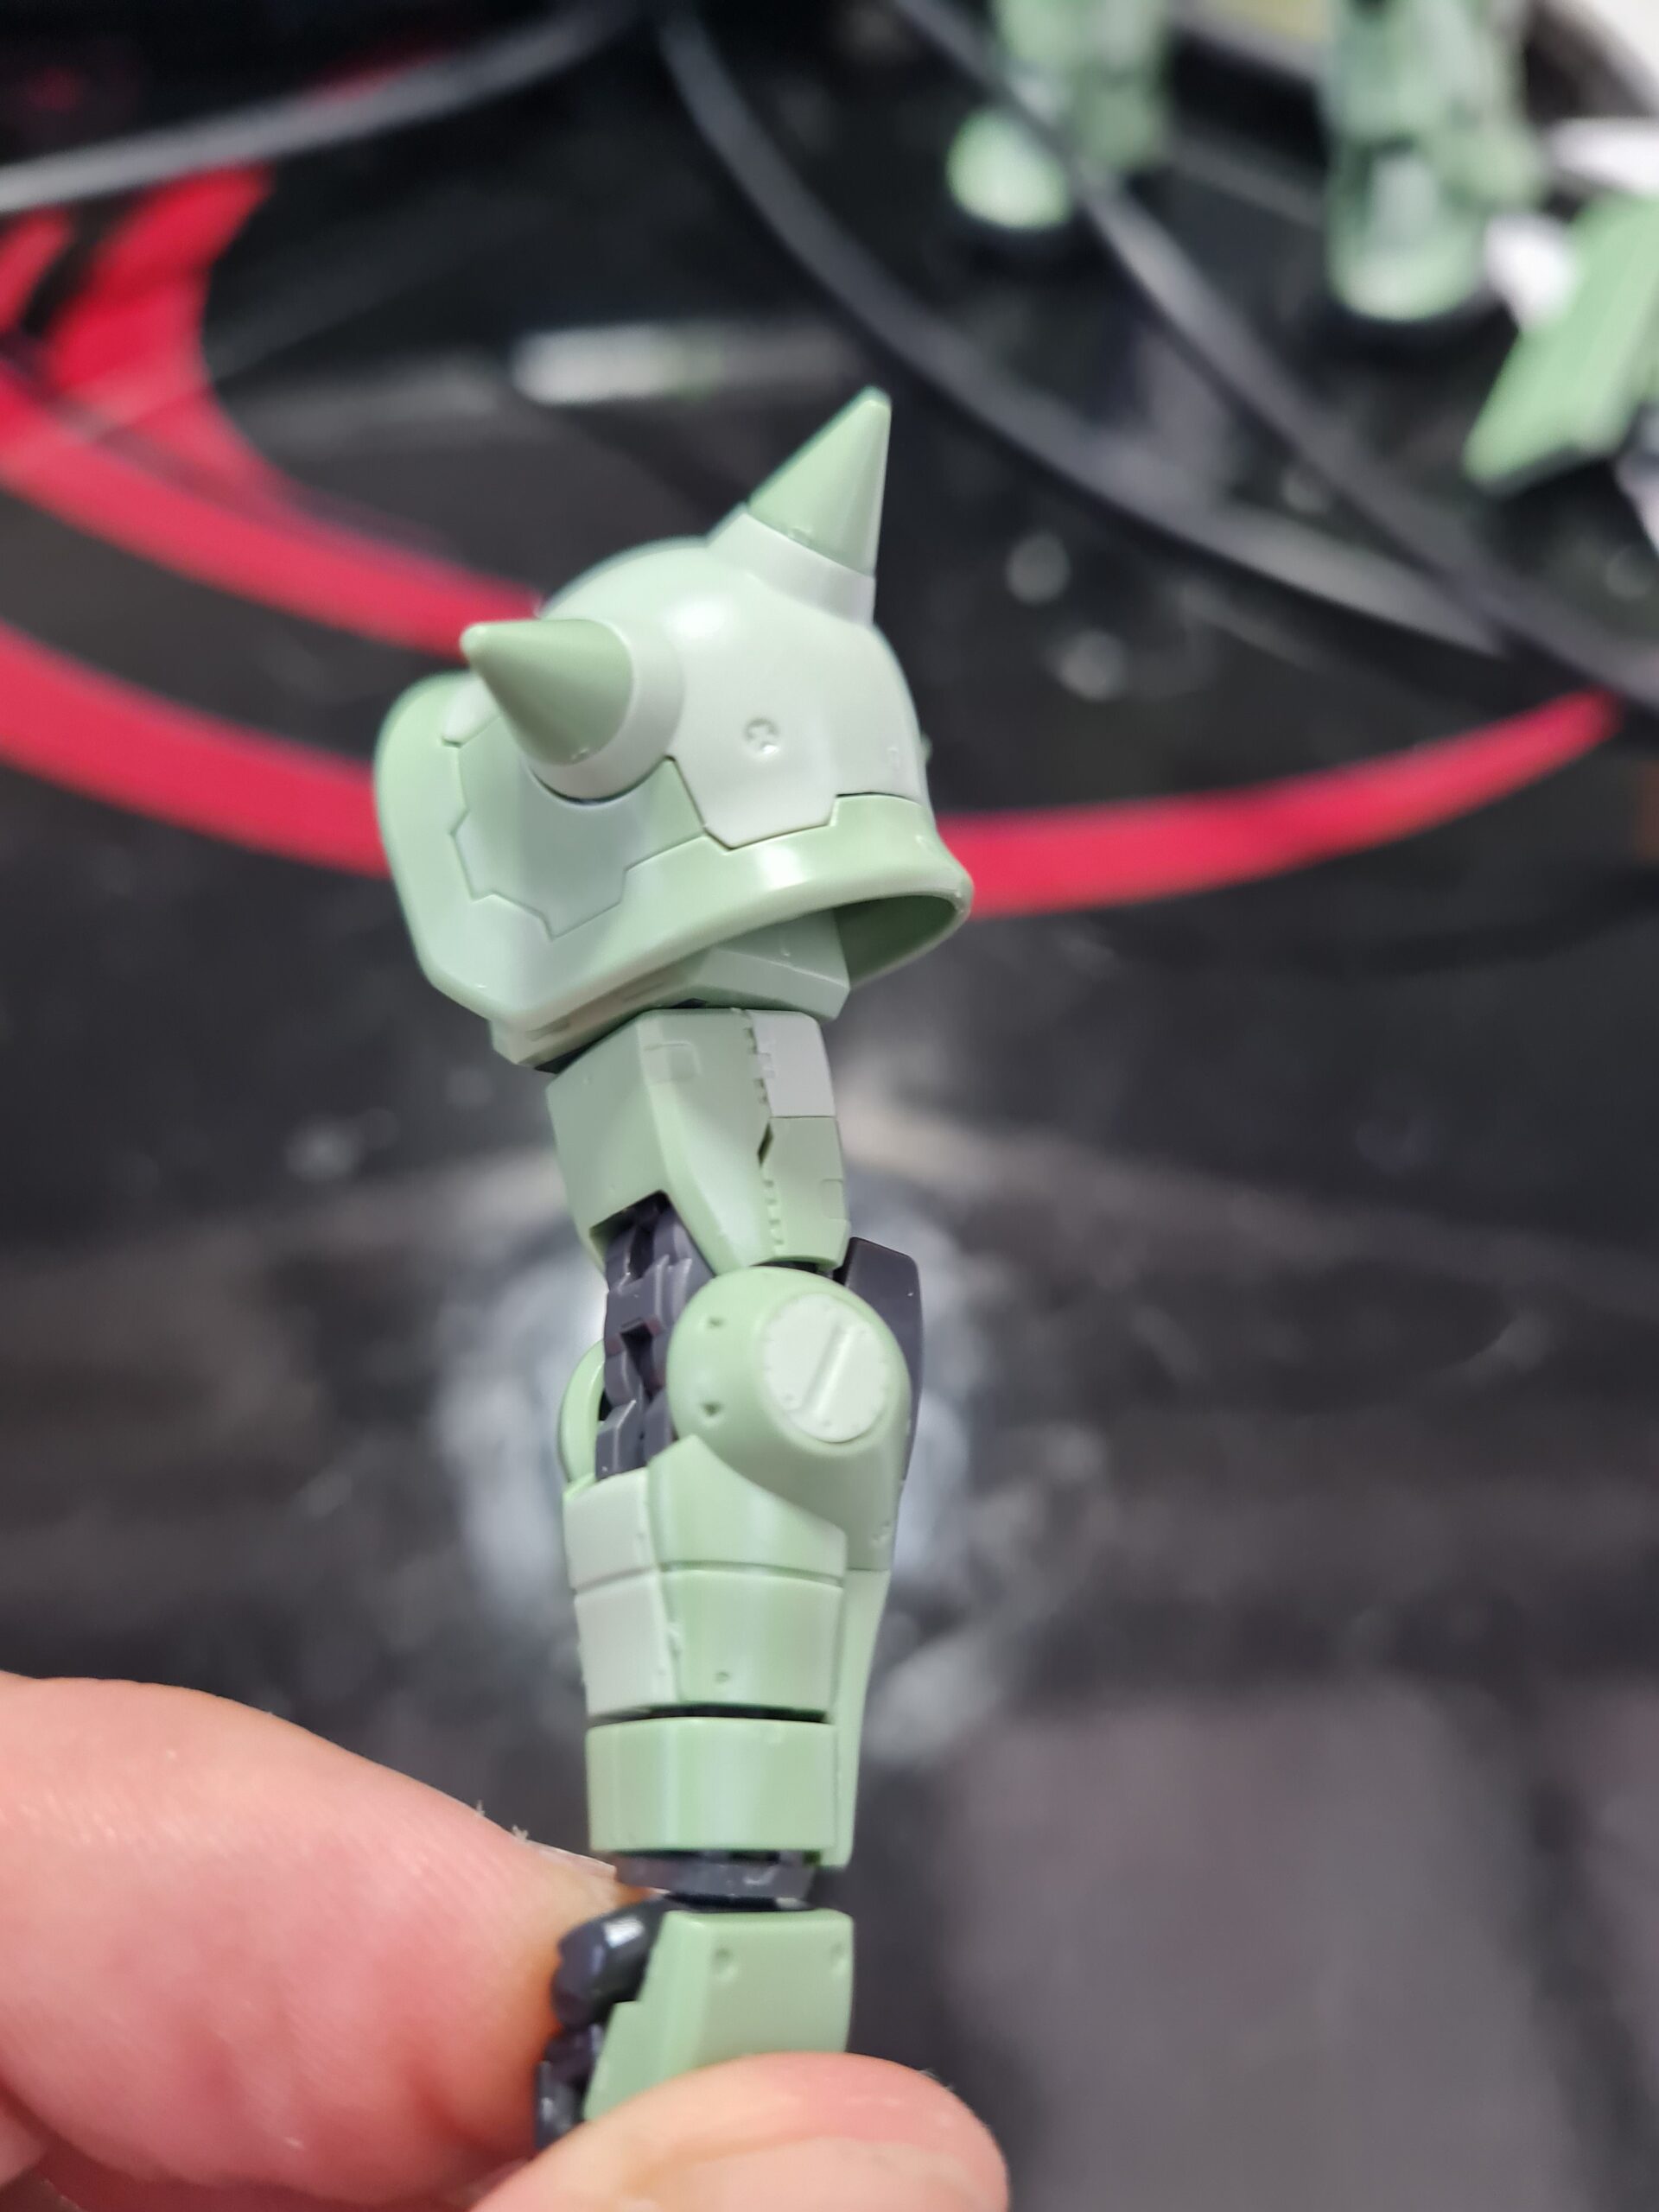
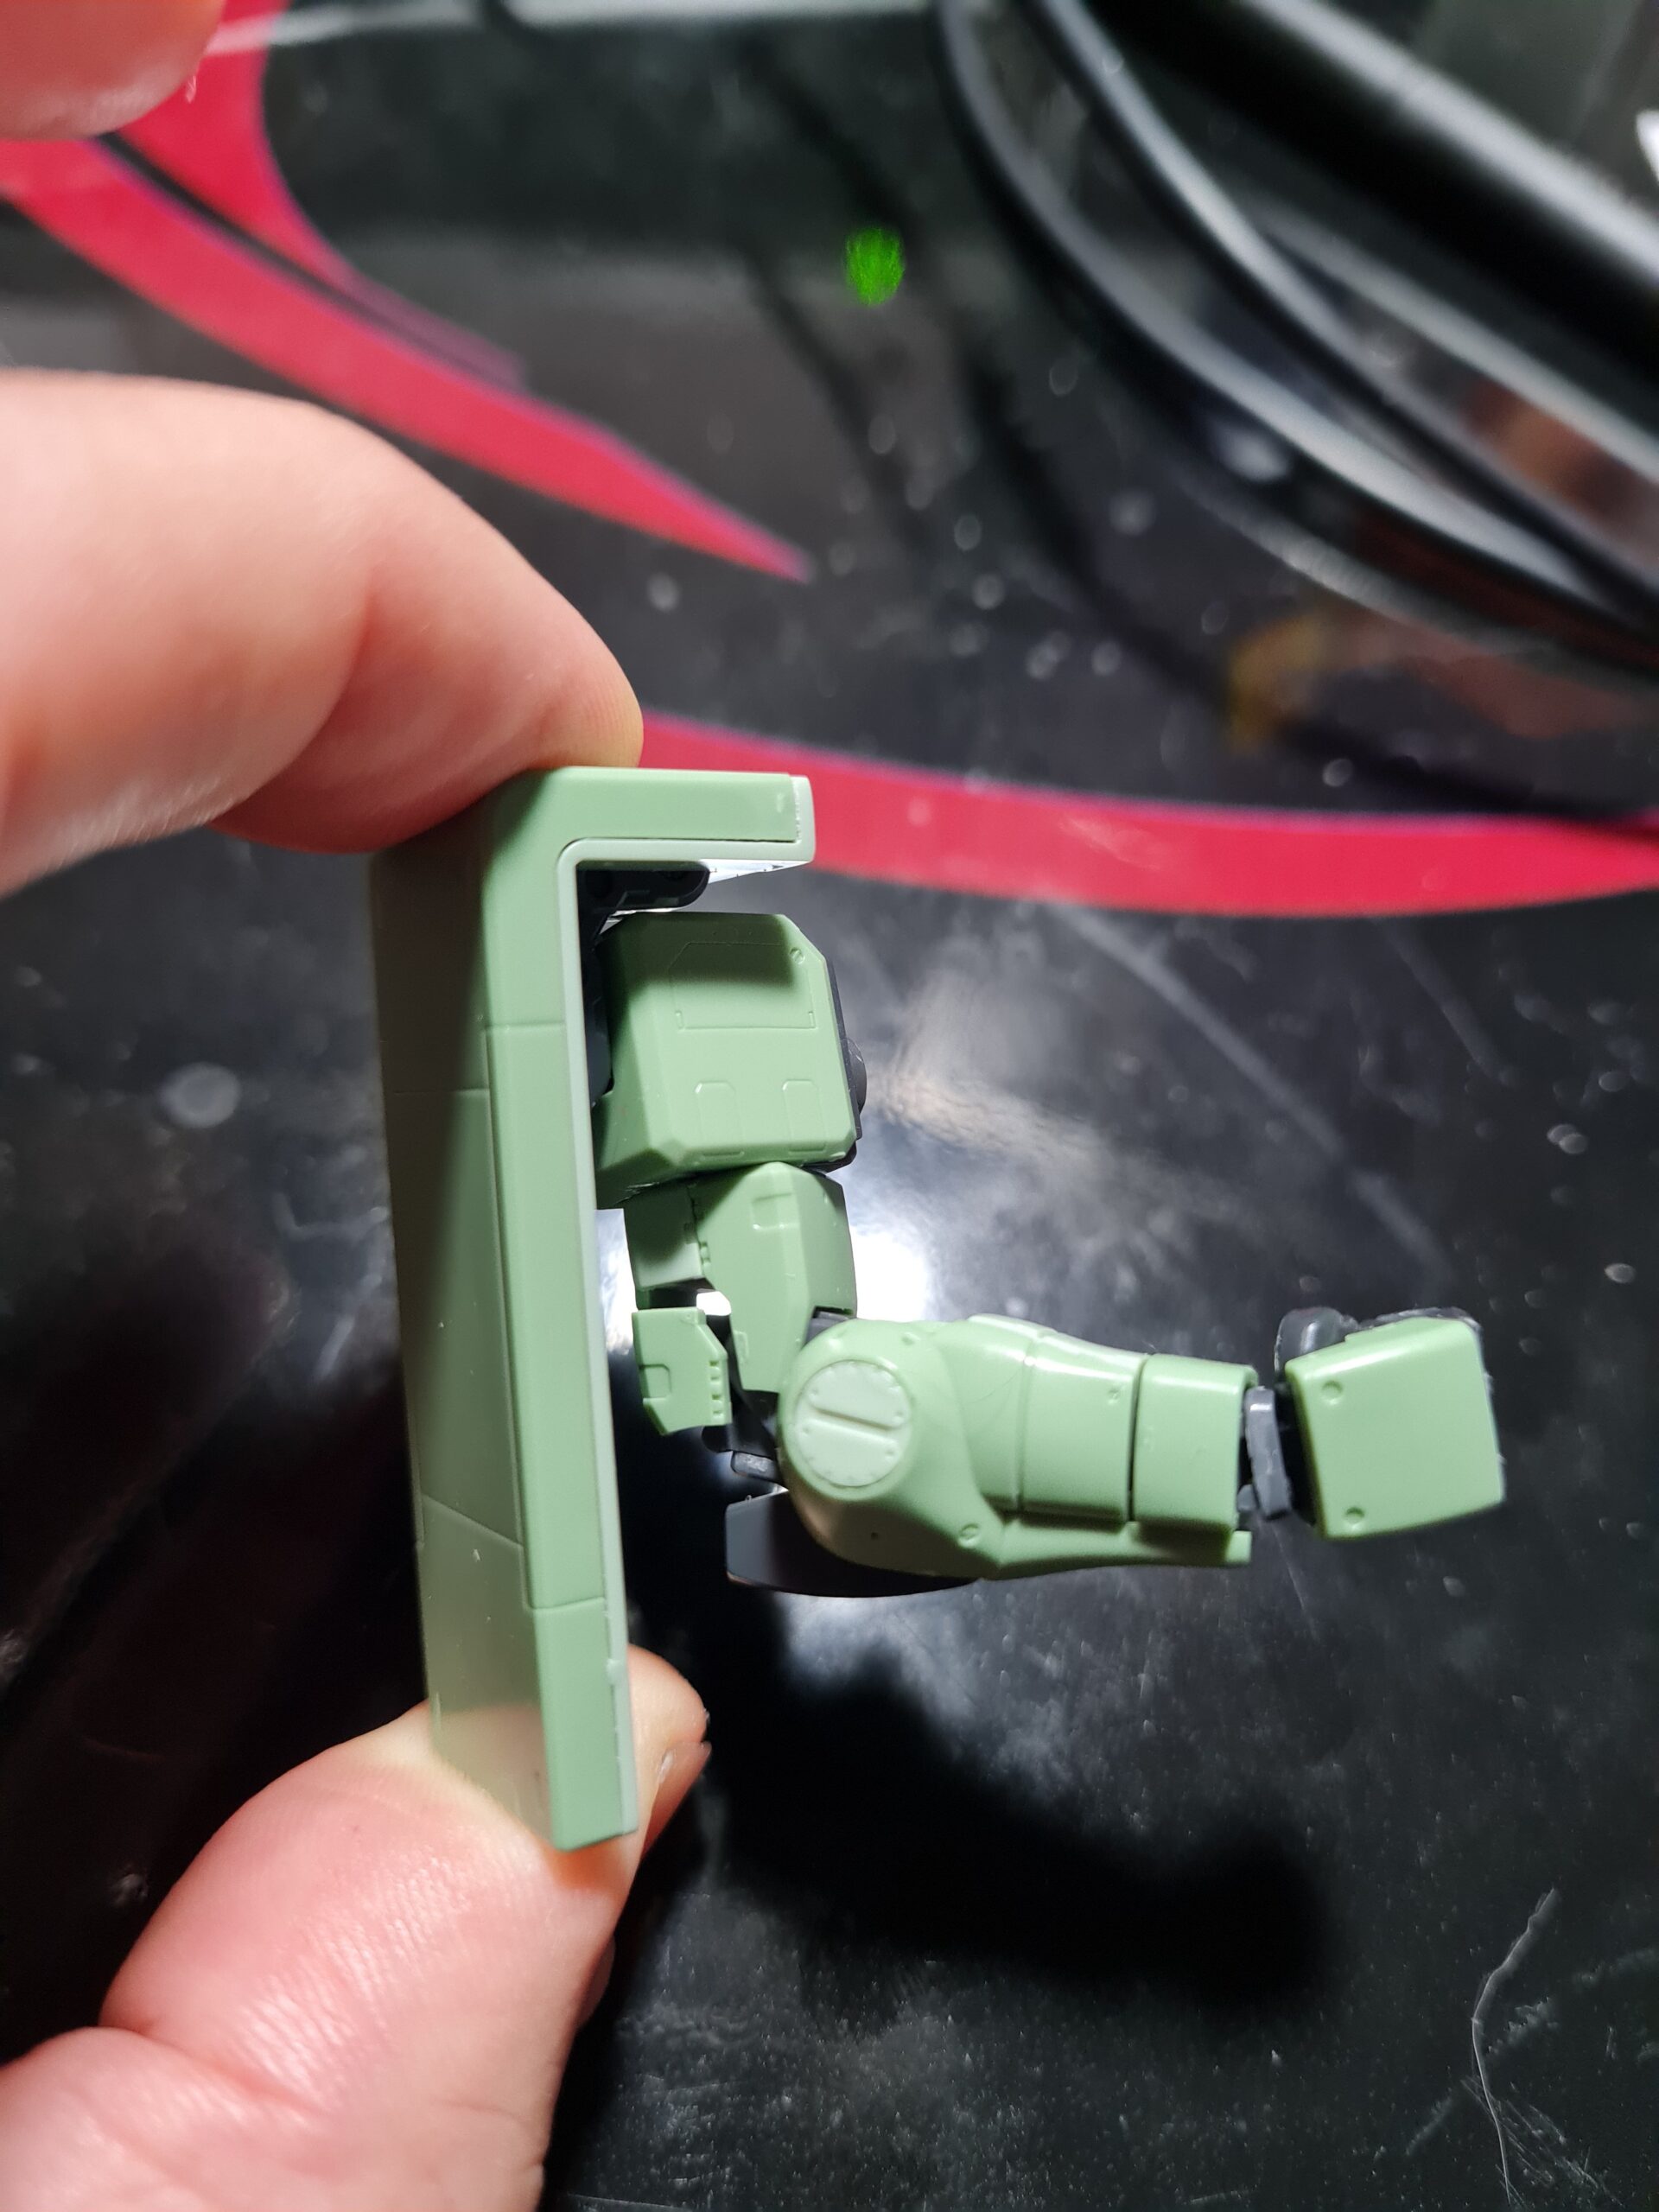
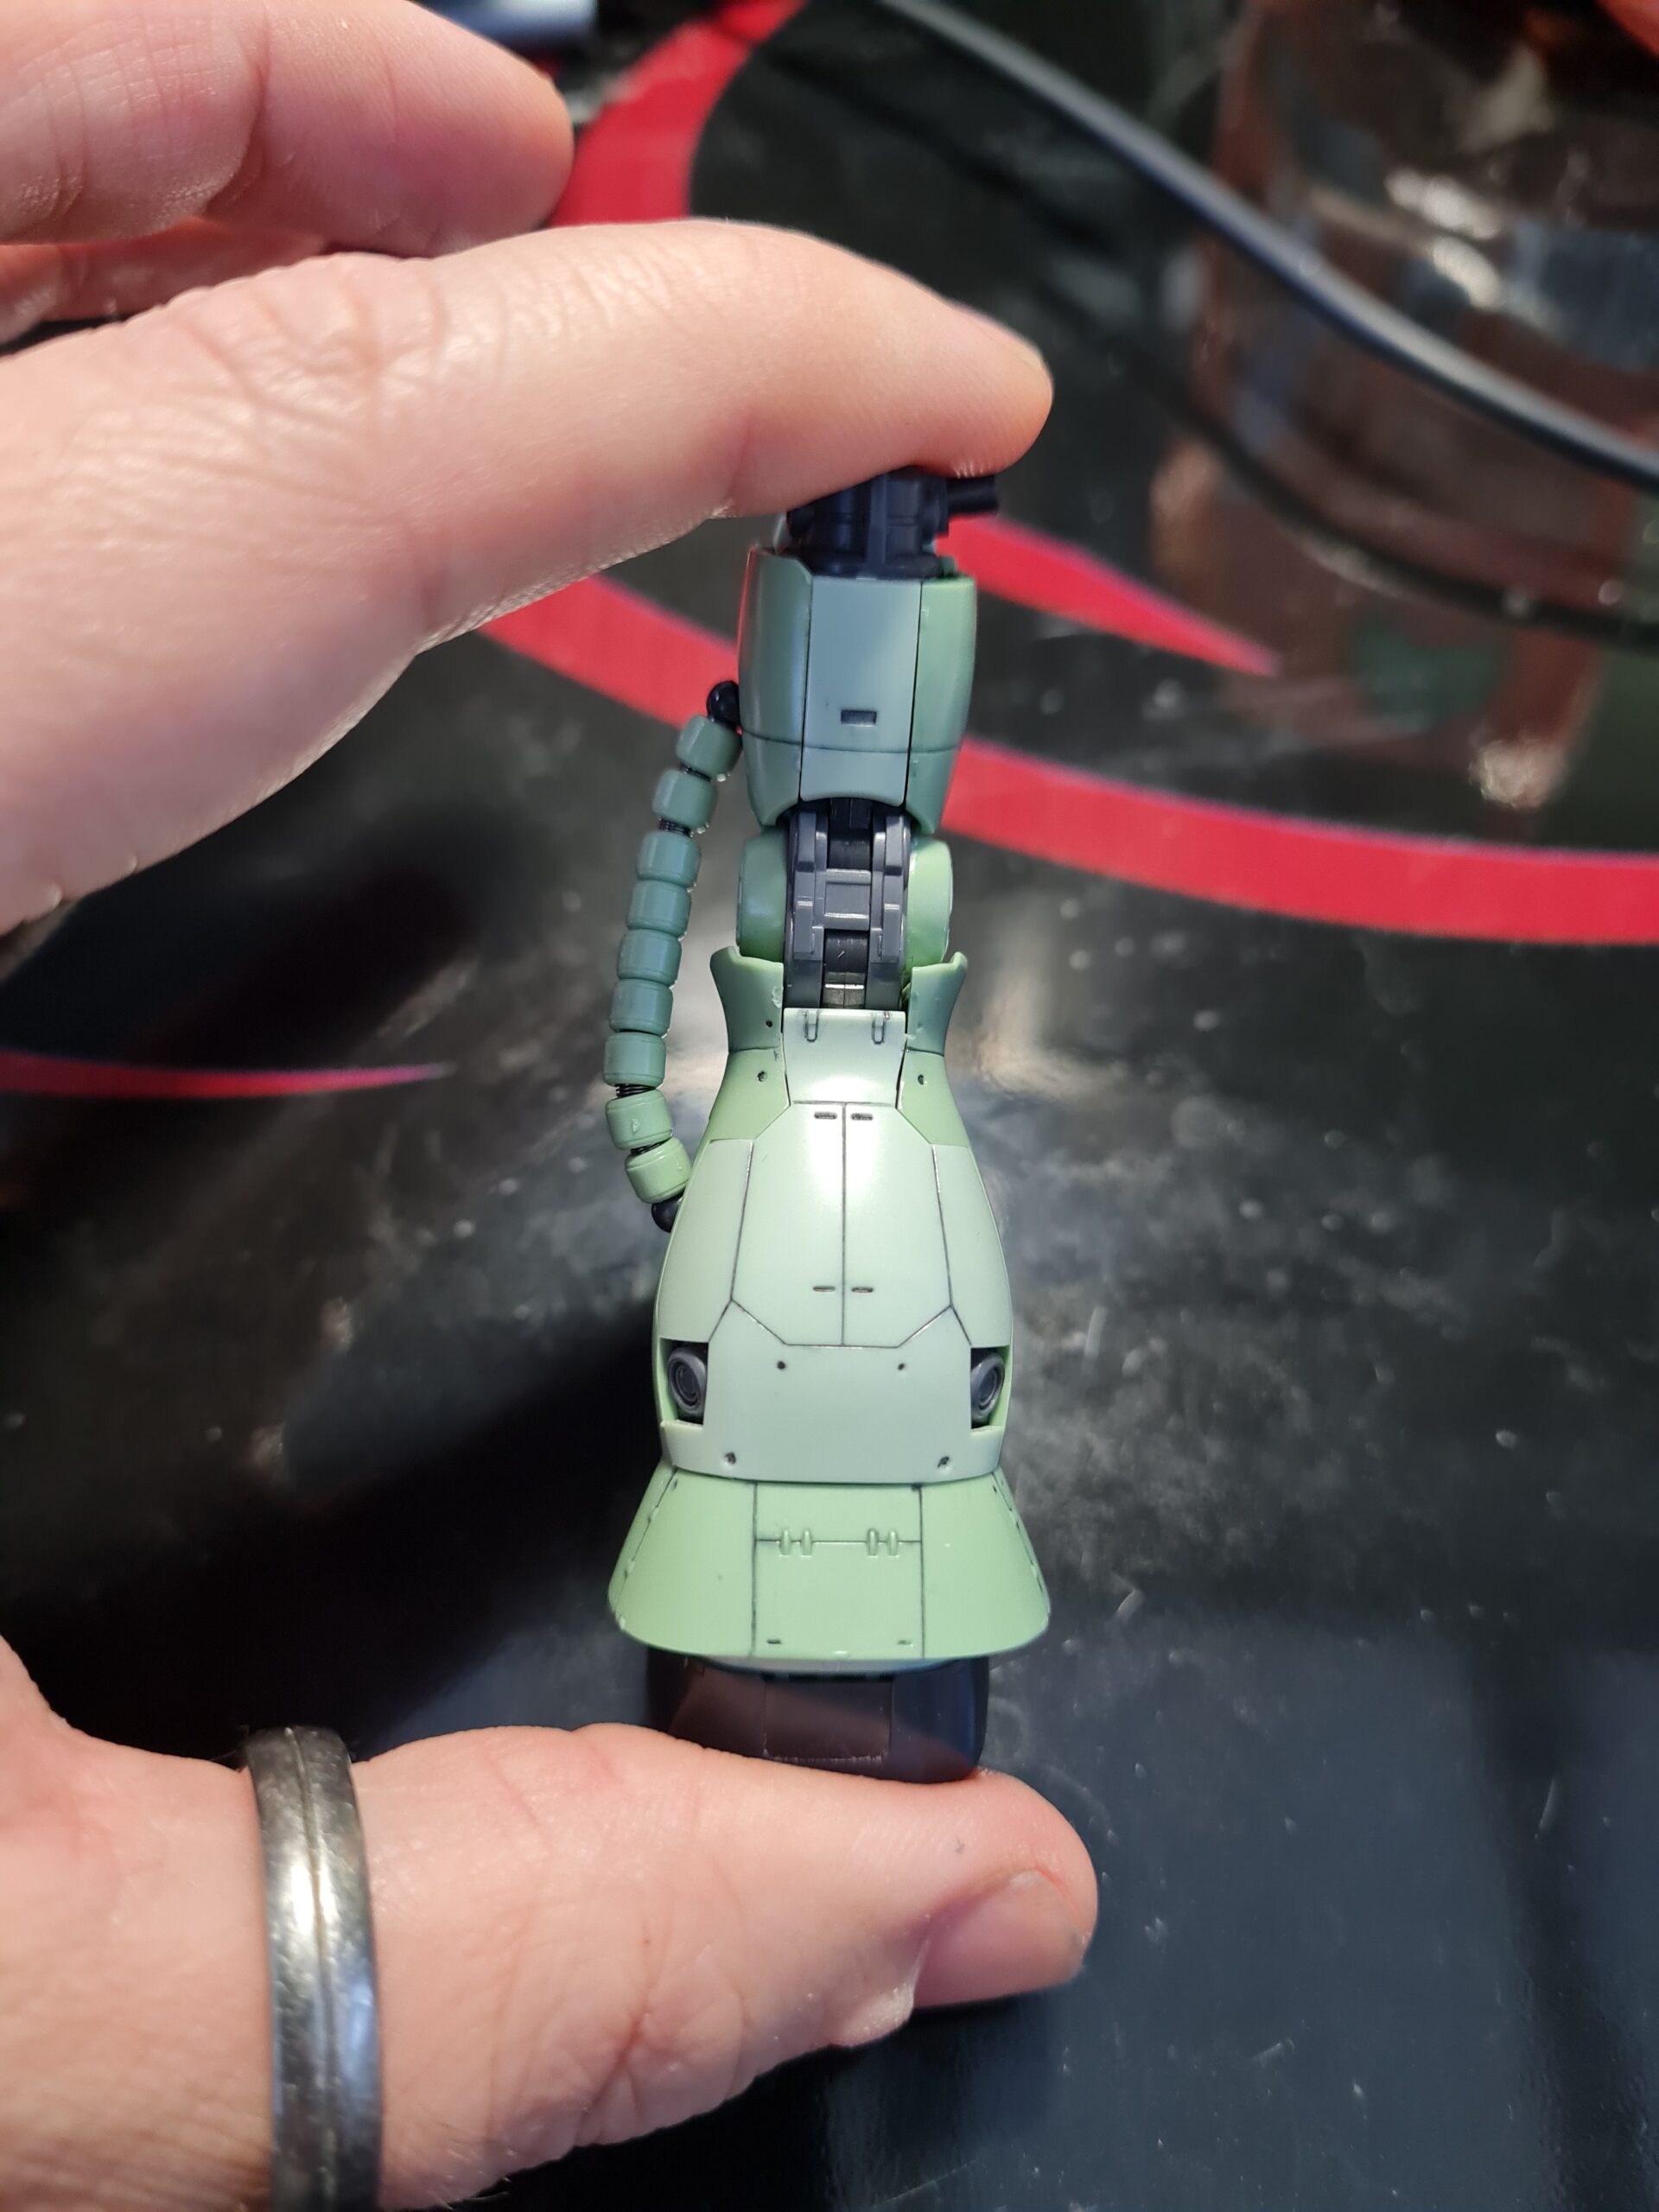
I decided to test all three using a couple of test pieces. I figured as the parts either side of the crotch piece keep coming off anyway they would make fantastic testers!

First I relined them, and then I went through these steps:

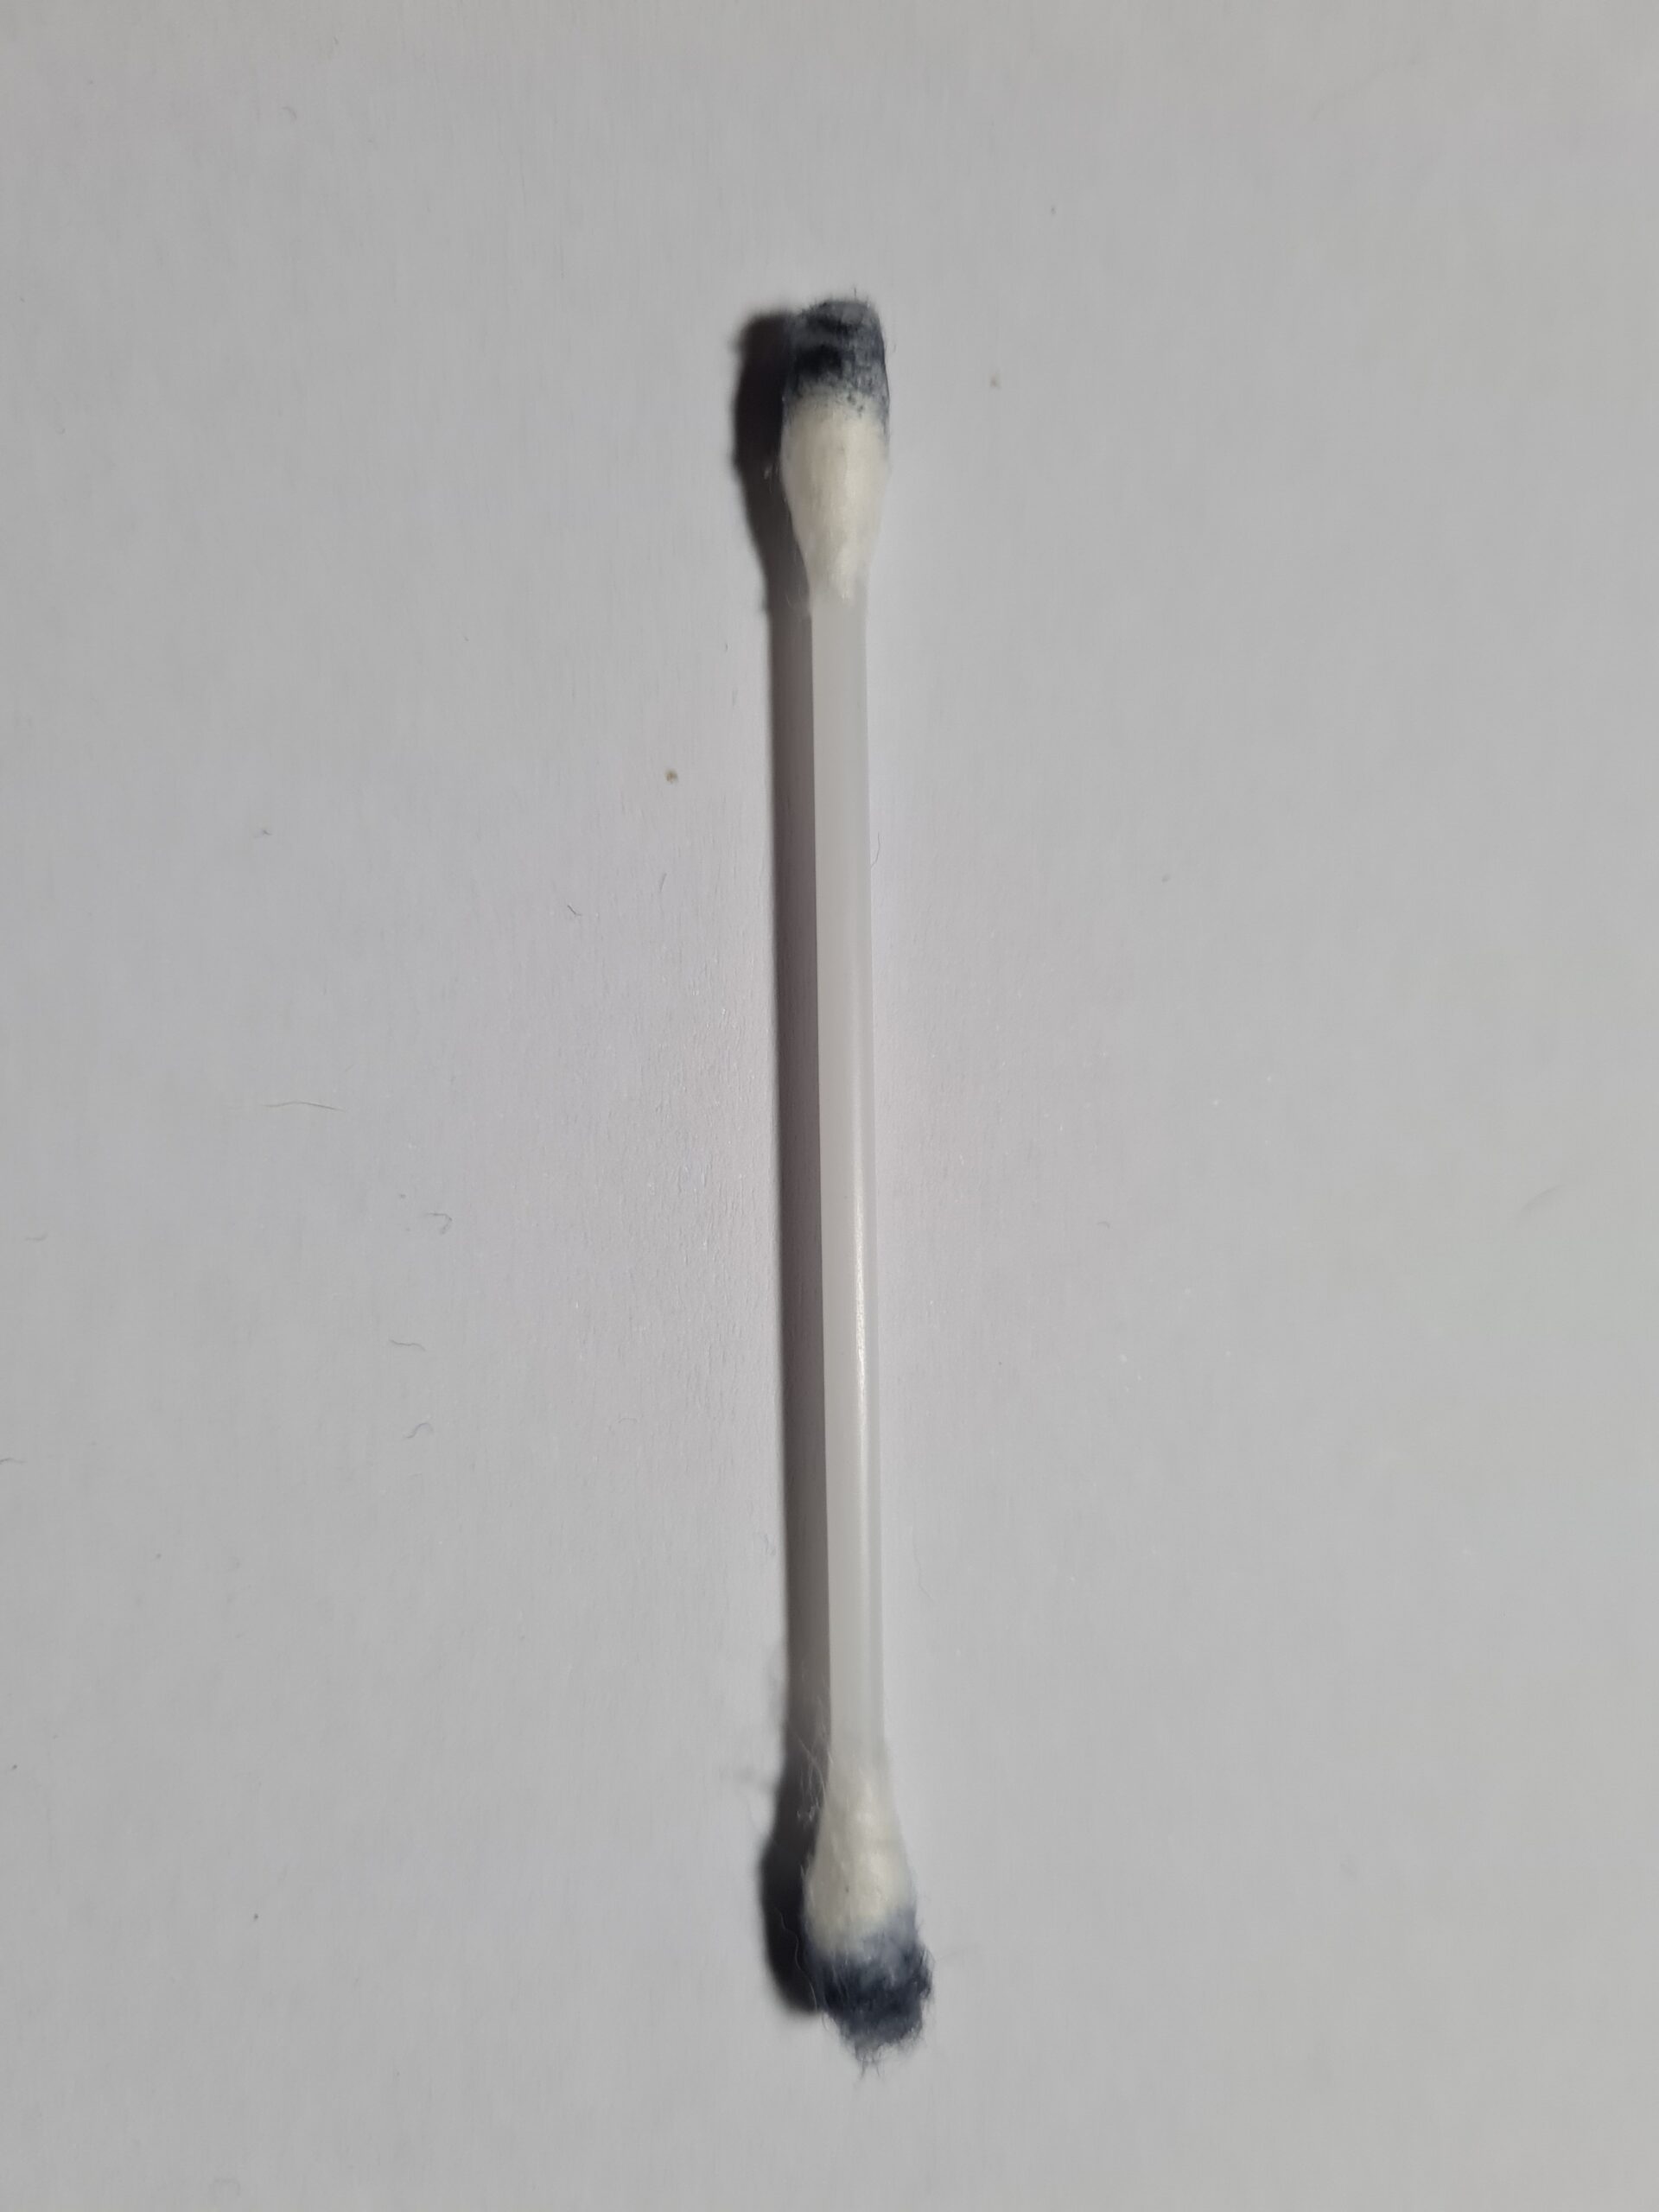
  • Remove the excess ink, paying attention to really remove off as much as possible
  • Warmed the can up in my oodie while watching the TV (don’t judge me!)
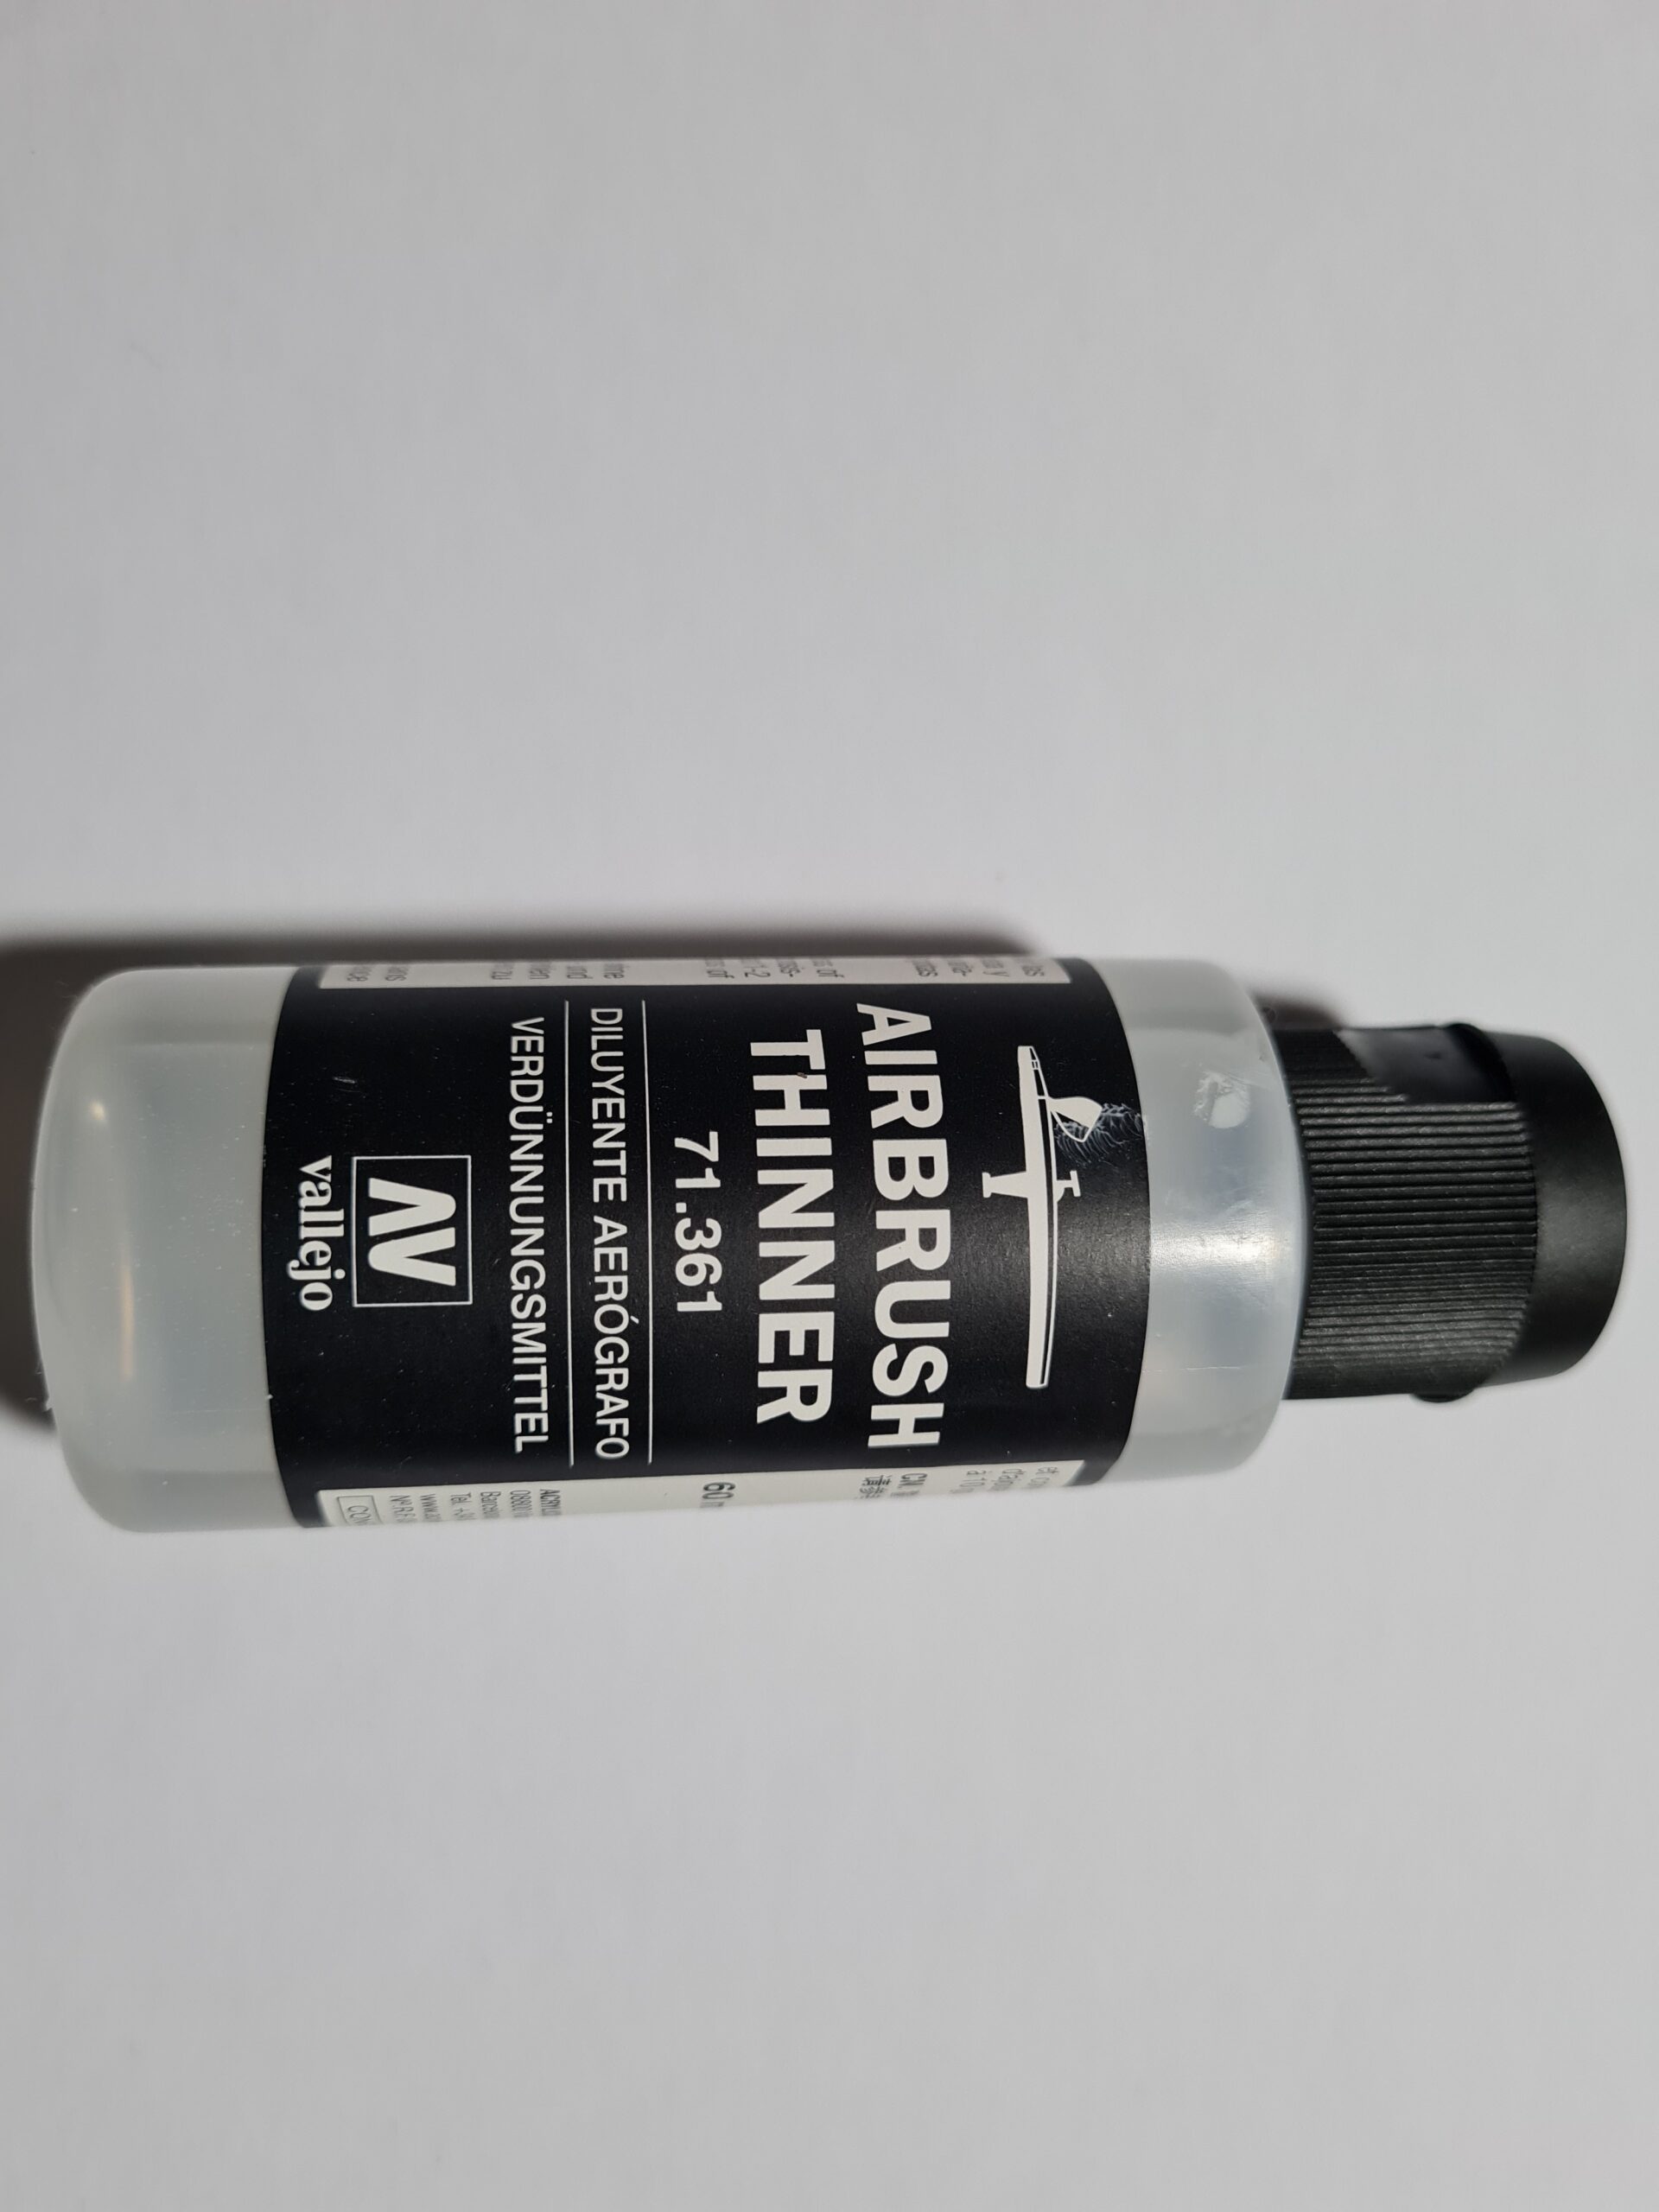
  • Sprayed the pieces making sure to use small sprays at a much further distance from the parts.

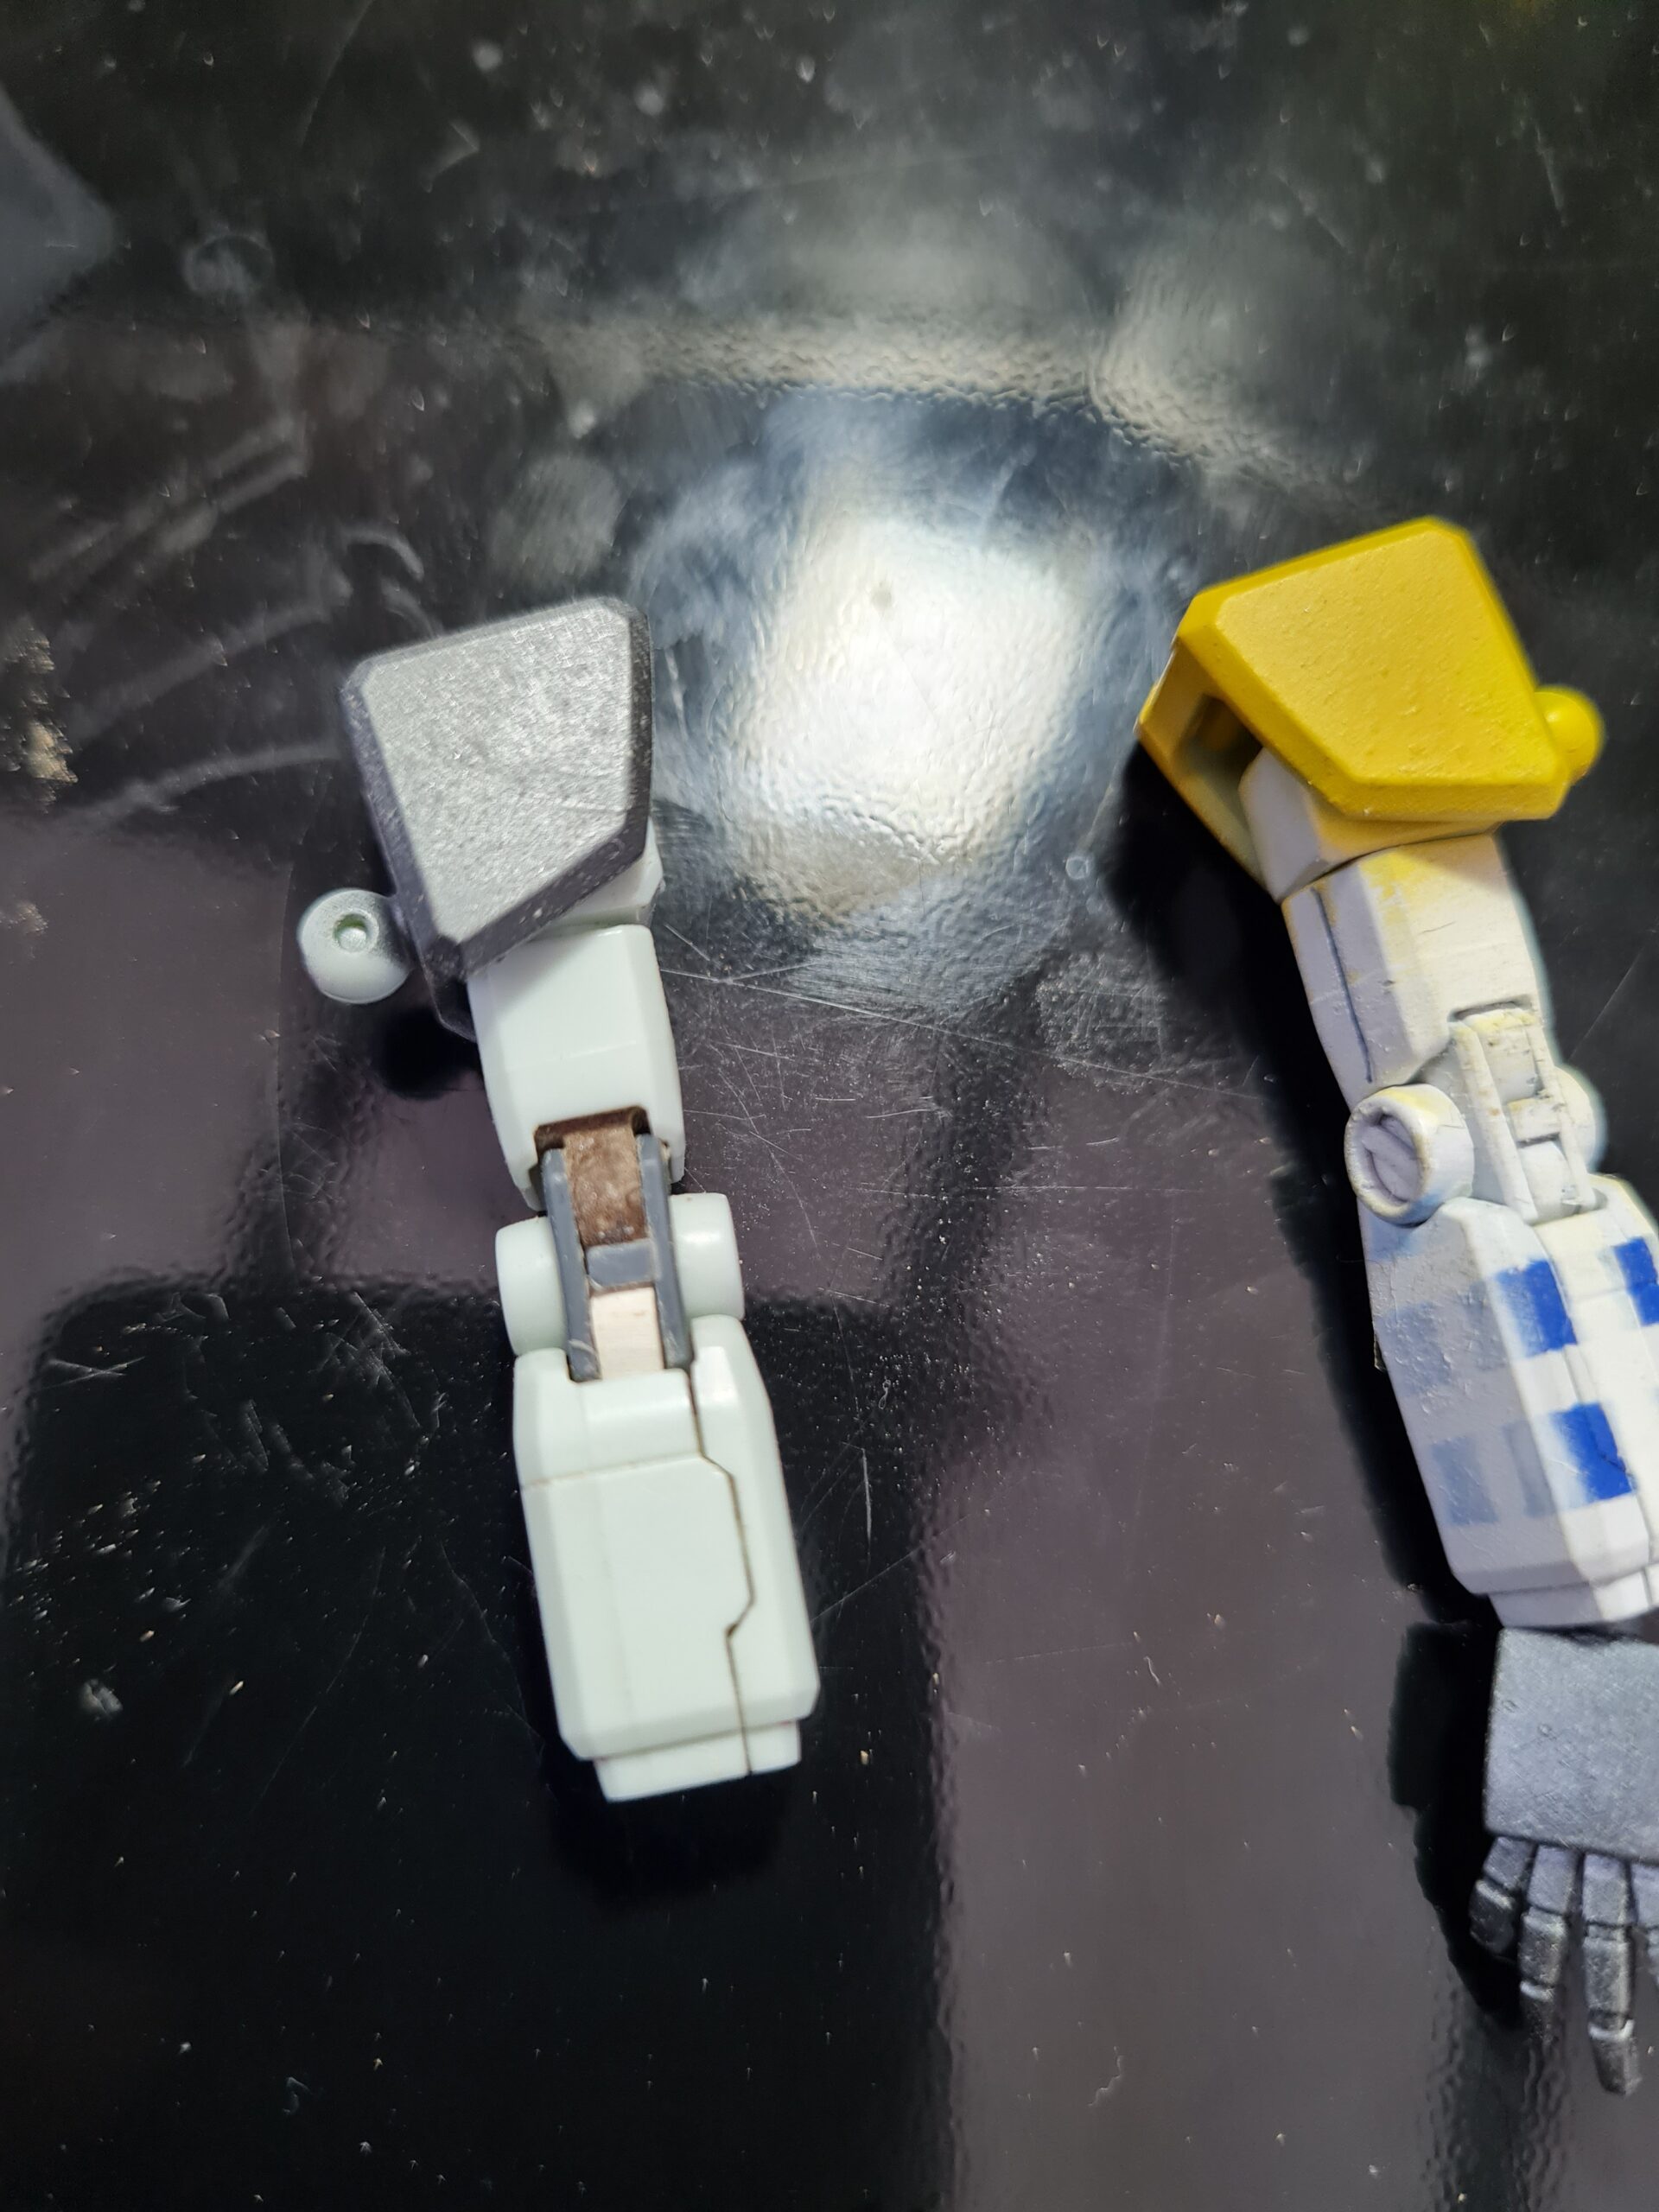
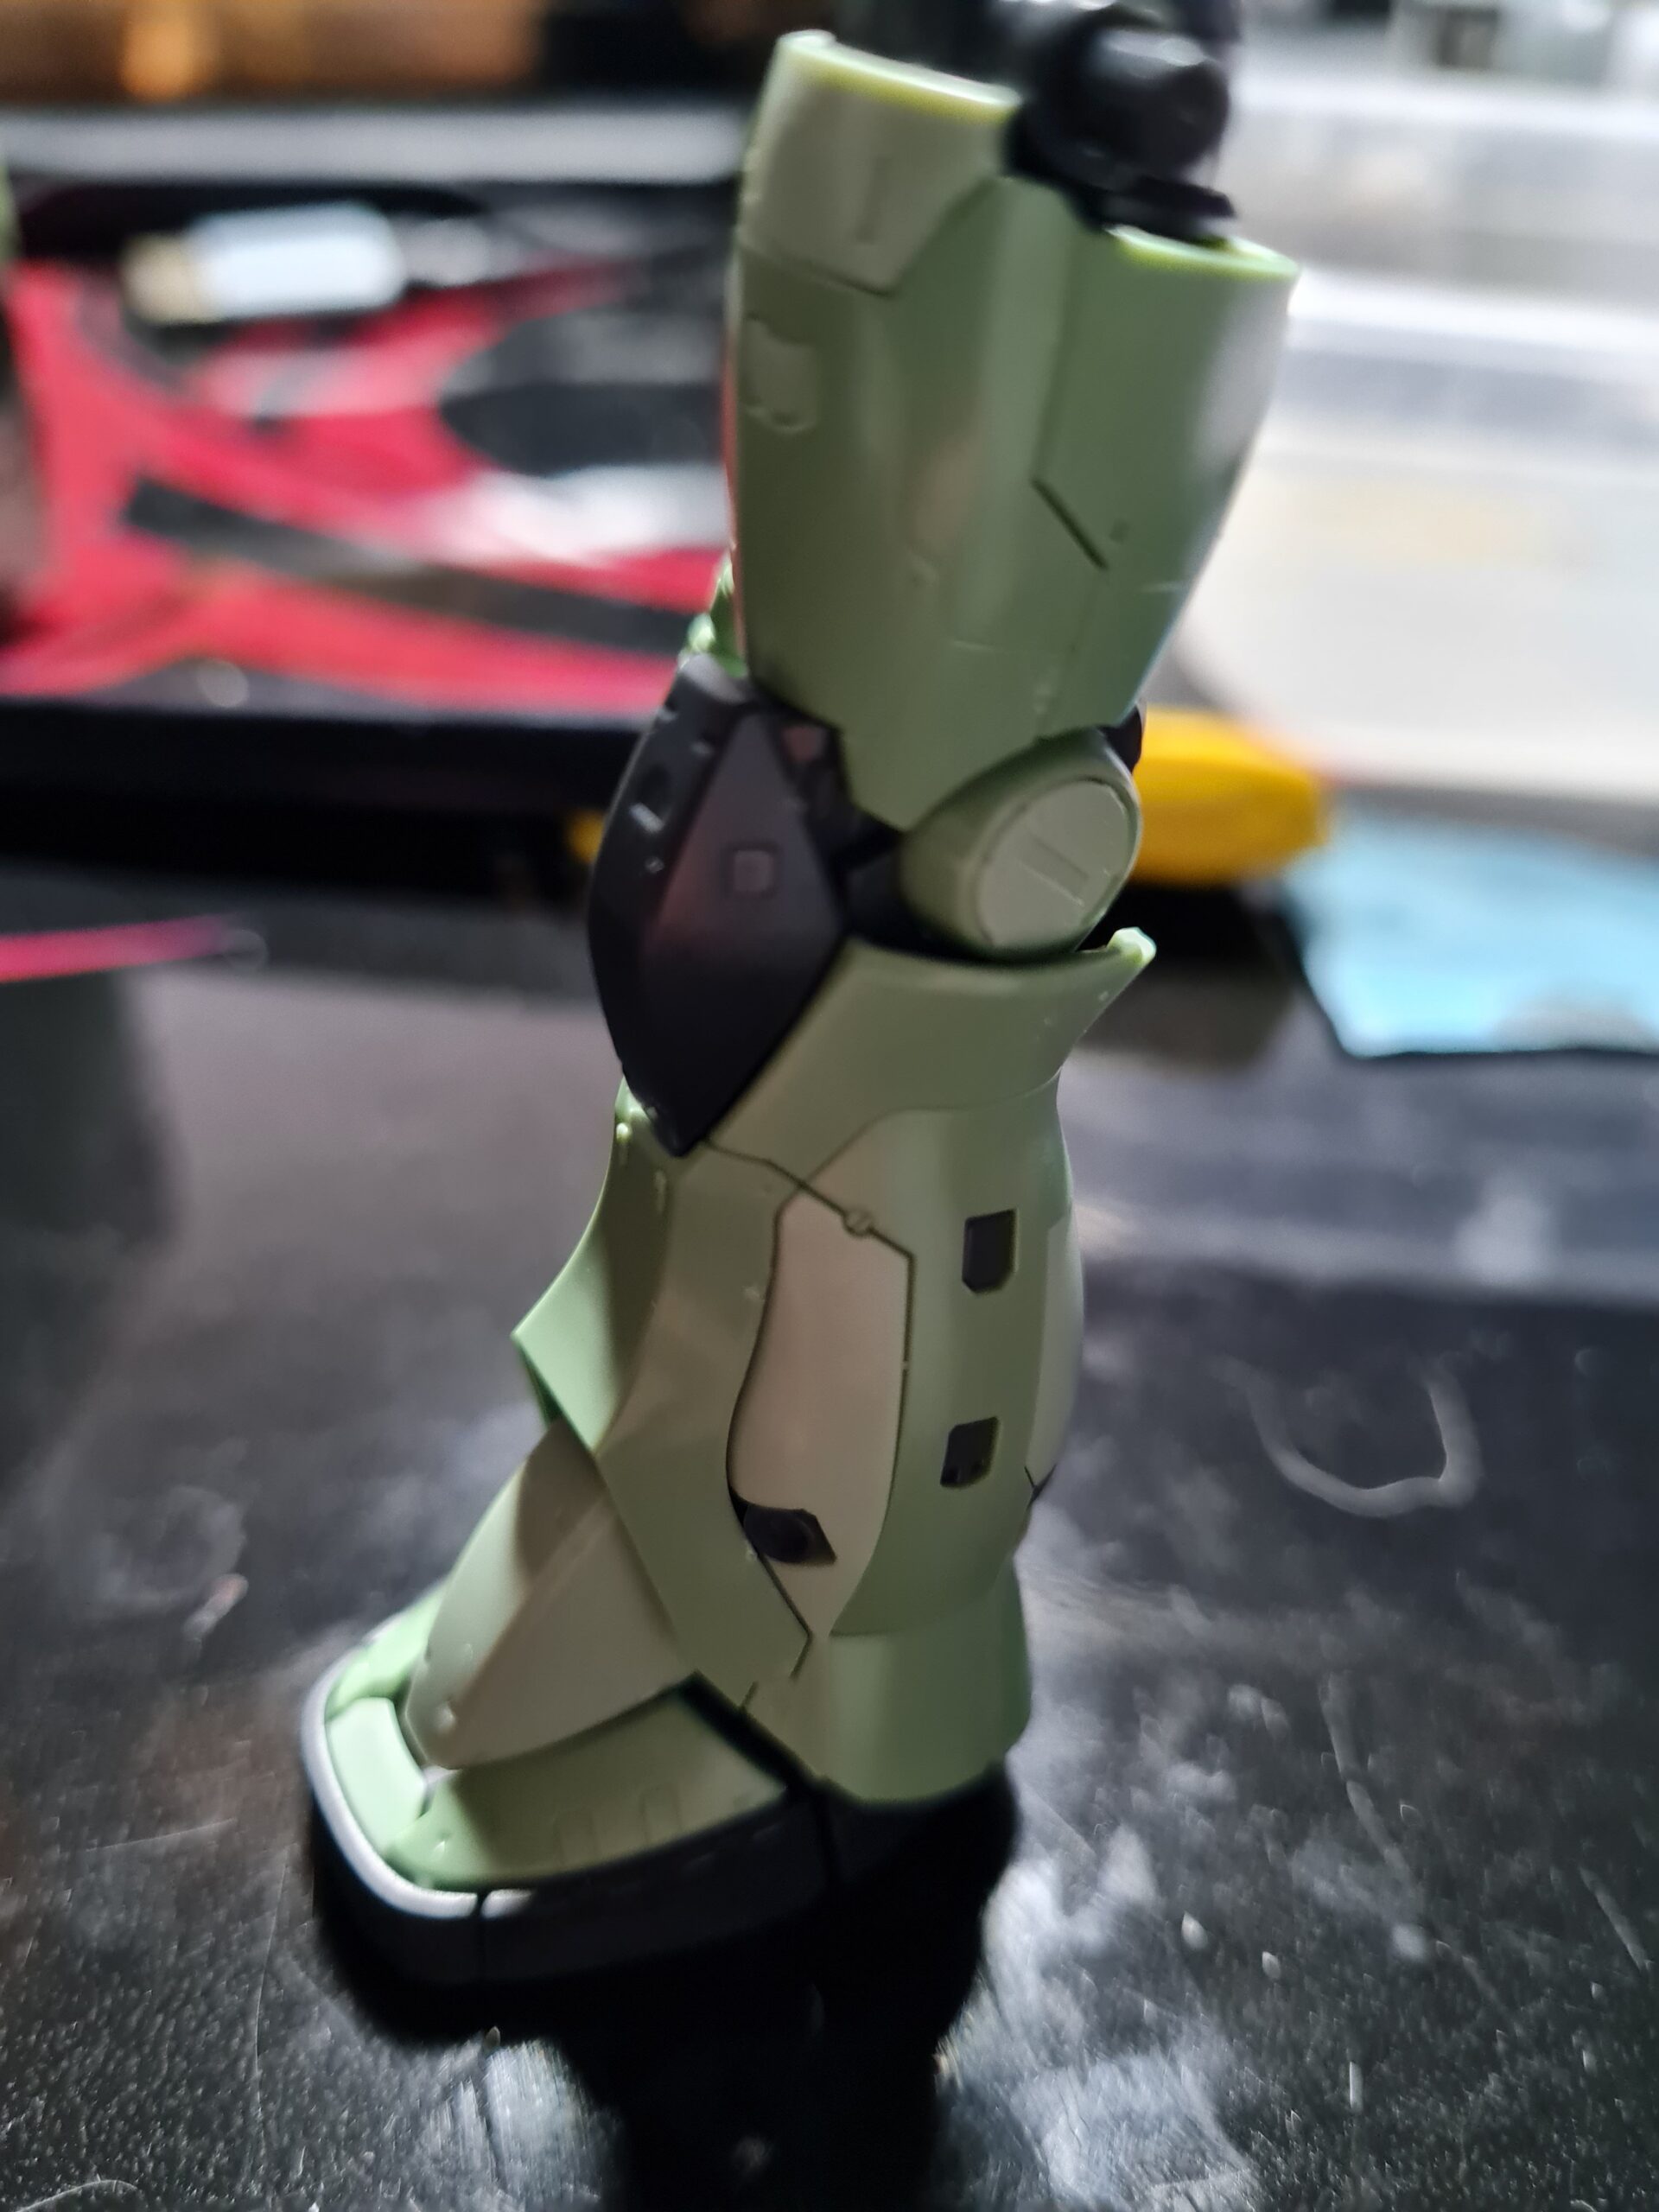
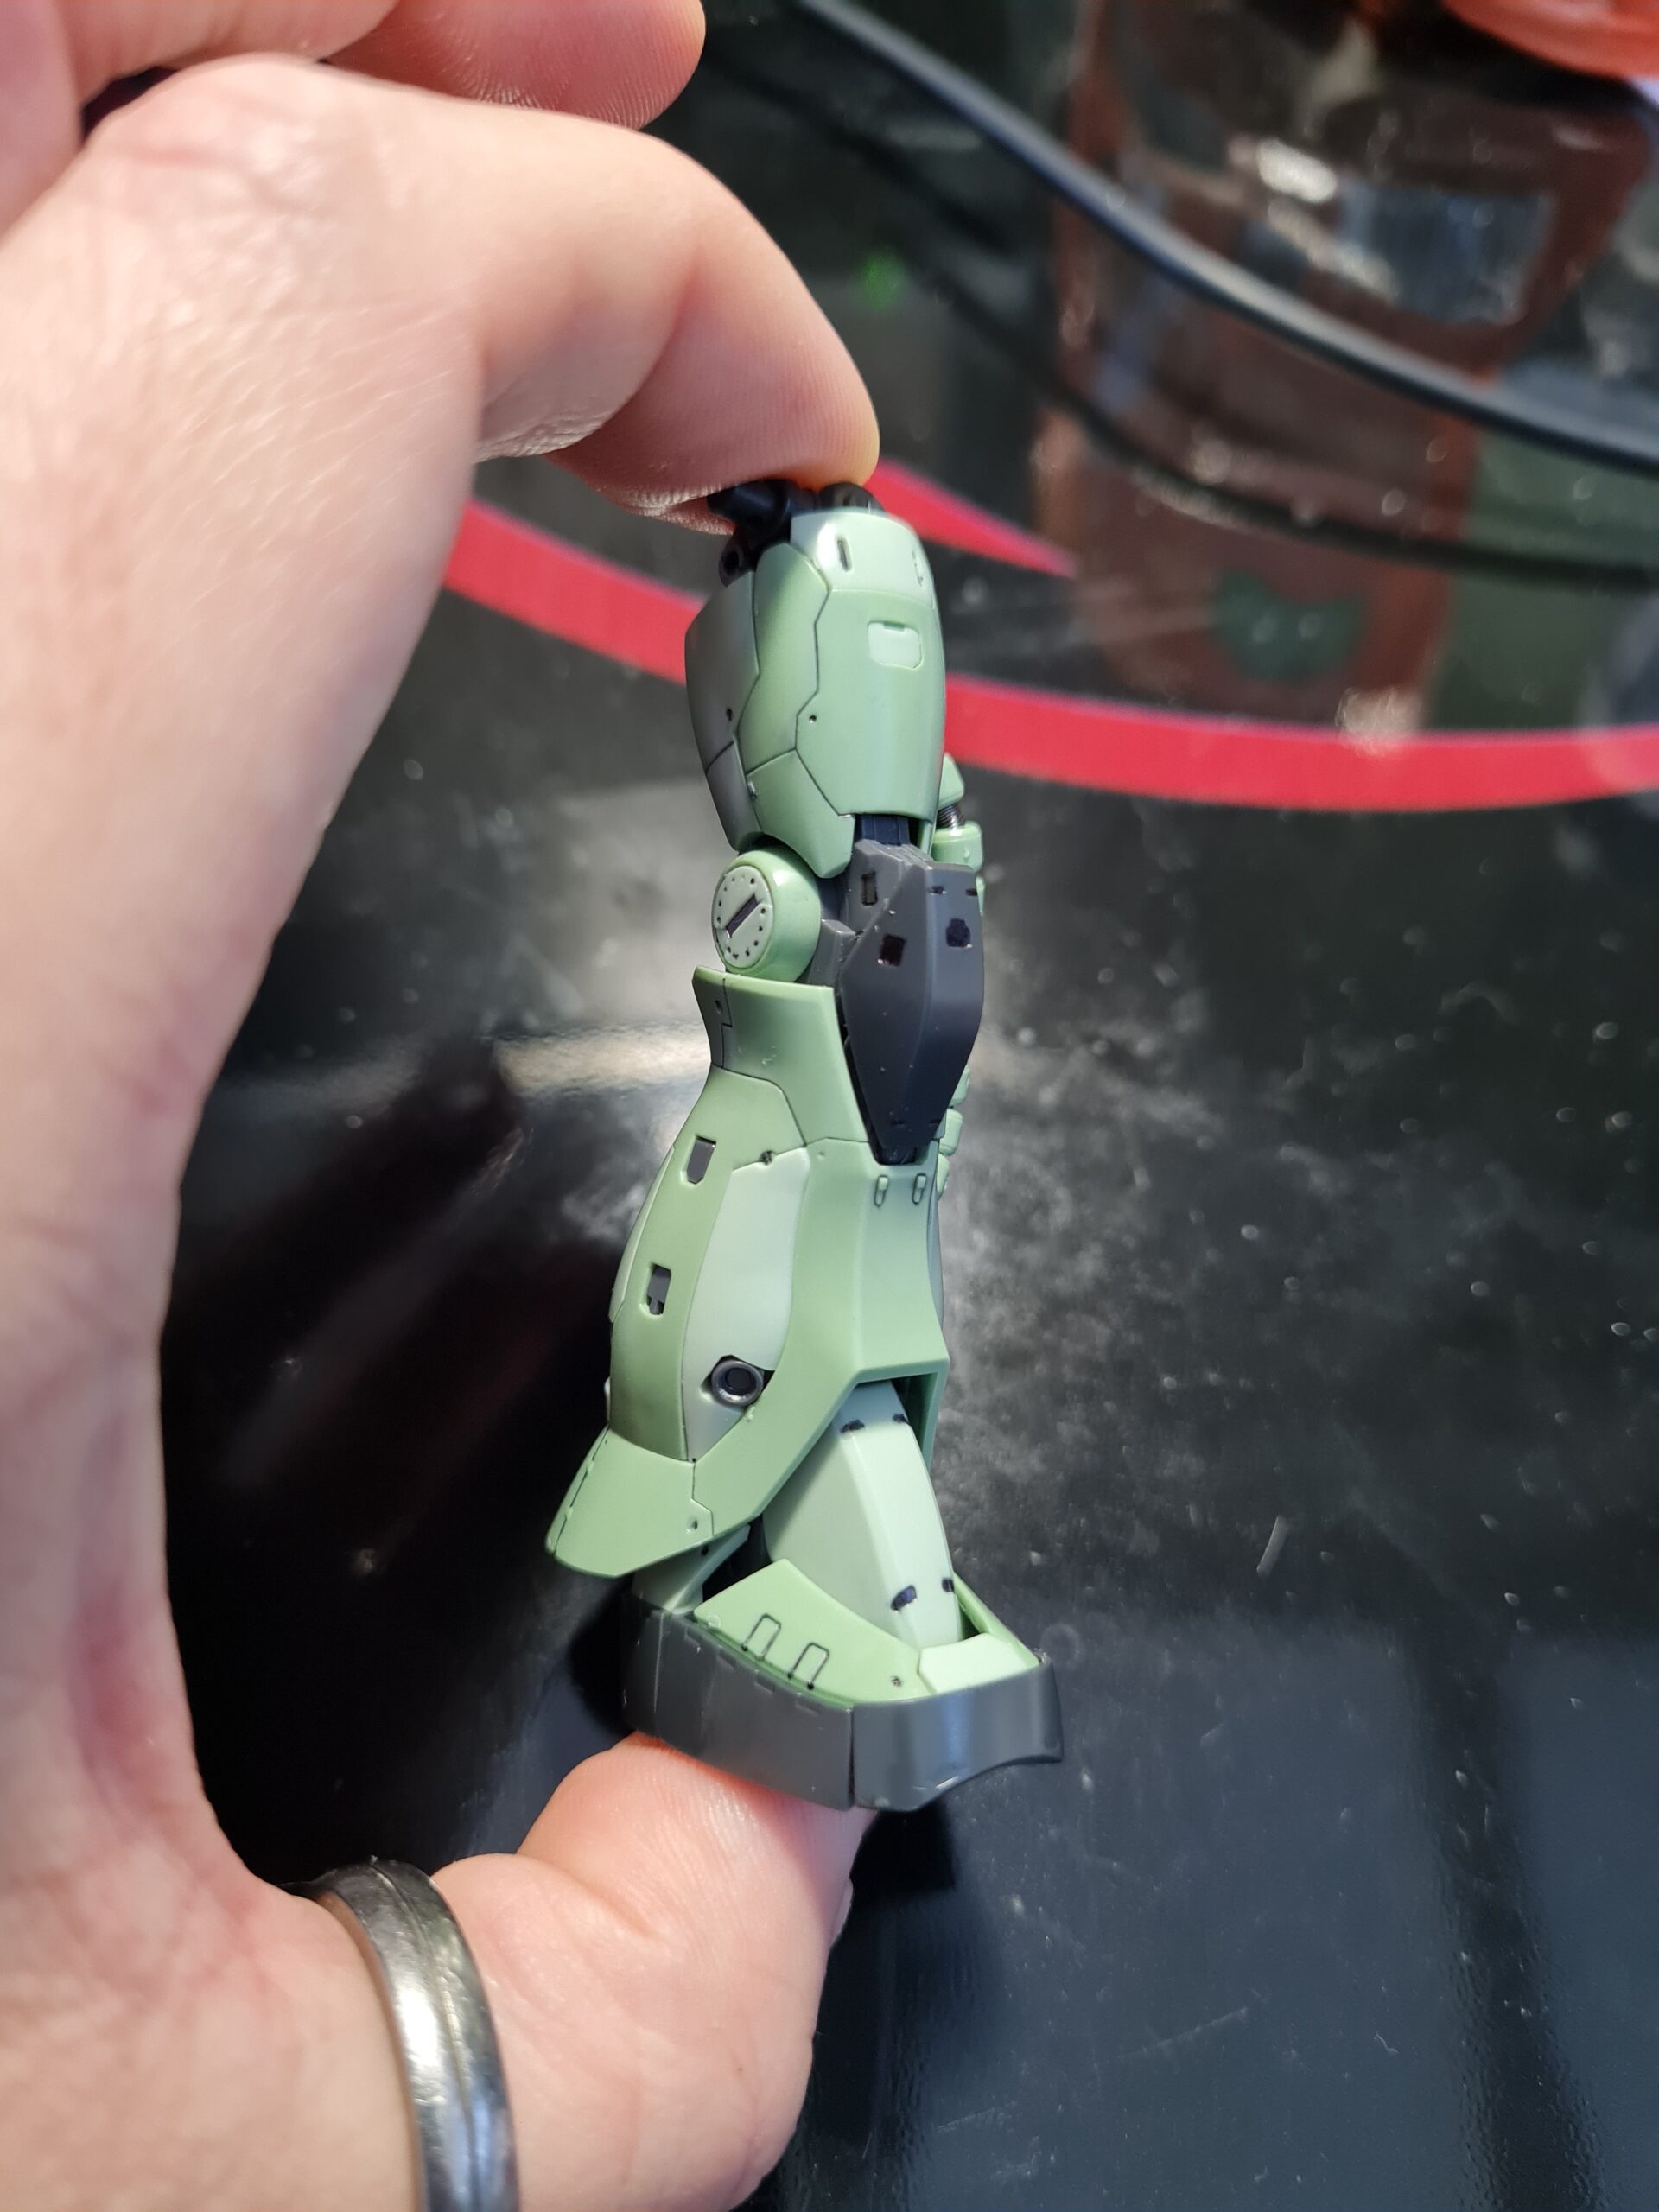
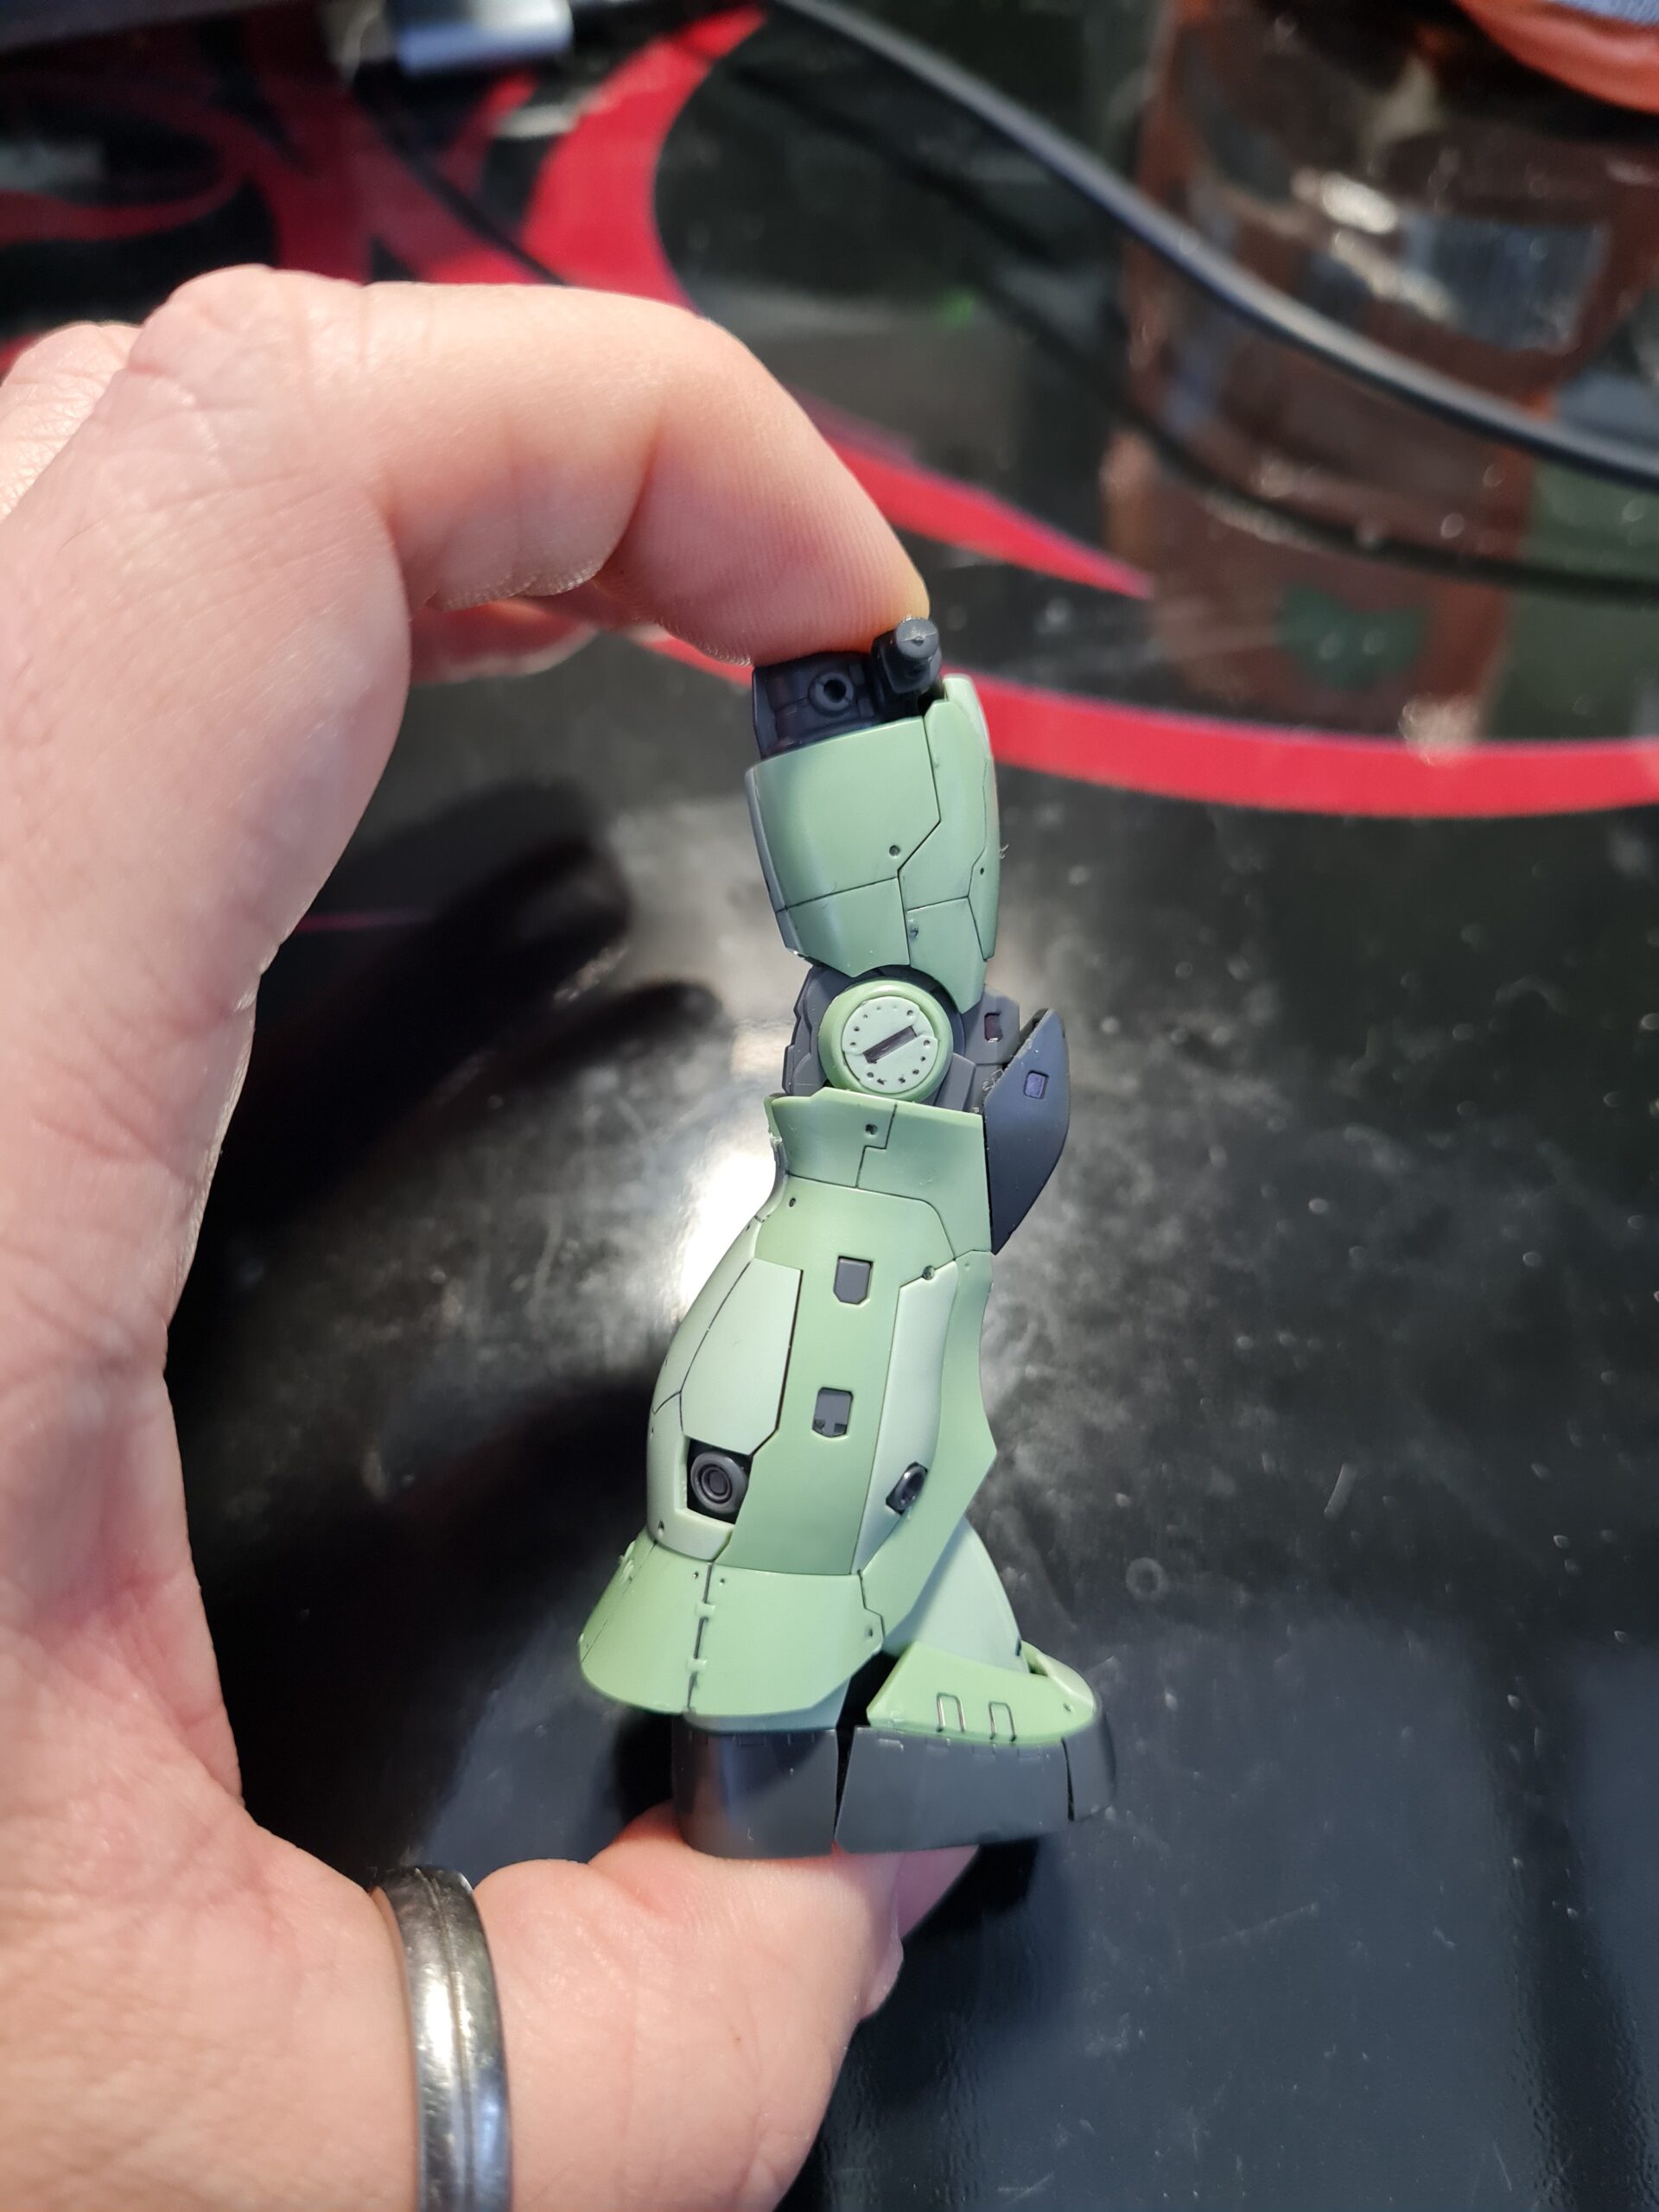
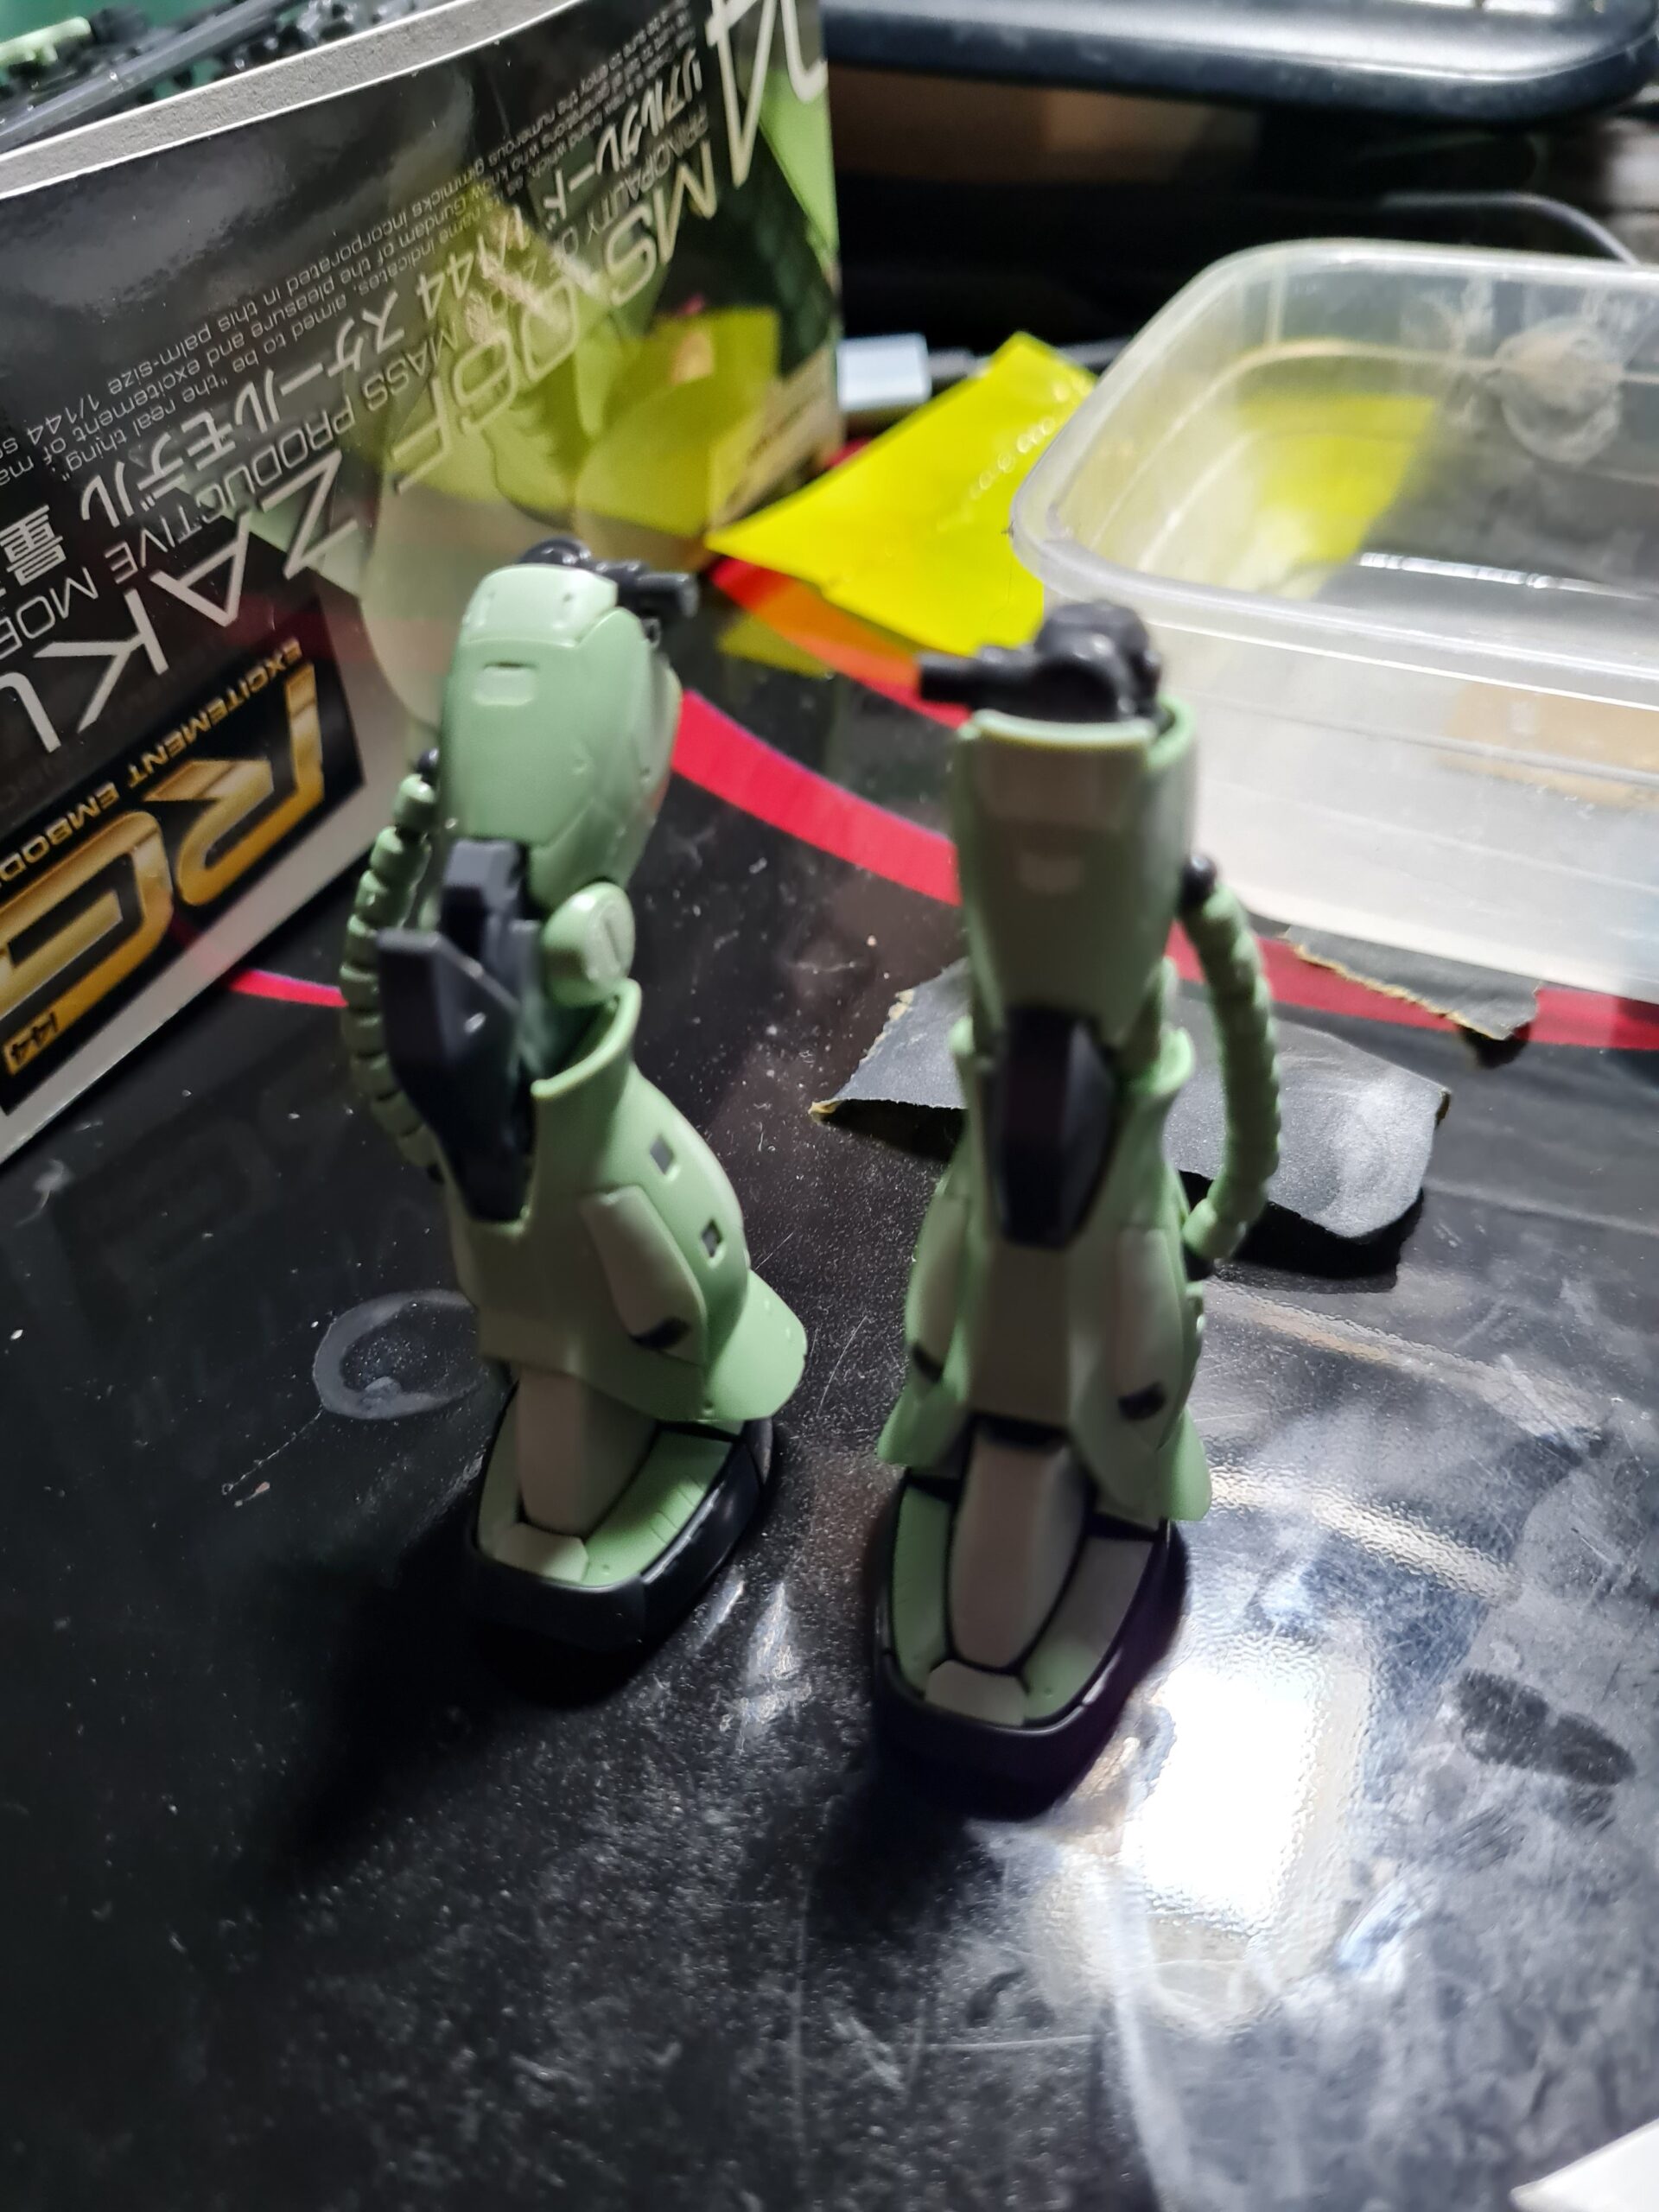
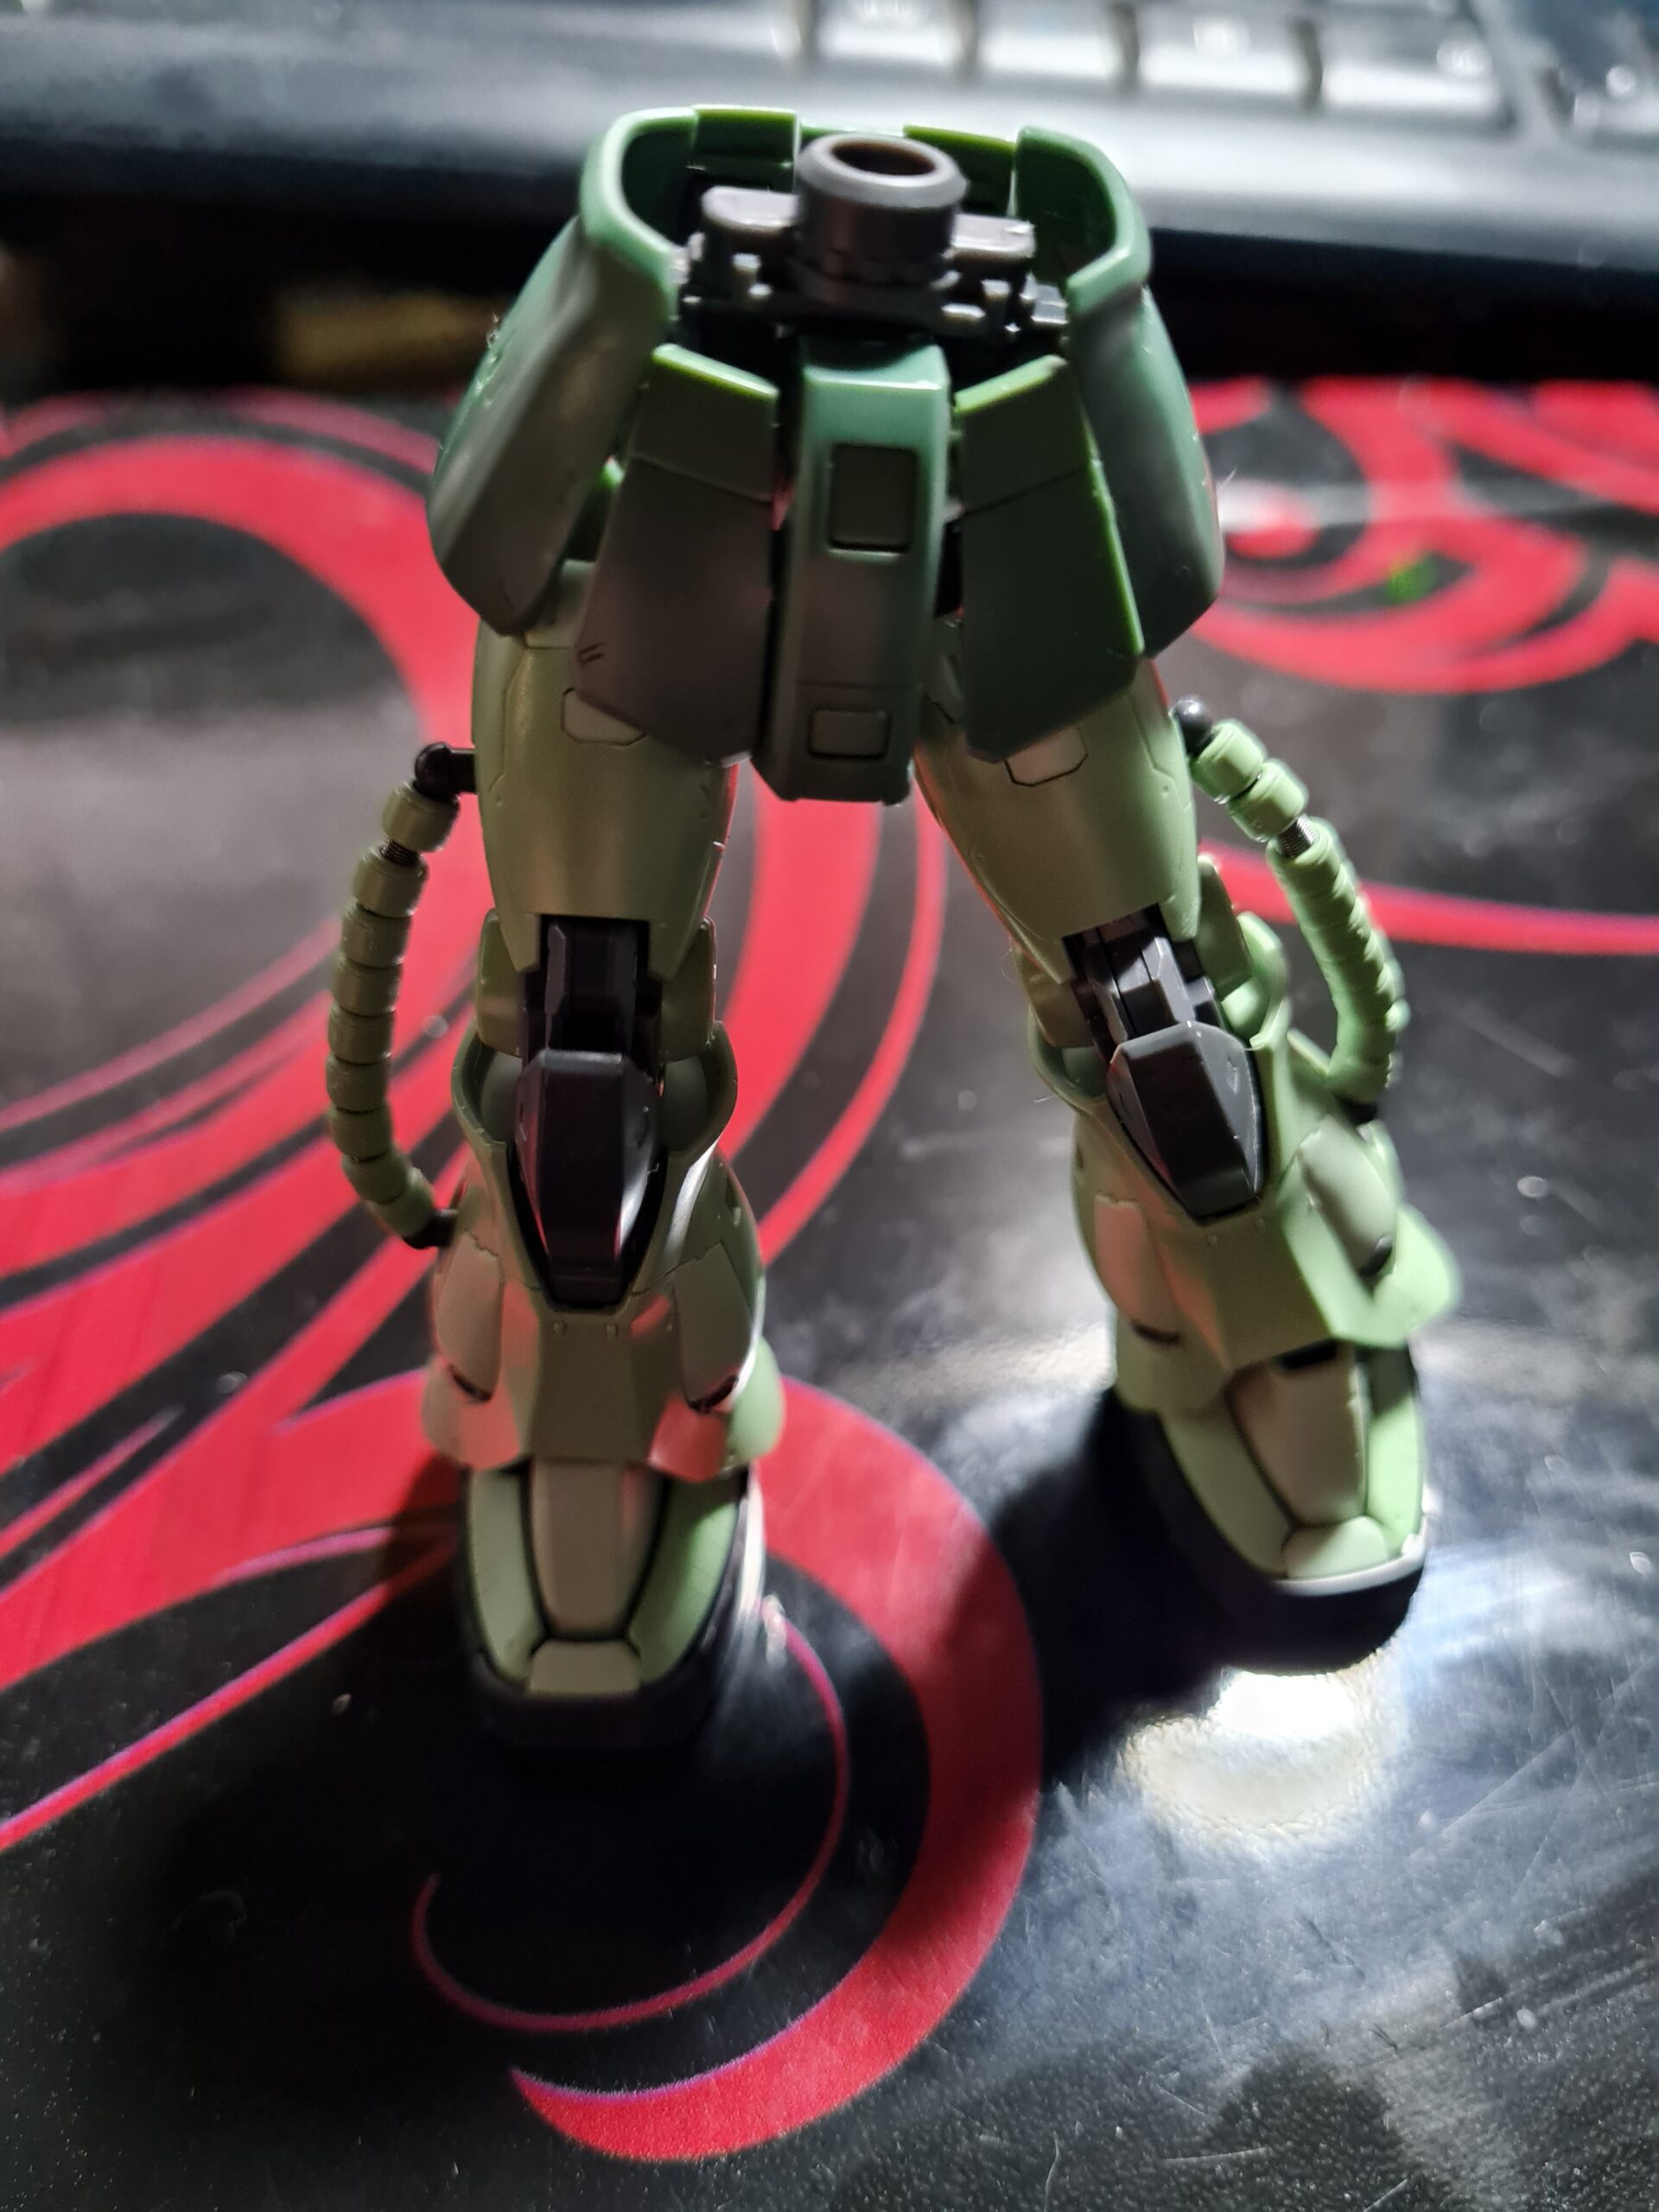
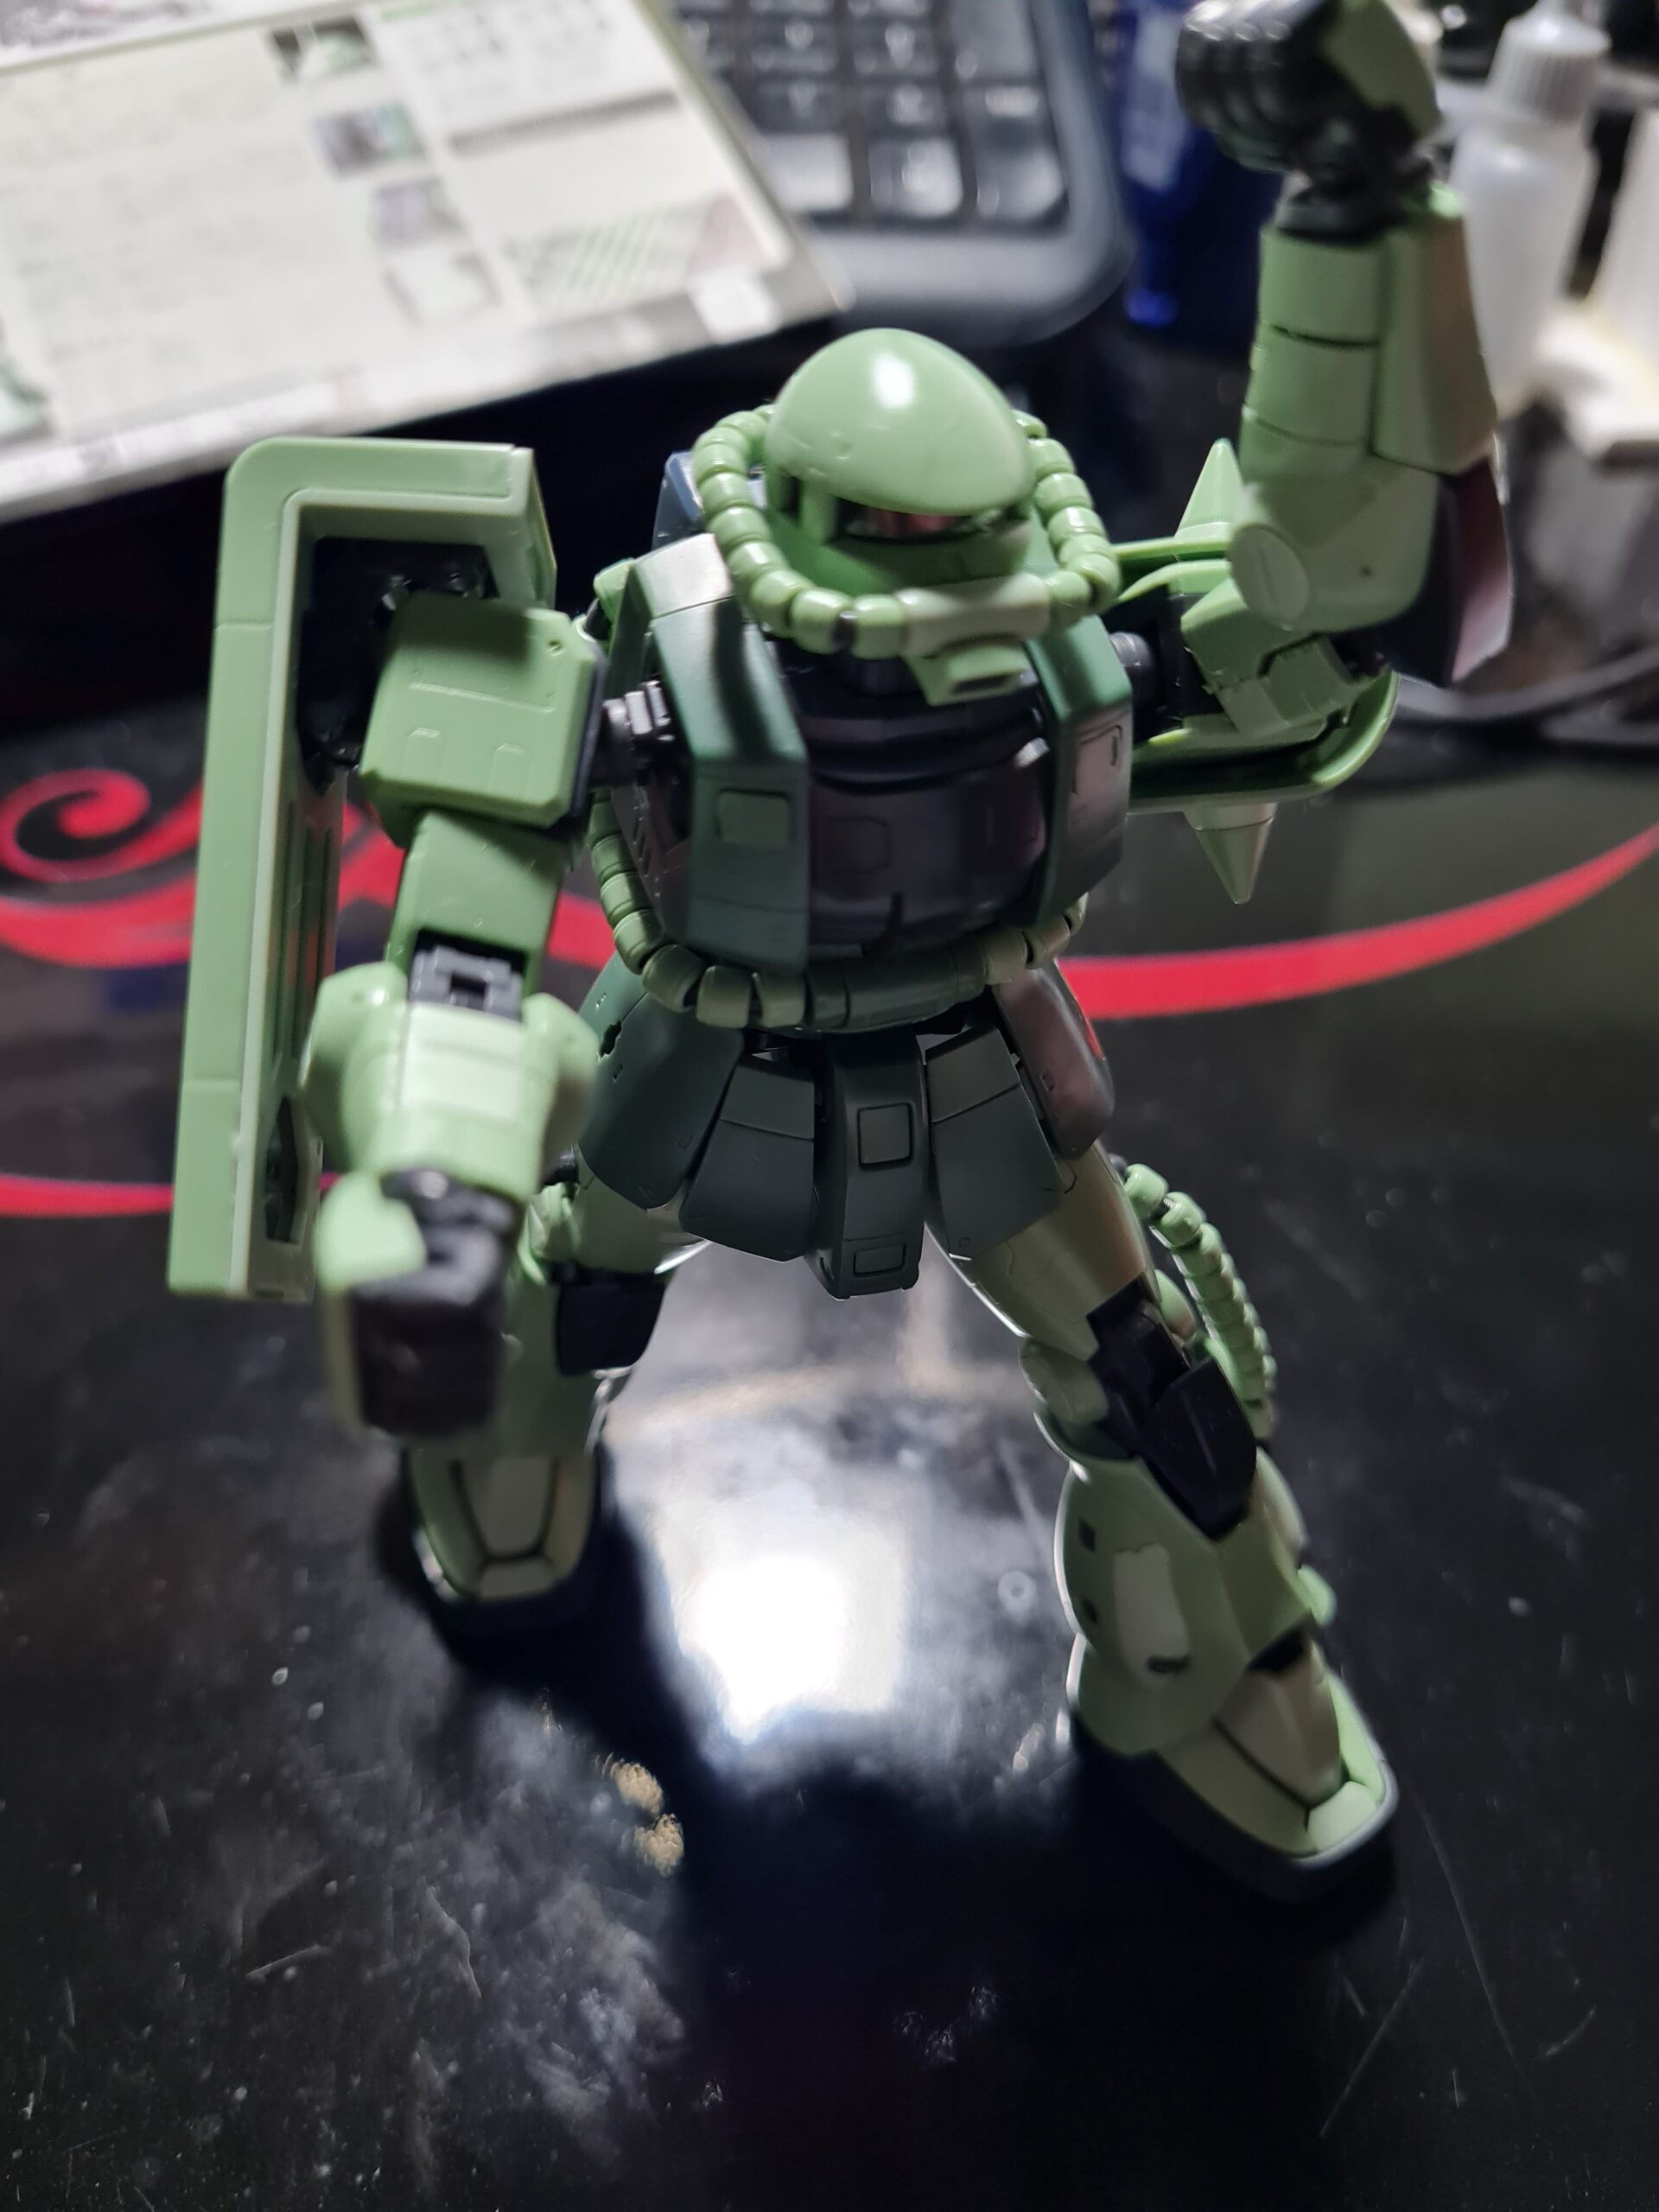
I then left the pieces to dry overnight. The following morning they looked like this:

Panel Line Test
Panel Line Test

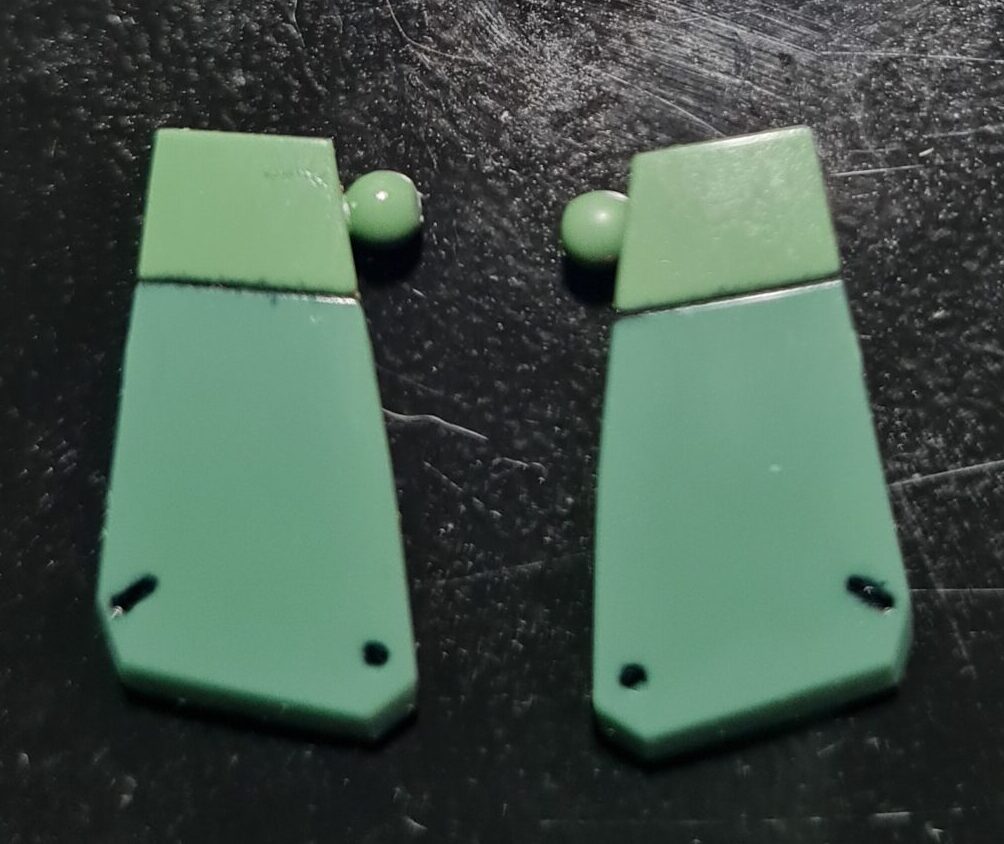
As you can see there is still what looks like a little bleeding along the edge but that is only visible when you zoom in. This version was, by far, 1000% times better than my original version.

In conclusion I would say don’t be afraid to practice. You are unlikely to get things perfect first time. If you do, then absolutely awesome. If, like me, you need to work at it. Then don’t worry. Practice, if possibly not going to make perfect, should see improvement.

Thank you for taking the time to read this. If you haven’t already done so please like and follow us on our social media platforms and checkout our website!

Facebook: https://www.facebook.com/profile.php?id=100086701512793
Instagram: https://www.instagram.com/modelkitsltd/
Website: https://modelkitsltd.co.uk

#gundam #gundammodel #model #kit #gunpla

Posted on

RX-78-2 Repair

Some time ago I bought a HG RX-78-2 model to practice a few techniques on.

I wanted to have a look at a few techniques I have seen people working on, and the RX-78-2 is such an iconic suit I couldn’t resist!

Reading the various online posts and seeing peoples customisation’s I decided I wanted to try:

  • Airbrushing
  • Lighting
  • Weathering
  • Diorama

Now in hindsight I should probably have picked one of these and just done that. However, never being one to shy away from a modelling challenge I went for it.

RX-78-2
RX-78-2

The first thing I did was put the model together to get everything in place before starting to modify the model to fit the lighting into the helmet.

Unfortunately for me I decided to take apart one of the arms while half asleep. Half, asleep me convinced myself that the arm pulled apart .. let me spoil the surprise. The elbow joint does not pull apart unless you break 2 of the pieces.

This then left me in a quandary. My options seemed to be limited to:

  • Buy a replacement for just the elbow pieces
  • Model it as having the arm blown off (sort of intrigued to see how this would play out)
  • Try and buy a replacement runner (only seems available in Japan)
  • Cast myself some replacement parts

After doing this I foolishly convinced myself that casting my own pieces would be the “easiest” option. I think I should lay my cards on the table now. It really really wasn’t.

The first pieces I cast snapped. Now I have to say I think I didn’t mix the milliput for long enough. Today, after deciding to go back and try again, I took two pieces I had cast. One using super fine milliput, and one using brown stuff. After much filing I finally got it to go together. My completed re-assembled arm now looks like this:

As you can see there is still some cleanup needed (on both) and a fresh undercoat before a fresh paint. However the final result seems to work fairly well.

So looking back at this there are a few things I haven’t learnt. The first is to ensure I spend longer mixing the two part epoxy. That seems to make a massive difference. The second is to not rush while trying to file and cleanup the pieces. Finally I have learnt perseverance. I have broken many many many pieces while getting this back together. However, I am happy with the final result.

Thank you for taking the time to read this. If you haven’t already done so please like and follow us on our social media platforms and checkout our website!

Facebook: https://www.facebook.com/profile.php?id=100086701512793
Instagram: https://www.instagram.com/modelkitsltd/
Website: https://modelkitsltd.co.uk

#gundam #gundammodel #model #kit #gunpla

Posted on

RG Zaku II Weapons

In today’s post “RG Zaku II Weapons” I want to show the weapon extras that come with the kit. With a lot of the Bandai kits there are various “extras” that come with the kit. Often these are in the form of weapons that the various models wield in the shows they appear in. In some cases there are even full “weapon” sets produced.

The RG Zaku II kit comes with three iconic weapons for the suit.

The machine gun

Zaku Machine Gun
Zaku Machine Gun

The first weapon is the Machine Gun. I always think this looks like the old tommy guns from the gangster movies. I absolutely love this weapon and it fits together beautifully. The circular magazine on top adds real character, and the piece really does capture the feel of it from the shows.

The Bazooka

RG Zaku II Bazooka
RG Zaku II Bazooka

Secondly is the Bazooka. I think this is another iconic weapon for the Zaku and suits in general. Certainly the early episodes are (if my memory isn’t playing tricks) are festooned with suits pulling out the Bazooka and firing off multiple shots. Again I found this easy to put together, it is a very simple piece, but it captures the feel of the part wonderfully.

The Axe

RG Zaku II Axe
RG Zaku II Axe

Finally we have the axe. Another iconic weapon from the shows. The part that looks like a round ball in the picture half way up the shaft is actually a section that sticks out and clips into the hand for holding the axe. Again this is also a fantastically charismatic piece to go with the model.

Conclusion

That completes my roundup of the weapons that come with the RG Zaku II model.

Thank you for taking the time to read this. If you haven’t already done so please like and follow us on our social media platforms and checkout our website!

Facebook: https://www.facebook.com/profile.php?id=100086701512793
Instagram: https://www.instagram.com/modelkitsltd/
Website: https://modelkitsltd.co.uk

#gundam #gundammodel #model #kit #gunpla

Posted on

New Stock 24th November 2022

While waiting for the big December shipment from Bandai to see if any of my orders are there. I have been fortunate enough to secure some new stock. Only the other day these lovely boxes were delivered:

I always get excited when I get a delivery of new stock like this. Even better the lovely people at Cosmic Group also normally put the kits inside a box, and then put the box, inside another box. Finally when you get the lids open you are greeted by this:

I have to admit to loving unpacking these. Under those kits, there are more kits, and under those, more kits! The only sad thing is that I want to take them all to build myself!

Once I had the order confirmed I started work on adding the items to the store as private, and setting up all the prices and links. That allowed me to pretty much check the stock when it arrived and get the items up and available to you as soon as possible.

All of the items that came in that shipment are on the site, so why not go and have a look at the shop here.

Thank you for taking the time to read this. If you haven’t already done so please like and follow us on our social media platforms and checkout our website!

Facebook: https://www.facebook.com/profile.php?id=100086701512793
Instagram: https://www.instagram.com/modelkitsltd/
Website: https://modelkitsltd.co.uk

#gundam #gundammodel #model #kit #gunpla

Posted on

Next Shipment

I want to update everyone on the next shipment of GunPla into Europe. For anyone who doesn’t know, goods ship in from Japan to the European distributor in Italy, who then distribute out to the relevant retailers around Europe.

Once the goods arrive with the European distributor then they have to unload everything that has arrived before logging it into their system. Only after that will they be able to communicate with the suppliers as to what items they have ordered are available.

The next shipment is due in between the 1st and 3rd of December.

Excited picture
Excited Picture

I believe the process, in its barest form would be:

  • Goods arrive
  • Goods are logged into the distributors system
  • Invoices are confirmed with retailers
  • Invoices are paid
  • Goods are shipped to retailers
  • Retailers get and unpack goods
  • Retailers update stock on their systems

Usually from invoices paid to the goods arriving with retailers in the UK the lead time is about a week or so. It is however dependant on customs etc. as the goods have to pass through and any queries there can delay the delivery.

By my reckoning I think that is likely to make it the last shipment that people will be able to get on the shelves this side of Christmas. So keep your eyes peeled for all the goodies hitting the shelves in 2 to 3 weeks time.

Thank you for taking the time to read this. If you haven’t already done so please like and follow us on our social media platforms and checkout our website!

Facebook: https://www.facebook.com/profile.php?id=100086701512793
Instagram: https://www.instagram.com/modelkitsltd/
Website: https://modelkitsltd.co.uk

#gundam #gundammodel #model #kit #gunpla

Posted on

Small business survival

Introduction

Small business survival is something that I, as a new business owner, am incredibly keen on discovering more about. You often hear about people who setup business after business after business. Originally I thought to myself .. why would they do that? It is only after experiencing setting up my own business for the first time that I have come to understand why. Already, with my limited experience, I can see what I would do differently. The things that I would need to prepare before hand, and the people I would need in my corner to help.

No-one goes into setting up a business with the idea that it is going to fail. Small business owners up and down the country pour their heart and soul into their projects, their products. However, like it or not, ultimately the business will grow and flourish, or it will stagnate and close down. So what to do to help your small business survival chances?

Finding your angle

One of the key things when setting up a business is knowing what your angle is. What sets you apart from everyone else. In my case I see it as the service I provide. The focus that I am trying to keep on the individual, the gamer, the modeller. I am not trying to branch out and have a million different things in my store at the same time. My plan is to do one thing, and hopefully, do it well. I am trying to take the frustrations I have at times had as a consumer, and address them with how I deal with my customers.

KENBU_2
KENBU_2 (Obligatory Awesome image)

My Priorities

For now all I can do is remain focused on my key priorities:

  • You people, the customer.
  • Growing my backlog of stock so that things are available for everyone.
  • Continue to engage with the community to try and help source what people want/need.

As part of that commitment my sales agent (who is awesome) keeps an eye out for me for anything that comes available that hasn’t already been bagged, or becomes free. That lets me try and continue to improve my stock breadth as quickly as possible.

Conclusion

So for the moment I will continue to focus on stock, and the community. Hopefully by giving back as much as I can, the business will build on top of those morals and keep growing.

Thank you for taking the time to read this. If you haven’t already done so please like and follow us on our social media platforms and checkout our website!

Facebook: https://www.facebook.com/profile.php?id=100086701512793
Instagram: https://www.instagram.com/modelkitsltd/
Website: https://modelkitsltd.co.uk

#gundam #gundammodel #model #kit #gunpla

Posted on 1 Comment

Panel Lining

Overview

As this is my first attempt at panel lining I should note that I am sure it is far from perfect. I also would imagine there are other techniques for panel lining.

This is just my first attempt, and I will revisit this topic as I learn more, and practice more!

Tools

The first thing to outline are the tools I used.

To do this, I used three basic tools. The first is a Gundam Marker. I picked this rather than any other option as I thought I should start with the basics before trying other techniques. The second item is a double ended cotton bud. It doesn’t have to be double ended, that just makes life easier 🙂 The final item I used was airbrush thinner.

Method

The basic premise of my first technique was this:

  • Fill in the line with the marker
  • Add thinner to one end of the cotton bud
  • Wipe away to clean up any excess marker or overspill
  • Use the end of the bud that doesn’t have thinner on it to clean up

In my first attempts I sort of just wiped the bud “willy nilly” and it took too much of the marker away. For my second attempt I wiped the cotton bud gently across the lines rather than with them. This provided a much better effect. At the moment my technique still requires a lot of work. However once the model is complete I’ll show the whole thing panel lined. Also as I revisit this technique, and other options. I will write follow up posts on changes and tips and tricks as I come across them.

Thank you for taking the time to read this. If you haven’t already done so please like and follow us on our social media platforms and checkout our website!

Facebook: https://www.facebook.com/profile.php?id=100086701512793
Instagram: https://www.instagram.com/modelkitsltd/
Website: https://modelkitsltd.co.uk

gundam #gundammodel #model #kit #gunpla

Posted on

RG MS-06F Zaku II Panel Lining

This article “RG MS-06F Zaku II Panel Lining” is going to cover my initial steps into panel lining. The models, in my opinion, look fantastic just put together. However, amongst the other options available, is one called panel lining.

In essence this is applying colour (often black) to the parts of the model that have been scribed out (lines cut into them).

Although some people also scribe their own patterns into the models. This is just my very basic take on getting the most out of it, without moving into the world of customisation’s. I decided to have a go at panel lining the RG MS-06F Zaku II to see how it would come out.

Guess the Model Part 2 Leg 1
Leg Side

In the image above the scribed lines, which you can only see indistinctly, form patterns on the armour. Below are a couple of images of one of the legs after panel lining.

As can be seen from the pictures above the lines are far more prominent giving a lot more definition to the model. If nothing else, panel lining adds a whole new dimension to the model, and it, in its own way quite enjoyable to complete. Especially wheny ou see the finished article!

Thank you for taking the time to read this. If you haven’t already done so please like and follow us on our social media platforms and checkout our website!

Facebook: https://www.facebook.com/profile.php?id=100086701512793
Instagram: https://www.instagram.com/modelkitsltd/
Website: https://modelkitsltd.co.uk

gundam #gundammodel #model #kit #gunpla

Posted on

Guess the Model Part 9

Continuing on from yesterdays post “Guess the model Part 8”, we now have the equally inspired Guess the Model Part 9. In this series of posts I will be showcasing parts of the model I am currently building. Partly so people can guess that the model is, and partly to show how fantastic they are!

Well it is pretty much a given now that part 8 had the model together. In guess the model part 9 I am going to summarise what I found during the build process.

In case anyone is wondering. I am going to be building the weapons etc. as well, however, I’m fairly sure you all know the model by now. For anyone in any doubt the model is an RG MS-06F Zaku II.

Overall I really enjoyed building the model. The feet, where it all began, was definitely a high point in the building. I was amazed at the flexibility of the feet, and they provide a solid base for the build. Oddly, the most satisfying part for me was the head. There are only a few parts but it just goes together beautifully. I will say I am not a fan of the small beads, they do have a habit of pinging off. However, I do like the final effect. I preferred the parts where the beads went onto solid plastic pipes than the two leg/hip ones that are on springs. The weakest part of the model, by far, for me are the two flaps either side of the main crotch area. They just aren’t very stable and when posing the model keep coming free.

Out of 10 I would probably give it a 7 for build but a 9 for personality. It is a step up in the build complexity from the HG but not such a step as anyone with a few HG builds under their belt would/should find it impossible. As always do not rush, take your time, and enjoy the build. Now to decide whether to clear coat it and panel line then clear coat and sticker; or paint the beast!

Thank you for taking the time to read this. If you haven’t already done so please like and follow us on our social media platforms and checkout our website!

Facebook: https://www.facebook.com/profile.php?id=100086701512793
Instagram: https://www.instagram.com/modelkitsltd/
Website: https://modelkitsltd.co.uk

gundam #gundammodel #model #kit #gunpla

Posted on

Guess the Model Part 8

Continuing on from yesterdays post “Guess the model Part 7”, we now have the equally inspired Guess the Model Part 8. In this series of posts I will be showcasing parts of the model I am currently building. Partly so people can guess that the model is, and partly to show how fantastic they are!

Guess the model part 8 sees the final pieces of the puzzle starting to come together. With the main torso on in the last post, we are now up to the head. It is nice to see the model in all its glory and just needing weapons!

The head was a really enjoyable piece to build. As it came together it formed that iconic look. I managed, for the first time, not to ping one of the small green beads halfway across the room! I did however lose a small clear piece that the sticker was meant to go on inside the visor. I still haven’t found that piece! However I managed to attach the sticker to the post so all was fine.

Thank you for taking the time to read this. If you haven’t already done so please like and follow us on our social media platforms and checkout our website!

Facebook: https://www.facebook.com/profile.php?id=100086701512793
Instagram: https://www.instagram.com/modelkitsltd/
Website: https://modelkitsltd.co.uk

gundam #gundammodel #model #kit #gunpla