Posted on

RG Zaku II

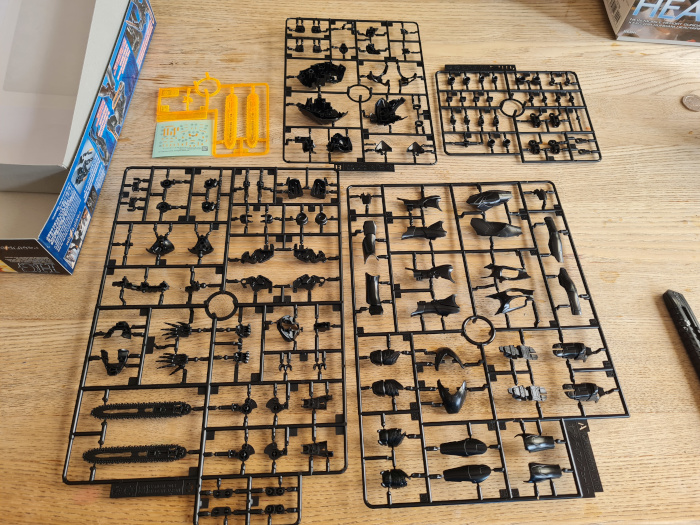
I thought I had done enough posts on the RG ZakuII over the last week. However, this evening I decided to put together the weapons while watching TV. This led to me also putting together the extra hands.

As anyone who has read my posts before, I am continually impressed with the level of articulation on these models. Not least of all due to a lot of it coming straight from the sprue. My mind truly boggles at how they produce these pieces on the runners/sprues!

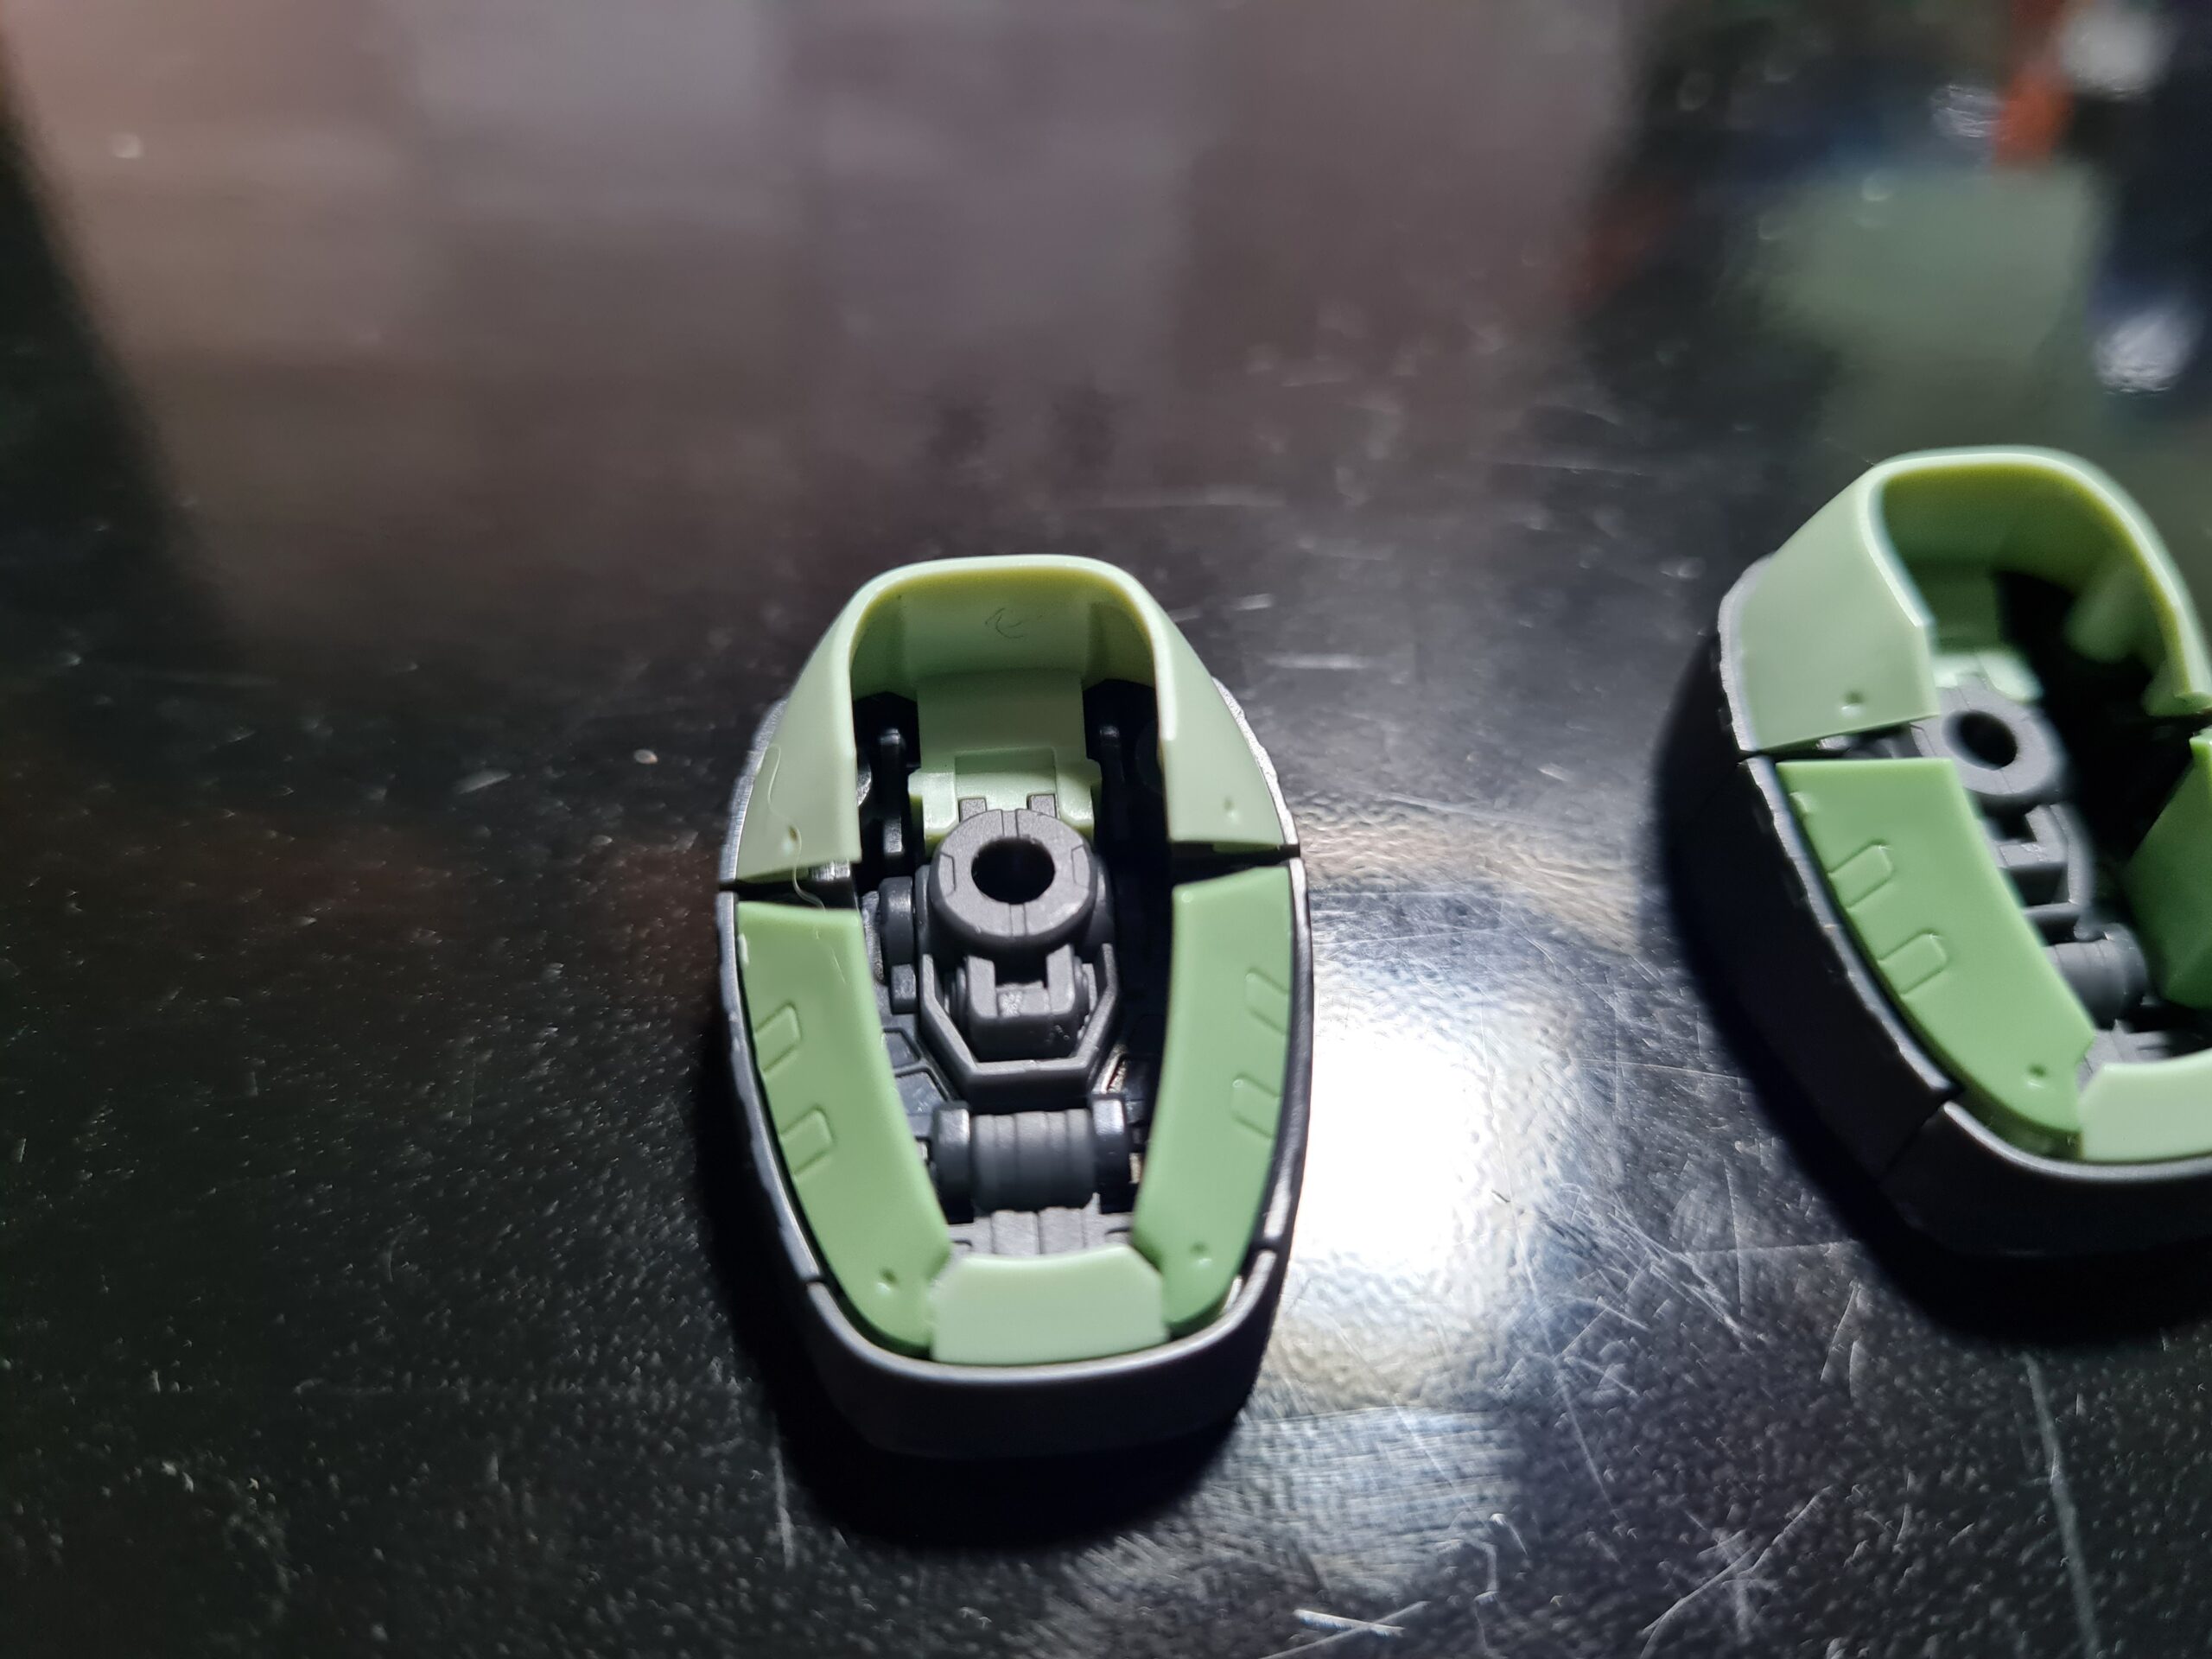
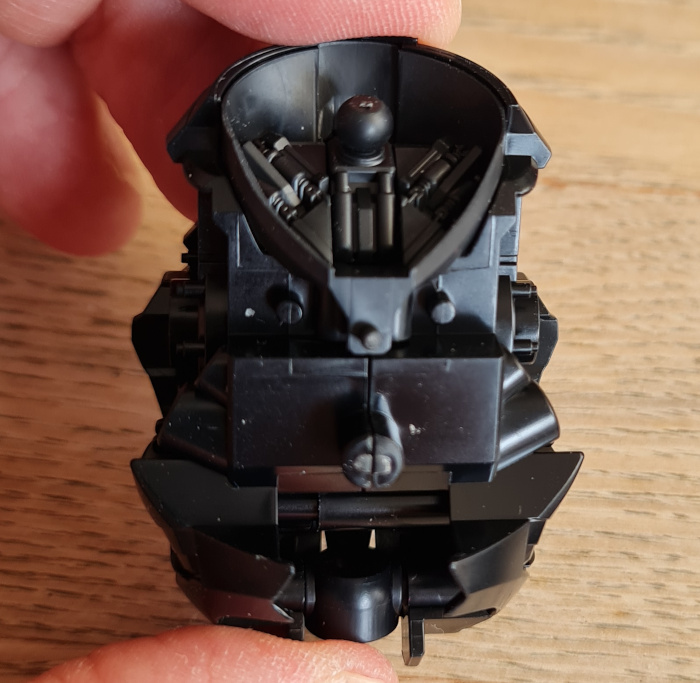
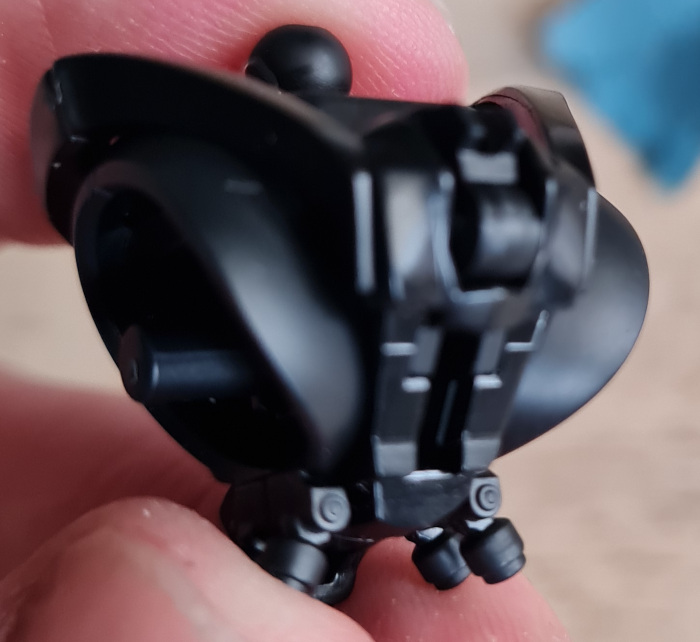
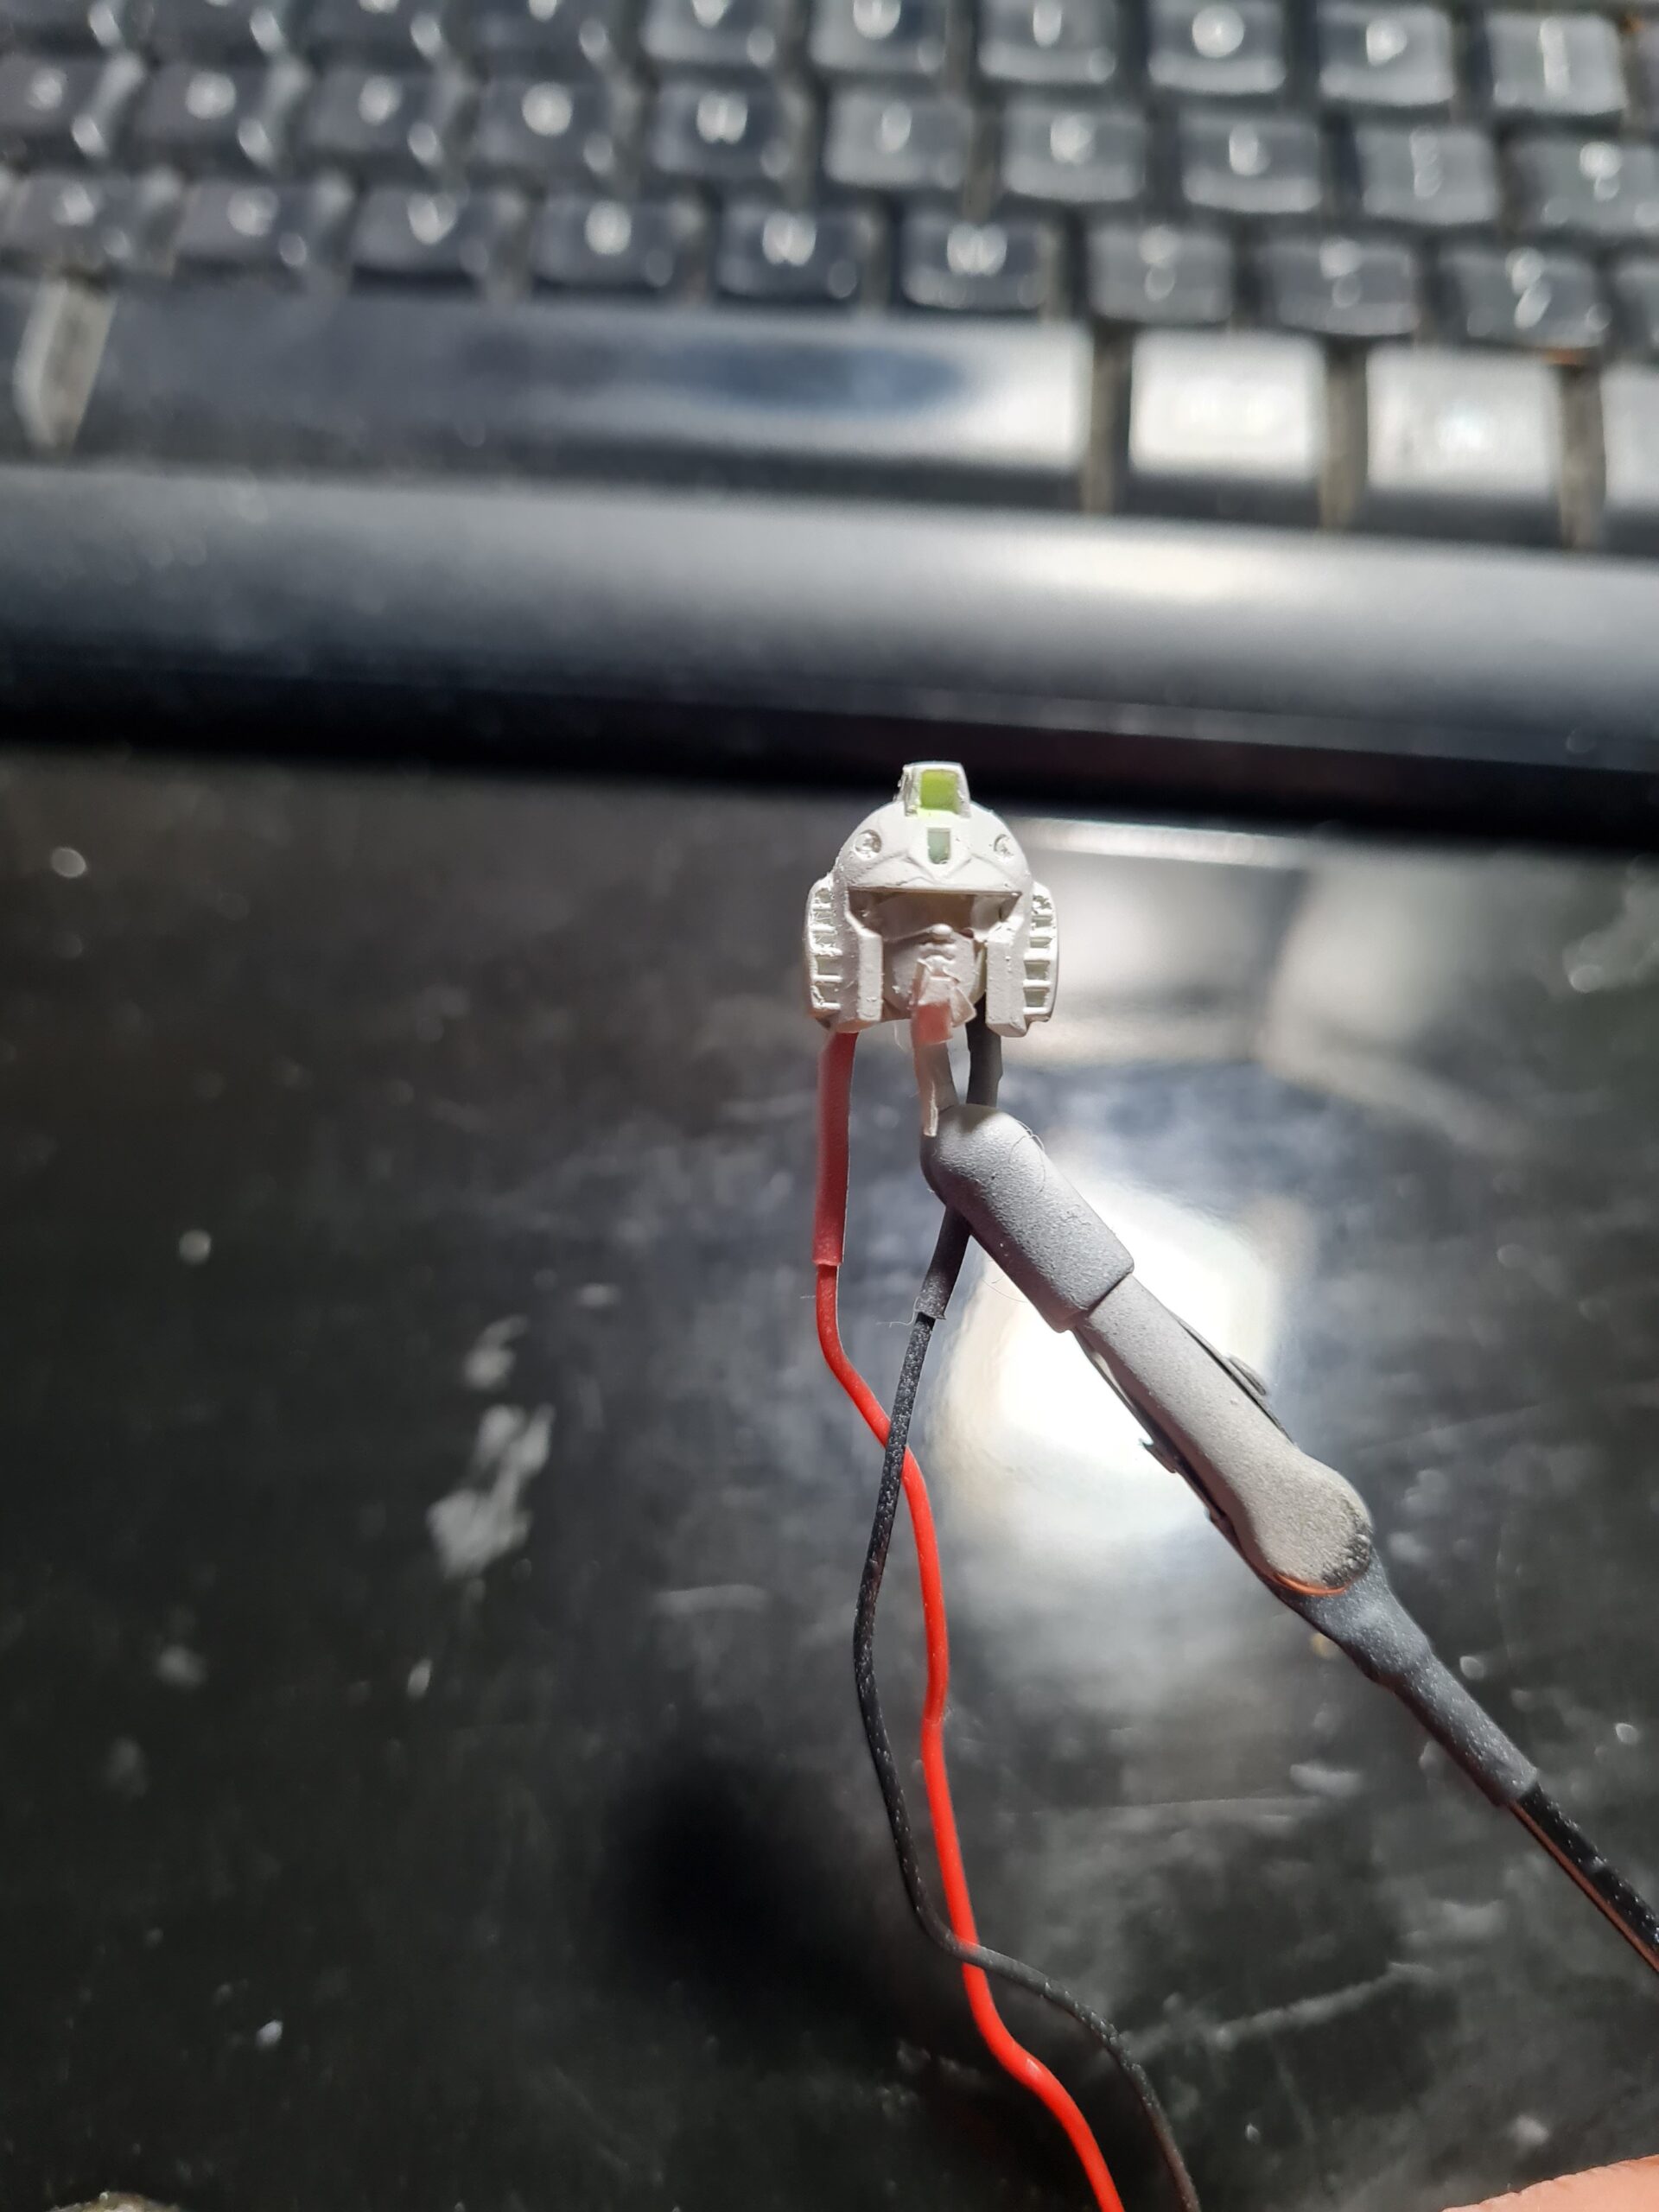
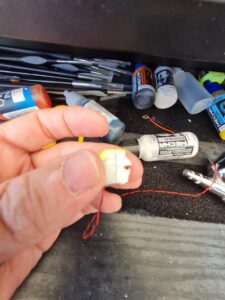
So this brings us to the hands! Below is an image of one of the second pair of hands that come with this particular model.

RG Zakuu II hand
RG Zaku II Hand

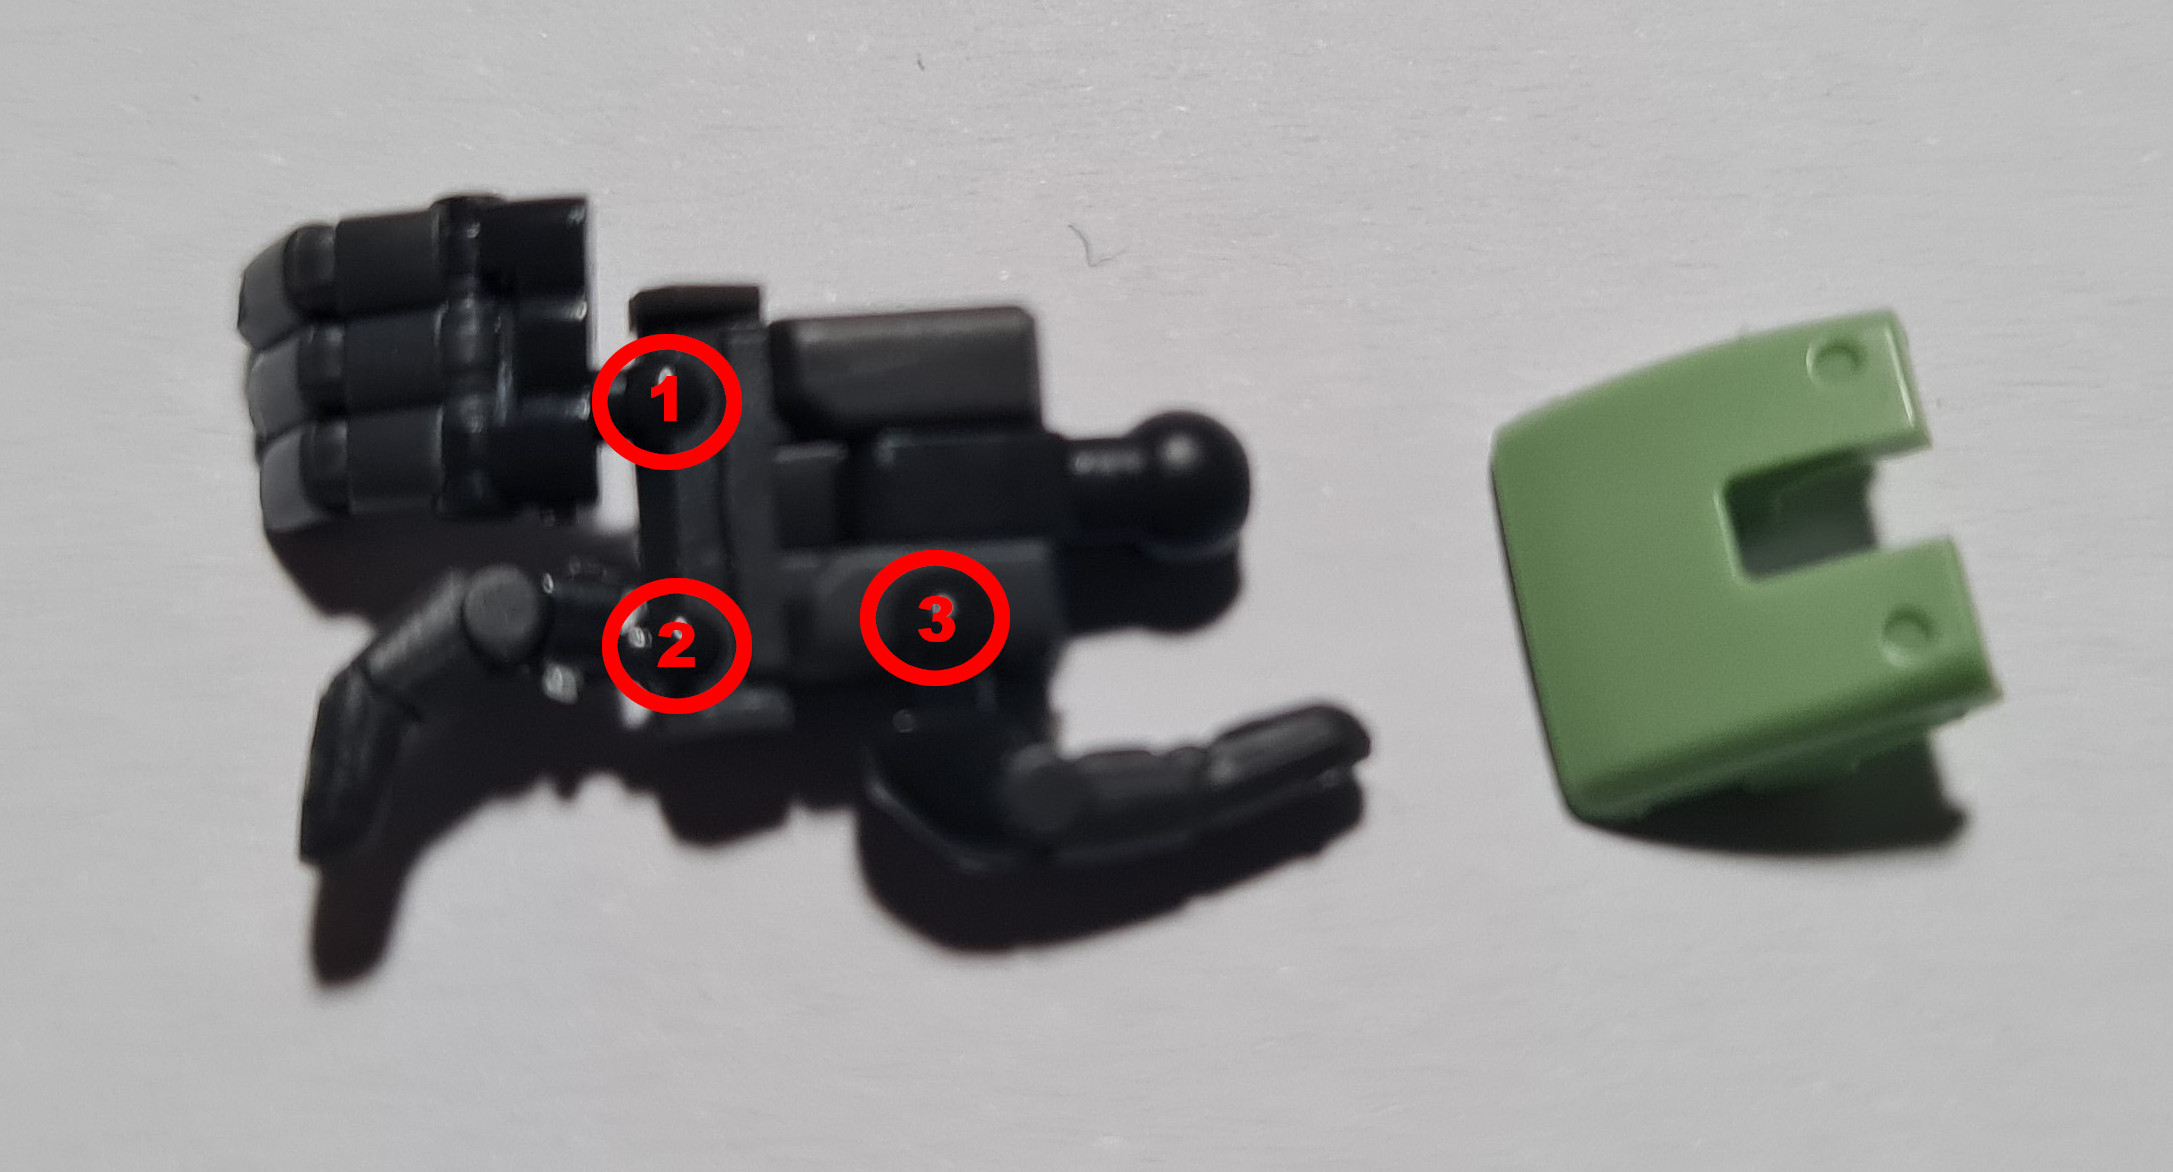
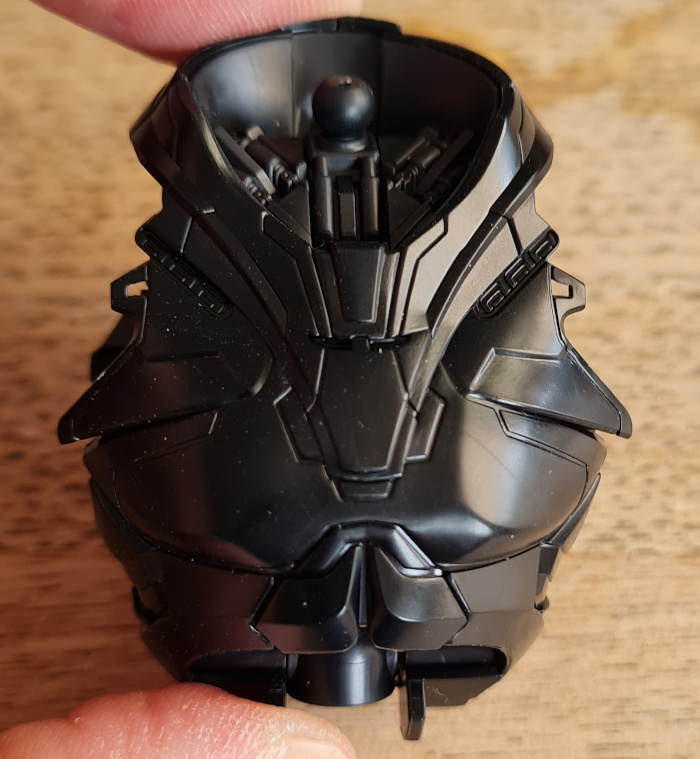
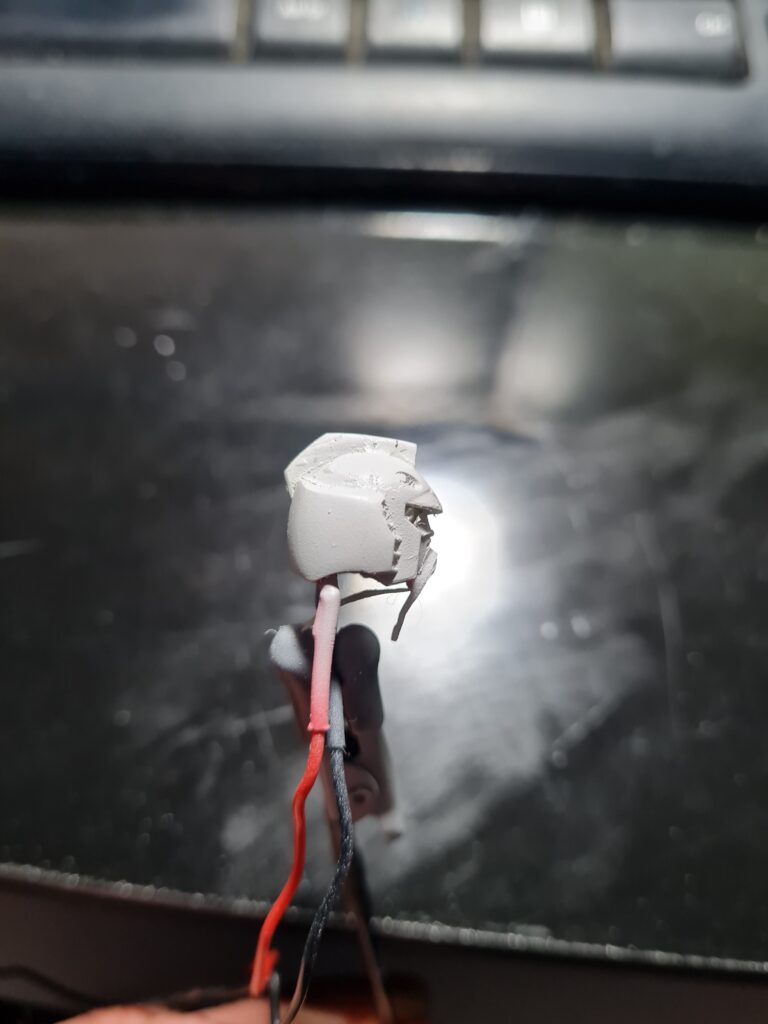
In the image I have circled points 1, 2, and 3. All of these are round joints allowing those finger parts to rotate on the joint and to move around. Once manipulated into place this provides the hand as shown in the image below.

RG Zaku II Hand put together

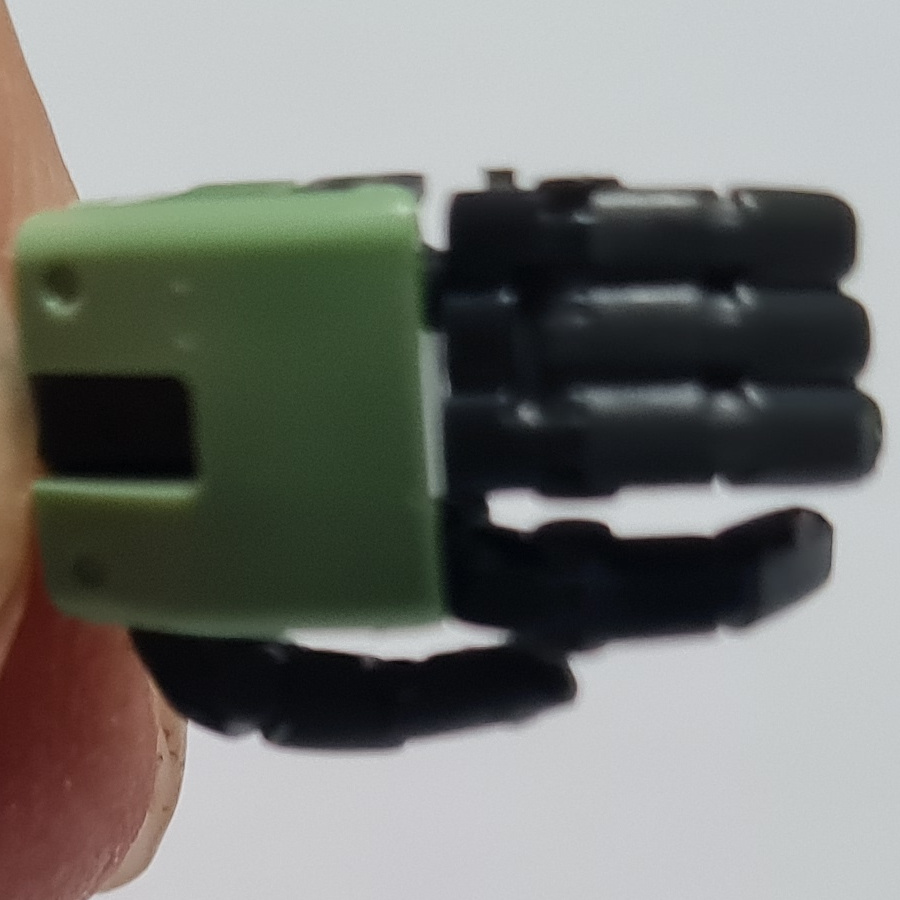
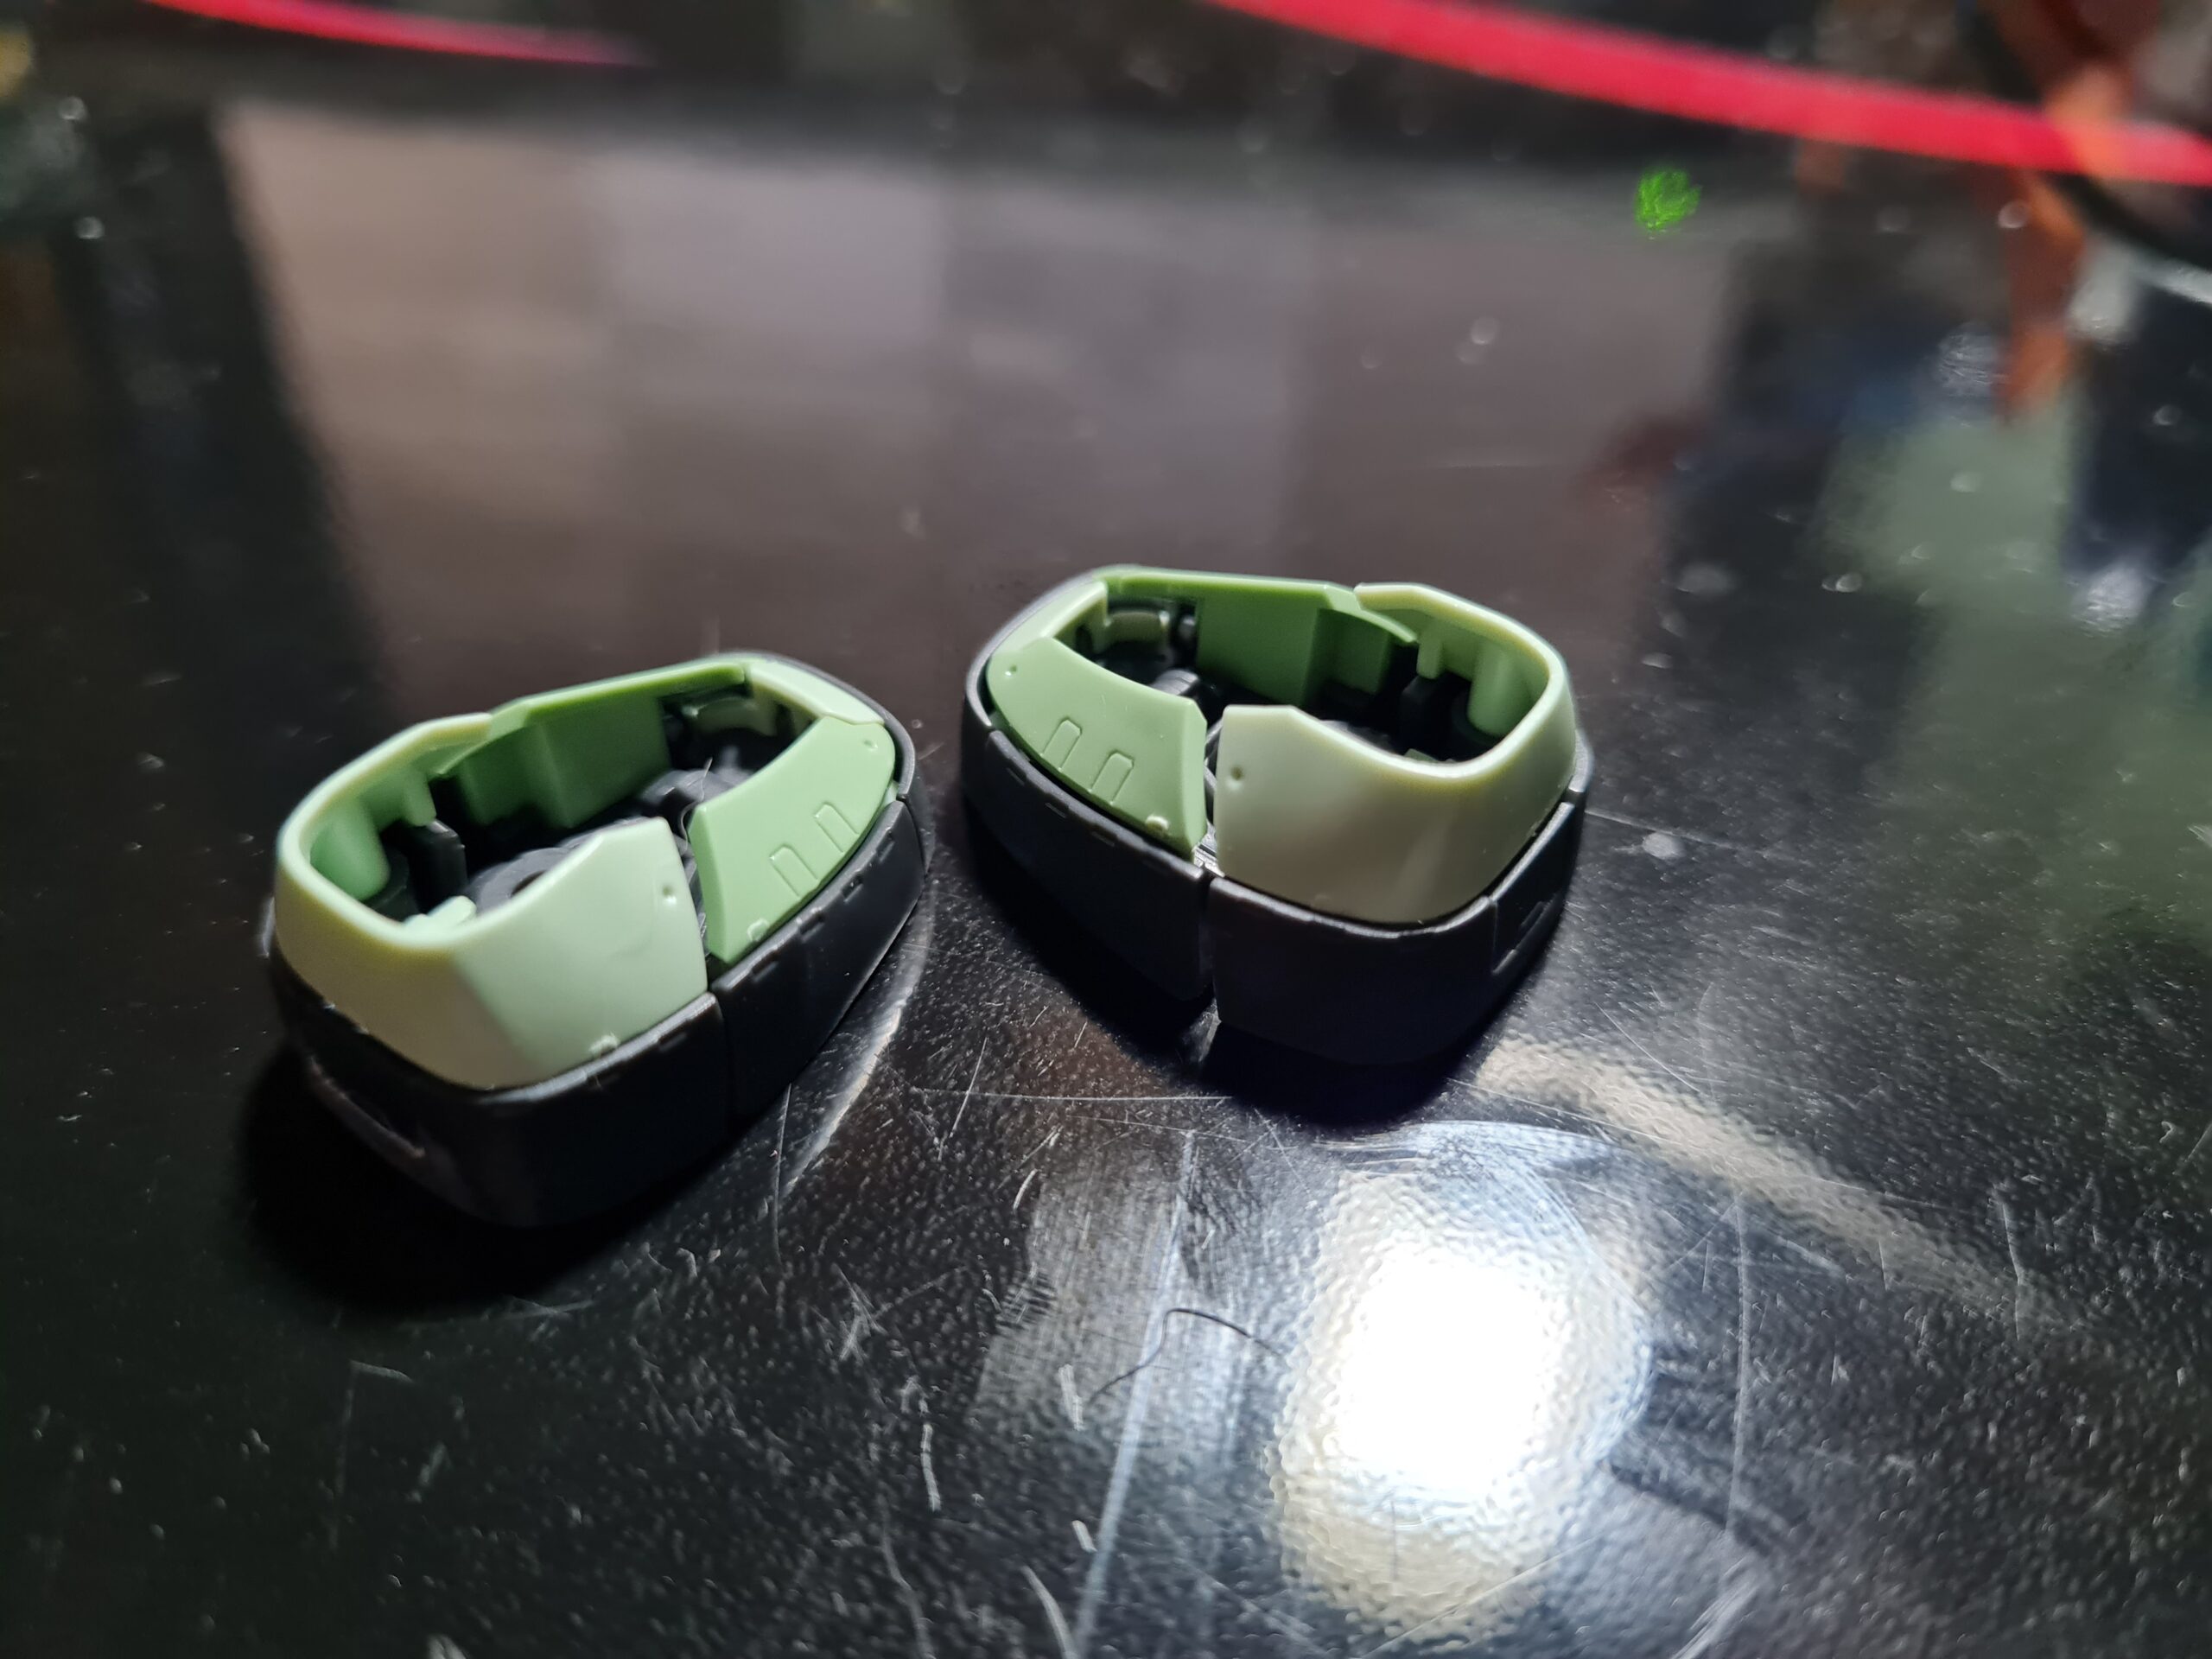
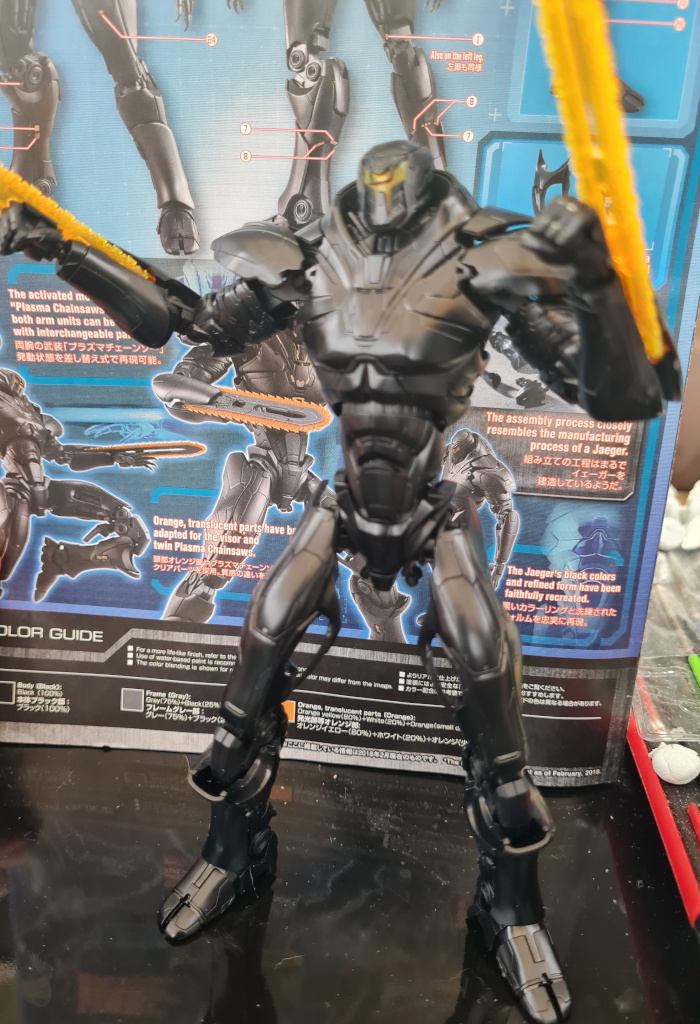
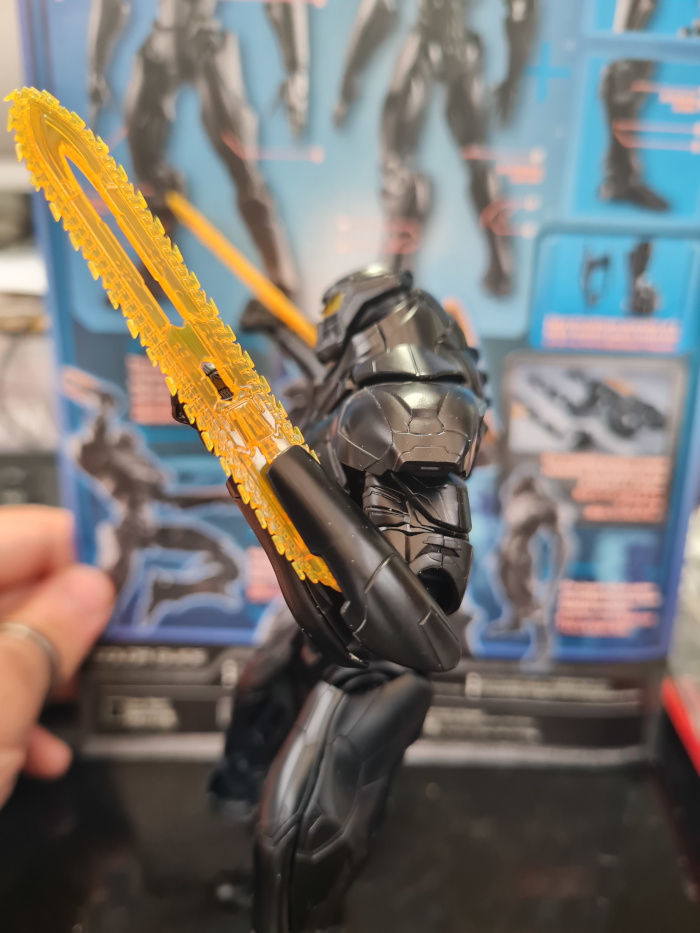
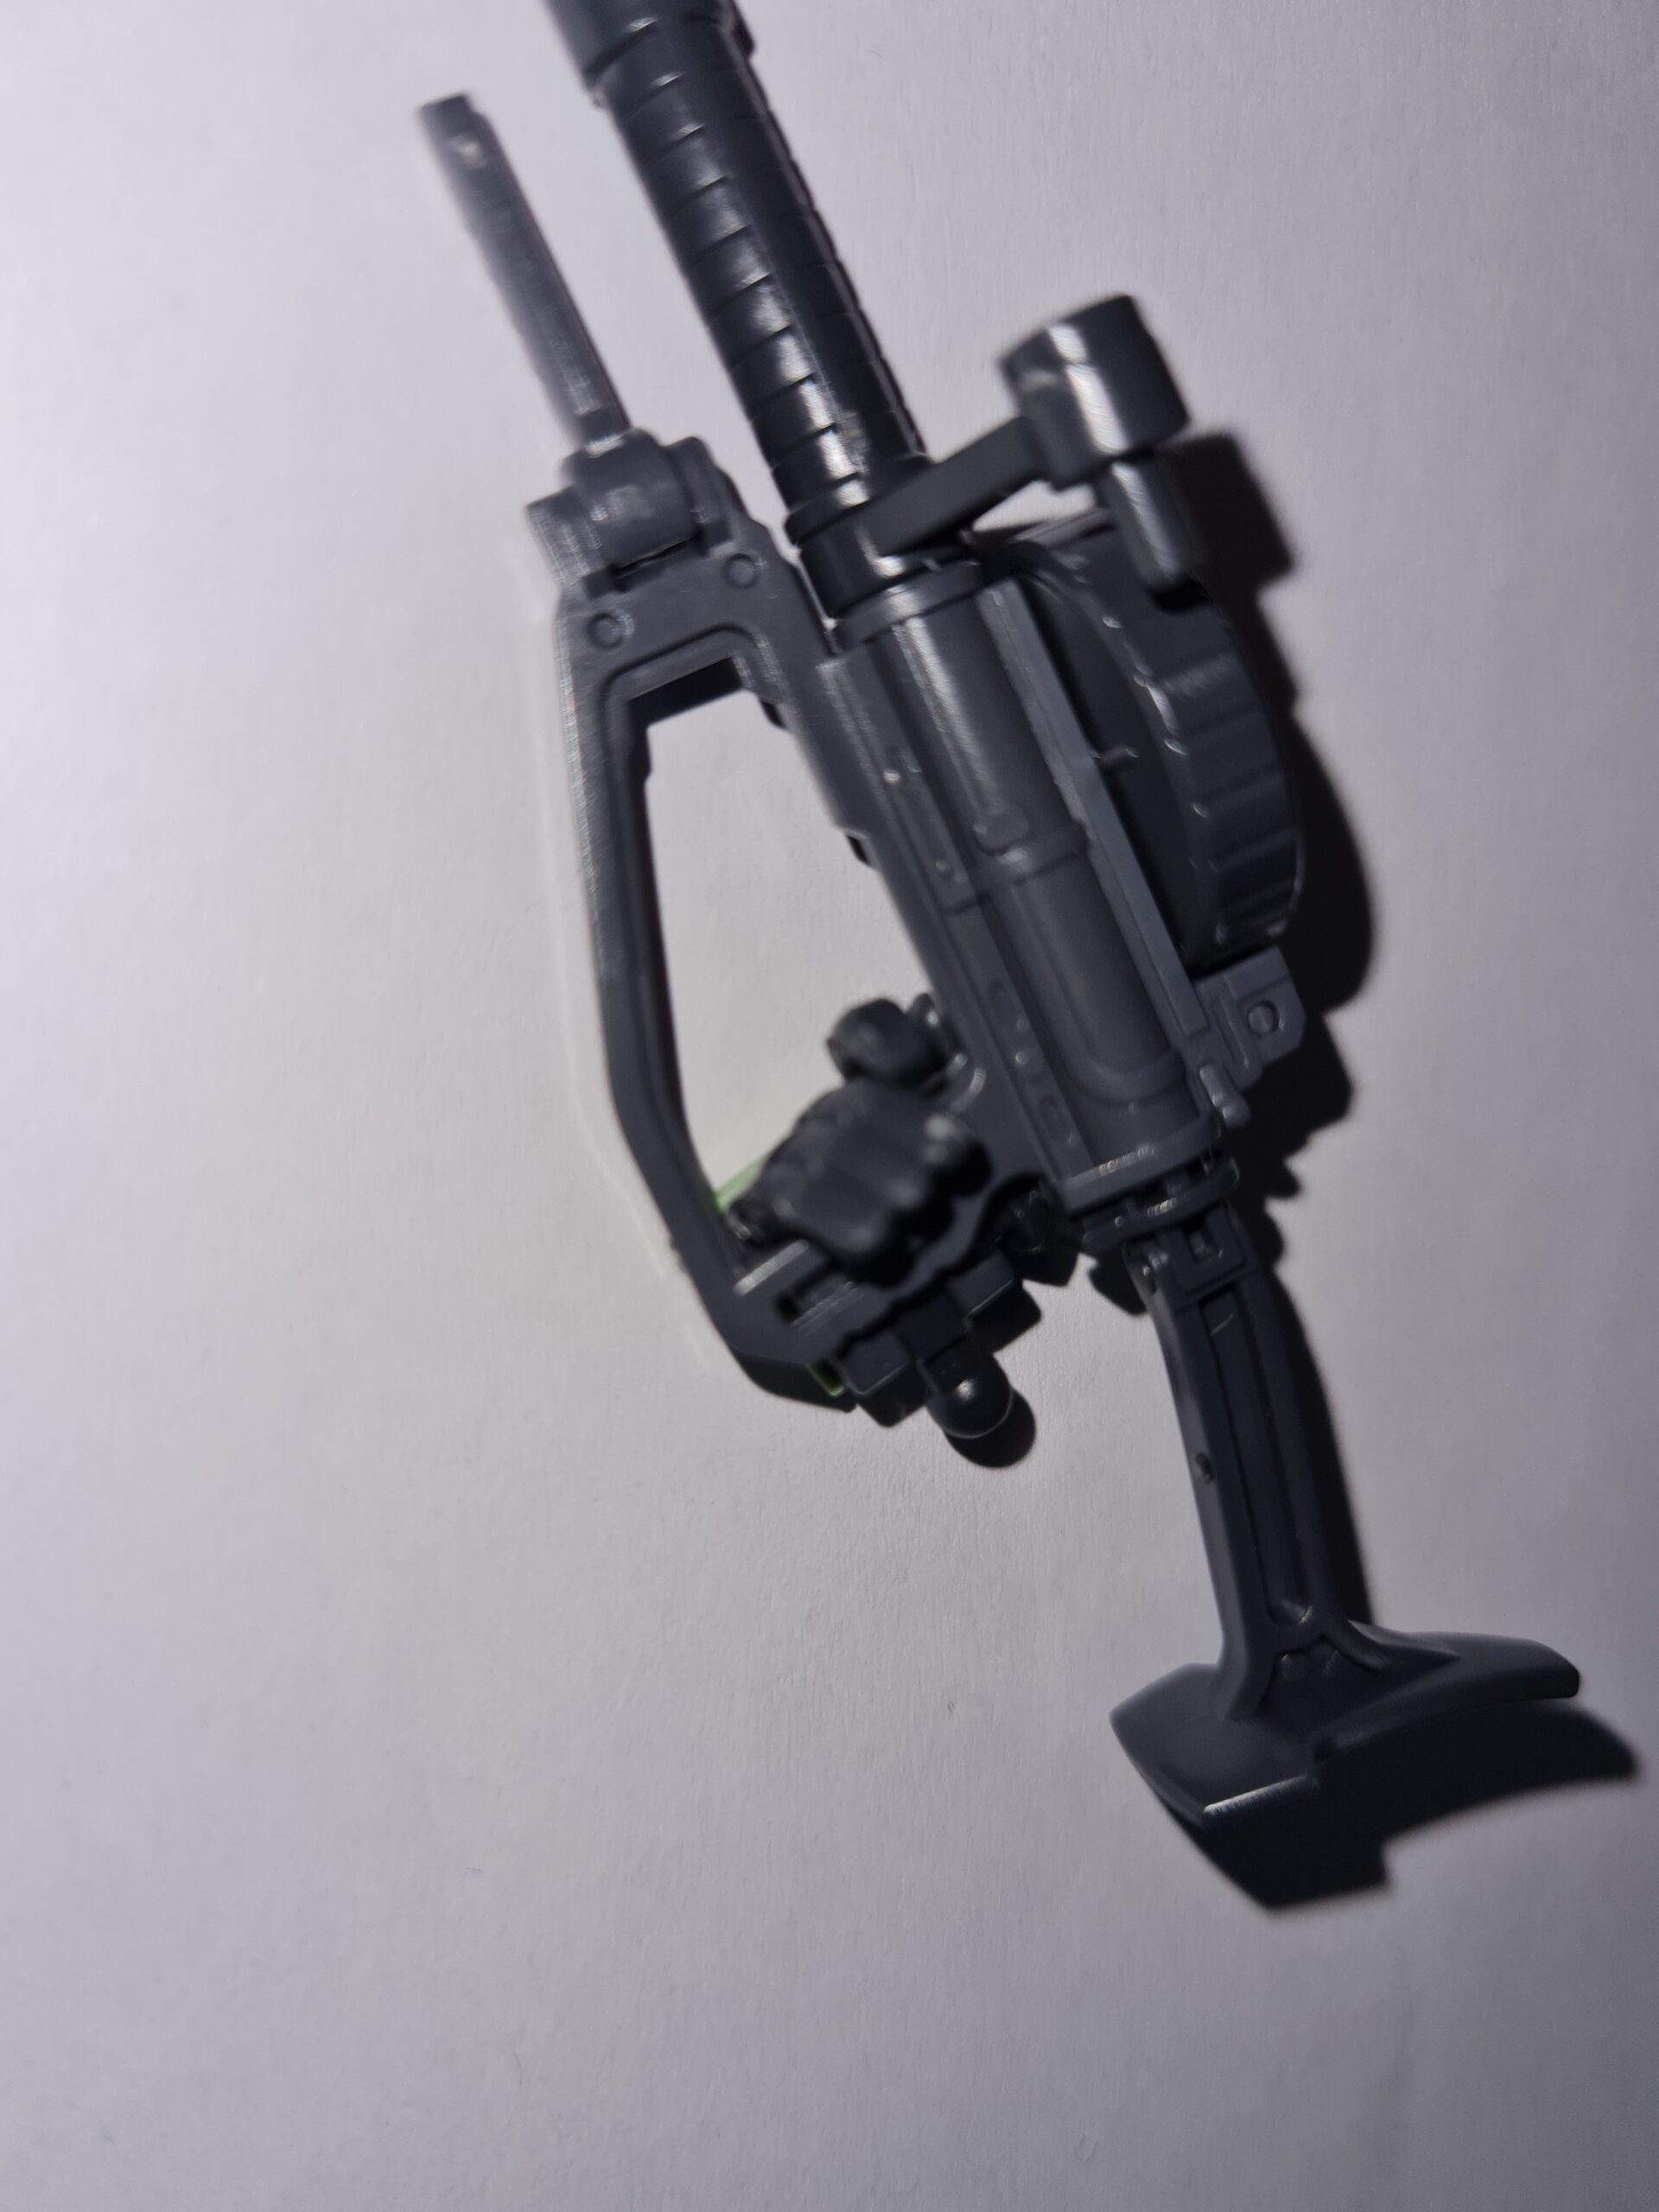
As can be seen these pre-cast joints allow the hand parts to rotate round providing a flexible, movable hand! Below you can see it wrapped around the handle of one of the 3 weapons you get!

RG Zaku II Hand
RG Zaku II Hand

It is this level of detail and articulation that continues to surprise me, and delight me as I build these models. I wanted to share, again, just how fantastic a job Bandai have done with them.

Thank you for taking the time to read this. If you haven’t already done so please like and follow us on our social media platforms and checkout our website!

Facebook: https://www.facebook.com/profile.php?id=100086701512793
Instagram: https://www.instagram.com/modelkitsltd/
Website: https://modelkitsltd.co.uk

#gundam #gundammodel #model #kit #gunpla

Posted on

Guess the Model Part 1

The last few posts have been focused around the business side of the company, and setting things up. However, it is important that I don’t forget exactly why I set this up to begin with. That leads me nicely into this current post “Guess the Model Part 1”.

Over the next few days (hopefully) I will be showing parts of the mode I am currently building. Not only will this give people a time lapse of my build, but also in the end, it will be able to showcase one of the models I haven’t shown yet.

As you can see today’s image is feet! Now something I found while building these, was that the foot actually has limited articulation in the bottom in two separate places, around the middle, and the toes! Imagine a model where you have that level of control on pose-ability!

So that is today’s clue to the model. Tomorrow we see where I have gotten to!

Thank you for taking the time to read “Guess the model Part 1”. If you haven’t already done so please like and follow us on our social media platforms and checkout our website!

Facebook: https://www.facebook.com/profile.php?id=100086701512793
Instagram: https://www.instagram.com/modelkitsltd/
Website: https://modelkitsltd.co.uk

gundam #gundammodel #model #kit #gunpla

Posted on 1 Comment

HG Obsidian Fury Review

Home » Gundam » Page 7

Introduction

I recently was fortunate enough to receive a HG Obsidian Fury. I was interested in this model after watching some of the anime available around the Pacific Rim world, and decided to write up a HG Obsidian Fury Review.

The Box

The box for the HG Obsidian Fury is slightly smaller than the other models I have built. The box dimensions are 19cm by 30cm by 5.5cm tall approximately. The art, like with all the boxes from Bandai, is however, evocative of the whole world the model comes from.

HG Obsidian Fury Box Cover Art
HG Obsidian Fury Box Cover

Inside the HG Obsidian Fury Box

Inside the box there is a small section of stickers and a few plastic wrapped runners. It is worth noting that I didn’t bother with the stickers on this model. I feel that it will ultimately benefit from some painting to make it standout.

HG Obsidian Fury Box Contents

Once unpacked I found the 5 runners along with the stickers. The yellow runner only has a couple of parts and two of those are the plasma chainsaws. As is normal with these kits the runners are labelled (A, B, C, D, and JTP-2).

Underneath the runners was also the all important manual. Again this features some stunning artwork and helps add to the feel of the product.

HG Obsidian Fury Manual Front Page

HG Obsidian Fury Build

The build itself runs along the same process as building the other HG grade models. Starting with the kits head, I then moved on to the torso, arms, and finally the legs.

I found the instructions easy to follow, and used the normal tactics of cut from the runner leaving a small piece, then trimming with a knife. I then used 3000 grit sandpaper to sand down anything left.

The Final Model

After two days of assembly ( I spent a lot of time on the 3000 grit sandpaper), I finally had the model complete.

Pros and Cons

I’ll start with the bits I don’t like about the model. I found the model feels less sturdy and stable than the other Gundam models I have built. It feels more awkward to pose and is nearly entirely reliant on the stickers to add colour to the model. However that said I love the look of the model, and I think with some airbrushing it will help it pop. Would I buy the model again…absolutely! Despite the bits I am not too keen on, I love how different it looks, and the general style.

Thanks for reading this HG Obsidian Fury review. Please check out the other articles on the site, and let us know if there is anything you would like us to cover.

Posted on

Customising my RX-78-2 Gundam

RX-78-2 Gundam Head Front
Home » Gundam » Page 7

After watching many different videos, I decided I wanted to try customising my RX-78-2 Gundam. Or more accurately my HGUC RX-78-2 Gundam – E.F.S.F. Prototype Close-Combat Mobile suit.

I planned on using this as a test bed for multiple types of customisation’s. This included:

  • Lighting
  • Gap Filling
  • Airbrushing / Painting

This project has been delayed by me breaking a couple of pieces of the model. This occurred while taking the model apart multiple times. I am writing a blog post about that whole experience (replacing parts) but that will be completed once I have managed to reach a satisfactory conclusion.

Customising – Lighting

I will go into more detail on lighting in a later post. However I have tried multiple different LED sources, and different voltages. I will go into the details in a separate post as they are worthy of a post on their own. I will say that I have used small scale lights website to order leds and the service has been fantastic.

Customising – Gap Filling

I decided to use Mr Hobby Mr. Dissolved Putty for filling the gaps. Again I will do a full post with pictures covering the whole process. Before filling the head has an obvious join/gap running up both sides and over the top.

RX-78-2 Gundam head with gap
RX-78-2 Head with Gap

After filling the gap and sanding down there is still a clear line. I use my fingernail to run across the line to feel for any indentation or raised parts; if there are any then I continue to sand. Once I’m happy I move on to painting / airbrushing.

Customising – Airbrushing / Painting

The aim of airbrushing the model for me is to gain a greater control over the look of the final model. I have seen fantastic work done with weathering and other paint effects and want to explore the options available to me. However, the first test was to see if airbrushing over the head would remove the join mark.

Painted RX-78-2 Gundam Head

I was fairly happy with the result, certainly the join mark (to me) is invisible. However, I do need to clean the head up and give it another coat to make it a lot cleaner.

Customising – Conclusion

I am happy with the results that can be achieved with a few tools and a little patience, and aim to do a more thorough walk through of the prep, and painting of the head, to make it clearer as to all the steps taken to achieve that result. I definitely think if nothing else the time taken to hide any visible joins is well worth it.

Posted on

Model Types

Mashup of Gundam Logos
Home » Gundam » Page 7

Before going any further I needed to look into what the different types of Gunpla model types there are. I will be honest and there are a LOAD of awesome resources that cover model types out there. For example:

There are sure to be many others but those all cover the basic information and then some. It is worth noting that the types of model get referred to as the model grade. The grade will determine a lot of factors, like the level of detail and how big a hole it is likely to put in your wallet.

If, like me, you prefer to use cheat sheets here is a quick rundown for you.

Model Grades

AcronymNameScaleDescription
HGHigh Grade1/144, 1/100Generally seen as the most collectable kits. They are reasonably priced, have a decent level of detail, and on the whole have the largest selection across the range.
MGMaster Grade1/100These tend to have more parts that the HG models with more detail. They also take longer to build.
PGPerfect Grade1/60These are the top tier models. They are big, they have the most detail and will take the longest to build. Some have metal joints, and some have LED lighting.
RGReal Grade1/144Often seen as sitting between HG and MG grades. Advances in technology allowed Bandai to incorporate a lot of the detail and articulation normally only seen in the MG kits into the 1/144 scale RG kits.
SDSuper DeformedN/AAlthough these don’t have a specific scale they are normally short and in a chibi style.
Most common Gundam Grades

Scales

I didn’t have a clue what the scale sizes are like, so here is a rough approximation. Individual models may be bigger or smaller but it is a fair guide:

ScaleMillimetresInches
1/1441254.9
1/1001807
1/6030011.8
Approximate scale sizes

There are other model types and sizes, so always check the information on the specific model you are looking for.

Telling them apart

Although there are examples below, remember that some of the logos will be slightly different as different product lines can have slightly amended logos to distinguish them.

HG 1/144 should have a HG logo which will look similar to the one below.

Example High Grade Logo

HG 1/100 apparently do not have HG on the box, but they also do not have the MG logo on the box. If in doubt though google to make sure you know what you are getting!

MG 1/100 will have a logo like the one below.

Example Master Grade Logo

PG 1/60 will have a logo similar to the one below.

Example Perfect Grade Logo

RG 1/144 will have a logo similar to the one below.

Example Real Grade Logo

SD may have a logo like the one below (I honestly haven’t looked at them much as they aren’t my primary focus).

Example Super Deformed Logo
Posted on

In the beginning

GX-9901-DX GUNDAM DOUBLE X

In the beginning Gundam was just something I heard people talk about. They mentioned they were building a “thing”, or maybe even used the term model. I was however none the wiser.

Years later I googled it and found a whole world of mecha, models, movies, and series that I was totally unaware of. Like many people who have been gaming and modelling for many years I was finding myself a little burnt out. Not from gaming, but from painting hordes of the same model in the same pose with the same everything. To date all my most completed units have been painted by my friend Steve.

Upon discovering the Gundam world I wanted to delve deeper into all the aspects of it. This is how I started (rightly or wrongly).

Before we go any further Gunpla = Gundam Plastic Model.

Where I started selecting a Gundam

After reading as many blog posts and sites as I could find, I eventually found a model I really liked the look of. This was the RG (Real Grade) Excitement Embodied number 05 Freedom Gundam. Personally I think it looks absolutely lovely.

It is also still in it’s box (I’ll explain that in a minute).

After ordering I then did even more googling and learnt a little more about the different types and grades of the models. A lot of people recommended going for a HG (High Grade) model for your first build. So I quickly ordered up the HG After War number 163 GX-9901-DX Gundam Double X Satellite System Loading Mobile Suit (pictured below).

GX-9901-DX GUNDAM DOUBLE X

The HG Gundam Build

So what would I say about the build; I just followed the pictures and it went together easily enough. The instructions have very clear images that make following along easy. Although most if not all text is in Japanese you can still work it out. Start from box 1 and slowly work your way through. Don’t rush and enjoy the process. In the end it is extremely satisfying and therapeutic.

Conclusion

Have you been modelling for years? If the answer is yes then really the process of putting these together should not be an issue for you.

Have you been modelling for years? If the answer is no then definitely start with the models in the HG line.

No matter which way you go, or what model you choose there is a wealth of information out there. Take your time and just enjoy the process. Most of the items can be deconstructed if needed so don’t worry and just enjoy. After all it is a hobby!