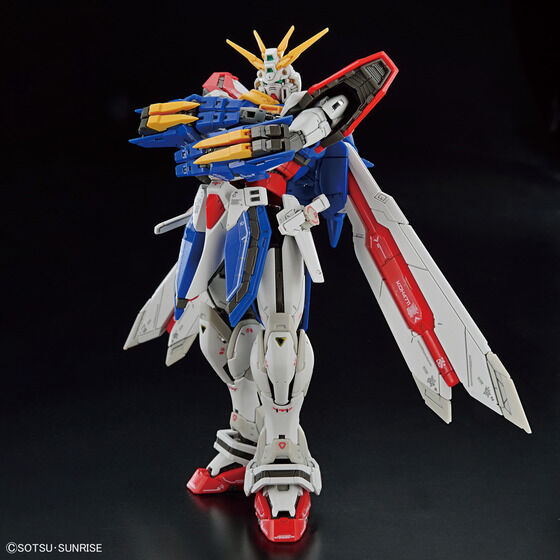
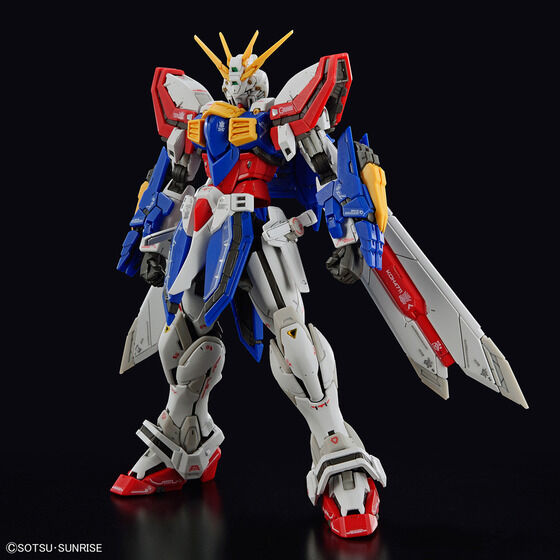
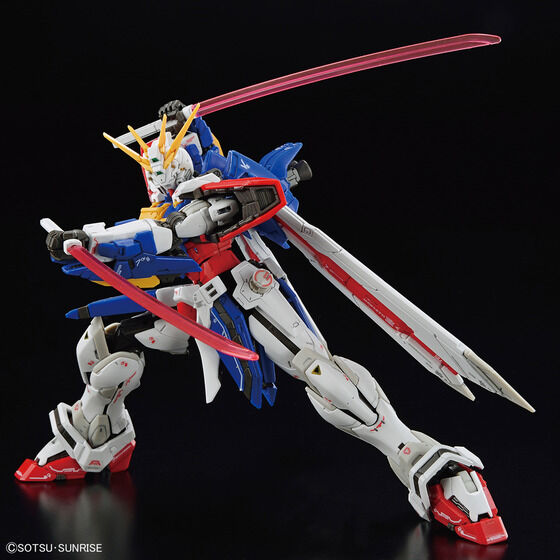
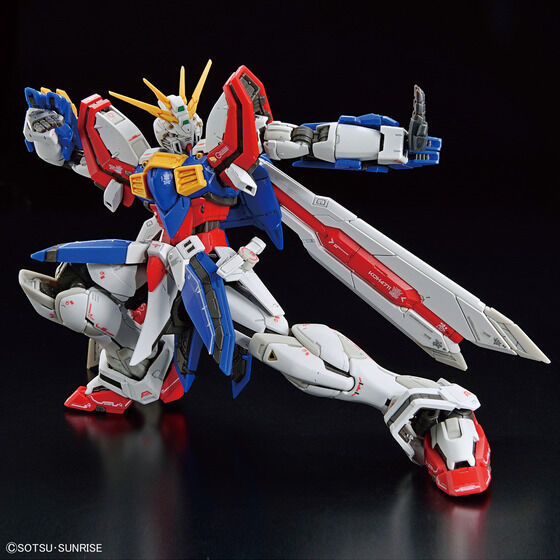
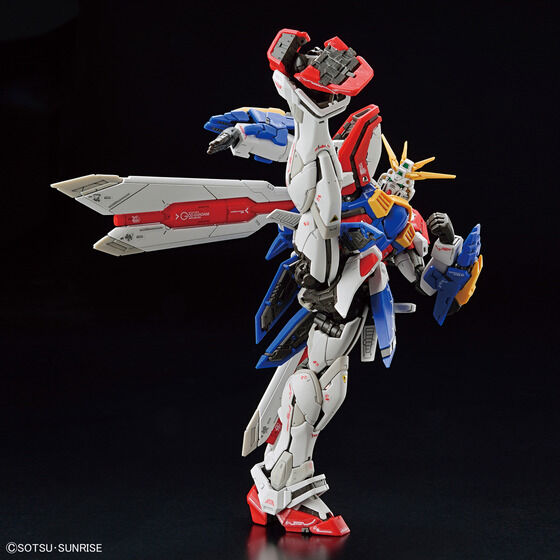
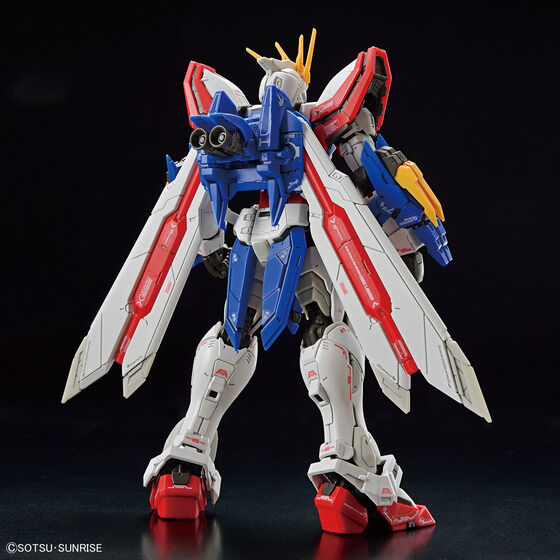
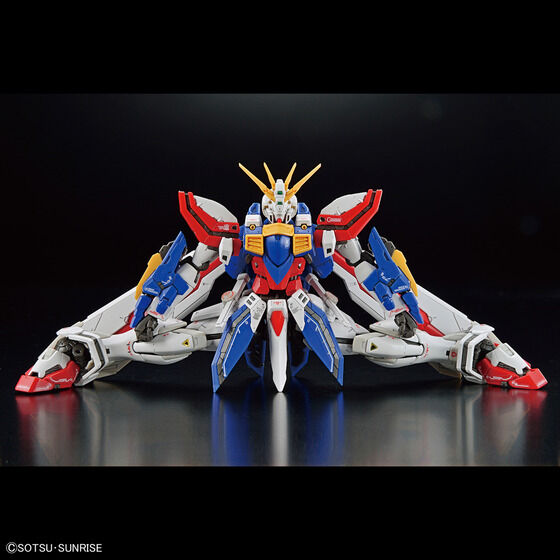
So with my next shipment listed by UPS it should be looking to head over this way in the next week. I am assuming it will arrive after Christmas. However, continuing on updating people, and showcasing what is coming in, today we have the RG God Gundam 1/144.
The RG God Gundam was released in 2022. This model incorporates a lot of the latest features and enhancements that Bandai have worked on. This includes enhanced joints that allow it to strike the arms crossed pose.
Images
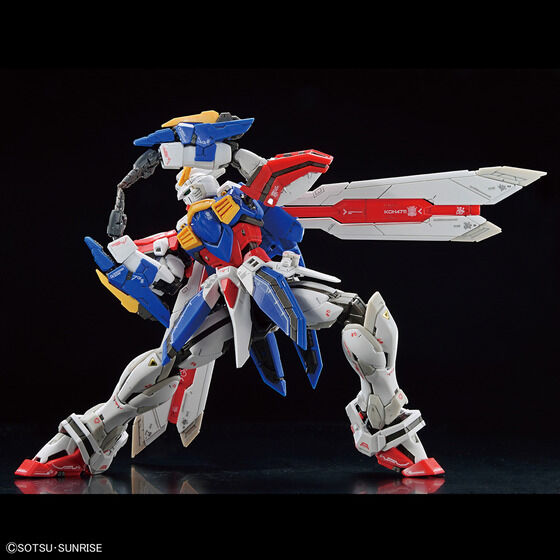
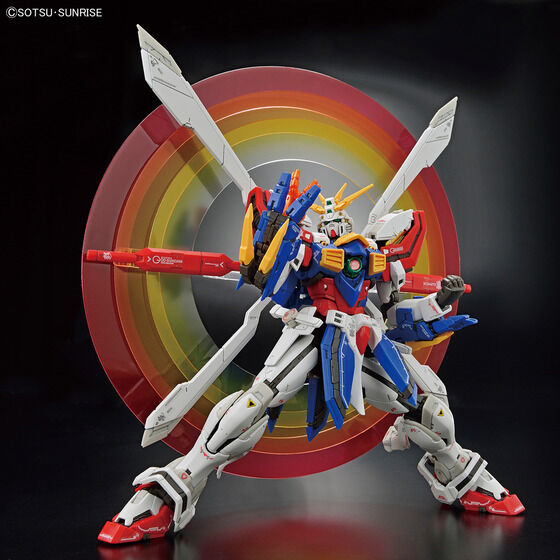
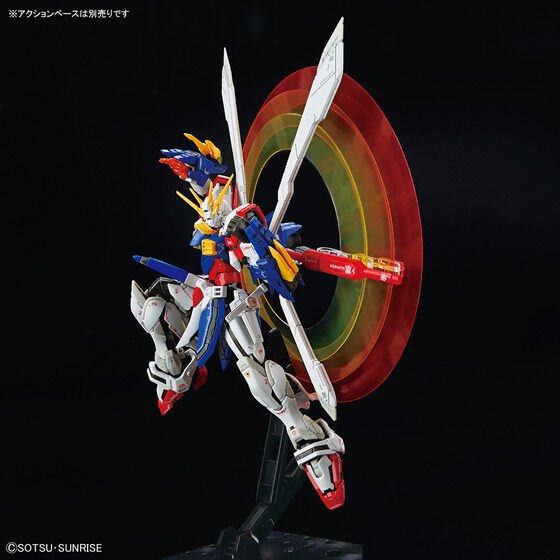
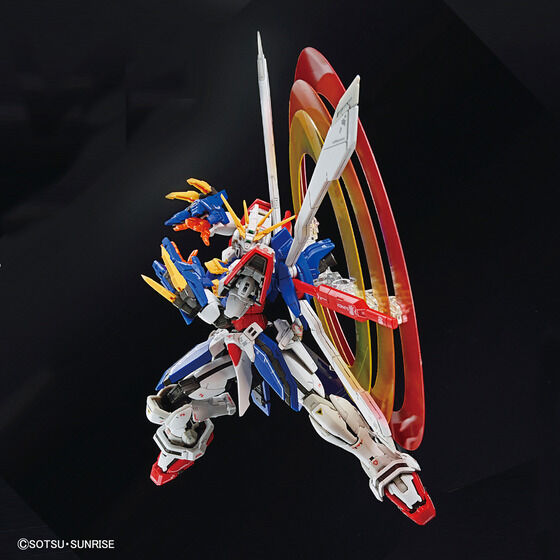
I absolutely love the way that the new joints allow you to pose this model. Checkout these images from the Bandai Spirits page.
StandingArms Crossed Odd PoseStriking PoseDual SwordsSecond Strange PoseHigh KickBack ViewI can to the splitsJumping PoseFighting StanceBox Front
More Information
I found the original Bandai Spirits information here. Reading through that information it is obvious that Bandai have spent a lot of time recreating more realistic movements in this model. I certainly would love to build it and see how it holds up to the other models.
I should have, all being well, two of these coming in to stock when my next shipment arrives. So if this is something you are looking for keep checking the store as it will be on there soon!
If you haven’t already built an RG model then this, from the looks of all the information and enhancements Bandai have made, looks like it would be an absolutely stunning model to put together.
If you are interested in reading up more on this the Bandai Spirits page is linked above, and there is also a load of information on the Gundam Fandom Wiki page you can find here.
Conclusion
Thank you for taking the time to read this. If you haven’t already done so please like and follow us on our social media platforms and checkout our website!
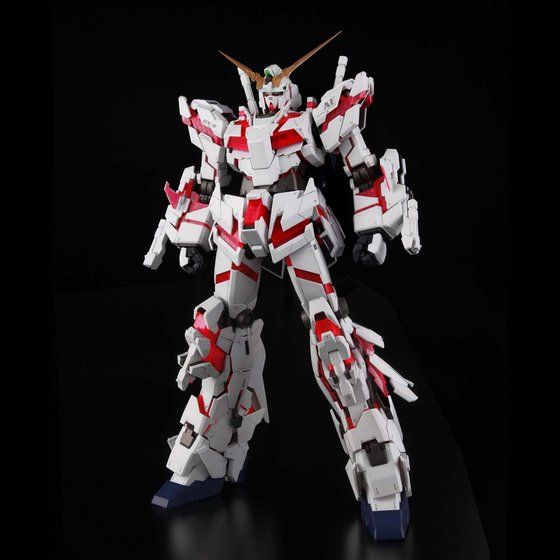
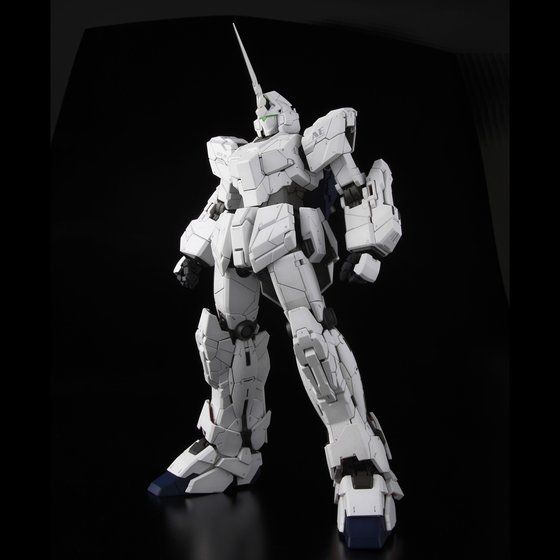
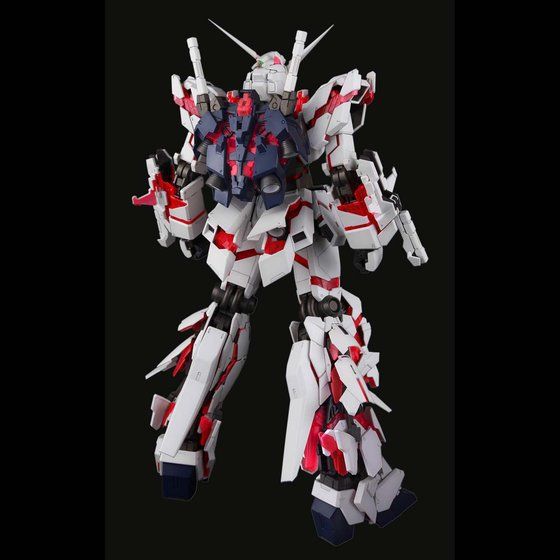
One of the products I will be getting into stock is the PG 1/60 RX-0 Unicorn. With them being so hard to get I only managed to source 1 of them this time round but I will continue working on trying to get more in stock.
For anyone new to the hobby PG is short for Perfect Grade and is Bandai’s top tier of models. They are traditionally the largest (physically) as well as having more parts and details than other models in other grades.
Images
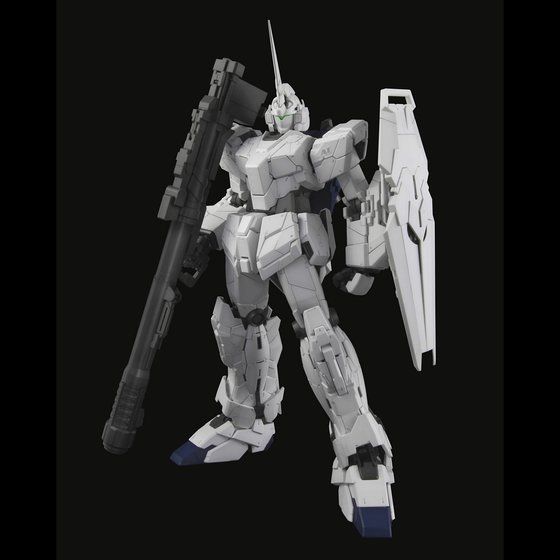
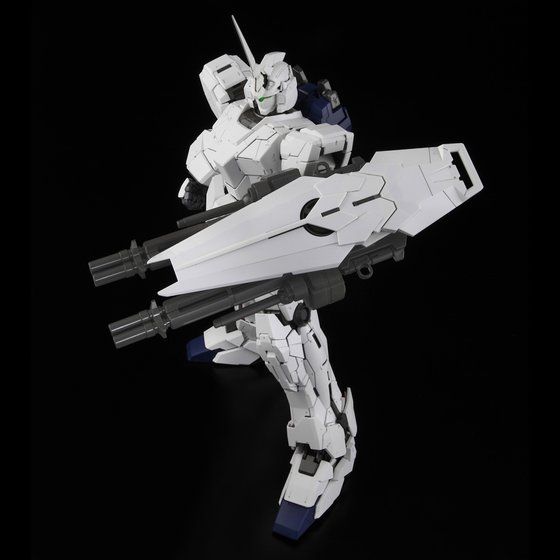
Standing Front ViewFront all openWeapon and Shield Shield side viewRear ViewBox/Images
Information / Overview
The kit was originally released around December 2014, and although you need to purchase it separately, there is also a lighting kit that can be used with this kit.
I always like to read up around the kits, and the history on them and any other available information. I found the original Bandai Spirits page here, although I had to run it through google translate!
Amongst its features this model boasts
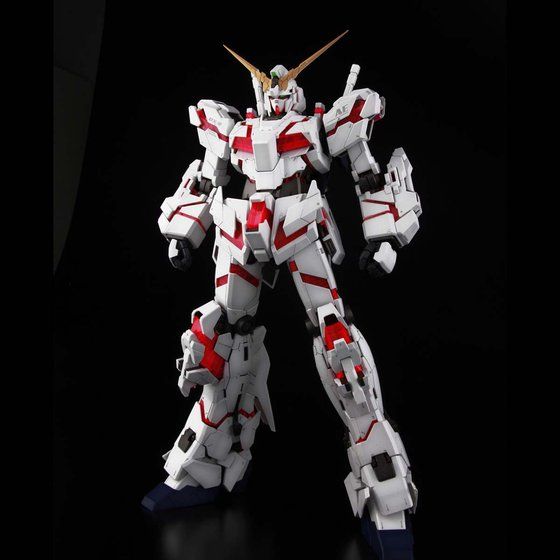
The ability to transform between unicorn mode and destroy mode (including the deployment of the face guard).
The resin for the red elements of the frame/suit are specifically designed to improve the look of the model
The blade antenna that opens and closes during “transformation” has a magnet inserted to reproduce the single horn in unicorn mode.
The inner surface exposed in destroy mode is already coloured with gold.
A variety of weapons are included, including Beam Magnum, Hyper Bazooka, and Beam Gatling Gun.
Dedicated display base included.
If you would like to read more about the suit and the history surrounding it another great resource is gundam.fandom.com and you can find the Unicorn information here.
I can’t wait to get this into stock and I have to admit I want to see the size of the box! I will, as always update people as I find out more.
Conclusion
Thank you for taking the time to read this. If you haven’t already done so please like and follow us on our social media platforms and checkout our website!
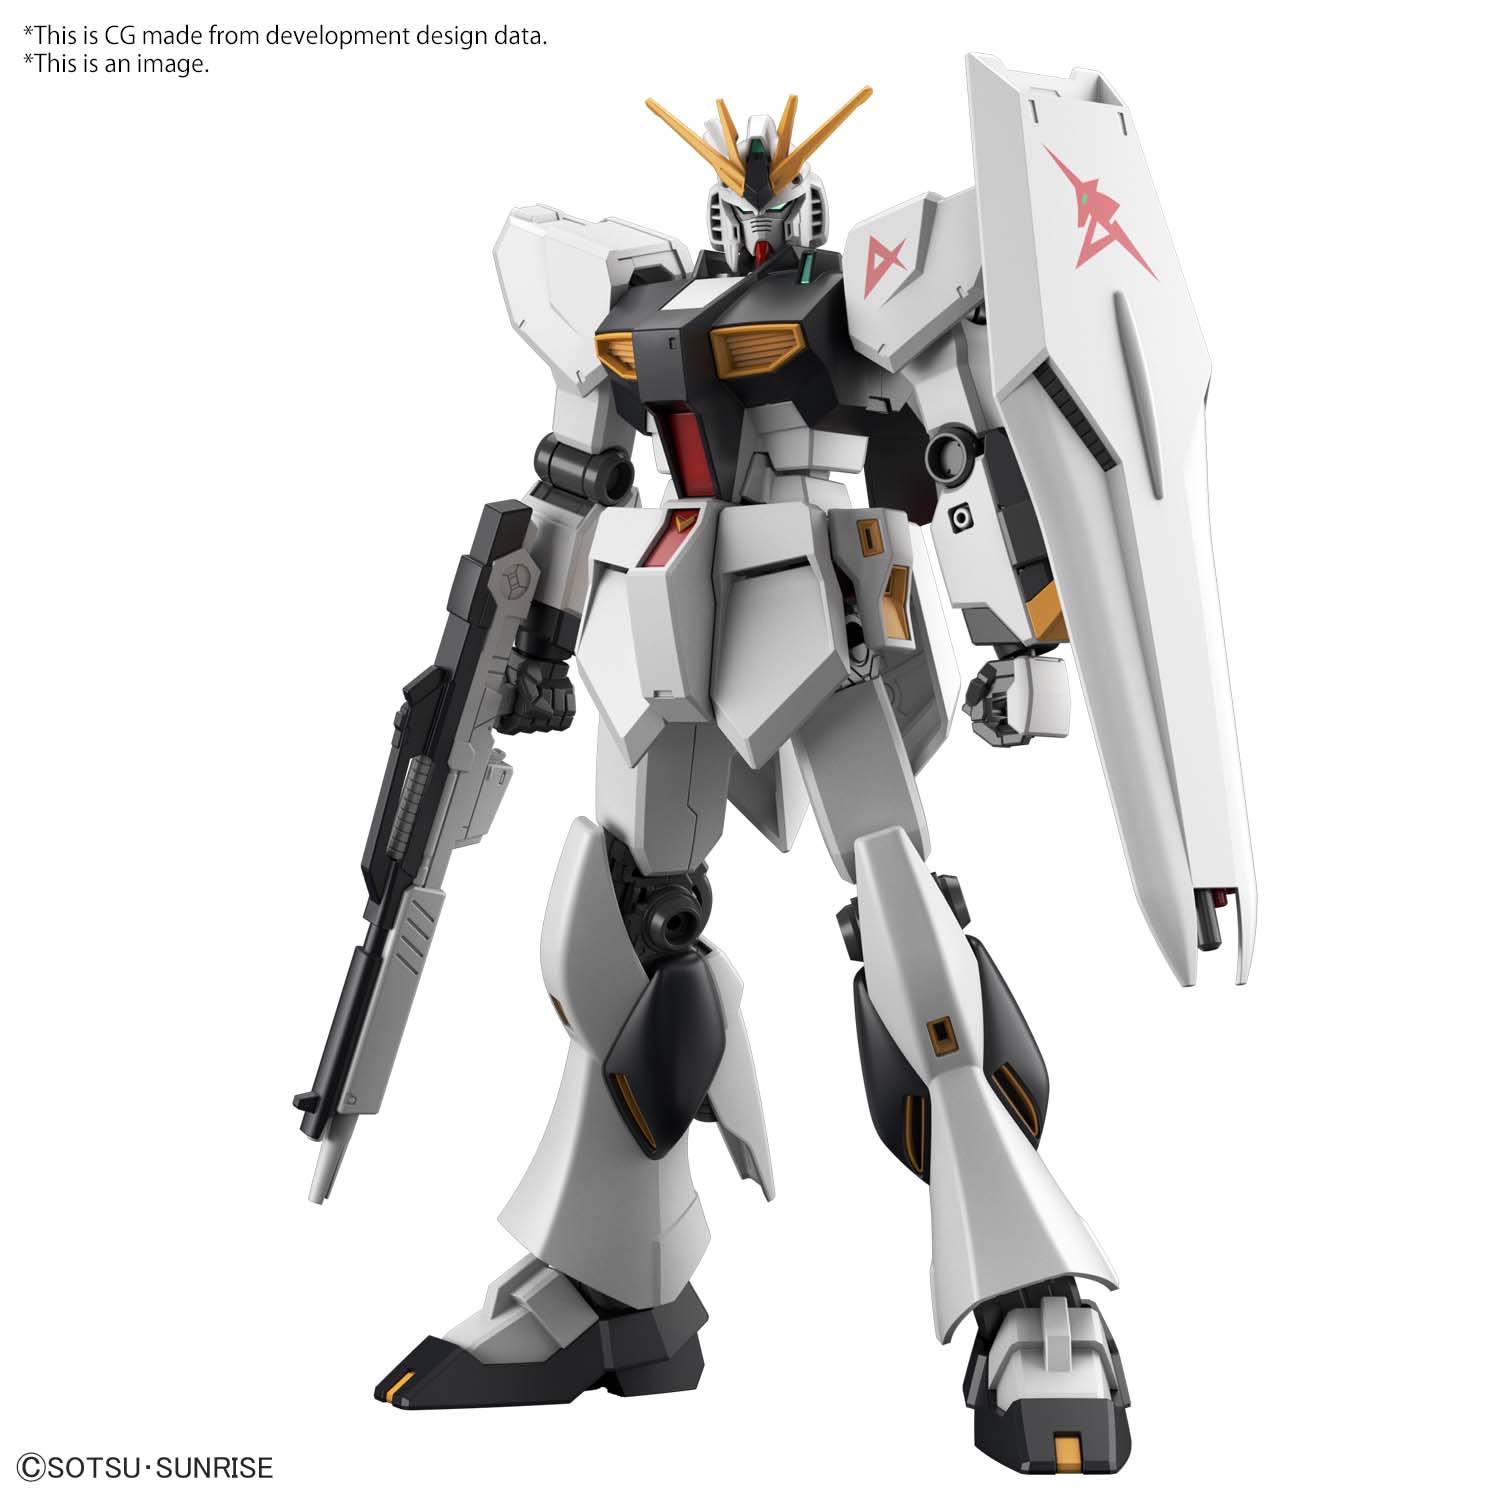
I thought with the new stock hopefully coming soon that I would look a little closer at the Entry Grade models. In particular one of the models I am getting back in stock is the Gundam Nu 1/144 Entry Grade model.
If you haven’t seen it before it looks like this
EG_Nu
As you can see this is quite a stunning model. I like it for the relative simplicity, as well as how it stays true to the original style of the models. It is very reminiscent of the early Gundam suits that are seen in the shows. However, they have changed enough features in there to give it a unique look and feel. I also love the shape and look of the shield which I think looks amazing with this model.
Why do people get them?
From speaking to people, and reading the various message groups there seem to be a few reasons that people get these models. I find that some people want them as a quick easy build to do before some of the more intense bigger builds that they work on. They can start and finish the build quickly and get that sense of satisfaction from a job well done.
I also think that many people look to these models so that they can use them as a cheap and easy way to do customisations. The models are quick to build, and the customiser can get down to business a lot quicker, and if their experimentations go awry then no real harm is done.
Conclusion
Whatever the reasons I find that the Entry Grade models remain popular with all modelers. So I have a few of these coming into stock in case people want them.
Thank you for taking the time to read this. If you haven’t already done so please like and follow us on our social media platforms and checkout our website!
Welcome back to Guess the Model Part 5 – The Legs. If you haven’t seen the rest of the series then the first post can be found here. The premise is simple. I grab a model from my backlog. Each day (or each post at least) I build one section from the manual, in the order that it appears in the manual. You then get to guess what model this is.
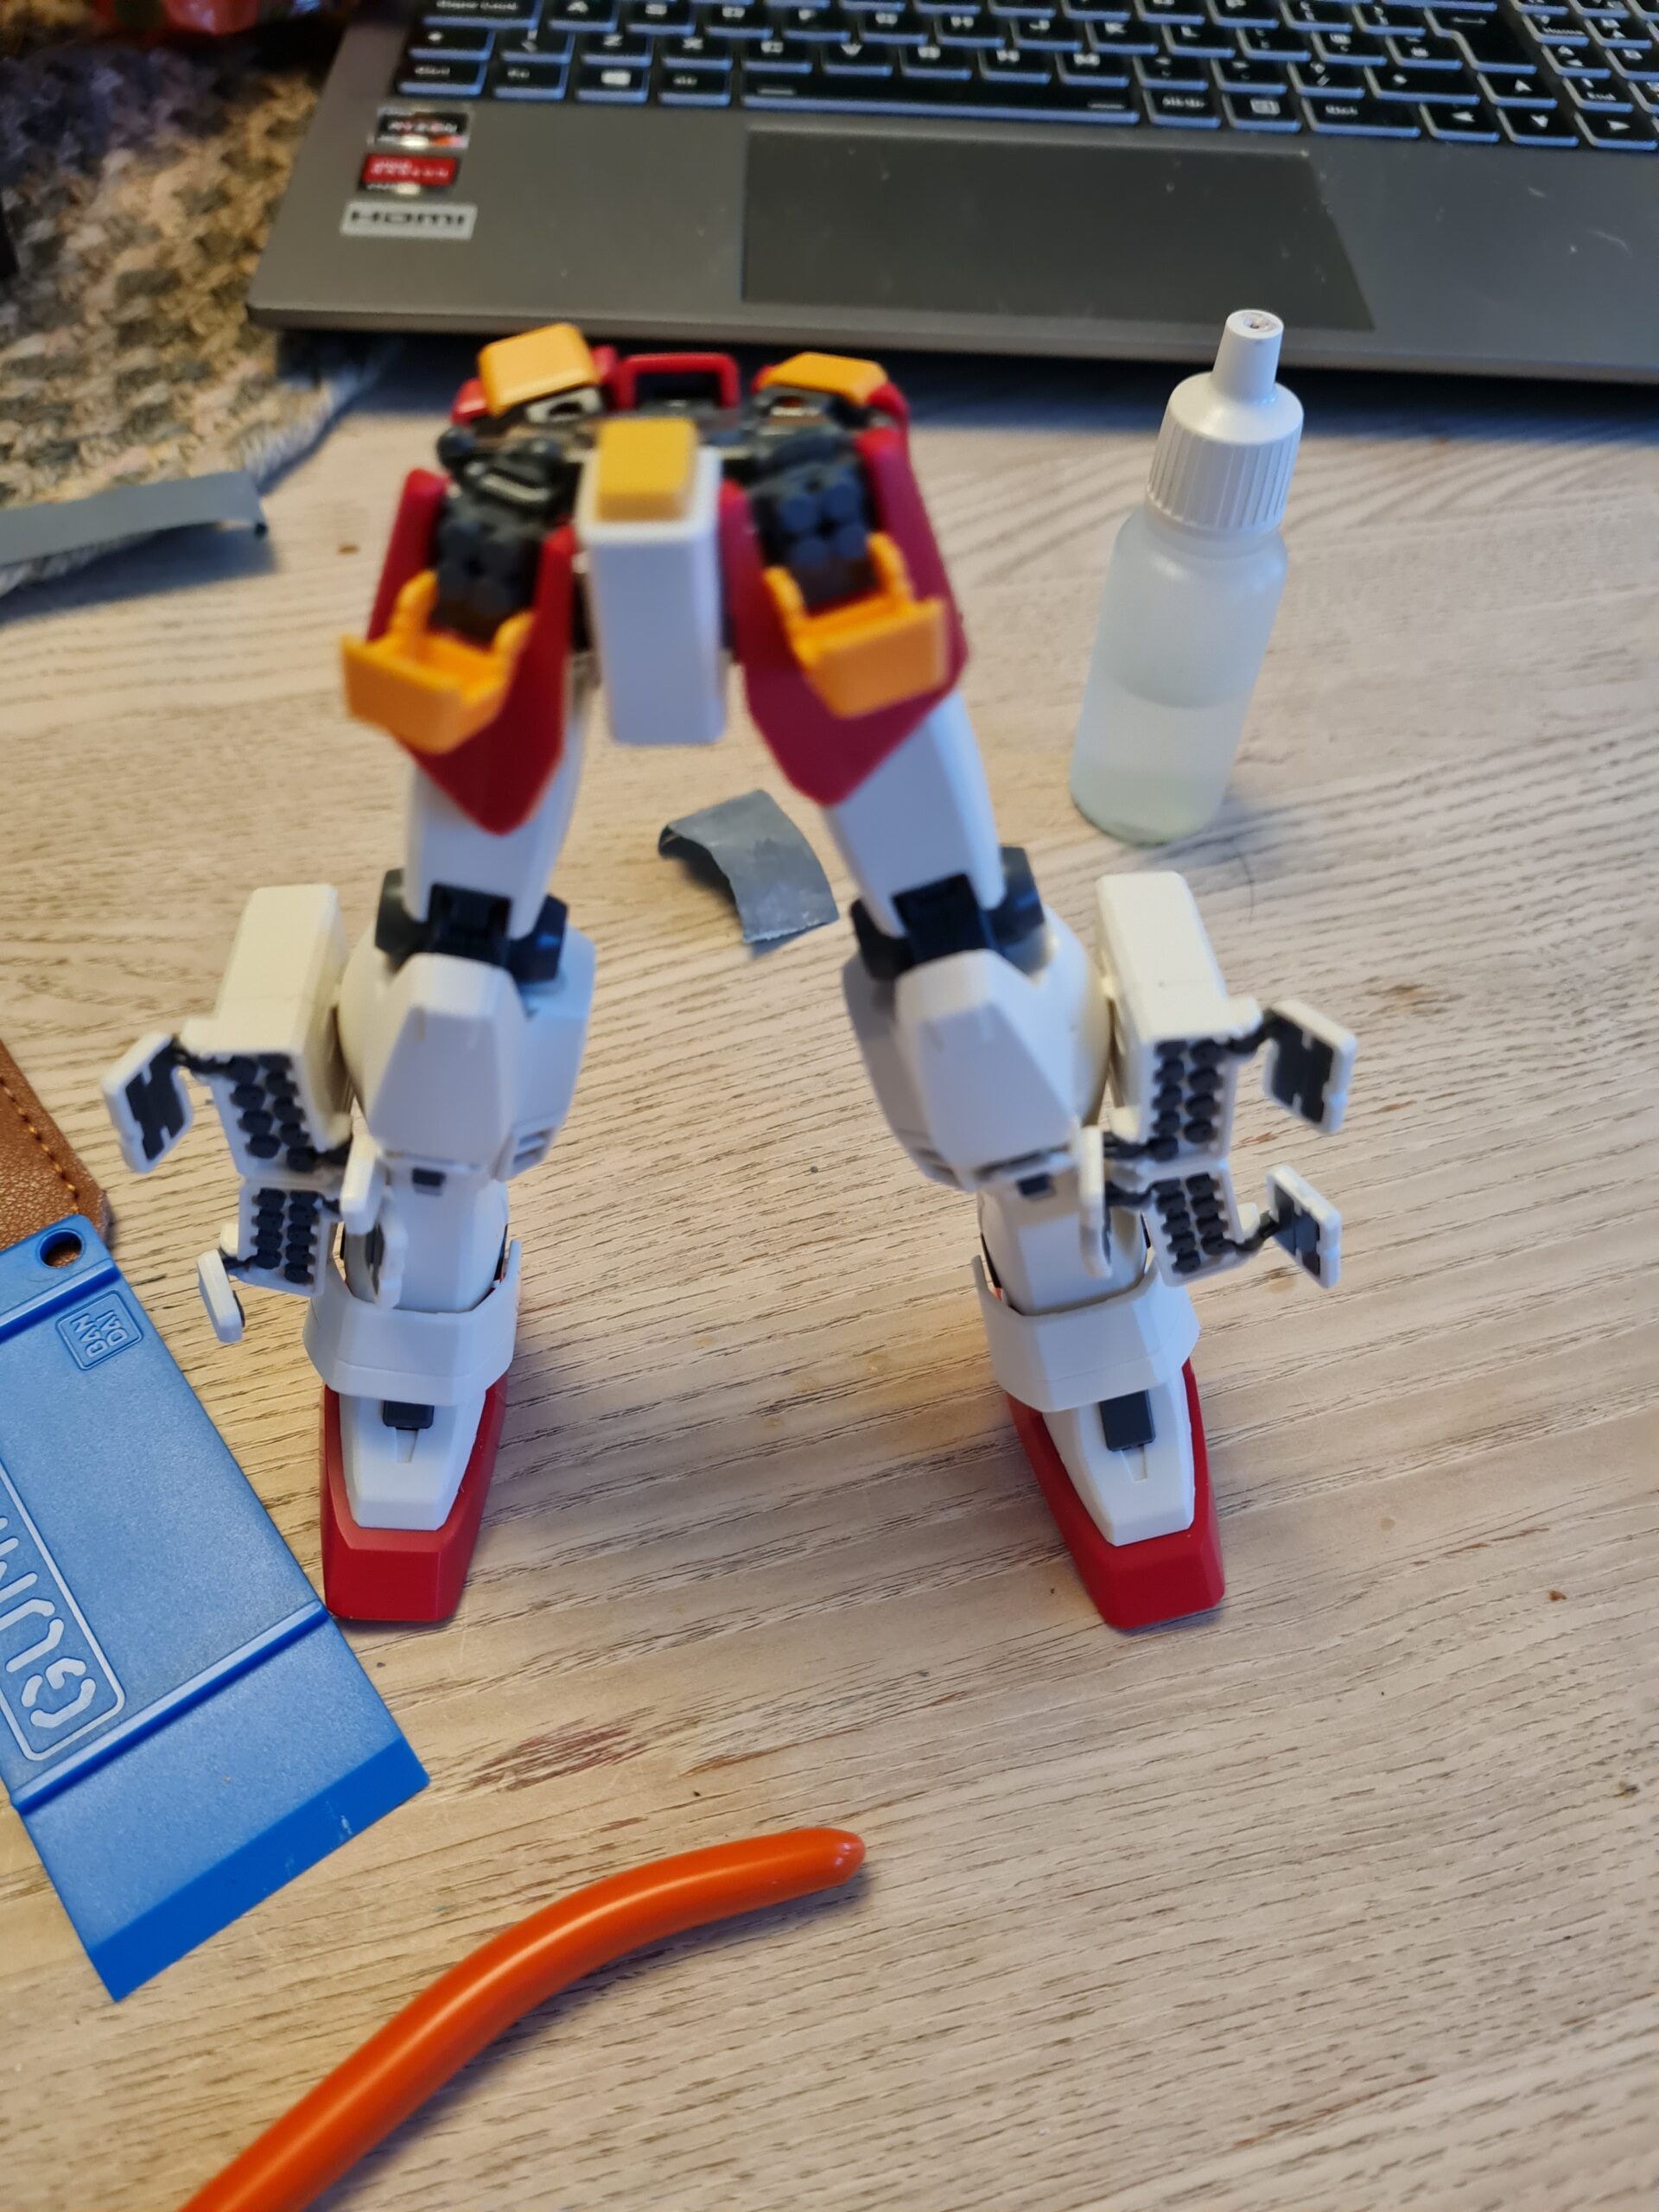
Today we are covering the legs.
First parts in the leg buildFeet builtSecond set of partsOpps I missed a bitOoppss I missed a second bitParts assembledCore leg partsLegs assembledLeg armourLeg with armourWeapon partsWeapons assembledAttached weapons to legLeg weapons openBoth legsLegs weapons open
I will admit that I never really grasped the size of the model. All the parts so far didn’t feel so much bigger. However when I put the legs together I began to really get a feel for the scale. I just put the legs next to my RG Zaku II and it makes the RG look small. I just went to have another look and with the hips attached that is pretty much the Zaku II in size!
There you have it, I’m pretty sure you will have guessed the mode by now but I’ll carry on with the other bits just for completion.
Thank you for taking the time to read this. If you haven’t already done so please like and follow us on our social media platforms and checkout our website!
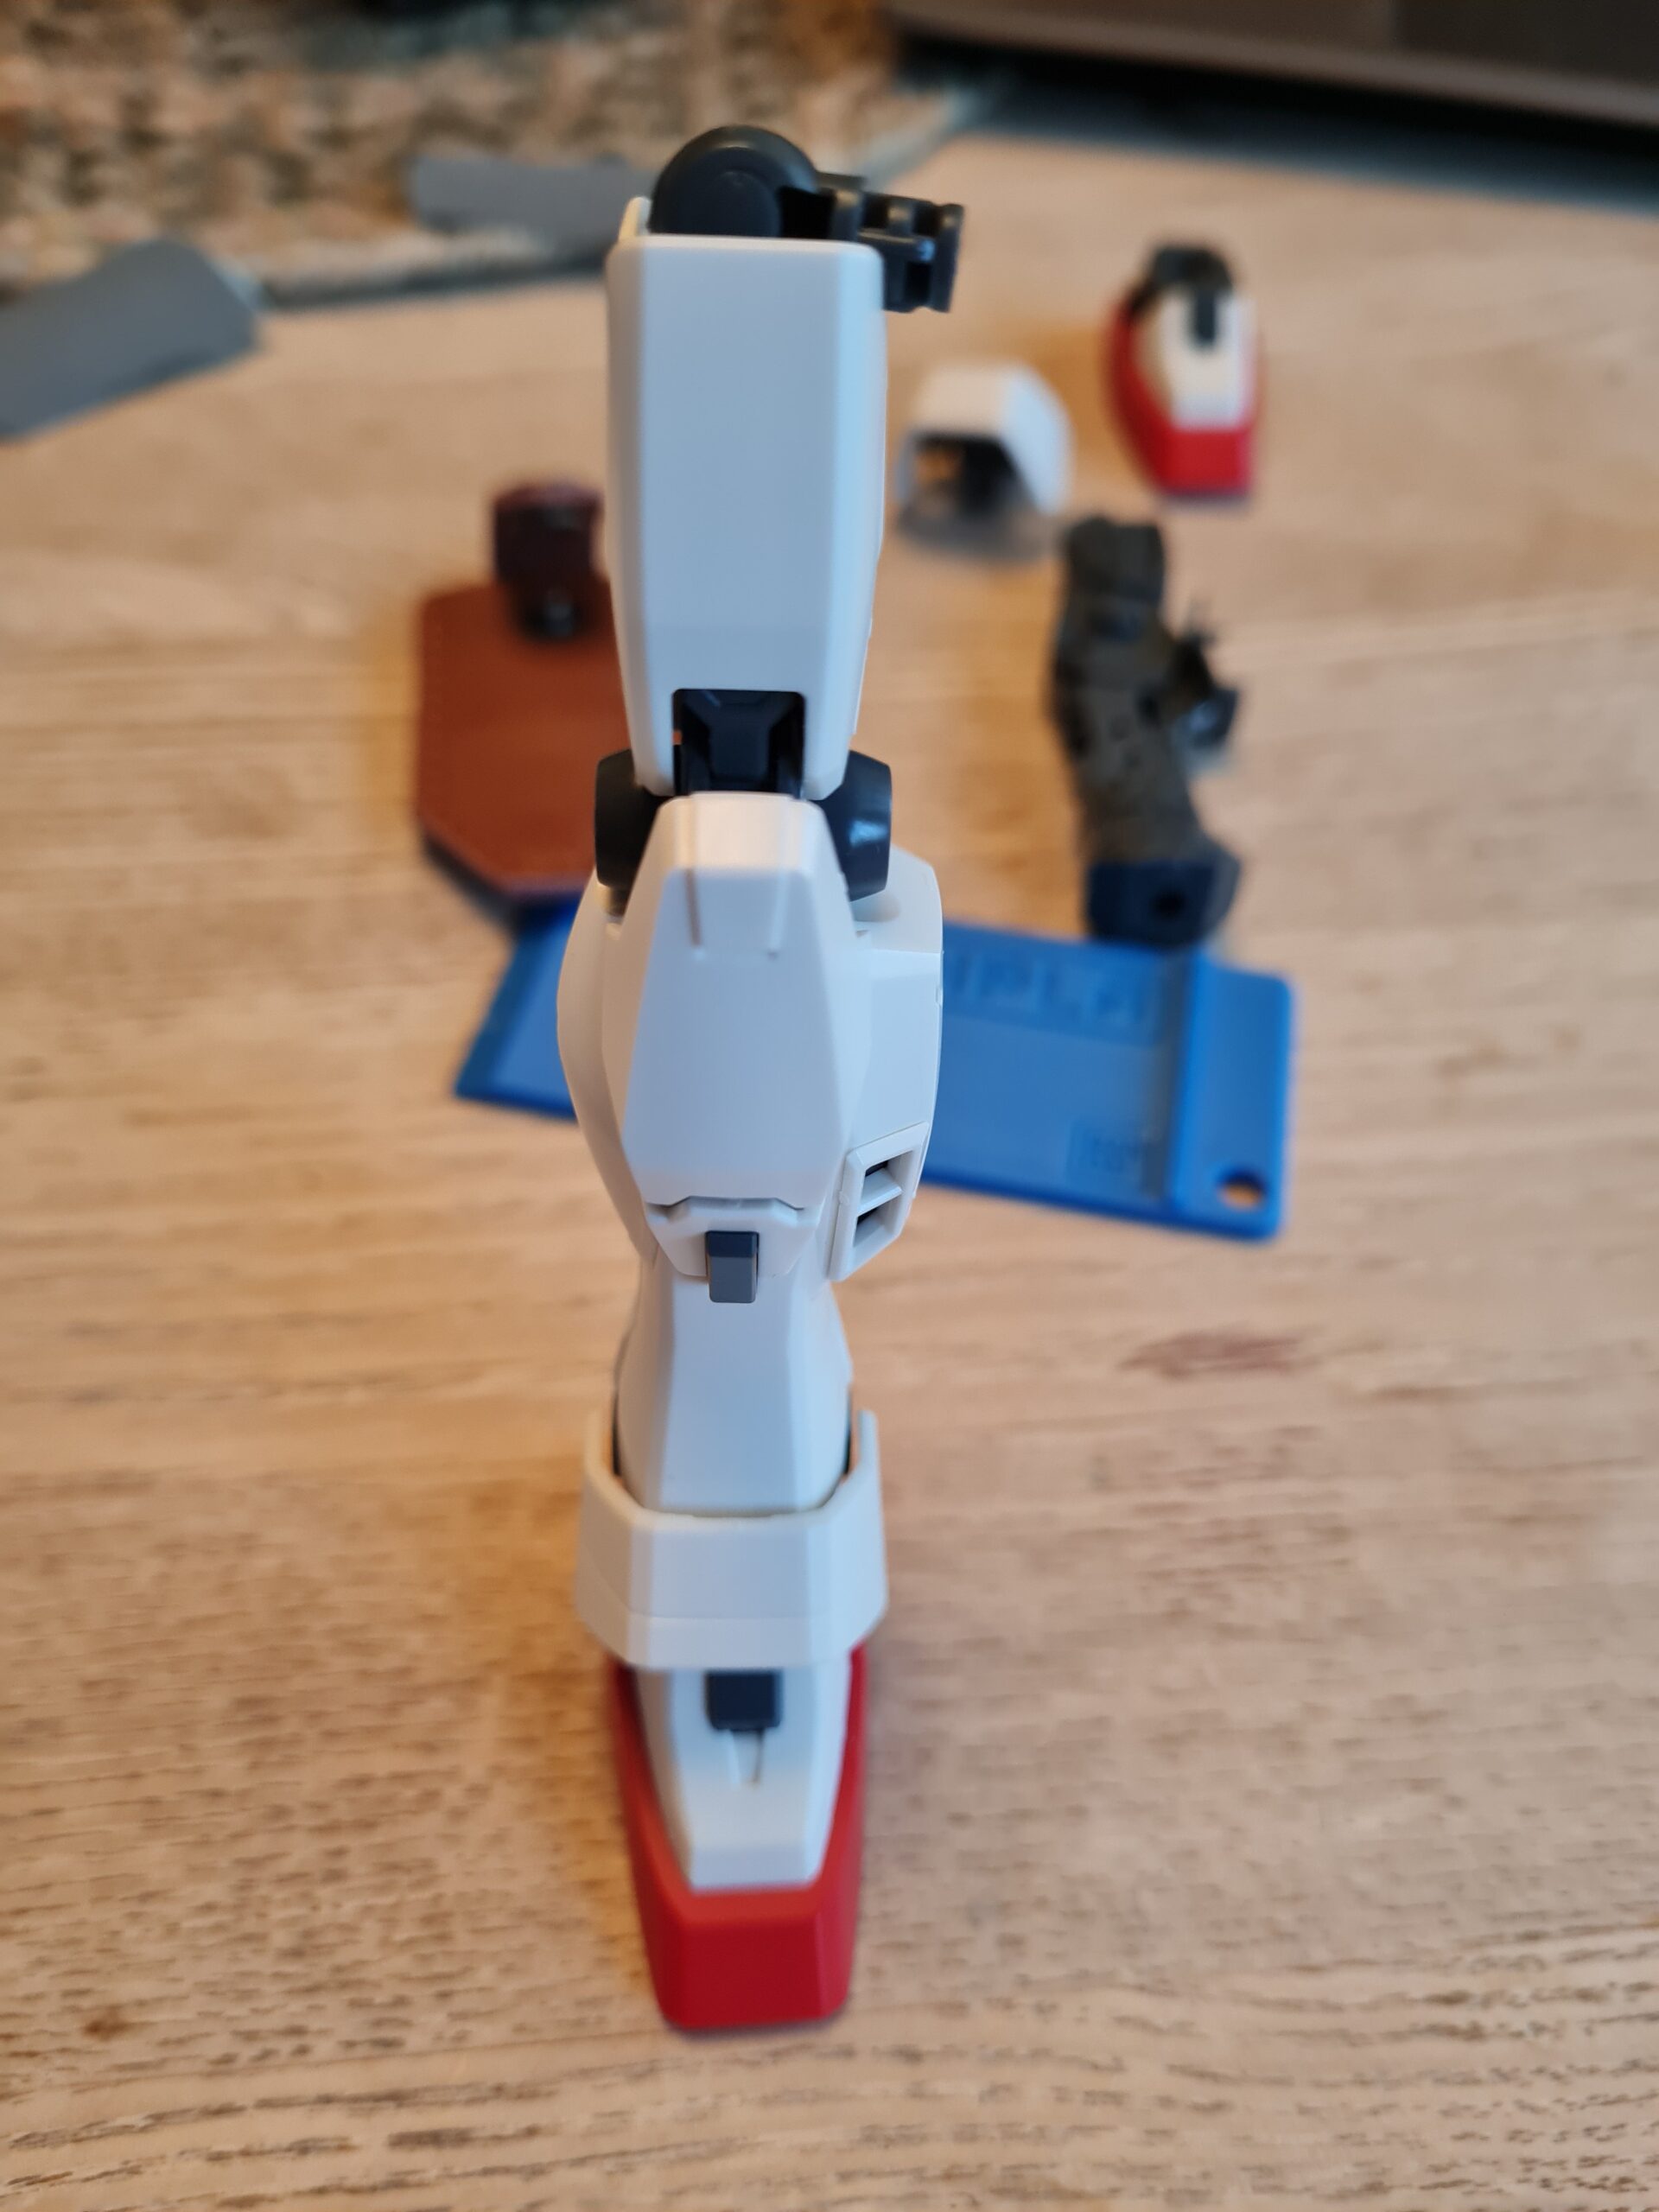
The latest series in the guess the model is going to cover the hips. If you haven’t seen the other parts it starts here. To quickly summarise for anyone just joining the series.
I take a model I have to build. Then following the exact order in the manual I build the pieces and post here. Readers can then guess what the mode is. Hopefully, it will also highlight how I am building the models, and I will also highlight any gotchas or issues as well as any high points I find while building the section.
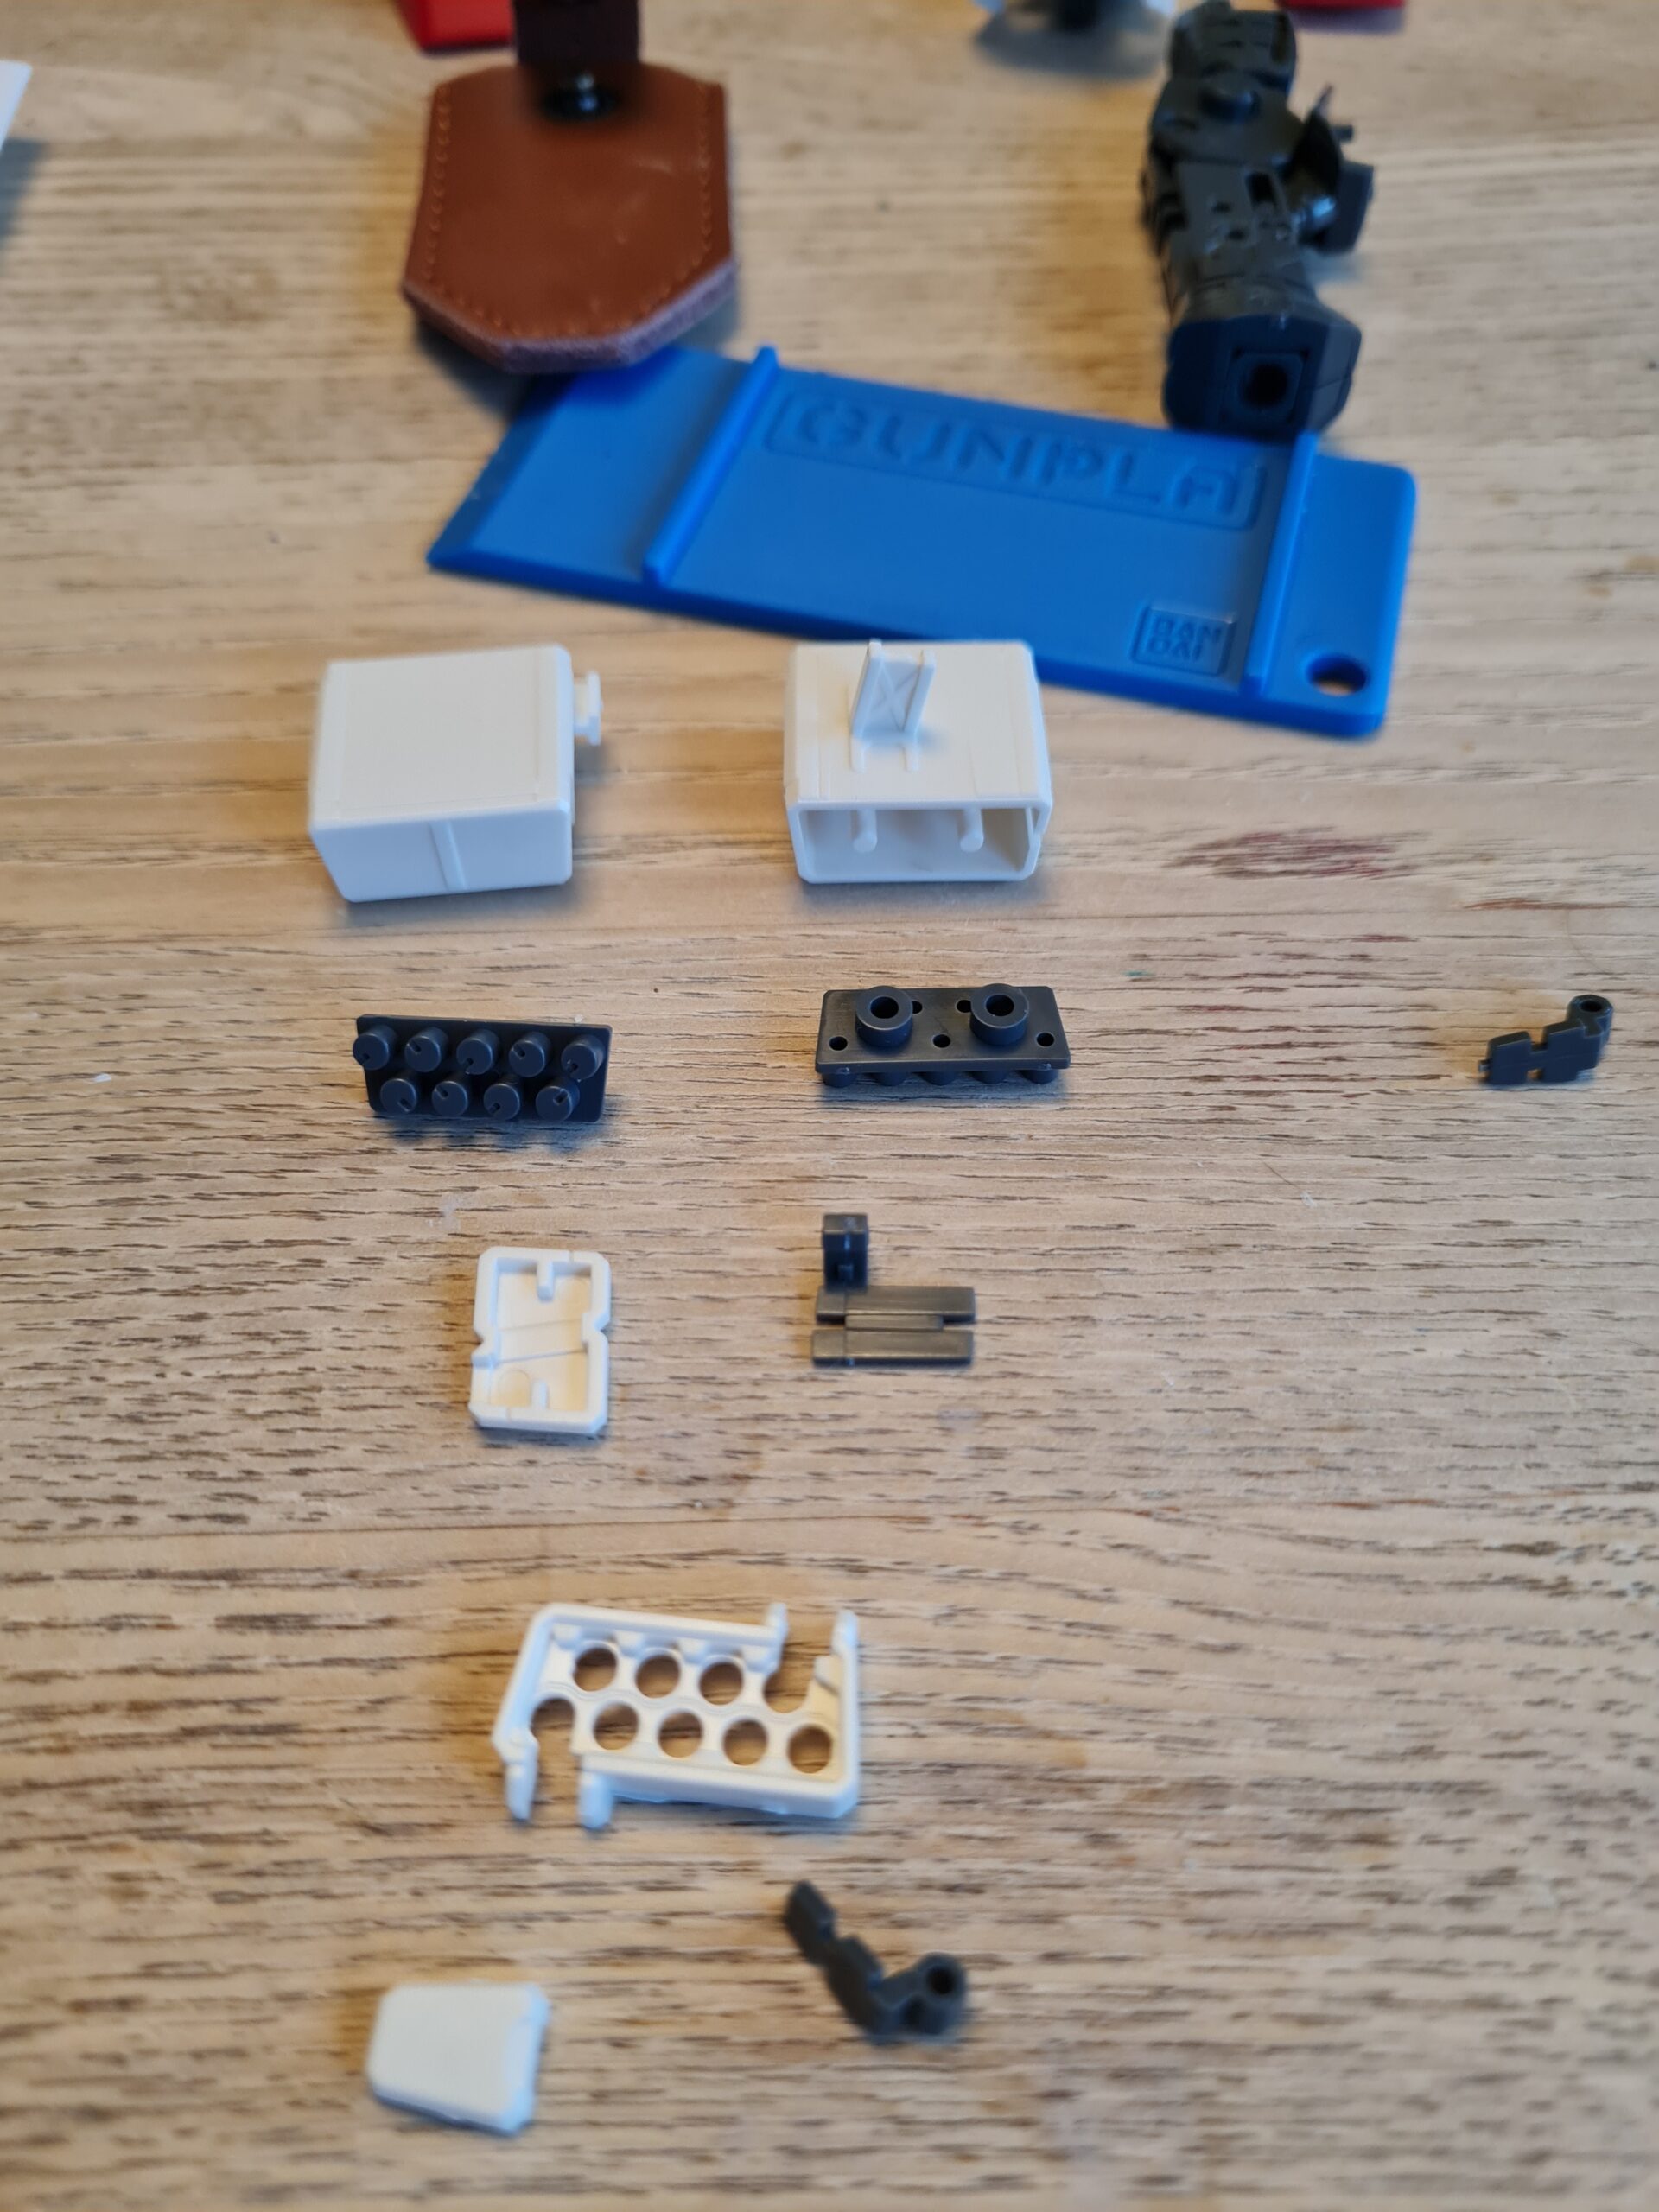
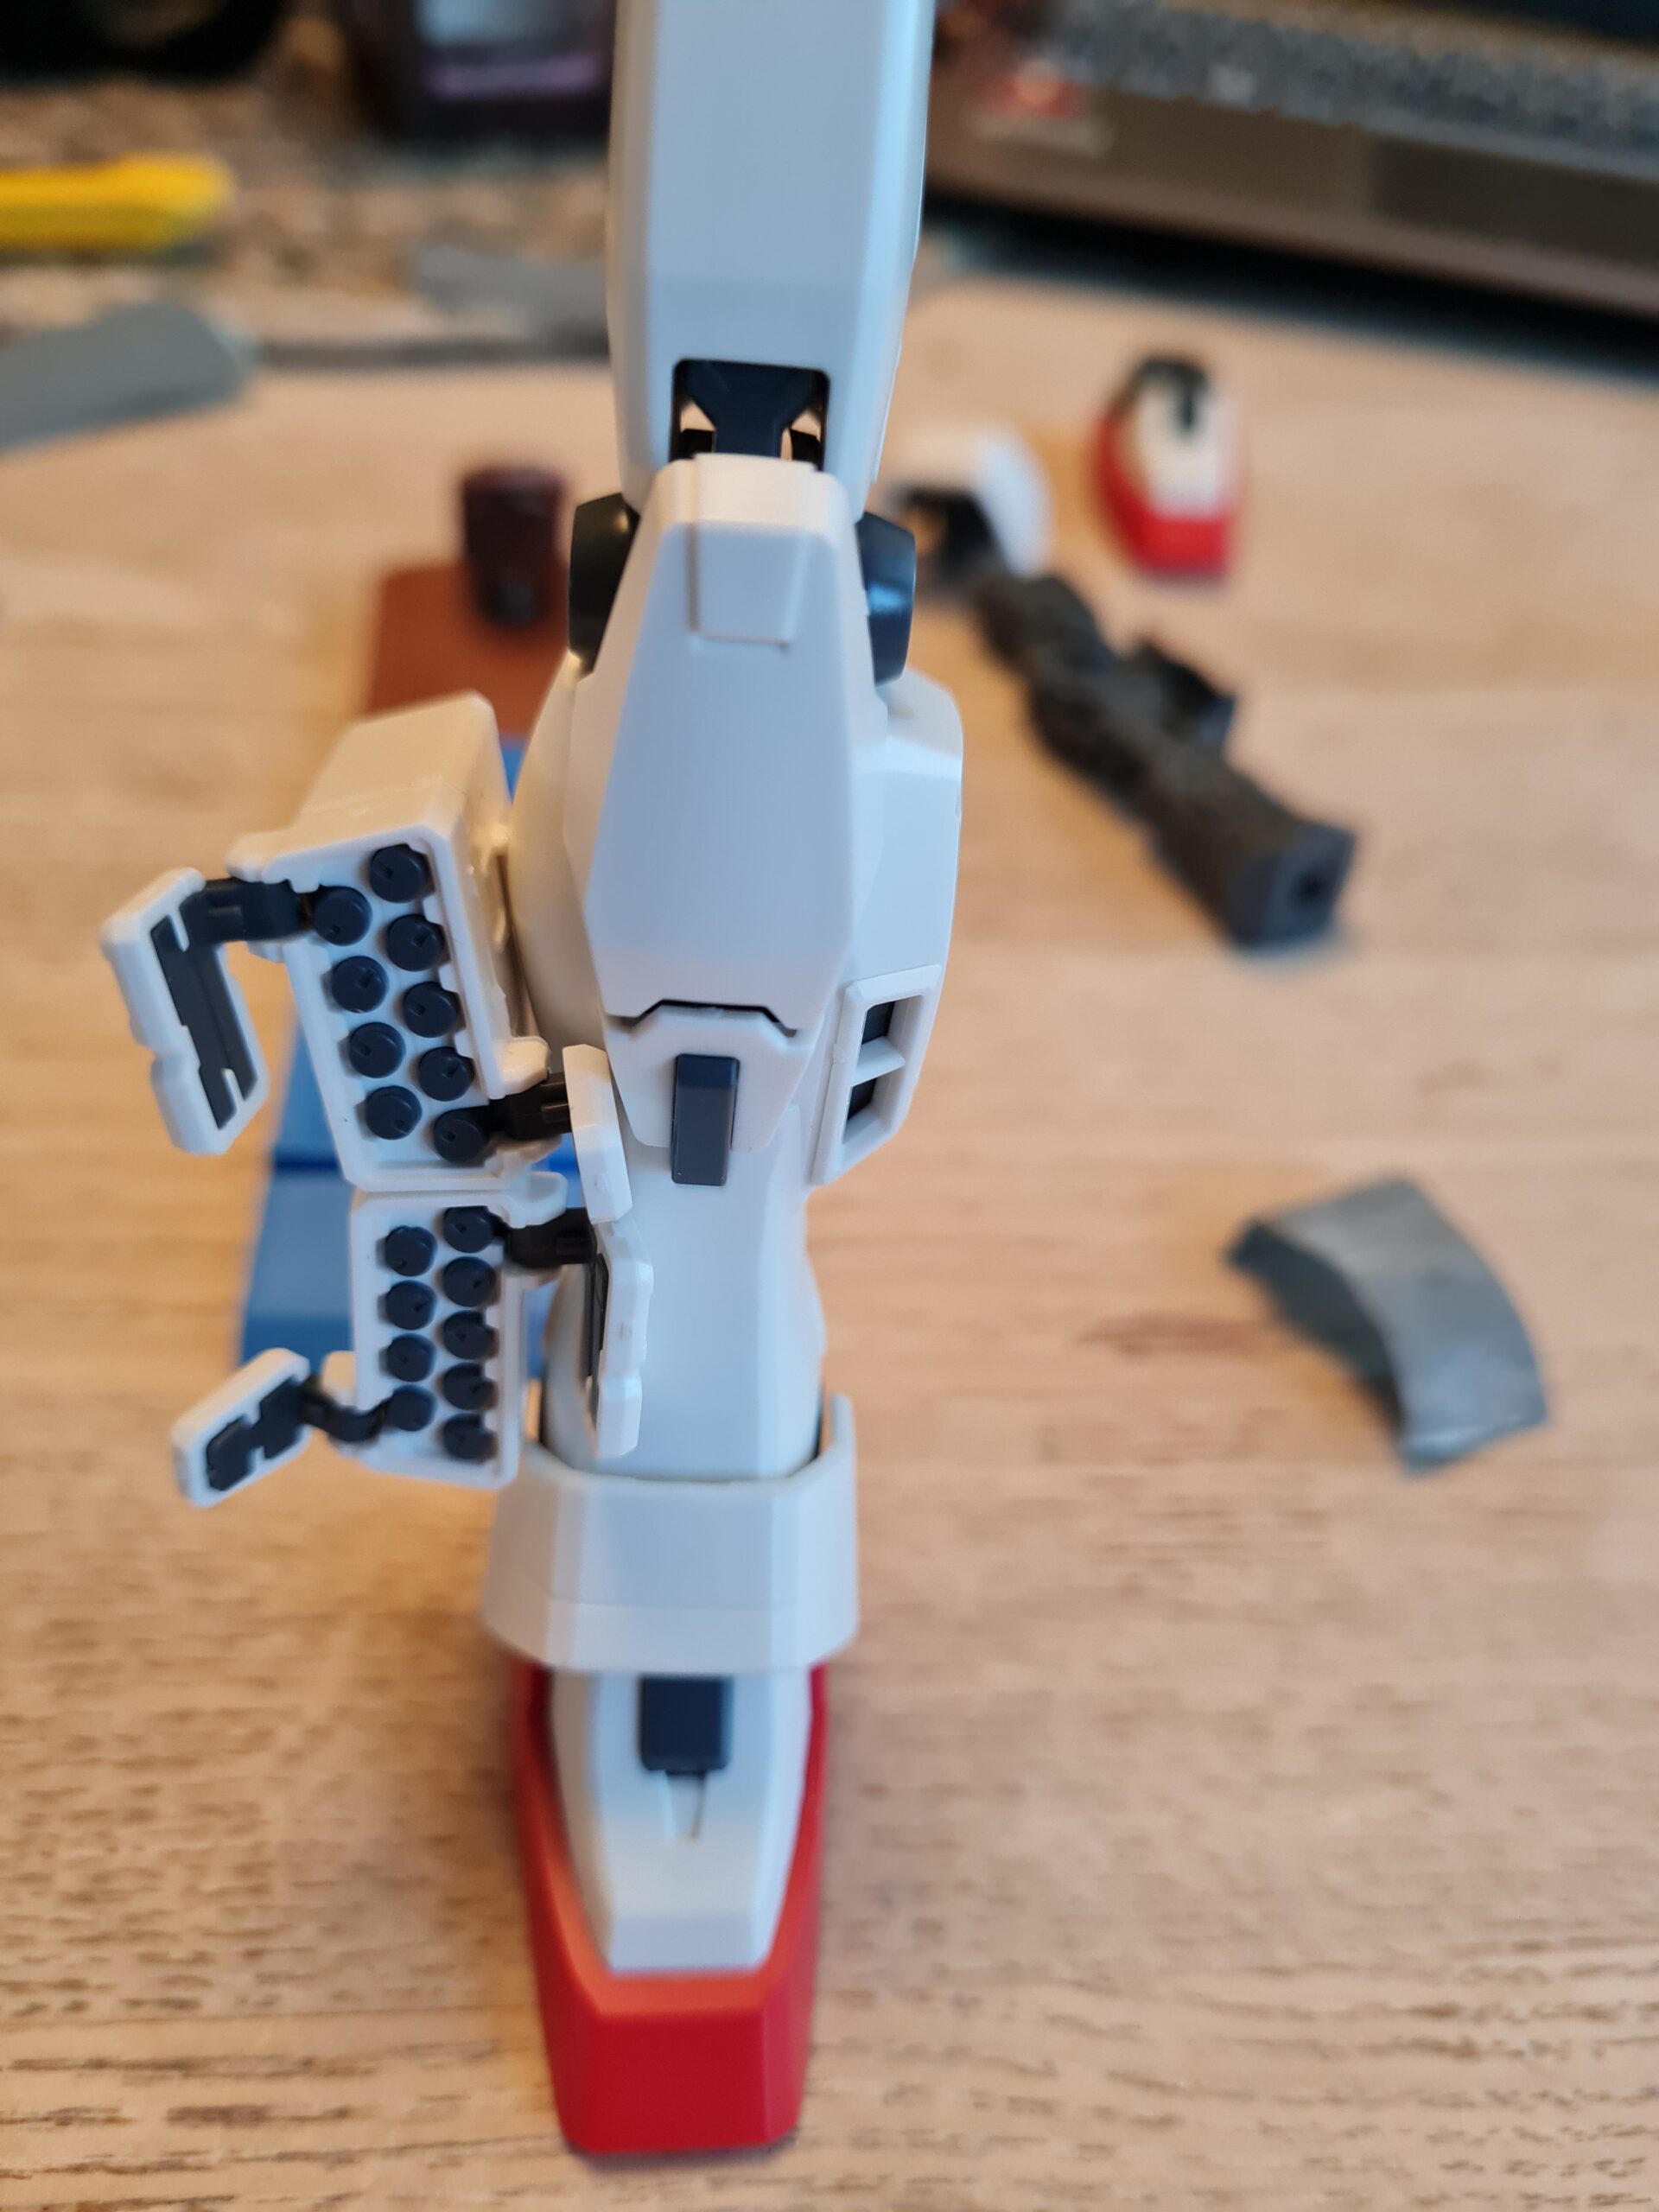
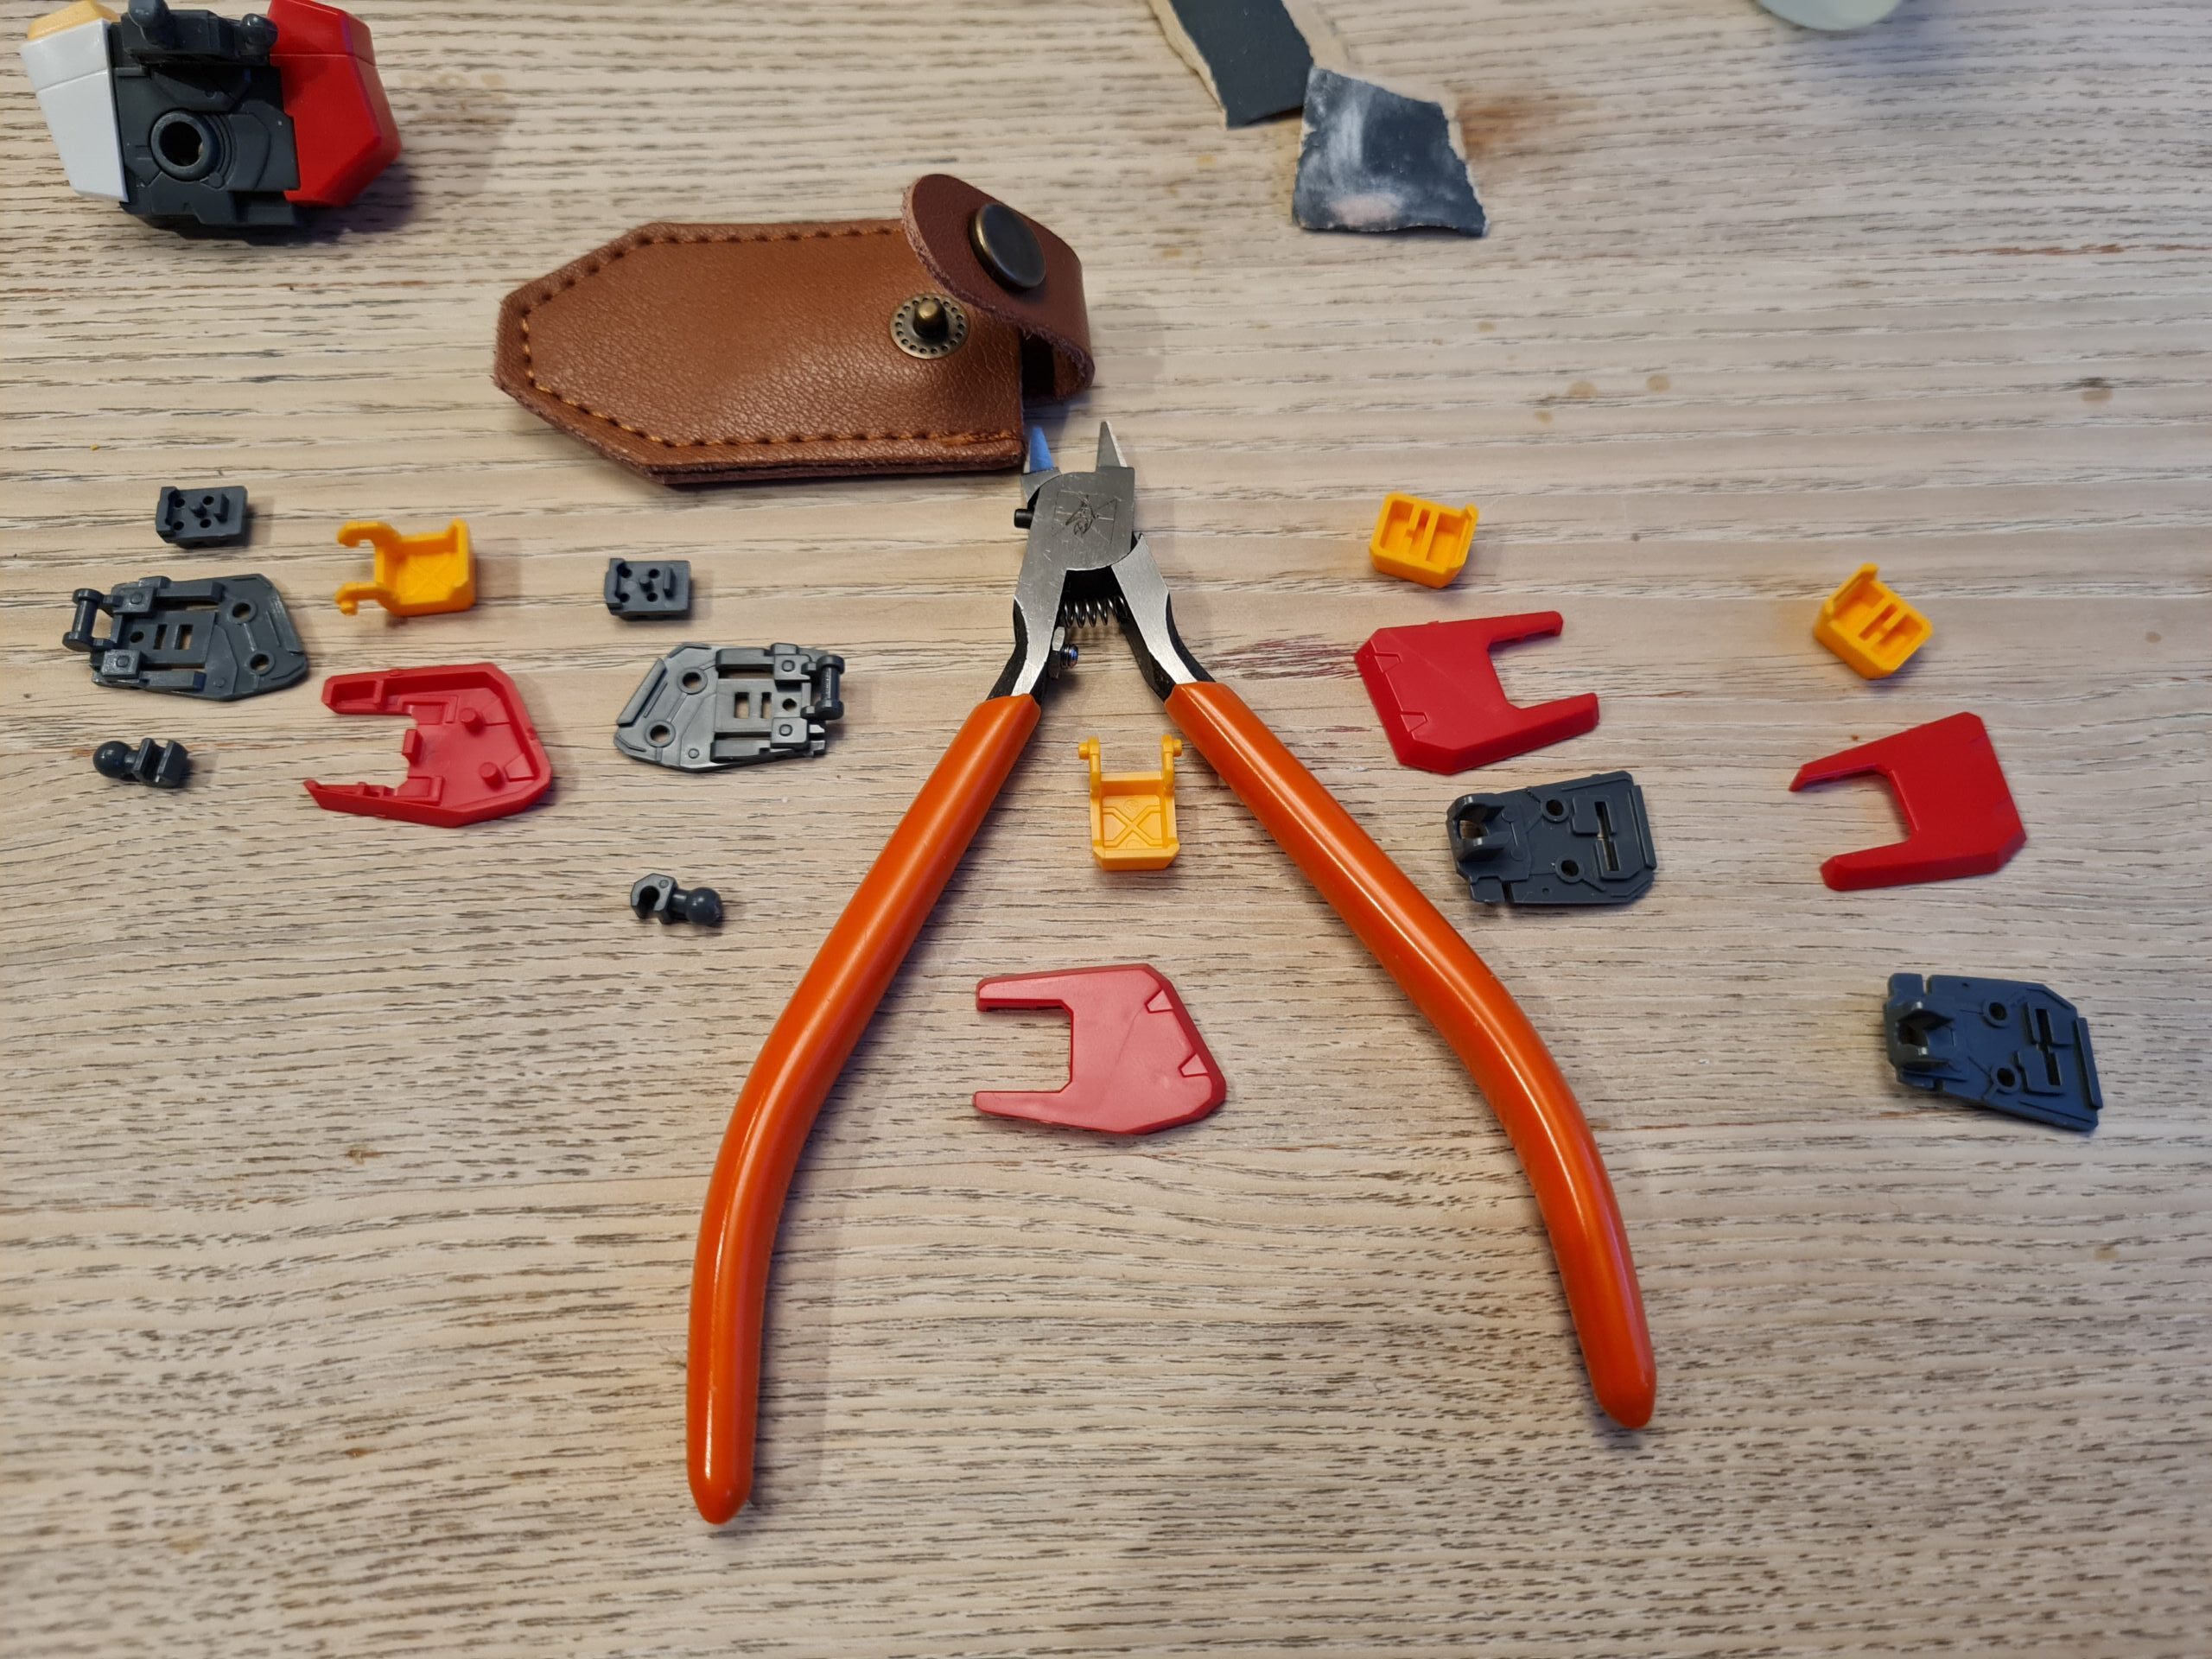
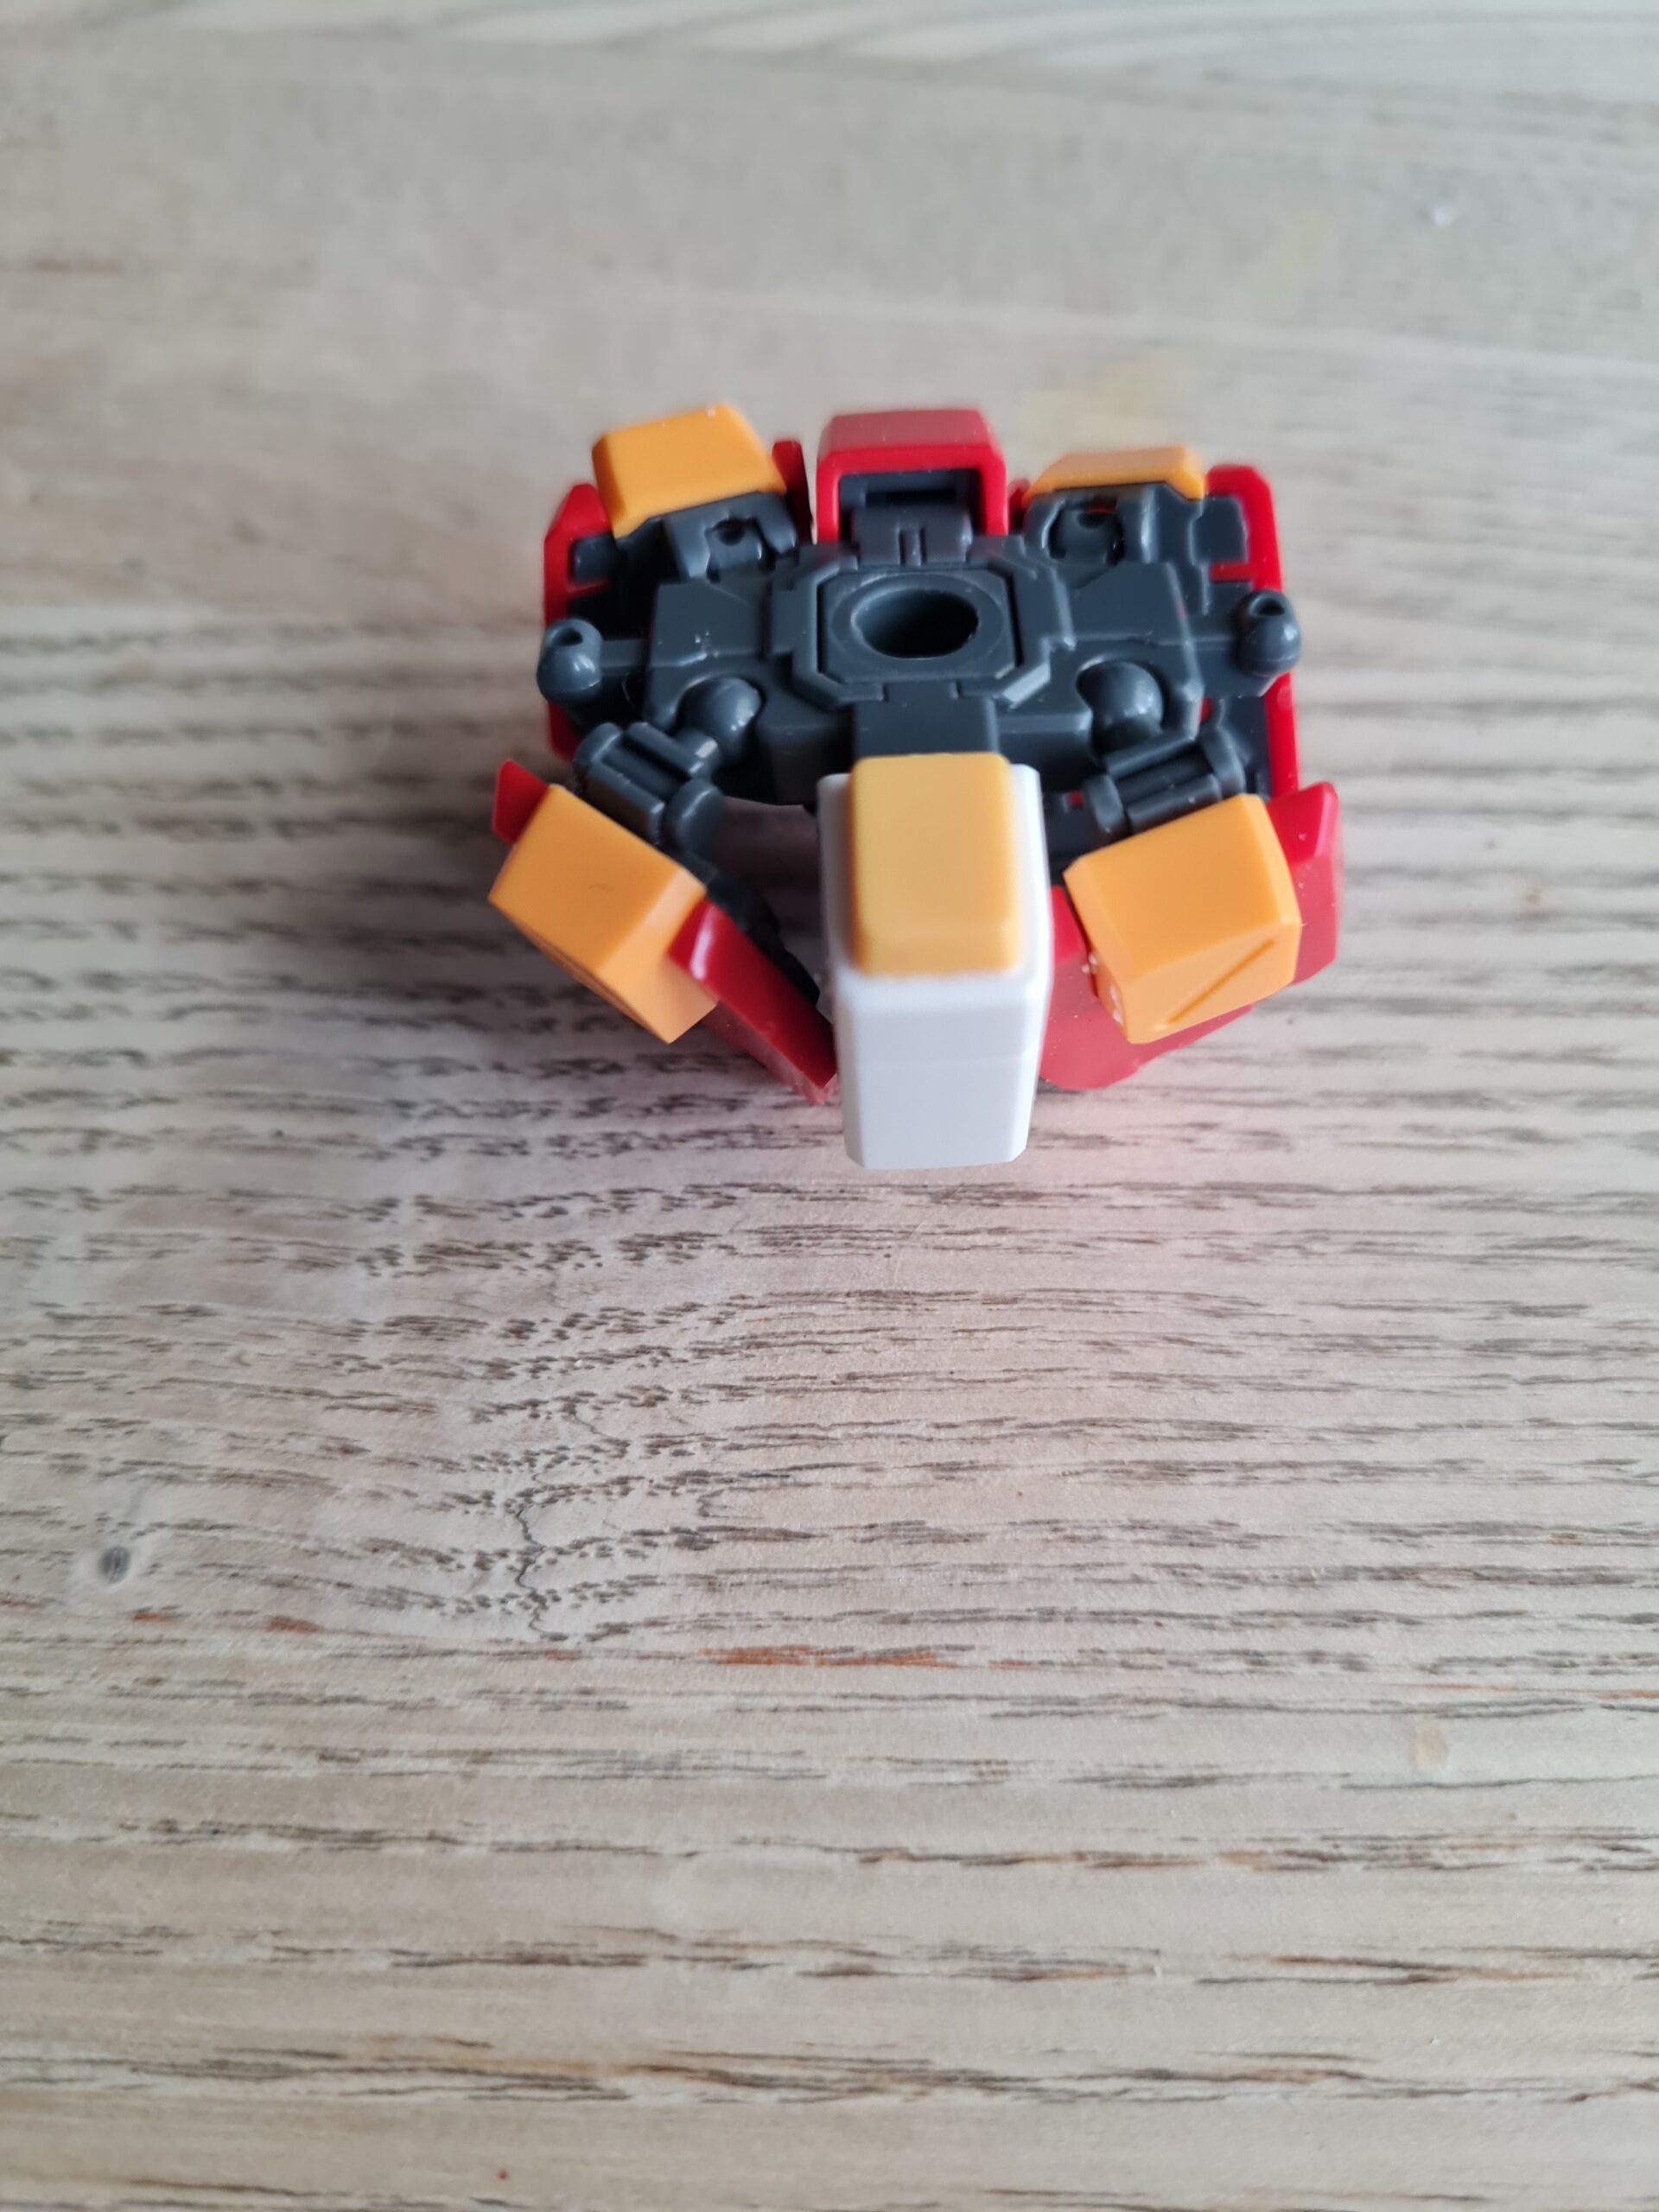
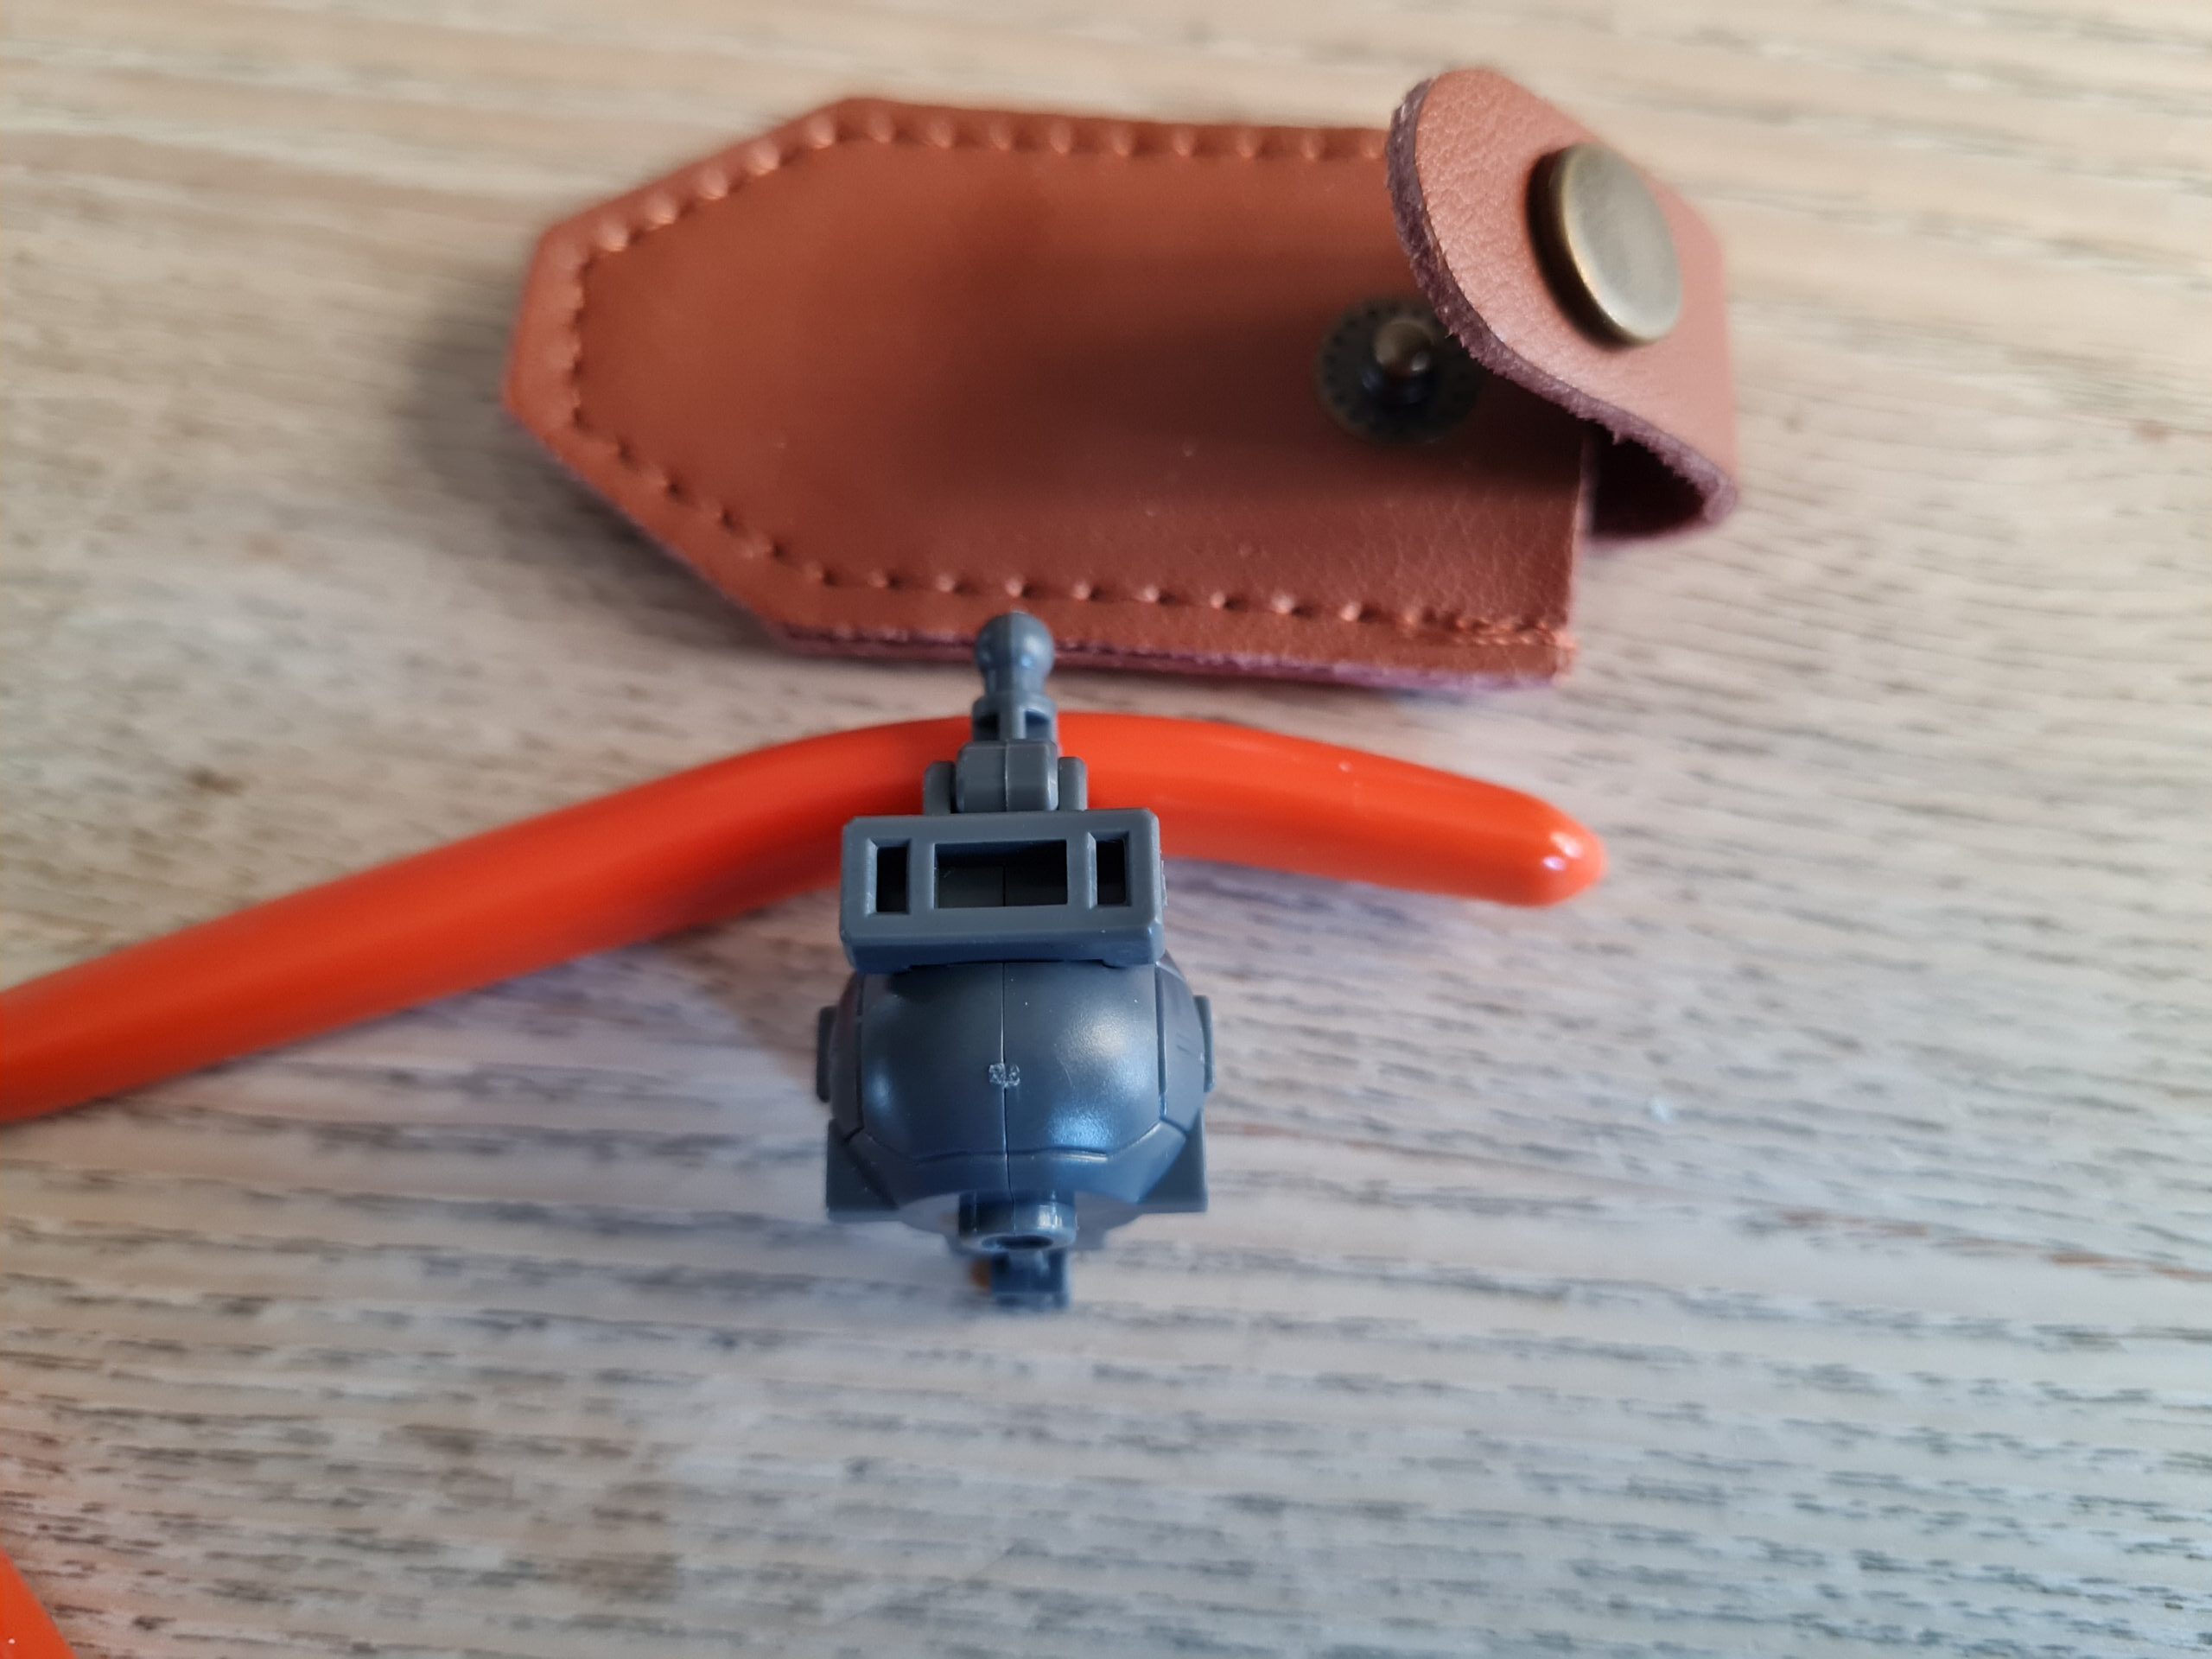
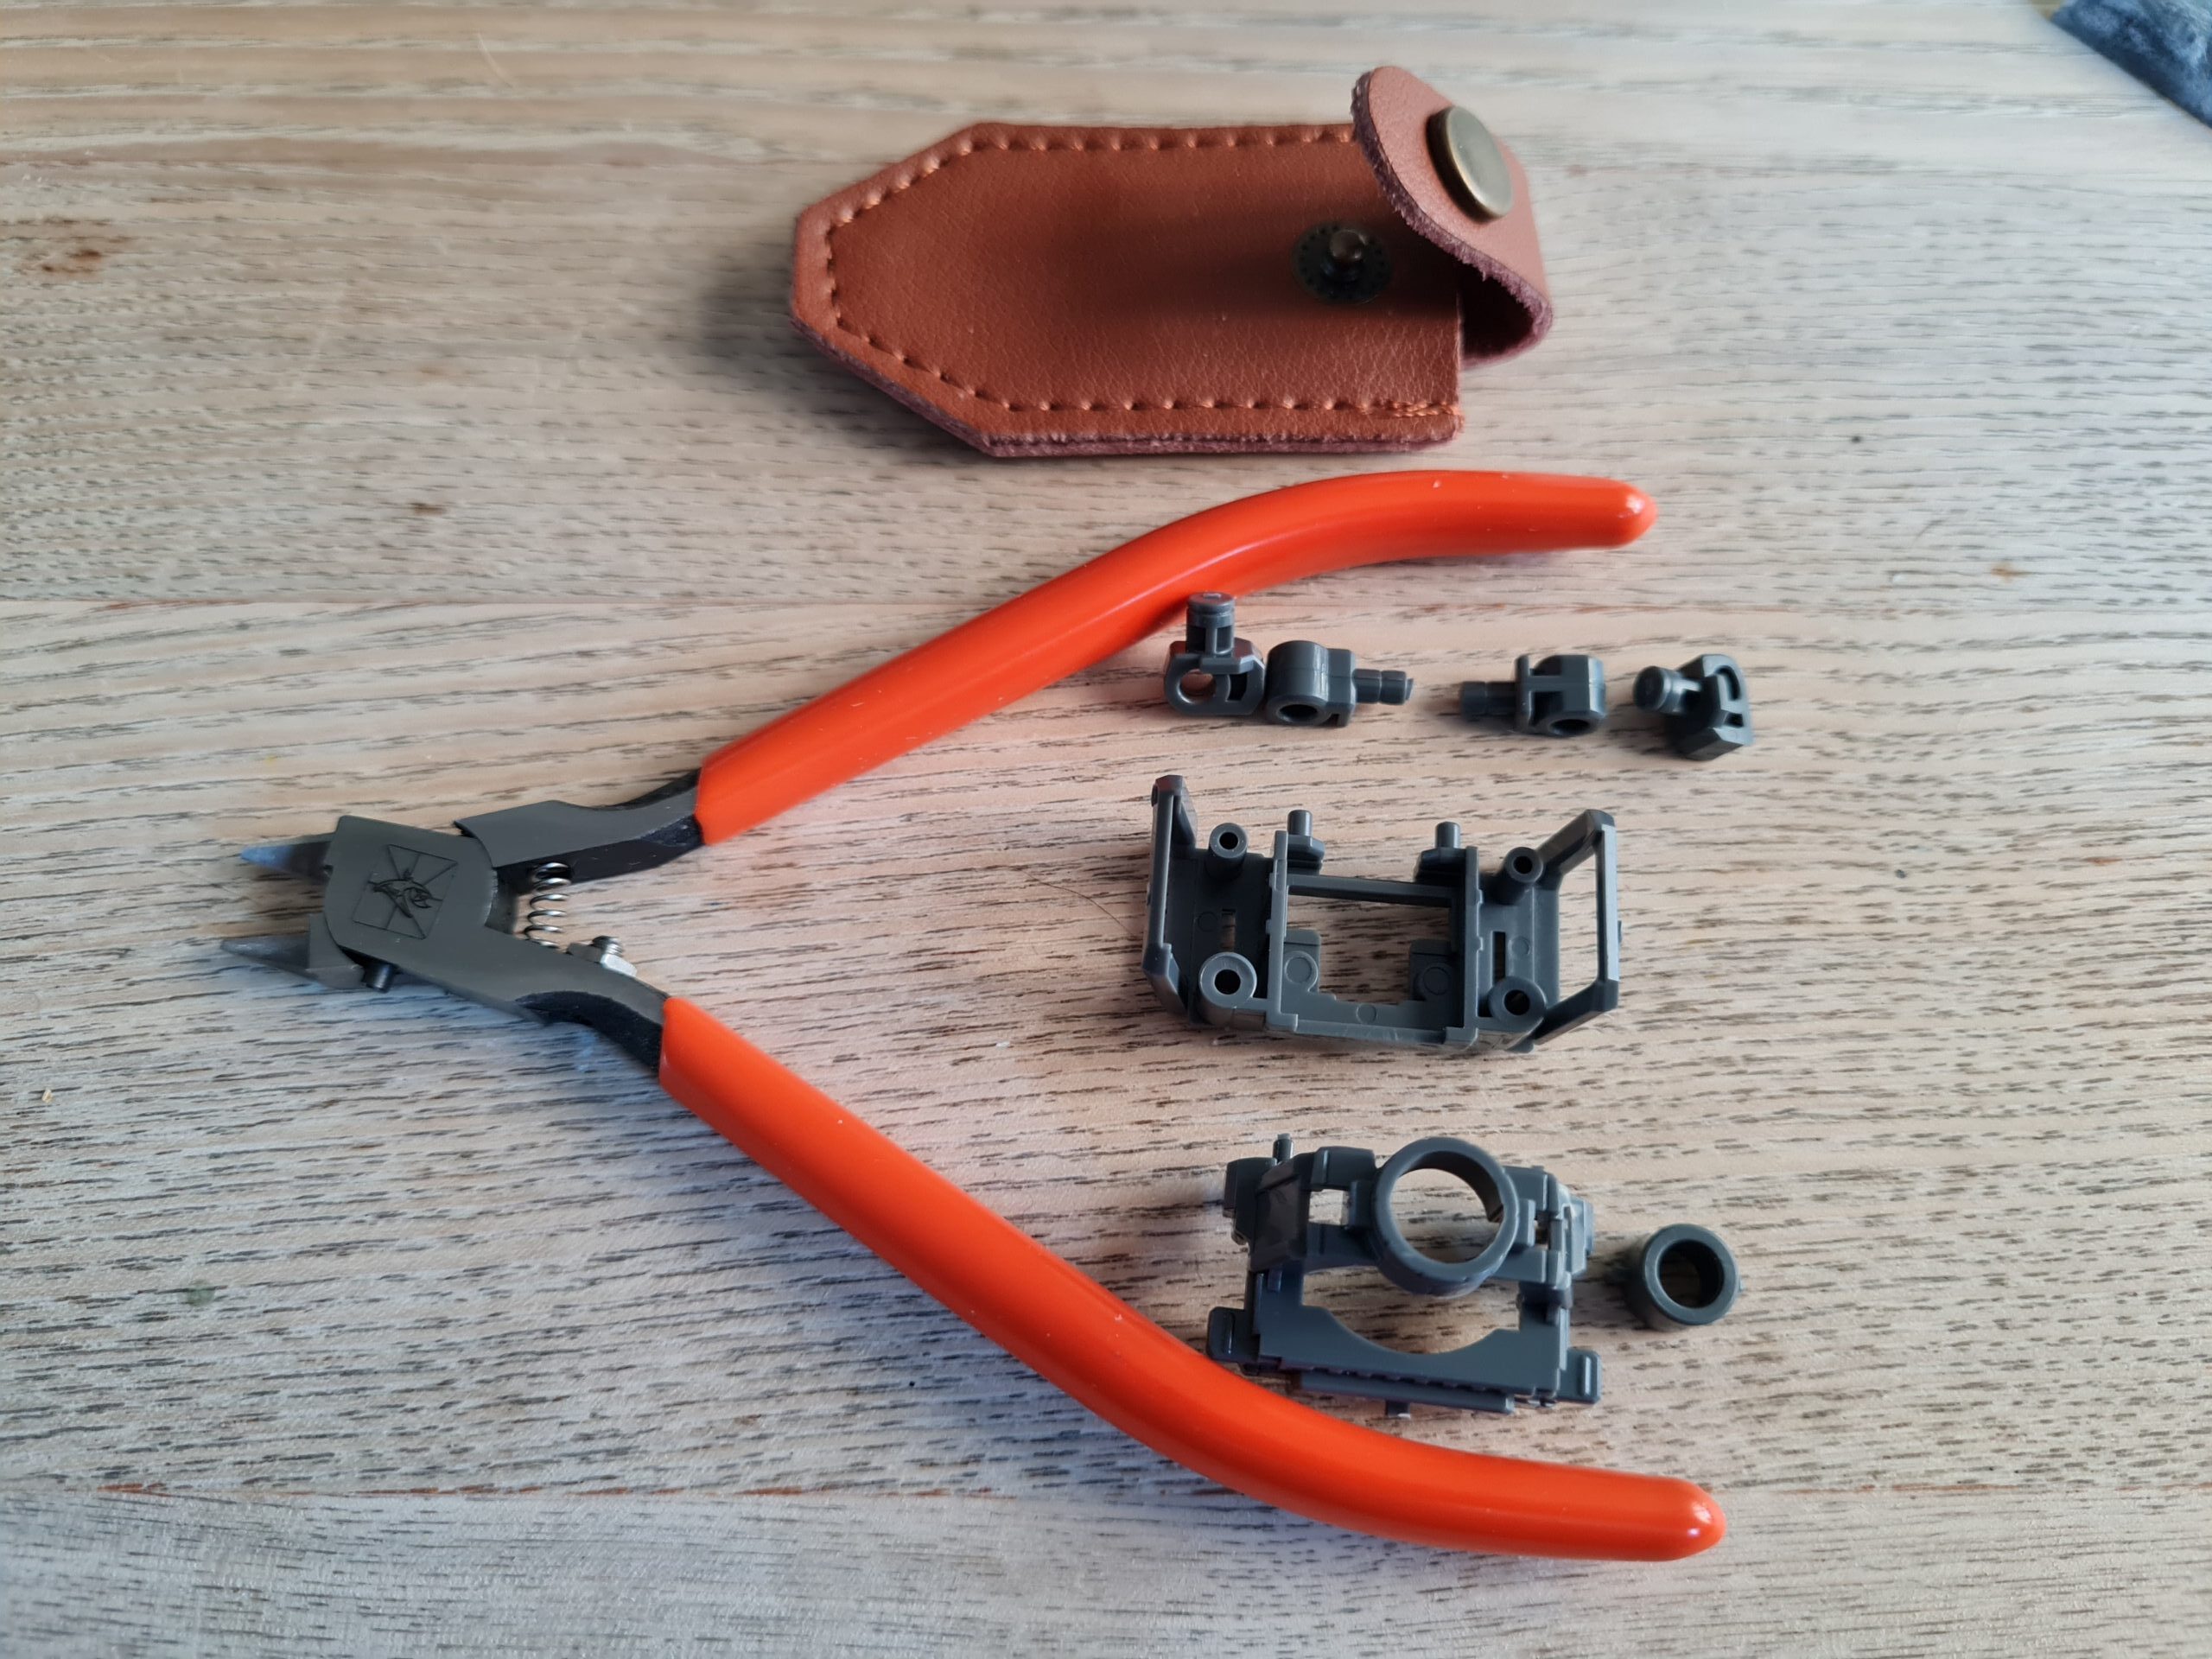
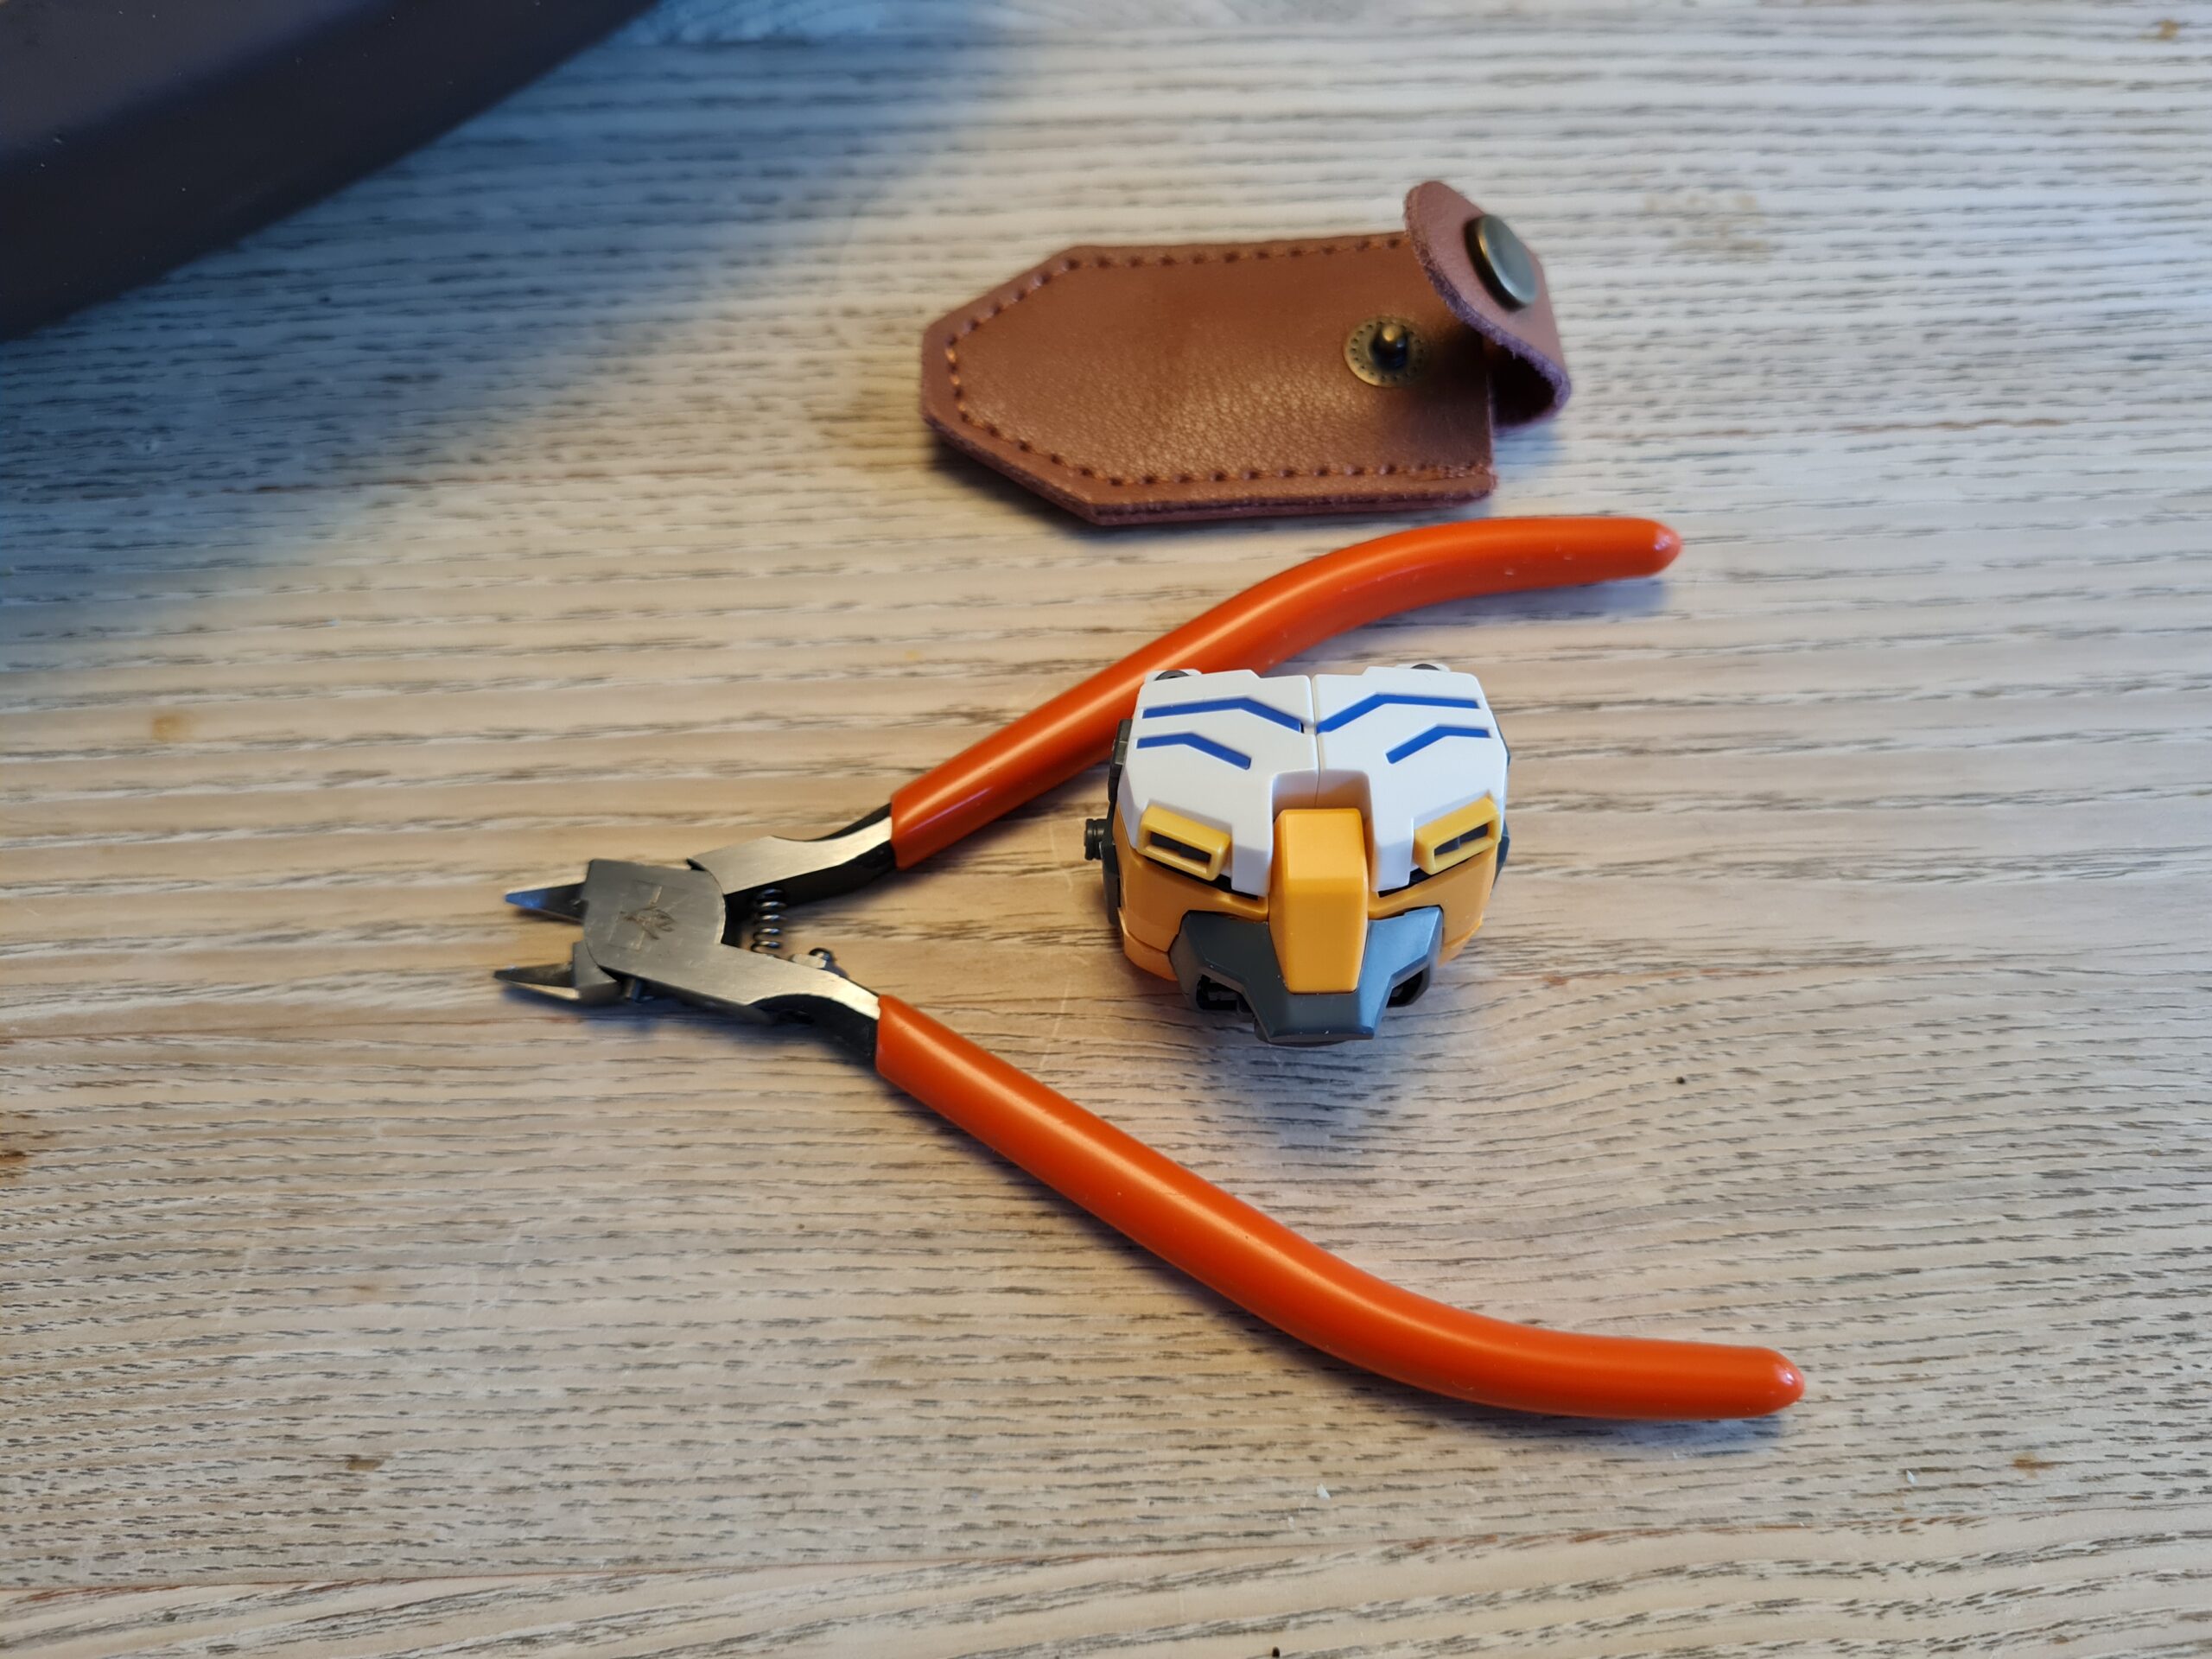
Without further ado here are the hips!
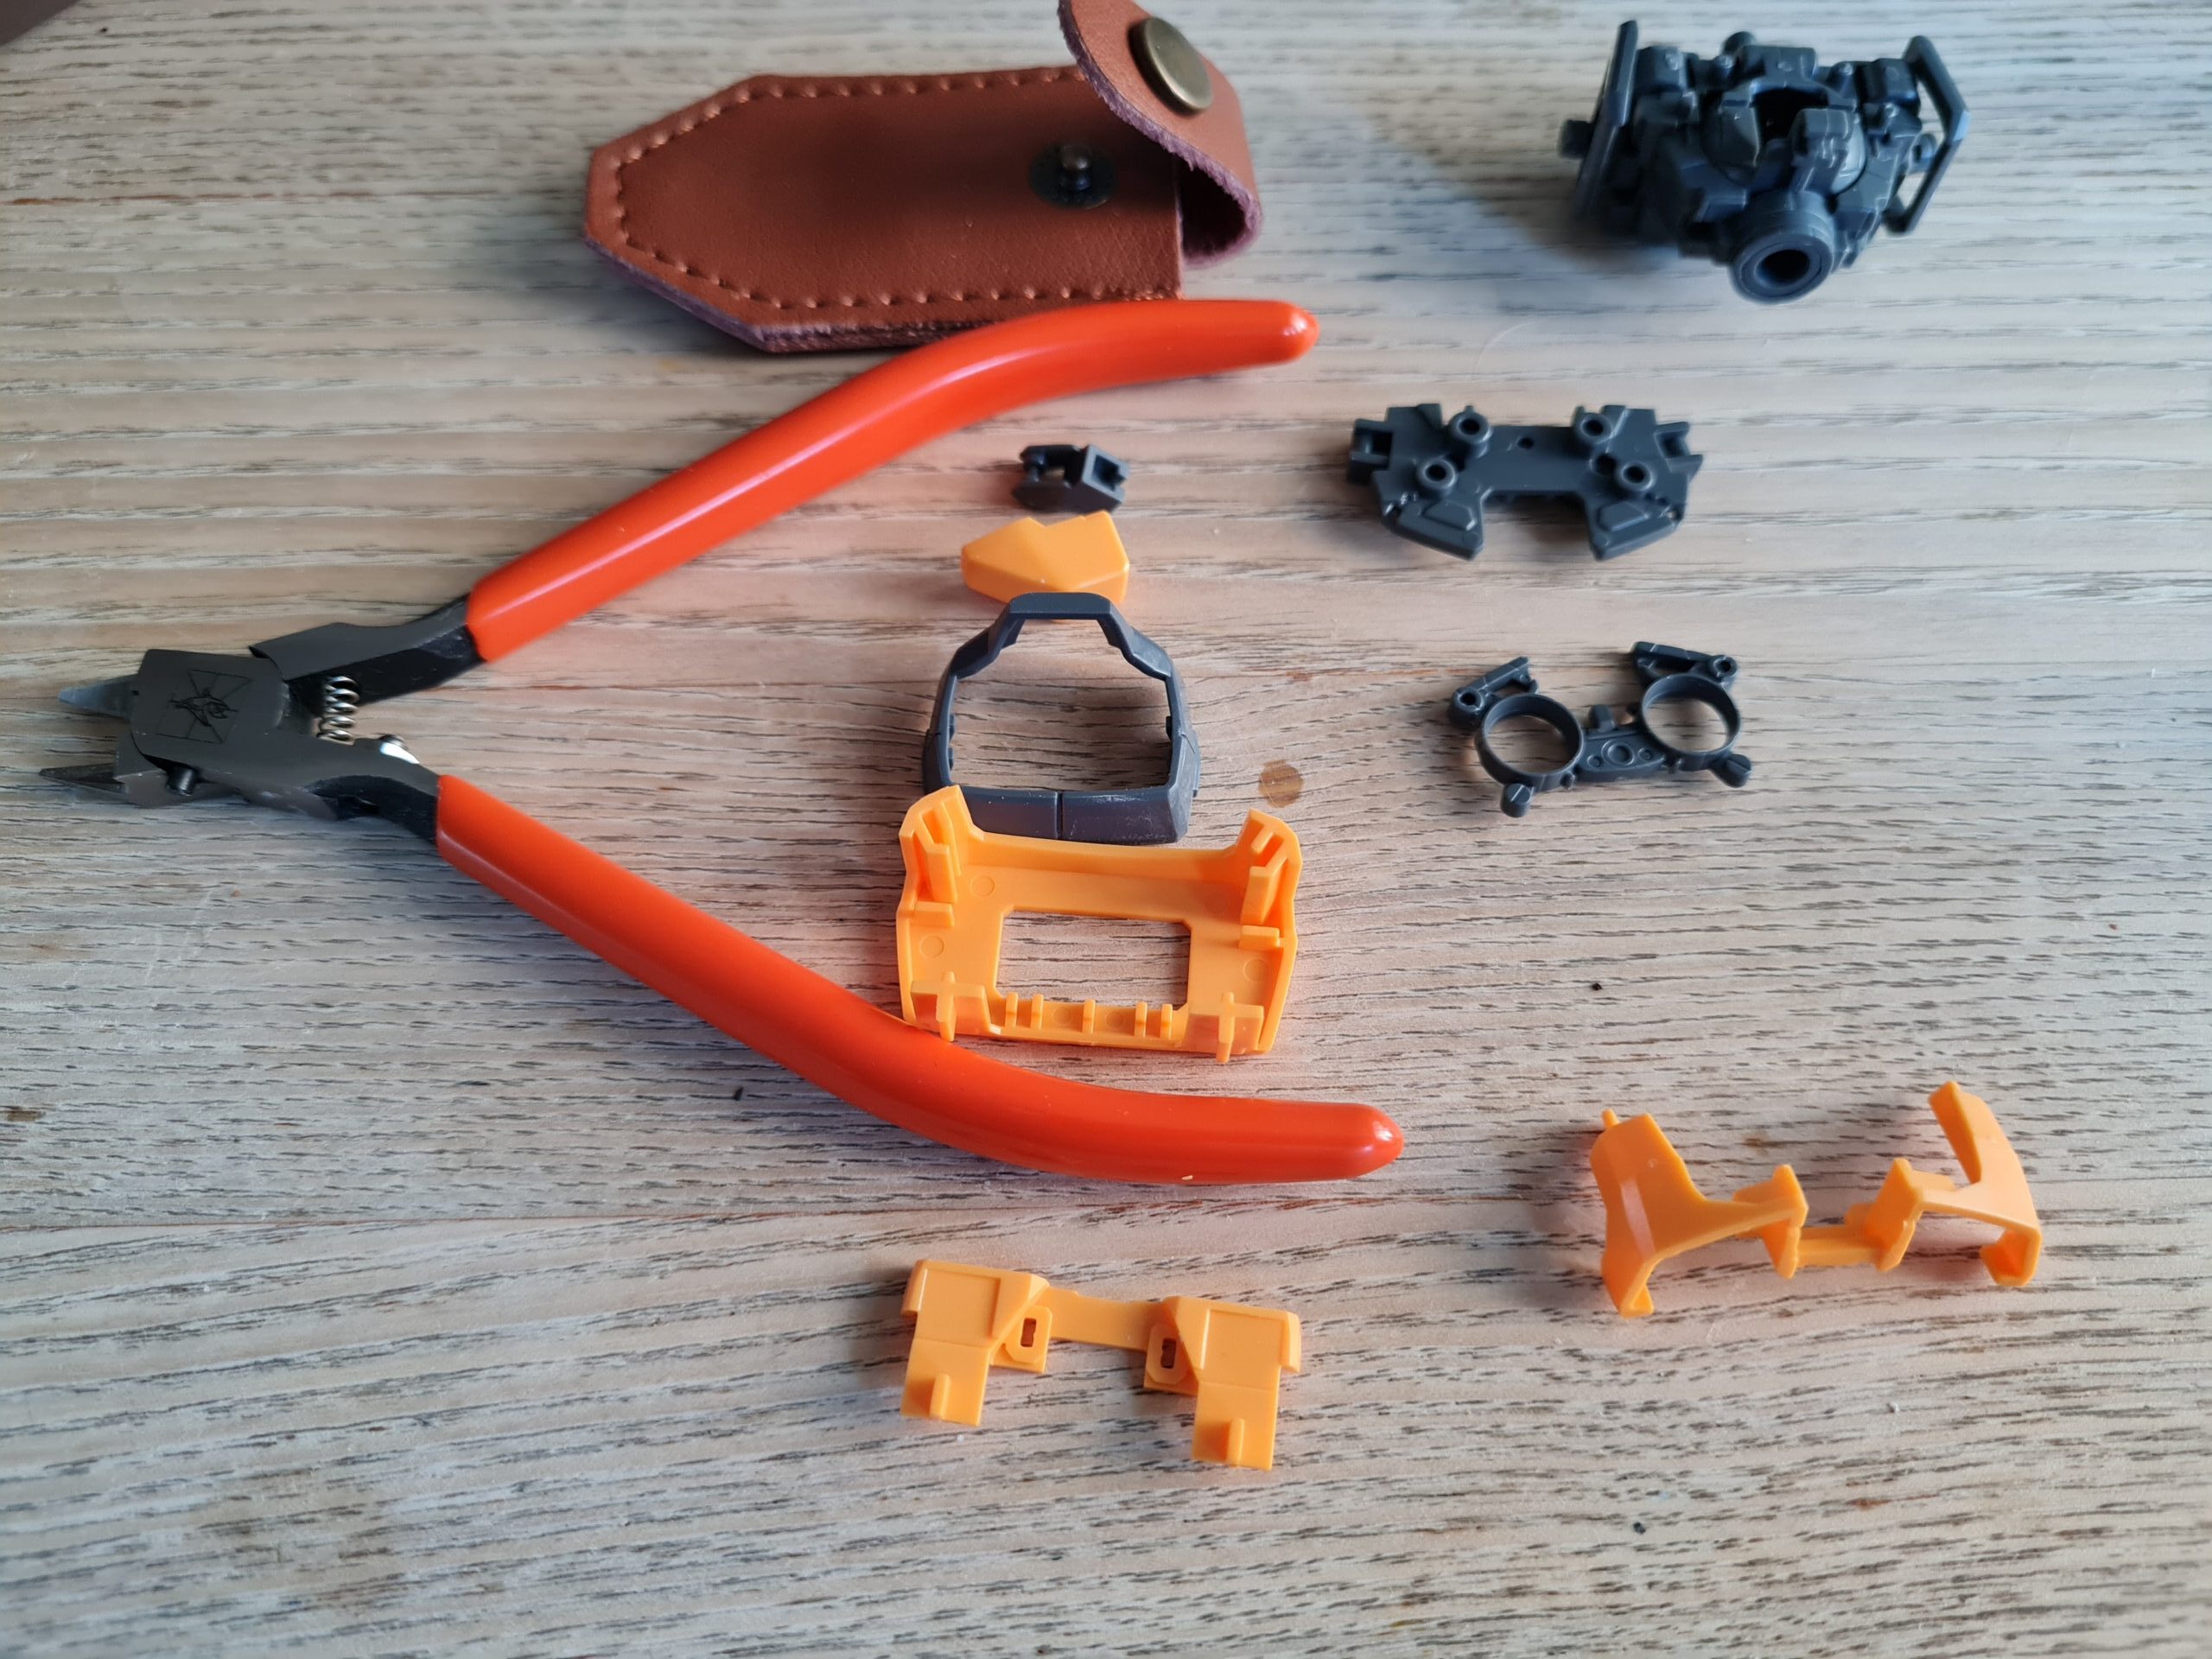
First pieces from the runnerFirst parts builtSecond pieces from the runnerSecond pieces build
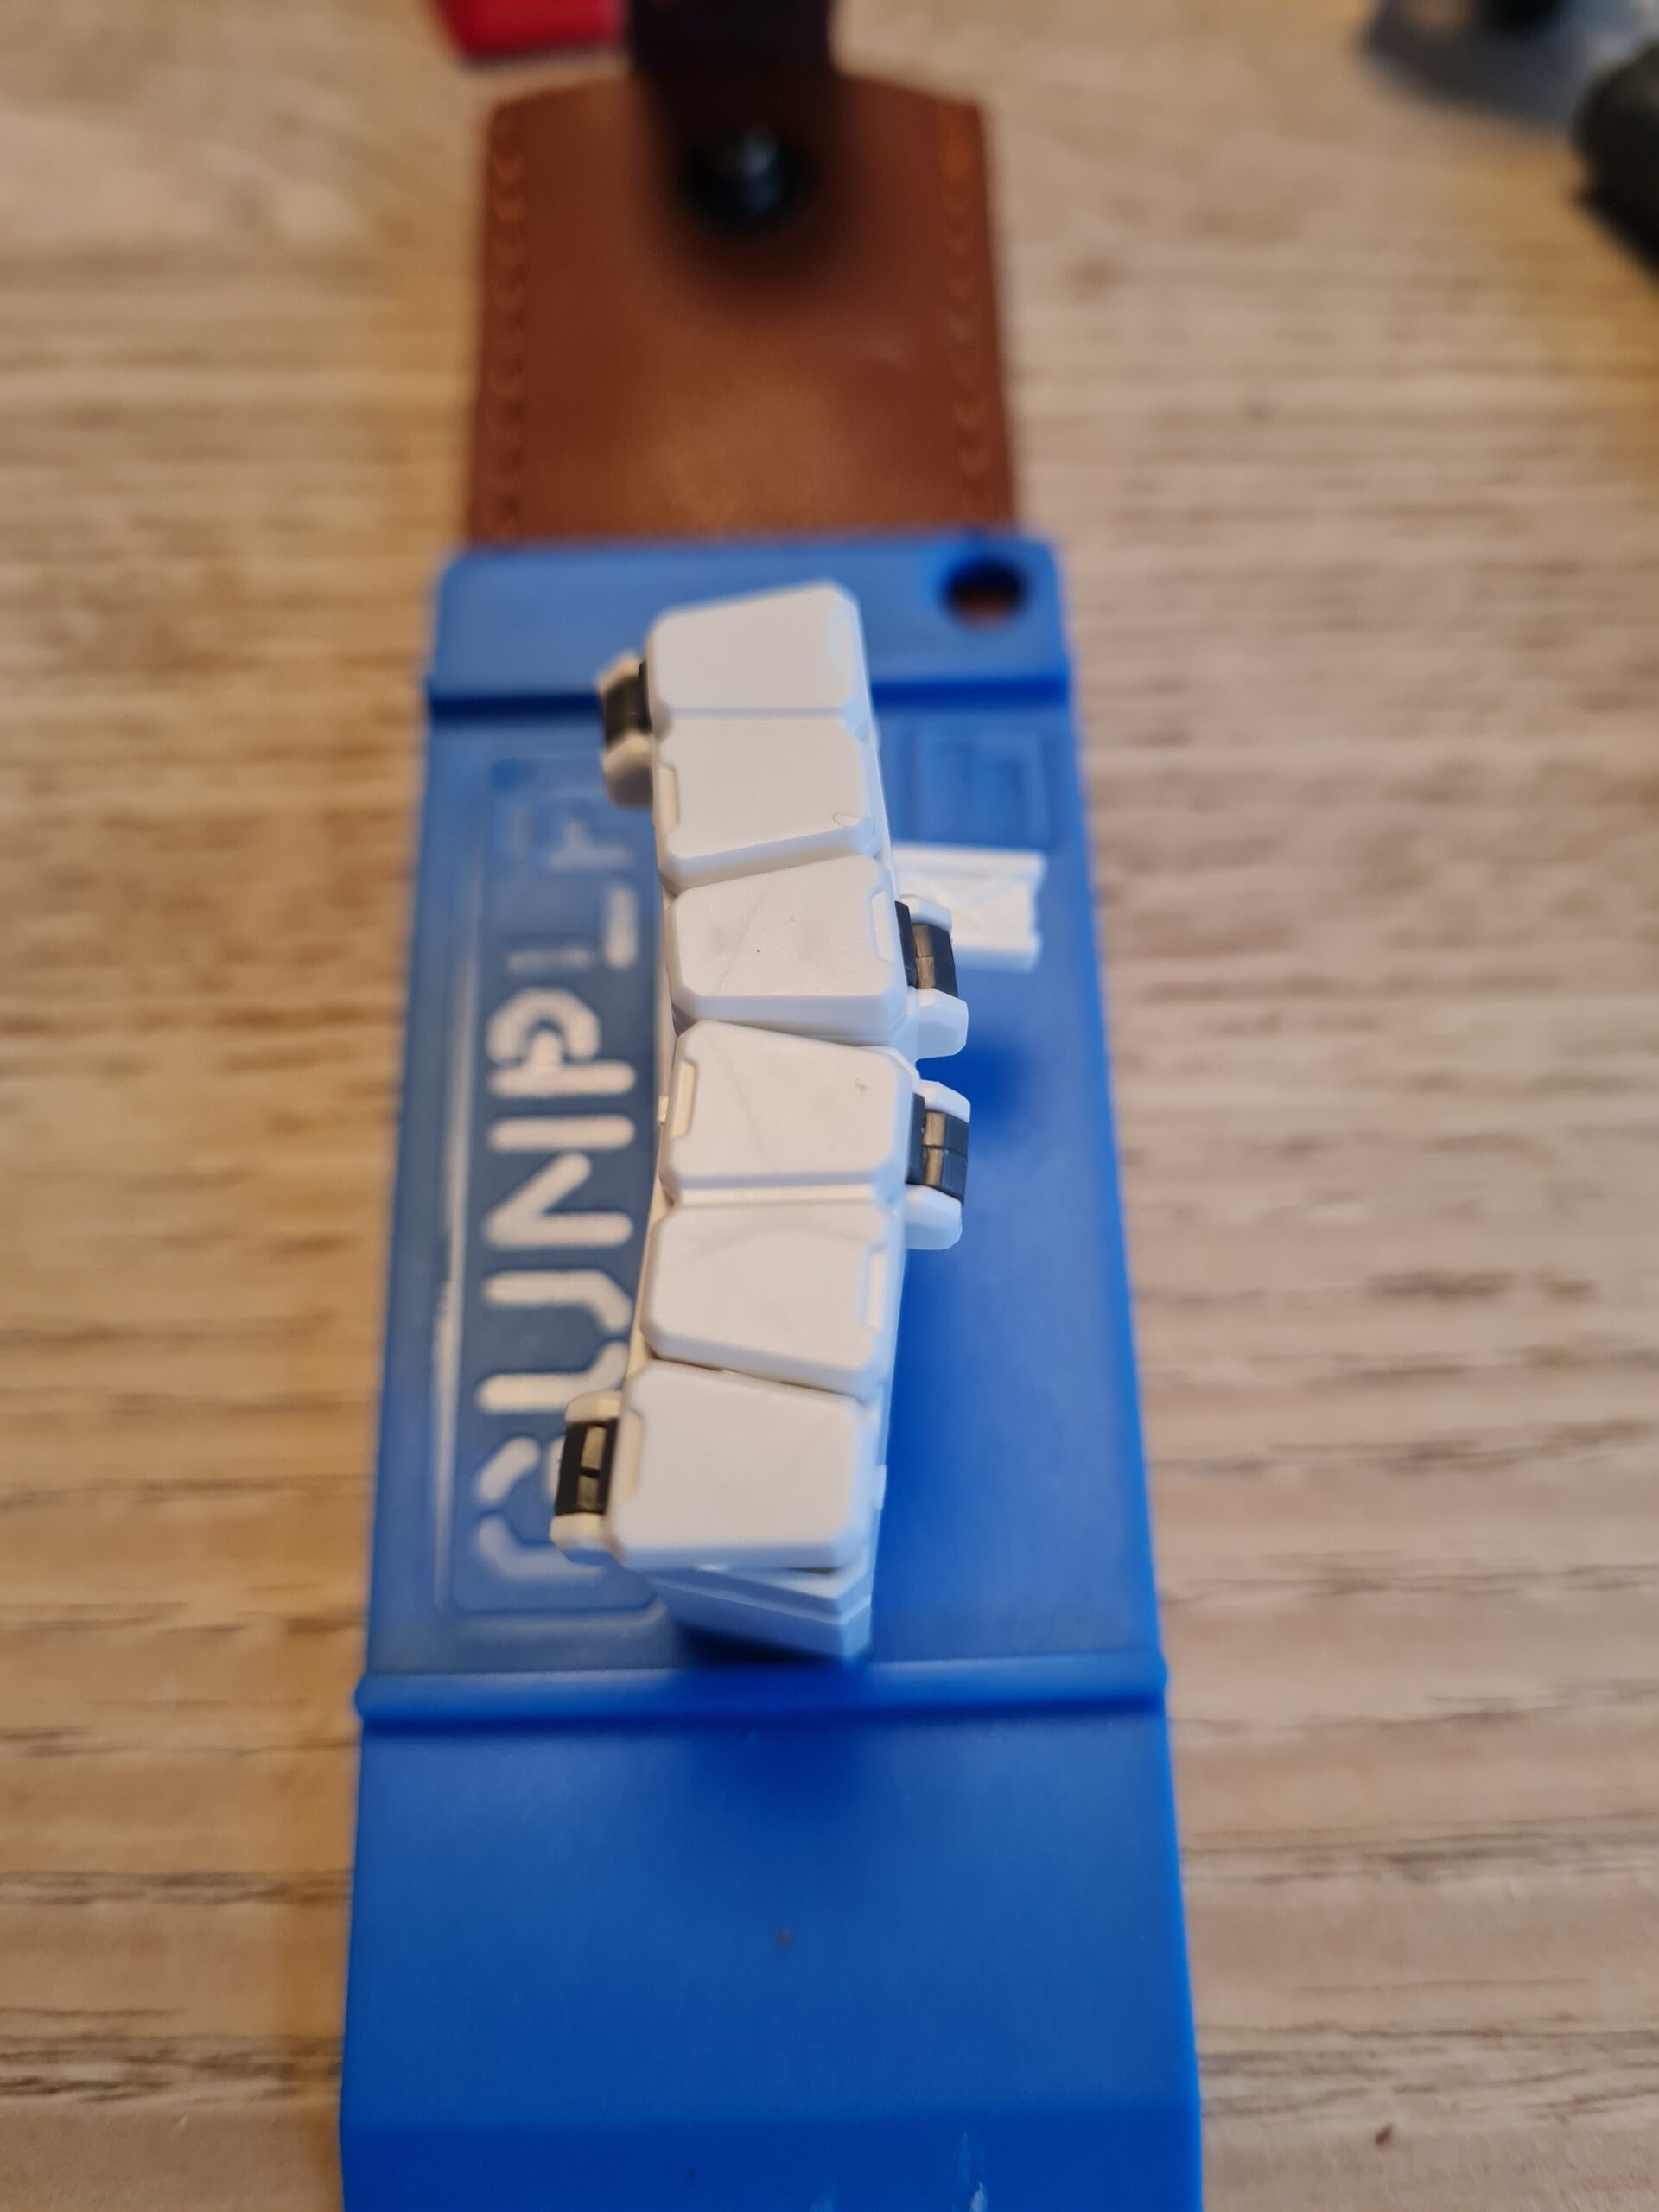
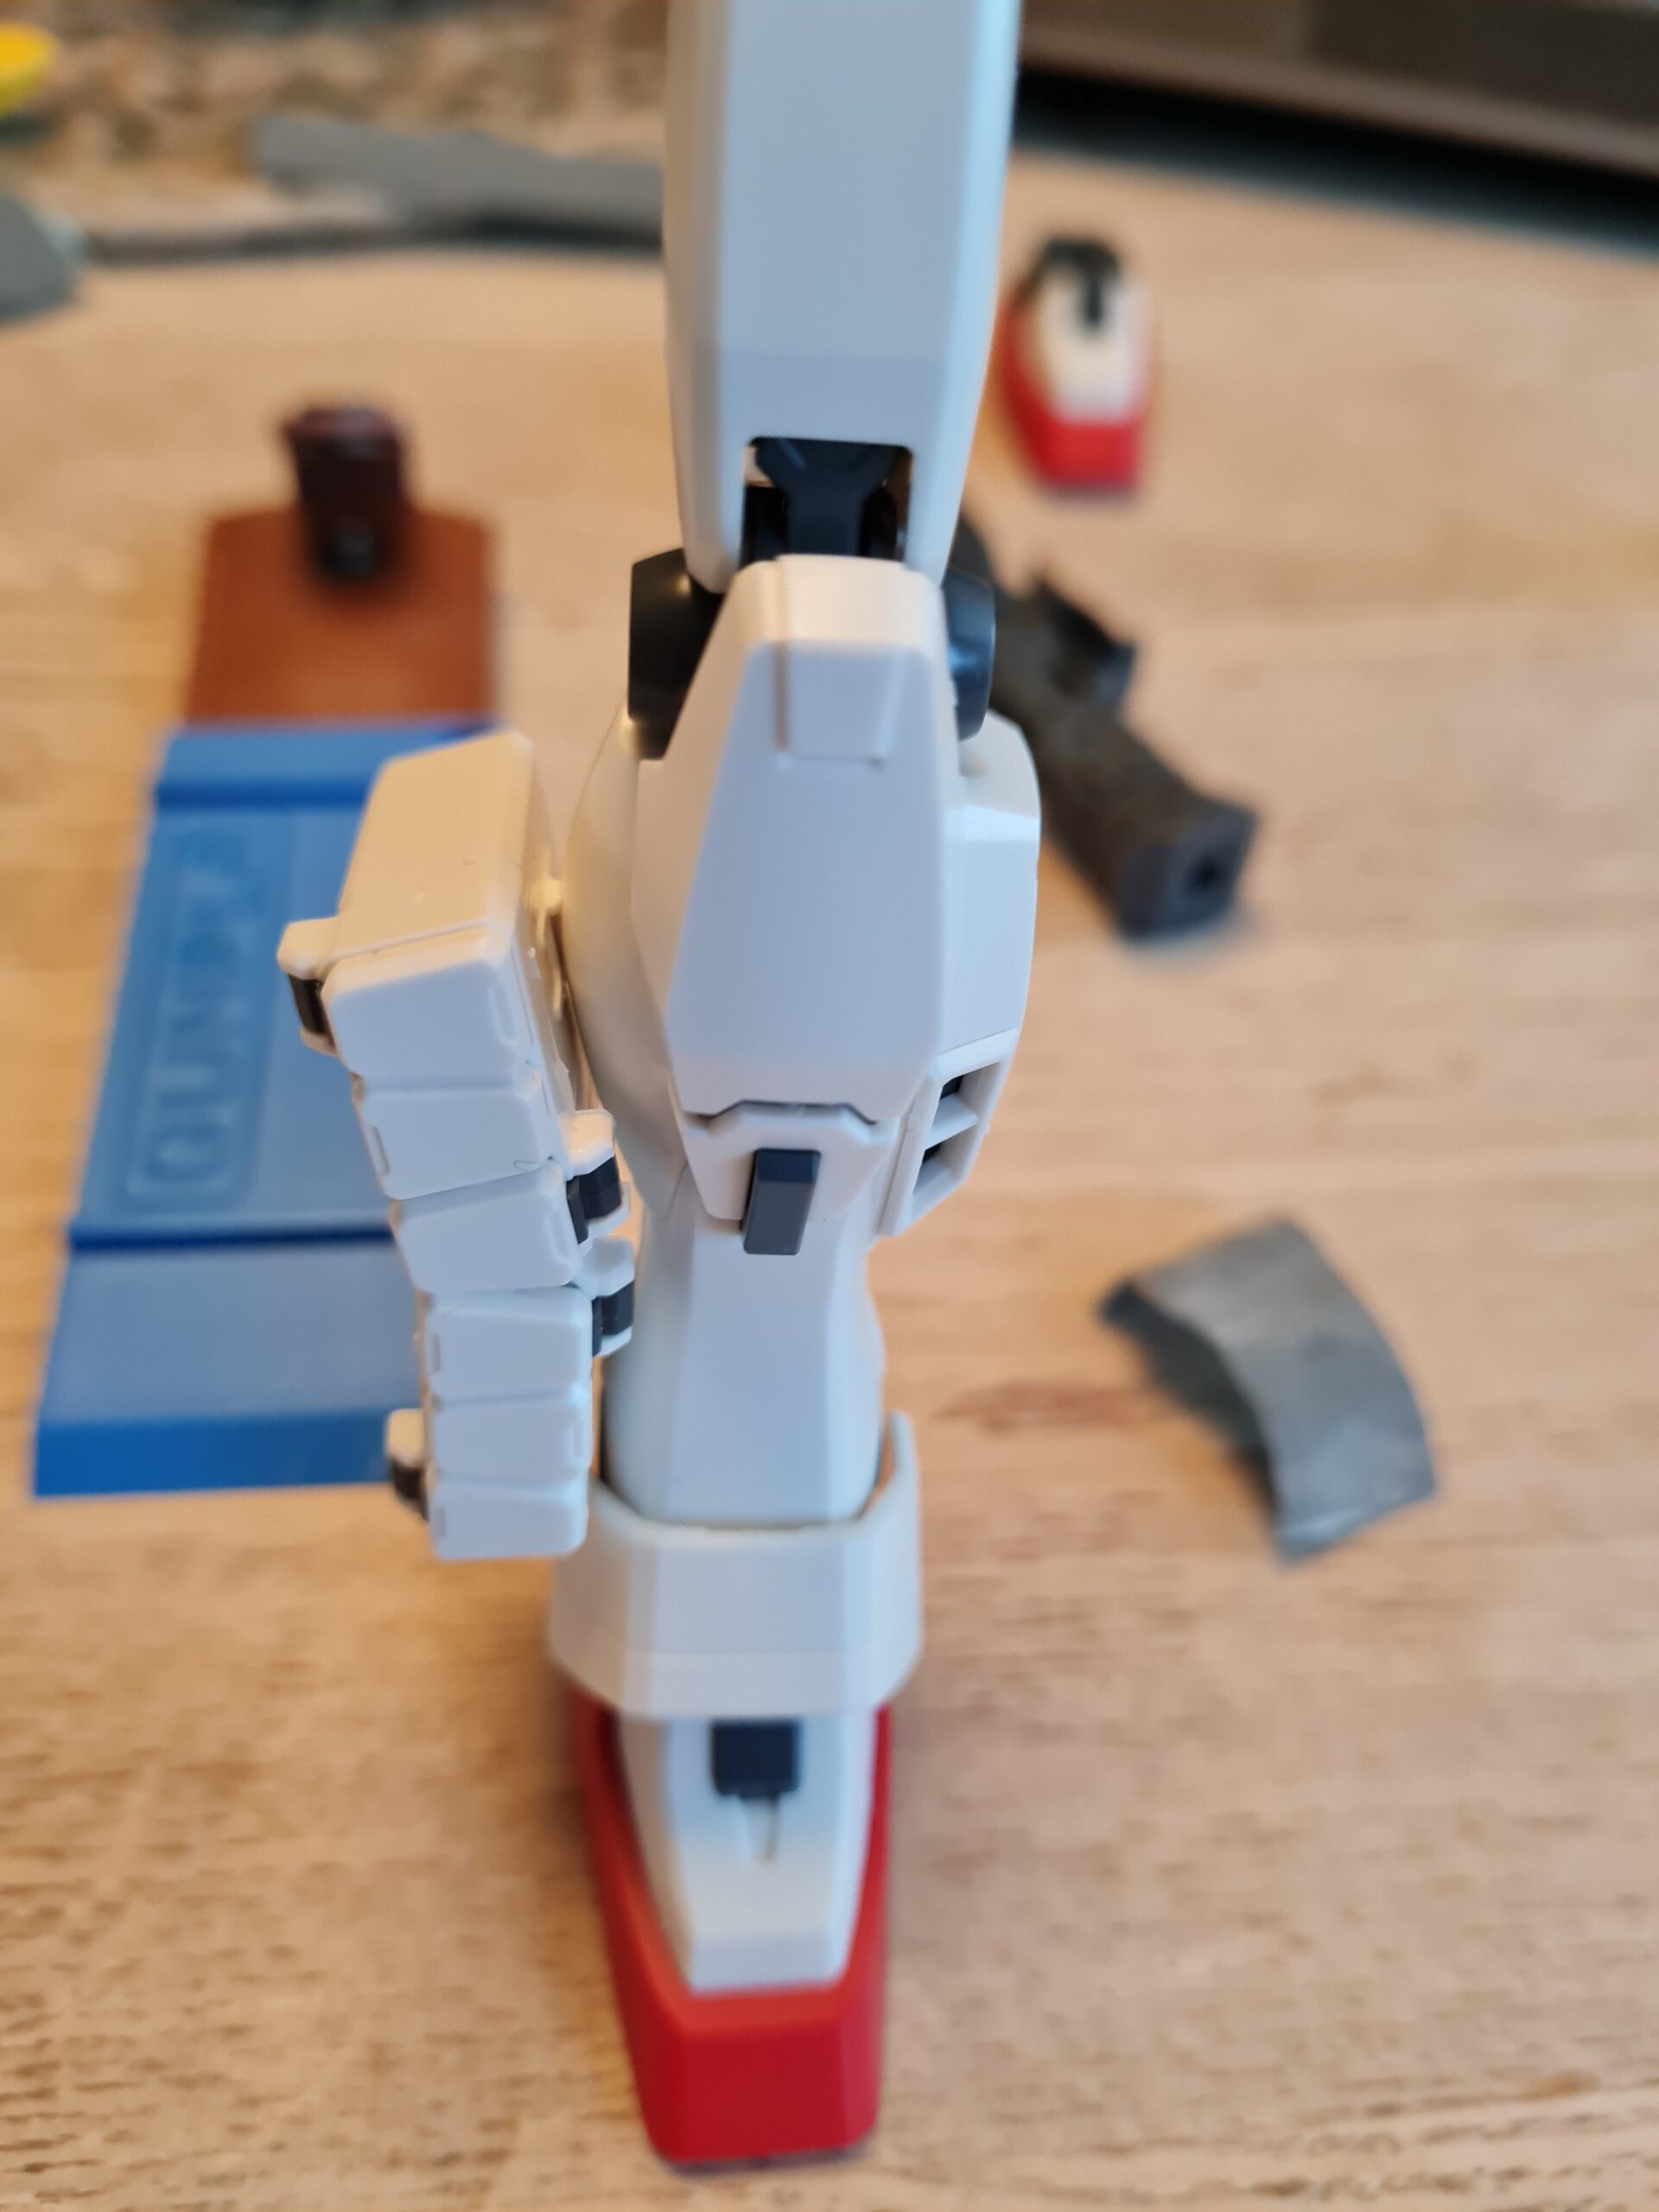
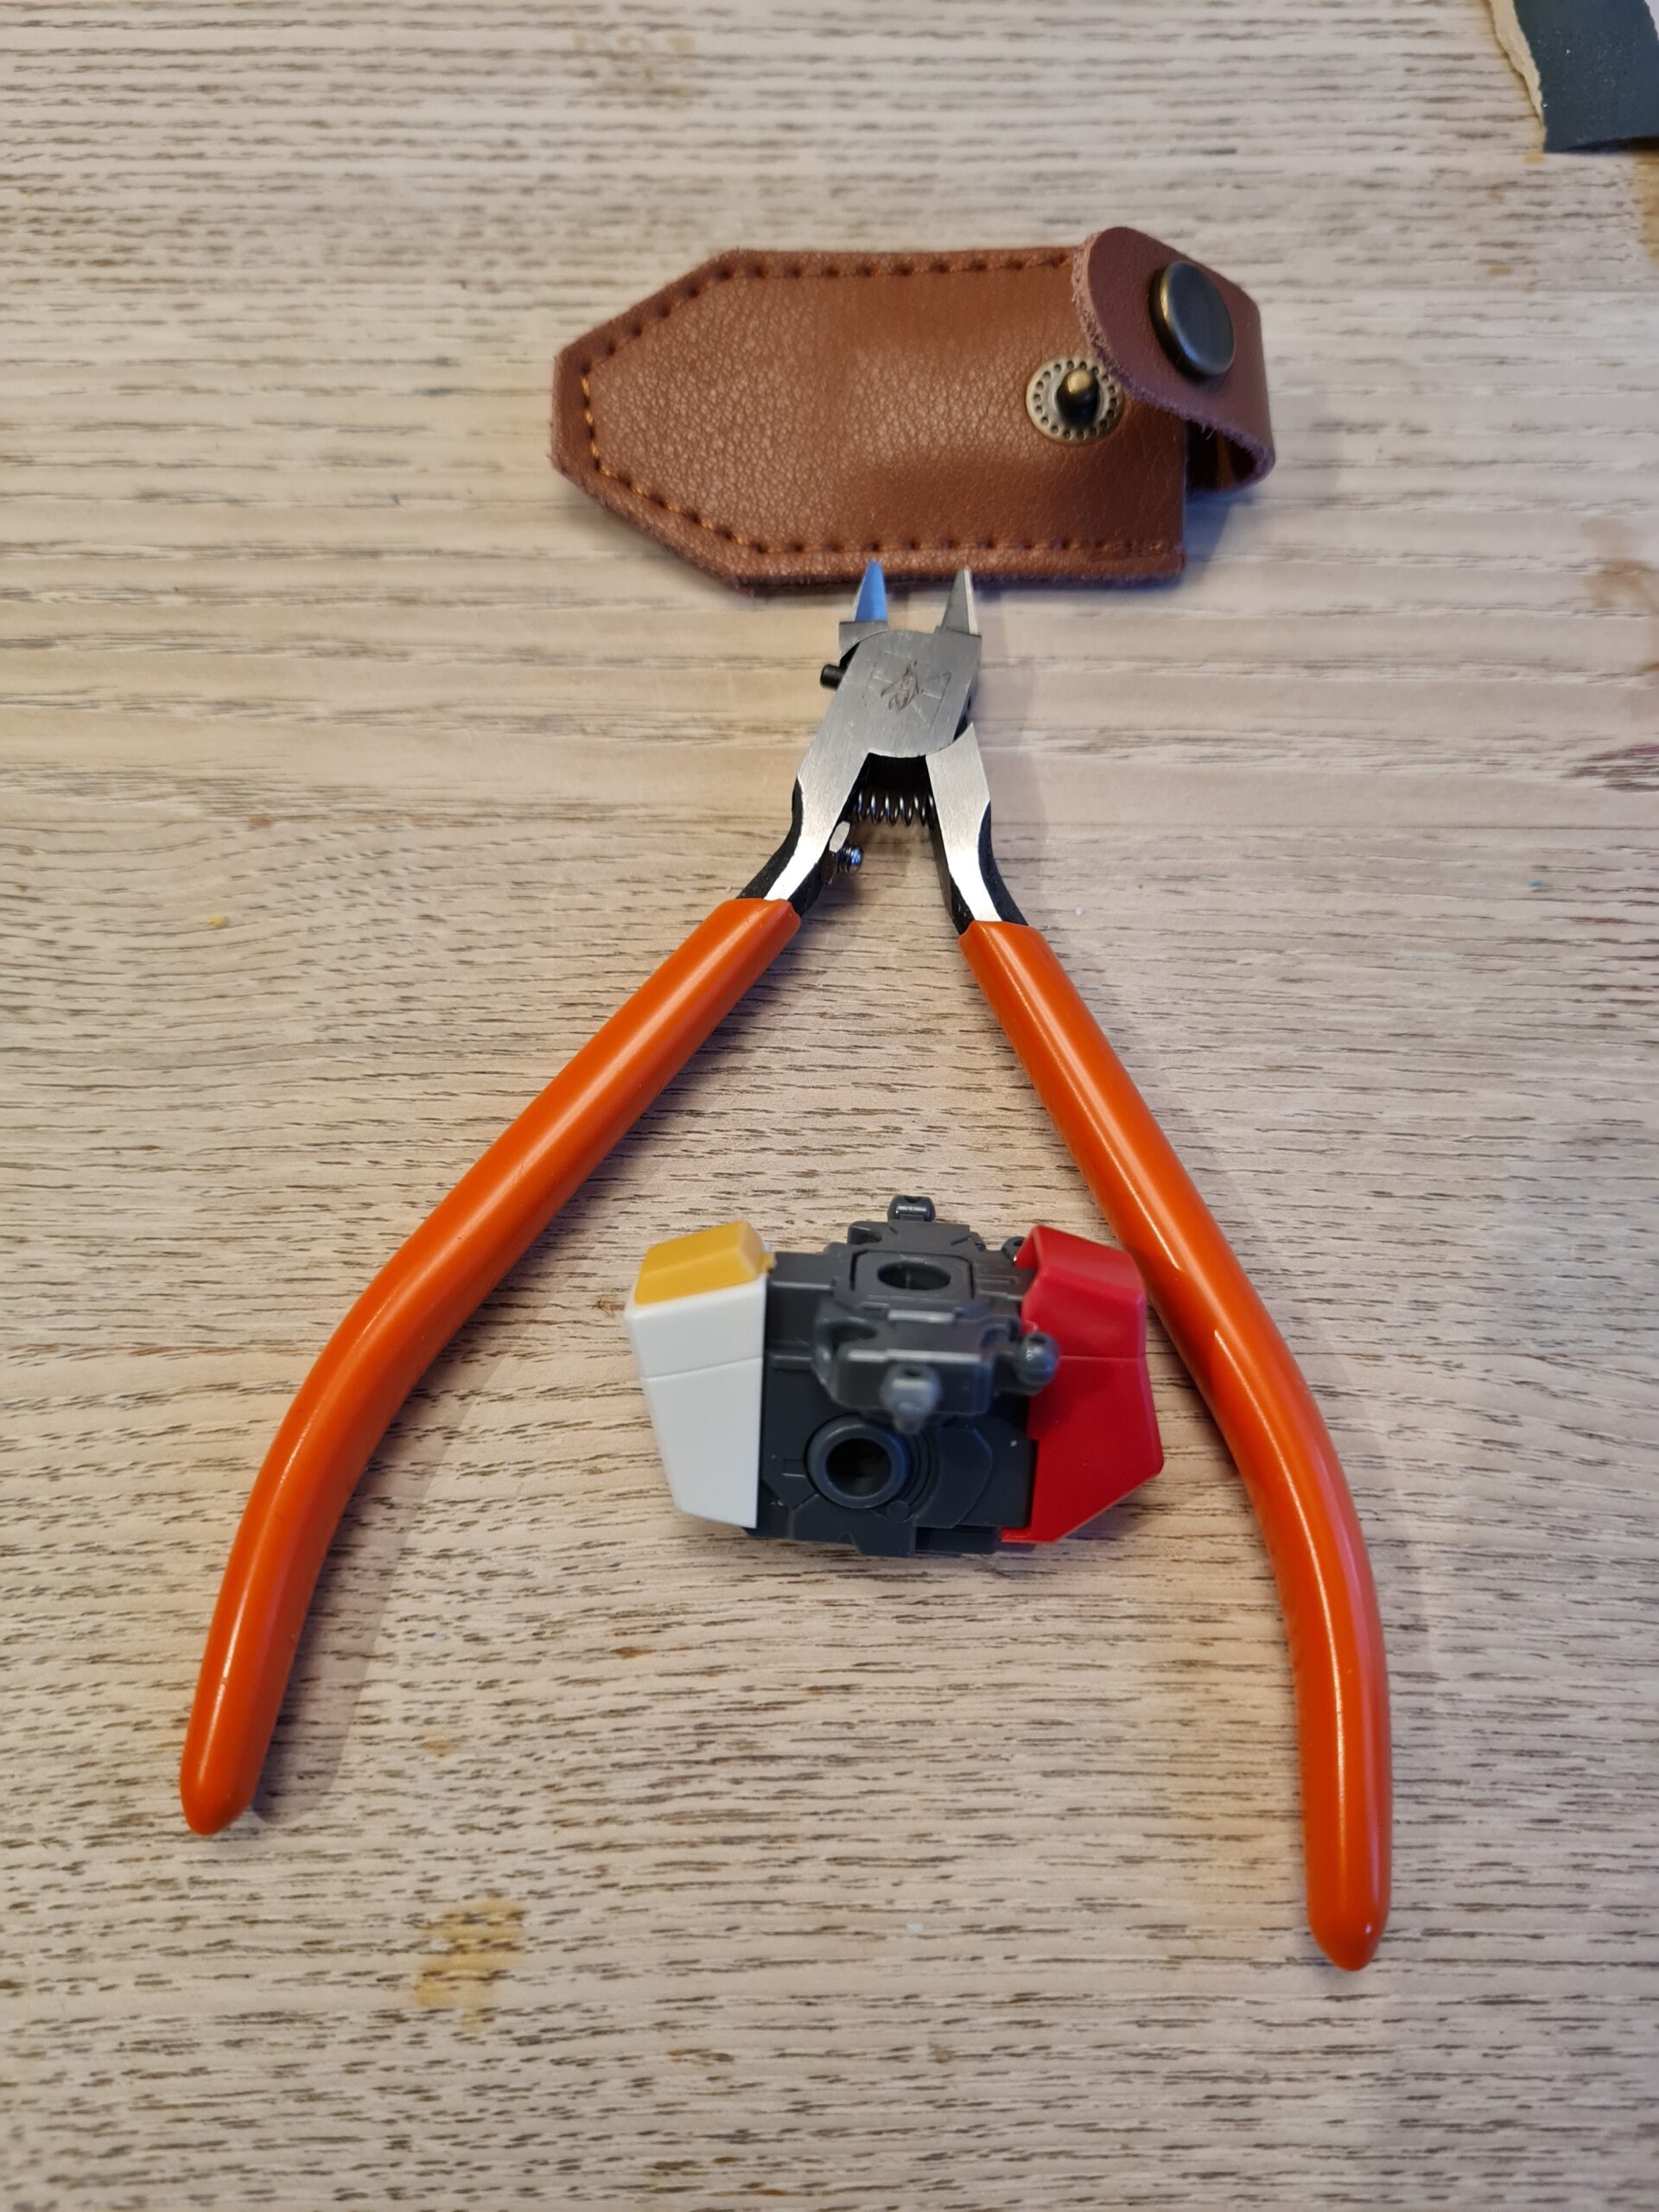
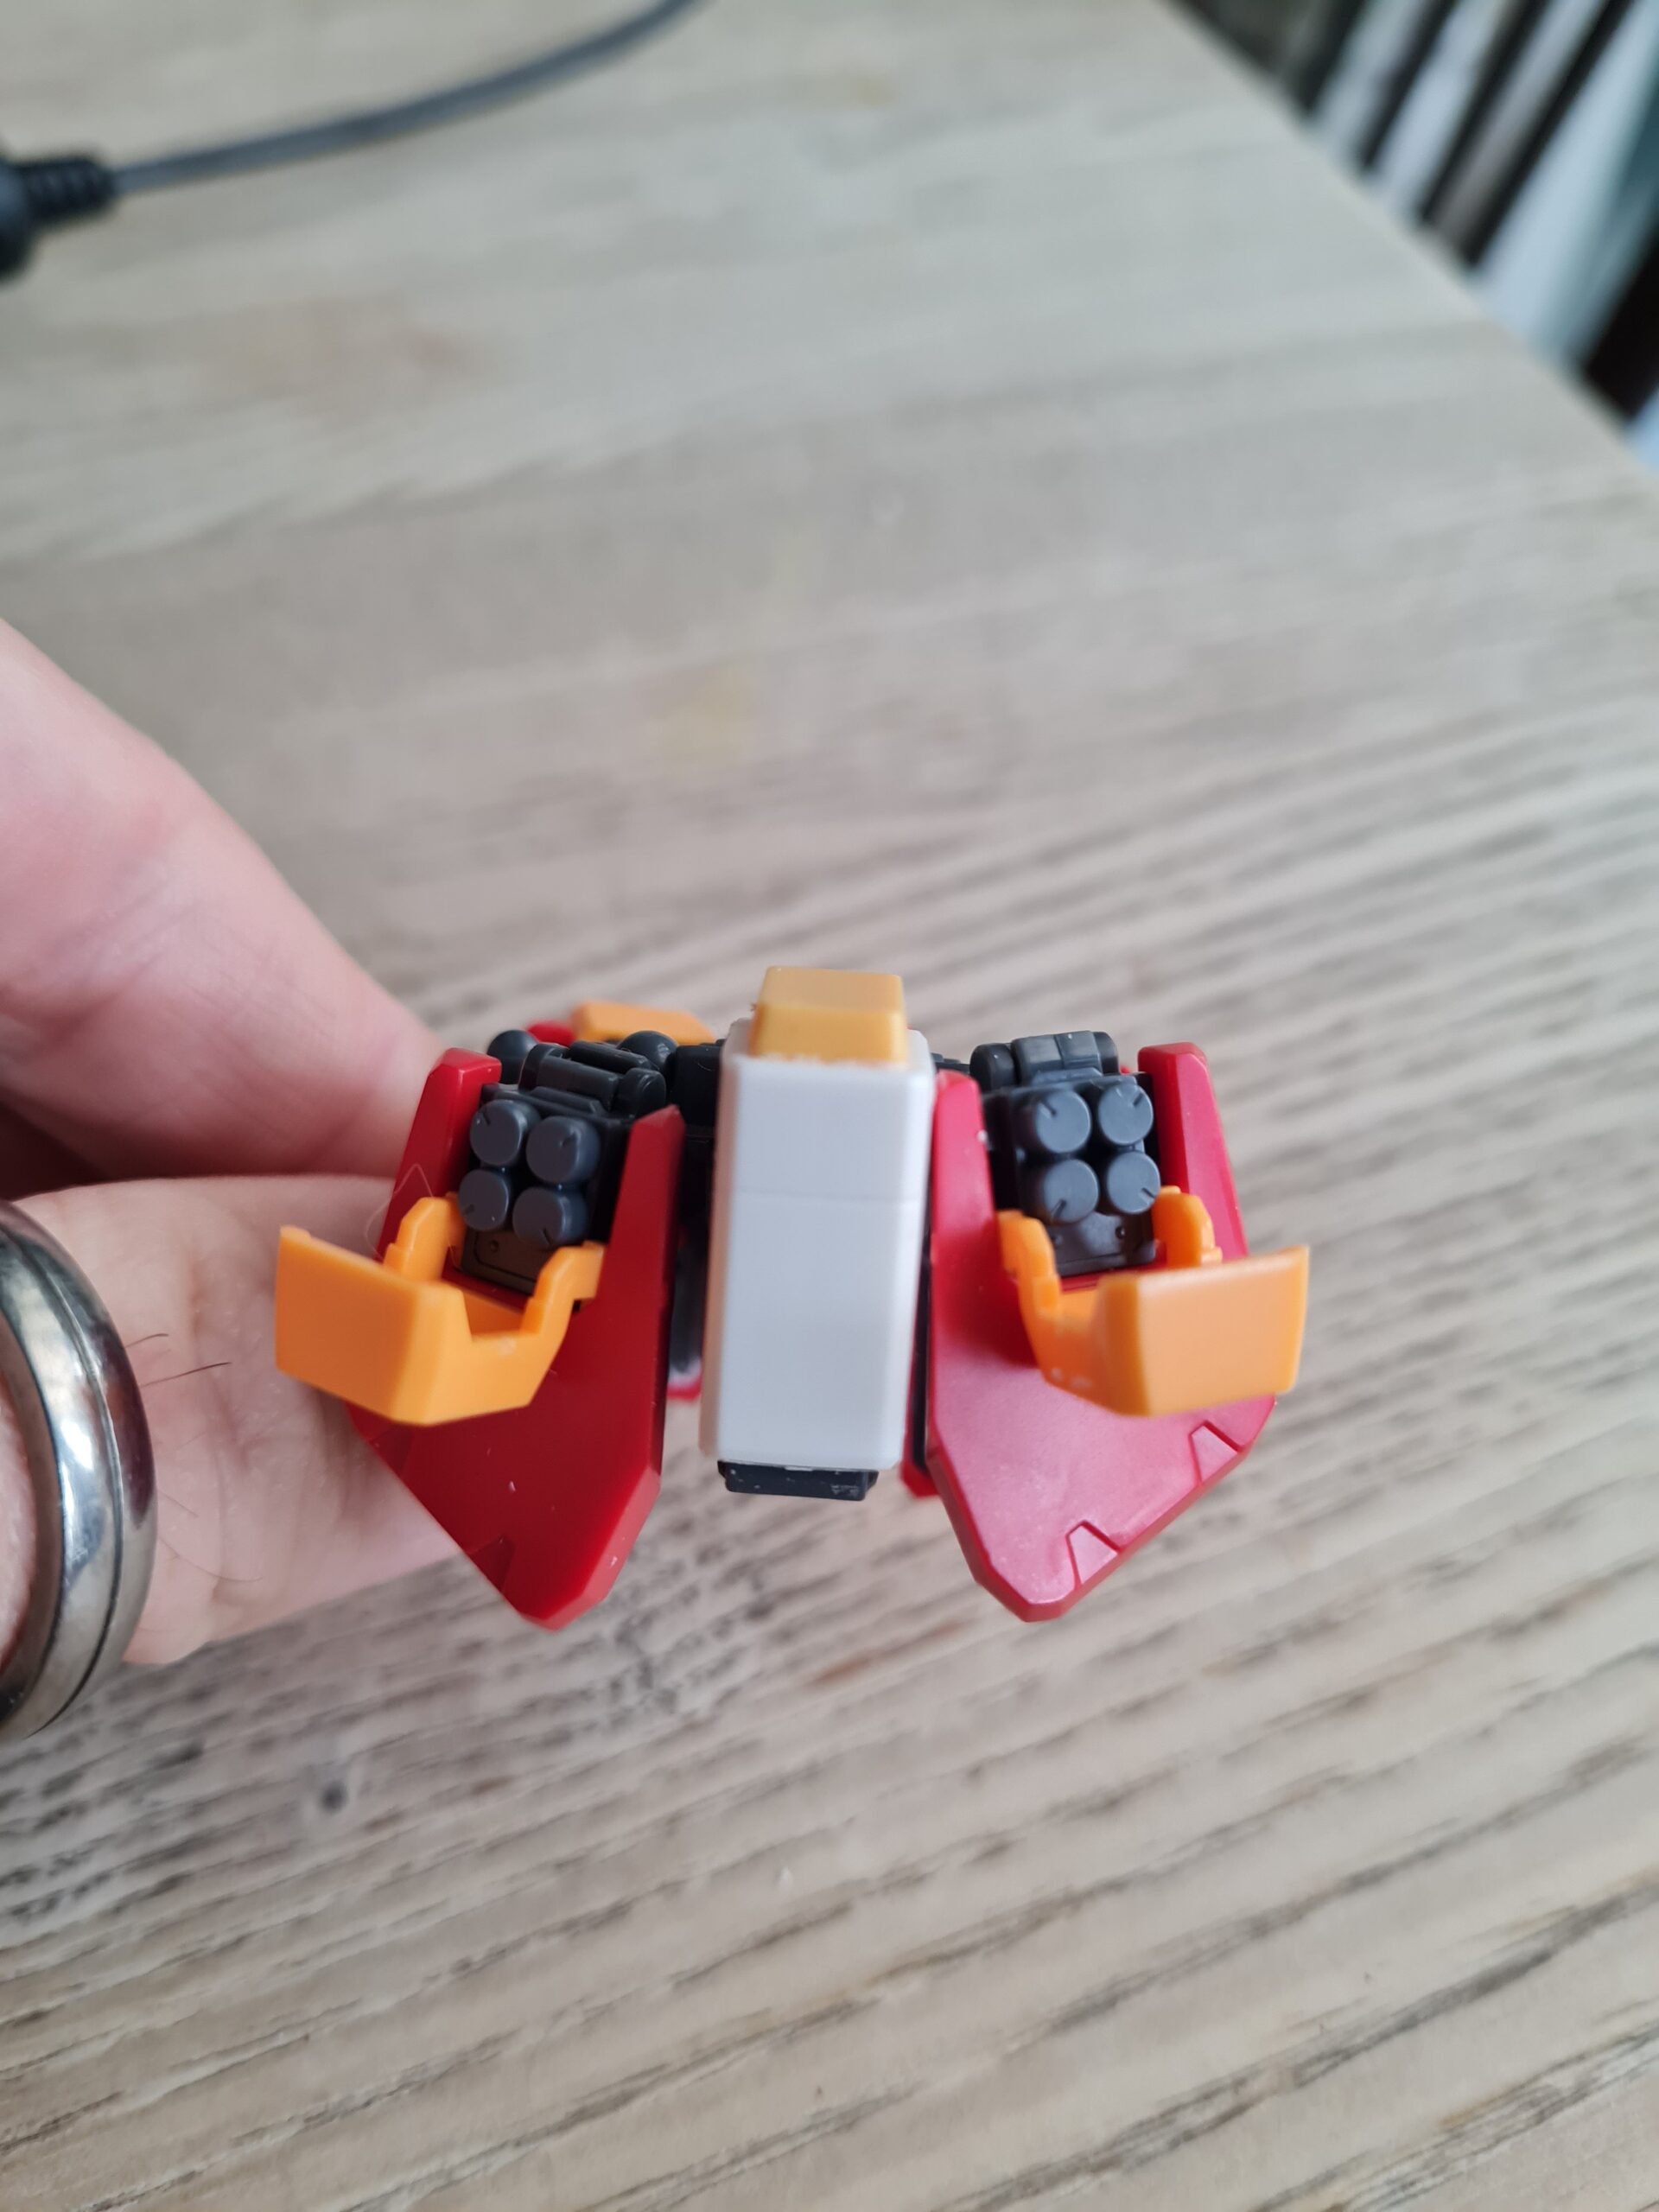
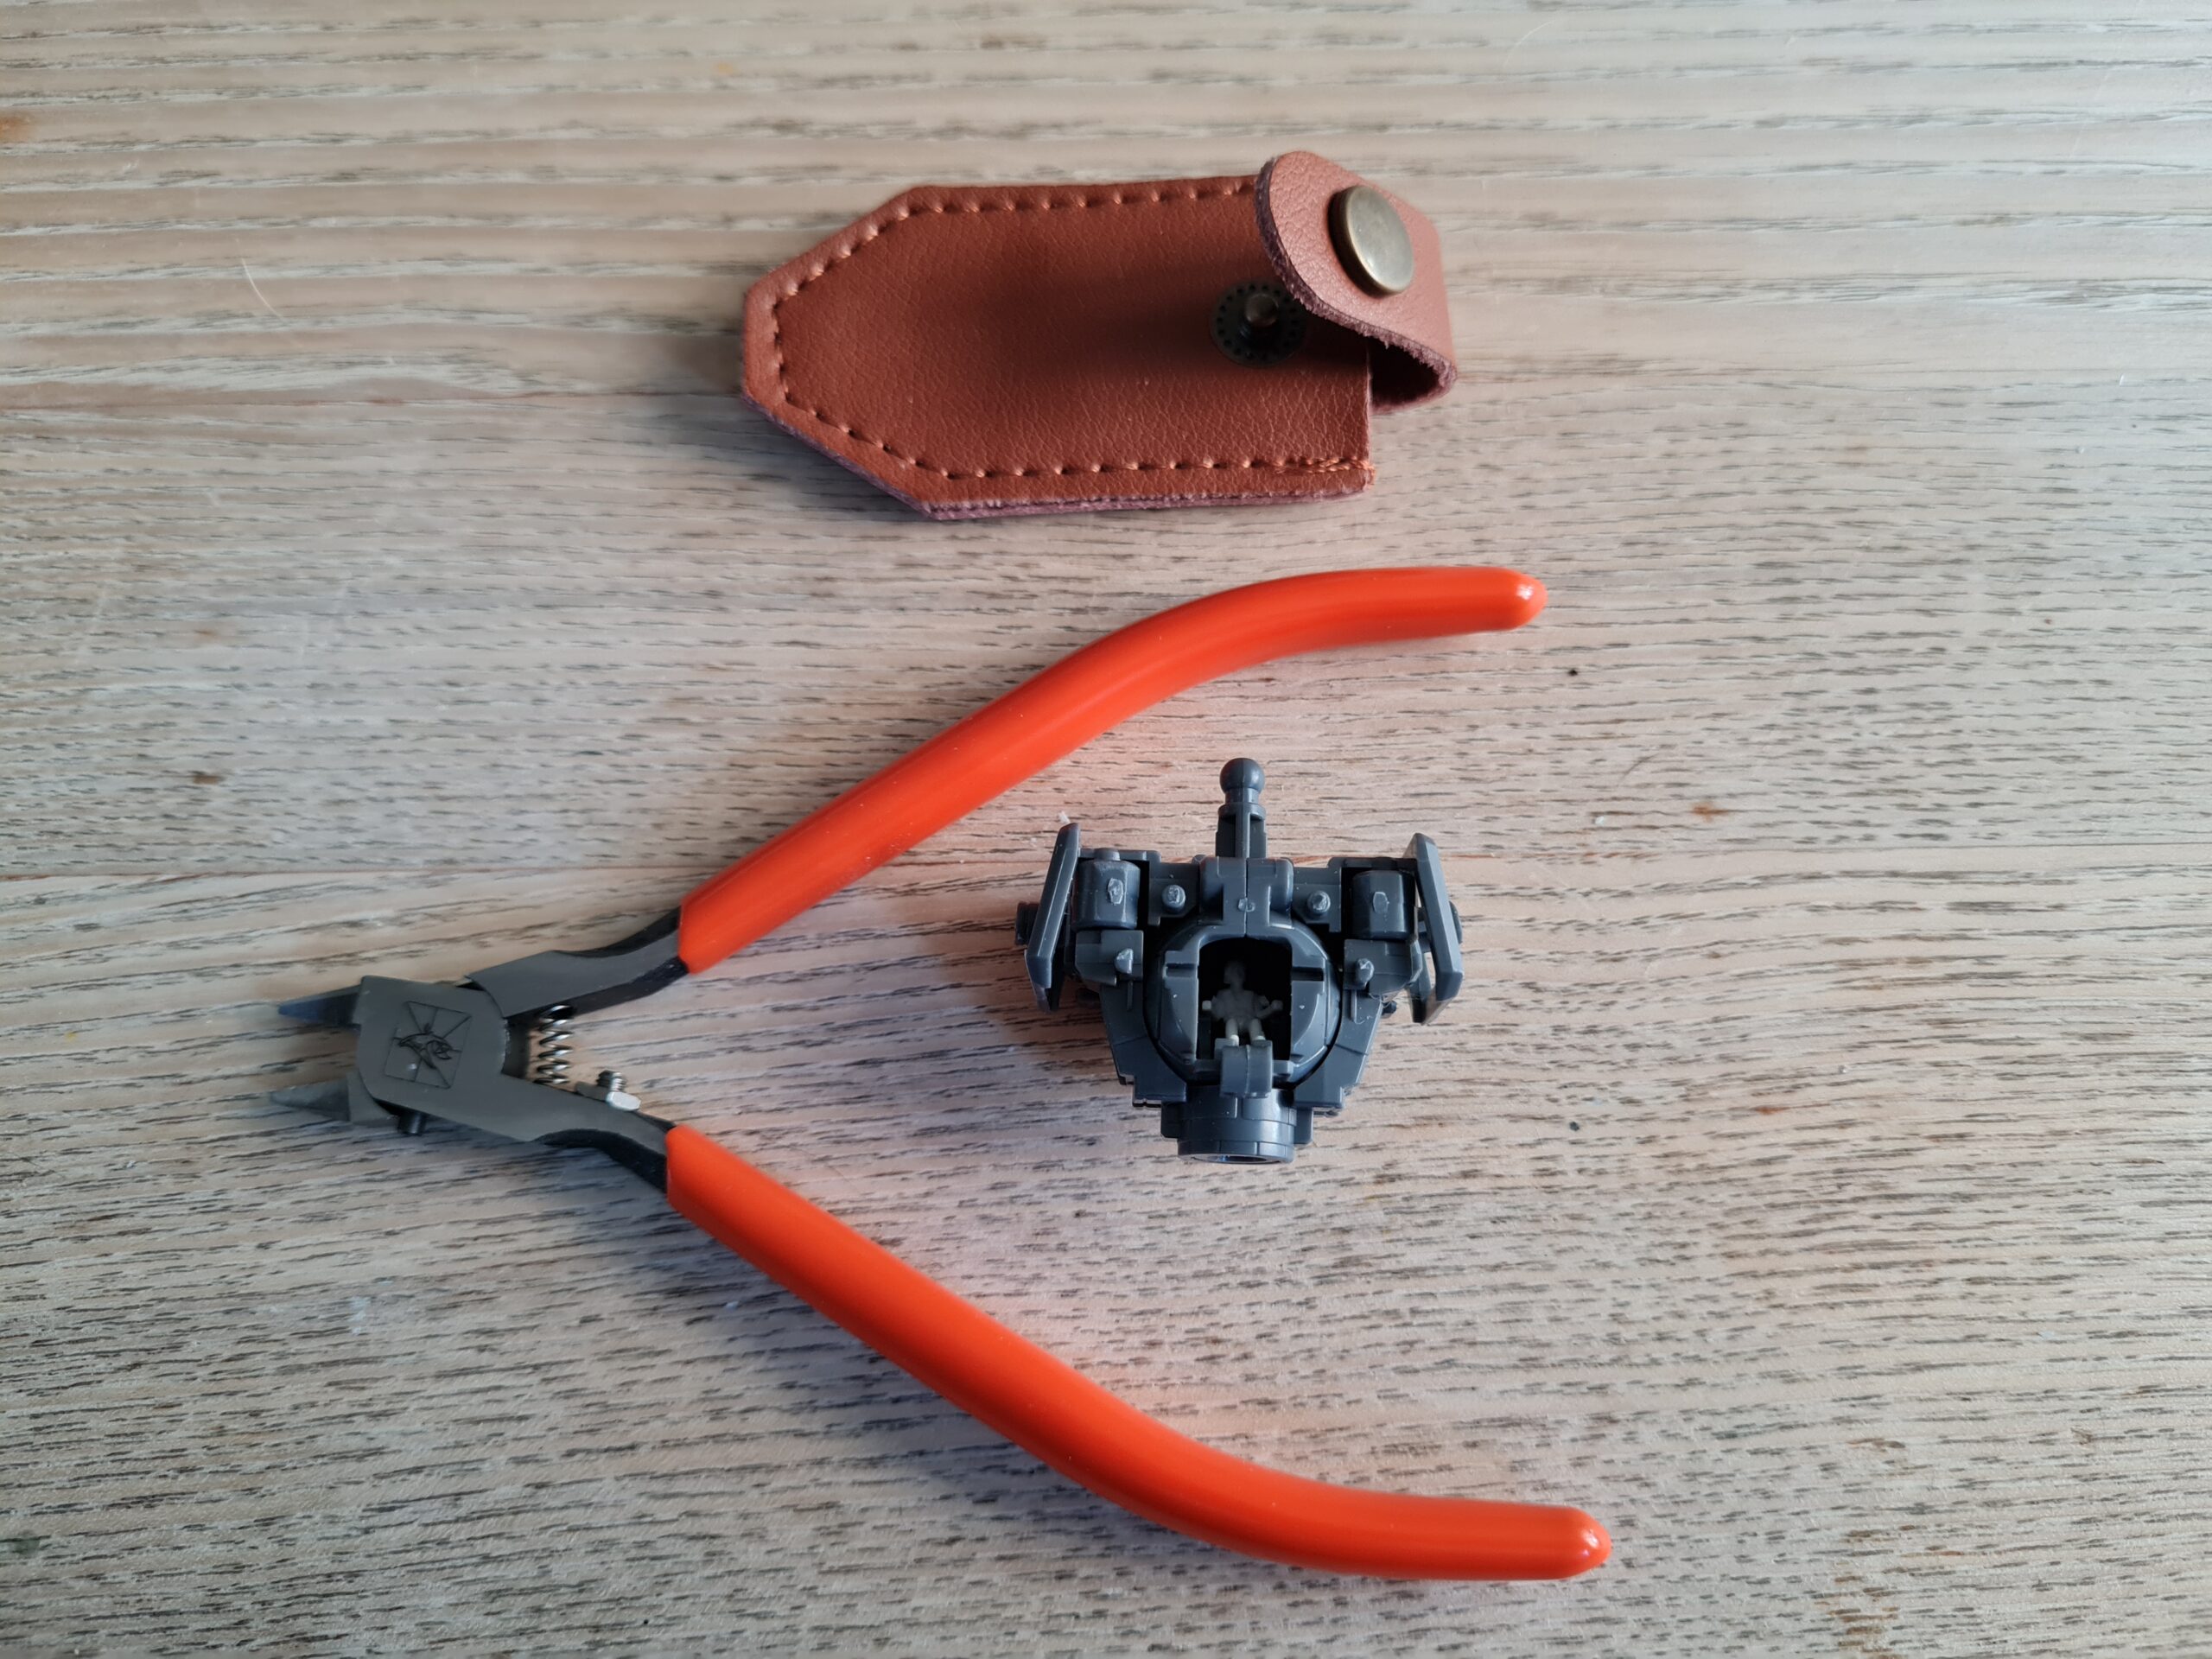
As you can see this was a relatively short piece to put together. I have to say I enjoyed making this section. Although very simple, there are some very nice. For example the yellow covers on the front lift slightly then pivot forwards to give this:
Guns showing
I think that is an amazing mechanic, and a lovely touch to the model. I could quite literally sit there all day opening and closing those as the fit is so smooth.
So that is it for todays guess the model. I imagine that most people have it from the earlier parts but we will continue on!
Thank you for taking the time to read this. If you haven’t already done so please like and follow us on our social media platforms and checkout our website!
In one of my previous posts I showed off my RK Zaku II on the custom stand. I thought that I would do a piece on making the custom stand.
Materials
Silver Vinyl (sticky backed)
Transfer tape
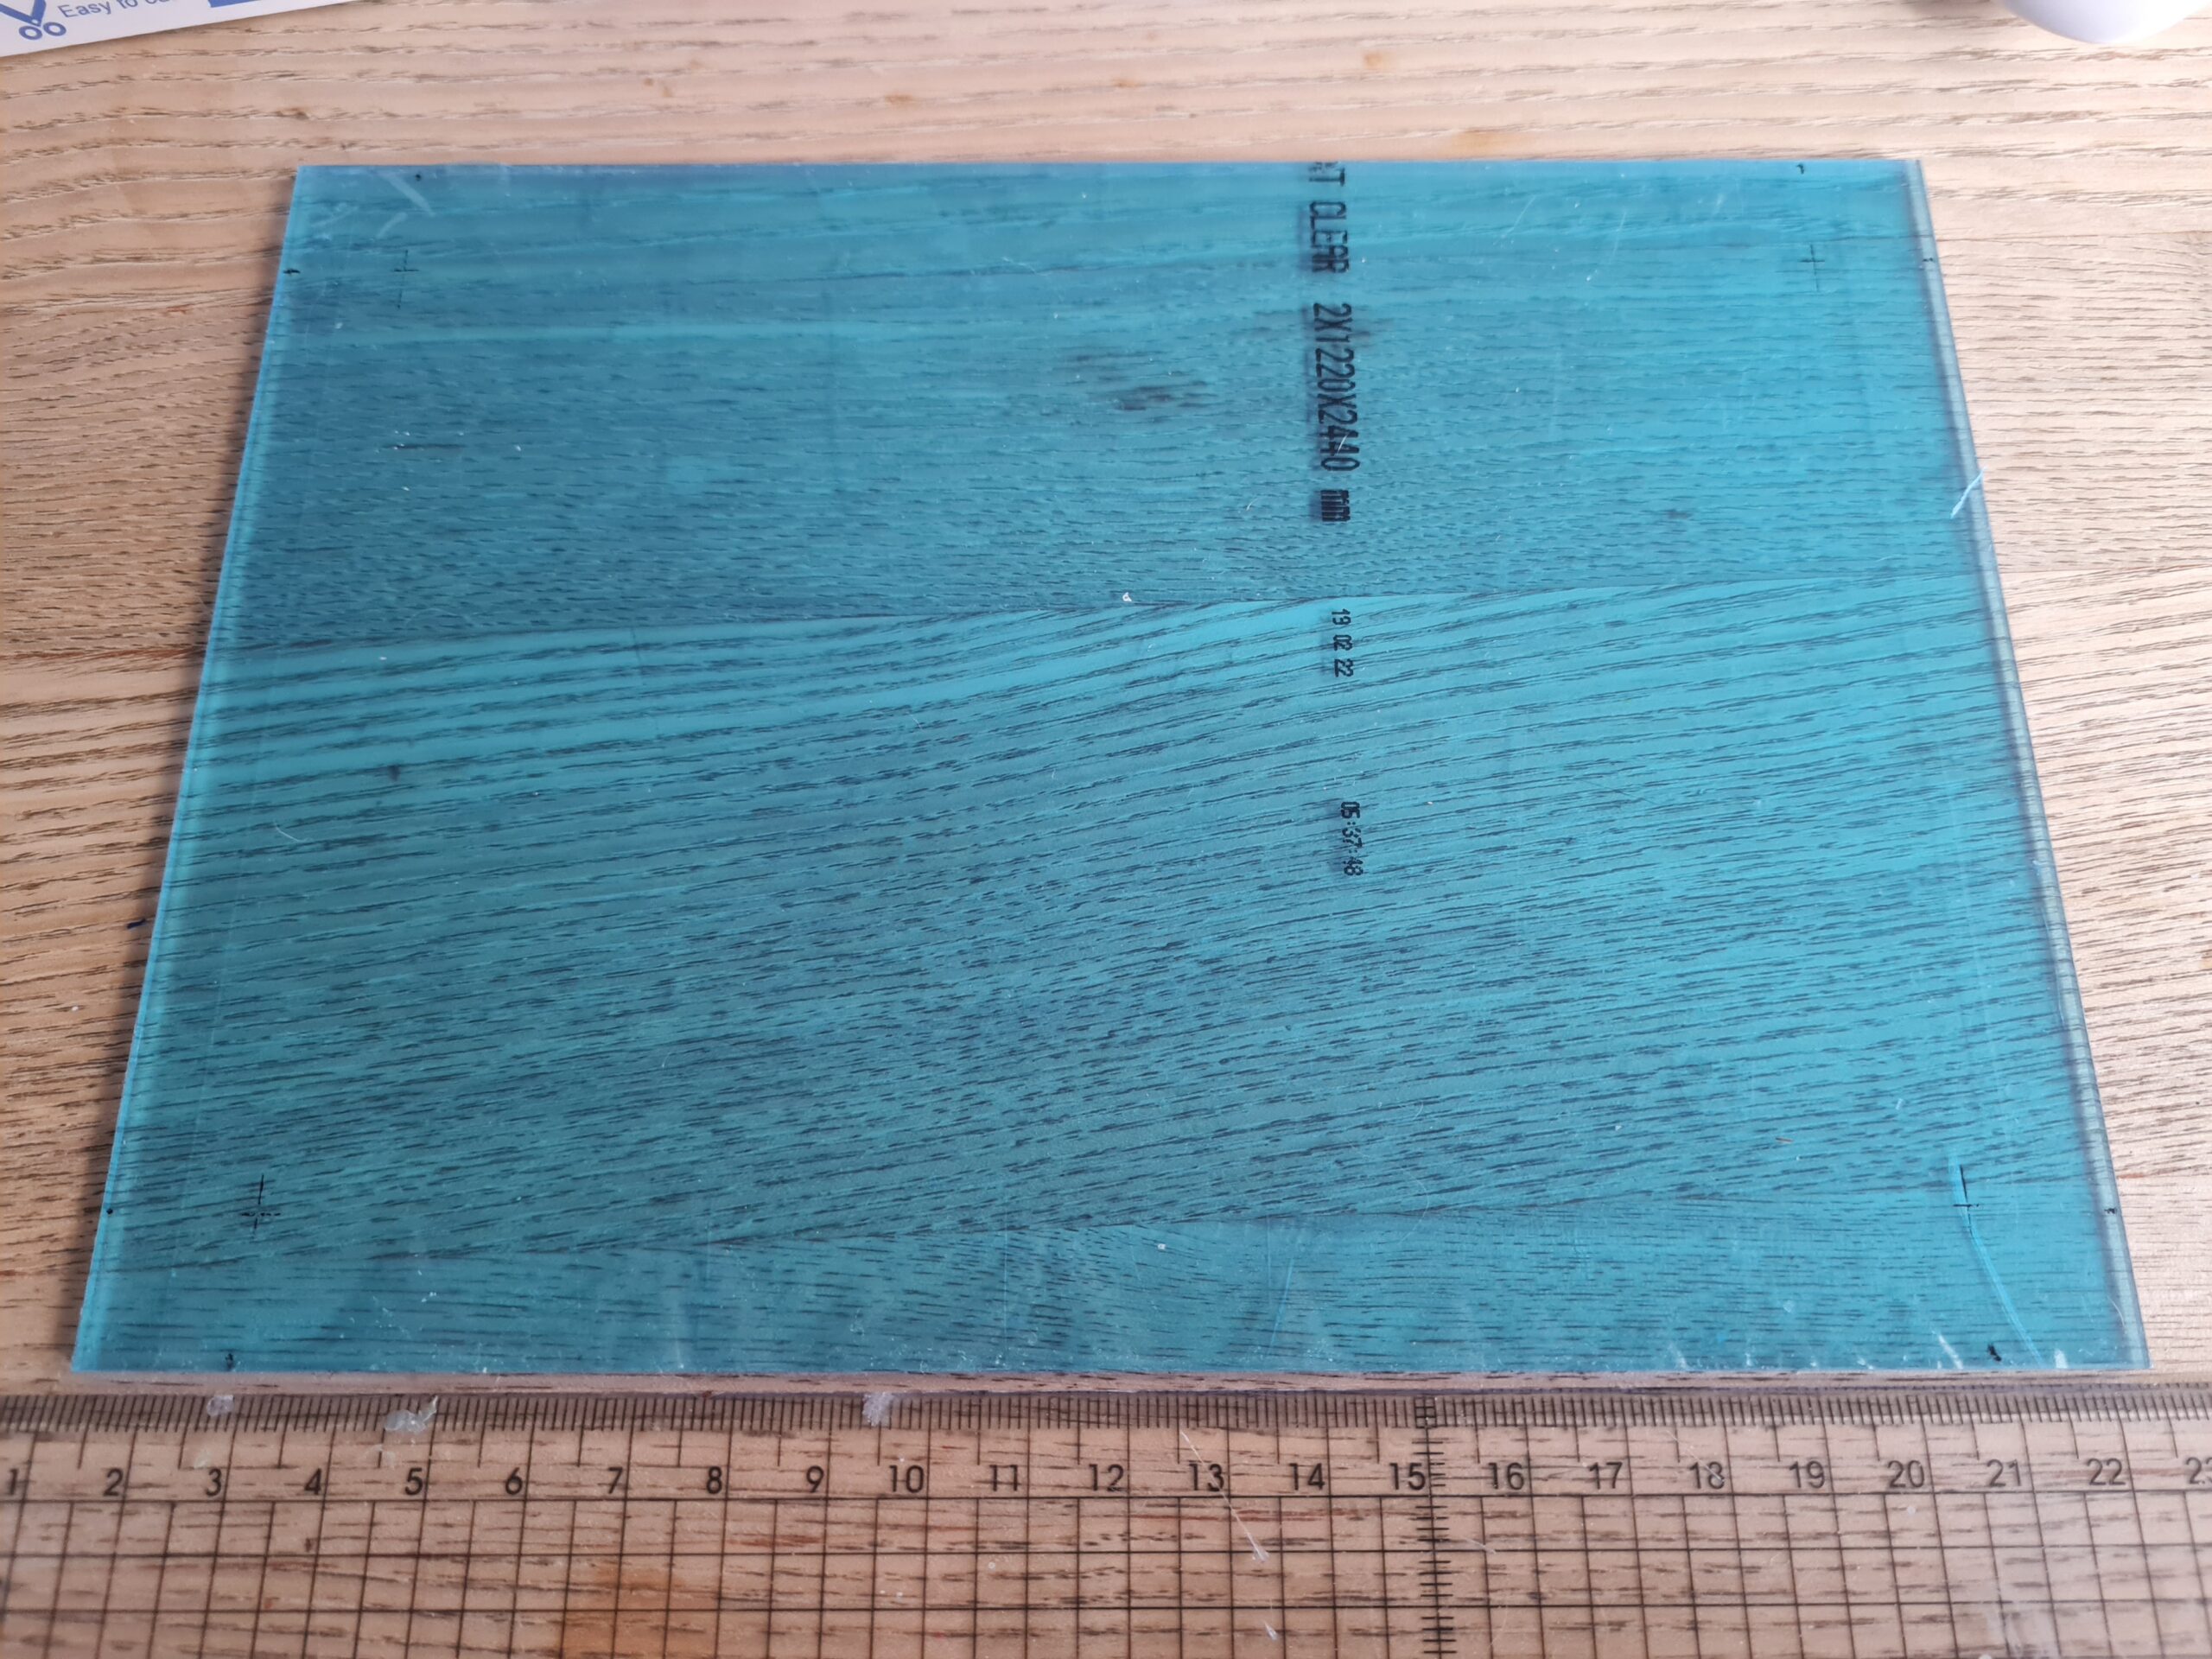
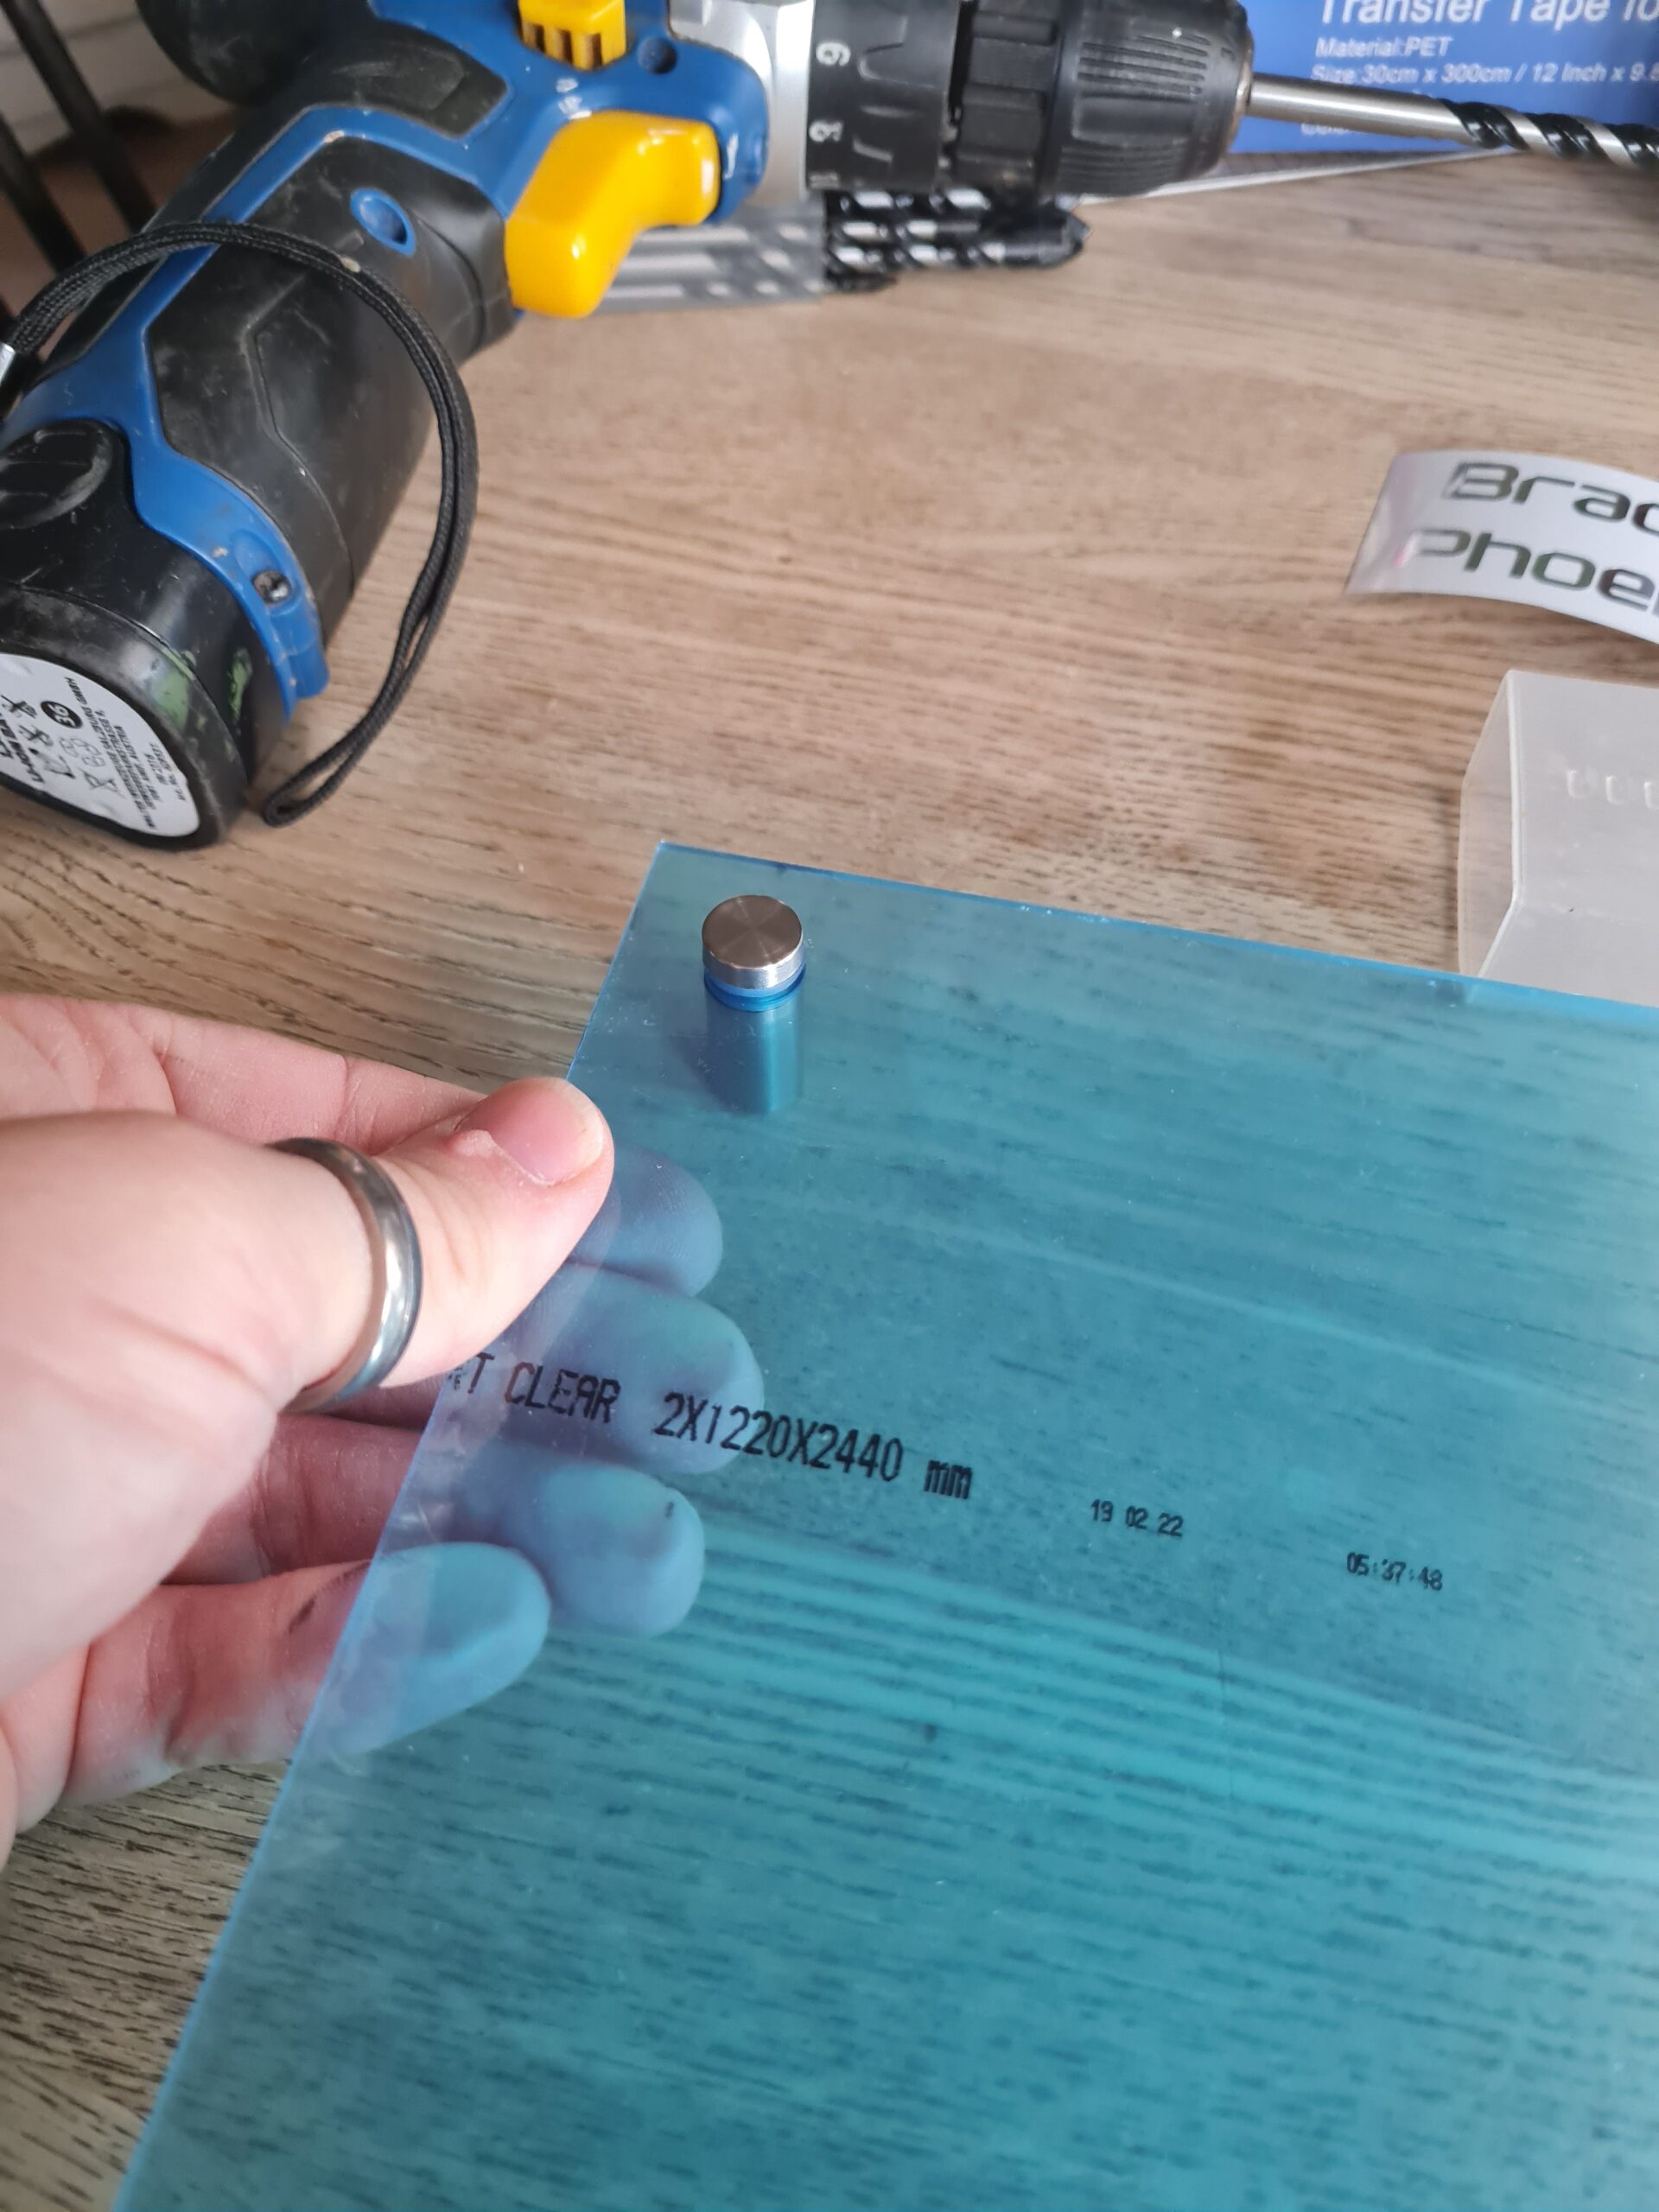
A5 2mm thick acrylic sheet
Stainless steel standoff fixings (for the feet)
Tools
Drill
Pen
Drill bits
Cricut
Scissors
Weeder
Squidger (I have no idea what it is really called)
Ruler
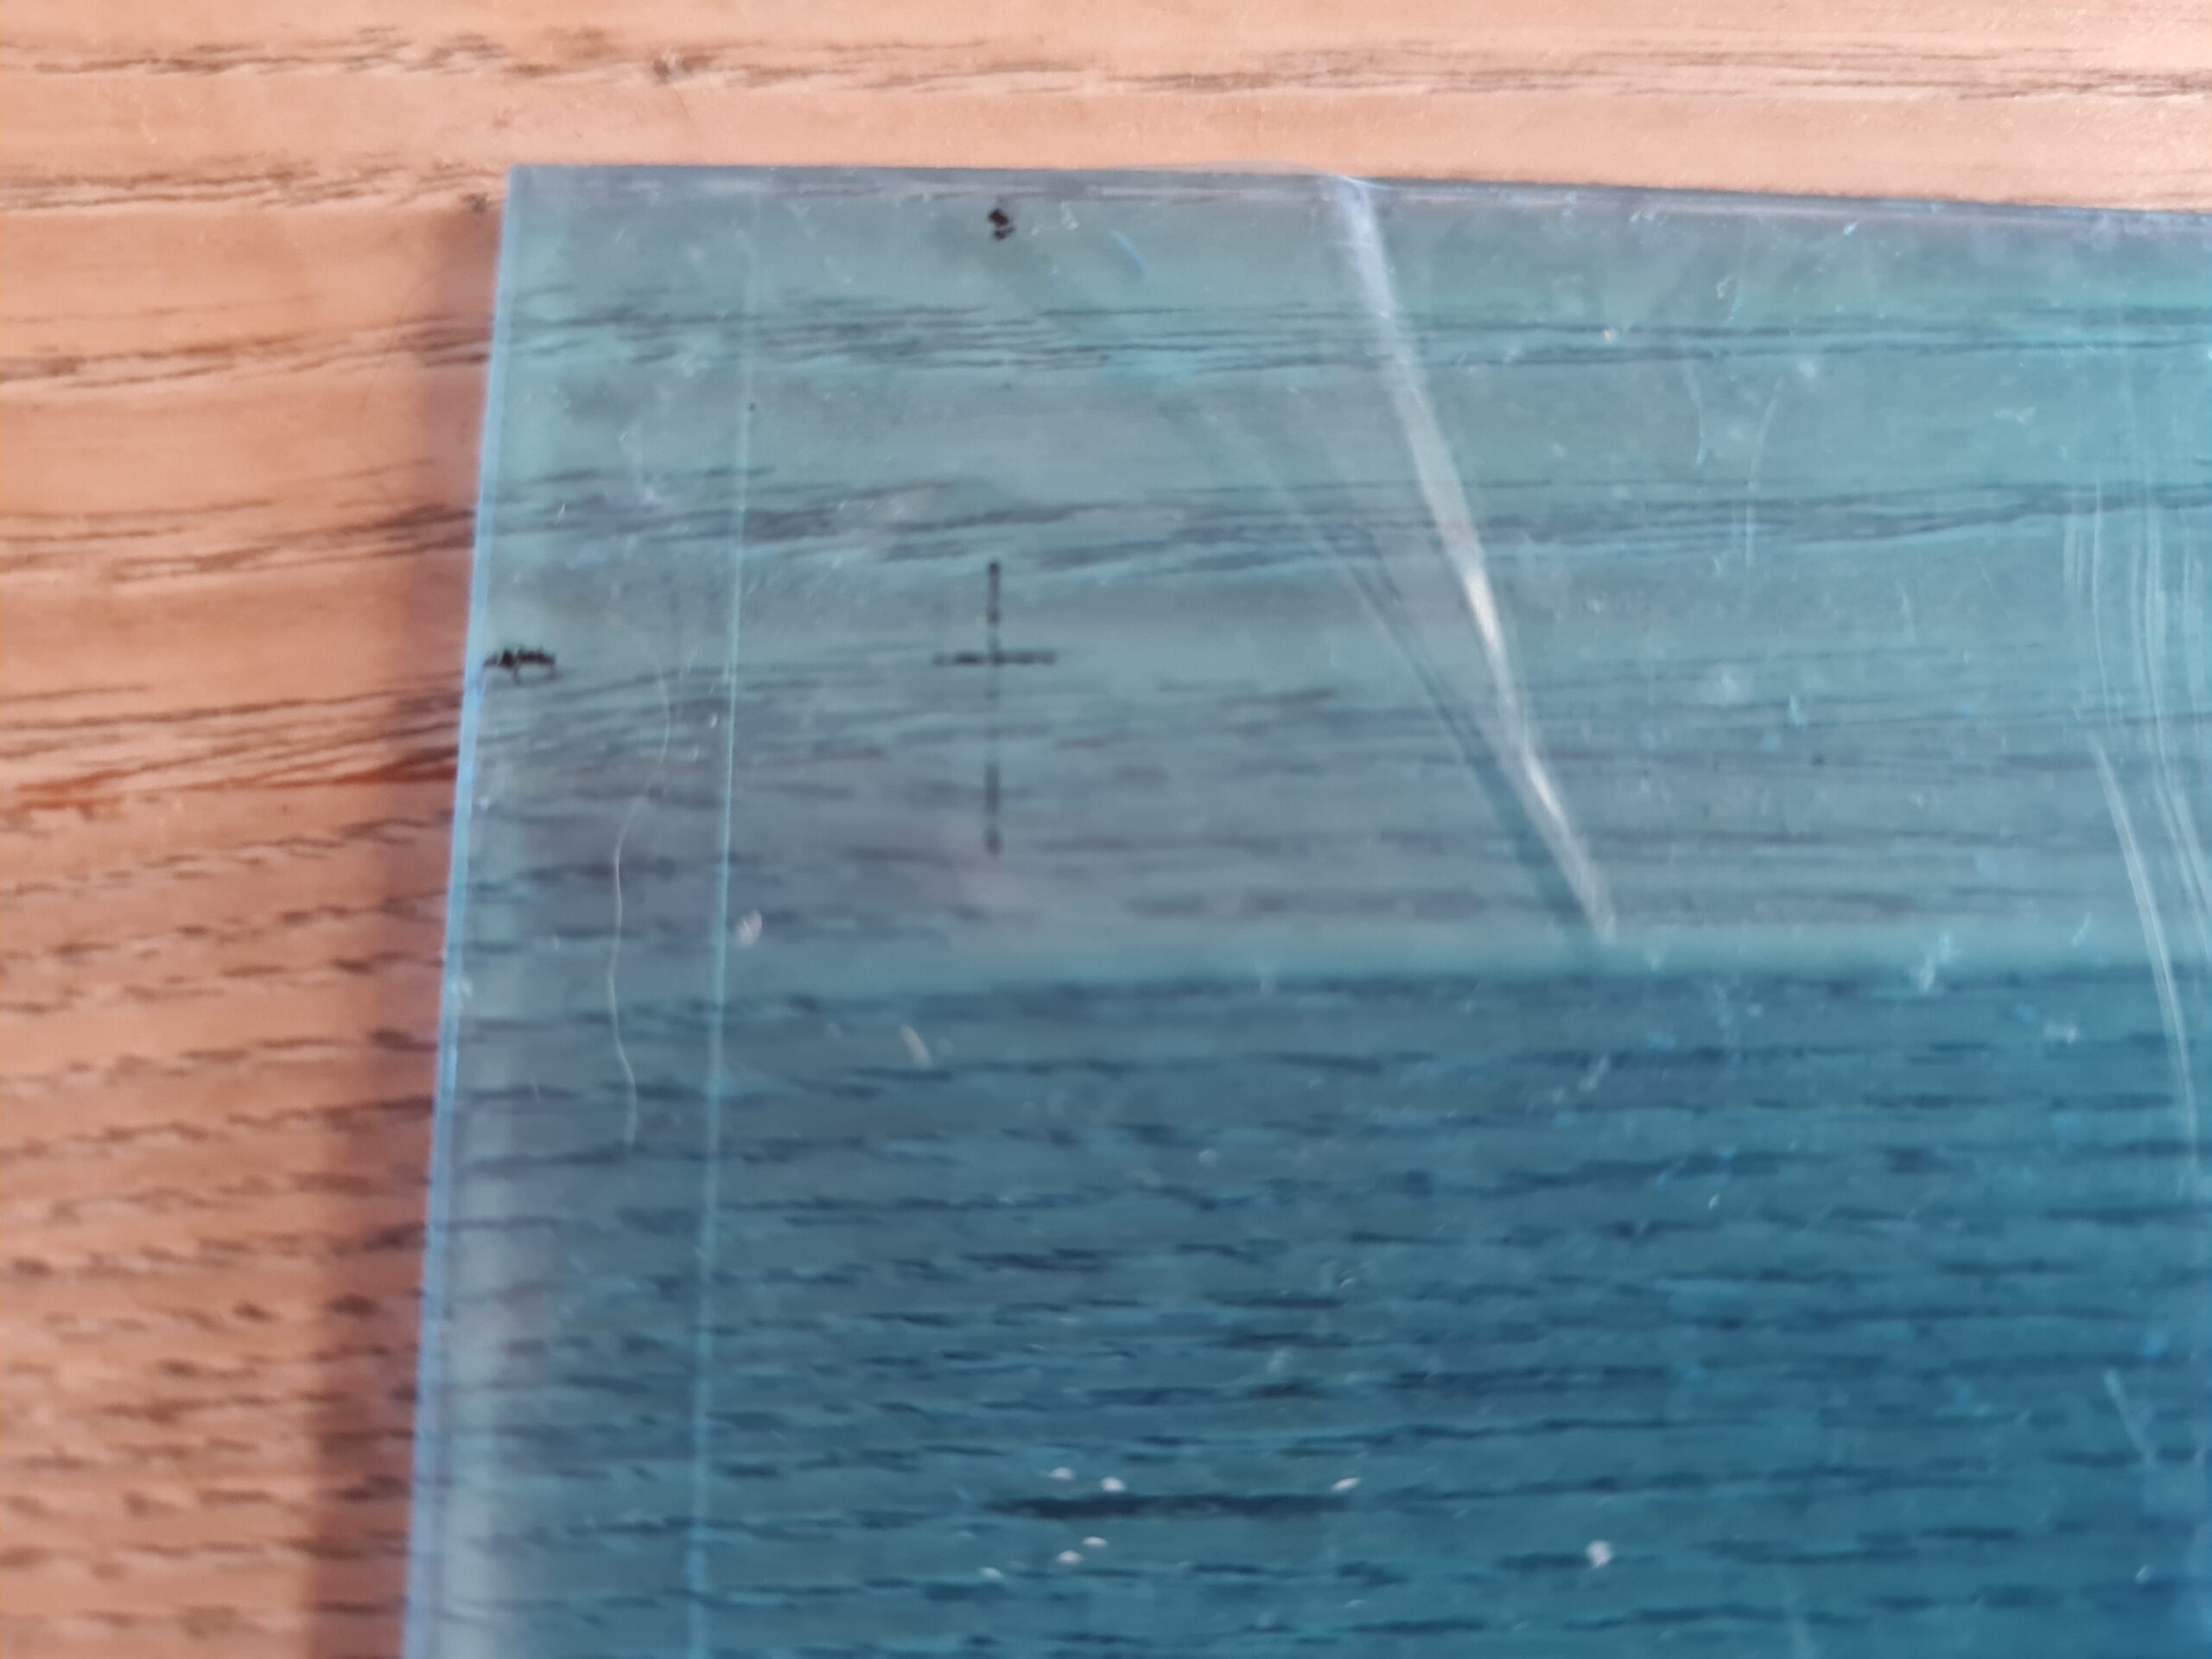
Stage 1 – Measuring out
I like to have the feet in pretty much the same position. I also like them to be symmetrical. To do this I measure 1.5cm from each corner.
Measuring for the feetMarking the feetMarking out for the feet
The acrylic is covered on both sides with a protective covering. I leave this on as long as possible to help protect the acrylic, and also to mark on wherever possible.
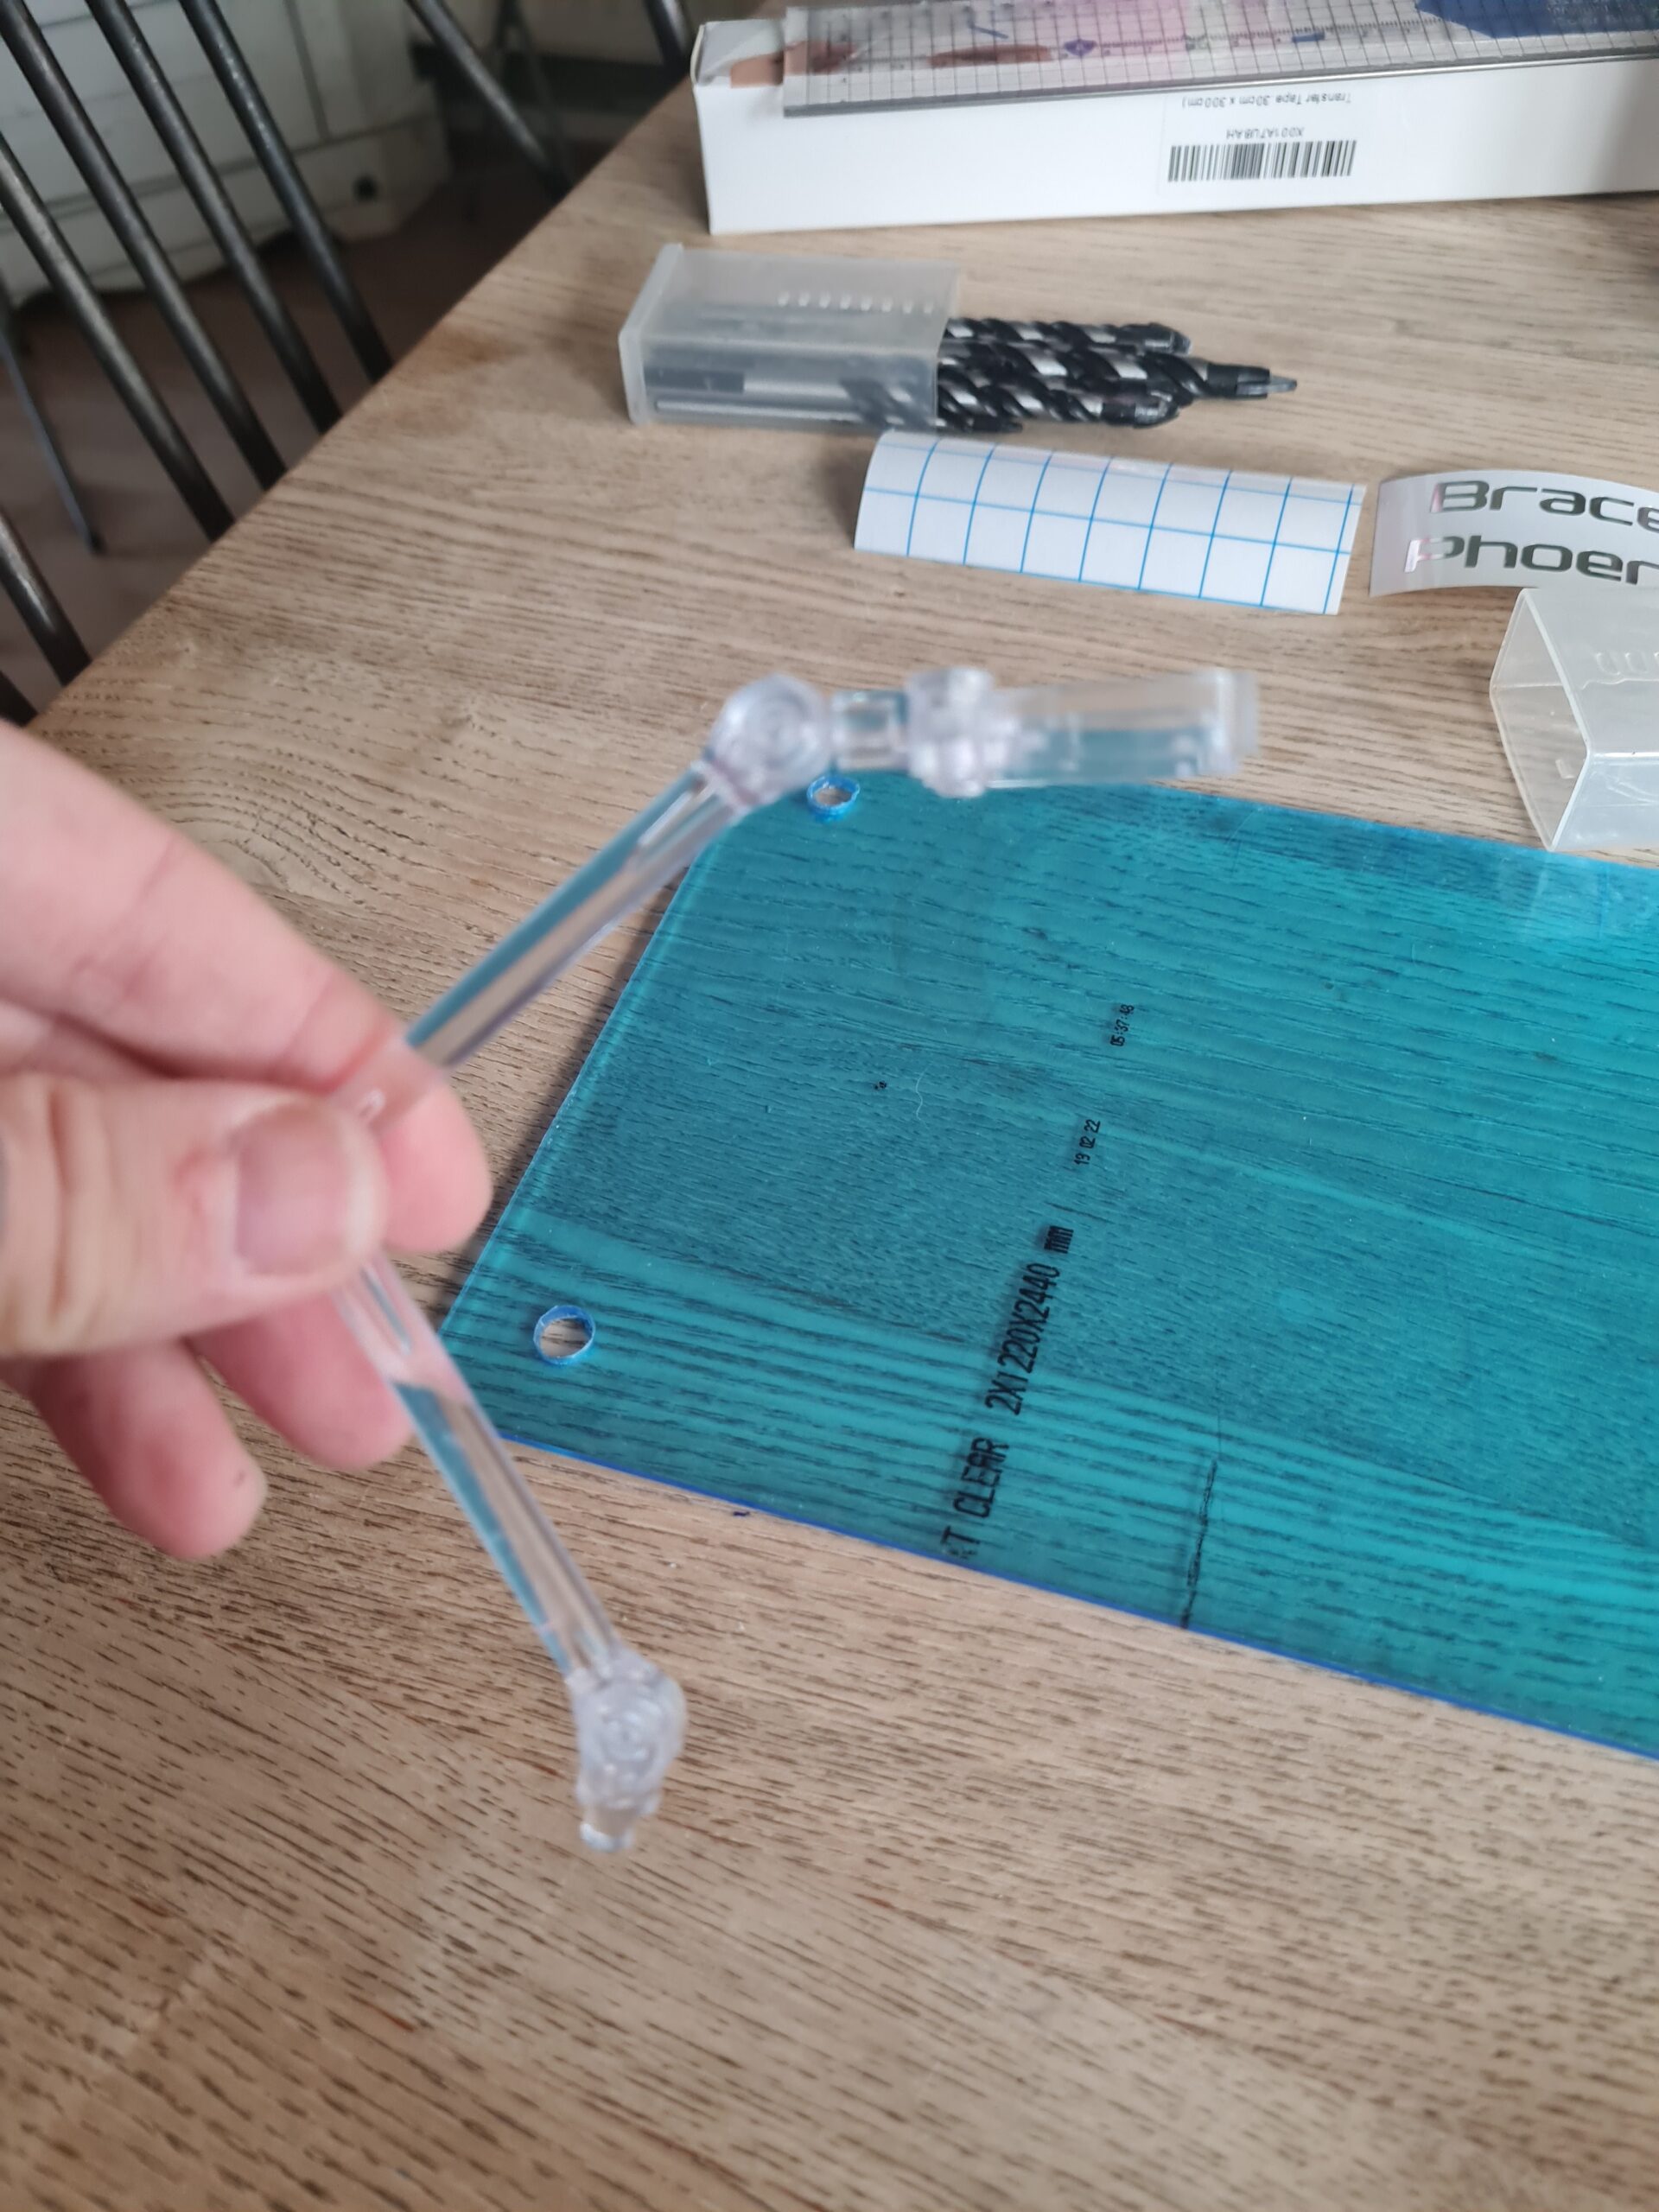
Drilling the holes
Once the holes are marked out, I moved on to drilling the holes.
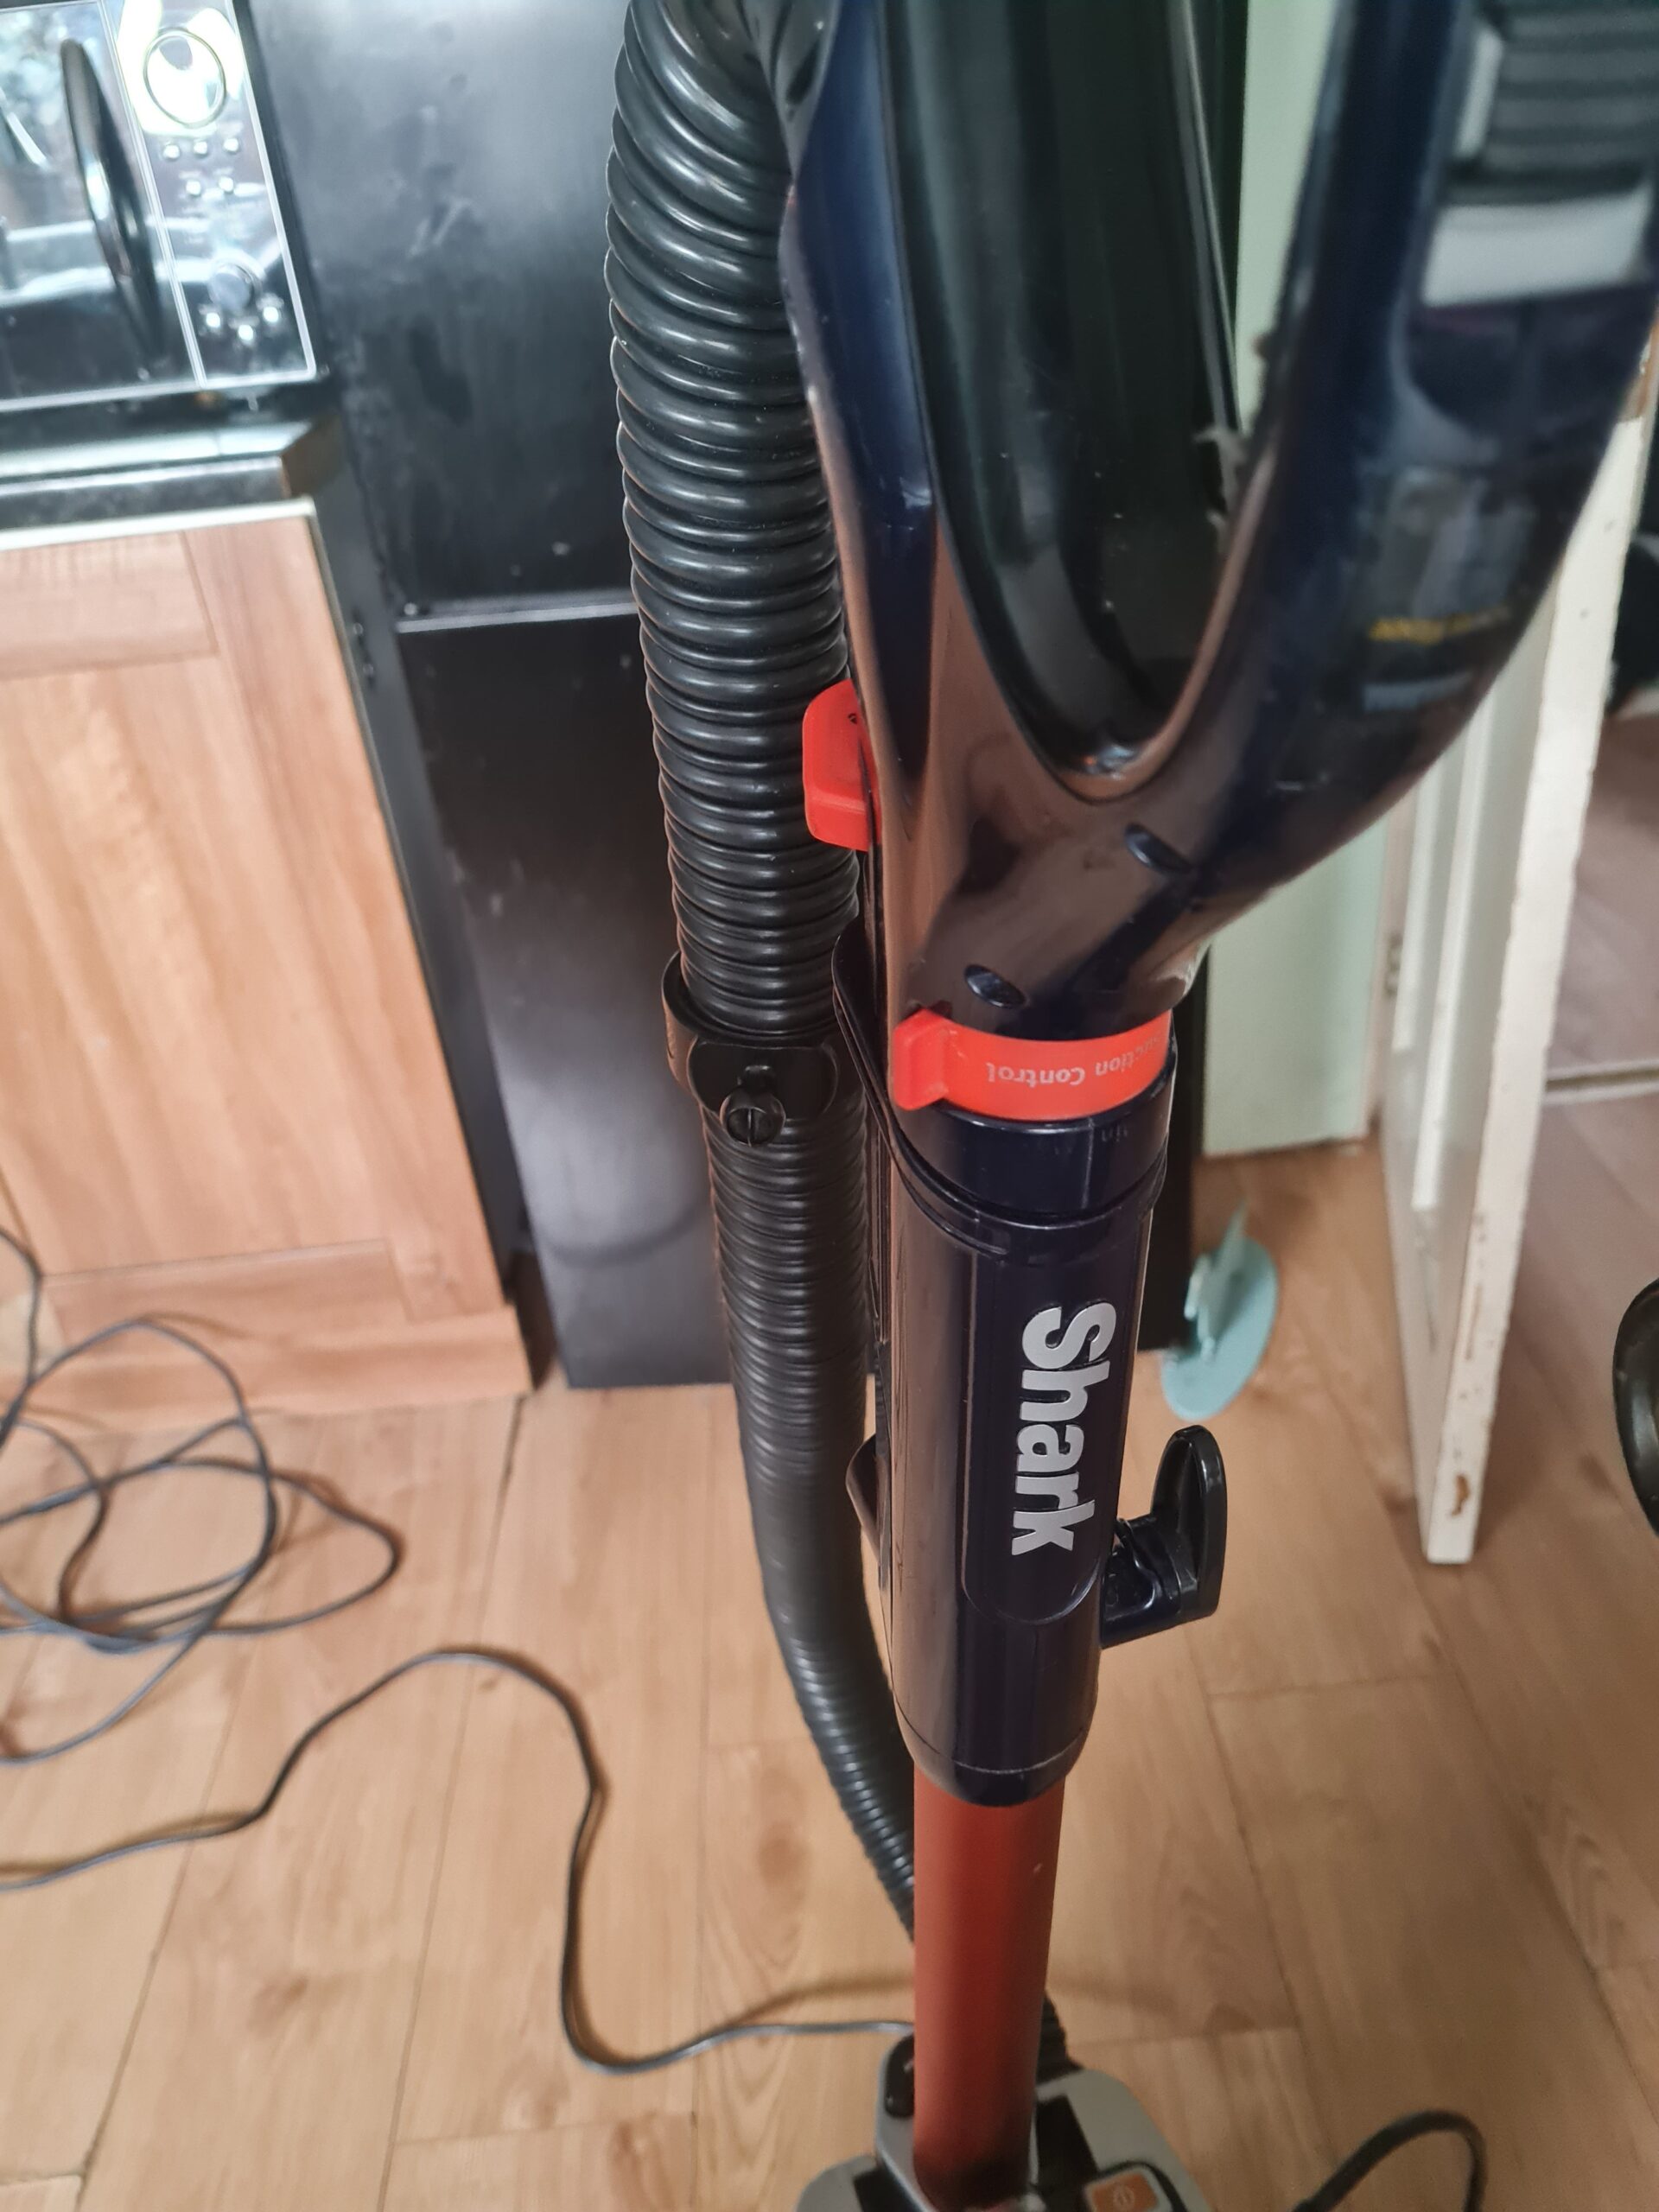
Drill and bitsHooverChecking bit width
To do this I needed the drill bits, the drill, and the hoover. The drill bits are actually for drilling into tiles and work perfectly for this job. The first thing I had to do was find the right size. I had to unscrew one of the feet and check the width of the drill bit to the thread size of the bolt. You want one marginally bigger than the thread so the bolt drops in nicely.
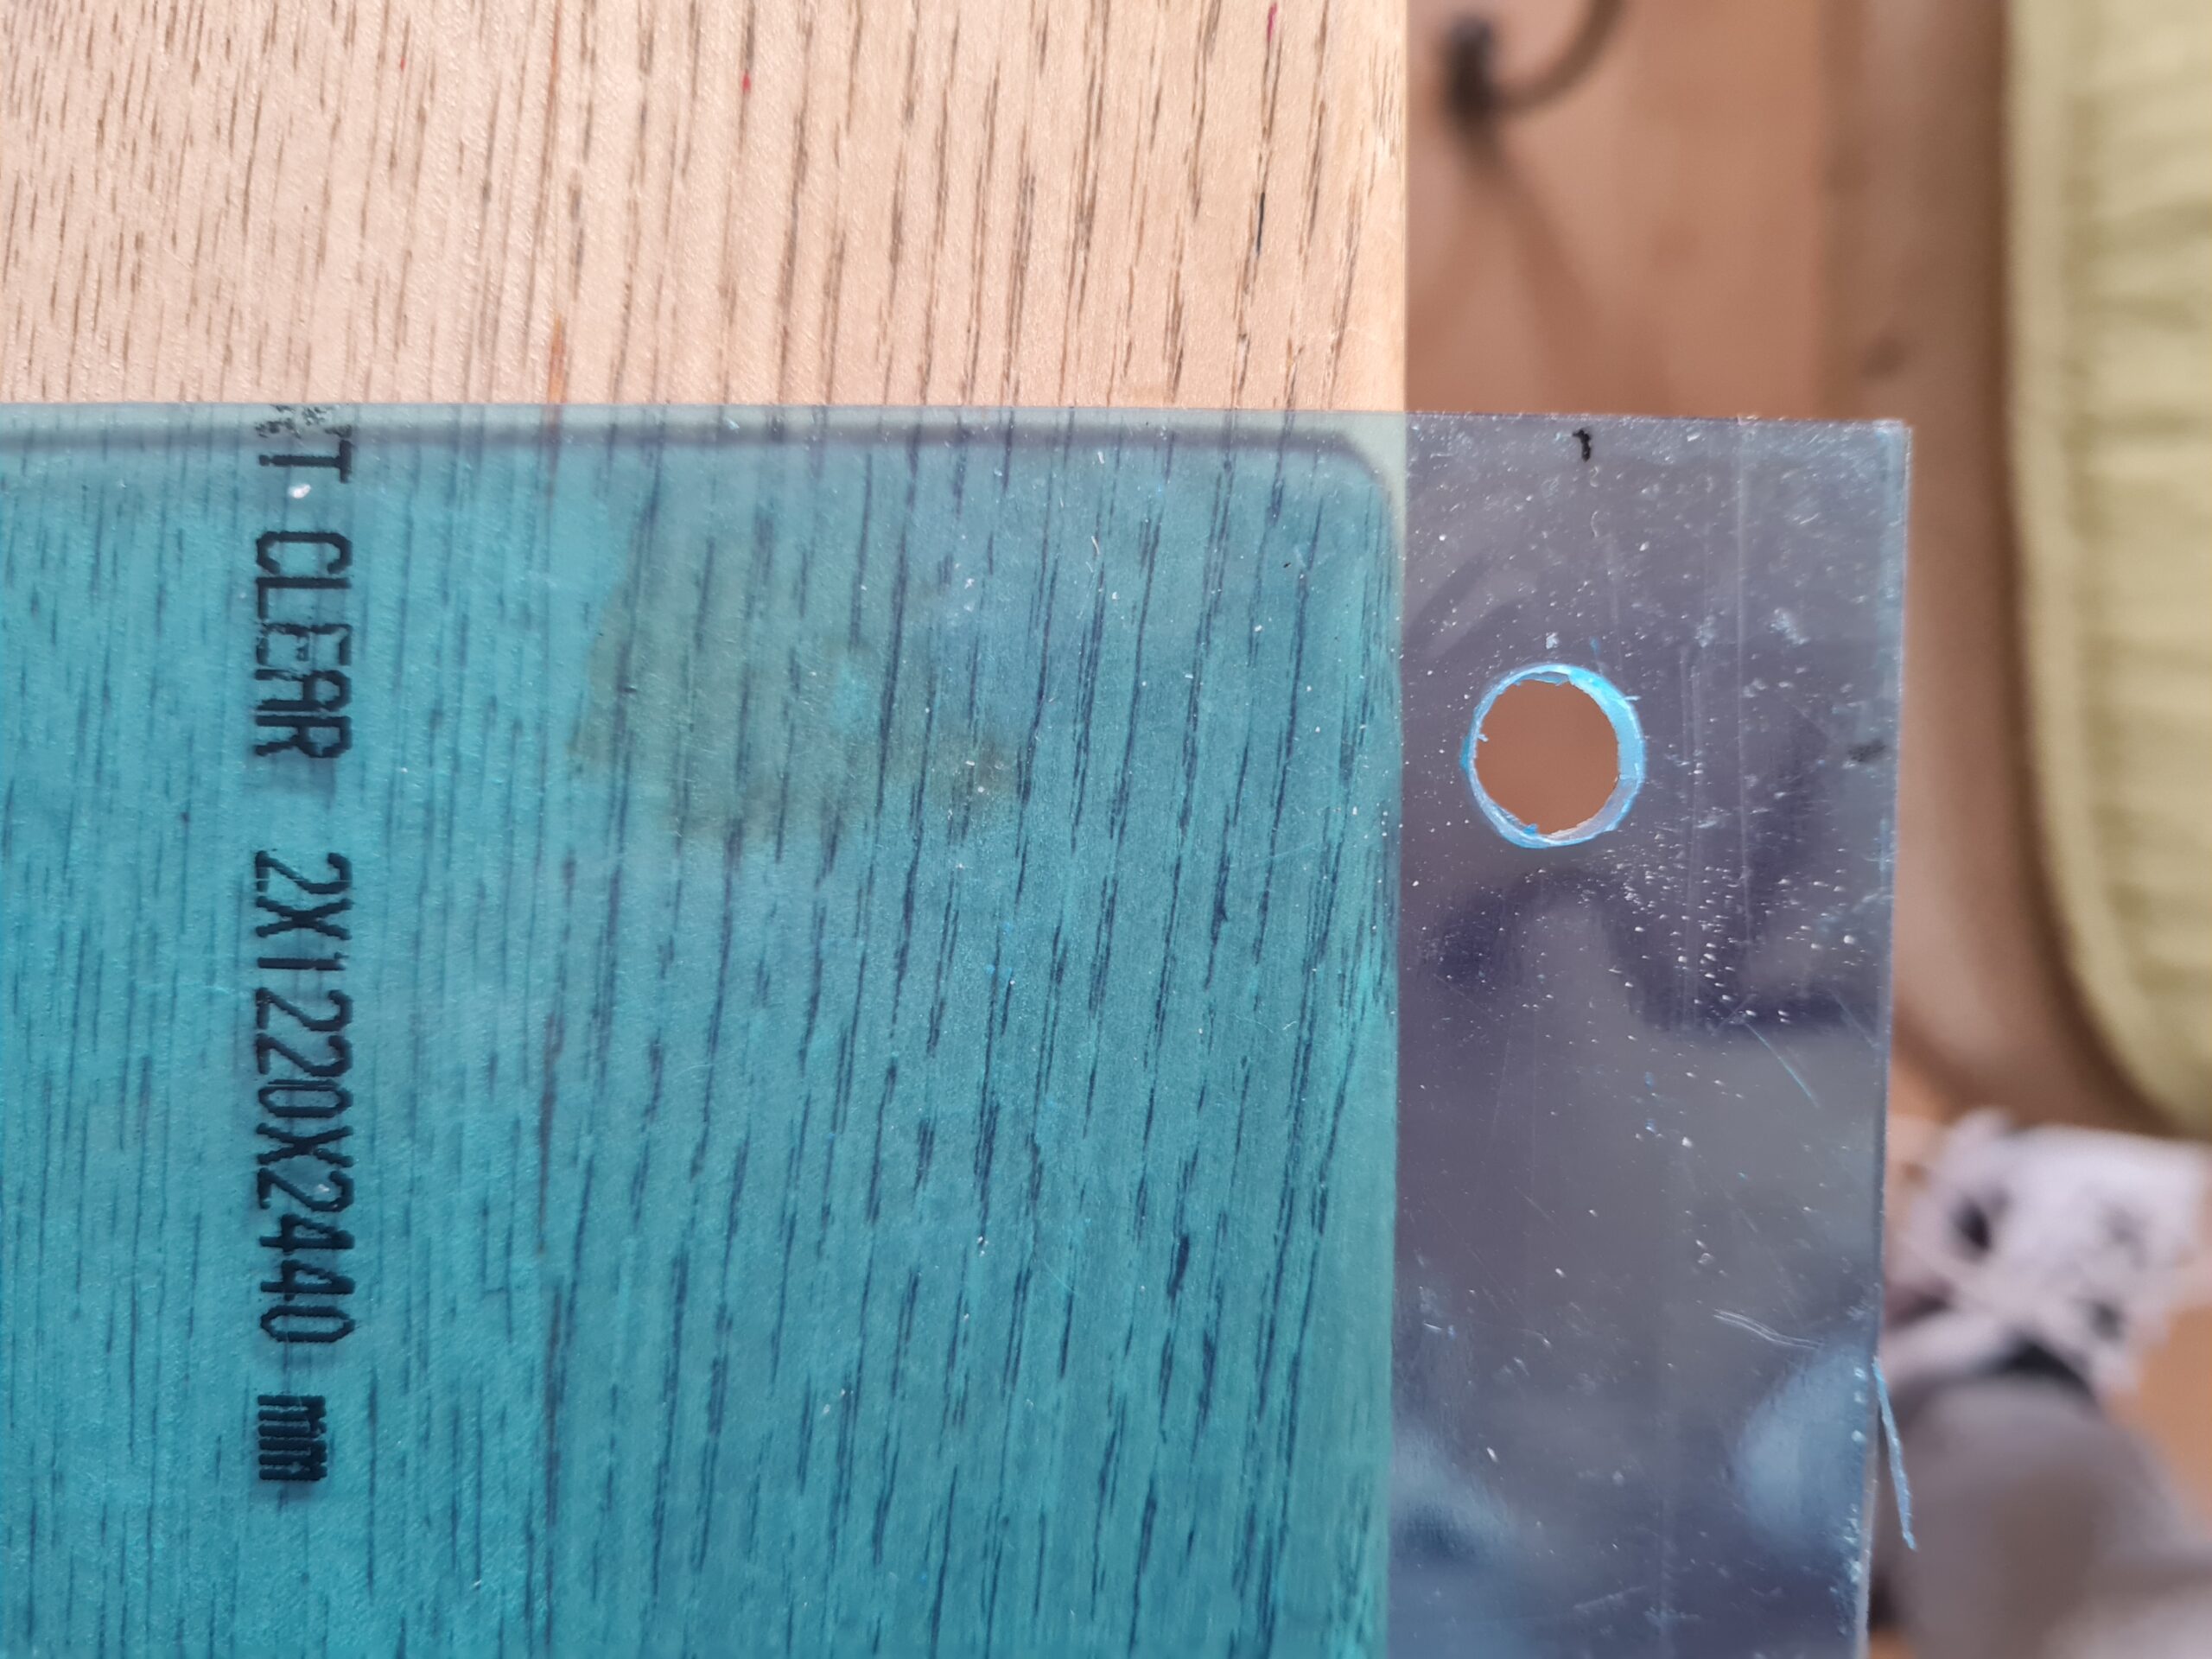
Once that was done I placed the acrylic sheet flat on the table edge, as close to the marked spot as possible (allowing room to drill through and not hit the table). I also used a finger to support the outer side of the sheet to help stop it flexing. Then using the drill I made the hole in the sheet.
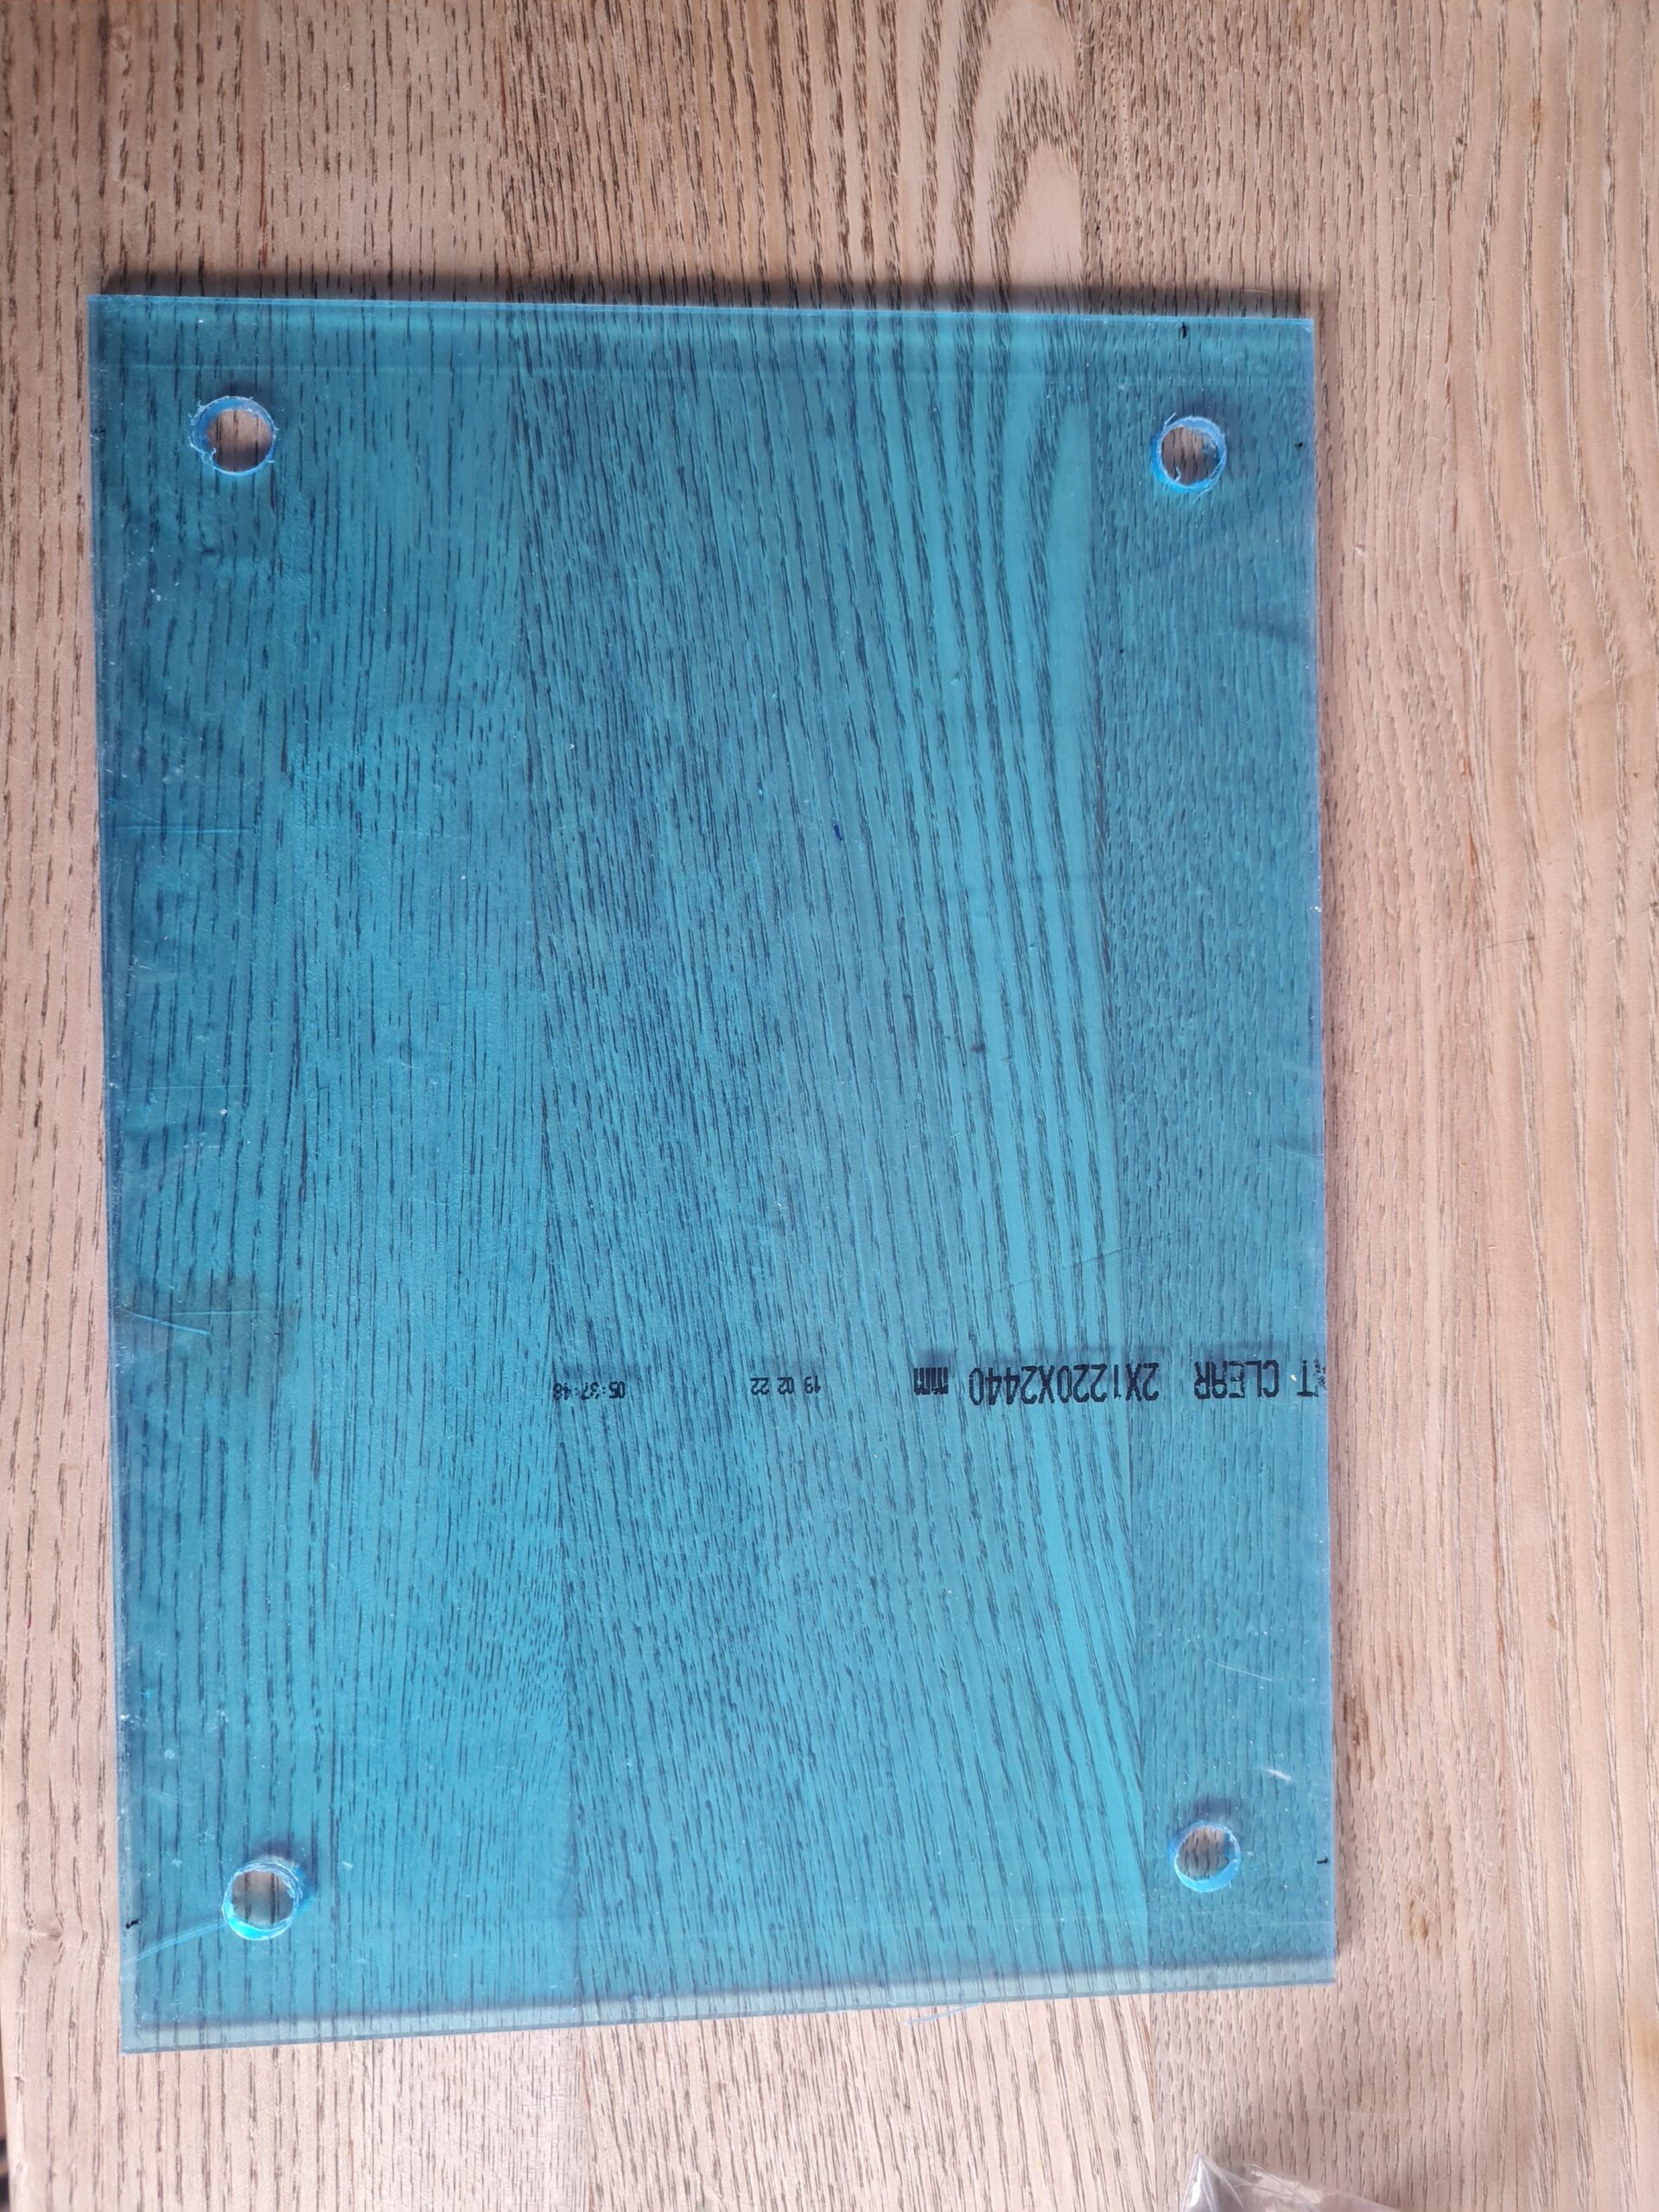
Hole CloseupAll Four holes drilledTesting a foot
As can be seen above I also tested one of the feet int he hole to make sure it was fitting securely. I then removed this to do the rest of the work.
I did drill an extra hole for the stand. Normally I would put this at the halfway point. However, for this I wanted it in a specific place. The methodology though was the same as above. Find the right size bit, drill the hole, and finally test. I do think I will add some glue to help hold it in place, but it works well.
Cheap stand armChecking width
The Text
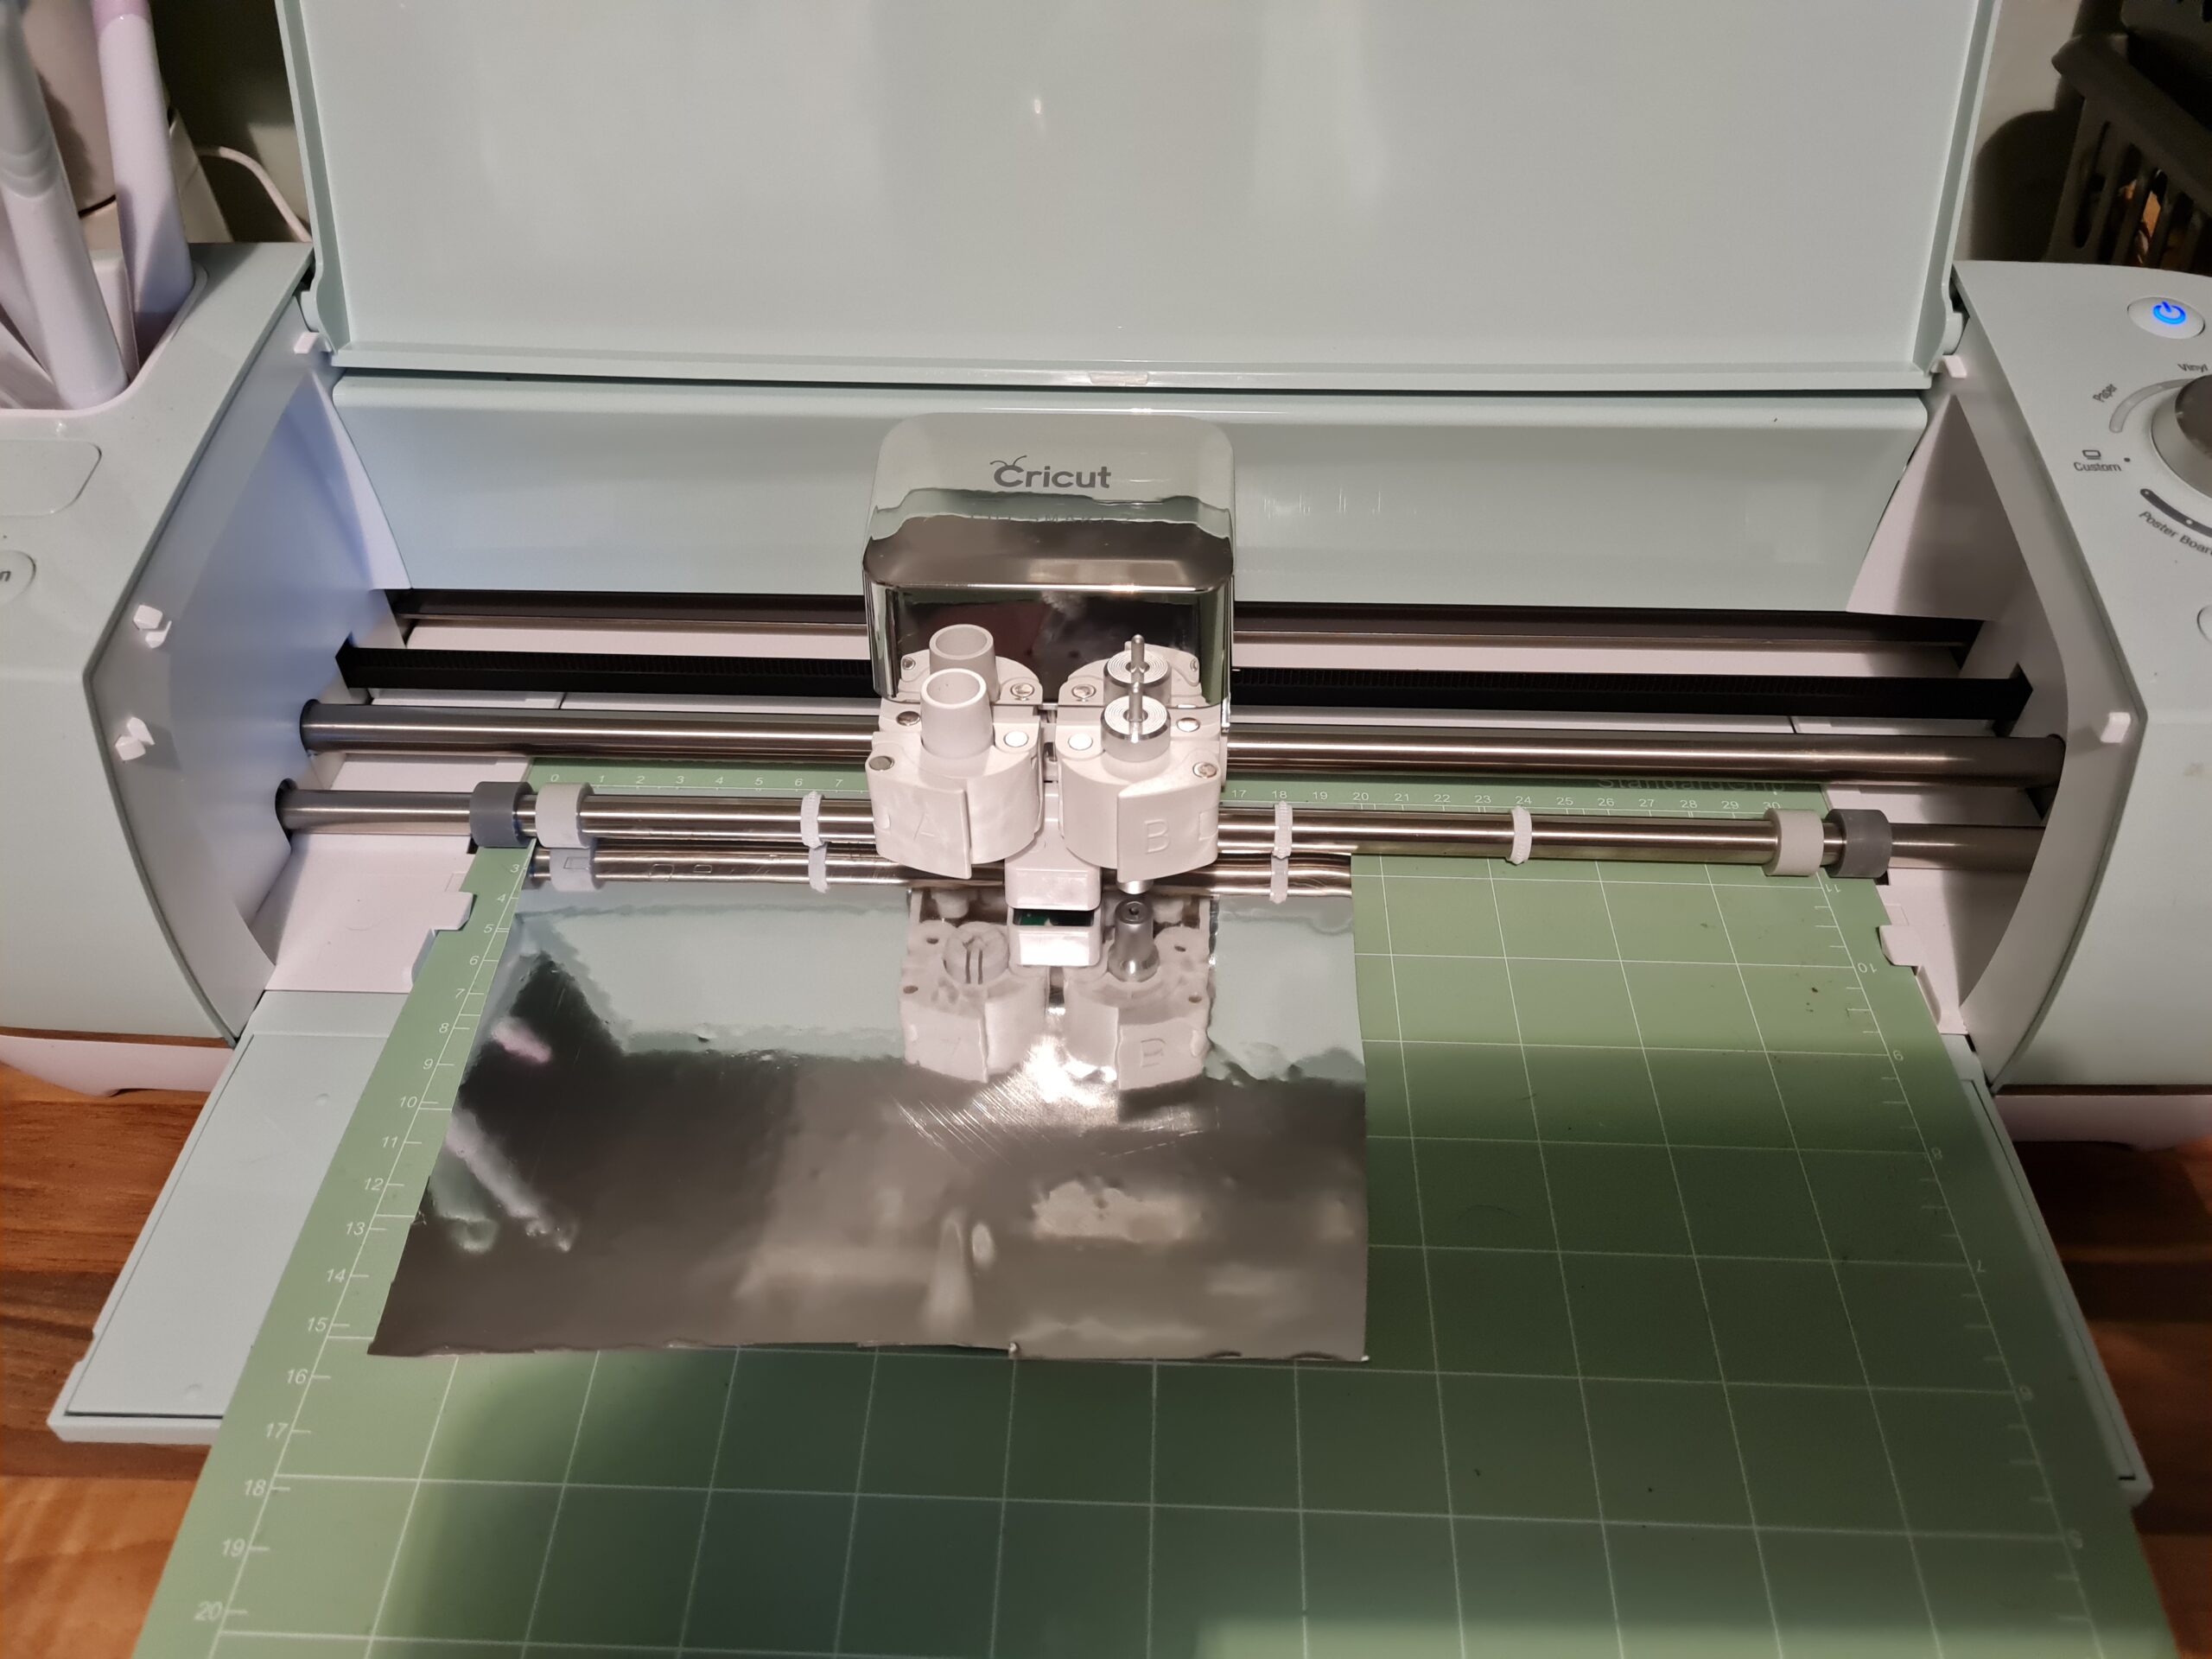
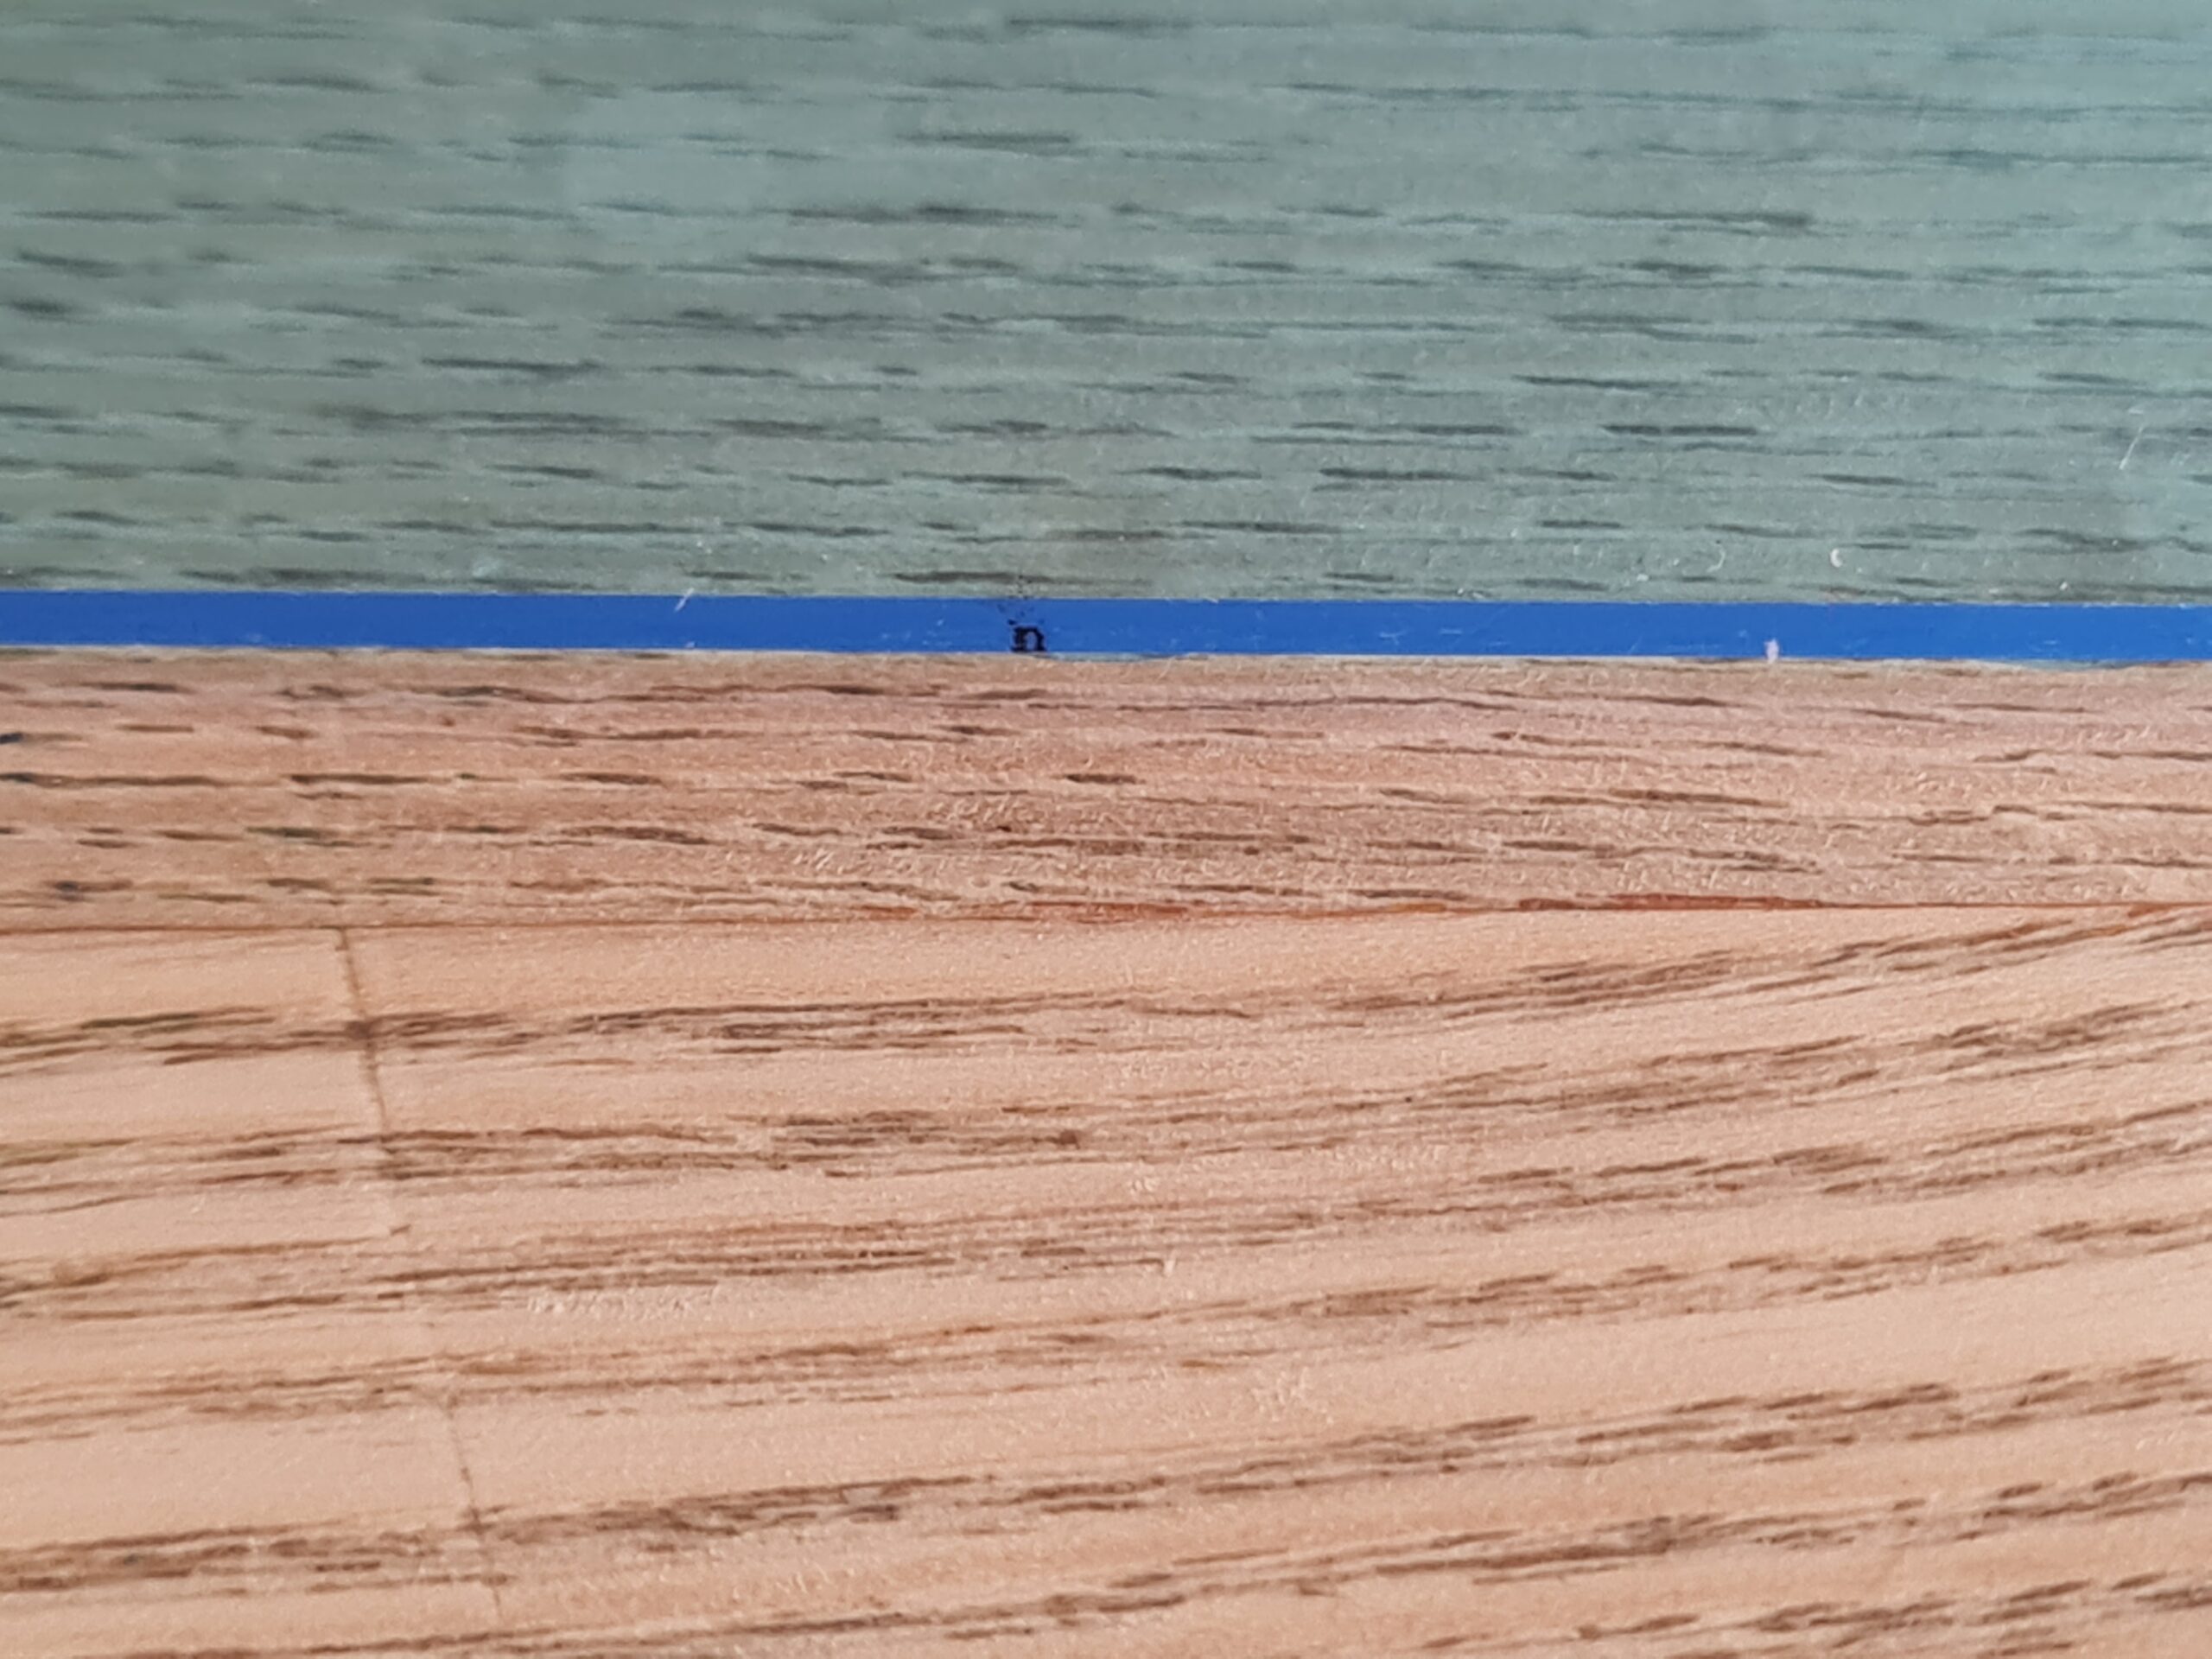
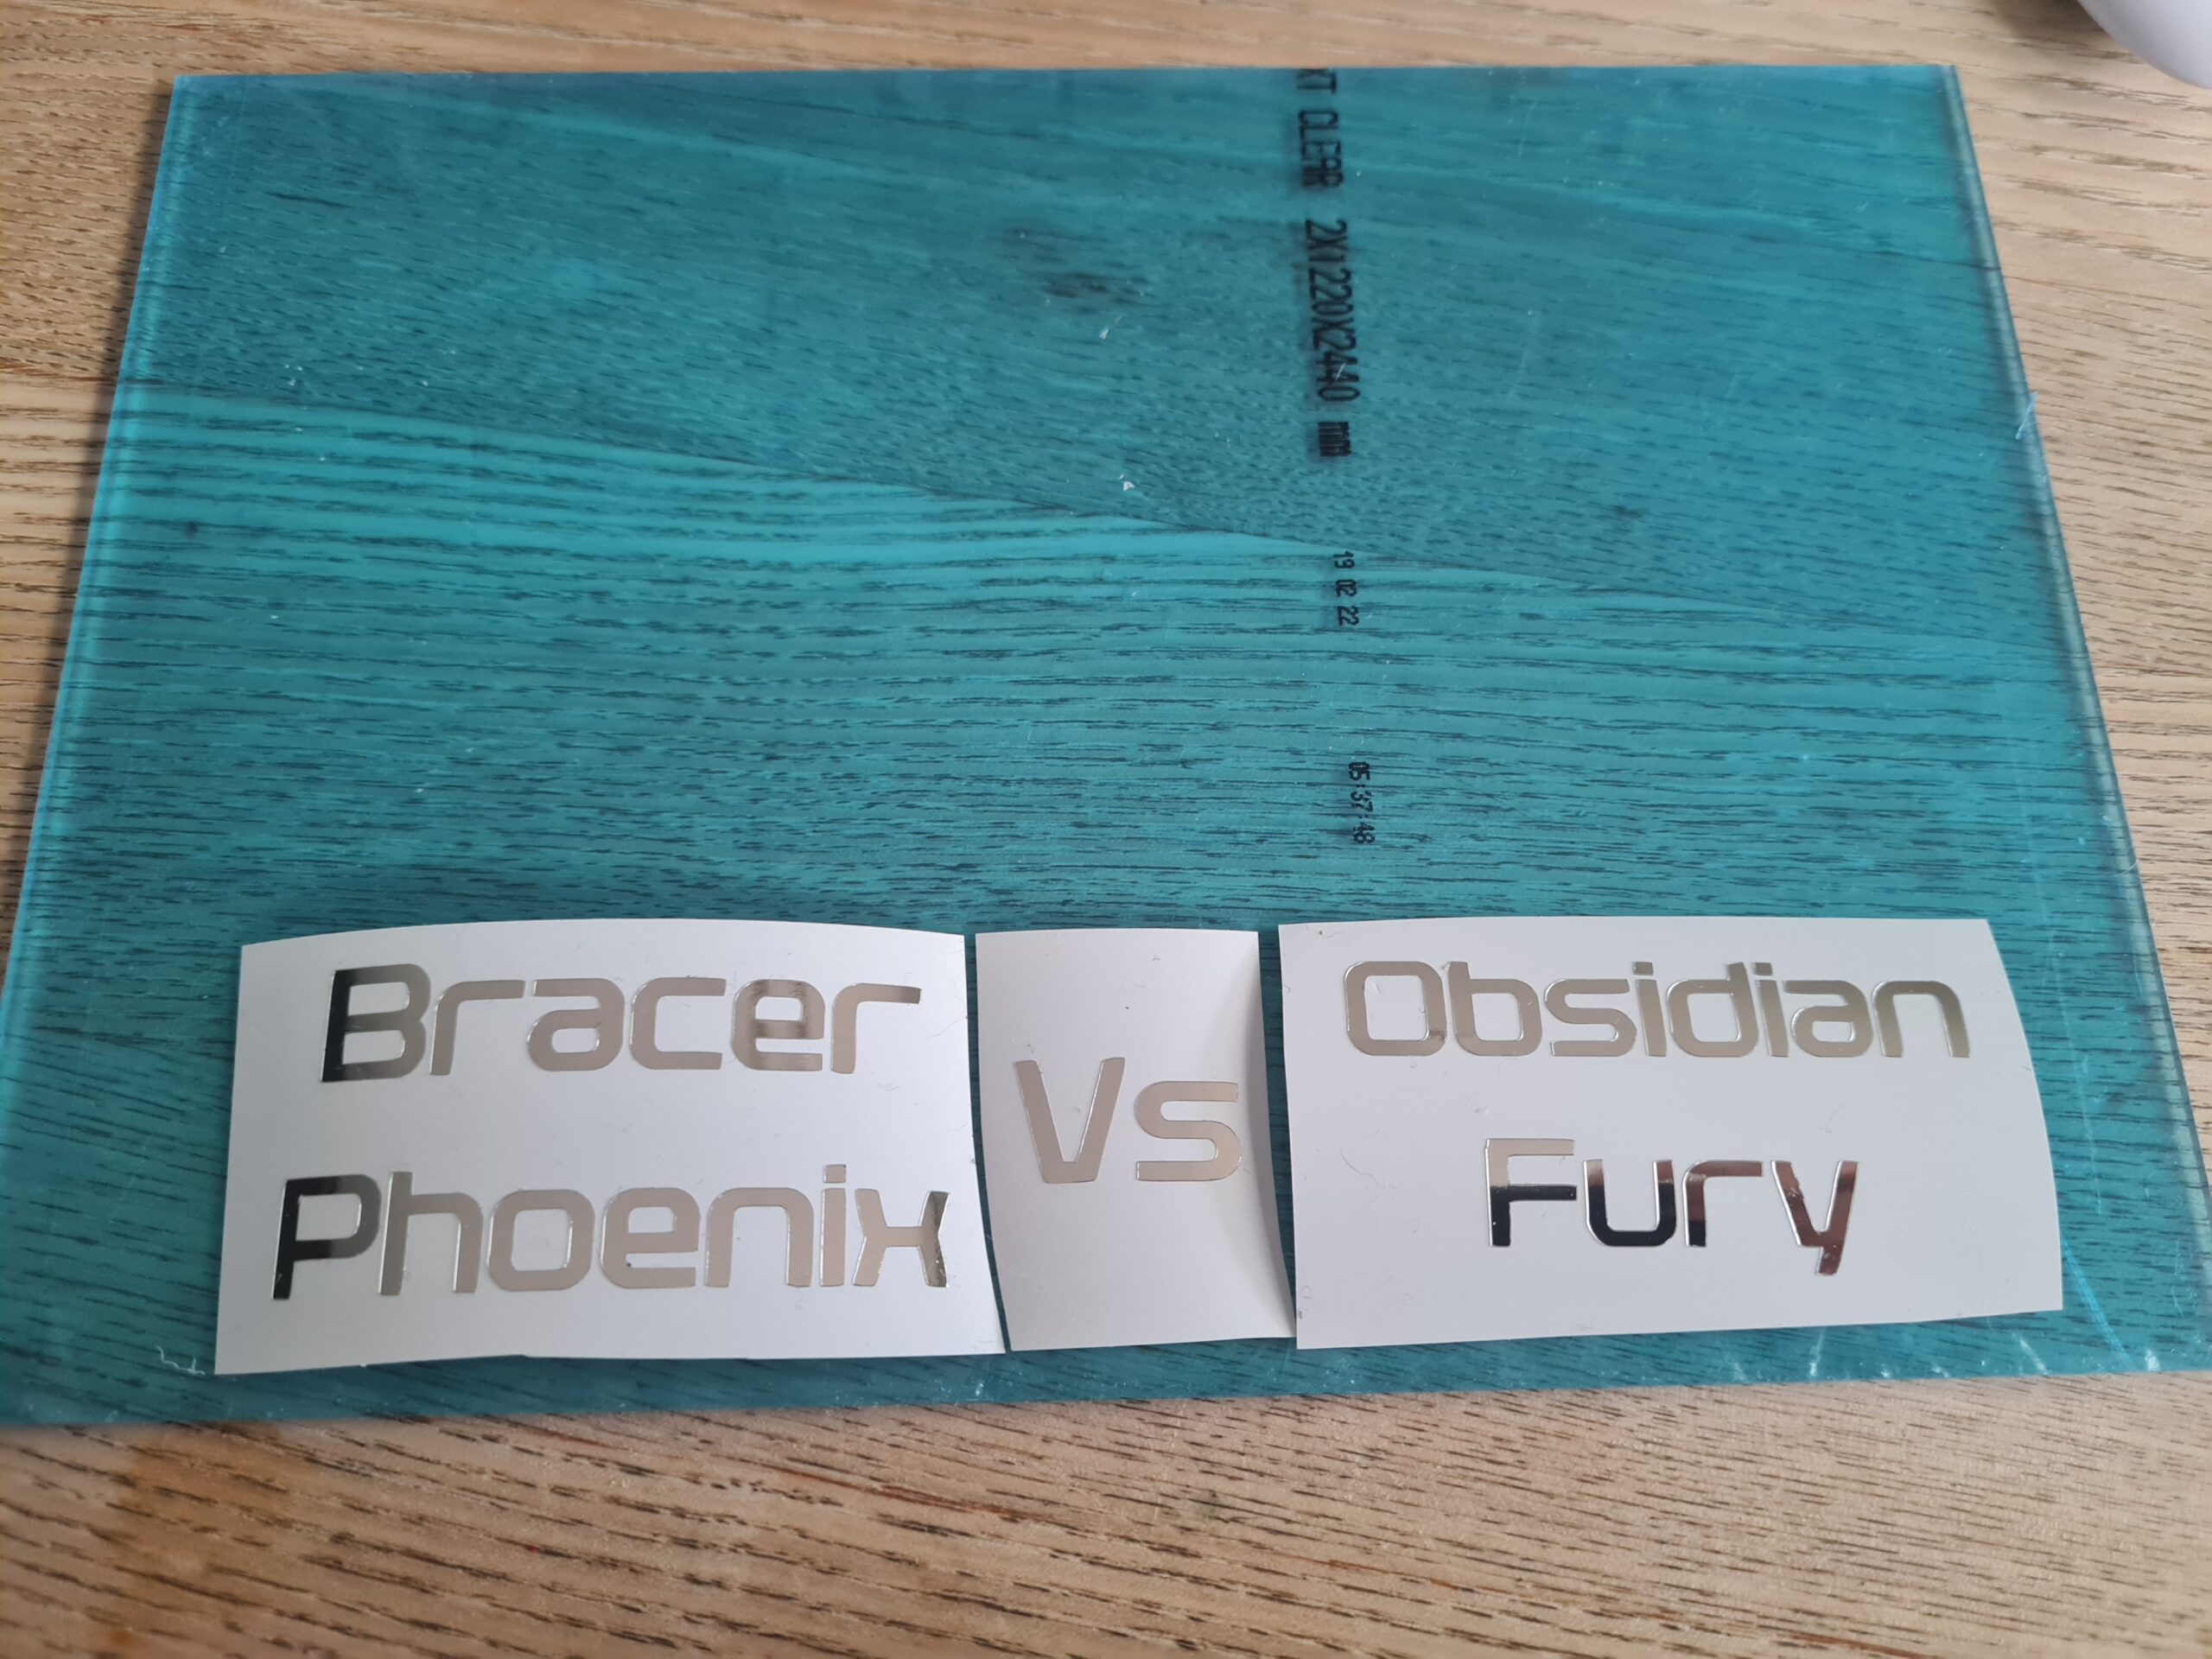
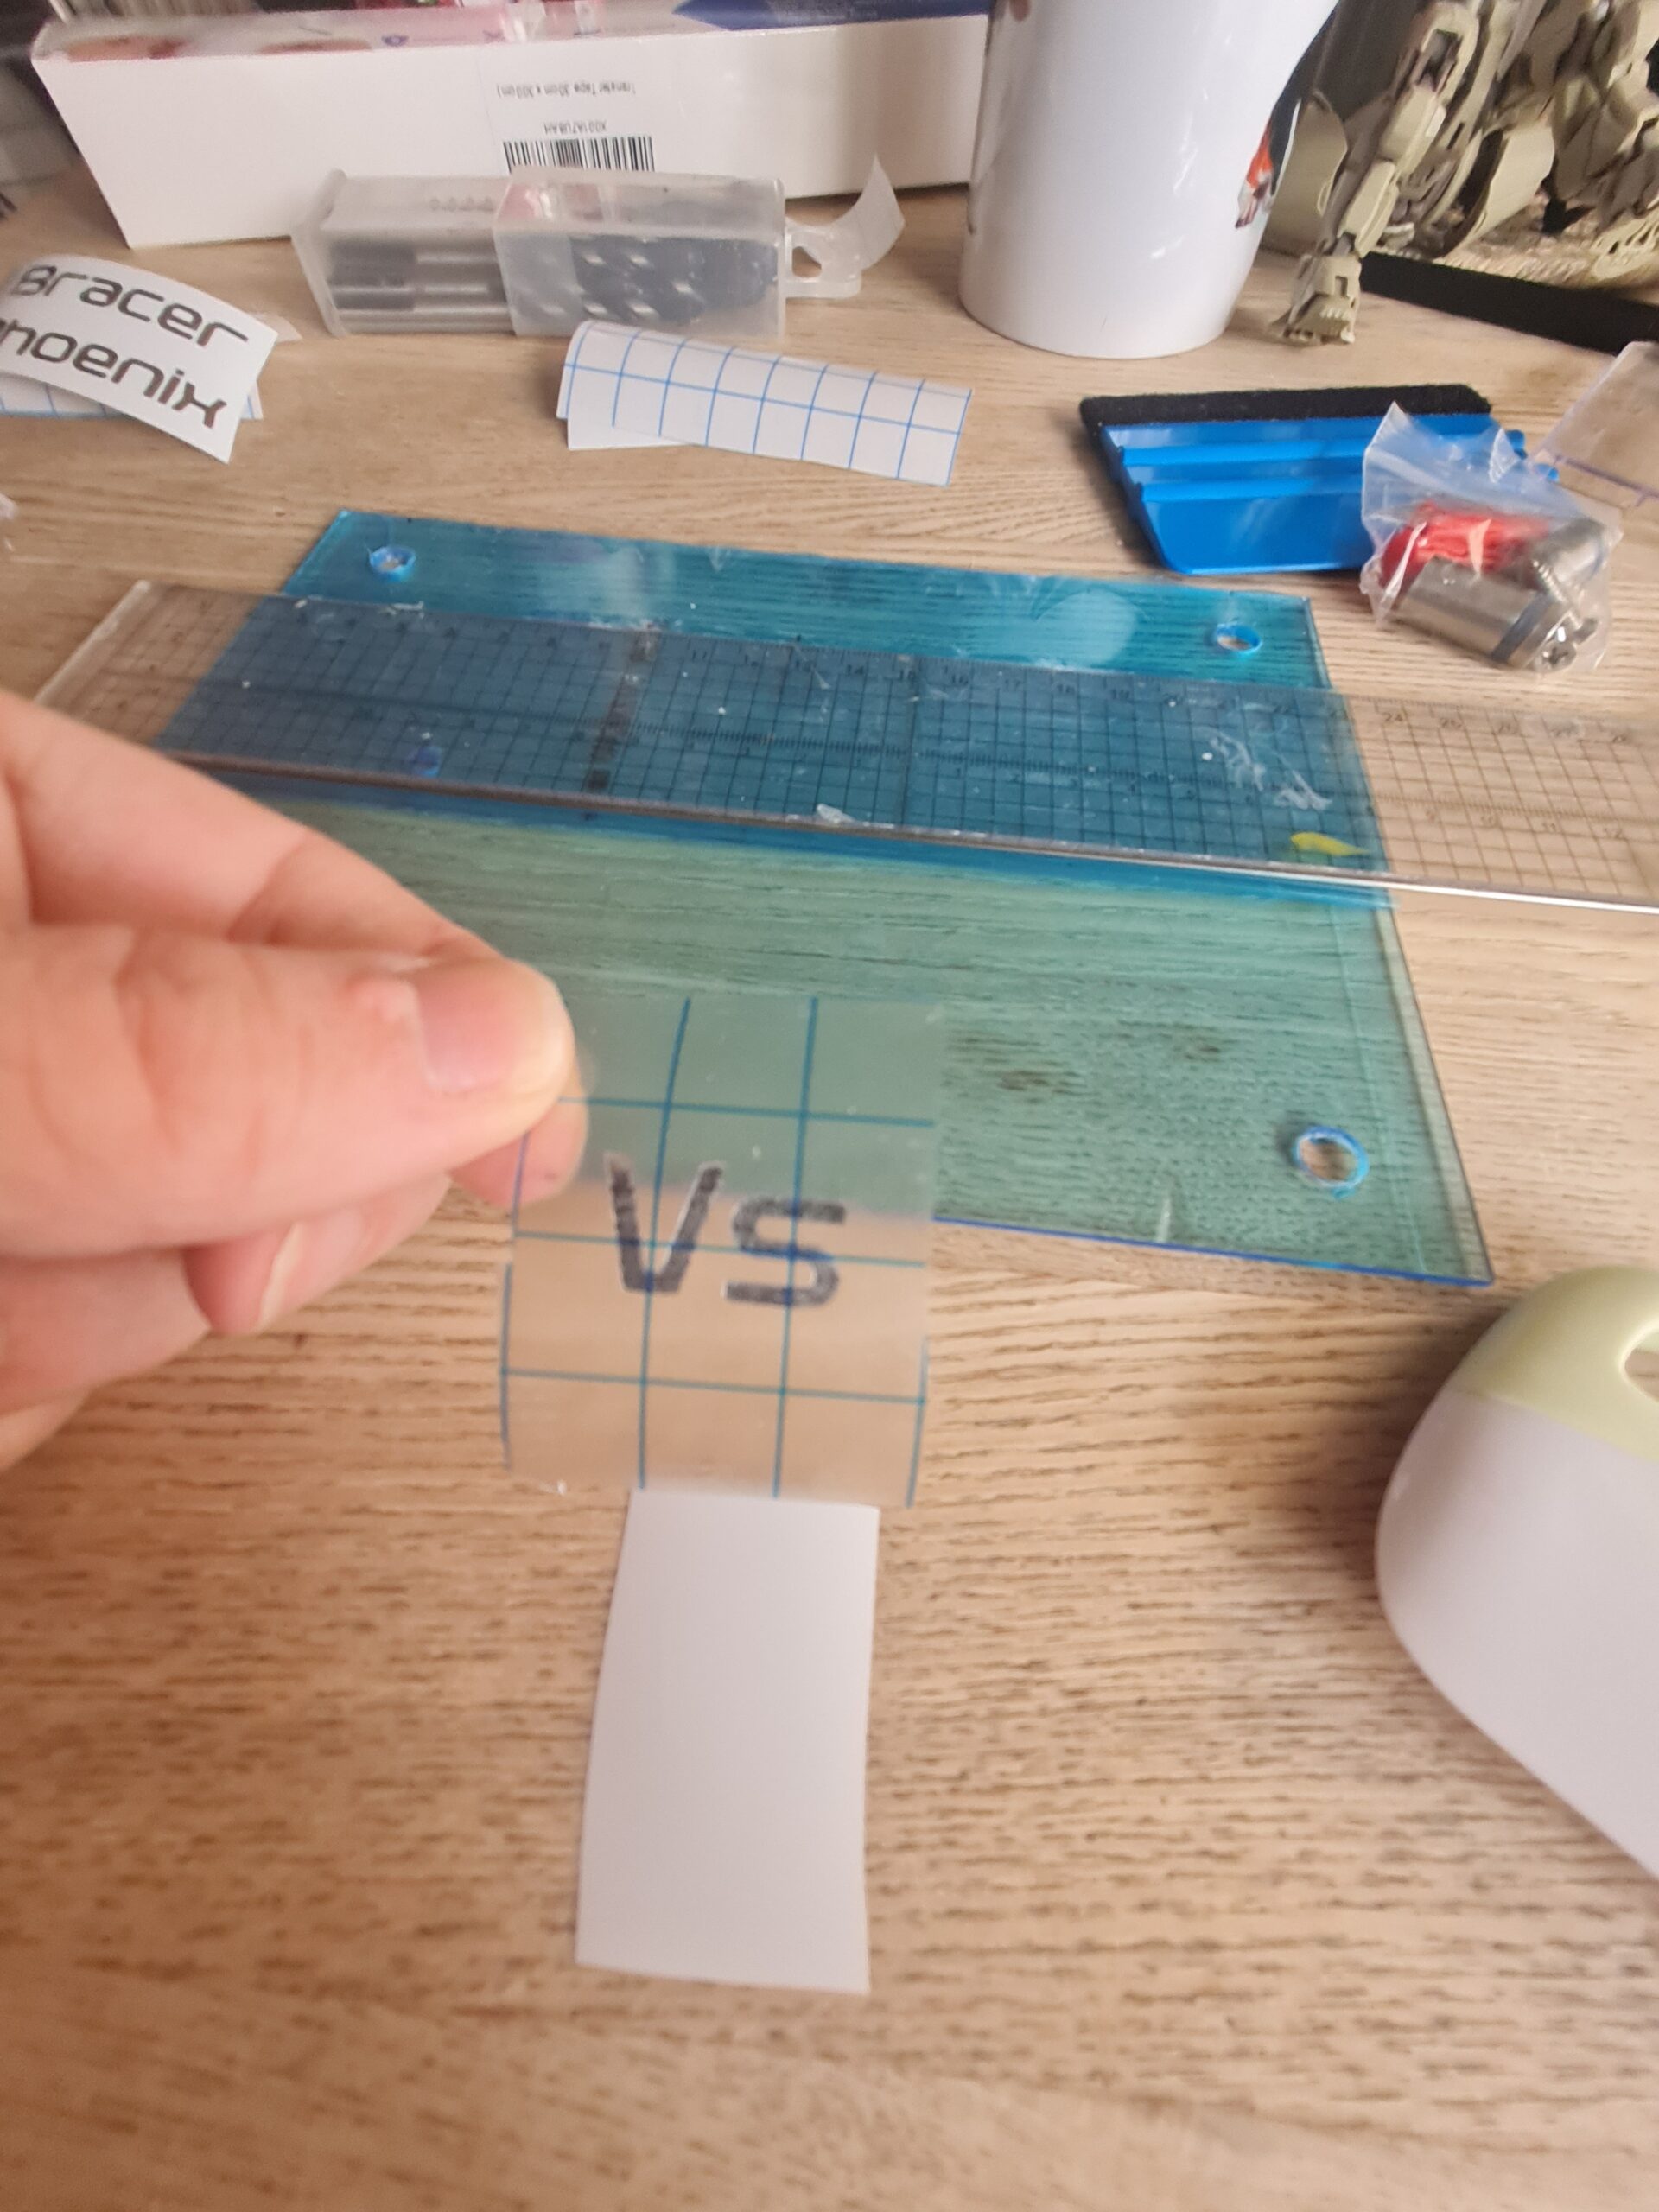
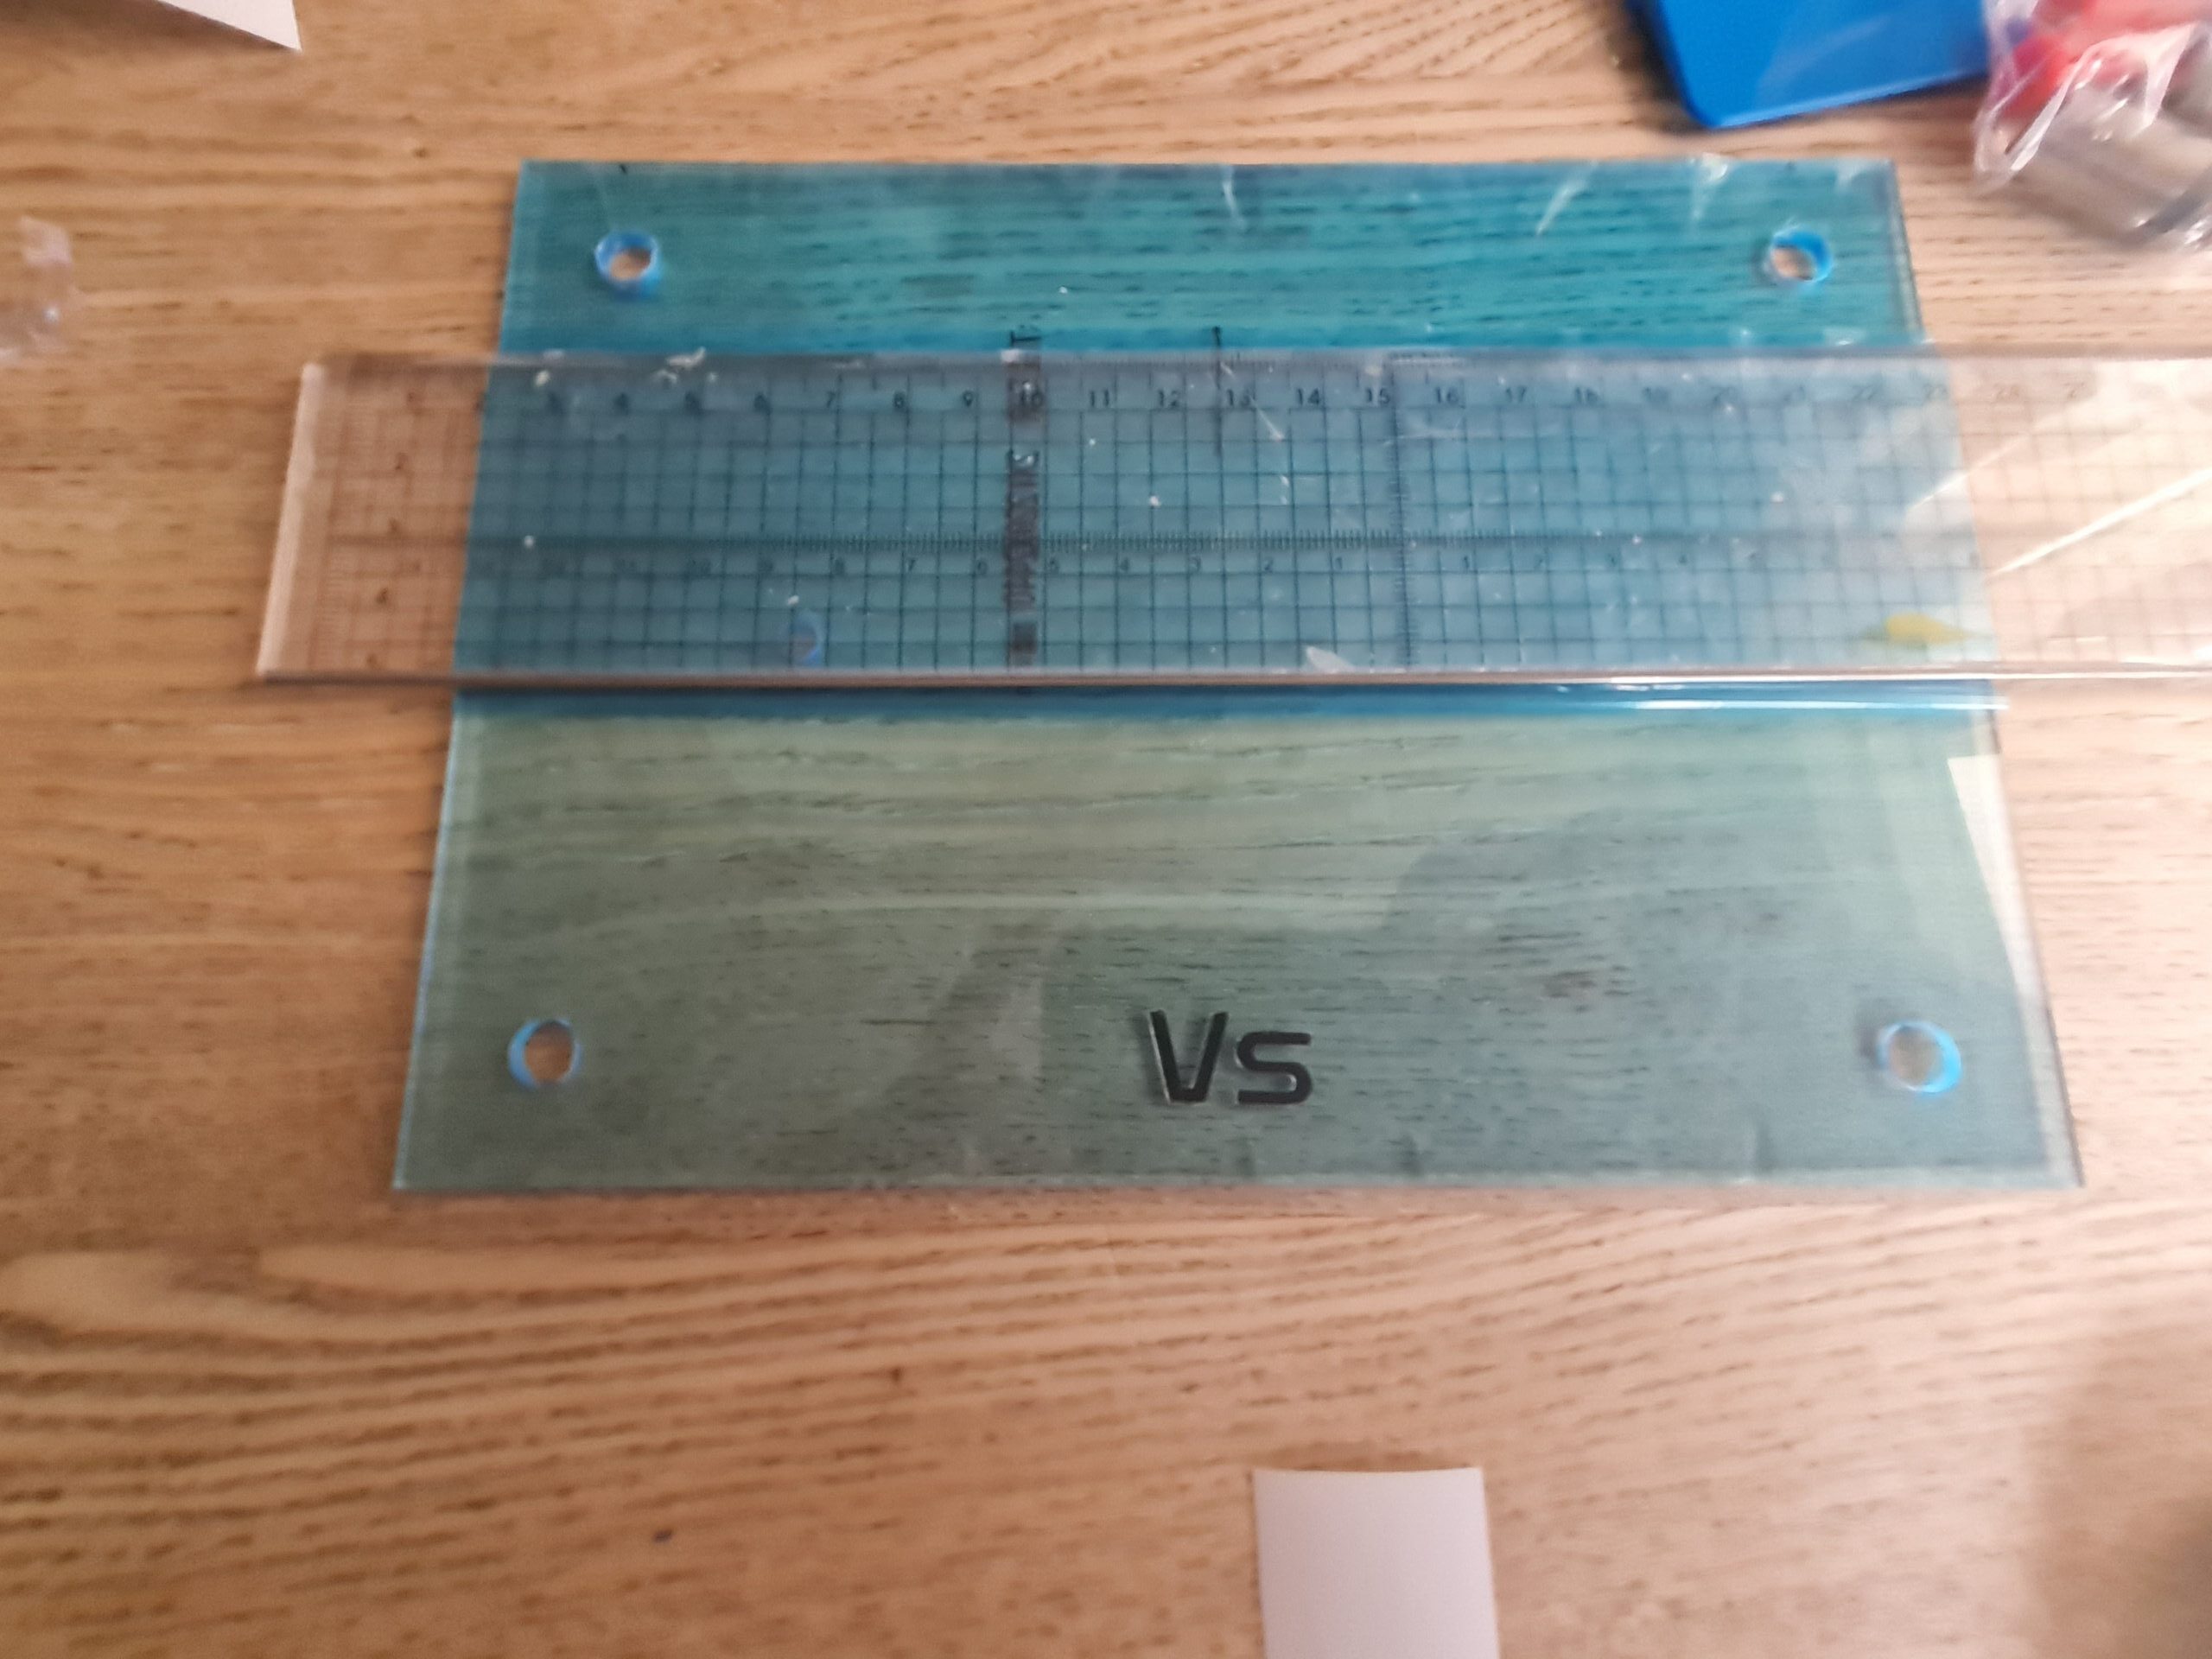
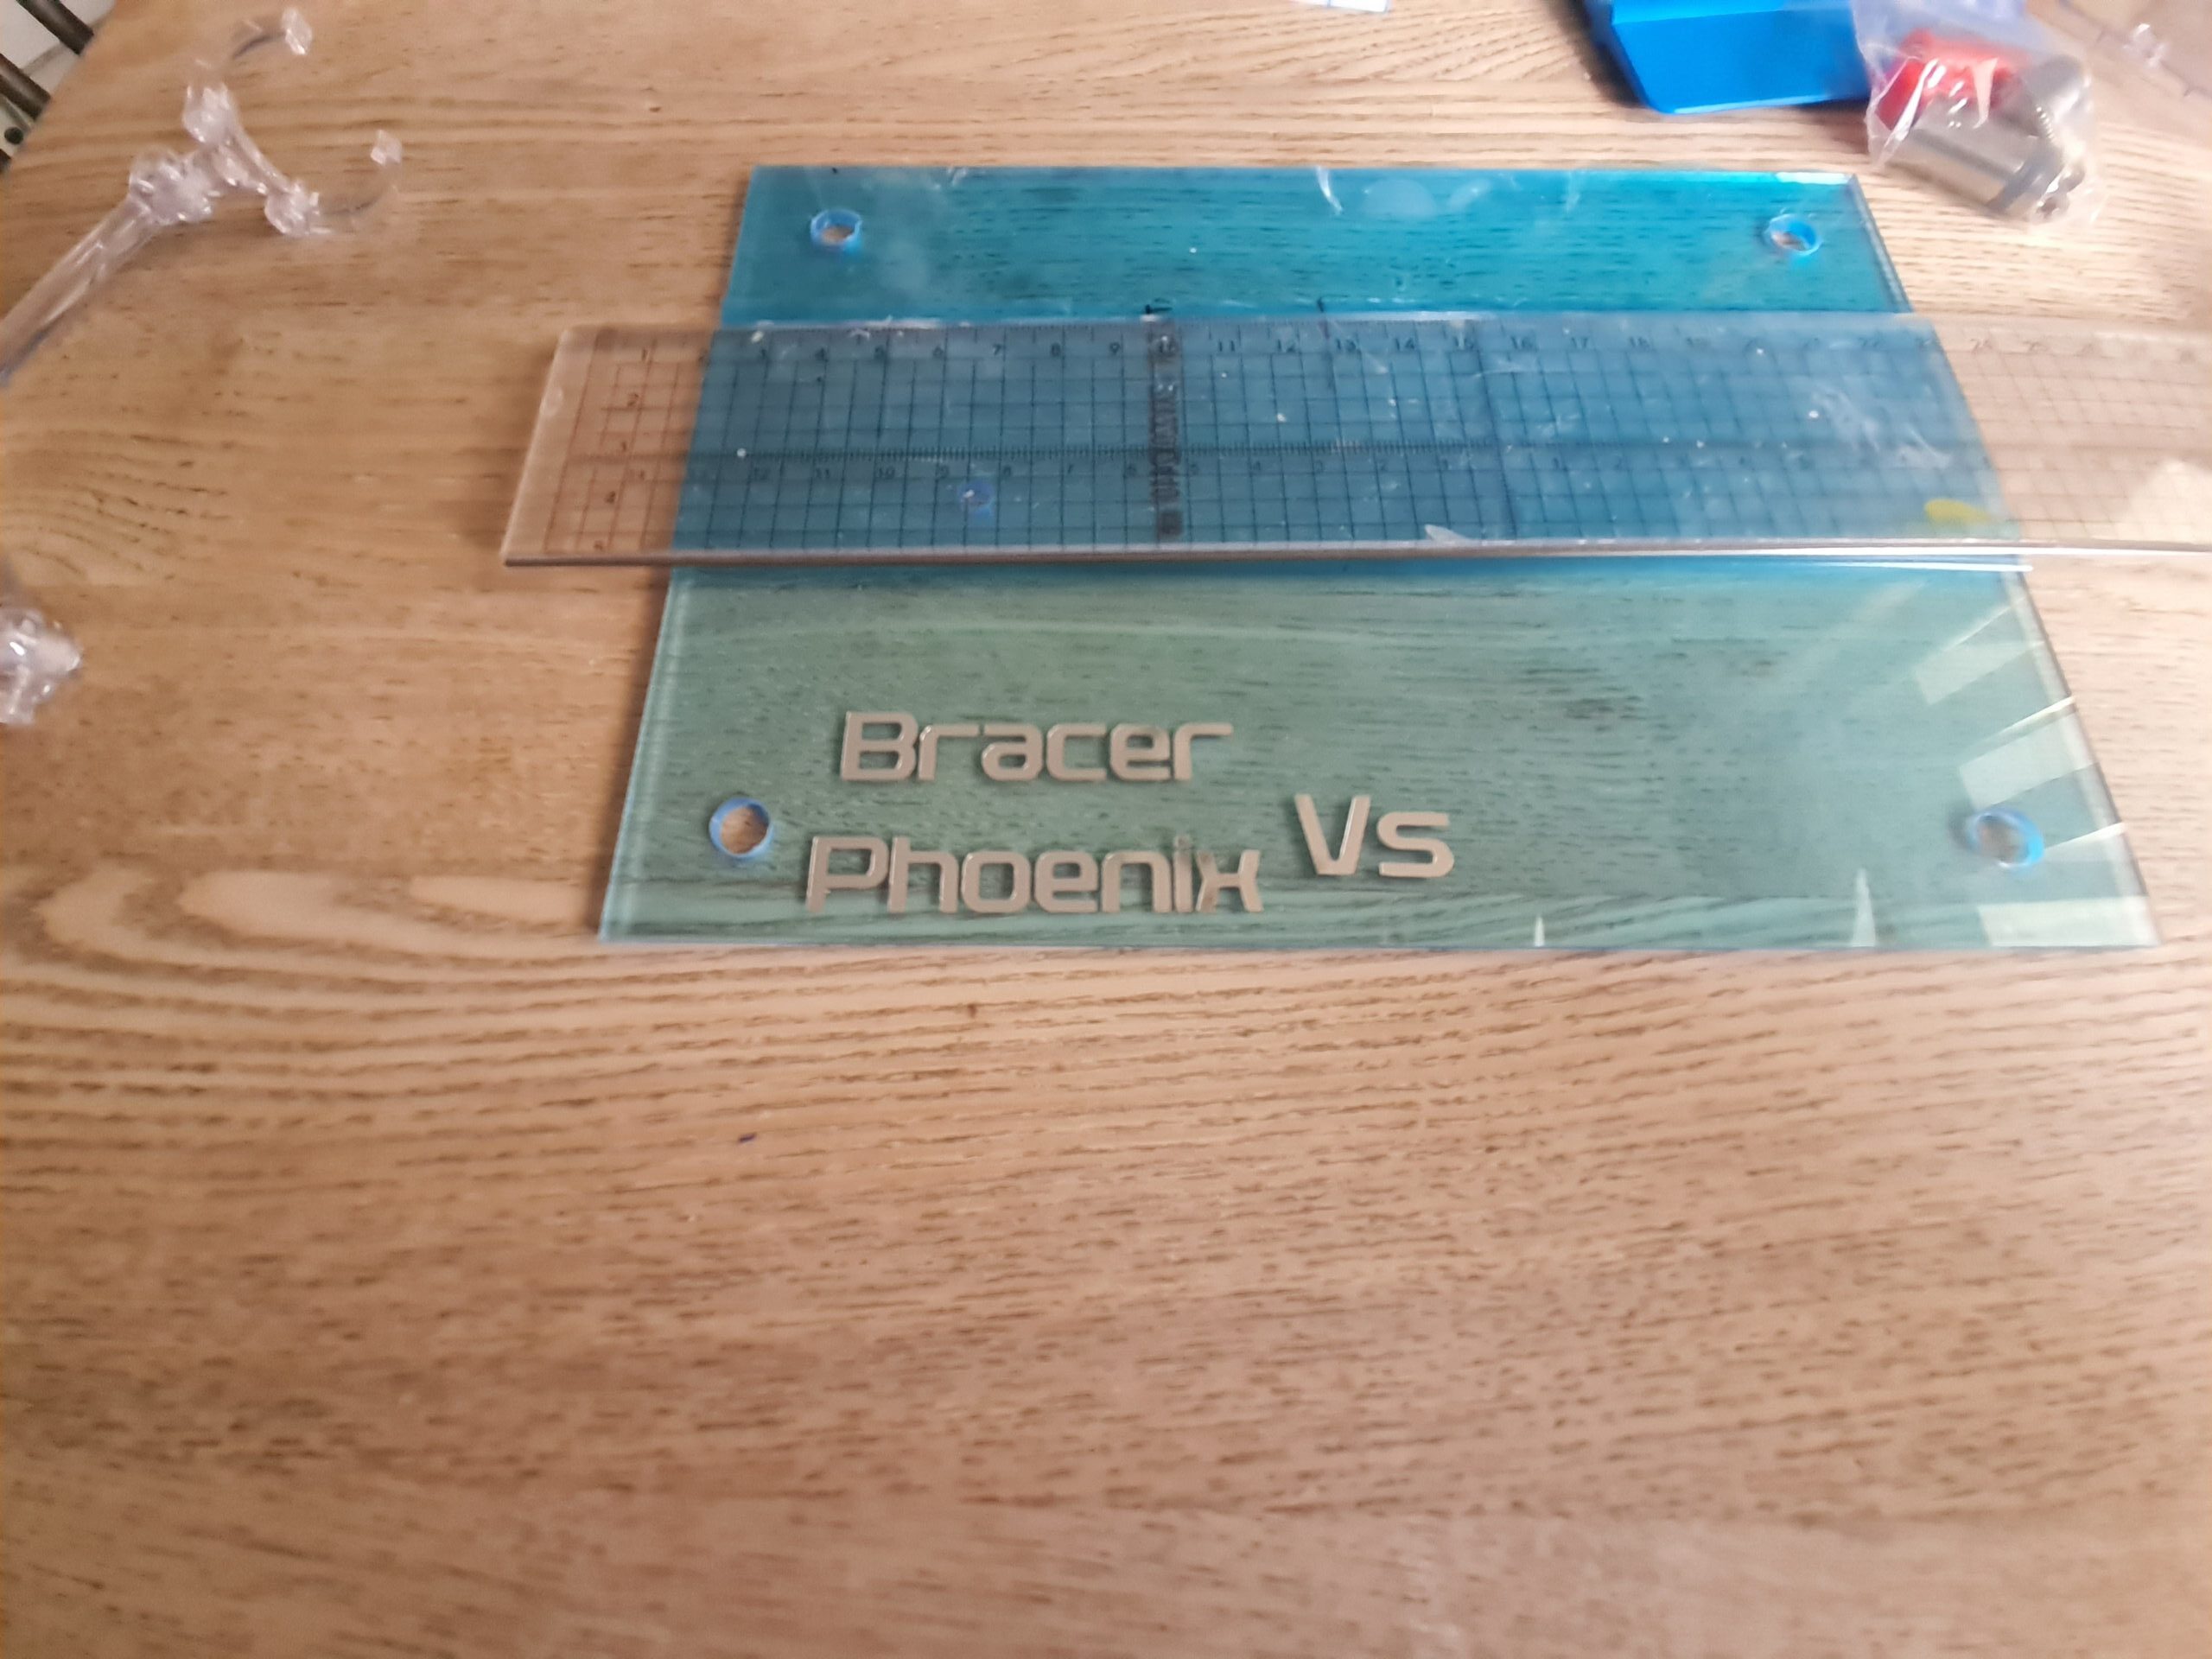
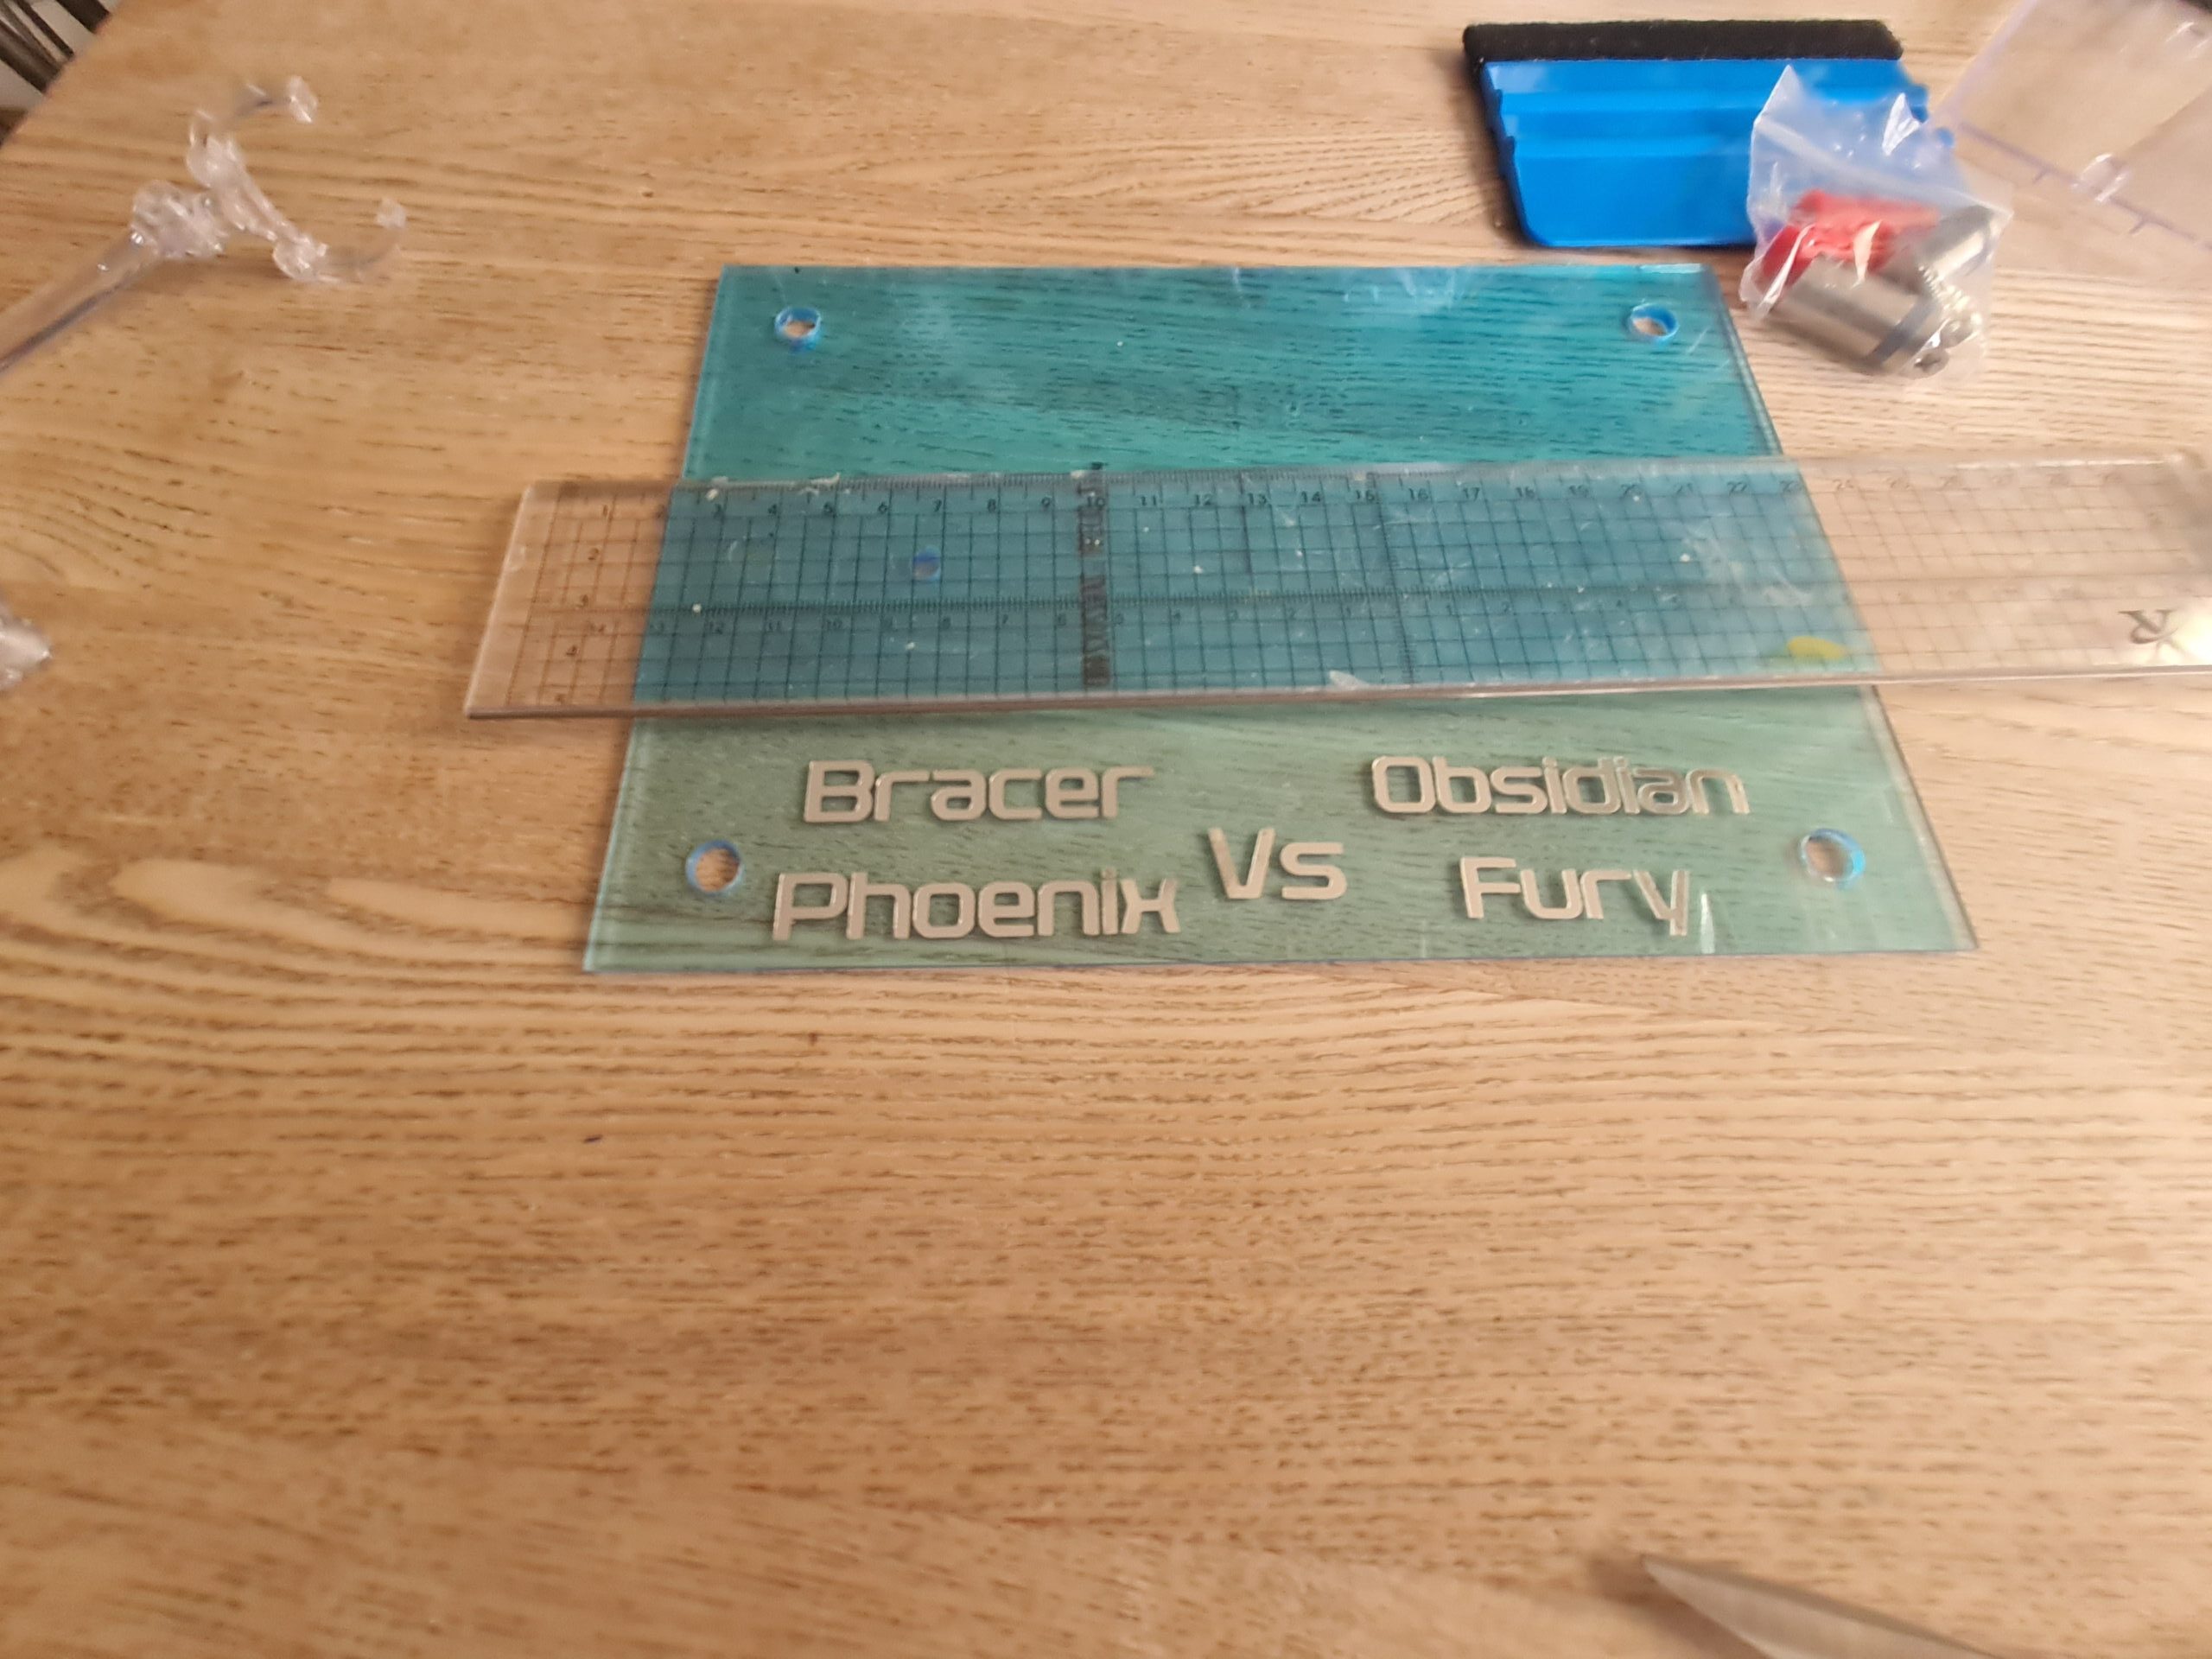
I am fortunate enough to have a cricut. I used the software for that to write out the words I wanted on the stand.
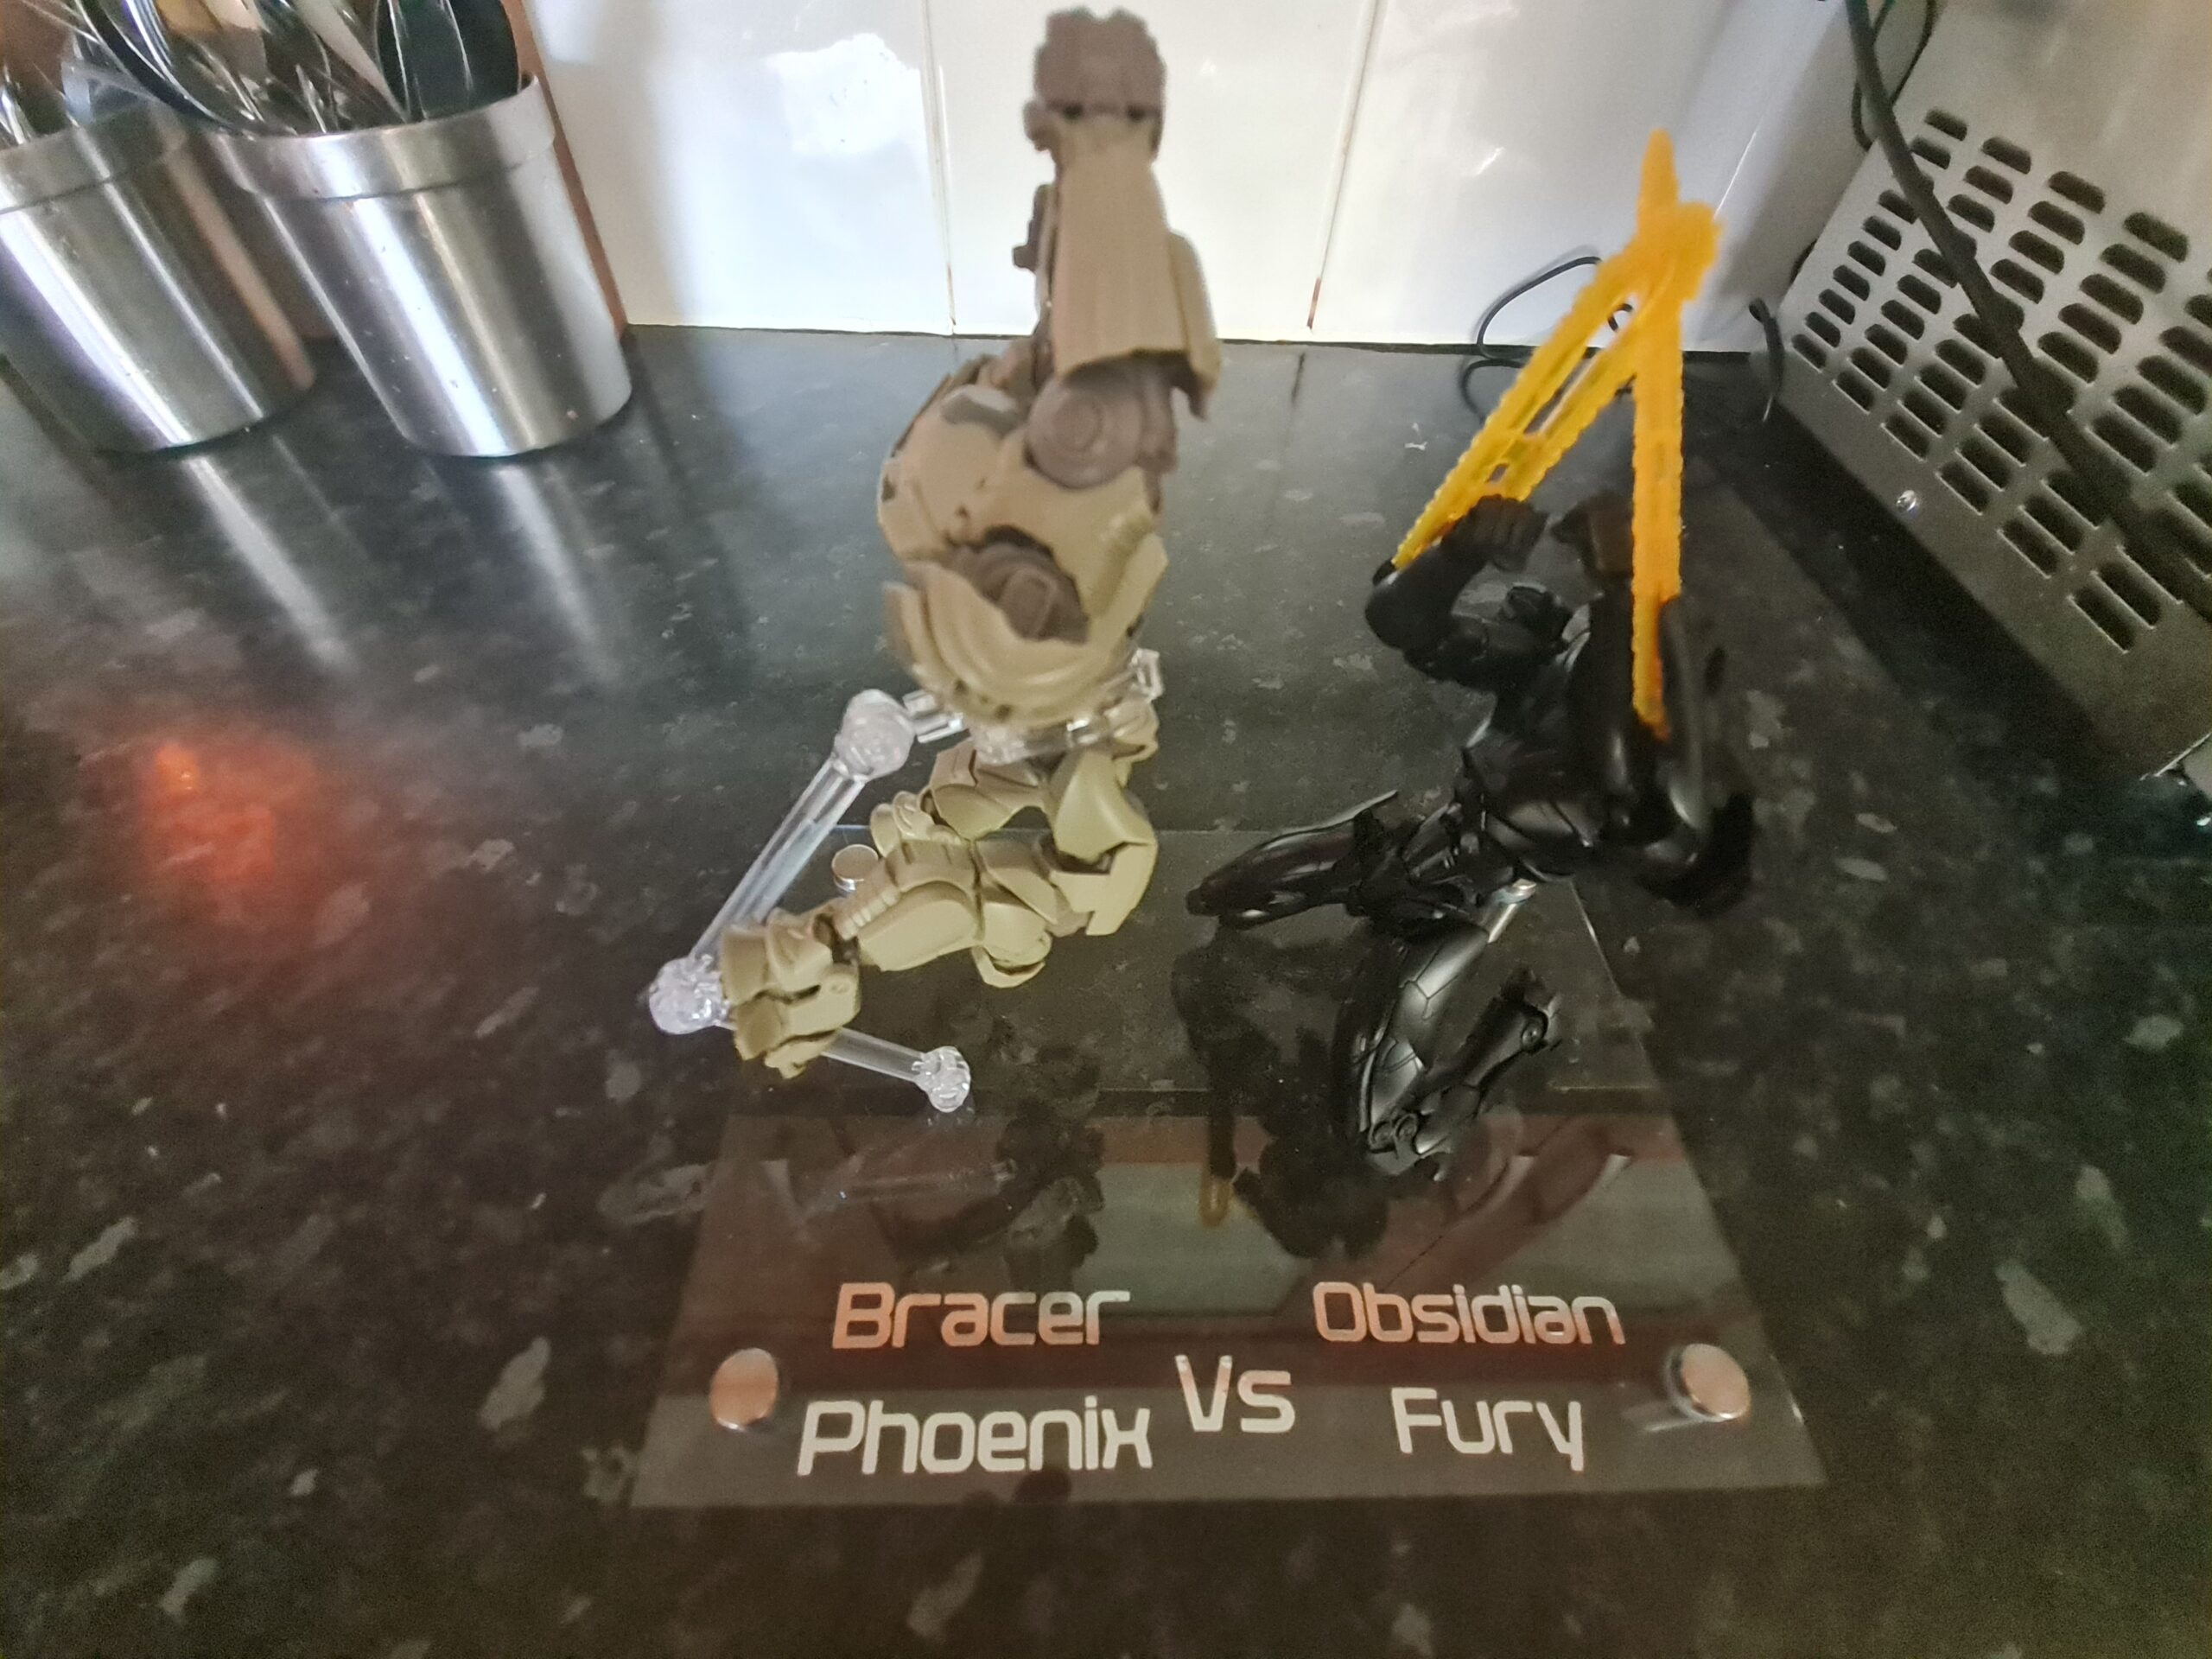
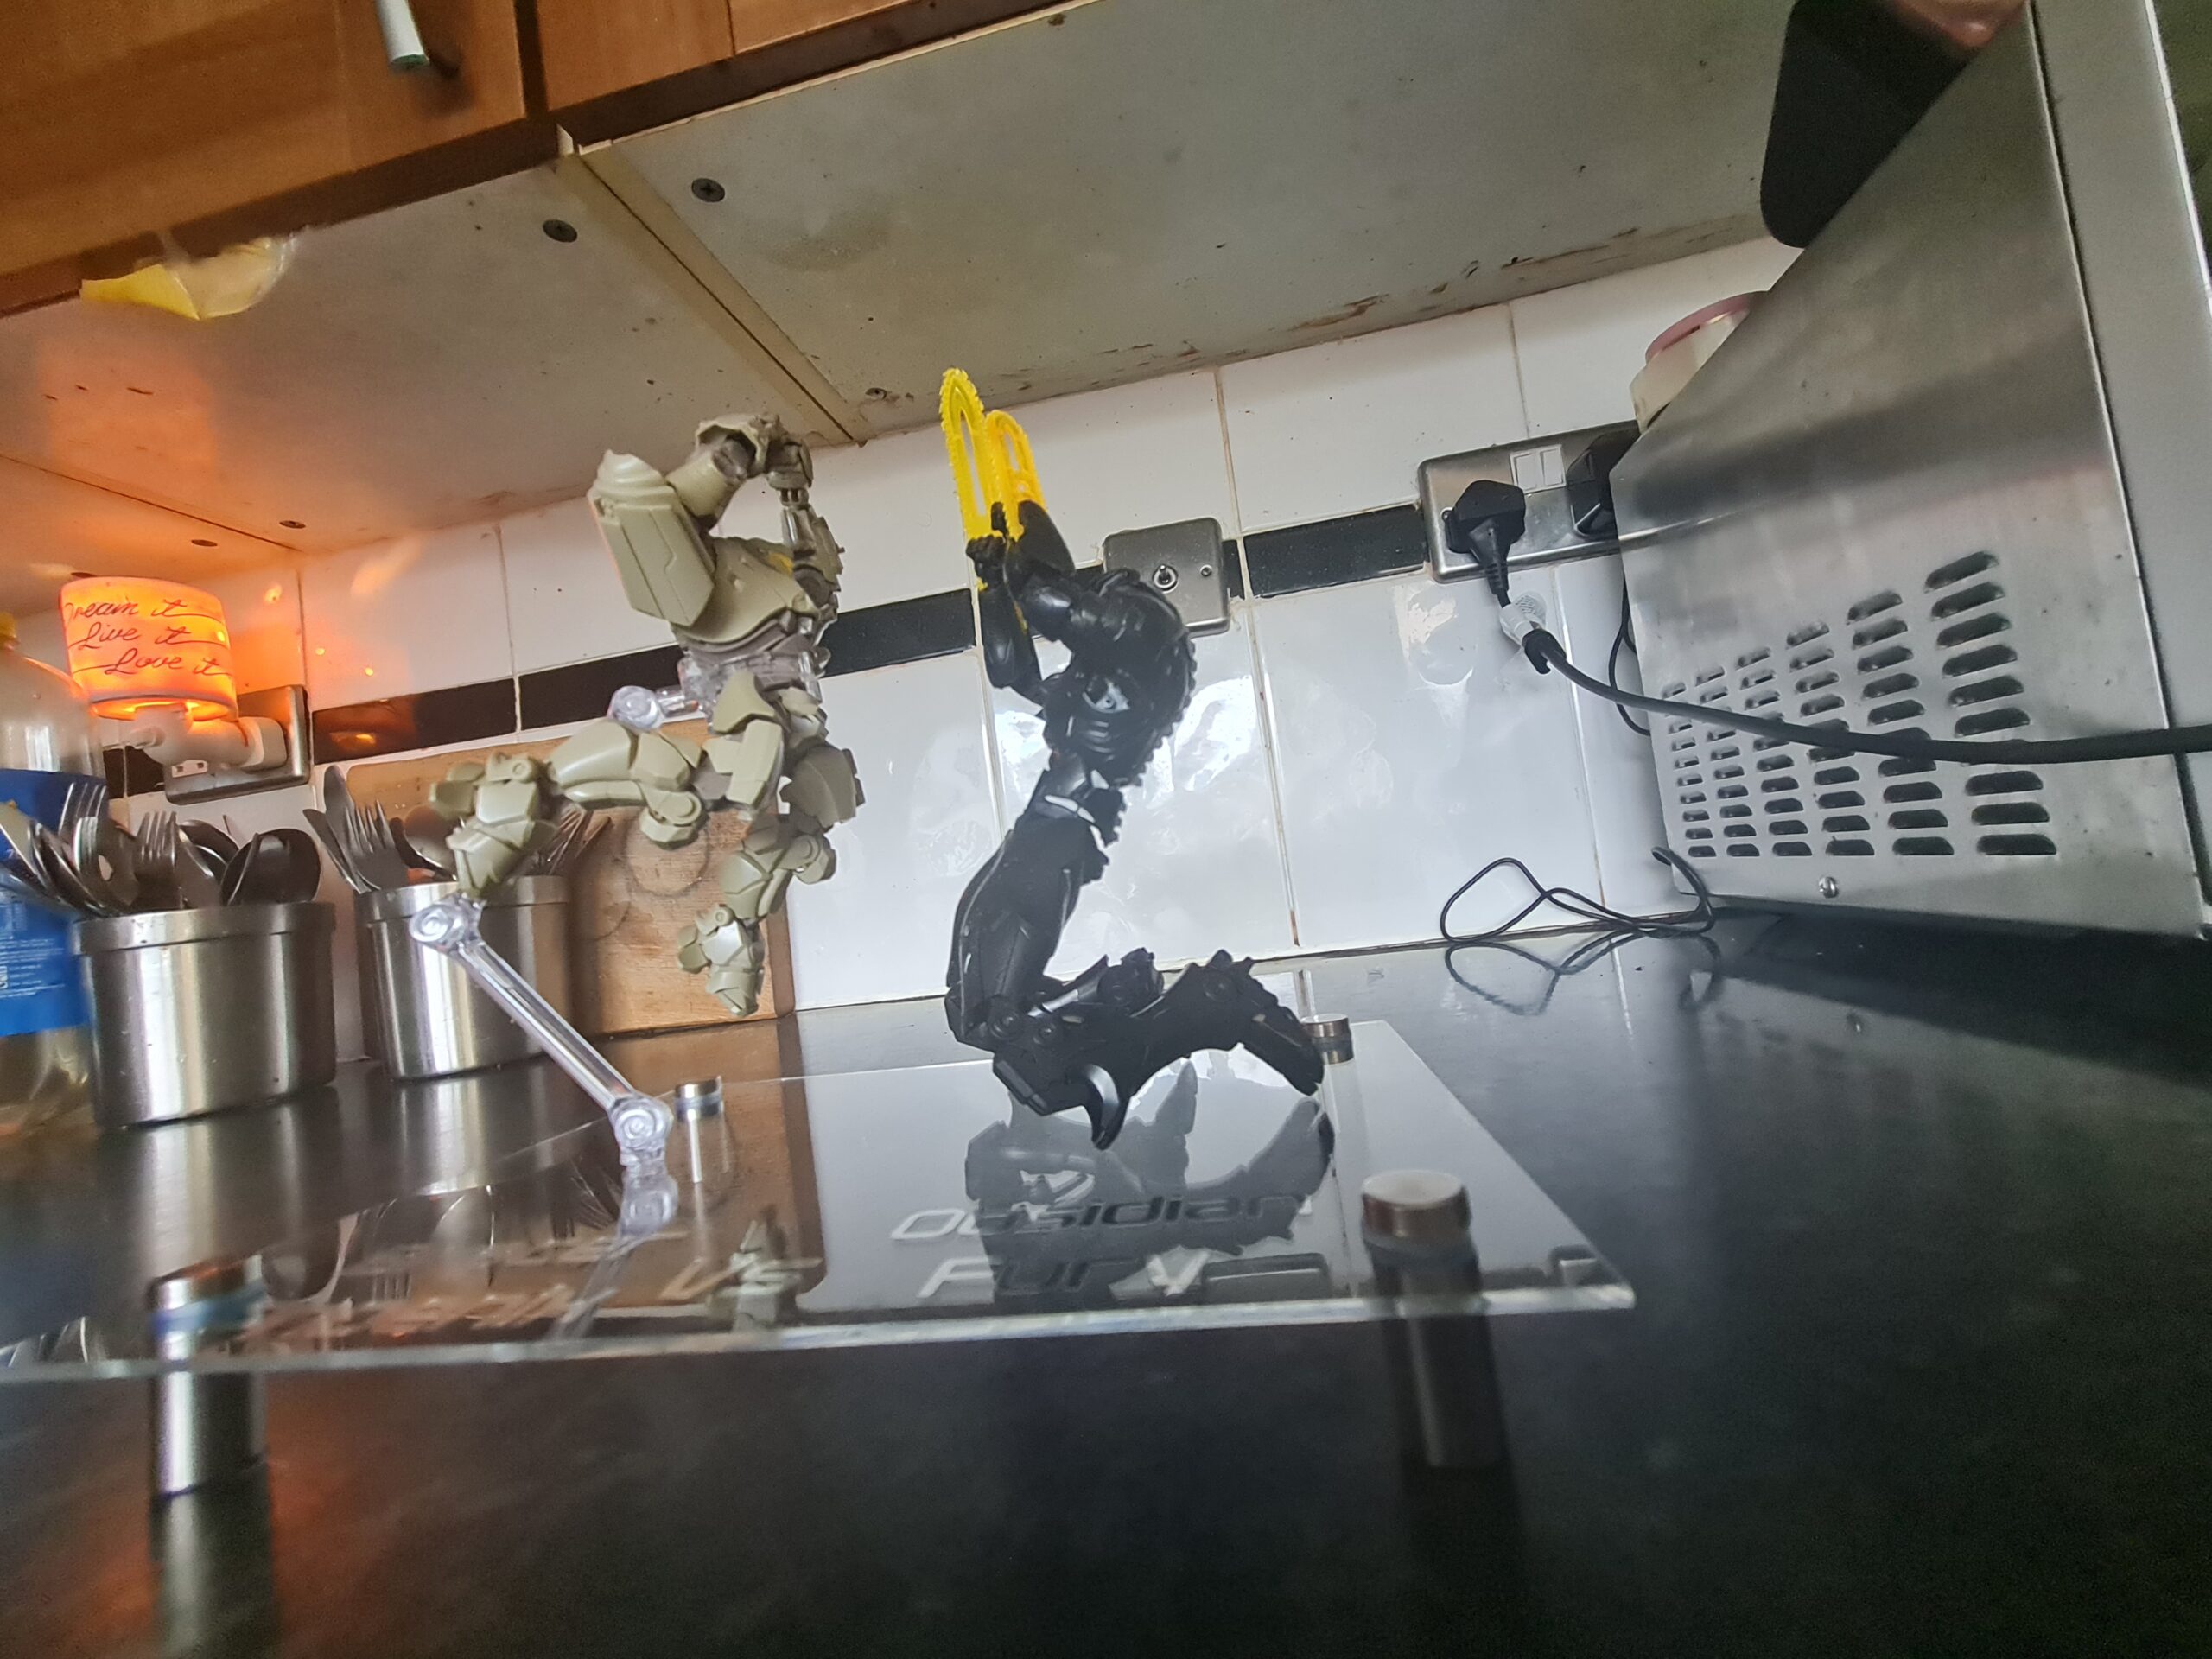
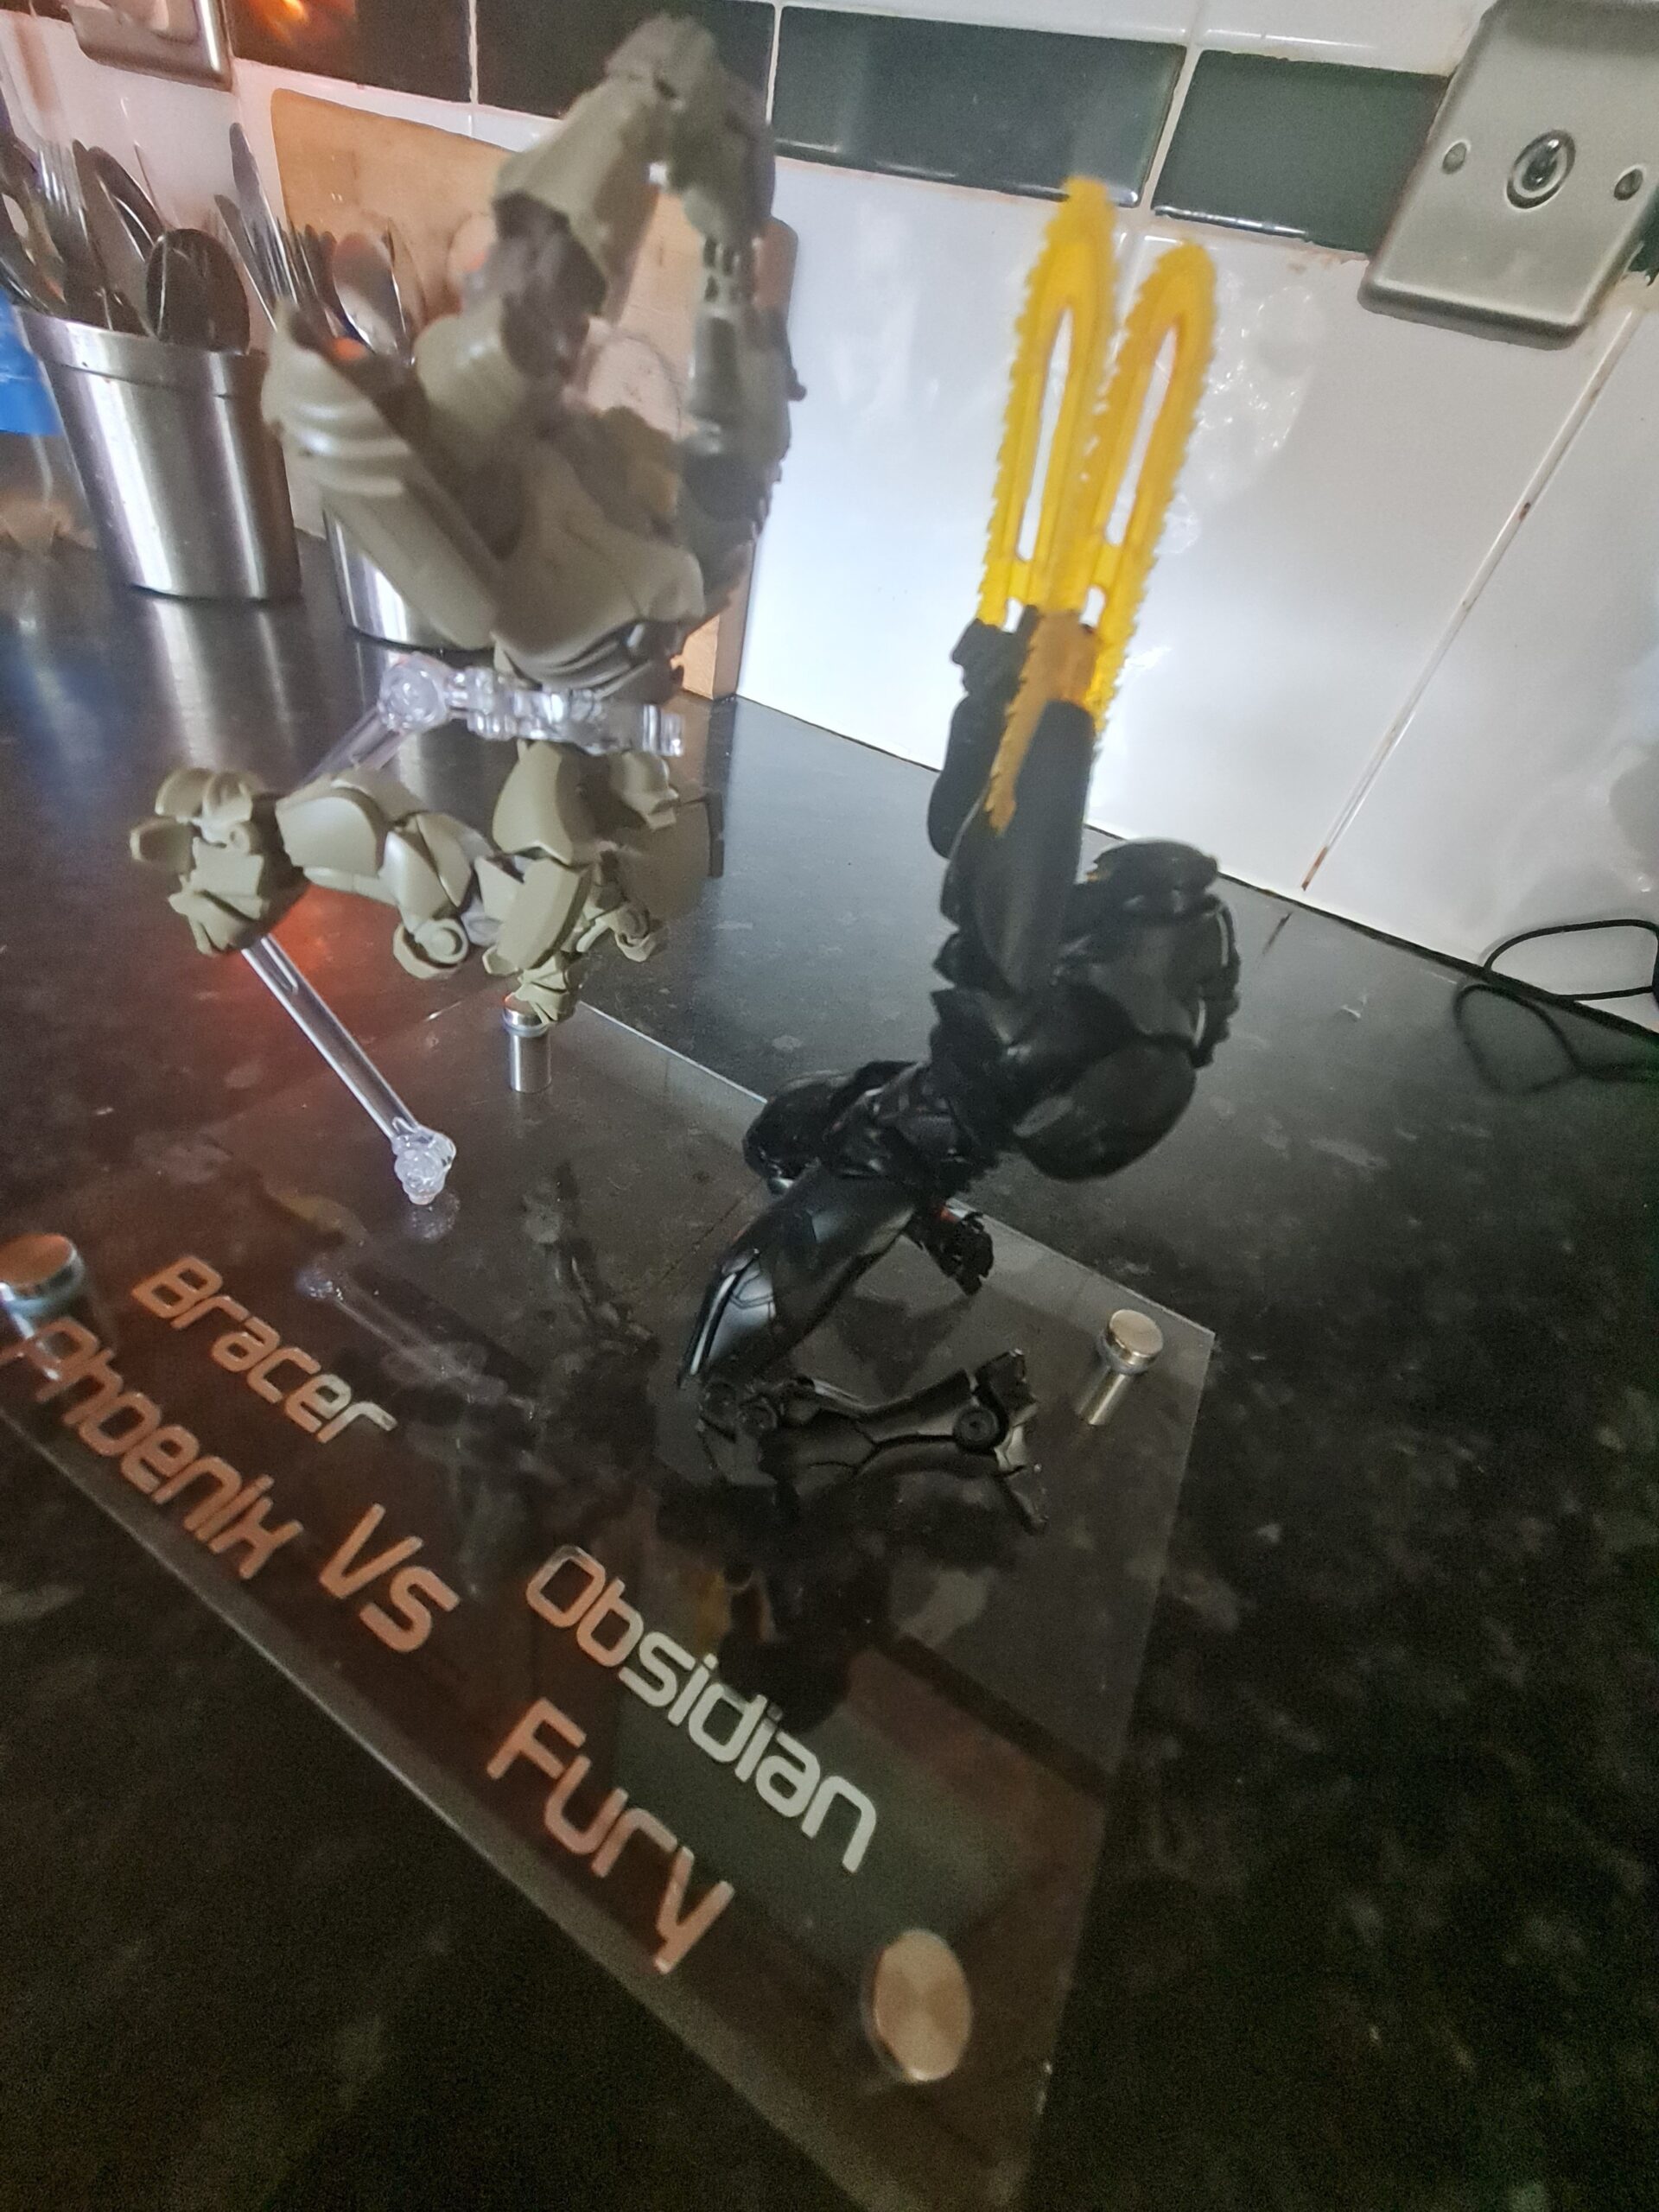
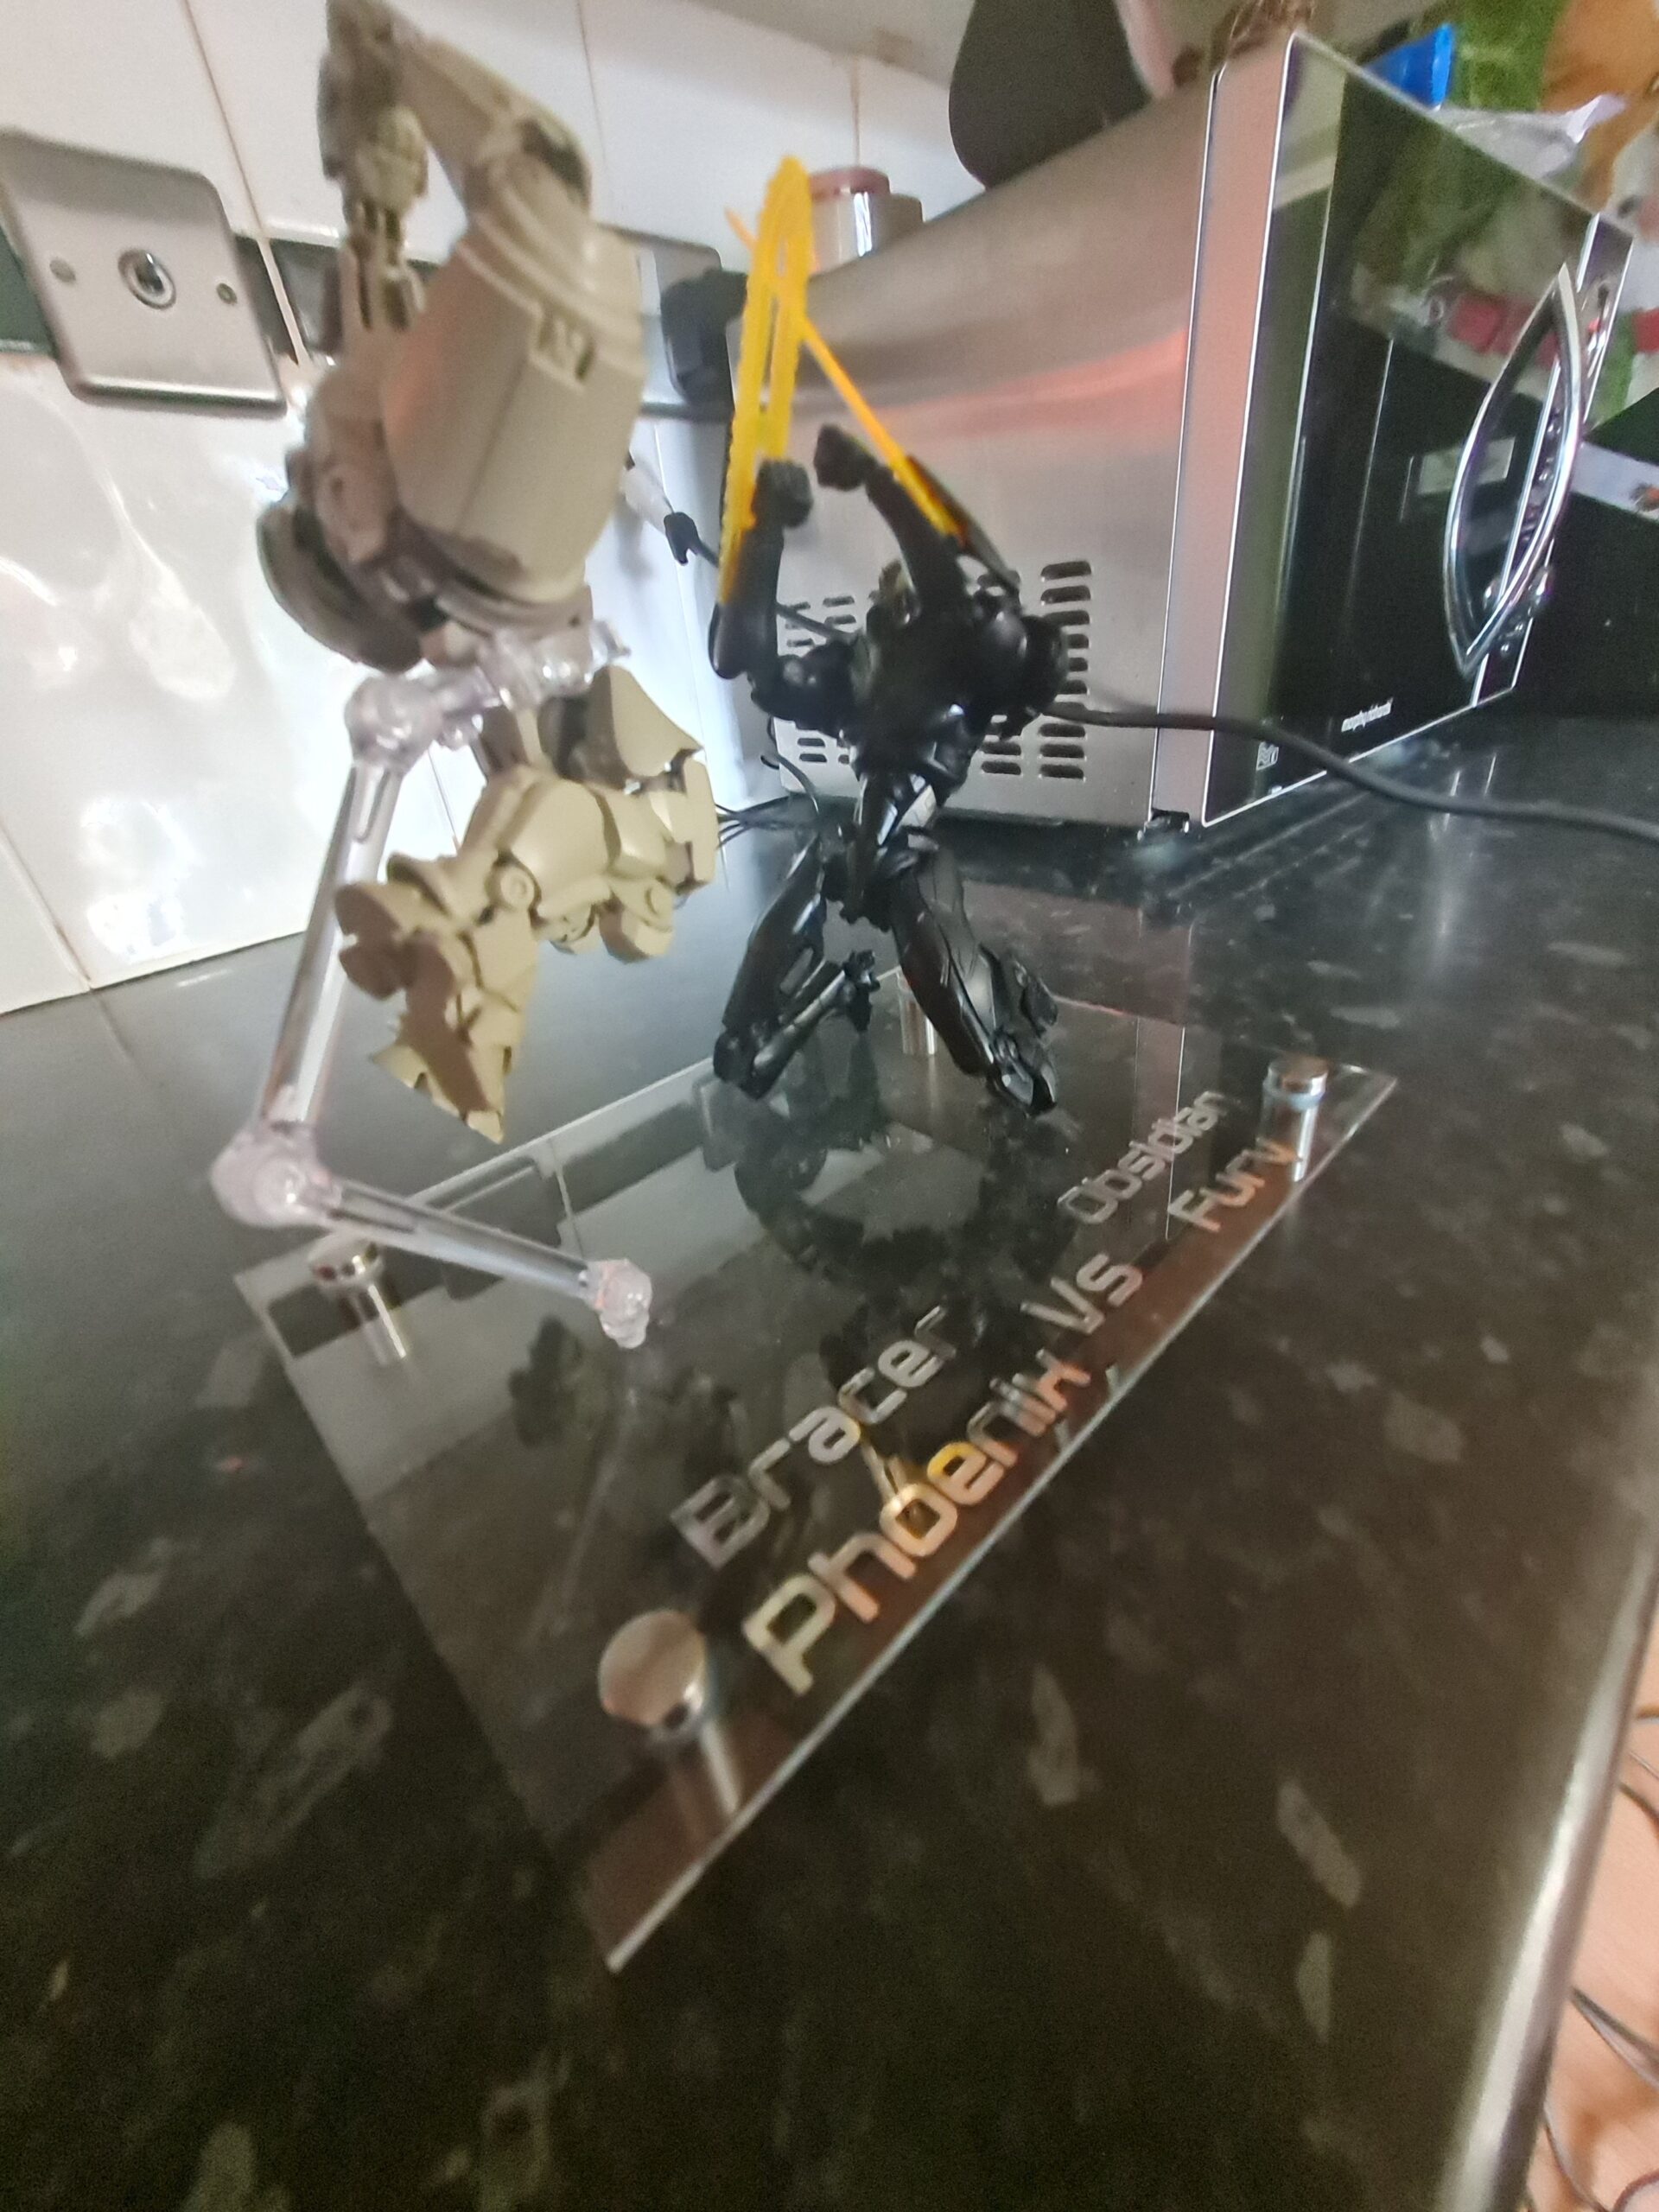
Cricut at workCenter pointChecking LayoutPrepping the VsVs in placeBracer in placeObsidian in place
Once the cricut had done its job. I measured out the center point on the acrylic and market it out. I then peeled back the protective cover on one side of the acrylic. The last photo above the ruler is holding it back out of the way. I then quickly checked the layout. I needed to make sure everything was going to fit! Once I was happy, I transferred the Vs to some transfer tape and placed it centrally on the acrylic. I then repeated this process with the Bracer Phoenix and Obsidian Fury pieces of text.
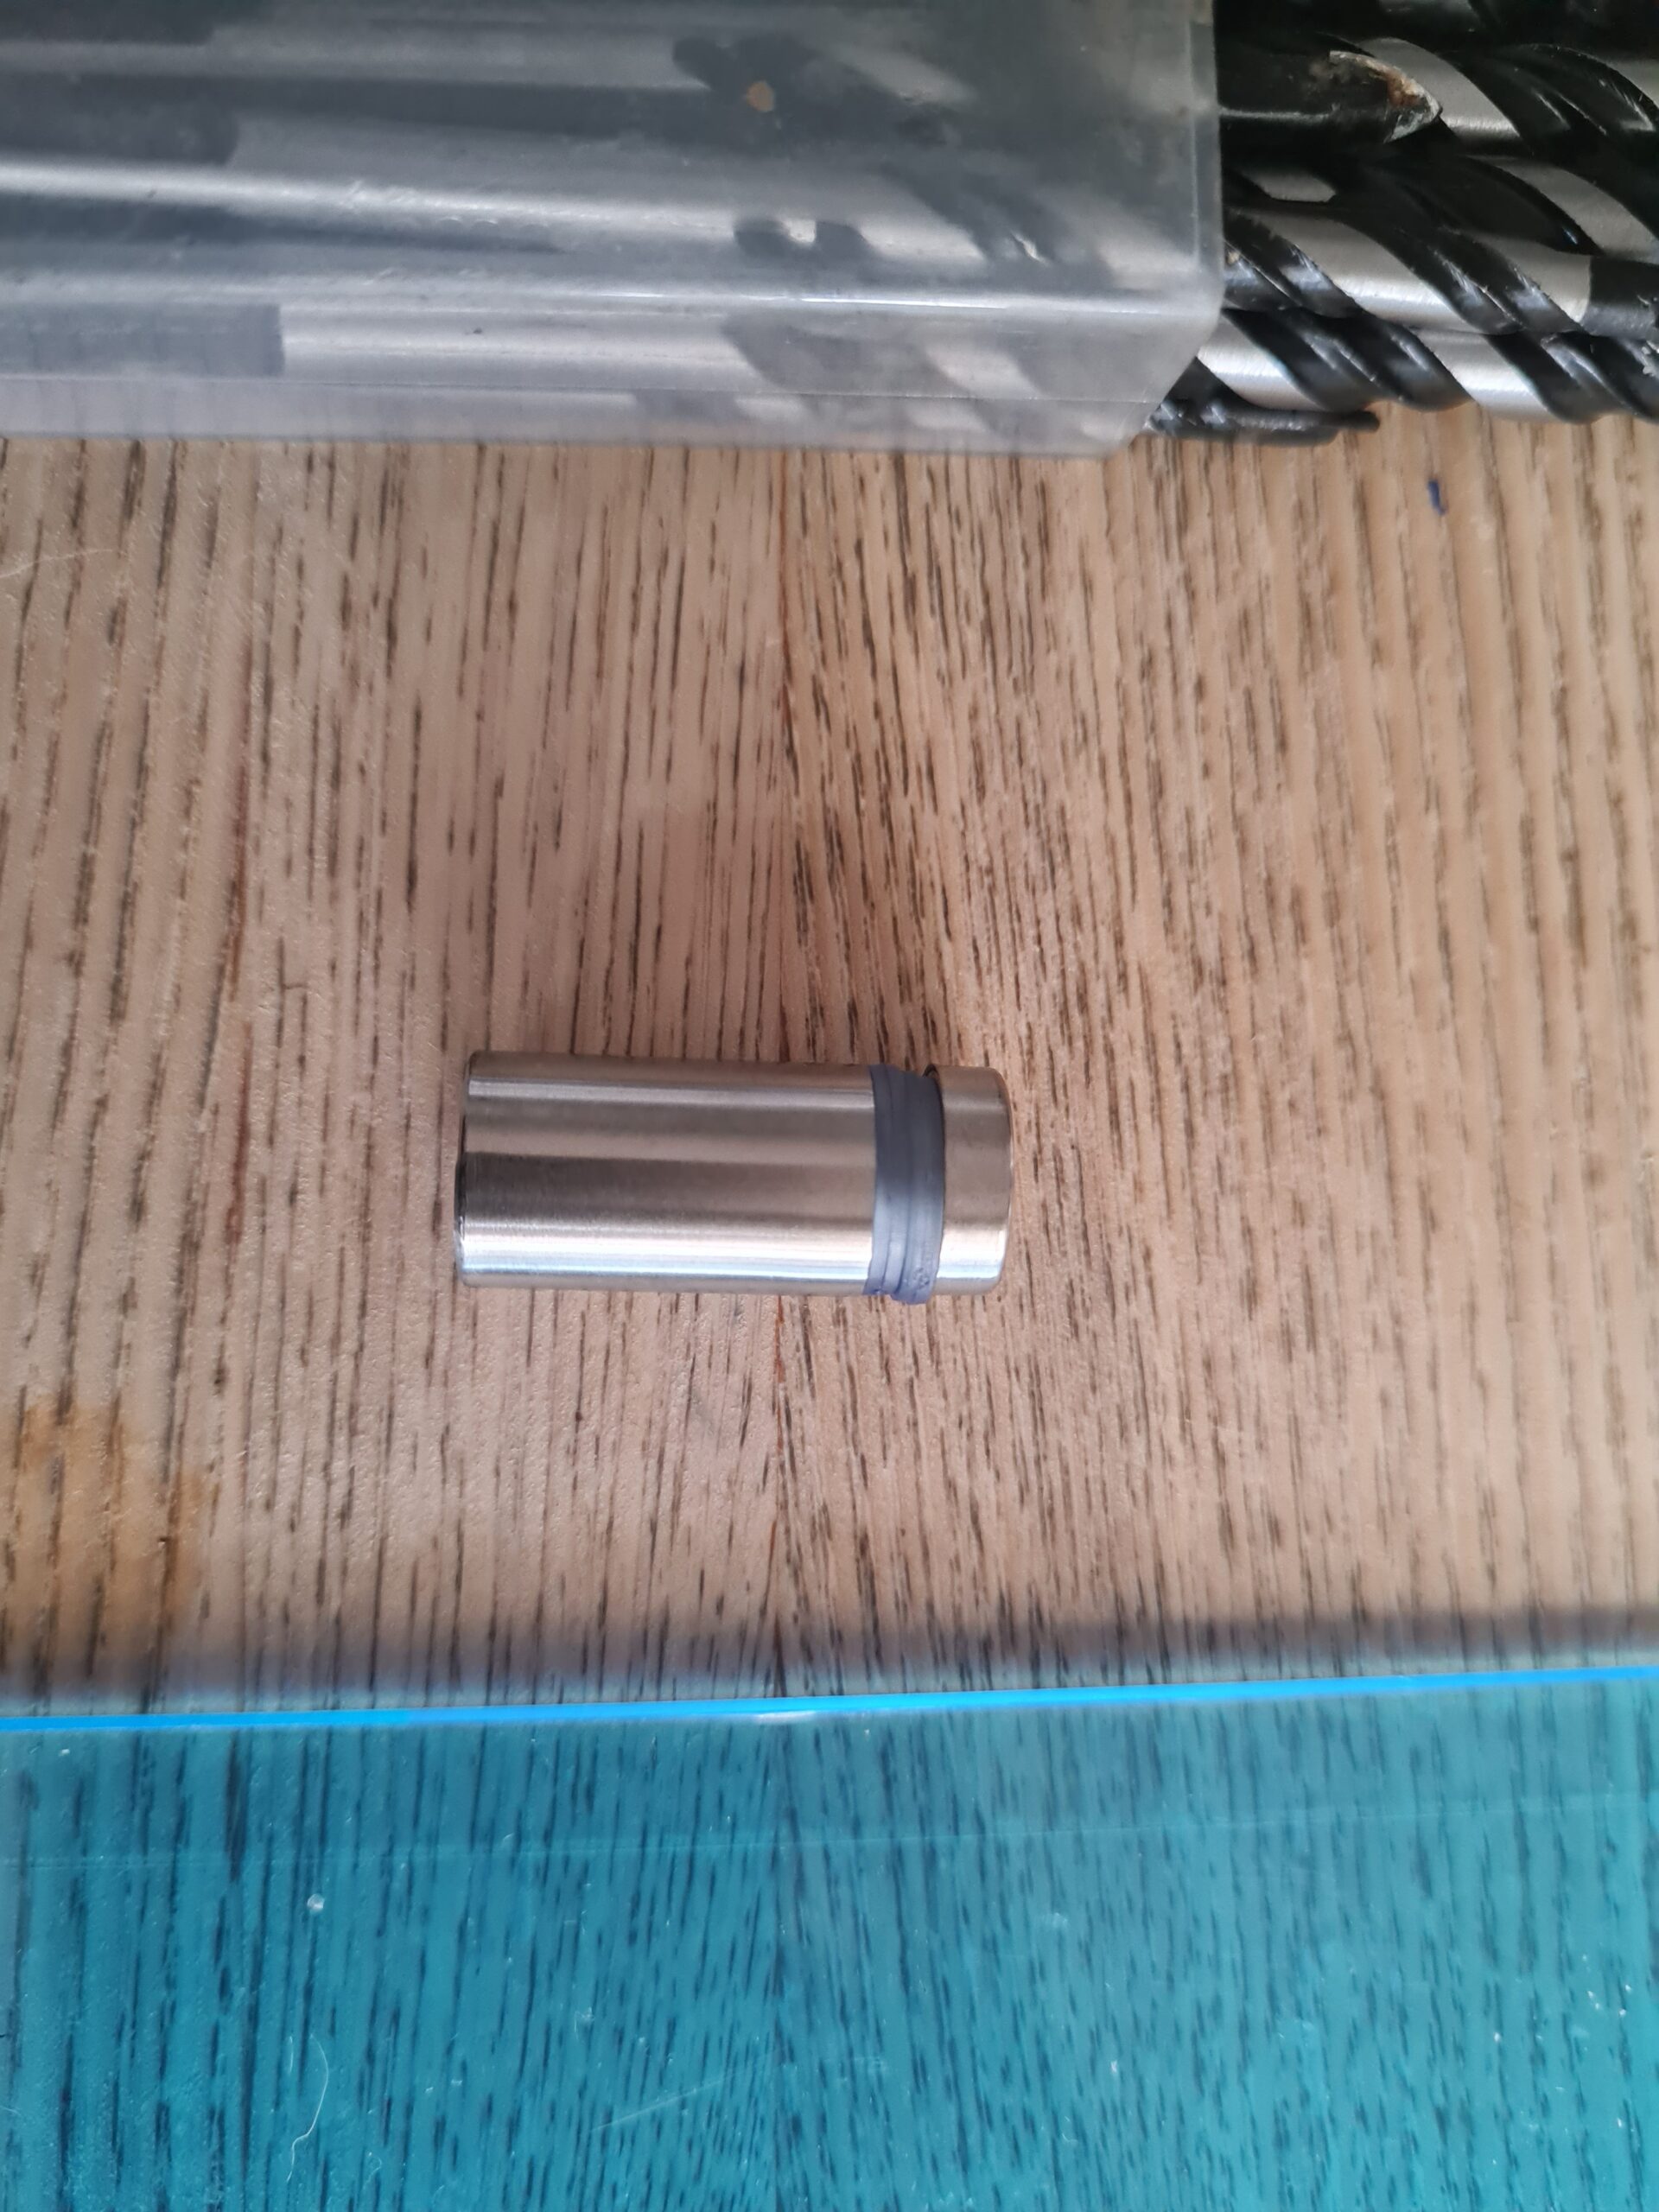
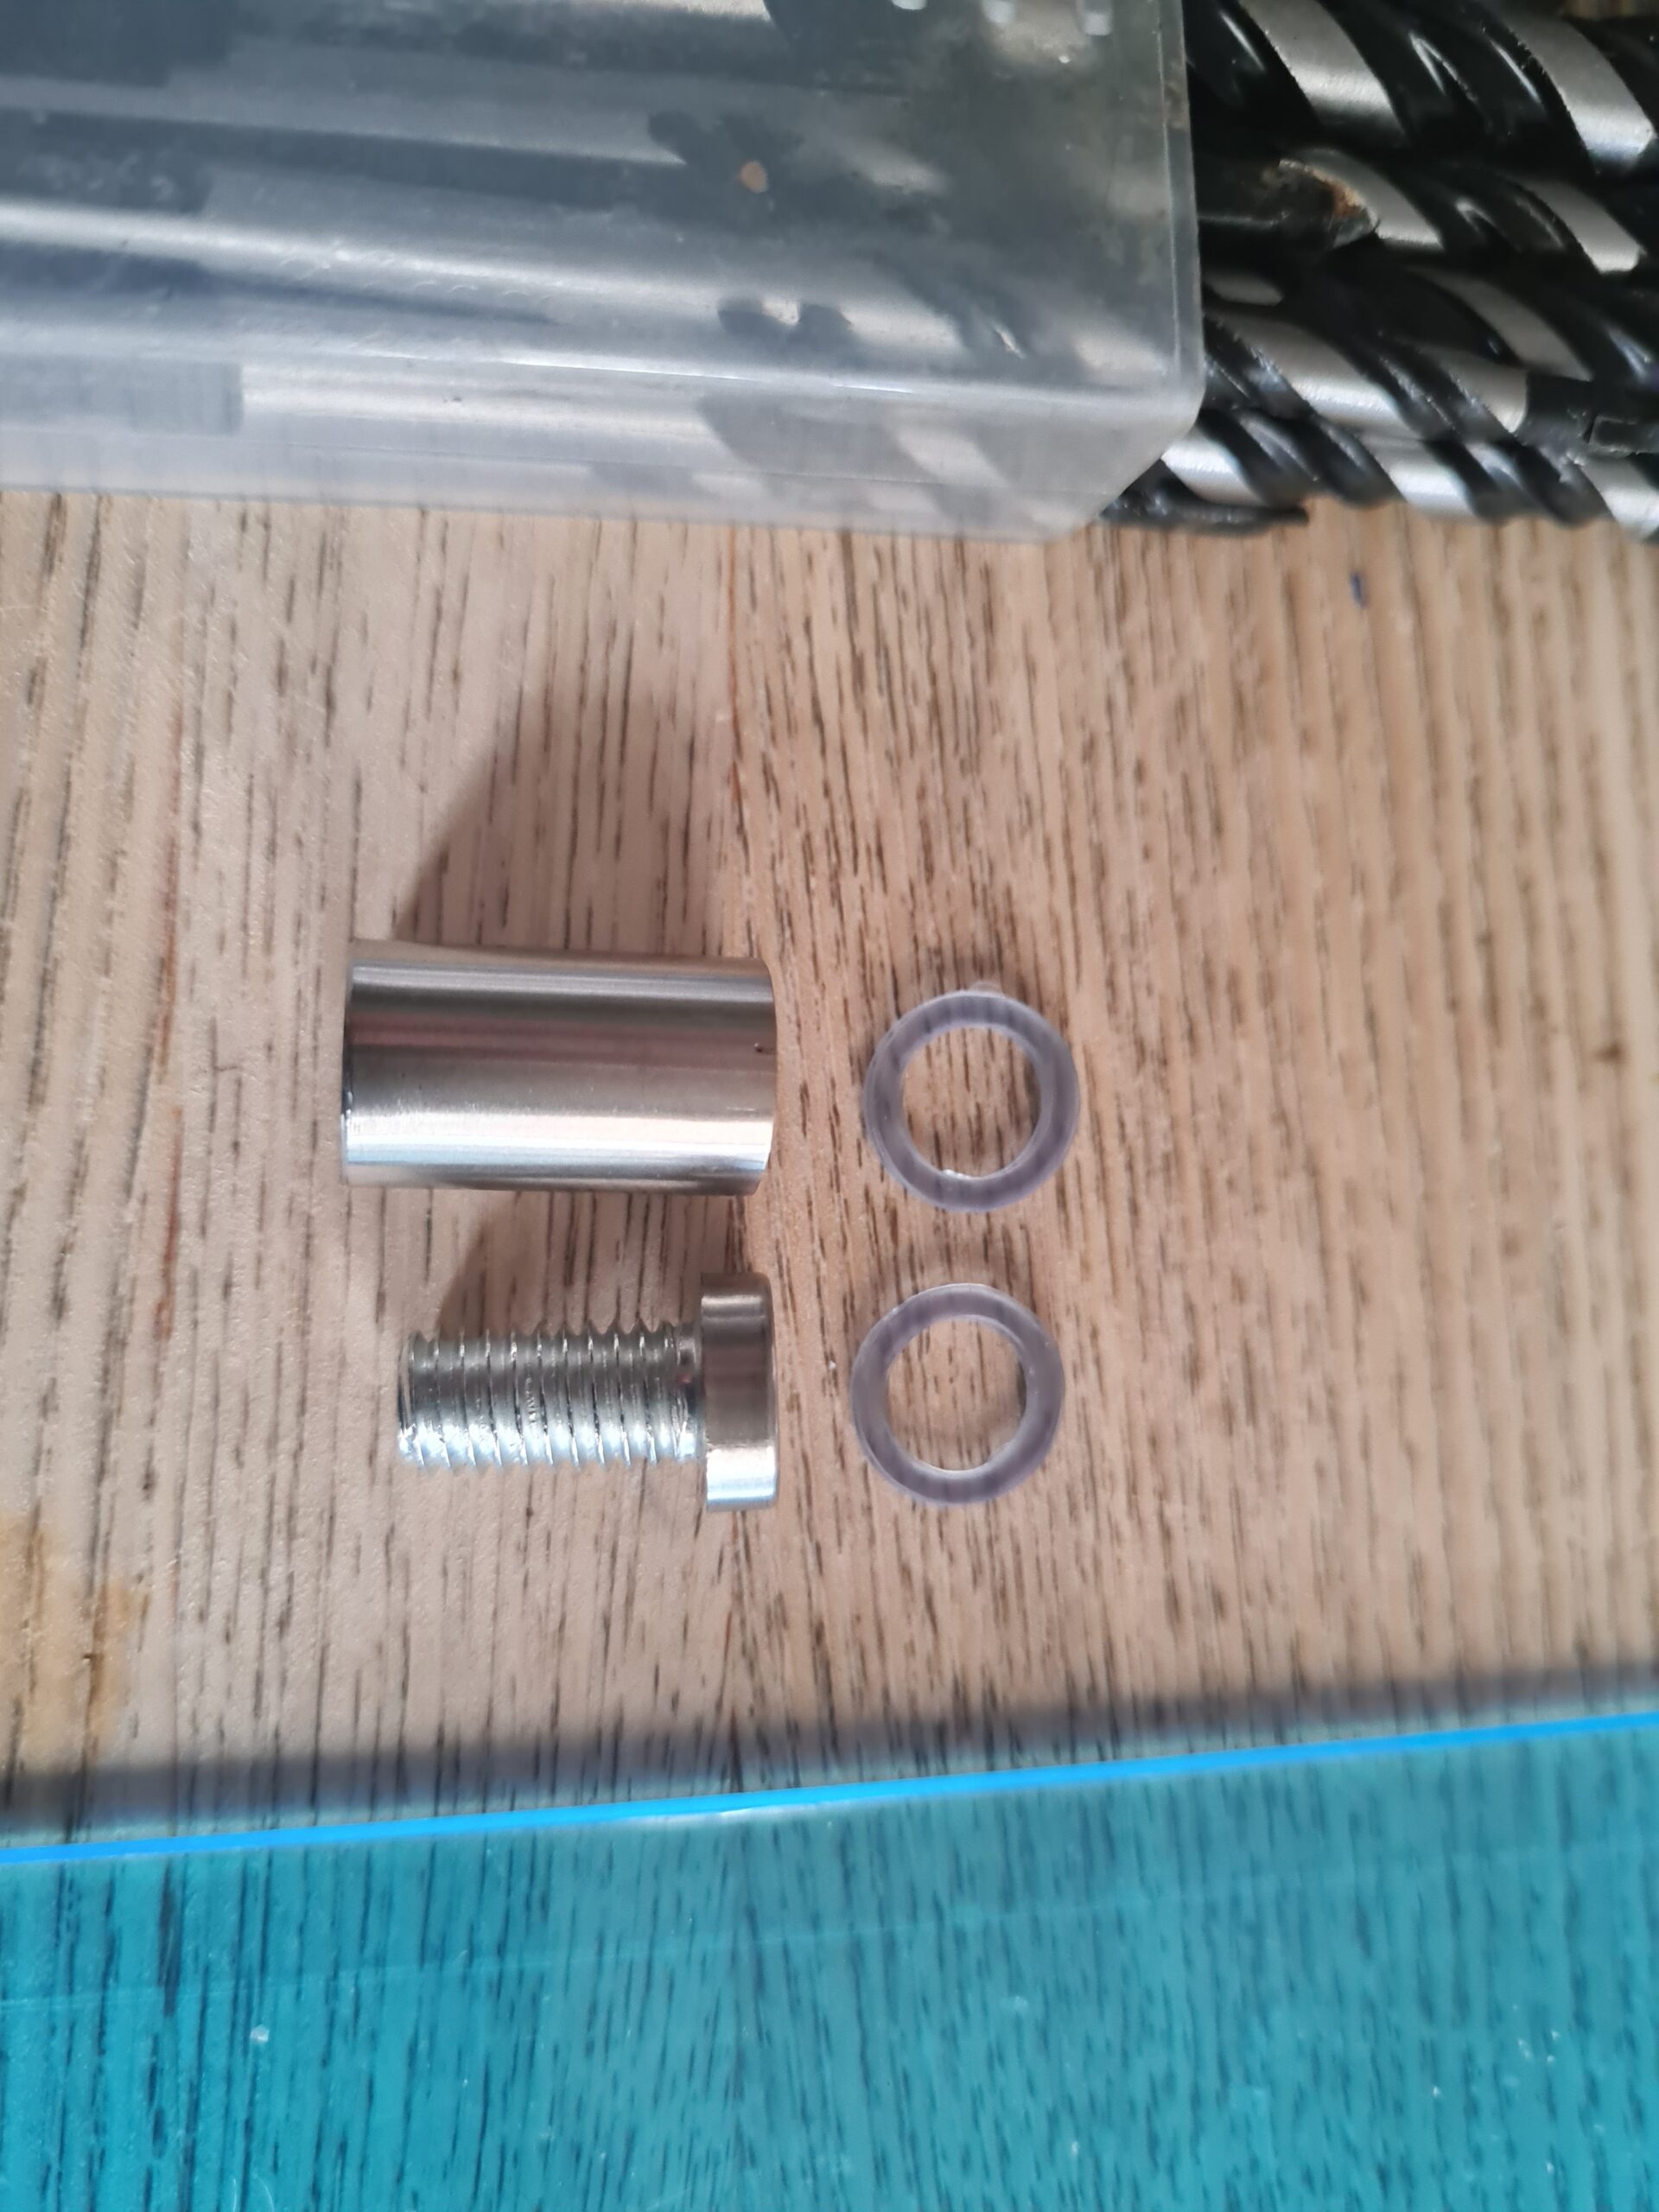
The feet!
The next stage is to put the feet on. Prior to this I peeled off the protective cover from both sides of the acrylic sheet.
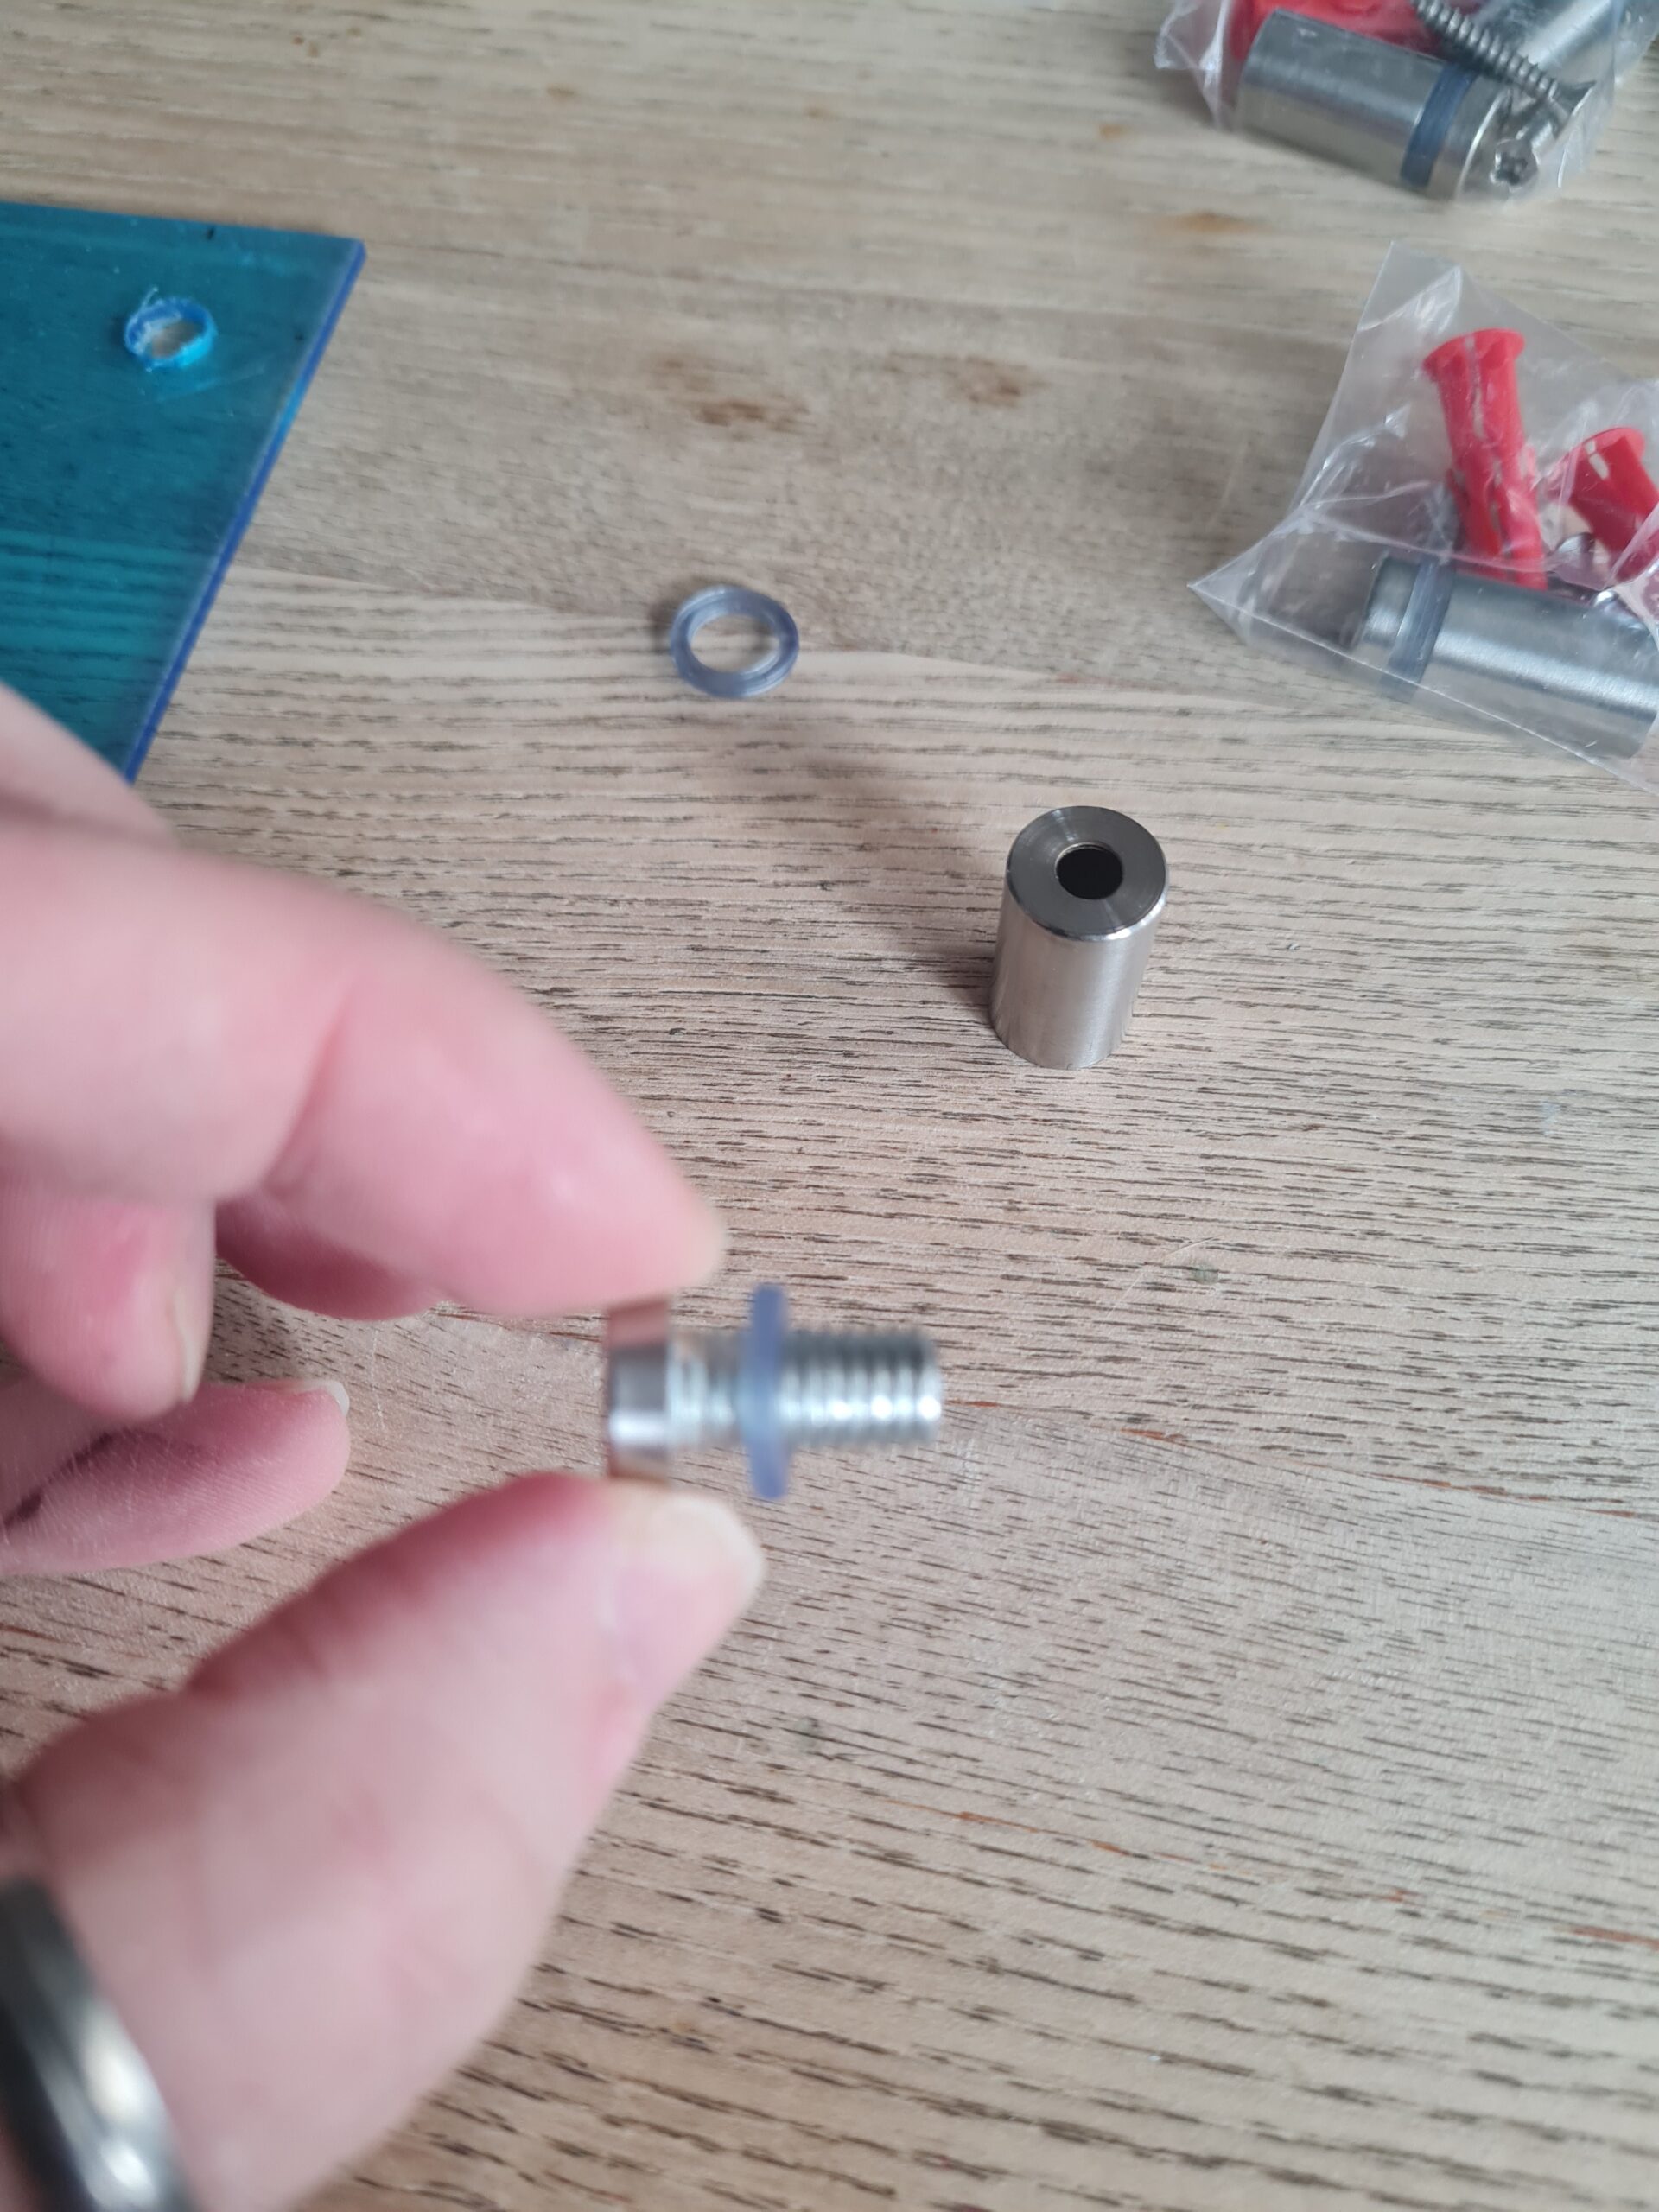
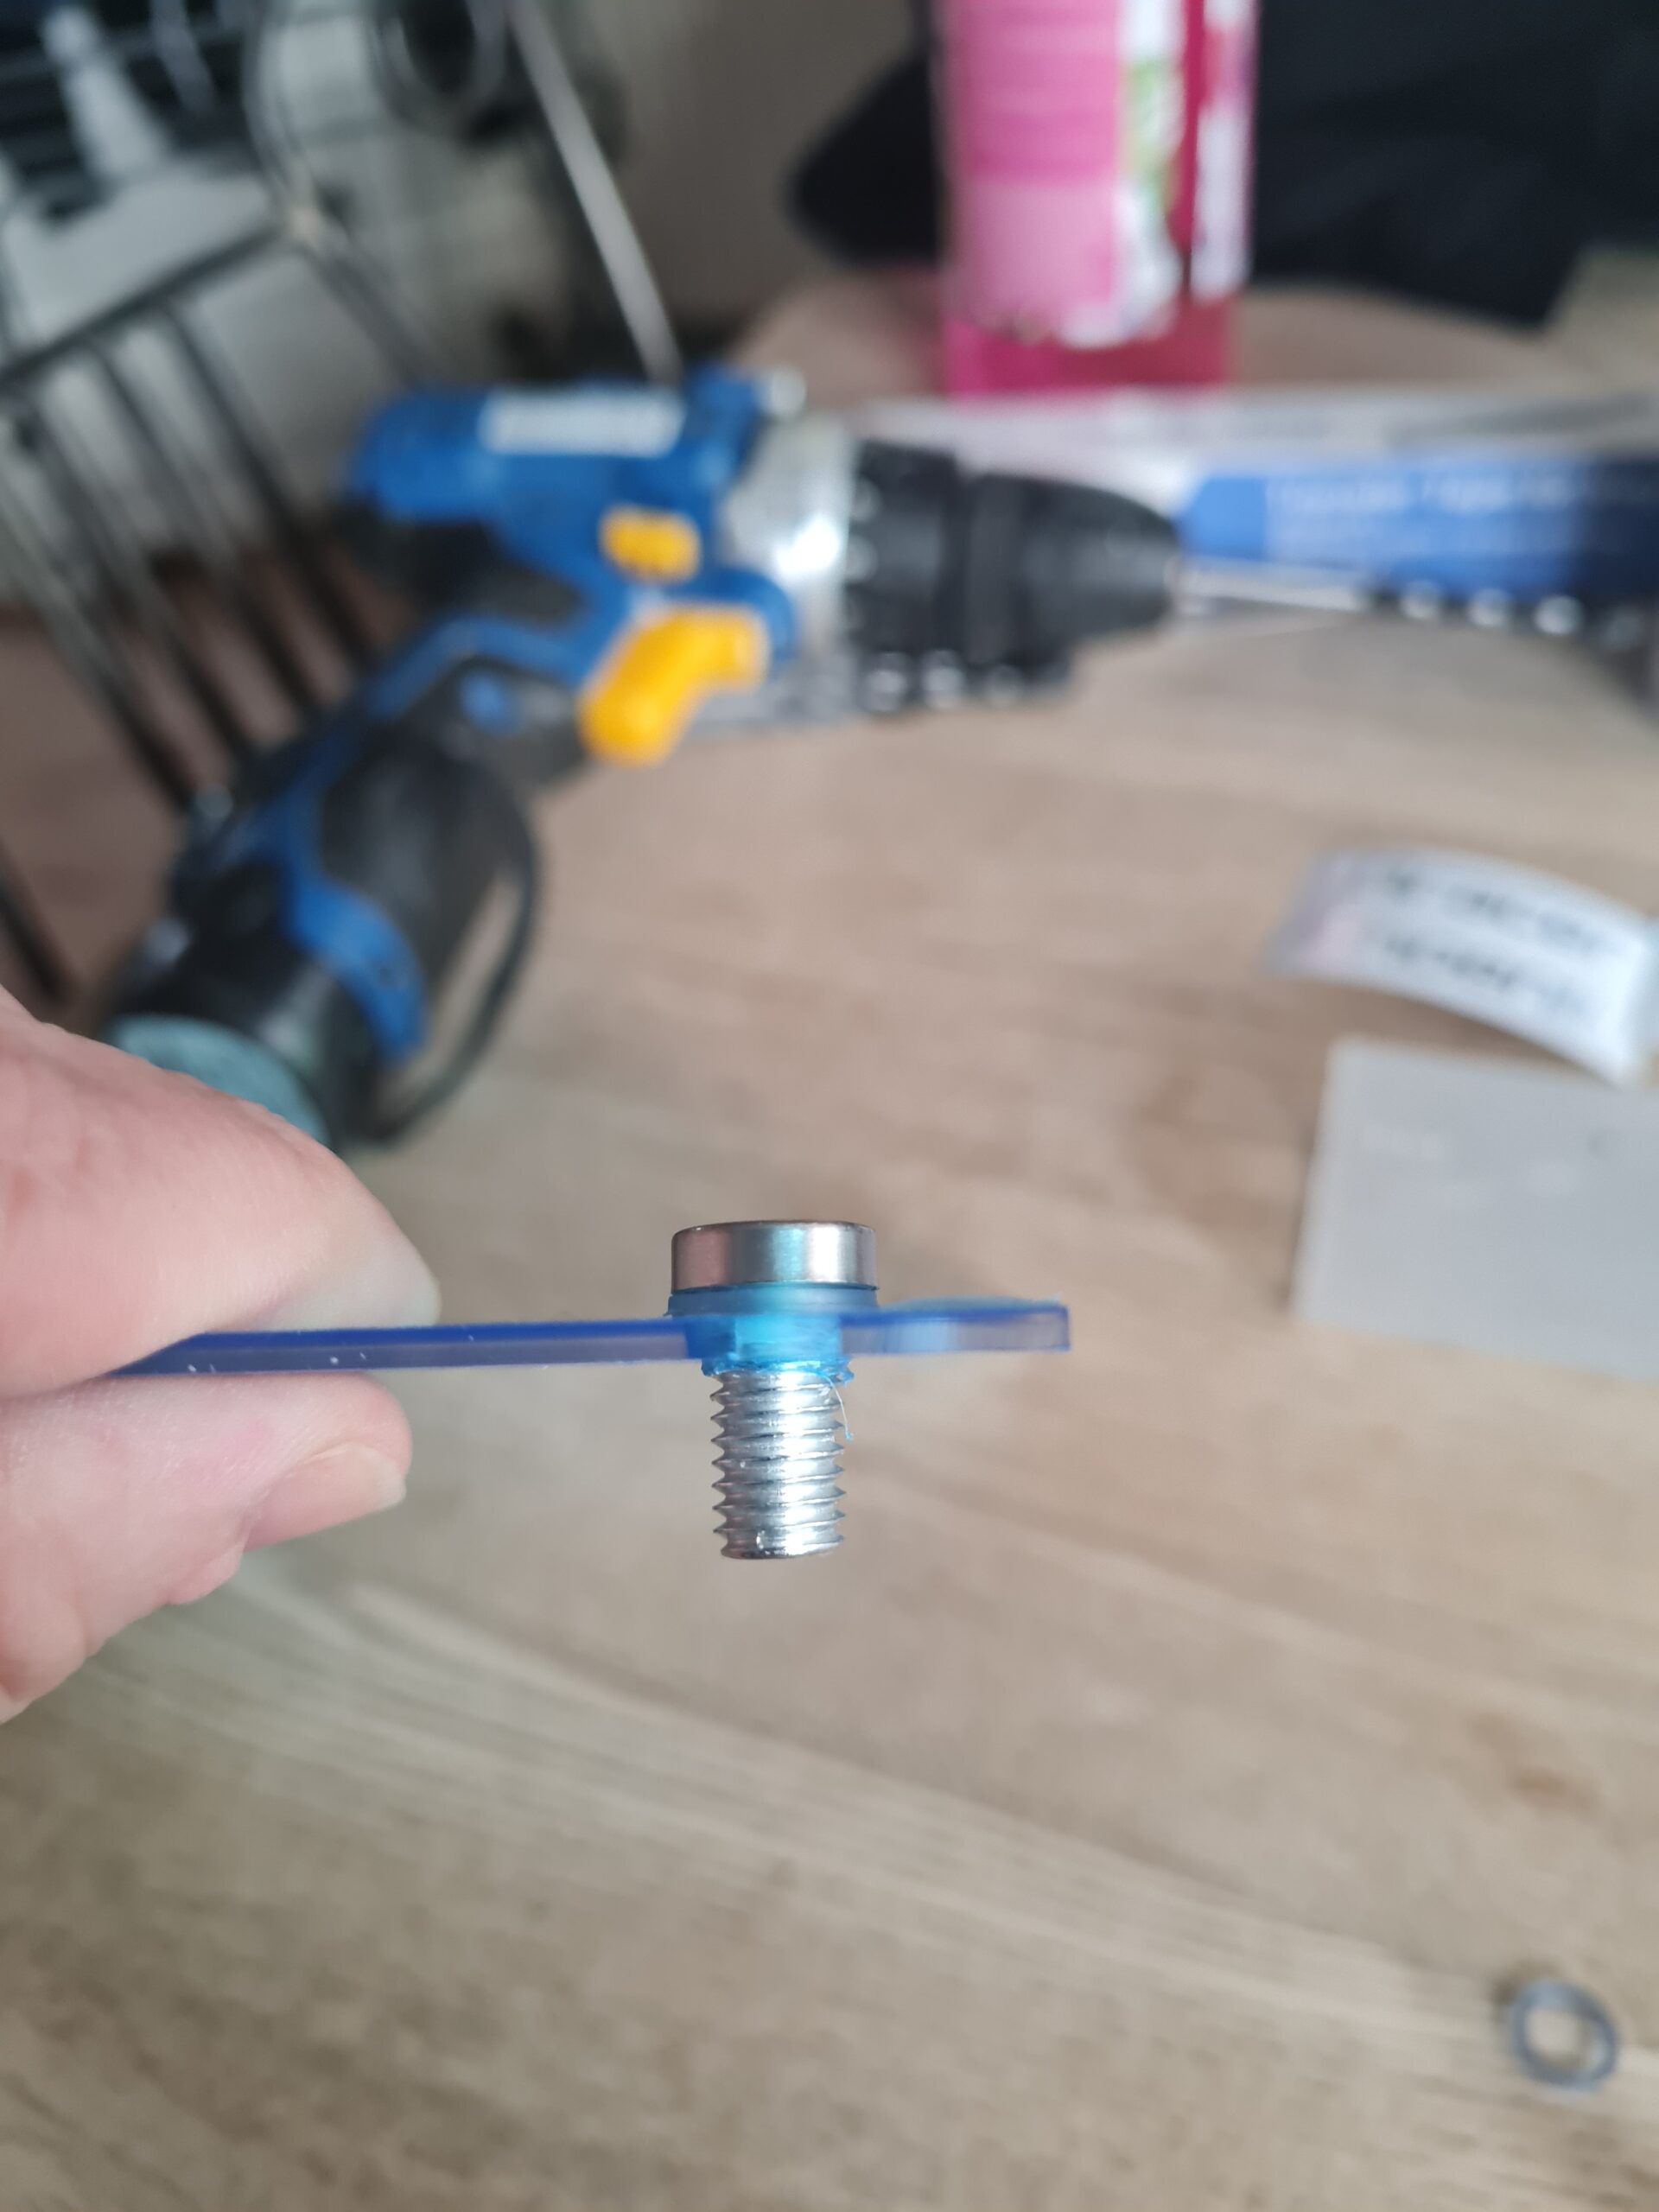
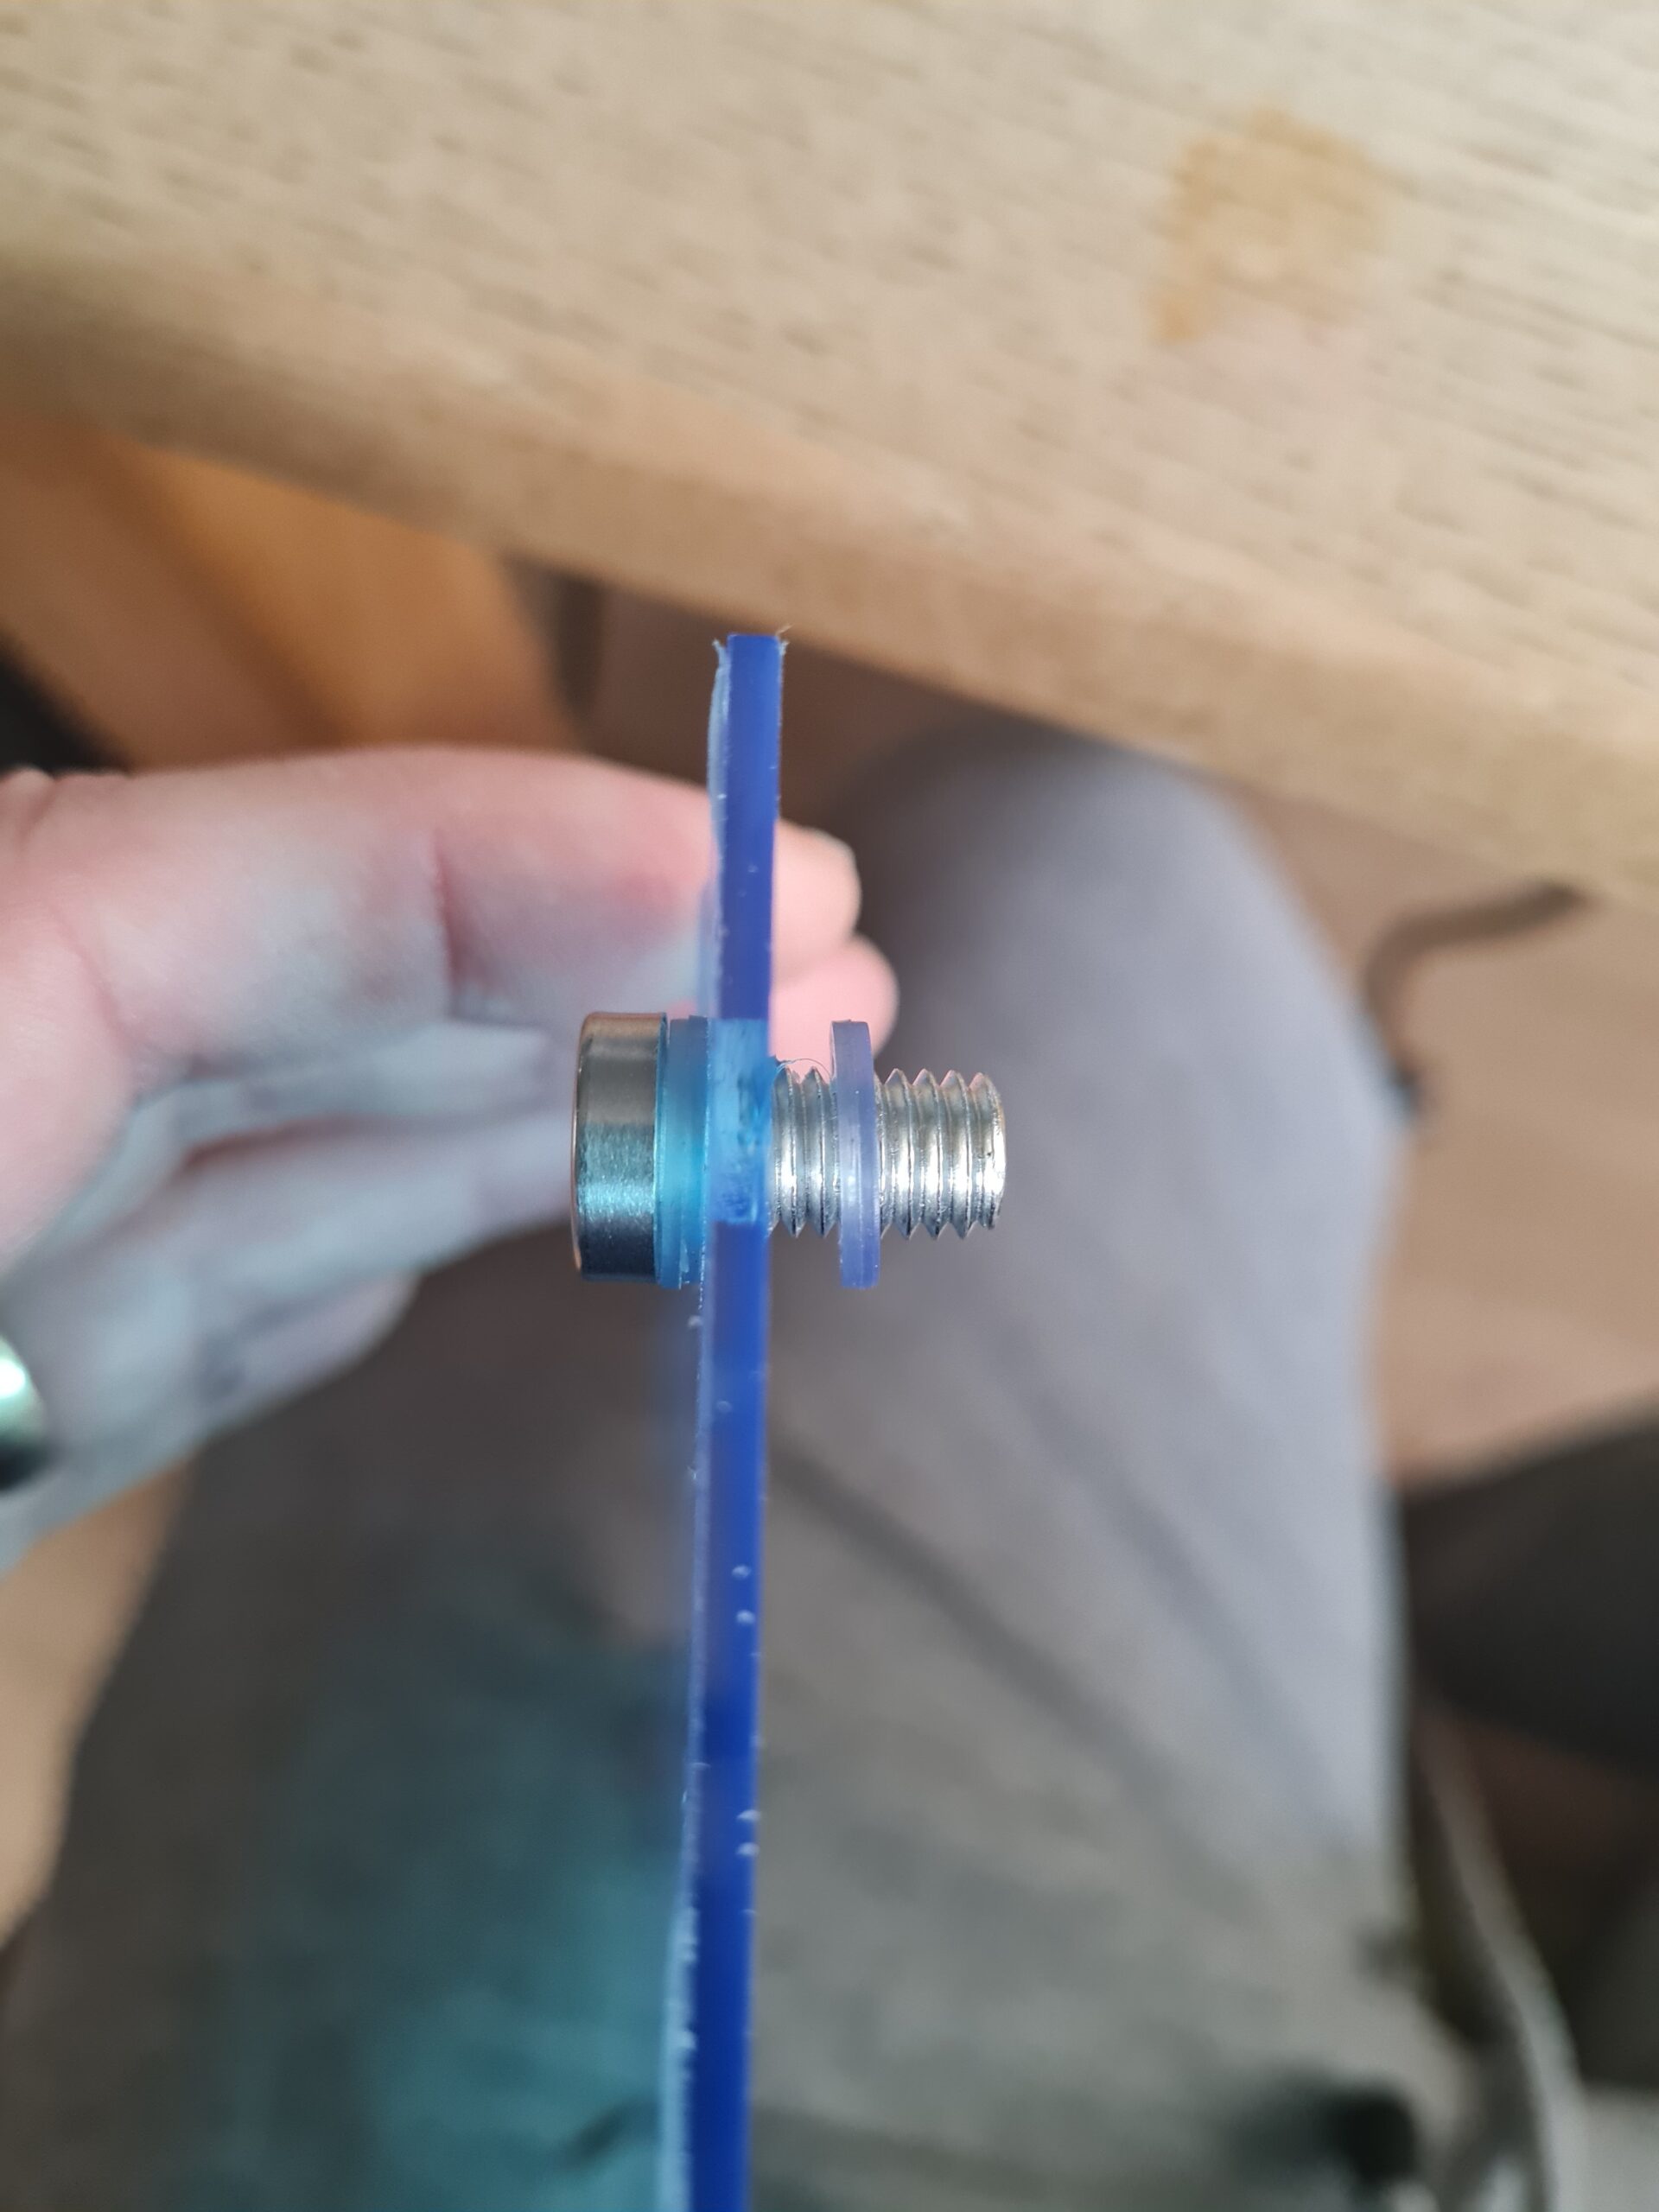
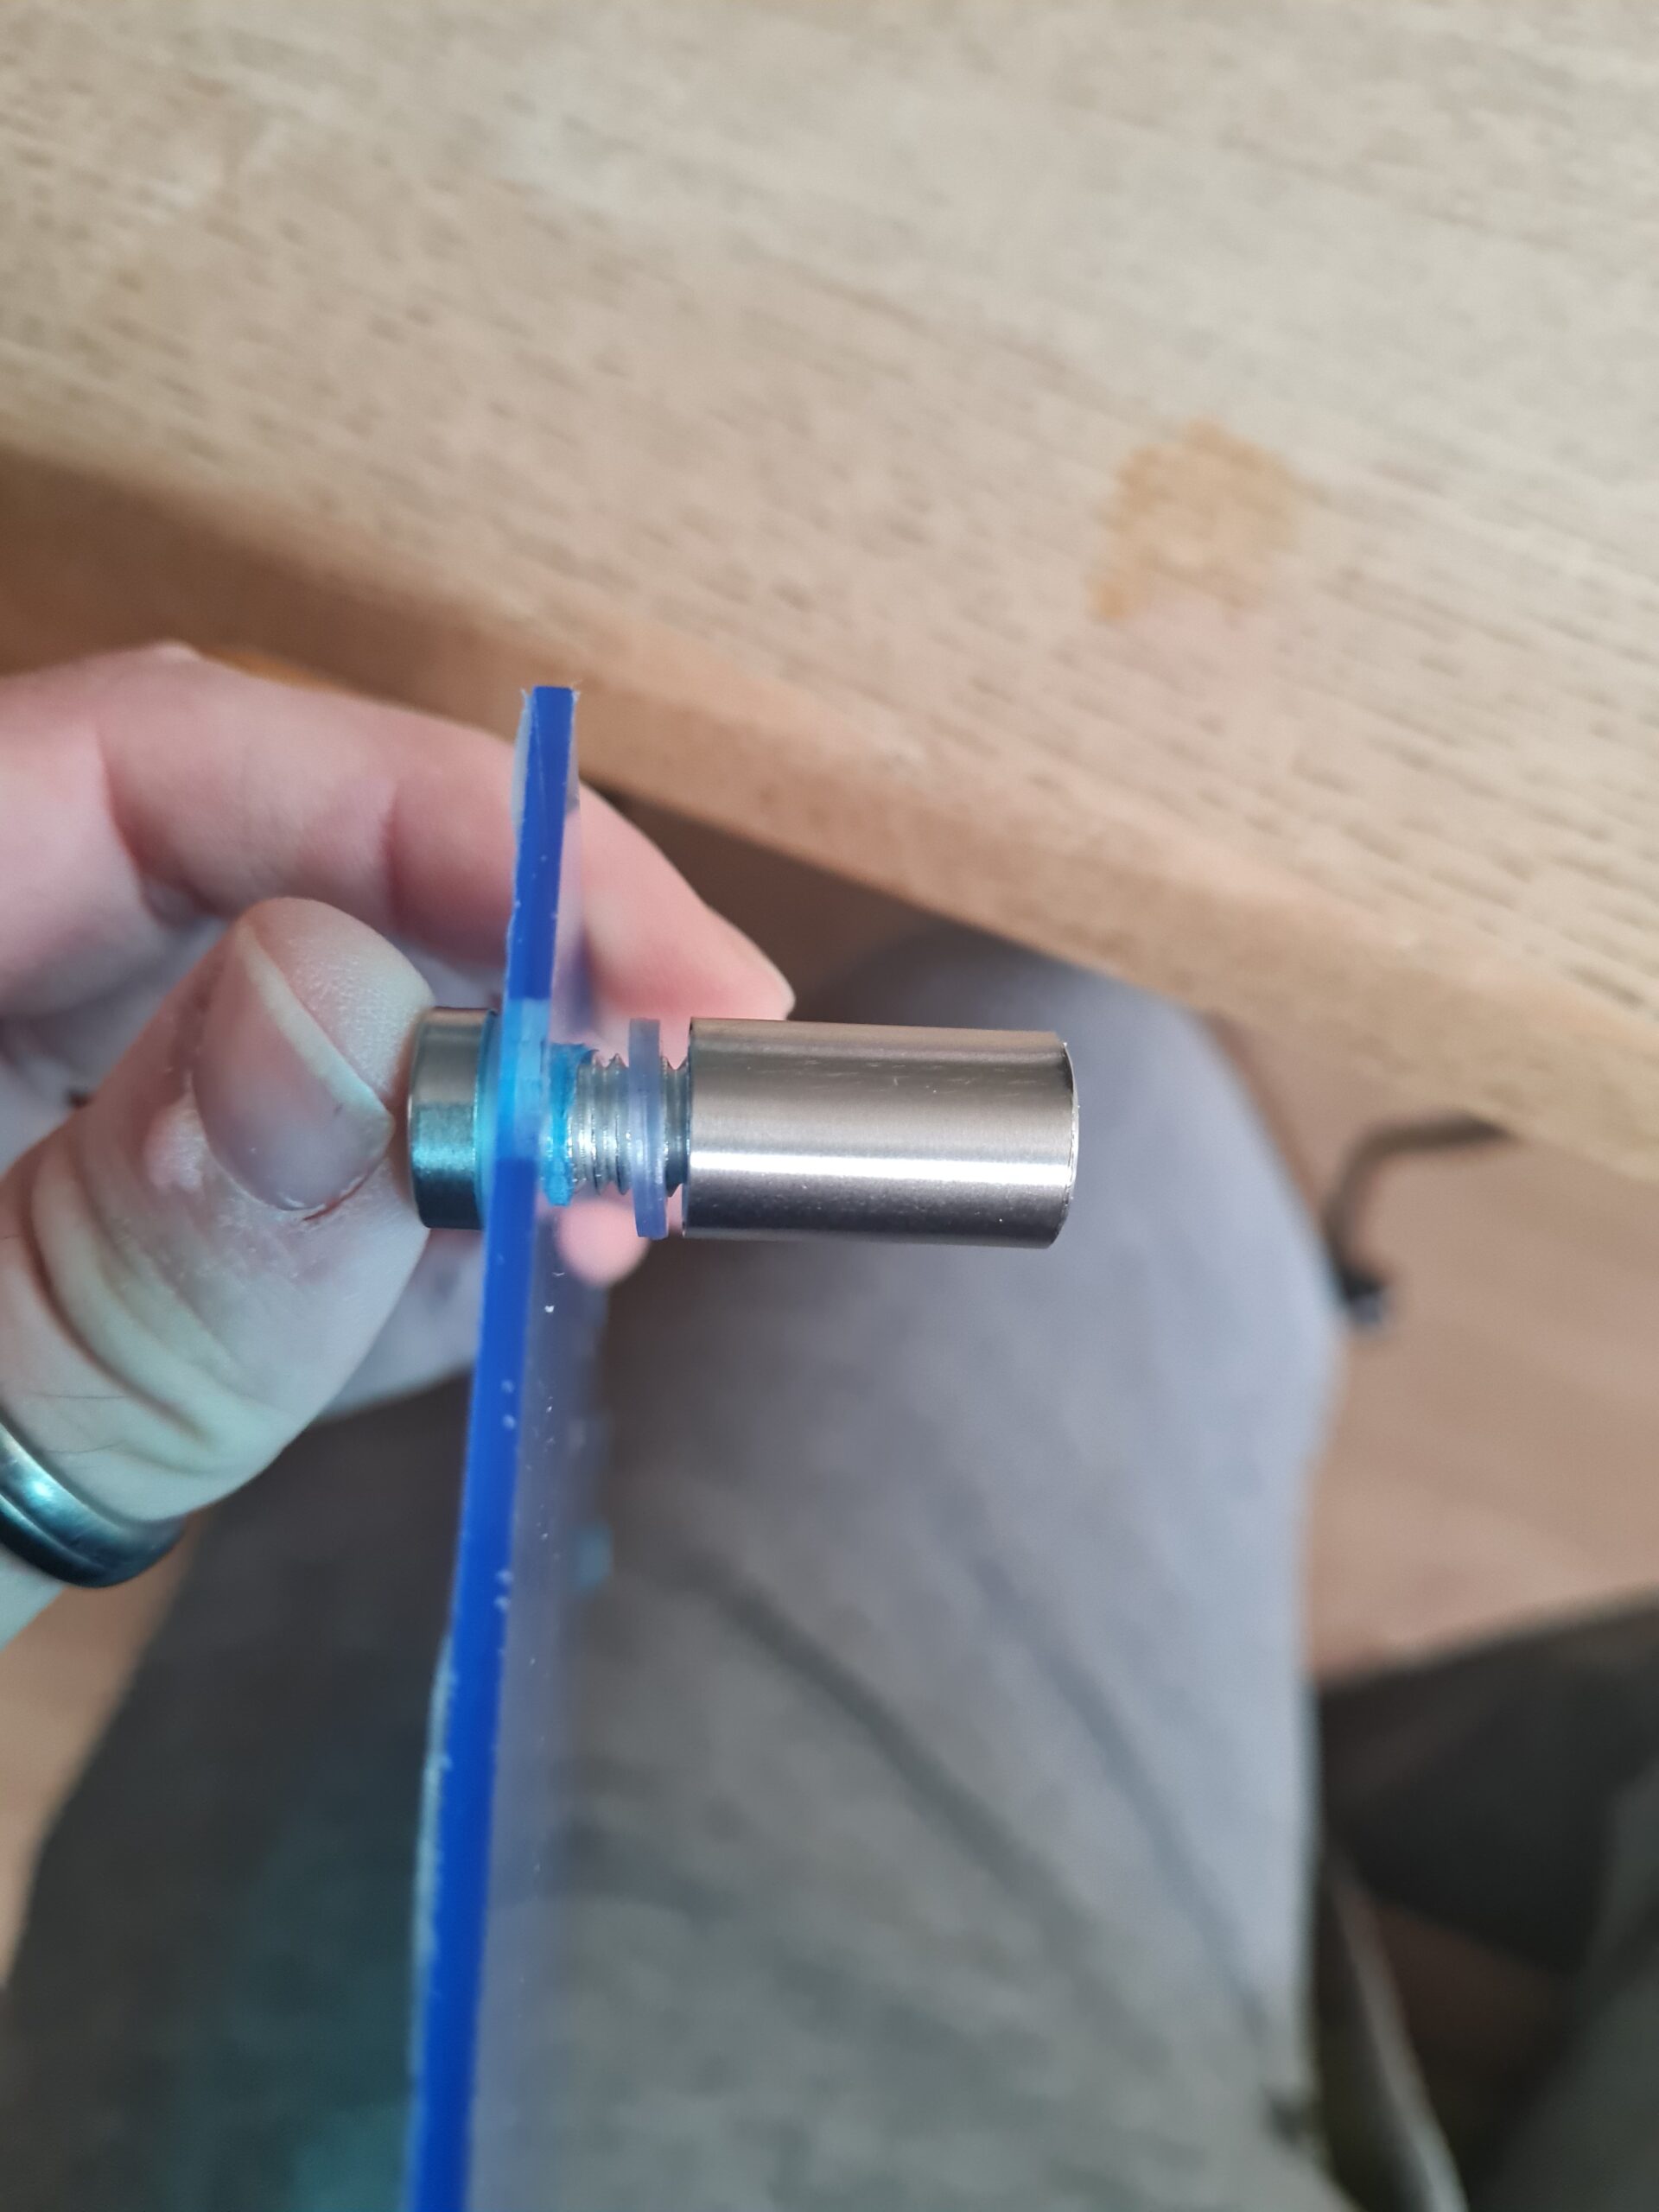
FootFoot in partsBolt and washerBolt in holeSecond Washer addedFoot casing screwed onAttached Foot Closeup
As can be seen above the process to attach the feet is simple. I first take it apart, and then put the first washer onto the bolt. Next I place the bolt through the acrylic sheet and add the second washer. Finally I screw the foot case part on and finger tighten. This is repeated for all 4 feet.
Conclusion
I really enjoyed making this custom stand. All that was left was to add the stand and figures and it was done. I will leave you with those images at the bottom of this post. Any questions please just ask.
Thank you for taking the time to read this. If you haven’t already done so please like and follow us on our social media platforms and checkout our website!
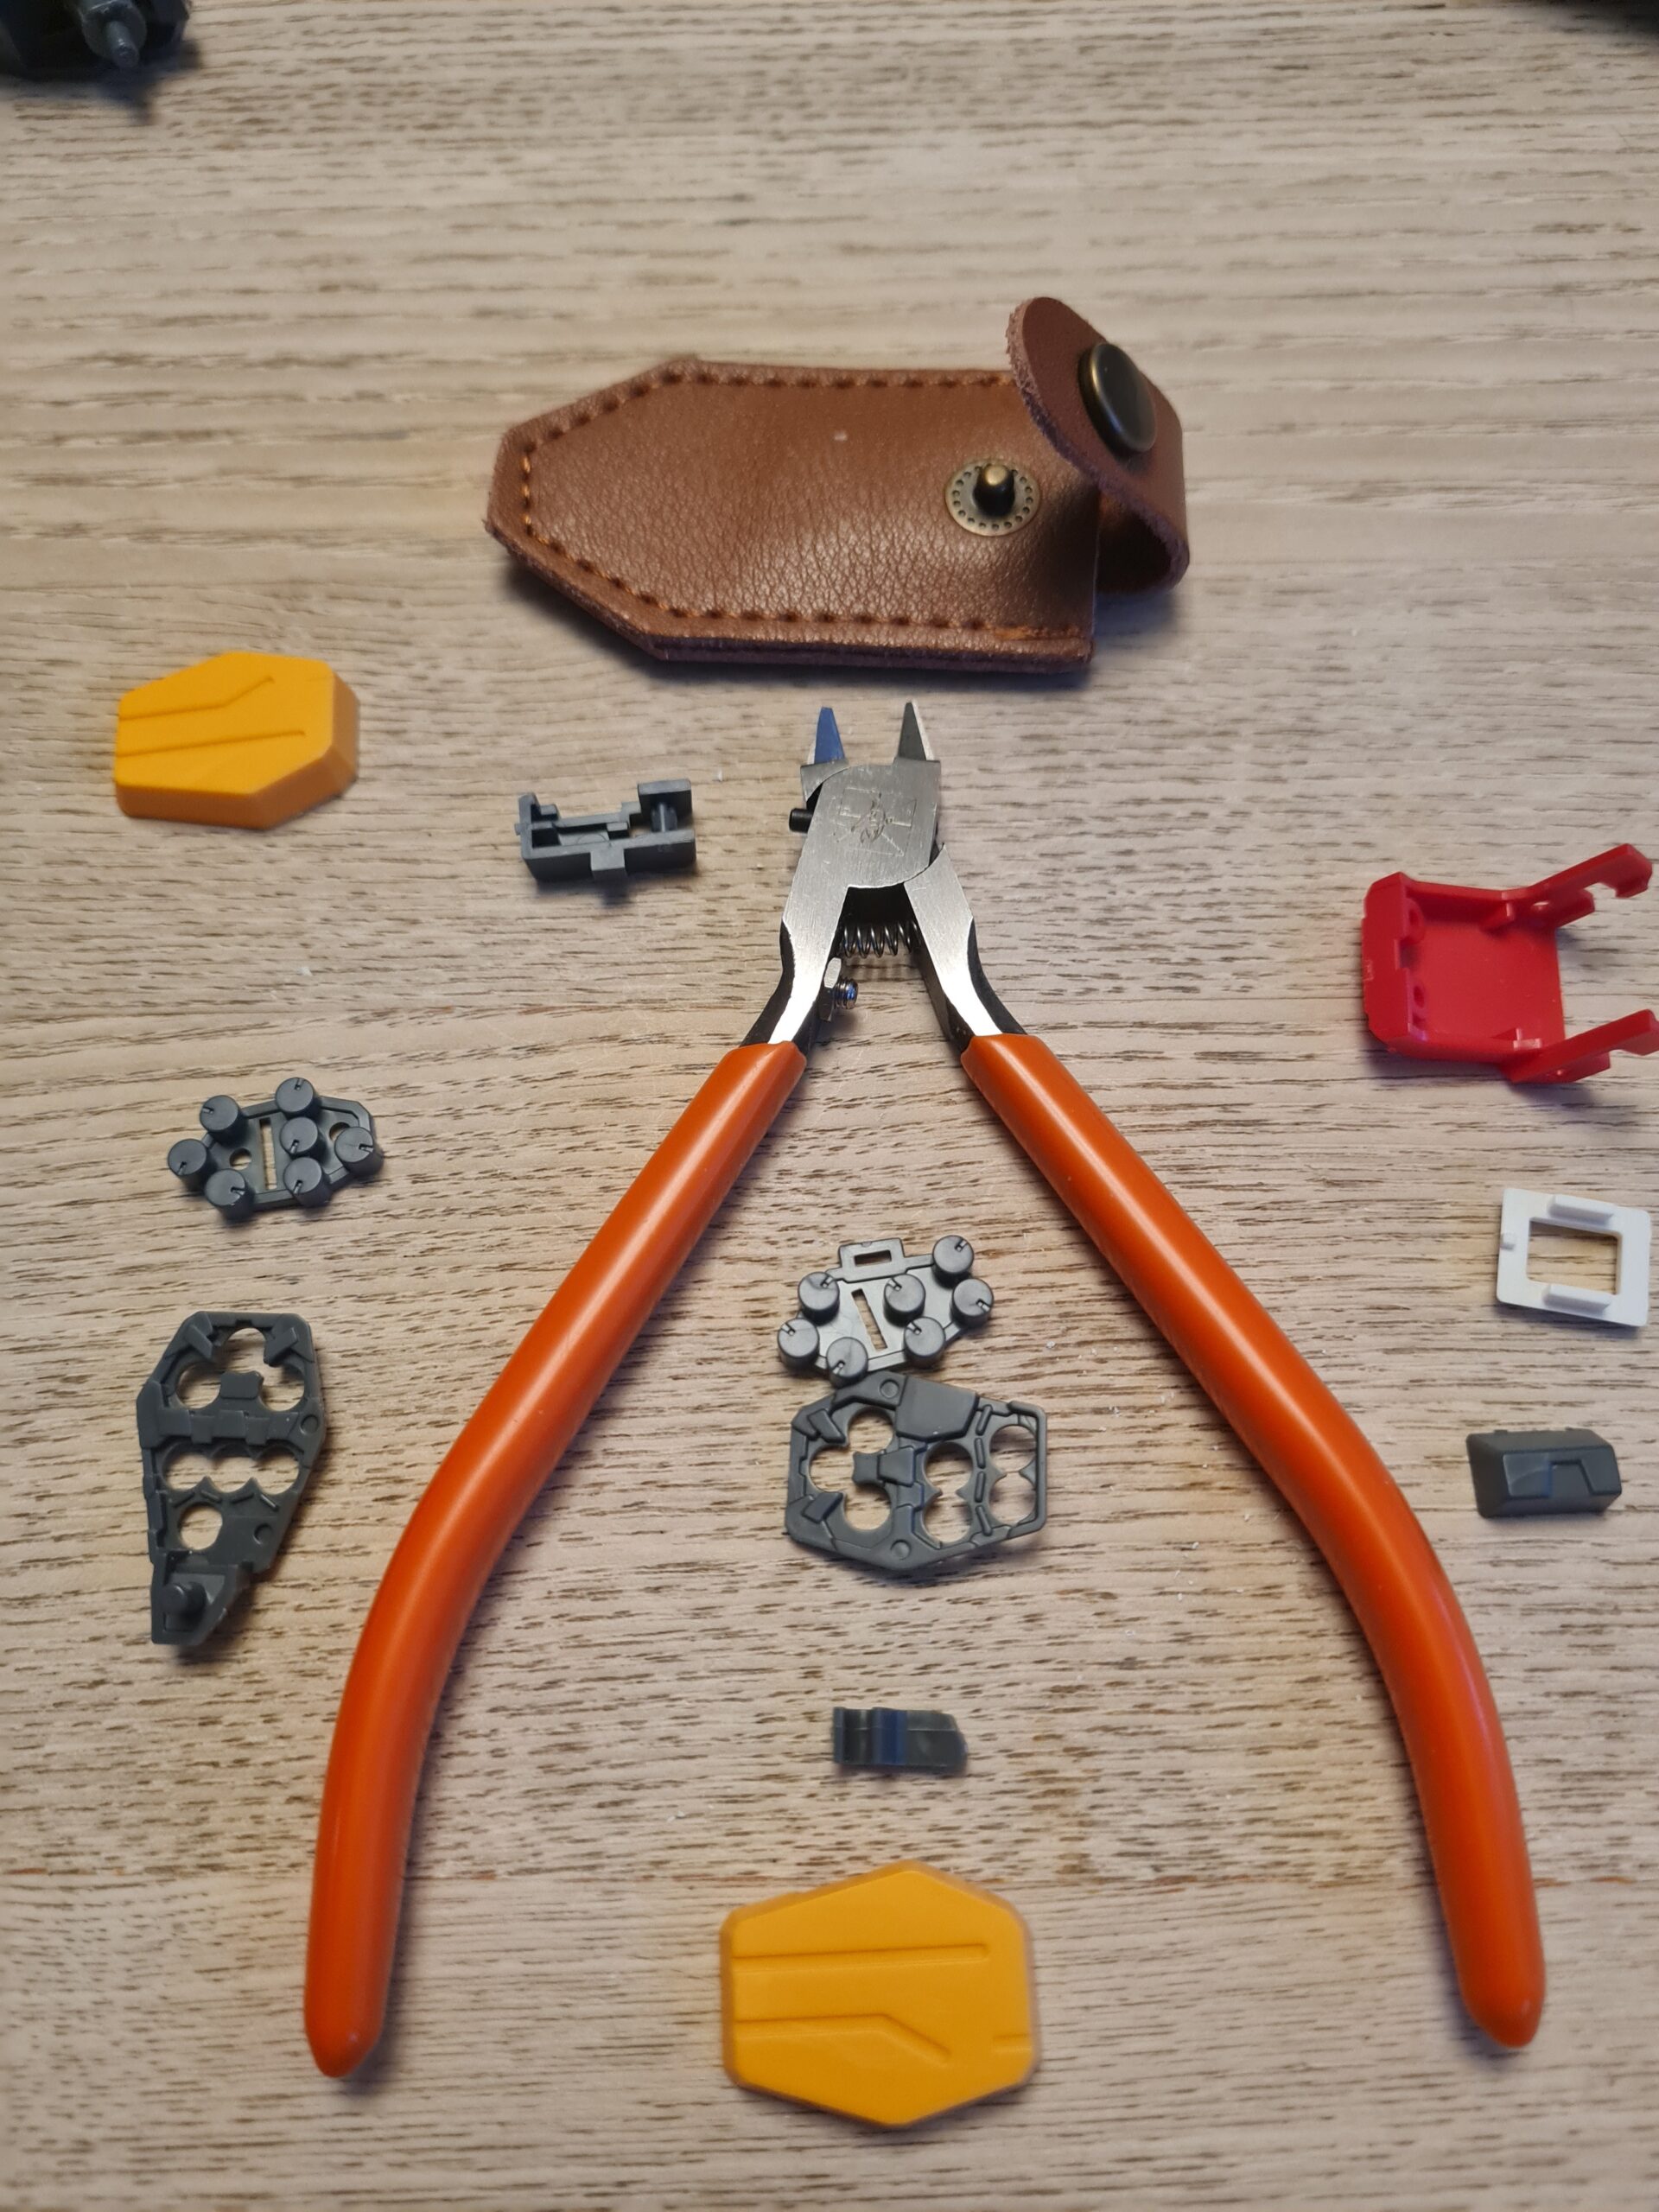
In case you missed the previous parts you can catch up here and here. The rules are simple. I build the model in the stages, based on the order in the manual. This stops me deliberately picking obscure parts. I then post up the sections as they are built and readers can guess what the model is. Today I am building the arm.
Technically this should be building the arms, however, I’m going to do building the arm as I got a sinus headache and blurry vision and went to lie down. However, it is enough to show you what it looks like, and to be fair I imagine a lot of people have guessed the model from the torso and head!
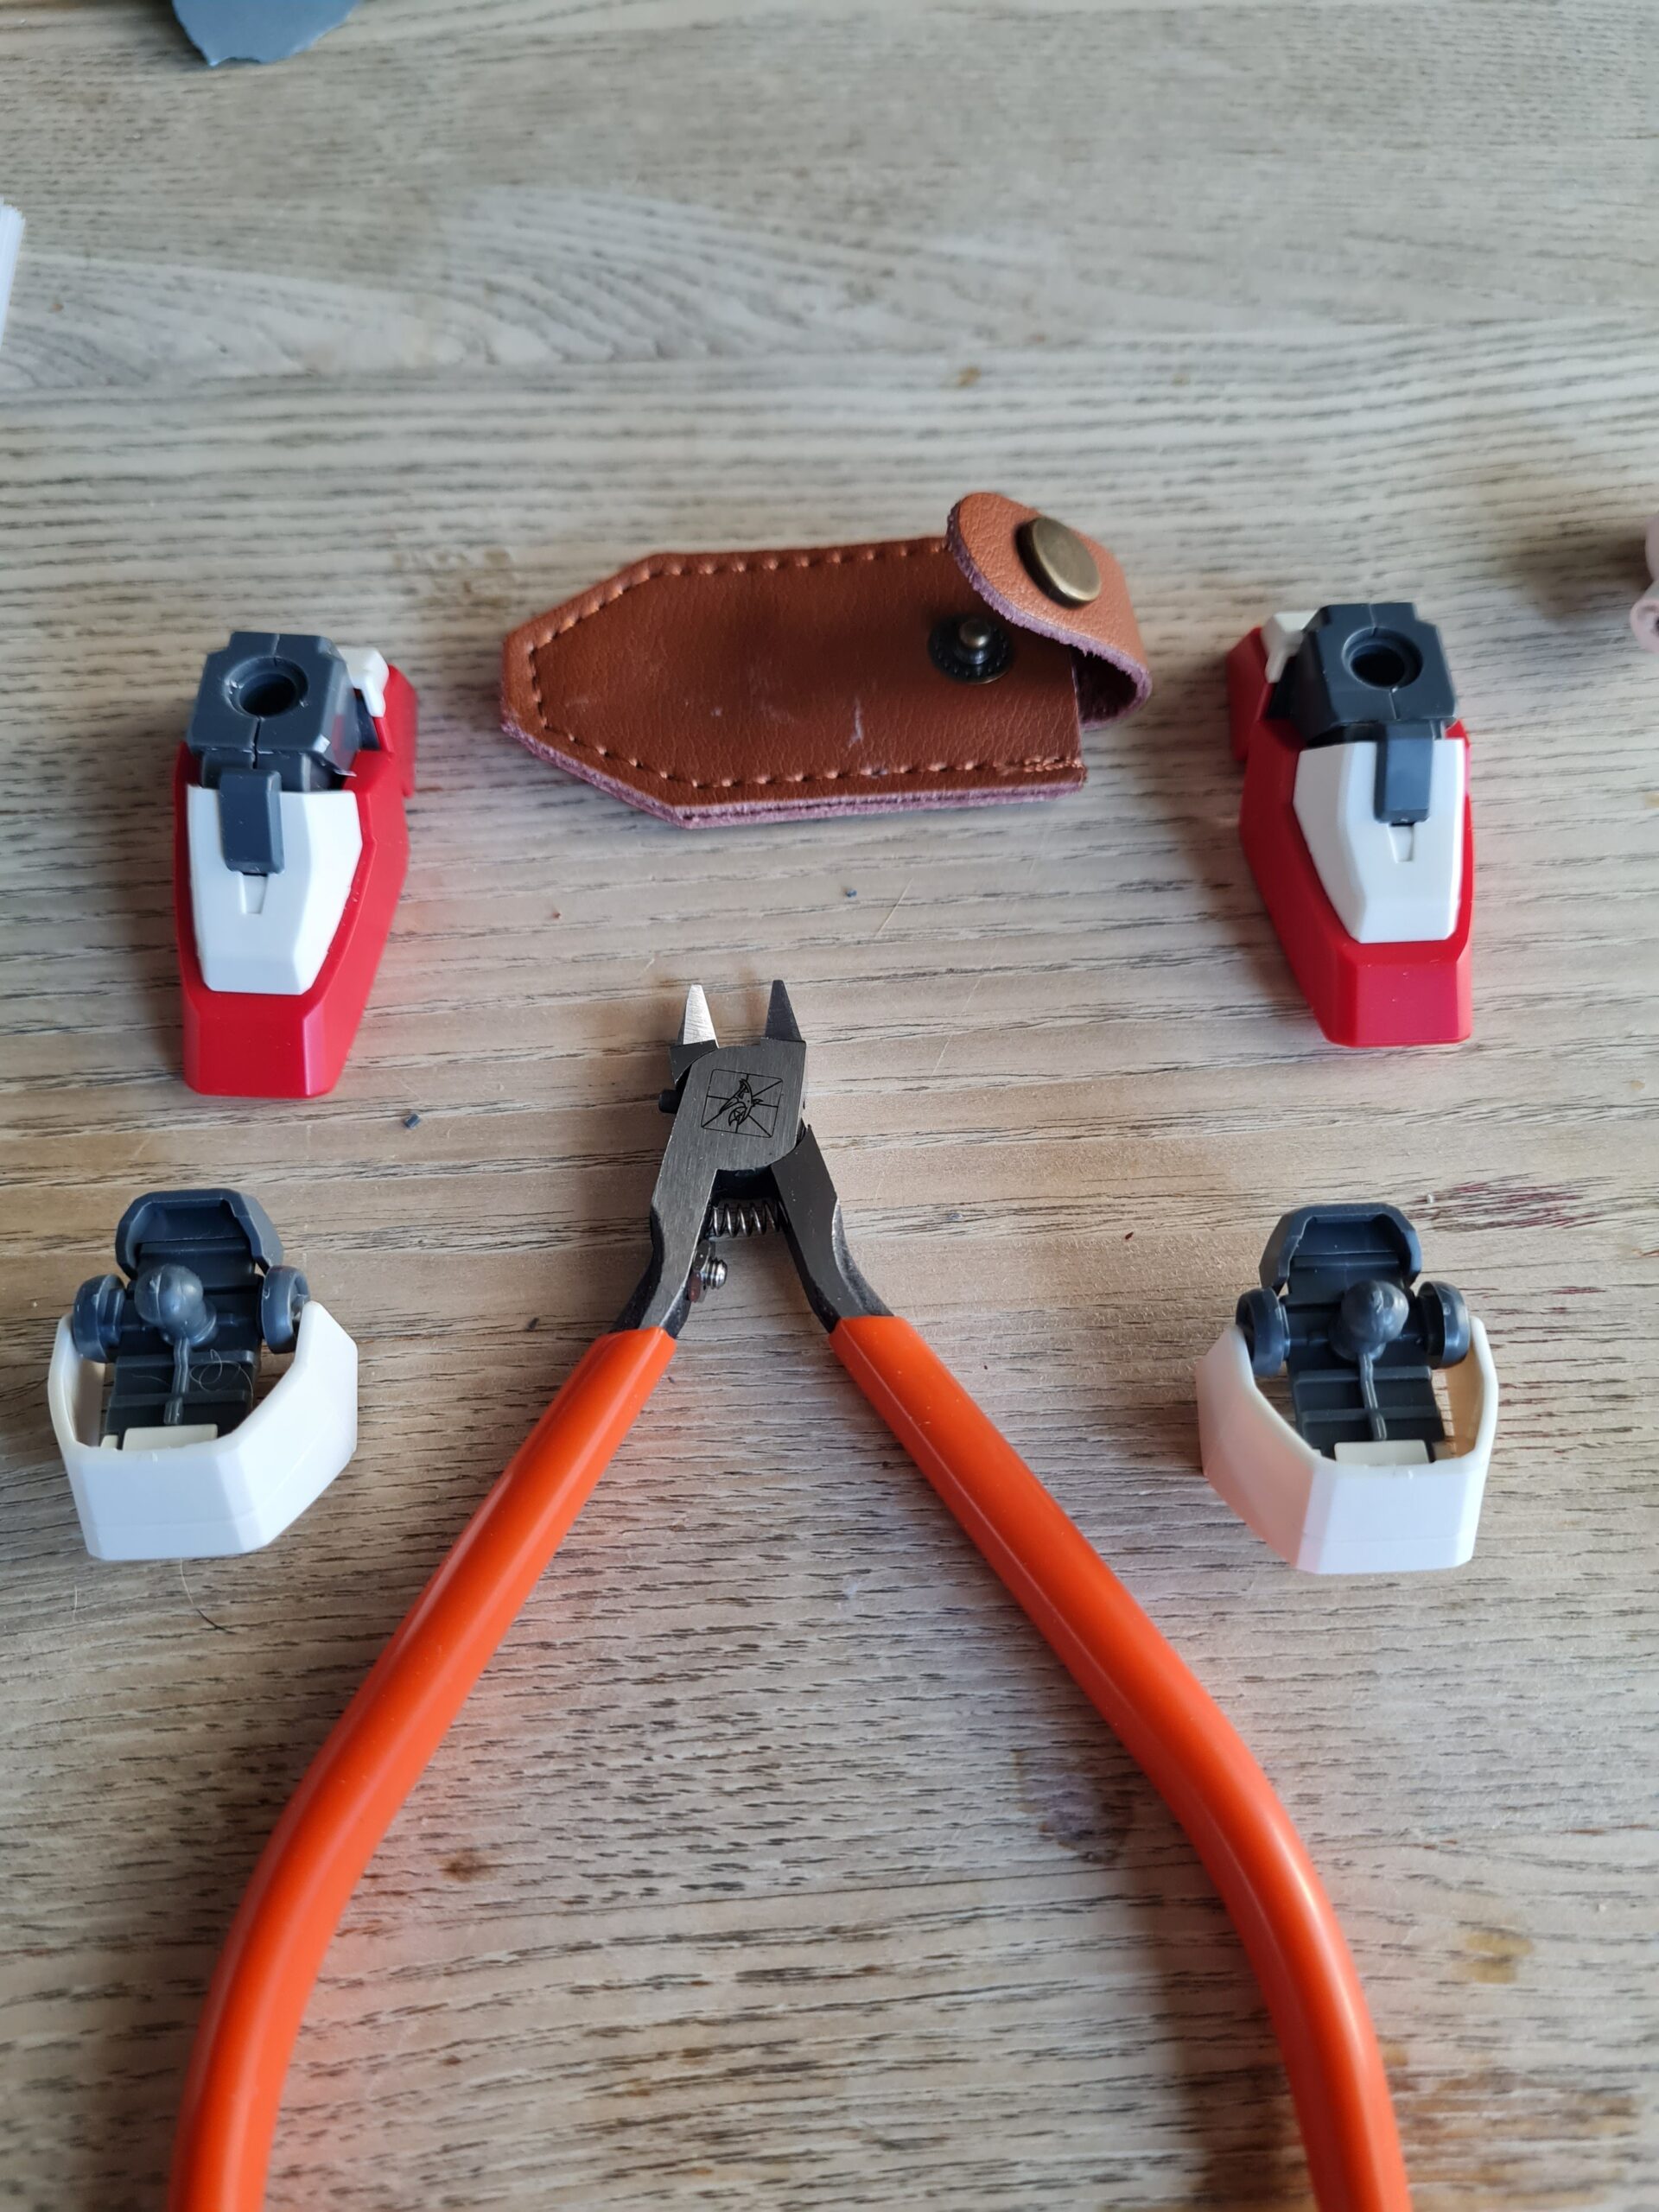
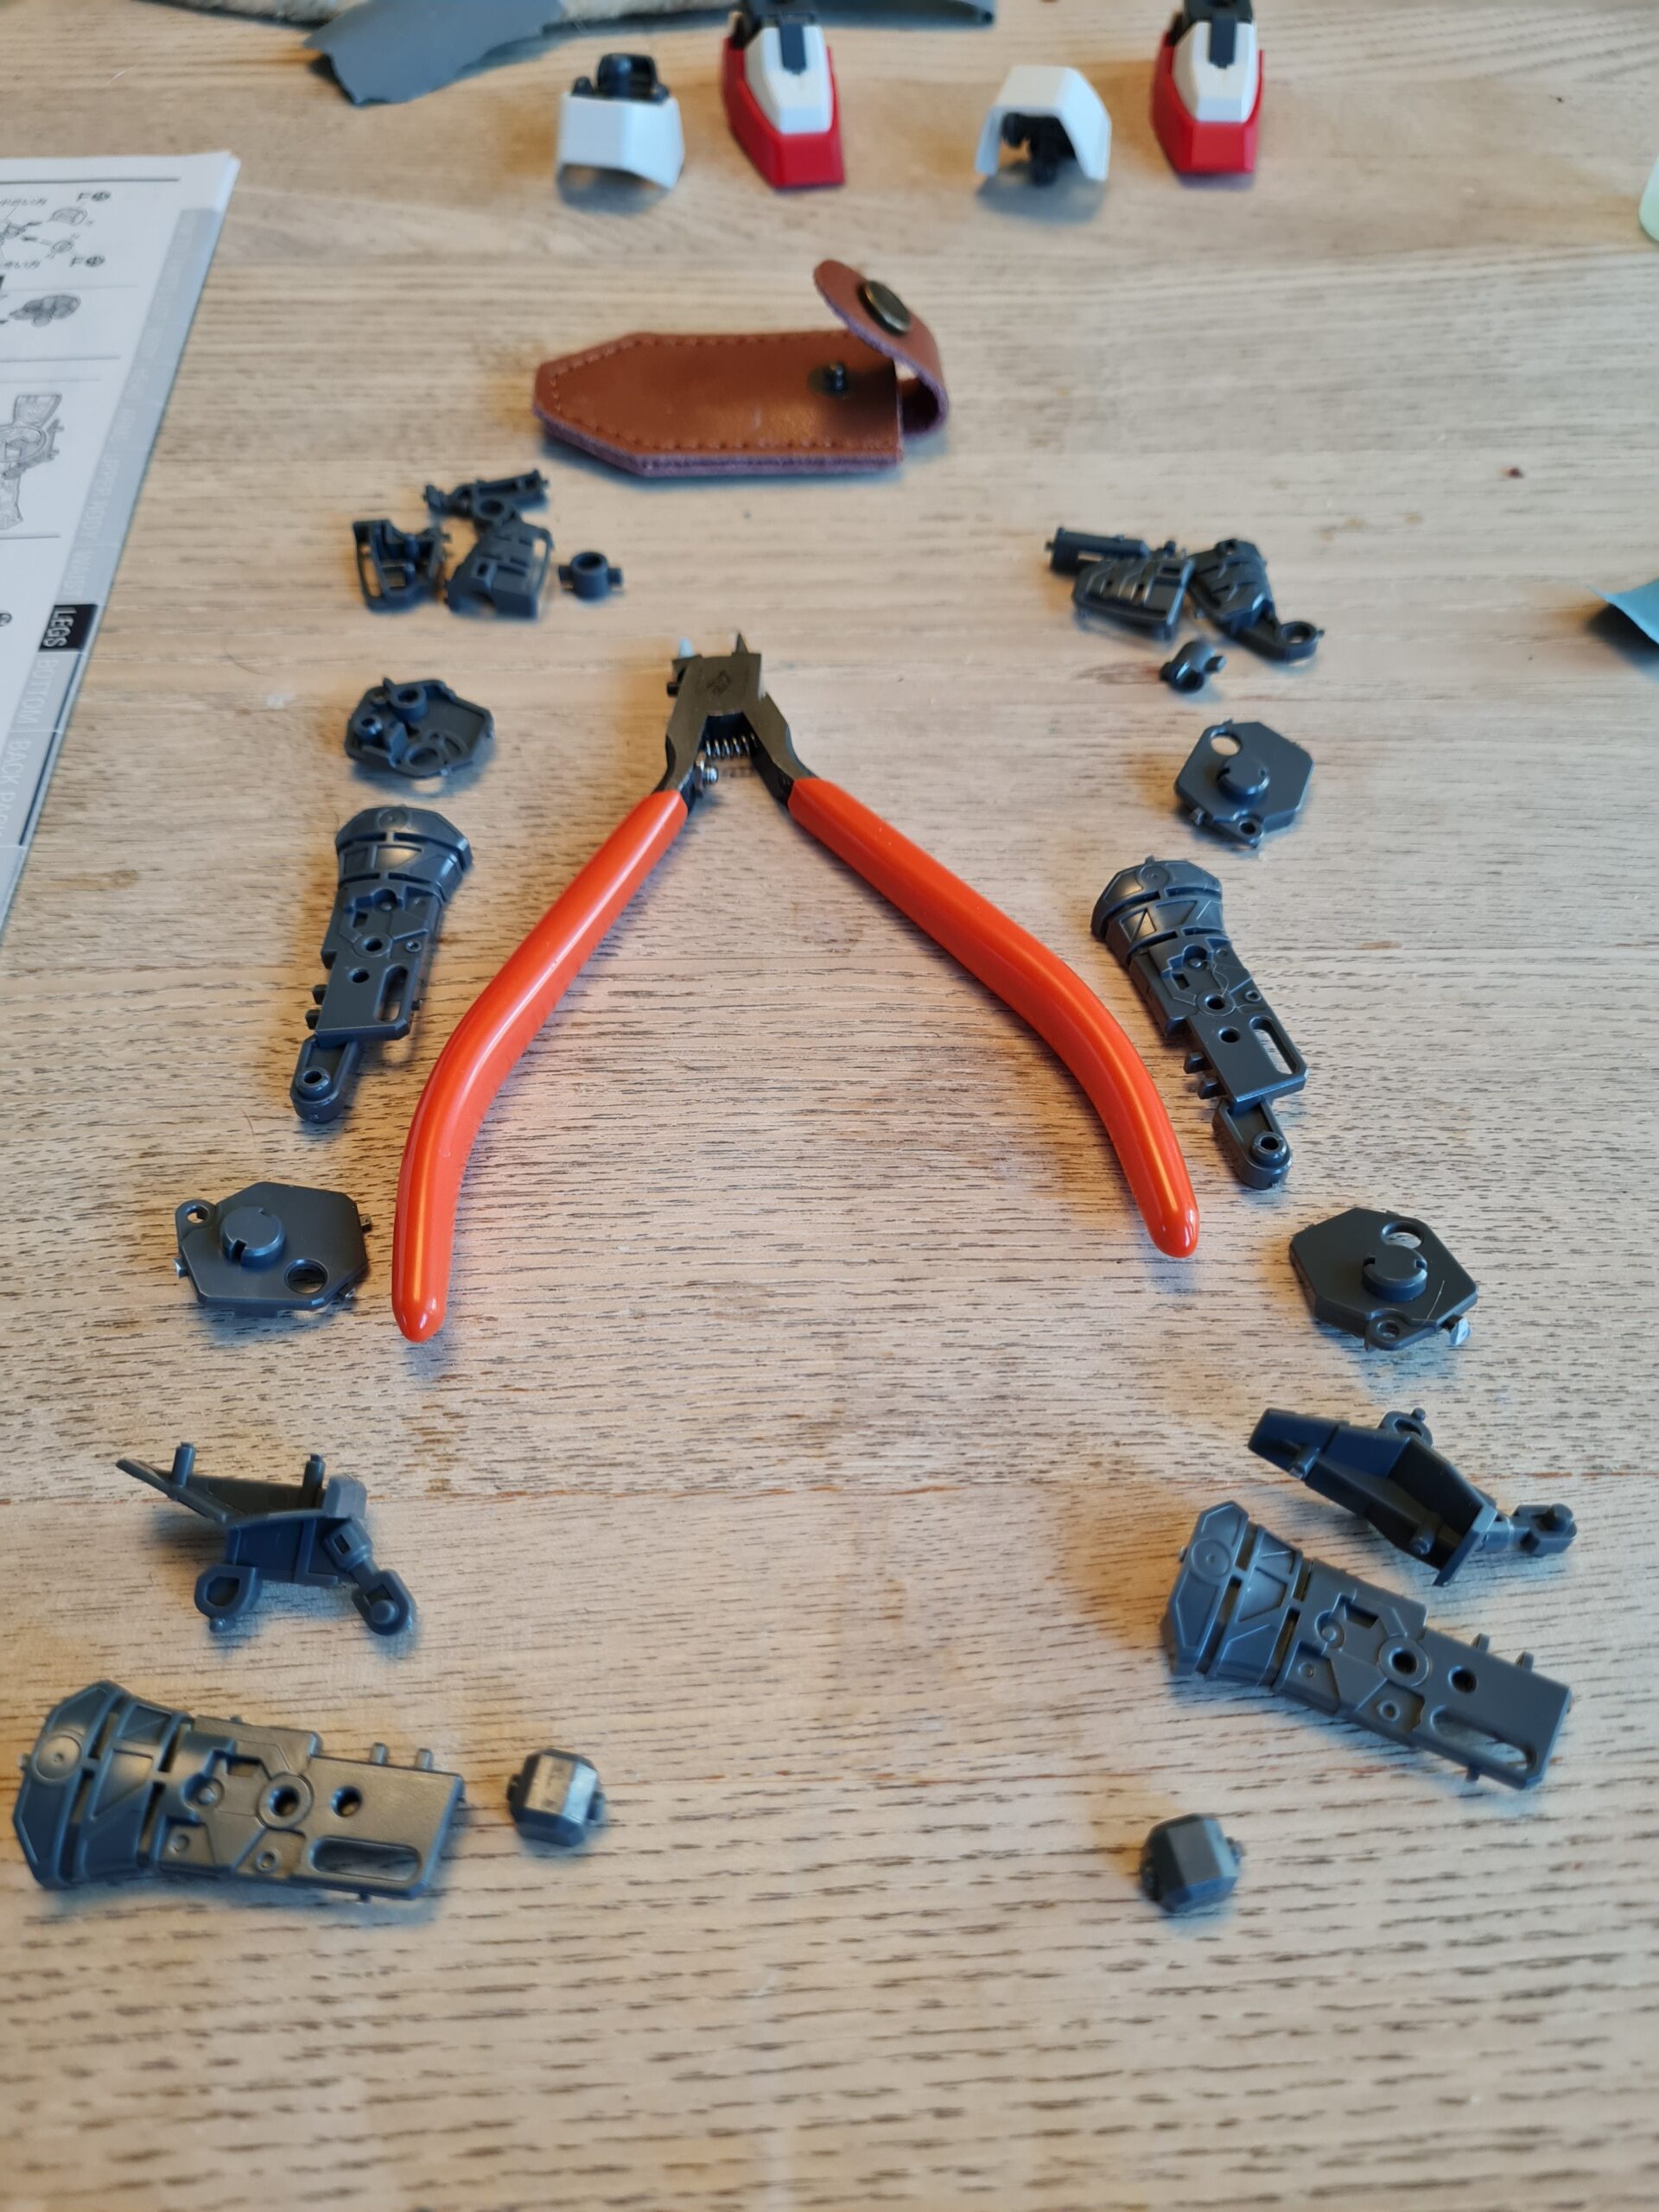
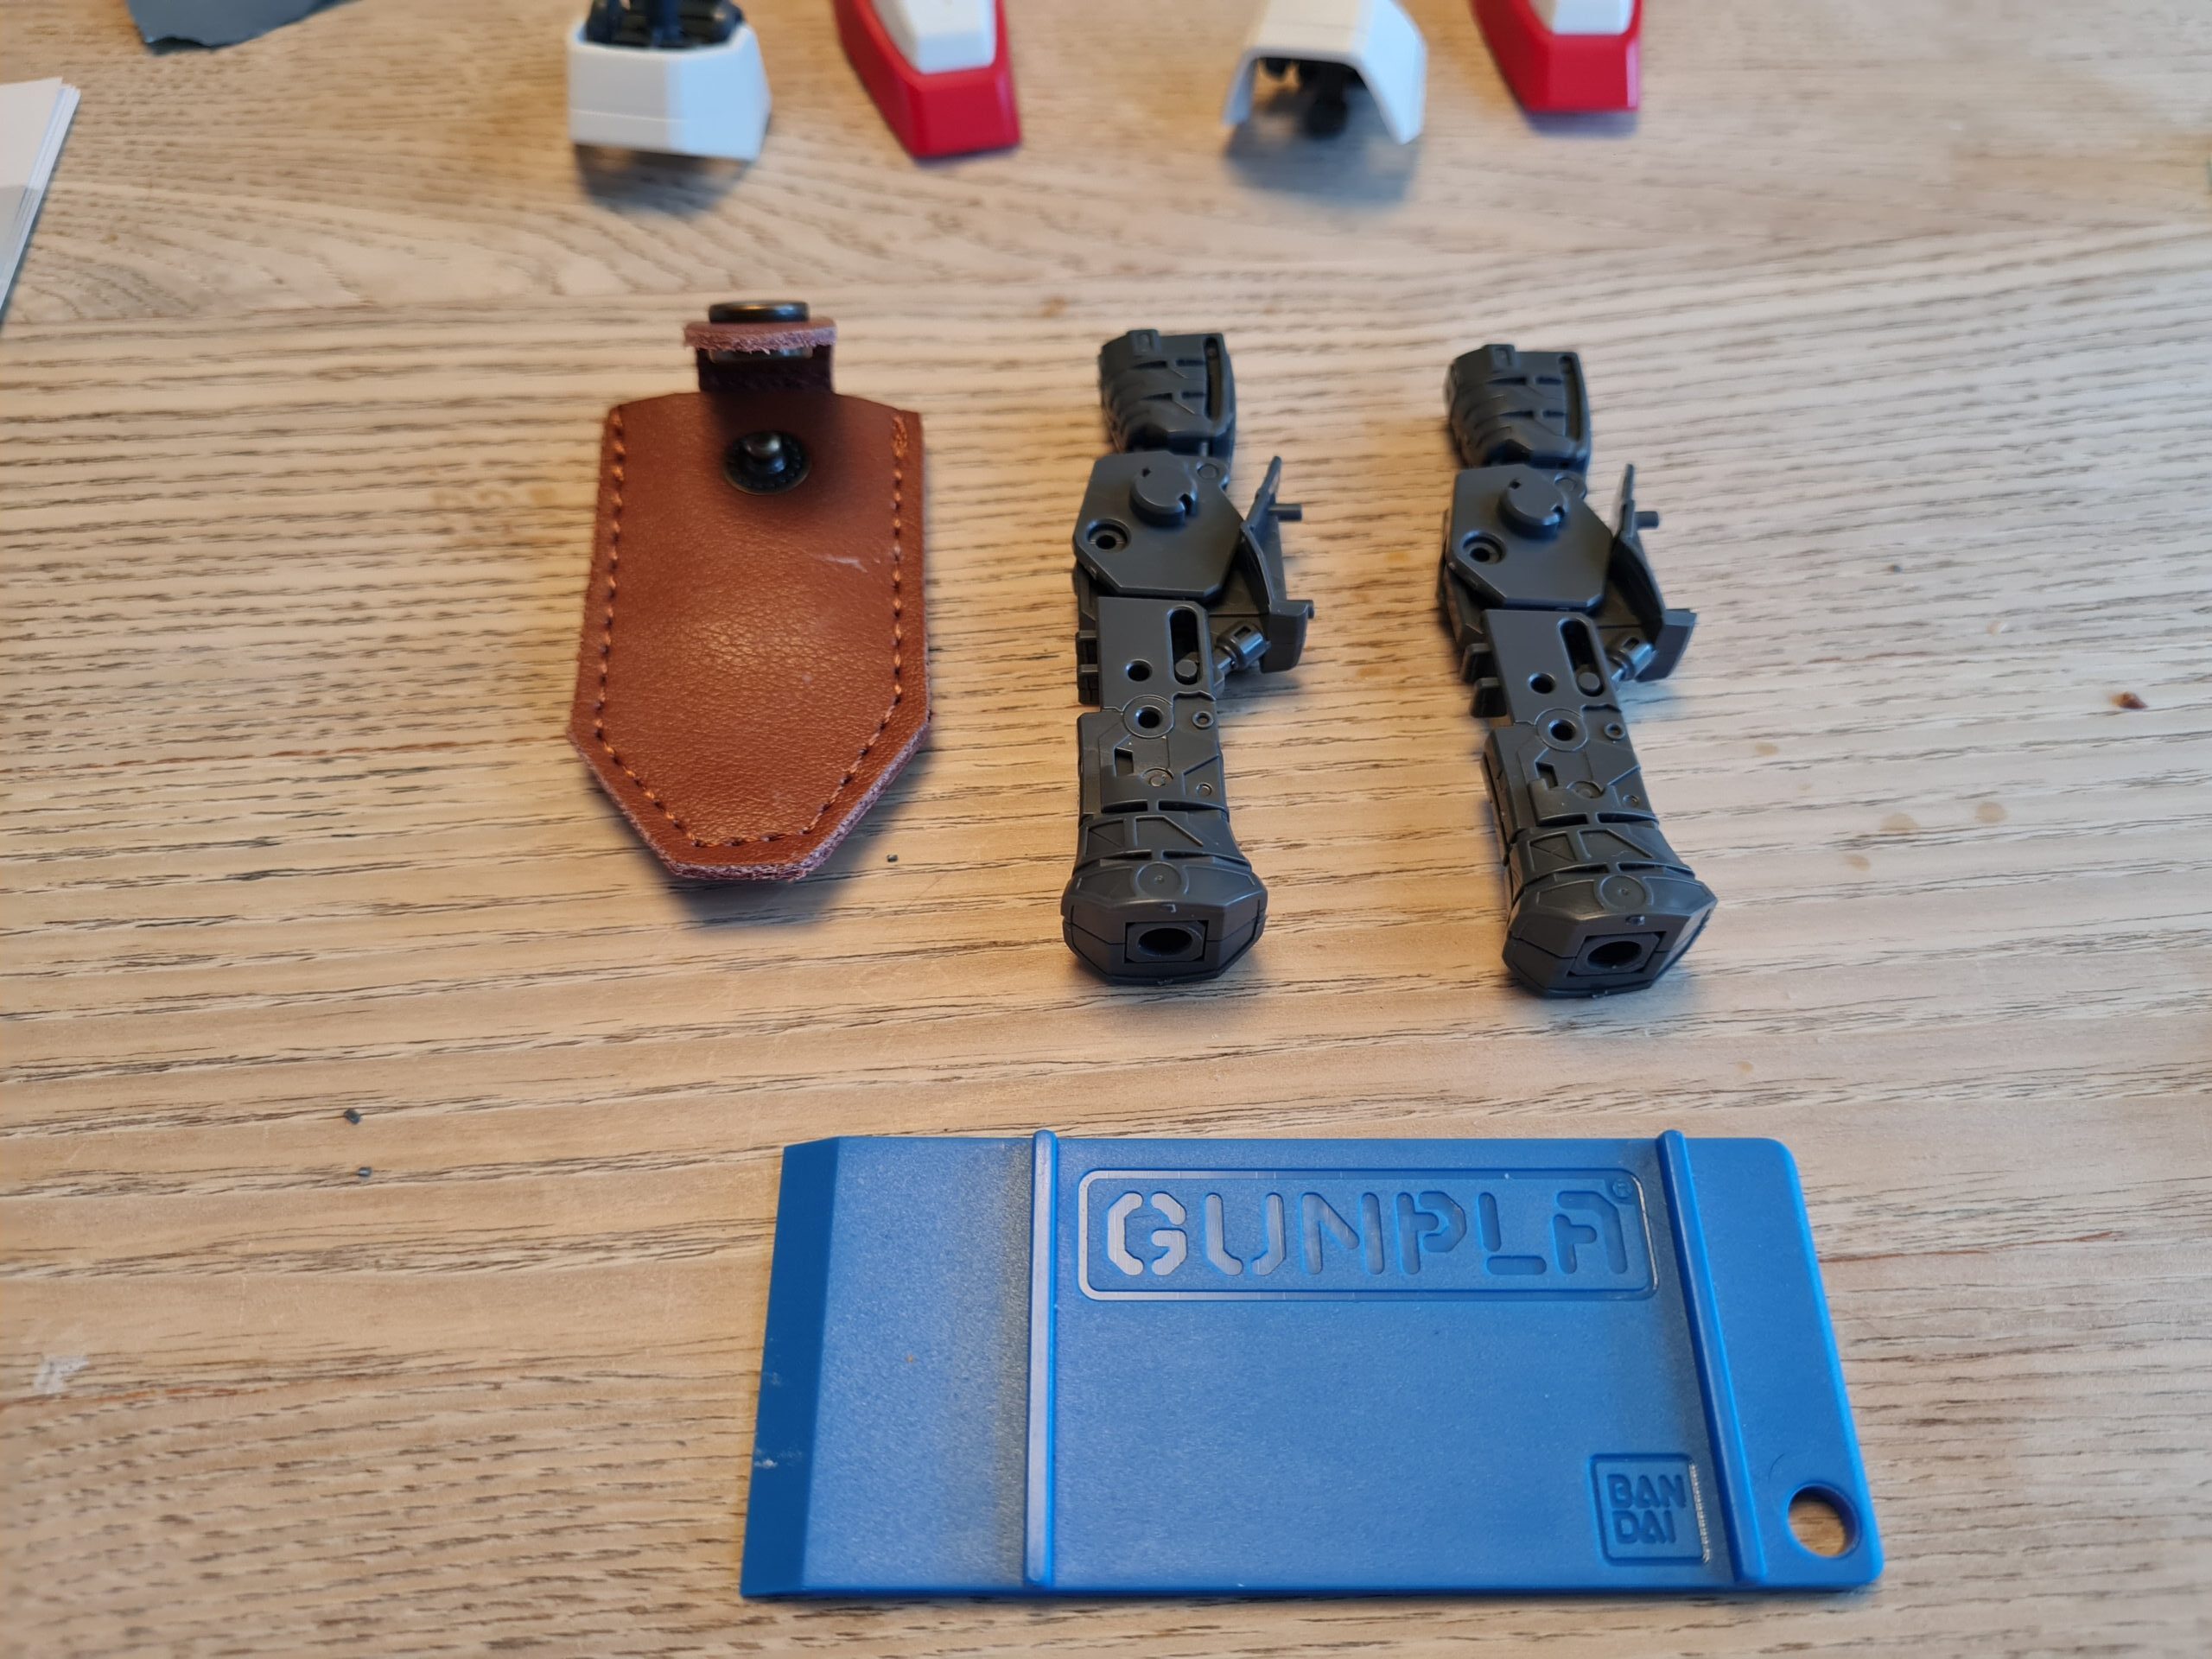
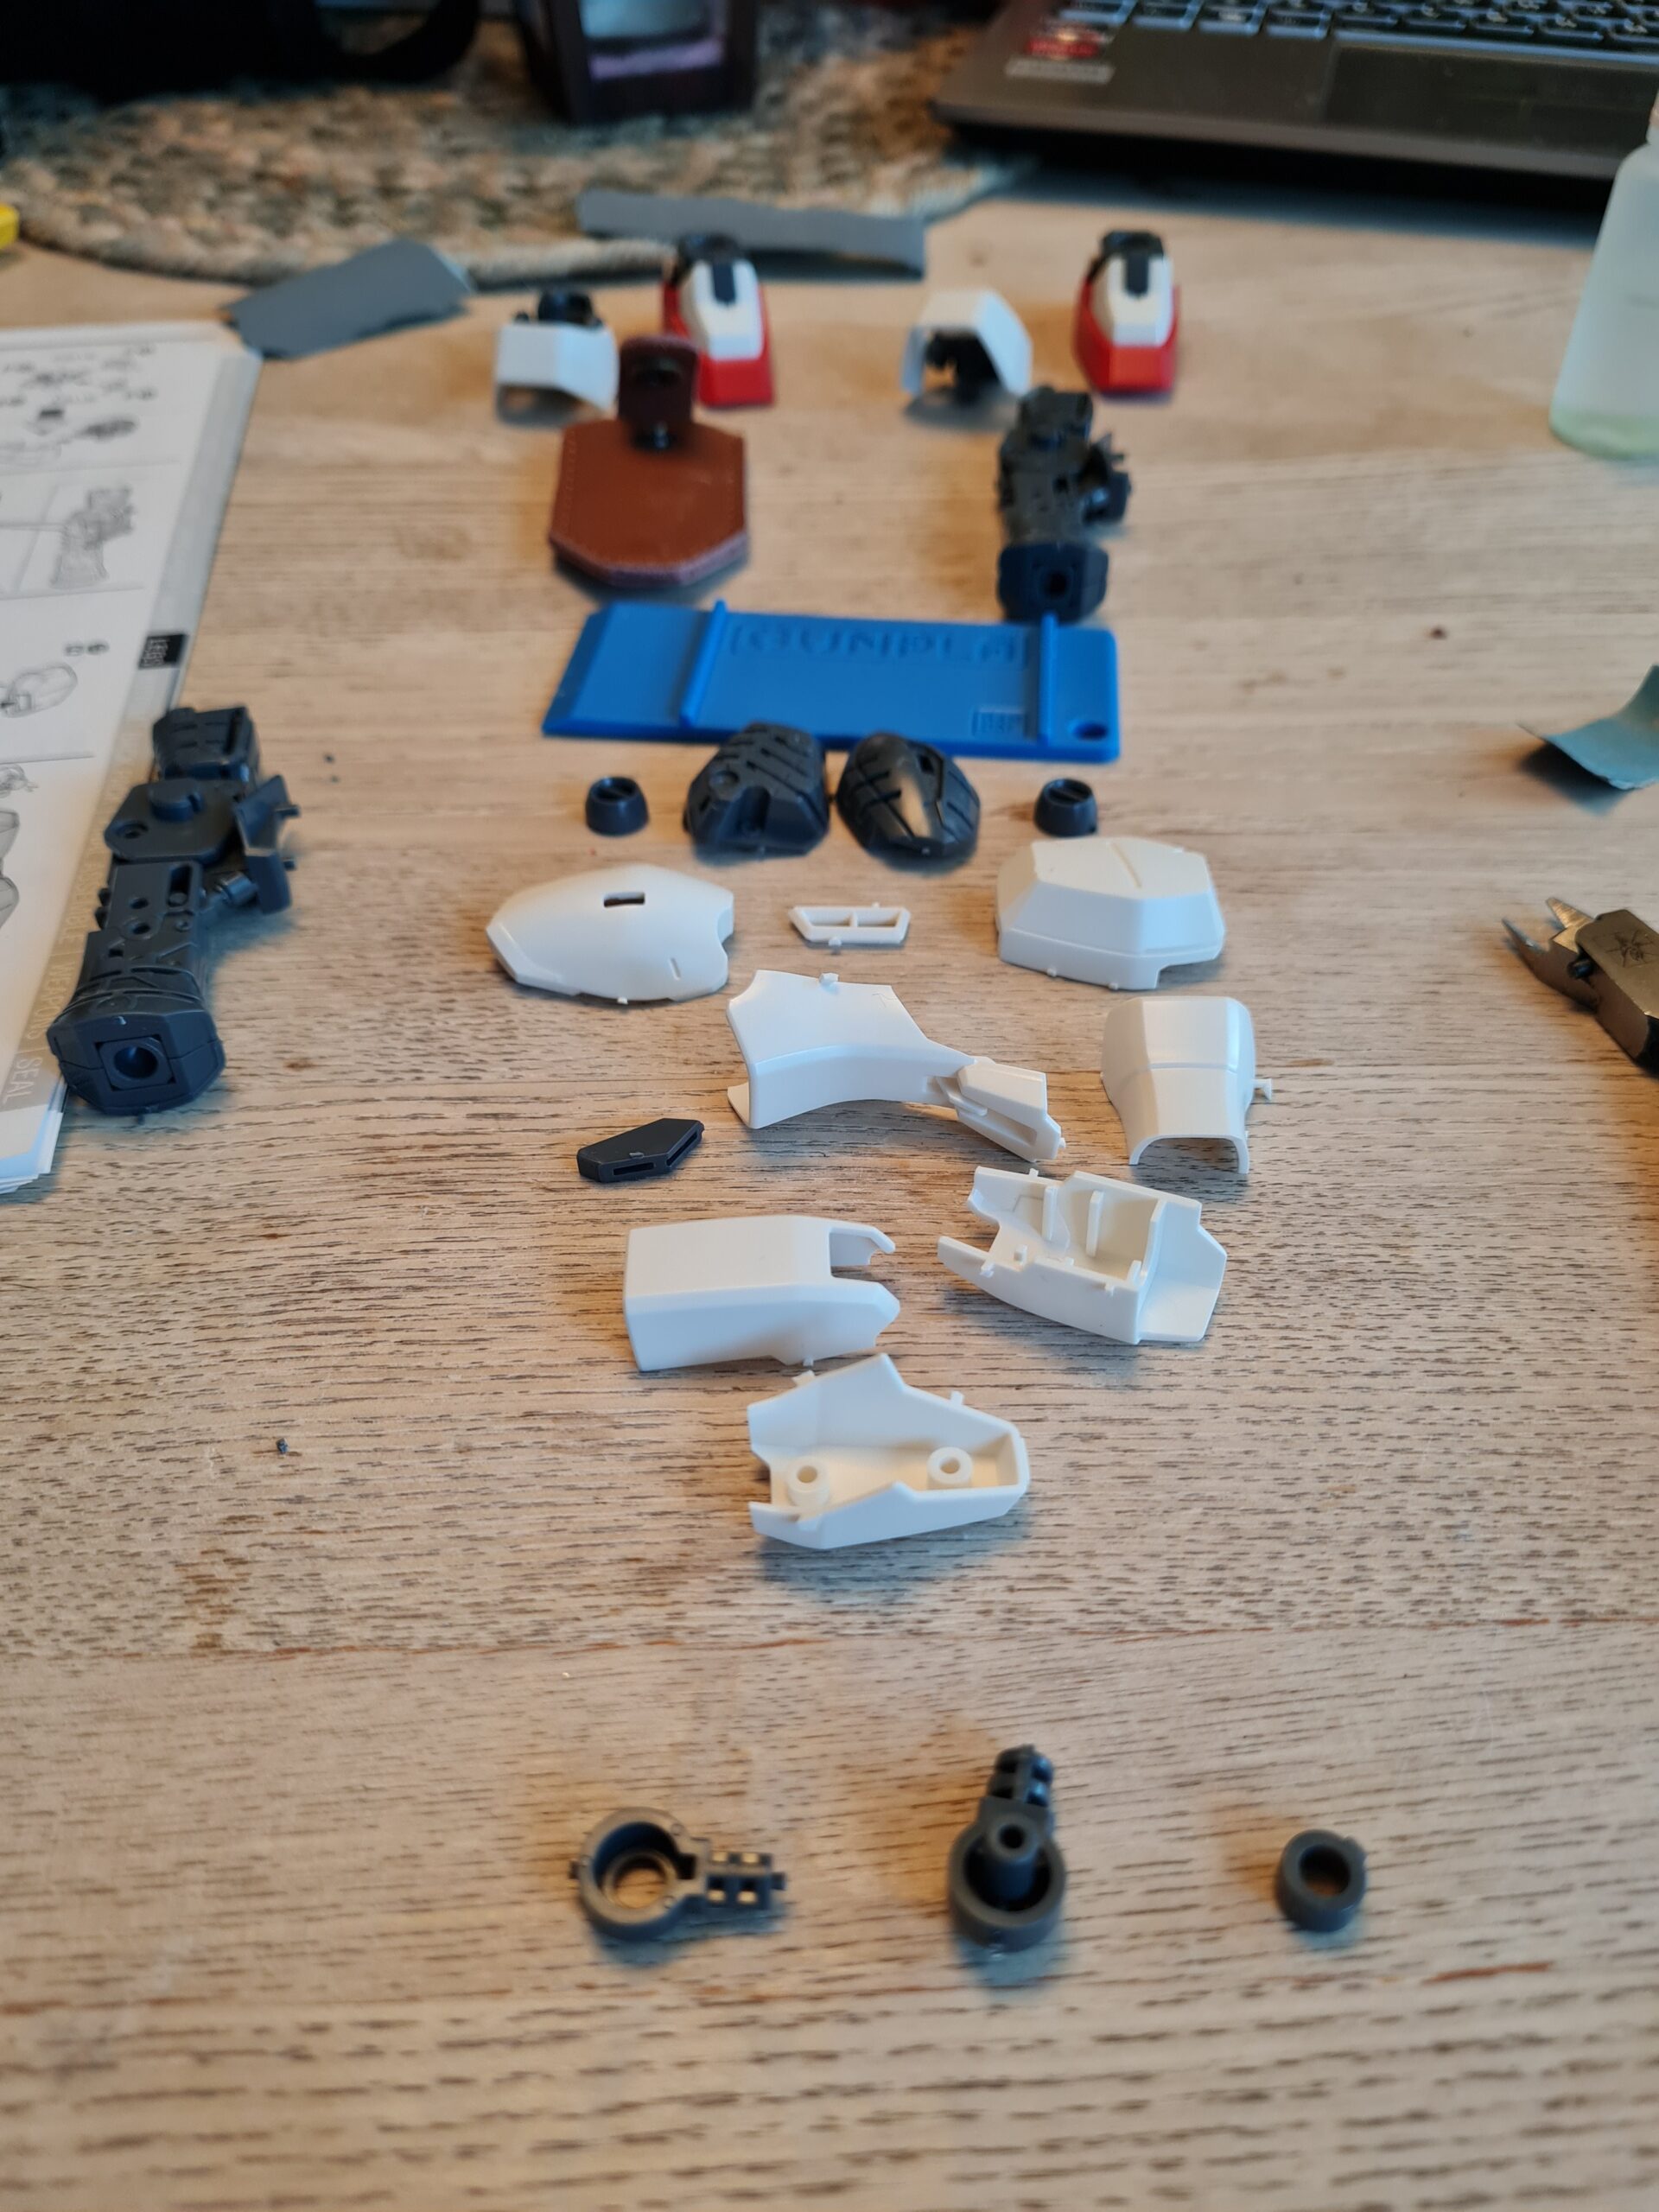
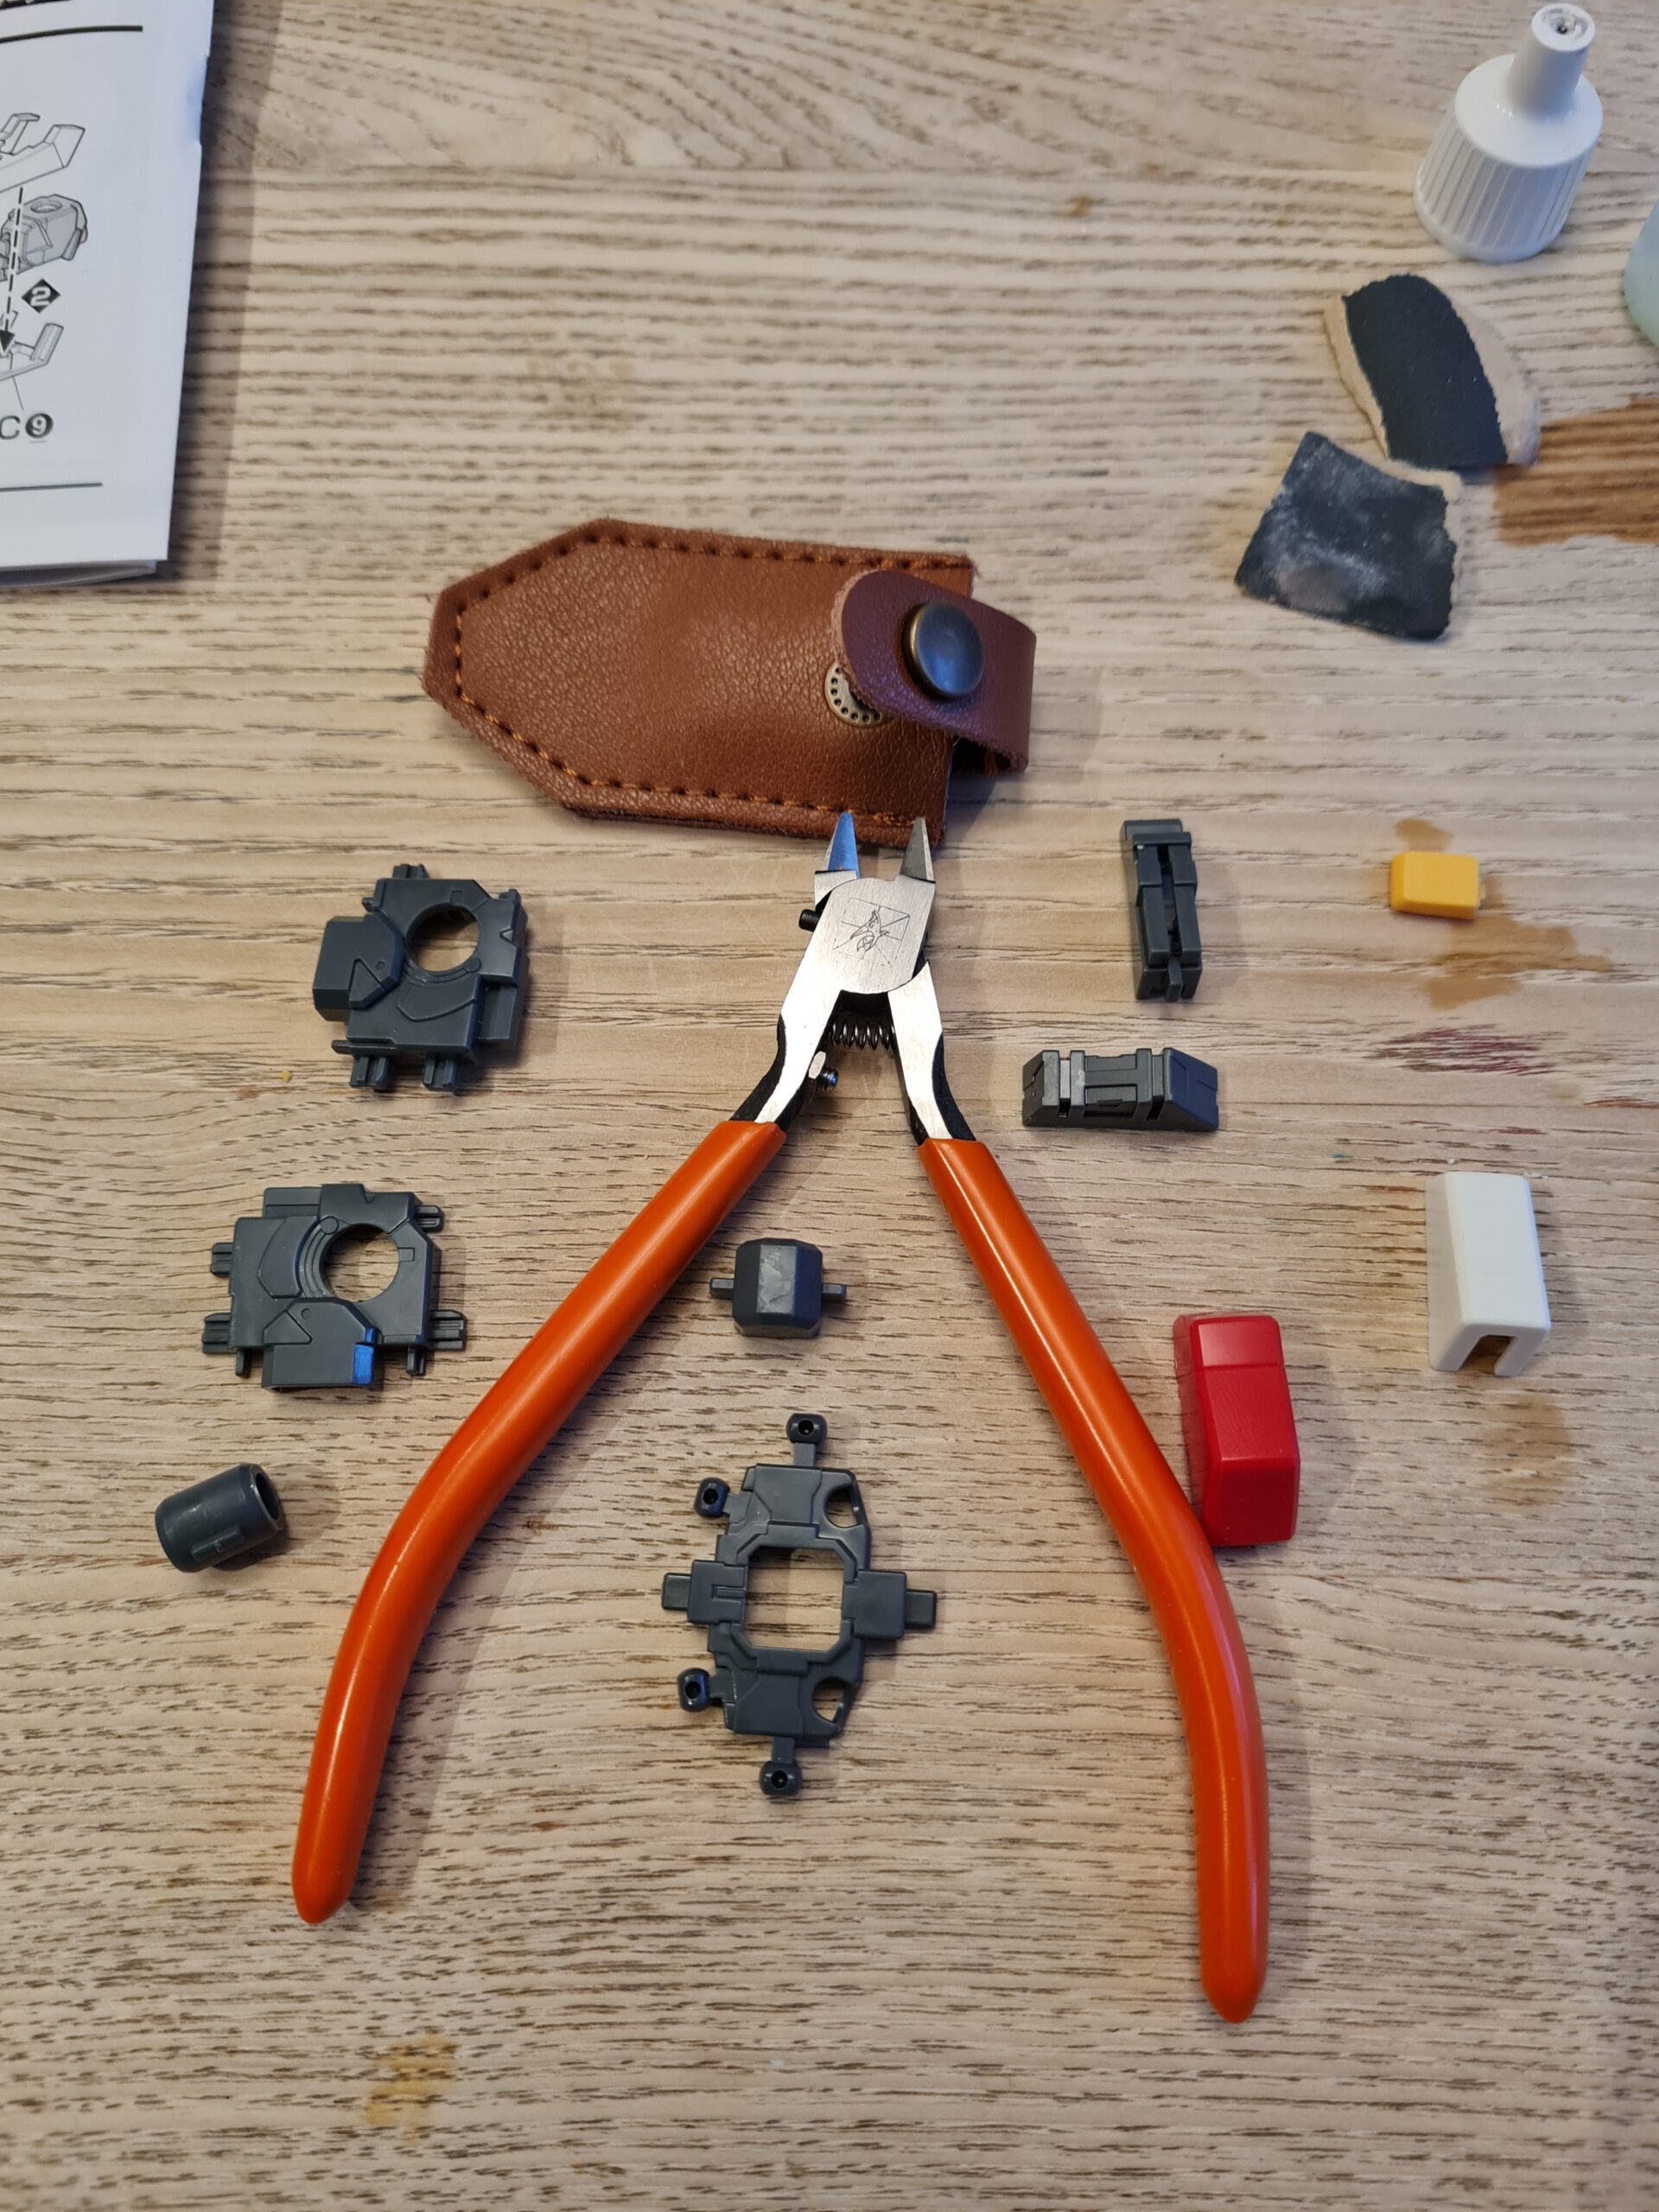
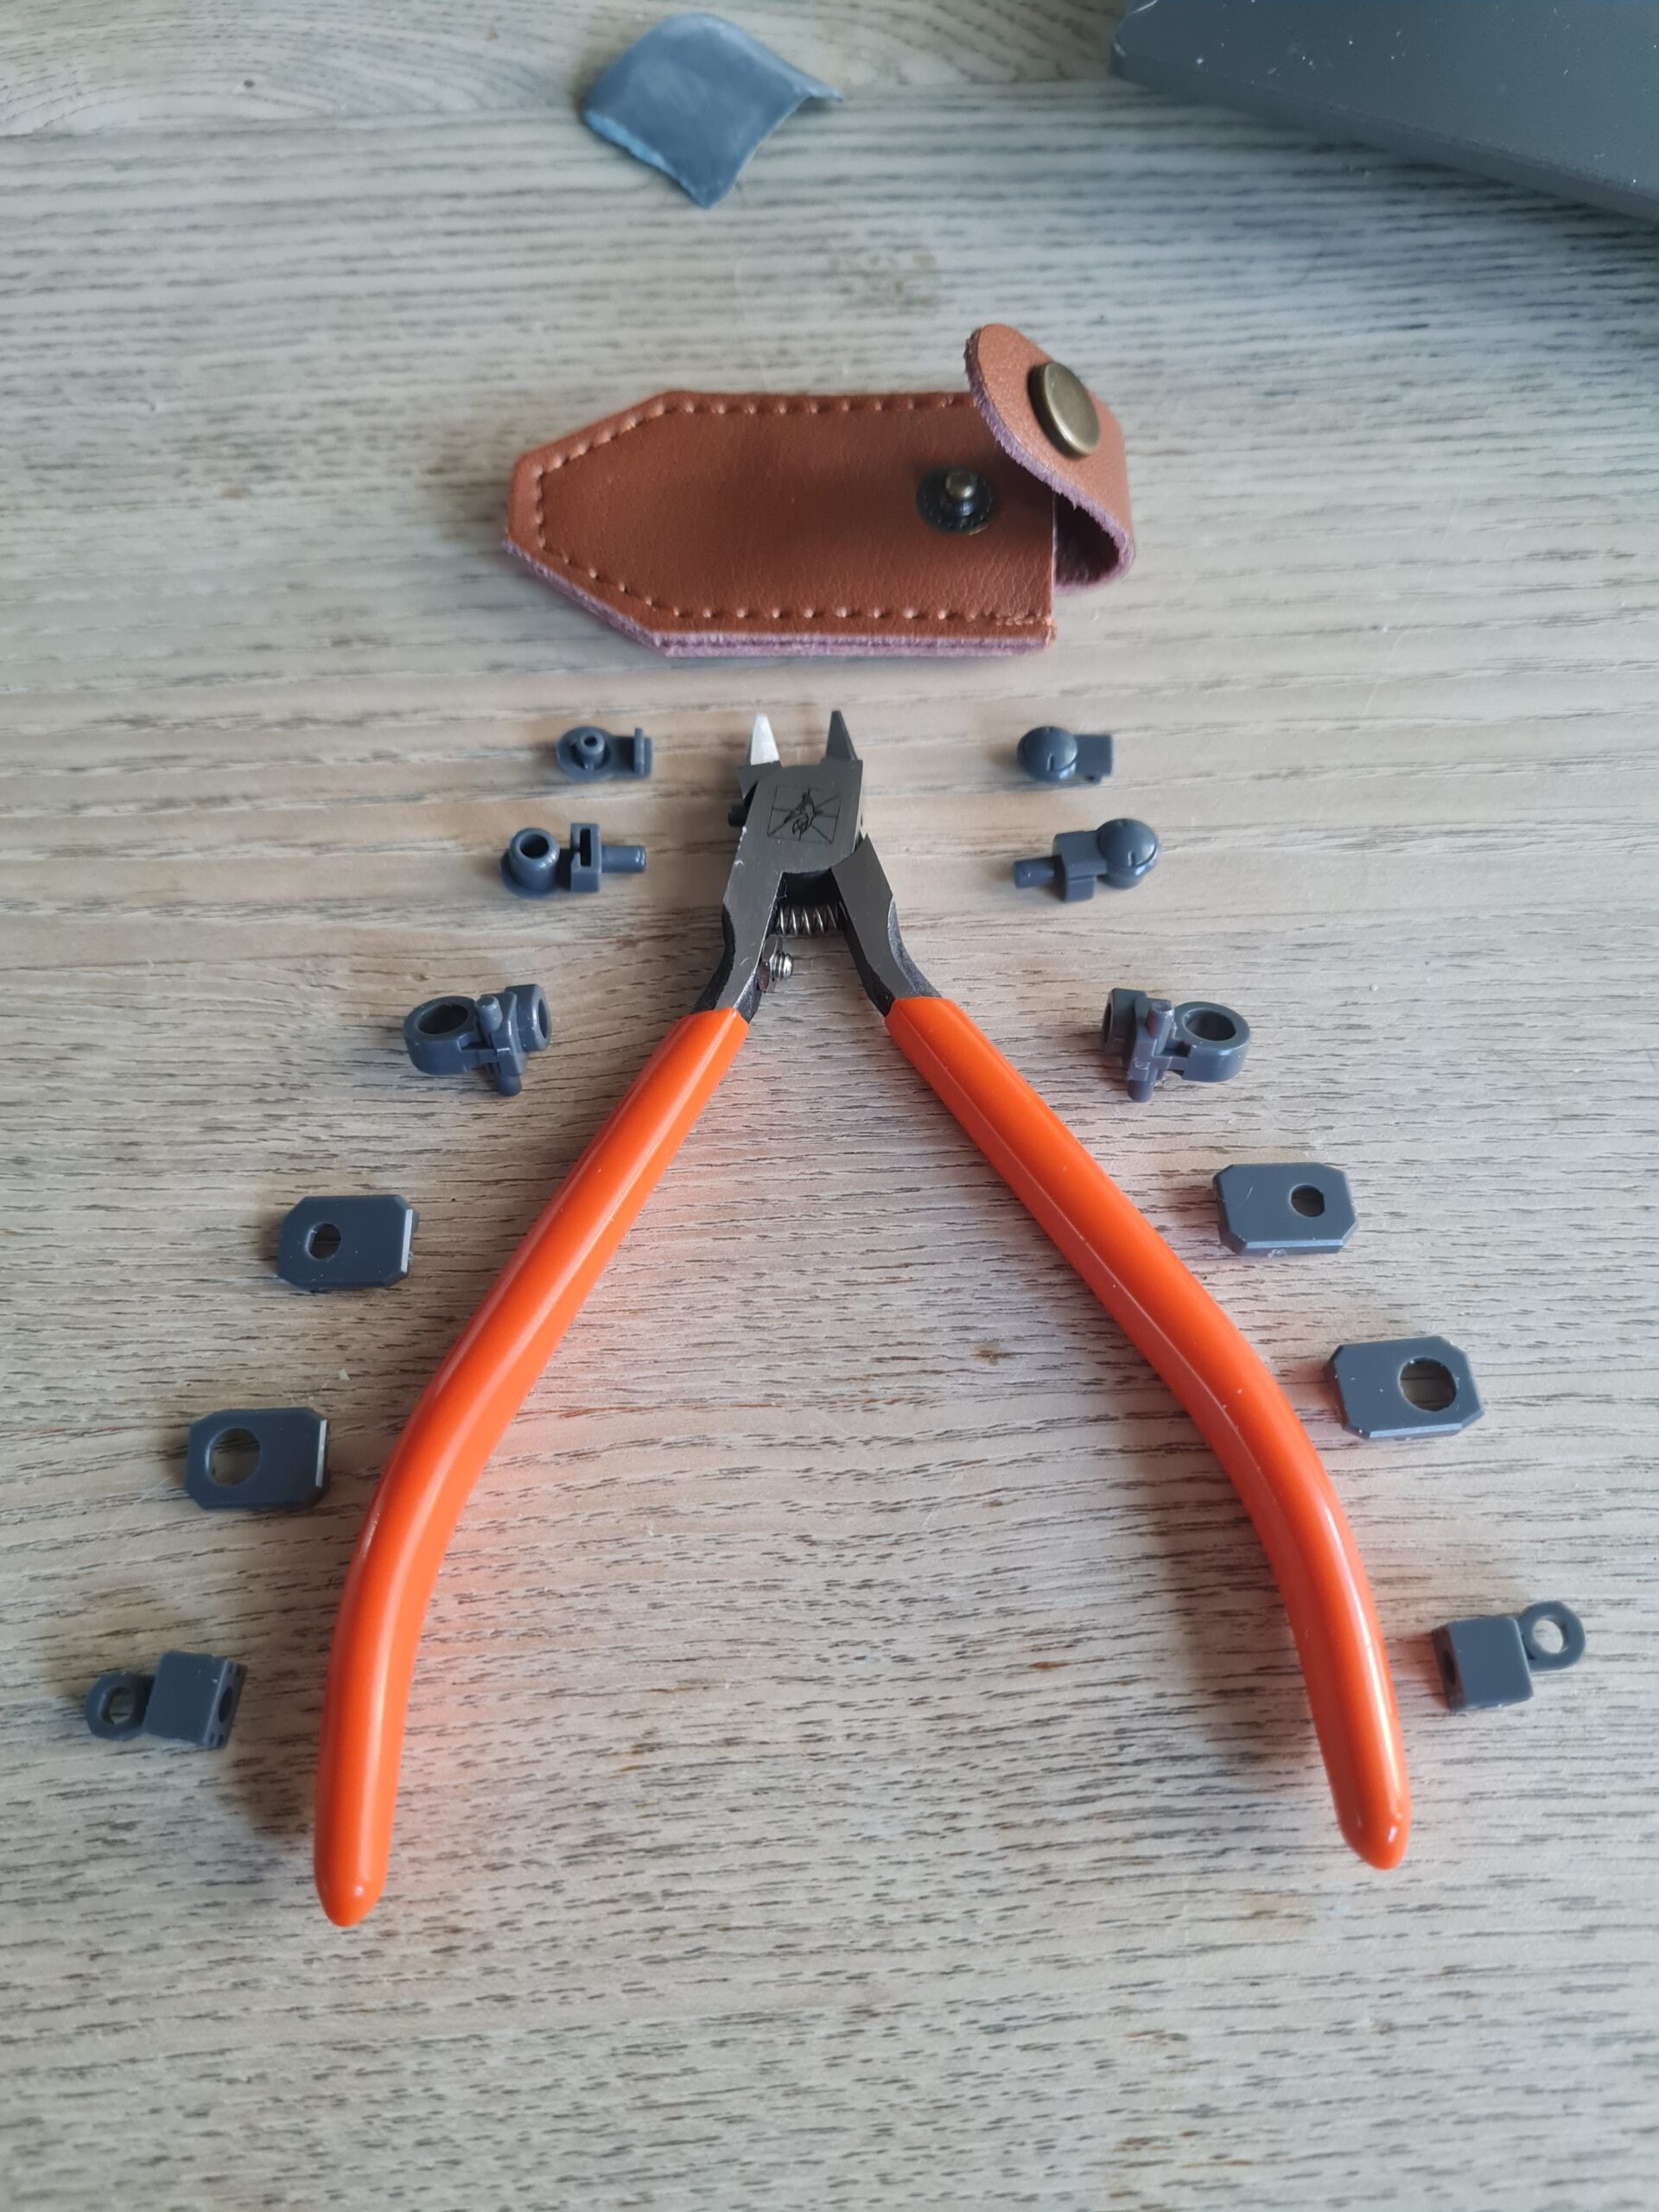
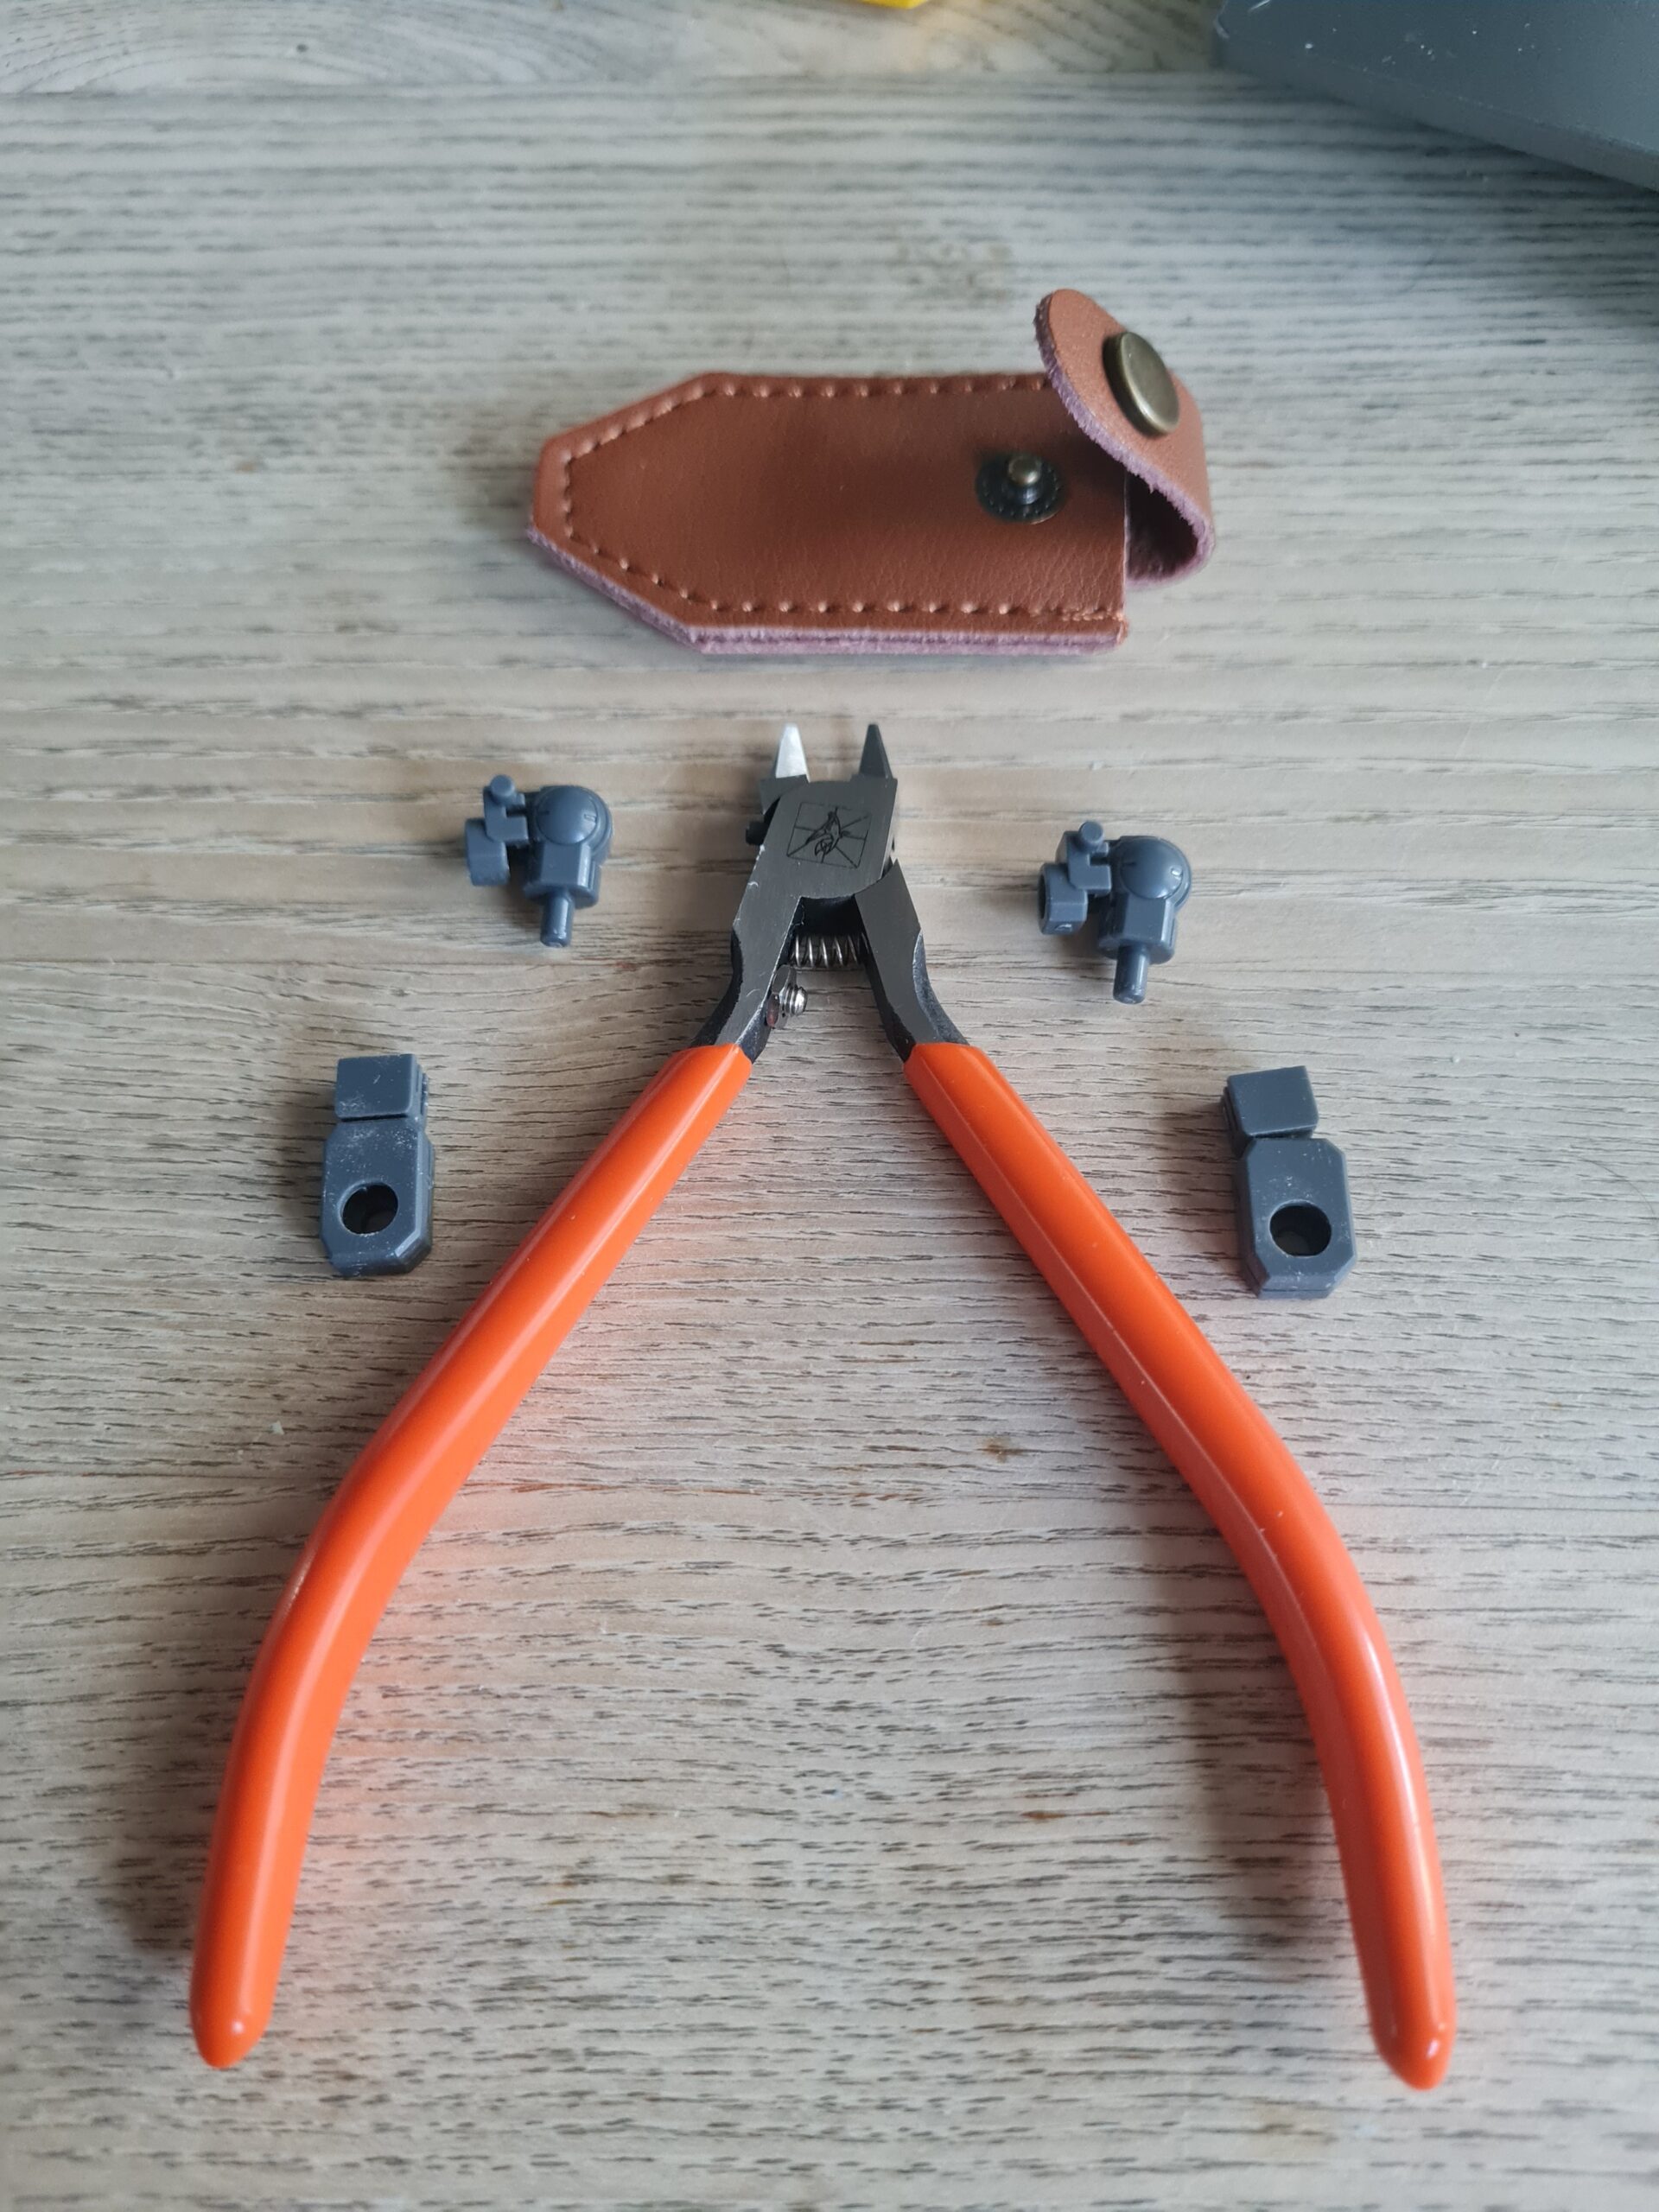
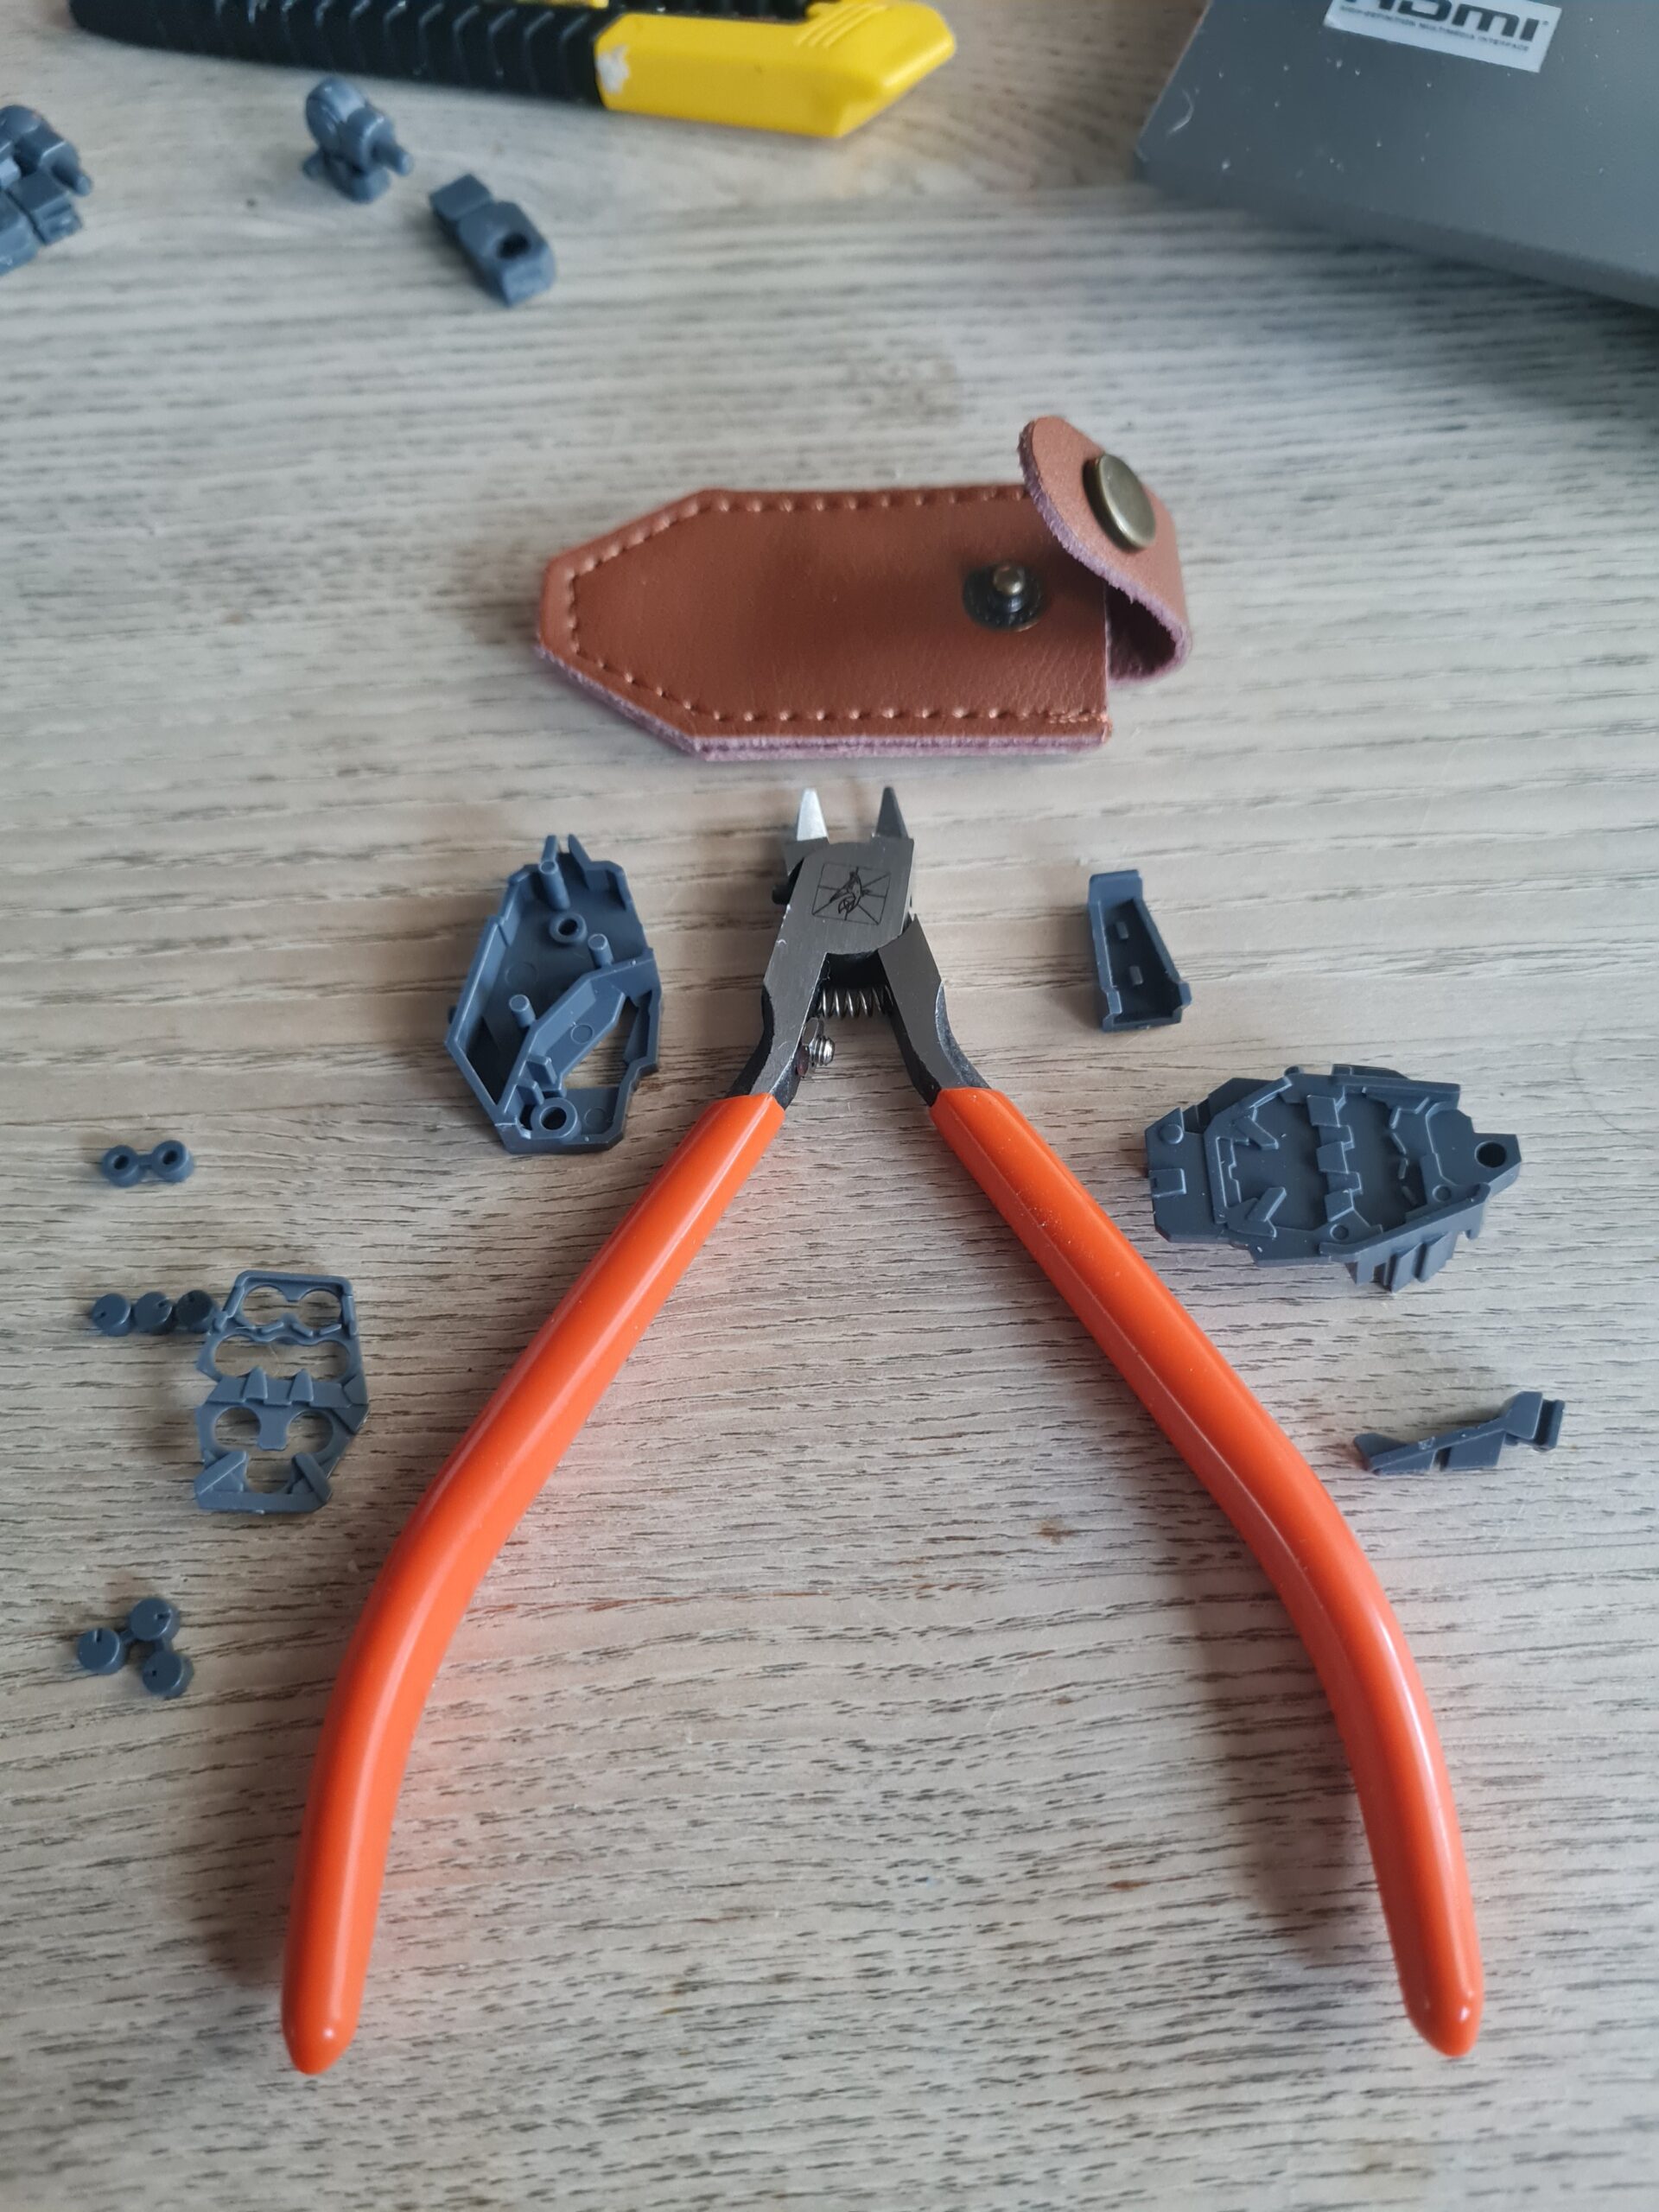
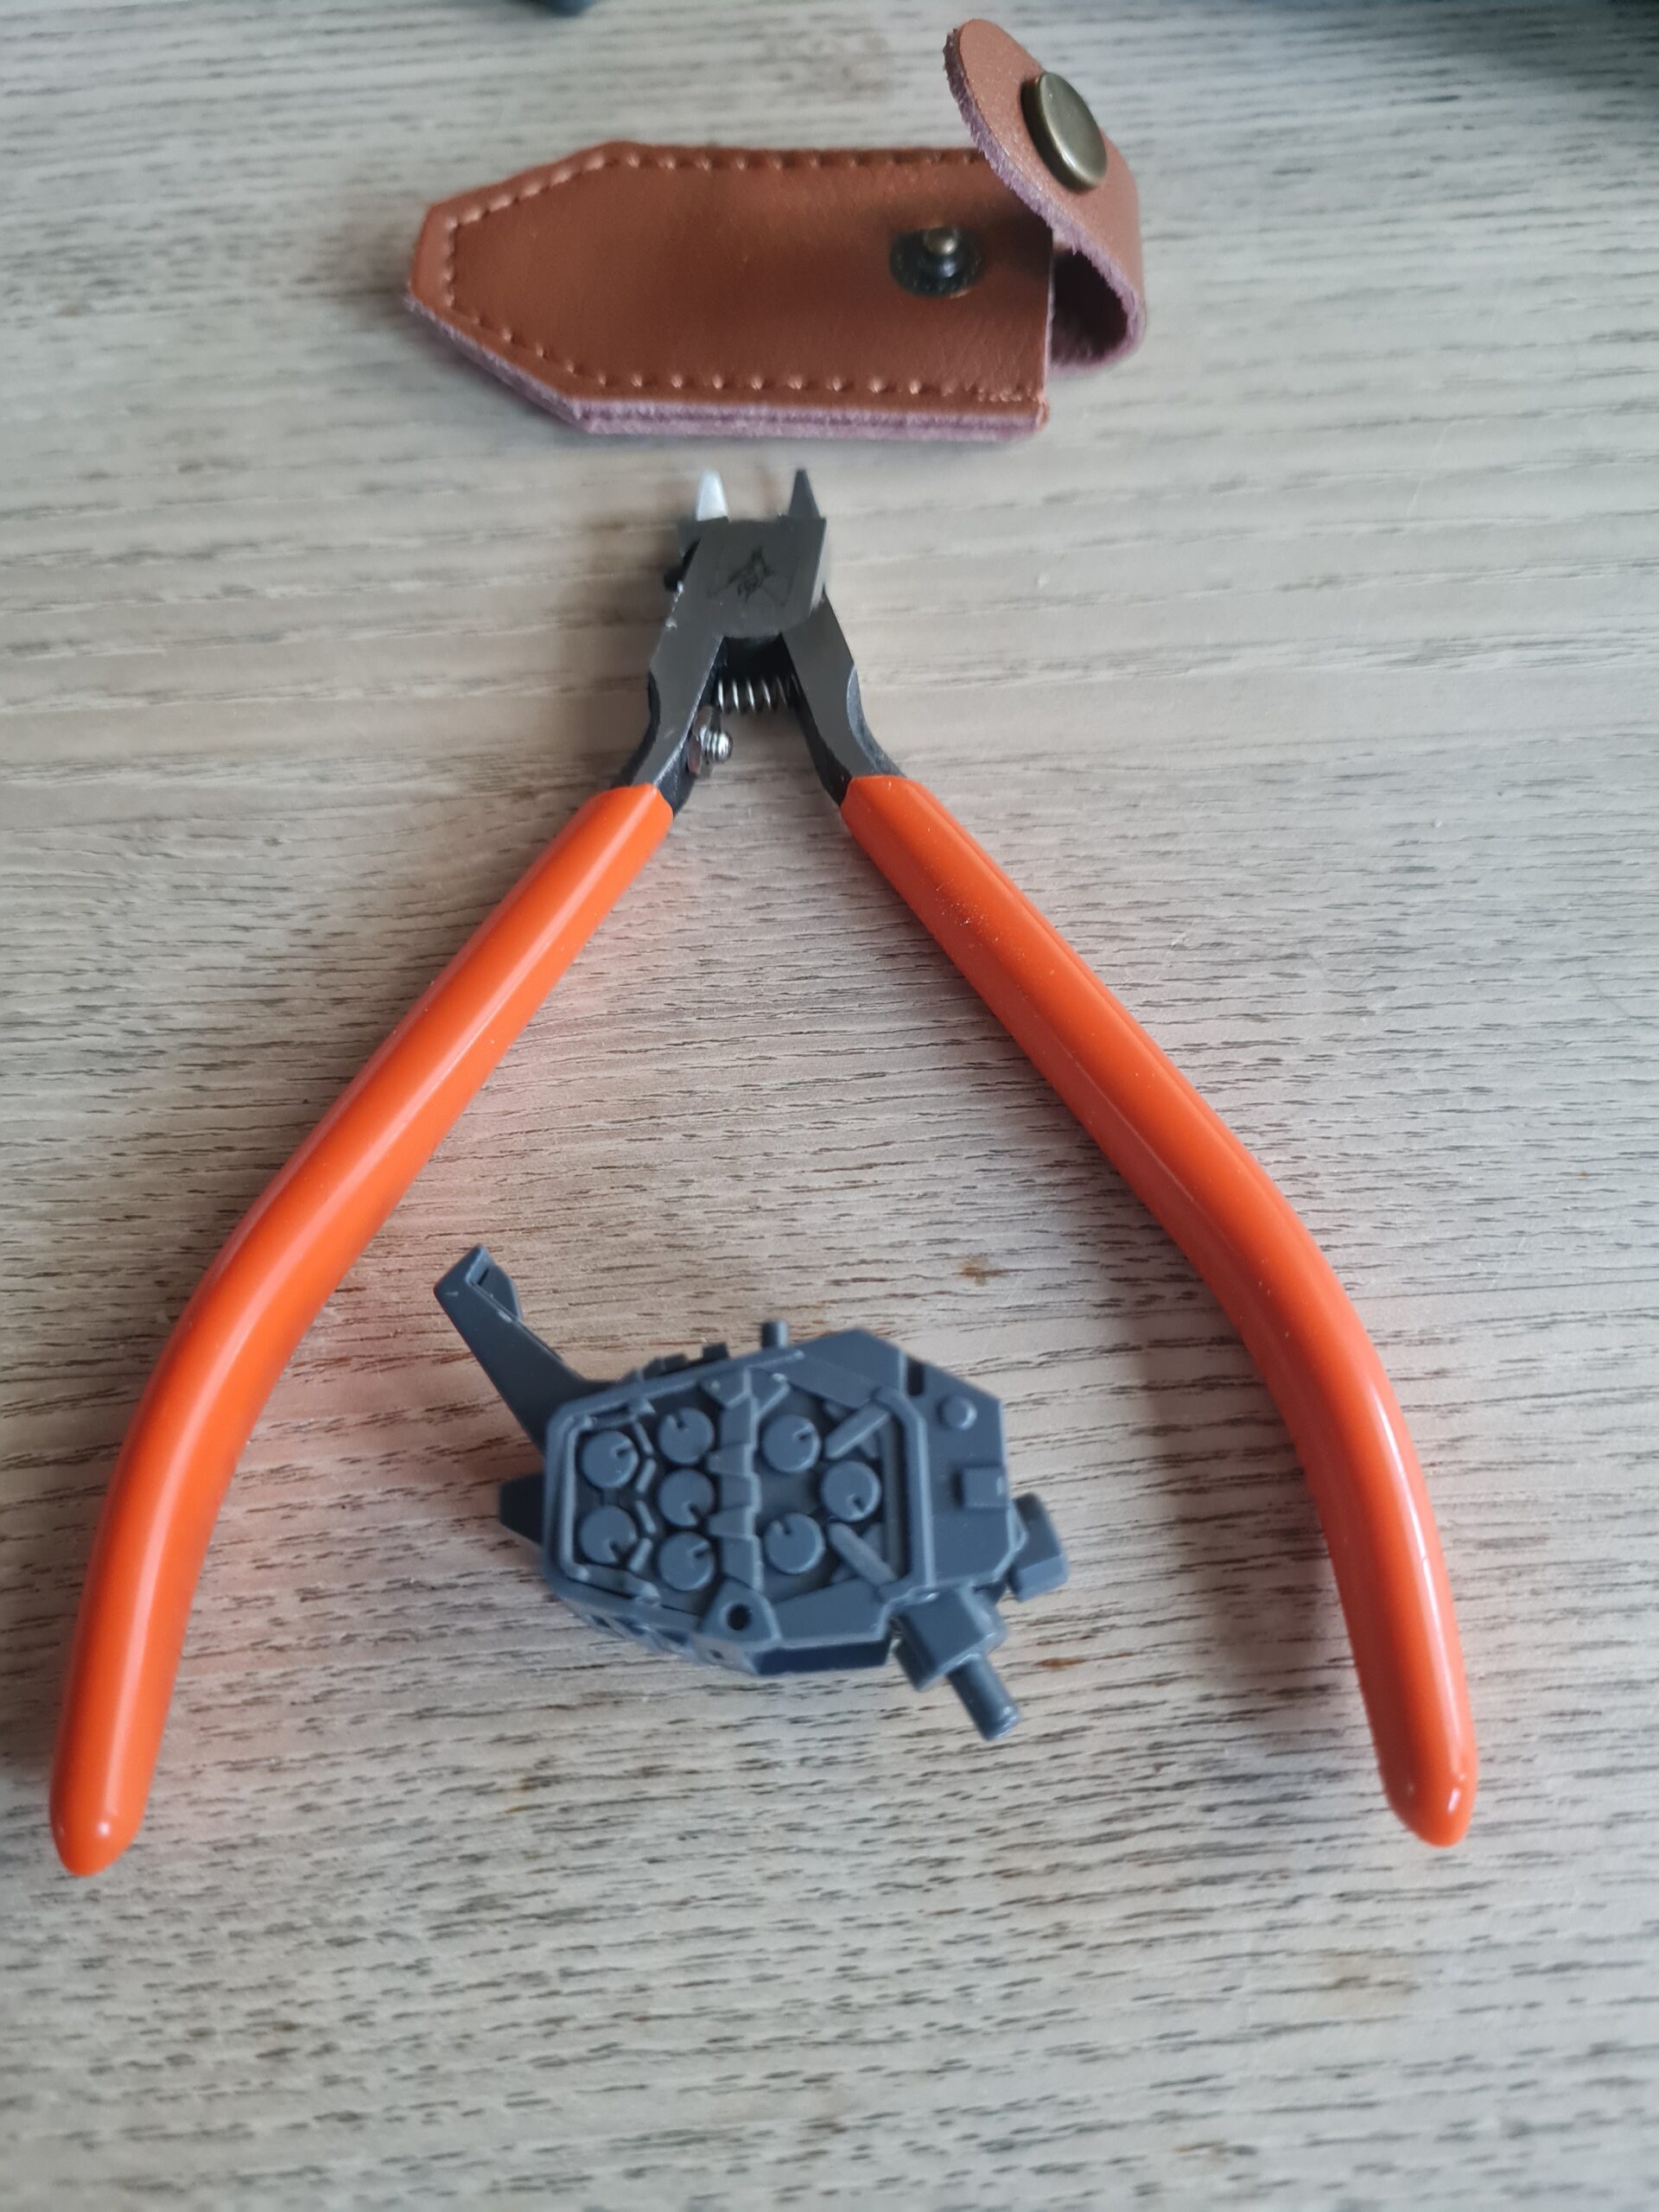
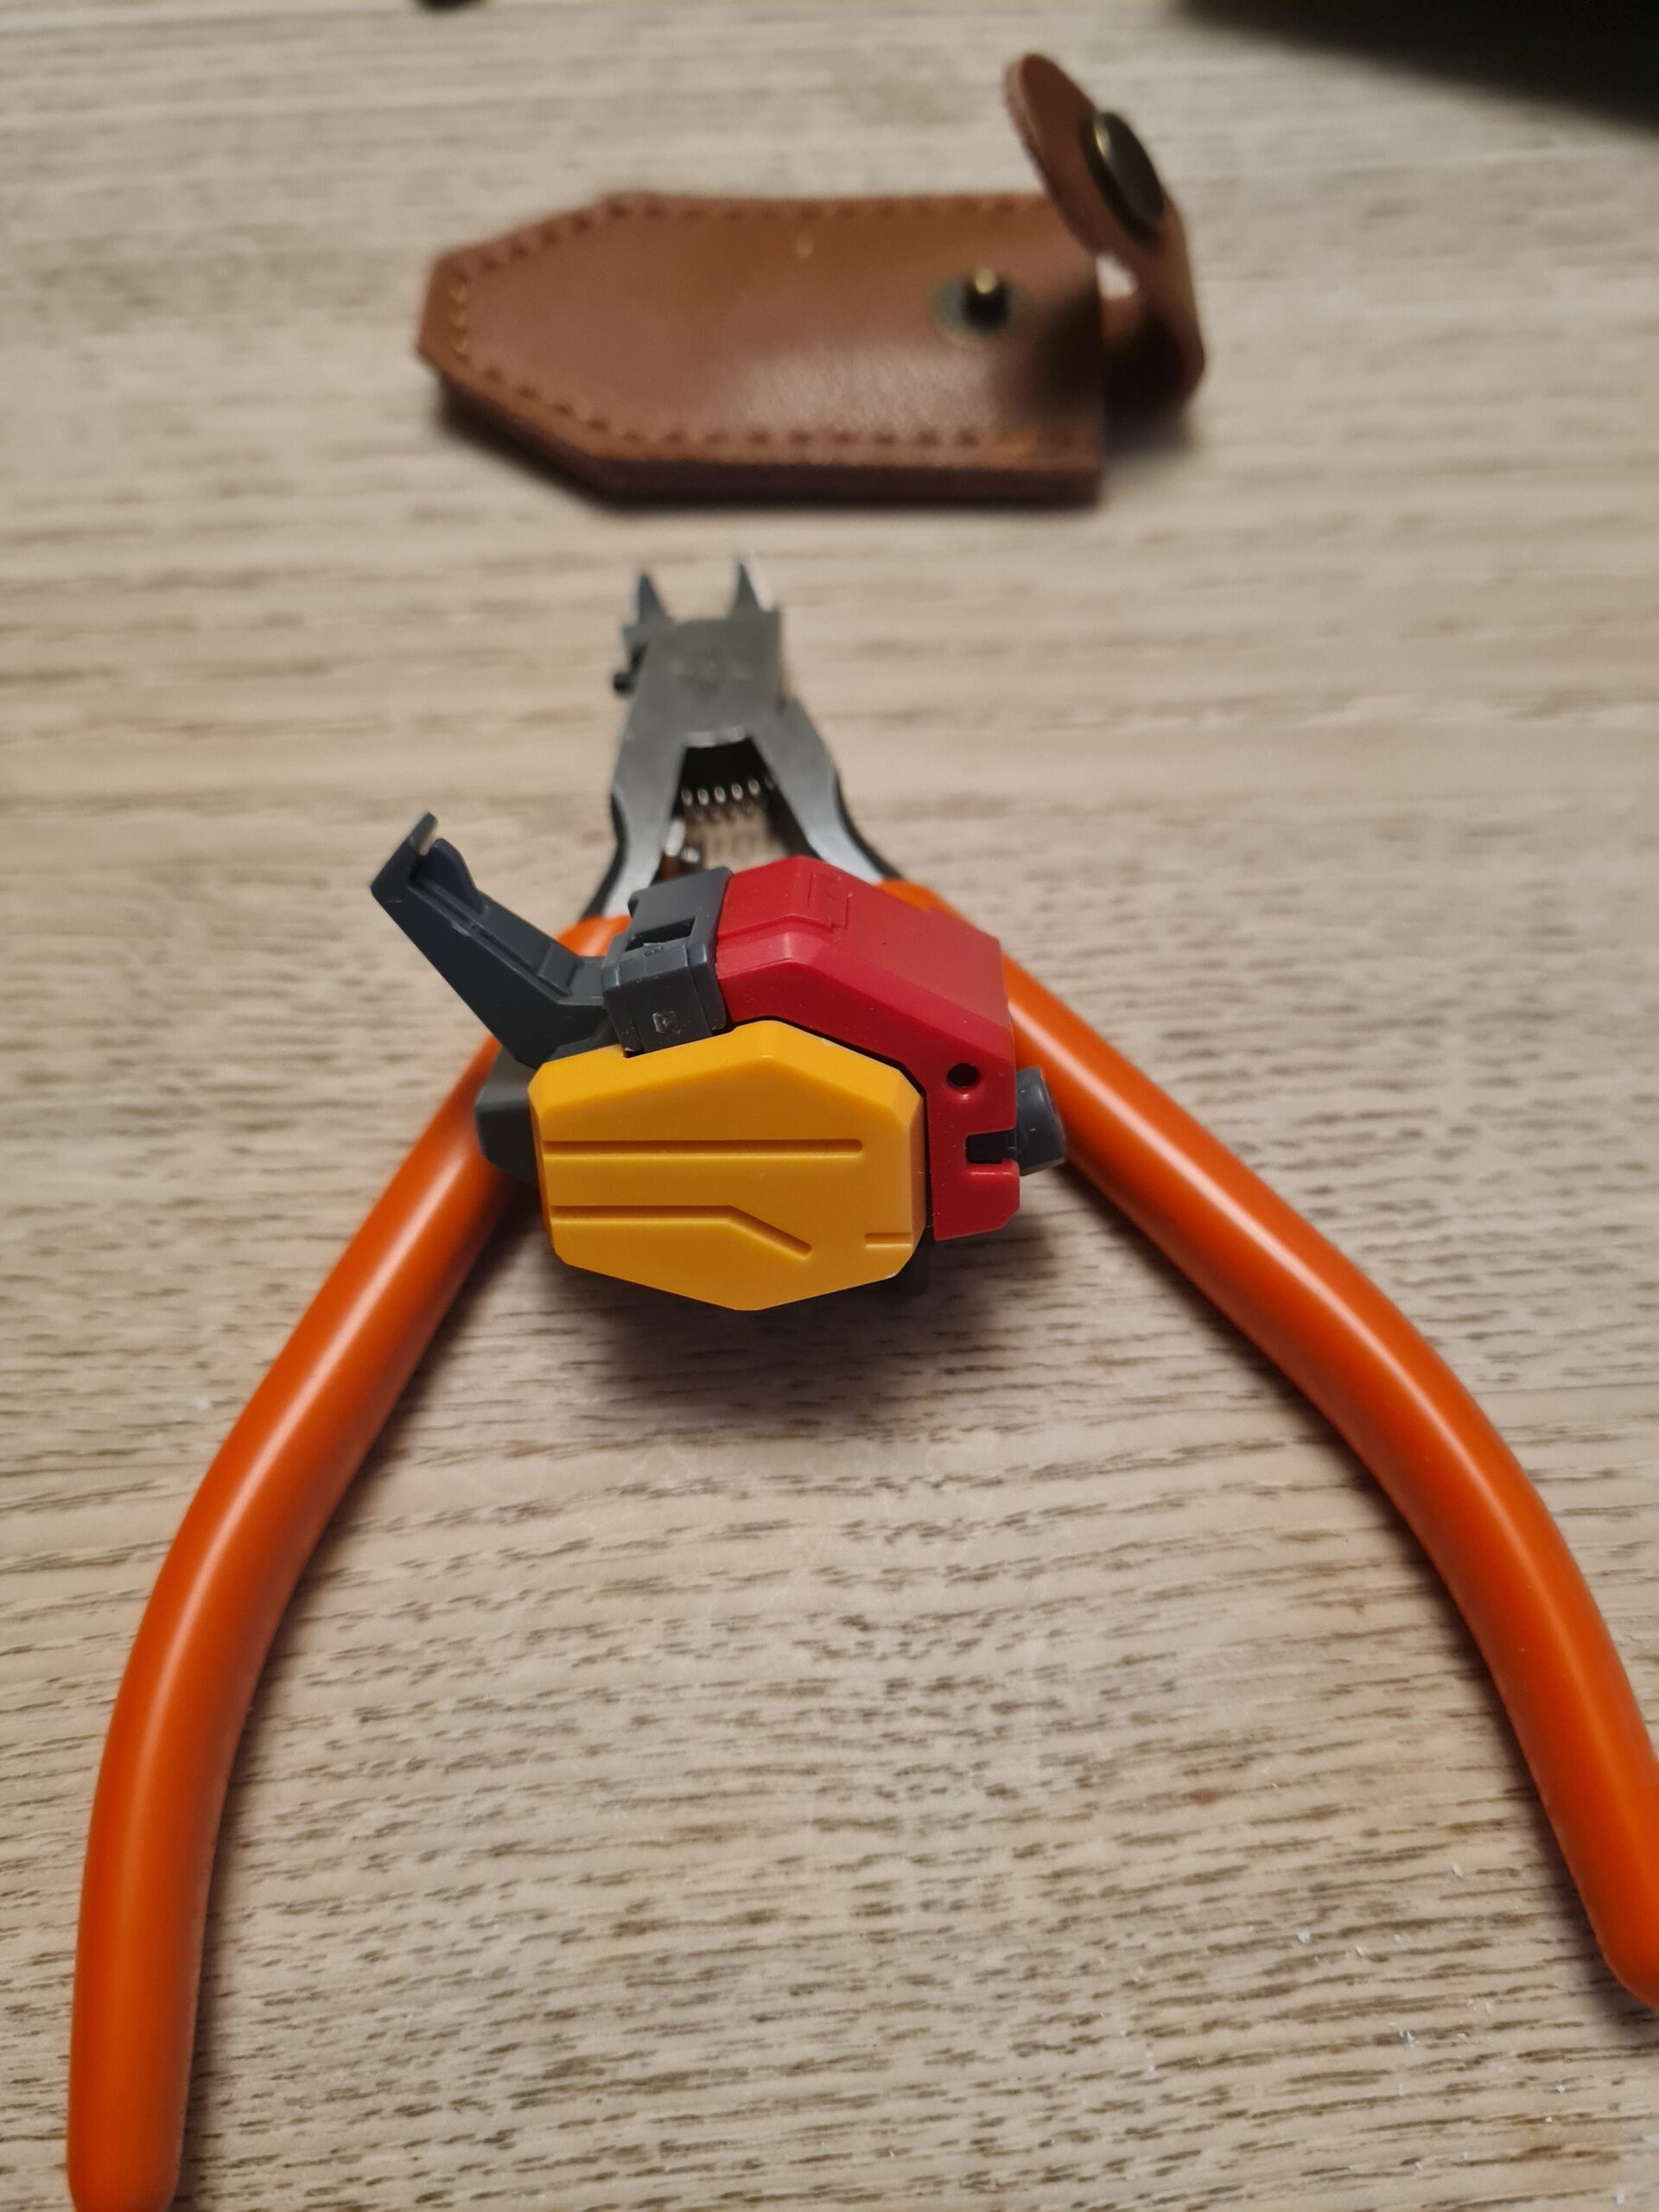
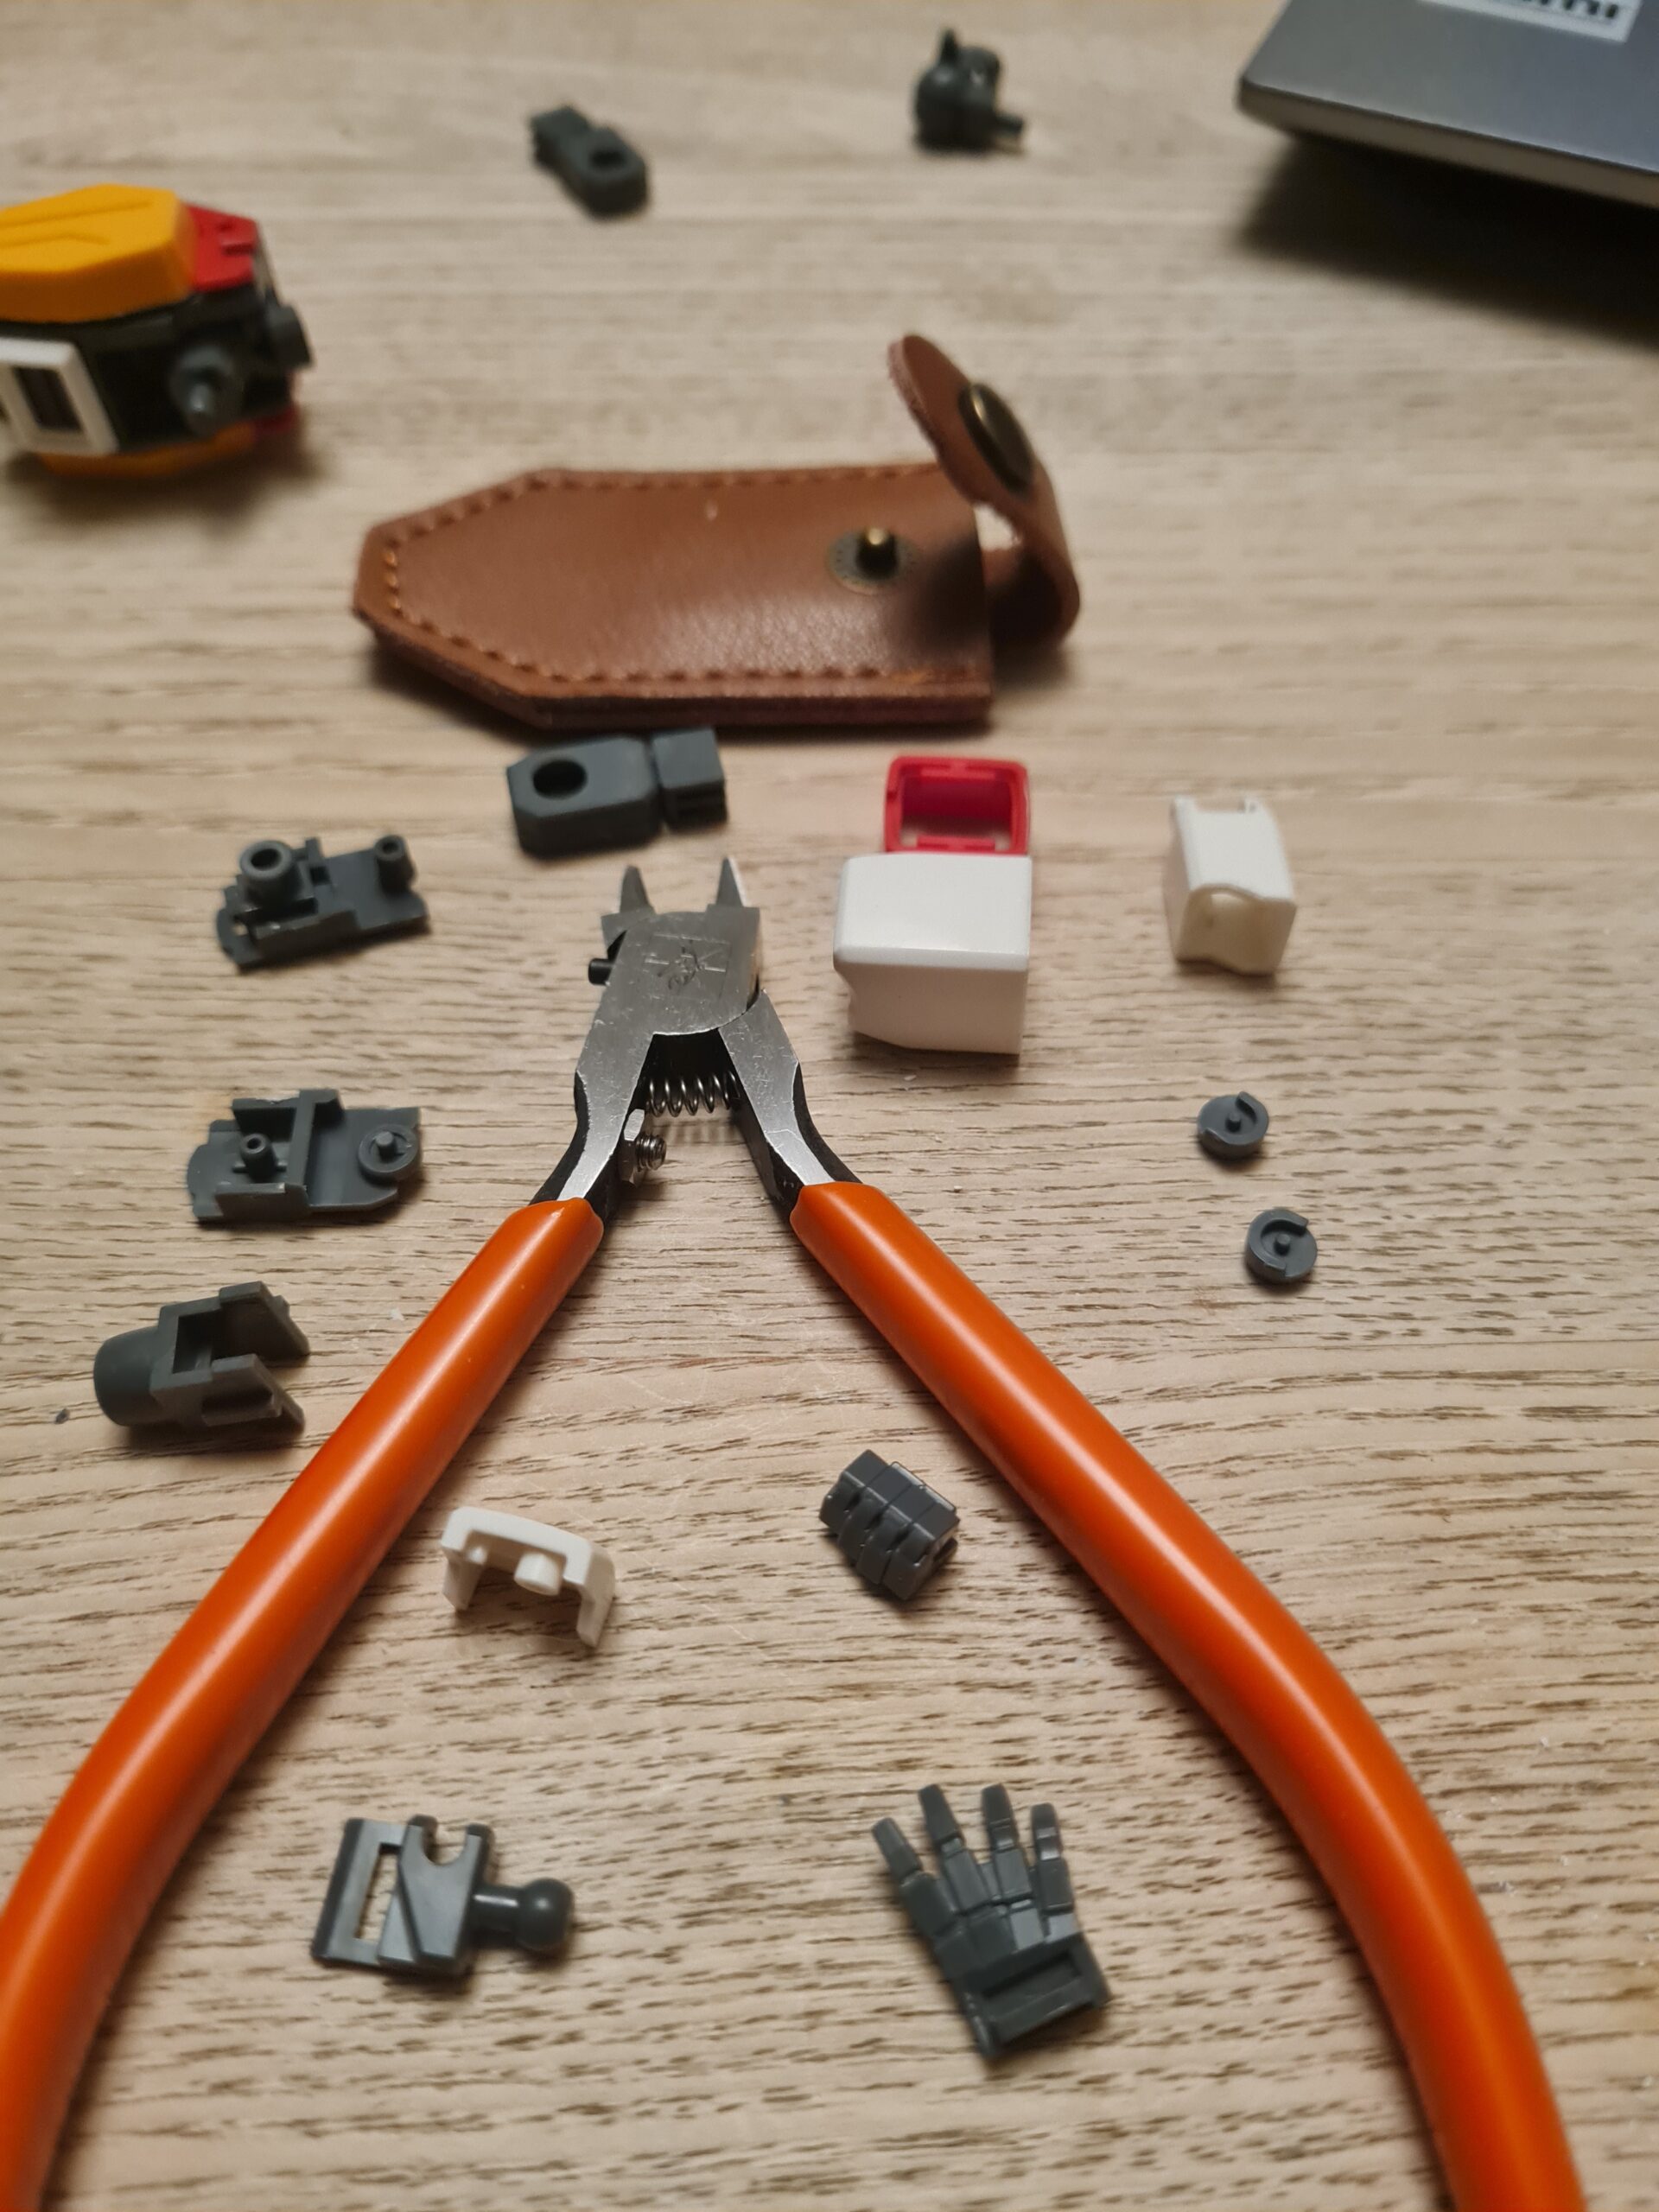
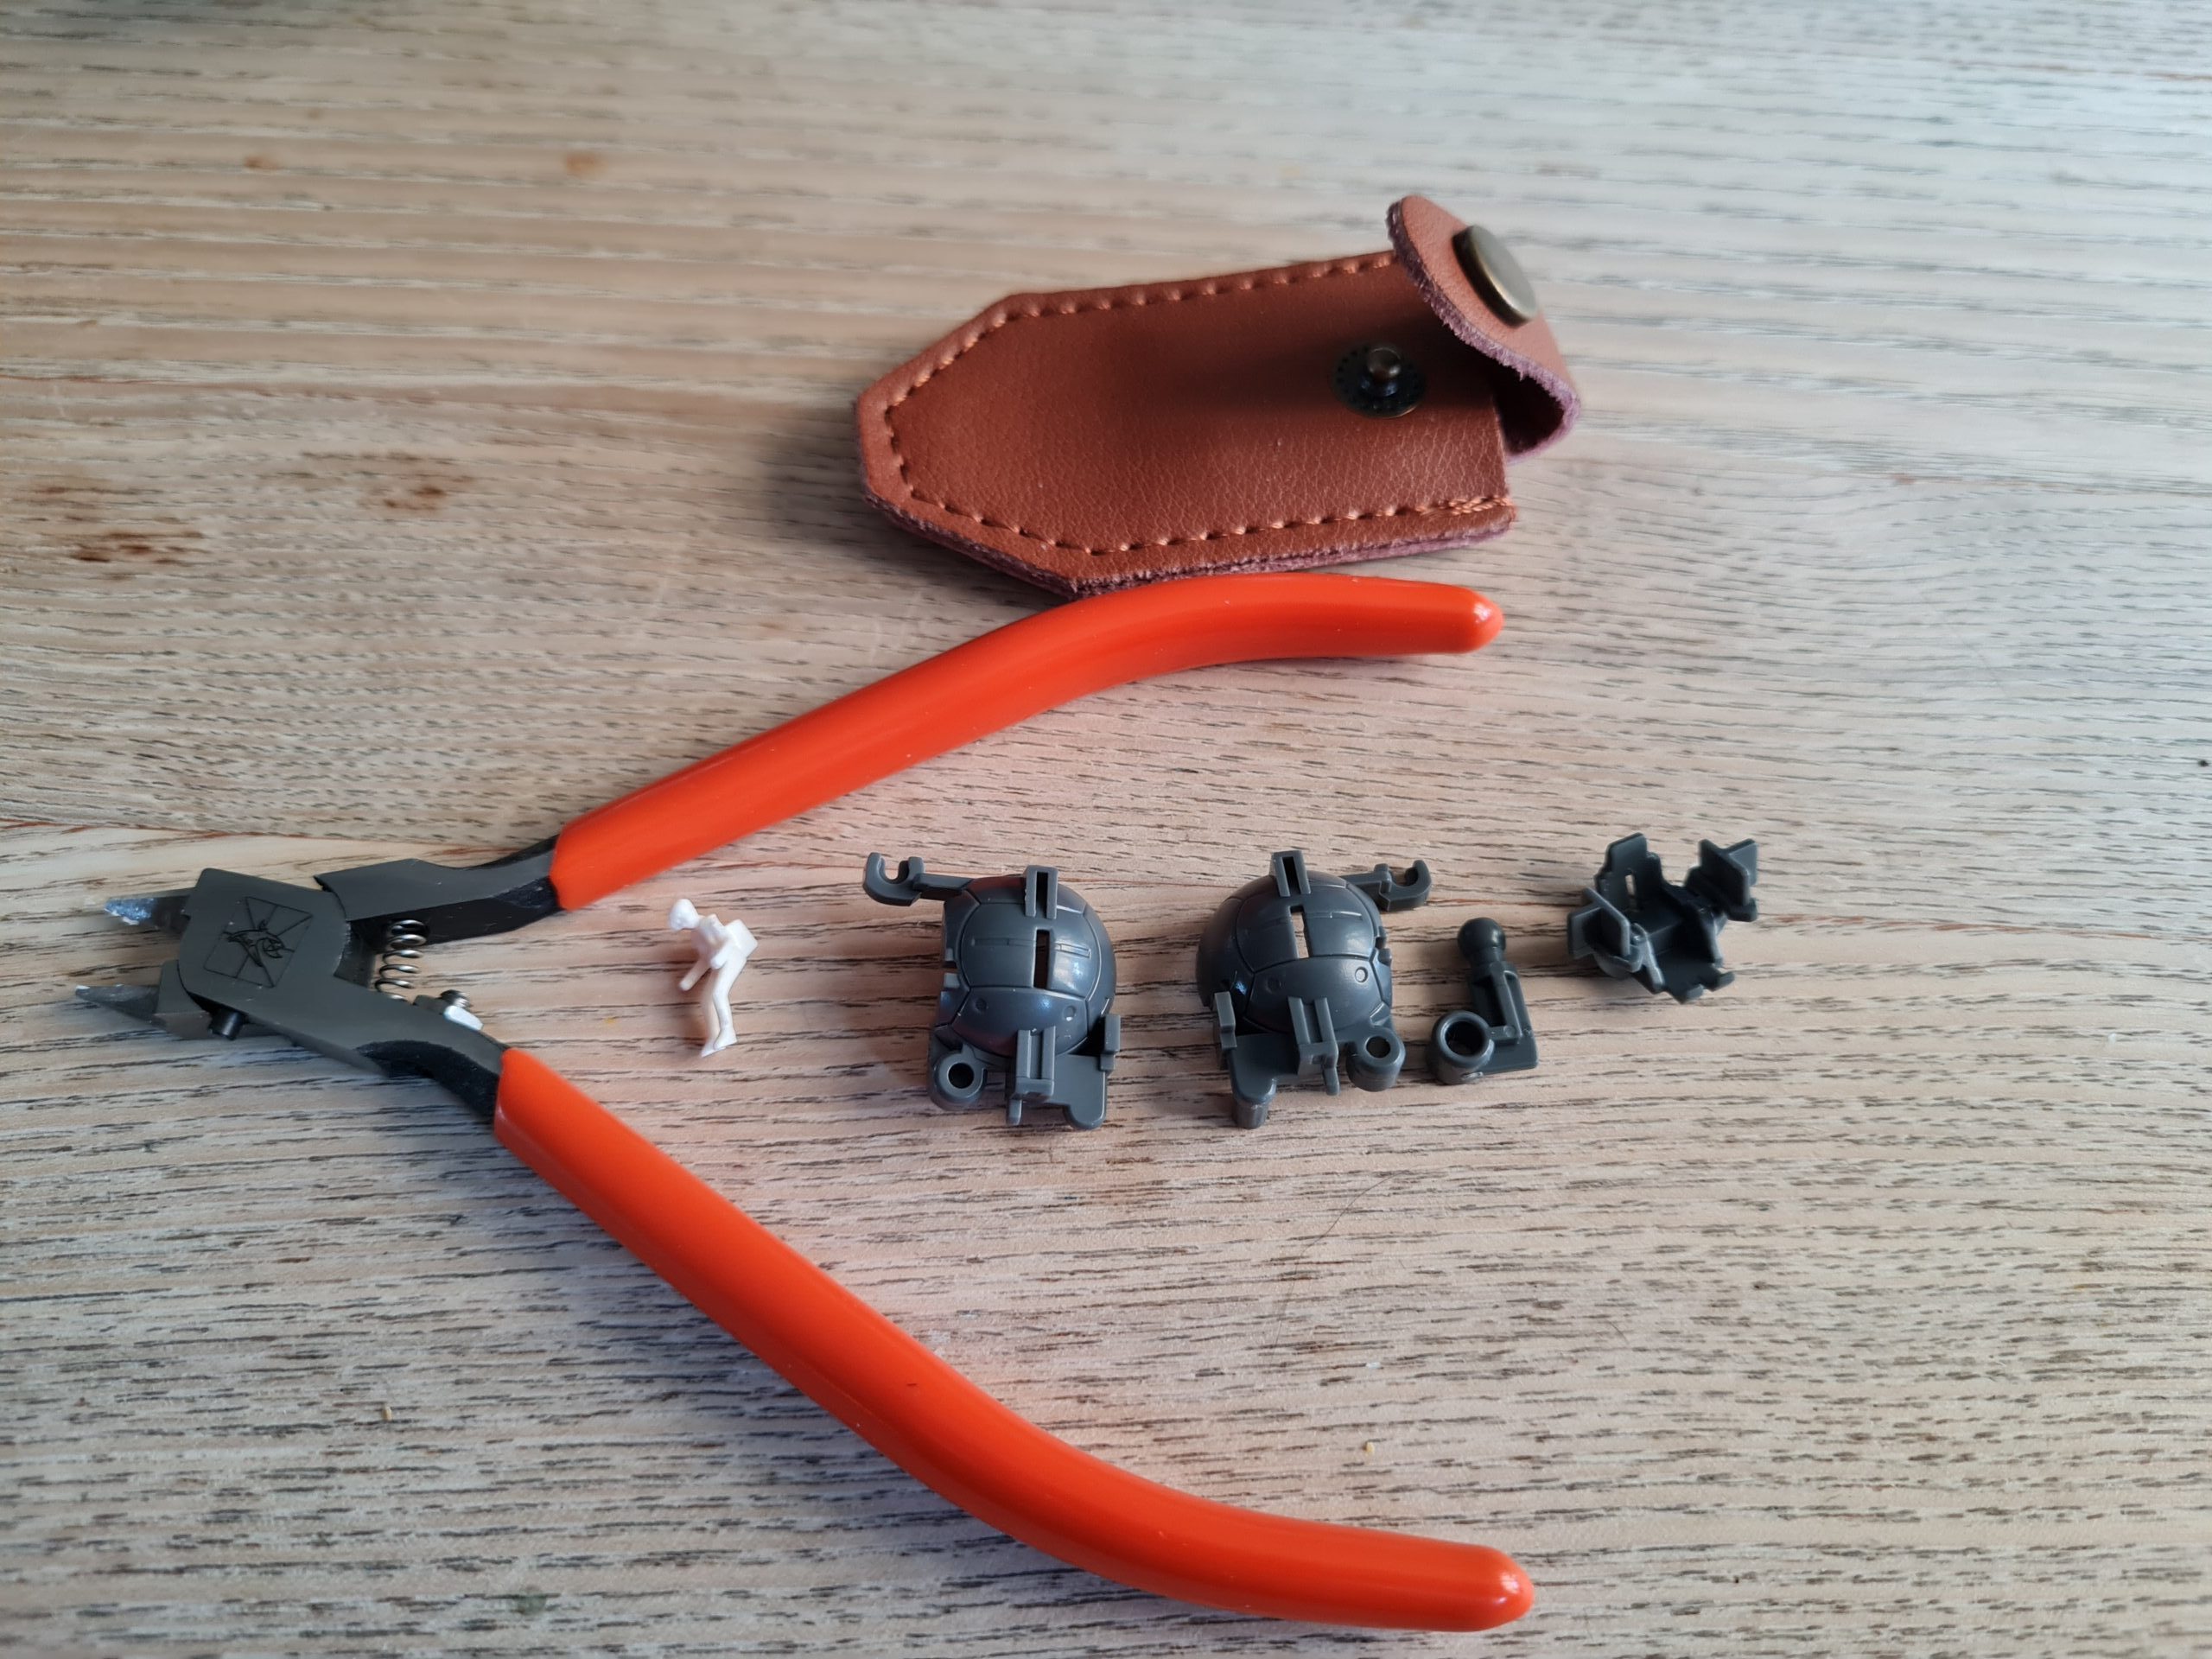
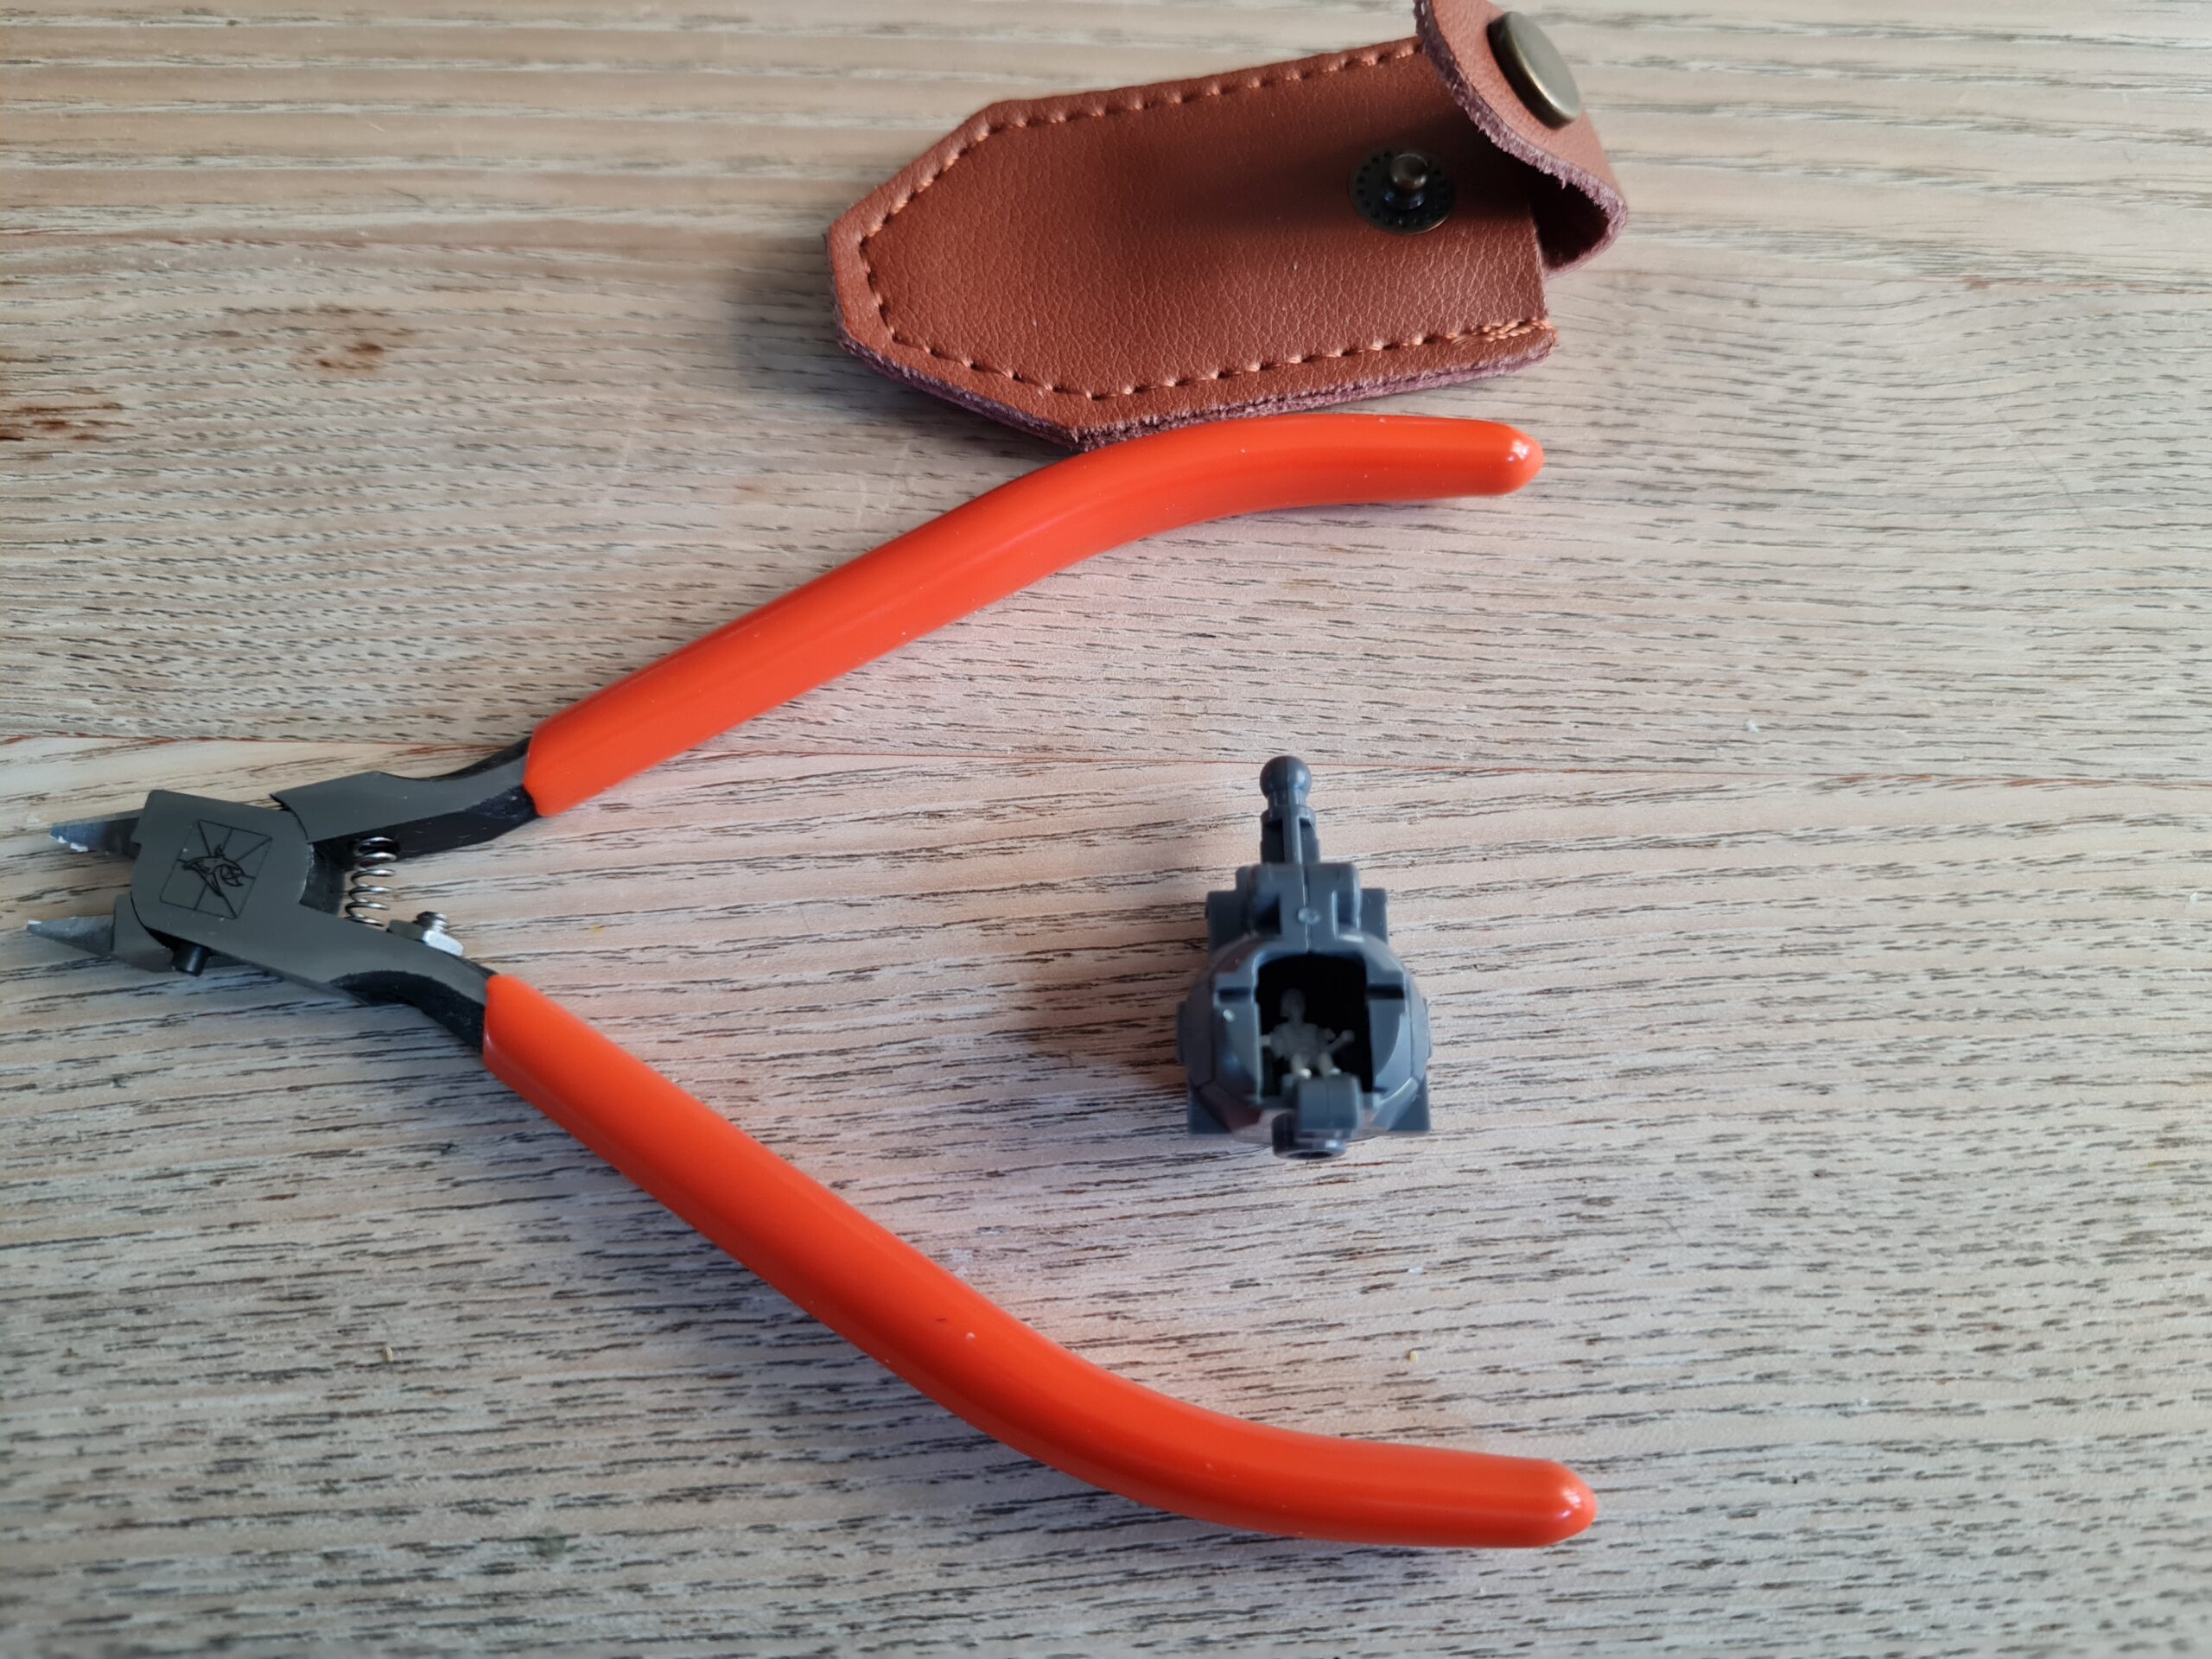
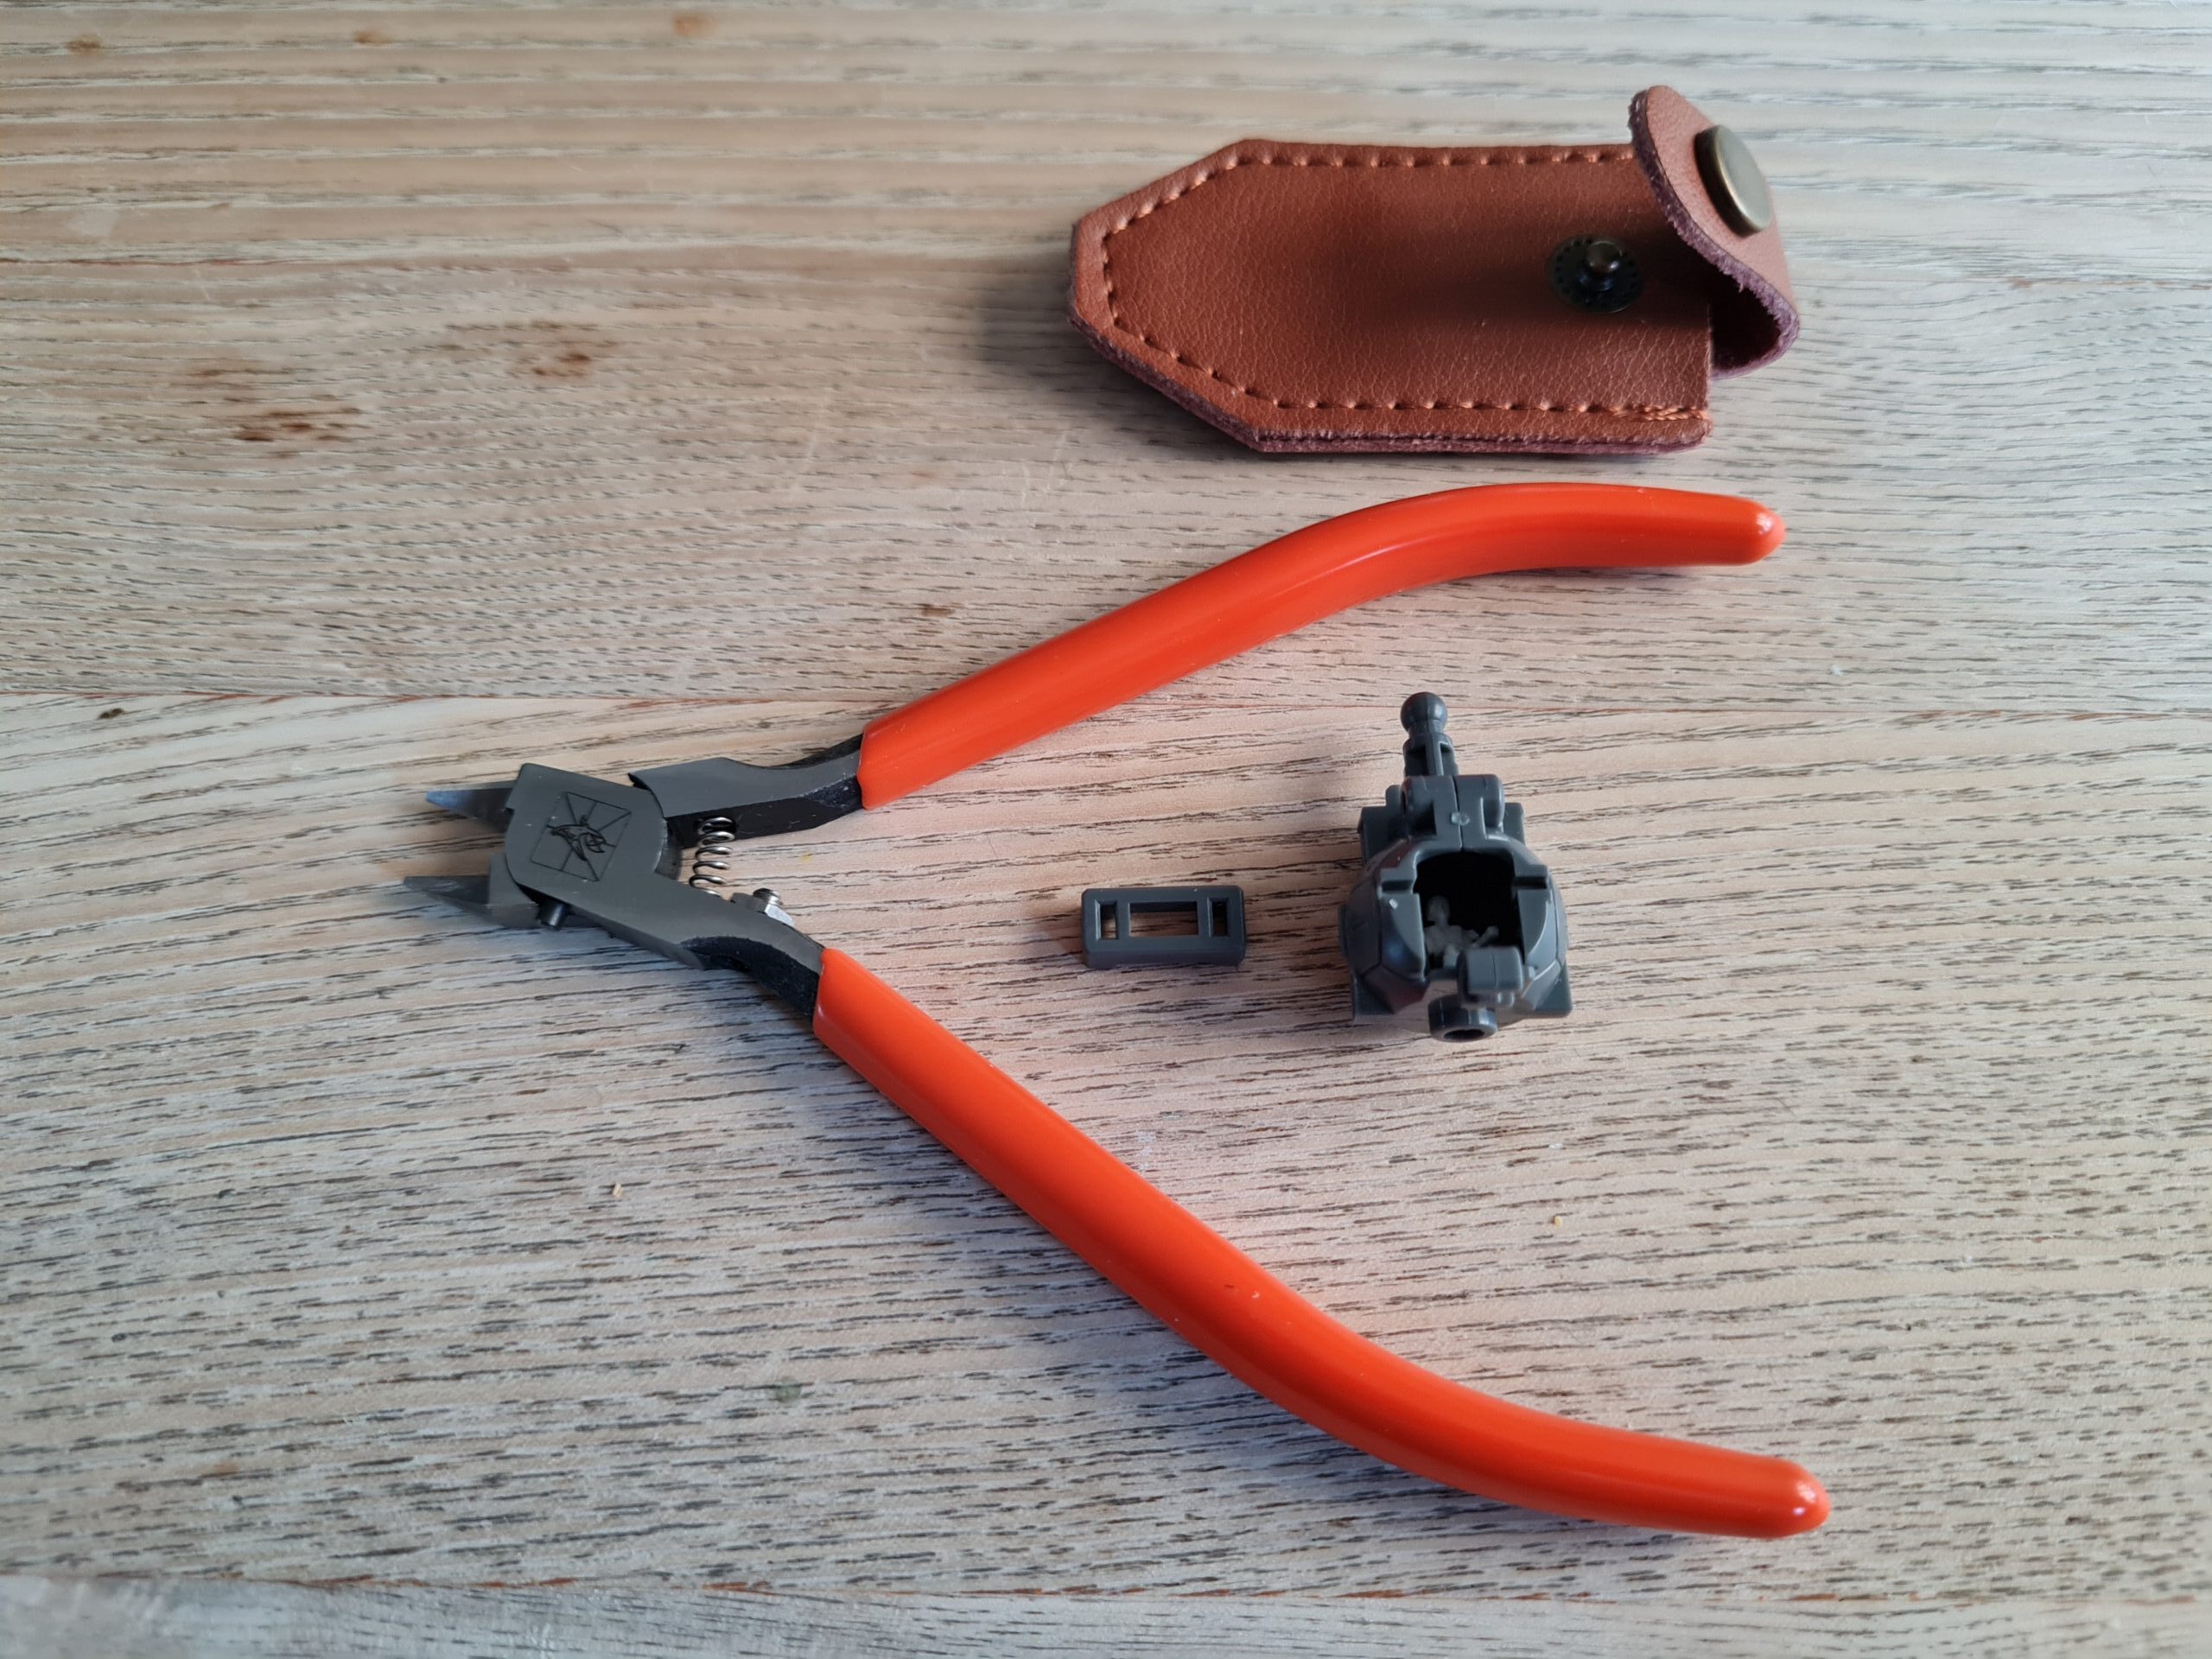
First set of partsFirst set BuiltSecond set of partsSecond set builtThird set of partsThird set builtFourth set builtAll parts built and attached to torso
The first image “First set of parts” has the left and right arm parts. Each set lined up either side of the nippers. They form the shoulder joint and a key part of the elbow joint respectively.
Conclusion
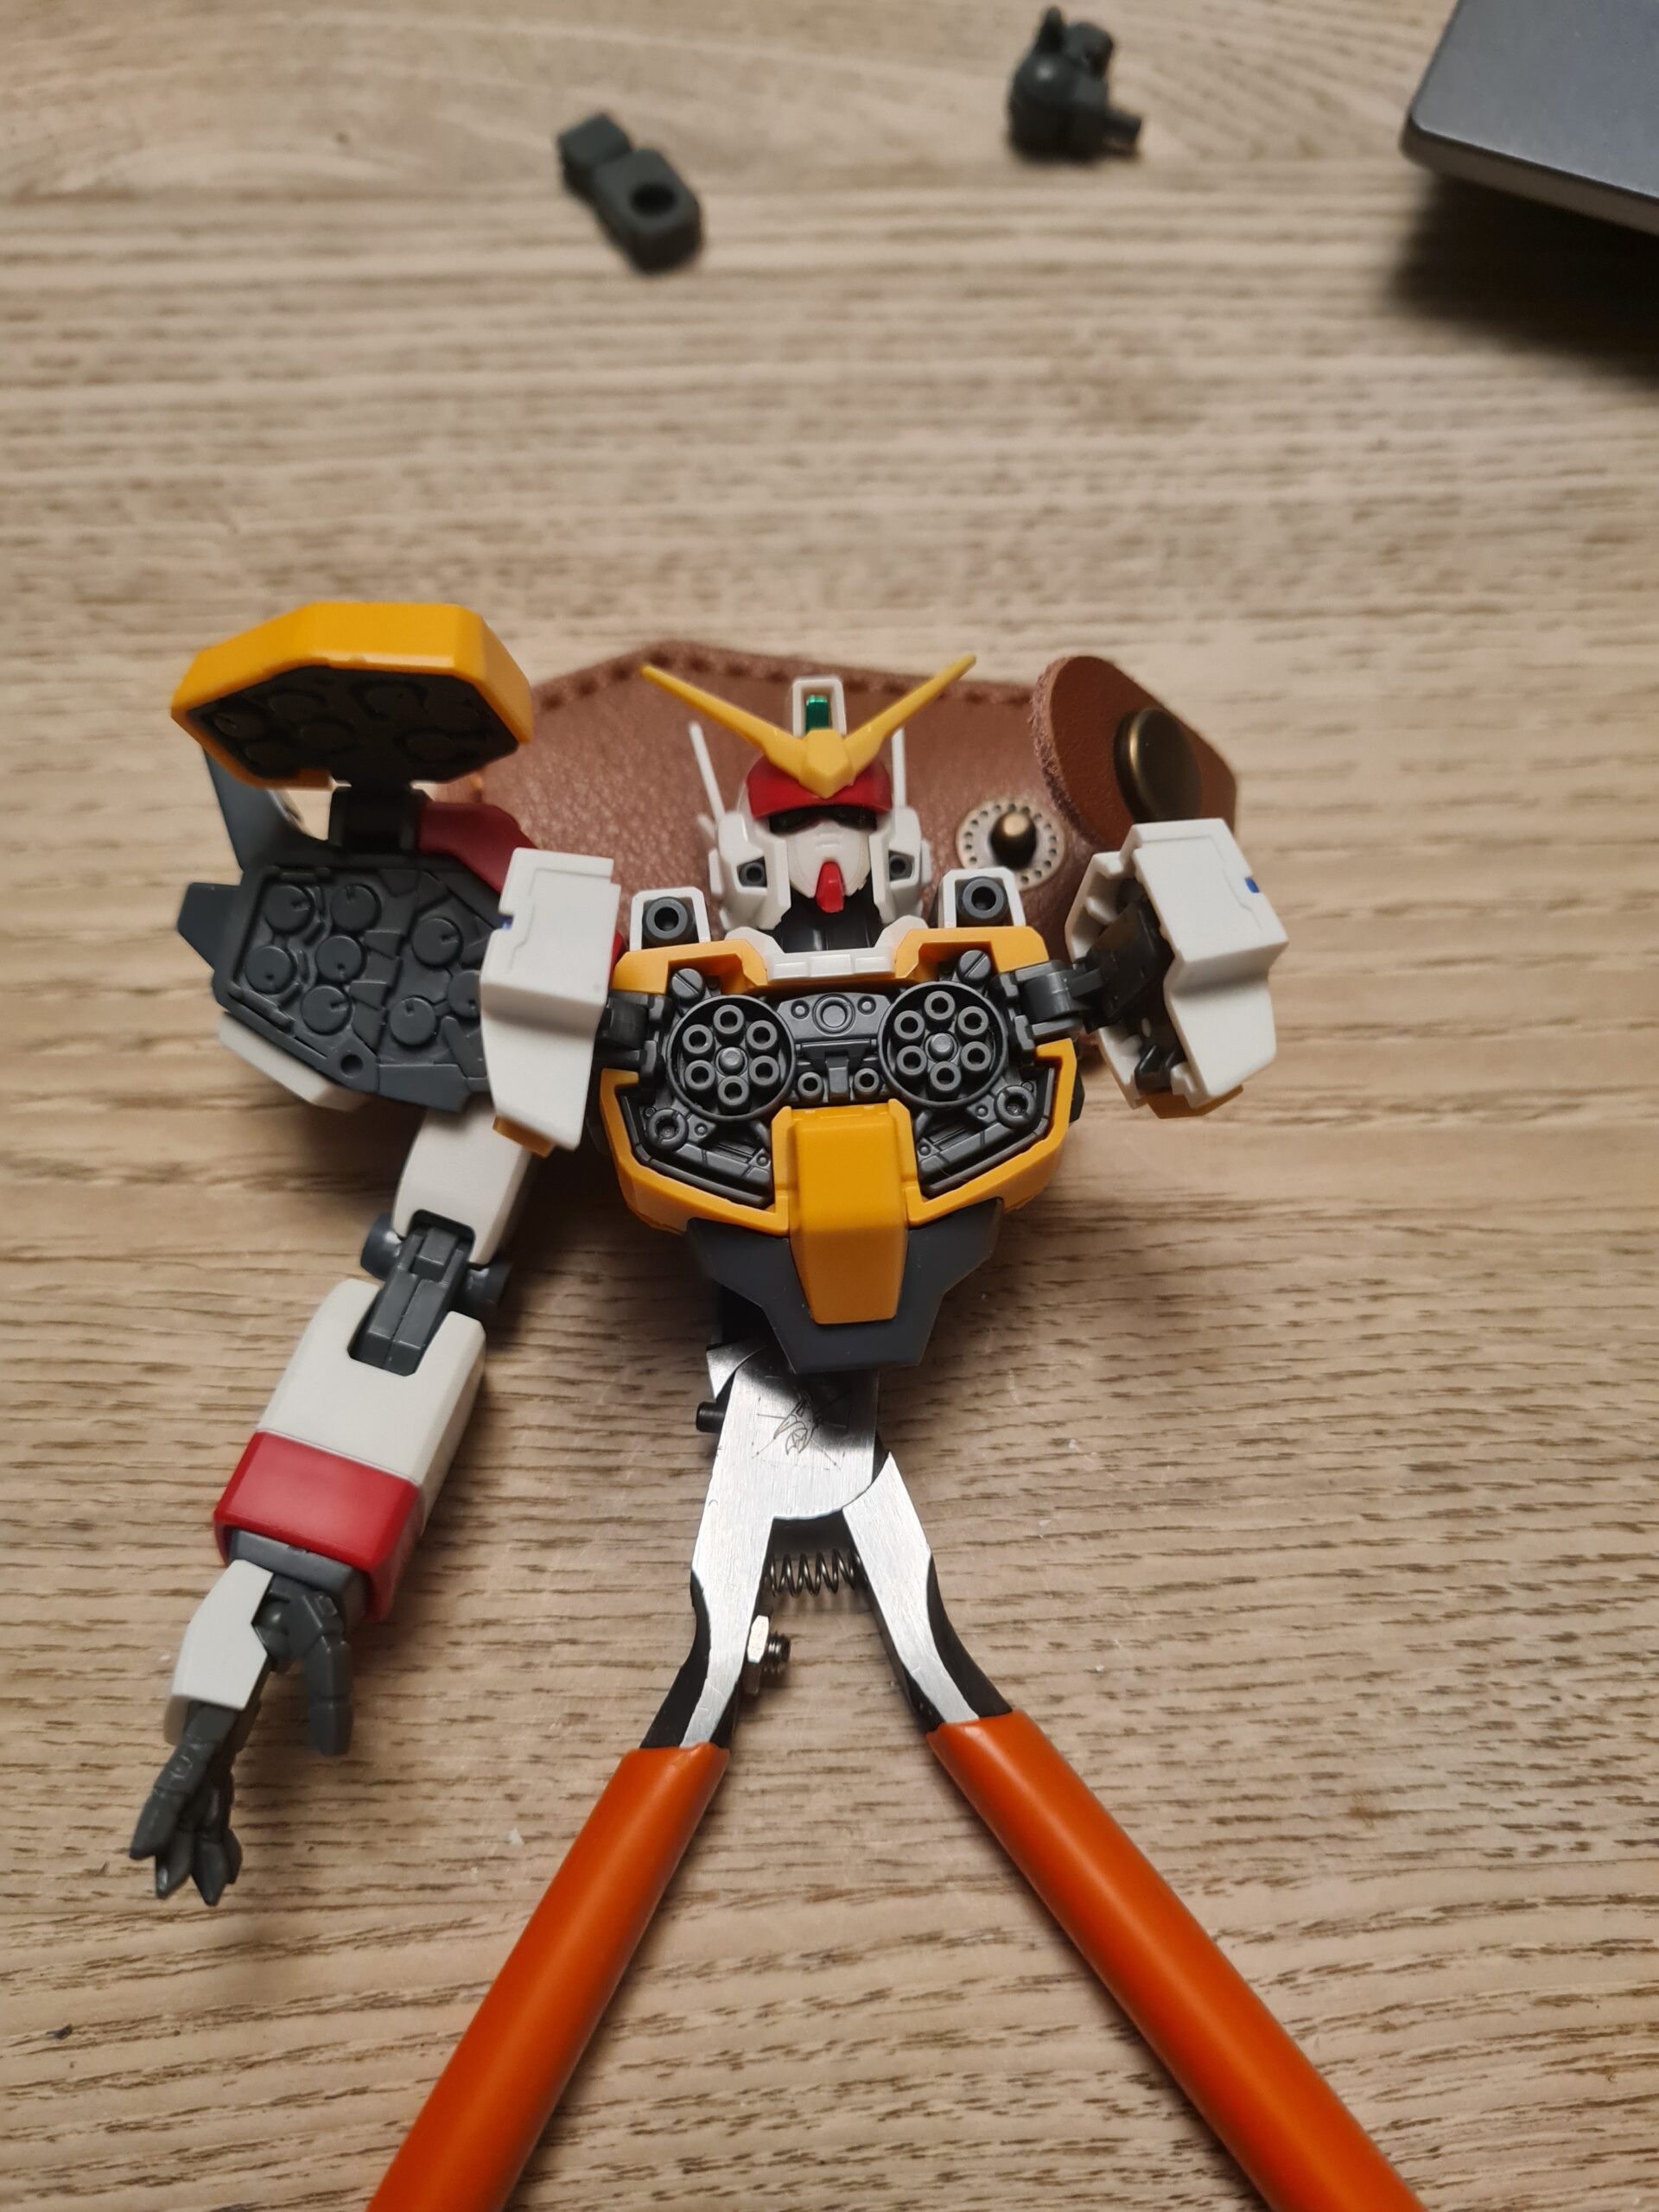
I have to say building the arms on this model is quite a satisfying build. Seeing how all the parts layer up on each other, they create a real depth to the model. I have now completed the other arm. I will say the thumb is really solid on one, but very loose on the other. I’ll recheck the fit later. But so far that is my only gripe. This is a very satisfying build.
If you know what the model is please feel free to comment.
Thank you for taking the time to read this. If you haven’t already done so please like and follow us on our social media platforms and checkout our website!
I started this new series of guess the model as I enjoyed the last one so much. I am hoping everyone else did too. The original series can be found here. In this part I will be building the head of the model.
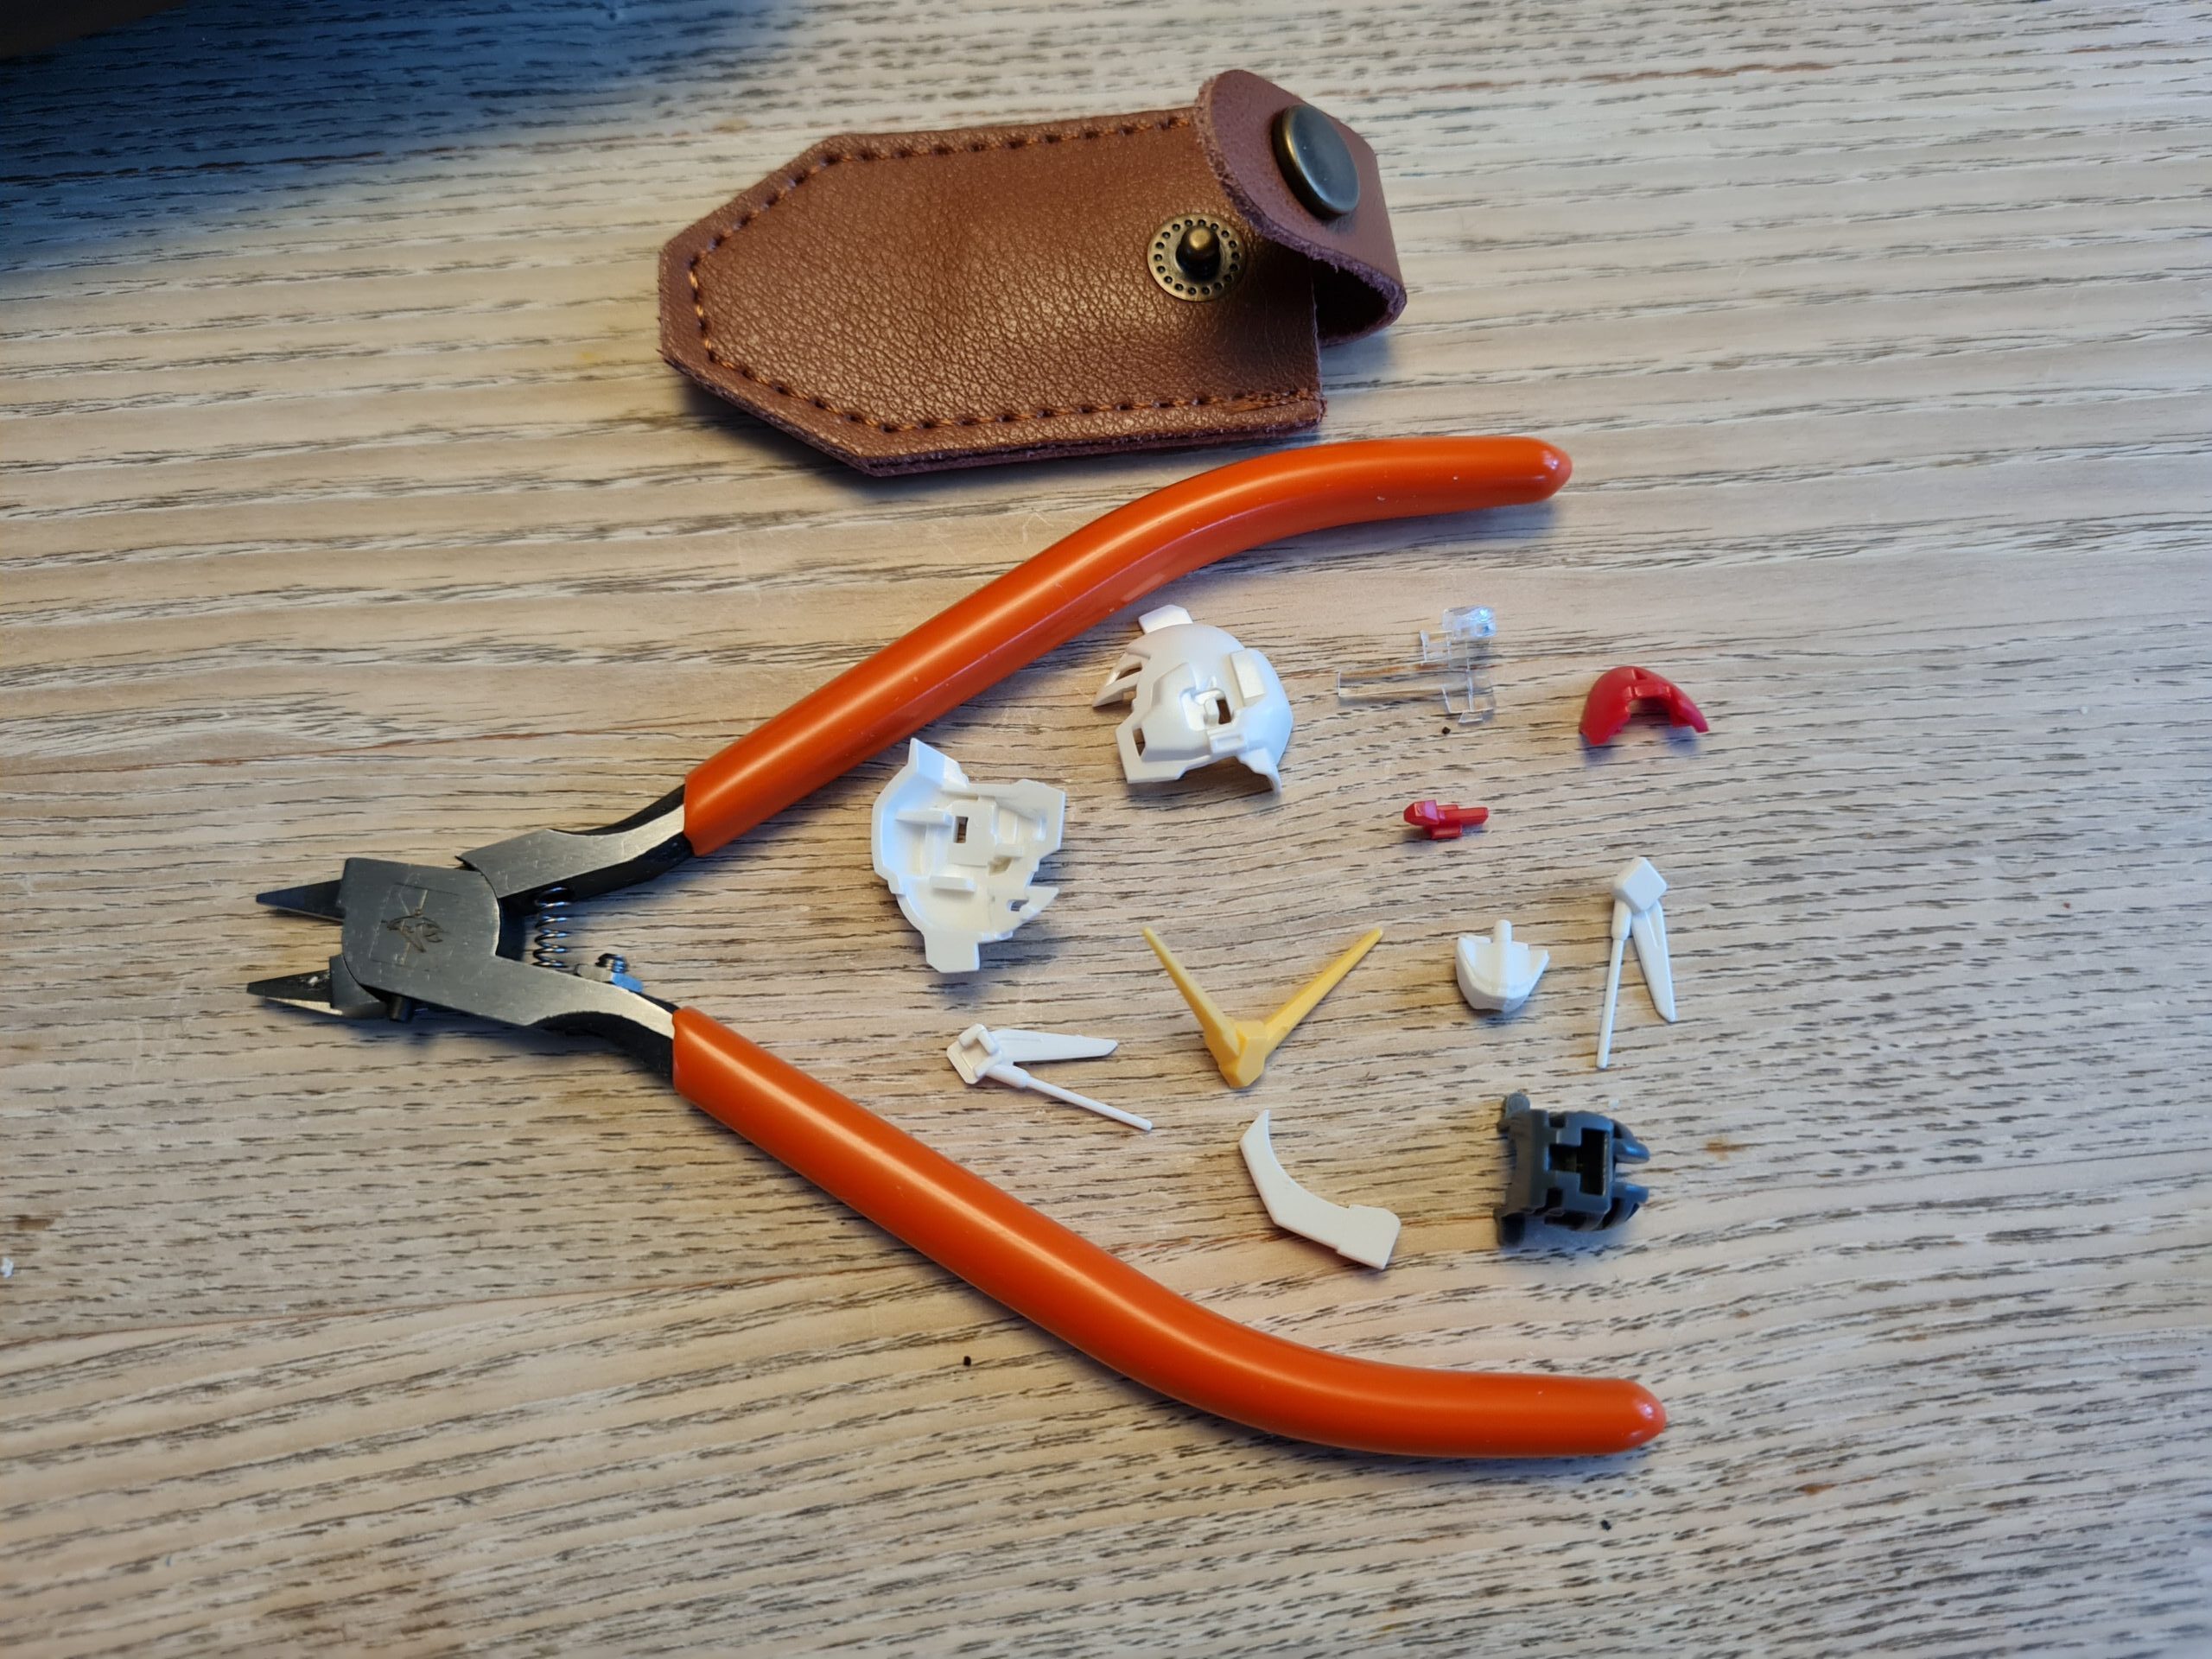
As I am sticking to my game rules (build in the order things are in the manual) I have to continue by building the head next. Now I do feel this may be a bit of a giveaway if the torso wasn’t already! However, here are the parts, and assembled head!
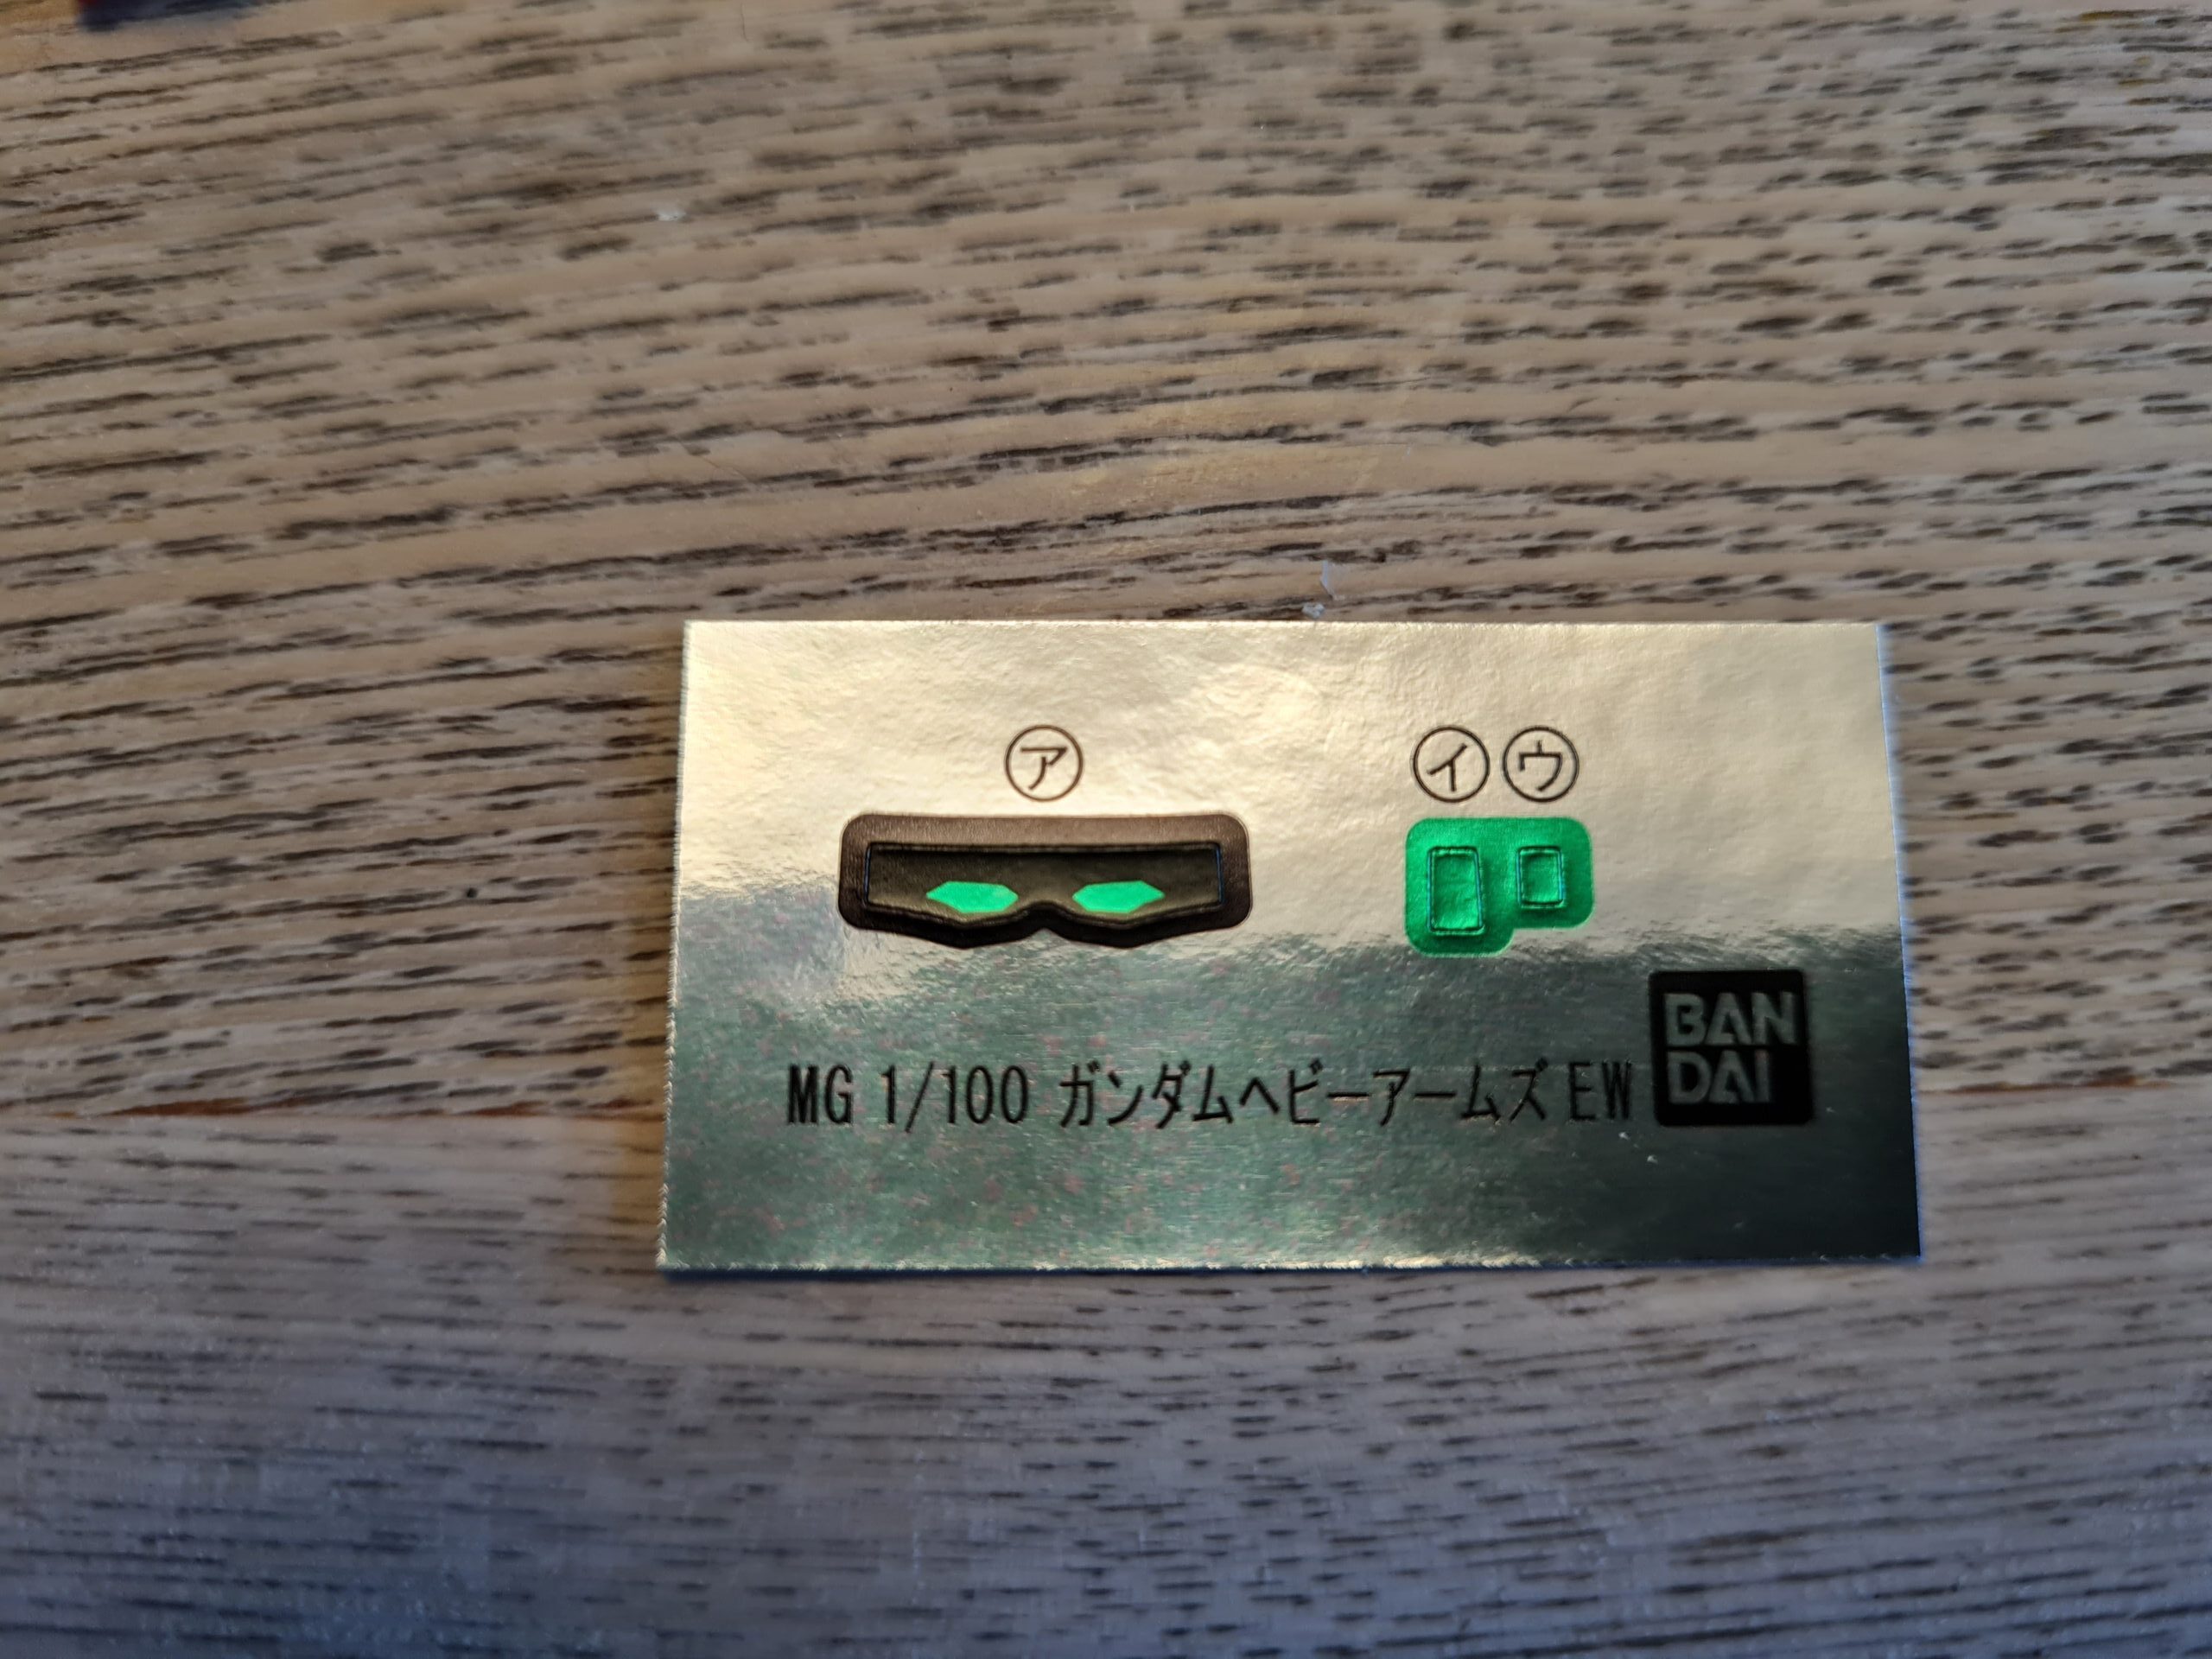
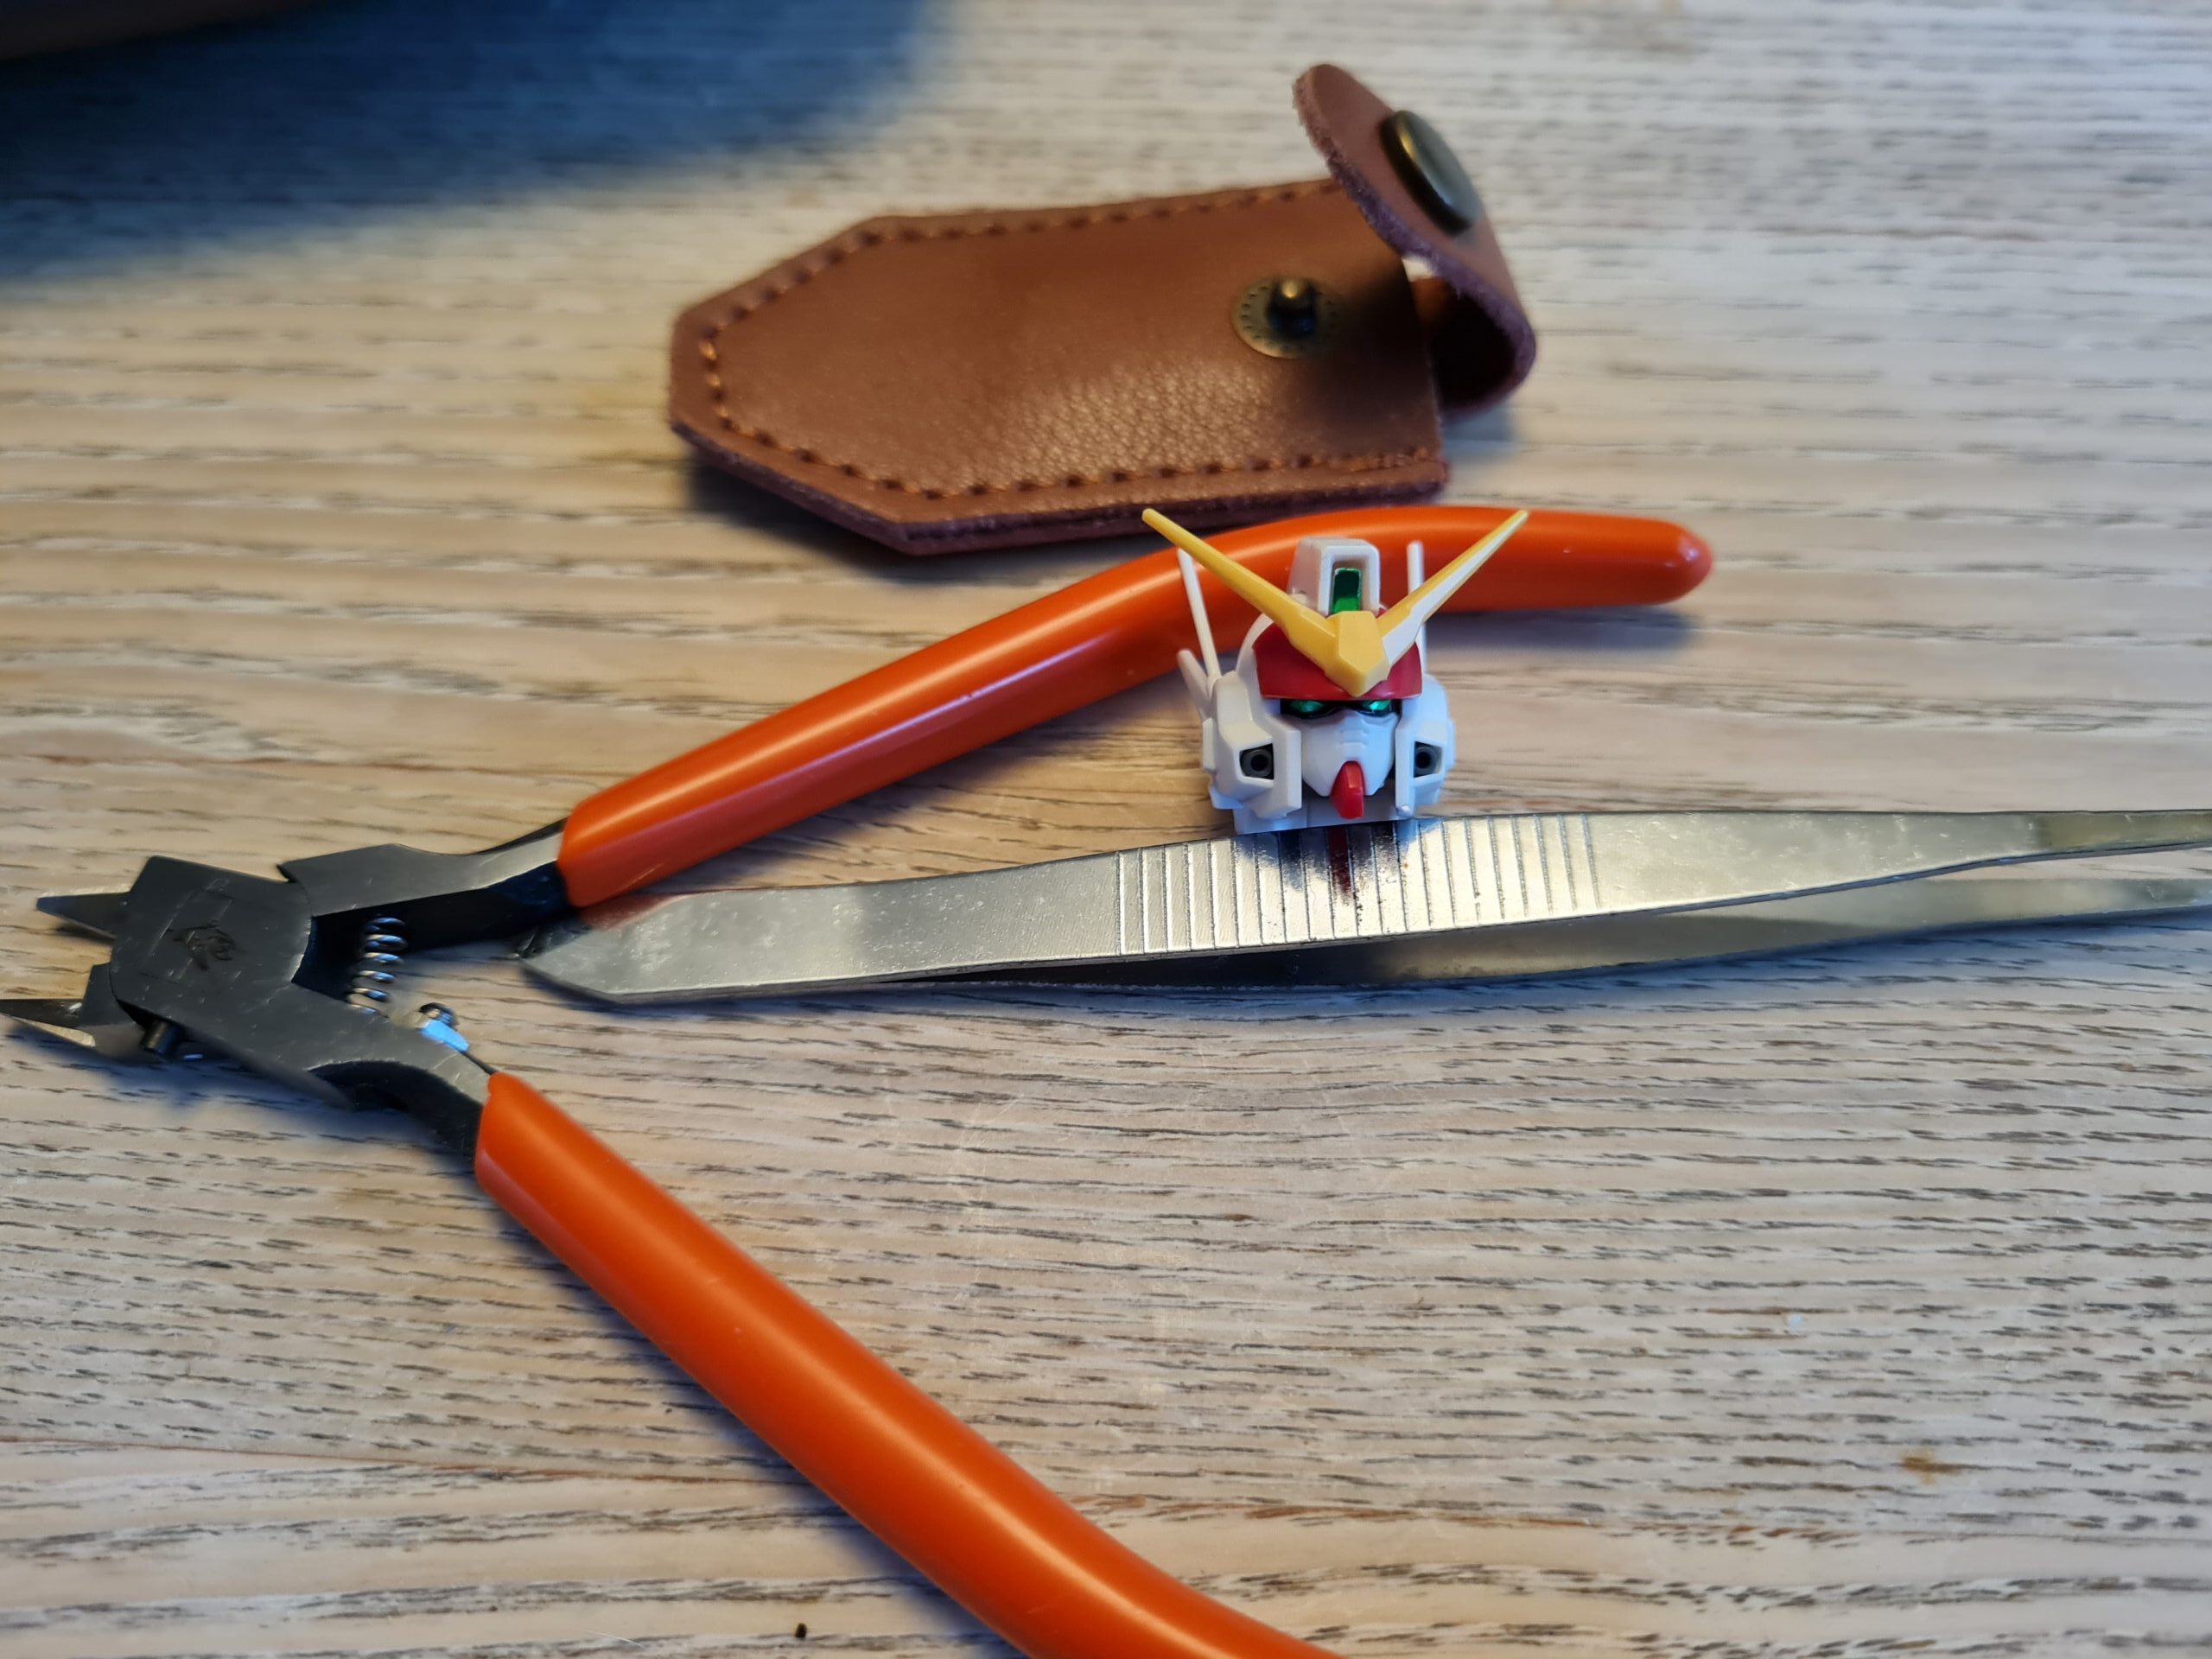
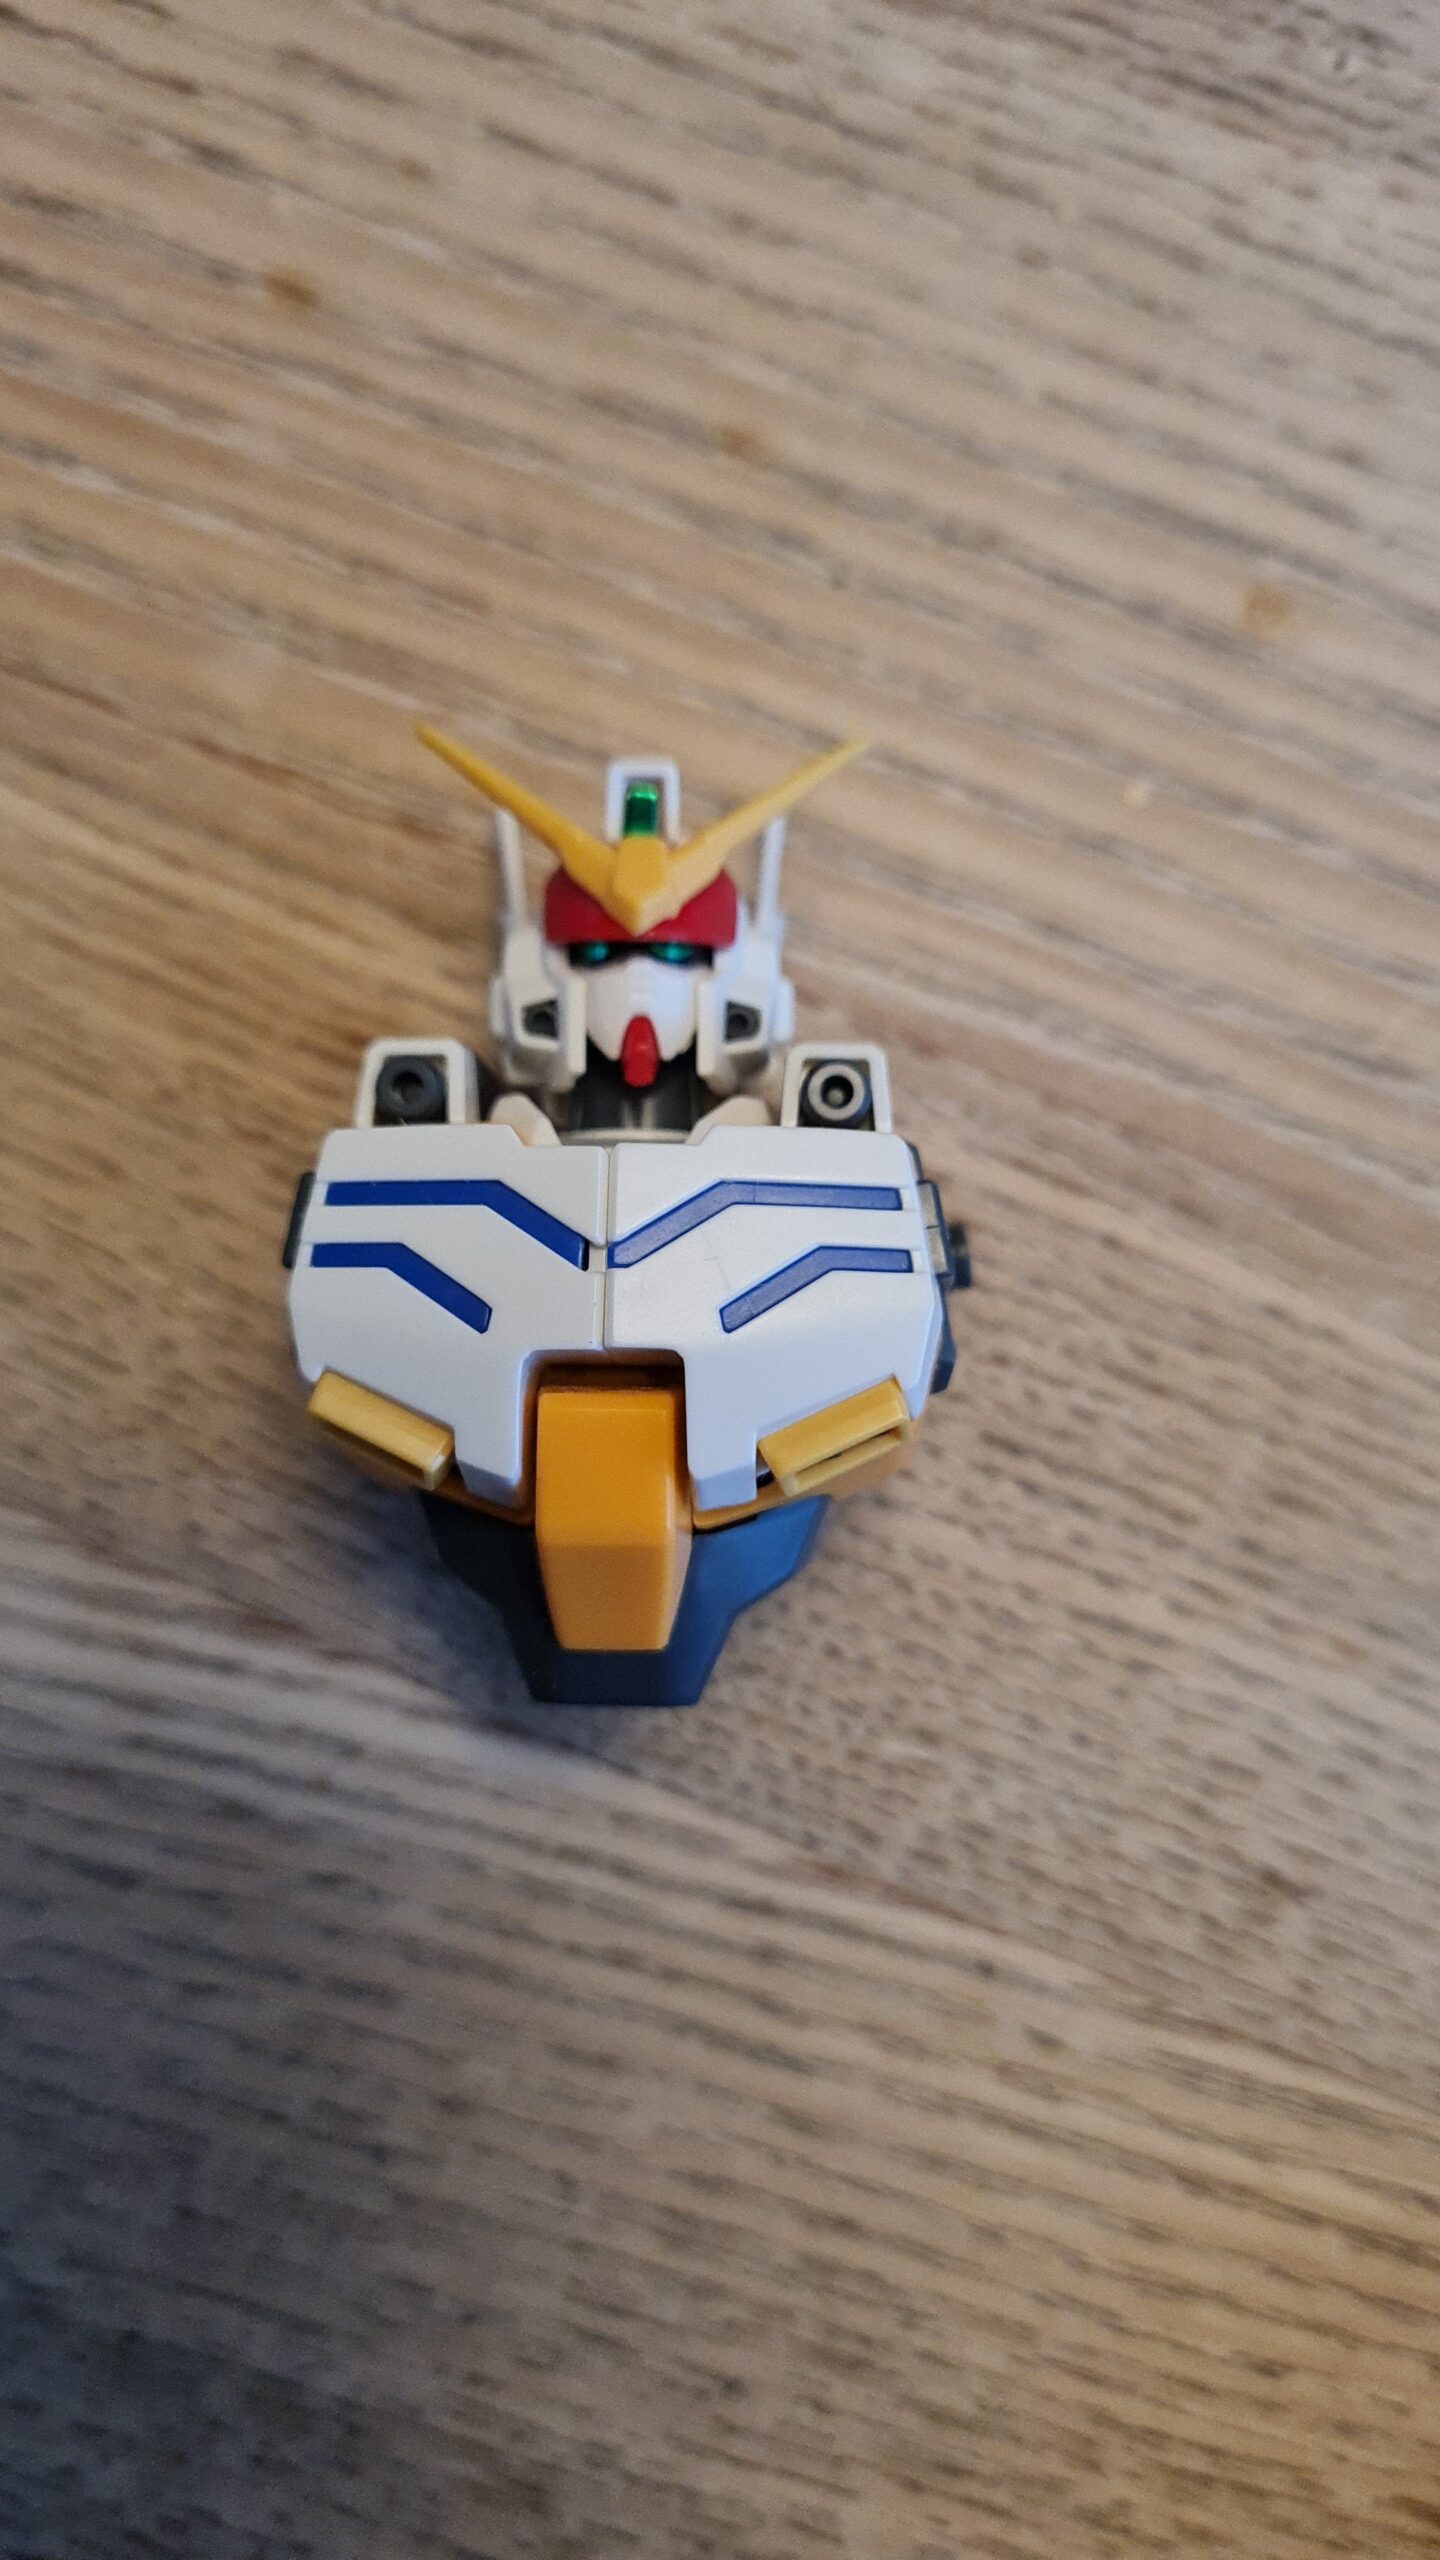
All the head parts!Head StickersCompleted HeadHead on TorsoHead on Torso Open Chest
As you can see this is just 11 parts and 3 stickers. It is amazing that this few pieces can build up into such a charismatic head.
I’m fairly sure people will know who it is, although people probably guessed from the torso! However I will keep going for anyone who hasn’t and also so people can see him build up.
Thank you for taking the time to read this. If you haven’t already done so please like and follow us on our social media platforms and checkout our website!
That is right. I enjoyed the last guess the model (I hope you did too) so much I thought I would do it again. For anyone new the format is quite simple. I follow the build manual for a model, in the order it is in the manual, and try, each day, to do an update with one of the sections. Normally this is something like:
Foot 1
Foot 2
Arm 1
Arm 2
Torso
Head
Pelvis
Weapons
Now you will be glad to hear that this one is following a slightly different format. For a start it begins with:
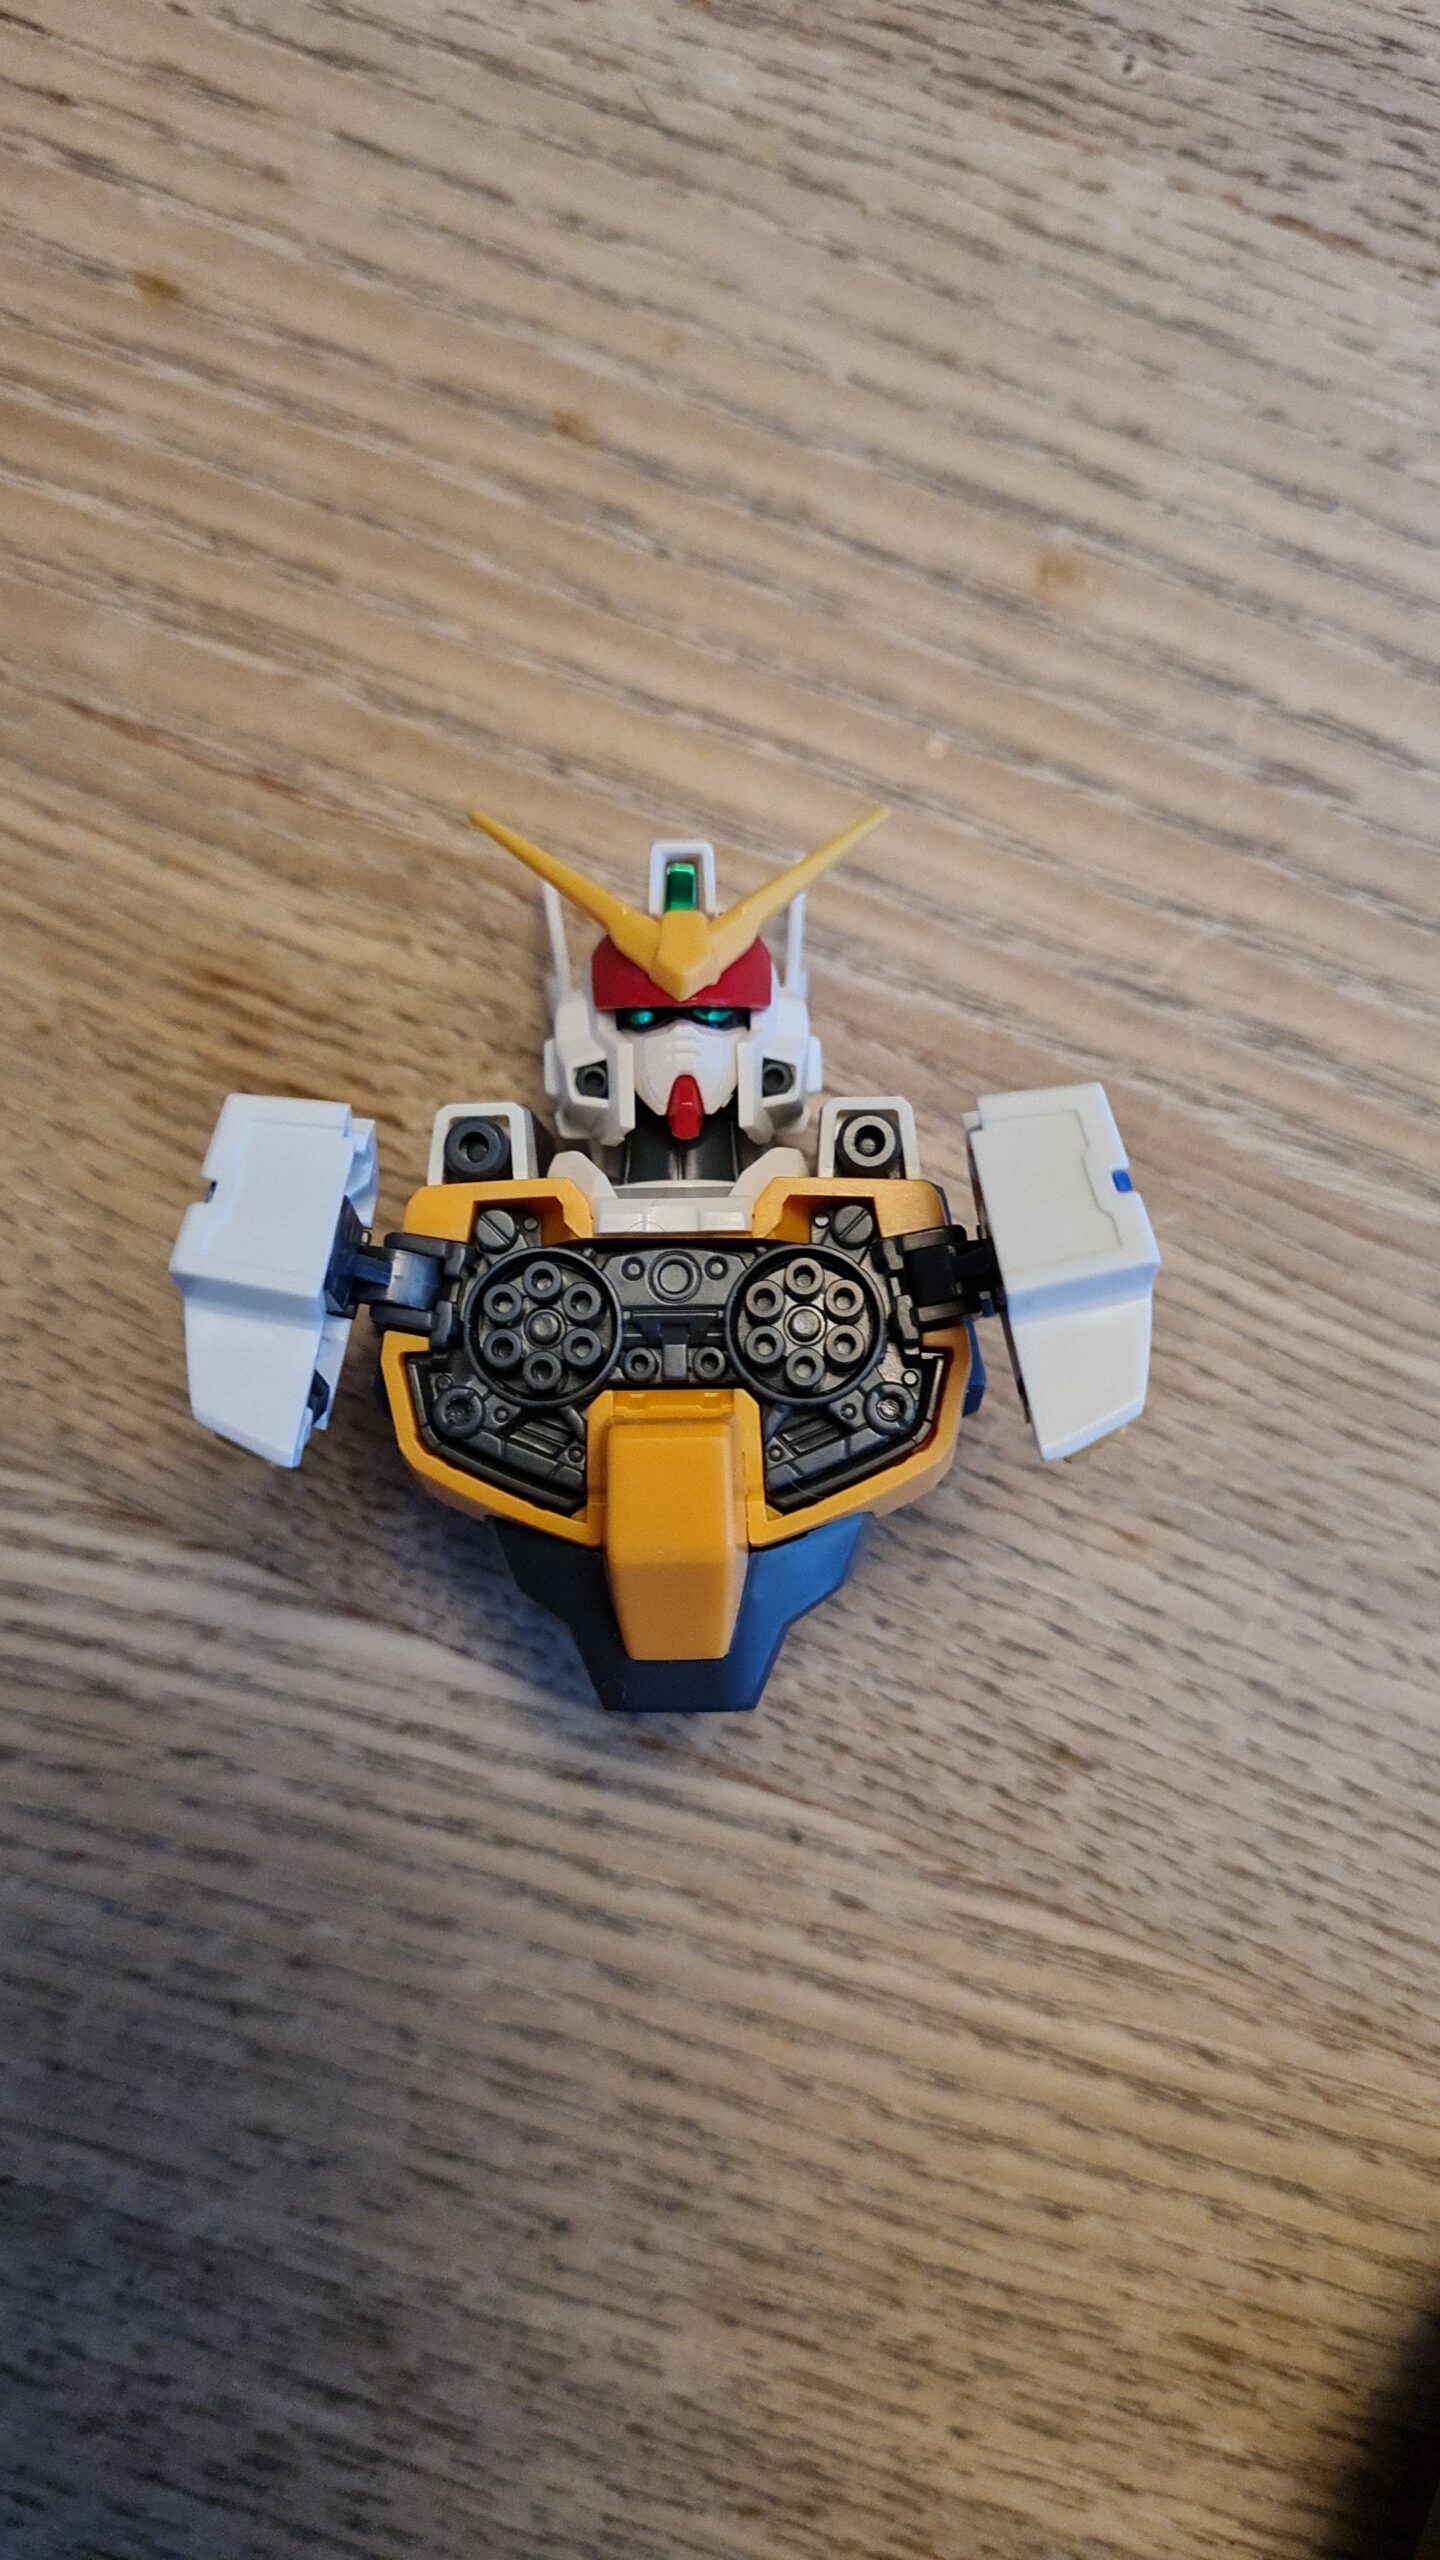
Torso
Head
So to be honest you will likely get it quickly. Although to be fair the number of people who got the Zaku II off the feet was pretty impressive! The original series of posts can be found here. You can also read up more about these suits over at gundam.fandom.com.
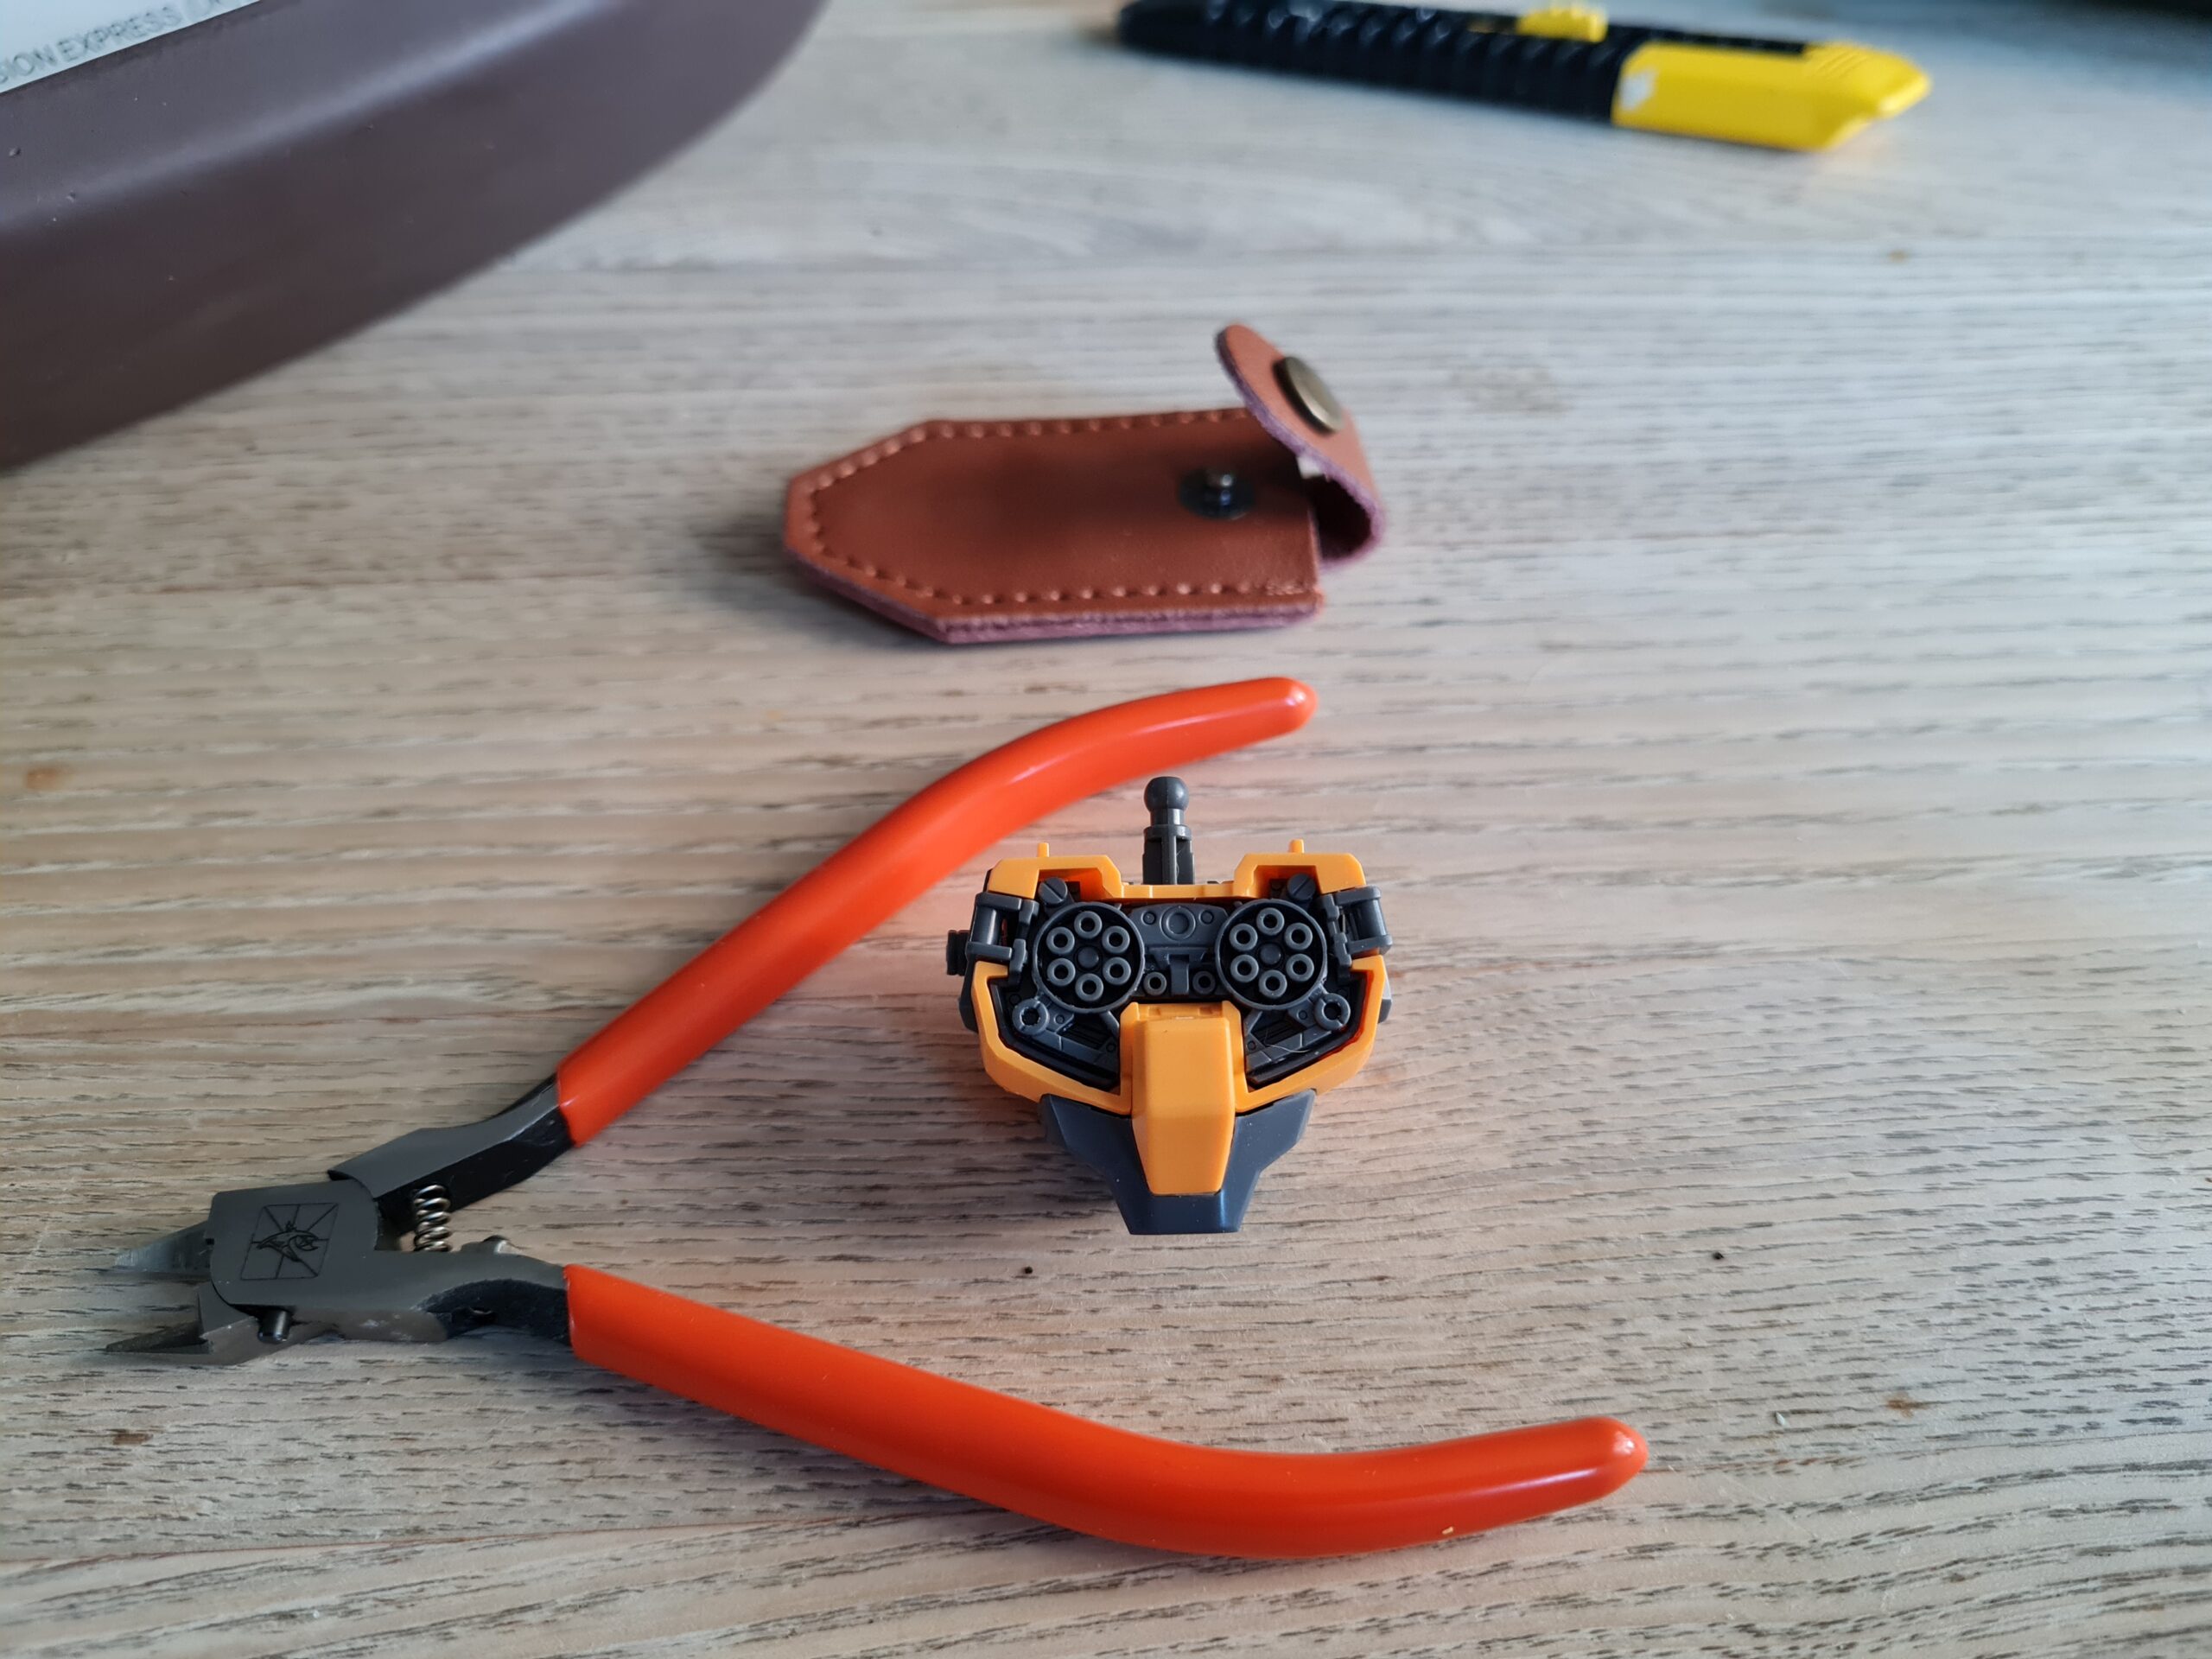
Images
First PartsAssembled First PartsSecond Part Assembled Parts Third set of PartsAssembled PartsFourth set of partsAssembled PartsFifth set of PartsAssembled Piece
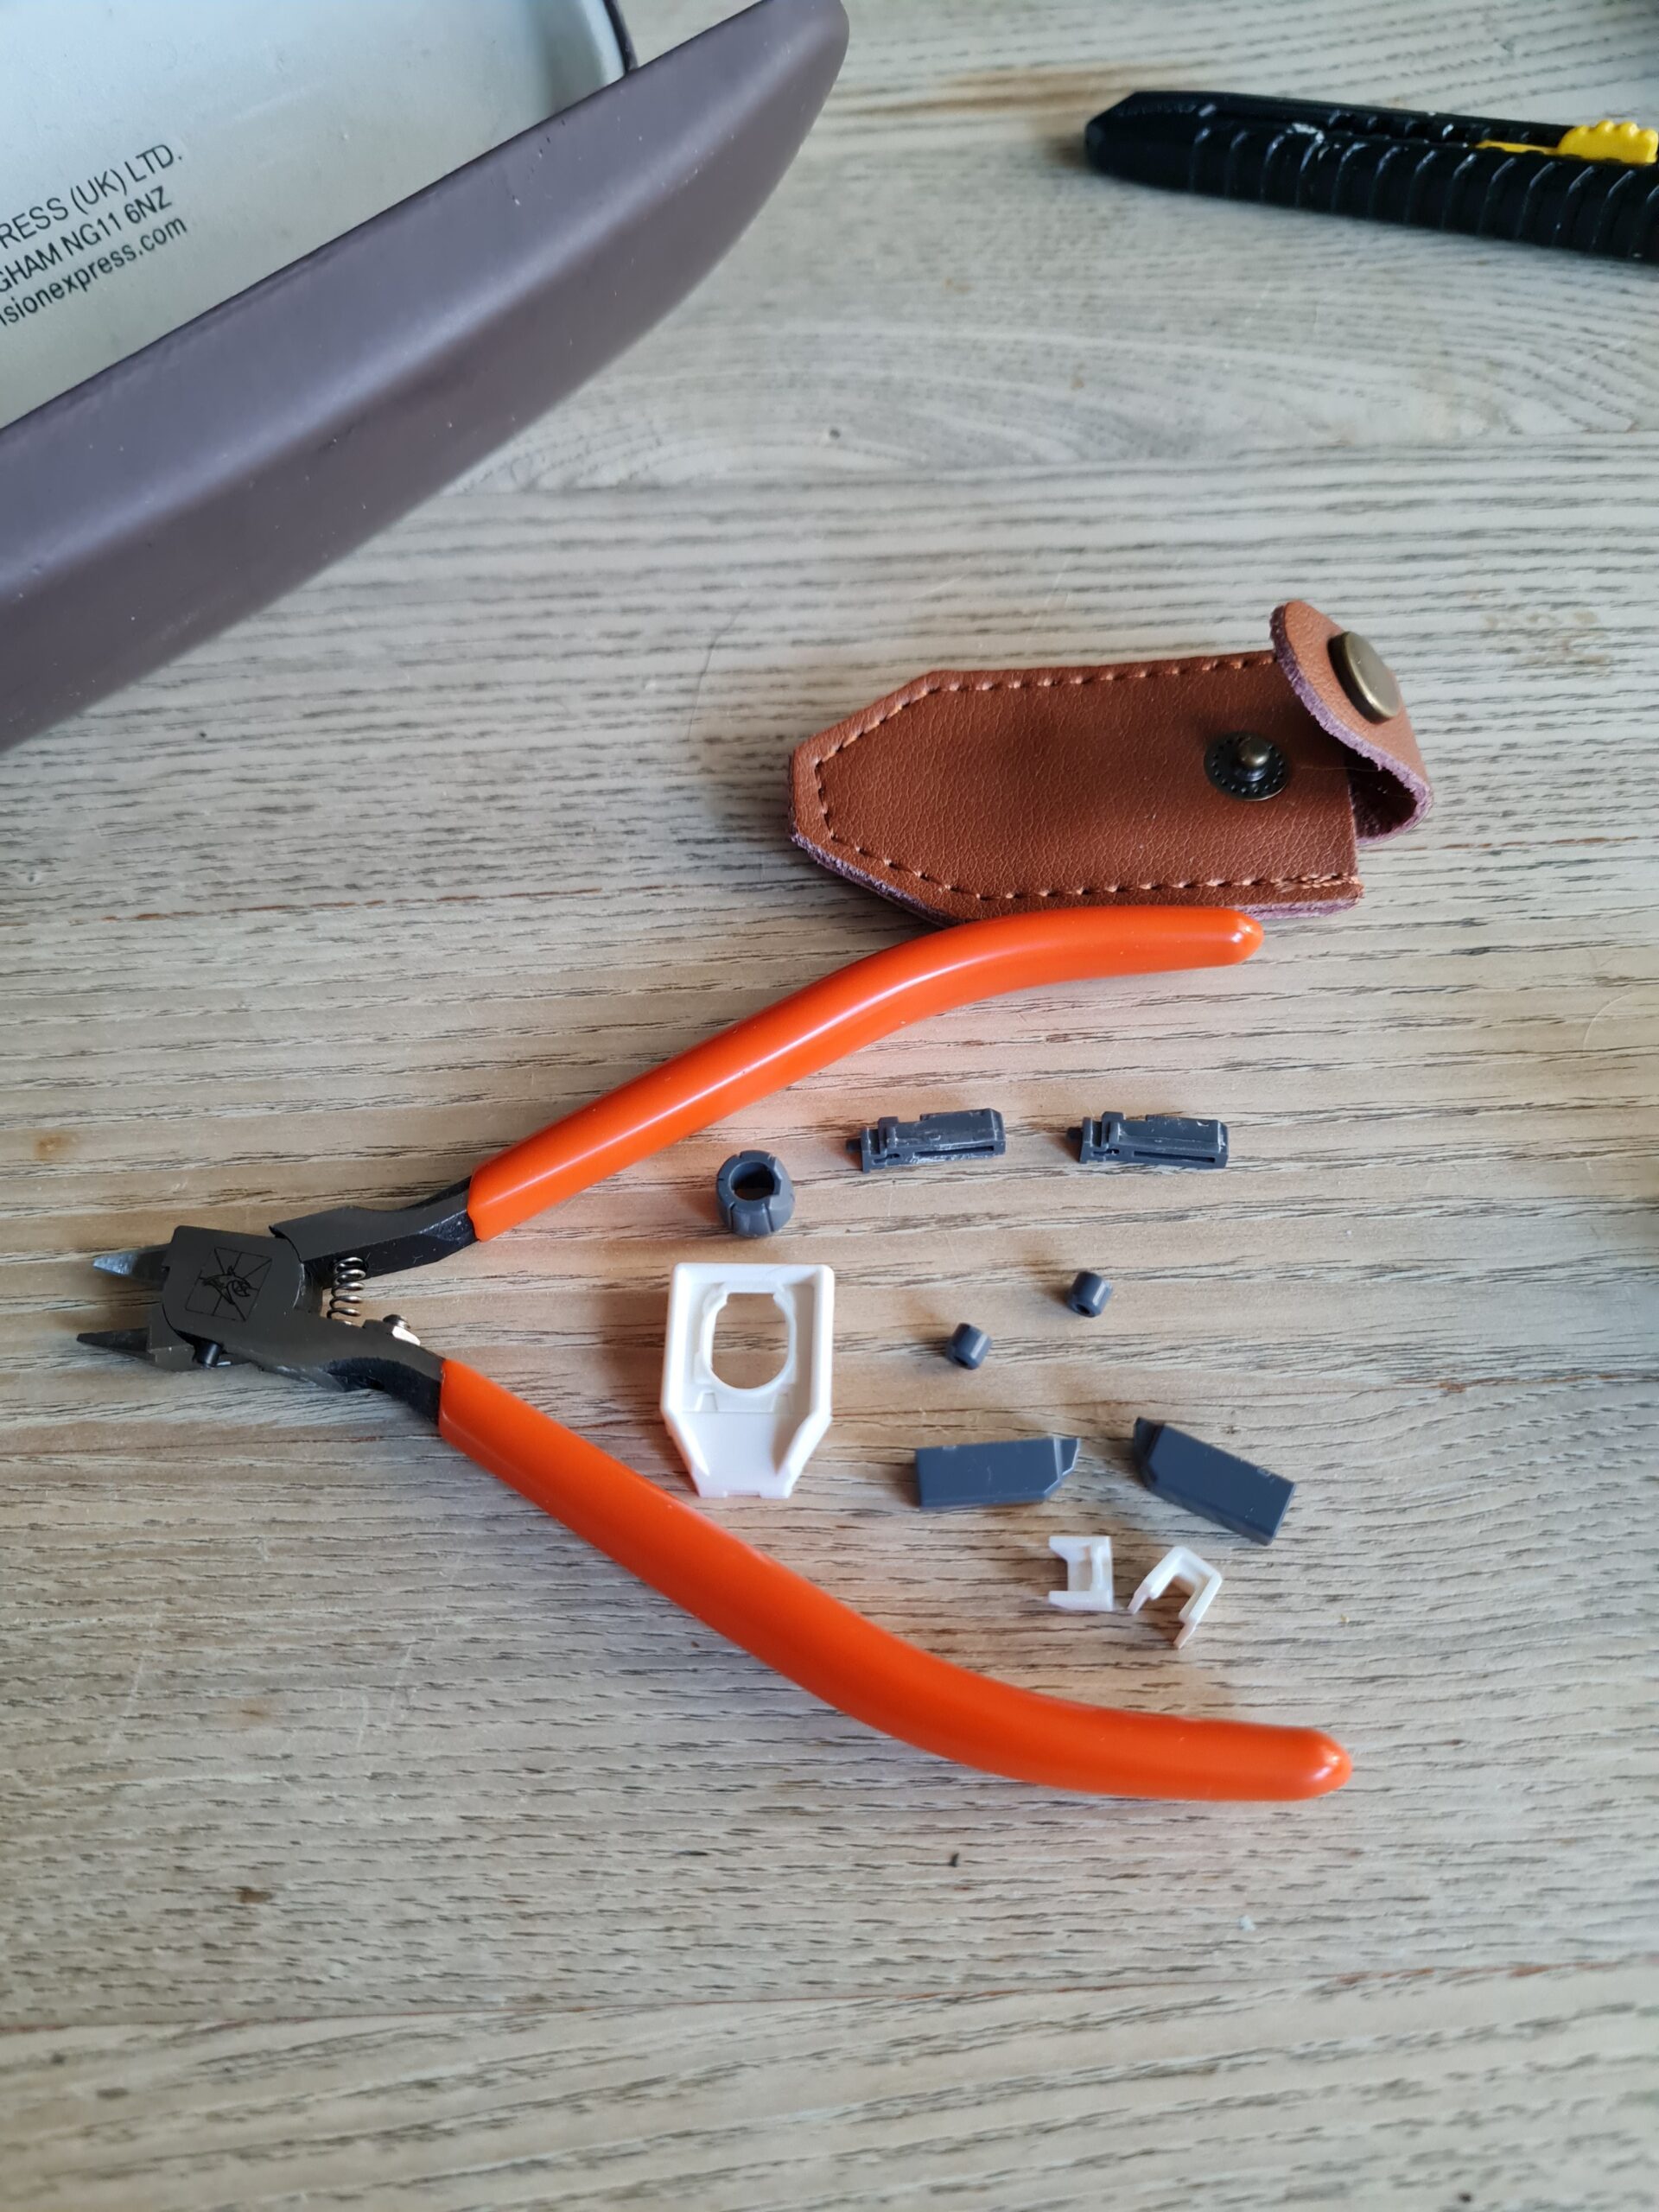
Above are the build pictures from this stage. As you can see I removed sets of pieces from the runners and then put them together. The pieces I assumed were going on the inside got less “clean-up” than the pieces that were obviously on the outside. This method has however left me with some extra clean-up to do later.
Spot the mistake
Eagle eyed viewers will notice that the left top blue “stripe” ends a little early. That would be because looking at the piece it looked like the end should be tripped for it to fit. However, when I came to the second one I realised you could slide it into place. Lesson learnt! If you get to build this kit then those blue pieces slide in tip first!
Conclusion
So that is todays clue. Let me know if you think you know what the model is!
Thank you for taking the time to read this. If you haven’t already done so please like and follow us on our social media platforms and checkout our website!
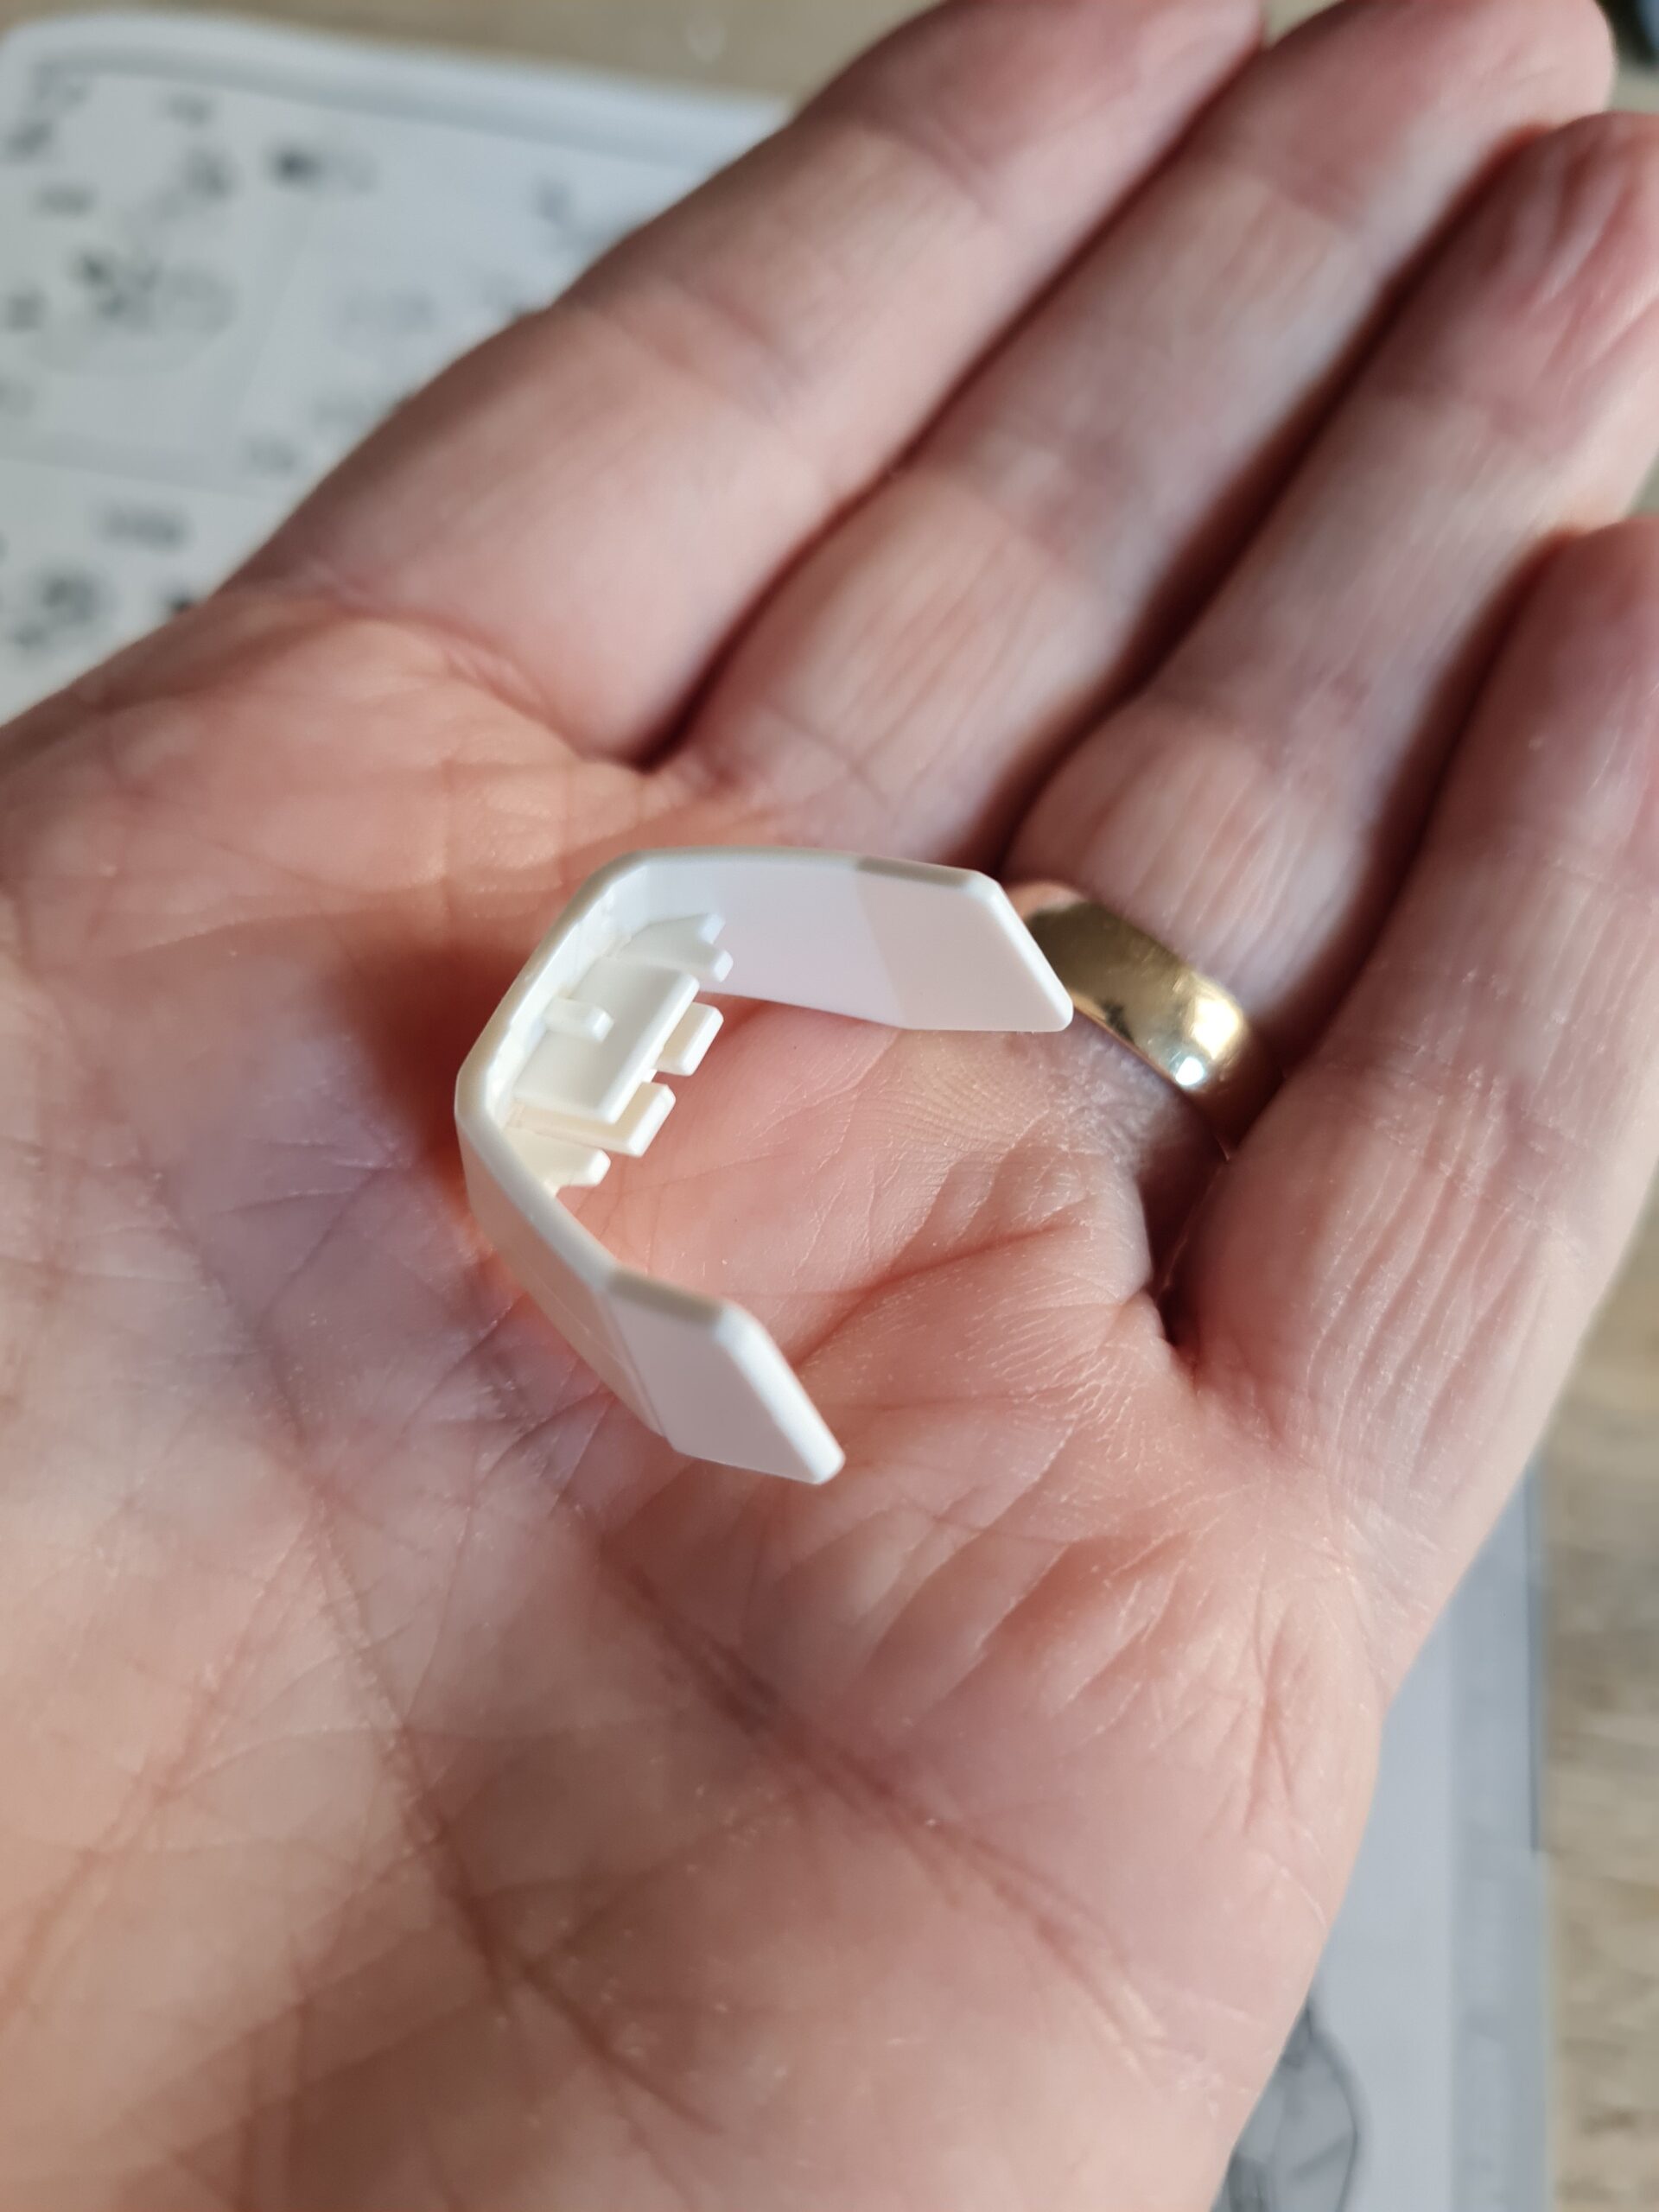
I will be honest. I wasn’t expecting to be posting about my ZAKU II any time soon. I have been doing some work to finish it off. Again, in my hamfisted manner I managed to break a part. I have no idea what was going through my head. However, I did thankfully have the presence of mind to not panic. The part pictured below should not come away from the model. Note this was by no means a fault with the model, and totally a user headspace error.
Broken leg part
What to do?
I decided that probably the best way to try and repair this would be to pin the piece. For anyone who does not know here is my understanding of pinning. Other people may have different definitions but this is what I am going for. In essence you drill a small hole in your piece that has come off, and into where you want to mount it. You then trim a pin to size and glue it all back together. The pin helps to take the load and strengthen the join.
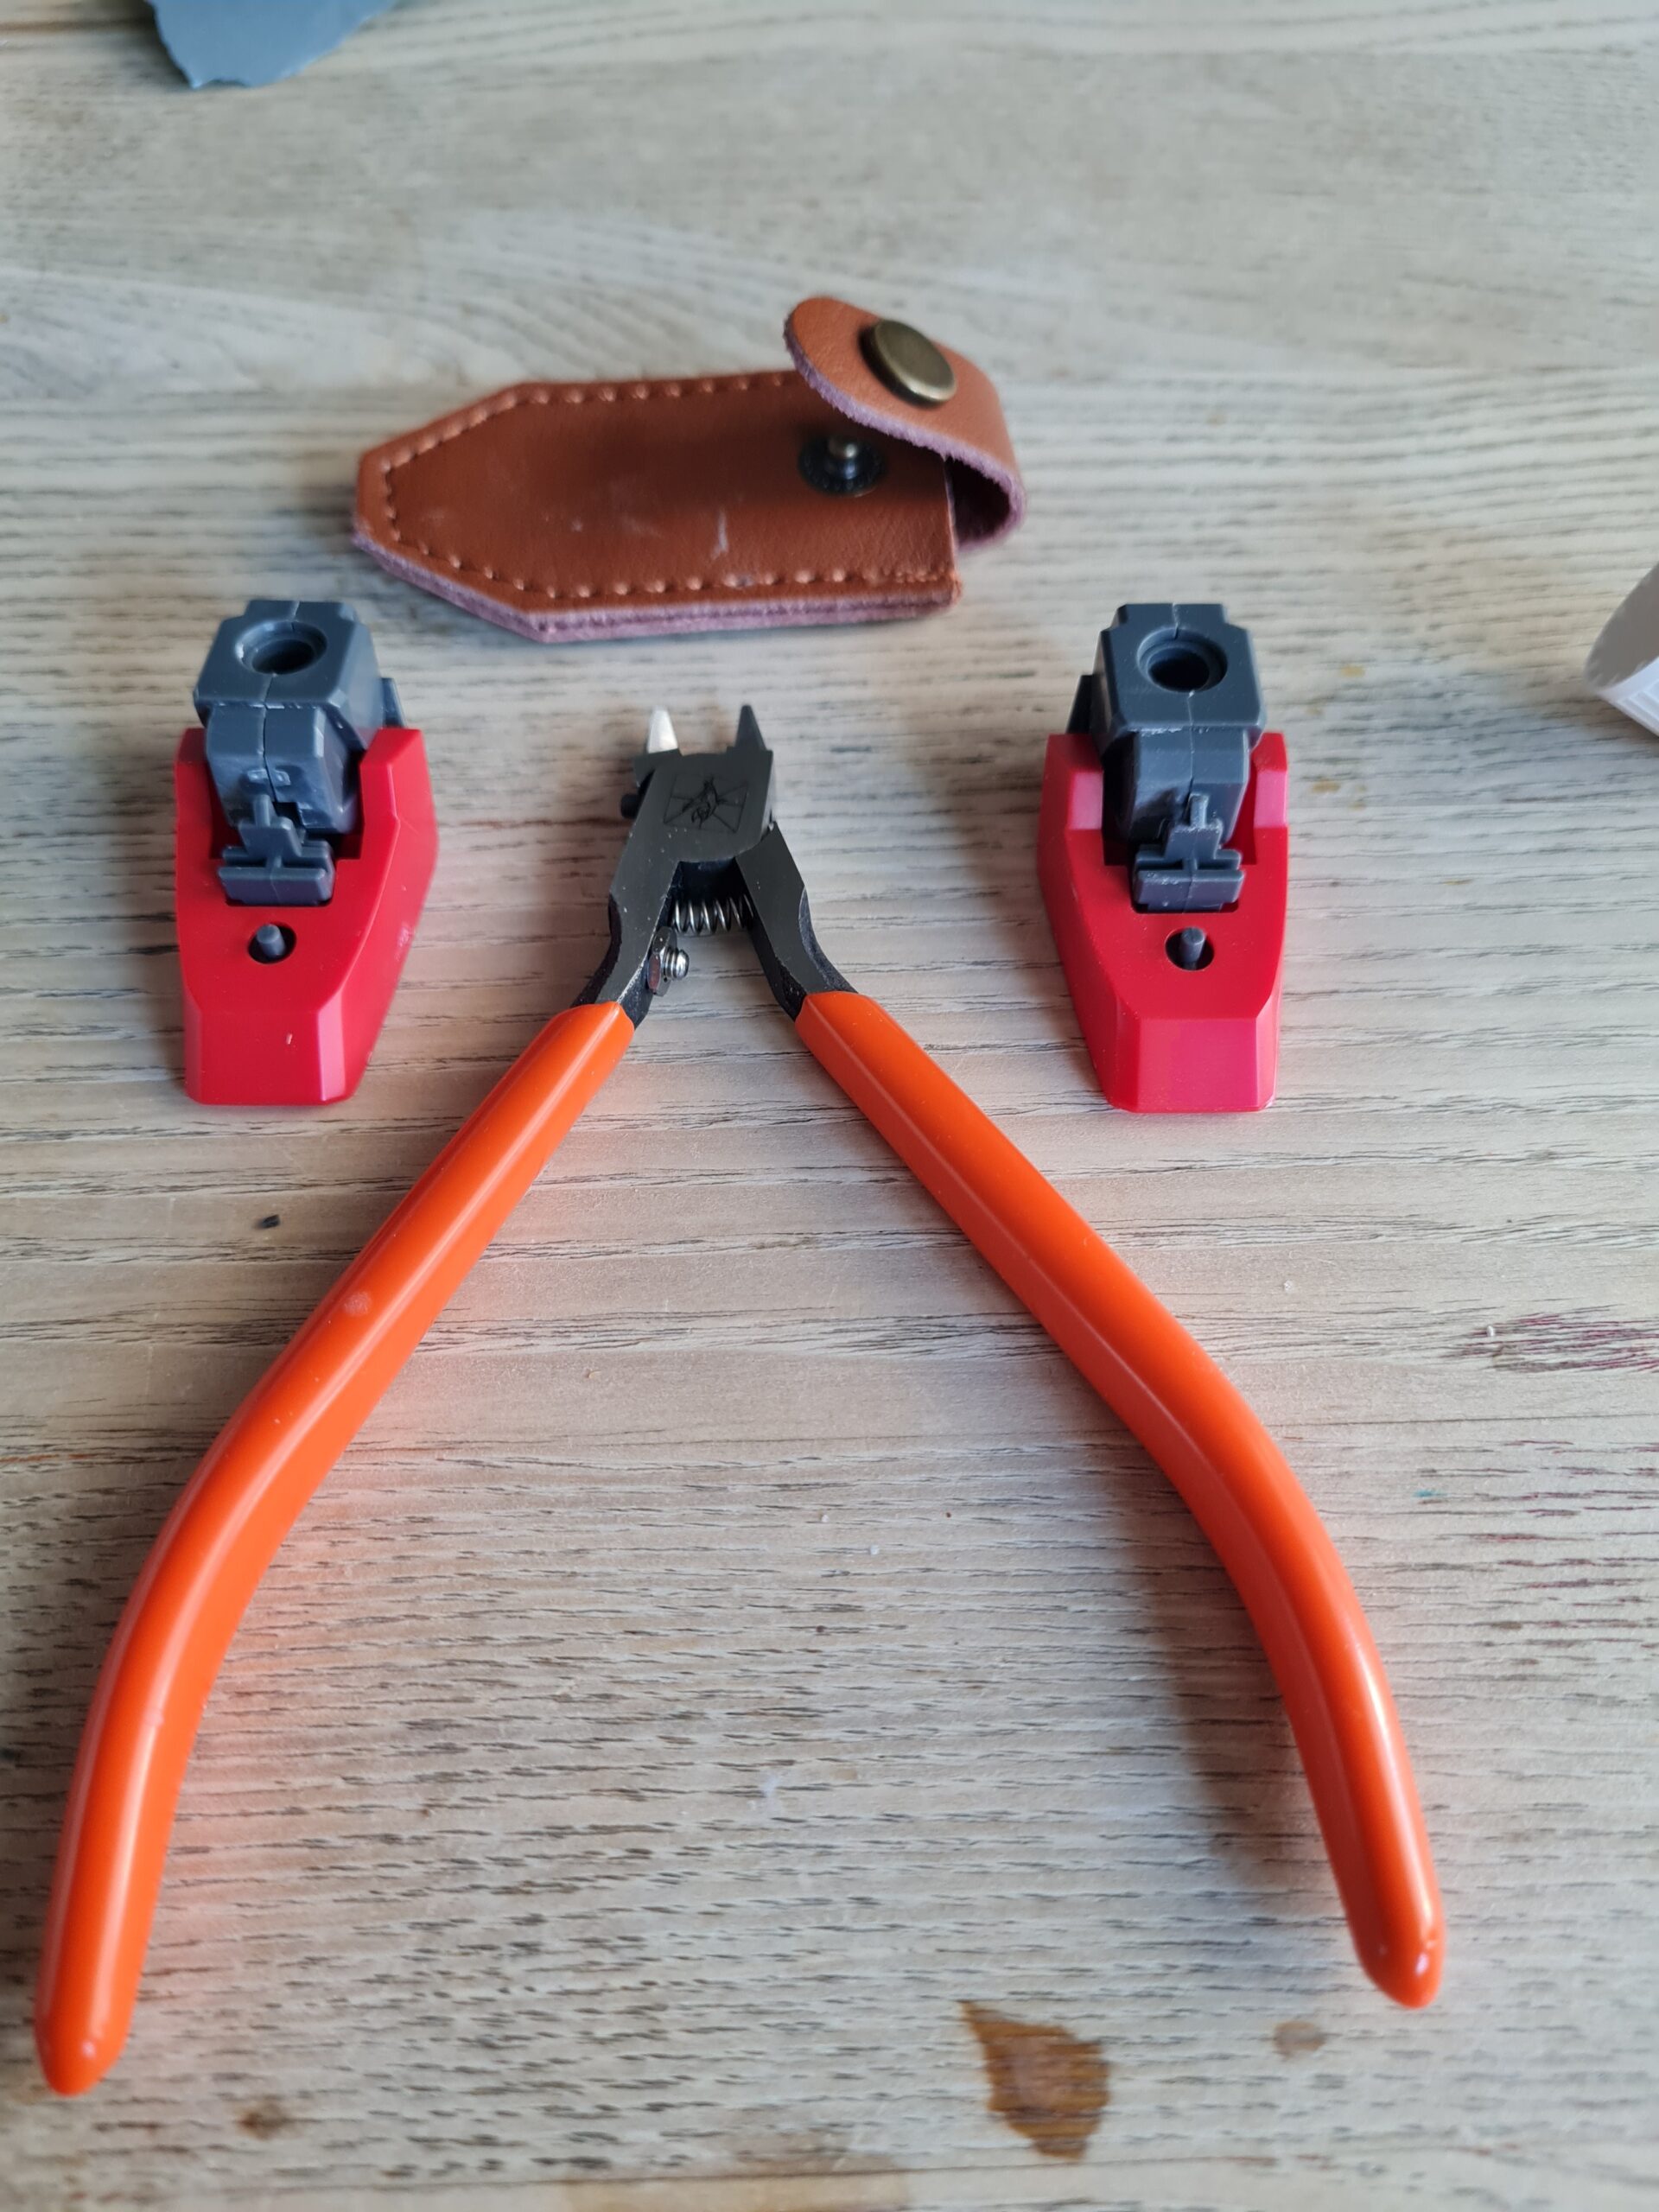
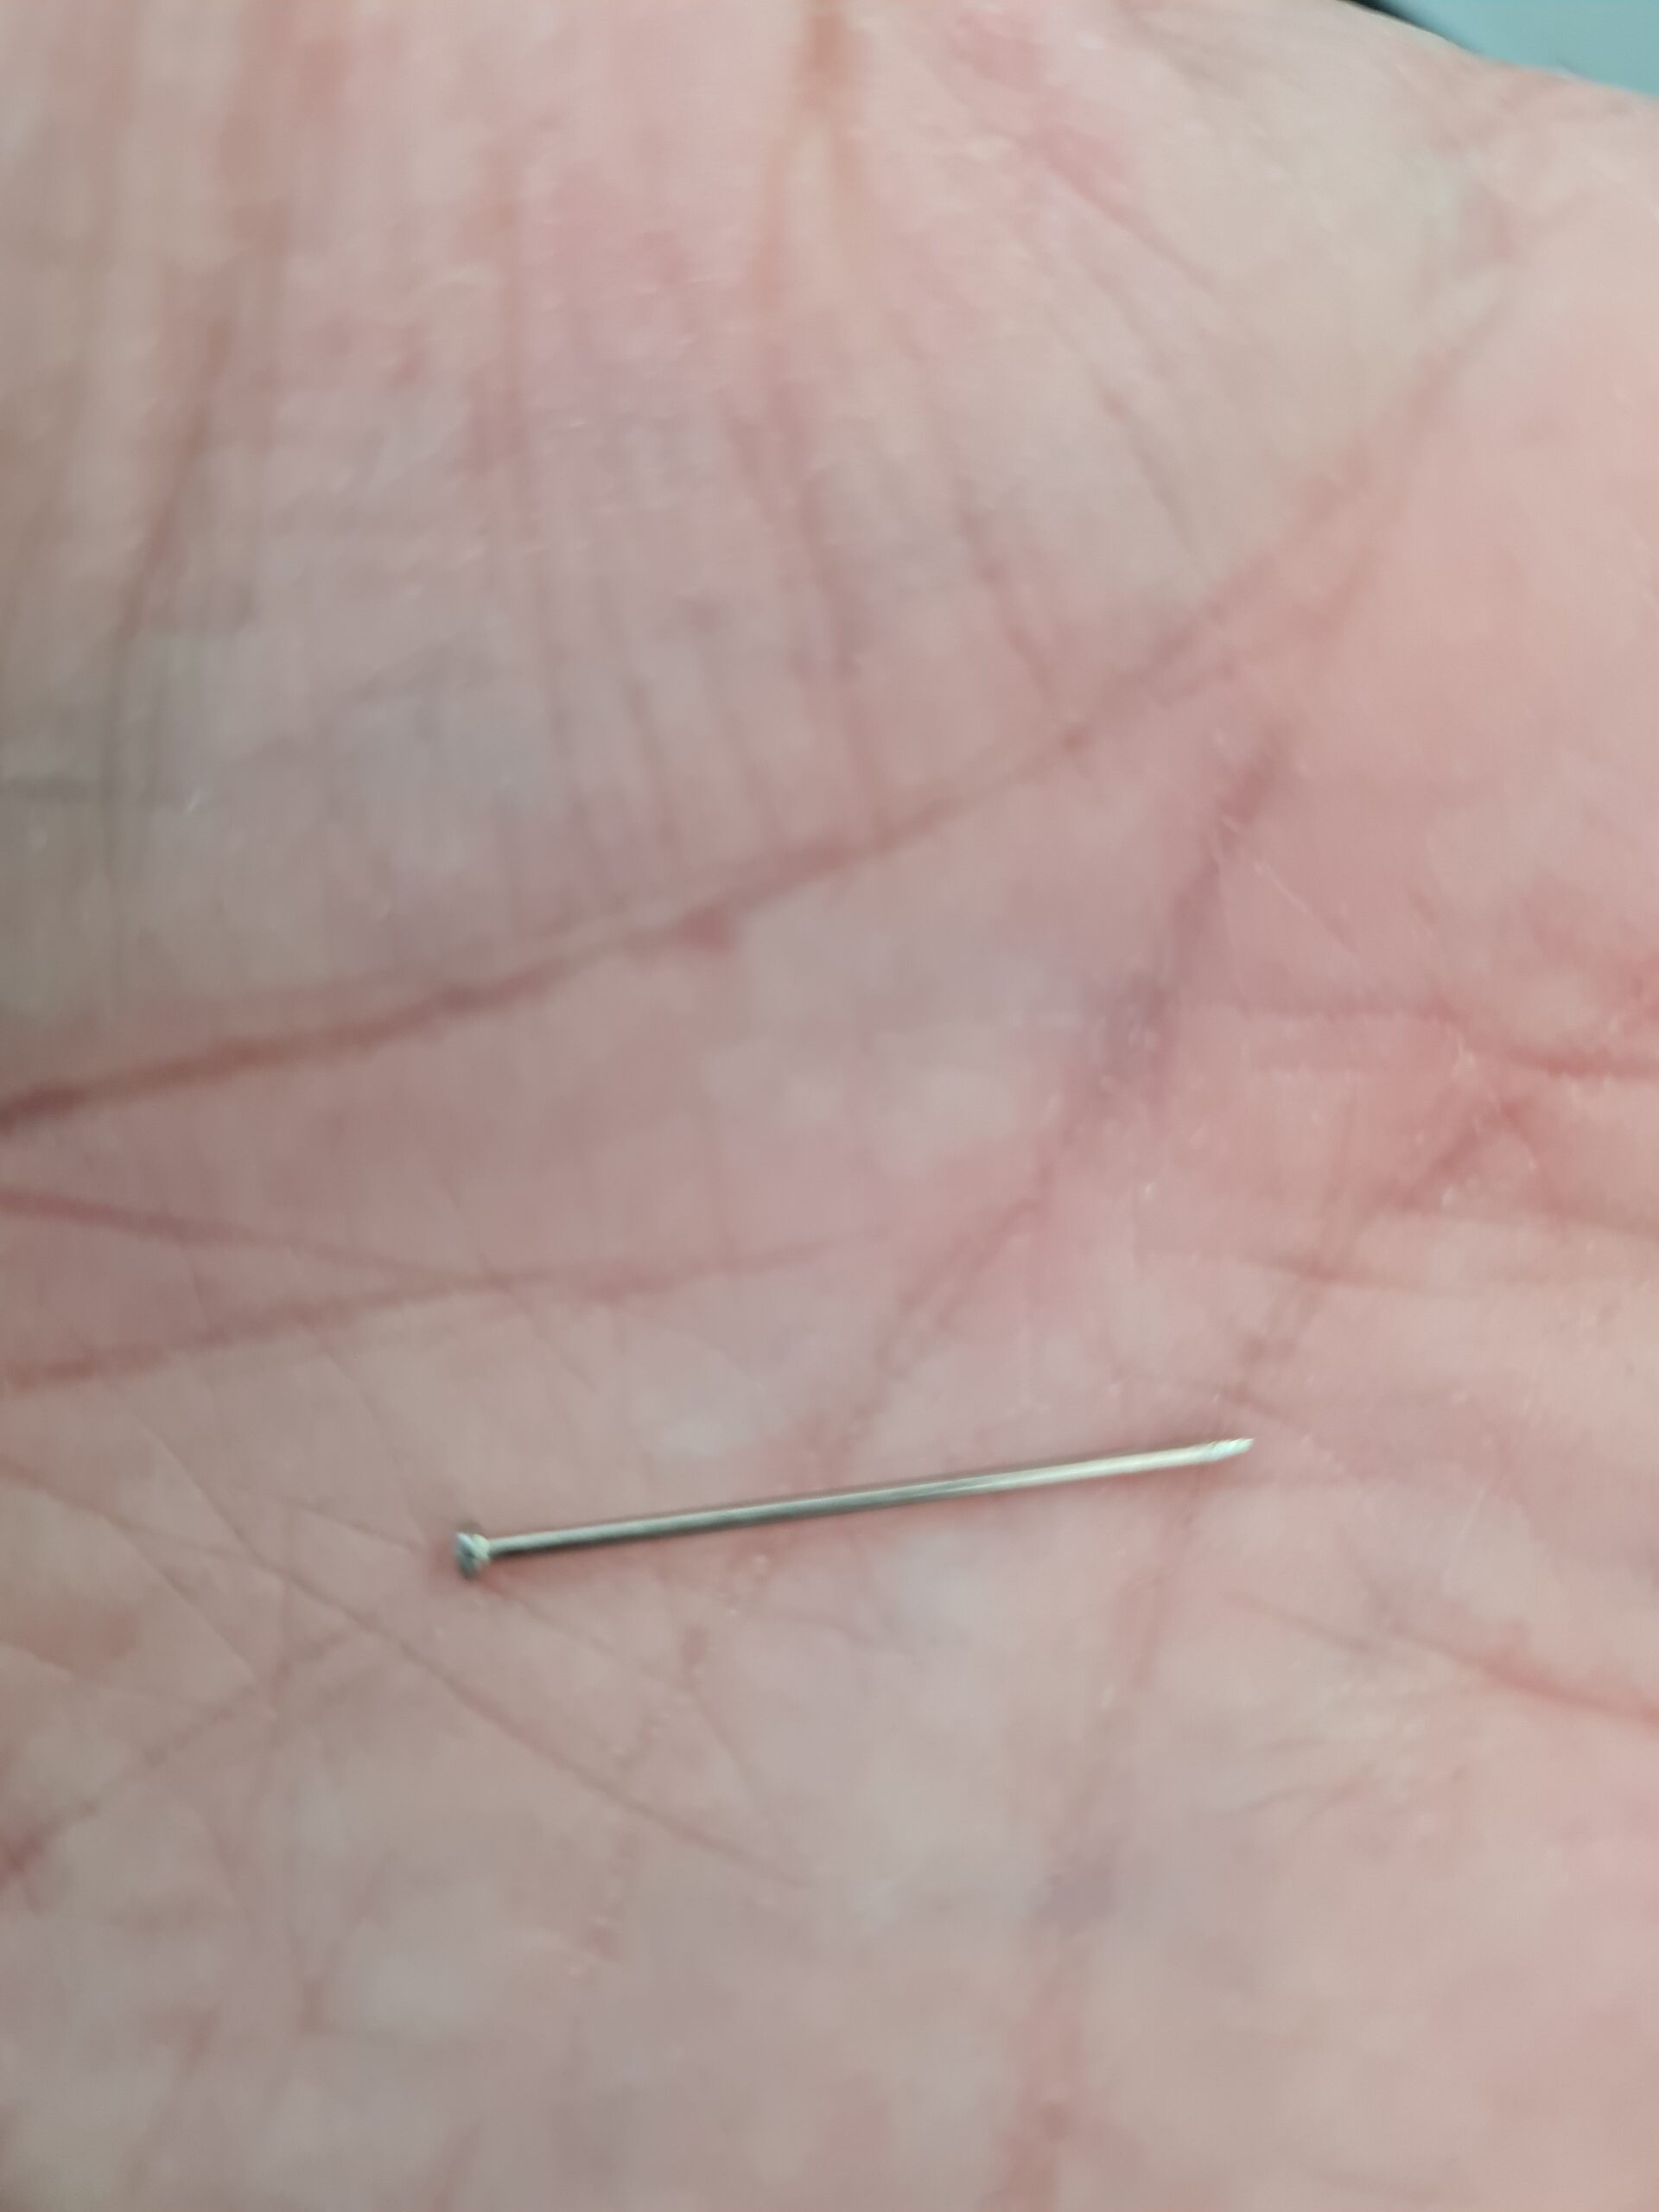
Equipment
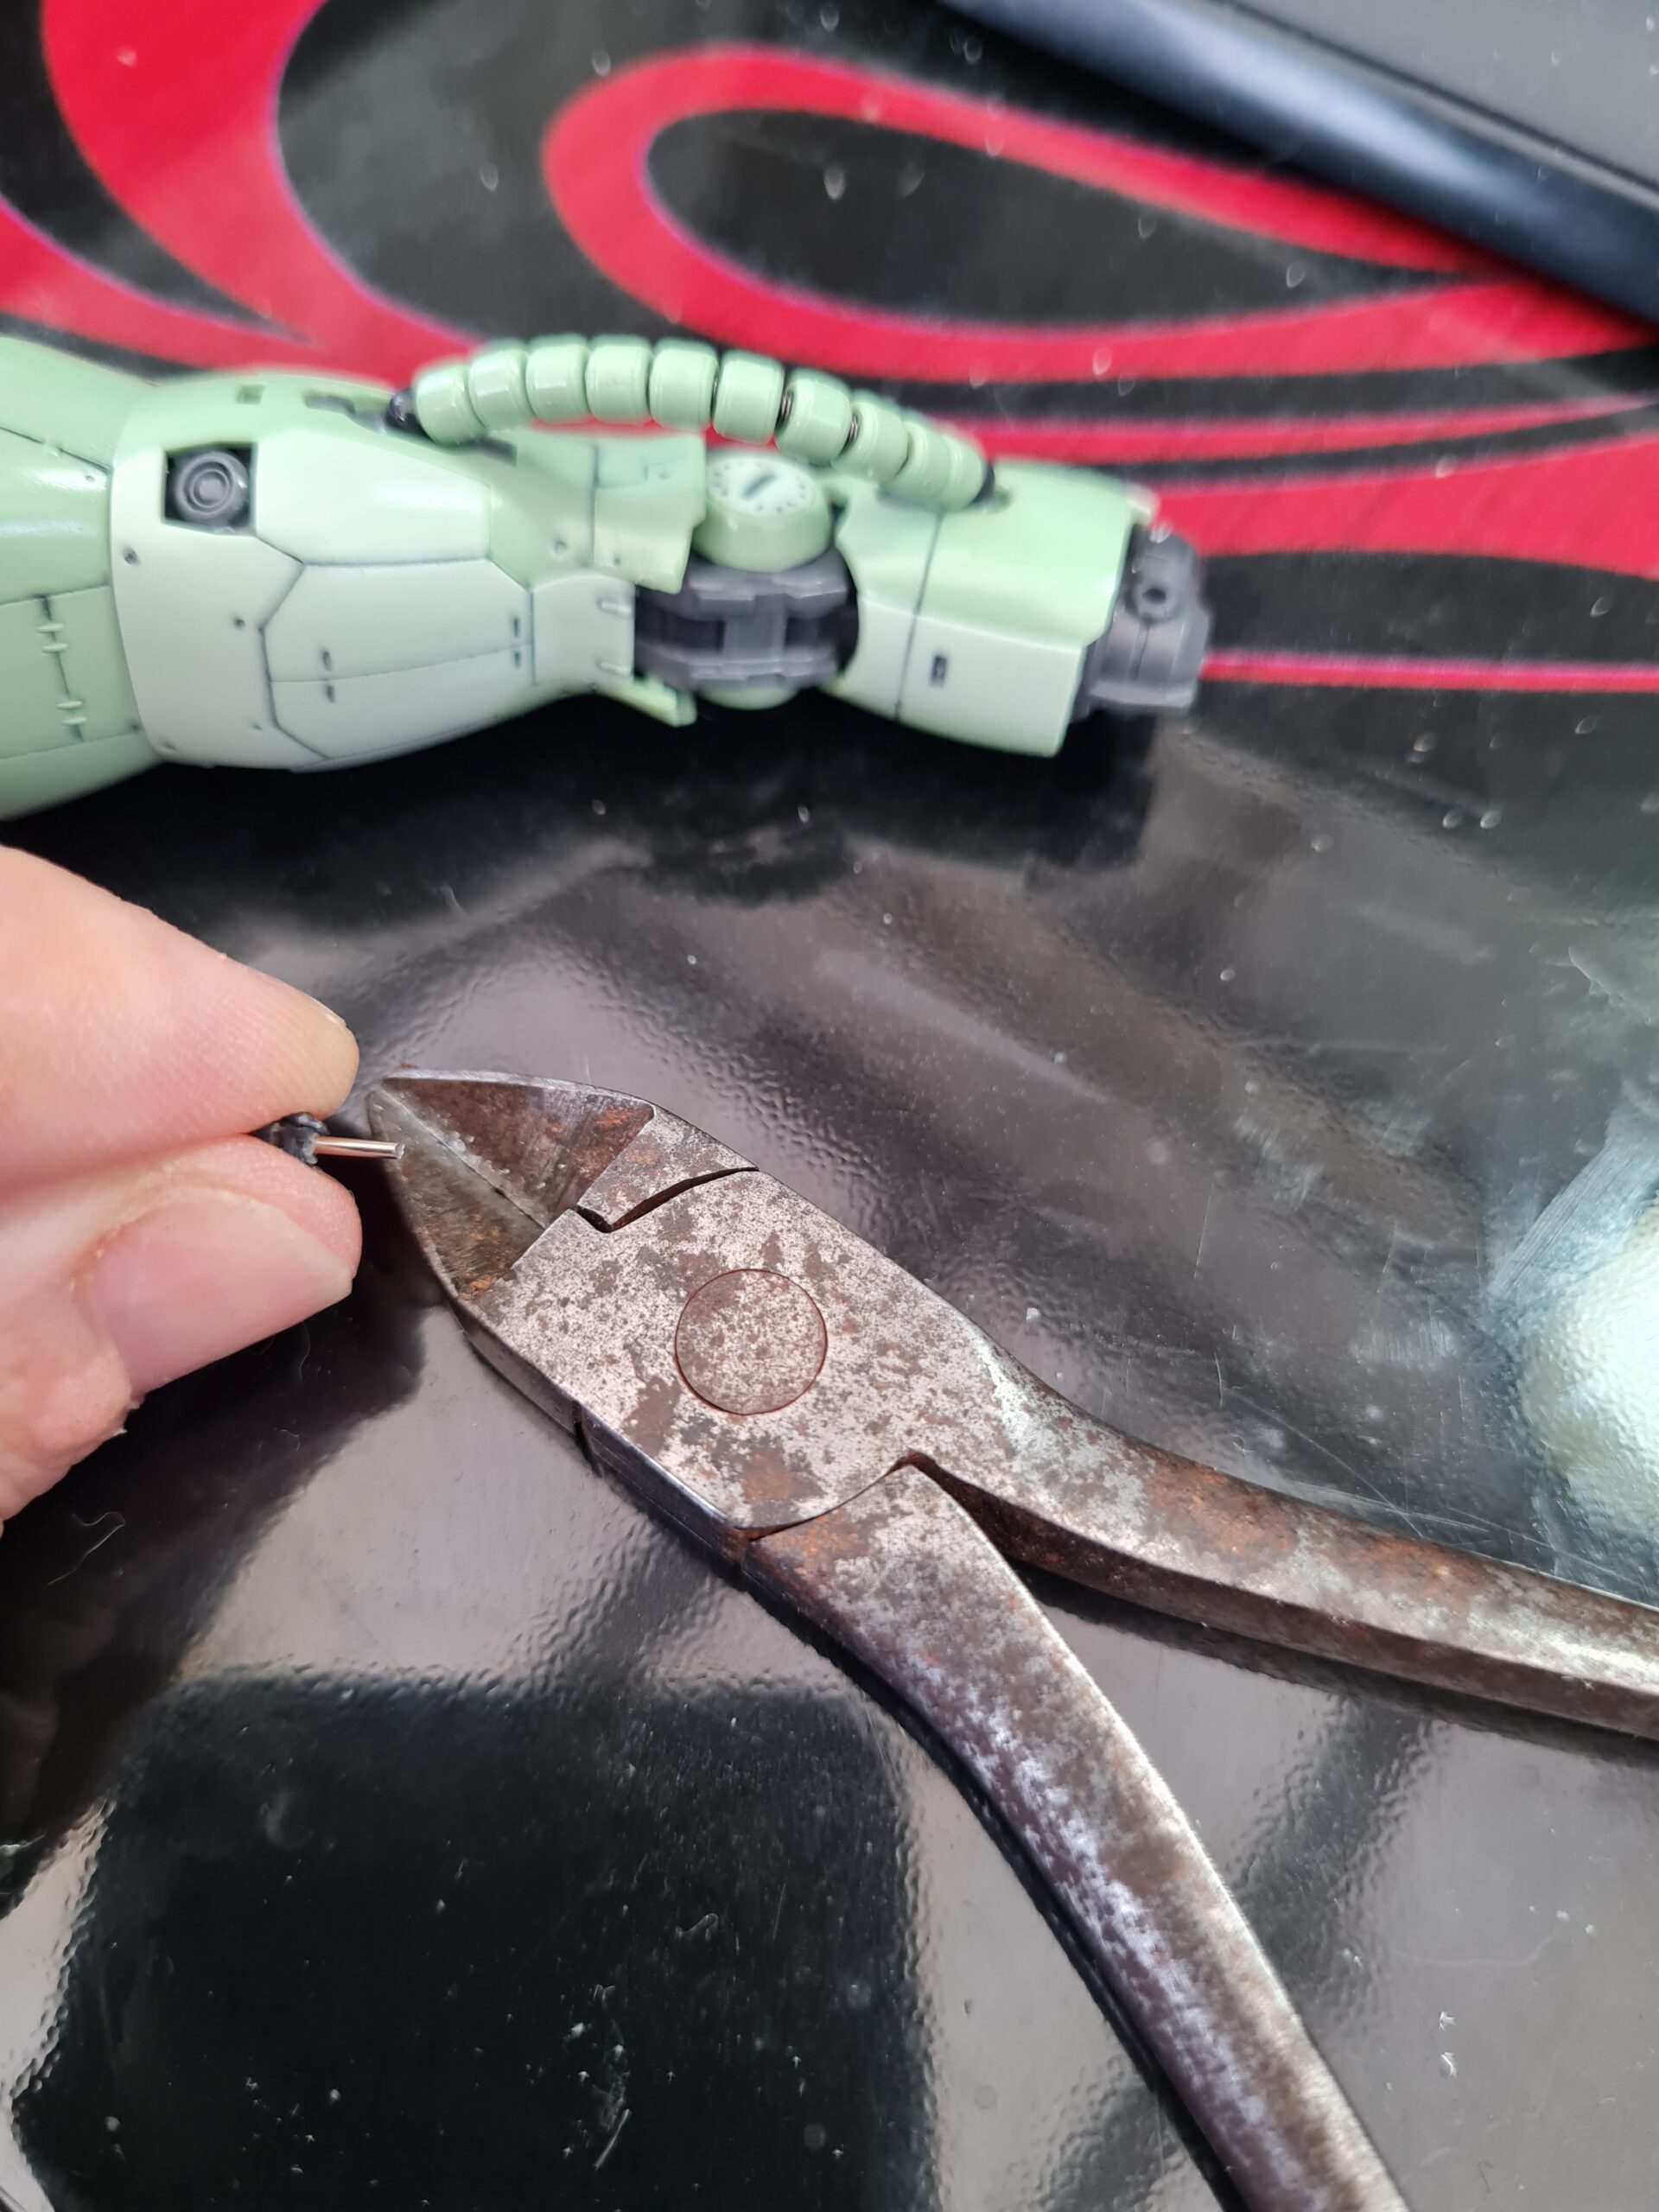
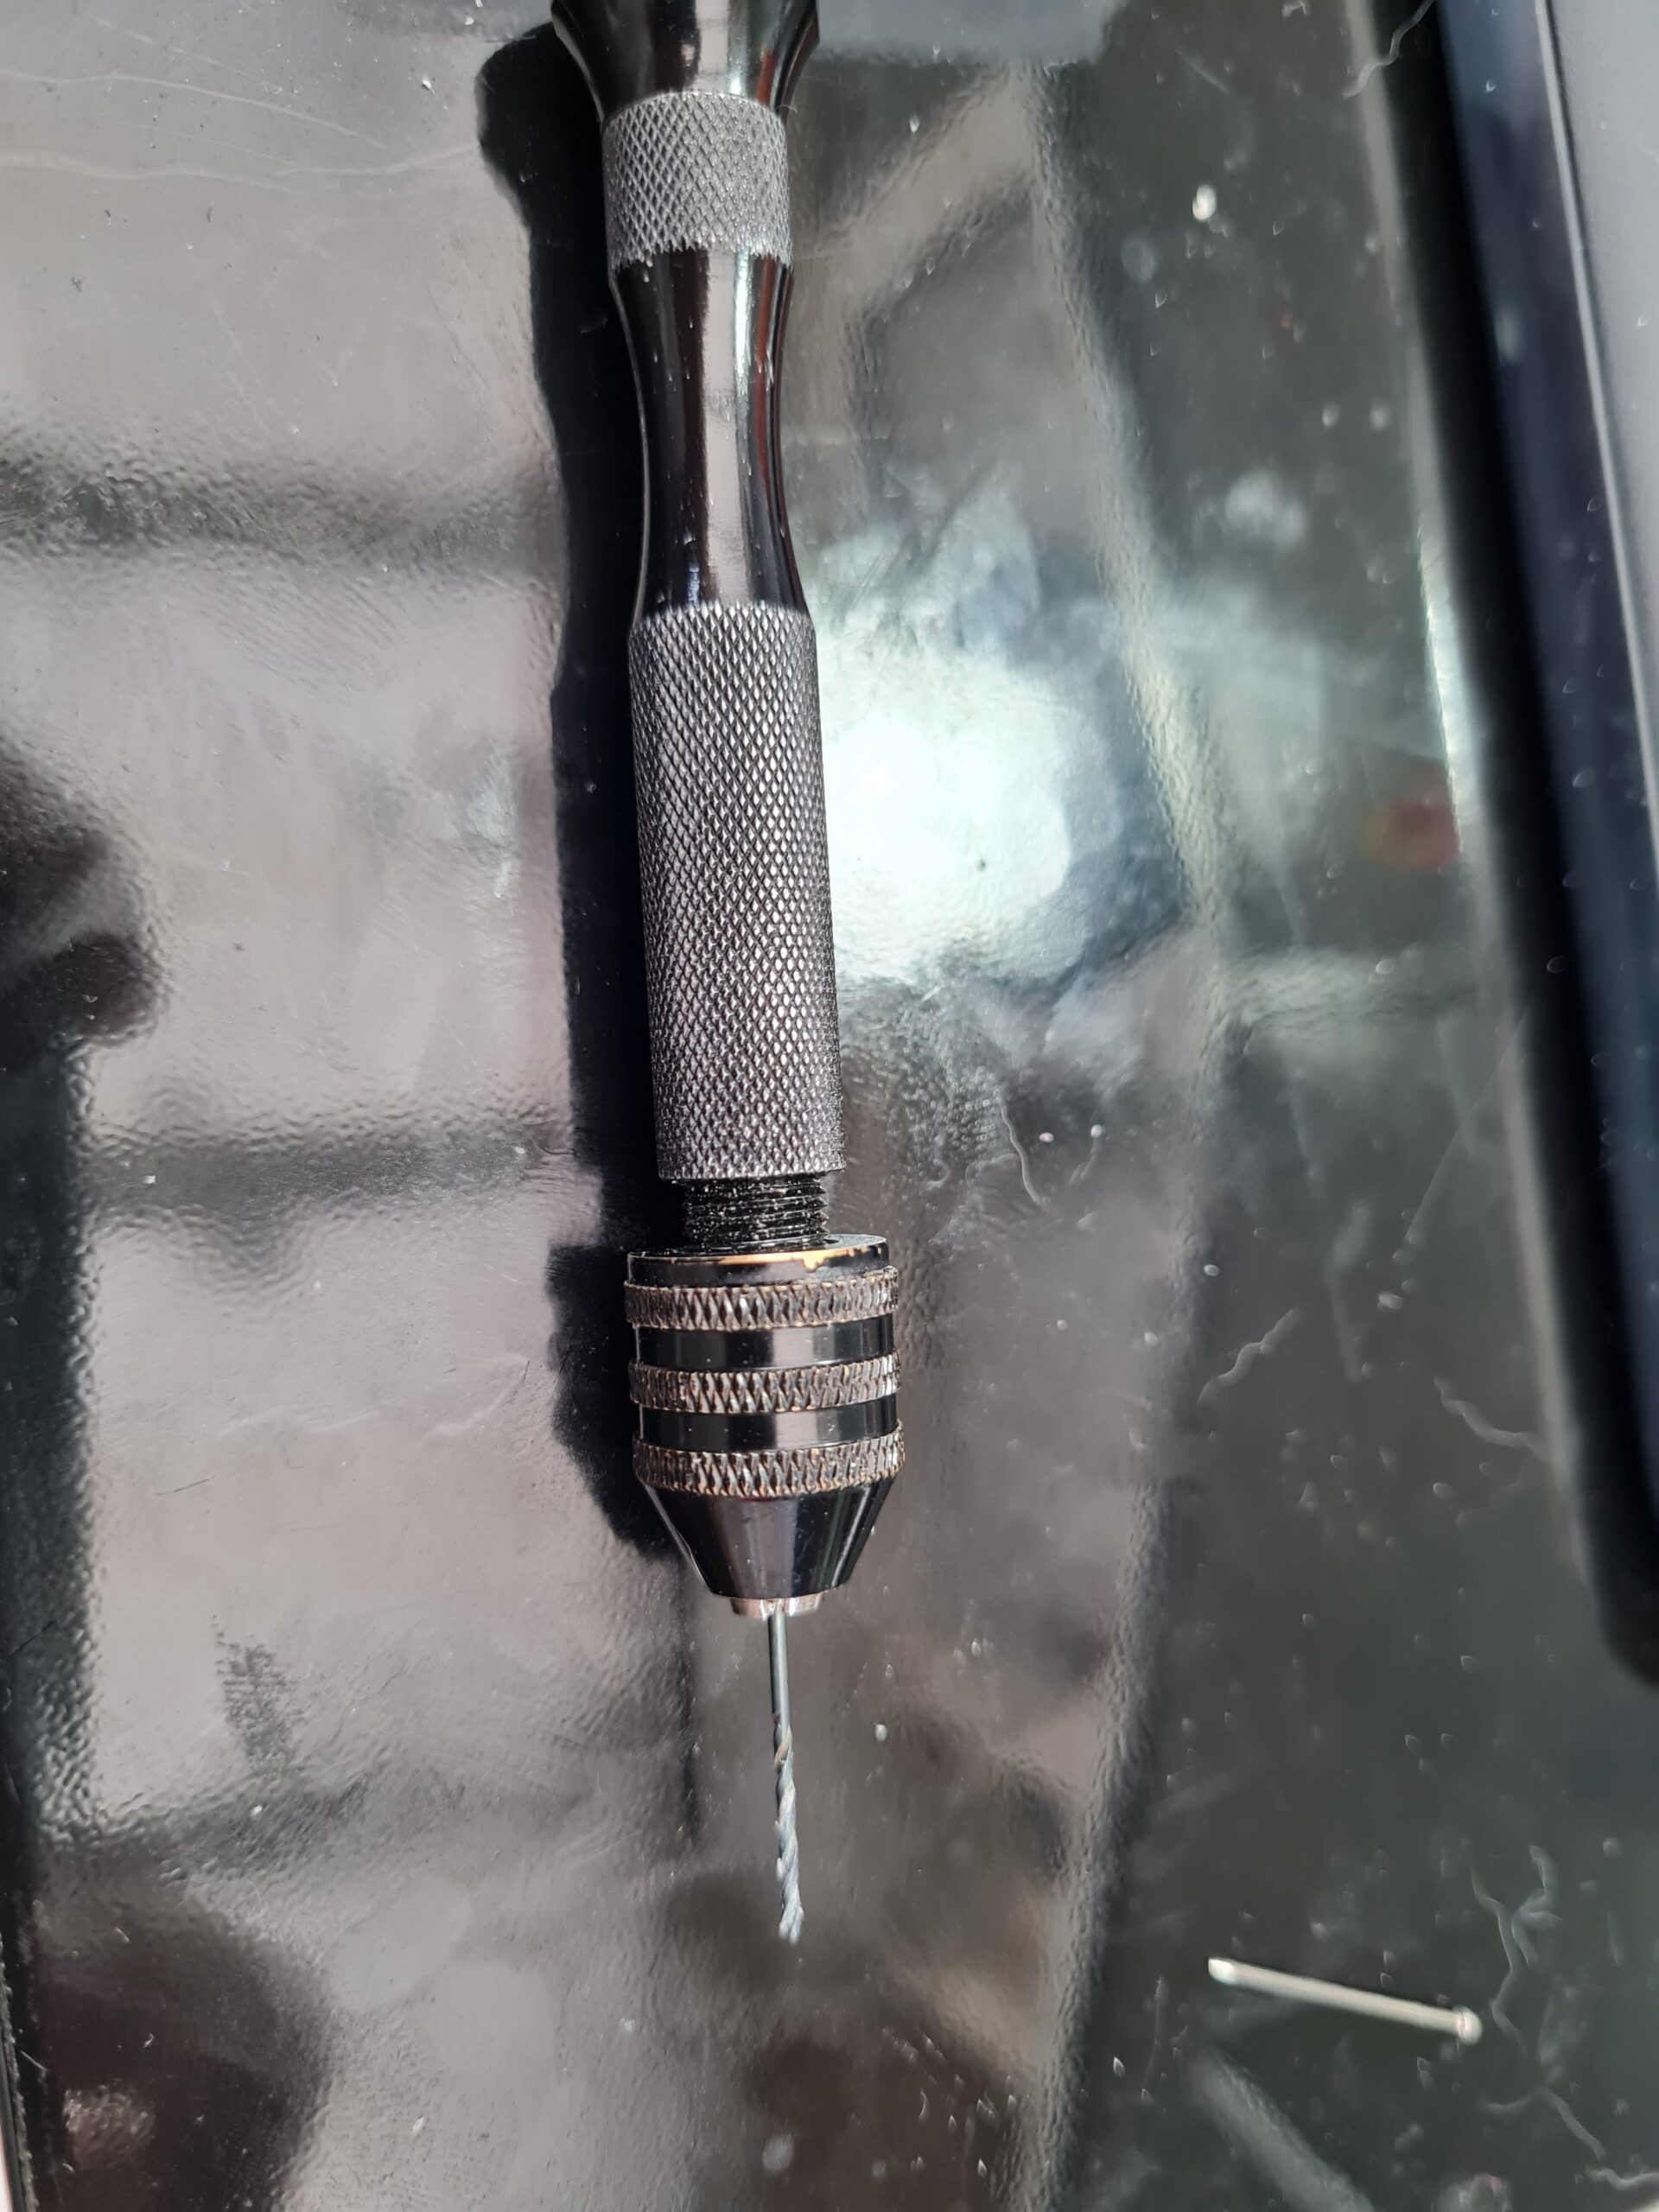
Thankfully I have the four things I needed to hand. A small drill, a pin, some nippers and some glue.
PinOld Nippershand Drill
As you can see I used a good old pair of nippers so as to not ruin the good pair I have. I find it is always handy to have a slightly older pair around for just these occasions. I don’t have a photo of the glue but for reference I was using Gorilla clear glue.
Method
Drill a hole through the broken off piece.
Align the broken piece with the model with the drill bit still in. Then continue to drill so the lines are aligned. (Be careful not to drill too far and go all the way through!
Using the nippers trim the pin to size.
Glue the pin into the model.
Once dry, add more glue to the pin and push the broken piece into place.
The last pieces (gluing the pin in and into place) can be done all the same time if you prefer.
Then leave your glue to cure and away you go.
Conclusion
Every time I do something like this I promise myself to be more careful next time. However, it was a useful opportunity to remind myself that pinning can be an invaluable technique in repairing a model, or in helping joints or pieces that join together with quite a small surface/join area.
Thank you for taking the time to read this. If you haven’t already done so please like and follow us on our social media platforms and checkout our website!
We use cookies on our website to give you the most relevant experience by remembering your preferences and repeat visits. By clicking “Accept All”, you consent to the use of ALL the cookies. However, you may visit "Cookie Settings" to provide a controlled consent.
This website uses cookies to improve your experience while you navigate through the website. Out of these, the cookies that are categorized as necessary are stored on your browser as they are essential for the working of basic functionalities of the website. We also use third-party cookies that help us analyze and understand how you use this website. These cookies will be stored in your browser only with your consent. You also have the option to opt-out of these cookies. But opting out of some of these cookies may affect your browsing experience.
Necessary cookies are absolutely essential for the website to function properly. These cookies ensure basic functionalities and security features of the website, anonymously.
Cookie
Duration
Description
cookielawinfo-checkbox-analytics
11 months
This cookie is set by GDPR Cookie Consent plugin. The cookie is used to store the user consent for the cookies in the category "Analytics".
cookielawinfo-checkbox-functional
11 months
The cookie is set by GDPR cookie consent to record the user consent for the cookies in the category "Functional".
cookielawinfo-checkbox-necessary
11 months
This cookie is set by GDPR Cookie Consent plugin. The cookies is used to store the user consent for the cookies in the category "Necessary".
cookielawinfo-checkbox-others
11 months
This cookie is set by GDPR Cookie Consent plugin. The cookie is used to store the user consent for the cookies in the category "Other.
cookielawinfo-checkbox-performance
11 months
This cookie is set by GDPR Cookie Consent plugin. The cookie is used to store the user consent for the cookies in the category "Performance".
viewed_cookie_policy
11 months
The cookie is set by the GDPR Cookie Consent plugin and is used to store whether or not user has consented to the use of cookies. It does not store any personal data.
Functional cookies help to perform certain functionalities like sharing the content of the website on social media platforms, collect feedbacks, and other third-party features.
Performance cookies are used to understand and analyze the key performance indexes of the website which helps in delivering a better user experience for the visitors.
Analytical cookies are used to understand how visitors interact with the website. These cookies help provide information on metrics the number of visitors, bounce rate, traffic source, etc.
Advertisement cookies are used to provide visitors with relevant ads and marketing campaigns. These cookies track visitors across websites and collect information to provide customized ads.