I started this new series of guess the model as I enjoyed the last one so much. I am hoping everyone else did too. The original series can be found here. In this part I will be building the head of the model.
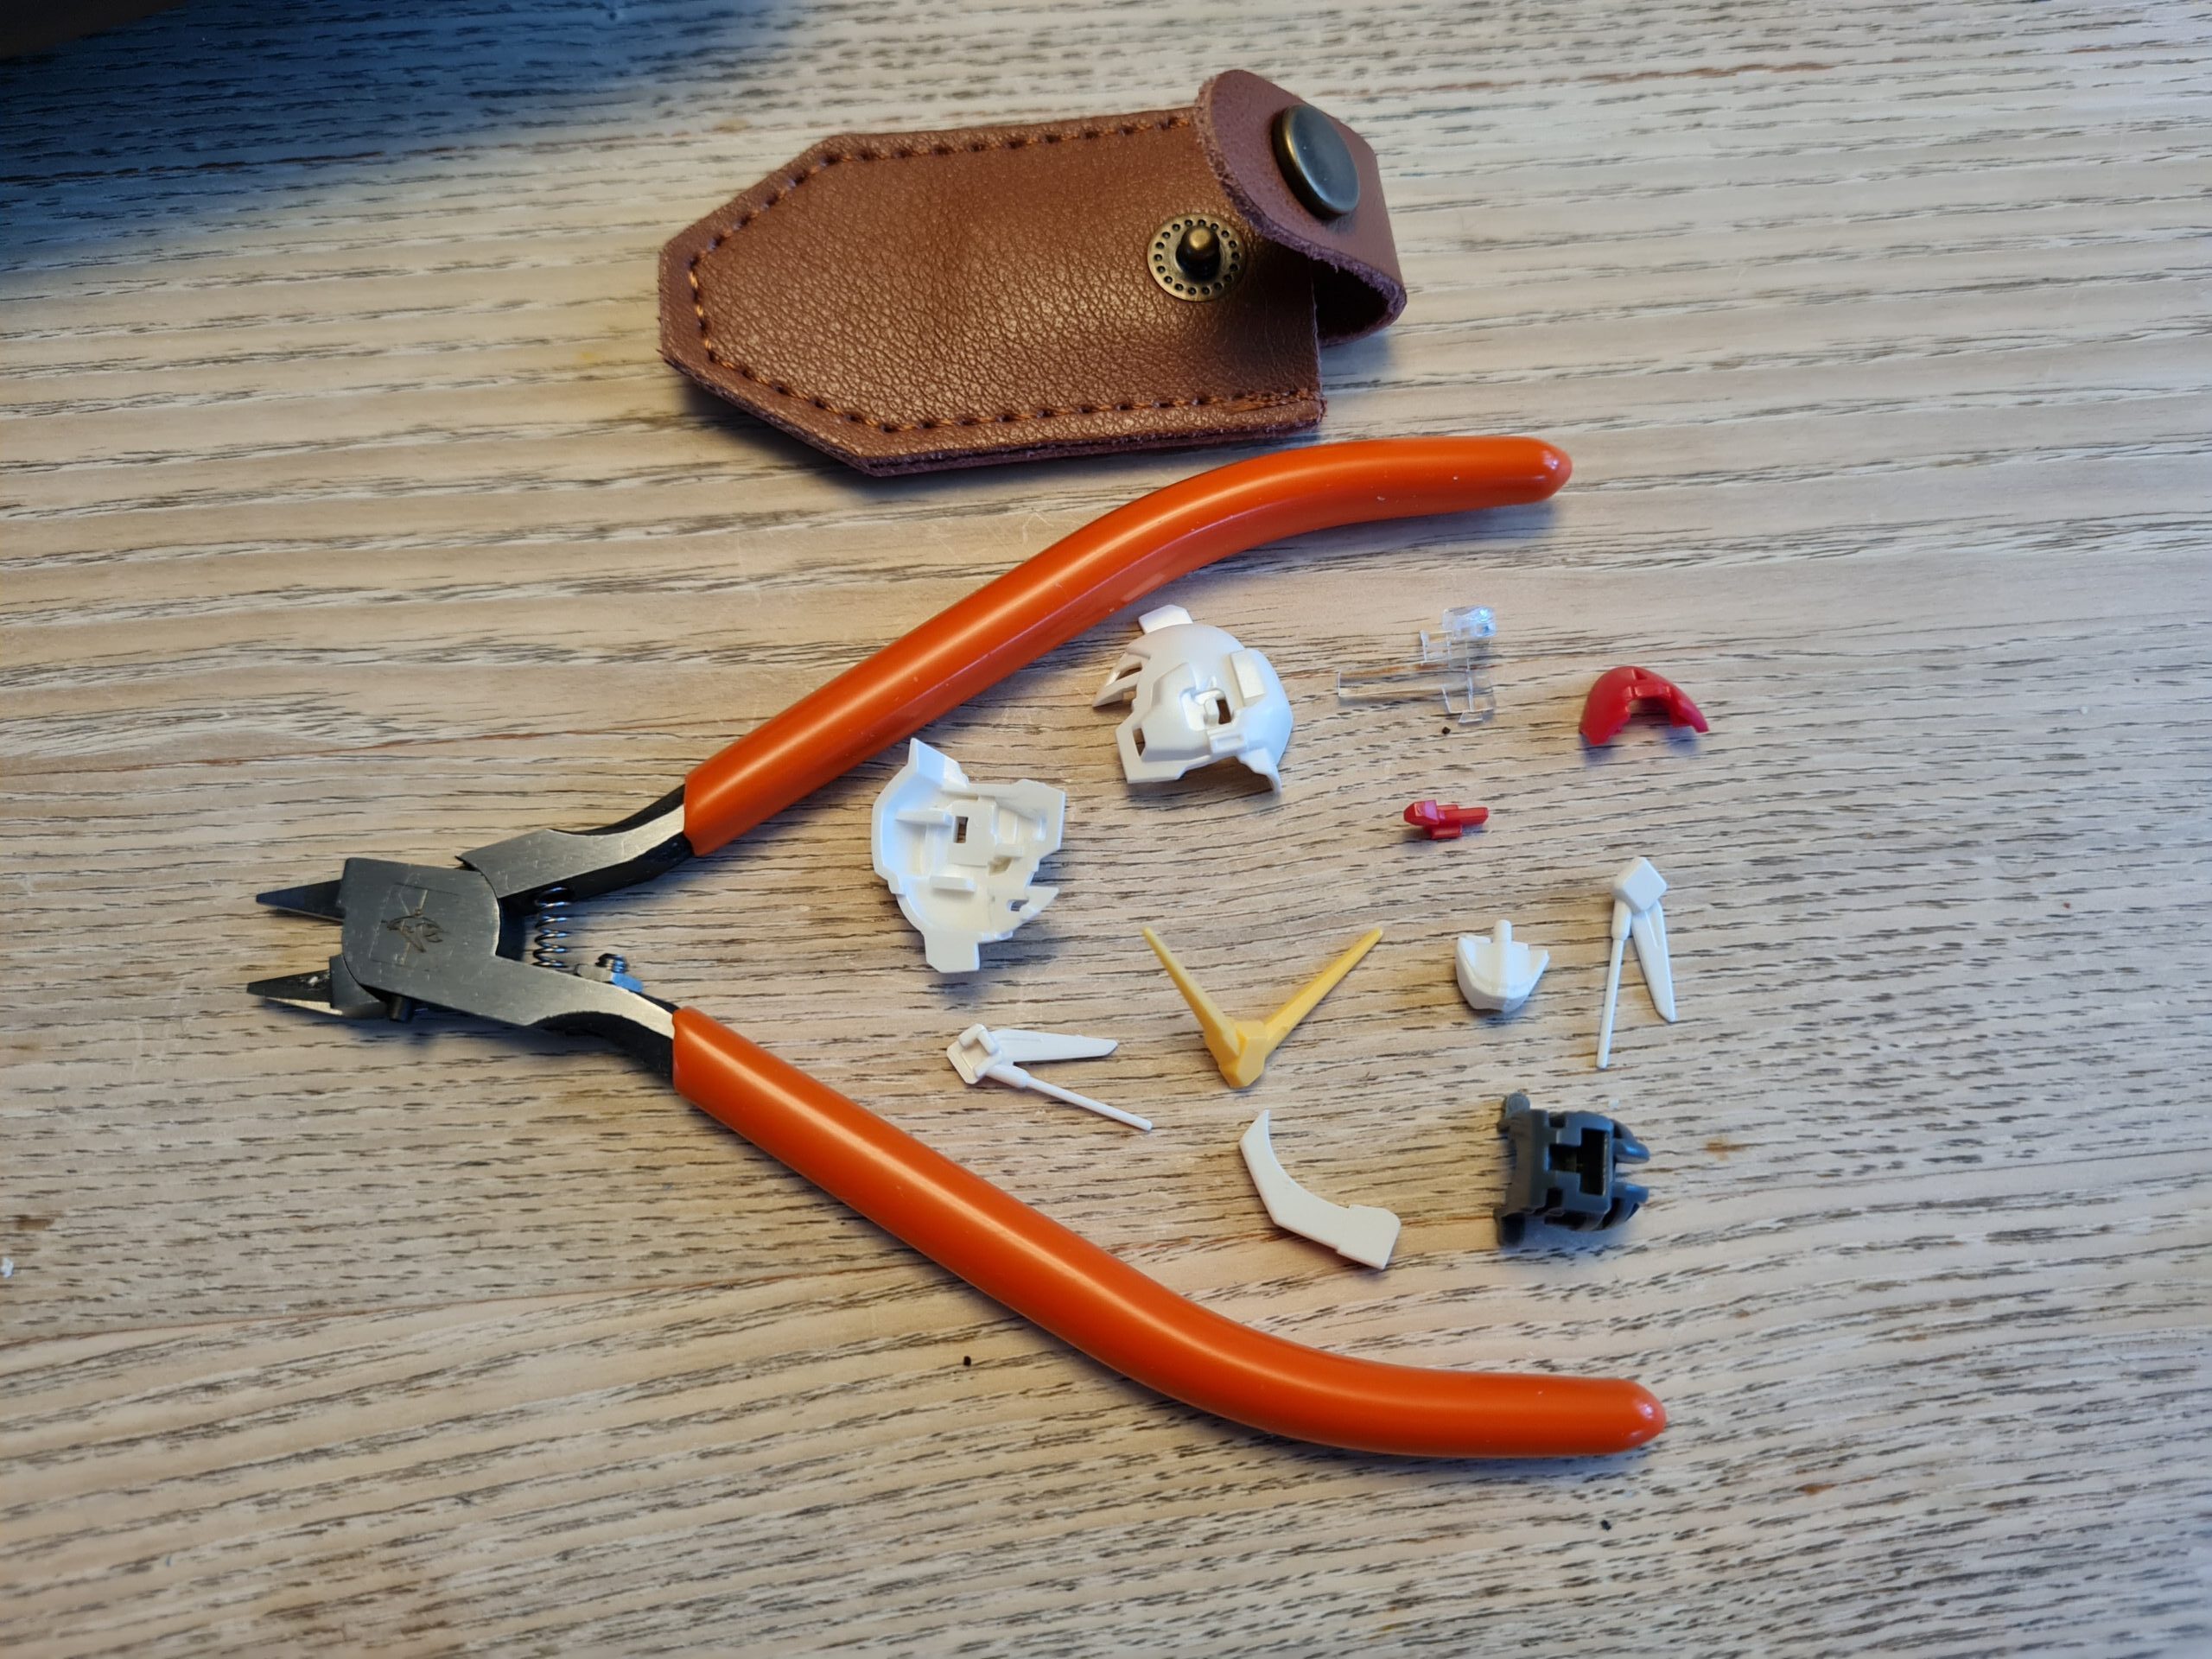
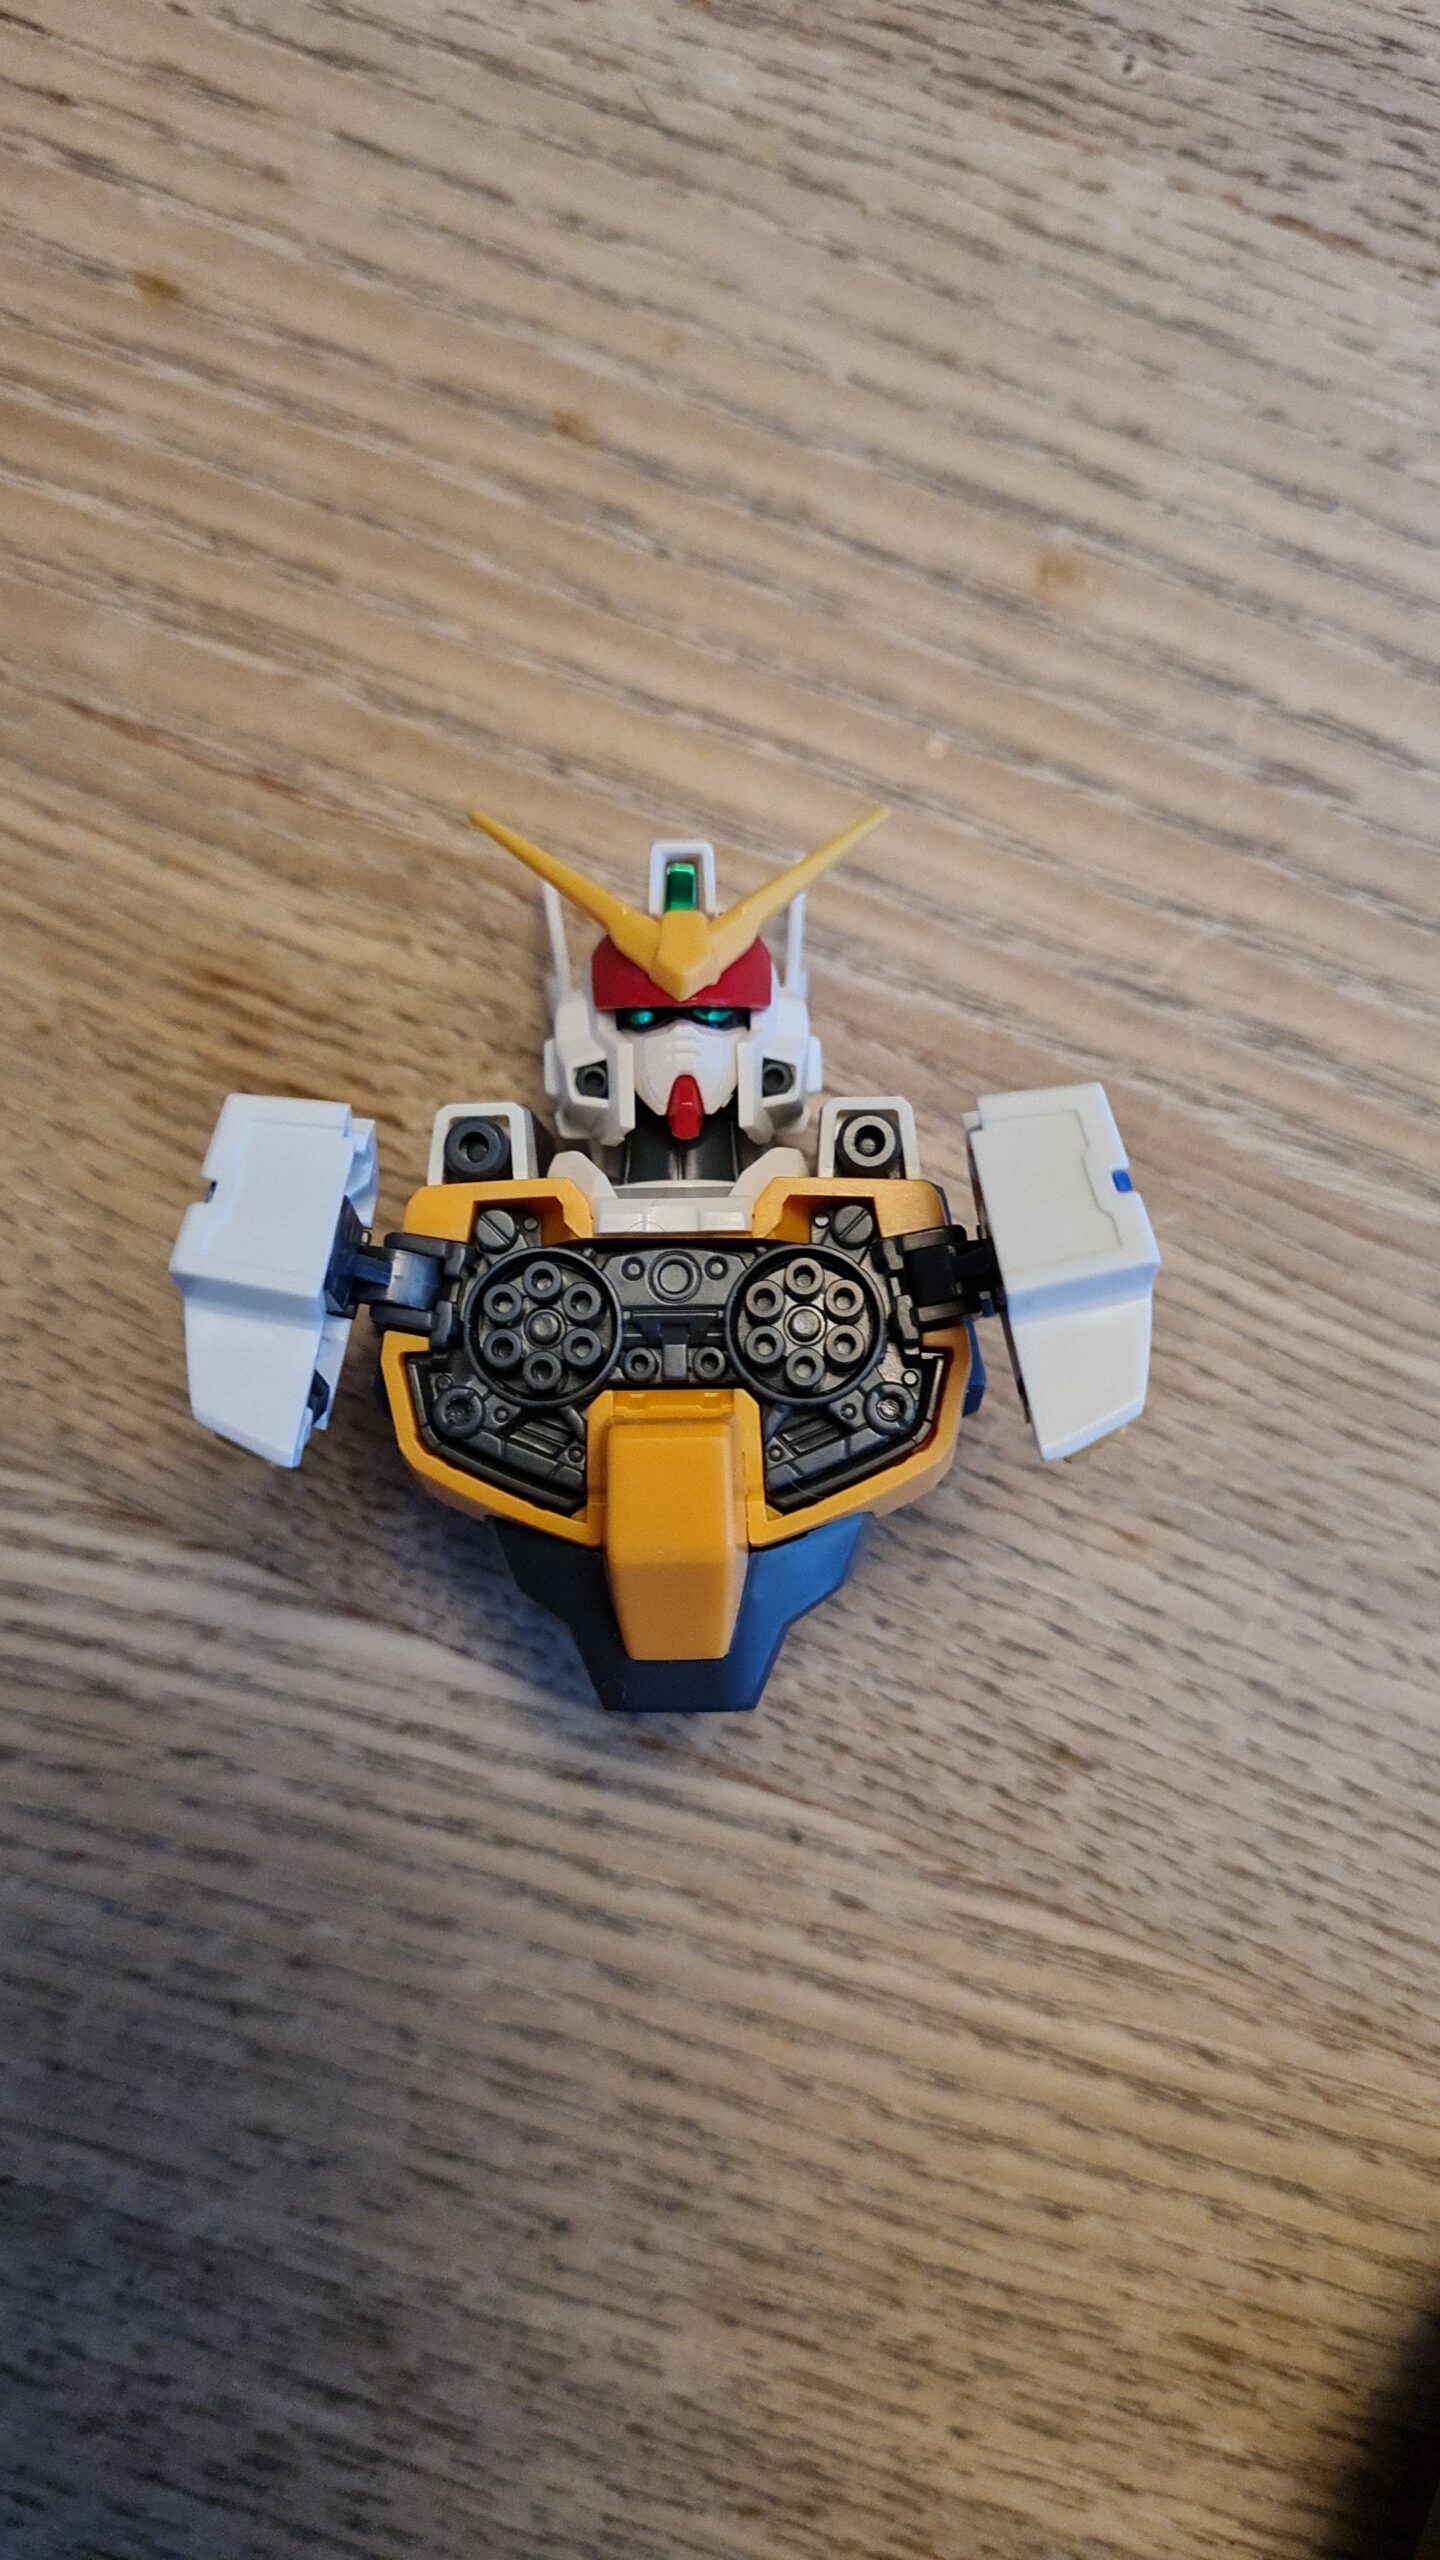
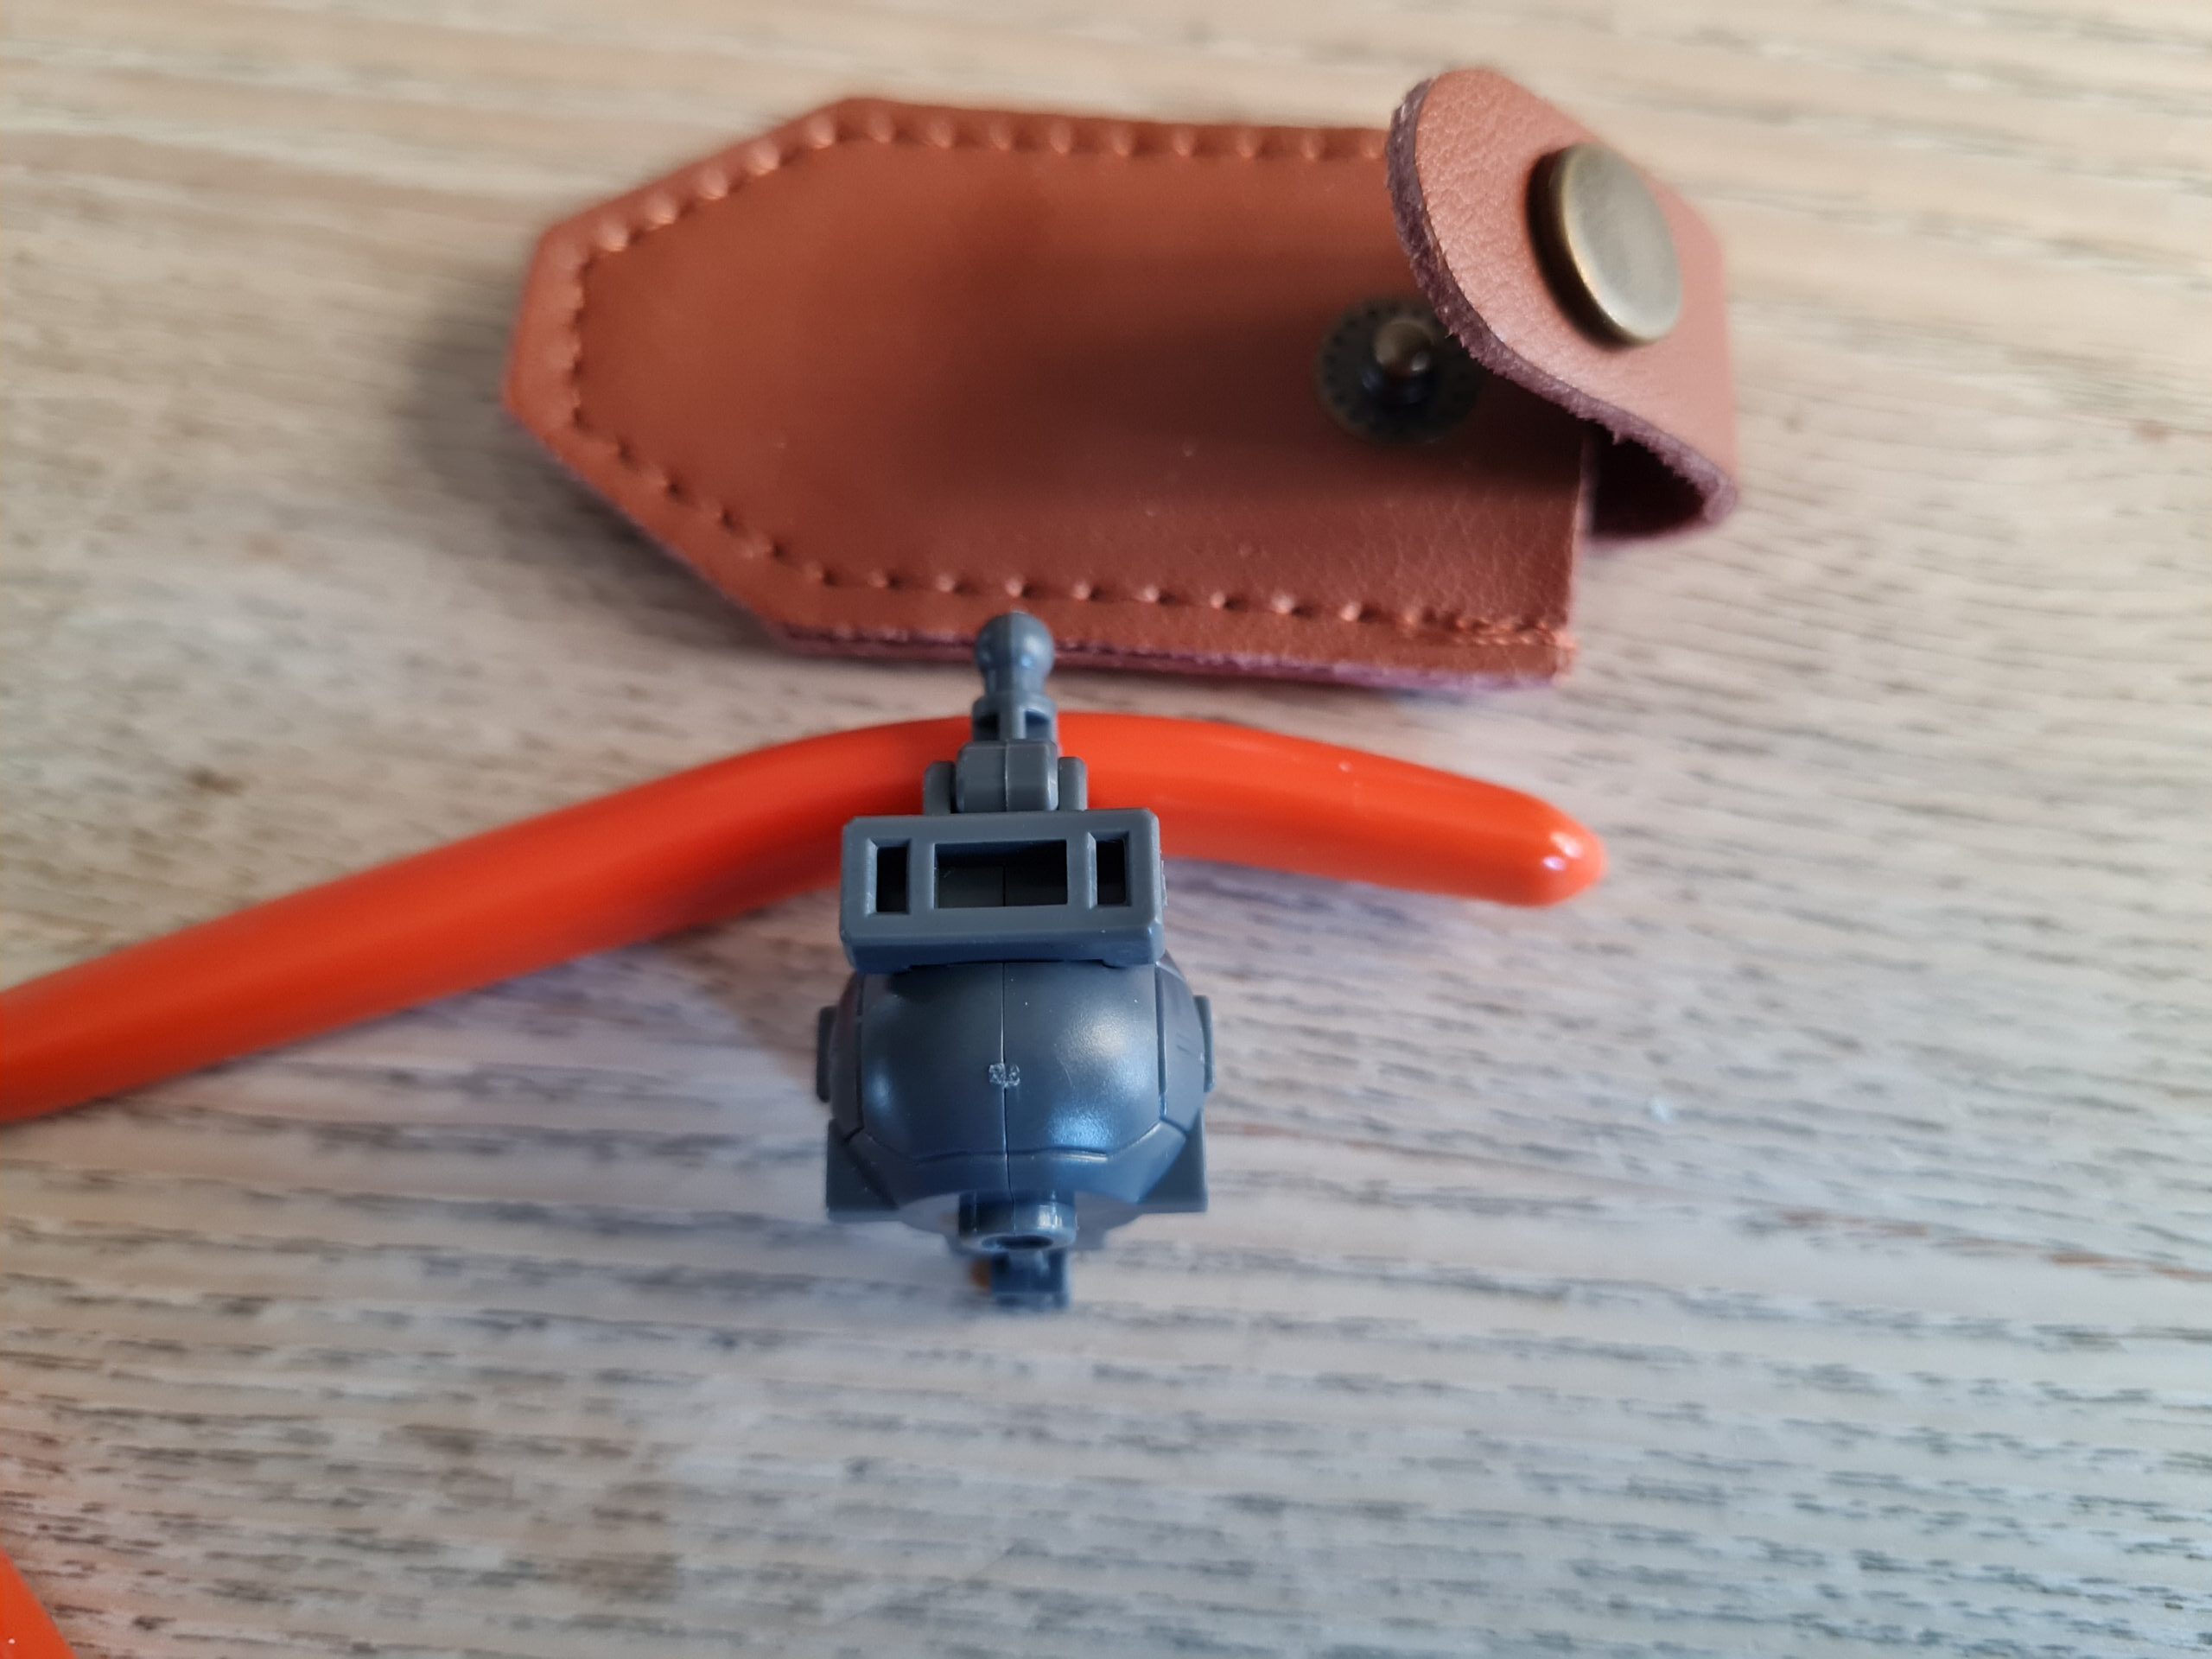
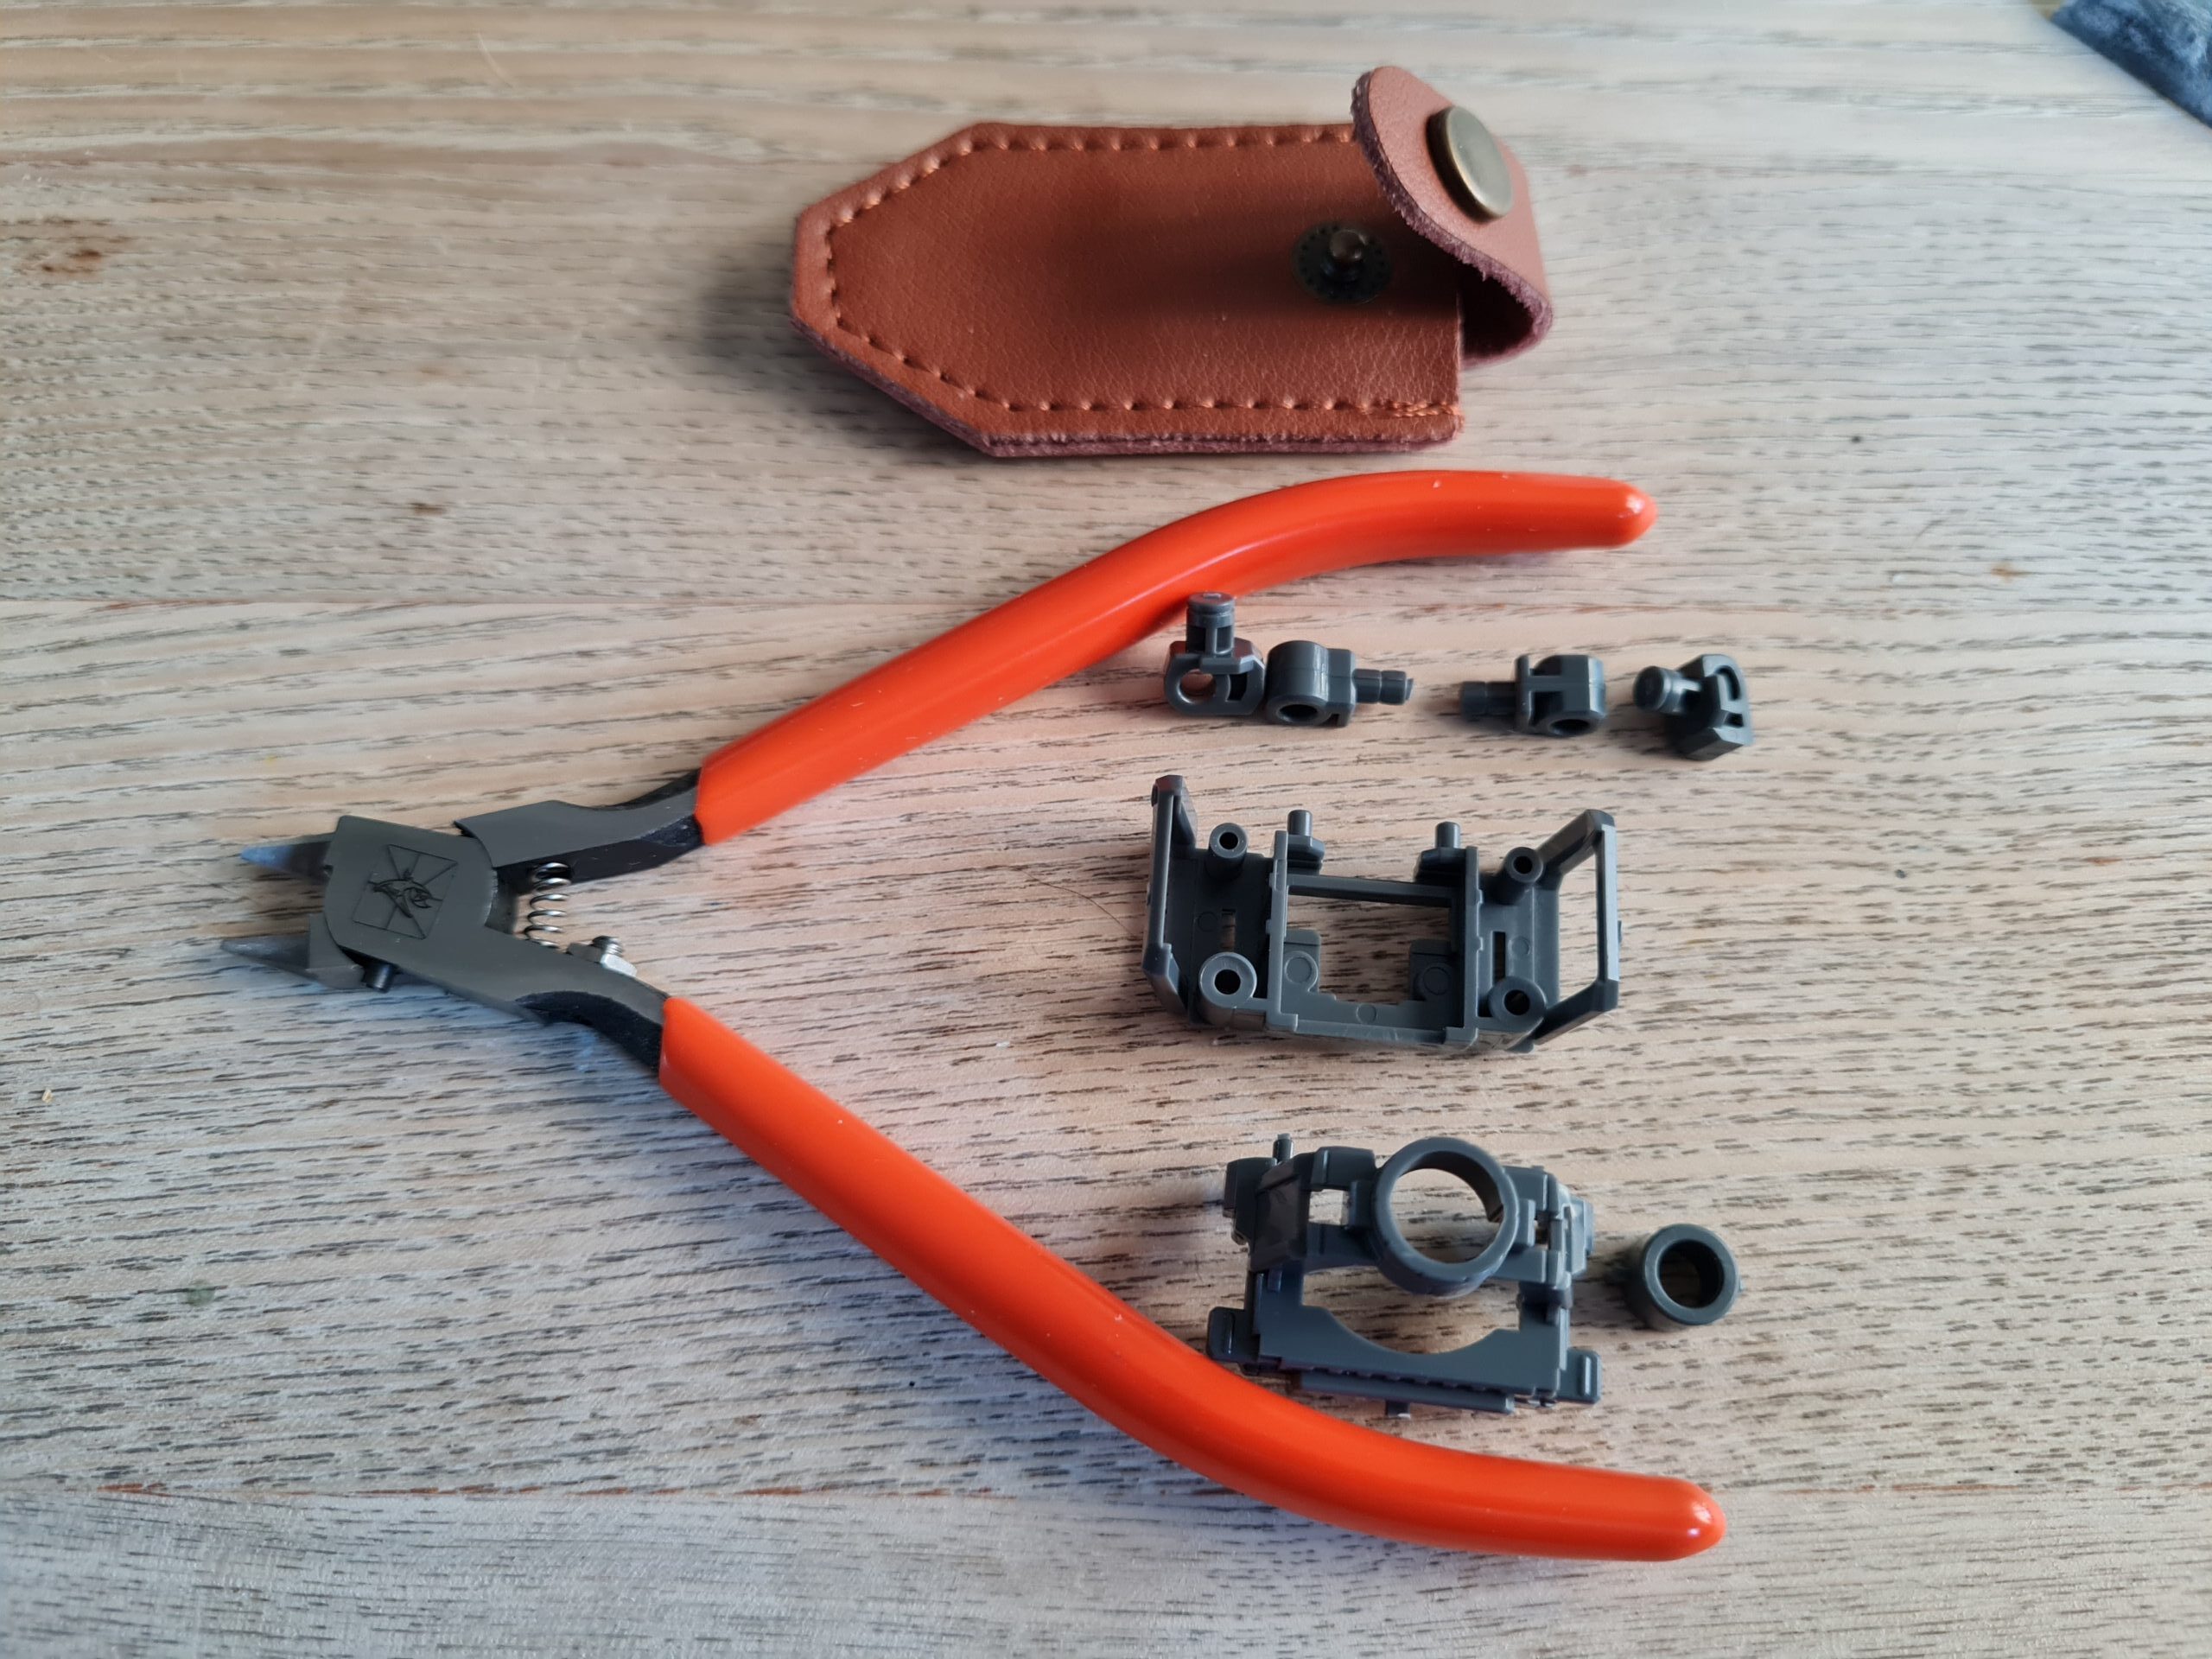
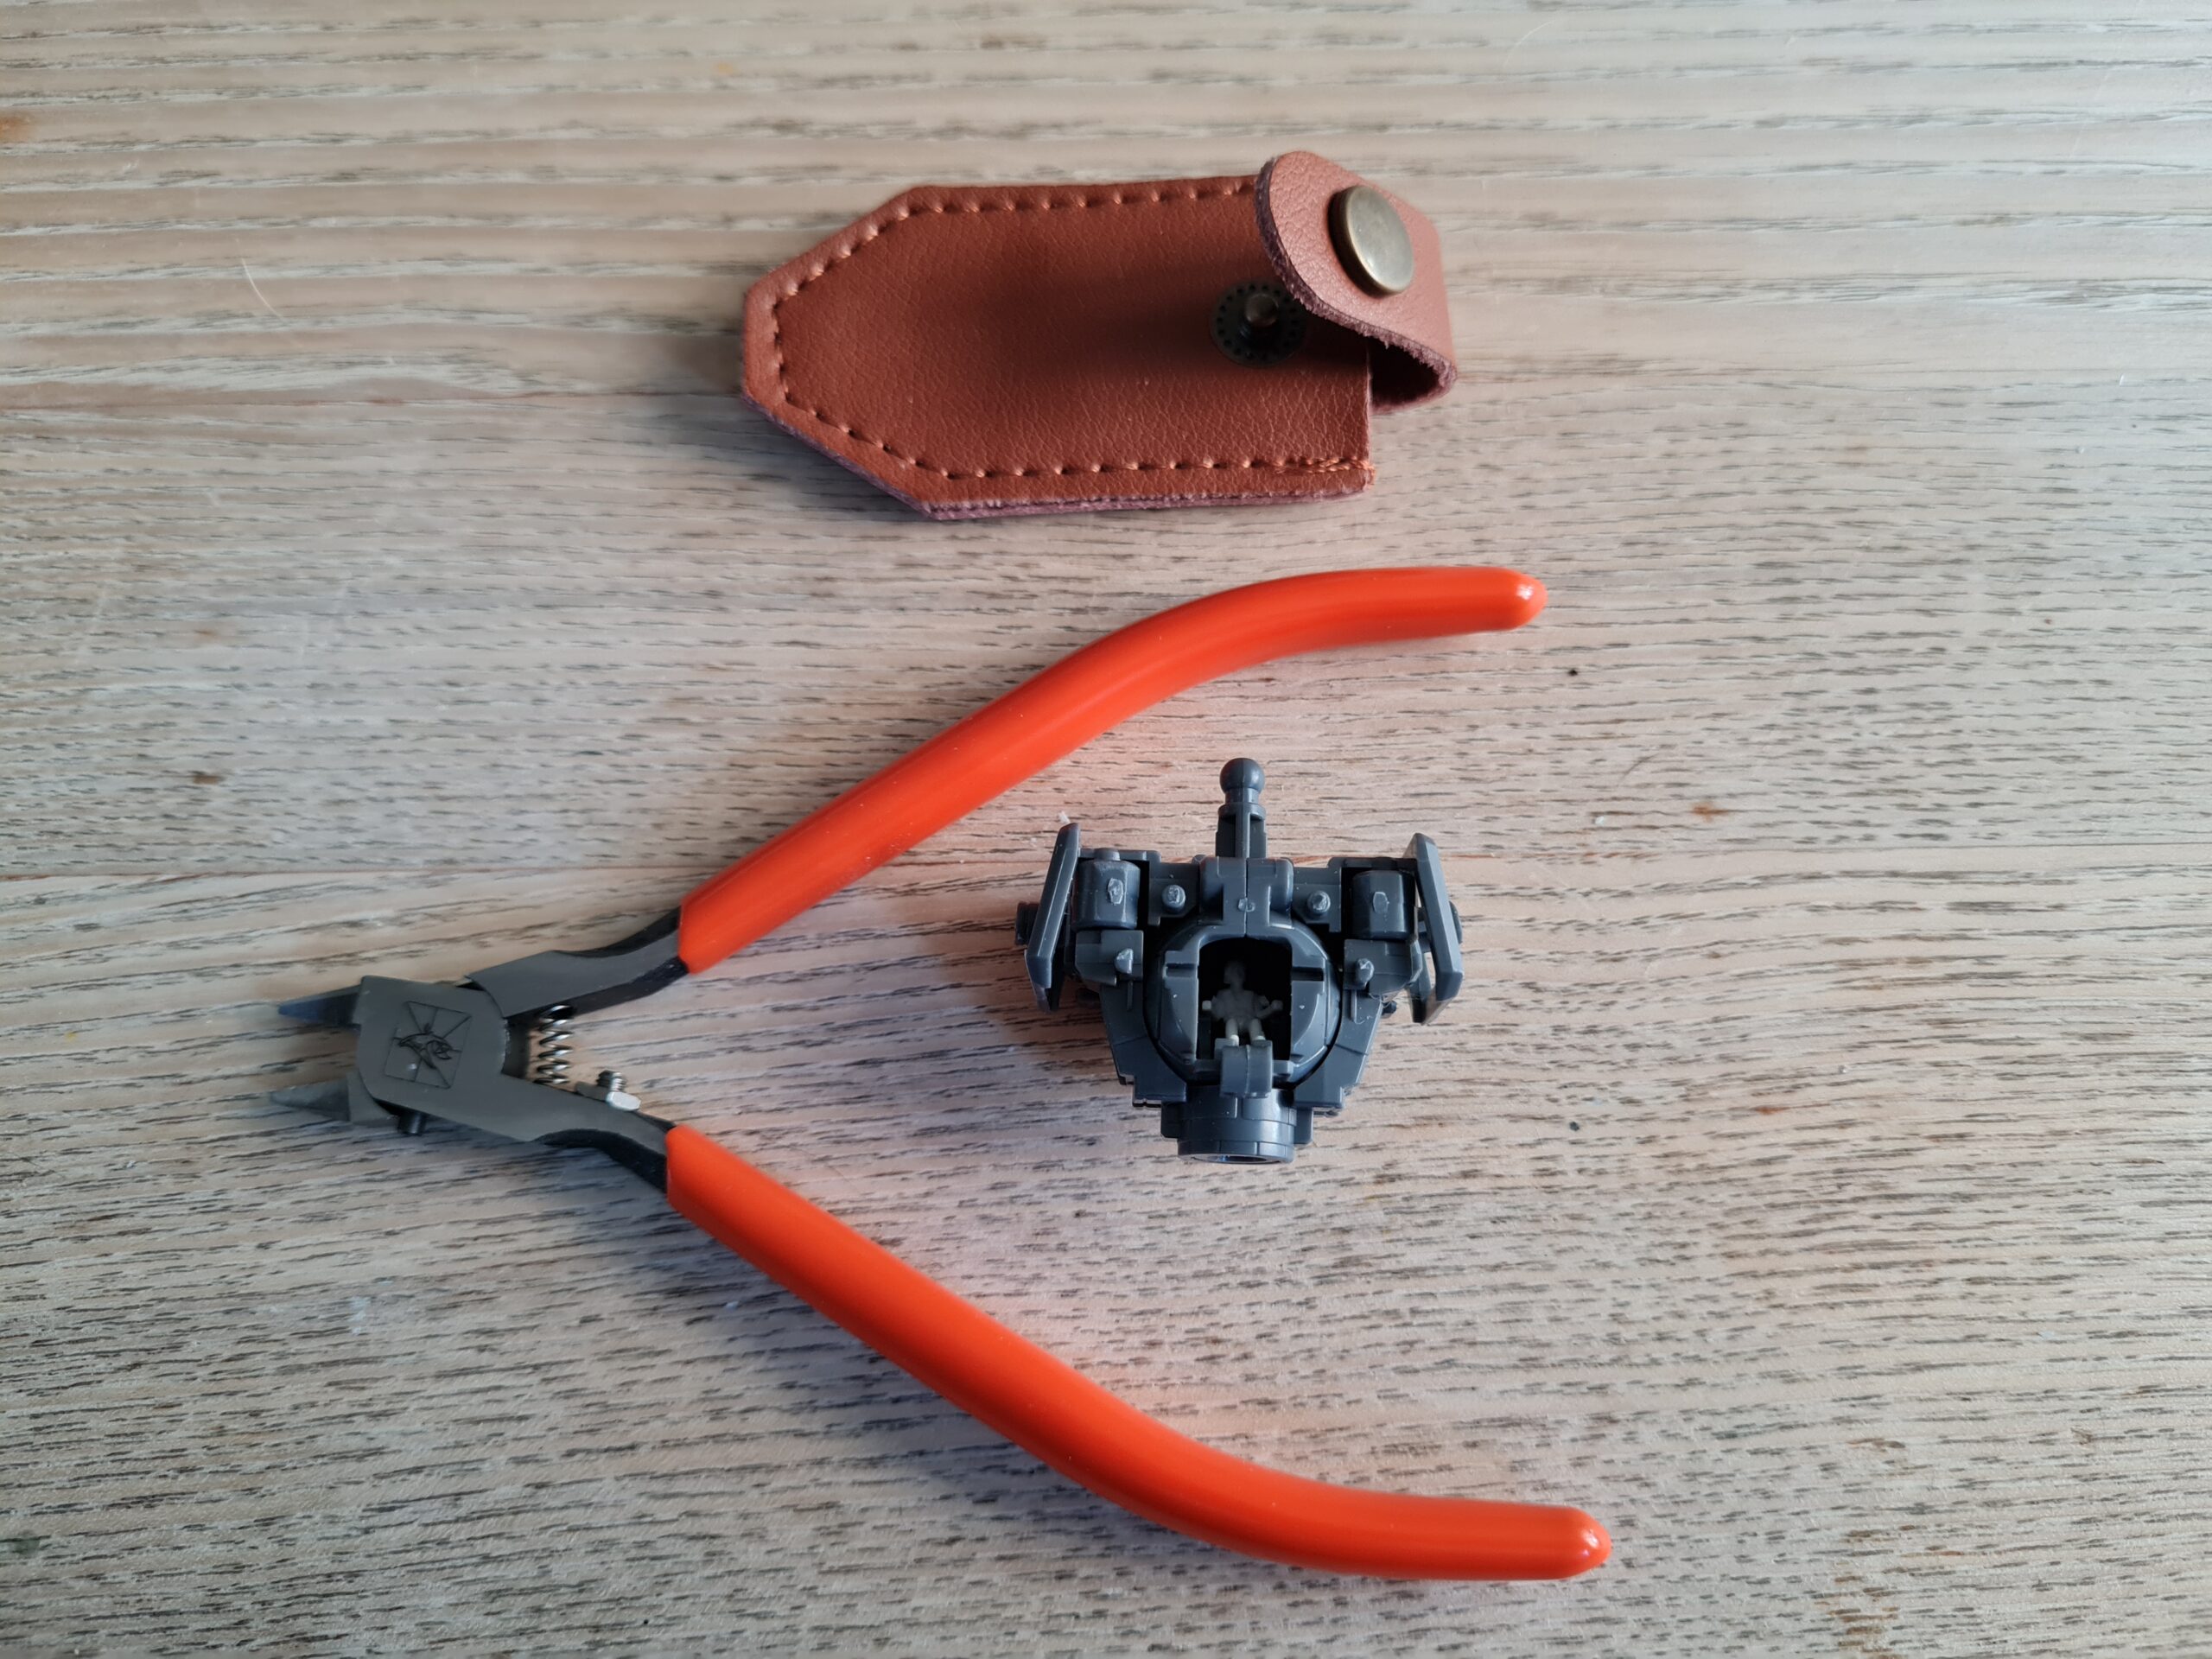
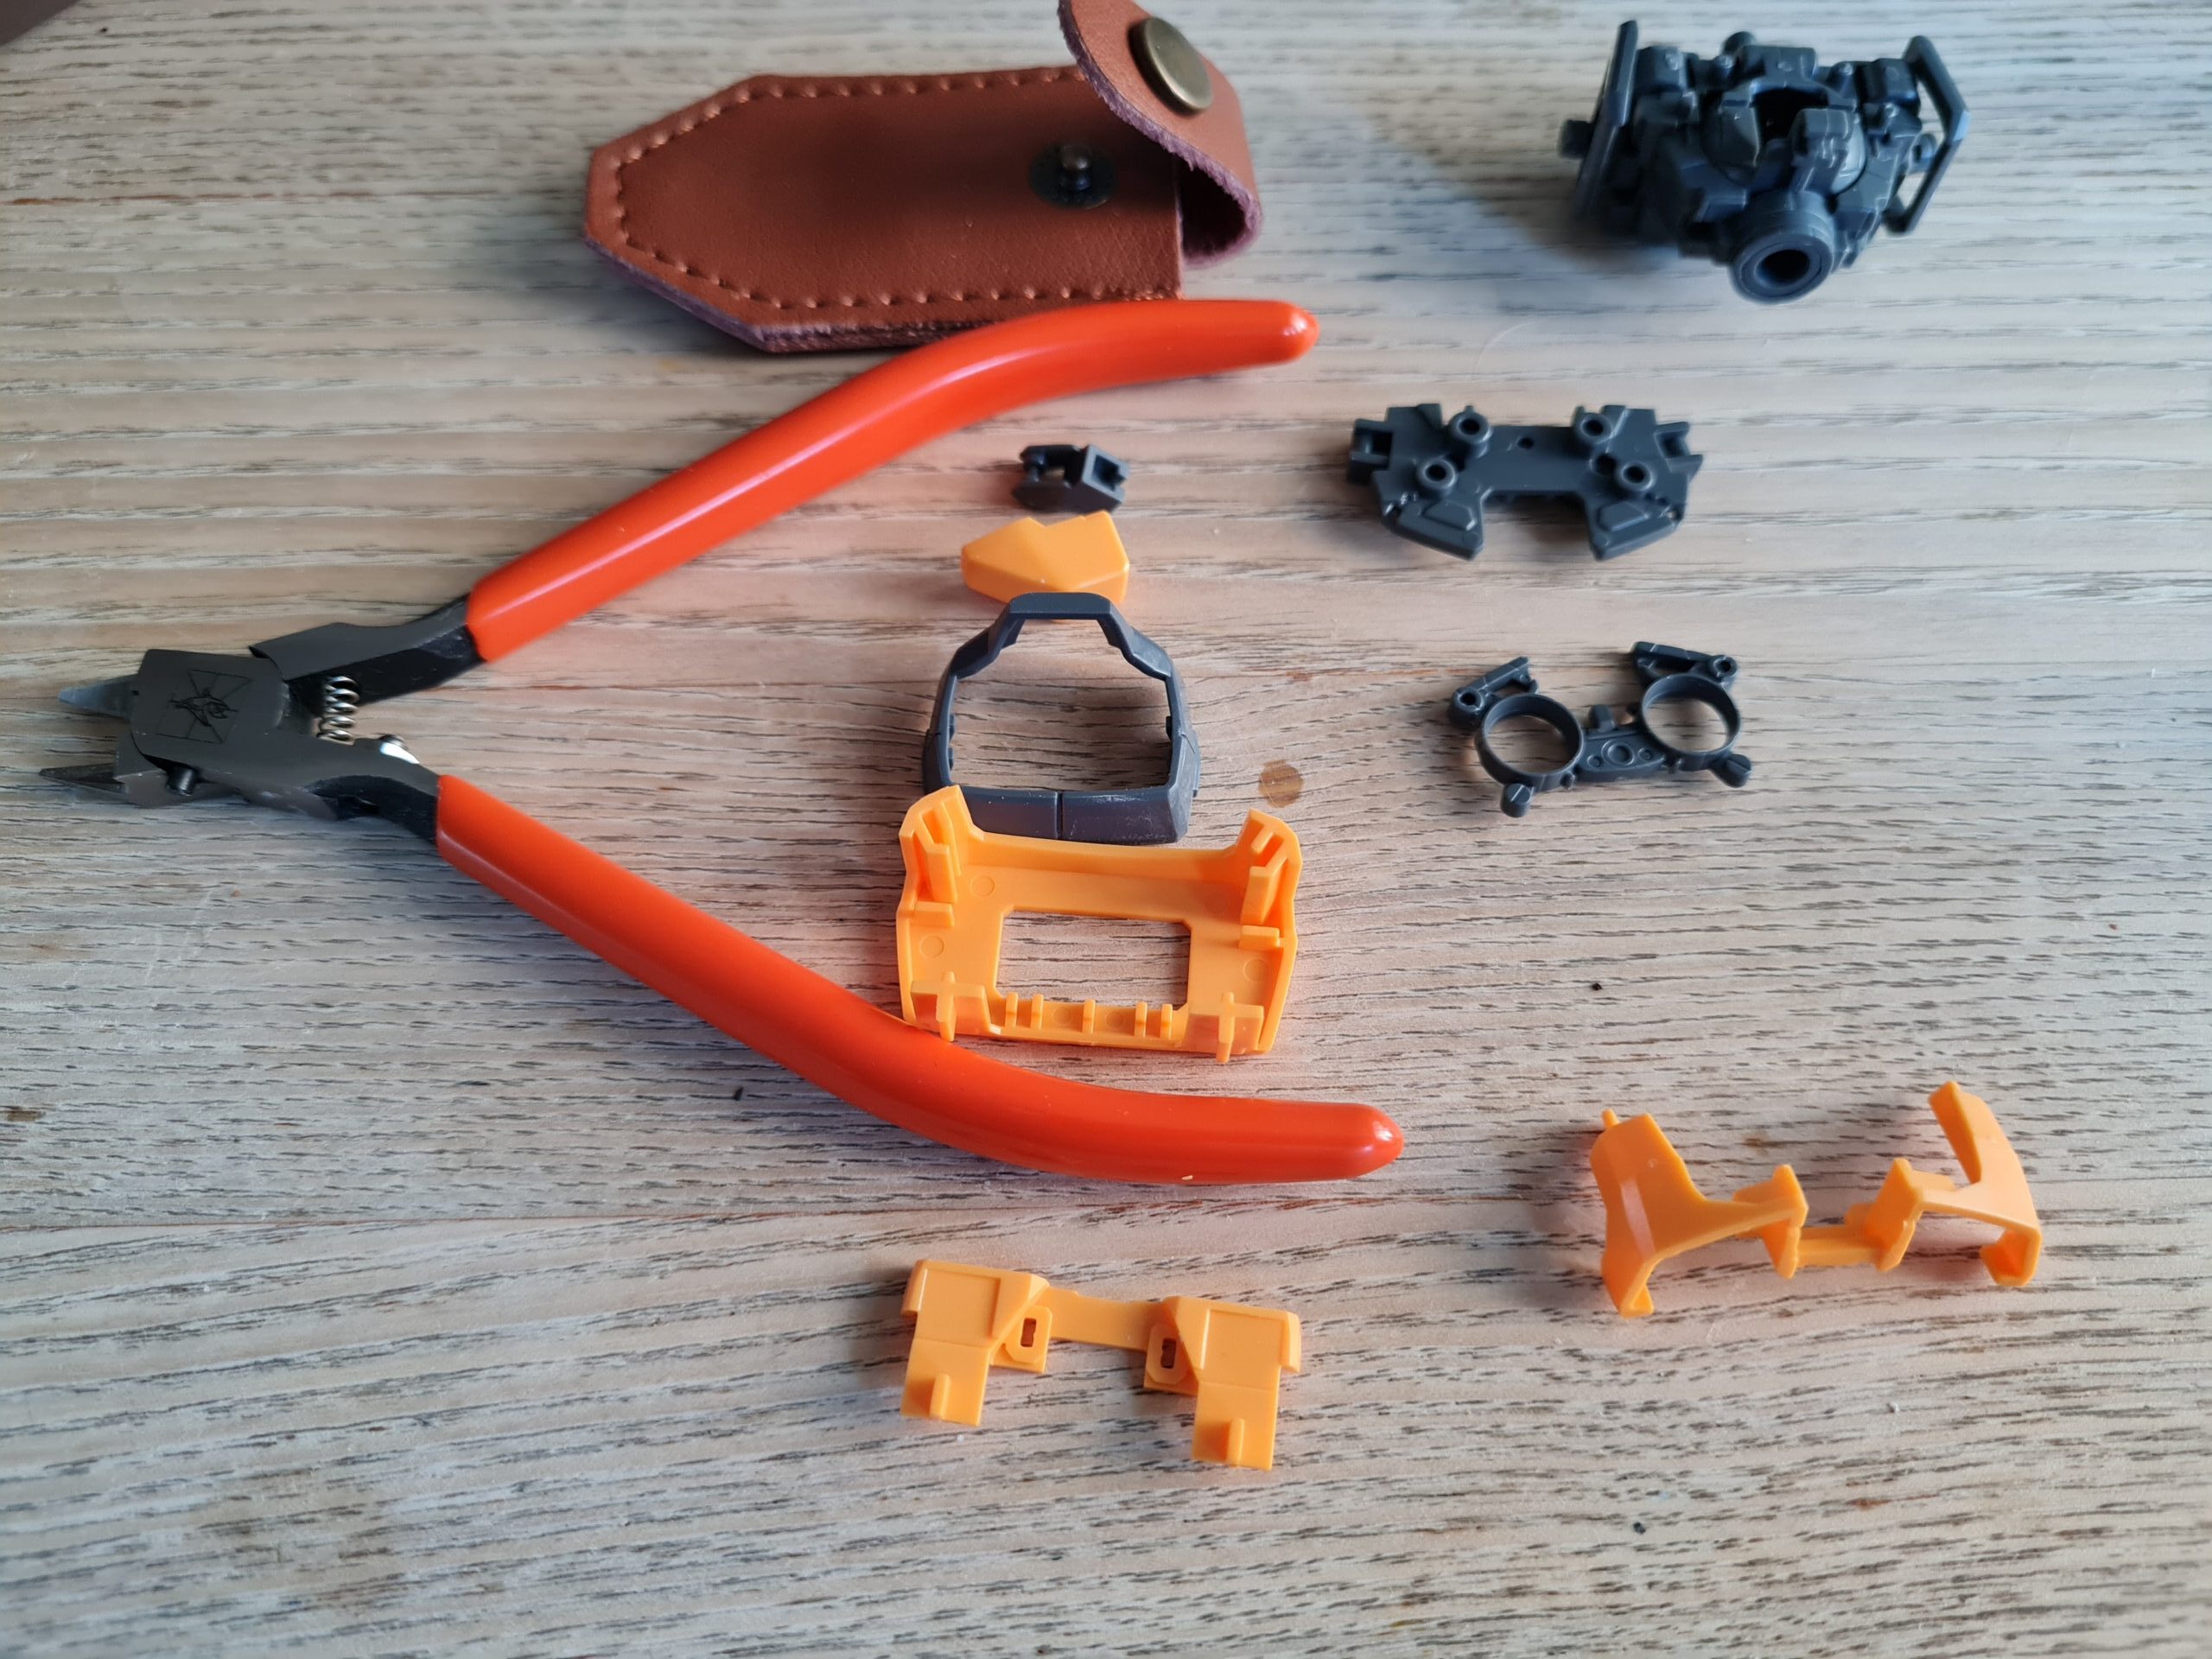
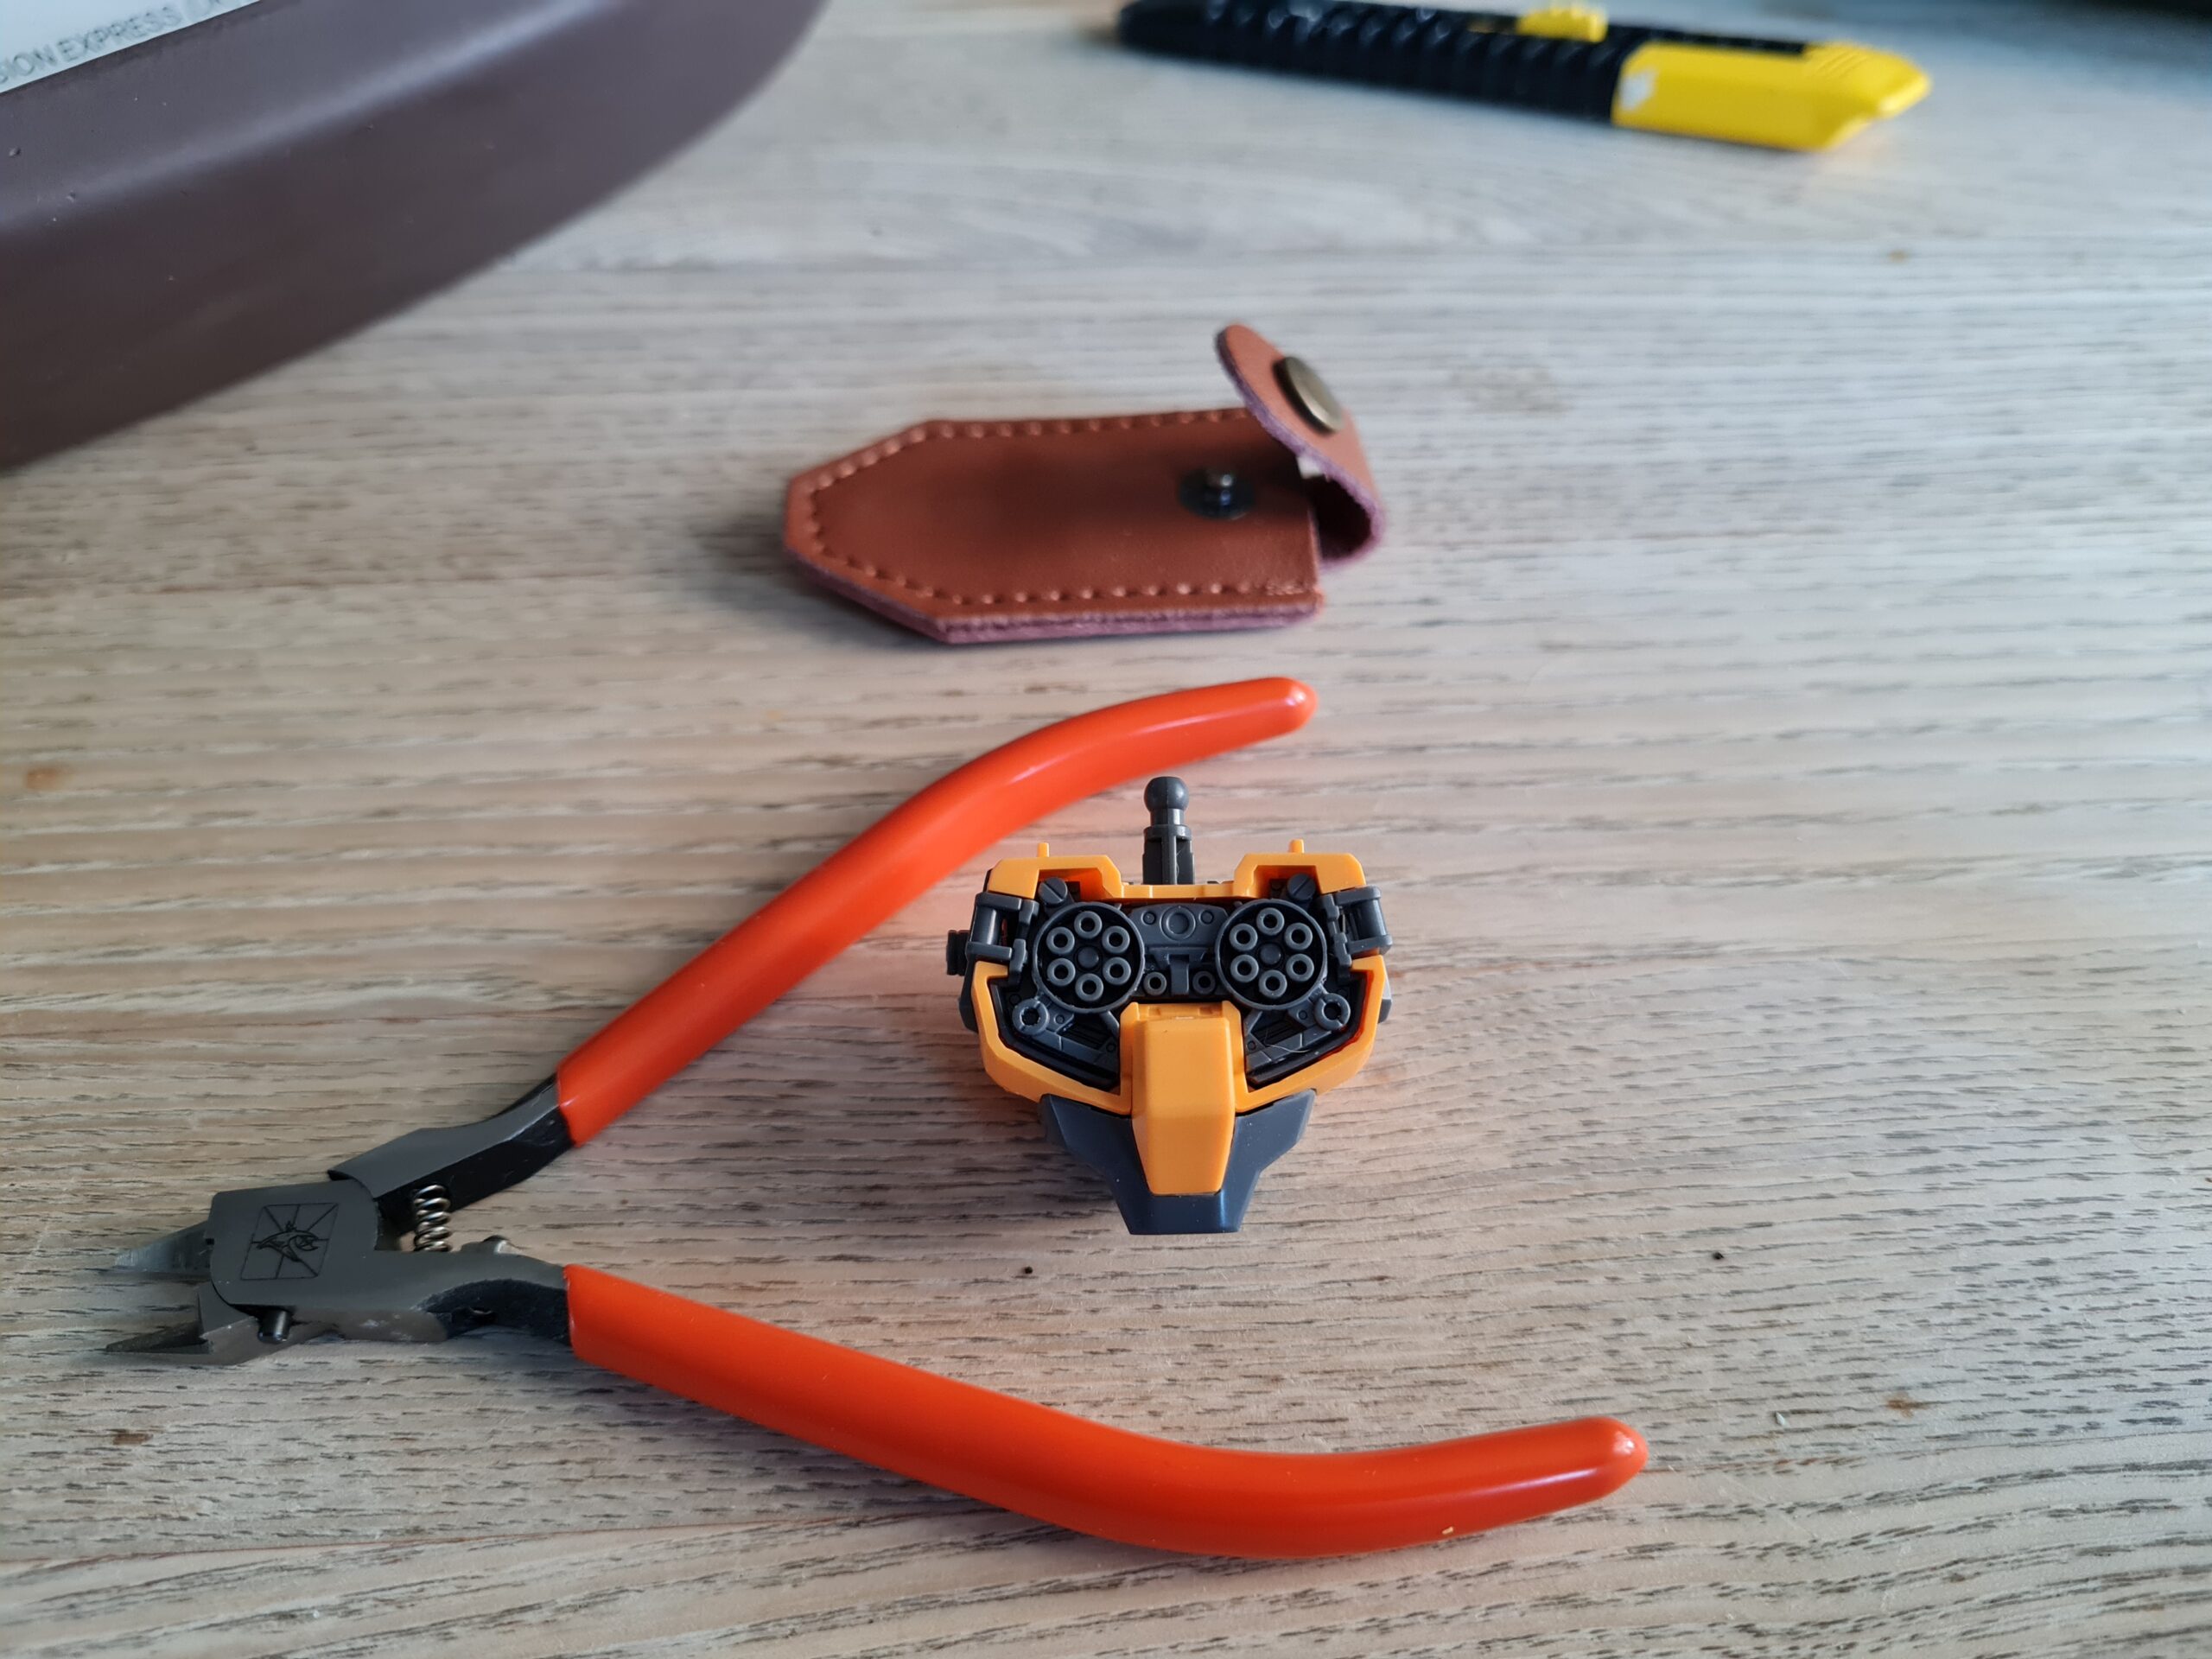
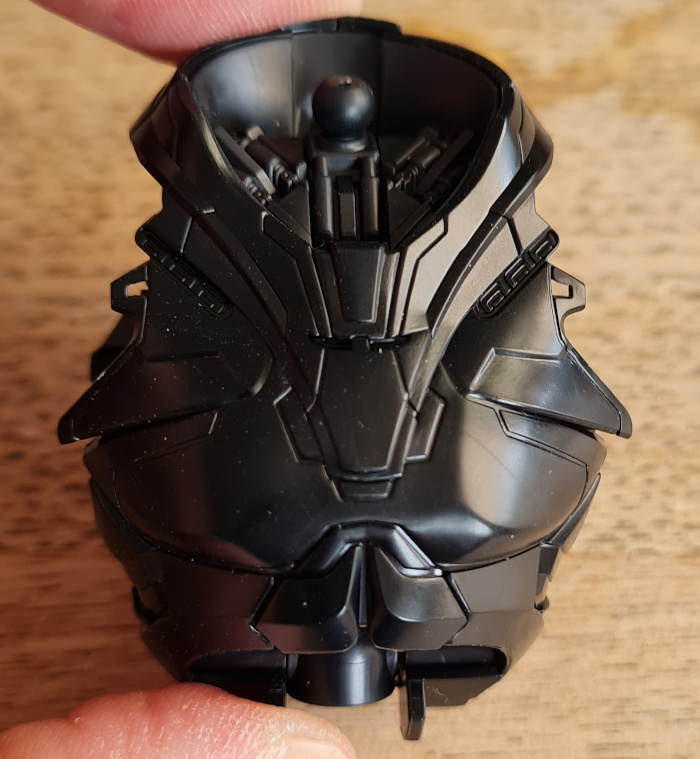
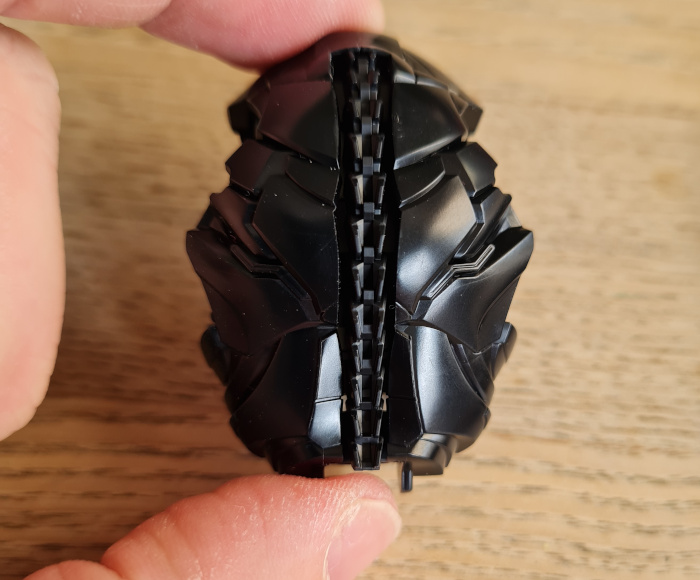
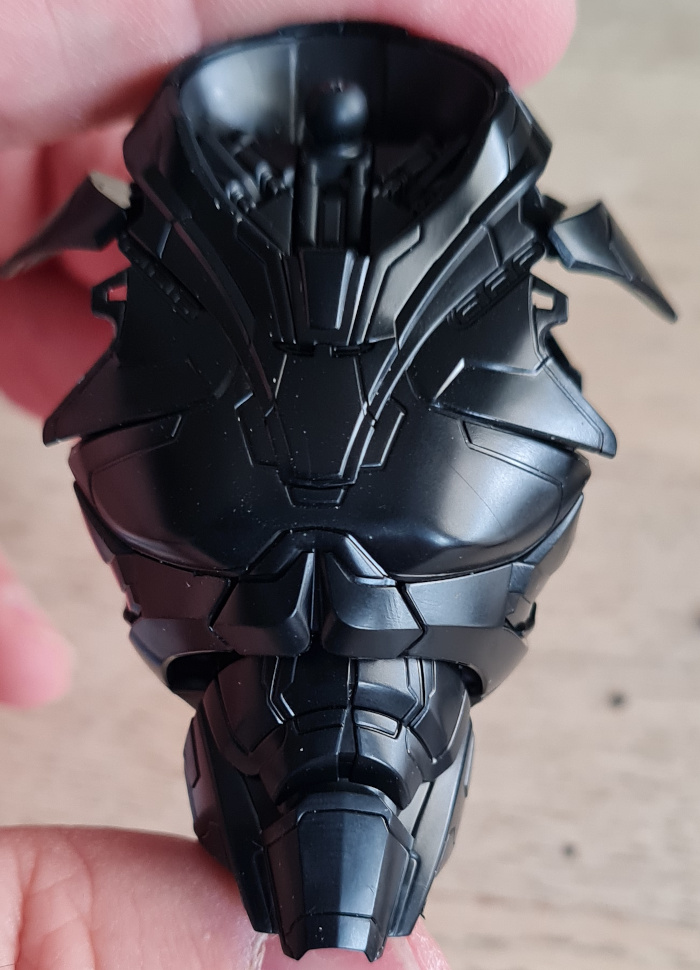
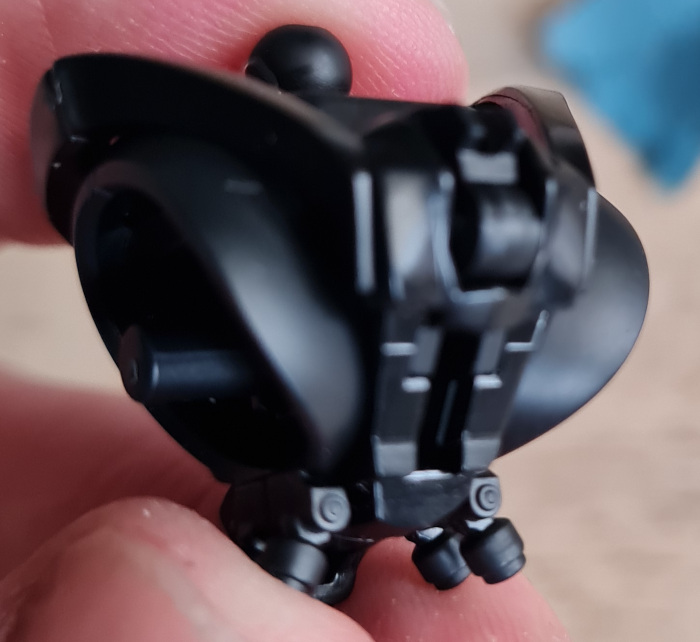
As I am sticking to my game rules (build in the order things are in the manual) I have to continue by building the head next. Now I do feel this may be a bit of a giveaway if the torso wasn’t already! However, here are the parts, and assembled head!
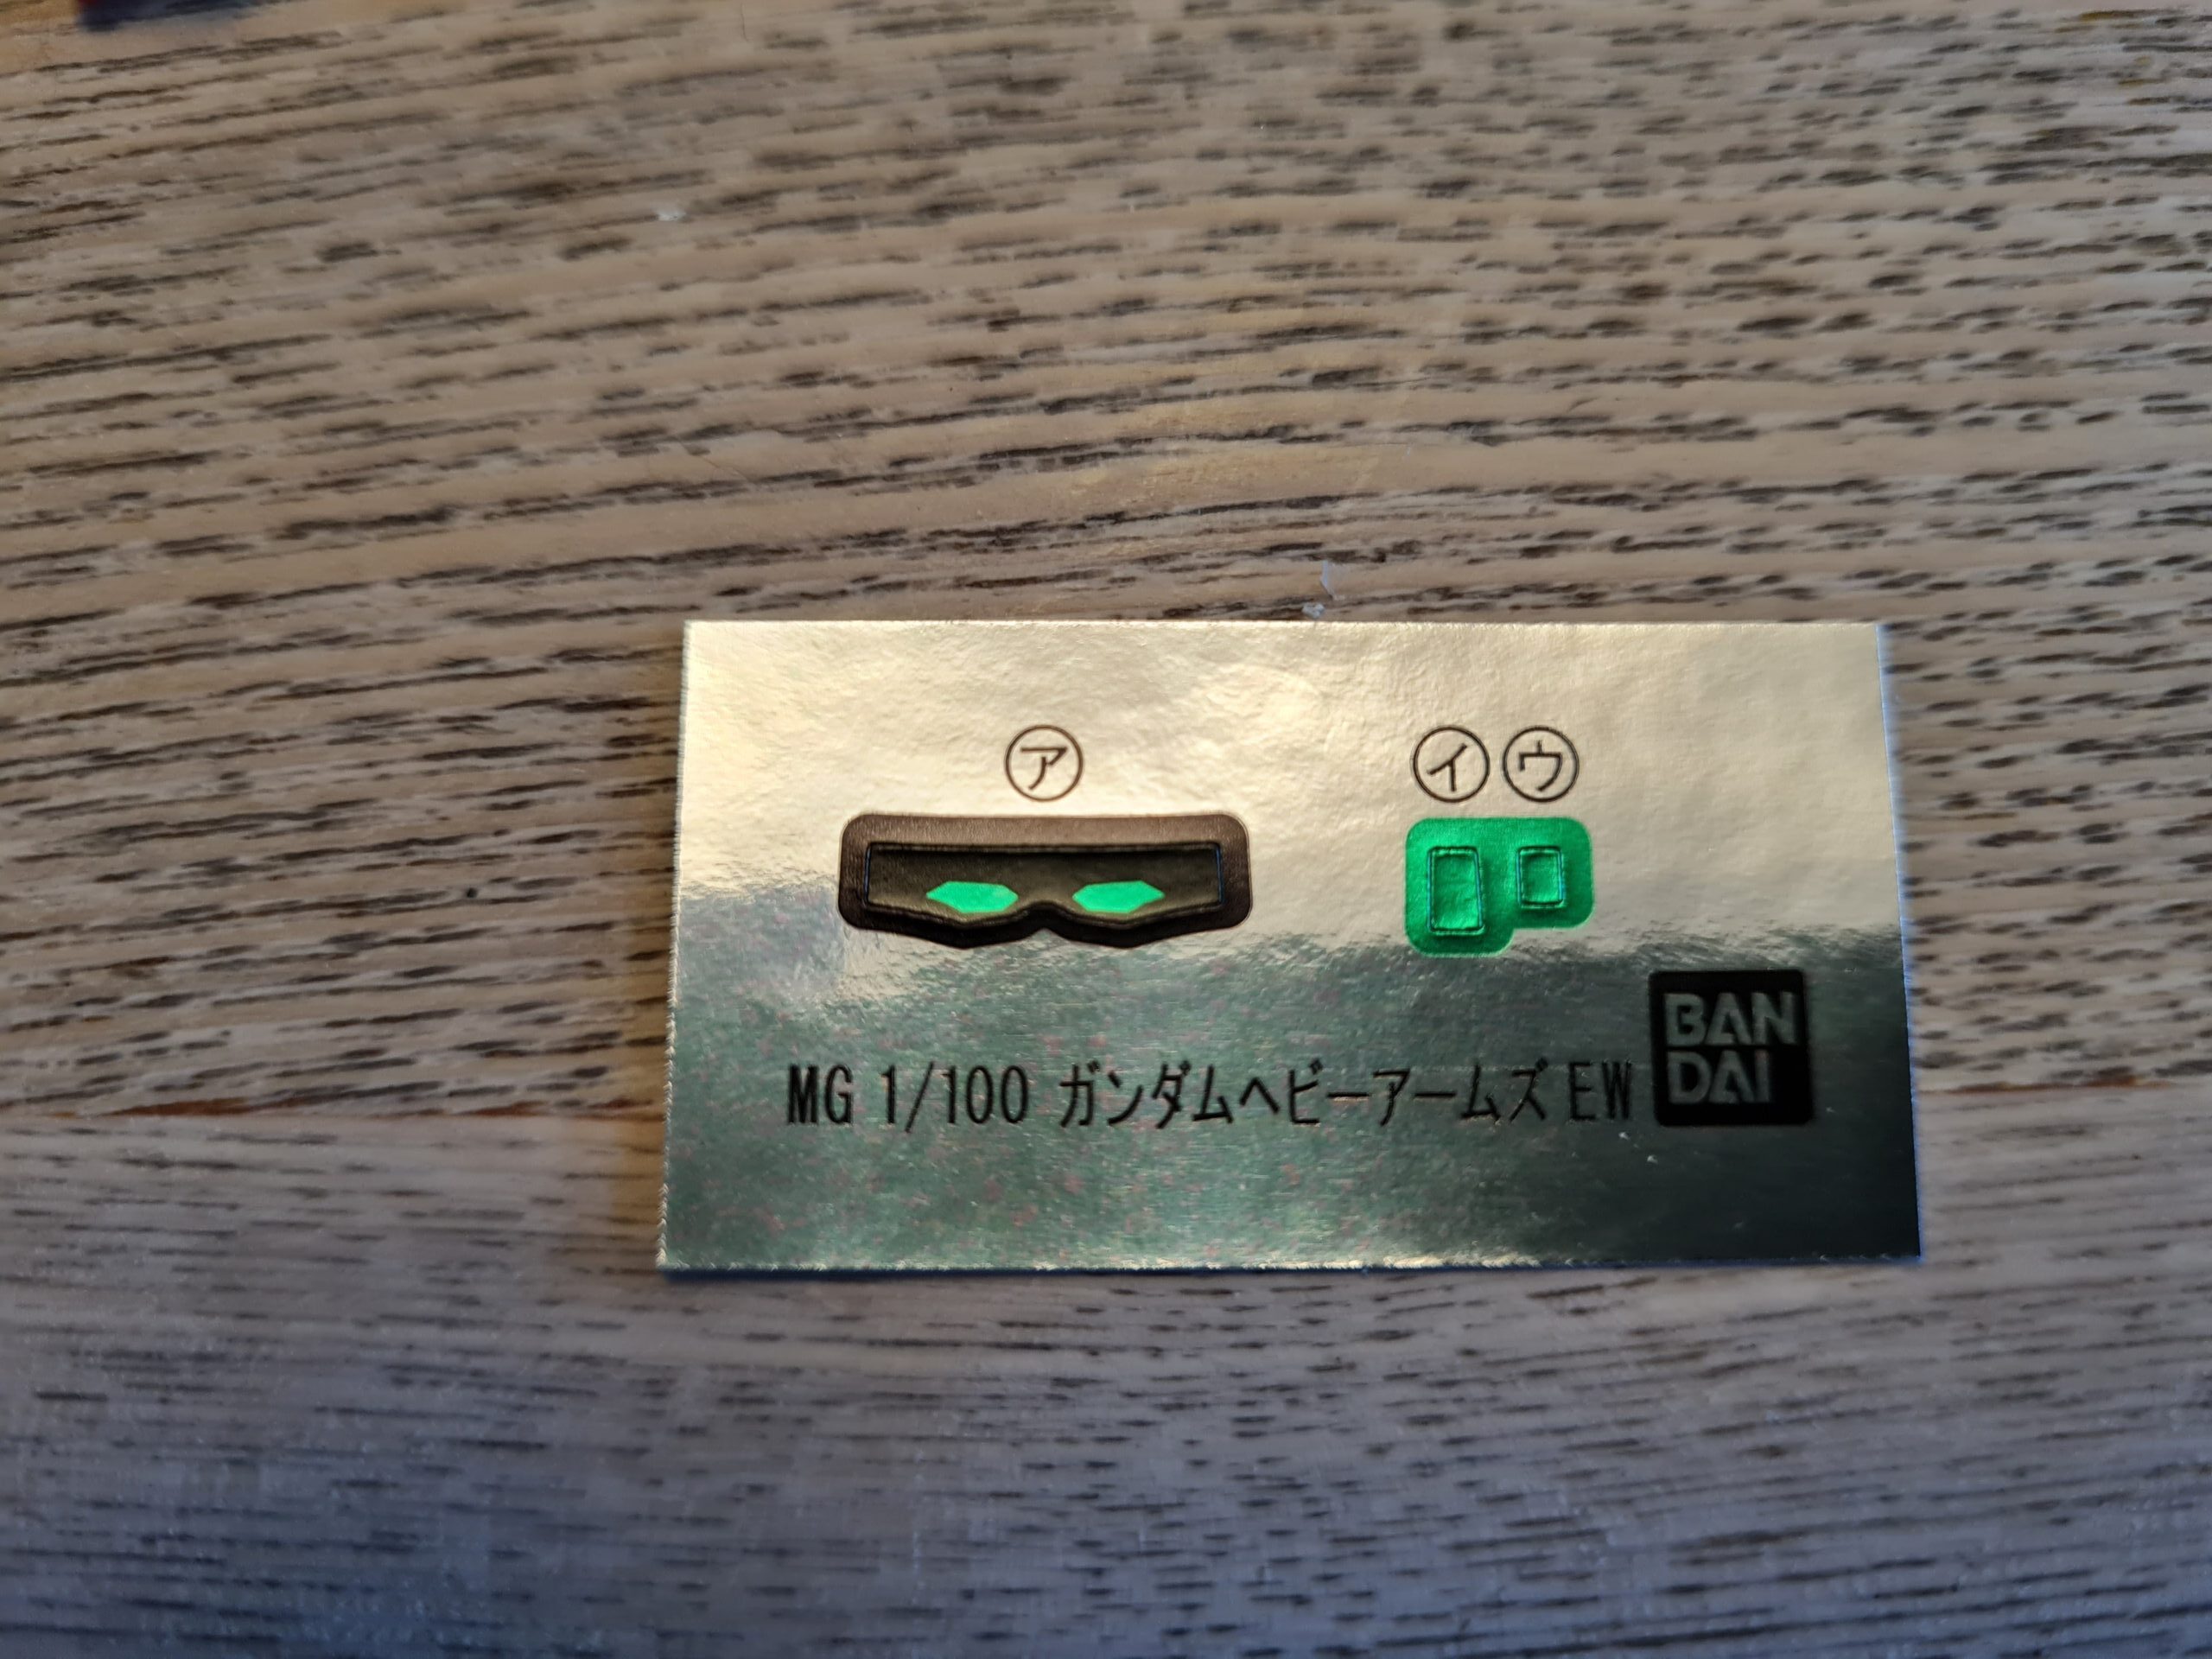
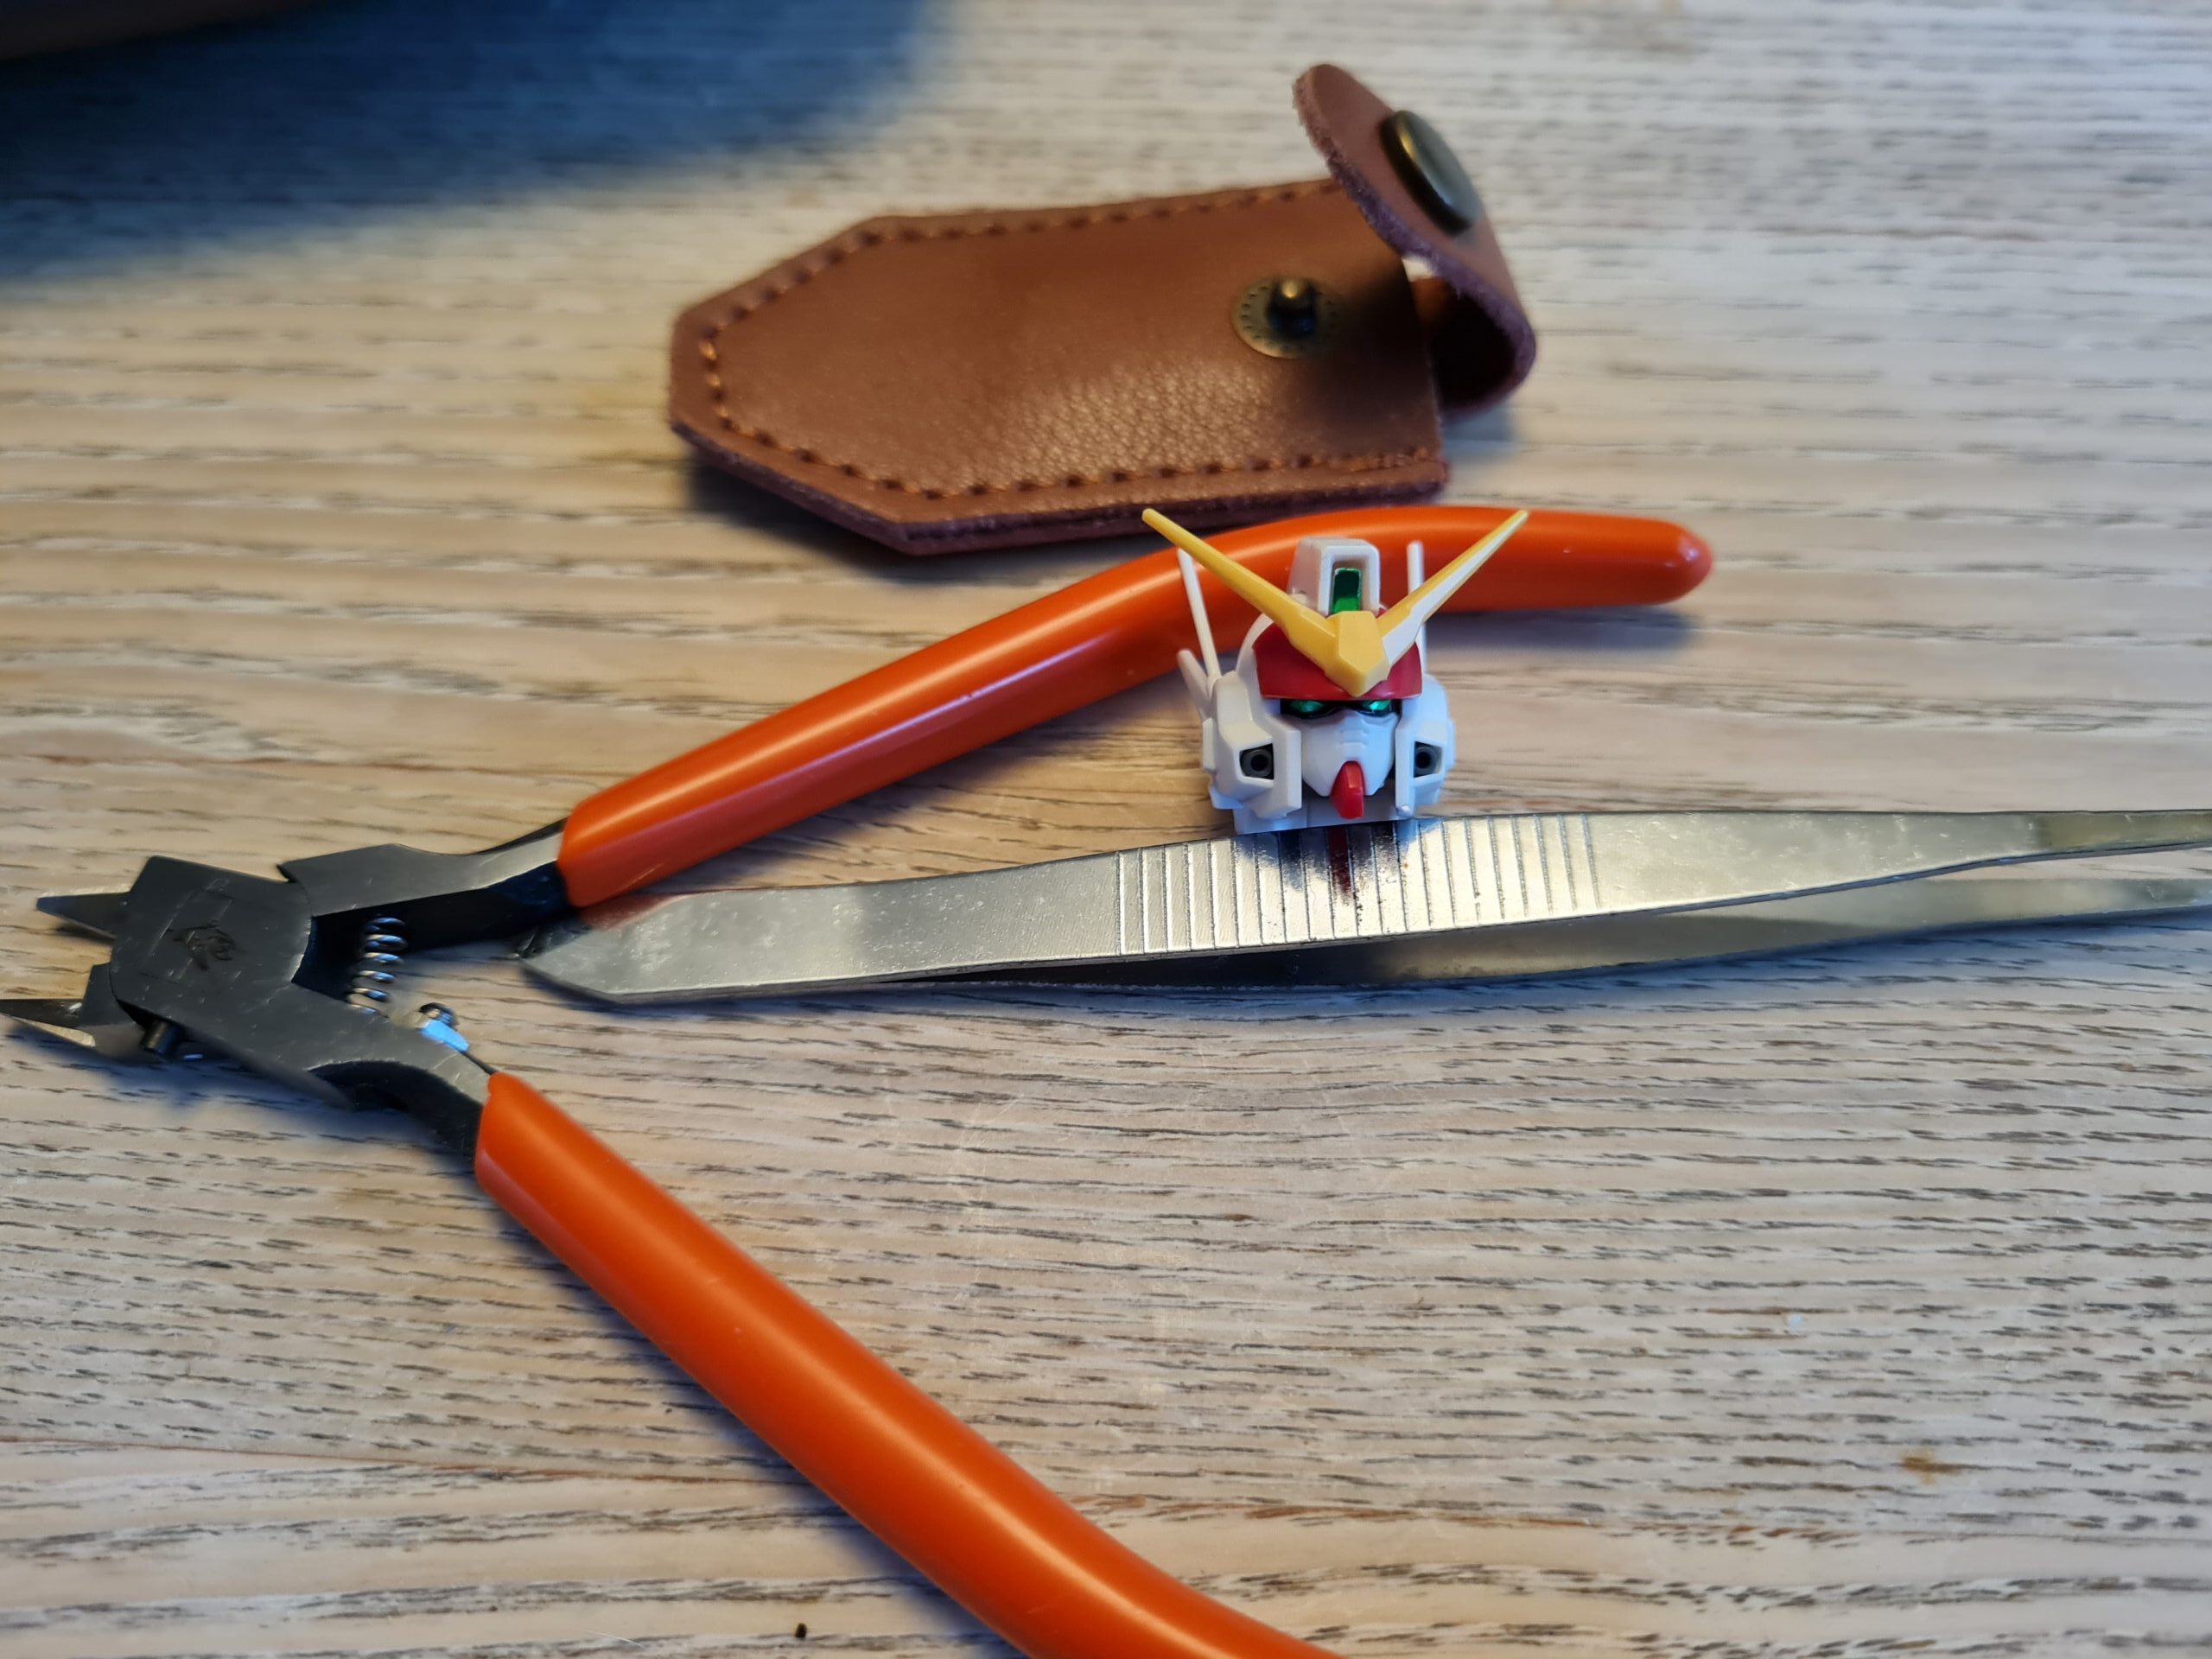
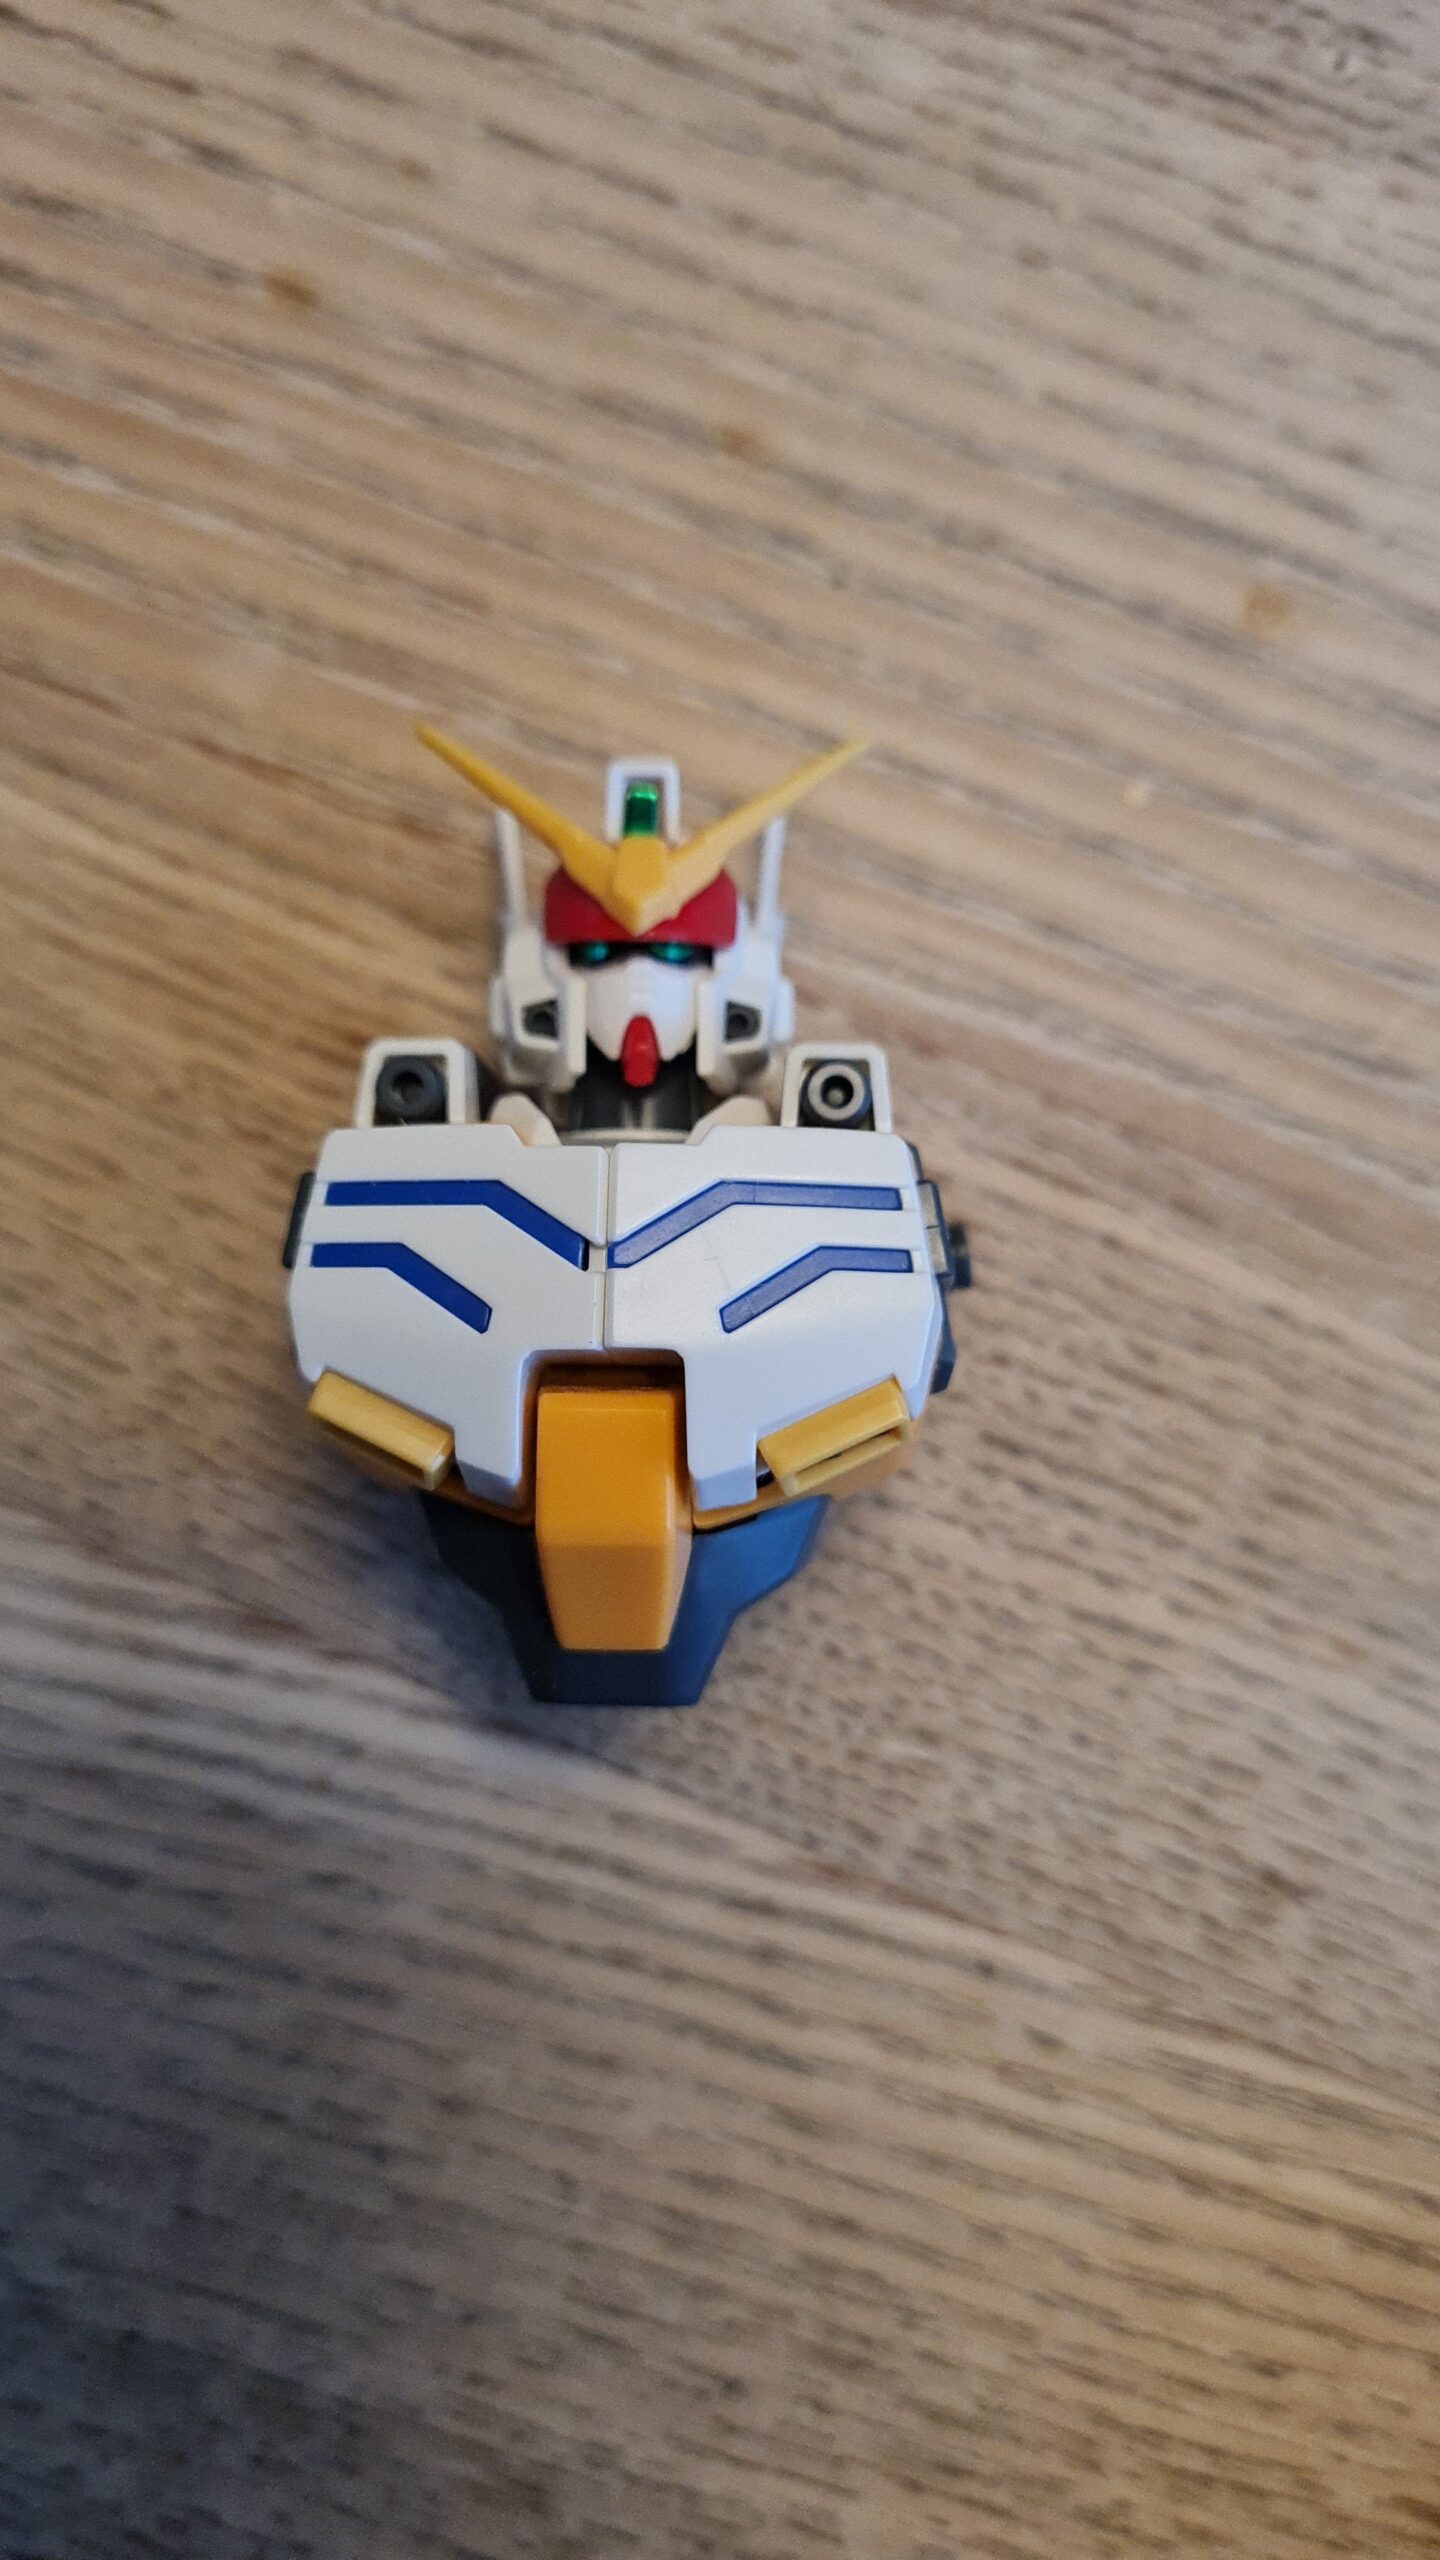
All the head parts!Head StickersCompleted HeadHead on TorsoHead on Torso Open Chest
As you can see this is just 11 parts and 3 stickers. It is amazing that this few pieces can build up into such a charismatic head.
I’m fairly sure people will know who it is, although people probably guessed from the torso! However I will keep going for anyone who hasn’t and also so people can see him build up.
Thank you for taking the time to read this. If you haven’t already done so please like and follow us on our social media platforms and checkout our website!
That is right. I enjoyed the last guess the model (I hope you did too) so much I thought I would do it again. For anyone new the format is quite simple. I follow the build manual for a model, in the order it is in the manual, and try, each day, to do an update with one of the sections. Normally this is something like:
Foot 1
Foot 2
Arm 1
Arm 2
Torso
Head
Pelvis
Weapons
Now you will be glad to hear that this one is following a slightly different format. For a start it begins with:
Torso
Head
So to be honest you will likely get it quickly. Although to be fair the number of people who got the Zaku II off the feet was pretty impressive! The original series of posts can be found here. You can also read up more about these suits over at gundam.fandom.com.
Images
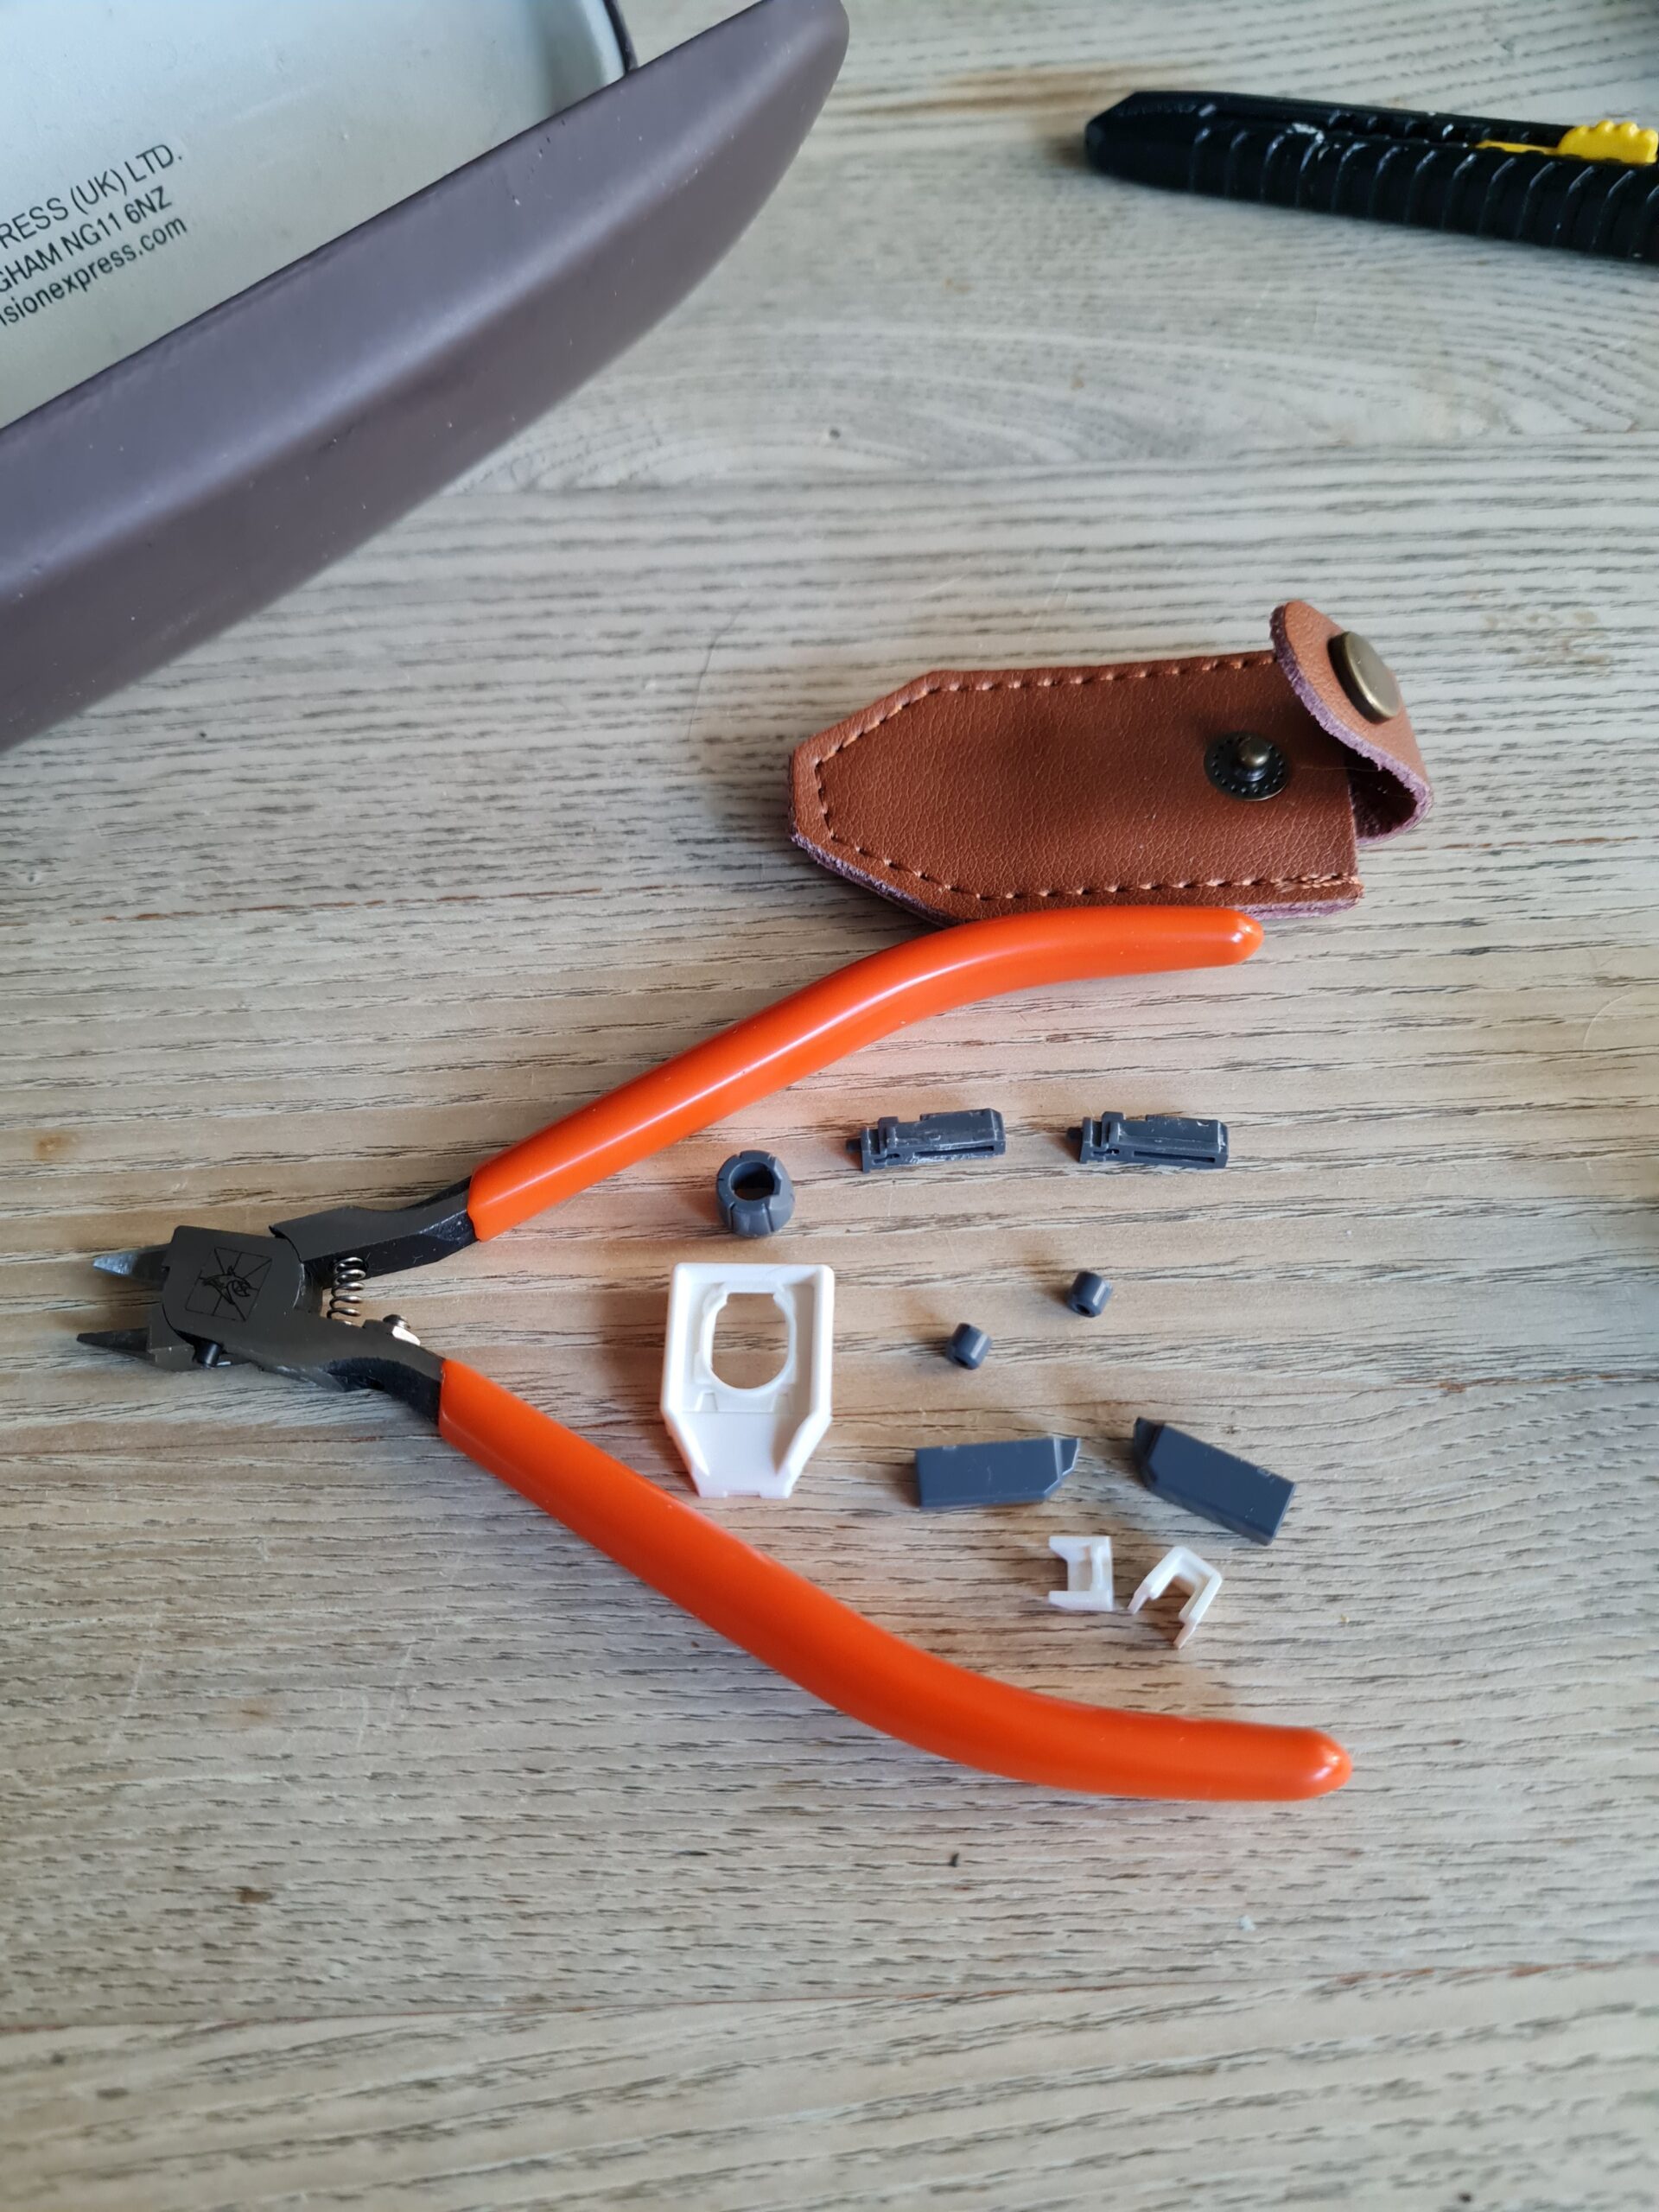
First PartsAssembled First PartsSecond Part Assembled Parts Third set of PartsAssembled PartsFourth set of partsAssembled PartsFifth set of PartsAssembled Piece
Above are the build pictures from this stage. As you can see I removed sets of pieces from the runners and then put them together. The pieces I assumed were going on the inside got less “clean-up” than the pieces that were obviously on the outside. This method has however left me with some extra clean-up to do later.
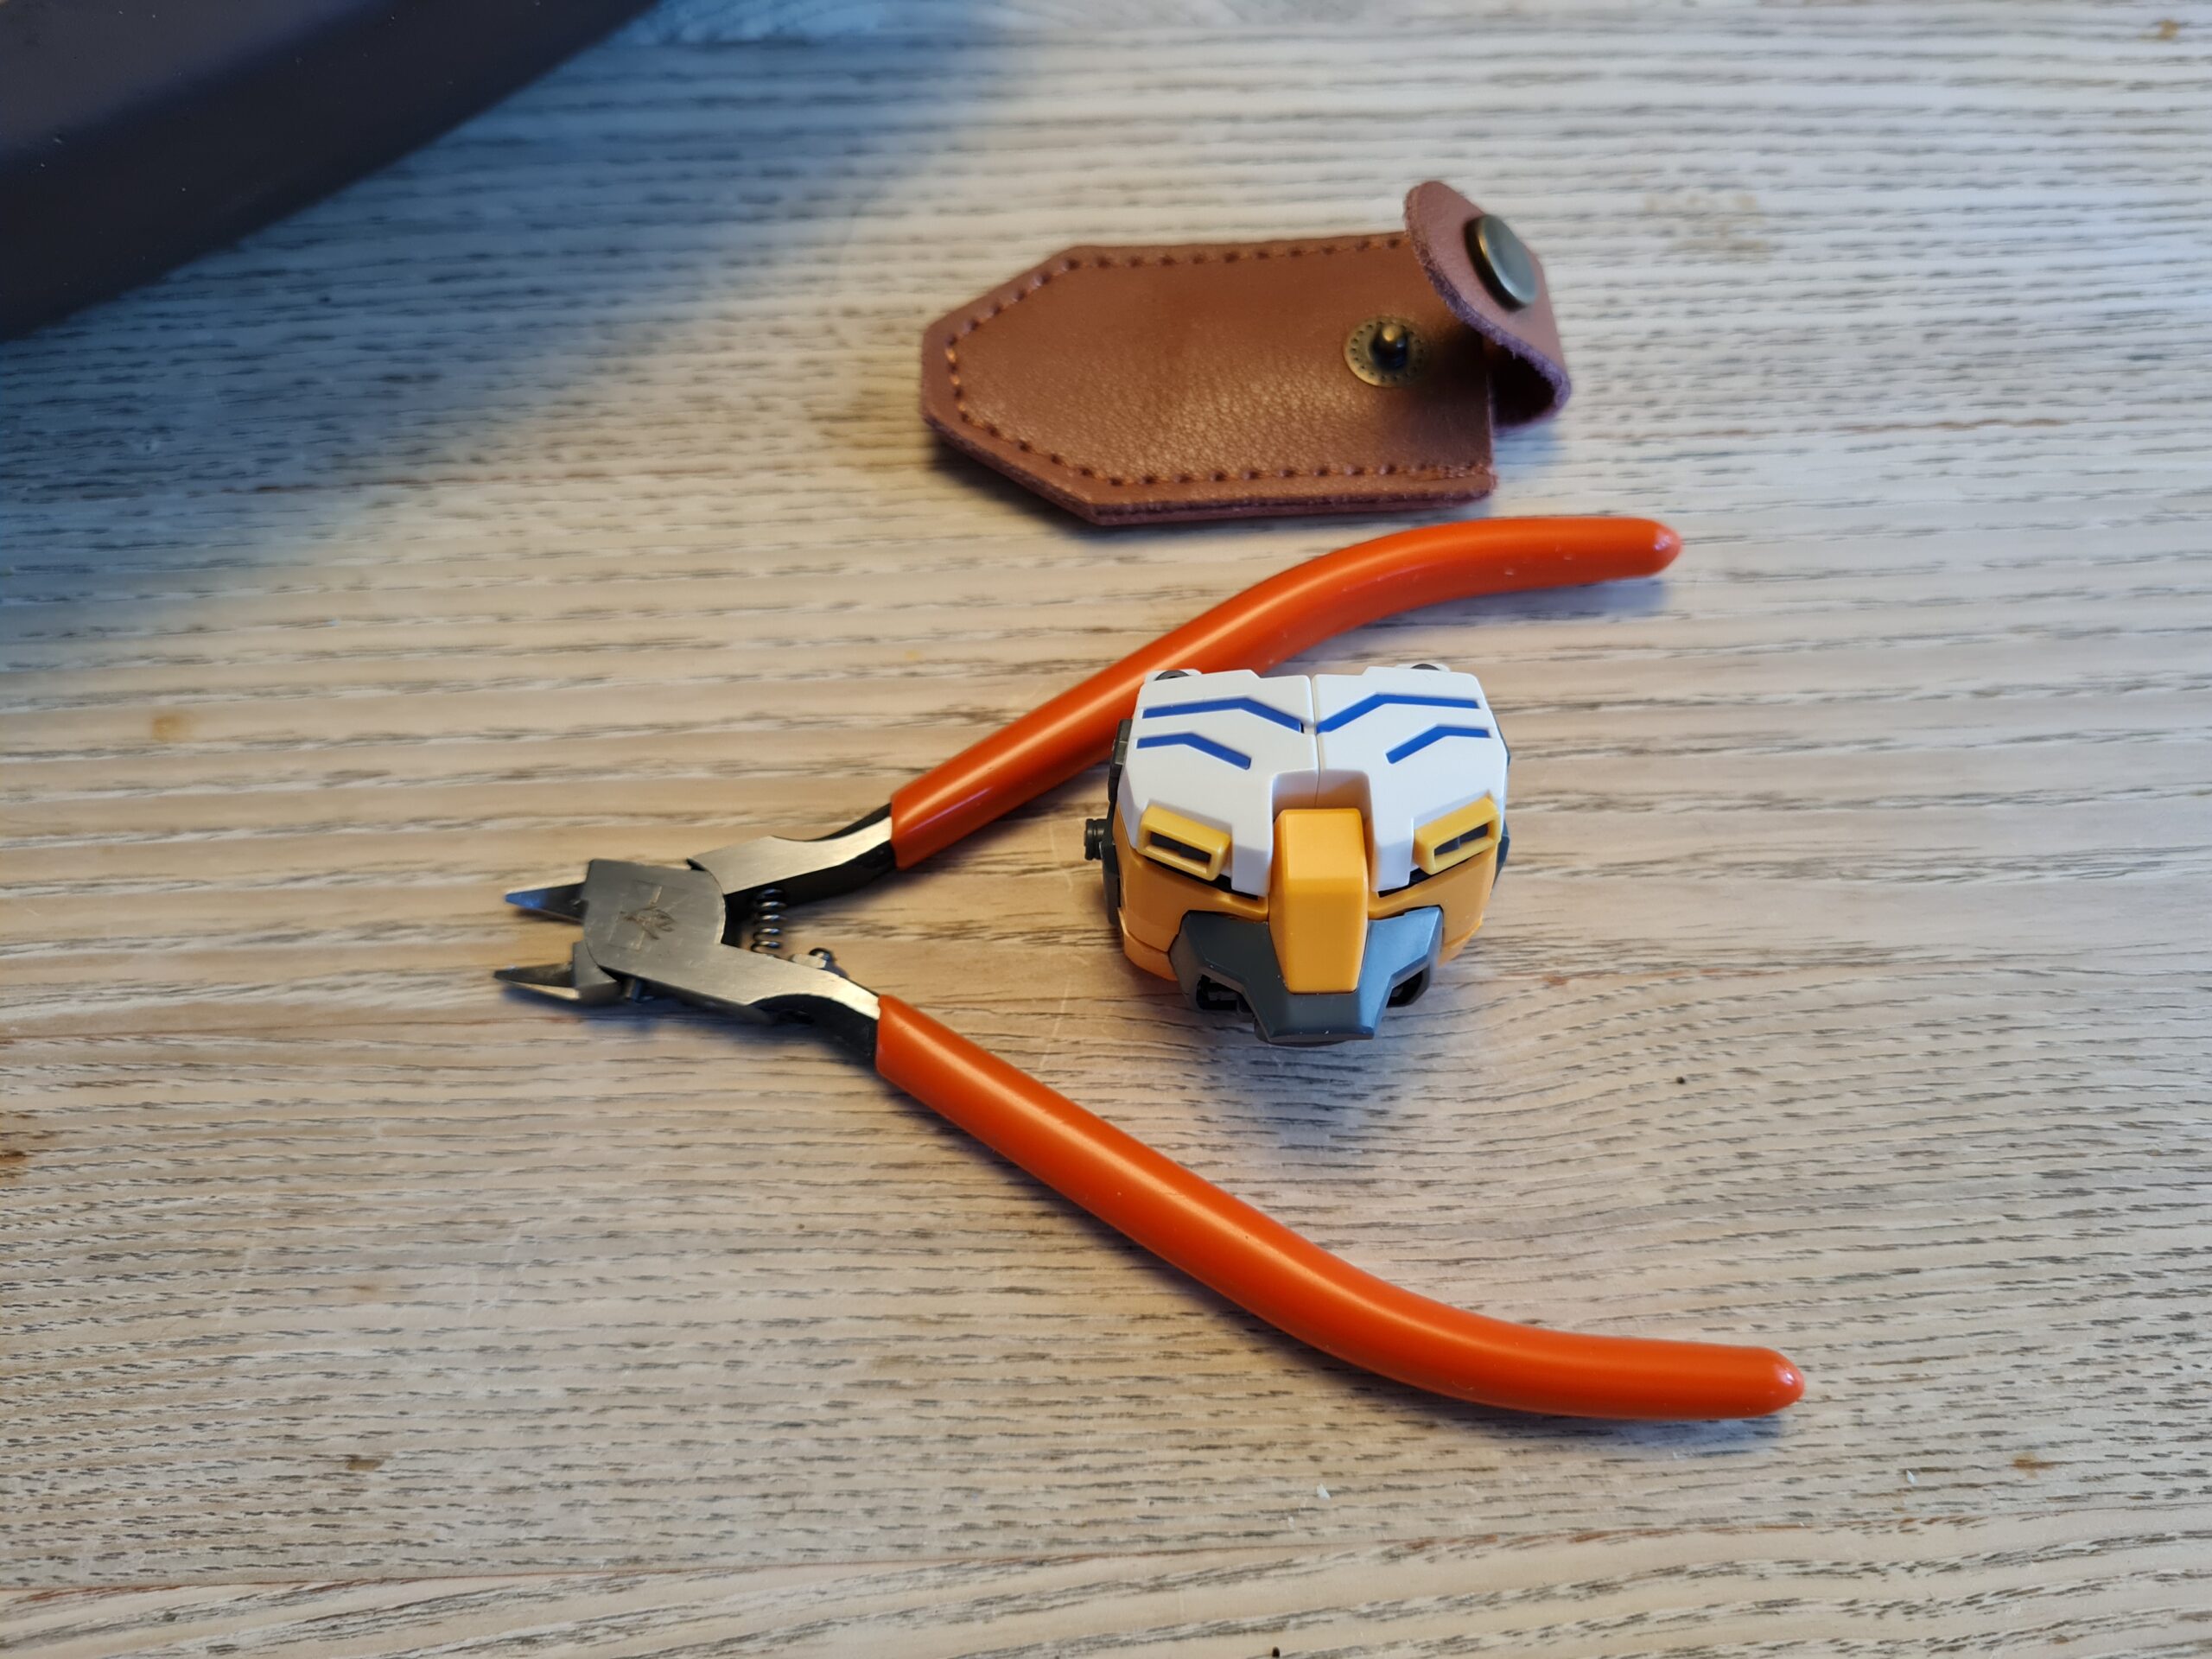
Spot the mistake
Eagle eyed viewers will notice that the left top blue “stripe” ends a little early. That would be because looking at the piece it looked like the end should be tripped for it to fit. However, when I came to the second one I realised you could slide it into place. Lesson learnt! If you get to build this kit then those blue pieces slide in tip first!
Conclusion
So that is todays clue. Let me know if you think you know what the model is!
Thank you for taking the time to read this. If you haven’t already done so please like and follow us on our social media platforms and checkout our website!
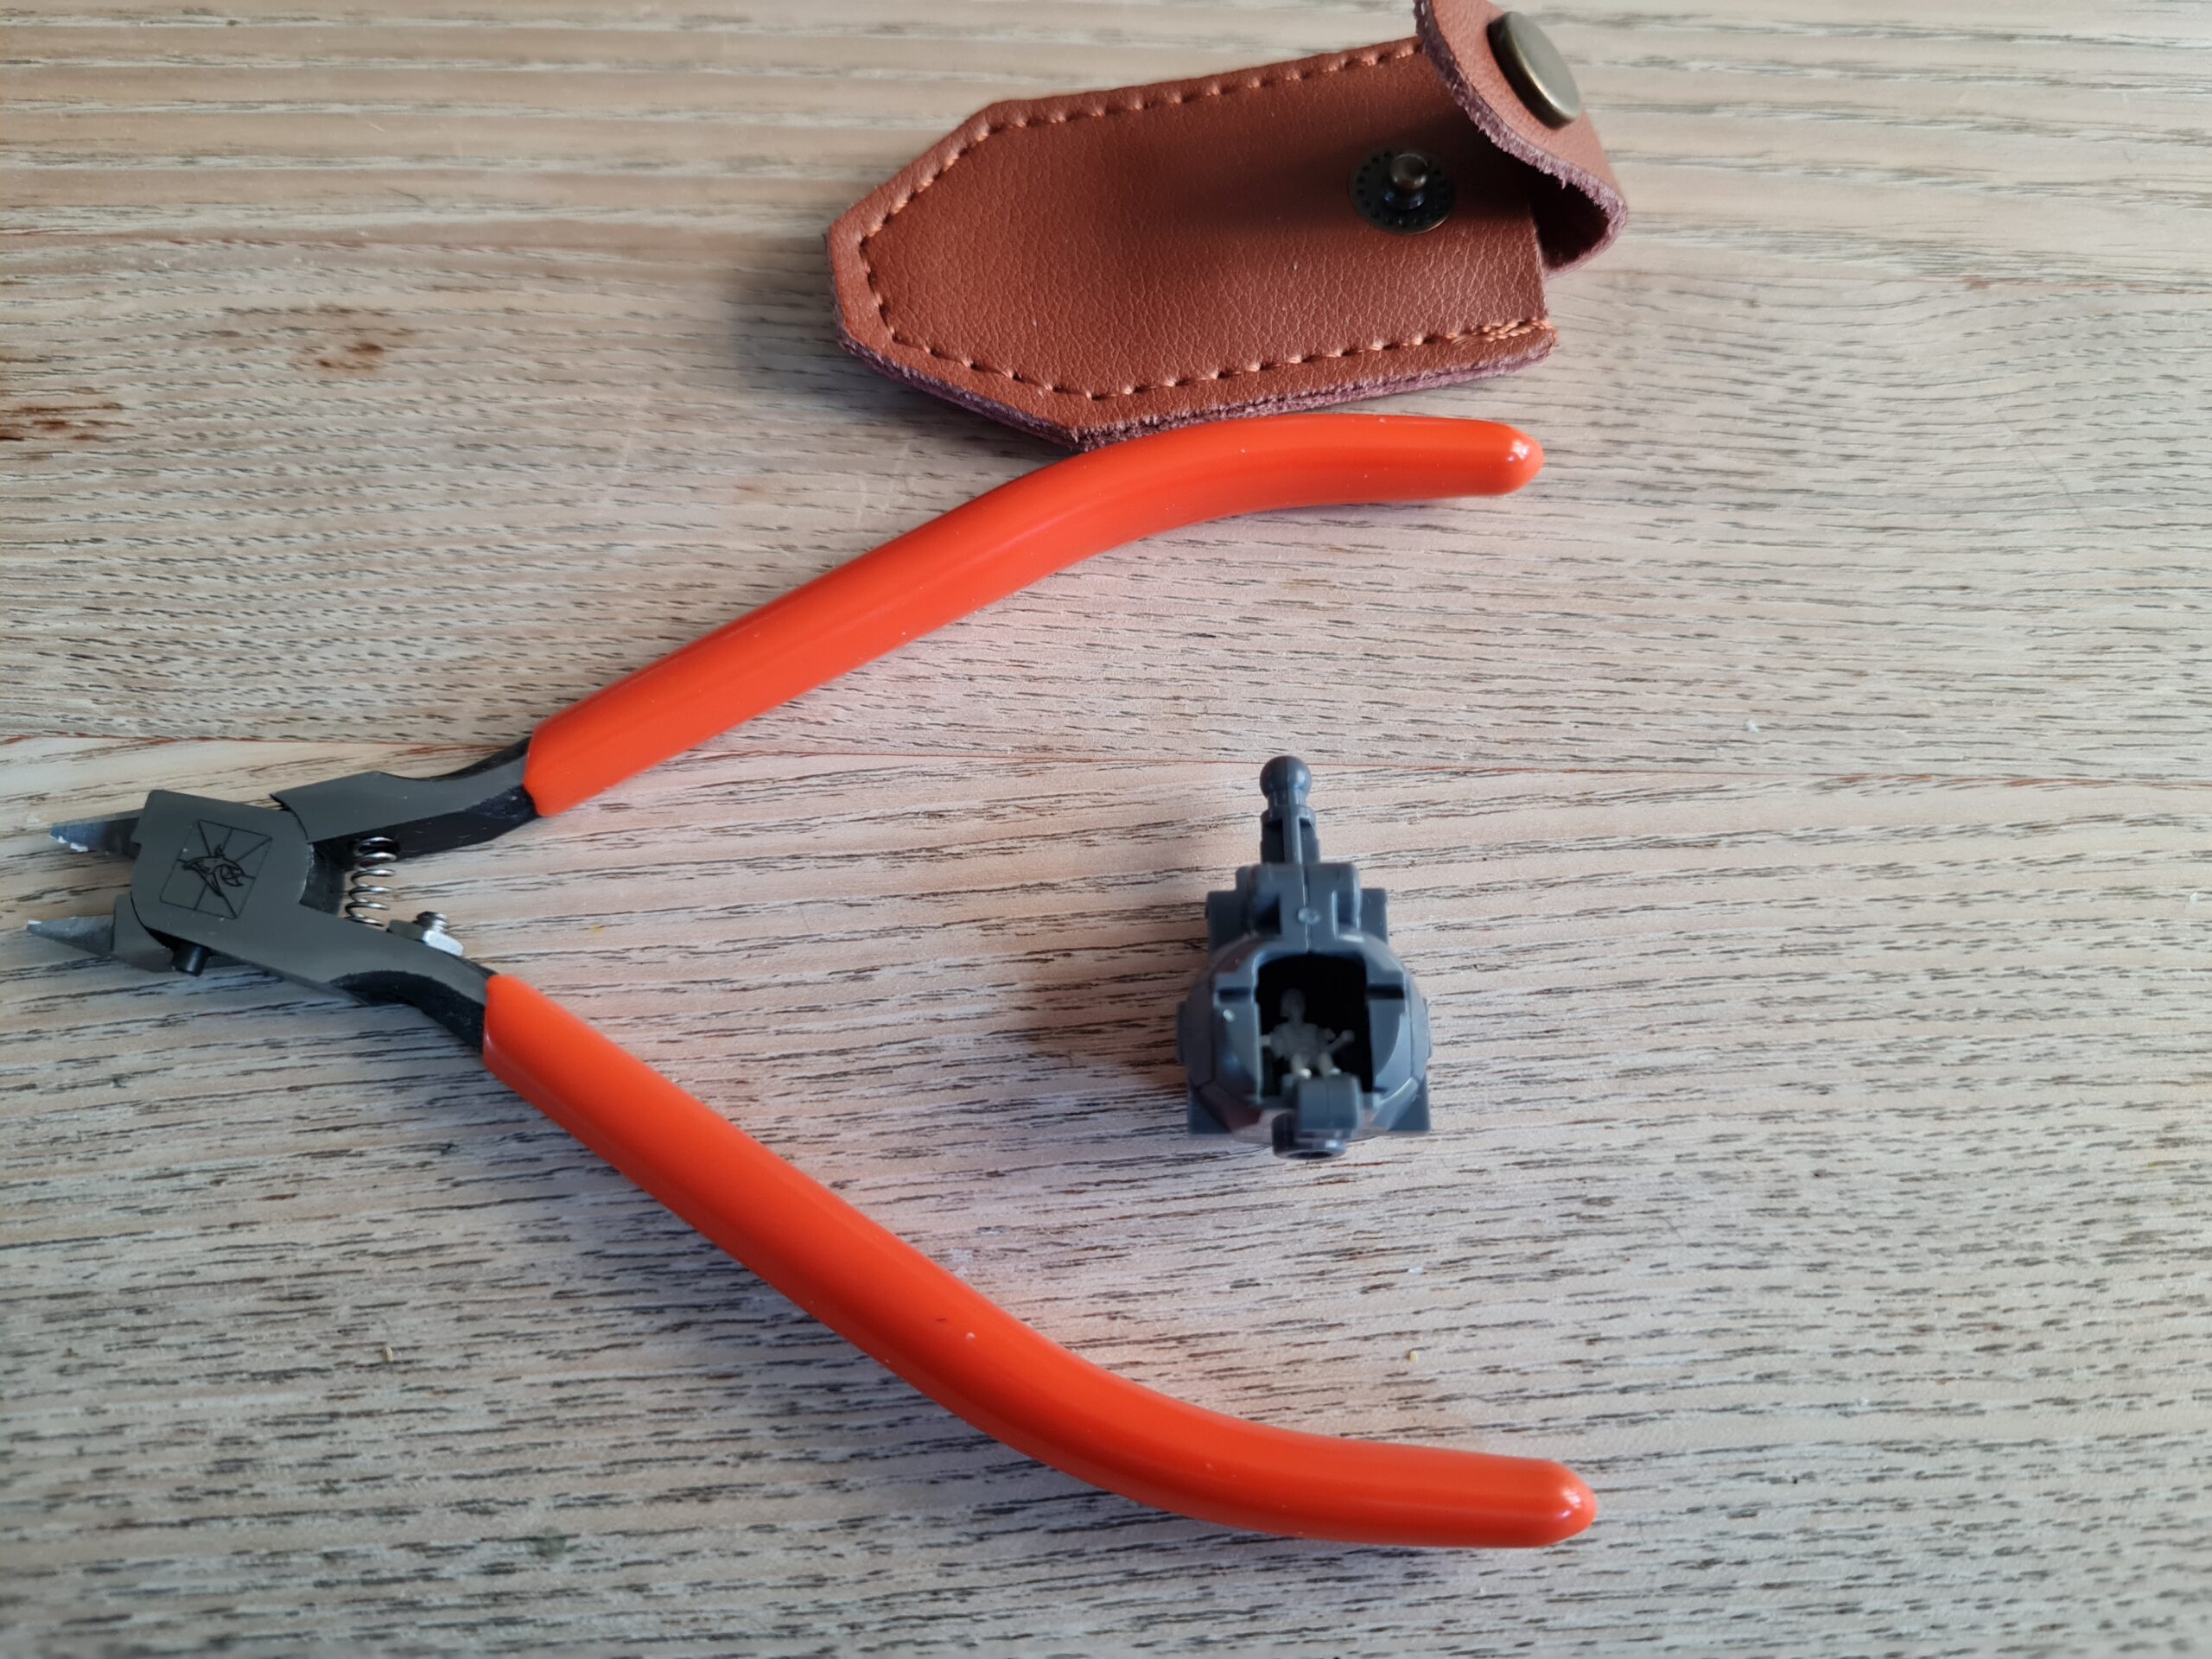
I will be honest. I wasn’t expecting to be posting about my ZAKU II any time soon. I have been doing some work to finish it off. Again, in my hamfisted manner I managed to break a part. I have no idea what was going through my head. However, I did thankfully have the presence of mind to not panic. The part pictured below should not come away from the model. Note this was by no means a fault with the model, and totally a user headspace error.
Broken leg part
What to do?
I decided that probably the best way to try and repair this would be to pin the piece. For anyone who does not know here is my understanding of pinning. Other people may have different definitions but this is what I am going for. In essence you drill a small hole in your piece that has come off, and into where you want to mount it. You then trim a pin to size and glue it all back together. The pin helps to take the load and strengthen the join.
Equipment
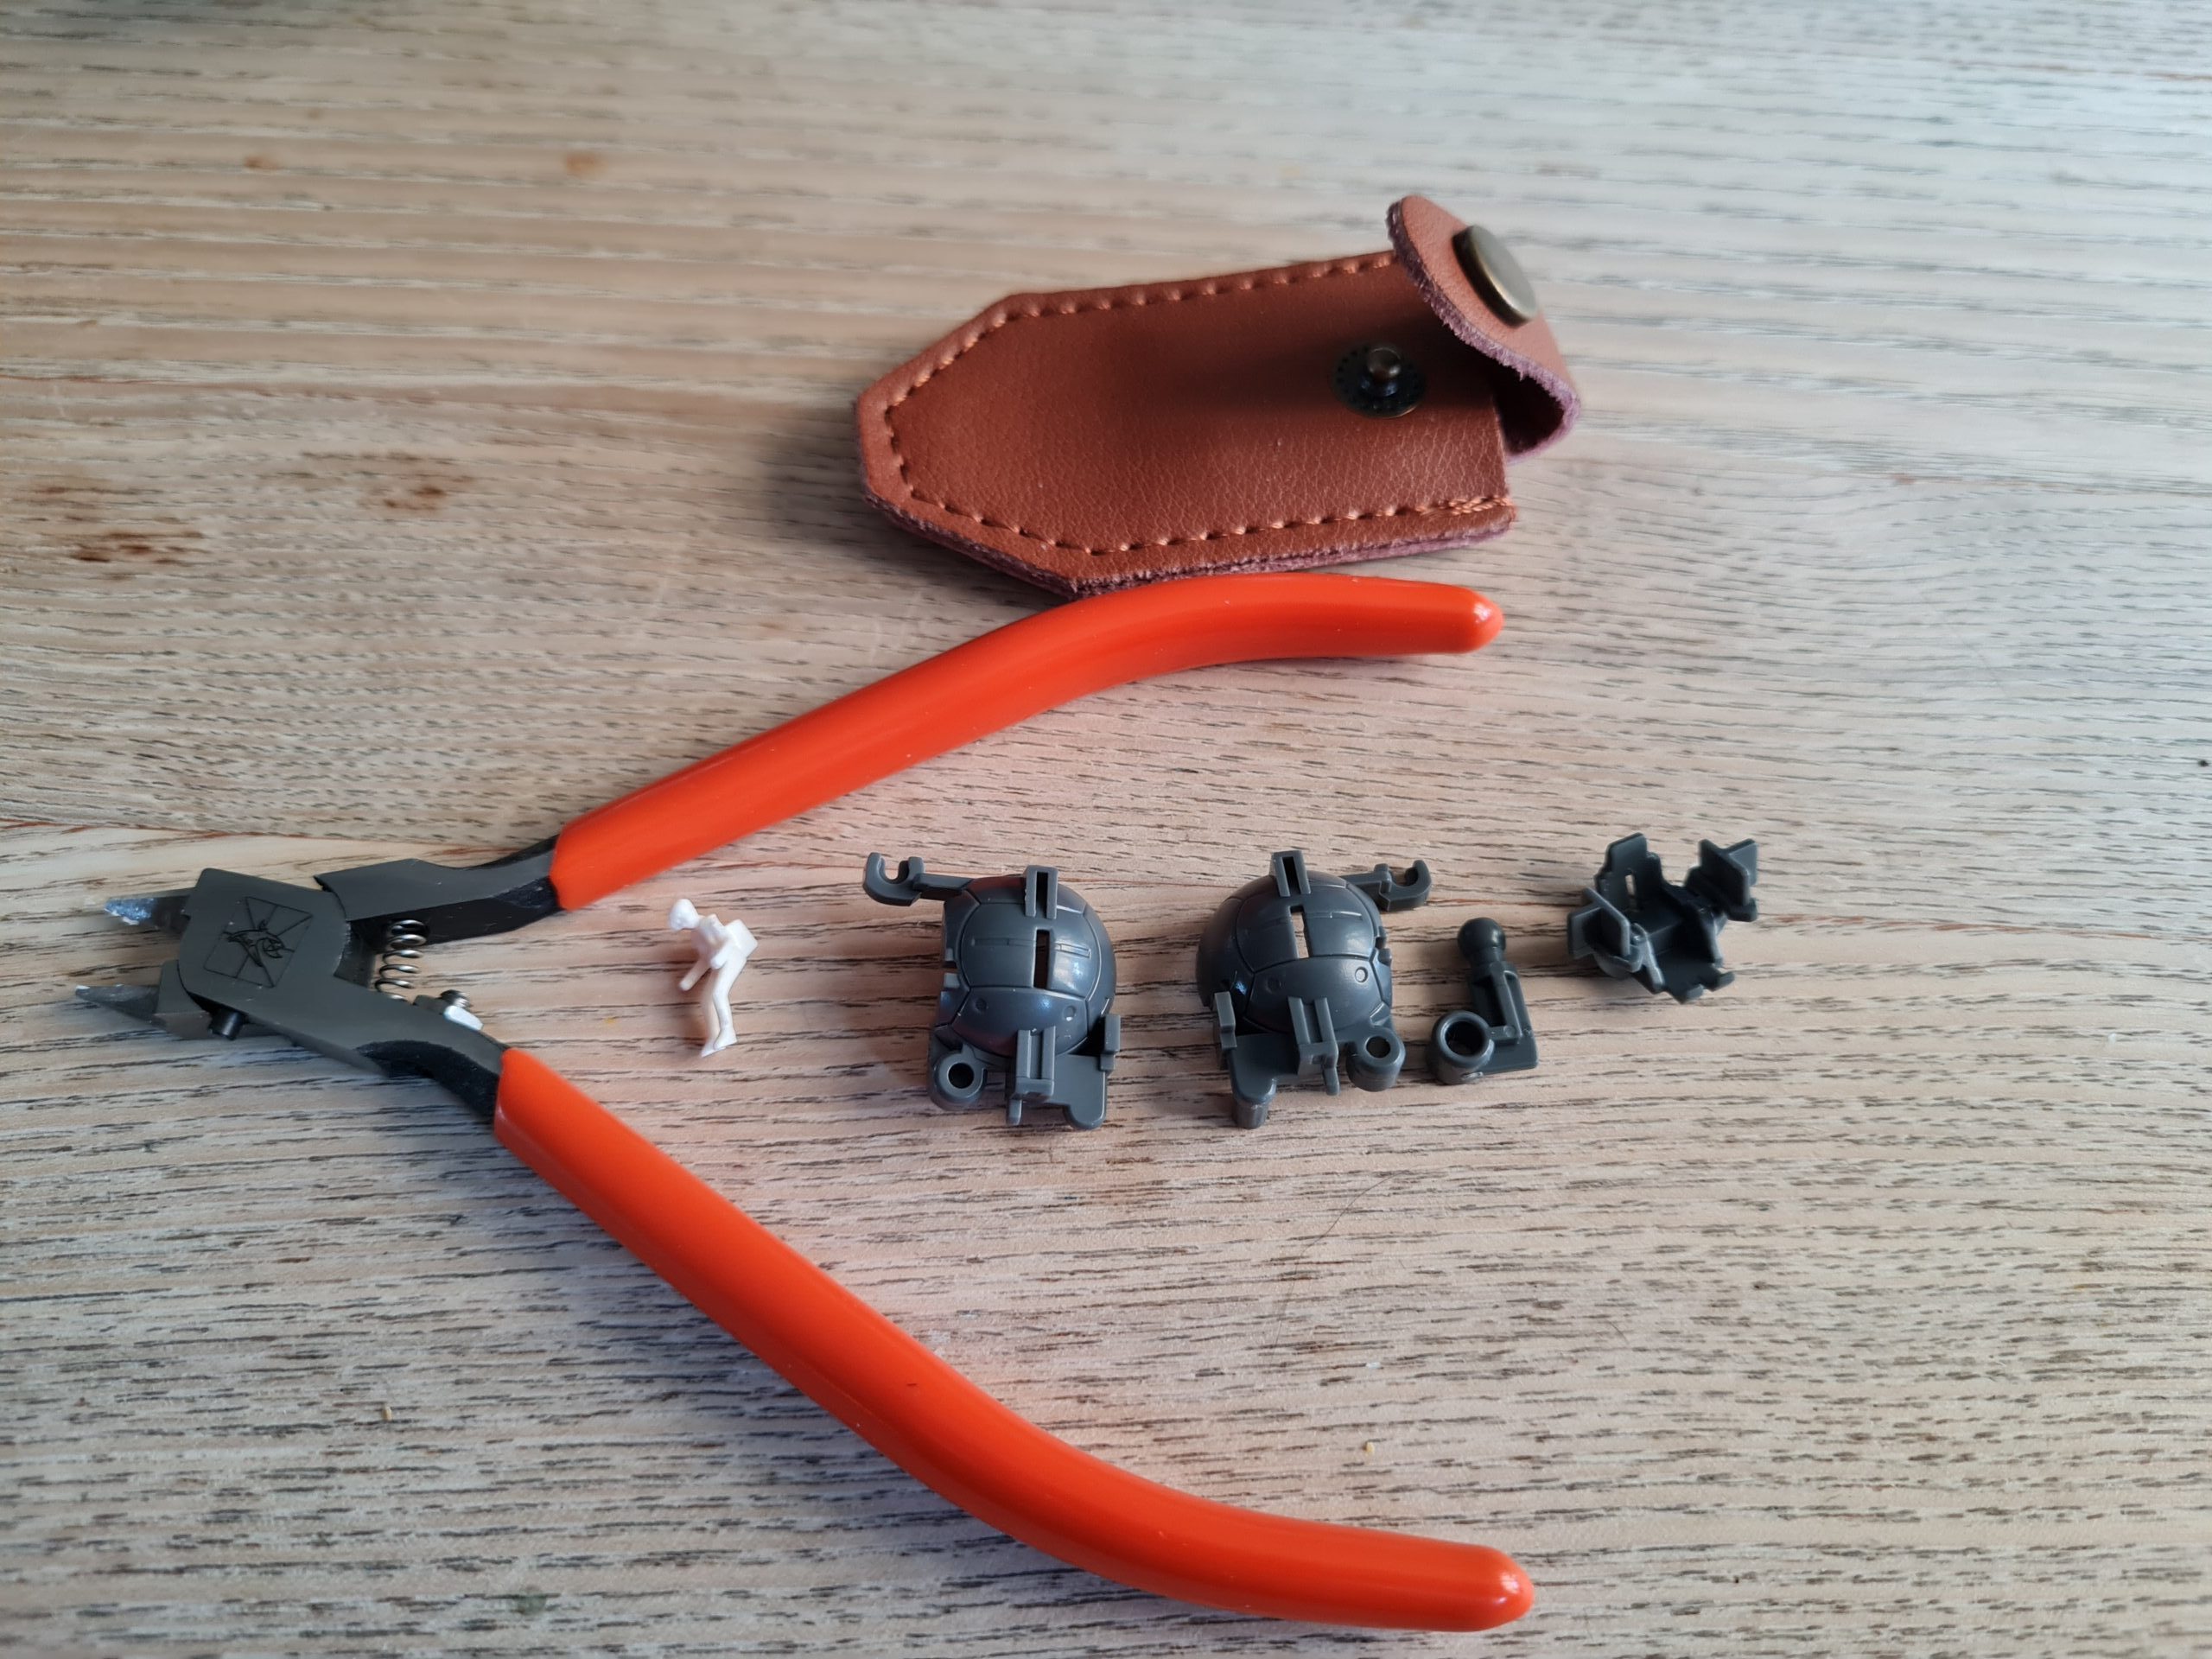
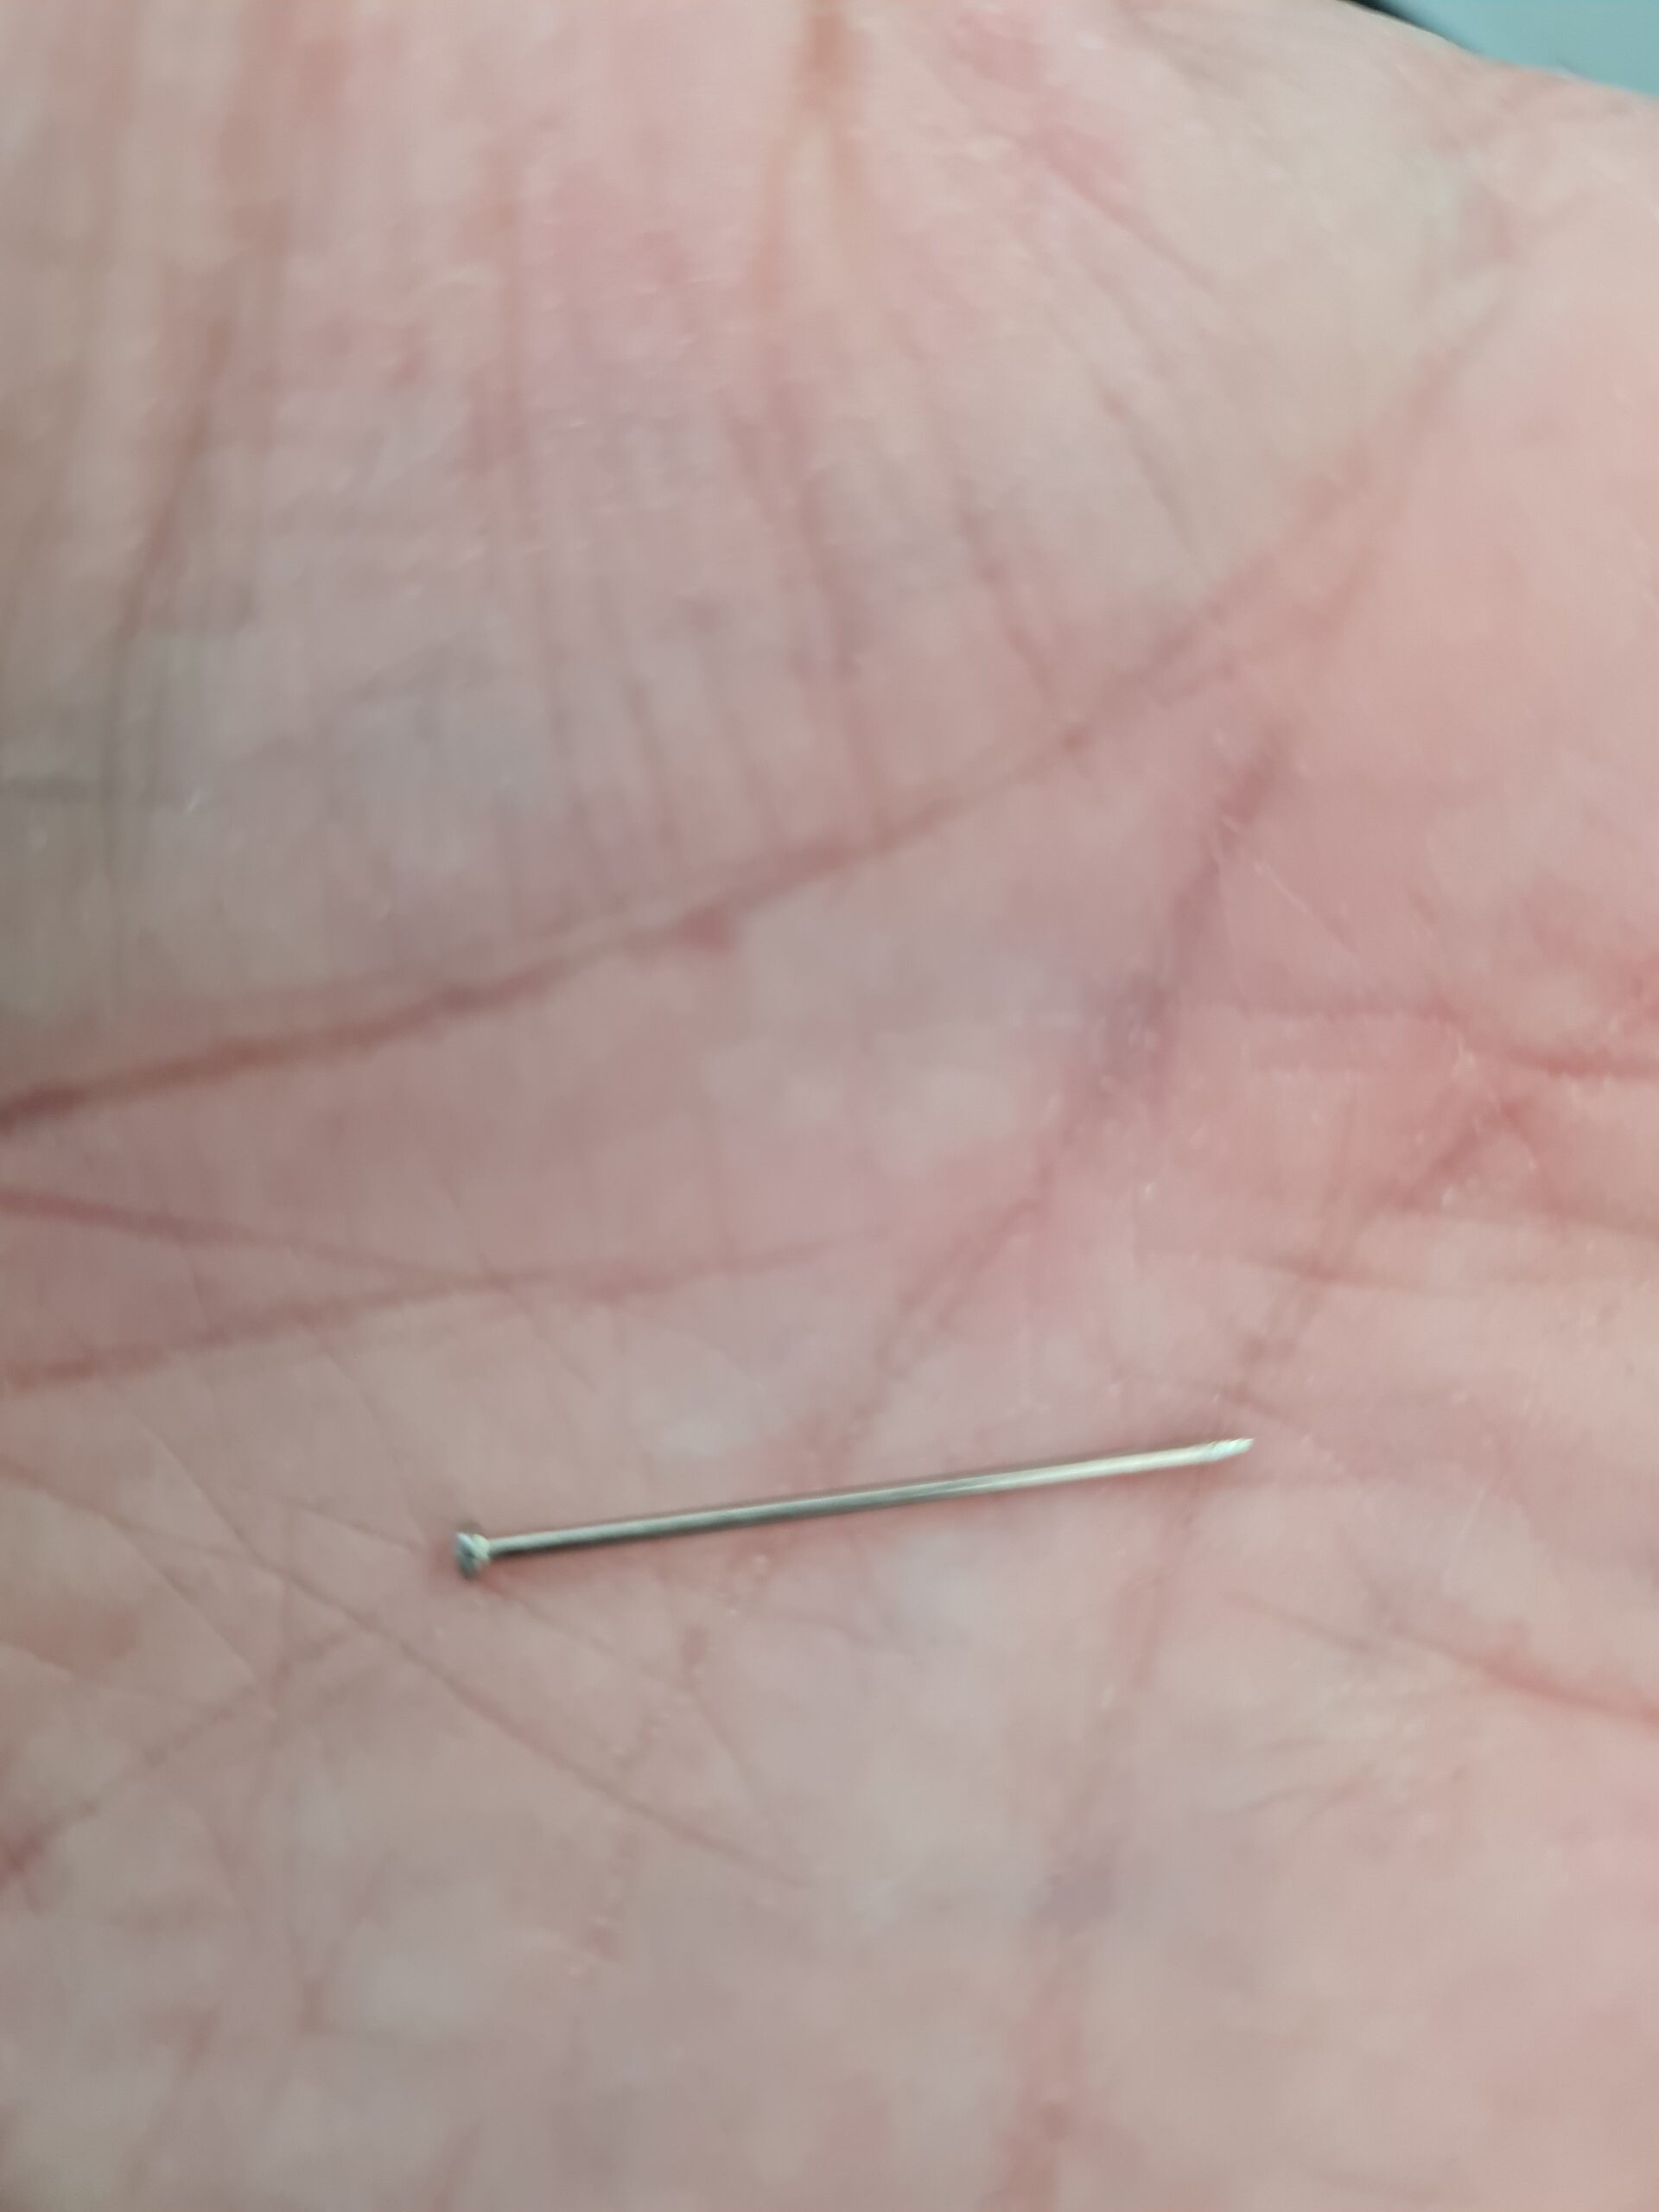
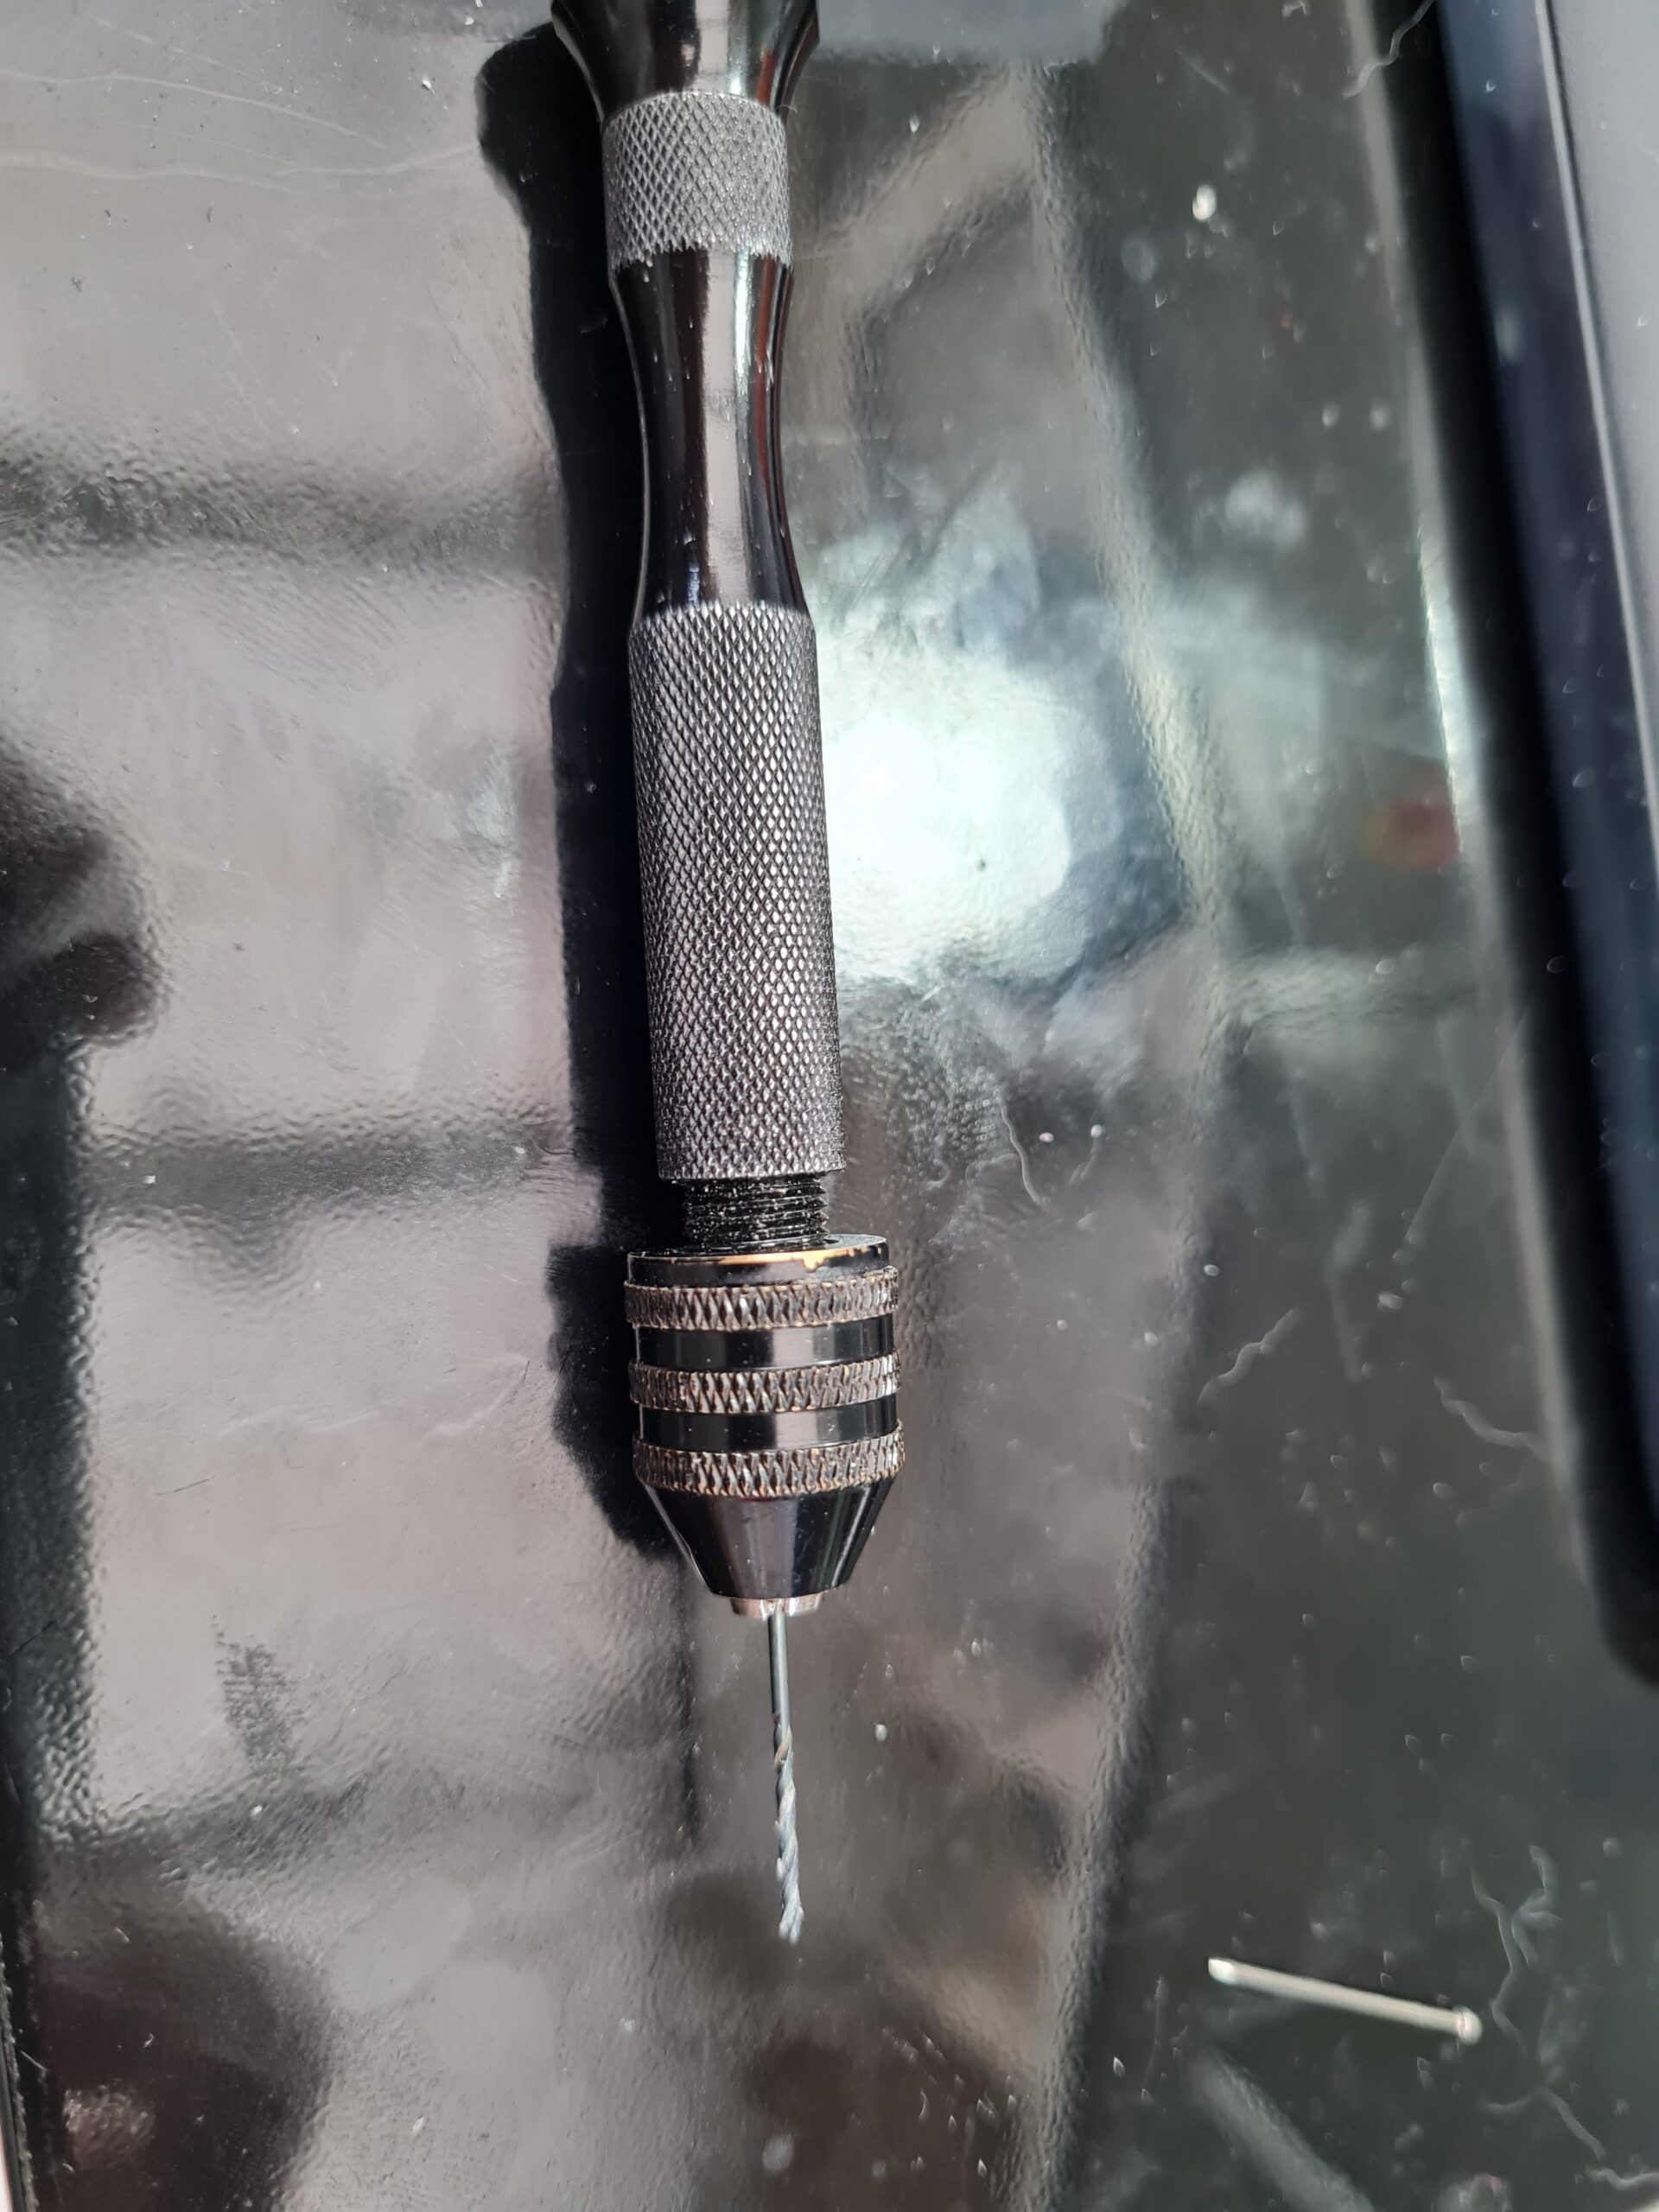
Thankfully I have the four things I needed to hand. A small drill, a pin, some nippers and some glue.
PinOld Nippershand Drill
As you can see I used a good old pair of nippers so as to not ruin the good pair I have. I find it is always handy to have a slightly older pair around for just these occasions. I don’t have a photo of the glue but for reference I was using Gorilla clear glue.
Method
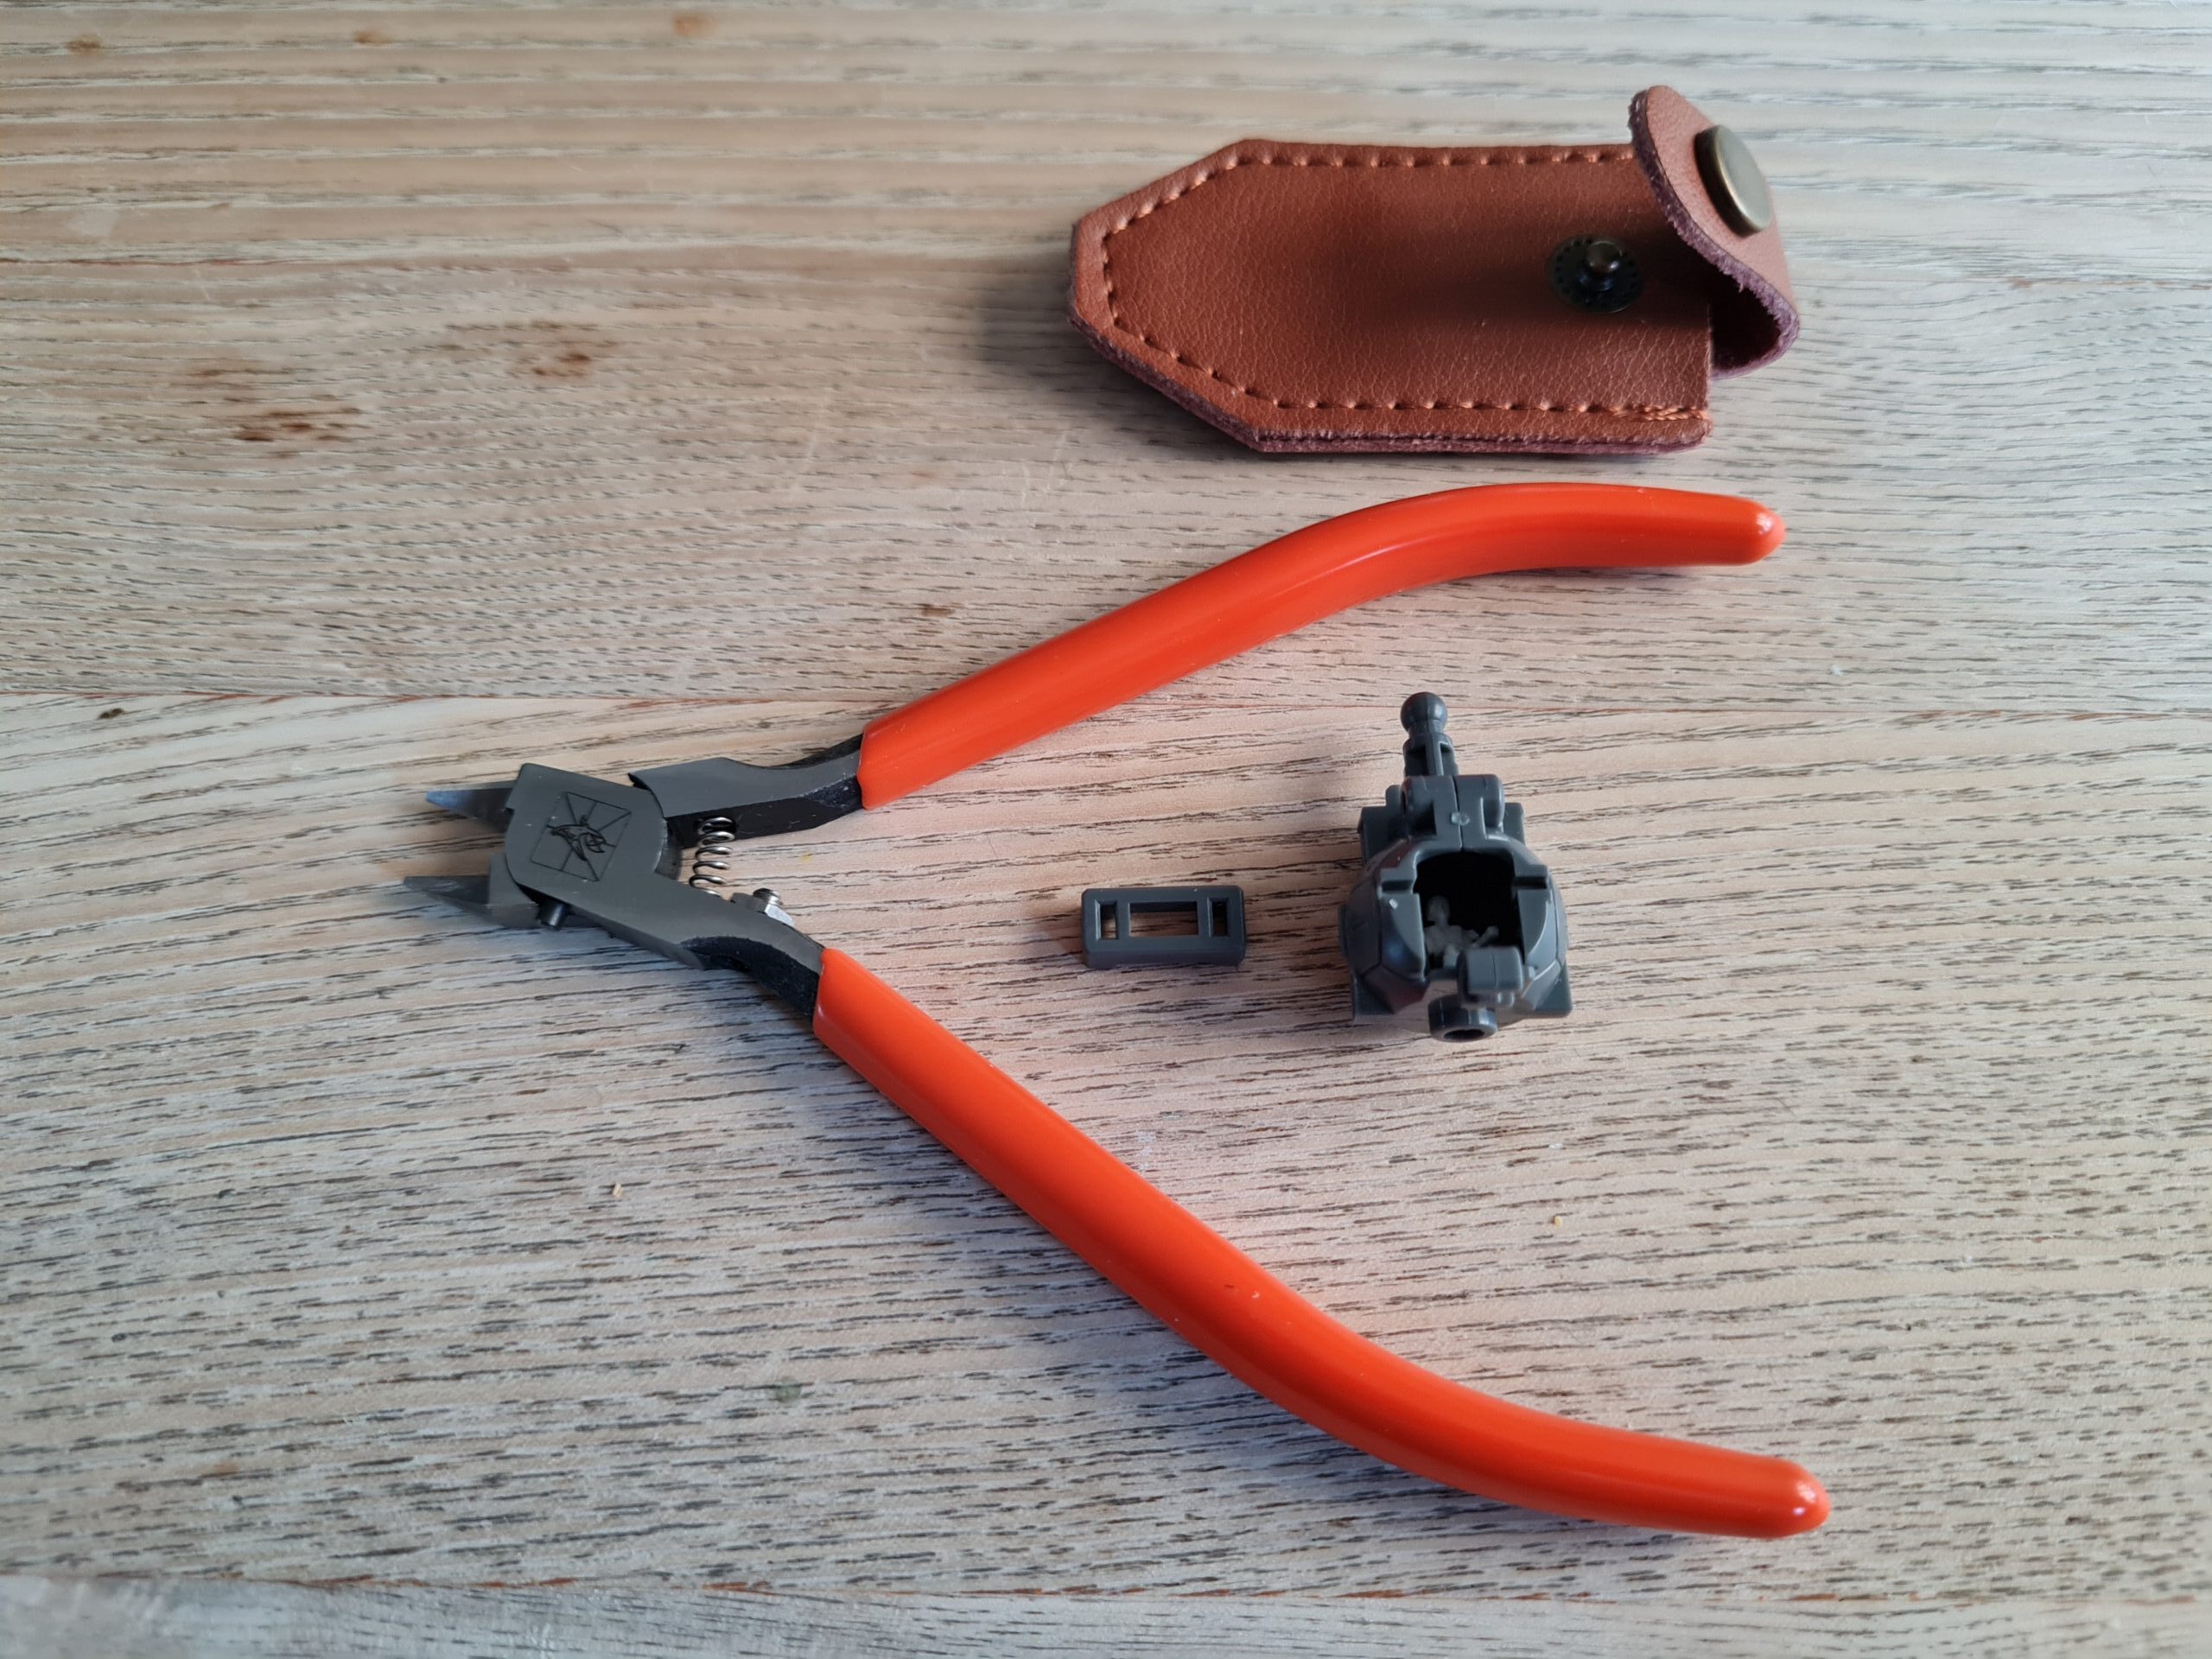
Drill a hole through the broken off piece.
Align the broken piece with the model with the drill bit still in. Then continue to drill so the lines are aligned. (Be careful not to drill too far and go all the way through!
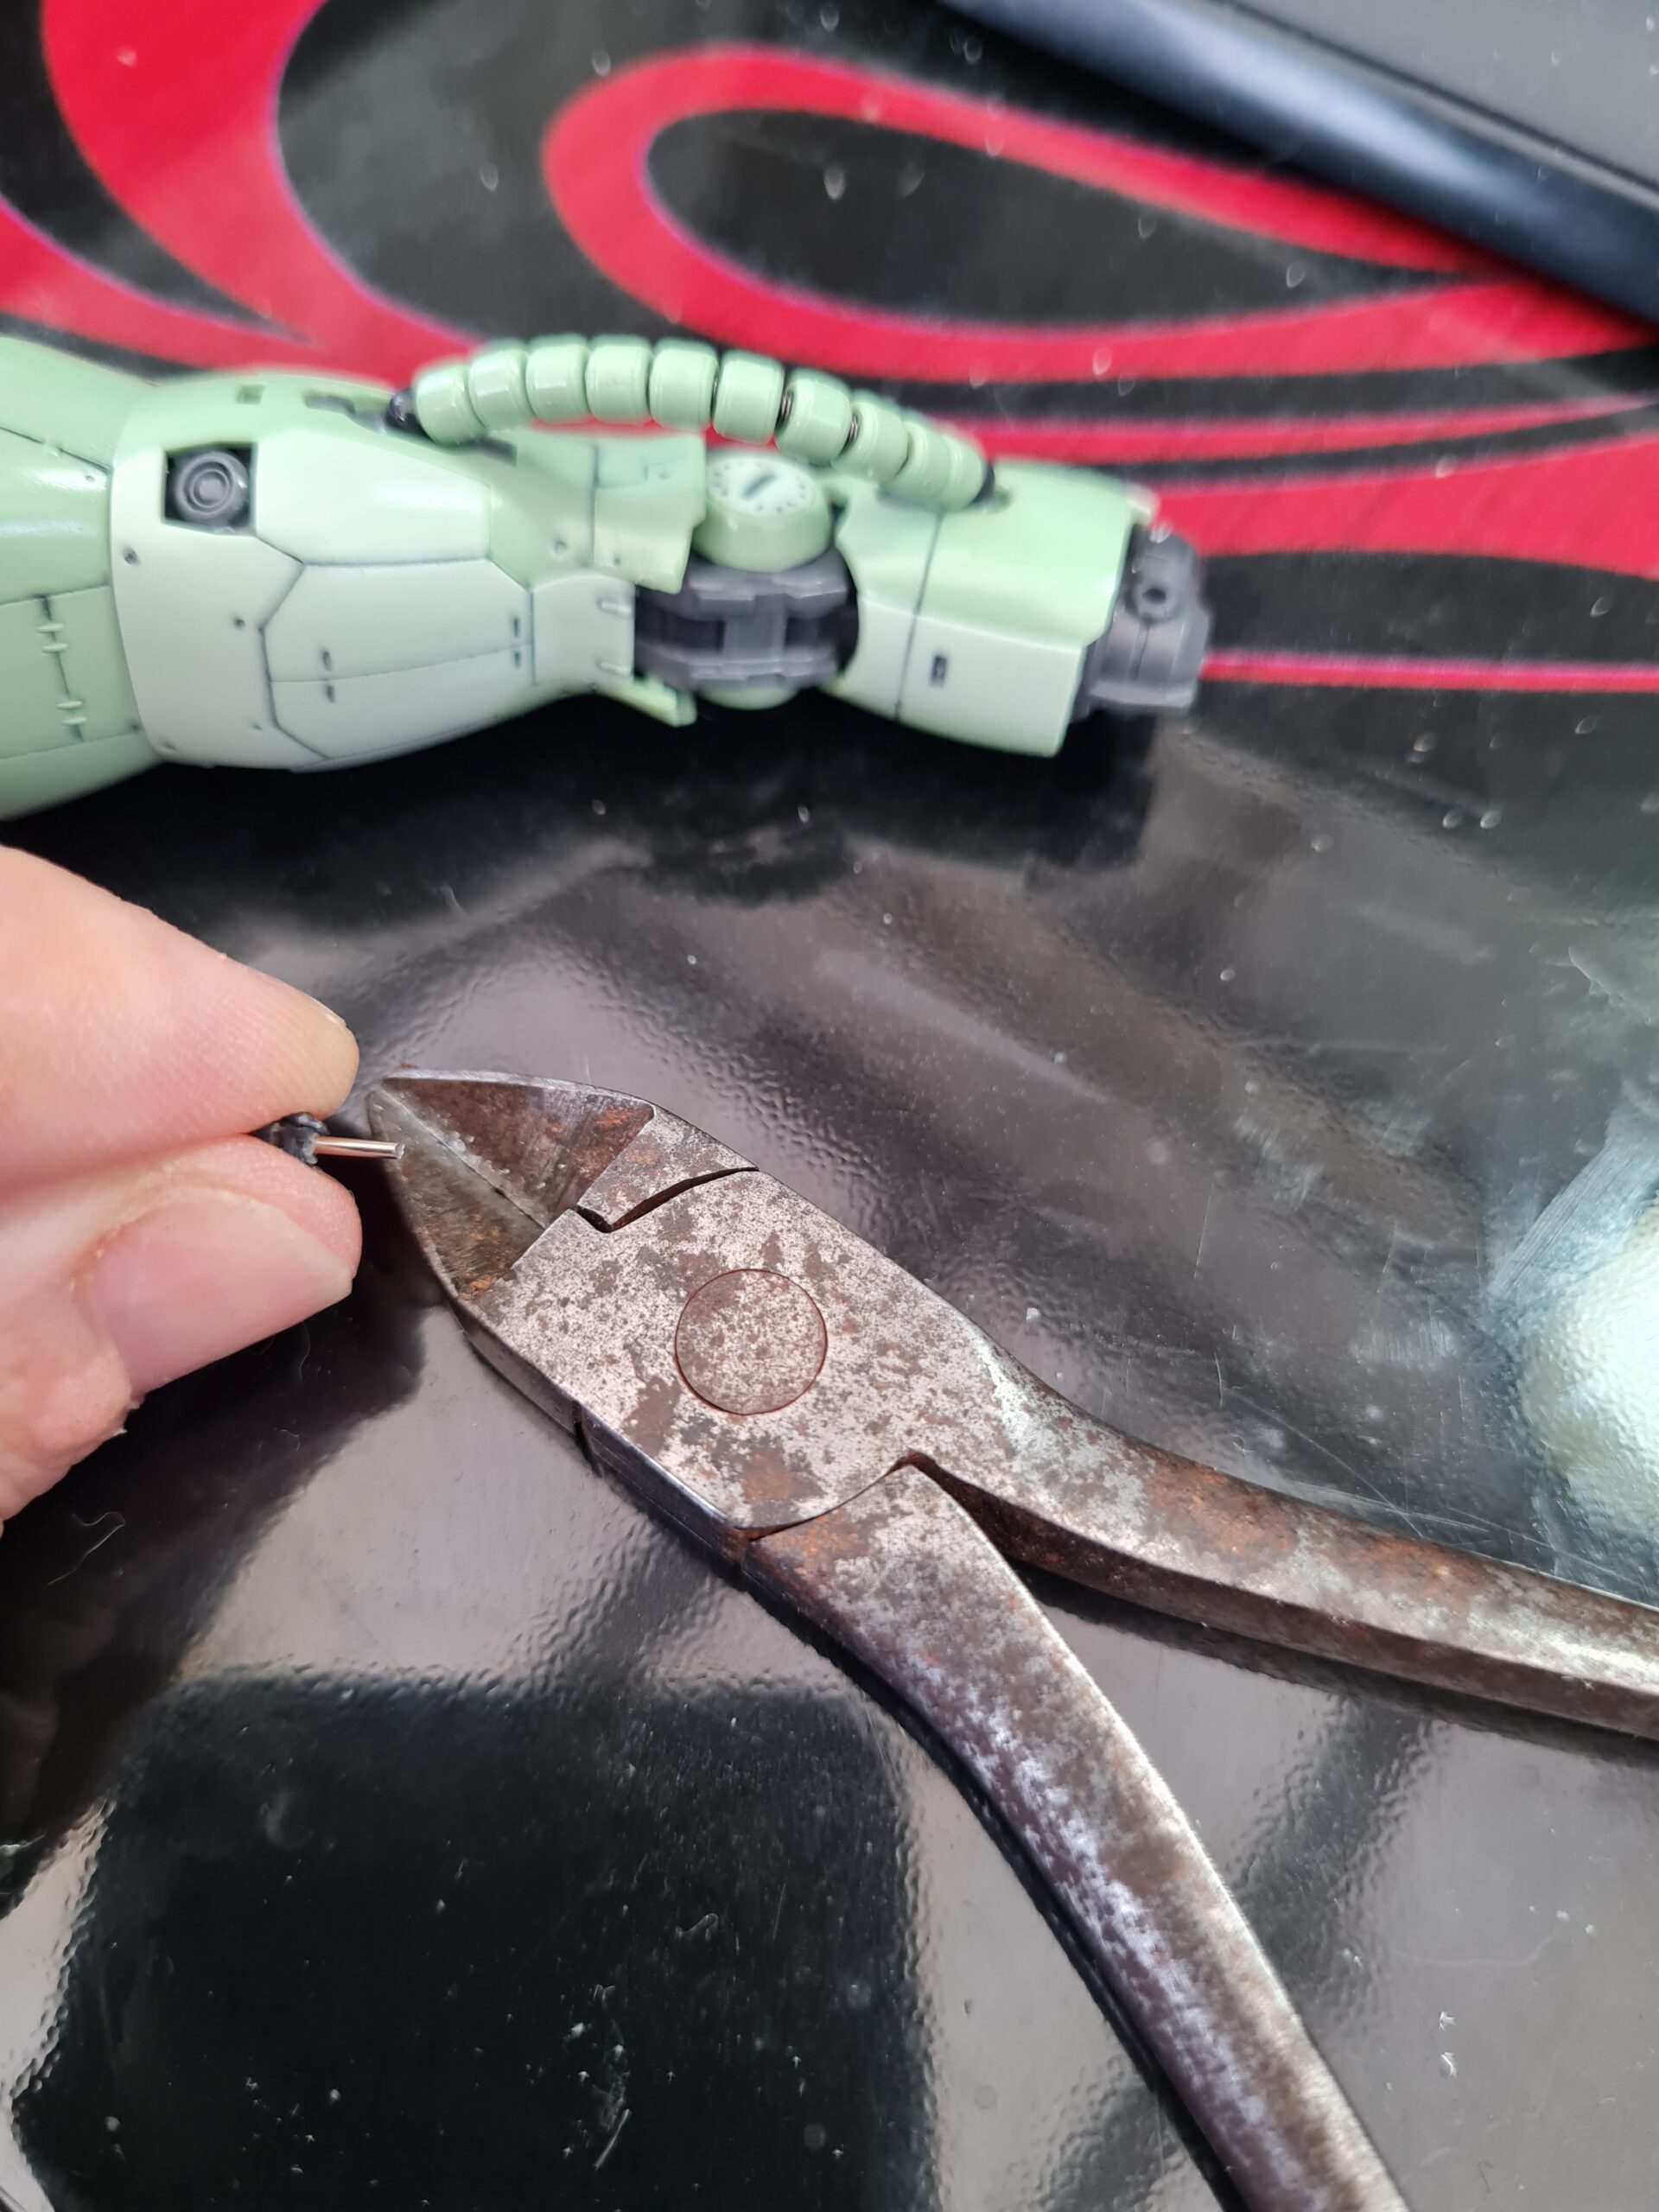
Using the nippers trim the pin to size.
Glue the pin into the model.
Once dry, add more glue to the pin and push the broken piece into place.
The last pieces (gluing the pin in and into place) can be done all the same time if you prefer.
Then leave your glue to cure and away you go.
Conclusion
Every time I do something like this I promise myself to be more careful next time. However, it was a useful opportunity to remind myself that pinning can be an invaluable technique in repairing a model, or in helping joints or pieces that join together with quite a small surface/join area.
Thank you for taking the time to read this. If you haven’t already done so please like and follow us on our social media platforms and checkout our website!
I thought I had done enough posts on the RG ZakuII over the last week. However, this evening I decided to put together the weapons while watching TV. This led to me also putting together the extra hands.
As anyone who has read my posts before, I am continually impressed with the level of articulation on these models. Not least of all due to a lot of it coming straight from the sprue. My mind truly boggles at how they produce these pieces on the runners/sprues!
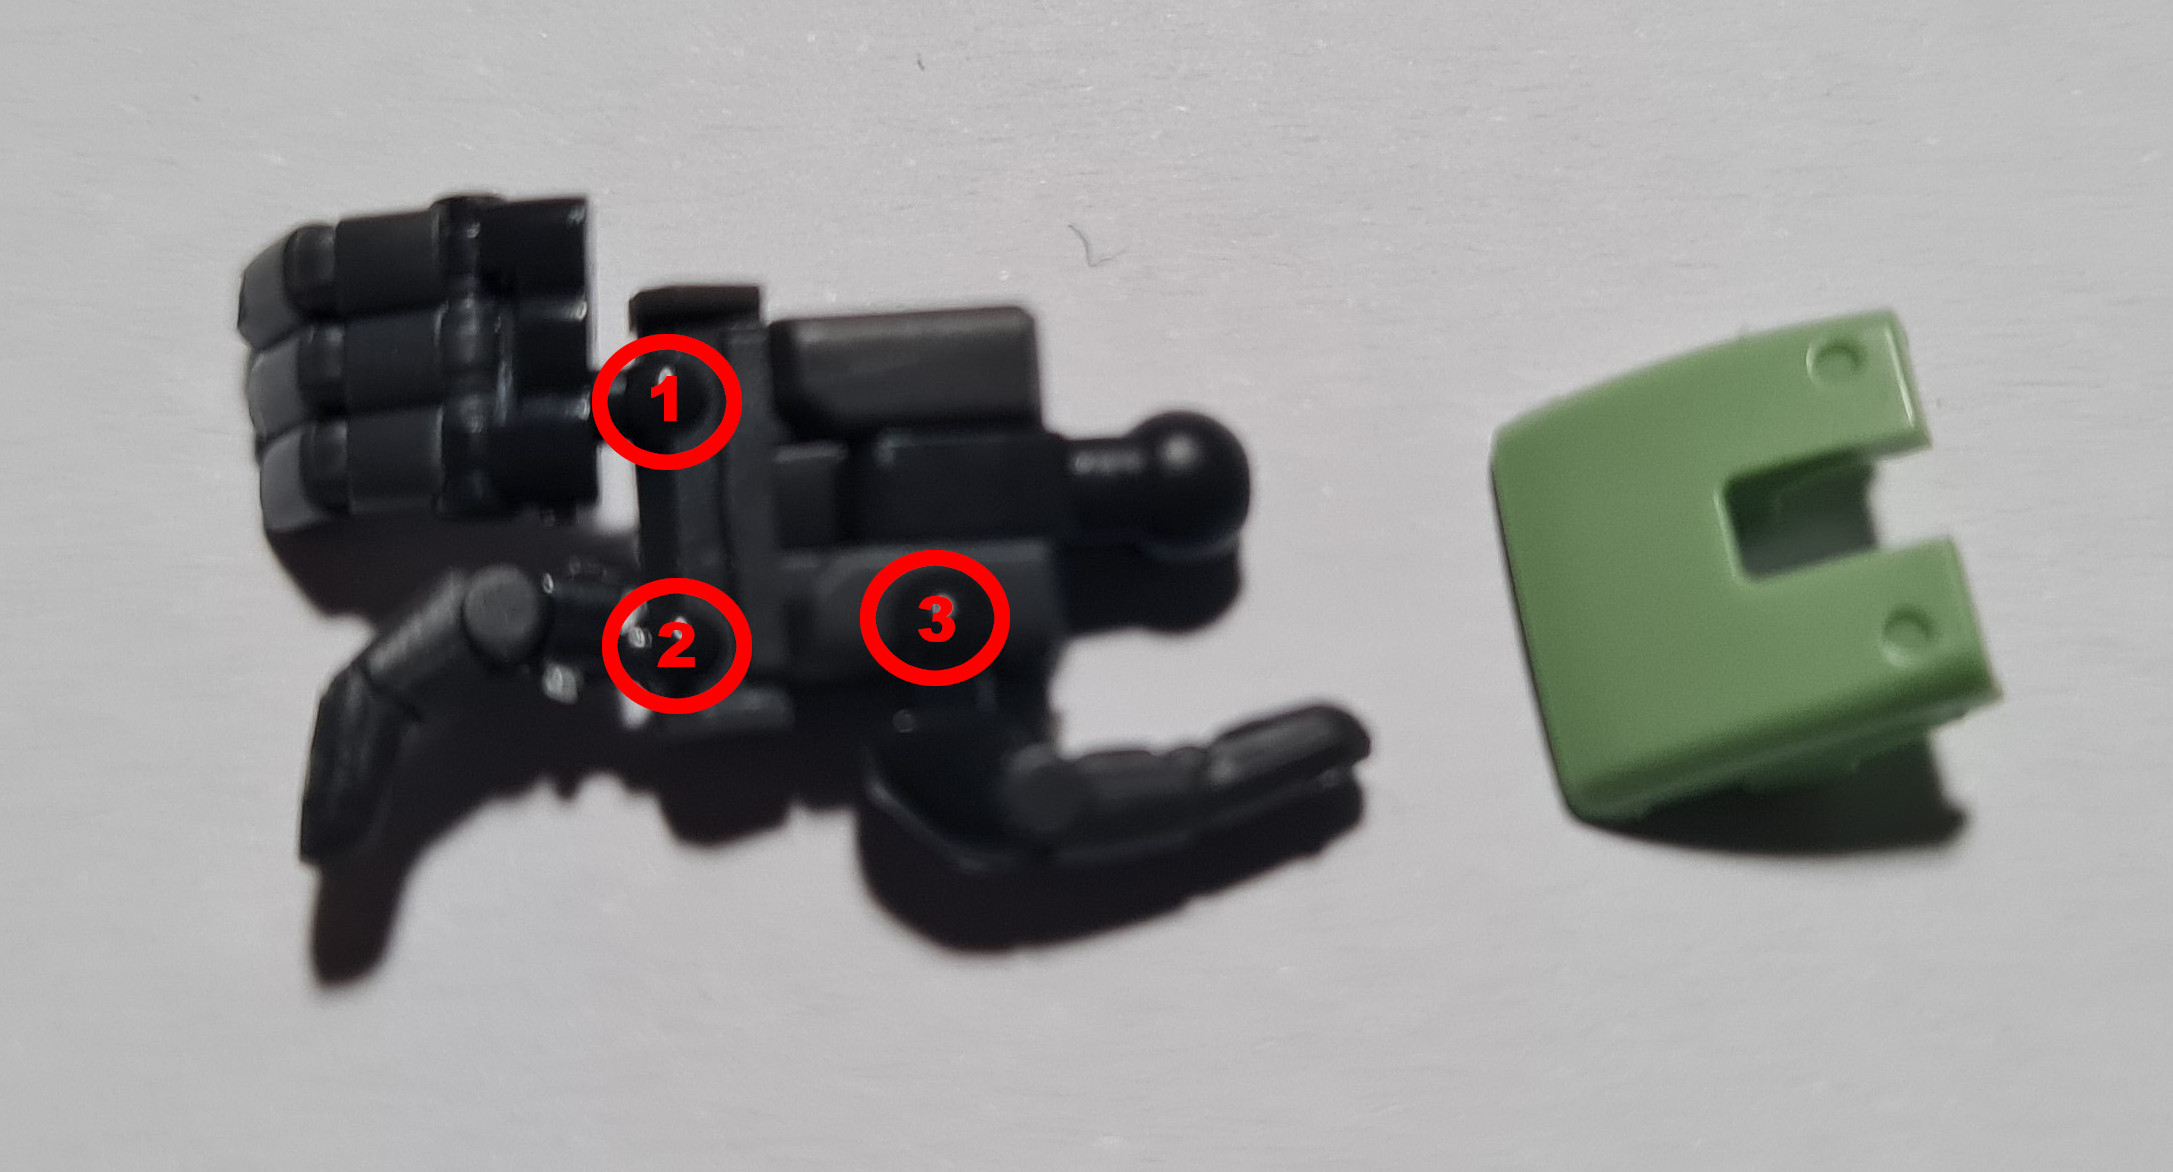
So this brings us to the hands! Below is an image of one of the second pair of hands that come with this particular model.
RG Zaku II Hand
In the image I have circled points 1, 2, and 3. All of these are round joints allowing those finger parts to rotate on the joint and to move around. Once manipulated into place this provides the hand as shown in the image below.
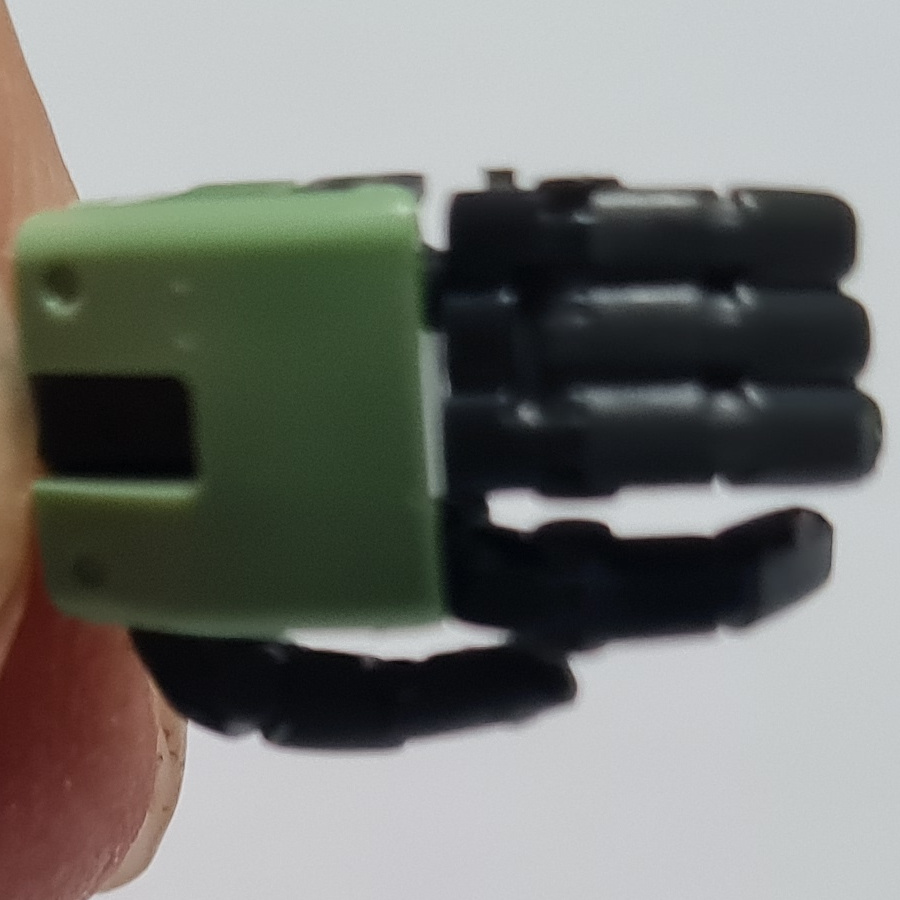
RG Zaku II Hand put together
As can be seen these pre-cast joints allow the hand parts to rotate round providing a flexible, movable hand! Below you can see it wrapped around the handle of one of the 3 weapons you get!
RG Zaku II Hand
It is this level of detail and articulation that continues to surprise me, and delight me as I build these models. I wanted to share, again, just how fantastic a job Bandai have done with them.
Thank you for taking the time to read this. If you haven’t already done so please like and follow us on our social media platforms and checkout our website!
The last few posts have been focused around the business side of the company, and setting things up. However, it is important that I don’t forget exactly why I set this up to begin with. That leads me nicely into this current post “Guess the Model Part 1”.
Over the next few days (hopefully) I will be showing parts of the mode I am currently building. Not only will this give people a time lapse of my build, but also in the end, it will be able to showcase one of the models I haven’t shown yet.
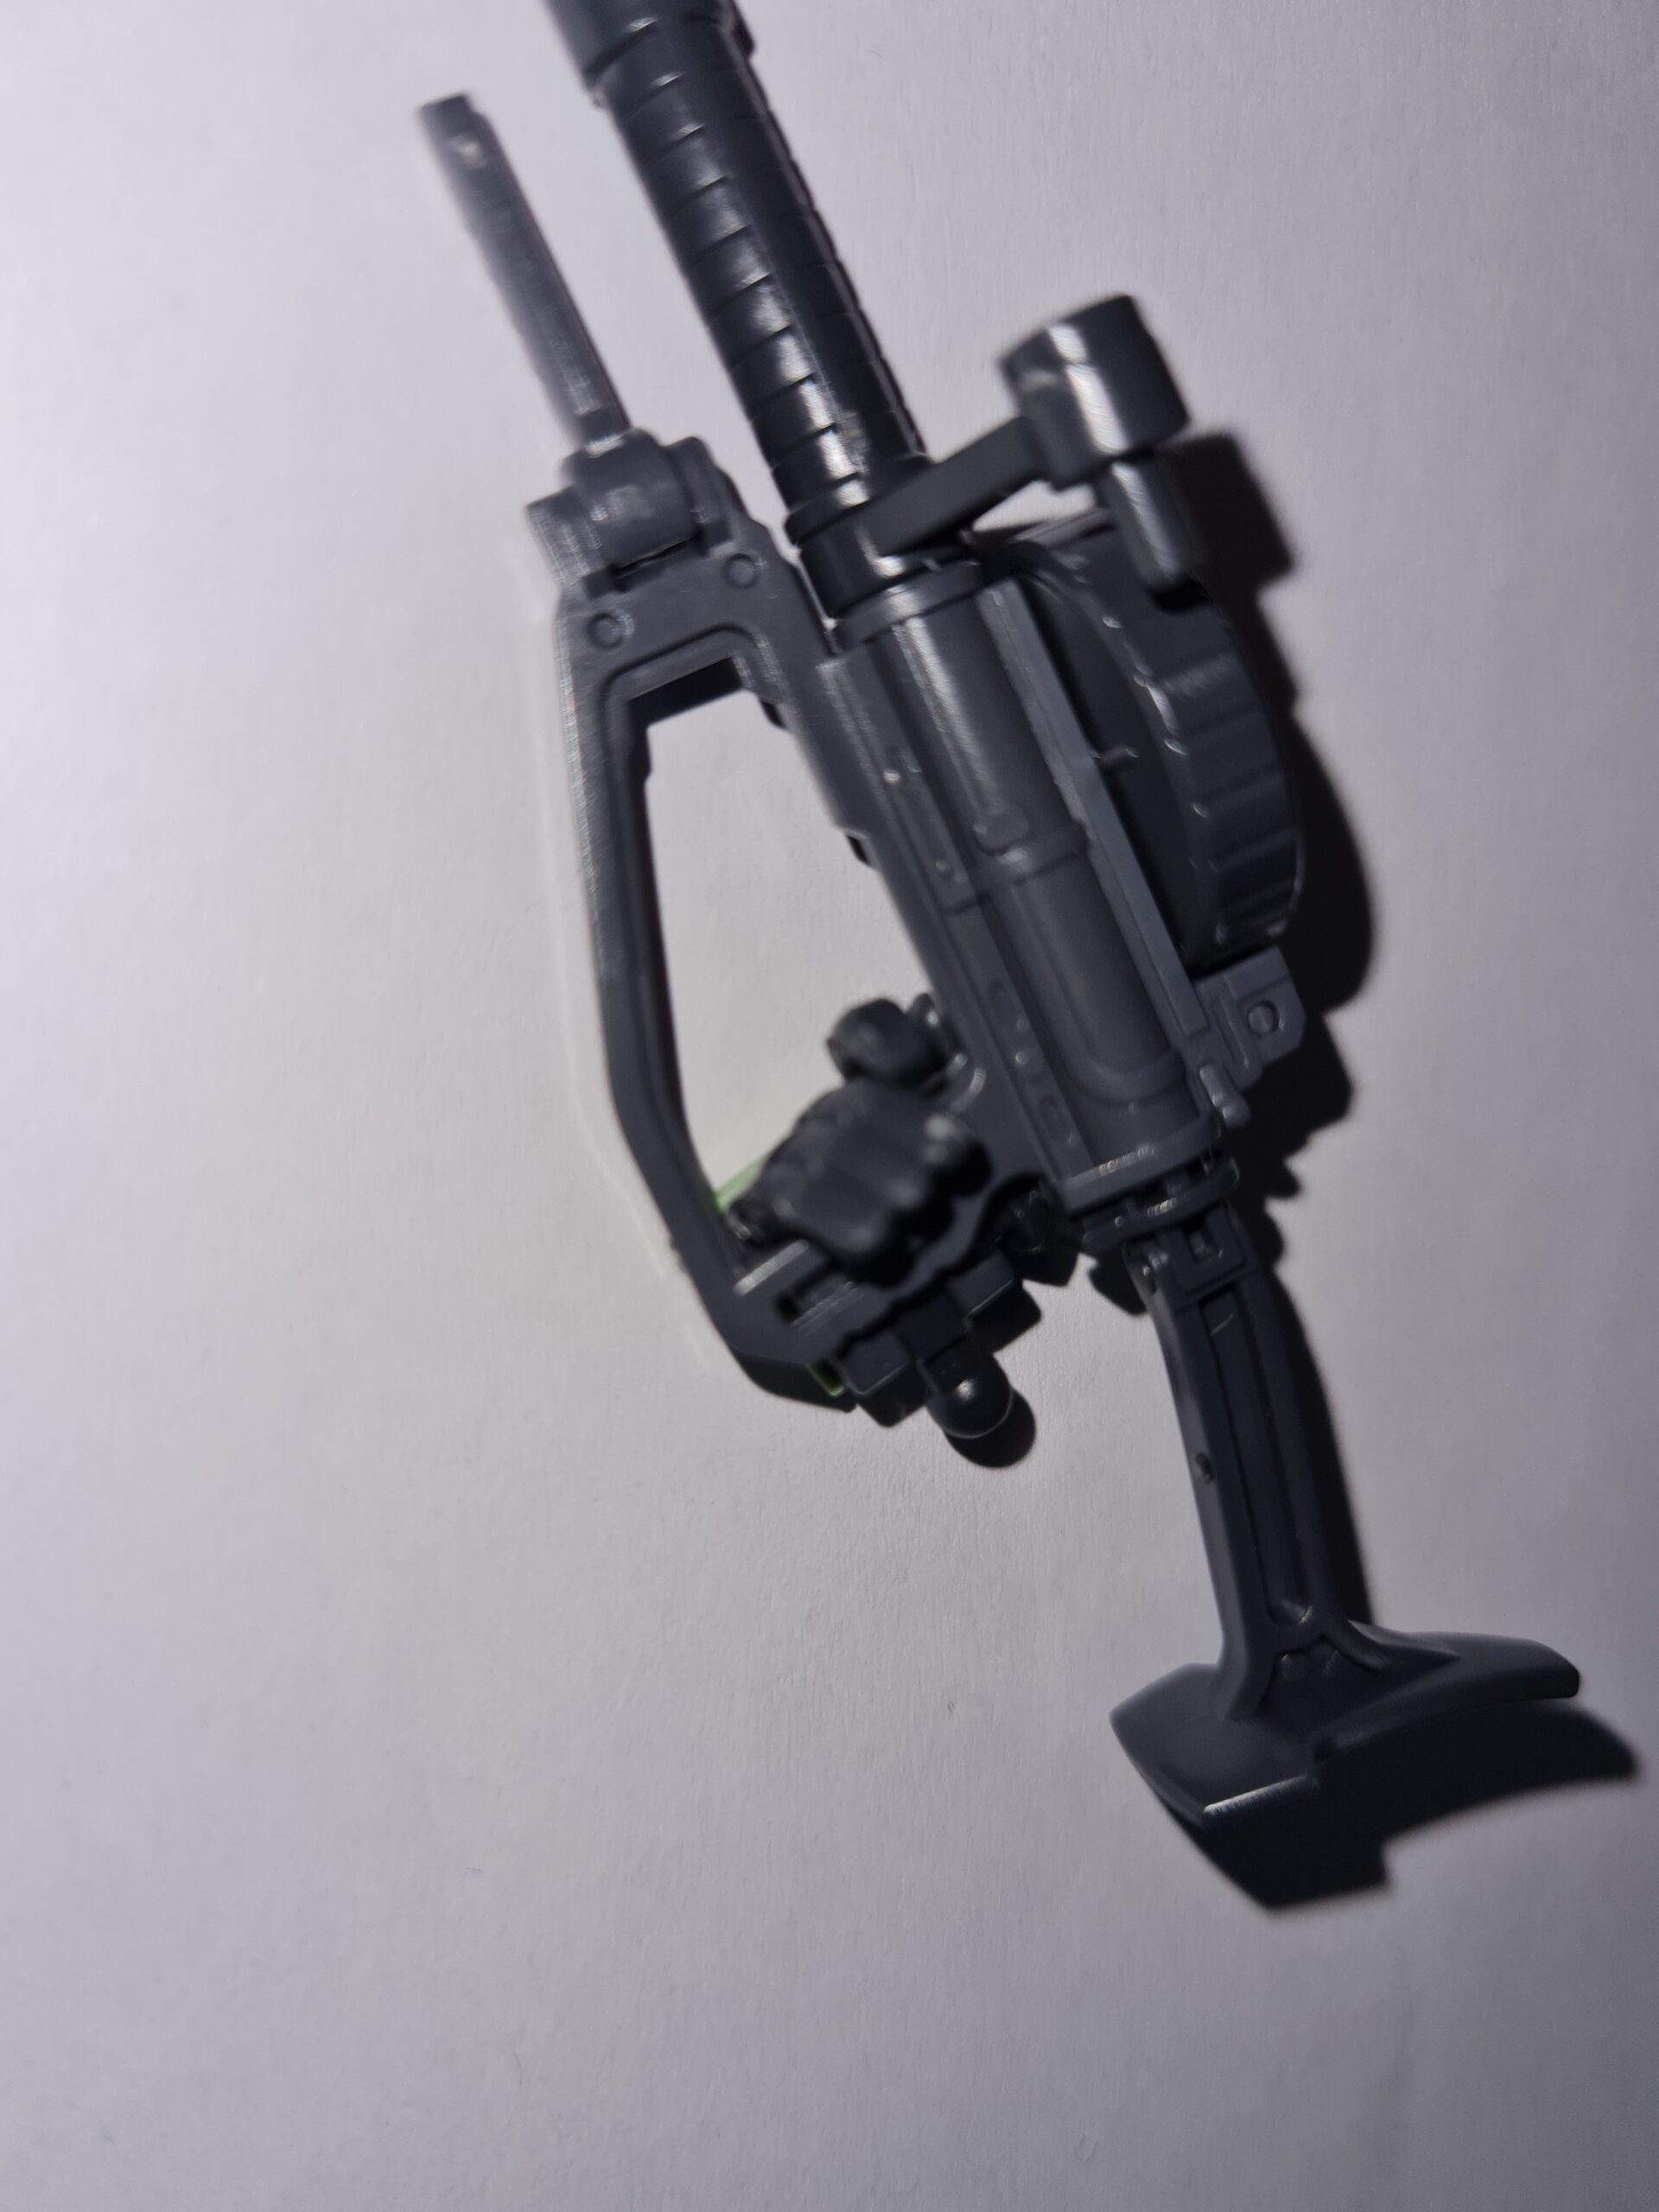
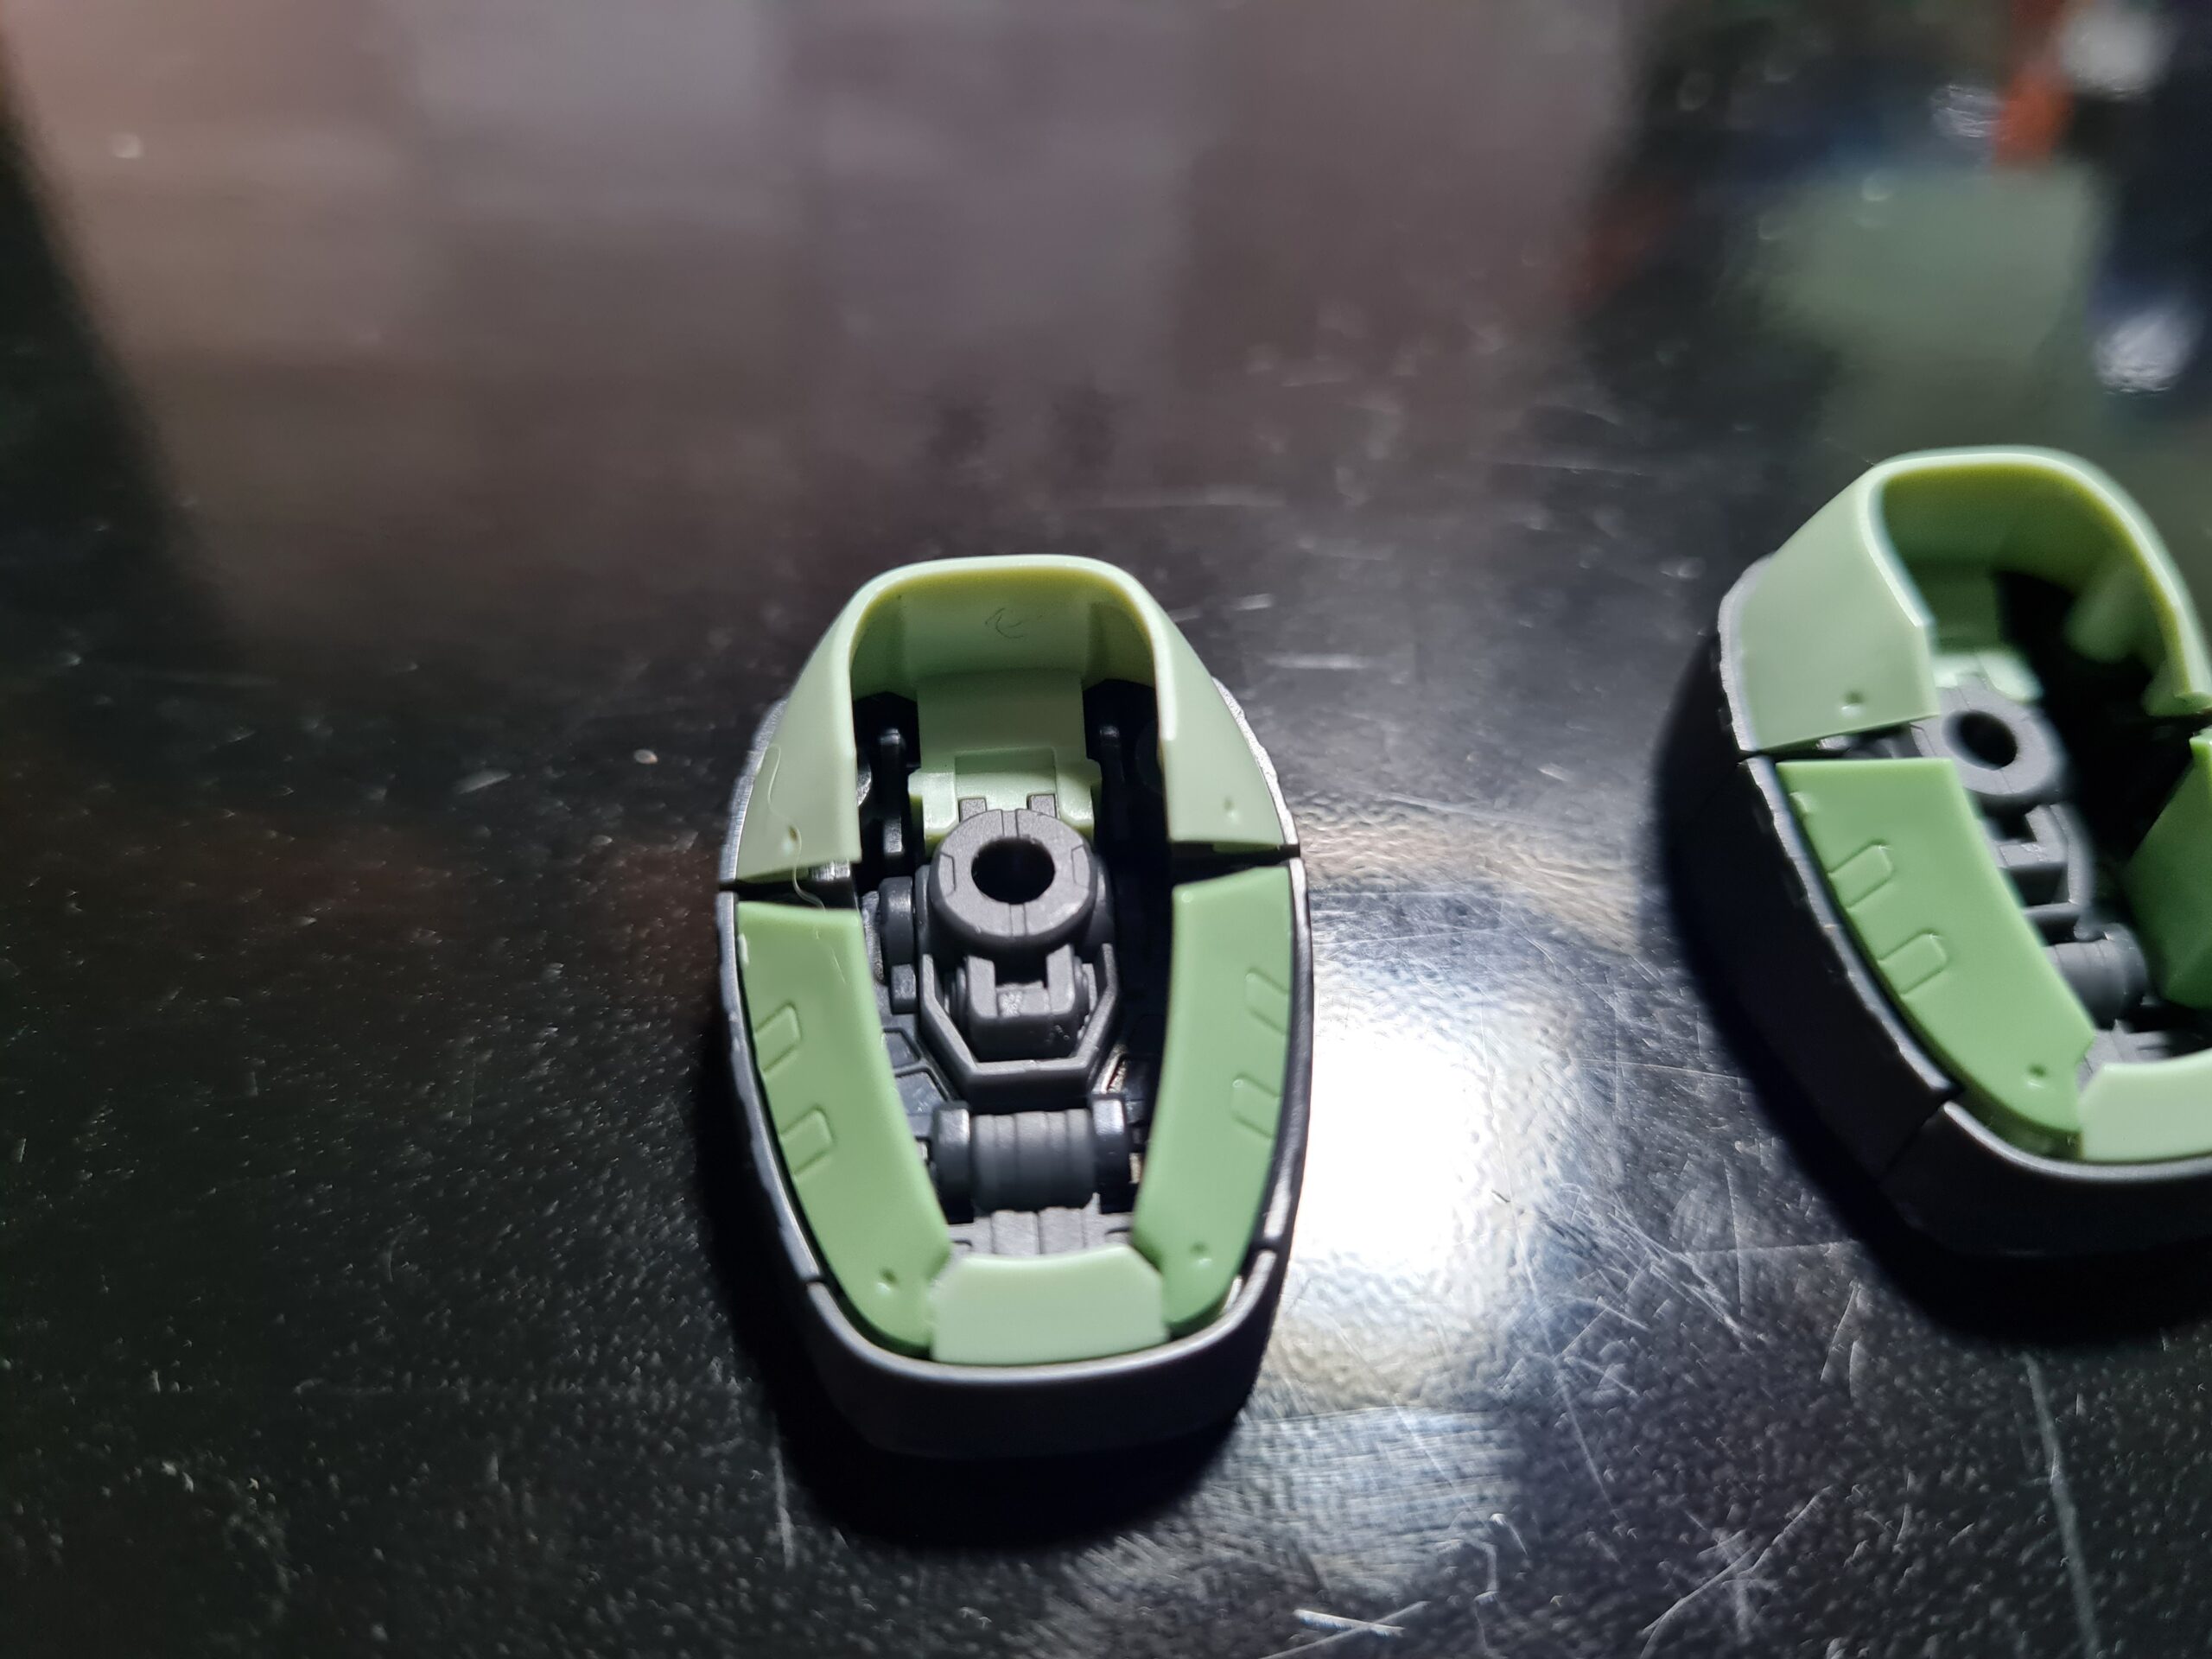
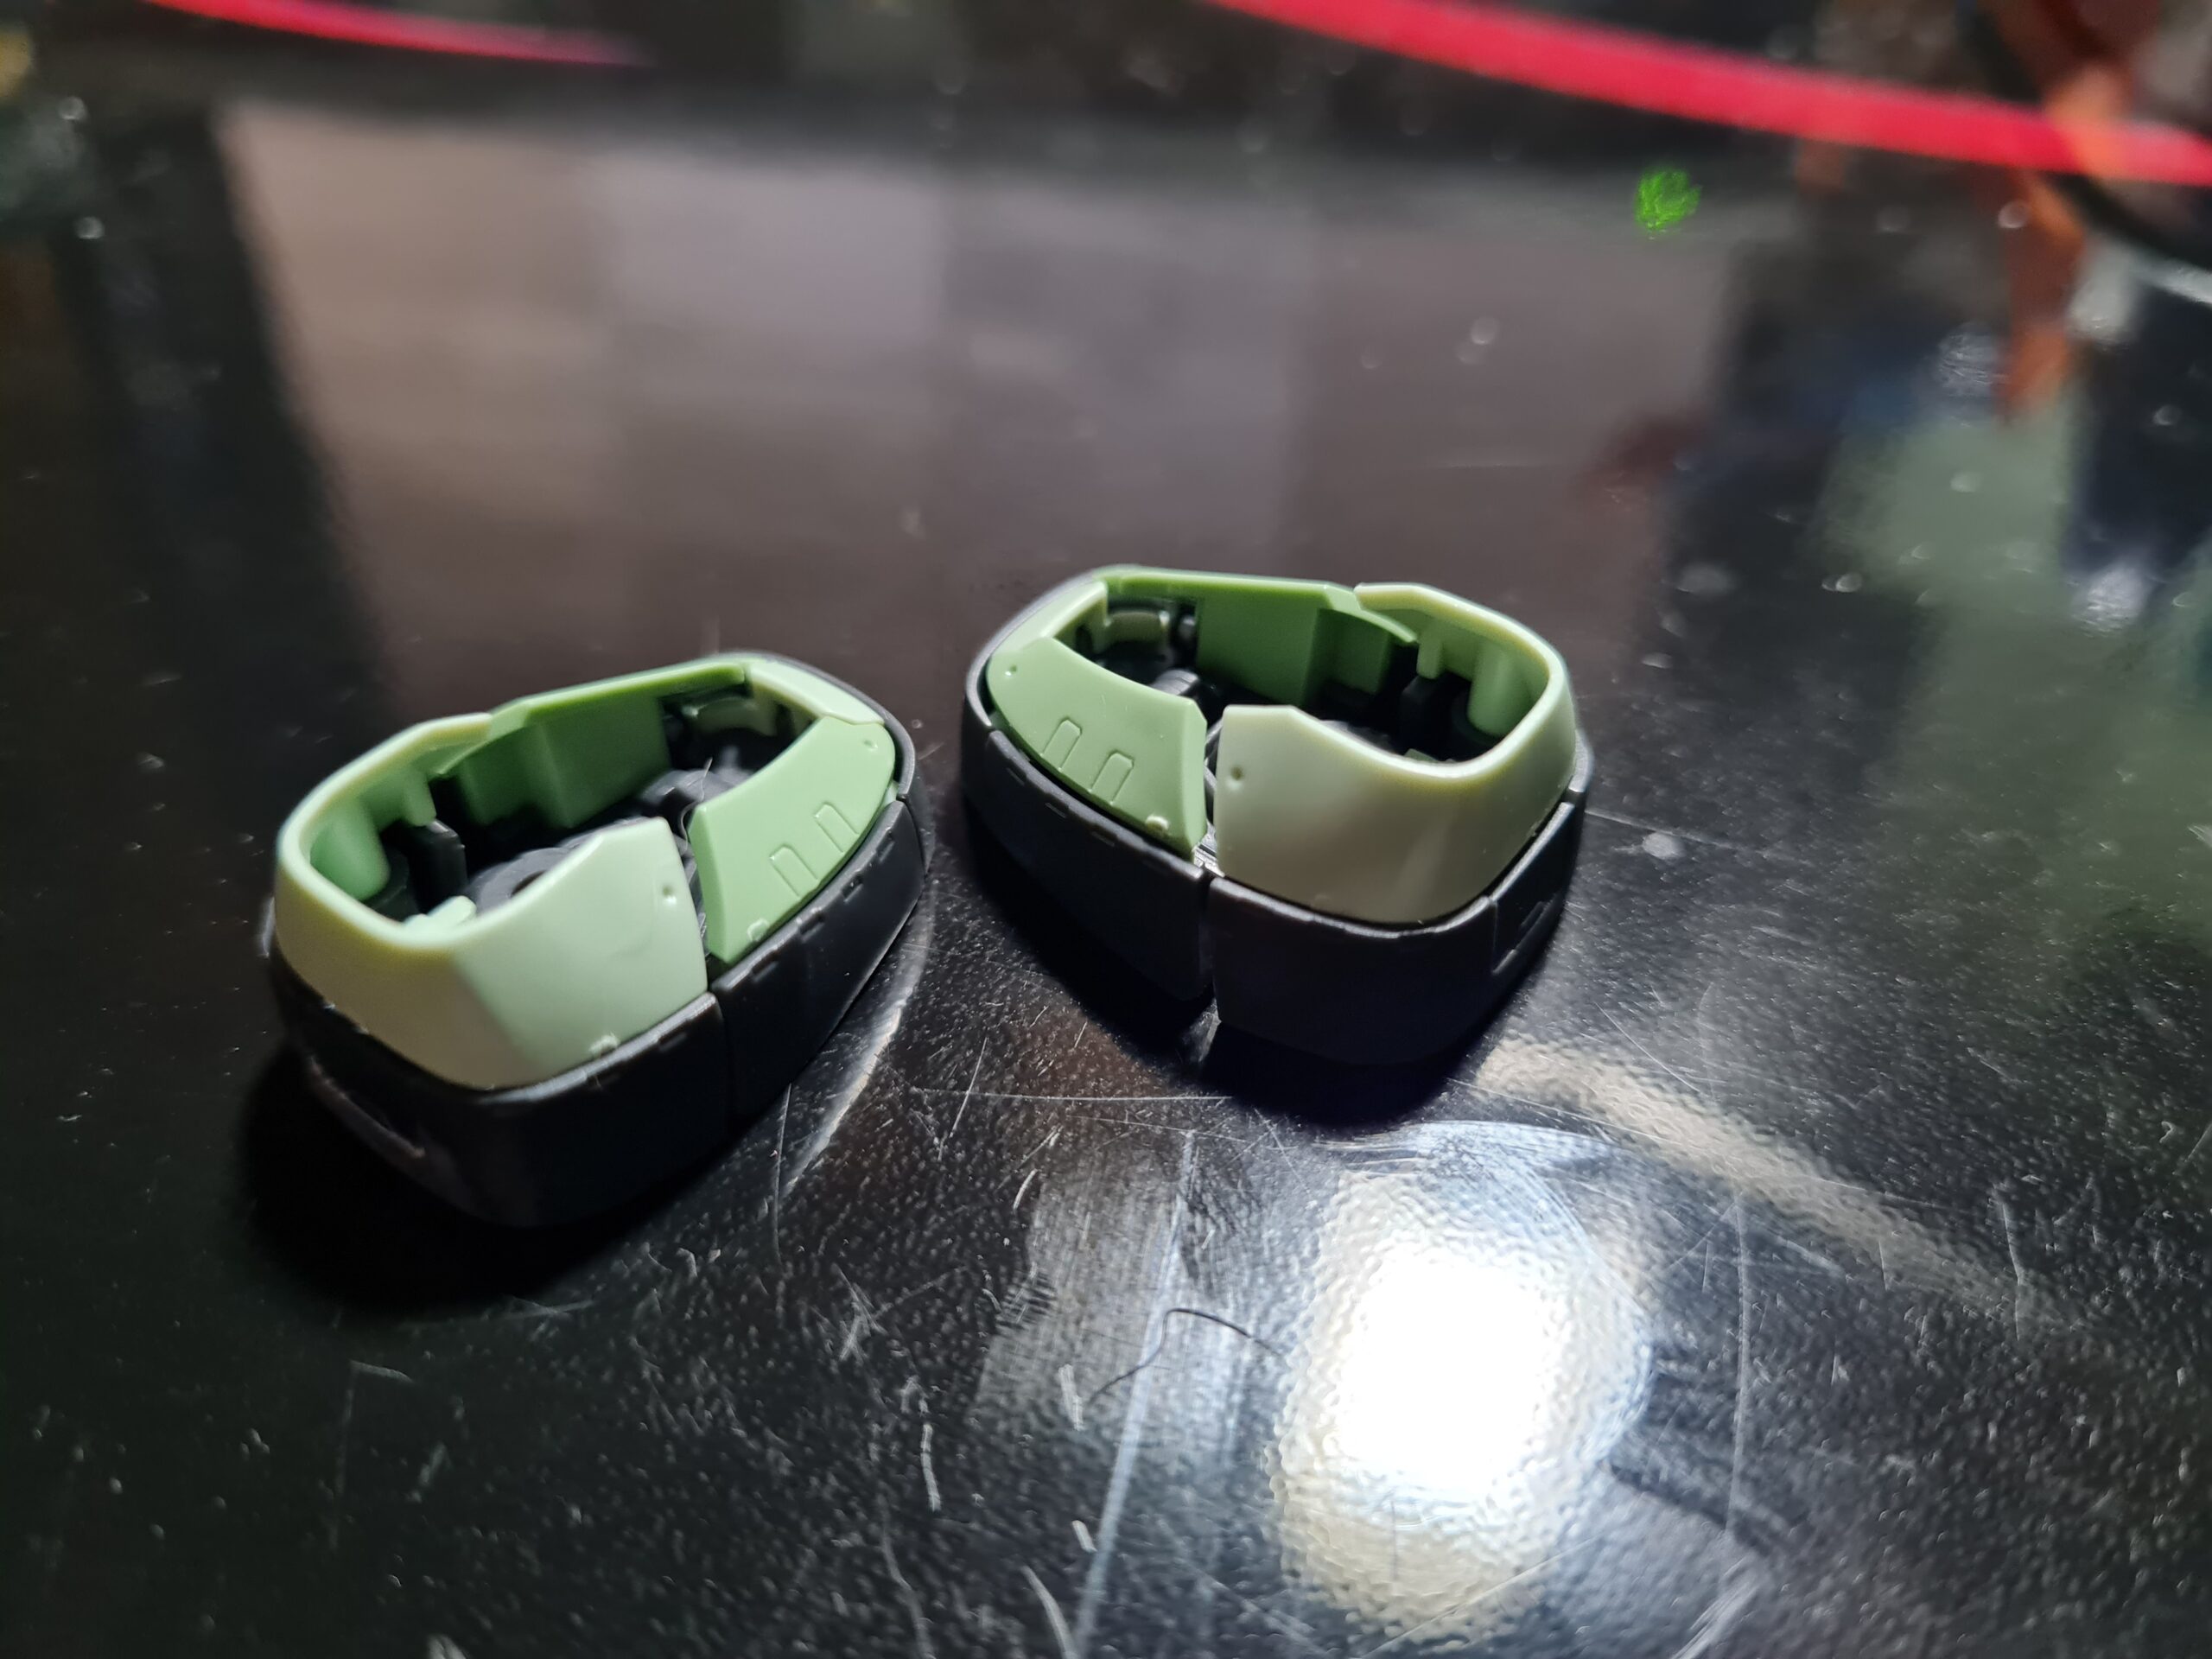
Feet Image FrontFeet Image Back
As you can see today’s image is feet! Now something I found while building these, was that the foot actually has limited articulation in the bottom in two separate places, around the middle, and the toes! Imagine a model where you have that level of control on pose-ability!
So that is today’s clue to the model. Tomorrow we see where I have gotten to!
Thank you for taking the time to read “Guess the model Part 1”. If you haven’t already done so please like and follow us on our social media platforms and checkout our website!
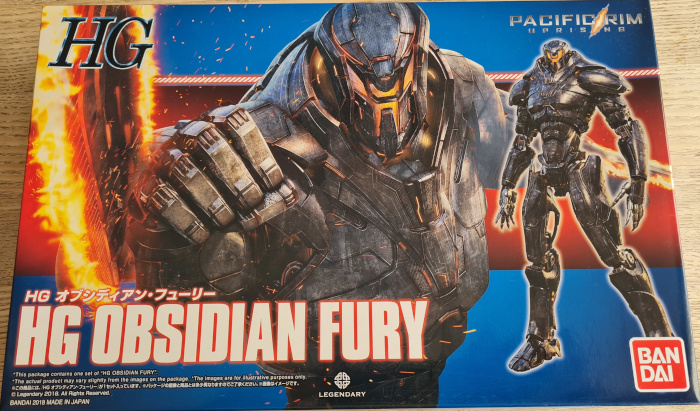
I recently was fortunate enough to receive a HG Obsidian Fury. I was interested in this model after watching some of the anime available around the Pacific Rim world, and decided to write up a HG Obsidian Fury Review.
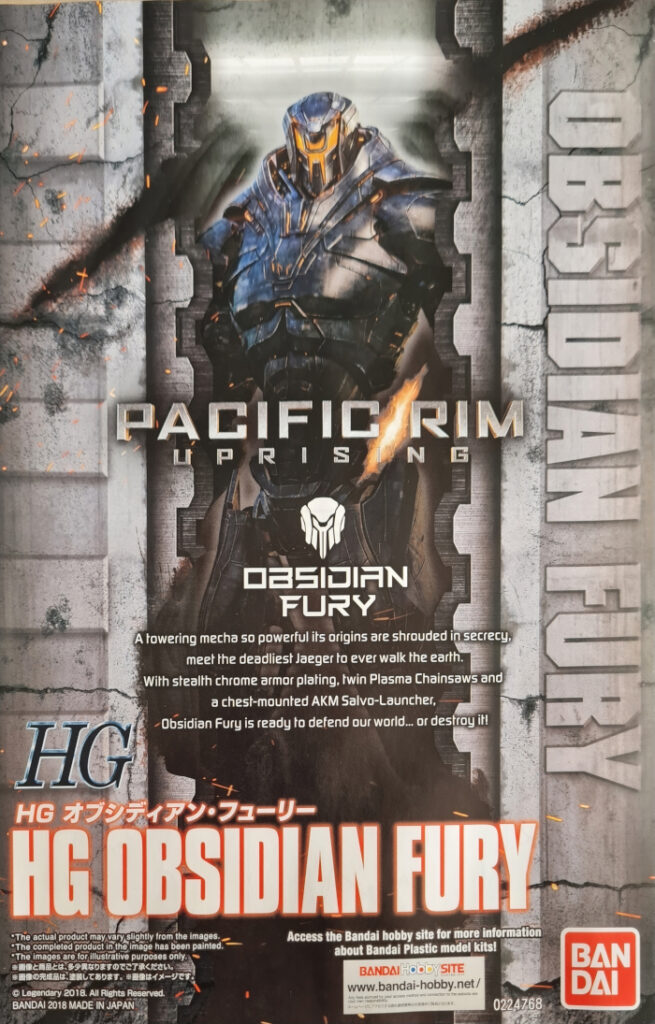
The Box
The box for the HG Obsidian Fury is slightly smaller than the other models I have built. The box dimensions are 19cm by 30cm by 5.5cm tall approximately. The art, like with all the boxes from Bandai, is however, evocative of the whole world the model comes from.
HG Obsidian Fury Box Cover
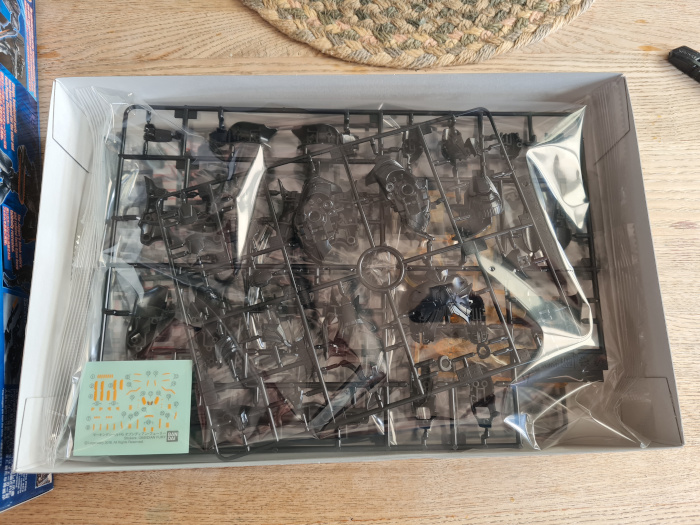
Inside the HG Obsidian Fury Box
Inside the box there is a small section of stickers and a few plastic wrapped runners. It is worth noting that I didn’t bother with the stickers on this model. I feel that it will ultimately benefit from some painting to make it standout.
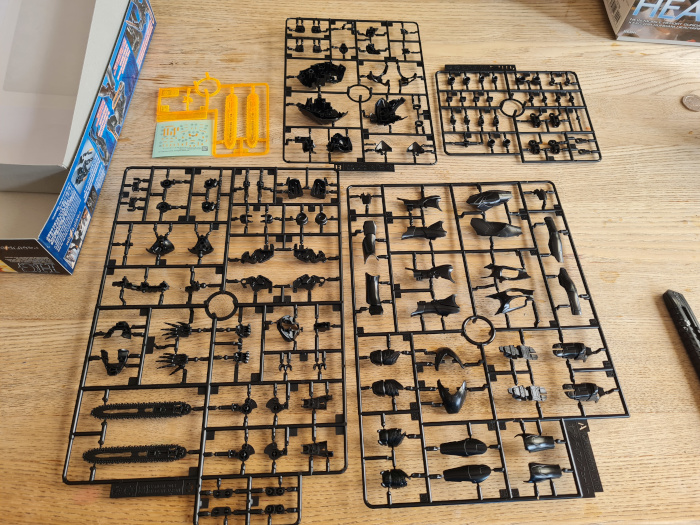
HG Obsidian Fury Box Contents
Once unpacked I found the 5 runners along with the stickers. The yellow runner only has a couple of parts and two of those are the plasma chainsaws. As is normal with these kits the runners are labelled (A, B, C, D, and JTP-2).
Underneath the runners was also the all important manual. Again this features some stunning artwork and helps add to the feel of the product.
HG Obsidian Fury Manual Front Page
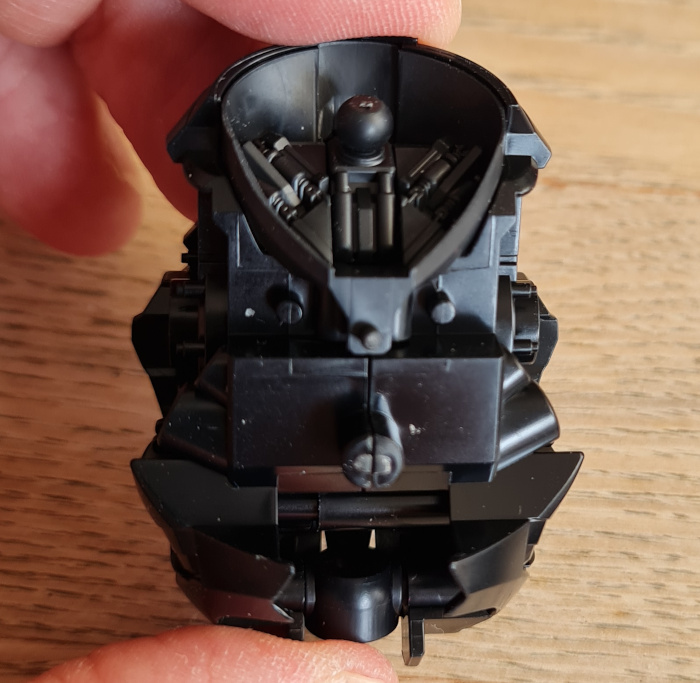
HG Obsidian Fury Build
The build itself runs along the same process as building the other HG grade models. Starting with the kits head, I then moved on to the torso, arms, and finally the legs.
Partial TorsoCompleted ChestBack Full TorsoPelvisHead
I found the instructions easy to follow, and used the normal tactics of cut from the runner leaving a small piece, then trimming with a knife. I then used 3000 grit sandpaper to sand down anything left.
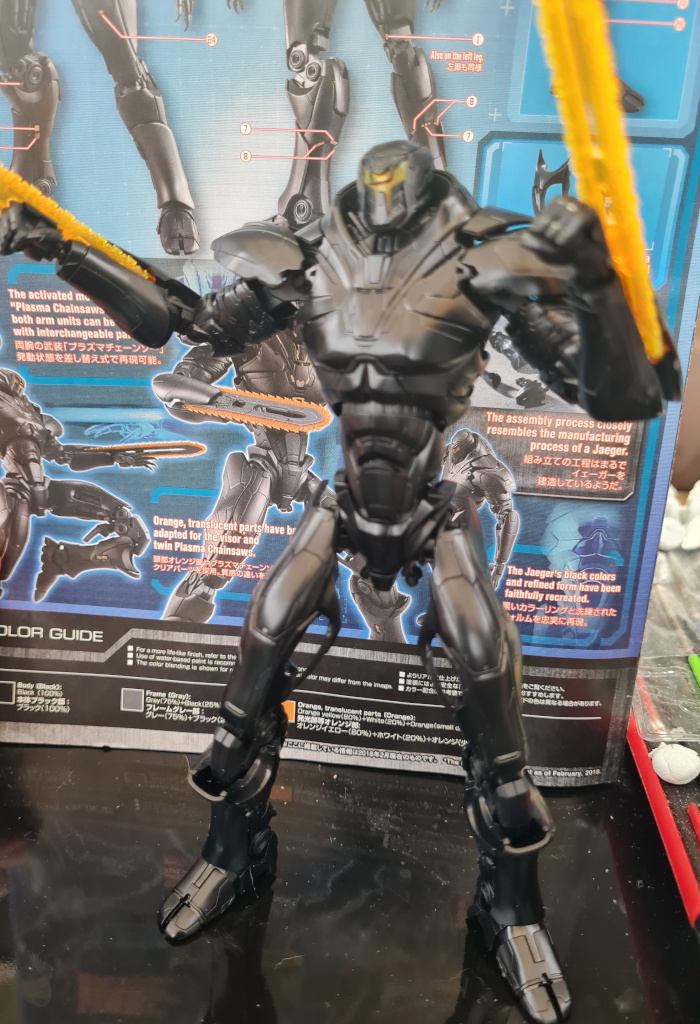
The Final Model
After two days of assembly ( I spent a lot of time on the 3000 grit sandpaper), I finally had the model complete.
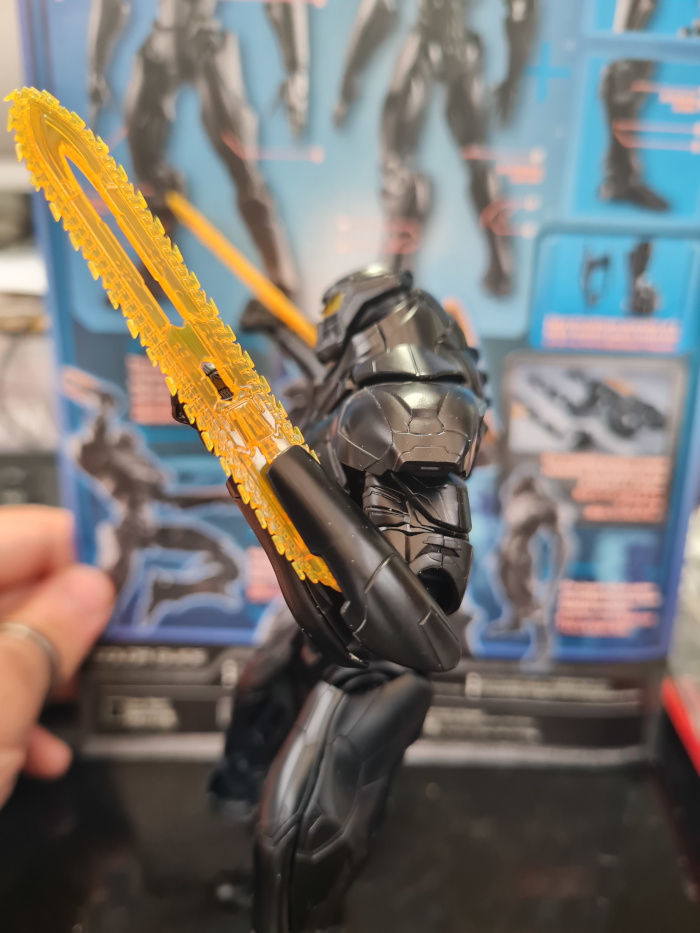
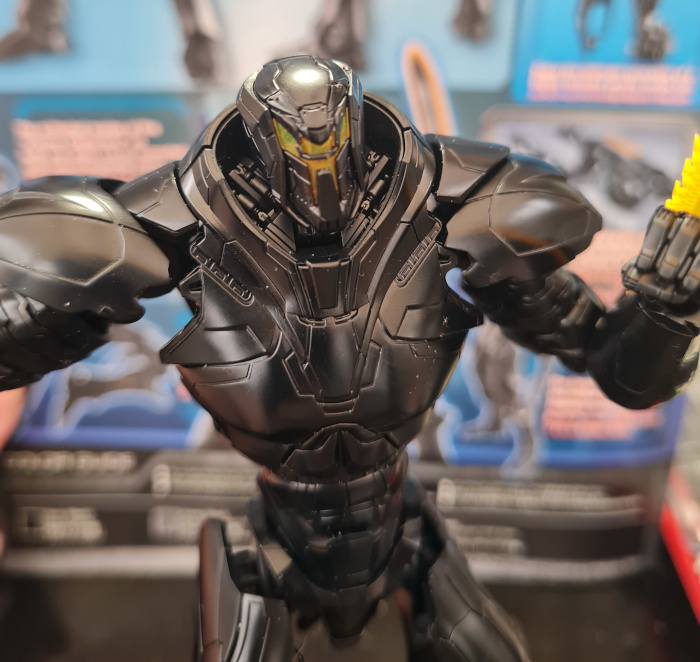
Obsidian Fury FrontObsidian Fury SideCloseup
Pros and Cons
I’ll start with the bits I don’t like about the model. I found the model feels less sturdy and stable than the other Gundam models I have built. It feels more awkward to pose and is nearly entirely reliant on the stickers to add colour to the model. However that said I love the look of the model, and I think with some airbrushing it will help it pop. Would I buy the model again…absolutely! Despite the bits I am not too keen on, I love how different it looks, and the general style.
Thanks for reading this HG Obsidian Fury review. Please check out the other articles on the site, and let us know if there is anything you would like us to cover.
After watching many different videos, I decided I wanted to try customising my RX-78-2 Gundam. Or more accurately my HGUC RX-78-2 Gundam – E.F.S.F. Prototype Close-Combat Mobile suit.
I planned on using this as a test bed for multiple types of customisation’s. This included:
Lighting
Gap Filling
Airbrushing / Painting
This project has been delayed by me breaking a couple of pieces of the model. This occurred while taking the model apart multiple times. I am writing a blog post about that whole experience (replacing parts) but that will be completed once I have managed to reach a satisfactory conclusion.
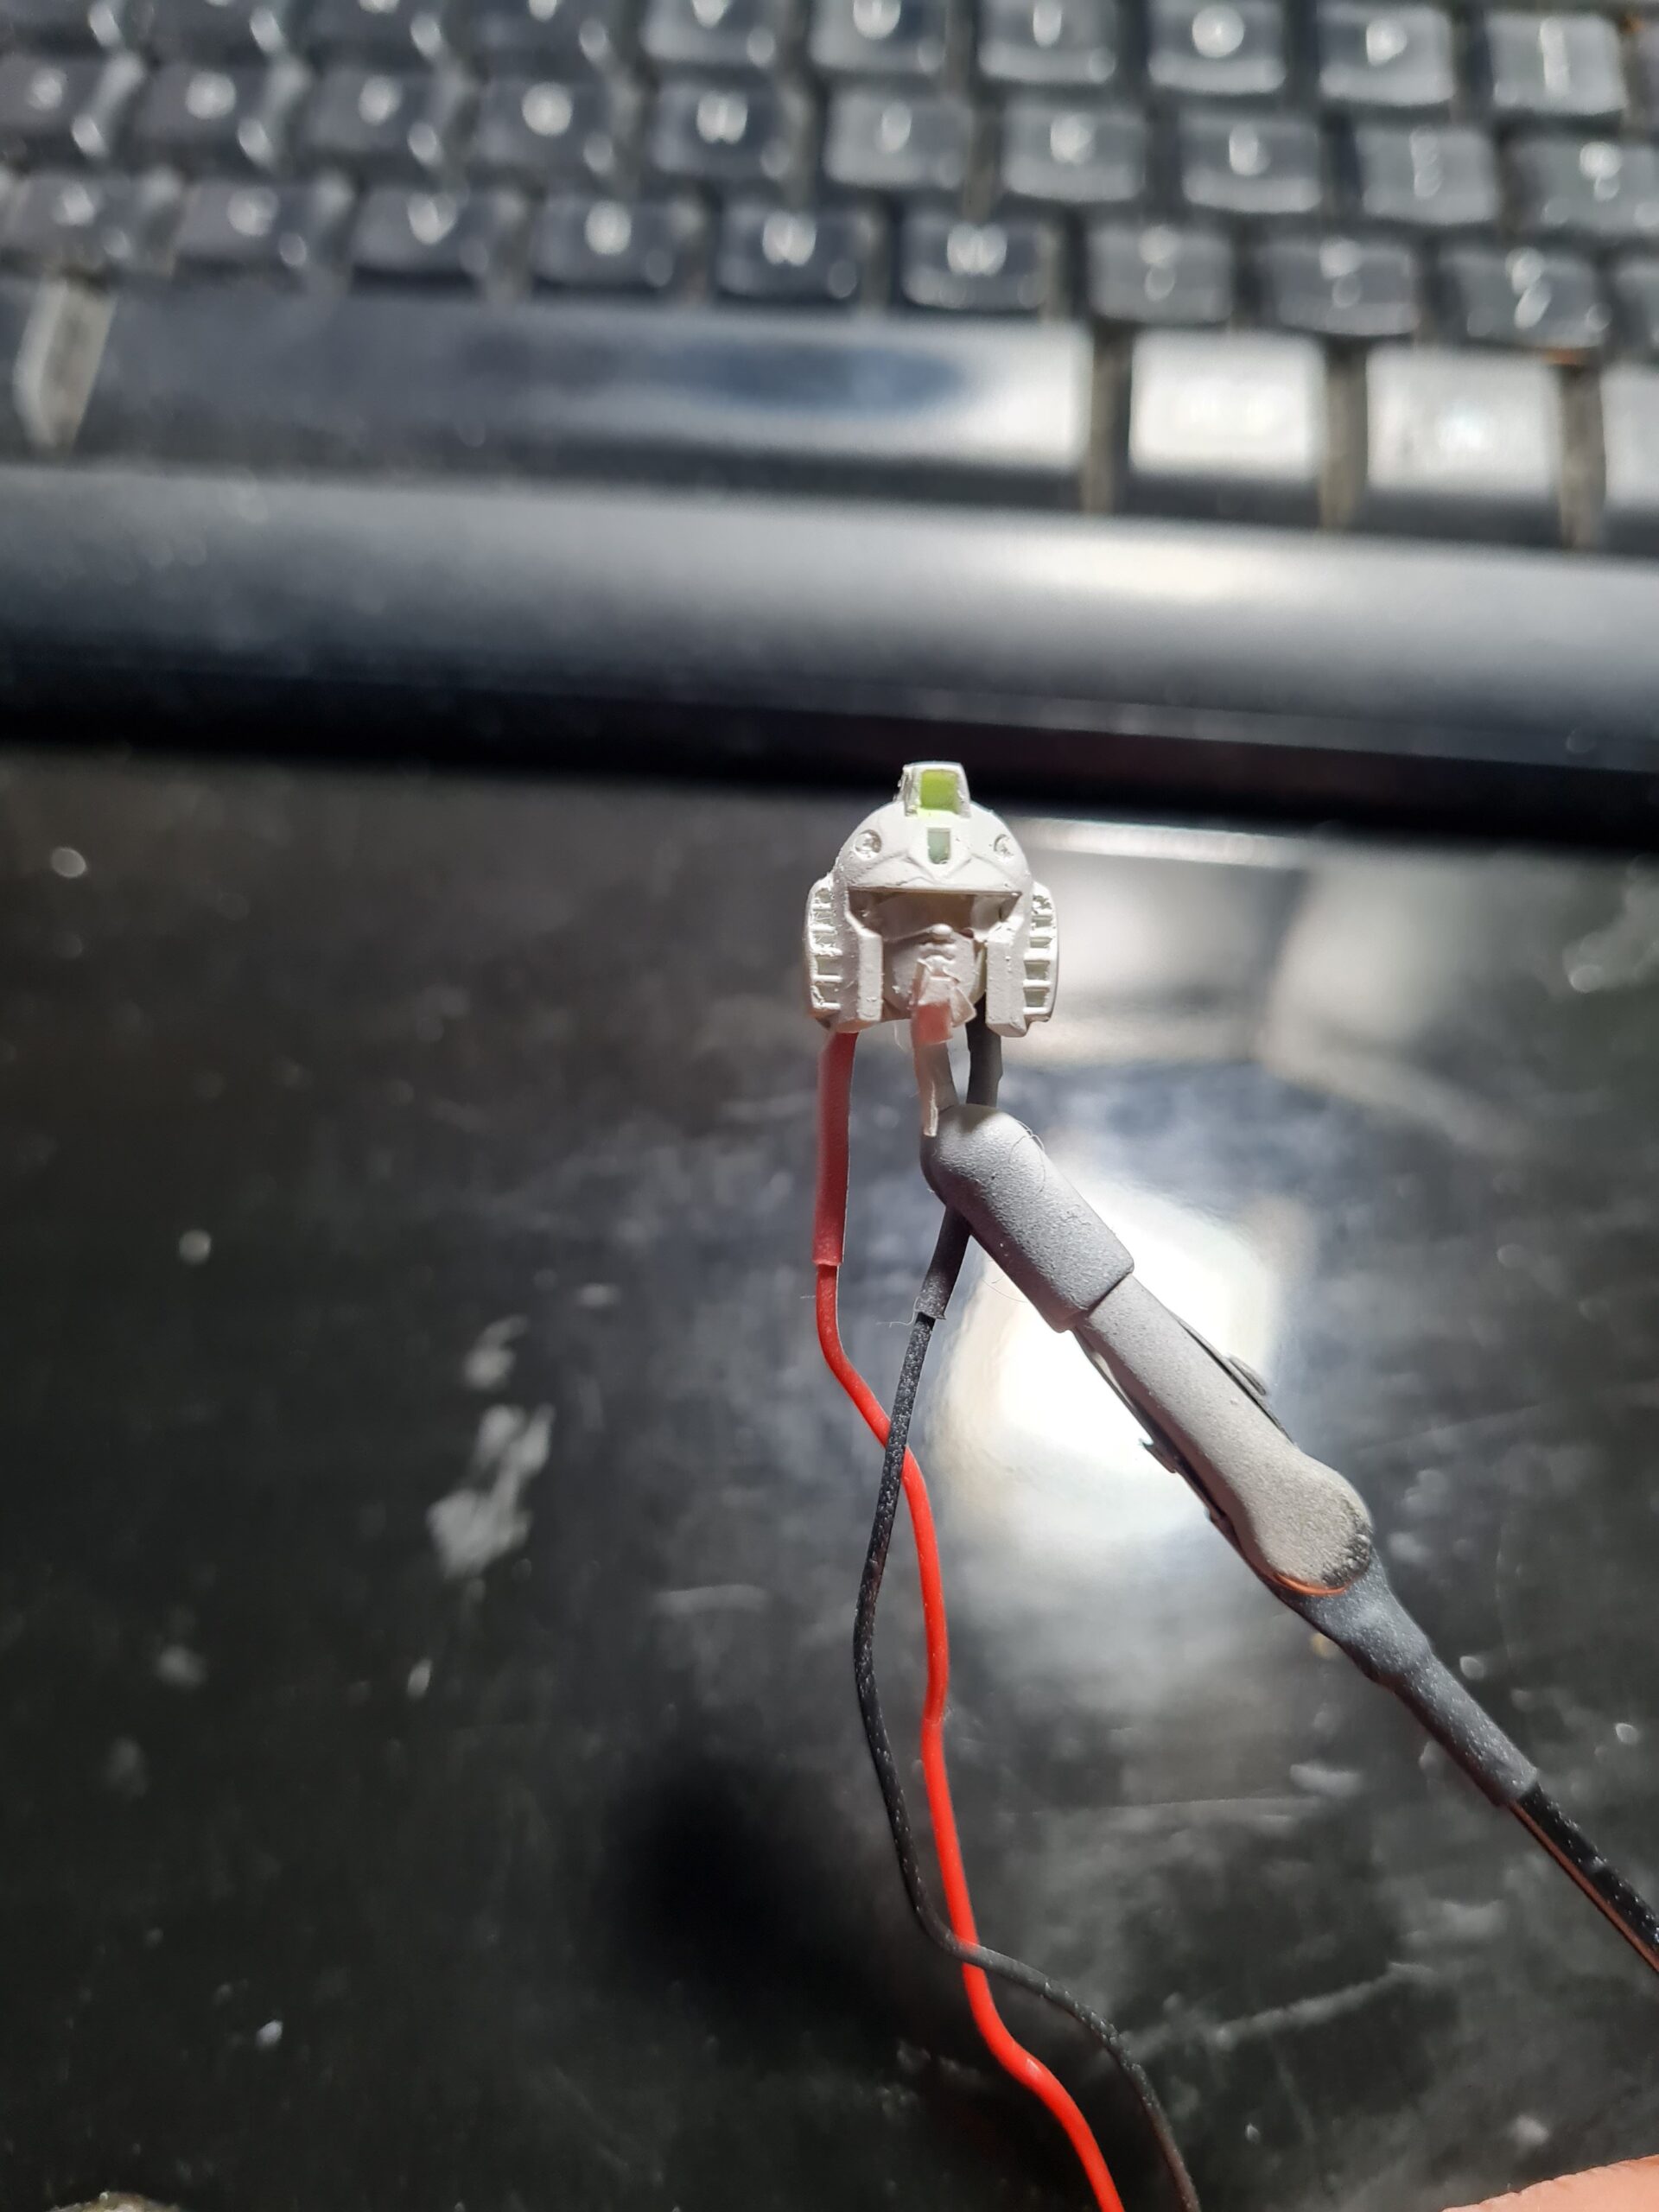
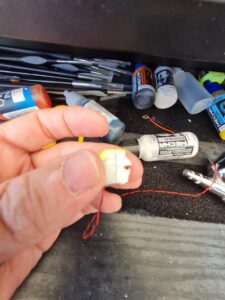
Customising – Lighting
I will go into more detail on lighting in a later post. However I have tried multiple different LED sources, and different voltages. I will go into the details in a separate post as they are worthy of a post on their own. I will say that I have used small scale lights website to order leds and the service has been fantastic.
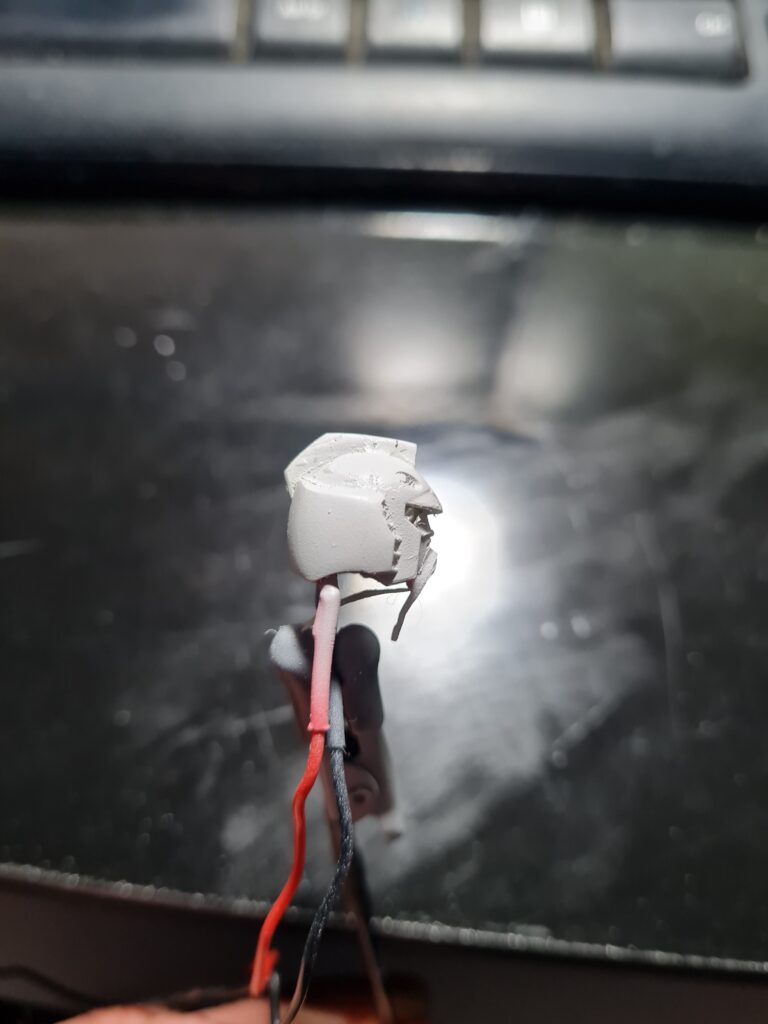
Customising – Gap Filling
I decided to use Mr Hobby Mr. Dissolved Putty for filling the gaps. Again I will do a full post with pictures covering the whole process. Before filling the head has an obvious join/gap running up both sides and over the top.
RX-78-2 Head with Gap
After filling the gap and sanding down there is still a clear line. I use my fingernail to run across the line to feel for any indentation or raised parts; if there are any then I continue to sand. Once I’m happy I move on to painting / airbrushing.
Customising – Airbrushing / Painting
The aim of airbrushing the model for me is to gain a greater control over the look of the final model. I have seen fantastic work done with weathering and other paint effects and want to explore the options available to me. However, the first test was to see if airbrushing over the head would remove the join mark.
Painted RX-78-2 Gundam Head
I was fairly happy with the result, certainly the join mark (to me) is invisible. However, I do need to clean the head up and give it another coat to make it a lot cleaner.
Customising – Conclusion
I am happy with the results that can be achieved with a few tools and a little patience, and aim to do a more thorough walk through of the prep, and painting of the head, to make it clearer as to all the steps taken to achieve that result. I definitely think if nothing else the time taken to hide any visible joins is well worth it.
In the beginning Gundam was just something I heard people talk about. They mentioned they were building a “thing”, or maybe even used the term model. I was however none the wiser.
Years later I googled it and found a whole world of mecha, models, movies, and series that I was totally unaware of. Like many people who have been gaming and modelling for many years I was finding myself a little burnt out. Not from gaming, but from painting hordes of the same model in the same pose with the same everything. To date all my most completed units have been painted by my friend Steve.
Upon discovering the Gundam world I wanted to delve deeper into all the aspects of it. This is how I started (rightly or wrongly).
Before we go any further Gunpla = Gundam Plastic Model.
Where I started selecting a Gundam
After reading as many blog posts and sites as I could find, I eventually found a model I really liked the look of. This was the RG (Real Grade) Excitement Embodied number 05 Freedom Gundam. Personally I think it looks absolutely lovely.
It is also still in it’s box (I’ll explain that in a minute).
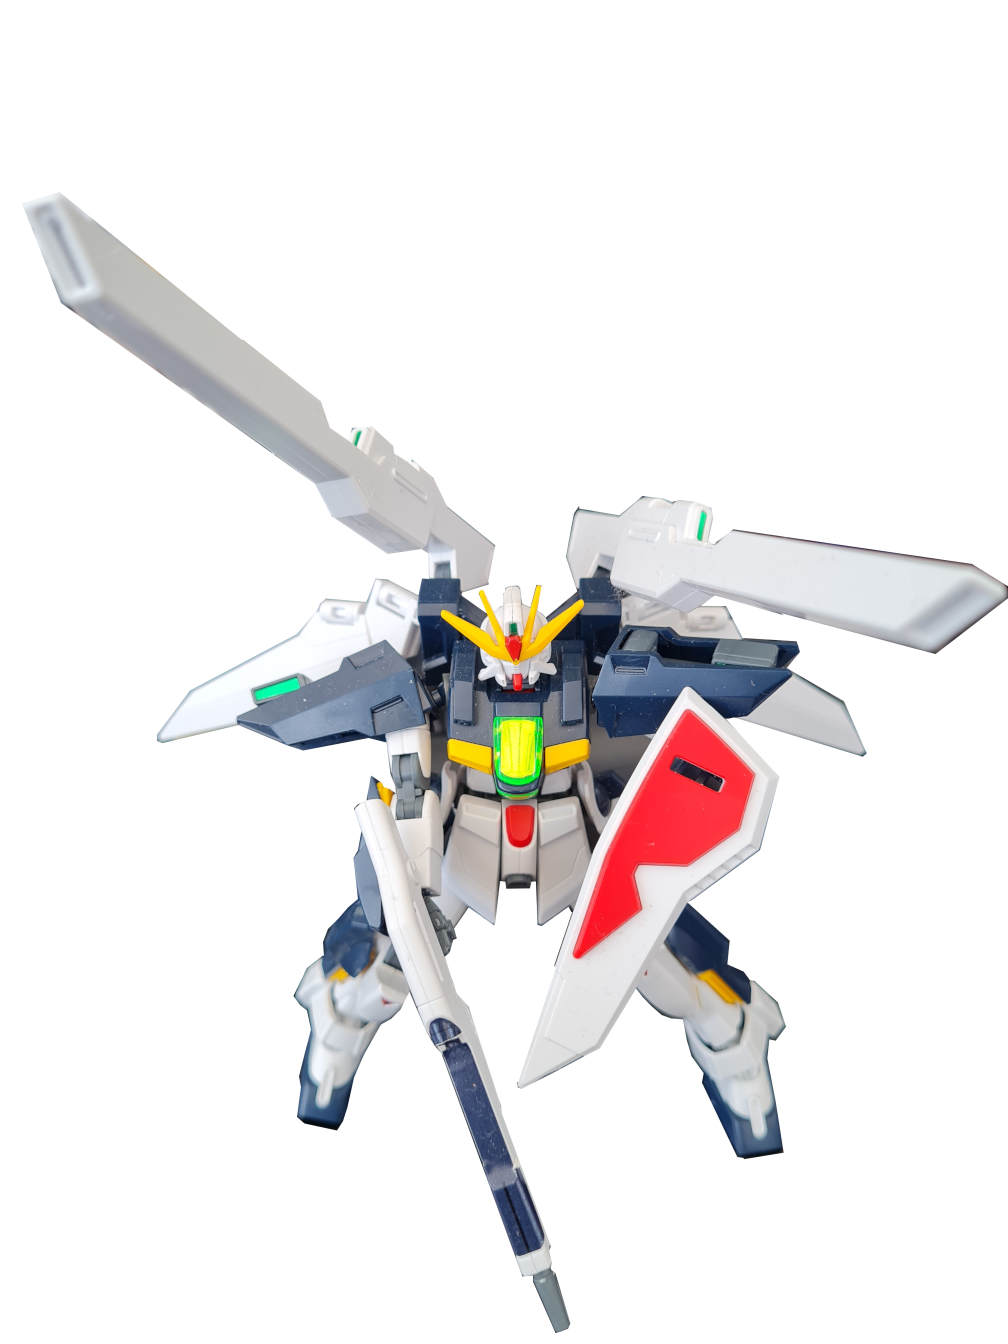
After ordering I then did even more googling and learnt a little more about the different types and grades of the models. A lot of people recommended going for a HG (High Grade) model for your first build. So I quickly ordered up the HG After War number 163 GX-9901-DX Gundam Double X Satellite System Loading Mobile Suit (pictured below).
GX-9901-DX GUNDAM DOUBLE X
The HG Gundam Build
So what would I say about the build; I just followed the pictures and it went together easily enough. The instructions have very clear images that make following along easy. Although most if not all text is in Japanese you can still work it out. Start from box 1 and slowly work your way through. Don’t rush and enjoy the process. In the end it is extremely satisfying and therapeutic.
Conclusion
Have you been modelling for years? If the answer is yes then really the process of putting these together should not be an issue for you.
Have you been modelling for years? If the answer is no then definitely start with the models in the HG line.
No matter which way you go, or what model you choose there is a wealth of information out there. Take your time and just enjoy the process. Most of the items can be deconstructed if needed so don’t worry and just enjoy. After all it is a hobby!
We use cookies on our website to give you the most relevant experience by remembering your preferences and repeat visits. By clicking “Accept All”, you consent to the use of ALL the cookies. However, you may visit "Cookie Settings" to provide a controlled consent.
This website uses cookies to improve your experience while you navigate through the website. Out of these, the cookies that are categorized as necessary are stored on your browser as they are essential for the working of basic functionalities of the website. We also use third-party cookies that help us analyze and understand how you use this website. These cookies will be stored in your browser only with your consent. You also have the option to opt-out of these cookies. But opting out of some of these cookies may affect your browsing experience.
Necessary cookies are absolutely essential for the website to function properly. These cookies ensure basic functionalities and security features of the website, anonymously.
Cookie
Duration
Description
cookielawinfo-checkbox-analytics
11 months
This cookie is set by GDPR Cookie Consent plugin. The cookie is used to store the user consent for the cookies in the category "Analytics".
cookielawinfo-checkbox-functional
11 months
The cookie is set by GDPR cookie consent to record the user consent for the cookies in the category "Functional".
cookielawinfo-checkbox-necessary
11 months
This cookie is set by GDPR Cookie Consent plugin. The cookies is used to store the user consent for the cookies in the category "Necessary".
cookielawinfo-checkbox-others
11 months
This cookie is set by GDPR Cookie Consent plugin. The cookie is used to store the user consent for the cookies in the category "Other.
cookielawinfo-checkbox-performance
11 months
This cookie is set by GDPR Cookie Consent plugin. The cookie is used to store the user consent for the cookies in the category "Performance".
viewed_cookie_policy
11 months
The cookie is set by the GDPR Cookie Consent plugin and is used to store whether or not user has consented to the use of cookies. It does not store any personal data.
Functional cookies help to perform certain functionalities like sharing the content of the website on social media platforms, collect feedbacks, and other third-party features.
Performance cookies are used to understand and analyze the key performance indexes of the website which helps in delivering a better user experience for the visitors.
Analytical cookies are used to understand how visitors interact with the website. These cookies help provide information on metrics the number of visitors, bounce rate, traffic source, etc.
Advertisement cookies are used to provide visitors with relevant ads and marketing campaigns. These cookies track visitors across websites and collect information to provide customized ads.