Welcome back to “Guess the Model – Part 2” the second instalment in my latest guess the model series. If you want to catch up Part 1 is here. I did a quick summary of the tools I was using, and then got right on into it!
Todays Part
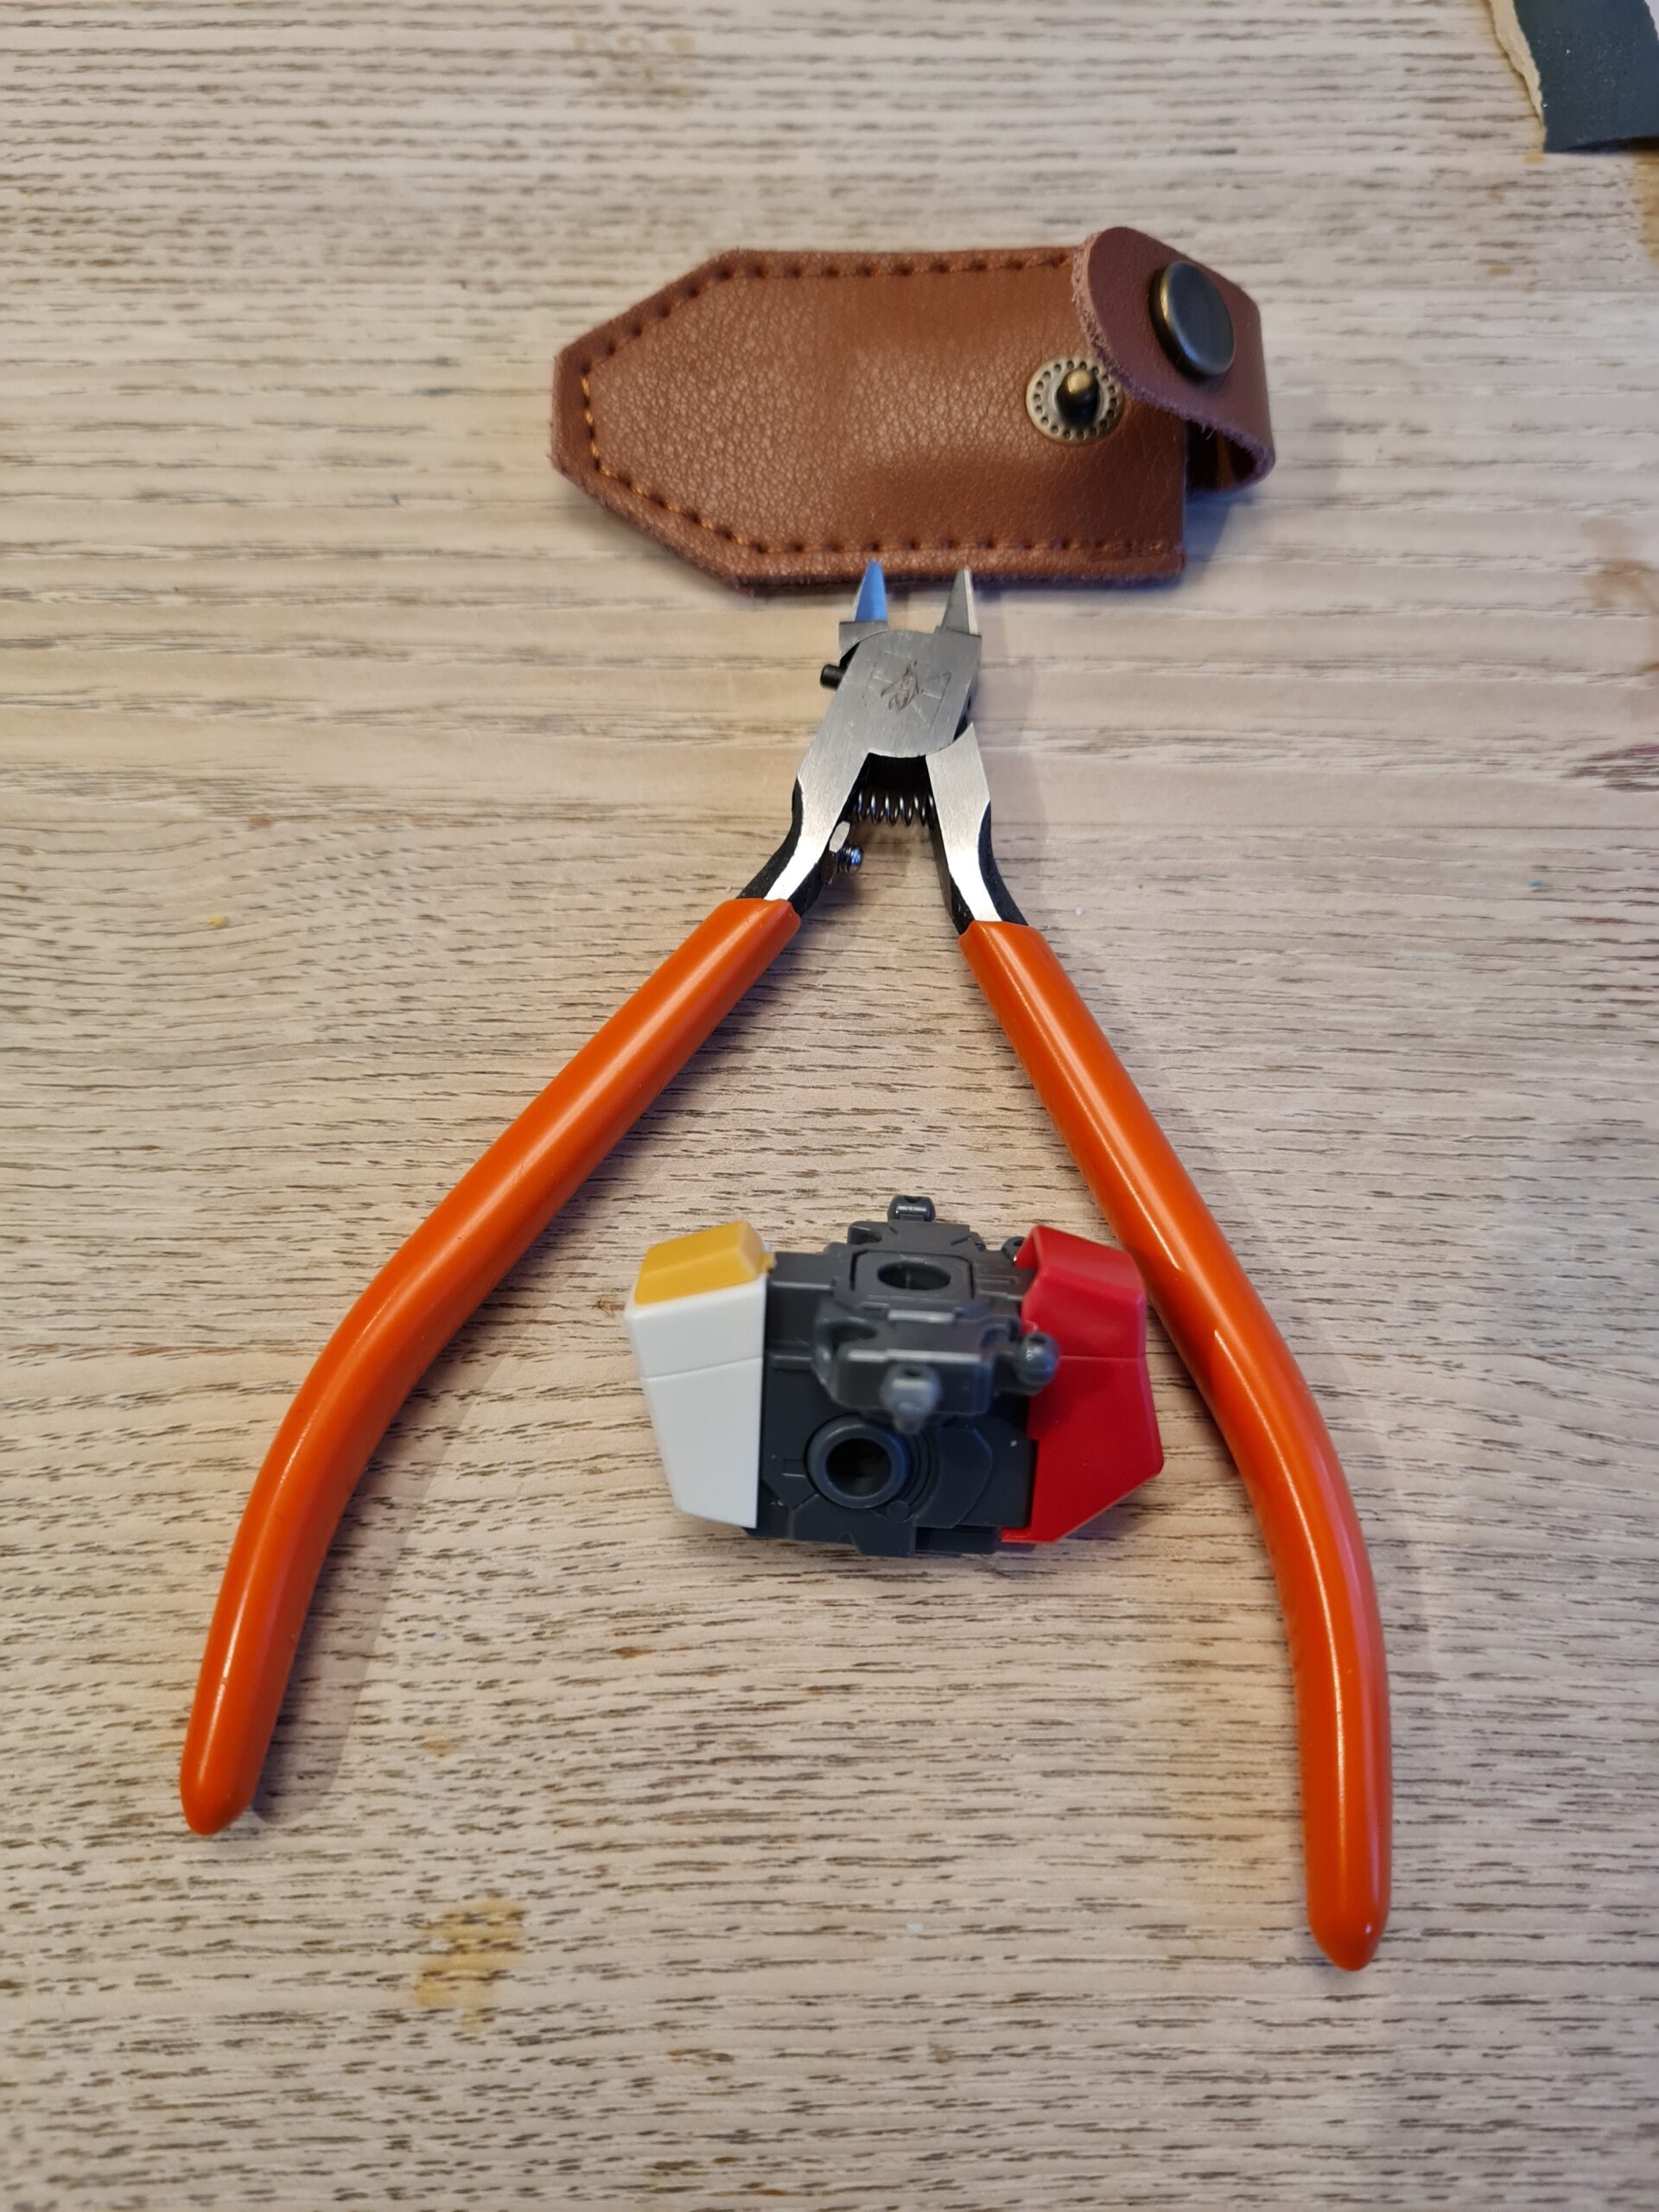
Todays part is short and sweet. After the Torso, which was a nice simple, and quite cool build, the manual has the head. So without further ado!
The Parts
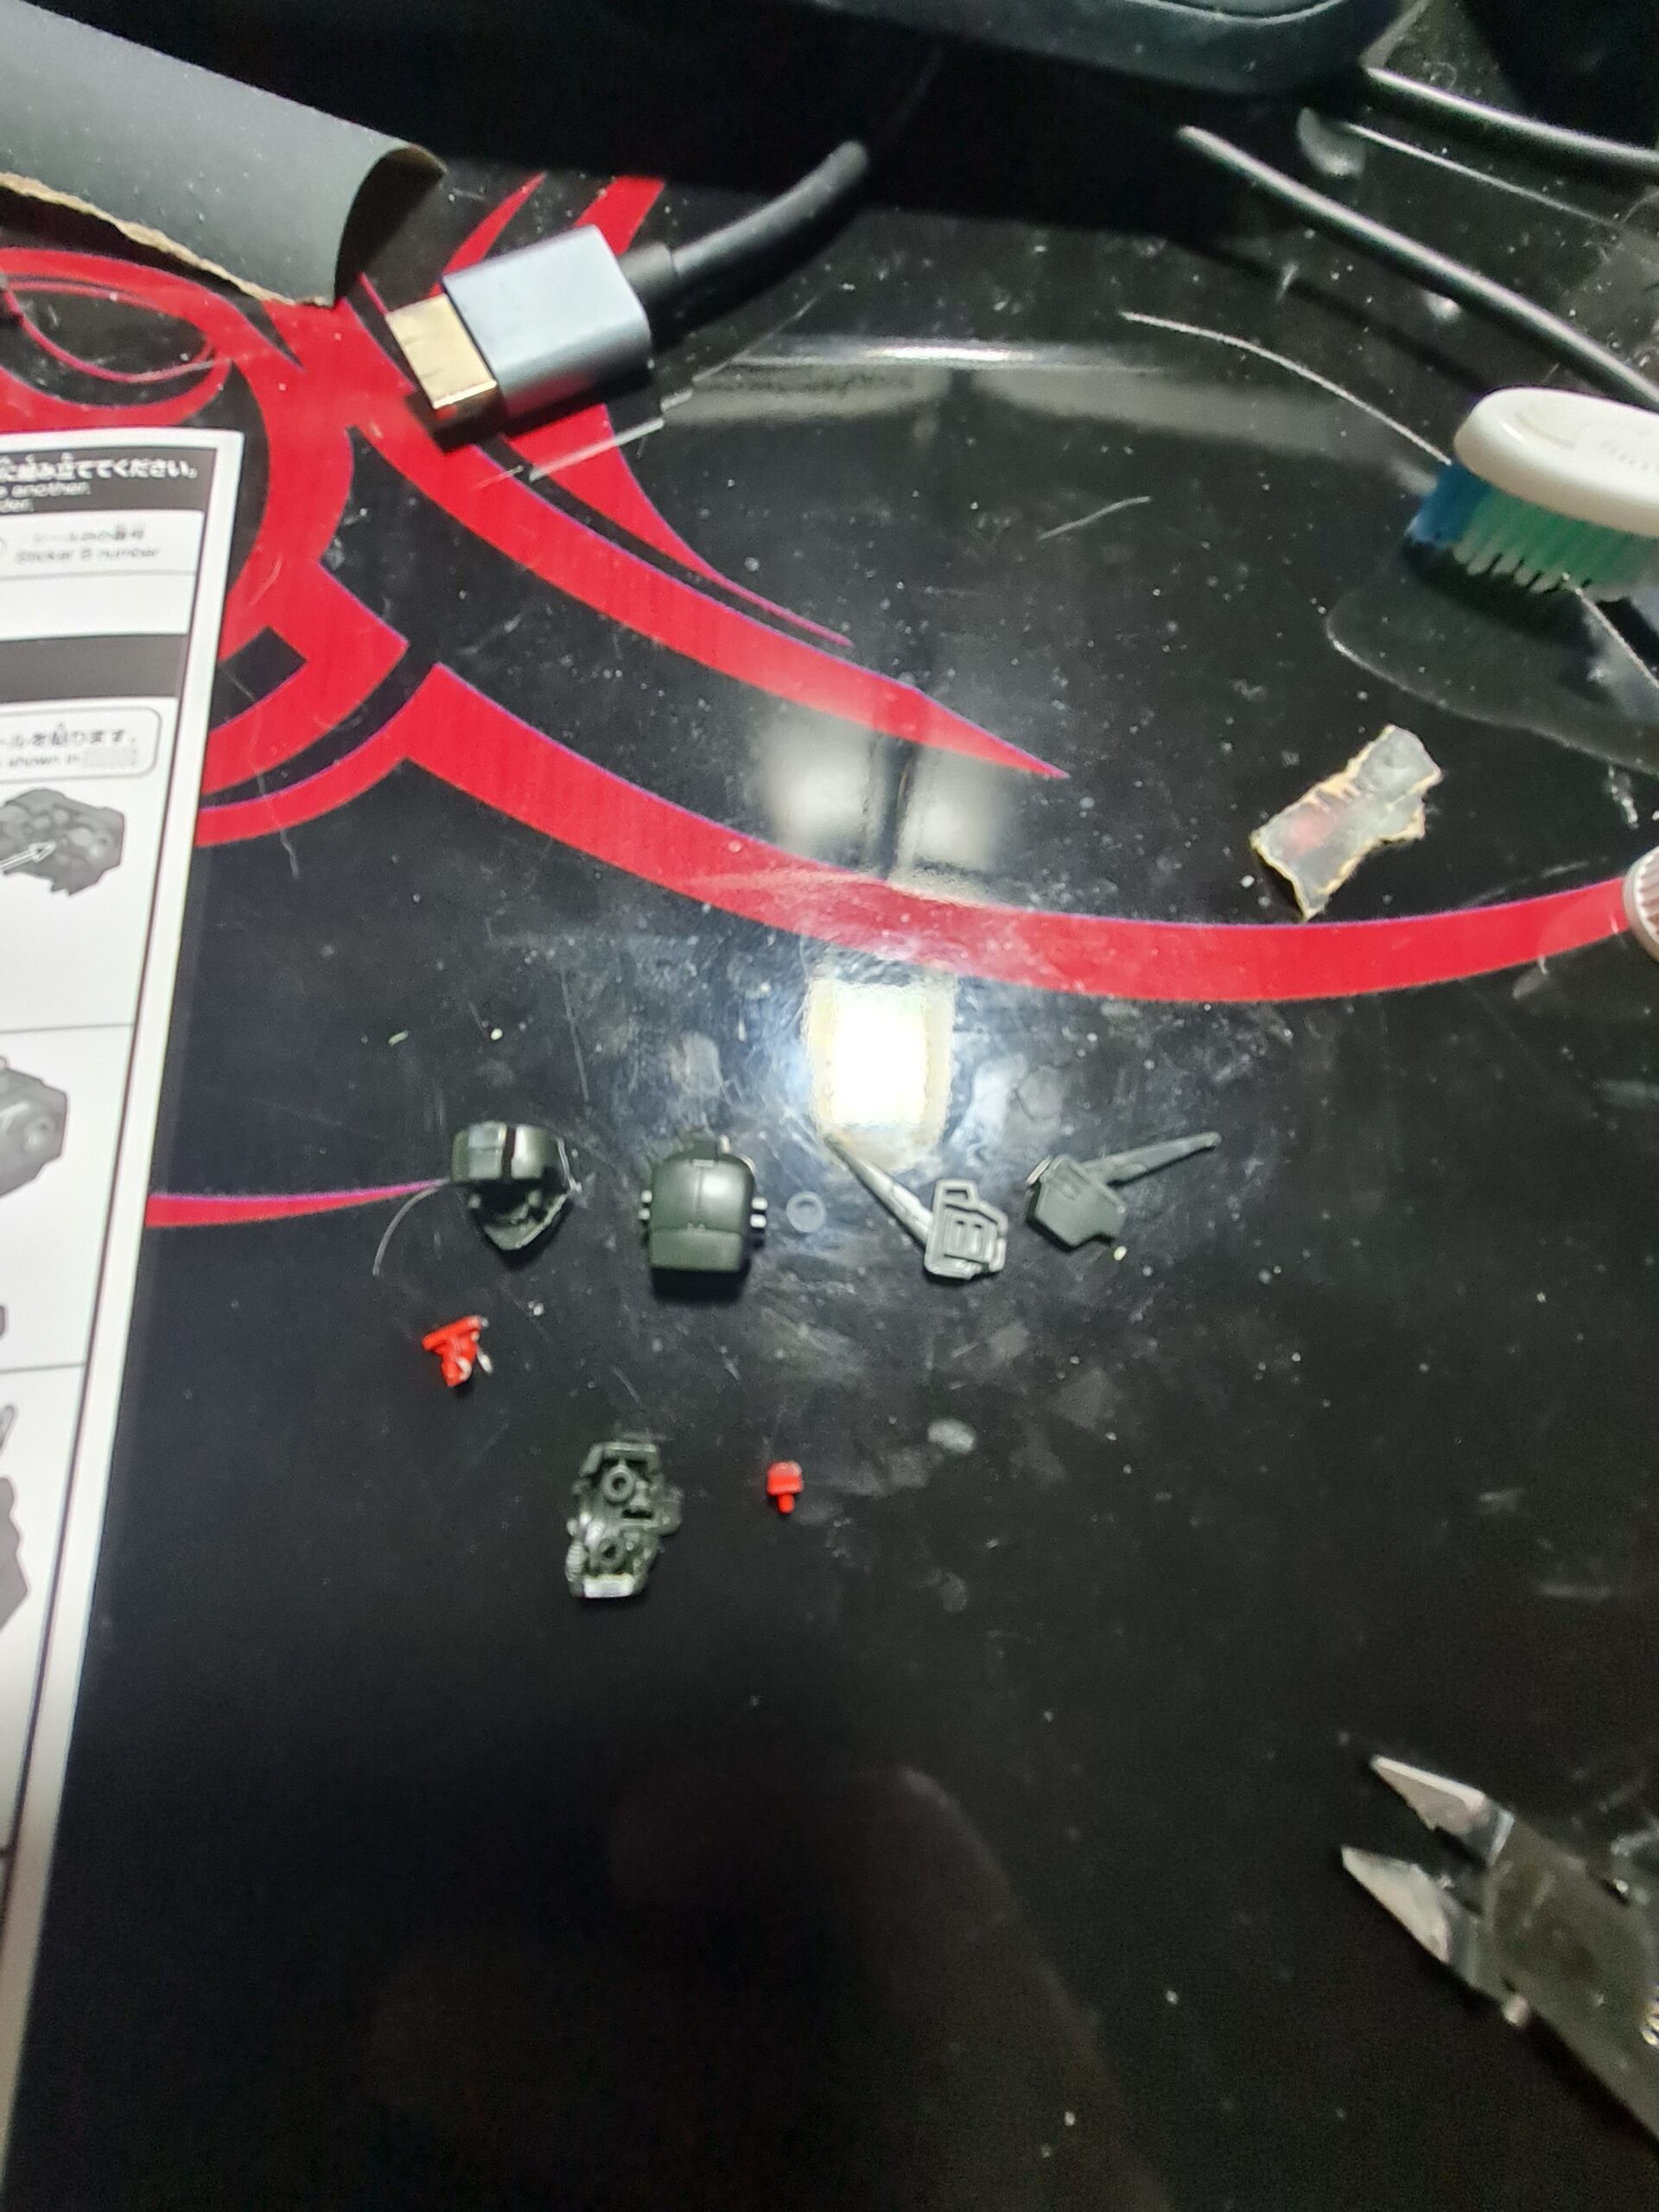
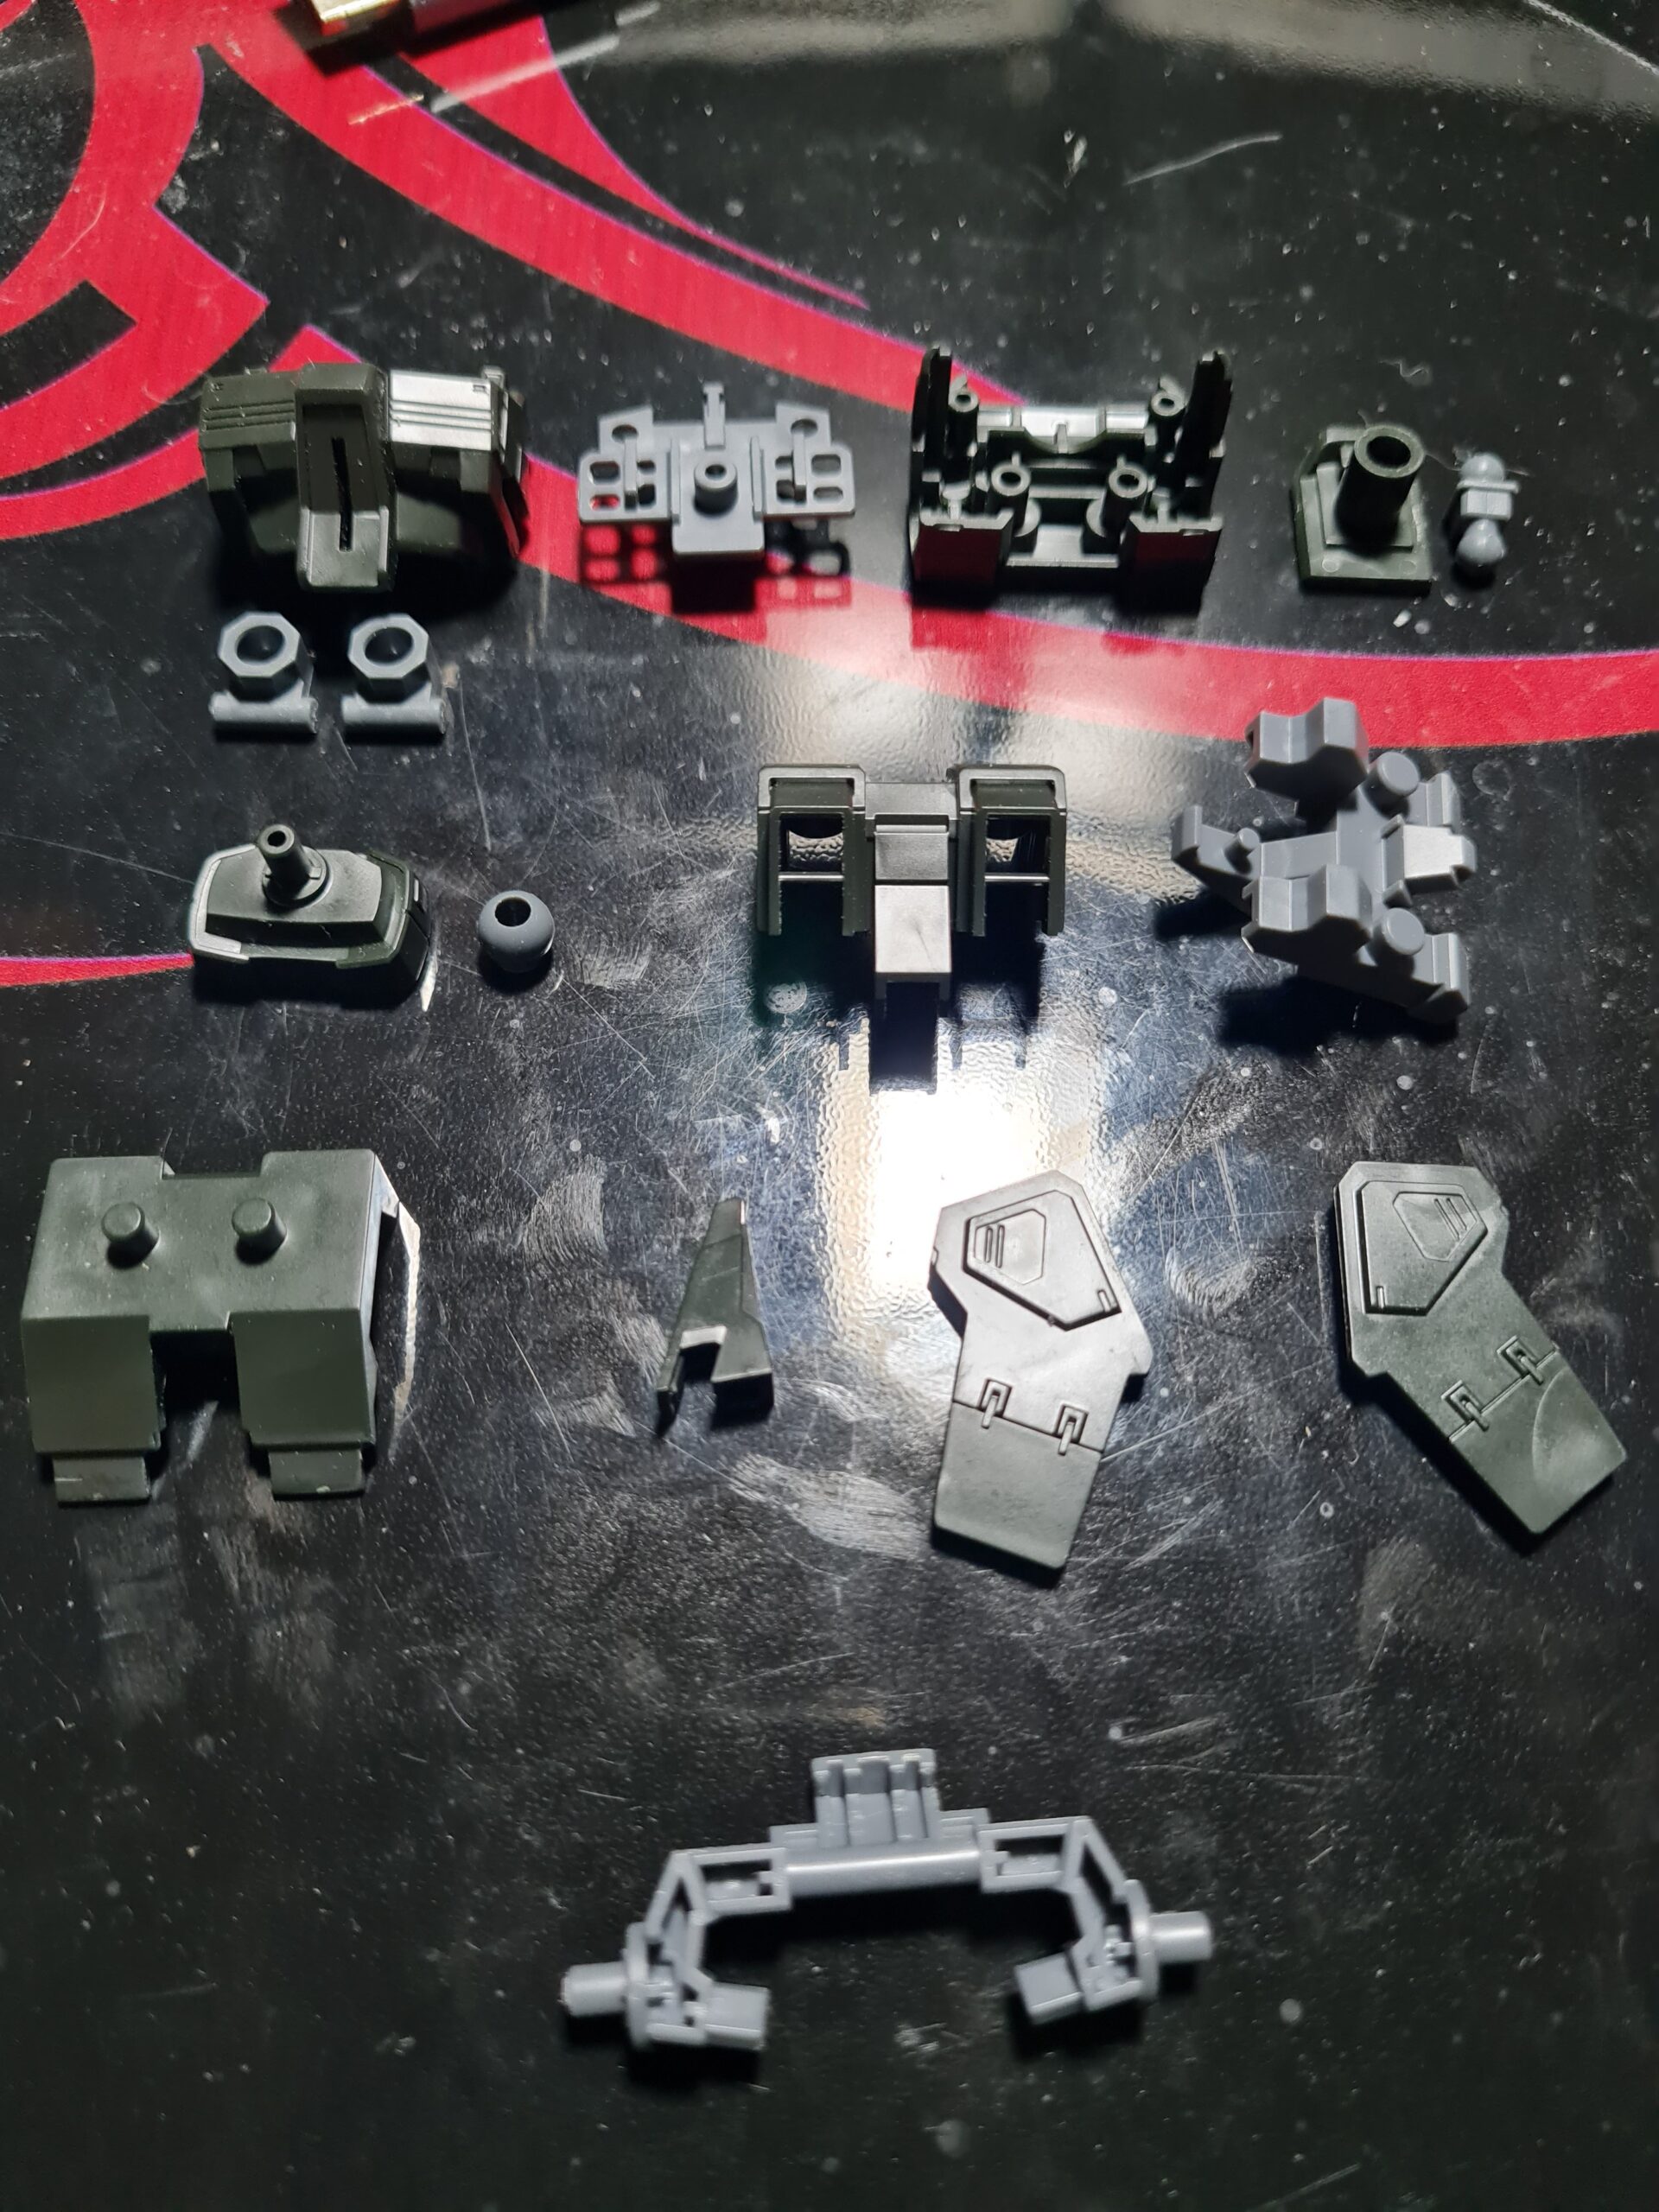
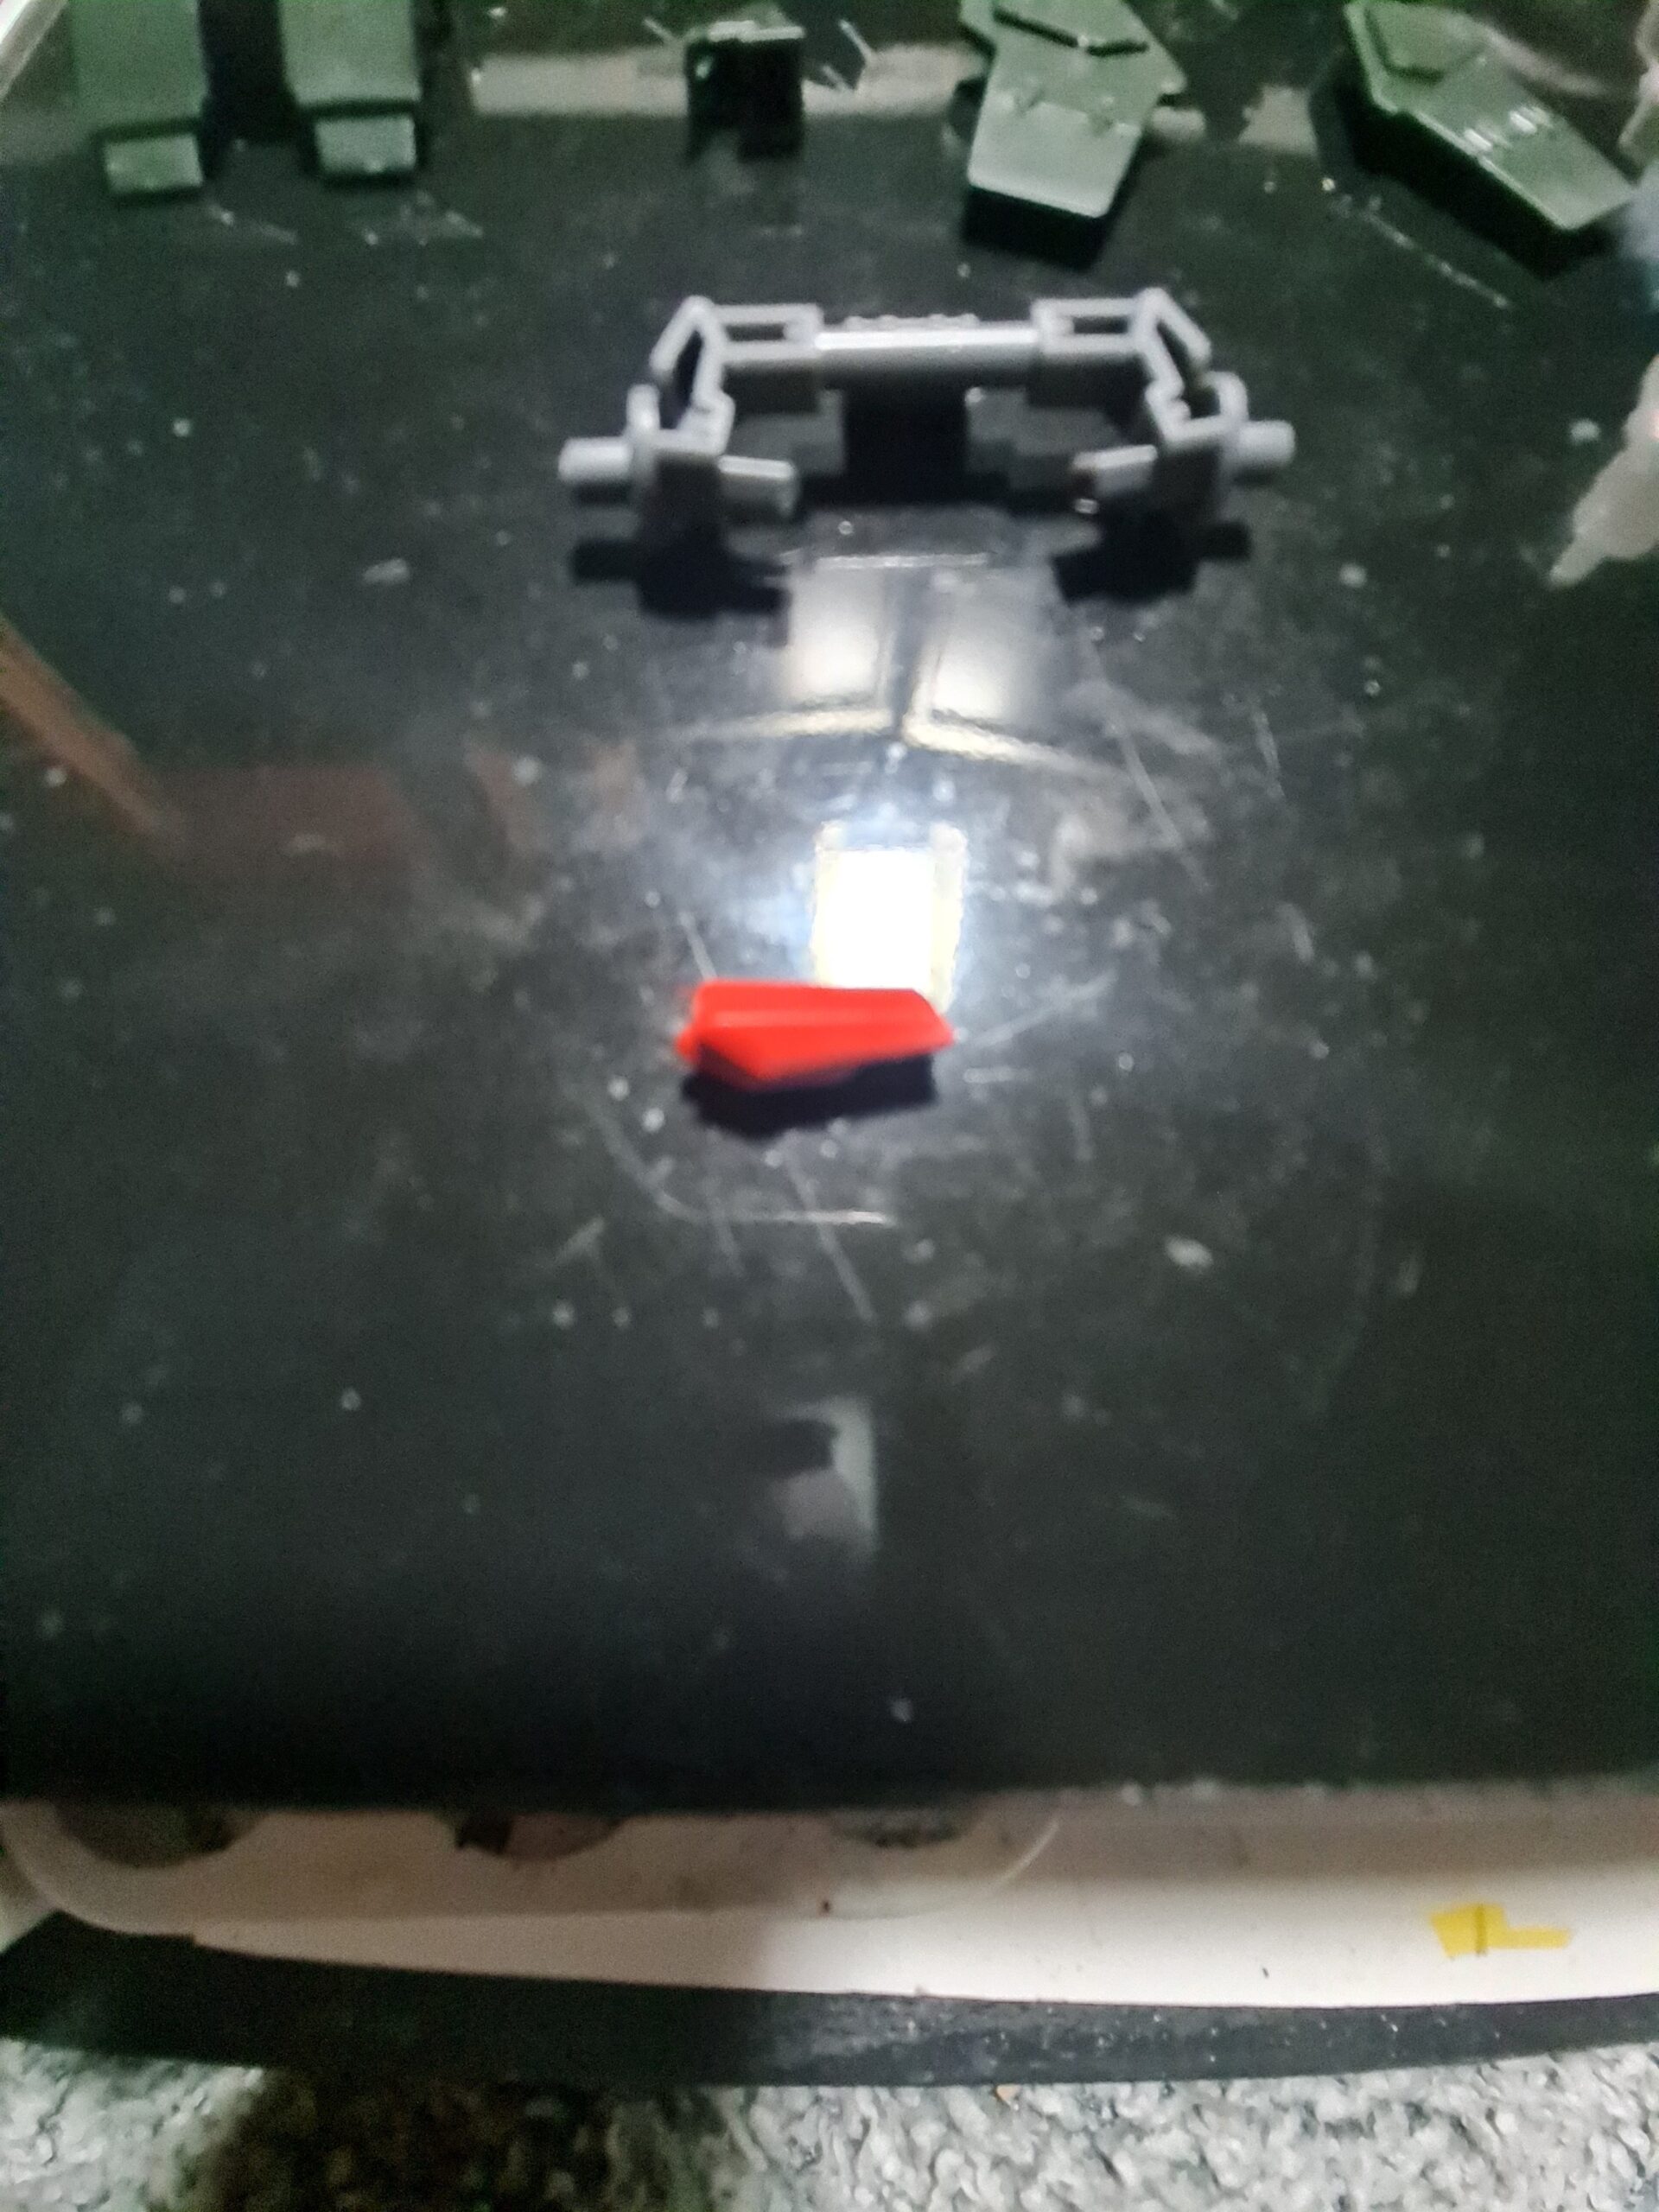
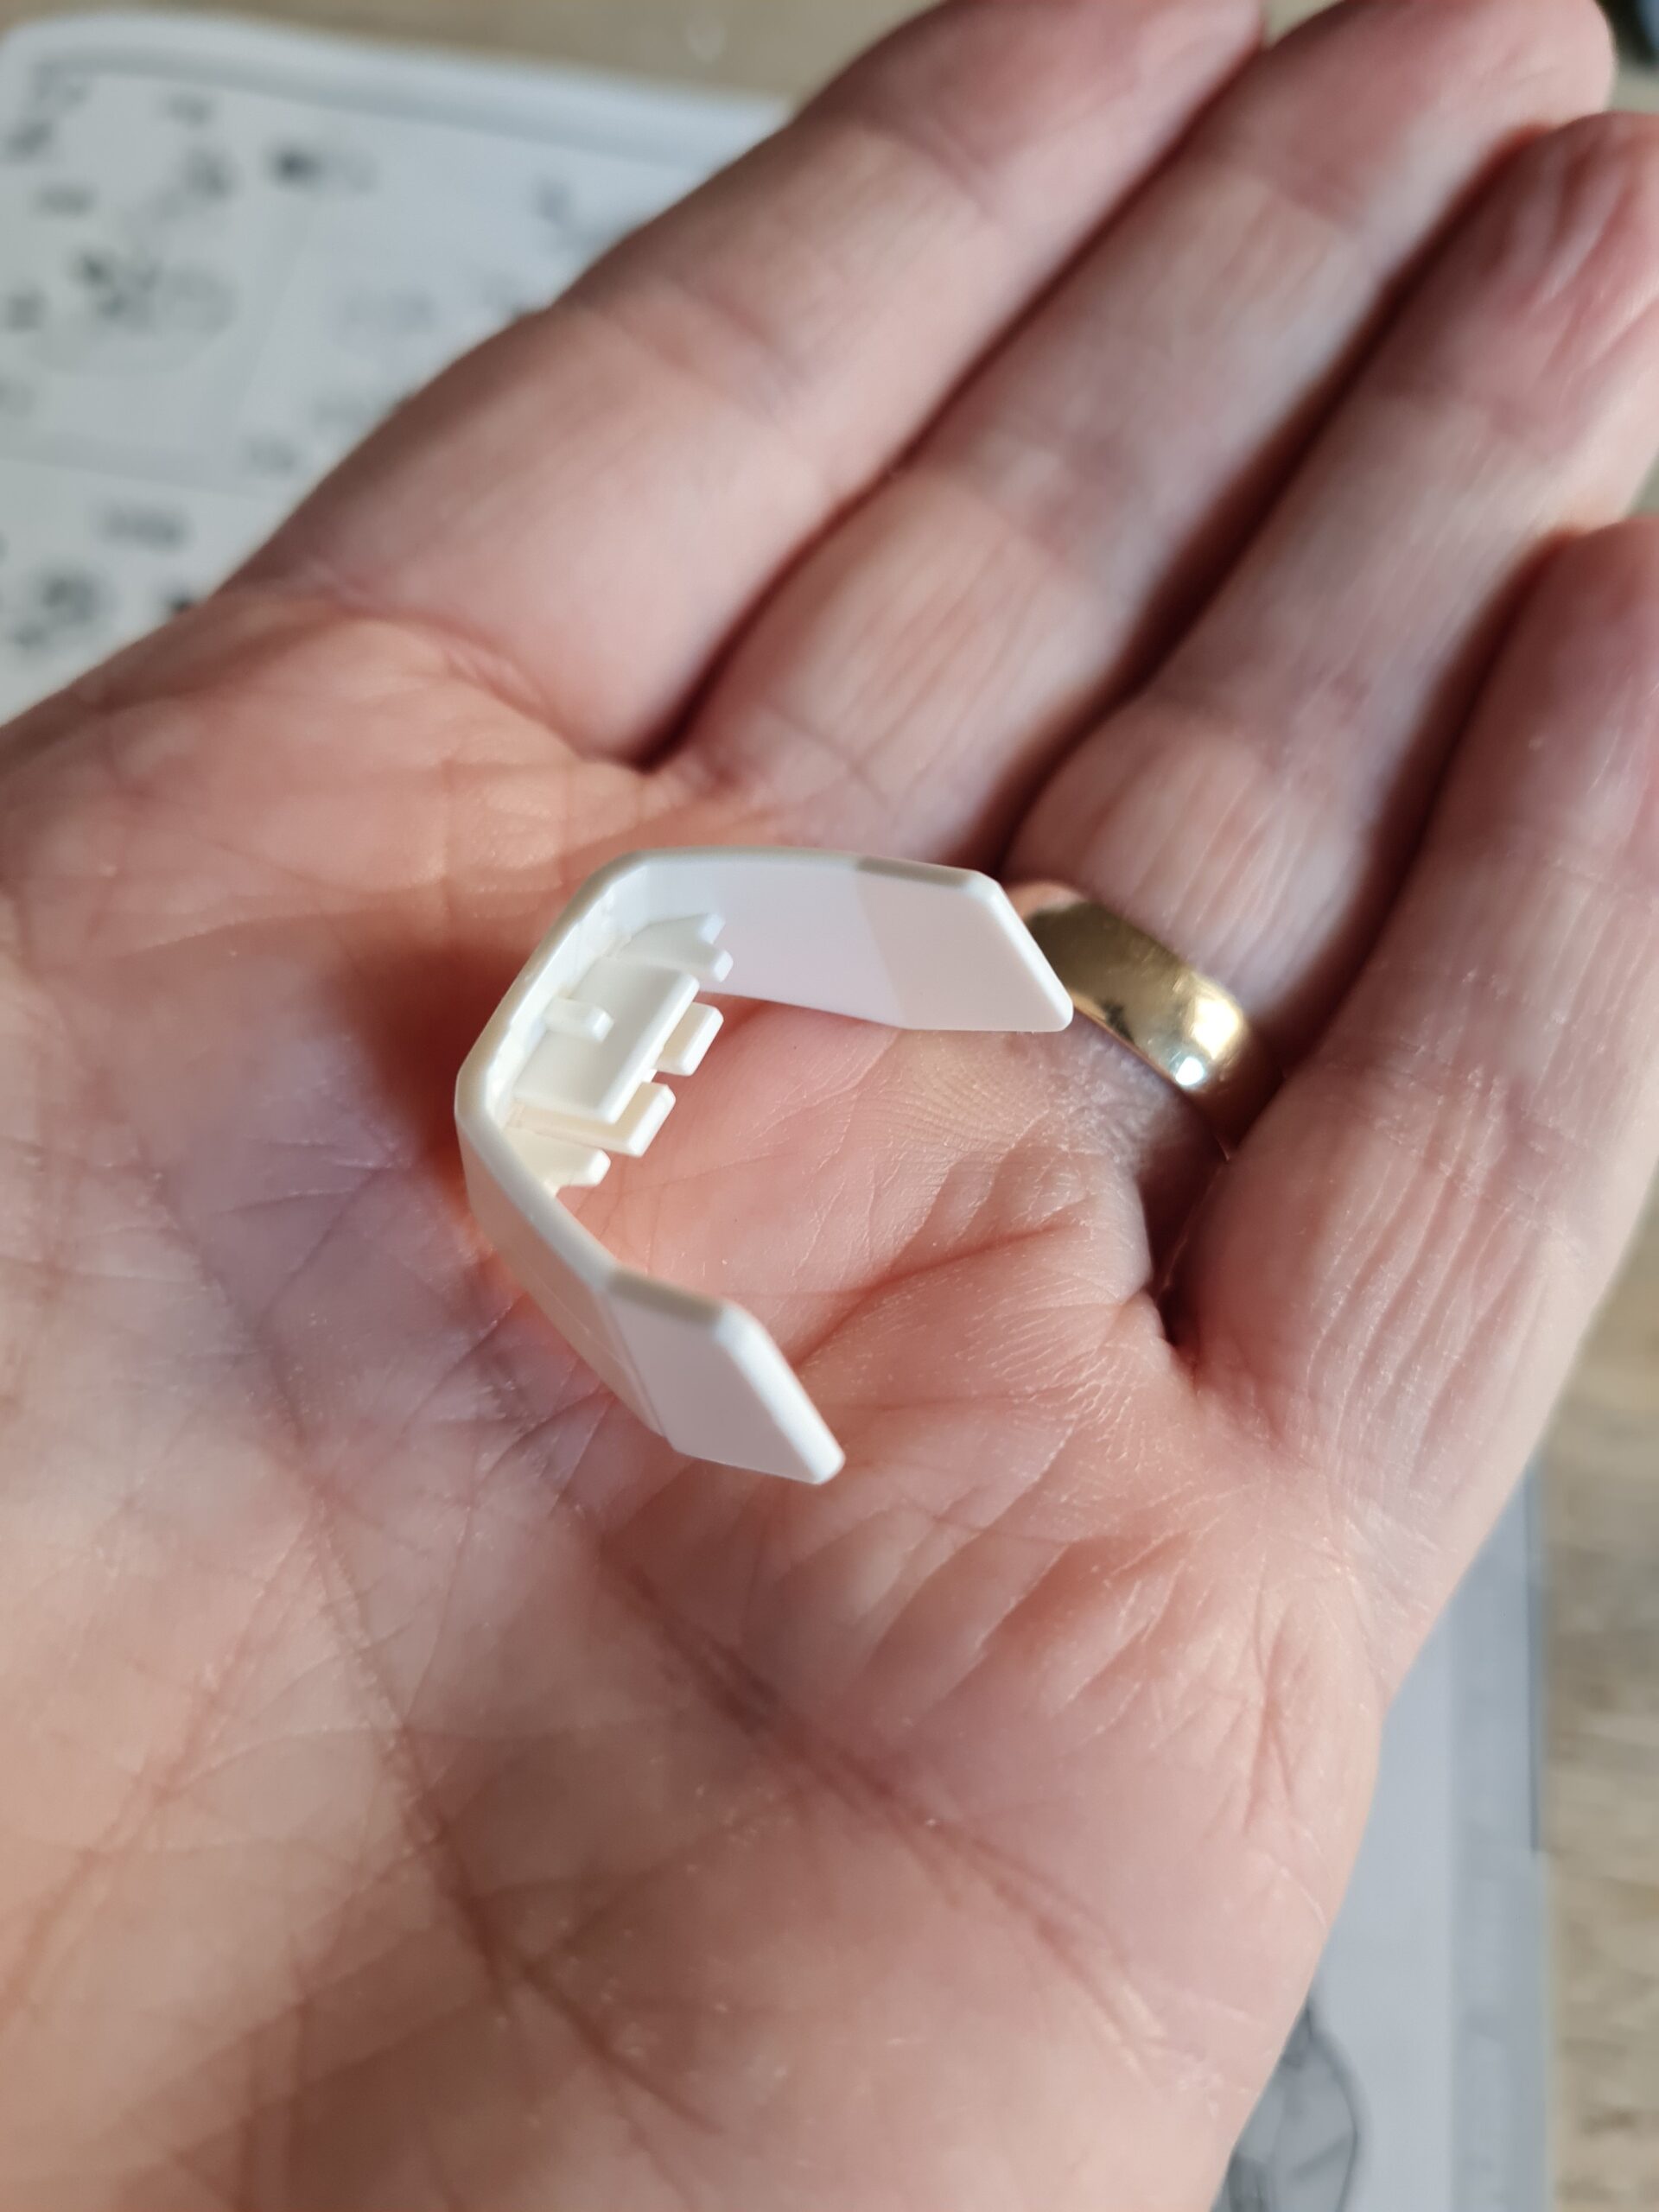
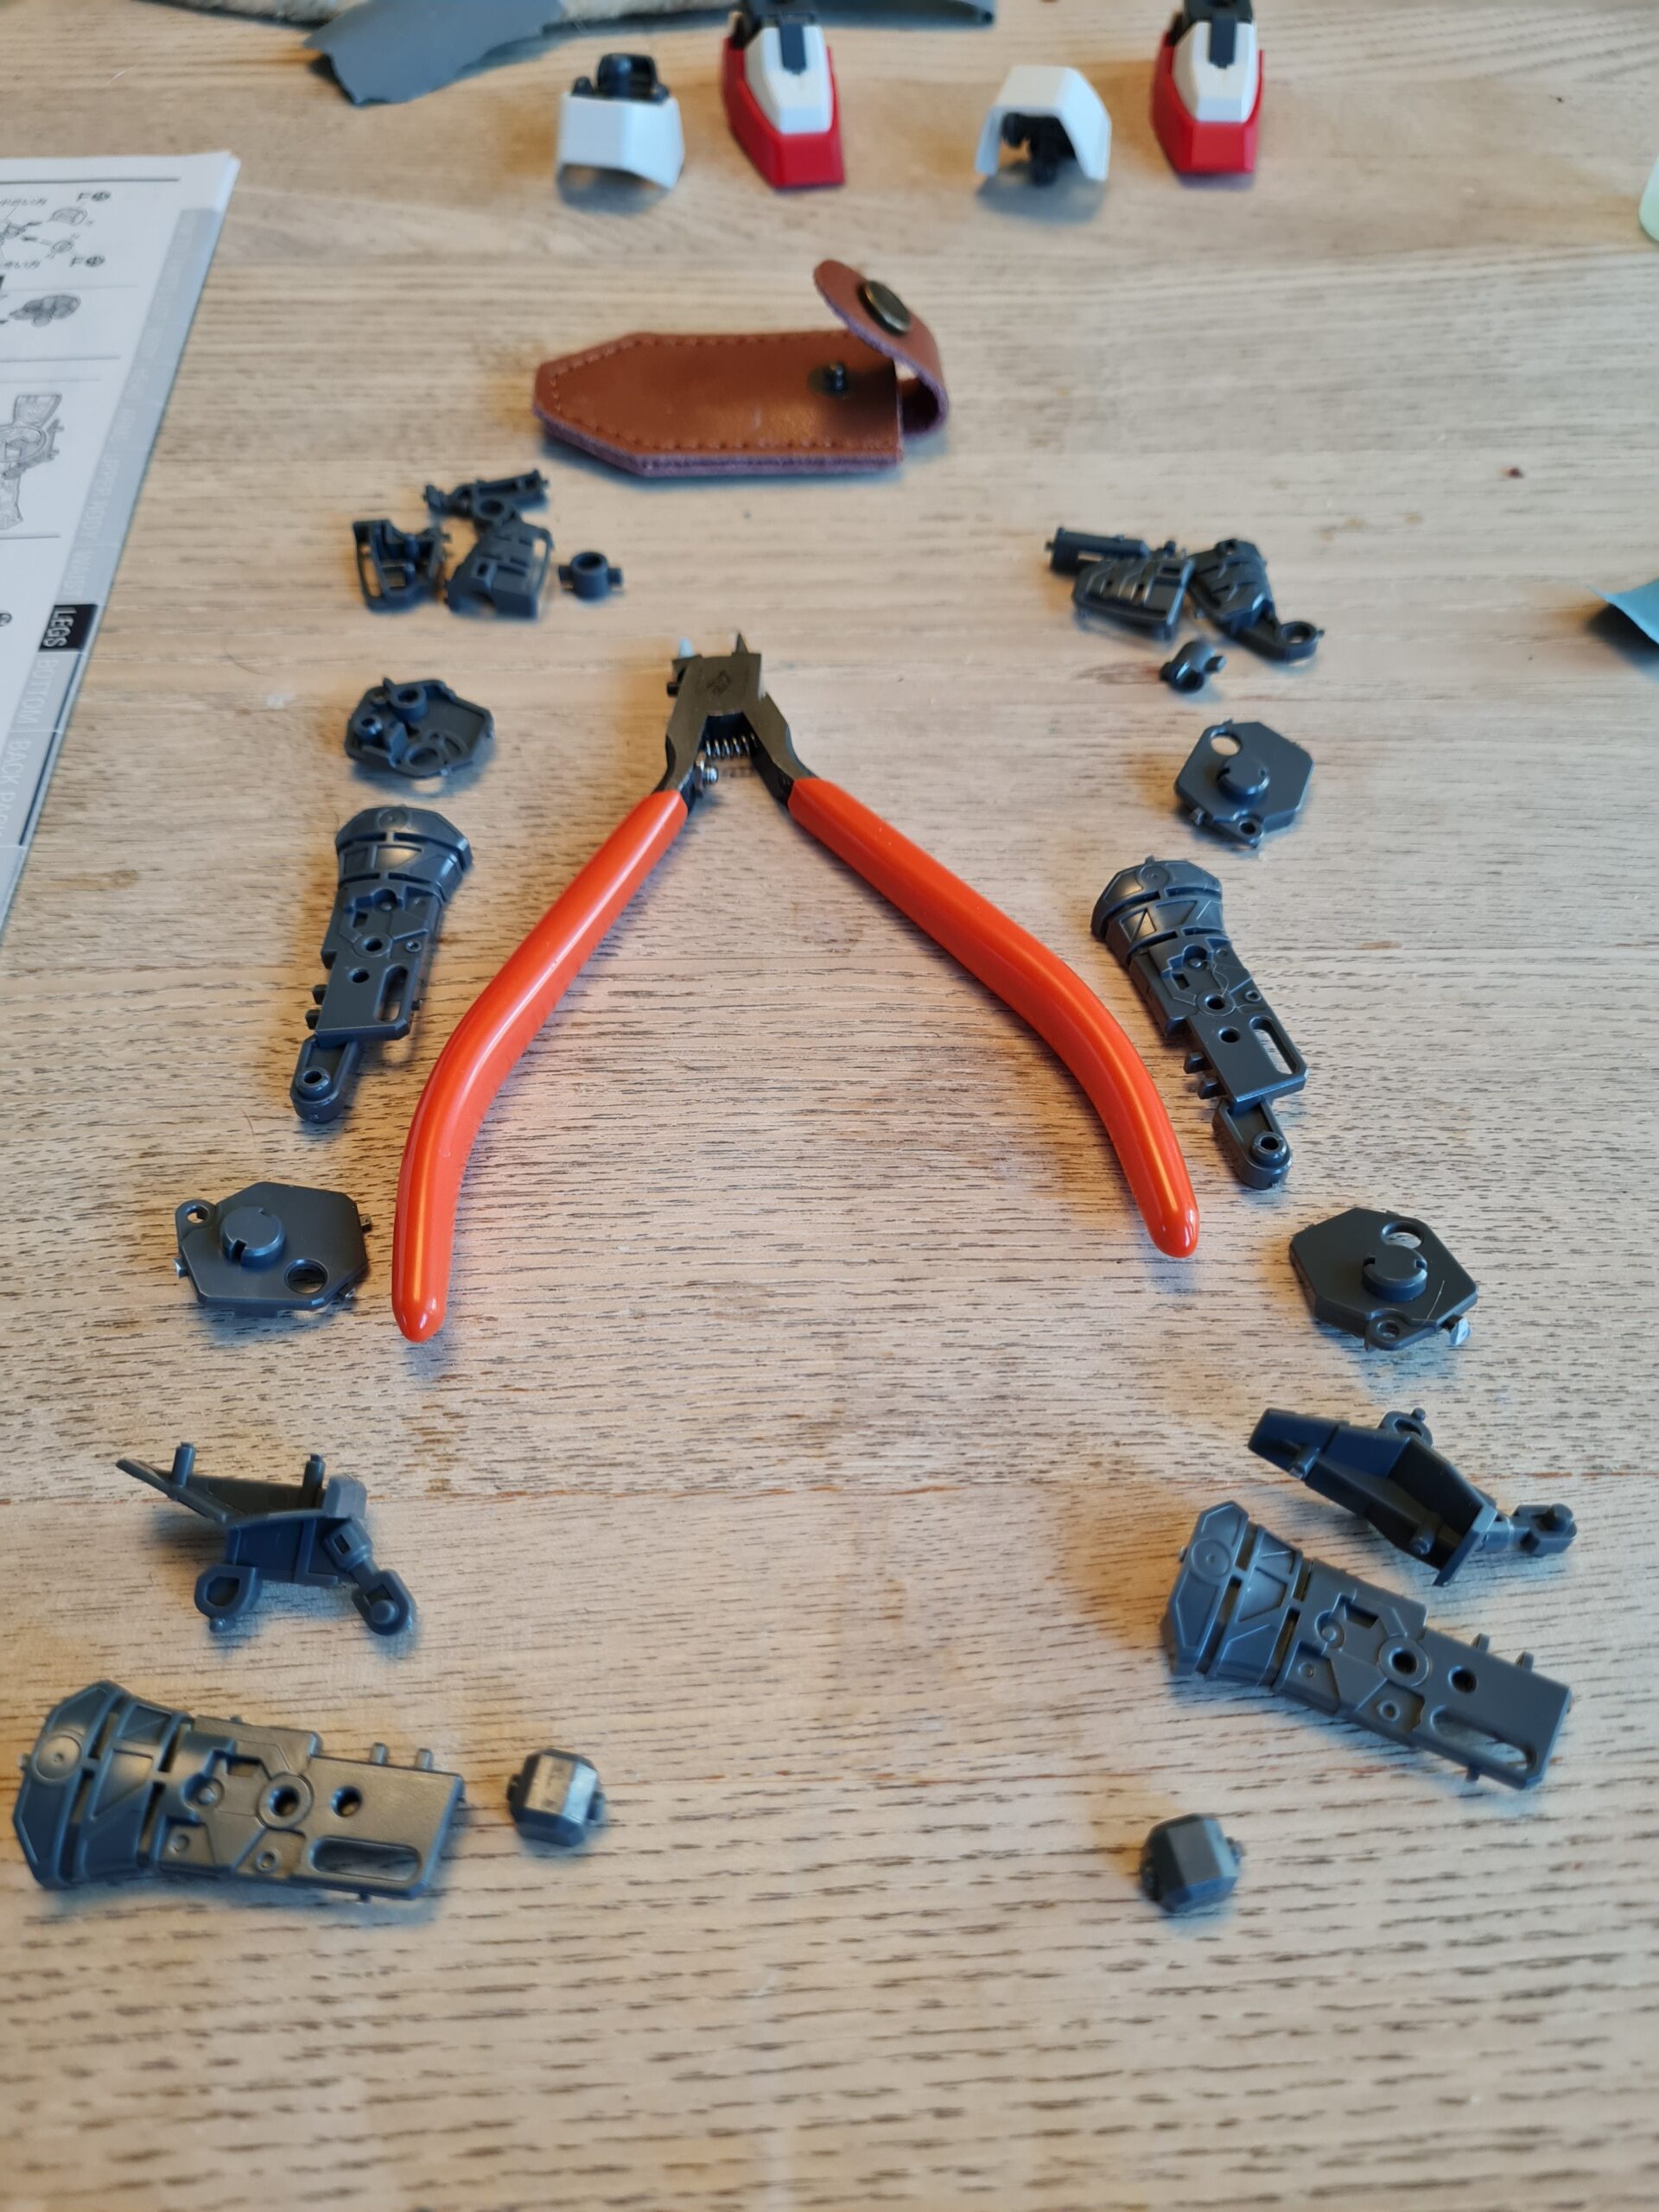
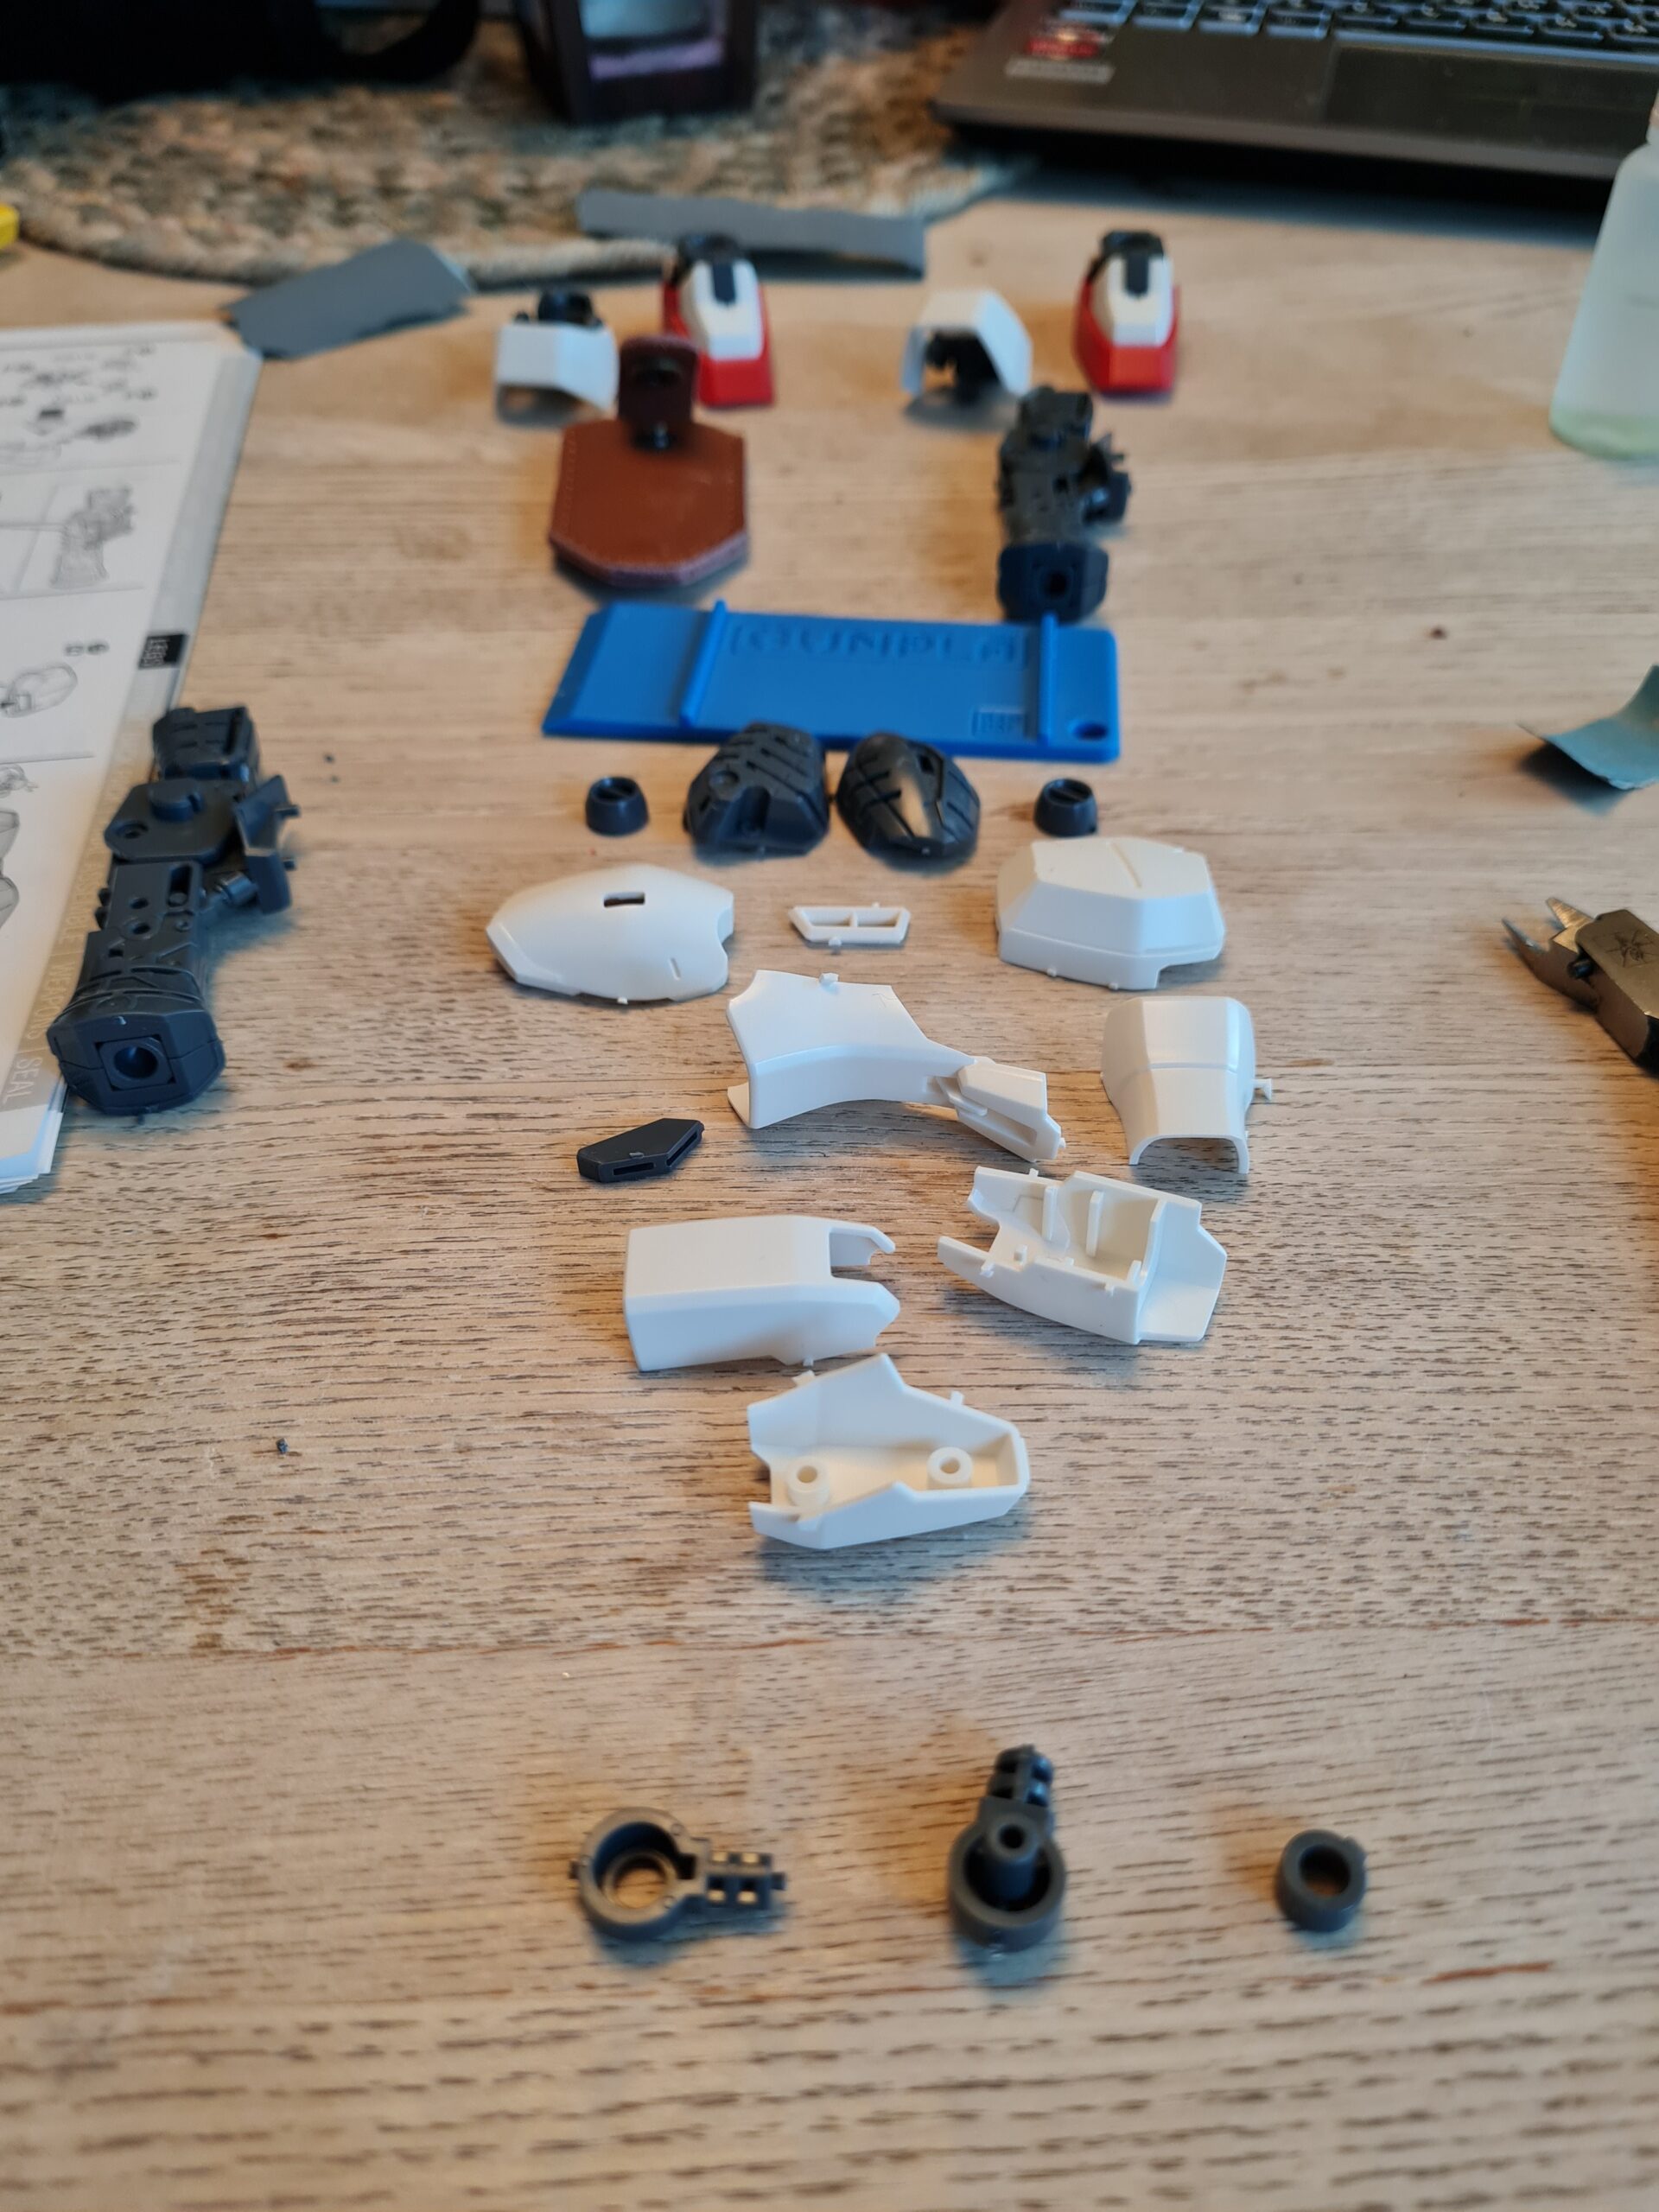
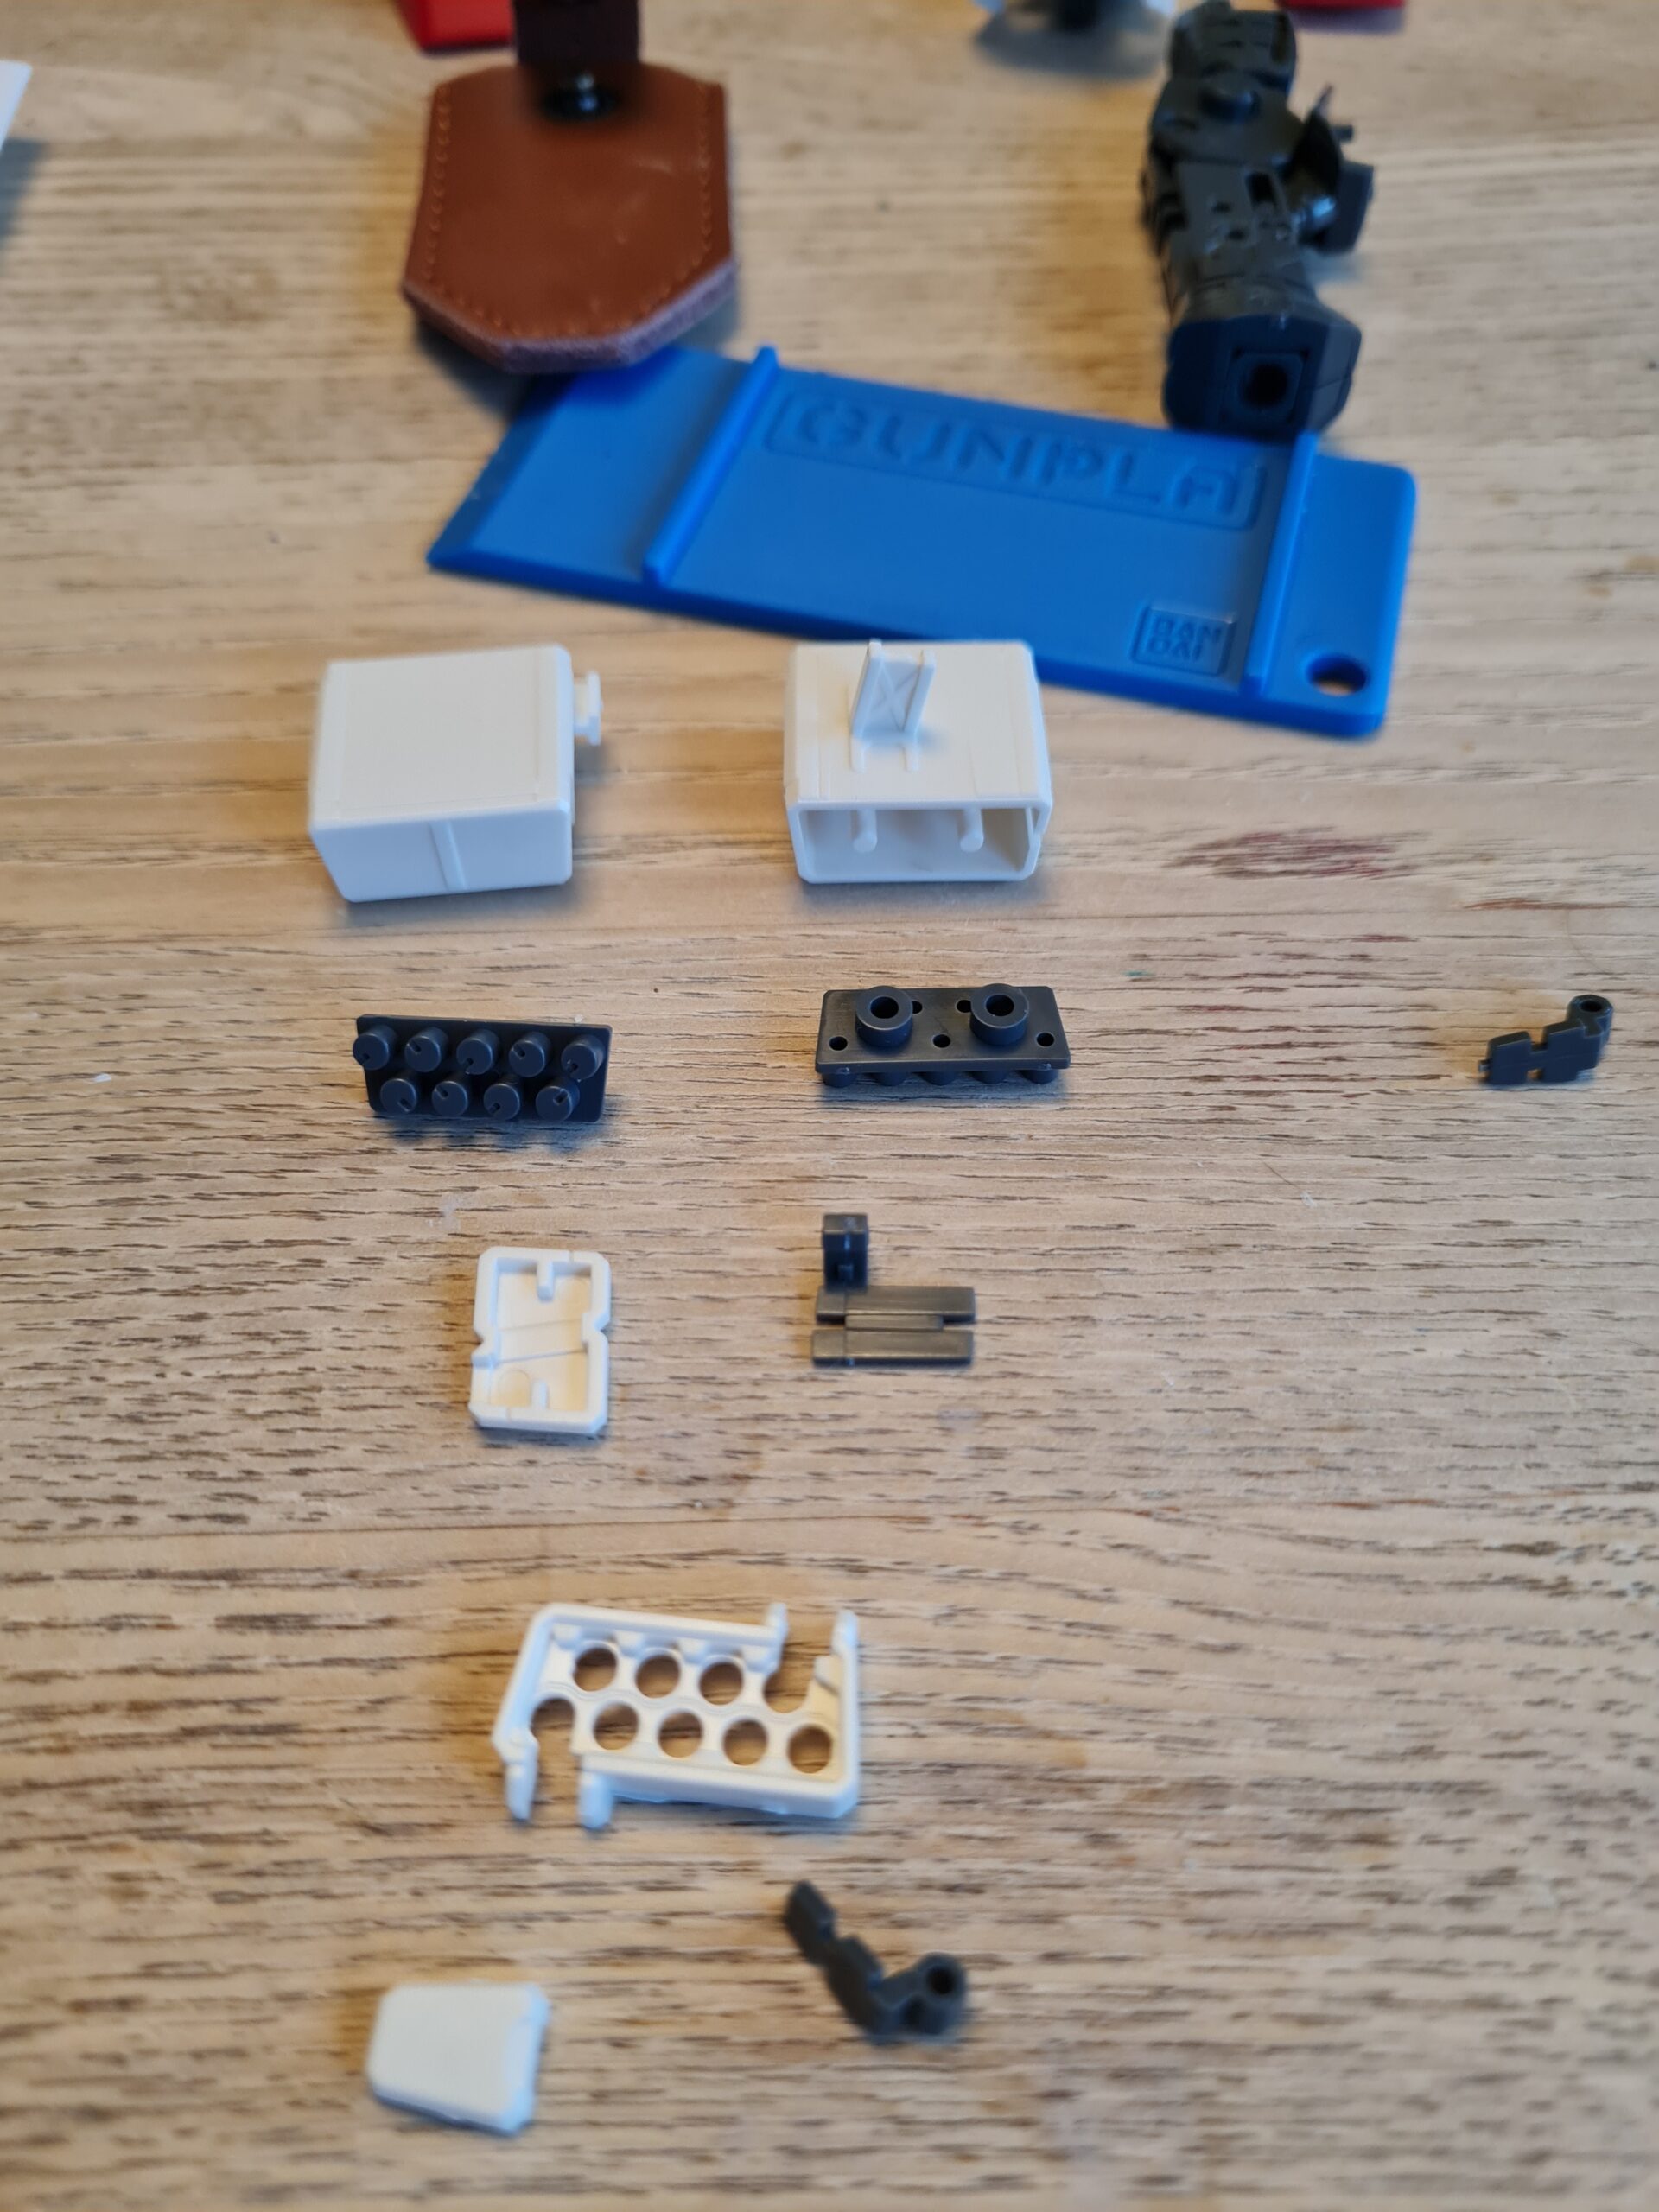
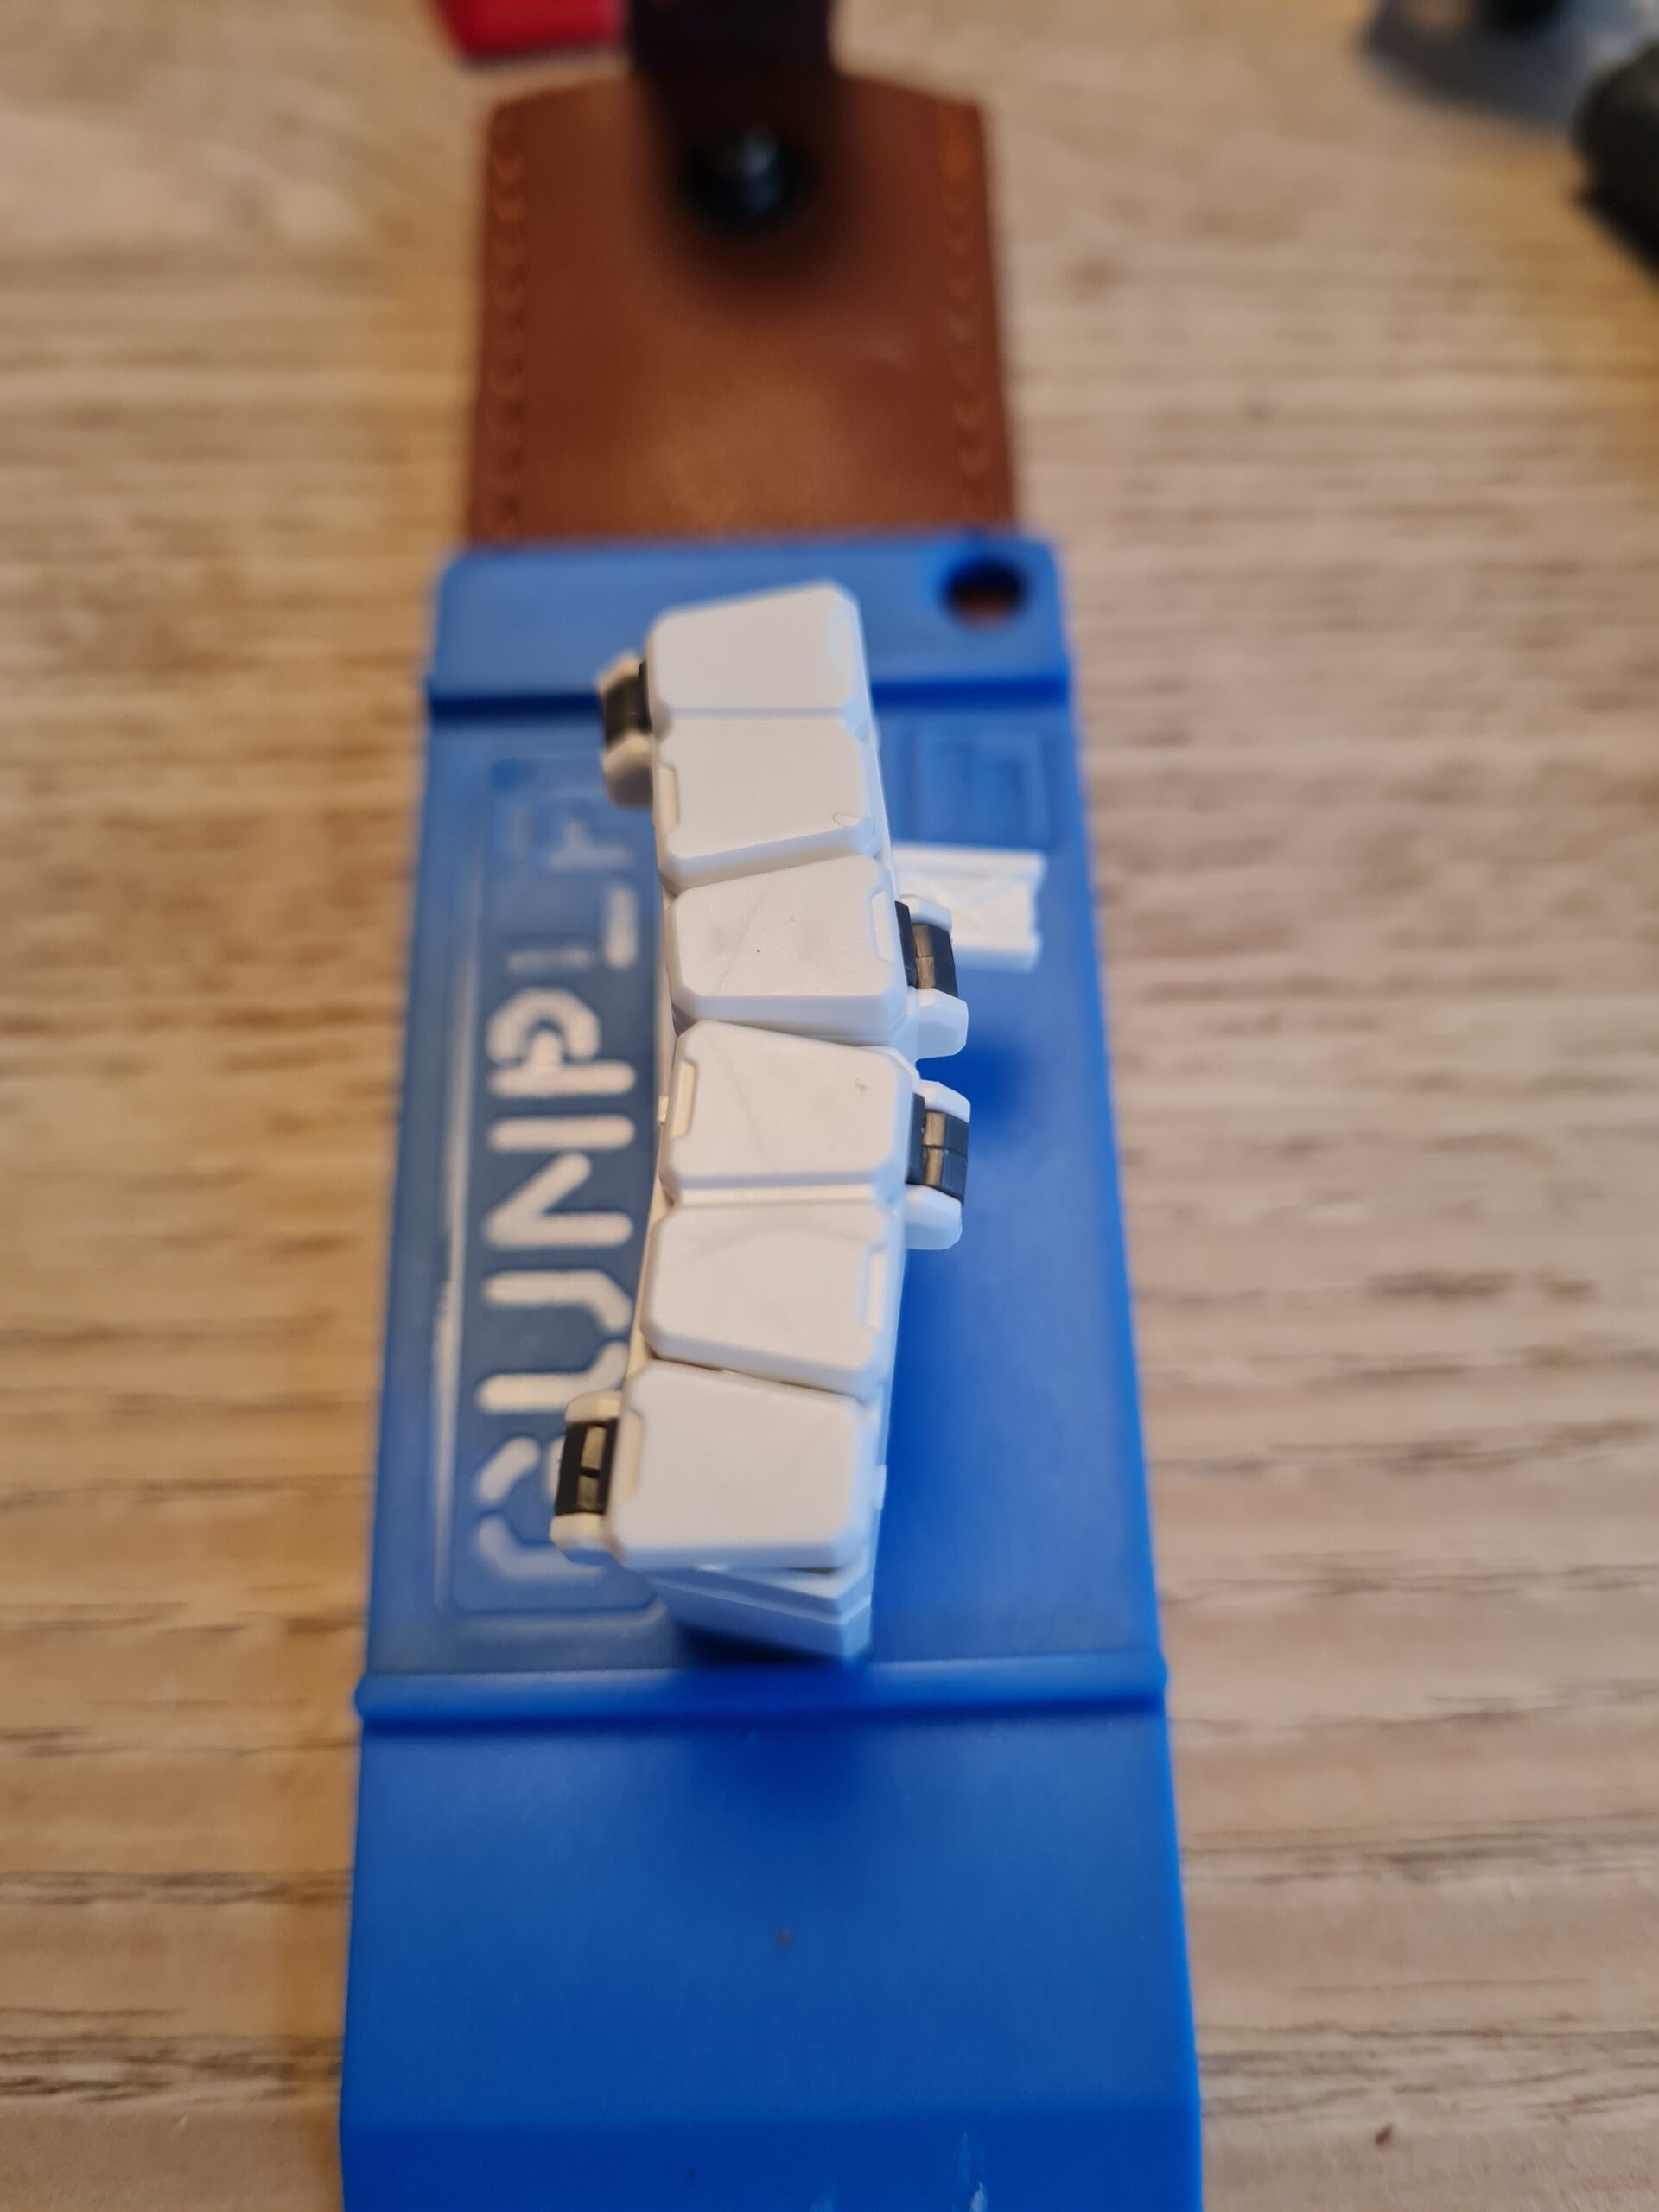
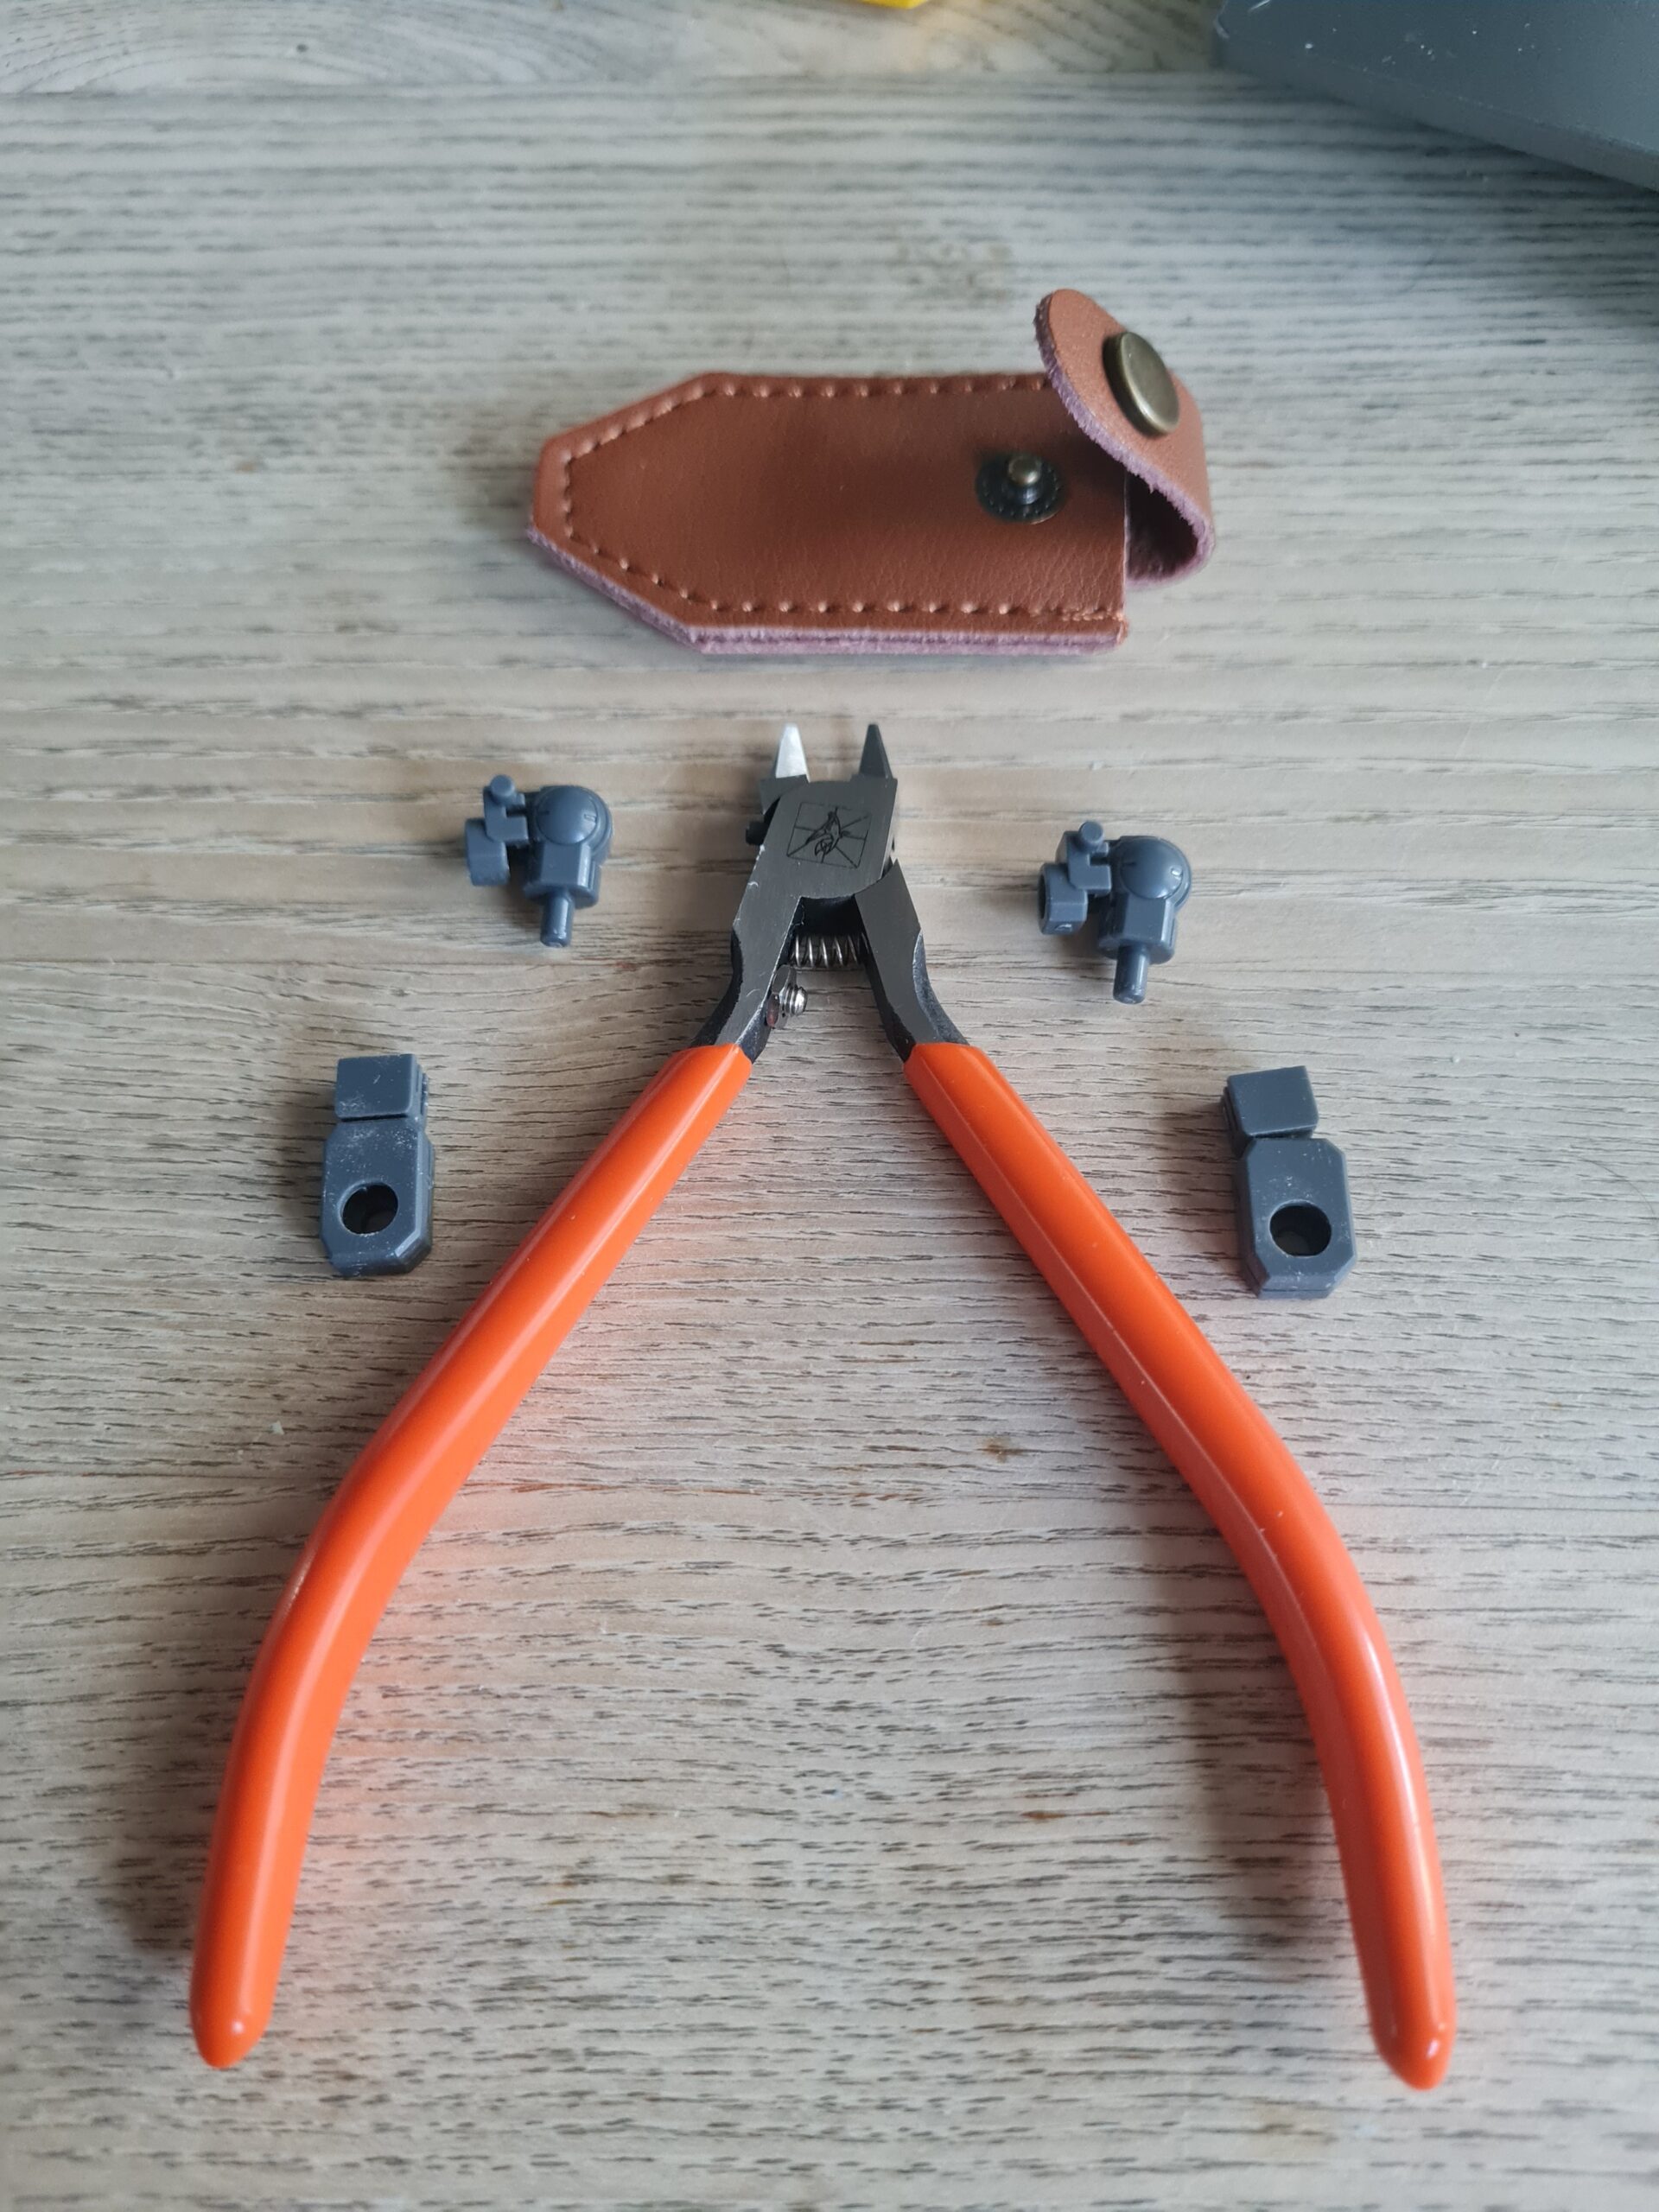
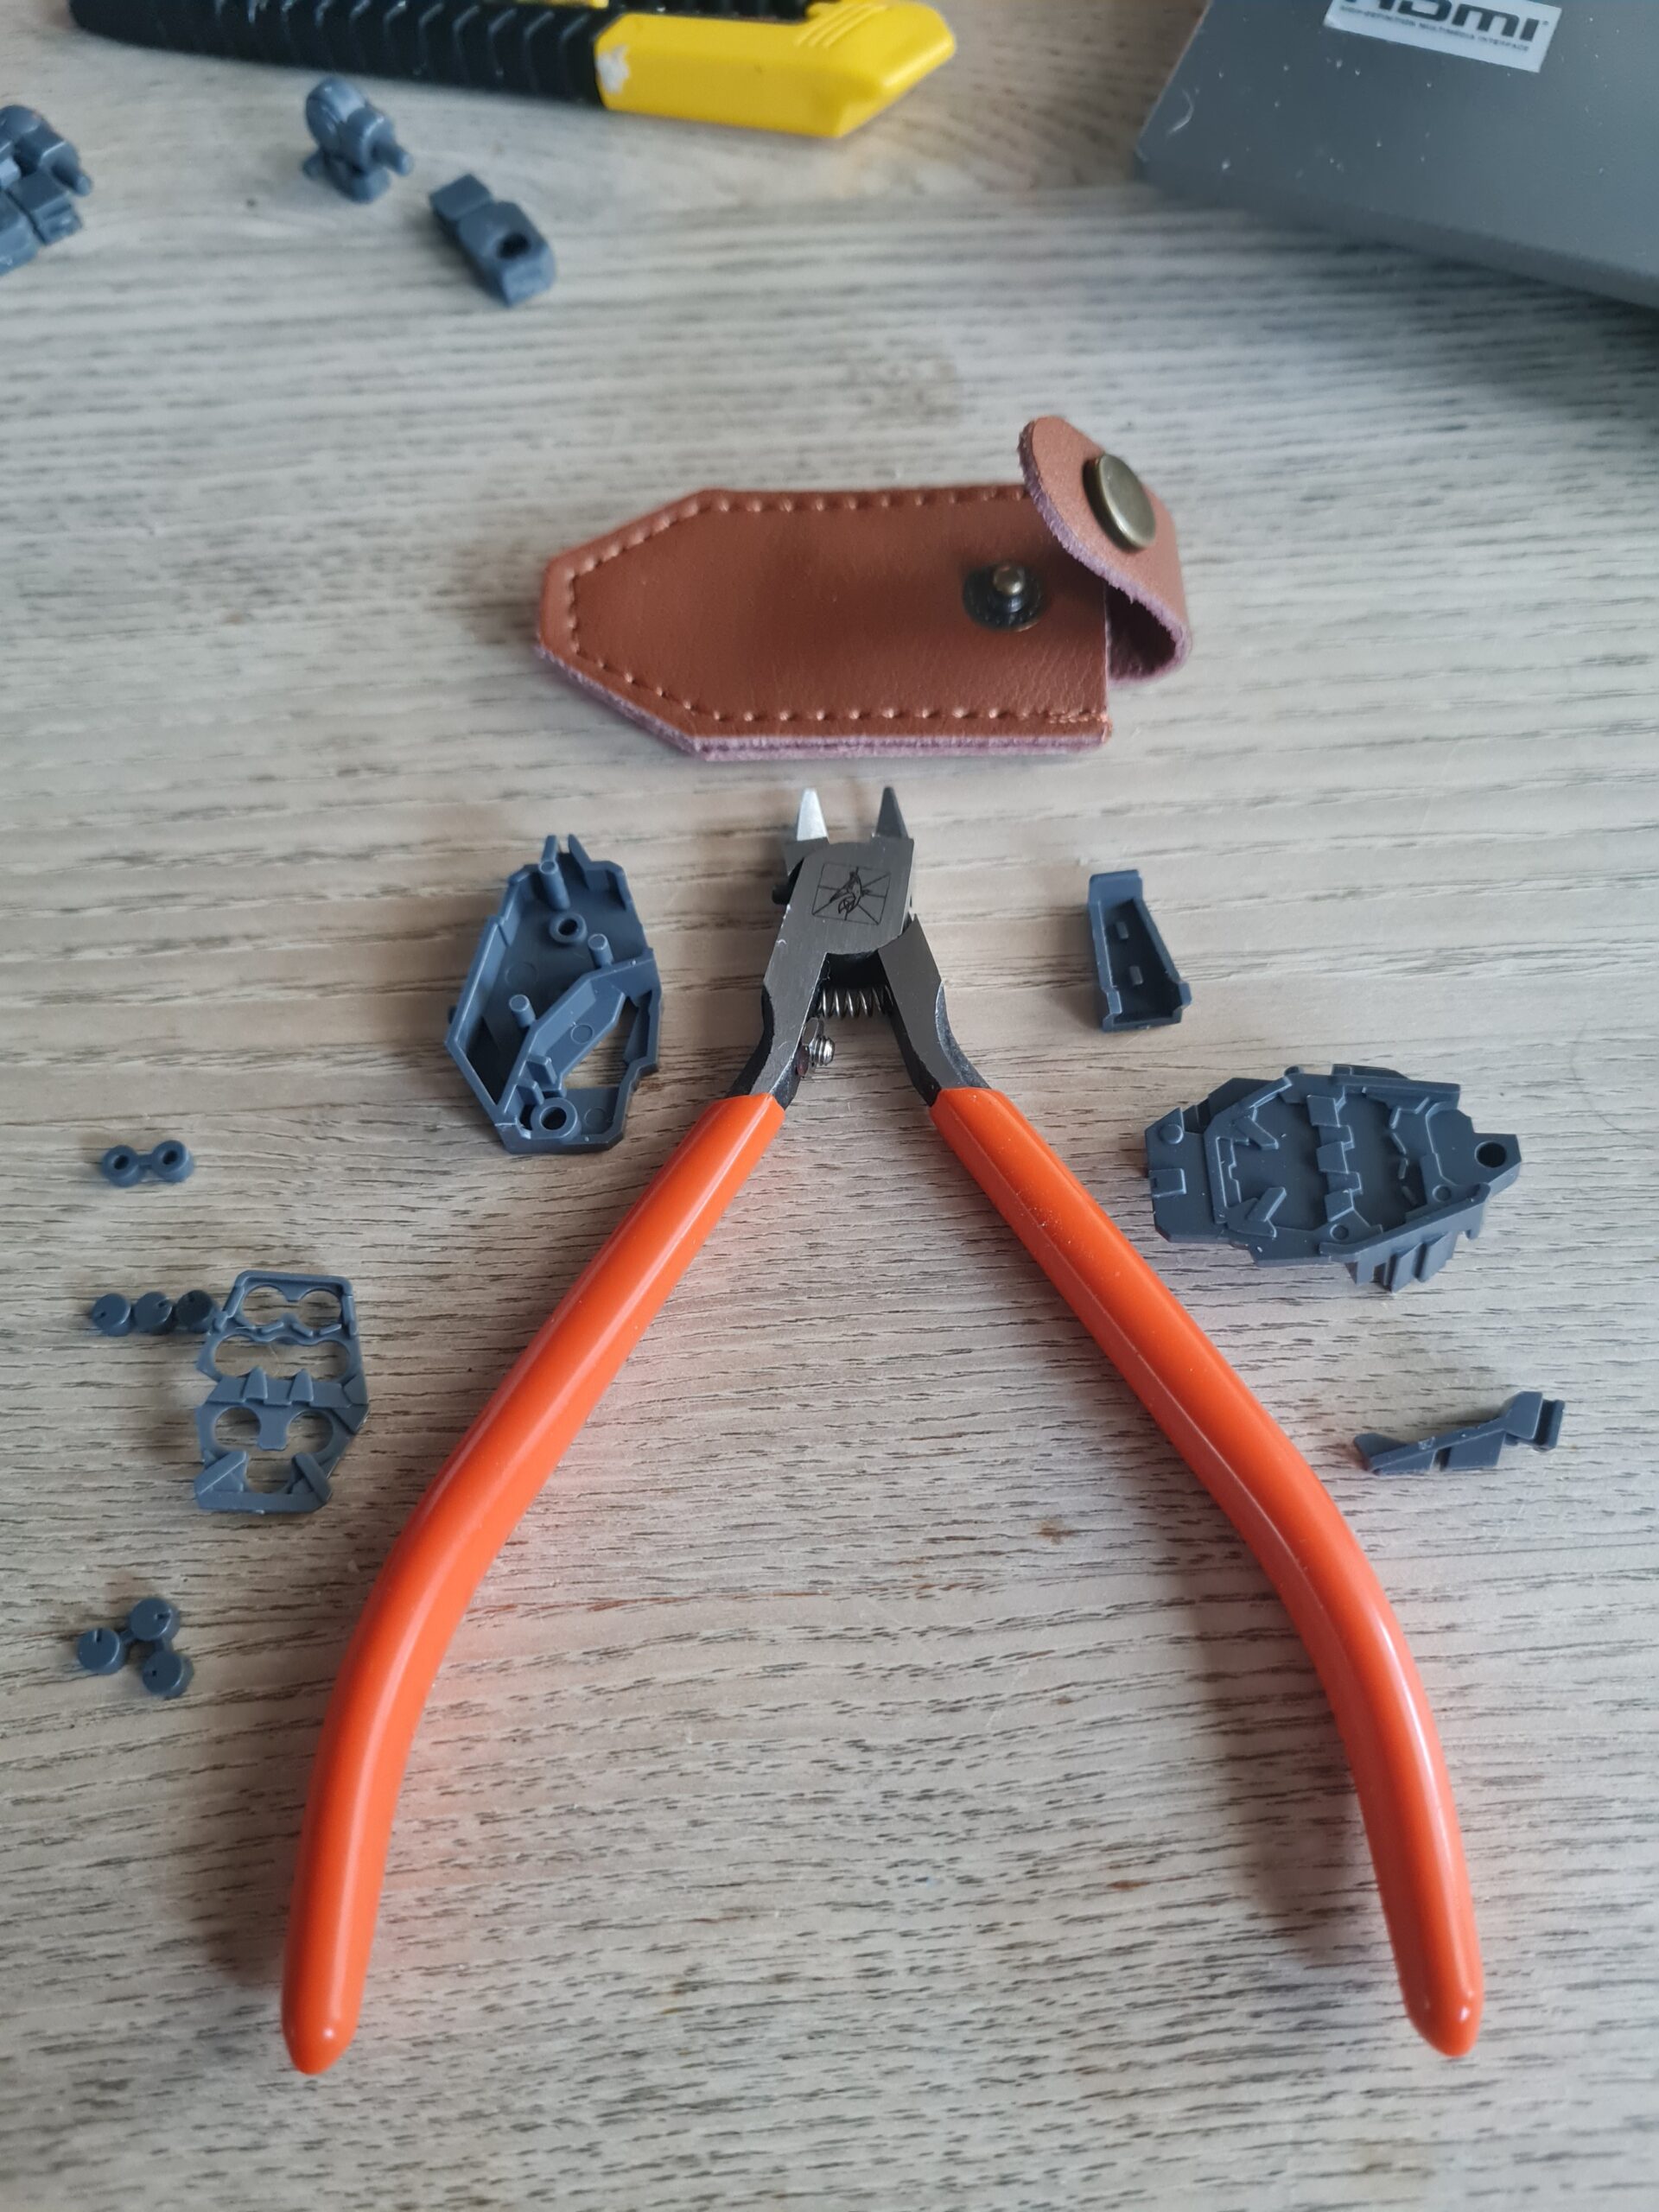
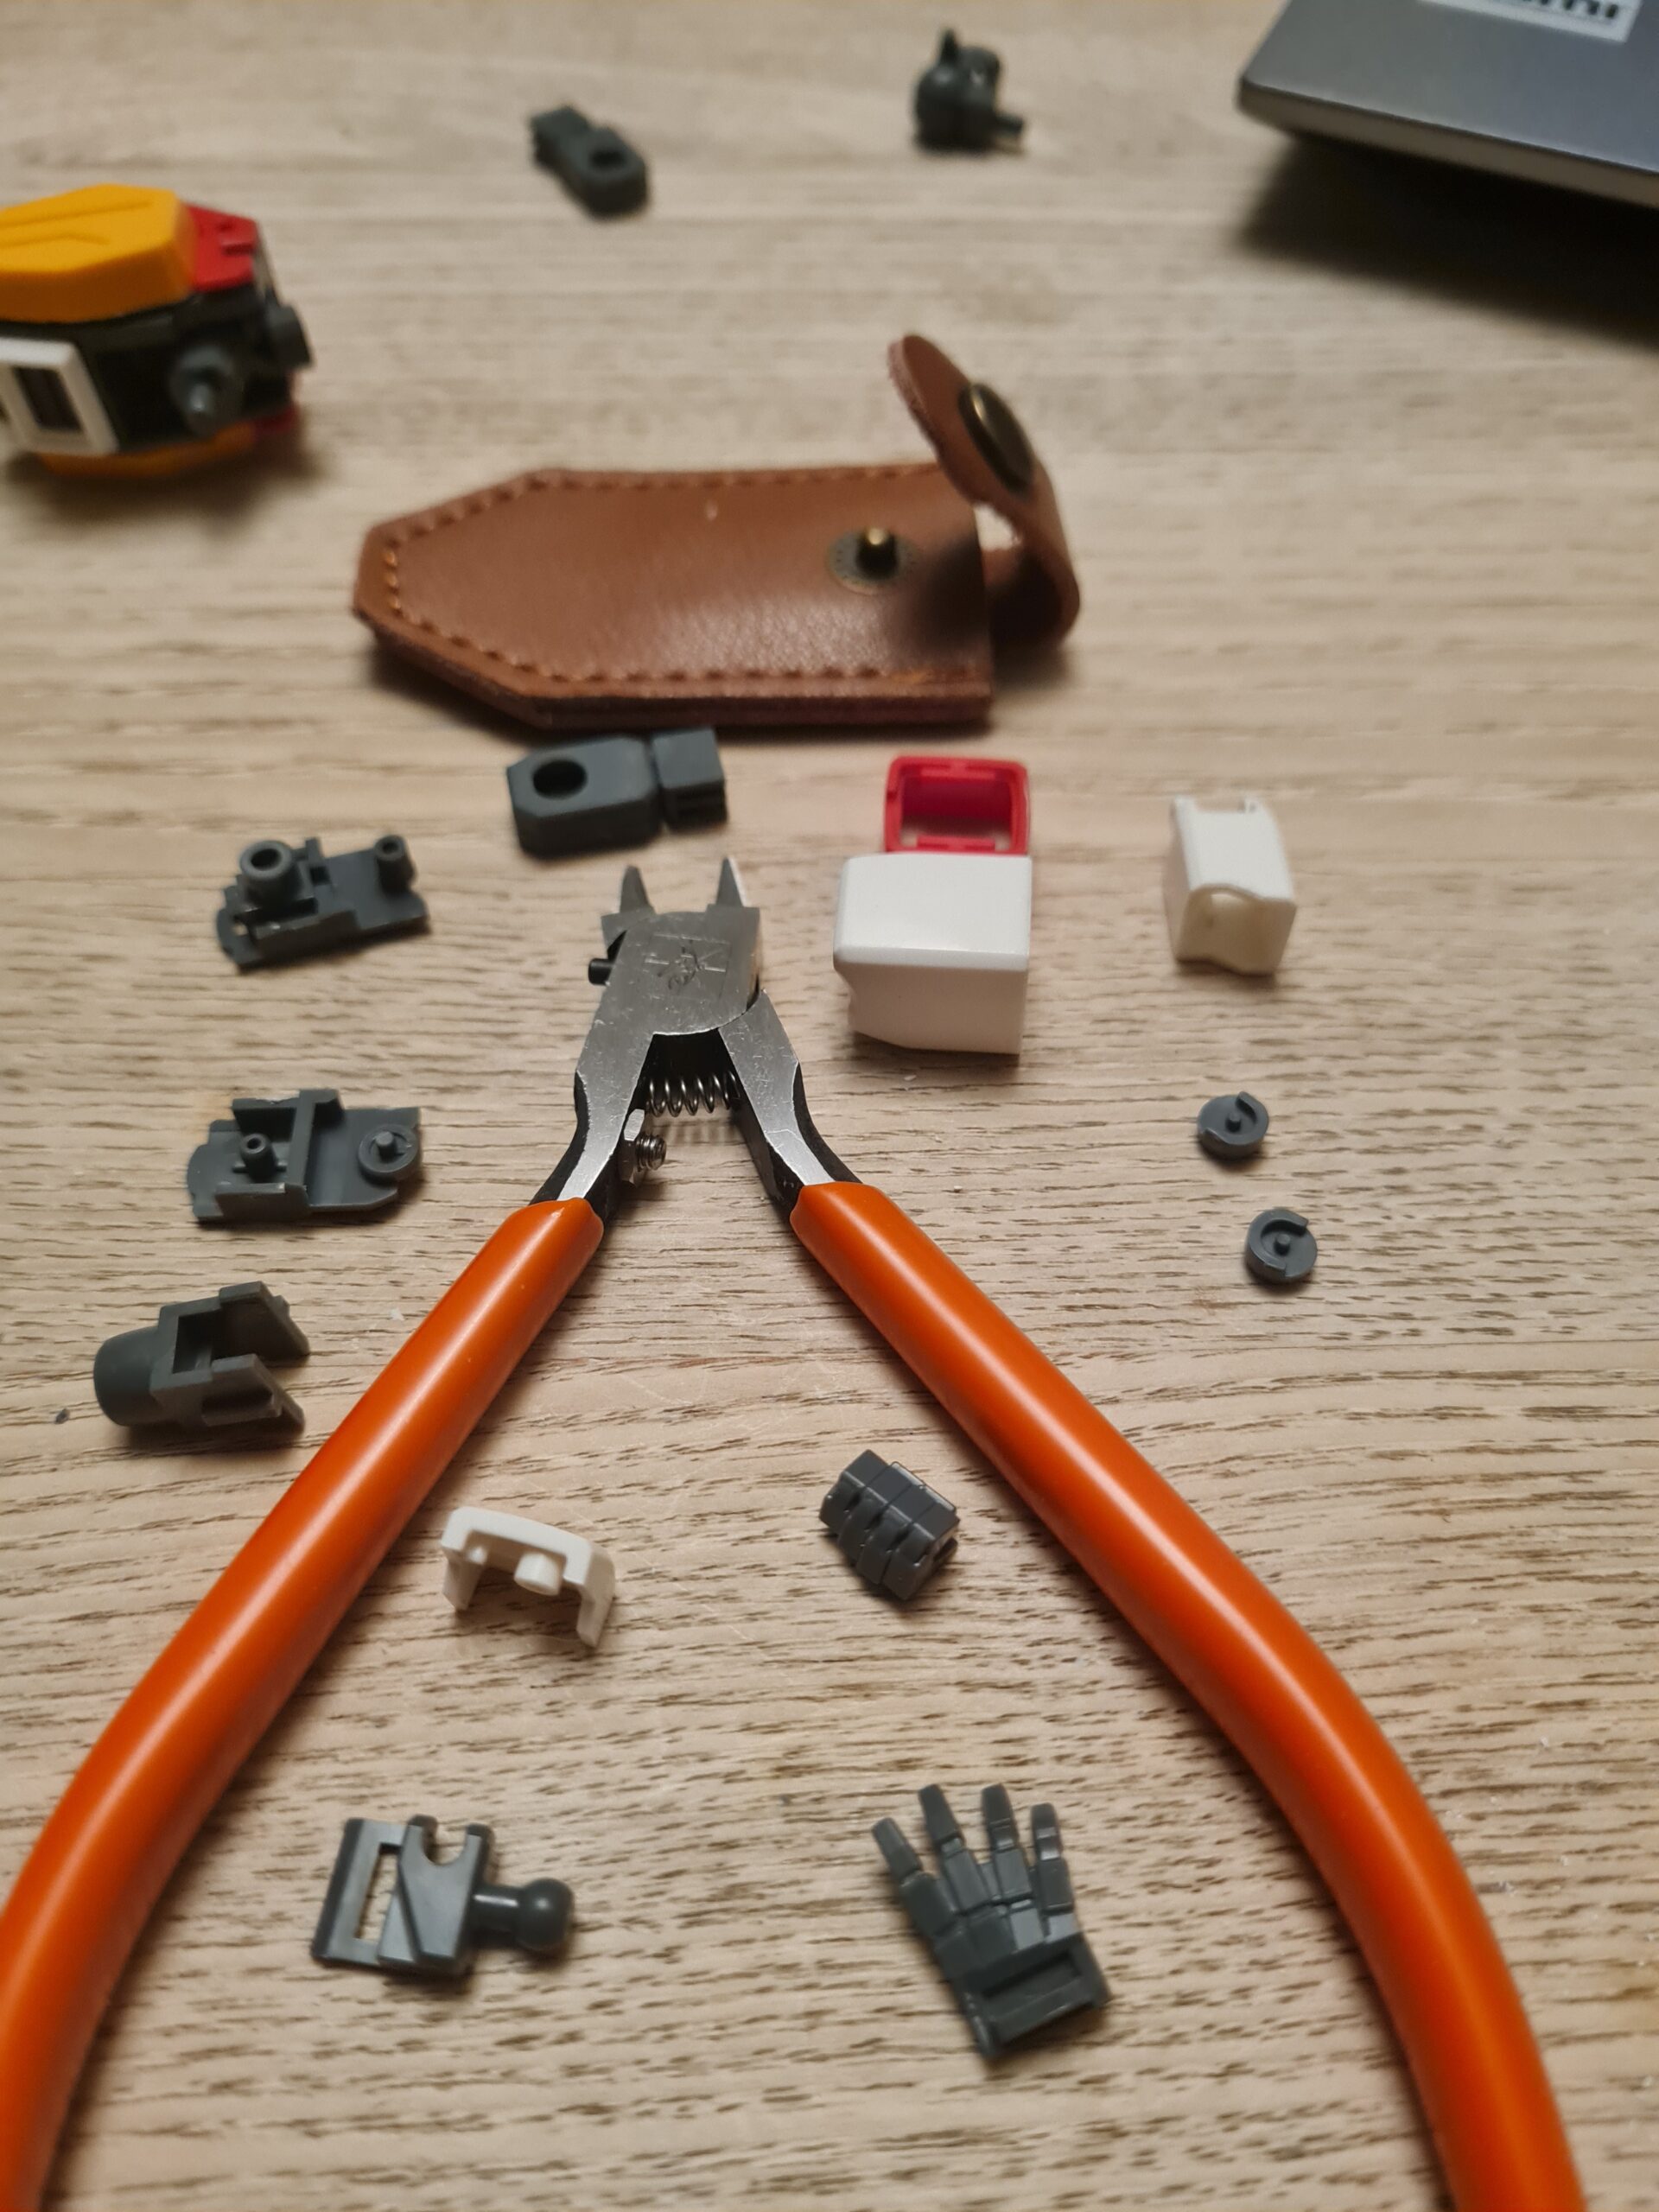
Head Parts
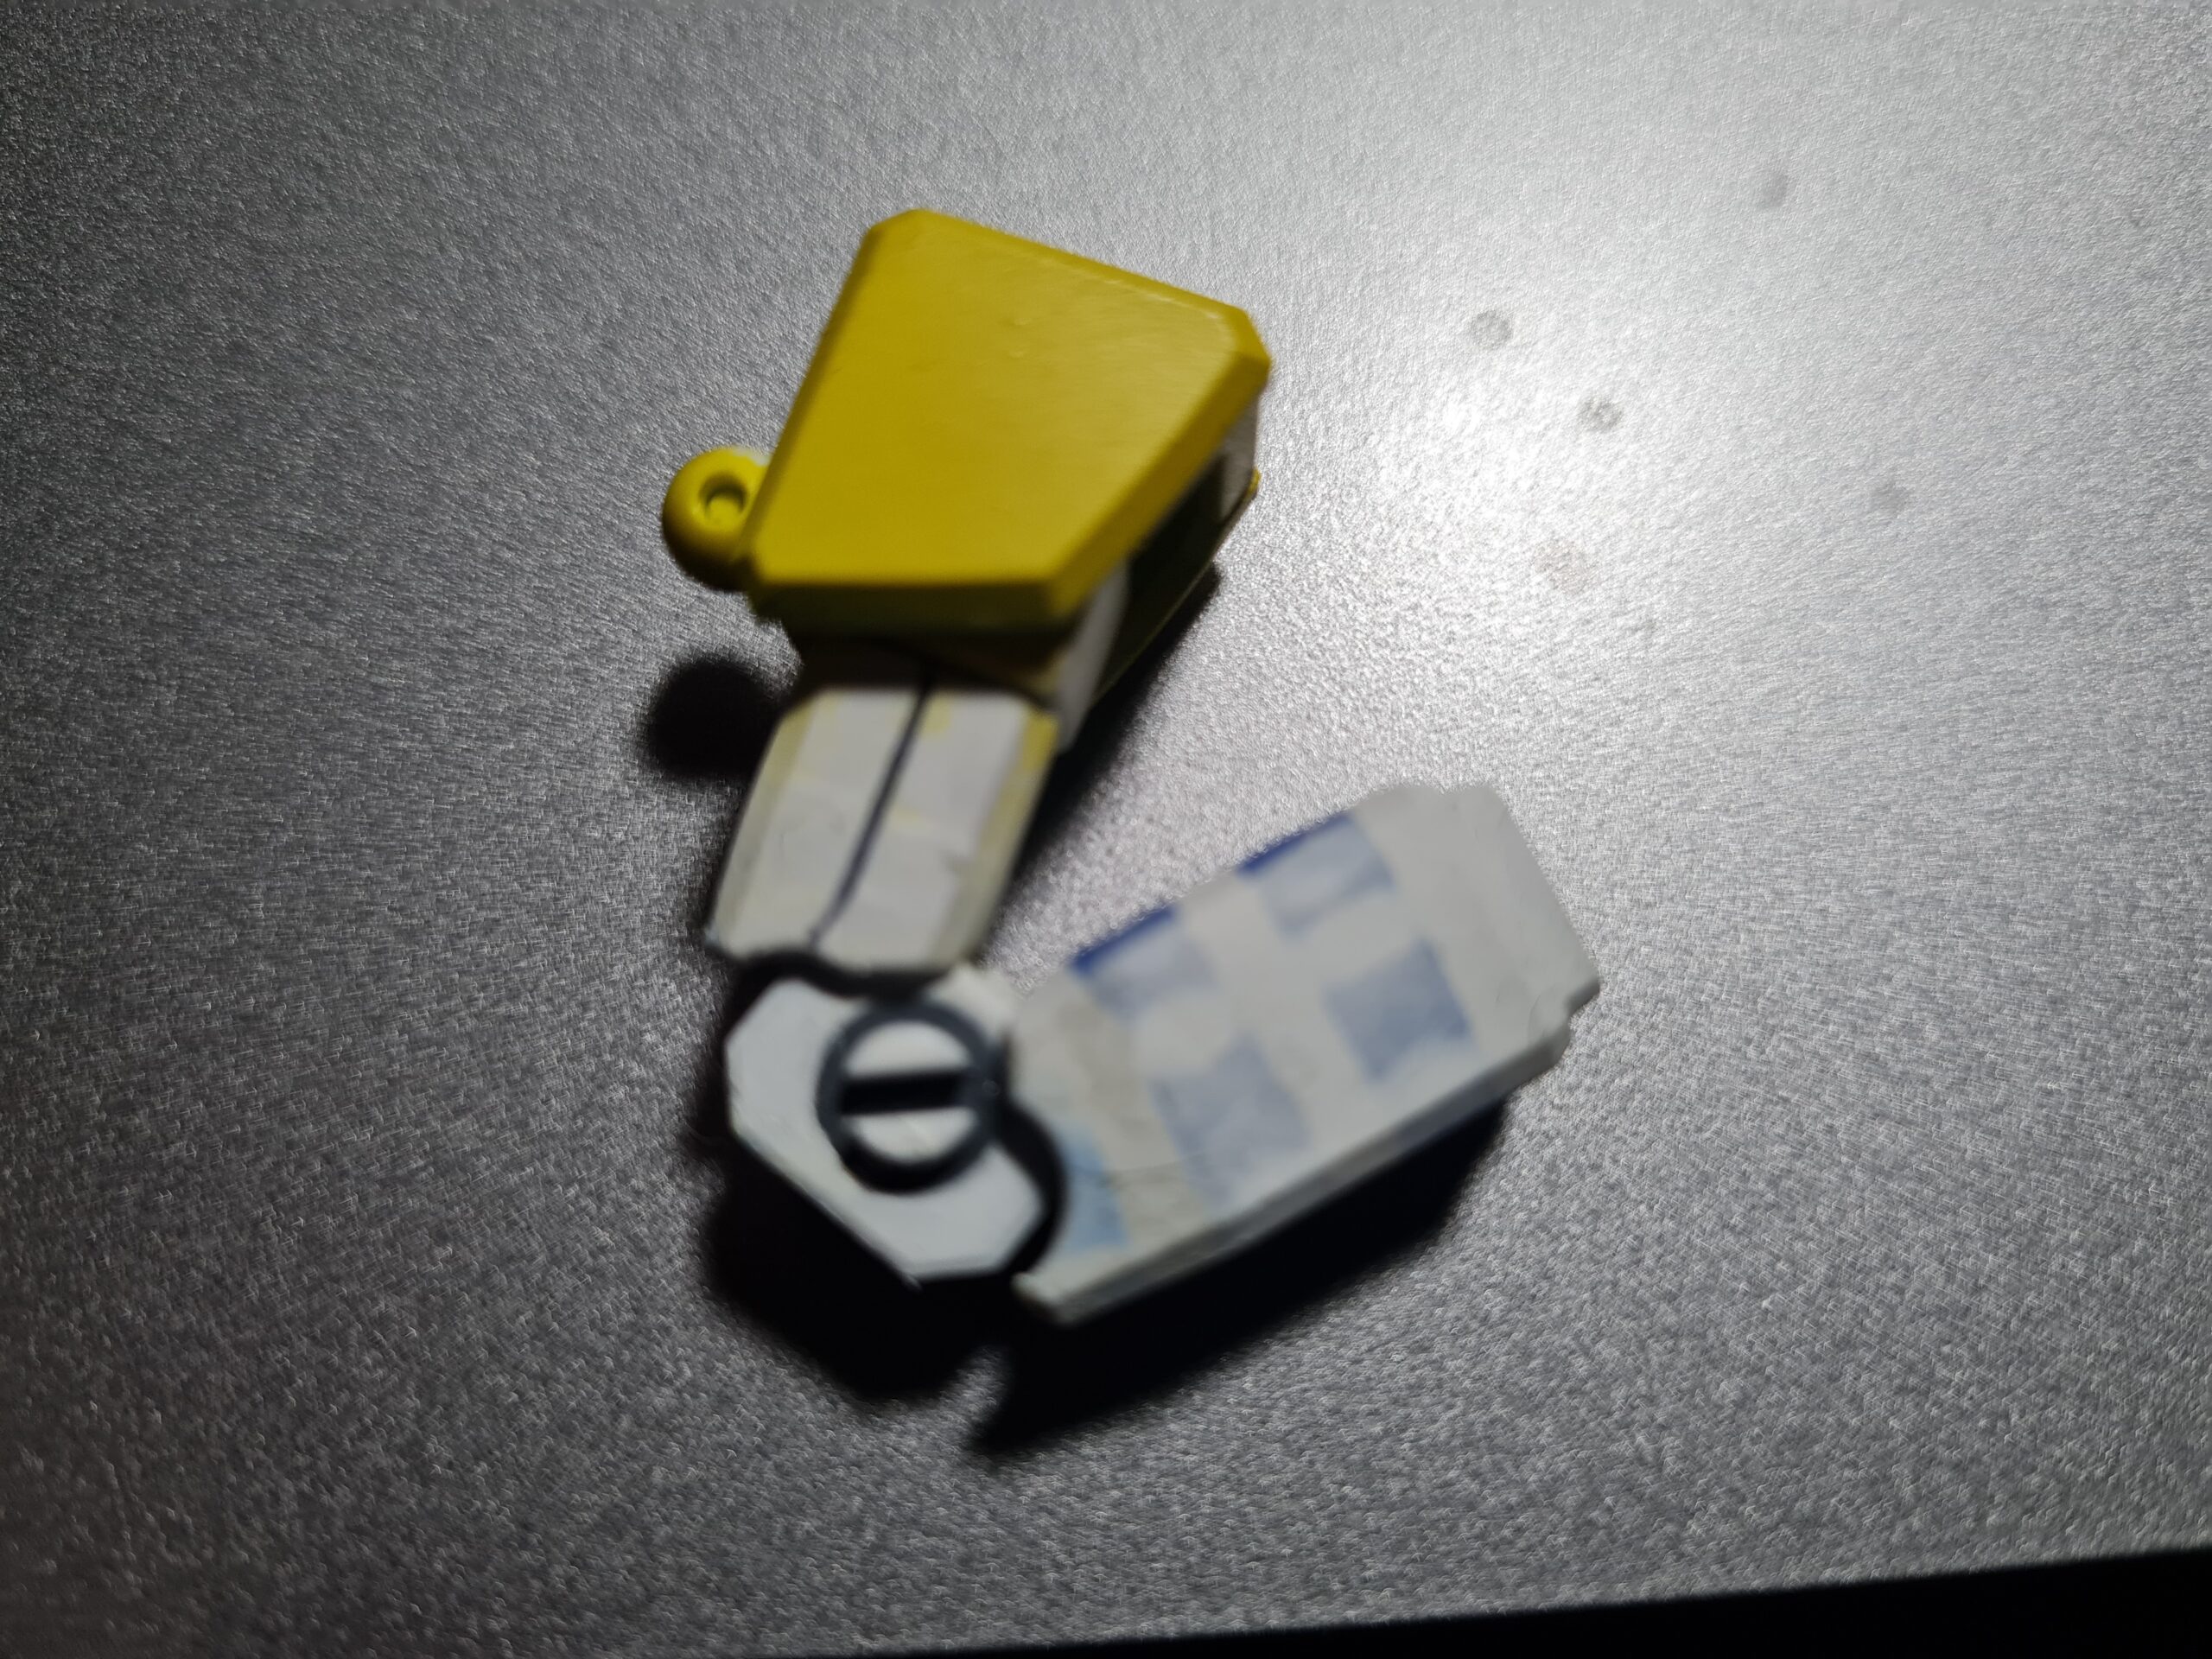
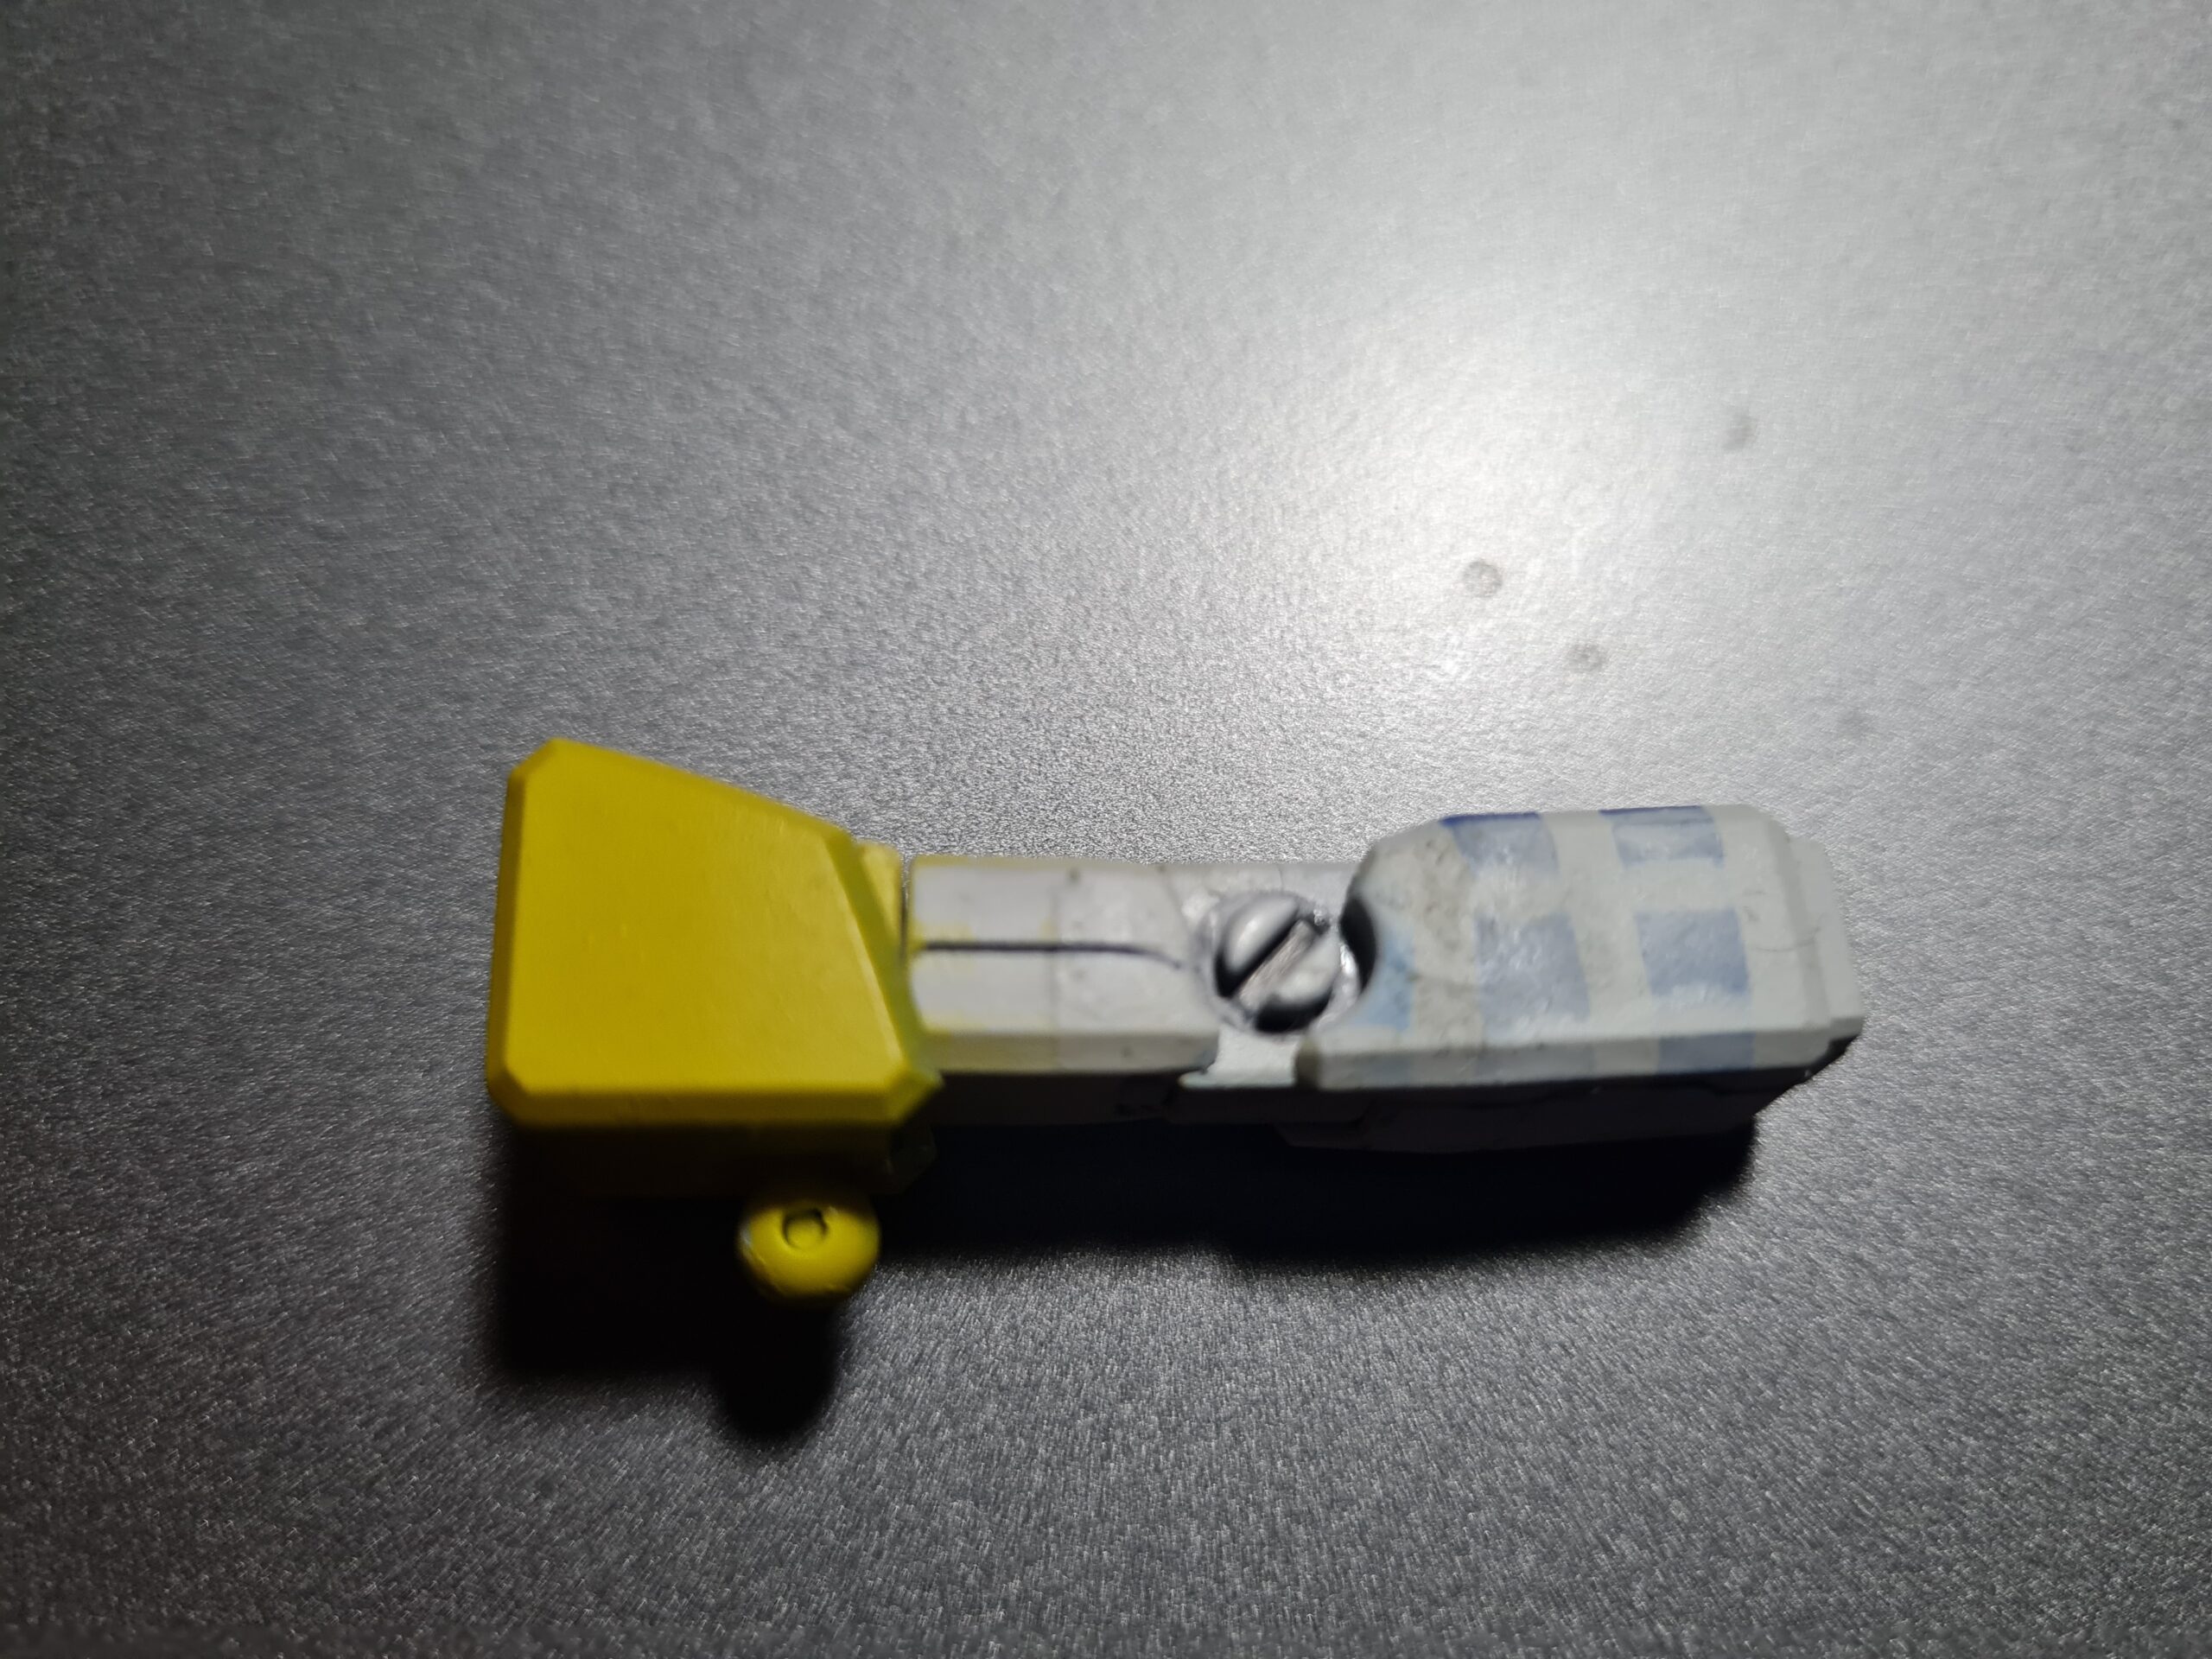
As you can see the head consists of 7 parts, two of which are quite small indeed. To be fair, it does also have some stickers to go on it. However, I feel I’m going to forgo the stickers in favour of painting some of the bits to give is a slicker finish.
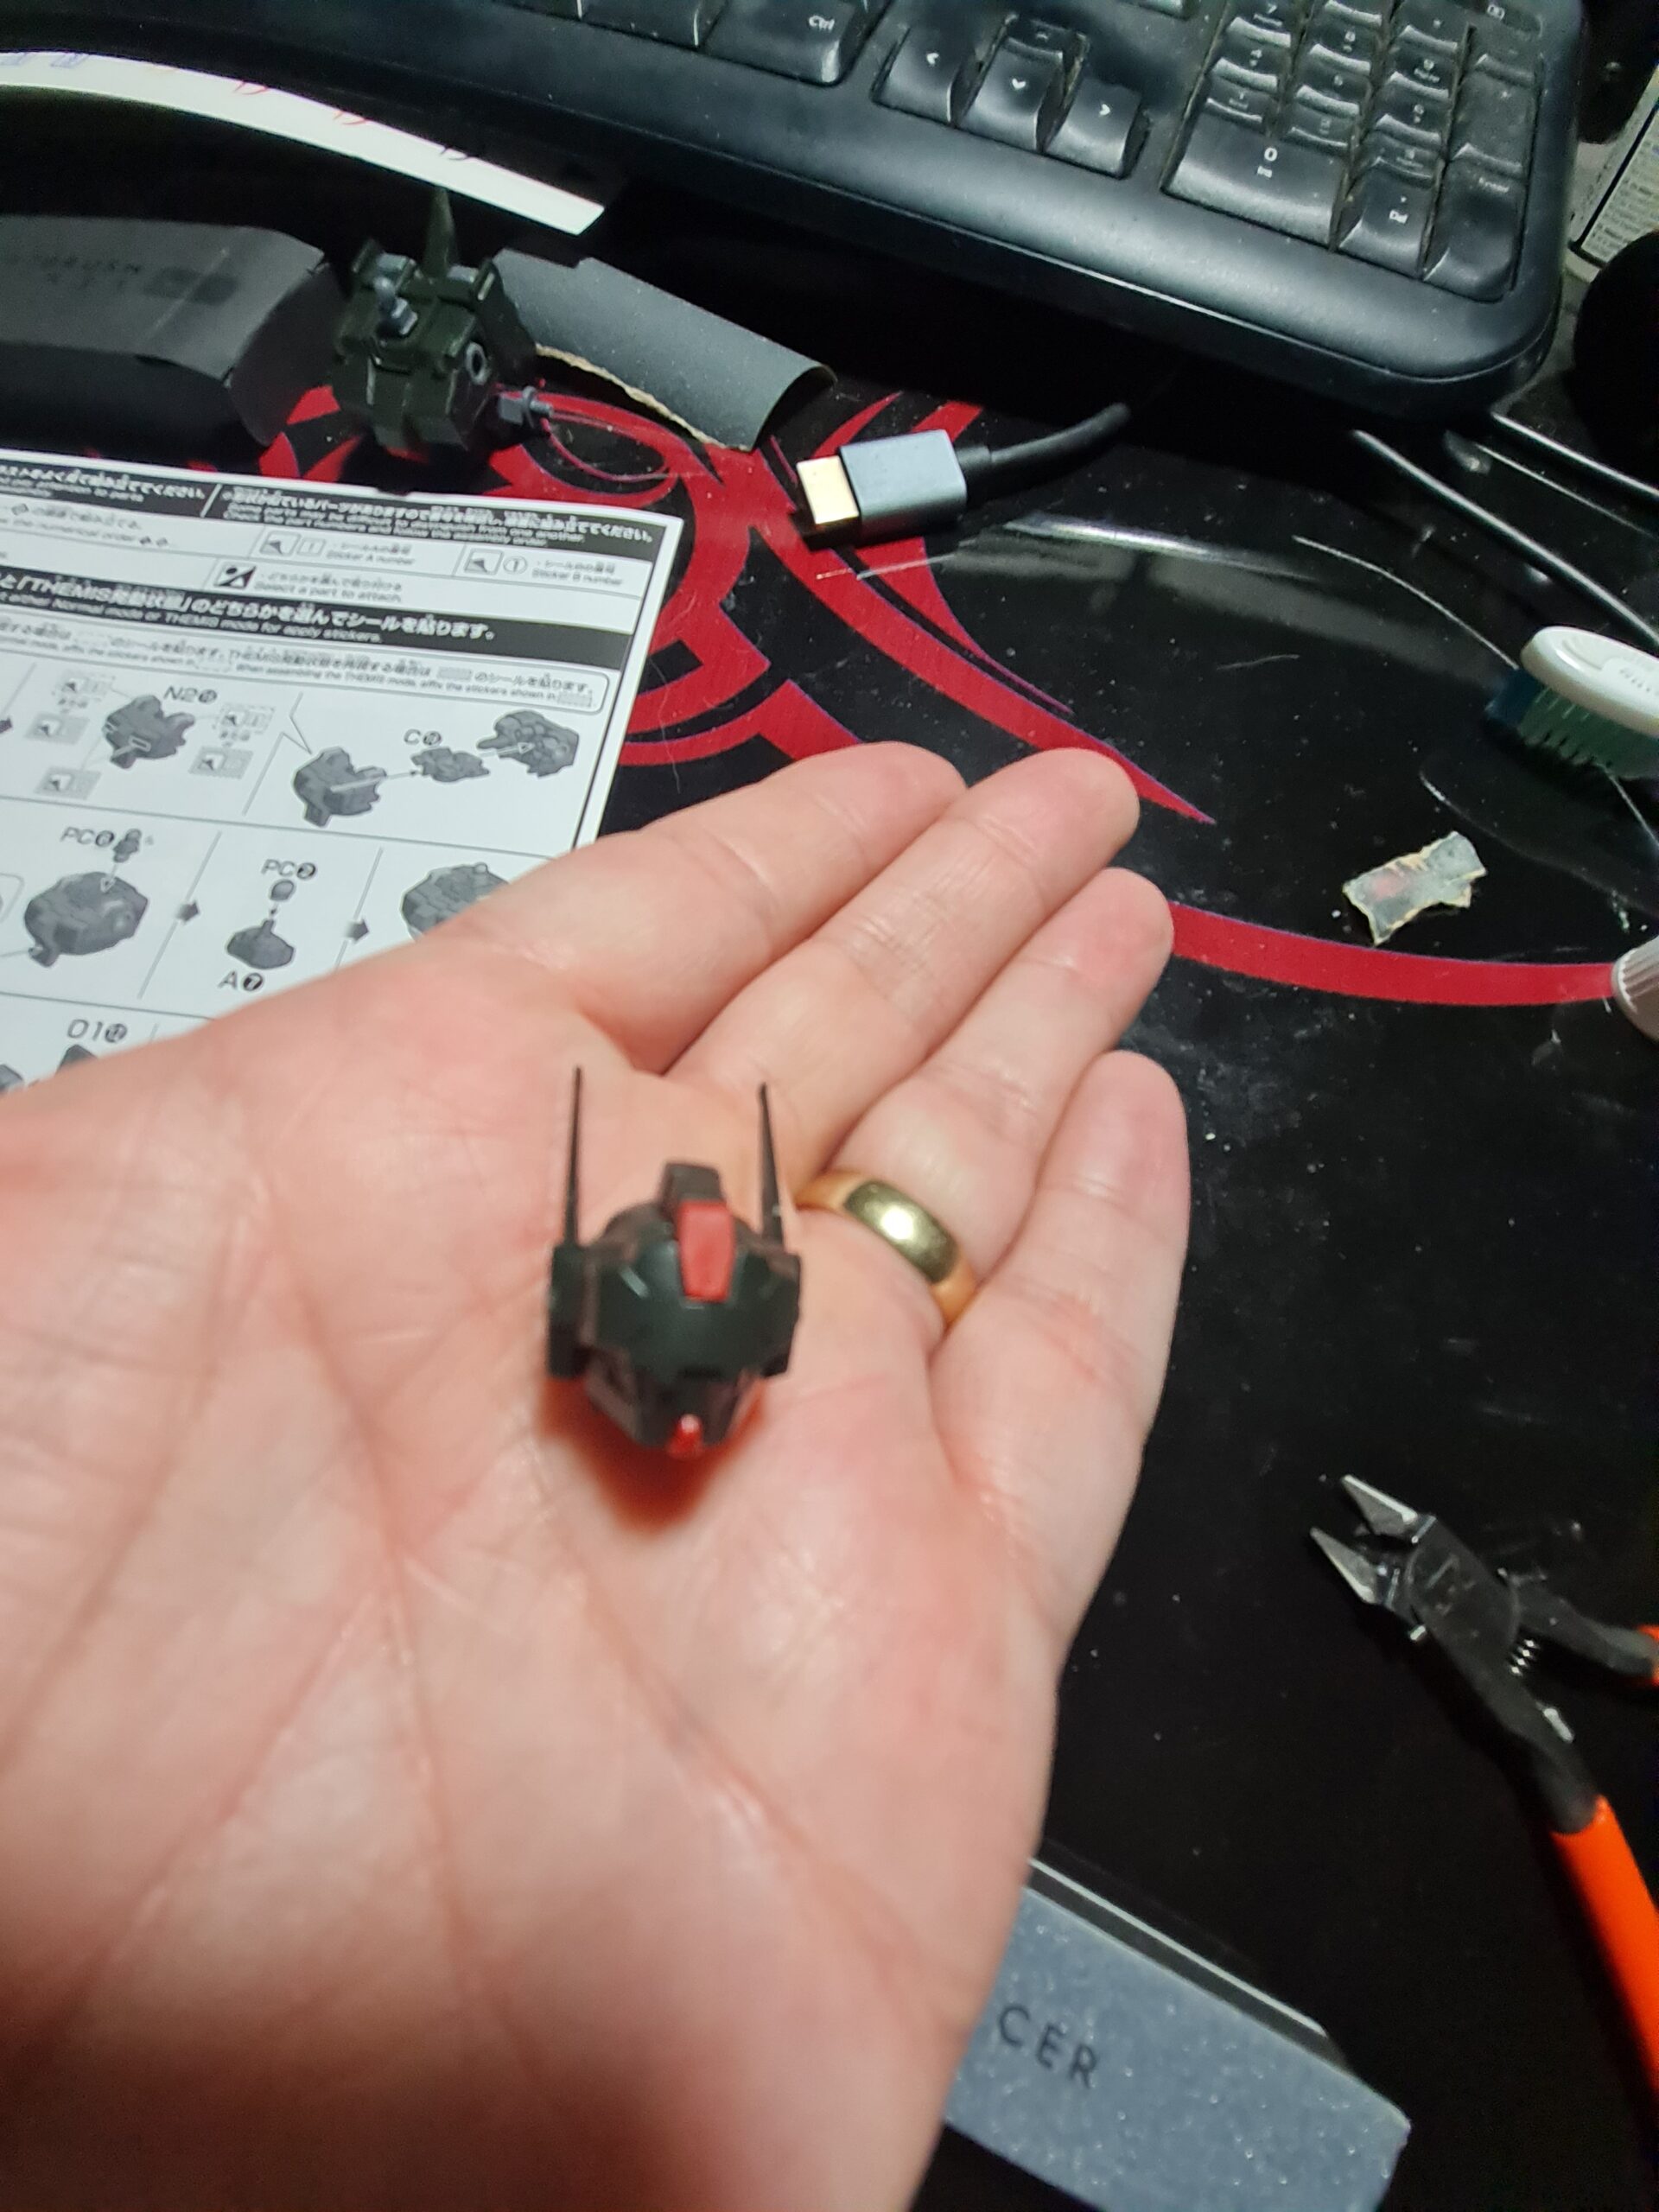
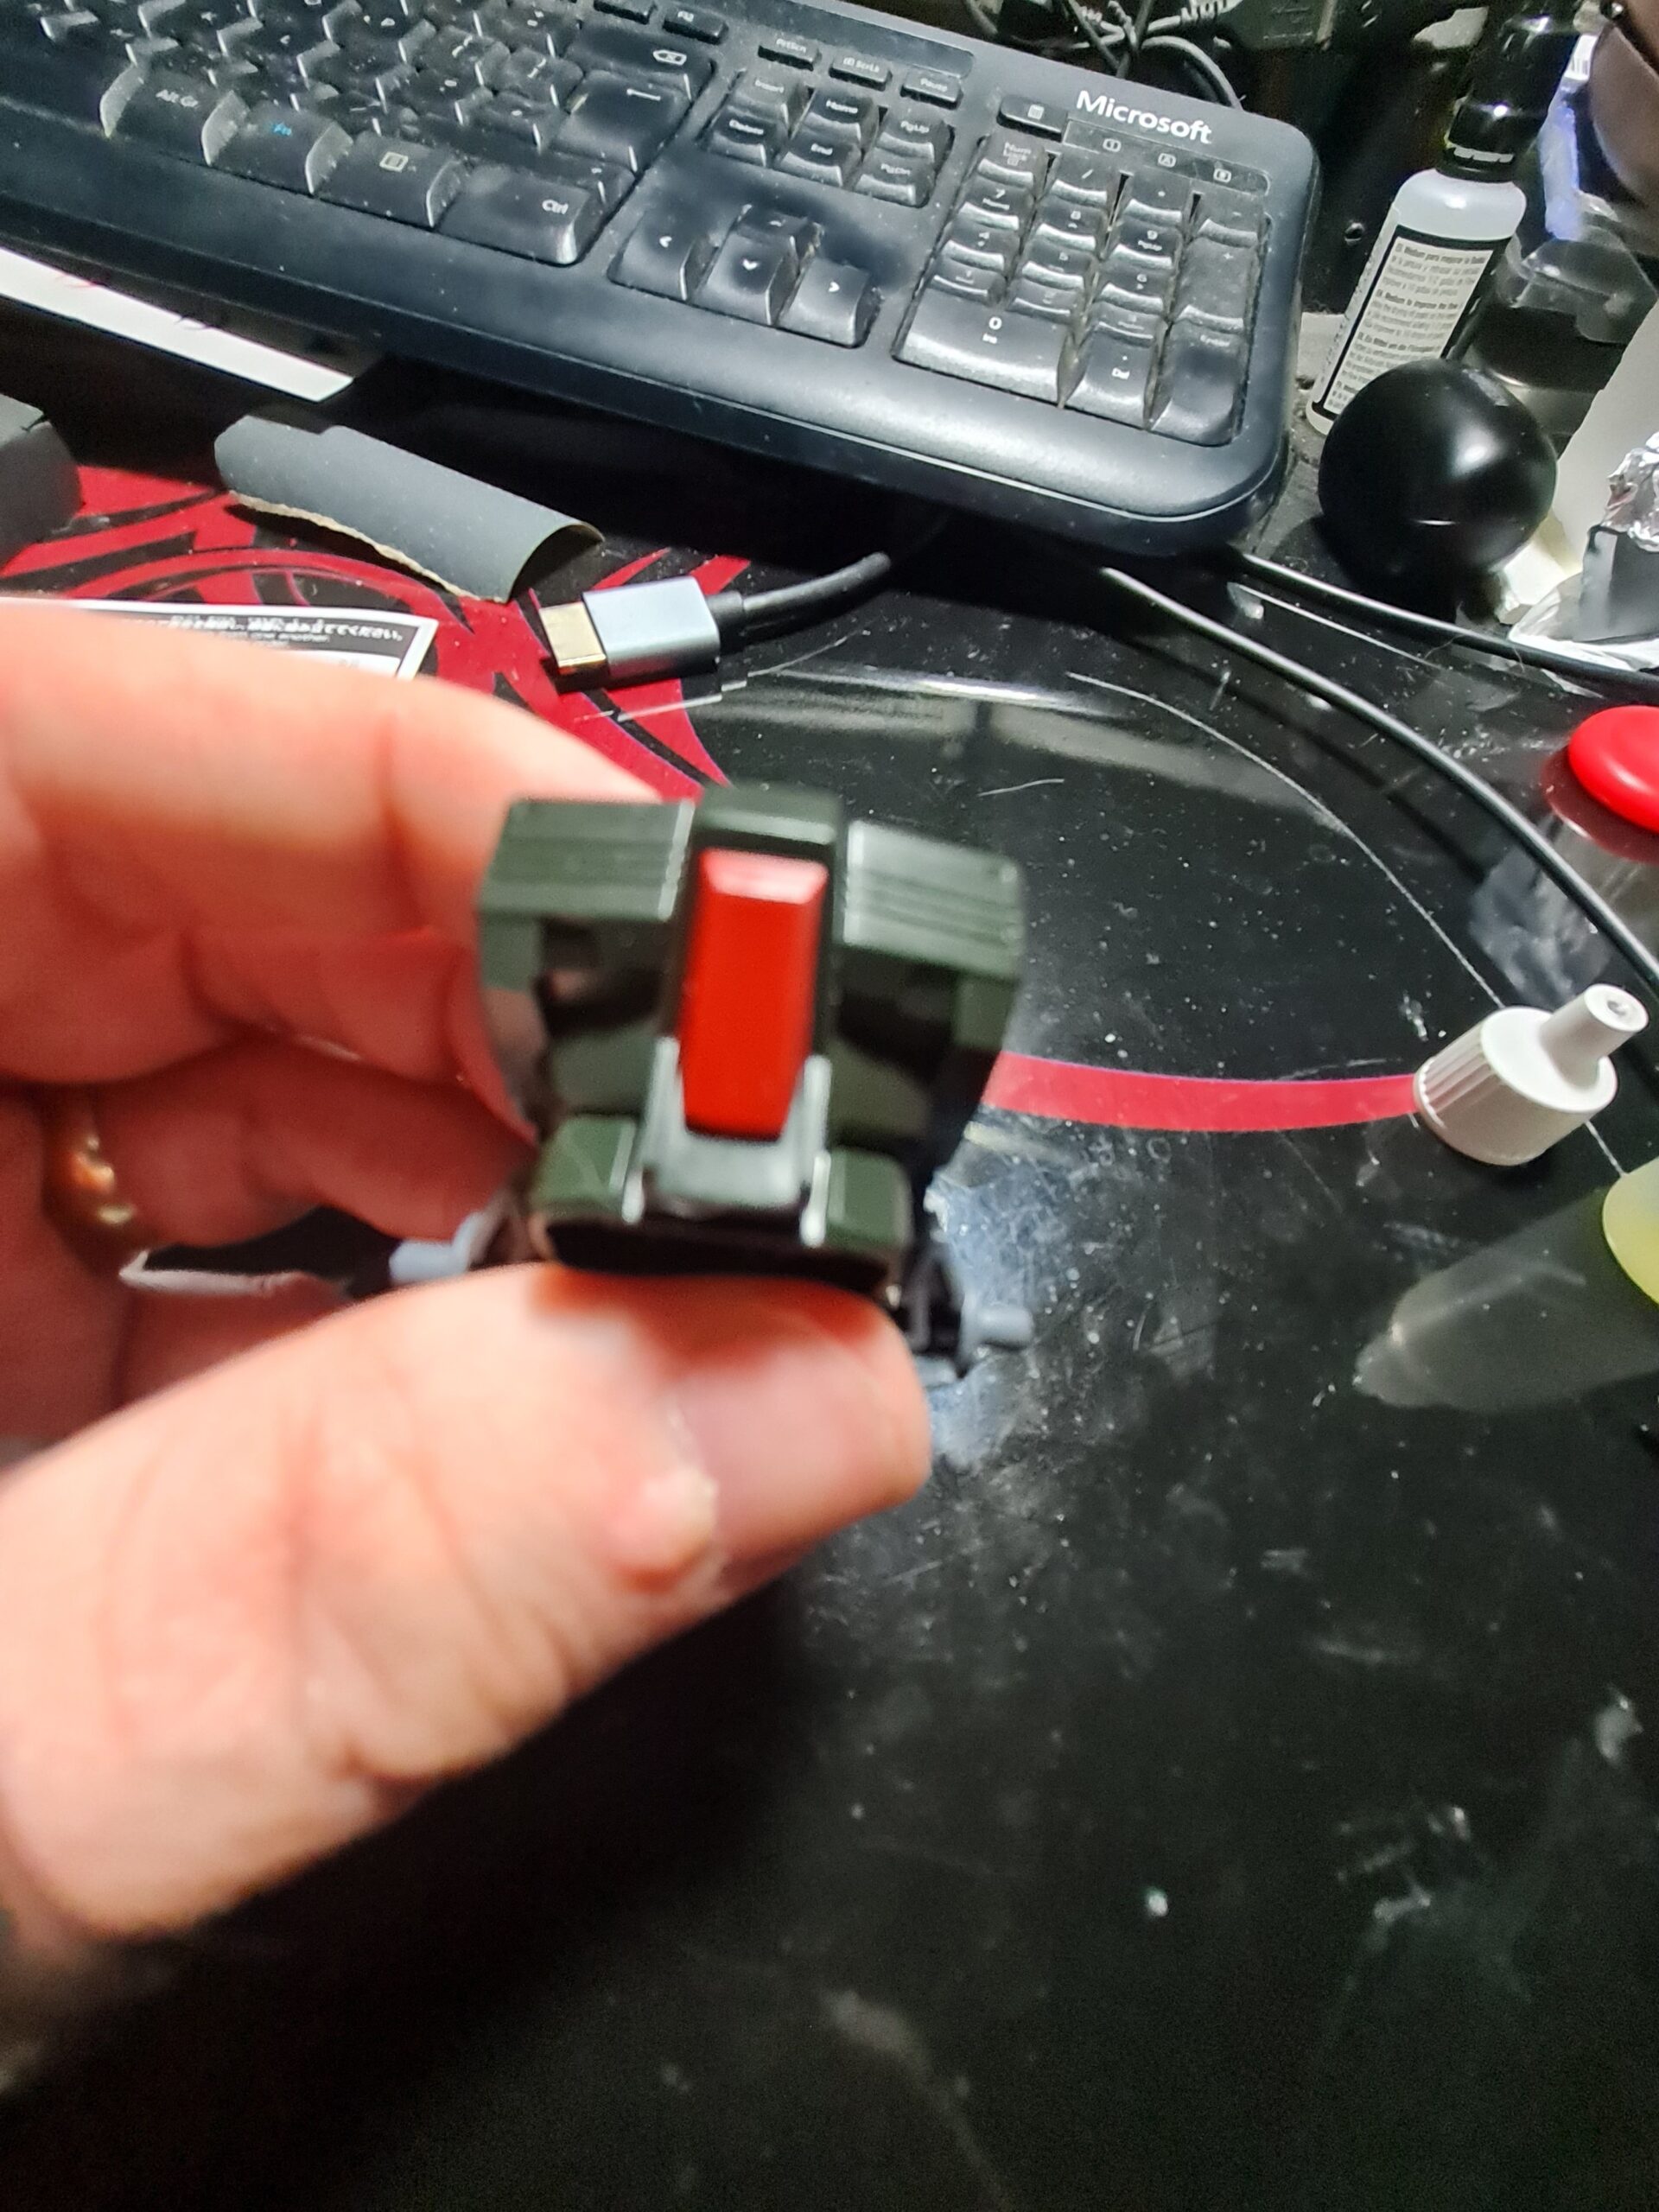
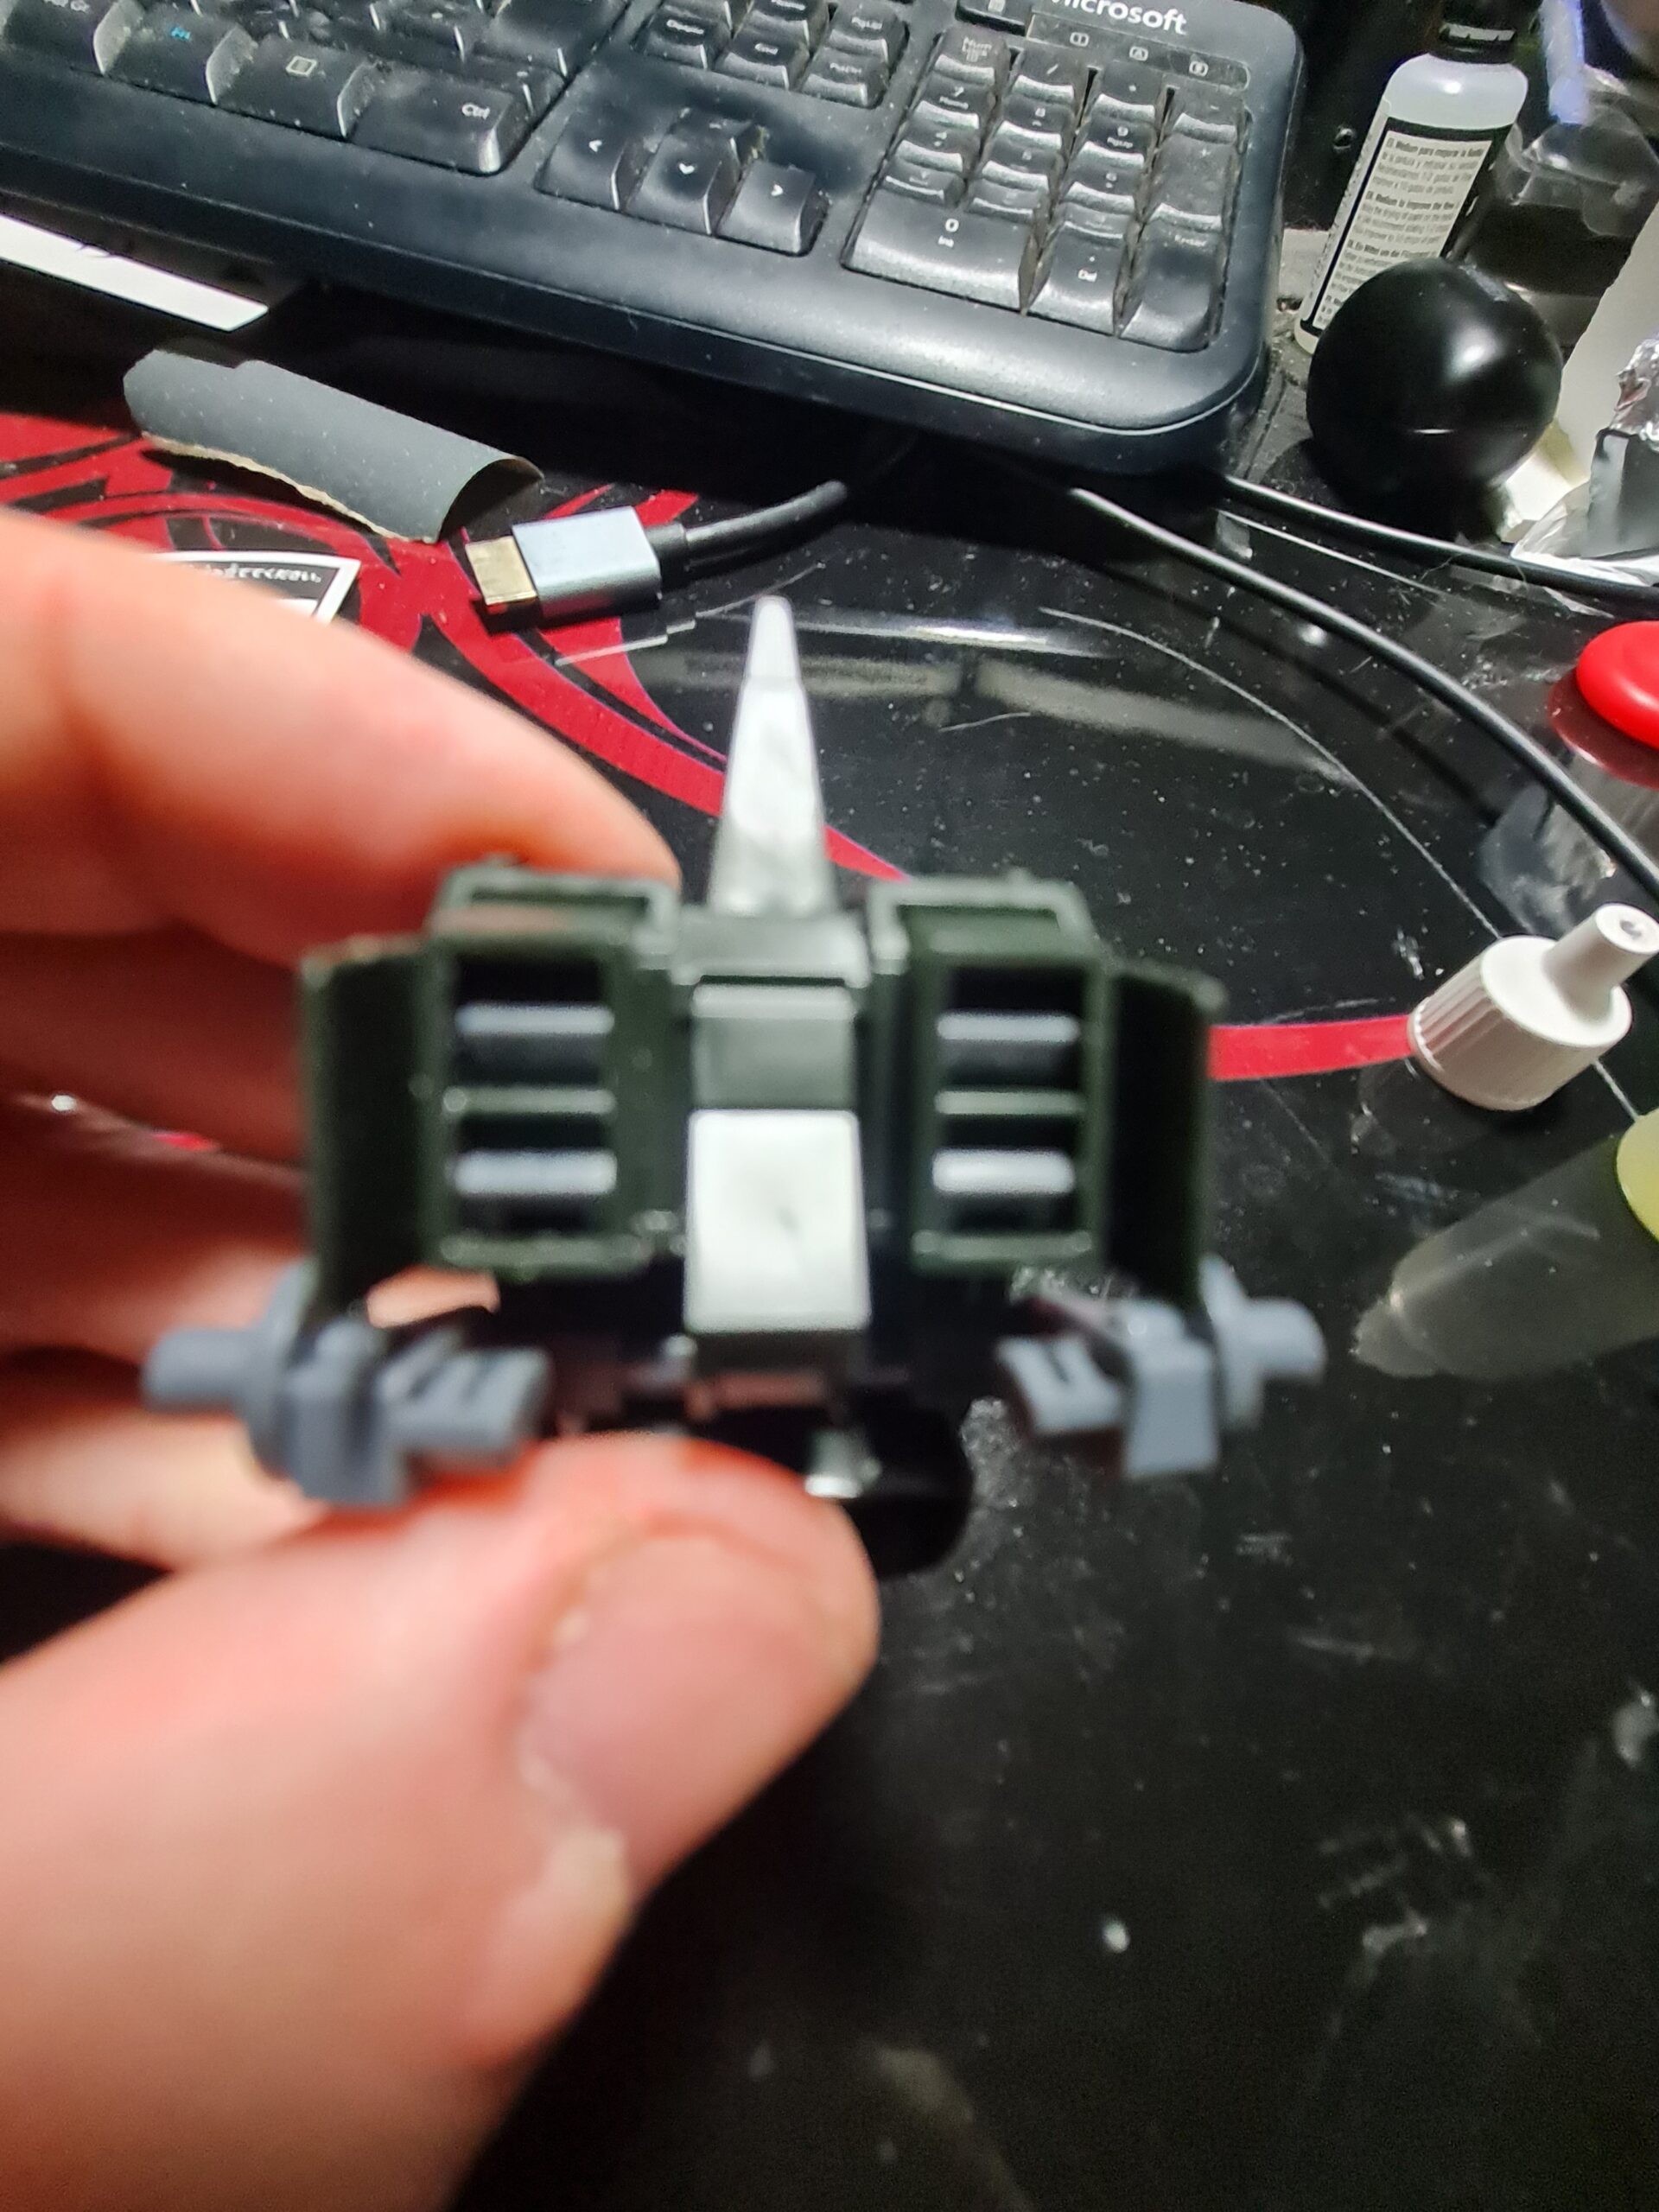
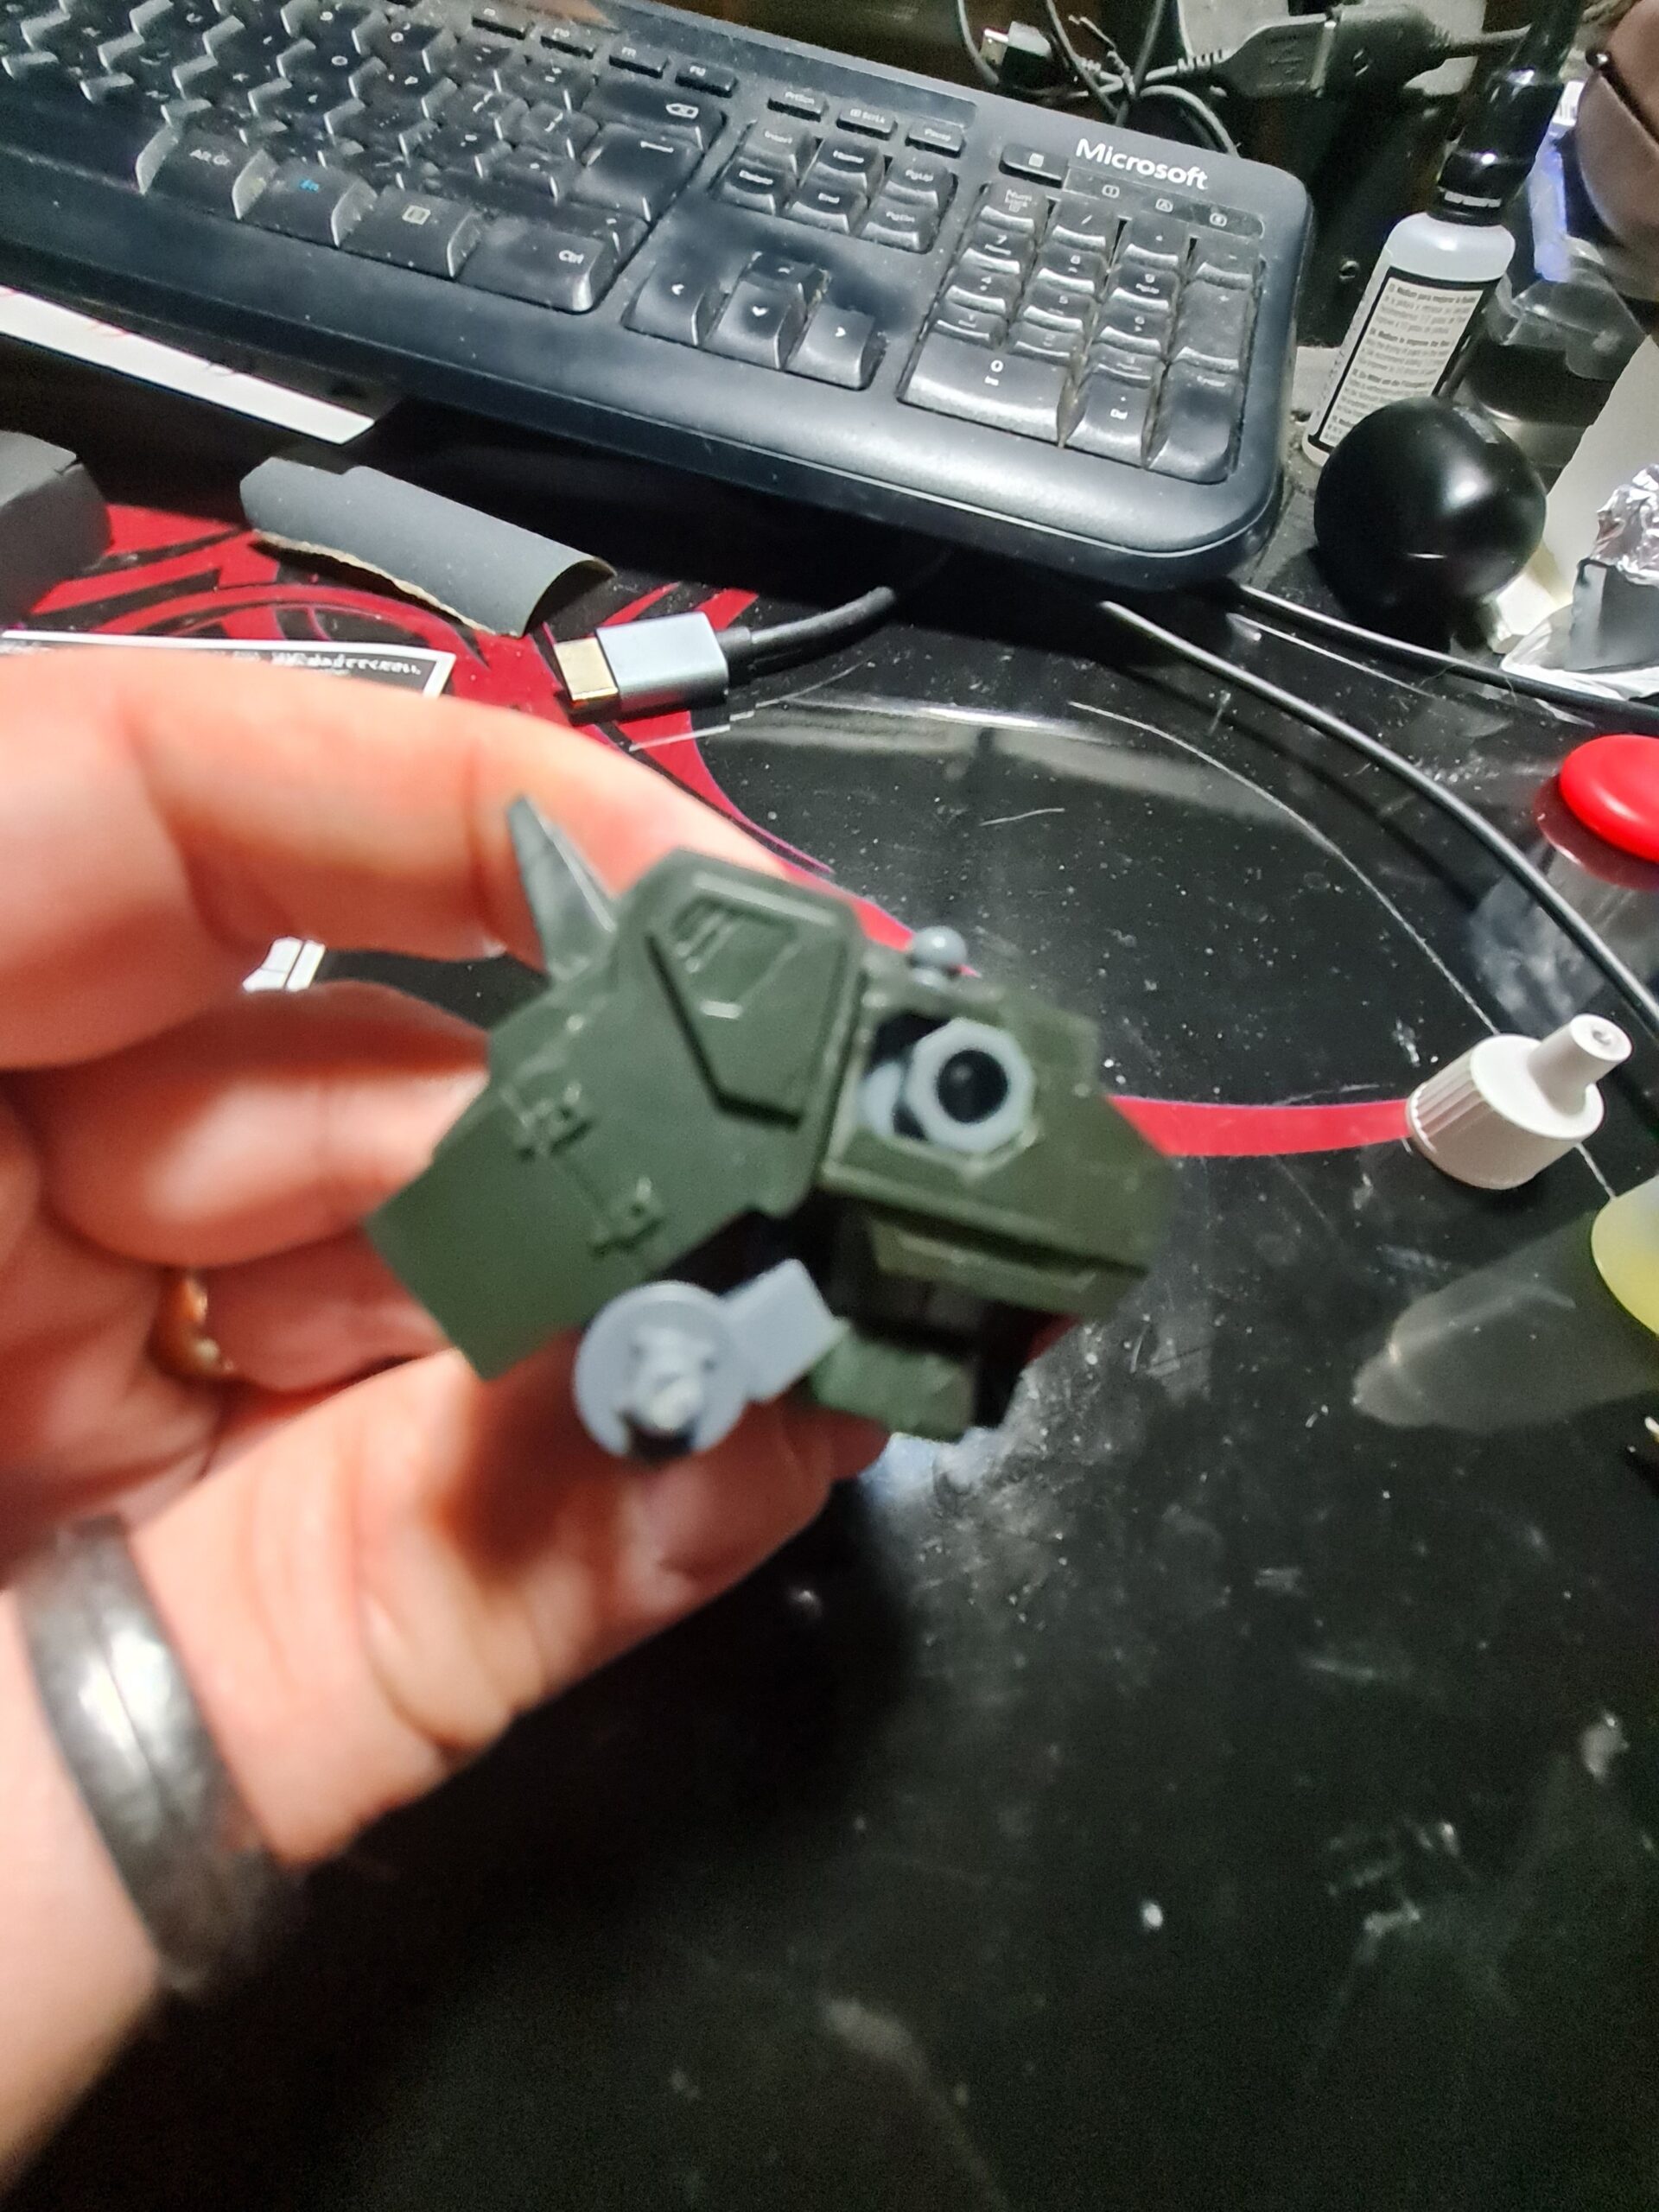
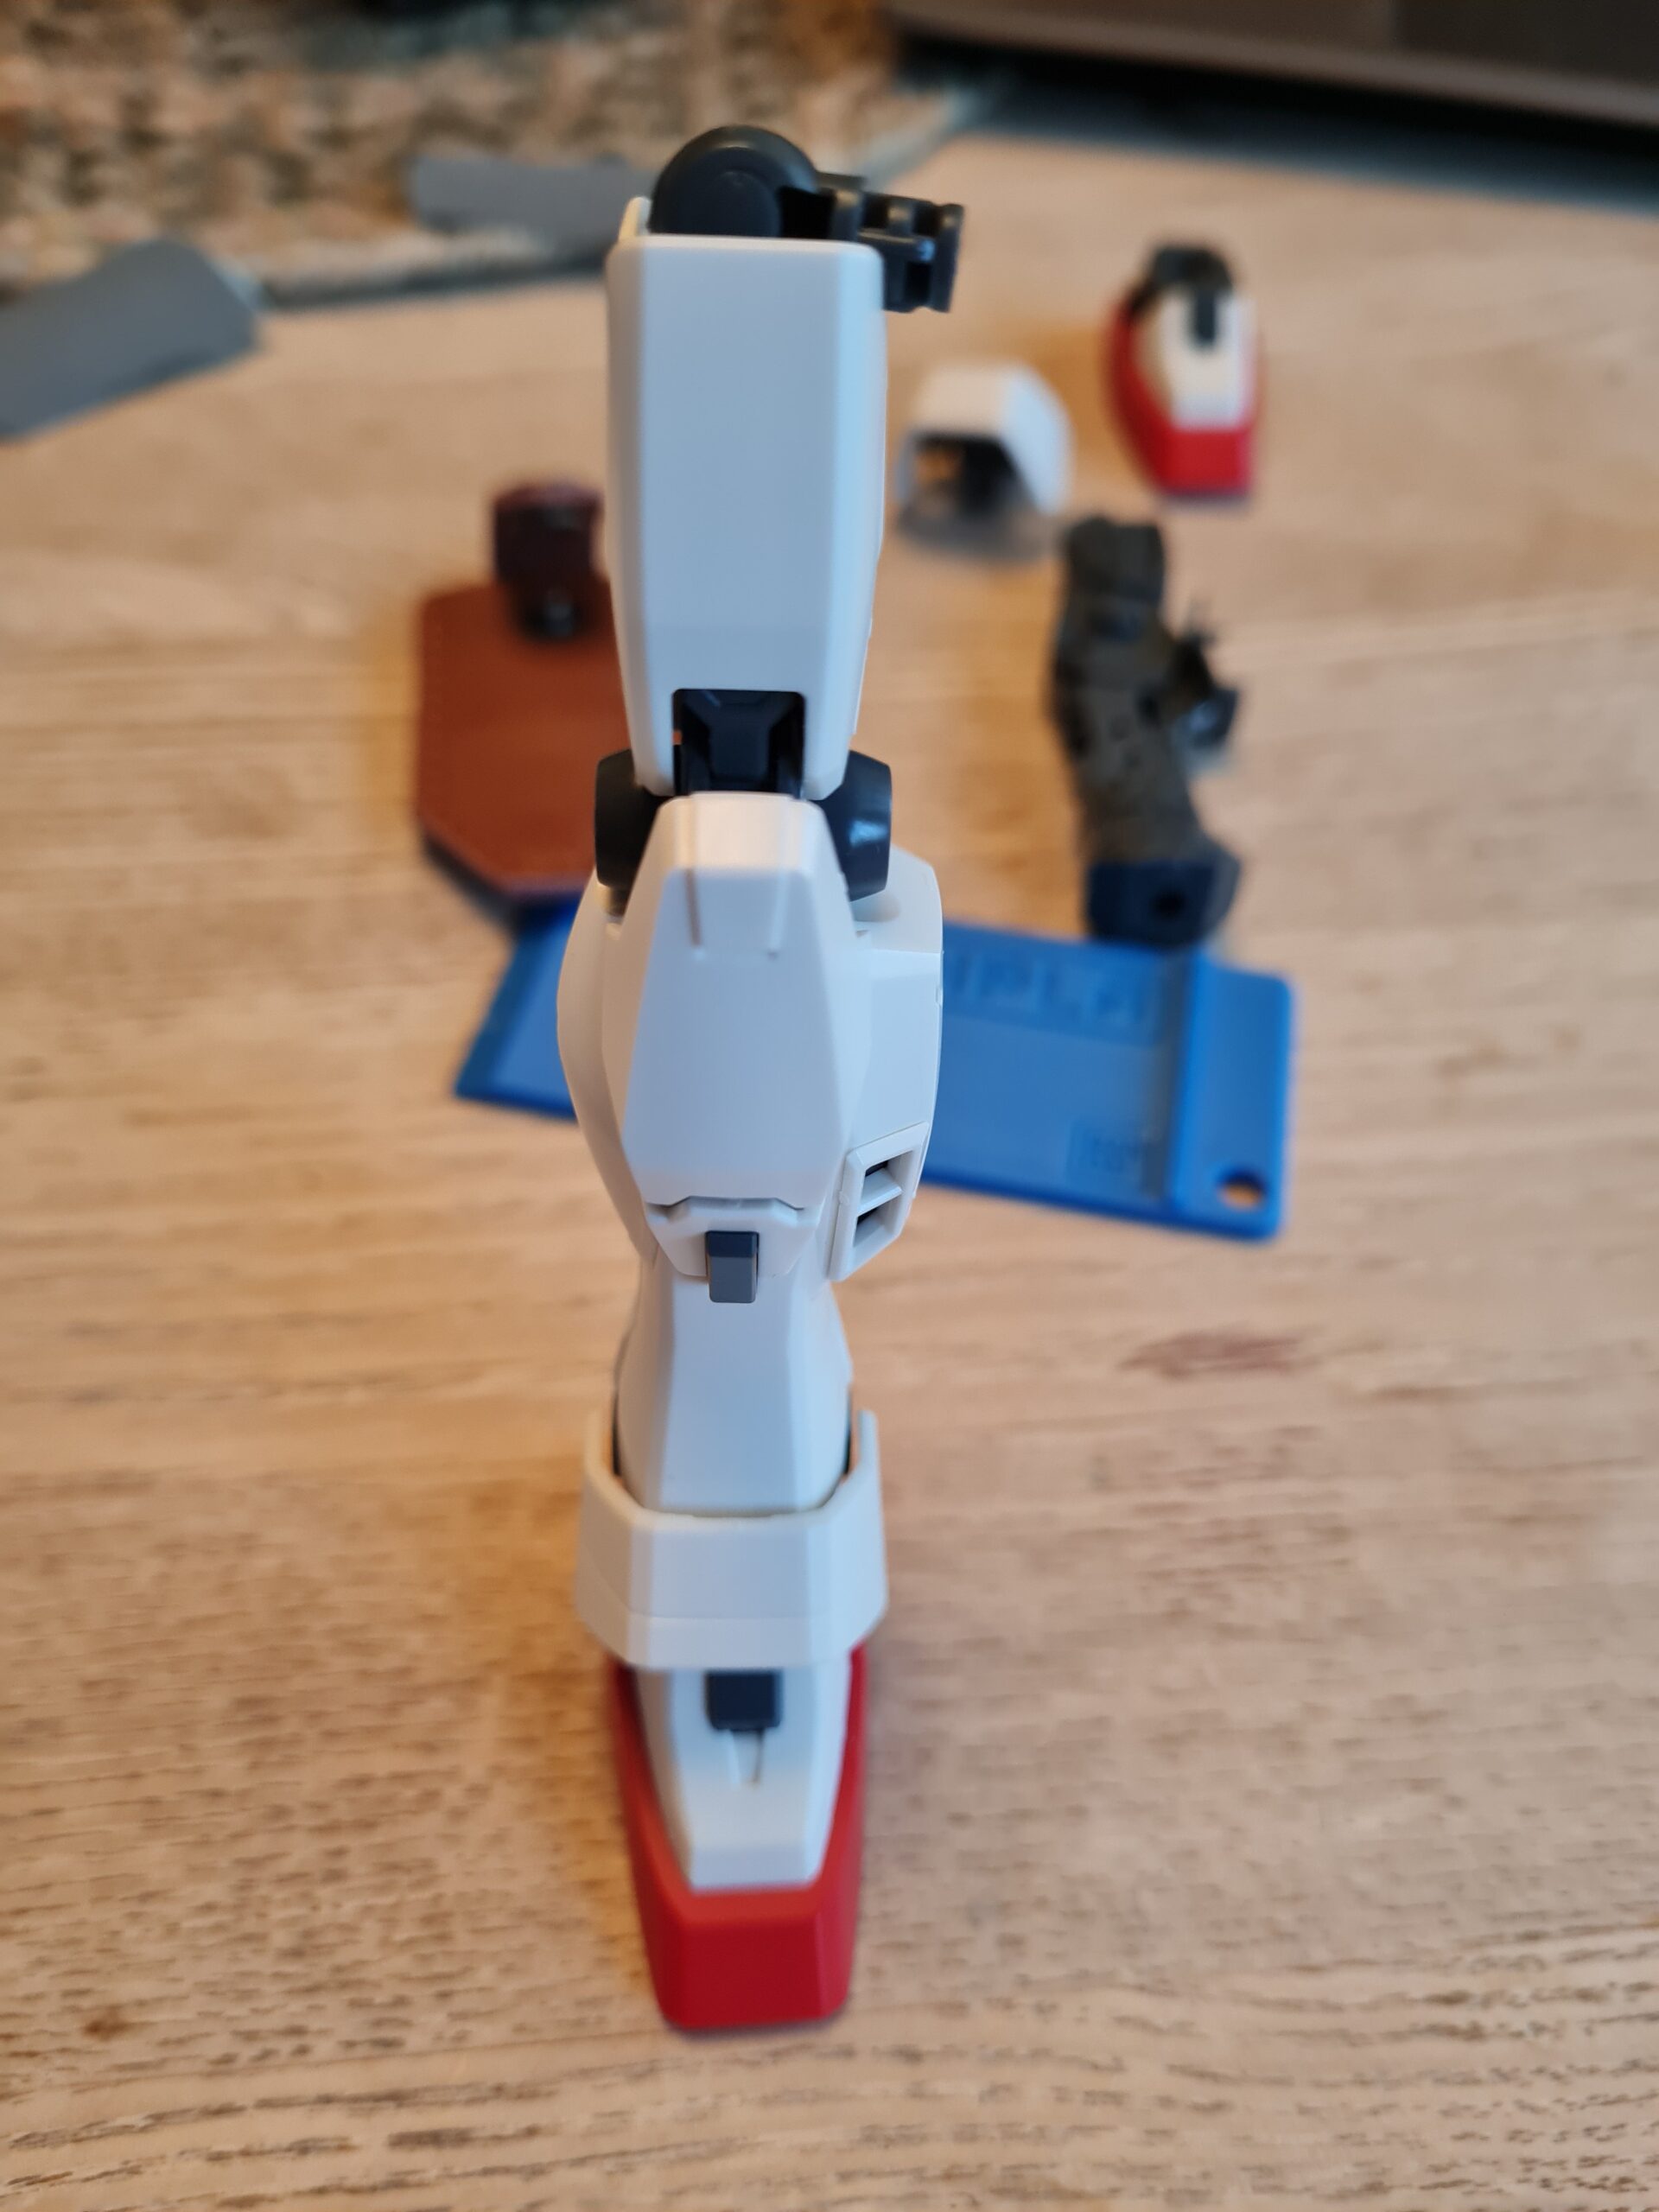
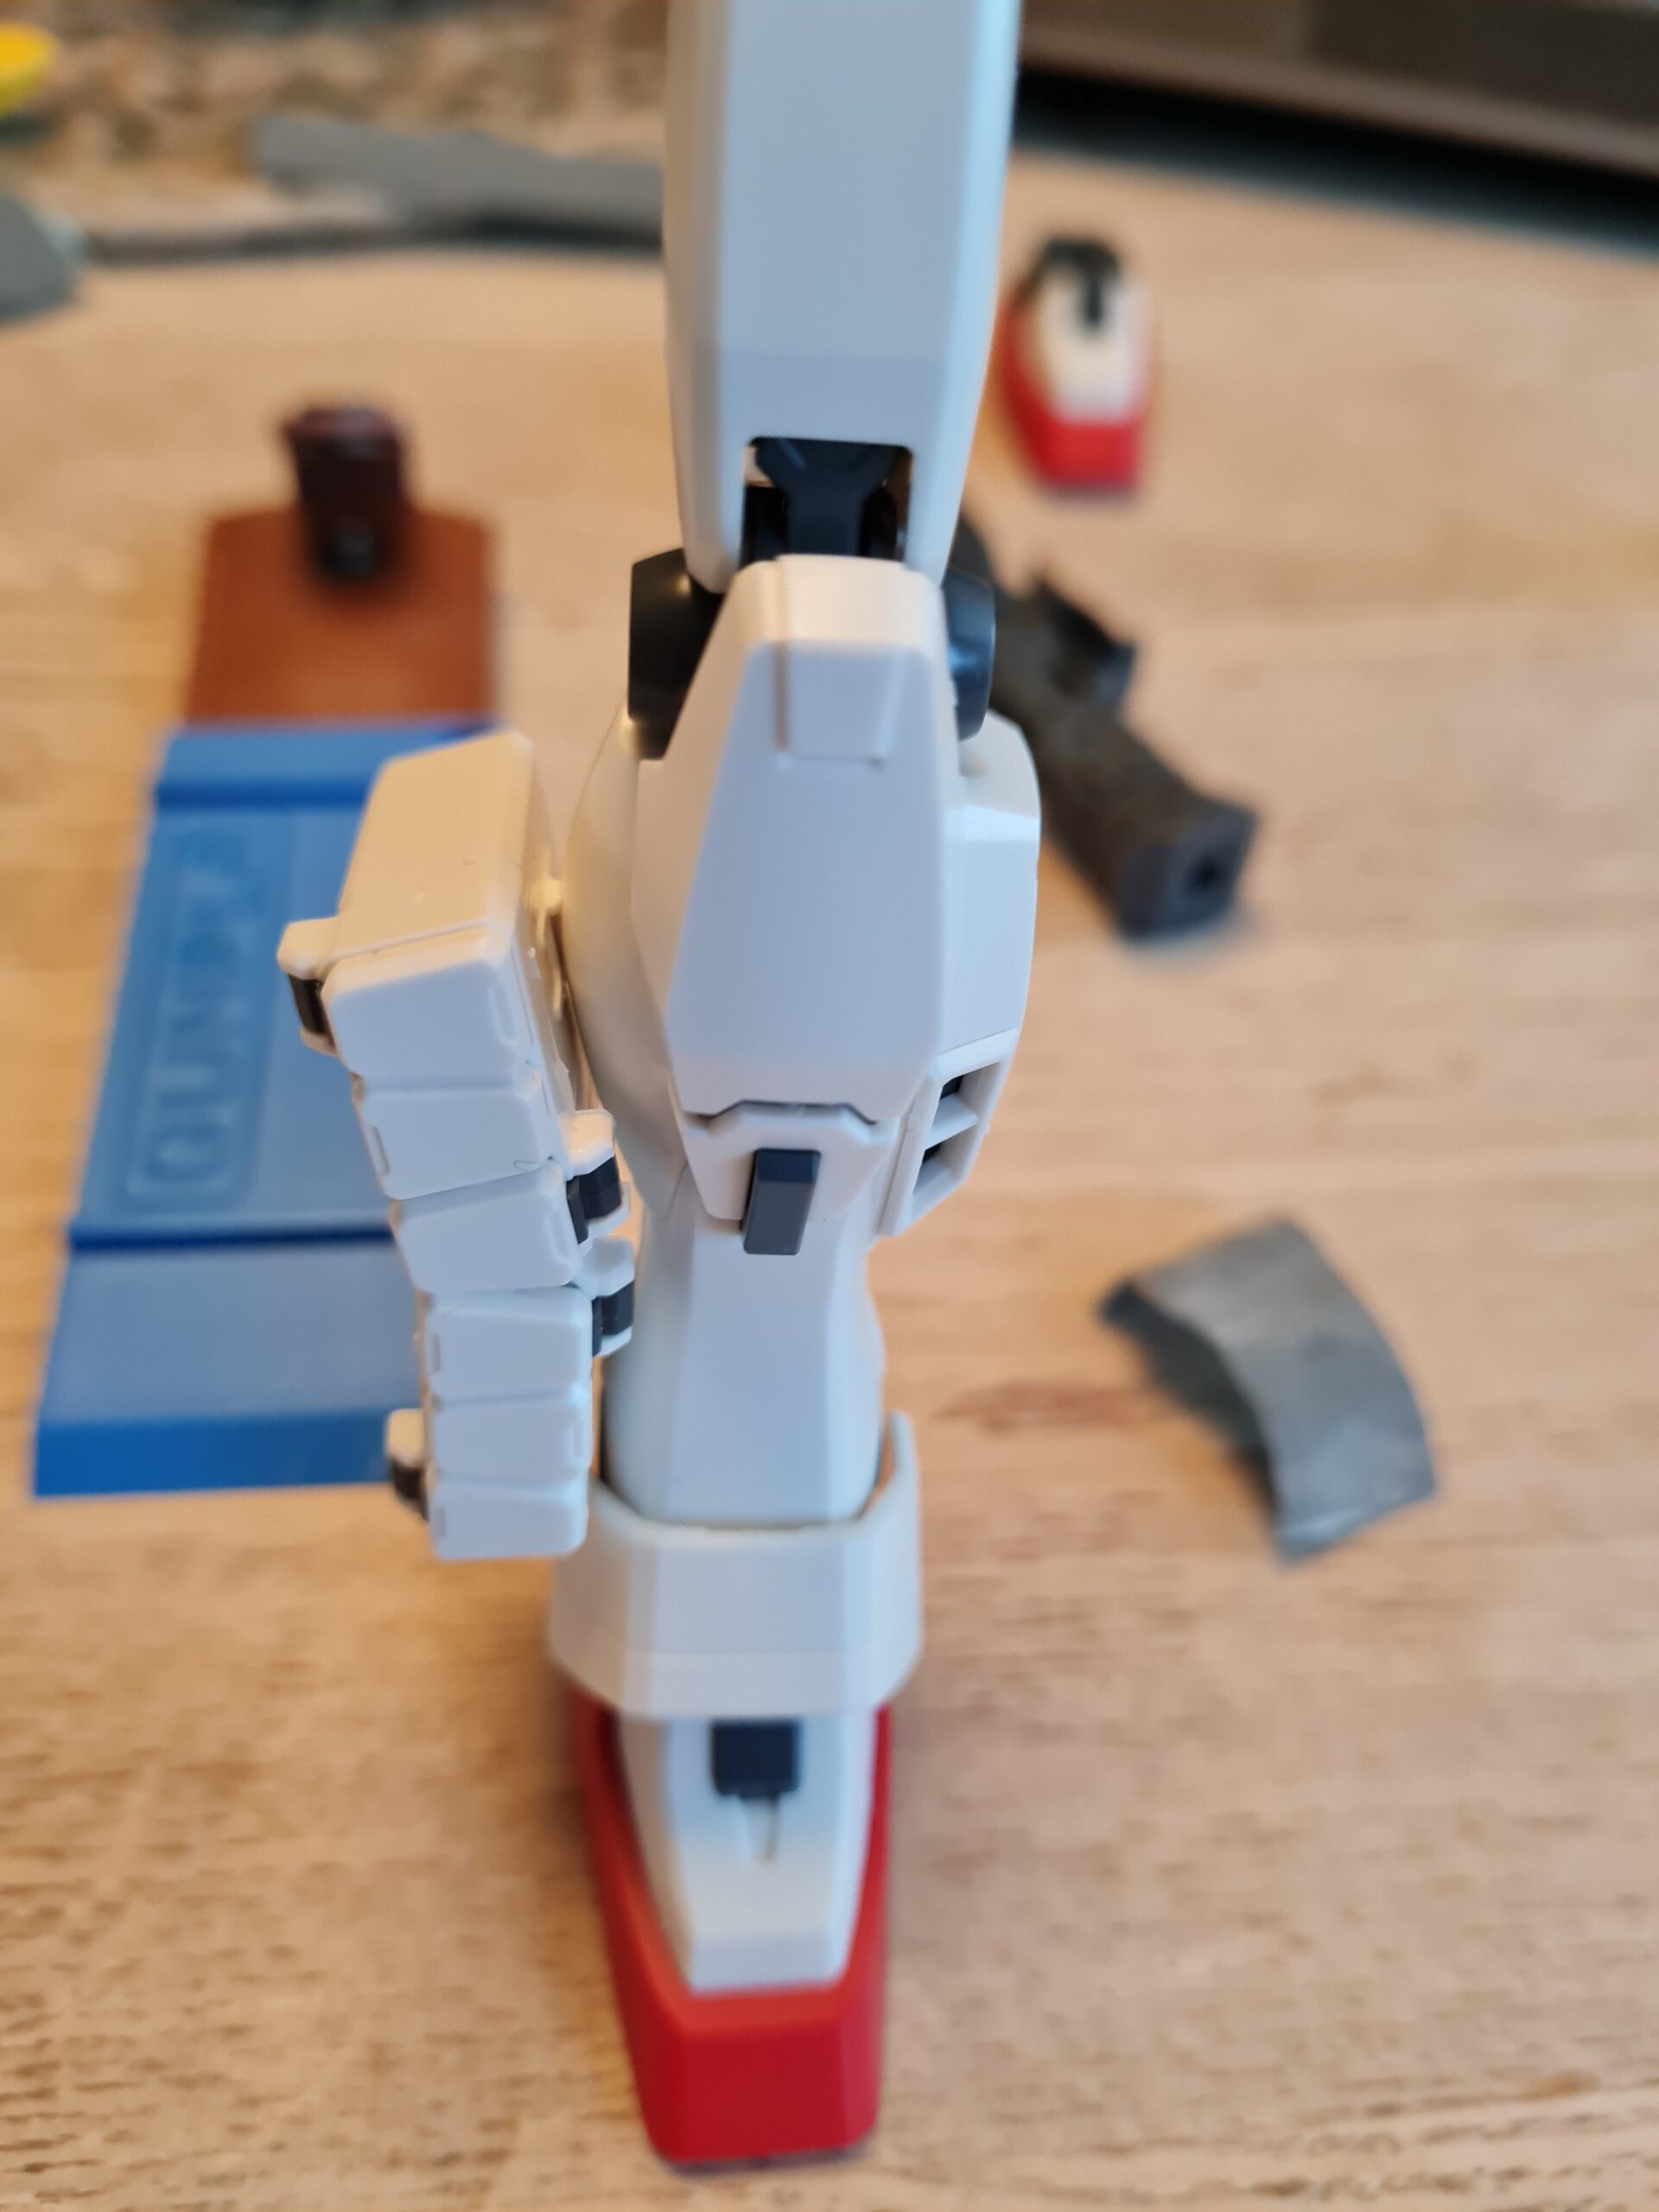
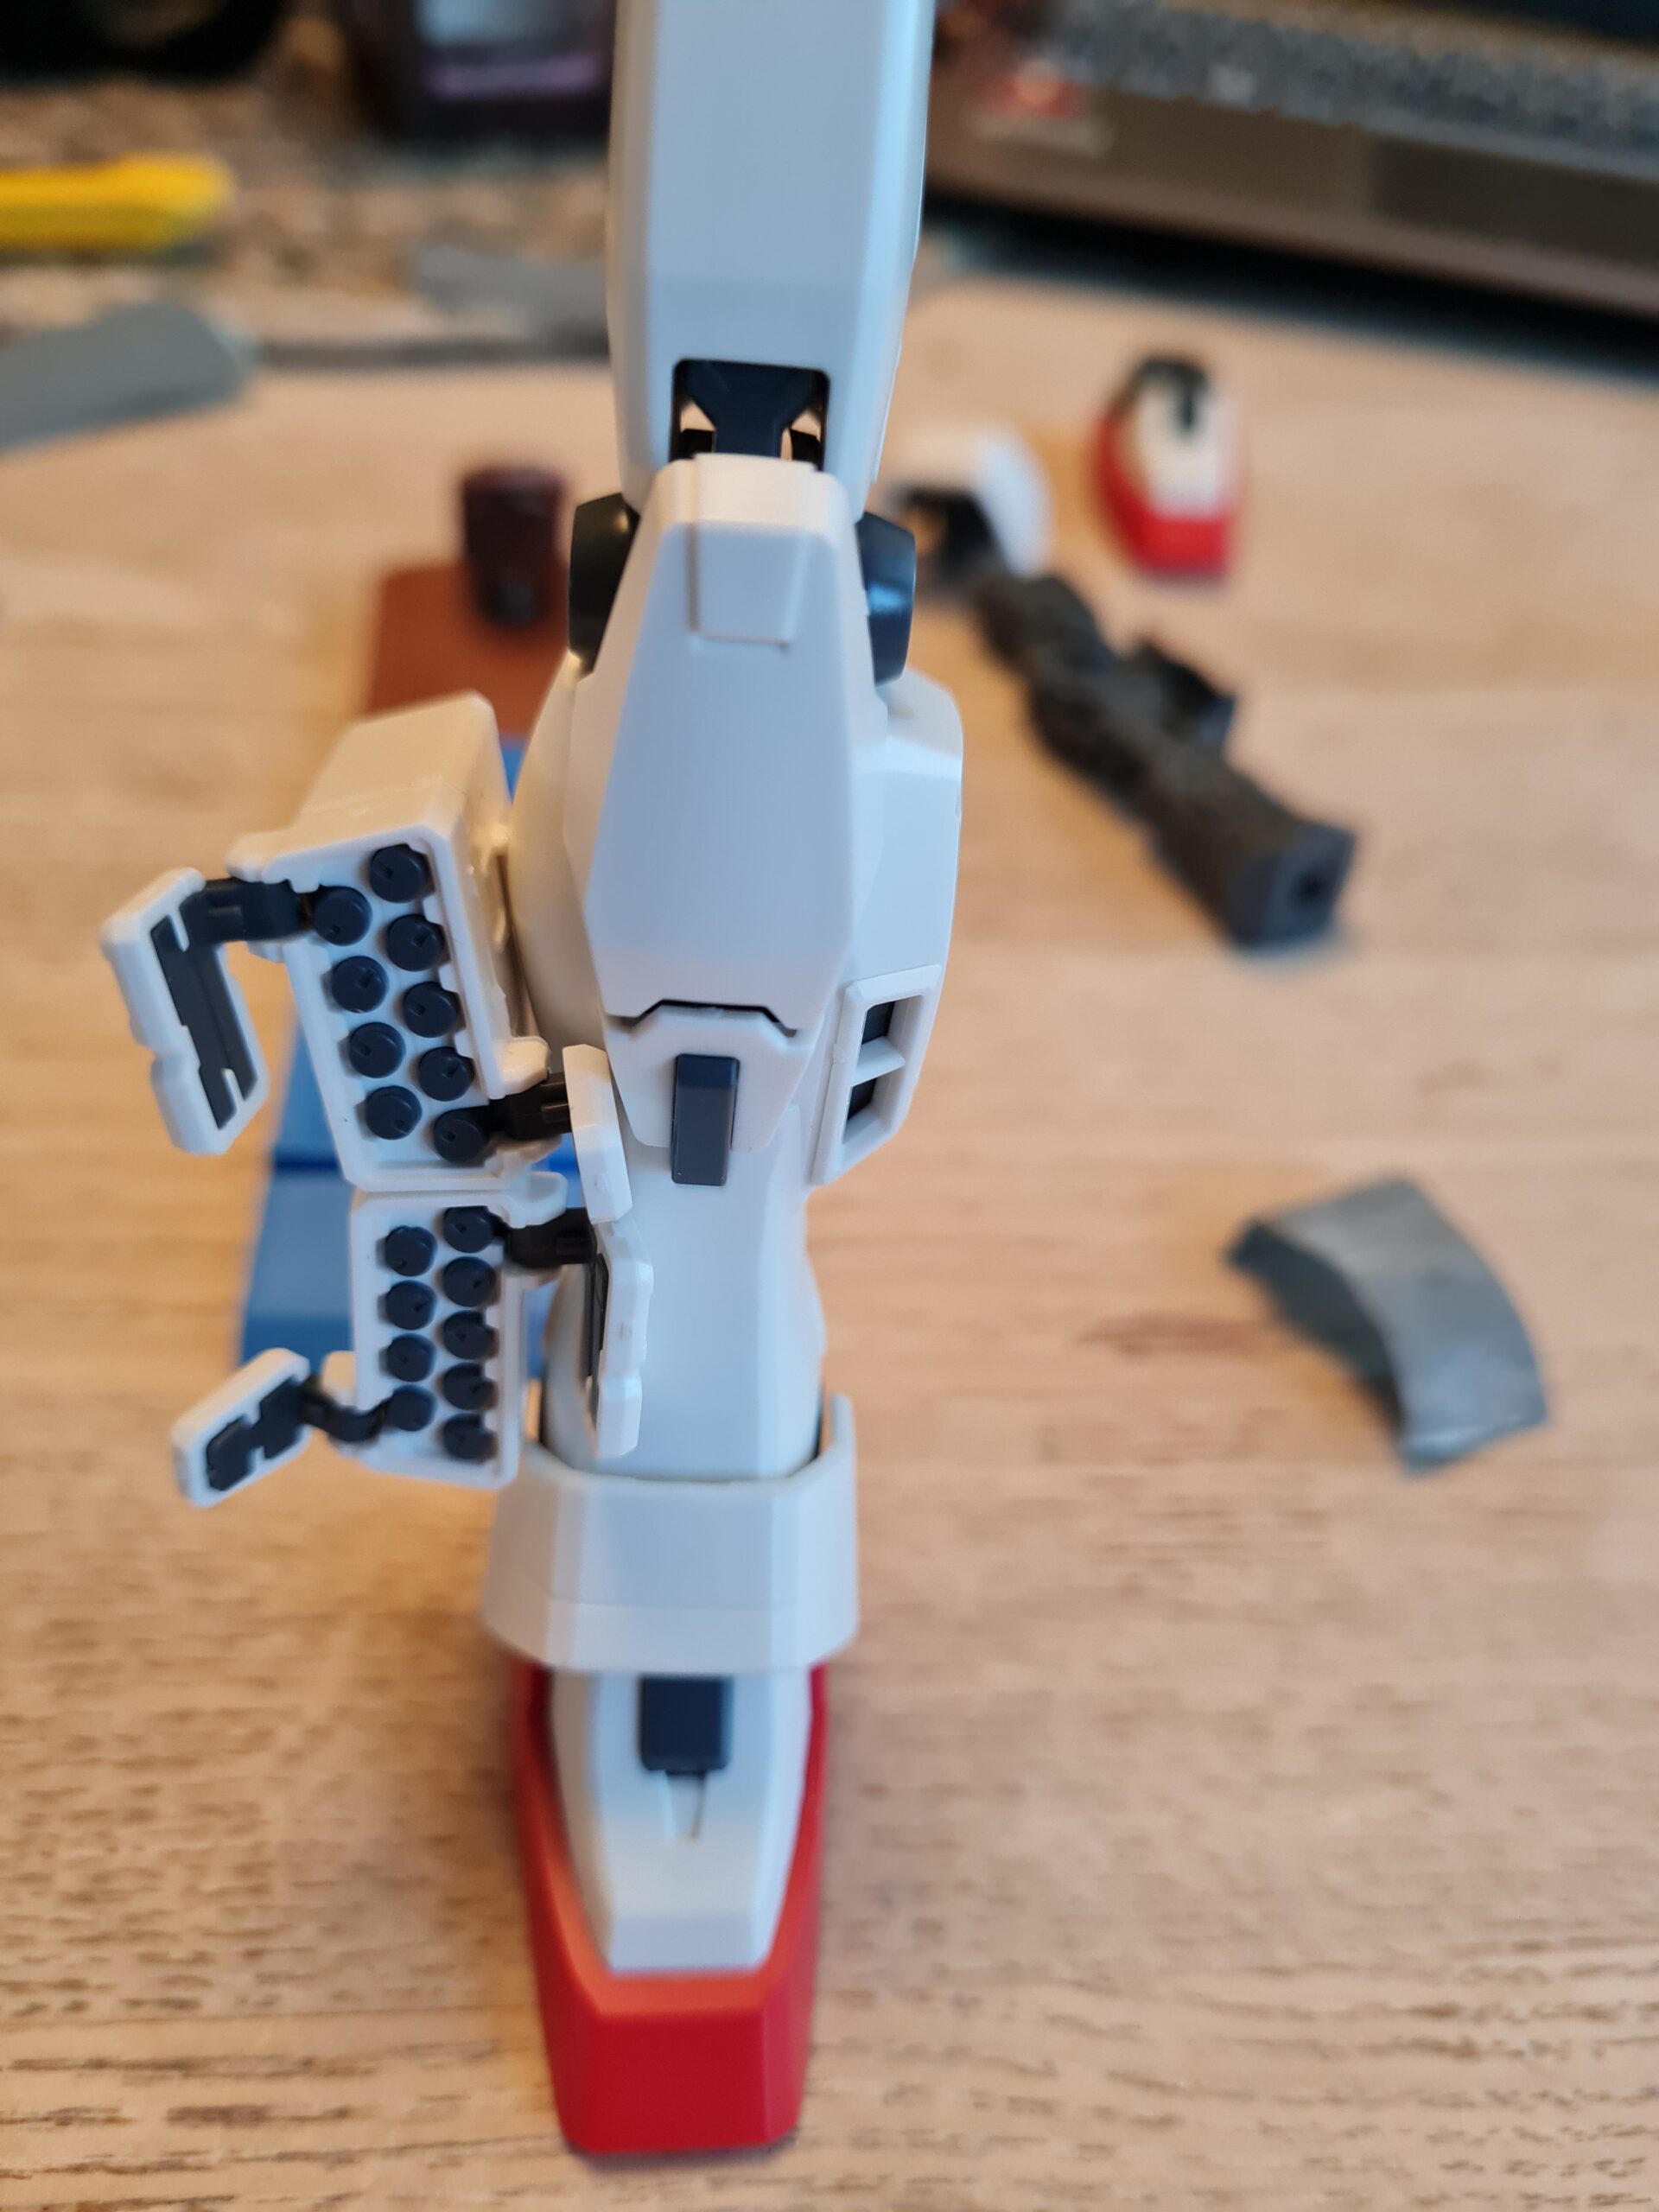
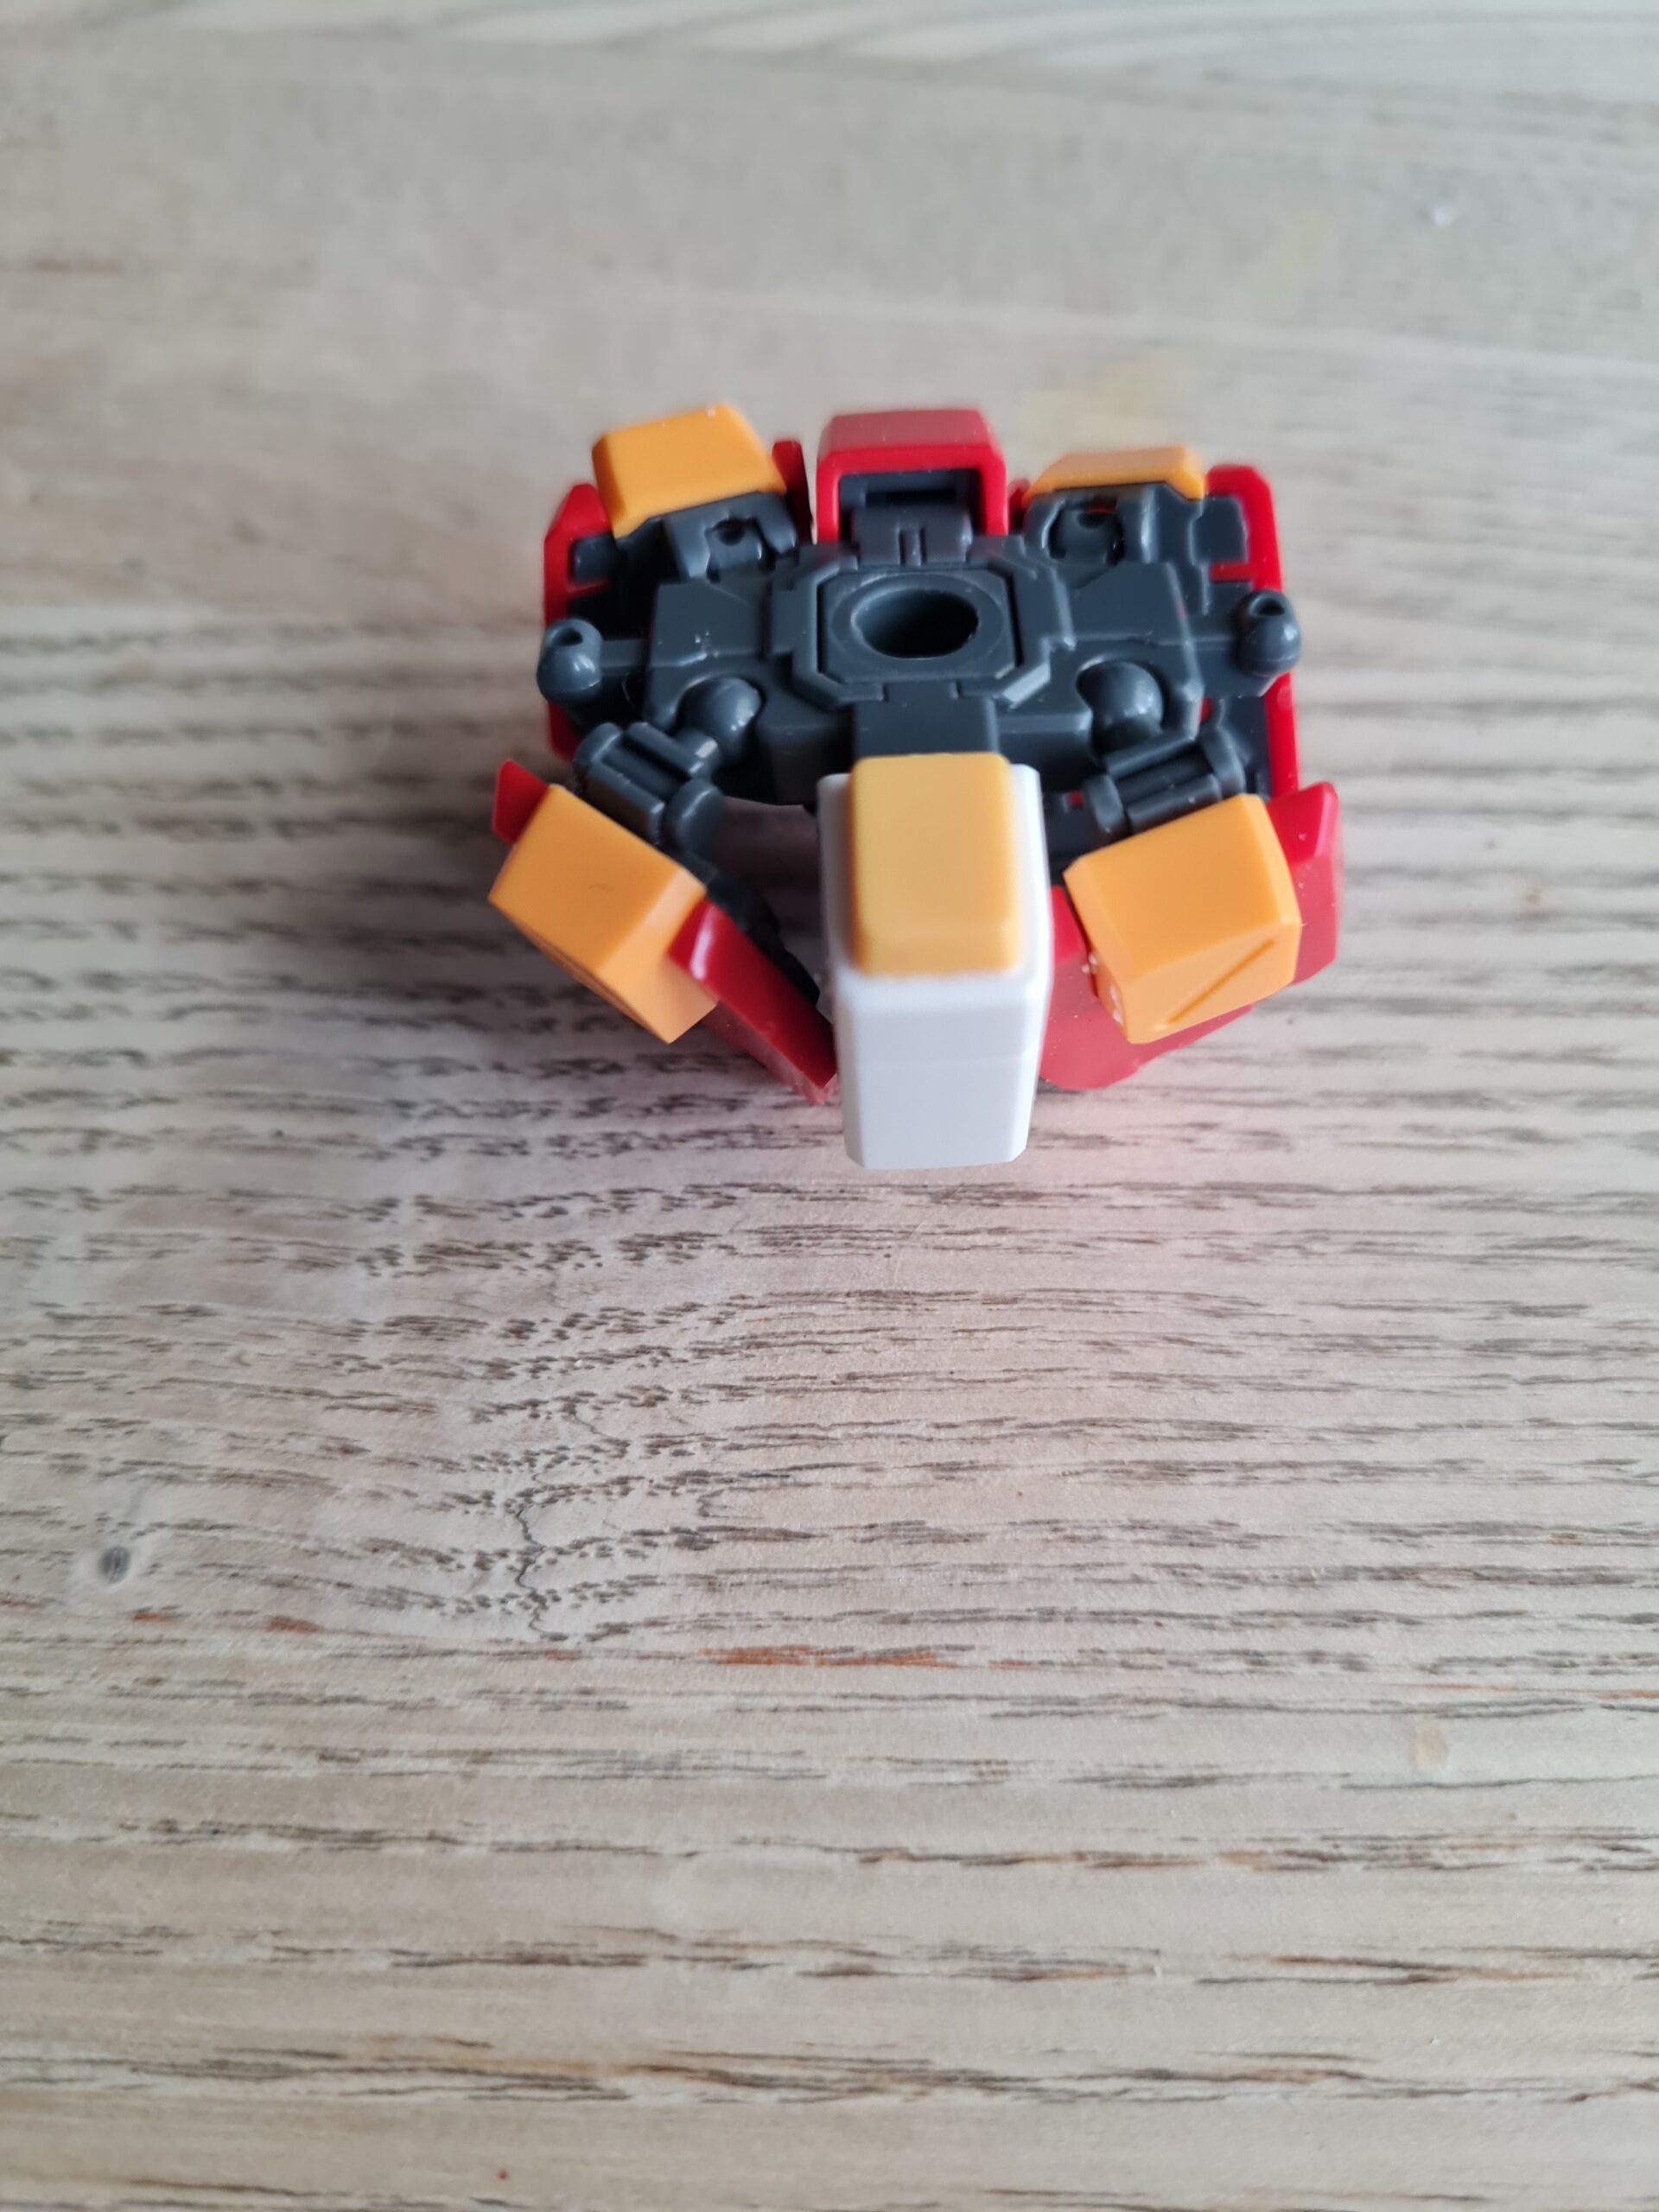
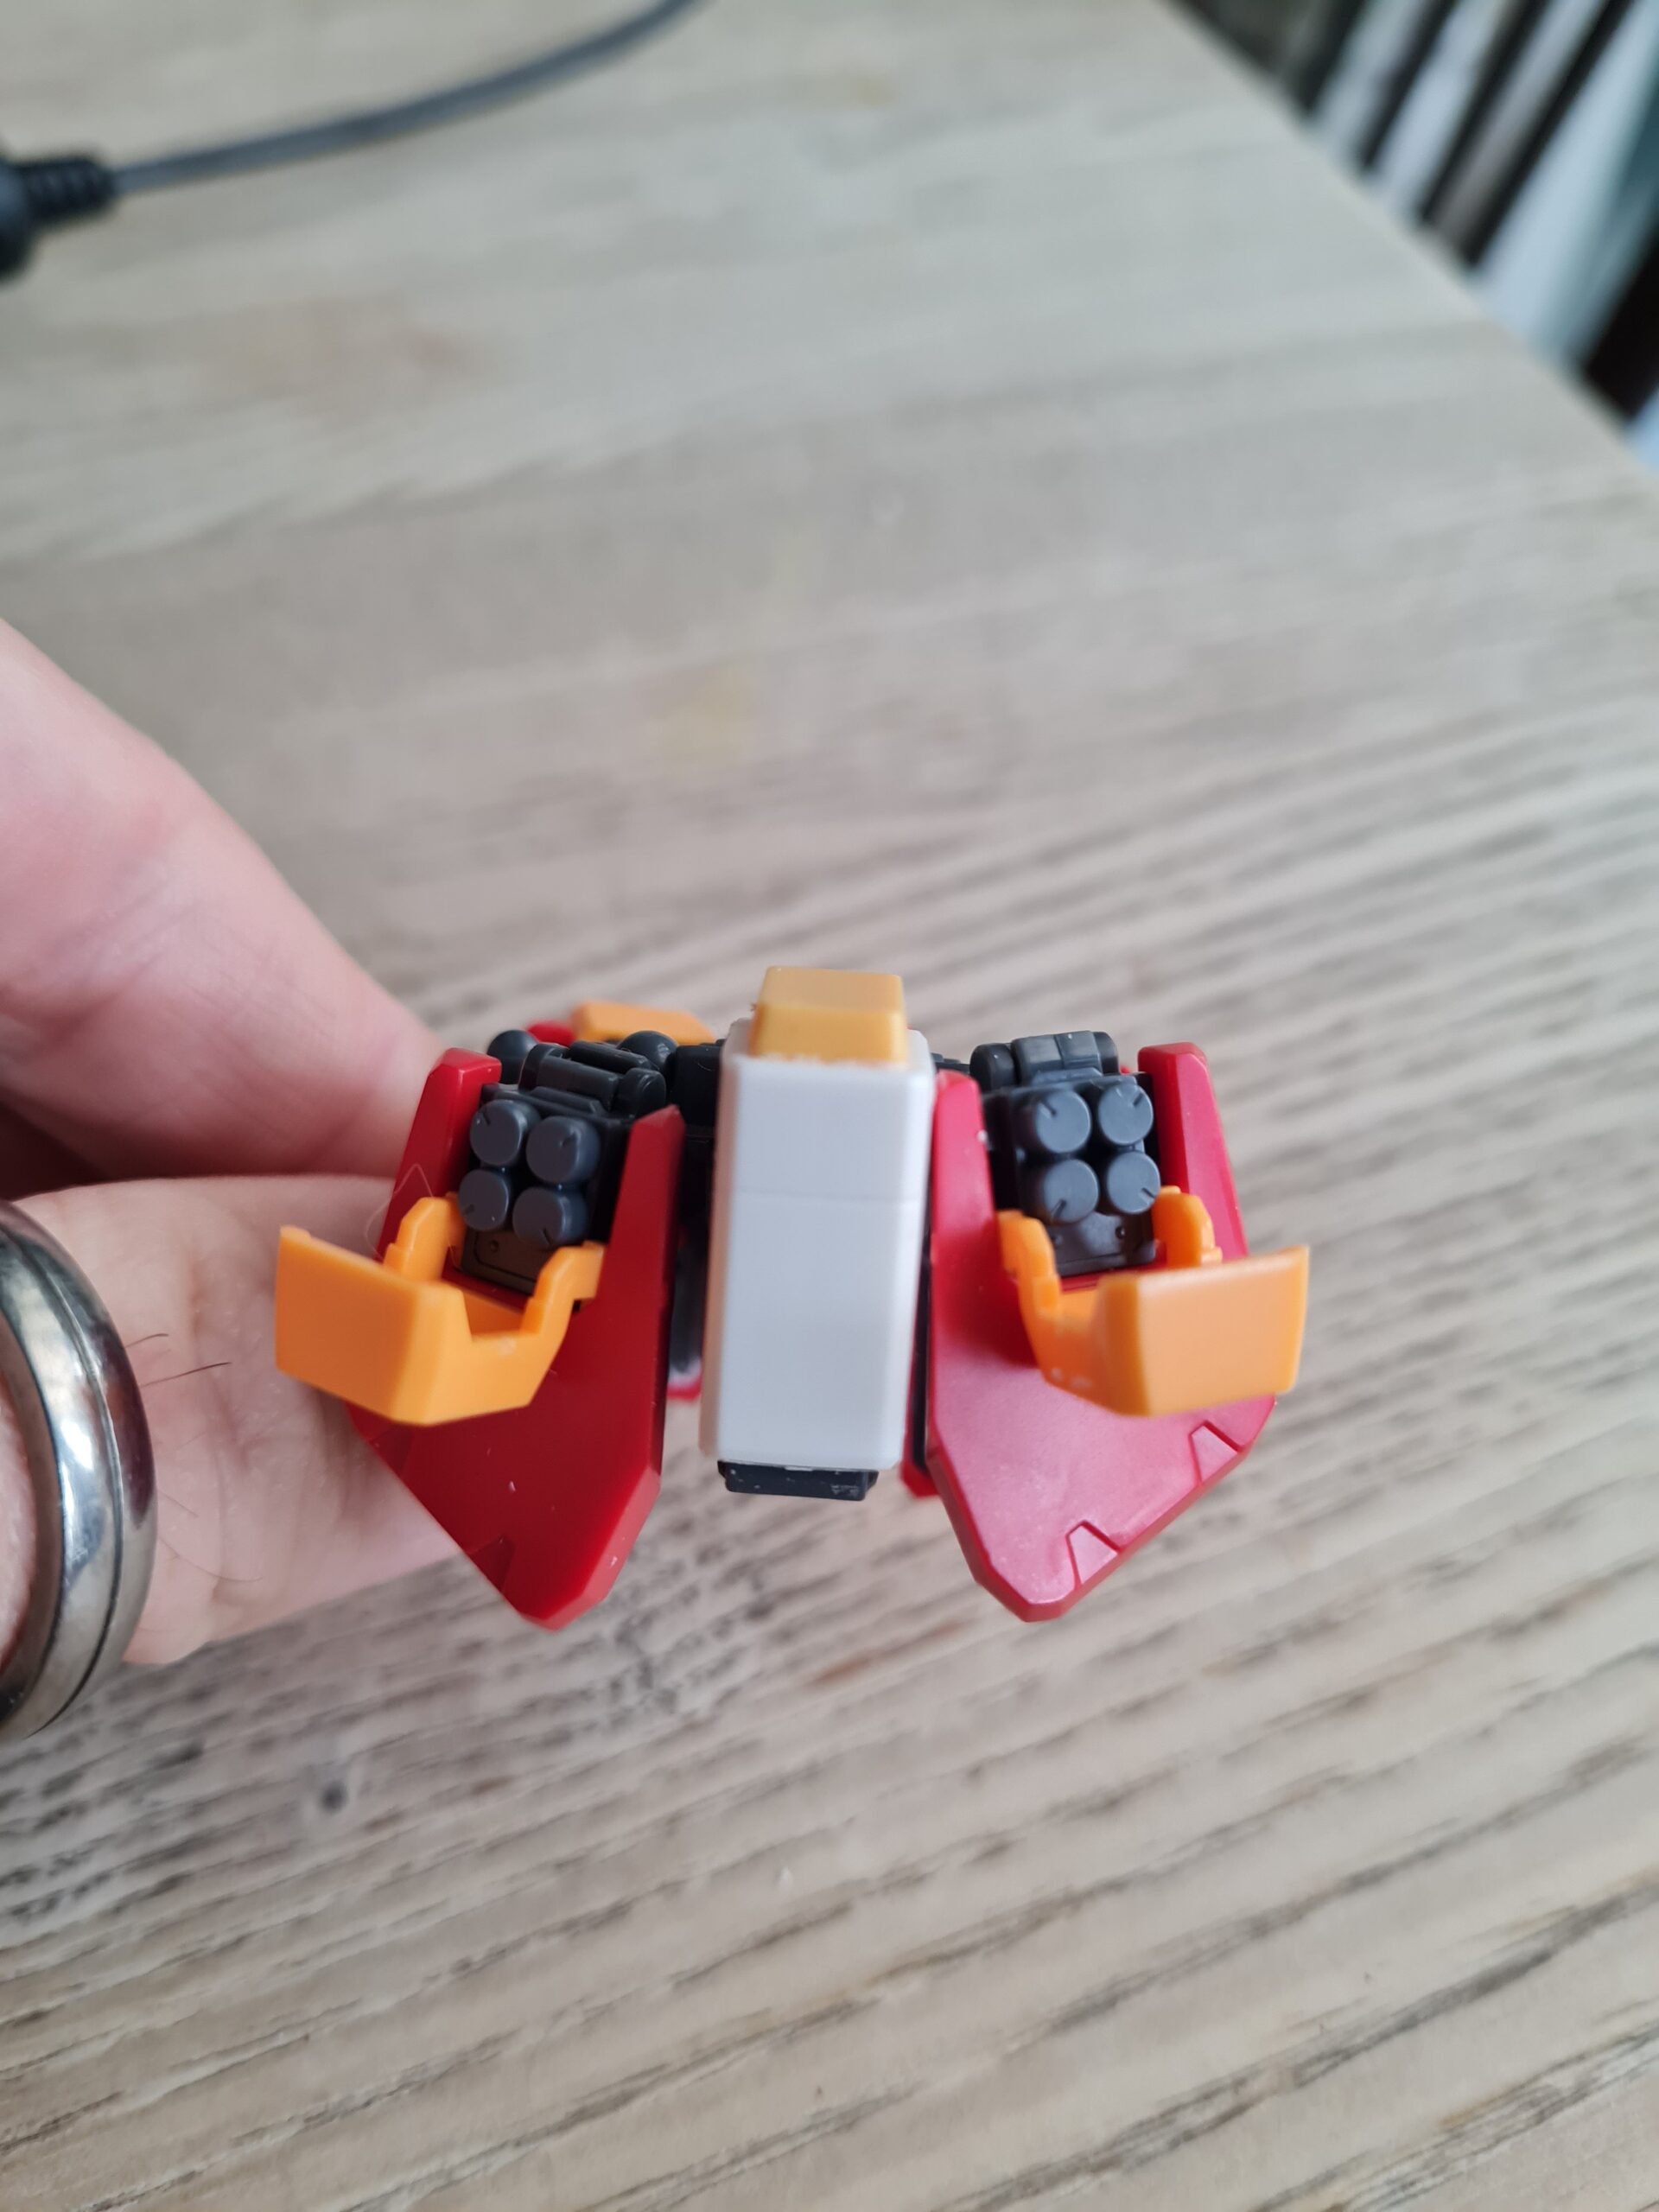
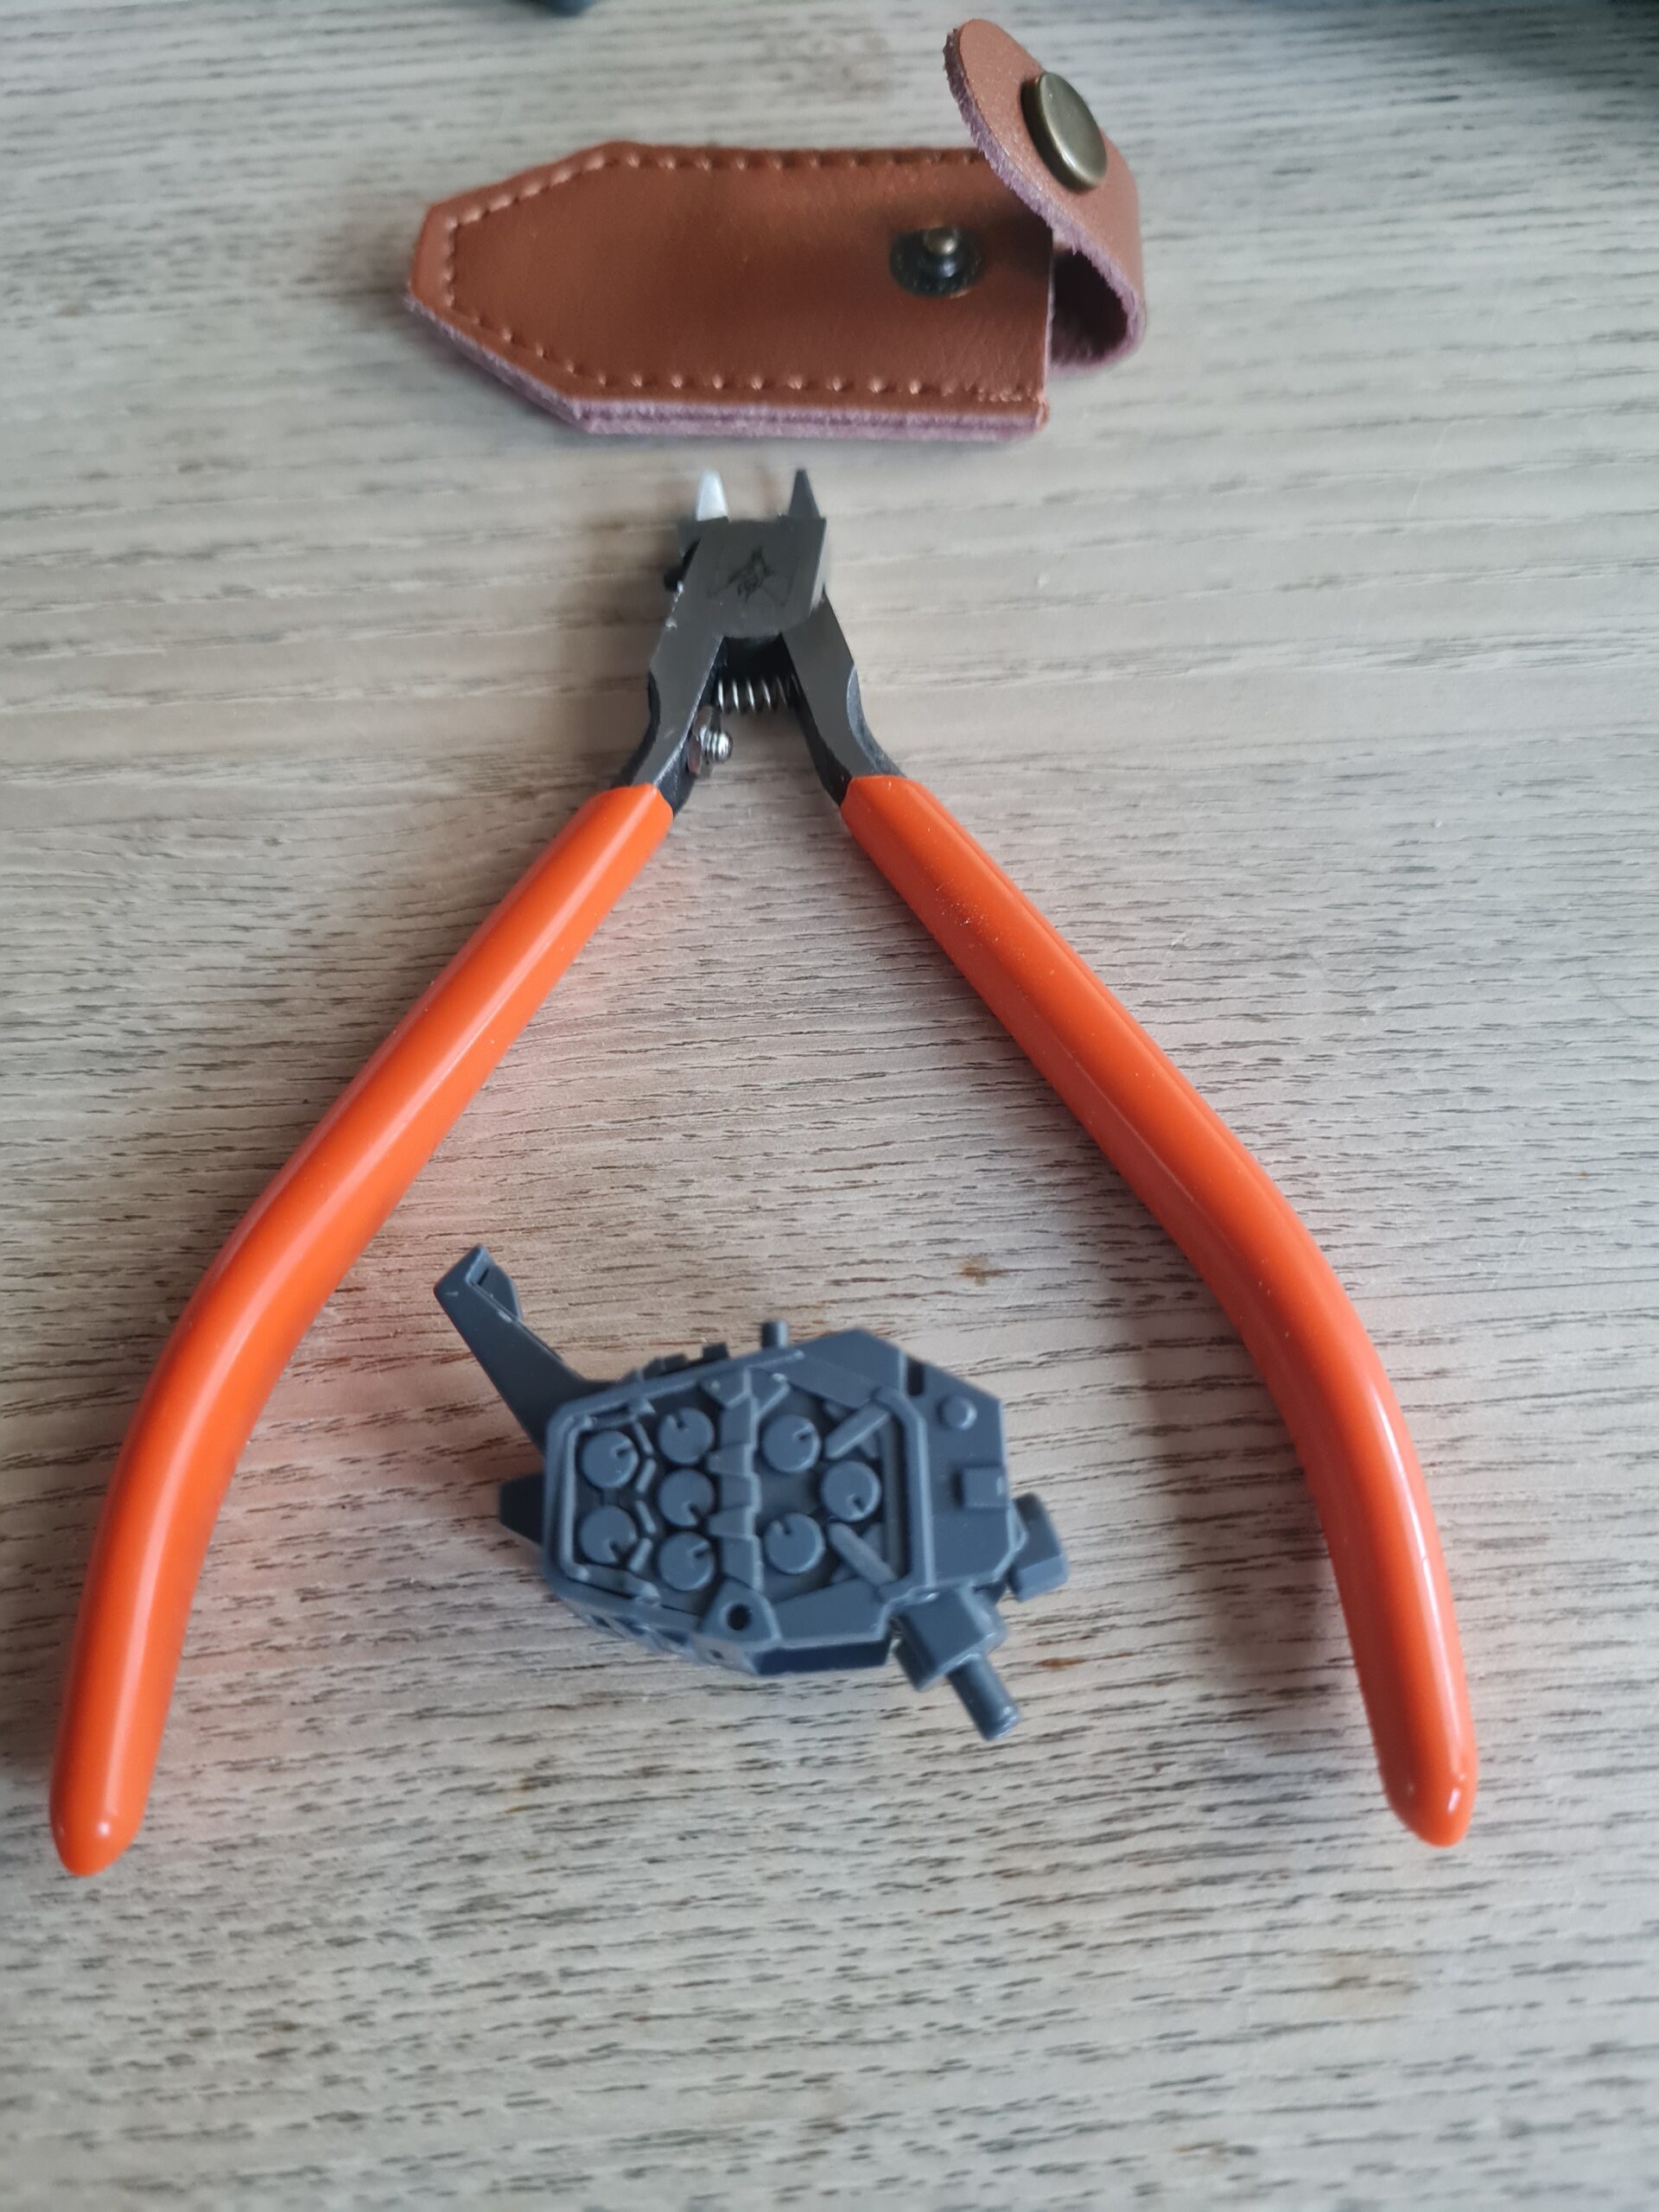
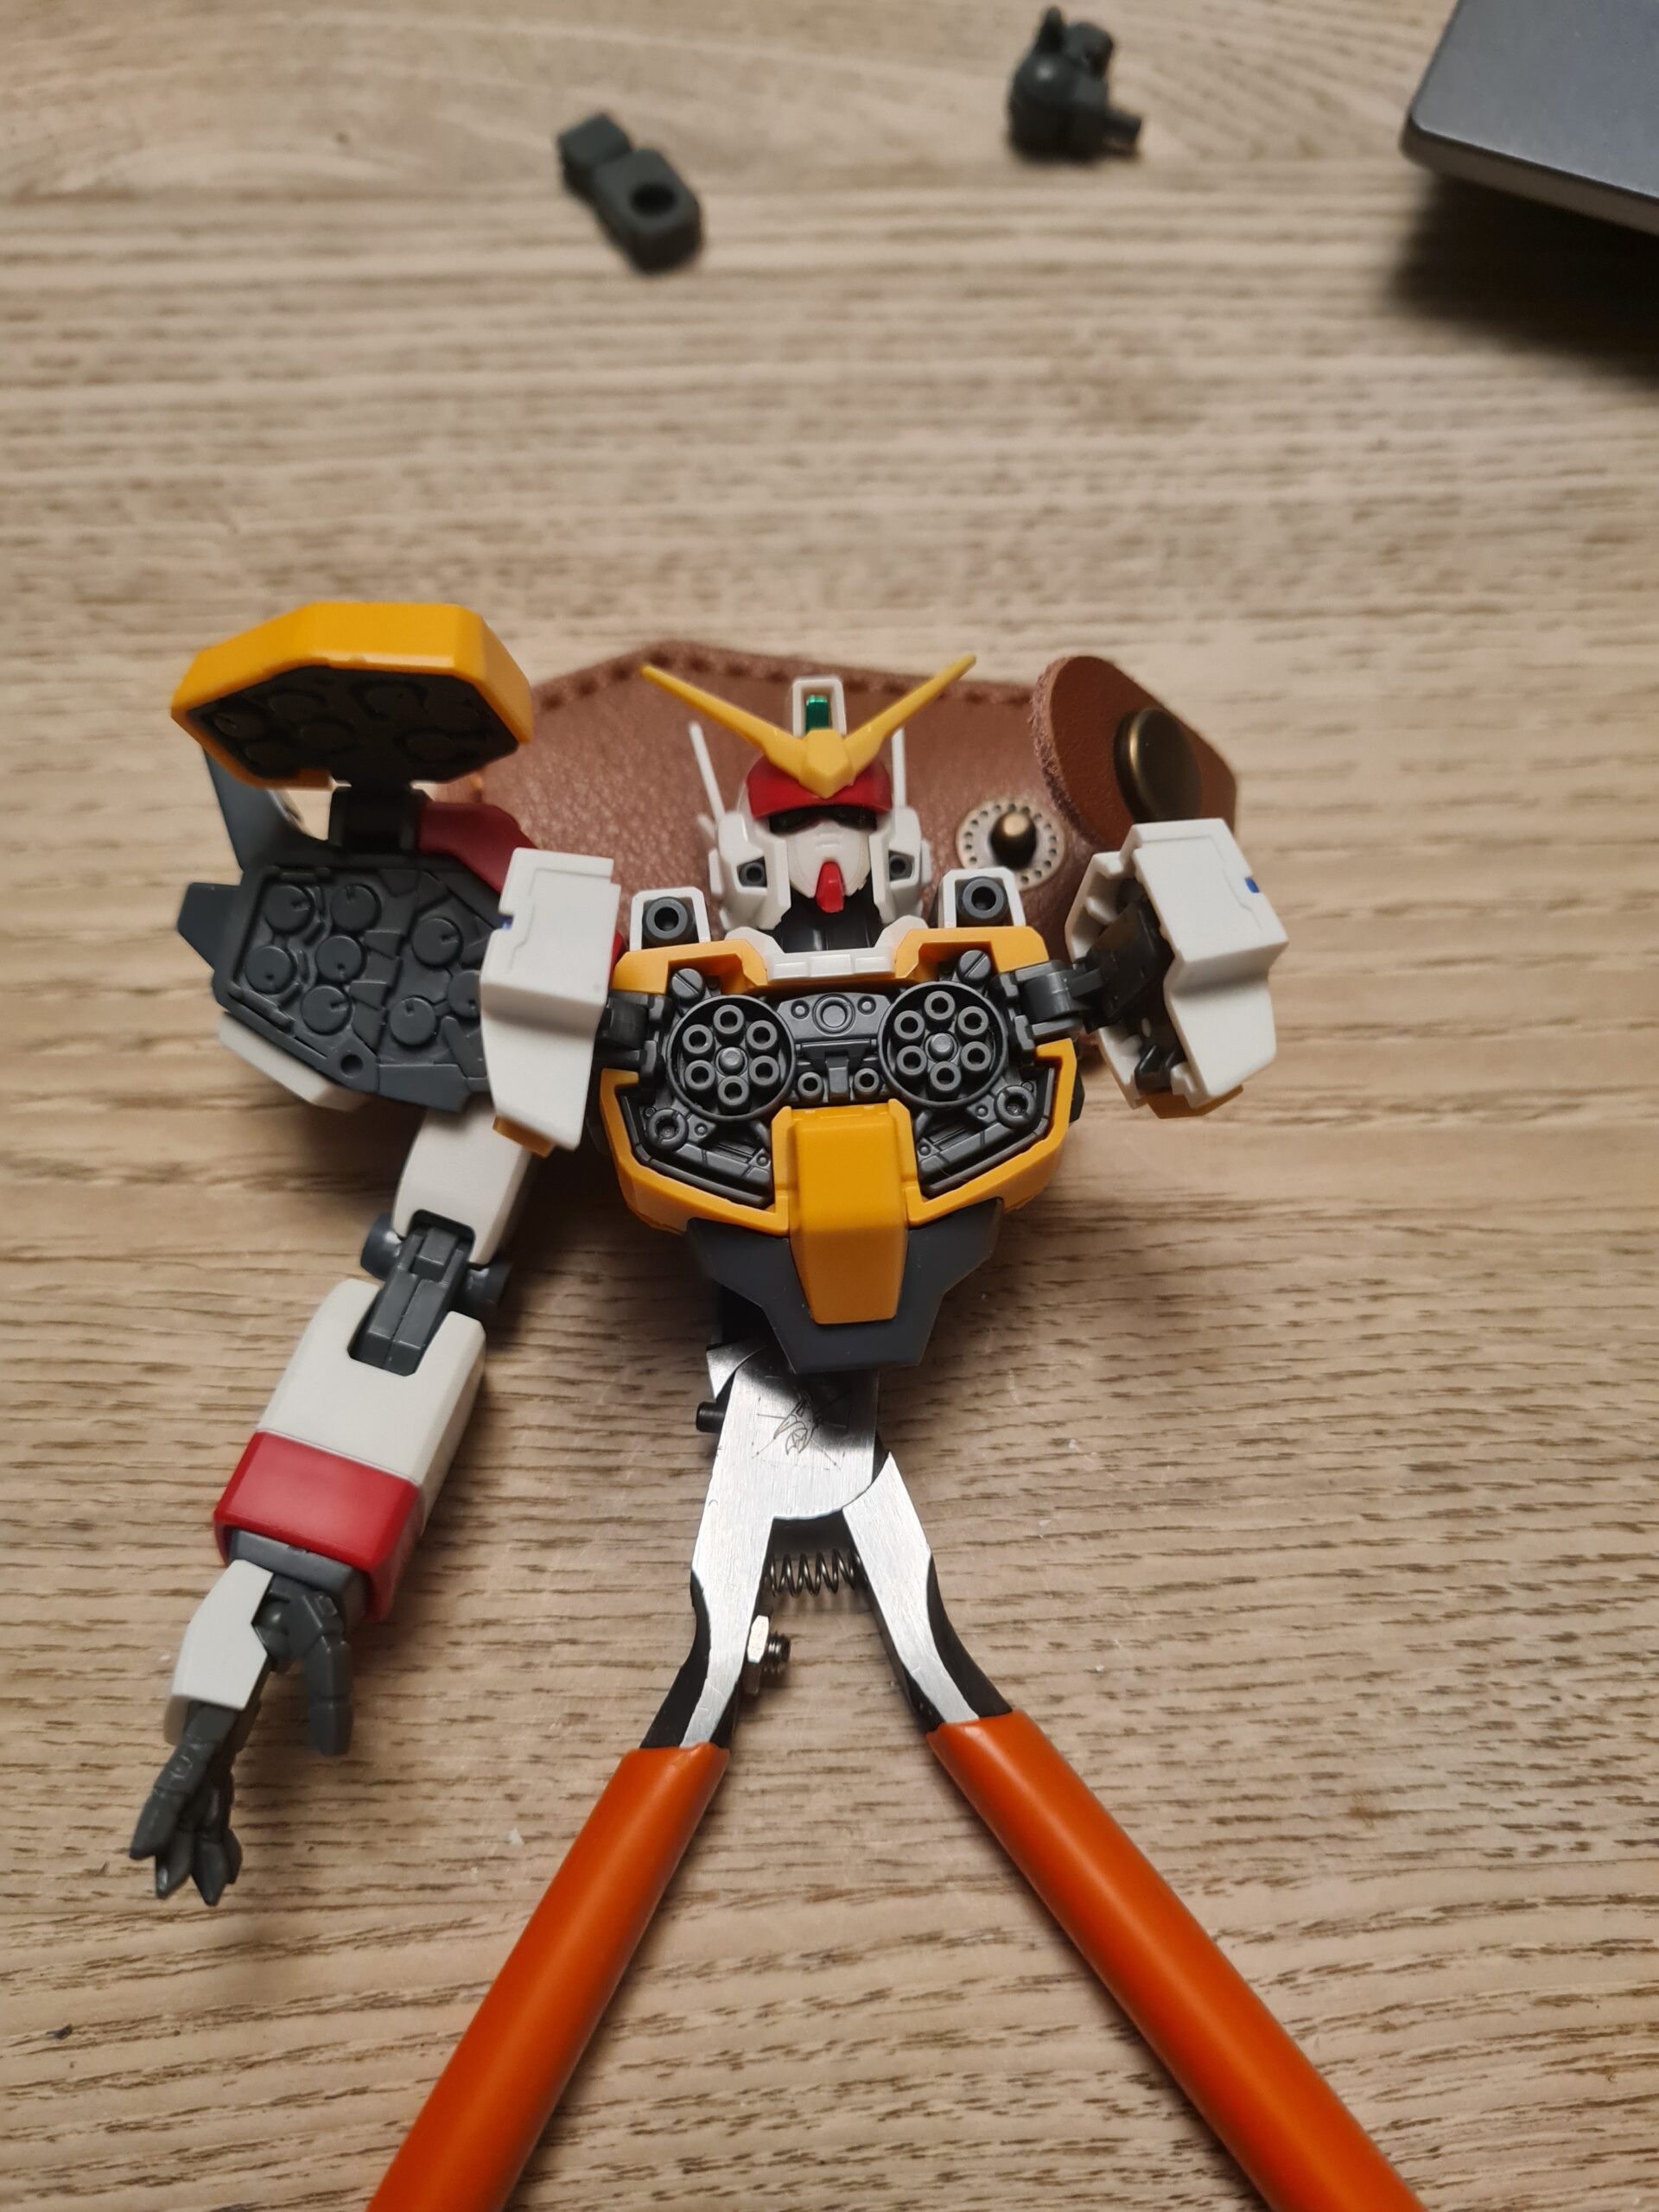
Assembled Head
Assembled Head
As you can see without the stickers it is a little bland. However, once I add a little paint I’m hoping it will just elevate it that extra bit. This is a mobile suit that took a while to grow on me, but once it did I really wanted the kit. I like the little details on it. The vents etc. on the torso from yesterday, and the antenna being on the side giving the head a distinctive look.
Conclusion
If you think you know what it is then please drop me a comment and let me know. I am happy with how this build is going, and learning a lot on using all my tools to the best of their ability… or the best of my ability at the moment 🙂
That concludes todays “Guess the Model – Part 2”. Tune in tomorrow (hopefully) for the next installment!
Thank you for taking the time to read this. If you haven’t already done so please like and follow us on our social media platforms and checkout our website!
Back by popular demand (by me) is my guess the model series; leading off with Guess the Model – Part 1. This is where I post the build up of a model I am working on. The rules are simple. I have to build the model in the order it is in the manual. So if feet come before heads so be it! Actually I said the “rules” but really that is pretty much the only rule. Please feel free to guess the model and let me know what you think.
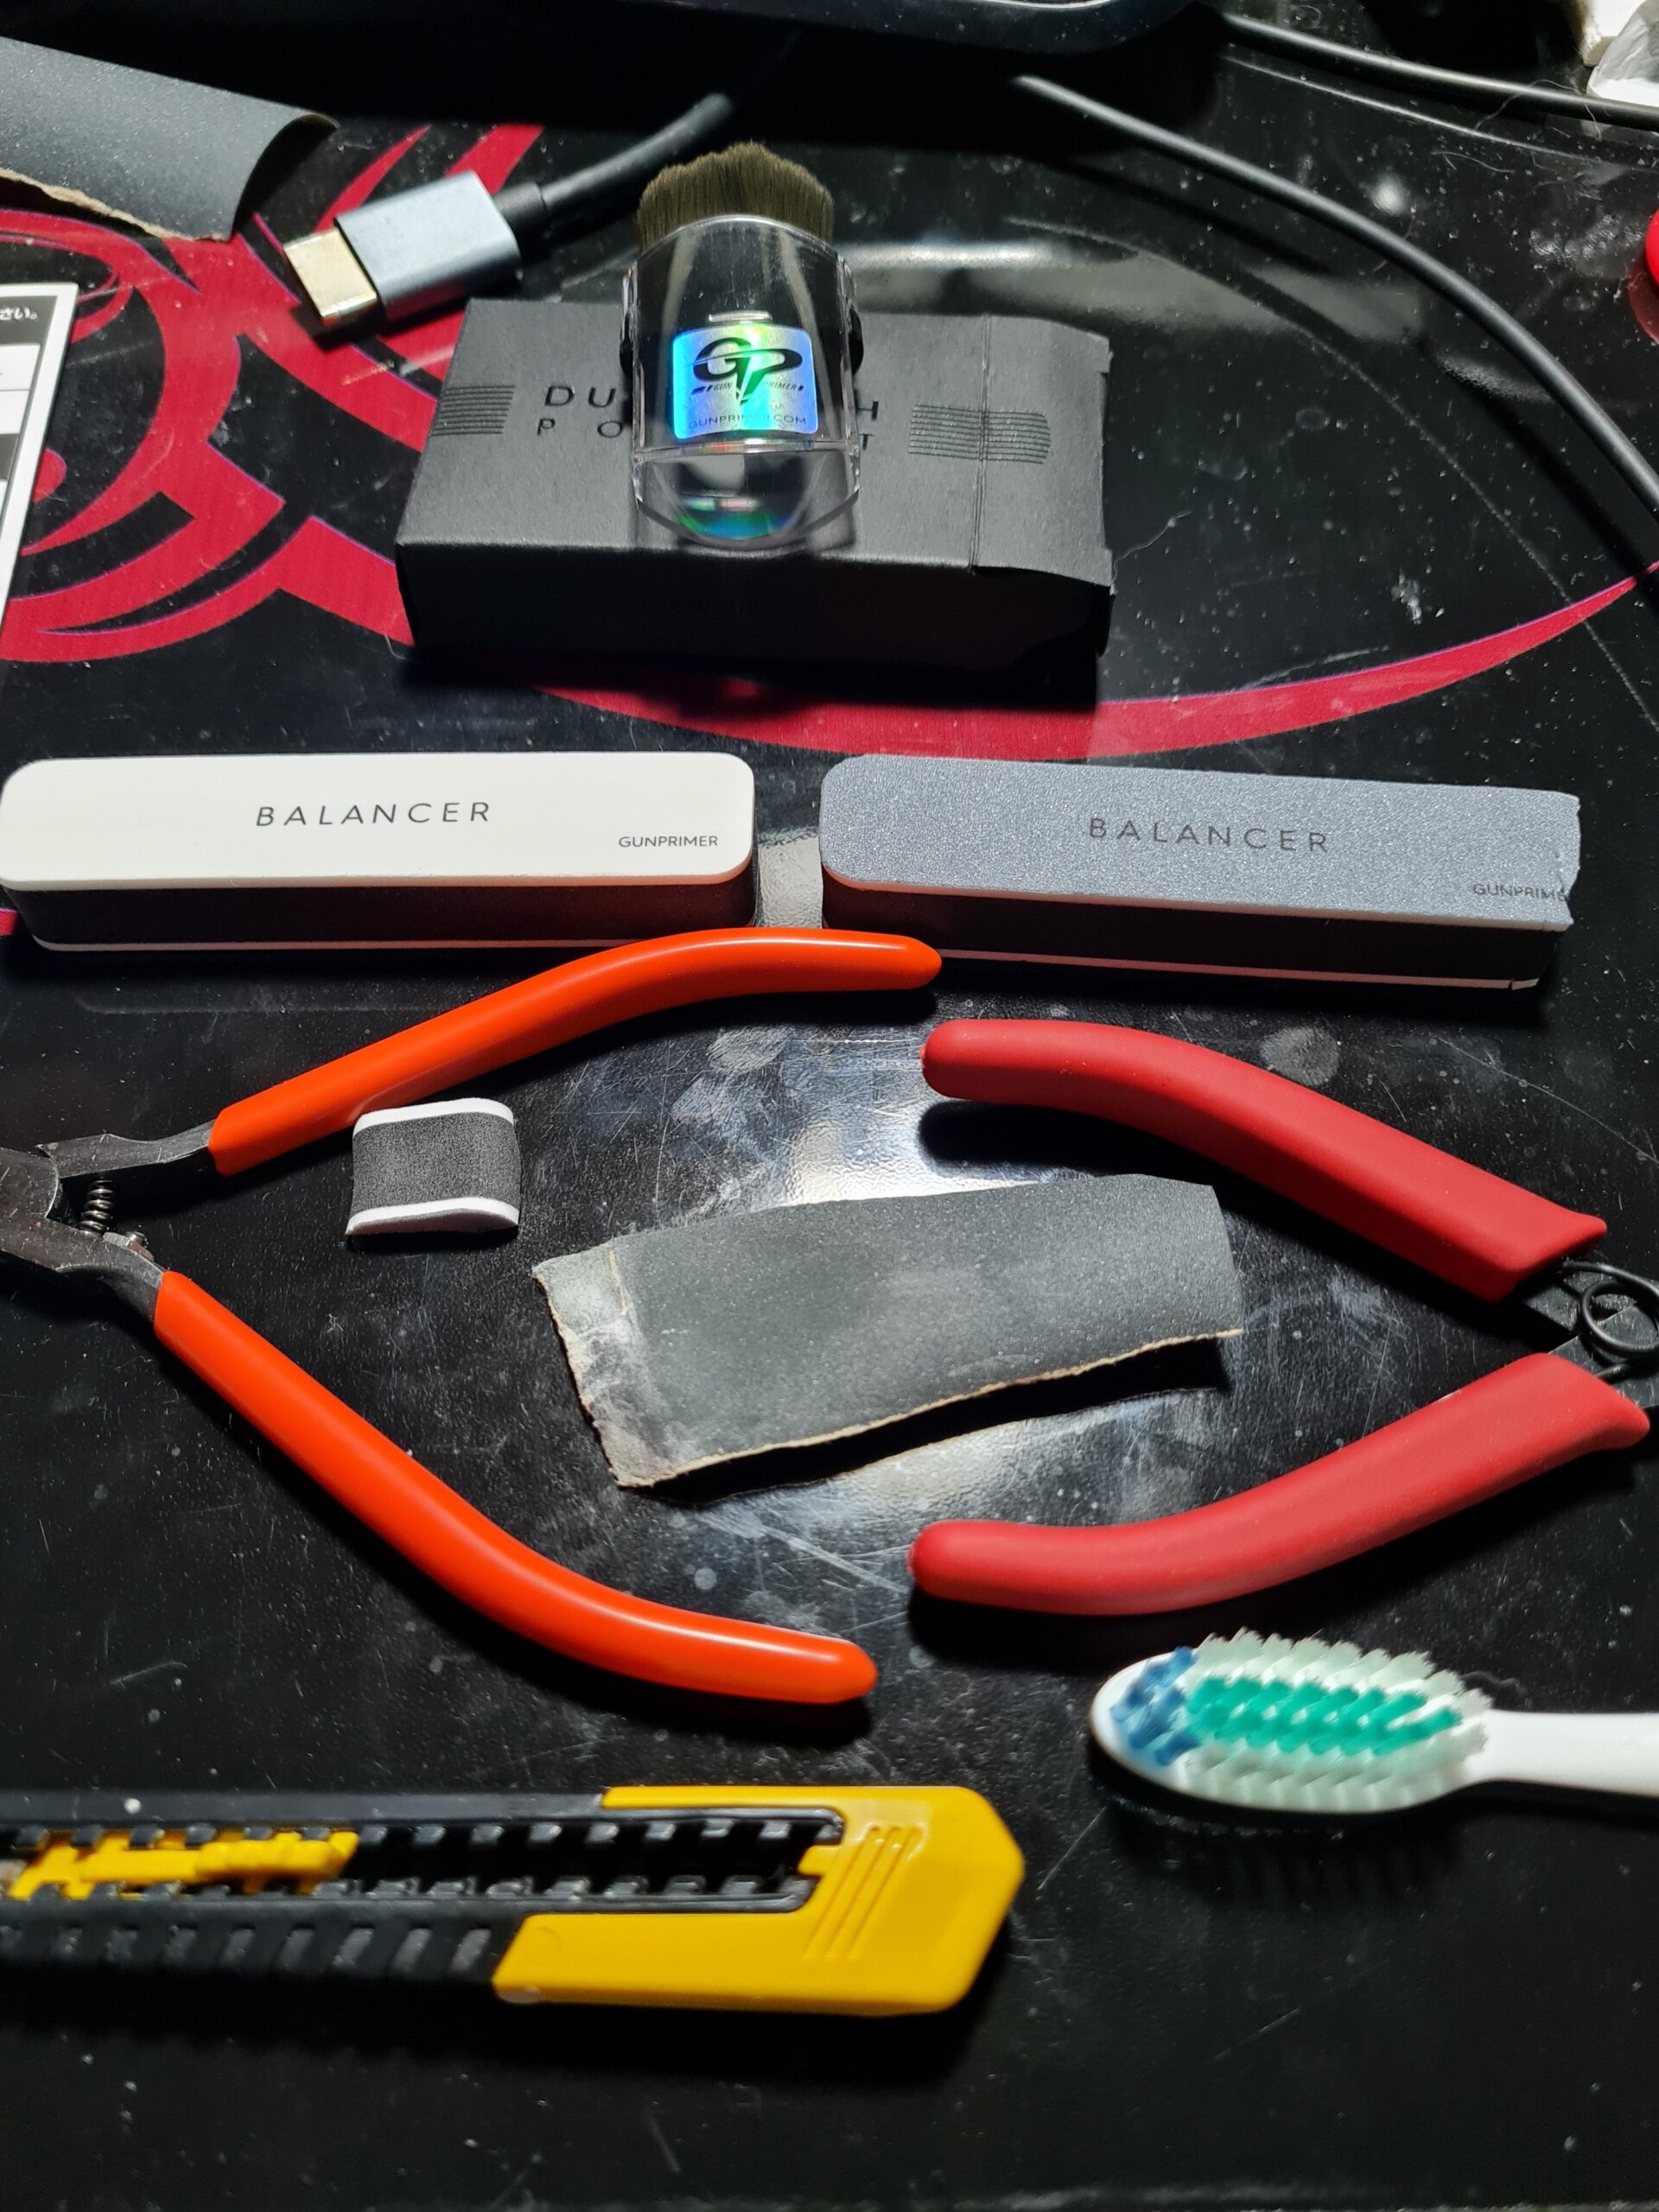
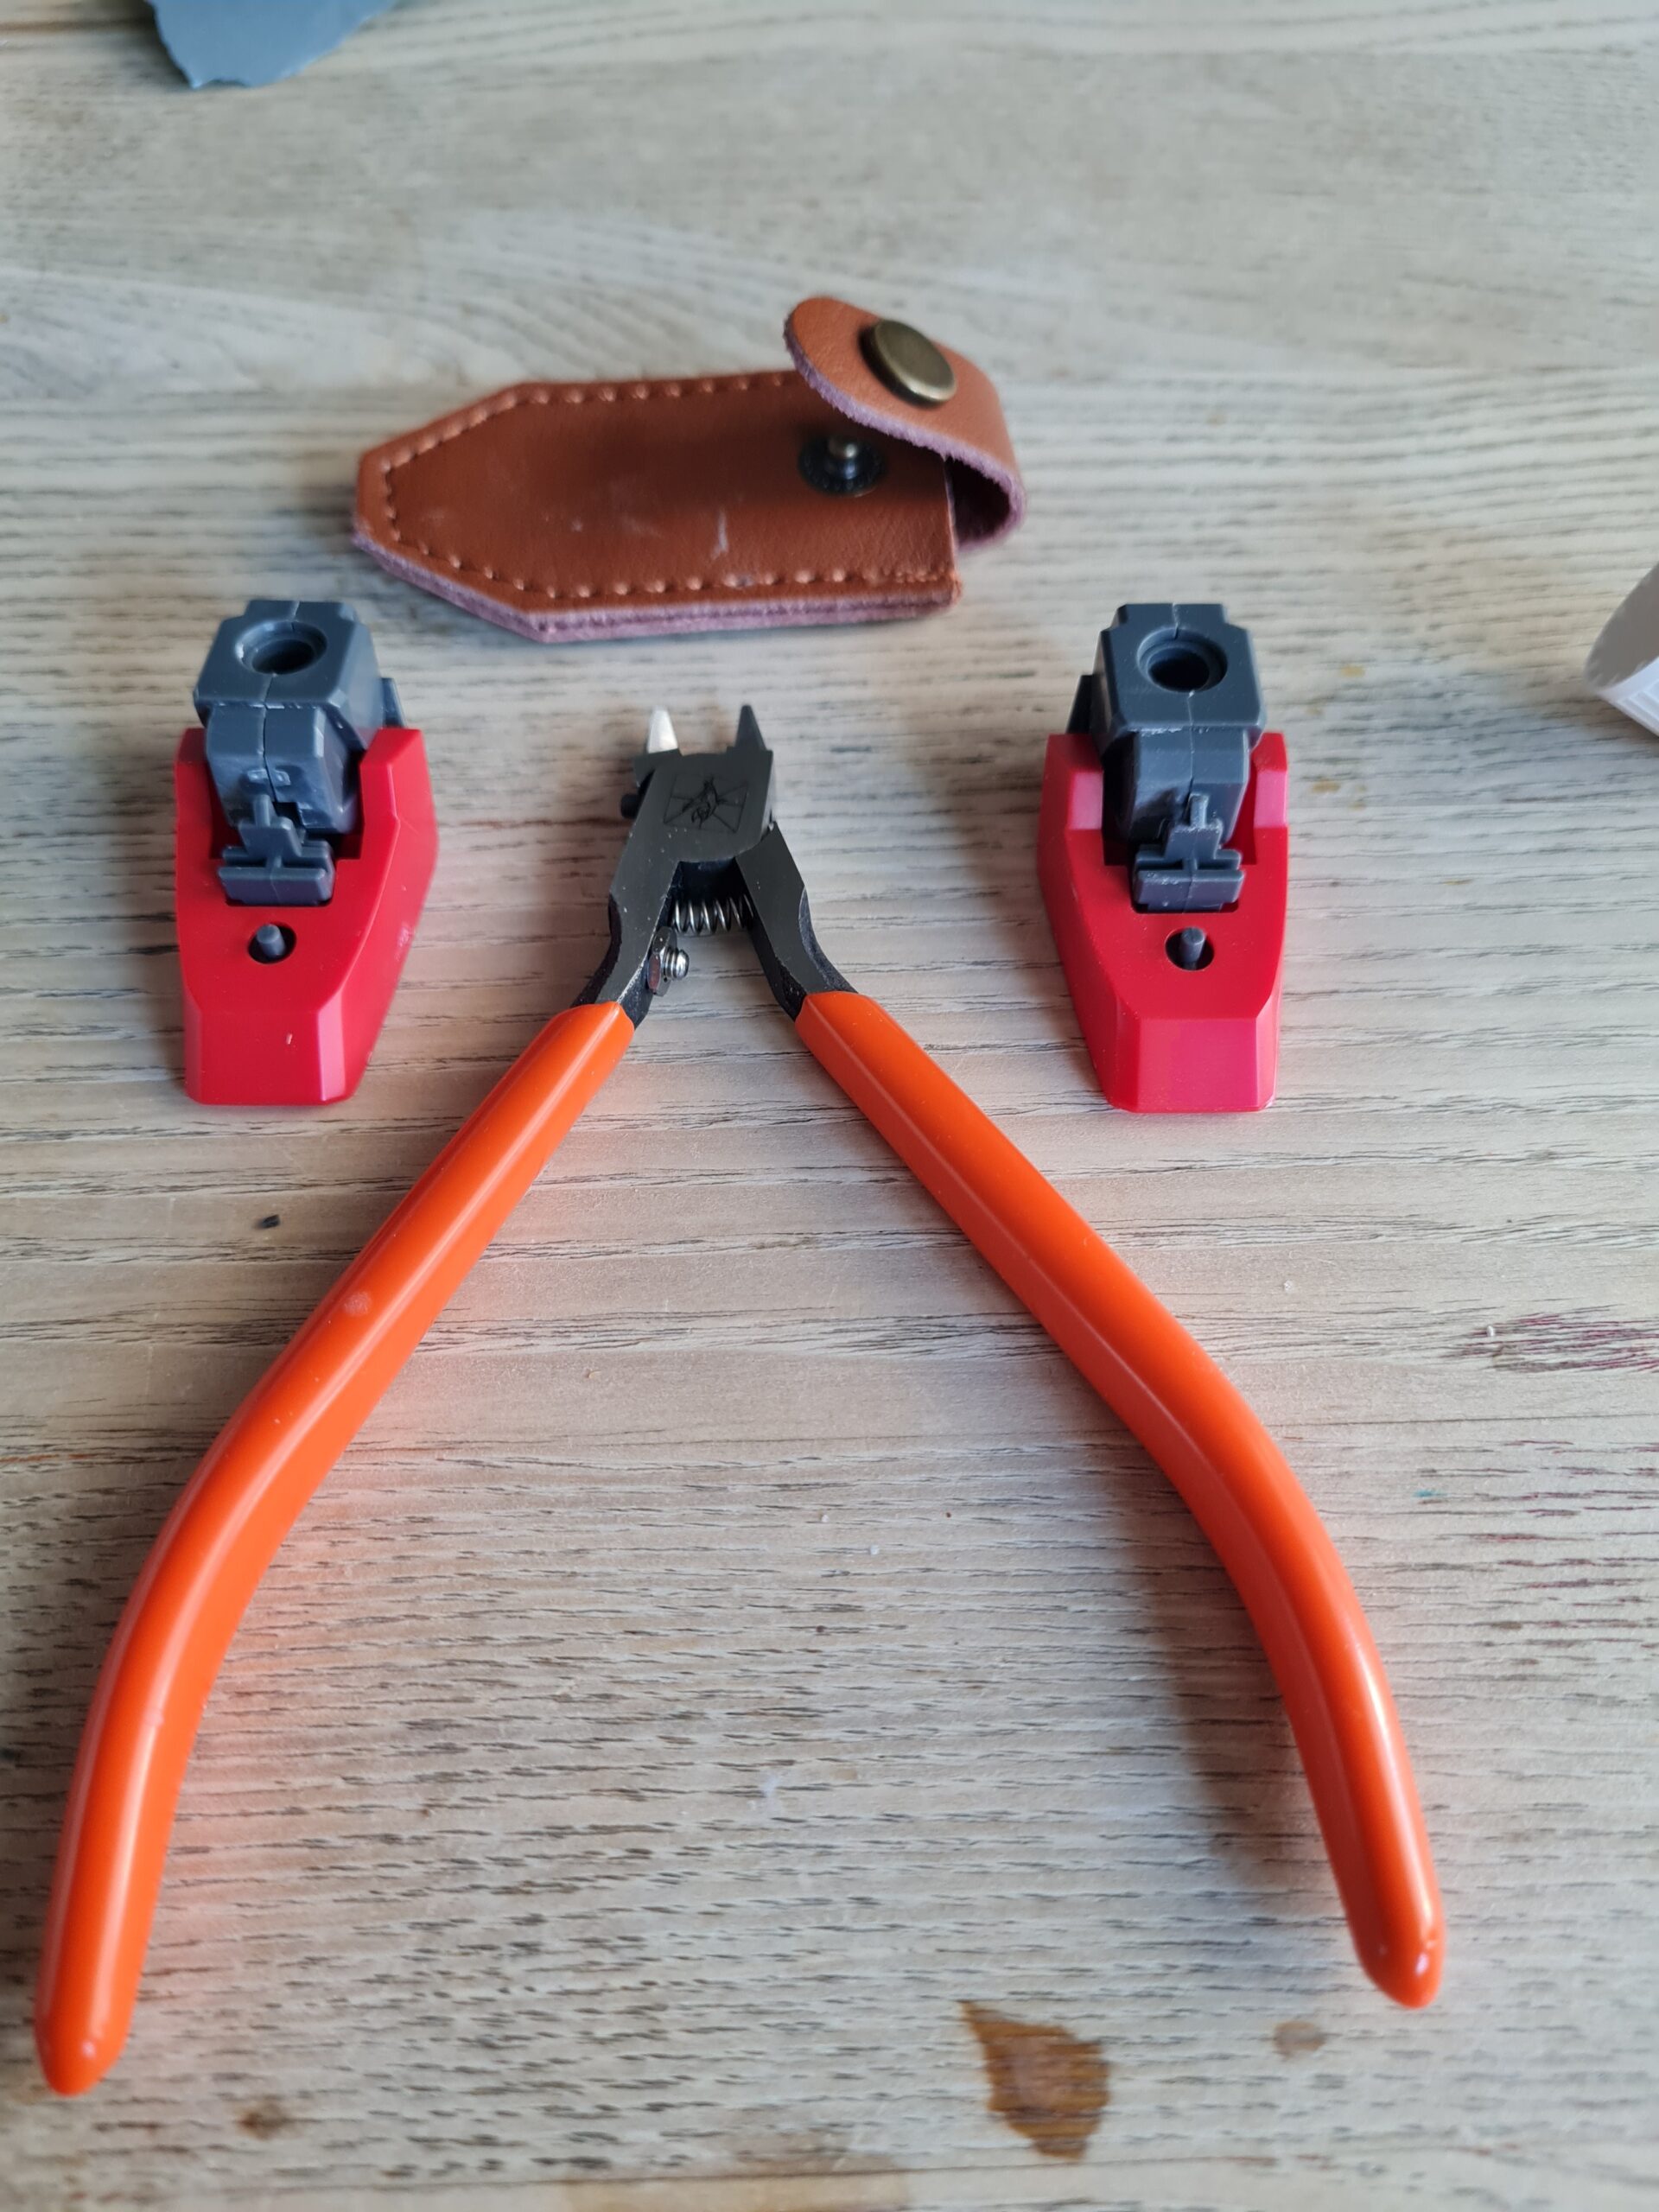
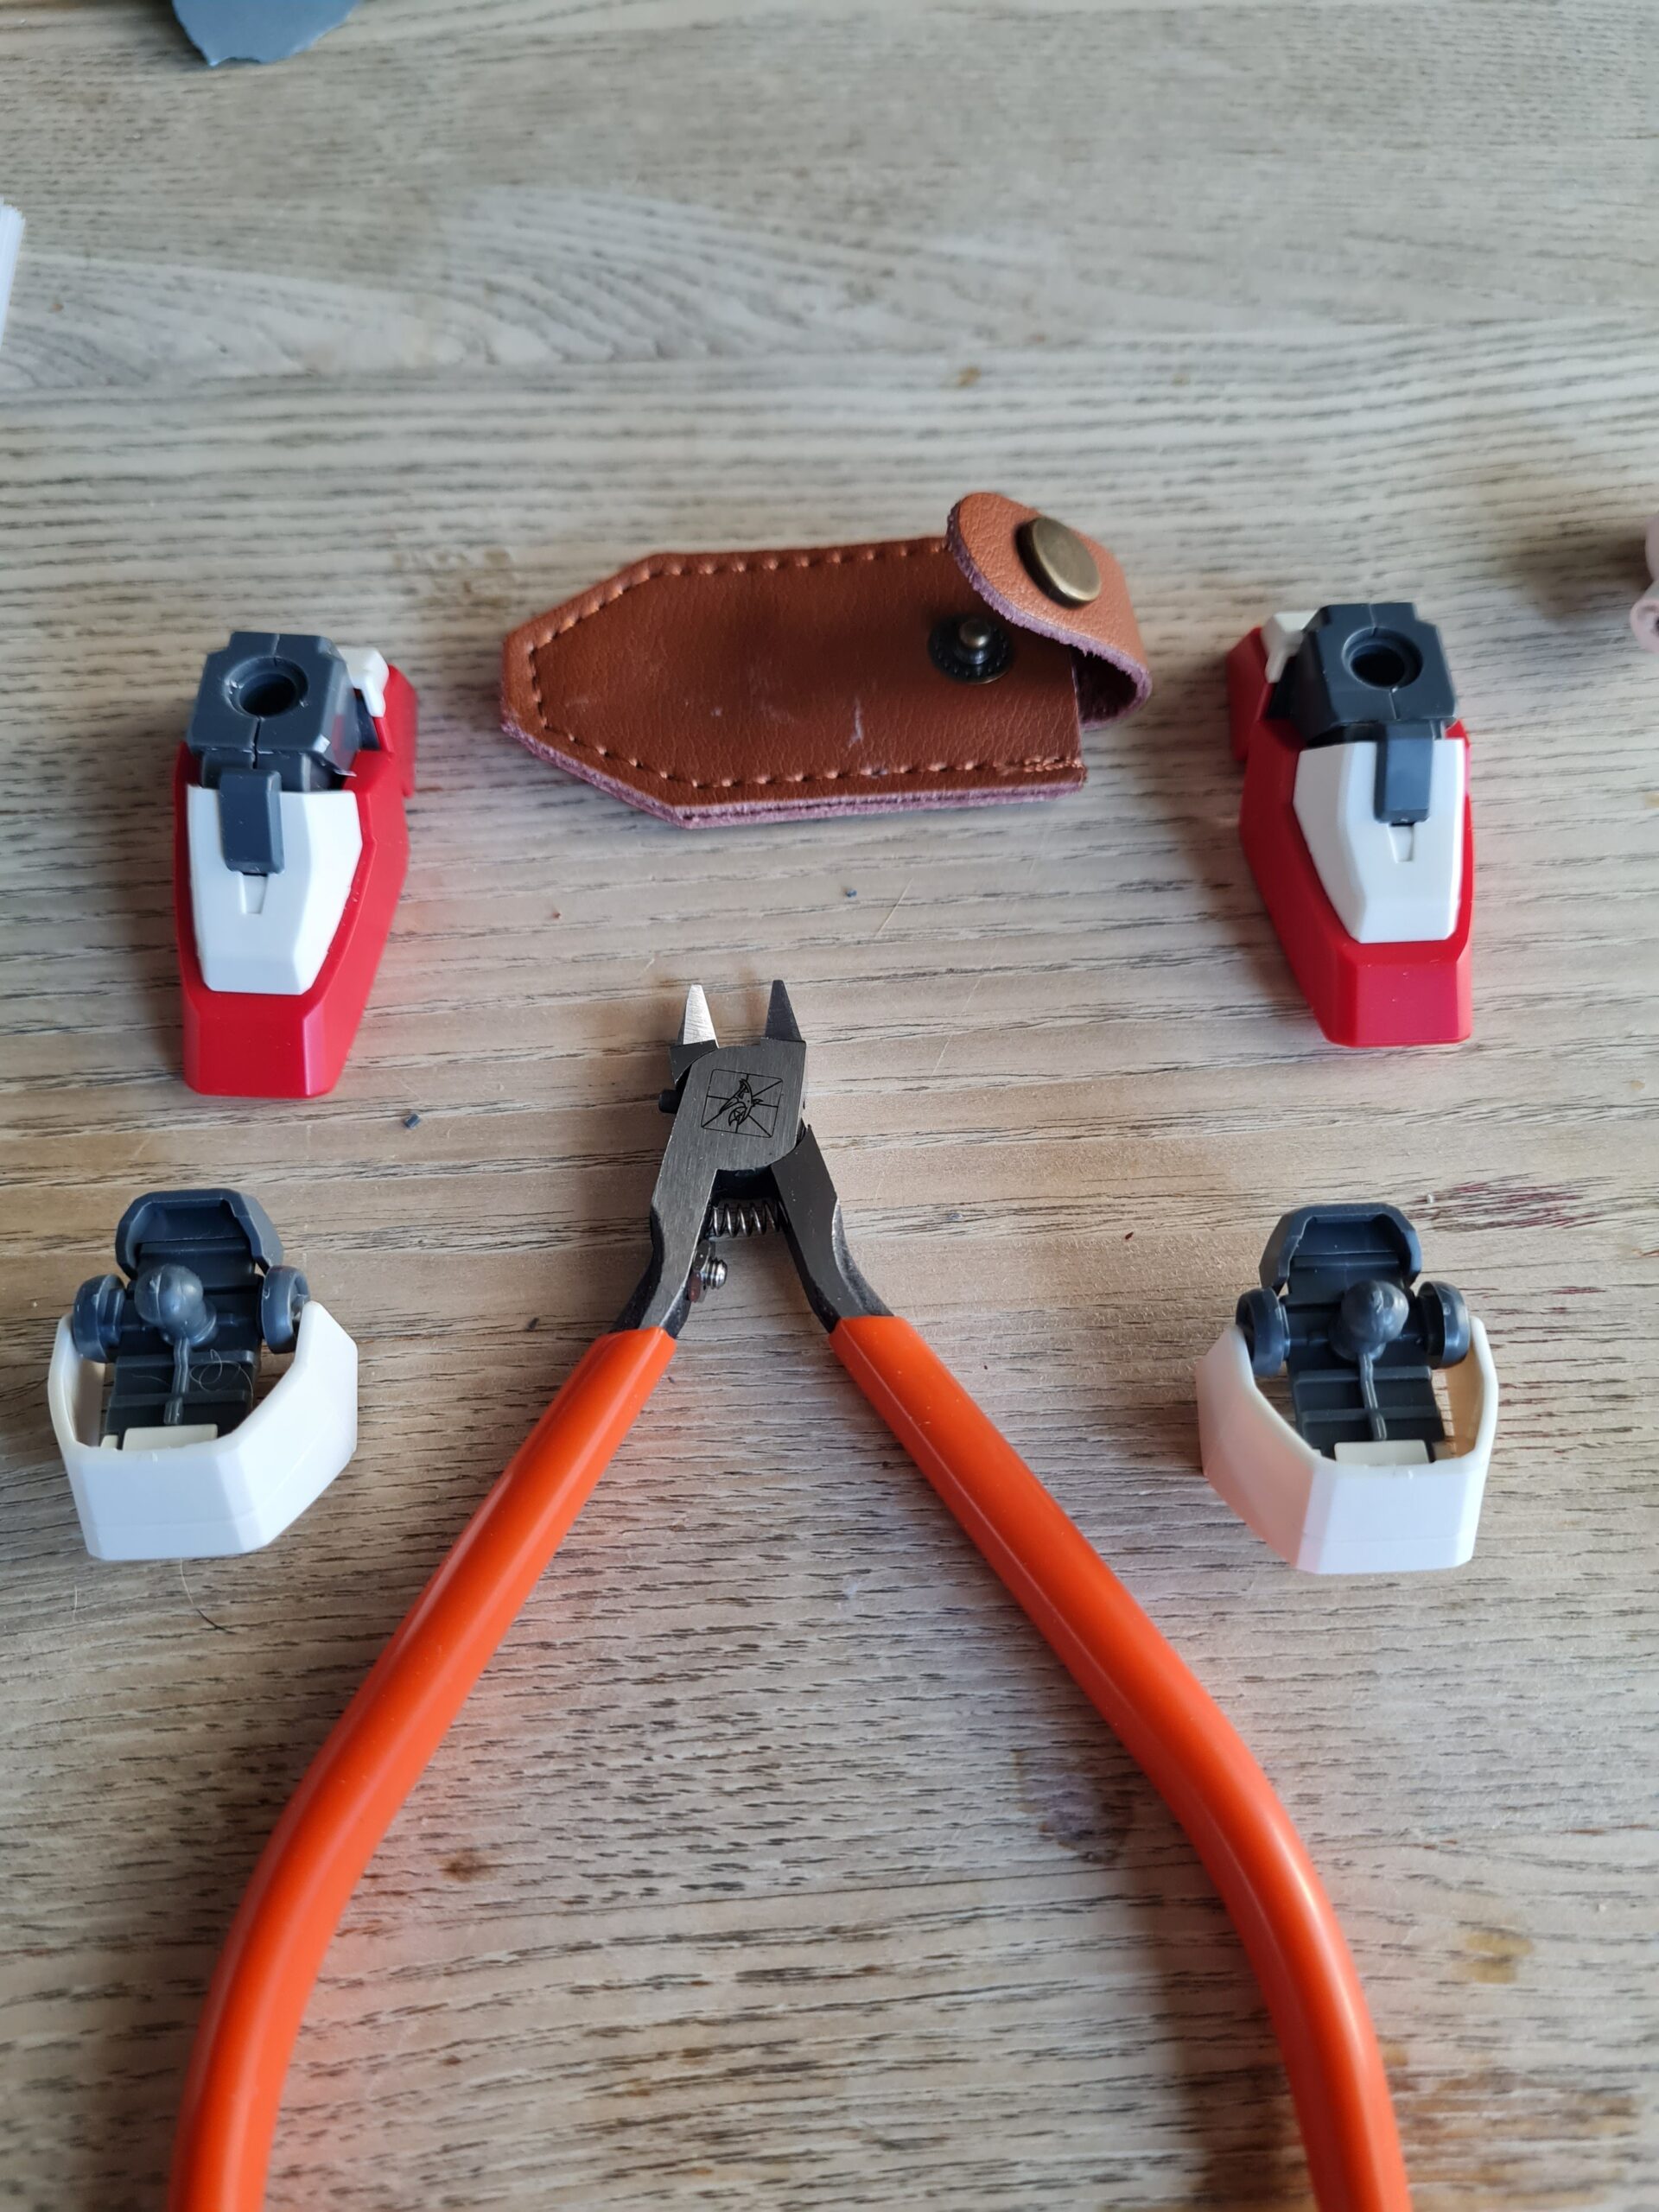
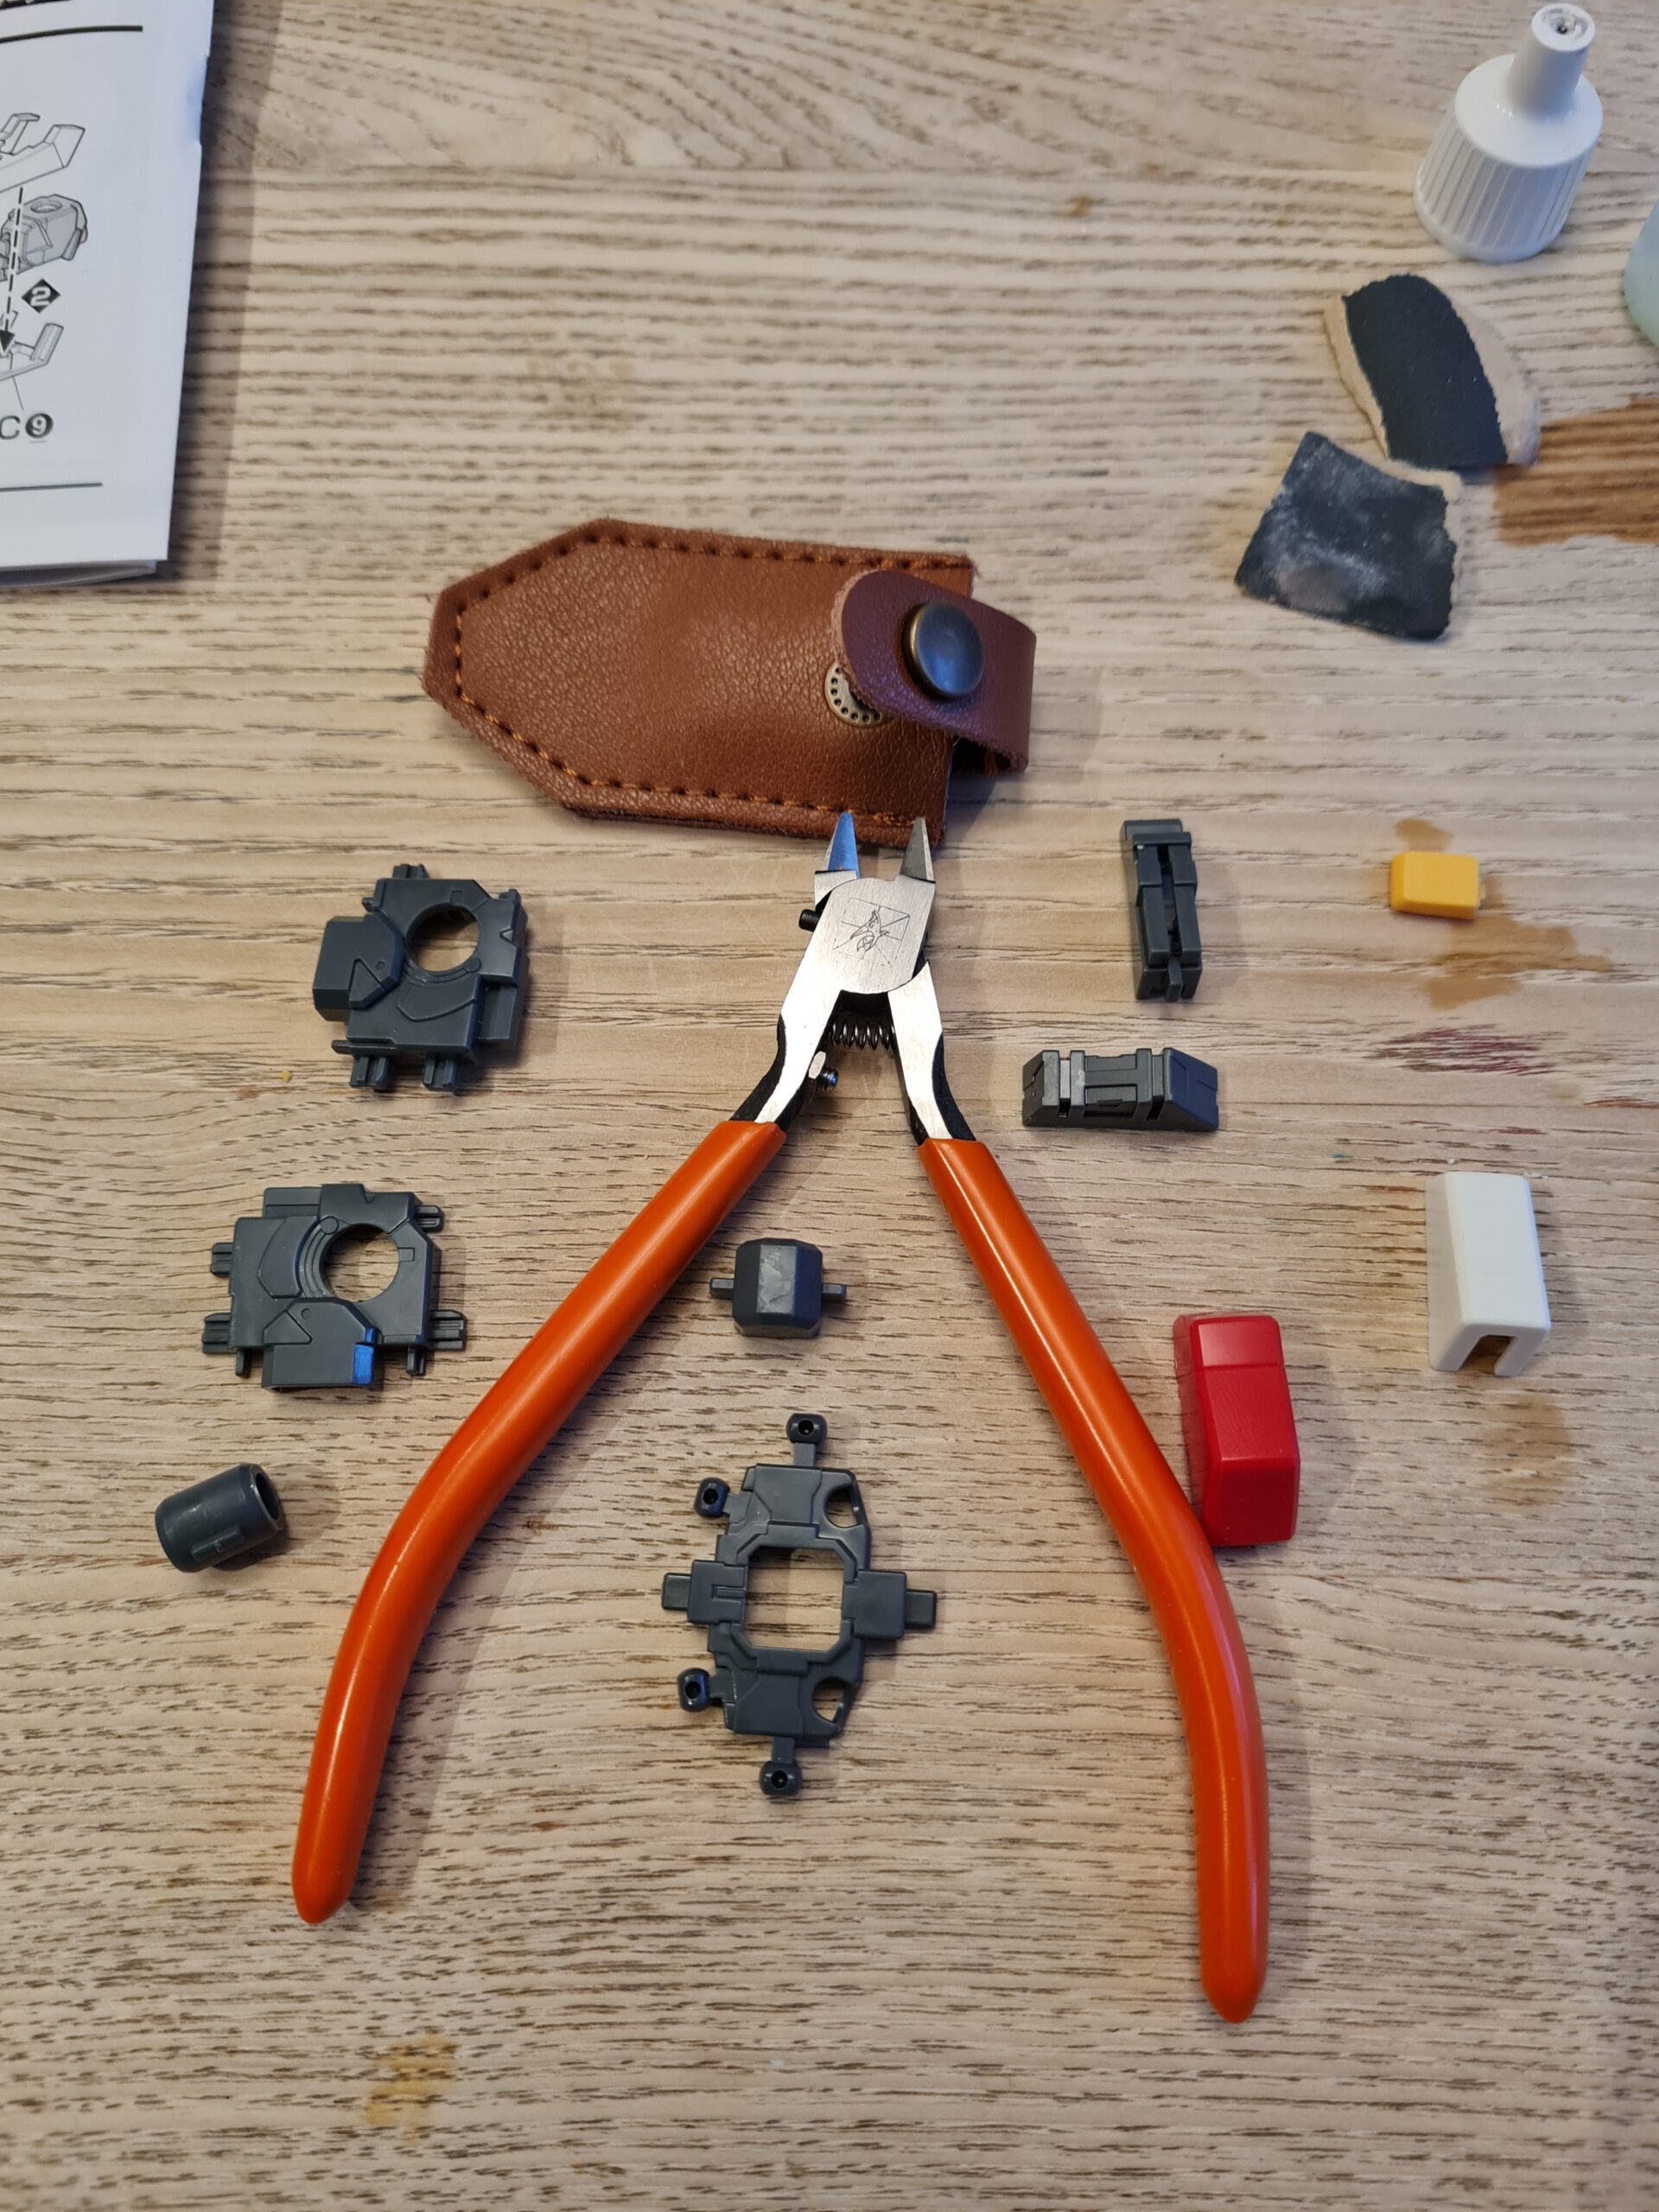
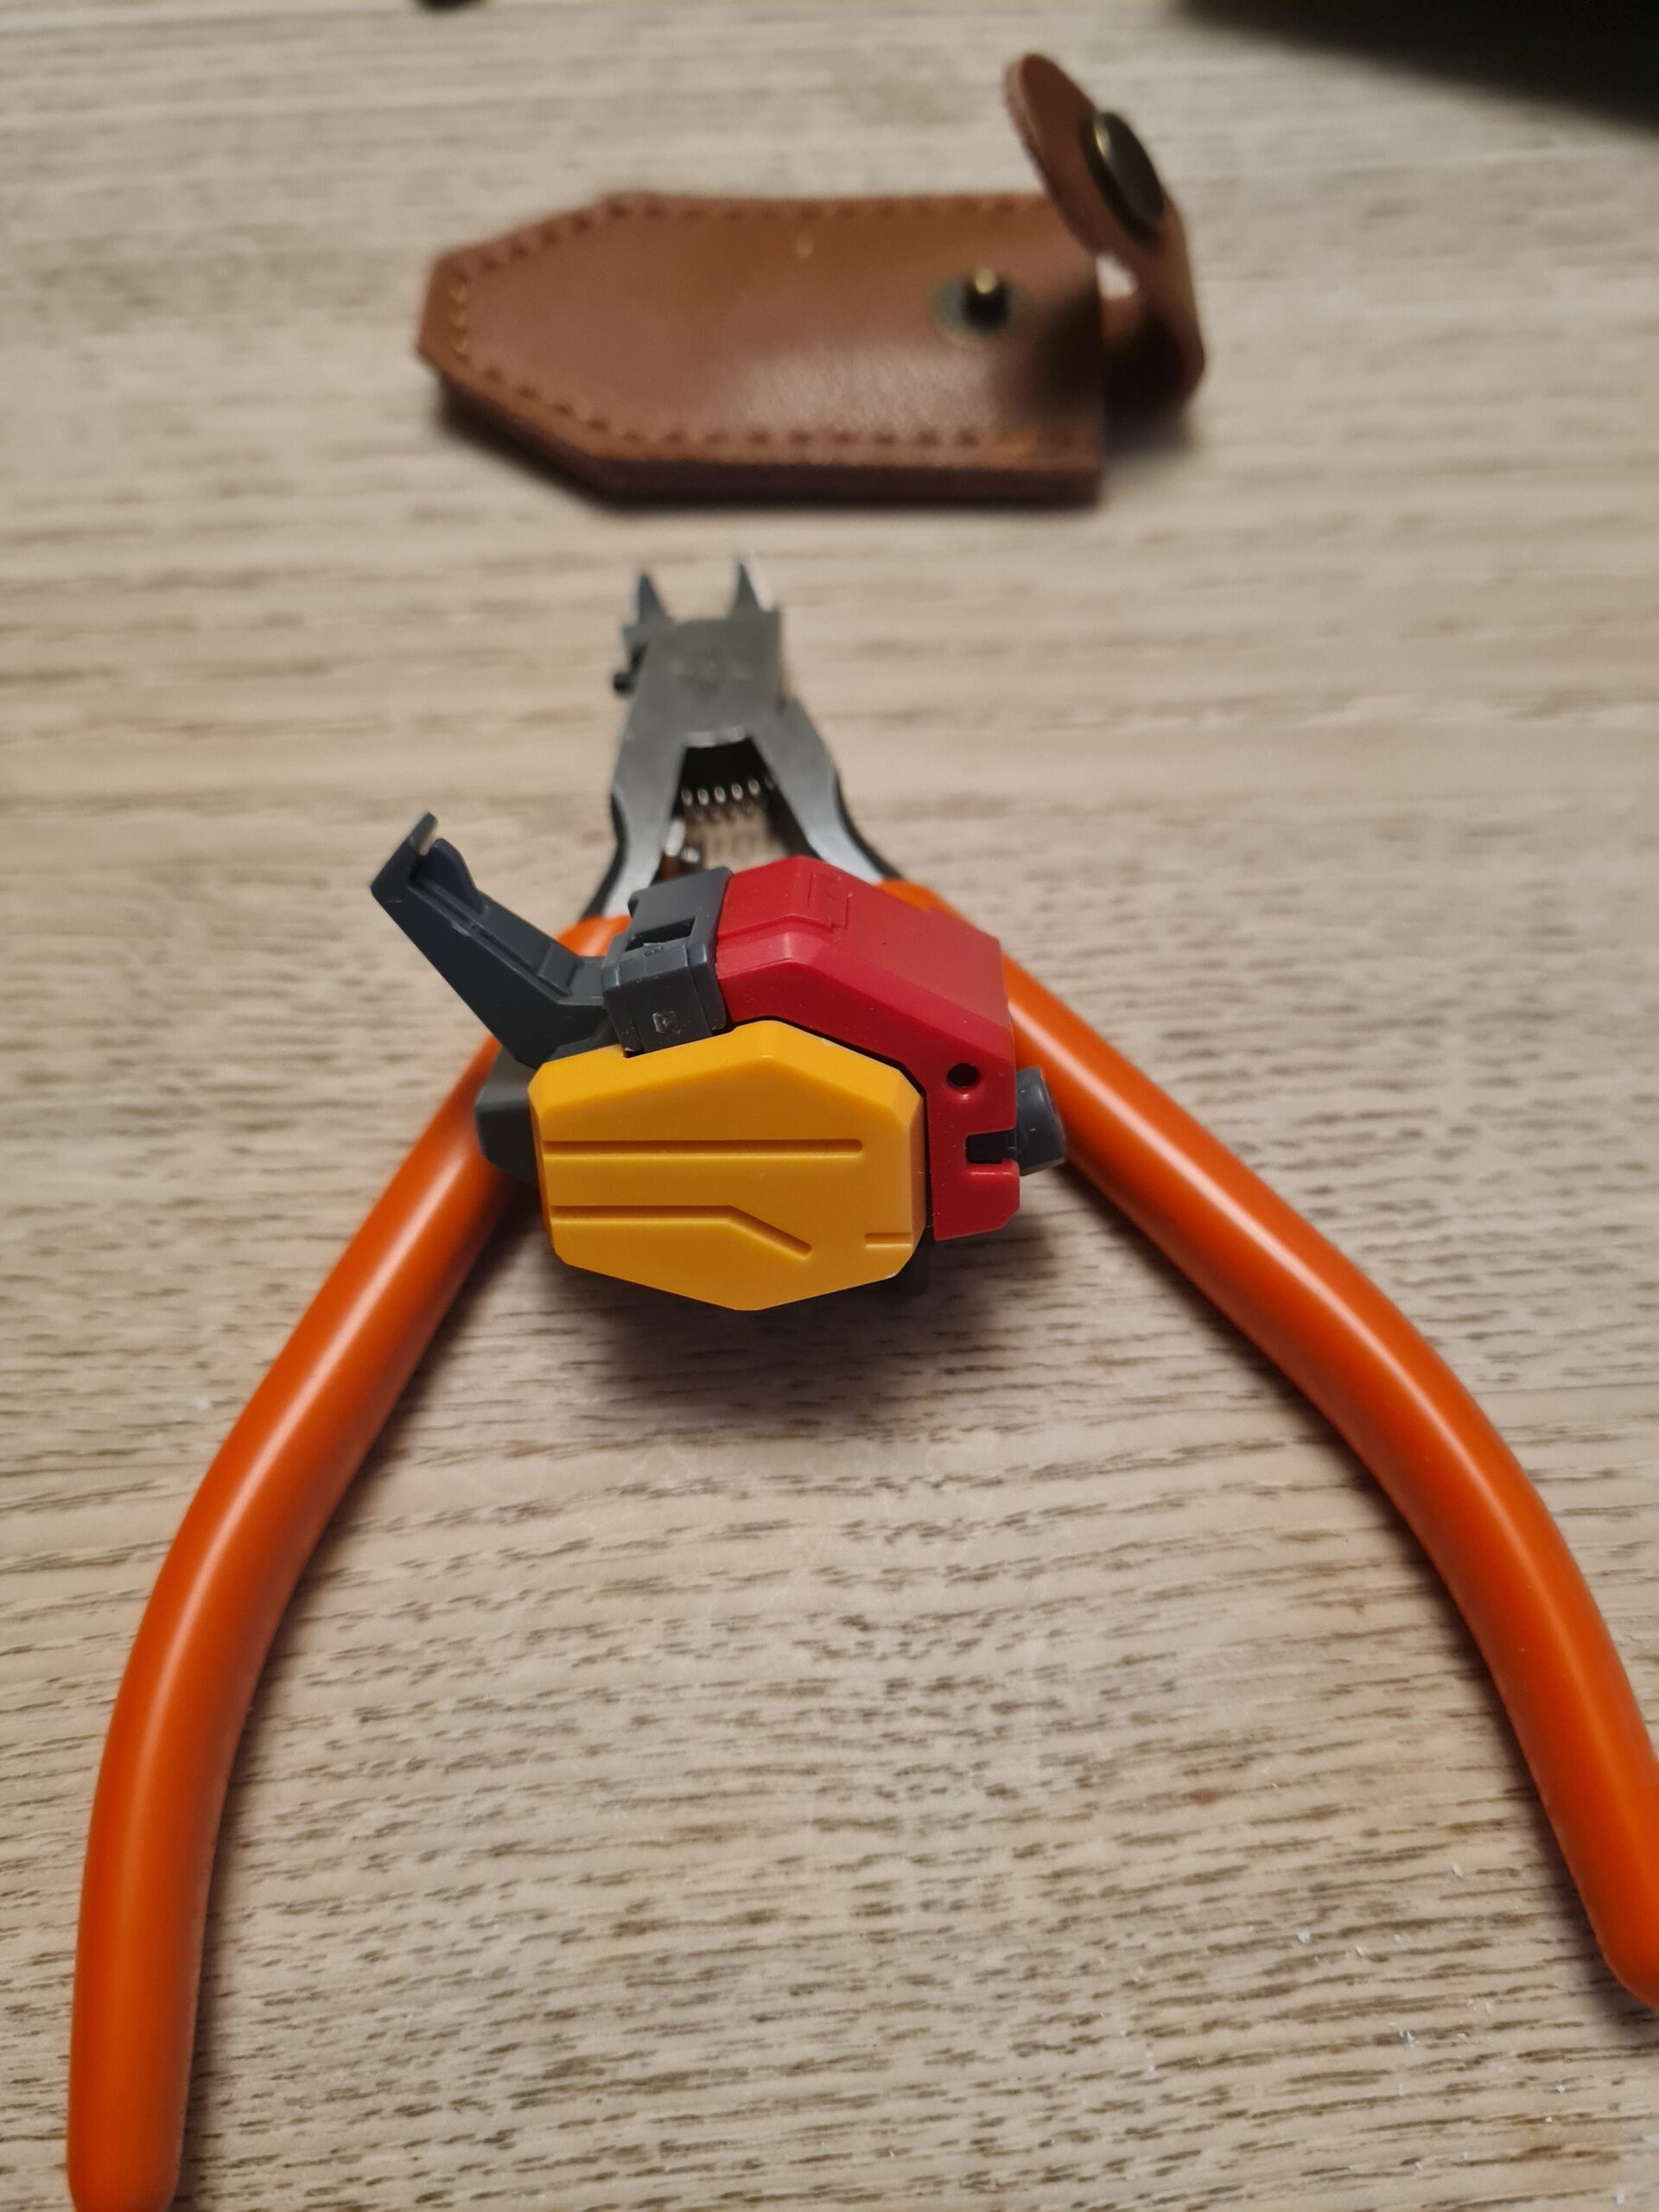
The Tools
Tools Image
A quick note on the tools. Firstly that is a bit of cheap sandpaper. I have a load that I won’t want to waste. Once it is all used up I will be using a RASER but I’m not a fan of waste so this gets used first! The toothbrush is because the sandpaper is wet and dry. When I use it I put some water on it and get a watery mixture with a sort of white dust from sanding. The toothbrush is perfect for cleaning that off. On the right are the cheap nippers for cut 1, and the left has the slightly less cheap nippers for cut 2. The GUNPRIMER balancers (you can find the grey here and the white here) are for cleaning up and polishing the plastic. Note I cut a piece off one to get into some smaller nooks and crannies. Finally at the top is the GUNPRIMER brush which I use for cleaning off the balancers after use.
The Pieces
The first section in the manual is the main Torso of the model. Below are the images of those pieces.
Guess the Model PartsForgotten Red Bit
As you can see I forgot to cut out that little red piece. Still I got there in the end!
Assembled Pieces
Underside Front ViewUnderside Rear ViewCloseup Side ViewFront ViewSide ViewTorso Rear View
As you can see the Torso is quite distinctive. Note I haven’t put the stickers on, mainly because I think they will cheapen the model. I’m going to have a think and paint a few sections to hopefully really make them pop. Then coat and finally panel line and coat again.
Conclusion
There we have it! Can you tell what model it is from that torso? If you can let me know in the comments.
Thank you for taking the time to read this. If you haven’t already done so please like and follow us on our social media platforms and checkout our website!
In this post I want to highlight the lovely technicalities that Bandai have built into the models. This post specifically I want to focus on looking at the HG GunPla arms … or more specifically my RX-78-2 Revive arm.
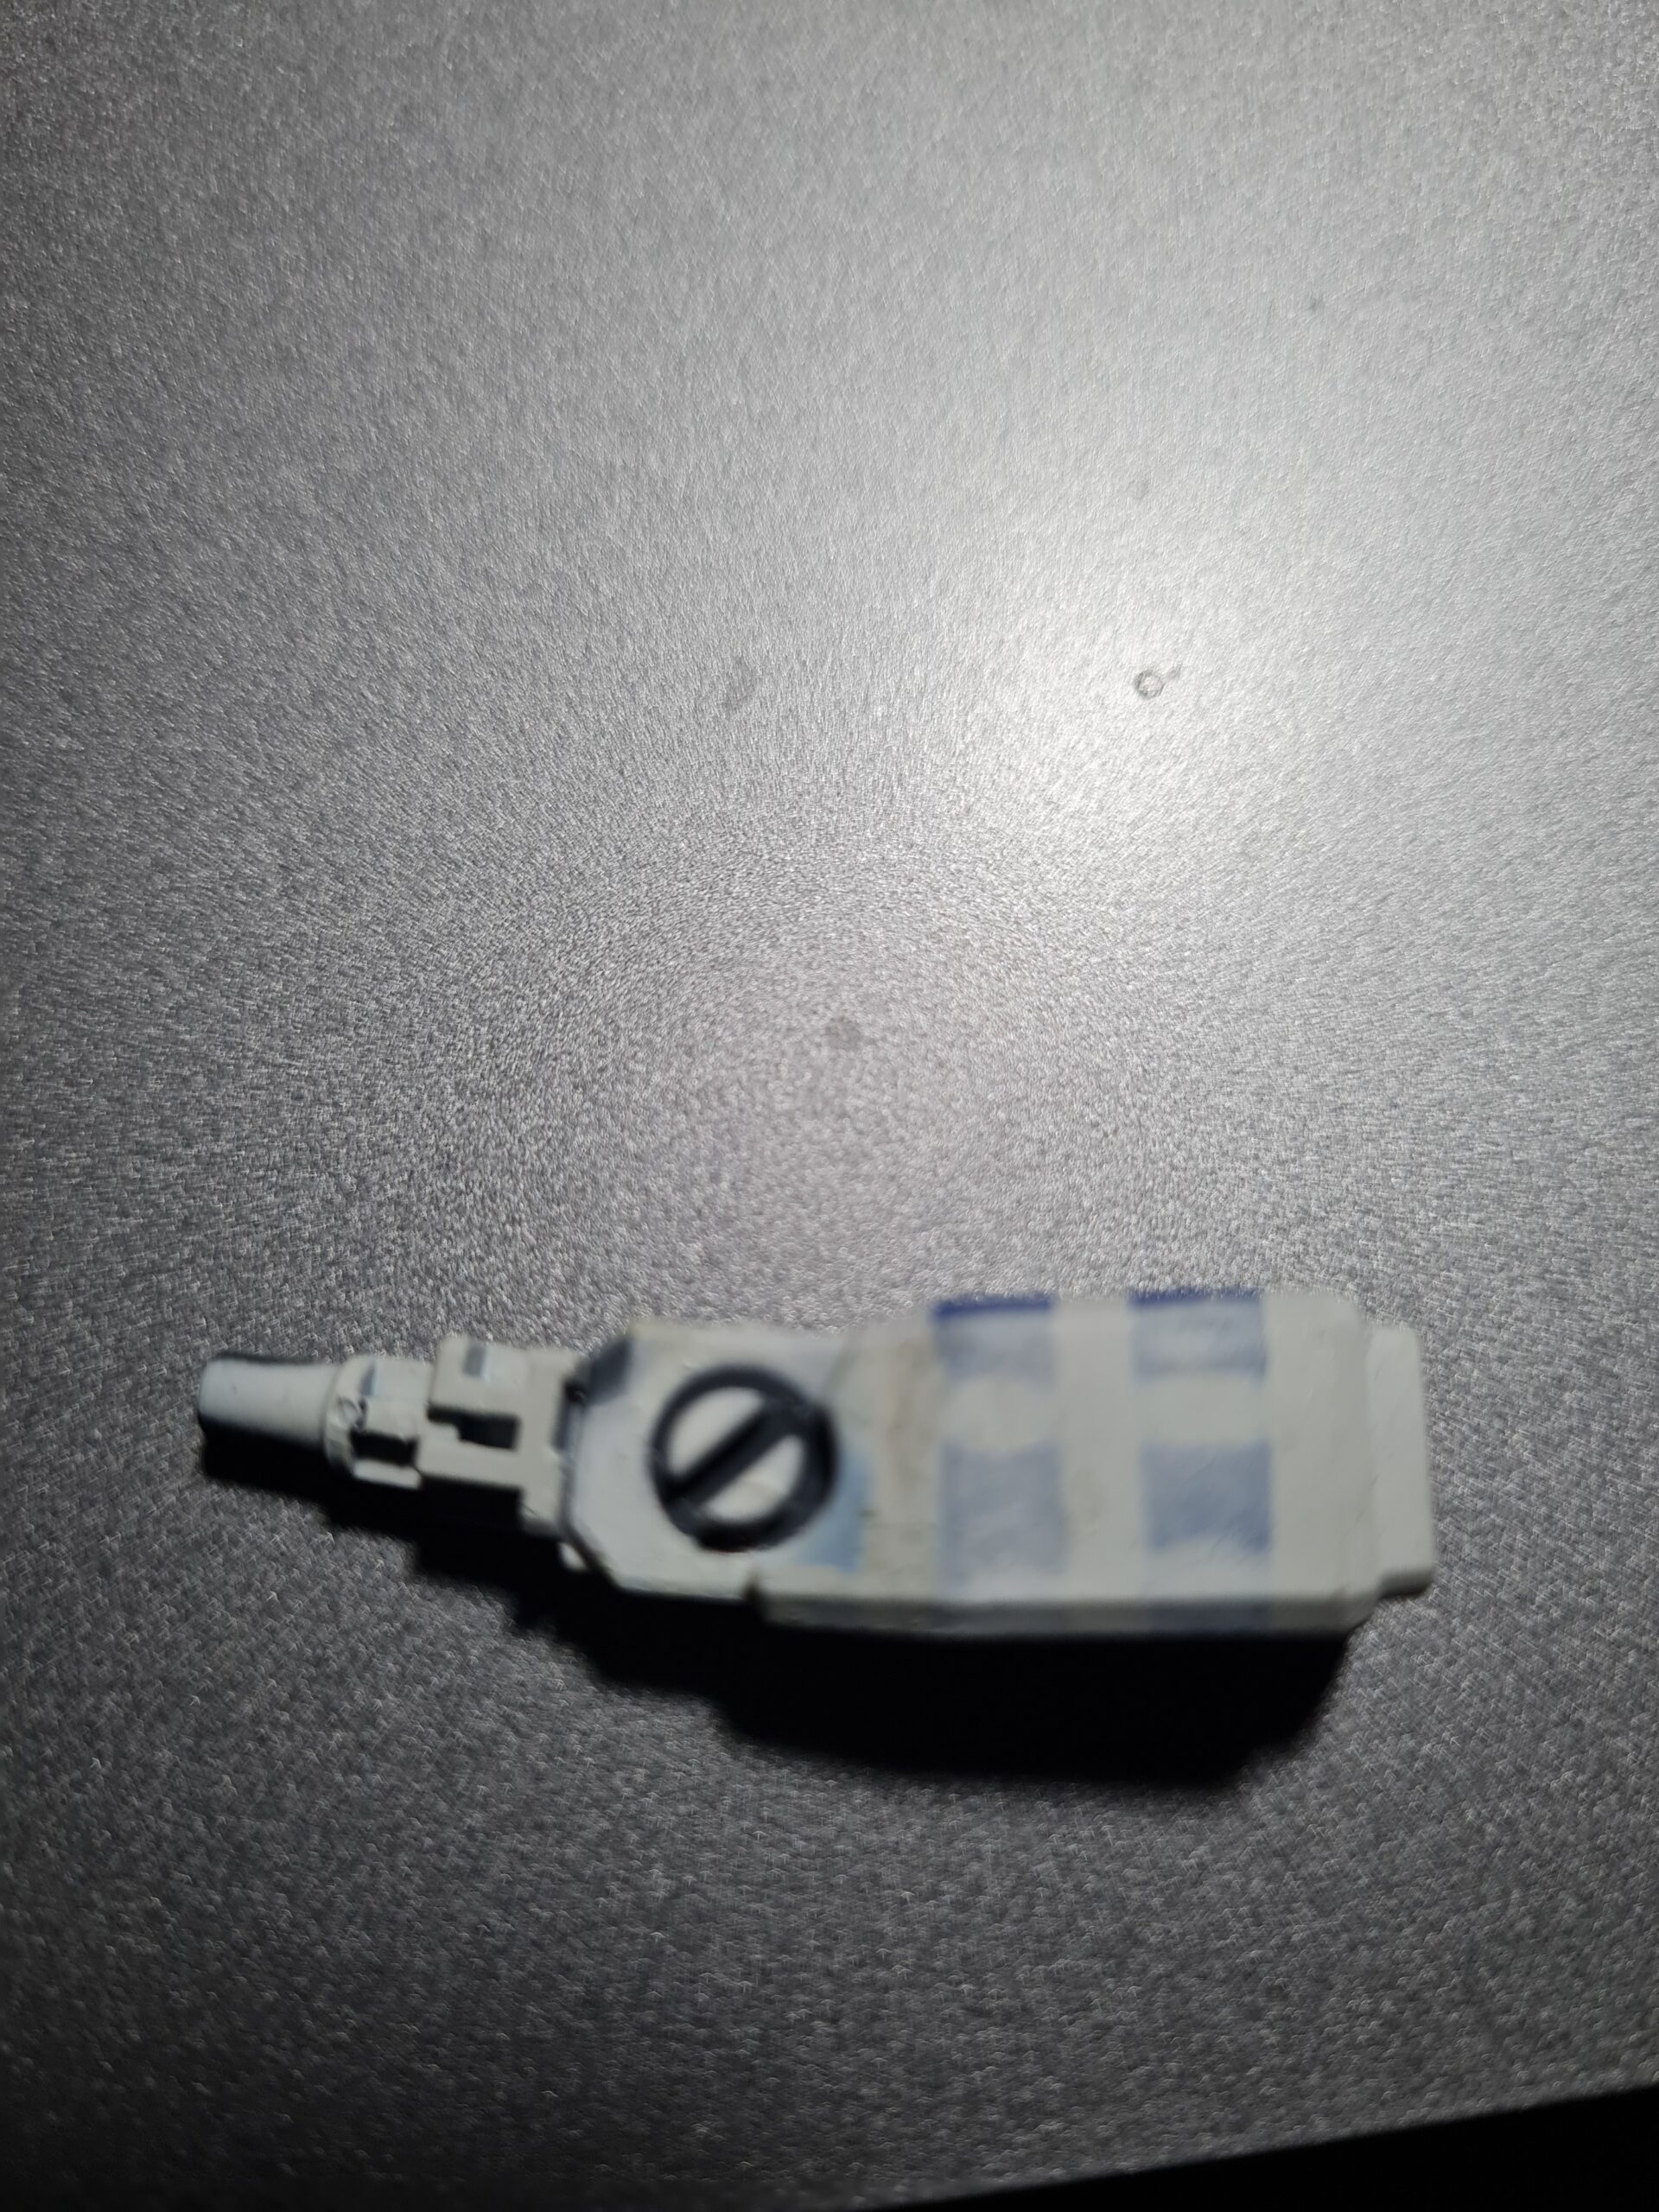
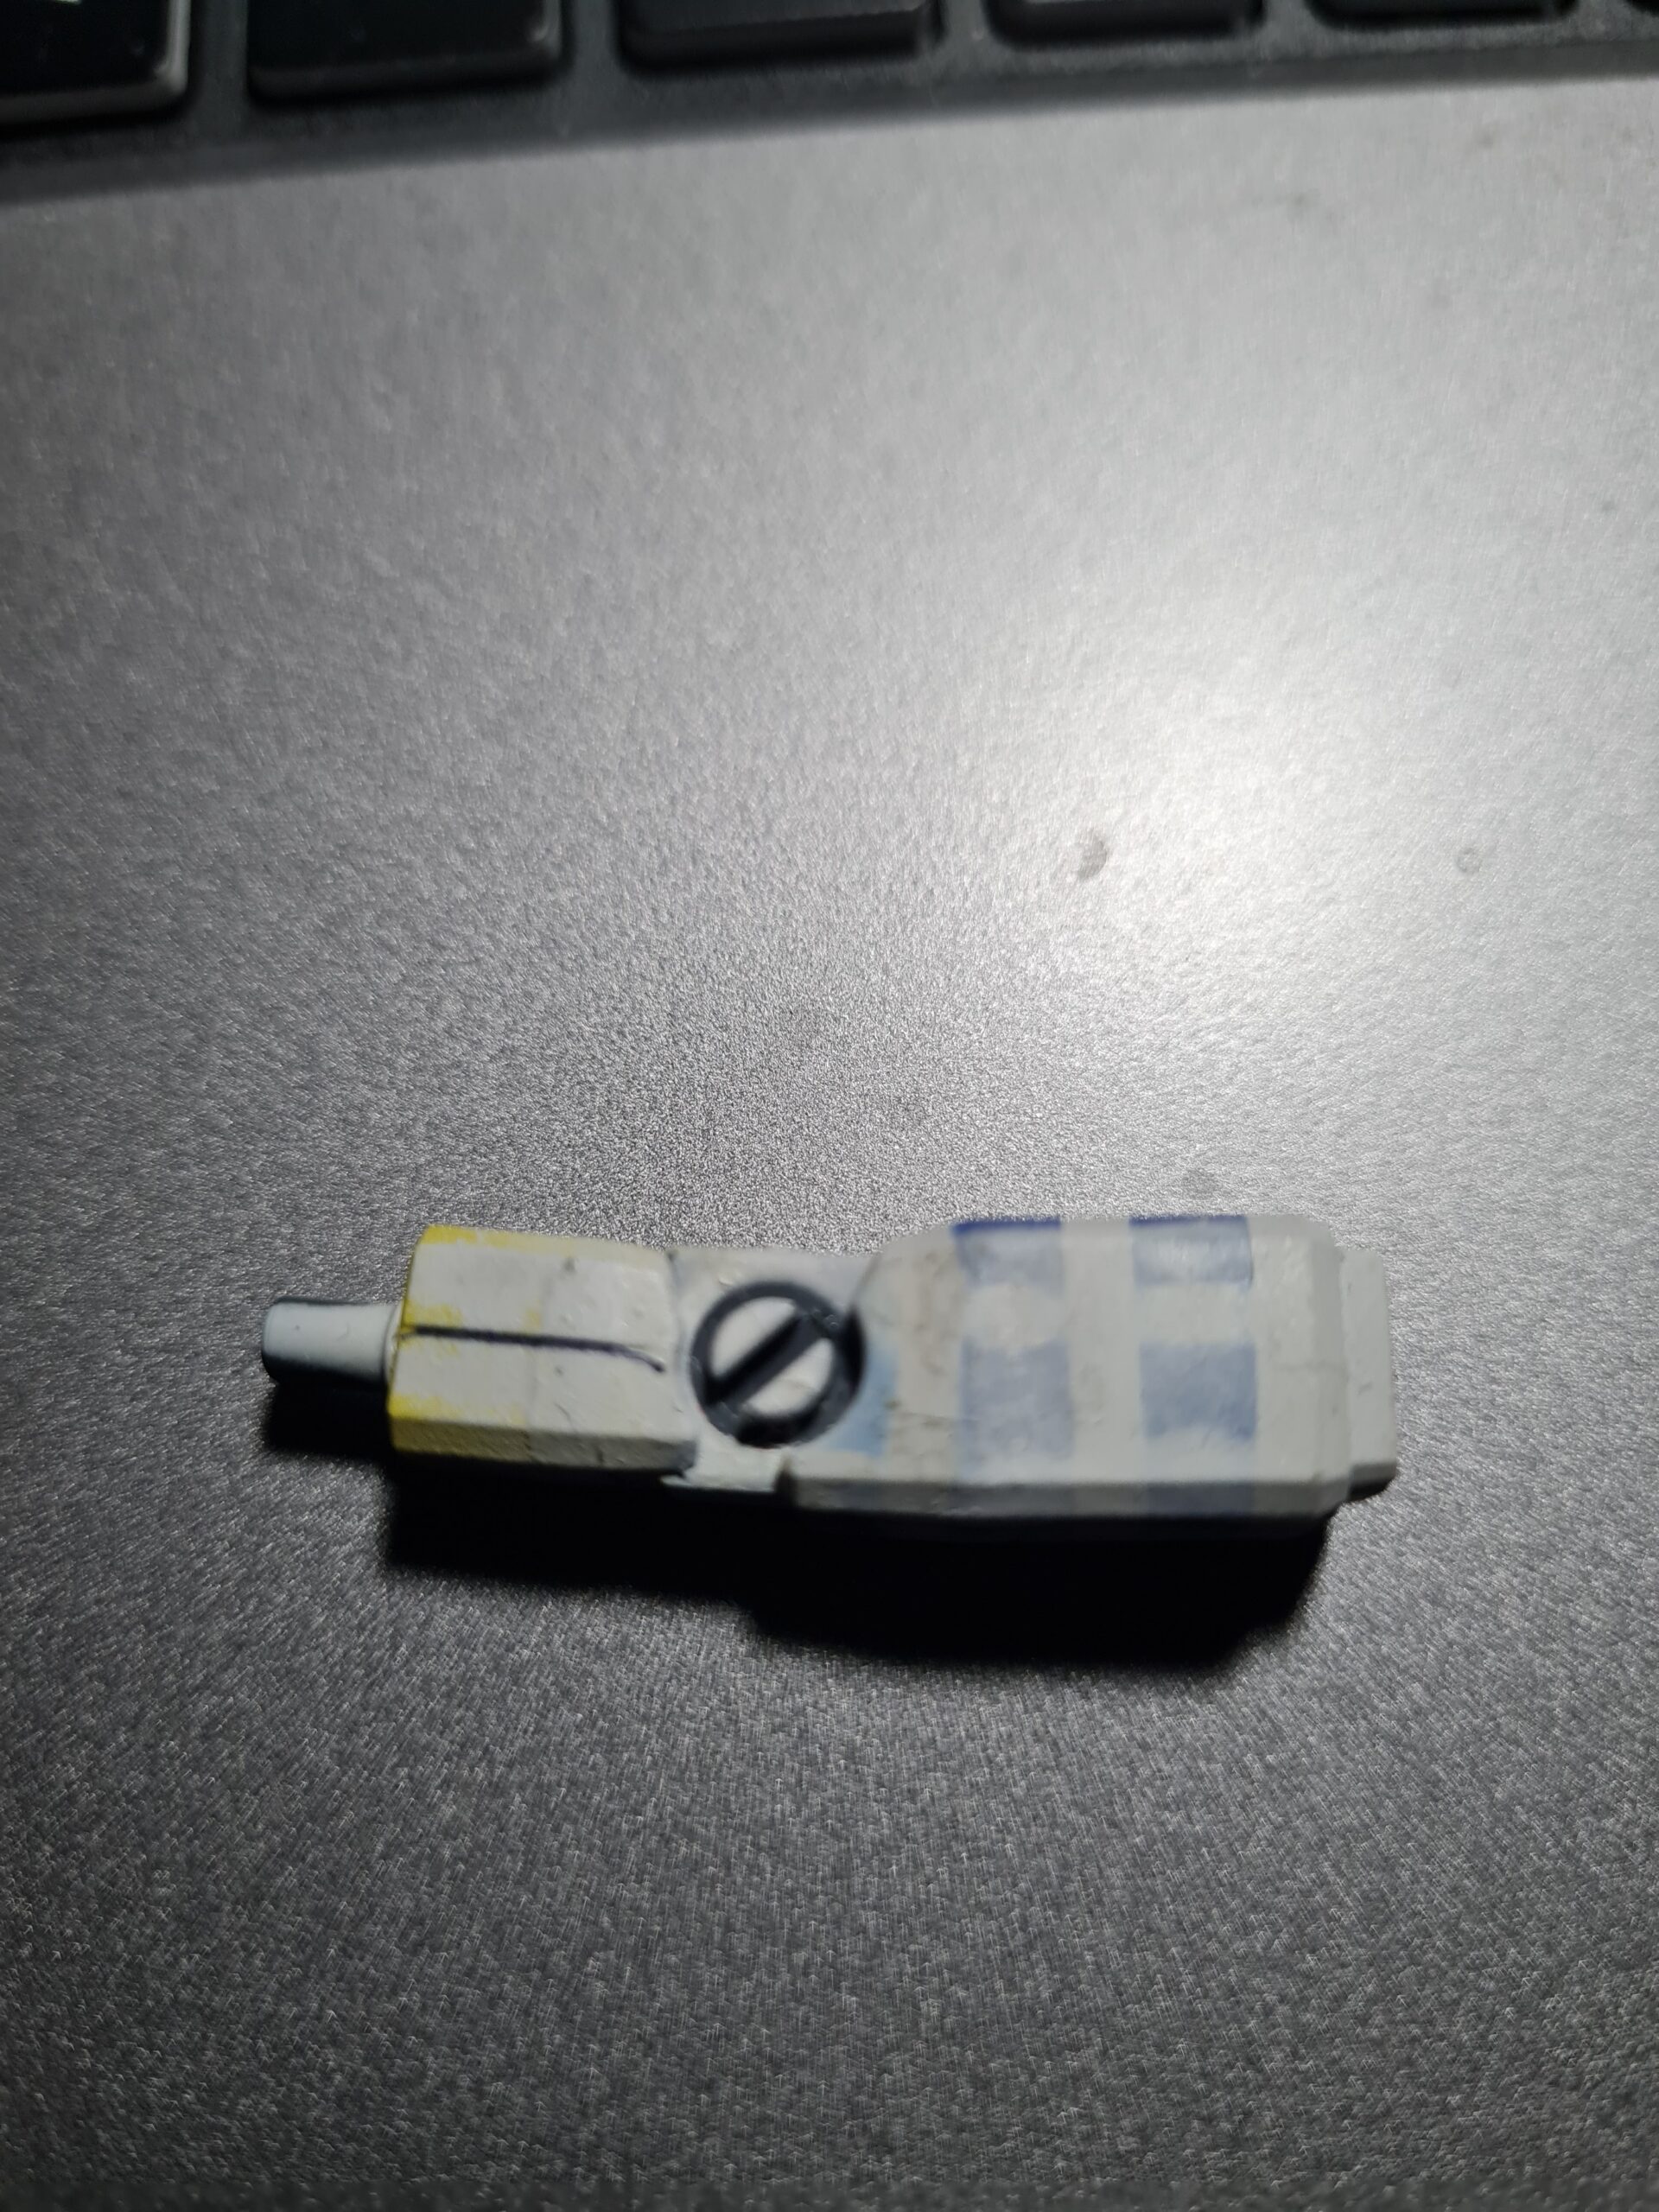
Before I go any further I must, I feel, apologise for the state of the arm. I have been doing a lot of testing different things with it. It has been painted, cleaned painted and generally messed with. It looks currently in a slightly sorry state. I will, soon I hope, restore it to a much better condition. When I get chance I will show it off in its restored glory!
The Arm Basics
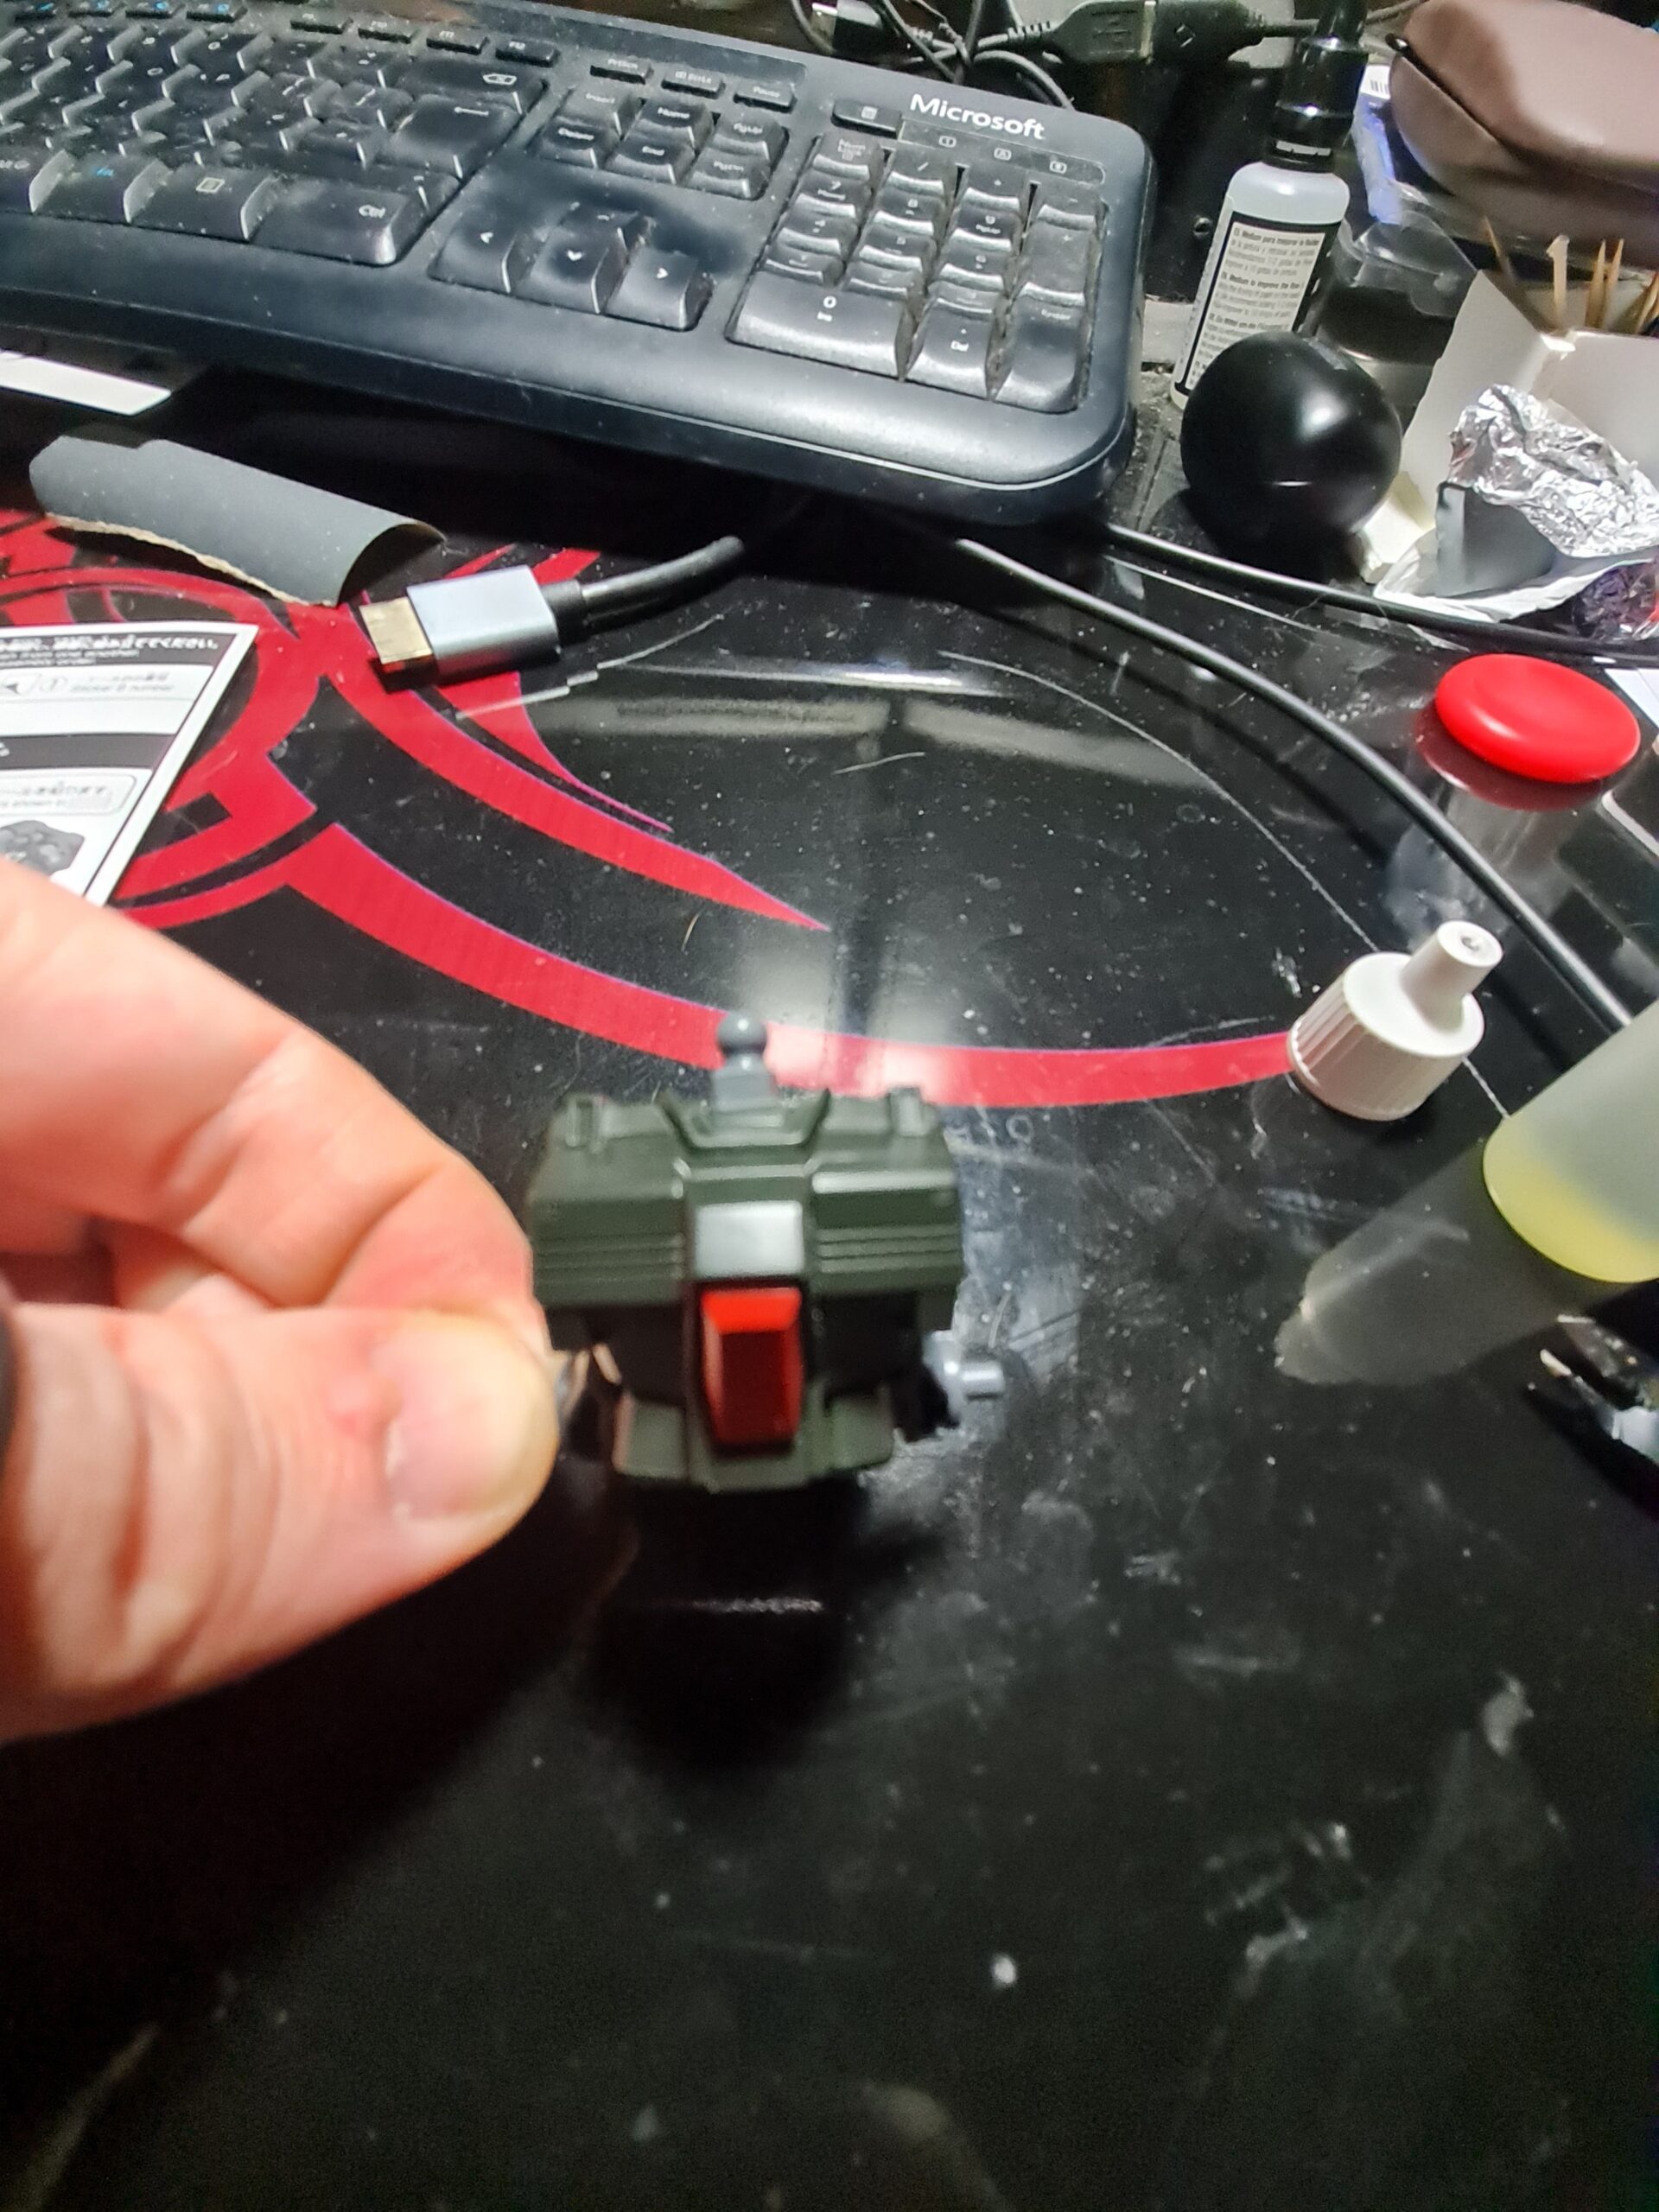
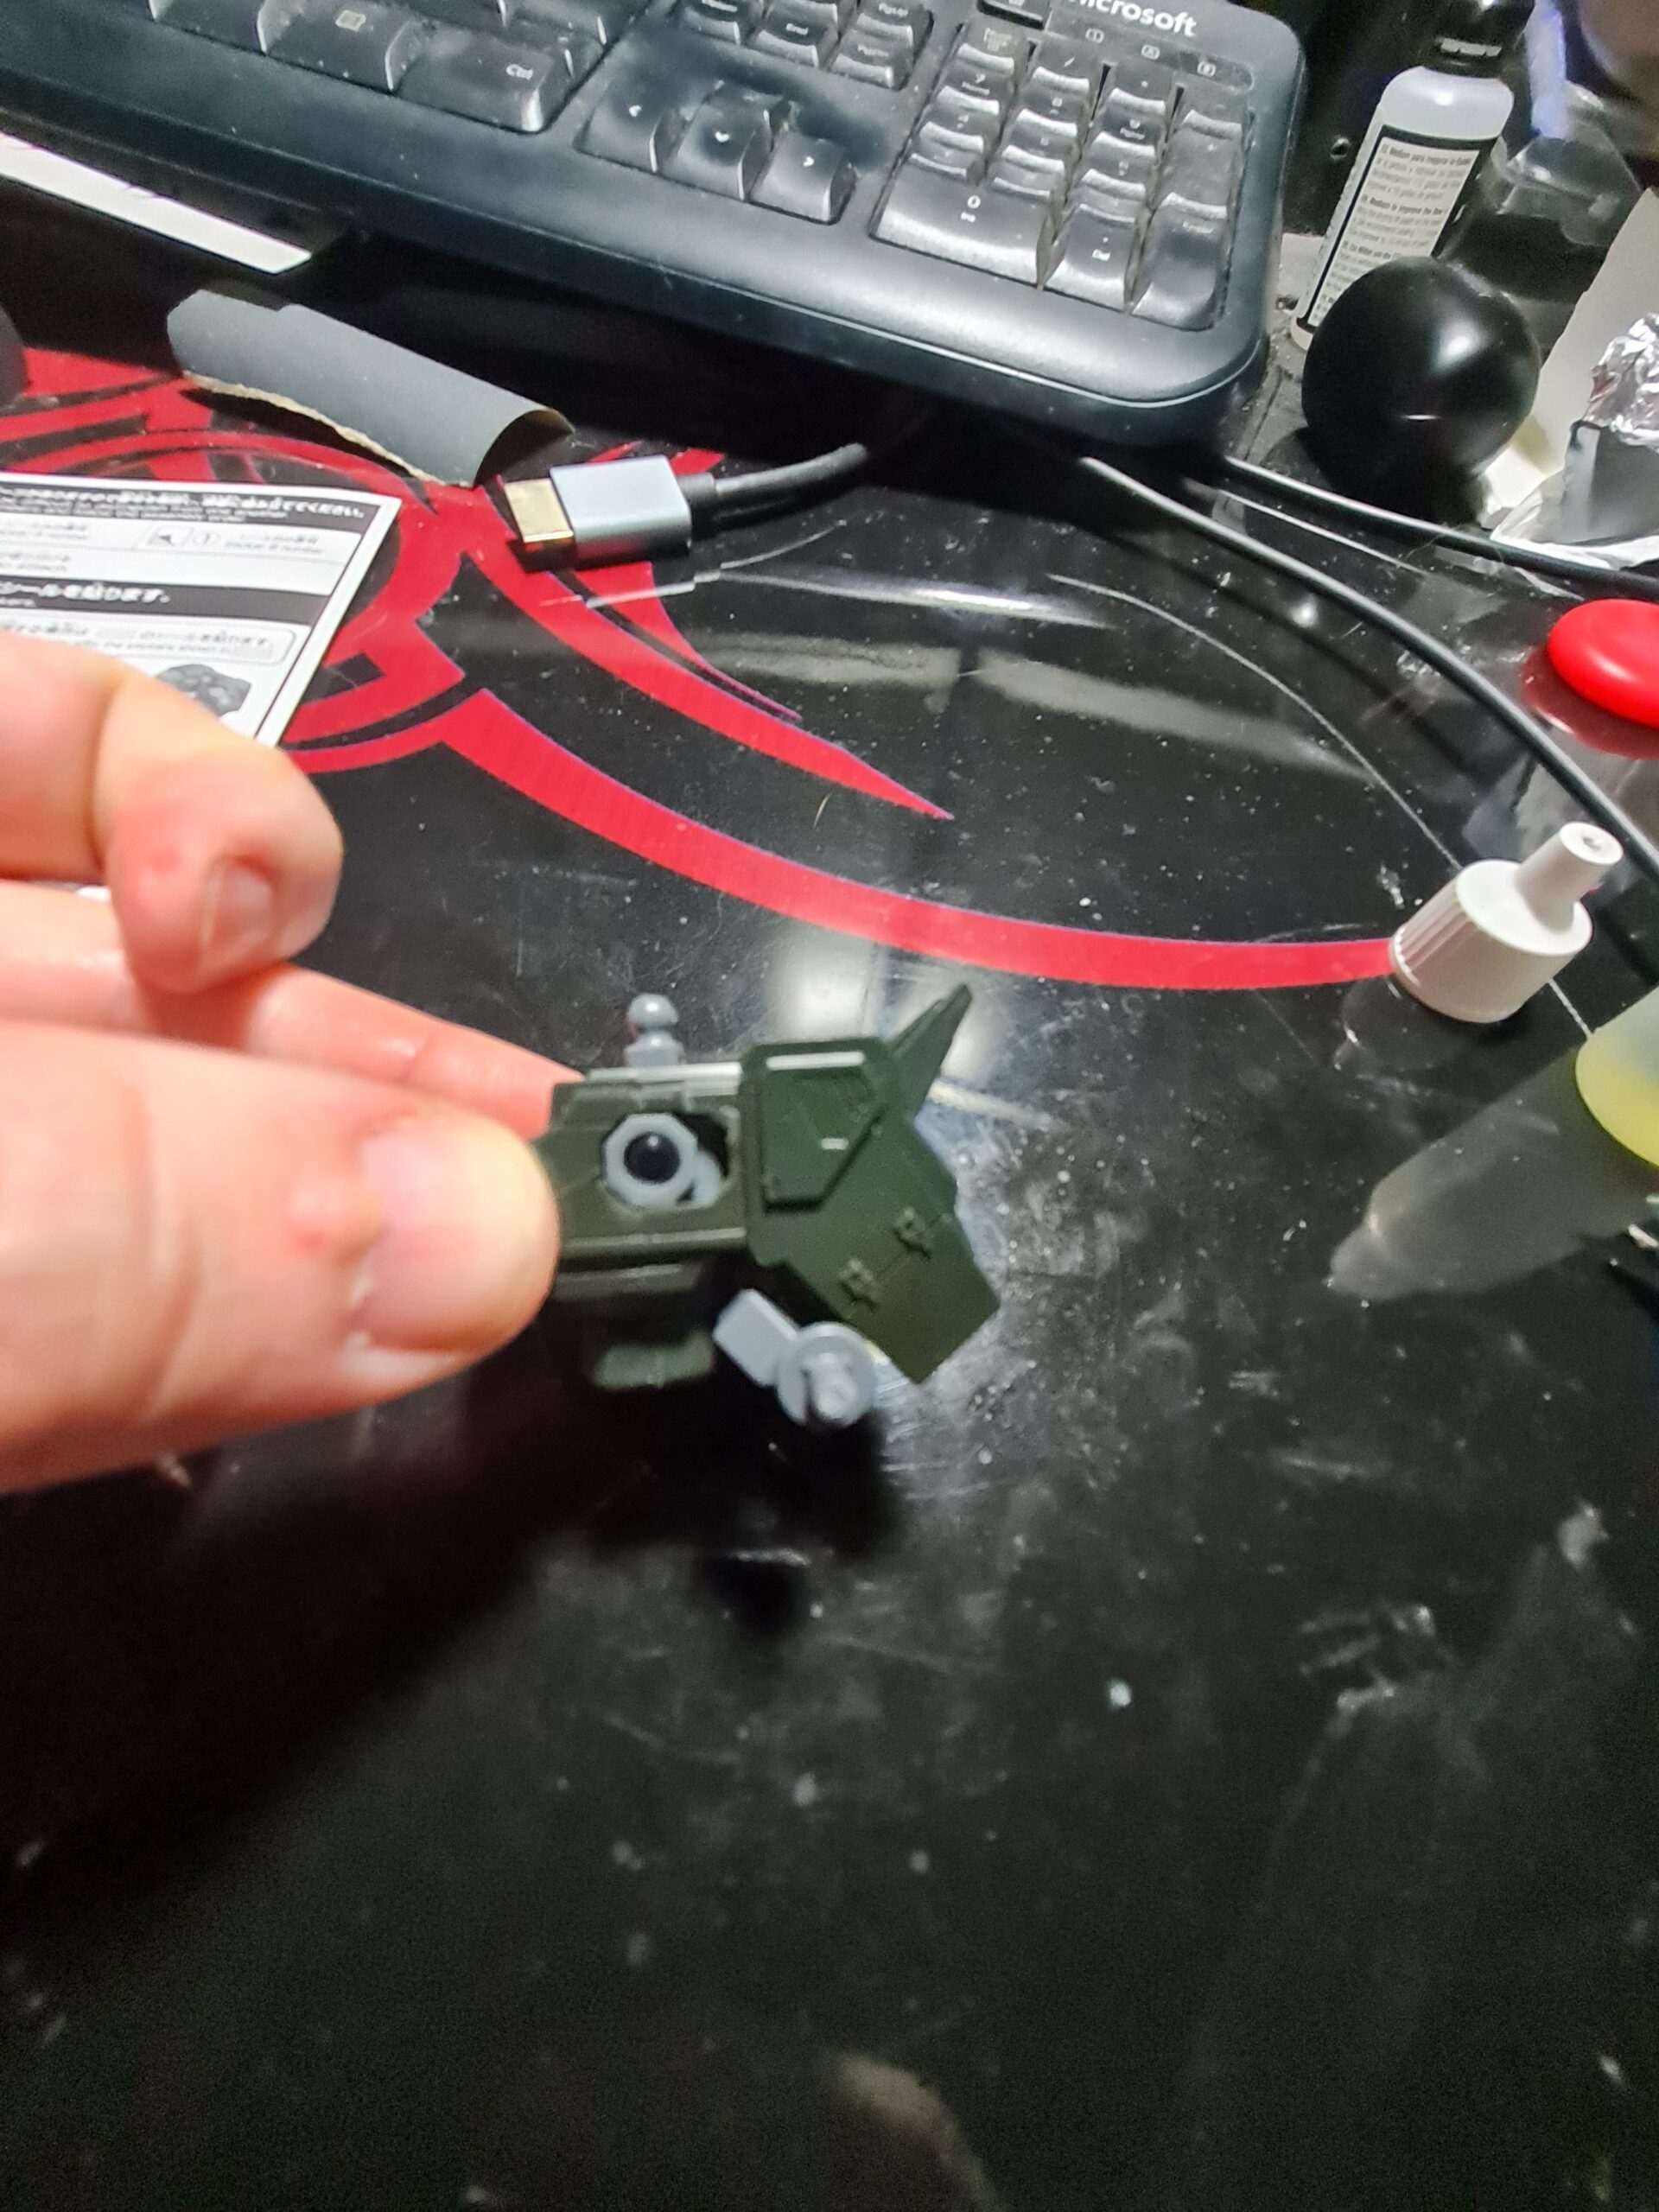
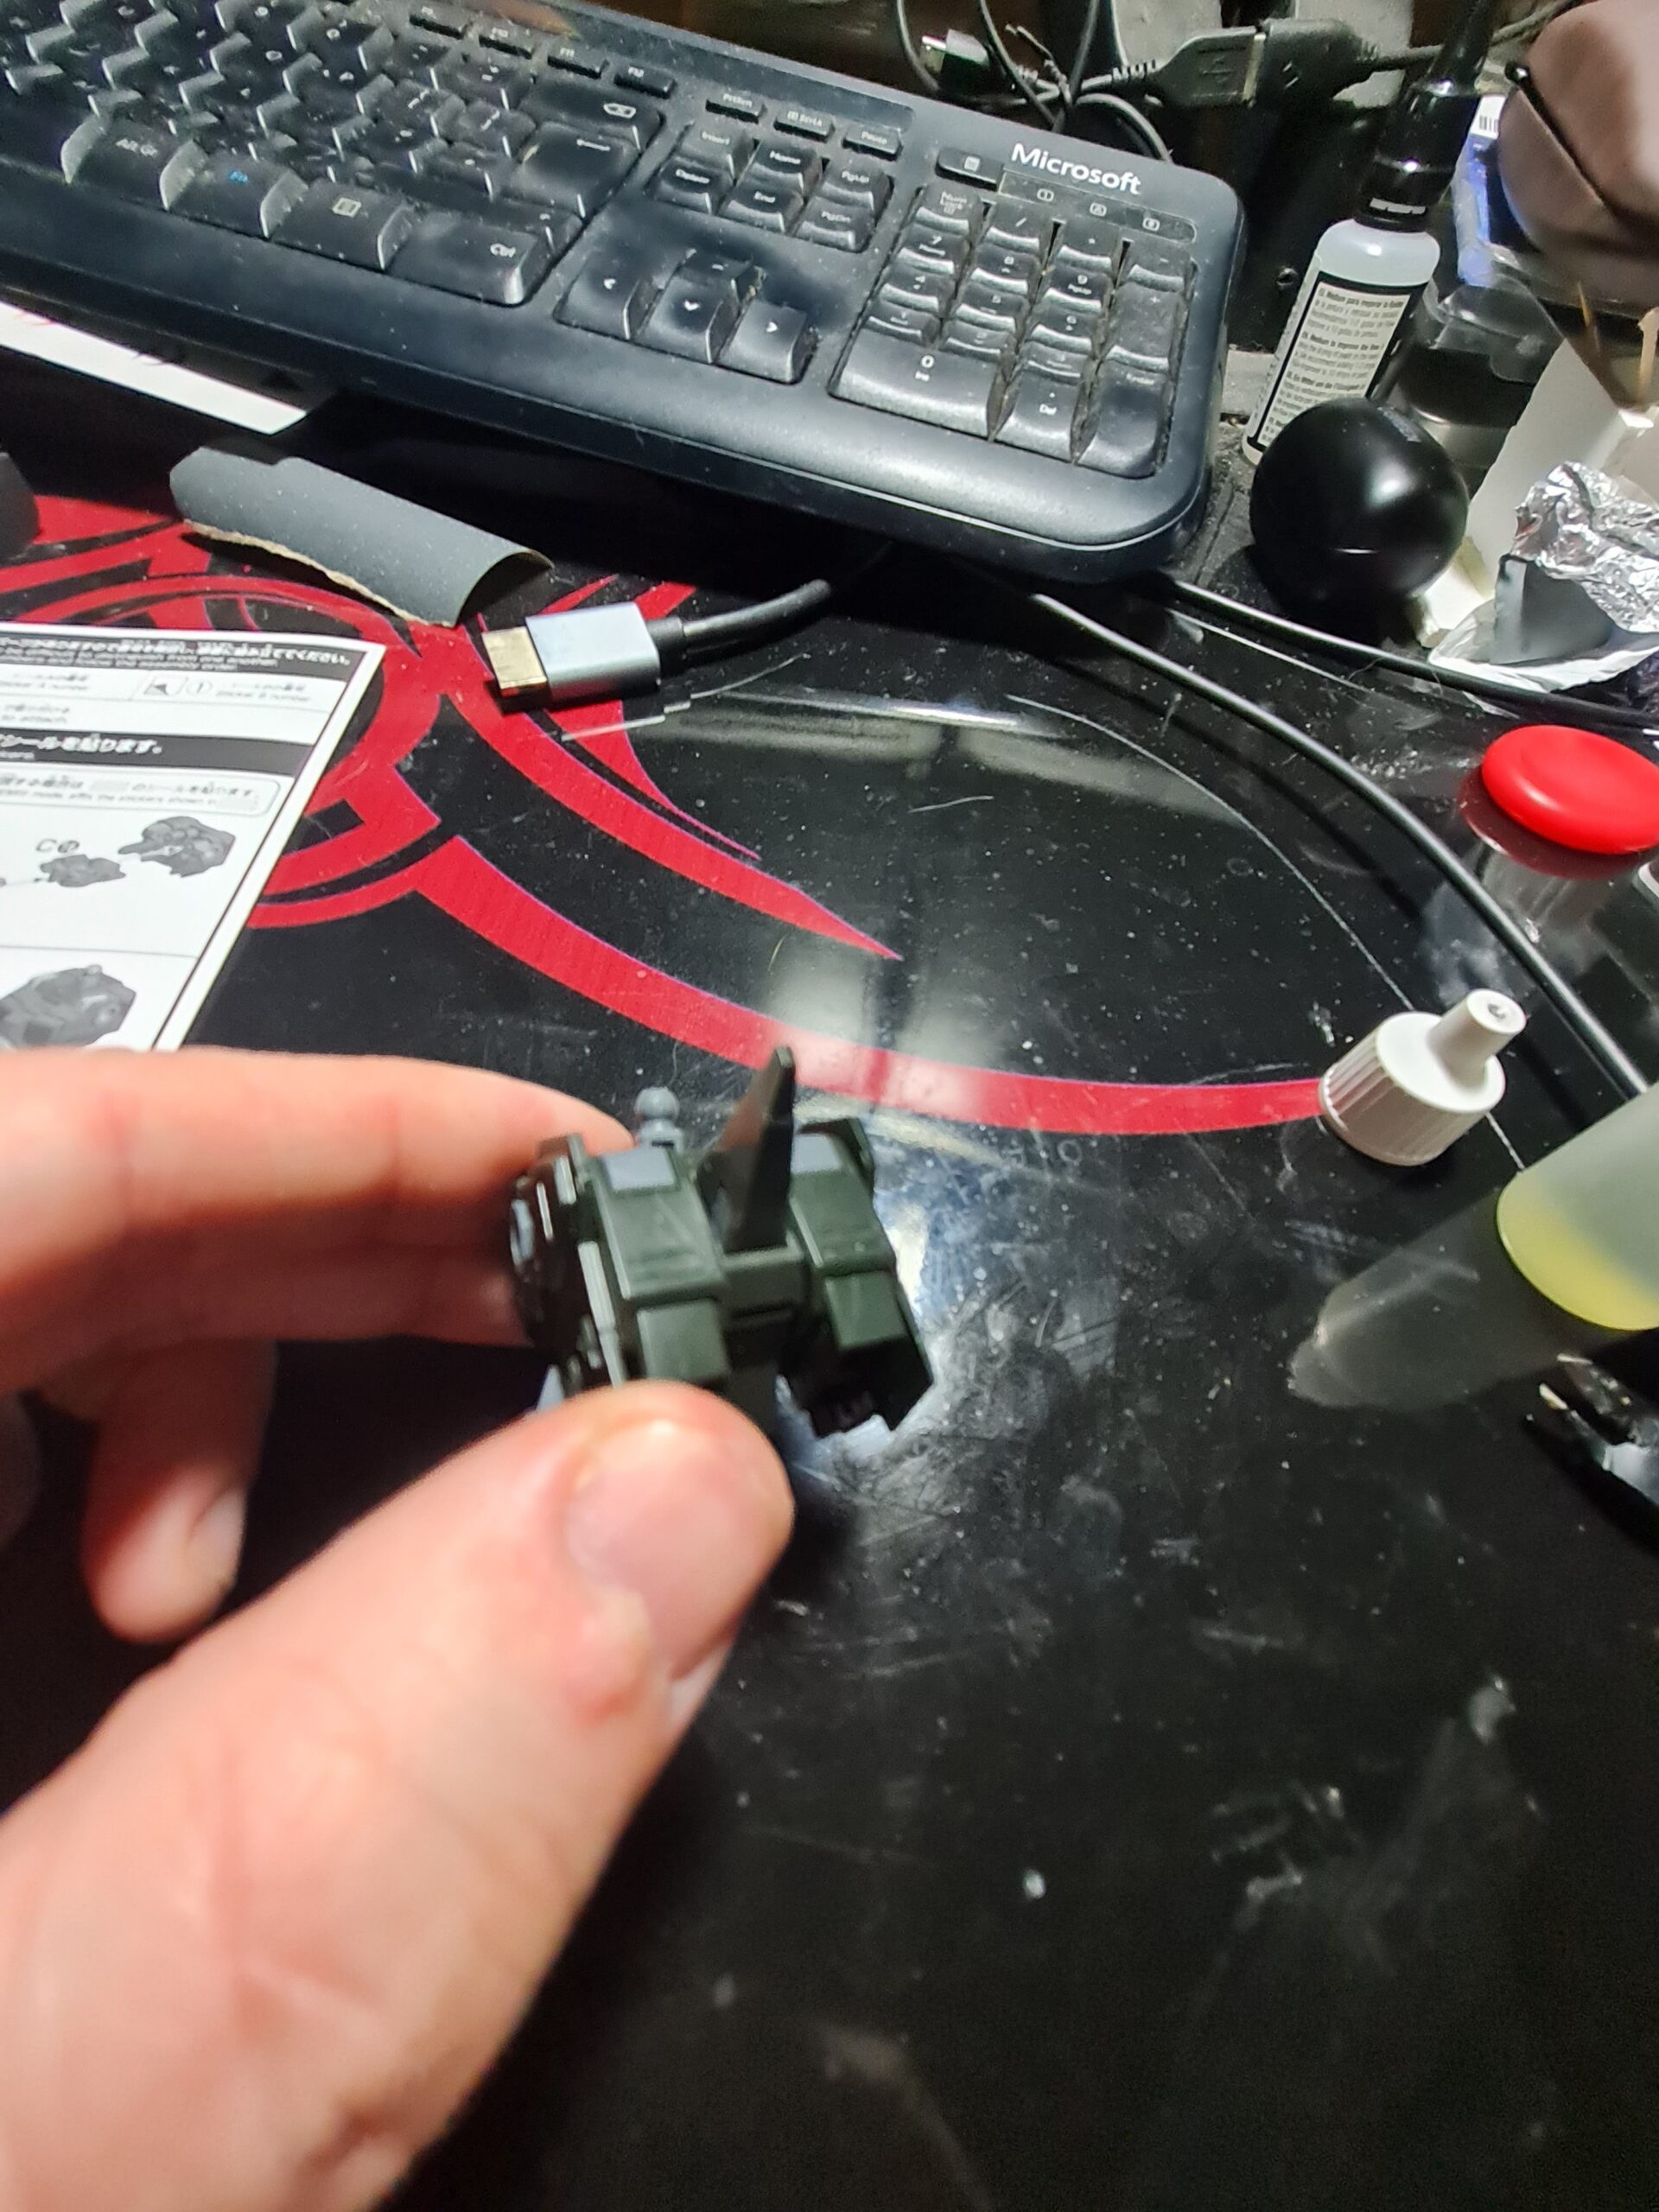
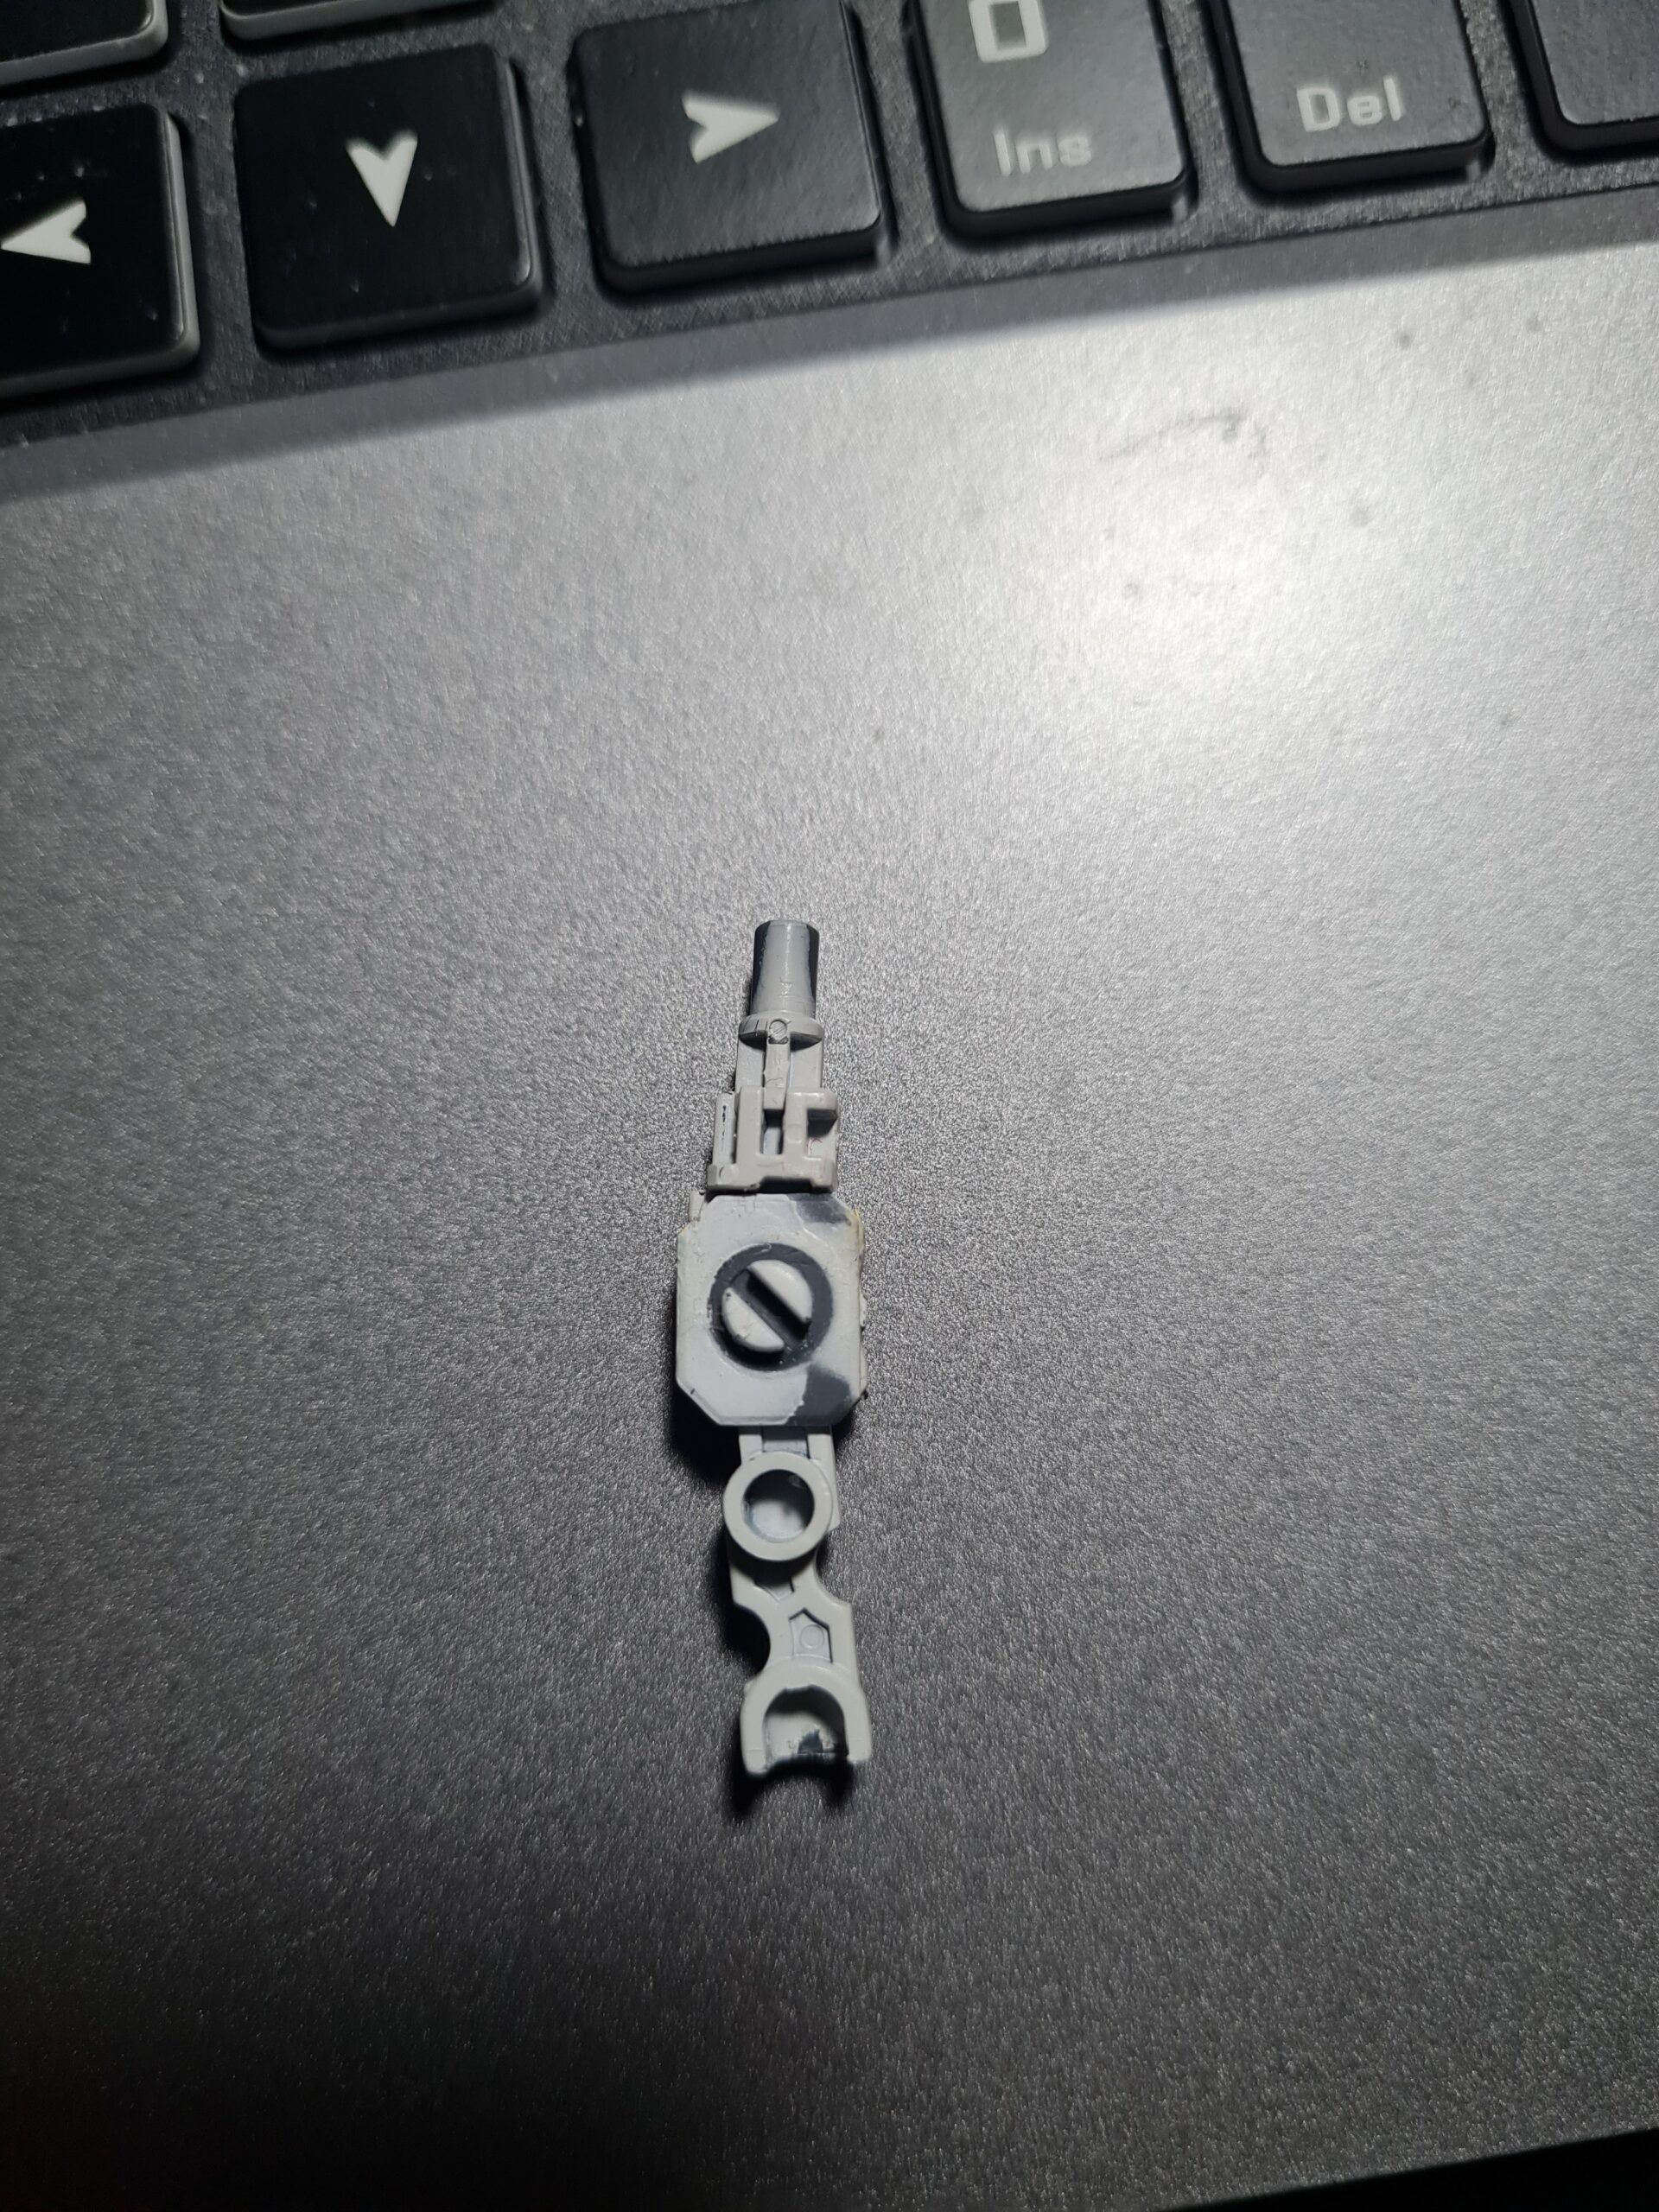
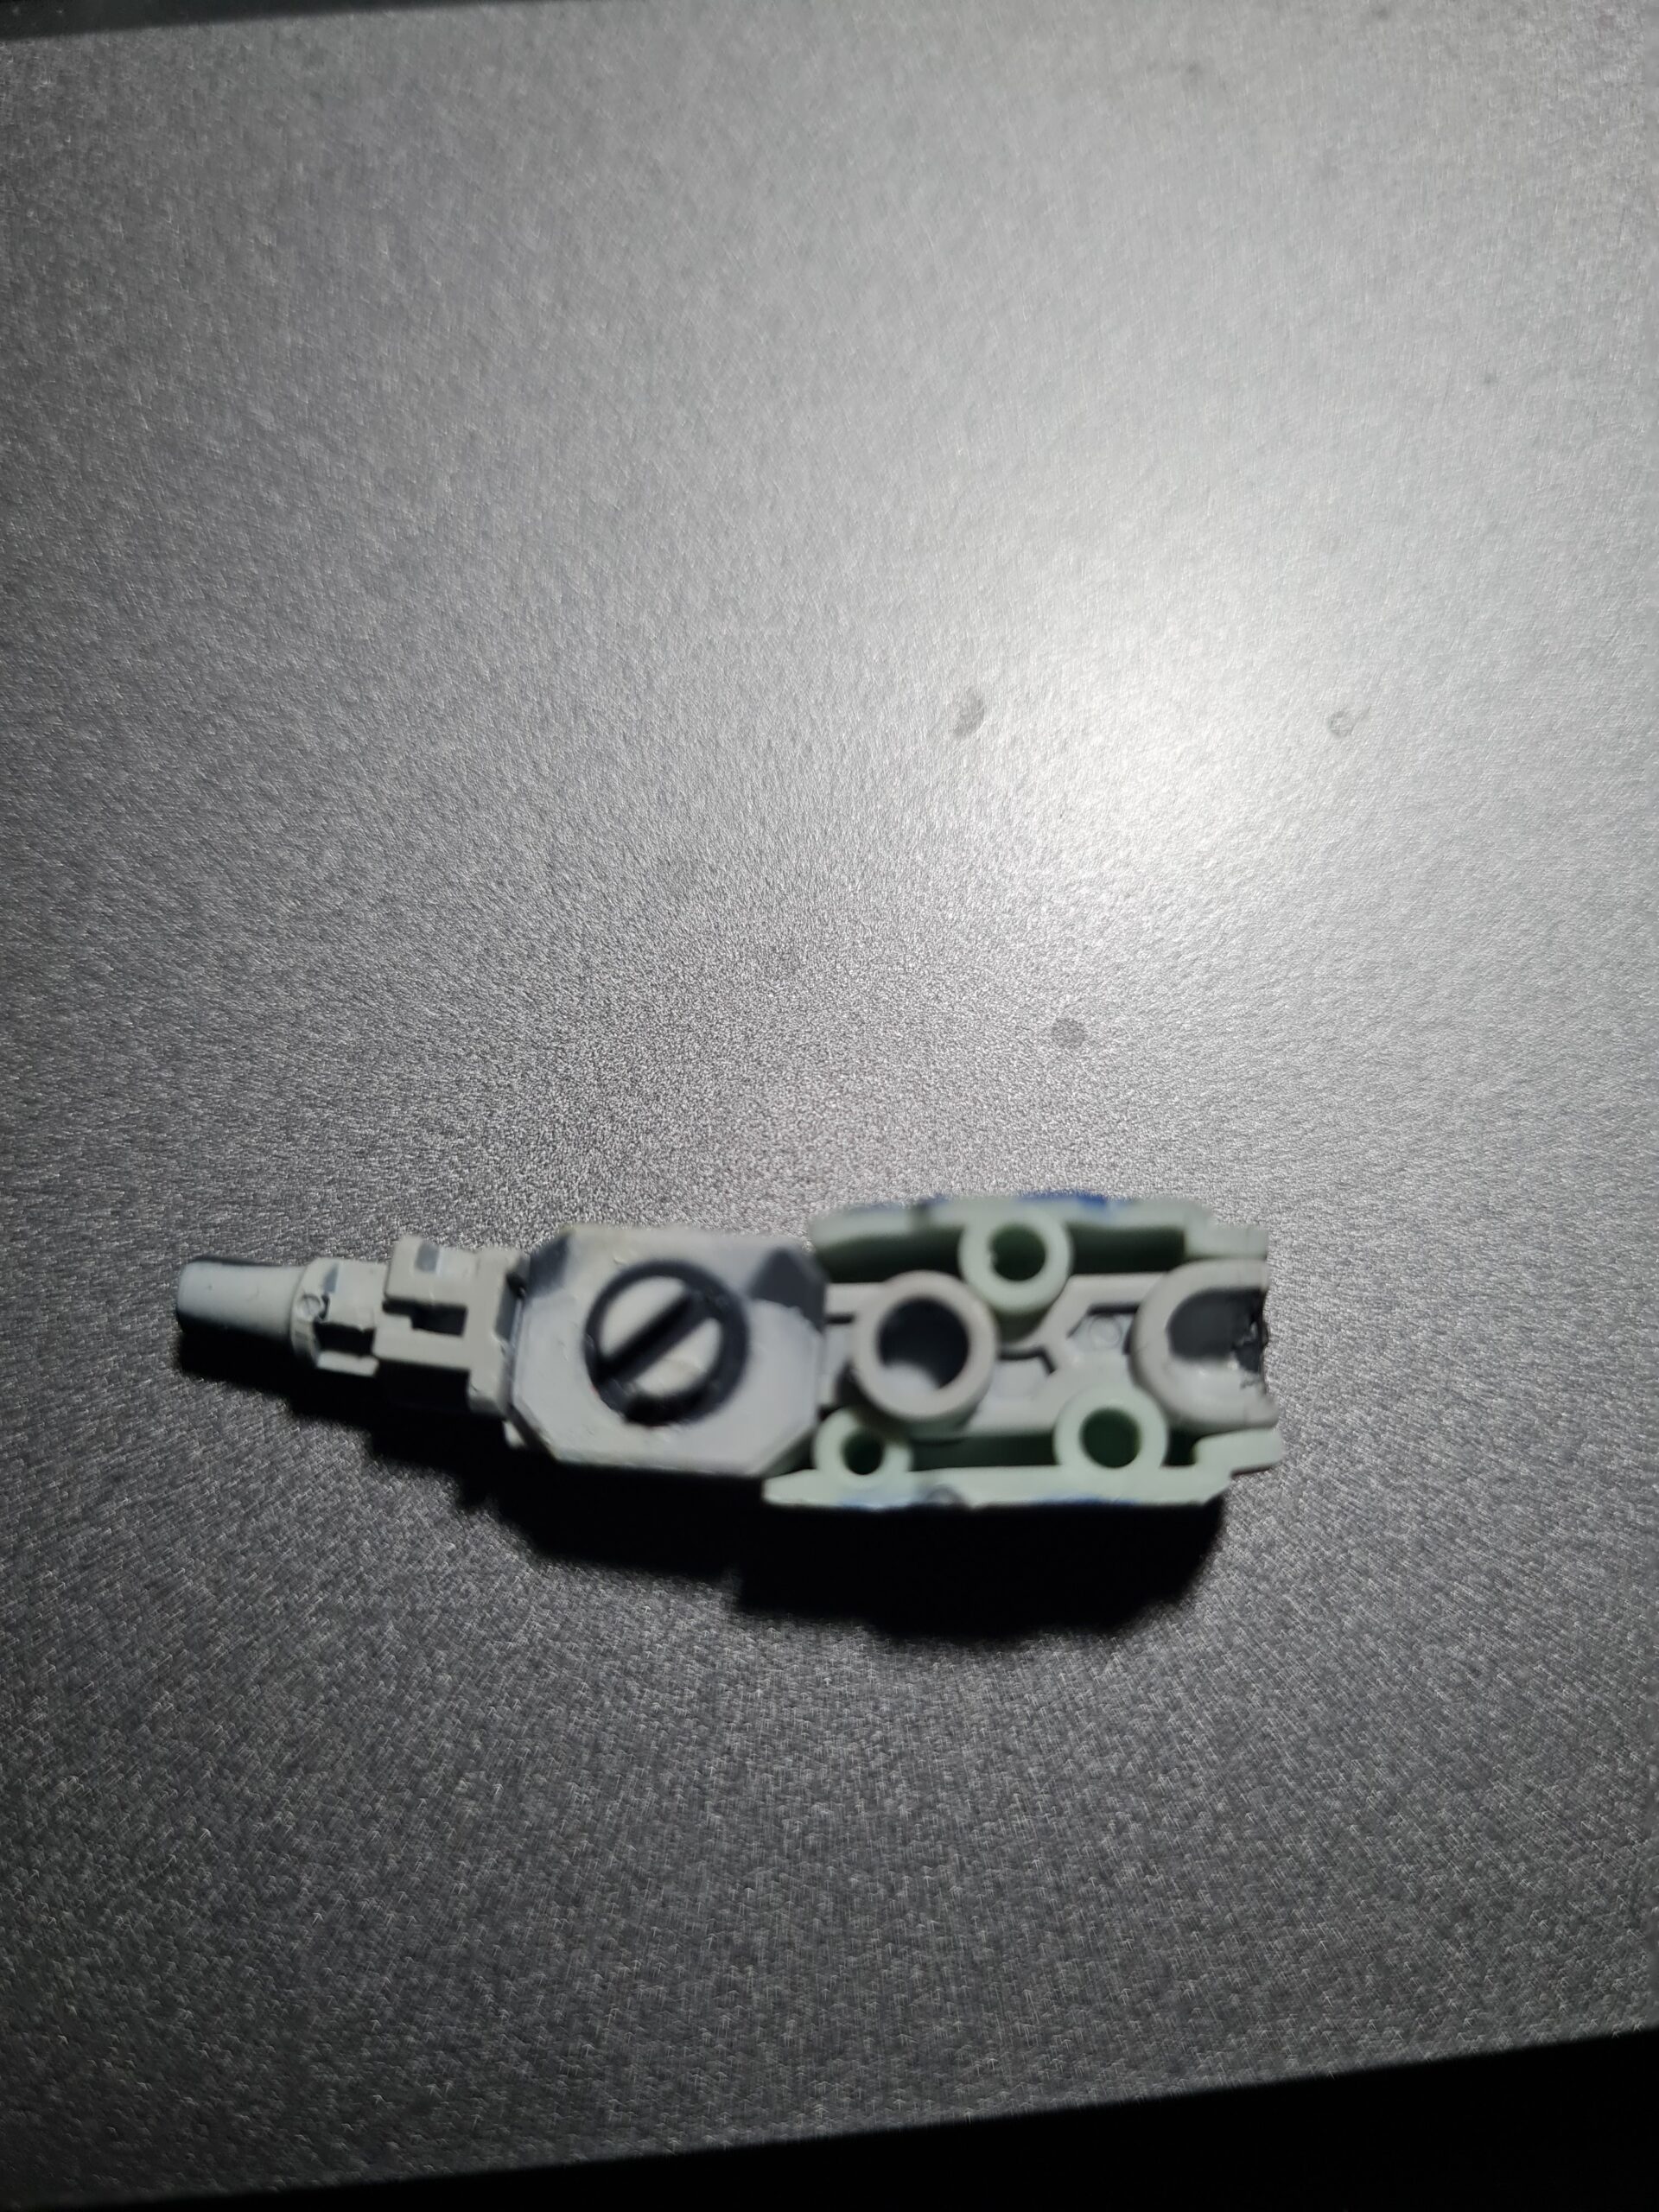
So this model, and a few others I have built, follow a similar pattern for the arms. This model has a lower section which would serve as the ulna and radius. Then a top section that would be the humerus. The ulna and radius part has two parts clip over it, with the humerus having a piece slide down over it.
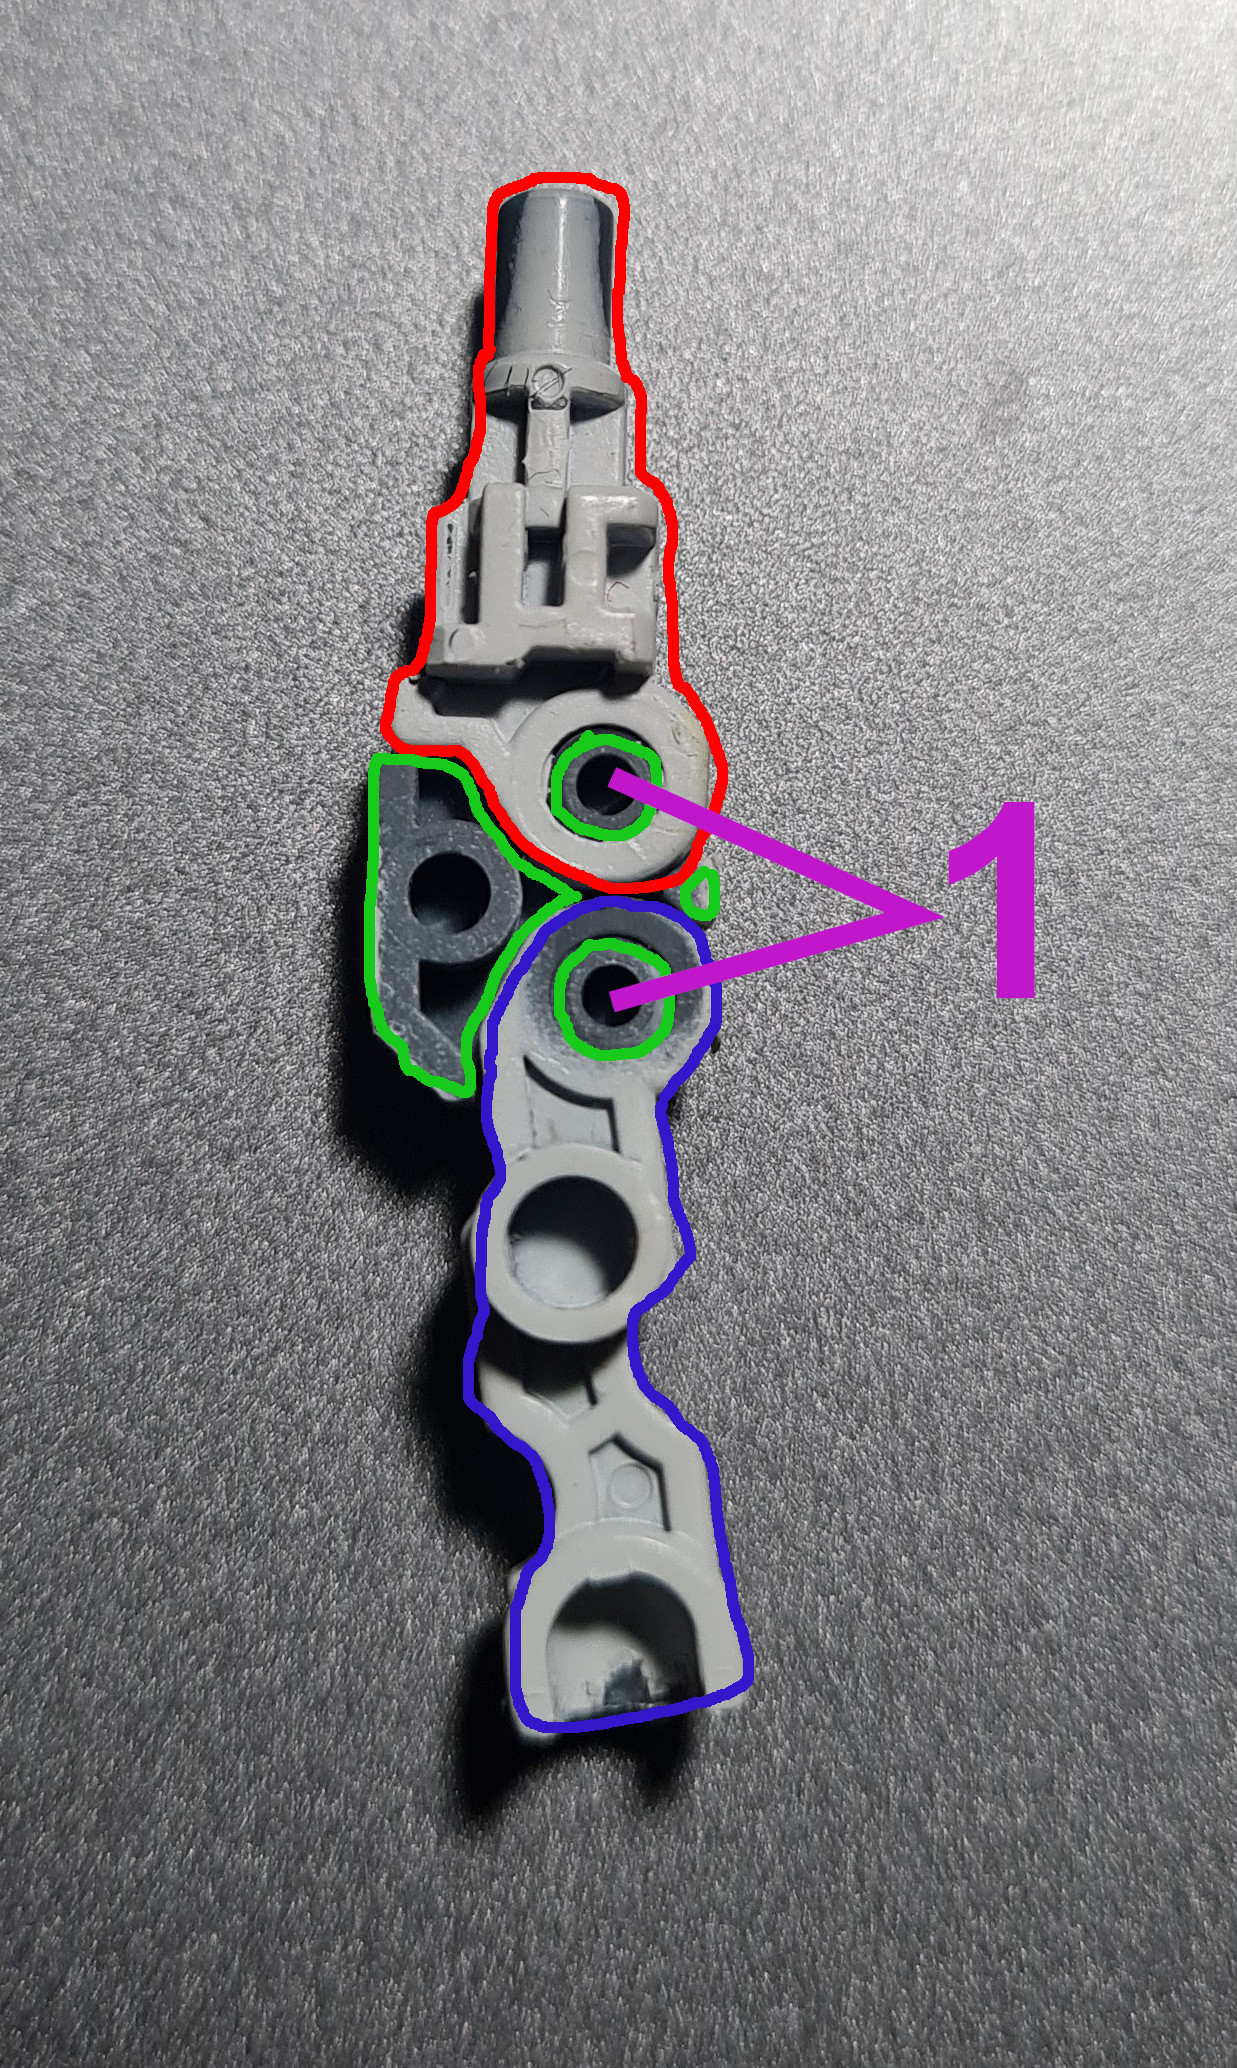
Labelled Arm PartsArm with top section onUnder side forearm addedTop forearm piece addedTricep/Bicep section addedBent armShoulder added
In the images above the parts have been colour coded. Firstly the red highlighted part is the humerus. Next is the blue highlighted part which acts as the ulna and radius. Finally is the green highlighted part which is the plate which holds them together. You can see in the next picture the top plate of that is in place holding the main “bones” of the arm together. In the first image the parts labelled 1 shows where the top and bottom part hook over the posts allowing them to pivot.
The following images show the arm being built up, and the level of movement it has once put together.
What do I like?
This design is both robust and flexible. Once put together it allows for a great range of movement bending the arm and thus allowing me to put the model into far more poses. The pieces can break (I did it on the other arm) but that was user headspace error, rather than the parts. There is a load of detail on the parts, but a lot of those details are also functional. It looks like there are grooves and sections, but a lot of them, as well as looking nice, aid in guiding, and holding, the pieces in the right places. The final thing I wanted to mention is the high quality / precision of the pieces. They fit together snugly, helping to hold everything where it should be, and provide a level of stability that looser pieces just couldn’t. All of these small details add up to make the arm a fantastic piece. Both from an engineered point of view, but also from a pure aesthetic point of view.
Conclusion
I am a massive fan of the thought and design that has gone into the HG Gunpla arms. Ultimately the models really shine because of the attention to detail.
Thank you for taking the time to read this. If you haven’t already done so please like and follow us on our social media platforms and checkout our website!
I mentioned in my earlier posts that I have a re-stock of some Entry Grade (EG) models coming in. I thought I would go through some of the things that are possible with these models. There are so many model options with these I think they are sometimes overlooked.
Firstly I think for the money they are awesome models. They have less detail than the other grades, but the ease of the snap fit, coupled with the details they do have make them look awesome. They will never reach the heady heights of the detail or joint articulation of the other lines, but they are fantastic standalone models.
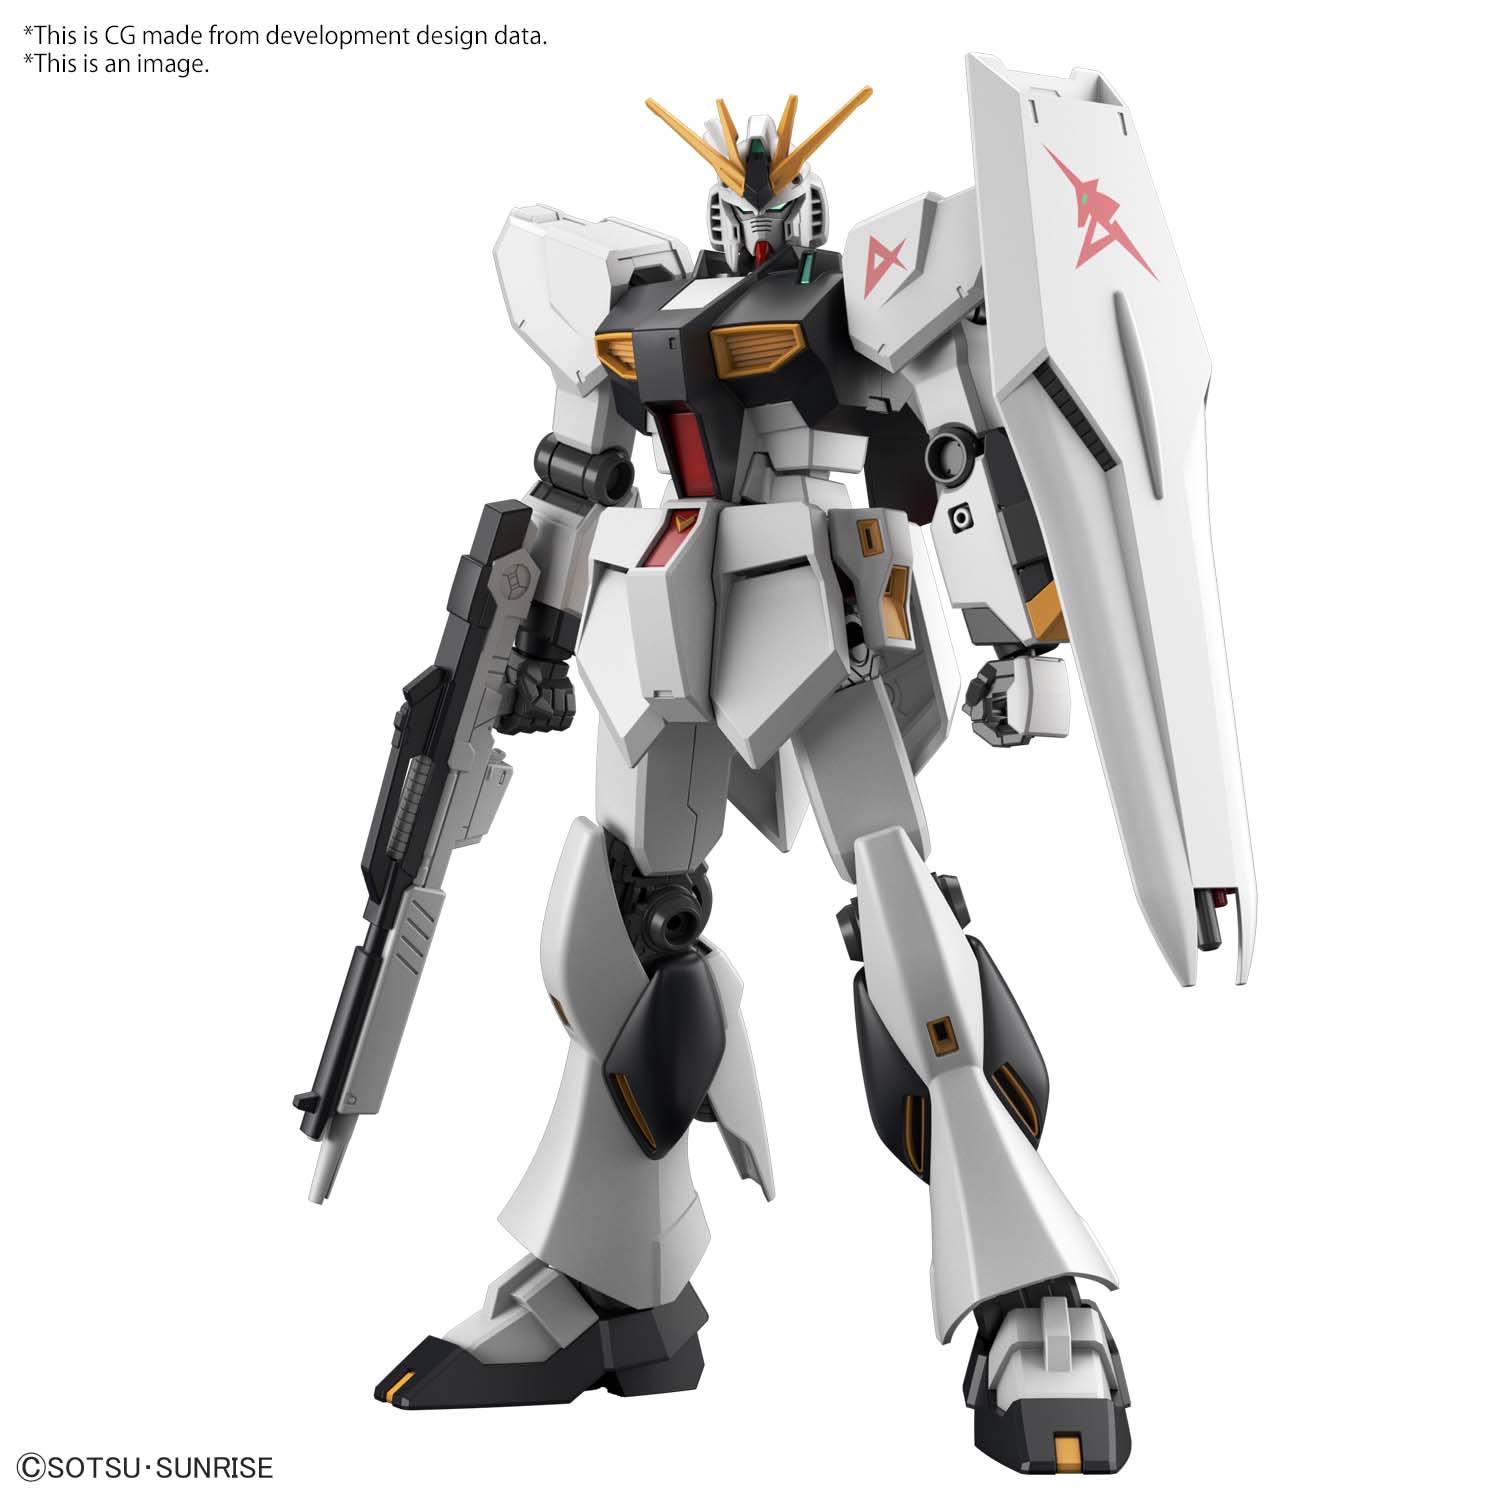
Secondly looking at the EG Nu model it already looks like it has stepped out of one of the shows. It could literally have just taken a leap out of the screen and into the room.
Thirdly I love the idea of the EG models for younger builders who, possibly, have a shorter attention span, and who want to see something appear sooner rather than later. I think they would very quickly go from plastic bits on a runner to a model they made themselves that they can be proud of.
Fourthly for those parental figures out there it offers a wonderful opportunity to bond with your young ones, while they are also getting to practice finer motor skills which will be useful in all walks of life.
Fifthly for those who just want them themselves there are so many options available with these models. Take the EG Nu model as a great example.
EG_Nu
Starting with the panels, looking at this model it offers ample opportunity to learn scribing. There are large panels all over this piece from the shield to the chest and the front flaps and legs. Even the calf muscles look like they really want you to learn scribing using them!
Panel lining is another effect that you could practice on this model. Although I will admit looking at it, you may want to practice scribing first to add a few more bits to panel line 🙂 However, if you are looking to hone your skills this is a great place to start.
I also think this is a great proving ground for painting, and painting styles. Looking at the chest and hips section I think they are so close to many other models that this provides a perfect generic model to test some paint schemes on. You can also practice shading techniques and blending and all other sorts of effects.
Lighting … well ok I need to see inside one to see how hard, or easy, it would be to light this up; I am thinking primarily on the eyes.
After market panels, and hatches. I think this is also the perfect model to try out some after market hatches and panels.
Now you may be thinking, but if I buy all those things and do all that wouldn’t I be better just buying a more detailed model to start with? I would say do both! Customising the models offers you the opportunity to make something totally unique to you. The panels will be where you want, the lines where you want, it has the chance to be exactly as you picture it in your minds eye.
Now obviously none of those things may appeal to you. However, at the end of the day it is all about doing what you enjoy. This should be a hobby, and be enjoyable. Never let anyone tell you that you are having fun “wrong”. If you want mismatched colours, you go for it. If you want one leg longer than the other, then go for it. Whatever makes you happy with your model is what you should go for. I don’t think it matters whether you customise or not, as long as you enjoy what you are doing.
Thank you for taking the time to read this. If you haven’t already done so please like and follow us on our social media platforms and checkout our website!
I learnt a lot in the last 24 hours about GunPla Decals. I was aware of a few things coming out the gate. However, before going any further you may be asking yourself what actually is a “decal”. A decal is a design placed on a medium that allows you to transfer it onto another surface. Think like those crappy fake tattoos you could get as a kid, but way cooler, and way better looking on your models.
What I knew so far
I knew that various kits come with different options or levels of decals. In fact one of the things when originally reading around GunPla was that the Ver Ka. kits often come with a lot of decals. From working with the various kits I have, so far, I’ve always shied away from the decals on the whole. I would tend to use the one for the visor if it is say a shiny silver or something that sits behind a clear visor. However, on the whole I avoided them till I decided to try and work with my MG Heavy Arms.
I found myself bamboozled about the different types I had.
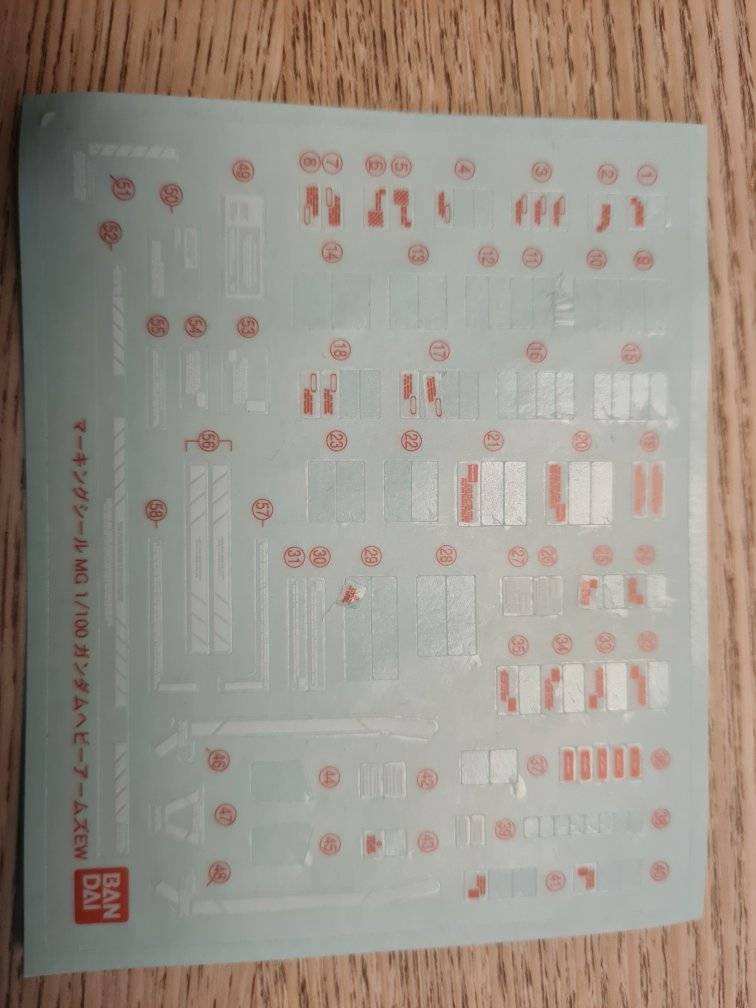
Images
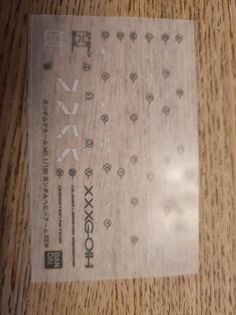
Type 1 DecalsType 2 Decals
The previous ones I had received in a kit had a shiny silver backing and were, quite obviously stickers. However, the translucence of both of these threw me. After speaking to some wonderful people online in the UKGunpla group (you can find it here), I discovered that the ones on the right are stickers, and the ones on the left are press on decals.
Application
Now I’m sure everyone has their own method for working with these so I’ll just outline what I did.
Firstly, you will find the “map” for the decals placements in the manual for the model. I also found using my magnifying glass meant I wasn’t constantly straining. Secondly as a lot of these go into nooks and crannies and corners, you will potentially benefit from taking apart some of the kit to make it easier to work with them and apply the decals. Thirdly, do not rush; a badly applied decal will make the kit look terrible.
First up were the sticker decals (Type 2 Decals in the image above). I used the tip of a stanley knife to gently lift the sticker off the backing (I also found that with multiple stickers in close proximity I would often have to hold down the next sticker to avoid lifting two). Next I would then position the sticker above where I wanted it to go on the model based on the map from the instruction manual, then gently place it down, using my thumb to apply pressure to the sticker against the part and sliding the knife blade out from under it.
Second up were the press on decals (Type 1 Decals in the image above). For these I ensured there was a piece of foam board underneath to be safe. I then used the stanley knife to cut out a specific decal. I then freed 3 sides of the cut out before laying a piece of masking tape over the top and using that to lift it. Note that the masking tape is thin enough to see the decal underneath/through it. I then placed it on the part where I wanted the decal to reside and rubbed it apply a gentle pressure using the flat end of my tweezers. Then when lifting the masking tape the decal is left in place, and the plastic it was adhered to lifts with the masking tape.
Conclusion
I still have some work to do on this, and I know that I need to also work through the weapons and build them up. However, I am, very happy with the results.
Thank you for taking the time to read this. If you haven’t already done so please like and follow us on our social media platforms and checkout our website!
I thought with the new stock hopefully coming soon that I would look a little closer at the Entry Grade models. In particular one of the models I am getting back in stock is the Gundam Nu 1/144 Entry Grade model.
If you haven’t seen it before it looks like this
EG_Nu
As you can see this is quite a stunning model. I like it for the relative simplicity, as well as how it stays true to the original style of the models. It is very reminiscent of the early Gundam suits that are seen in the shows. However, they have changed enough features in there to give it a unique look and feel. I also love the shape and look of the shield which I think looks amazing with this model.
Why do people get them?
From speaking to people, and reading the various message groups there seem to be a few reasons that people get these models. I find that some people want them as a quick easy build to do before some of the more intense bigger builds that they work on. They can start and finish the build quickly and get that sense of satisfaction from a job well done.
I also think that many people look to these models so that they can use them as a cheap and easy way to do customisations. The models are quick to build, and the customiser can get down to business a lot quicker, and if their experimentations go awry then no real harm is done.
Conclusion
Whatever the reasons I find that the Entry Grade models remain popular with all modelers. So I have a few of these coming into stock in case people want them.
Thank you for taking the time to read this. If you haven’t already done so please like and follow us on our social media platforms and checkout our website!
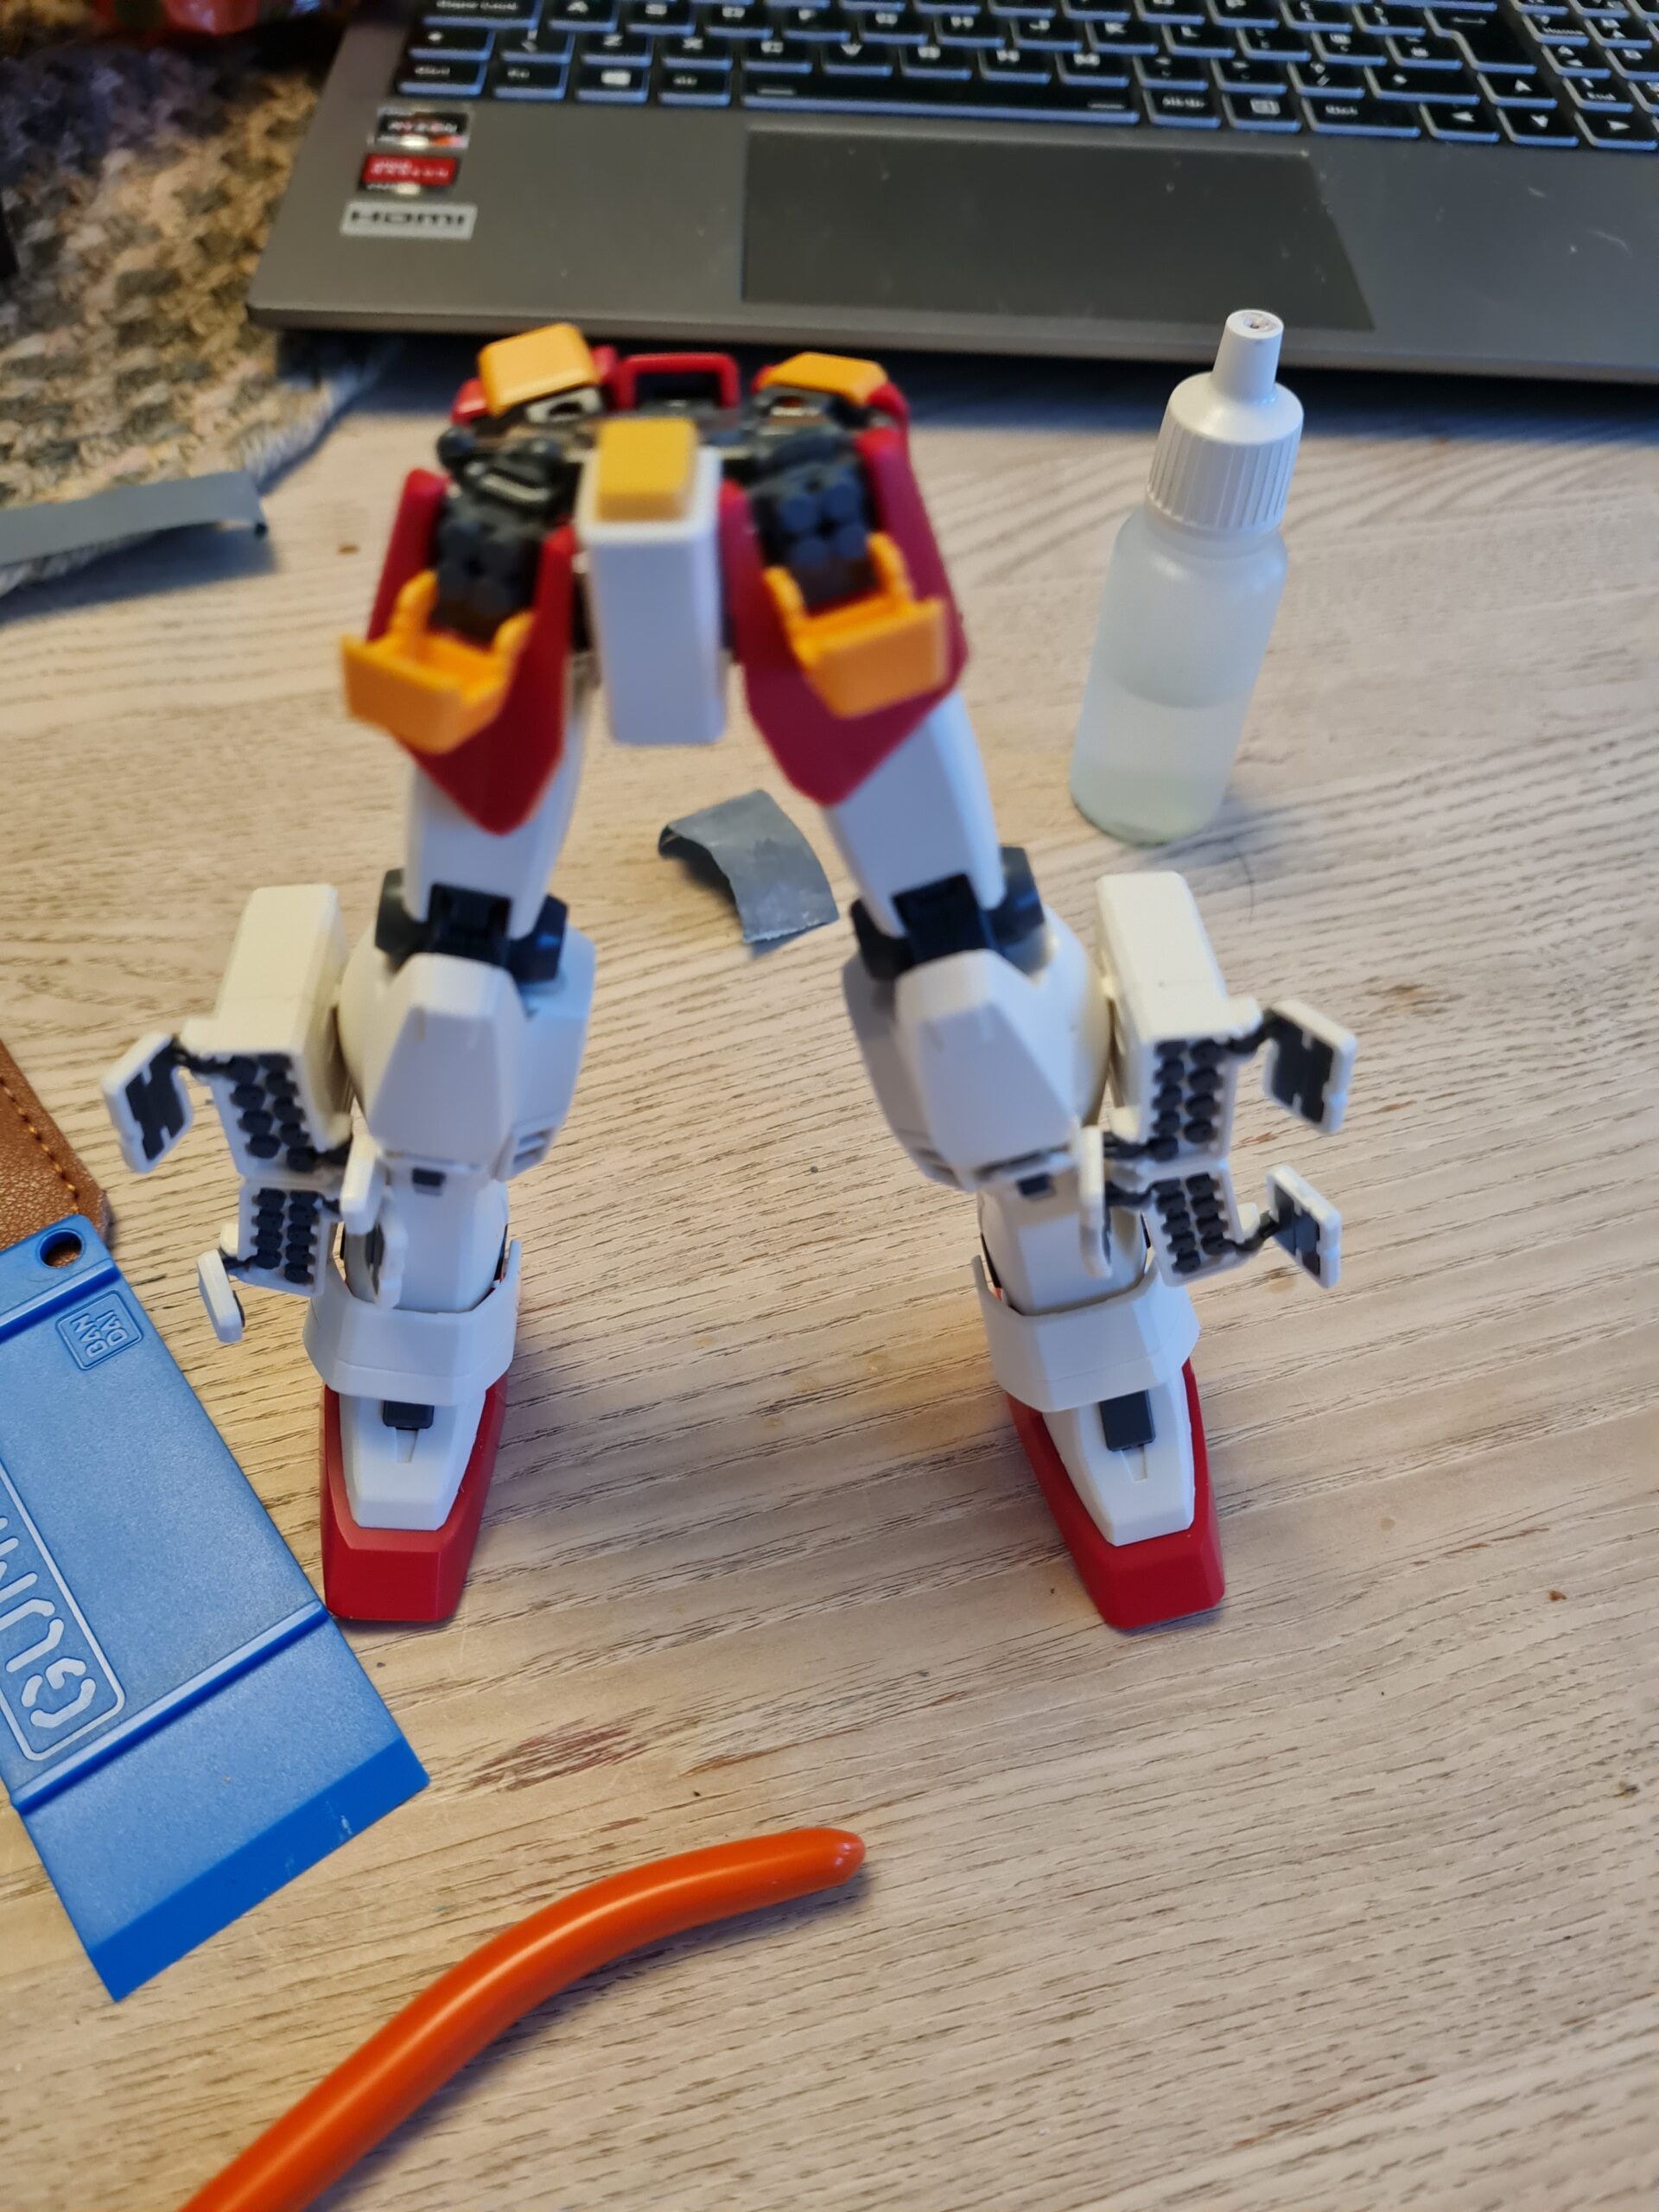
Welcome back to Guess the Model Part 5 – The Legs. If you haven’t seen the rest of the series then the first post can be found here. The premise is simple. I grab a model from my backlog. Each day (or each post at least) I build one section from the manual, in the order that it appears in the manual. You then get to guess what model this is.
Today we are covering the legs.
First parts in the leg buildFeet builtSecond set of partsOpps I missed a bitOoppss I missed a second bitParts assembledCore leg partsLegs assembledLeg armourLeg with armourWeapon partsWeapons assembledAttached weapons to legLeg weapons openBoth legsLegs weapons open
I will admit that I never really grasped the size of the model. All the parts so far didn’t feel so much bigger. However when I put the legs together I began to really get a feel for the scale. I just put the legs next to my RG Zaku II and it makes the RG look small. I just went to have another look and with the hips attached that is pretty much the Zaku II in size!
There you have it, I’m pretty sure you will have guessed the mode by now but I’ll carry on with the other bits just for completion.
Thank you for taking the time to read this. If you haven’t already done so please like and follow us on our social media platforms and checkout our website!
The latest series in the guess the model is going to cover the hips. If you haven’t seen the other parts it starts here. To quickly summarise for anyone just joining the series.
I take a model I have to build. Then following the exact order in the manual I build the pieces and post here. Readers can then guess what the mode is. Hopefully, it will also highlight how I am building the models, and I will also highlight any gotchas or issues as well as any high points I find while building the section.
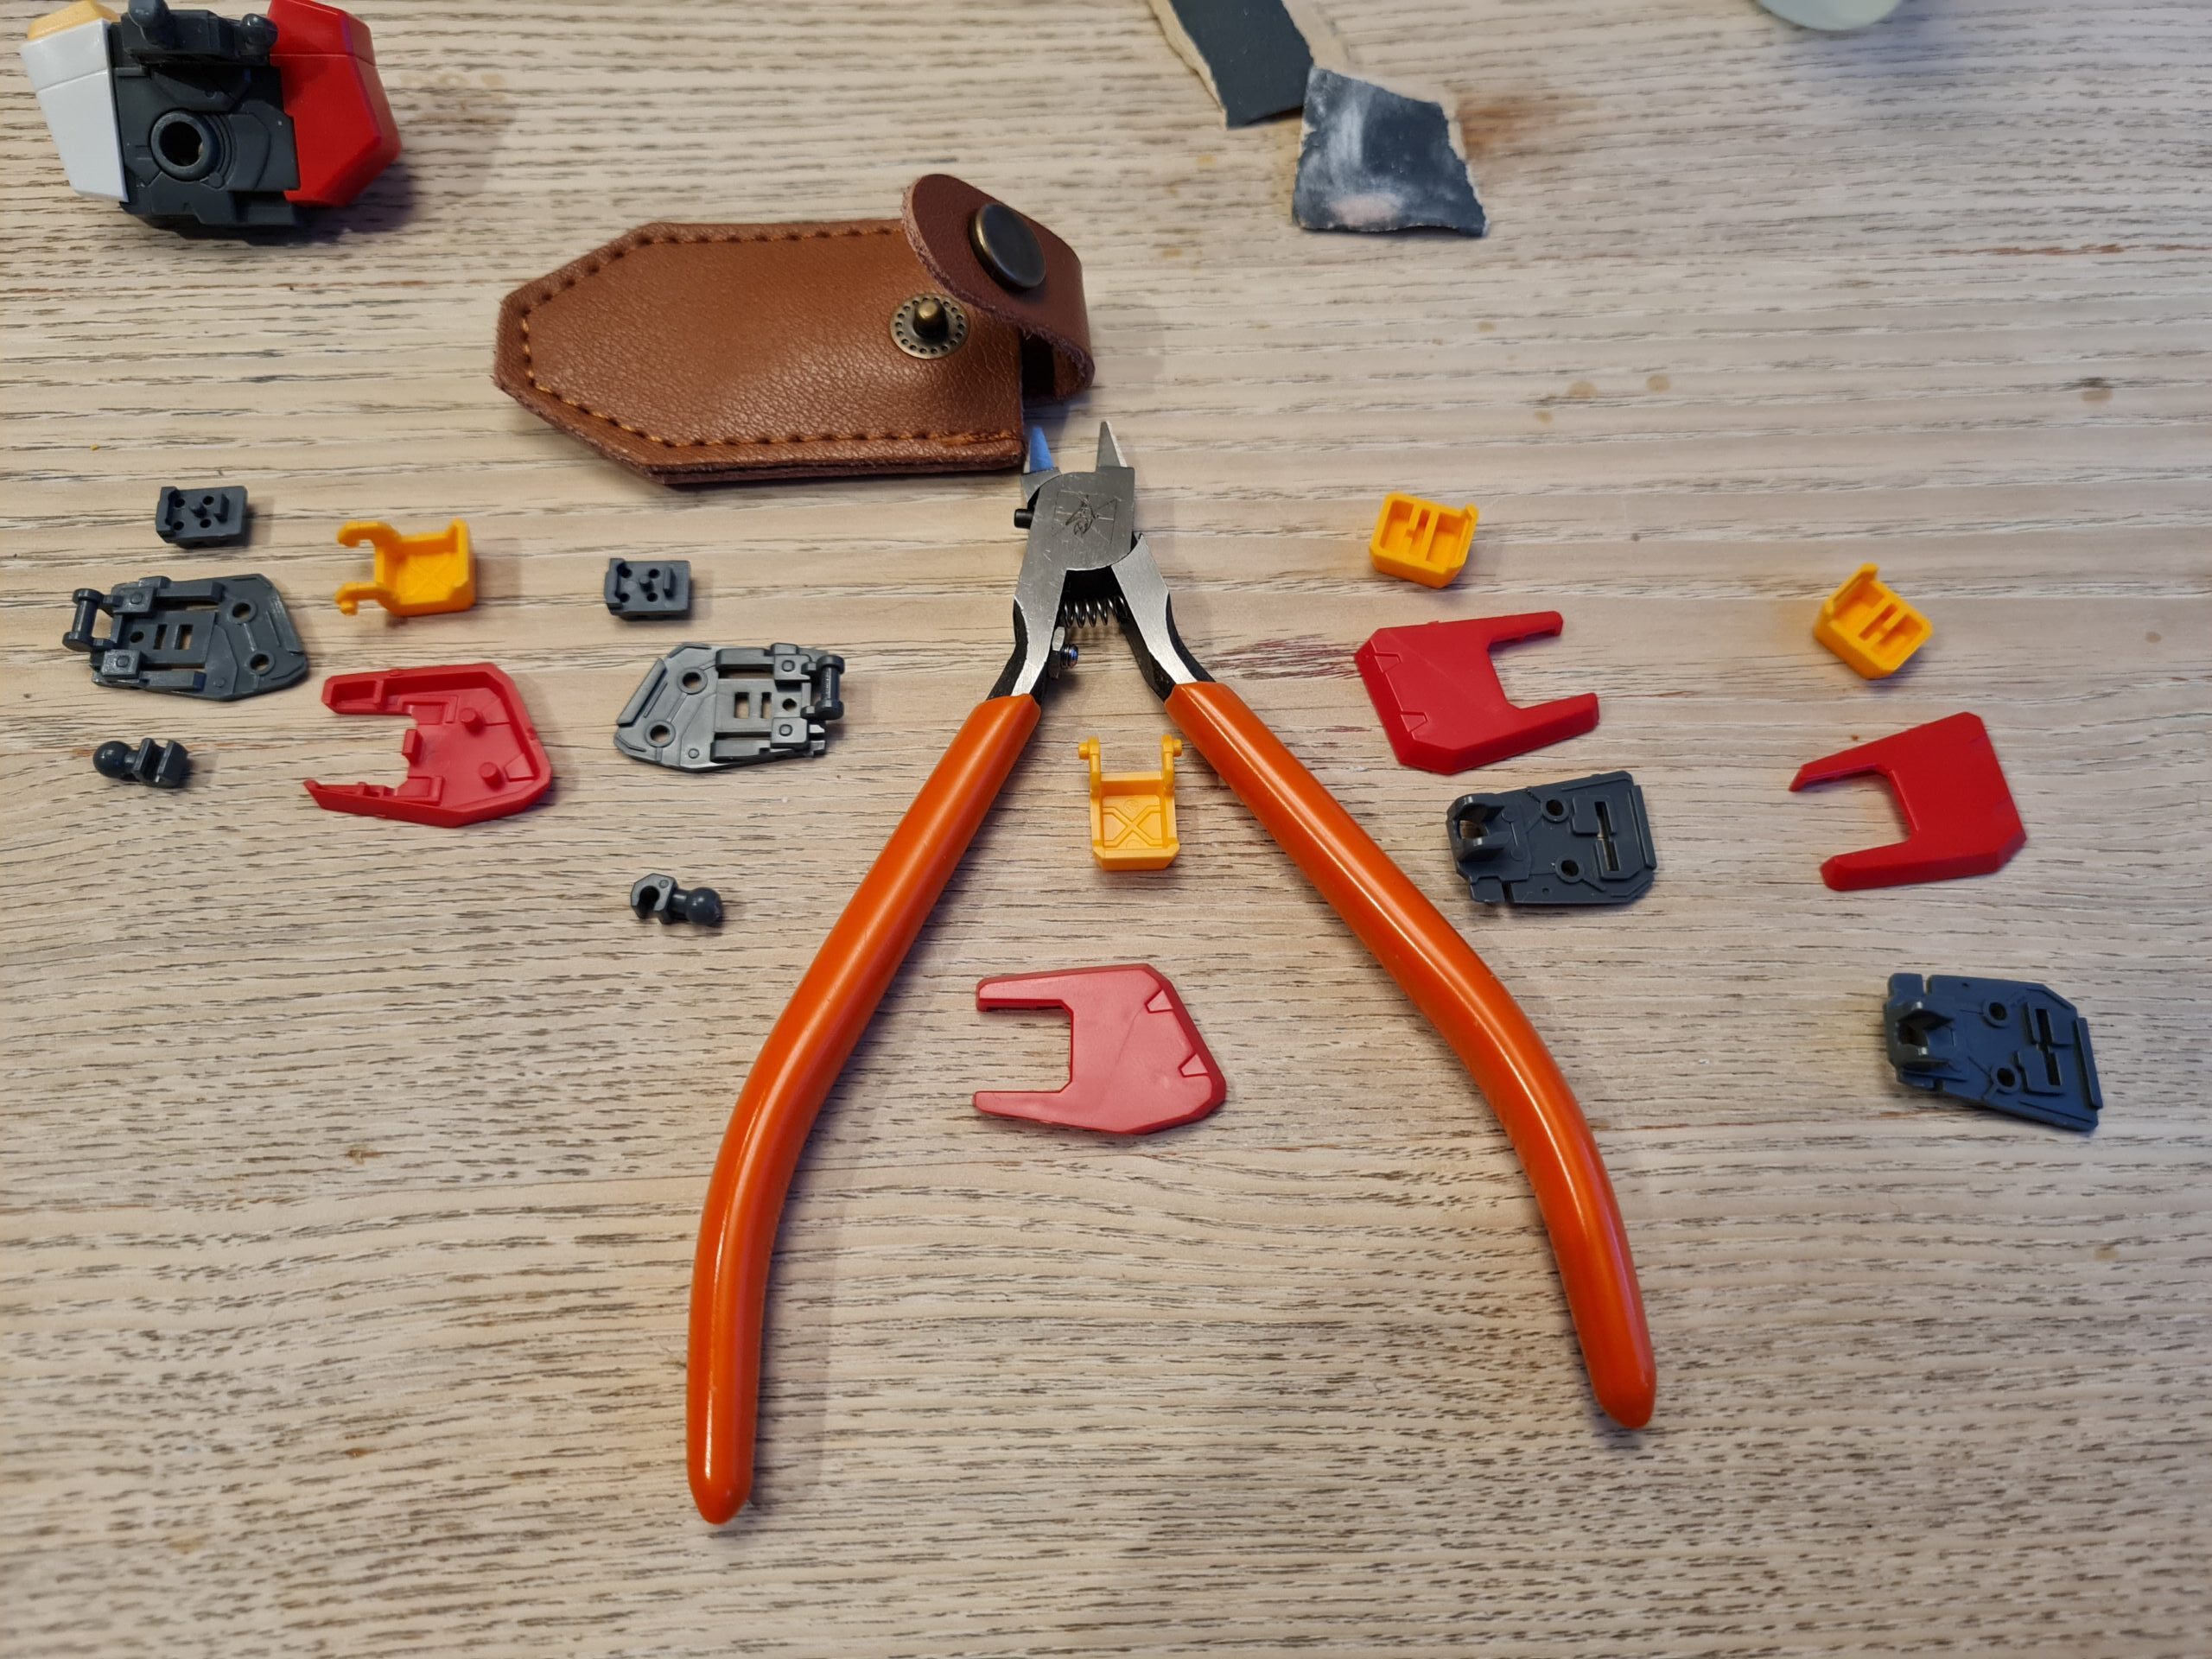
Without further ado here are the hips!
First pieces from the runnerFirst parts builtSecond pieces from the runnerSecond pieces build
As you can see this was a relatively short piece to put together. I have to say I enjoyed making this section. Although very simple, there are some very nice. For example the yellow covers on the front lift slightly then pivot forwards to give this:
Guns showing
I think that is an amazing mechanic, and a lovely touch to the model. I could quite literally sit there all day opening and closing those as the fit is so smooth.
So that is it for todays guess the model. I imagine that most people have it from the earlier parts but we will continue on!
Thank you for taking the time to read this. If you haven’t already done so please like and follow us on our social media platforms and checkout our website!
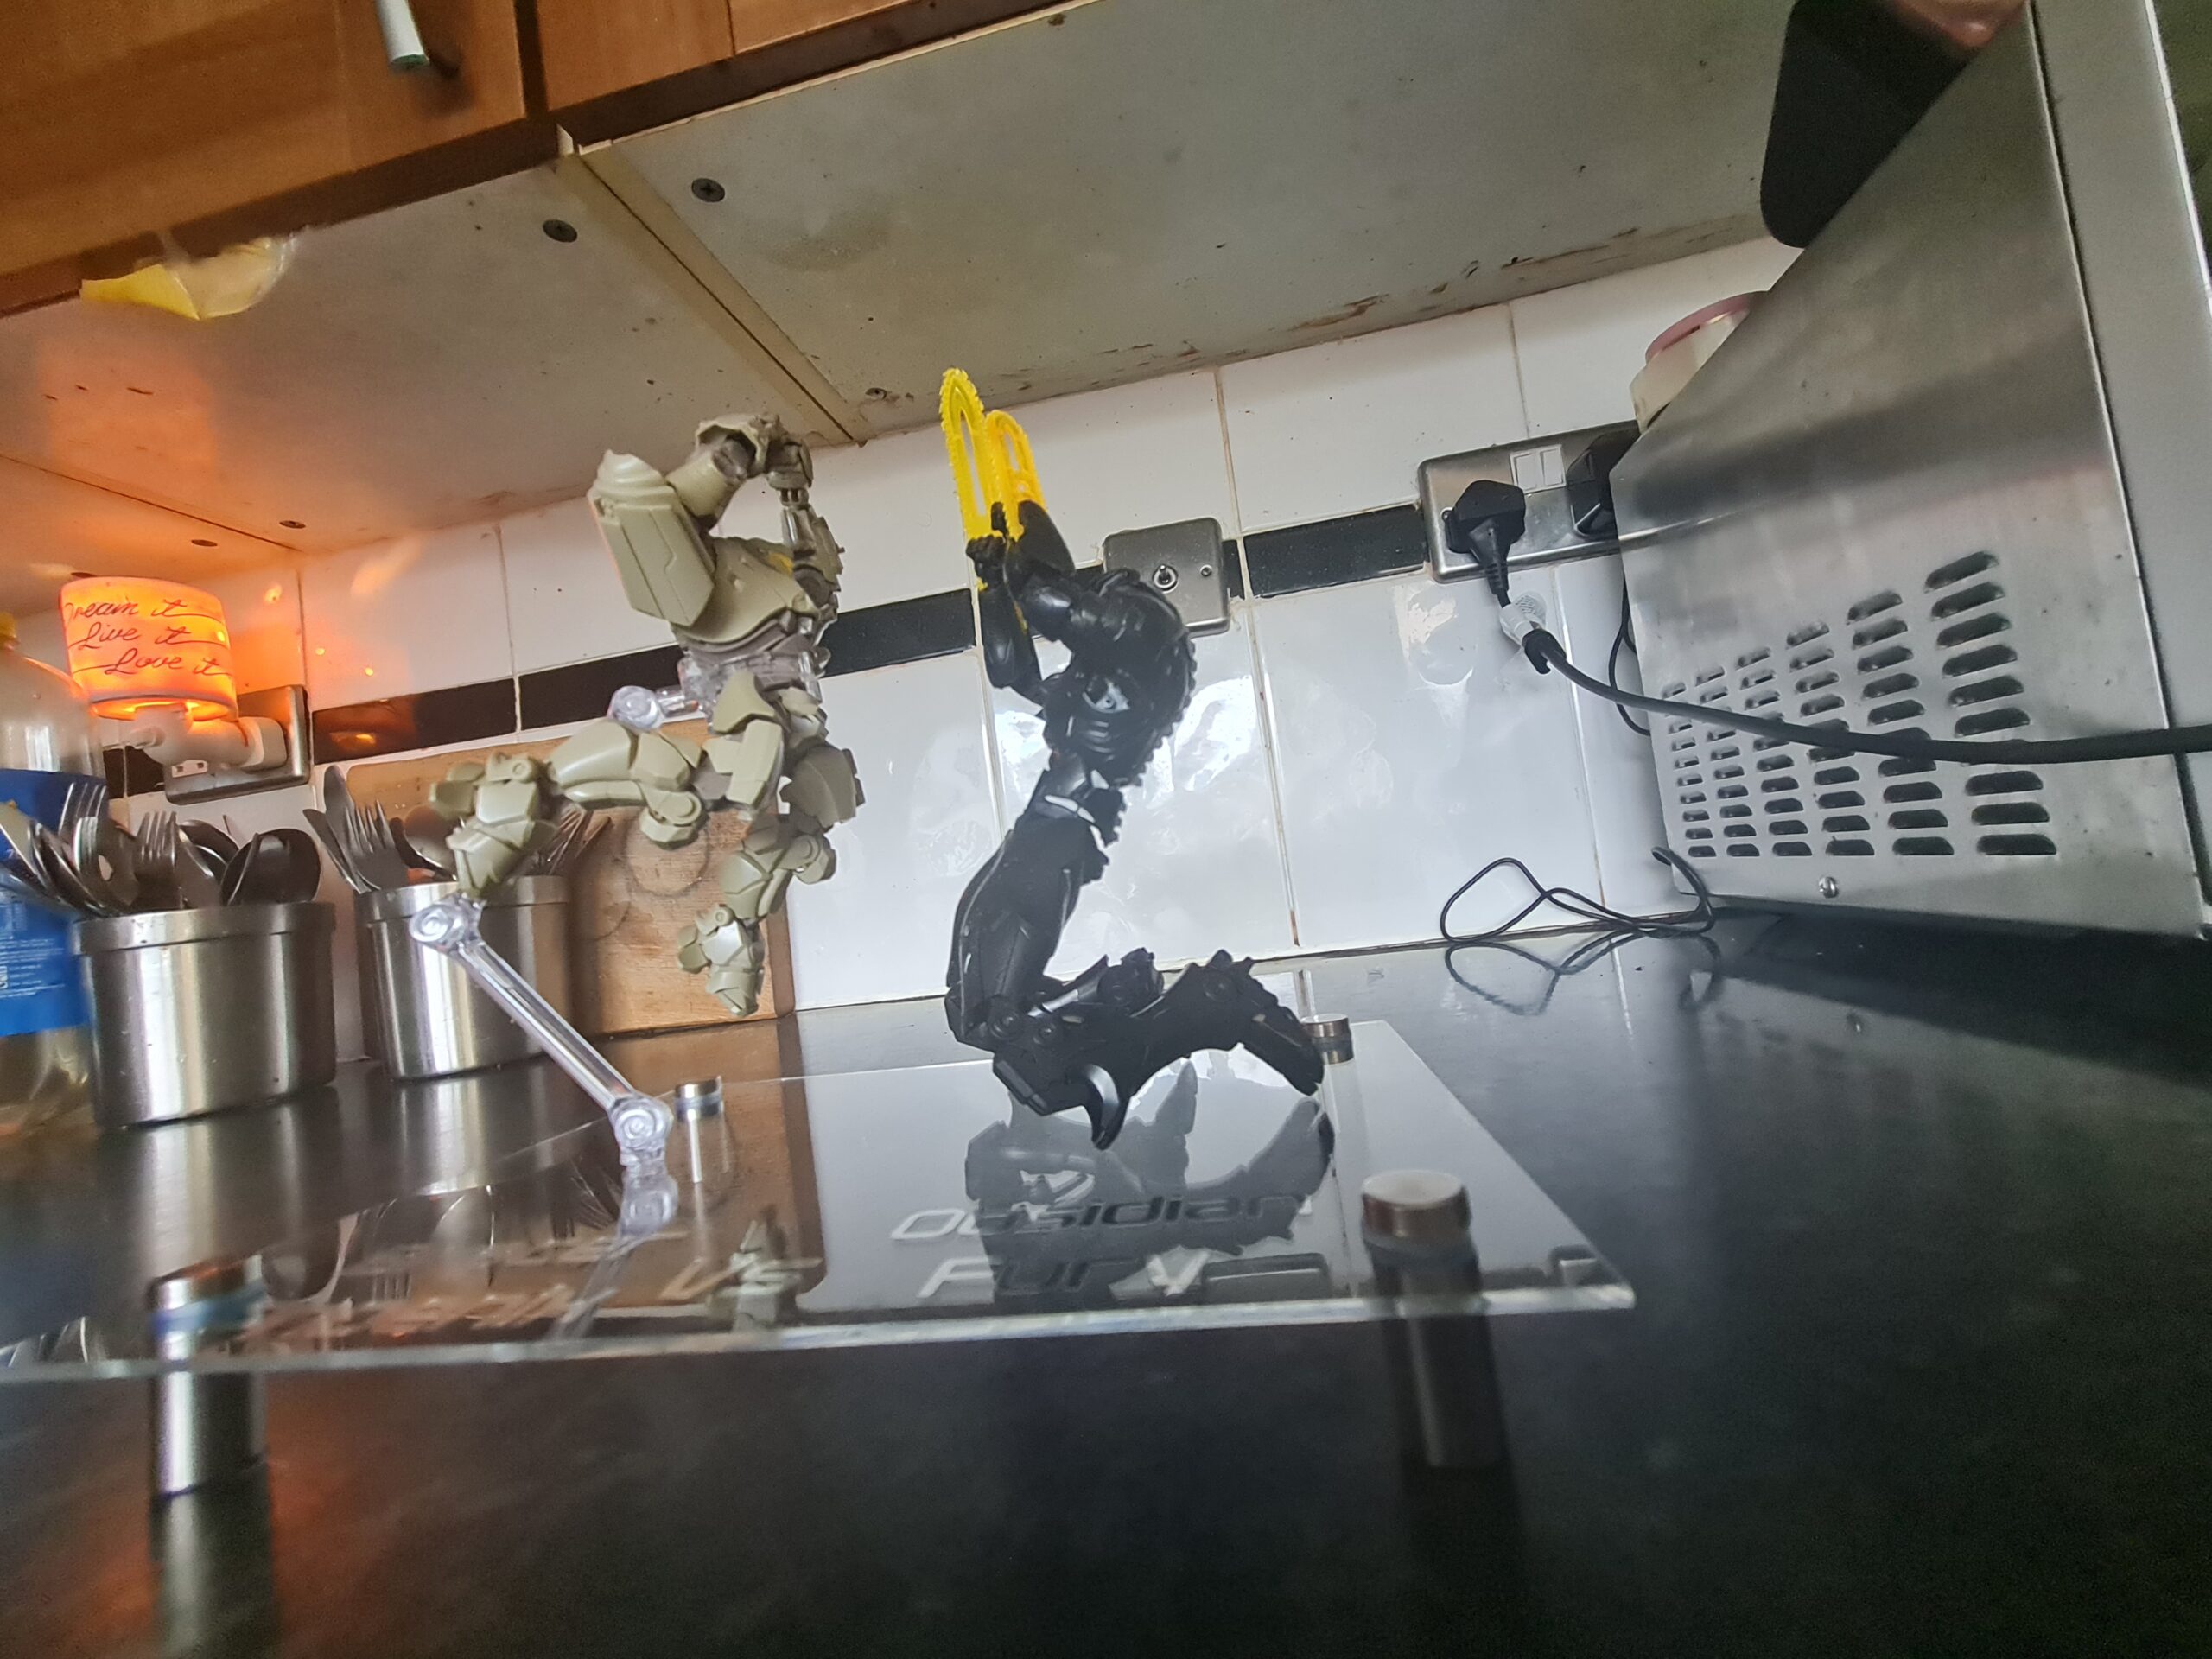
In one of my previous posts I showed off my RK Zaku II on the custom stand. I thought that I would do a piece on making the custom stand.
Materials
Silver Vinyl (sticky backed)
Transfer tape
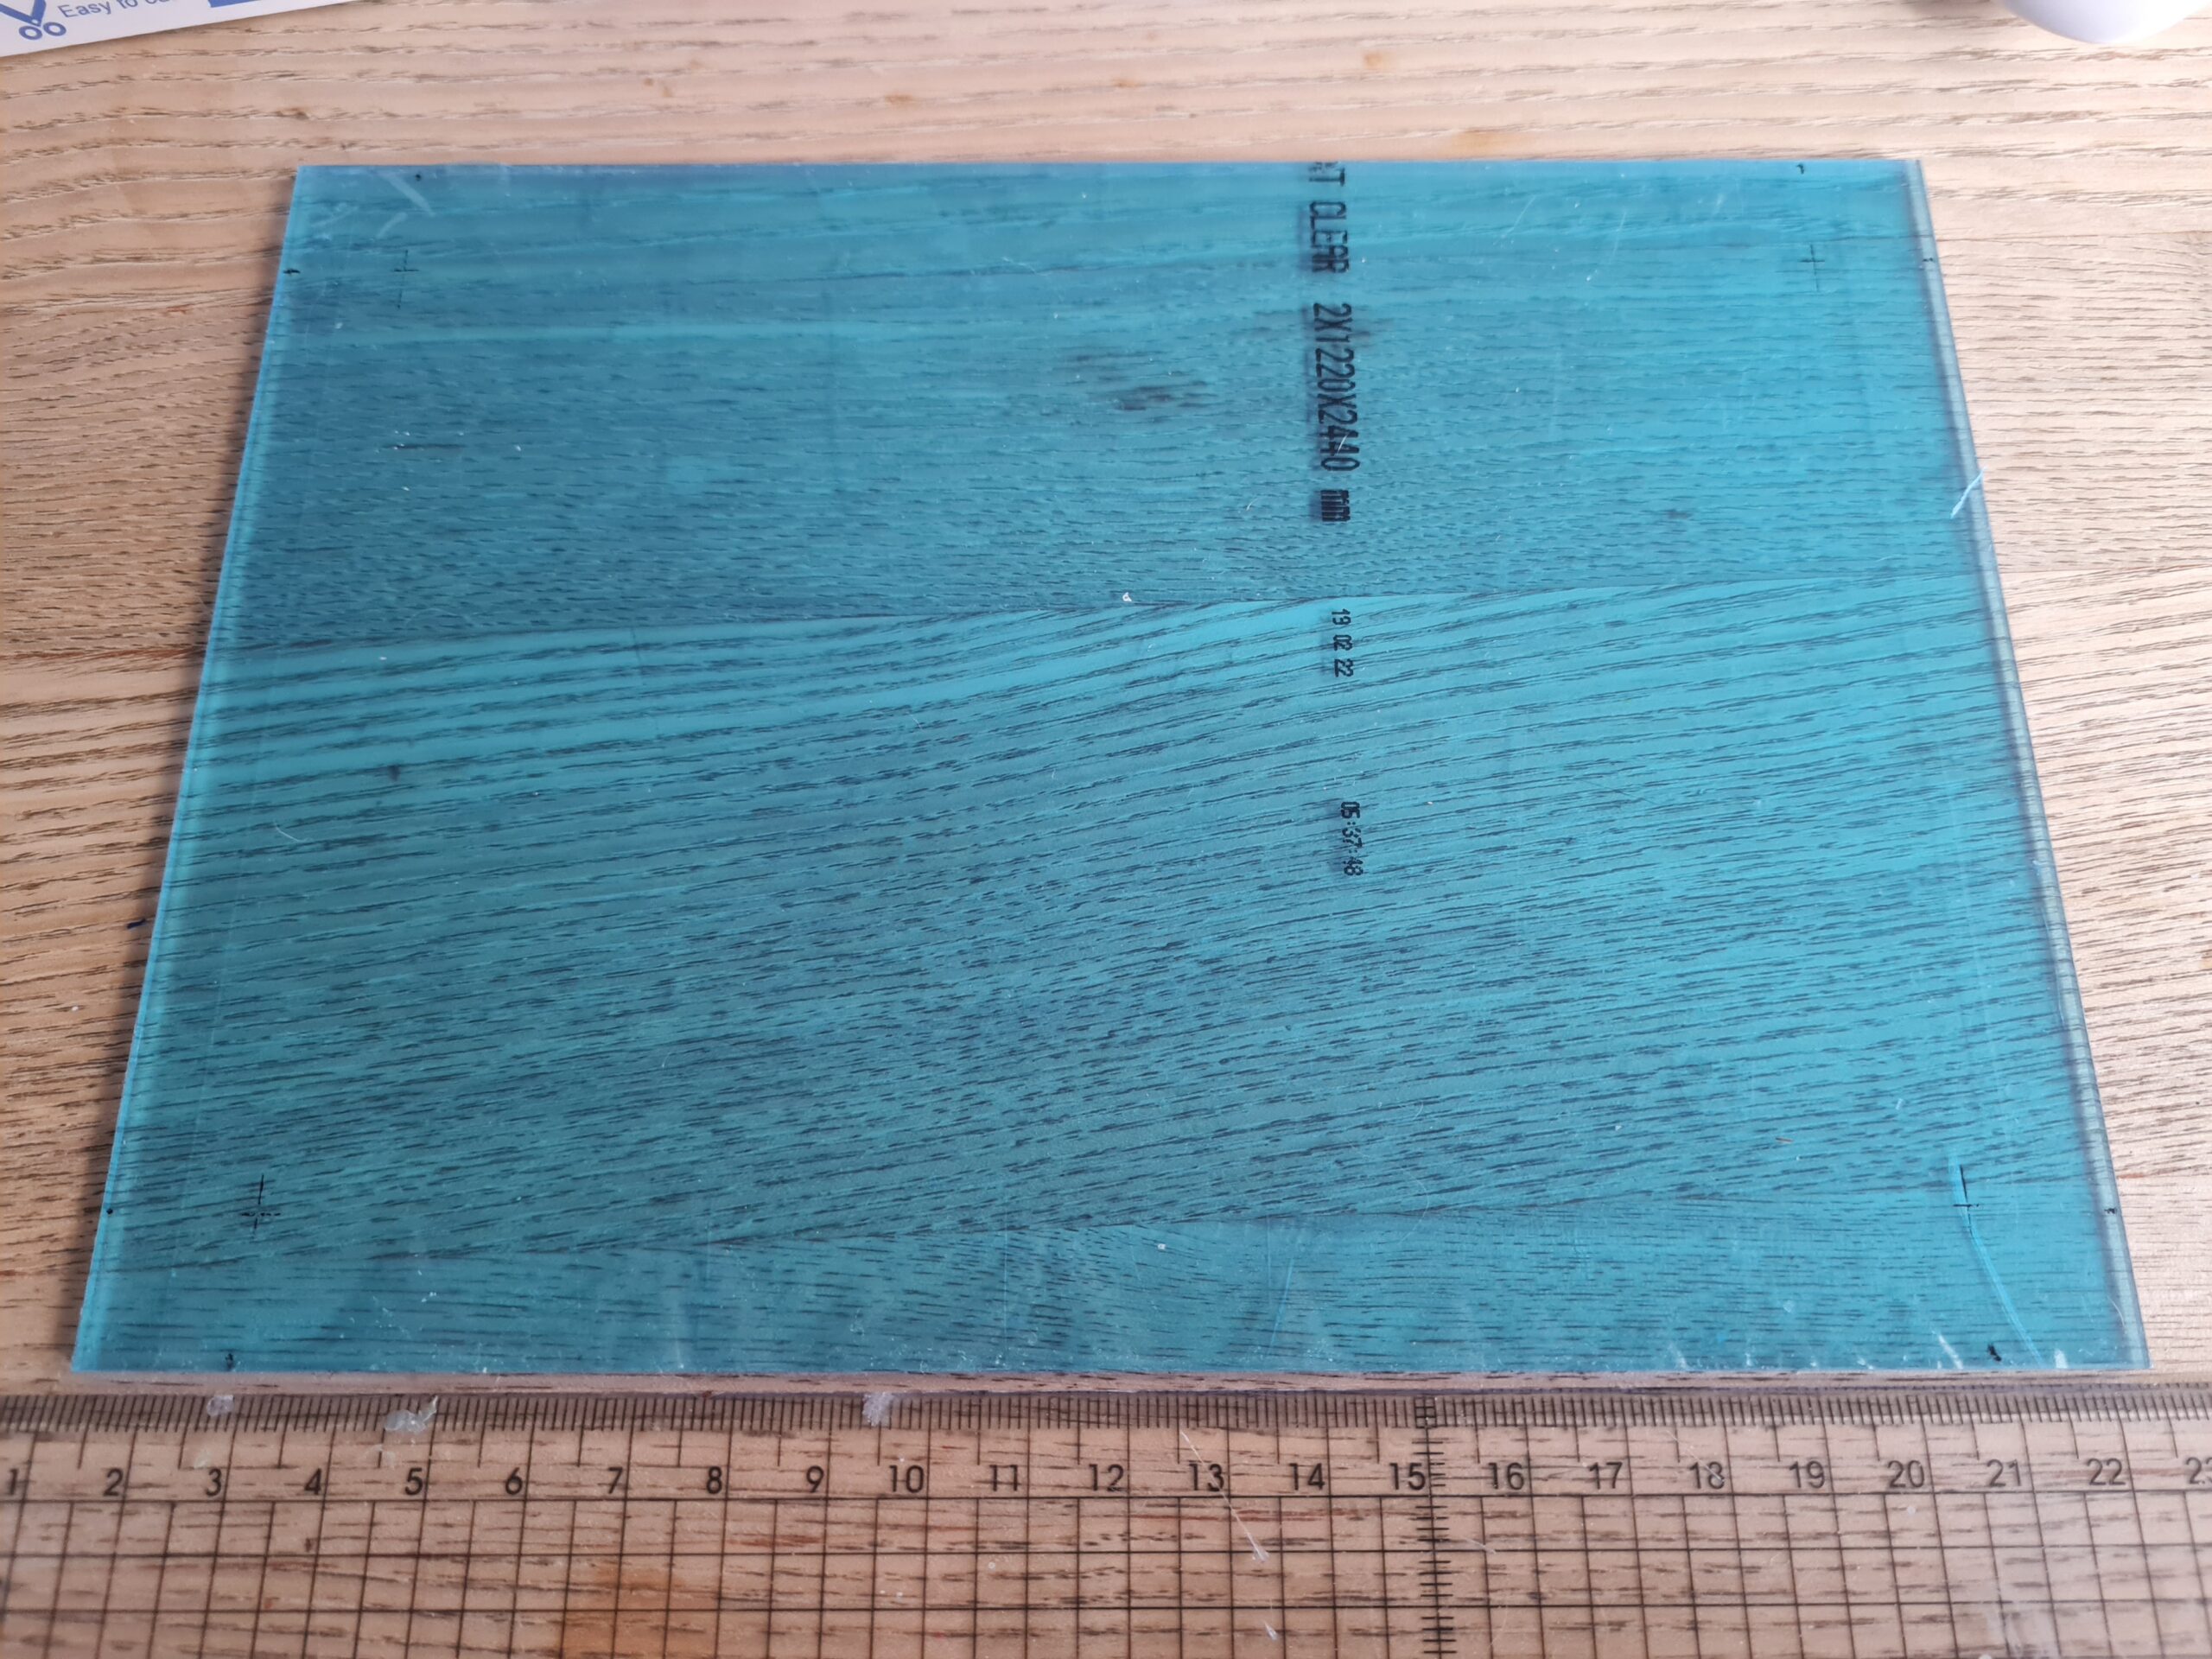
A5 2mm thick acrylic sheet
Stainless steel standoff fixings (for the feet)
Tools
Drill
Pen
Drill bits
Cricut
Scissors
Weeder
Squidger (I have no idea what it is really called)
Ruler
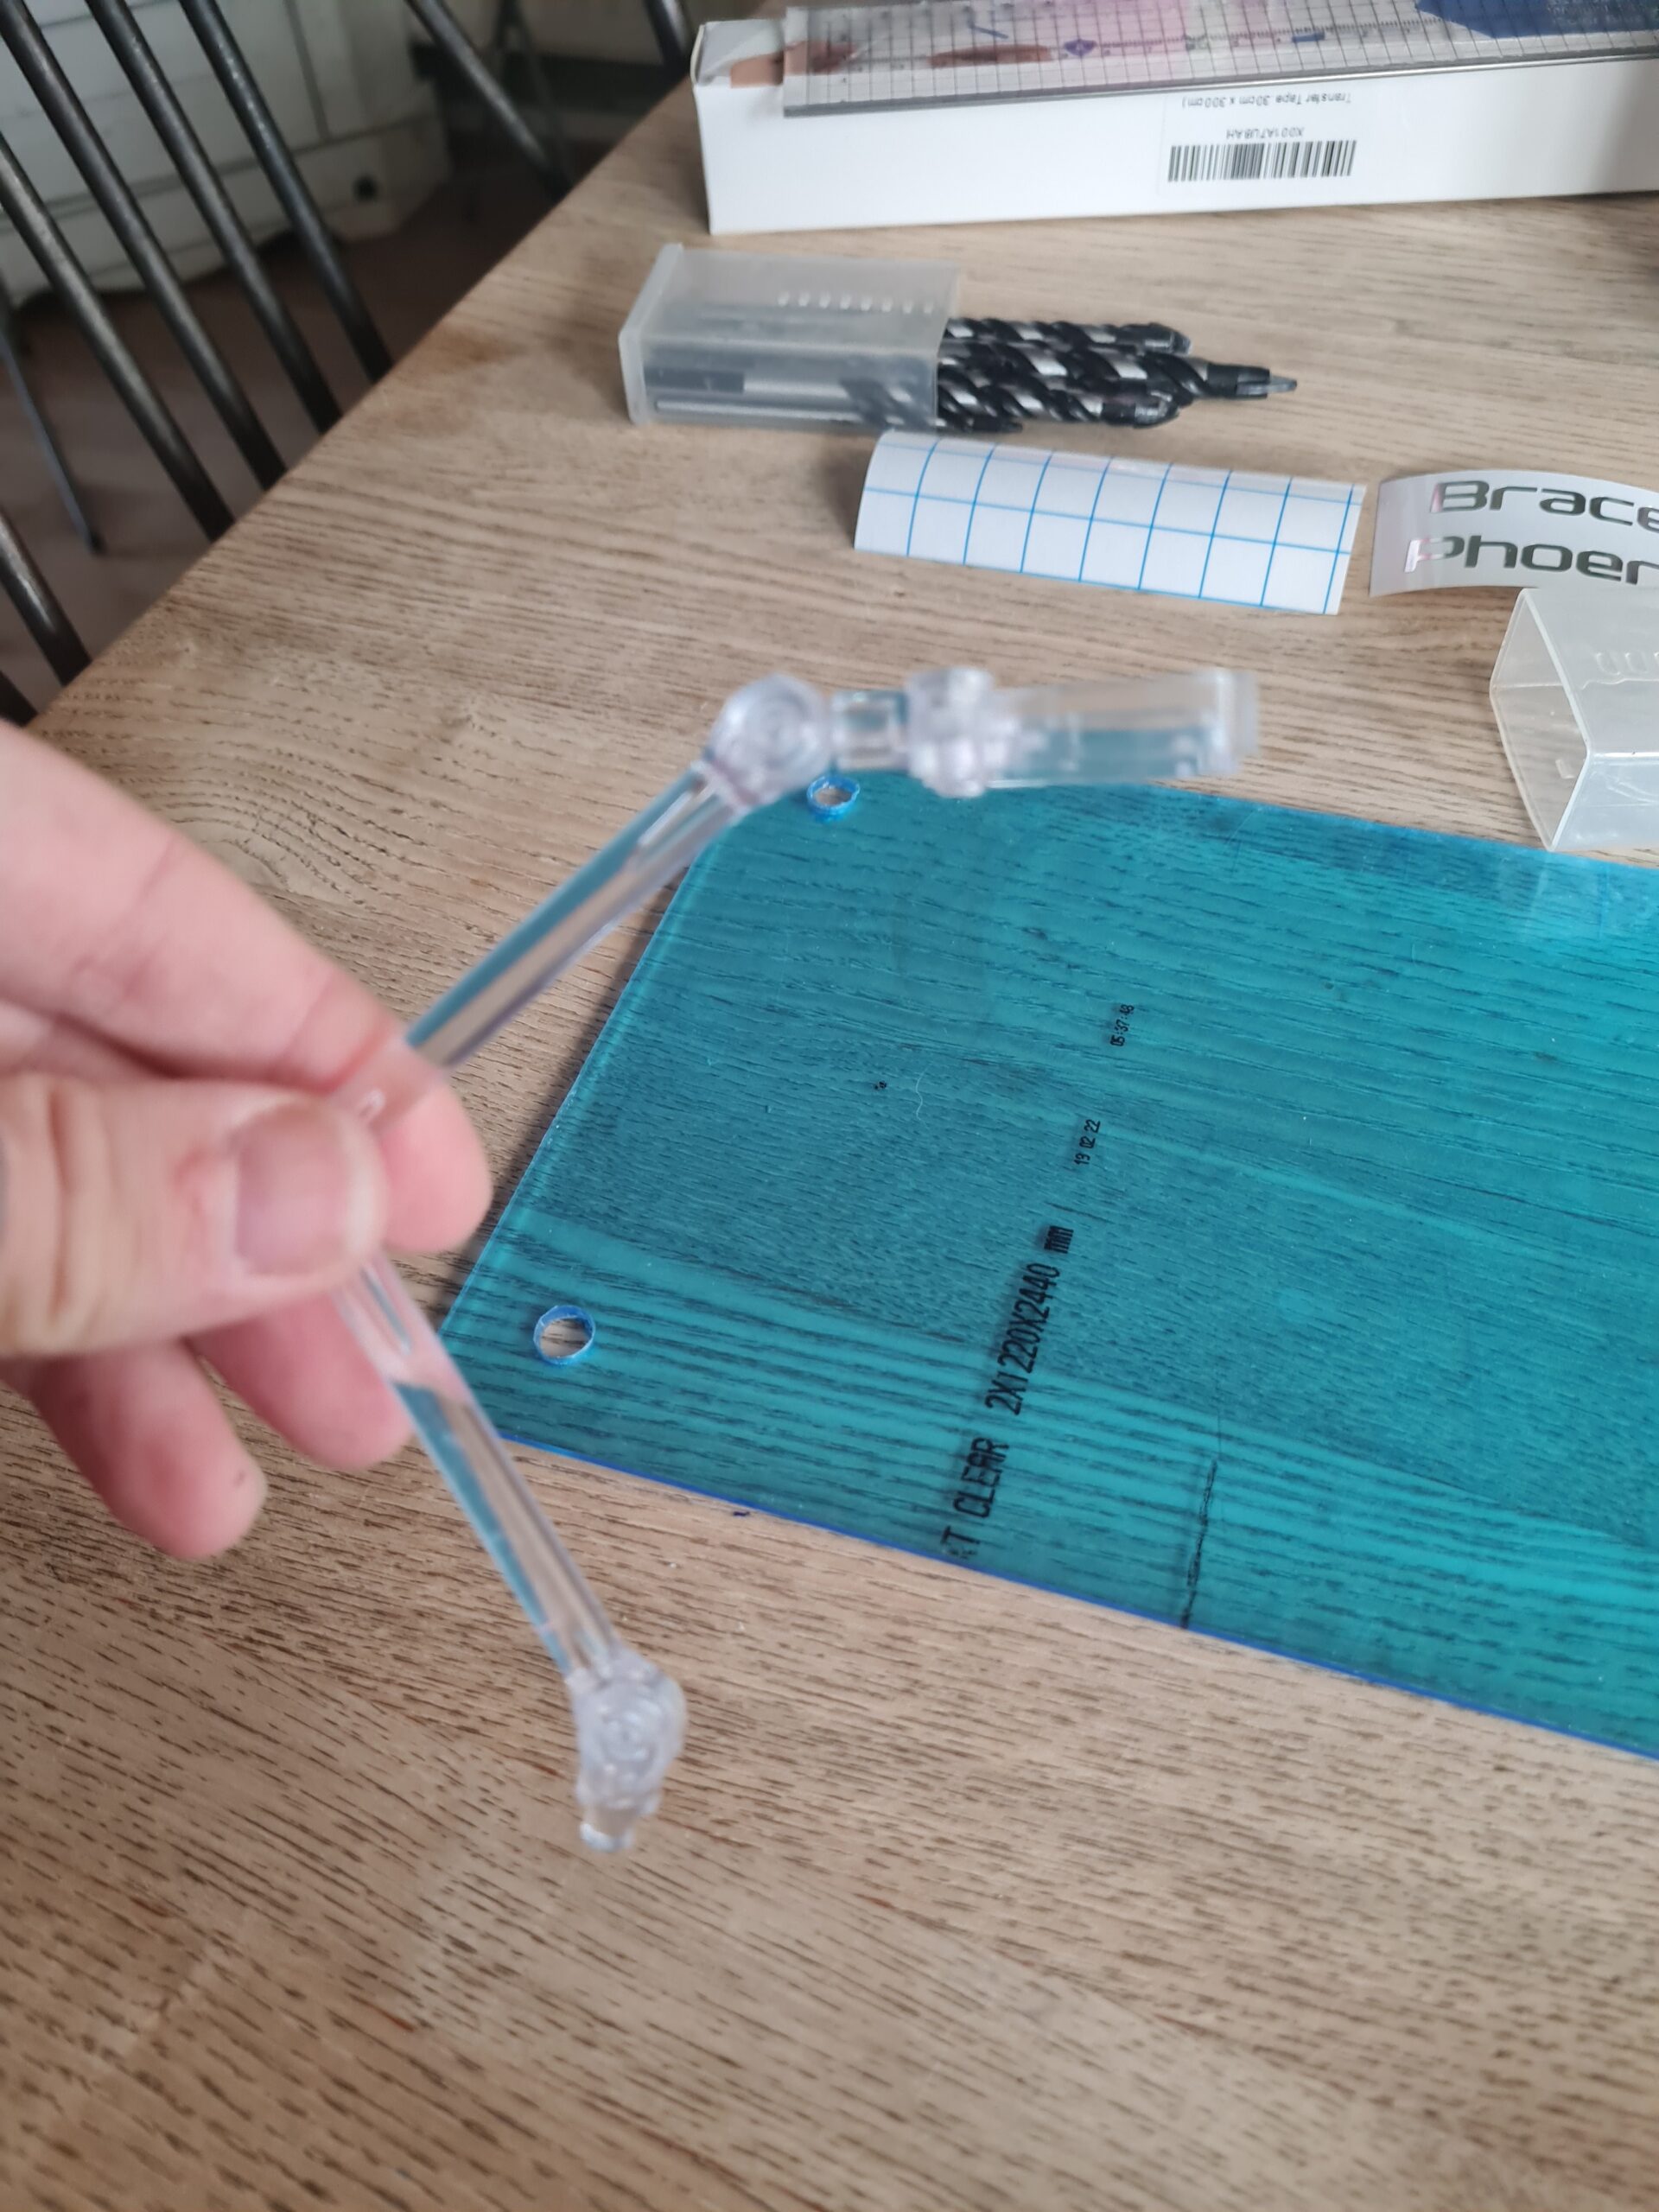
Stage 1 – Measuring out
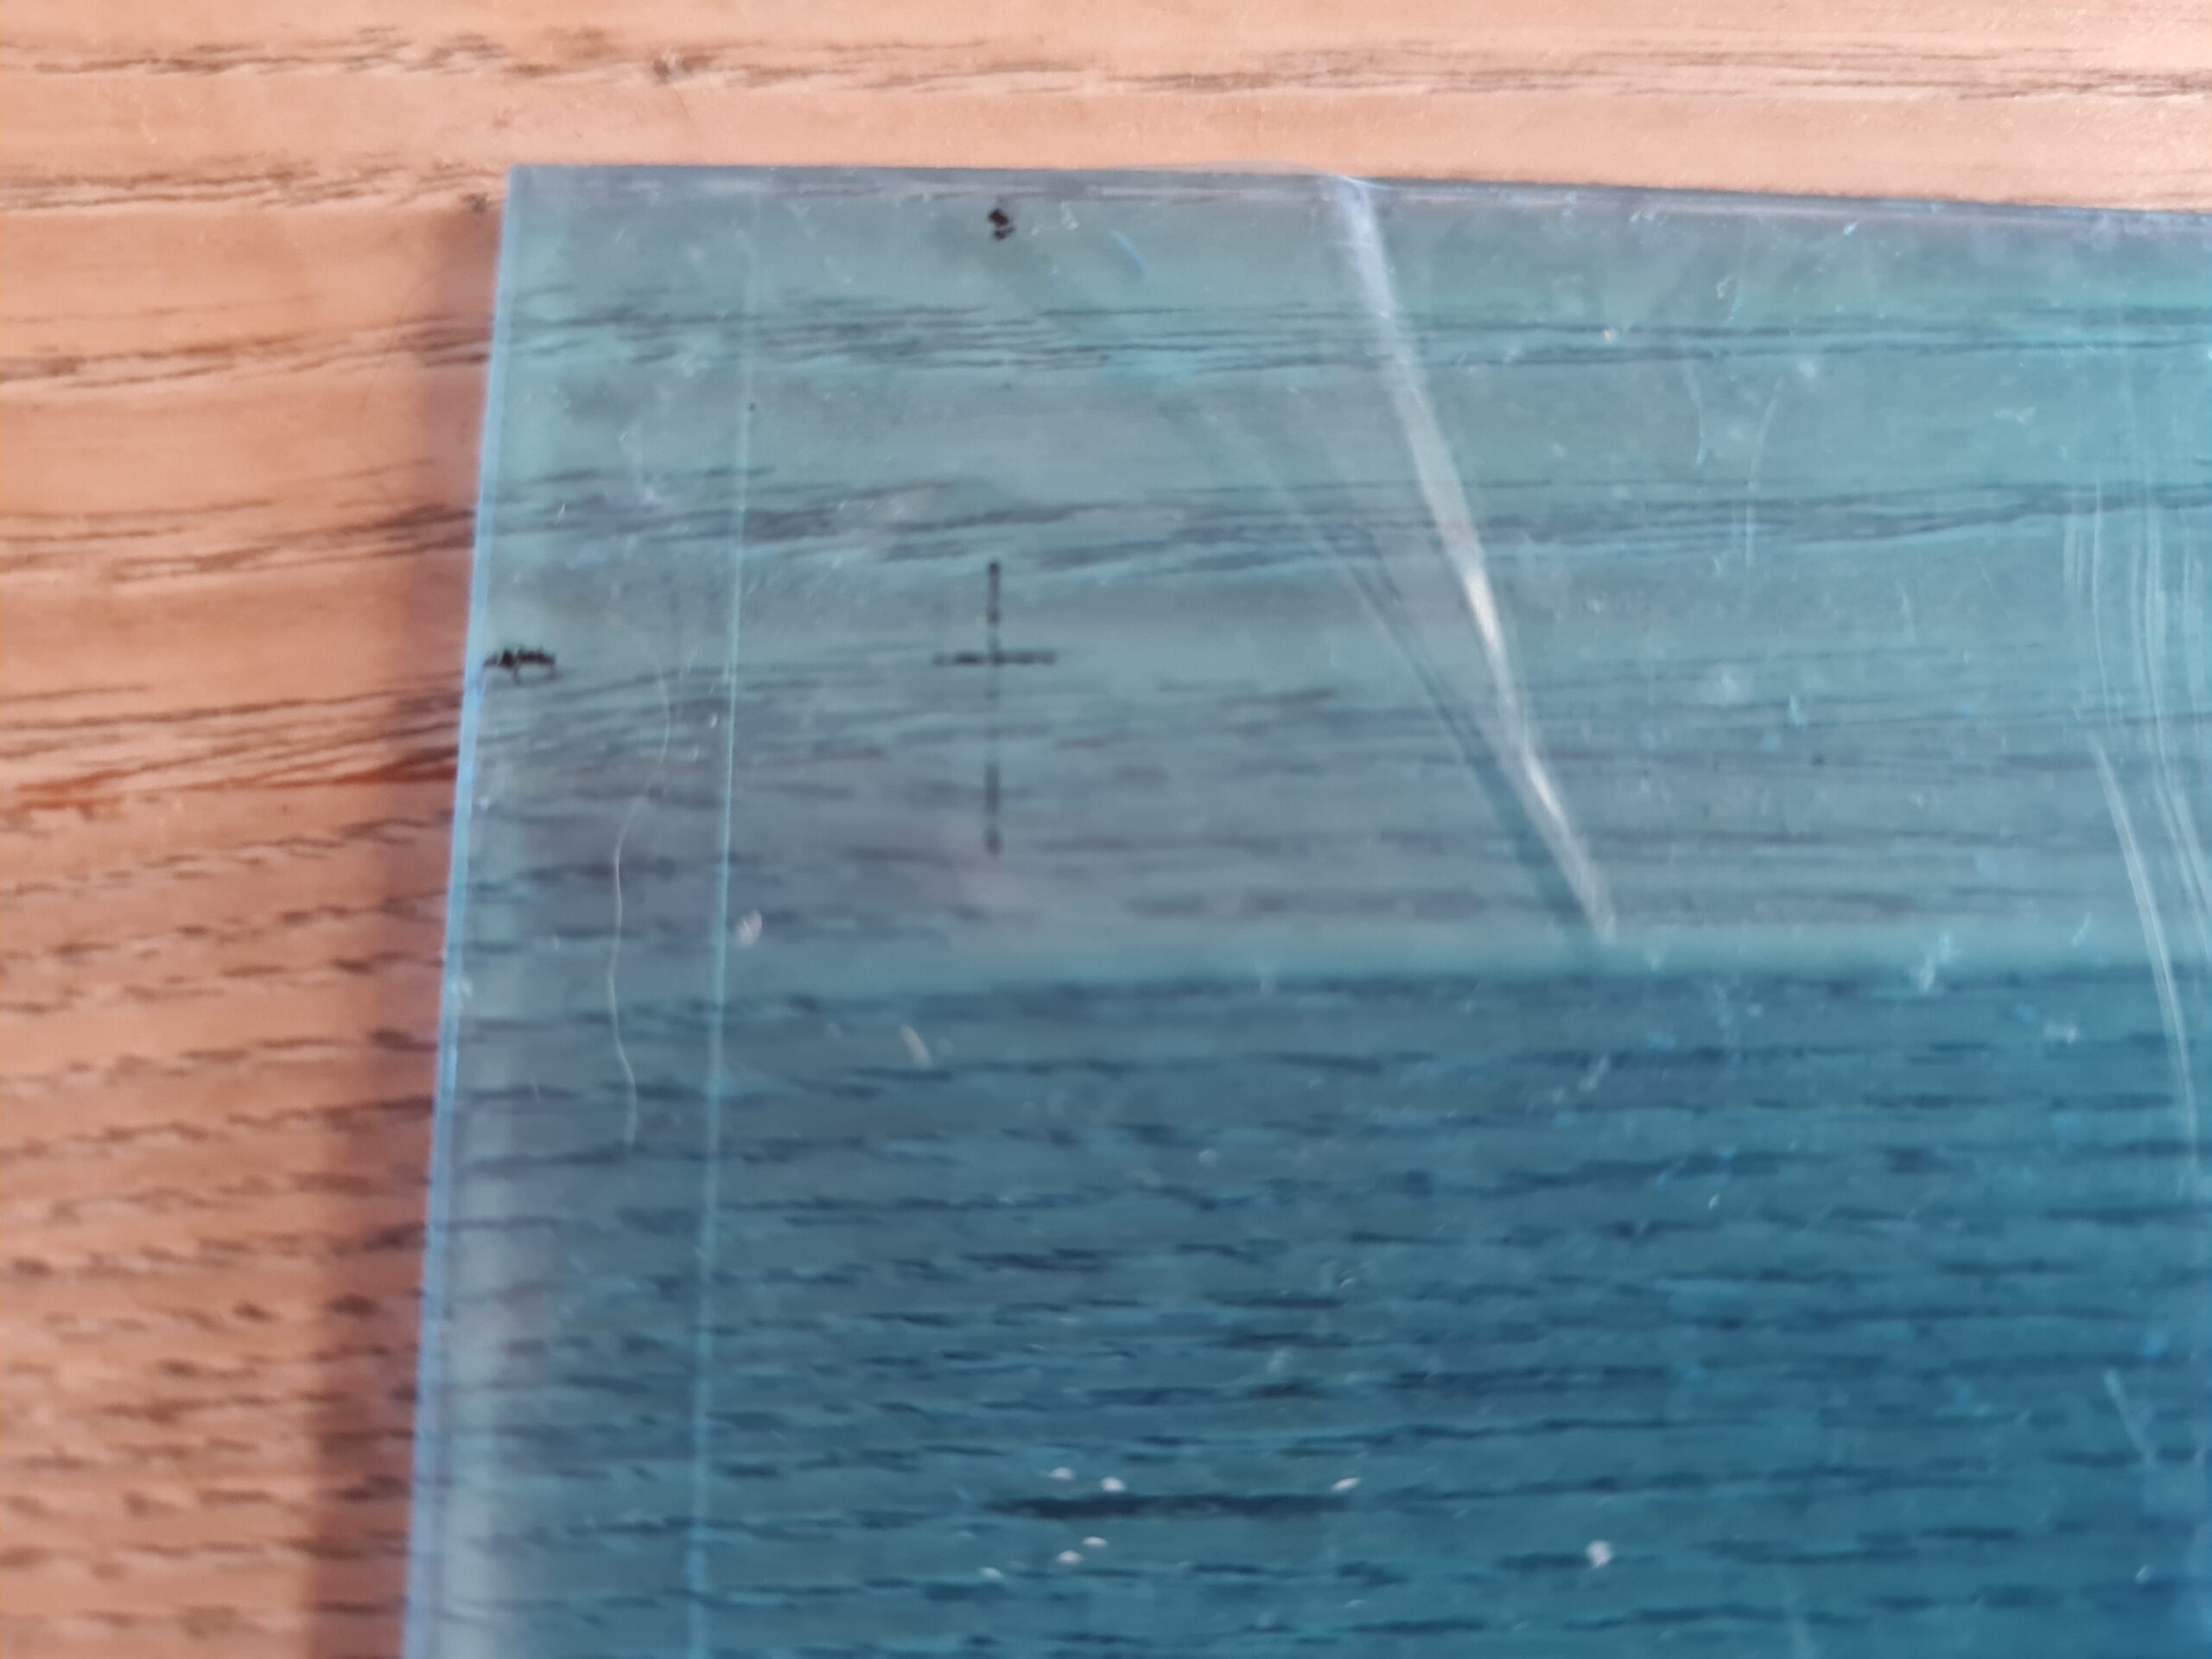
I like to have the feet in pretty much the same position. I also like them to be symmetrical. To do this I measure 1.5cm from each corner.
Measuring for the feetMarking the feetMarking out for the feet
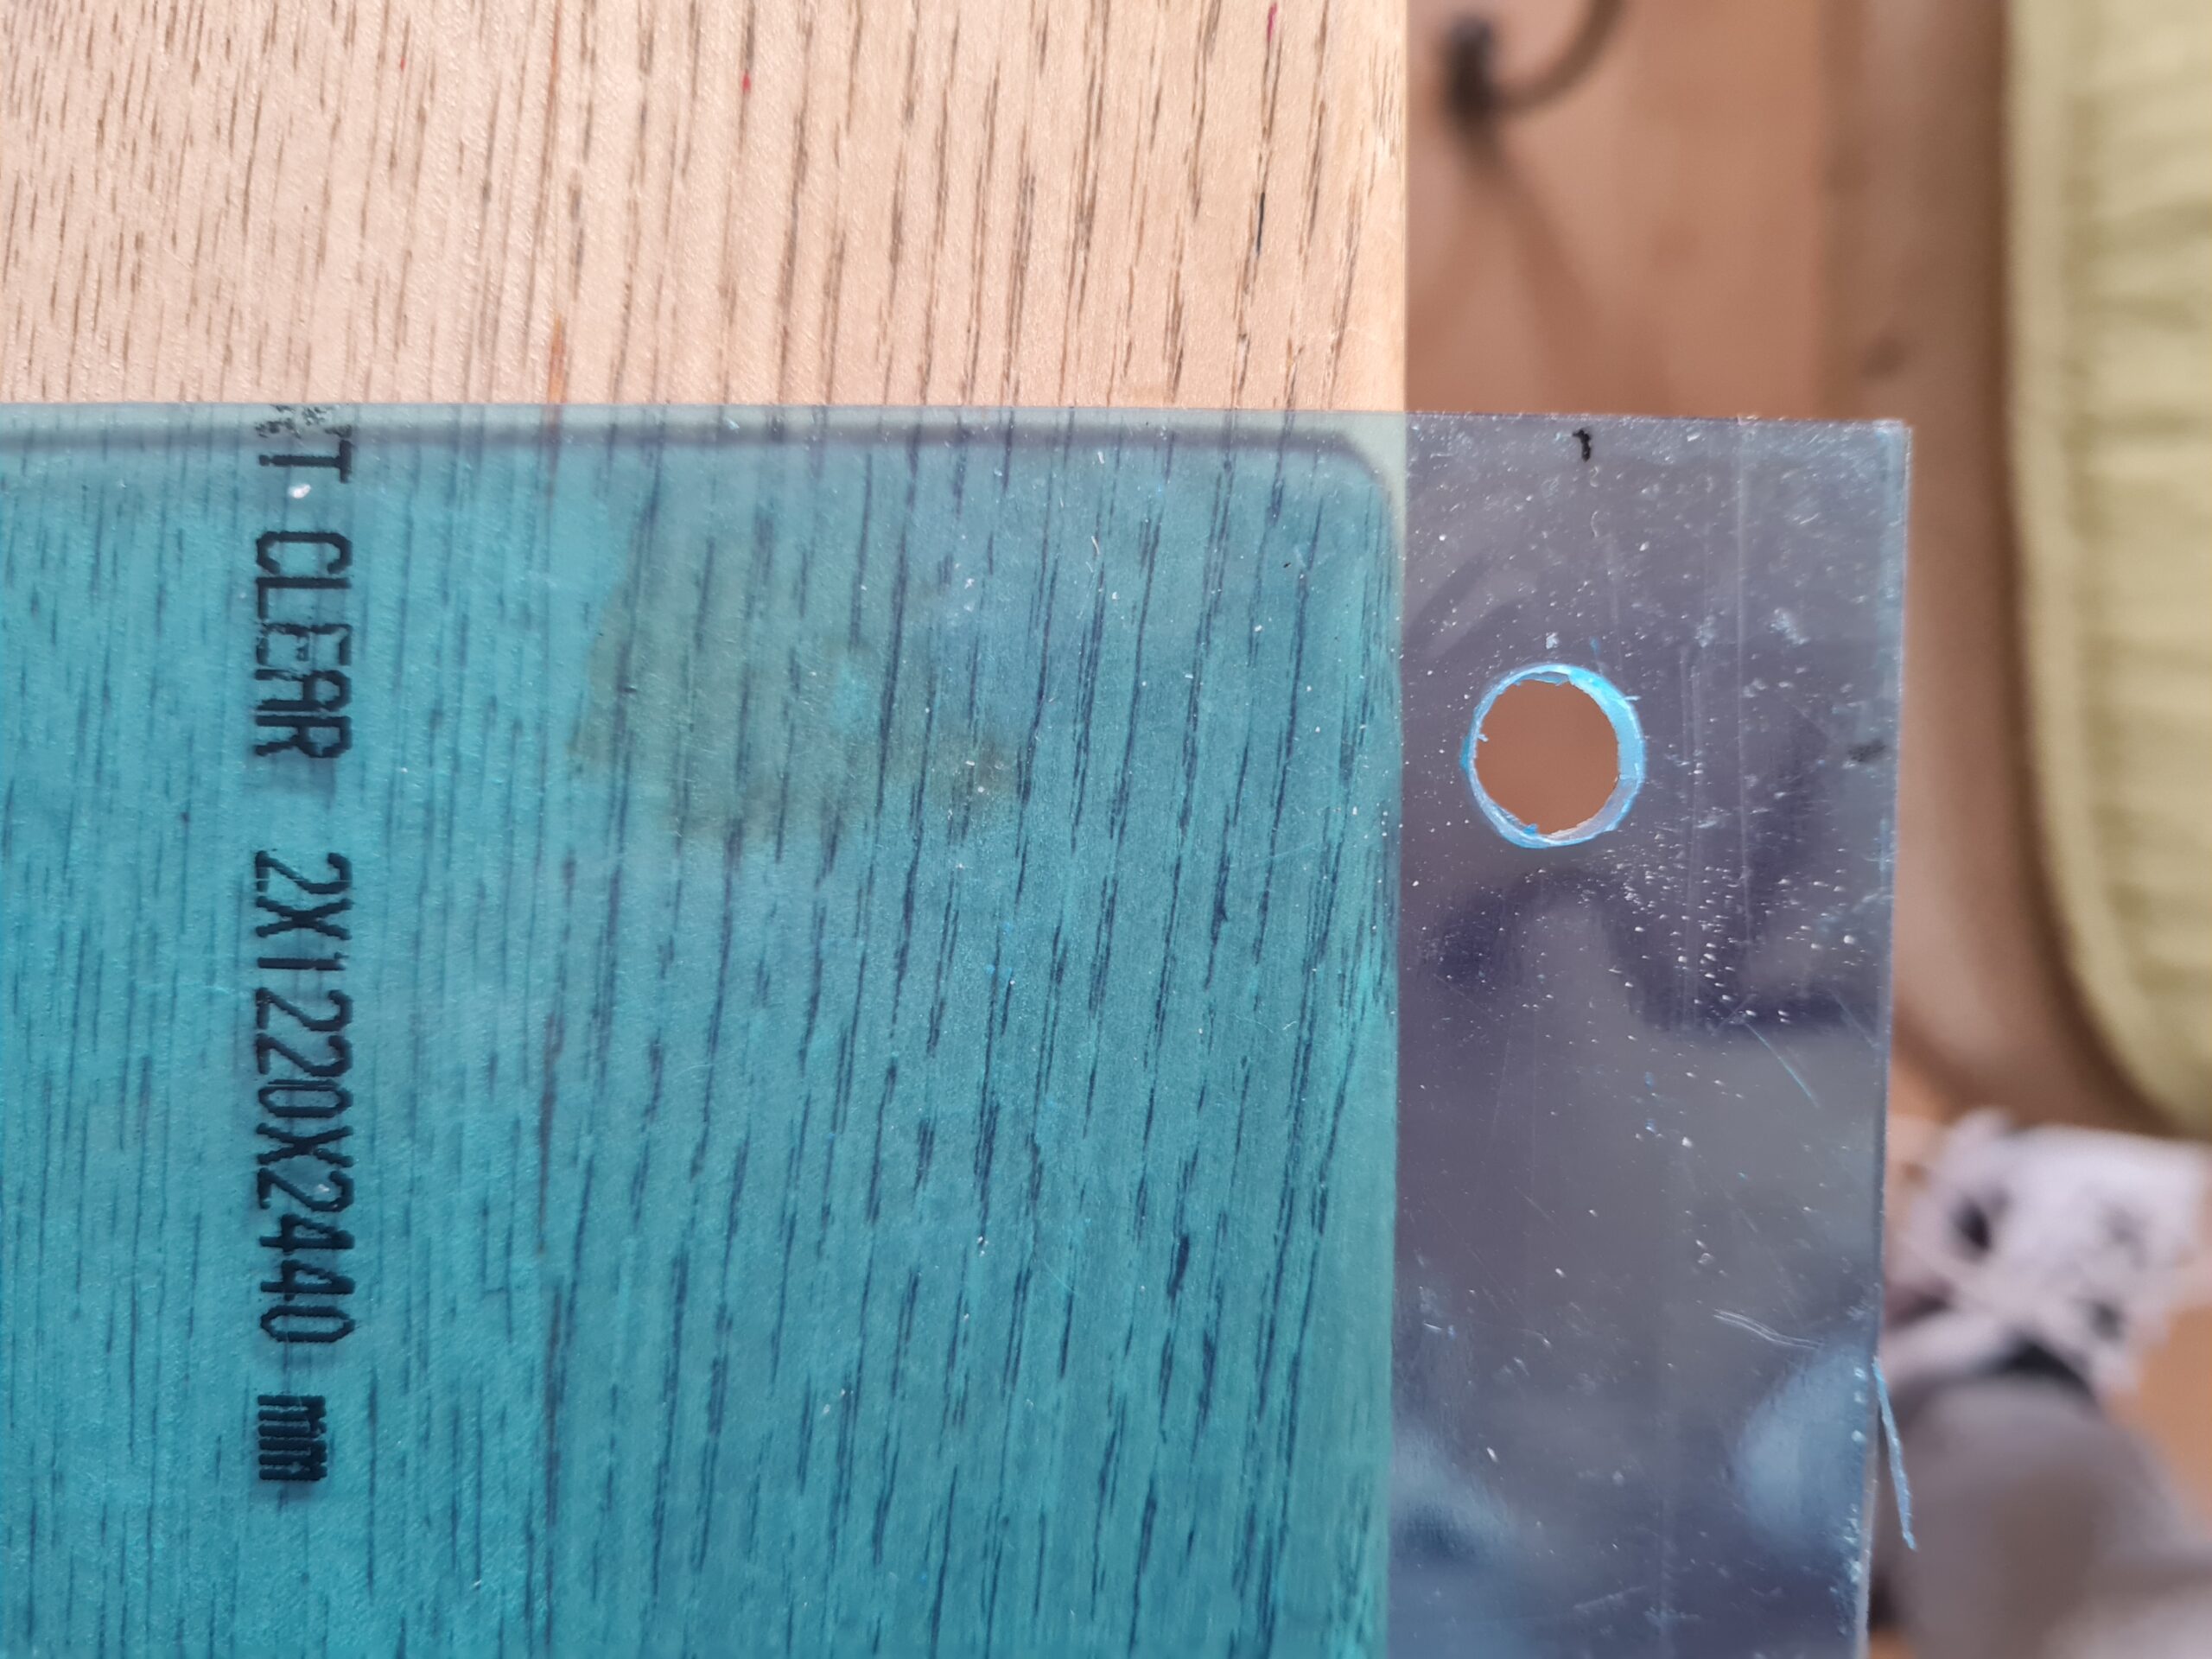
The acrylic is covered on both sides with a protective covering. I leave this on as long as possible to help protect the acrylic, and also to mark on wherever possible.
Drilling the holes
Once the holes are marked out, I moved on to drilling the holes.
Drill and bitsHooverChecking bit width
To do this I needed the drill bits, the drill, and the hoover. The drill bits are actually for drilling into tiles and work perfectly for this job. The first thing I had to do was find the right size. I had to unscrew one of the feet and check the width of the drill bit to the thread size of the bolt. You want one marginally bigger than the thread so the bolt drops in nicely.
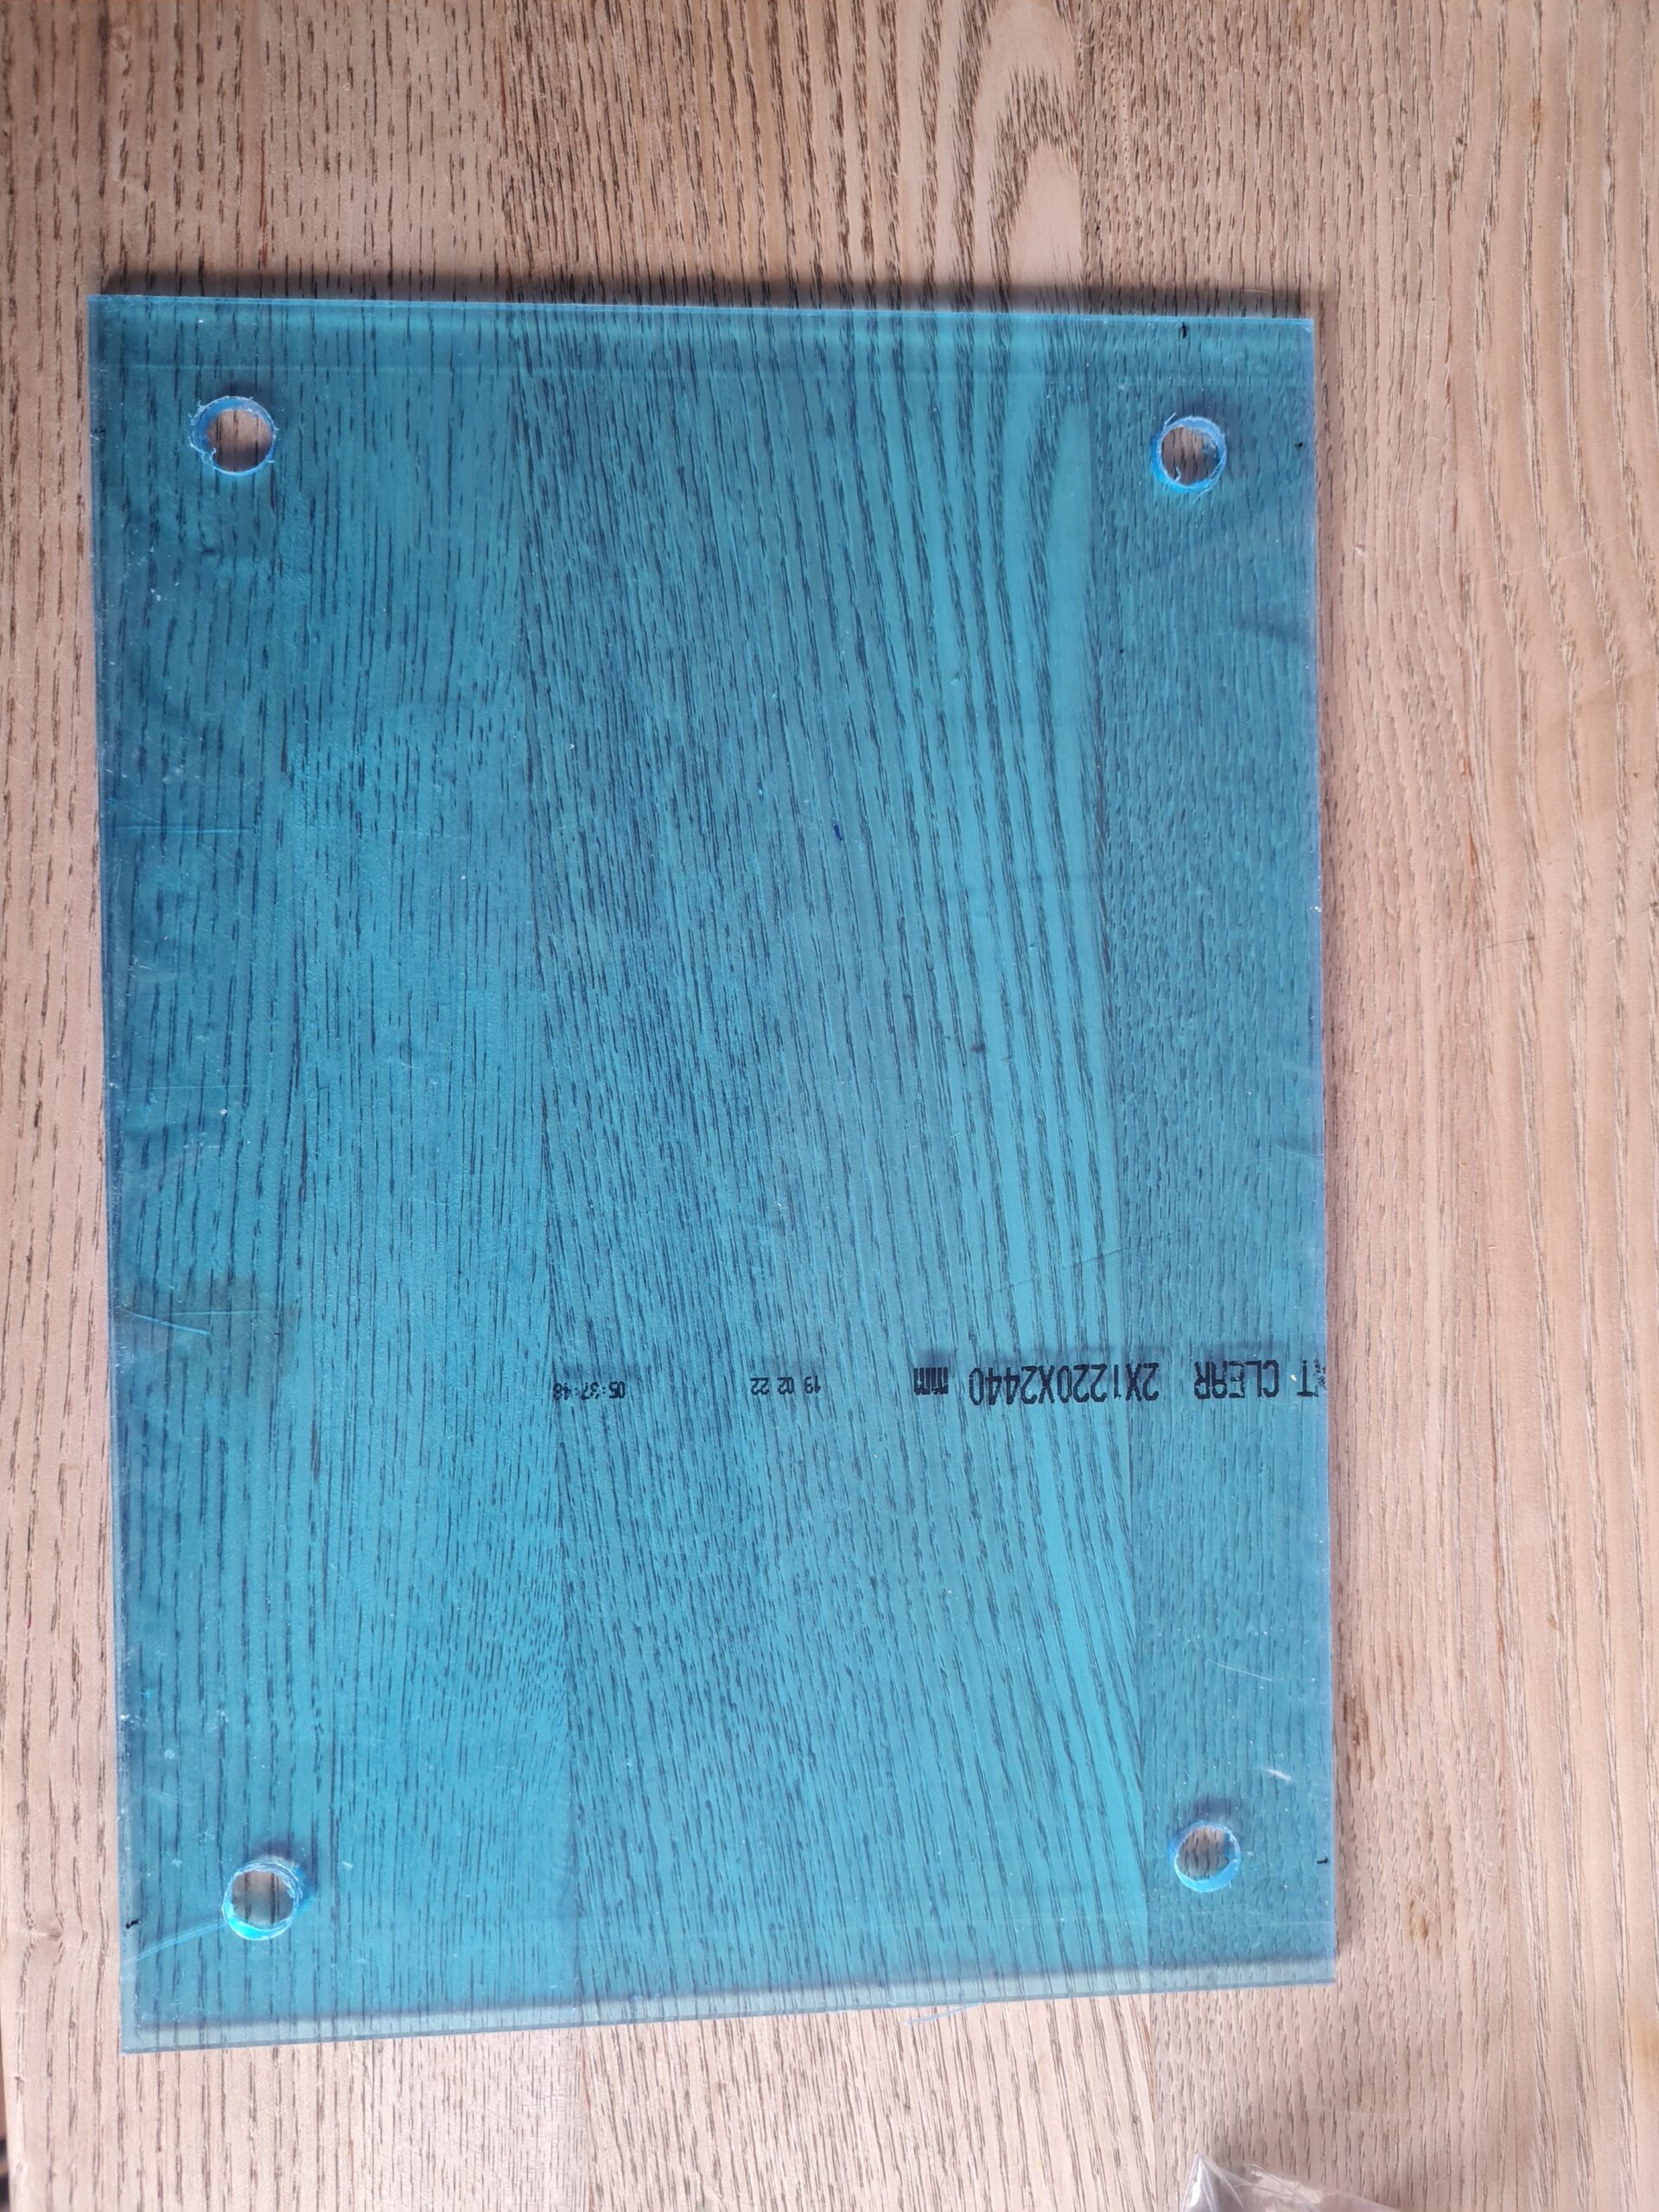
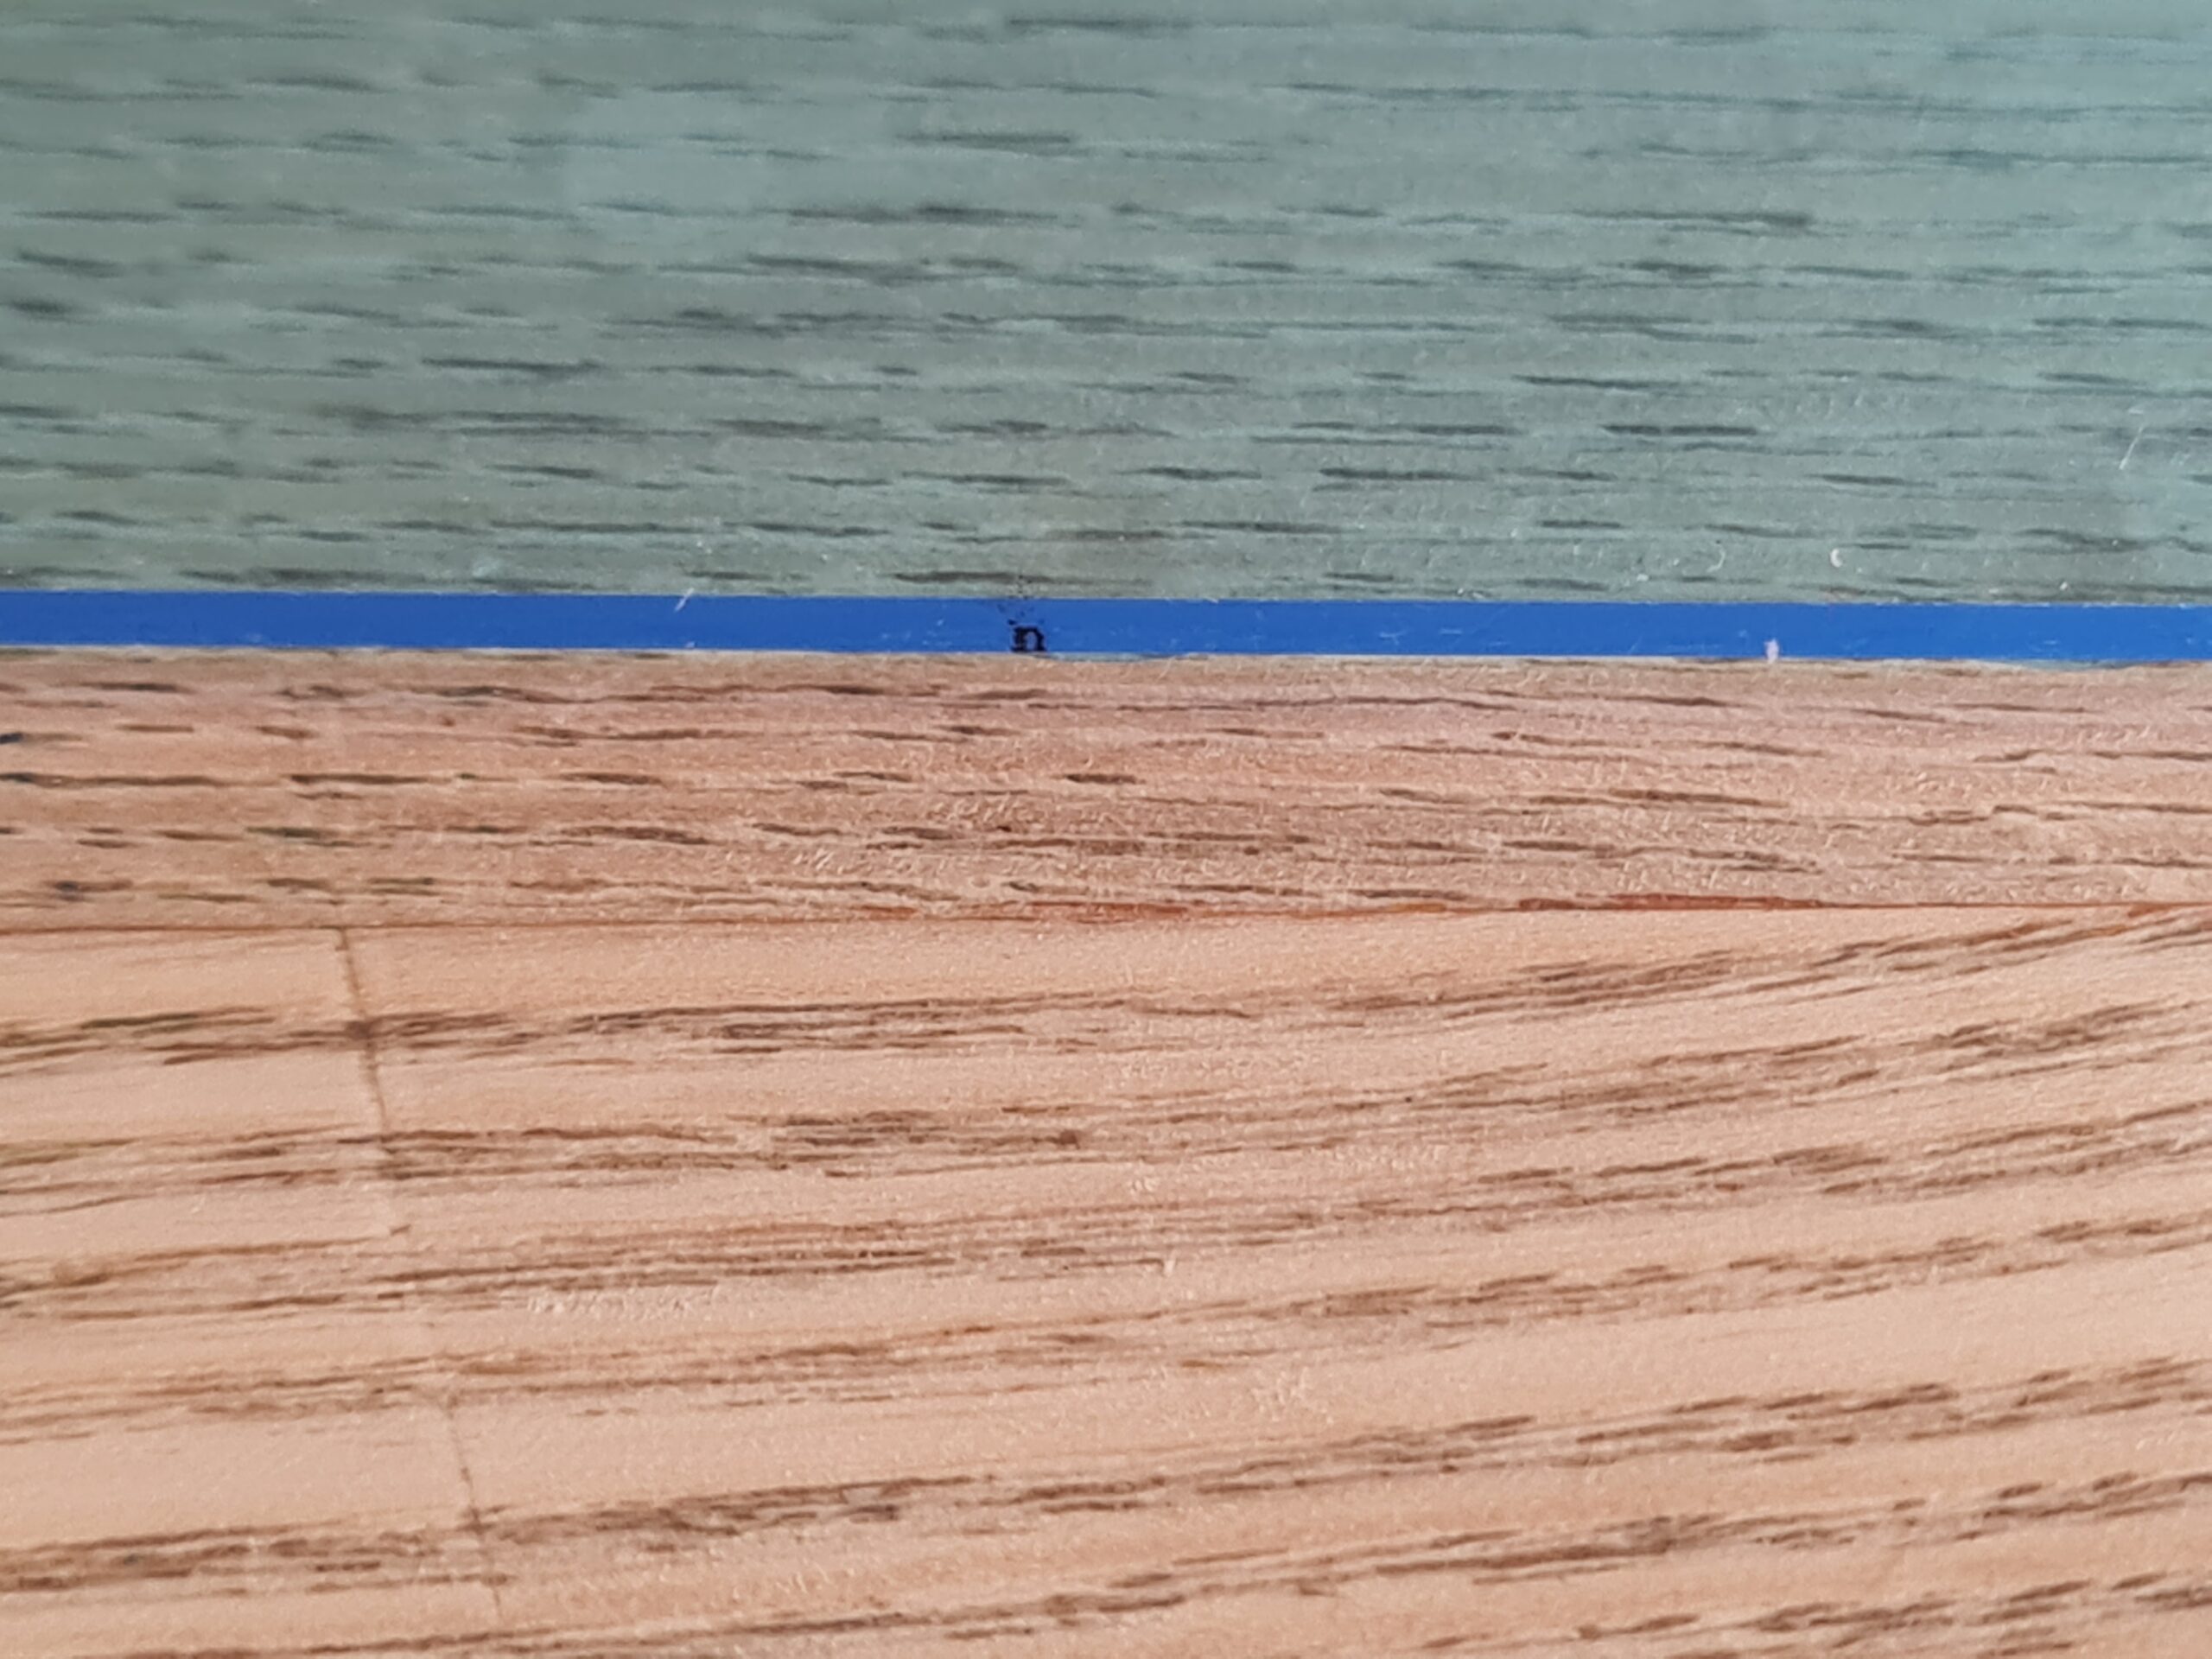
Once that was done I placed the acrylic sheet flat on the table edge, as close to the marked spot as possible (allowing room to drill through and not hit the table). I also used a finger to support the outer side of the sheet to help stop it flexing. Then using the drill I made the hole in the sheet.
Hole CloseupAll Four holes drilledTesting a foot
As can be seen above I also tested one of the feet int he hole to make sure it was fitting securely. I then removed this to do the rest of the work.
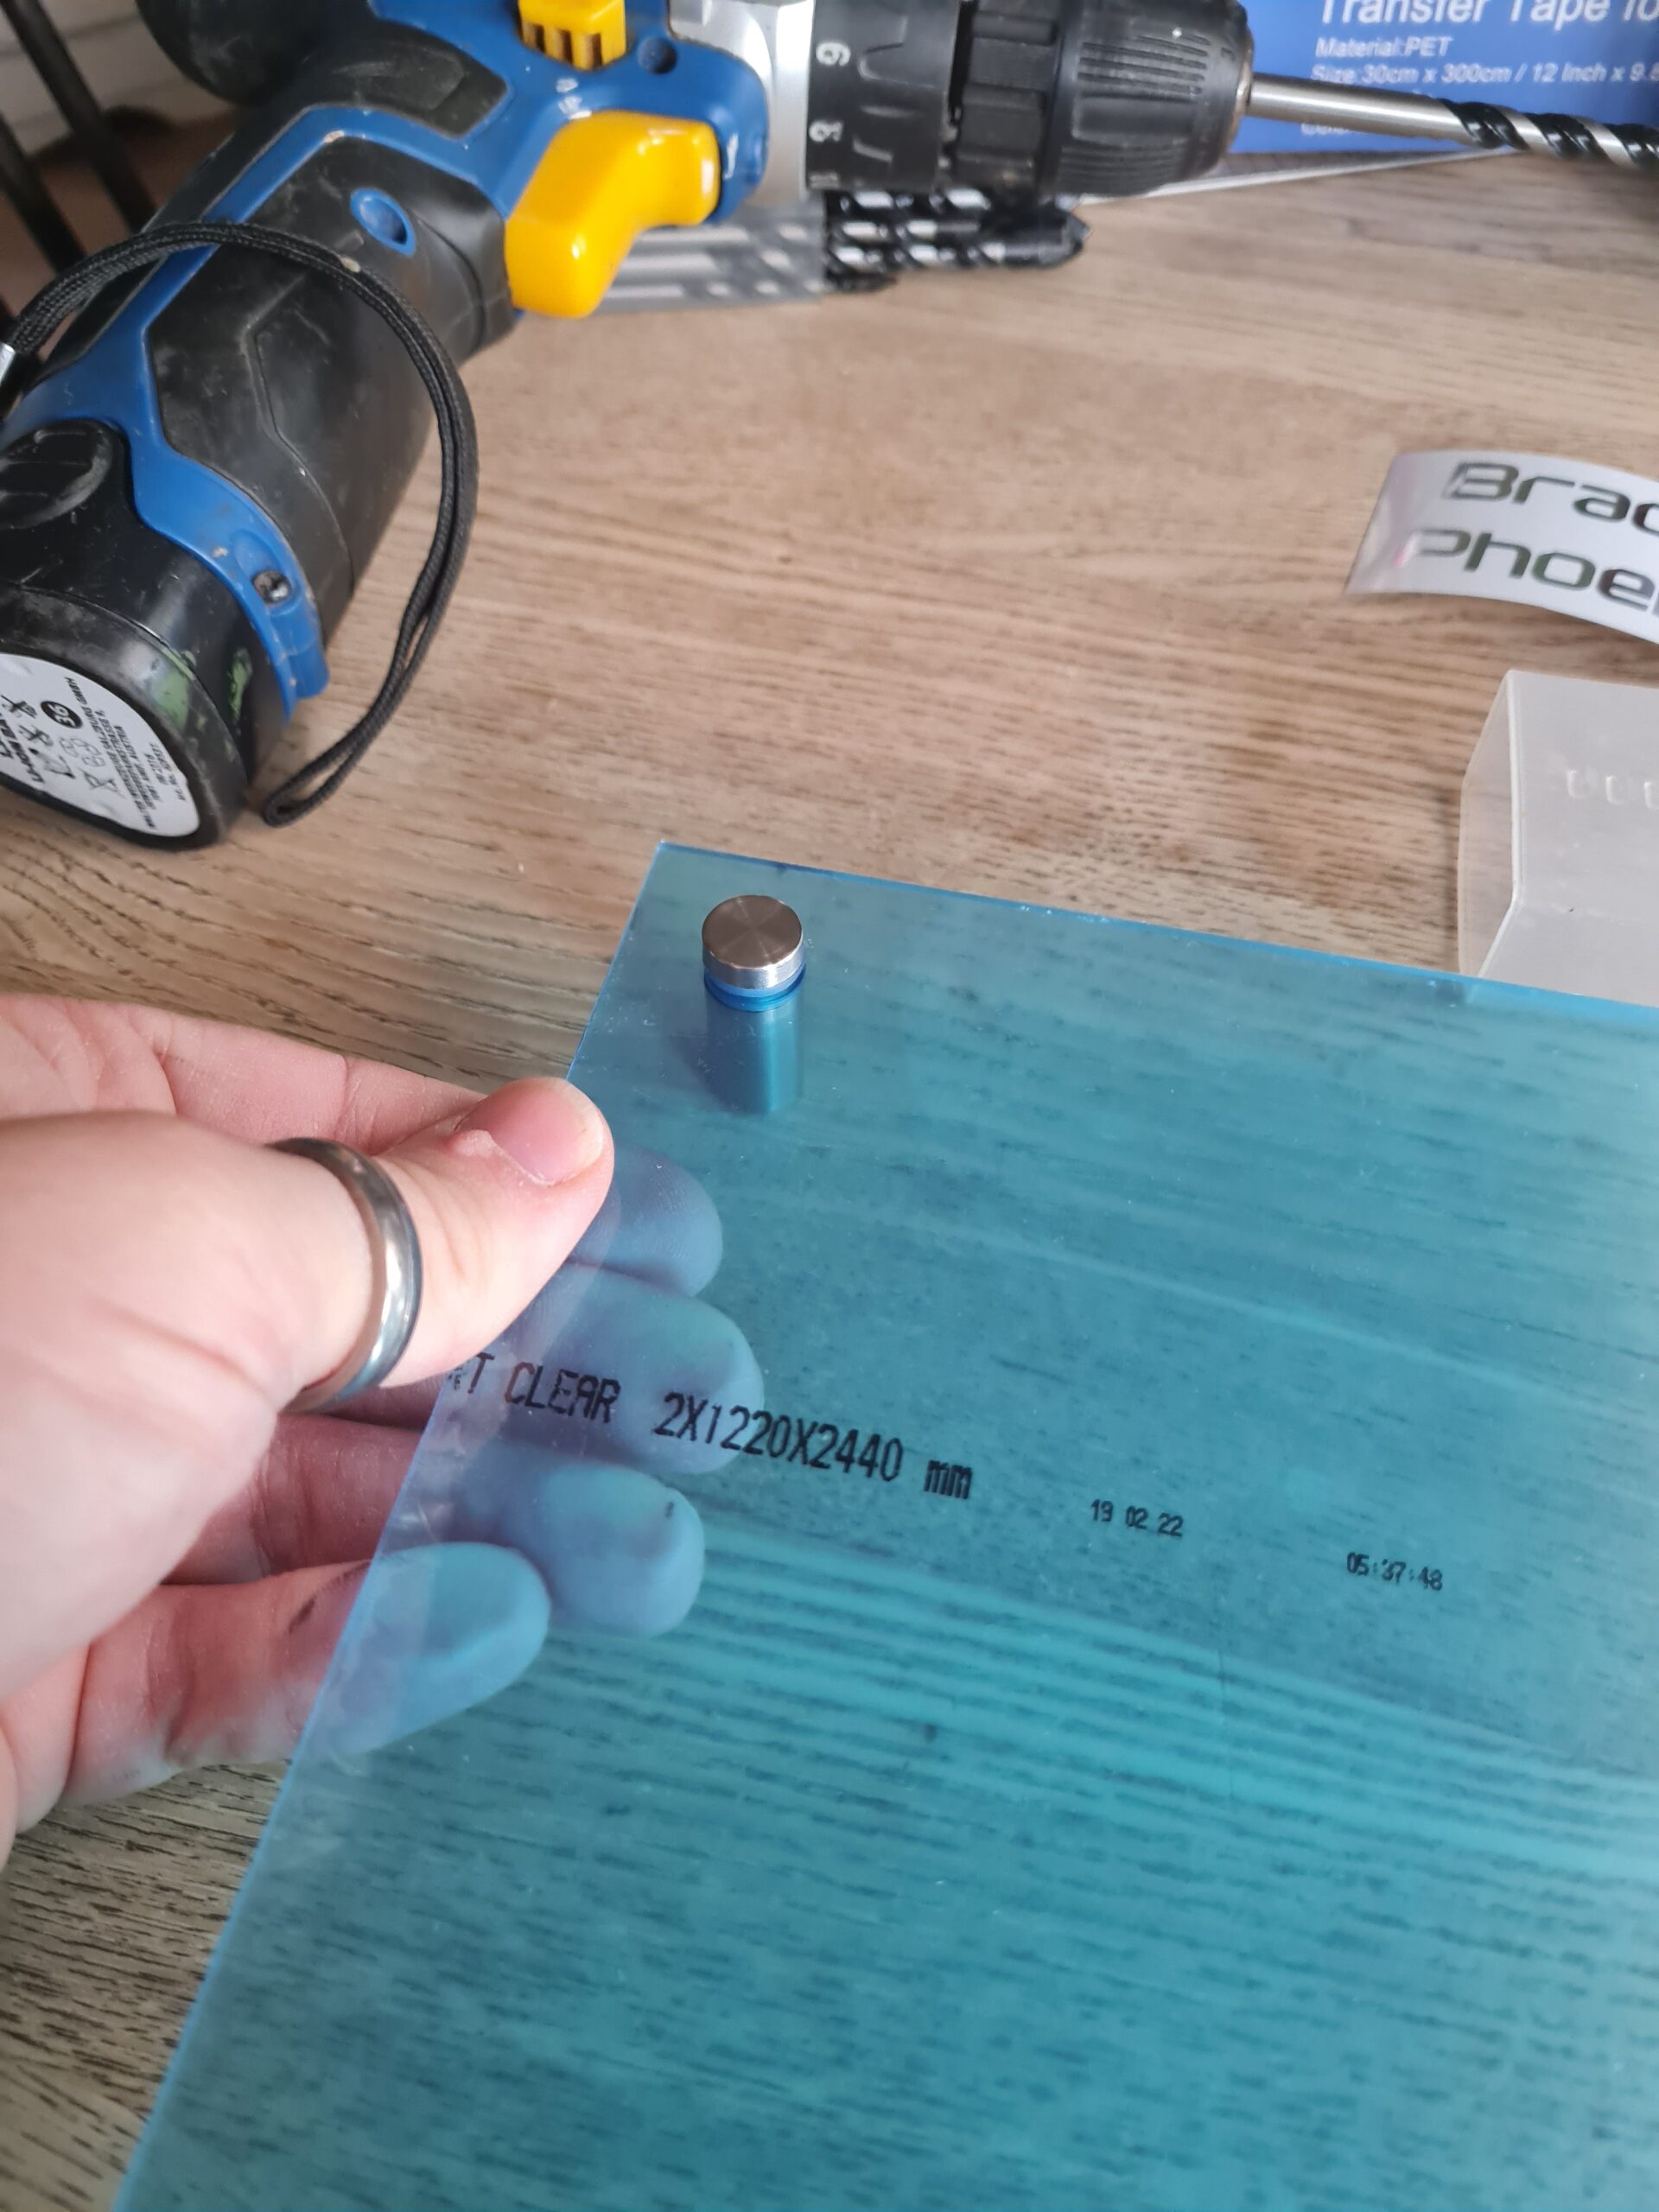
I did drill an extra hole for the stand. Normally I would put this at the halfway point. However, for this I wanted it in a specific place. The methodology though was the same as above. Find the right size bit, drill the hole, and finally test. I do think I will add some glue to help hold it in place, but it works well.
Cheap stand armChecking width
The Text
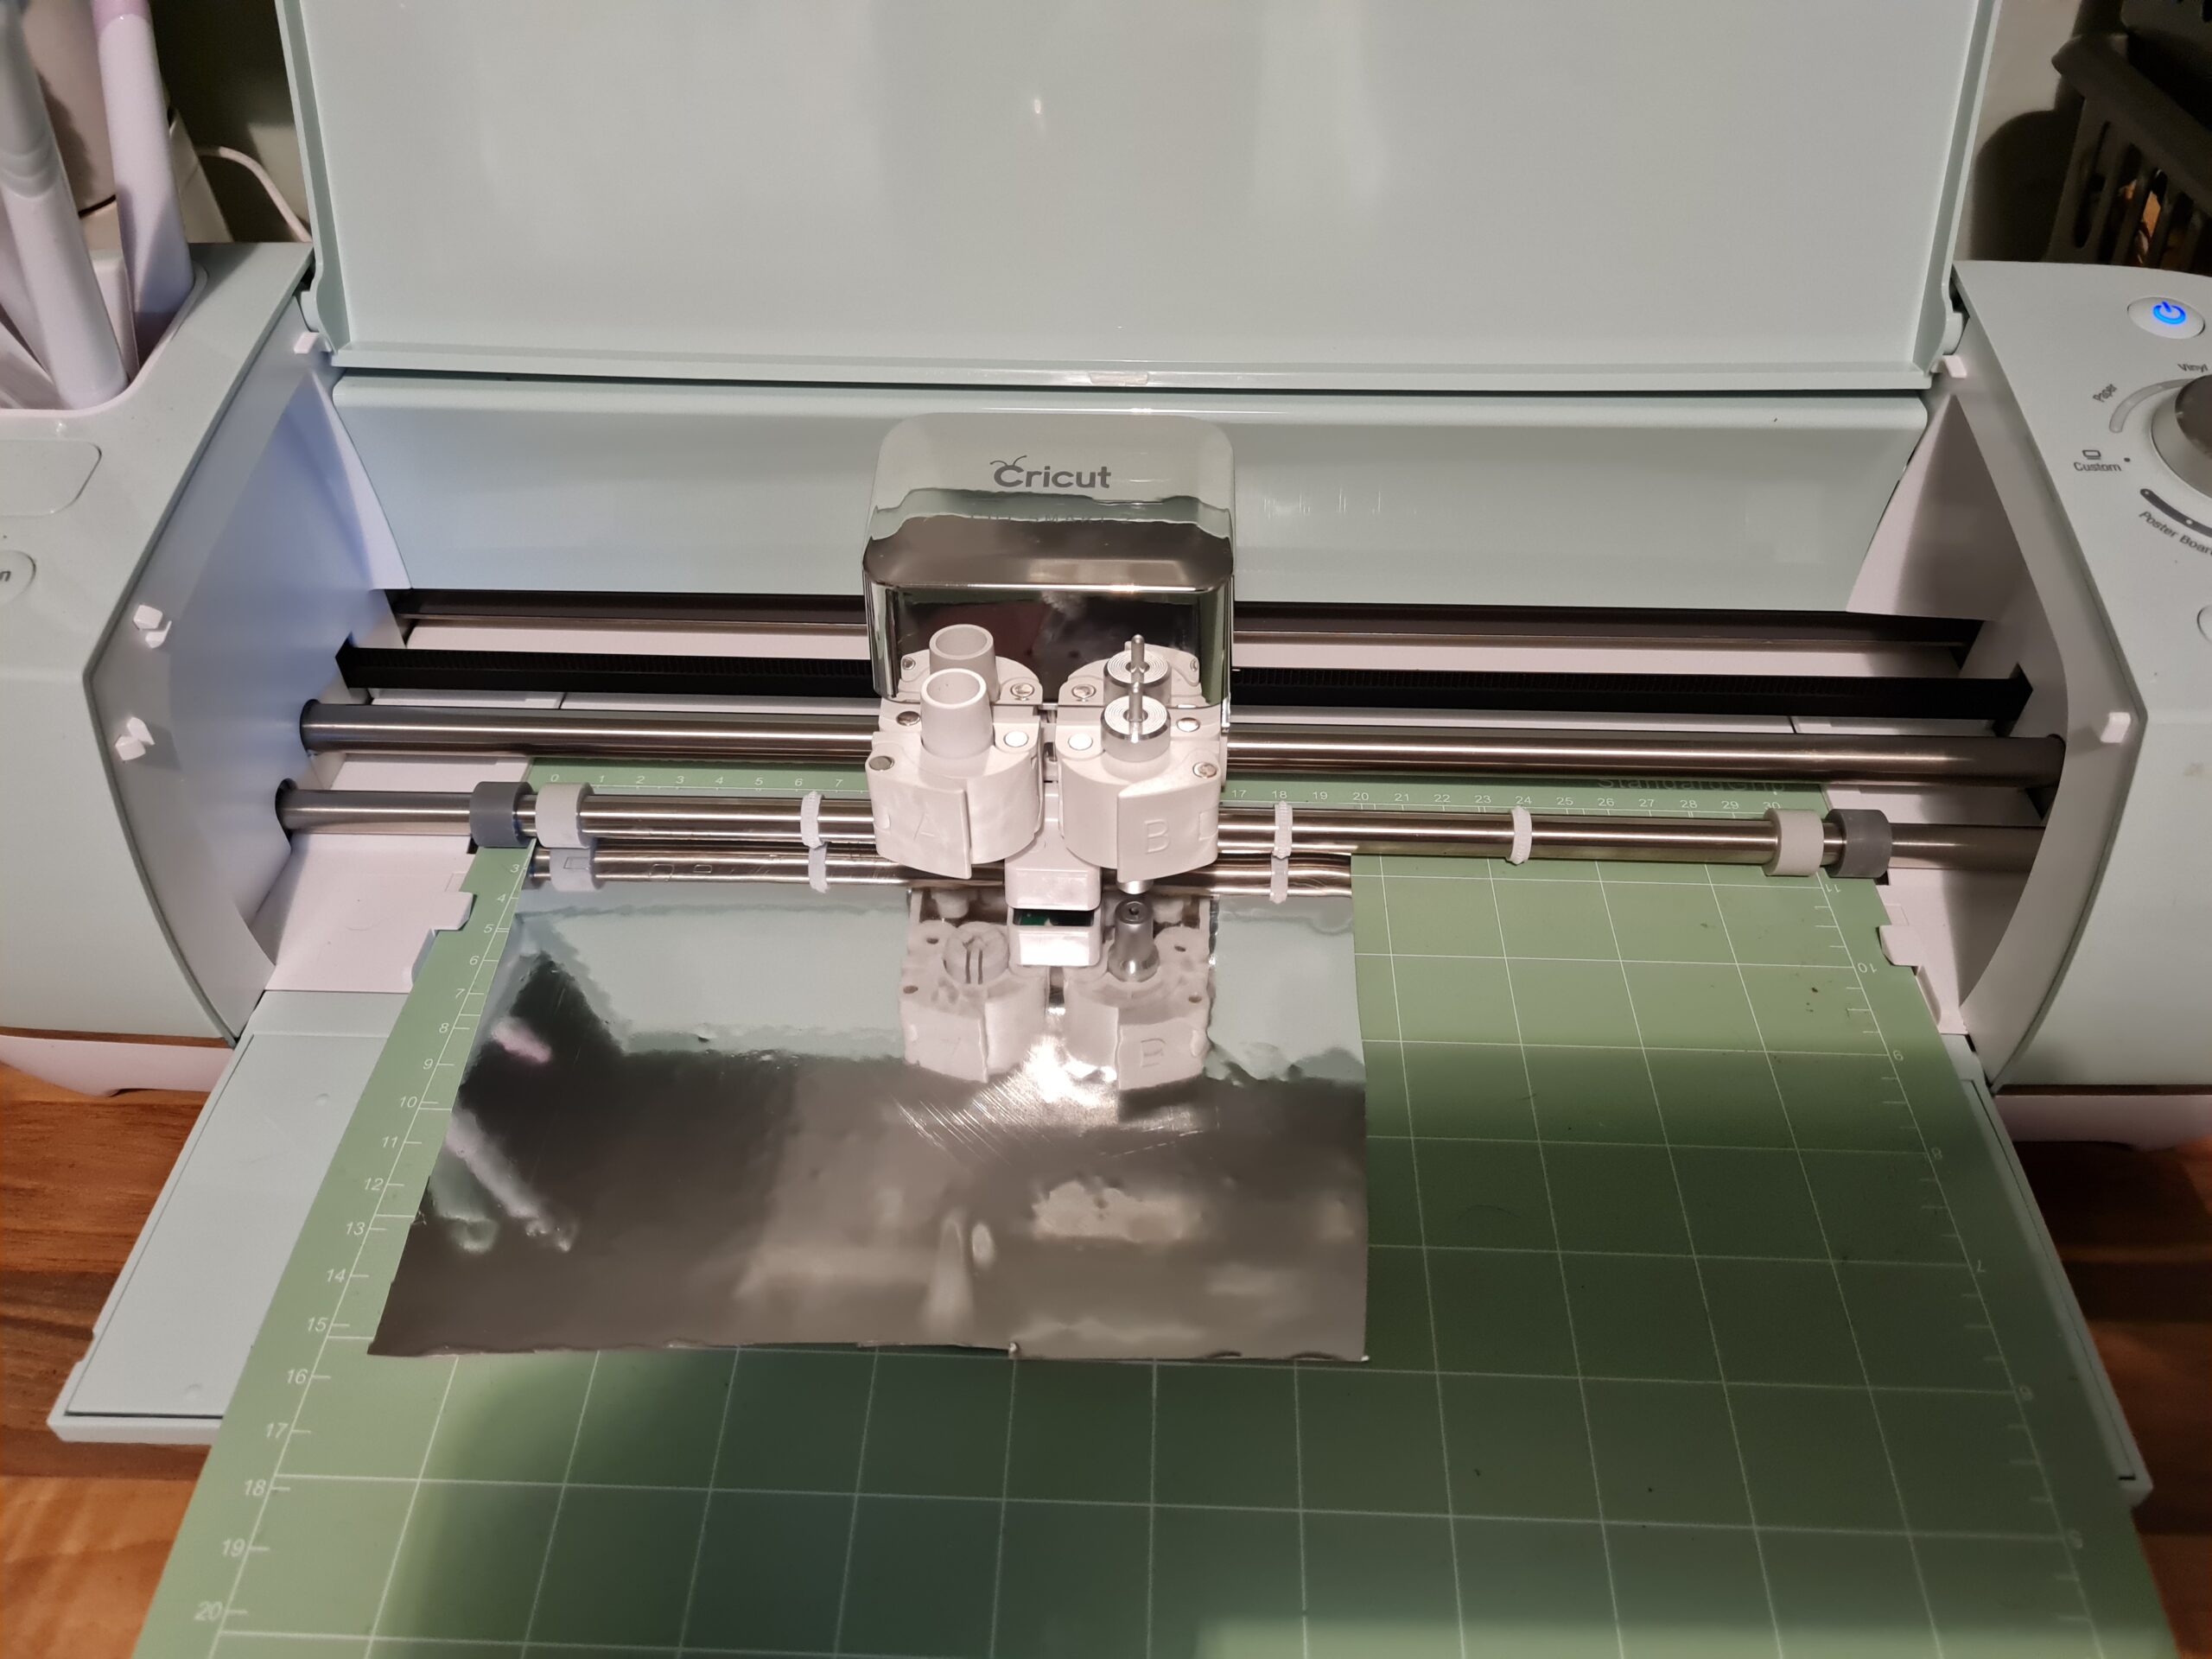
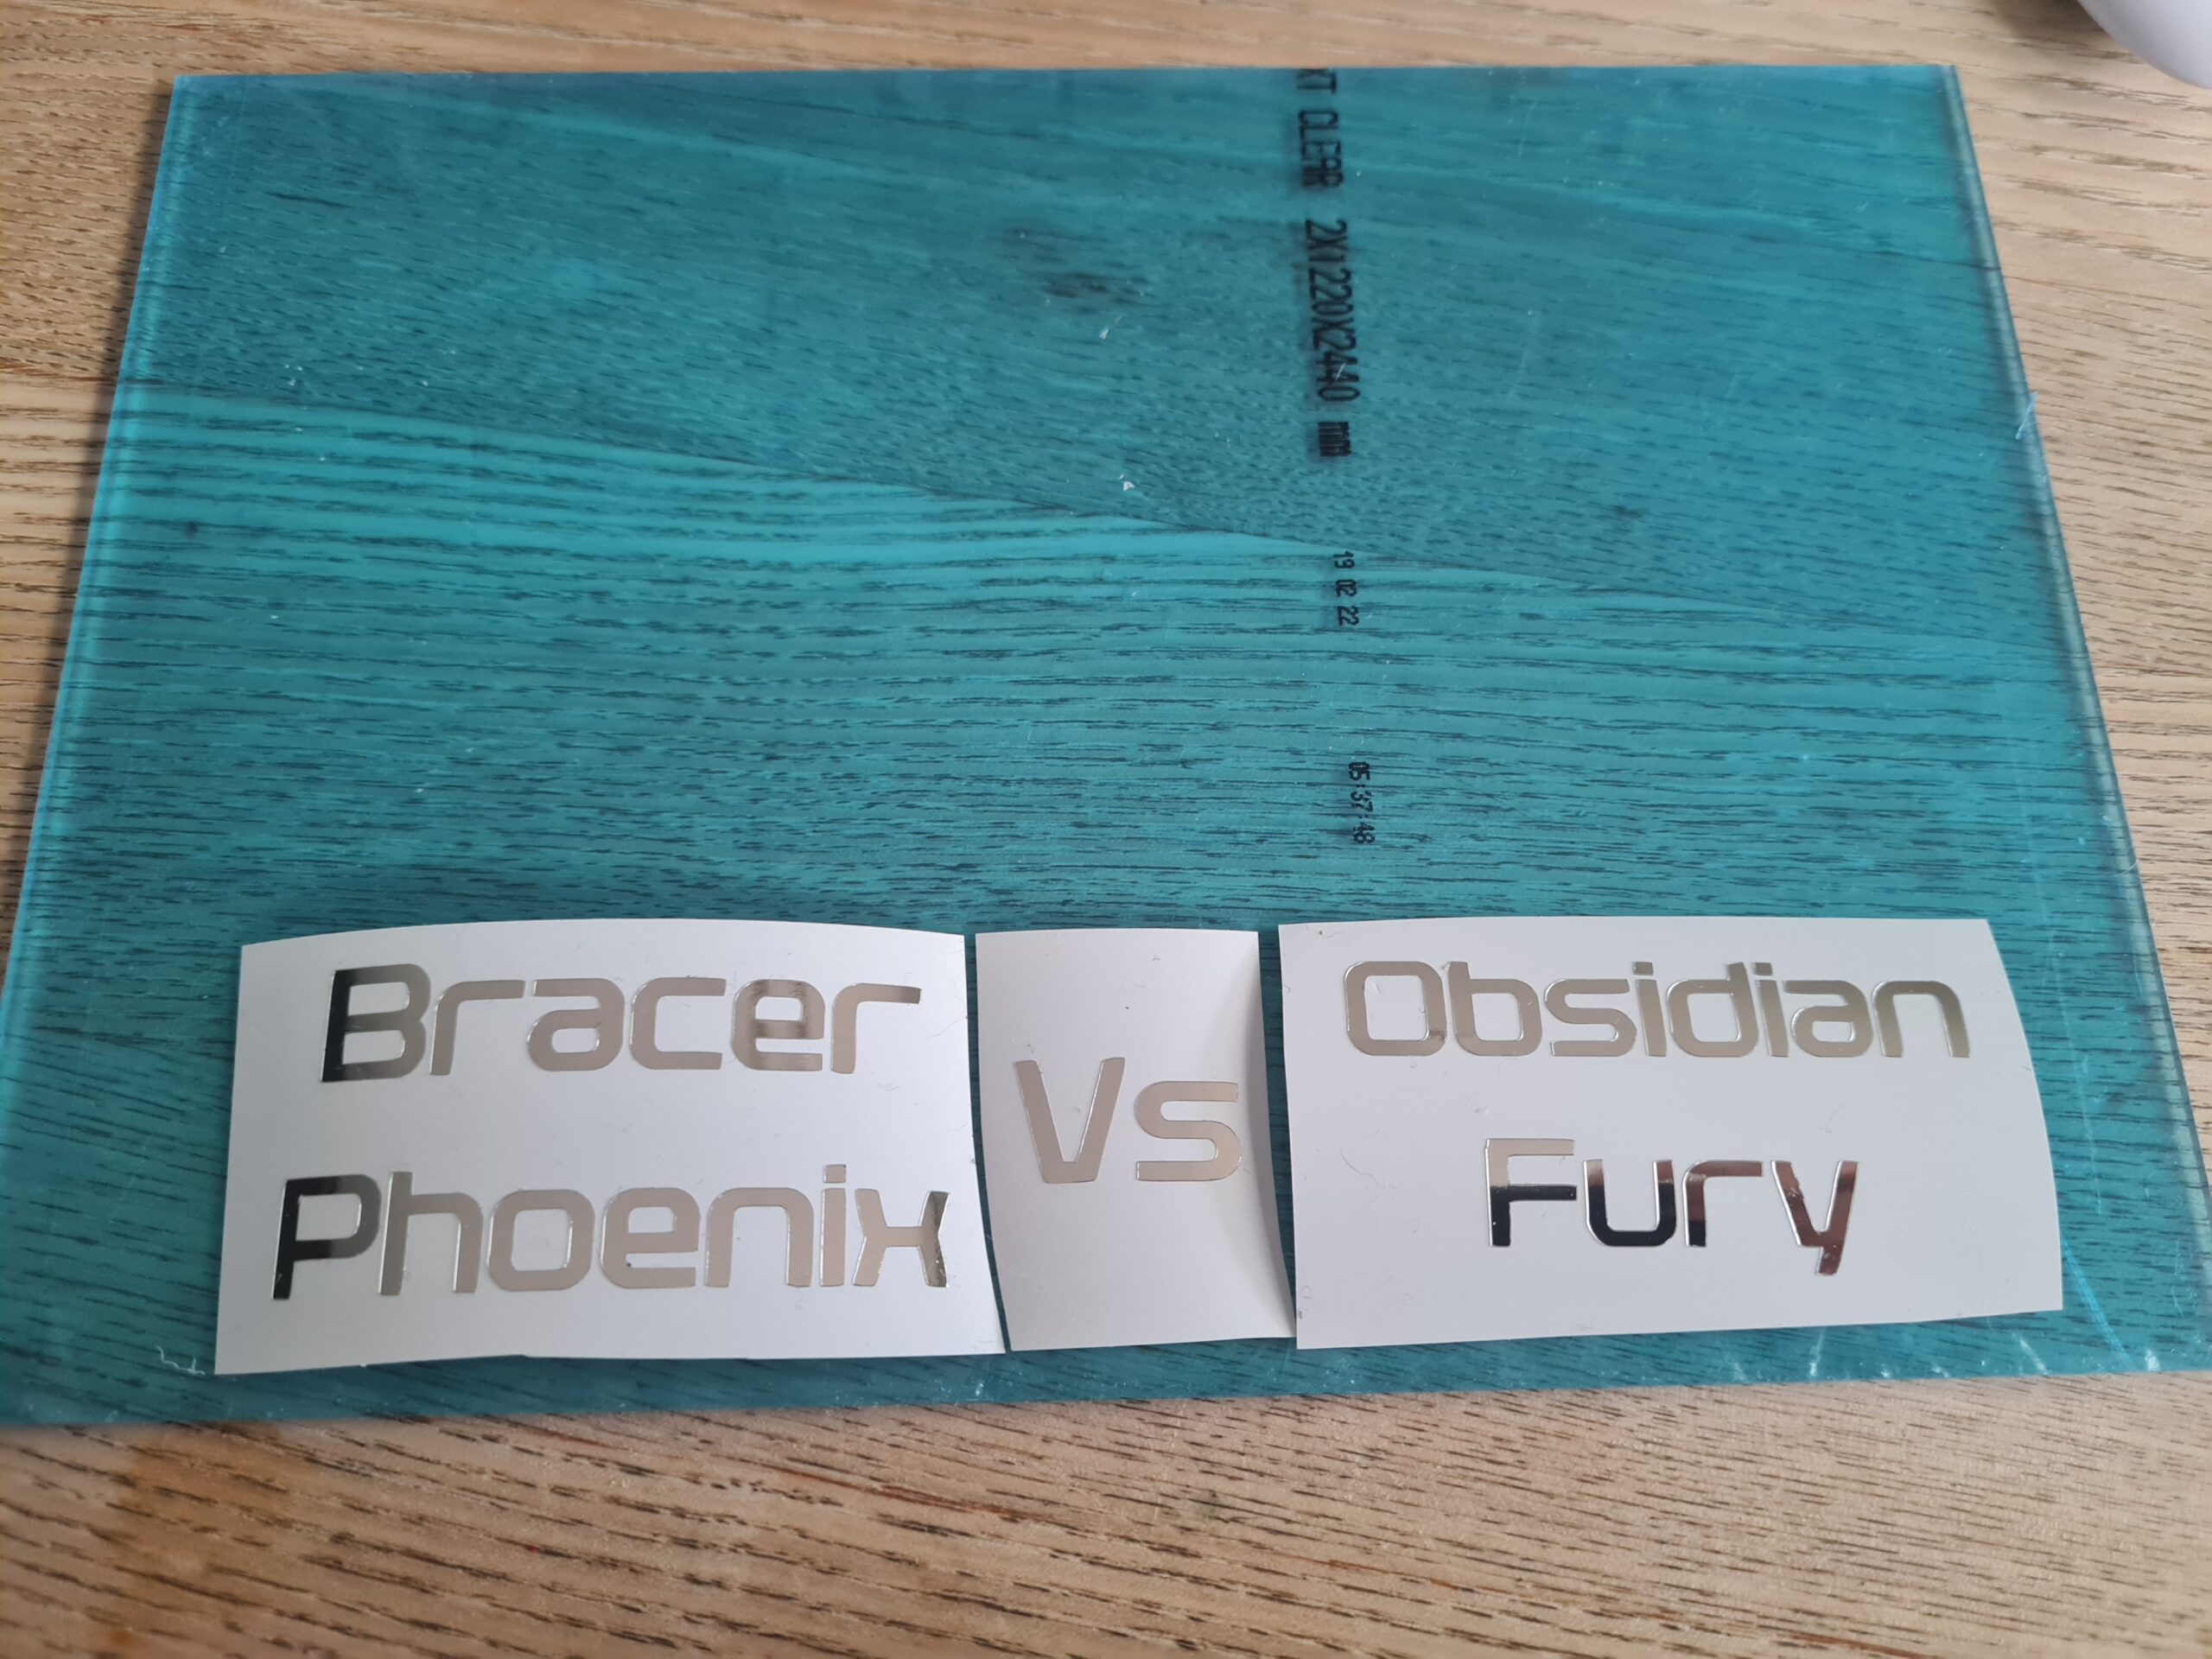
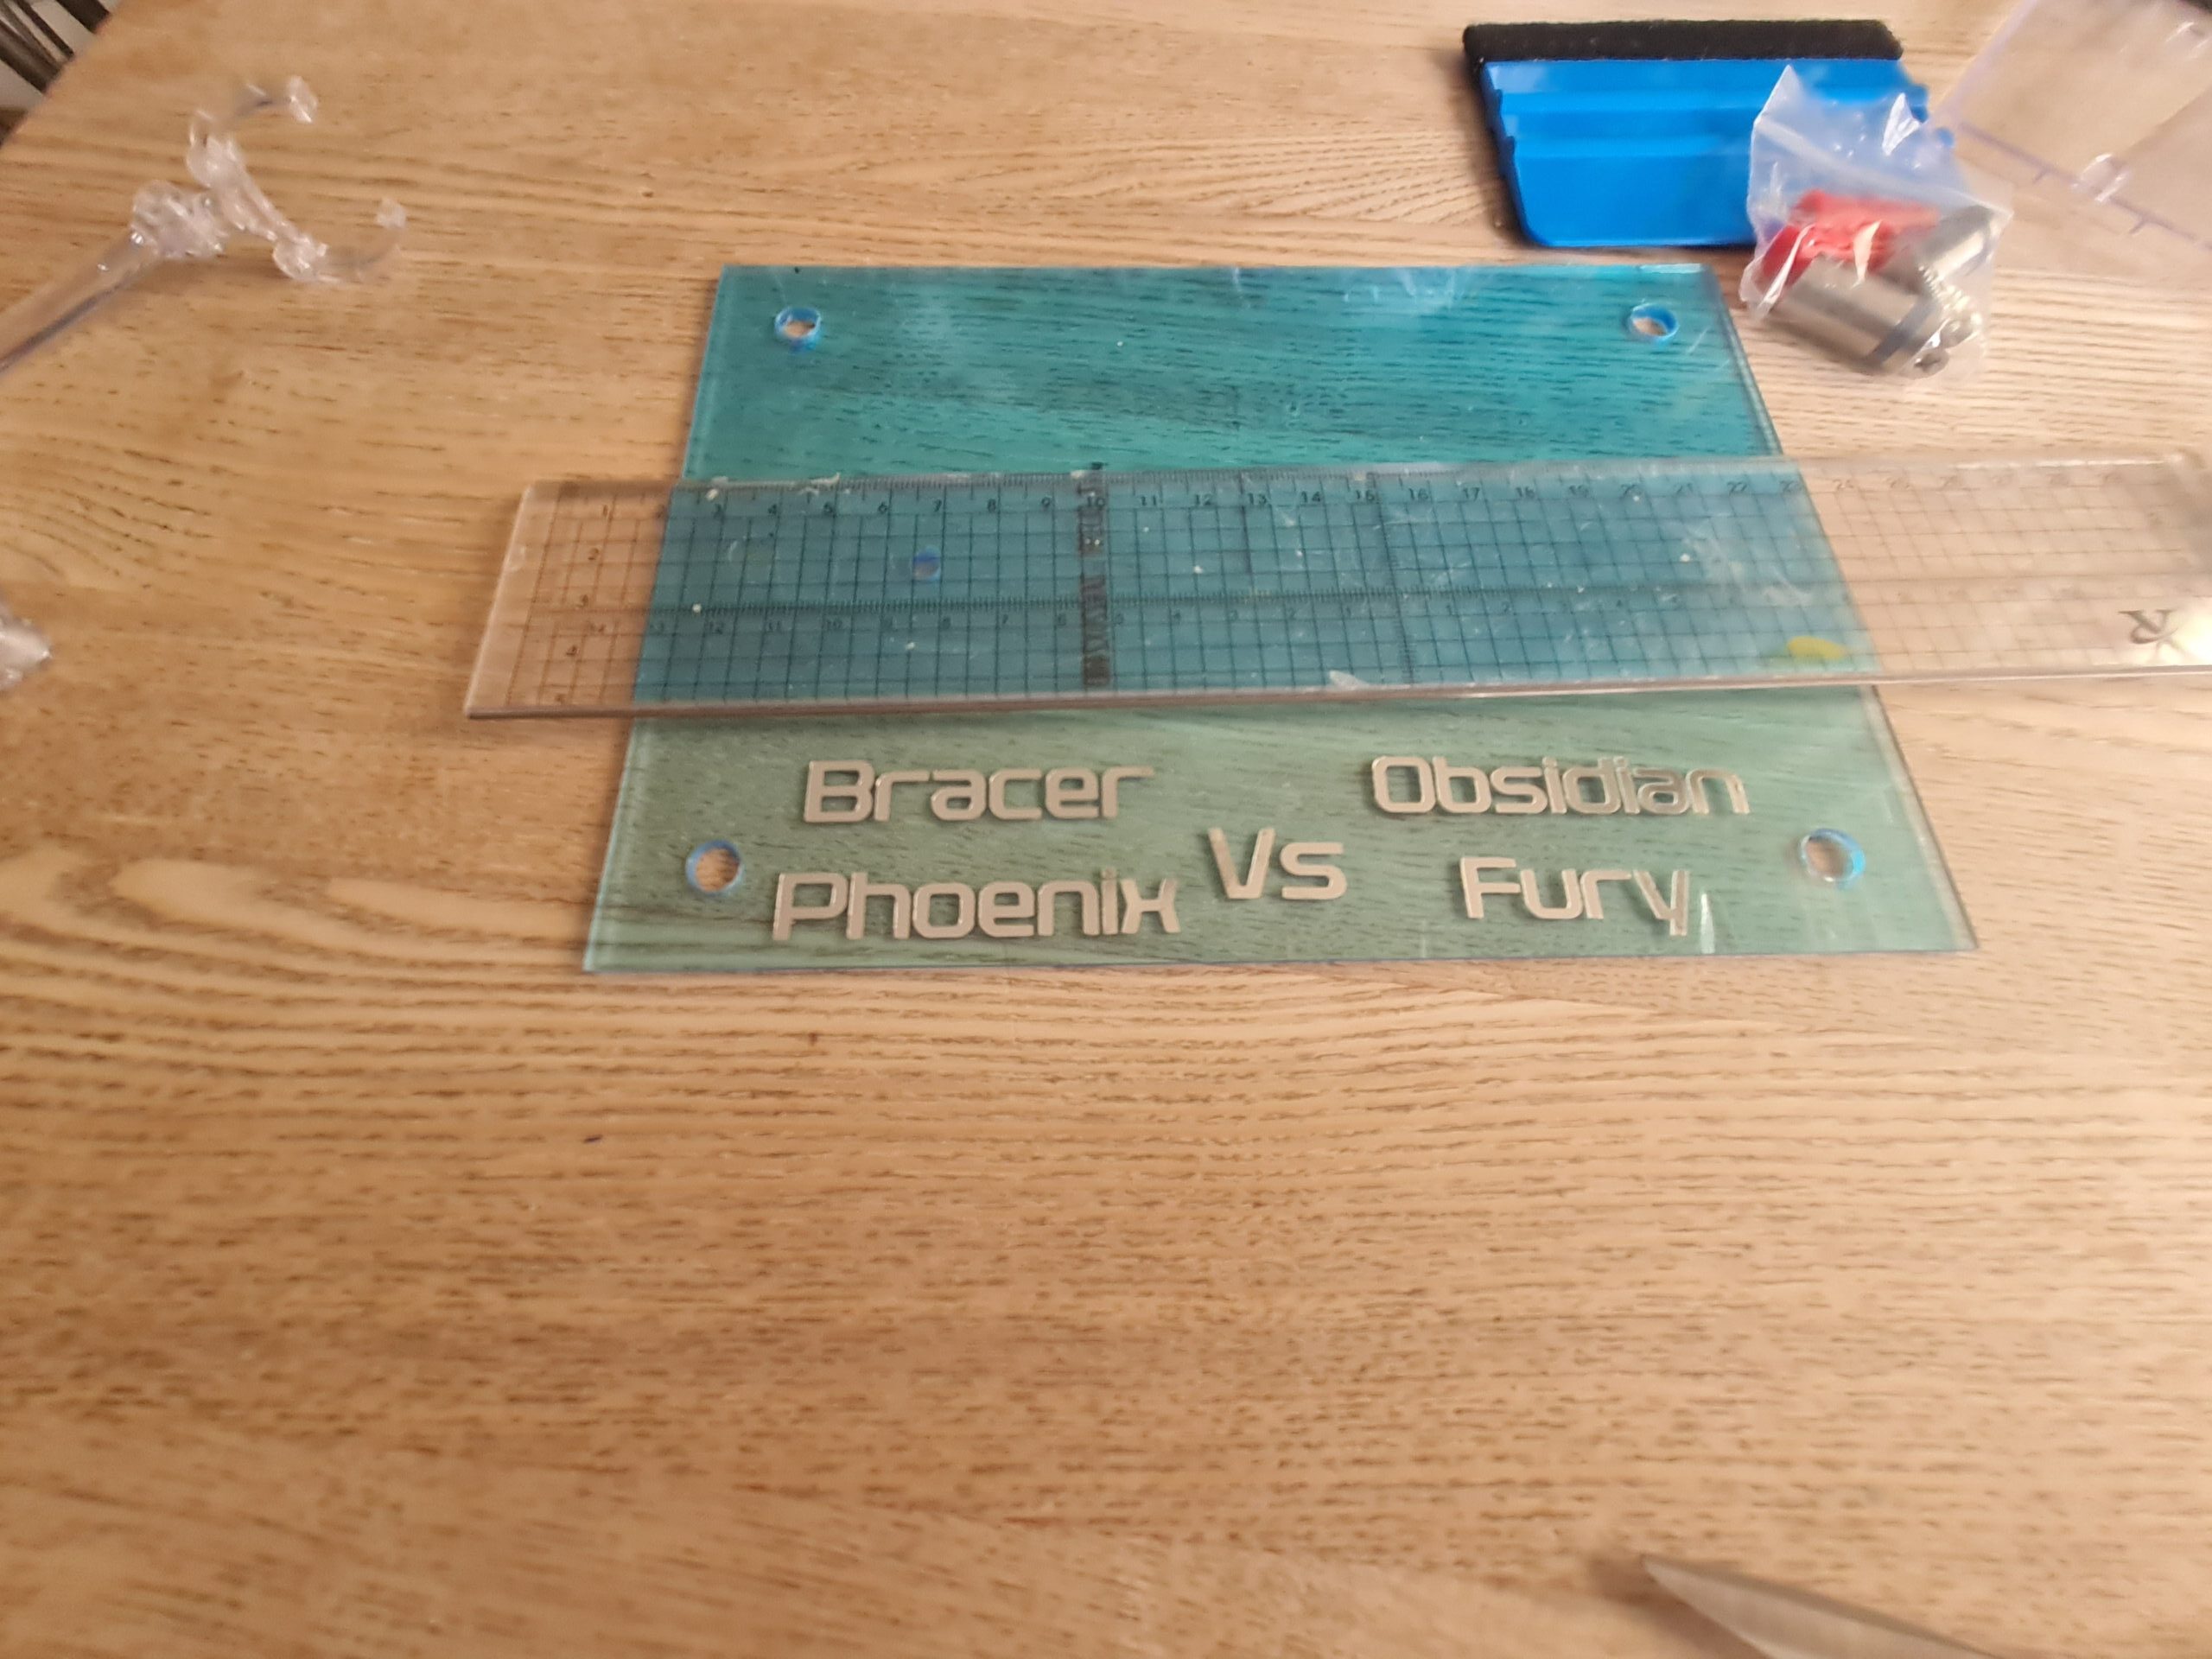
I am fortunate enough to have a cricut. I used the software for that to write out the words I wanted on the stand.
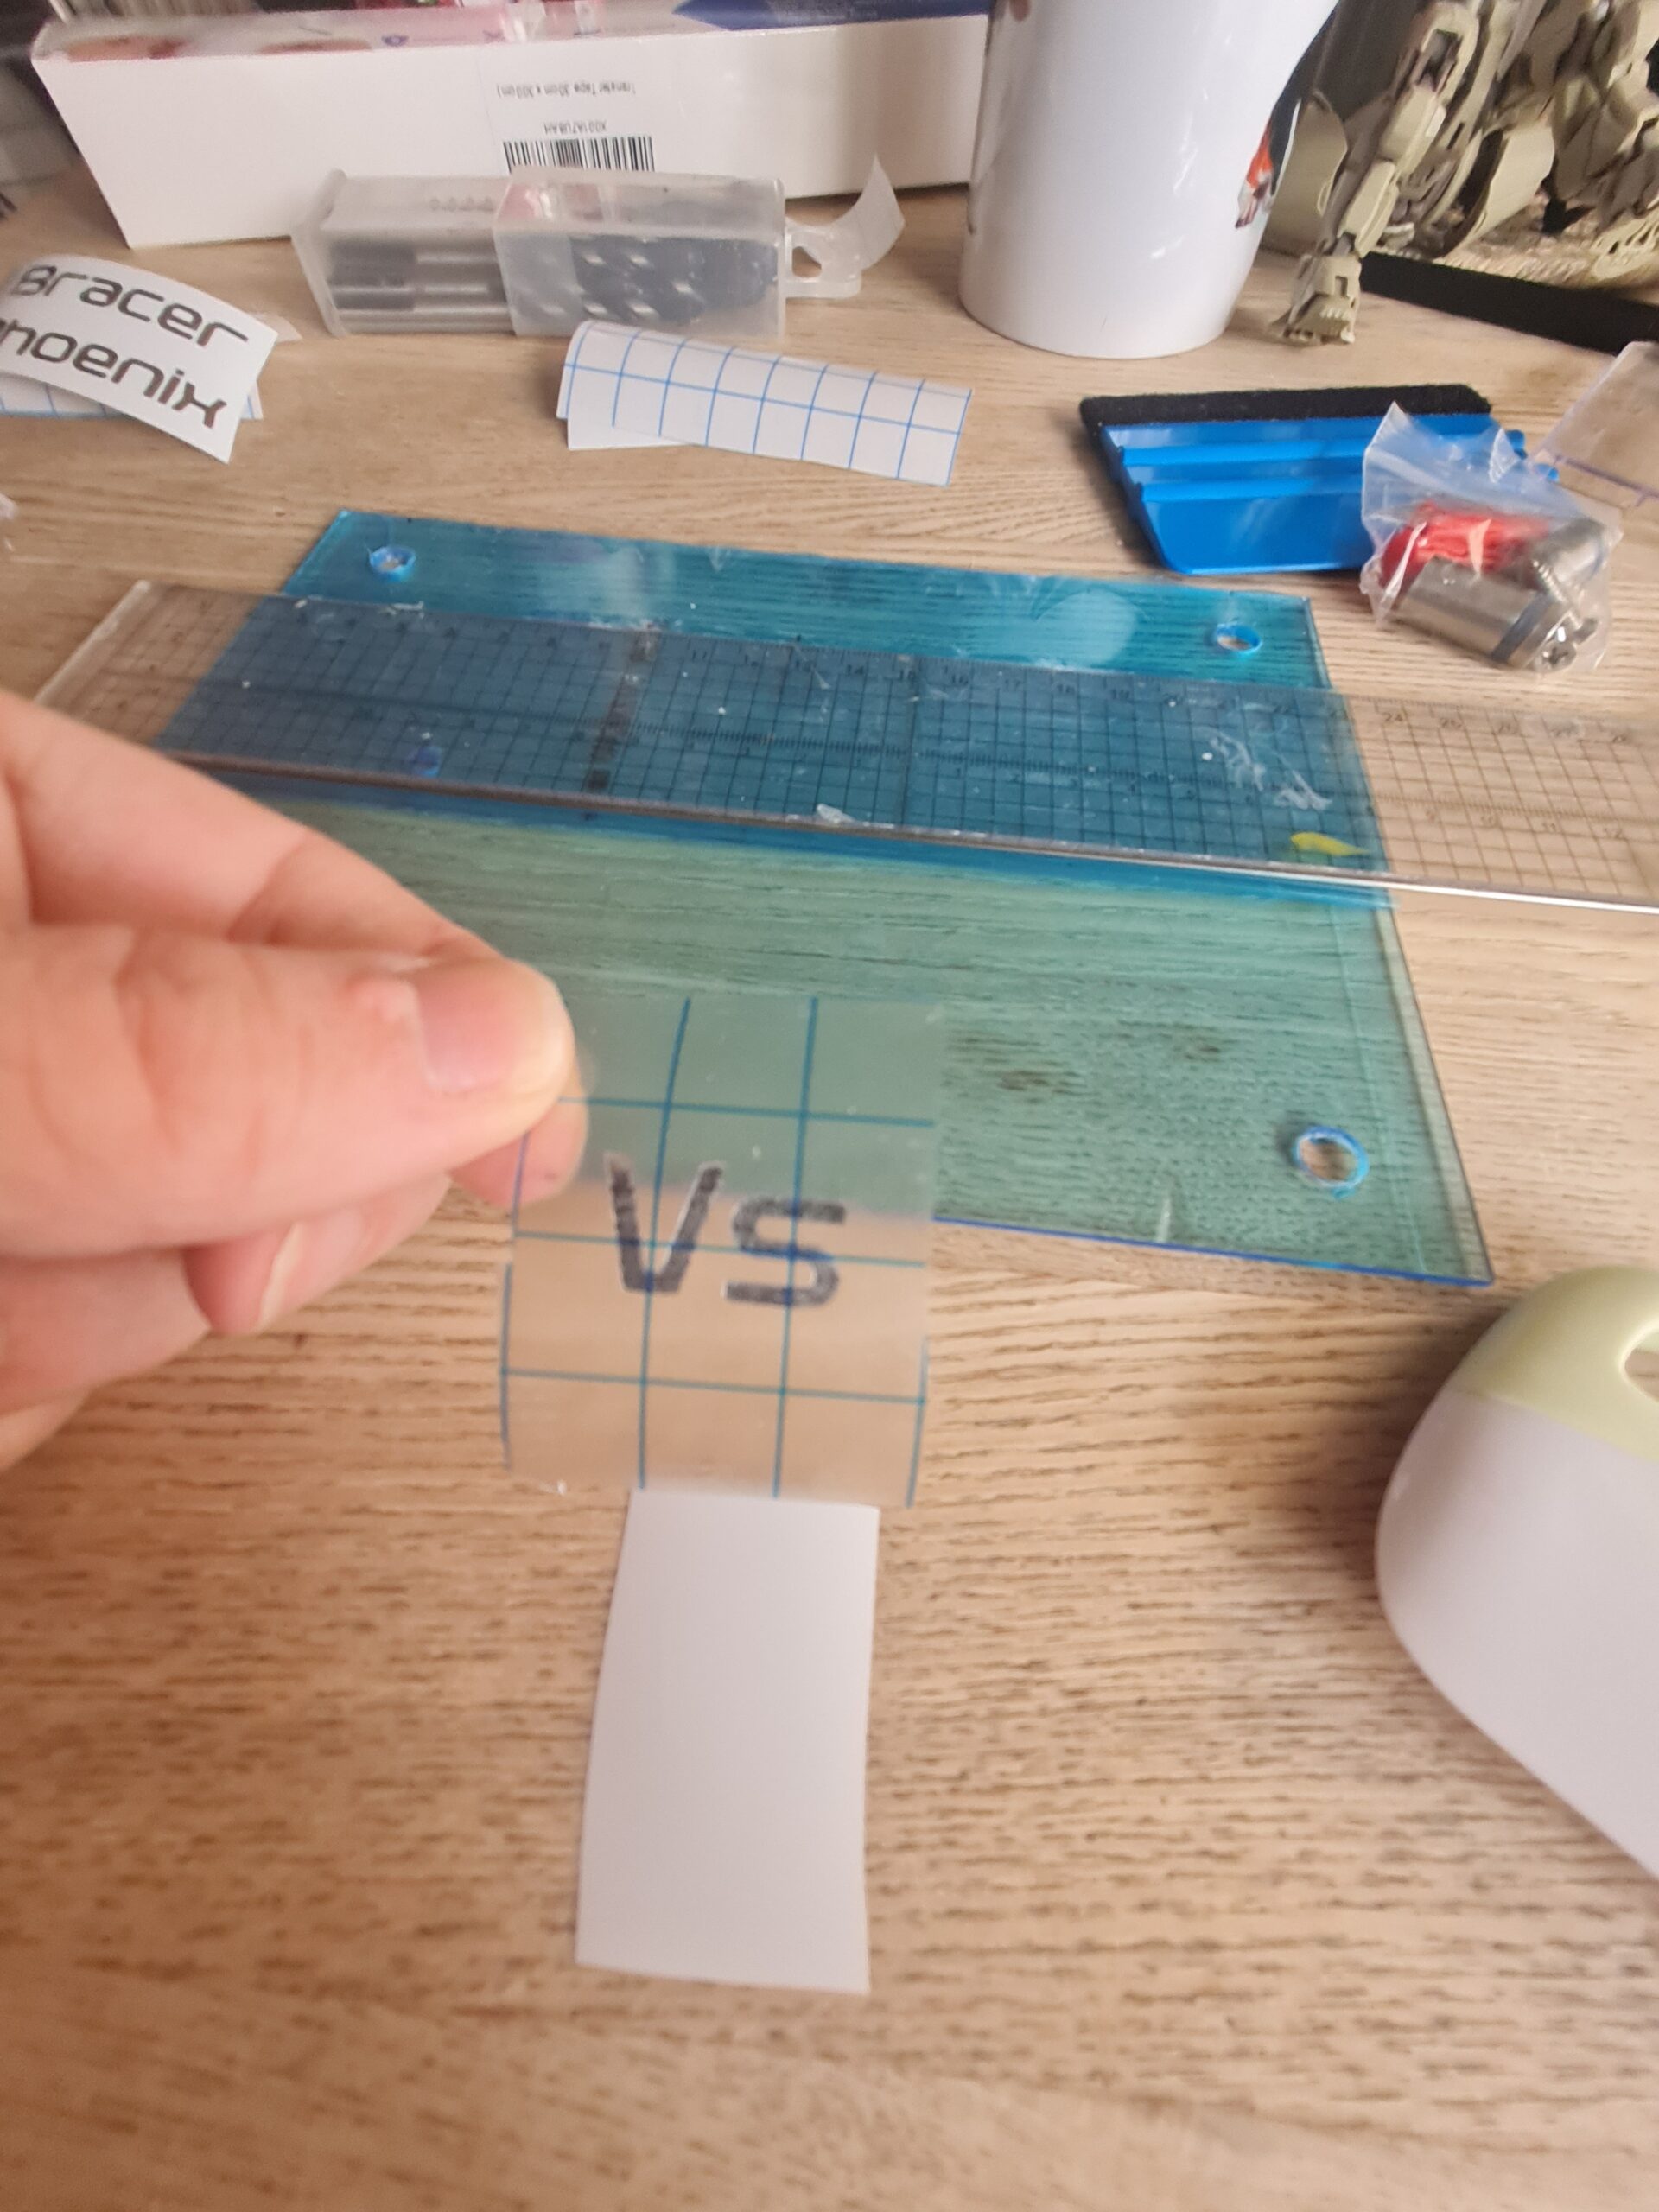
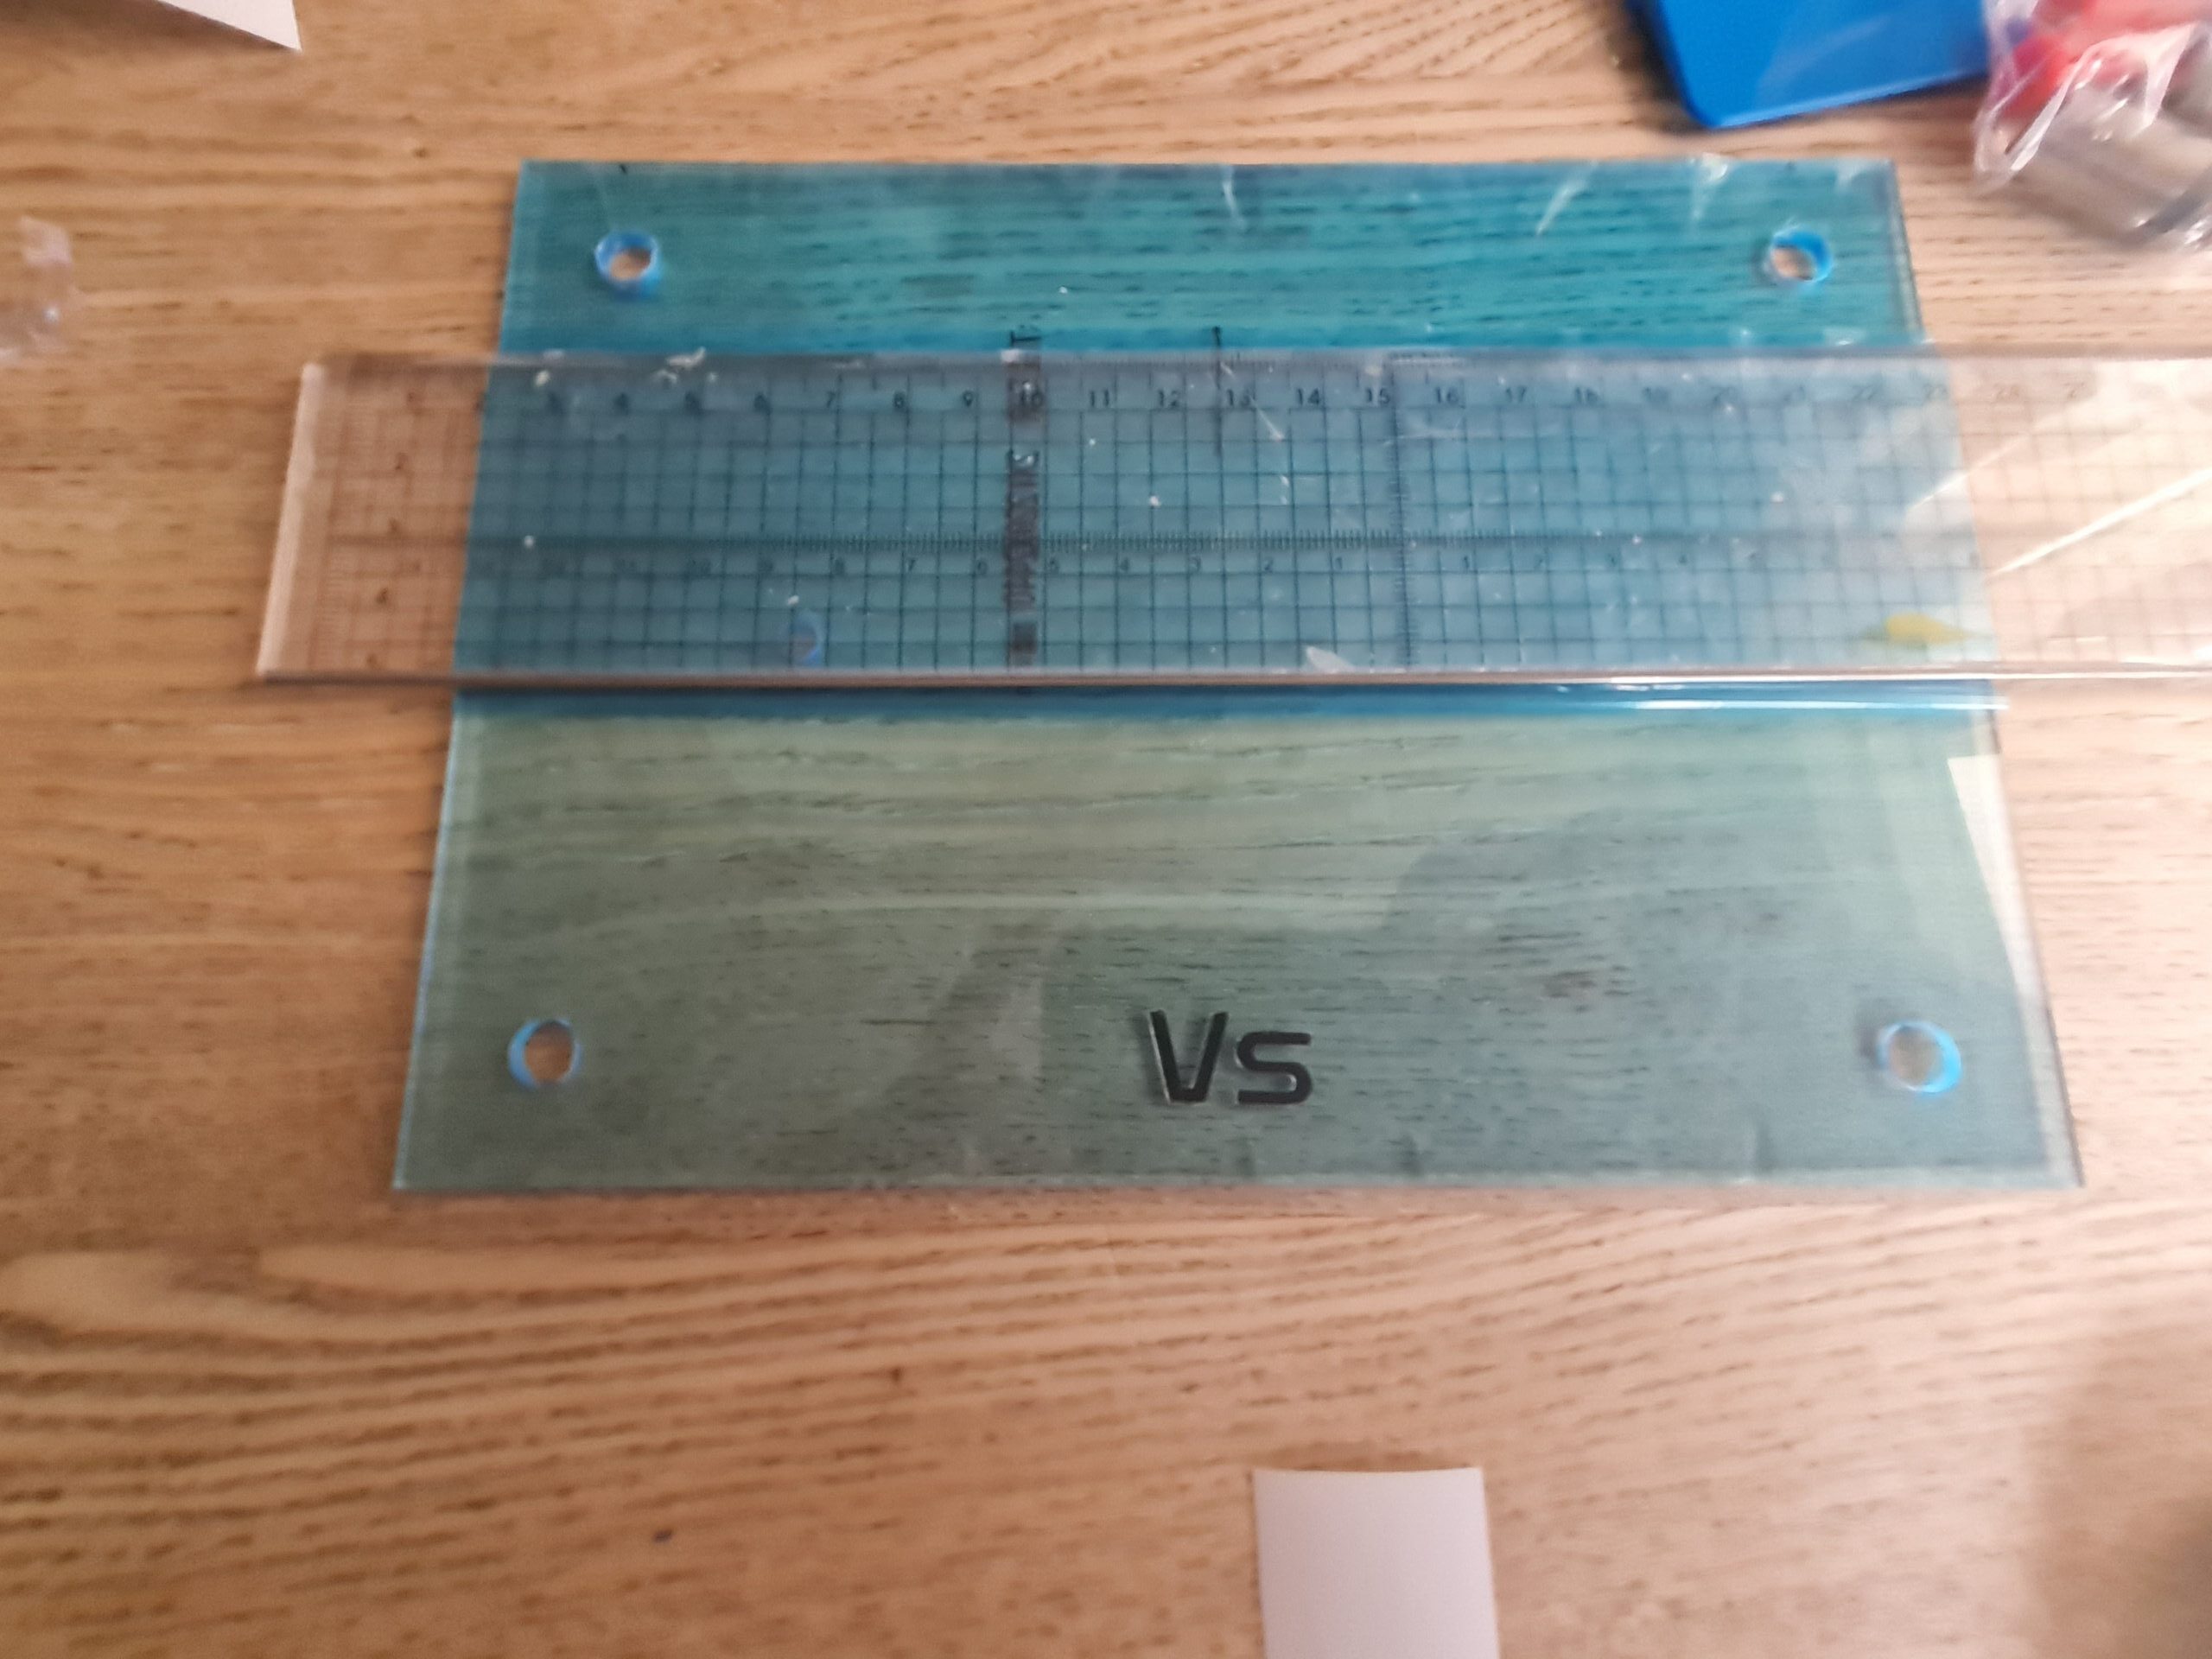
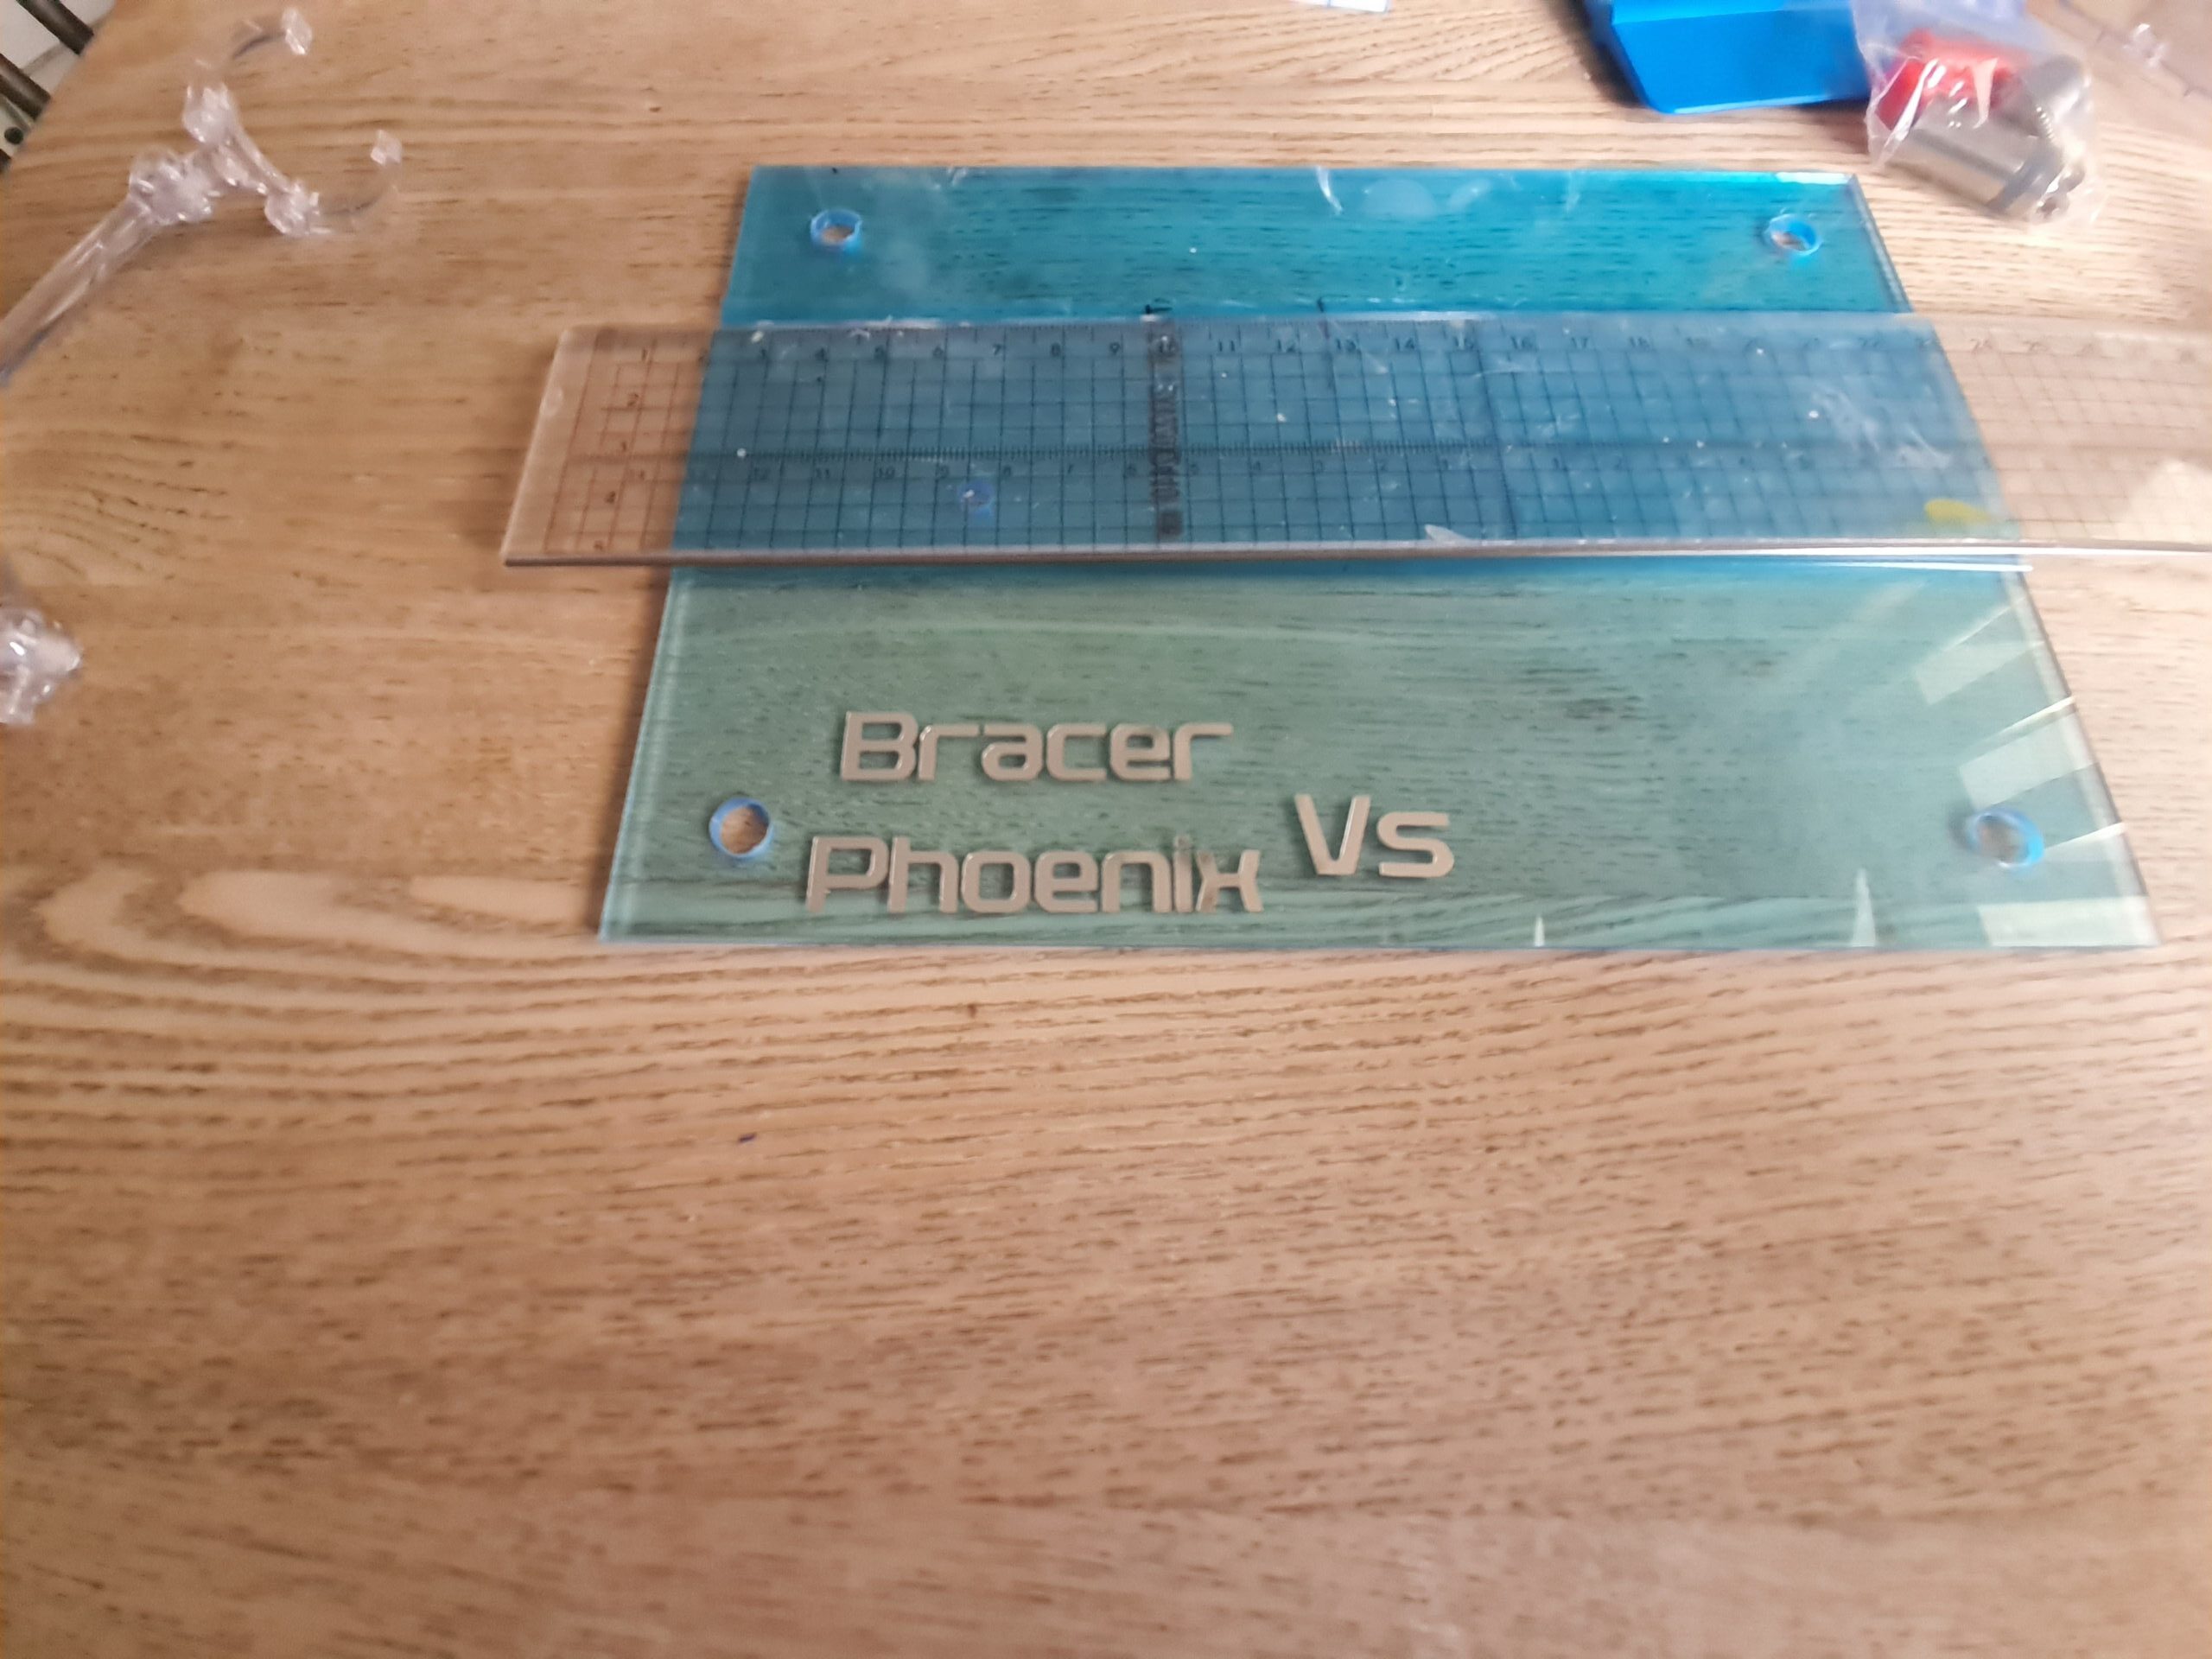
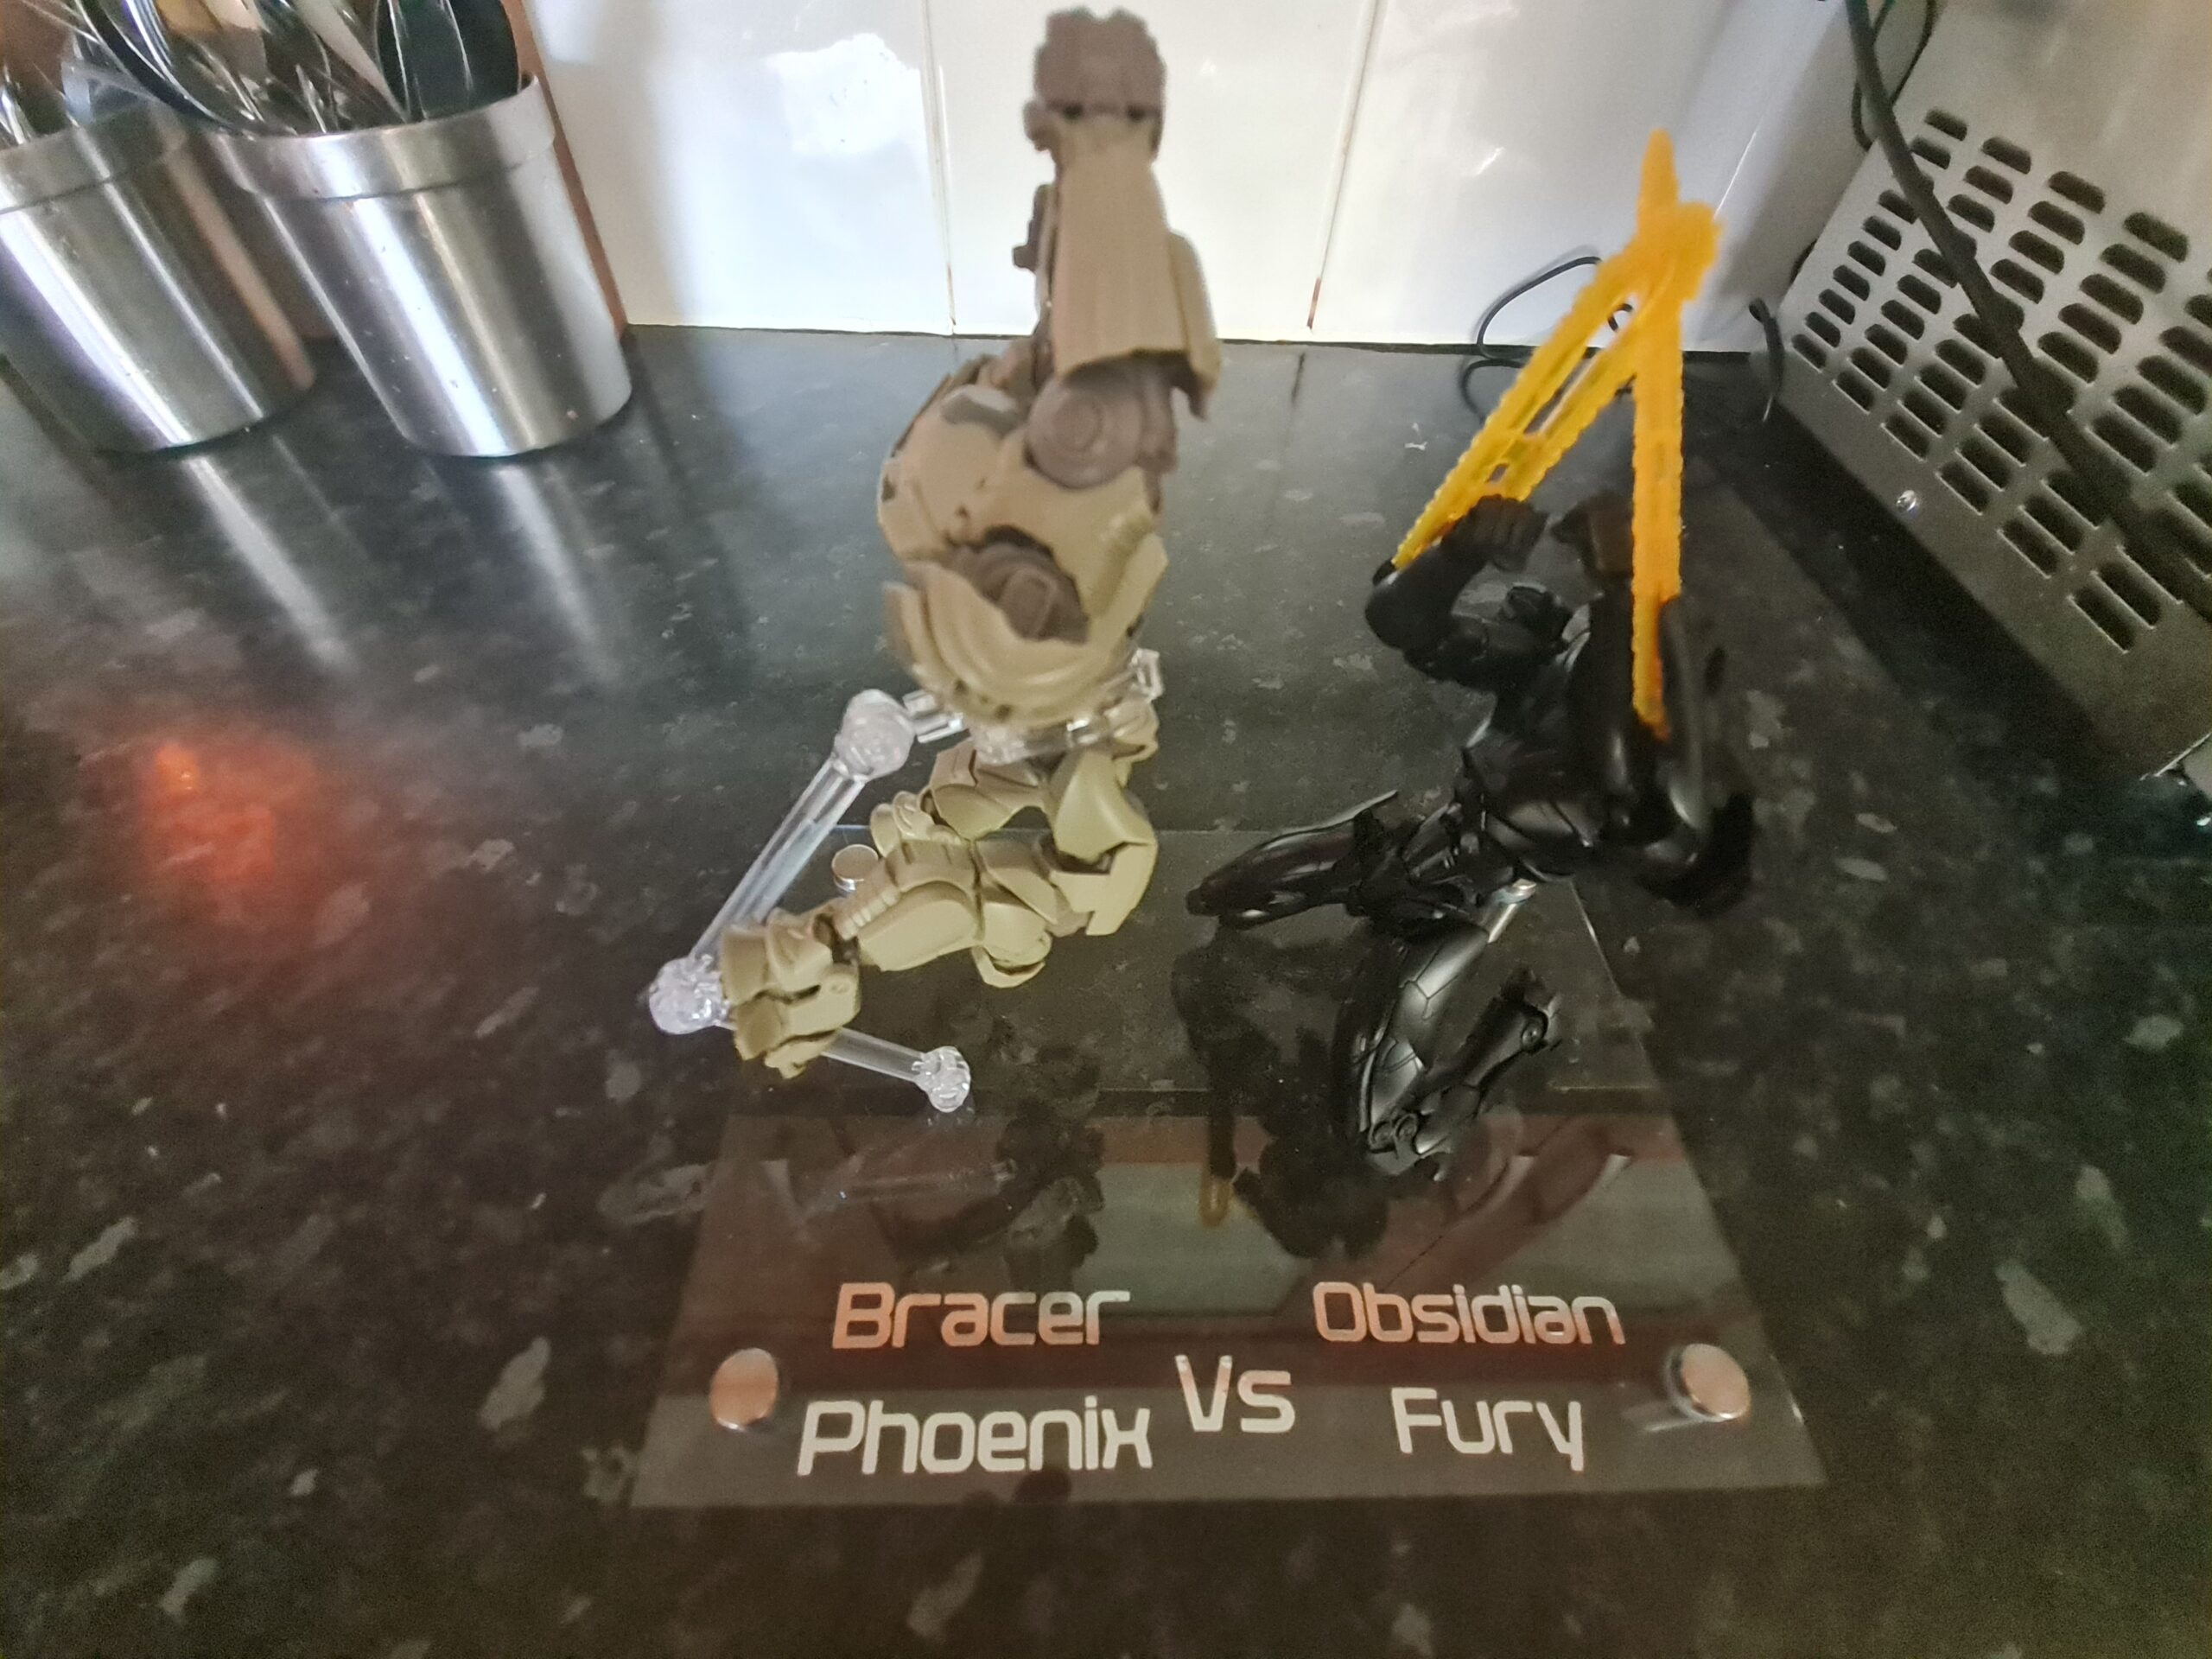
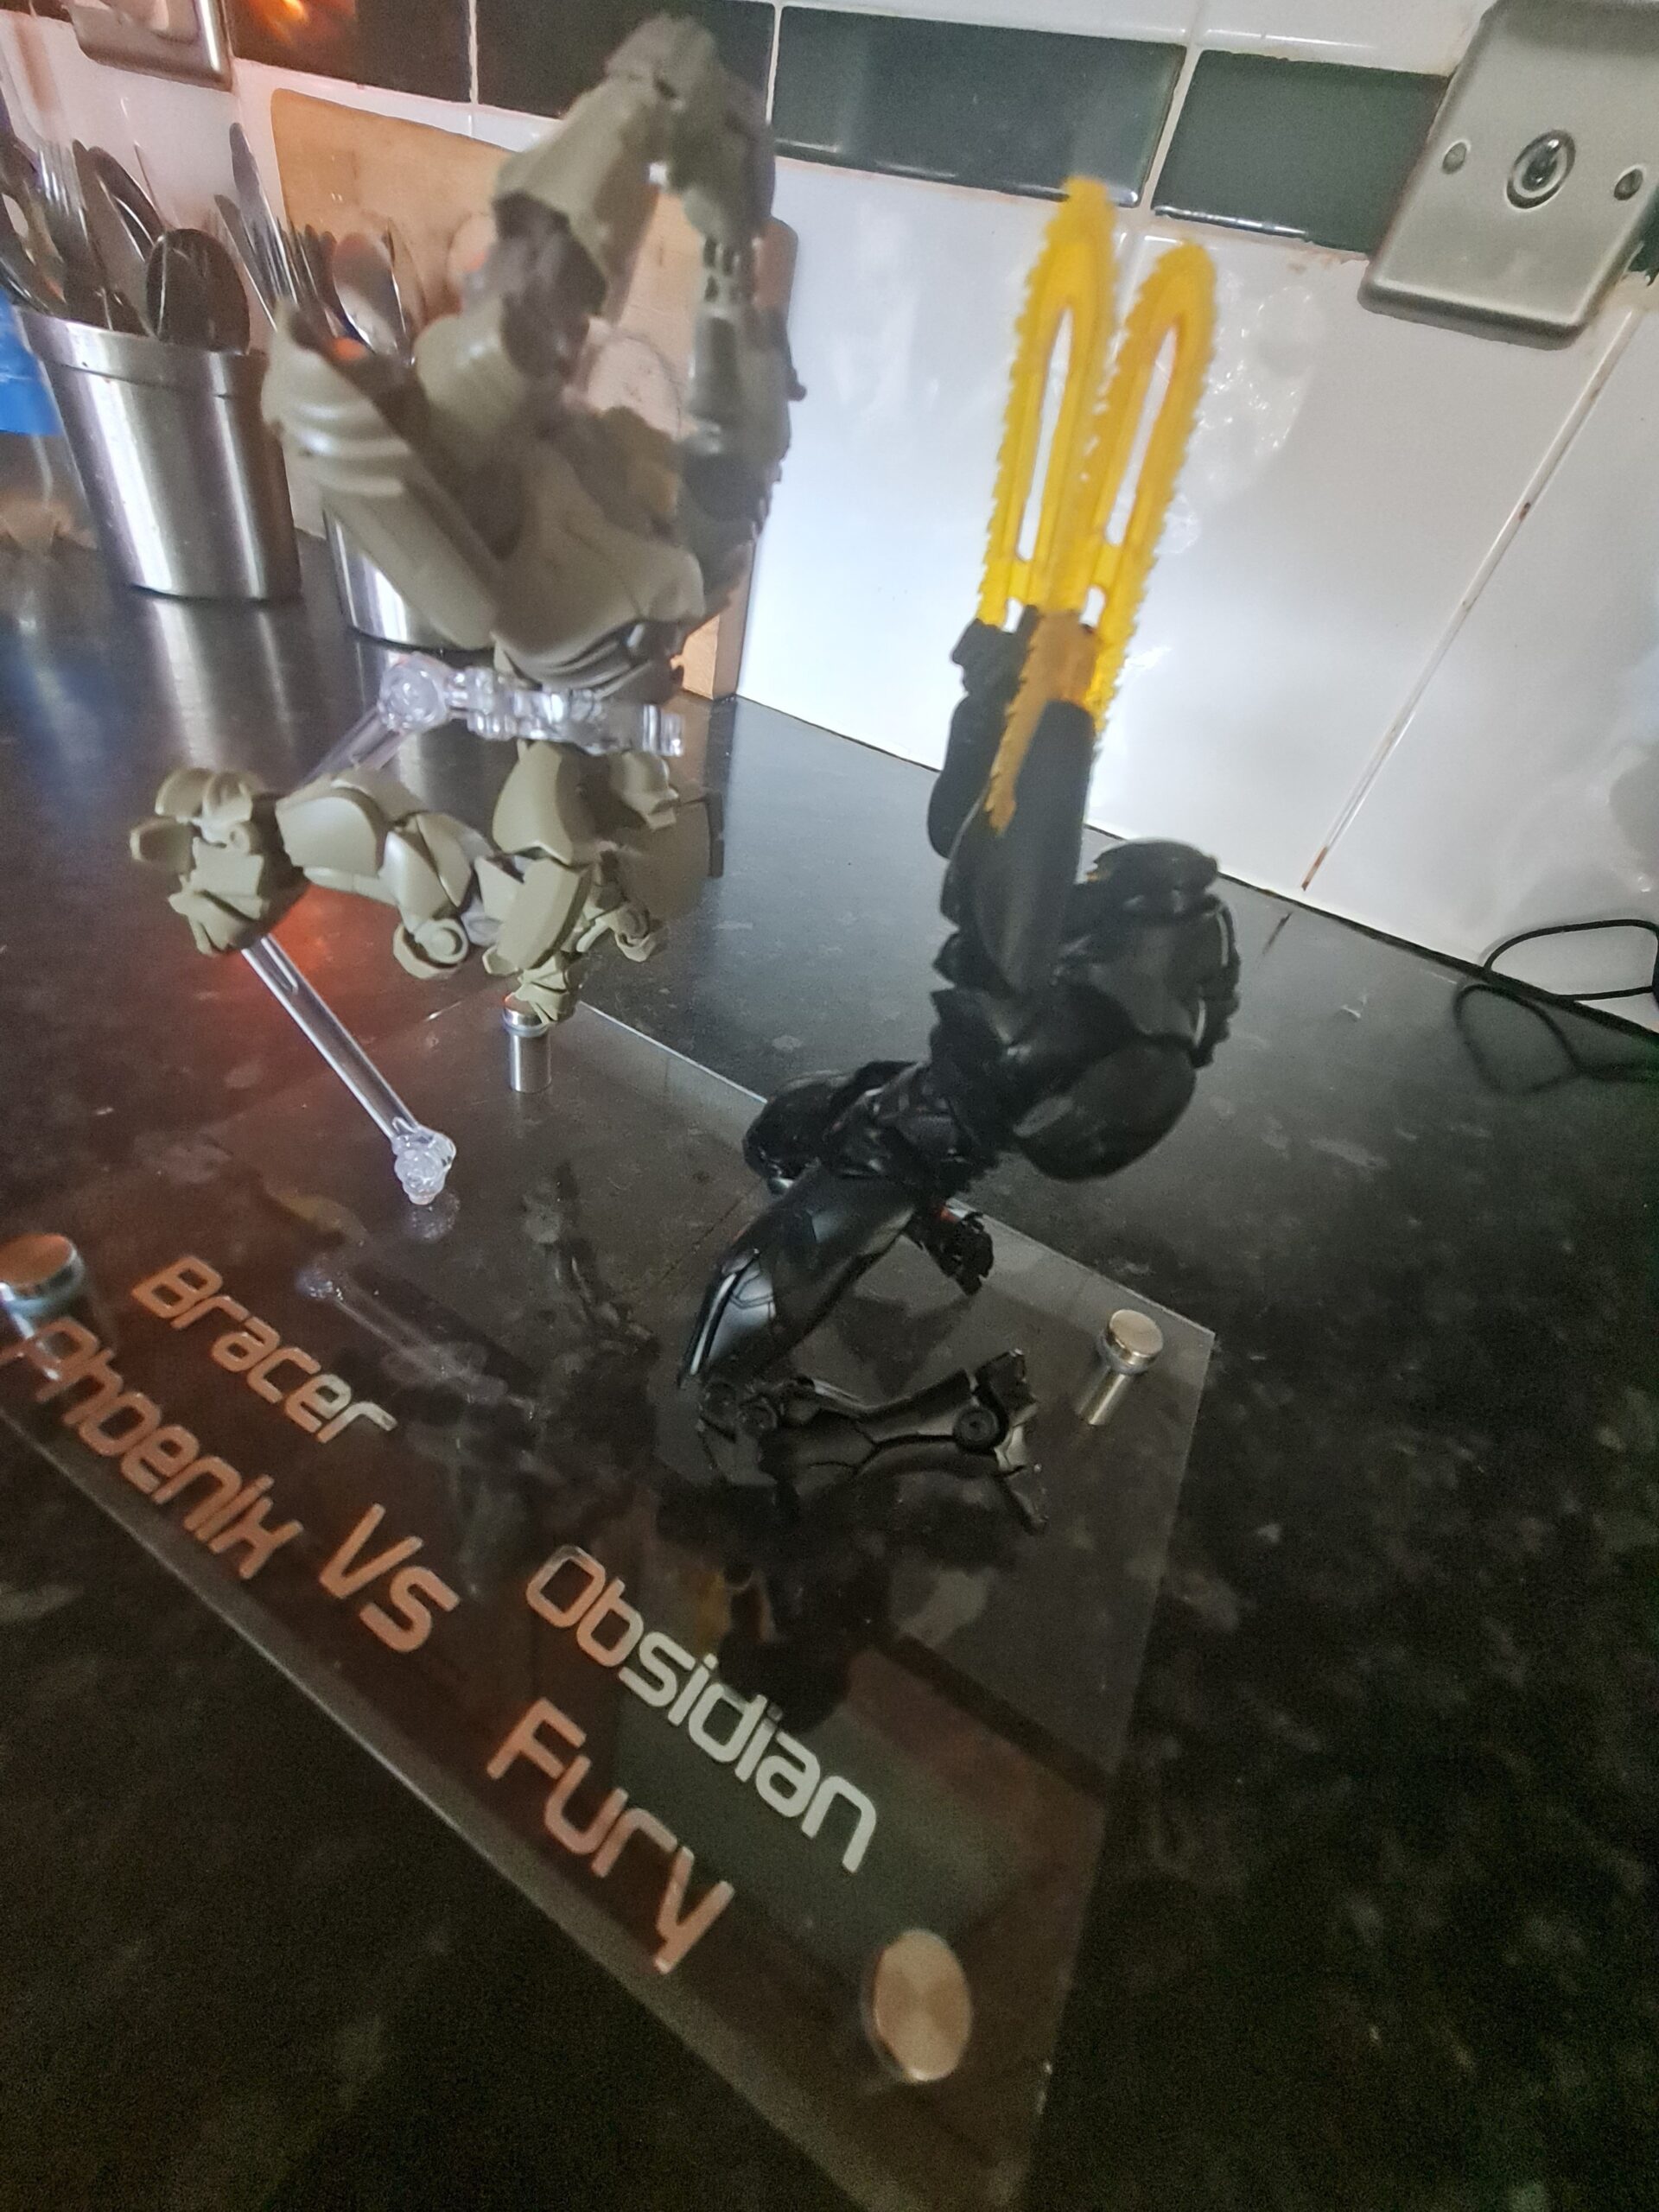
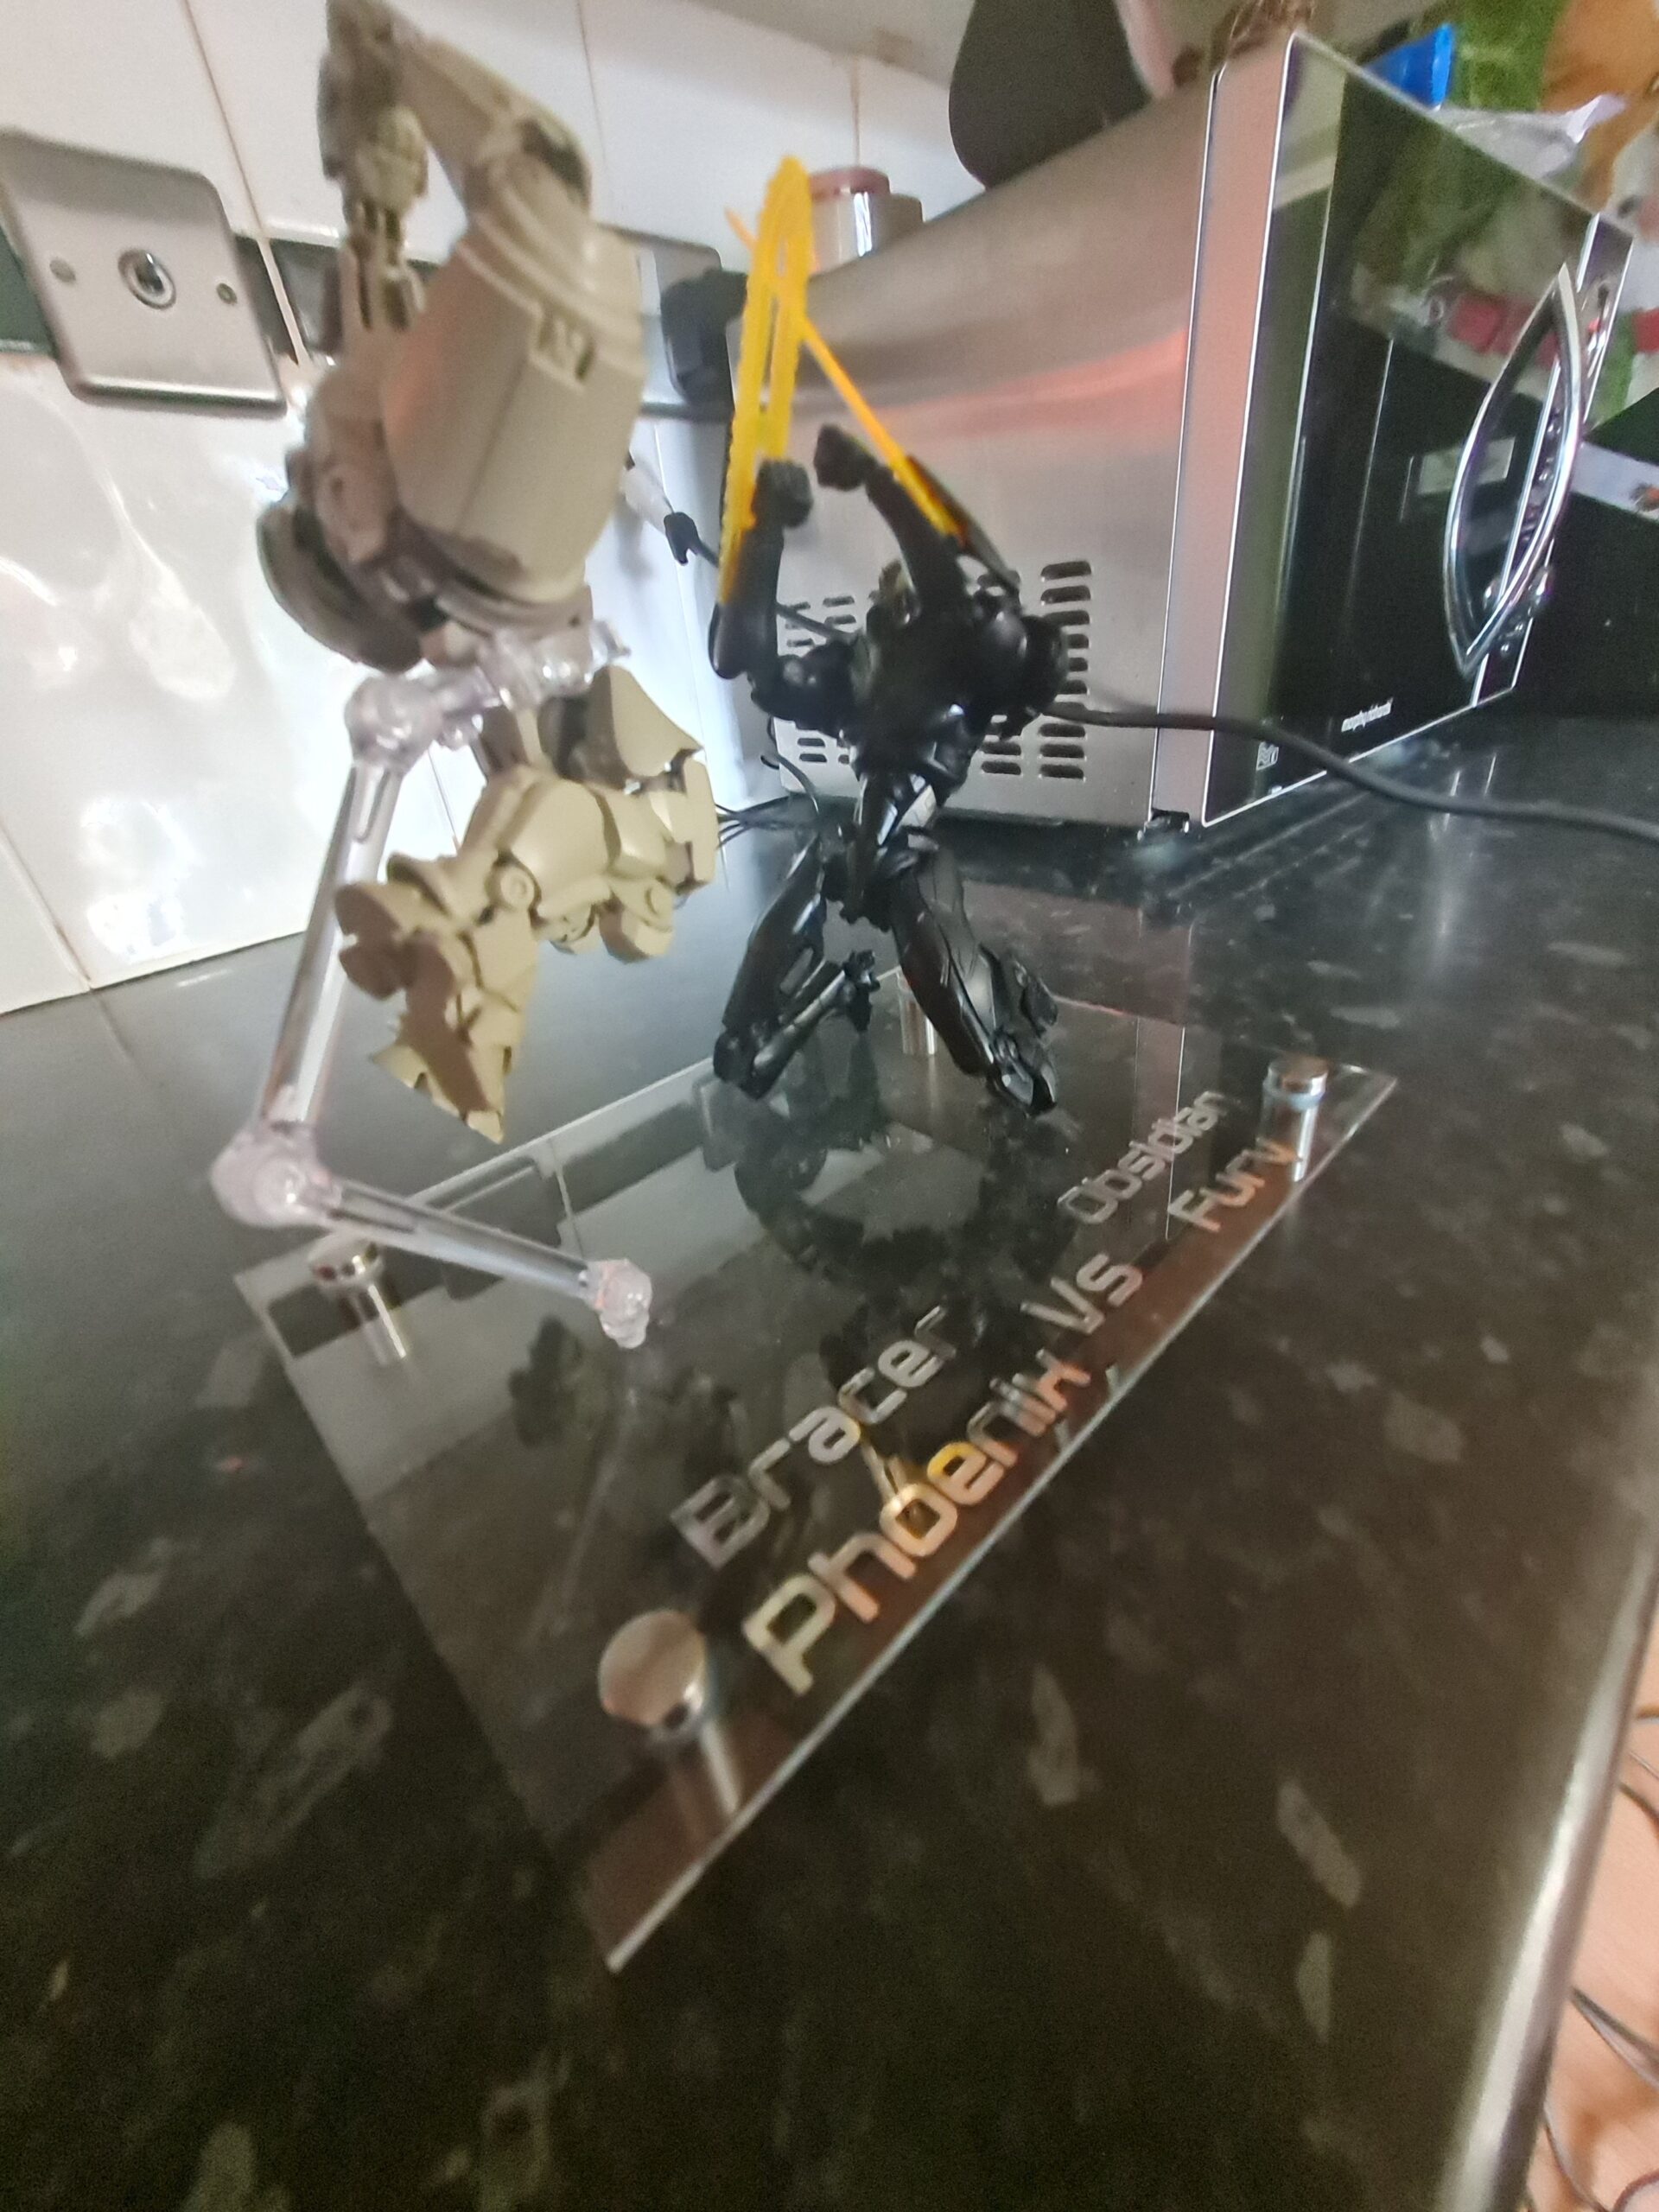
Cricut at workCenter pointChecking LayoutPrepping the VsVs in placeBracer in placeObsidian in place
Once the cricut had done its job. I measured out the center point on the acrylic and market it out. I then peeled back the protective cover on one side of the acrylic. The last photo above the ruler is holding it back out of the way. I then quickly checked the layout. I needed to make sure everything was going to fit! Once I was happy, I transferred the Vs to some transfer tape and placed it centrally on the acrylic. I then repeated this process with the Bracer Phoenix and Obsidian Fury pieces of text.
The feet!
The next stage is to put the feet on. Prior to this I peeled off the protective cover from both sides of the acrylic sheet.
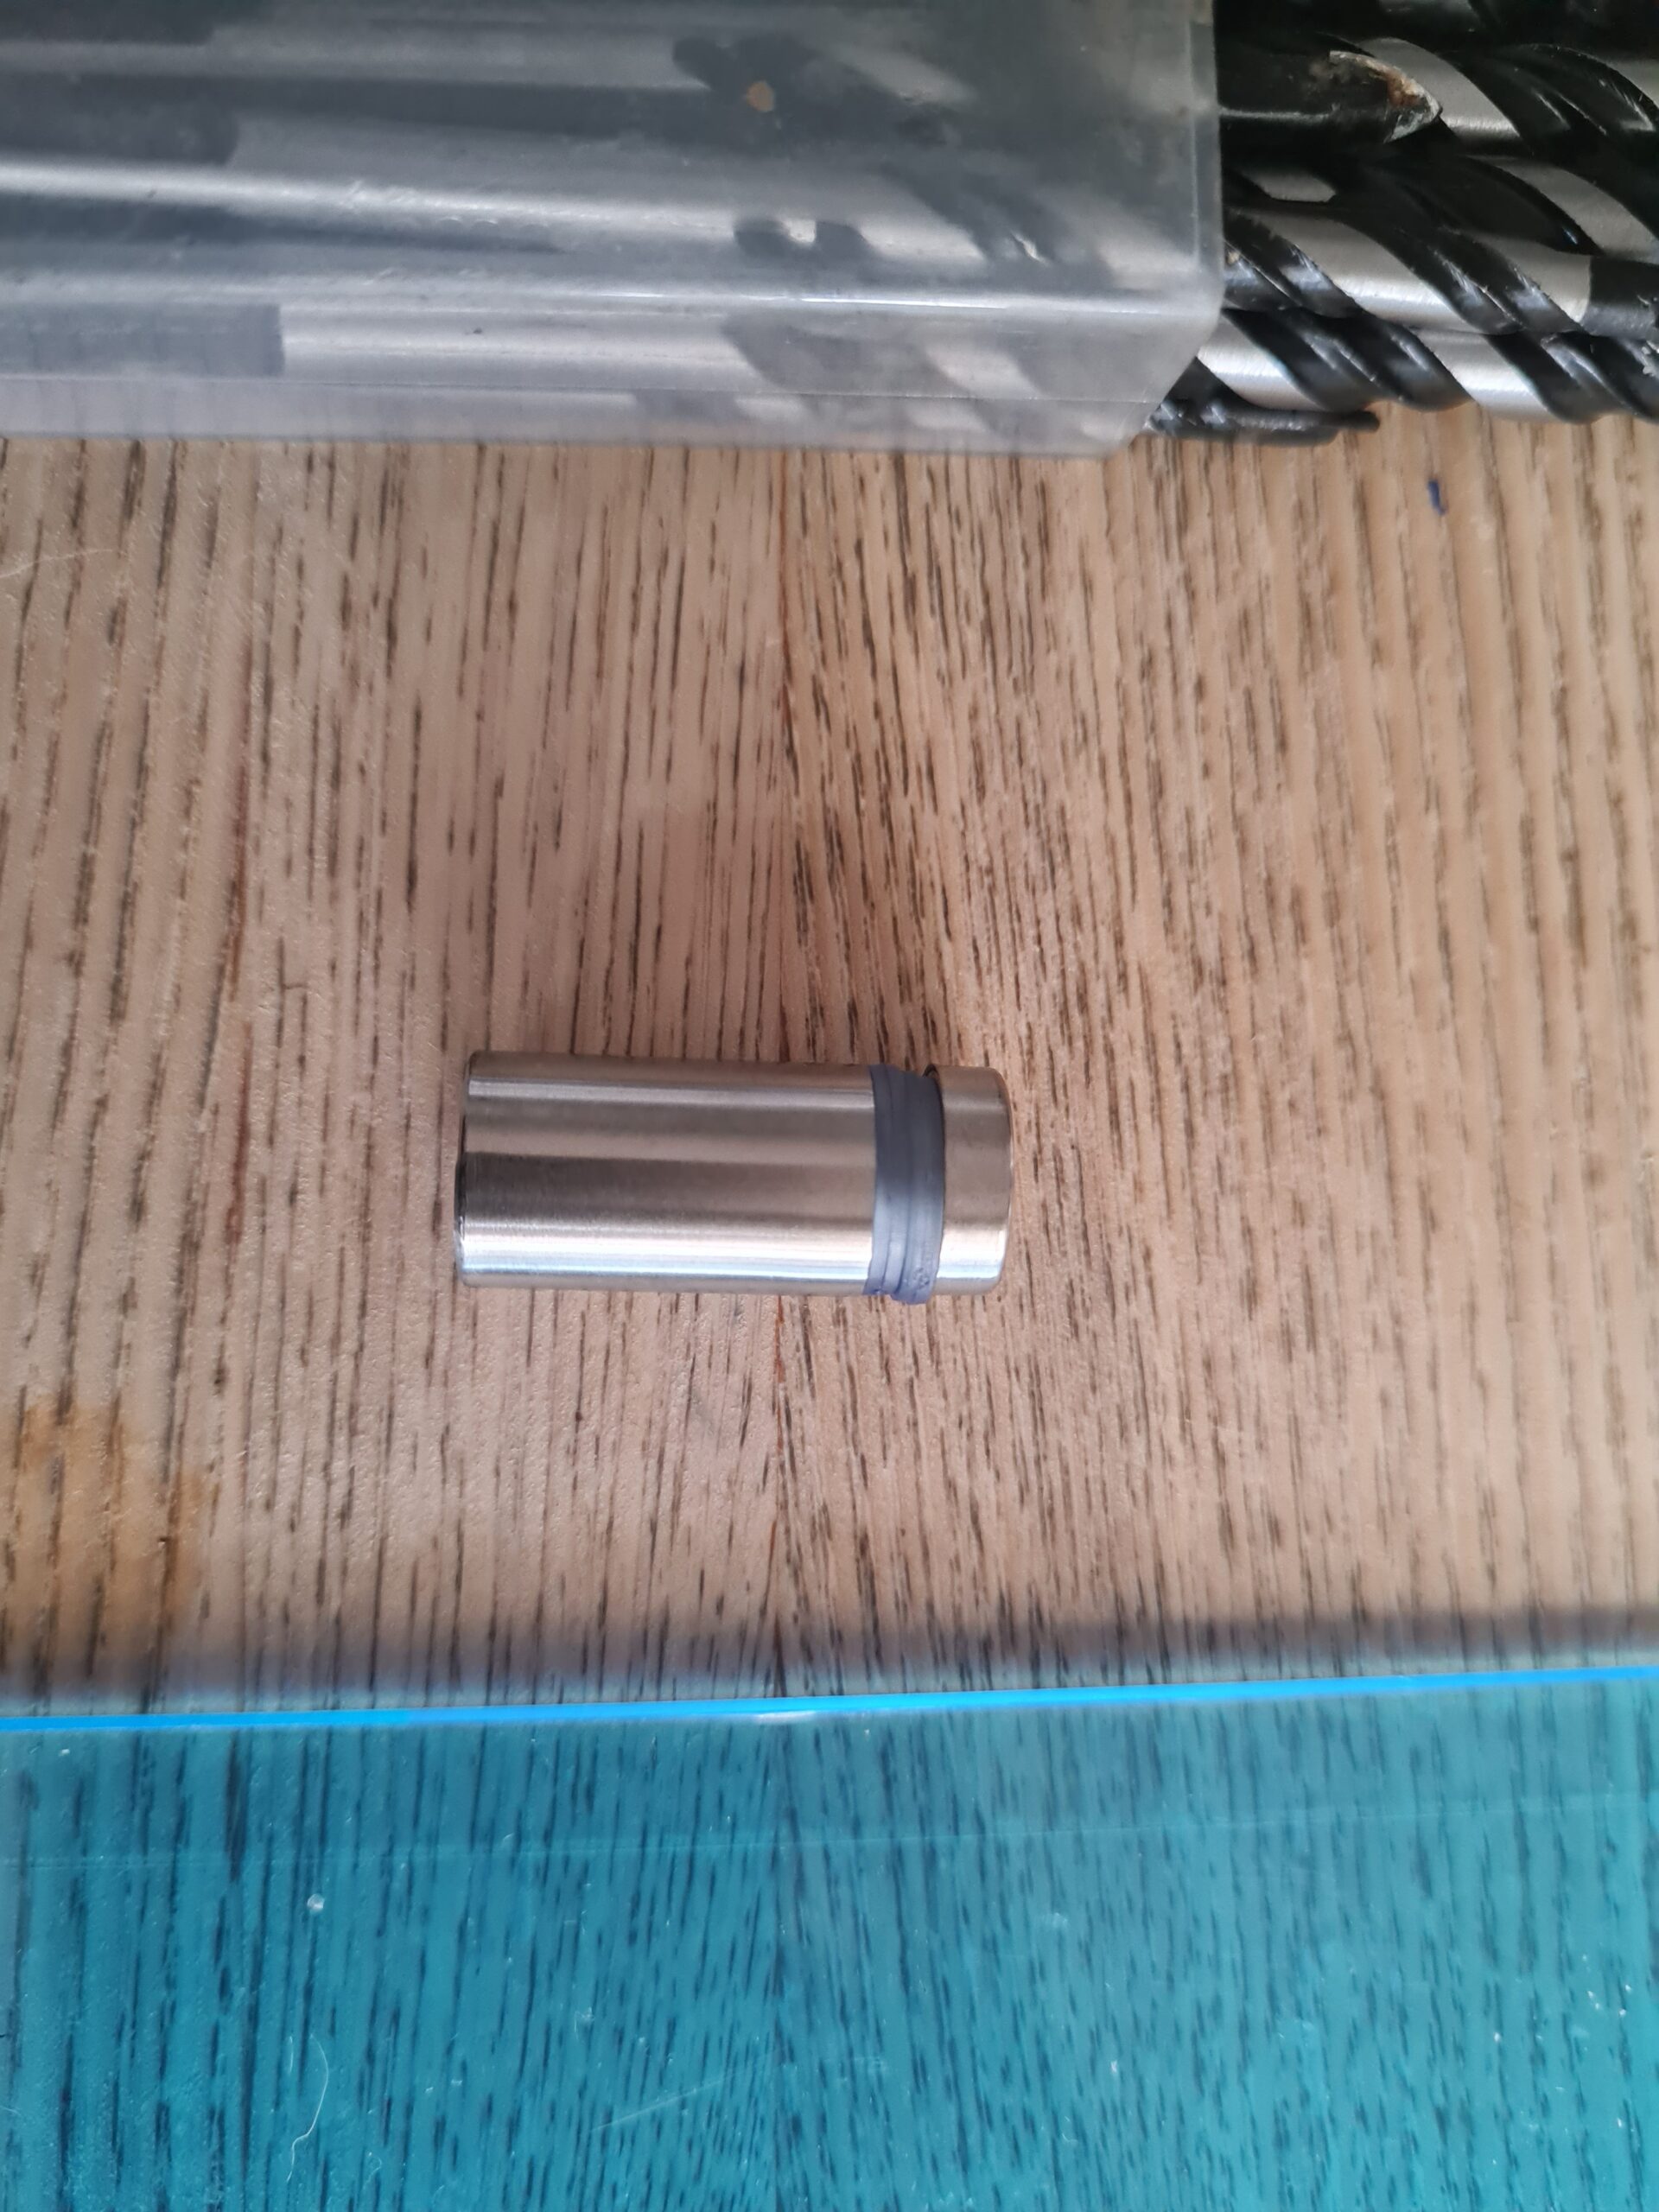
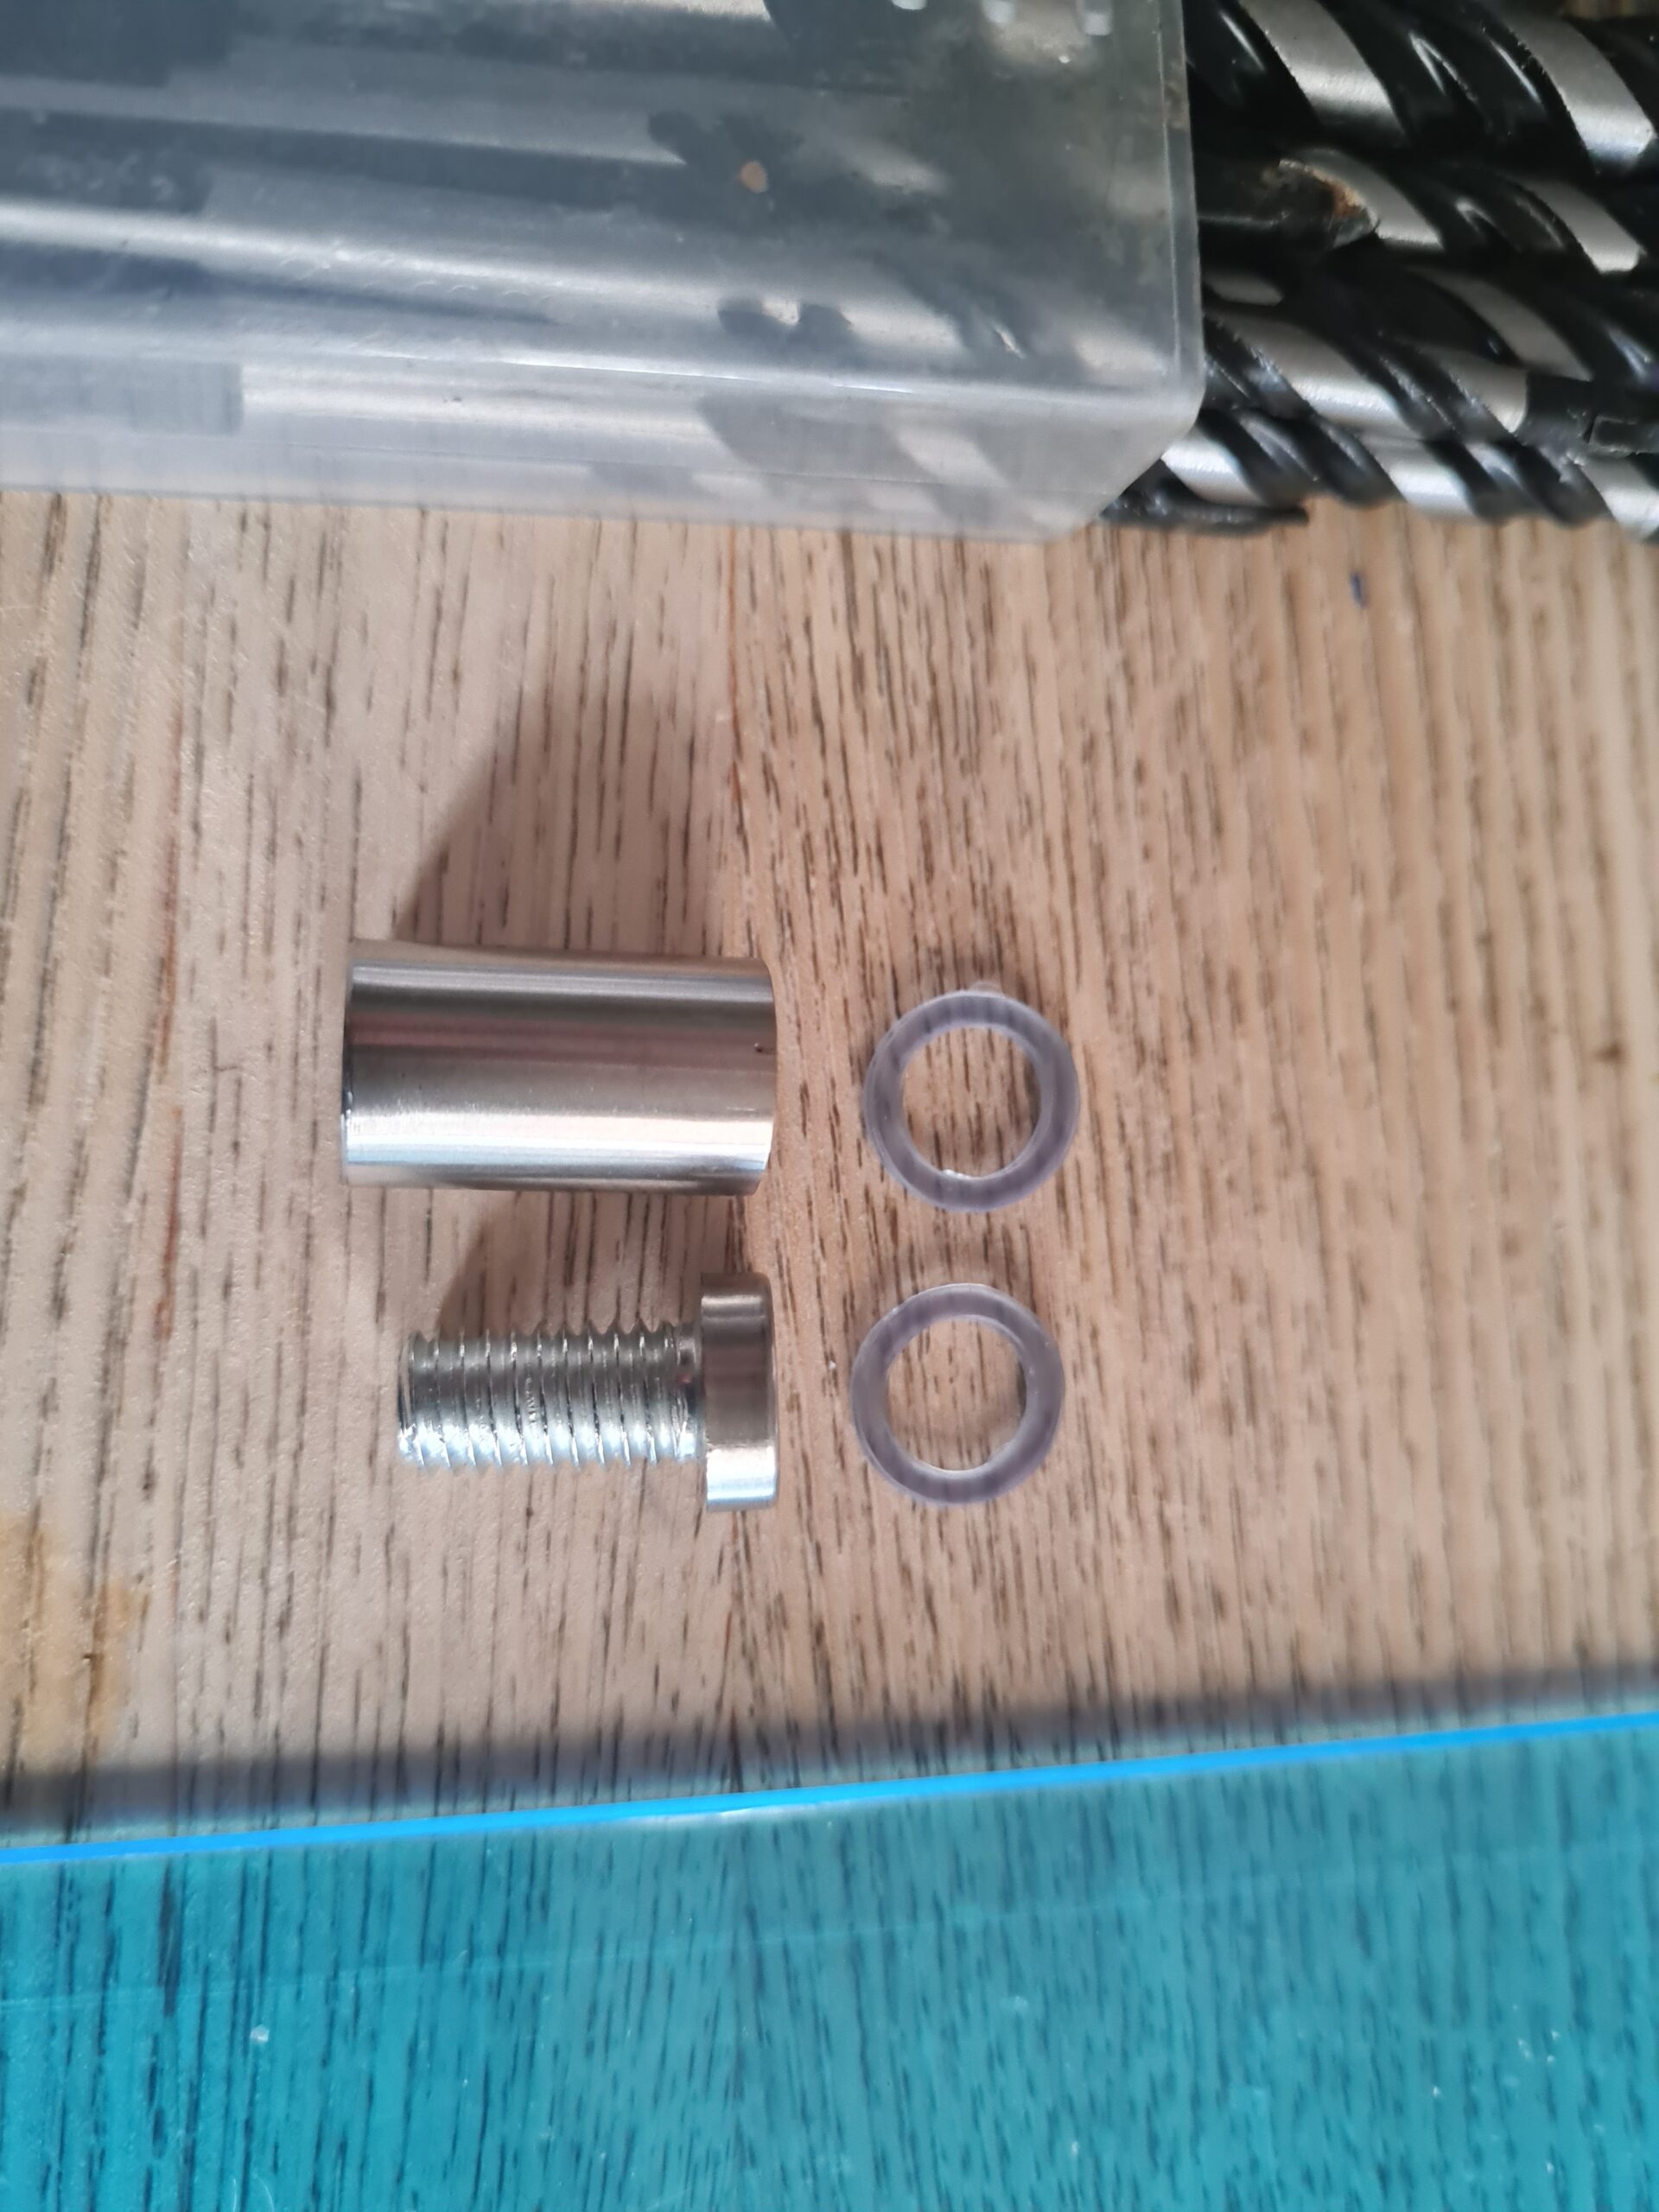
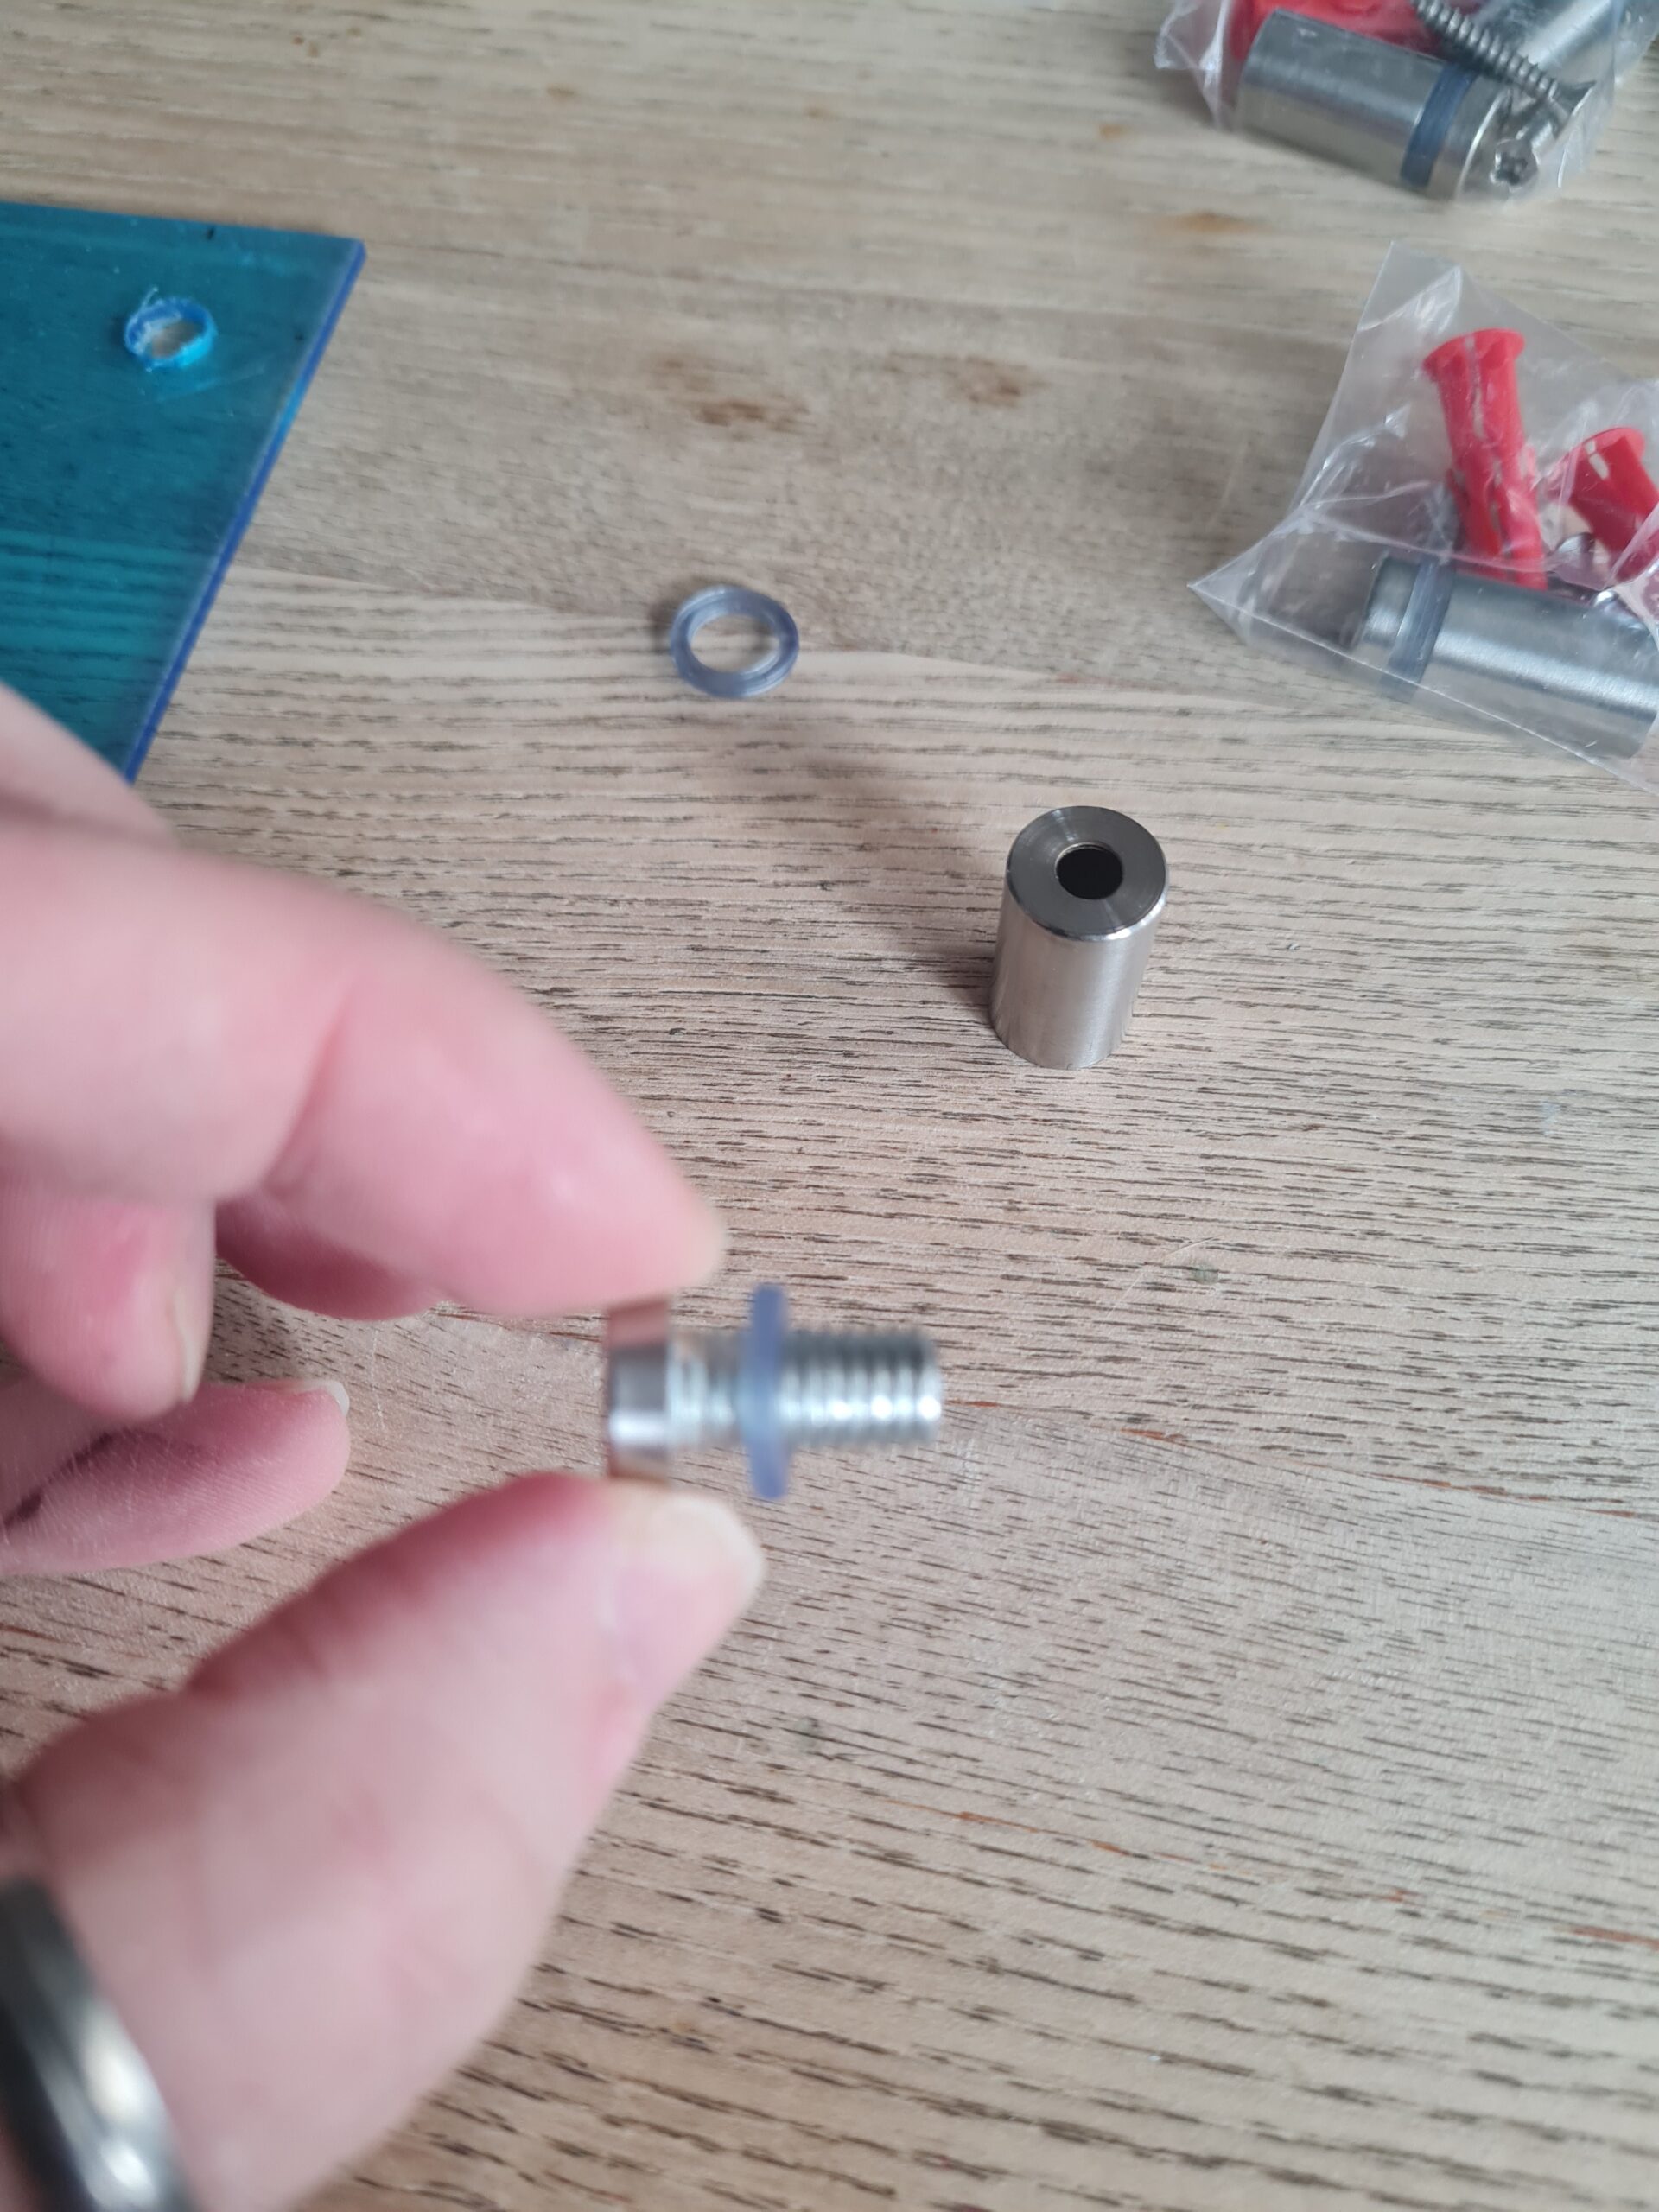
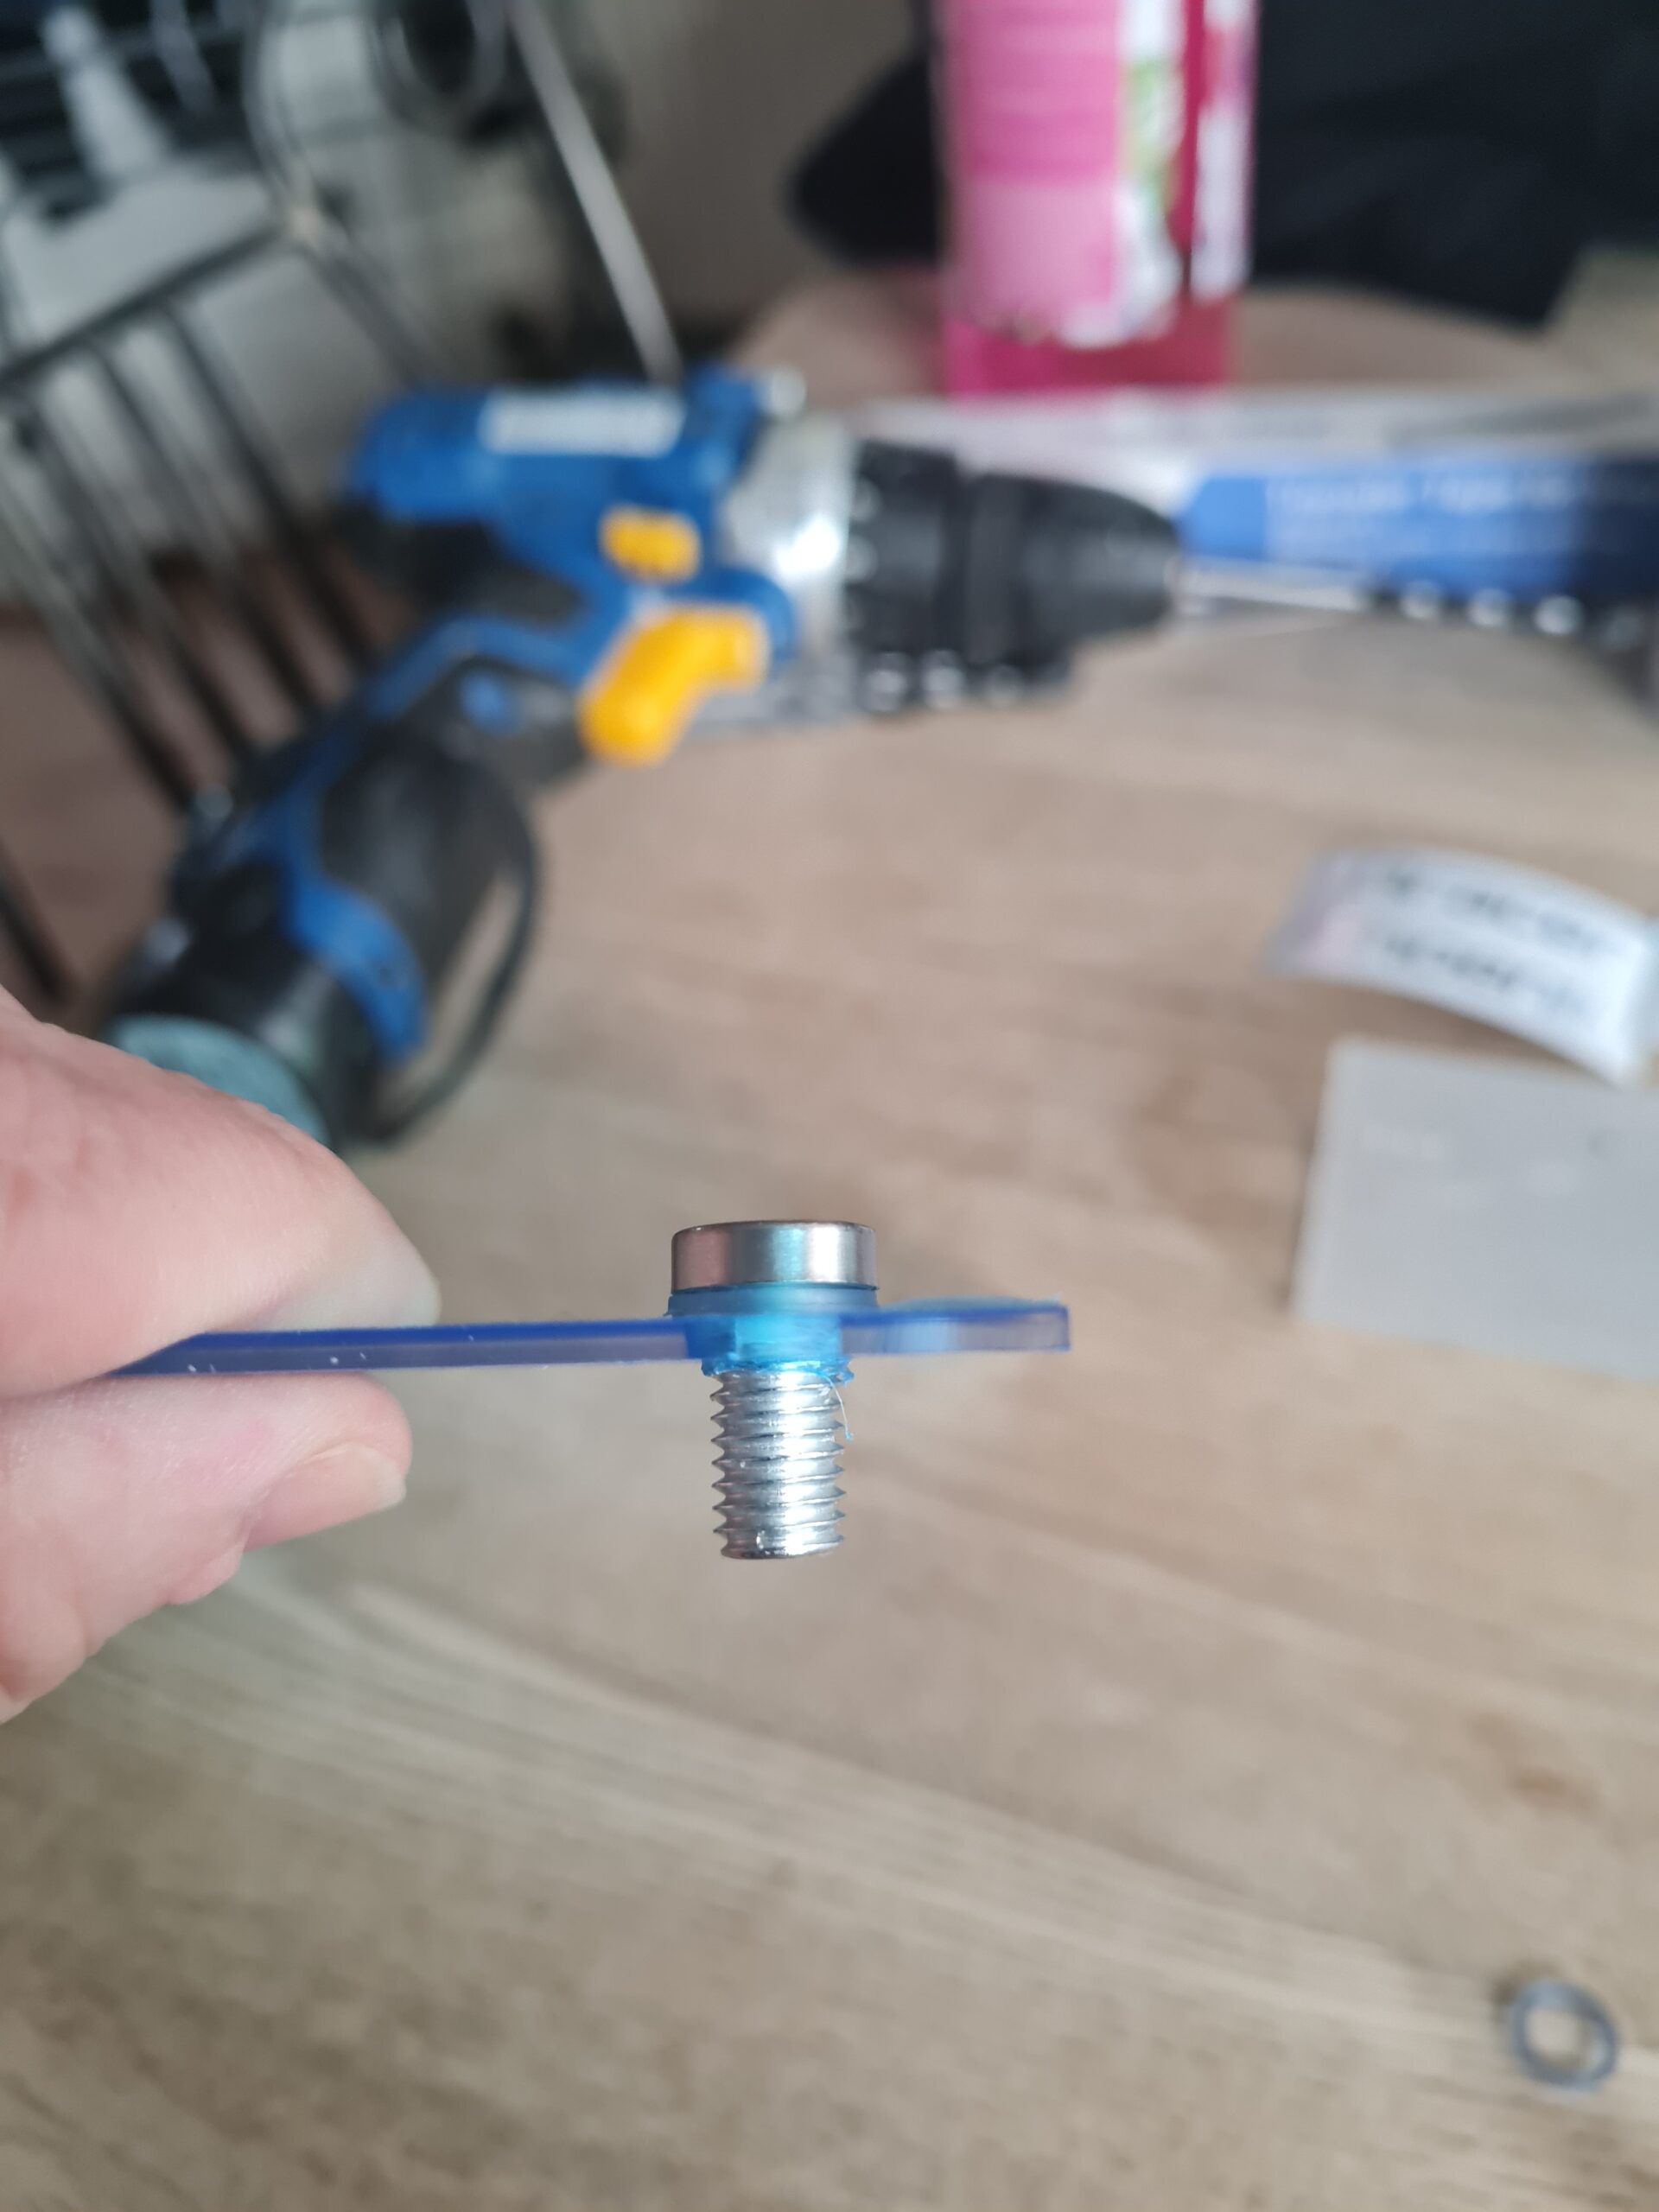
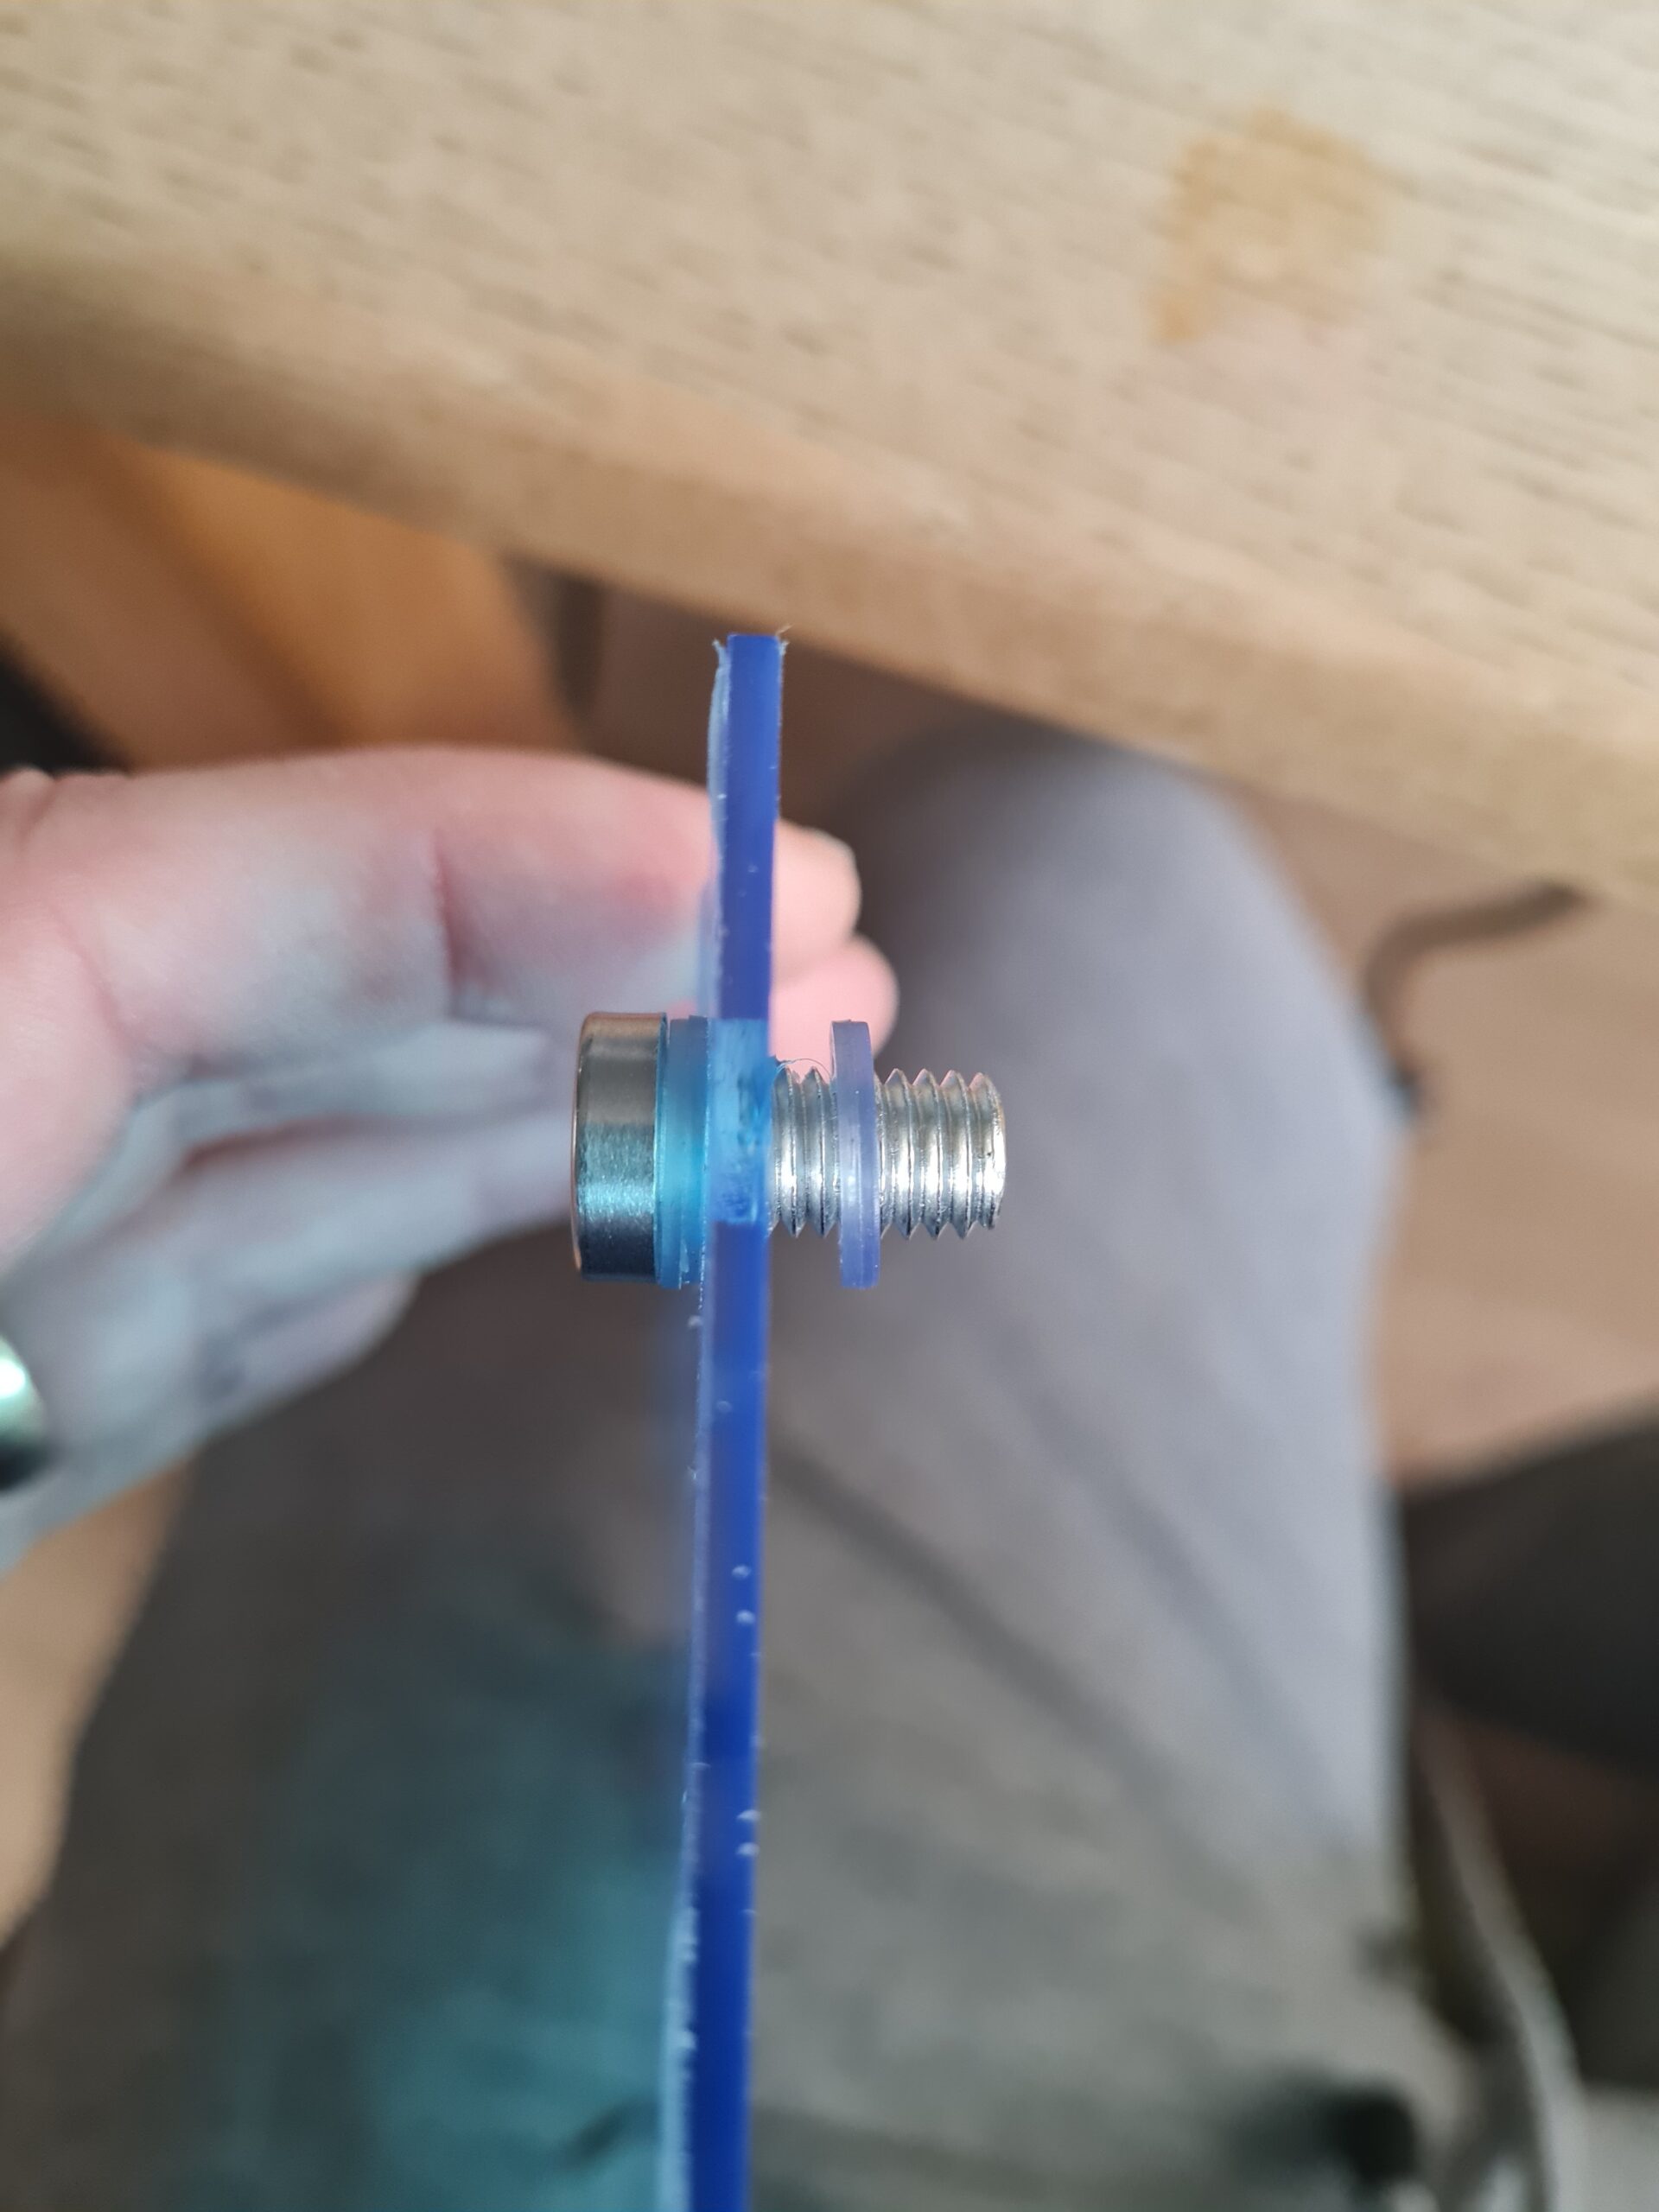
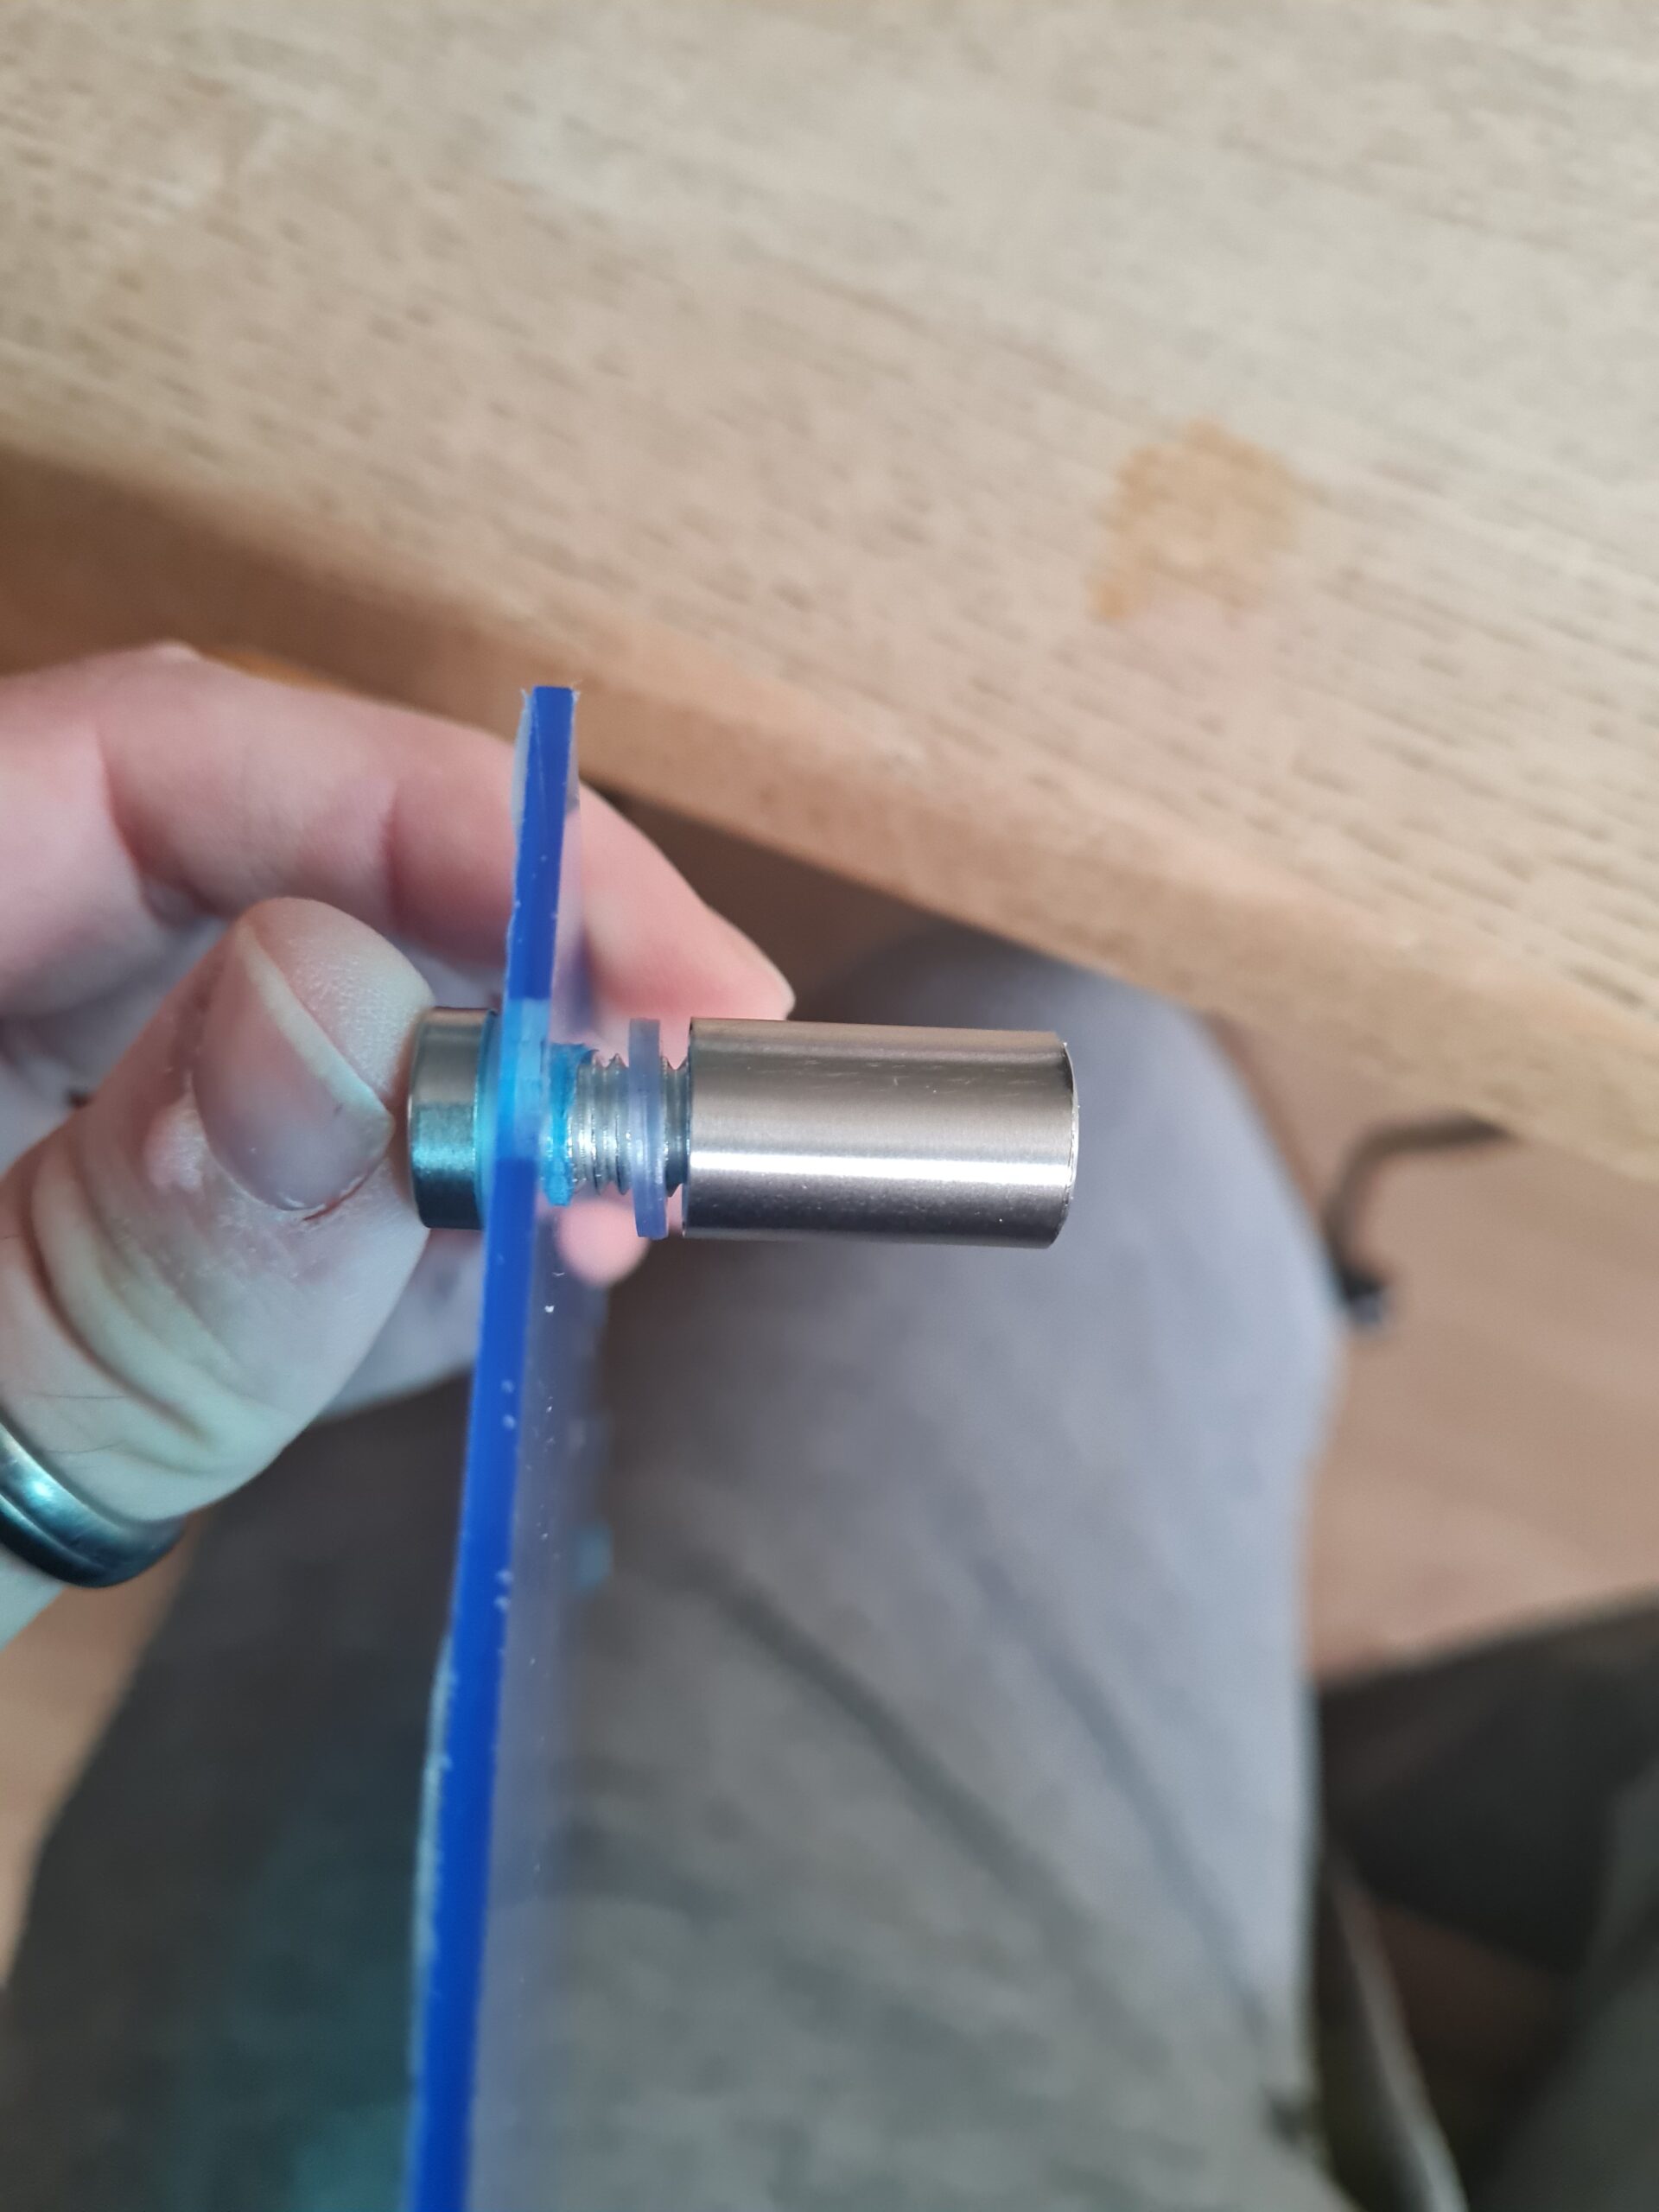
FootFoot in partsBolt and washerBolt in holeSecond Washer addedFoot casing screwed onAttached Foot Closeup
As can be seen above the process to attach the feet is simple. I first take it apart, and then put the first washer onto the bolt. Next I place the bolt through the acrylic sheet and add the second washer. Finally I screw the foot case part on and finger tighten. This is repeated for all 4 feet.
Conclusion
I really enjoyed making this custom stand. All that was left was to add the stand and figures and it was done. I will leave you with those images at the bottom of this post. Any questions please just ask.
Thank you for taking the time to read this. If you haven’t already done so please like and follow us on our social media platforms and checkout our website!
In case you missed the previous parts you can catch up here and here. The rules are simple. I build the model in the stages, based on the order in the manual. This stops me deliberately picking obscure parts. I then post up the sections as they are built and readers can guess what the model is. Today I am building the arm.
Technically this should be building the arms, however, I’m going to do building the arm as I got a sinus headache and blurry vision and went to lie down. However, it is enough to show you what it looks like, and to be fair I imagine a lot of people have guessed the model from the torso and head!
First set of partsFirst set BuiltSecond set of partsSecond set builtThird set of partsThird set builtFourth set builtAll parts built and attached to torso
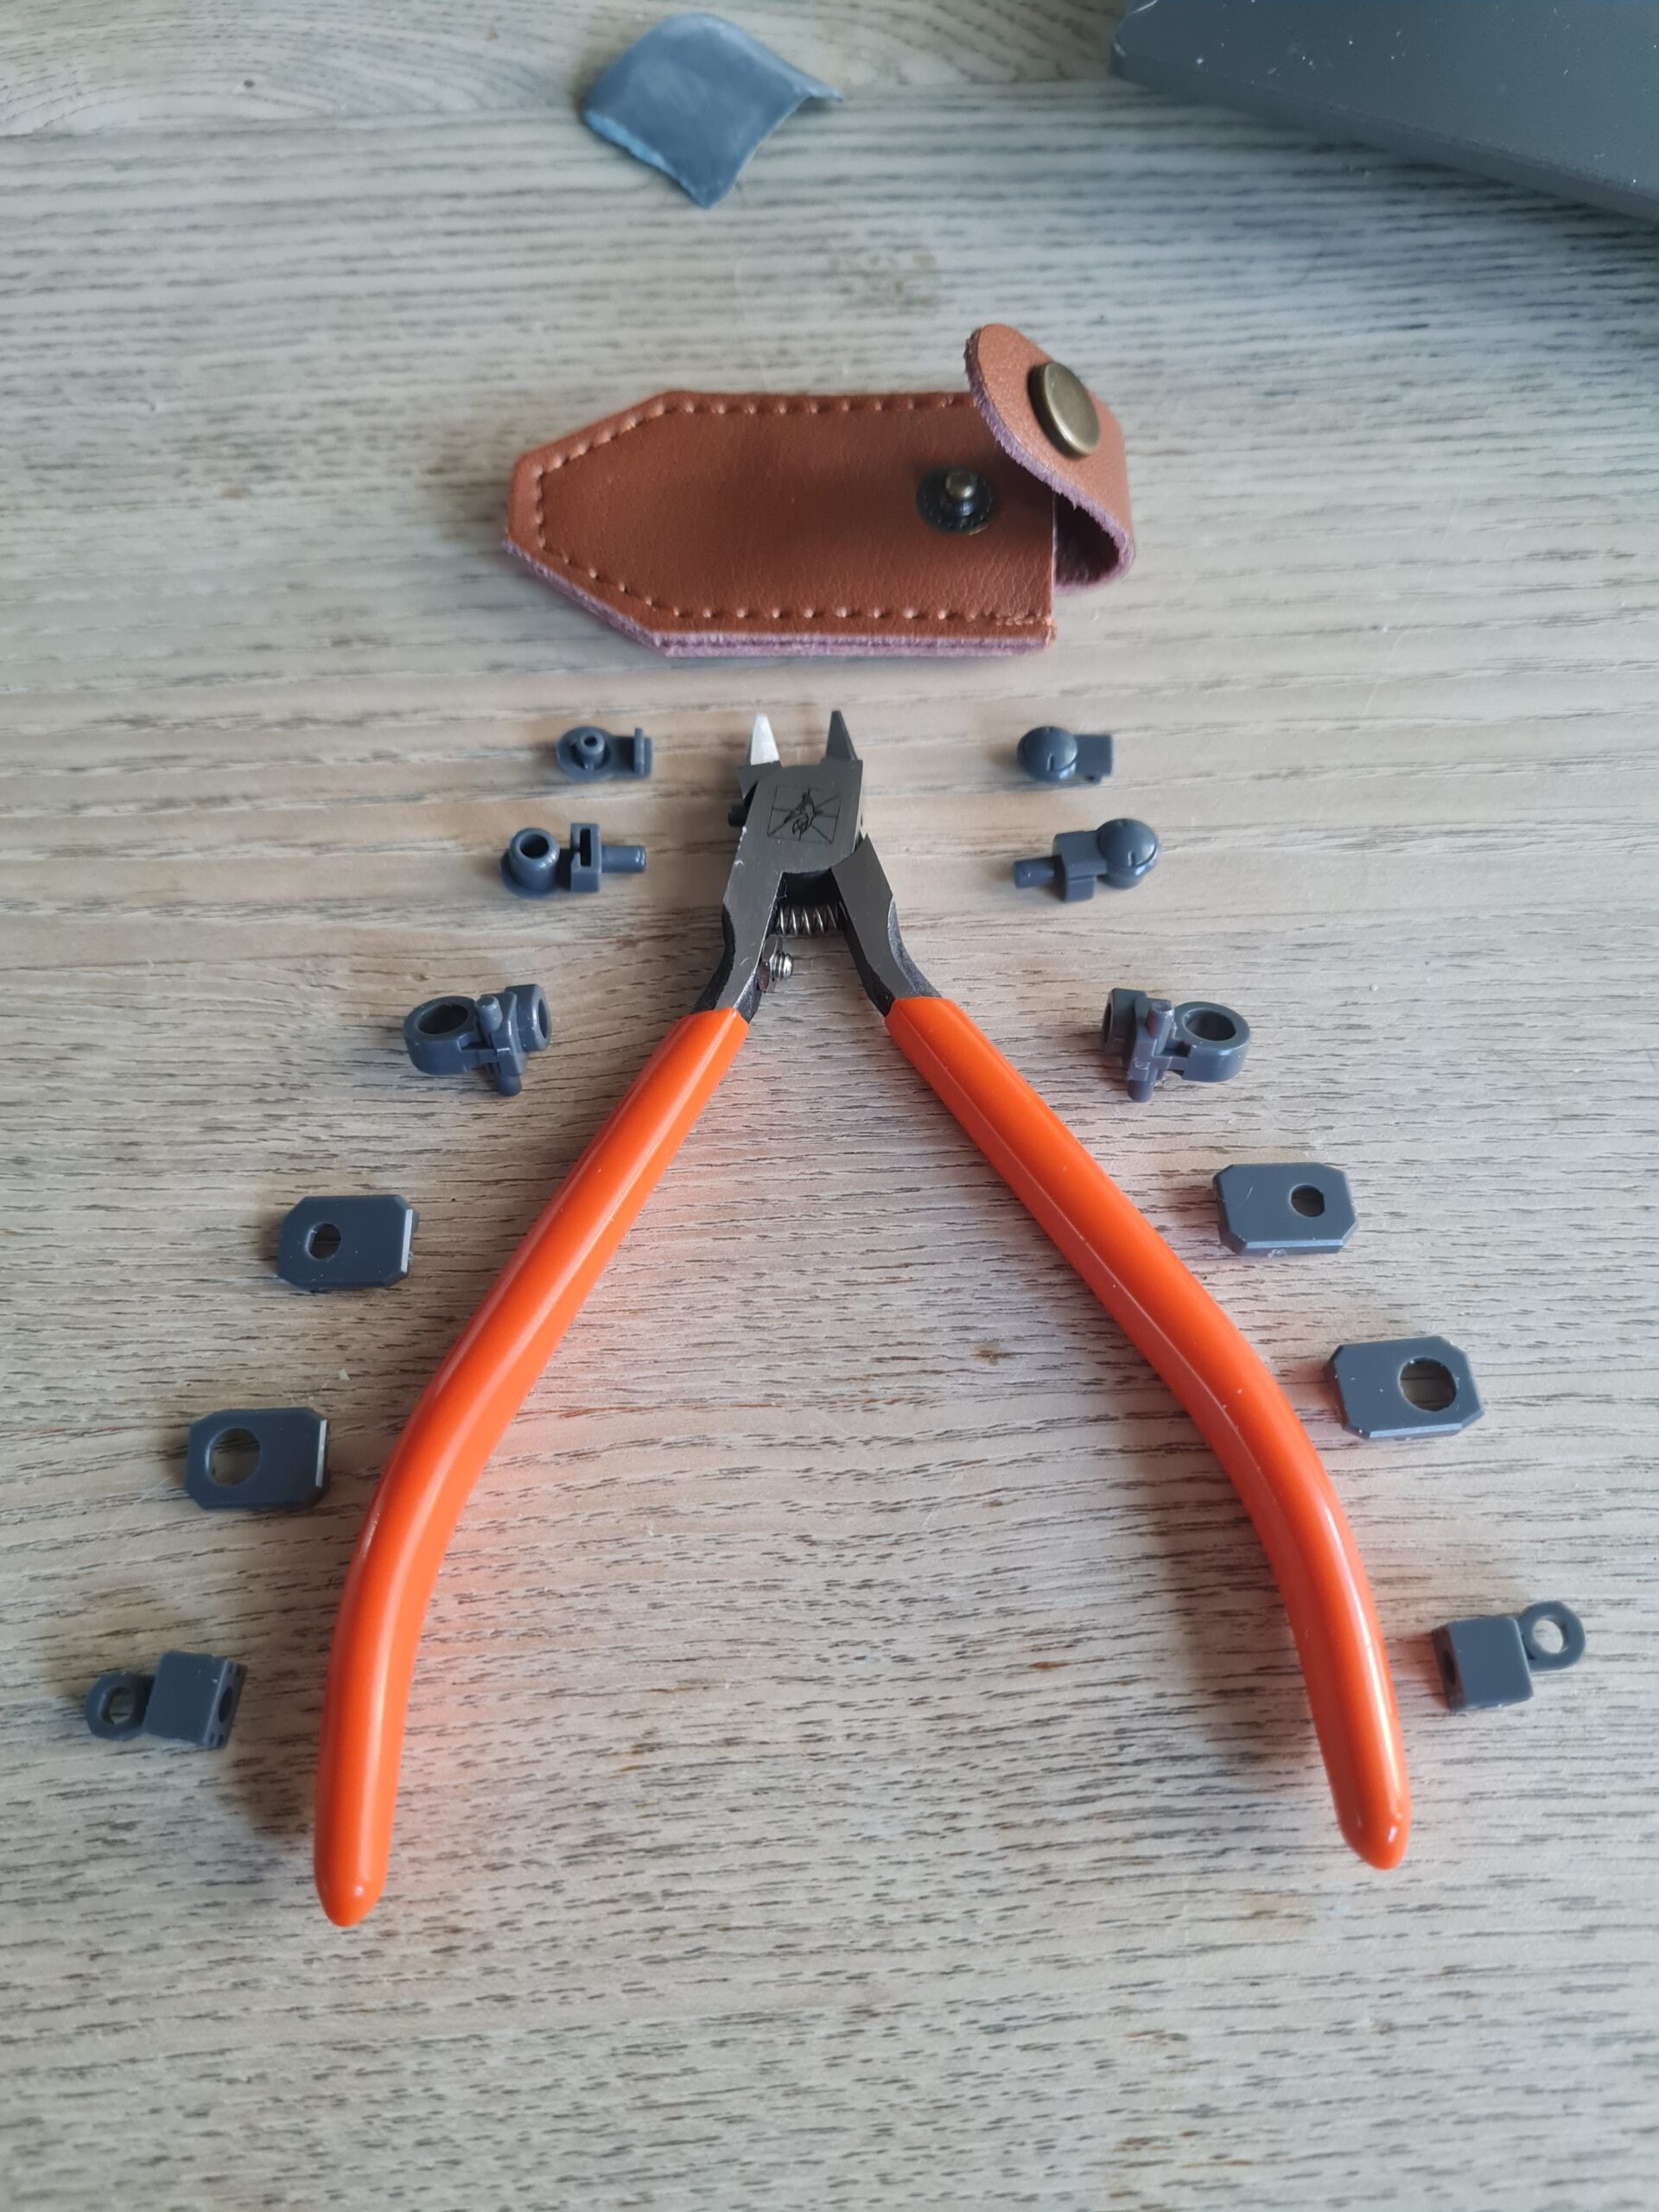
The first image “First set of parts” has the left and right arm parts. Each set lined up either side of the nippers. They form the shoulder joint and a key part of the elbow joint respectively.
Conclusion
I have to say building the arms on this model is quite a satisfying build. Seeing how all the parts layer up on each other, they create a real depth to the model. I have now completed the other arm. I will say the thumb is really solid on one, but very loose on the other. I’ll recheck the fit later. But so far that is my only gripe. This is a very satisfying build.
If you know what the model is please feel free to comment.
Thank you for taking the time to read this. If you haven’t already done so please like and follow us on our social media platforms and checkout our website!
We use cookies on our website to give you the most relevant experience by remembering your preferences and repeat visits. By clicking “Accept All”, you consent to the use of ALL the cookies. However, you may visit "Cookie Settings" to provide a controlled consent.
This website uses cookies to improve your experience while you navigate through the website. Out of these, the cookies that are categorized as necessary are stored on your browser as they are essential for the working of basic functionalities of the website. We also use third-party cookies that help us analyze and understand how you use this website. These cookies will be stored in your browser only with your consent. You also have the option to opt-out of these cookies. But opting out of some of these cookies may affect your browsing experience.
Necessary cookies are absolutely essential for the website to function properly. These cookies ensure basic functionalities and security features of the website, anonymously.
Cookie
Duration
Description
cookielawinfo-checkbox-analytics
11 months
This cookie is set by GDPR Cookie Consent plugin. The cookie is used to store the user consent for the cookies in the category "Analytics".
cookielawinfo-checkbox-functional
11 months
The cookie is set by GDPR cookie consent to record the user consent for the cookies in the category "Functional".
cookielawinfo-checkbox-necessary
11 months
This cookie is set by GDPR Cookie Consent plugin. The cookies is used to store the user consent for the cookies in the category "Necessary".
cookielawinfo-checkbox-others
11 months
This cookie is set by GDPR Cookie Consent plugin. The cookie is used to store the user consent for the cookies in the category "Other.
cookielawinfo-checkbox-performance
11 months
This cookie is set by GDPR Cookie Consent plugin. The cookie is used to store the user consent for the cookies in the category "Performance".
viewed_cookie_policy
11 months
The cookie is set by the GDPR Cookie Consent plugin and is used to store whether or not user has consented to the use of cookies. It does not store any personal data.
Functional cookies help to perform certain functionalities like sharing the content of the website on social media platforms, collect feedbacks, and other third-party features.
Performance cookies are used to understand and analyze the key performance indexes of the website which helps in delivering a better user experience for the visitors.
Analytical cookies are used to understand how visitors interact with the website. These cookies help provide information on metrics the number of visitors, bounce rate, traffic source, etc.
Advertisement cookies are used to provide visitors with relevant ads and marketing campaigns. These cookies track visitors across websites and collect information to provide customized ads.