Posted on

Guess the model Part X

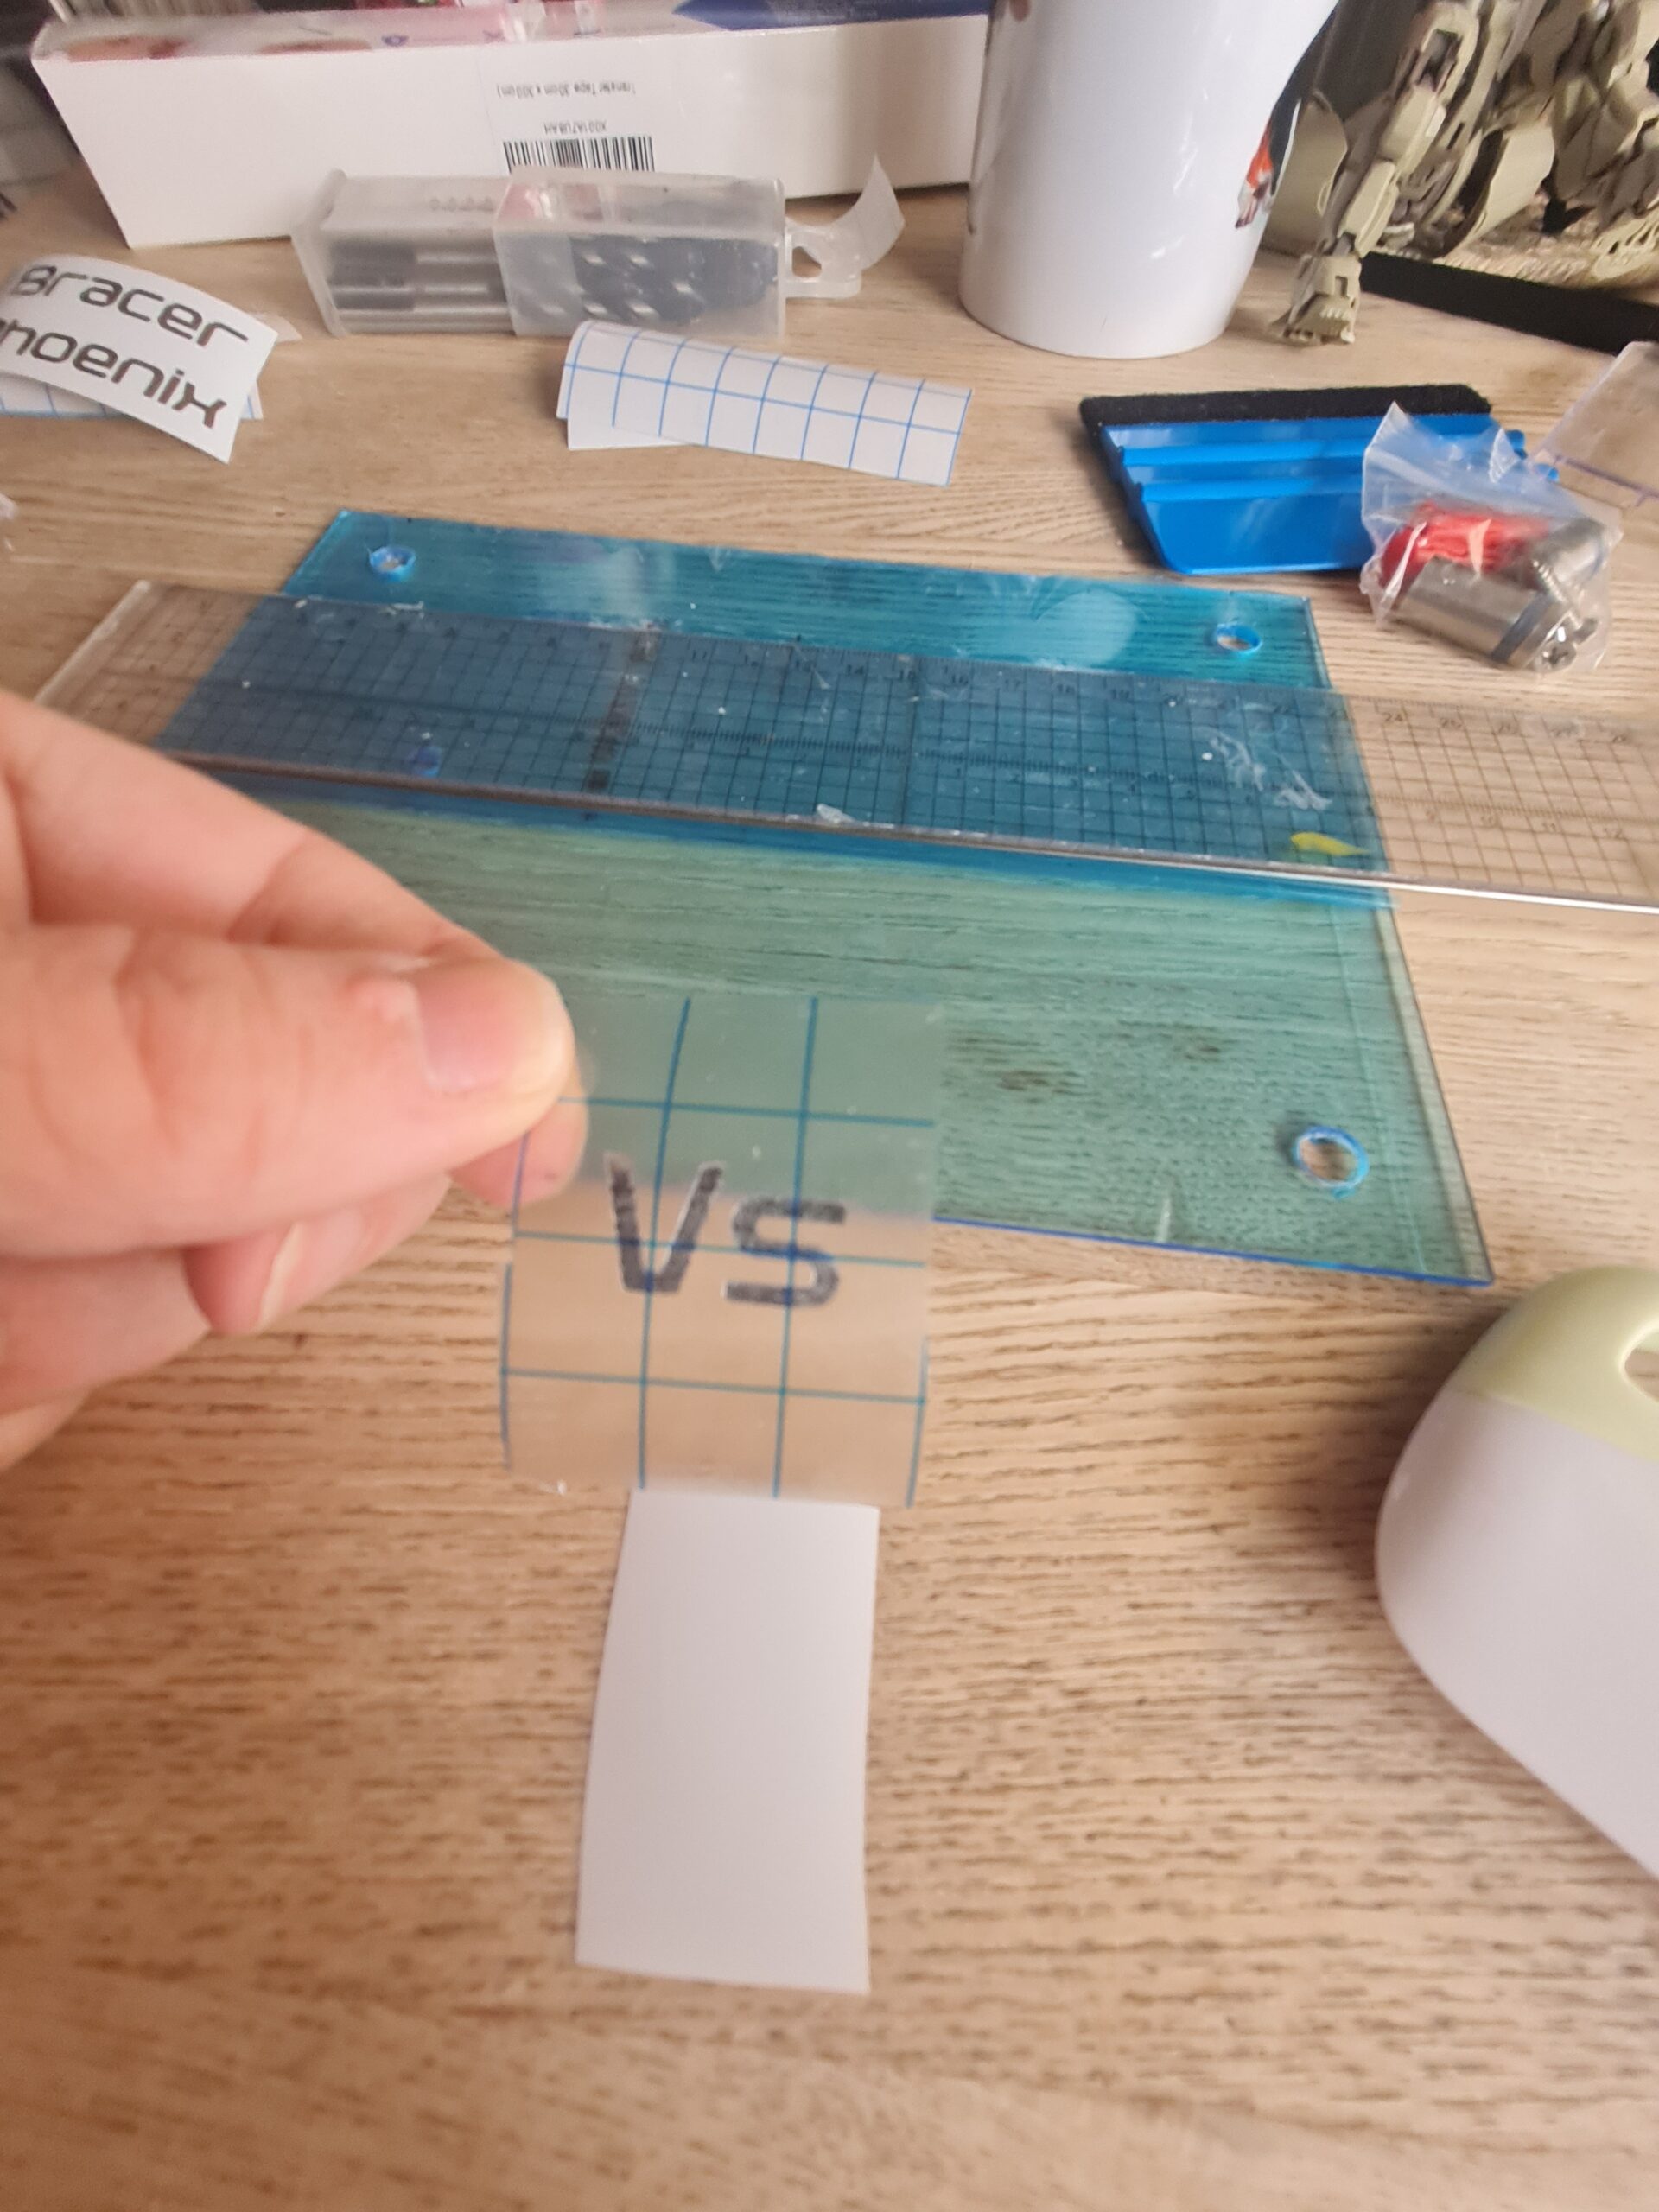
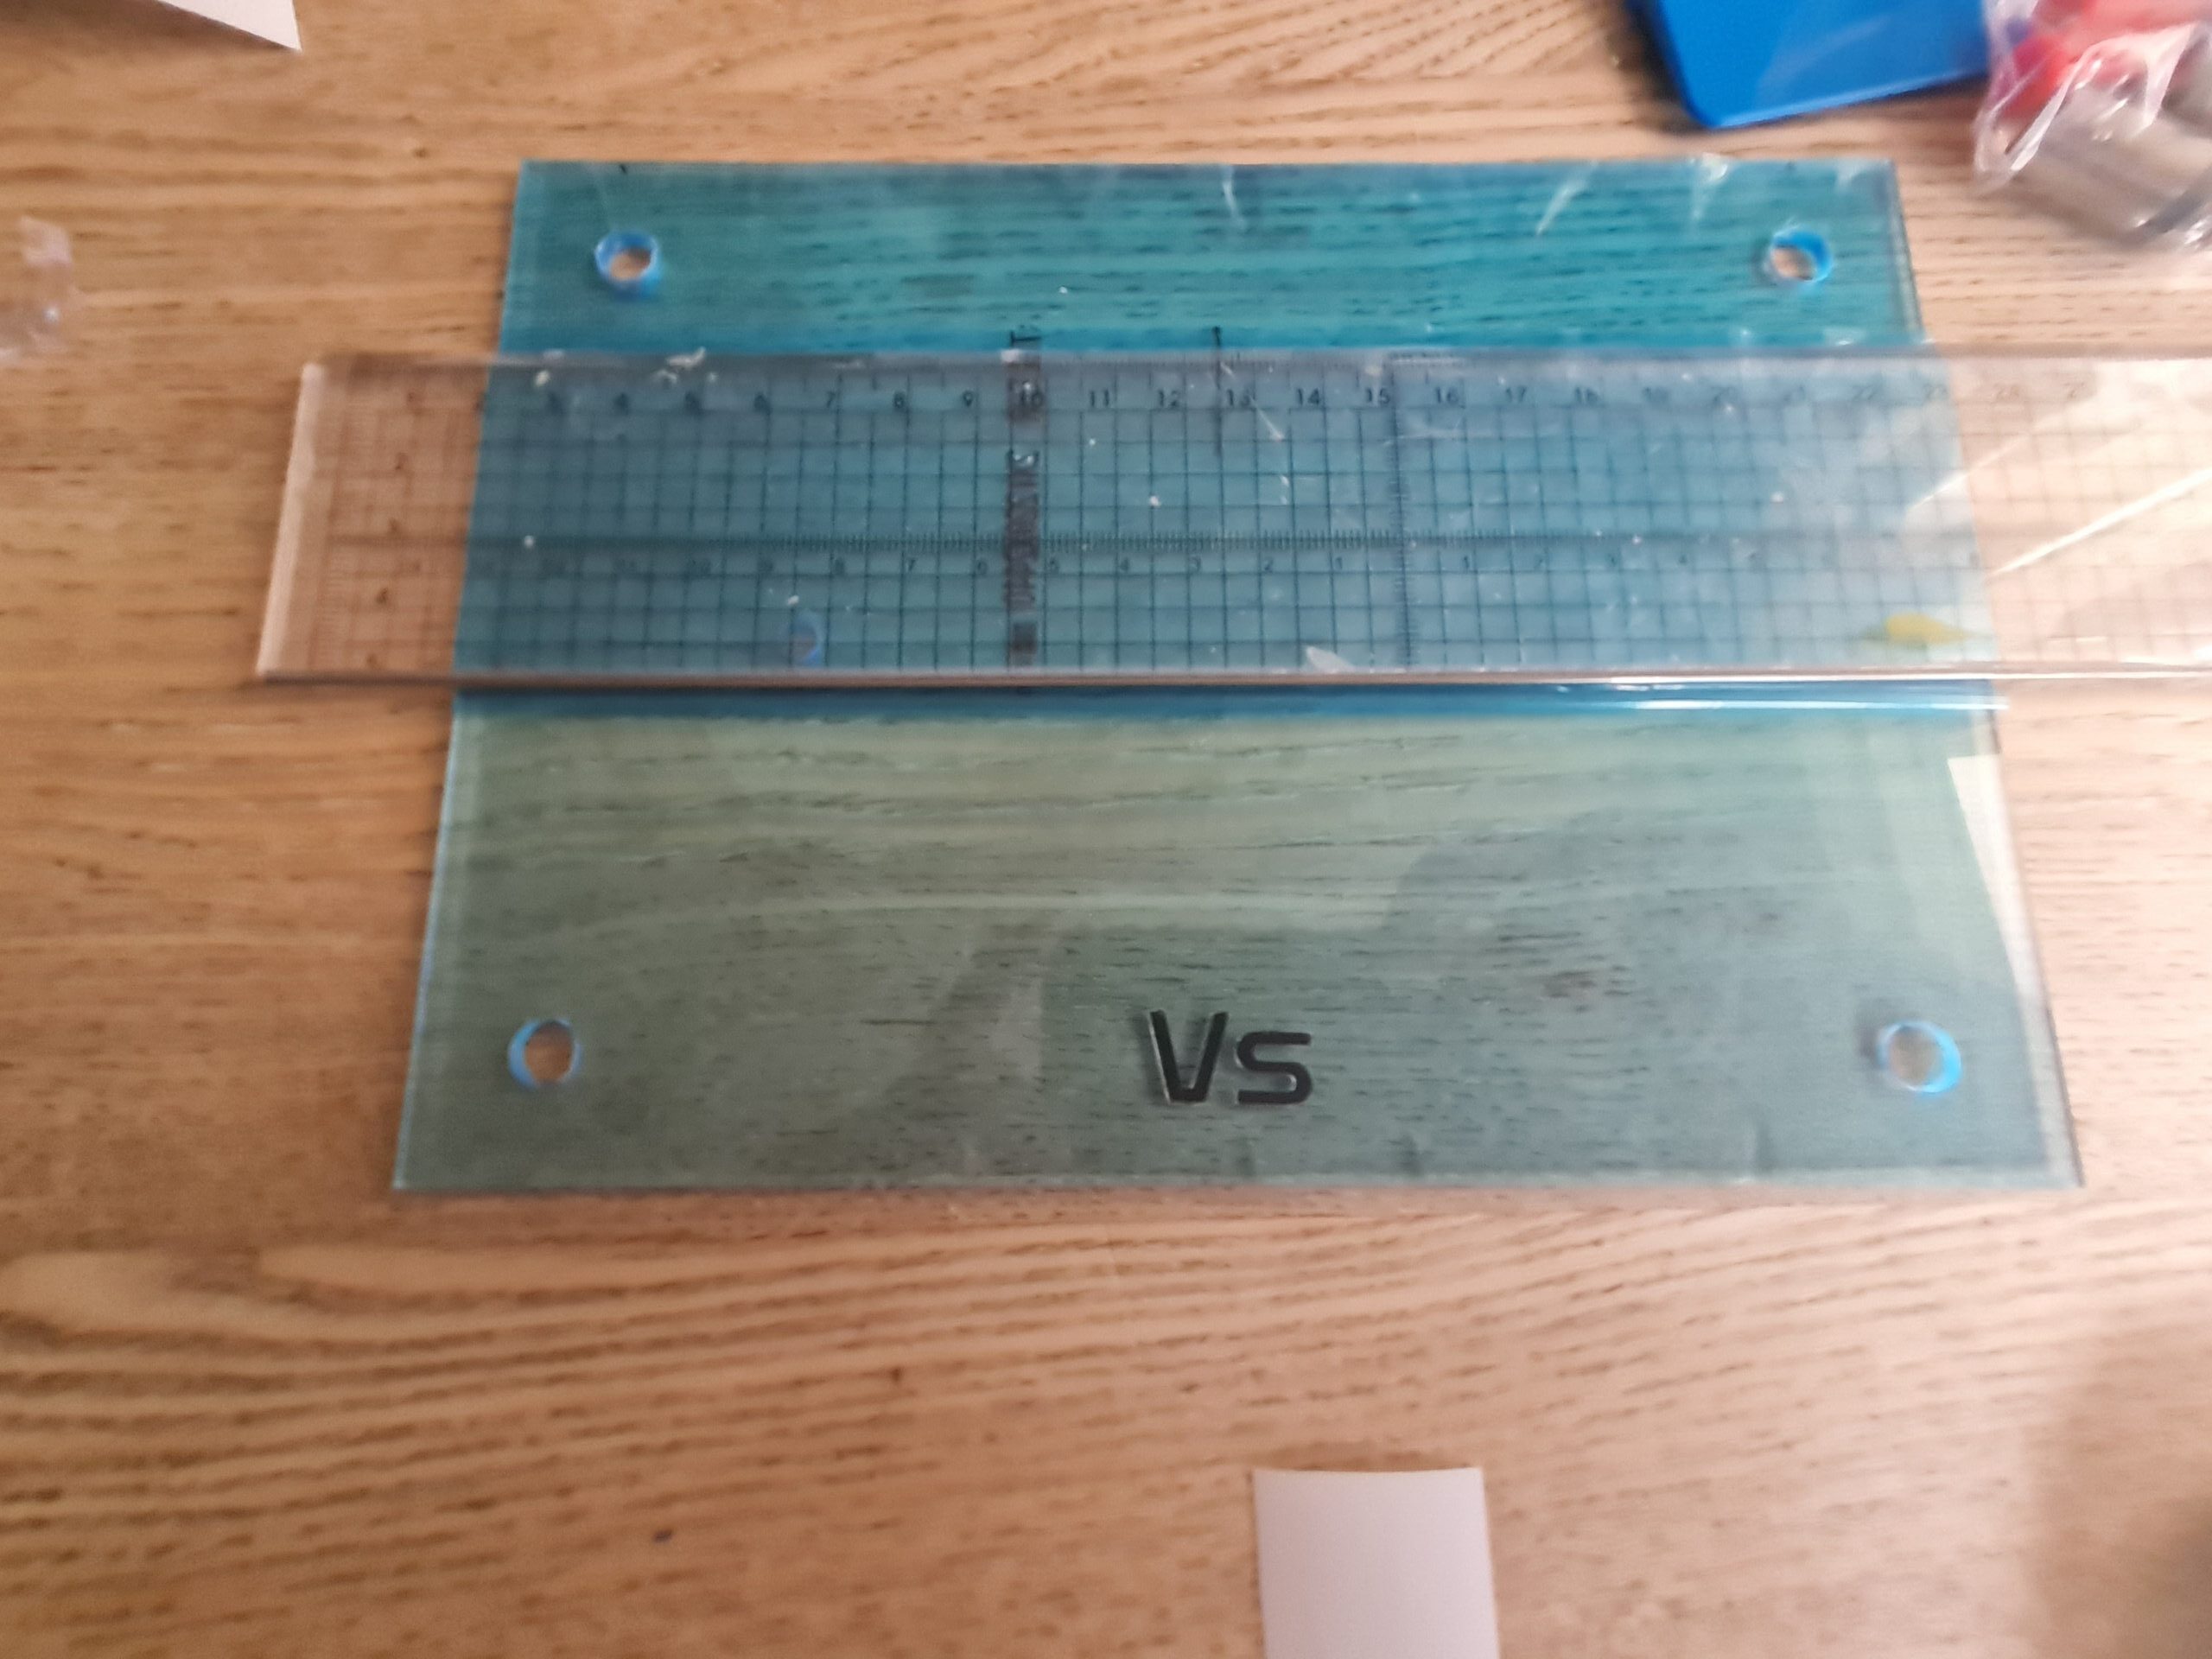
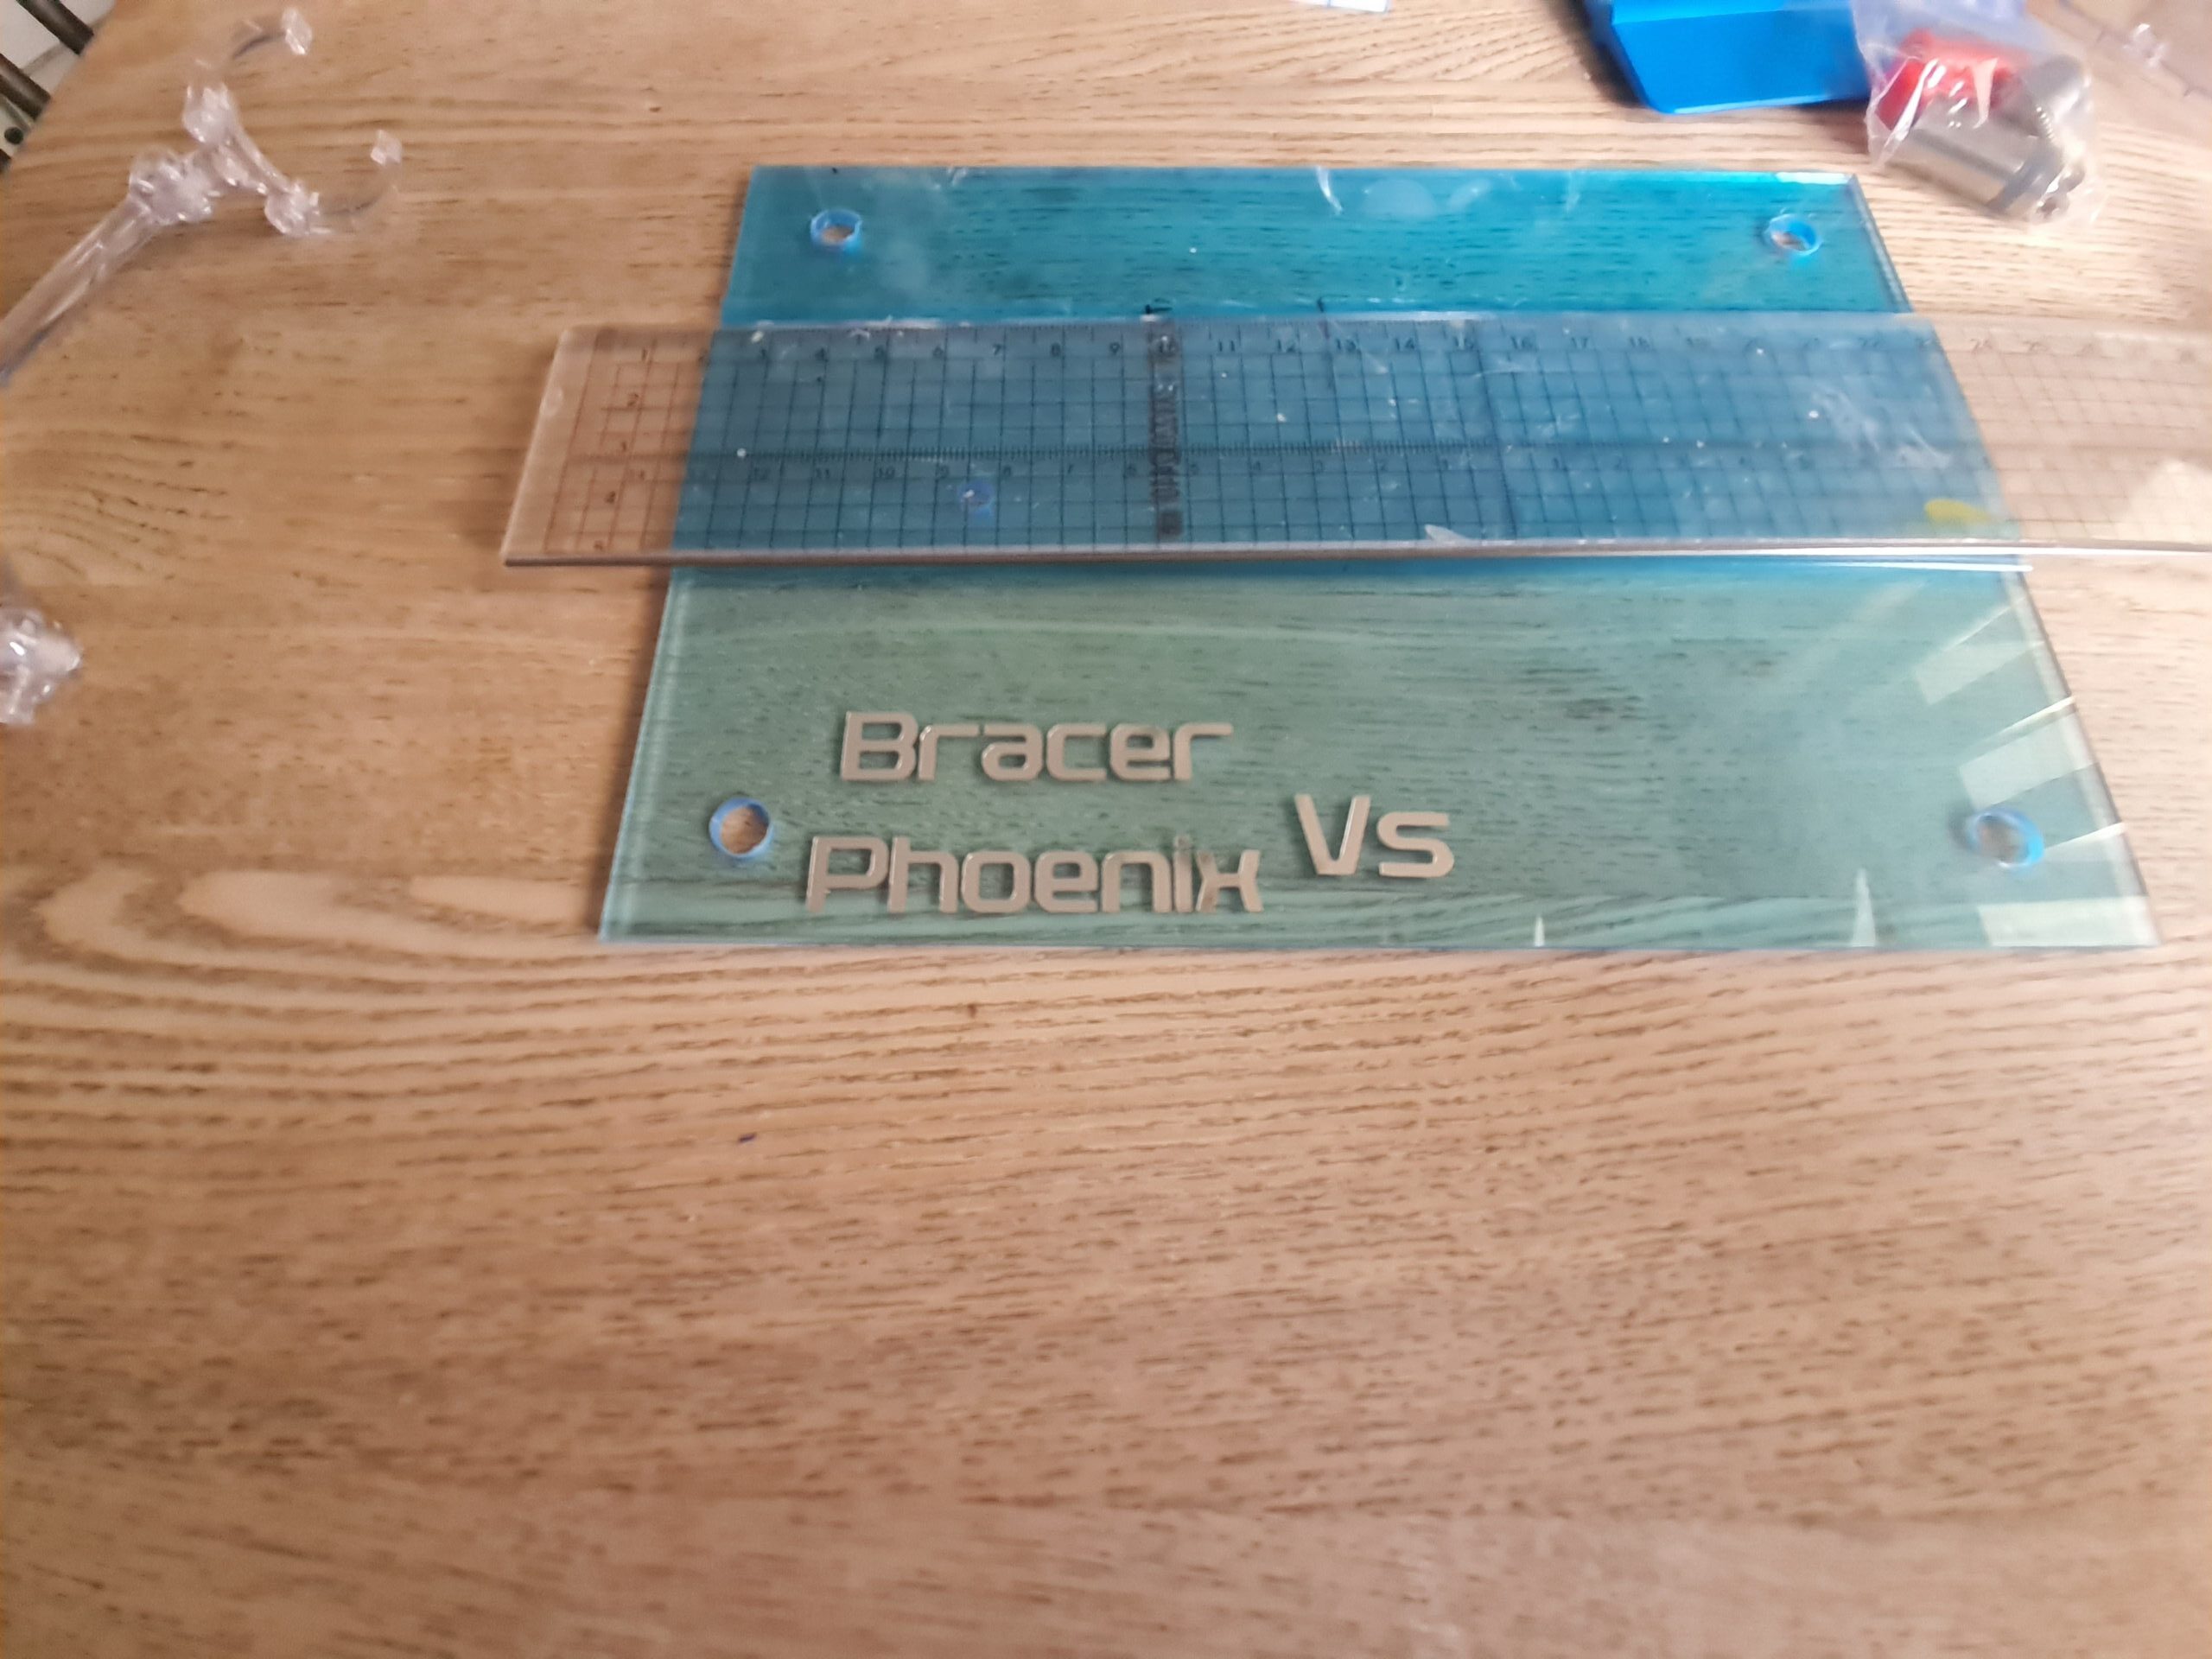
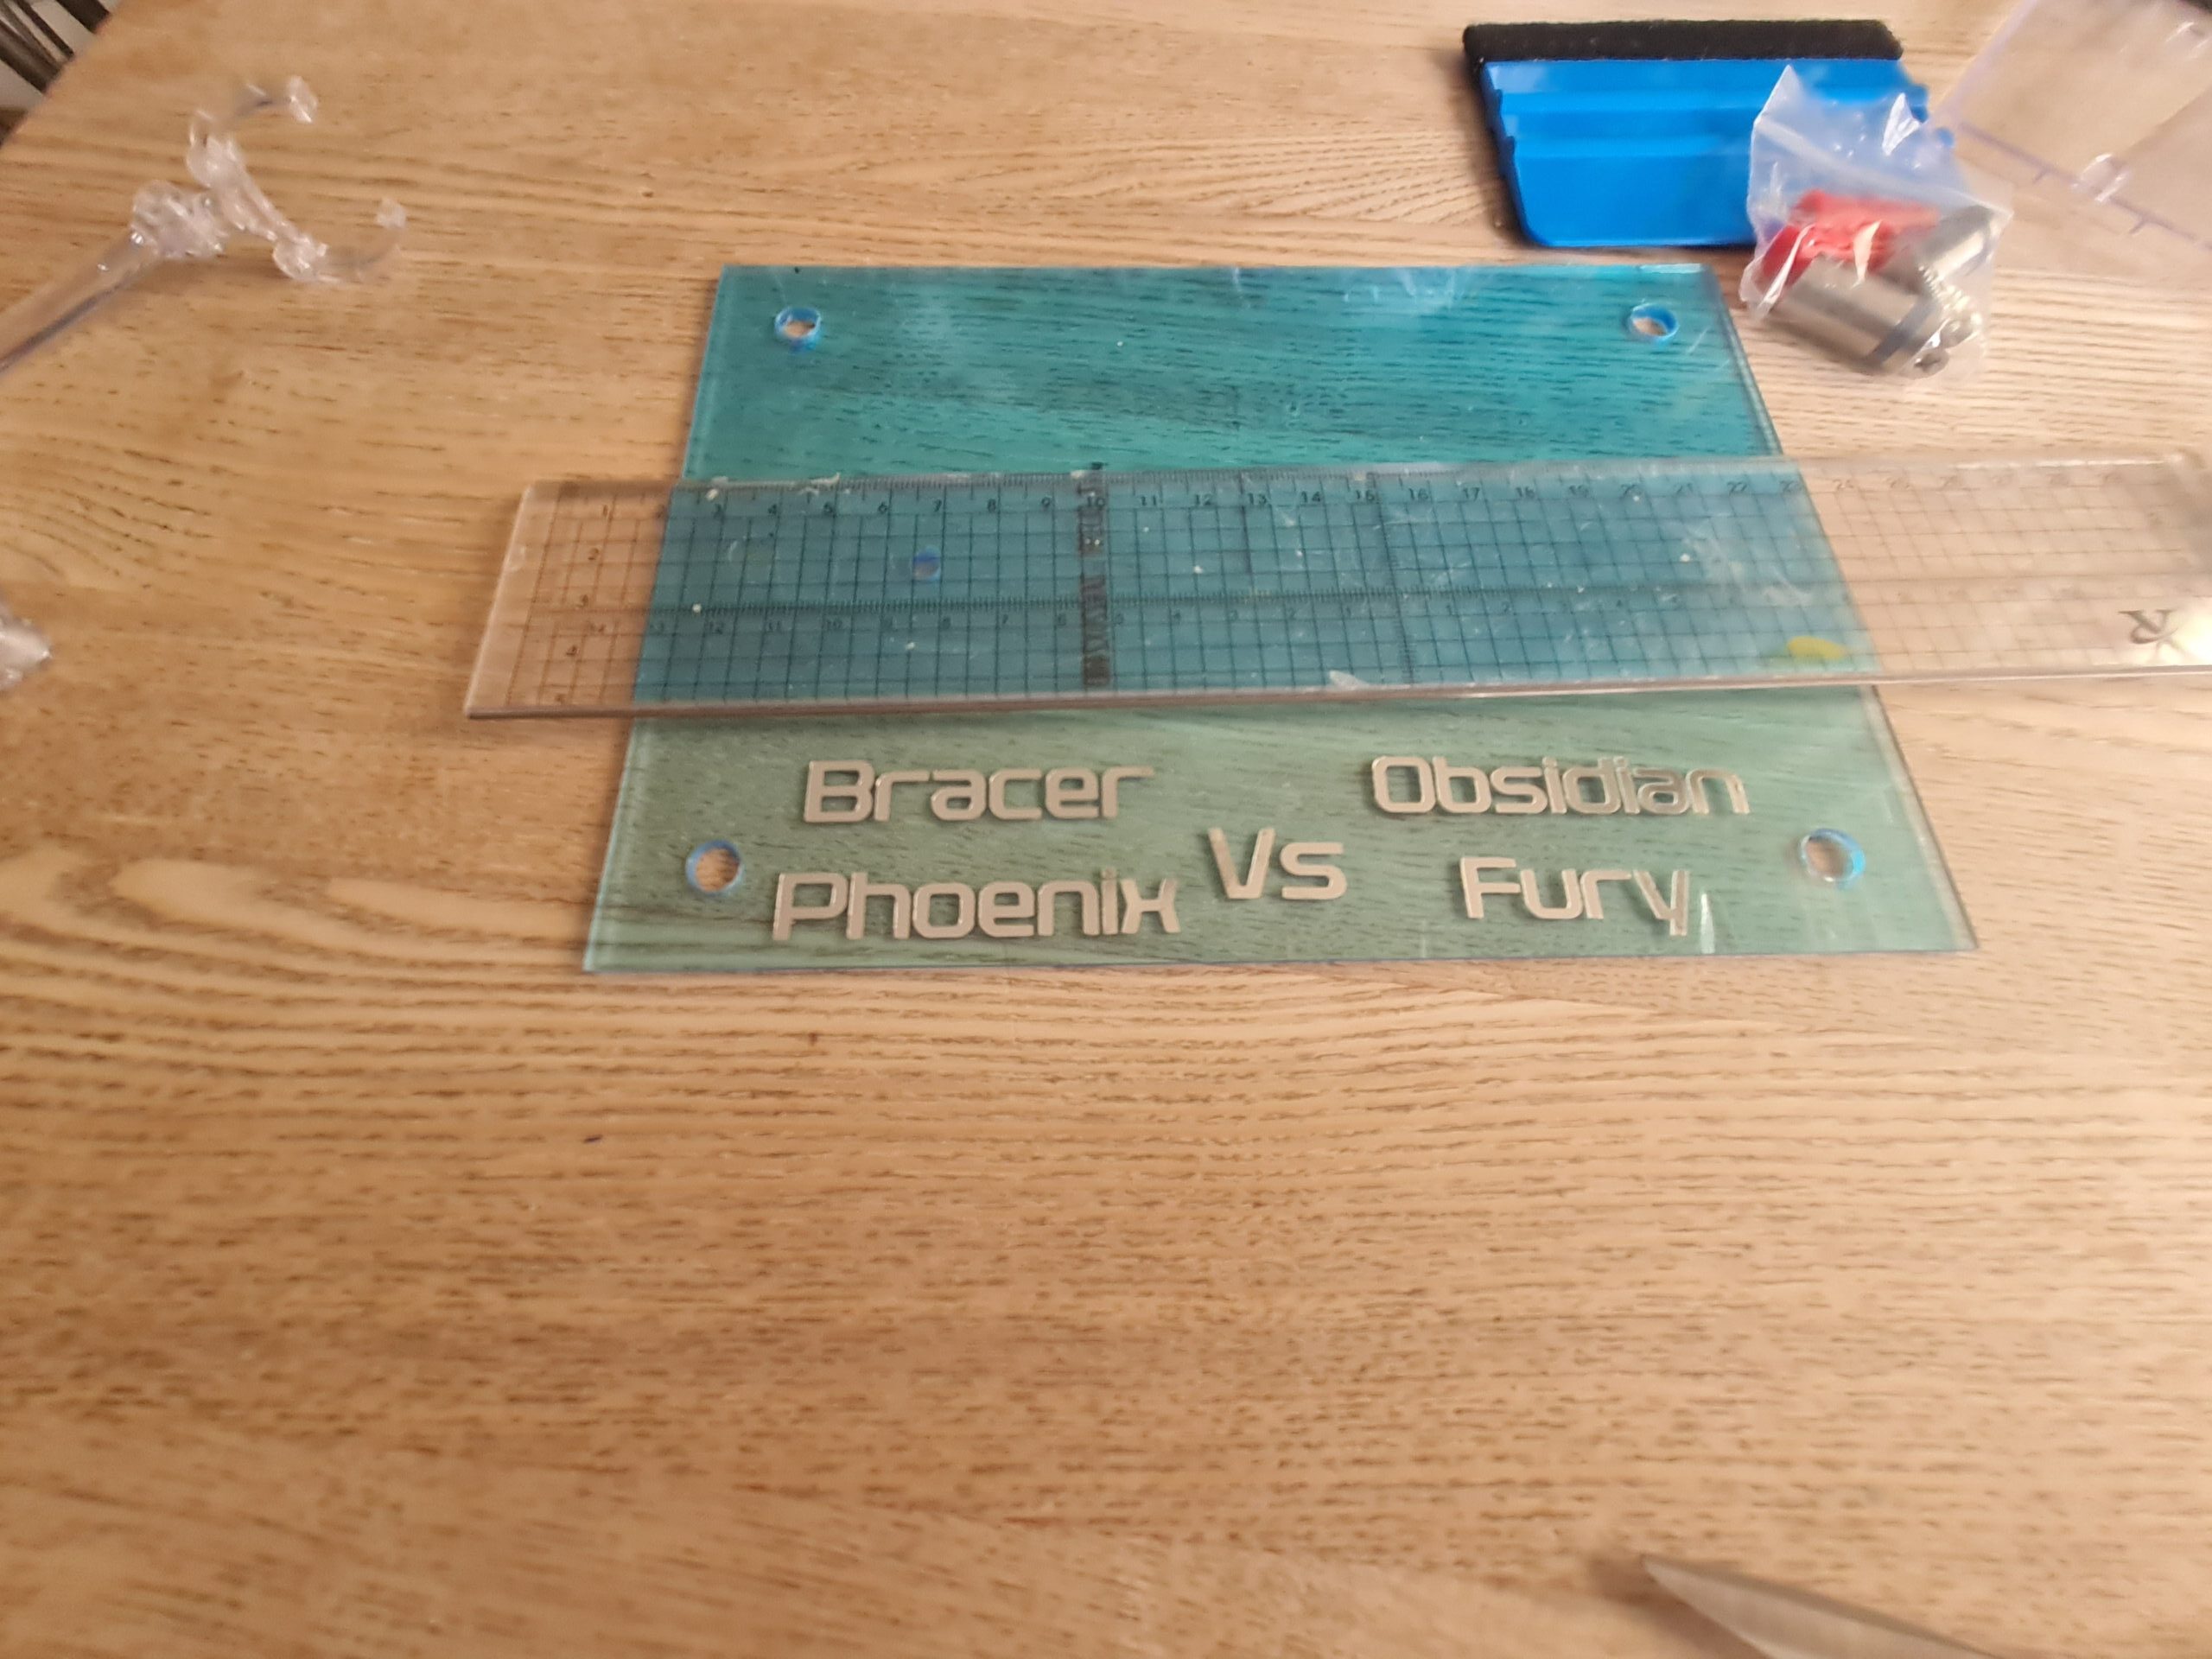
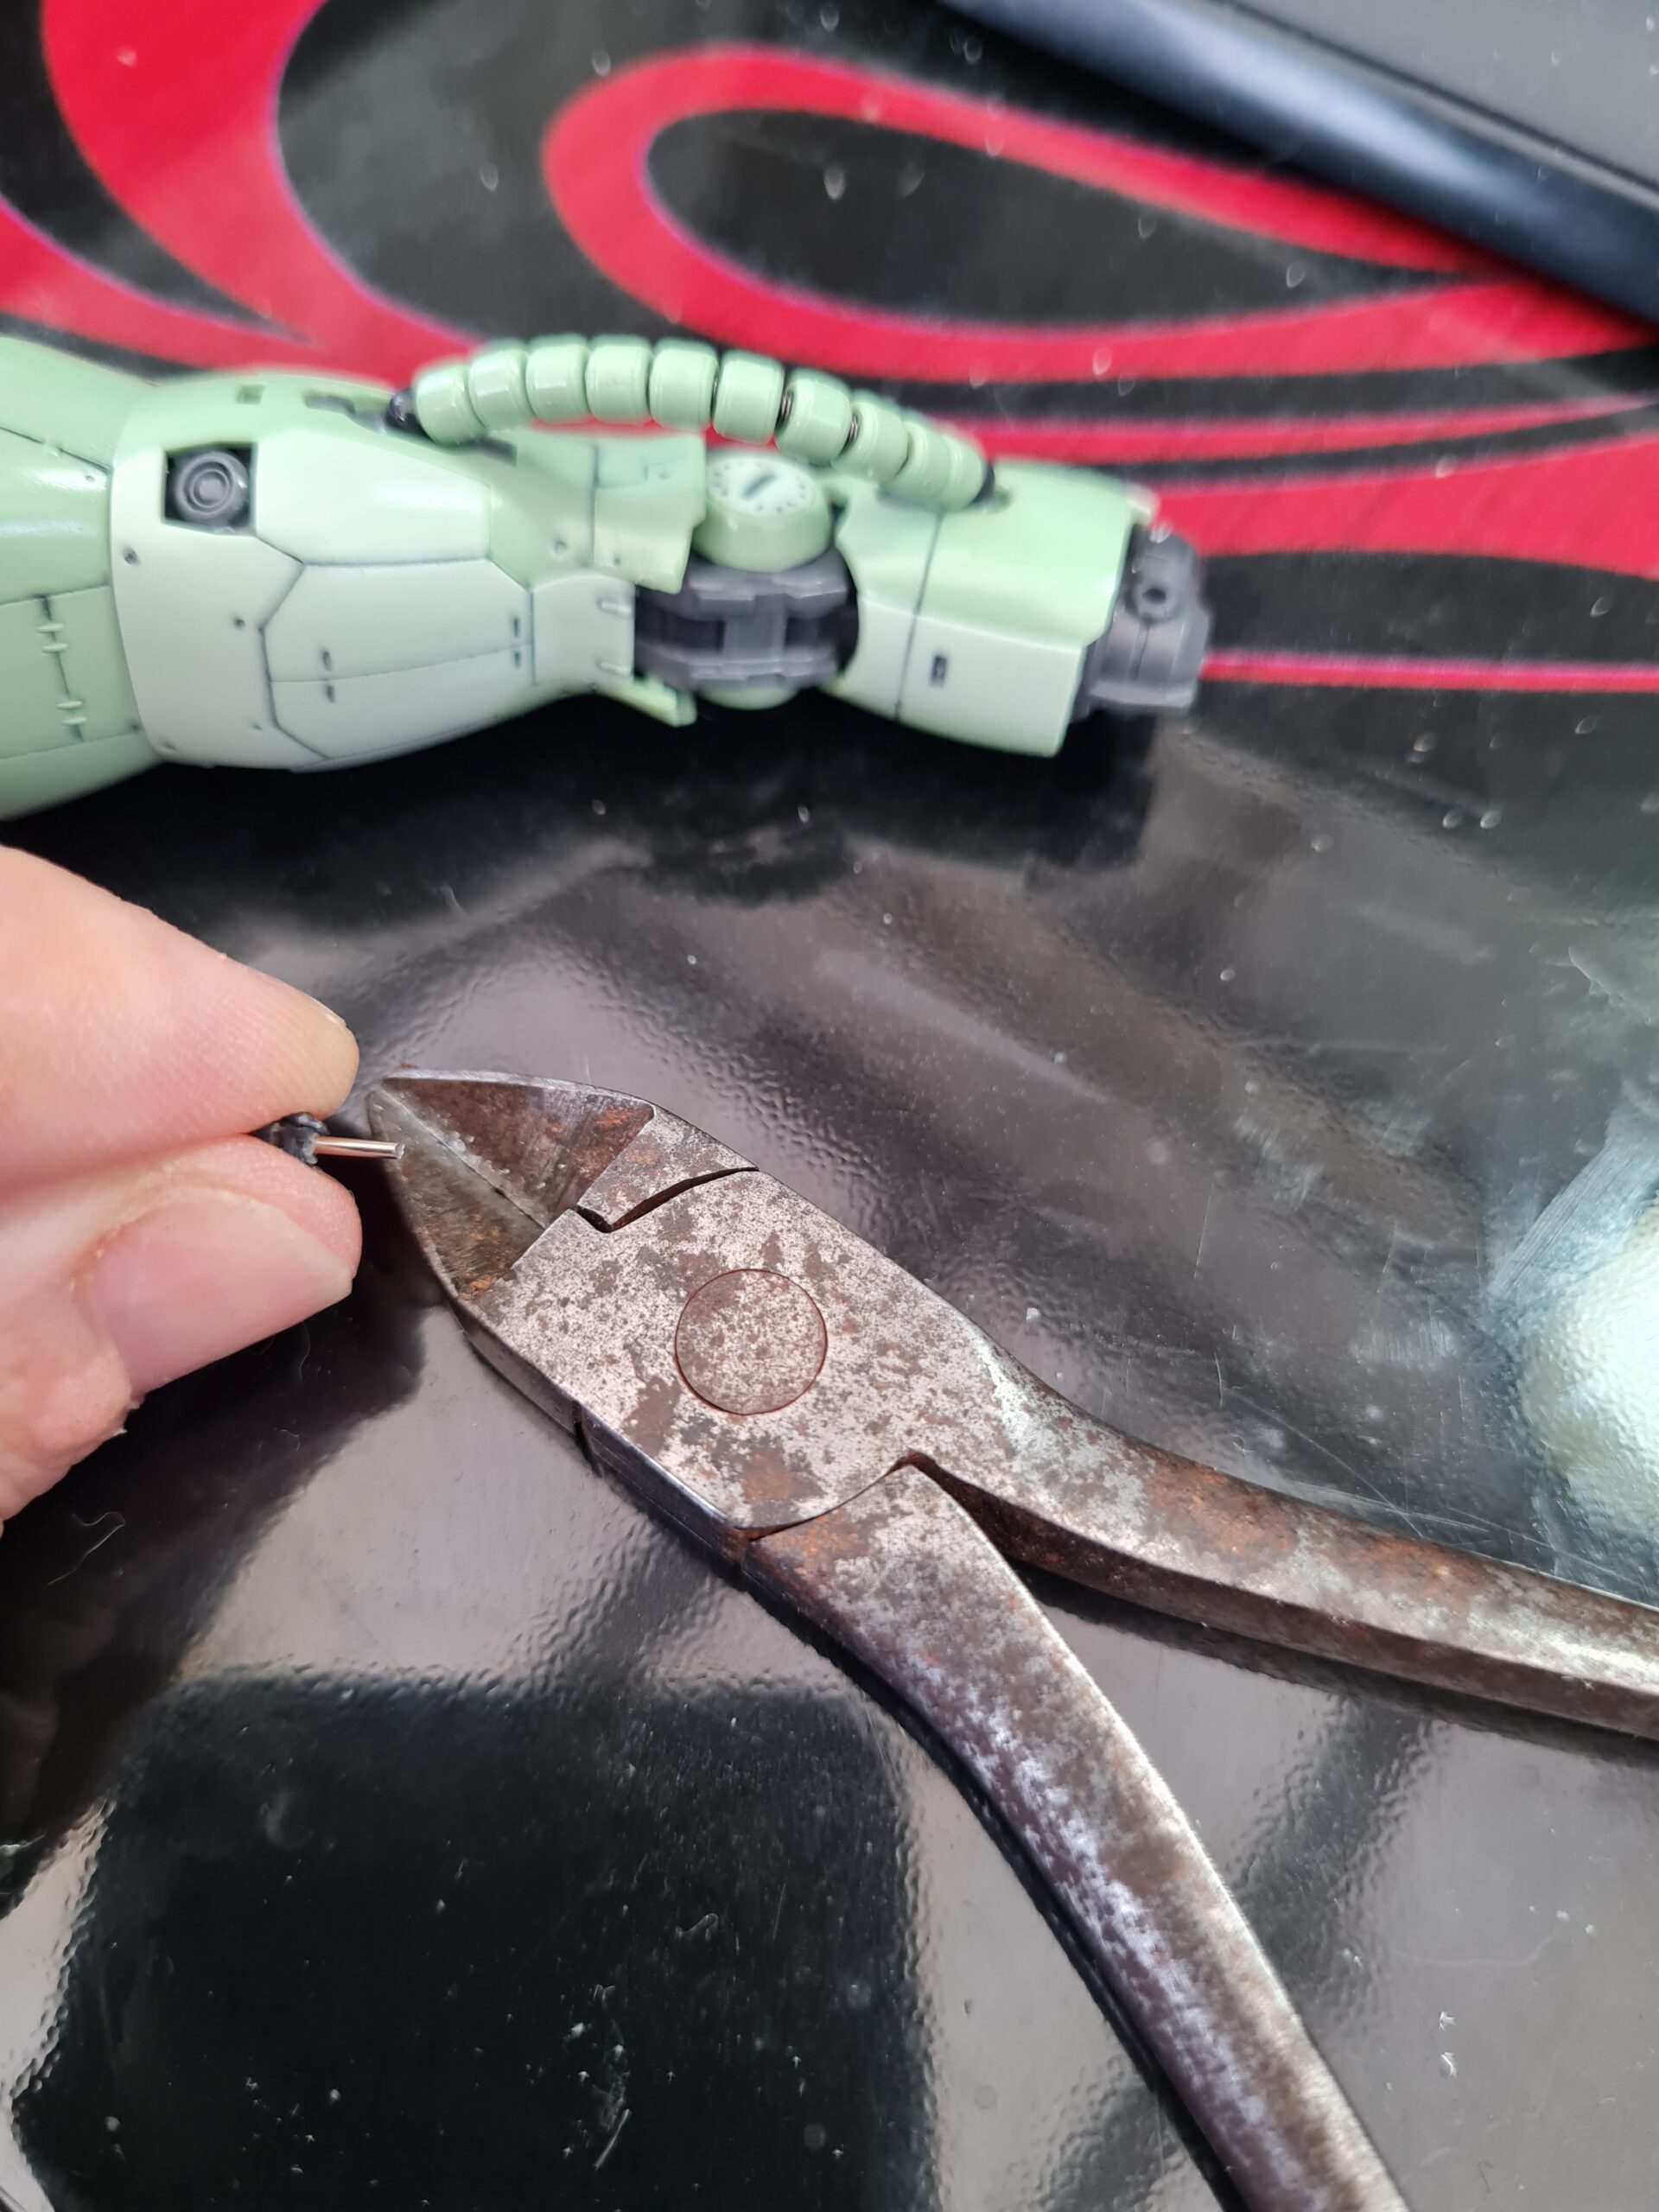
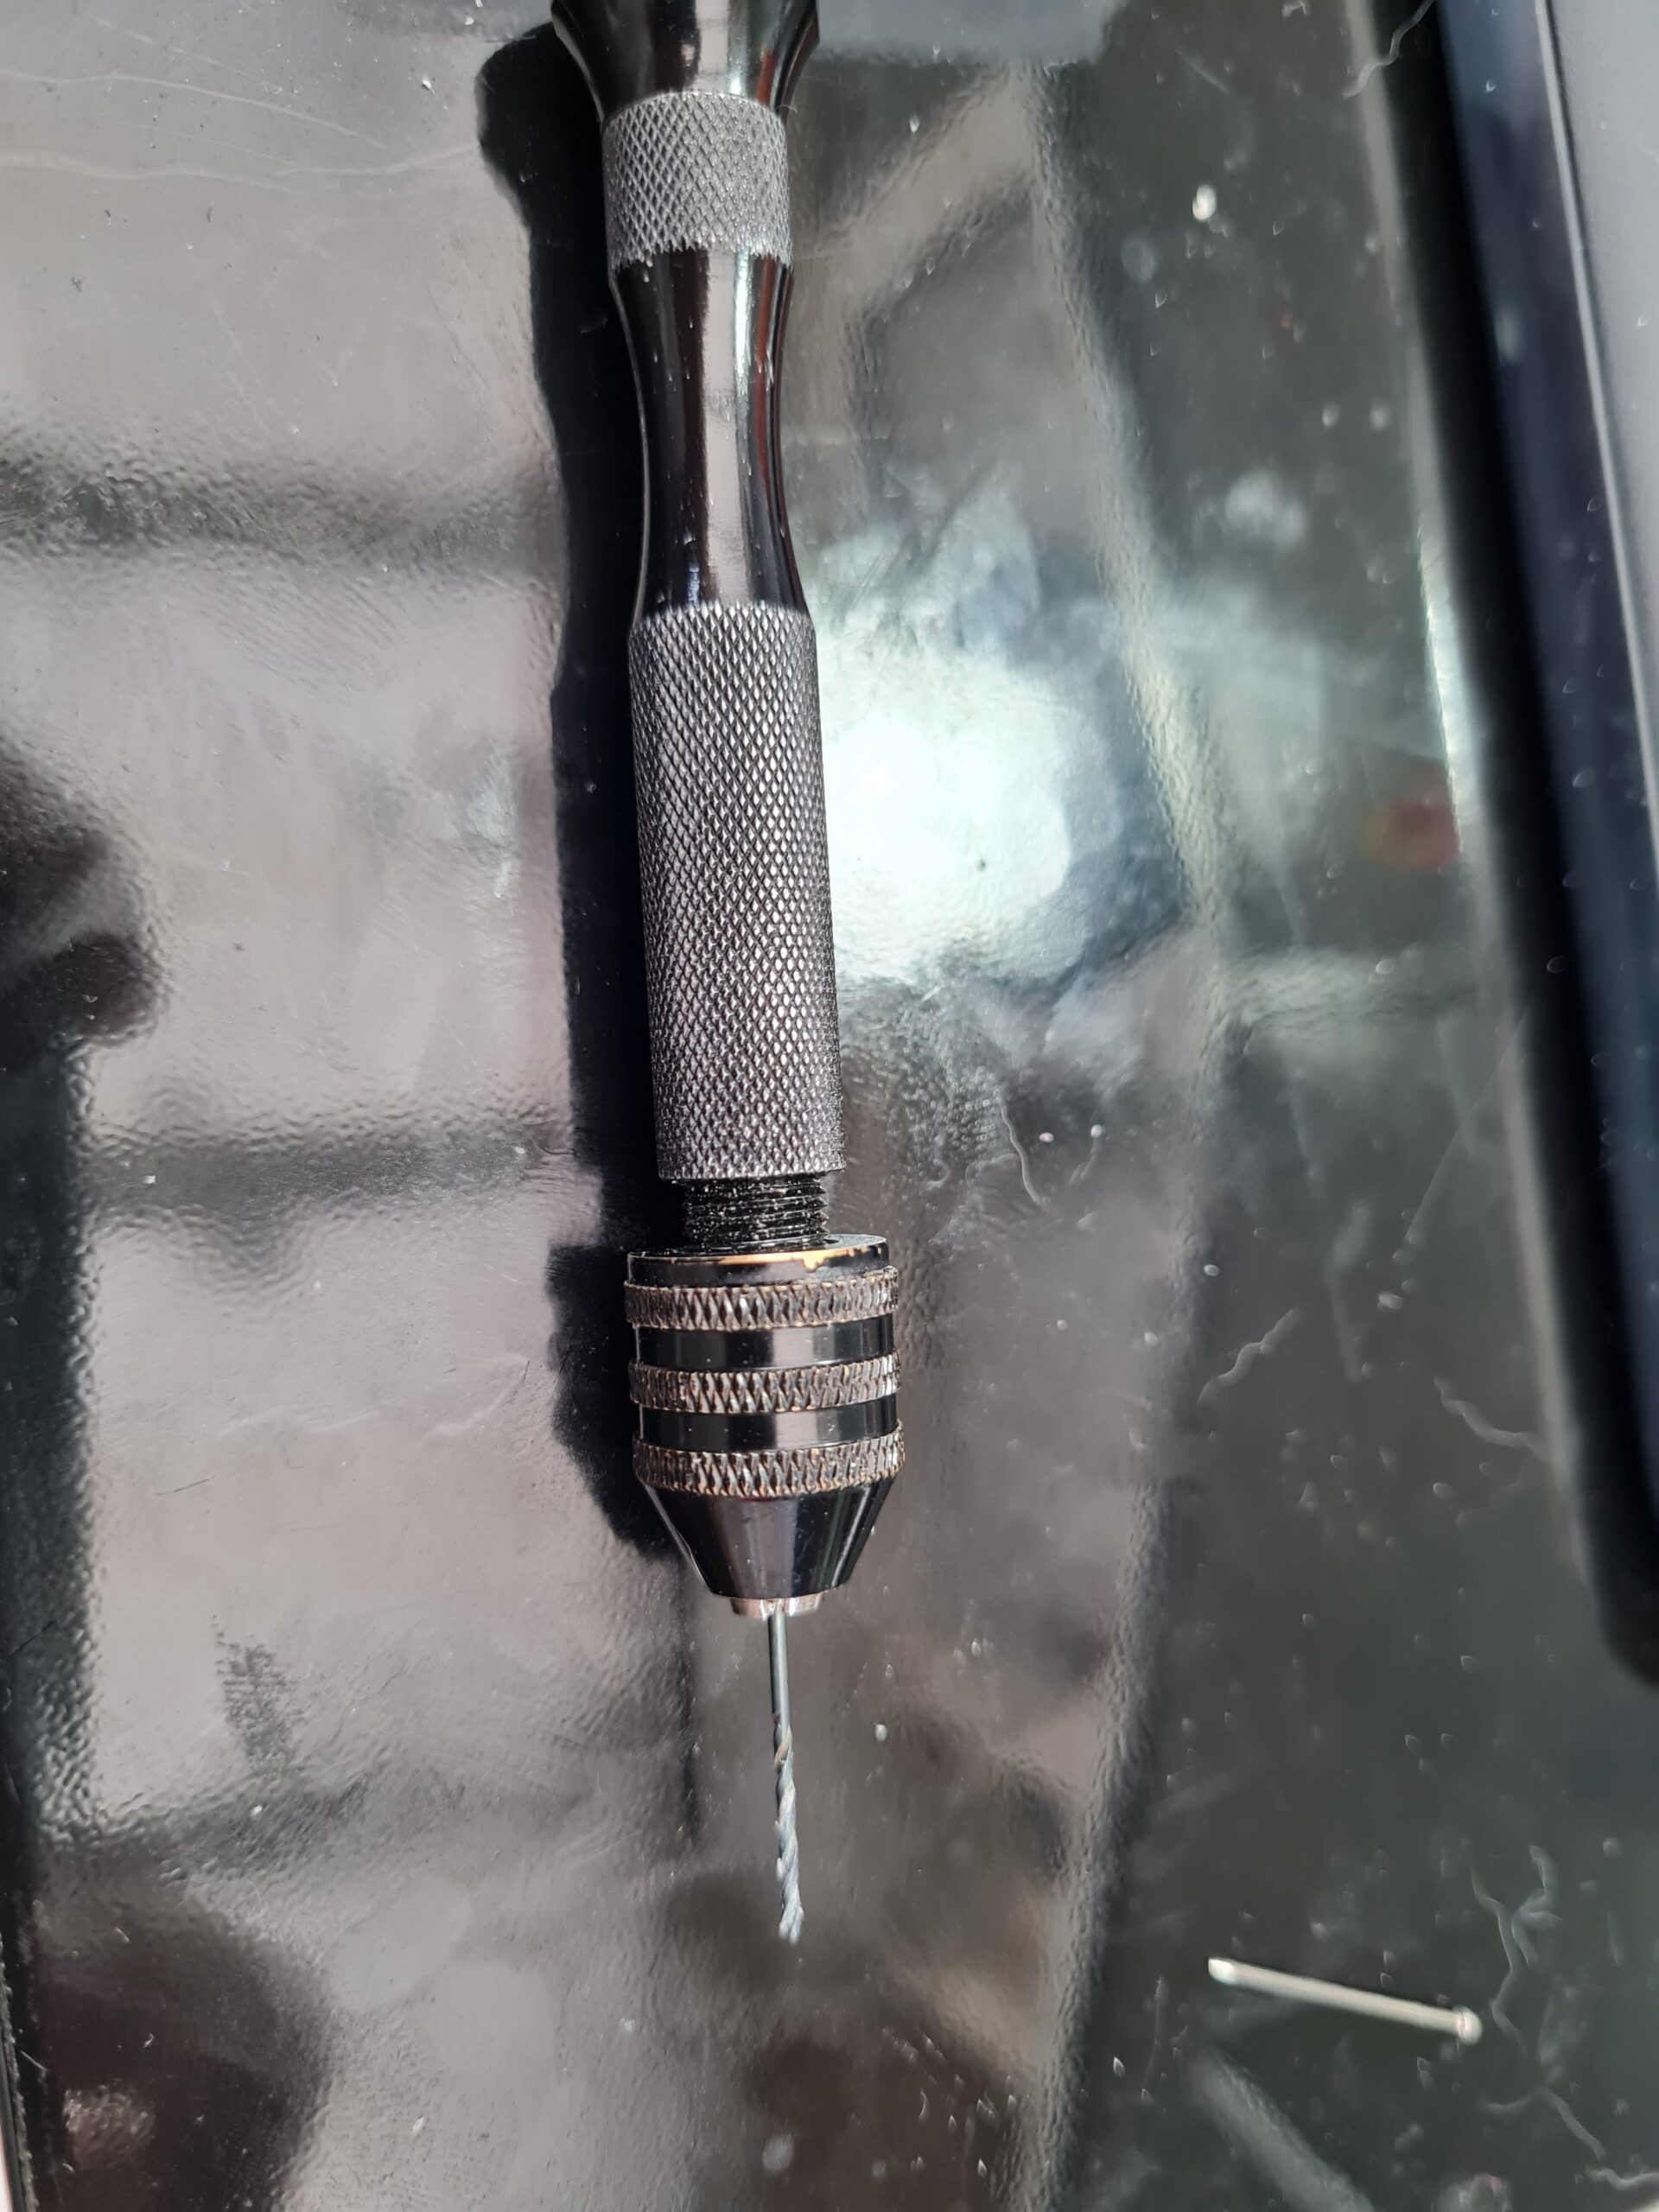
Good morning, afternoon or whenever you read this and welcome to Guess the model Part X! Today was going to be a post in the series of guess the model. I was intending on building, and photographing the legs, or at least one. However, life has conspired against me! This is what has led to the Part X title.

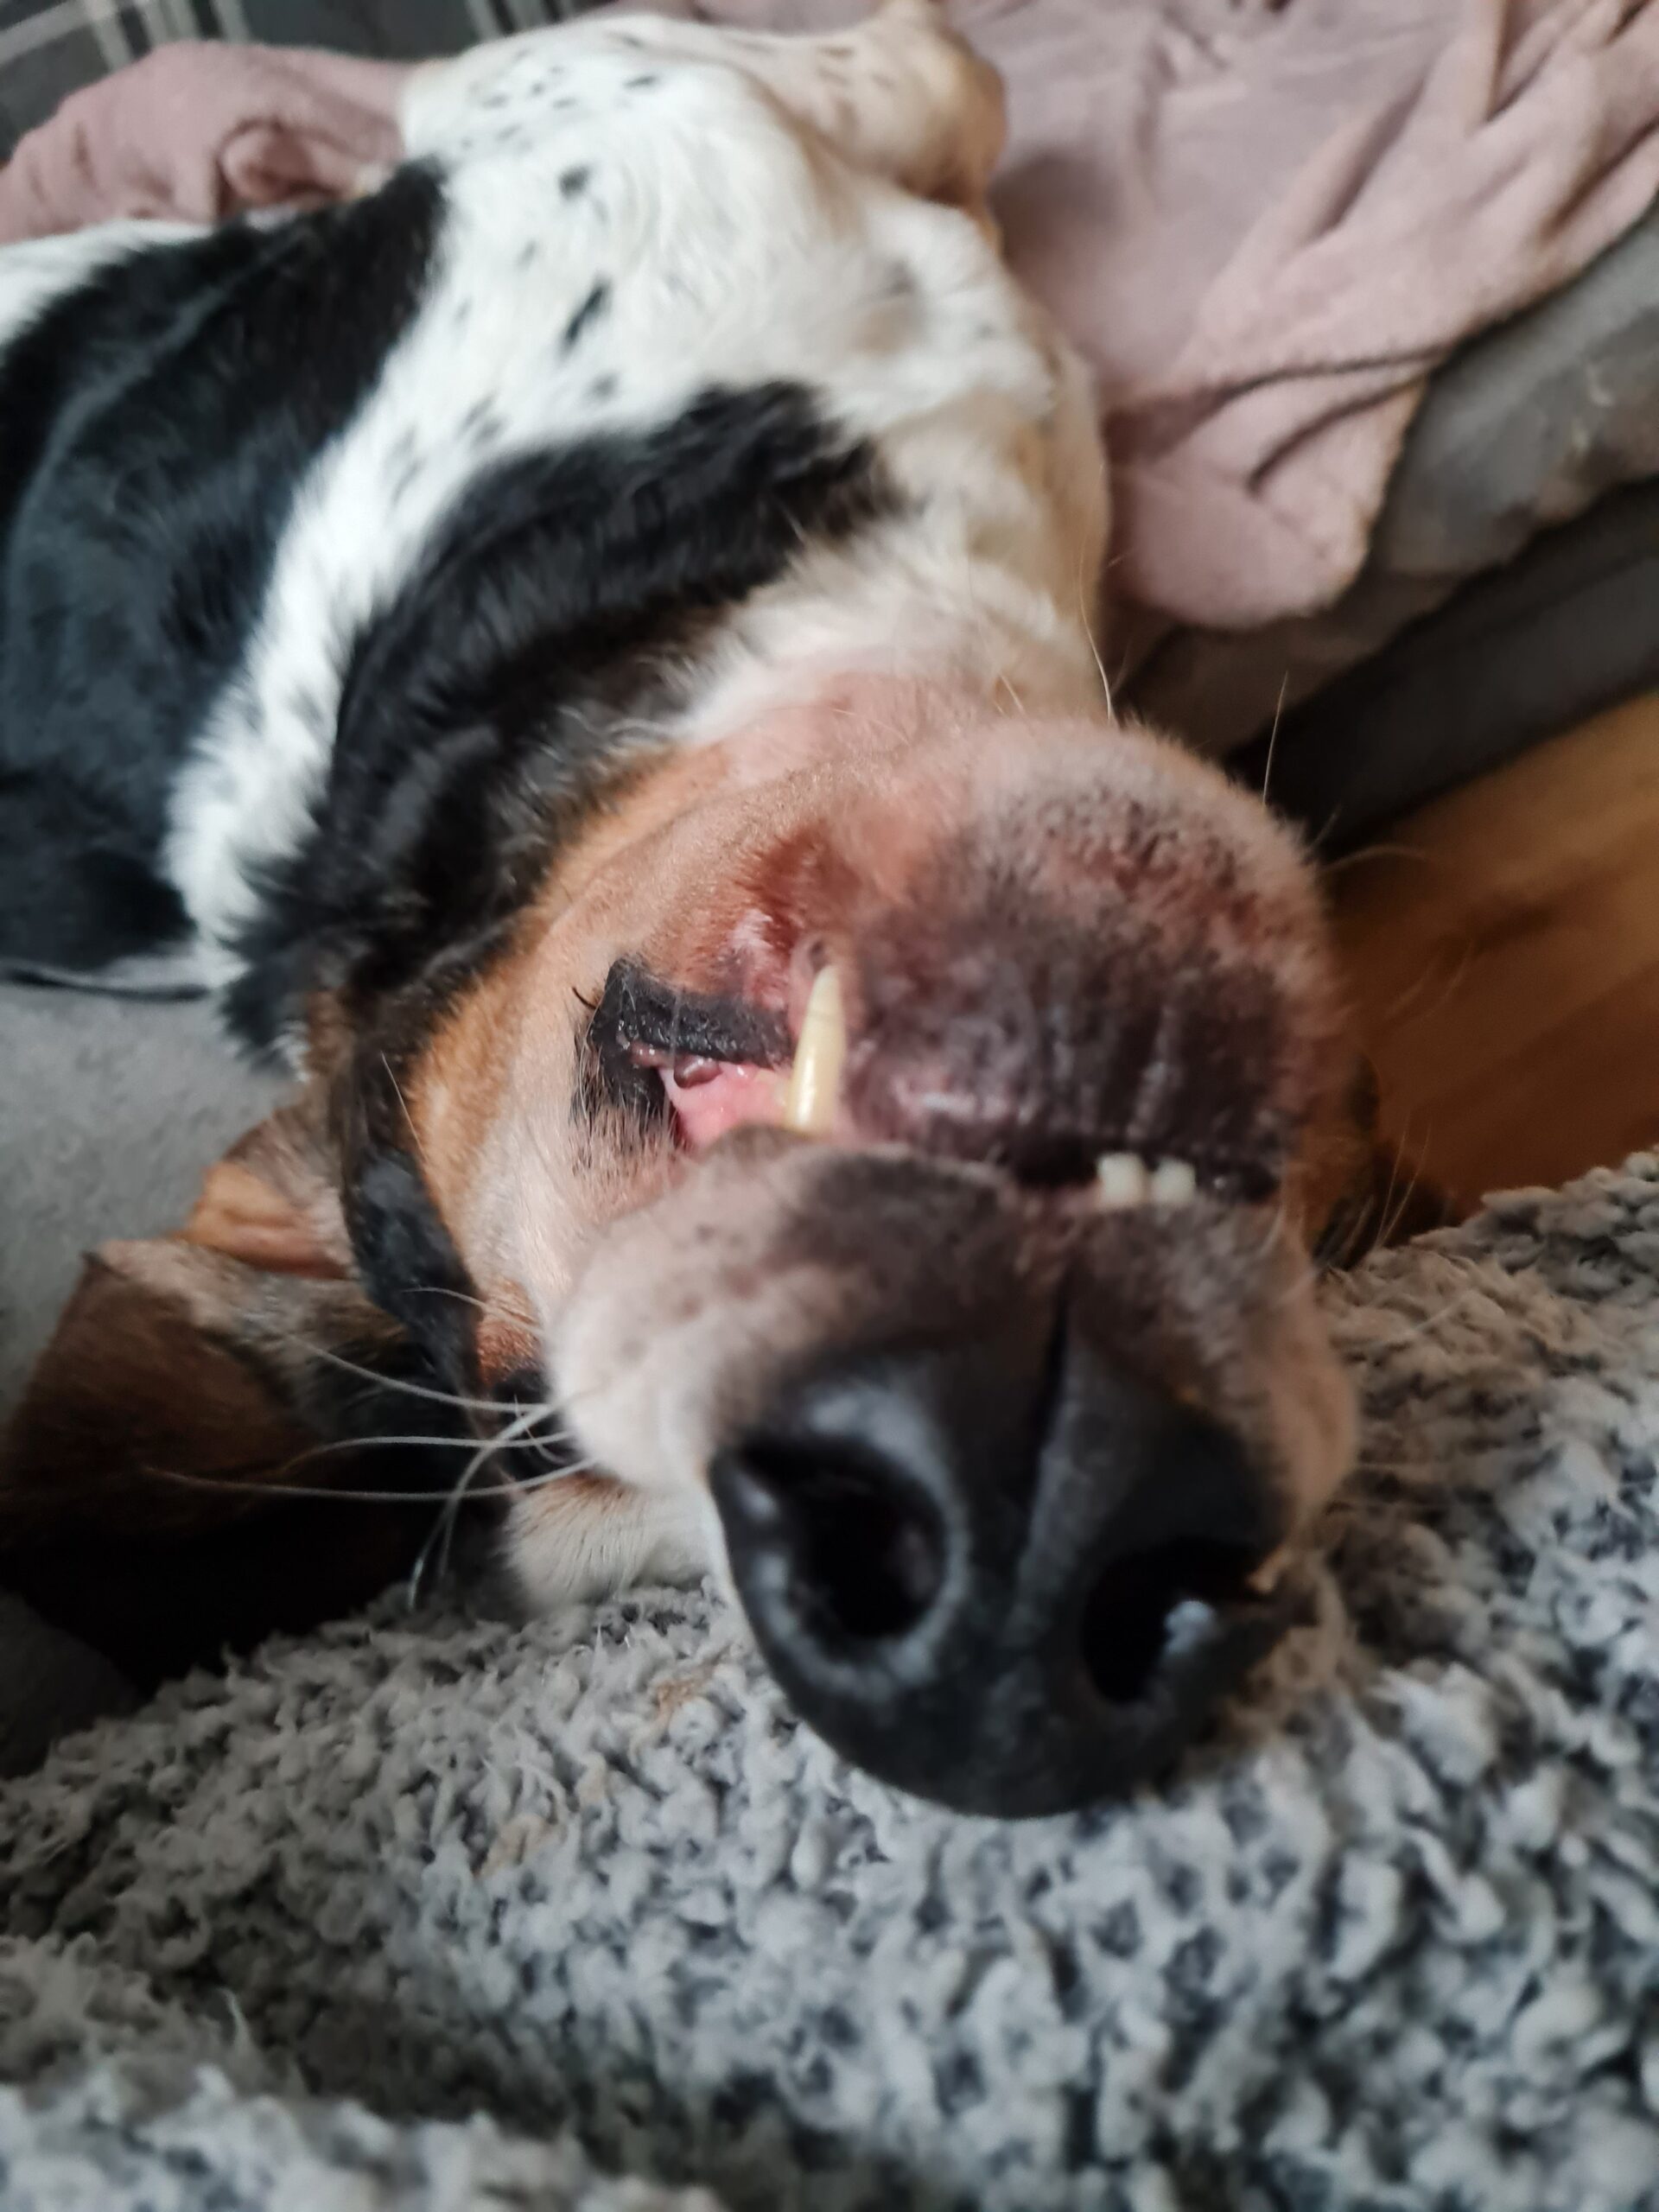
So a little background. My lovely Basset hounds are both getting on in age. They have both, unfortunately as they got older become liable to seizures. This can happen with the breed and in itself isn’t the end of the world. However, the most recent to go onto his meds has unfortunately also developed a Scooby Doo esque style of the munchies. This morning my wife woke me to the fact he had chewed and eaten the top part of a plastic milk carton.

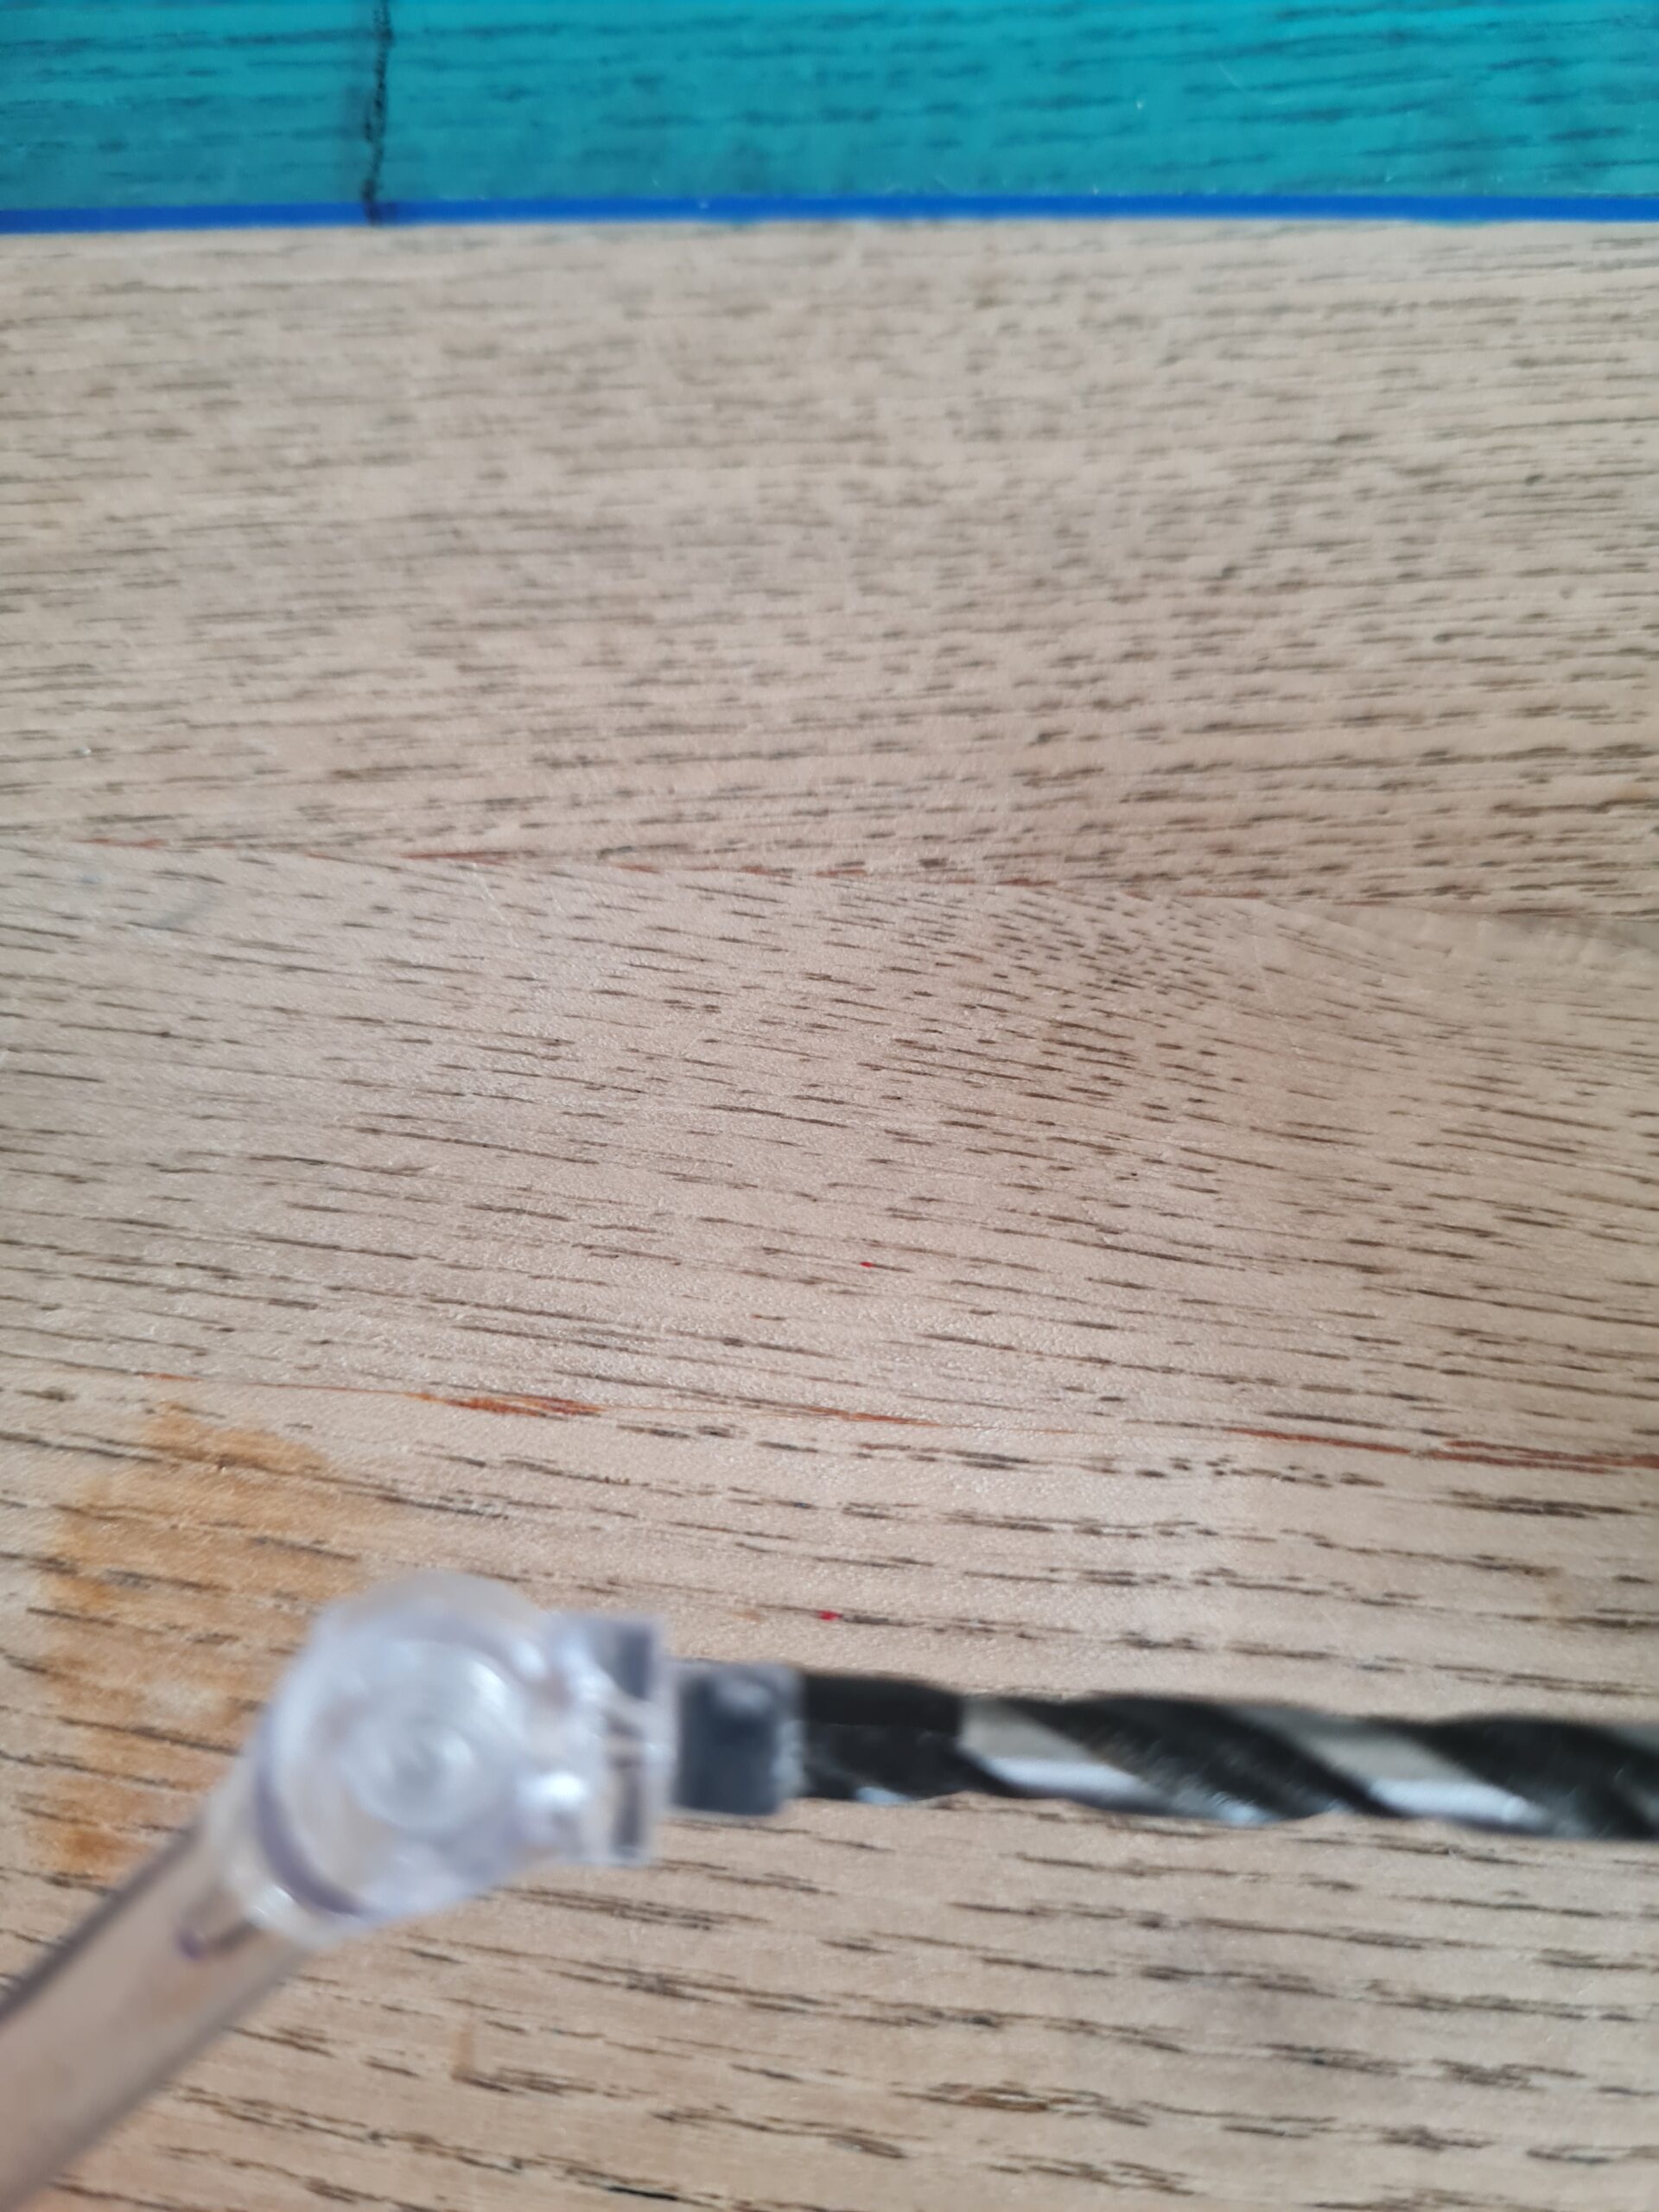
So while she rang the vets I diligently searched for “bits” he may have chewed but not eaten. The vets being wonderful are seeing him pretty much straight away. I managed to find some bits of carton not eaten, but also some parts of a soft cheese container that had also formed part of this 2 course meal. Note I found the parts in the dog bed in the conservatory which is where he goes to nom things he knows he shouldn’t!

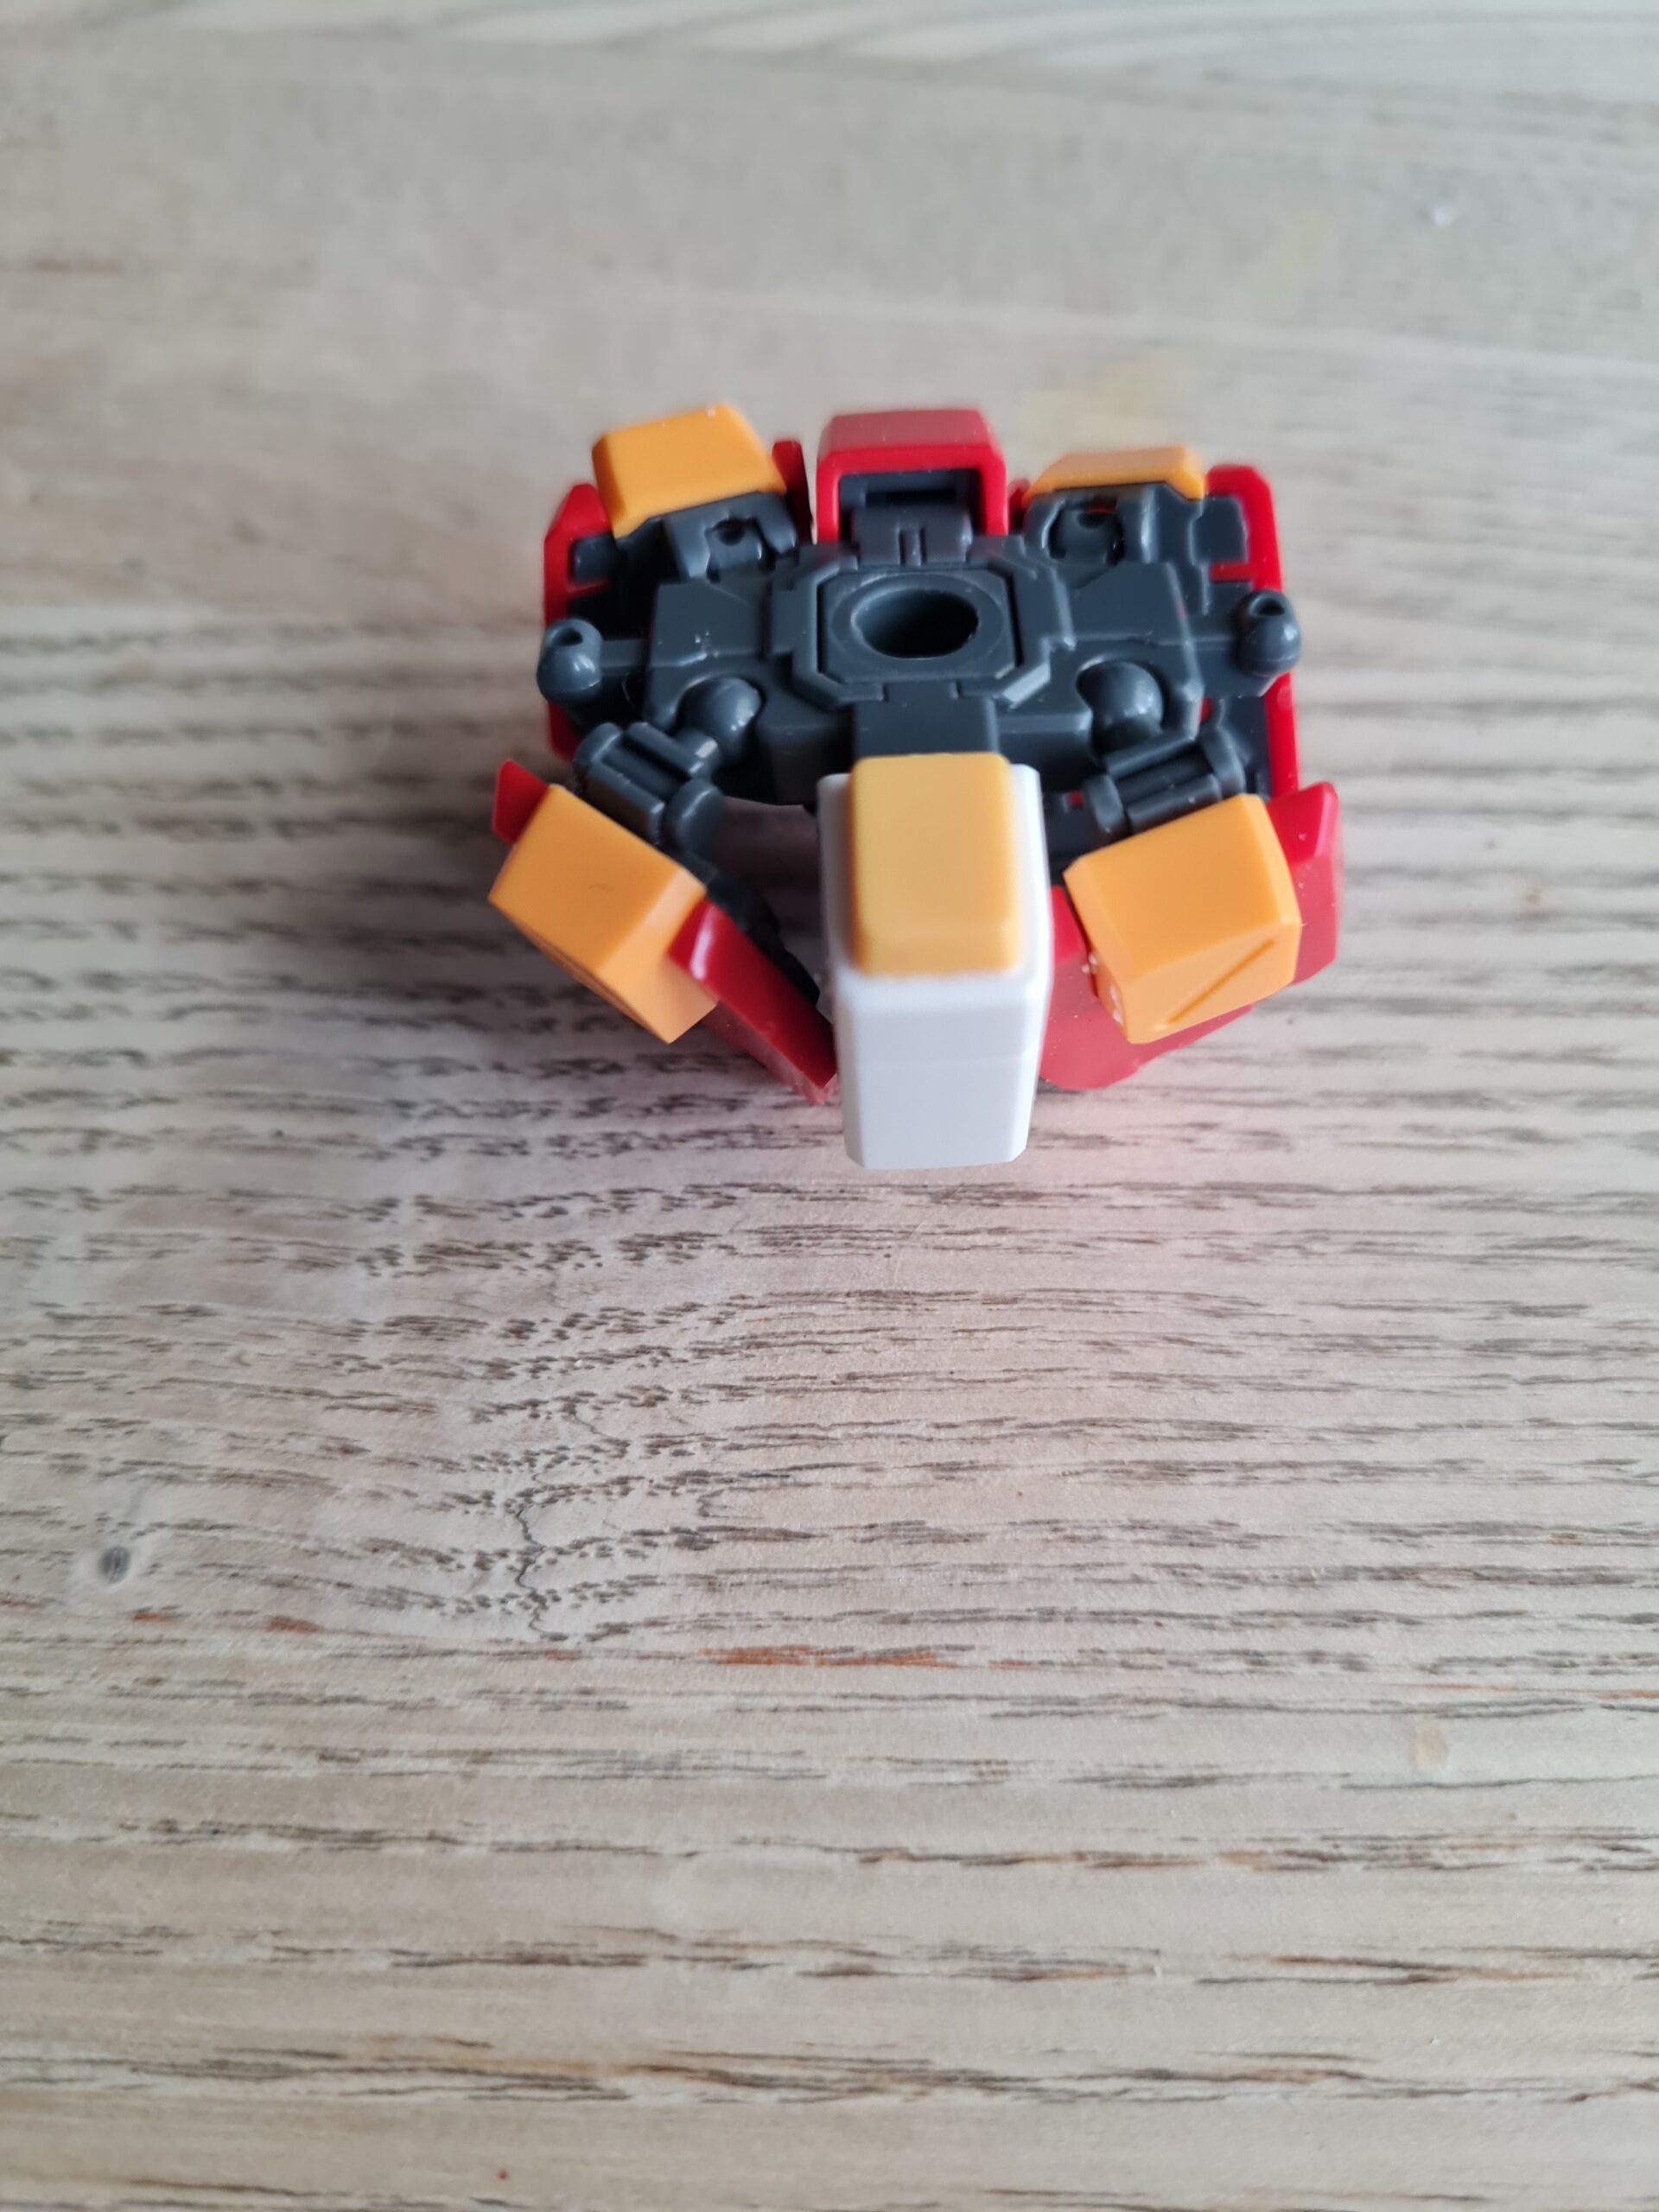
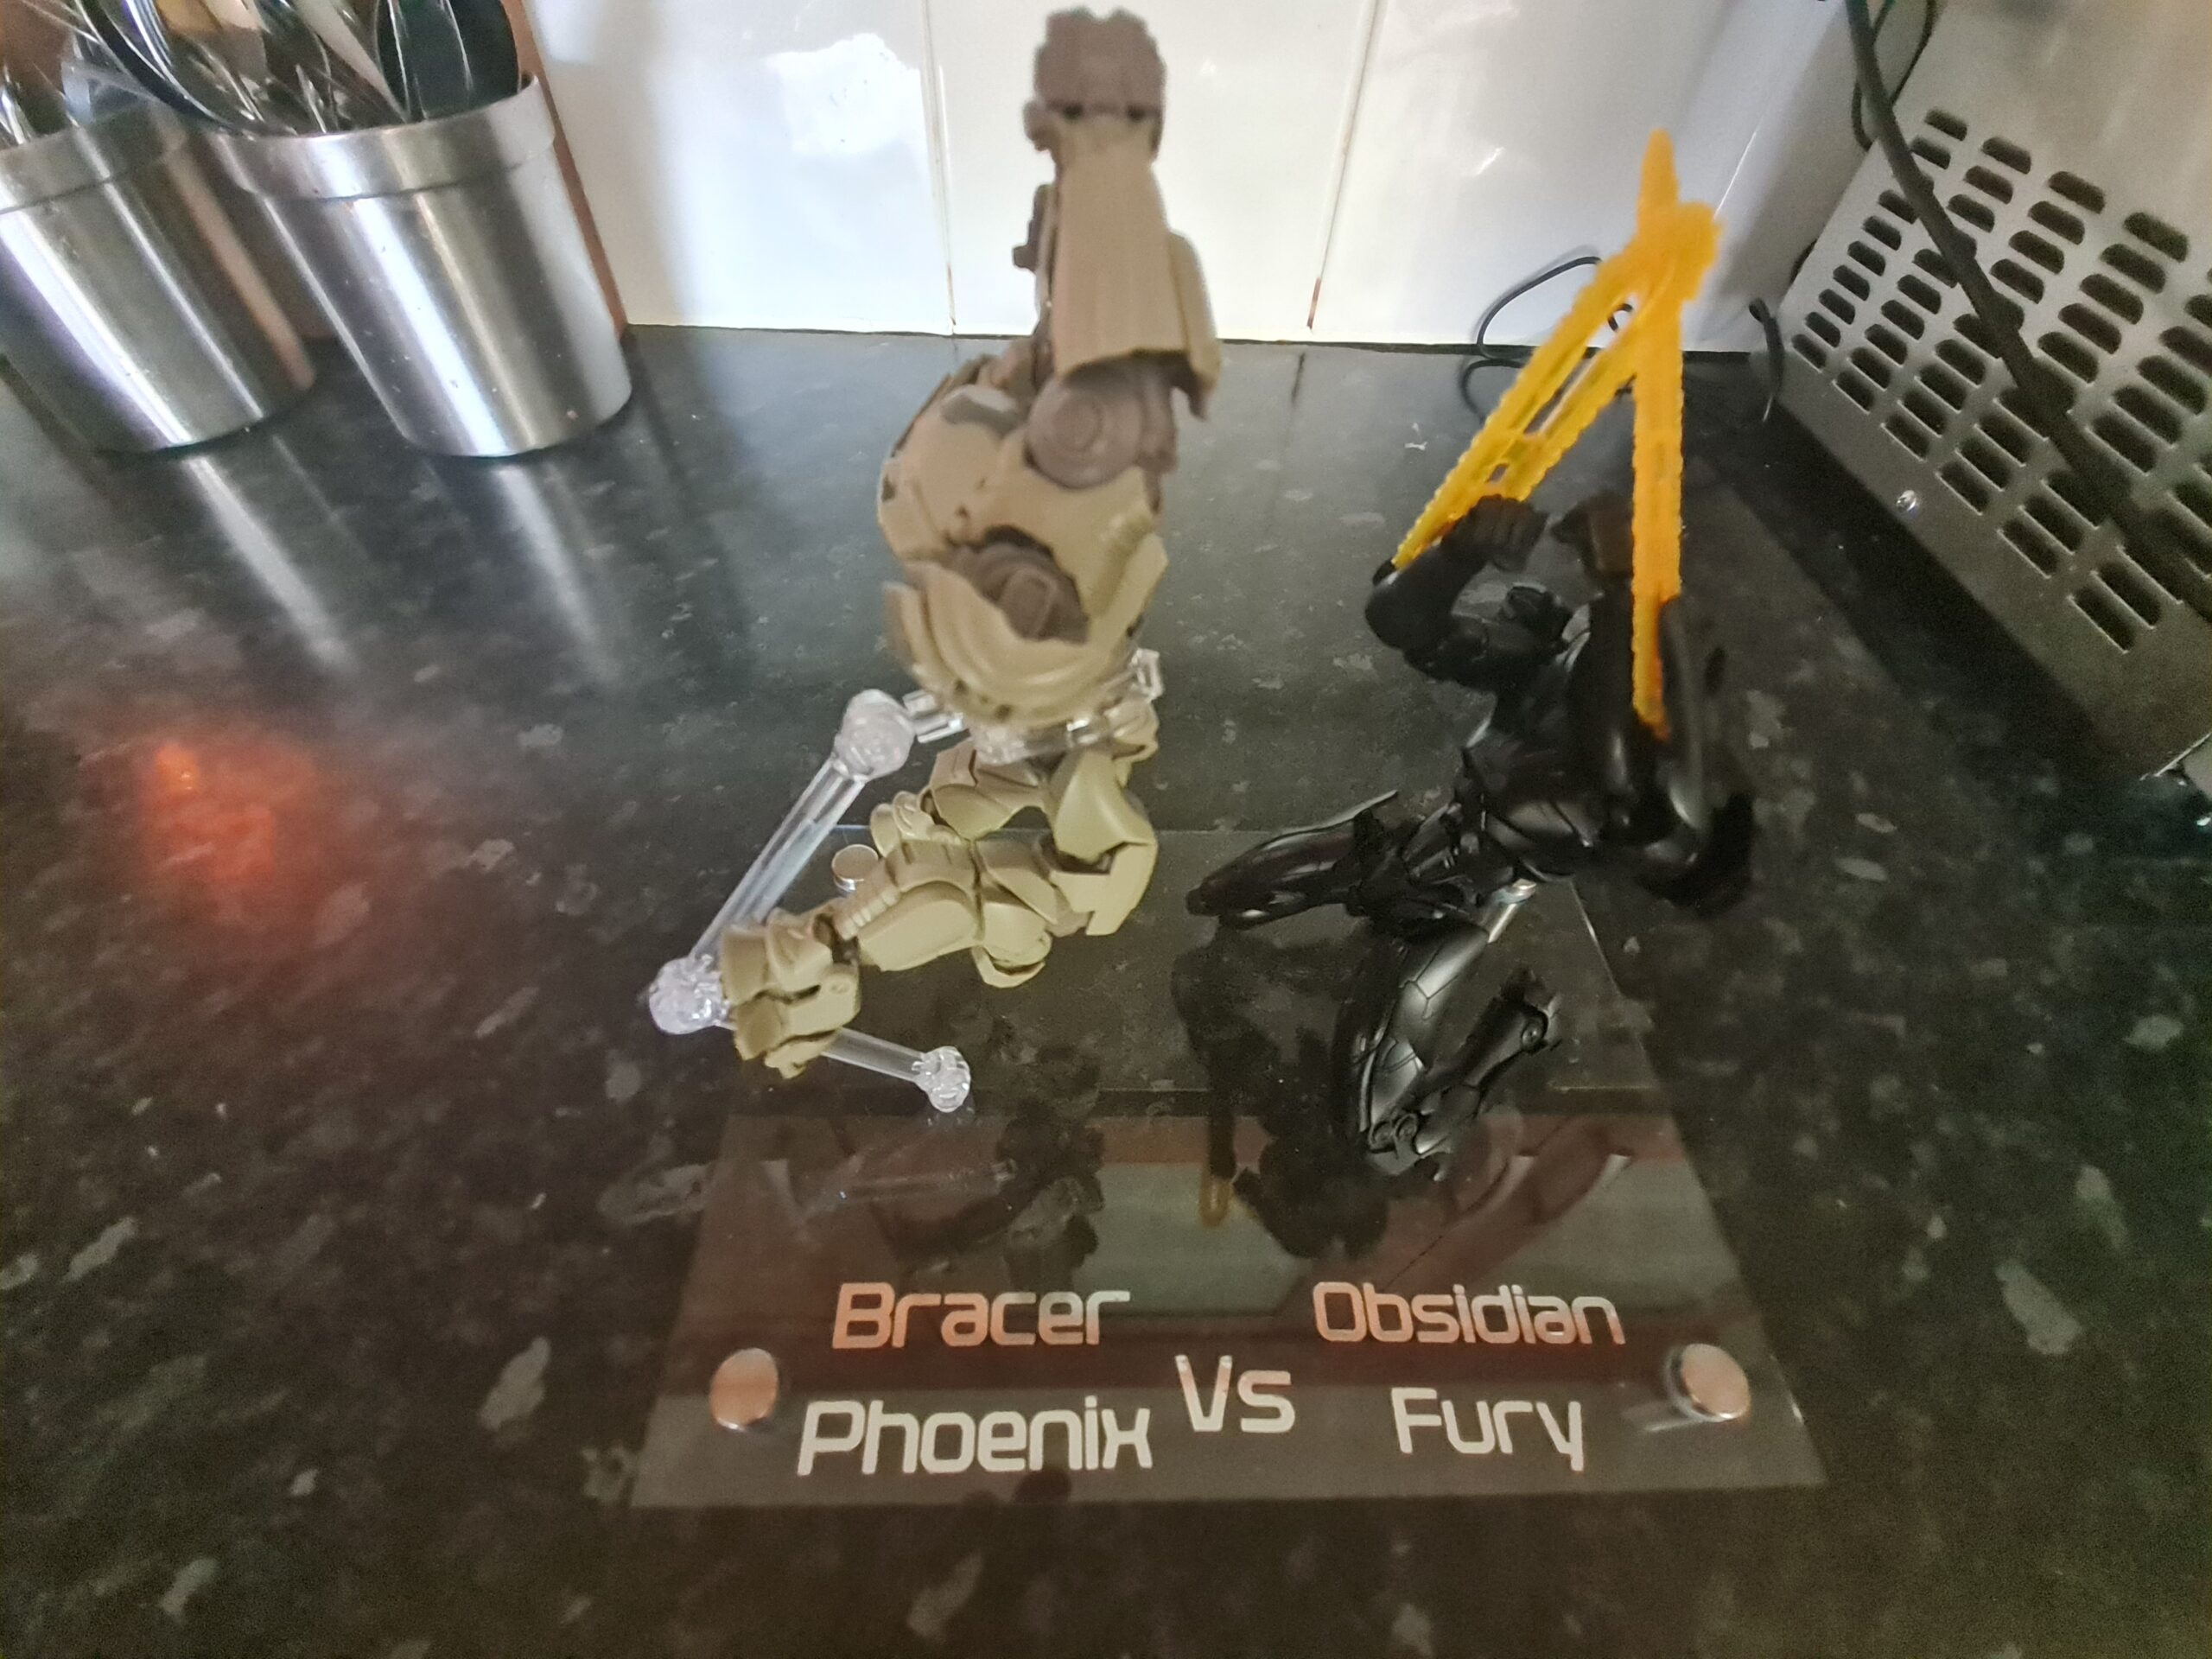
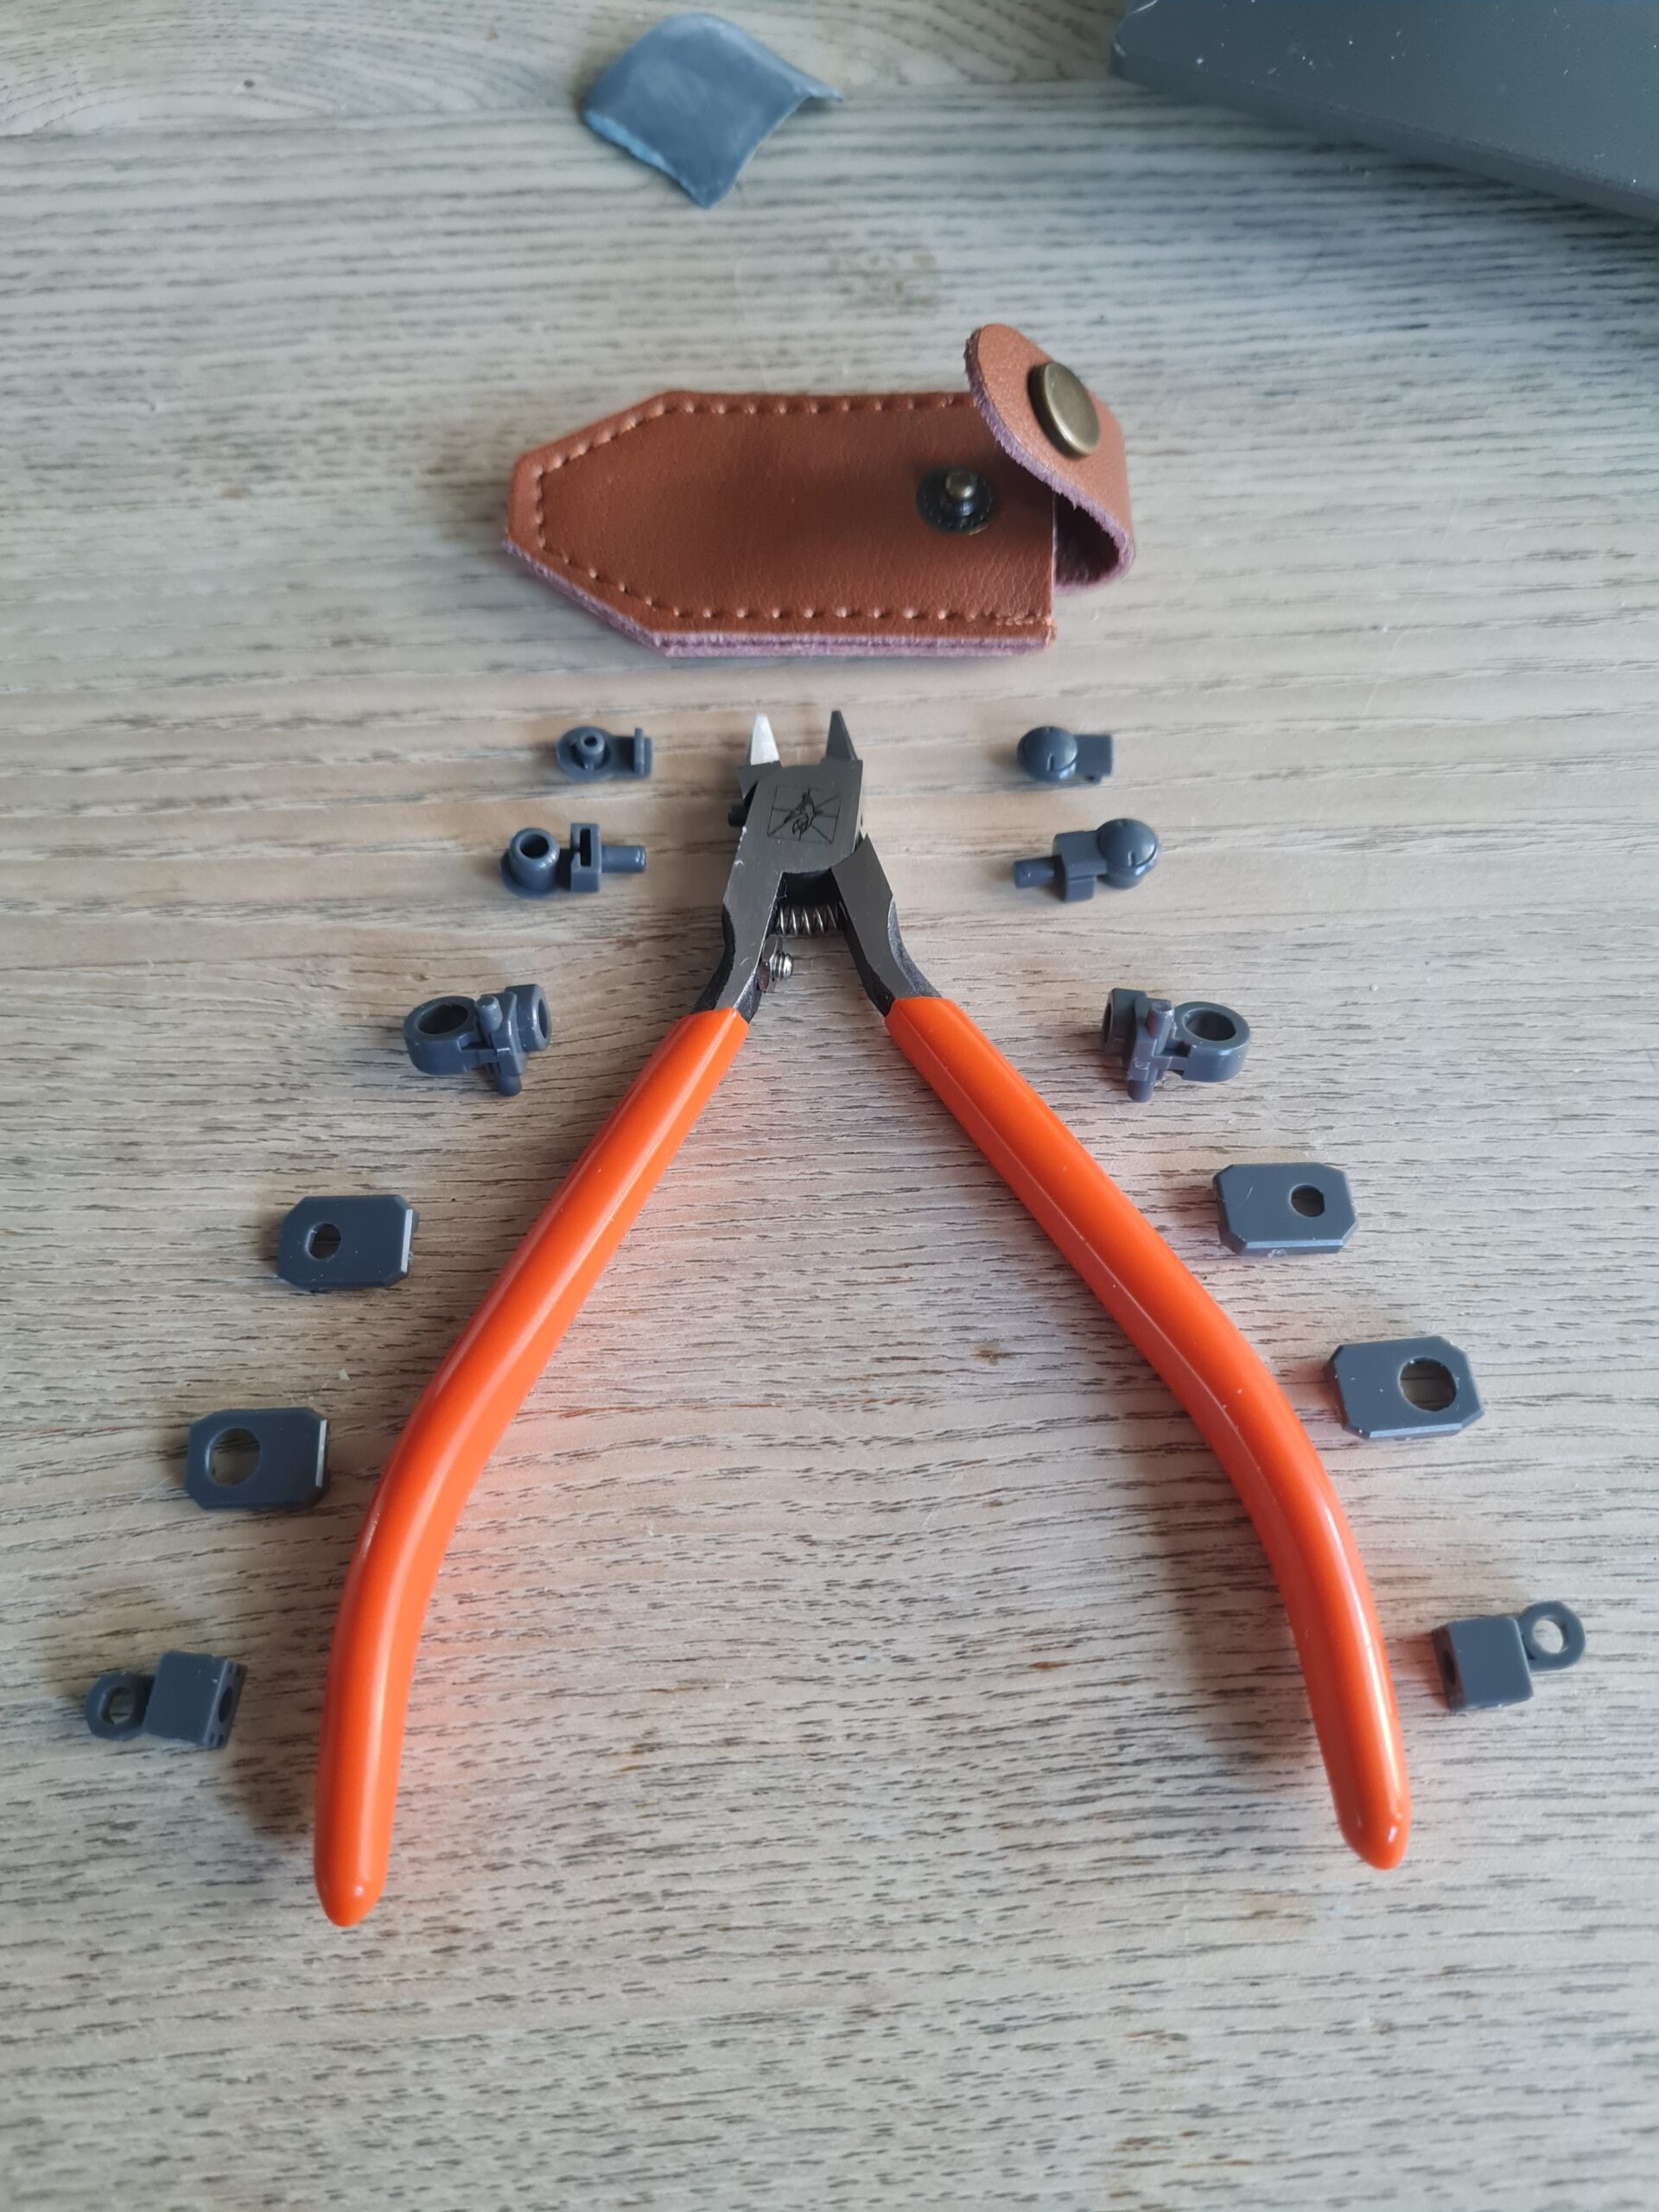
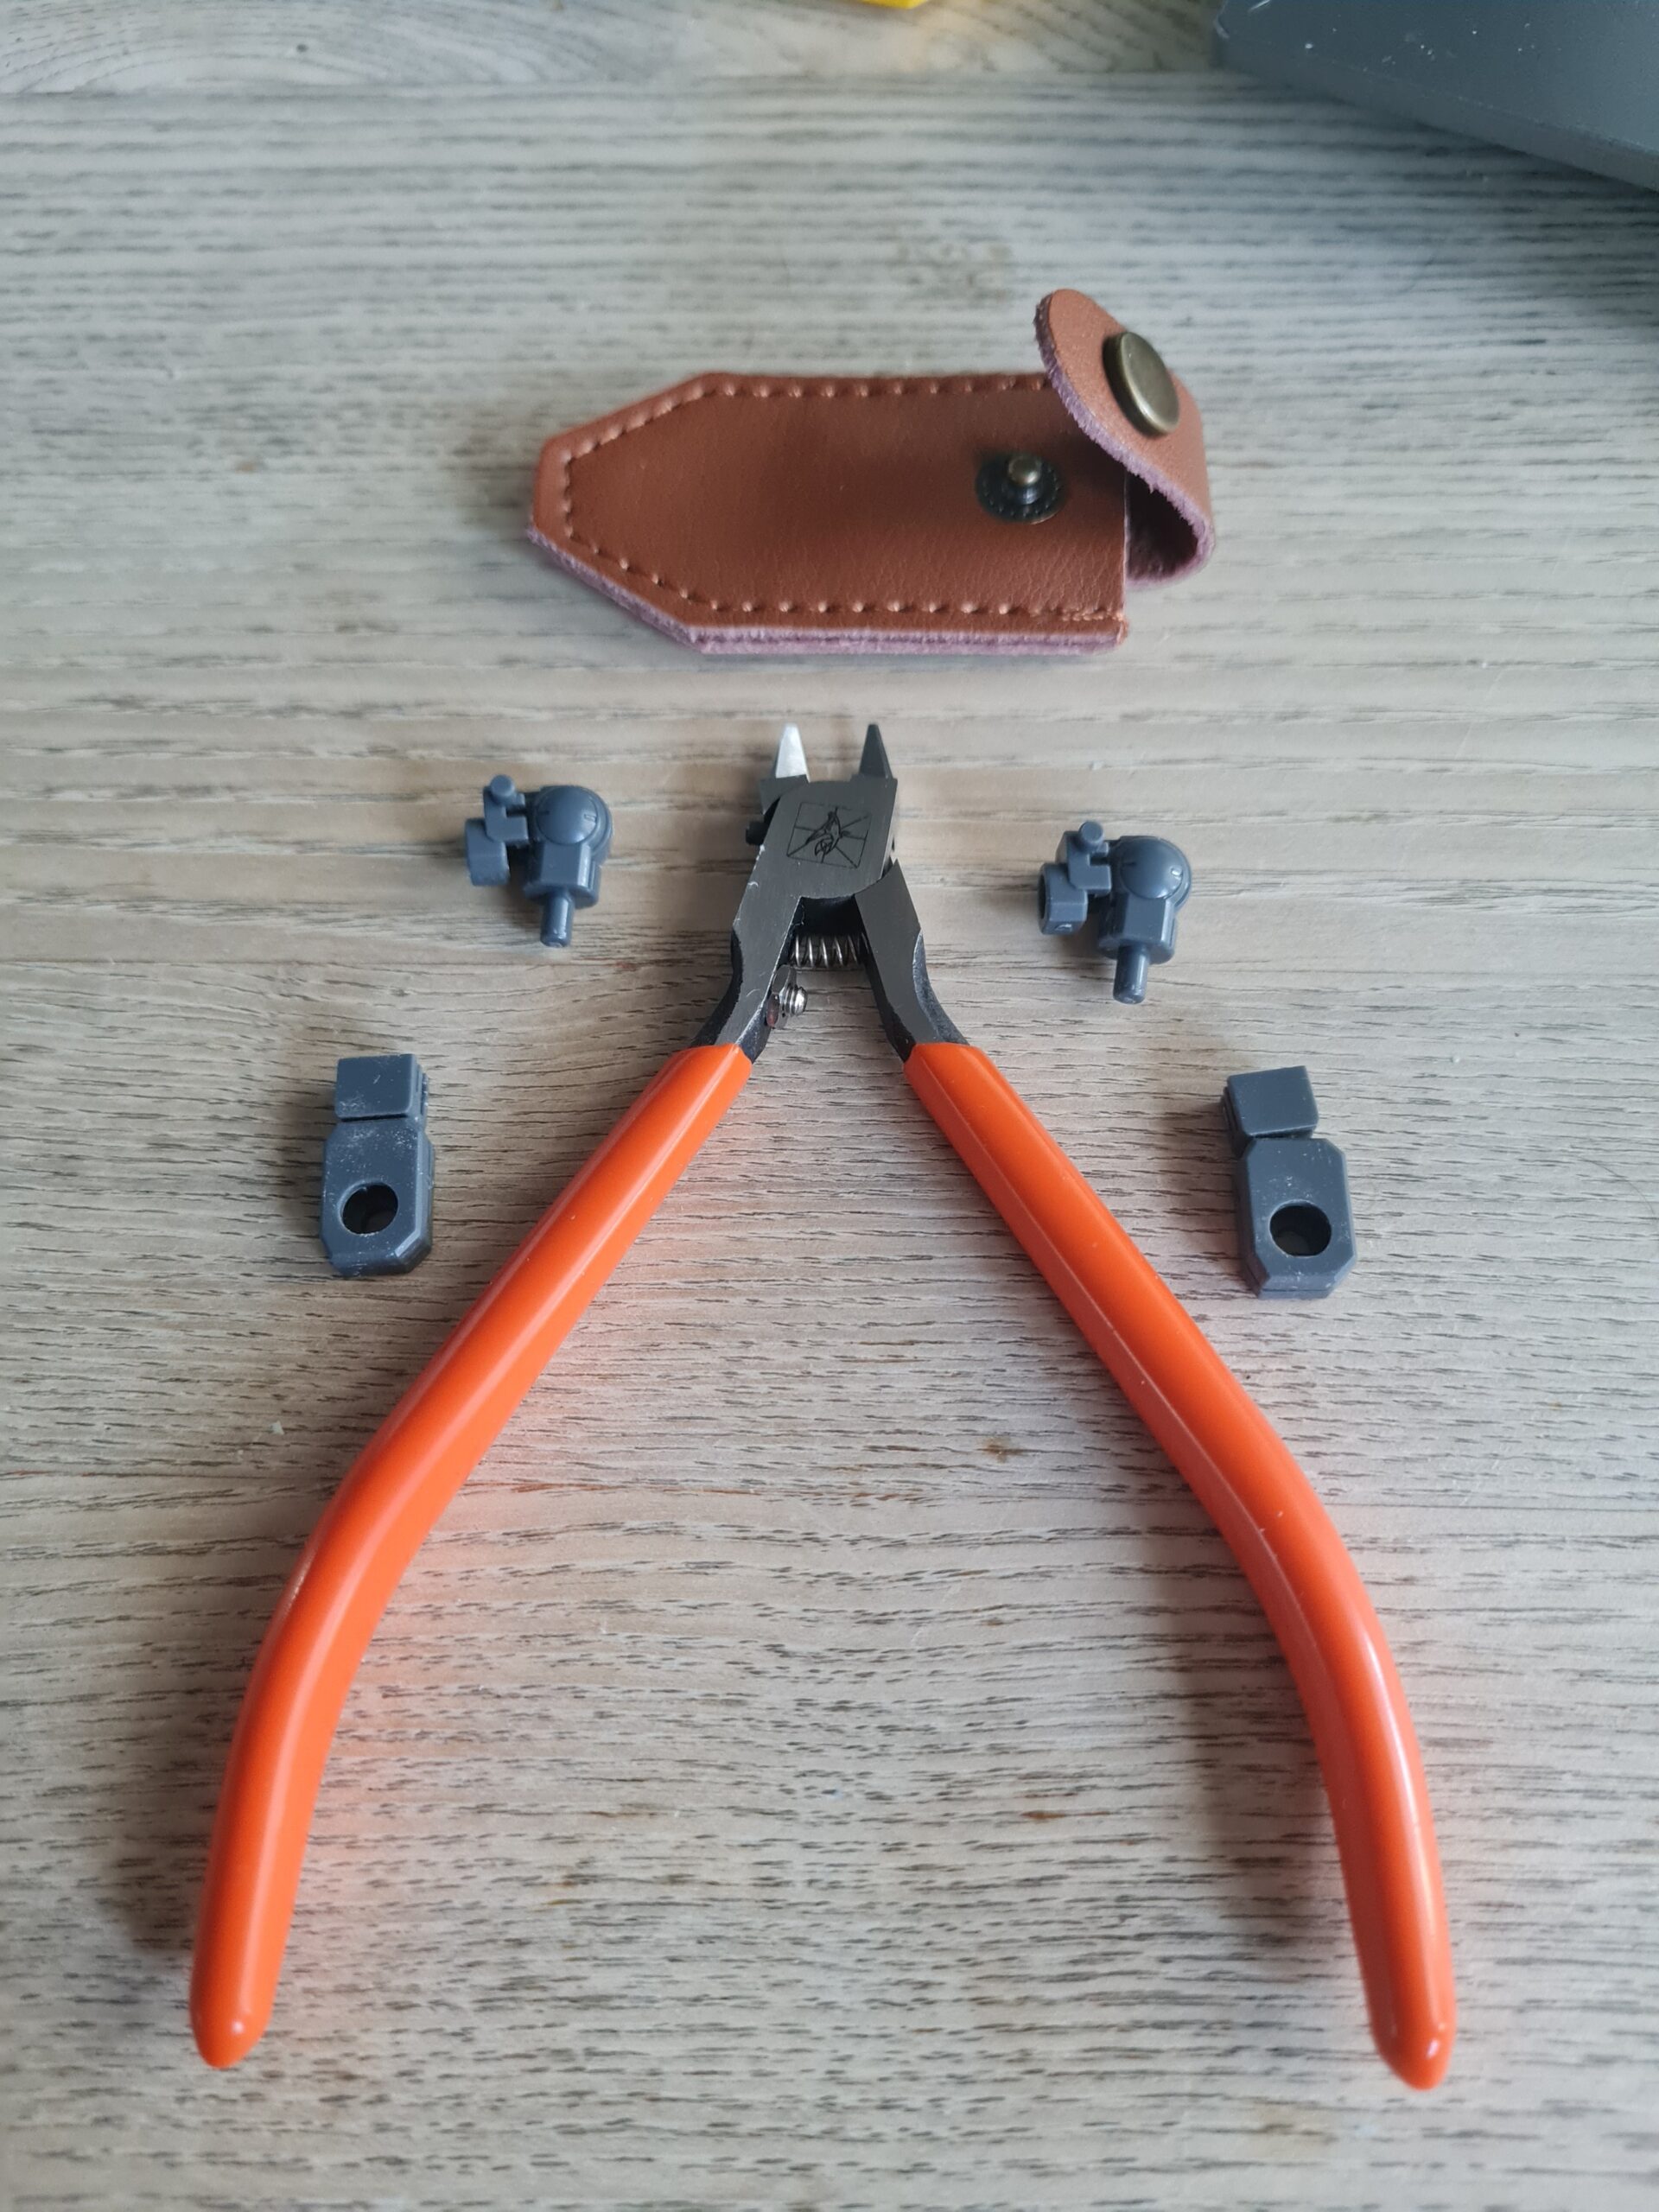
This is the culprit the other day while we were watching tv:

Dog
Dog

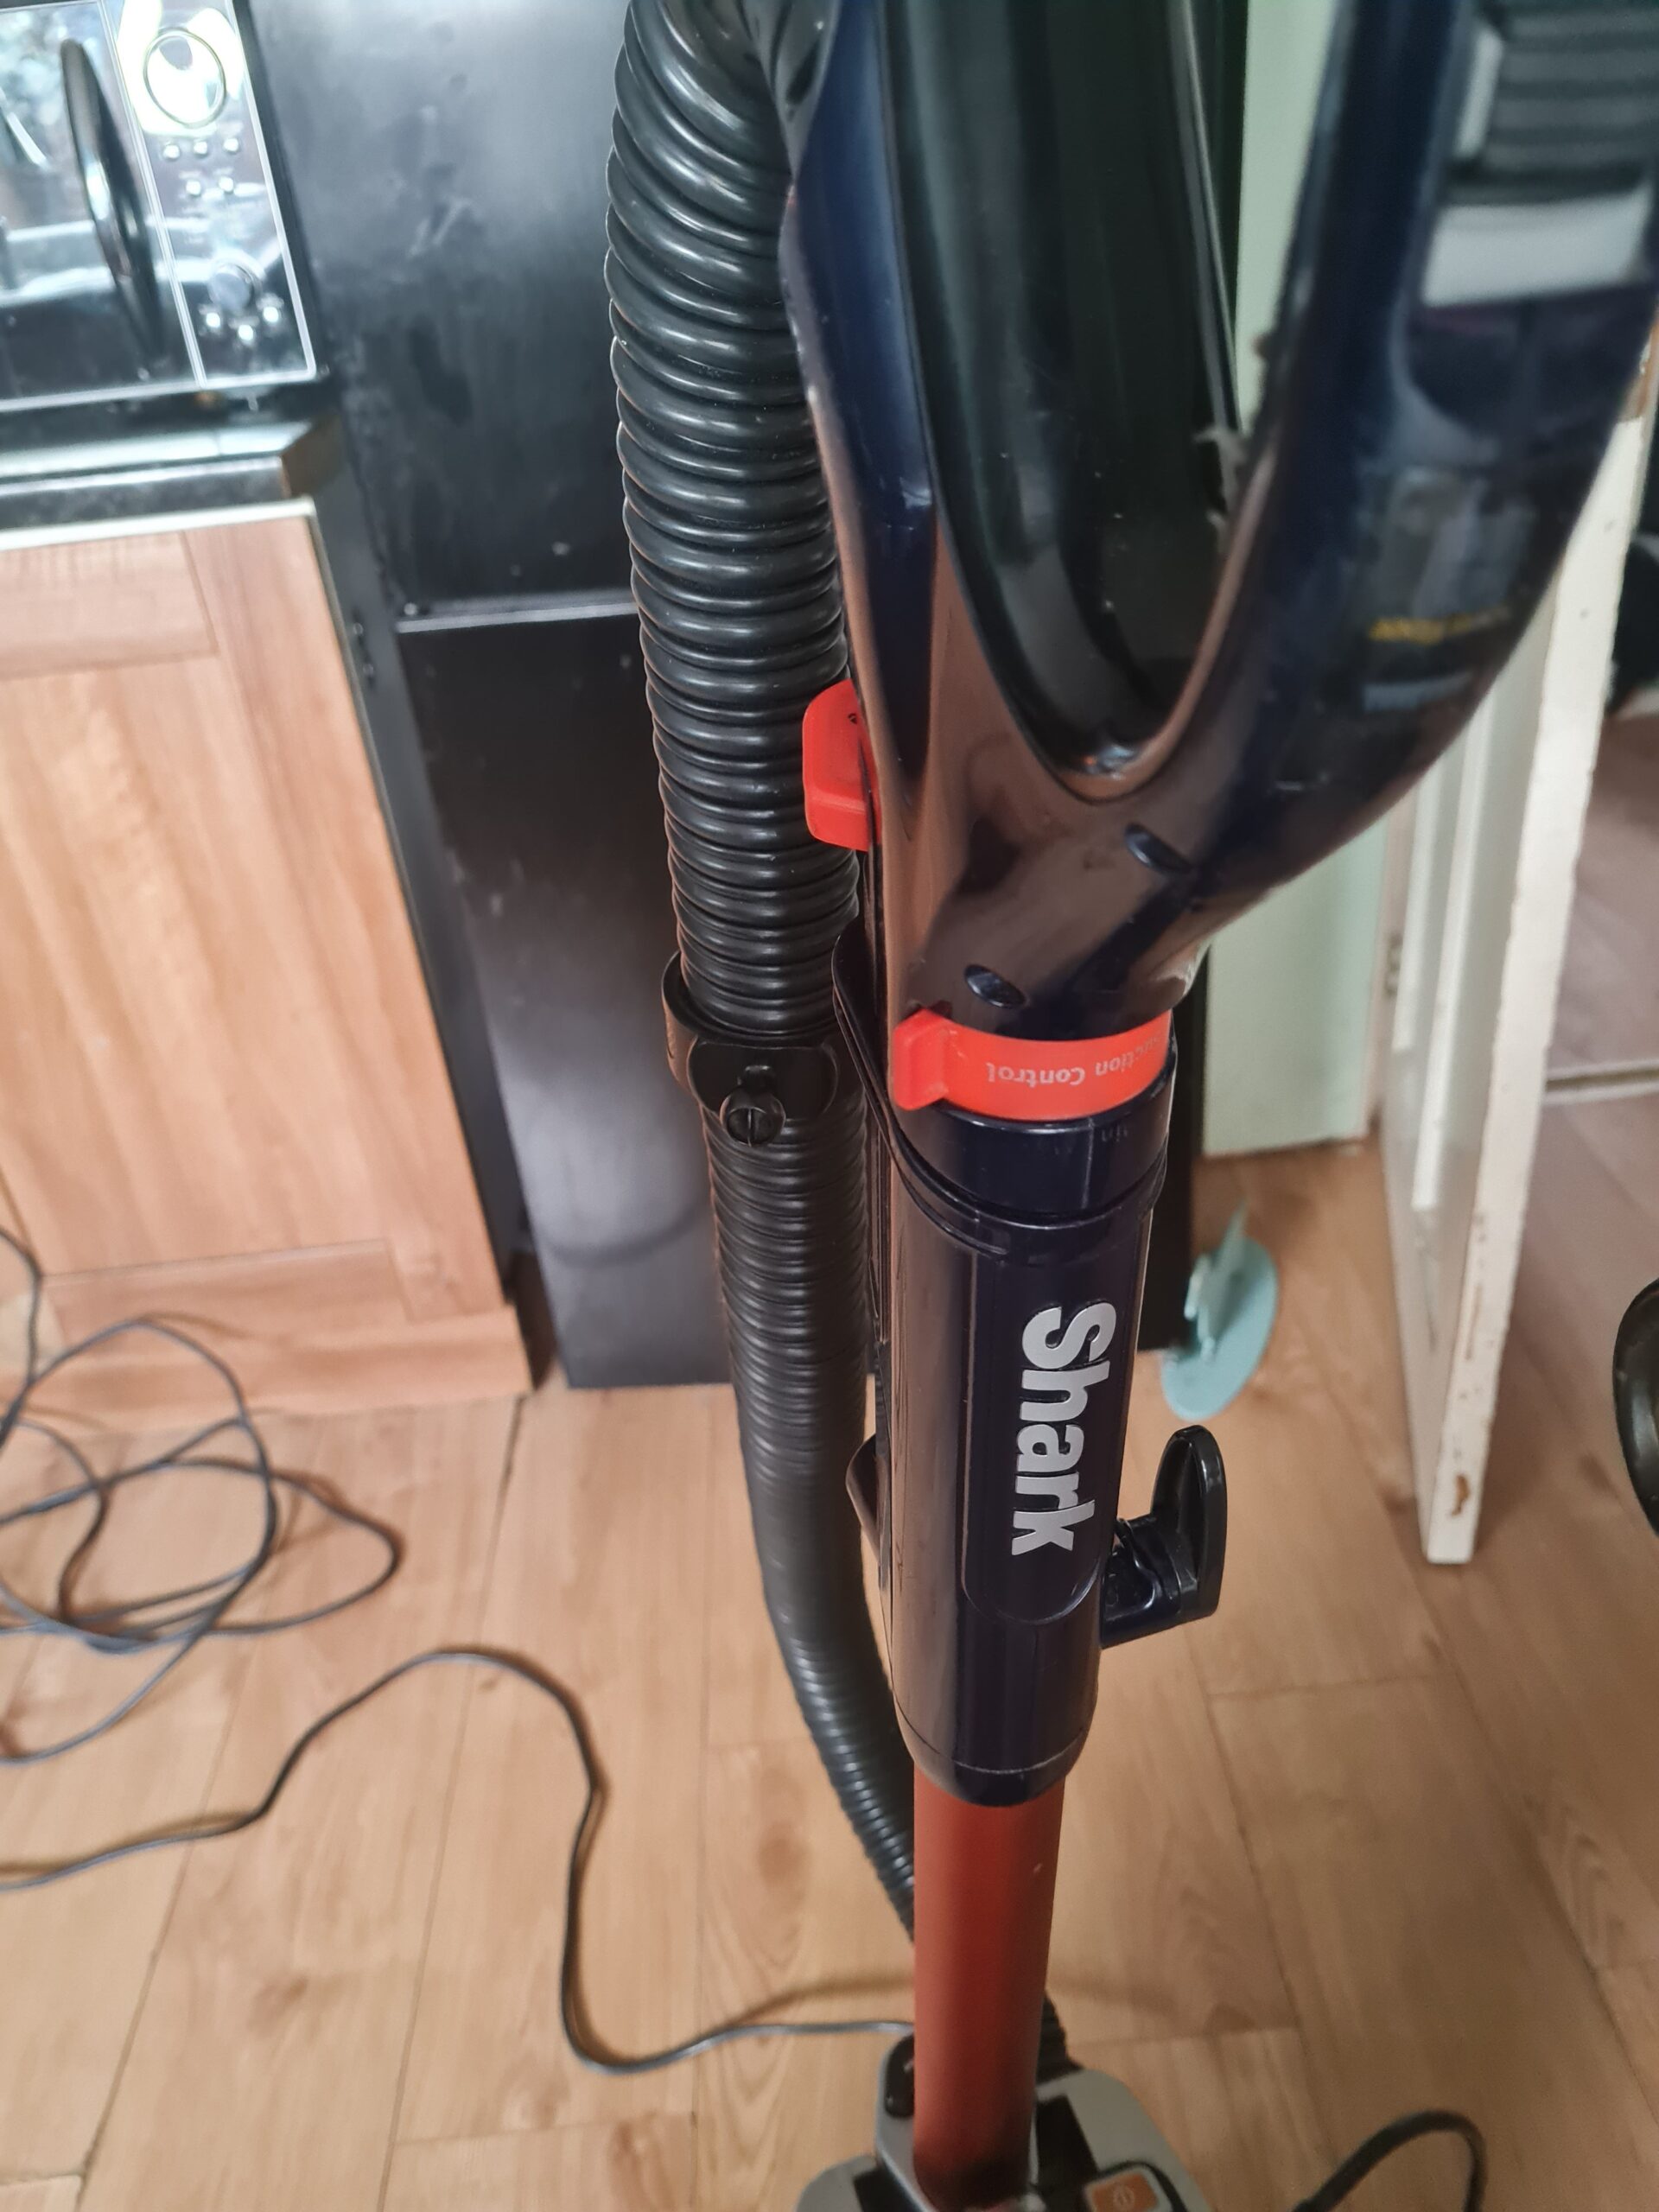
Ok so vets lined up, dog in boot what could go wrong … oh the car wouldn’t start dead battery 🙁 So a quick call to the vets to let them know we are running late. A call to my dad requesting a wife and dog lift to the vets, and then on to dig out the battery charger.

The ONLY thing that went right in that scenario is I actually knew where the battery charger is!

I now have a cup of tea and am awaiting what I am sure will be an eye watering bill to make sure el wonky tooth there is ok.

So … that and the fact that Sunday night to Monday morning I had a 12 hour nose bleed … yes you read that right 12 hours! I am, unfortunately a little behind on where I planned to be. I shall do my best to catch up and get back ahead of the game! In the meantime though I’ll need to put in some less expansive posts 🙂

Take care everyone and I will catch up as quickly as I can!

Thank you for taking the time to read this. If you haven’t already done so please like and follow us on our social media platforms and checkout our website!

Facebook: https://www.facebook.com/profile.php?id=100086701512793
Instagram: https://www.instagram.com/modelkitsltd/
Website: https://modelkitsltd.co.uk

#gundam #gundammodel #model #kit #gunpla

Posted on

Guess the Mode Part 4 (The Hips)

The latest series in the guess the model is going to cover the hips. If you haven’t seen the other parts it starts here. To quickly summarise for anyone just joining the series.

I take a model I have to build. Then following the exact order in the manual I build the pieces and post here. Readers can then guess what the mode is. Hopefully, it will also highlight how I am building the models, and I will also highlight any gotchas or issues as well as any high points I find while building the section.

Without further ado here are the hips!

As you can see this was a relatively short piece to put together. I have to say I enjoyed making this section. Although very simple, there are some very nice. For example the yellow covers on the front lift slightly then pivot forwards to give this:

Guns showing
Guns showing

I think that is an amazing mechanic, and a lovely touch to the model. I could quite literally sit there all day opening and closing those as the fit is so smooth.

So that is it for todays guess the model. I imagine that most people have it from the earlier parts but we will continue on!

Thank you for taking the time to read this. If you haven’t already done so please like and follow us on our social media platforms and checkout our website!

Facebook: https://www.facebook.com/profile.php?id=100086701512793
Instagram: https://www.instagram.com/modelkitsltd/
Website: https://modelkitsltd.co.uk

#gundam #gundammodel #model #kit #gunpla

Posted on

Custom Stand

Introduction

In one of my previous posts I showed off my RK Zaku II on the custom stand. I thought that I would do a piece on making the custom stand.

Materials

  • Silver Vinyl (sticky backed)
  • Transfer tape
  • A5 2mm thick acrylic sheet
  • Stainless steel standoff fixings (for the feet)

Tools

  • Drill
  • Pen
  • Drill bits
  • Cricut
  • Scissors
  • Weeder
  • Squidger (I have no idea what it is really called)
  • Ruler

Stage 1 – Measuring out

I like to have the feet in pretty much the same position. I also like them to be symmetrical. To do this I measure 1.5cm from each corner.

The acrylic is covered on both sides with a protective covering. I leave this on as long as possible to help protect the acrylic, and also to mark on wherever possible.

Drilling the holes

Once the holes are marked out, I moved on to drilling the holes.

To do this I needed the drill bits, the drill, and the hoover. The drill bits are actually for drilling into tiles and work perfectly for this job. The first thing I had to do was find the right size. I had to unscrew one of the feet and check the width of the drill bit to the thread size of the bolt. You want one marginally bigger than the thread so the bolt drops in nicely.

Once that was done I placed the acrylic sheet flat on the table edge, as close to the marked spot as possible (allowing room to drill through and not hit the table). I also used a finger to support the outer side of the sheet to help stop it flexing. Then using the drill I made the hole in the sheet.

As can be seen above I also tested one of the feet int he hole to make sure it was fitting securely. I then removed this to do the rest of the work.

I did drill an extra hole for the stand. Normally I would put this at the halfway point. However, for this I wanted it in a specific place. The methodology though was the same as above. Find the right size bit, drill the hole, and finally test. I do think I will add some glue to help hold it in place, but it works well.

The Text

I am fortunate enough to have a cricut. I used the software for that to write out the words I wanted on the stand.

Once the cricut had done its job. I measured out the center point on the acrylic and market it out. I then peeled back the protective cover on one side of the acrylic. The last photo above the ruler is holding it back out of the way. I then quickly checked the layout. I needed to make sure everything was going to fit! Once I was happy, I transferred the Vs to some transfer tape and placed it centrally on the acrylic. I then repeated this process with the Bracer Phoenix and Obsidian Fury pieces of text.

The feet!

The next stage is to put the feet on. Prior to this I peeled off the protective cover from both sides of the acrylic sheet.

As can be seen above the process to attach the feet is simple. I first take it apart, and then put the first washer onto the bolt. Next I place the bolt through the acrylic sheet and add the second washer. Finally I screw the foot case part on and finger tighten. This is repeated for all 4 feet.

Conclusion

I really enjoyed making this custom stand. All that was left was to add the stand and figures and it was done. I will leave you with those images at the bottom of this post. Any questions please just ask.

Thank you for taking the time to read this. If you haven’t already done so please like and follow us on our social media platforms and checkout our website!

Facebook: https://www.facebook.com/profile.php?id=100086701512793
Instagram: https://www.instagram.com/modelkitsltd/
Website: https://modelkitsltd.co.uk

#gundam #gundammodel #model #kit #gunpla

Posted on

Guess the Model – Part 3 (Building the Arm)

Introduction

In case you missed the previous parts you can catch up here and here. The rules are simple. I build the model in the stages, based on the order in the manual. This stops me deliberately picking obscure parts. I then post up the sections as they are built and readers can guess what the model is. Today I am building the arm.

Technically this should be building the arms, however, I’m going to do building the arm as I got a sinus headache and blurry vision and went to lie down. However, it is enough to show you what it looks like, and to be fair I imagine a lot of people have guessed the model from the torso and head!

The first image “First set of parts” has the left and right arm parts. Each set lined up either side of the nippers. They form the shoulder joint and a key part of the elbow joint respectively.

Conclusion

I have to say building the arms on this model is quite a satisfying build. Seeing how all the parts layer up on each other, they create a real depth to the model. I have now completed the other arm. I will say the thumb is really solid on one, but very loose on the other. I’ll recheck the fit later. But so far that is my only gripe. This is a very satisfying build.

If you know what the model is please feel free to comment.

Thank you for taking the time to read this. If you haven’t already done so please like and follow us on our social media platforms and checkout our website!

Facebook: https://www.facebook.com/profile.php?id=100086701512793
Instagram: https://www.instagram.com/modelkitsltd/
Website: https://modelkitsltd.co.uk

#gundam #gundammodel #model #kit #gunpla

Posted on

Guess the Model – Part 2 (Building the Head)

I started this new series of guess the model as I enjoyed the last one so much. I am hoping everyone else did too. The original series can be found here. In this part I will be building the head of the model.

As I am sticking to my game rules (build in the order things are in the manual) I have to continue by building the head next. Now I do feel this may be a bit of a giveaway if the torso wasn’t already! However, here are the parts, and assembled head!

As you can see this is just 11 parts and 3 stickers. It is amazing that this few pieces can build up into such a charismatic head.

I’m fairly sure people will know who it is, although people probably guessed from the torso! However I will keep going for anyone who hasn’t and also so people can see him build up.

Thank you for taking the time to read this. If you haven’t already done so please like and follow us on our social media platforms and checkout our website!

Facebook: https://www.facebook.com/profile.php?id=100086701512793
Instagram: https://www.instagram.com/modelkitsltd/
Website: https://modelkitsltd.co.uk

#gundam #gundammodel #model #kit #gunpla

Posted on 3 Comments

Guess the Model – Part 1

Introduction

That is right. I enjoyed the last guess the model (I hope you did too) so much I thought I would do it again. For anyone new the format is quite simple. I follow the build manual for a model, in the order it is in the manual, and try, each day, to do an update with one of the sections. Normally this is something like:

  • Foot 1
  • Foot 2
  • Arm 1
  • Arm 2
  • Torso
  • Head
  • Pelvis
  • Weapons

Now you will be glad to hear that this one is following a slightly different format. For a start it begins with:

  • Torso
  • Head

So to be honest you will likely get it quickly. Although to be fair the number of people who got the Zaku II off the feet was pretty impressive! The original series of posts can be found here. You can also read up more about these suits over at gundam.fandom.com.

Images

Above are the build pictures from this stage. As you can see I removed sets of pieces from the runners and then put them together. The pieces I assumed were going on the inside got less “clean-up” than the pieces that were obviously on the outside. This method has however left me with some extra clean-up to do later.

Spot the mistake

Eagle eyed viewers will notice that the left top blue “stripe” ends a little early. That would be because looking at the piece it looked like the end should be tripped for it to fit. However, when I came to the second one I realised you could slide it into place. Lesson learnt! If you get to build this kit then those blue pieces slide in tip first!

Conclusion

So that is todays clue. Let me know if you think you know what the model is!

Thank you for taking the time to read this. If you haven’t already done so please like and follow us on our social media platforms and checkout our website!

Facebook: https://www.facebook.com/profile.php?id=100086701512793
Instagram: https://www.instagram.com/modelkitsltd/
Website: https://modelkitsltd.co.uk

#gundam #gundammodel #model #kit #gunpla

Posted on

RG Zaku II

Introduction

Ok. I know I have done quite a few posts on the RG Zaku II. But I have to do this one, sort of a show and tell, after finally getting all the bits together to make him his own stand. I am quite proud of the final piece so I thought I would show off what my RG Zaku II looks like now complete.

Zaku II on Stand
Zaku II on Stand

Display

After spending so long teasing this piece, and working on the model, I felt he really needed a decent display. I am lucky enough to have a Cricut machine. So I used that to cut out the logo and wording. I also happened to have the feet and acrylic sheet from thinking about this as an idea previously. The arm helping to support him was salvaged from some cheap imported stands I have. I will do a more detailed piece on the stand at some point in case anyone else wants to make one.

Final Lessons

I have learnt so much from this build. Firstly panel lining can go awry if you aren’t careful. Secondly, pieces can easily break if you are a bit of a muppet and try to bend something that doesn’t have a joint. Thirdly, panel lining really does make a world of different to a model.

The more I work with the models the more I appreciate the build, and the options available to customise them. Everything from decals, to painting, to custom builds. I can’t wait to do some more techniques and to improve on everything from my basic building skills, to my more advanced painting and customising.

If you would like to learn more about the suit then there is some fantastic information over here at gundam.fandom.com.

Thank you for taking the time to read this. If you haven’t already done so please like and follow us on our social media platforms and checkout our website!

Facebook: https://www.facebook.com/profile.php?id=100086701512793
Instagram: https://www.instagram.com/modelkitsltd/
Website: https://modelkitsltd.co.uk

#gundam #gundammodel #model #kit #gunpla

Posted on 1 Comment

The Witch From Mercury – Dilanza

Introduction

With the release of the Witch from Mercury, as you would expect Bandai are also releasing new model kits. These kits both support, and complement the show.

The fifth suit I felt I should cover is the Dilanza. In the Witch from Mercury this suit is manufactured by the Jeturk company.

Using the parts supplied you can build this suit in one of two configurations. The standard type. or the Character A type. I believe the different versions relate to the version of the suit used by two different characters in the show (Lauda, and Guel).

Release

The current estimates delivery date in Europe is currently March 2023. However, I would imagine there is some leeway on this. Firstly the actual shipment needs to come in, and with the current global challenges in shipping etc, the date may well be subject to change.

The Model

I make no bones about it, I am a fan of the chunky suits. There is something about the presence of this. Looking at the images it has a solid presence, with the details in the legs and torso being solidly defined and having amazing character. The feet on this model also look distinctive. To me, they look slightly like cows hooves, I don’t know if that is deliberate or just me. Again, personally, I am more a fan of the “Character A build style on this. However they both have their pros and cons. Ultimately it would depend on personal preference.

Conclusion

I would really enjoy building this model. I think there would be a great level of satisfaction. Also looking at it I feel that it would be a great model to paint. I look forward to this model being in the wild in the UK and more available.

Thank you for taking the time to read this. If you haven’t already done so please like and follow us on our social media platforms and checkout our website!

Facebook: https://www.facebook.com/profile.php?id=100086701512793
Instagram: https://www.instagram.com/modelkitsltd/
Website: https://modelkitsltd.co.uk

#gundam #gundammodel #model #kit #gunpla

Posted on

Model Building – Nubs

Introduction

In this piece I will go over the basics of what to do once you have got the parts off the sprue. Note this is very basic and very much from my point of view. I am totally open to any feedback and suggestions that people may have on either improving this technique or any other techniques.

What is a nub?

I think that is a valid question, so thank you for asking! If you are new to the hobby or to model building in general a nub is a small piece of plastic/resin/material that is left attached to the part, after you have cut it free from the runner/sprue. So for example if you have a look at the following image:

Bazooka with Nub
Bazooka with Nub

The above image is the MS-06F ZAKU II bazooka. As you can see near the end there is a piece piece jutting out from the main barrel of the weapon. Generally speaking to remove the part from the runner you would make a cut in the piece connecting the part to the runner but not to close to the part. This should minimise plastic stress. You then trim this with either a second cut, and/or trim with a hobby knife. Finally you can optionally file with some form of sandpaper or sanding stick (like these in our store).

Post sanding

After the clean-up the art will look similar to this:

Bazooka Cleaned Nub 1

After I had done my first round of cleaning up the nub there was a small dark patch. I wasn’t happy with this so I went in for a second round of sanding. I tend to use a combination of 600 grit sandpaper and 2500 grit sandpaper, predominantly because I already had it to hand. After the second clean-up the bazooka was looking like this:

Bazooka Cleaned Nub 2

Now the dark spot on the end was nicely cleaned away. However the beautiful sheen the rest of the Bazooka has was removed. At this point I decided to give it a VERY basic paint job.

Painting

I am fortunate enough to have an airbrush that I keep to hand. So I gave it a quick undercoat of Vallejo Mecha Grey Primer. I then gave it a quick cover with Vallejo Mecha Gunmetal. I then covered the dips and pieces with some Vallejo Mecha Black Wash. Once this was done it looked like this … (yes very messy but I was speeding through it).

I then worked over it doing a dry brush of the gunmetal again to clean up the over spill.

Conclusion

After all of this work my “nub” spot now looks like this:

Bazooka Post Cleanup
Bazooka Post Clean-up

All told I am very happy with the end result! It now looks smooth and seamless and clean. I would like to do another and distress it, add chipping and soot and mud and dirt etc. However, for now I am very happy with the end result.

Thank you for taking the time to read this. If you haven’t already done so please like and follow us on our social media platforms and checkout our website!

Facebook: https://www.facebook.com/profile.php?id=100086701512793
Instagram: https://www.instagram.com/modelkitsltd/
Website: https://modelkitsltd.co.uk

#gundam #gundammodel #model #kit #gunpla

Posted on

Broken Part – Pinning

Introduction

I will be honest. I wasn’t expecting to be posting about my ZAKU II any time soon. I have been doing some work to finish it off. Again, in my hamfisted manner I managed to break a part. I have no idea what was going through my head. However, I did thankfully have the presence of mind to not panic. The part pictured below should not come away from the model. Note this was by no means a fault with the model, and totally a user headspace error.

Broken leg part
Broken leg part

What to do?

I decided that probably the best way to try and repair this would be to pin the piece. For anyone who does not know here is my understanding of pinning. Other people may have different definitions but this is what I am going for. In essence you drill a small hole in your piece that has come off, and into where you want to mount it. You then trim a pin to size and glue it all back together. The pin helps to take the load and strengthen the join.

Equipment

Thankfully I have the four things I needed to hand. A small drill, a pin, some nippers and some glue.

As you can see I used a good old pair of nippers so as to not ruin the good pair I have. I find it is always handy to have a slightly older pair around for just these occasions. I don’t have a photo of the glue but for reference I was using Gorilla clear glue.

Method

  • Drill a hole through the broken off piece.
  • Align the broken piece with the model with the drill bit still in. Then continue to drill so the lines are aligned. (Be careful not to drill too far and go all the way through!
  • Using the nippers trim the pin to size.
  • Glue the pin into the model.
  • Once dry, add more glue to the pin and push the broken piece into place.

The last pieces (gluing the pin in and into place) can be done all the same time if you prefer.

Then leave your glue to cure and away you go.

Conclusion

Every time I do something like this I promise myself to be more careful next time. However, it was a useful opportunity to remind myself that pinning can be an invaluable technique in repairing a model, or in helping joints or pieces that join together with quite a small surface/join area.

Thank you for taking the time to read this. If you haven’t already done so please like and follow us on our social media platforms and checkout our website!

Facebook: https://www.facebook.com/profile.php?id=100086701512793
Instagram: https://www.instagram.com/modelkitsltd/
Website: https://modelkitsltd.co.uk

#gundam #gundammodel #model #kit #gunpla