Before I could detail the process I use to remove / hide join lines I needed to take my RX-78-2 head and prep it. I had already worked on it previously so some clean-up was in order.
Tools
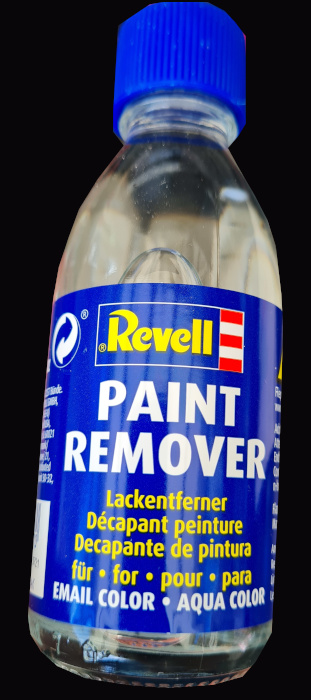
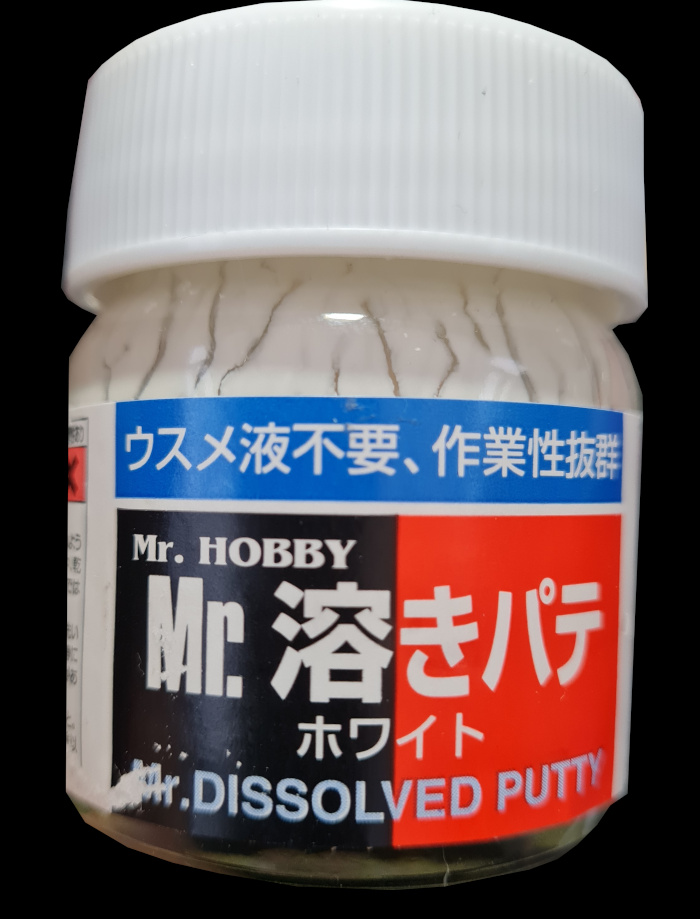
First I gathered all the tools I was going to need.


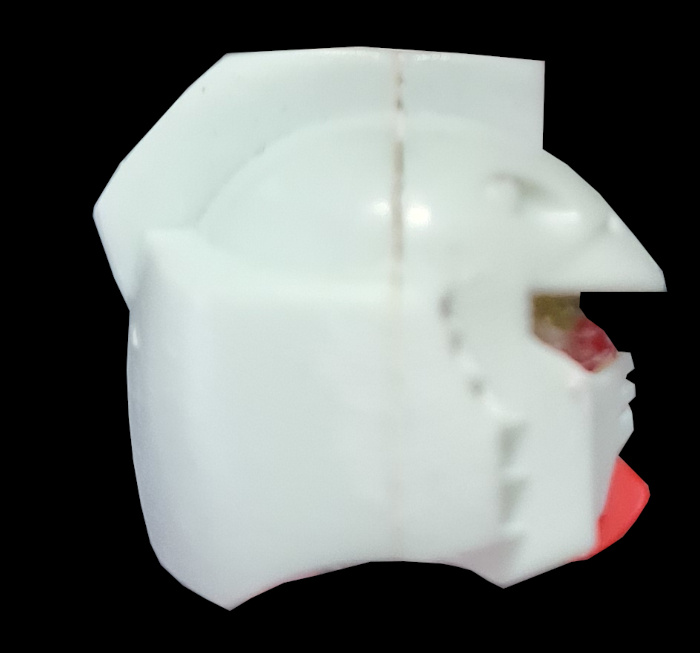
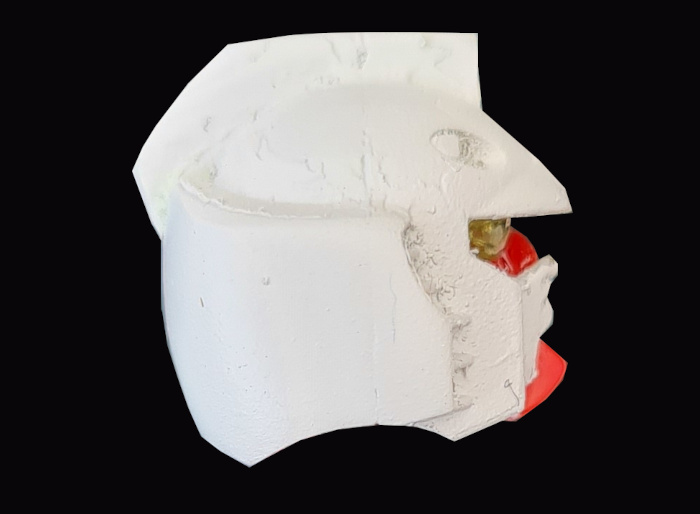
RX-78-2 Head Before Cleaning
Before I started here is what the head looked like prior to cleaning
RX-78-2 Head Cleaning Method
Step 1 – Put on the gloves 😀
Step 2 – Lay down a piece of tissue paper. This is important for while you are cleaning.
Step 3 – Dip the tip of one of the cotton tips into the paint remover and apply it to the head in a circular motion on a small section.
Step 4 – Repeat step 3 until the paint begins to lift / bunch up into globs.
Step 5 – Clean / dry the head with the tissue paper.
Step 6 – Repeat steps 3 – 5 until the head is clean, moving to new sections as one area becomes clean.
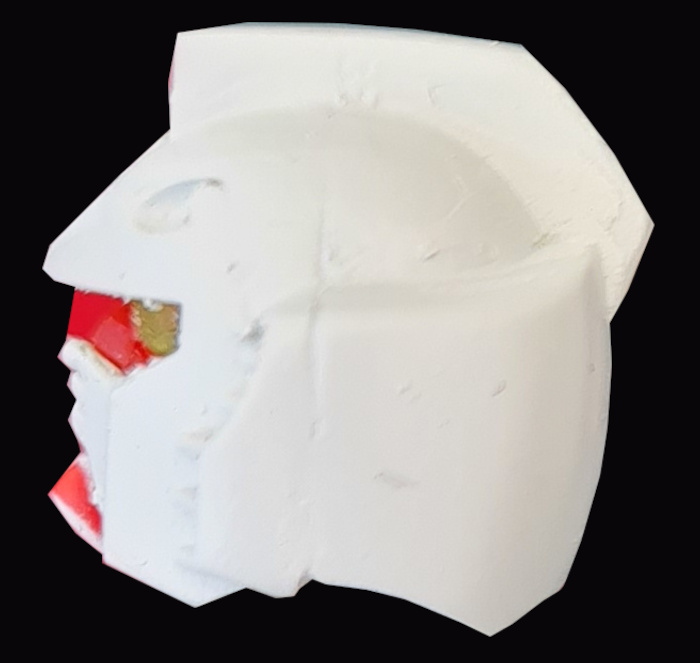
Once completed the head looked like this:
Next time
In my next post I will detail adding the putty to the head, sanding down, and finally adding the undercoat.