
Introduction
Welcome to “RG Aile Strike Build Day 12” where I am building up an RG Aile strike model. If you haven’t read any of the other parts I would recommend going back to the start. You can find that here. In the first post I covered the box, runners and provide the manual.
I am taking my time to ensure I clean up all the marks that can be cleaned up. As with any build like this, if you end up with discolouration or a small white “stress” mark you are likely to need painting to get rid of those. I may have a look at simple quick methods of dealing with those items, especially as I find that it has a habit of happening on the grey pieces. I also accept I may need to work on my cutting style as I’m sure that will contribute to it!
The Break
Ok, normally at this point I outline the process that I follow for taking the parts from the runners and cleaning them up. However I have a confession. You may, or may not, have noticed that recent pictures the model was nor sporting their right shoulder pad. This was, I had to admit, not the models fault. Rather I had been a little too keen with the nippers and rendered the joint that clips over the arm to hold the shoulder in place weak.
The part looks like this:
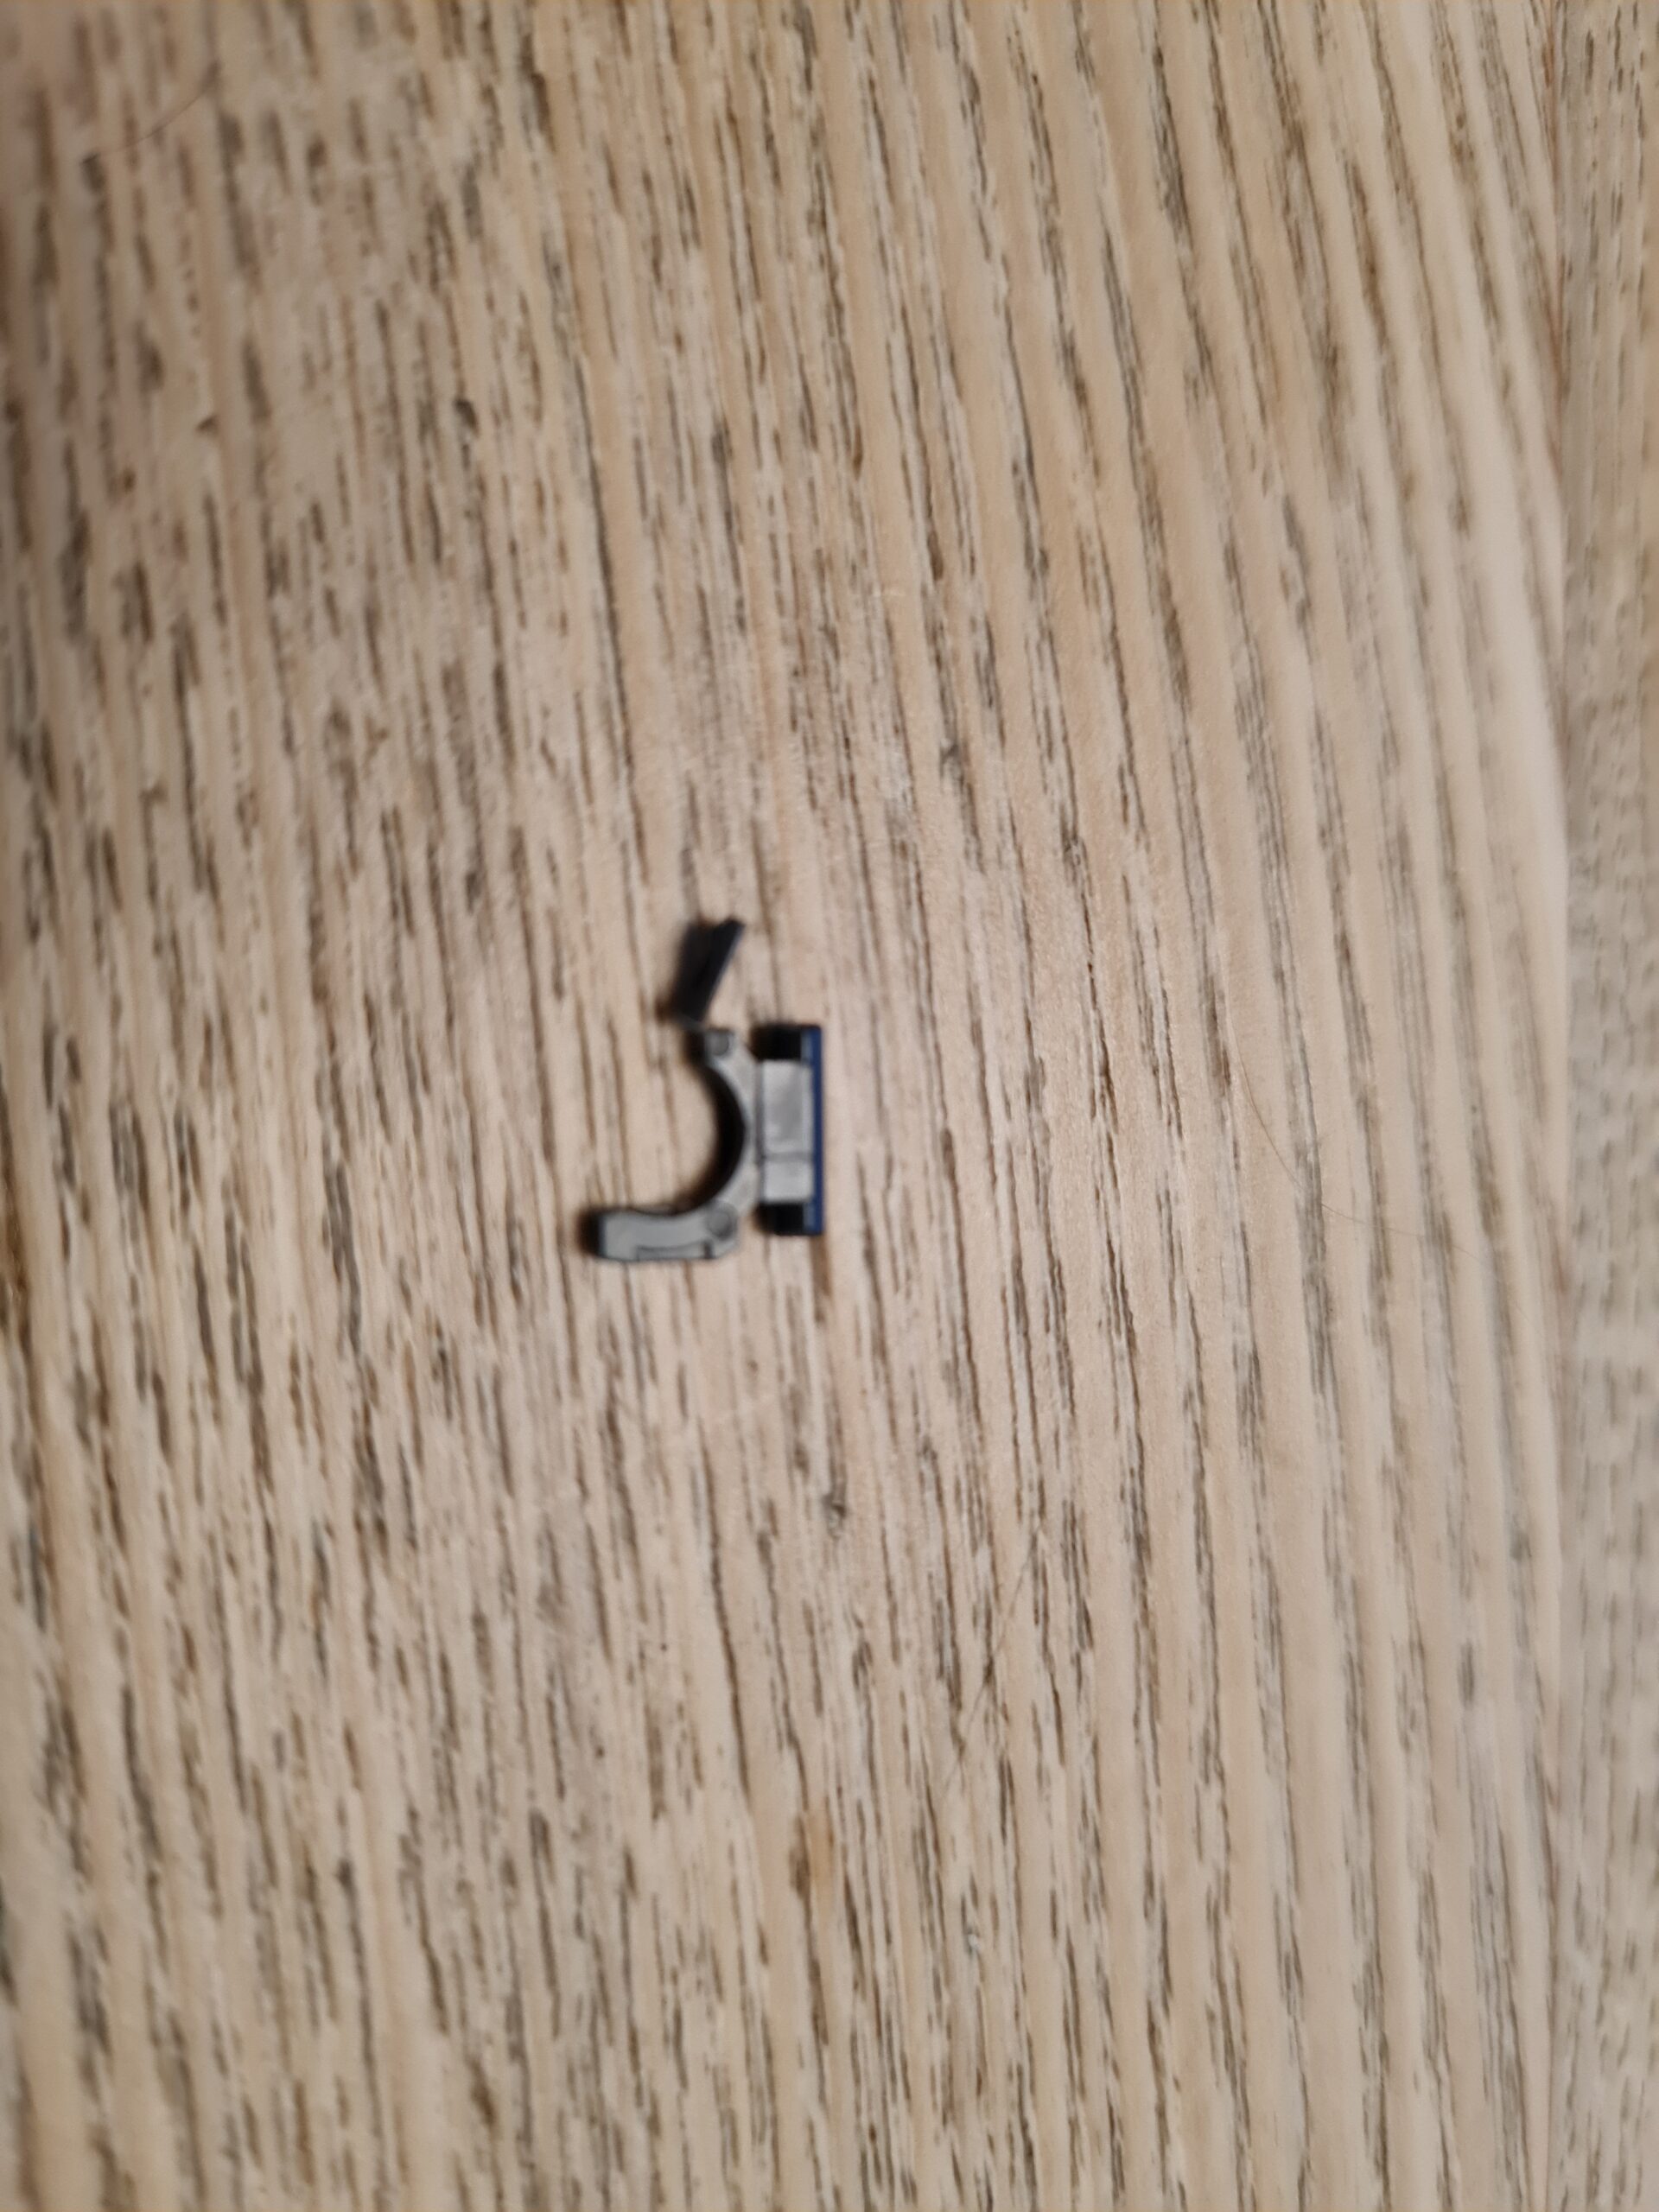
I guess it would probably be more accurate to say the piece shouldn’t look like that. It should be more a horseshoe shape and less of a “on no some spoon broke me” shape.
What to do?
There there were a few potential options. The first would be to just glue it in place, but that would render the arm with very limited mobility. The next option would be to cut a small square of plasticard to size and then file away till I have something that works. The final, and far more fun option would be to design a piece in some 3d software and print one out.
Which did I choose?
I’m guessing from the way I loaded the what the options were, we all know I went down the 3d route. I recently bought a small 3d printer with the specific view of printing adapters for the stands I sell in the shop (here). They are cheap and versatile but I wanted to offer people the opportunity to get some slightly different connectors.
So that means I have a small 3d printer to-hand (*whew*).
My final model looks like this:
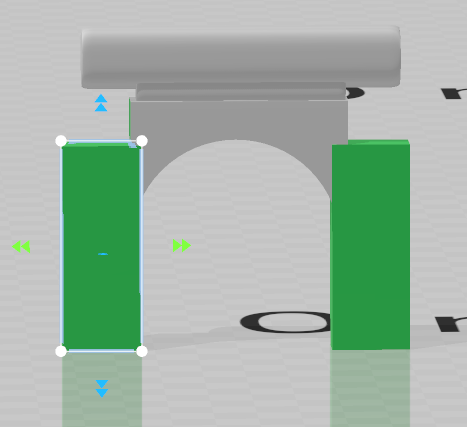
During the process I printed and tested multiple pieces tweaking the width of the legs etc.

Finally I reached one I was happy with and slotted everything back together. It isn’t perfect, and I may need to tweak it further but I can print more if needed!
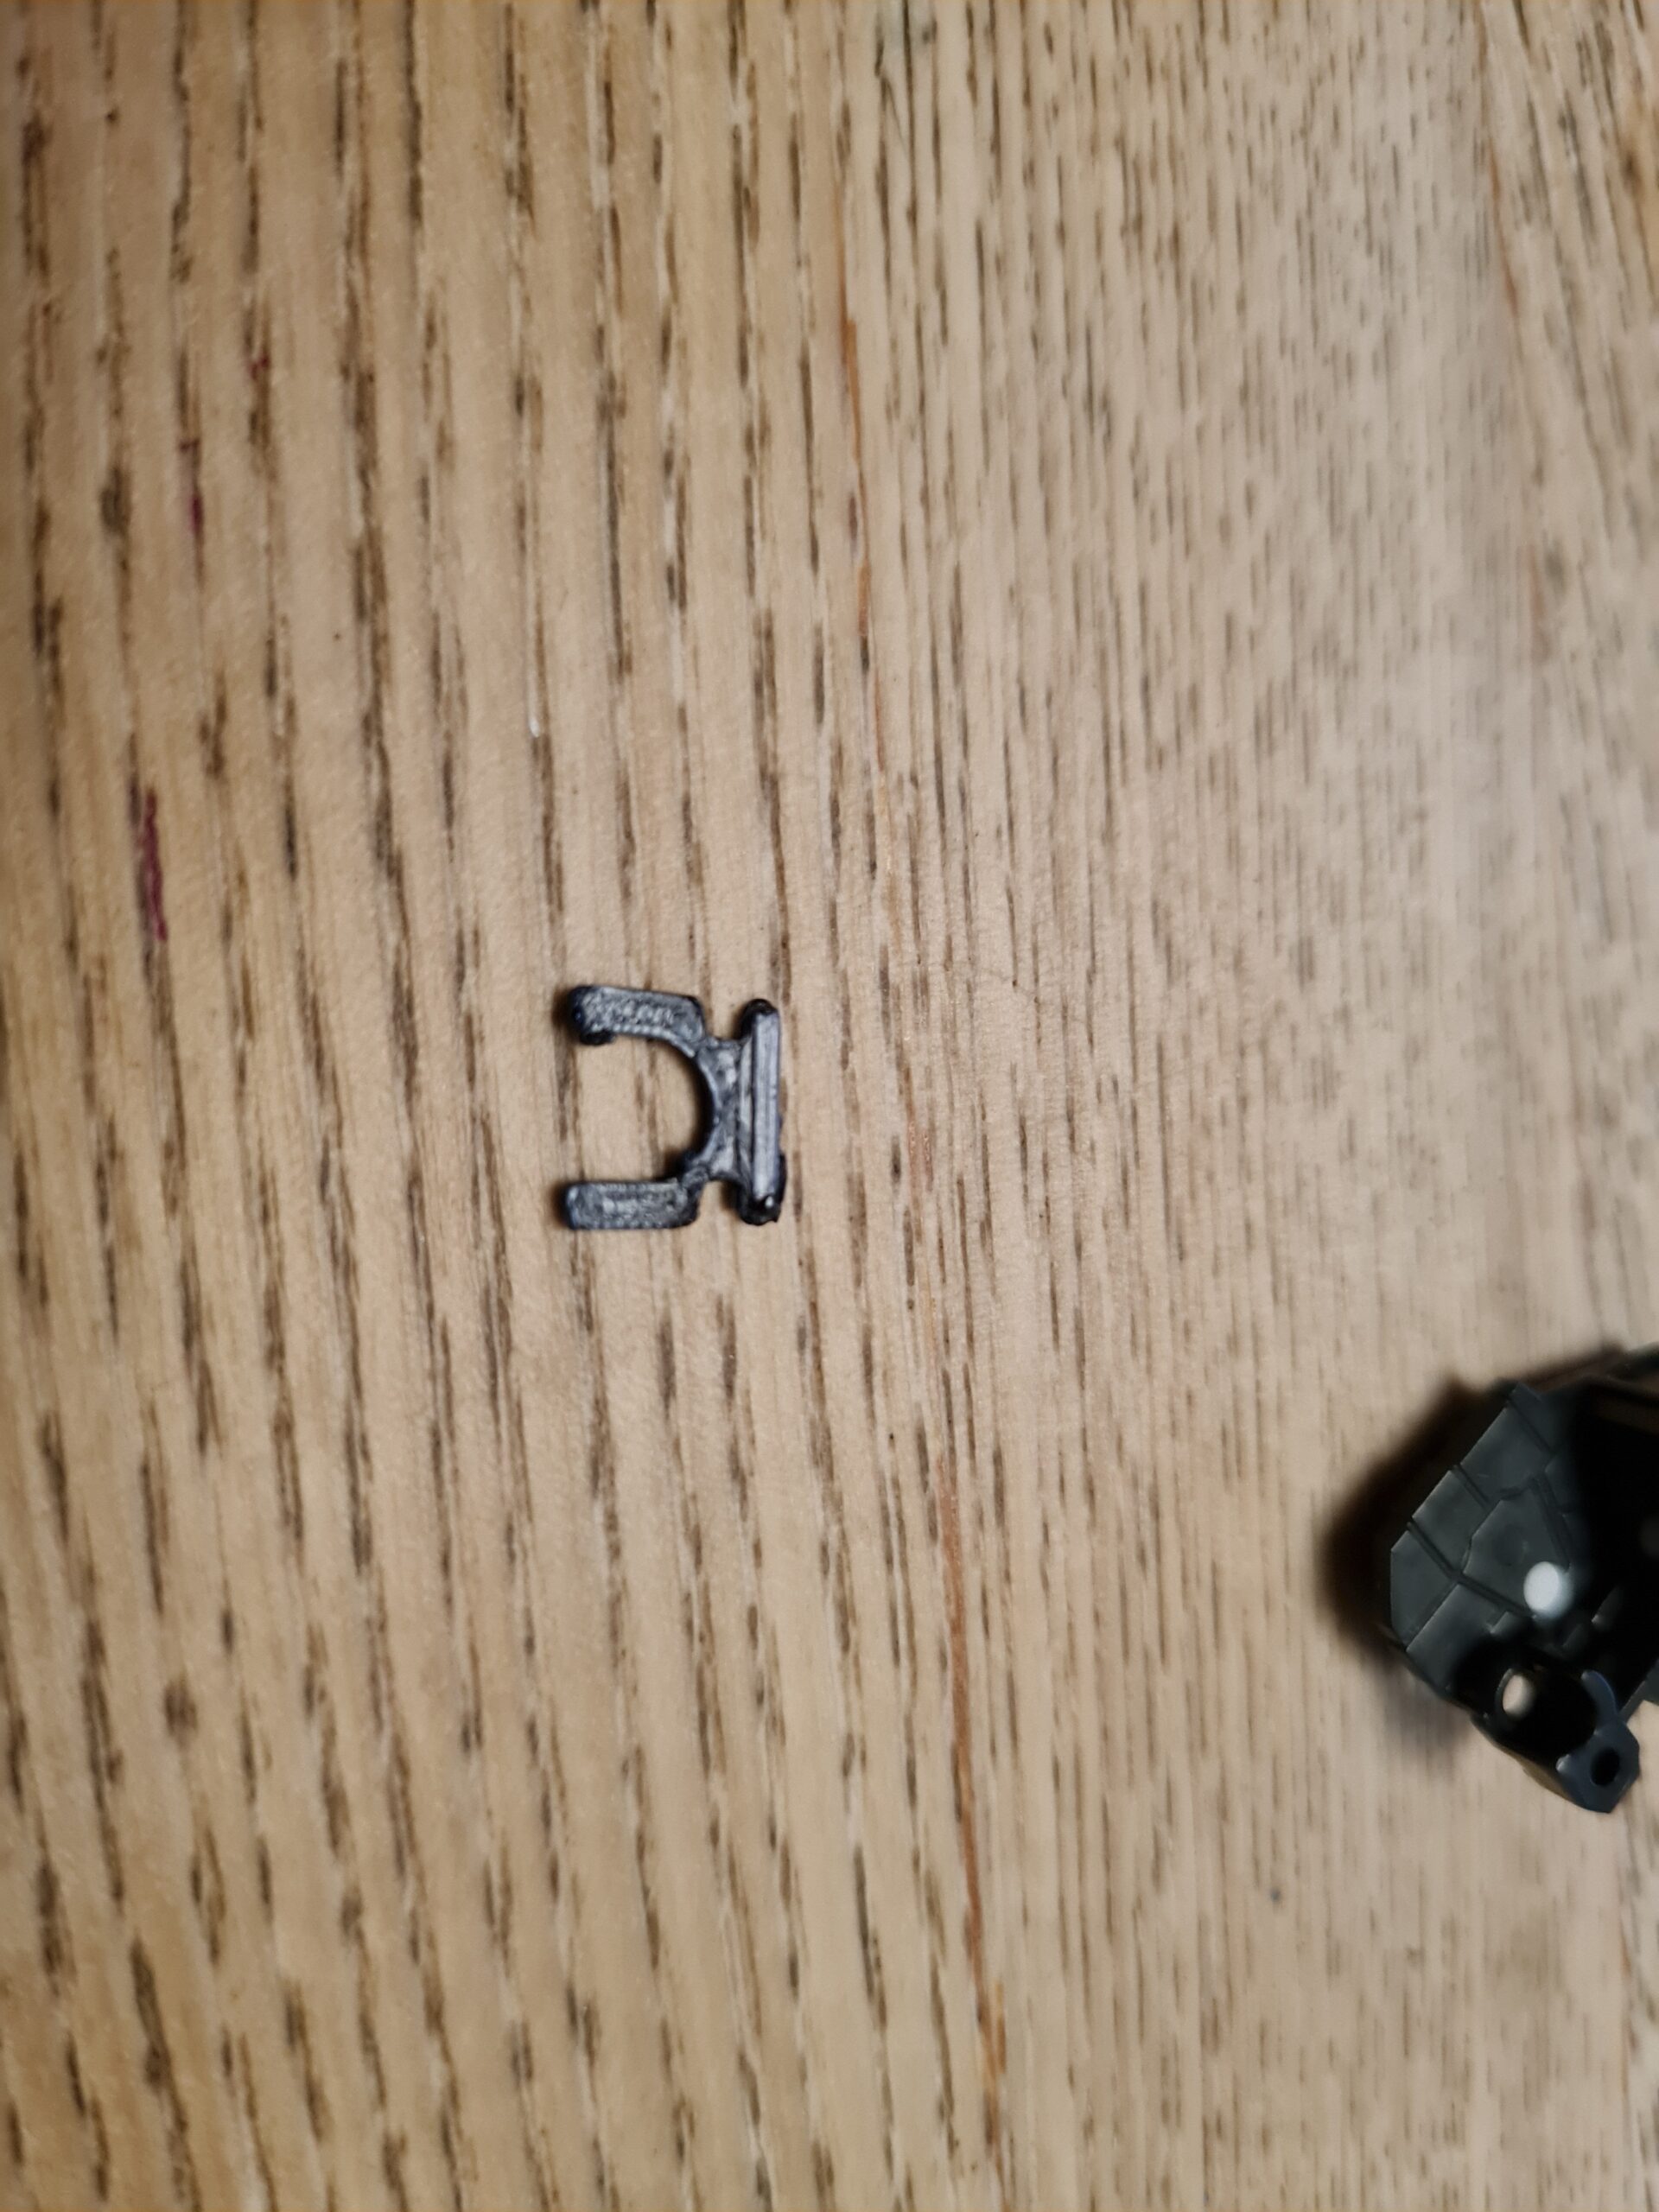

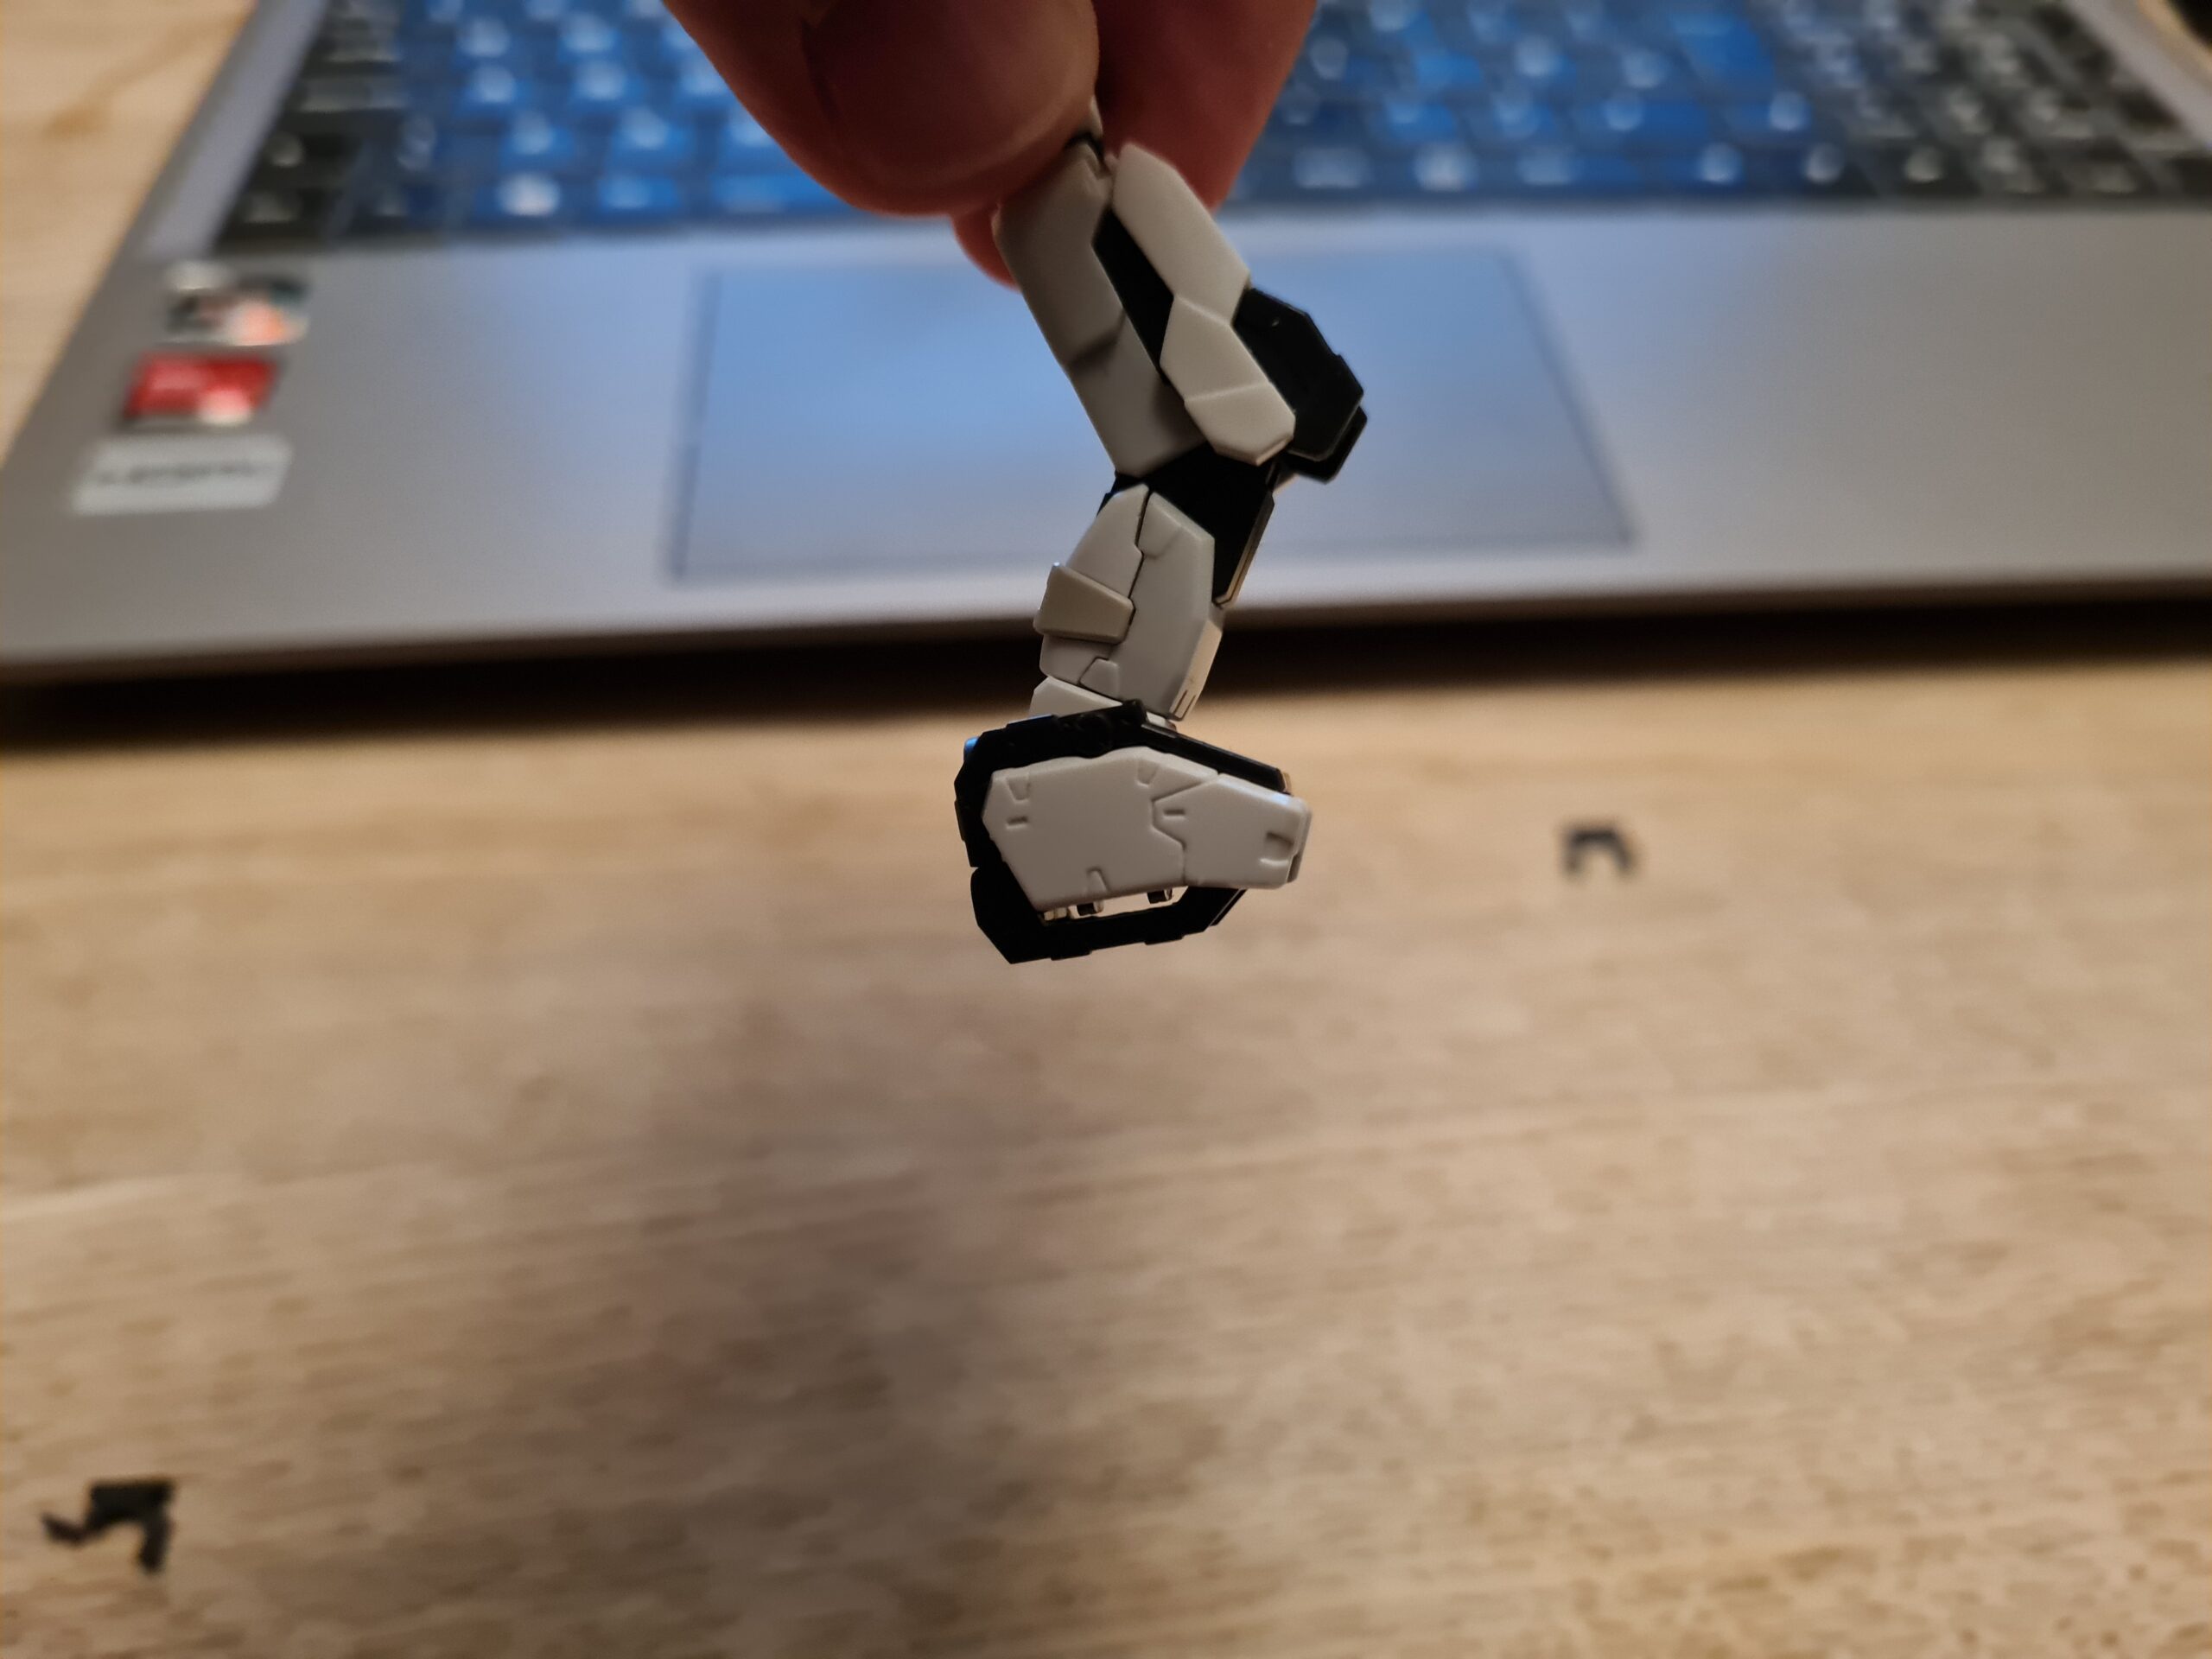
As you can see it appears to be doing the job. On the whole an evening well spent I feel. I also got to use the 3d printer which is a bonus!
Conclusion
I was the one who broke the part. I must have trimmed it too close when using the nippers. However, this goes to show that with a little time and patience there are options to work around broken pieces.
Thank you for taking the time to read this. If you haven’t already done so please like and follow us on our social media platforms and checkout our website!
Facebook: https://www.facebook.com/profile.php?id=100086701512793
Instagram: https://www.instagram.com/modelkitsltd/
Website: https://modelkitsltd.co.uk