Posted on

Advert / Stock 19/03/2023

Introduction

Welcome to “Advert / Stock 19/03/2023” a quick roundup of the week, the stock and an advert for the shop.

Before I get into it I wanted to apologise for the lack of posts over the last week. With balancing everything I just didn’t get time to do any posts this week. I will try harder next week!

Stock

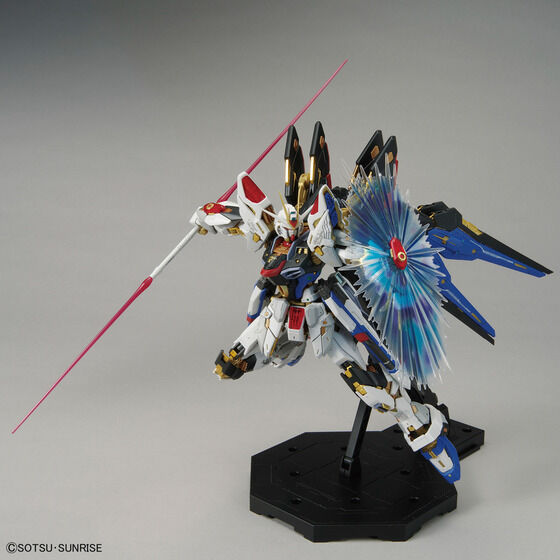
So currently the core of the stock hasn’t changed. There is still a solid breadth of models across all the grades in the shop. If you are thinking about picking something up then please do have a look. I will include links at the bottom of the post rather than just littering them throughout the post.

What have I been doing?

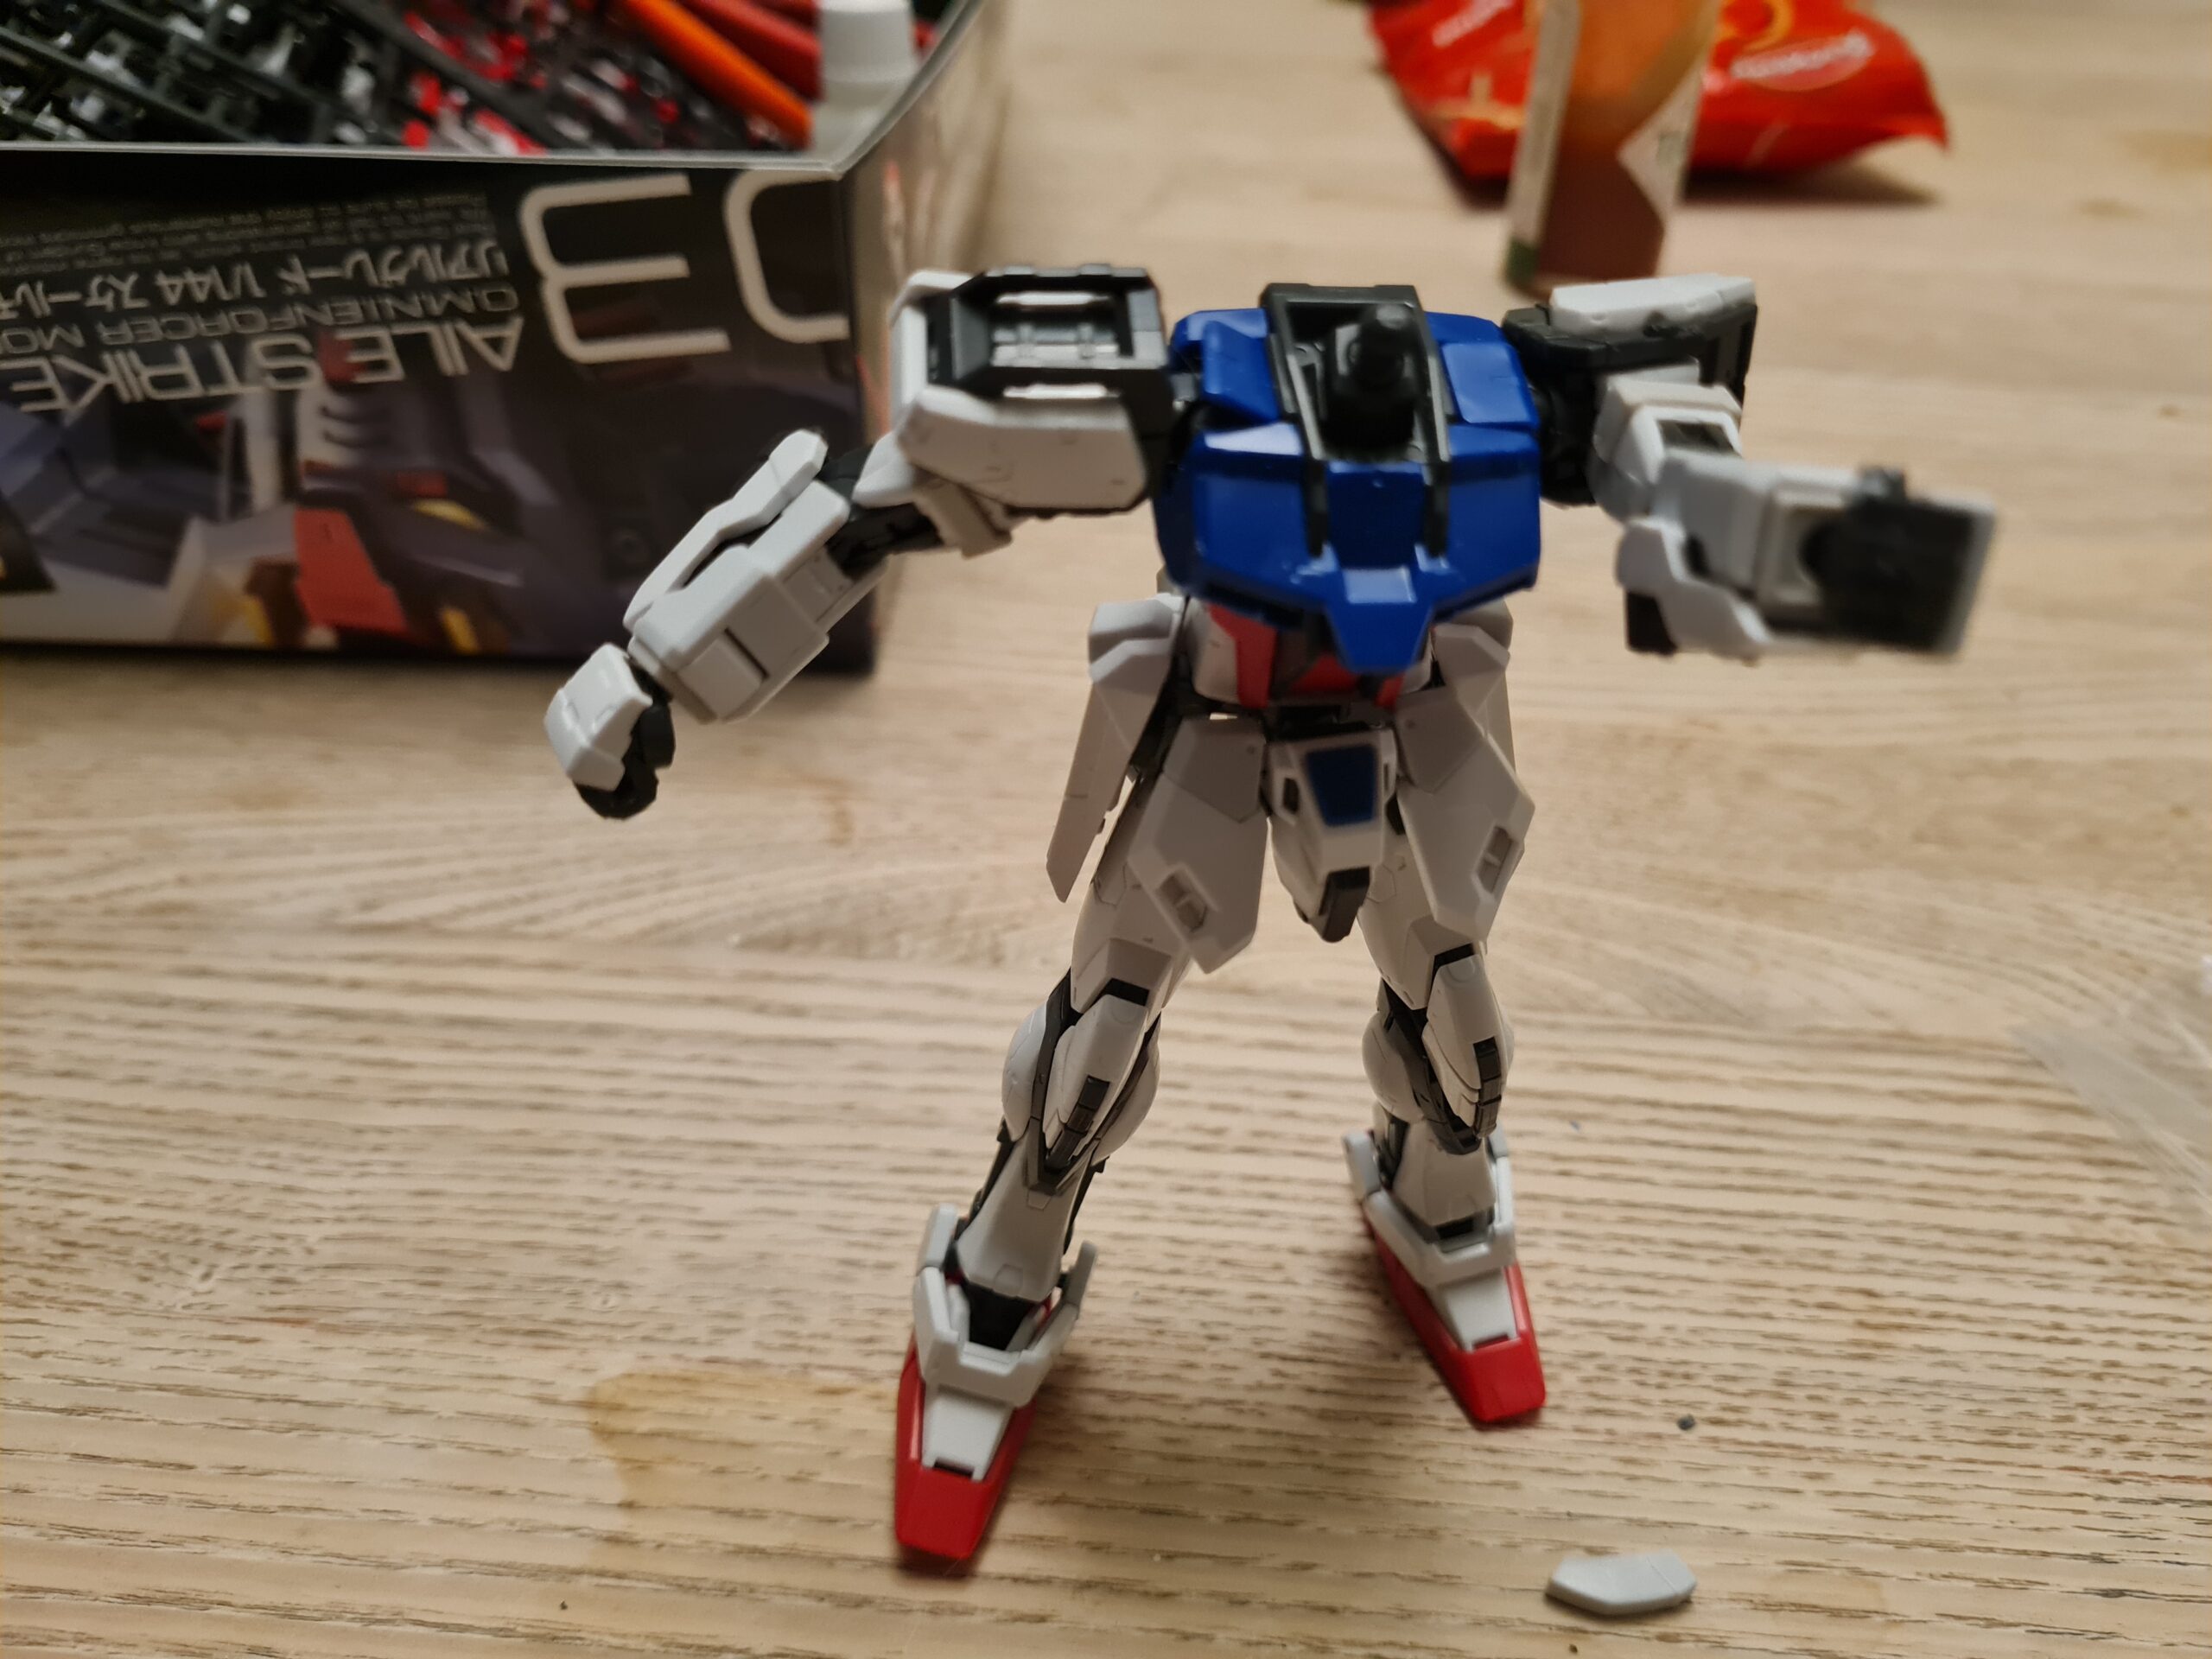
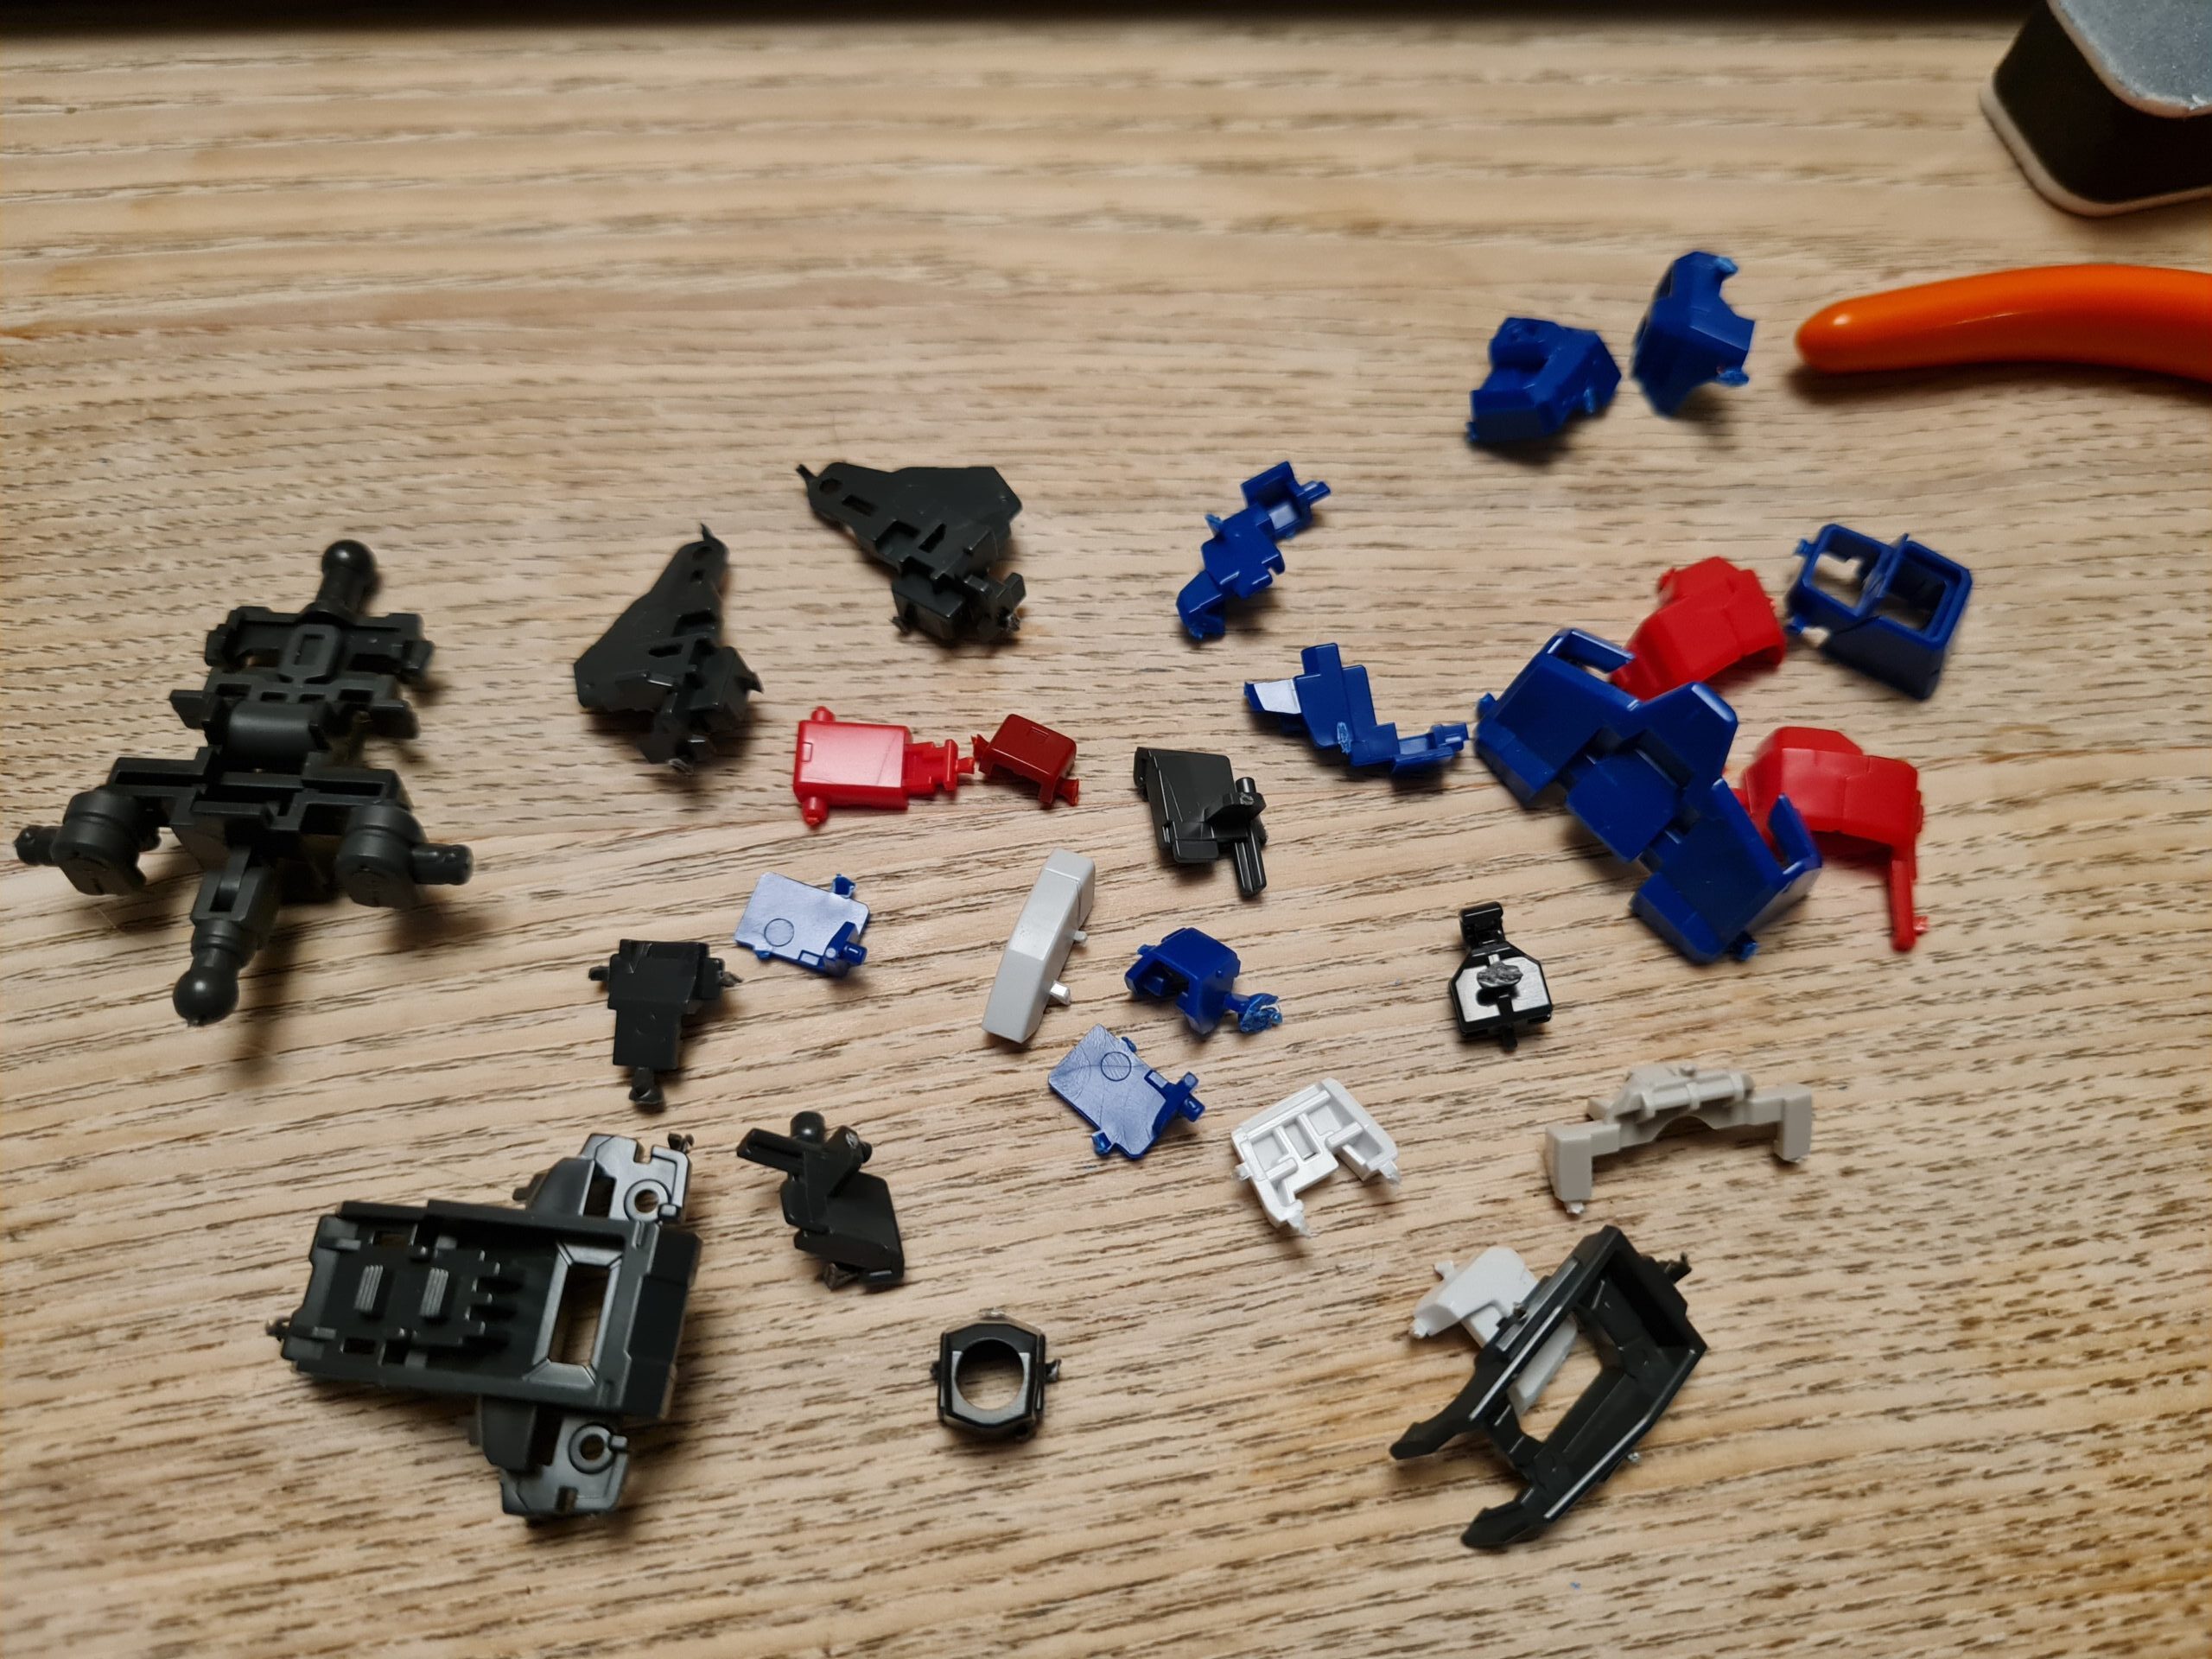
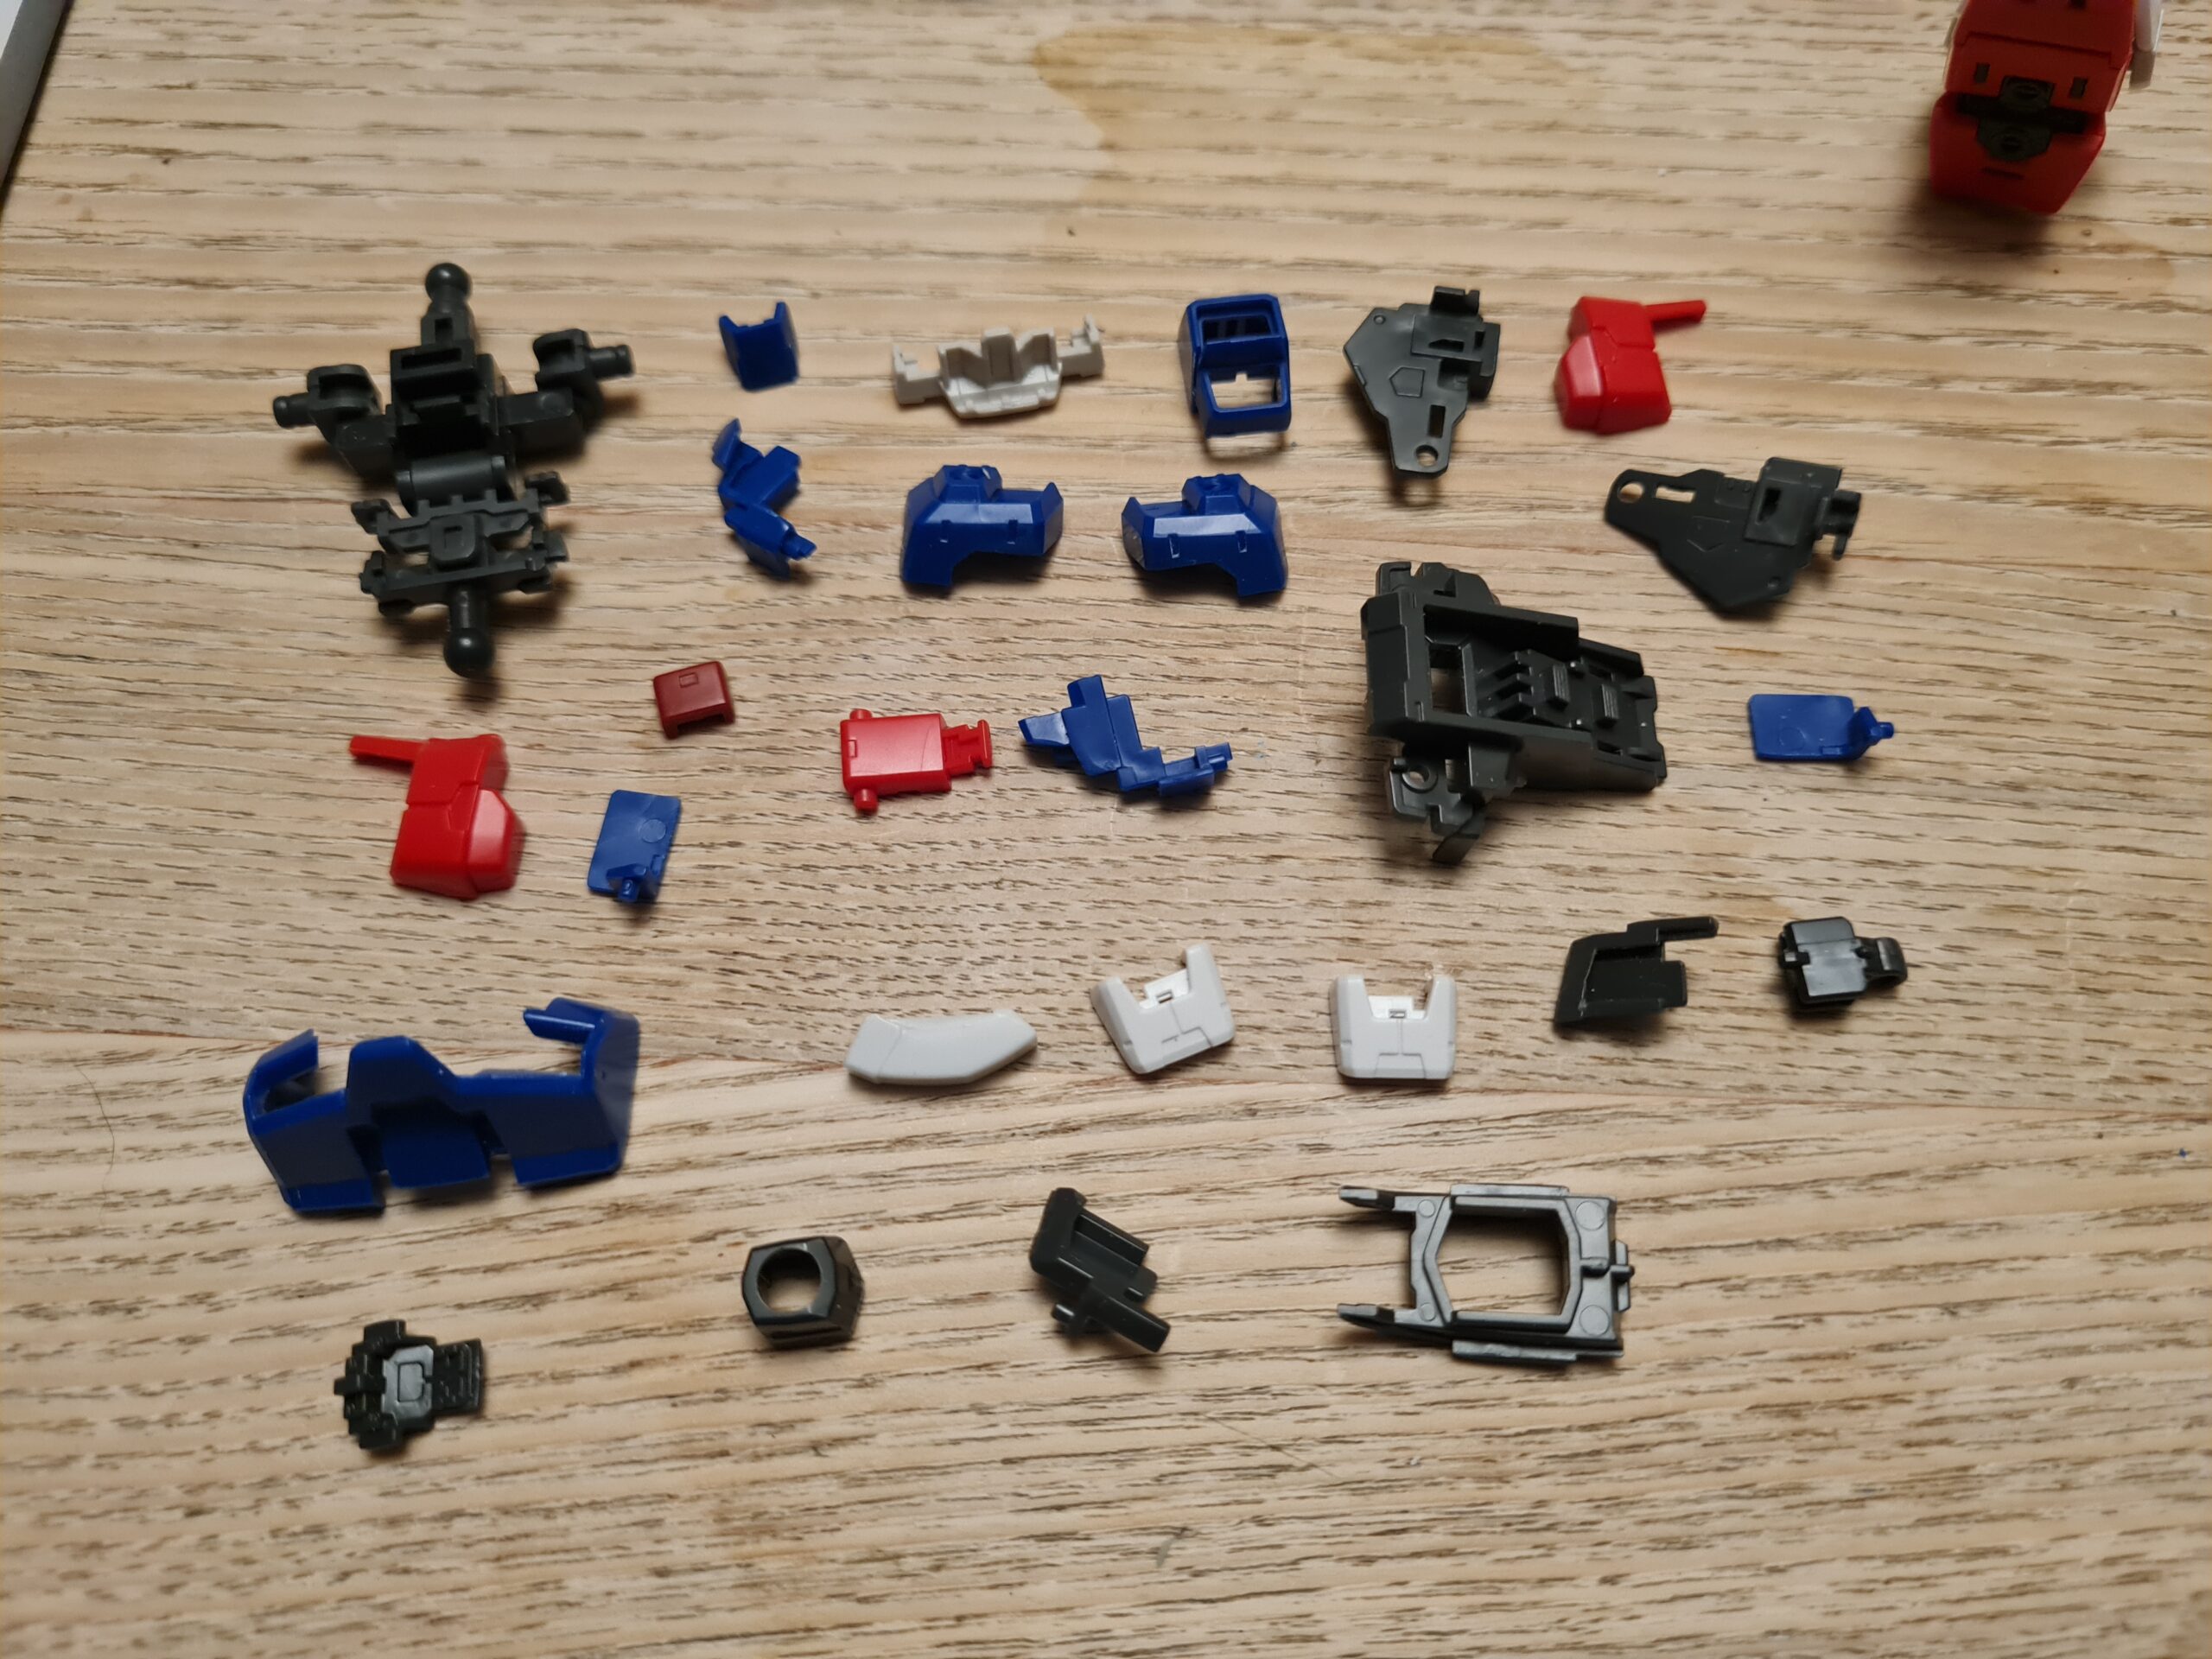
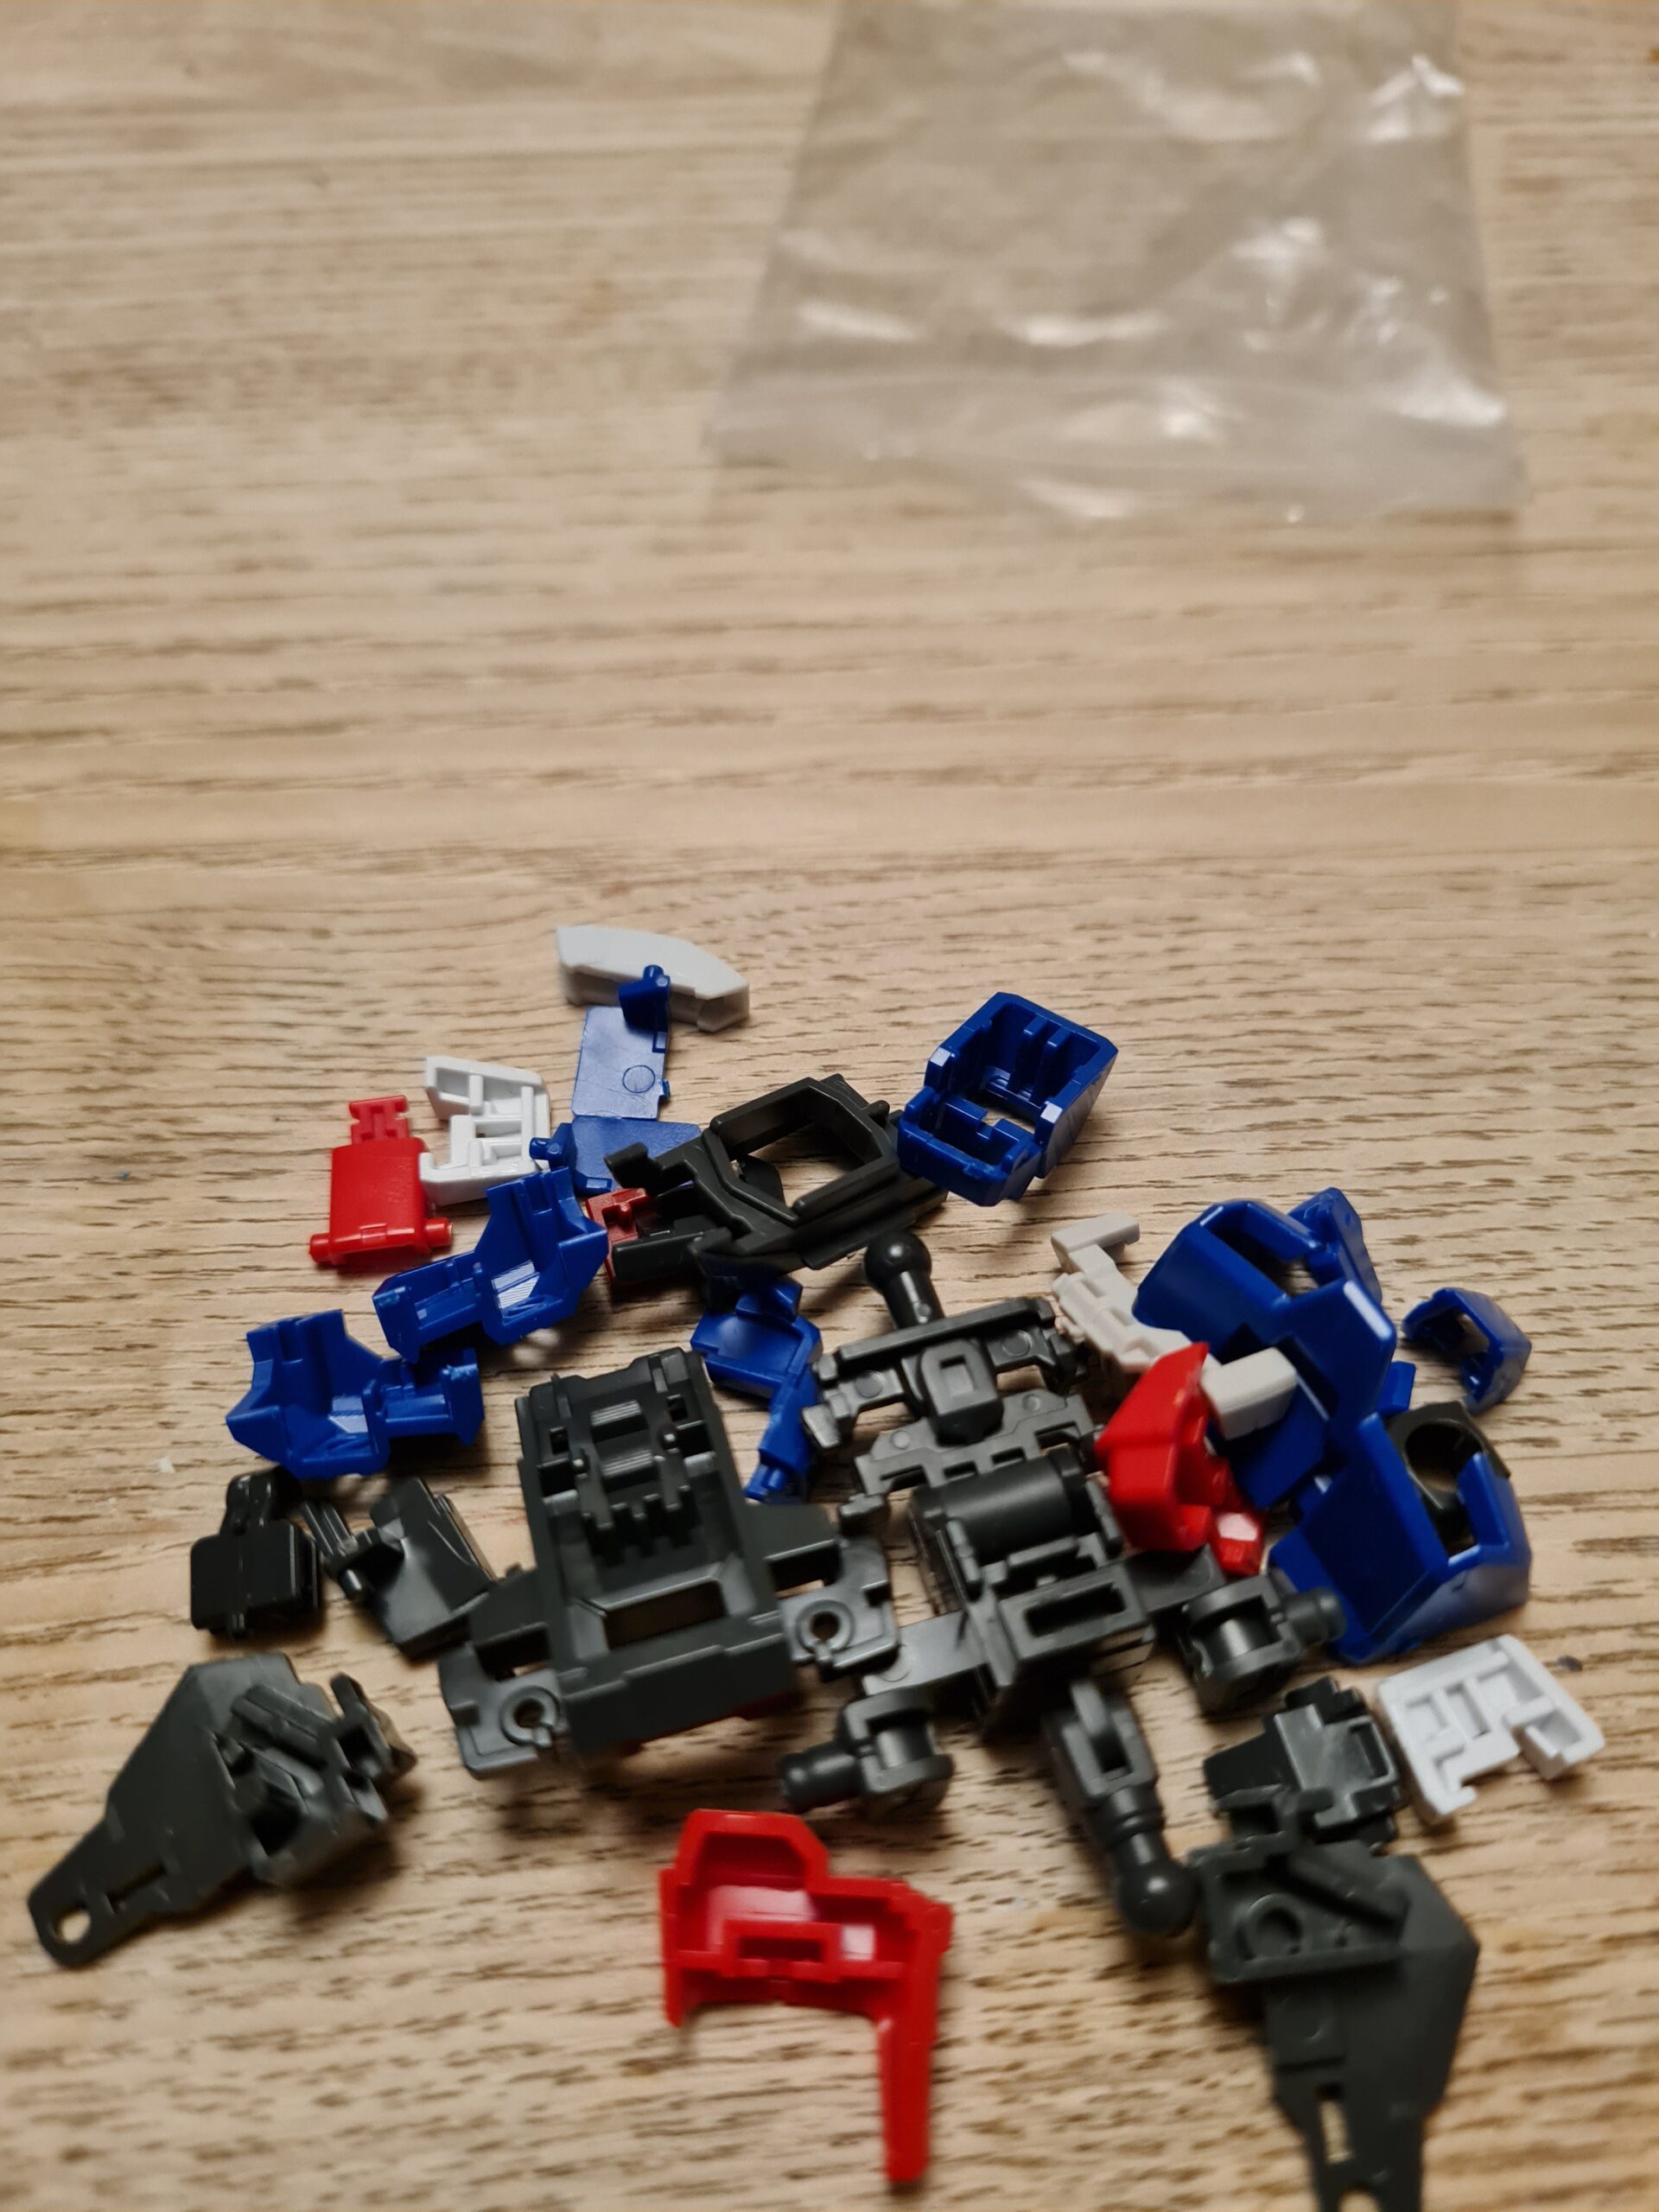
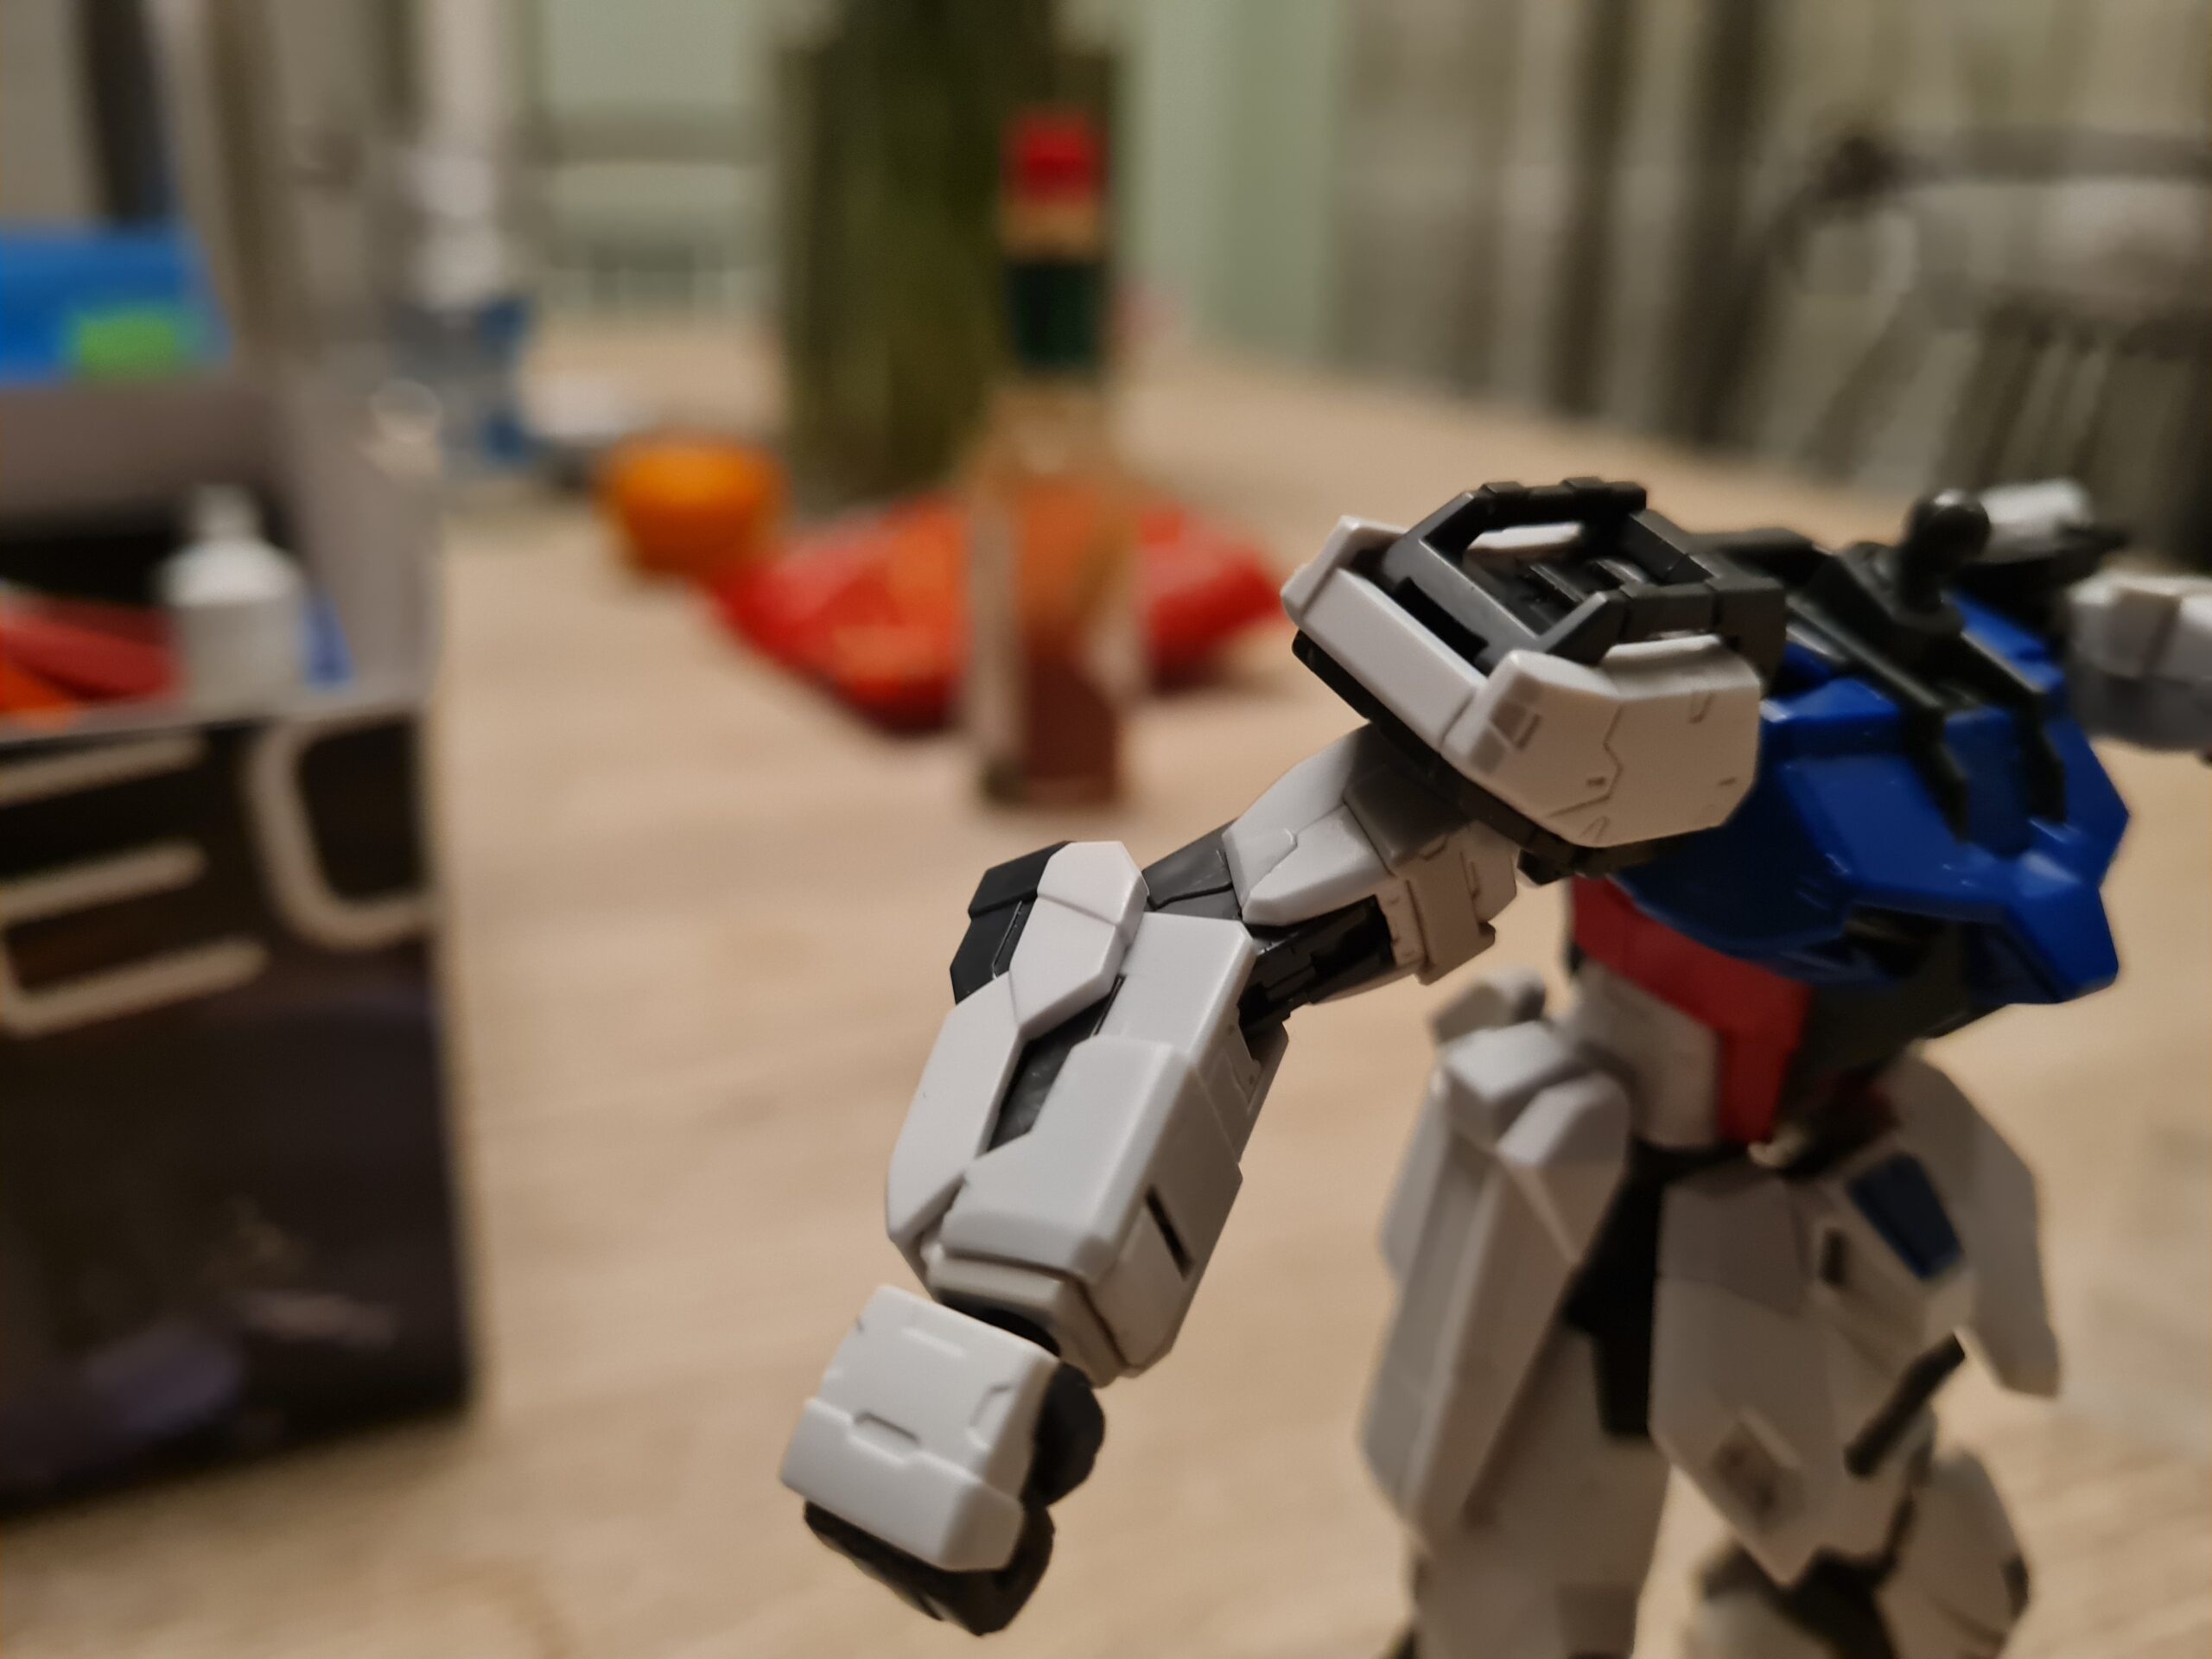
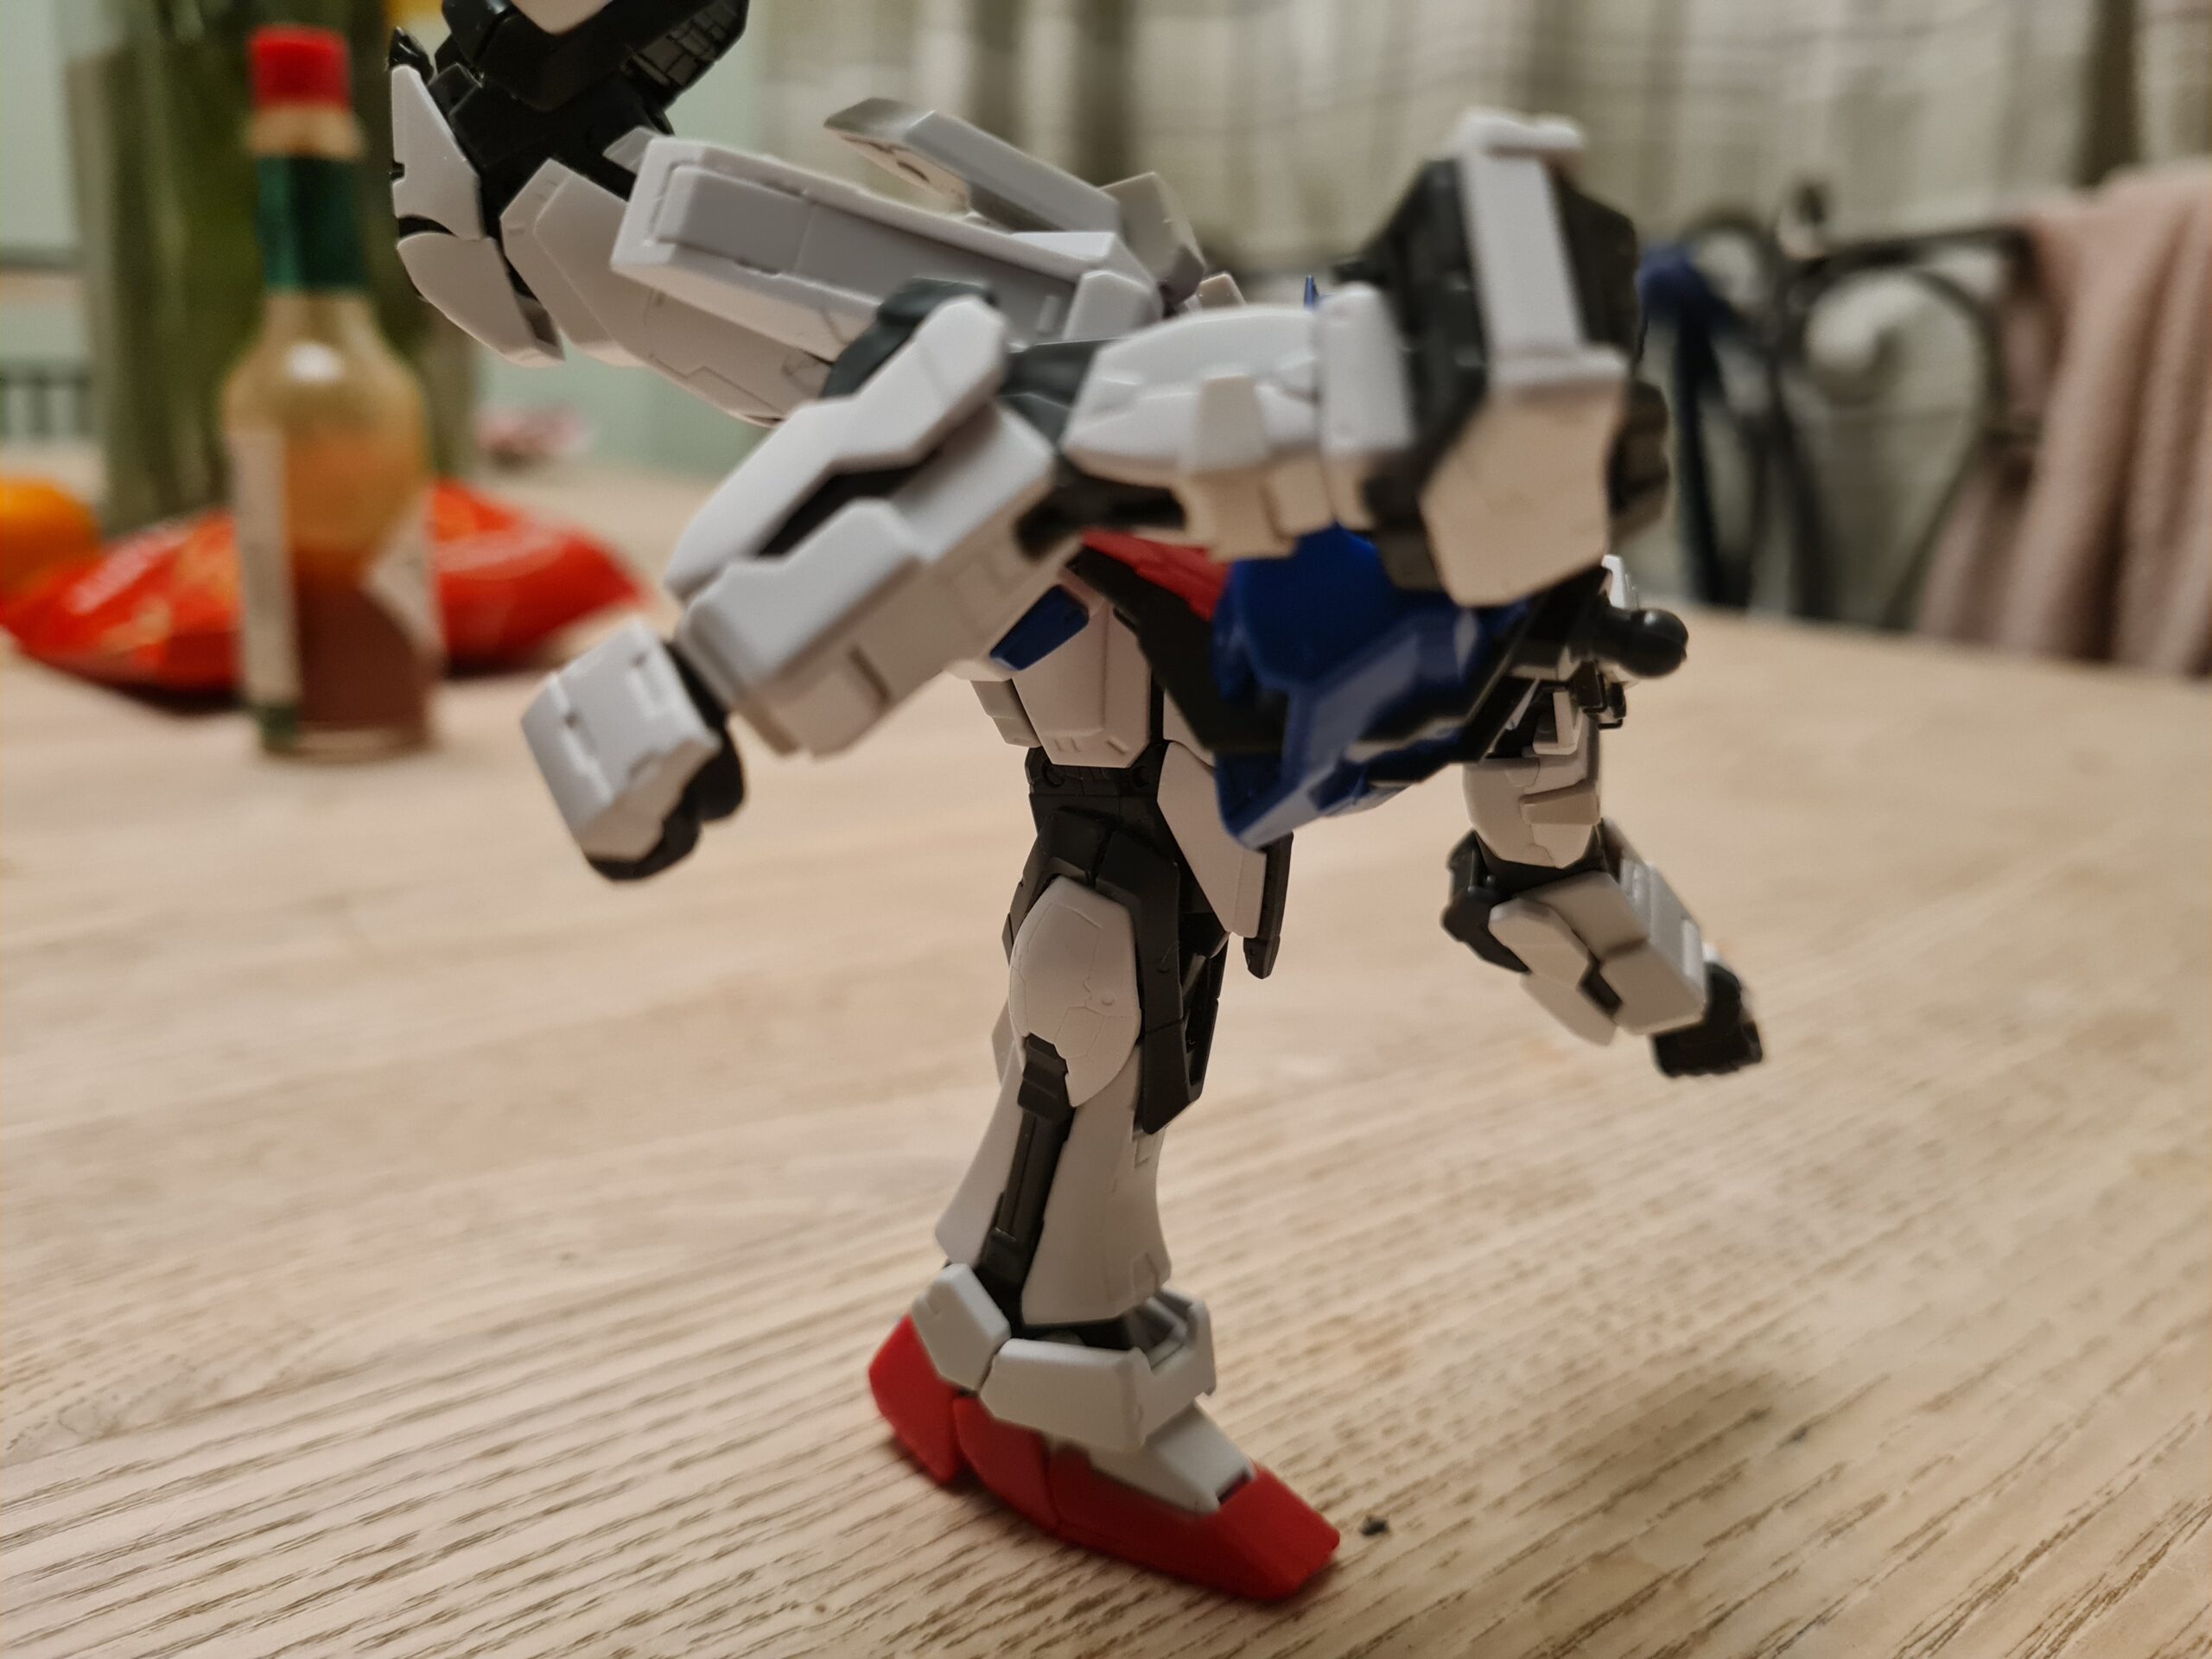
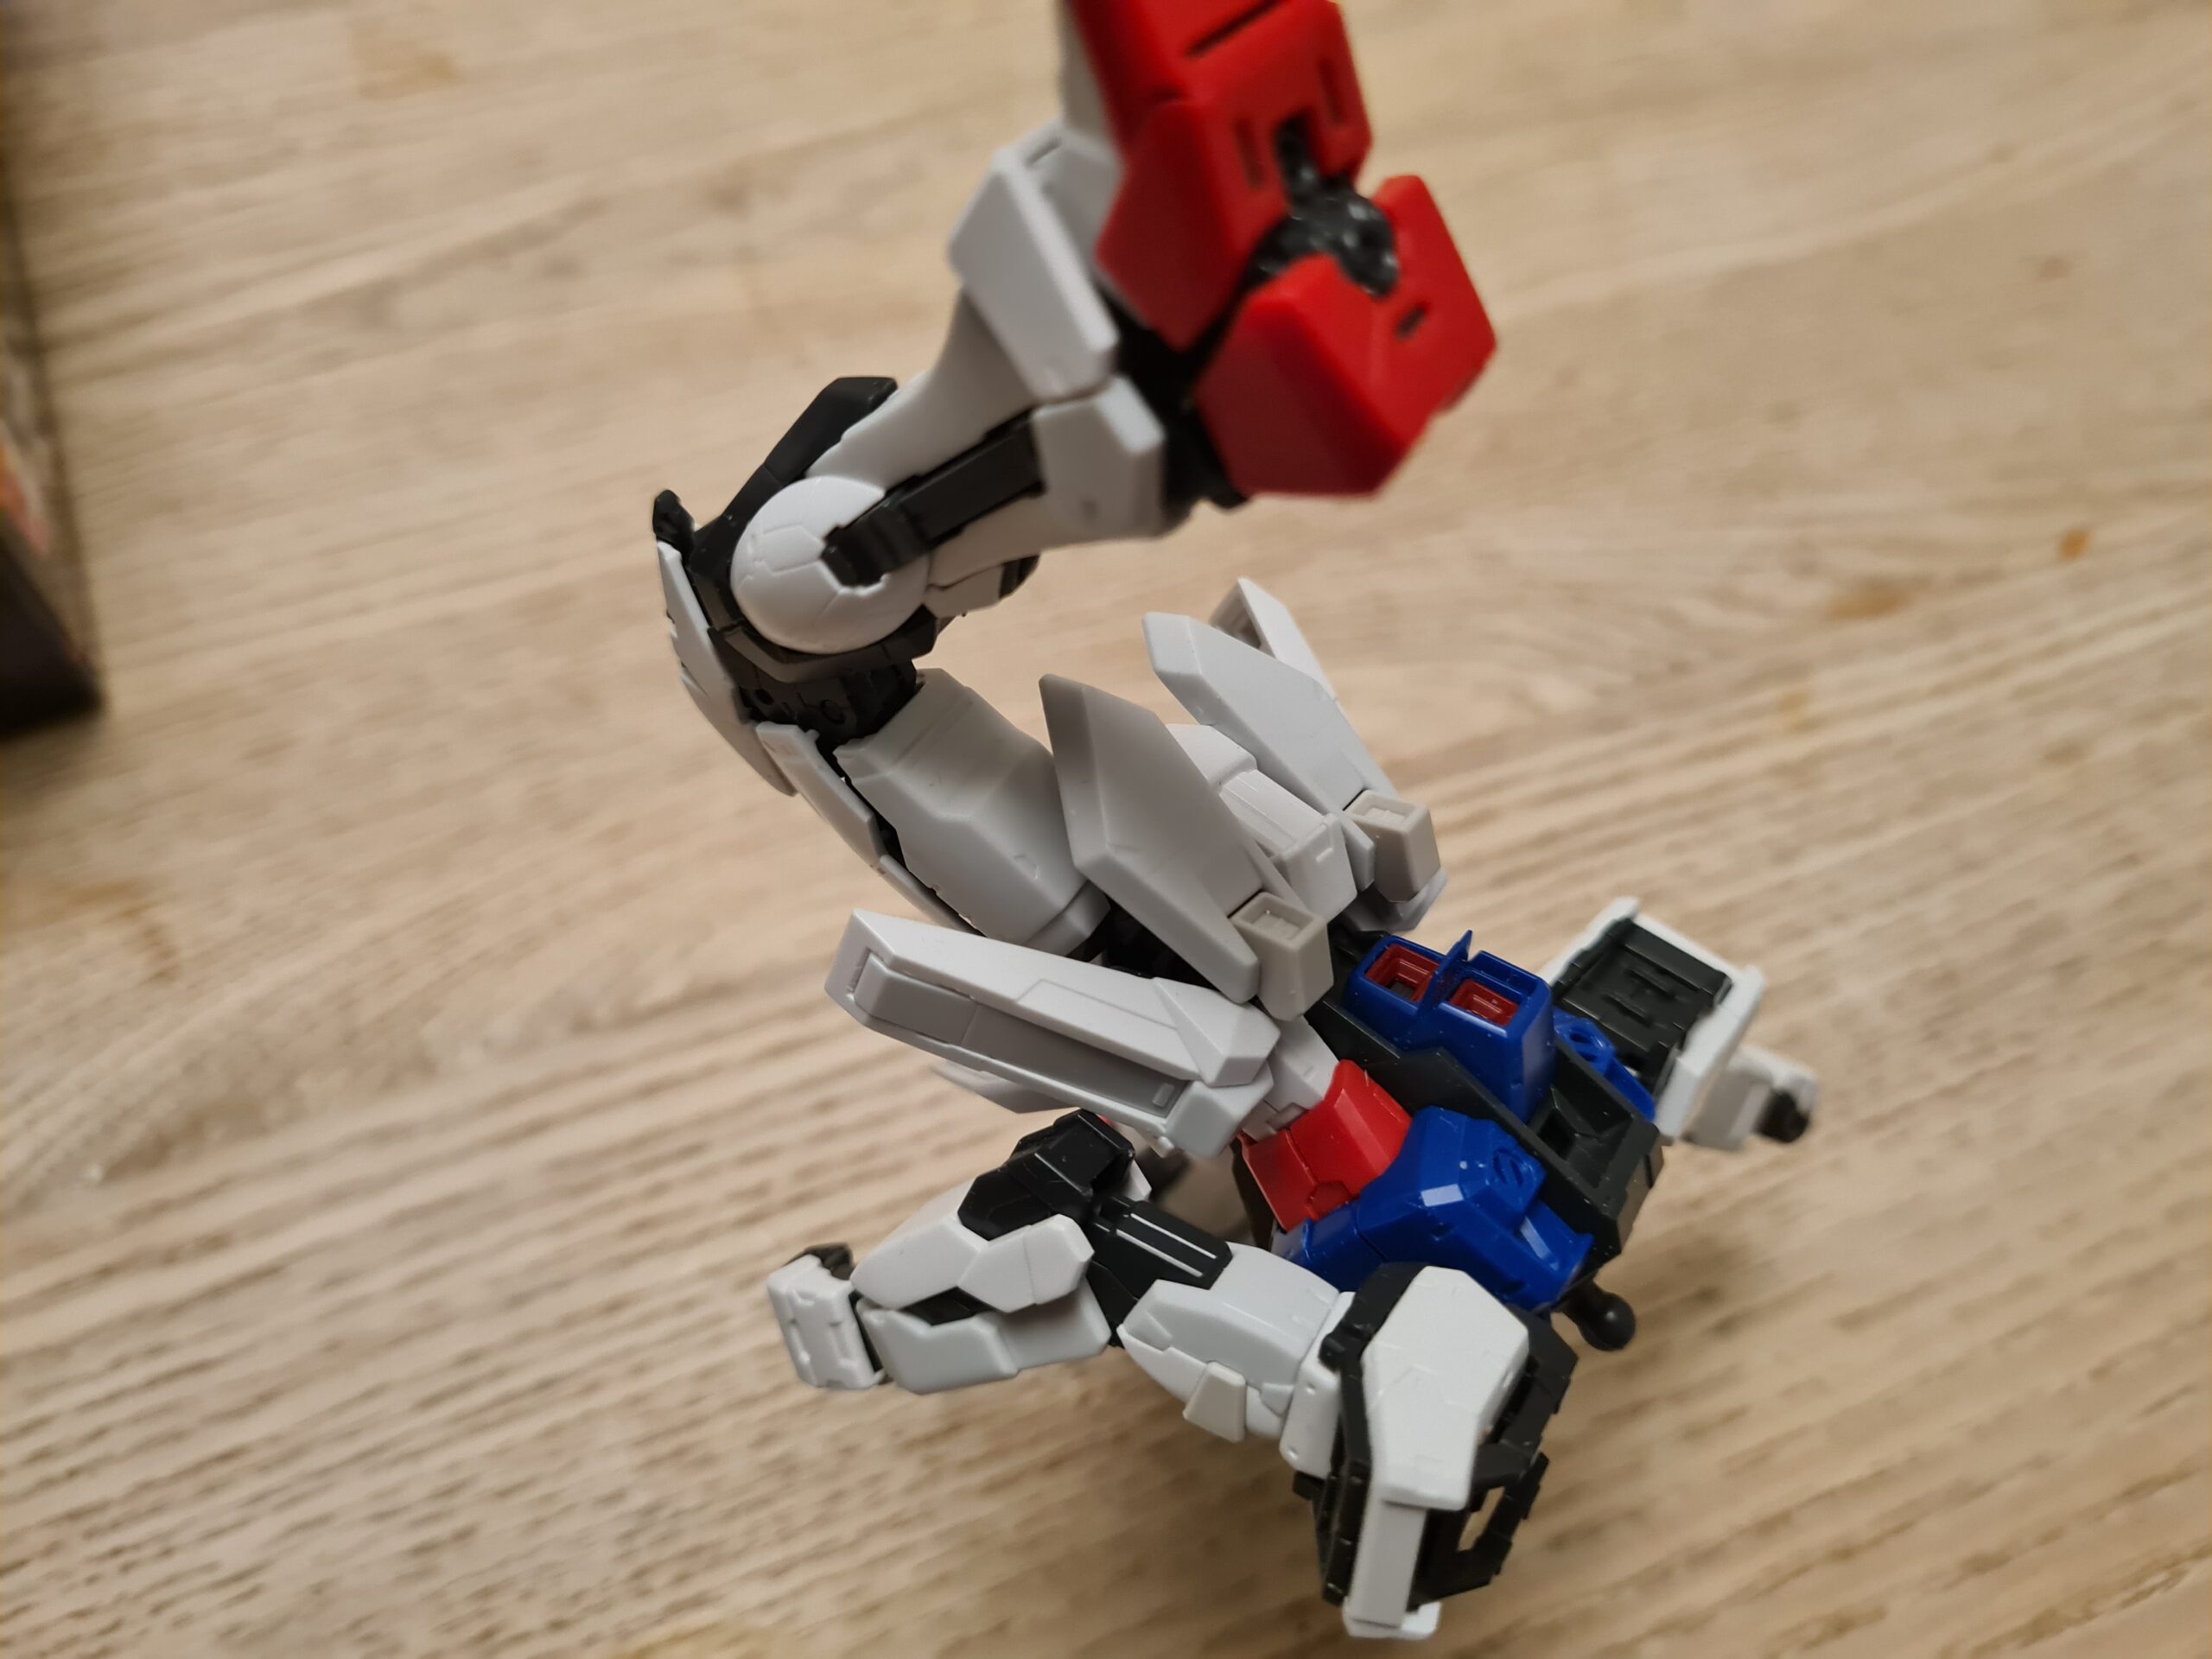
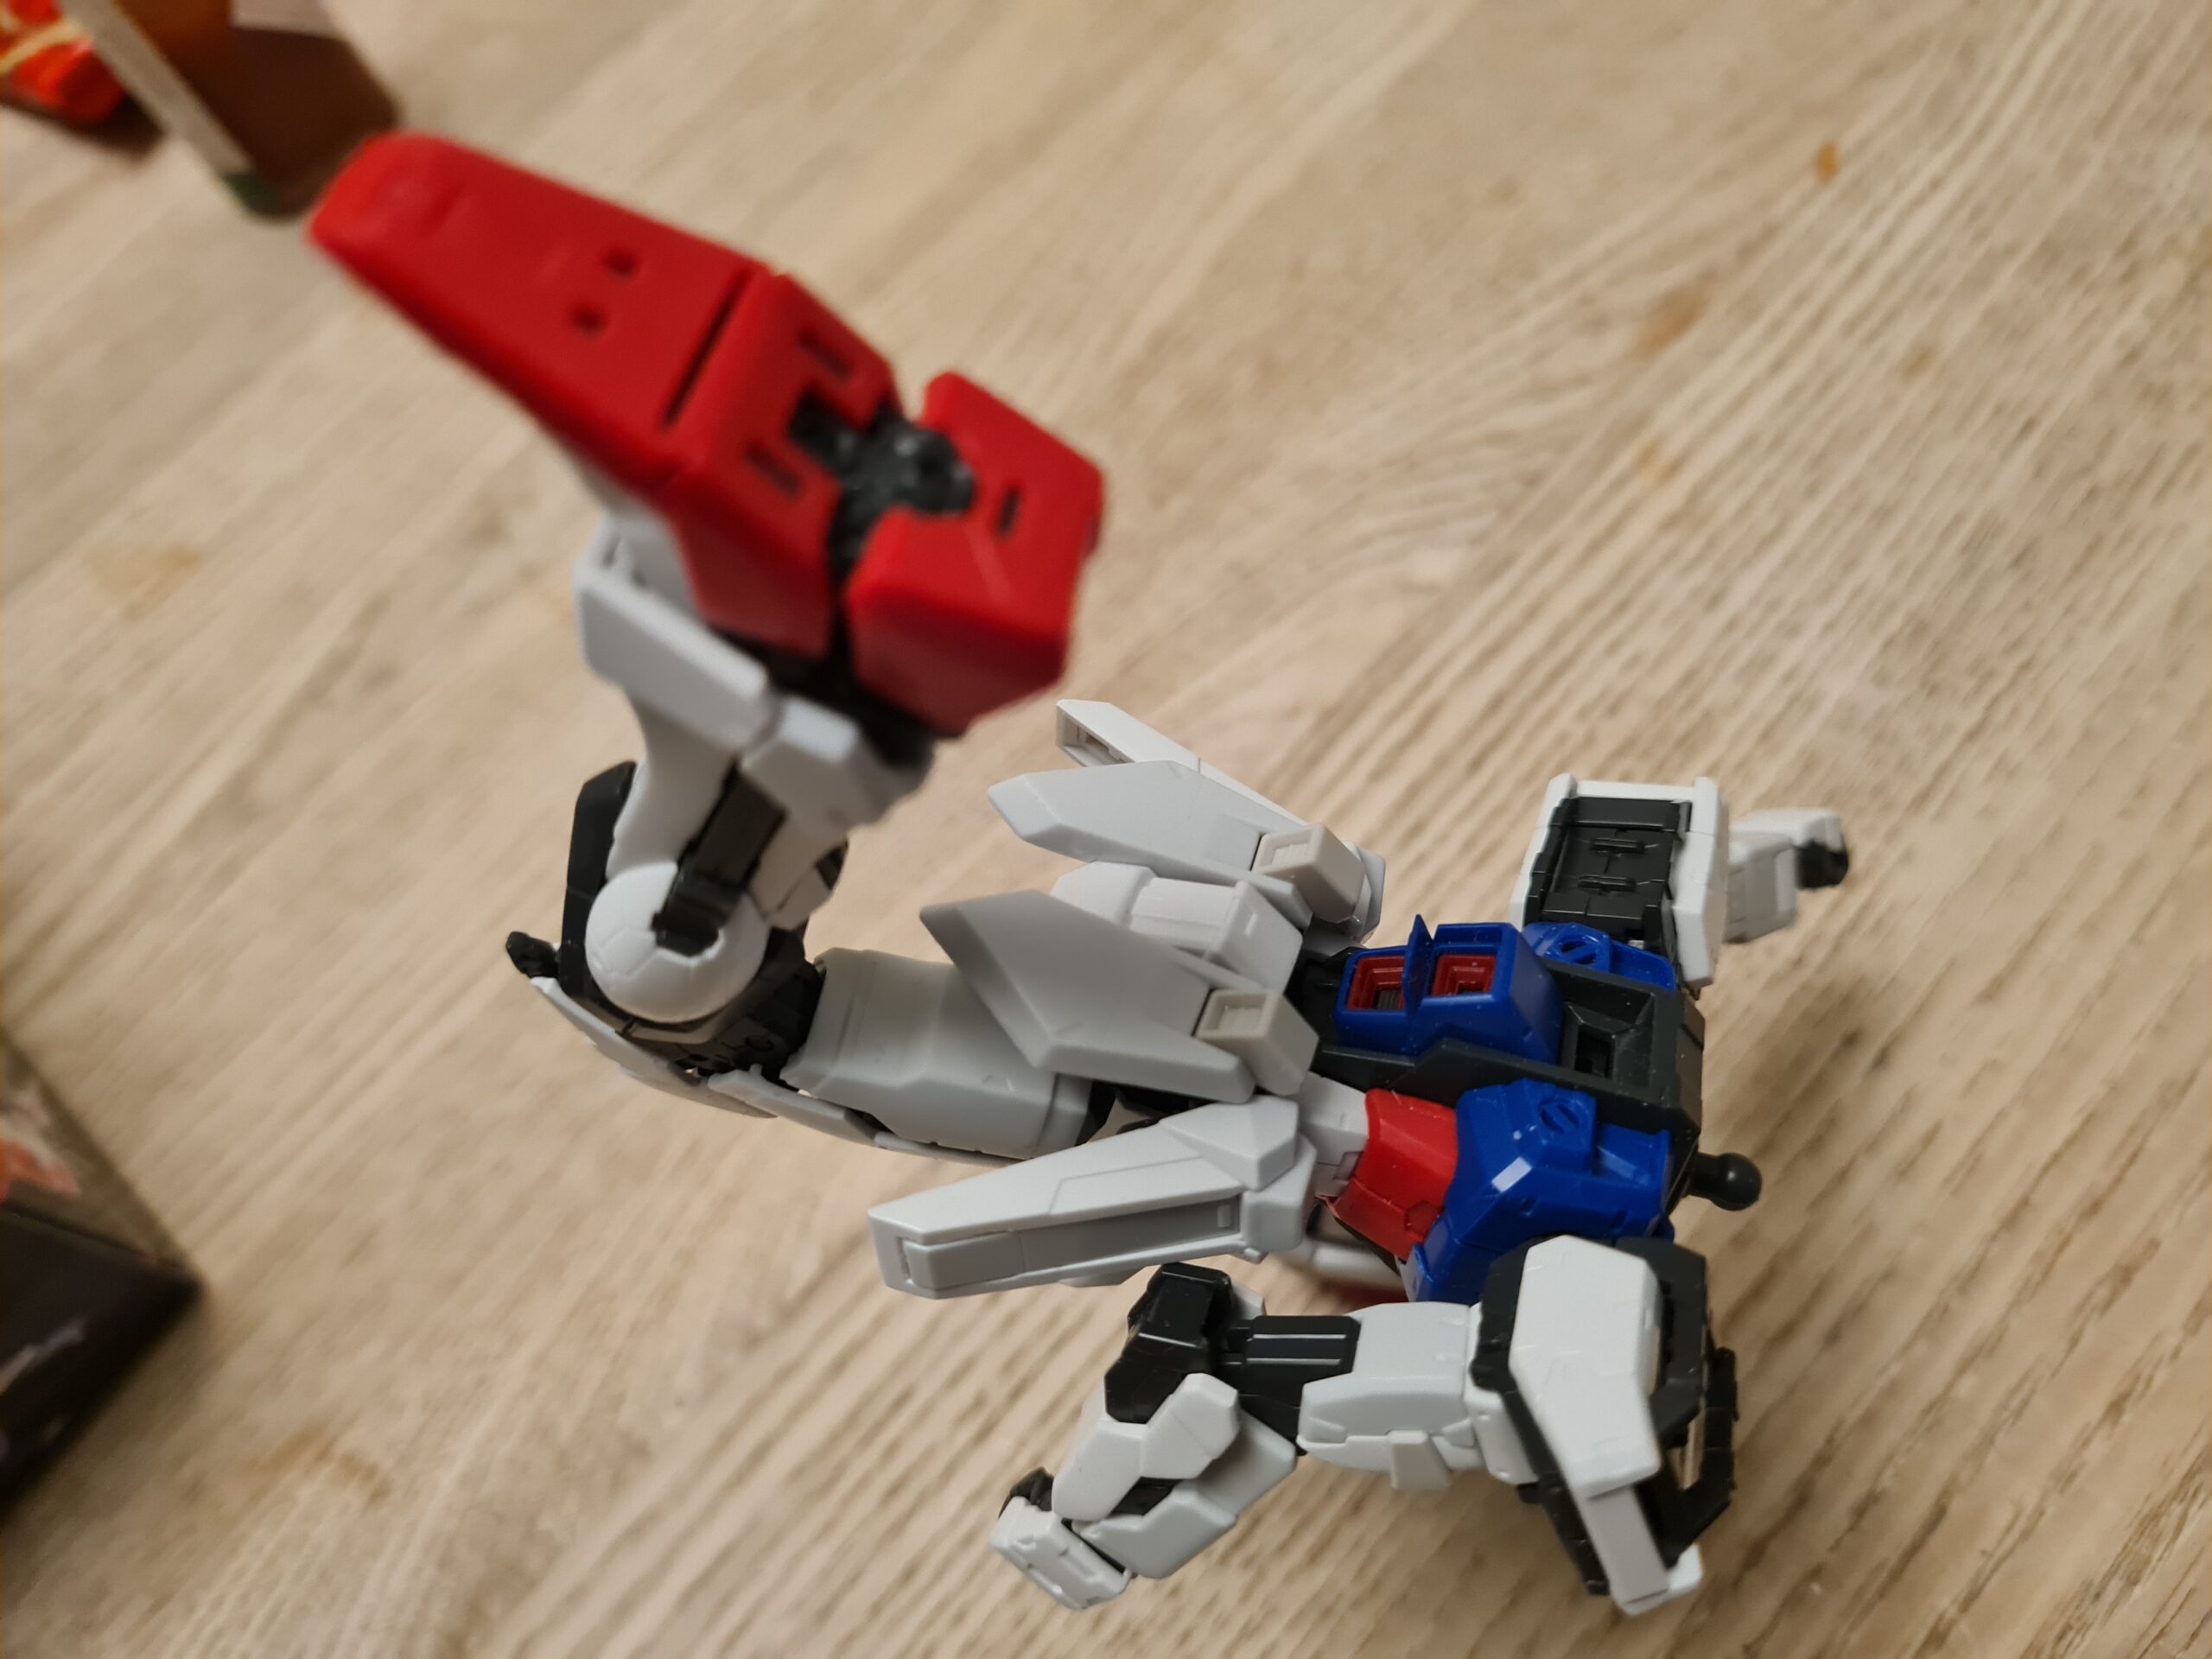
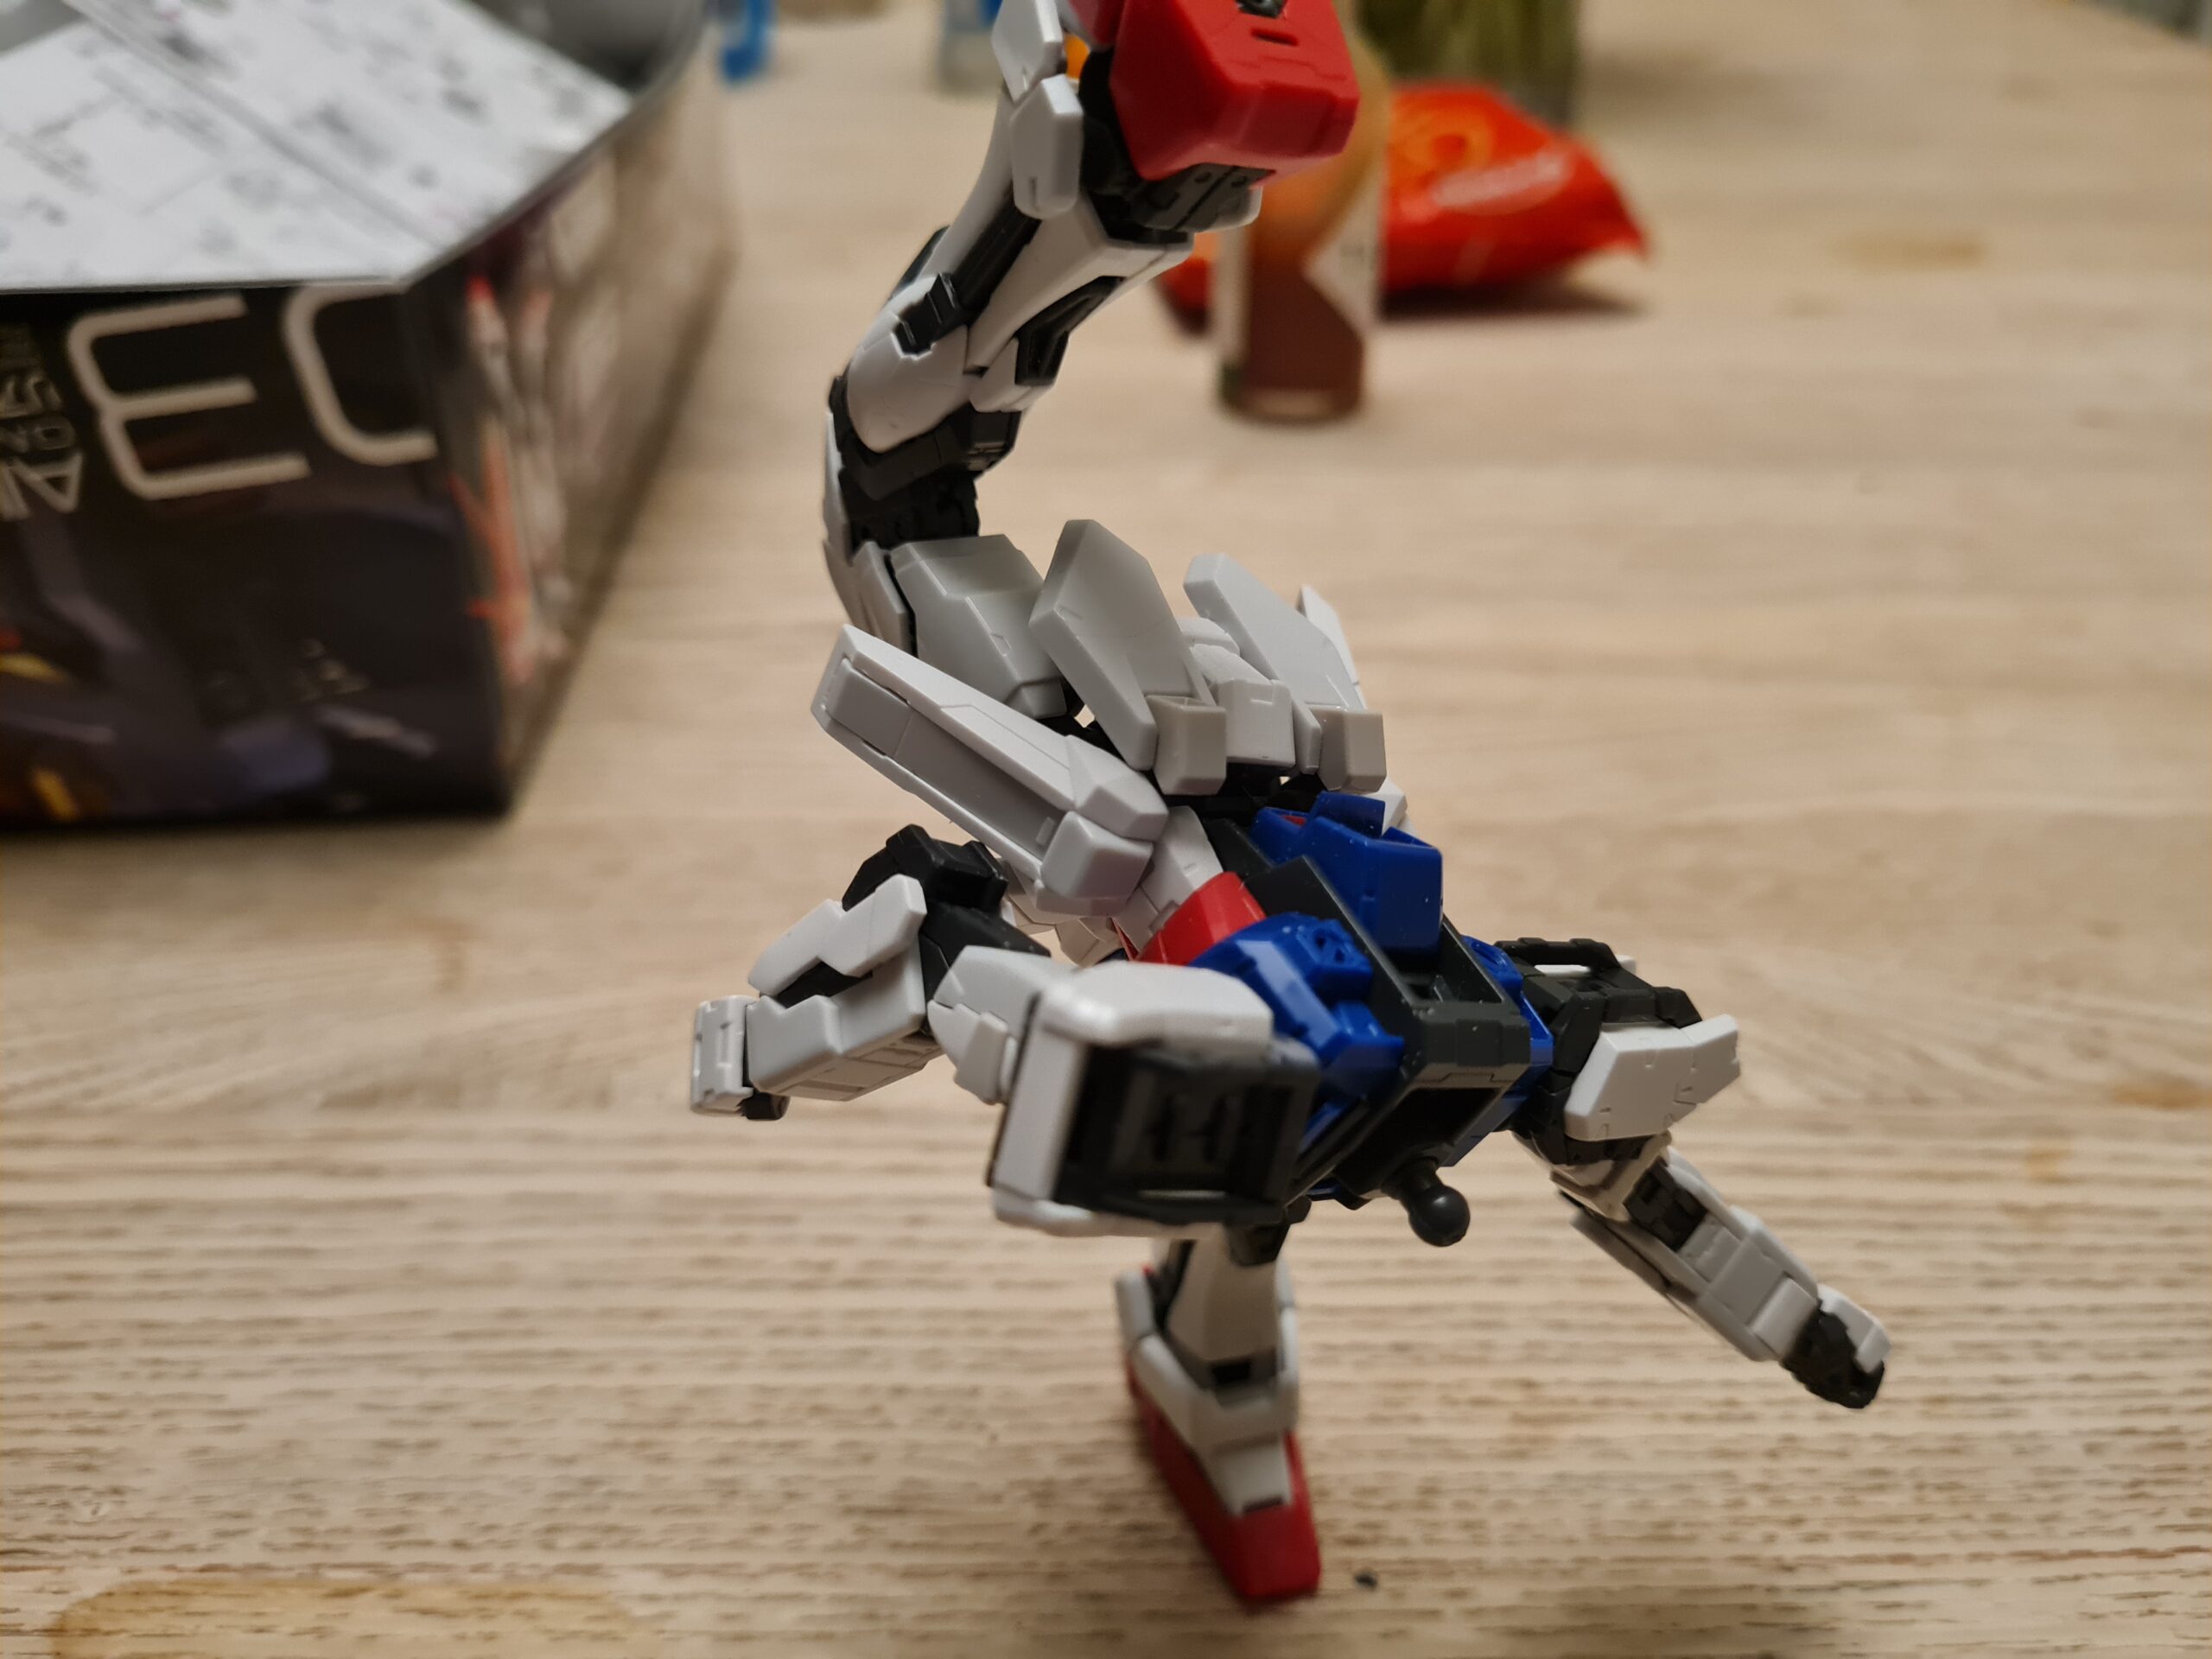
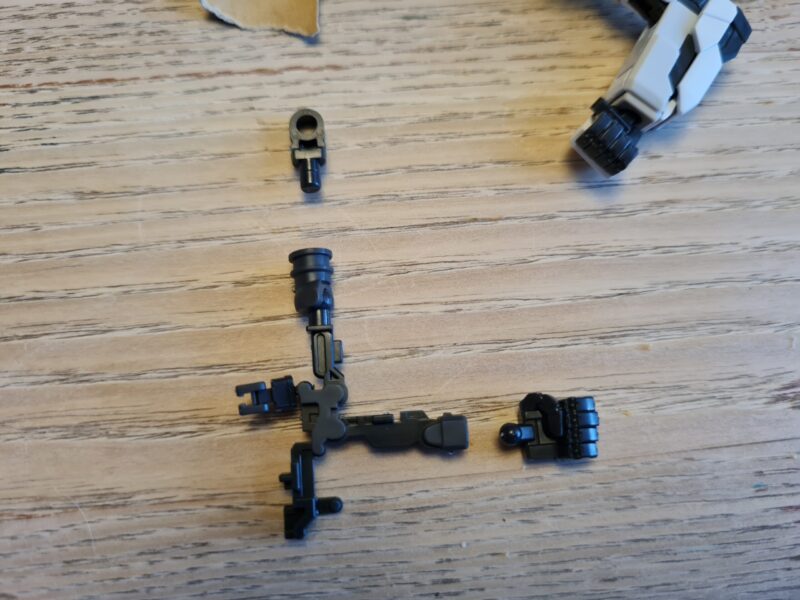
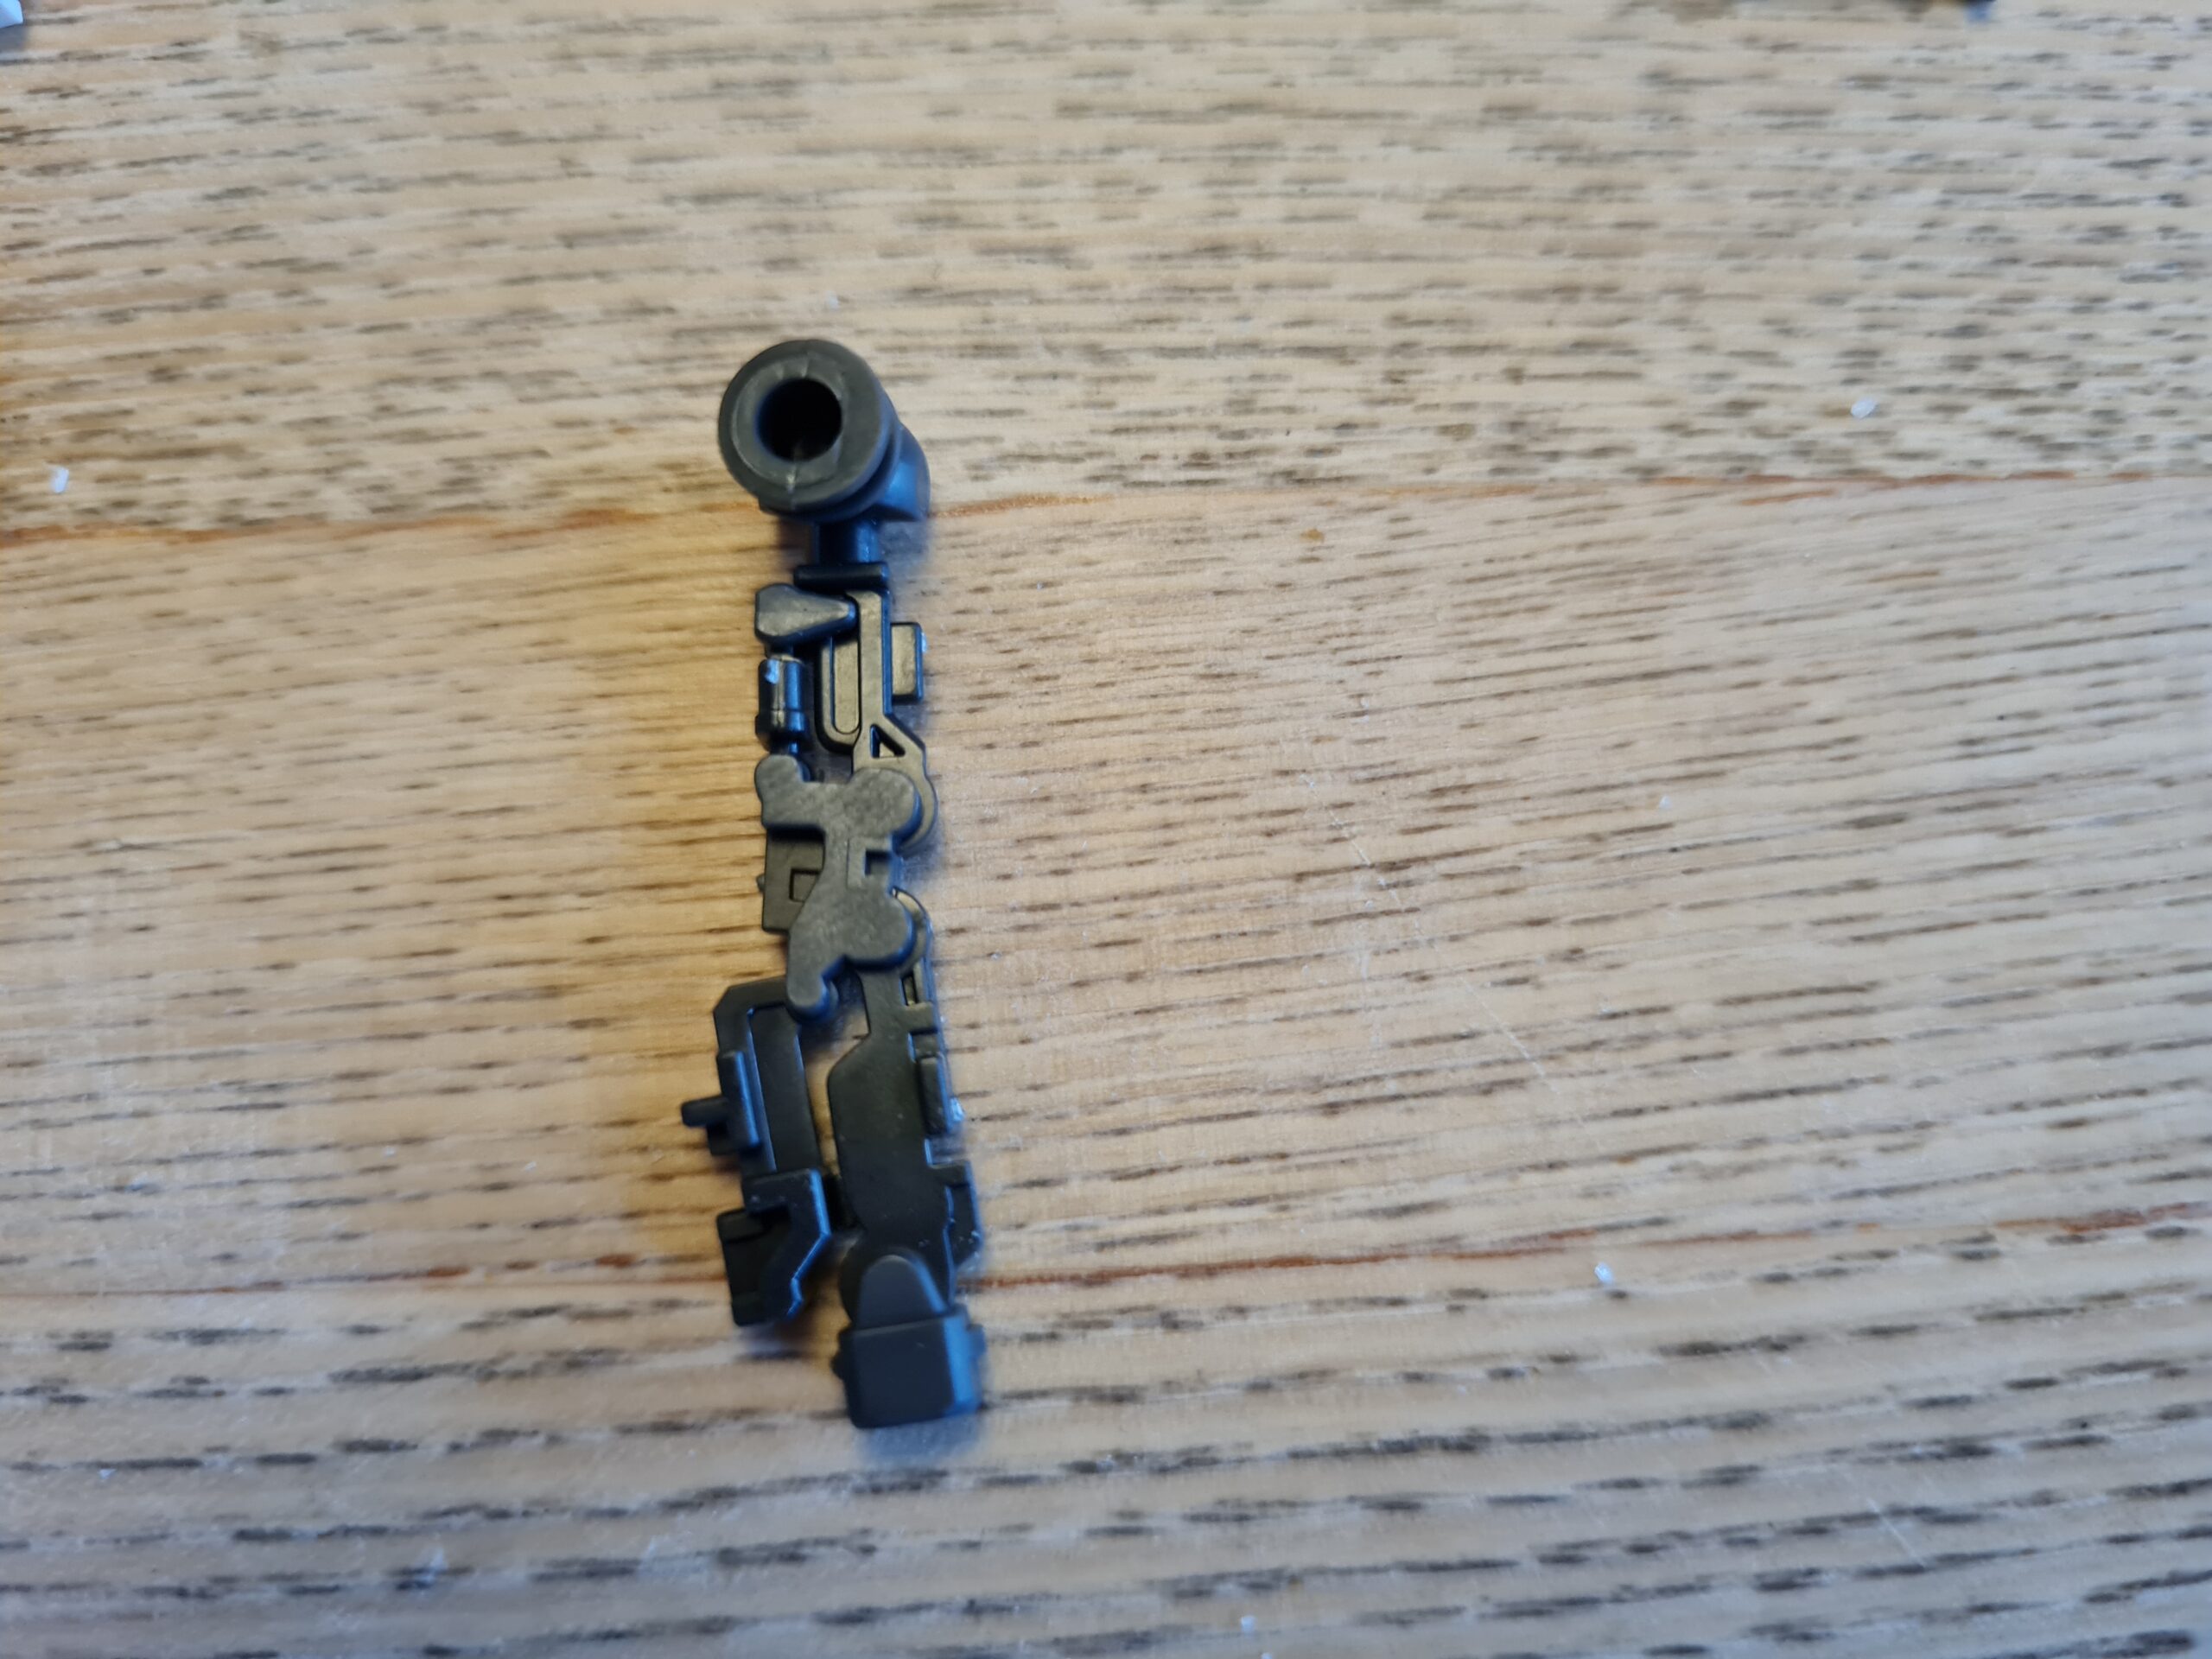
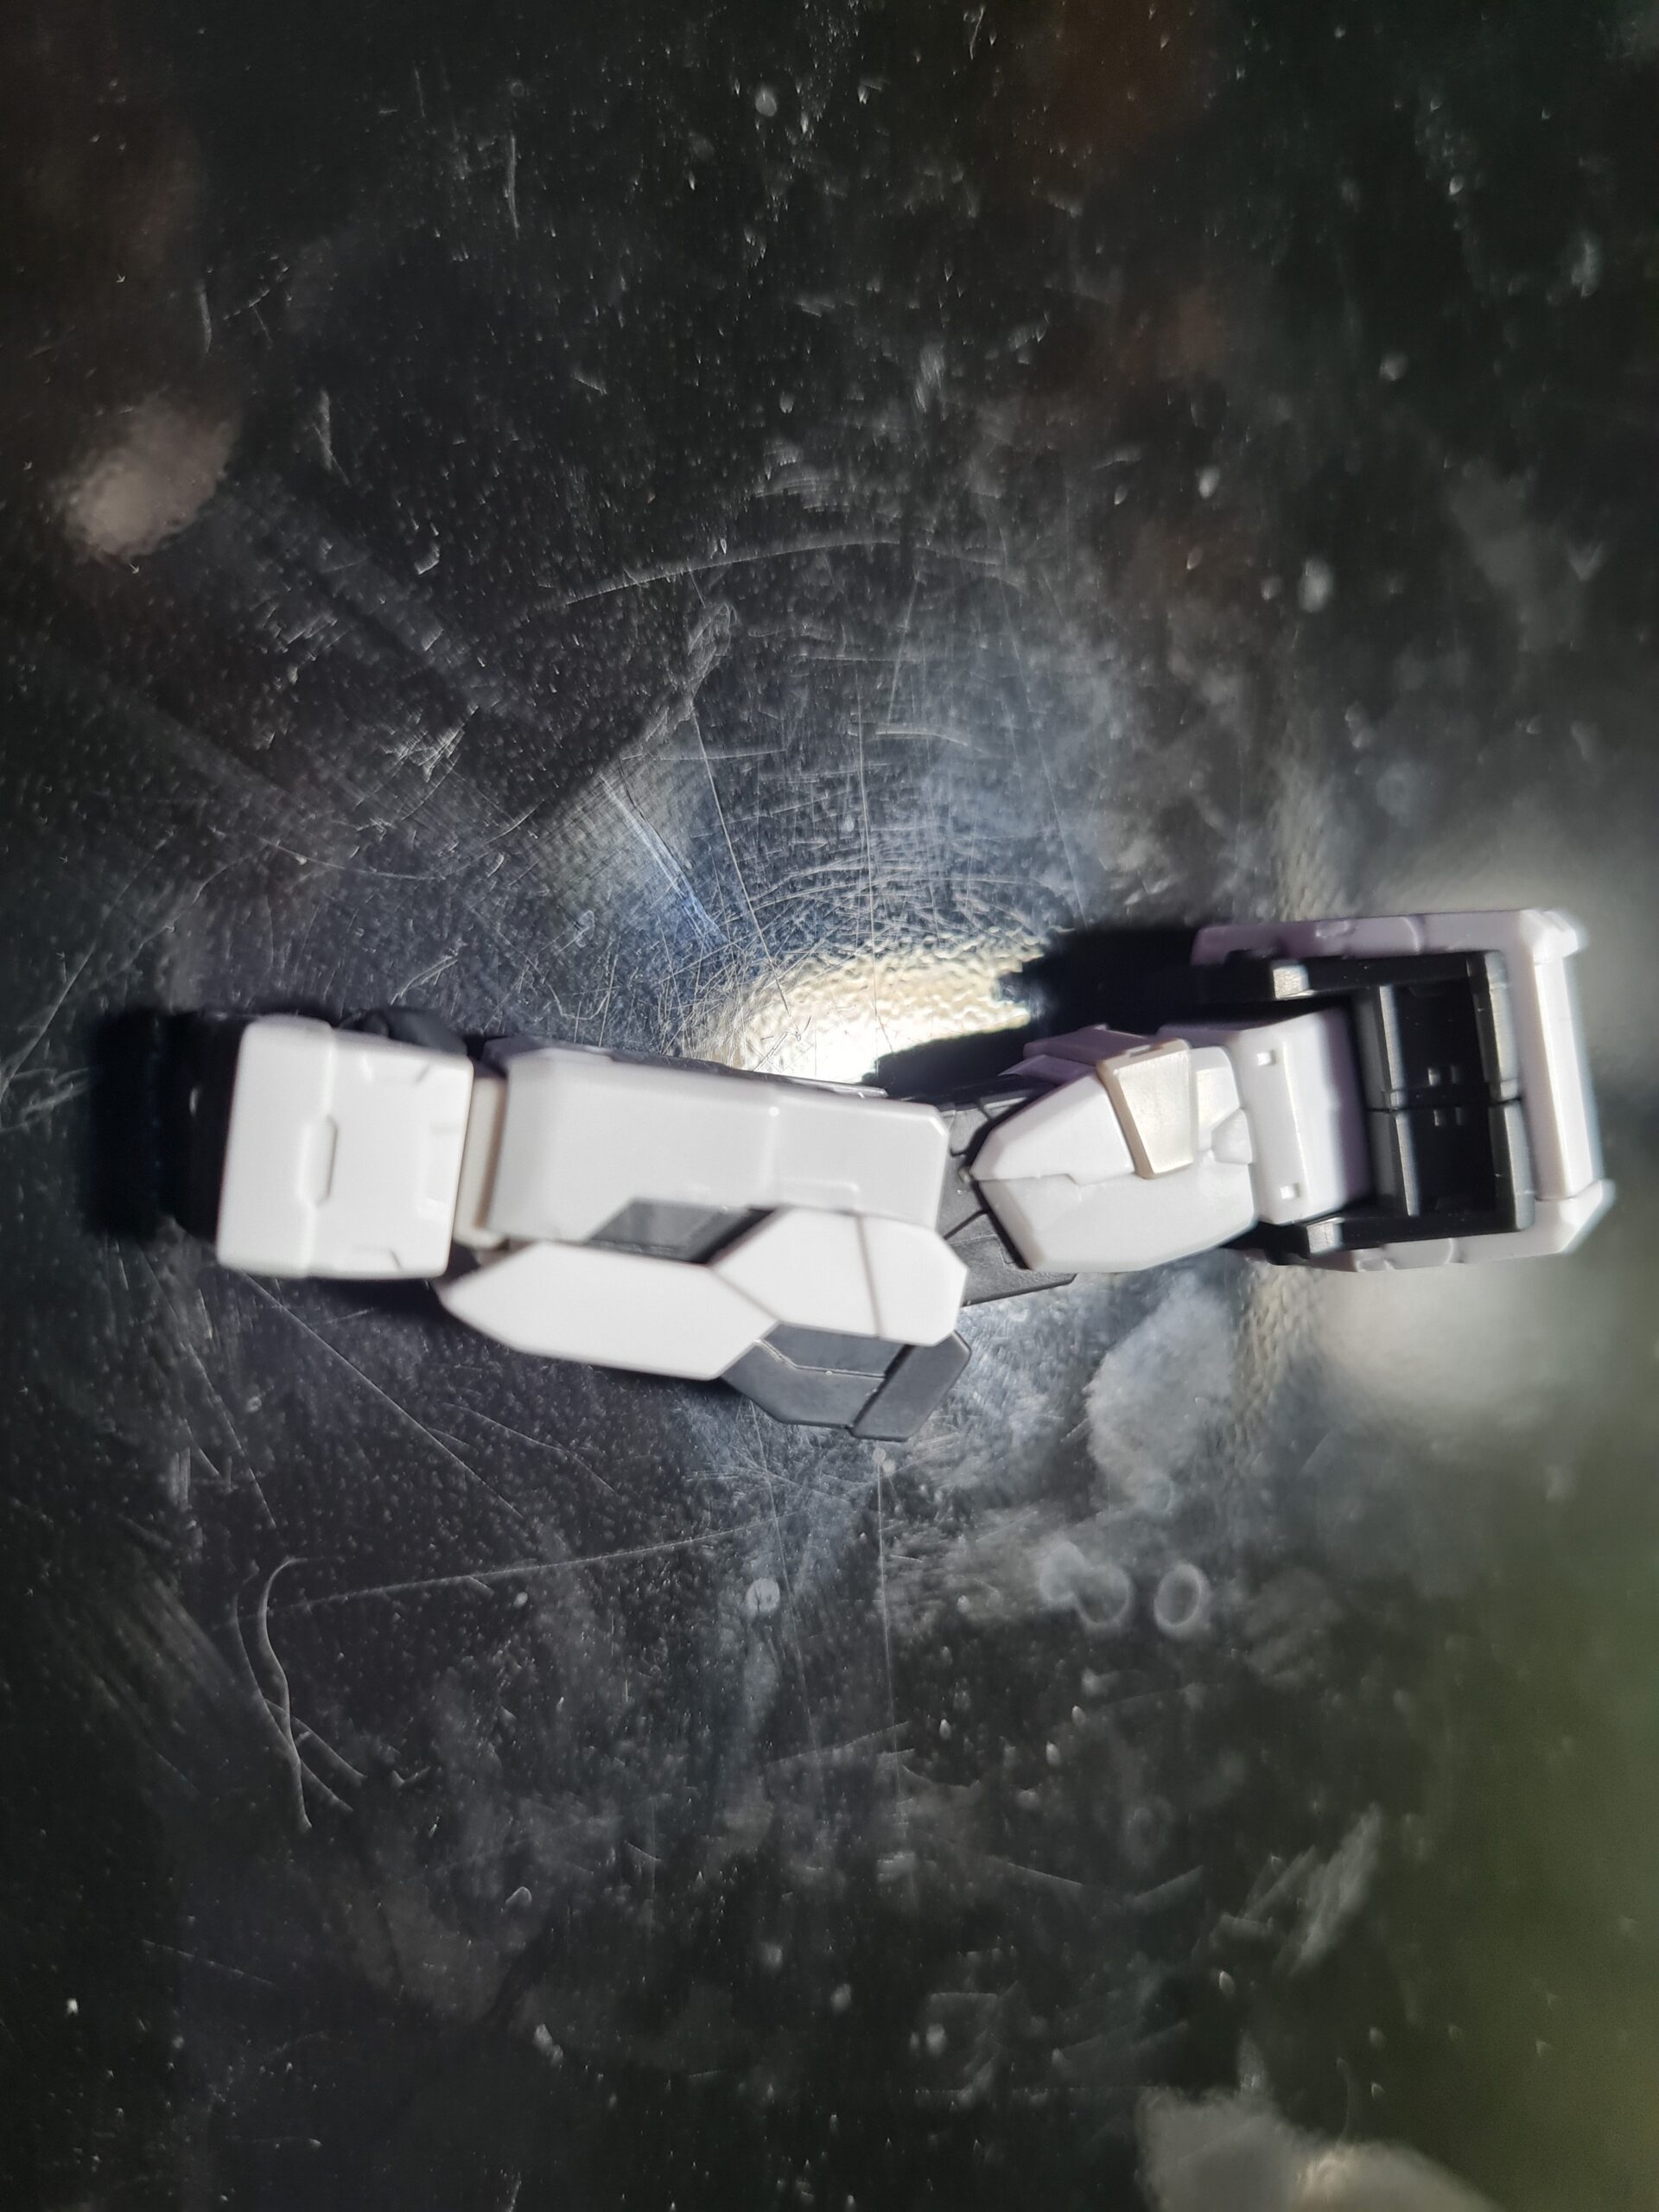
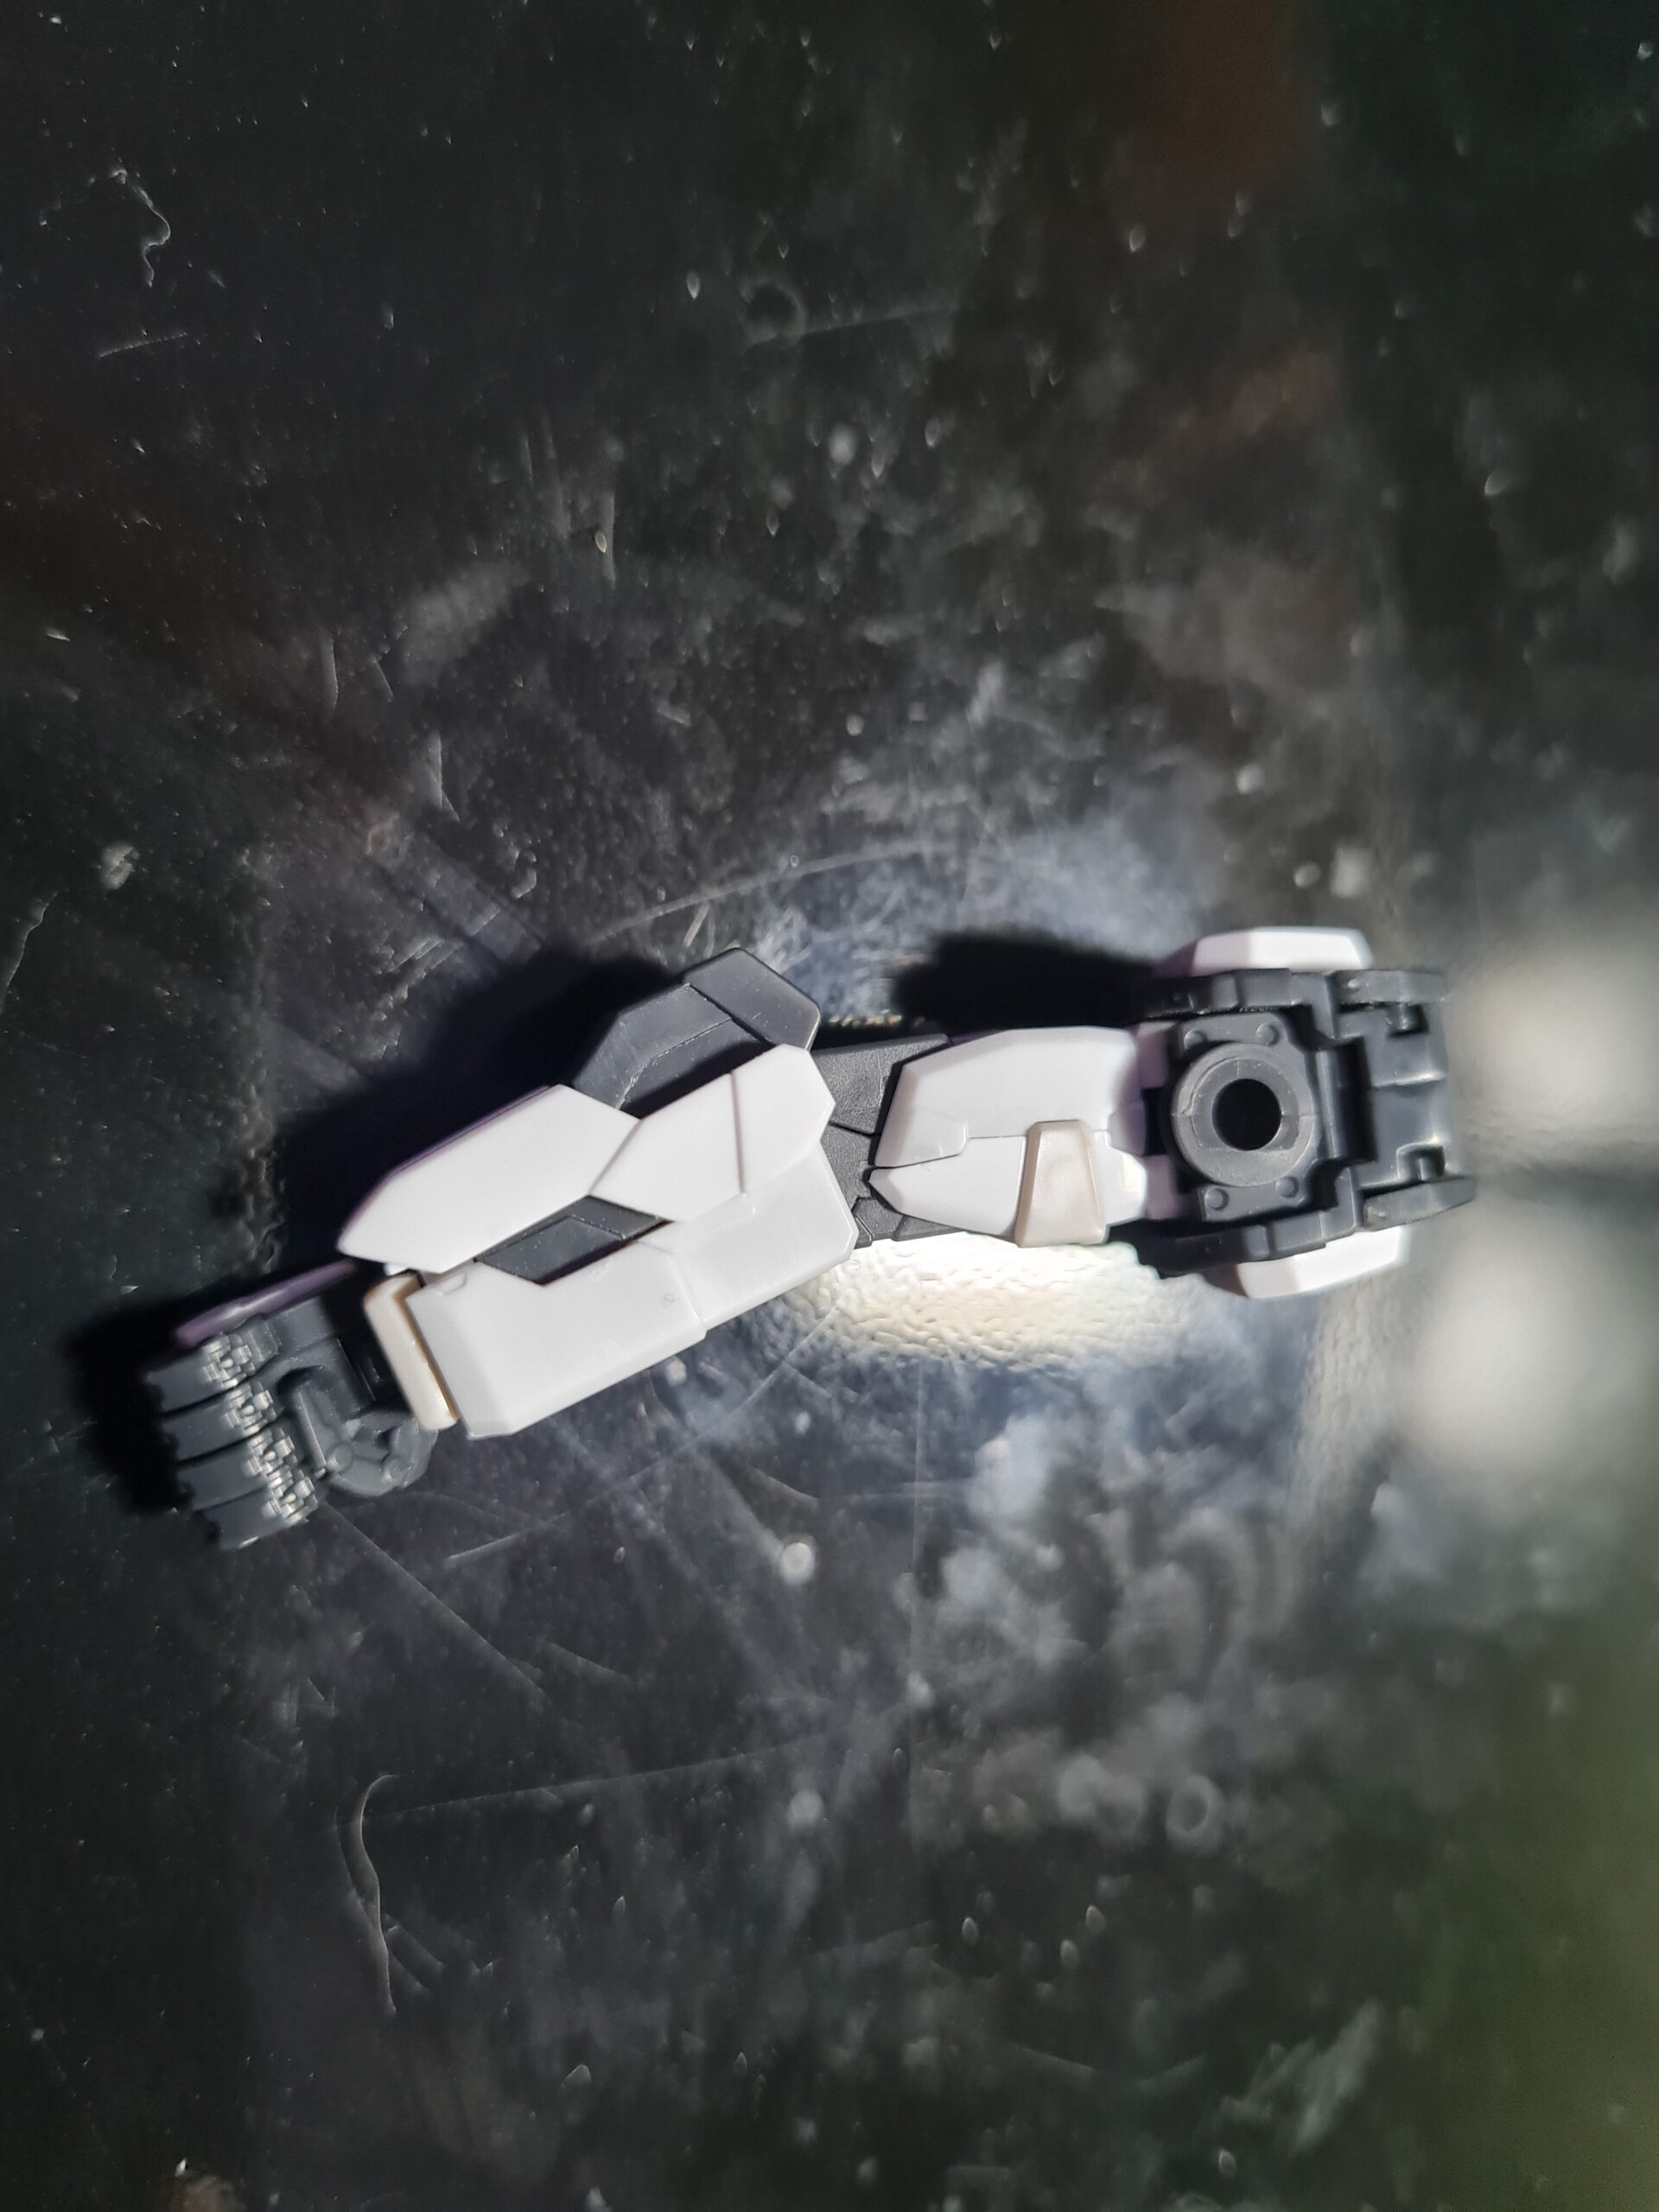
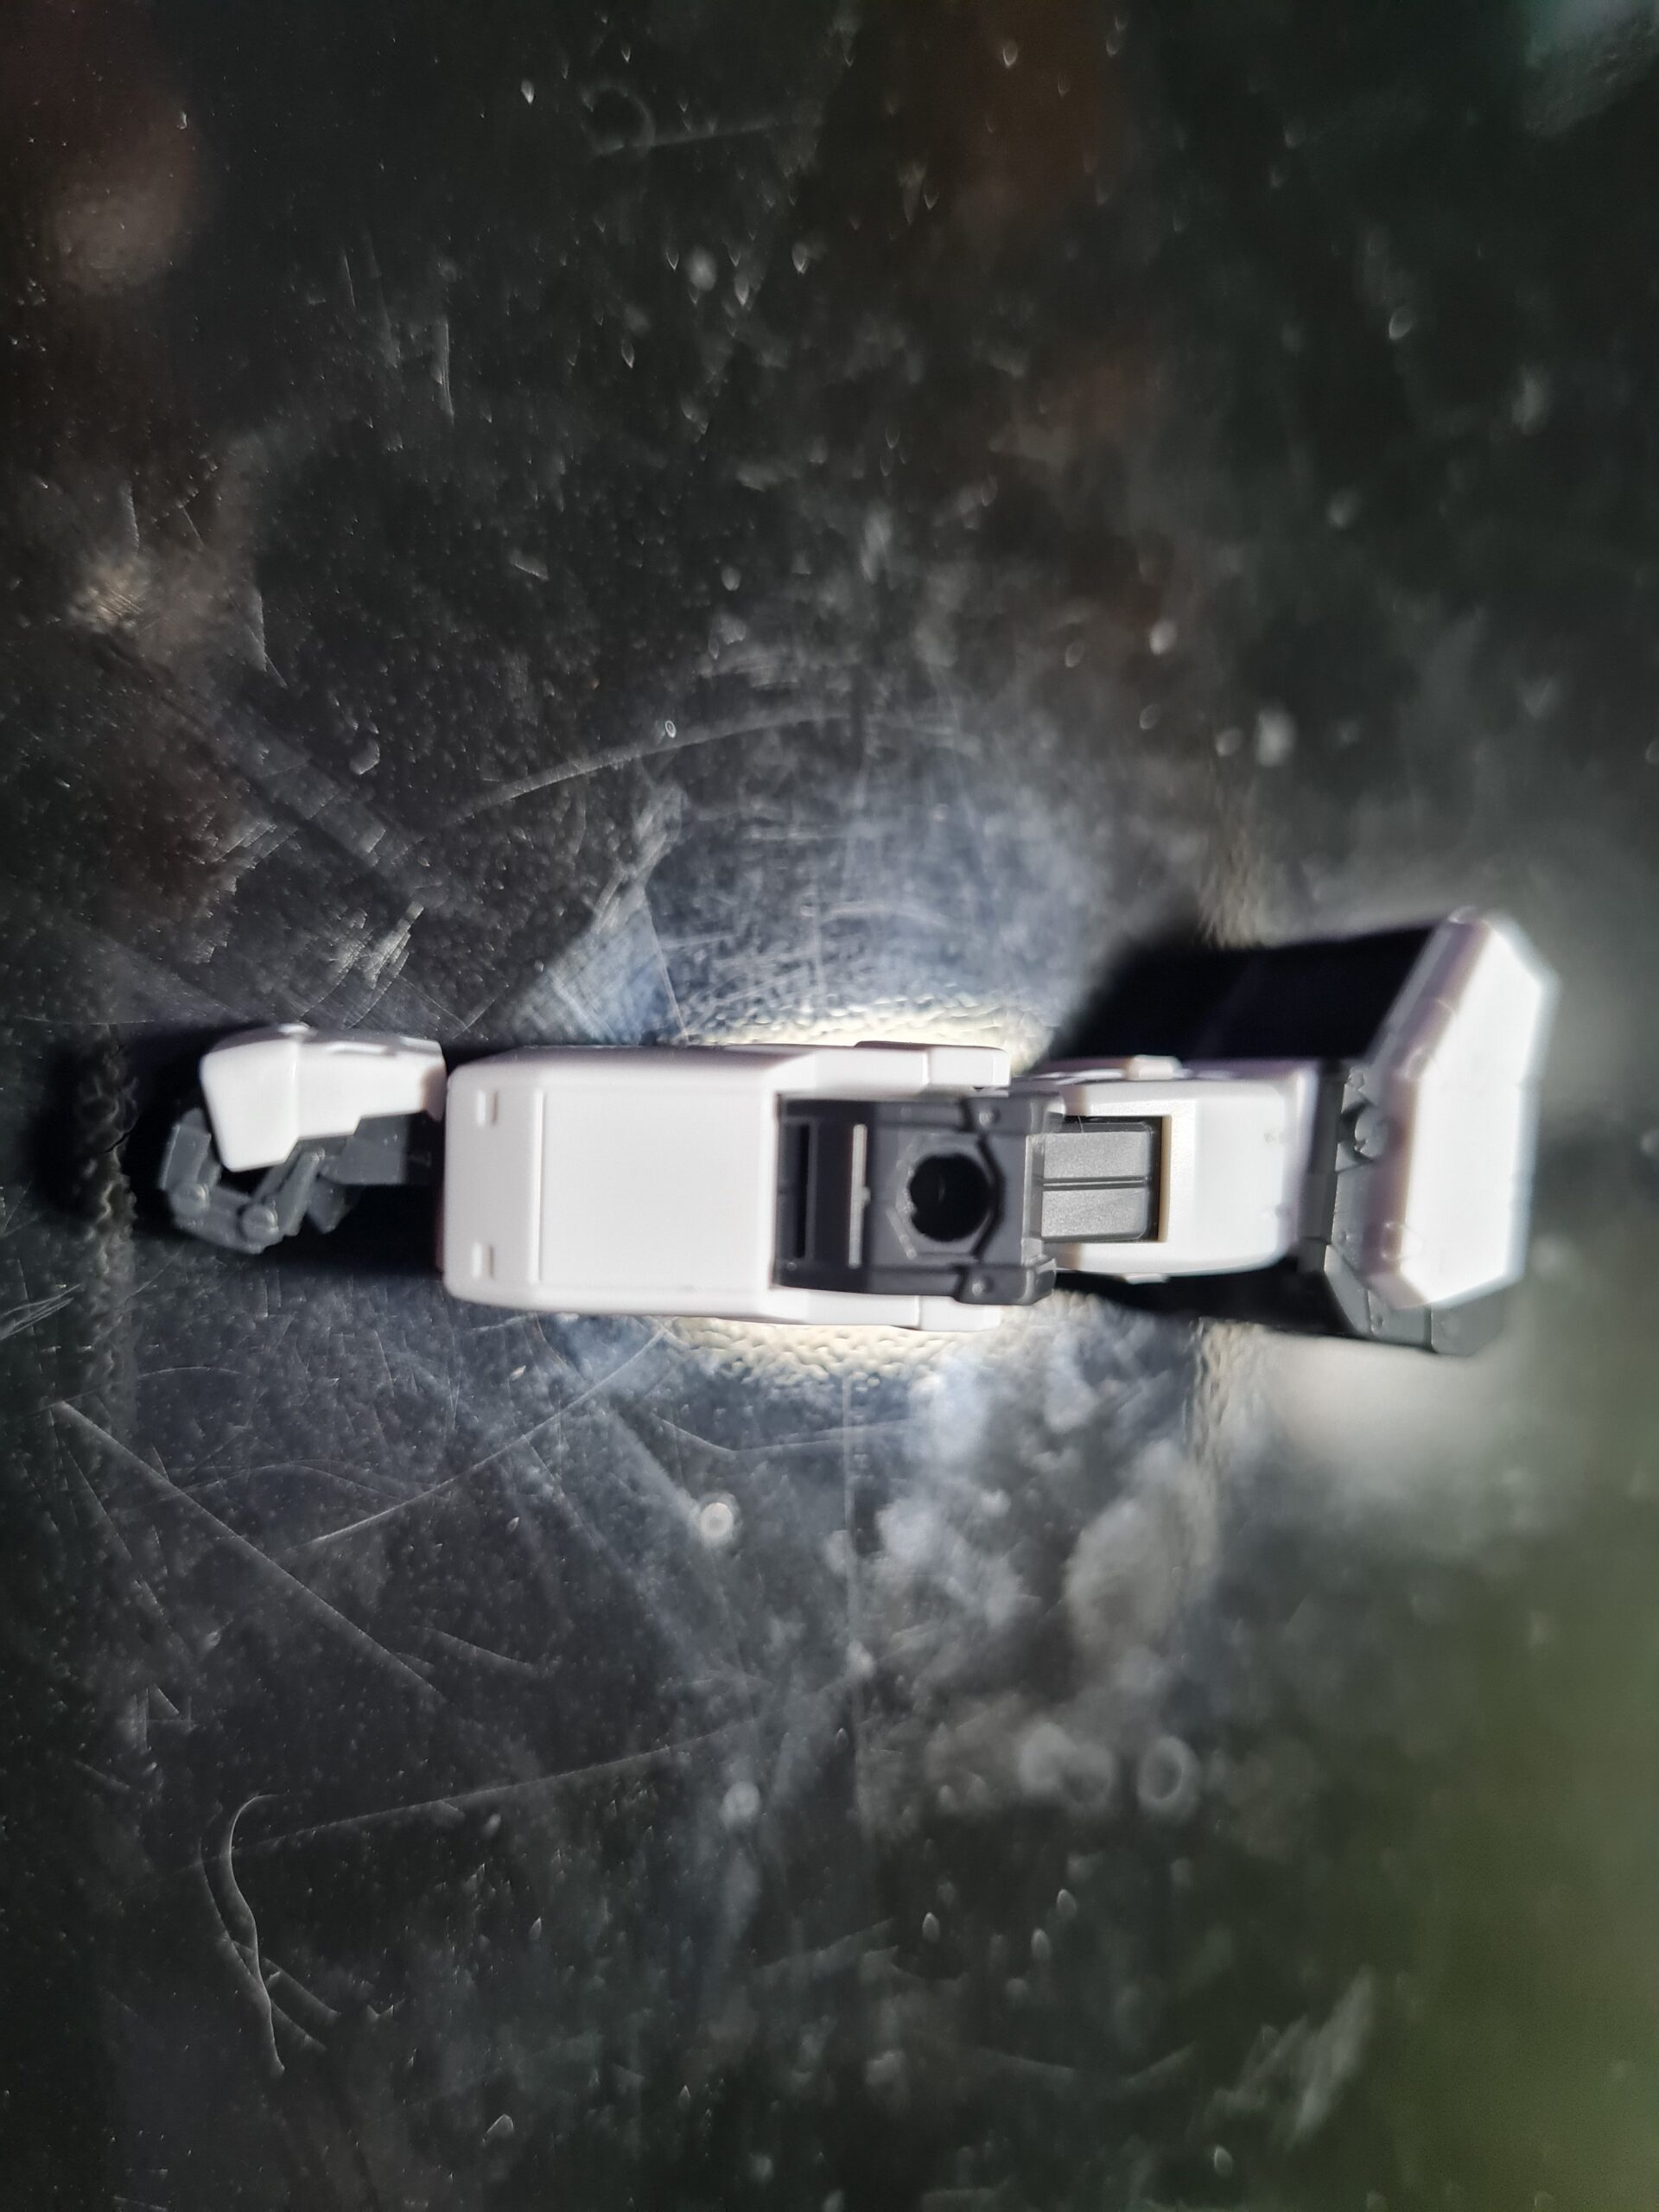
Well that is a very good question. I have been spending time working on the panel lining of the RG Aile Strike so I can post that up and also go over how I found the whole process.

I have, however, been working on more than just that.

Most importantly I have a first order of Decals from https://delpidecal.com/ on the way. Once I have photos and the stock in hand I’ll update more there. However, as with everything else, if you have a browse of the site and there are things you want off there let me know. I can build up a second order and get them shipped over. Obviously I have a min order value of $200 that I have to meet to put an order in. However, once I have that I can place the order and get everything sorted.

Decal Example
Decal Example

Conclusion

That concludes “Advert / Stock 19/03/2023”. As always if there are any questions please just let me know.

Have a great week and I hope you get in some modelling!

HG Kits
https://modelkitsltd.co.uk/shop/?swoof=1&product_cat=hg

RG Kits
https://modelkitsltd.co.uk/shop/?swoof=1&product_cat=rg

MG Kits
https://modelkitsltd.co.uk/shop/?swoof=1&product_cat=mg

SD Kits
https://modelkitsltd.co.uk/shop/?swoof=1&product_cat=sd

EG Kits
https://modelkitsltd.co.uk/shop/?swoof=1&product_cat=eg

FM Kits
https://modelkitsltd.co.uk/shop/?swoof=1&product_cat=full-mechanics

PG Kits
https://modelkitsltd.co.uk/shop/?swoof=1&product_cat=pg

Tools
https://modelkitsltd.co.uk/shop/?swoof=1&product_cat=tools

Bases
https://modelkitsltd.co.uk/shop/?swoof=1&product_cat=bases

Posted on

Advert / Stock 12/03/2023

ChuChu_Demi_Trainer_2

Welcome to “Advert / Stock 12/03/2023” this weeks update on the stock and a quick thank you to all the people out there who have supported us with views, and purchases.

Model Kits Ltd is a small independent (me) run online model kit shop.

I have a very simple ethos. To do my best to get the kits you want into your hands as fairly priced and as quickly as I can.

We still have the PG Unicorn in stock https://modelkitsltd.co.uk/product/pg-gundam-unicorn-rx-0-1-60/

PG_Unicorn_RX_0_7
PG_Unicorn_RX_0_7

Also amongst the HG kits is the ChuChu Demi Trainer available here https://modelkitsltd.co.uk/product/hg-chuchu-demi-trainer-1-144/

ChuChu_Demi_Trainer_2

As well as those there is a selection of other kits, all available and to hand to dispatch as soon as possible,

I also stock some of the GUNPRIMER products which you can find here https://modelkitsltd.co.uk/shop/?swoof=1&product_cat=tools

I would like to personally thank everyone who supports us. If you are considering picking up a new model, or models, then please give the site a look to see if we have what you are after!

For ease of access here are the links to the different sections

HG Kits

https://modelkitsltd.co.uk/shop/?swoof=1&product_cat=hg

RG Kits

https://modelkitsltd.co.uk/shop/?swoof=1&product_cat=rg

MG Kits

https://modelkitsltd.co.uk/shop/?swoof=1&product_cat=mg

SD Kits

https://modelkitsltd.co.uk/shop/?swoof=1&product_cat=sd

EG Kits

https://modelkitsltd.co.uk/shop/?swoof=1&product_cat=eg

FM Kits

https://modelkitsltd.co.uk/shop/?swoof=1&product_cat=full-mechanics

PG Kits

https://modelkitsltd.co.uk/shop/?swoof=1&product_cat=pg

Tools

https://modelkitsltd.co.uk/shop/?swoof=1&product_cat=tools

Bases

https://modelkitsltd.co.uk/shop/?swoof=1&product_cat=bases

Conclusion

That completes this weeks “Advert / Stock 12/03/2023” roundup. If you have any queries or questions please feel free to contact me.

Thank you for taking the time to read this. If you haven’t already done so please like and follow us on our social media platforms and checkout our website!

Facebook: https://www.facebook.com/profile.php?id=100086701512793
Instagram: https://www.instagram.com/modelkitsltd/
Website: https://modelkitsltd.co.uk

Posted on

RG Aile Strike Build Day 12

Shoulder back together

Introduction

Welcome to “RG Aile Strike Build Day 12” where I am building up an RG Aile strike model. If you haven’t read any of the other parts I would recommend going back to the start. You can find that here. In the first post I covered the box, runners and provide the manual.

I am taking my time to ensure I clean up all the marks that can be cleaned up. As with any build like this, if you end up with discolouration or a small white “stress” mark you are likely to need painting to get rid of those. I may have a look at simple quick methods of dealing with those items, especially as I find that it has a habit of happening on the grey pieces. I also accept I may need to work on my cutting style as I’m sure that will contribute to it!

The Break

Ok, normally at this point I outline the process that I follow for taking the parts from the runners and cleaning them up. However I have a confession. You may, or may not, have noticed that recent pictures the model was nor sporting their right shoulder pad. This was, I had to admit, not the models fault. Rather I had been a little too keen with the nippers and rendered the joint that clips over the arm to hold the shoulder in place weak.

The part looks like this:

Broken part
Broken part

I guess it would probably be more accurate to say the piece shouldn’t look like that. It should be more a horseshoe shape and less of a “on no some spoon broke me” shape.

What to do?

There there were a few potential options. The first would be to just glue it in place, but that would render the arm with very limited mobility. The next option would be to cut a small square of plasticard to size and then file away till I have something that works. The final, and far more fun option would be to design a piece in some 3d software and print one out.

Which did I choose?

I’m guessing from the way I loaded the what the options were, we all know I went down the 3d route. I recently bought a small 3d printer with the specific view of printing adapters for the stands I sell in the shop (here). They are cheap and versatile but I wanted to offer people the opportunity to get some slightly different connectors.

So that means I have a small 3d printer to-hand (*whew*).

My final model looks like this:

Simple 3d model of shoulder joint
Simple shoulder joint

During the process I printed and tested multiple pieces tweaking the width of the legs etc.

Pile of shame
Pile of shame

Finally I reached one I was happy with and slotted everything back together. It isn’t perfect, and I may need to tweak it further but I can print more if needed!

As you can see it appears to be doing the job. On the whole an evening well spent I feel. I also got to use the 3d printer which is a bonus!

Conclusion

I was the one who broke the part. I must have trimmed it too close when using the nippers. However, this goes to show that with a little time and patience there are options to work around broken pieces.

Thank you for taking the time to read this. If you haven’t already done so please like and follow us on our social media platforms and checkout our website!

Facebook: https://www.facebook.com/profile.php?id=100086701512793
Instagram: https://www.instagram.com/modelkitsltd/
Website: https://modelkitsltd.co.uk

Posted on

RG Aile Strike Build Day 11

Front View

Introduction

Welcome to “RG Aile Strike Build Day 11” where I am building up an RG Aile strike model. If you haven’t read any of the other parts I would recommend going back to the start. You can find that here. In the first post I covered the box, runners and provide the manual.

I am taking my time to ensure I clean up all the marks that can be cleaned up. As with any build like this, if you end up with discolouration or a small white “stress” mark you are likely to need painting to get rid of those. I may have a look at simple quick methods of dealing with those items, especially as I find that it has a habit of happening on the grey pieces. I also accept I may need to work on my cutting style as I’m sure that will contribute to it!

The Process

Unless otherwise noted I followed this process for each piece:

  • Cut off roughly leaving plenty of nub
  • Trim back the nub with my better nippers
  • Apply water to my wet and dry sandpaper and sand the nub marks down
  • Dry the piece
  • Brush it off with the tooth brush to remove any bits
  • Re-apply the matt finish using the Gray Balancer
  • Prep the part with the green side of the White Balancer
  • Shine the part up with the white side of the White Balancer

If after this I wasn’t happy I would repeat the sanding steps down, and keep iterating until I was happy with the finish.

The Parts

I had pre-removed the parts and put them in the small bag. The head consists of 14 parts, some of which are quite small. The really small red pieces I found quite tricky to hold on to and they had a habit of pinging away from me. However, once the cleanup was complete I was, as with the rest of the mode, very happy with the final result. The parts themselves clean up beautifully, and using the GUNPRIMER balancers they look like they were never touched.

Part Build

Side Part Head
Side Part Head

I took this picture part way through building the head. Lots of the pieces layer on top of one another, and I thought this was a great view of the partly built head. I may yet need to dismantle it if I find suitable waterslide decals. I will, however, cross that bridge when I come to it.

The Build So Far

With the head complete, and in place, most of the model is done. I have him currently dabbing while next to Heavyarms and DoubleX. I don’t know why I just did.

Conclusion

So far the build has been extremely satisfying. The only glitches have been user error on my part. The parts clean up really nicely, and you can achieve a really nice finish on the model. I still have the weapons and backpack to build. Once that is done I will top coat, panel line and top coat again. Hopefully I will then be able to take some photos that do the model justice!

Thank you for taking the time to read this. If you haven’t already done so please like and follow us on our social media platforms and checkout our website!

Facebook: https://www.facebook.com/profile.php?id=100086701512793
Instagram: https://www.instagram.com/modelkitsltd/
Website: https://modelkitsltd.co.uk

Posted on

Advert / Stock 05/03/2023

ChuChu_Demi_Trainer_2

Welcome to “Advert / Stock 05/03/2023” this weeks “official” update on the stock. I say official as sometimes when I get new stuff I can’t help but mention it as I get so excited!

Model Kits Ltd is a small (me) uk independently owned business.

This week I was fortunate enough to get some new items in stock. Some HG, a couple of MG and some RG kits. That is on top of the stock I already have. Everything is here in the UK ready to ship.

At the time of writing I still have 1 MGEX Strike Freedom available here:

https://modelkitsltd.co.uk/…/mgex-gundam-strike…/

I also have a ChuChu Demi Trainer Lauda’s Dilanza and loads of other kits available.

ChuChu_Demi_Trainer_2

If you are considering buying something new then please check us out. Or if you just fancy a bit of a browse go have a look! There may be something that peaks your interest.

The links to different areas of the shop are:

HG Kits

https://modelkitsltd.co.uk/shop/?swoof=1&product_cat=hg

RG Kits

https://modelkitsltd.co.uk/shop/?swoof=1&product_cat=rg

MG Kits

https://modelkitsltd.co.uk/shop/?swoof=1&product_cat=mg

SD Kits

https://modelkitsltd.co.uk/shop/?swoof=1&product_cat=sd

EG Kits

https://modelkitsltd.co.uk/shop/?swoof=1&product_cat=eg

FM Kits

https://modelkitsltd.co.uk/shop/?swoof=1…

PG Kits

https://modelkitsltd.co.uk/shop/?swoof=1&product_cat=pg

Tools

https://modelkitsltd.co.uk/shop/?swoof=1&product_cat=tools

Bases

https://modelkitsltd.co.uk/shop/?swoof=1&product_cat=bases

Thank you for everyone who supports me in this, and for everyone for making such a great community.

That concludes “Advert / Stock 05/03/2023” all that is left is to say have a great week building!

Posted on

Friday Update 03/03/2023

MGEX_STRIKE_FREEDOM_12

Friday update 03/03/2023 is, to be fair, a very brief update.

I am just putting in some items that arrived in the week into the shop. I still have 3 RG models to add in (OO Quant, Zaku II MS-06F, and Zaku MS-06S).

There are some new HG models, a MG Deathscythe and some RG models also.

I also have 1 MGEX left in stock. It is £125 + p&p and it is ready to ship … well ok I need to box it, but it is there!

These are, at the moment, pretty hard to get hold of. So I’m not expecting it to stick around very long.

I also have 2 full sets of the AMMO Mig books that are the series aimed at painting mecha. They look absolutely awesome.

If you are into painting your mecha, or want to get into it, they are more than worth a consideration.

That concludes my “Friday update 03/03/2023” update!

Thank you for taking the time to read this. If you haven’t already done so please like and follow us on our social media platforms and checkout our website!

Facebook: https://www.facebook.com/profile.php?id=100086701512793
Instagram: https://www.instagram.com/modelkitsltd/
Website: https://modelkitsltd.co.uk

Posted on

RG Aile Strike Build Day 10

Complete Front

Introduction

Welcome to “RG Aile Strike Build Day 10” where I am building up an RG Aile strike model. If you haven’t read any of the other parts I would recommend going back to the start. You can find that here. In the first post I covered the box, runners and provide the manual.

I am taking my time to ensure I clean up all the marks that can be cleaned up. As with any build like this, if you end up with discolouration or a small white “stress” mark you are likely to need painting to get rid of those. I may have a look at simple quick methods of dealing with those items, especially as I find that it has a habit of happening on the grey pieces. I also accept I may need to work on my cutting style as I’m sure that will contribute to it!

The Process

Unless otherwise noted I followed this process for each piece:

  • Cut off roughly leaving plenty of nub
  • Trim back the nub with my better nippers
  • Apply water to my wet and dry sandpaper and sand the nub marks down
  • Dry the piece
  • Brush it off with the tooth brush to remove any bits
  • Re-apply the matt finish using the Gray Balancer
  • Prep the part with the green side of the White Balancer
  • Shine the part up with the white side of the White Balancer

If after this I wasn’t happy I would repeat the sanding steps down, and keep iterating until I was happy with the finish.

The Parts

Nubbed Parts
Nubbed Parts

There are approximately 27 parts to the torso. However, you do need the two joint parts that were extracted from the top of the arm skeletons.

For the image above I cut the pieces out roughly and then put them into a small plastic bag overnight. No reason other than I was working on a few things 🙂

Cleaned Parts

Cleaned Parts
Cleaned Parts

I cleaned up the parts using the process outlined about. I also at this point have no idea what order I am going to need them. However, it wasn’t a massive problem. I will, however, note that the two white pieces of armour have a slot on the inner piece that goes to the front or back depending on what side you attach them. This is important as the longish white piece (on the top line of pieces third from the top left, and surrounded by blue pieces), fits into those slots. I found out that if you attach those on the wrong side then you have to take it apart again (2 pieces on top of them) and refit.

This was because I decided to give myself a blast from the past, and just put them all together in a bag. It reminded me of the old lego bags where all the parts for a specific section of the build were all together. This looked like this.

Ready To Build
Ready To Build

I actually enjoyed identifying the pieces from the manual and then finding them in my pile 🙂 Ultimately you should have a build process that you enjoy.

Putting it together

Once the torso was built I was able to attach the legs and arms. I then had a play with the posing on what I had so far. The articulation is great on the model. The “trying to do the splits” is limited due to the side parts that limit it. However, there is more than enough there to pose in a range of stances.

Also, as you can see from the pictures, at the moment the model can balance amazingly. With a little patience we can balance it really nicely.

Conclusion

I am still really happy with this. The model is building amazingly, and the way the parts layer up is really satisfying. The detail and articulation on this model are also fantastic. If you then add to this the great way the parts can clean up it is shaping up to meet all my expectations.

Thank you for taking the time to read this. If you haven’t already done so please like and follow us on our social media platforms and checkout our website!

Facebook: https://www.facebook.com/profile.php?id=100086701512793
Instagram: https://www.instagram.com/modelkitsltd/
Website: https://modelkitsltd.co.uk

Posted on

RG Aile Strike Build Day 9

Joint and Fist Separated

Introduction

Welcome to “RG Aile Strike Build Day 9” where I am building up an RG Aile strike model. If you haven’t read any of the other parts I would recommend going back to the start. You can find that here. In the first post I covered the box, runners and provide the manual.

I am taking my time to ensure I clean up all the marks that can be cleaned up. As with any build like this, if you end up with discolouration or a small white “stress” mark you are likely to need painting to get rid of those. I may have a look at simple quick methods of dealing with those items, especially as I find that it has a habit of happening on the grey pieces. I also accept I may need to work on my cutting style as I’m sure that will contribute to it!

The Process

Unless otherwise noted I followed this process for each piece:

  • Cut off roughly leaving plenty of nub
  • Trim back the nub with my better nippers
  • Apply water to my wet and dry sandpaper and sand the nub marks down
  • Dry the piece
  • Brush it off with the tooth brush to remove any bits
  • Re-apply the matt finish using the Gray Balancer
  • Prep the part with the green side of the White Balancer
  • Shine the part up with the white side of the White Balancer

If after this I wasn’t happy I would repeat the sanding steps down, and keep iterating until I was happy with the finish.

The Parts

Nubbed Arms Parts
Nubbed Arms Parts

As you can see the arm consists of 16 core pieces. Above I have just cut them out roughly ready for trimming and cleaning up. I showed that in the previous arm, so in this post I’m going to show you something different about them.

The arm Skeleton

On the inside you have a lovely inner frame. The frame or skeleton comes pre-case on the runner. I find it mind boggling how they cast these intricate pieces.

In the first image you can see that the fist and joint have been separated. They come attached, but you need to remove them. The top joint is actually part of the shoulder assembly used when you build the torso. The fist is just re-attached later on. Previously I had issues removing the top part, however, knowing it was a straight peg I felt far more confident twisting and pulling to free the part. I found removing it on this arm a lot easier than on the first one.

In the second image (incorrectly titled all pieces straight) I had rotated and bent the socket joint into place.

The third image then has a small piece on the left hand side of the image bent upwards. Ultimately this clips back onto the central core of the arms frame. You can see this in the next image (“Bending into place”) how the section is bending up back towards the central part of the arm frame.

The “Top connected” picture shows the left hand piece completing the motion up and clicking into place into the frame, as well as the bottom section starting to bend down.

The final image has the arm frame complete with the part the fist was attached to moved all the way flat with the rest of the frame, and in place.

The finished Arm

As with the other pictures (yes I know I need a better background, I am working on it honest!) you can see how the armour has cleaned up nicely. I am really happy again with how this fits together. I really enjoy building the arms on this model as it is a satisfying process.

Conclusion

Everything in the build process, so far, has lived up to my expectations. The detail is stunning, the precision is what I expect from Bandai, and the build itself is an incredibly enjoyable process.

Thank you for taking the time to read this. If you haven’t already done so please like and follow us on our social media platforms and checkout our website!

Facebook: https://www.facebook.com/profile.php?id=100086701512793
Instagram: https://www.instagram.com/modelkitsltd/
Website: https://modelkitsltd.co.uk