Introduction
Welcome to “RG Aile Strike Build Day 7” where I am building up an RG Aile strike model. If you haven’t read any of the other parts I would recommend going back to the start. You can find that here. In the first post I covered the box, runners and provide the manual.
Round about now you are probably thinking to yourself … blimey he is not a fast builder I would have had that done days ago! However, in my defence I am working full time, plus running my company, and then building after I have done everything for those. I am also really taking my time, and if I’m not happy re-visiting parts and re-doing them. I used to take months to paint a single model, to the point where my friend offers to paint them for me so that he can play against painted minis 😀 (Thank you Steve 🙂 )
So my normal steady pace aside, I do want to really enjoy the build and not rush at any stage. I want to show how stunning the model is, not just to build, but how beautifully clean it looks once complete.
Without further ado, lets just outline my process on each part so that I don’t repeat is throughout the post 🙂
The Process
Unless otherwise noted I followed this process for each piece:
- Cut off roughly leaving plenty of nub
- Trim back the nub with my better nippers
- Apply water to my wet and dry sandpaper and sand the nub marks down
- Dry the piece
- Brush it off with the tooth brush to remove any bits
- Re-apply the matt finish using the Gray Balancer
- Prep the part with the green side of the White Balancer
- Shine the part up with the white side of the White Balancer
If after this I wasn’t happy I would repeat the sanding steps down, and keep iterating until I was happy with the finish.
First Parts
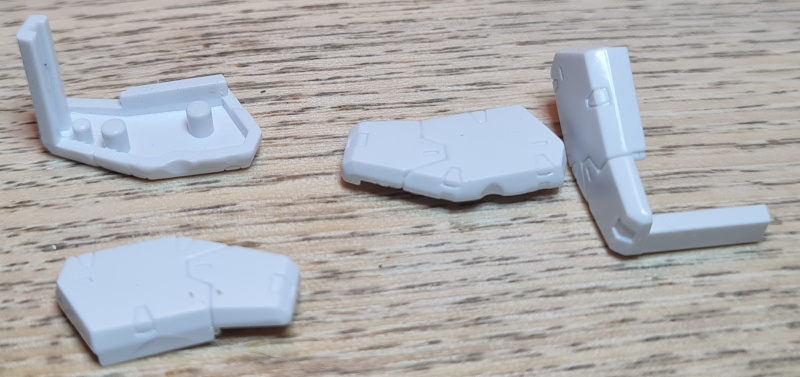
So this section is the build up of the arms. The first thing I had to do was build up the two shoulders. Then it steps into building each arm individually. The core of the shoulder is really simple but the plastic cleans up from the nubs really nicely and fits together nicely.
Second Parts
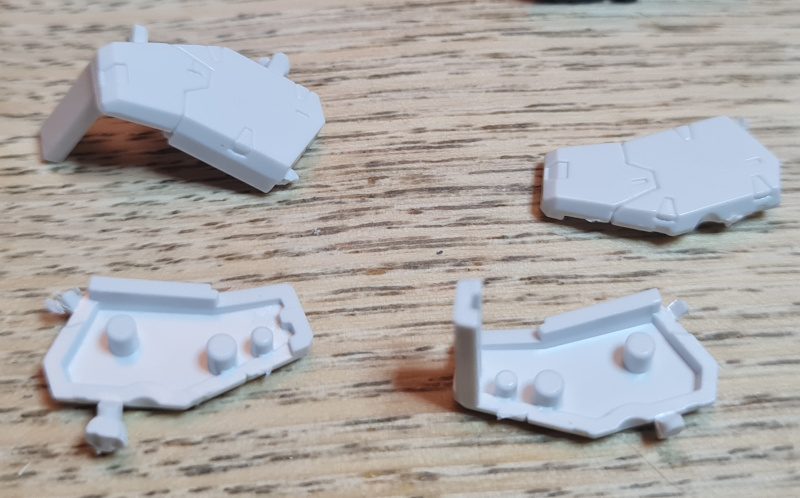
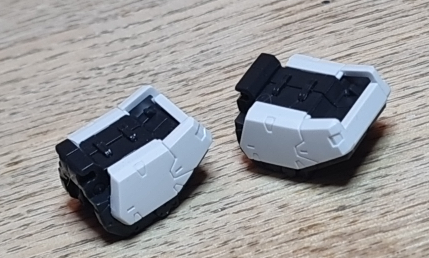
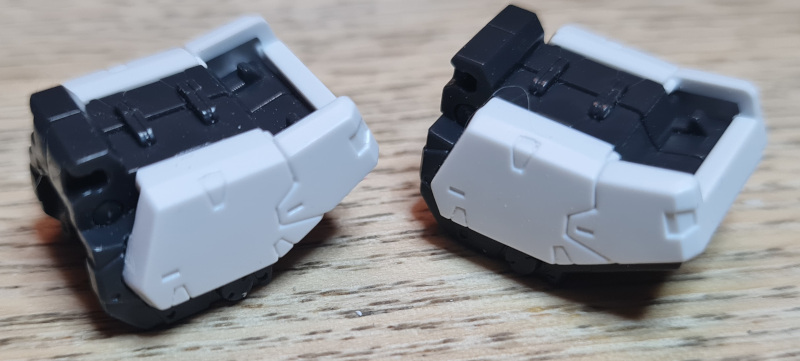
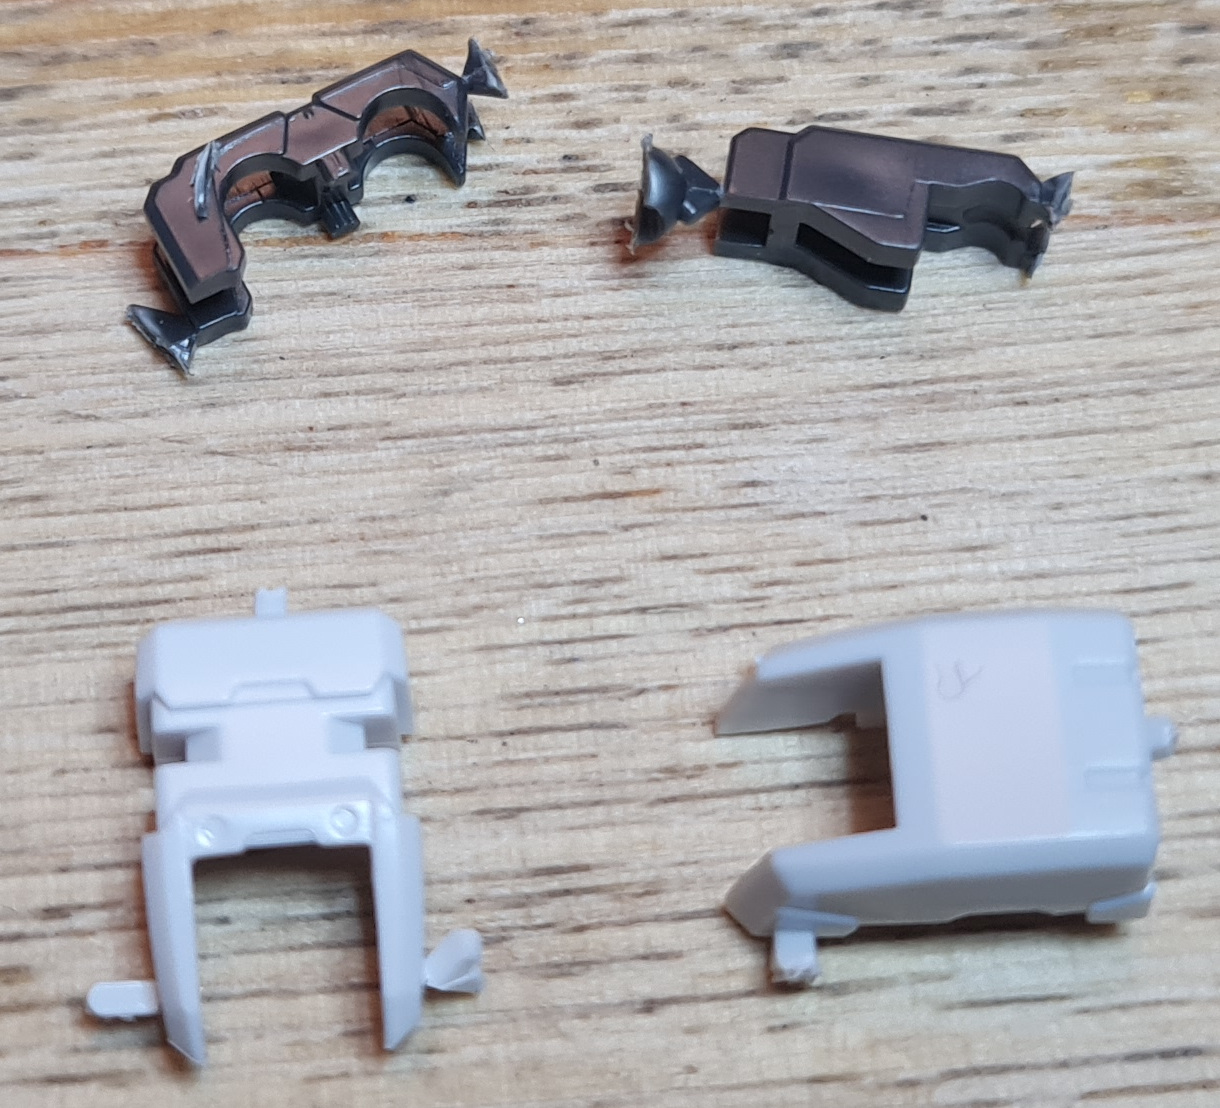
Next up is the armour that wraps around the core of the shoulders. Now I love these shite armour pieces. With the GUNPRIMER Balancers they clean up so nicely and shine back up to new. The pictures show how clean these pieces end up after a little TLC even given those horrendous first rough cuts of mine!
Third Parts

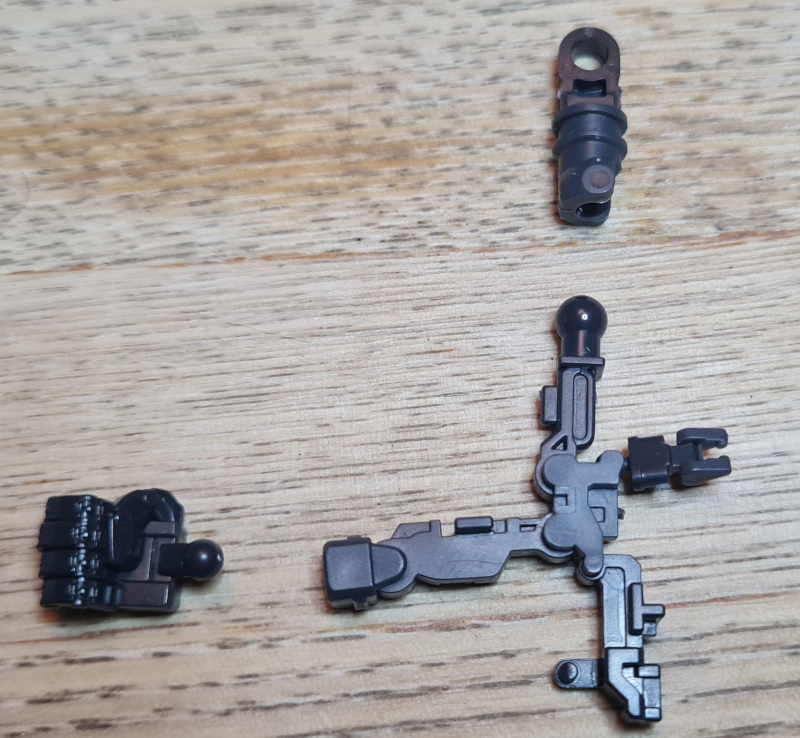
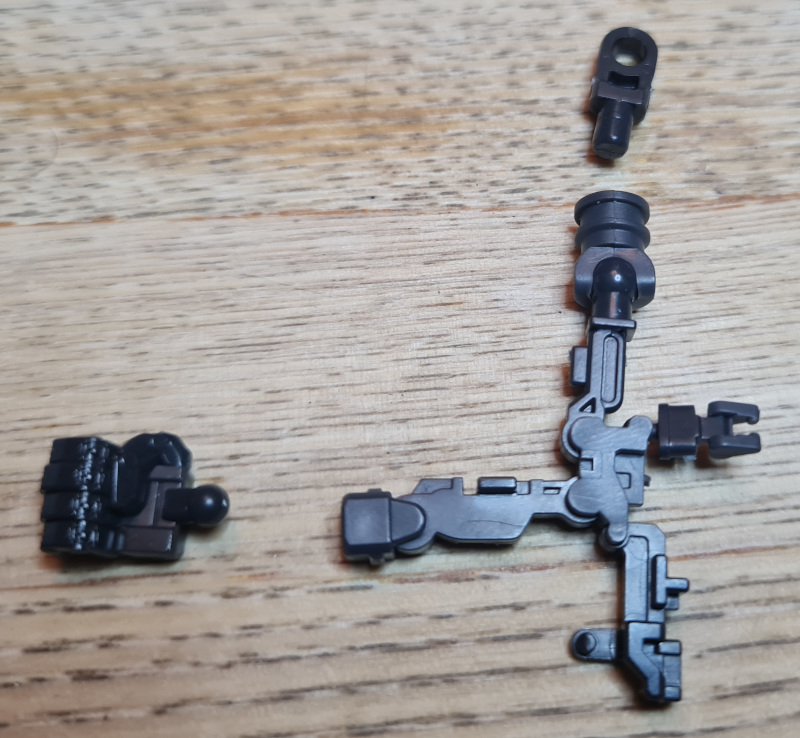
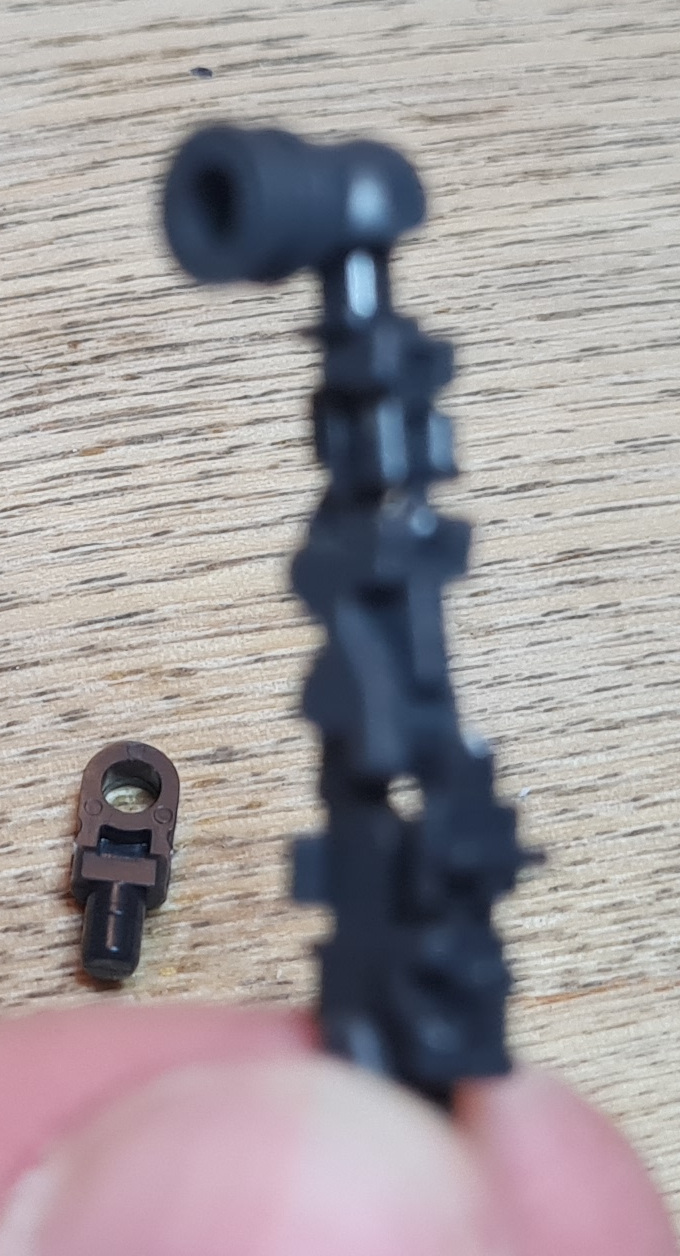
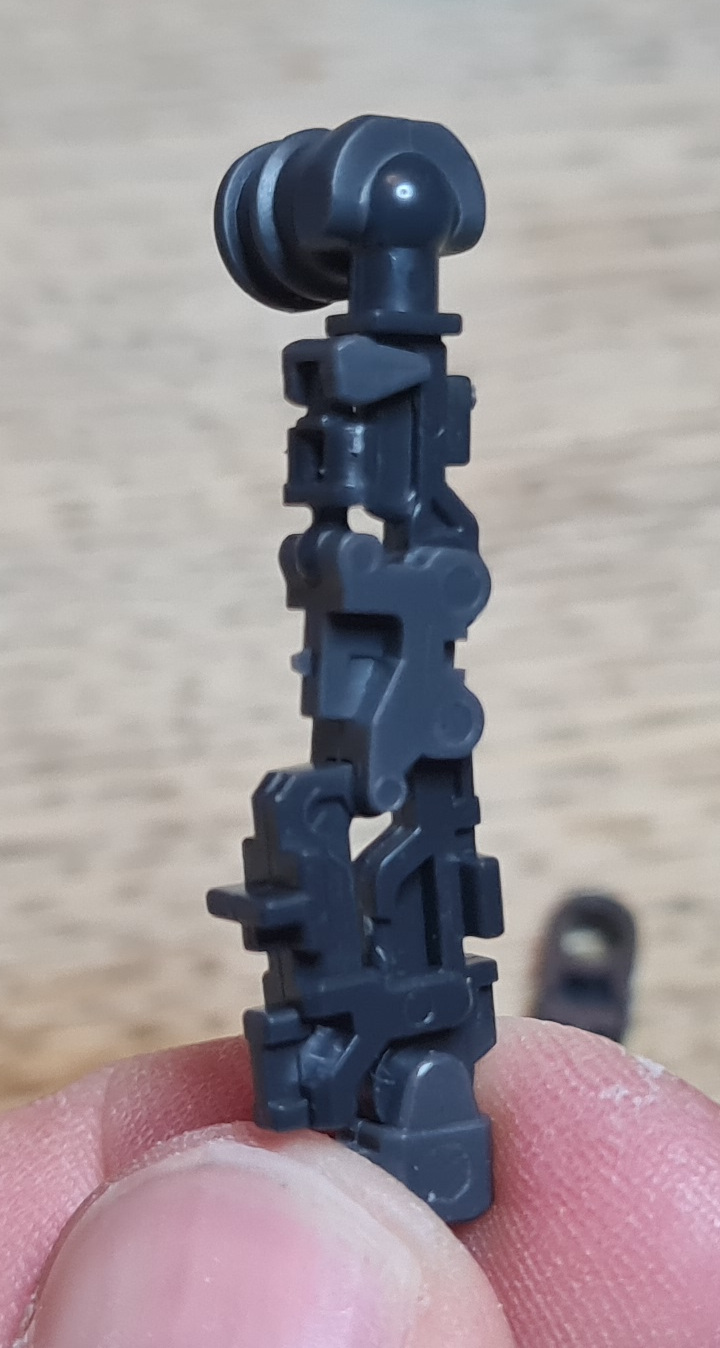
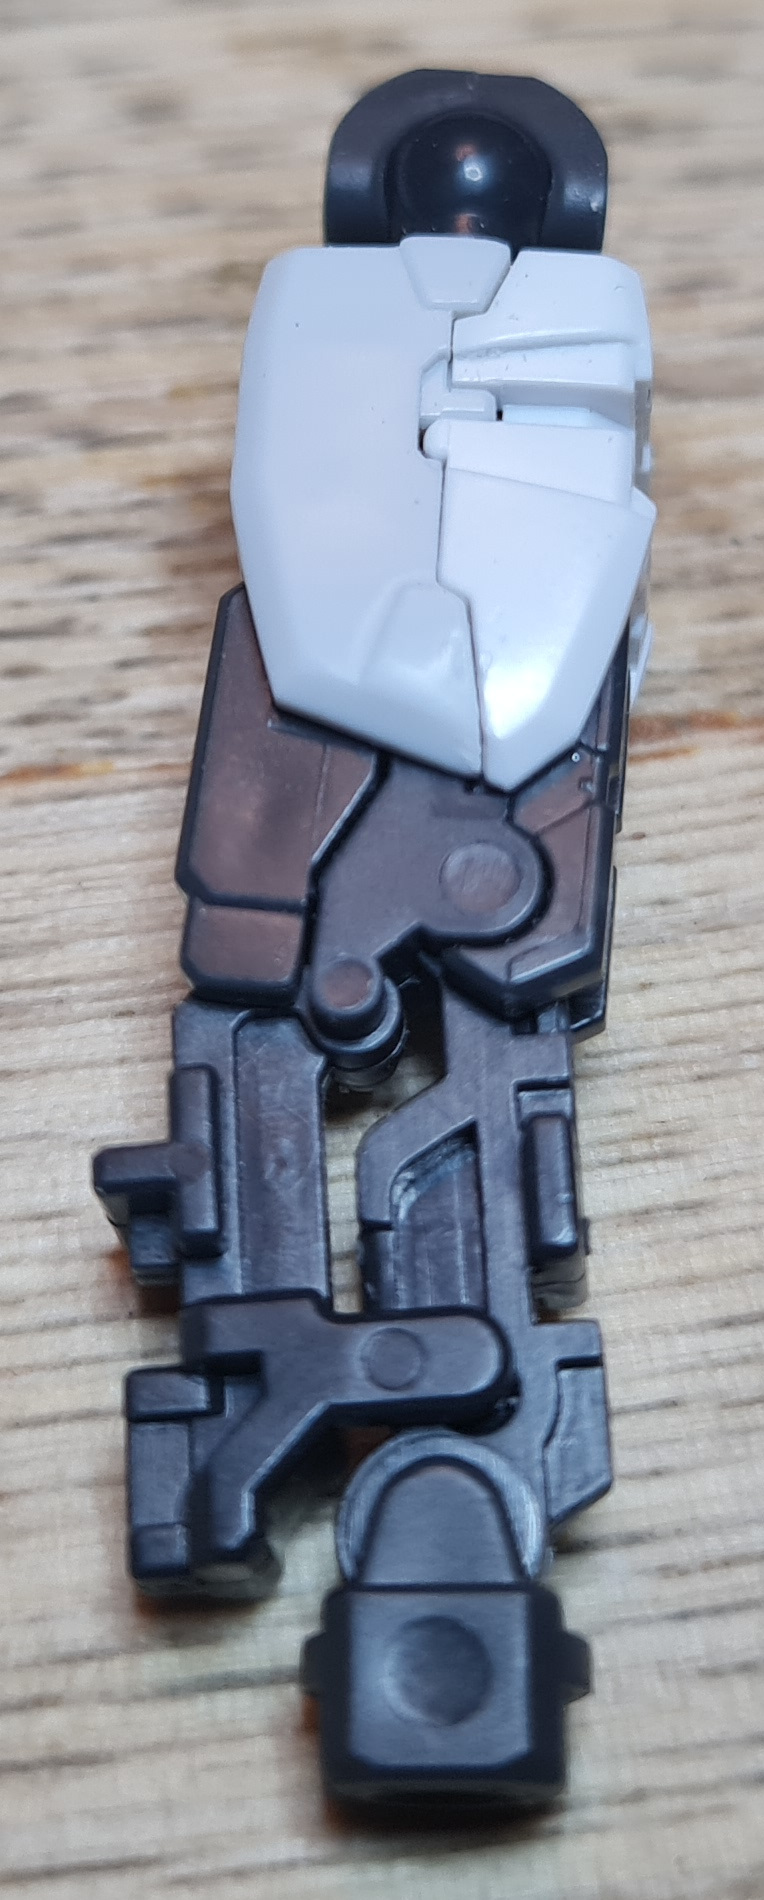
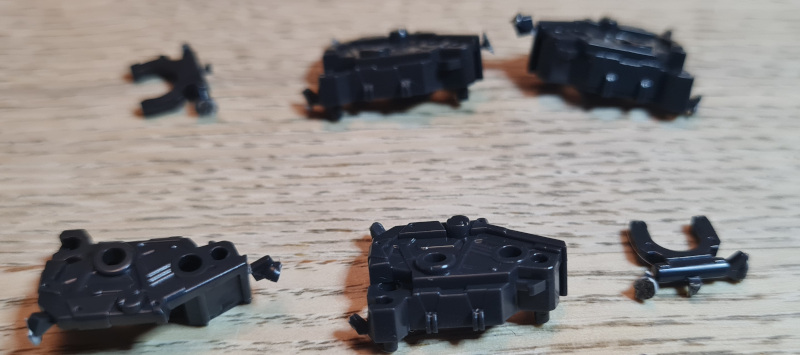
Ok there is no running away from it. These are, for me at least, not my favourite part of any build. I can, however, appreciate the quality and skill that has gone into making these pieces. The articulation and the fact they are moulded like this on the runner.
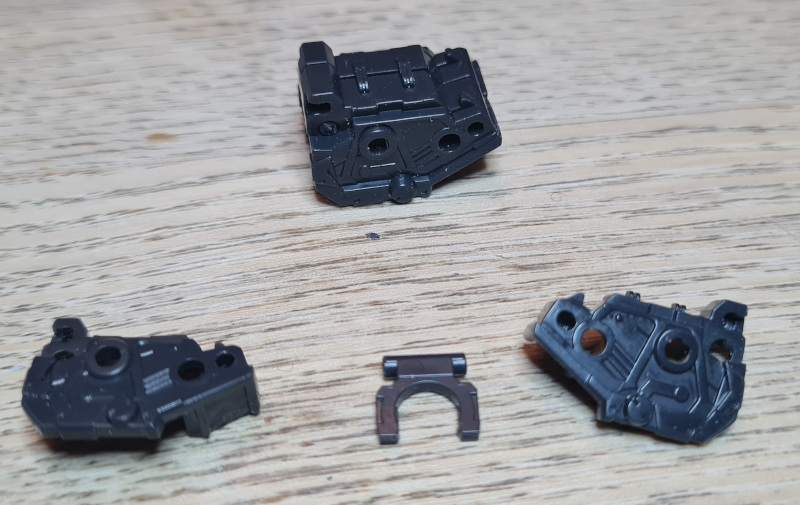
However, I just don’t like these bits. Thankfully once they are done it will be back to the bits I enjoy. The first image shows exactly how the piece comes off the runner. Pay very close attention to the manual, and where it says to cut. I then had to detach the hand, and the top part.
As you can see I managed to detach more than I was meant to, so I had to reattach the joint. However, I really didn’t enjoy getting the top piece out. Once that was done, all I had to do was twizzle and push bits into place. I have to admit I do enjoy that bit.
You have to pay special attention to the piece that in the first image is on the right hand side. That teeny piece actually bends in the middle, and the outer piece actually forms the part that clicks into place when you bend the rest up.
Fourth Parts


Ok so this was the last bit I got to work on. The upper arm armour. Again, this shows the detail, the layering of parts to add more detail, and the beautiful way the parts clean up. I know I have said it before but, I am very happy with the way this has been cleaning up so far!
Conclusion
I am really enjoying the build, and the pace. The parts are cleaning up beautifully and the parts are all cleaning up so nicely. That concludes “RG Aile Strike Build Day 7”.
If you wanted to pick up an RG Aile Strike to do the build yourself at the time of writing I have a few in stock available here. I also currently have both the Gray and White Balancers in stock (Gray White).
Thank you for taking the time to read this. If you haven’t already done so please like and follow us on our social media platforms and checkout our website!
Facebook: https://www.facebook.com/profile.php?id=100086701512793
Instagram: https://www.instagram.com/modelkitsltd/
Website: https://modelkitsltd.co.uk