Introduction
Welcome back to “RG Aile Strike Build Day 5”! After yesterdays little break, I’m back with the latest update. For anyone catching up, I have made a few posts saying how fantastic I thought the RG Aile Strike model is. However, I hadn’t actually built one yet. So I decided it was time for me to put my money where my mouth was.
This series is documenting my build of the Aile Strike along with plenty of pictures.
The Update
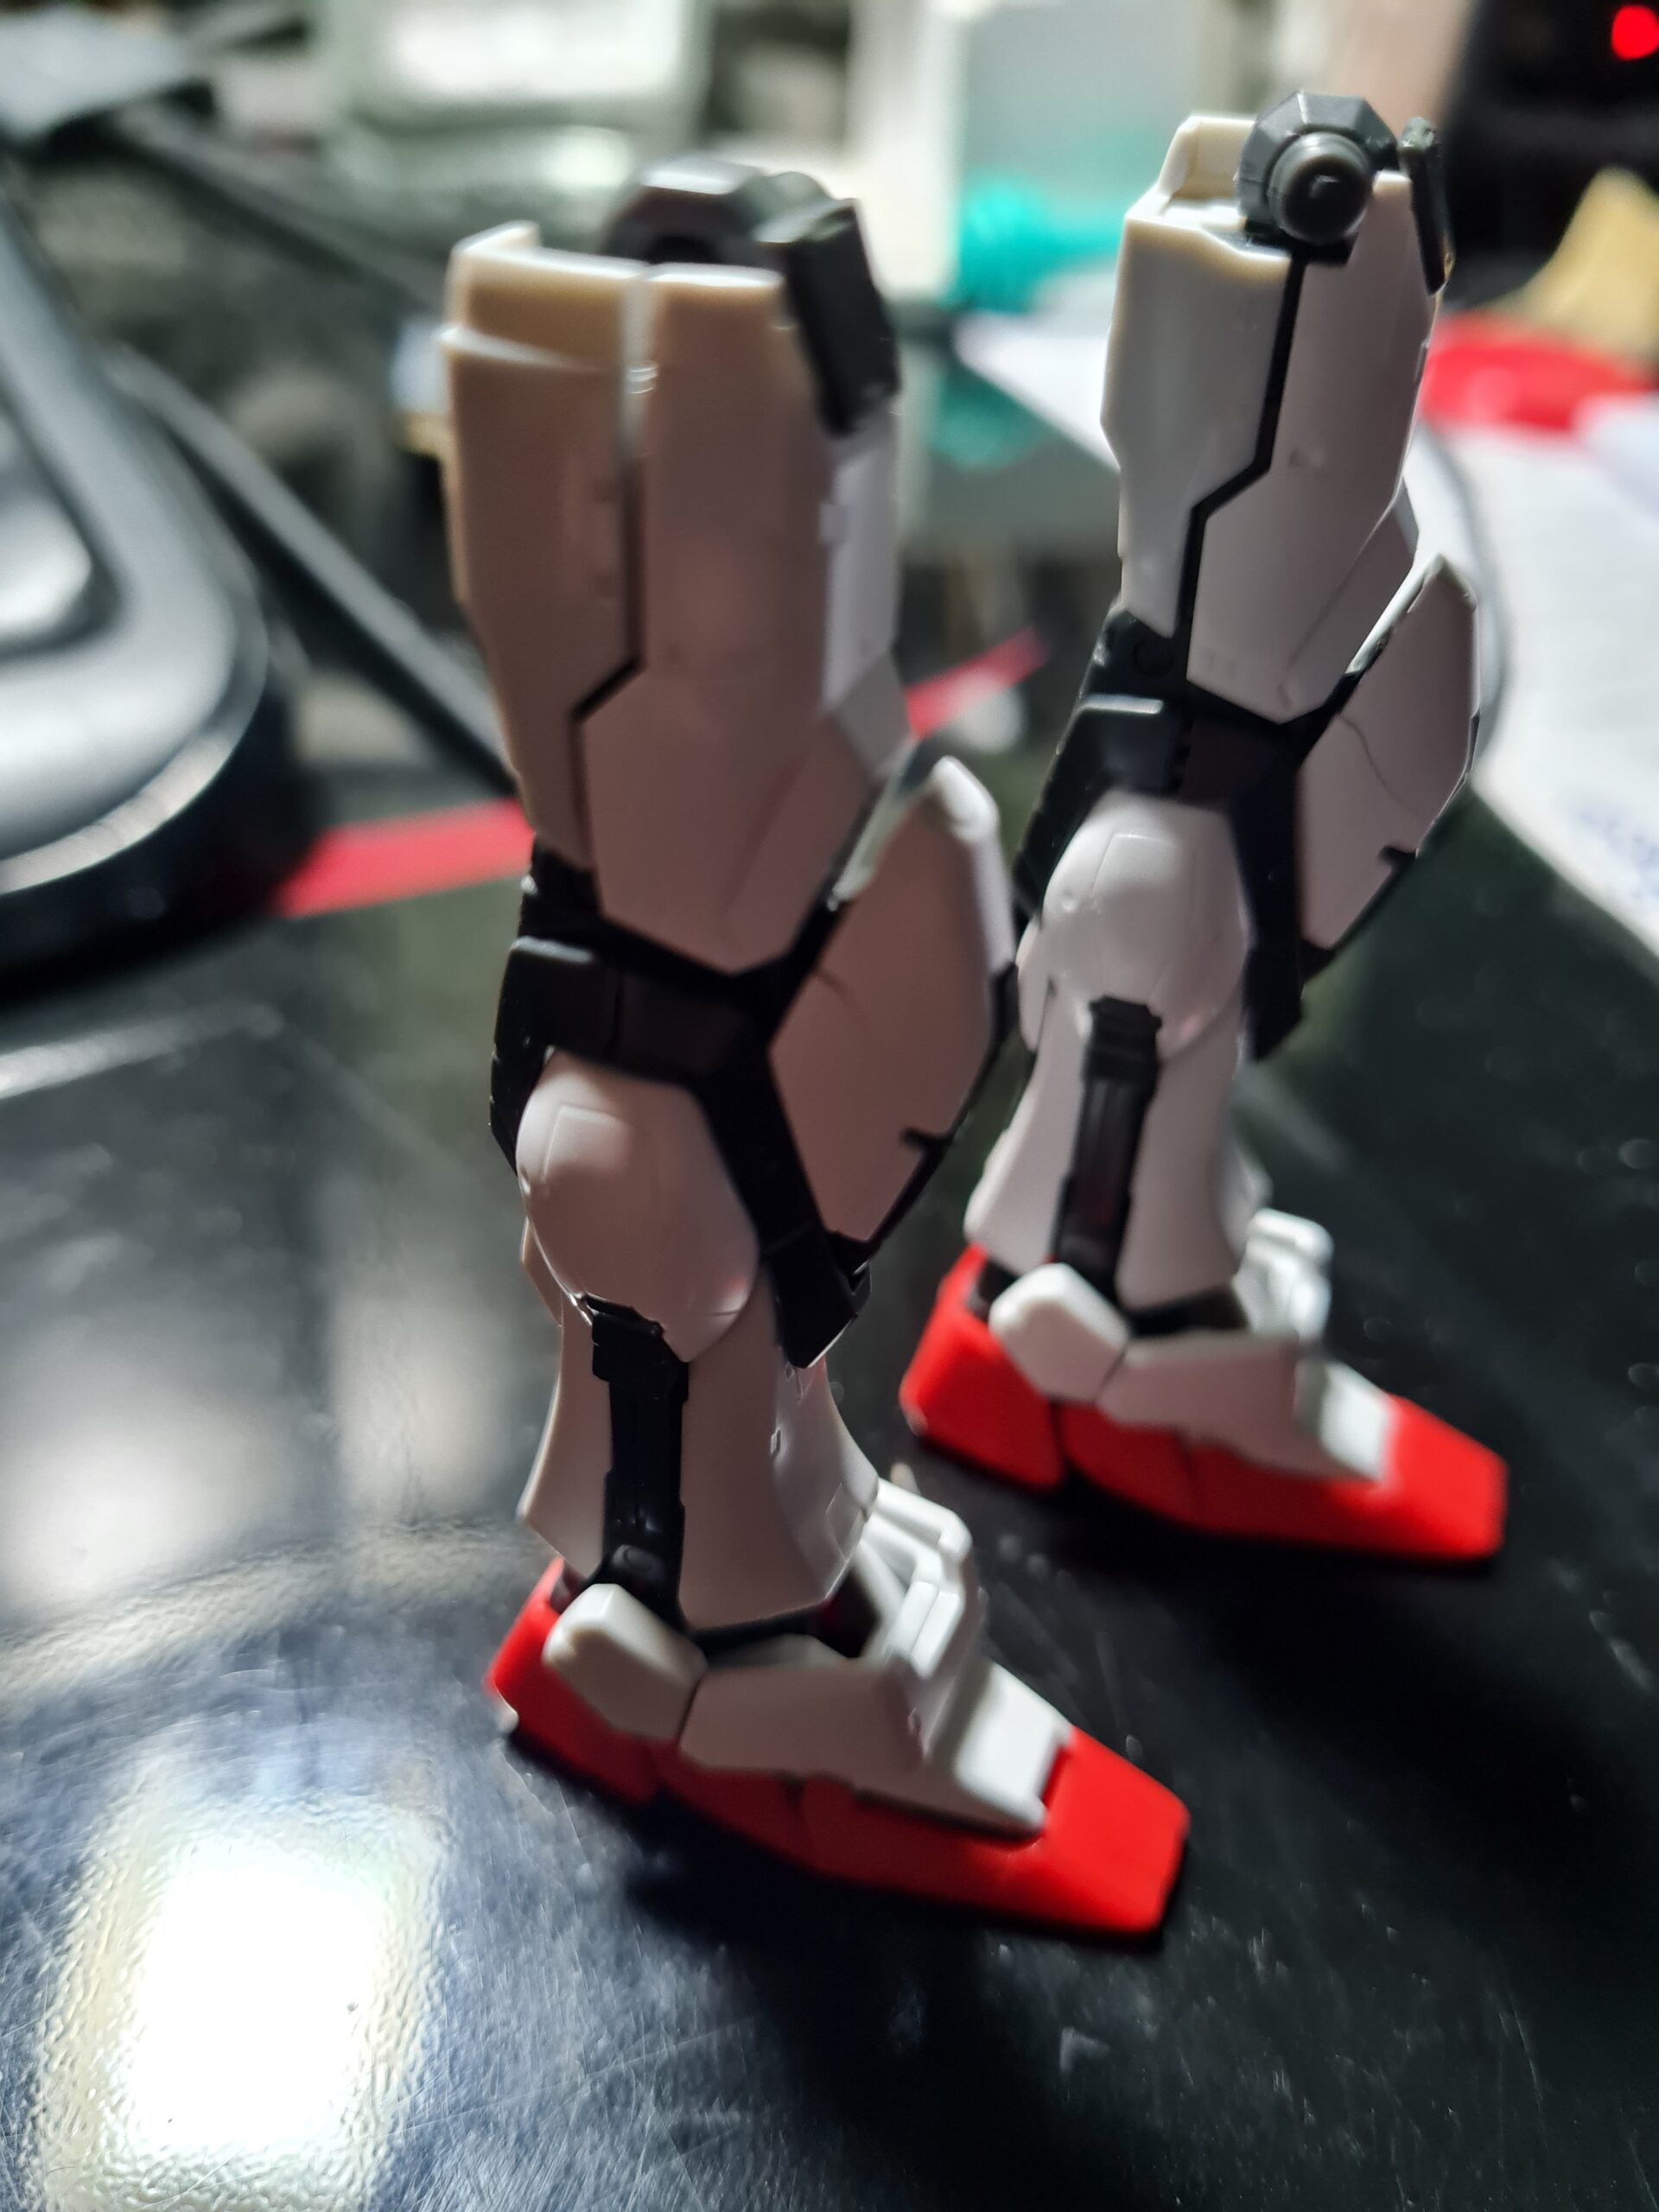
Ok well today I was working on the other leg, as Day 4 was the first leg. As this is a carbon copy of the previous post (you can find it here) I didn’t do all the pre and post nub cleaning pictures. Feel free to check out yesterdays post to catch up on that. Again, I can’t say how great the Gray and White Balancers are from GUNPRIMER. They really help polish parts back up to a fantastic finish.
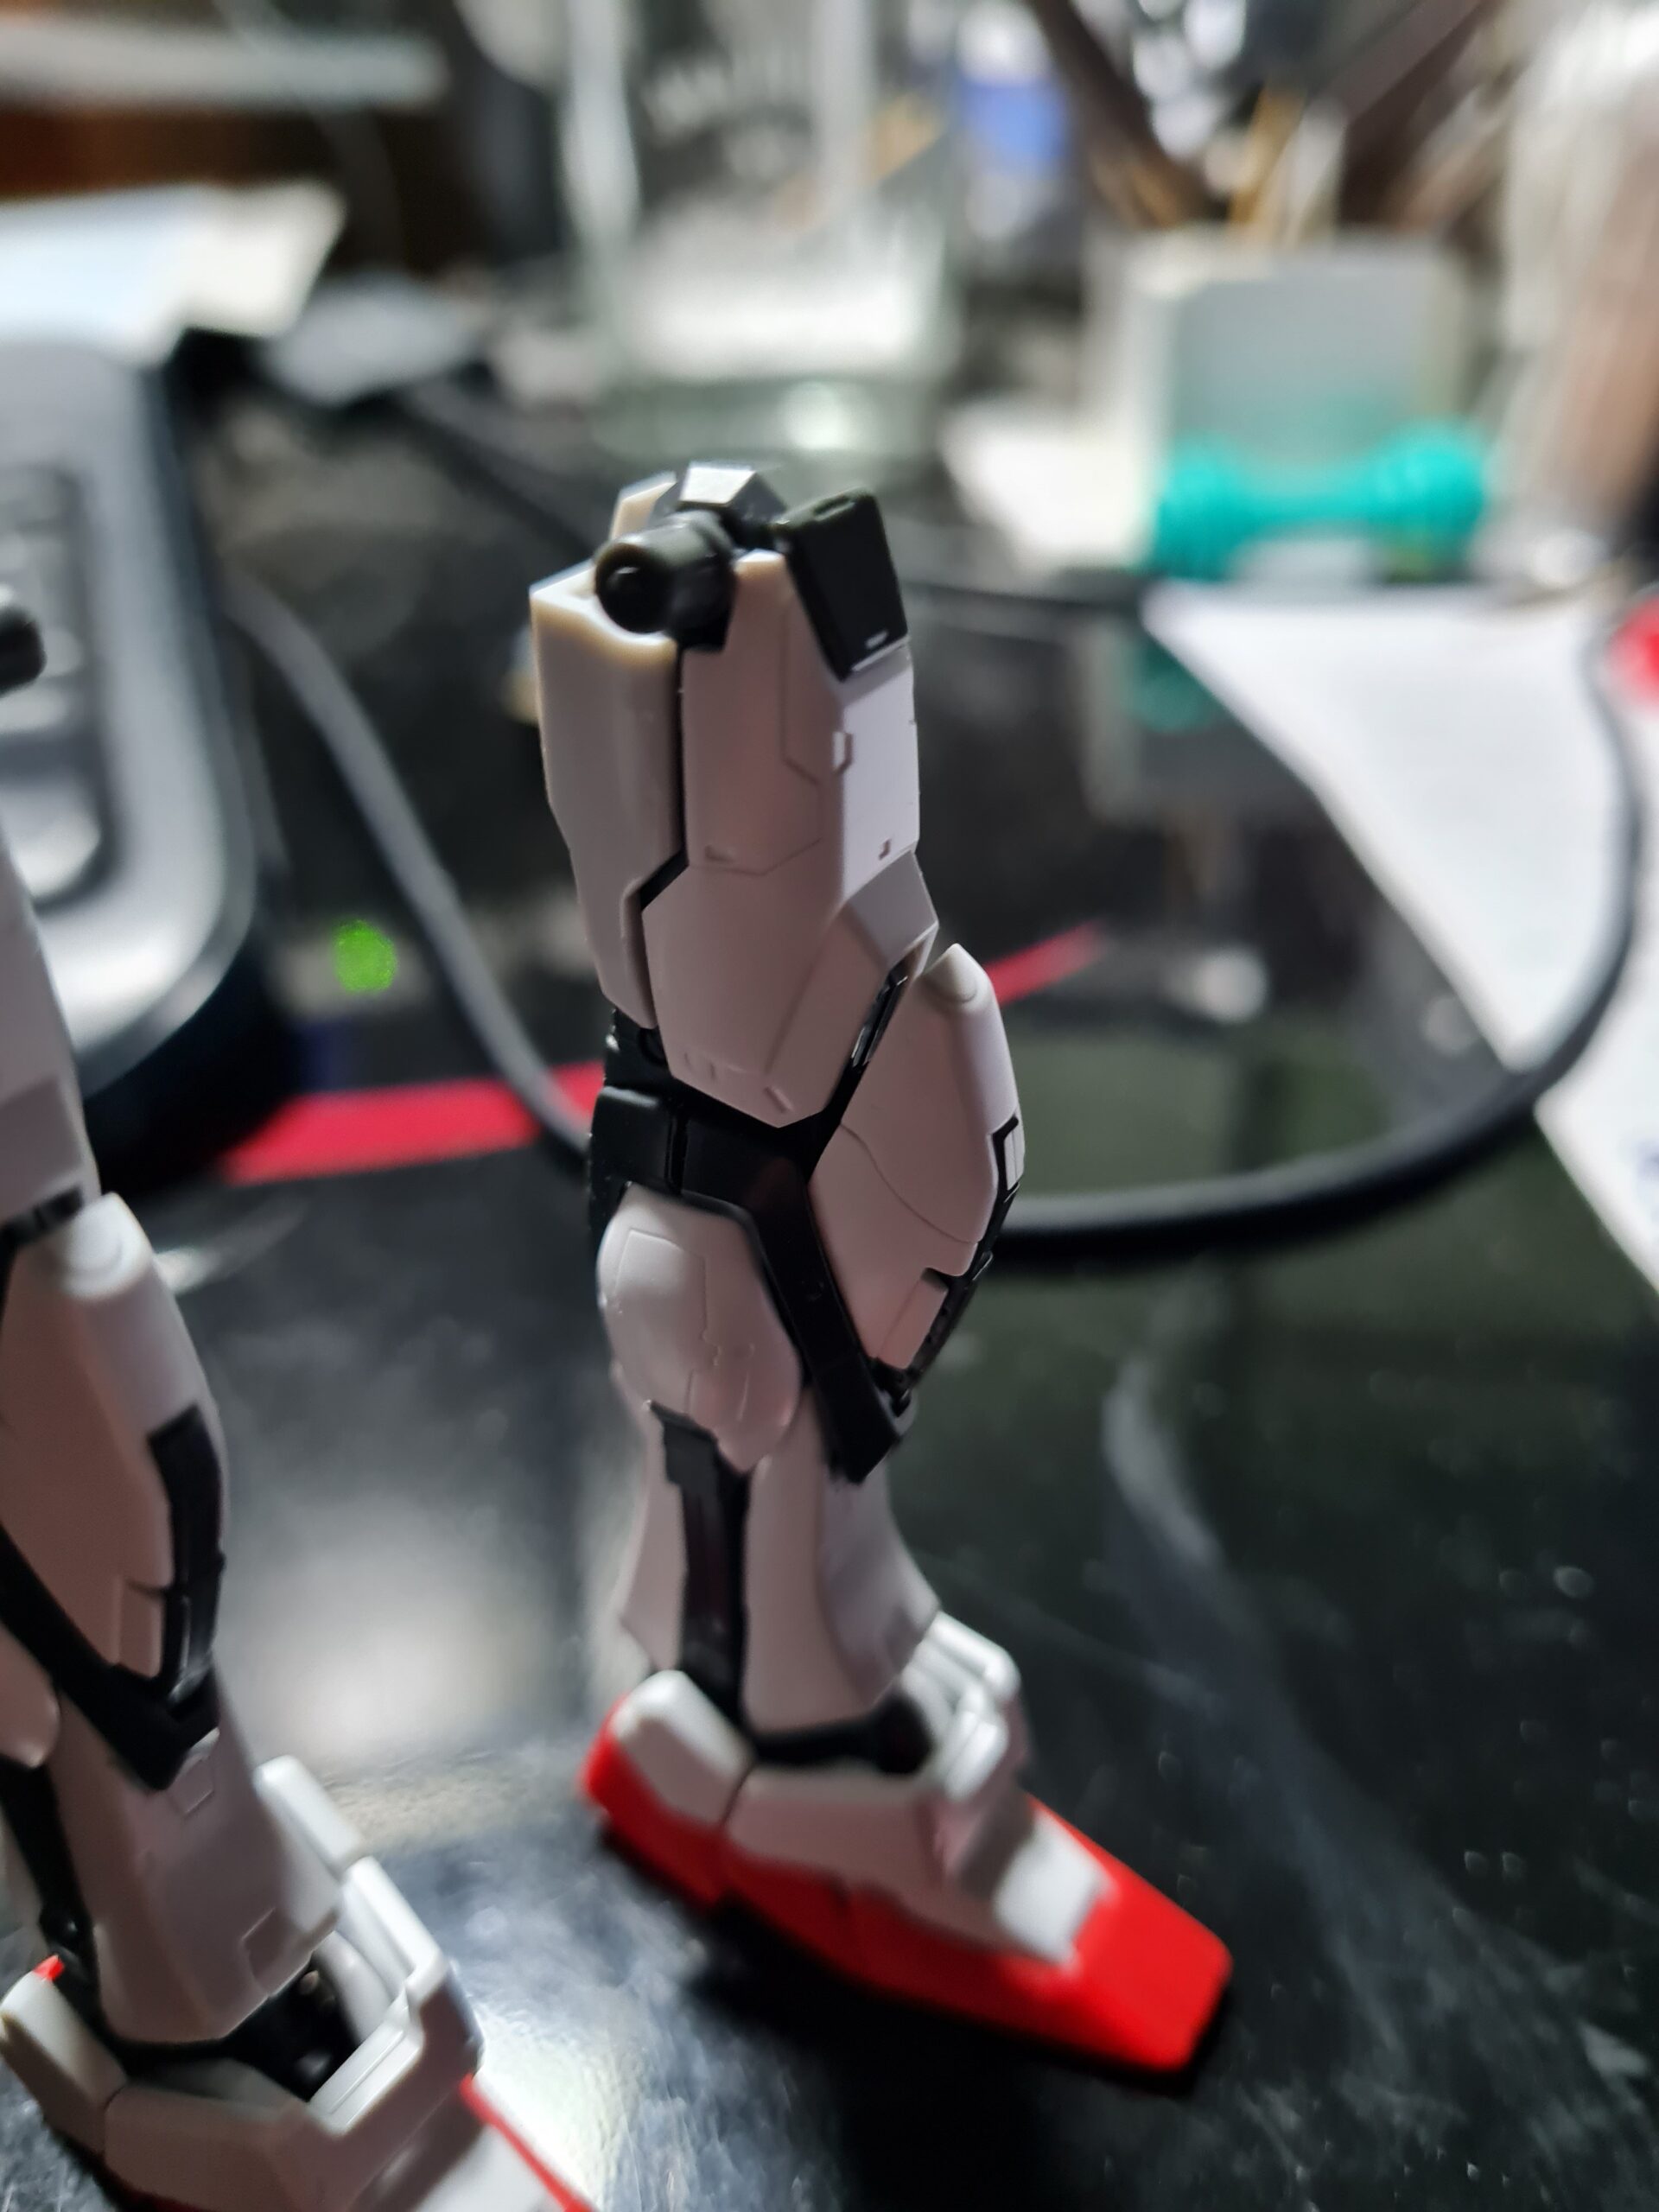
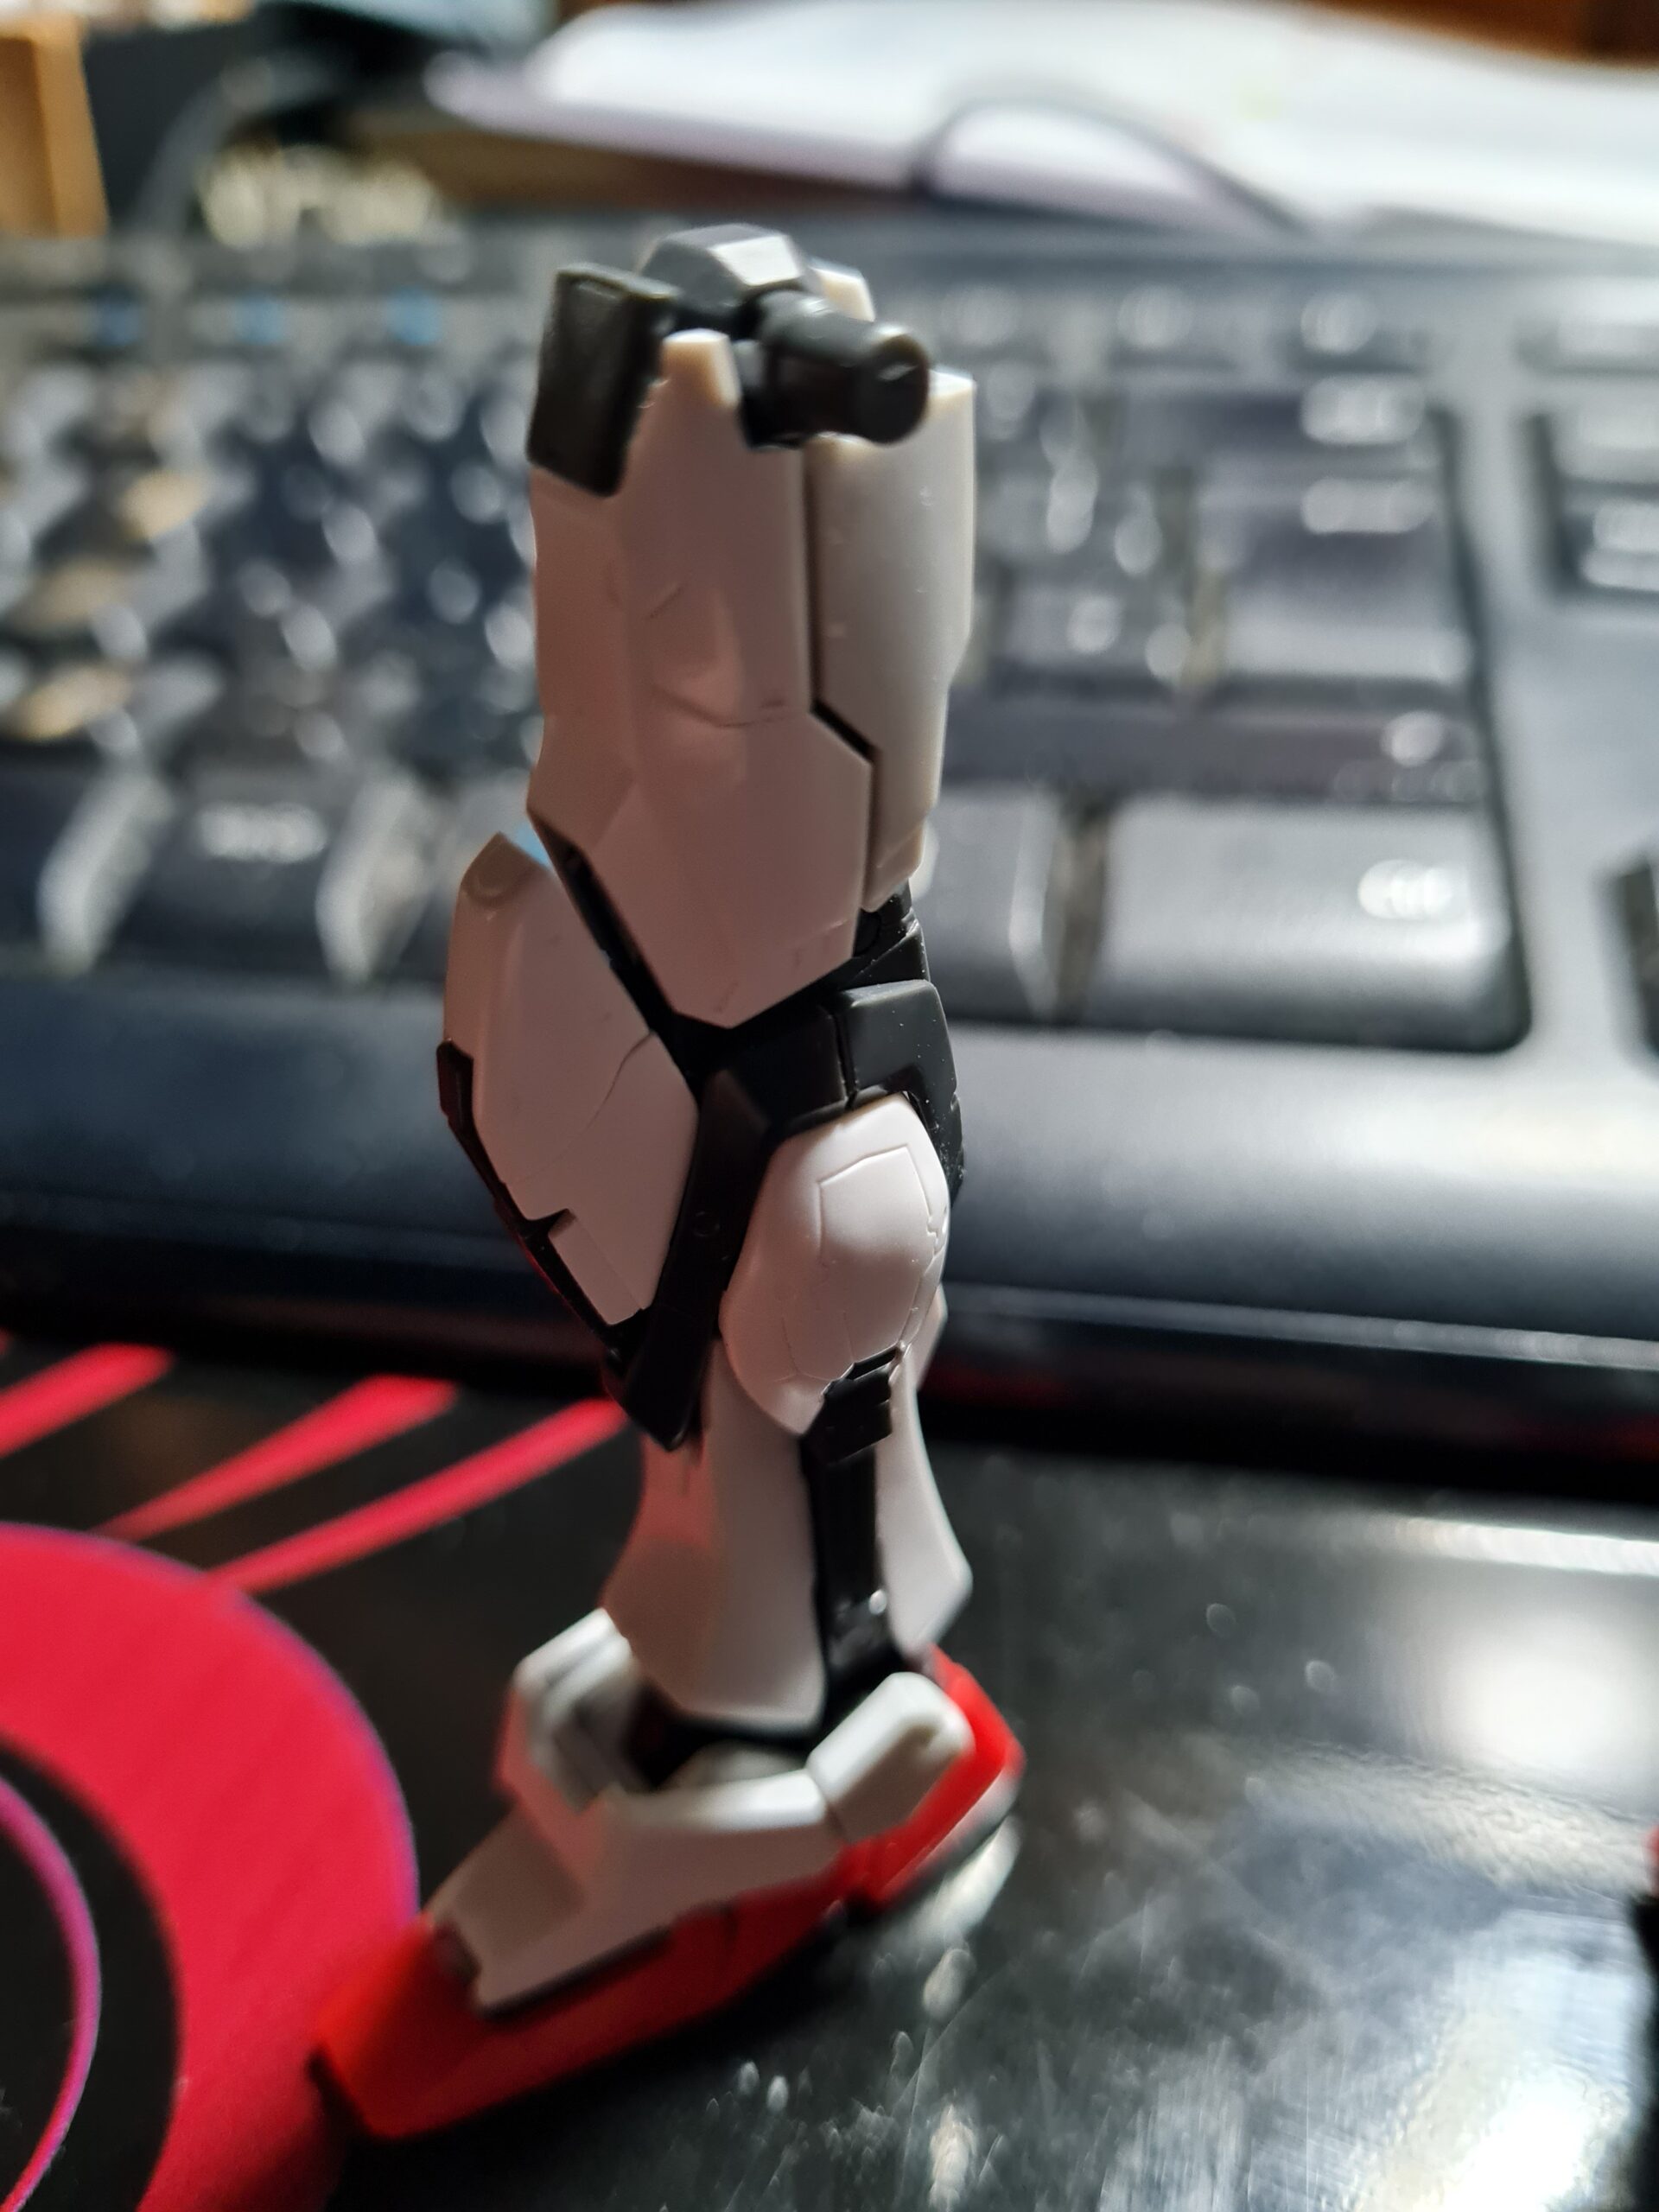
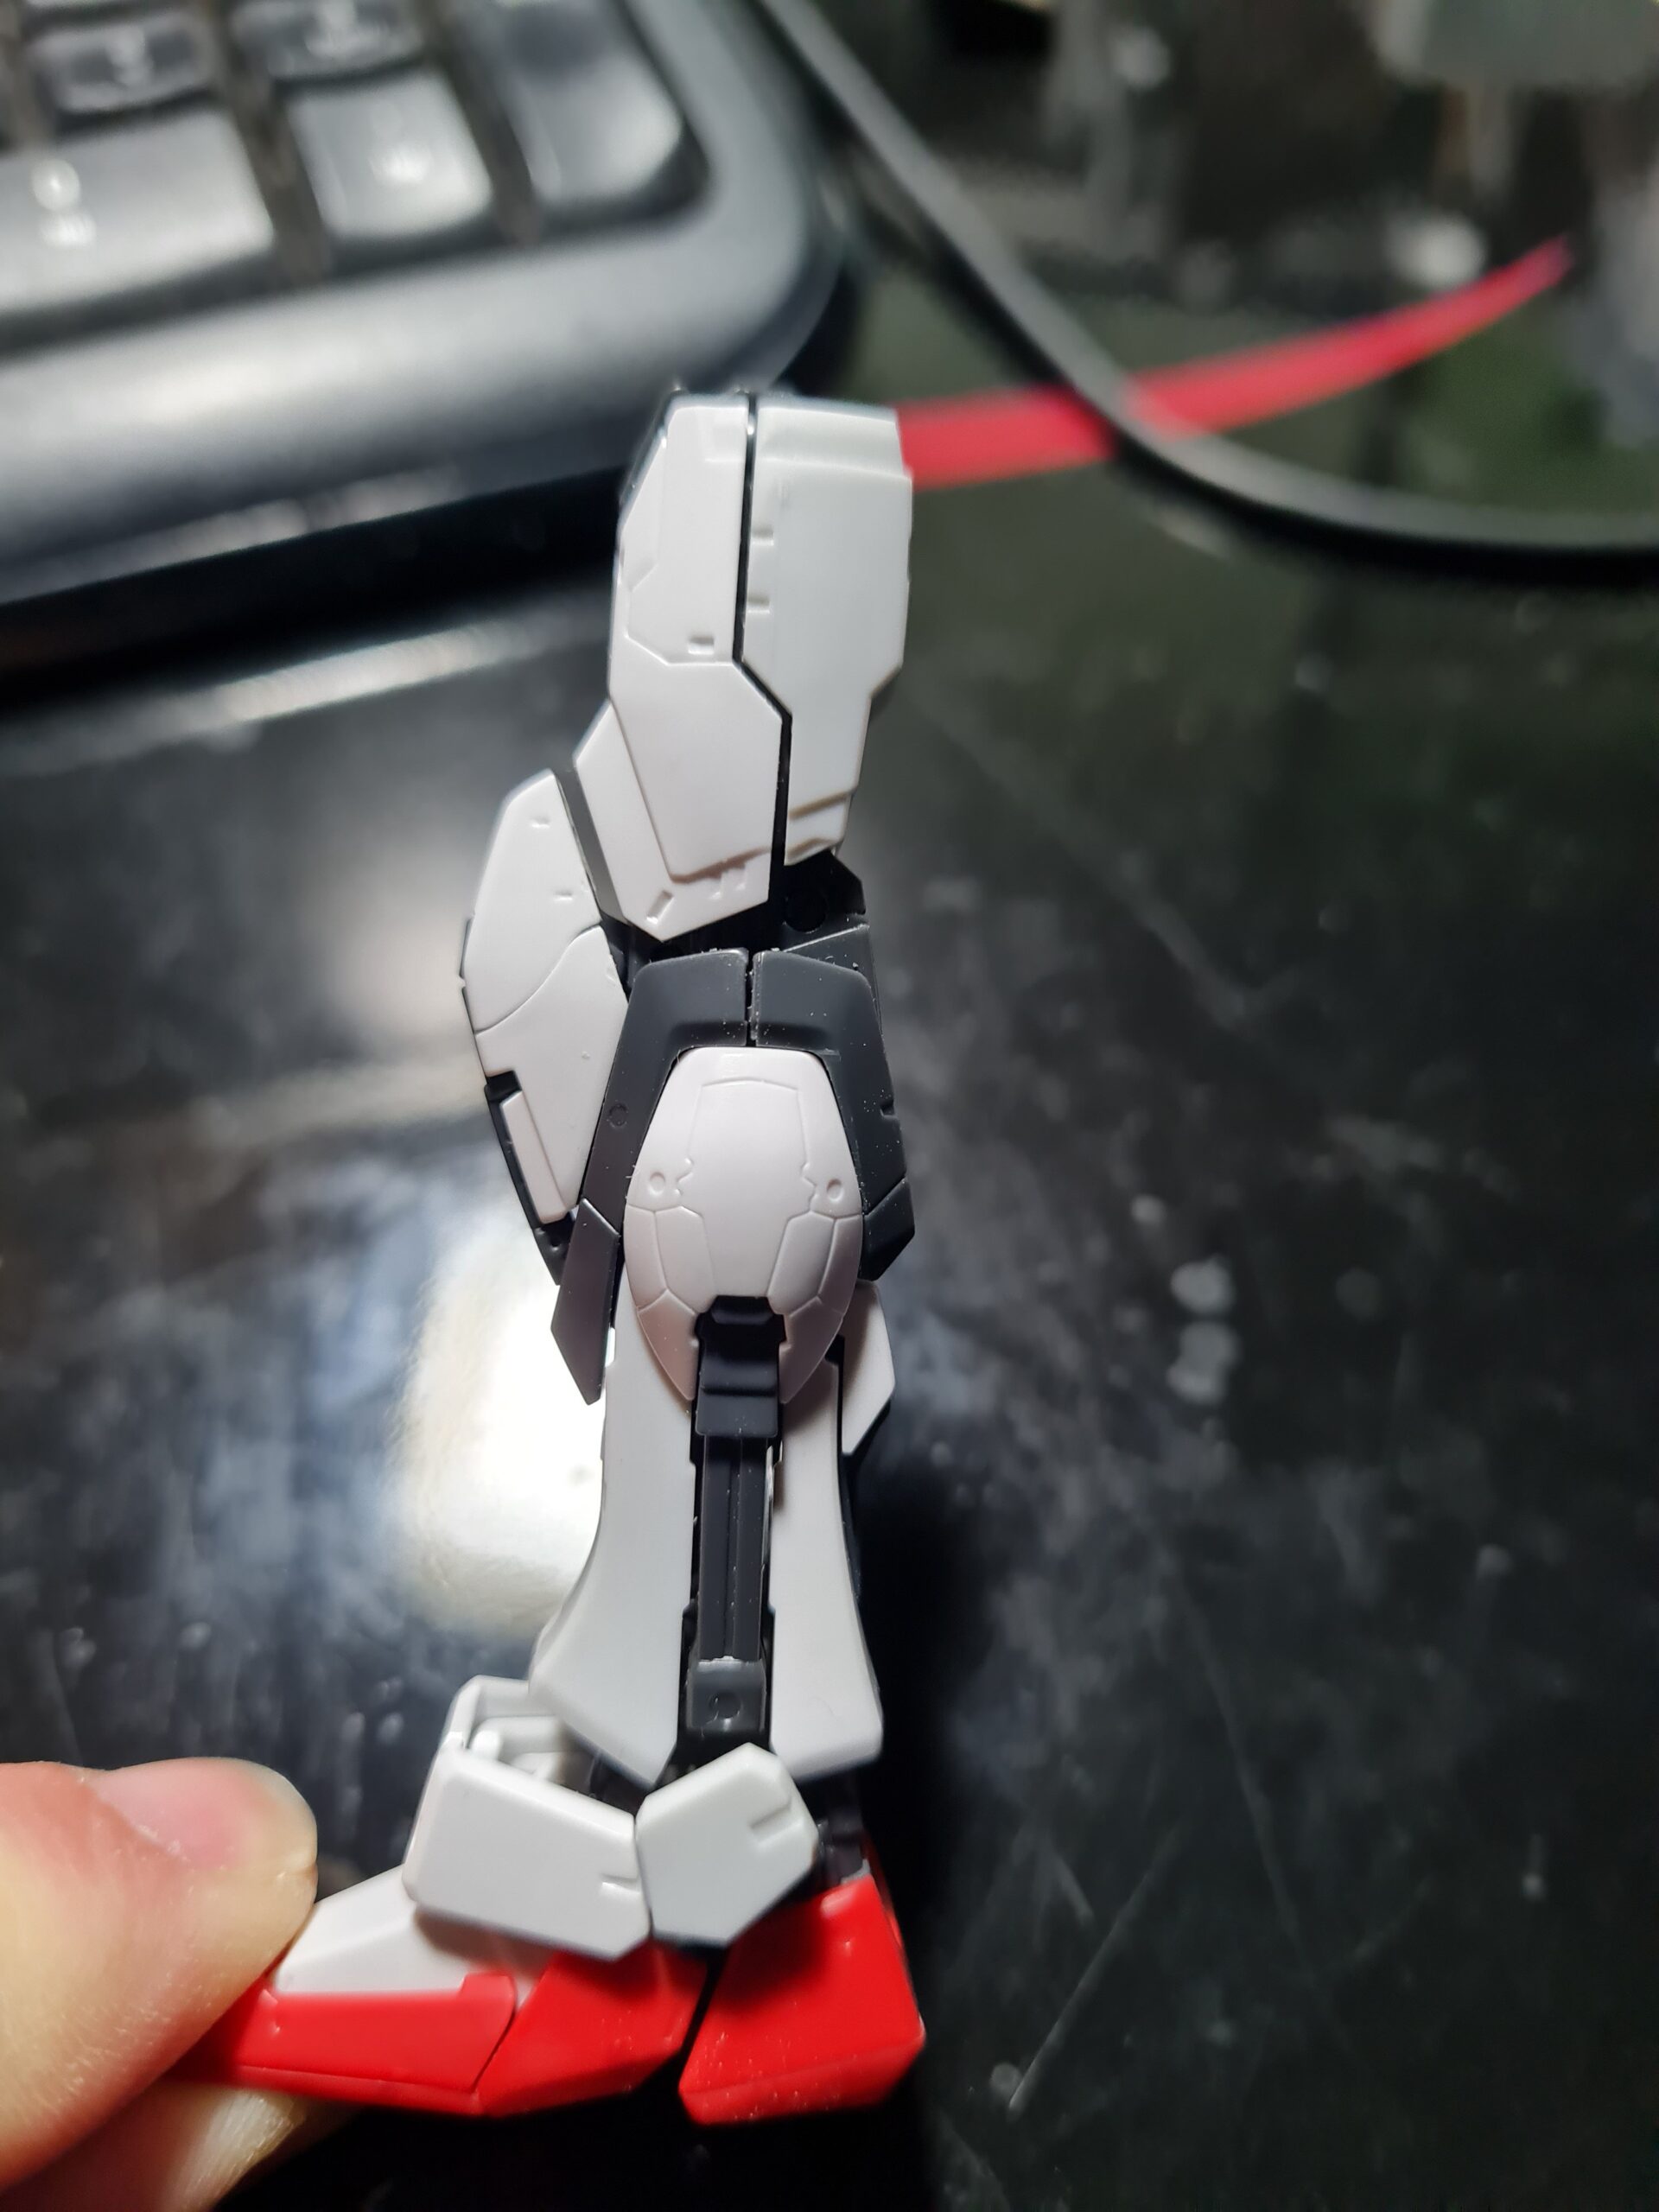
As you can see from the pictures these parts have also come together really nicely. So far the build hasn’t had anything other than nicely fit together sections. The detailing on the neg parts is brilliant, and I can’t wait to do the panel lining on this model. I think it might take me a while though with all those bits!
Conclusion
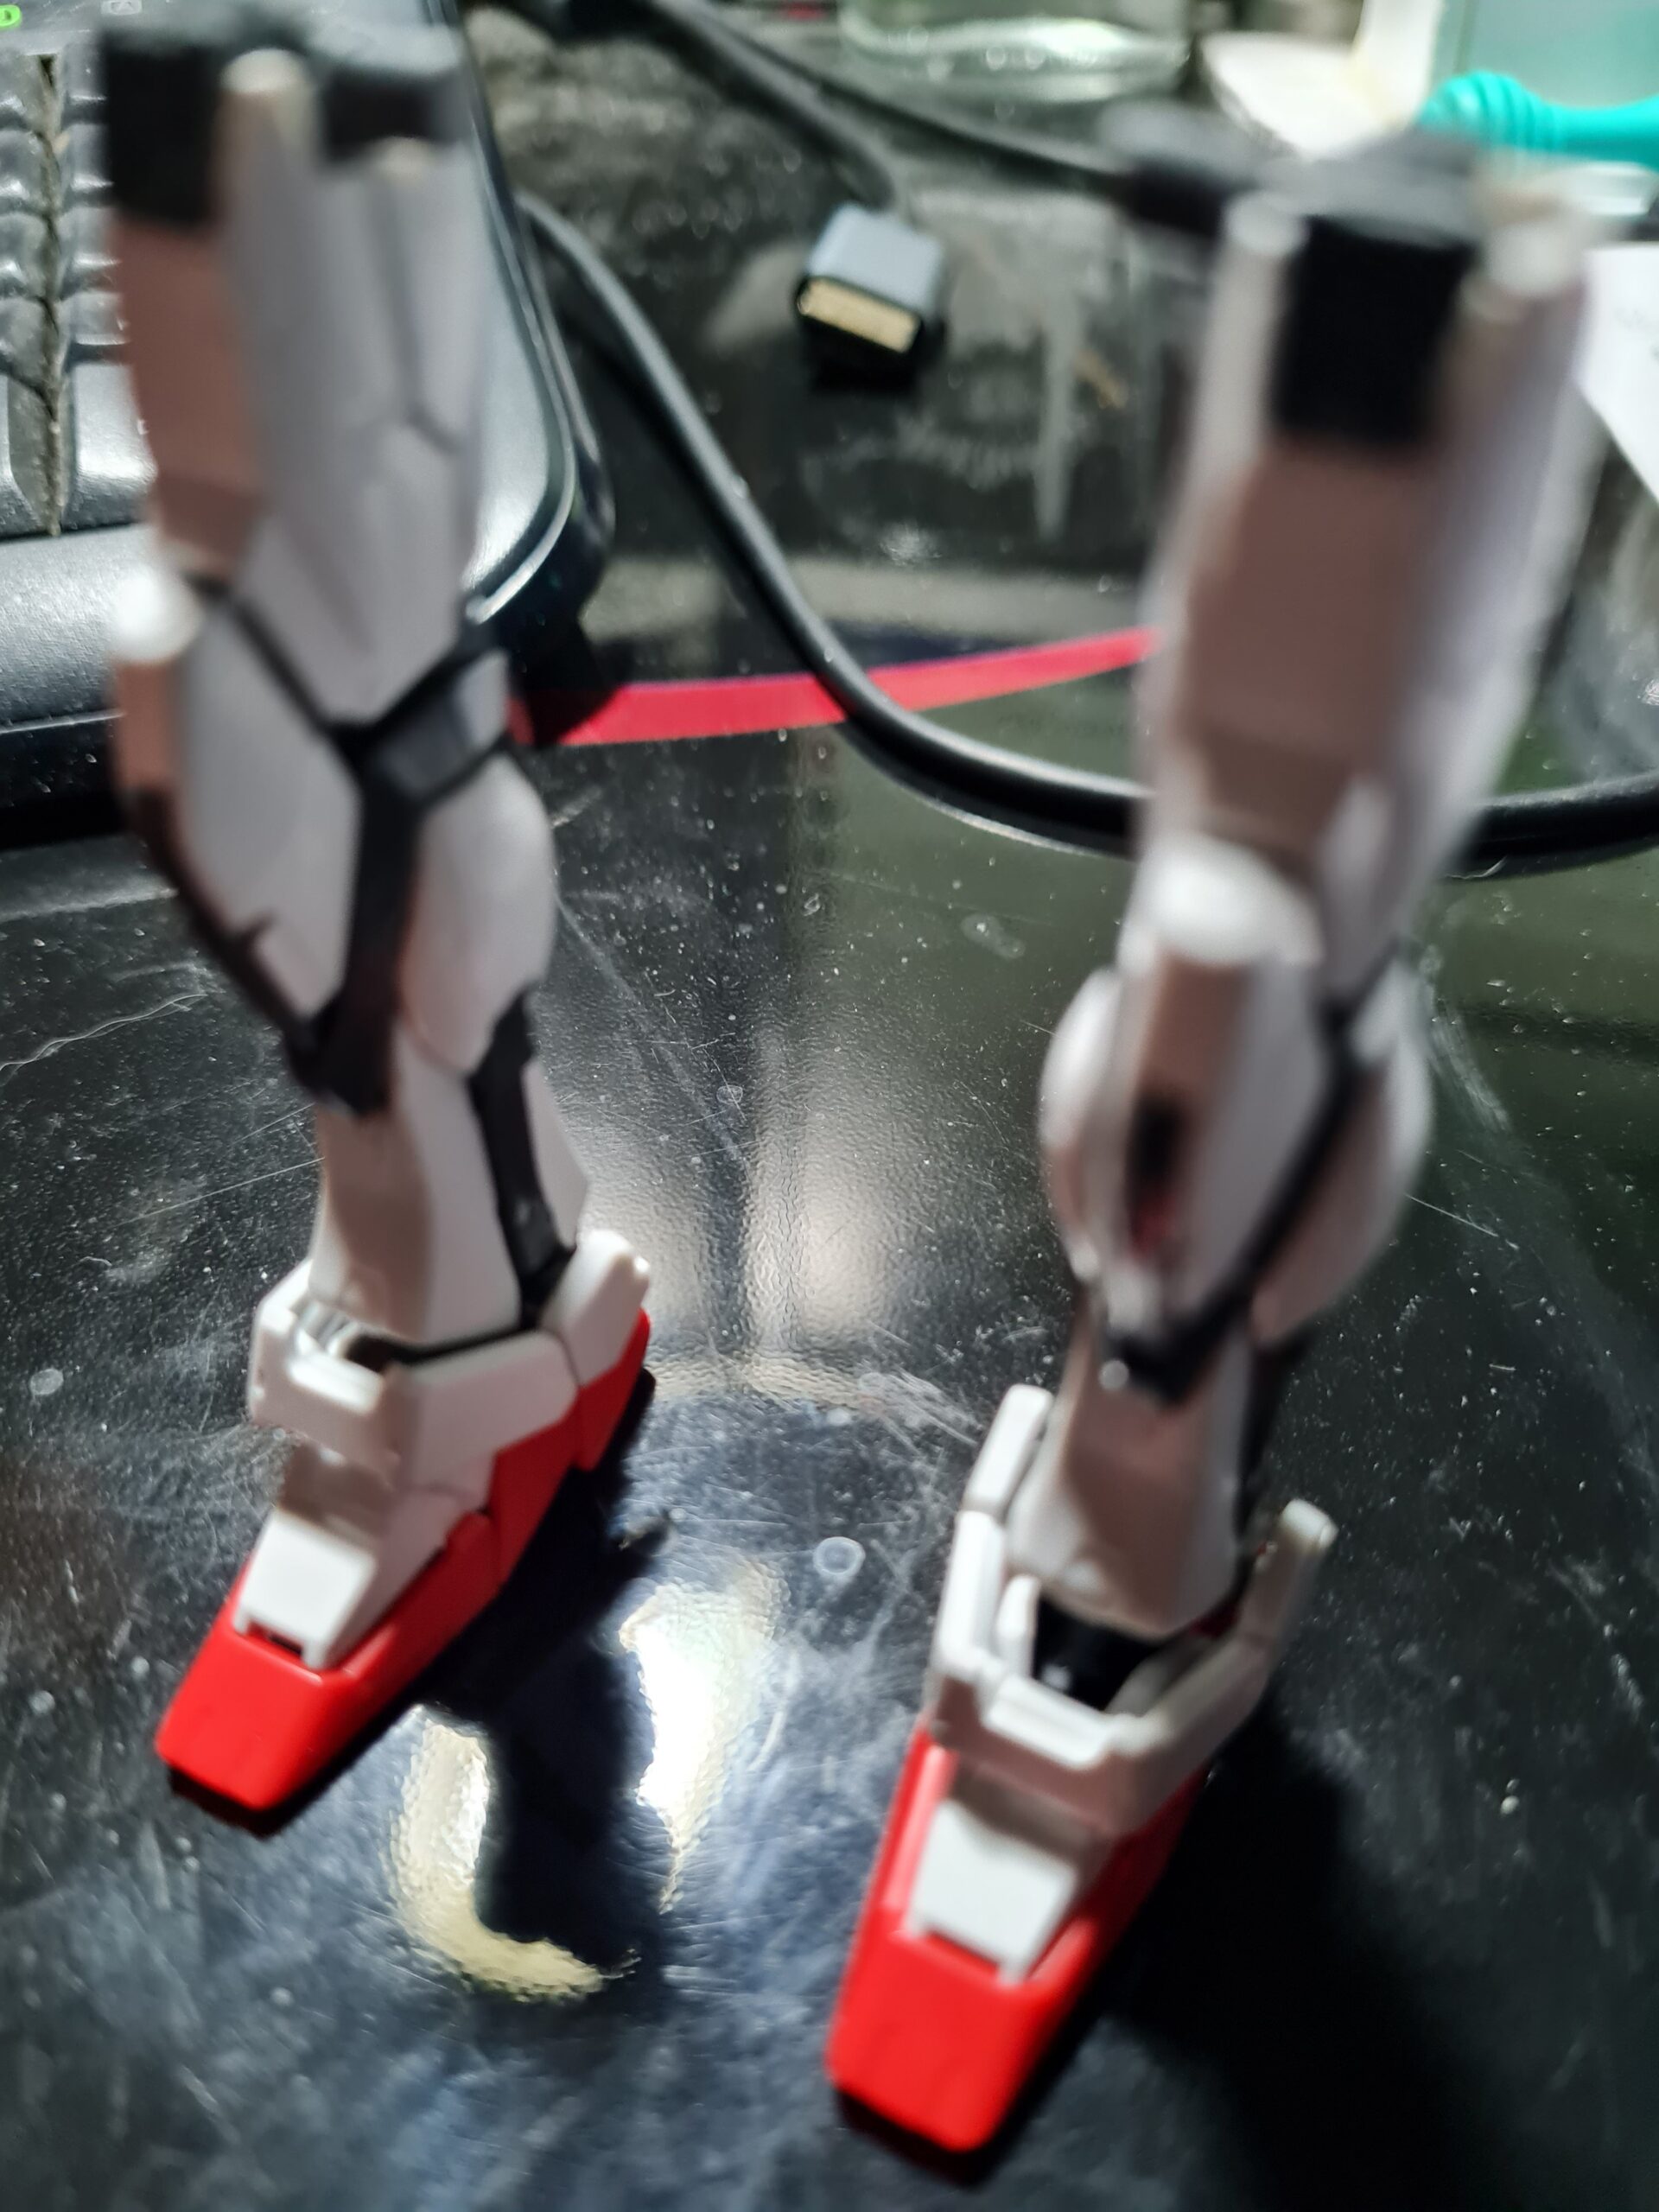
I believe the next part is the waist. I often find these sections some of the least interesting parts to build, so I am looking forward to seeing how this one holds up. So far, this build has been a pleasure, and the outer armour has been cleaning up beautifully. Possibly my only niggle so far is I could argue the feet feel a little weird. But once posed the look brilliant.
Thank you for taking the time to read this. If you haven’t already done so please like and follow us on our social media platforms and checkout our website!
Facebook: https://www.facebook.com/profile.php?id=100086701512793
Instagram: https://www.instagram.com/modelkitsltd/
Website: https://modelkitsltd.co.uk