Introduction
RG Aile Strike Build Day 2 covers what I managed to do in the first section of the build.
This build, unlike my “Guess the model” builds is going to be more evenly paced. As long as I have enough to warrant posting an update I will. Otherwise I’ll pickup a different topic and then follow on when there is a decent update.
What comes first
Well I already did a post about the tools, the box, the runners, and the manual. I even included a link to a PDF of the manual that I put together in case anyone is desperate to read the RG Aile Strike manual. You can find that post here.
So now that pre-amble is done, lets get on with the build!
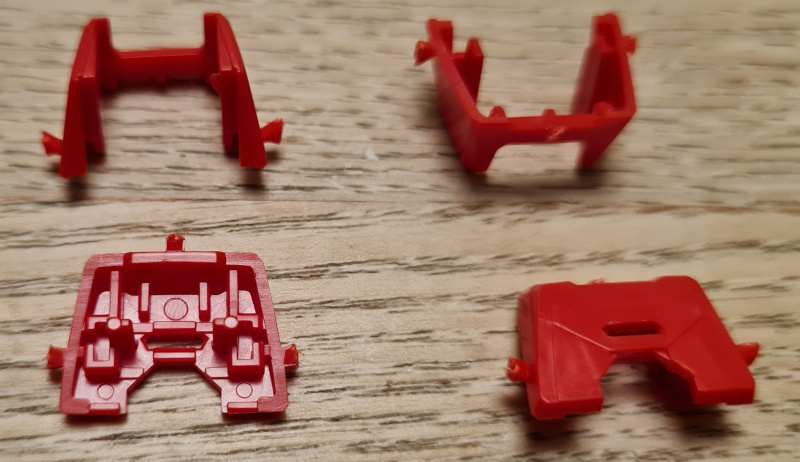
First Bits
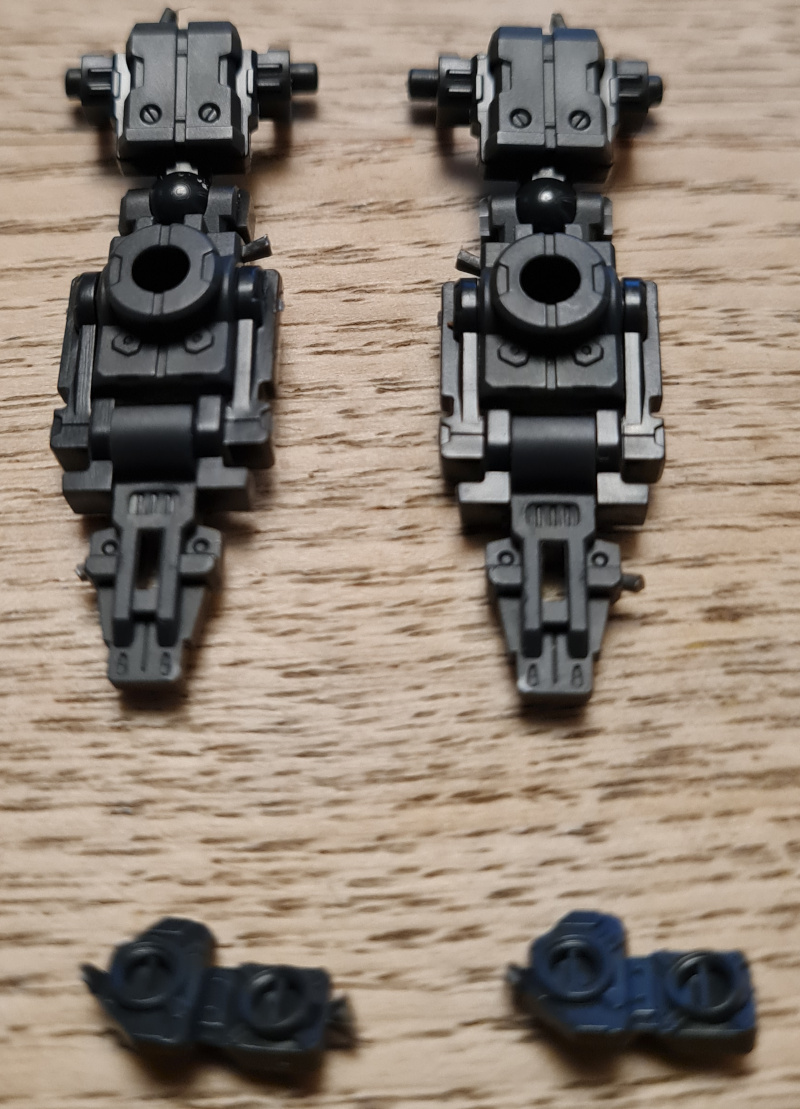
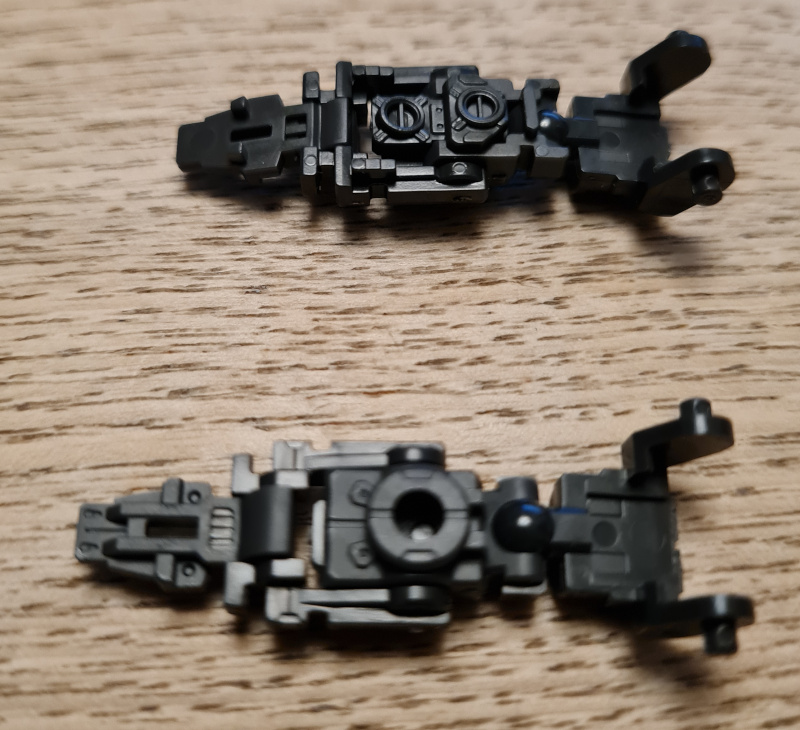
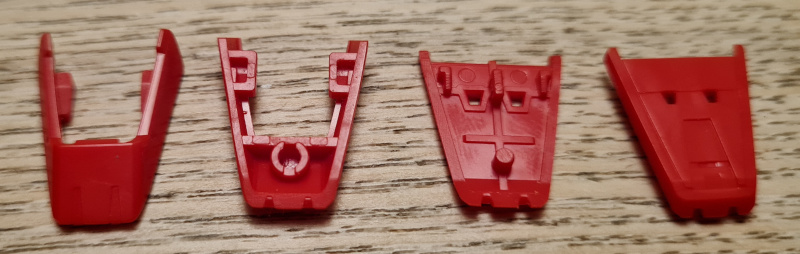
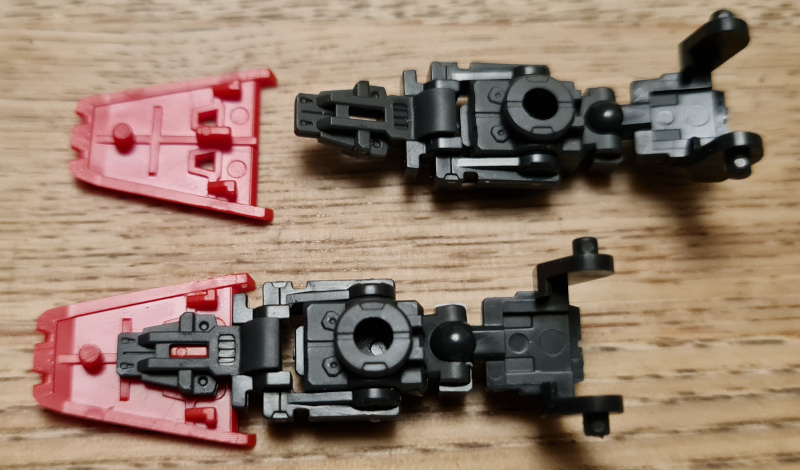
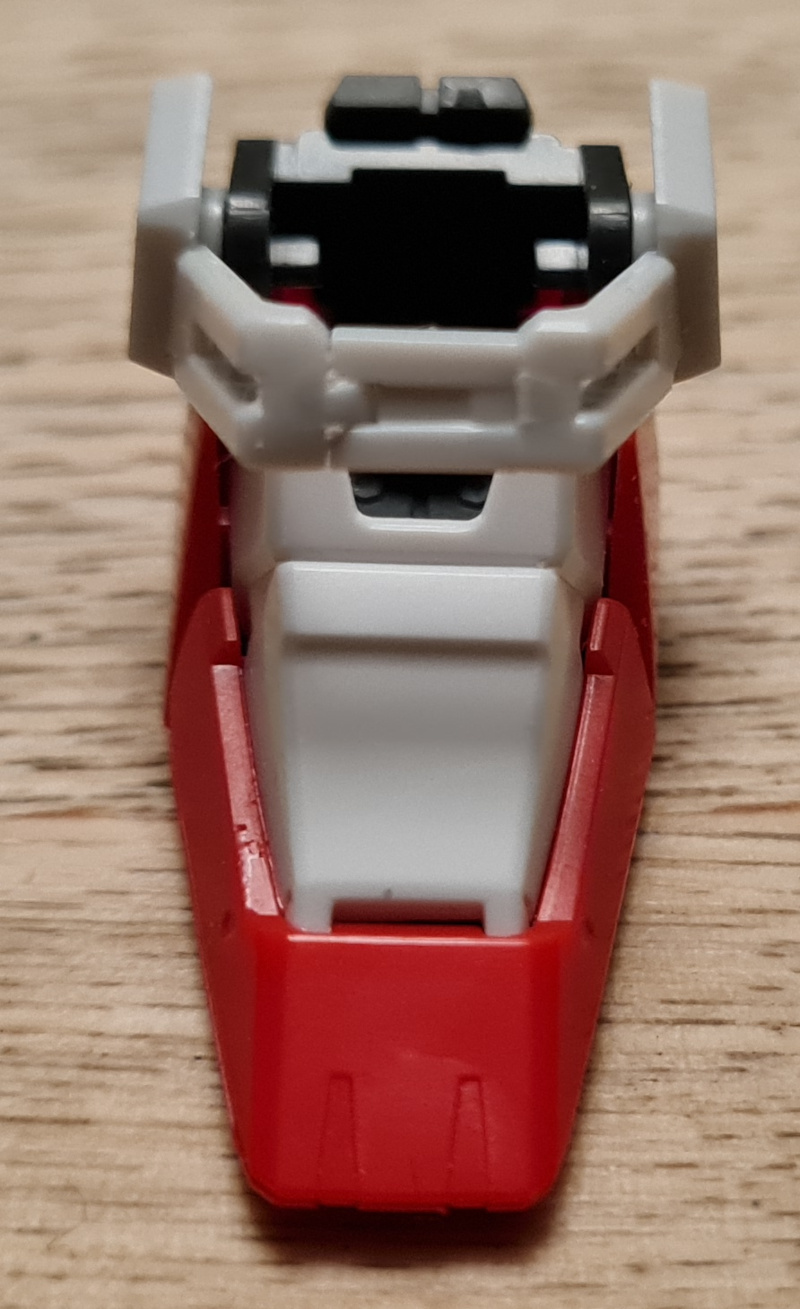
As you can see the main “bulk” part of the foot and ankle are cast as a single part. The ball joint is cast as part of this, and I still have no idea how they manage to cast a fully working ball joint! I then cleaned up the nubs and flipped the parts over. The smaller parts attach to the under side of the larger part. The fit together fairly snuggly, but once clipped in feel really nicely placed.
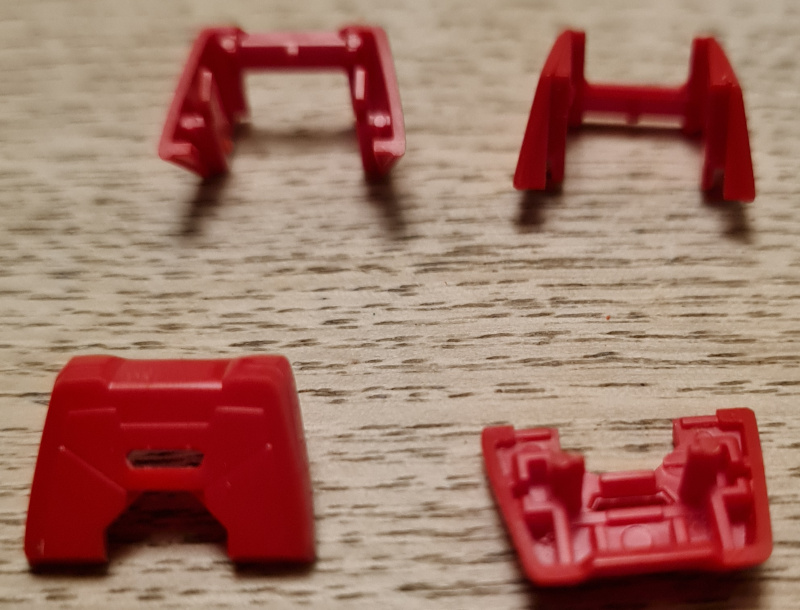
Second Bits
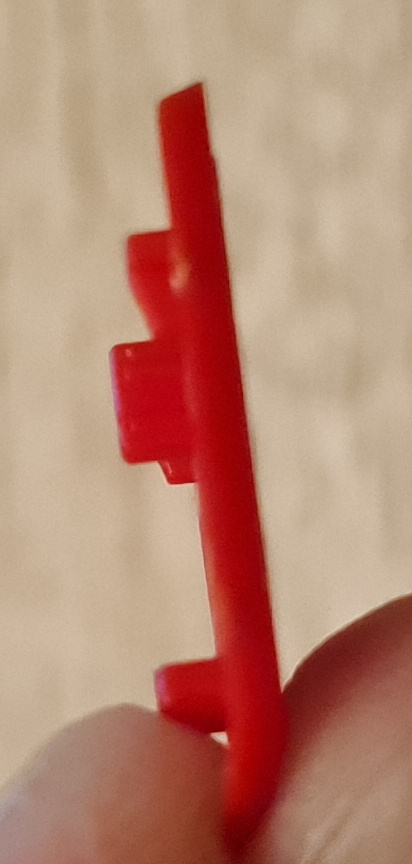
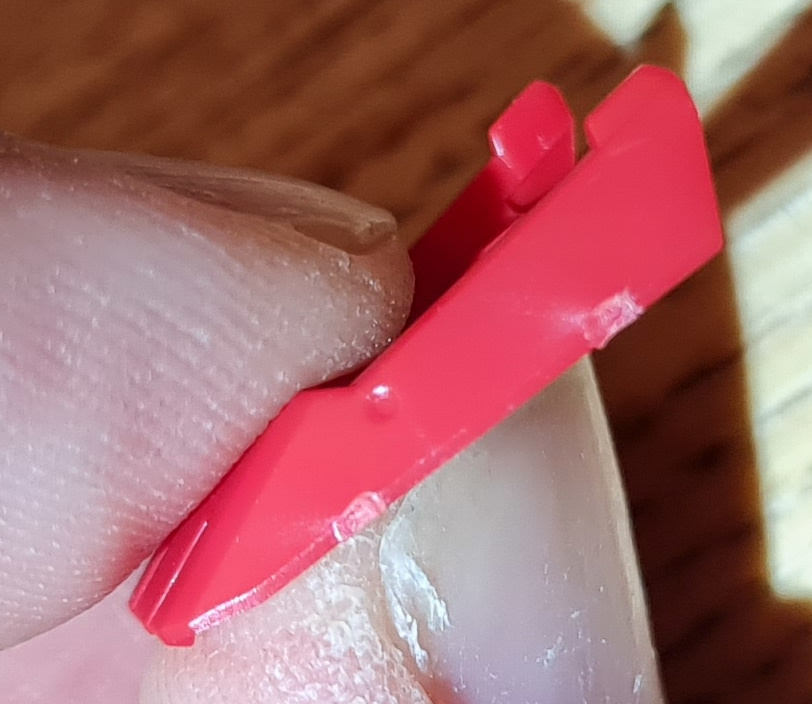

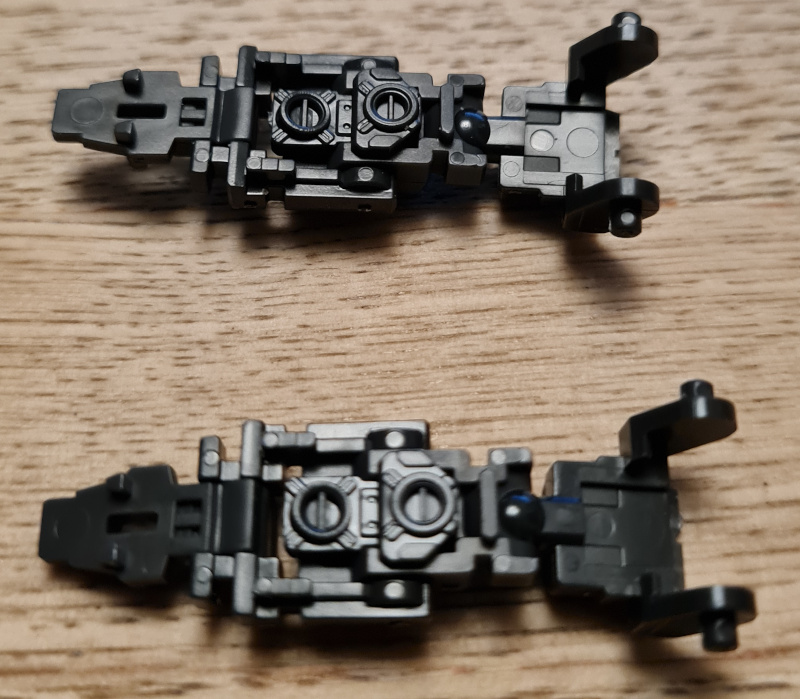
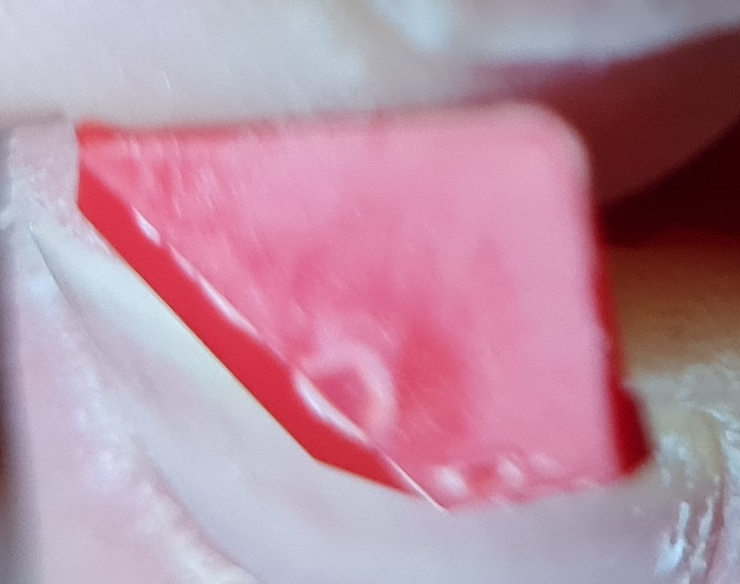
As you can see my first “rough” cut leaves a fair amount of nub. My second trimming cut leaves a much cleaner cut. At this point it is starting to look a bit better. After the second cut I then added some water to my wet and dry sandpaper and cleaned them down flush. Once I could run a finger nail over them without it catching I then did 5 passes with the Gray Balancer, 5 passes on the green side of the White Balancer, followed by 5 passes on the White side of the White Balancer. This left me with the “Cleaned Parts” picture. Any discolouration left is from the plastic / moulding and would need painting to hide. However the parts are smooth and shiny, just like they were on the runner!
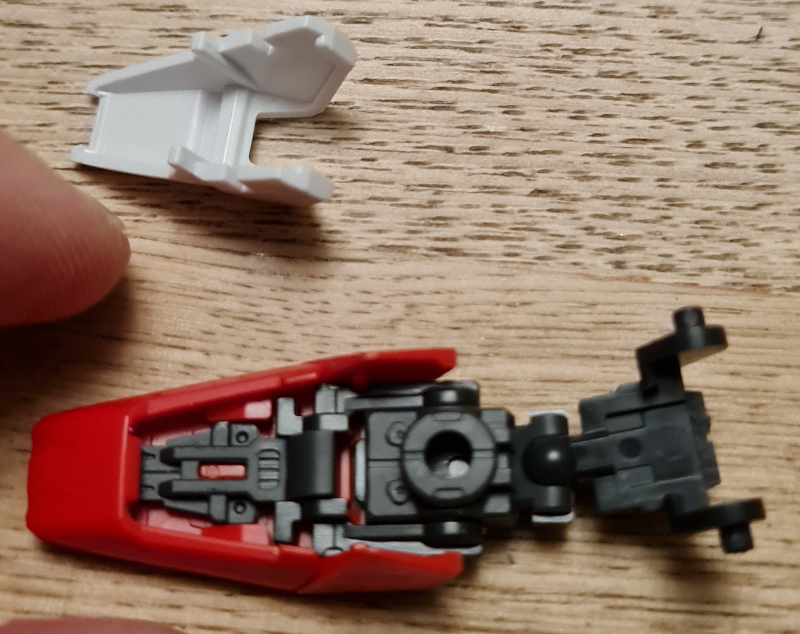
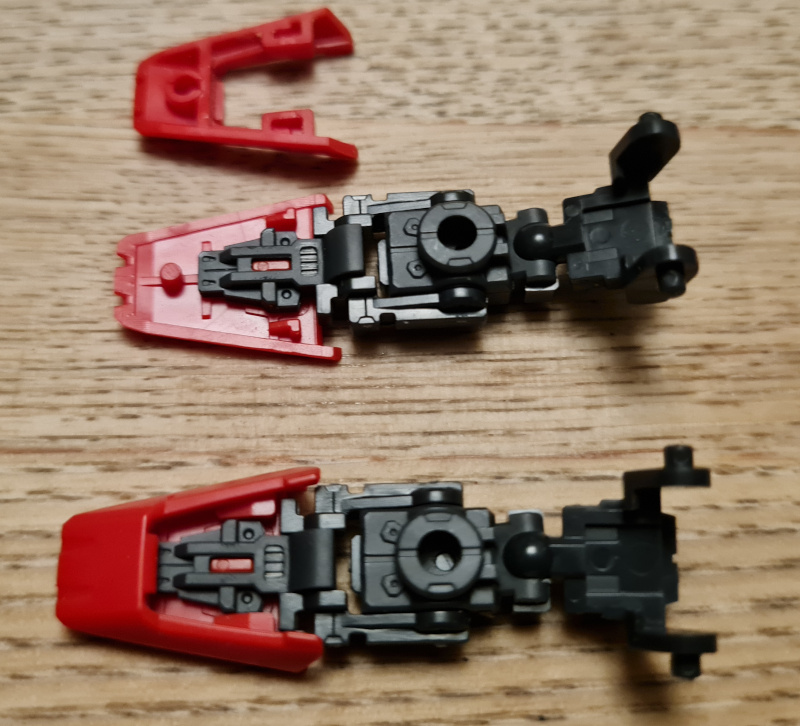
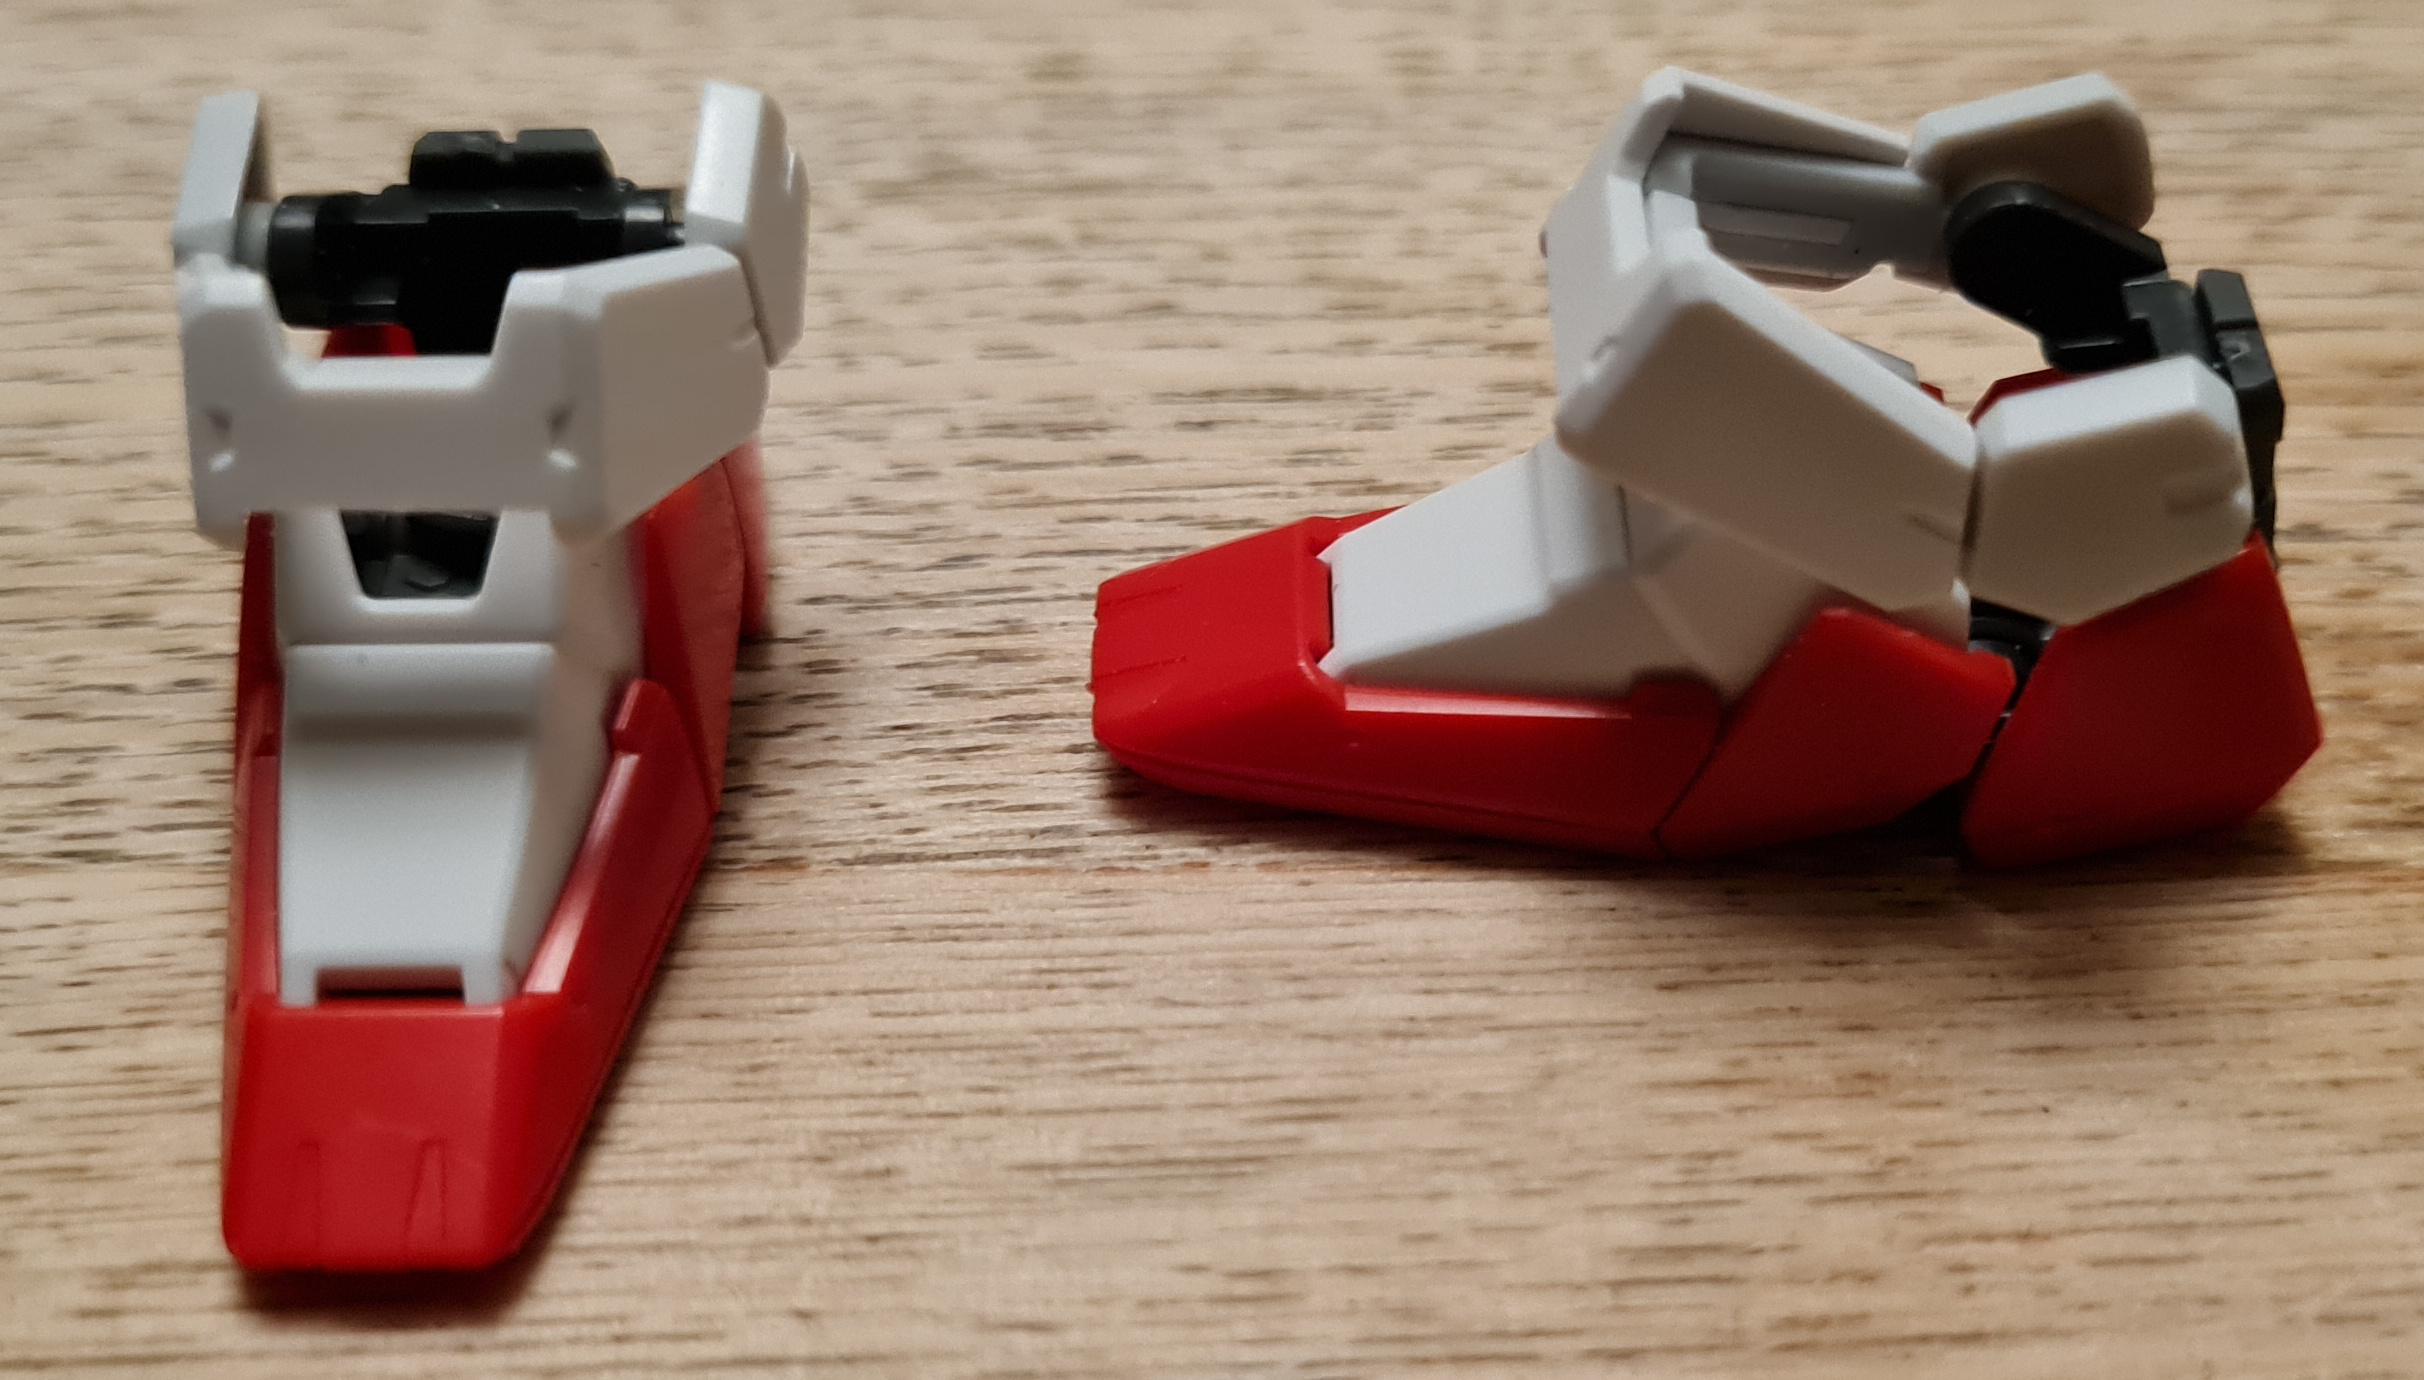
I then needed to attach the parts. Each “foot” has a flat part which has a small plastic column that slots into a hole in the black piece. In “bottom plate fitted” above you can see one ready to be put in place and one attached. The cover / second piece (as you can see in the final photo) attaches to the 3 posts on the flat piece and clips firmly into place.
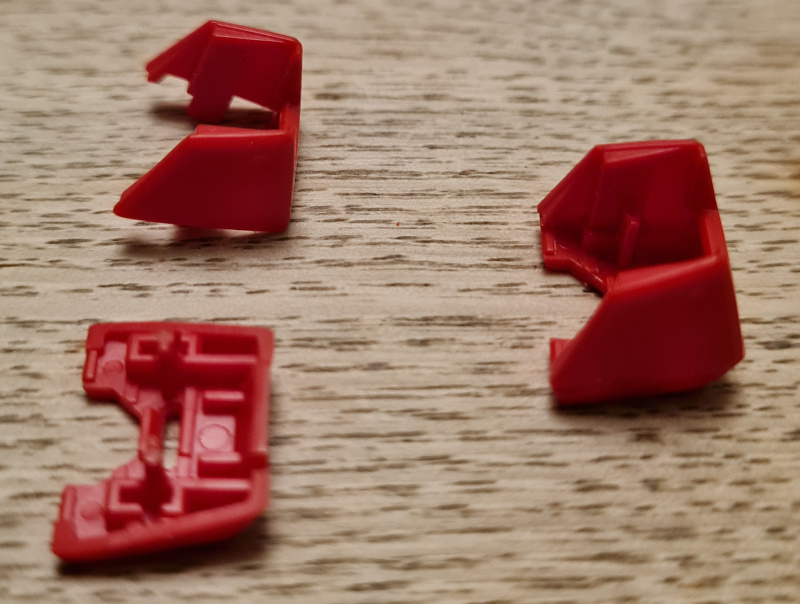
Third Bits
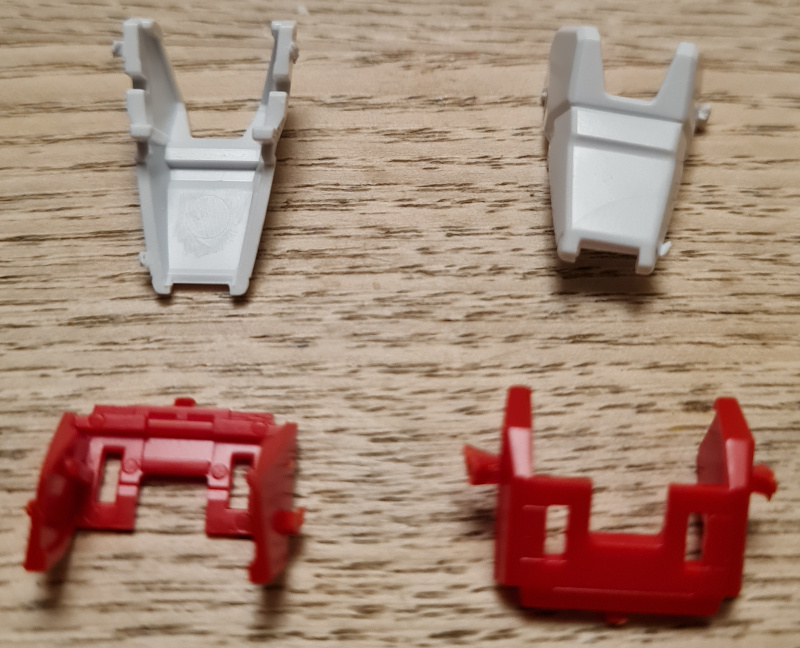
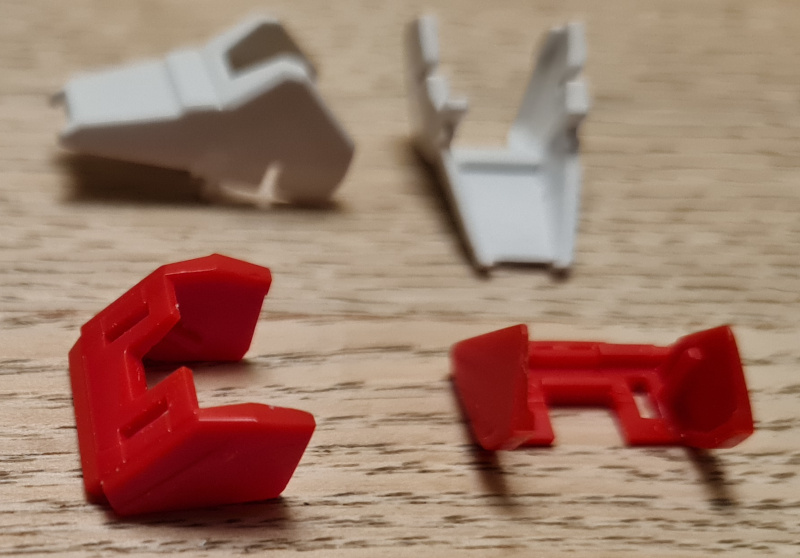
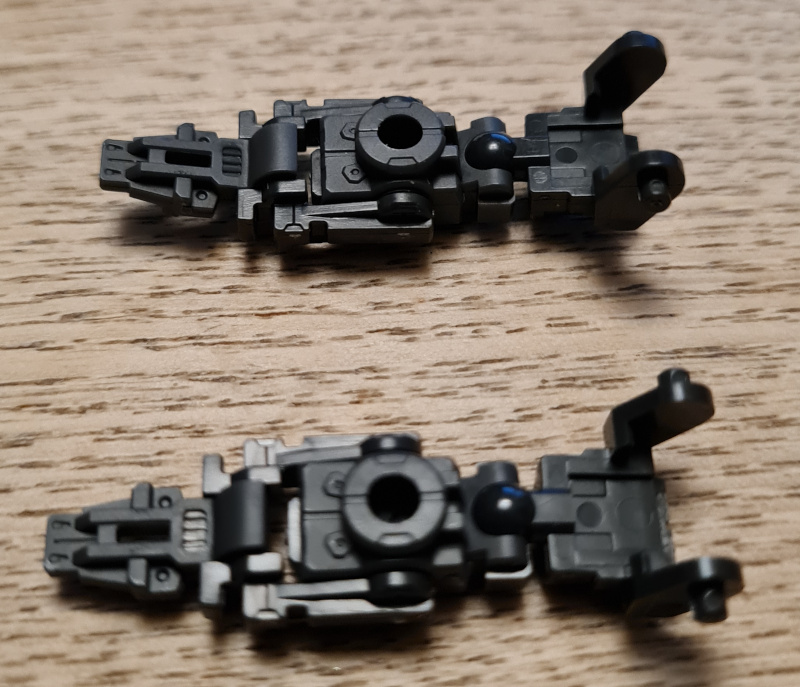
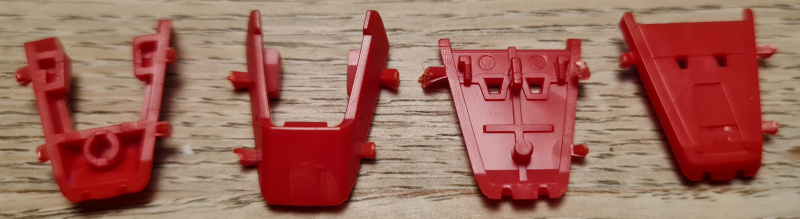
The next section was the middle section of the feet. As you can see I started with the wider cut, then the trimmed cut and finally the sanding and cleanup. Now I will say that these closeup pictures don’t, in my opinion, do them justice. However, as this isn’t a speed build I’m going to go back and clean them up even further to see how clean I can get them. As you can see the red piece attached from underneath, and the white piece then slots in on top. Once the white piece was lined up properly it slotted straight in.
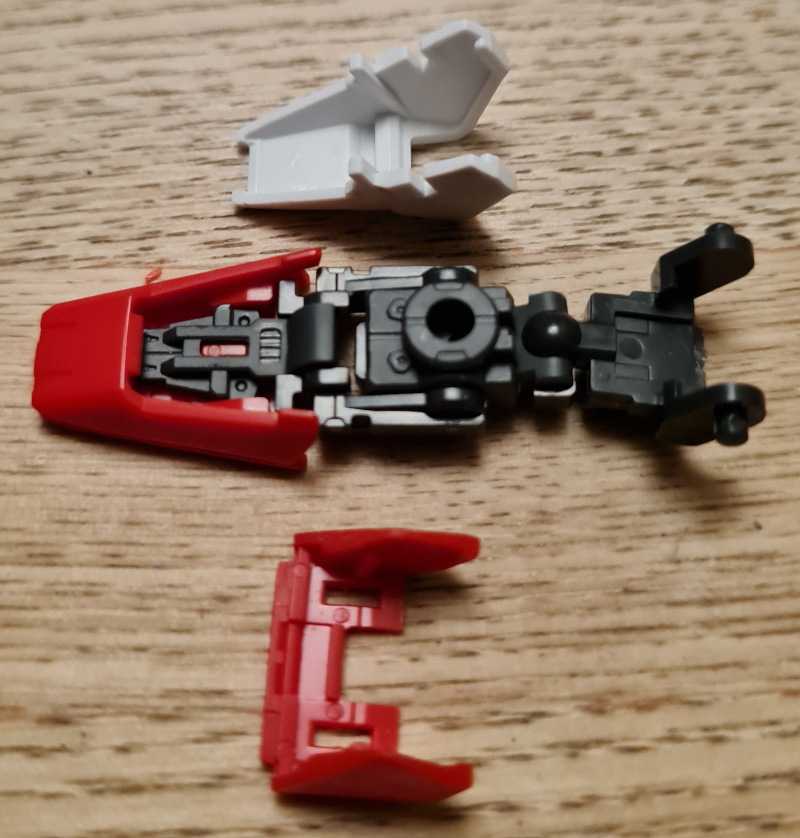
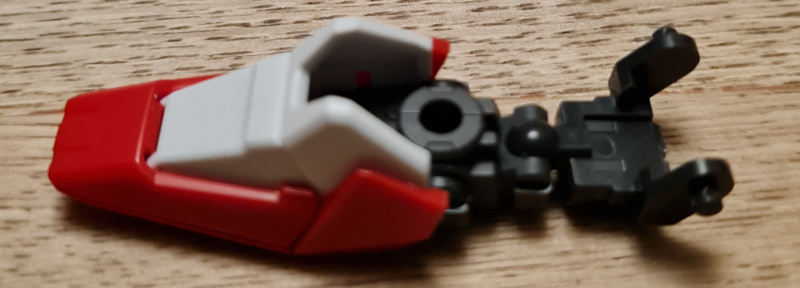
Fourth Bits
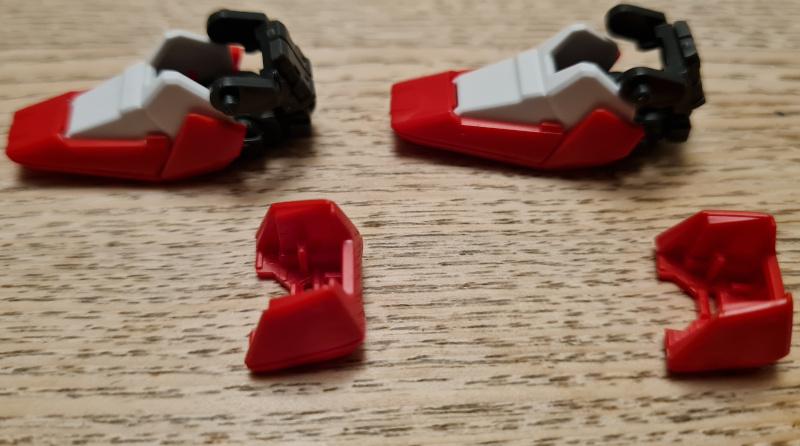
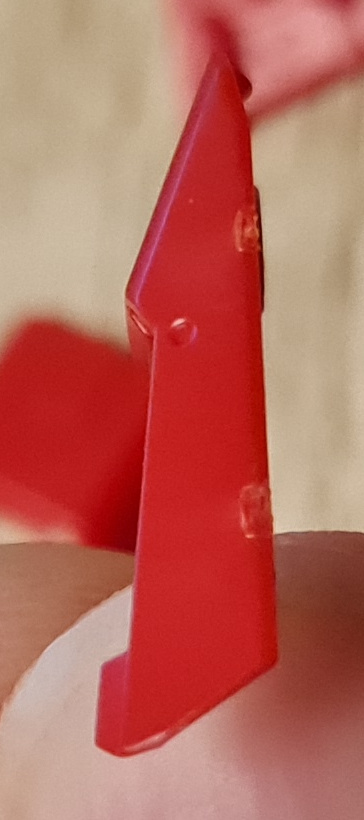
Again as you can see, I went for the leave a nub, close cut the nubs off, then clean the pieces up. The heel consists of the flat piece that attaches underneath the foot onto a peg, and then the rear piece that curves around the heel and slots into place. Again, at the risk of sounding like a fan boy, these pieces go together really satisfyingly.
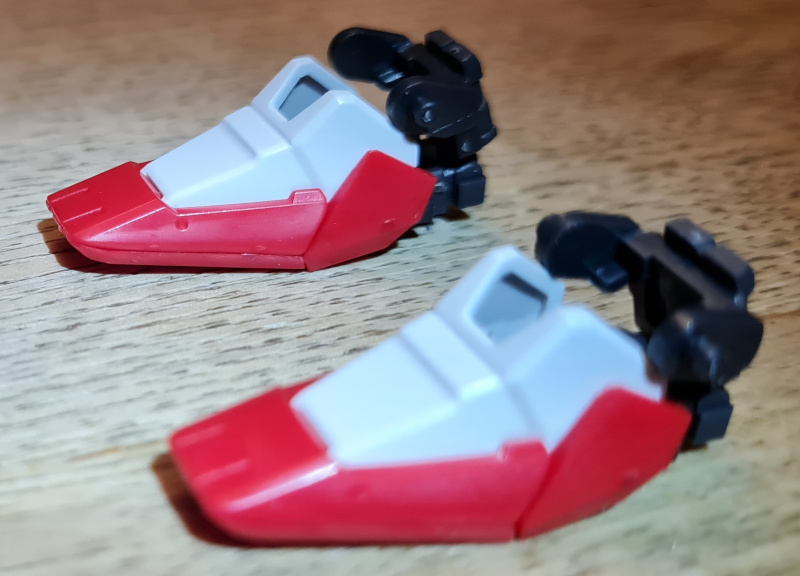
Fifth Bits
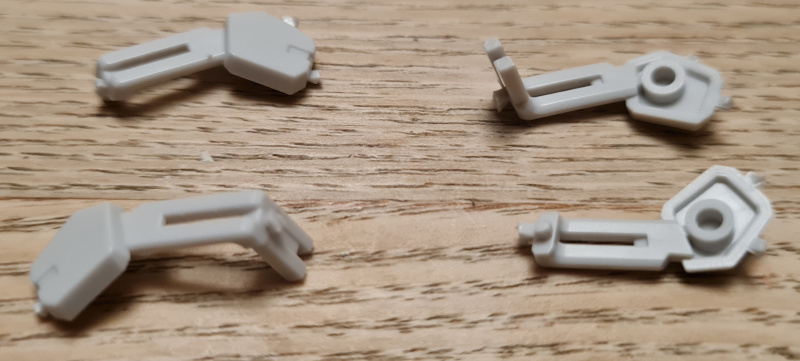
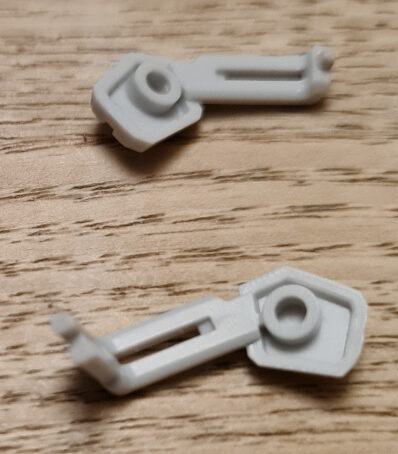
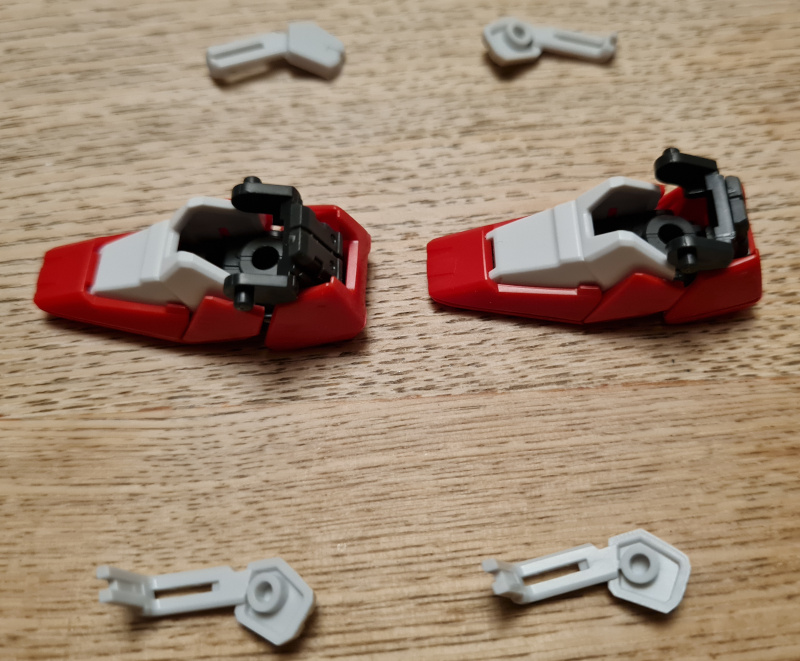
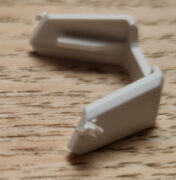
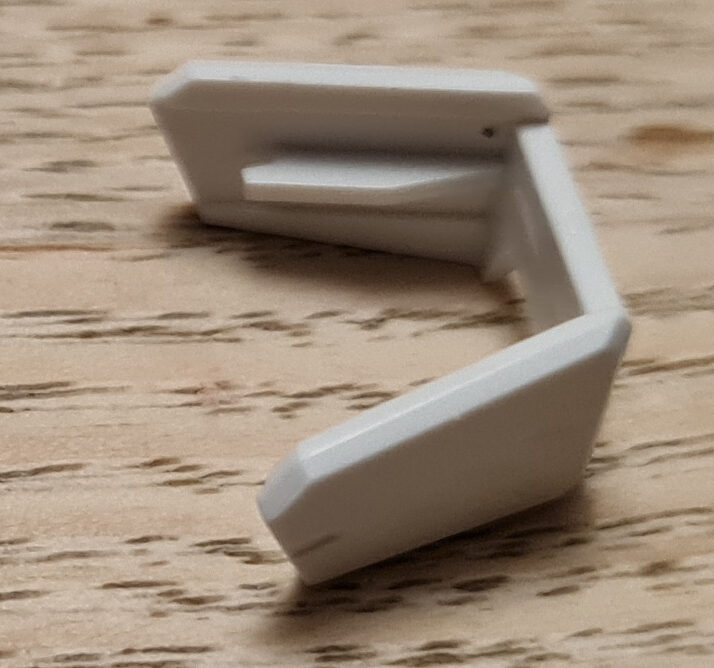
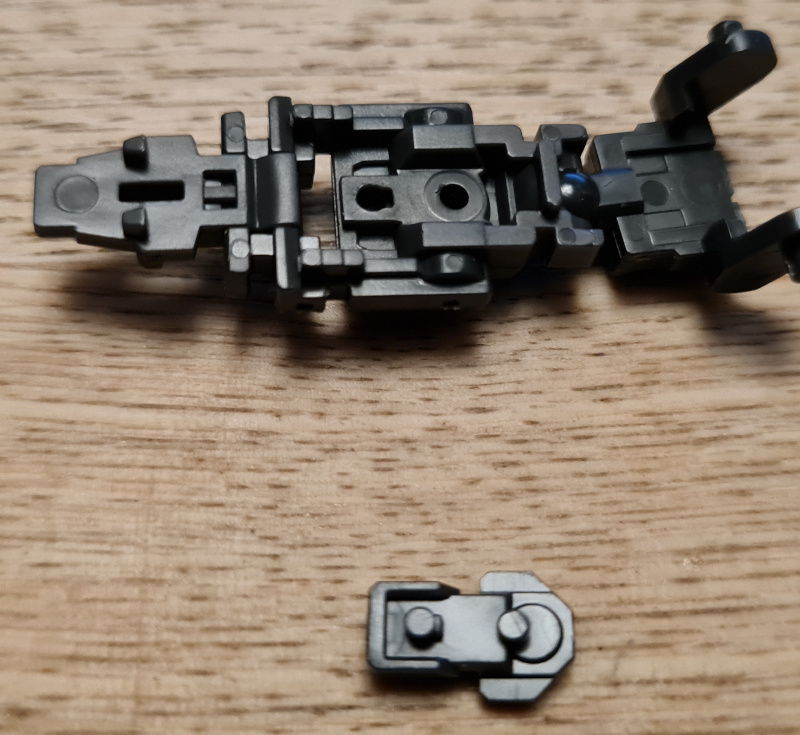
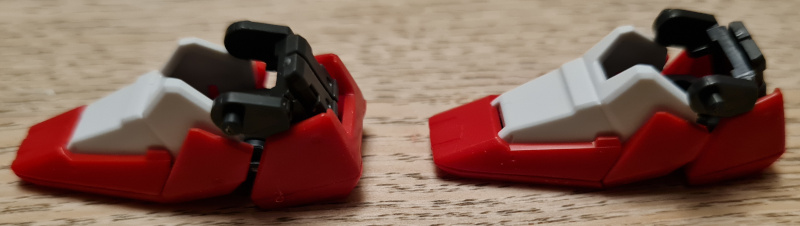
The final part of the foot was, in my opinion, the most fiddly. The two initial side pieces clip on to the sides of the grey piece. Then the final section slides over the top giving it more stability, and completing the stylistic look.
Conclusion
That concludes “RG Aile Strike Build Day 2”. However, as I said, I am going to revisit the feet. This isn’t a “fast” build, rather I want to see how clean a build I can make it.
Thank you for taking the time to read this. If you haven’t already done so please like and follow us on our social media platforms and checkout our website!
Facebook: https://www.facebook.com/profile.php?id=100086701512793
Instagram: https://www.instagram.com/modelkitsltd/
Website: https://modelkitsltd.co.uk