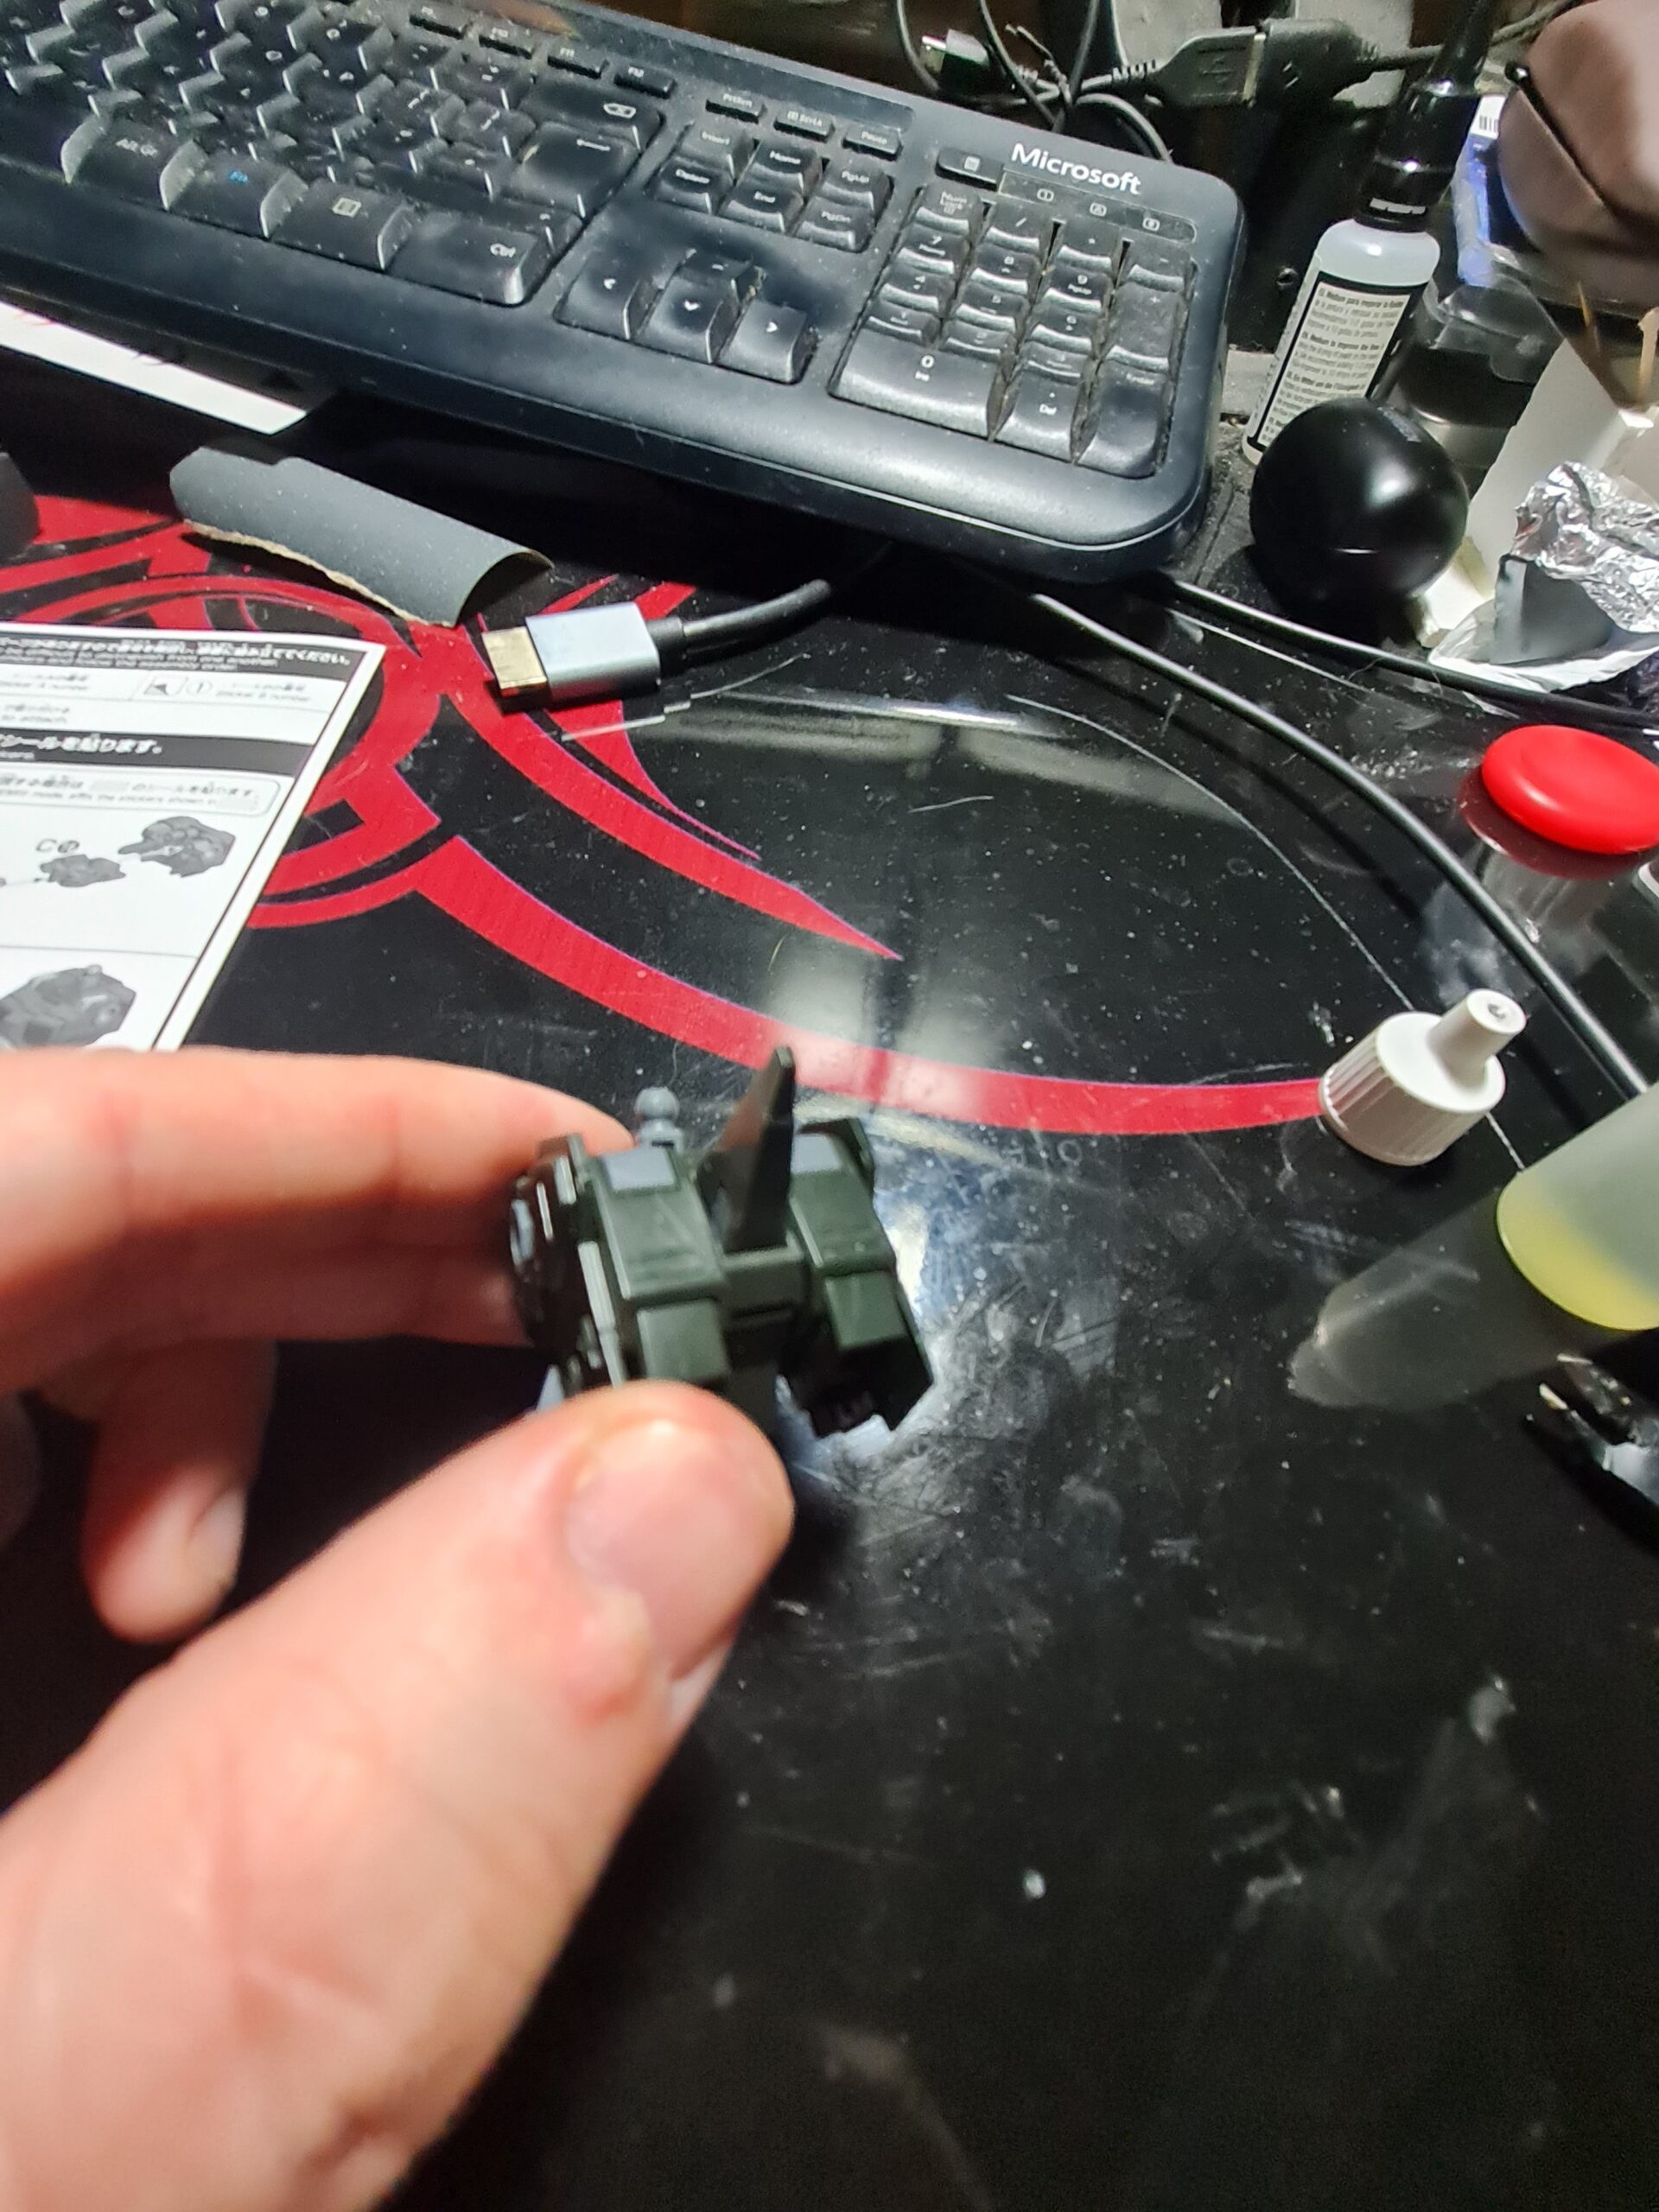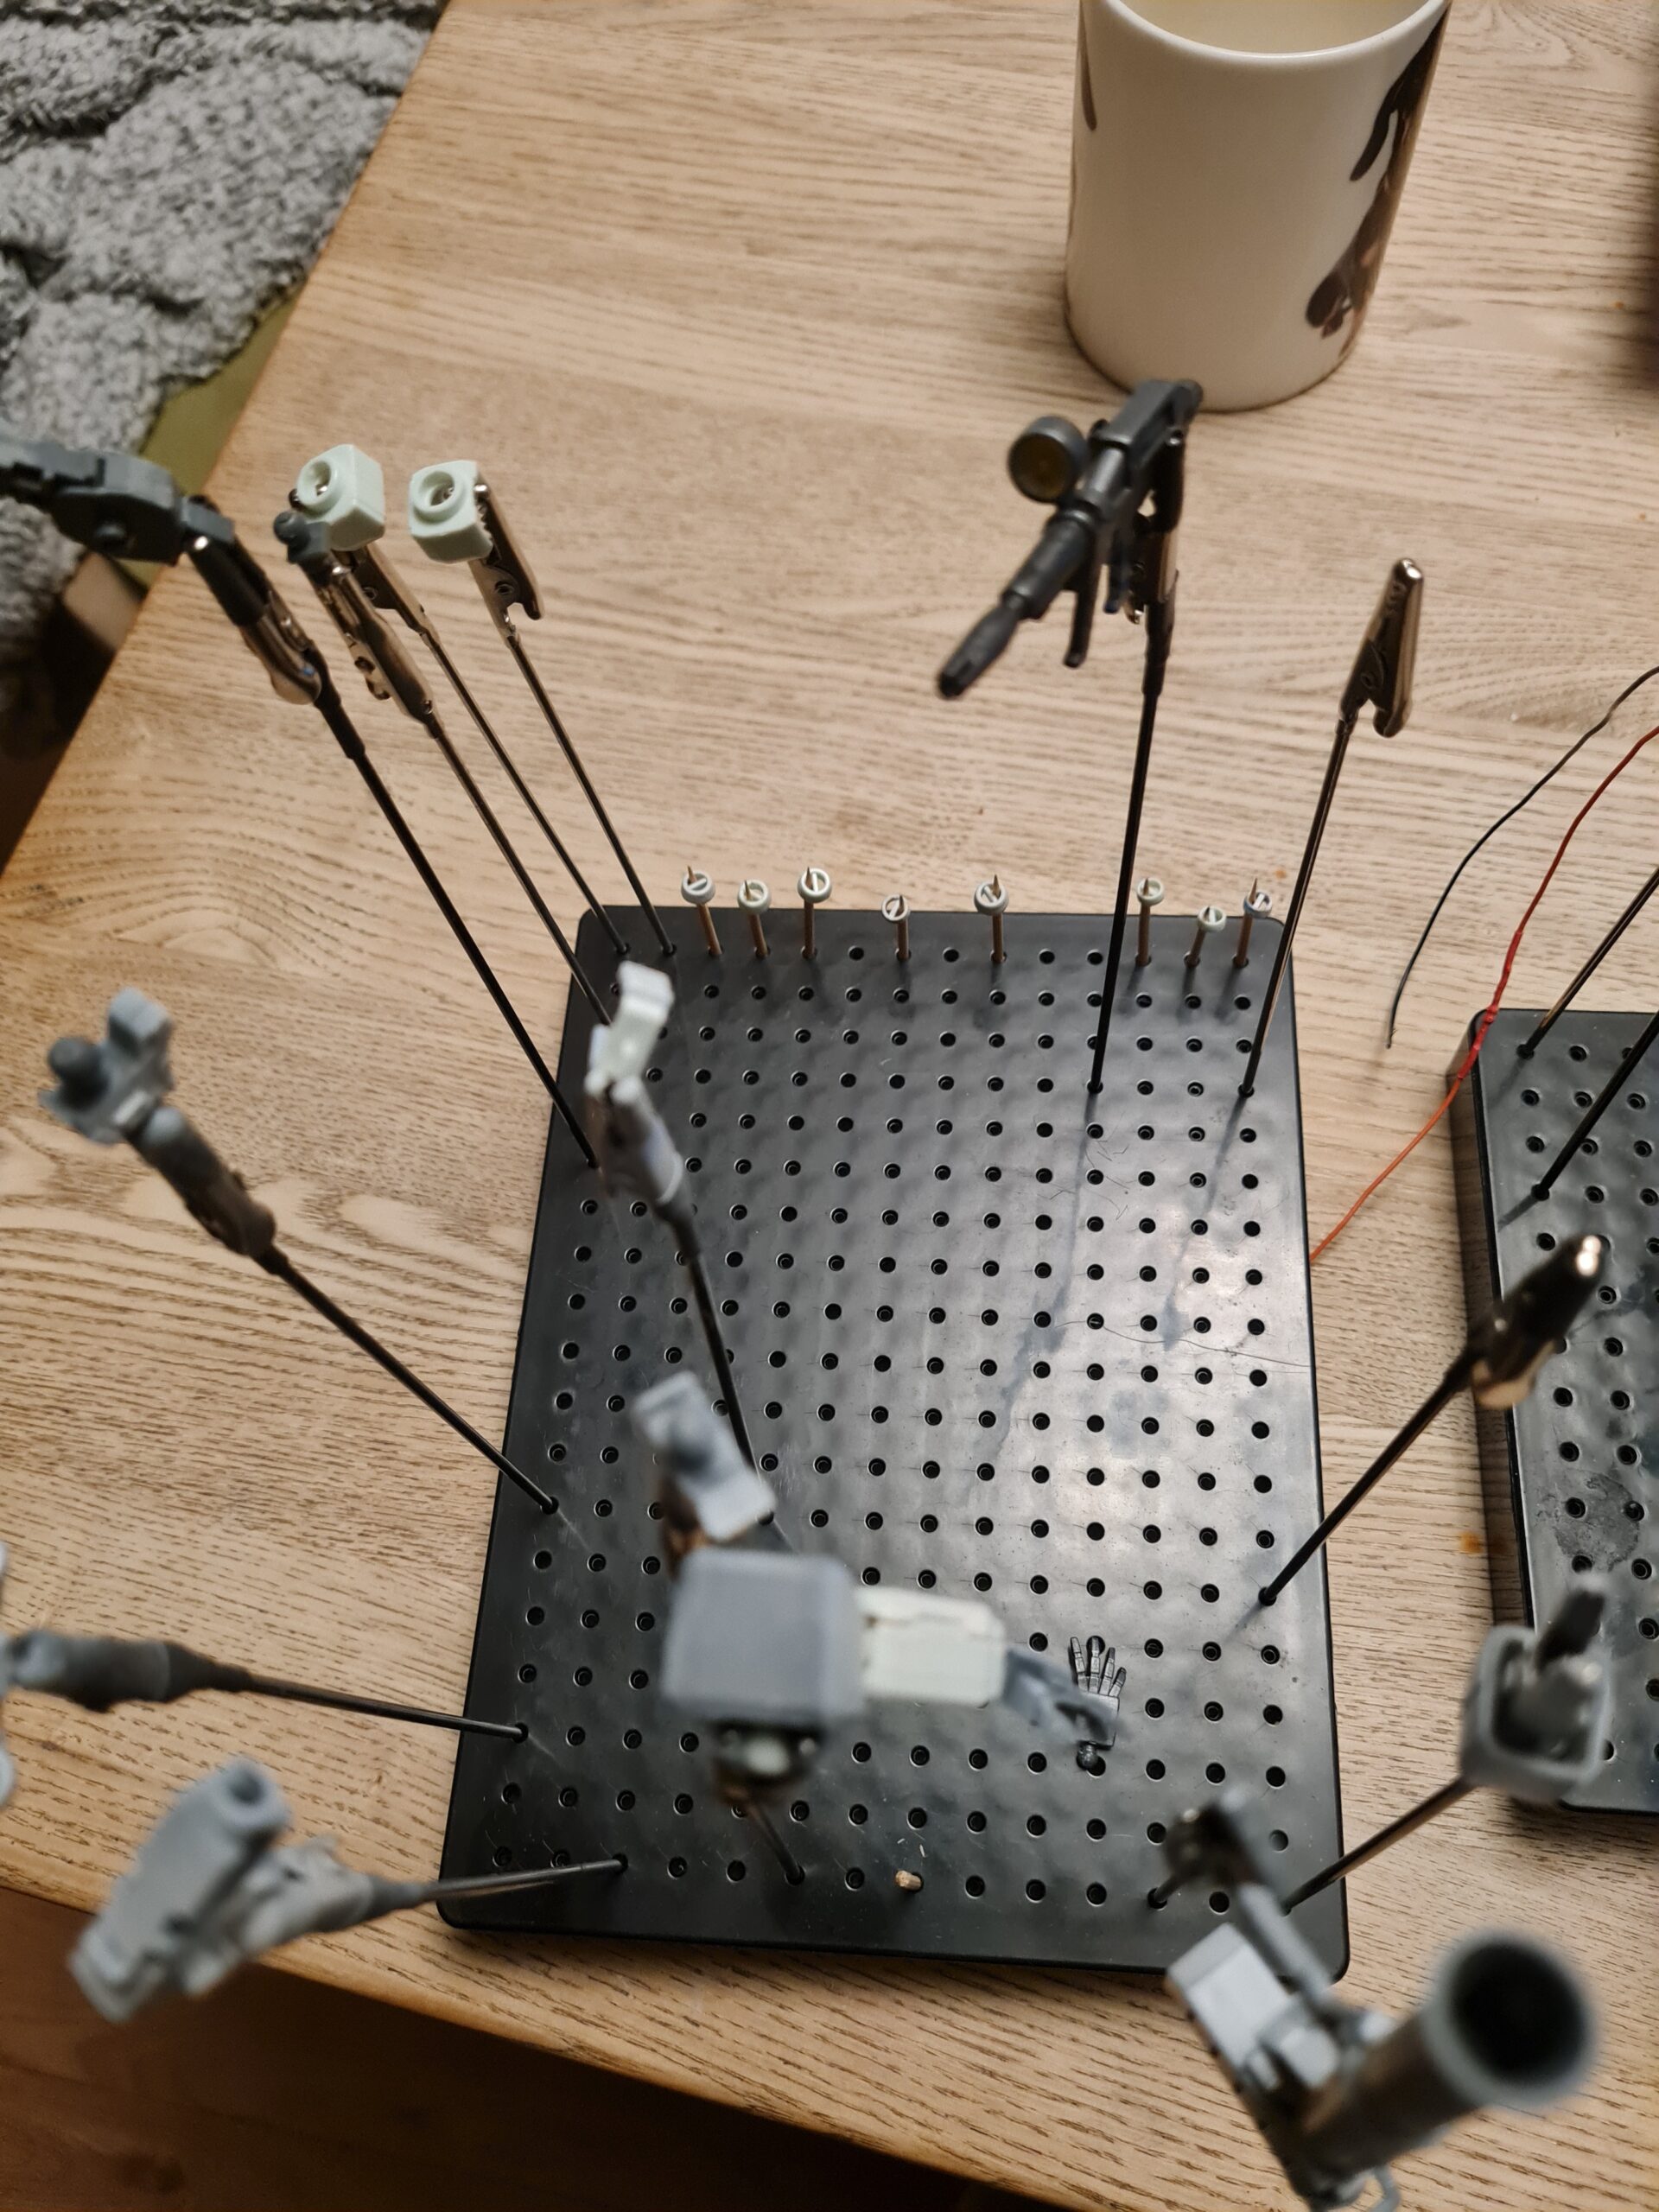
Advert / Stock 29/01/2023 is a quick update on the stock and the shop and a blatant advert for the shop 🙂
The items below you will need to contact me directly, however, I have provided quick links to the store and the specific grades at the bottom of the post for all other models.
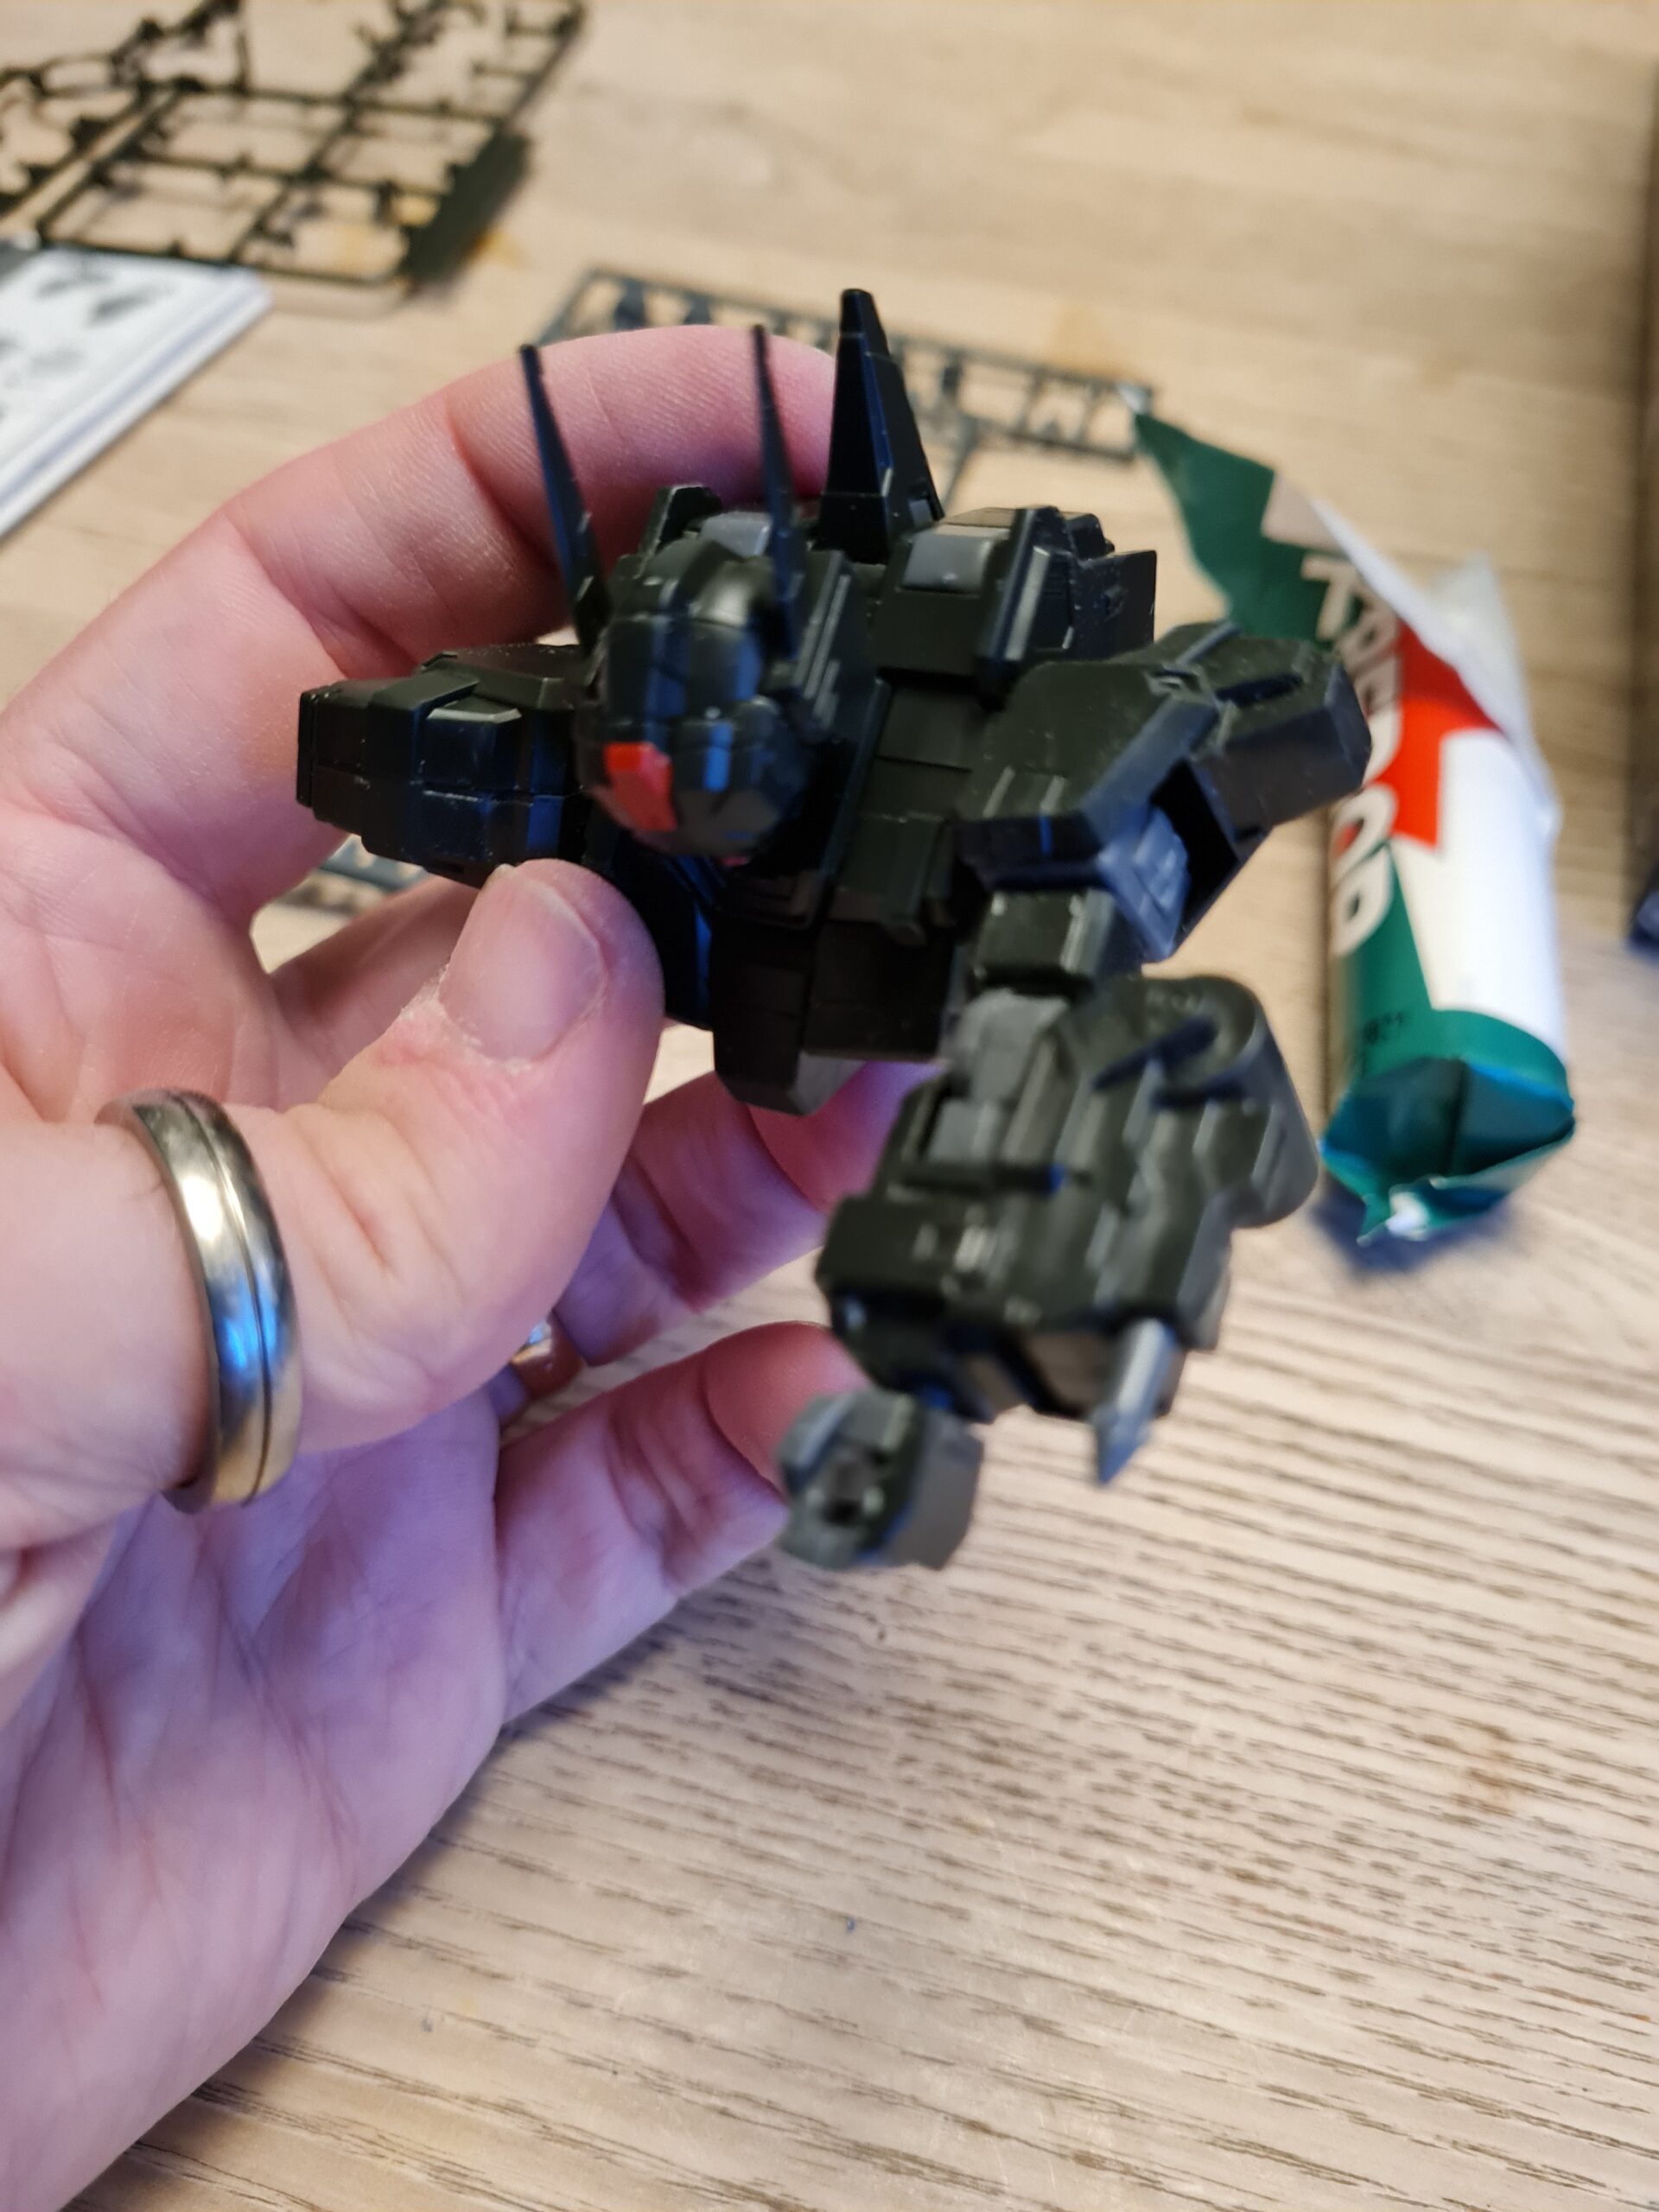
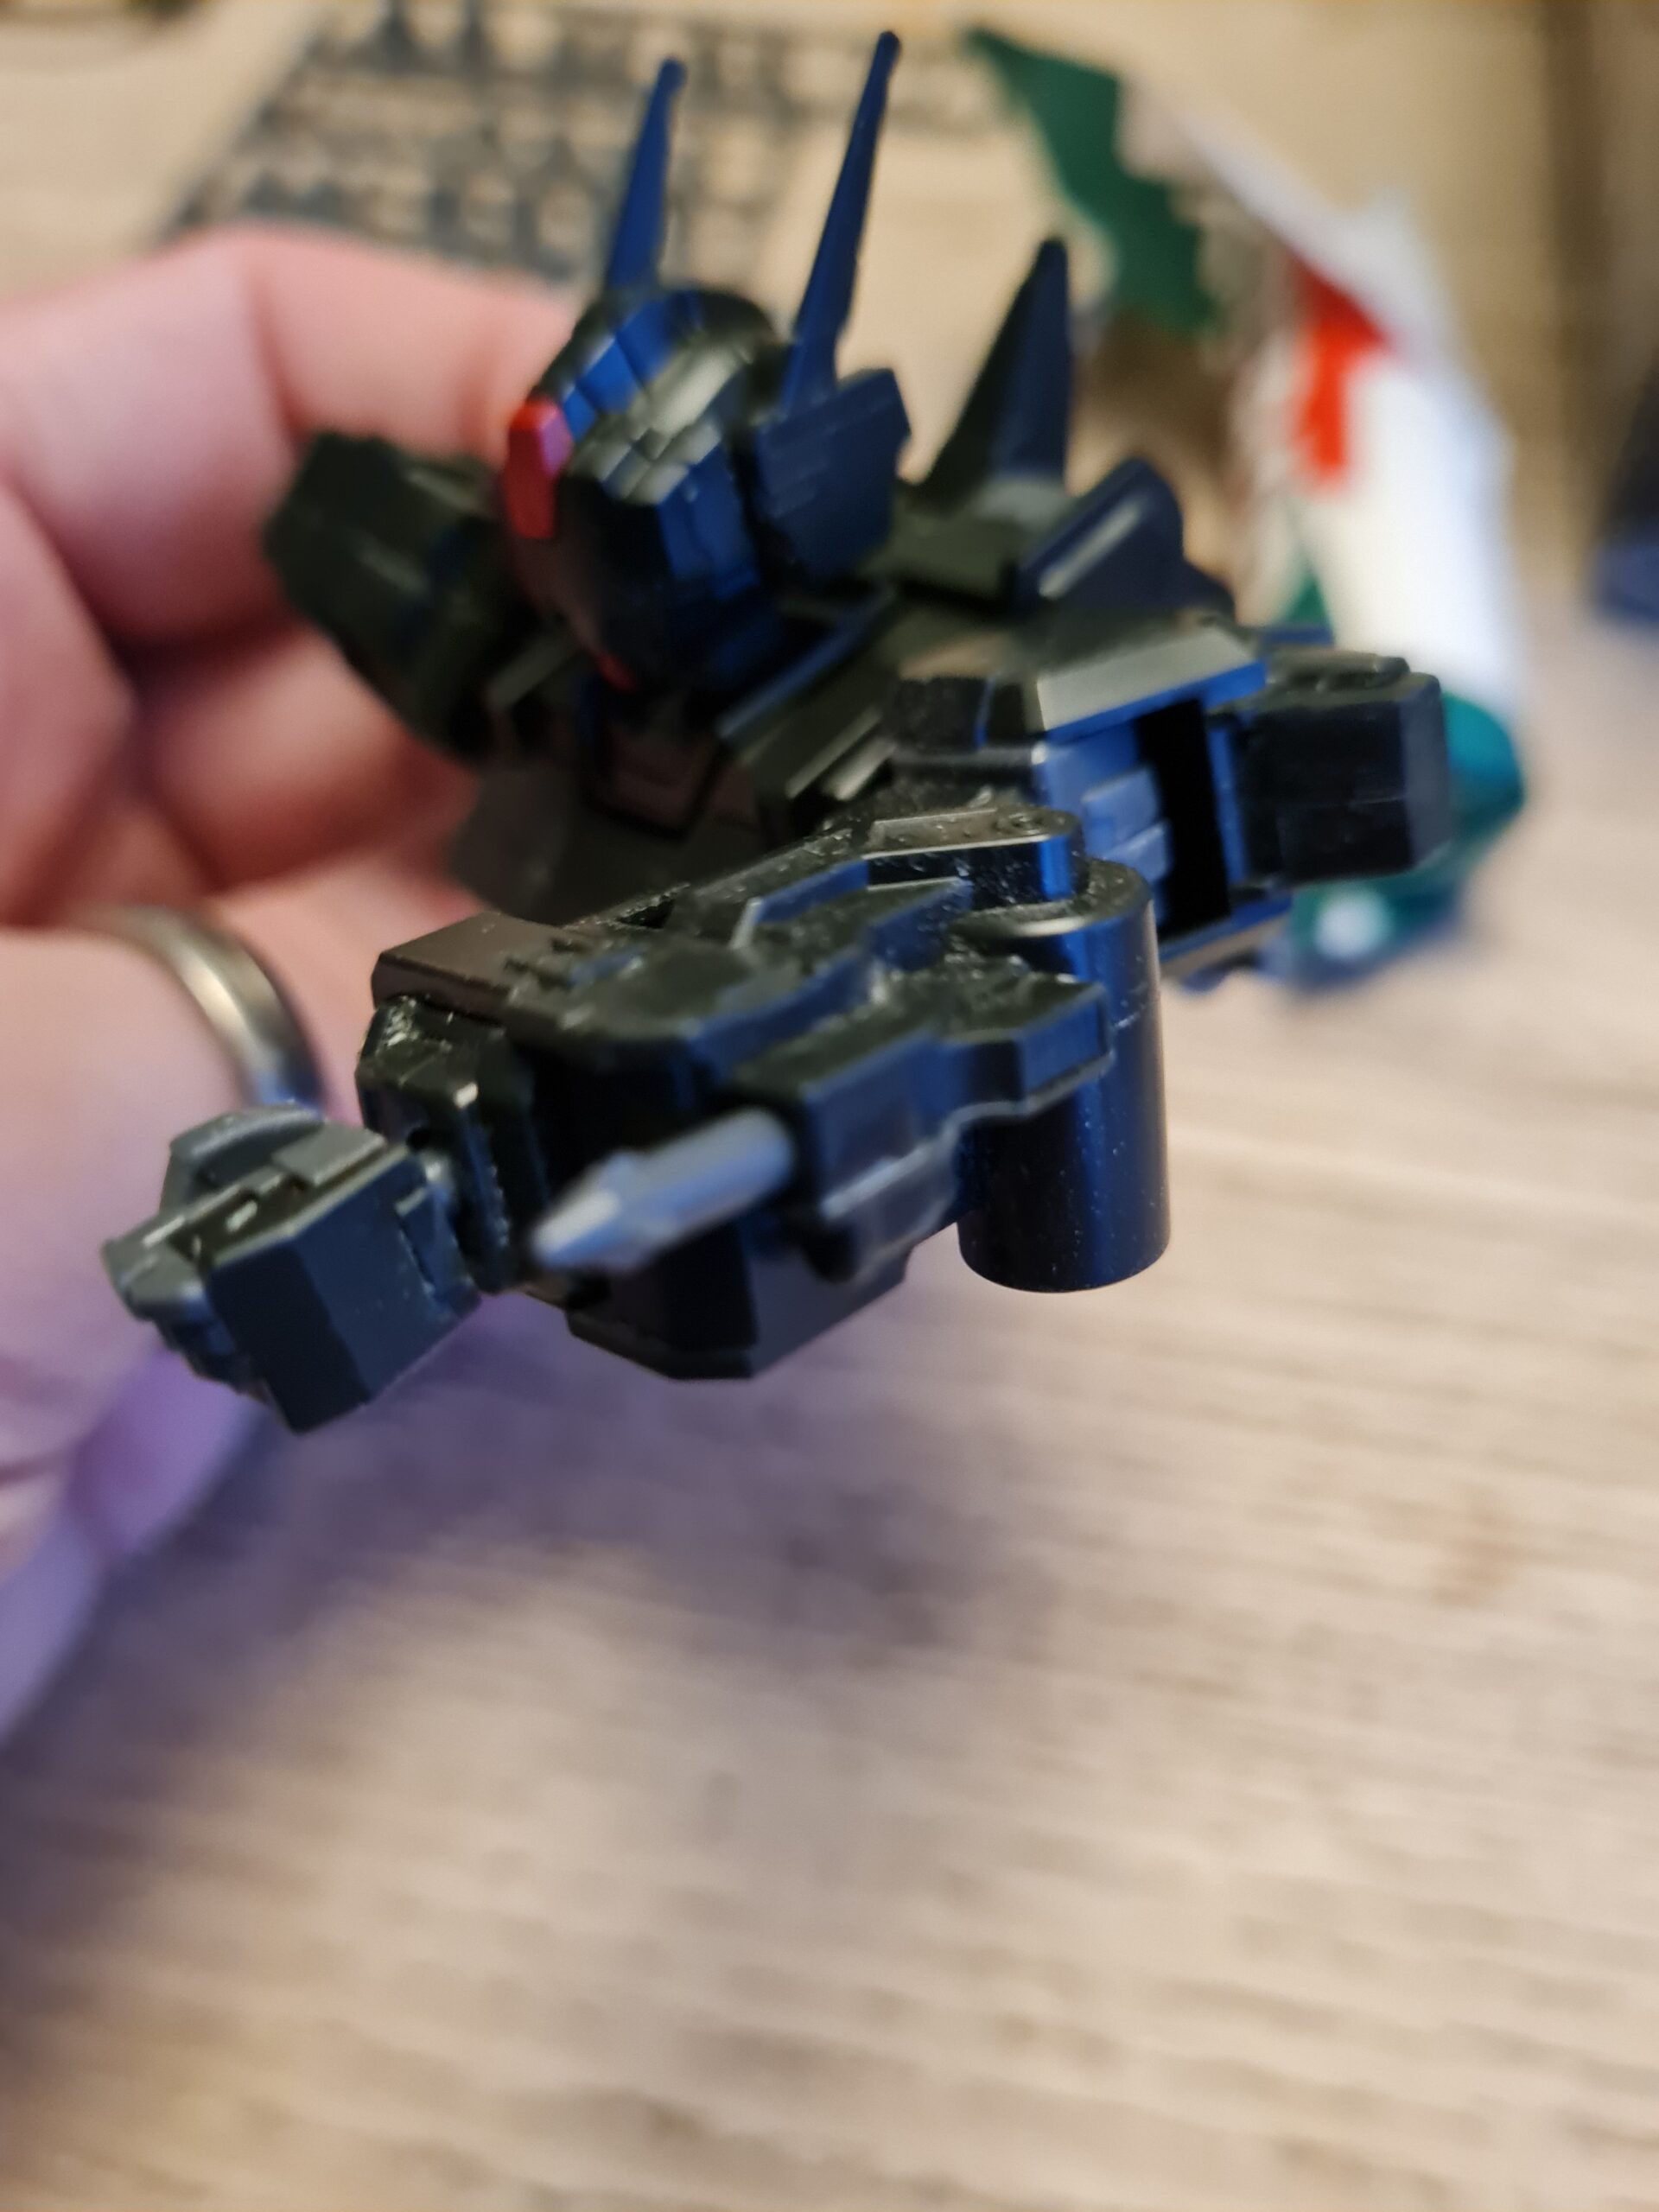
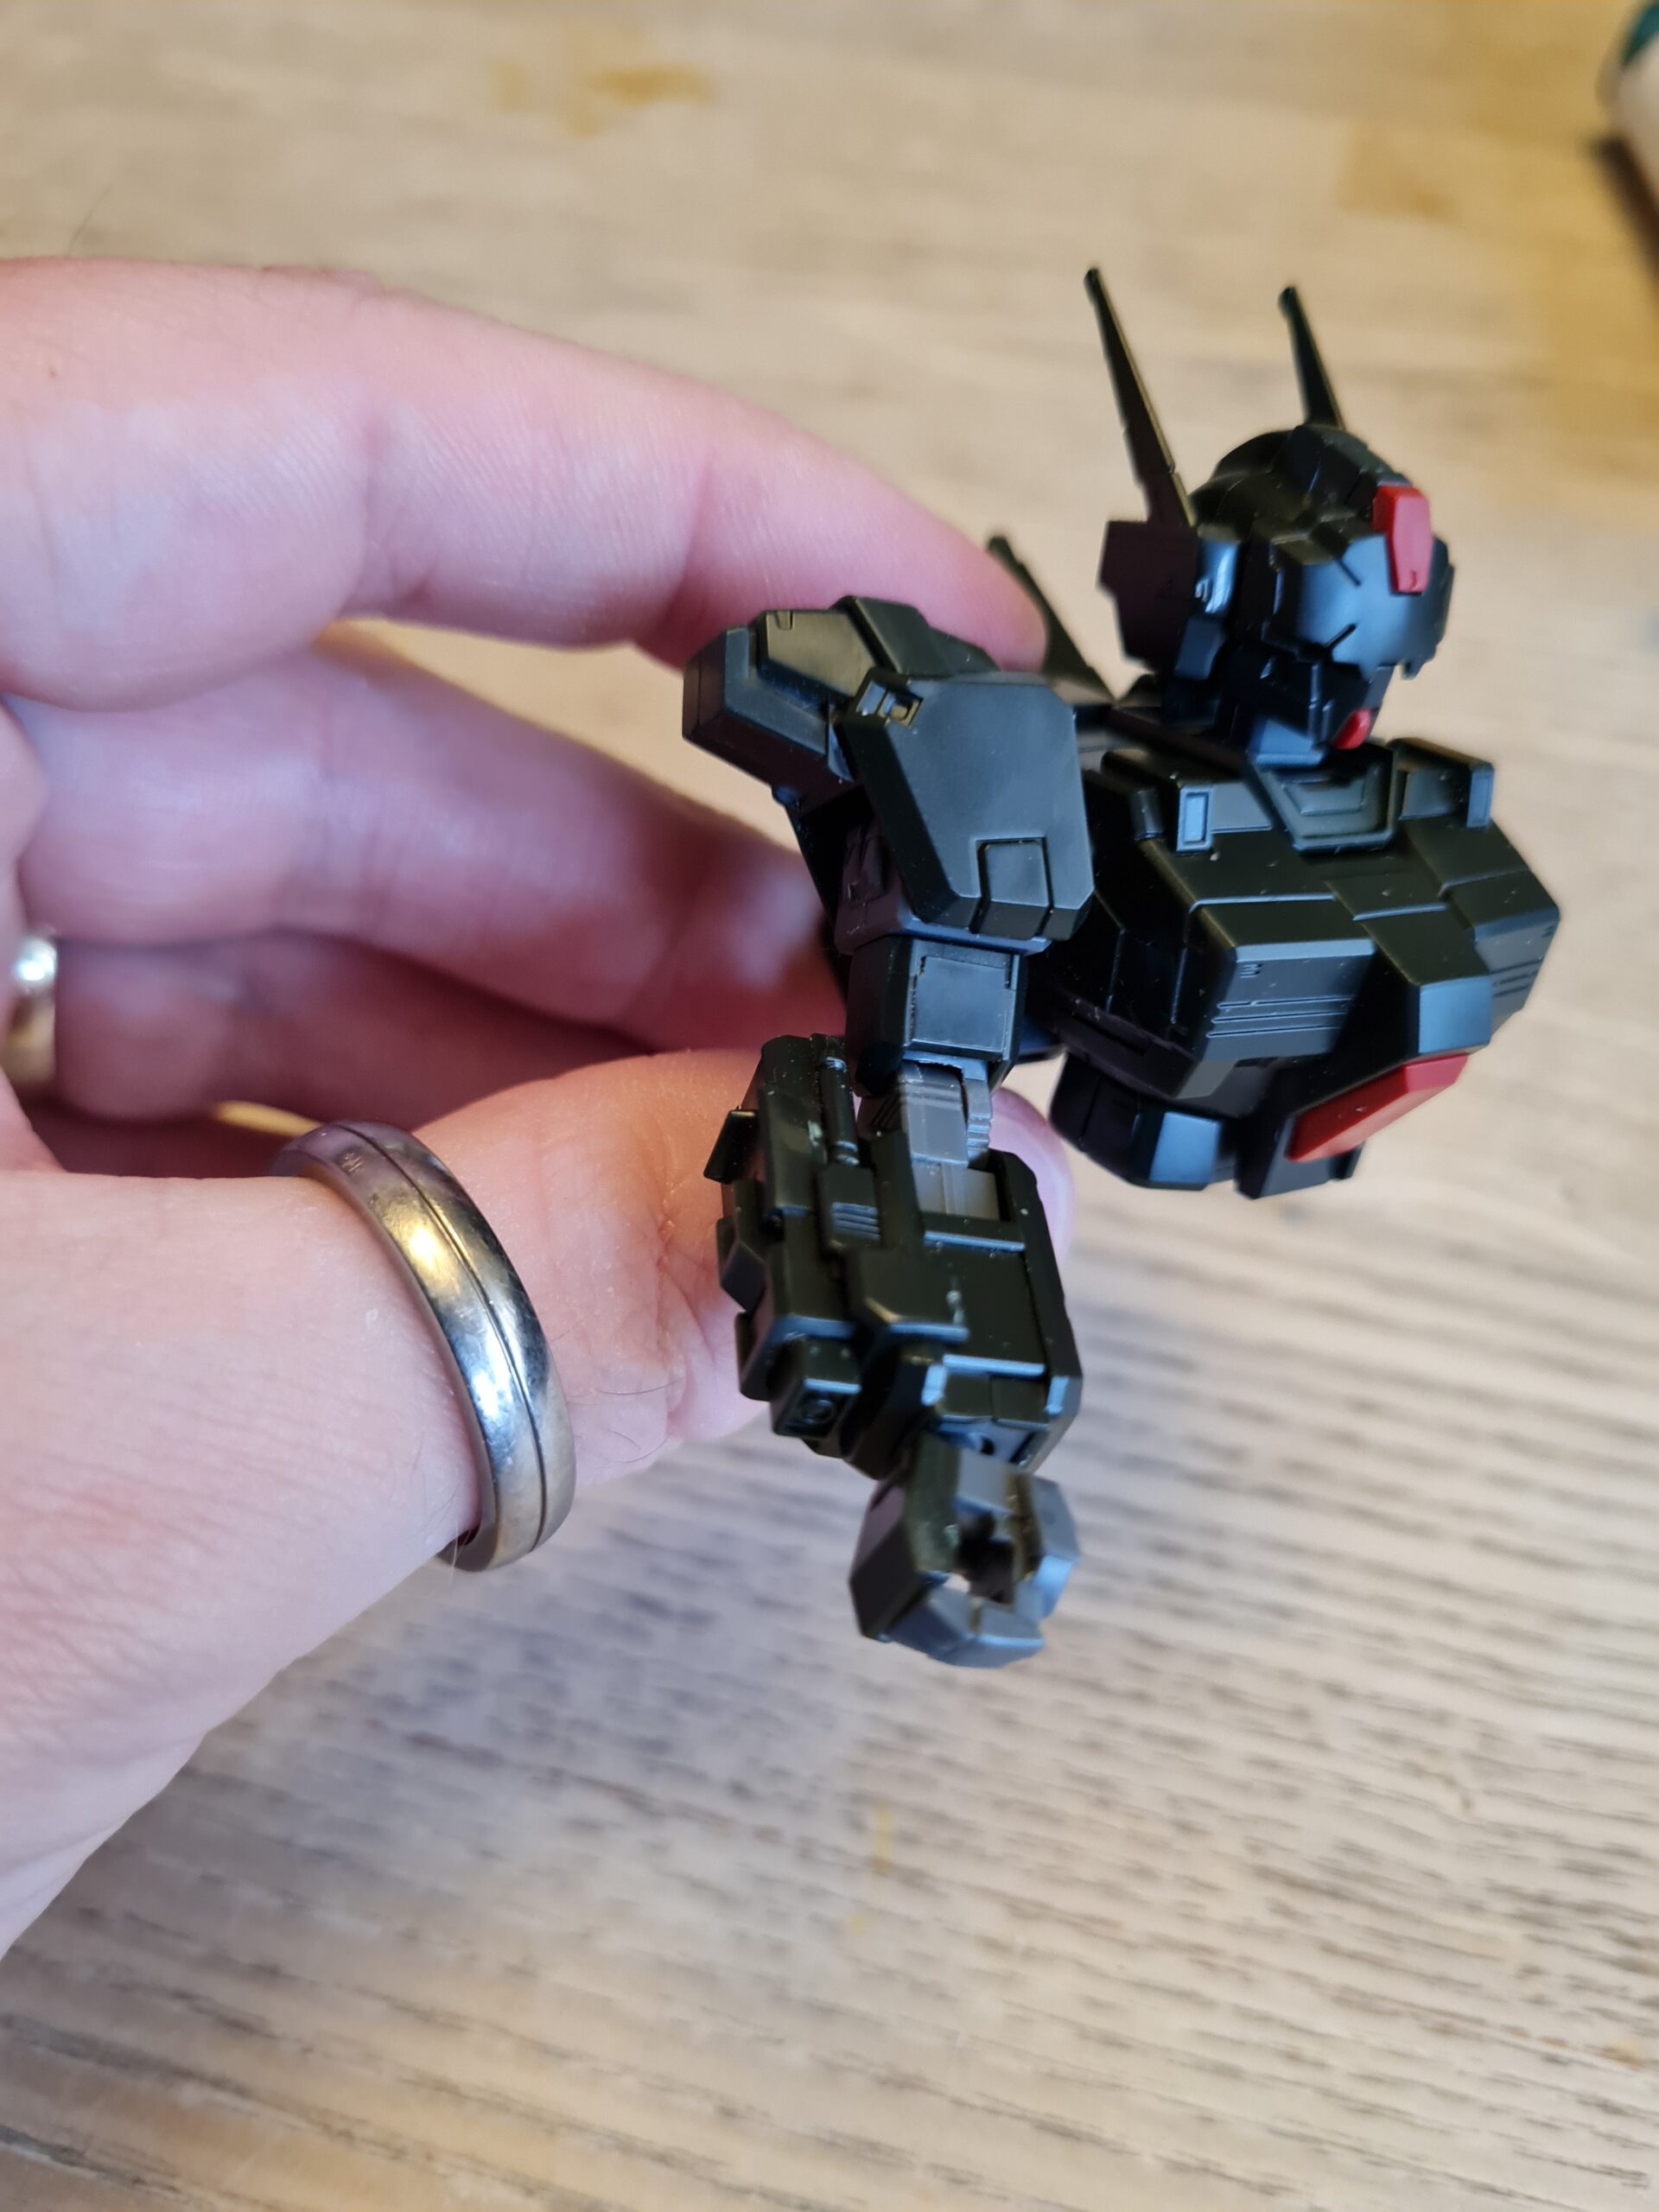
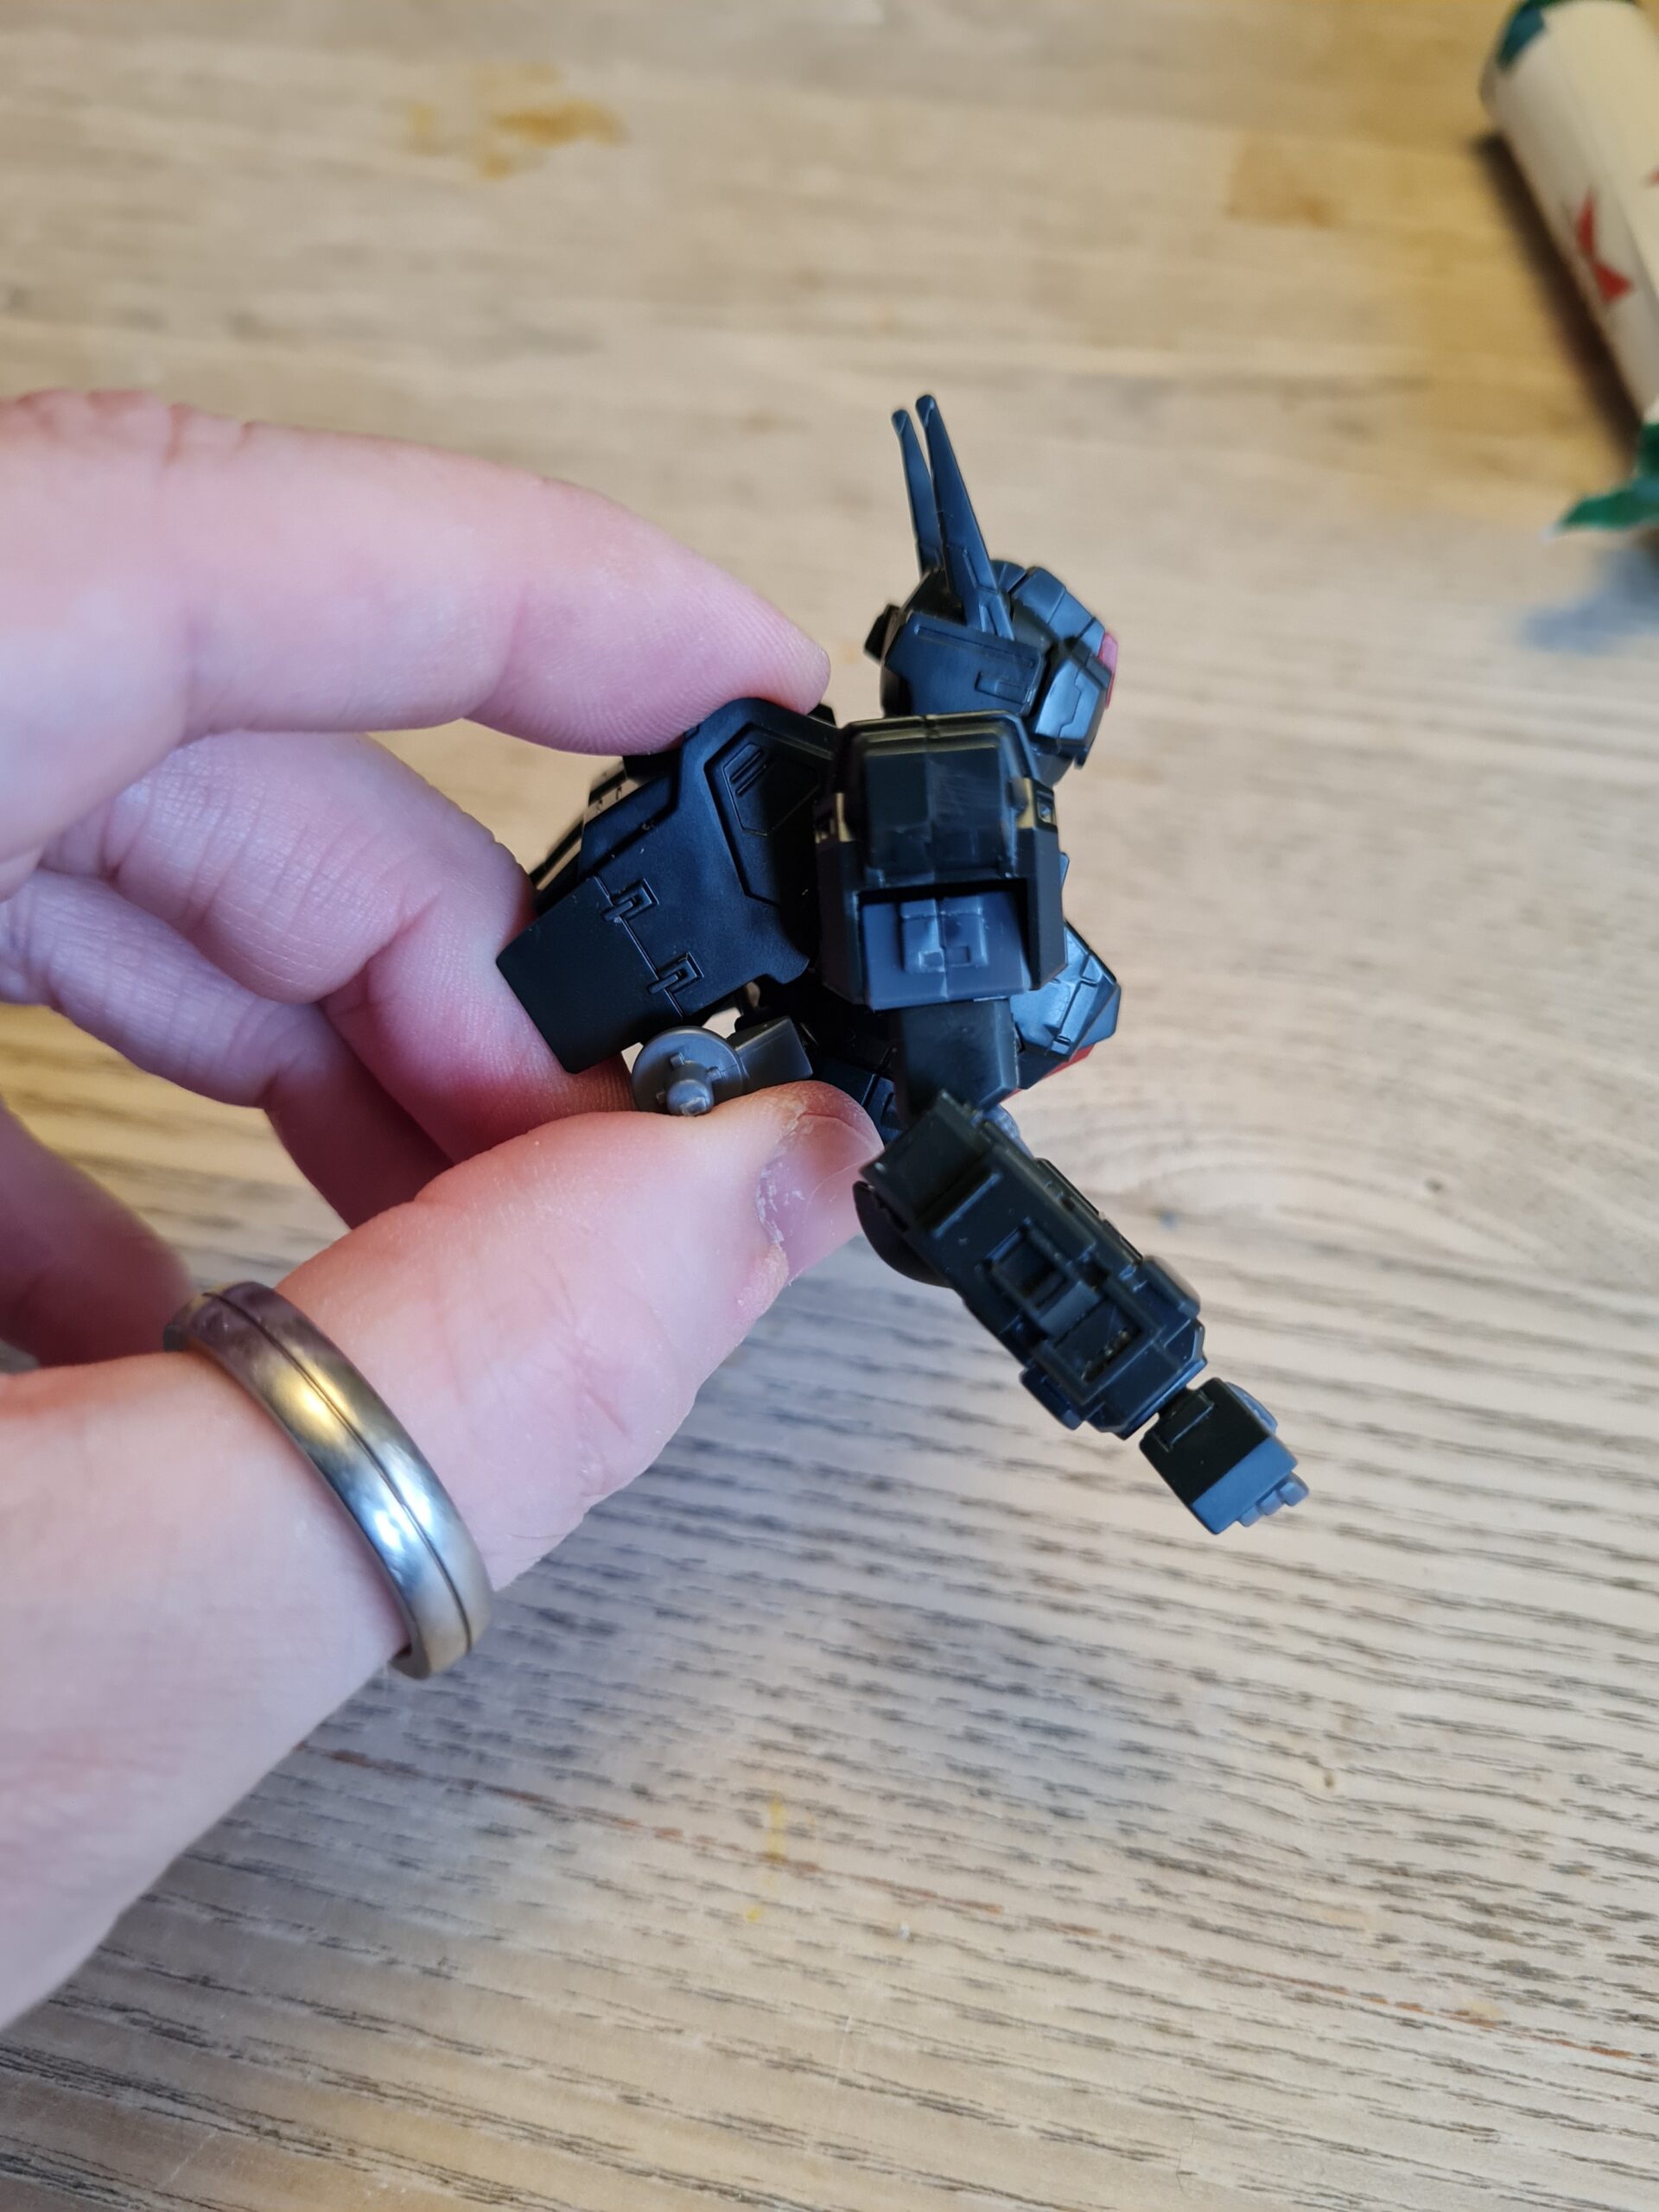
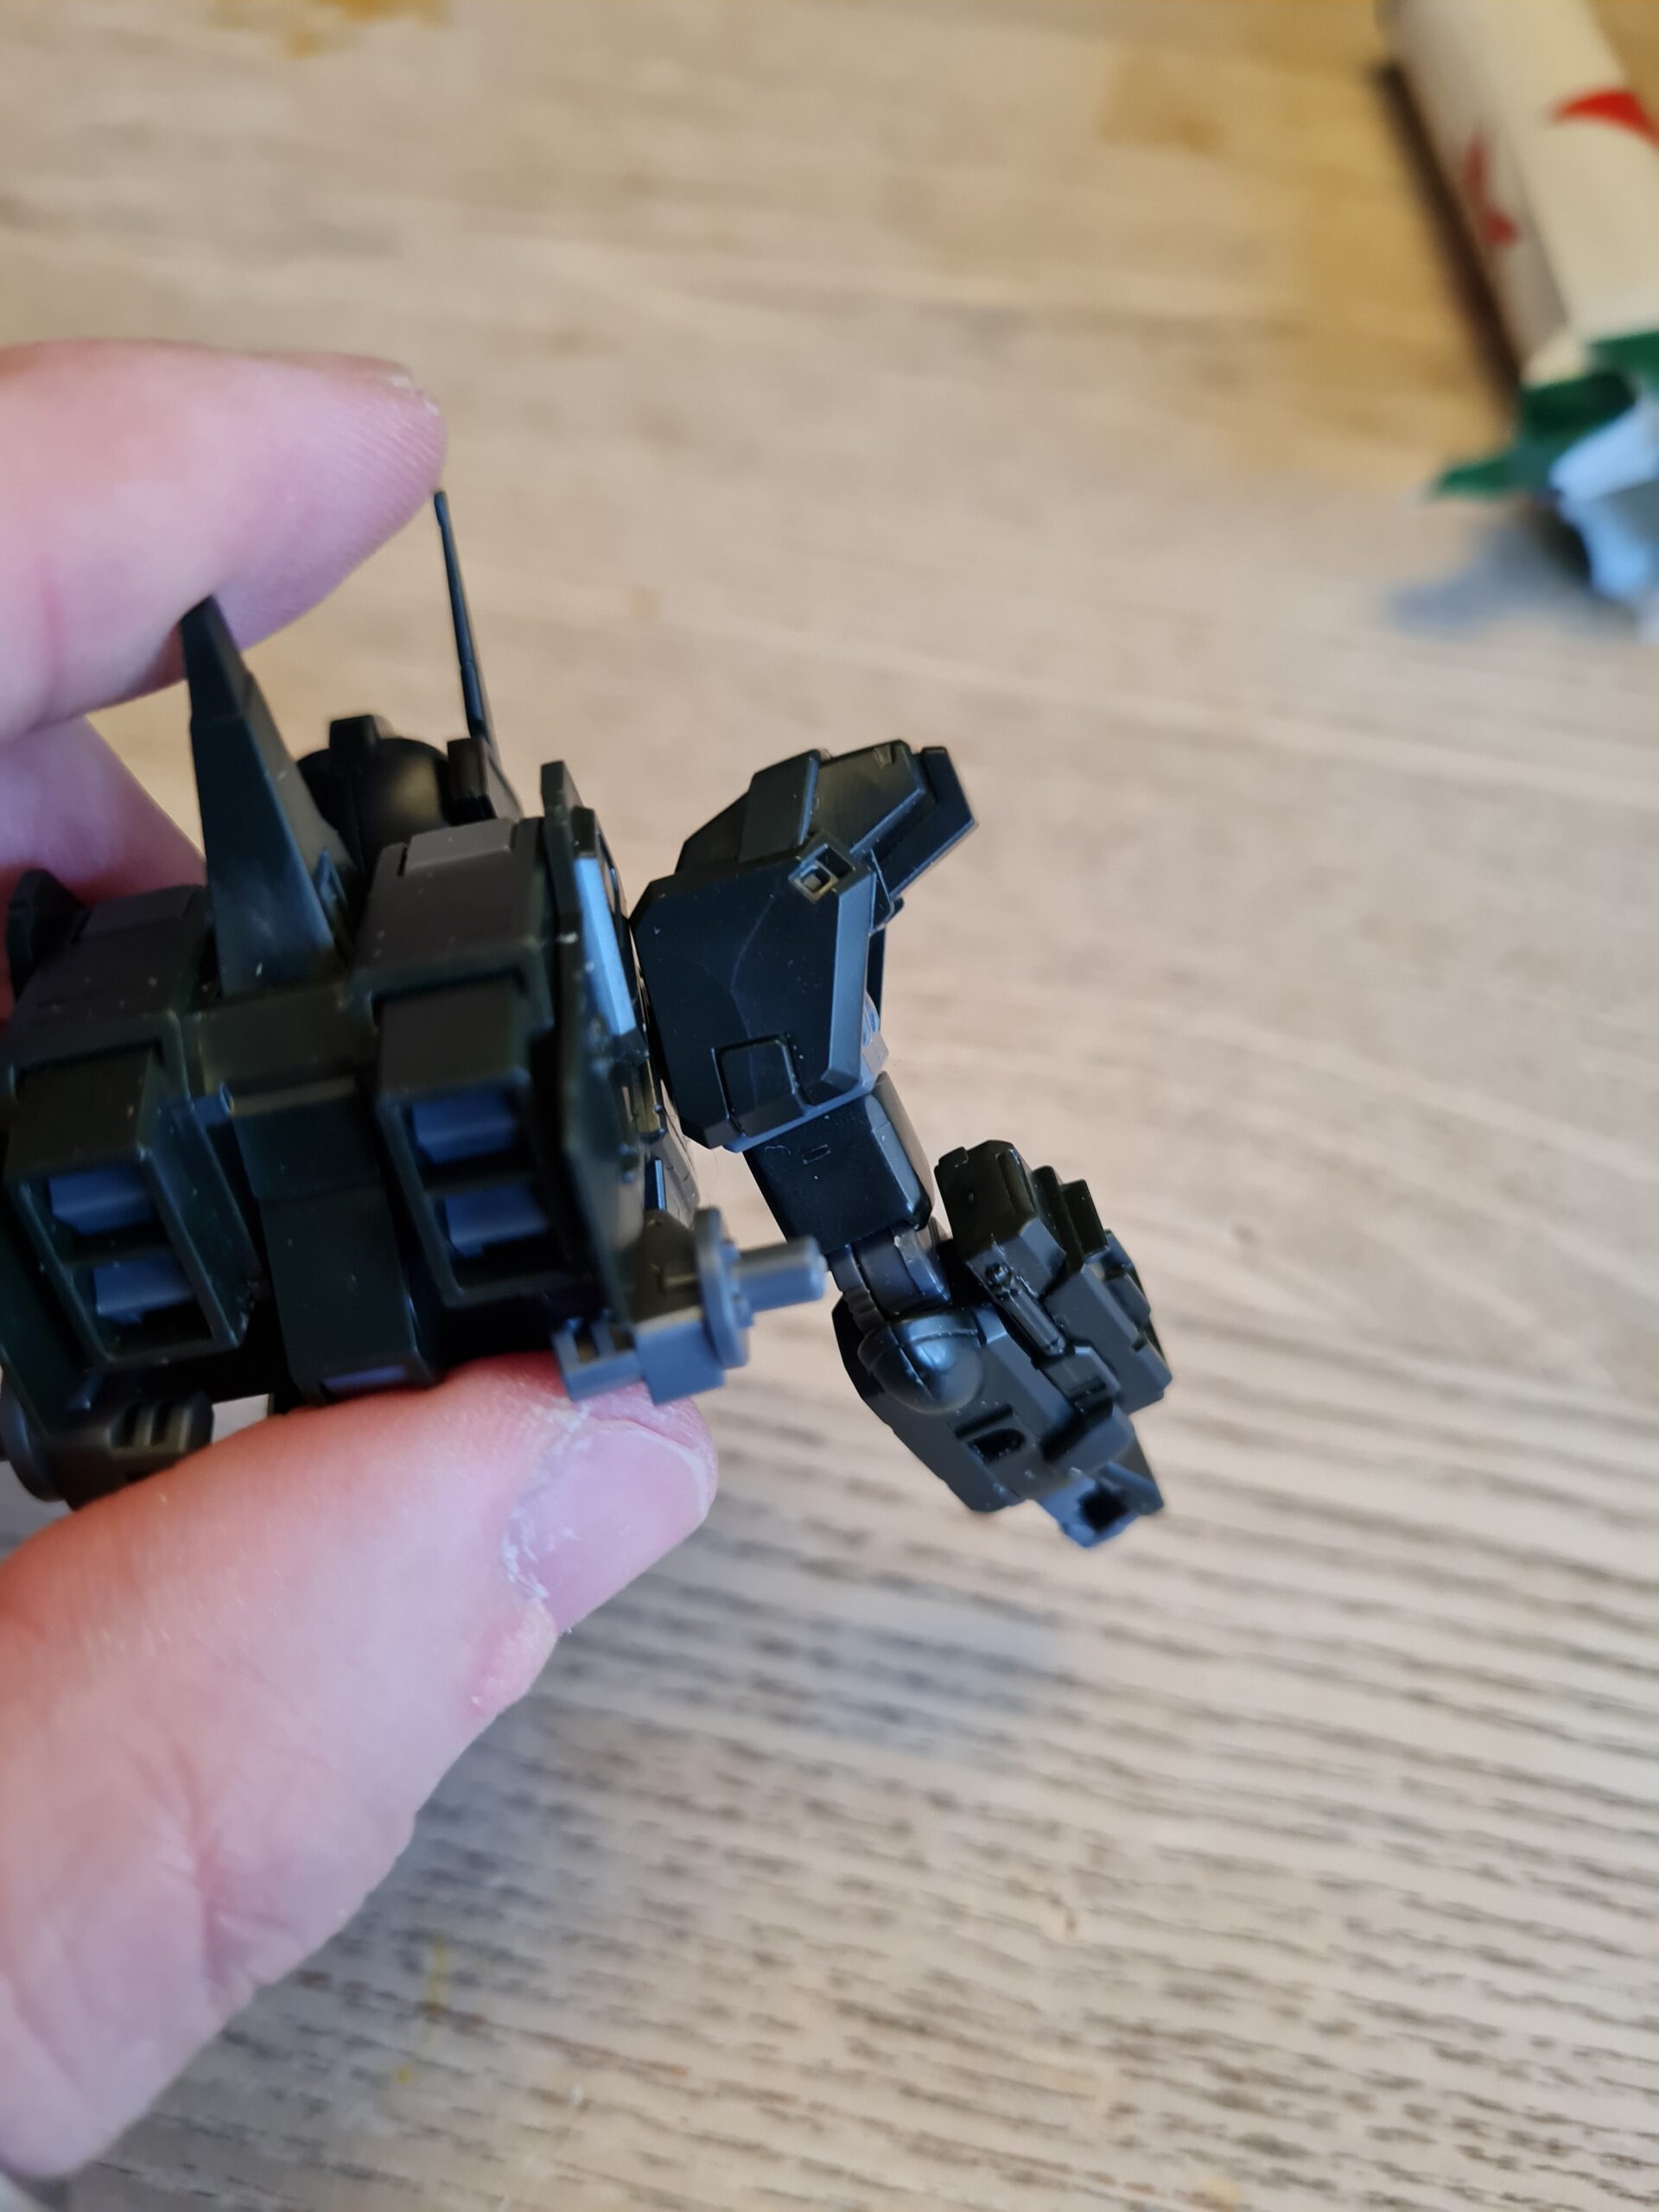
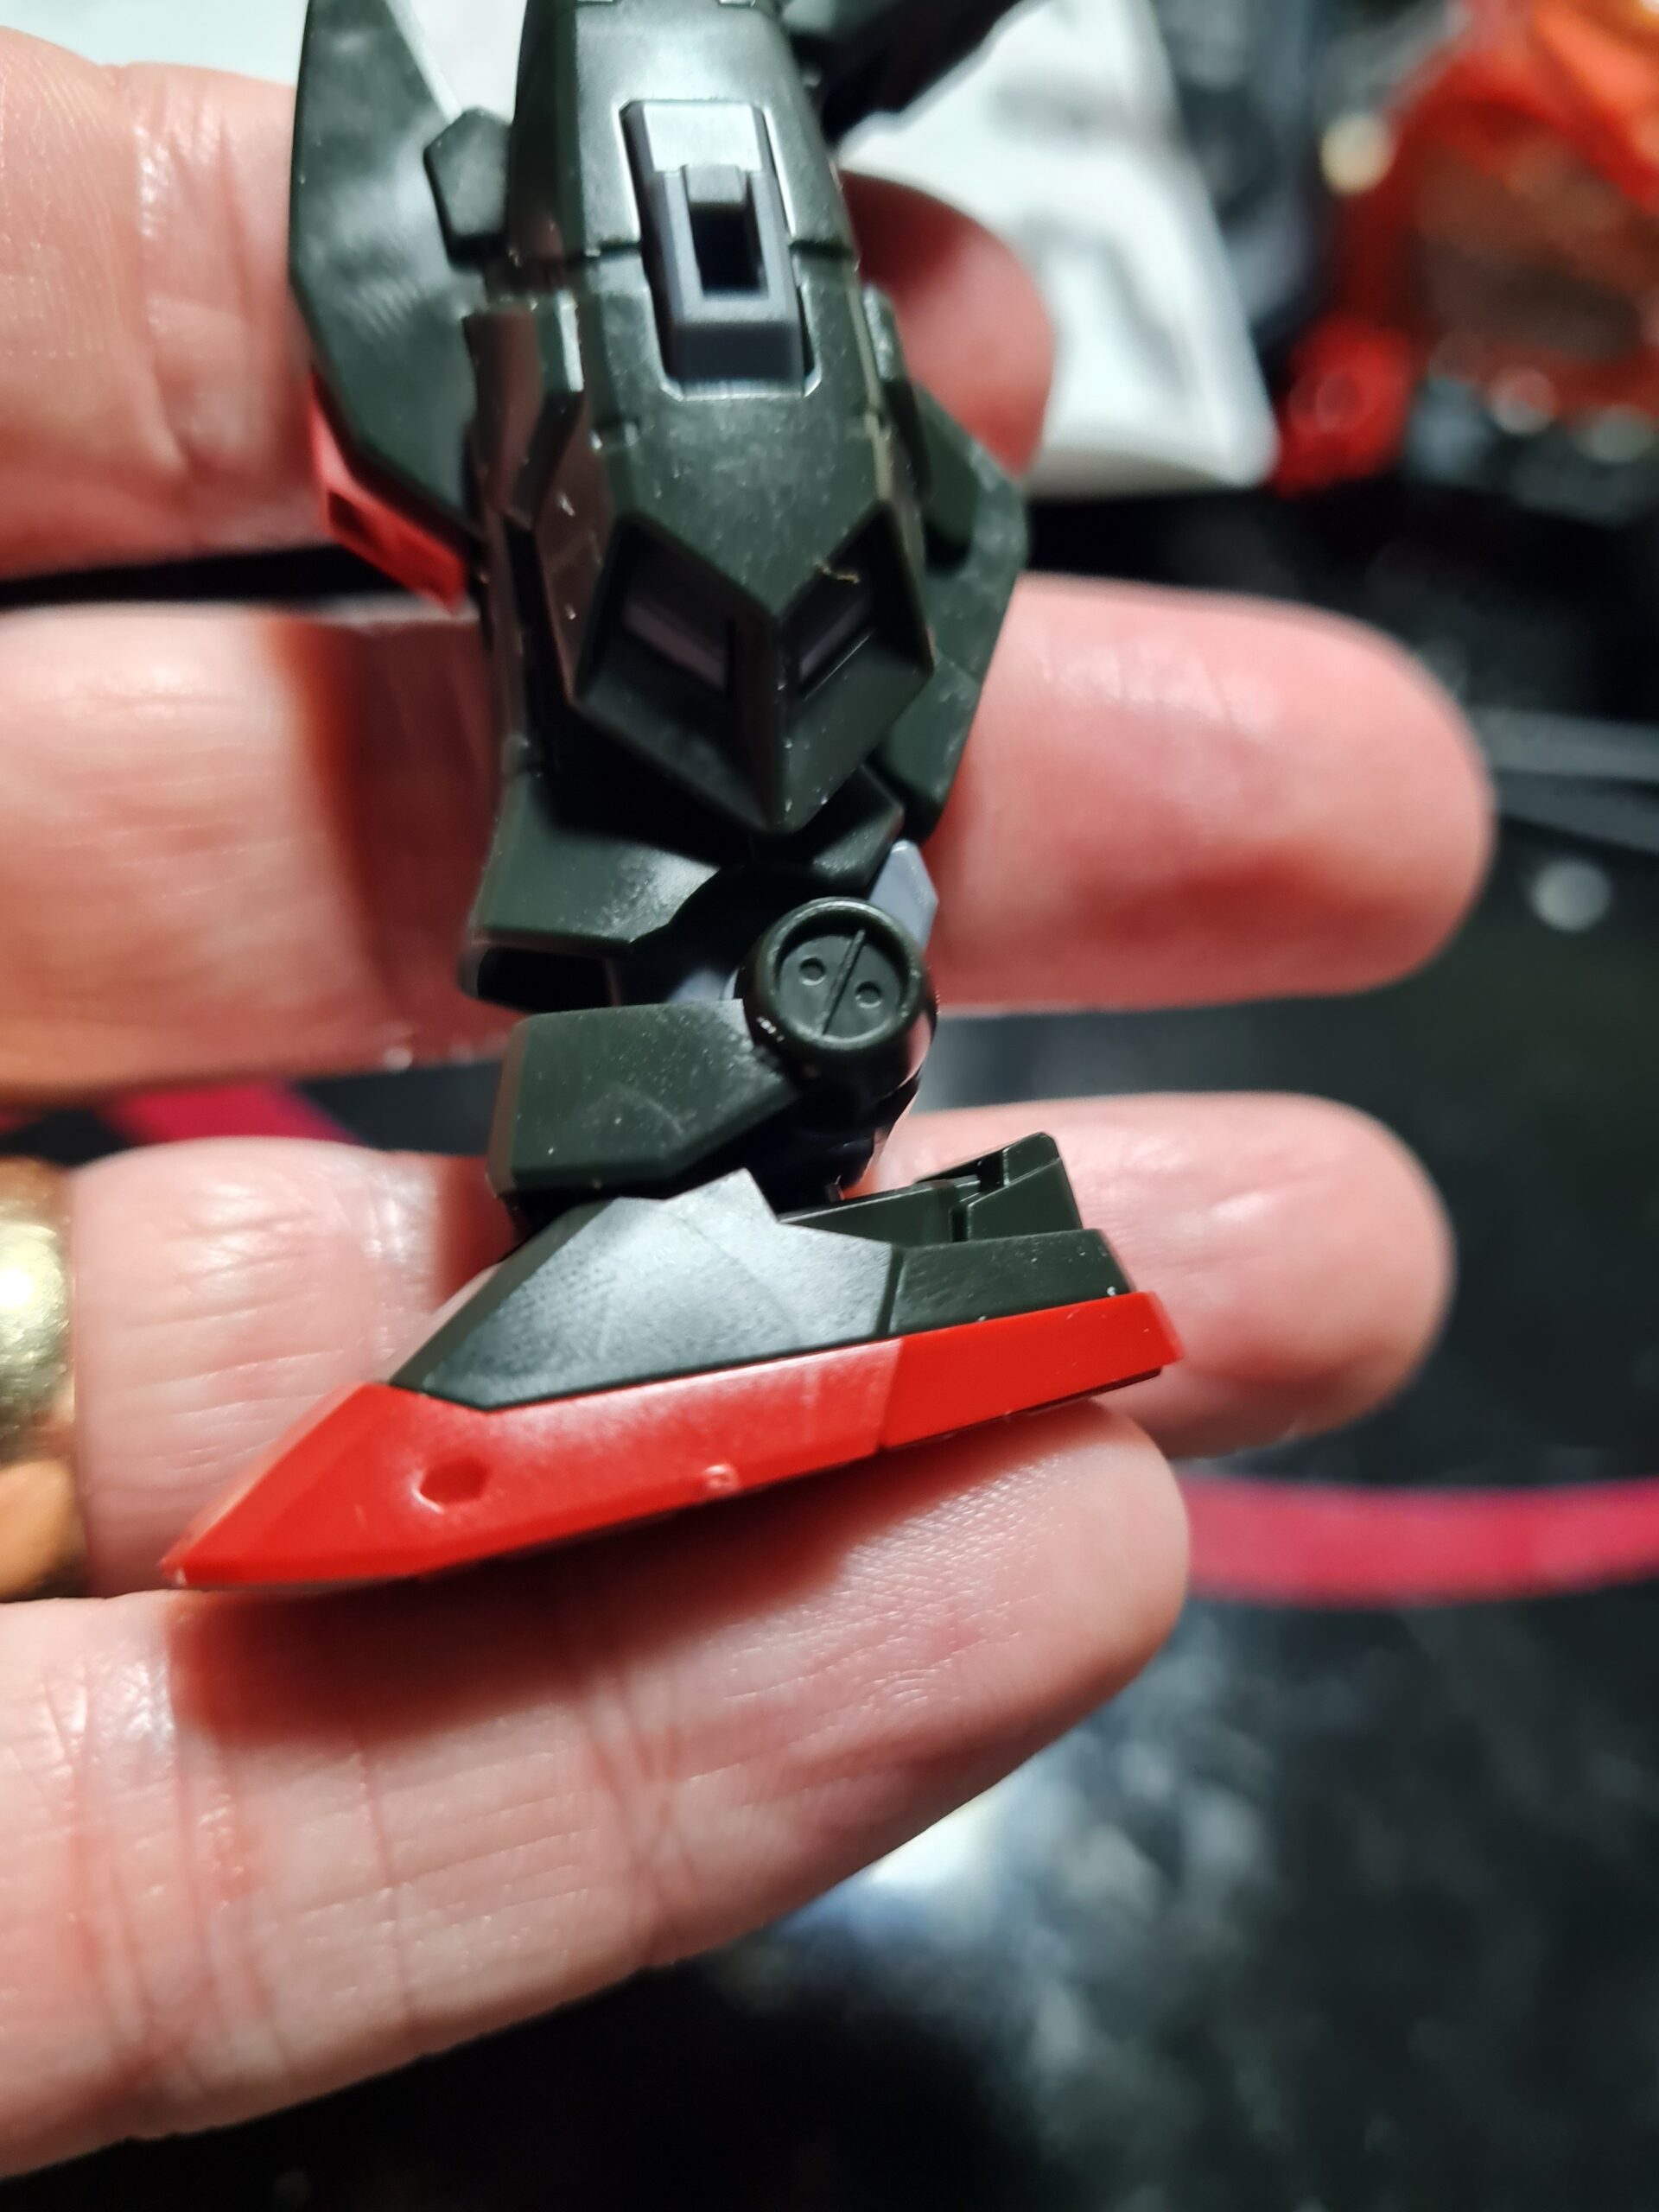
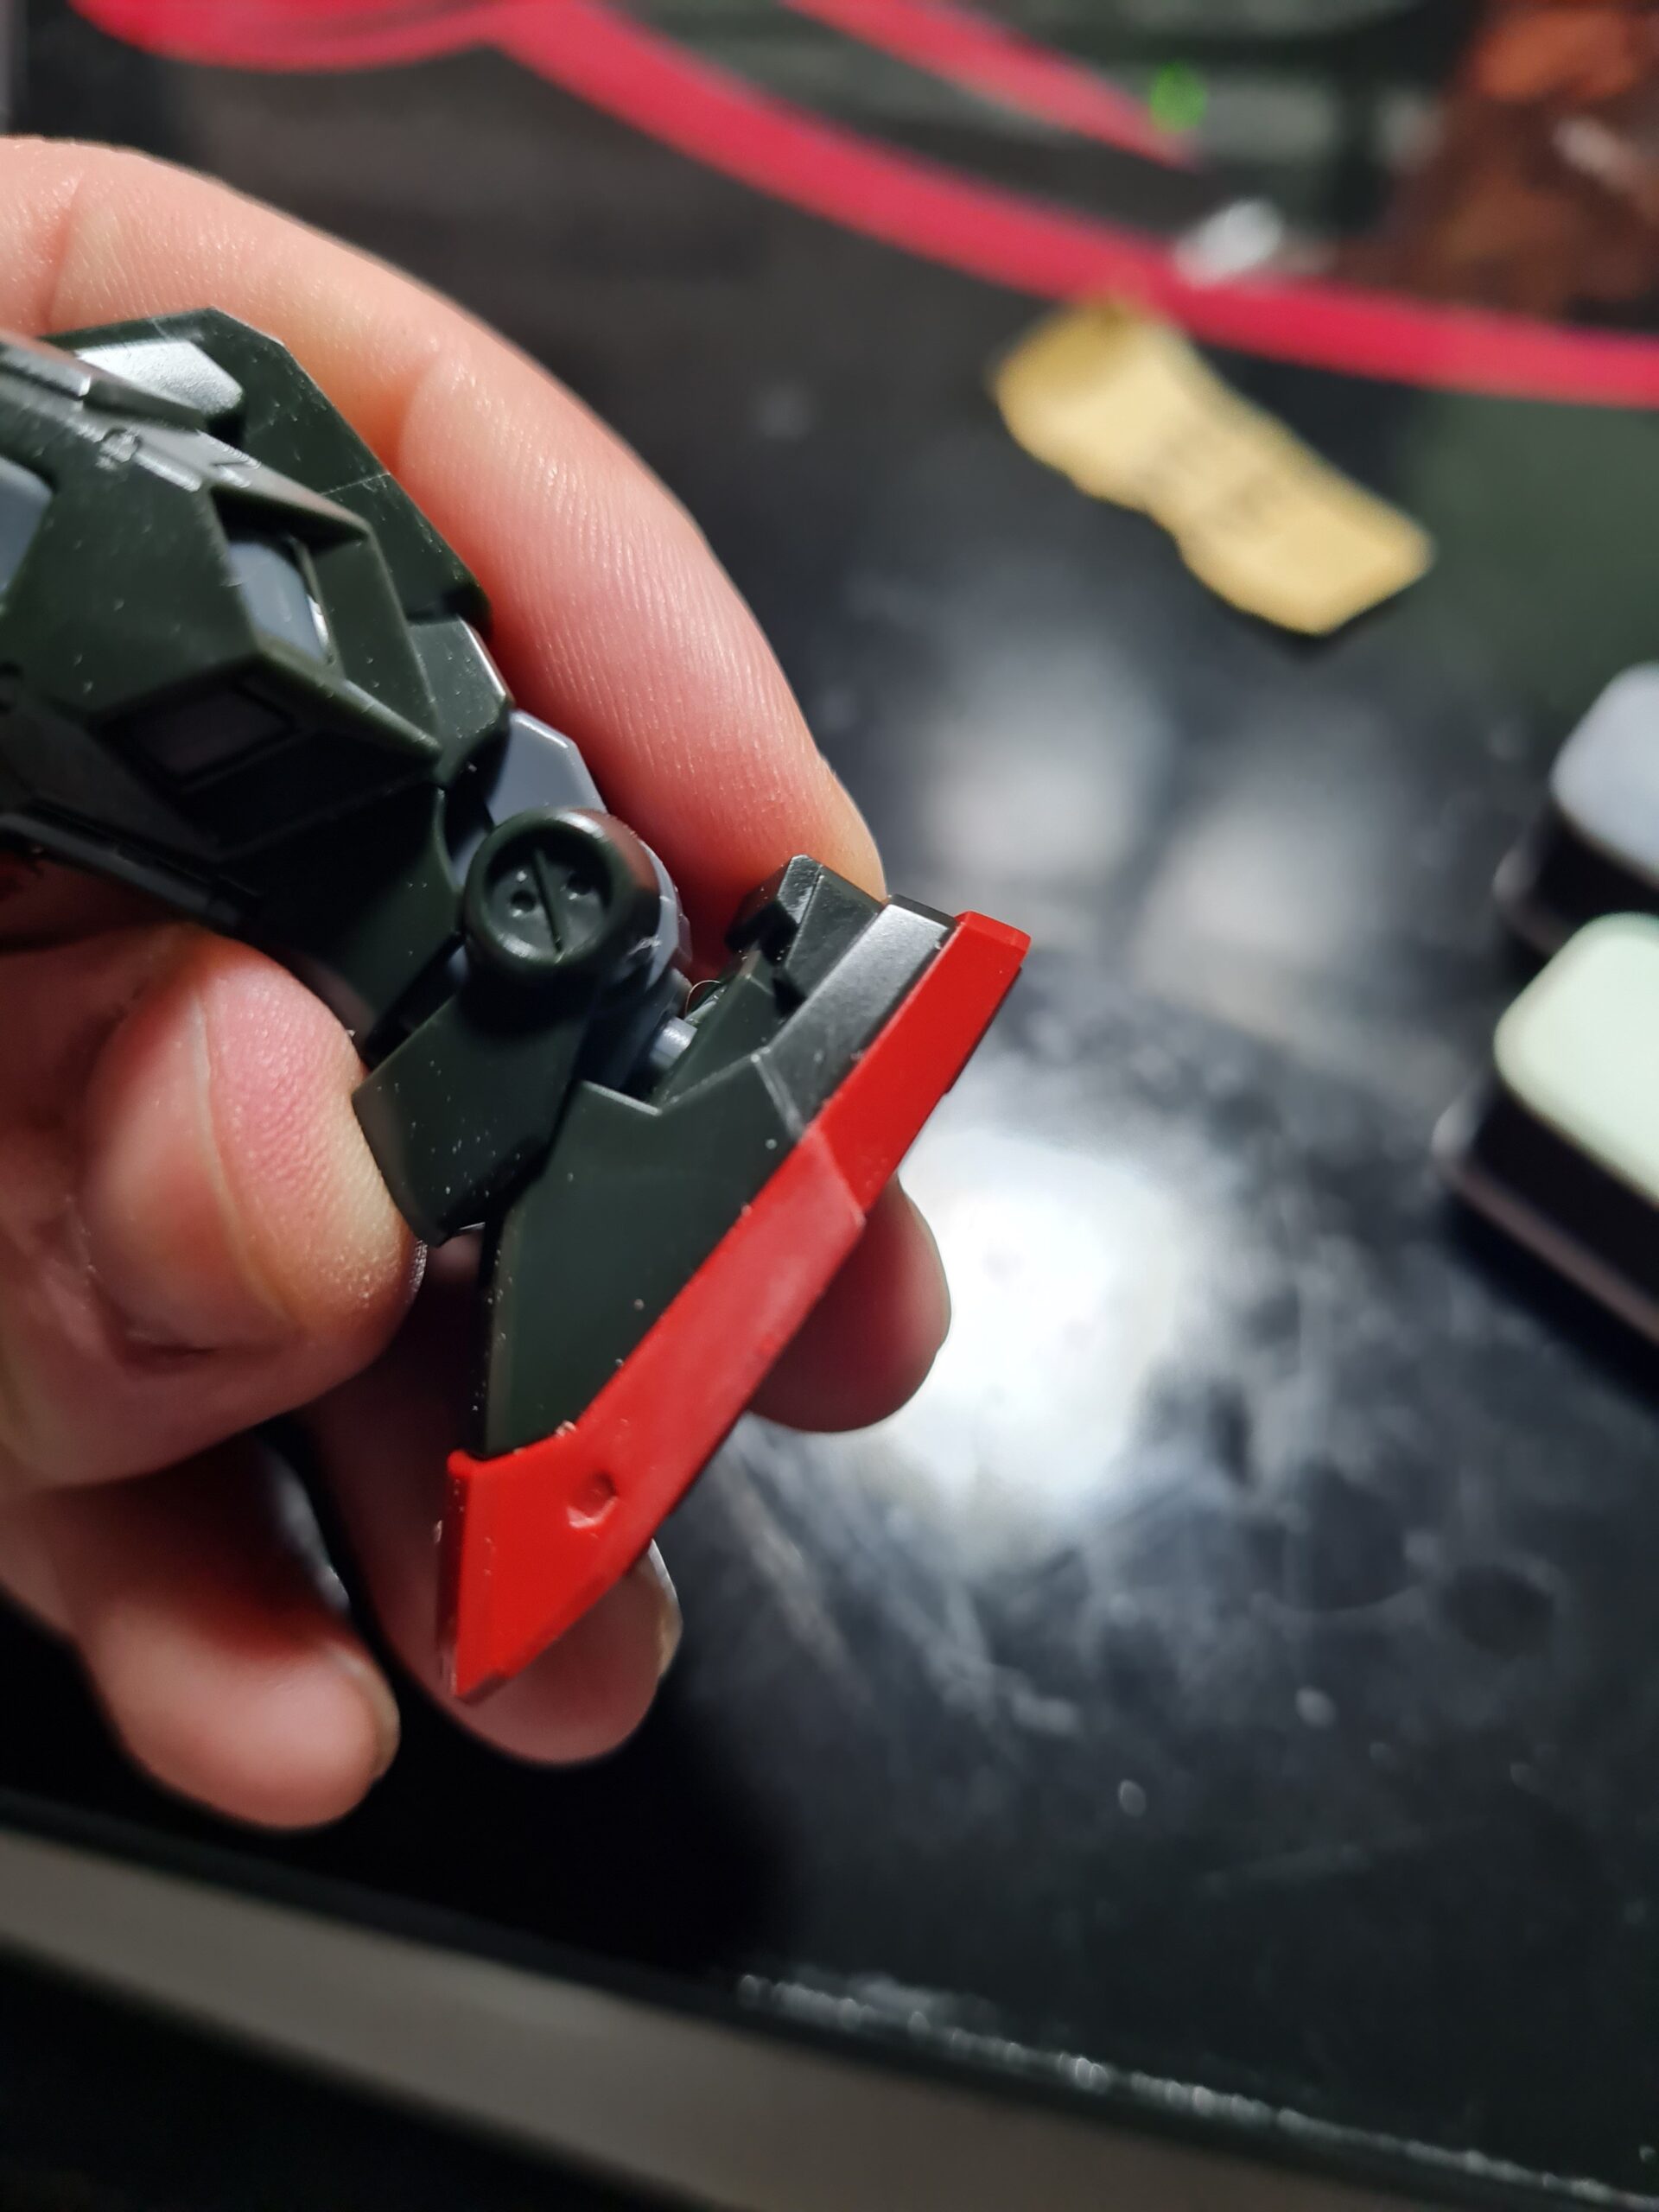
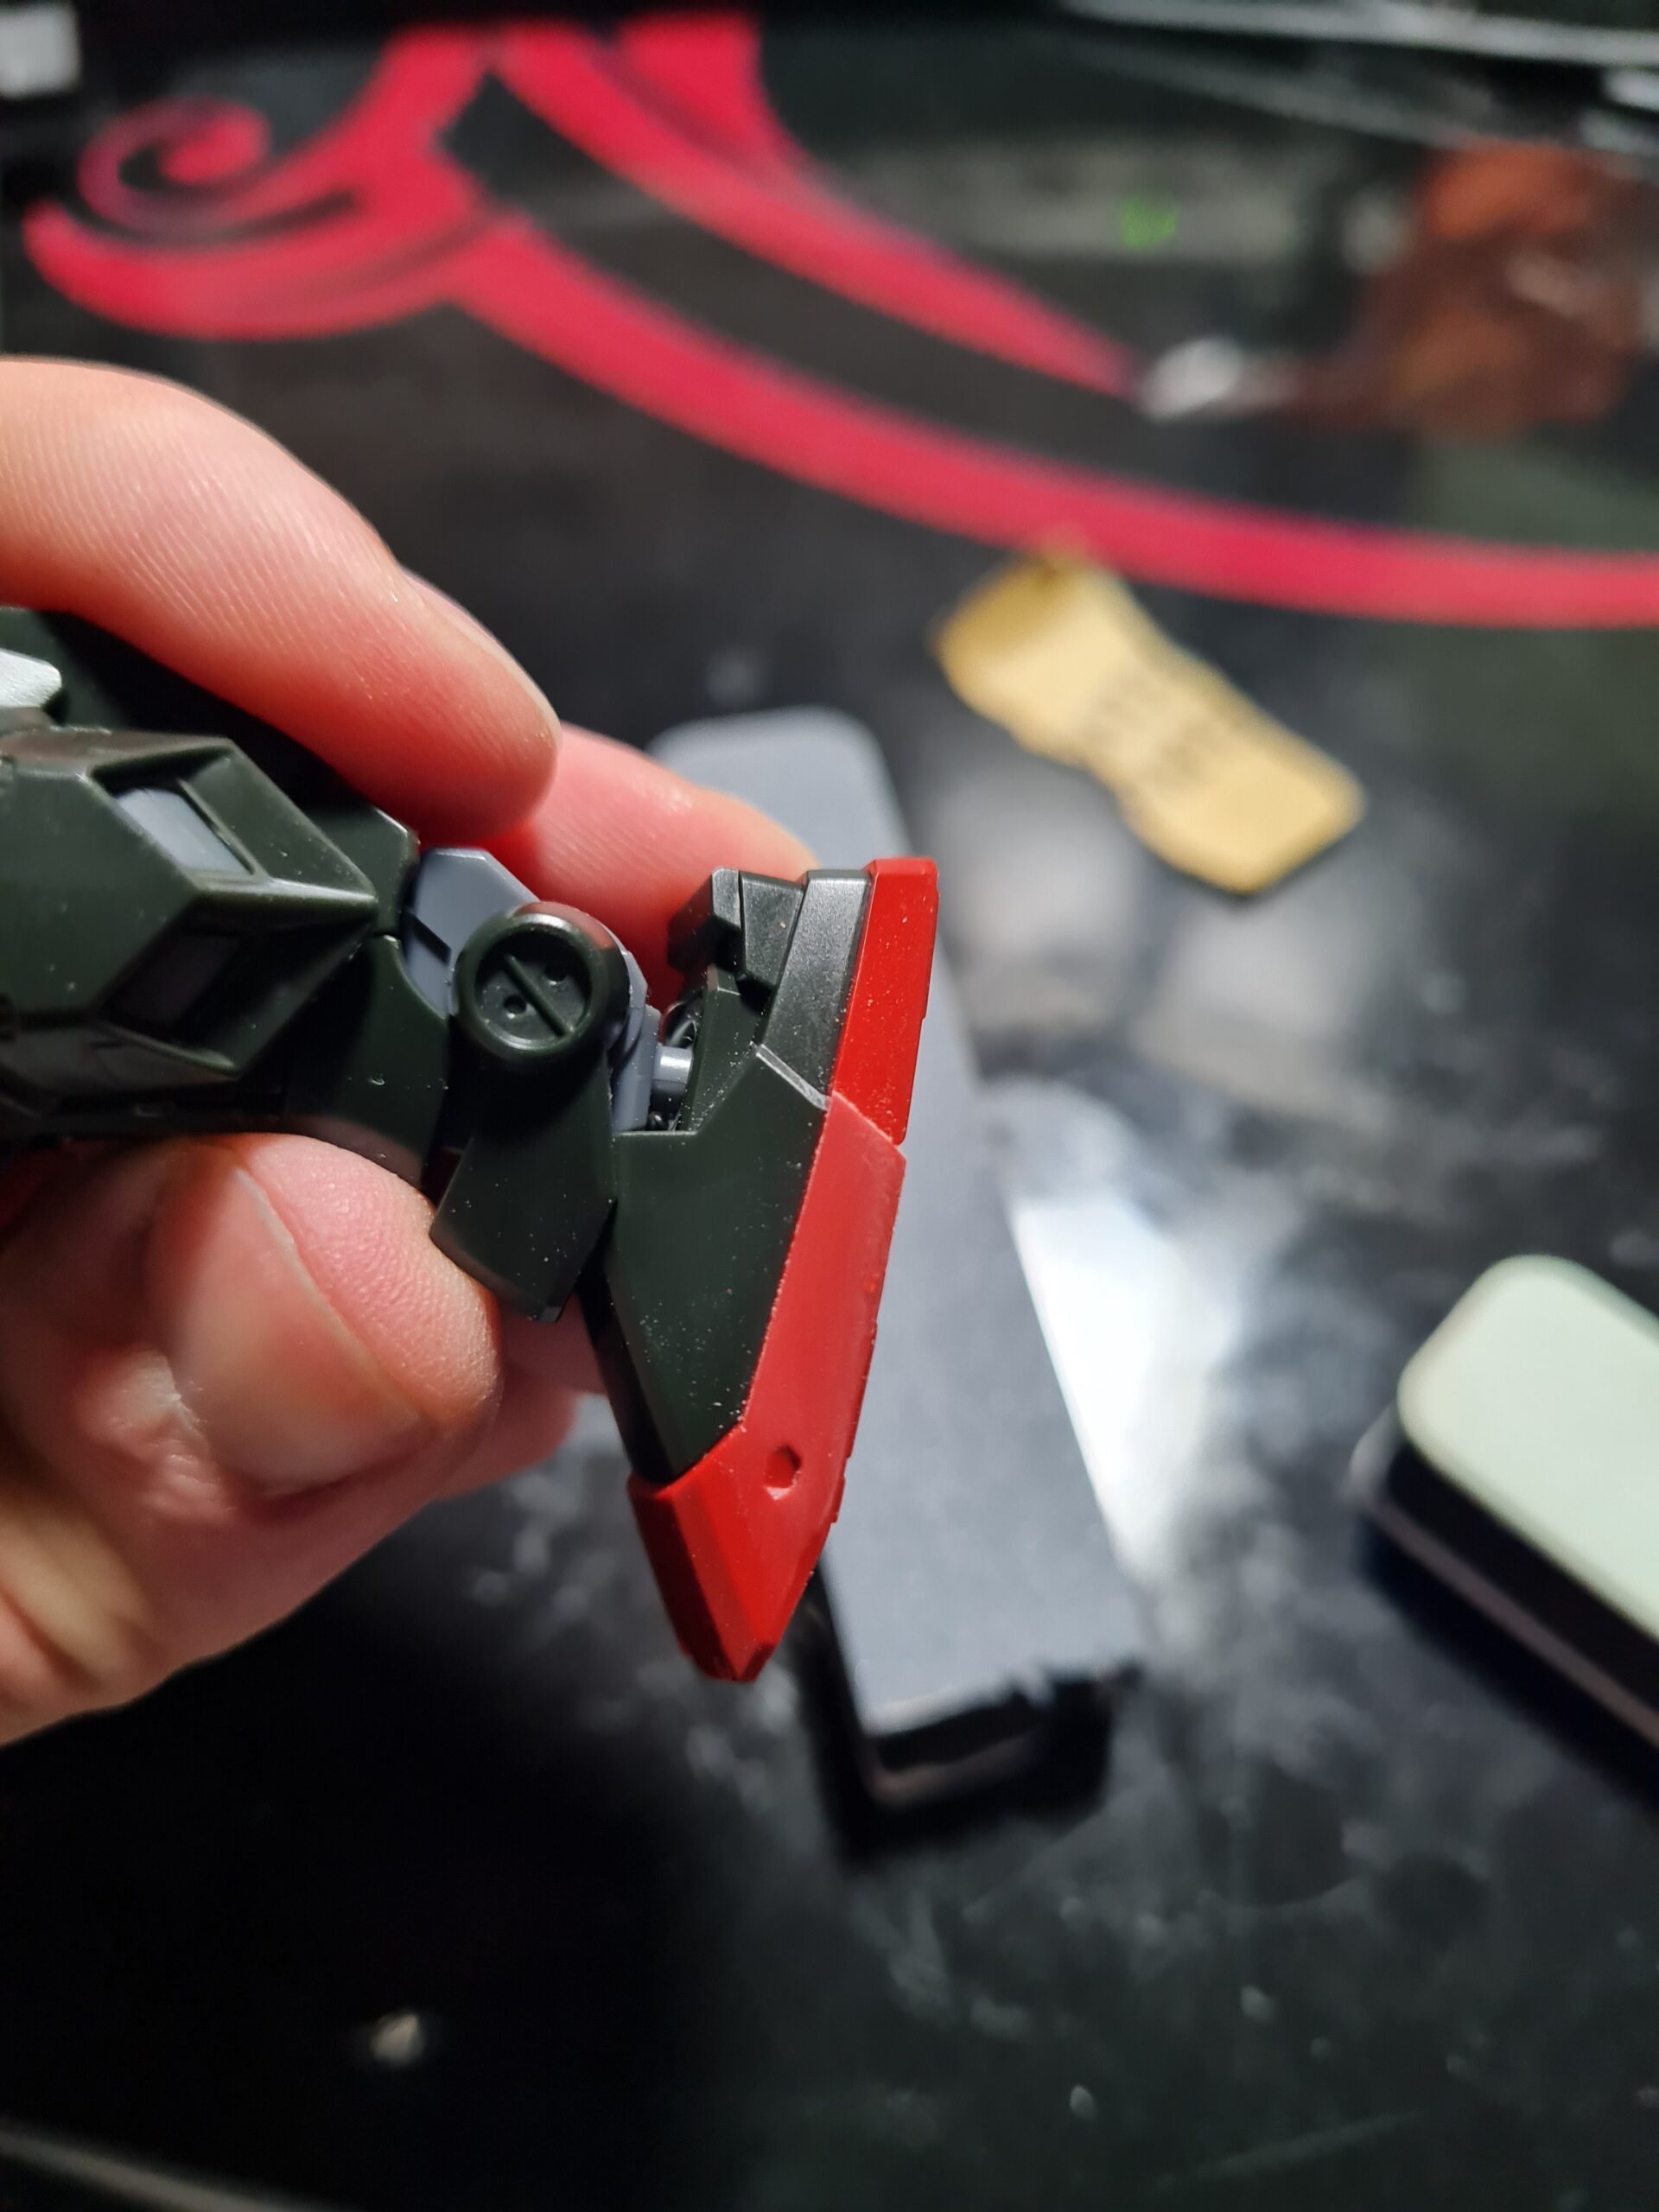
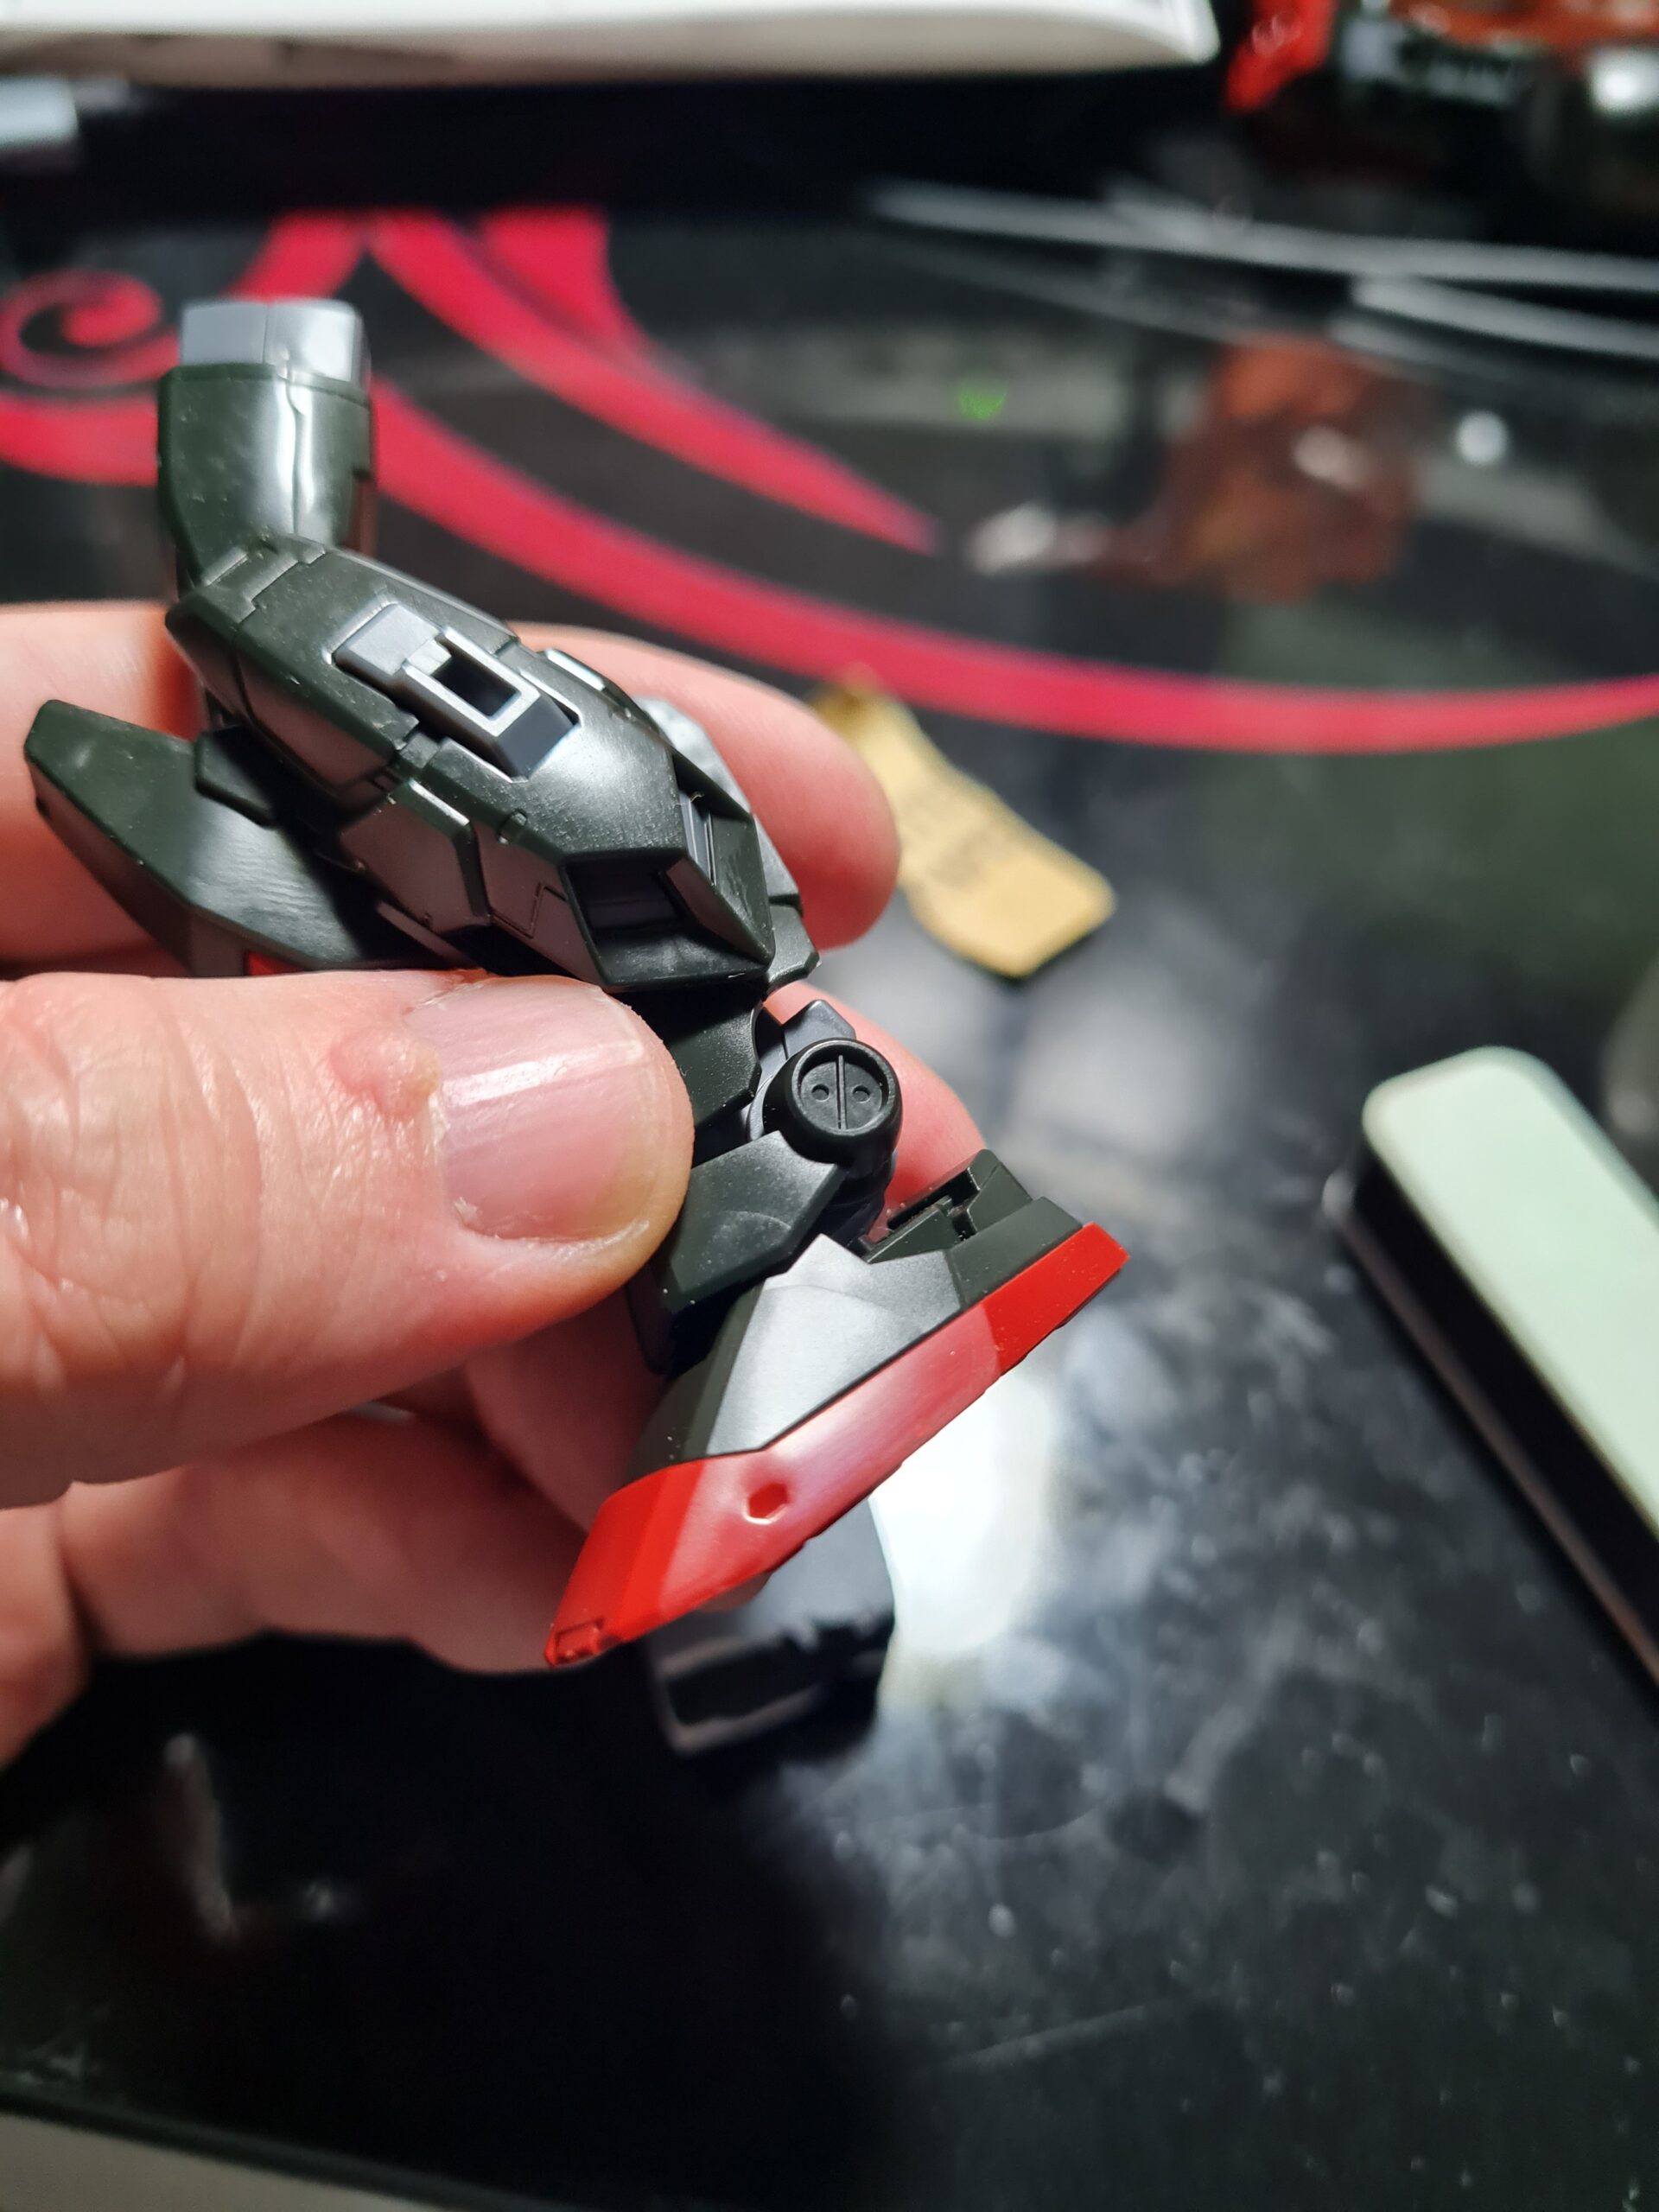
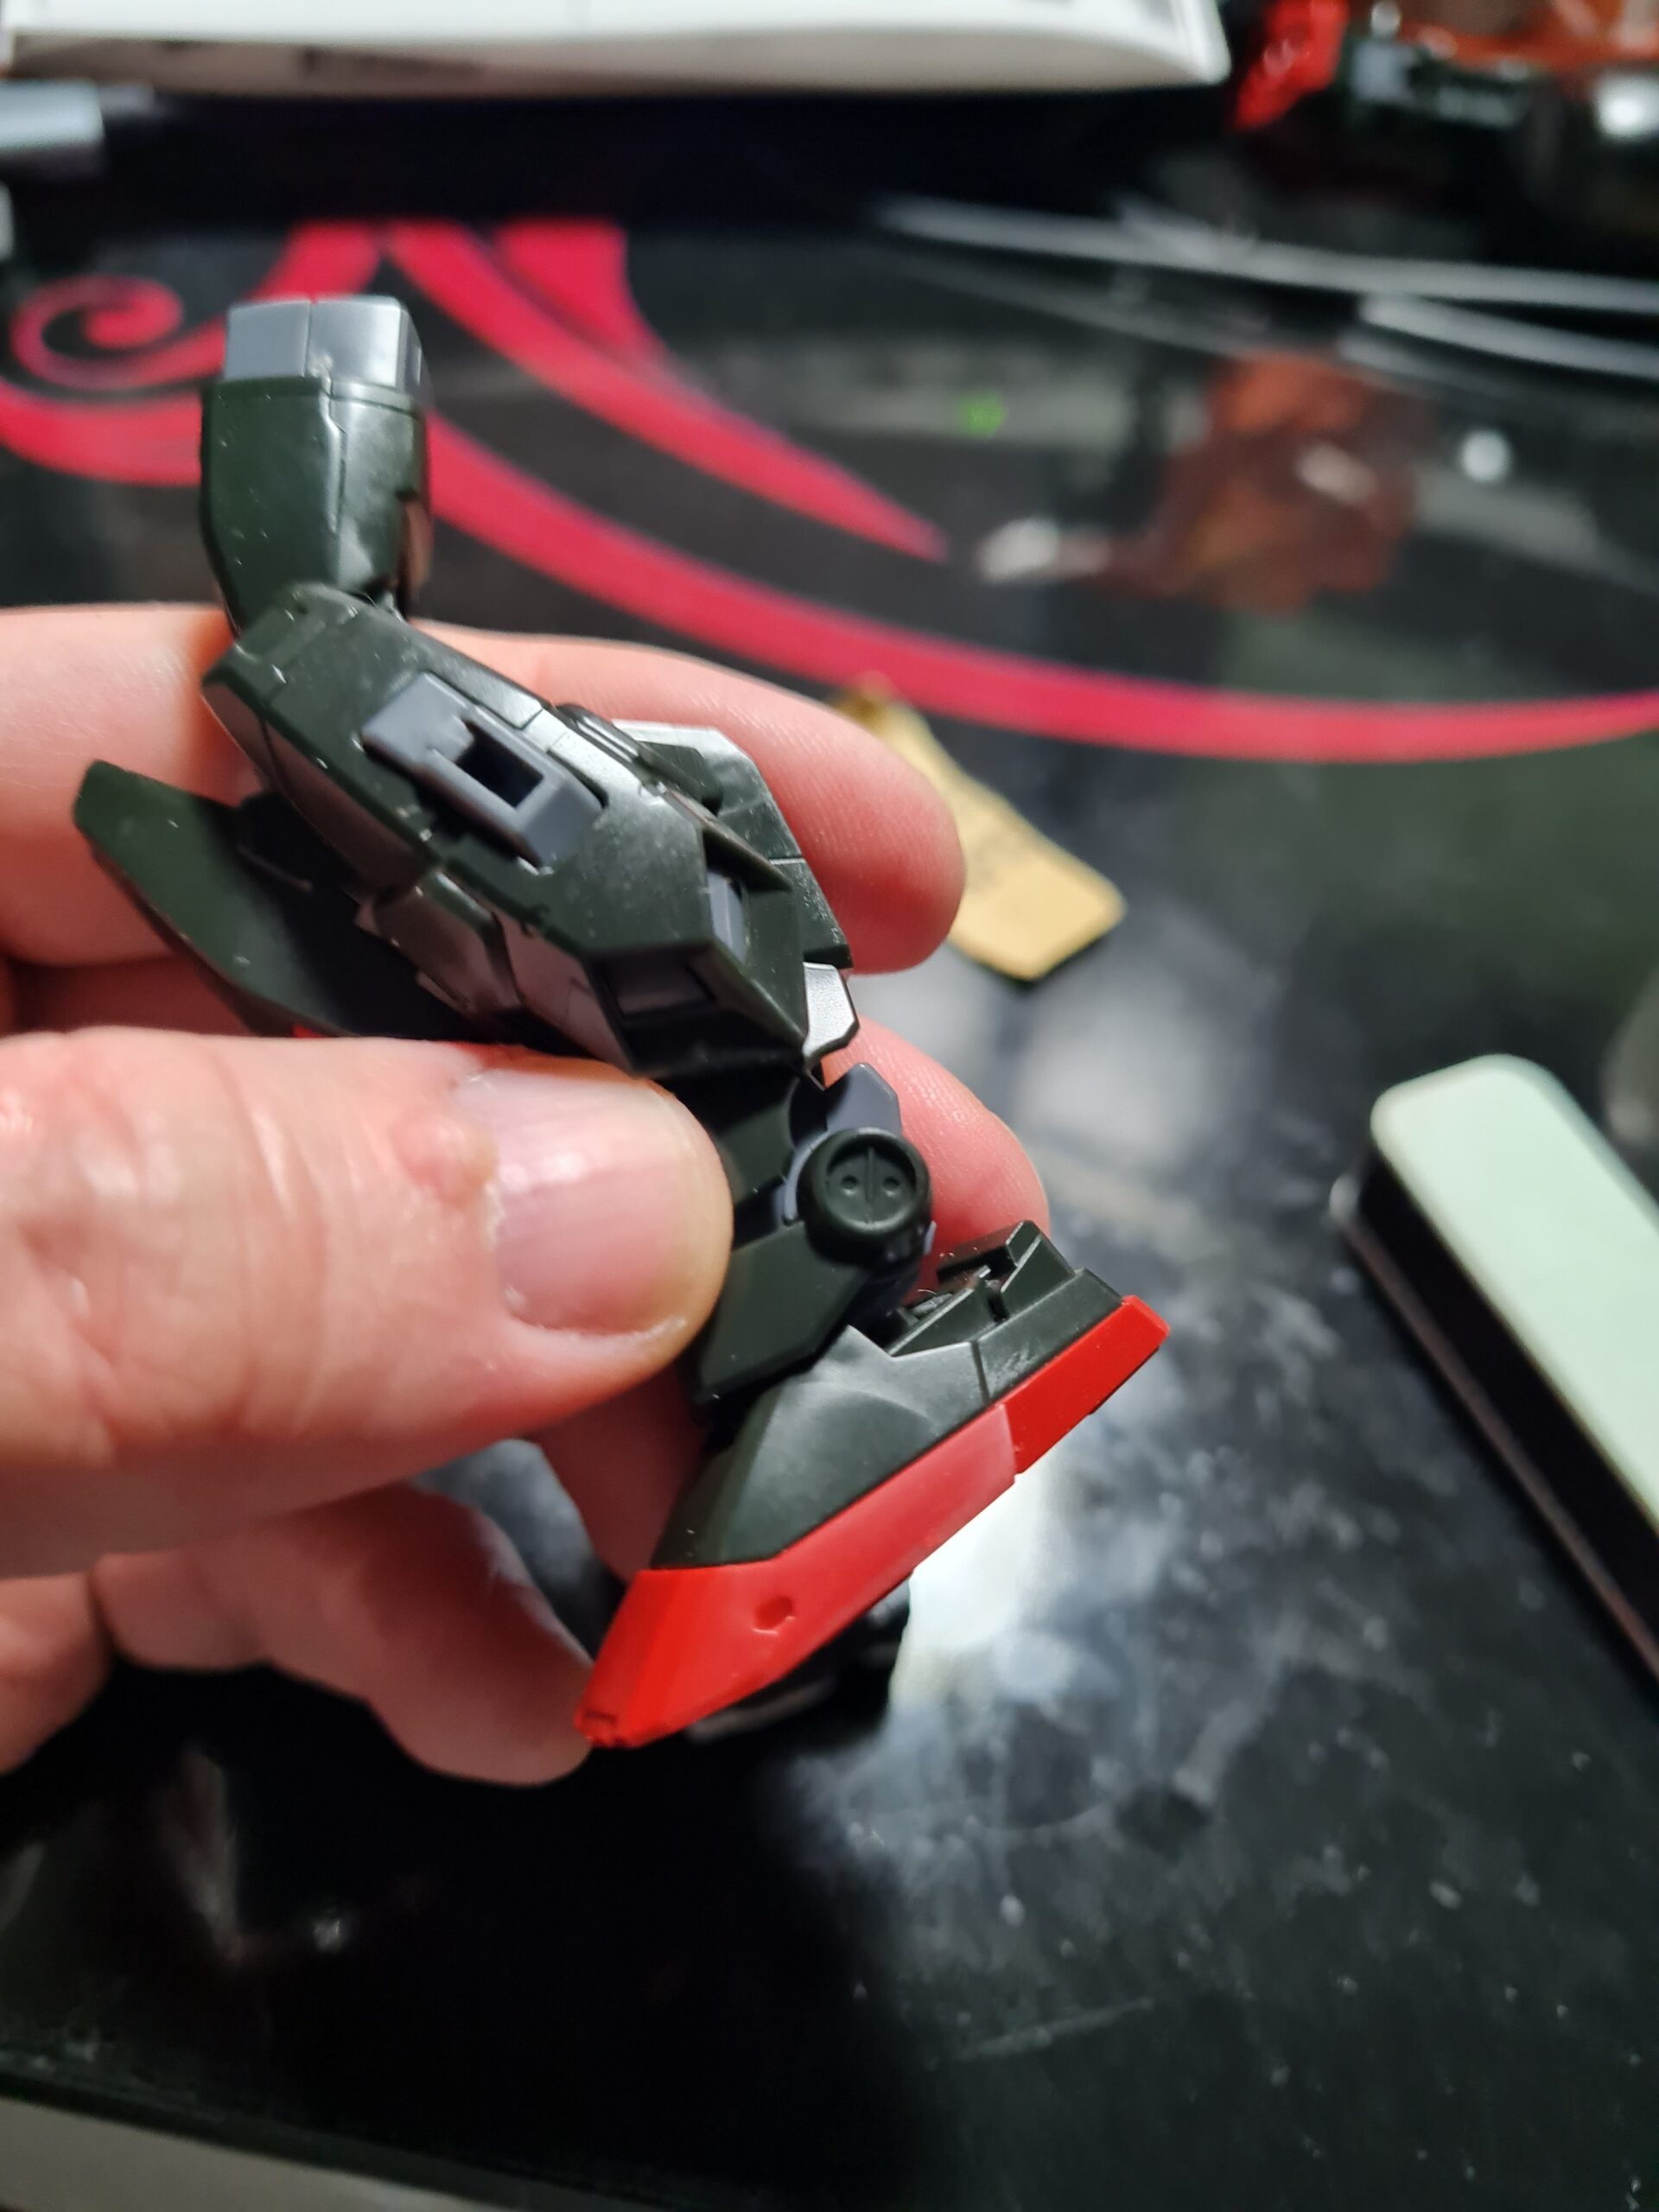
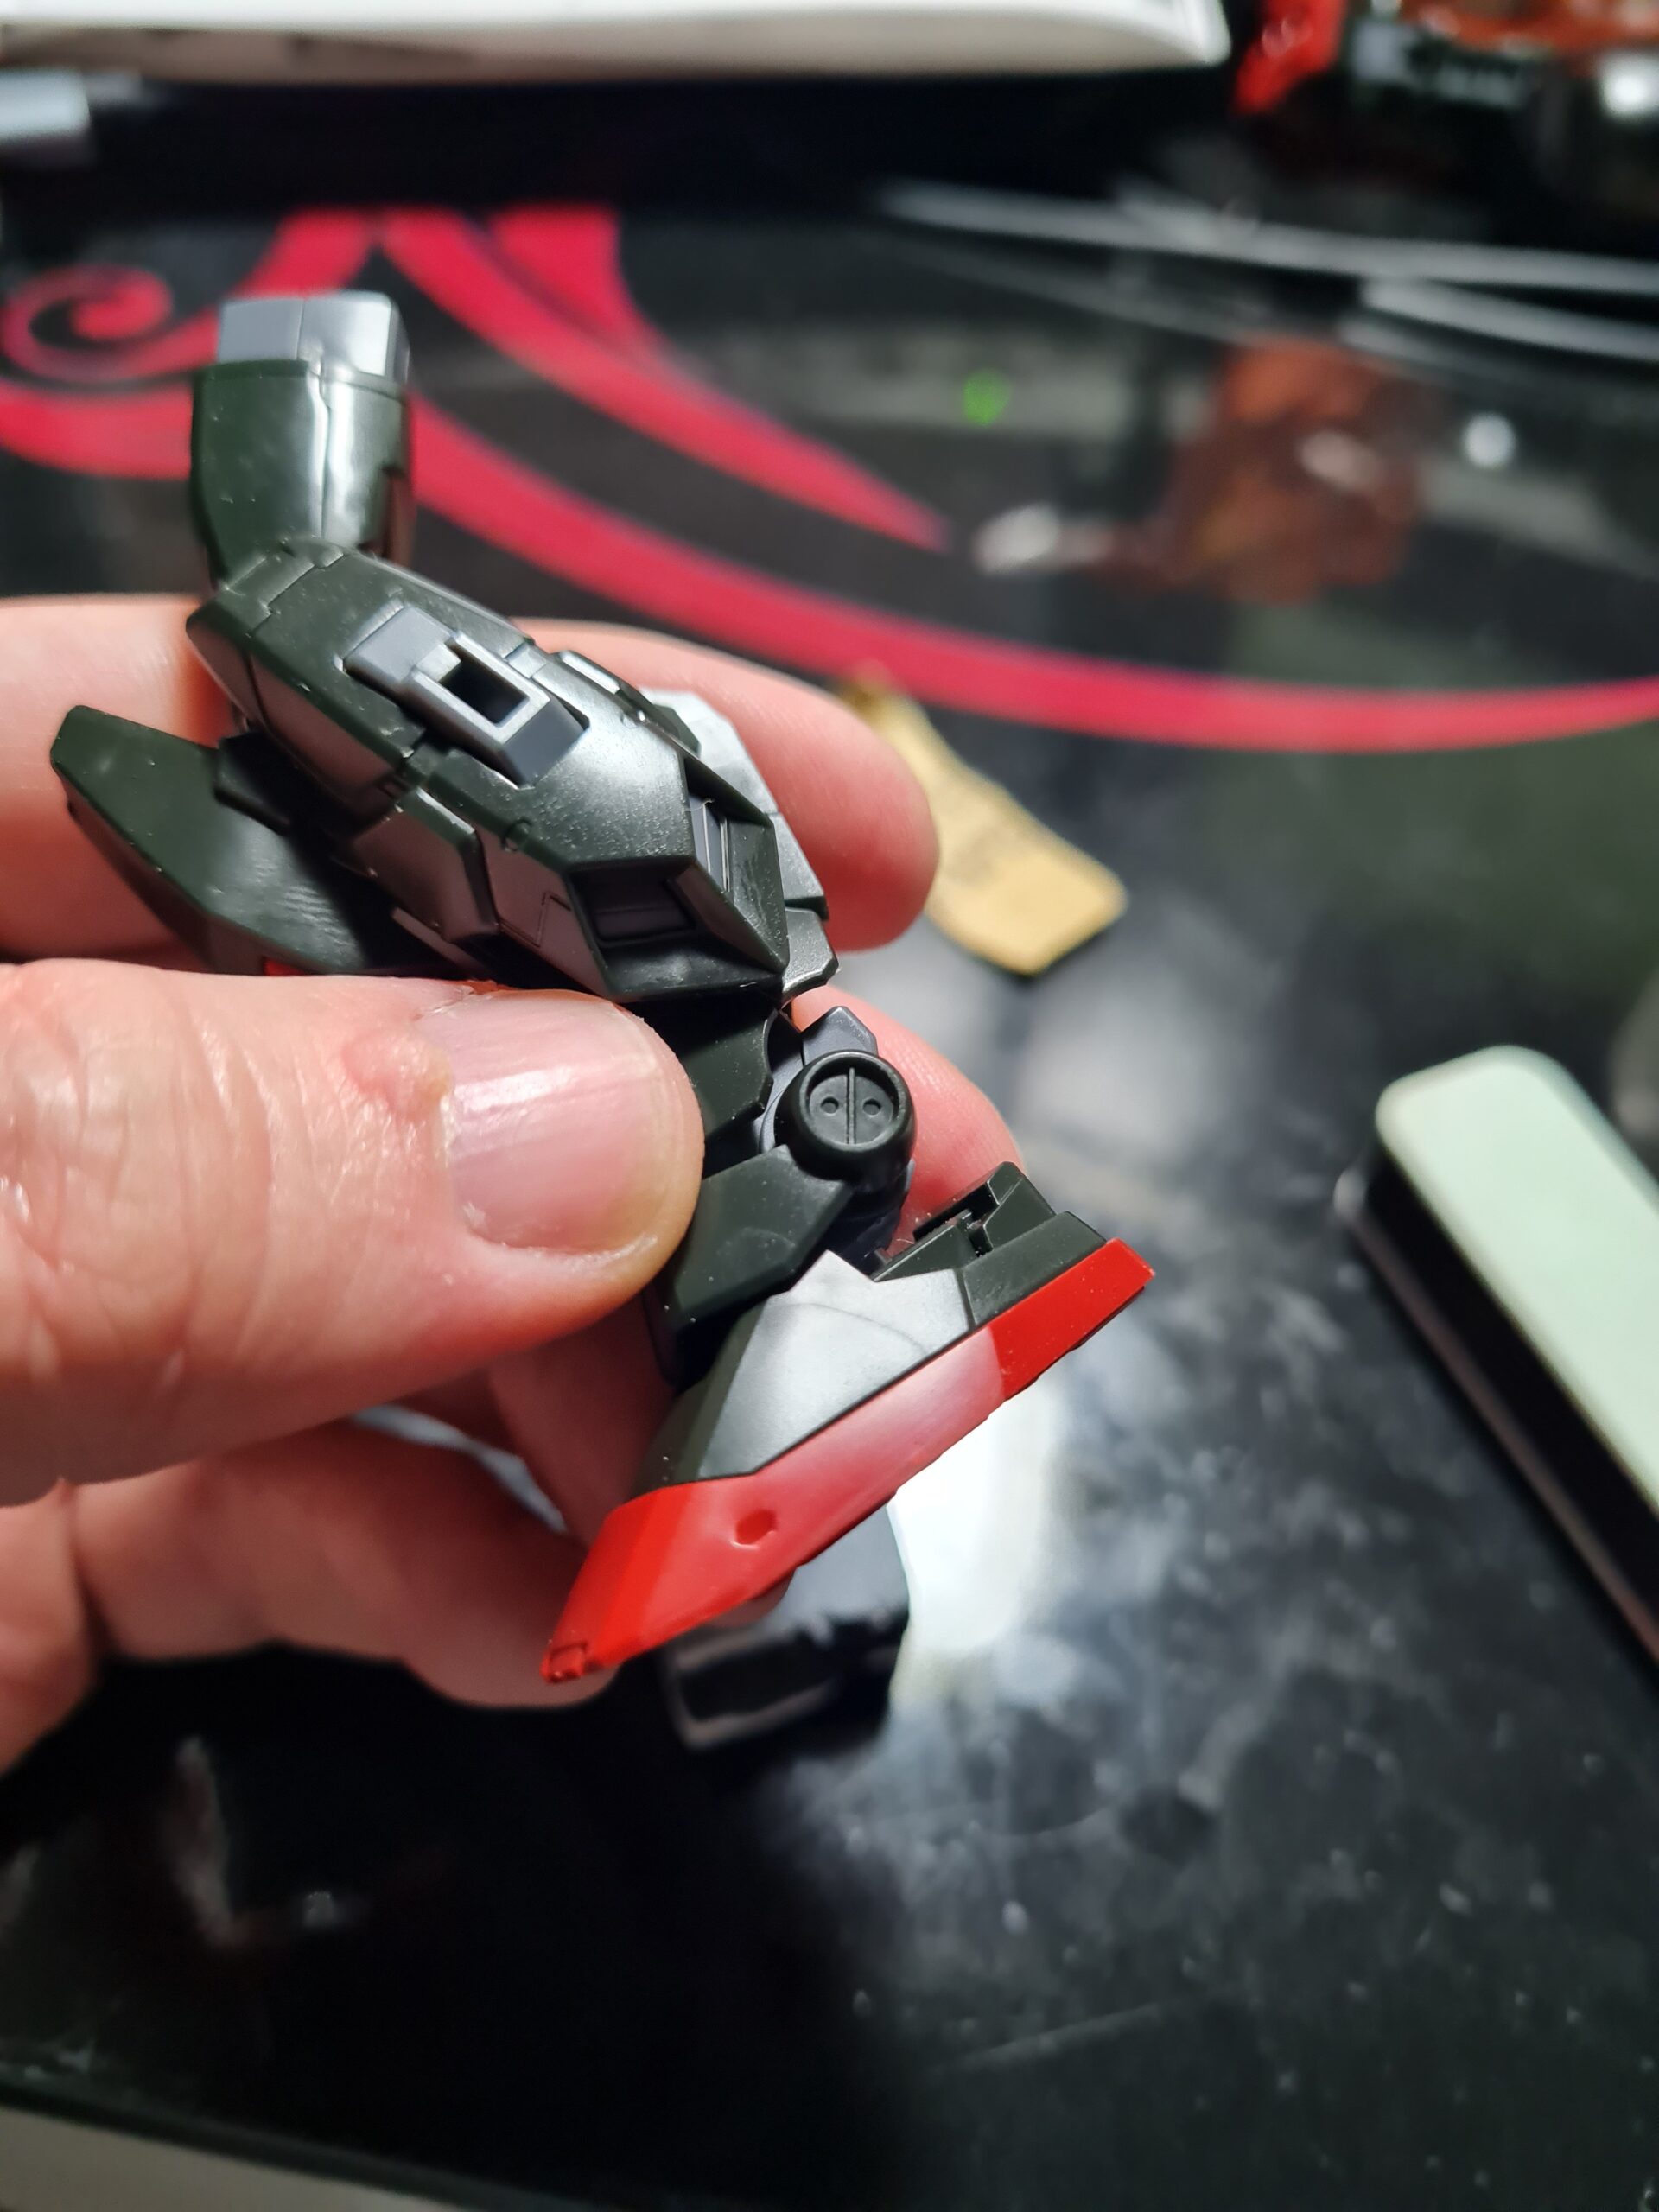
As you may be aware I still have some models that the boxes were damaged from packing / transit. I’m trying to shift them directly if possible so that it is easier to communicate any box damage. If you are interested in any of them they are:
RG Freedom £26.99 + P&P
HG Setsuro £25.99 + P&P

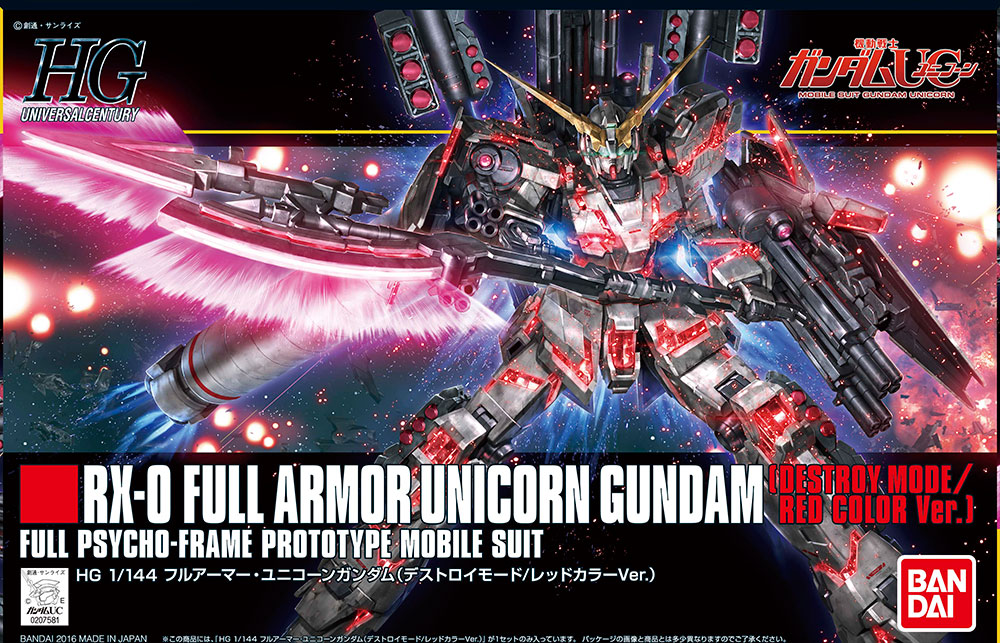
HGUC Gundam RX-0 Unic Full Arm Dest Red 1/144 £34.99 + P&P
BB Gundam Destiny £9.99 + P&P

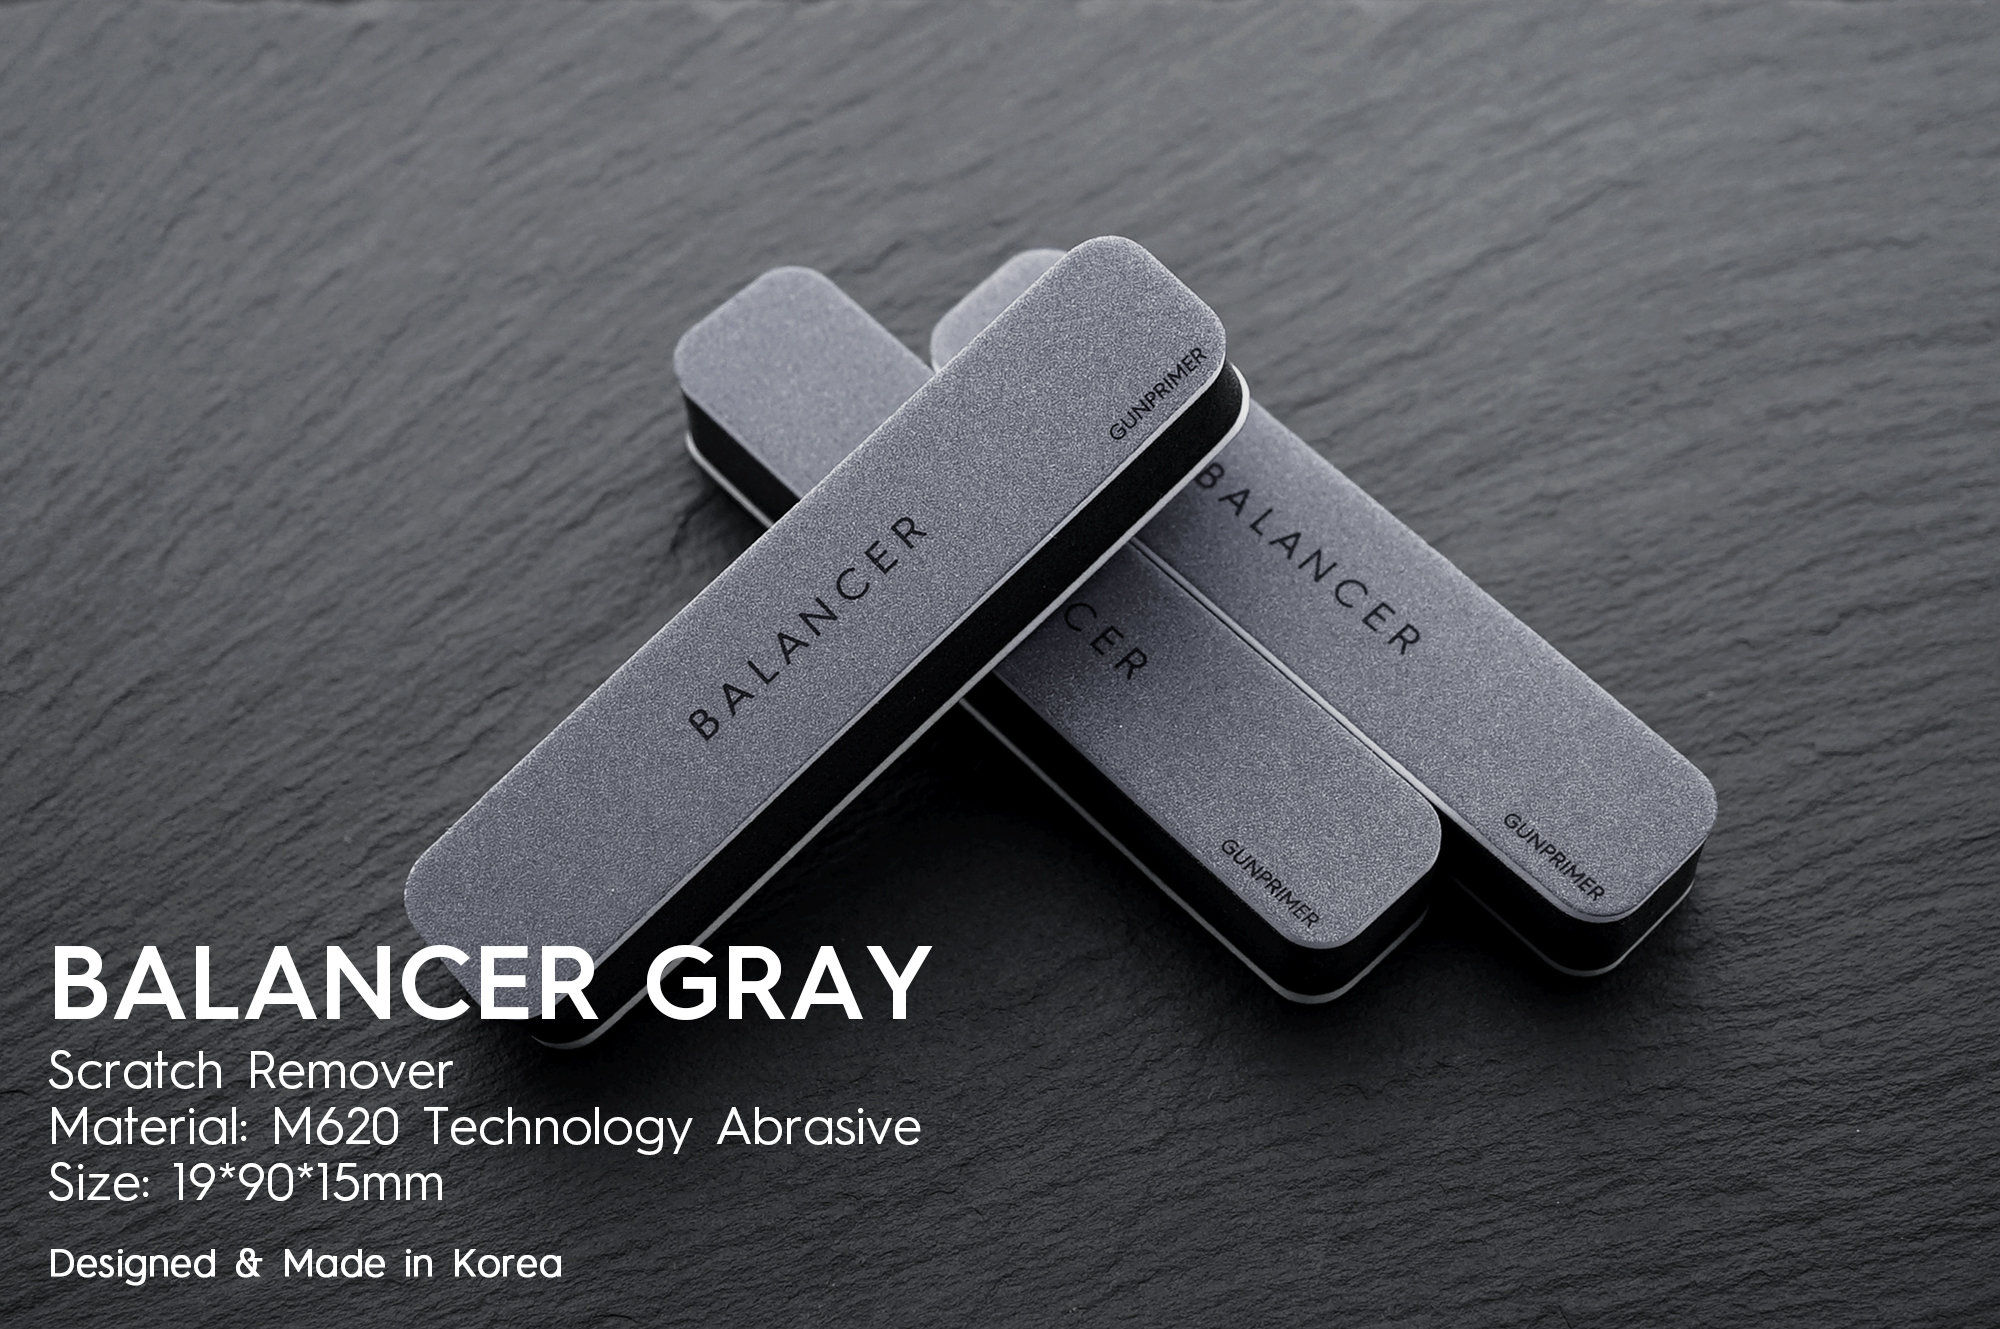
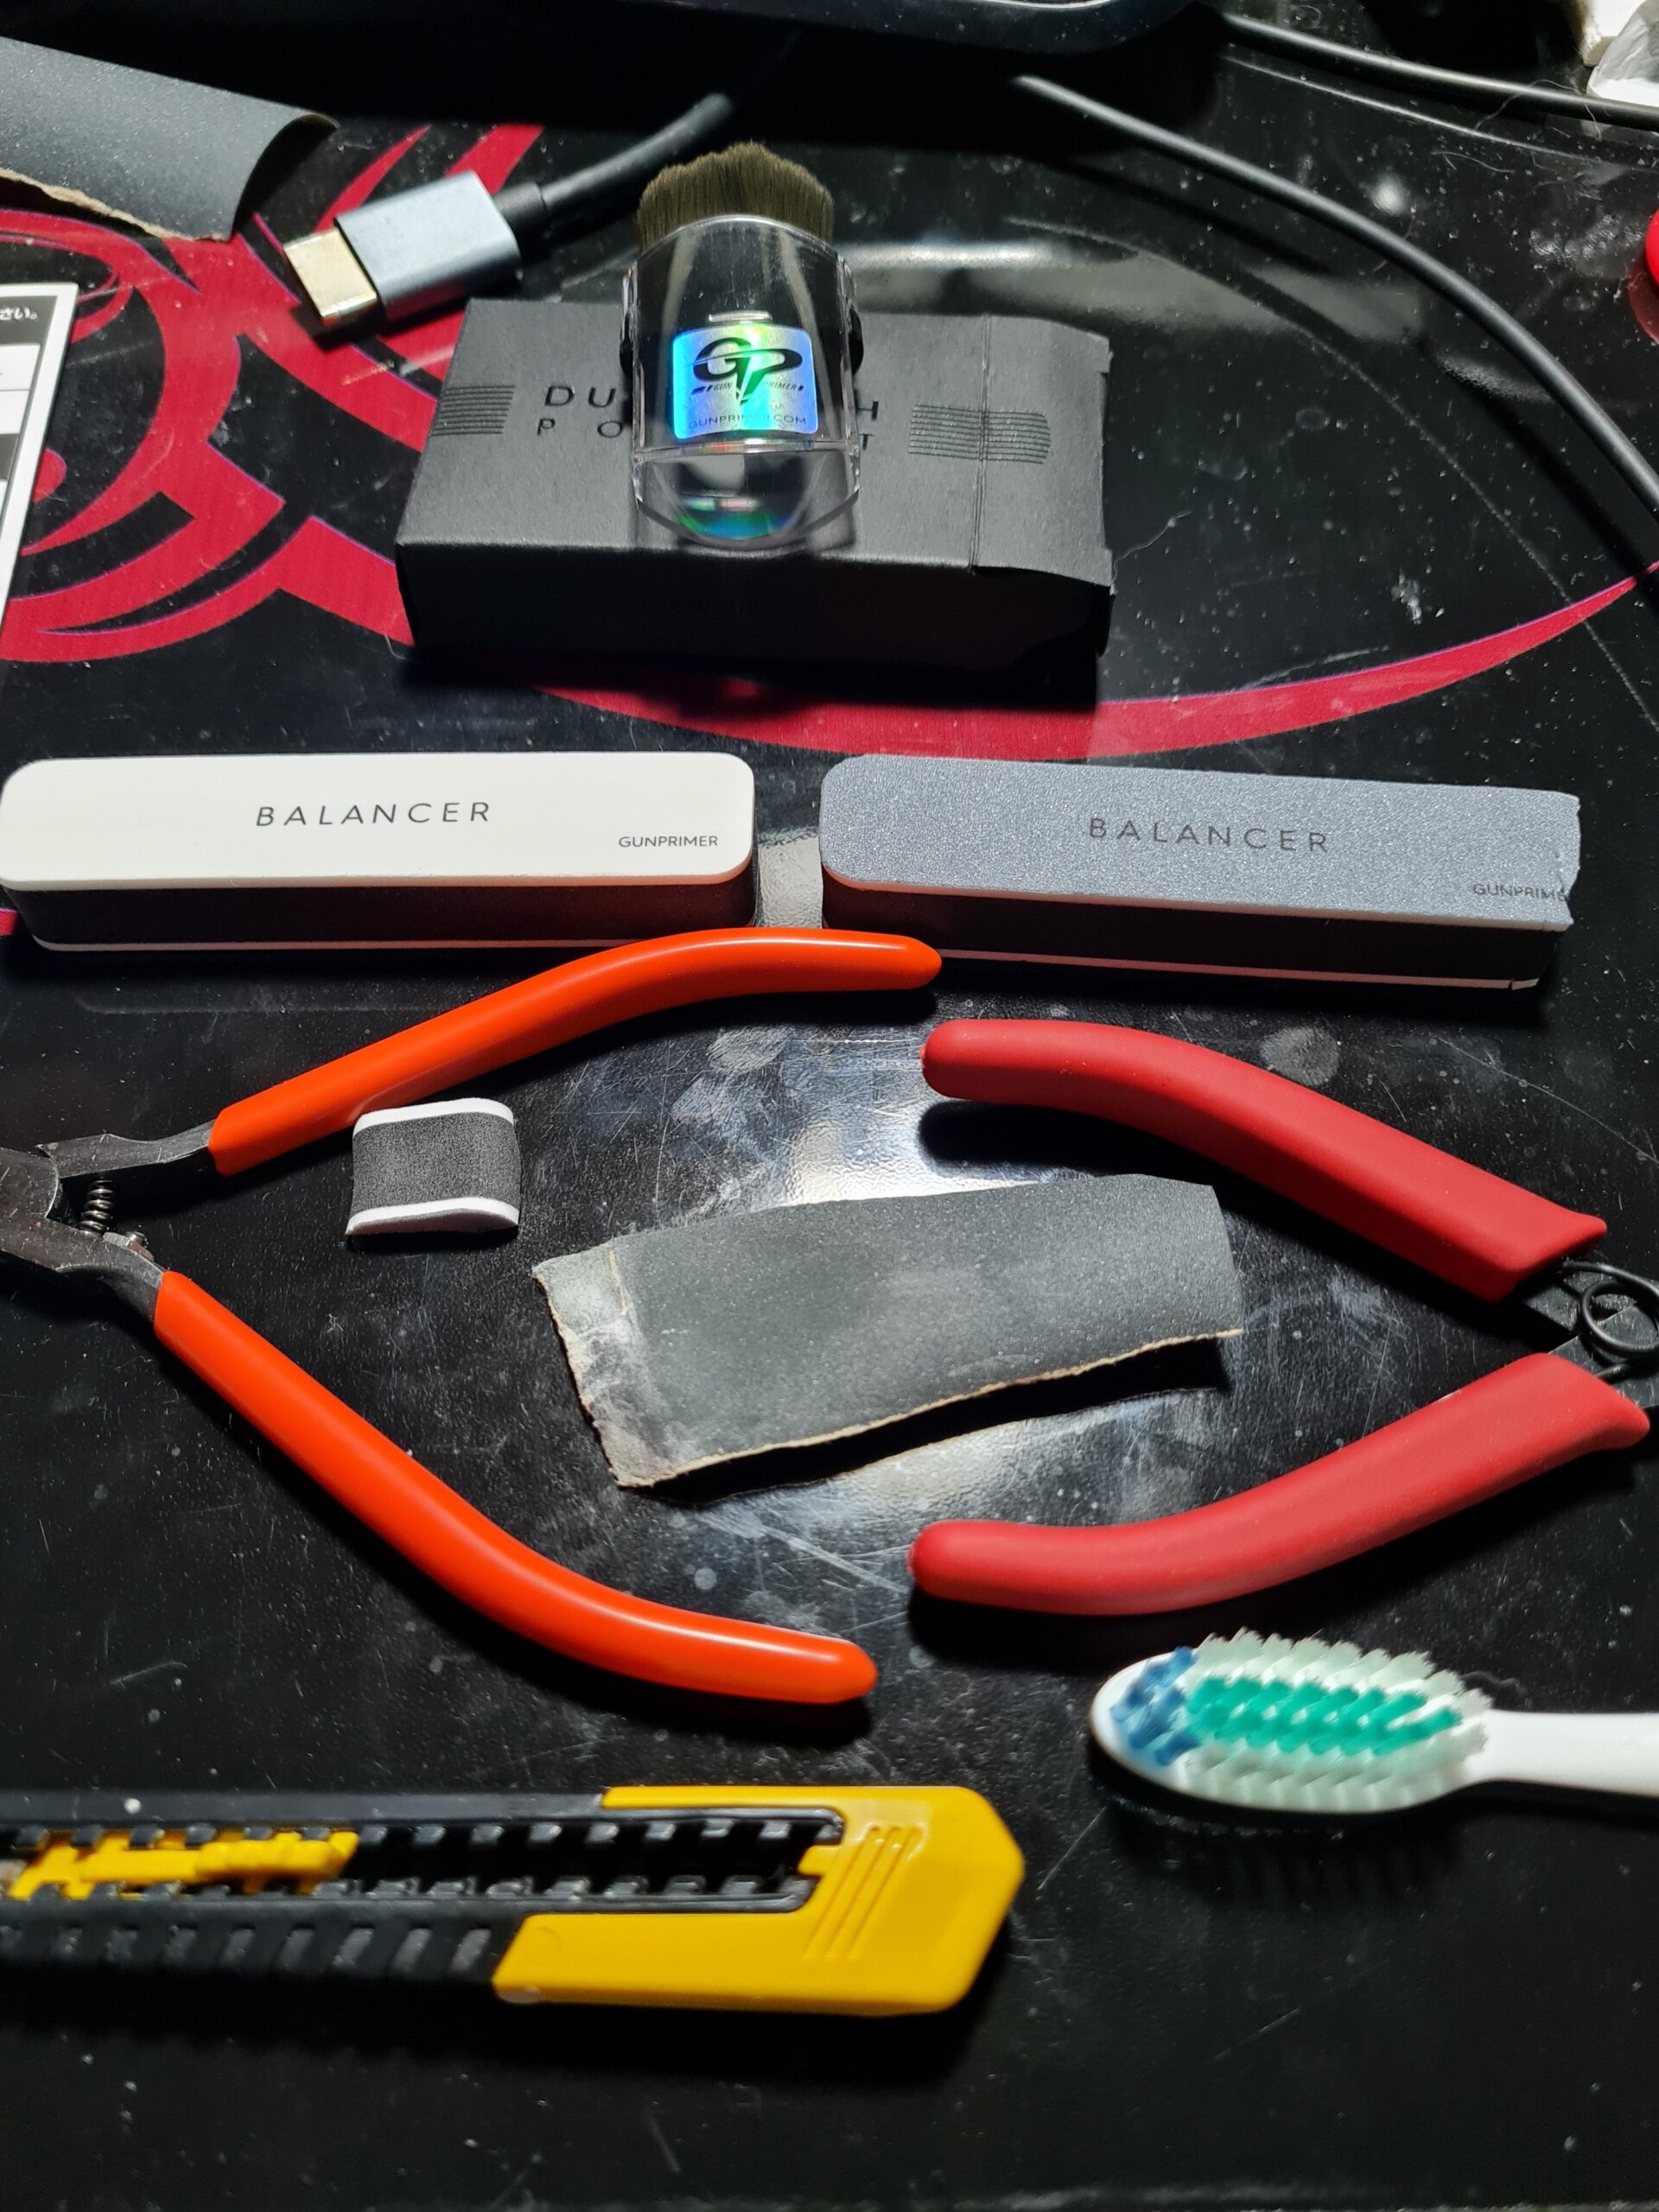
They are all stunning models which would look fantastic in any collection. You can also just browse the shop which is available here. Note the models above are not listed there at present due to the boxes. However, if you are interested in them please contact me directly. I also have lots of other models available on the shop, as well as the awesome GUNPRIMER Balancers and starter kit and Raser products. You can see them here.
Quick Links
- SD/BB Models
- Entry Grade Models
- Full Mechanics Models
- High Grade Models
- Master Grade Models
- Perfect Grade Models
- Real Grade Models
- Tools
- Bases
Conclusion
That concludes this weeks “Advert / Stock 29/01/2023” roundup. Thank you for taking the time to read this. If you haven’t already done so please like and follow us on our social media platforms and checkout our website!
Facebook: https://www.facebook.com/profile.php?id=100086701512793
Instagram: https://www.instagram.com/modelkitsltd/
Website: https://modelkitsltd.co.uk