Welcome back to this mini Christmas Kit series of posts! Yesterday we were discussing how Christmas is getting closer and buying a model for someone who hasn’t built one before. Essentially you will want to pickup a couple of essentials to make the build process more enjoyable! Yesterdays item was nippers. Today we are going to say the next item on the list should be tweezers.
Tweezers
Now you may have some around the house, and that would be fine. However I tend to find that hobbyists like to keep their hobby tools separate from their normal everyday items.
So what do you need the tweezers for? Well many of the kits come with stickers, or transfers. You can often find this out by googling the specific kit for more information. Trying to apply these stickers or transfers can be a nightmare, especially given the small nature of many of them. It is definitely easier to use a pair of tweezers to align the stickers or transfers and then smooth them into place.
Thank you for taking the time to read this. If you haven’t already done so please like and follow us on our social media platforms and checkout our website!
I finally have an update on the shop! HMRC have provided the VAT number and EORI number for the company. I have passed on all the new details to the supplier. Hopefully I will be able to use their platform to get stock in very soon.
What happens next?
Once the stock arrives I will be able to add all the details on to the website and ensure everything in there is up to date.
As you can imagine this isn’t something that I am going to rush. I plan on ensuring that the can make the prices as competitive as possible. As well as price checking I will also be measuring all the various box sizes. With this information I can order the correct packaging.
I’ll be honest I don’t have a clue. I want it all to be up as soon as possible so that I can start getting models to people who want them as soon as possible.
Anything else?
I was looking at the various options for postage and there are a few options. It would appear that Royal Mail are competitive with the parcel companies. However, I do need to check on whether those options require VAT adding to them. Some of the Royal Mail options do not, and some do, as delivering the item to you is a “service” according to the way everything works apparently.
I am, however, also planning on providing the option for people to pick up their orders from me directly if they are close enough and would like to do things that way. Postage to me isn’t a way to make a bit extra, it is something that needs to be kept trimmed as close to cost as humanly possible. So if it is cheaper for you to pick an item up, then I say that is a great option.
I ask myself this question all of the time; should I paint my models. I’m sure there are all sorts of views out there in the world, but it is one that I keep coming back to. I thought it would be interesting to explore them here.
What are the options
When asking myself should I paint my models I often cycle back to wondering what the options are. It seems to me that there are a few core options, and then variations on those.
As is
The first obvious option is to just build the model and leave it as is. With the level of detail and the colour separation on the models this still can leave you with an absolutely stunning looking piece. However even within this there can be choices to make; do you want to use the stickers, and do you want to do panel lining. The first model I ever built I used the stickers but that was it. I’ve left it pretty much as is .. purely from a “it is the first one I ever built” nostalgia point of view.
Painting – Airbrush
Another option is to paint the model using an airbrush. This can allow for some amazing detail, and shades and colour transitions. For example this example here is a lovely example. Clean and really stands out. Obviously the biggest barrier here is that to do this properly you do need to invest in some decent kit. Originally you had to have a decent motor and tank so that the airbrush flow would be consistent and not pule paint. However, I have seen some smaller USB charged air pumps reviewed recently that would appear to offer a decent smooth delivery of air. There is no doubt that this is a method that can be used to elevate your models to a whole new level.
Painting – Traditional
My final option is the traditional painting method. Many modellers will have been doing this for years with different brands of paint and different brushes. In my experience many people who start with brushes tend, at some point, to graduate to using airbrushes. However, as with everything there is nothing to say that you have to. There are some absolutely mind blowing artists/modellers out there who don’t go near an airbrush. You can achieve amazing detail and effects, and again elevate the models to an all new level.
Why would I do it?
There are a lot of reasons why you may choose to paint a model. It could be you want to change the look and feel, or it could be that you want to hide a blemish. I, for example, don’t like some of the join lines (especially on anything like a helmet) so I would prefer to fill it, and then paint it to give a smooth finish. As with anything in a hobby you shouldn’t do something just because others are. Always do what you want with your models; as long as your happy with them, and how they look, that is all that is important.
Conclusion
So in conclusion I would say go with what you want to do. Once you have paid your money it is your model, and your time. If you feel that you want to paint them then go for it. If you want to keep it stock out of the box then that is awesome as well. Ultimately I don’t believe anyone should tell you how to have fun, and modelling should be fun. As long as you are enjoying it then you will get the most enjoyment out of. Remember, if you find yourself asking yourself “should I paint my models” then go with what feels right to you.
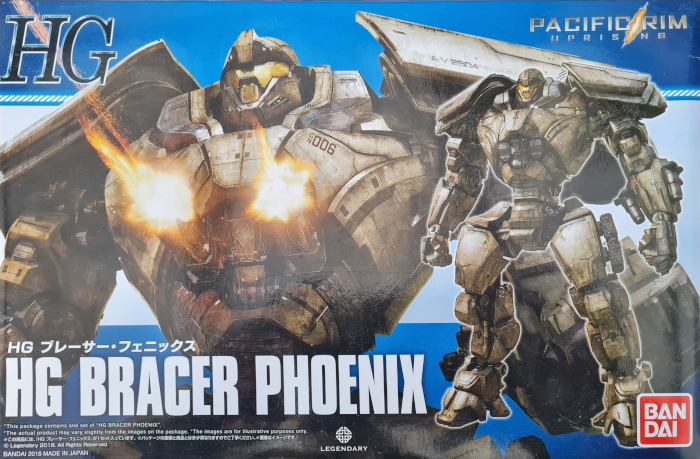
I recently received a HG Bracer Phoenix to build after watching some of the Pacific Rim world / universe anime which left me curious about the models. This review covers the box, what the parts look like, and the subsequent model.
In my previous post I reviewed the HG Obsidian Fury which you can find here.
The Box
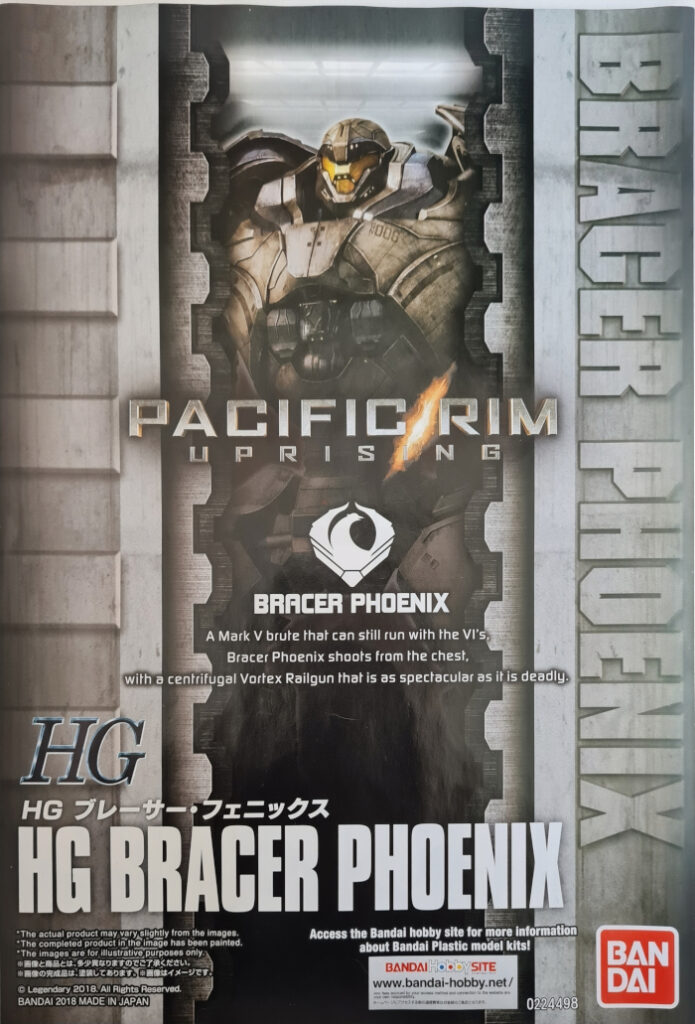
The box for the HG Bracer Phoenix is slightly smaller than the other models I have built; its box dimensions are 19cm by 30cm by 5.5cm tall approximately, and as with all the boxes from Bandai the cover art is evocative of the whole world the model comes from.
HG Bracer Phoenix Box
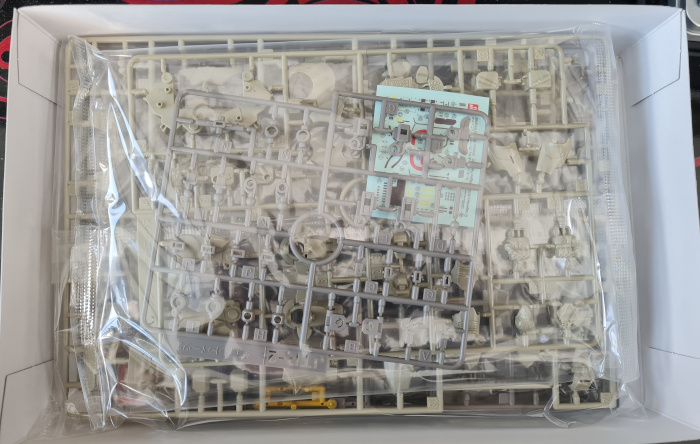
Inside the HG Bracer Phoenix Box
Inside the box there is a small section of stickers and a few plastic wrapped runners. It is worth noting that I didn’t bother with the stickers on this model because I feel that it will ultimately benefit from some painting to make it standout.
HG Bracer Phoenix Box Contents
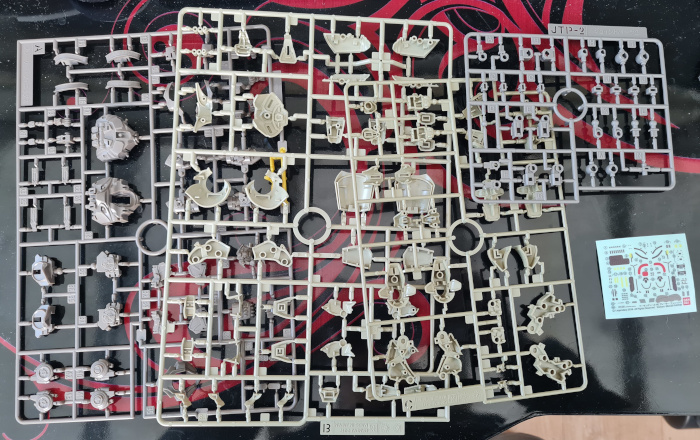
Once unpacked I found the 4 runners along with the stickers. It is worth noting that as with the Obsidian Fury model the JTP-2 sprue had more parts than I needed. As is normal with these kits the runners are labelled (A, B, C, and JTP-2).
HG Bracer Phoenix Sprues
Underneath the runners was also the all important manual. Again this features some stunning artwork and helps add to the feel of the product. The art is also laid out in the same format as the Obsidian Fury front cover.
HG Bracer Phoenix Manual Front Page
HG Obsidian Fury Build
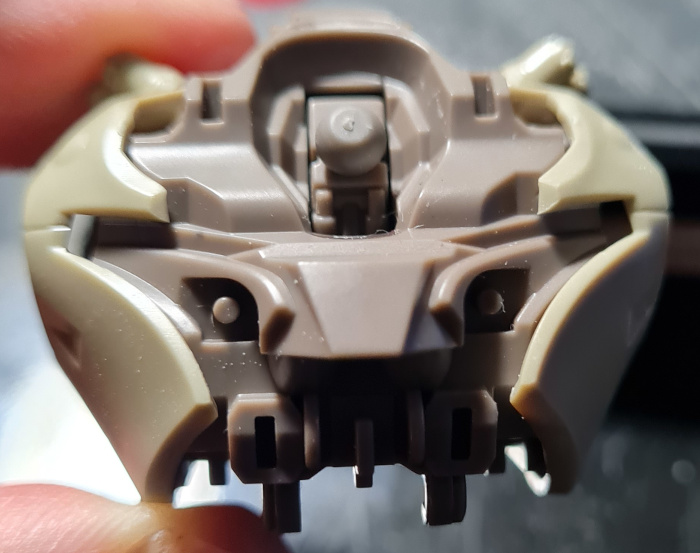
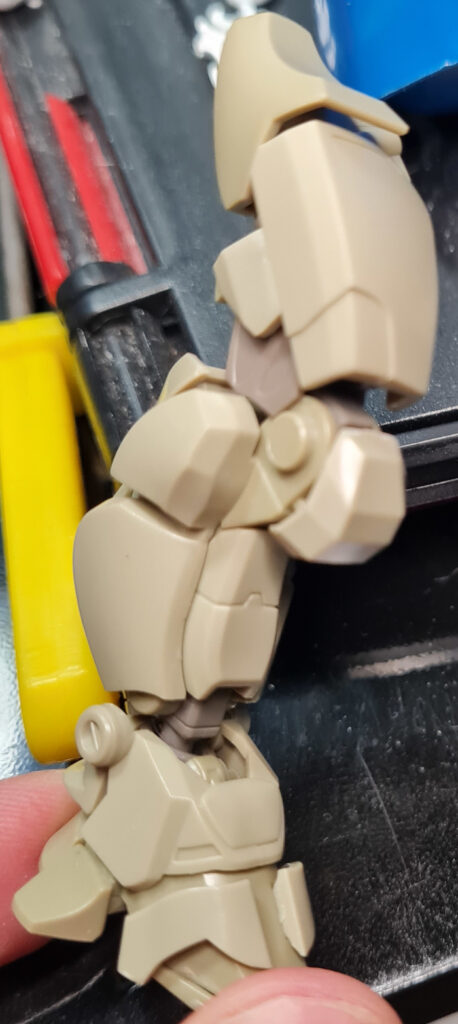
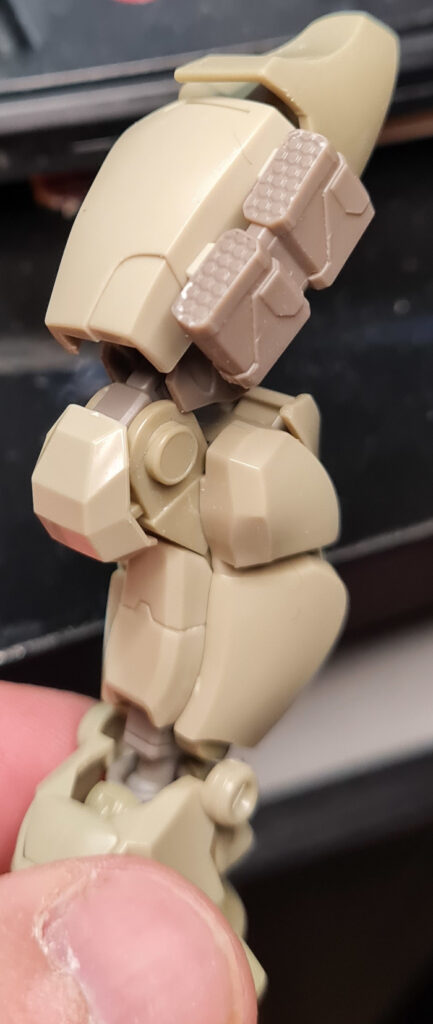
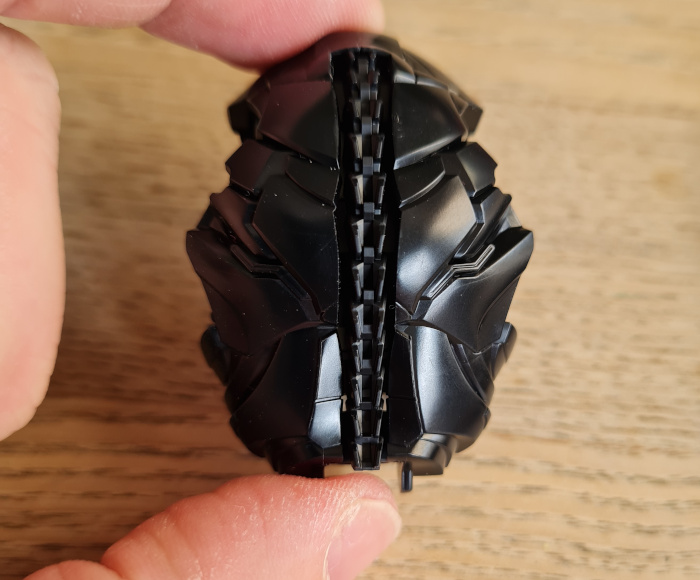
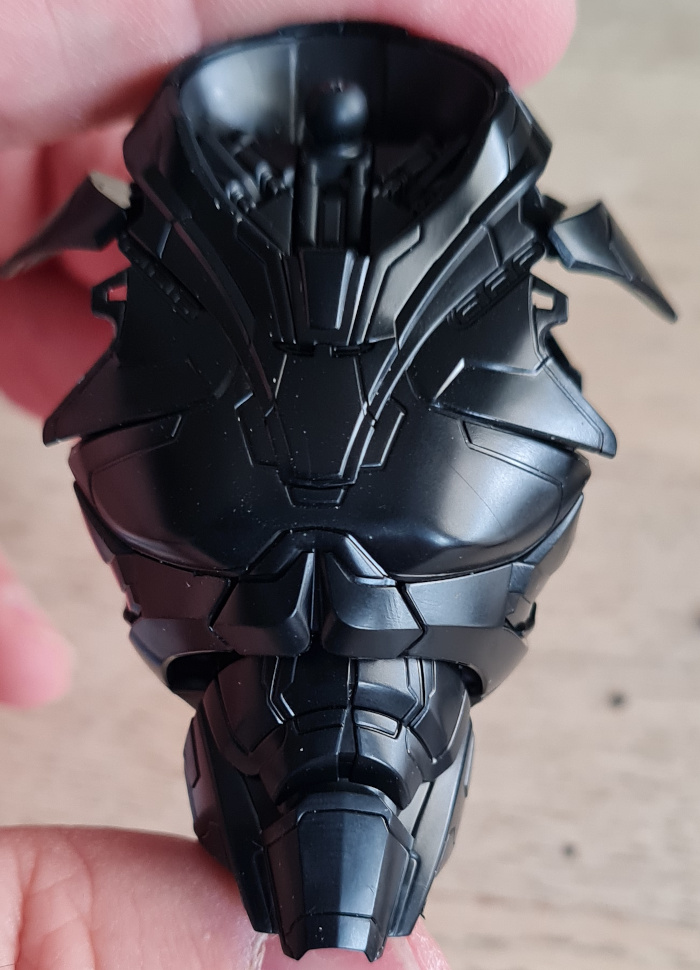
The build itself runs along the same process as building the other HG grade models. Starting with the kits head, I then moved on to the torso, arms, and finally the legs.
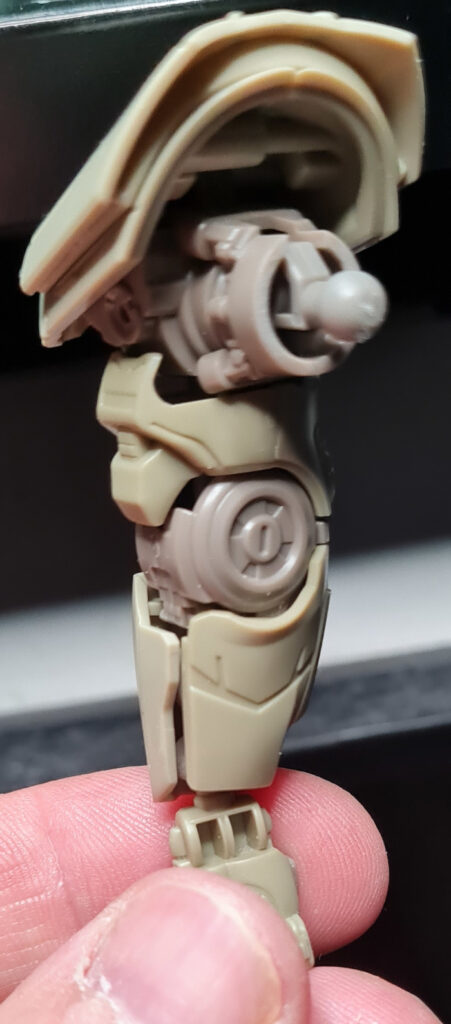
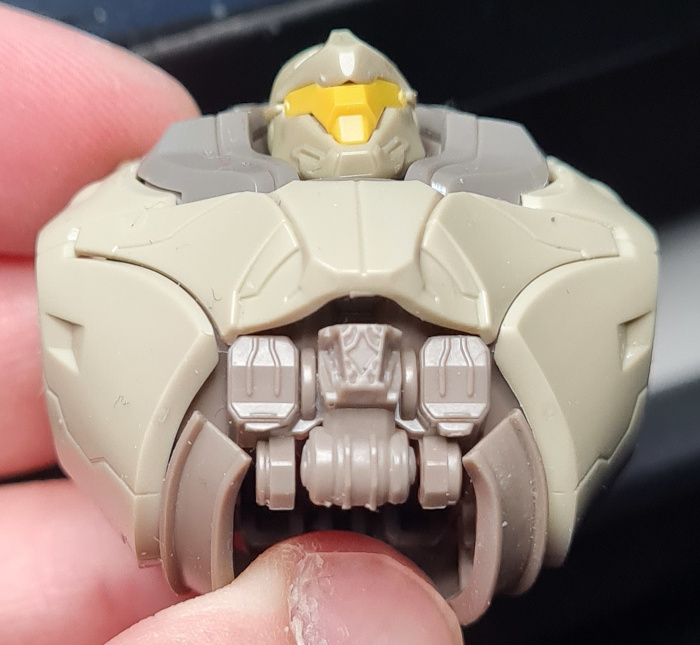
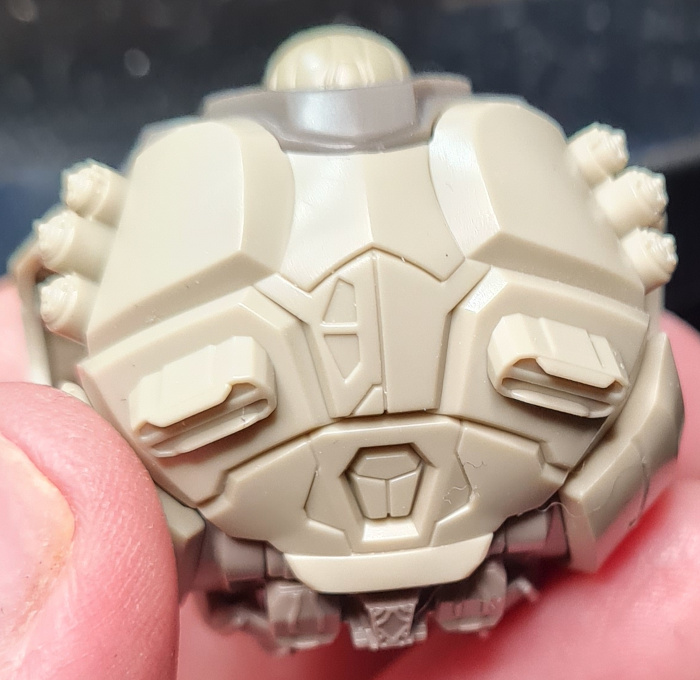
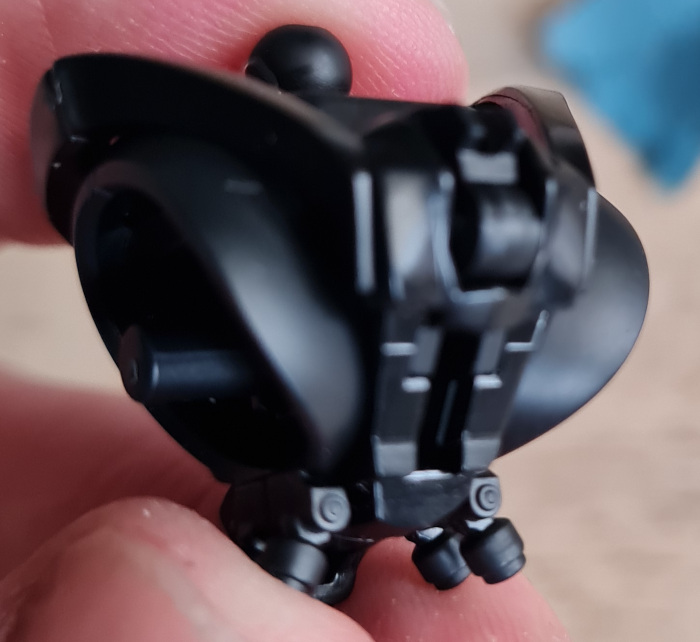
Torso TopRight LegLeft LegRight ArmLeft ArmPelvisTorso and HeadTorso BackHG Bracer Phoenix Parts before final assembly
I found the instructions easy to follow, and used the normal tactics of cut from the runner leaving a small piece, then trimming with a knife. To clean up visible areas where they were cut from the sprue I used 800 grit sandpaper, before finishing it with 3000 grit sandpaper. On the Obsidian Fury build (here) I used 3000 grit only and it took forever. By using the 800 grit first, and being careful, I increased the speed of the build without compromising the quality of finish.
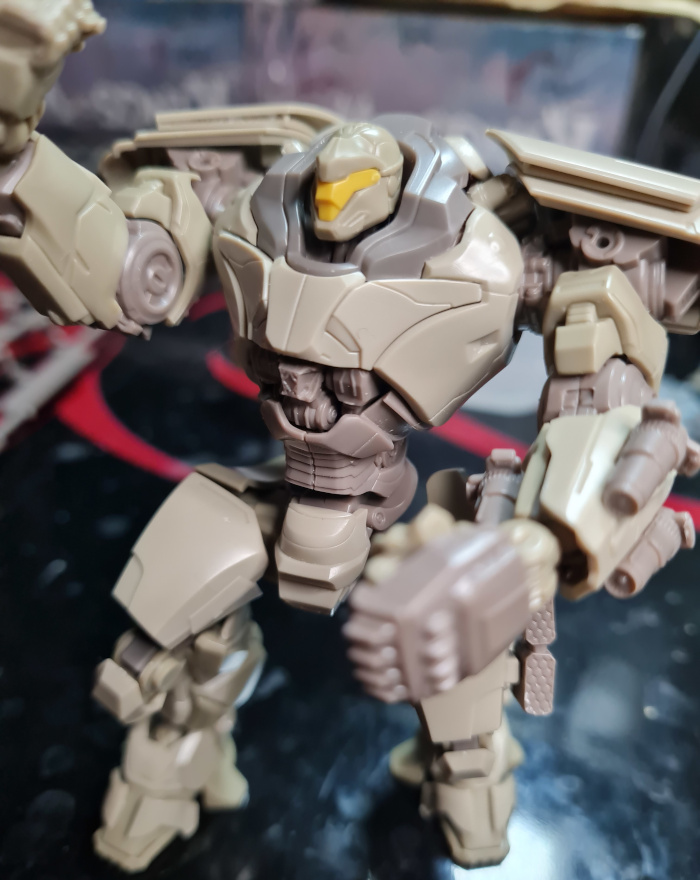
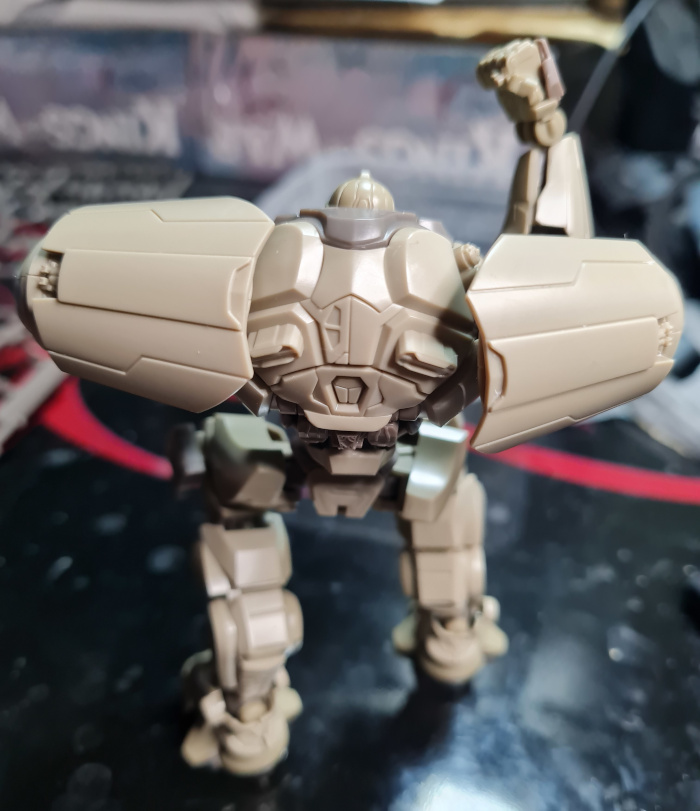
The Final Model
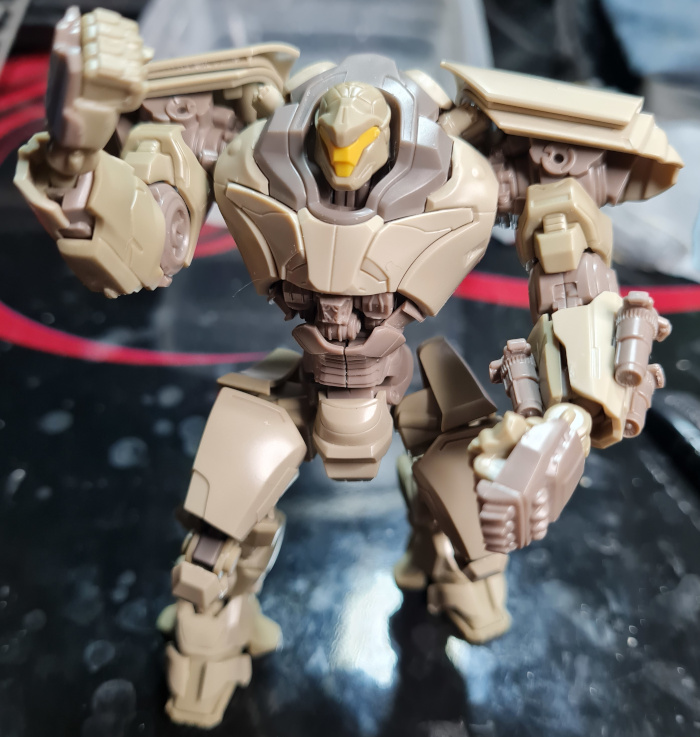
After approximately one and a half days of assembly I finally had the model complete.
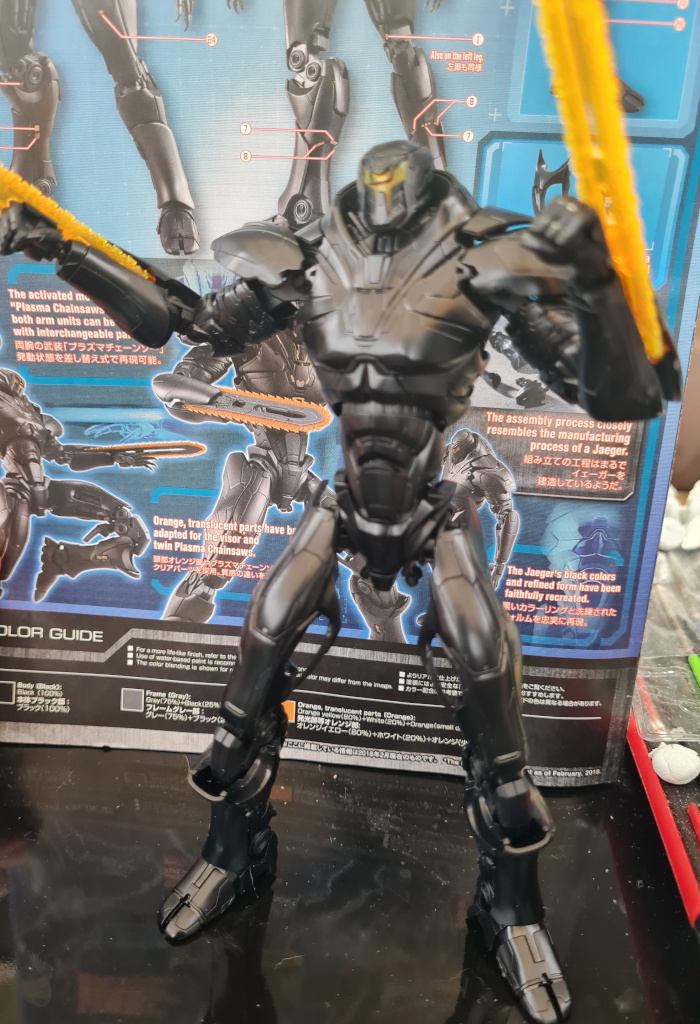
Finished Model FrontFinished Model FrontFinished Model Back
Pros and Cons
I really enjoyed this build. However, a couple of the pieces of the manual could do with more clarity, and I found myself, a couple of times, having to triple check to make sure what I was doing made sense. There is also an odd combination on this model between the smaller sections and the larger armour pieces. The finished model is smaller compared to the other models and with him in a crouch position he comes up to just above the Obsidian Fury’s waist. That said, personally I prefer this model to the Obsidian Fury and for me it feels more sturdy and I like the overall look of the model. I would buy it again, and I would buy it if it was twice the size!
Thanks for reading this HG Bracer Phoenix review. Please check out the other articles on the site, and let us know if there is anything you would like us to cover.
I recently was fortunate enough to receive a HG Obsidian Fury. I was interested in this model after watching some of the anime available around the Pacific Rim world, and decided to write up a HG Obsidian Fury Review.
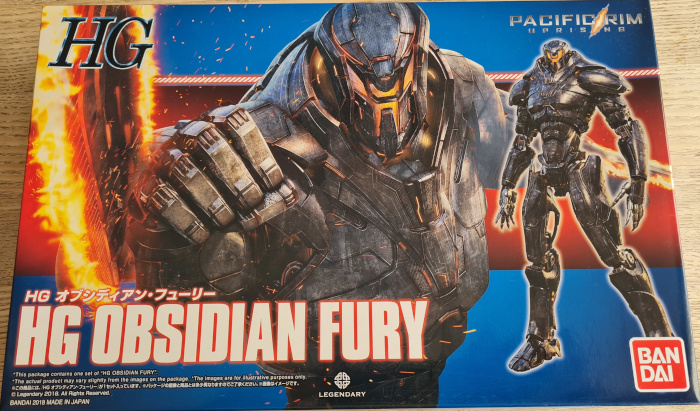
The Box
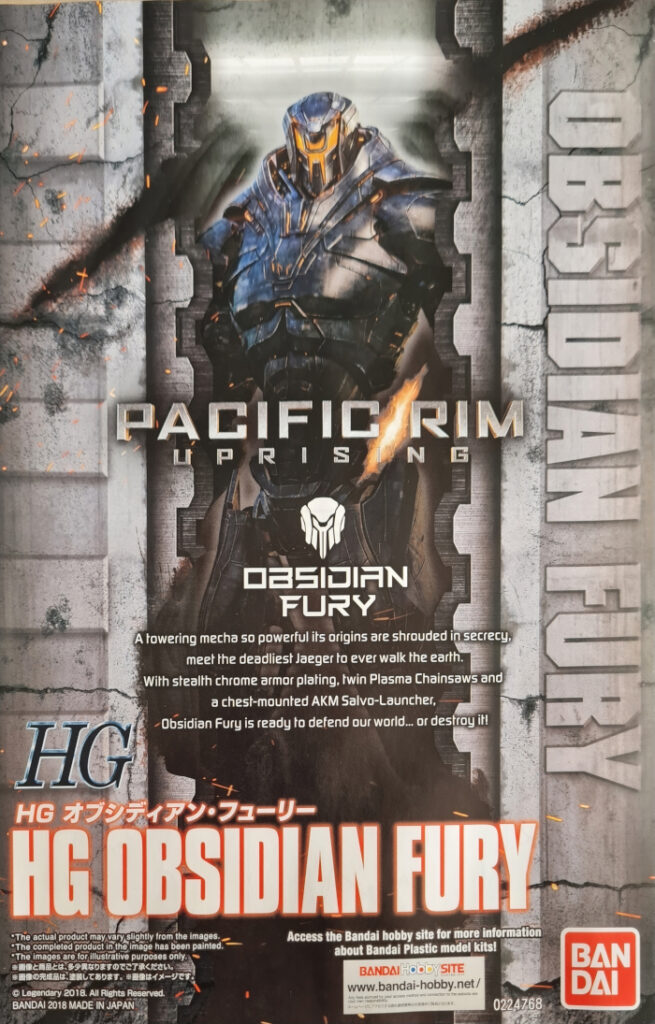
The box for the HG Obsidian Fury is slightly smaller than the other models I have built. The box dimensions are 19cm by 30cm by 5.5cm tall approximately. The art, like with all the boxes from Bandai, is however, evocative of the whole world the model comes from.
HG Obsidian Fury Box Cover
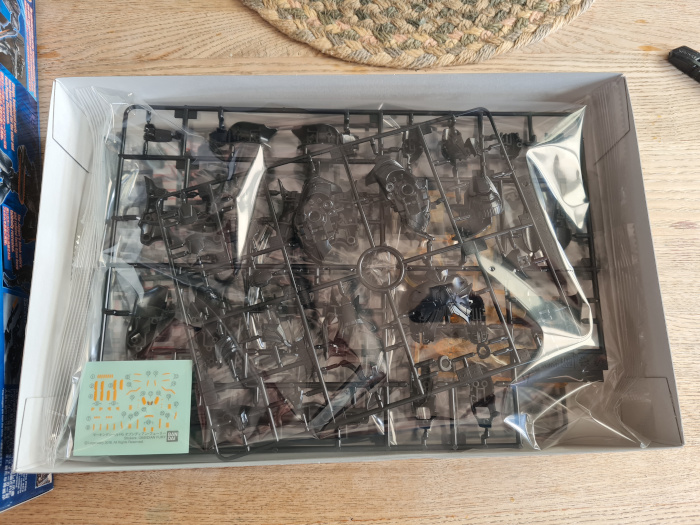
Inside the HG Obsidian Fury Box
Inside the box there is a small section of stickers and a few plastic wrapped runners. It is worth noting that I didn’t bother with the stickers on this model. I feel that it will ultimately benefit from some painting to make it standout.
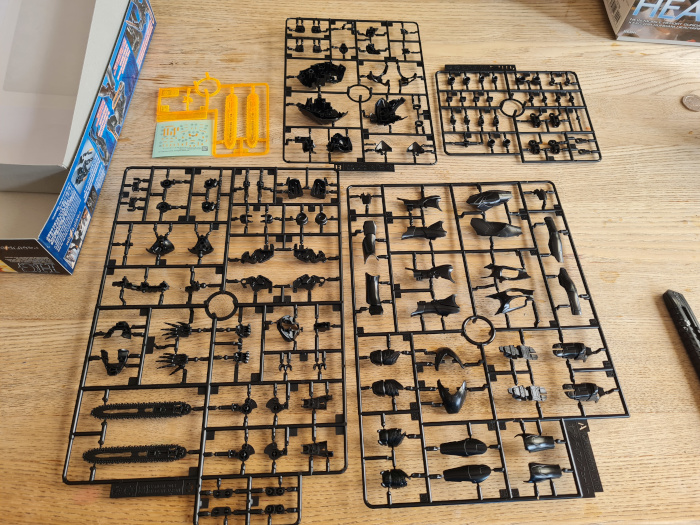
HG Obsidian Fury Box Contents
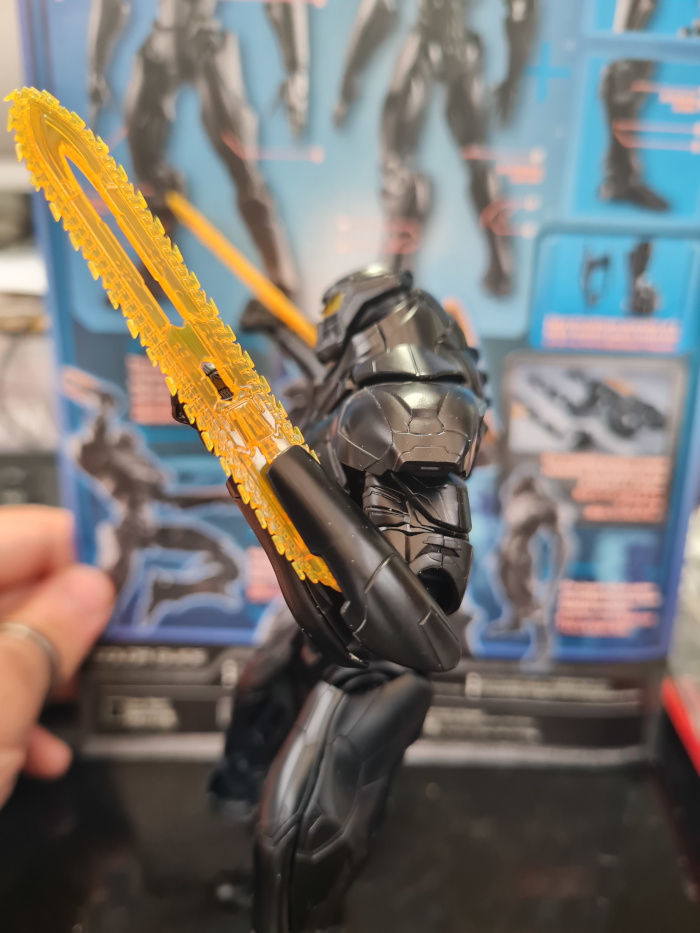
Once unpacked I found the 5 runners along with the stickers. The yellow runner only has a couple of parts and two of those are the plasma chainsaws. As is normal with these kits the runners are labelled (A, B, C, D, and JTP-2).
Underneath the runners was also the all important manual. Again this features some stunning artwork and helps add to the feel of the product.
HG Obsidian Fury Manual Front Page
HG Obsidian Fury Build
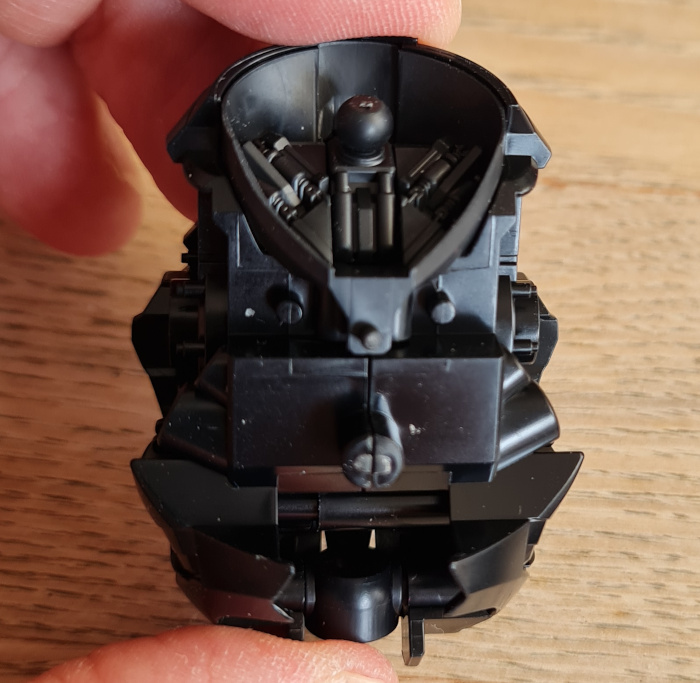
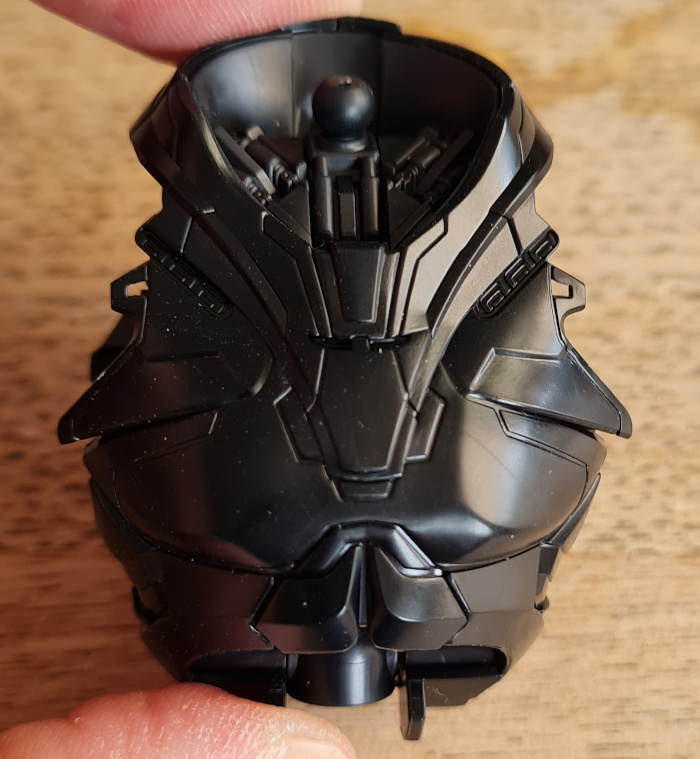
The build itself runs along the same process as building the other HG grade models. Starting with the kits head, I then moved on to the torso, arms, and finally the legs.
Partial TorsoCompleted ChestBack Full TorsoPelvisHead
I found the instructions easy to follow, and used the normal tactics of cut from the runner leaving a small piece, then trimming with a knife. I then used 3000 grit sandpaper to sand down anything left.
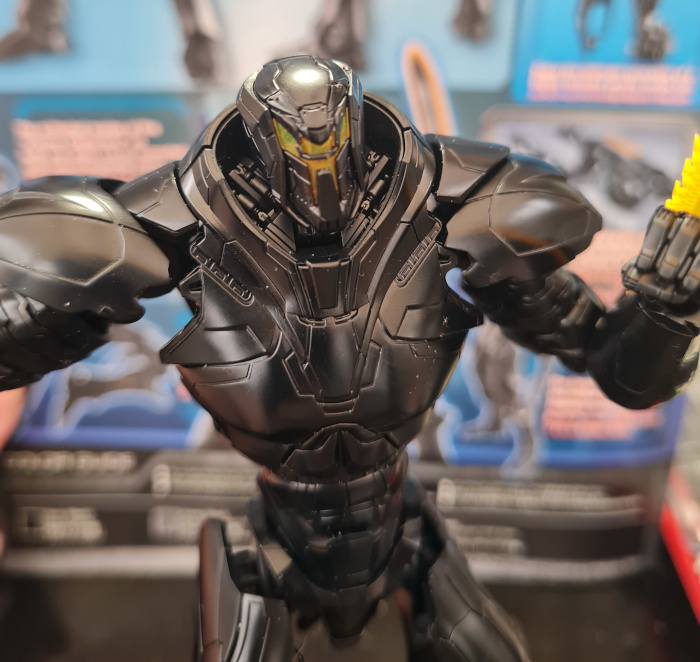
The Final Model
After two days of assembly ( I spent a lot of time on the 3000 grit sandpaper), I finally had the model complete.
Obsidian Fury FrontObsidian Fury SideCloseup
Pros and Cons
I’ll start with the bits I don’t like about the model. I found the model feels less sturdy and stable than the other Gundam models I have built. It feels more awkward to pose and is nearly entirely reliant on the stickers to add colour to the model. However that said I love the look of the model, and I think with some airbrushing it will help it pop. Would I buy the model again…absolutely! Despite the bits I am not too keen on, I love how different it looks, and the general style.
Thanks for reading this HG Obsidian Fury review. Please check out the other articles on the site, and let us know if there is anything you would like us to cover.
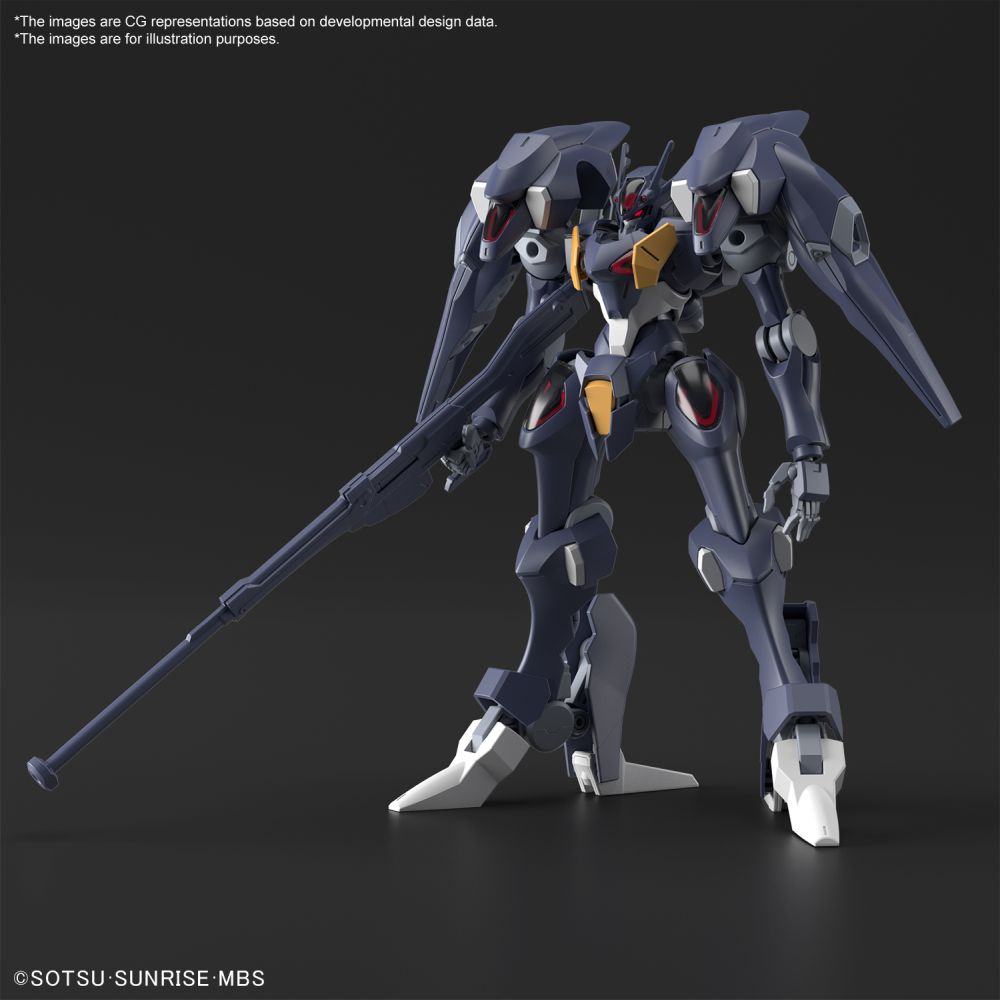
Bandai are due to release the Gundam HG Pharact model towards the end of this year. Certainly the renders of the model (as seen below) look absolutely stunning. At the moment there appears to be only a little information available about the model. However, below is what we do know so far.
HG 1/144 Gundam Pharact
HG PHARACT Shipping Date
The most recent update for European shipping has an estimated arrival date of January 2023. Obviously this could slip due to the global shipping / transport conditions but that is the estimate at the moment.
Estimated Cost
At the moment it is looking like the RRP for the model in the UK should be around the £20 price range. However most retailers (ourselves if we are fortunate to get them in stock will likely have them at slightly less.
This is just a brief shop update to keep everyone in the loop. Everything is currently setup except for the VAT number and EORI number. I have, unfortunately, no control over this. I have to wait until HMRC have completed their checks and issued the ID. As soon as I have that I can put an order in for stock. So if there is anything you are interested in me looking to order in please let me know.
However, that doesn’t mean I have been sitting back and doing nothing while prepping to provide the shop update! On top of making sure the shop is configured and ready to accept the products. I have also tested the email integration and been working on social media accounts. I will update more on those once we get posting.
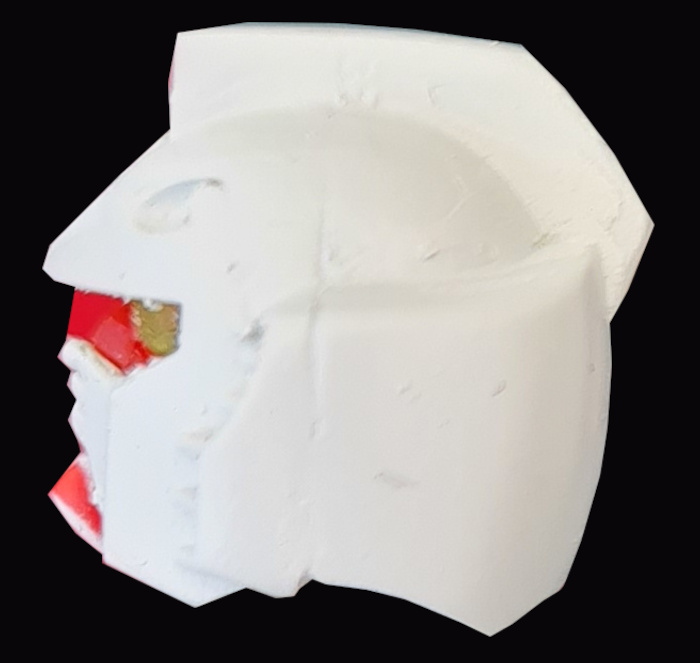
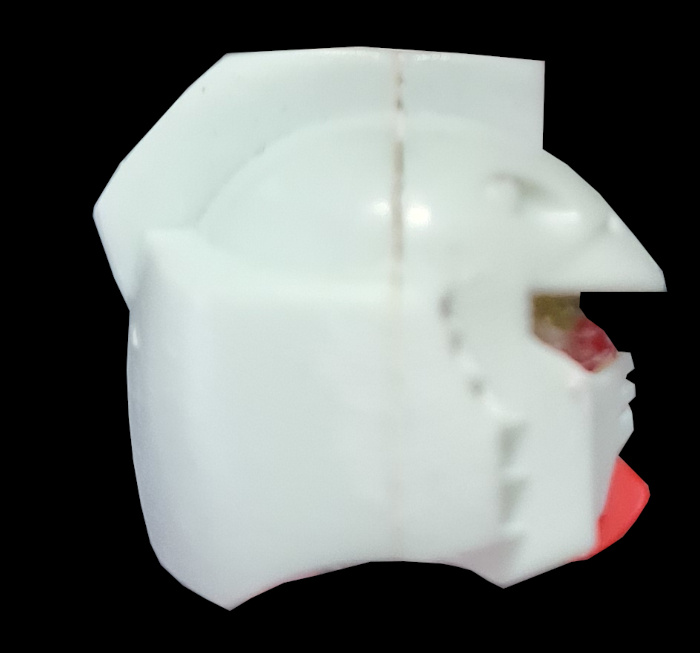
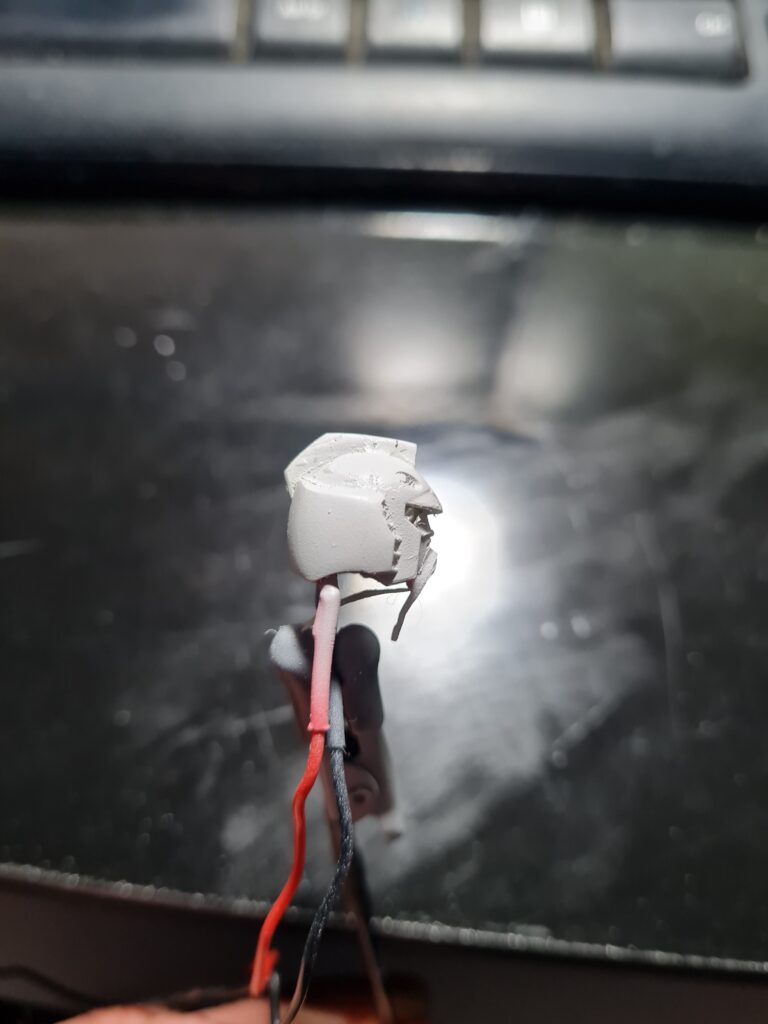
In the meantime feel free to checkout RX-78-2 Head Prep where I go through the process I went through in prepping my RX-78-2 Gundam head for making the join line disappear. It looked like the image below before I did the work on it!
Head before cleaning
I will keep everyone updated as I learn more. Thanks everyone for your patience, and here is hoping we can build a great portal to let you purchase the models you want at prices that are as pocket friendly as possible.
Before I could detail the process I use to remove / hide join lines I needed to take my RX-78-2 head and prep it. I had already worked on it previously so some clean-up was in order.
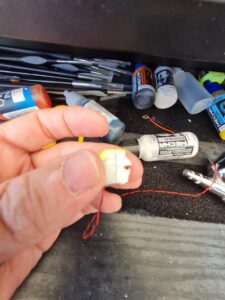
Tools
First I gathered all the tools I was going to need.
Cotton tips
Nitrile gloves
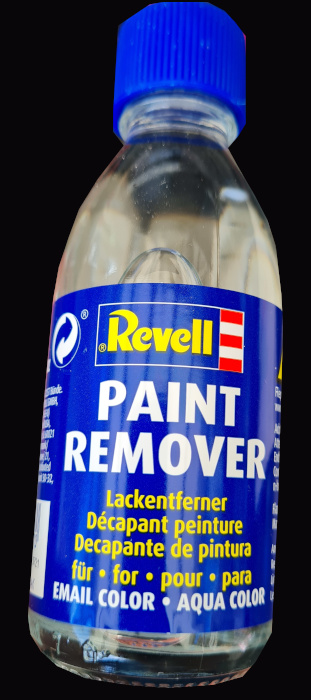
Paint remover
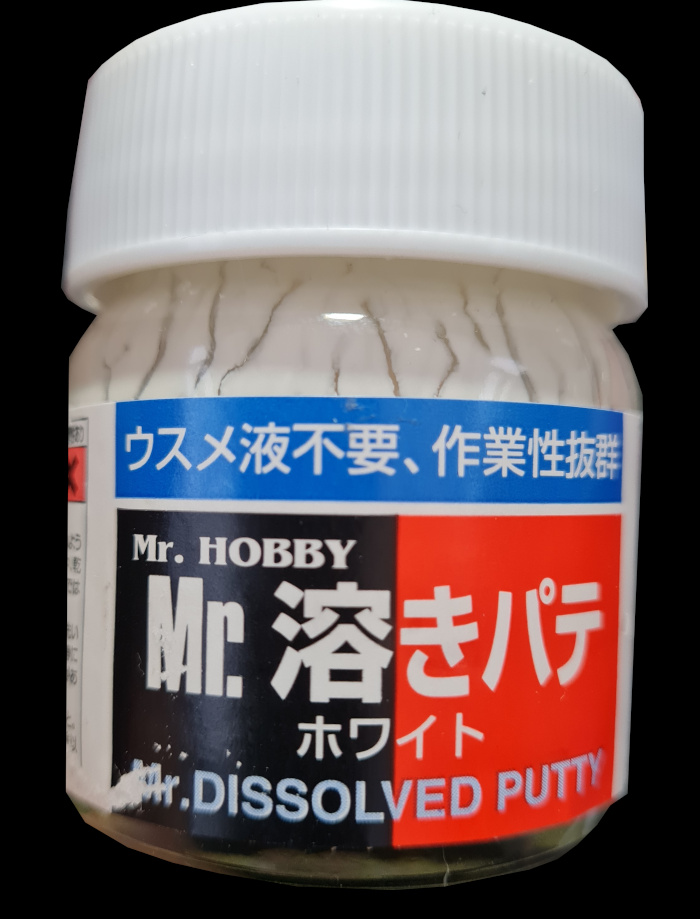
Dissolved putty
RX-78-2 Head Before Cleaning
Before I started here is what the head looked like prior to cleaning
Head before cleaning facing left
Head before cleaning facing right
RX-78-2 Head Cleaning Method
Step 1 – Put on the gloves 😀
Step 2 – Lay down a piece of tissue paper. This is important for while you are cleaning.
Step 3 – Dip the tip of one of the cotton tips into the paint remover and apply it to the head in a circular motion on a small section.
Step 4 – Repeat step 3 until the paint begins to lift / bunch up into globs.
Step 5 – Clean / dry the head with the tissue paper.
Step 6 – Repeat steps 3 – 5 until the head is clean, moving to new sections as one area becomes clean.
Once completed the head looked like this:
Clean Head
Next time
In my next post I will detail adding the putty to the head, sanding down, and finally adding the undercoat.
After watching many different videos, I decided I wanted to try customising my RX-78-2 Gundam. Or more accurately my HGUC RX-78-2 Gundam – E.F.S.F. Prototype Close-Combat Mobile suit.
I planned on using this as a test bed for multiple types of customisation’s. This included:
Lighting
Gap Filling
Airbrushing / Painting
This project has been delayed by me breaking a couple of pieces of the model. This occurred while taking the model apart multiple times. I am writing a blog post about that whole experience (replacing parts) but that will be completed once I have managed to reach a satisfactory conclusion.
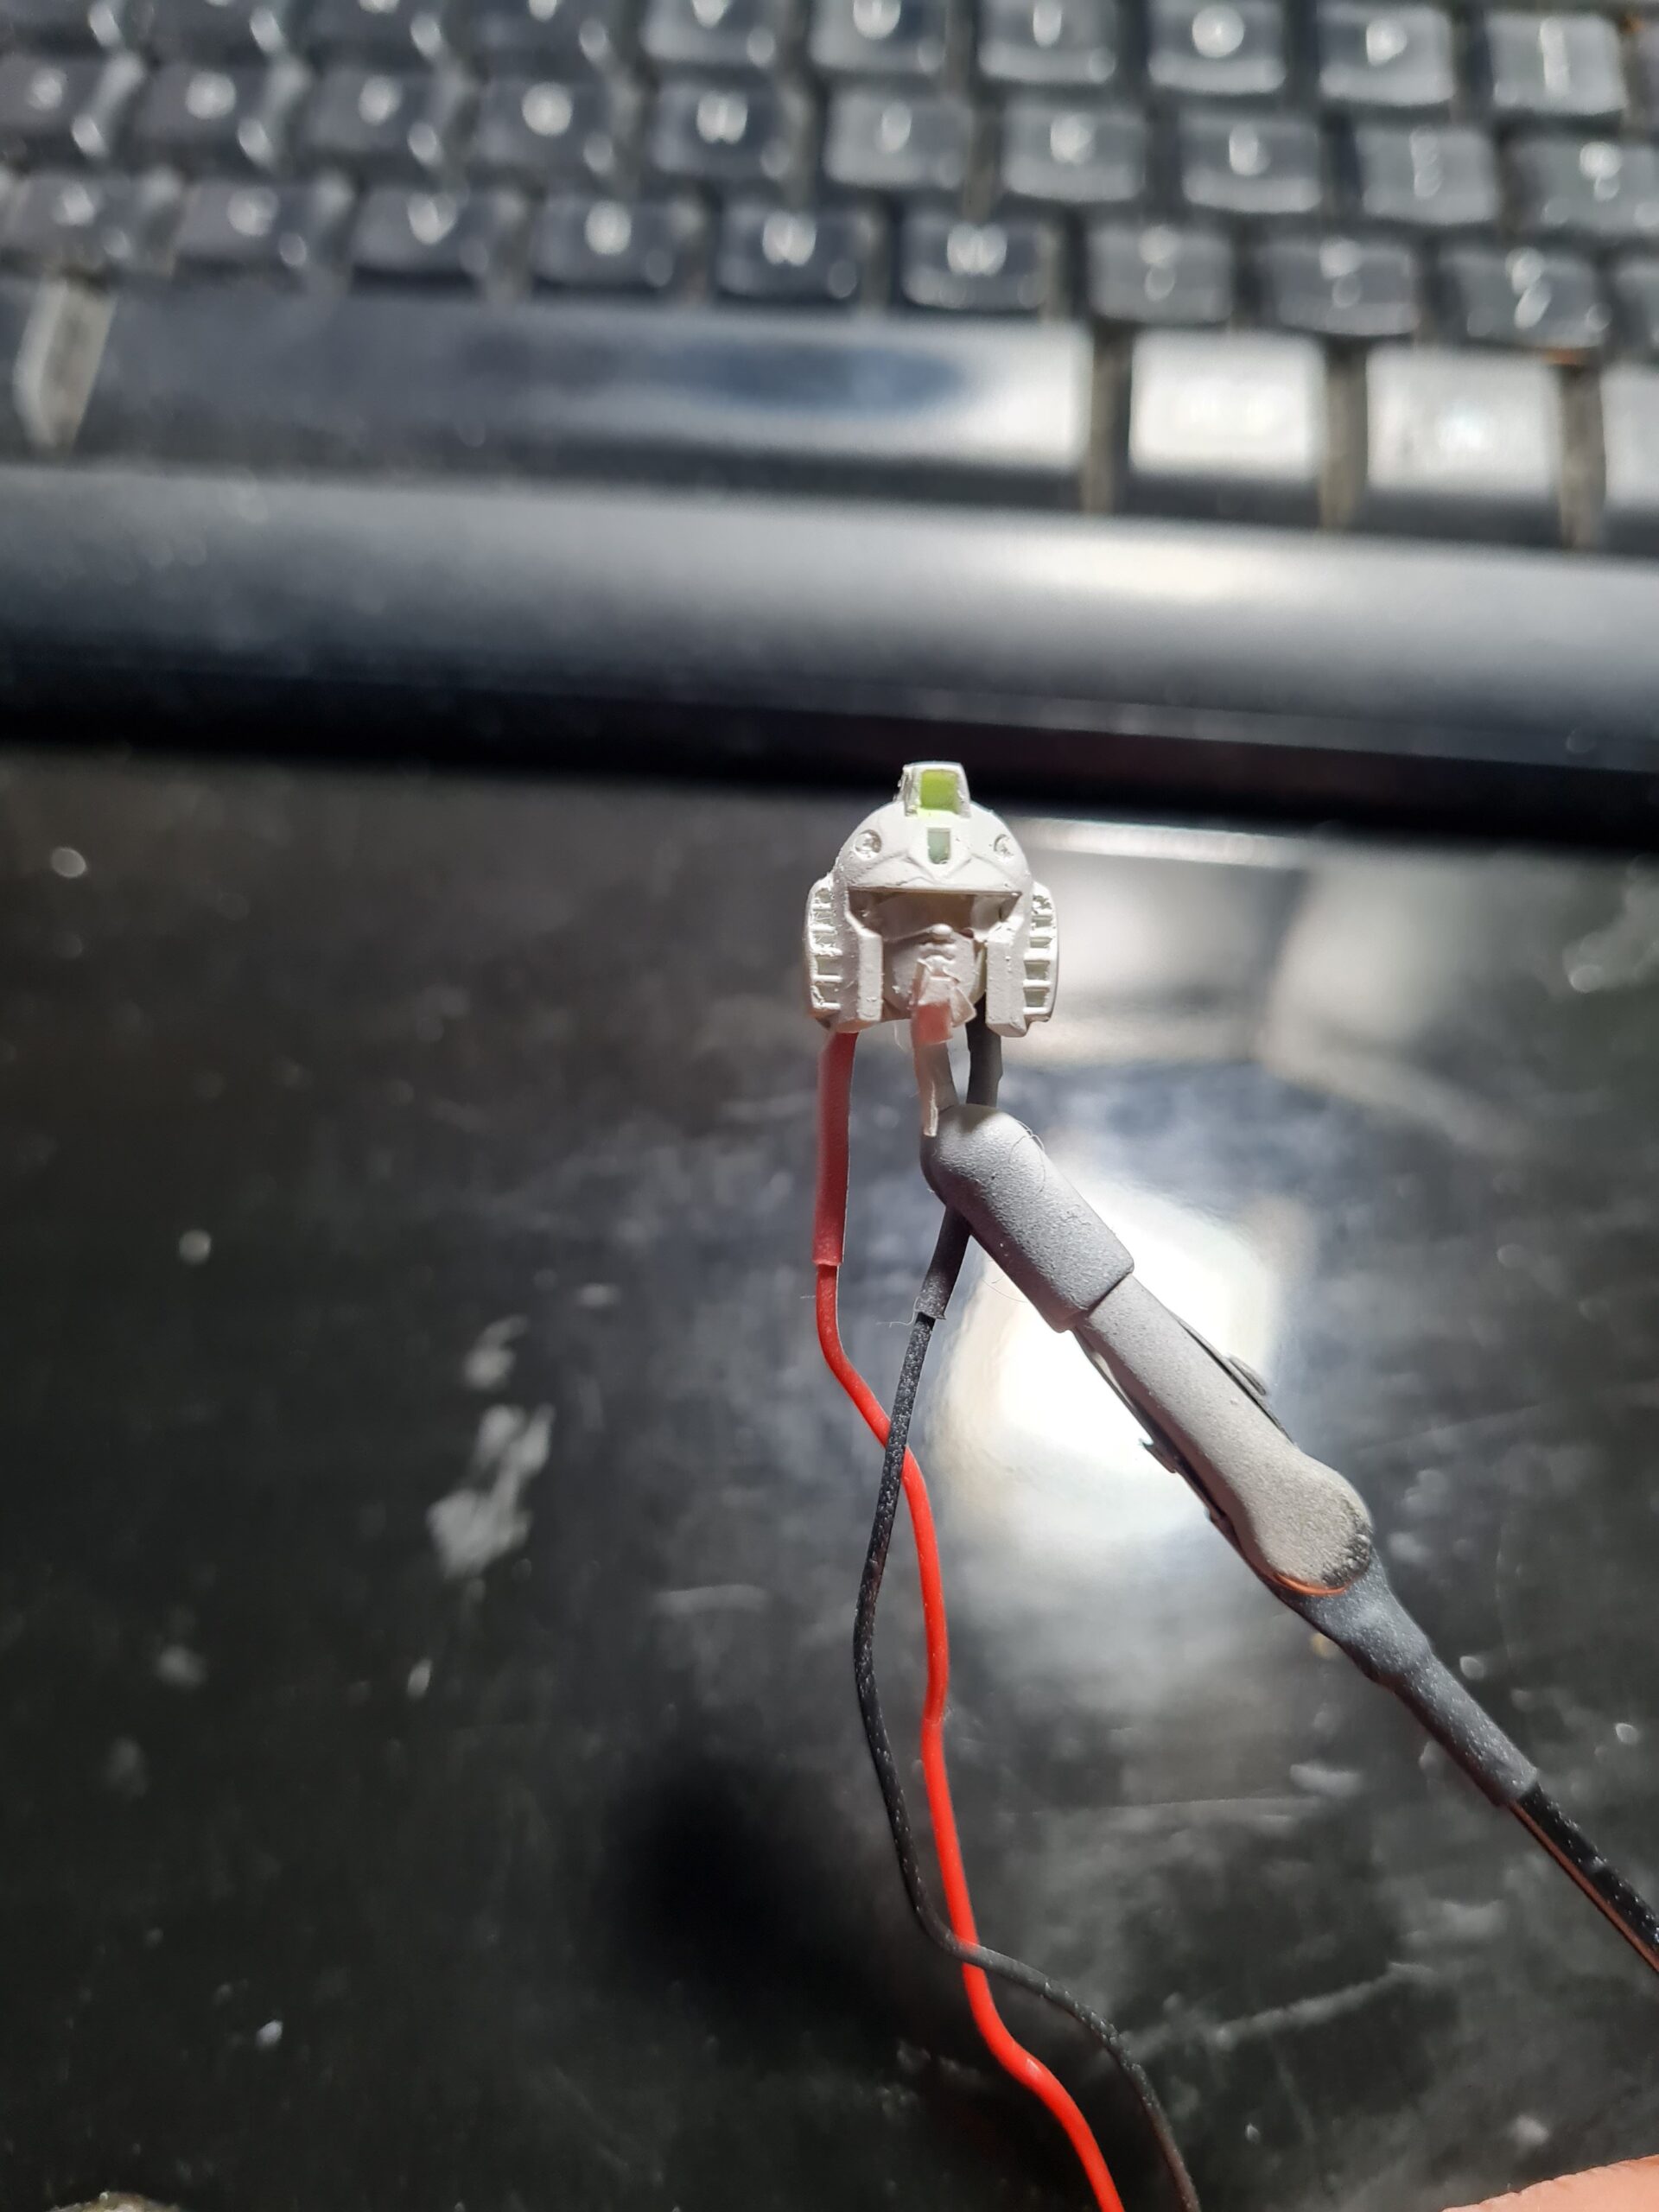
Customising – Lighting
I will go into more detail on lighting in a later post. However I have tried multiple different LED sources, and different voltages. I will go into the details in a separate post as they are worthy of a post on their own. I will say that I have used small scale lights website to order leds and the service has been fantastic.
Customising – Gap Filling
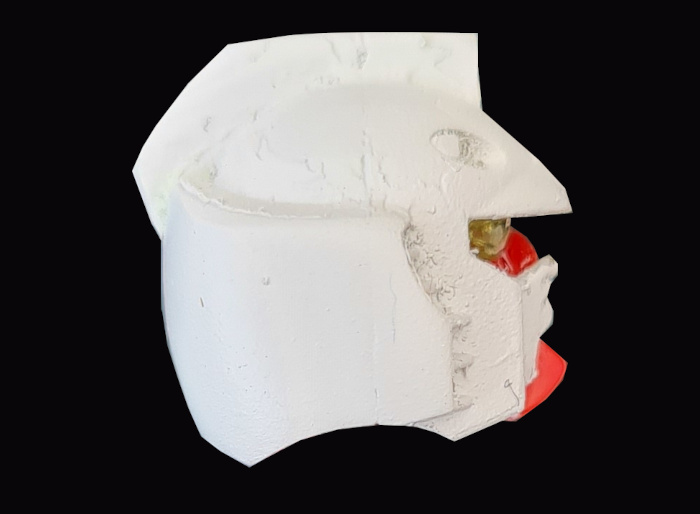
I decided to use Mr Hobby Mr. Dissolved Putty for filling the gaps. Again I will do a full post with pictures covering the whole process. Before filling the head has an obvious join/gap running up both sides and over the top.
RX-78-2 Head with Gap
After filling the gap and sanding down there is still a clear line. I use my fingernail to run across the line to feel for any indentation or raised parts; if there are any then I continue to sand. Once I’m happy I move on to painting / airbrushing.
Customising – Airbrushing / Painting
The aim of airbrushing the model for me is to gain a greater control over the look of the final model. I have seen fantastic work done with weathering and other paint effects and want to explore the options available to me. However, the first test was to see if airbrushing over the head would remove the join mark.
Painted RX-78-2 Gundam Head
I was fairly happy with the result, certainly the join mark (to me) is invisible. However, I do need to clean the head up and give it another coat to make it a lot cleaner.
Customising – Conclusion
I am happy with the results that can be achieved with a few tools and a little patience, and aim to do a more thorough walk through of the prep, and painting of the head, to make it clearer as to all the steps taken to achieve that result. I definitely think if nothing else the time taken to hide any visible joins is well worth it.
After much debating I decided that gundam.co.uk store should have the ability to purchase models. Initially I am in the process of trying to put together the necessary contacts to import the models. Once that is in order I can make them available to everyone in the UK at competitive prices.
I want to ensure that the gundam.co.uk store provides everyone who loves the hobby the ability to purchase or request the models they want to buy.
If things work out I will have everything put together as soon as possible. However, as you can imagine as a new venture there are a lot of things I need to consider. My plan is to put everything in place, so that once I start listing items you will have minimal delay from ordering to the goods arriving.
Can you help?
I am open to suggestions or queries on items people would like to be able to buy. That can be anything from what would be the best price for something, to an item they just can’t source.
I haven’t advertised or really put this out there yet, I want to wait till I have everything sorted. If, however, you stumble across my blog in these early days please feel free to let people know.
I realise this is a fairly short update but at the moment everything really is in the early stages. As soon as I hear more then I will update everyone.
While I wait for this to get sorted, why not check out my post on where to start here.
There is also found this awesome wiki that you can read through which is packed with information.
I want to ensure that I stock the items that you want, so feel free to drop me an email at [email protected] and I will see what I can sort once everything is in place.
We use cookies on our website to give you the most relevant experience by remembering your preferences and repeat visits. By clicking “Accept All”, you consent to the use of ALL the cookies. However, you may visit "Cookie Settings" to provide a controlled consent.
This website uses cookies to improve your experience while you navigate through the website. Out of these, the cookies that are categorized as necessary are stored on your browser as they are essential for the working of basic functionalities of the website. We also use third-party cookies that help us analyze and understand how you use this website. These cookies will be stored in your browser only with your consent. You also have the option to opt-out of these cookies. But opting out of some of these cookies may affect your browsing experience.
Necessary cookies are absolutely essential for the website to function properly. These cookies ensure basic functionalities and security features of the website, anonymously.
Cookie
Duration
Description
cookielawinfo-checkbox-analytics
11 months
This cookie is set by GDPR Cookie Consent plugin. The cookie is used to store the user consent for the cookies in the category "Analytics".
cookielawinfo-checkbox-functional
11 months
The cookie is set by GDPR cookie consent to record the user consent for the cookies in the category "Functional".
cookielawinfo-checkbox-necessary
11 months
This cookie is set by GDPR Cookie Consent plugin. The cookies is used to store the user consent for the cookies in the category "Necessary".
cookielawinfo-checkbox-others
11 months
This cookie is set by GDPR Cookie Consent plugin. The cookie is used to store the user consent for the cookies in the category "Other.
cookielawinfo-checkbox-performance
11 months
This cookie is set by GDPR Cookie Consent plugin. The cookie is used to store the user consent for the cookies in the category "Performance".
viewed_cookie_policy
11 months
The cookie is set by the GDPR Cookie Consent plugin and is used to store whether or not user has consented to the use of cookies. It does not store any personal data.
Functional cookies help to perform certain functionalities like sharing the content of the website on social media platforms, collect feedbacks, and other third-party features.
Performance cookies are used to understand and analyze the key performance indexes of the website which helps in delivering a better user experience for the visitors.
Analytical cookies are used to understand how visitors interact with the website. These cookies help provide information on metrics the number of visitors, bounce rate, traffic source, etc.
Advertisement cookies are used to provide visitors with relevant ads and marketing campaigns. These cookies track visitors across websites and collect information to provide customized ads.