Introduction
In this piece I will go over the basics of what to do once you have got the parts off the sprue. Note this is very basic and very much from my point of view. I am totally open to any feedback and suggestions that people may have on either improving this technique or any other techniques.
What is a nub?
I think that is a valid question, so thank you for asking! If you are new to the hobby or to model building in general a nub is a small piece of plastic/resin/material that is left attached to the part, after you have cut it free from the runner/sprue. So for example if you have a look at the following image:
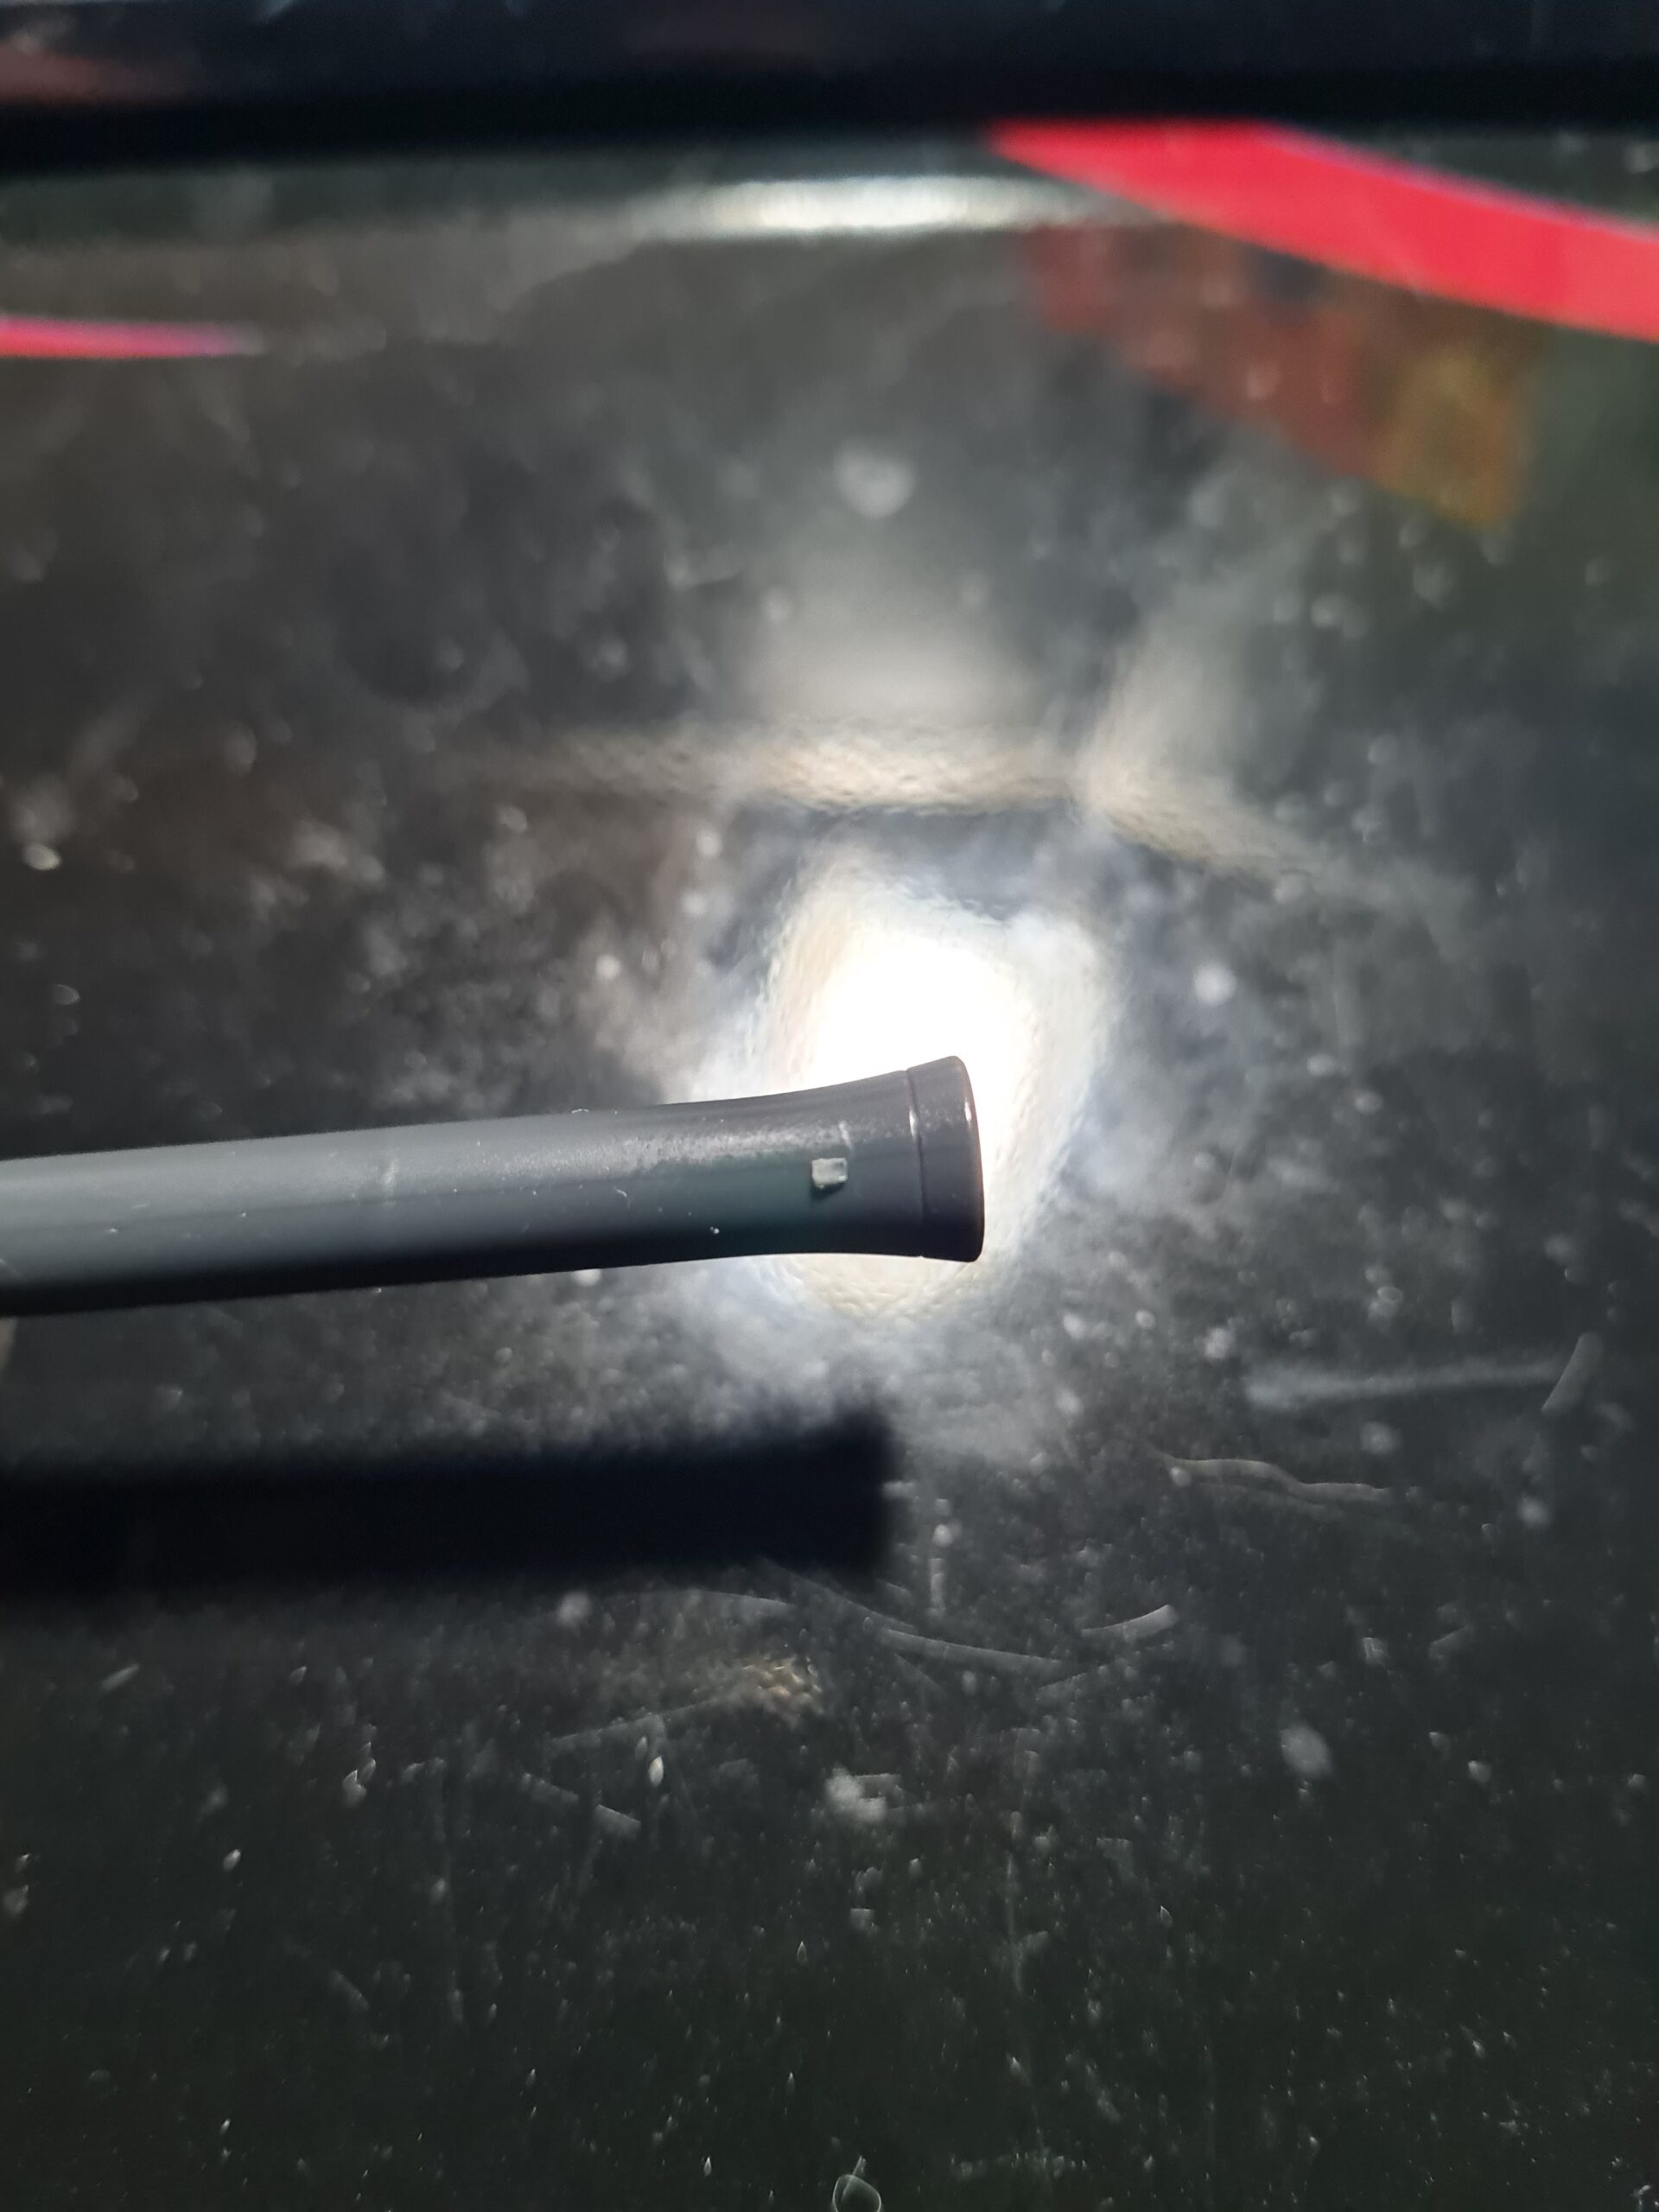
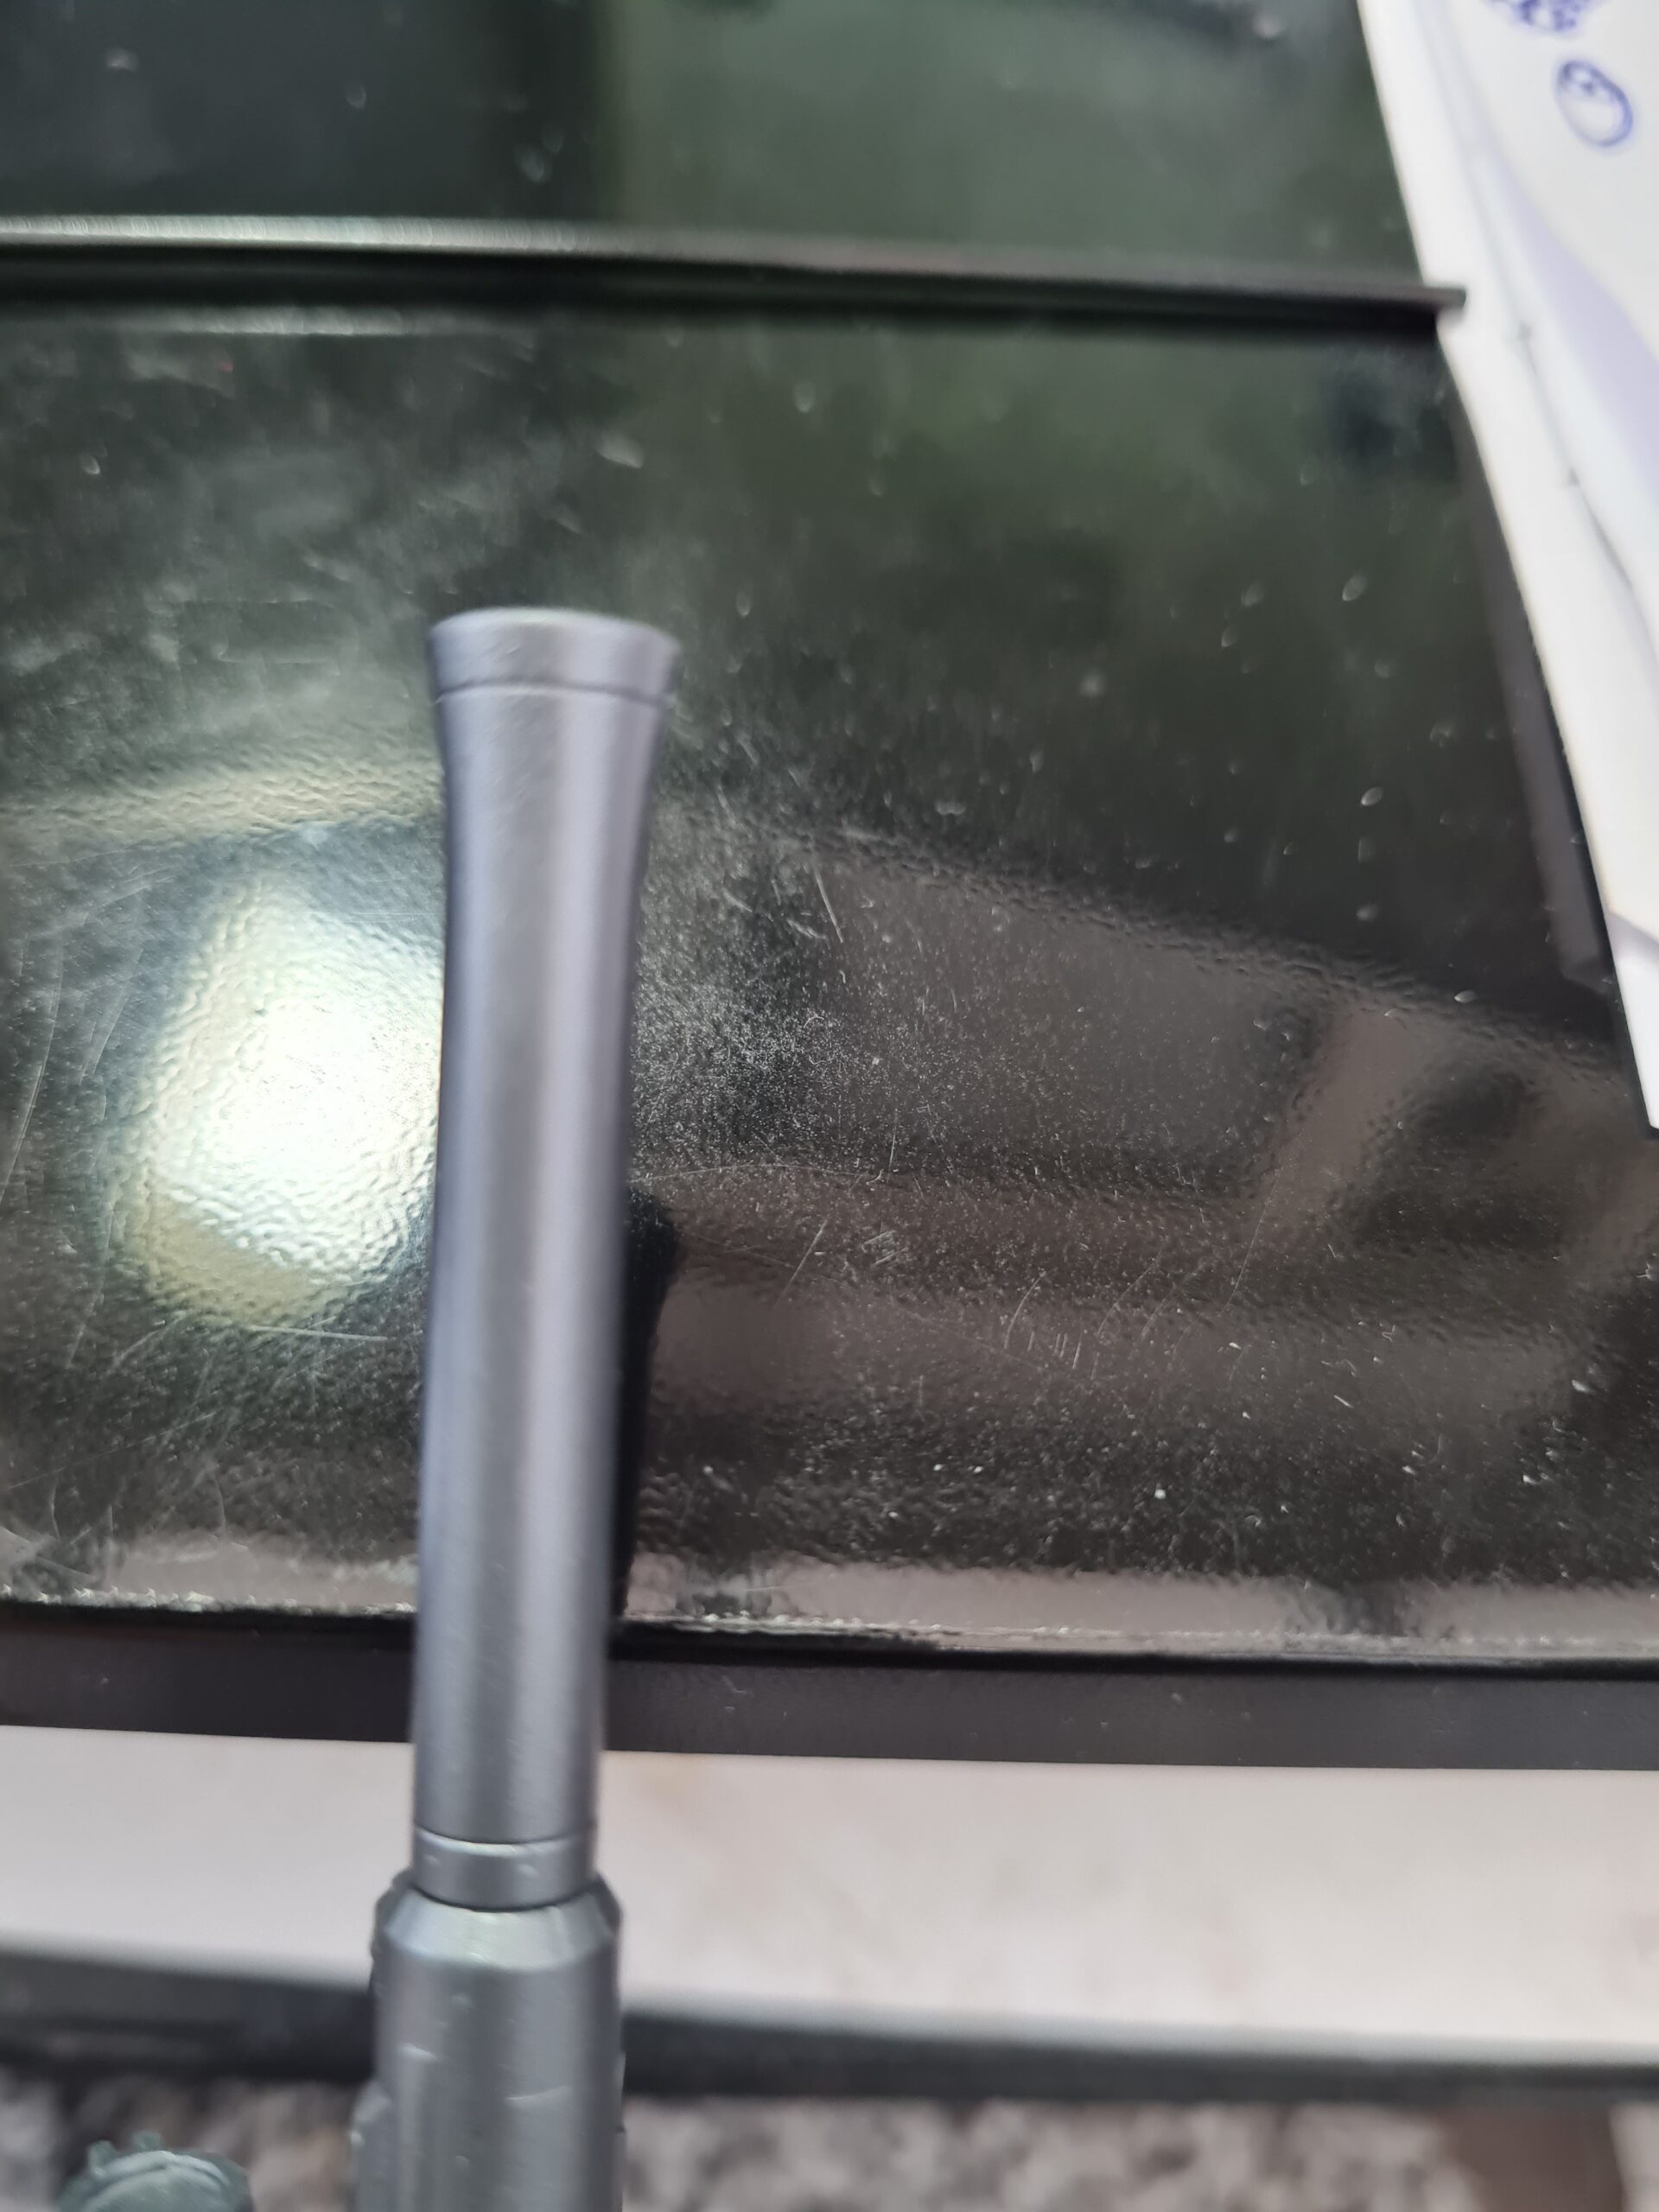
The above image is the MS-06F ZAKU II bazooka. As you can see near the end there is a piece piece jutting out from the main barrel of the weapon. Generally speaking to remove the part from the runner you would make a cut in the piece connecting the part to the runner but not to close to the part. This should minimise plastic stress. You then trim this with either a second cut, and/or trim with a hobby knife. Finally you can optionally file with some form of sandpaper or sanding stick (like these in our store).
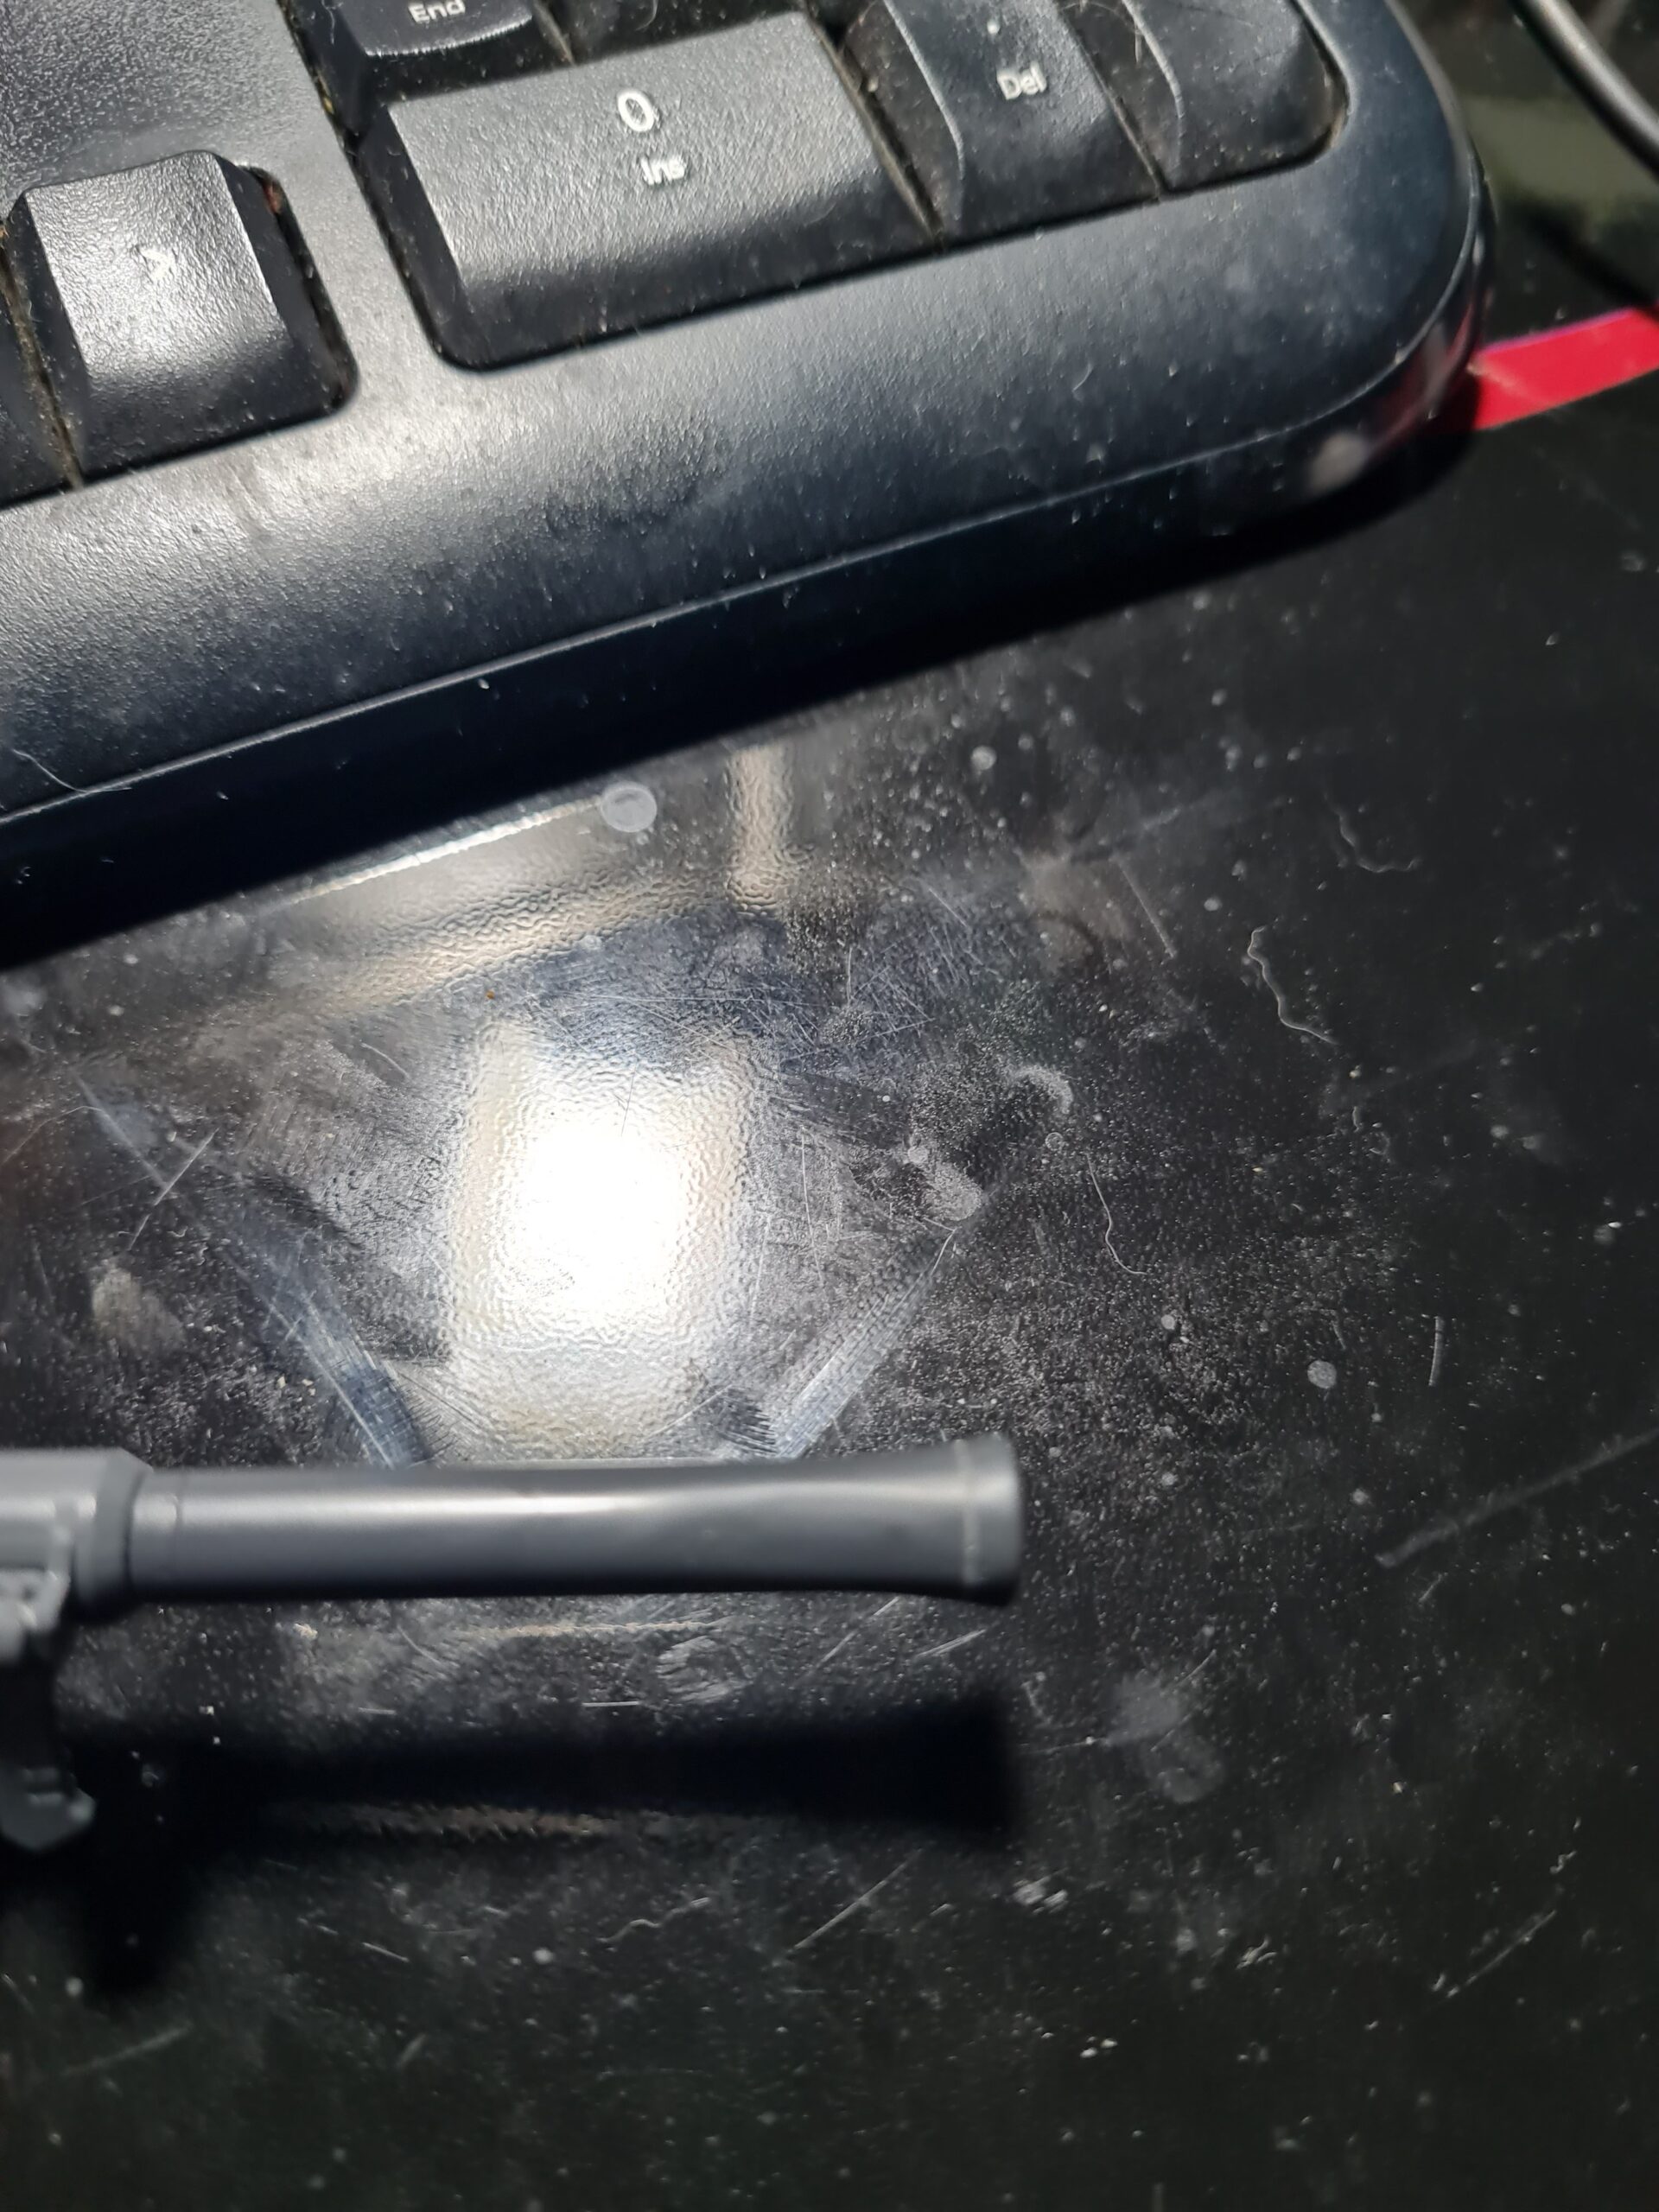
Post sanding
After the clean-up the art will look similar to this:
After I had done my first round of cleaning up the nub there was a small dark patch. I wasn’t happy with this so I went in for a second round of sanding. I tend to use a combination of 600 grit sandpaper and 2500 grit sandpaper, predominantly because I already had it to hand. After the second clean-up the bazooka was looking like this:
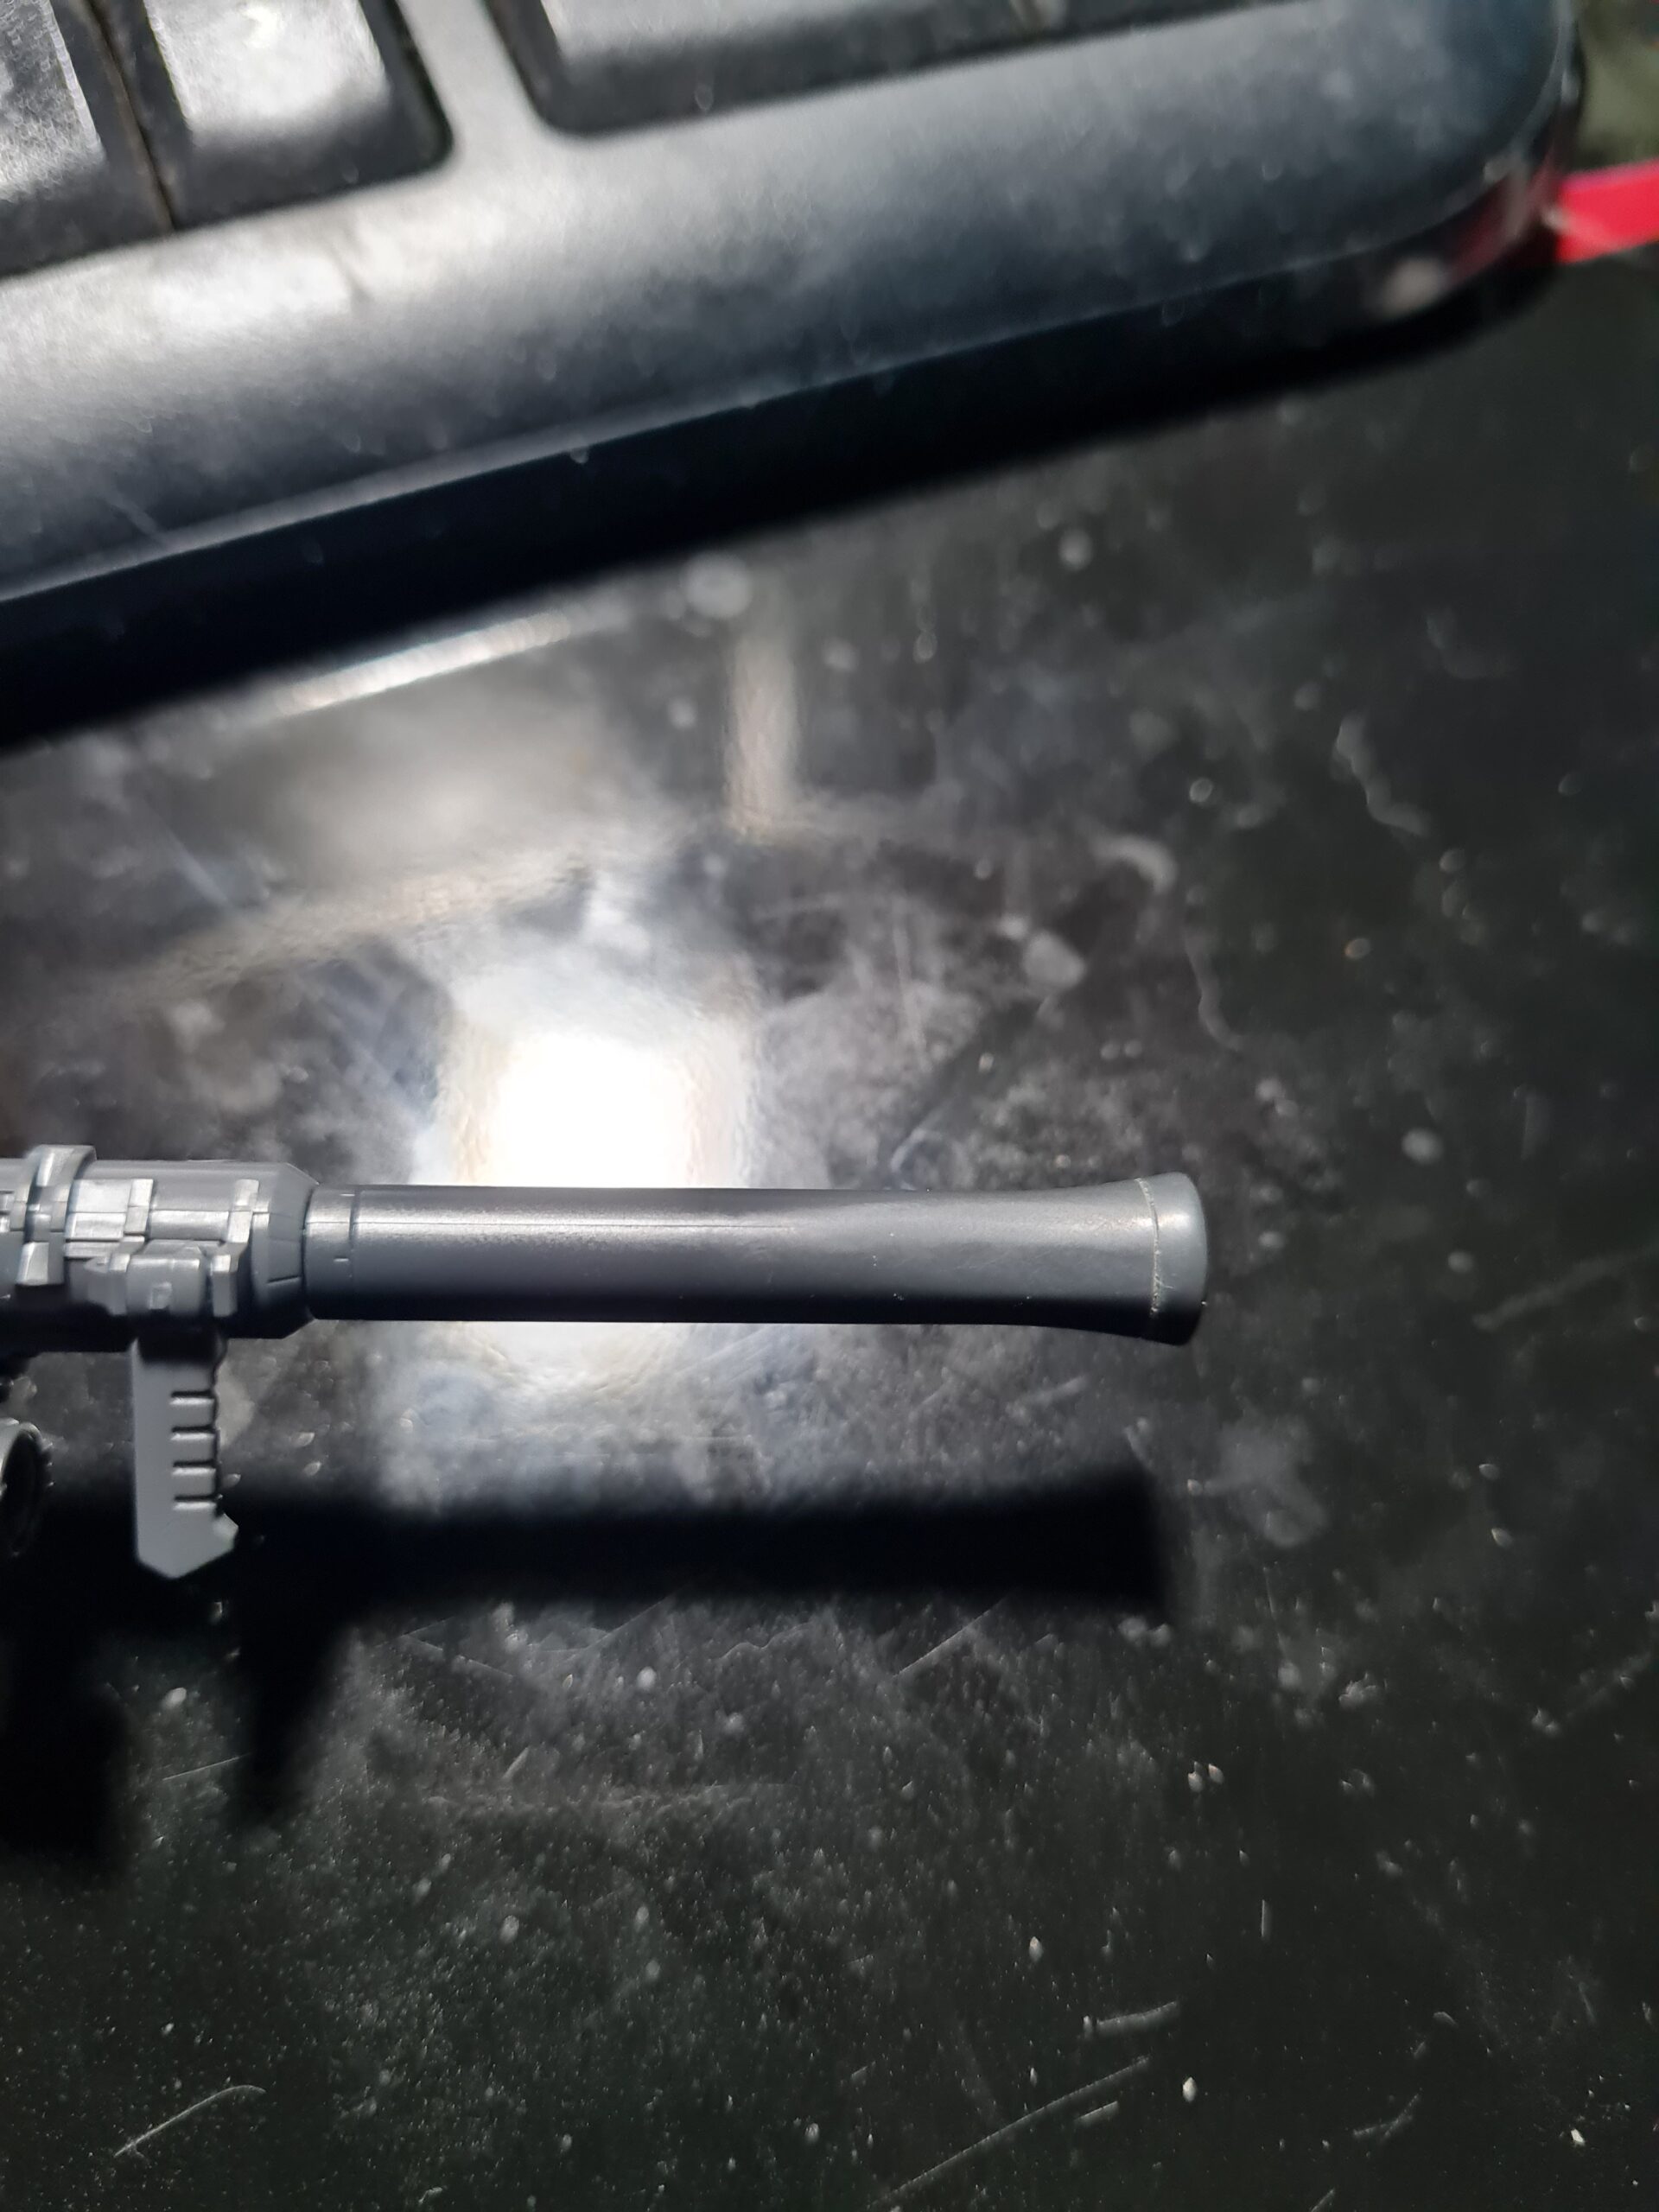
Now the dark spot on the end was nicely cleaned away. However the beautiful sheen the rest of the Bazooka has was removed. At this point I decided to give it a VERY basic paint job.
Painting
I am fortunate enough to have an airbrush that I keep to hand. So I gave it a quick undercoat of Vallejo Mecha Grey Primer. I then gave it a quick cover with Vallejo Mecha Gunmetal. I then covered the dips and pieces with some Vallejo Mecha Black Wash. Once this was done it looked like this … (yes very messy but I was speeding through it).

I then worked over it doing a dry brush of the gunmetal again to clean up the over spill.
Conclusion
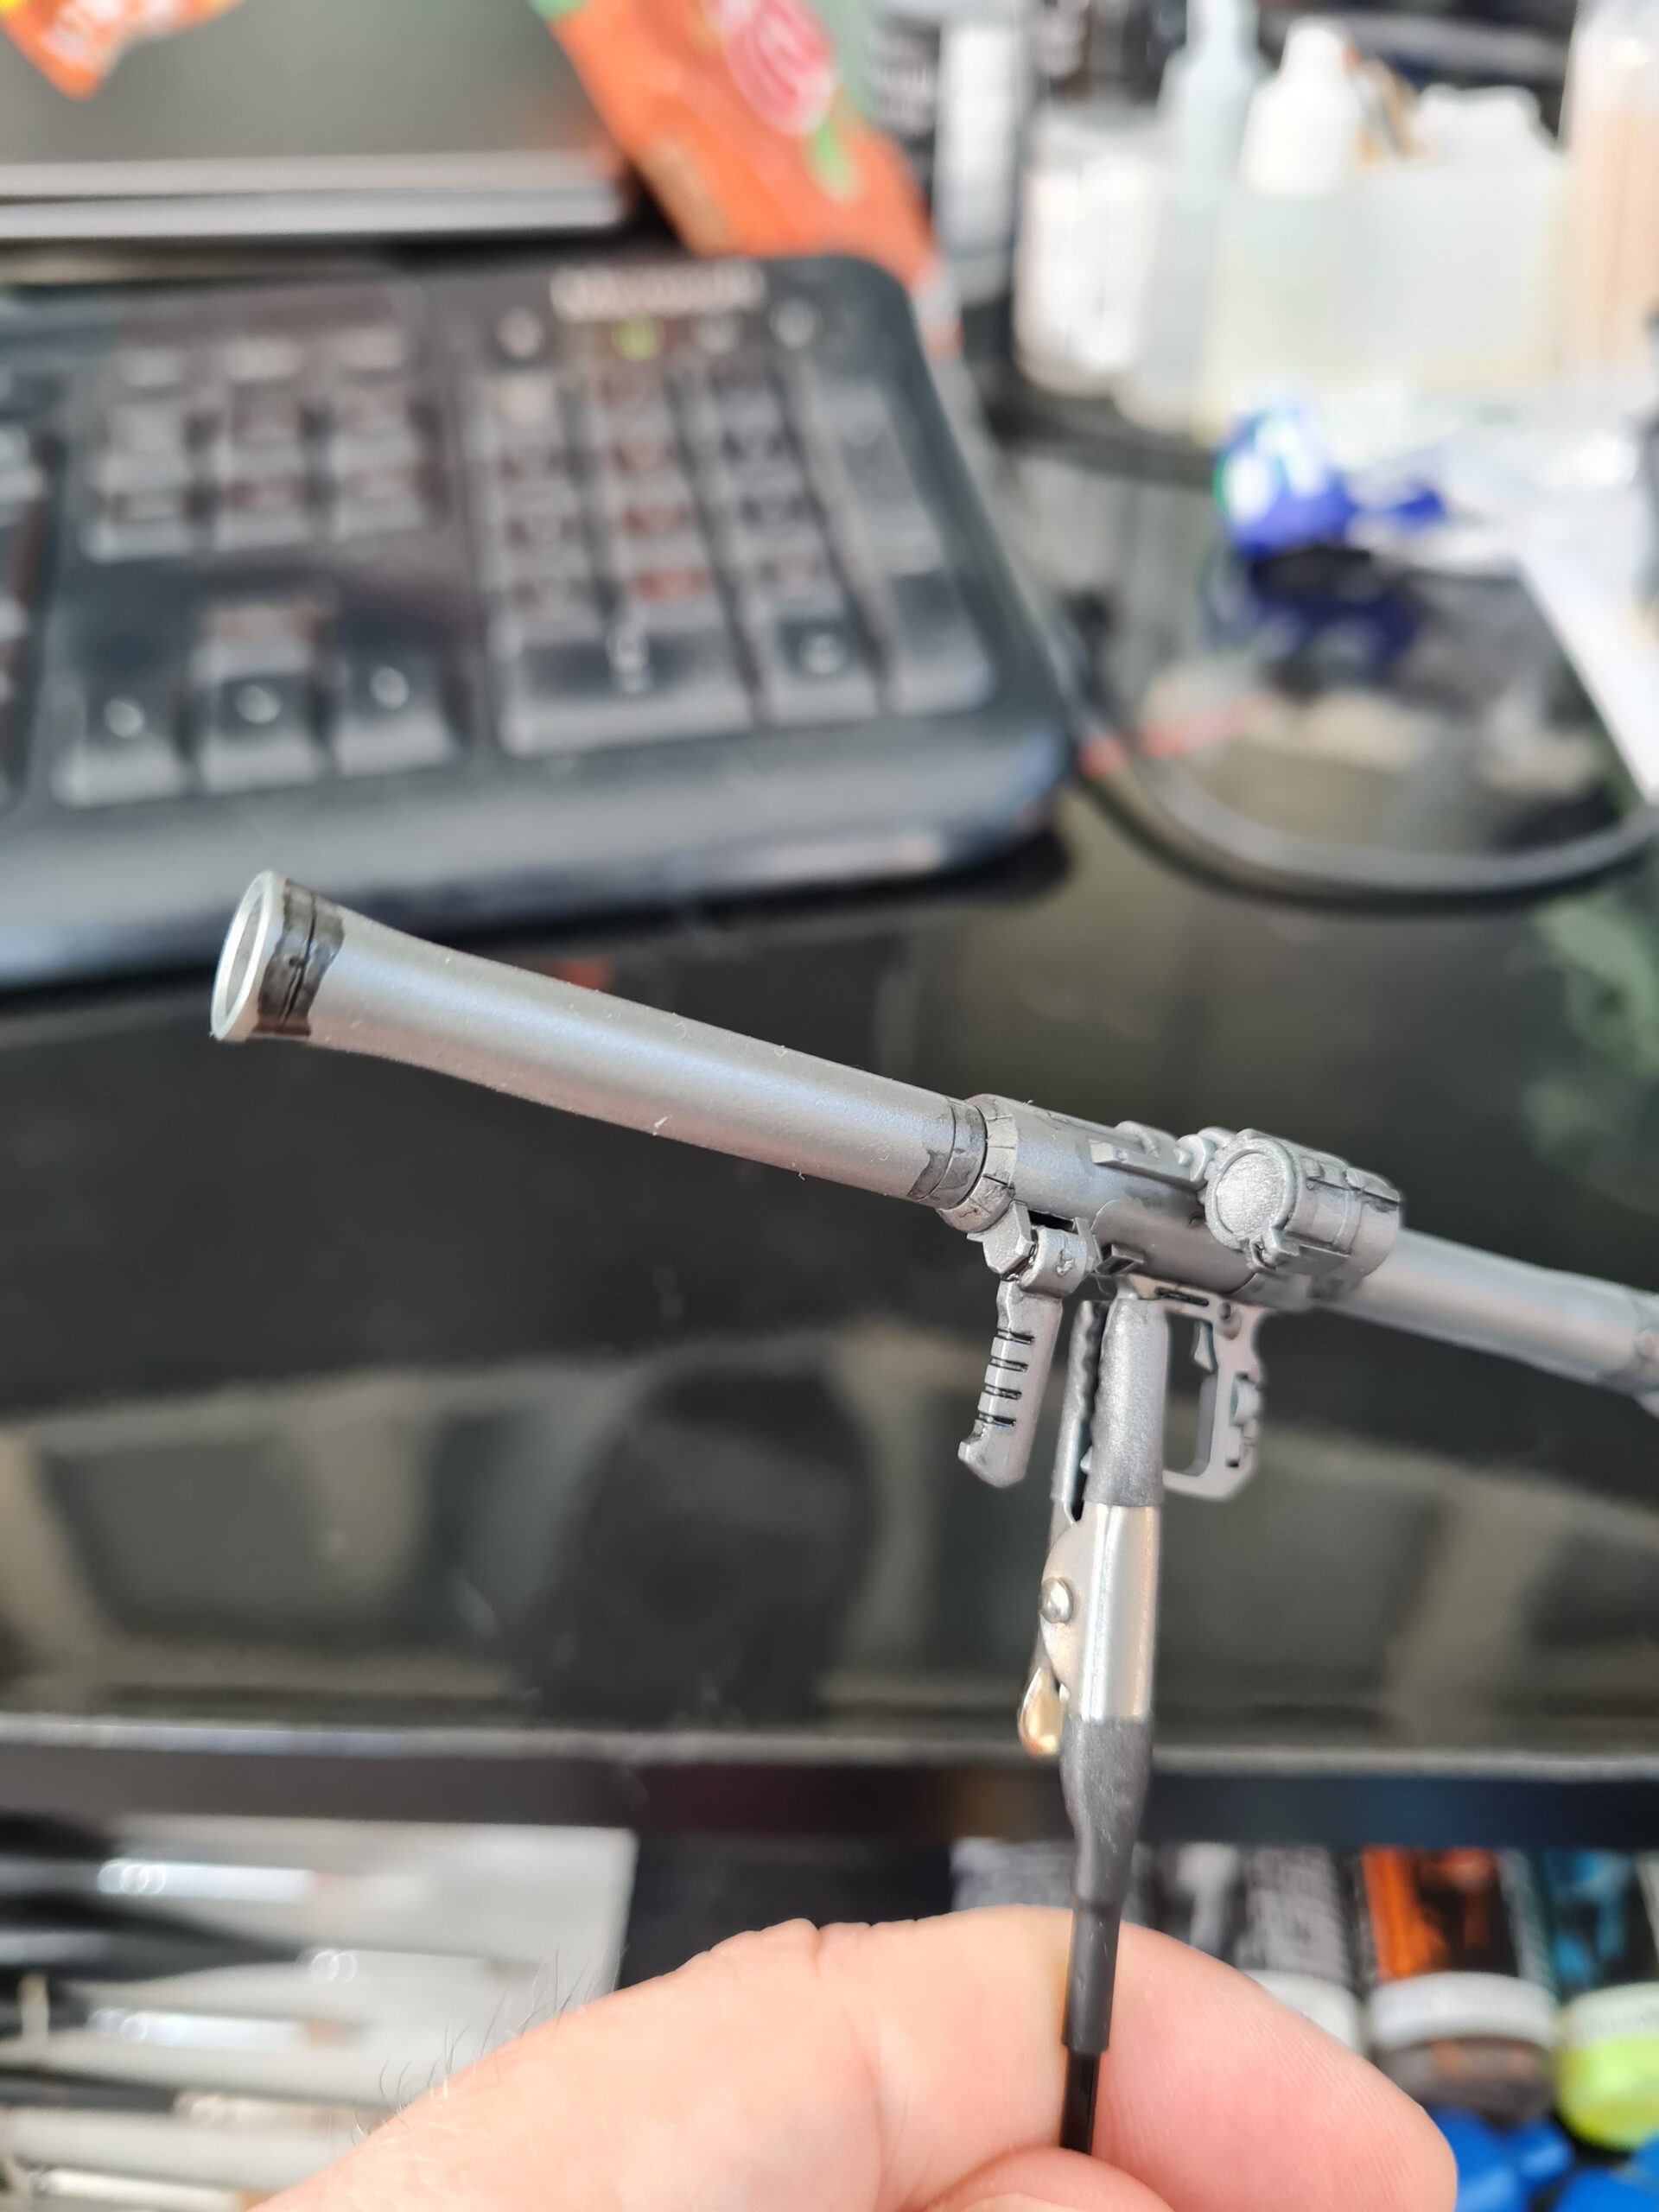
After all of this work my “nub” spot now looks like this:
All told I am very happy with the end result! It now looks smooth and seamless and clean. I would like to do another and distress it, add chipping and soot and mud and dirt etc. However, for now I am very happy with the end result.
Thank you for taking the time to read this. If you haven’t already done so please like and follow us on our social media platforms and checkout our website!
Facebook: https://www.facebook.com/profile.php?id=100086701512793
Instagram: https://www.instagram.com/modelkitsltd/
Website: https://modelkitsltd.co.uk
#gundam #gundammodel #model #kit #gunpla