Introduction
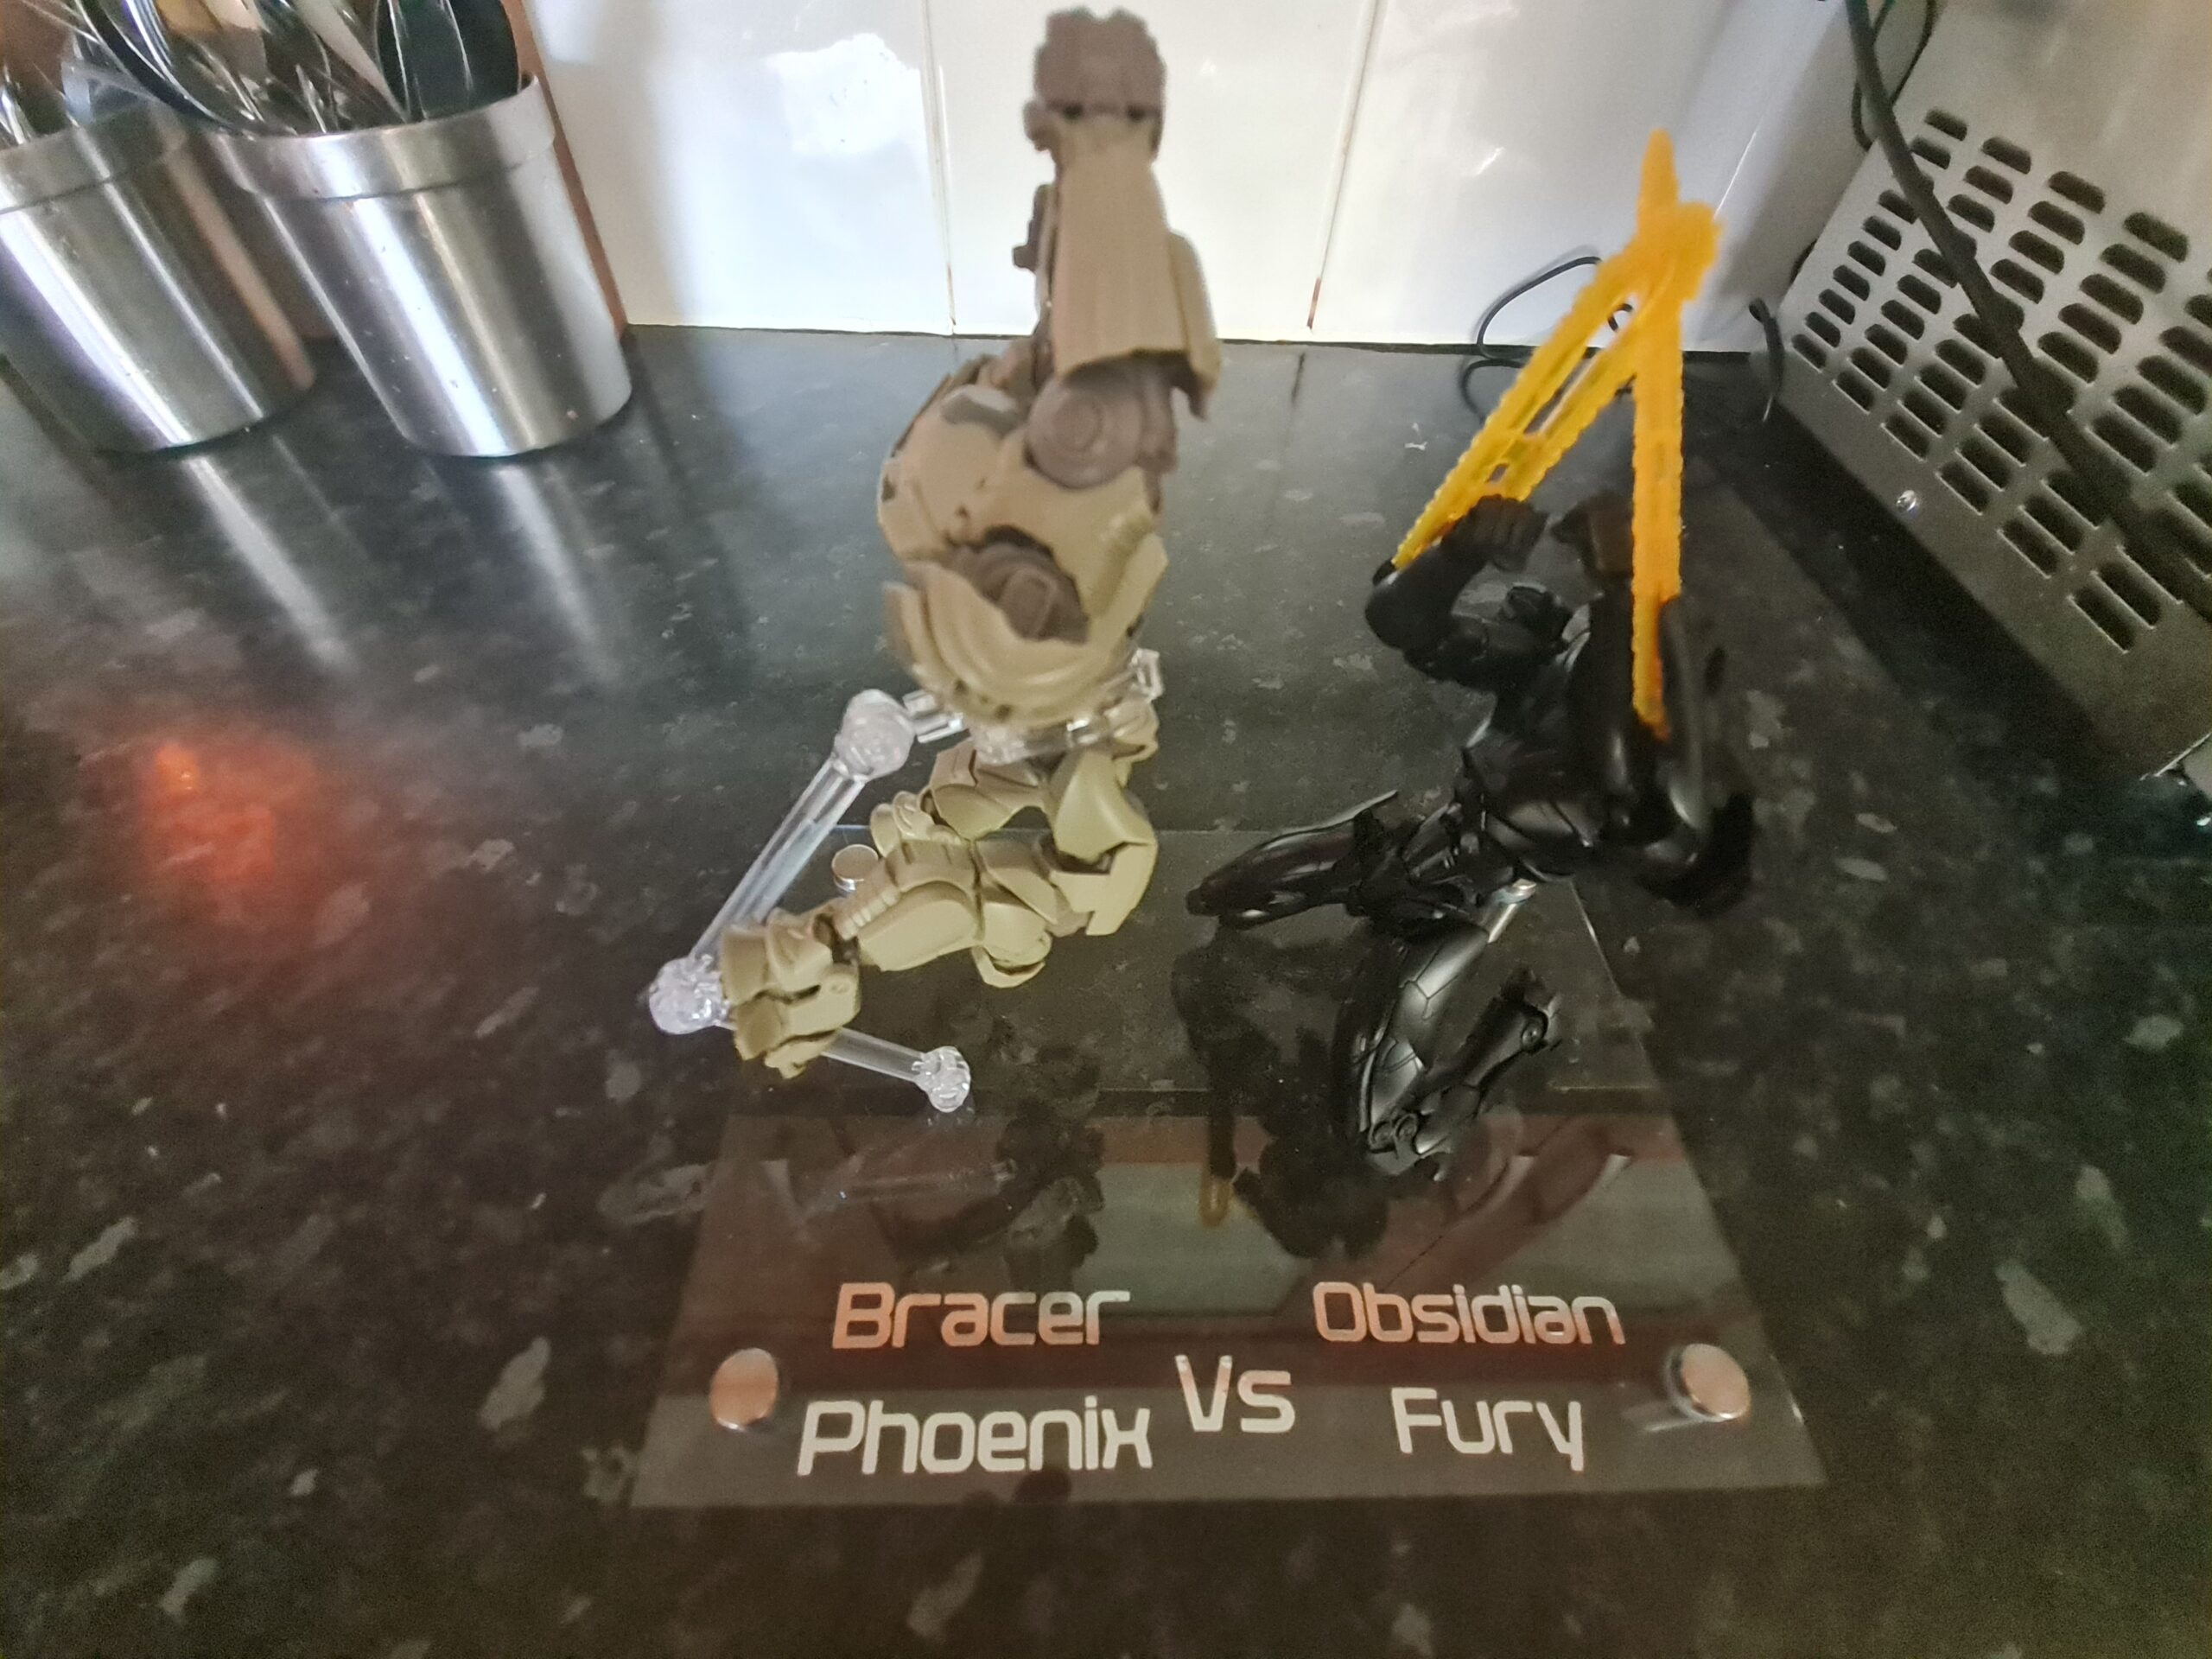
In one of my previous posts I showed off my RK Zaku II on the custom stand. I thought that I would do a piece on making the custom stand.
Materials
- Silver Vinyl (sticky backed)
- Transfer tape
- A5 2mm thick acrylic sheet
- Stainless steel standoff fixings (for the feet)
Tools
- Drill
- Pen
- Drill bits
- Cricut
- Scissors
- Weeder
- Squidger (I have no idea what it is really called)
- Ruler
Stage 1 – Measuring out
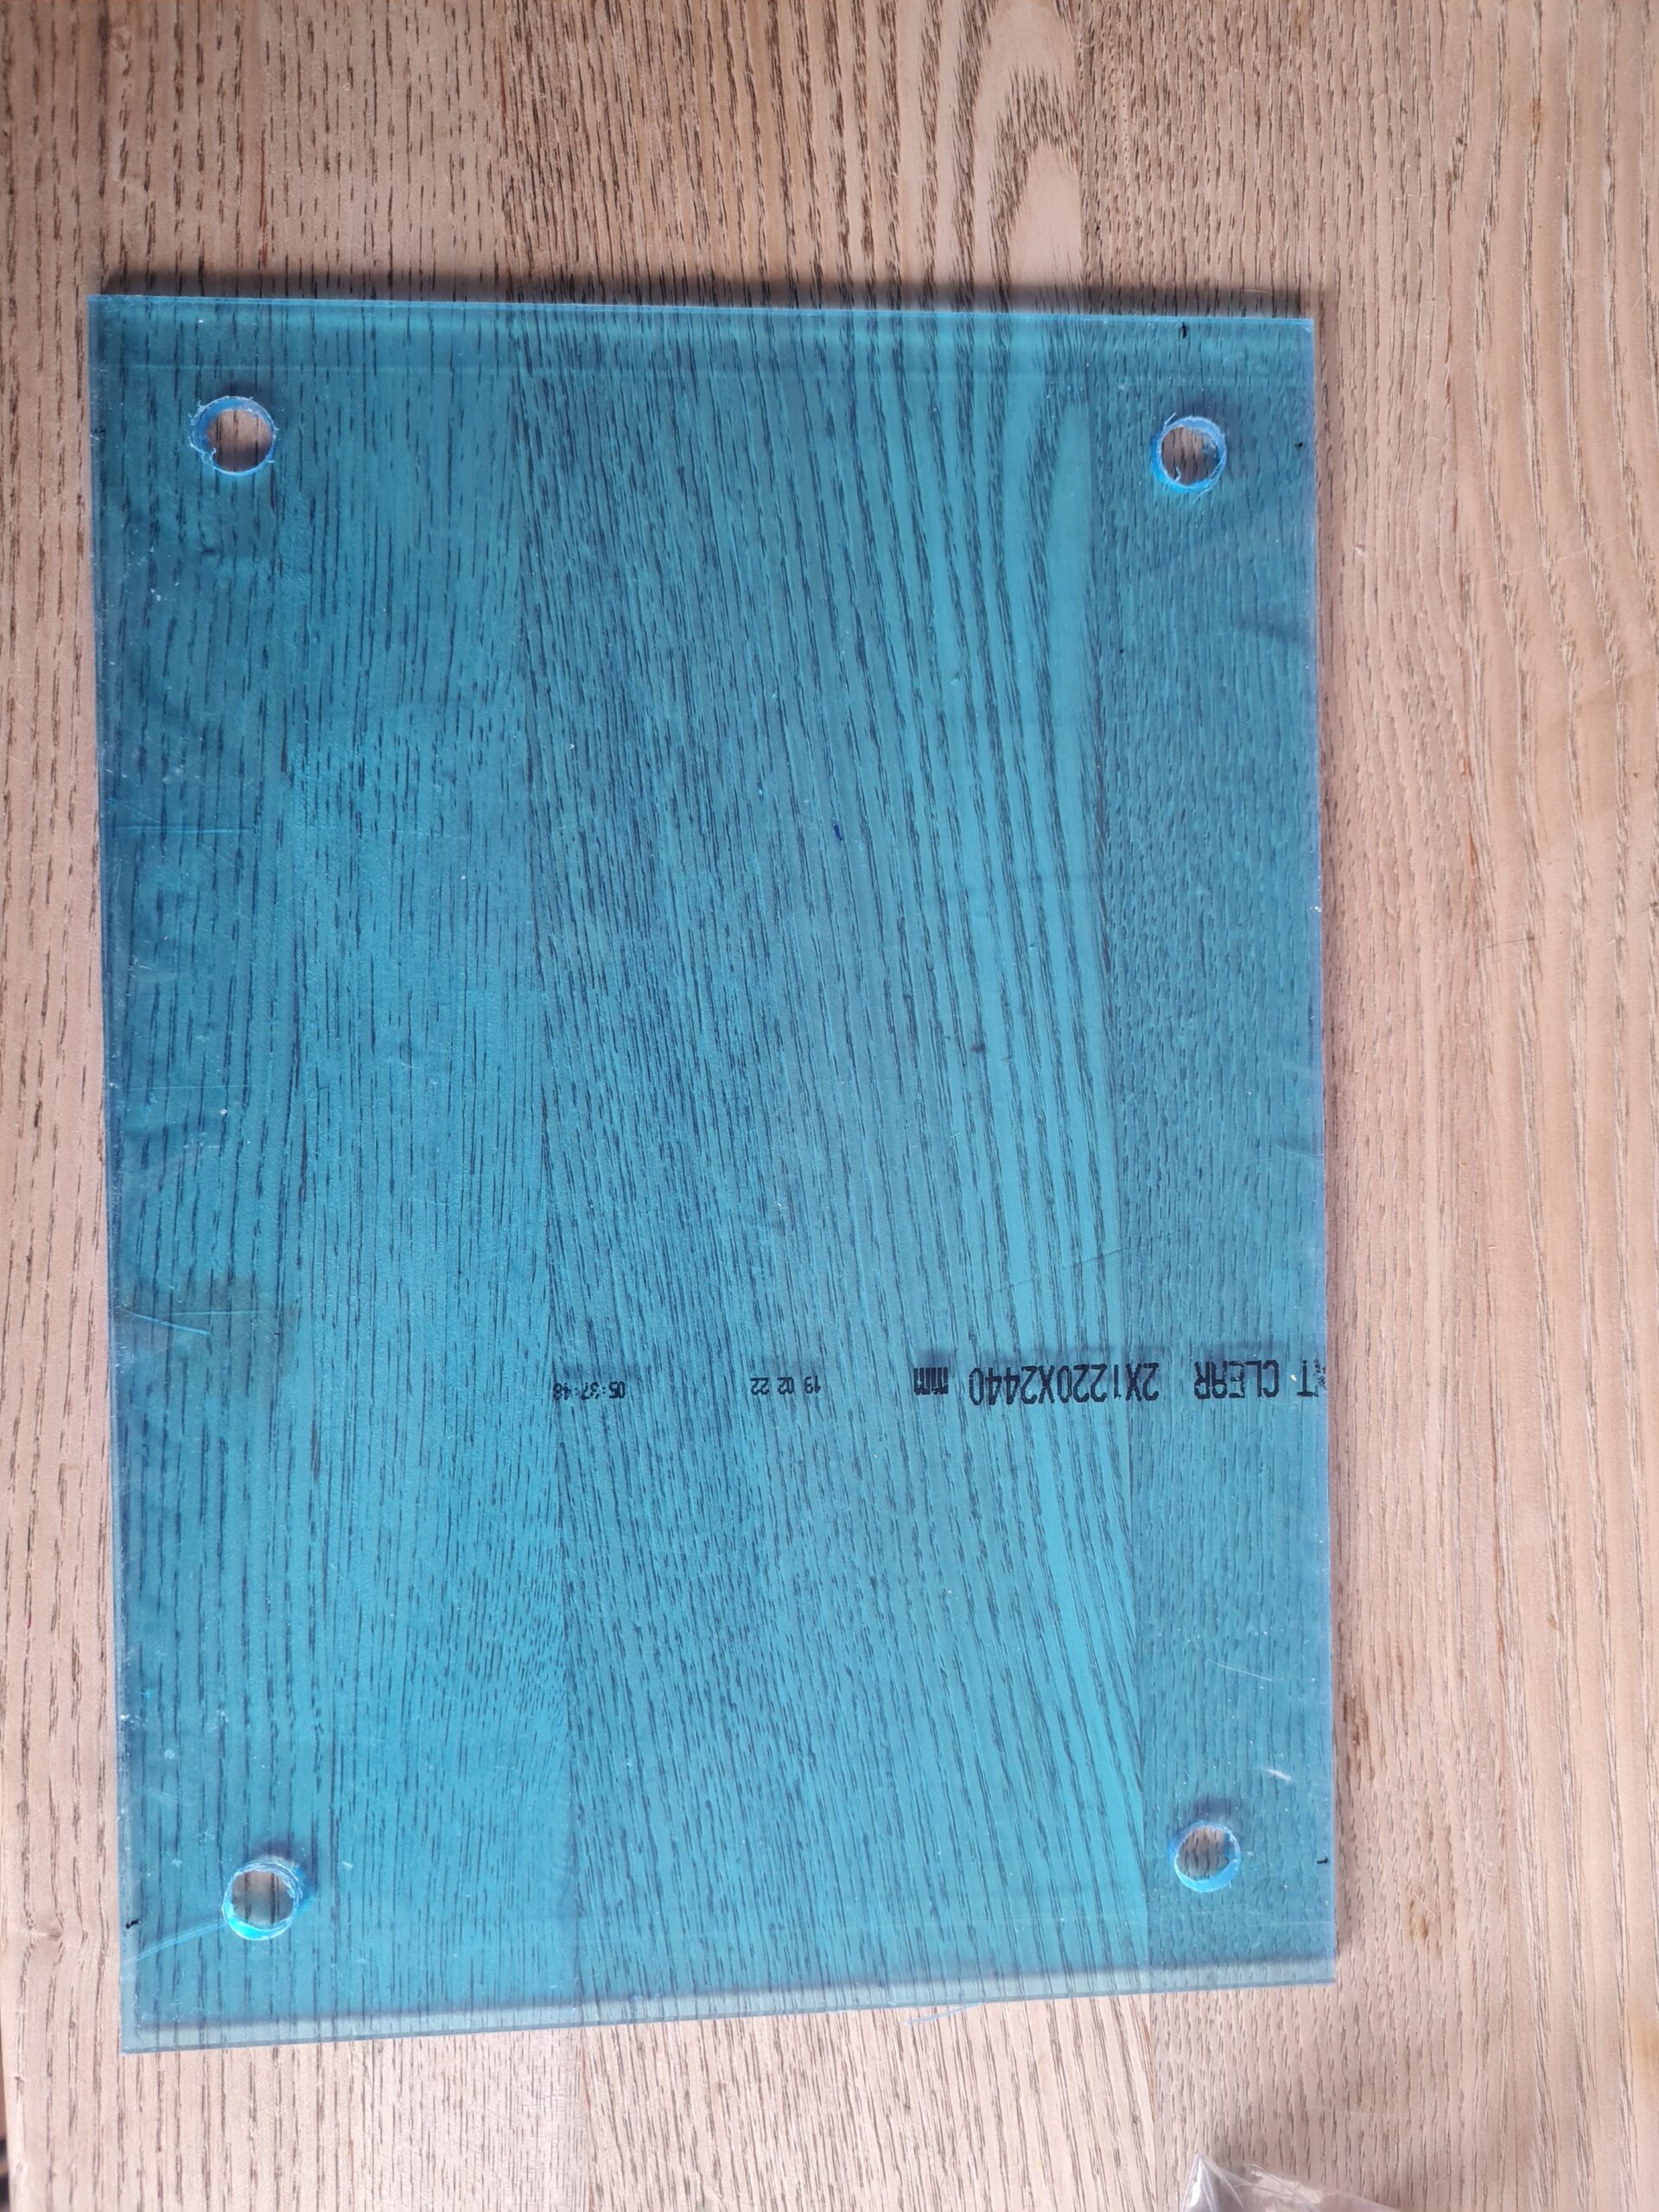
I like to have the feet in pretty much the same position. I also like them to be symmetrical. To do this I measure 1.5cm from each corner.
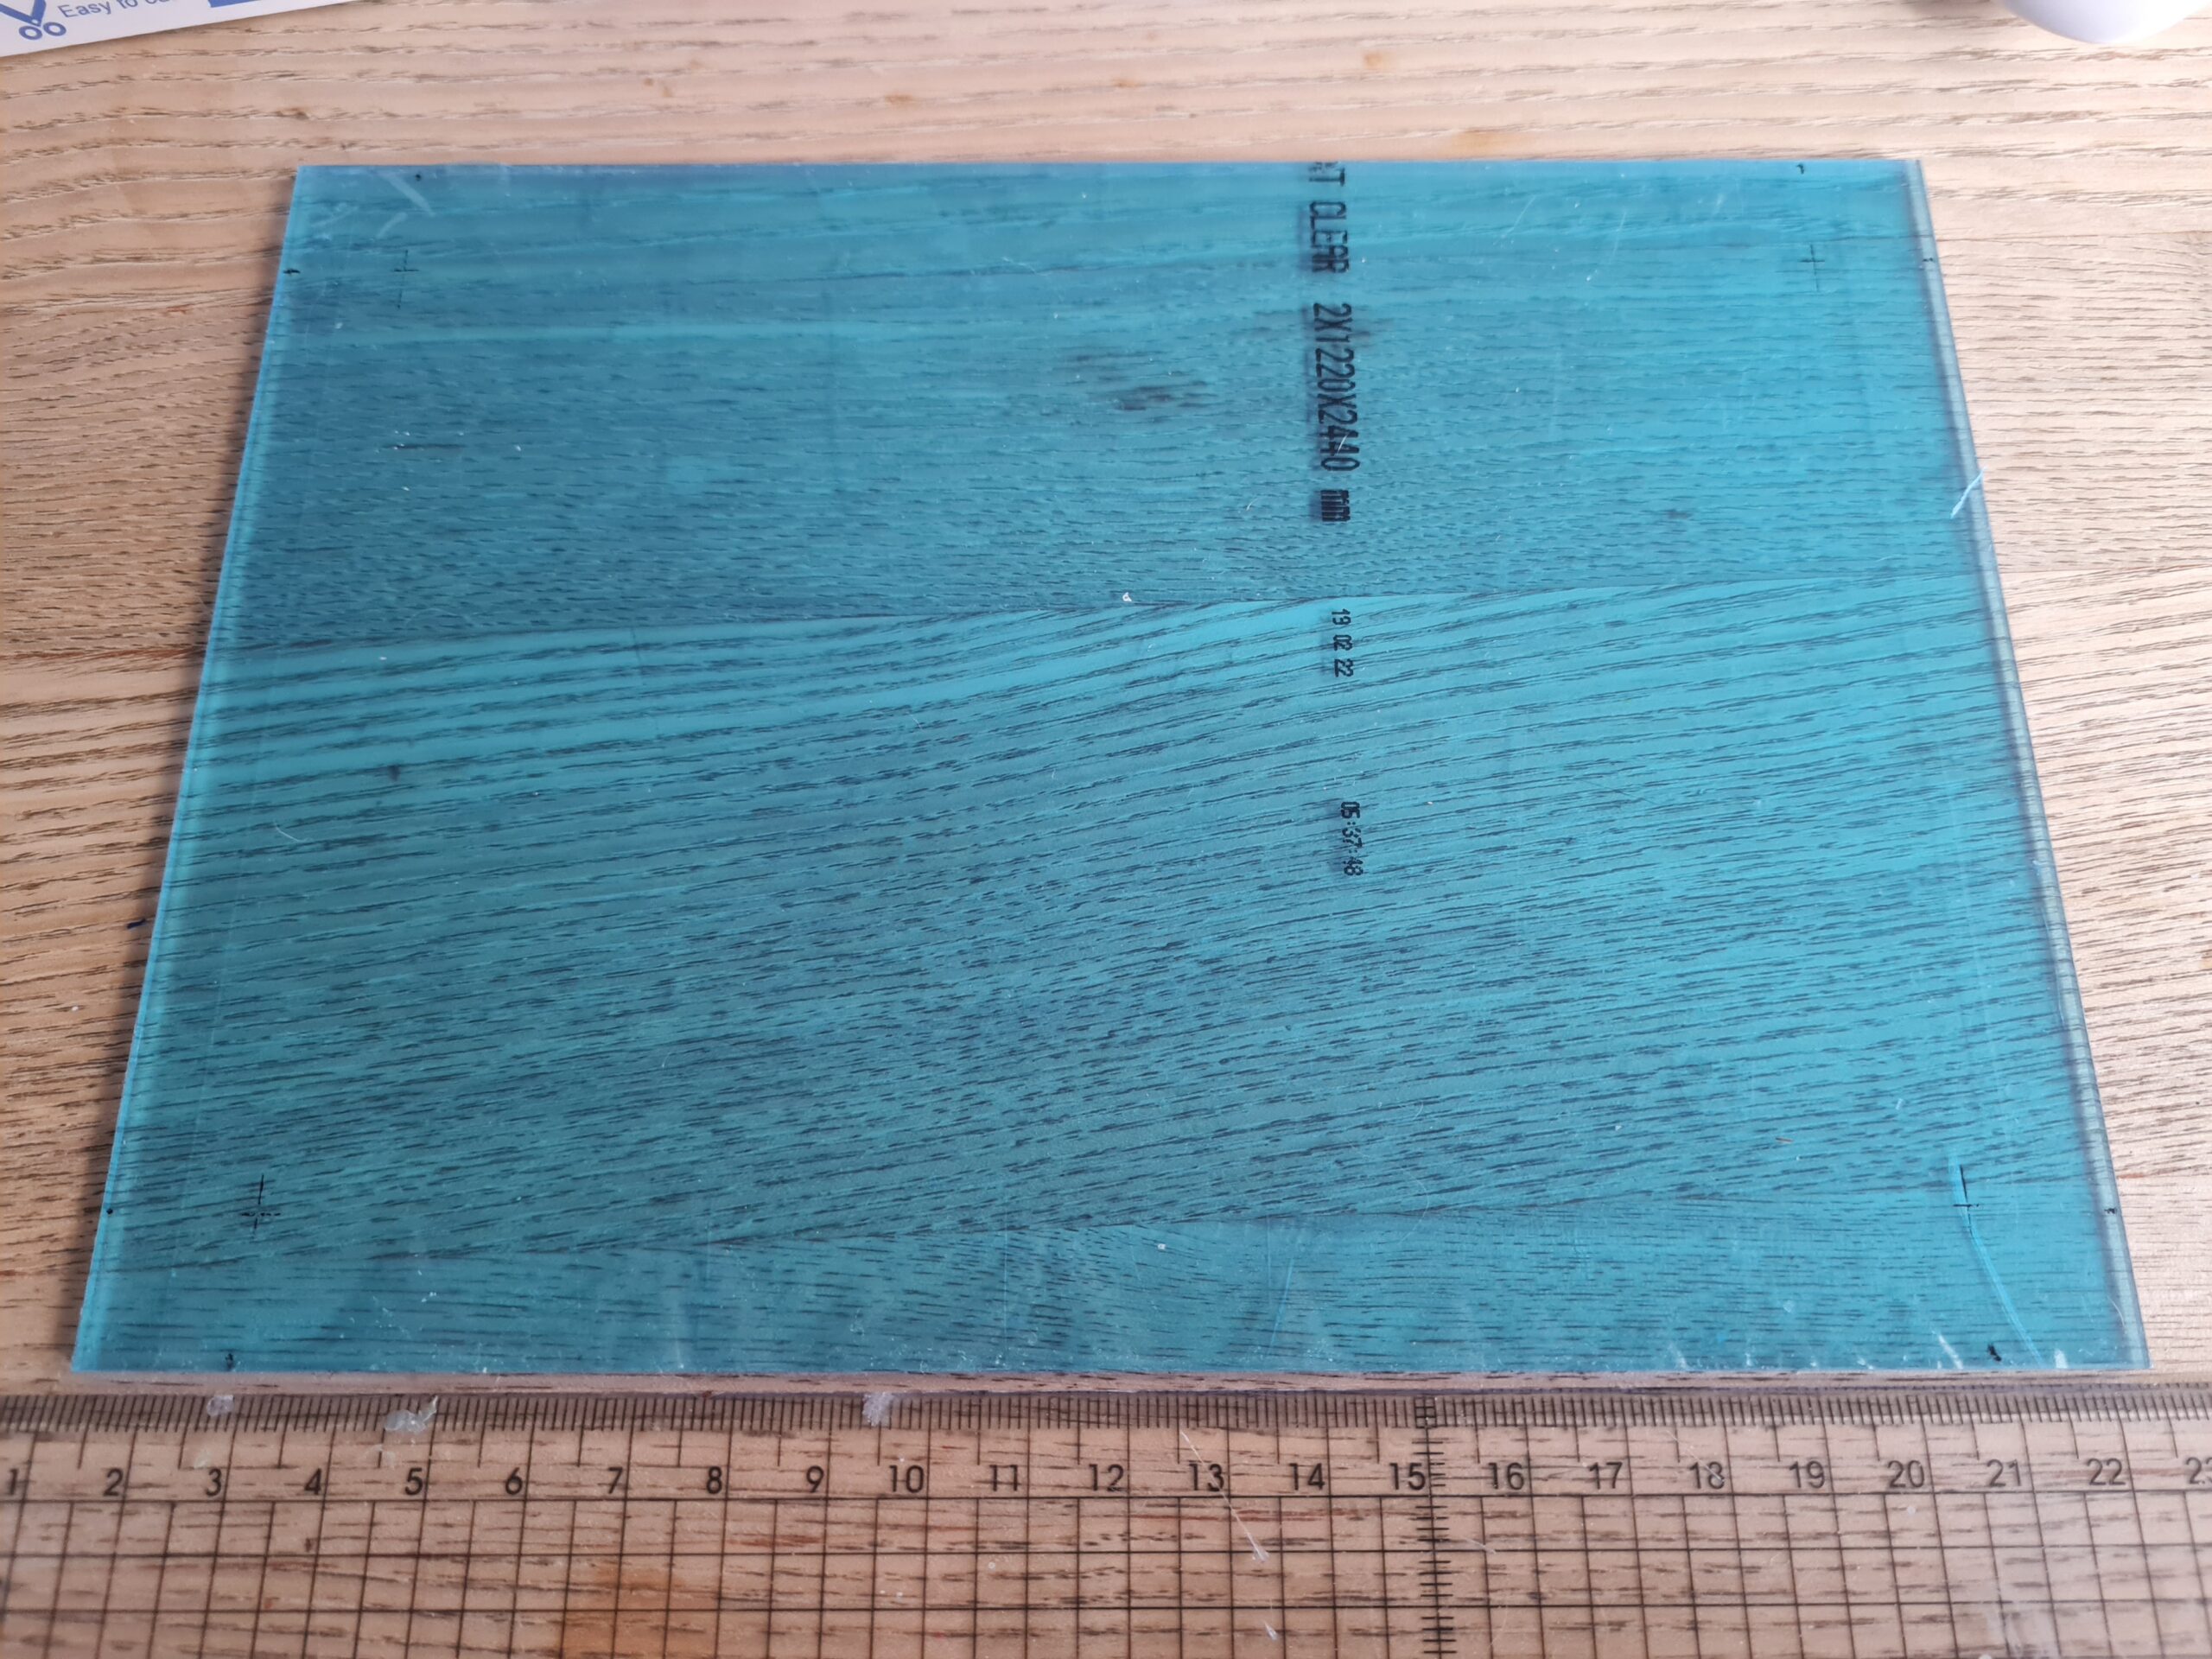
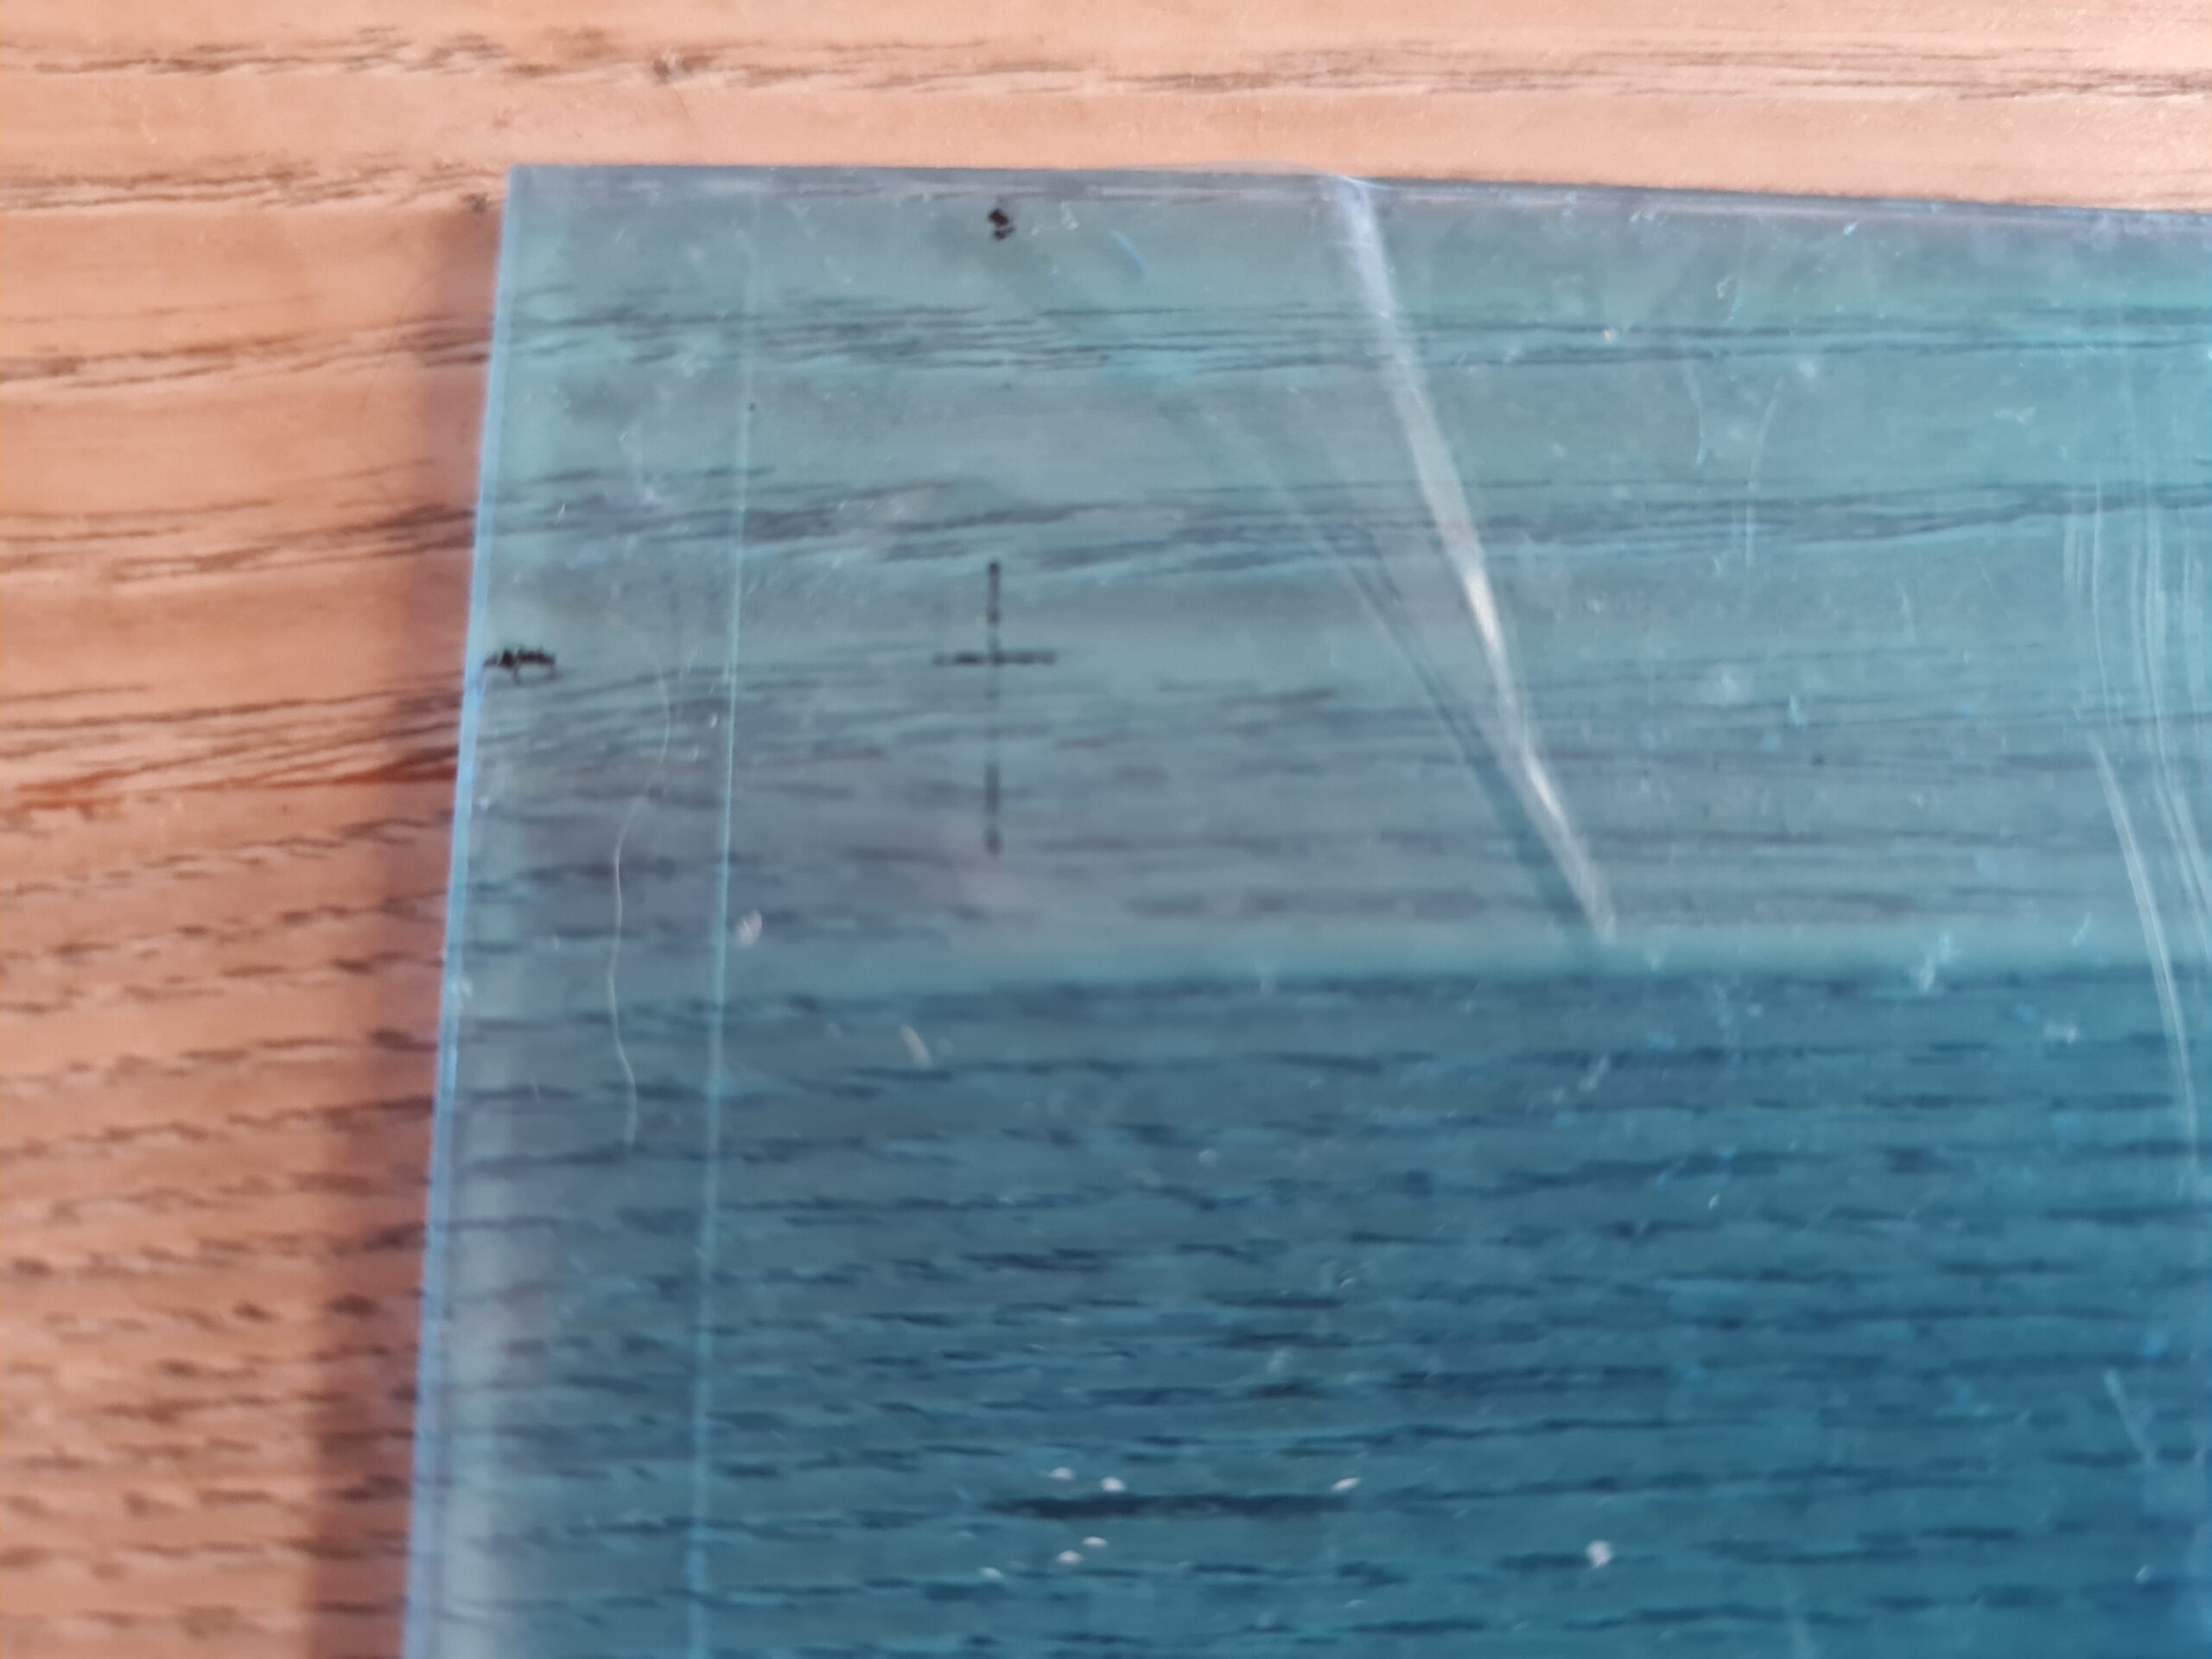
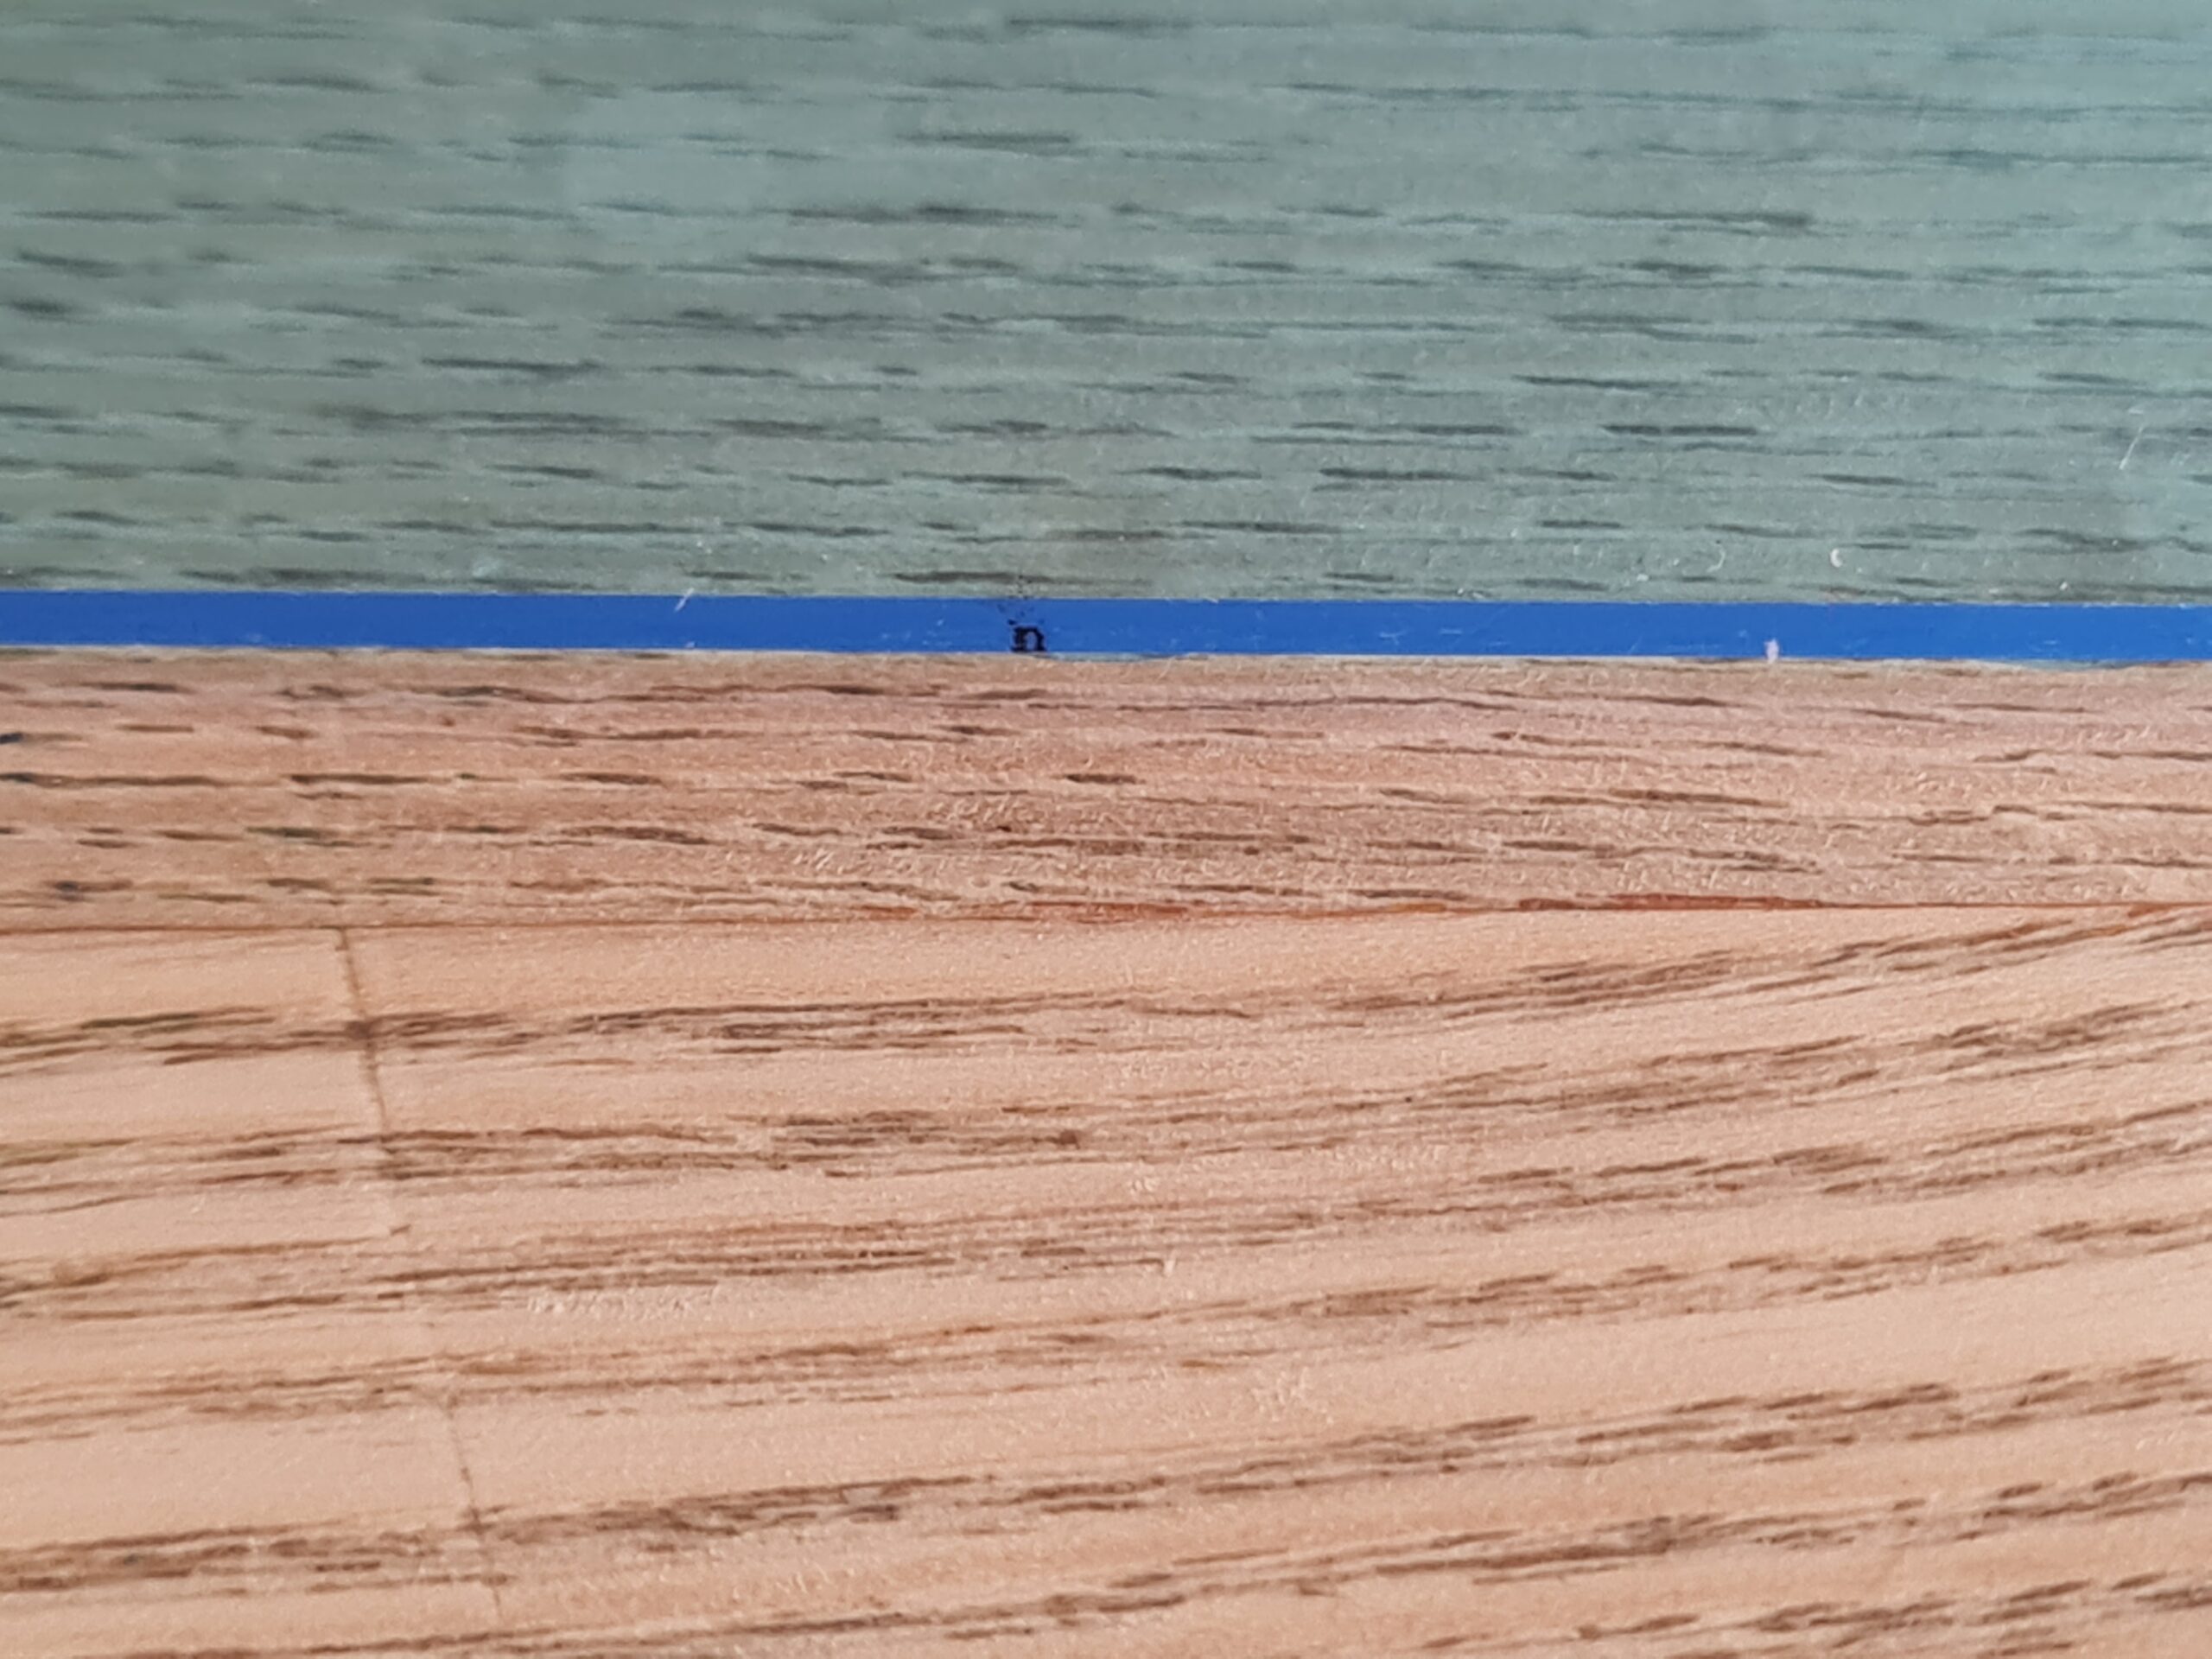
The acrylic is covered on both sides with a protective covering. I leave this on as long as possible to help protect the acrylic, and also to mark on wherever possible.
Drilling the holes
Once the holes are marked out, I moved on to drilling the holes.

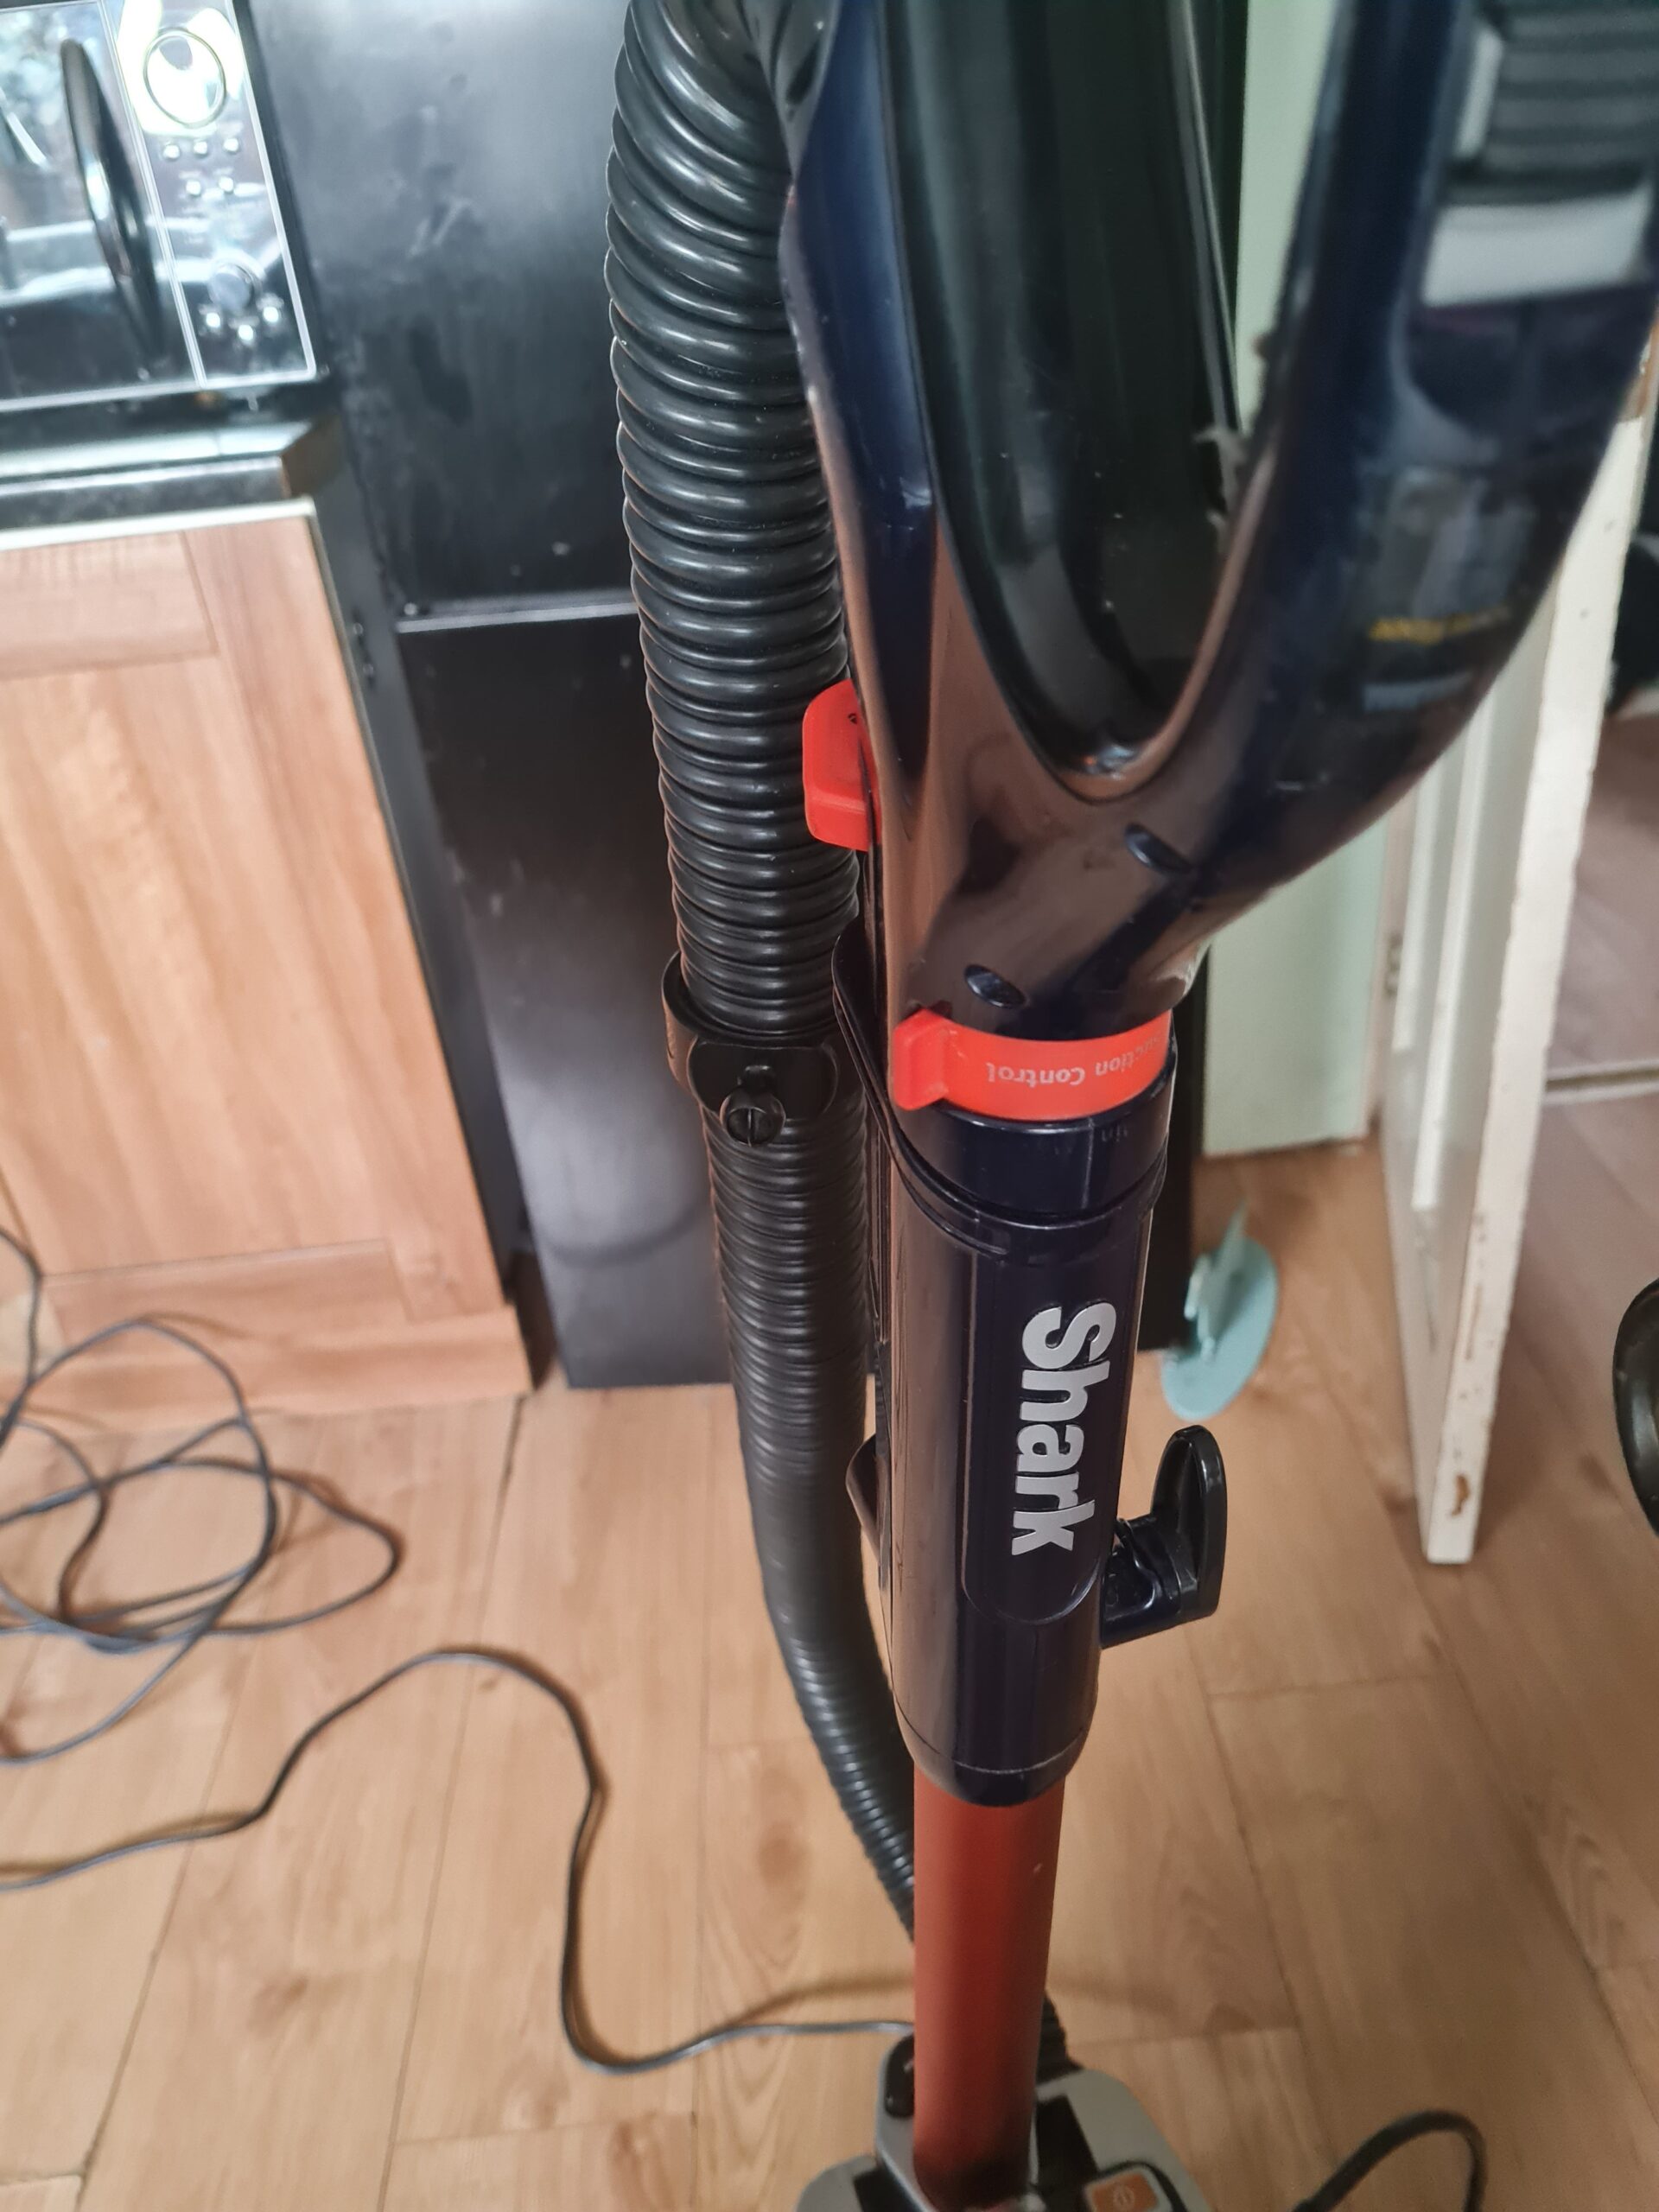

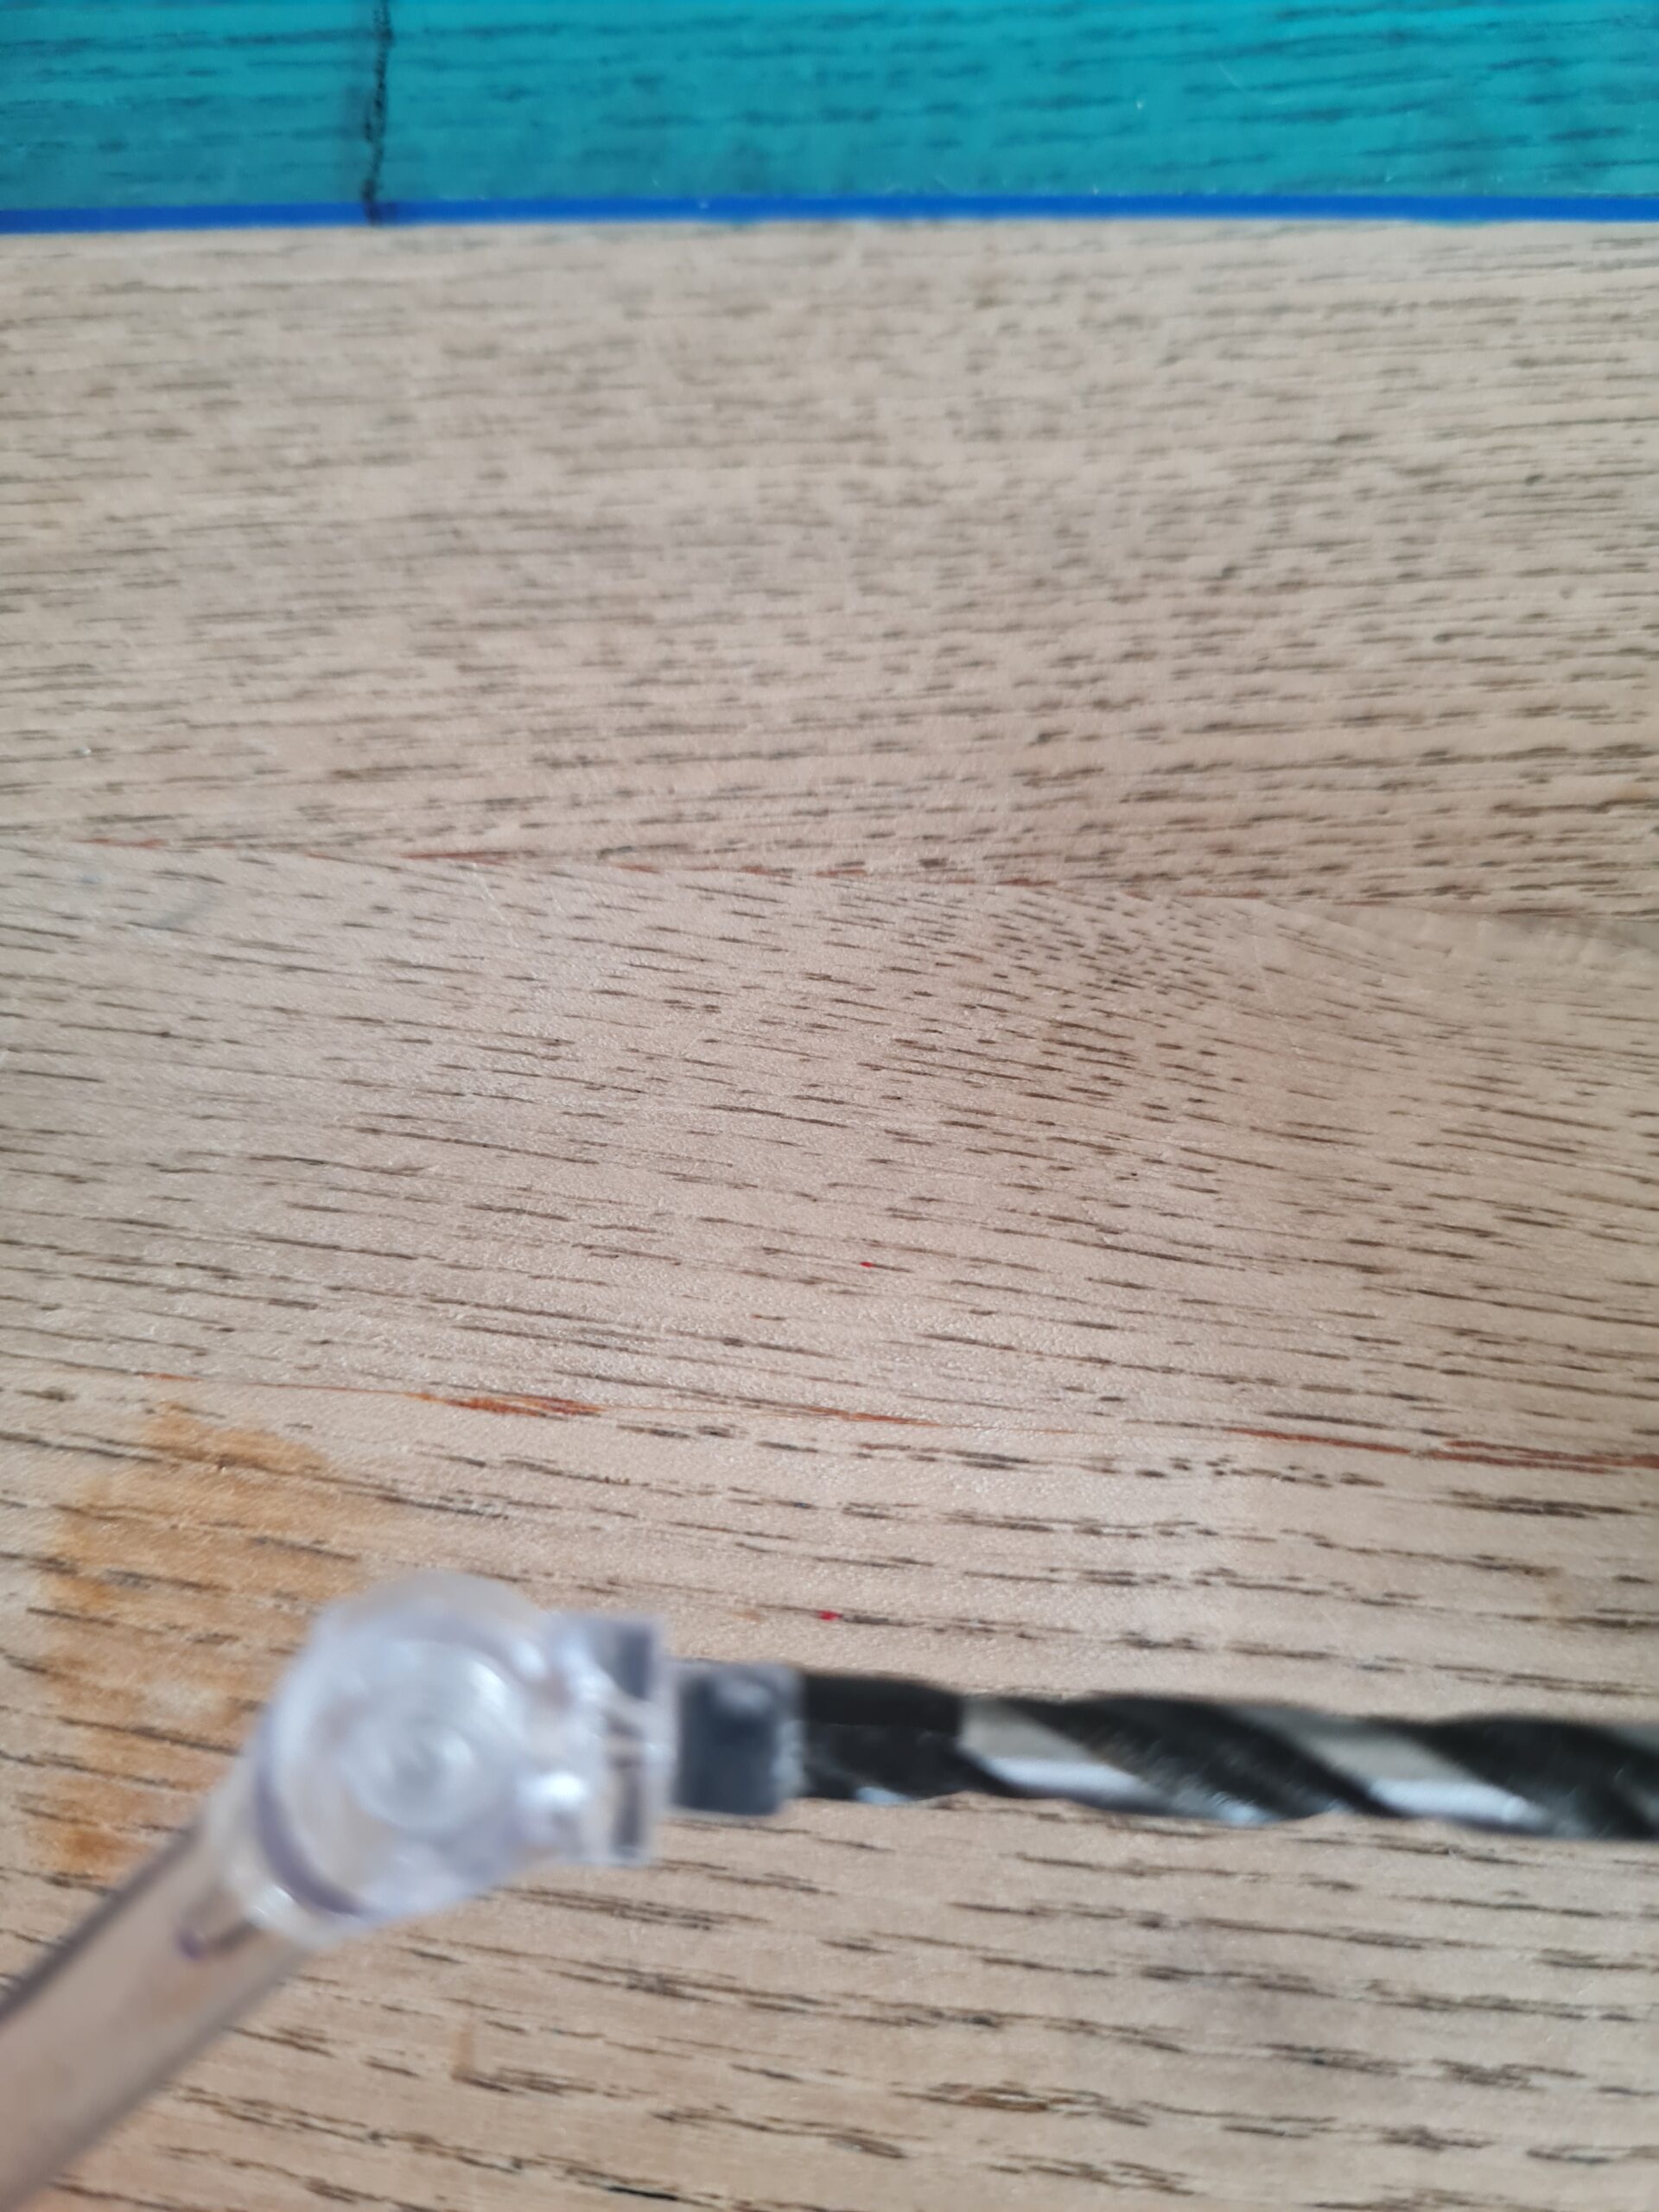
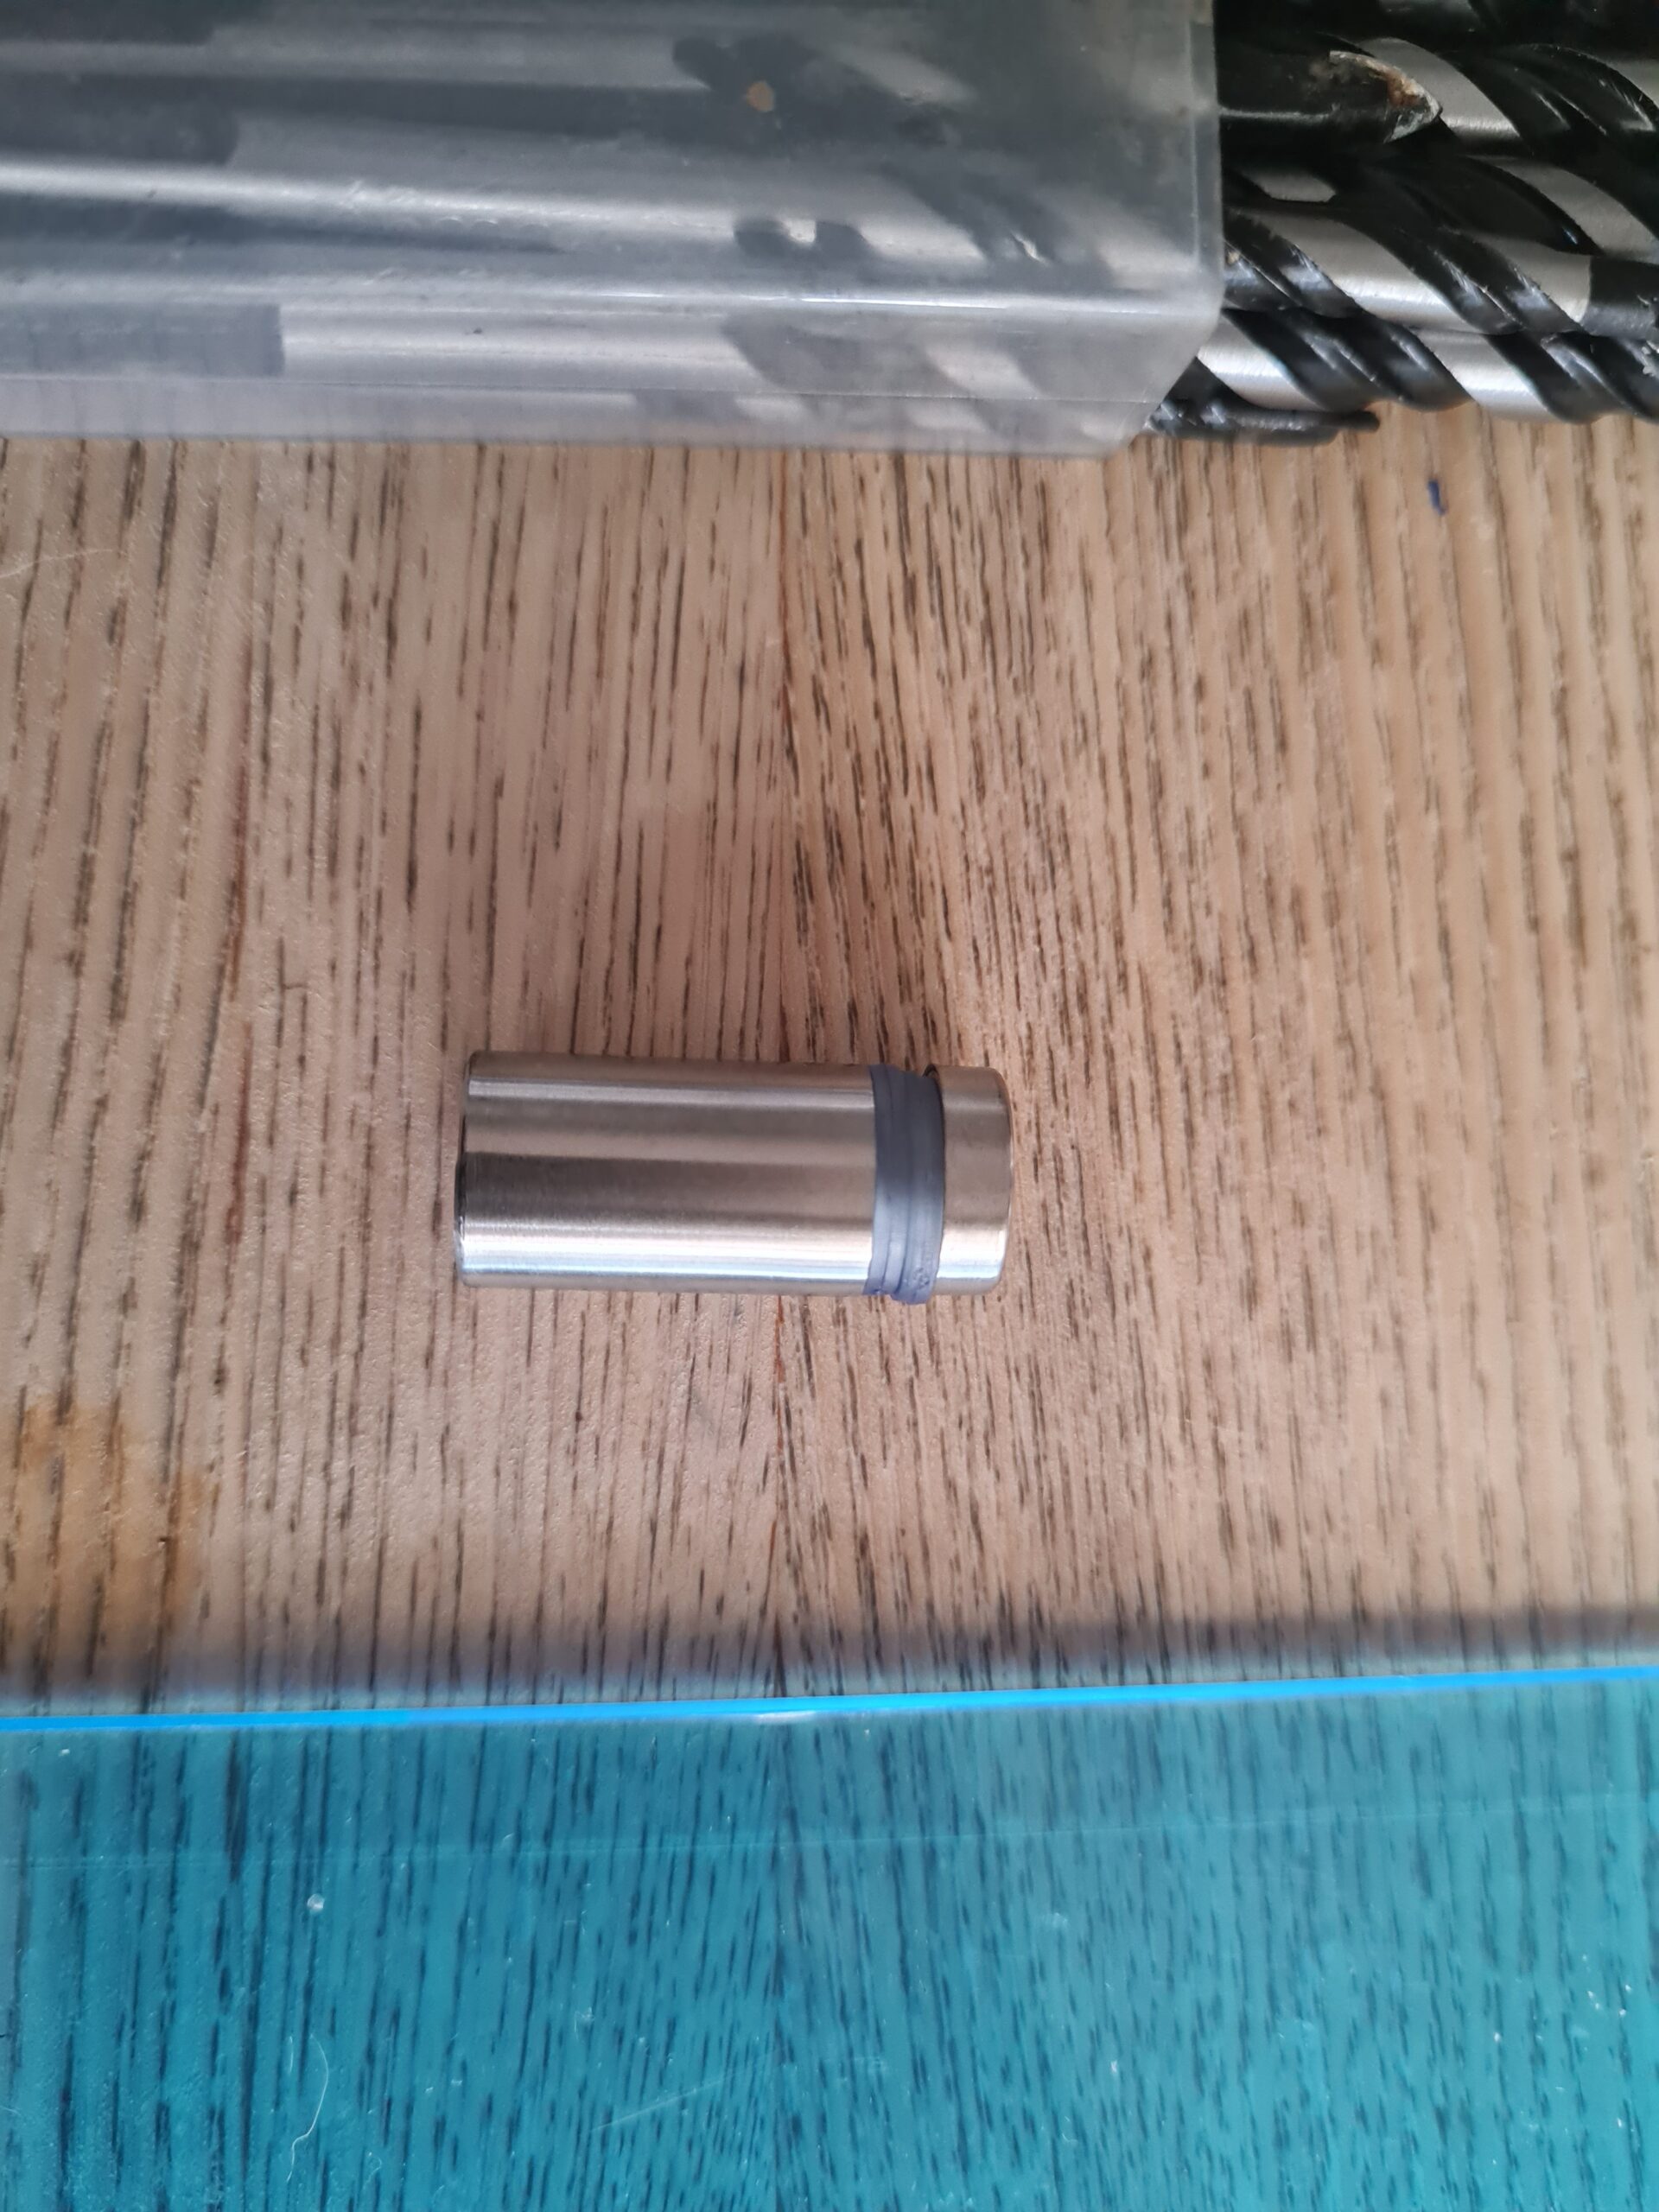
To do this I needed the drill bits, the drill, and the hoover. The drill bits are actually for drilling into tiles and work perfectly for this job. The first thing I had to do was find the right size. I had to unscrew one of the feet and check the width of the drill bit to the thread size of the bolt. You want one marginally bigger than the thread so the bolt drops in nicely.
Once that was done I placed the acrylic sheet flat on the table edge, as close to the marked spot as possible (allowing room to drill through and not hit the table). I also used a finger to support the outer side of the sheet to help stop it flexing. Then using the drill I made the hole in the sheet.
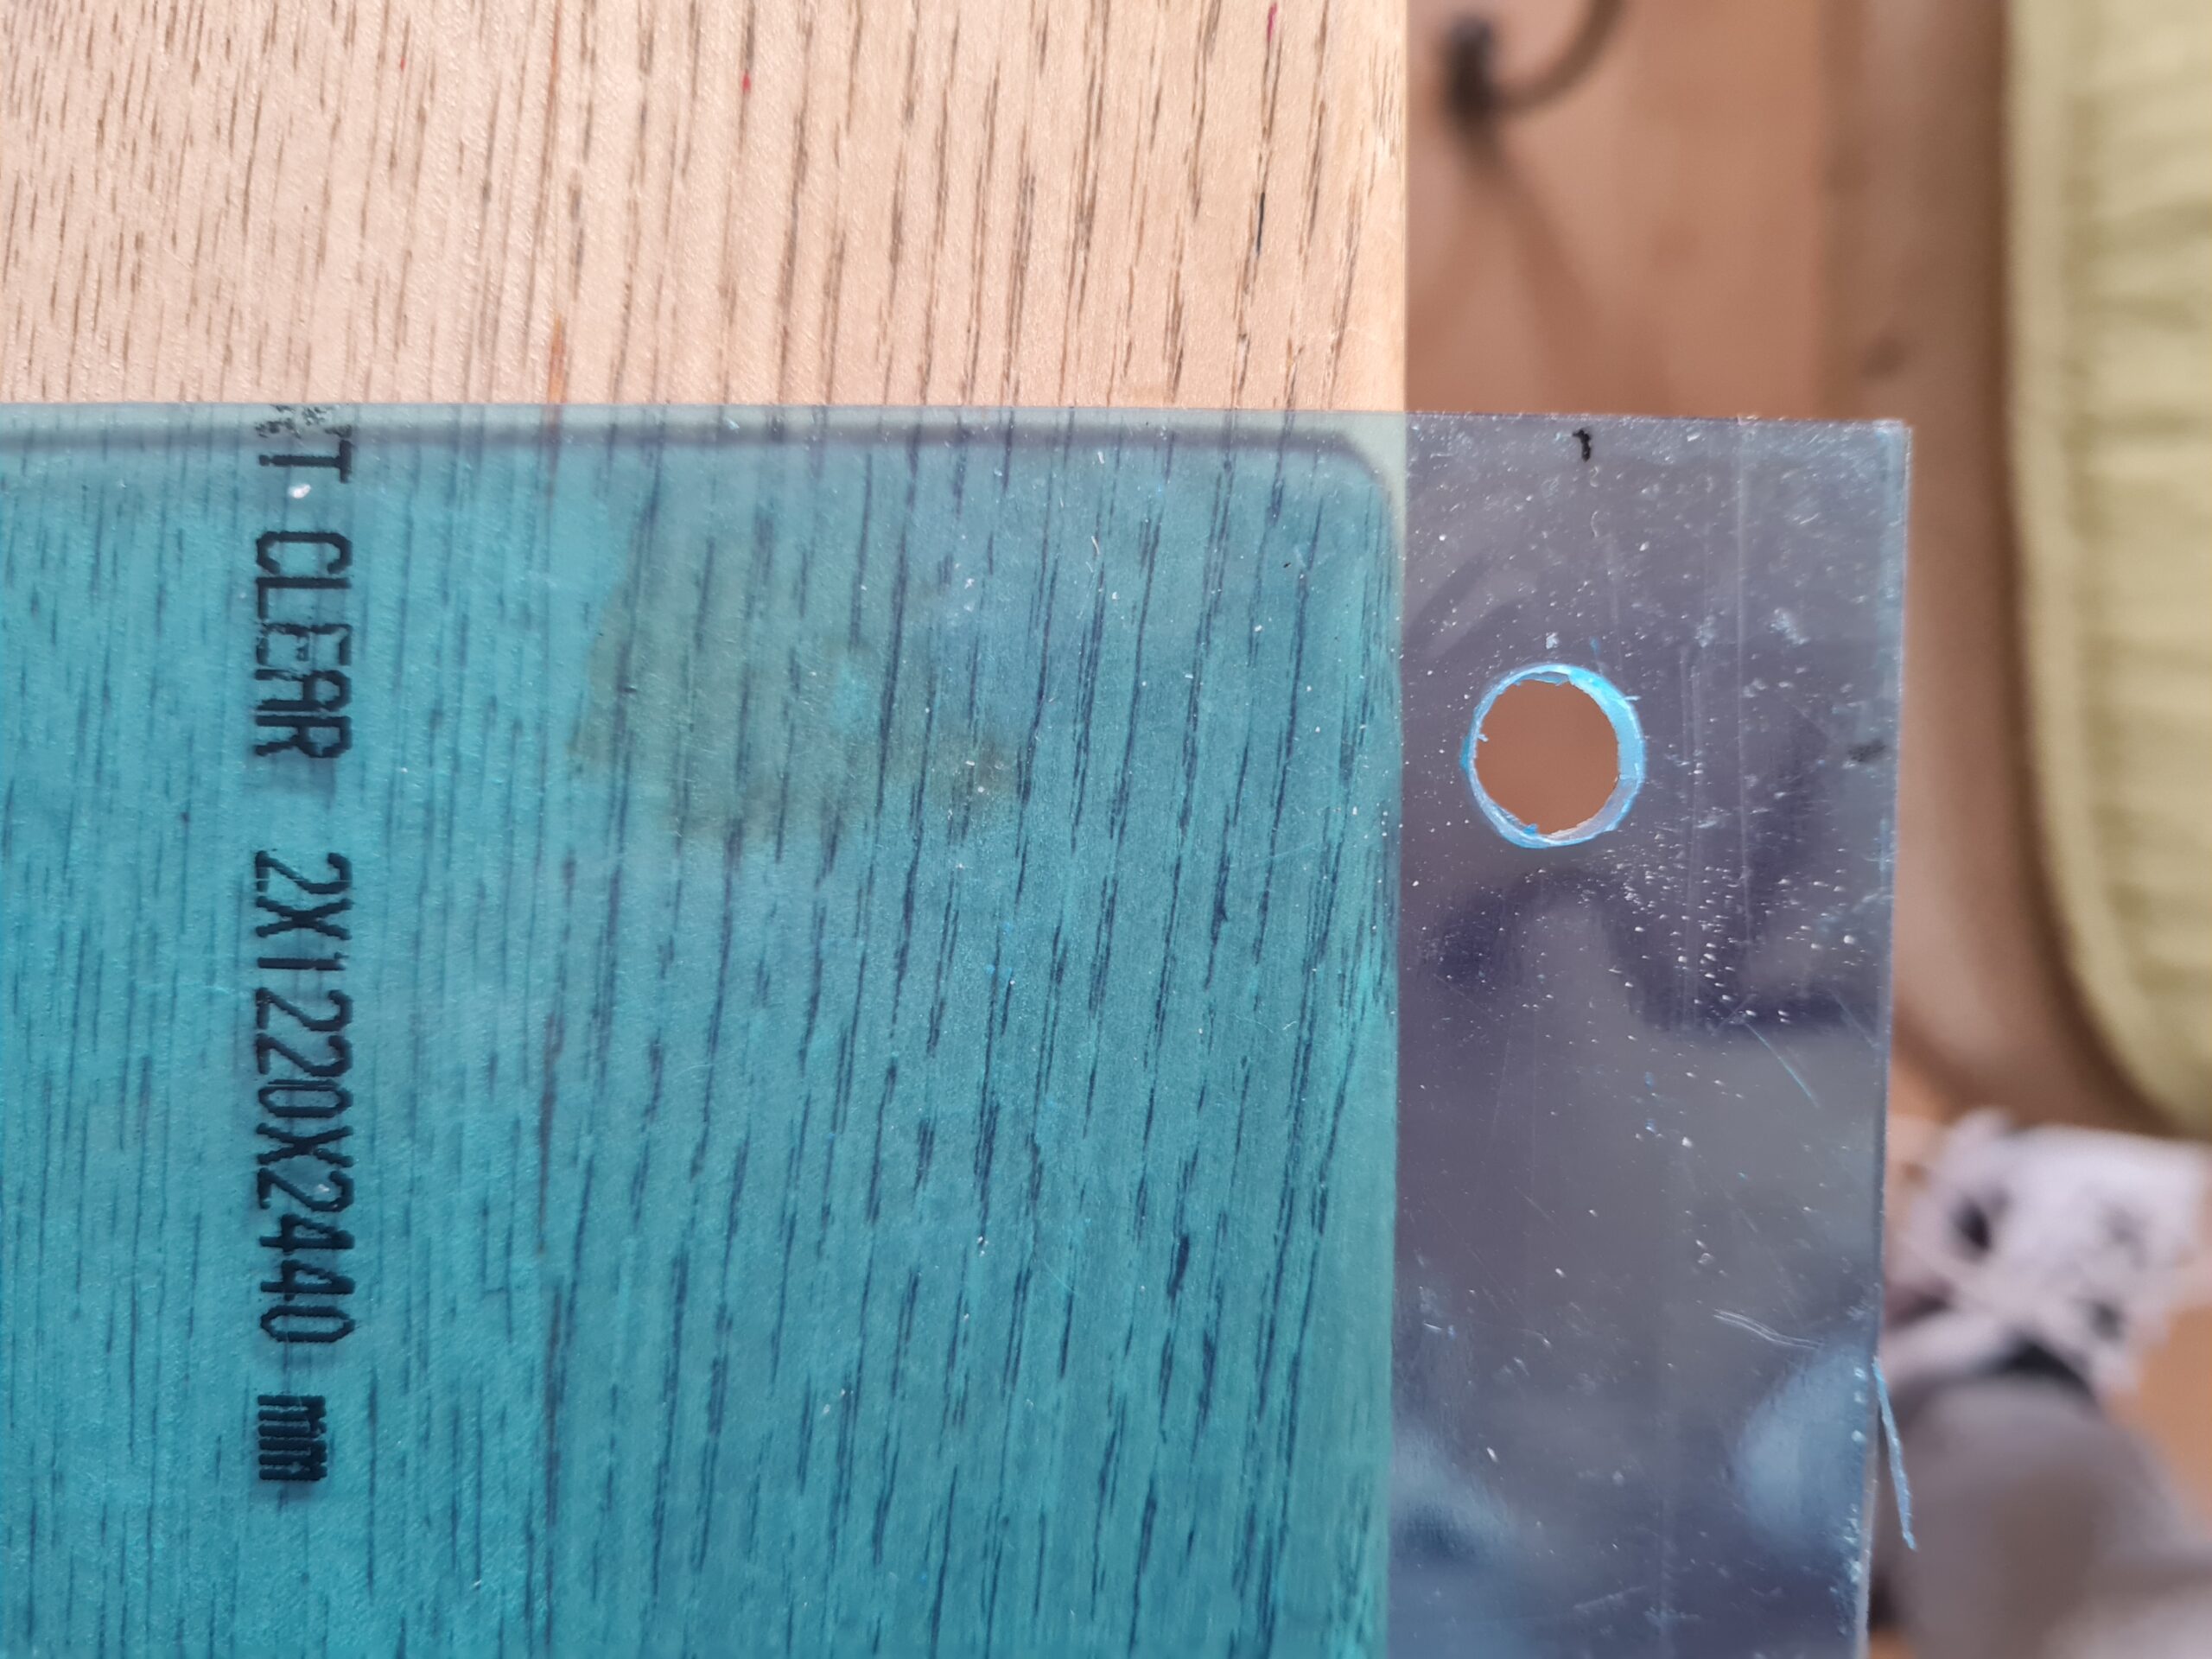
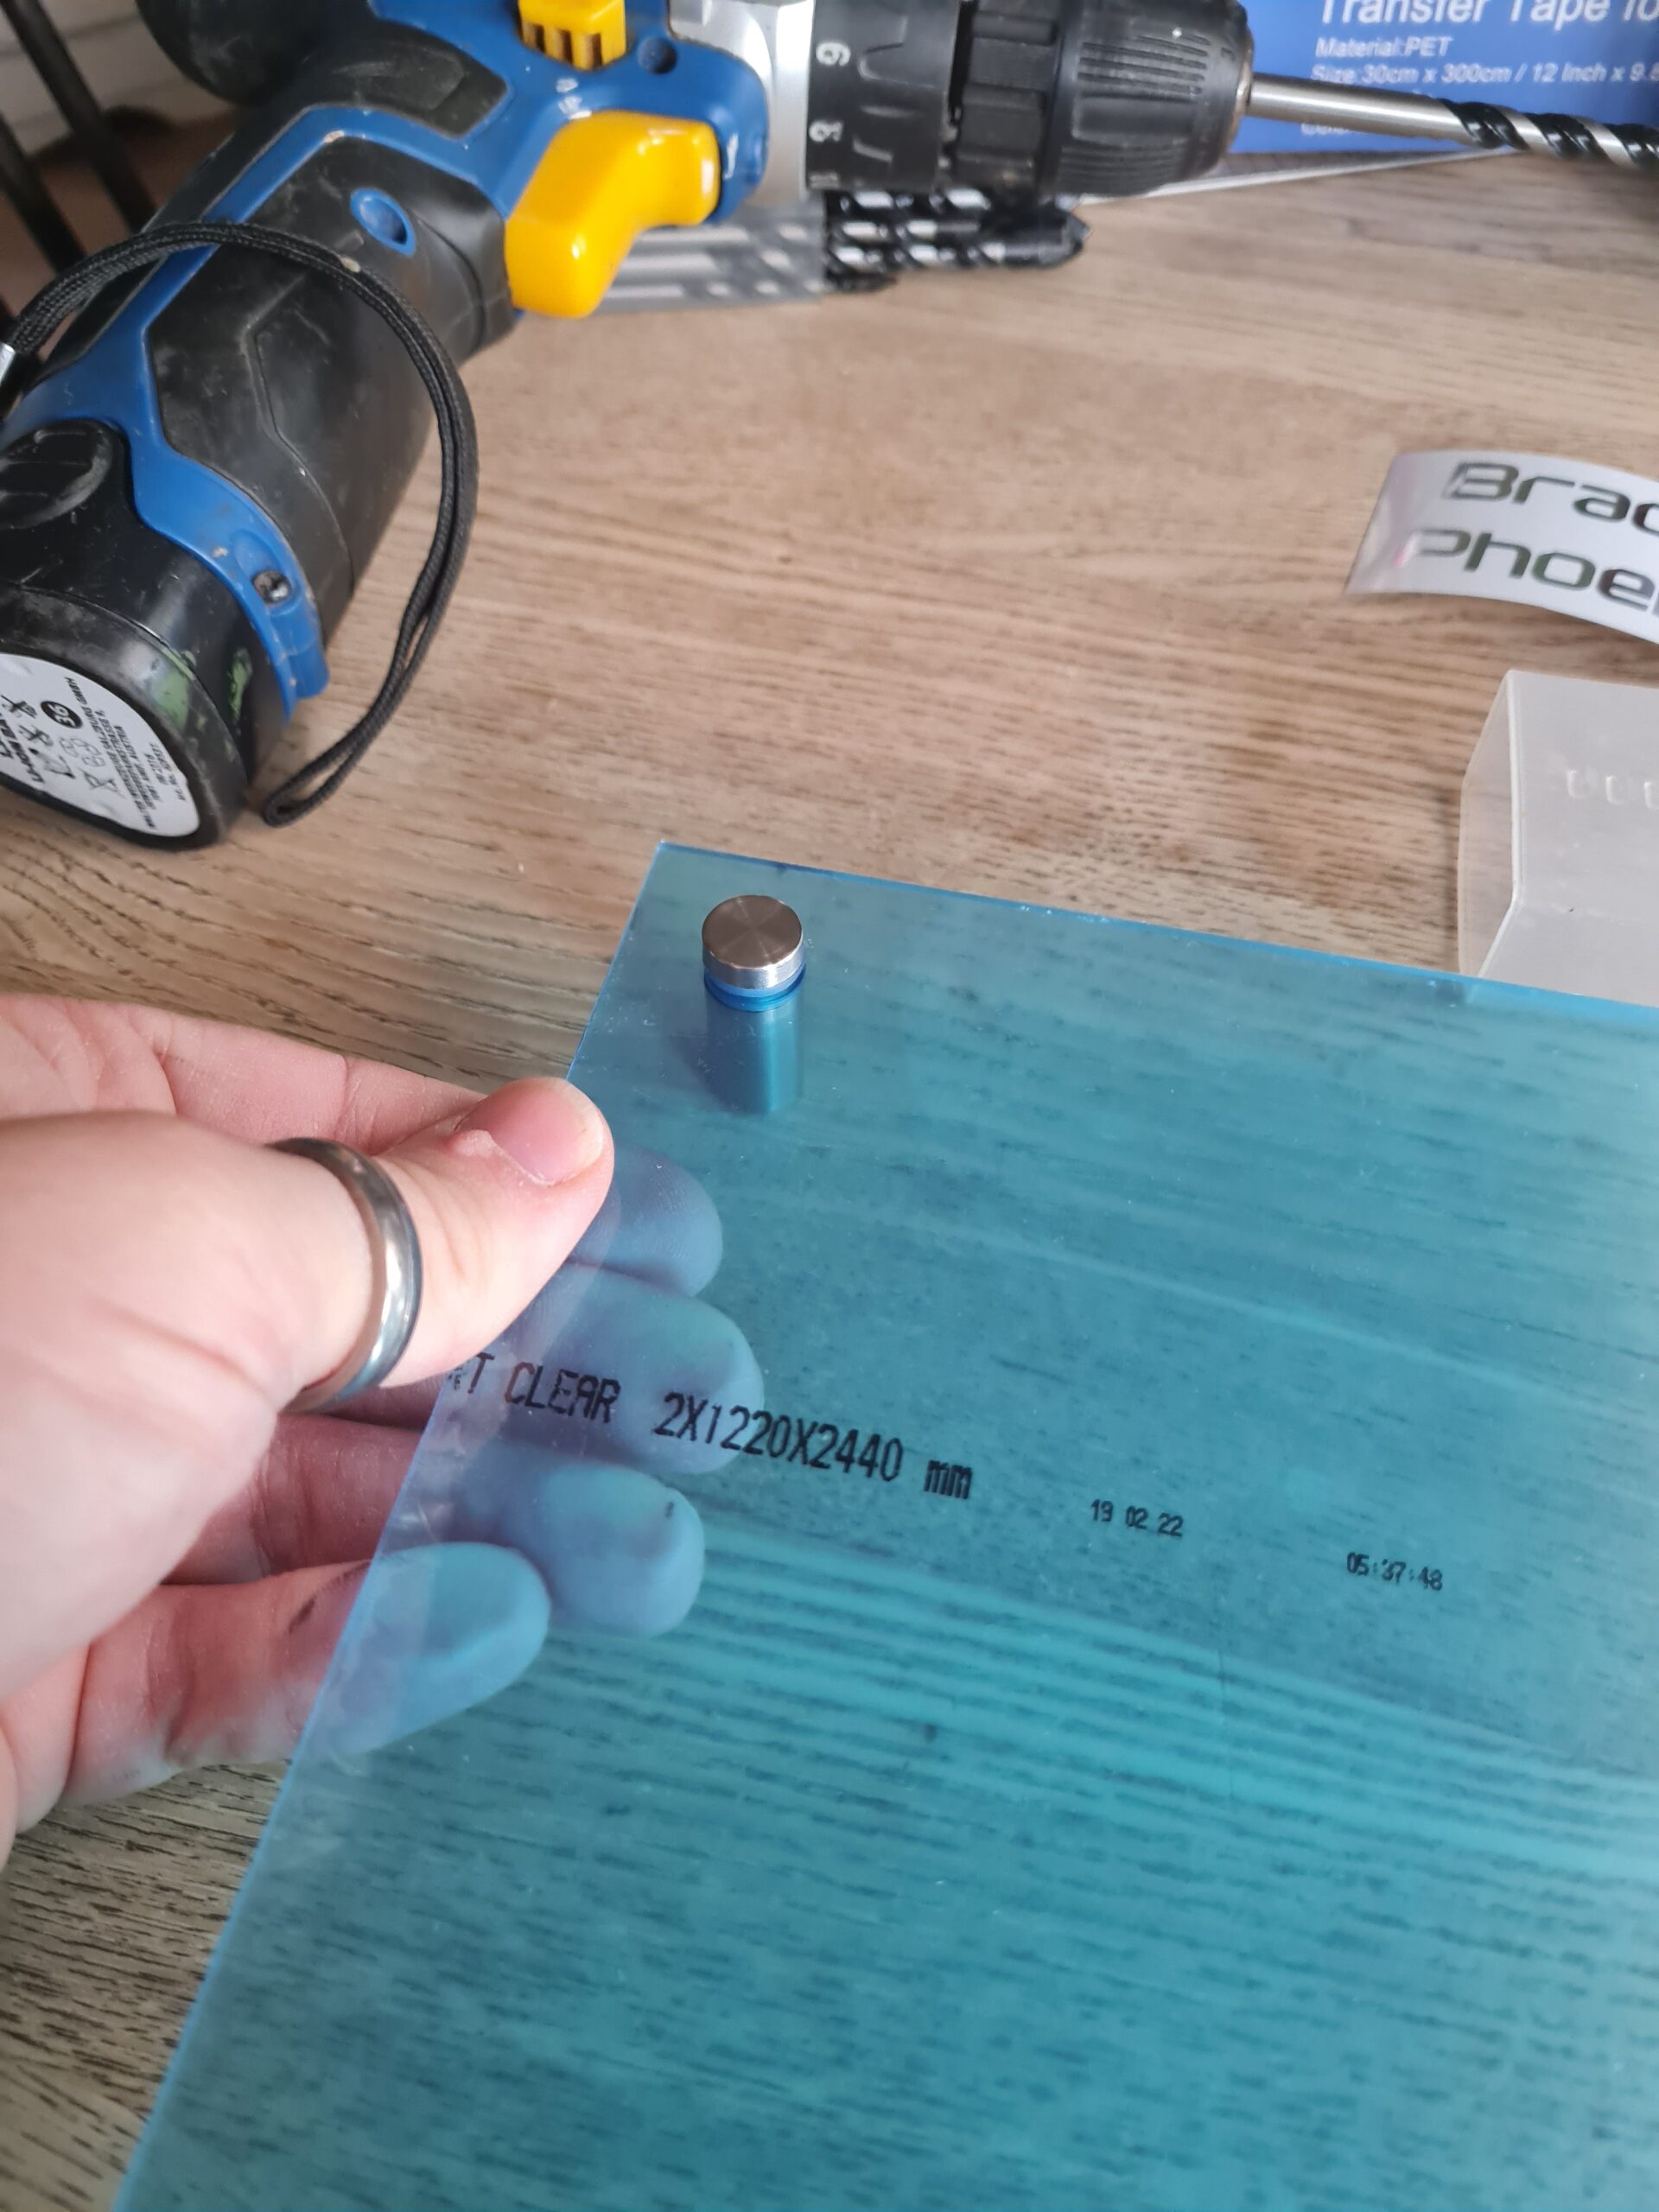
As can be seen above I also tested one of the feet int he hole to make sure it was fitting securely. I then removed this to do the rest of the work.
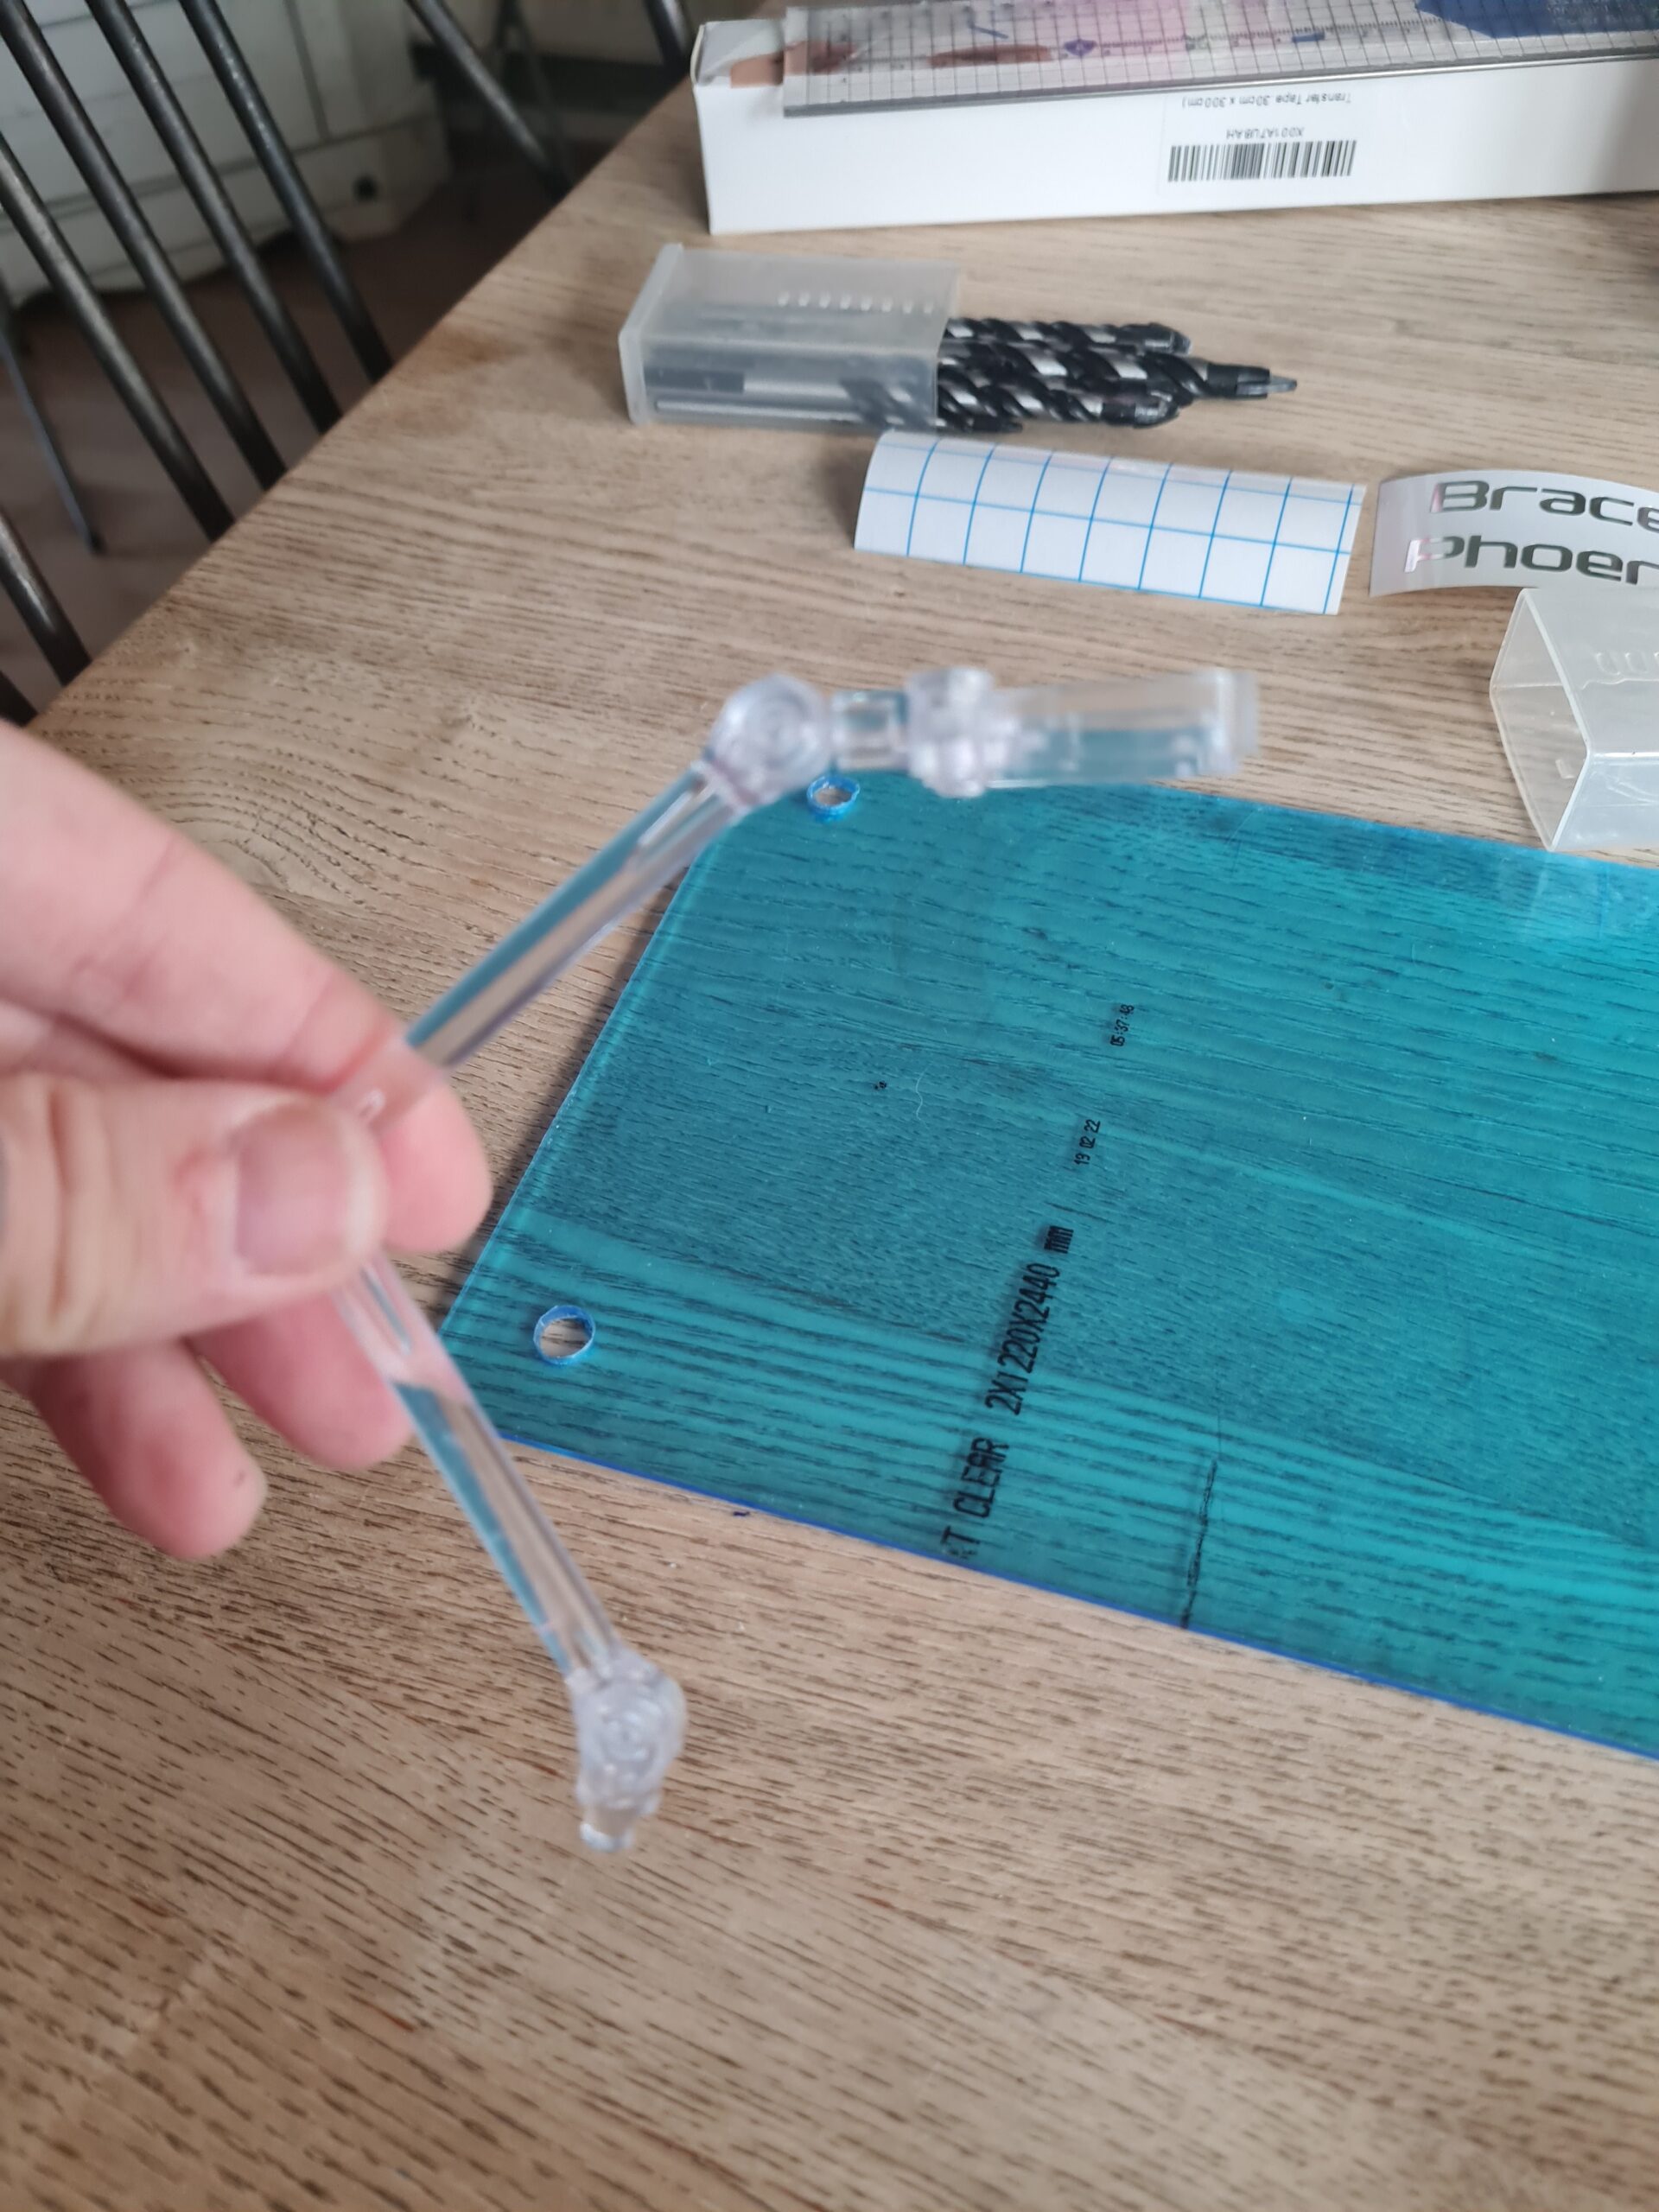
I did drill an extra hole for the stand. Normally I would put this at the halfway point. However, for this I wanted it in a specific place. The methodology though was the same as above. Find the right size bit, drill the hole, and finally test. I do think I will add some glue to help hold it in place, but it works well.
The Text
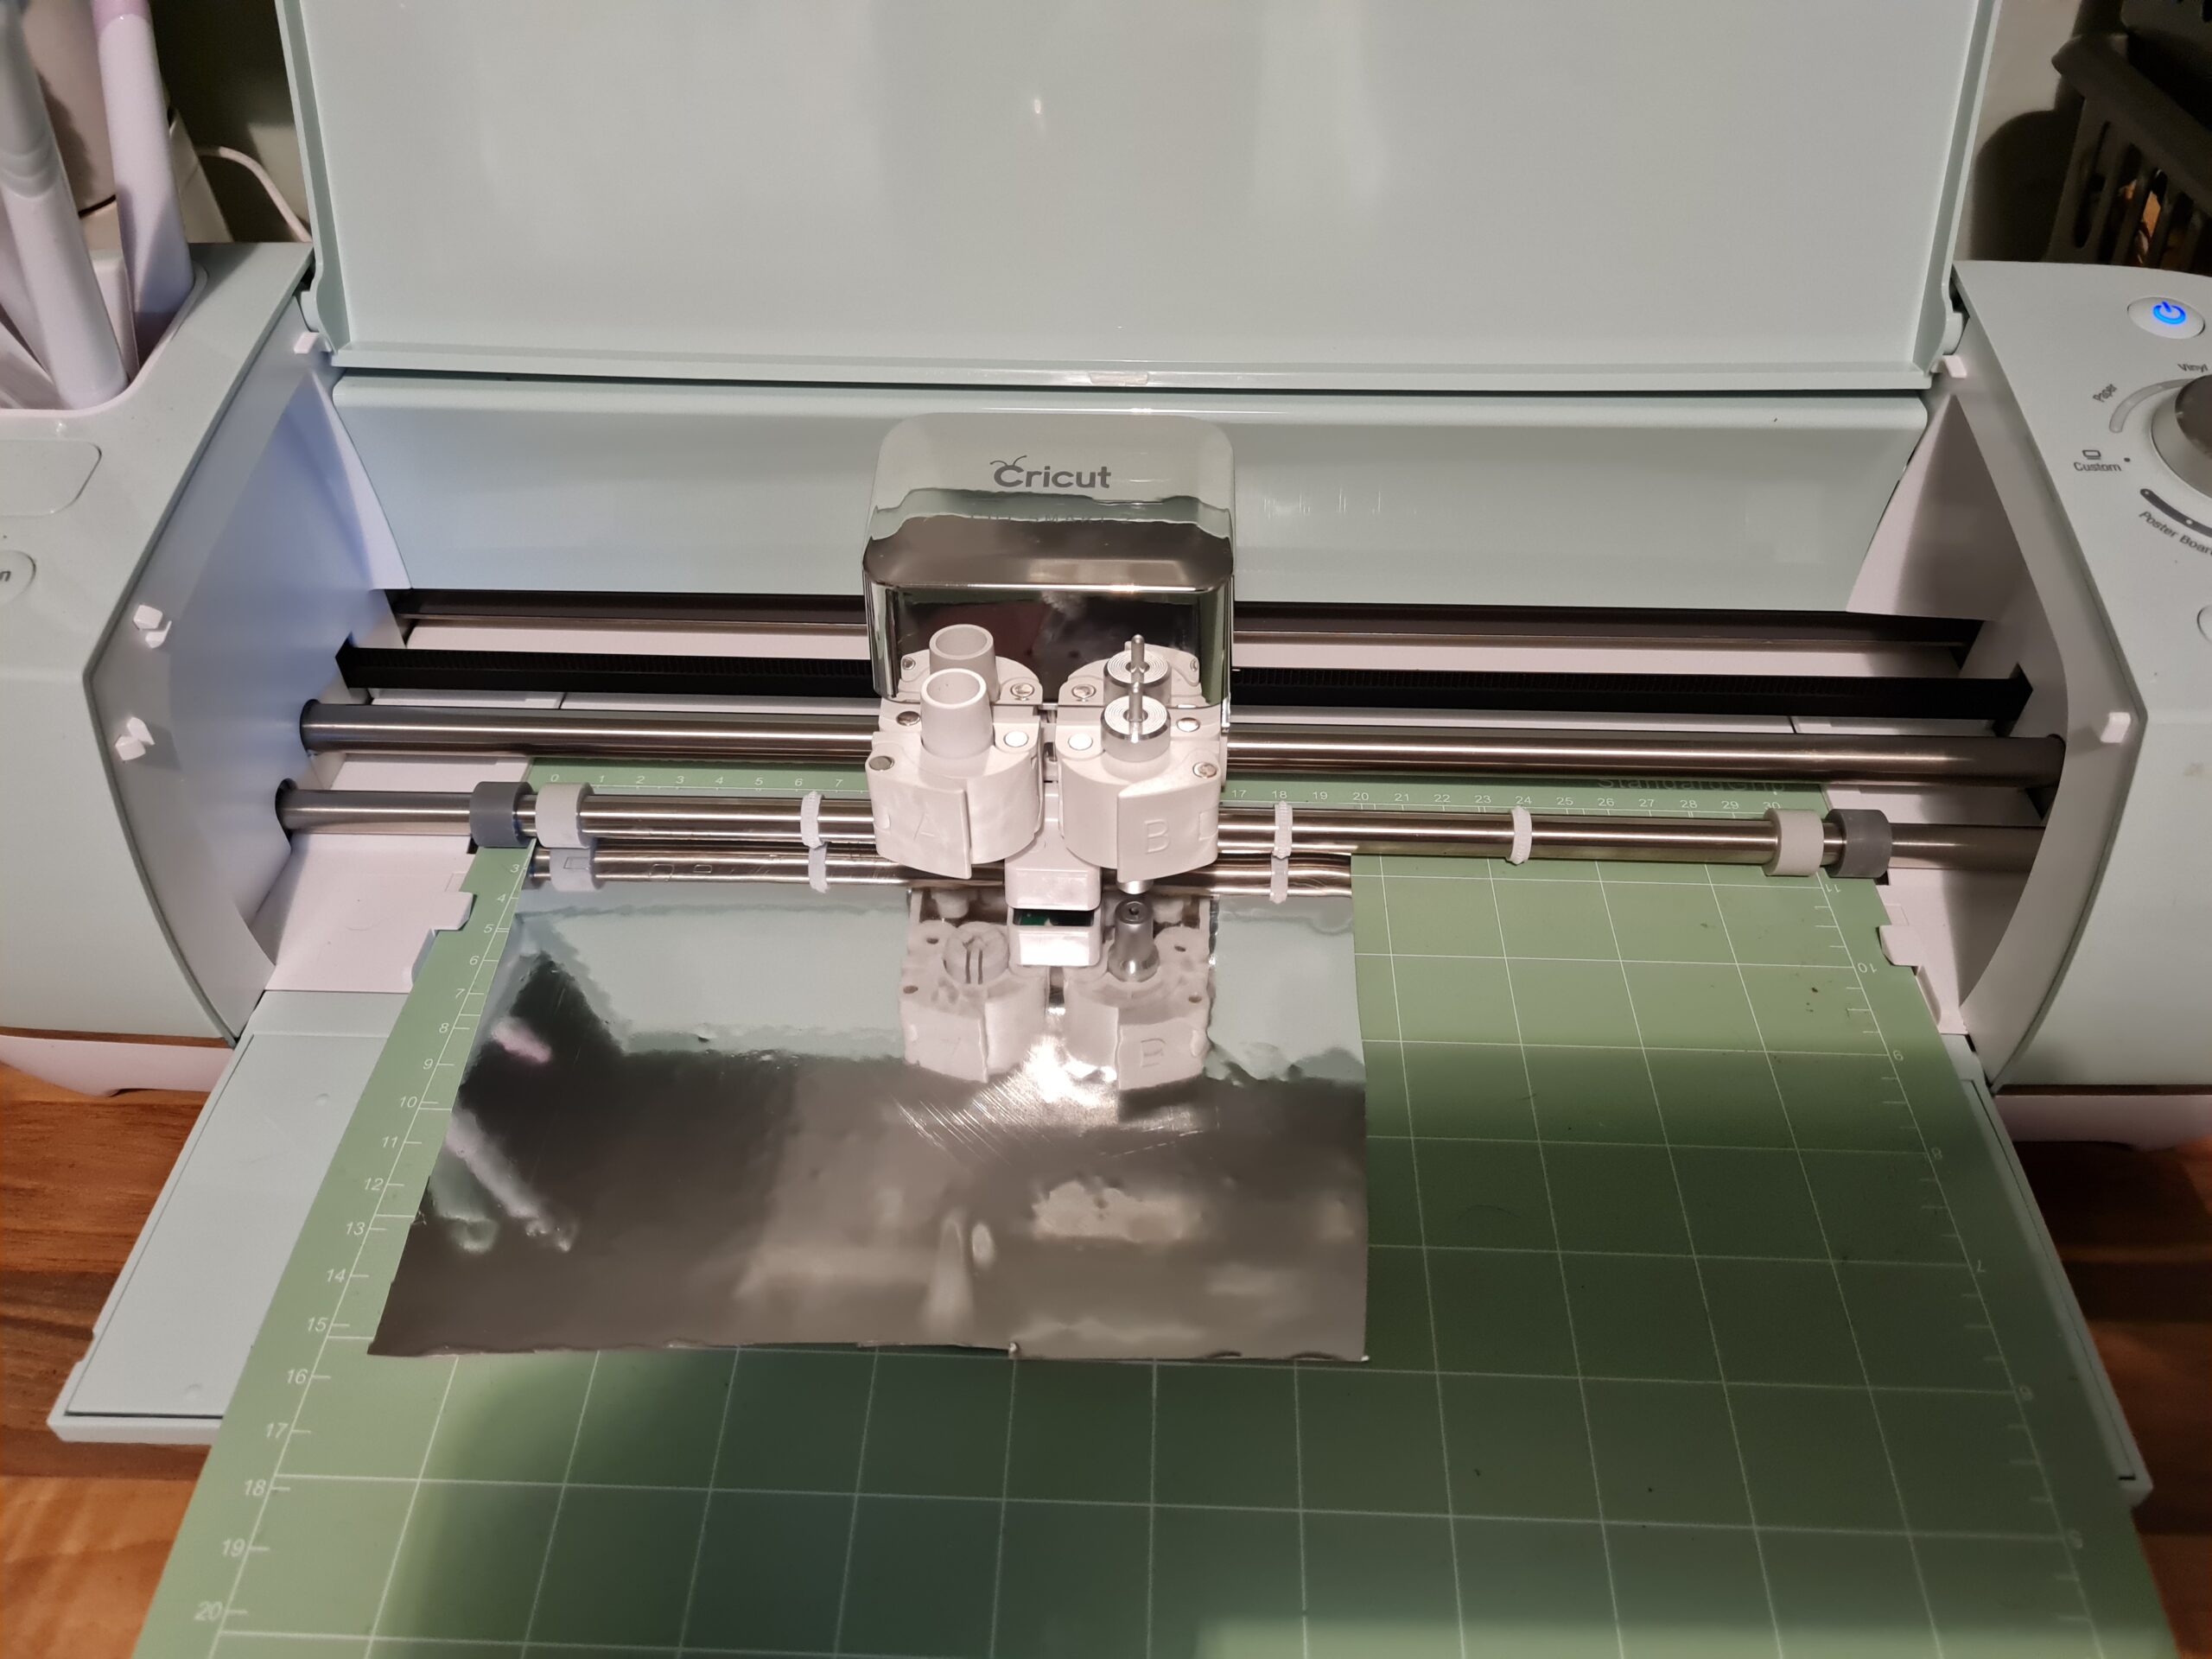
I am fortunate enough to have a cricut. I used the software for that to write out the words I wanted on the stand.
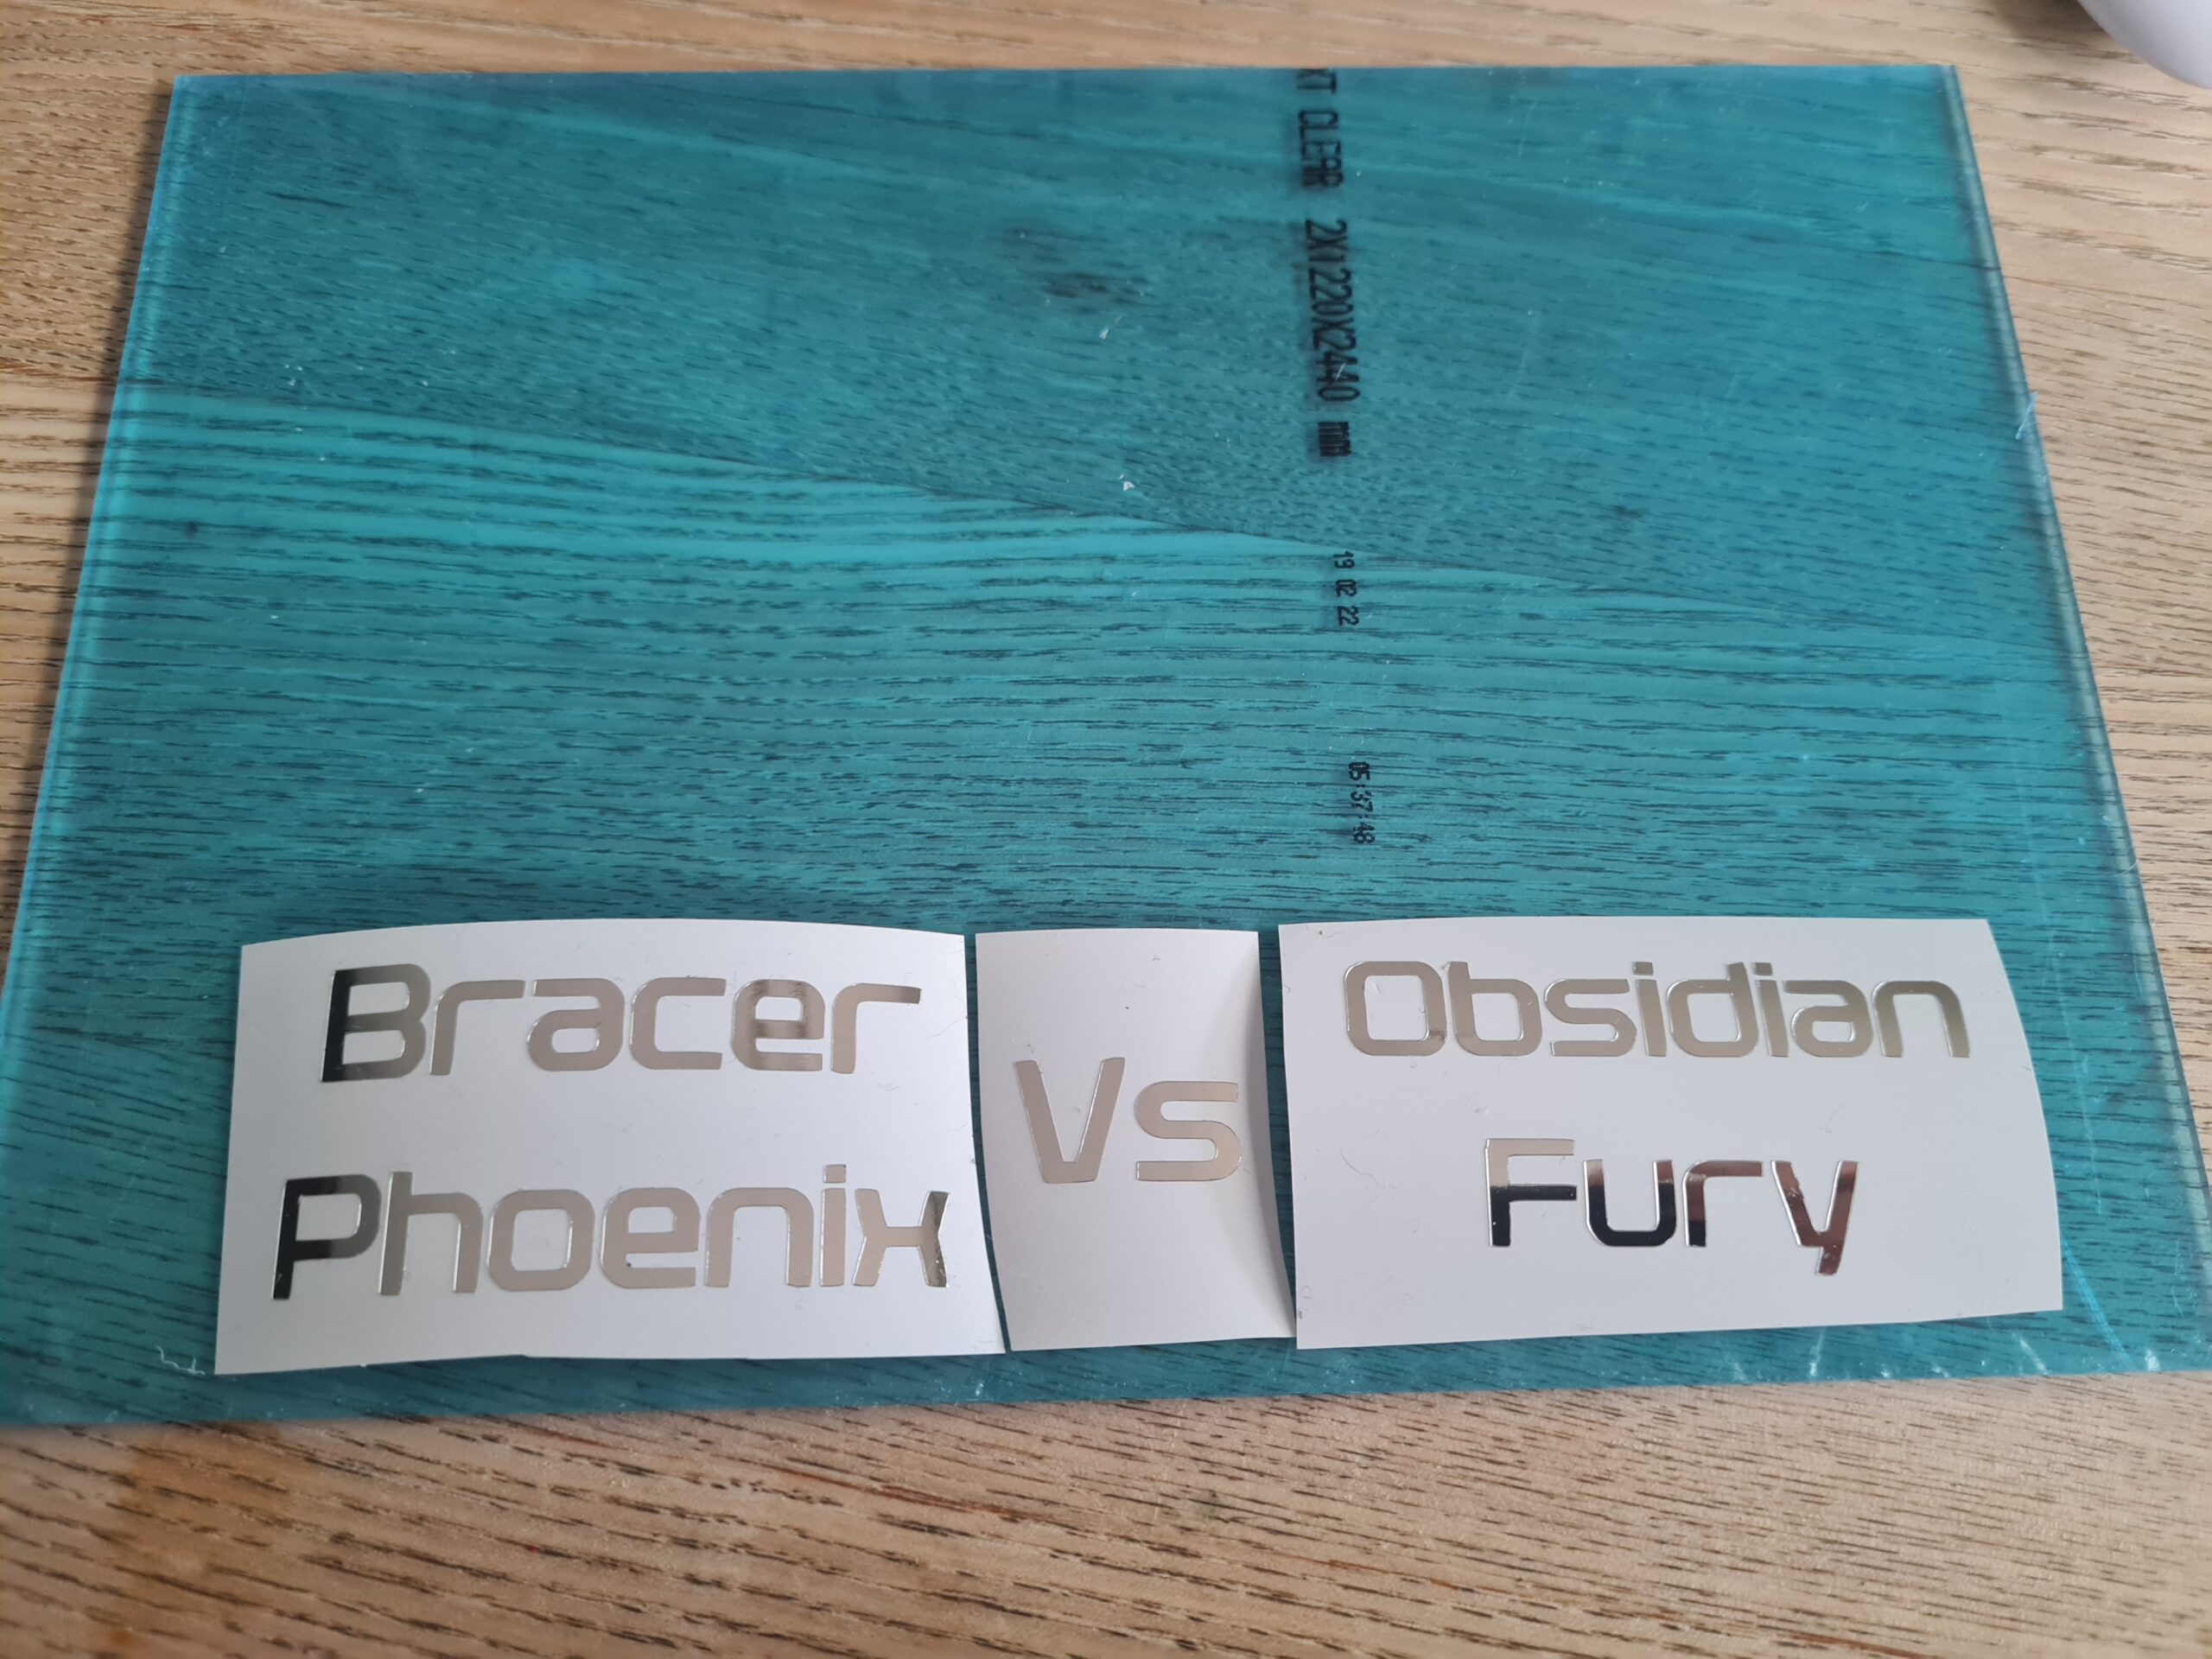
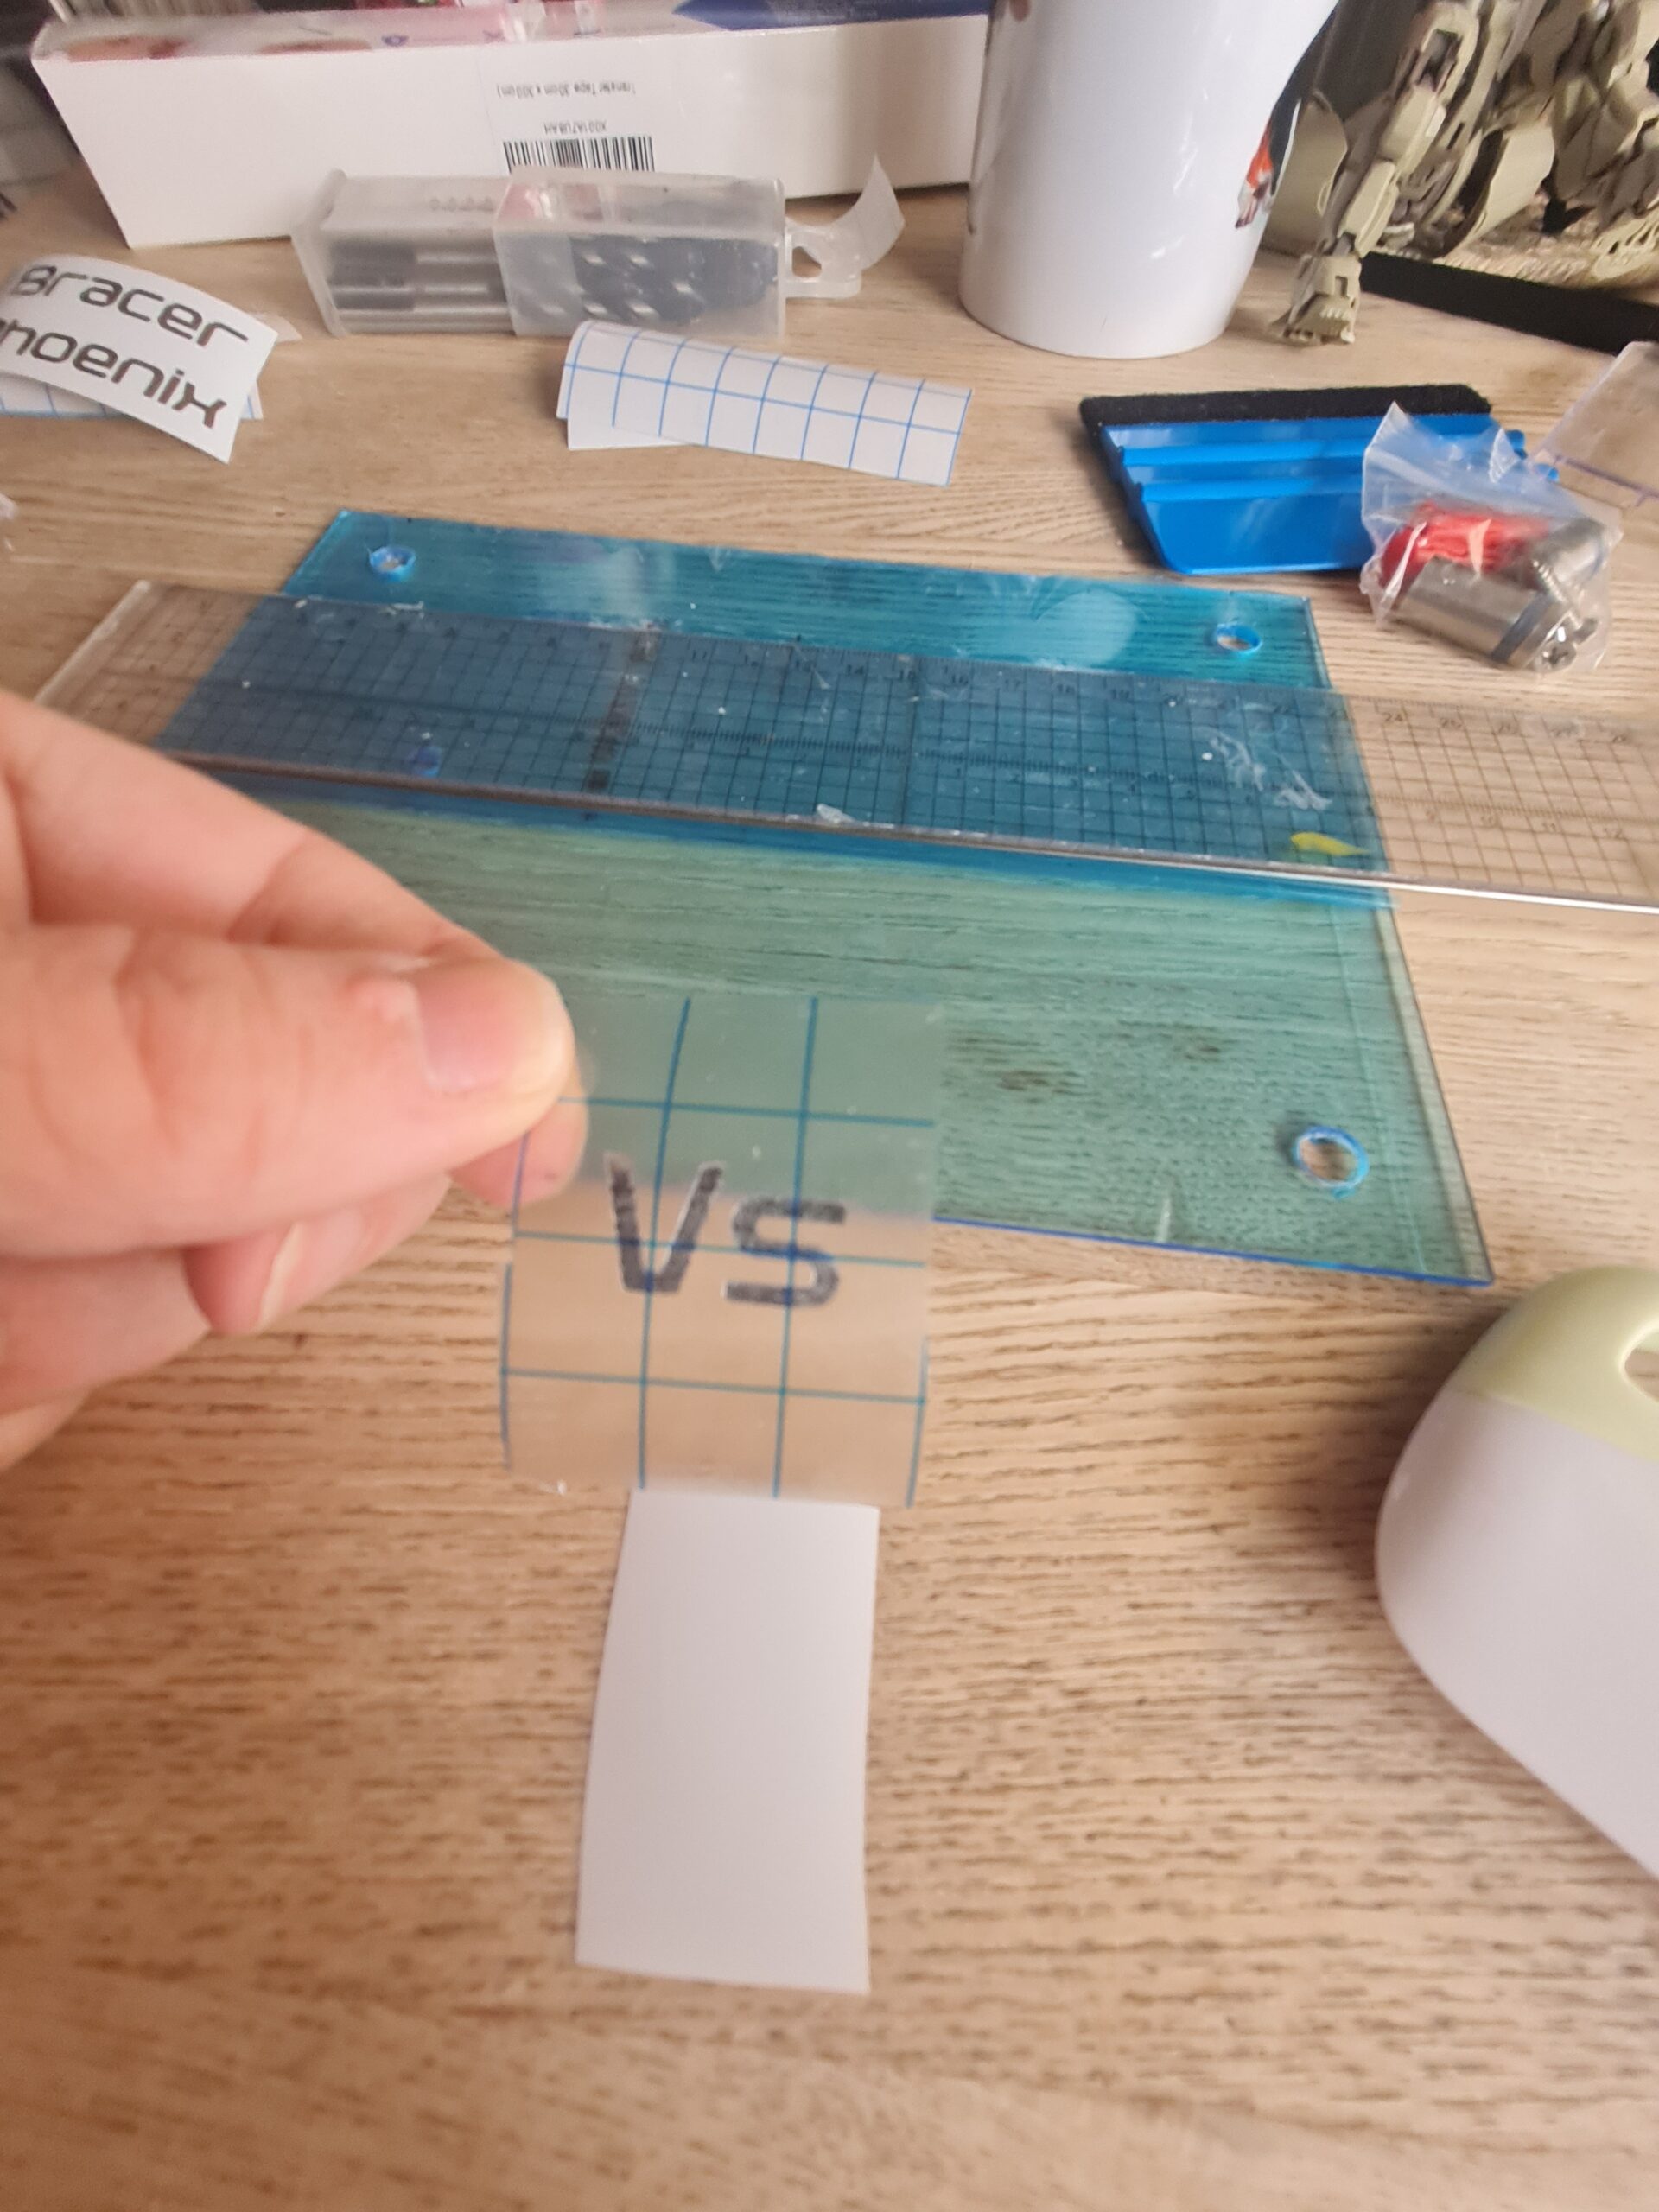
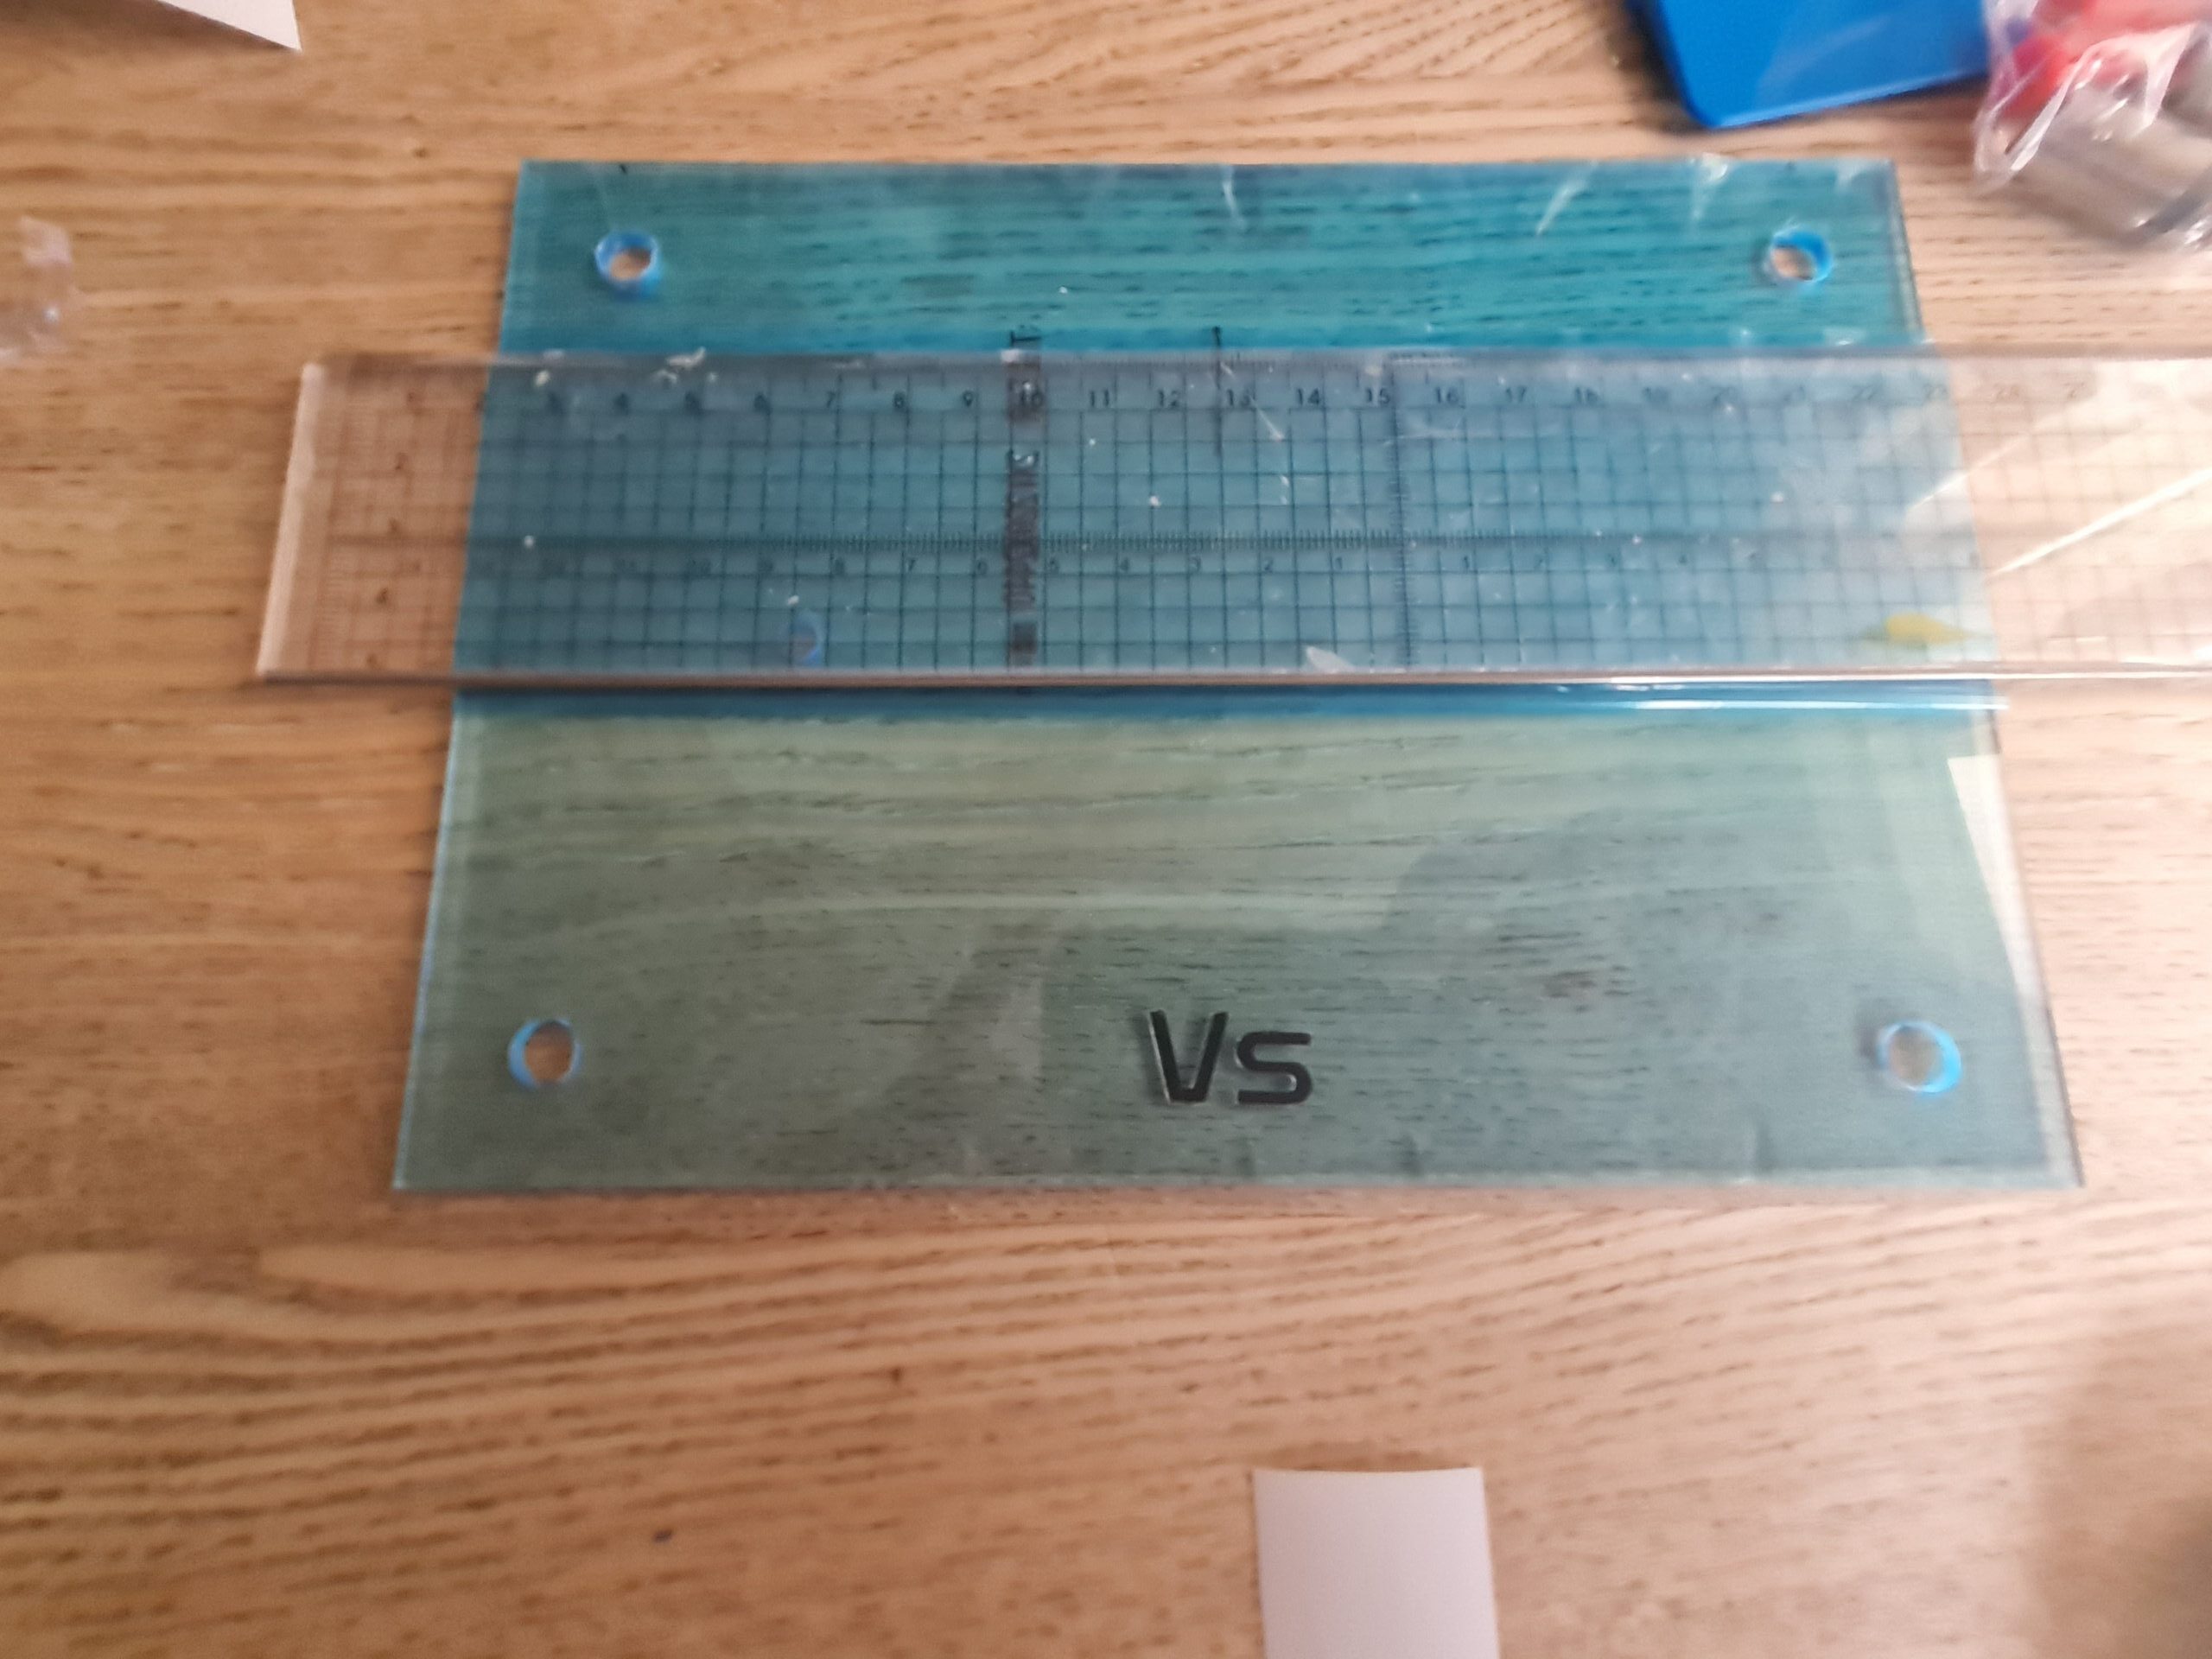
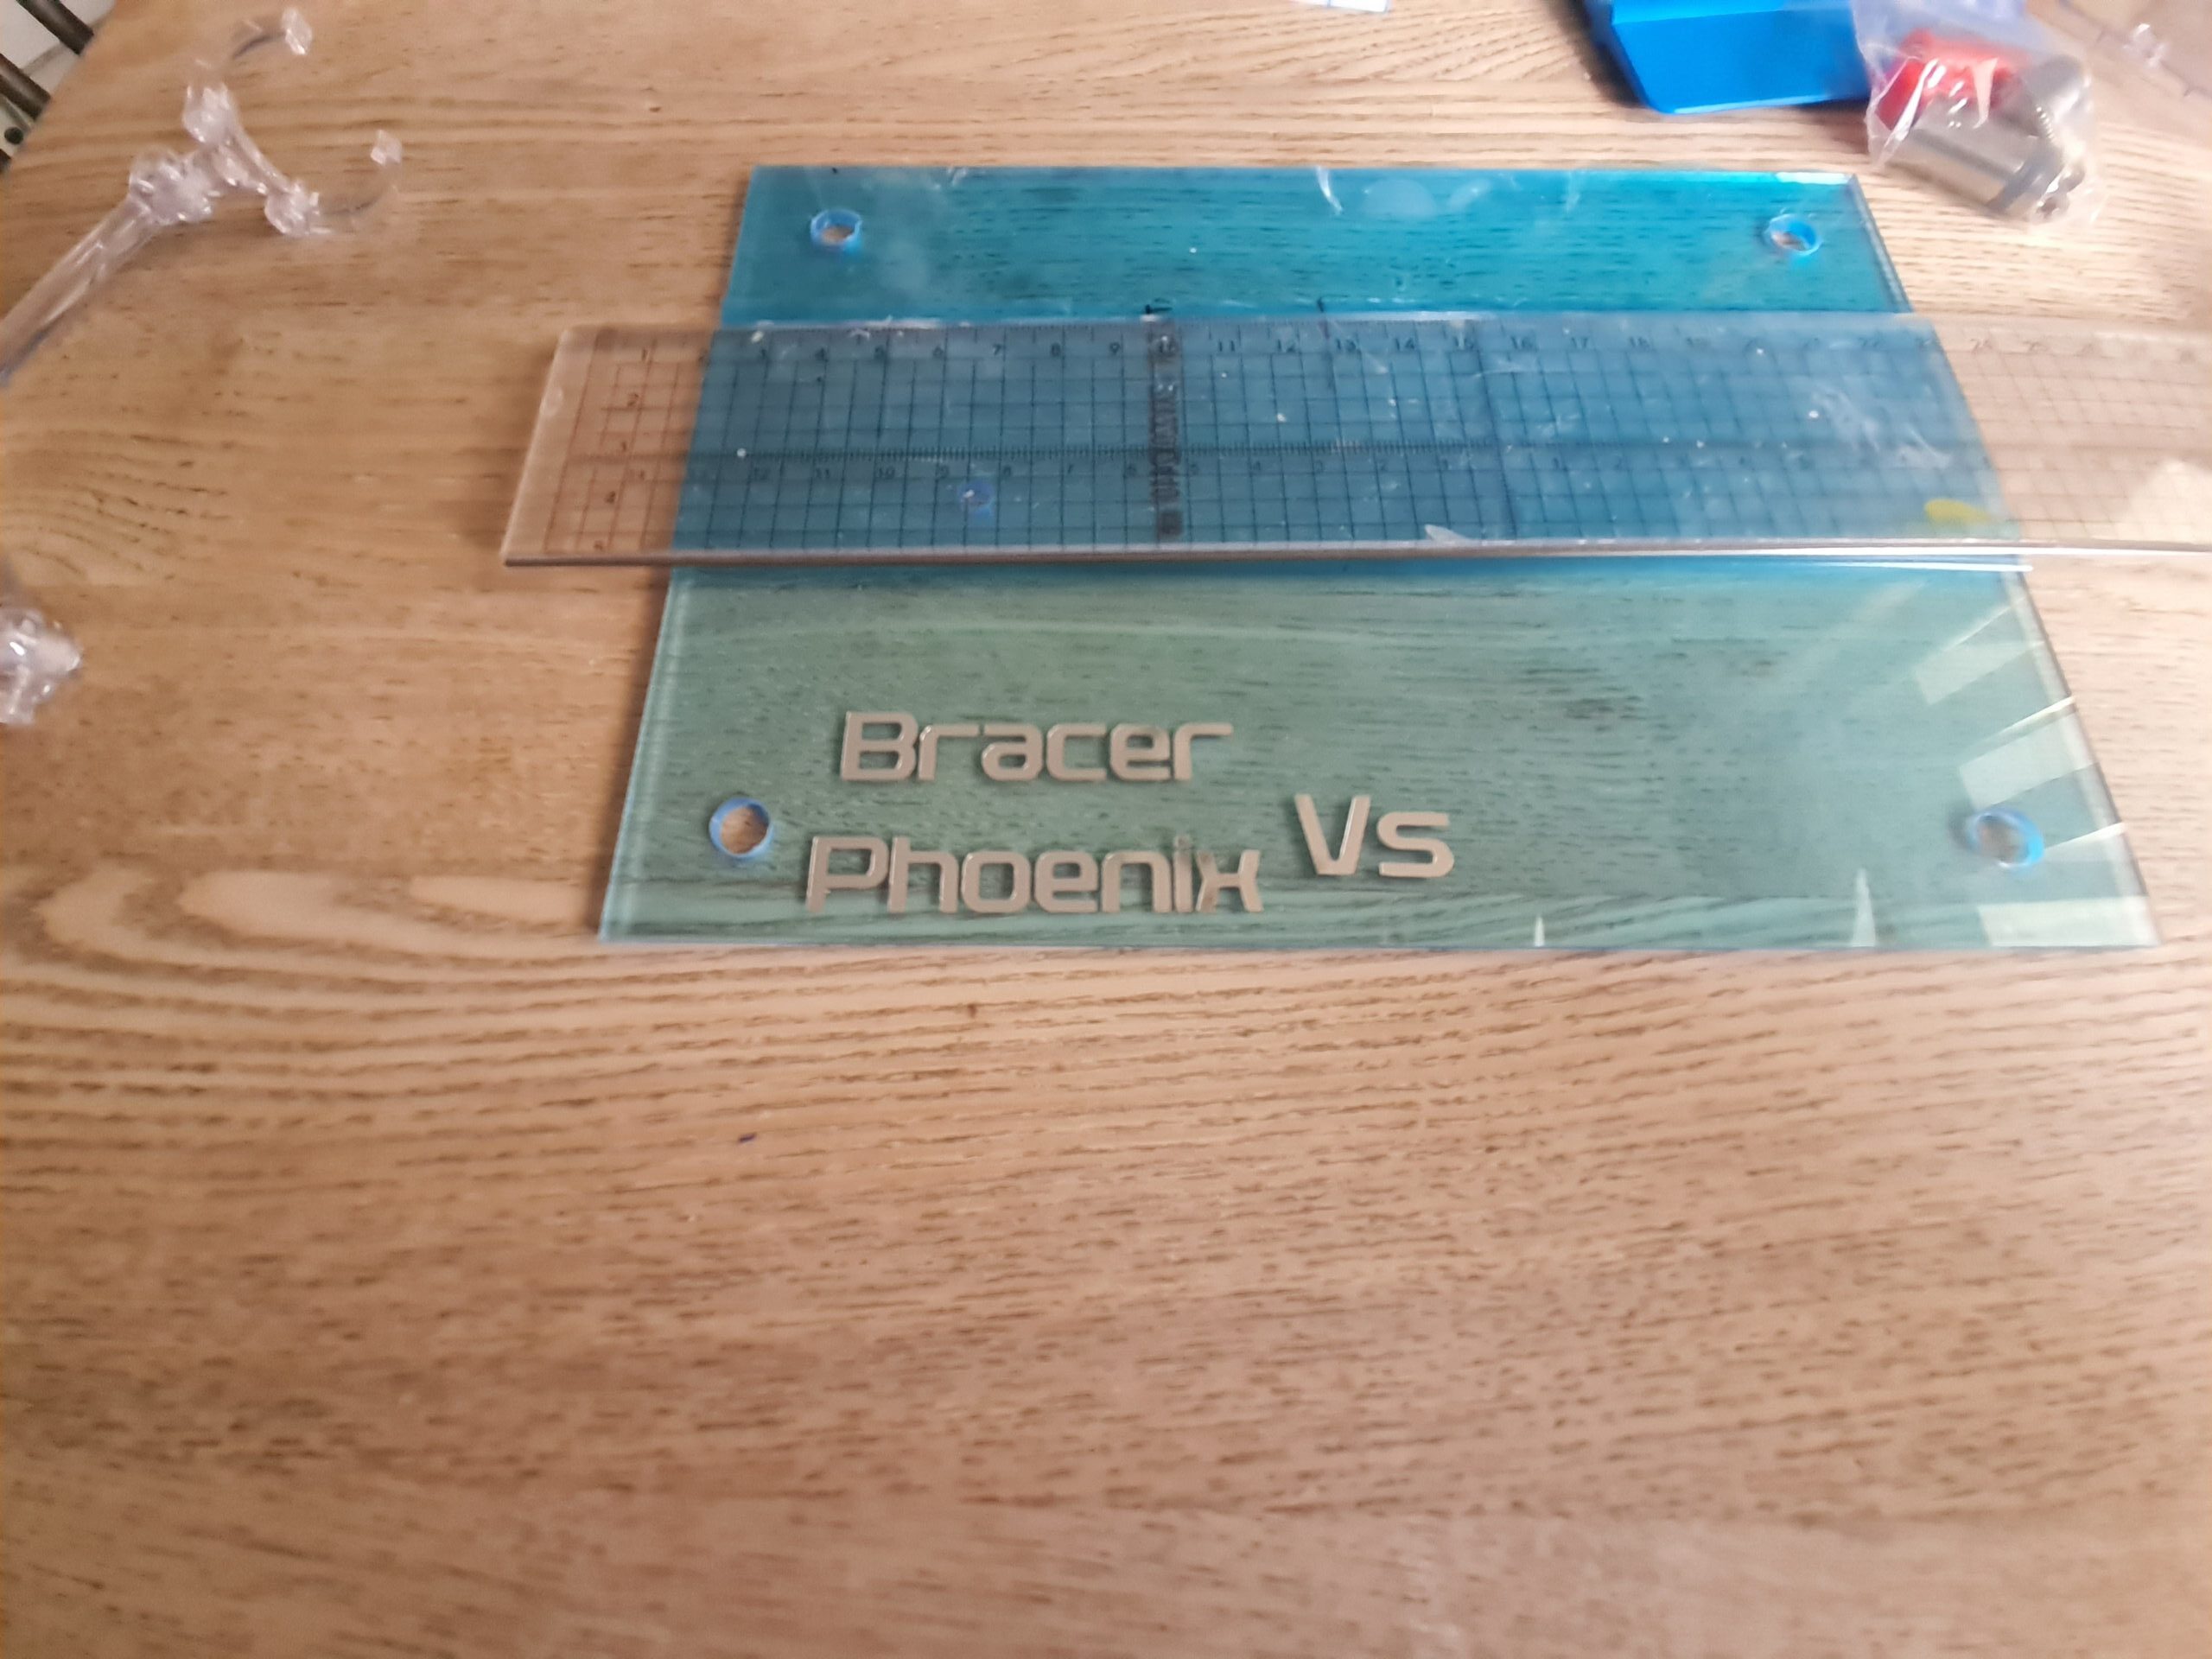
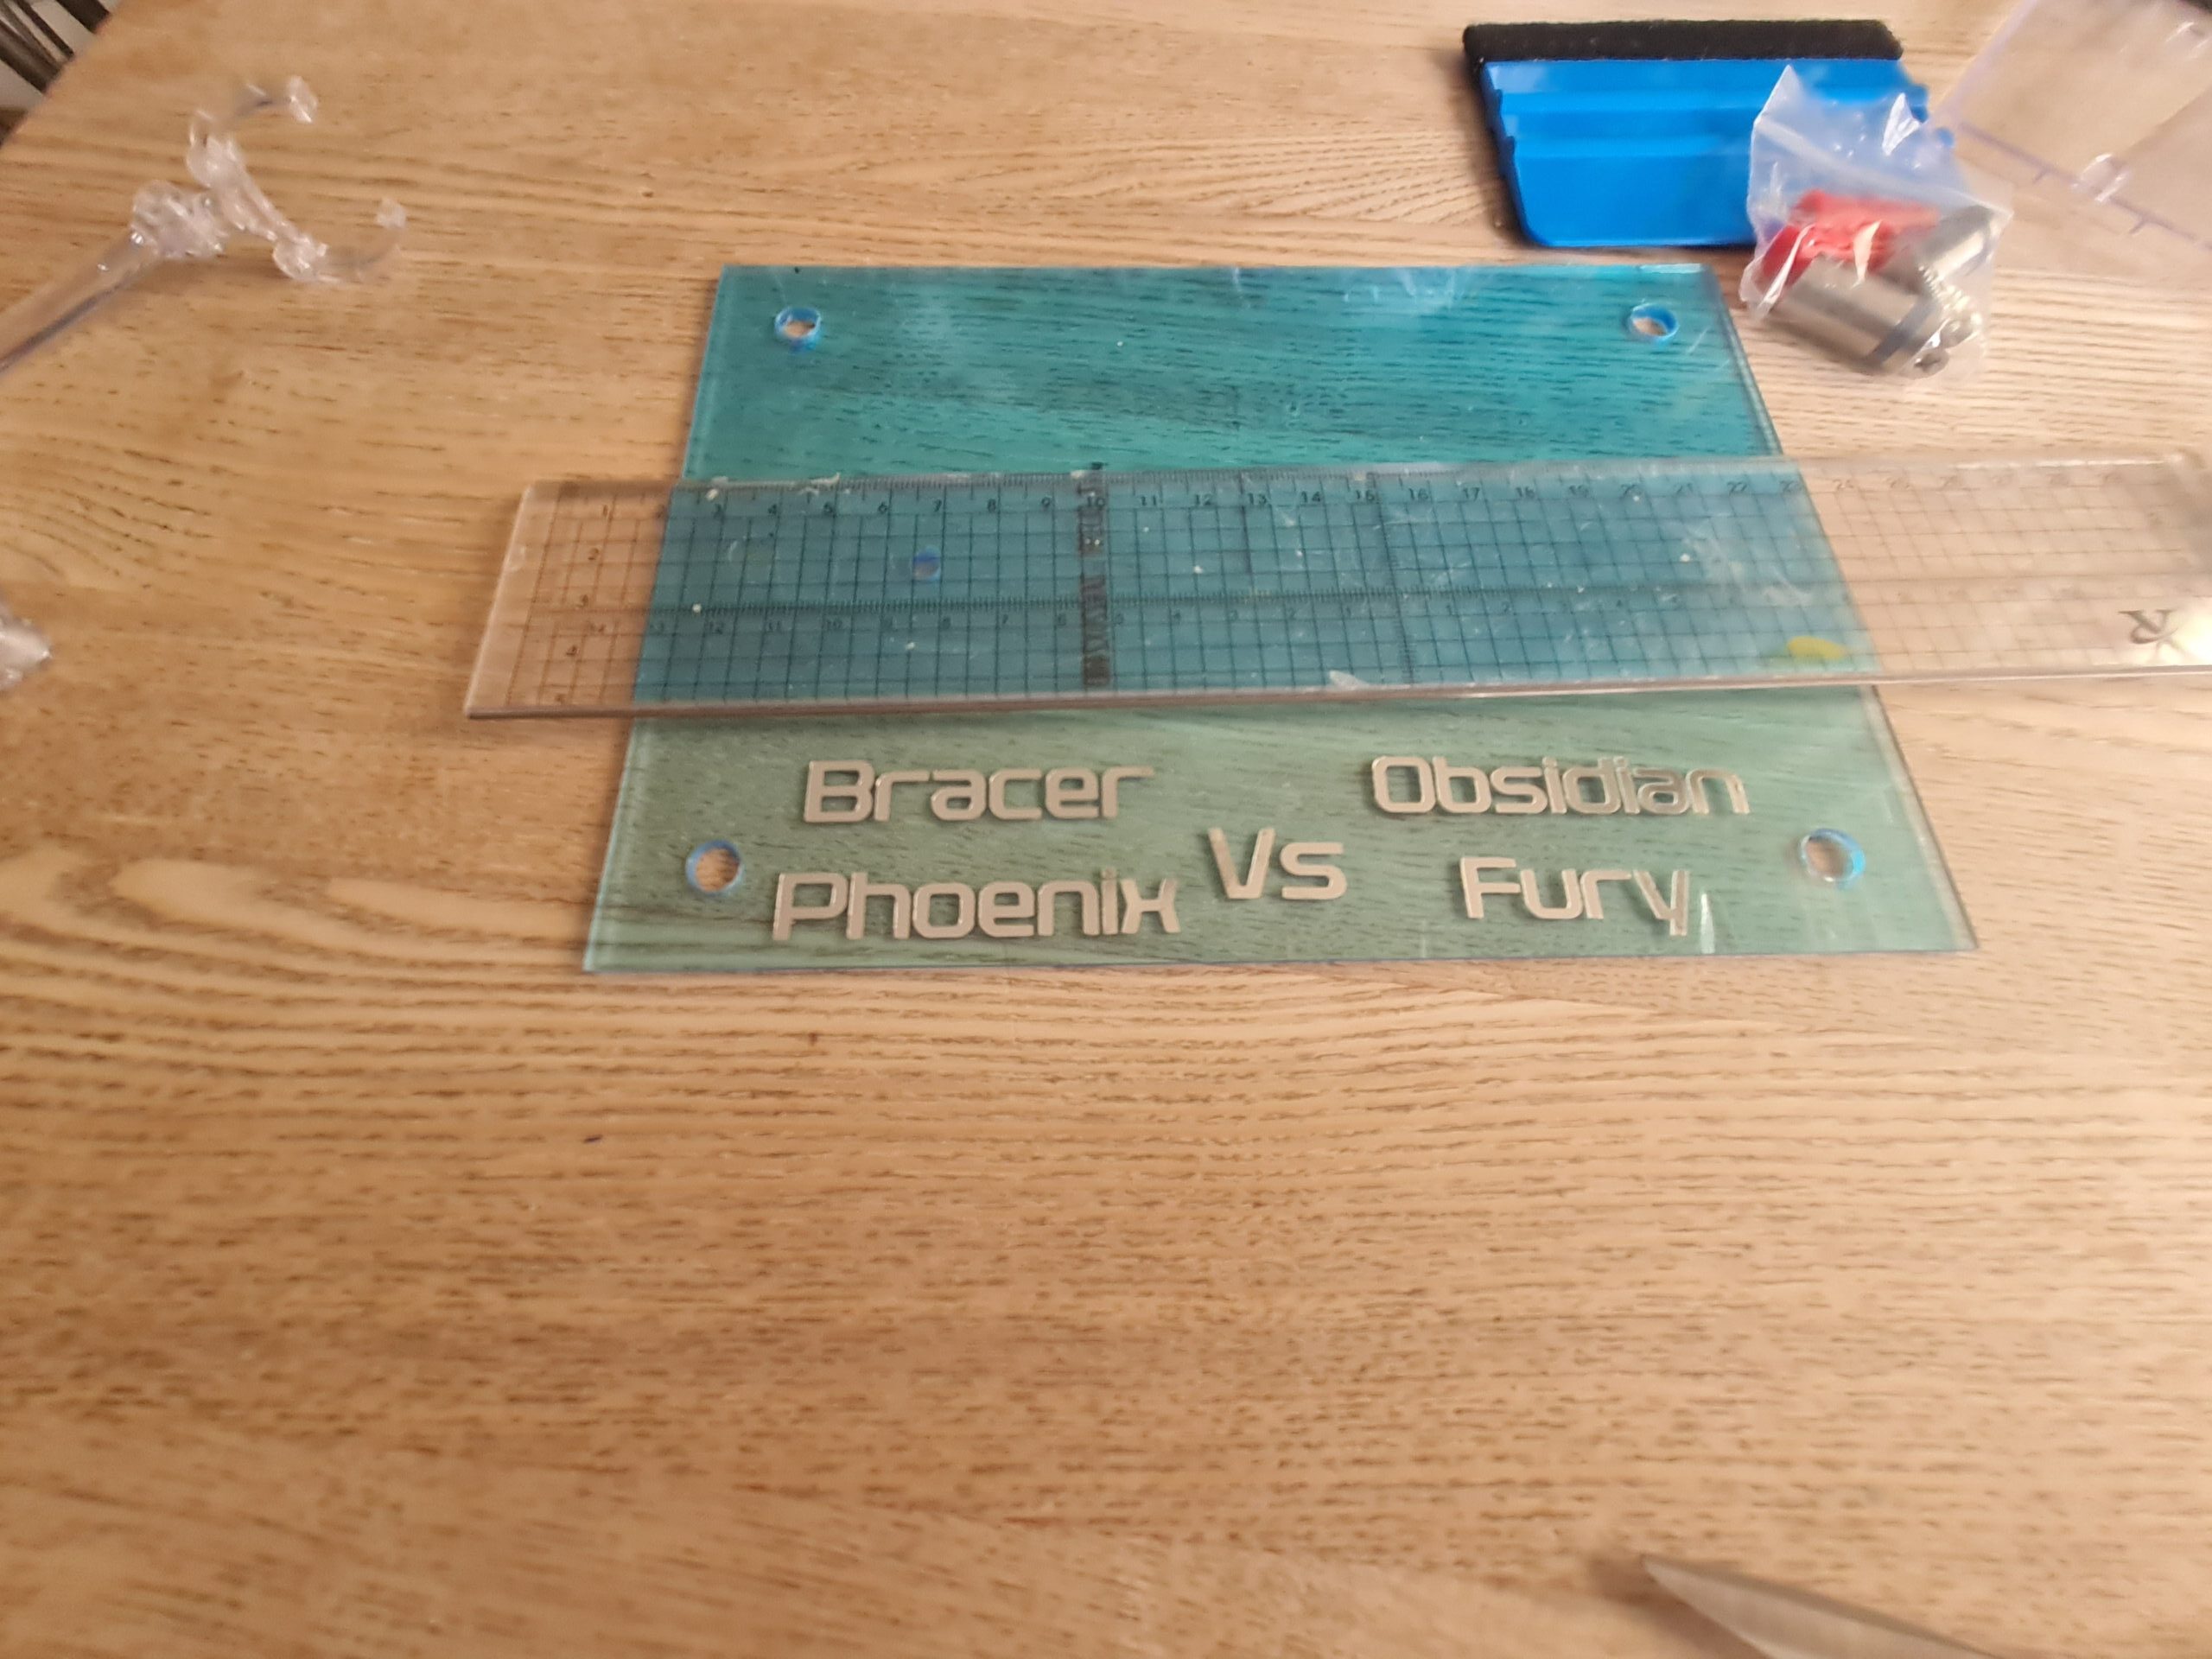
Once the cricut had done its job. I measured out the center point on the acrylic and market it out. I then peeled back the protective cover on one side of the acrylic. The last photo above the ruler is holding it back out of the way. I then quickly checked the layout. I needed to make sure everything was going to fit! Once I was happy, I transferred the Vs to some transfer tape and placed it centrally on the acrylic. I then repeated this process with the Bracer Phoenix and Obsidian Fury pieces of text.
The feet!
The next stage is to put the feet on. Prior to this I peeled off the protective cover from both sides of the acrylic sheet.
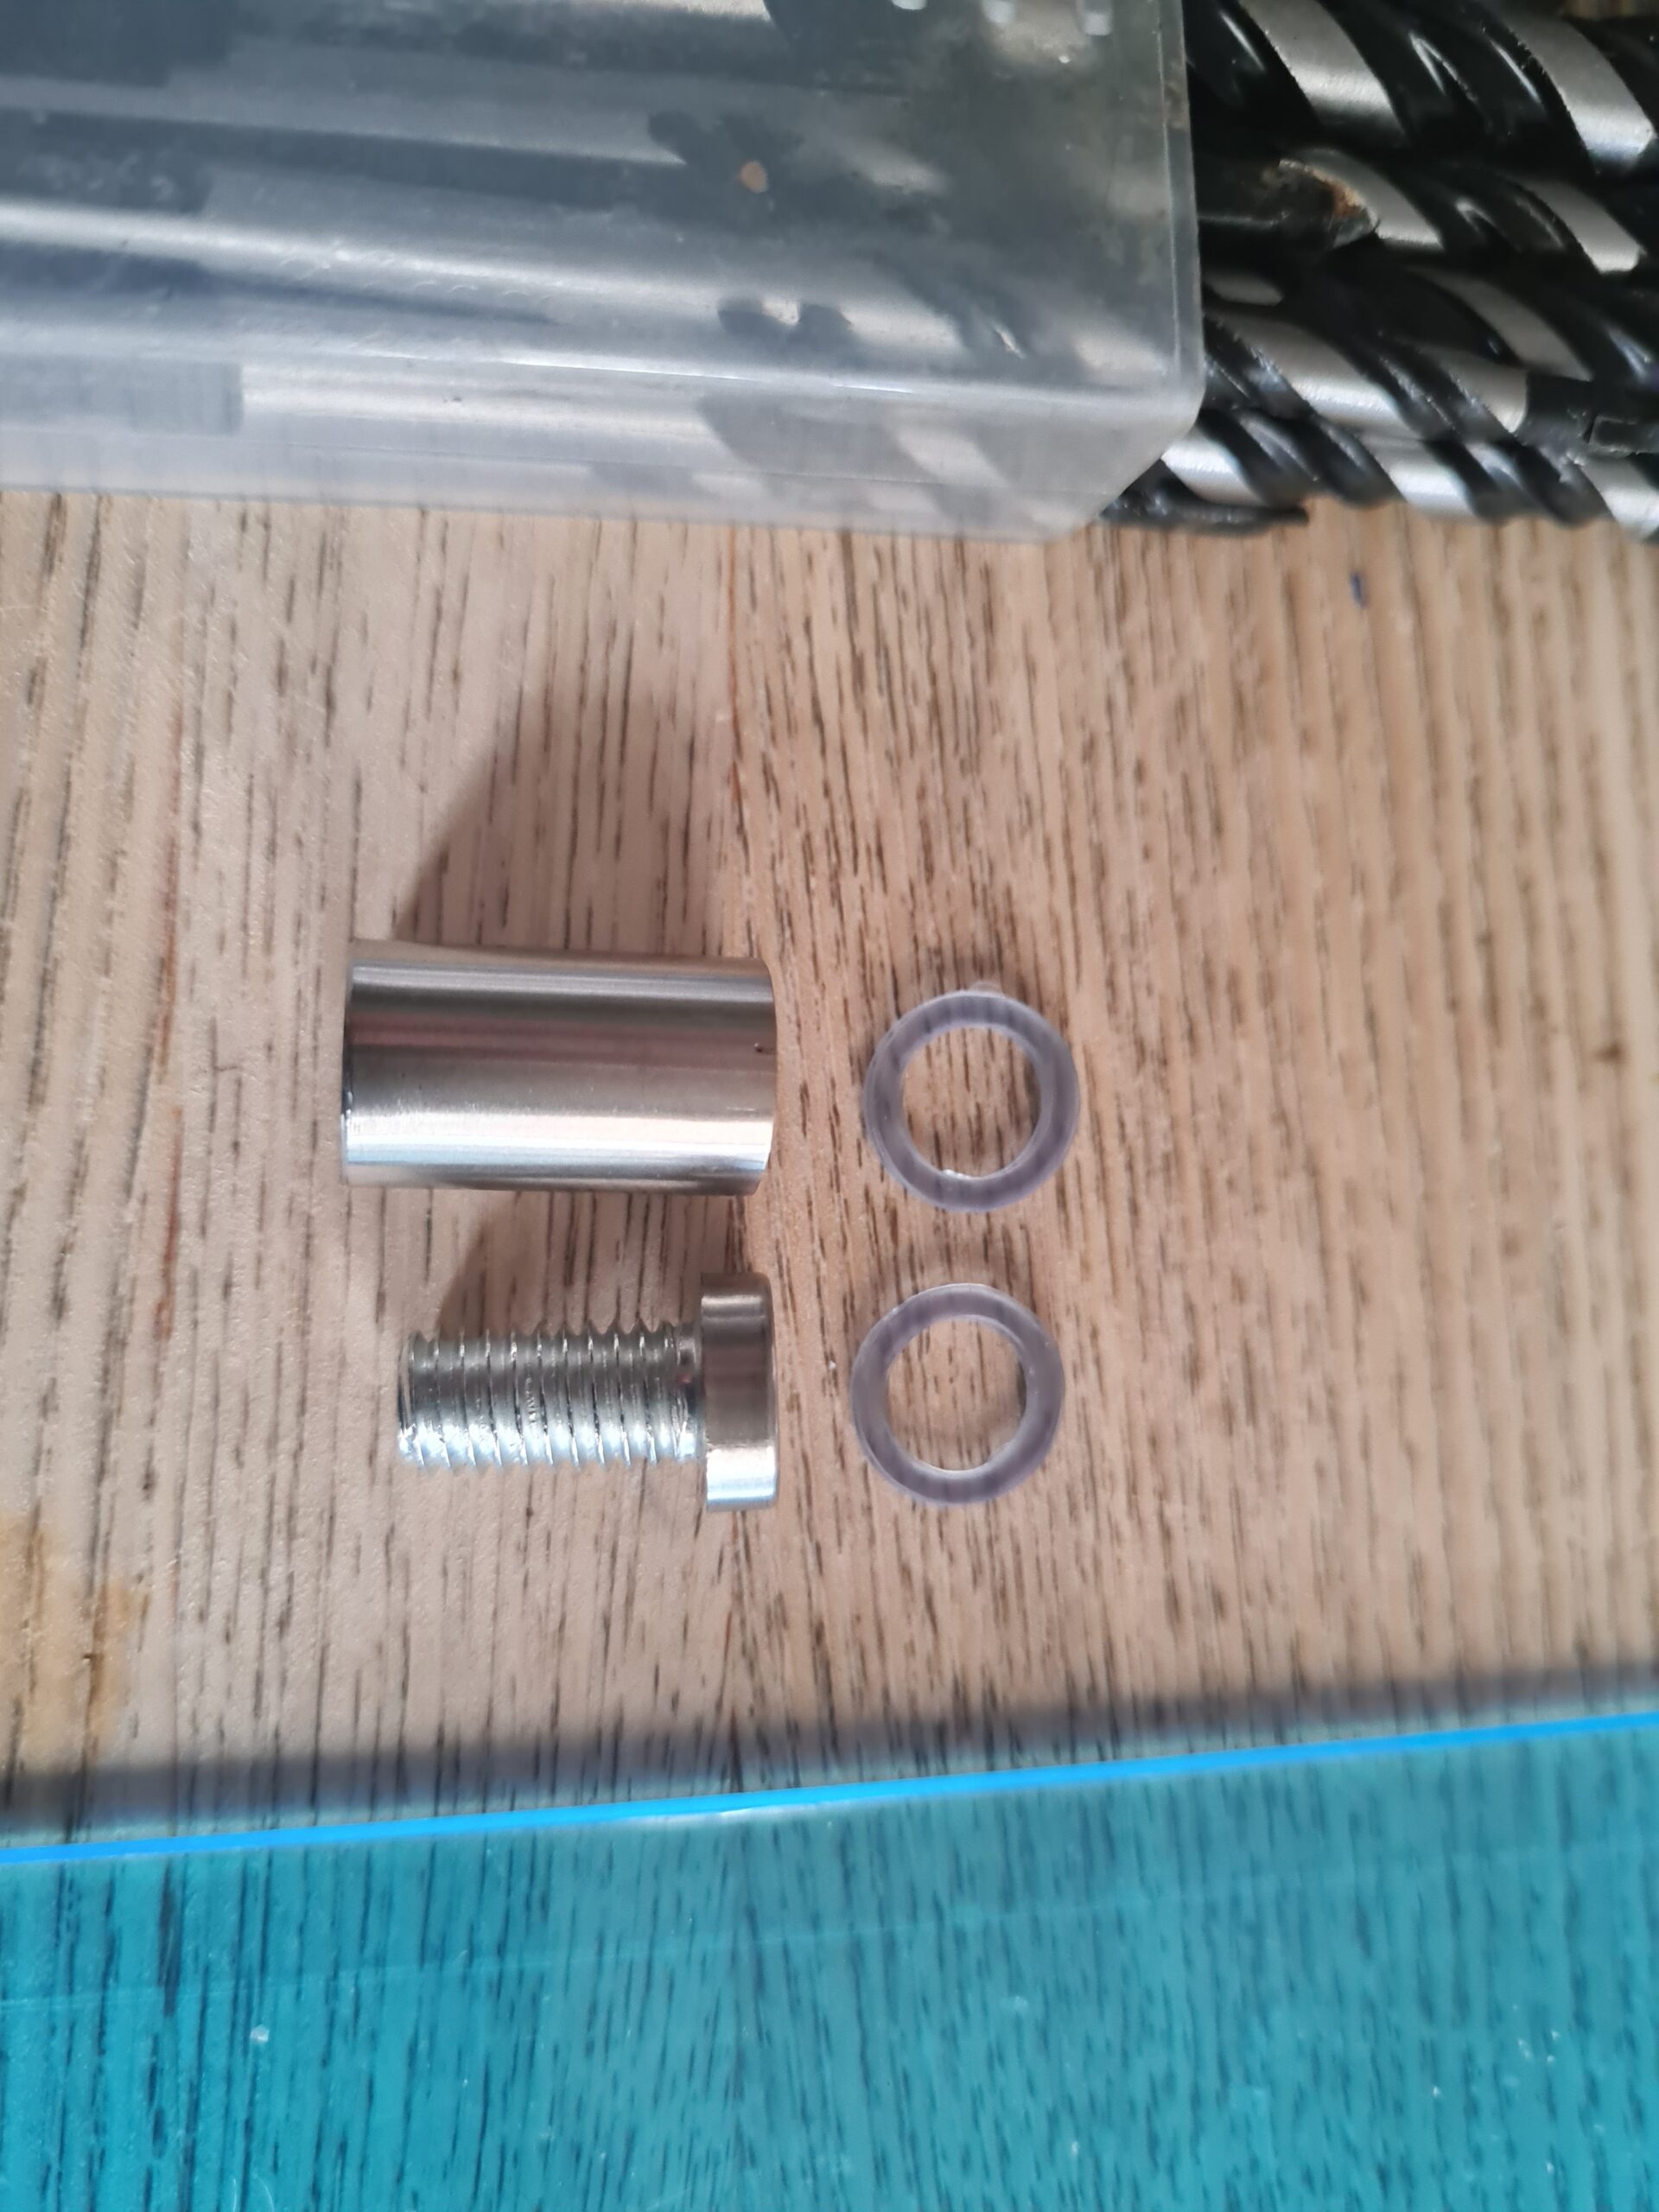
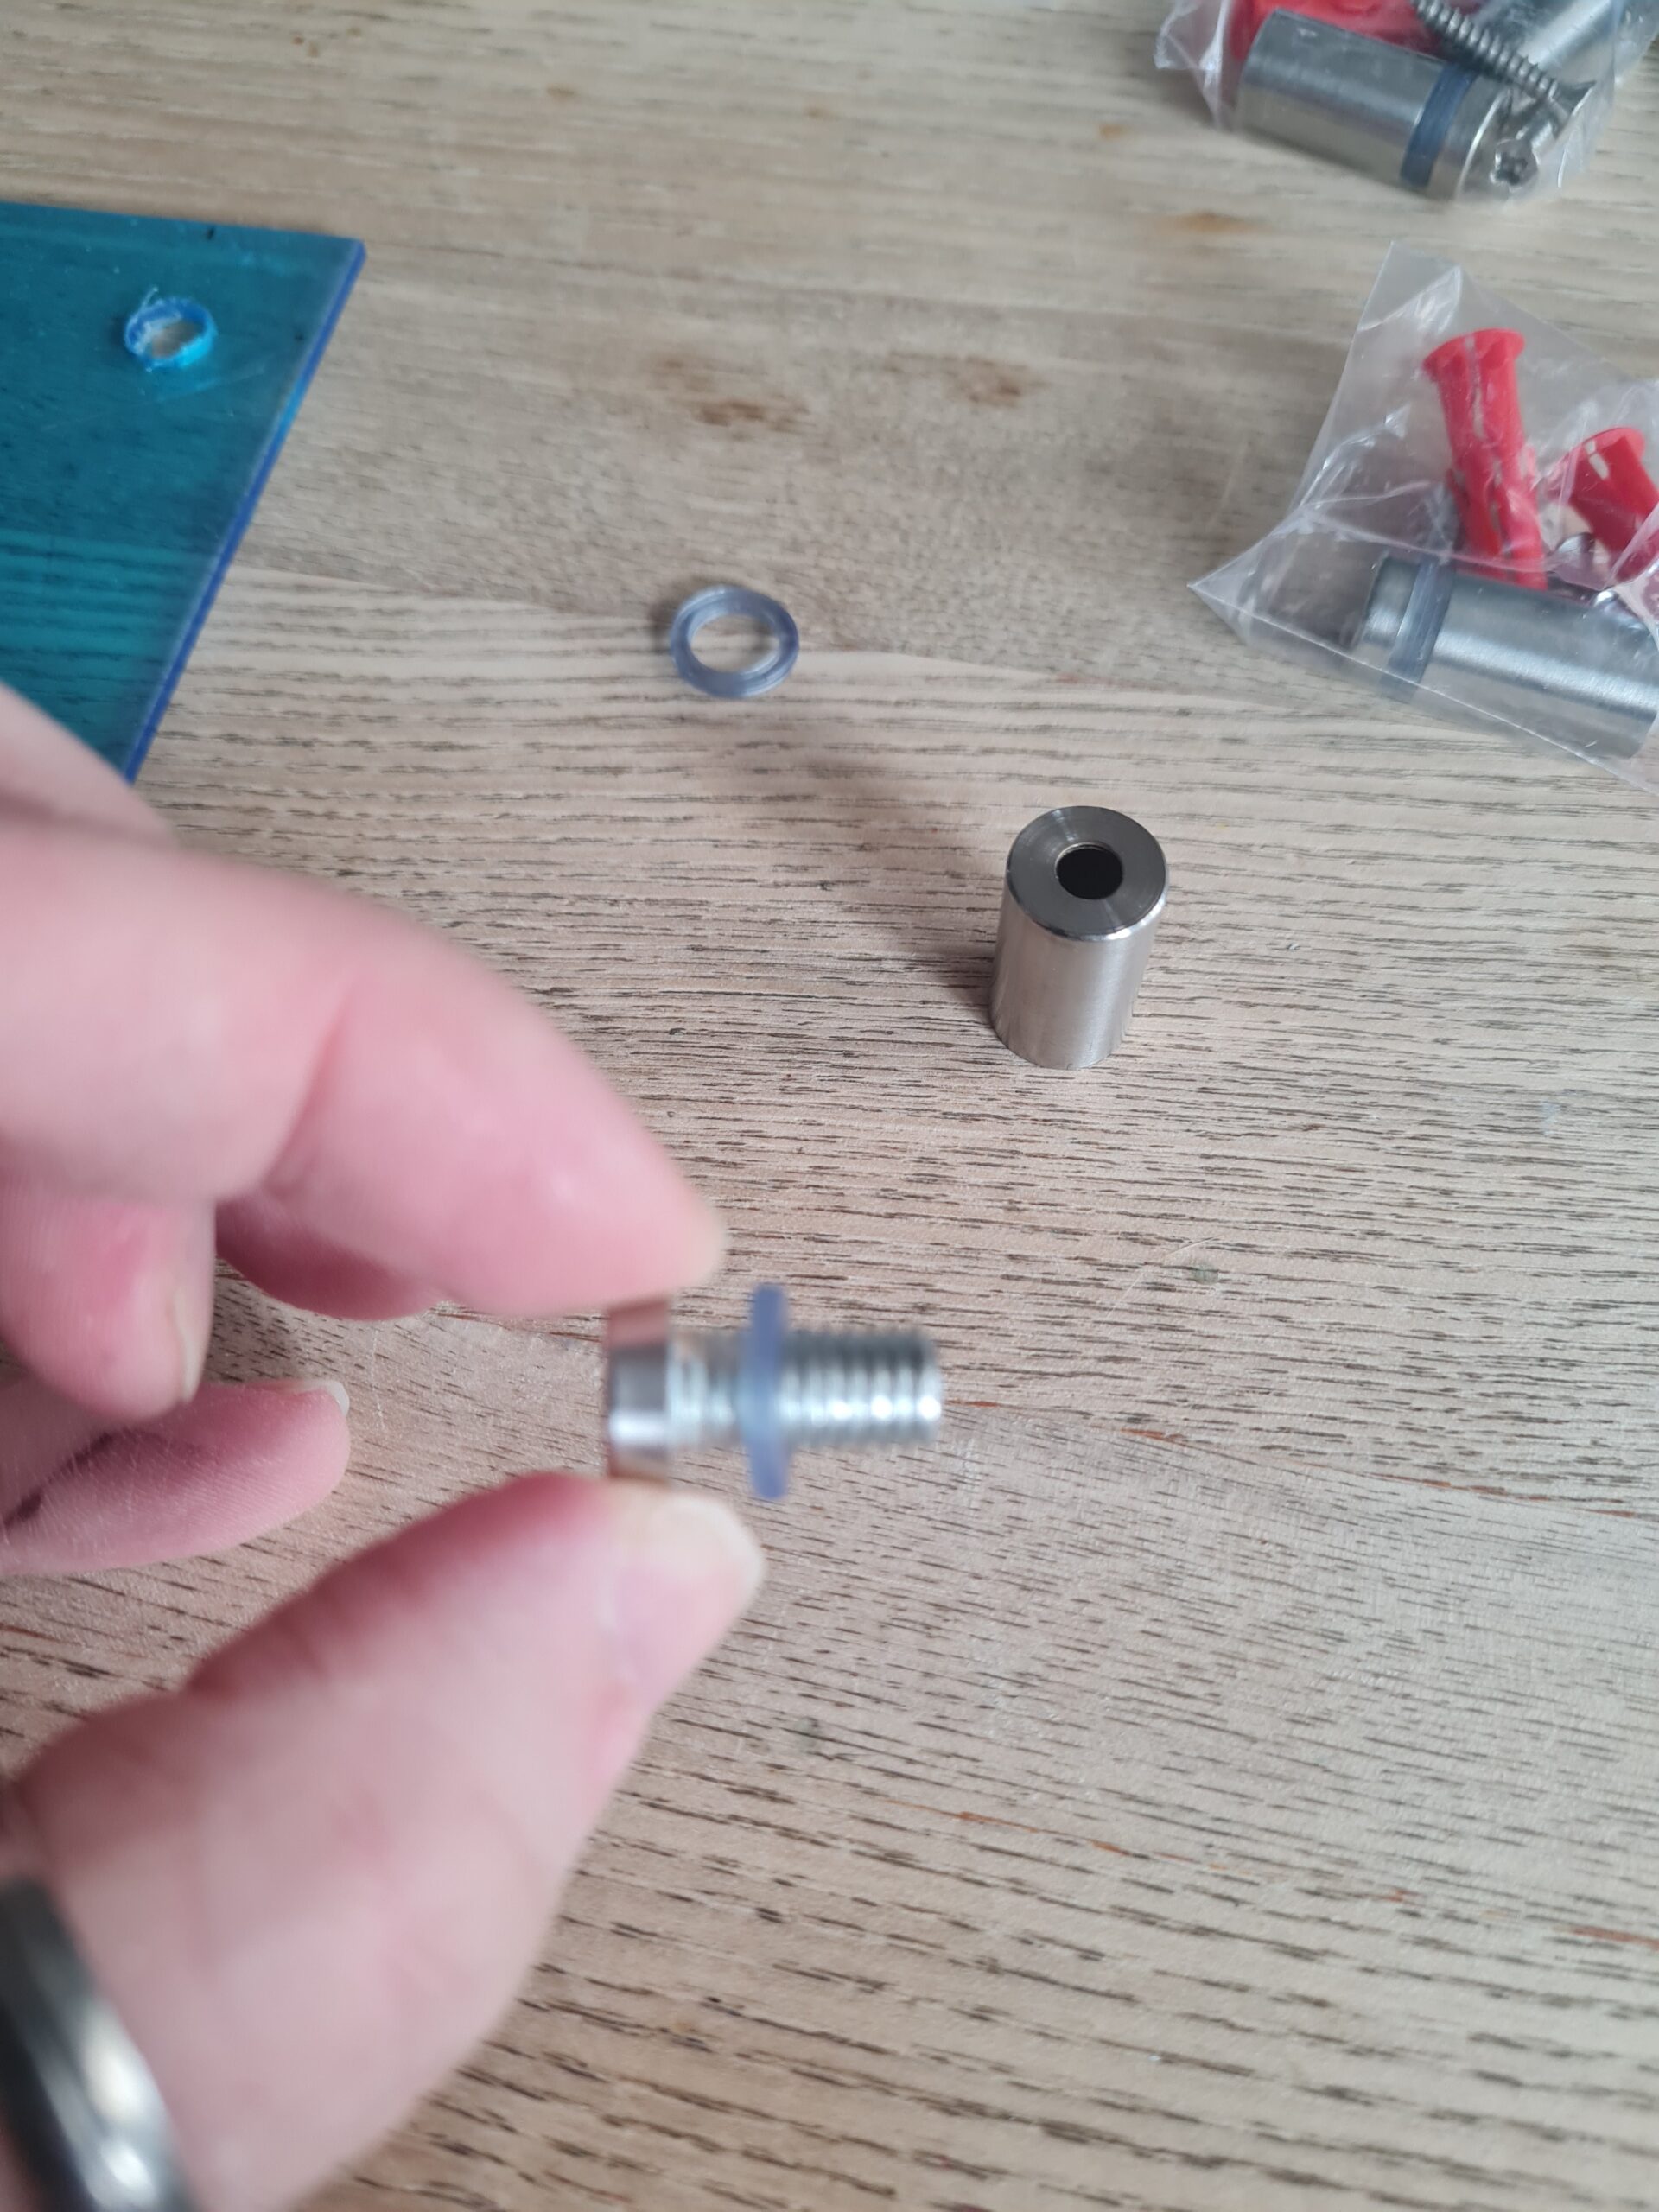
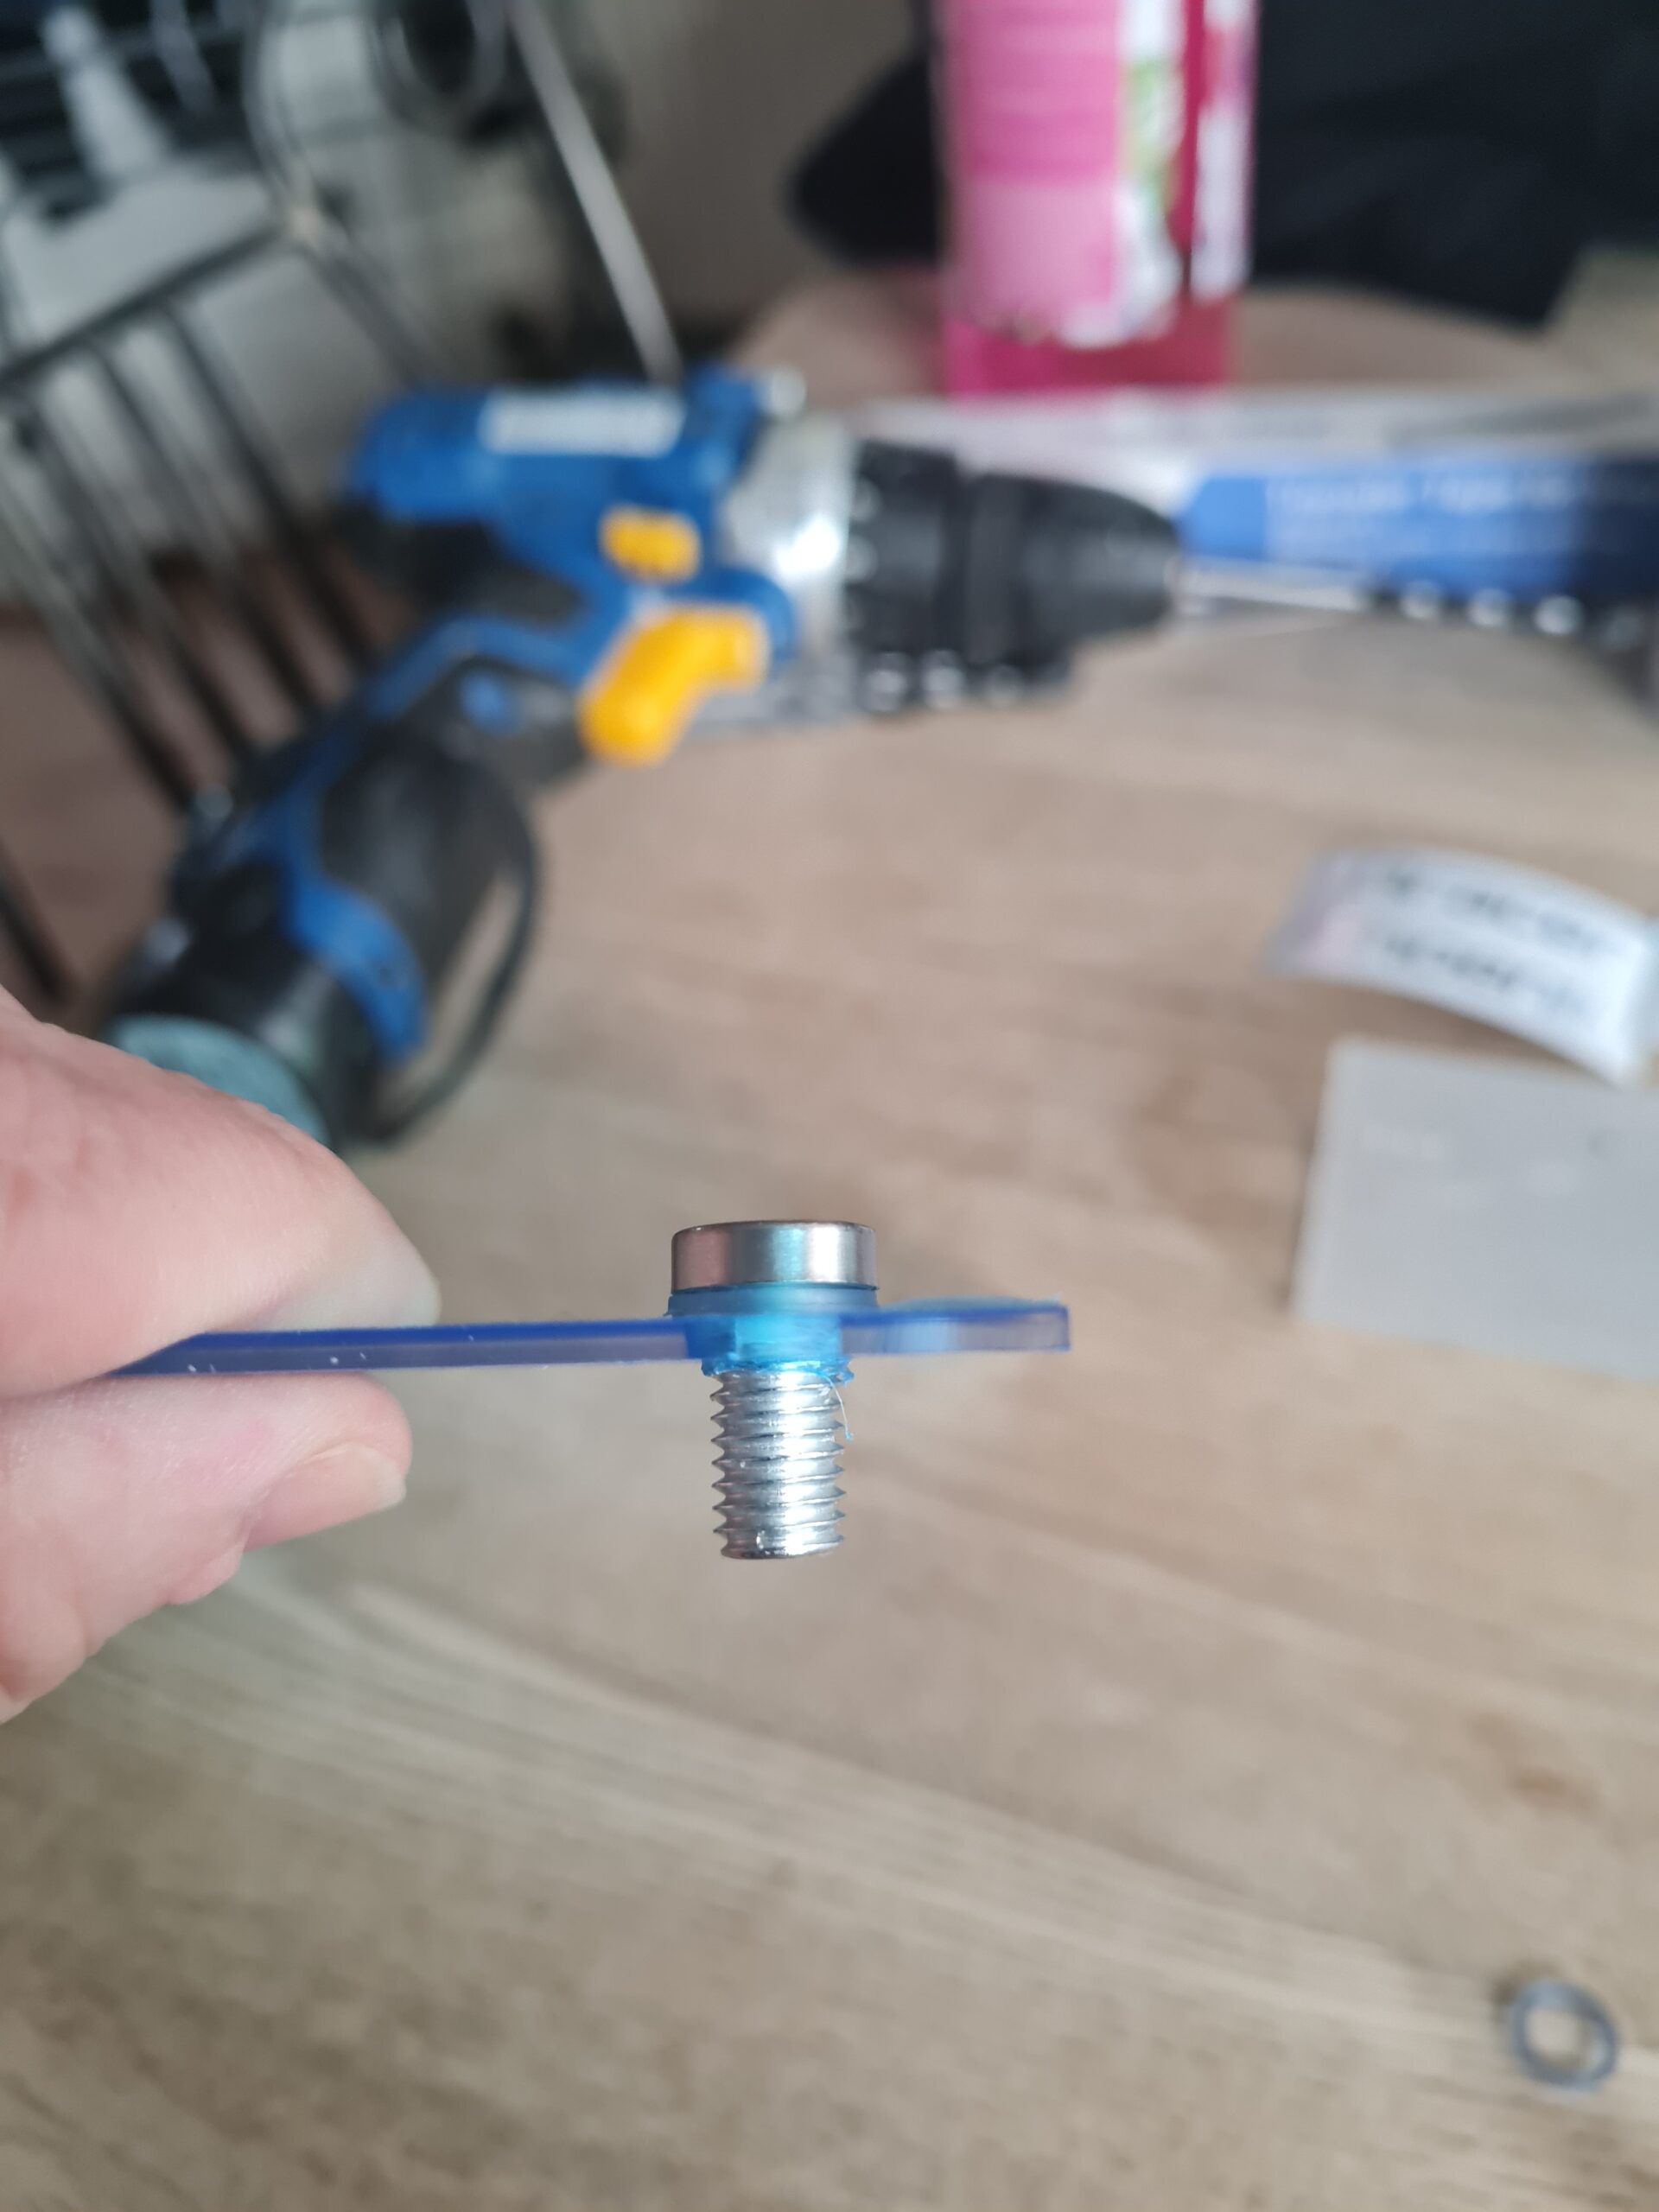
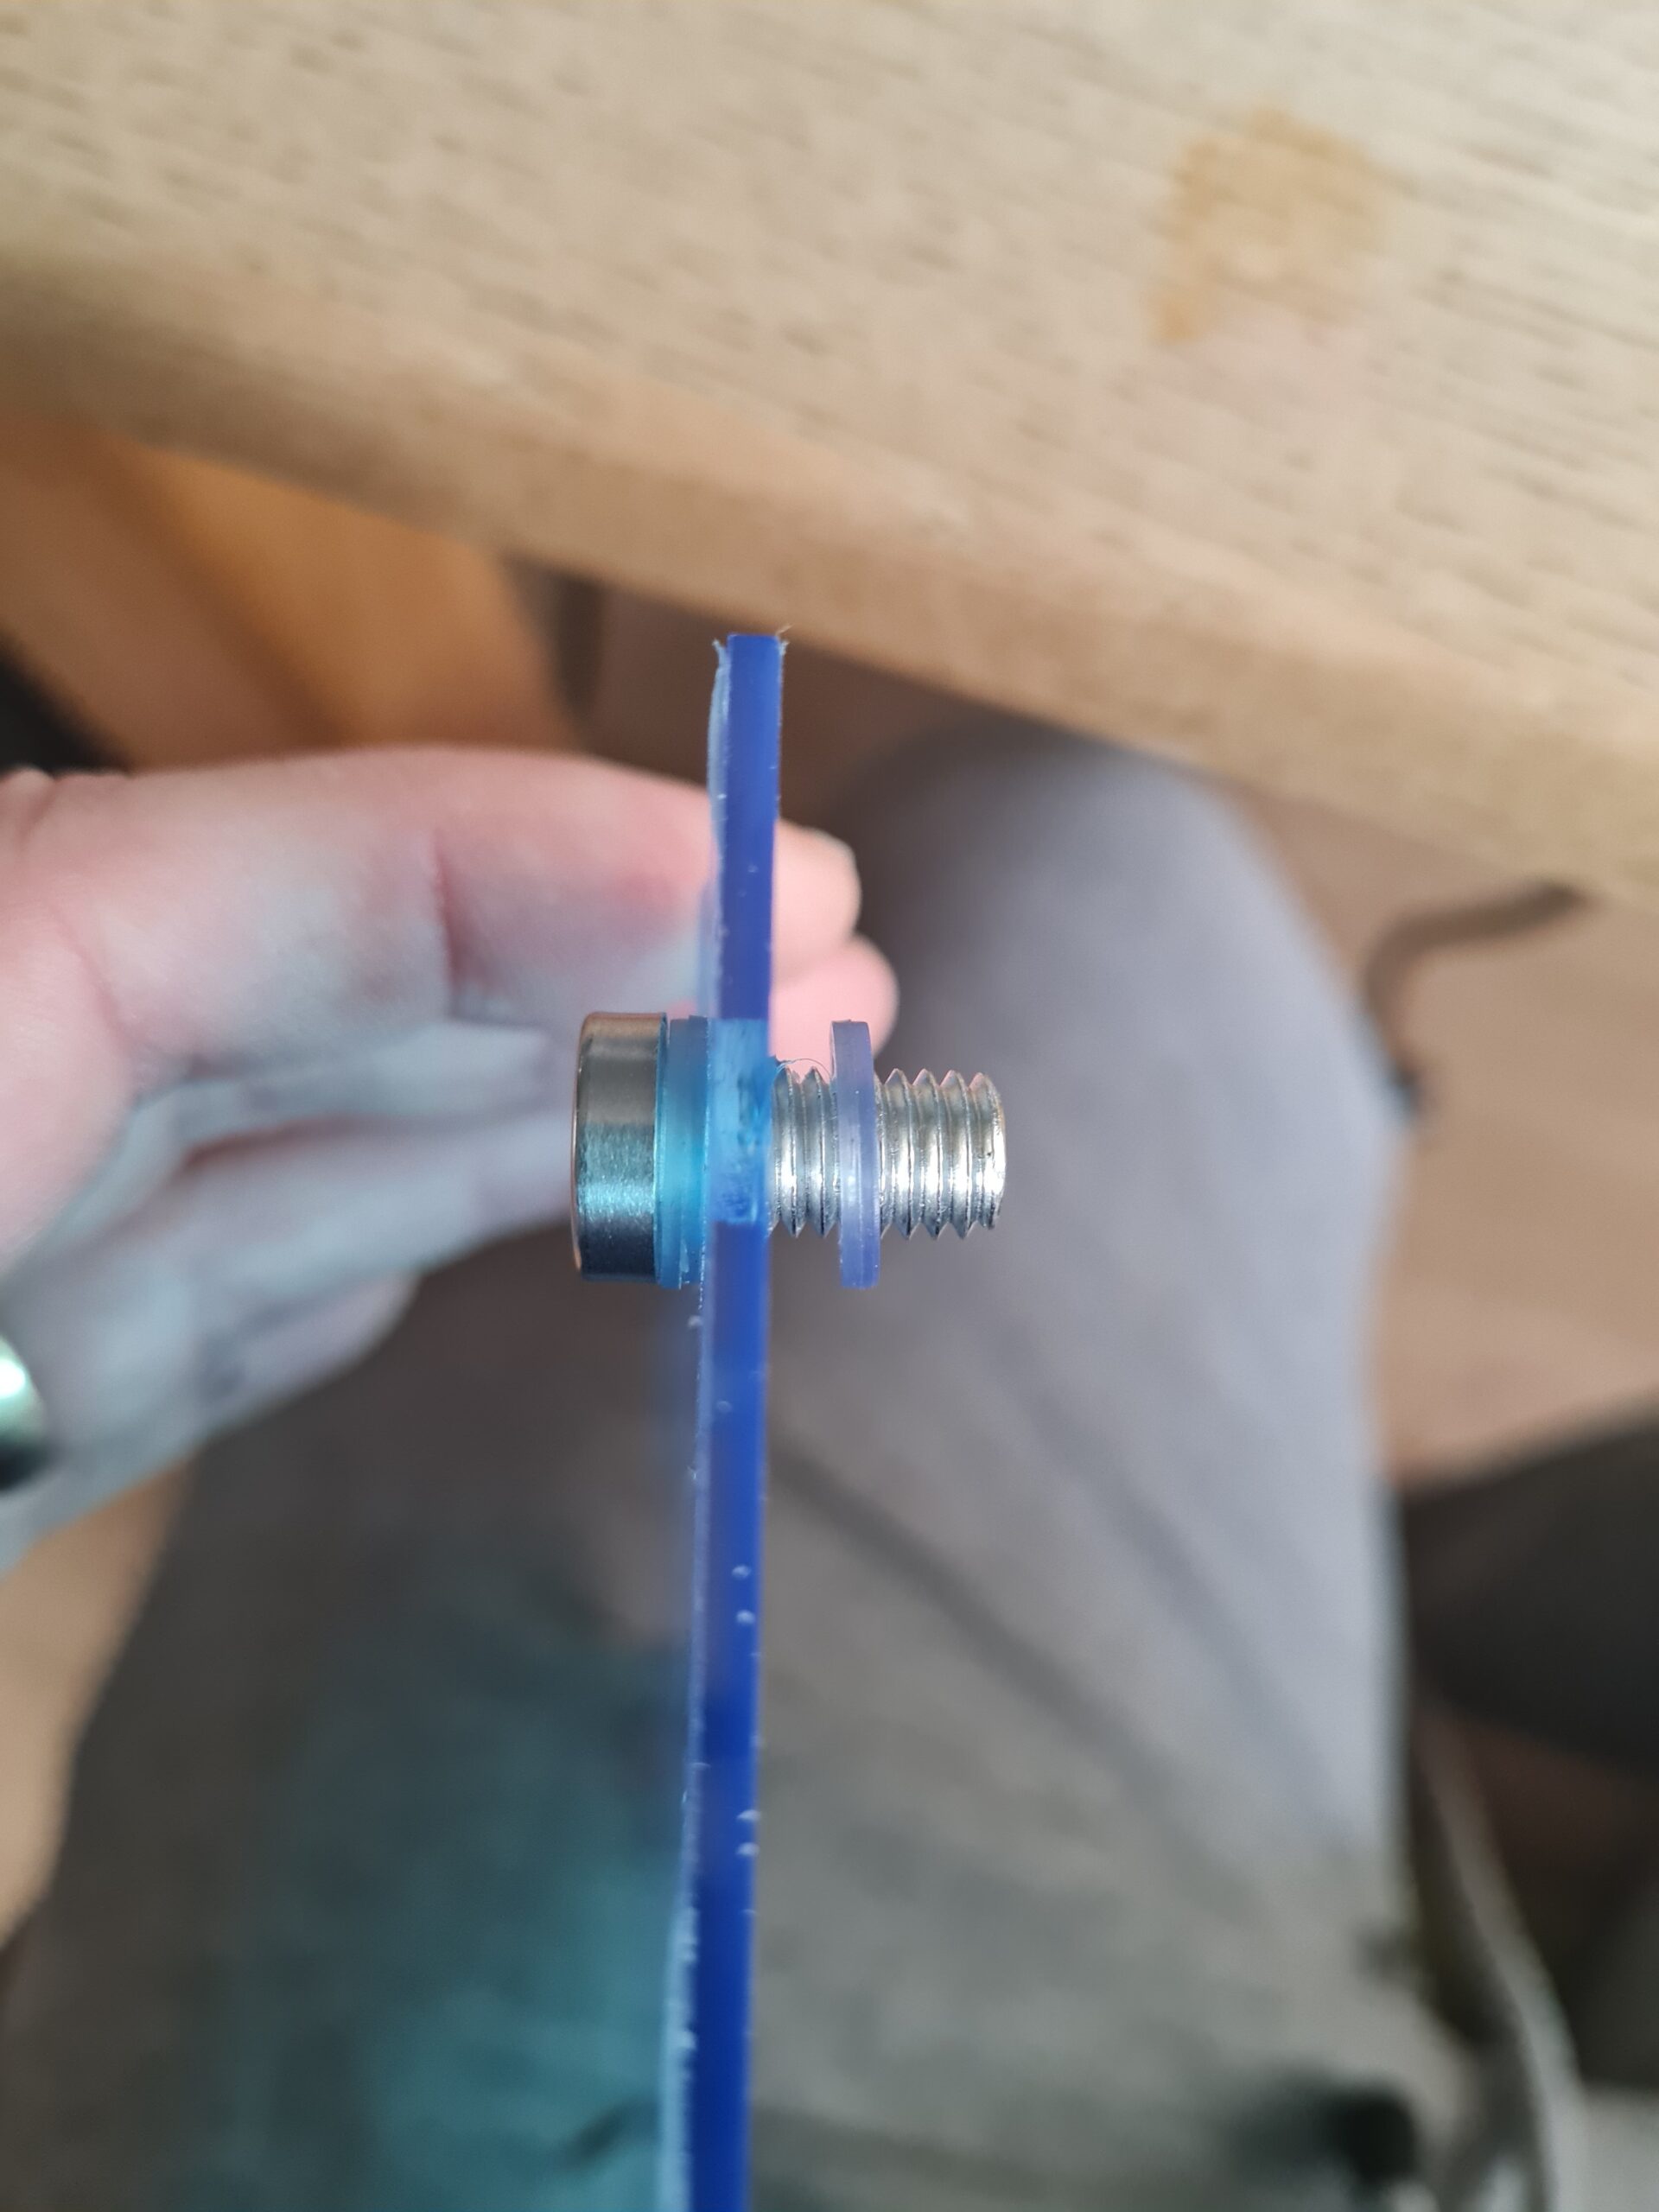
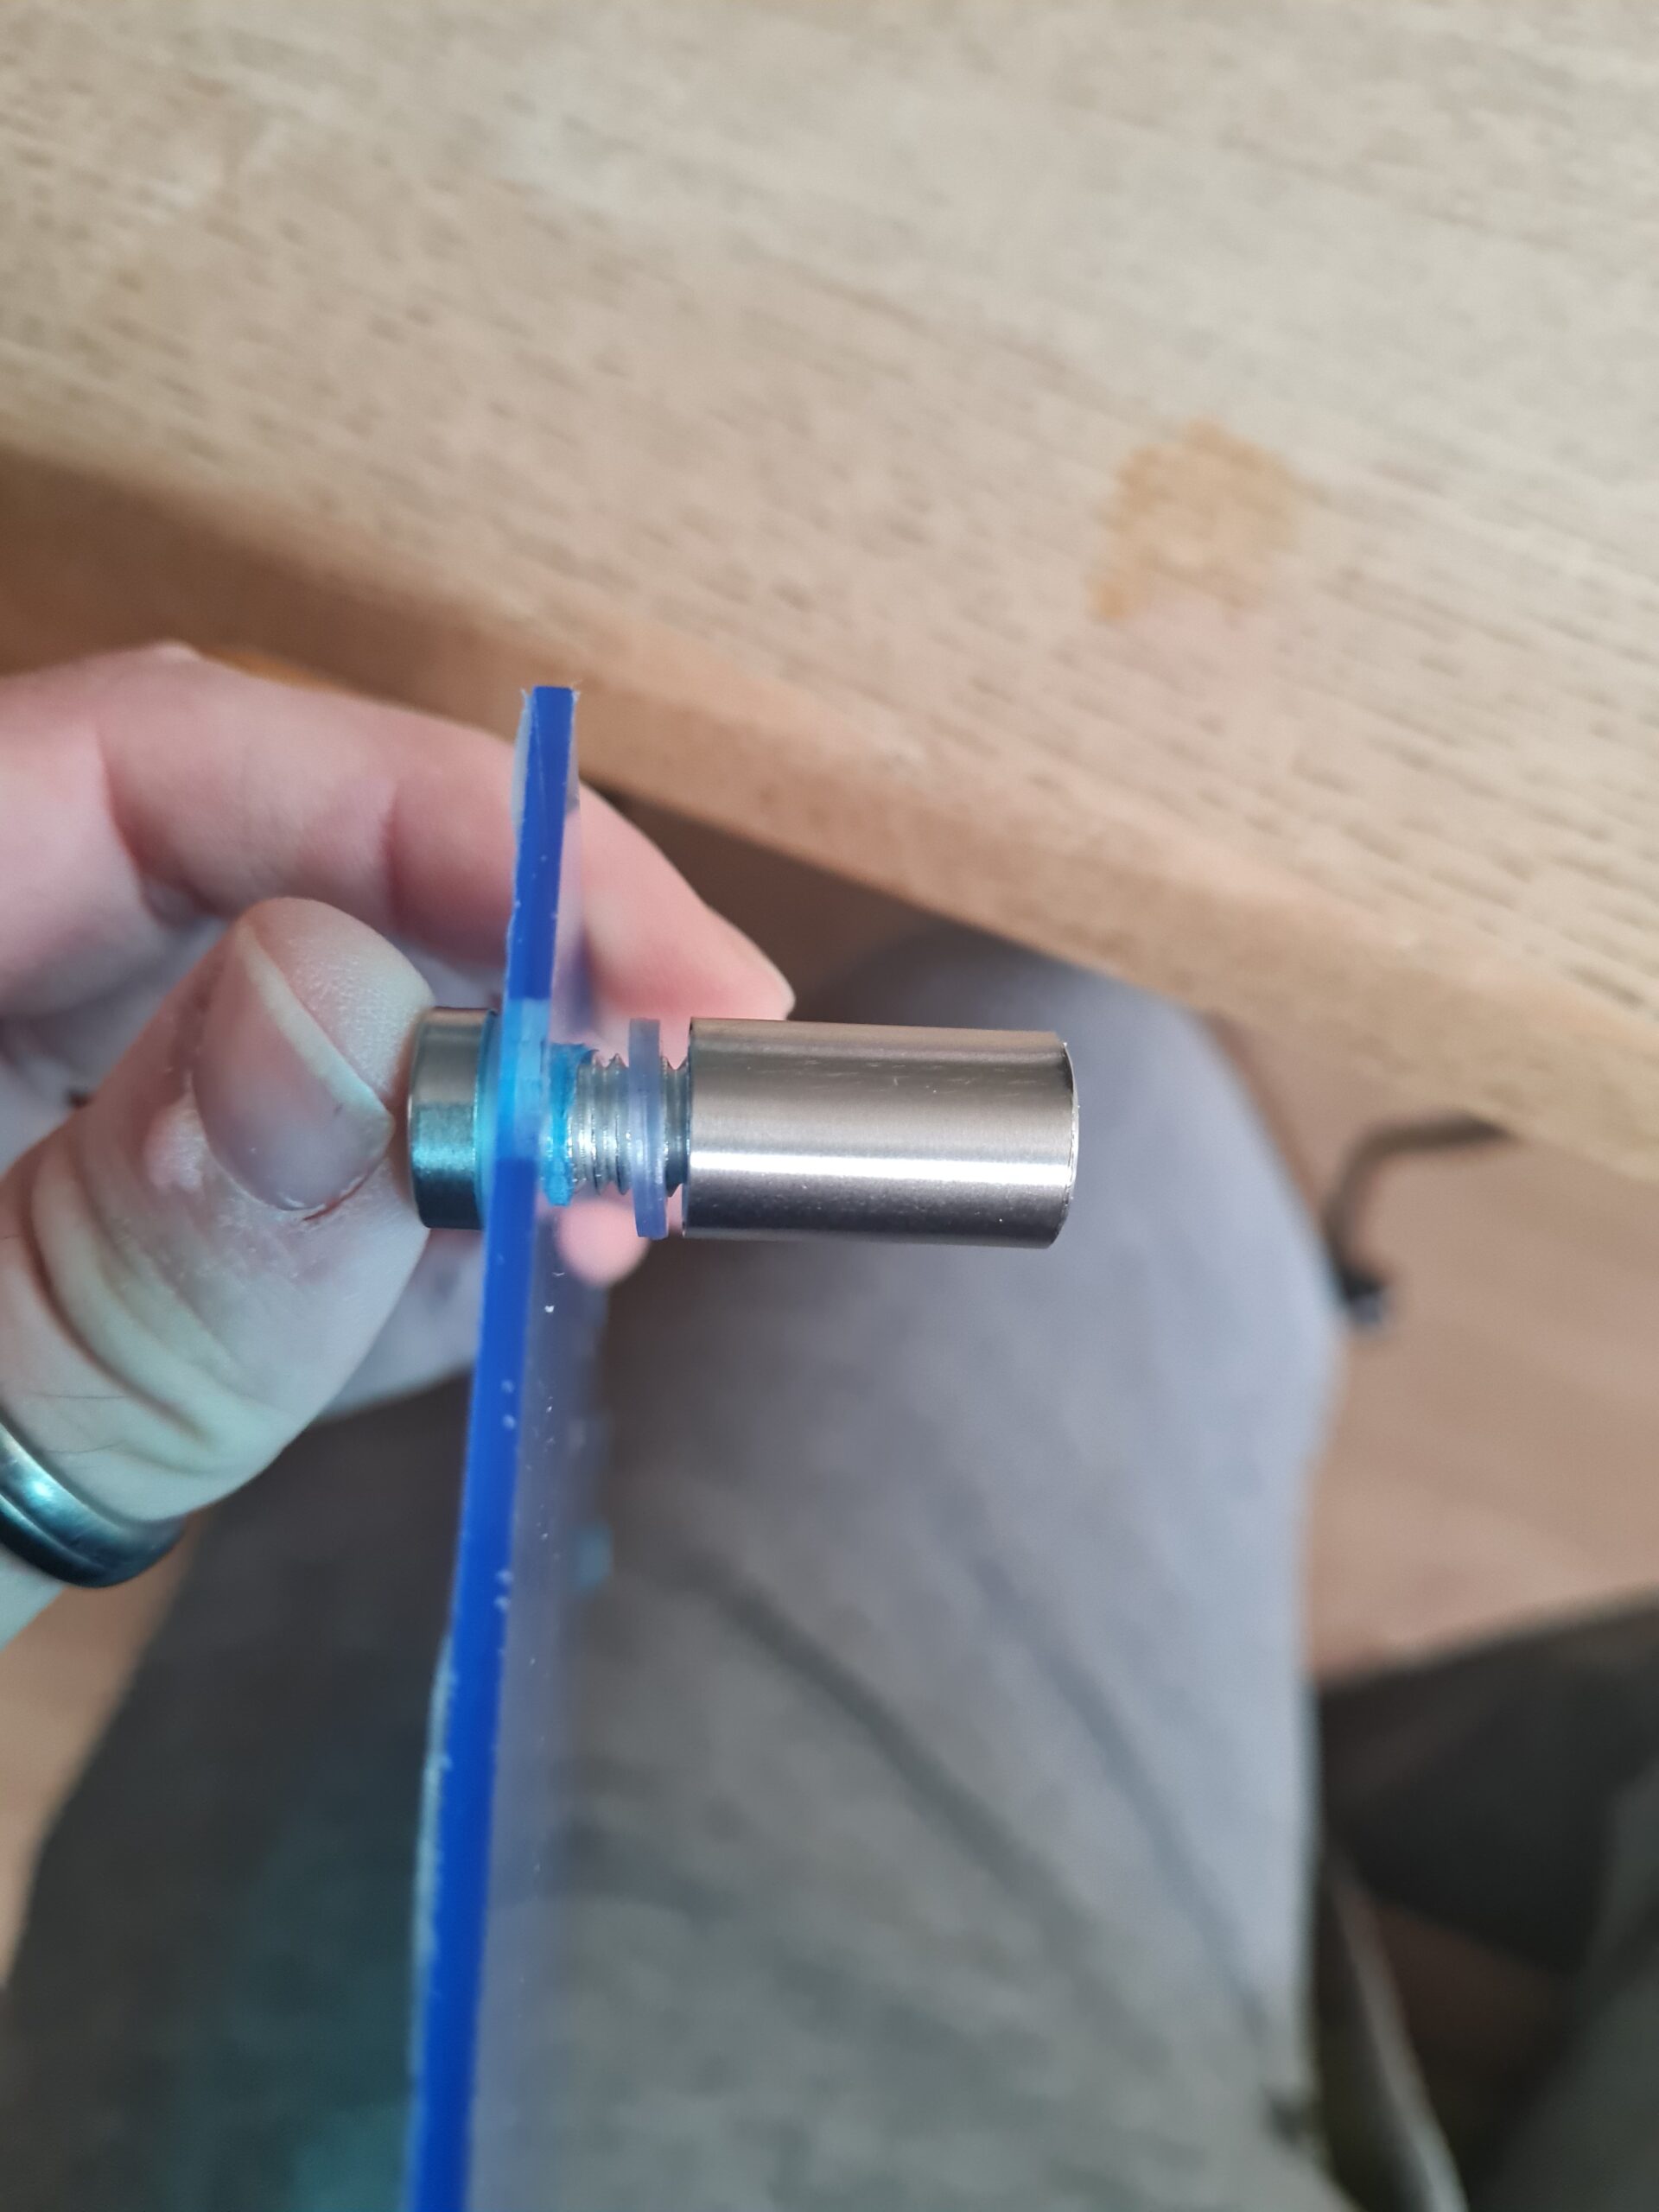

As can be seen above the process to attach the feet is simple. I first take it apart, and then put the first washer onto the bolt. Next I place the bolt through the acrylic sheet and add the second washer. Finally I screw the foot case part on and finger tighten. This is repeated for all 4 feet.
Conclusion
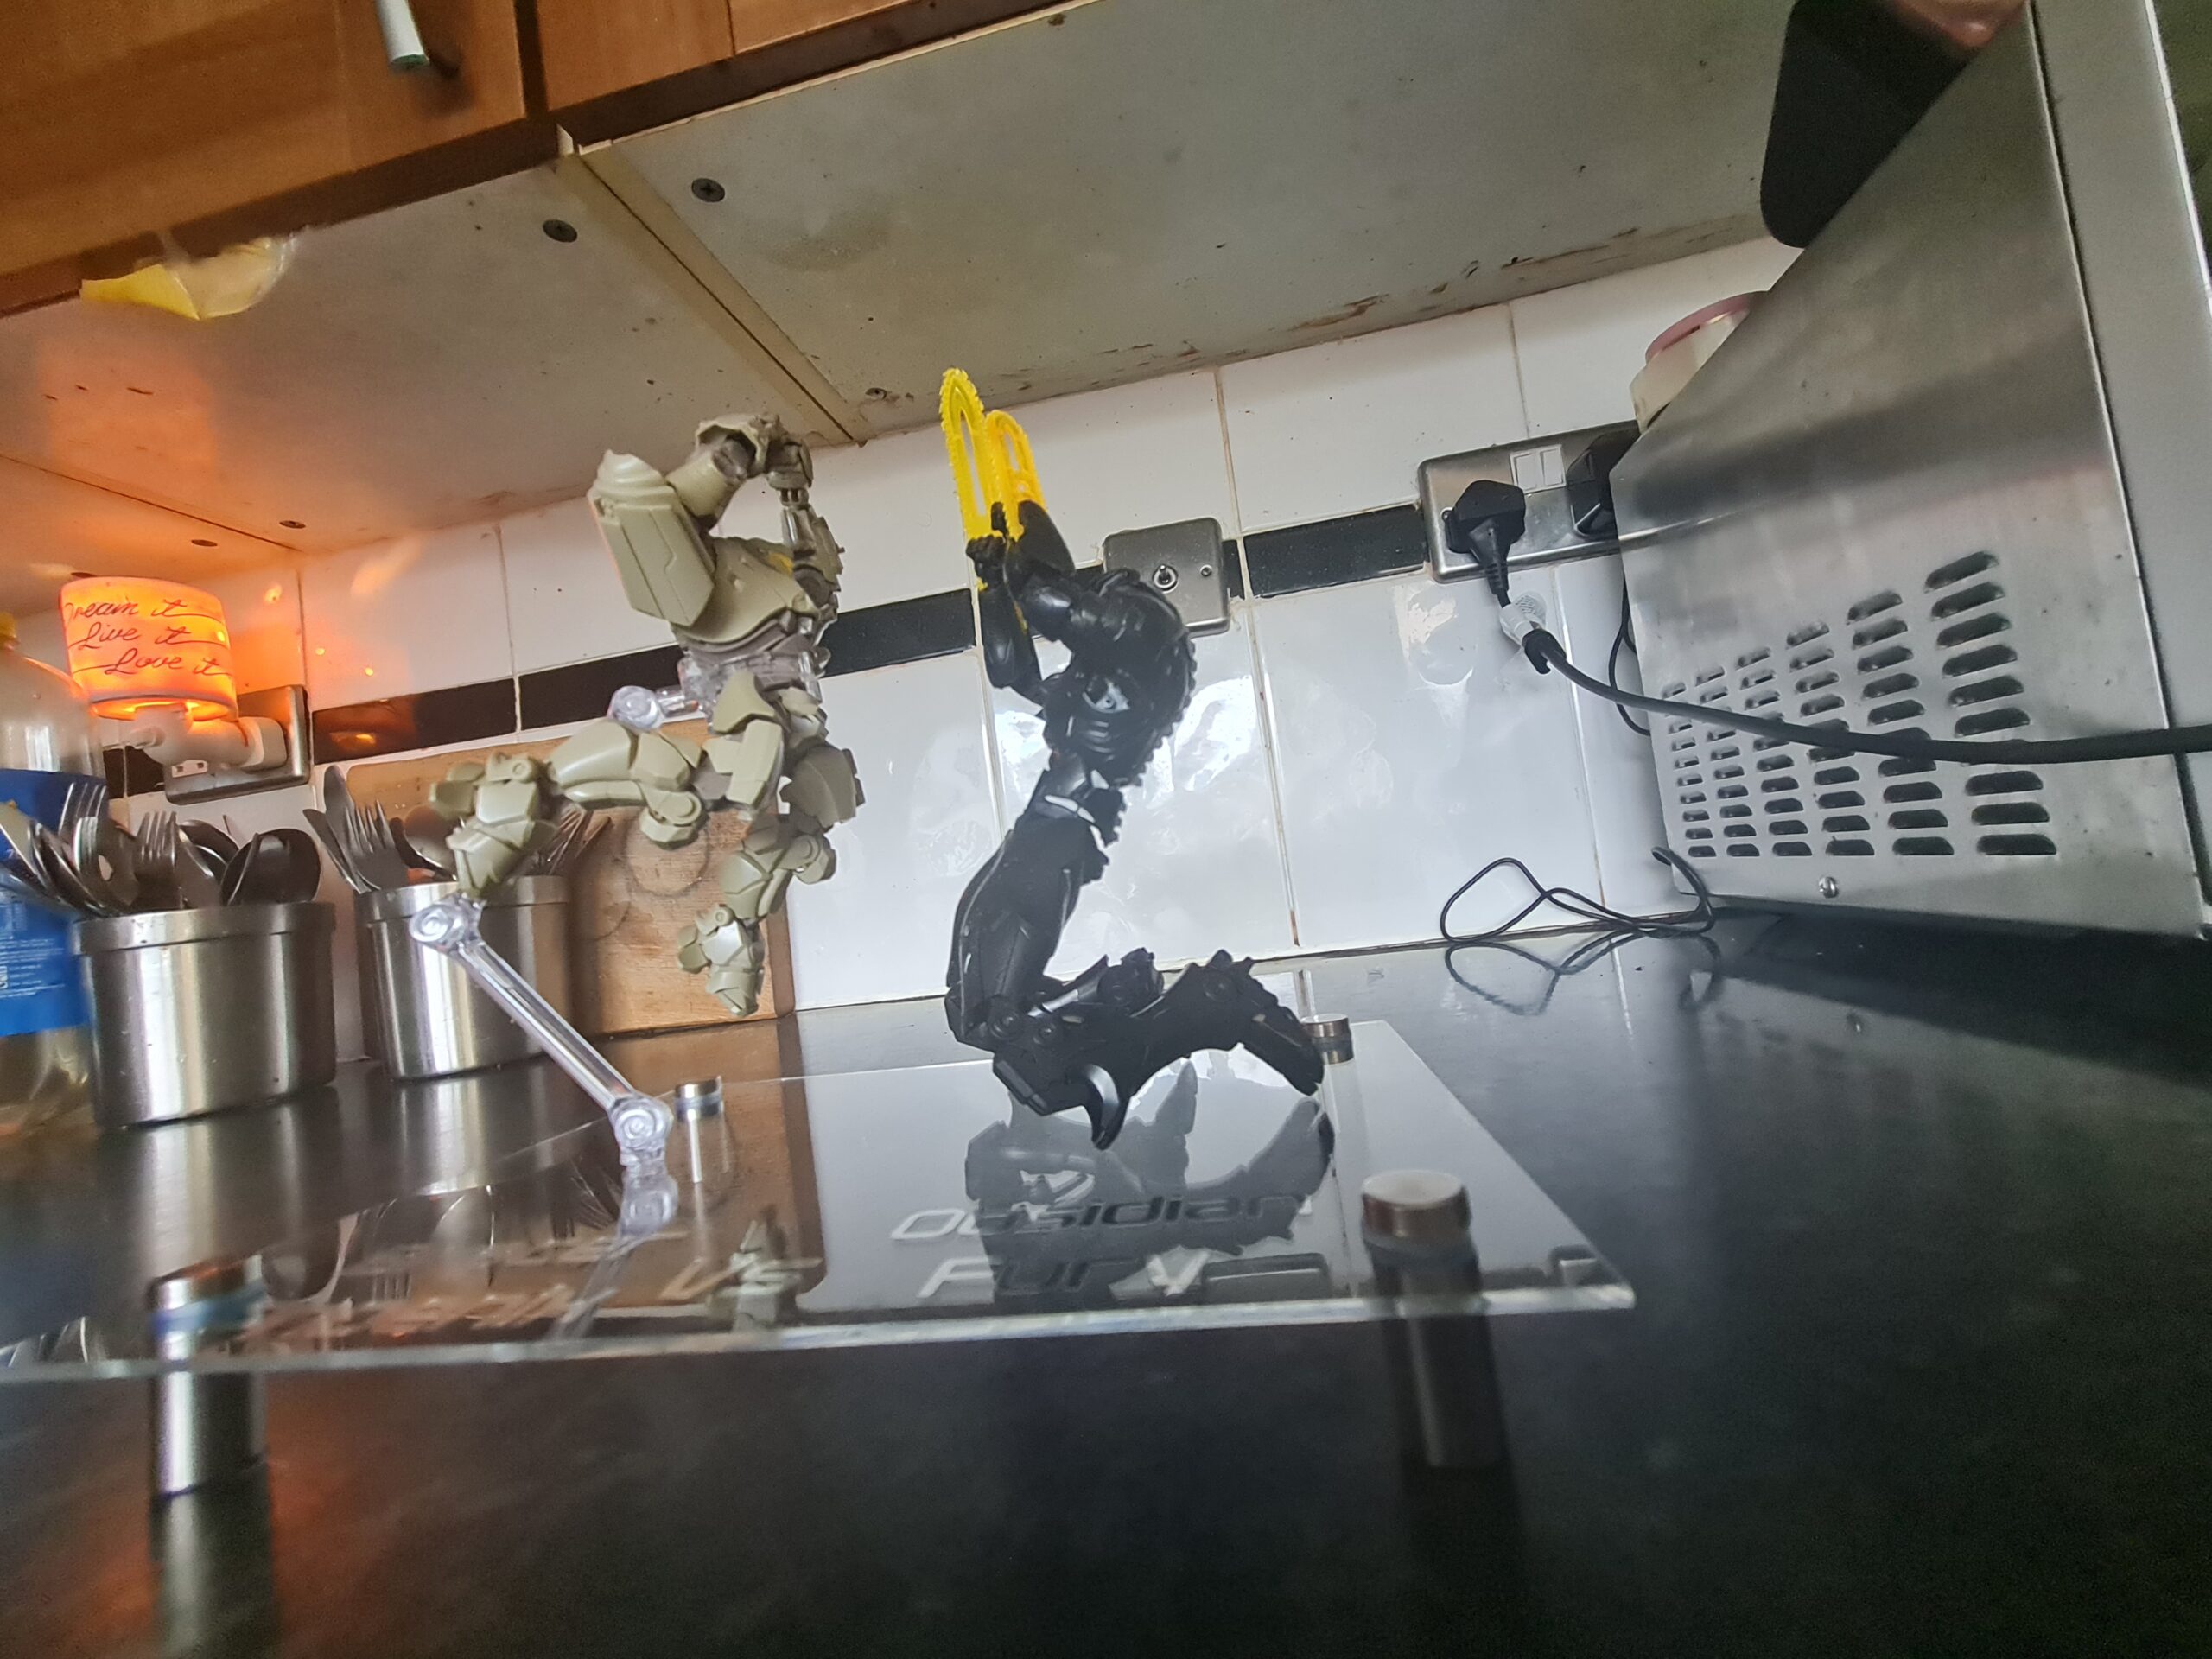
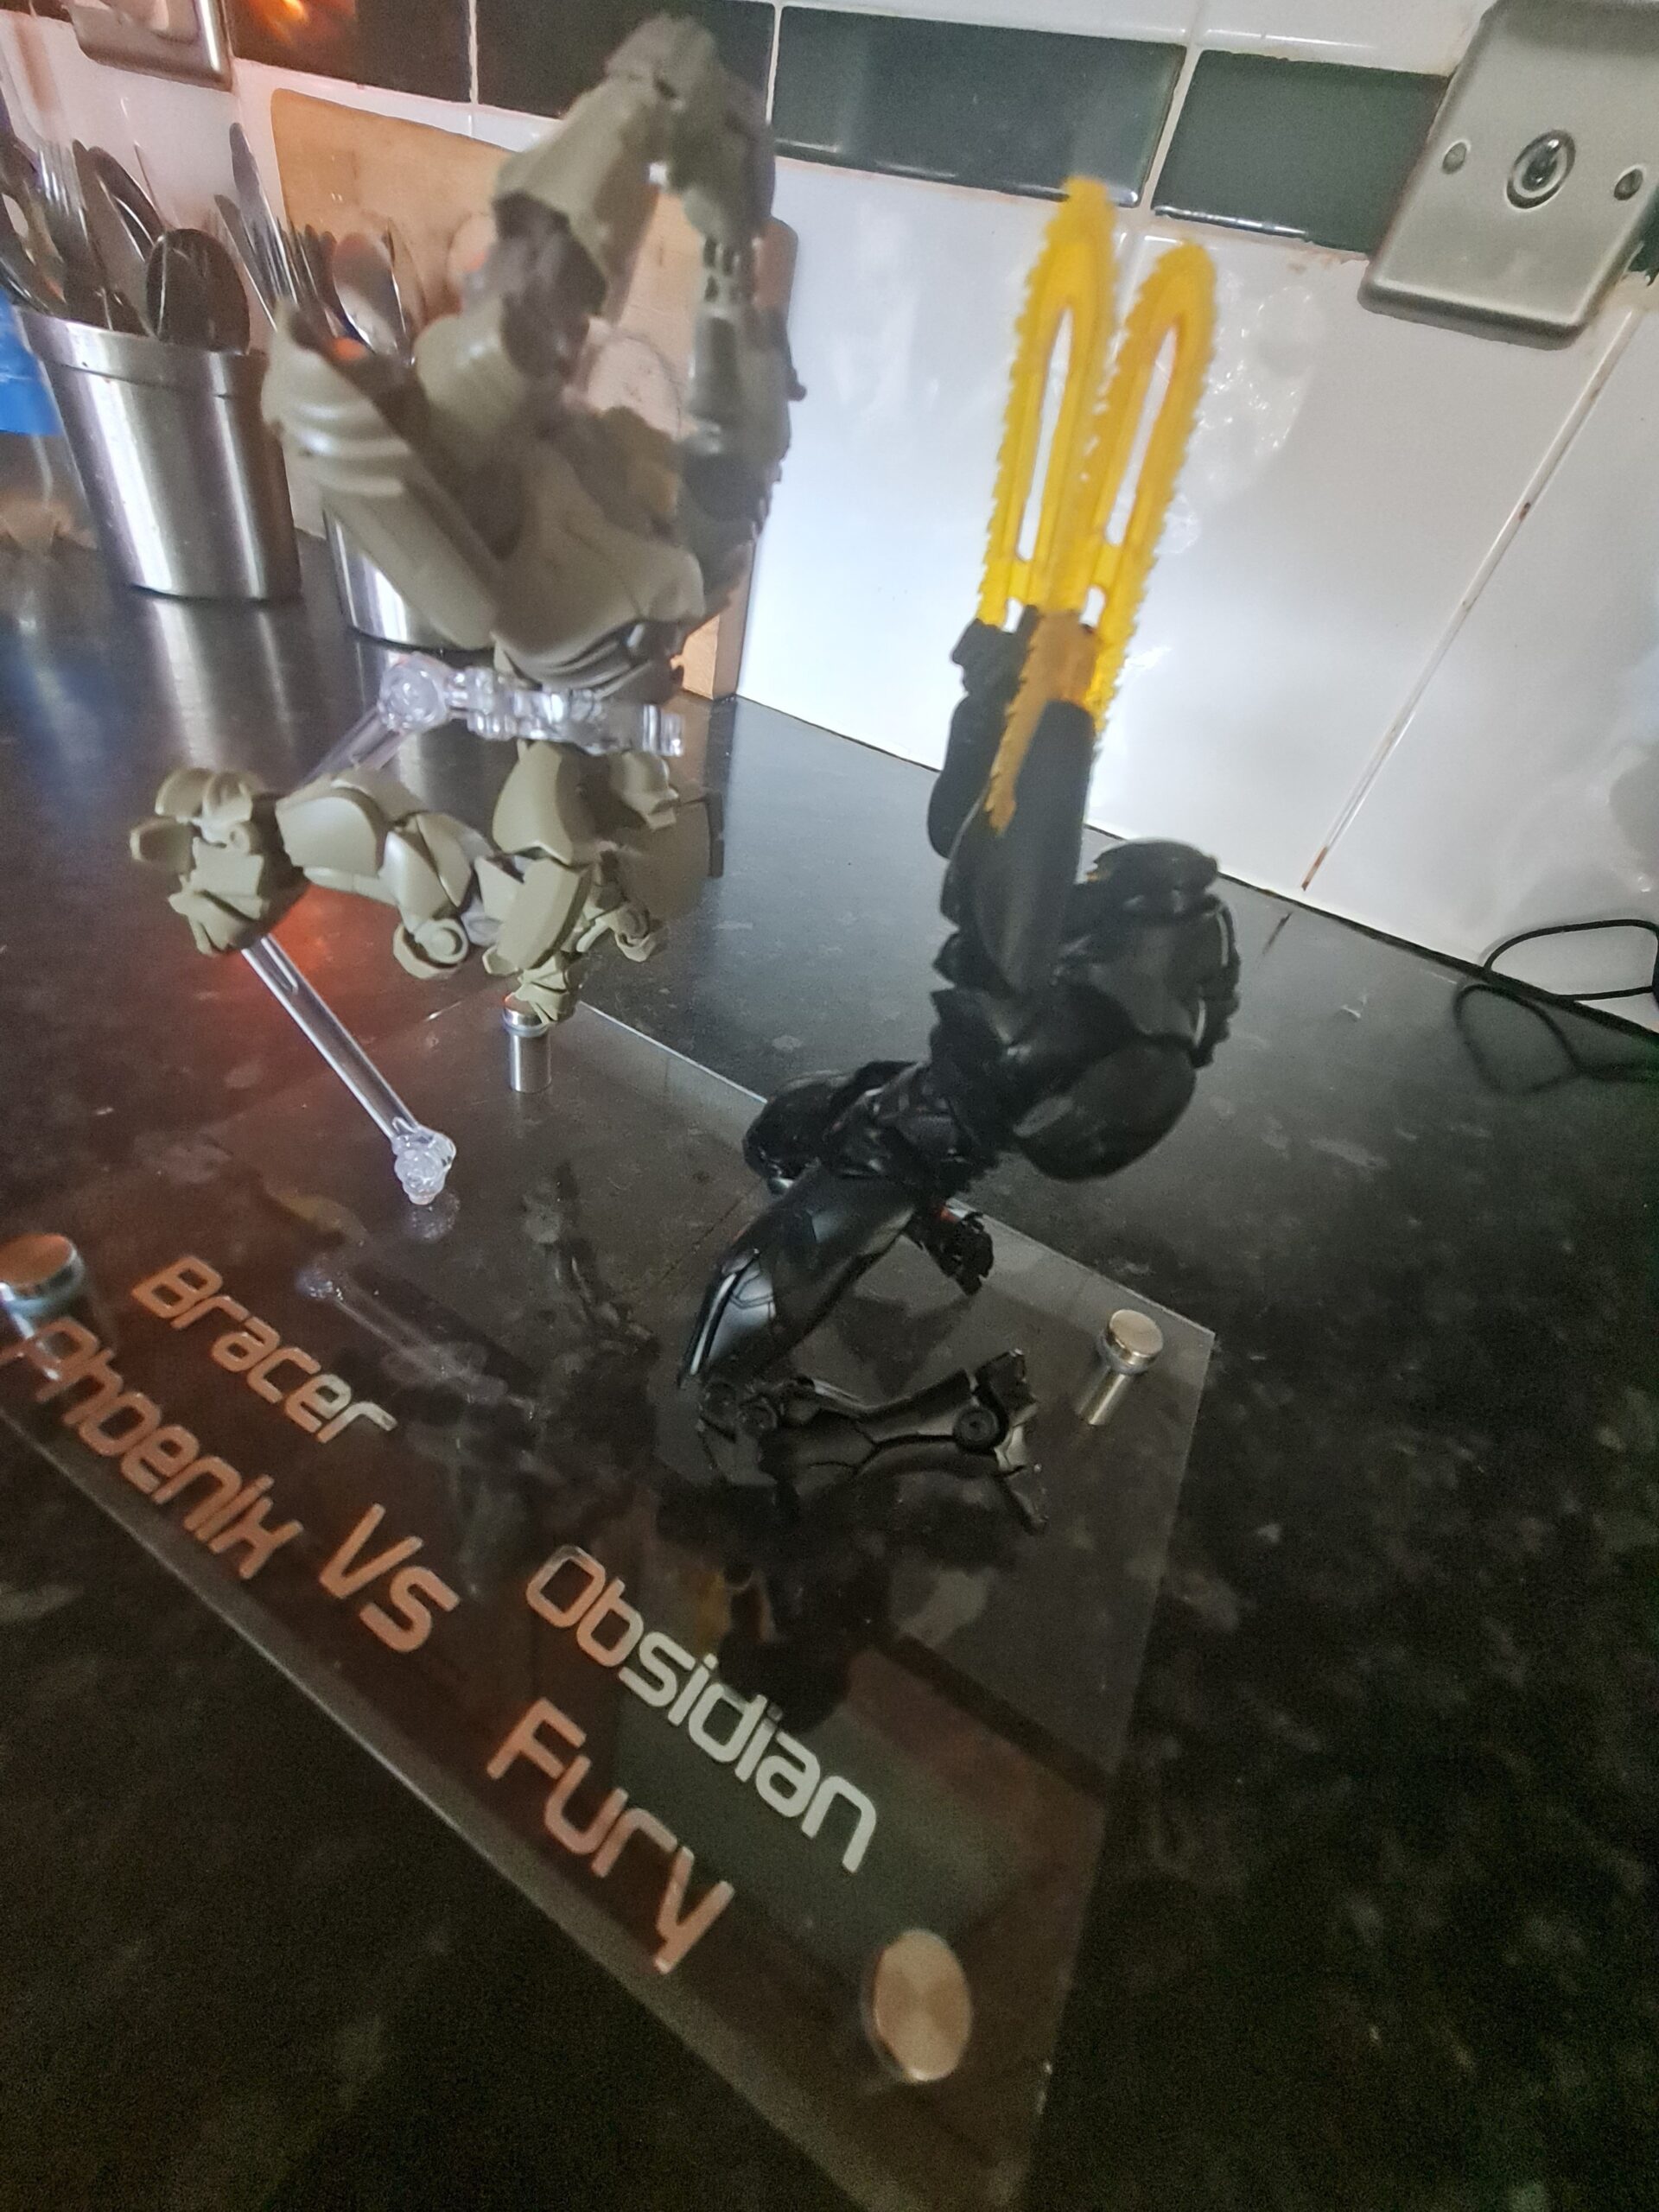
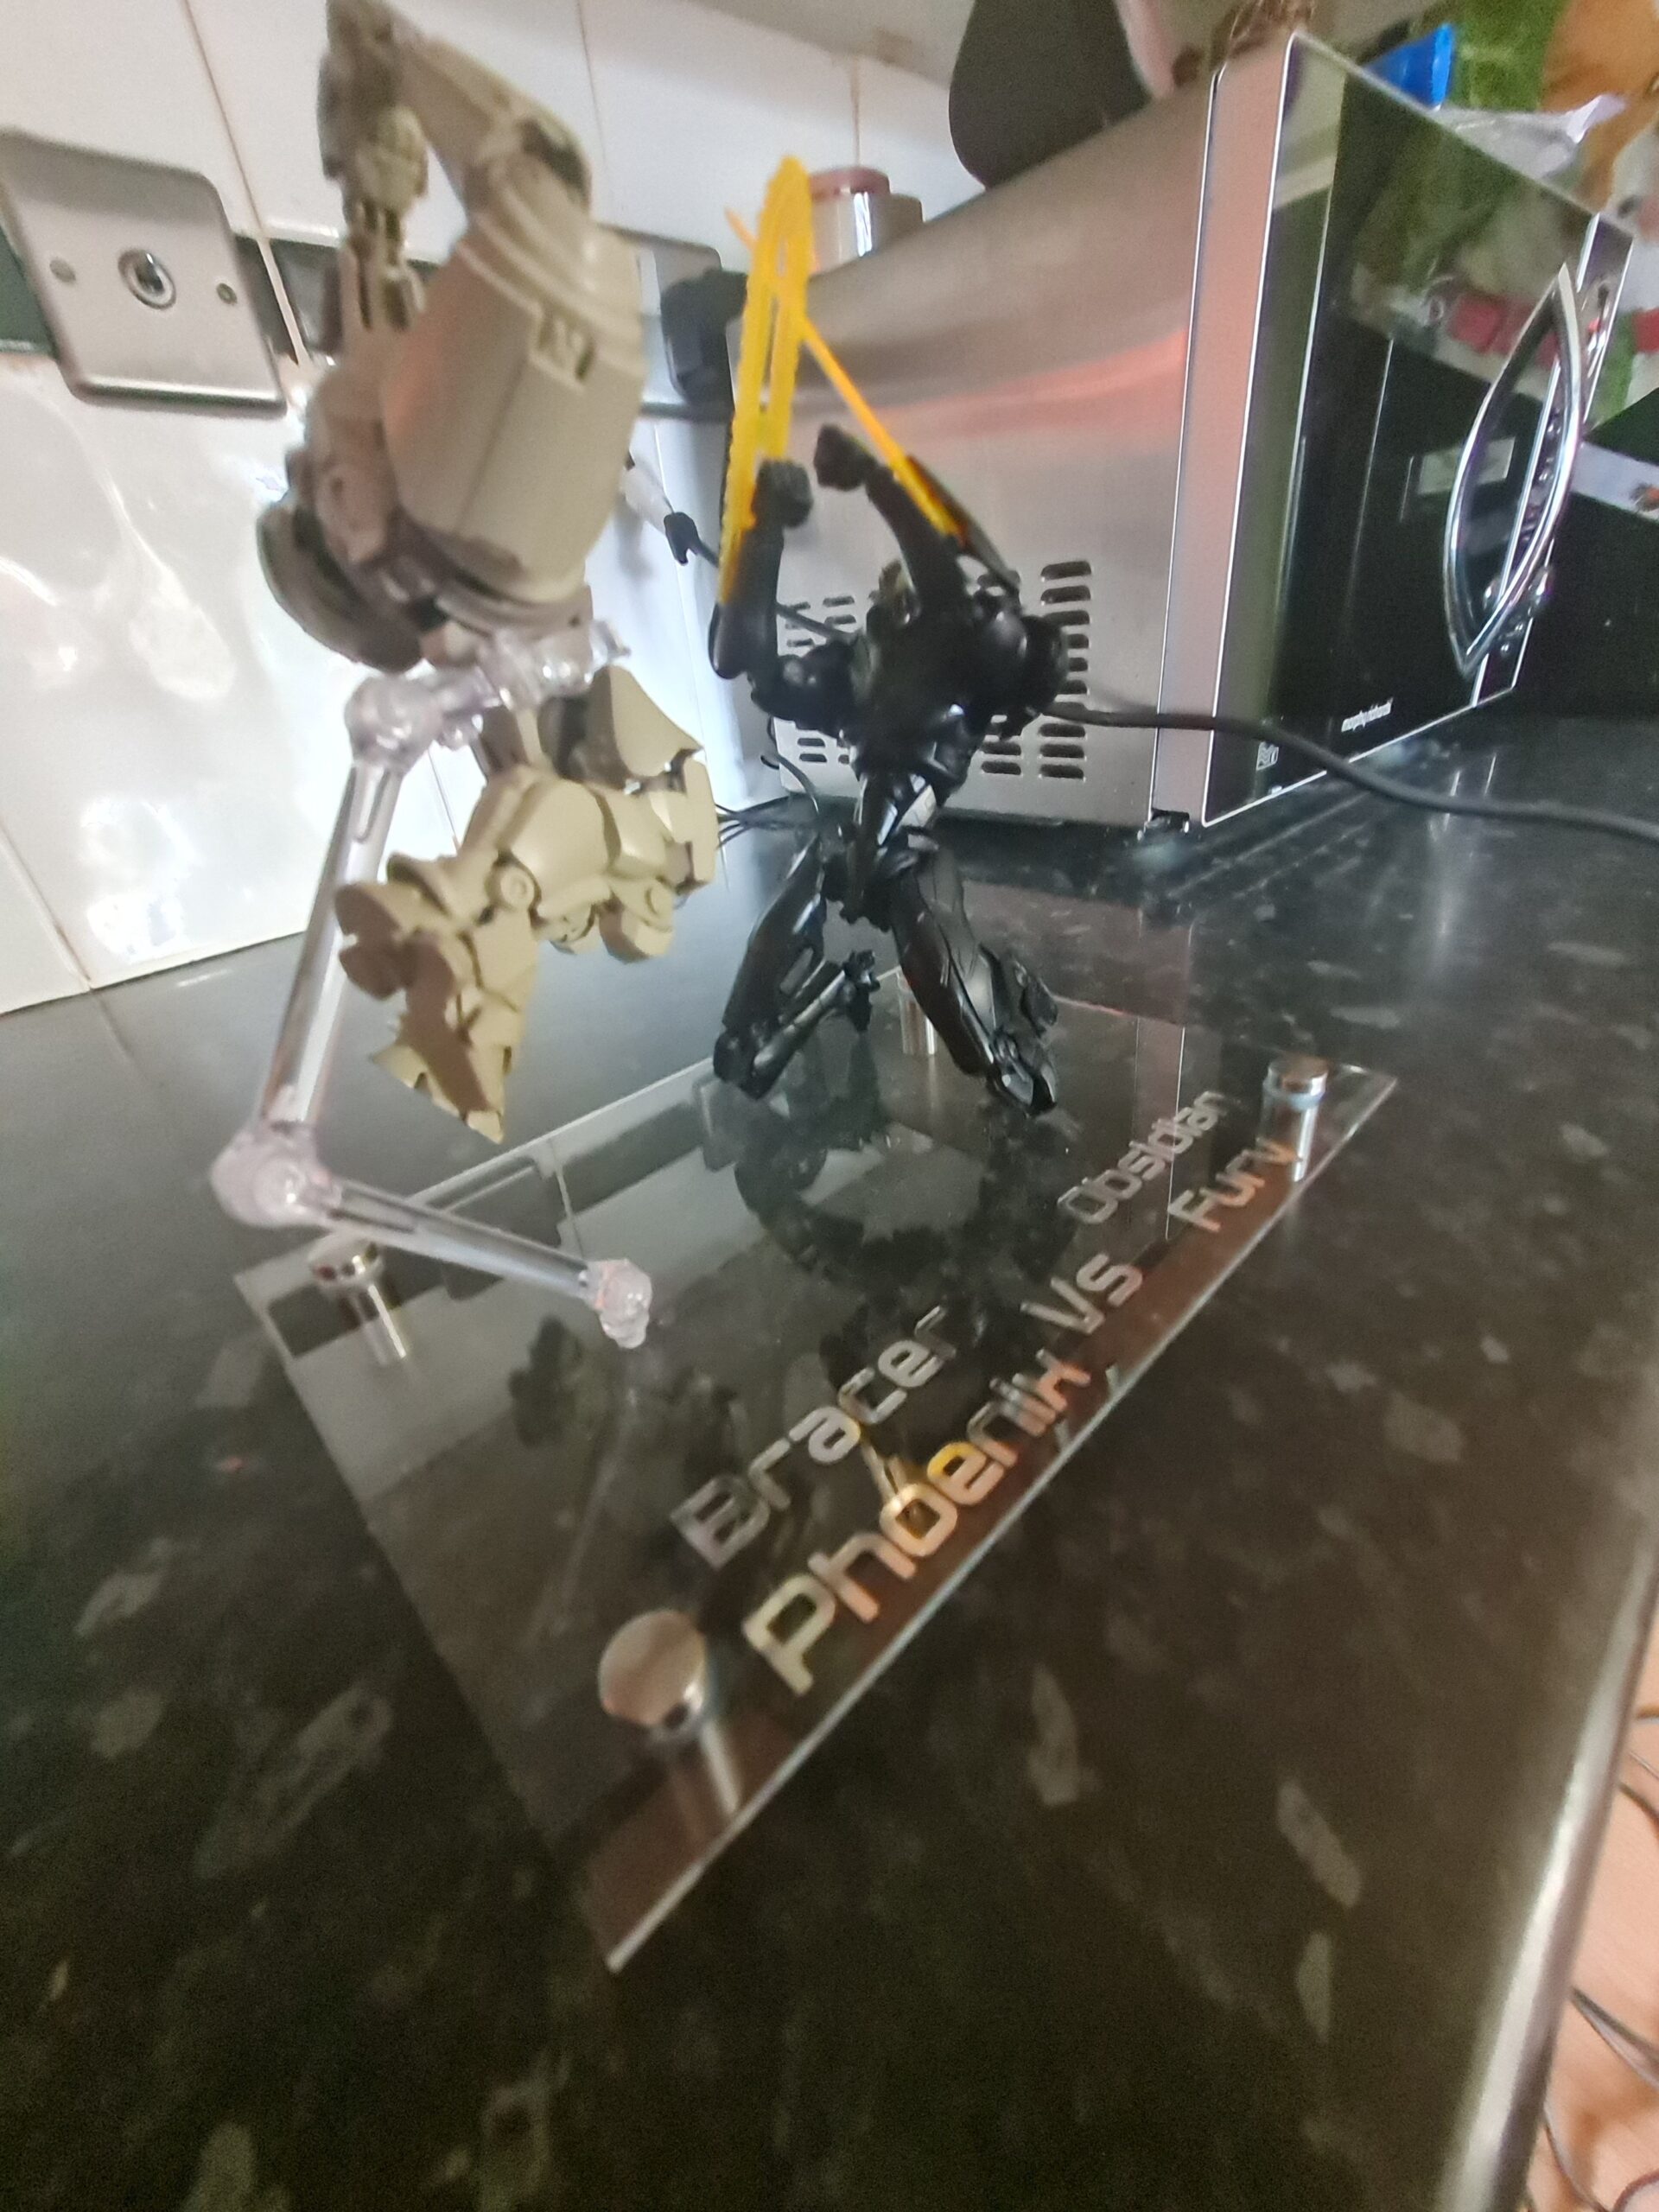
I really enjoyed making this custom stand. All that was left was to add the stand and figures and it was done. I will leave you with those images at the bottom of this post. Any questions please just ask.
Thank you for taking the time to read this. If you haven’t already done so please like and follow us on our social media platforms and checkout our website!
Facebook: https://www.facebook.com/profile.php?id=100086701512793
Instagram: https://www.instagram.com/modelkitsltd/
Website: https://modelkitsltd.co.uk
#gundam #gundammodel #model #kit #gunpla