Overview
As this is my first attempt at panel lining I should note that I am sure it is far from perfect. I also would imagine there are other techniques for panel lining.
This is just my first attempt, and I will revisit this topic as I learn more, and practice more!
Tools
The first thing to outline are the tools I used.
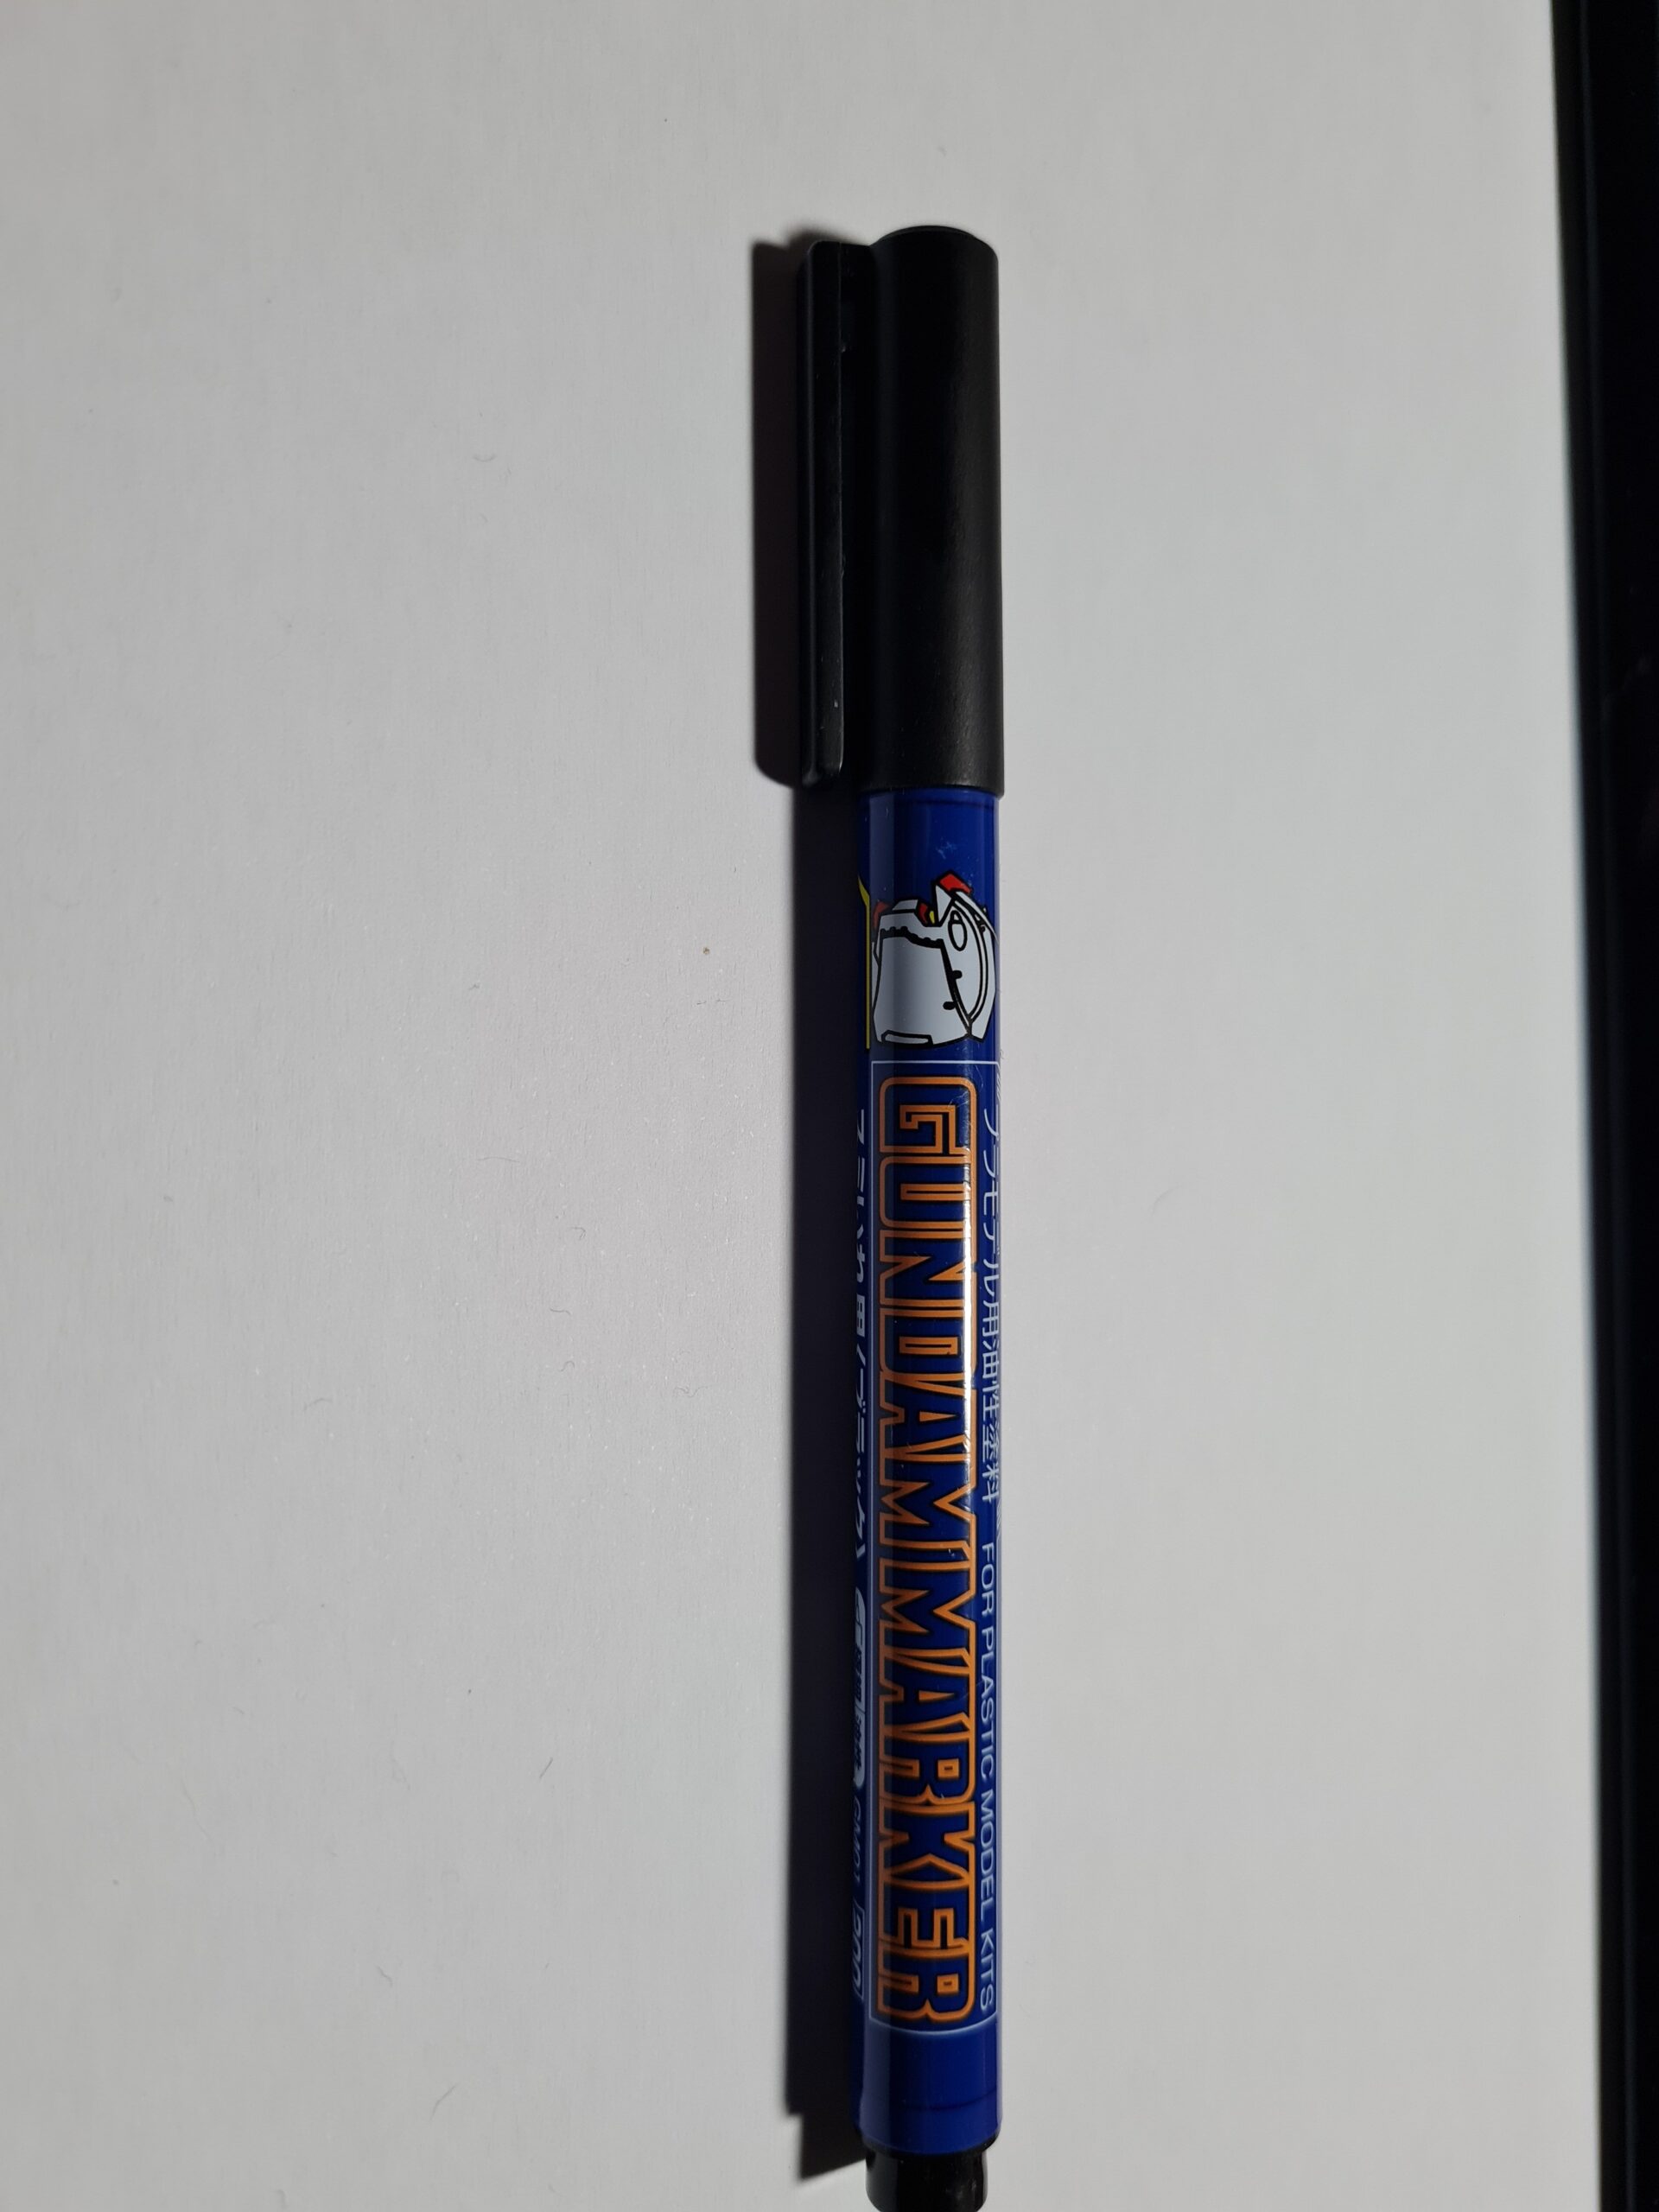
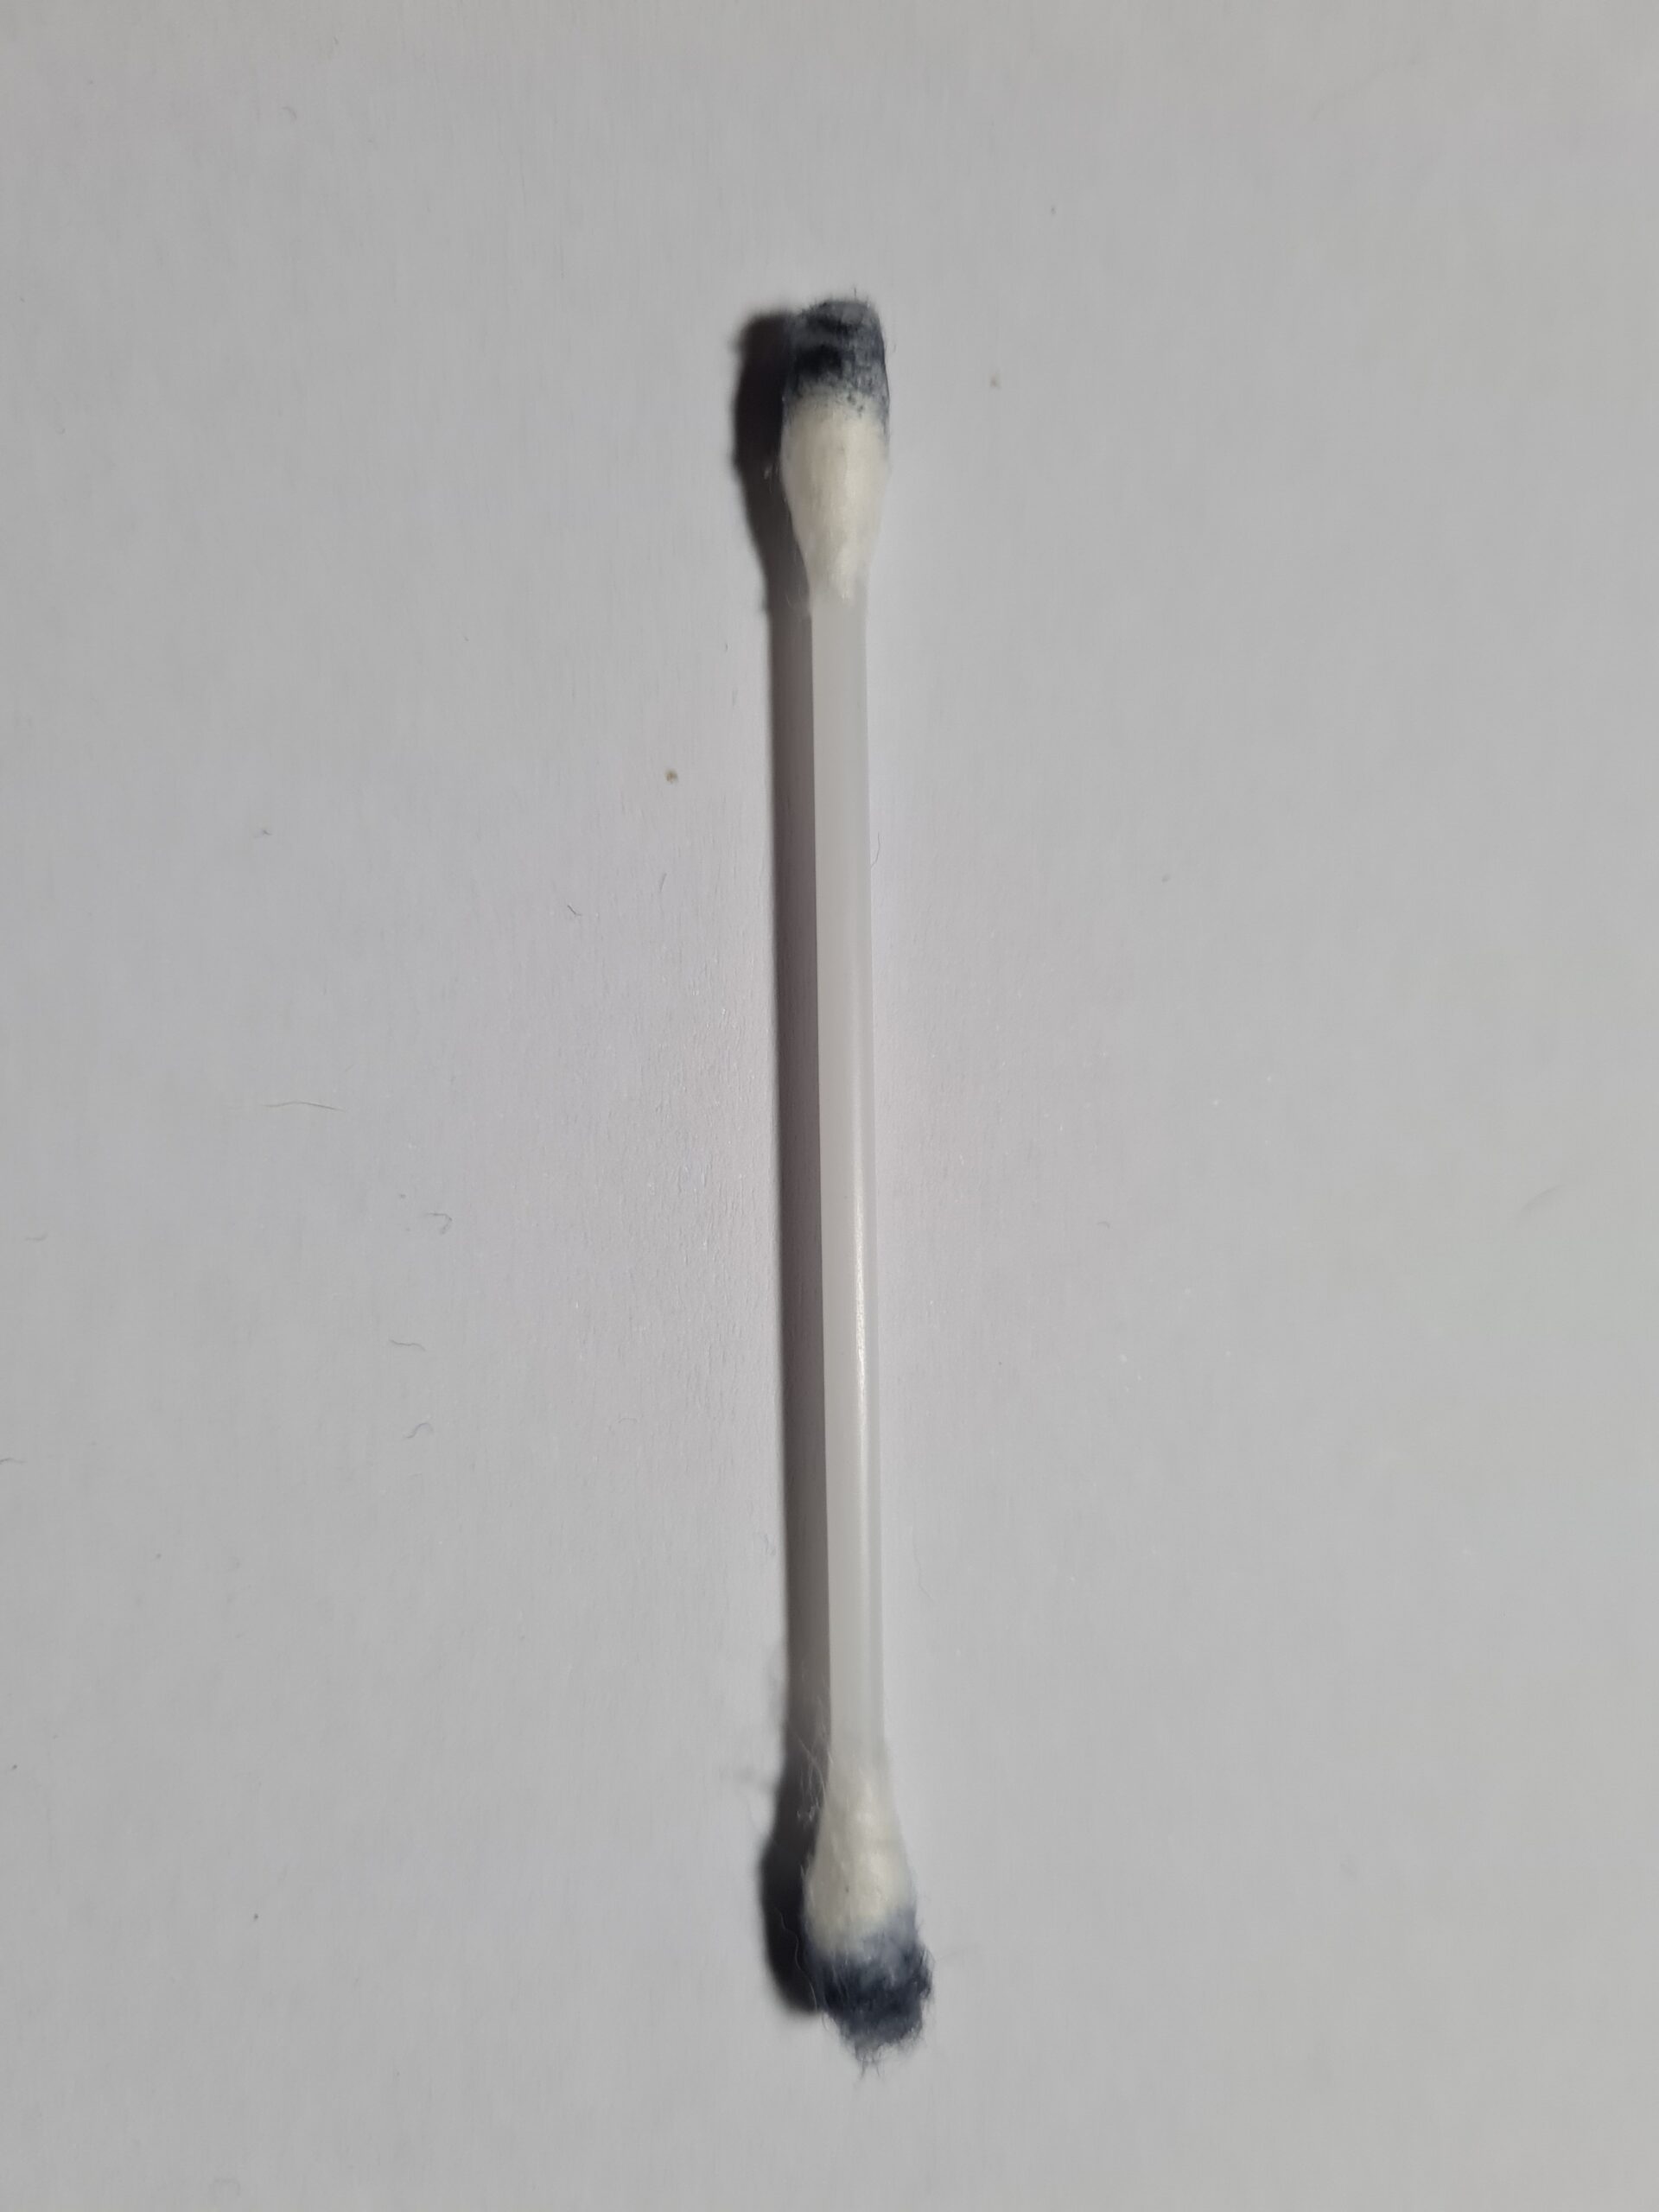
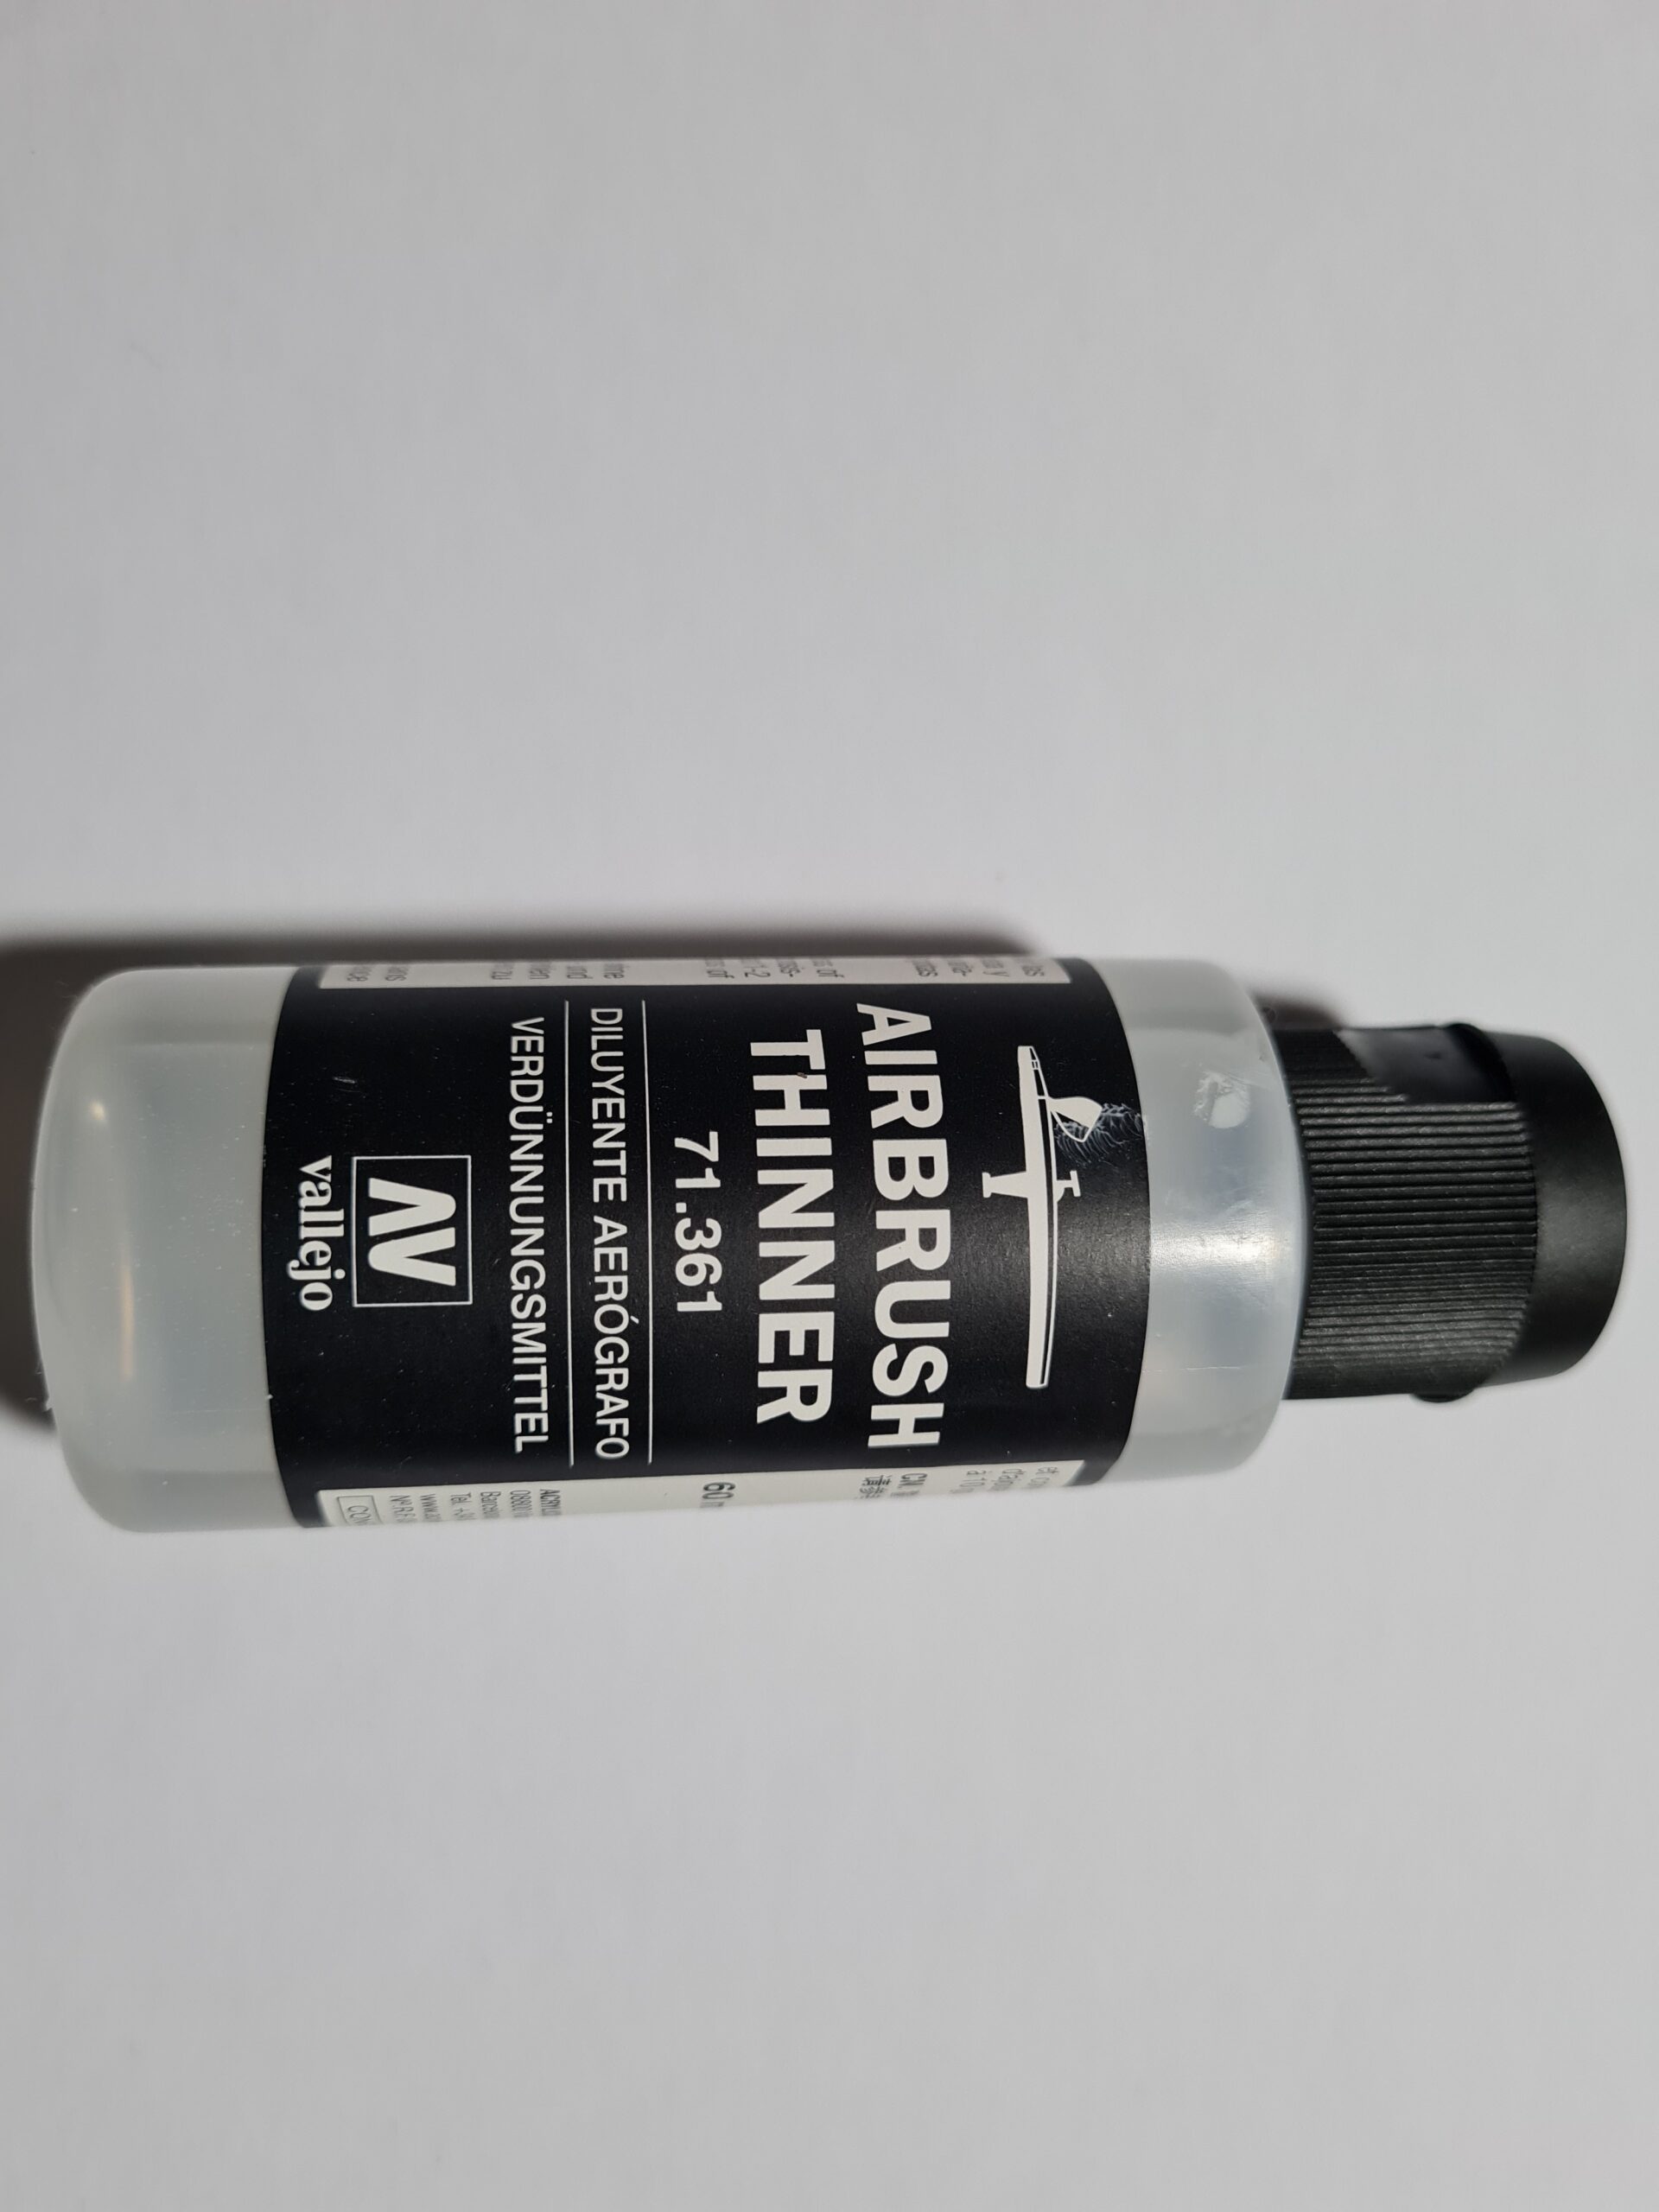
To do this, I used three basic tools. The first is a Gundam Marker. I picked this rather than any other option as I thought I should start with the basics before trying other techniques. The second item is a double ended cotton bud. It doesn’t have to be double ended, that just makes life easier 🙂 The final item I used was airbrush thinner.
Method
The basic premise of my first technique was this:
- Fill in the line with the marker
- Add thinner to one end of the cotton bud
- Wipe away to clean up any excess marker or overspill
- Use the end of the bud that doesn’t have thinner on it to clean up
In my first attempts I sort of just wiped the bud “willy nilly” and it took too much of the marker away. For my second attempt I wiped the cotton bud gently across the lines rather than with them. This provided a much better effect. At the moment my technique still requires a lot of work. However once the model is complete I’ll show the whole thing panel lined. Also as I revisit this technique, and other options. I will write follow up posts on changes and tips and tricks as I come across them.
Thank you for taking the time to read this. If you haven’t already done so please like and follow us on our social media platforms and checkout our website!
Facebook: https://www.facebook.com/profile.php?id=100086701512793
Instagram: https://www.instagram.com/modelkitsltd/
Website: https://modelkitsltd.co.uk
gundam #gundammodel #model #kit #gunpla
[…] even gave it its own post here. However, little did I know that there was still a way I could mess this up! So in essence, to […]