Posted on

RG MS-06F Zaku II Panel Lining

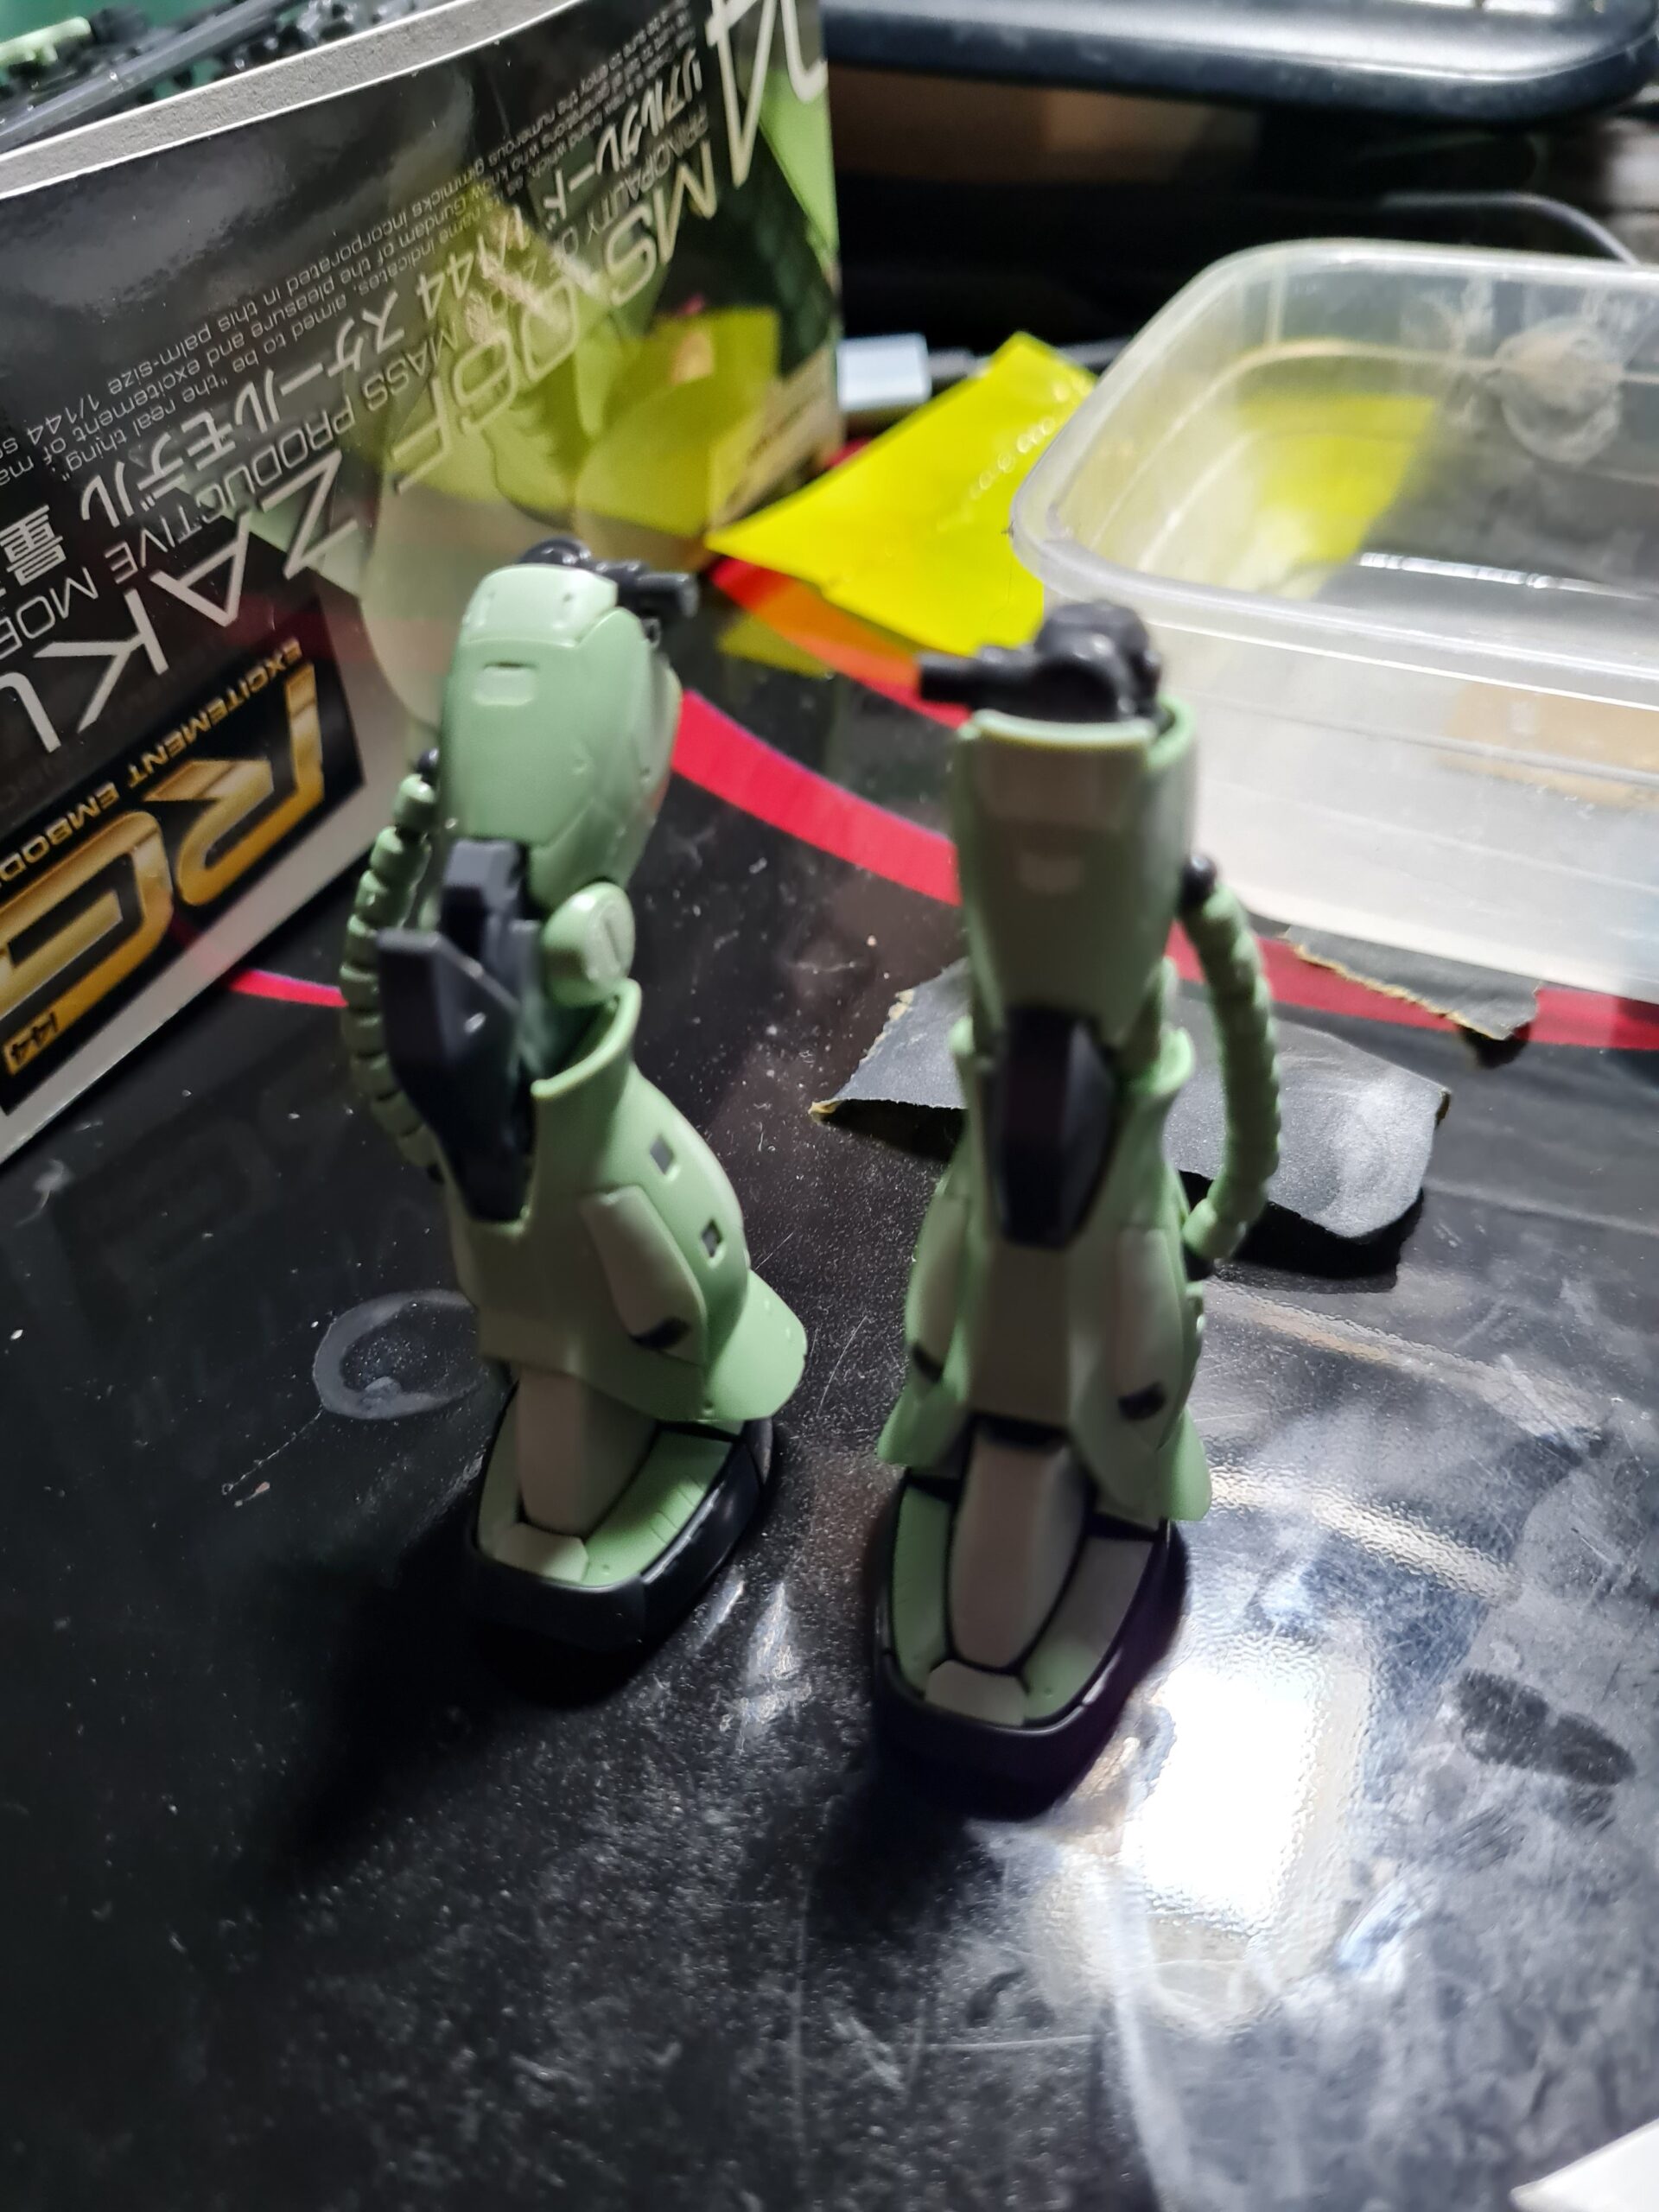
This article “RG MS-06F Zaku II Panel Lining” is going to cover my initial steps into panel lining. The models, in my opinion, look fantastic just put together. However, amongst the other options available, is one called panel lining.

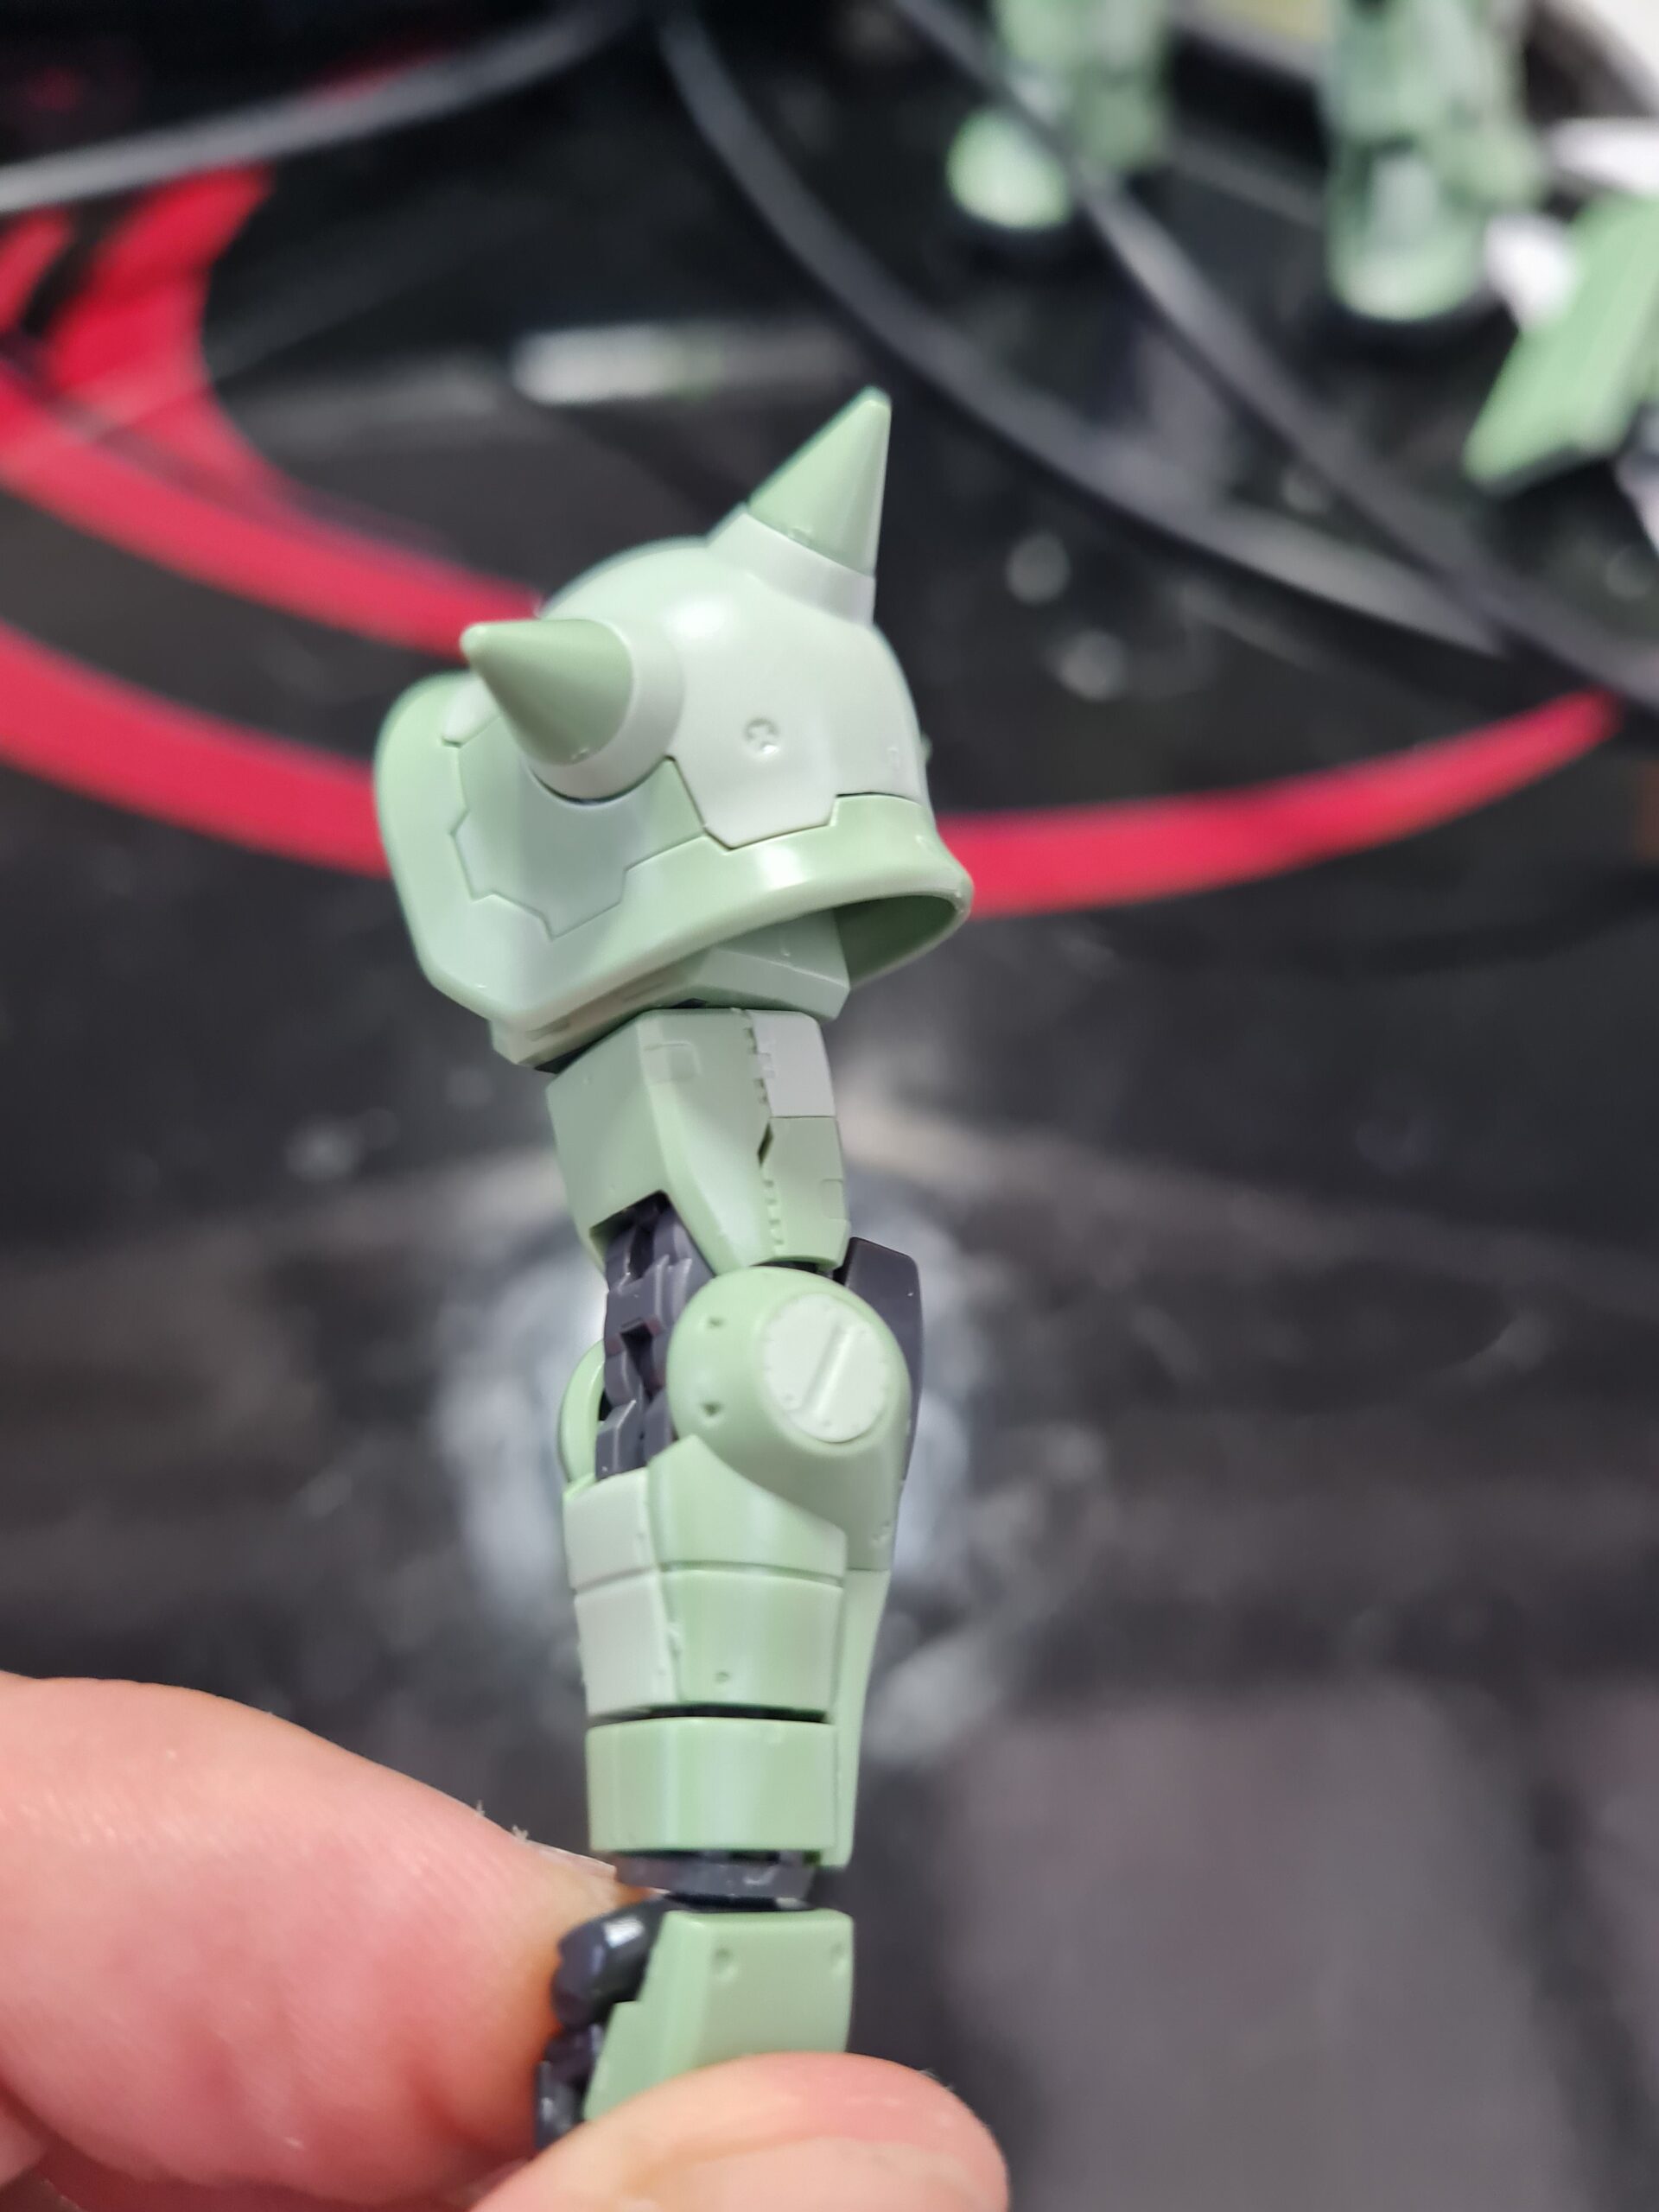
In essence this is applying colour (often black) to the parts of the model that have been scribed out (lines cut into them).

Although some people also scribe their own patterns into the models. This is just my very basic take on getting the most out of it, without moving into the world of customisation’s. I decided to have a go at panel lining the RG MS-06F Zaku II to see how it would come out.

Guess the Model Part 2 Leg 1
Leg Side

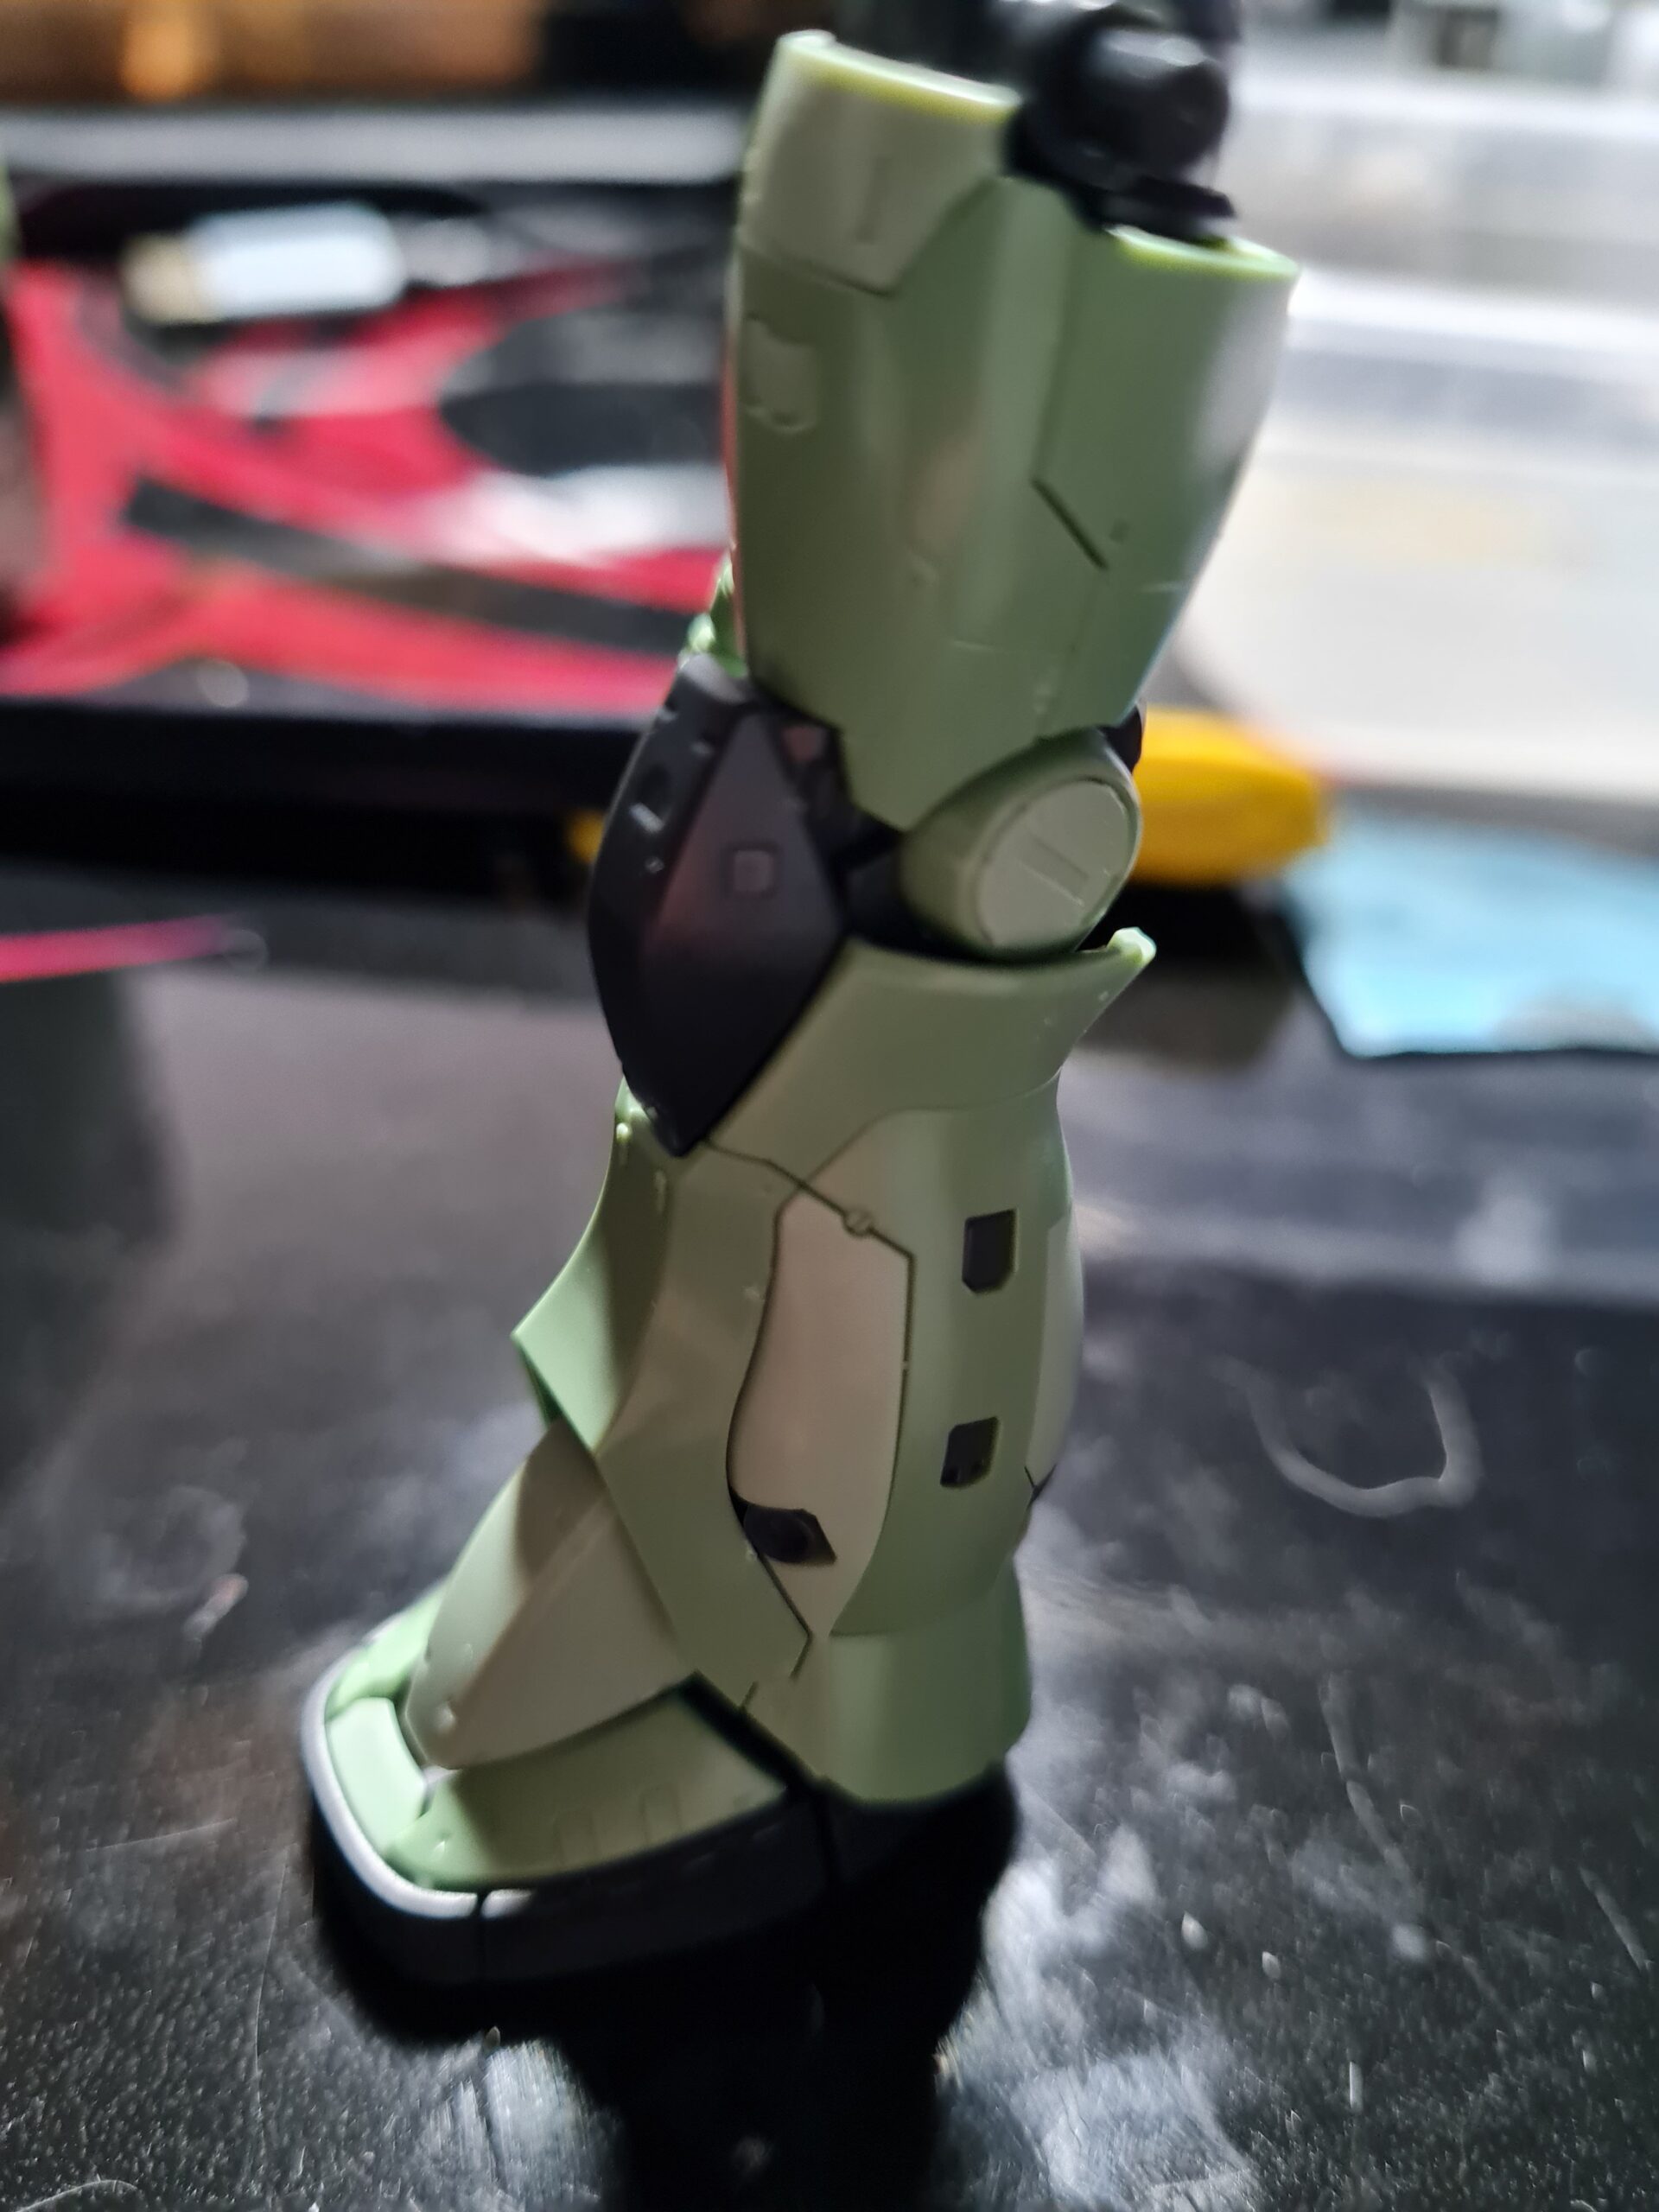
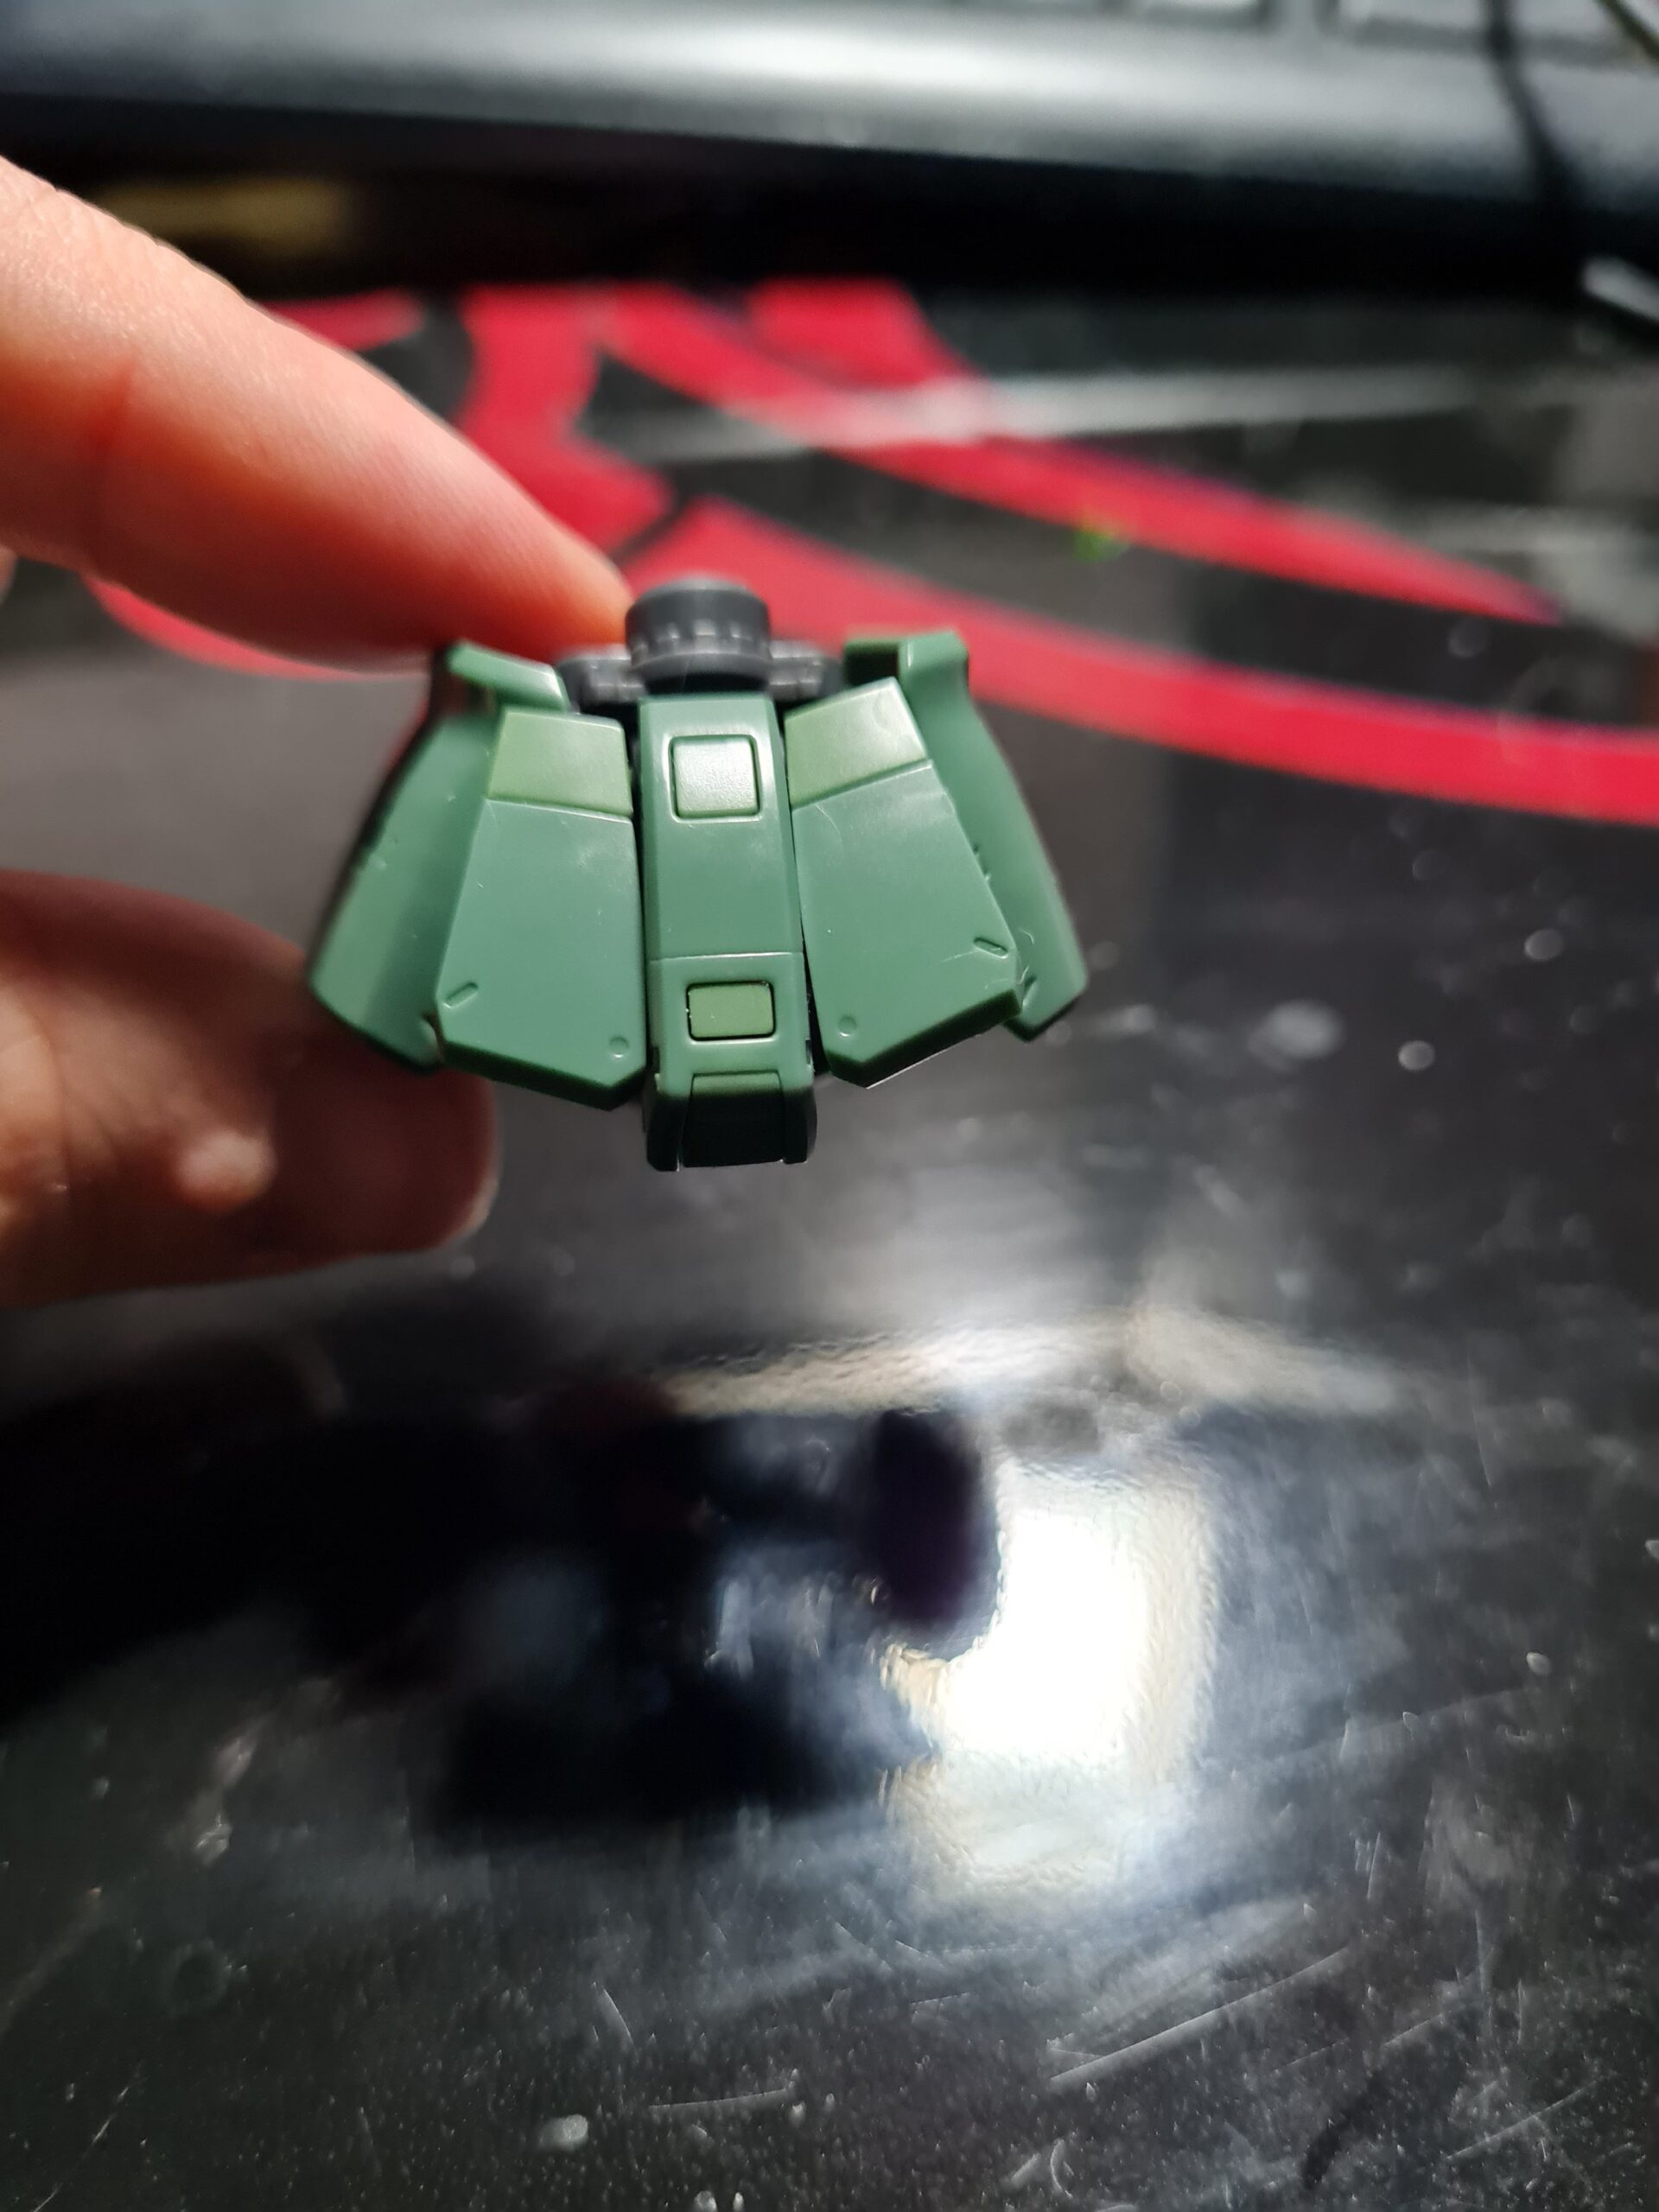
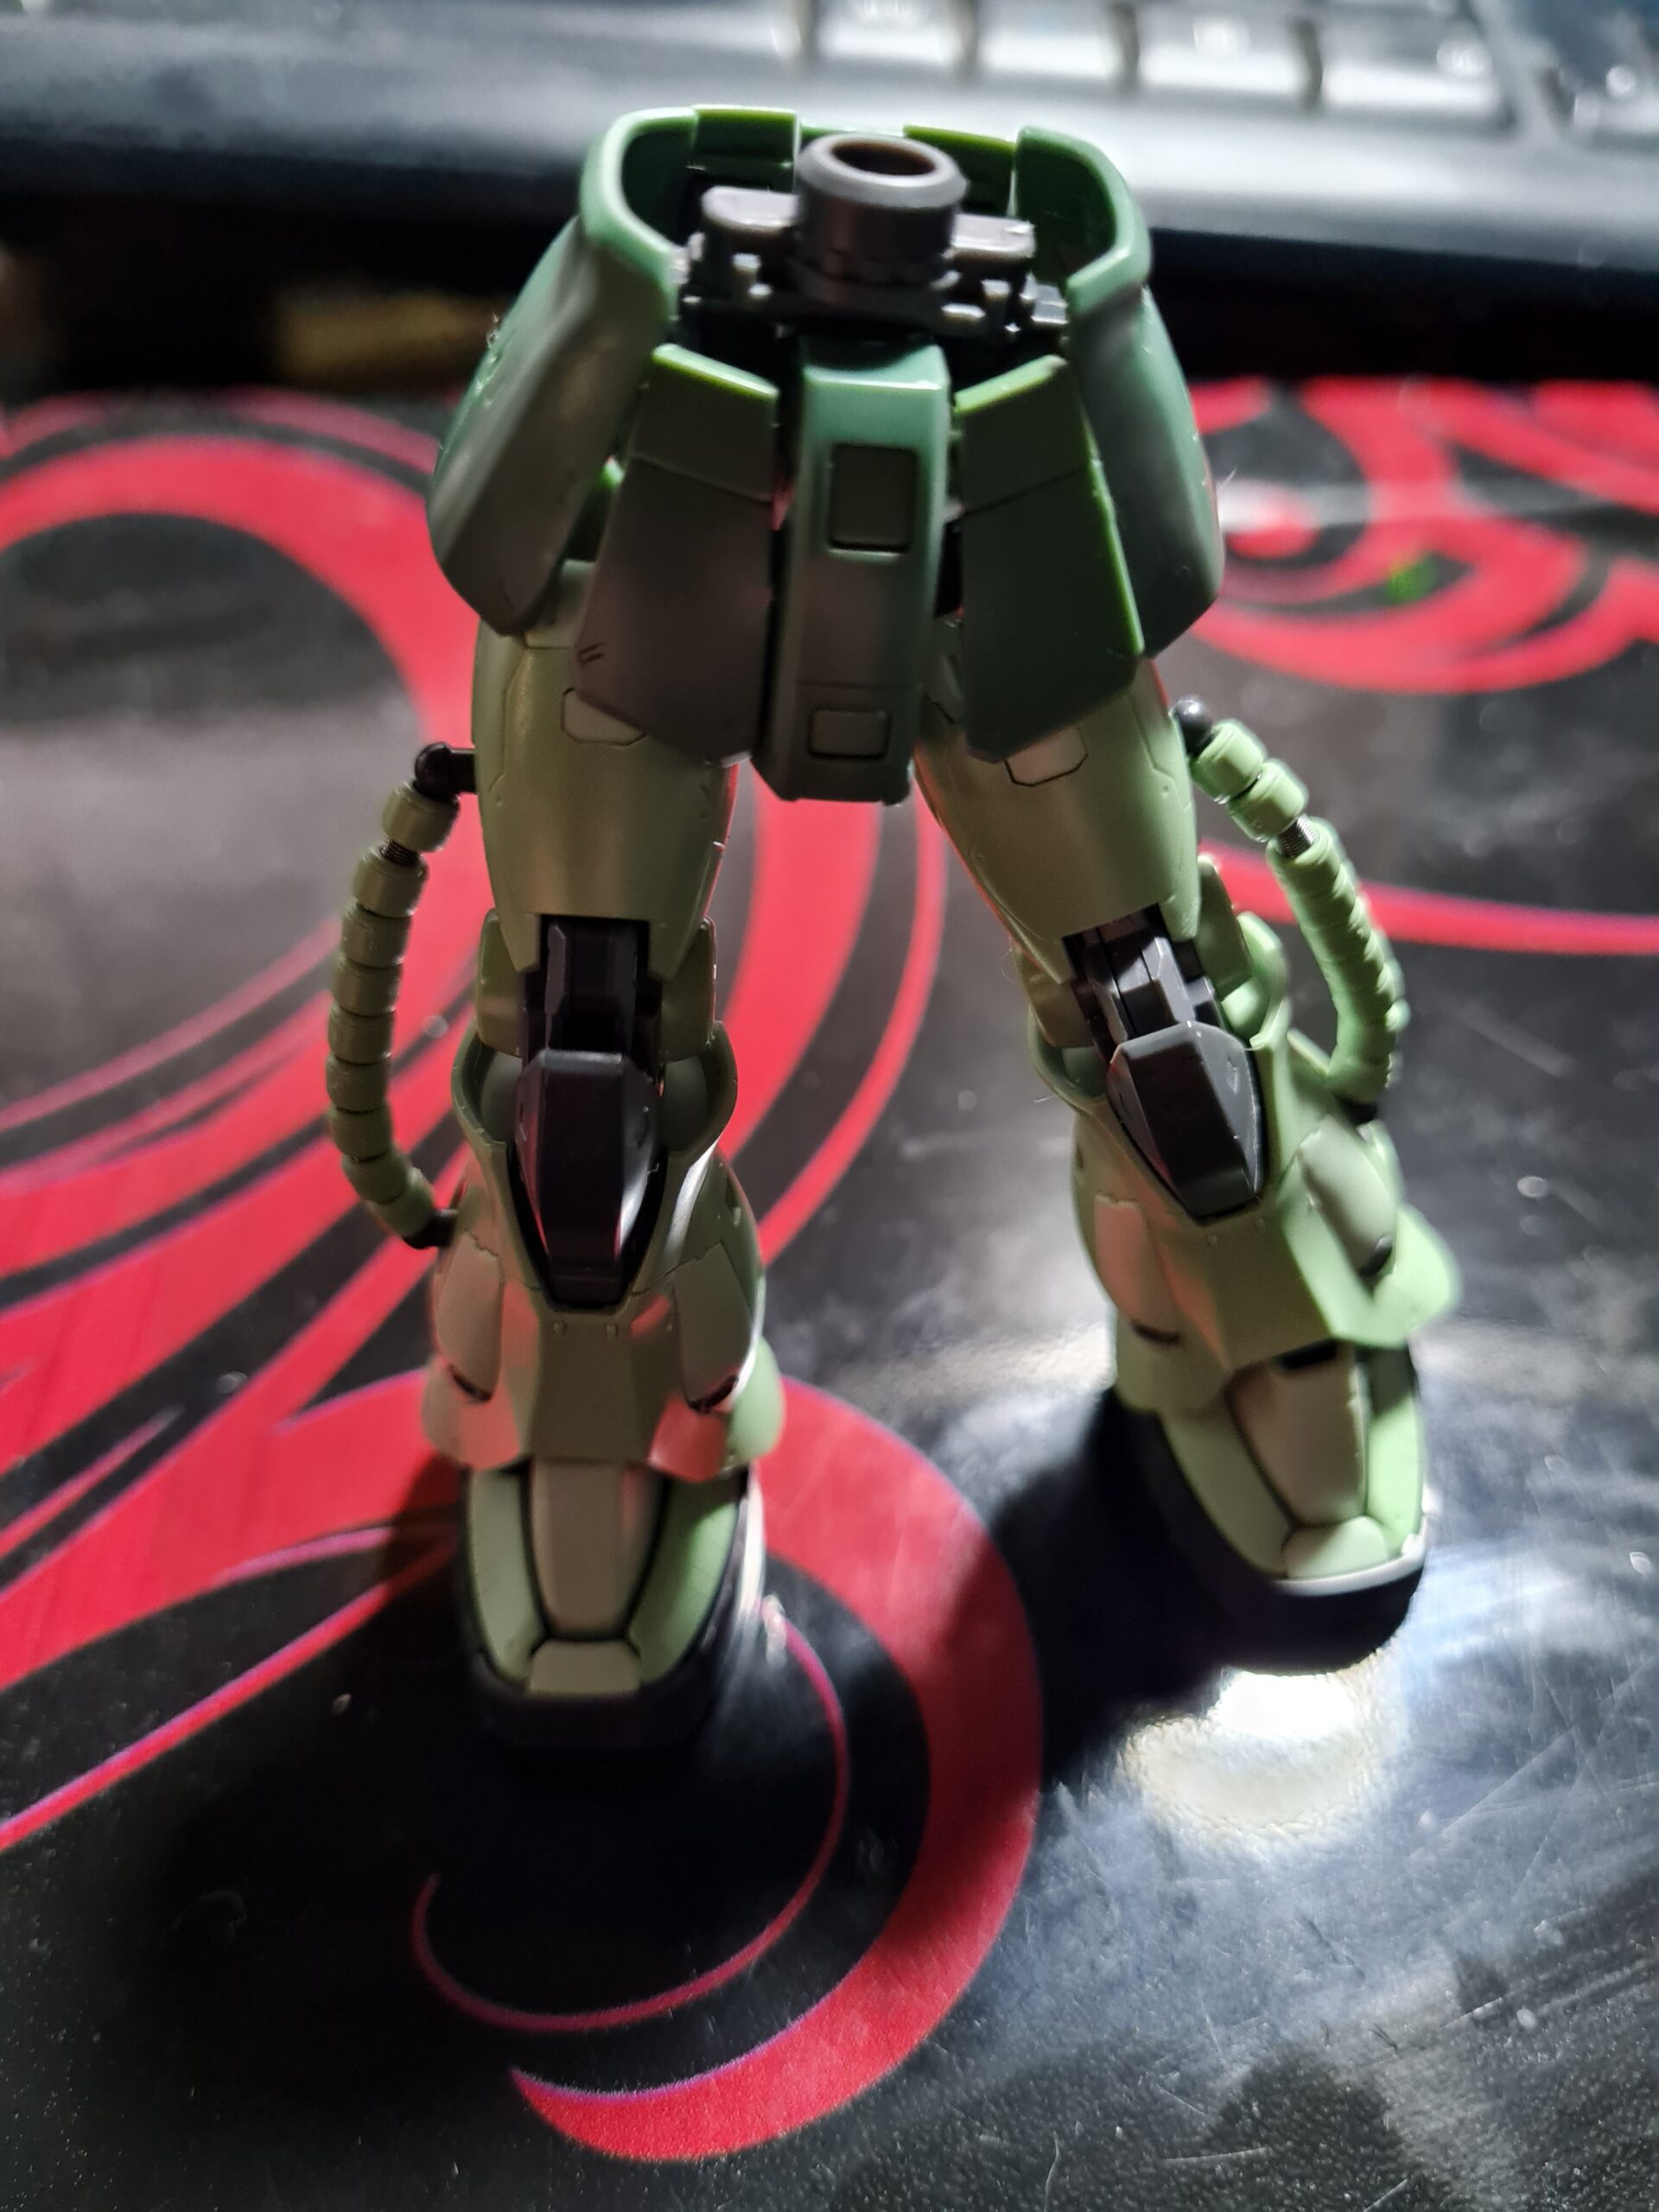
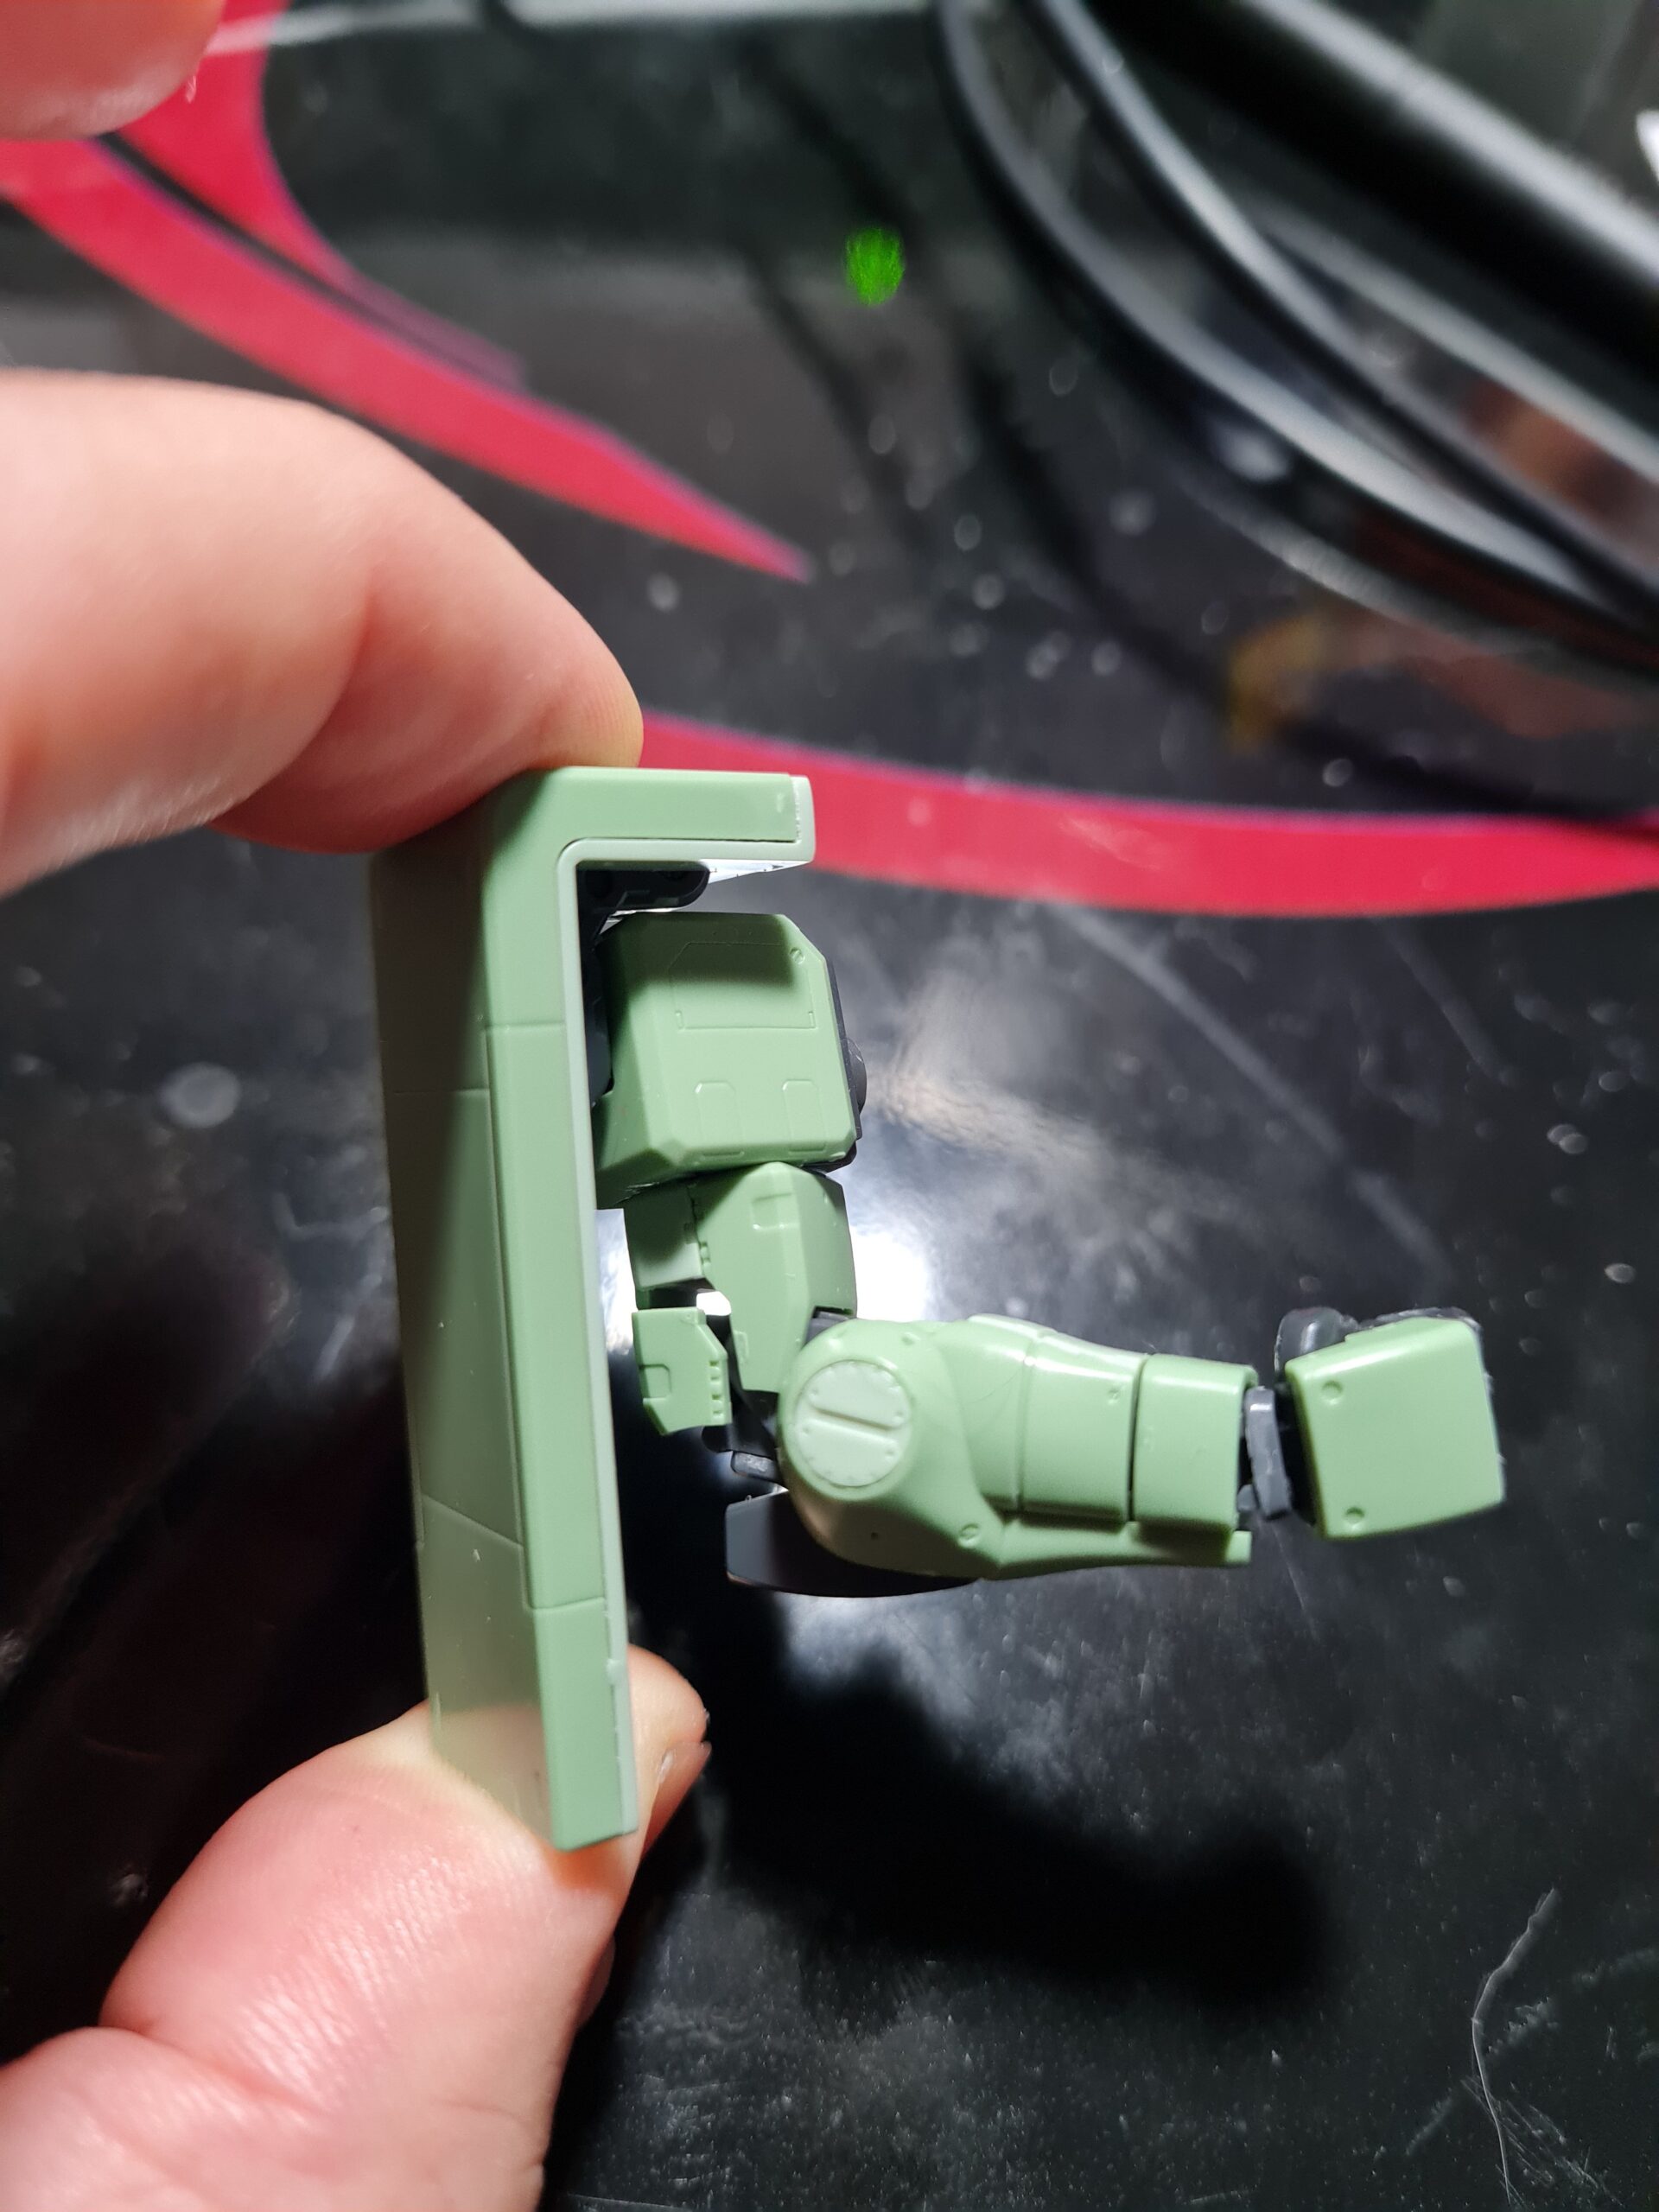
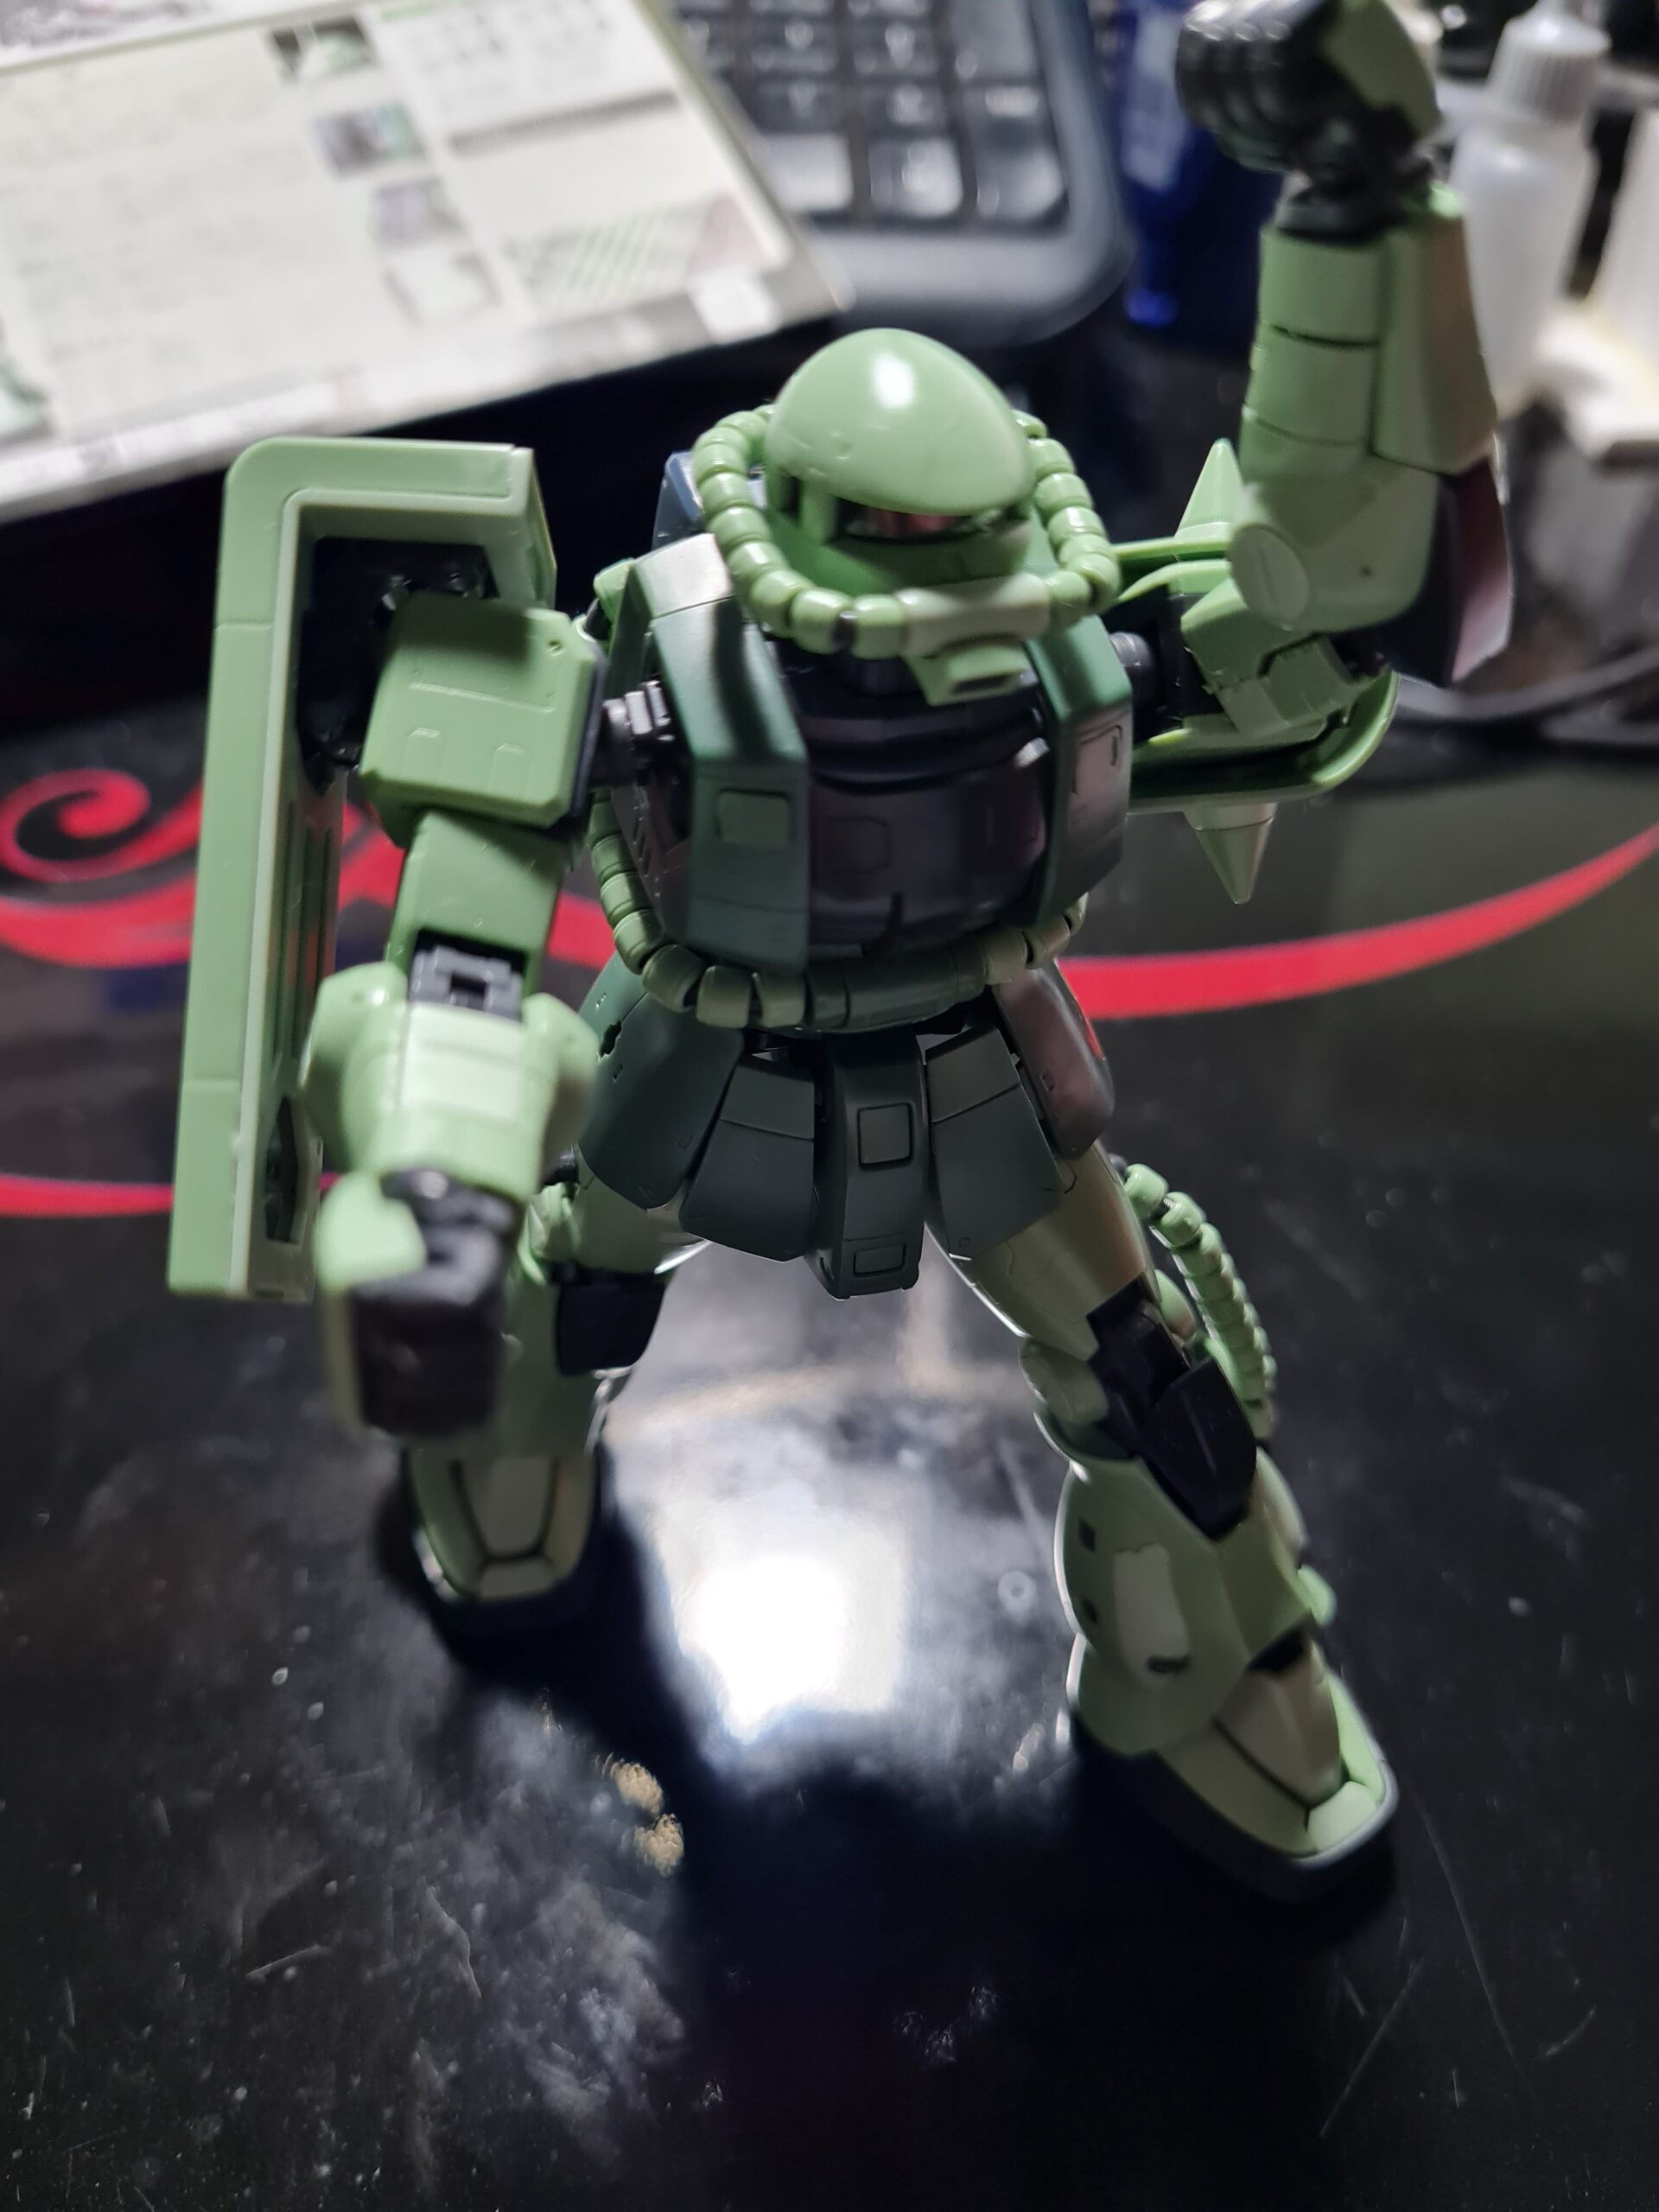
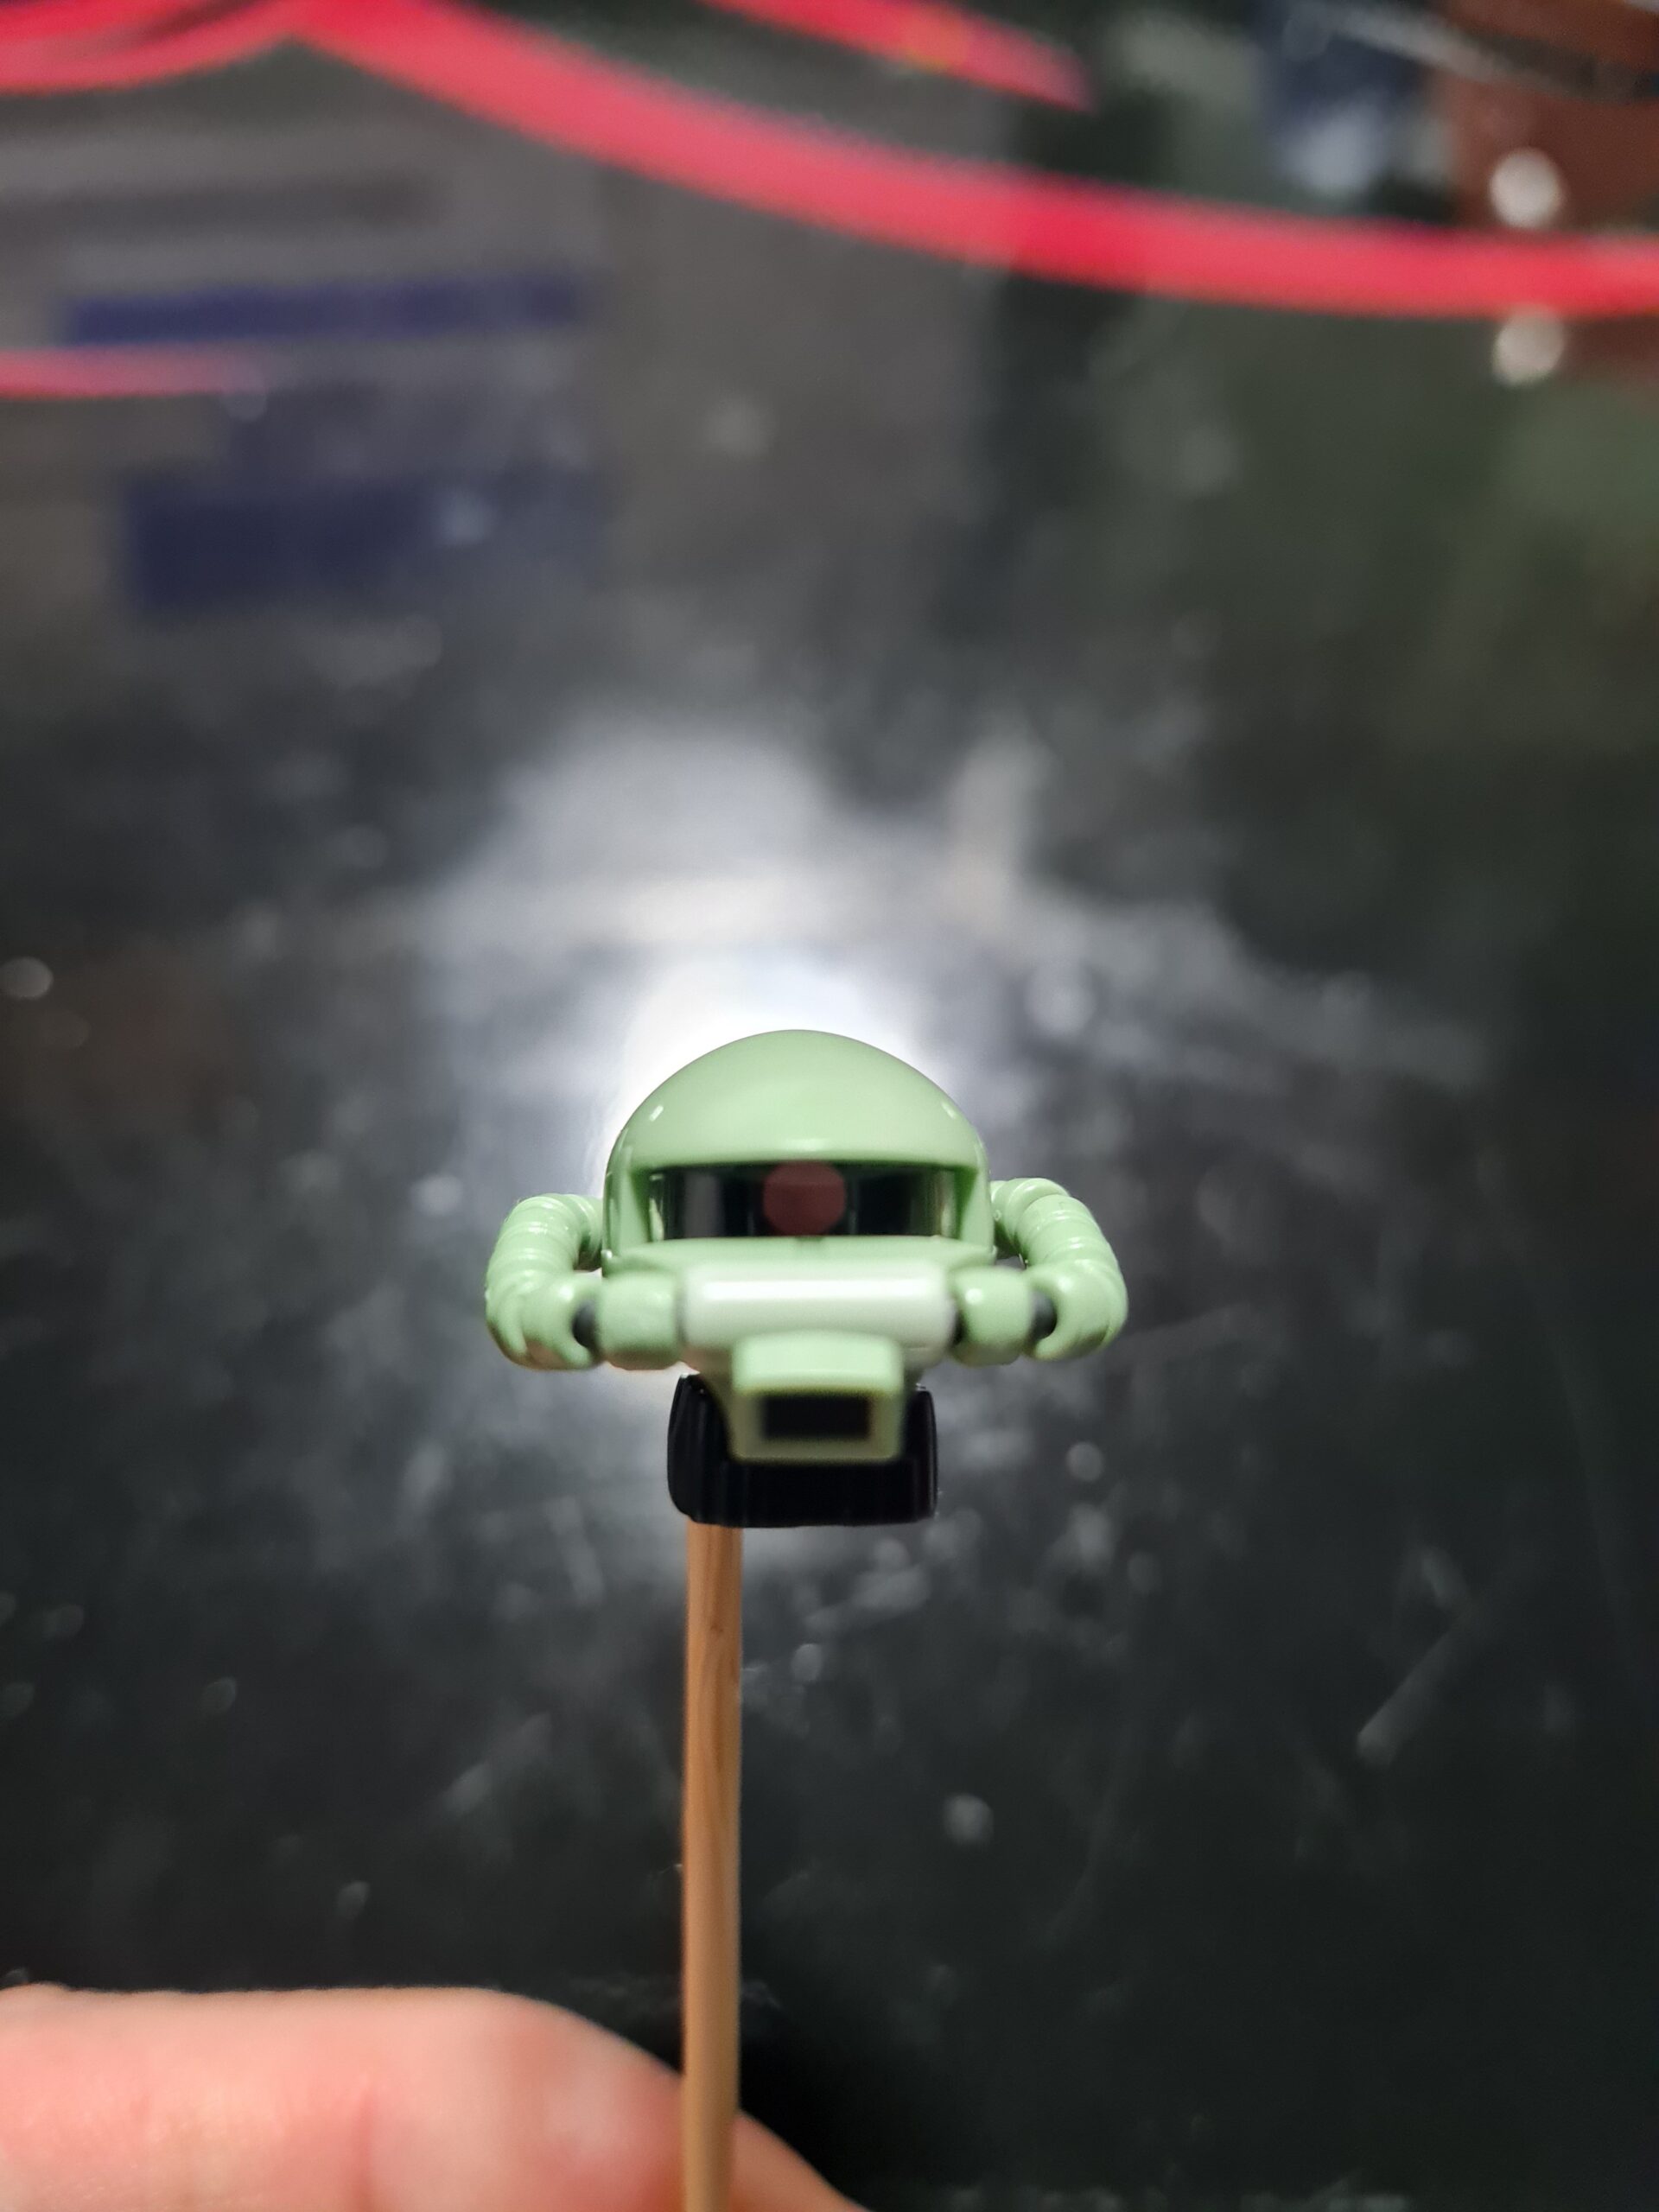
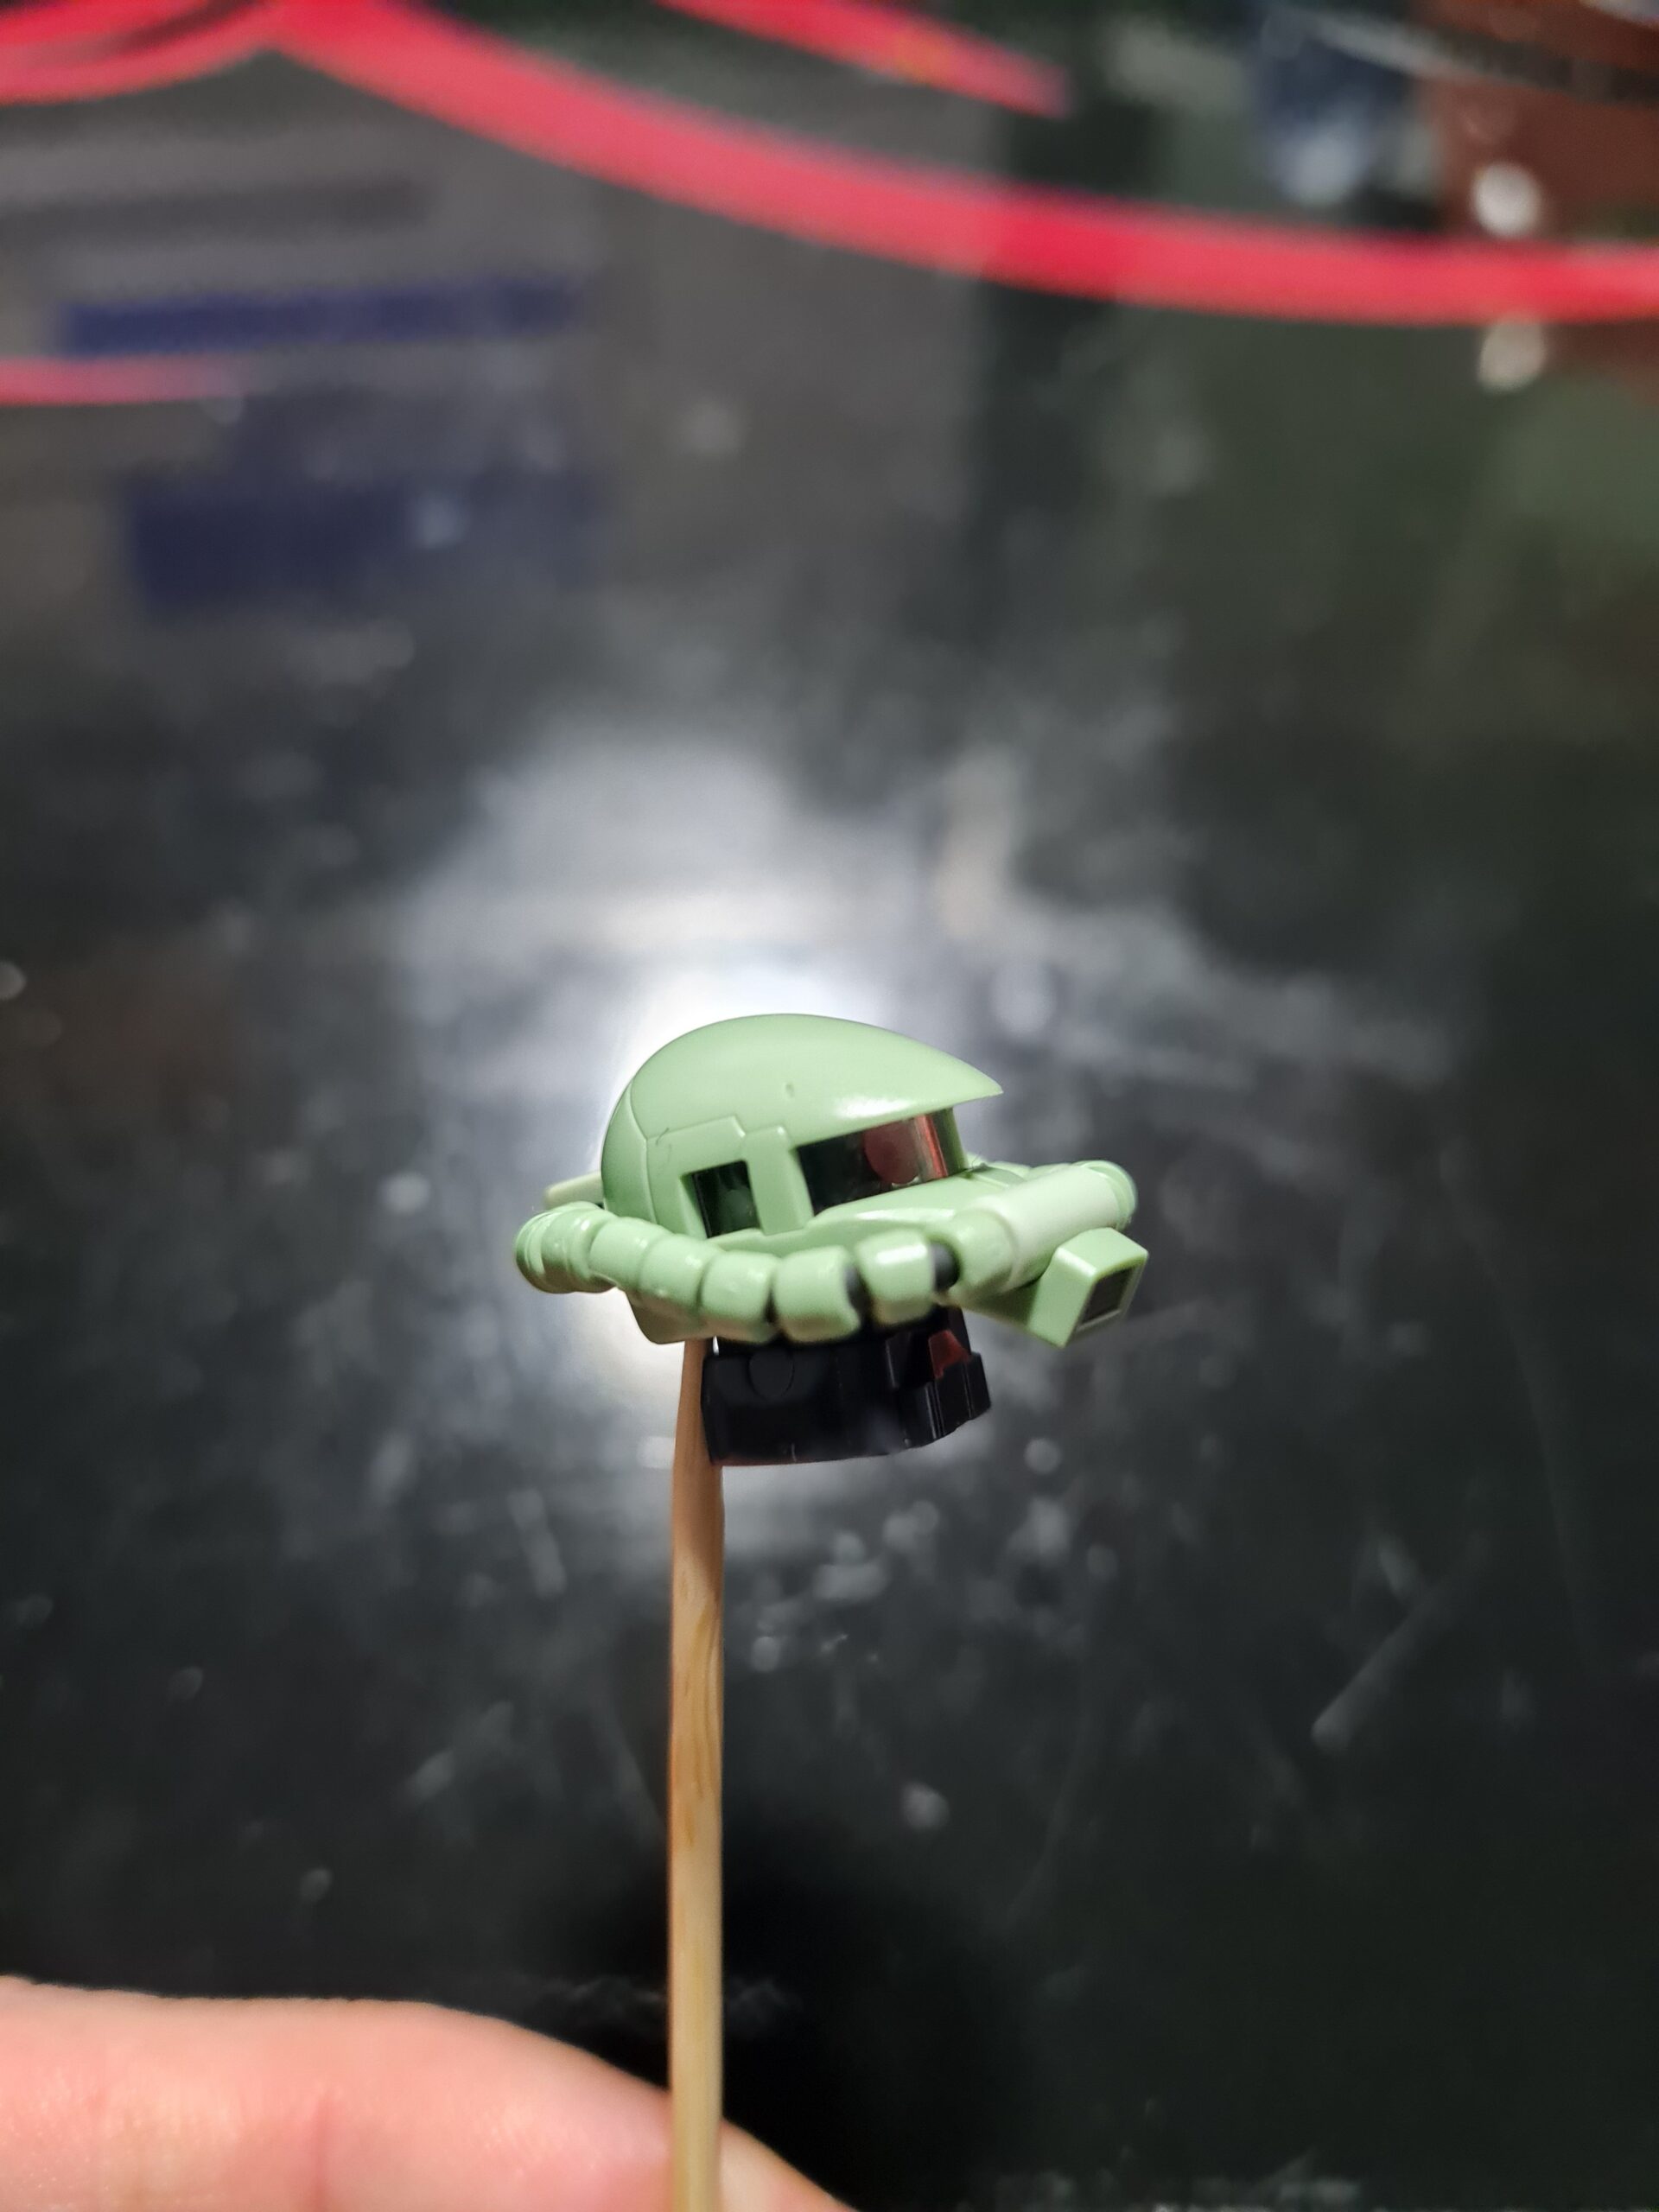
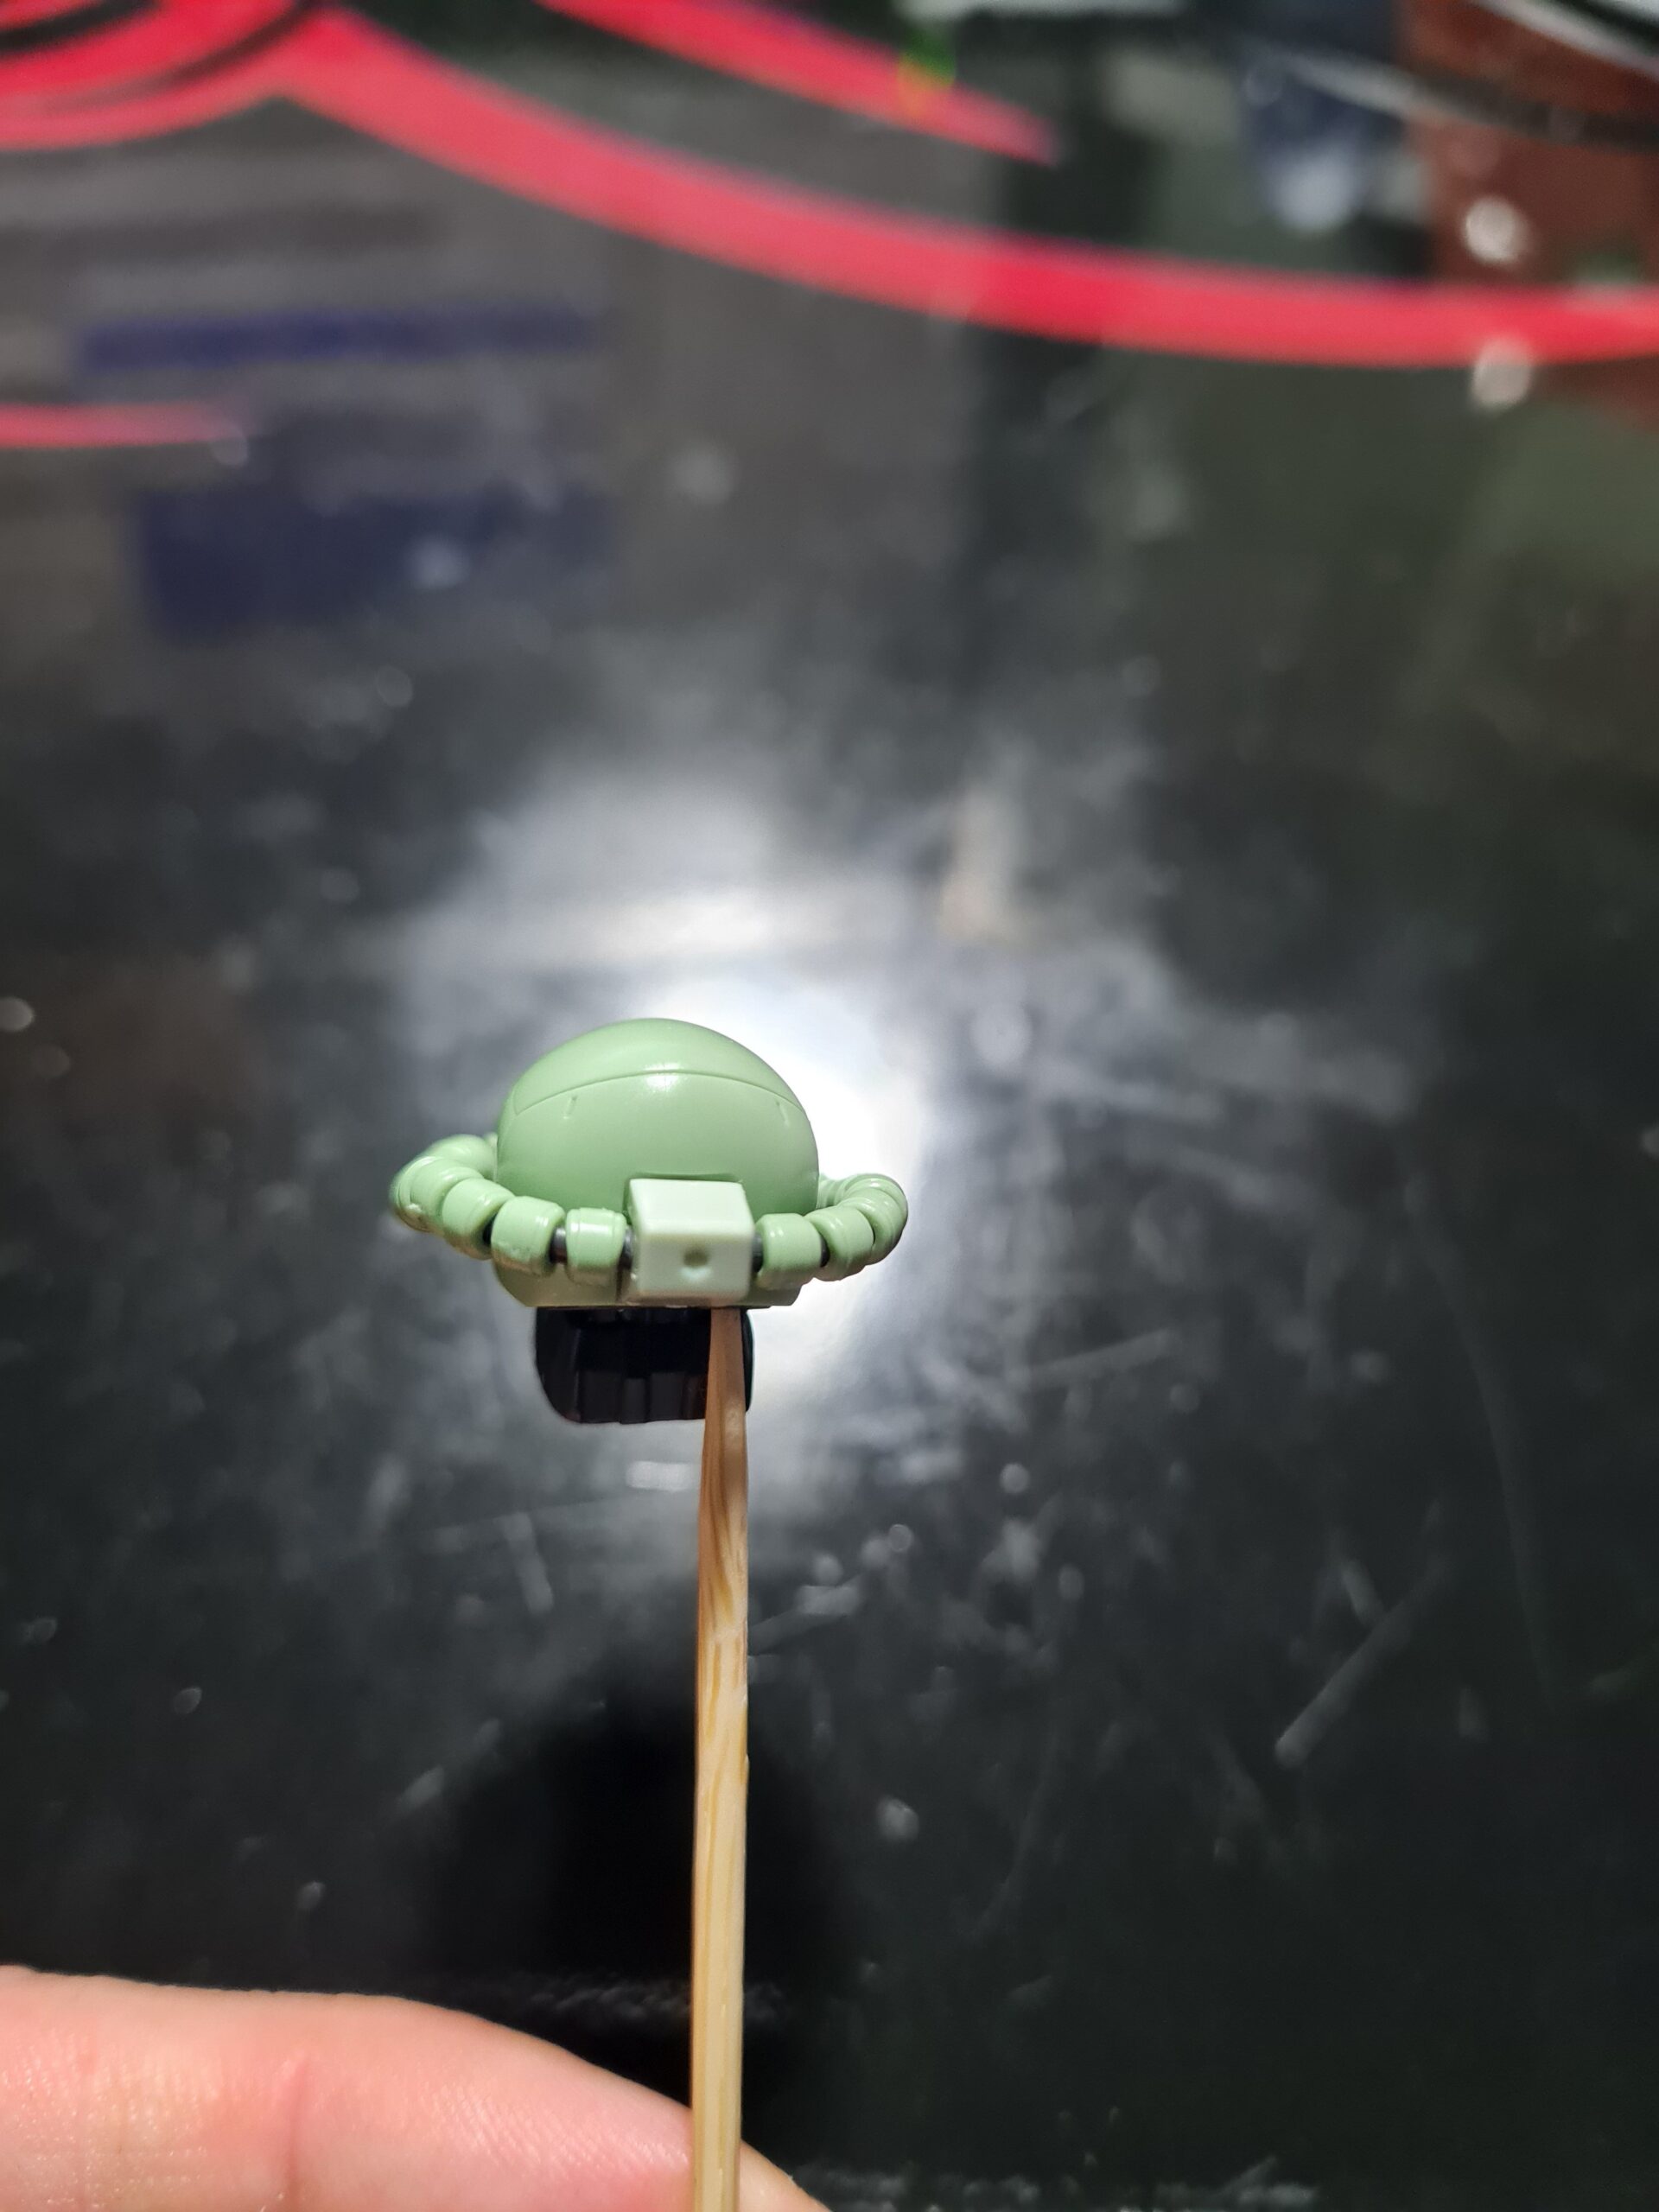
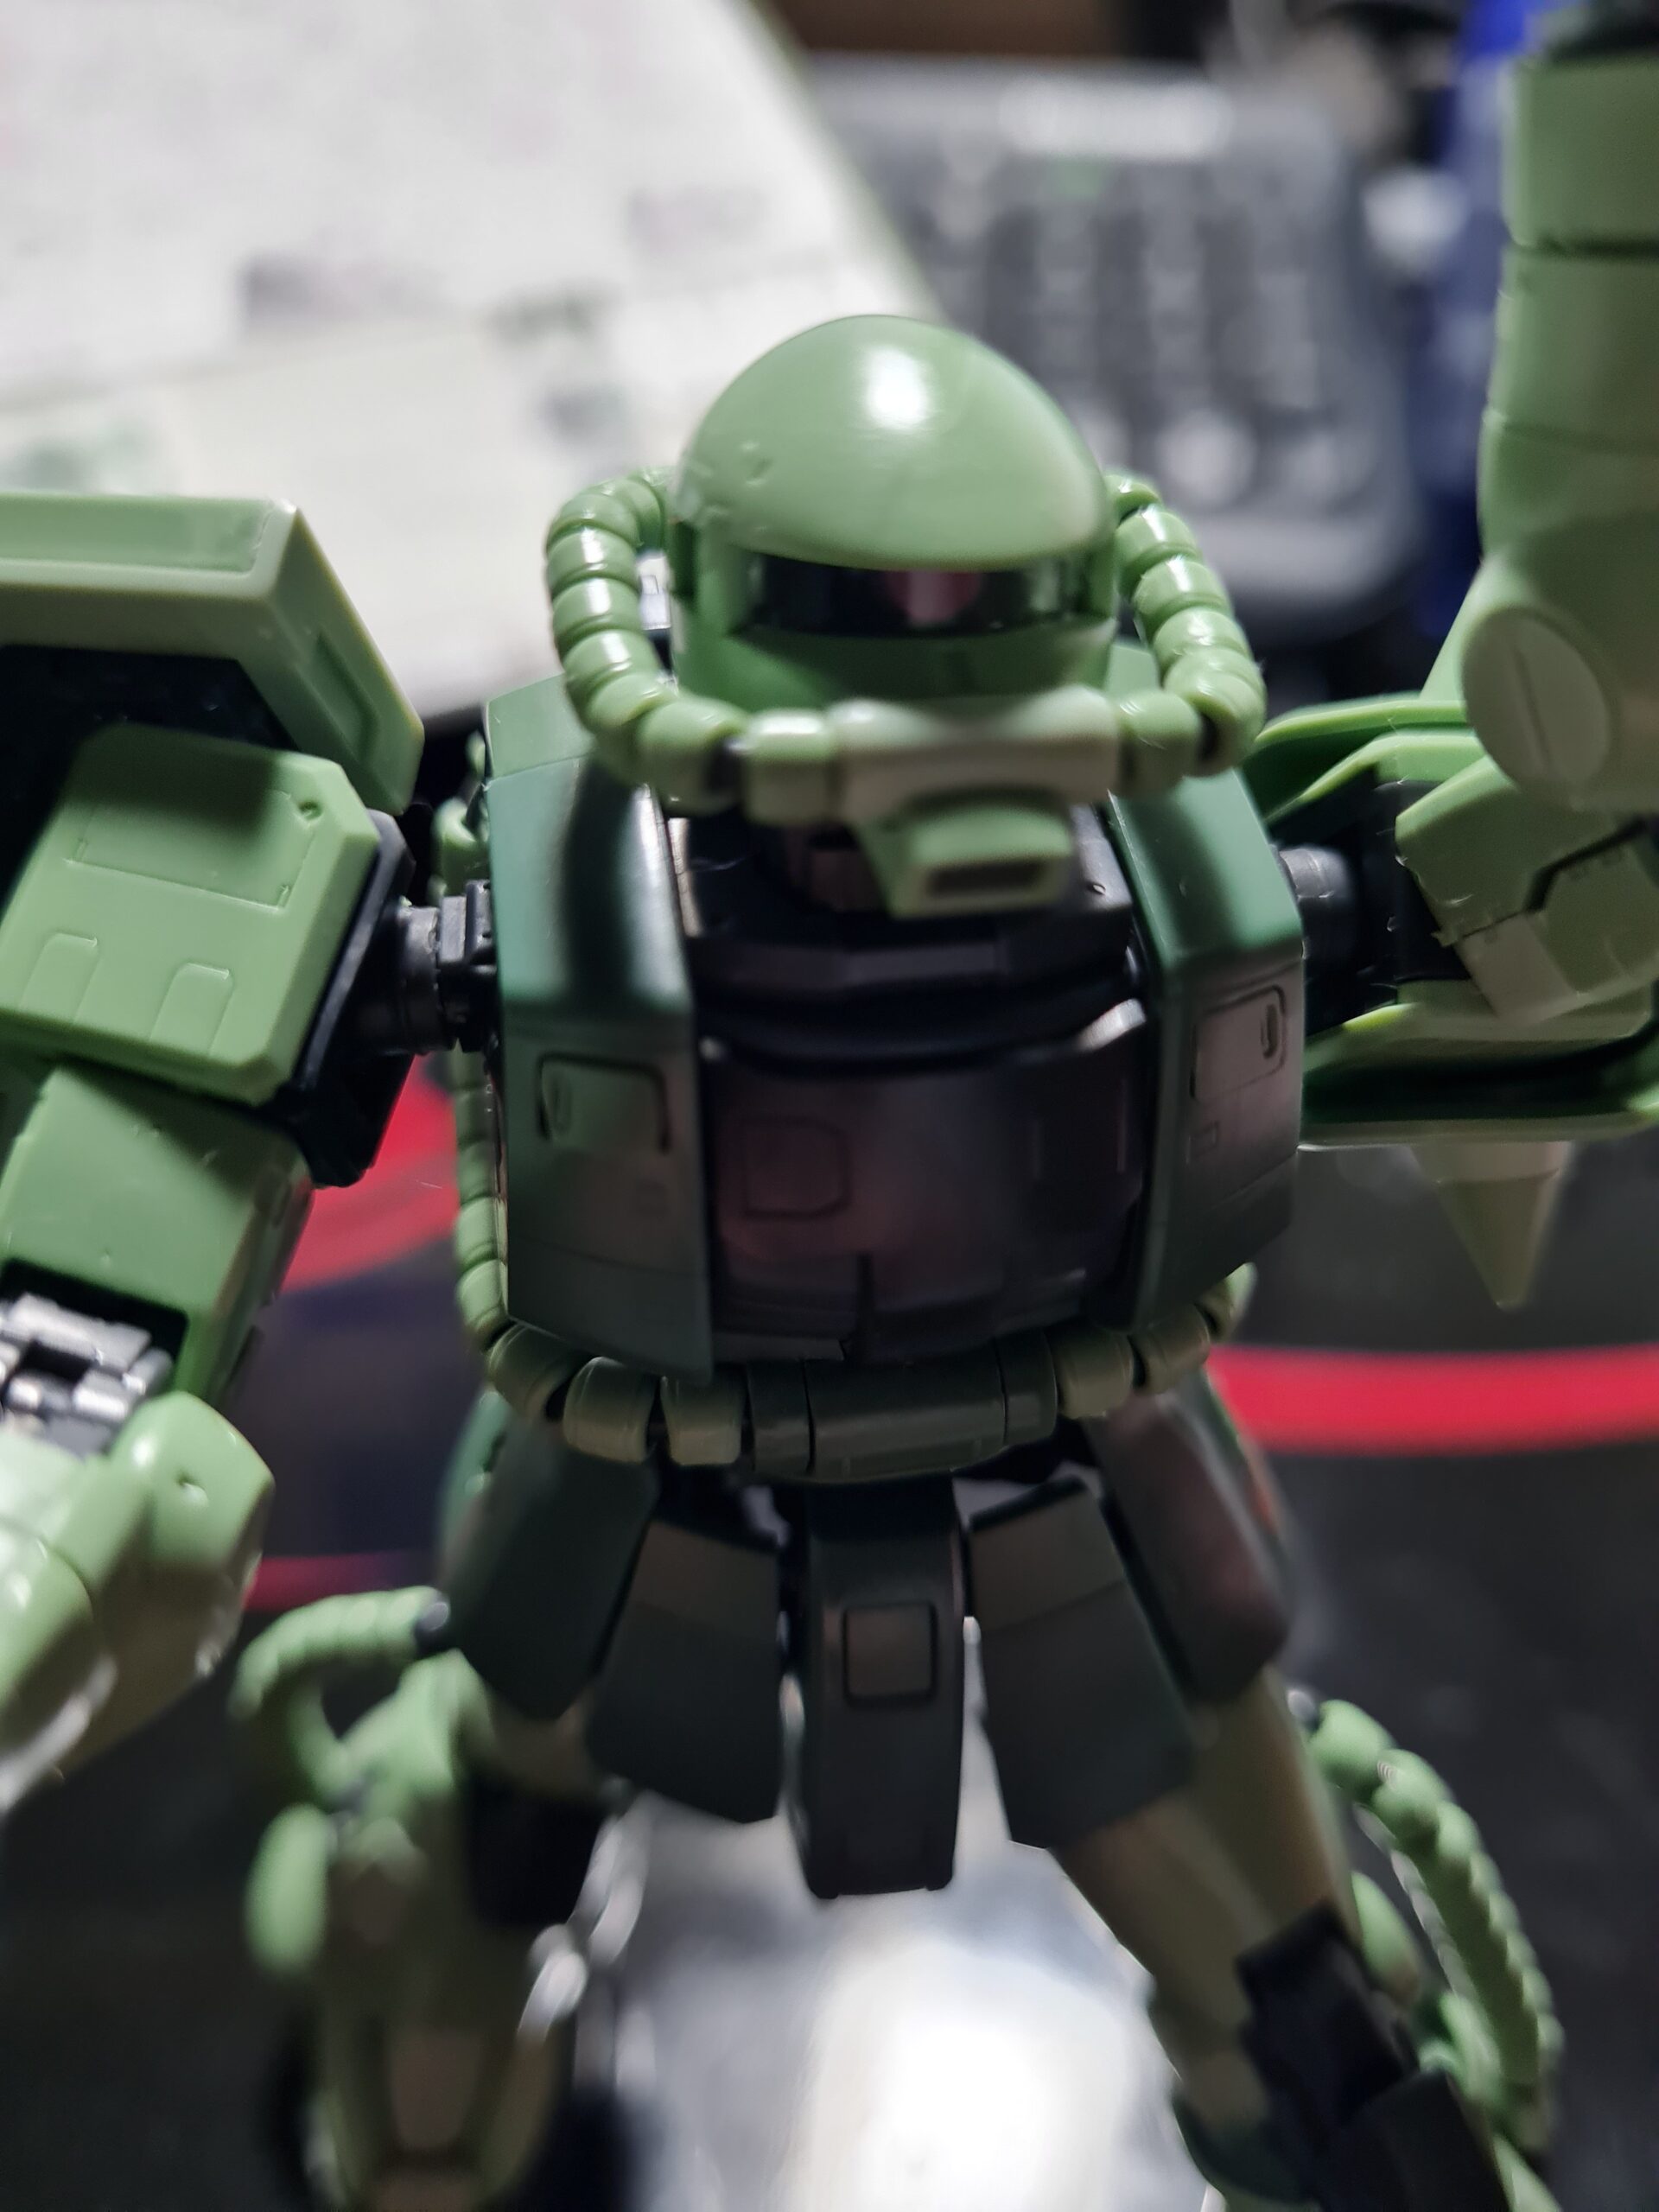
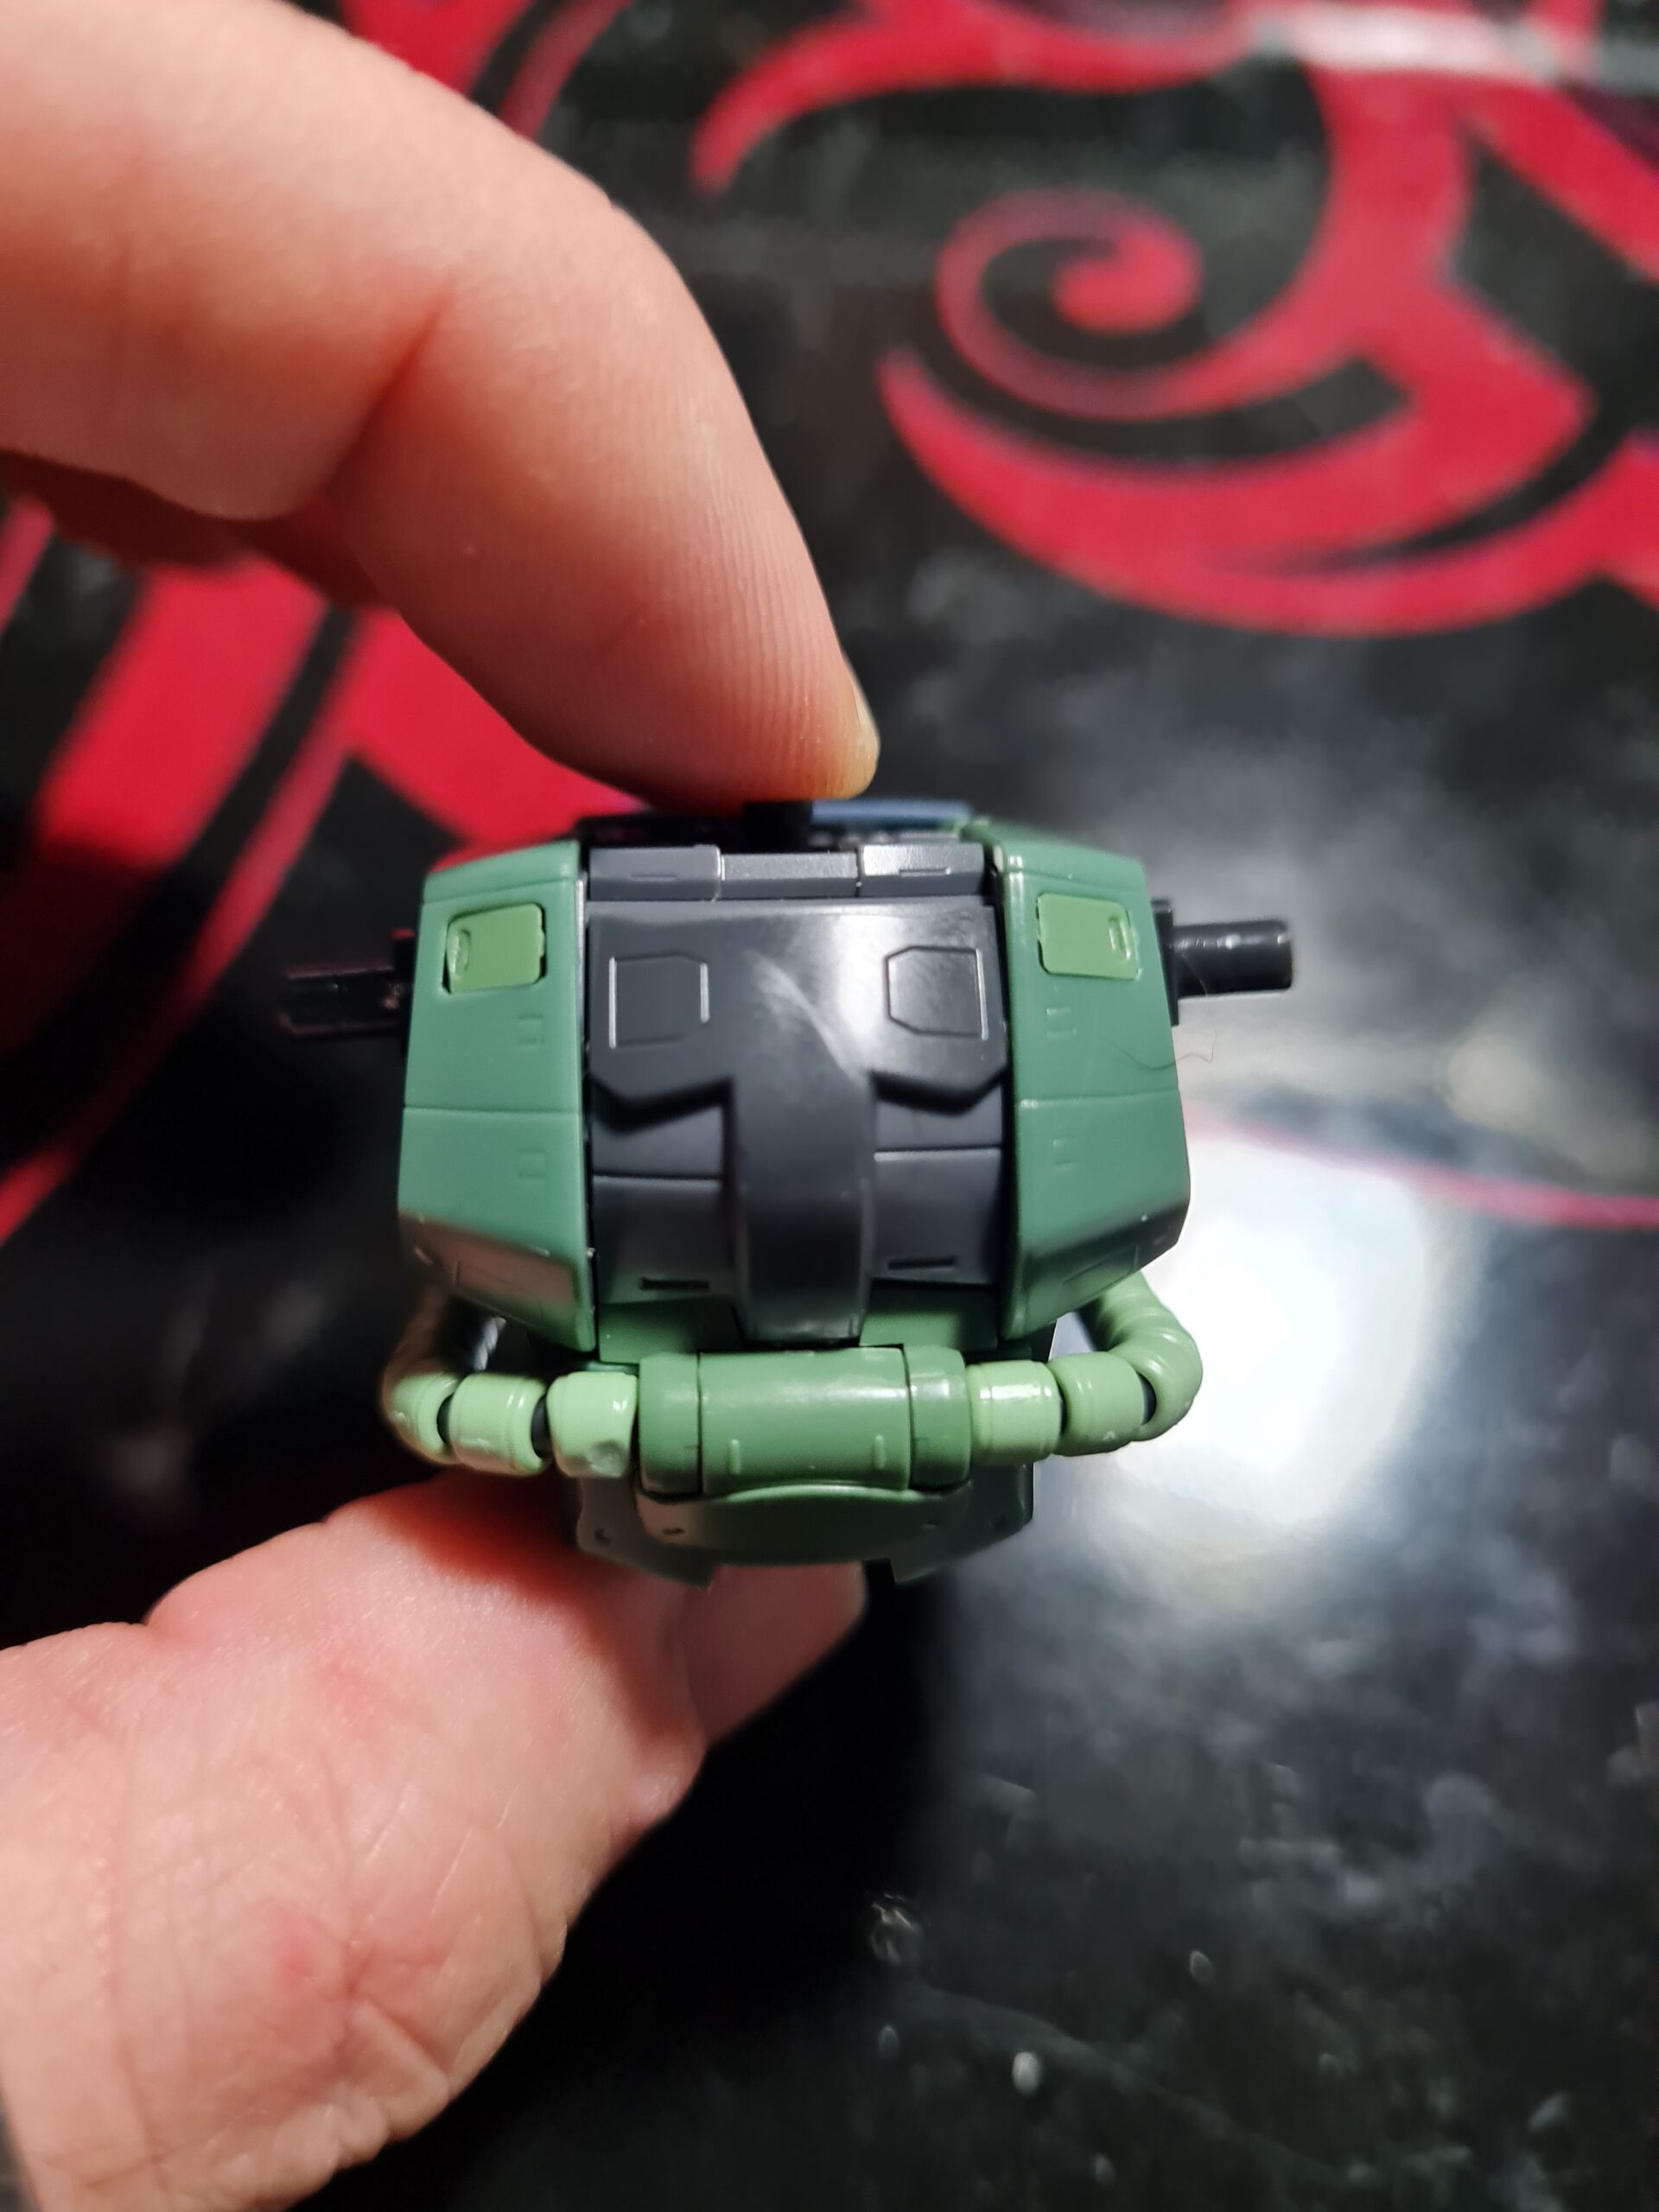
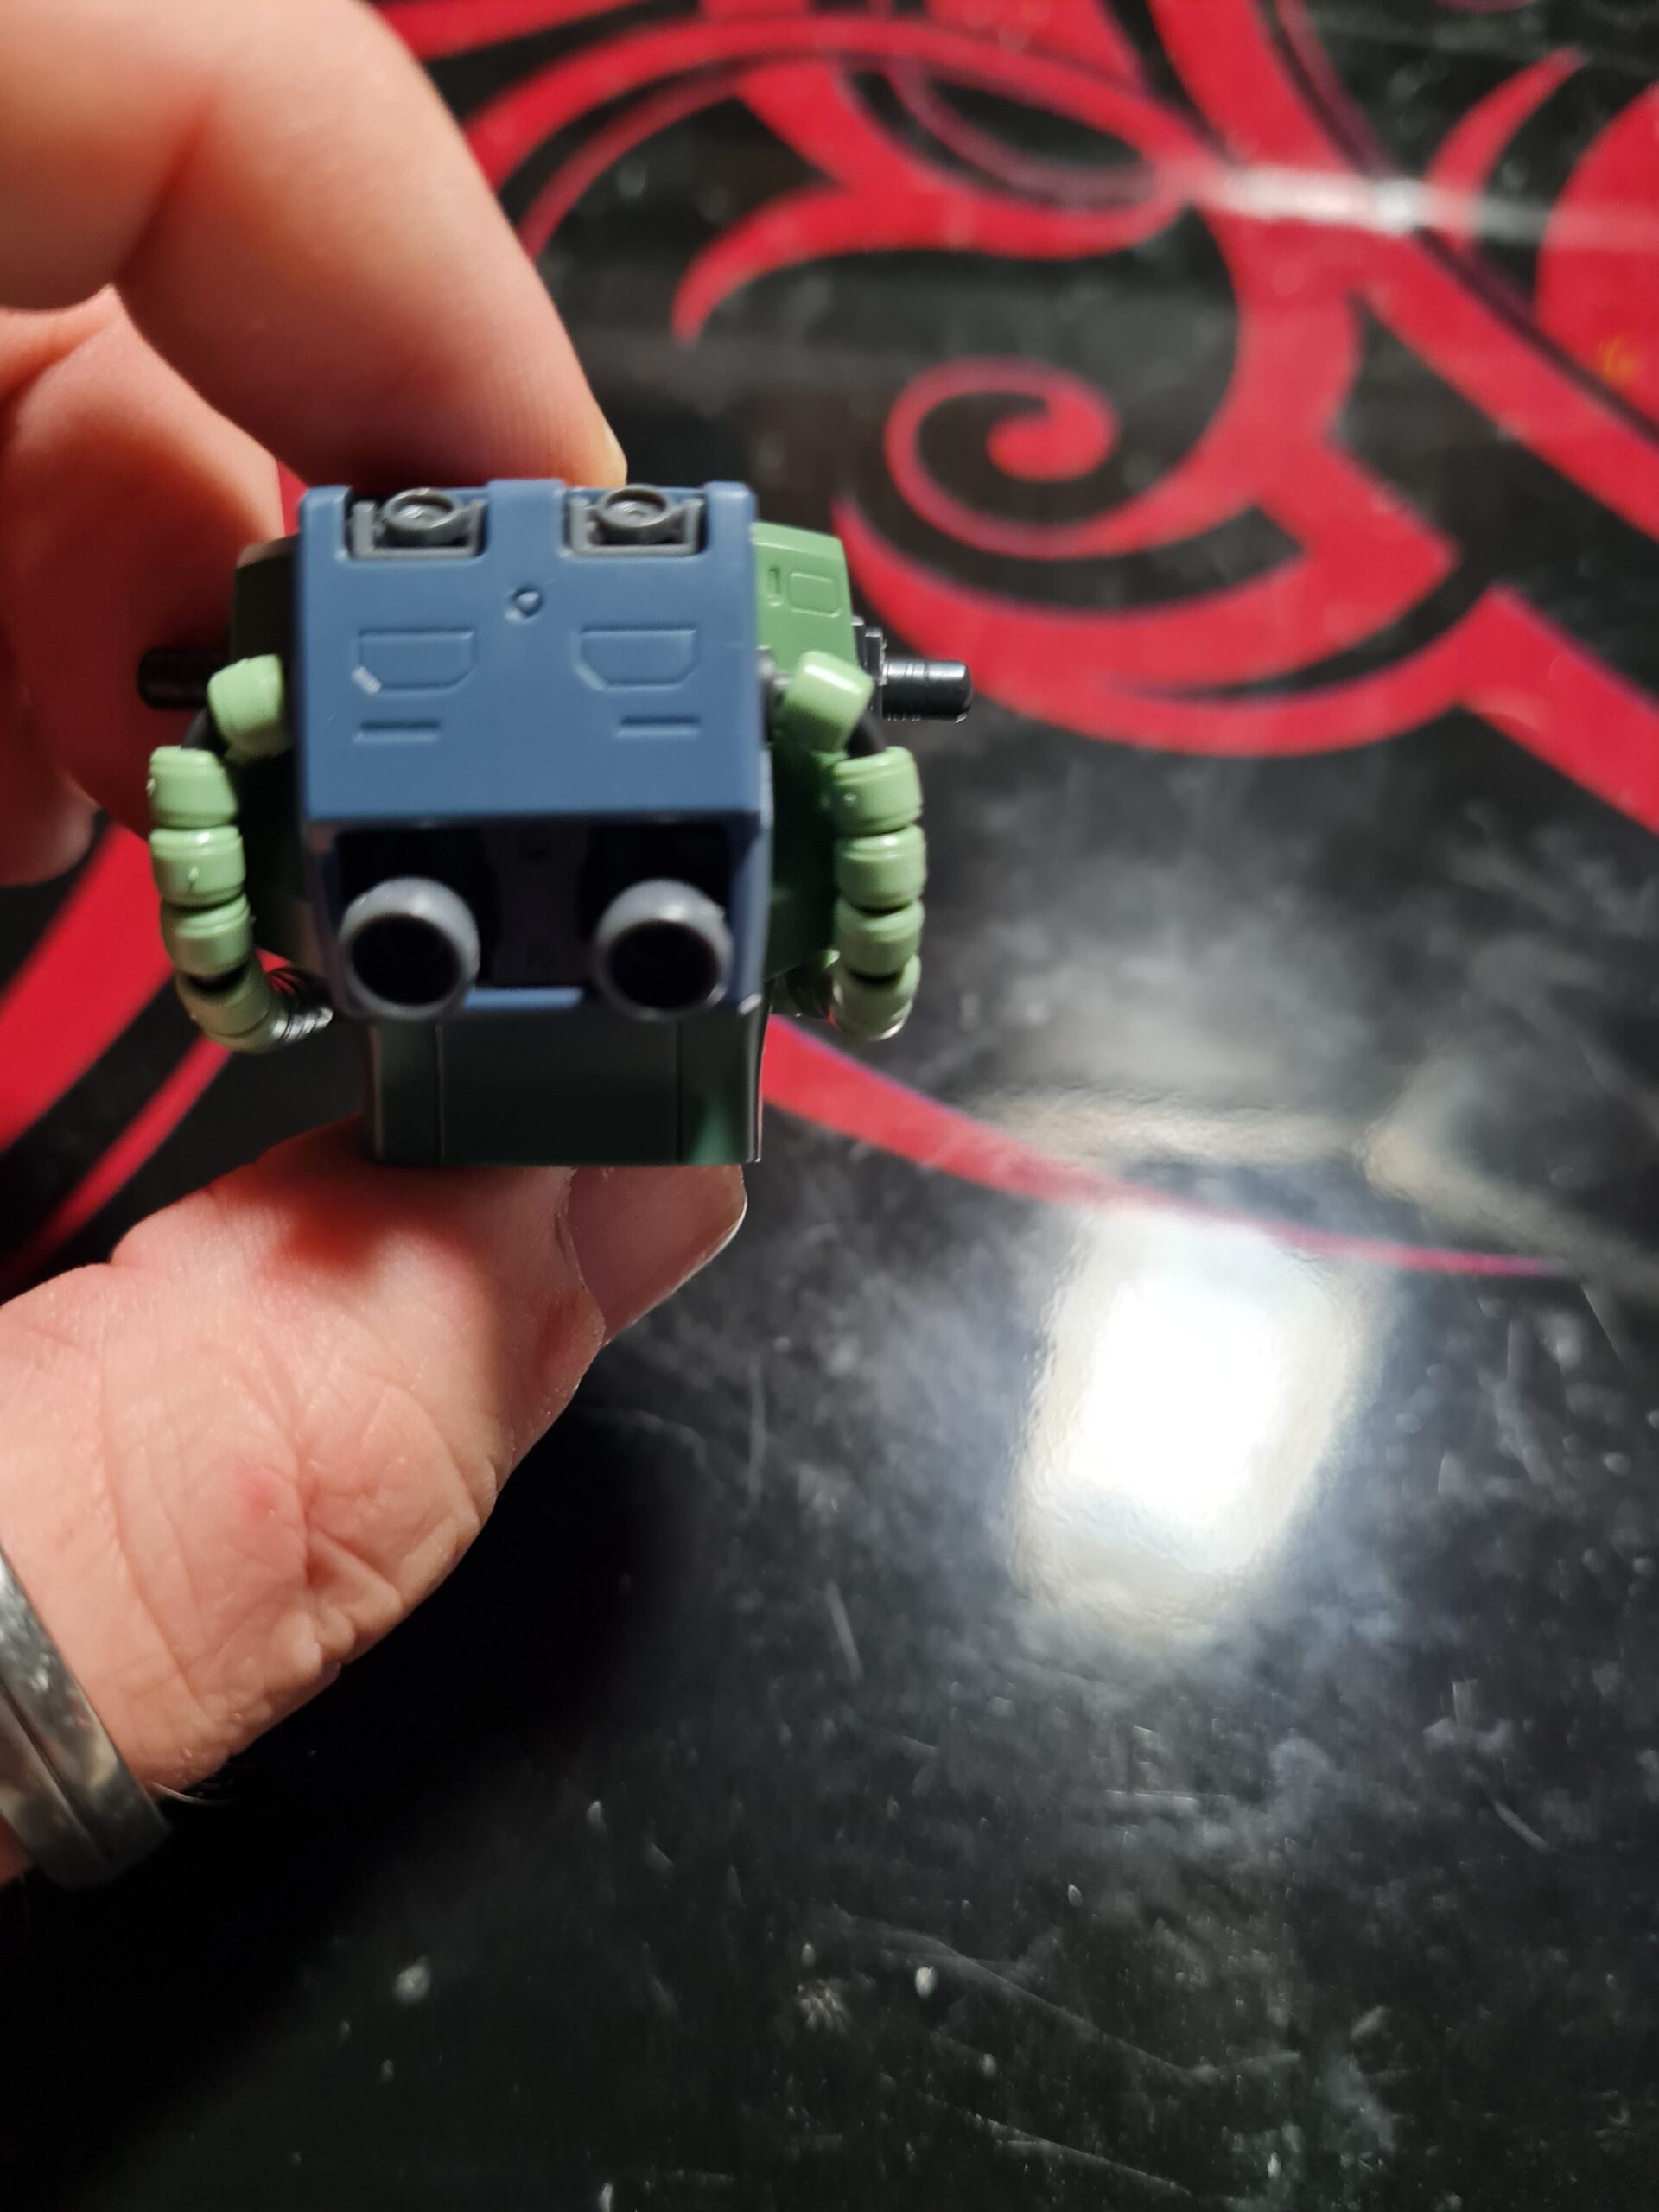
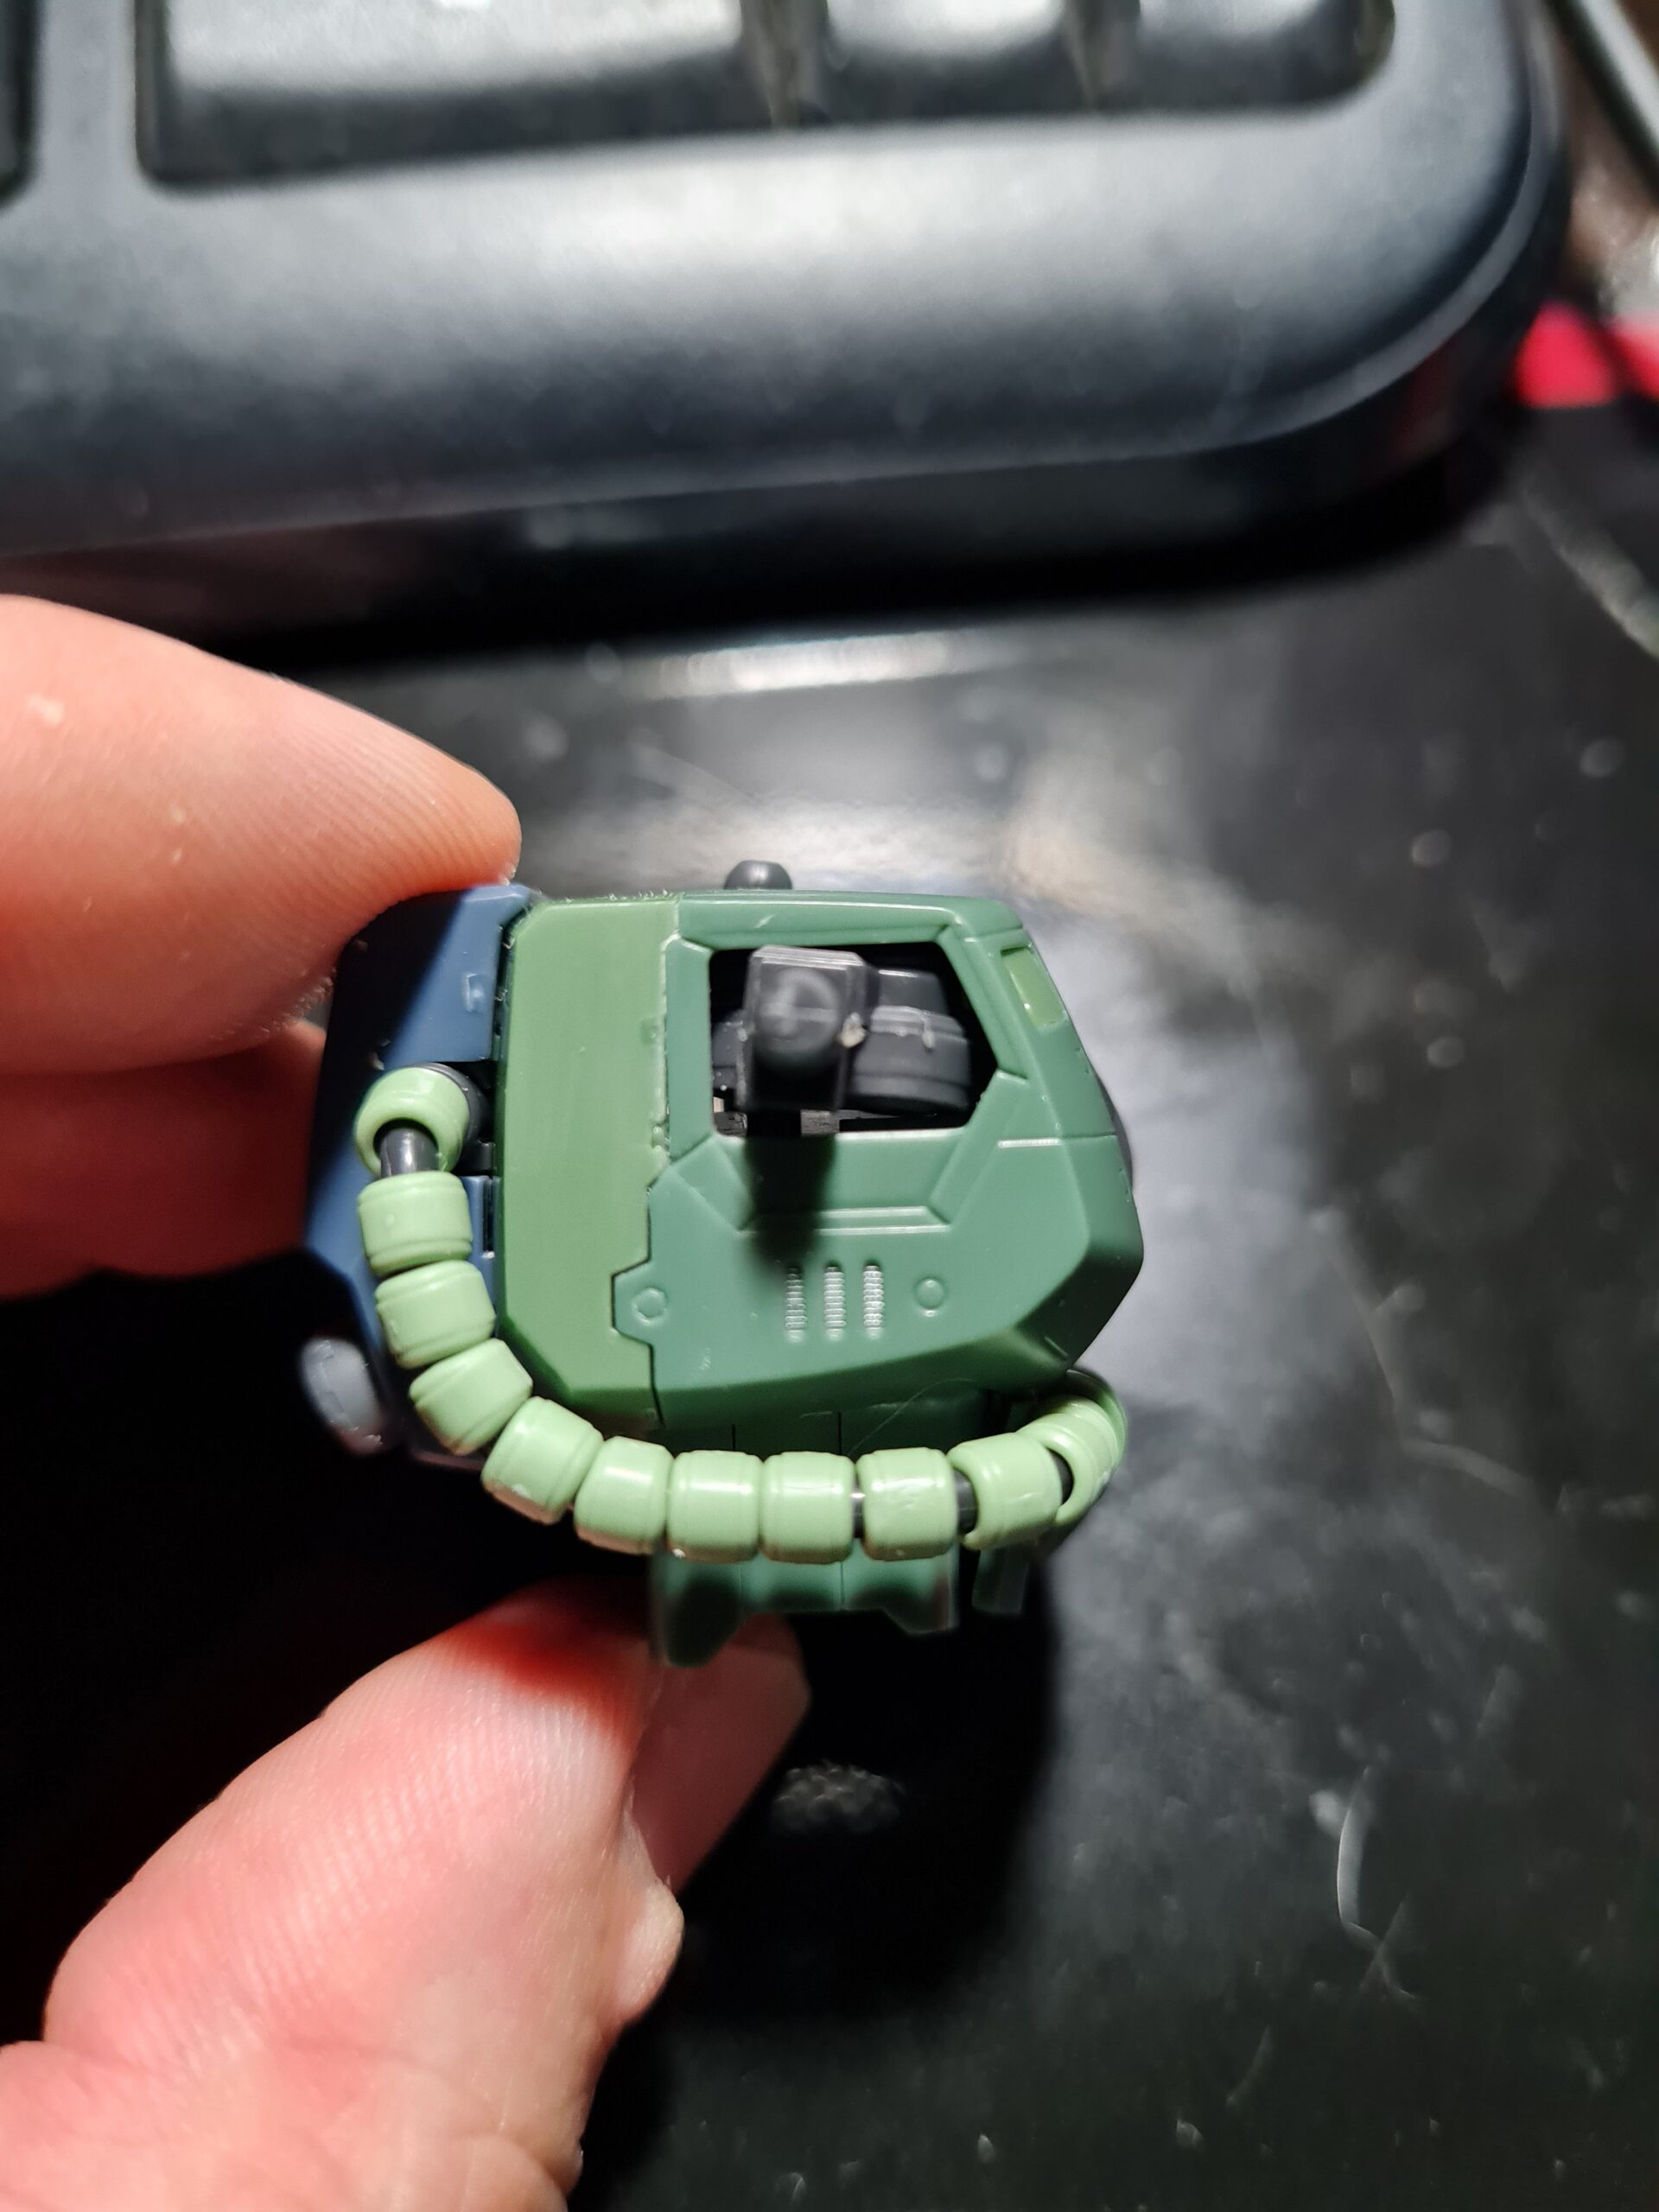
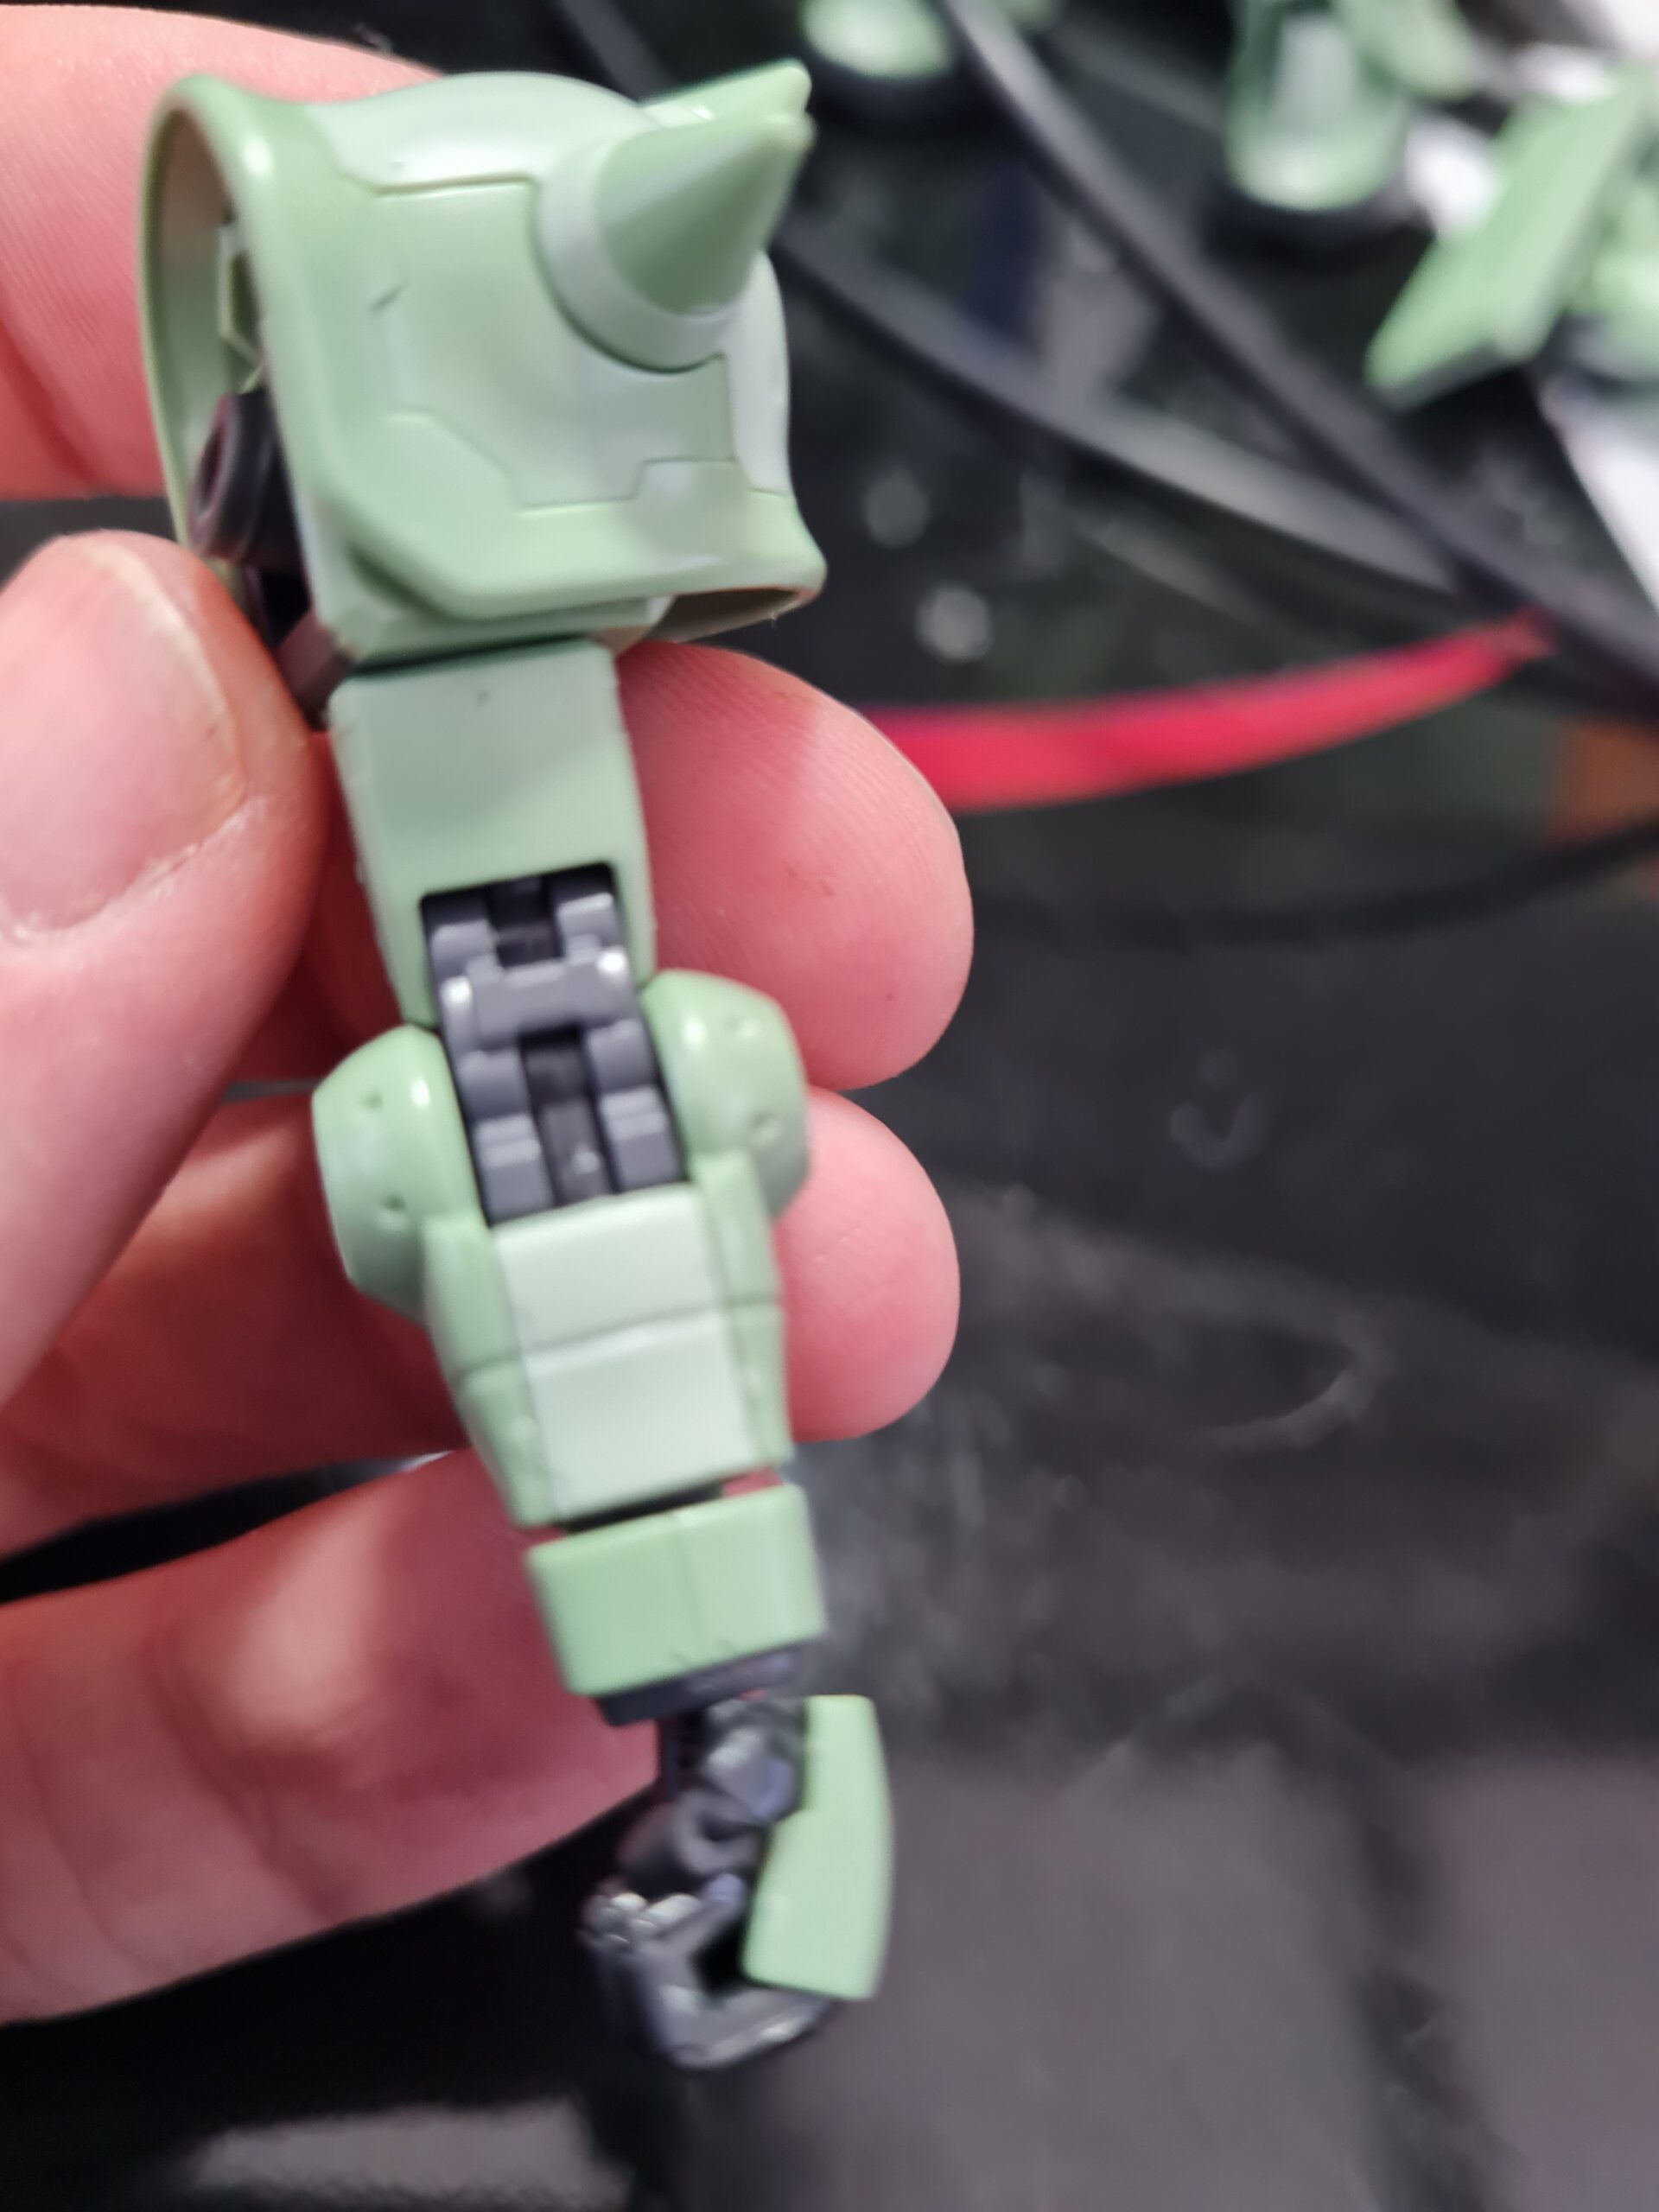
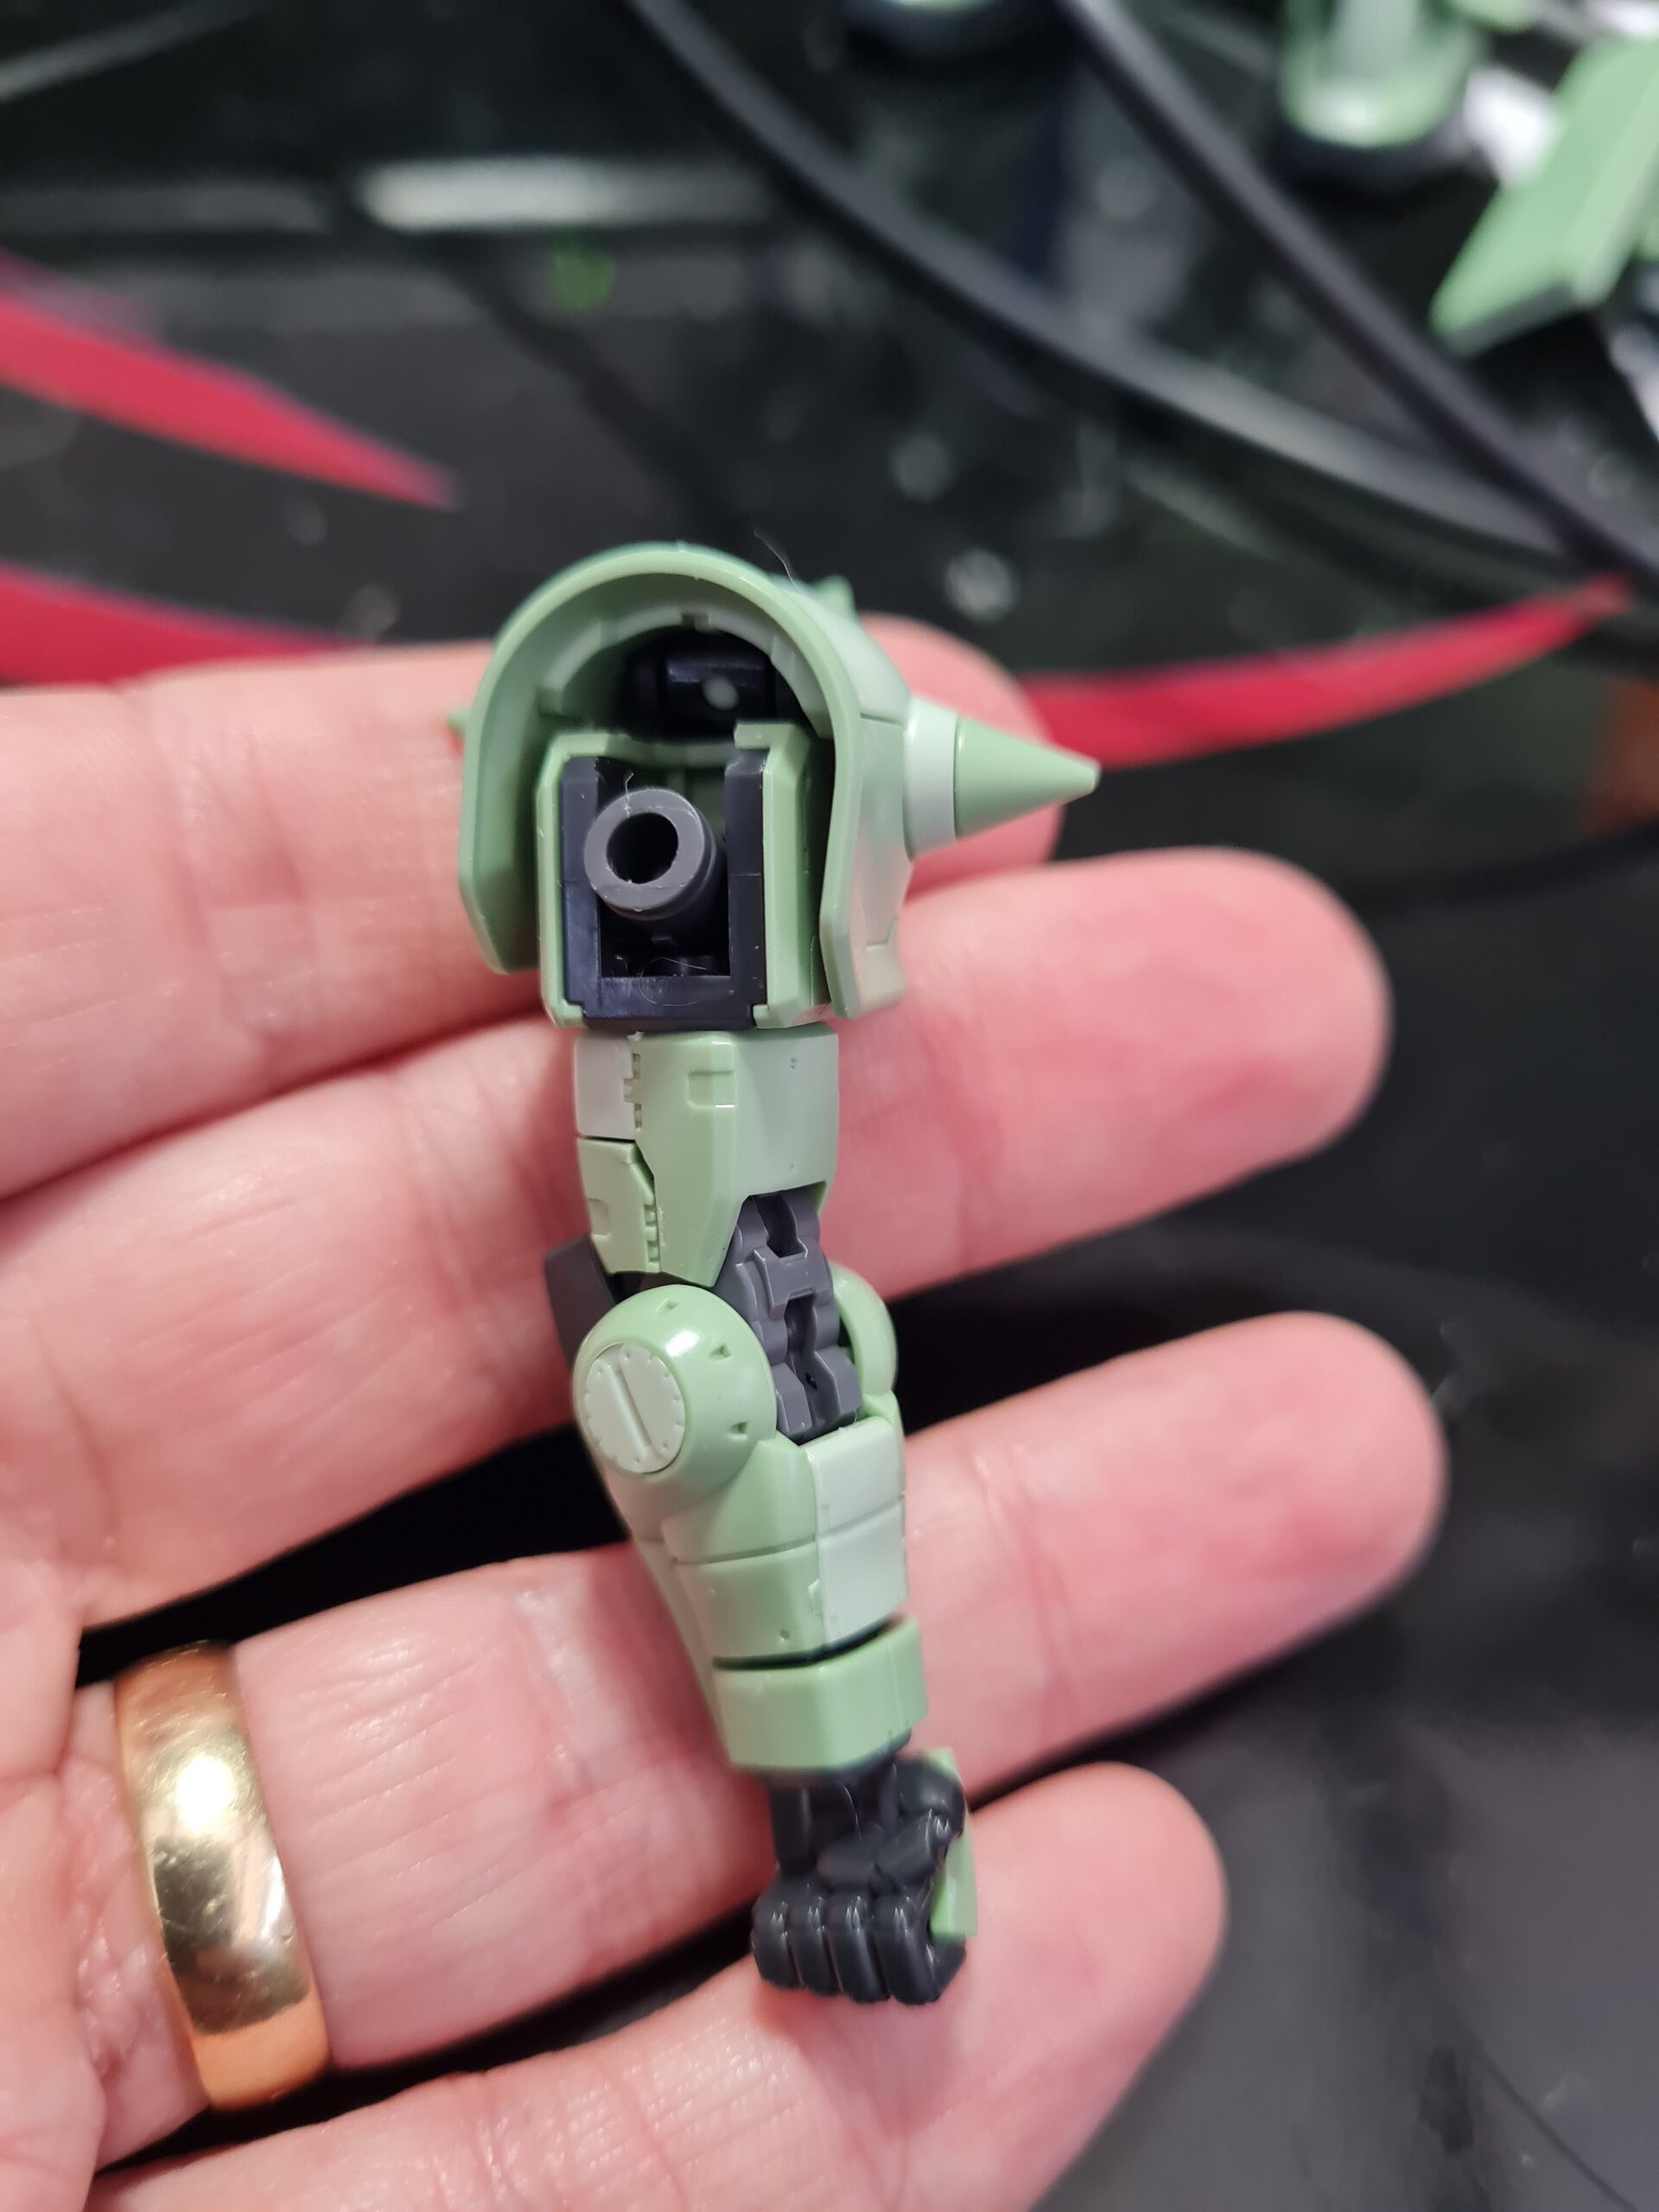
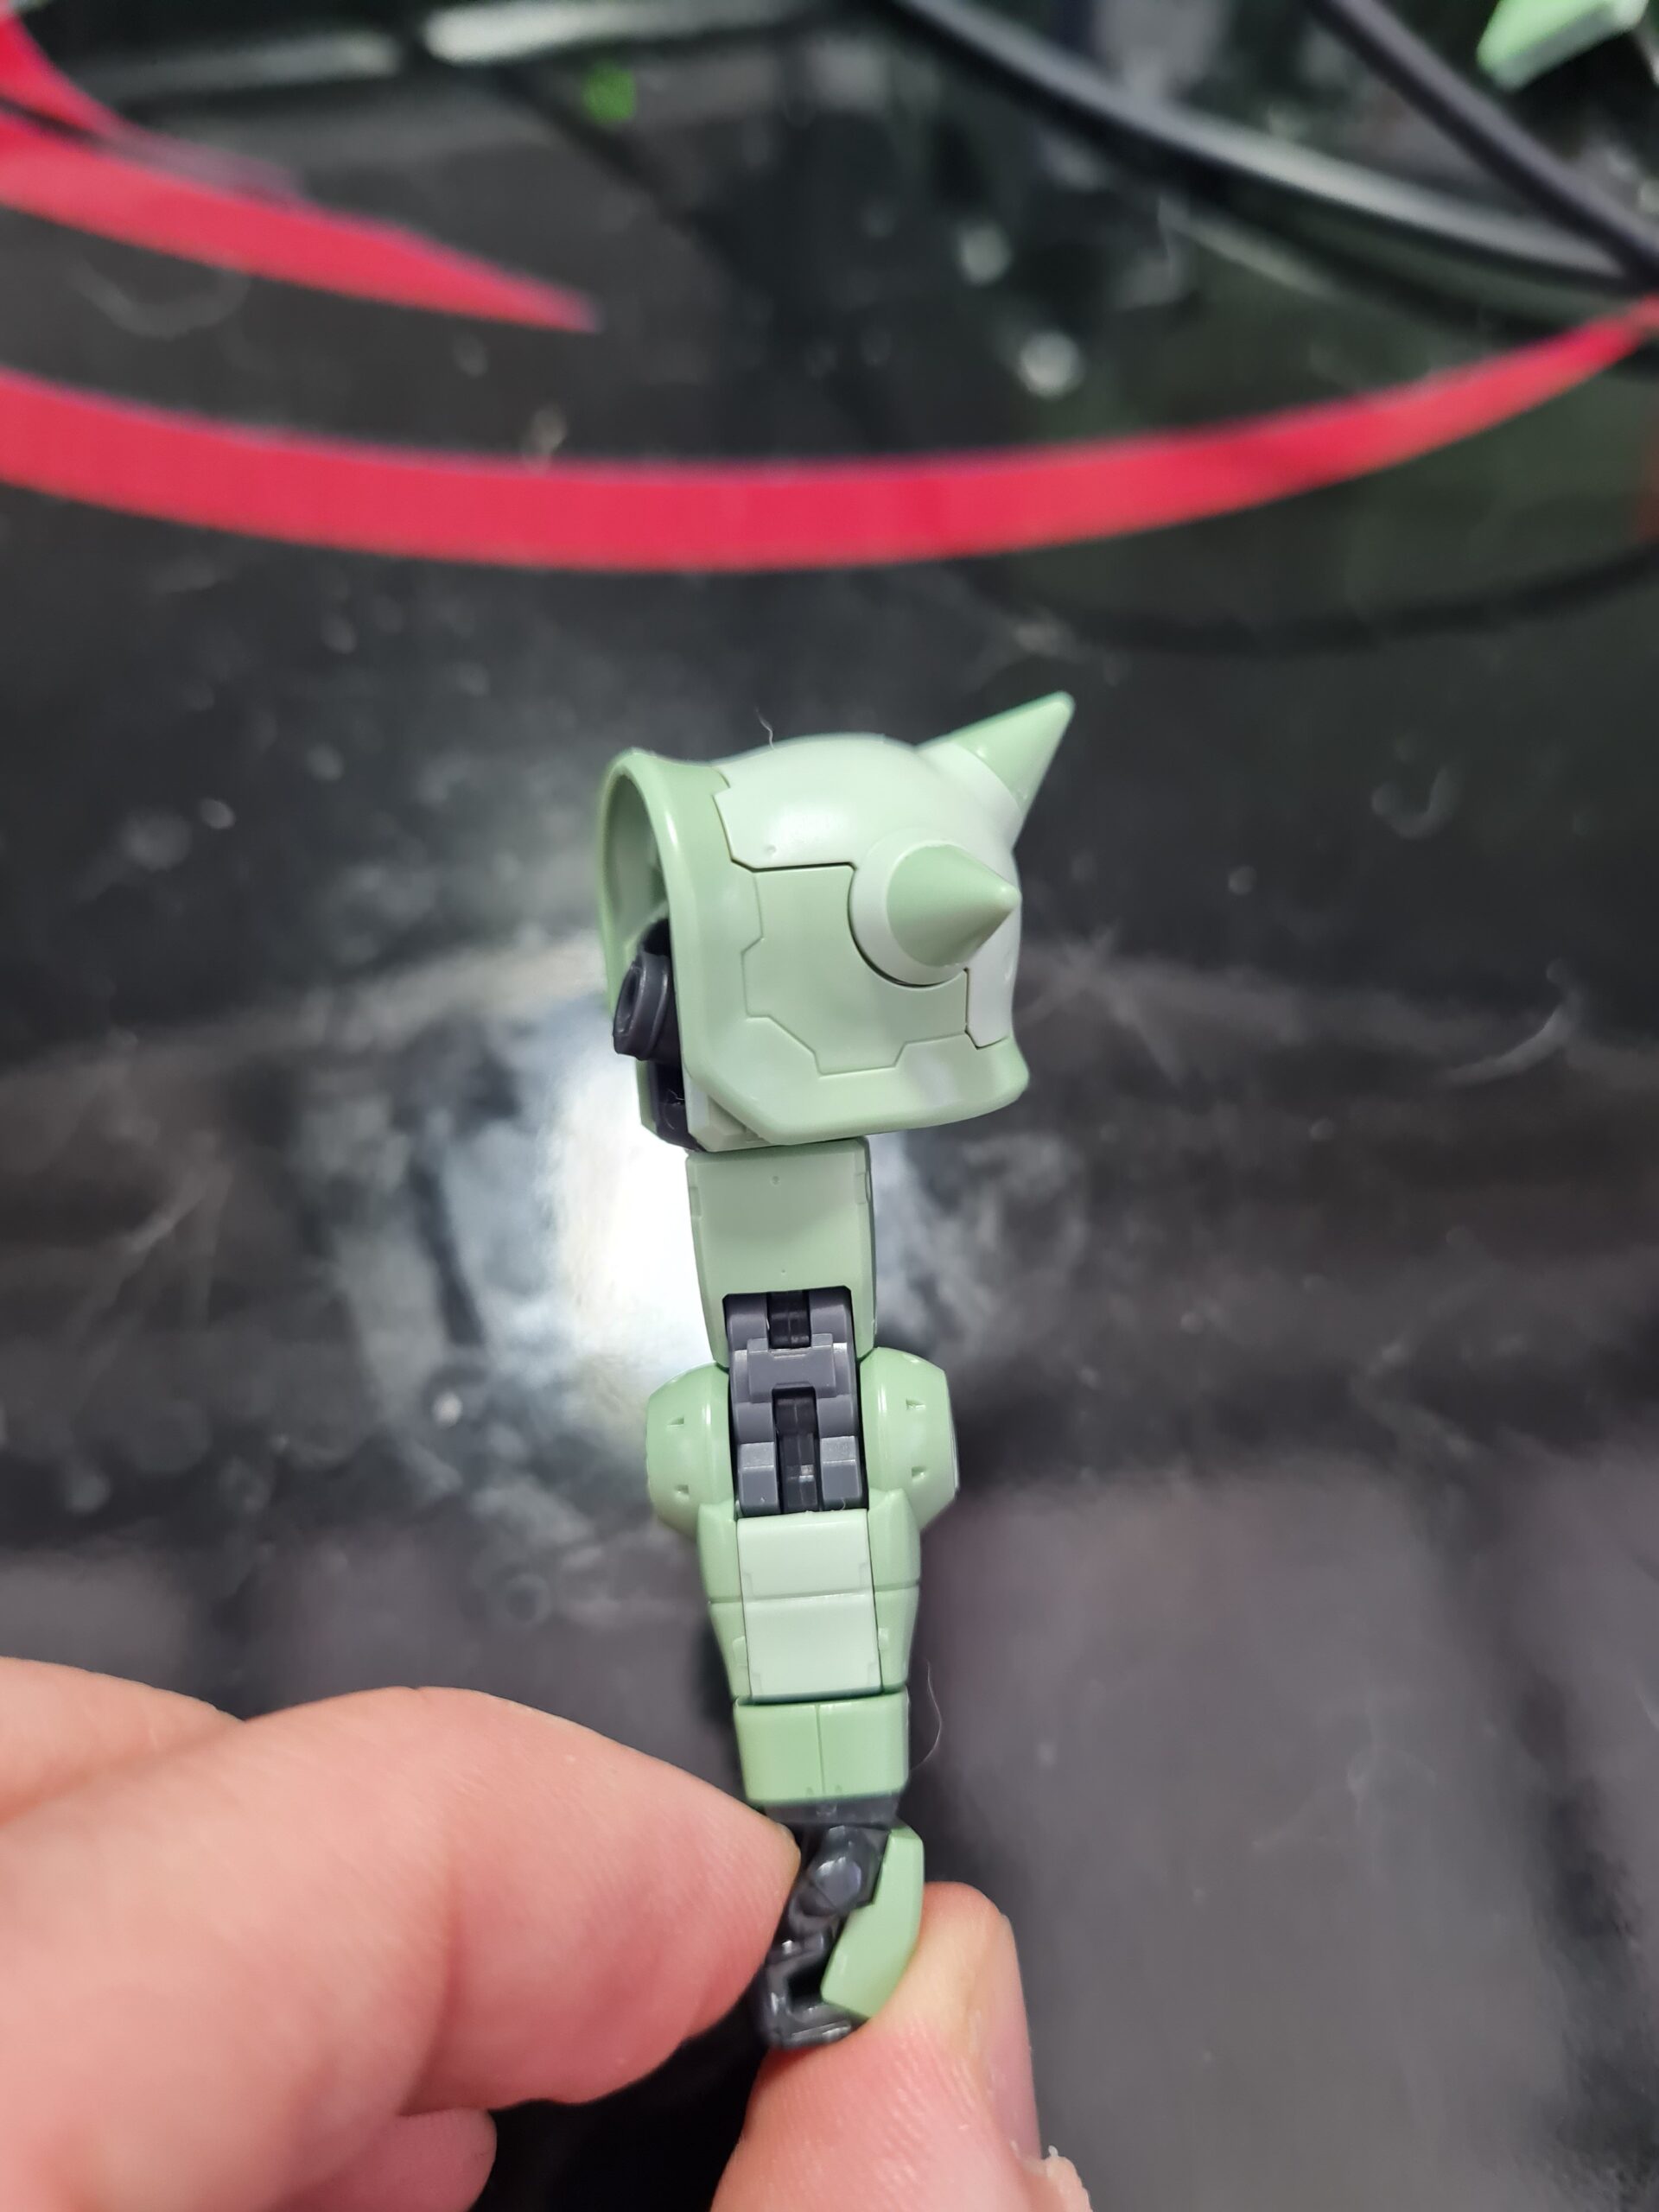
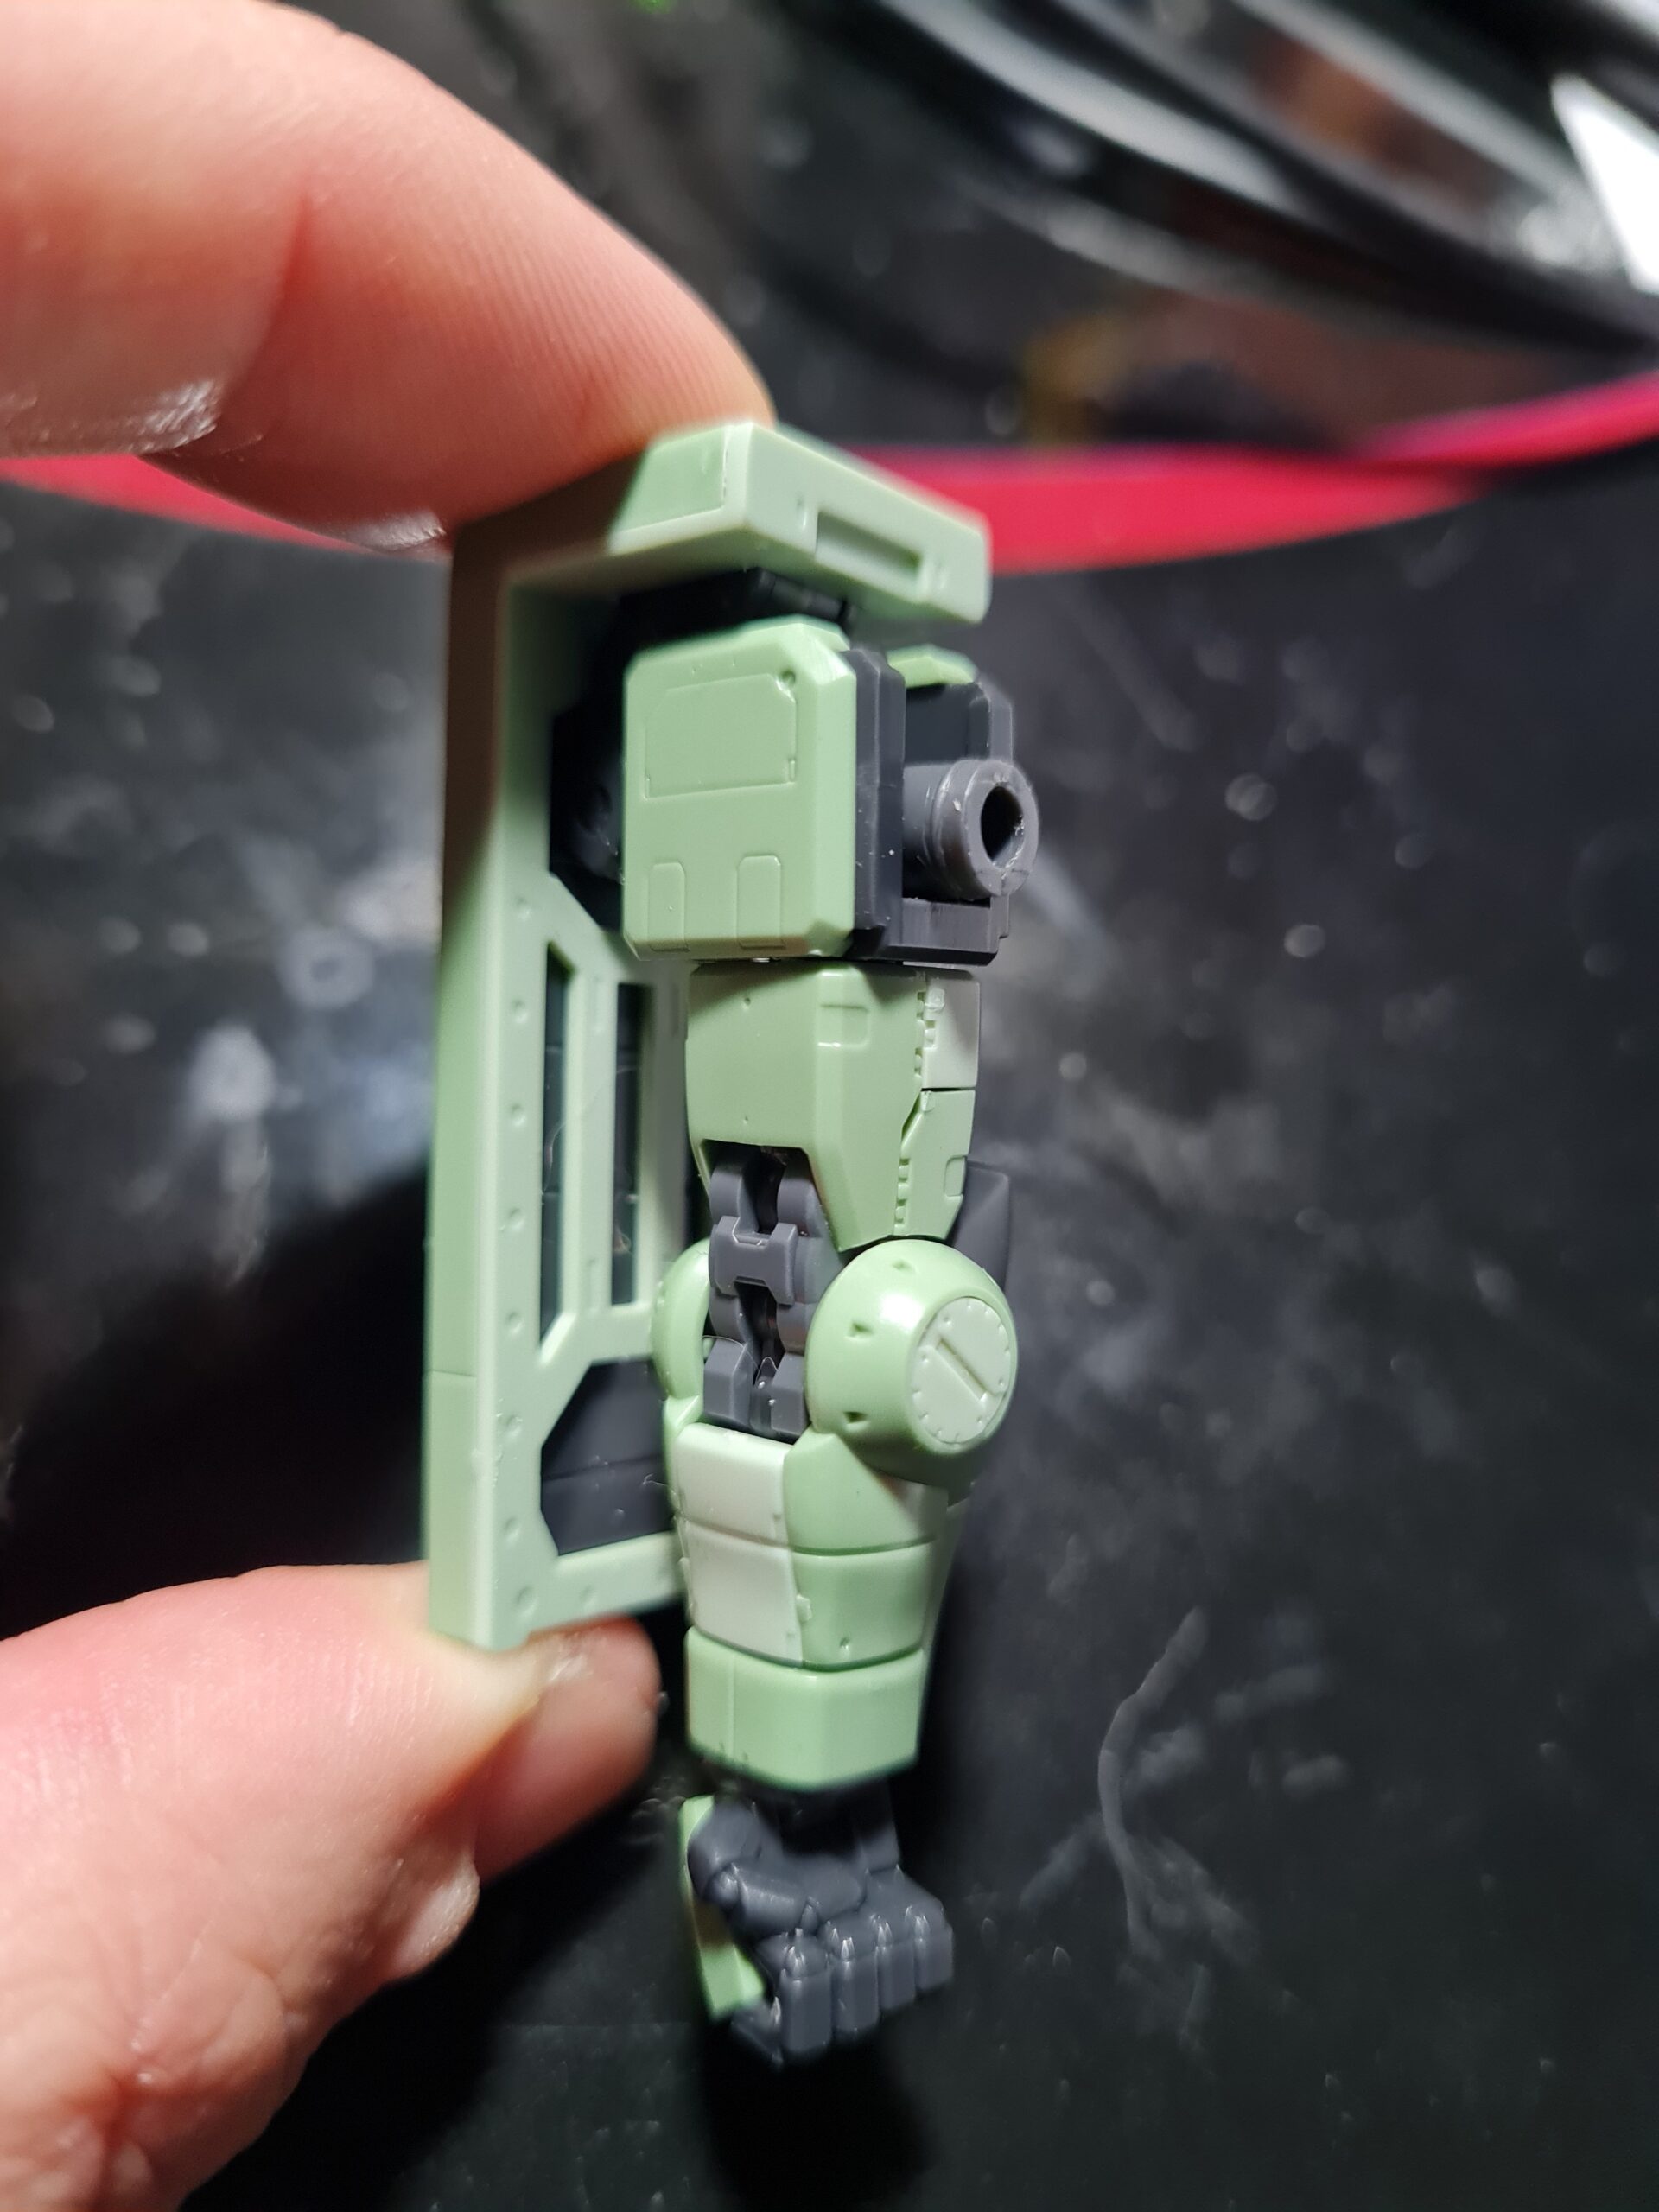
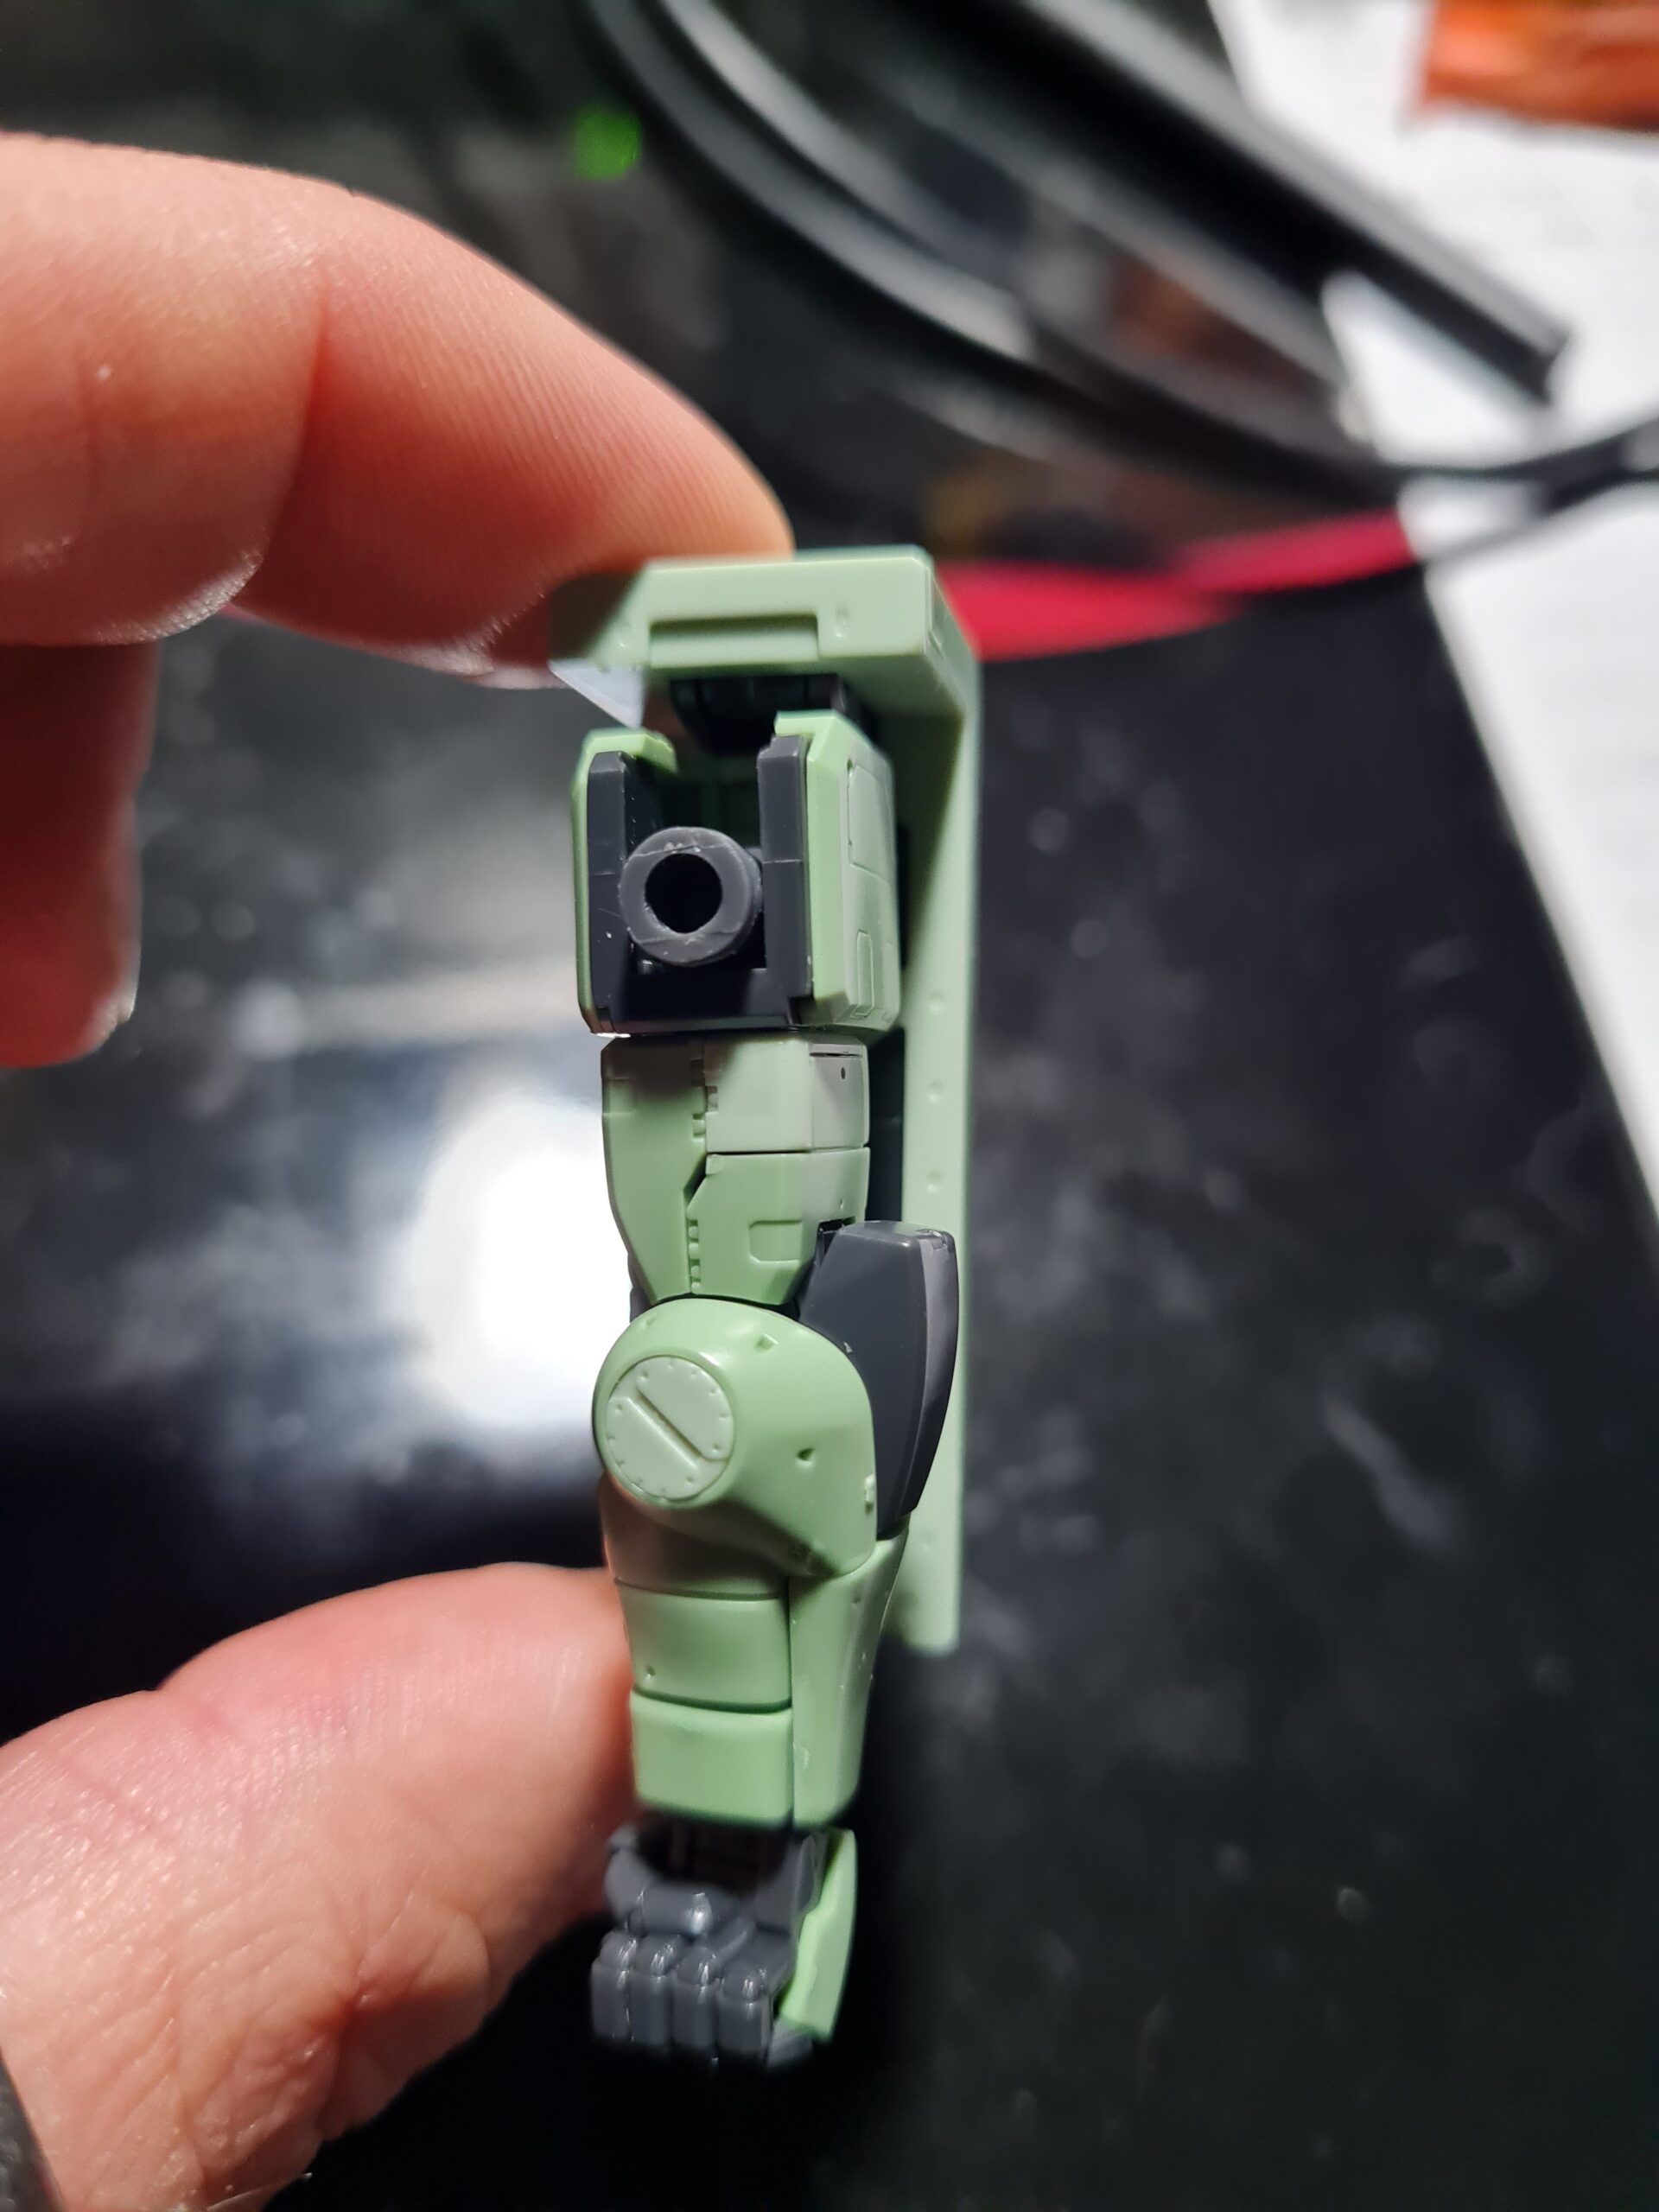
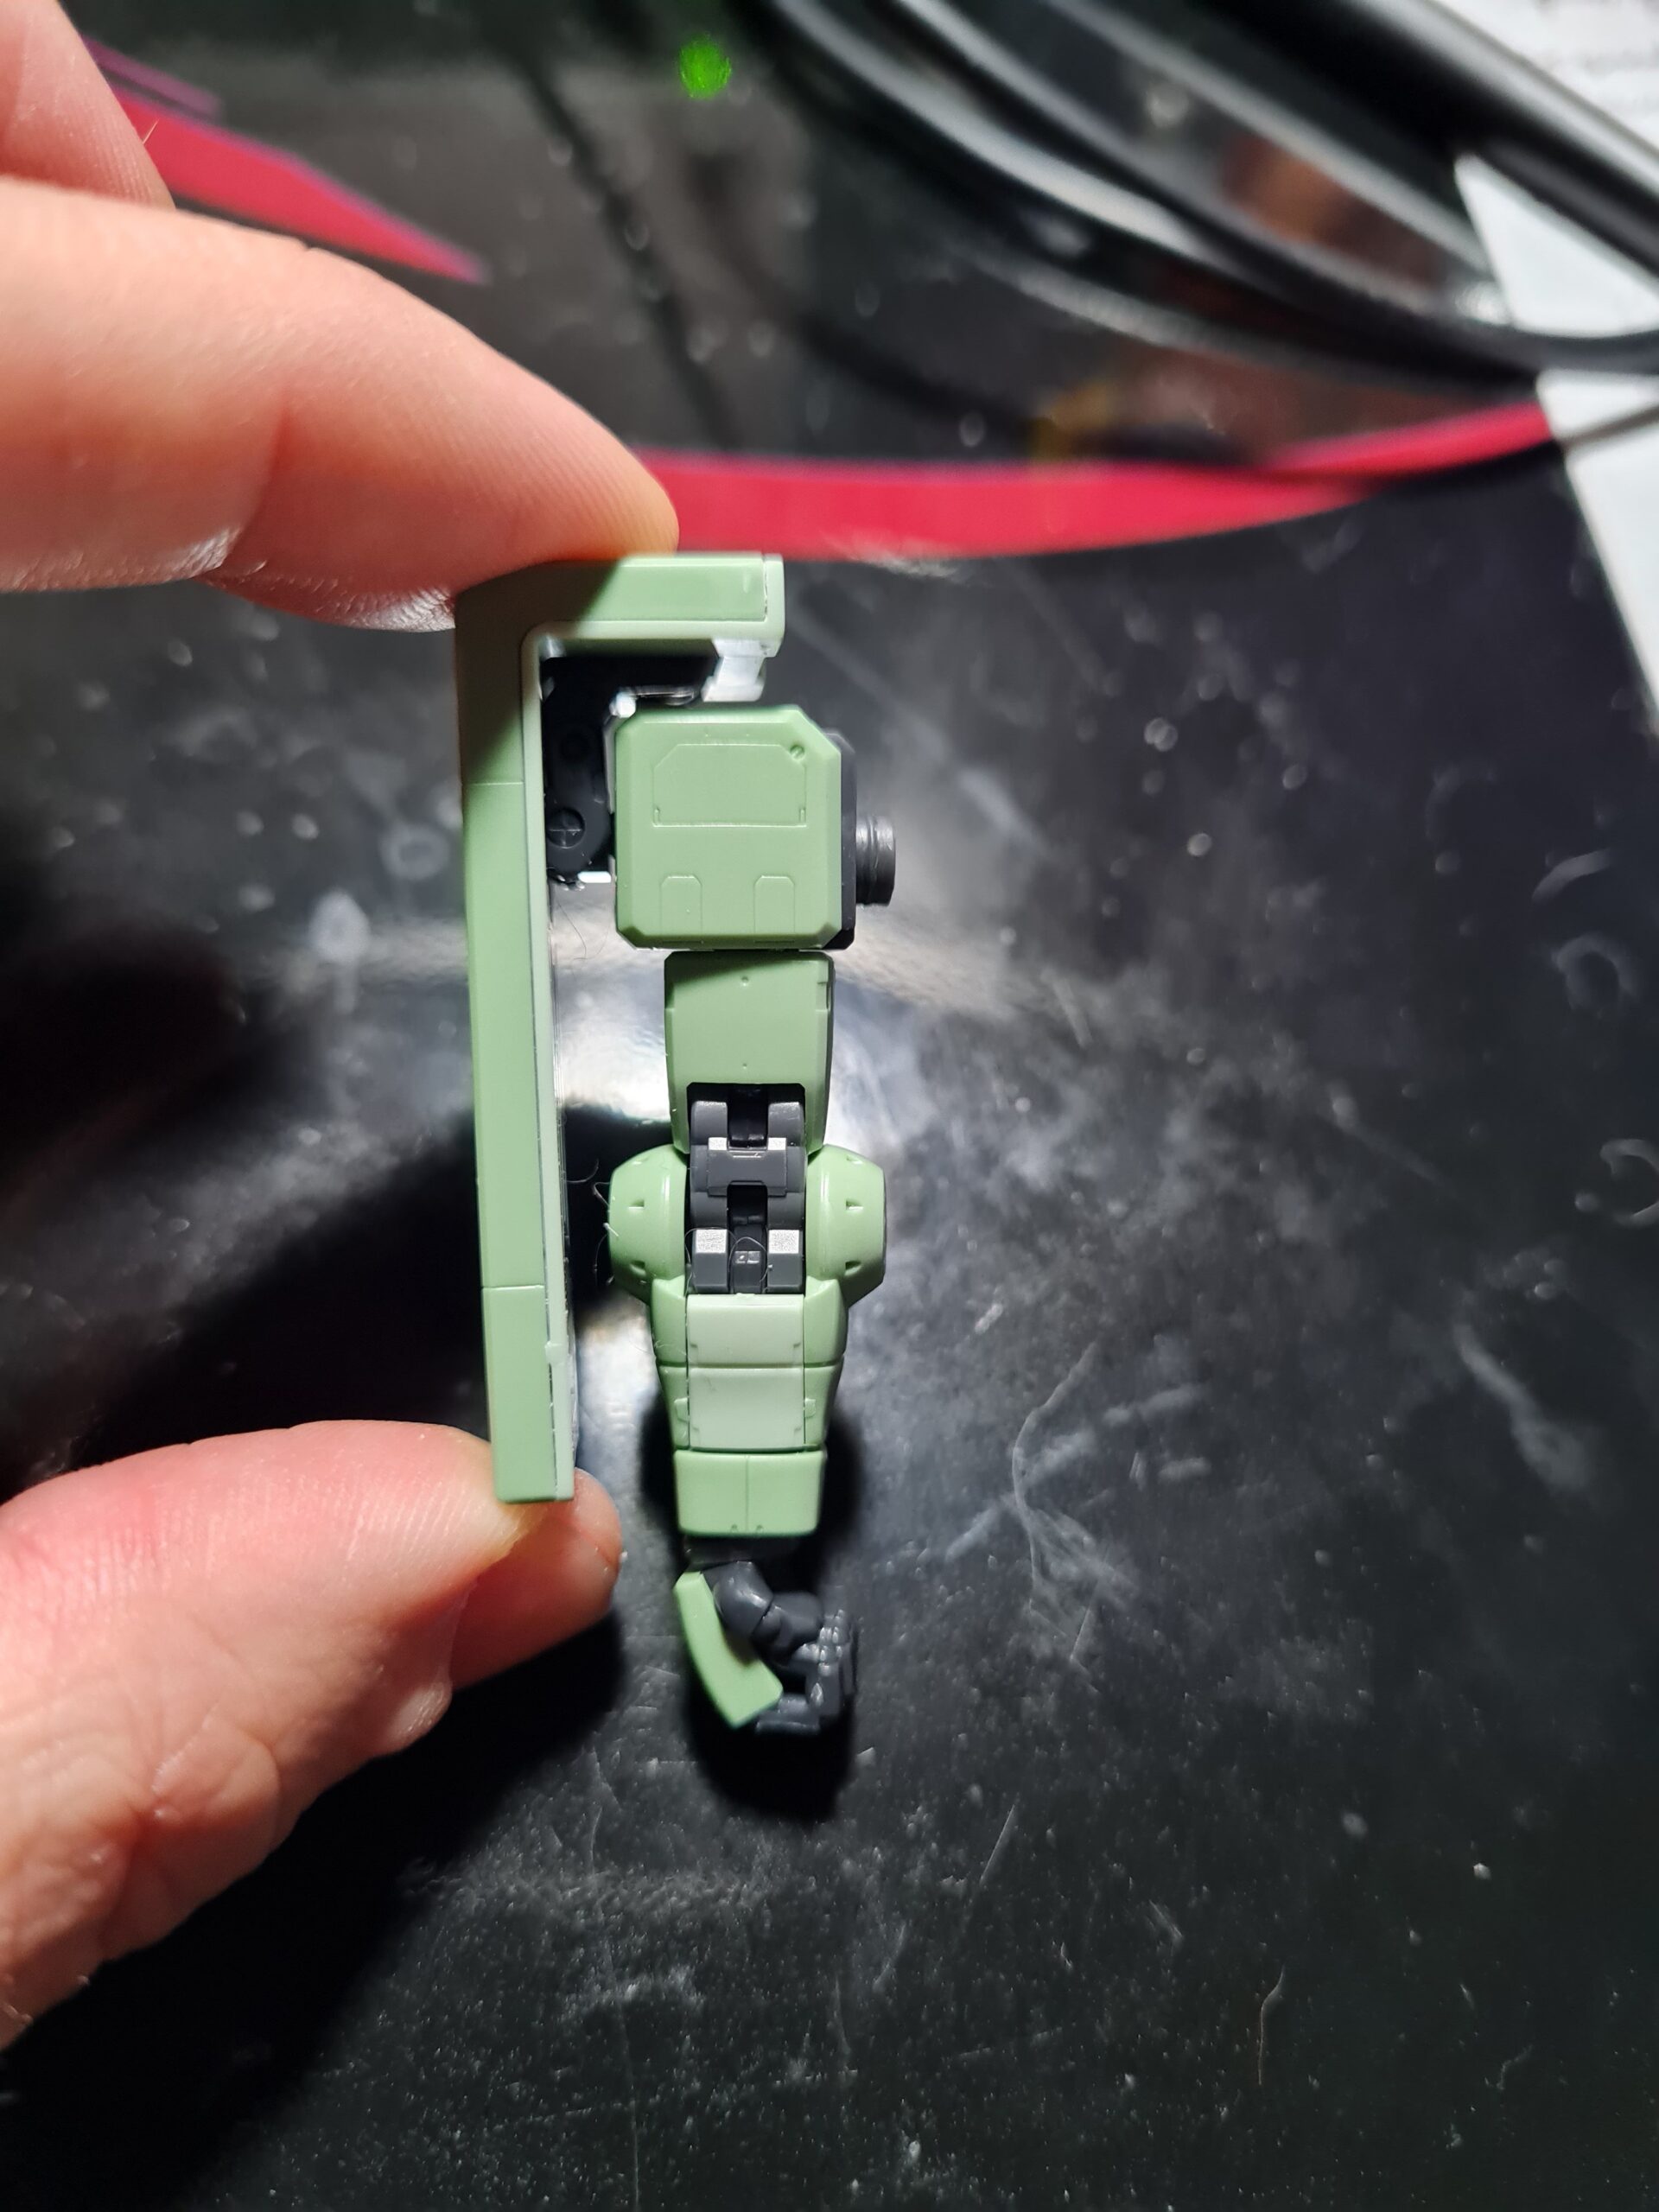
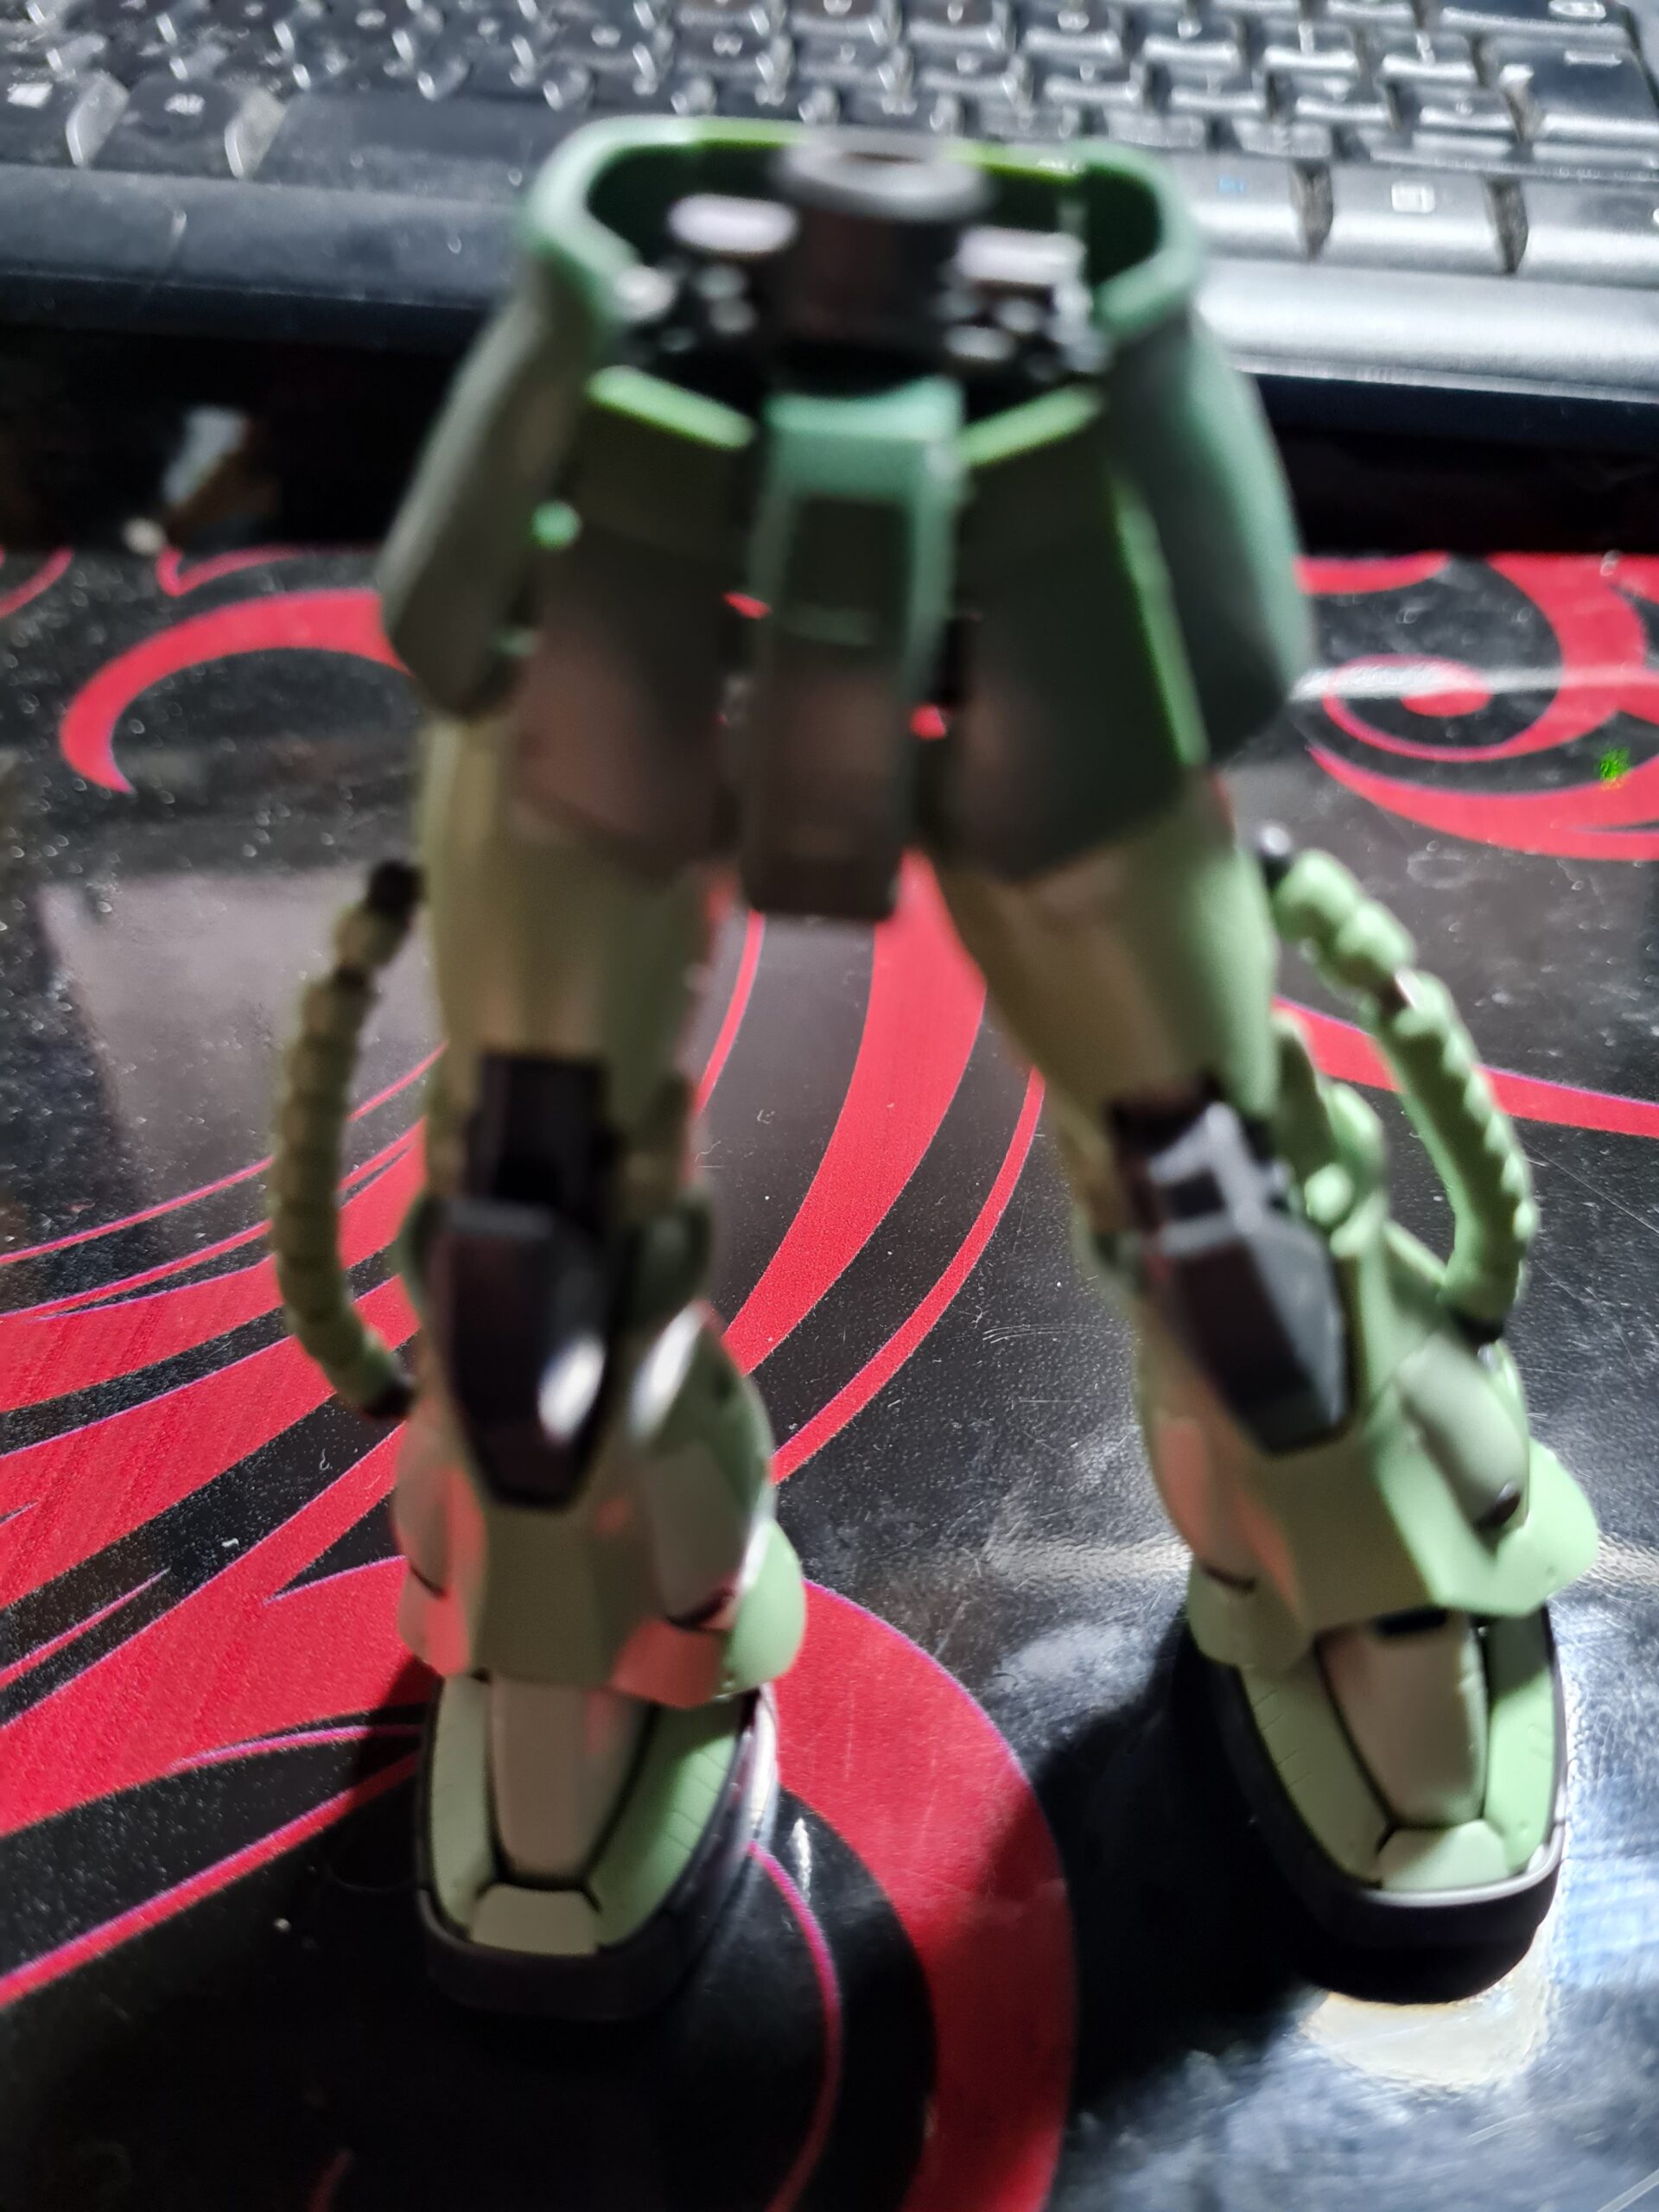
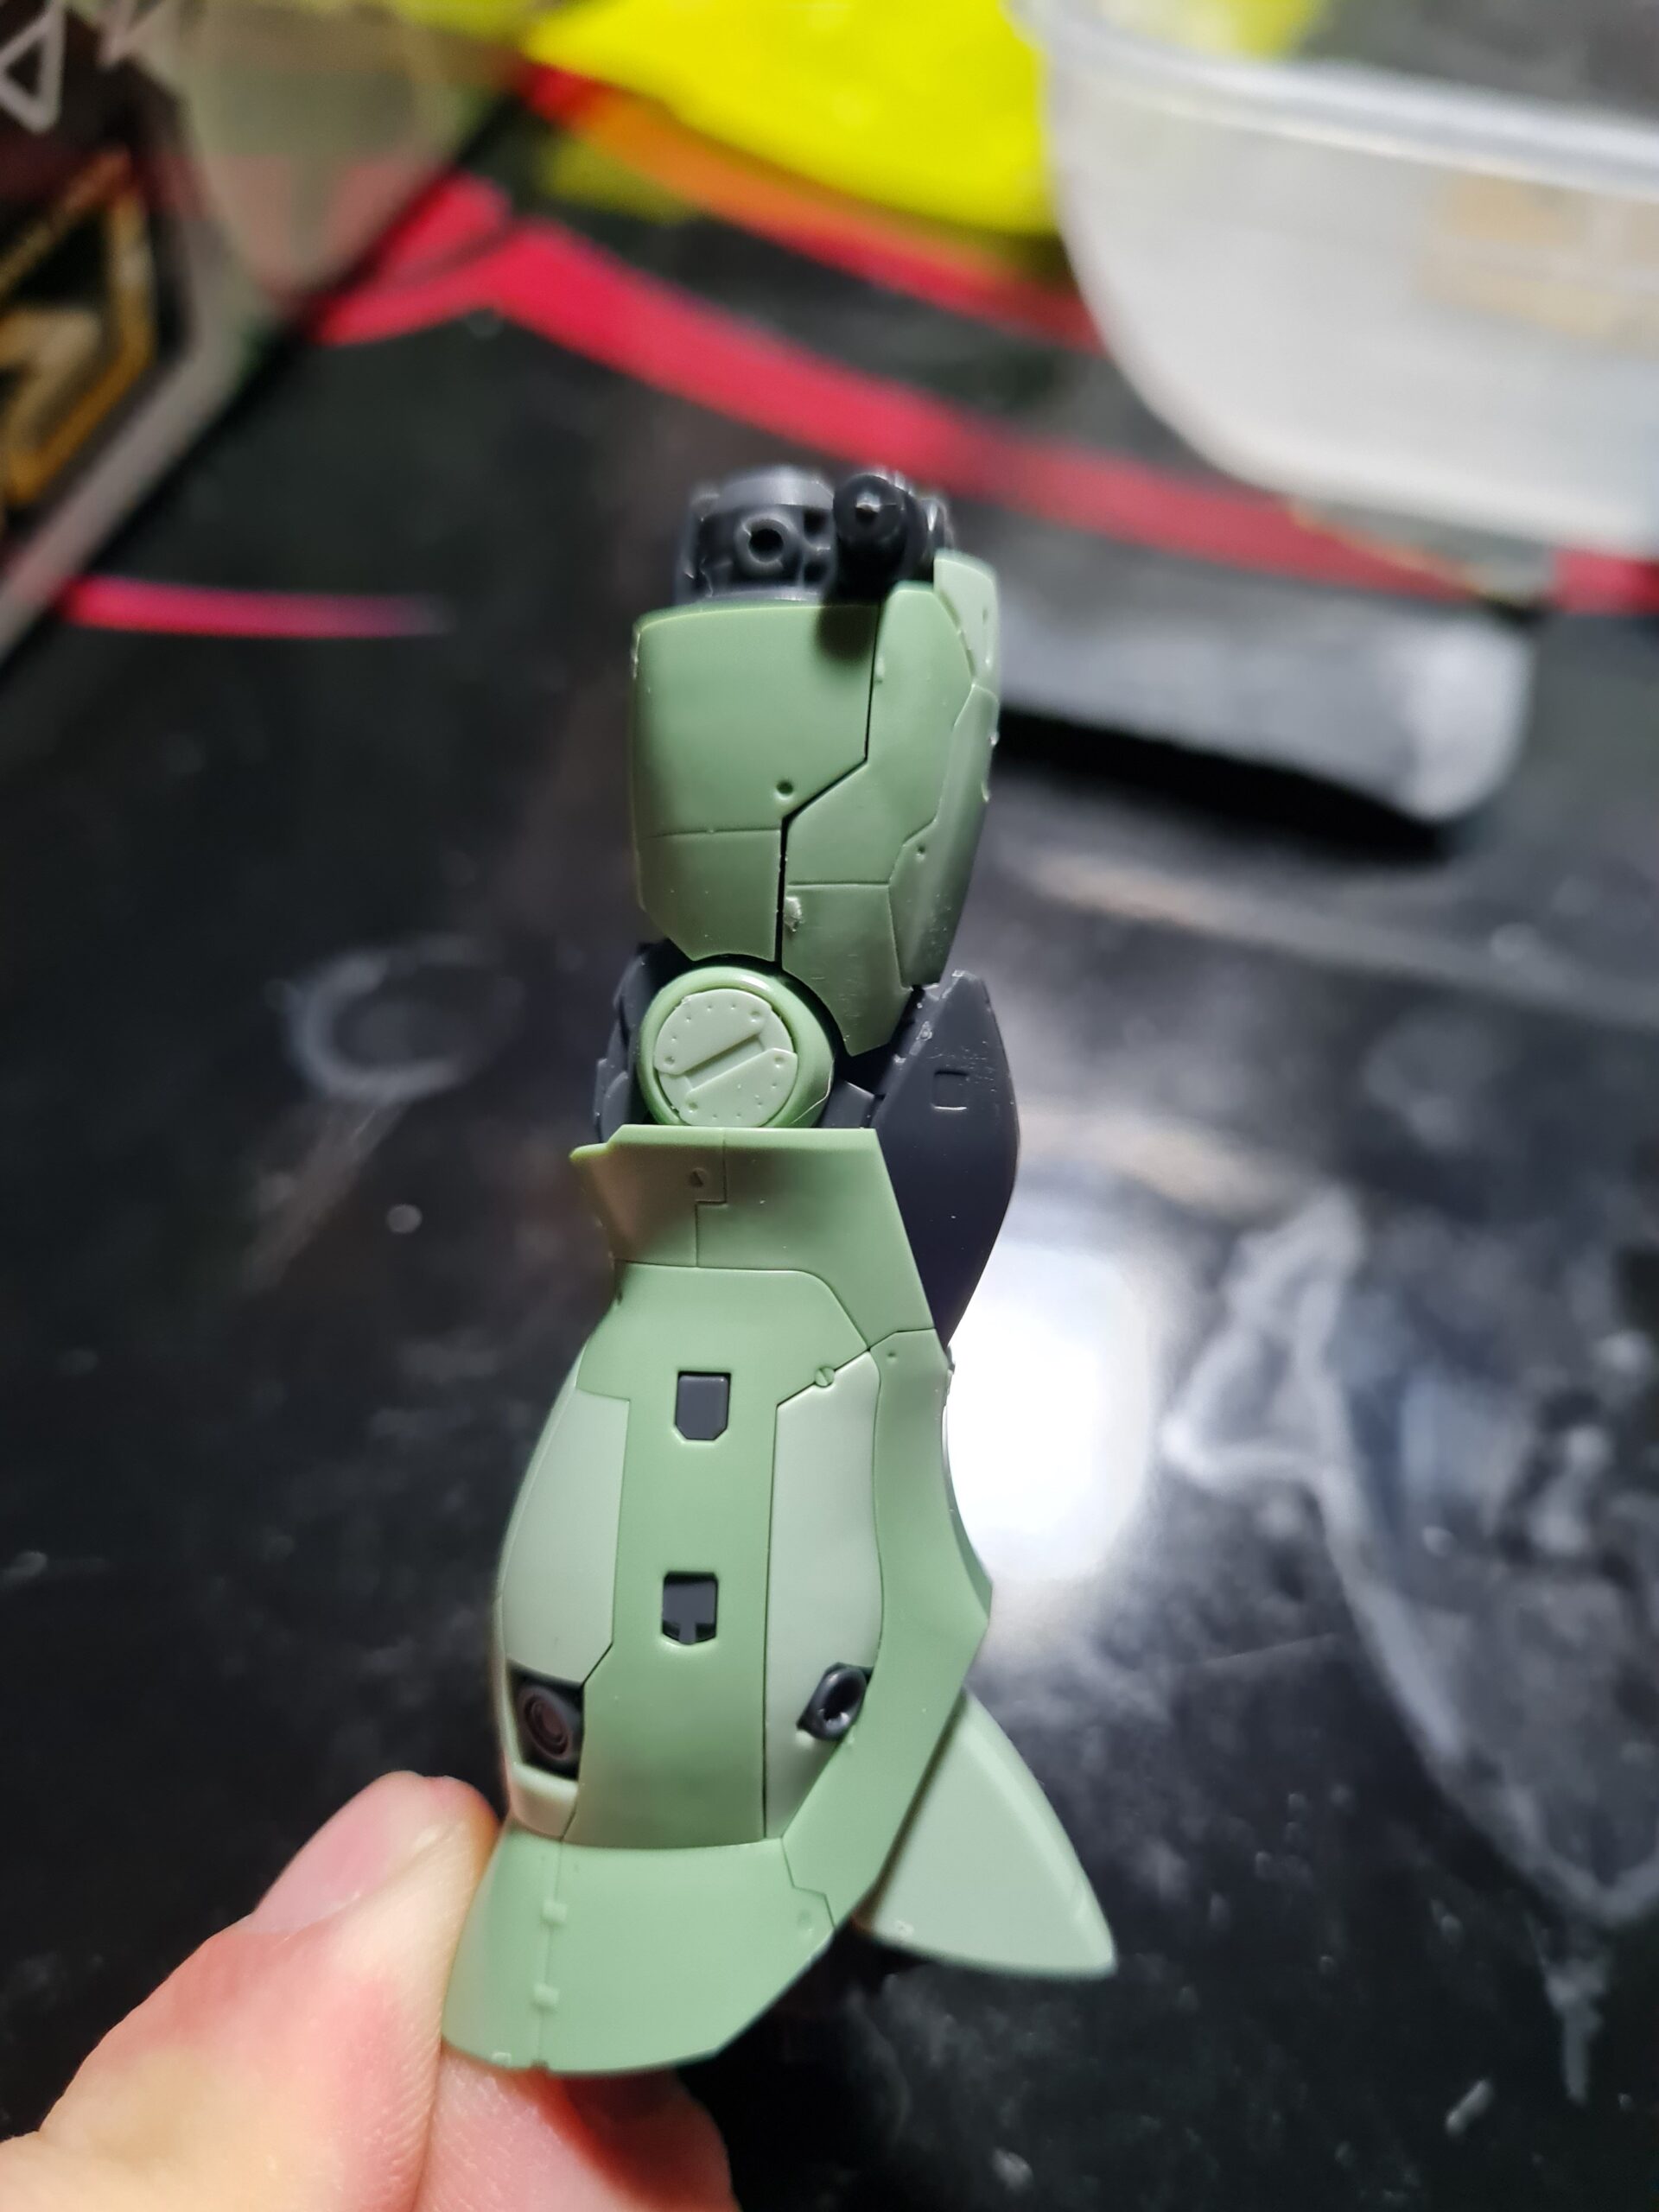
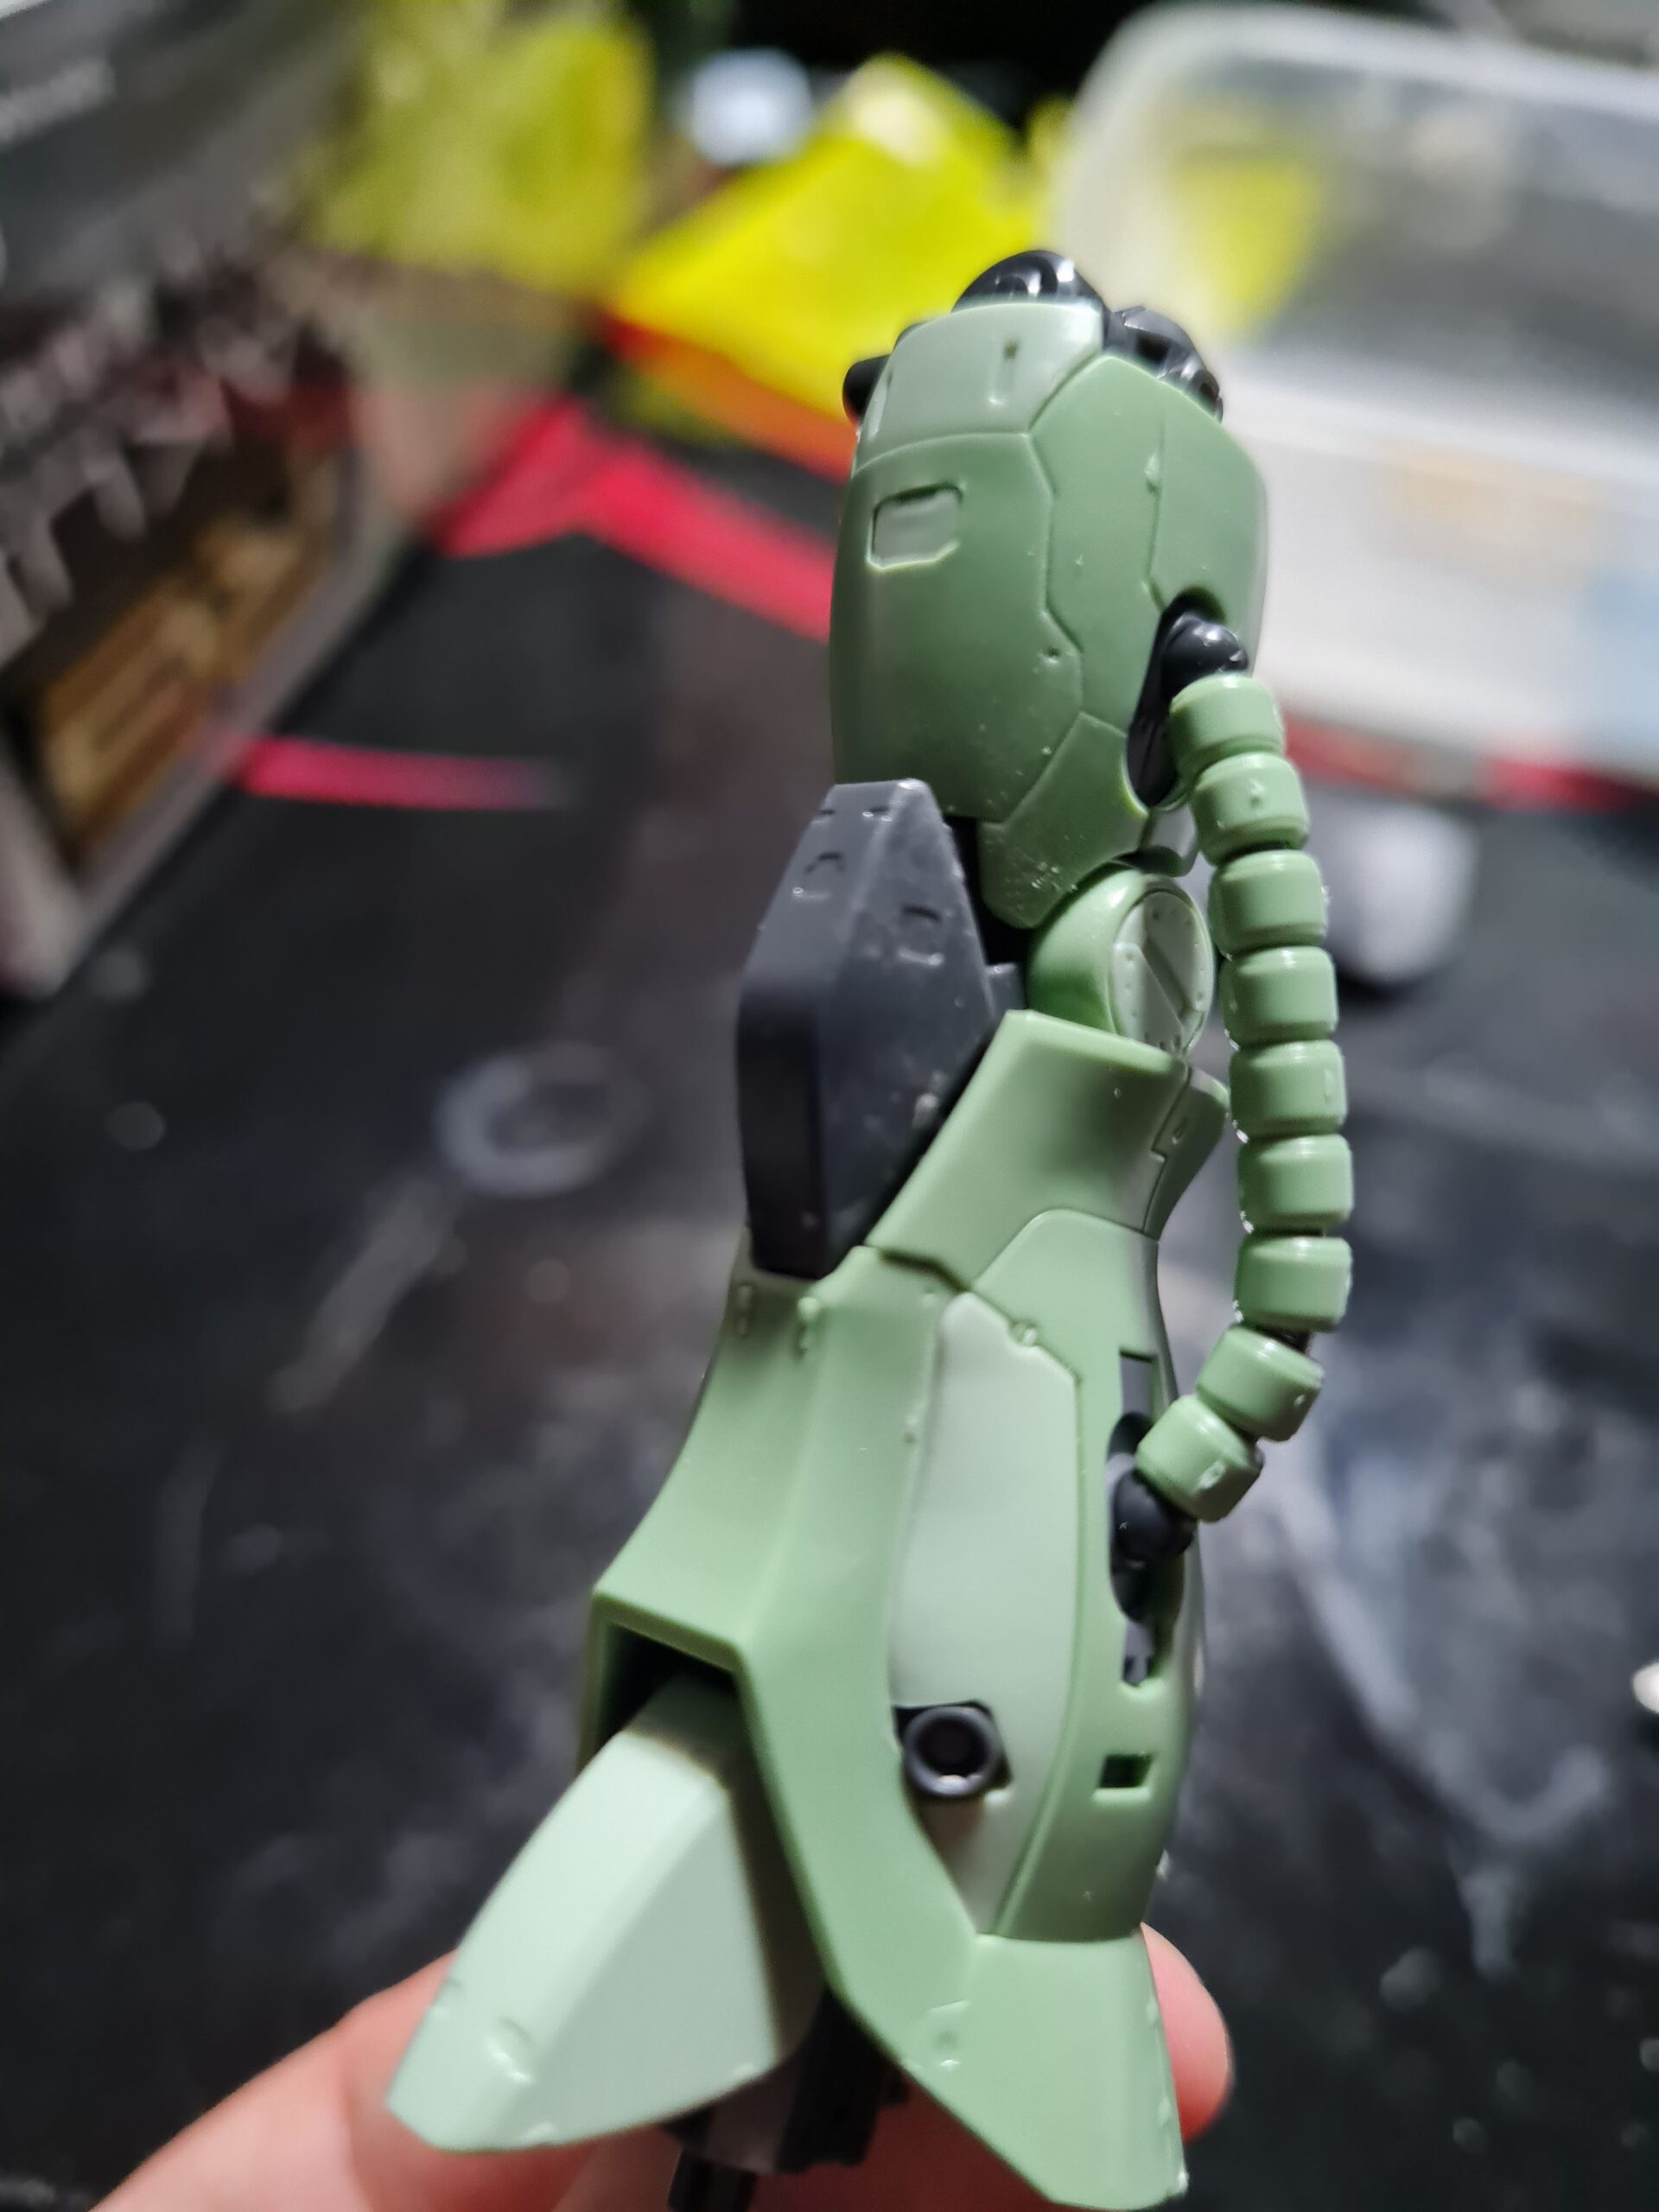
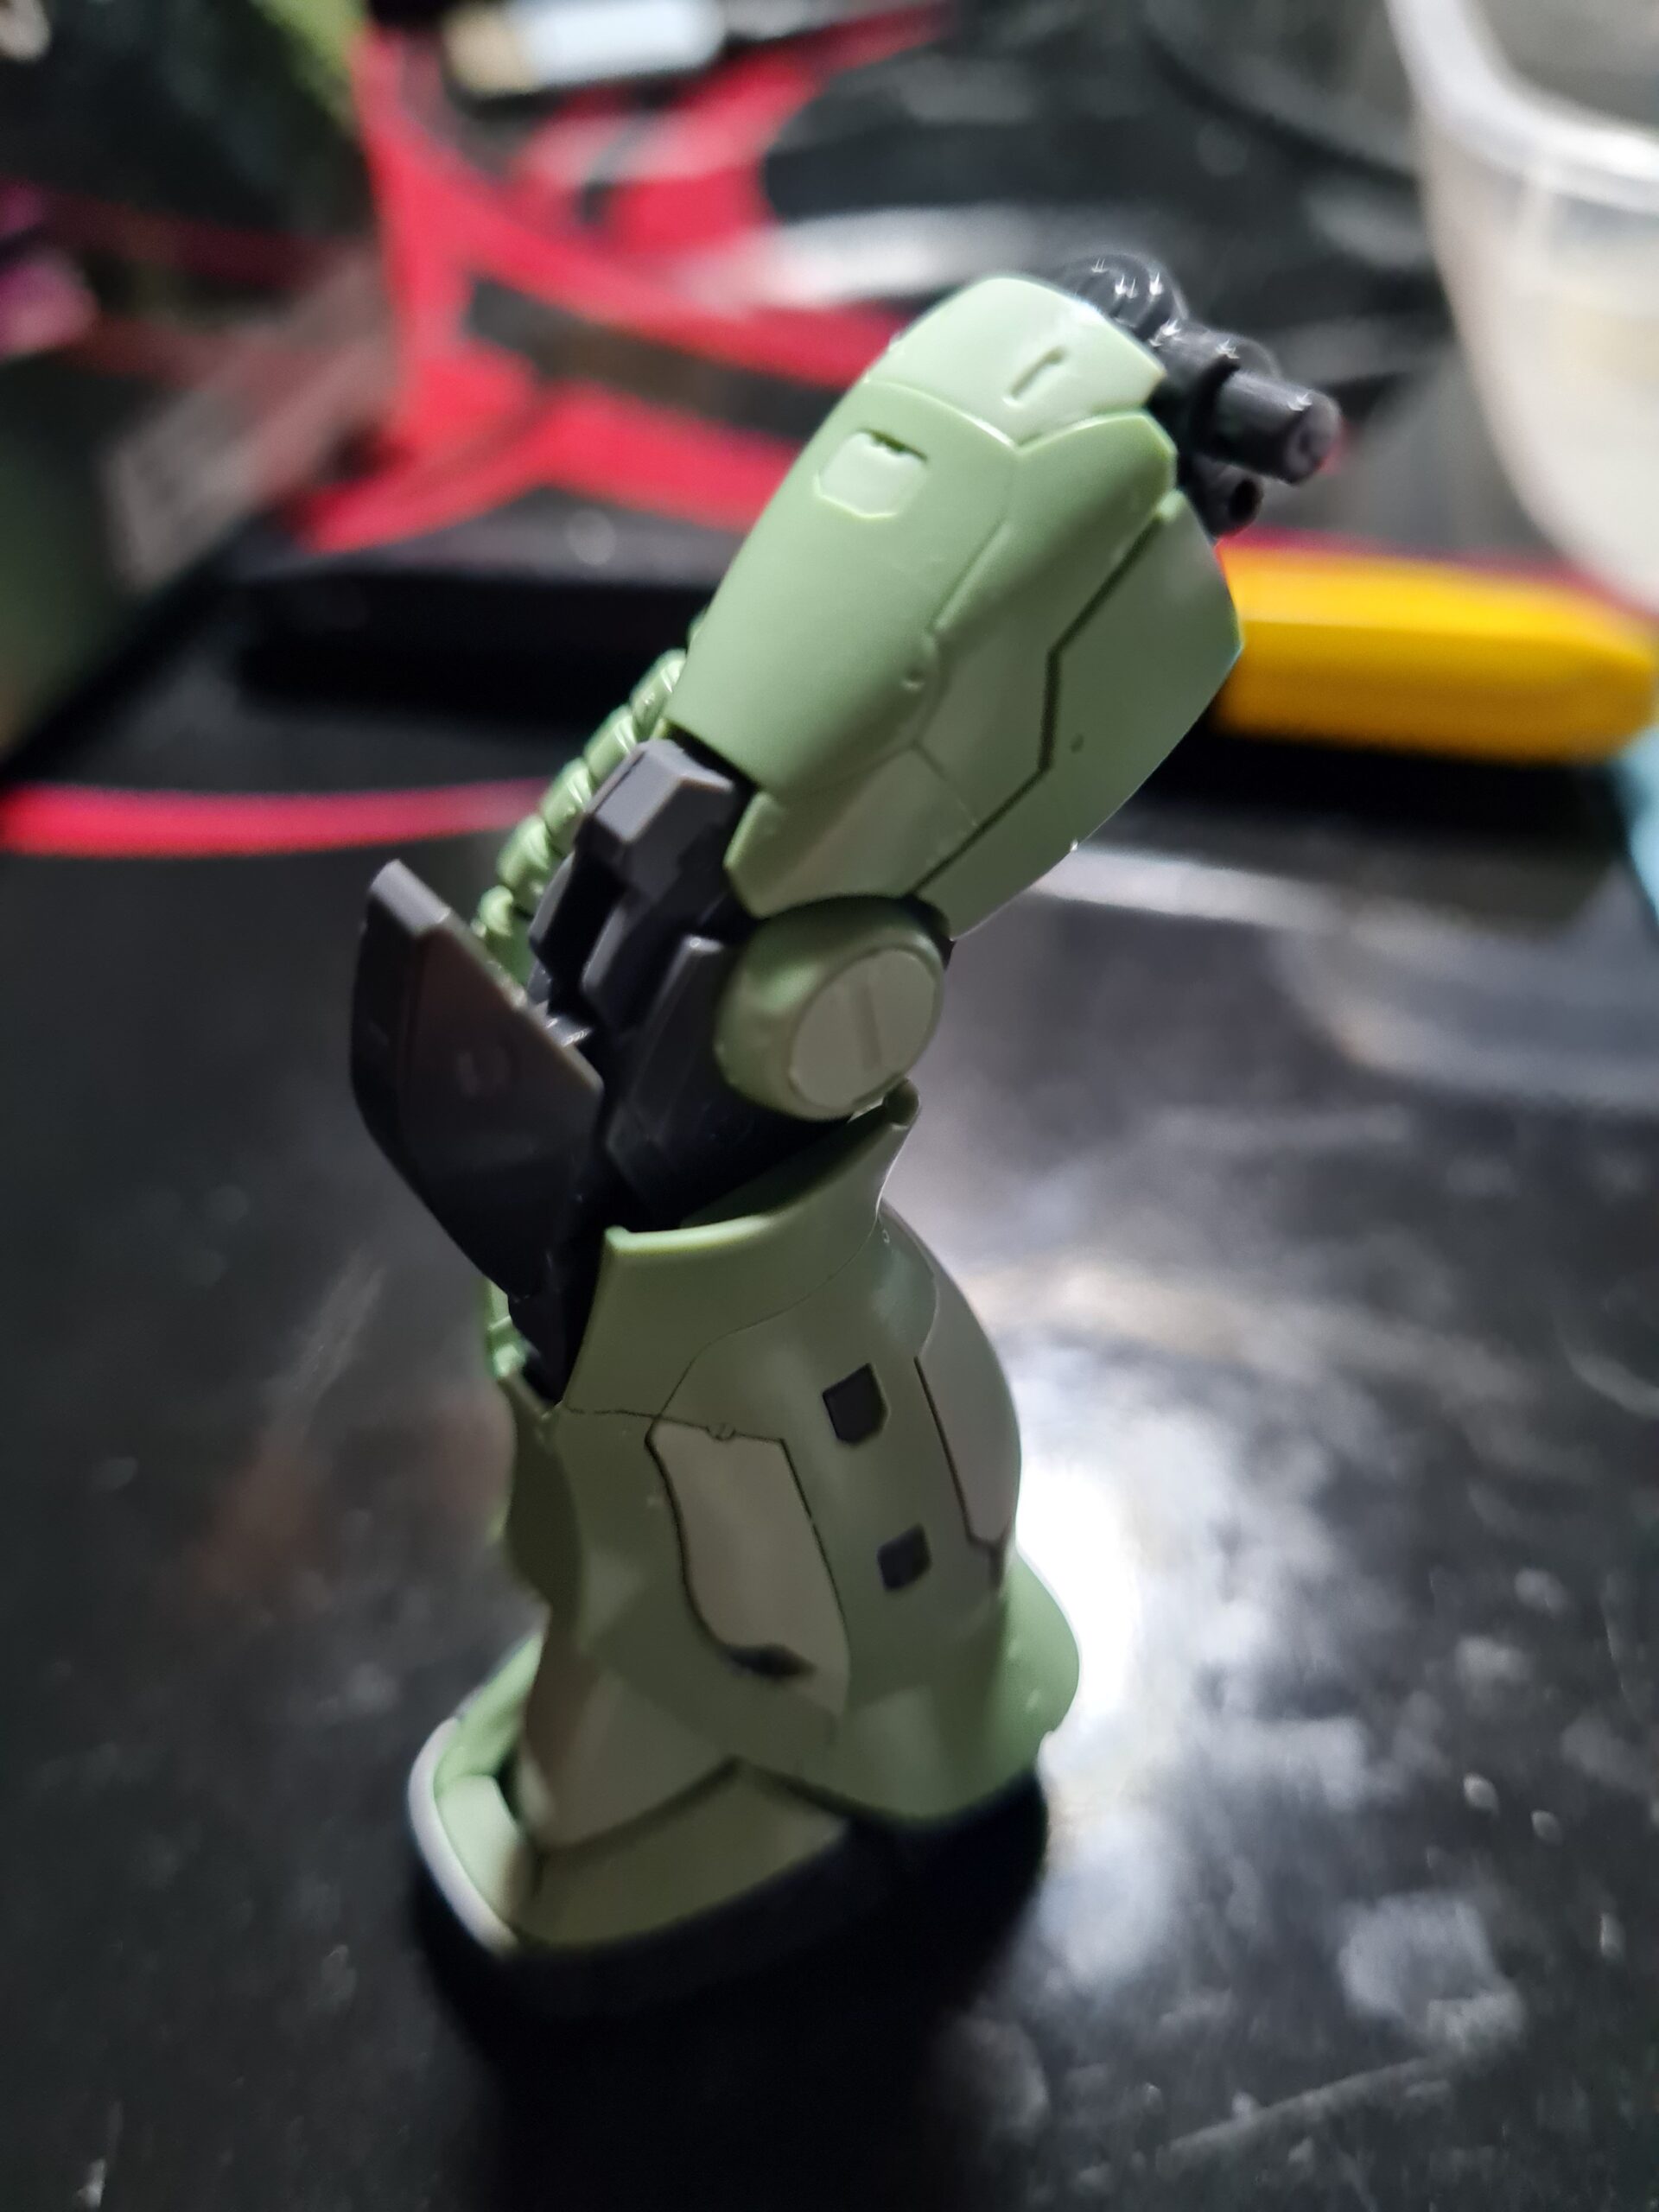
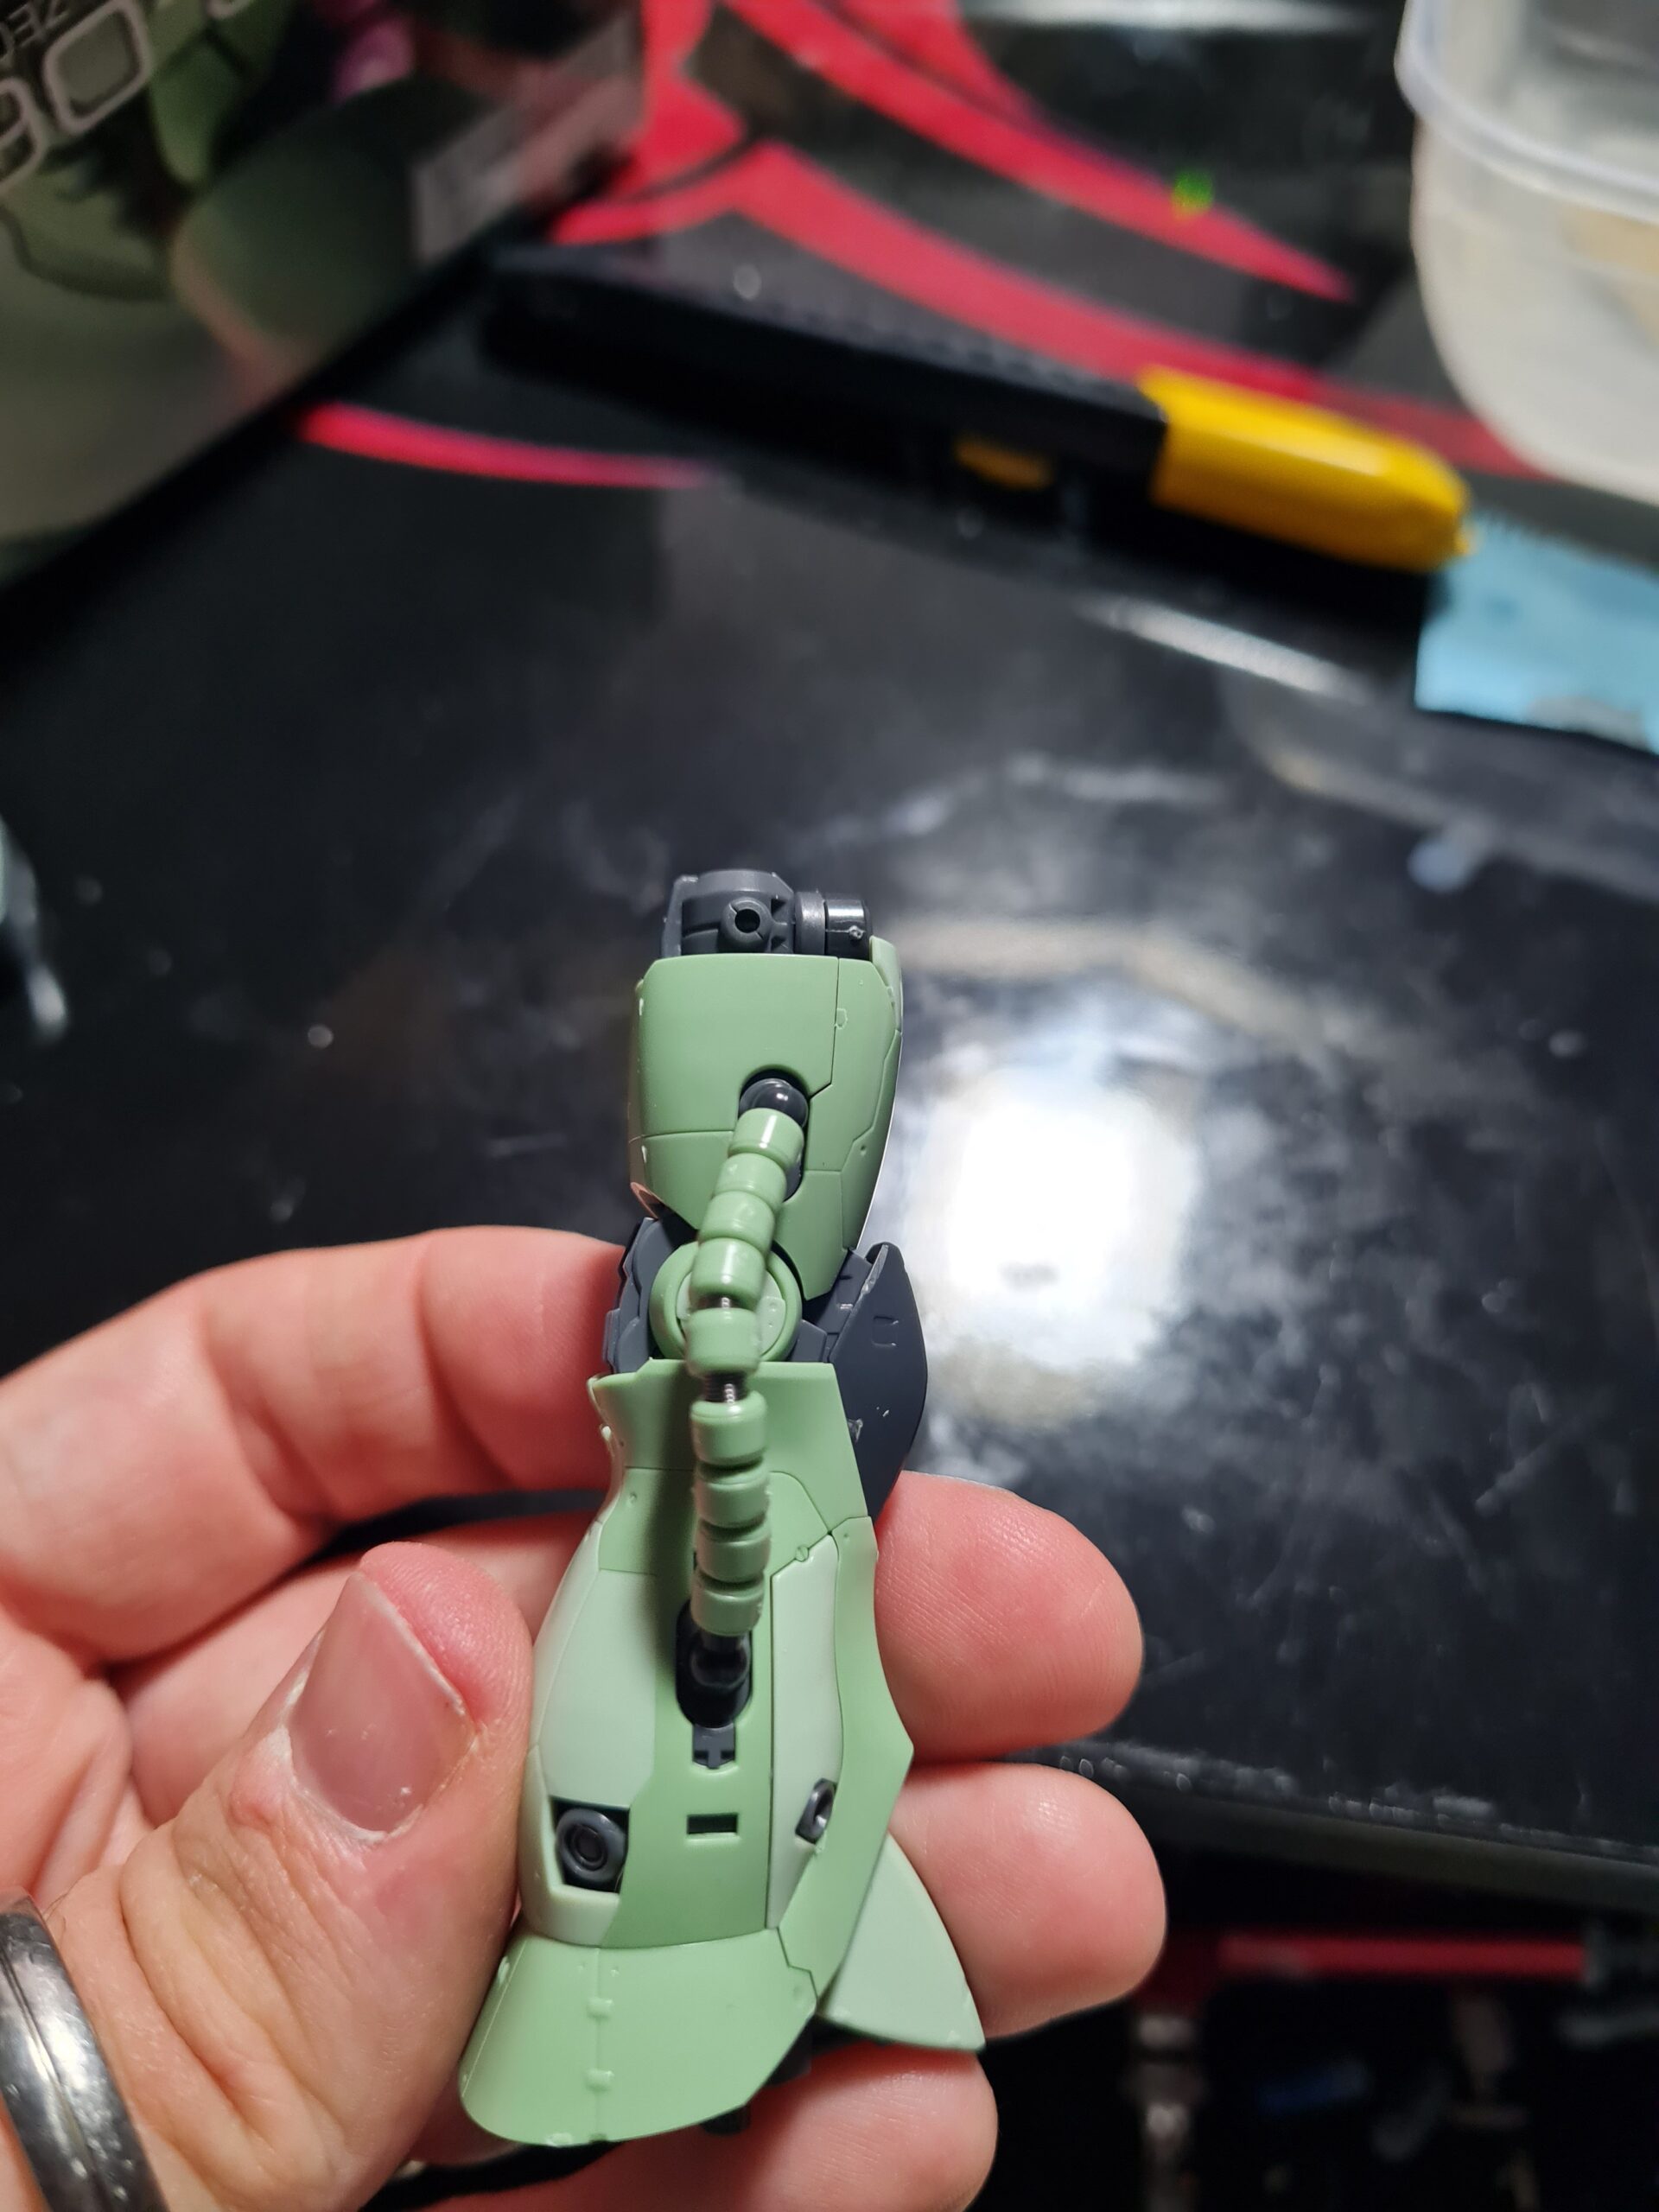
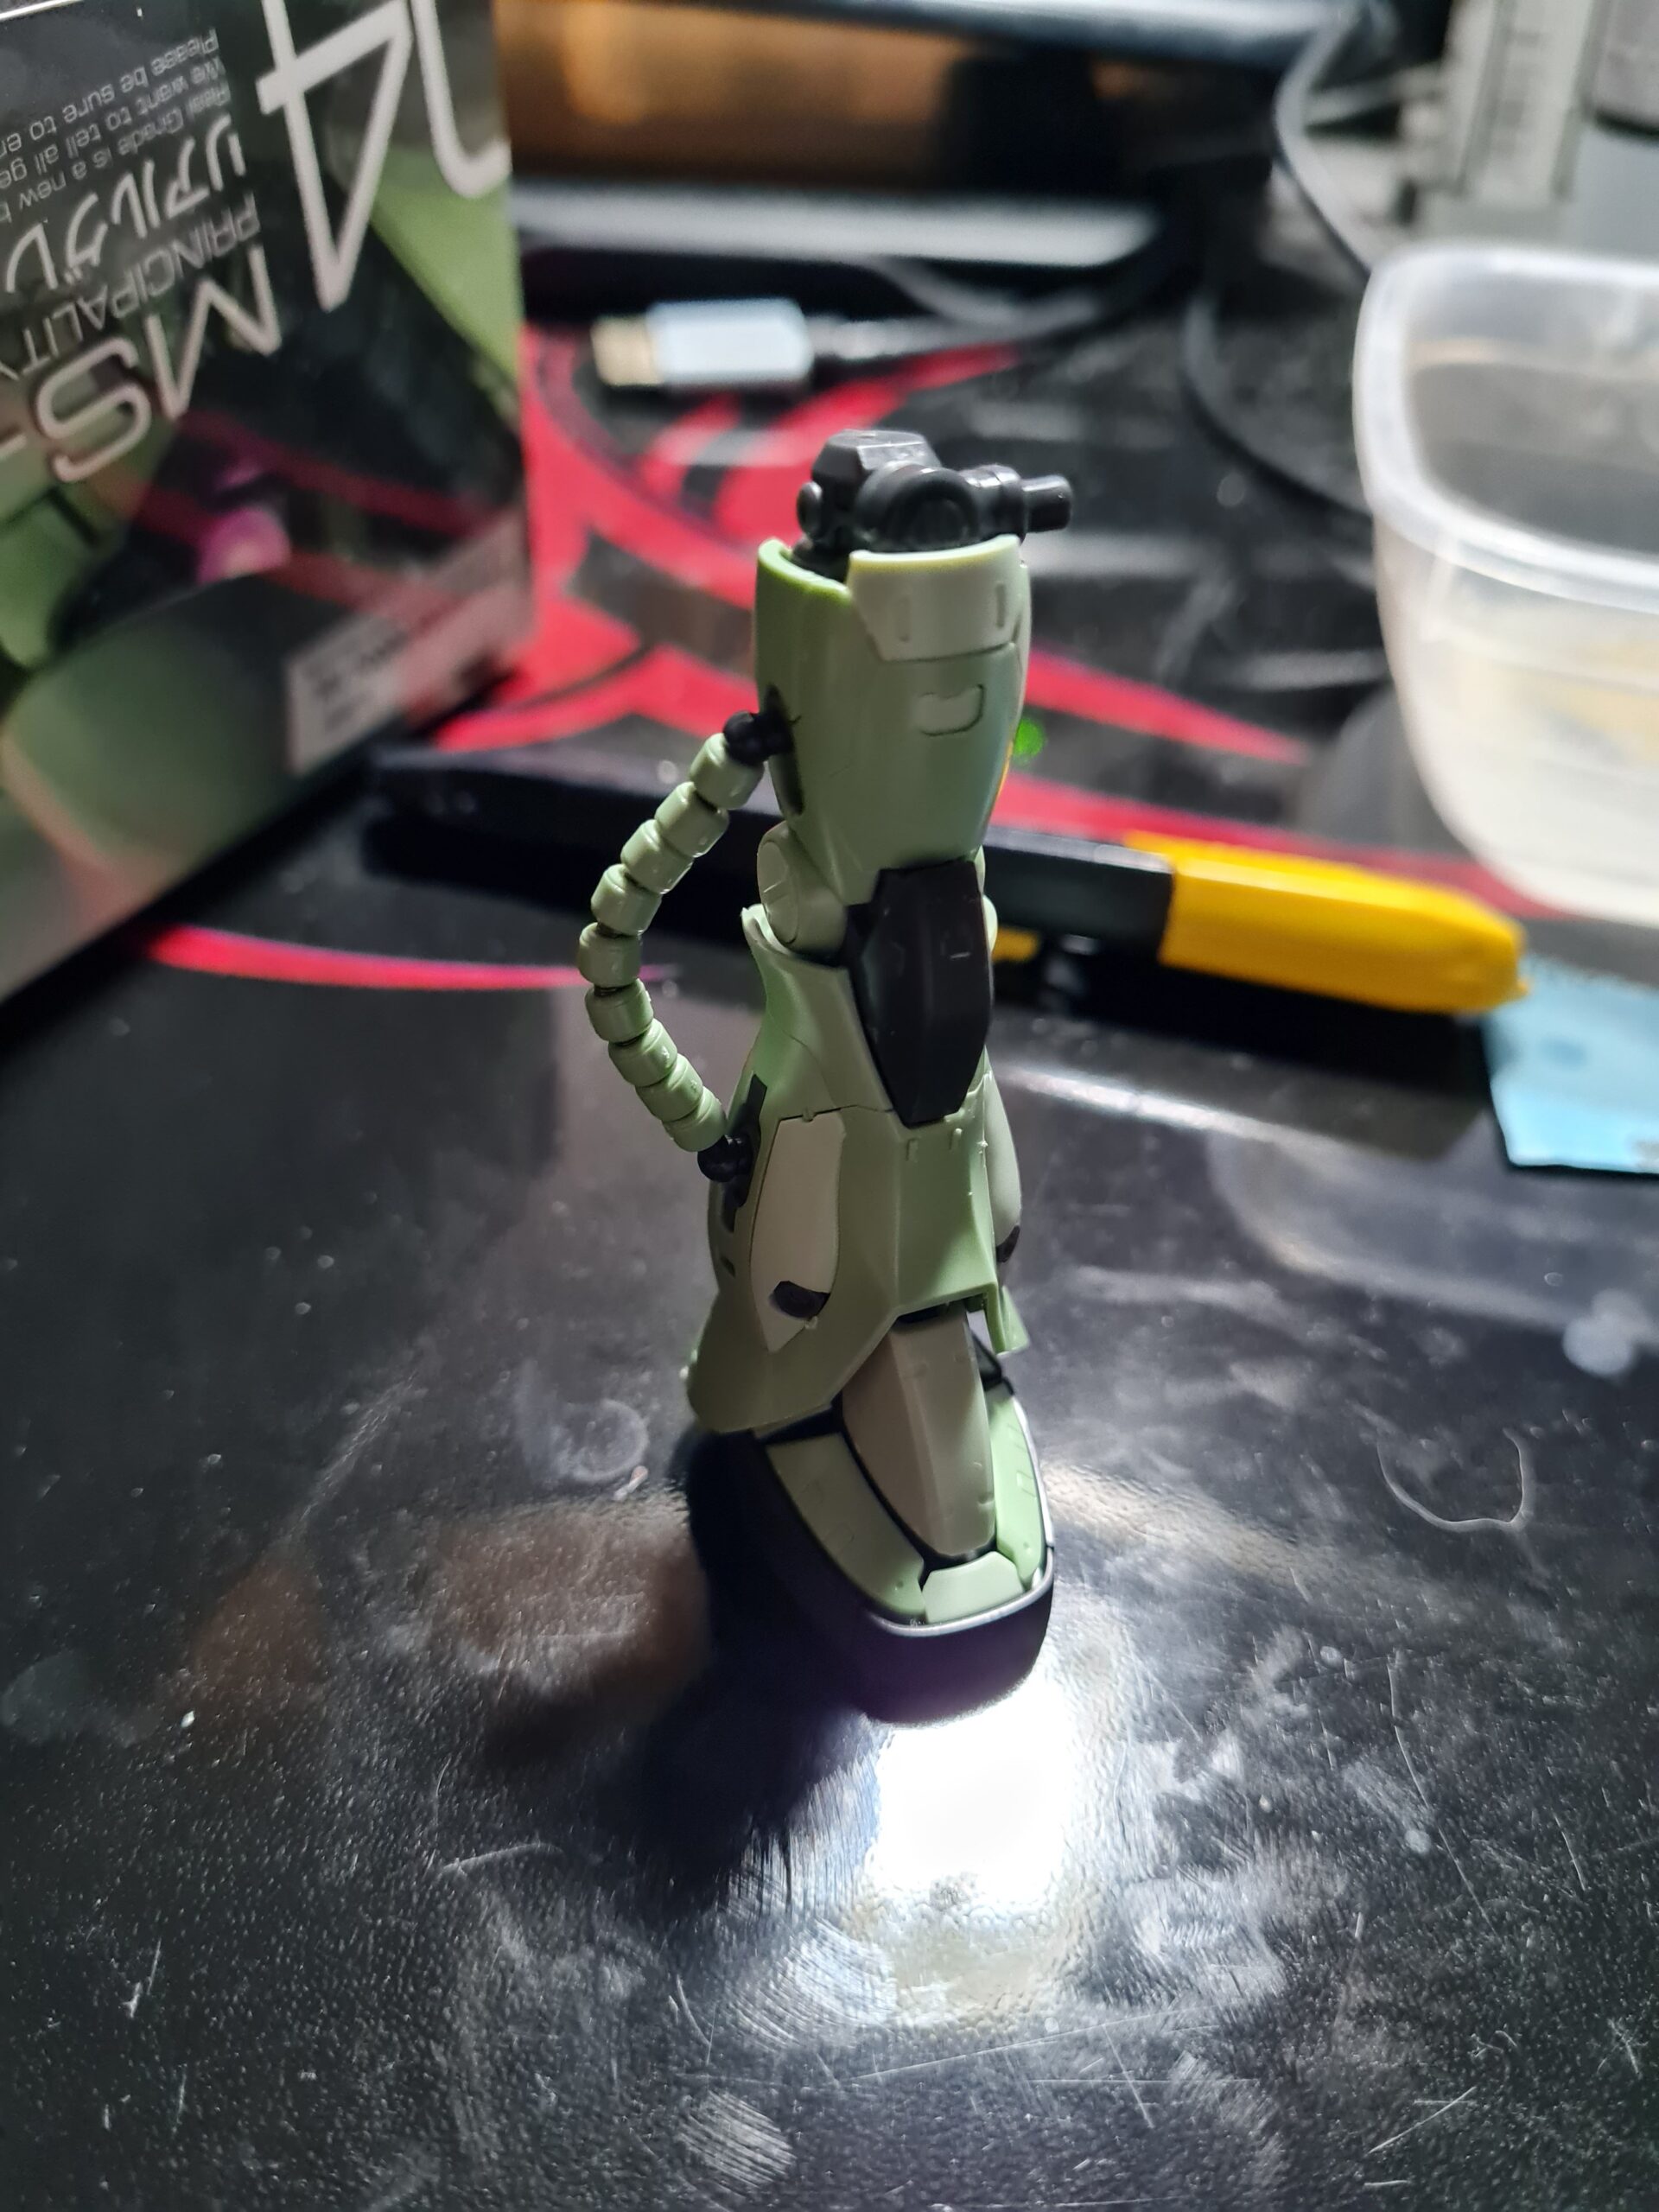
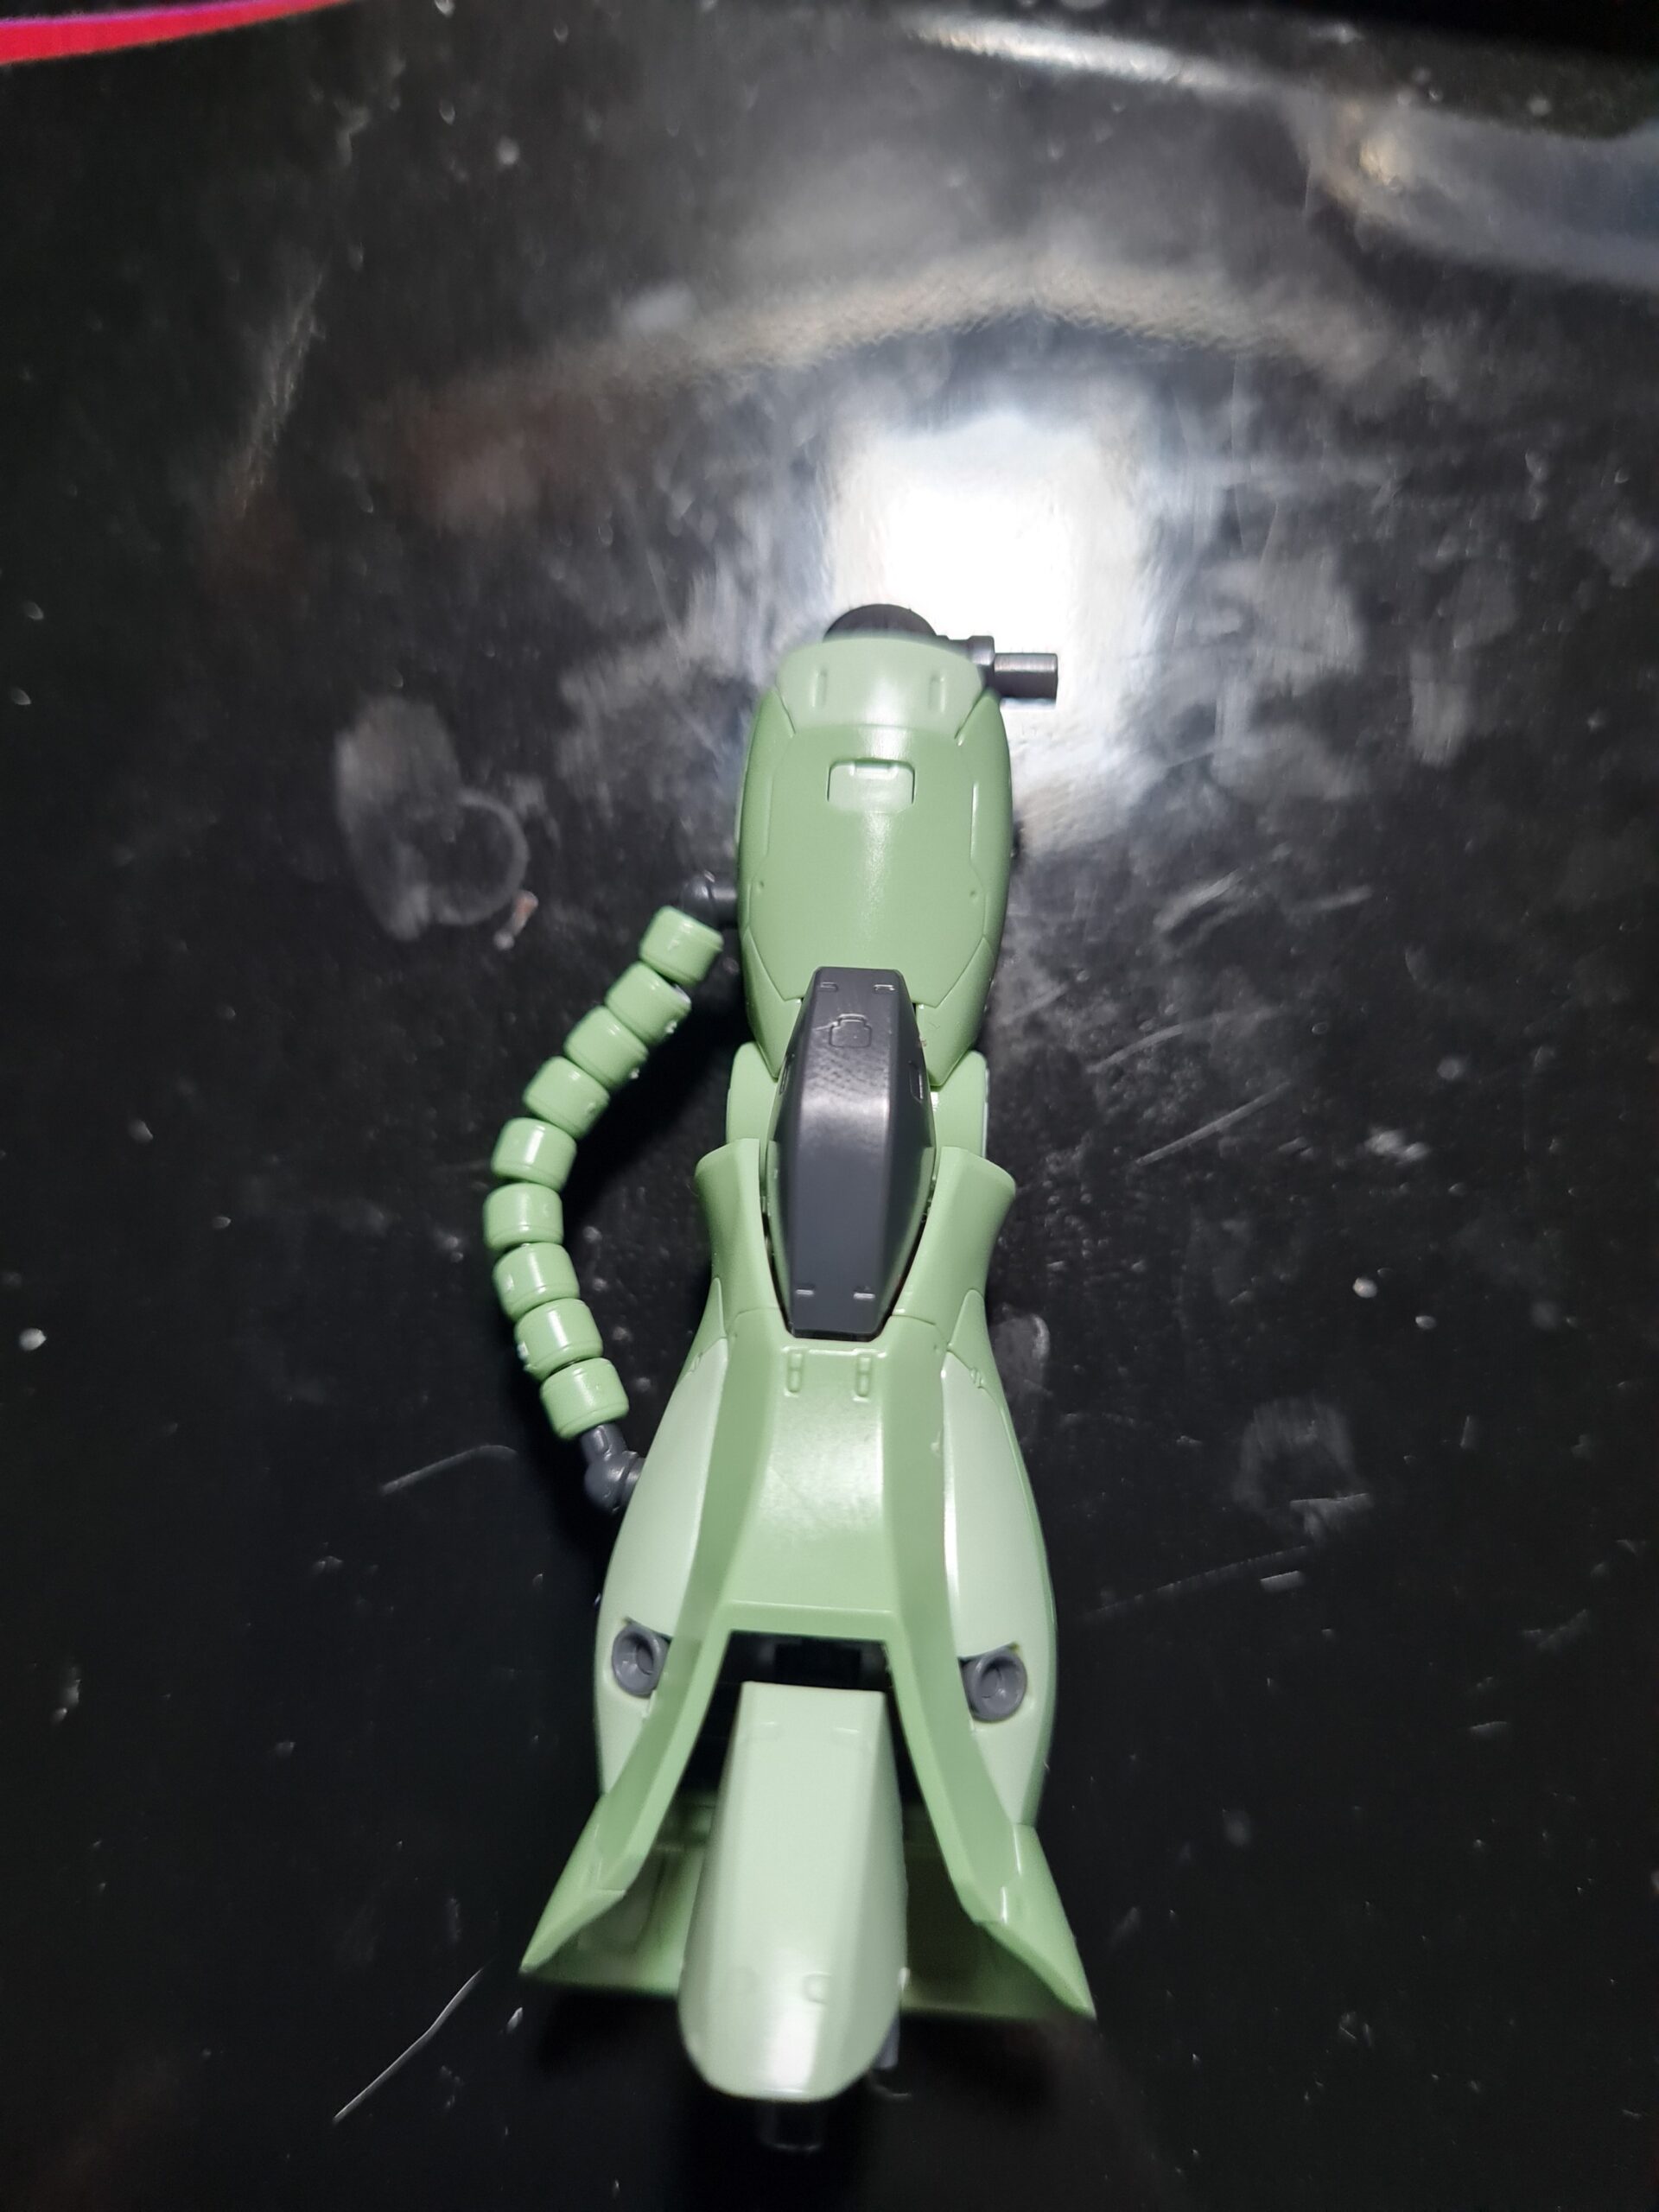
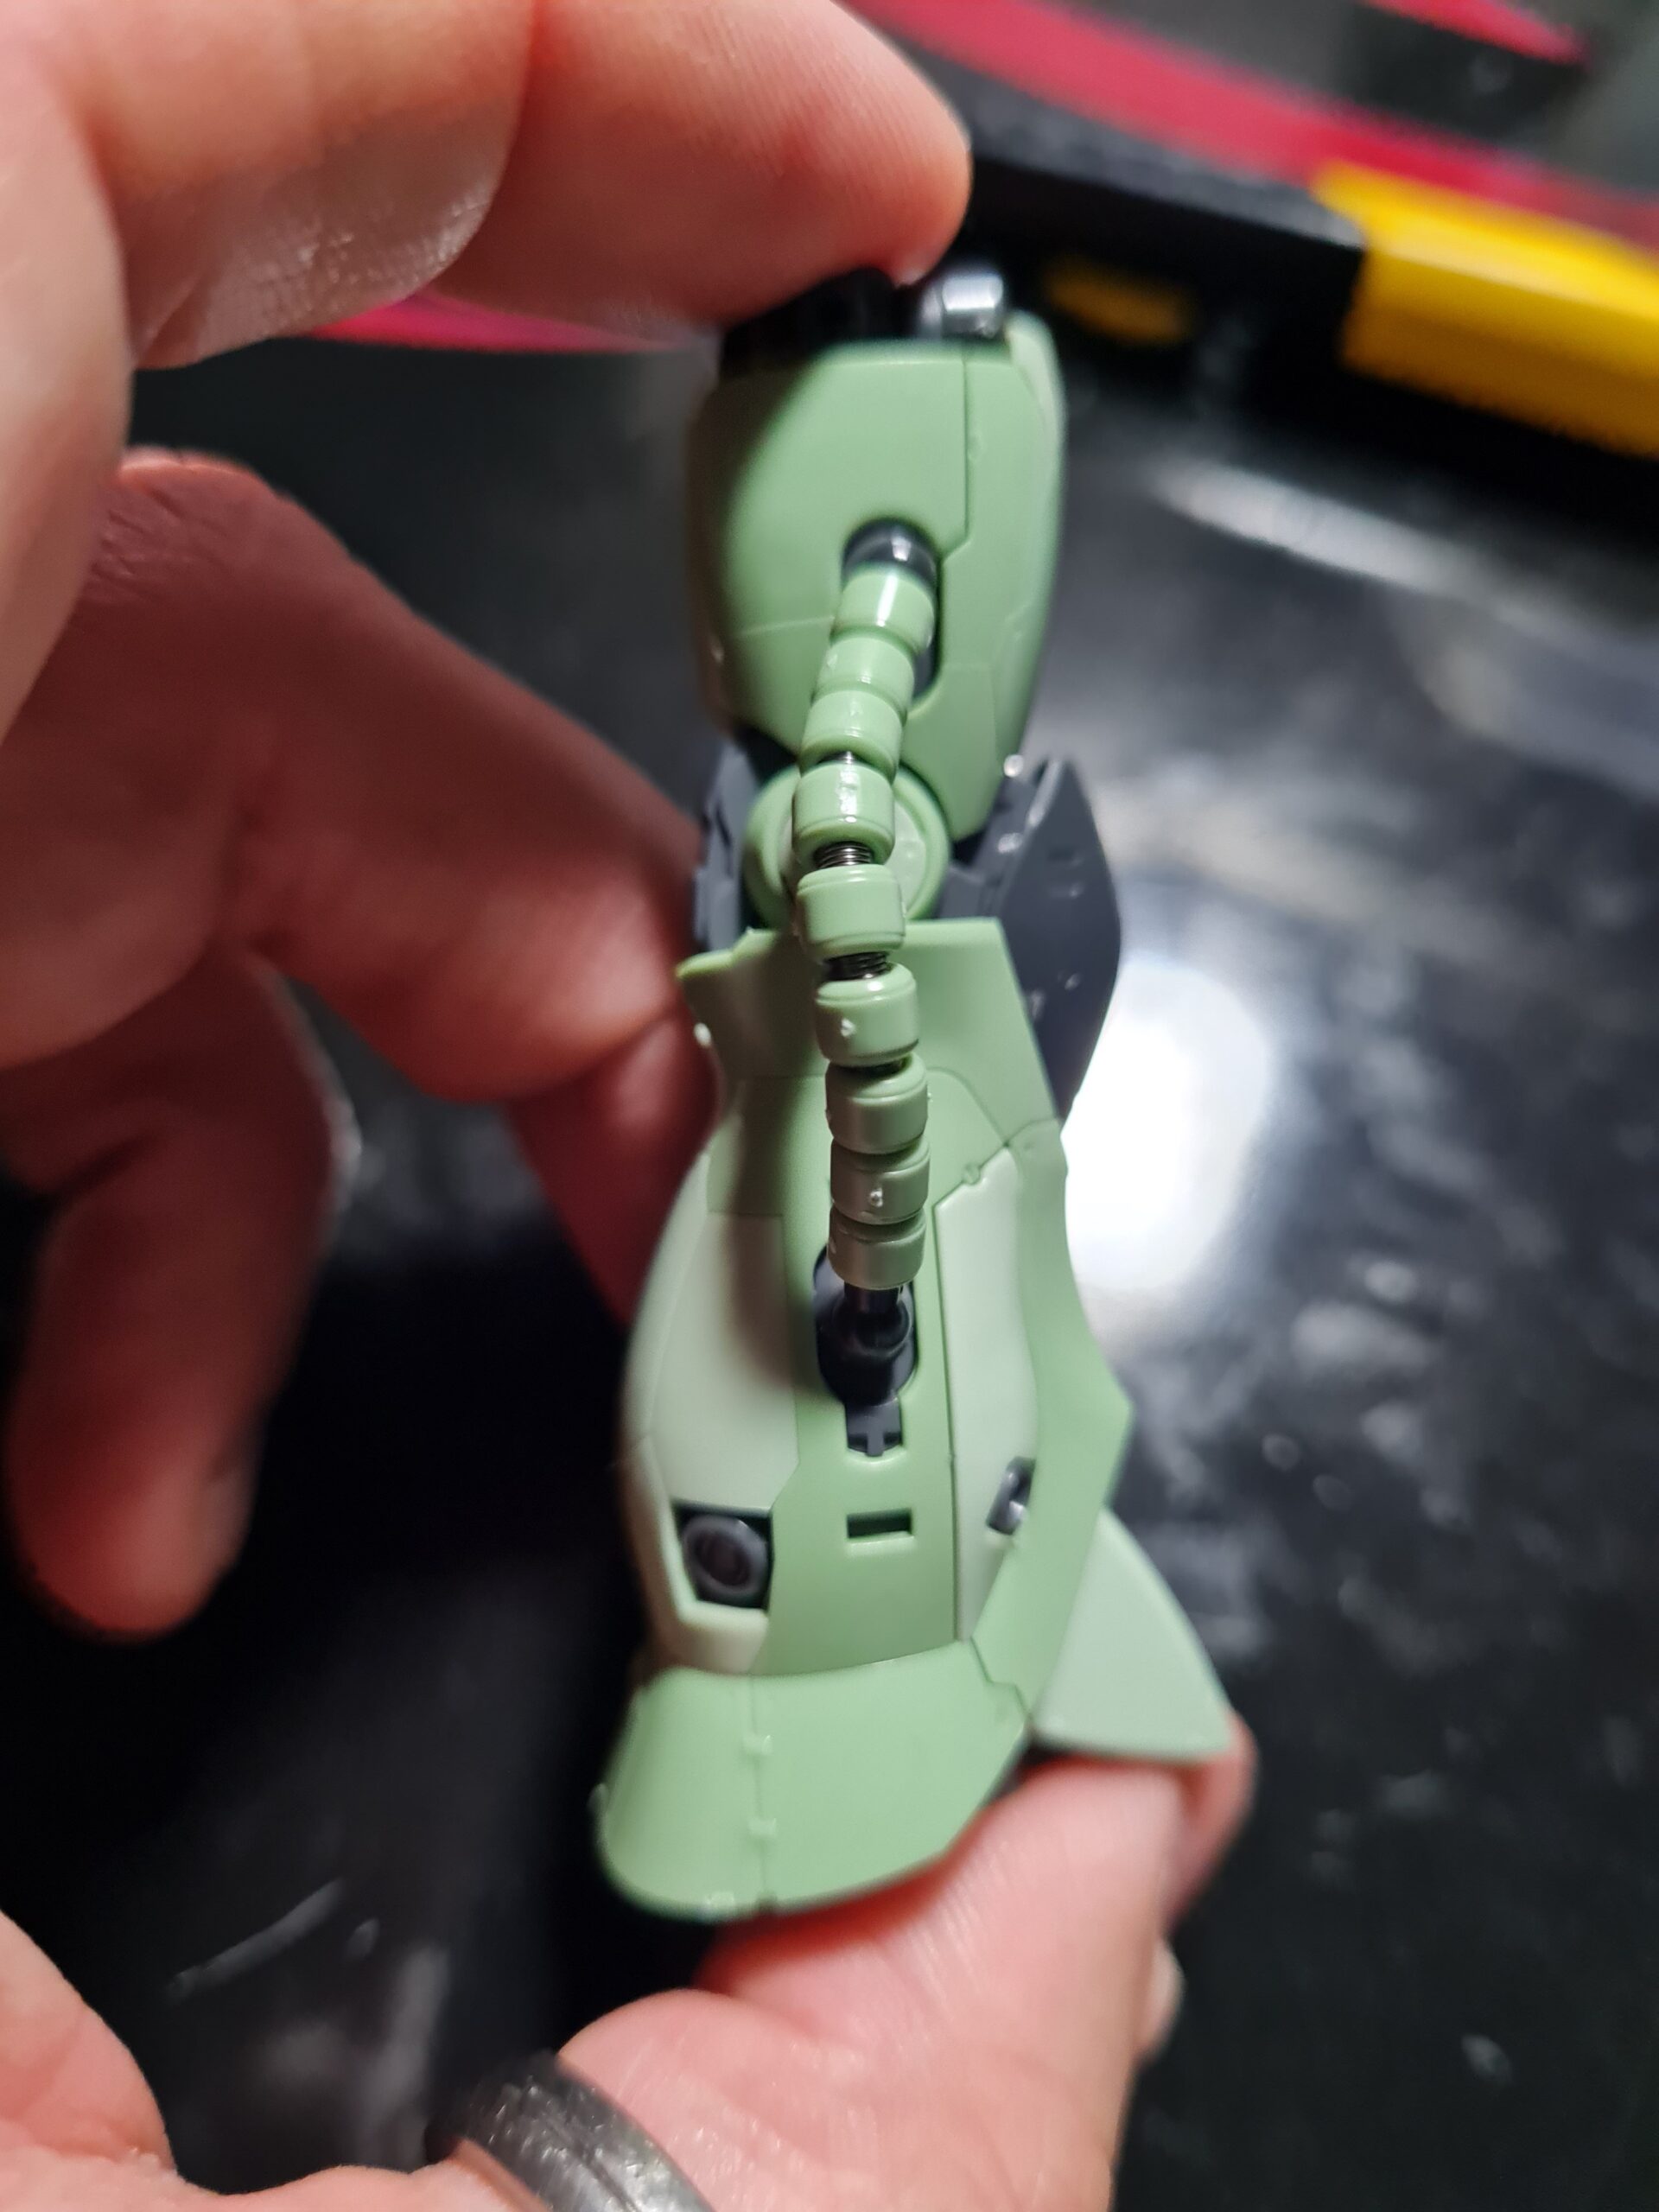
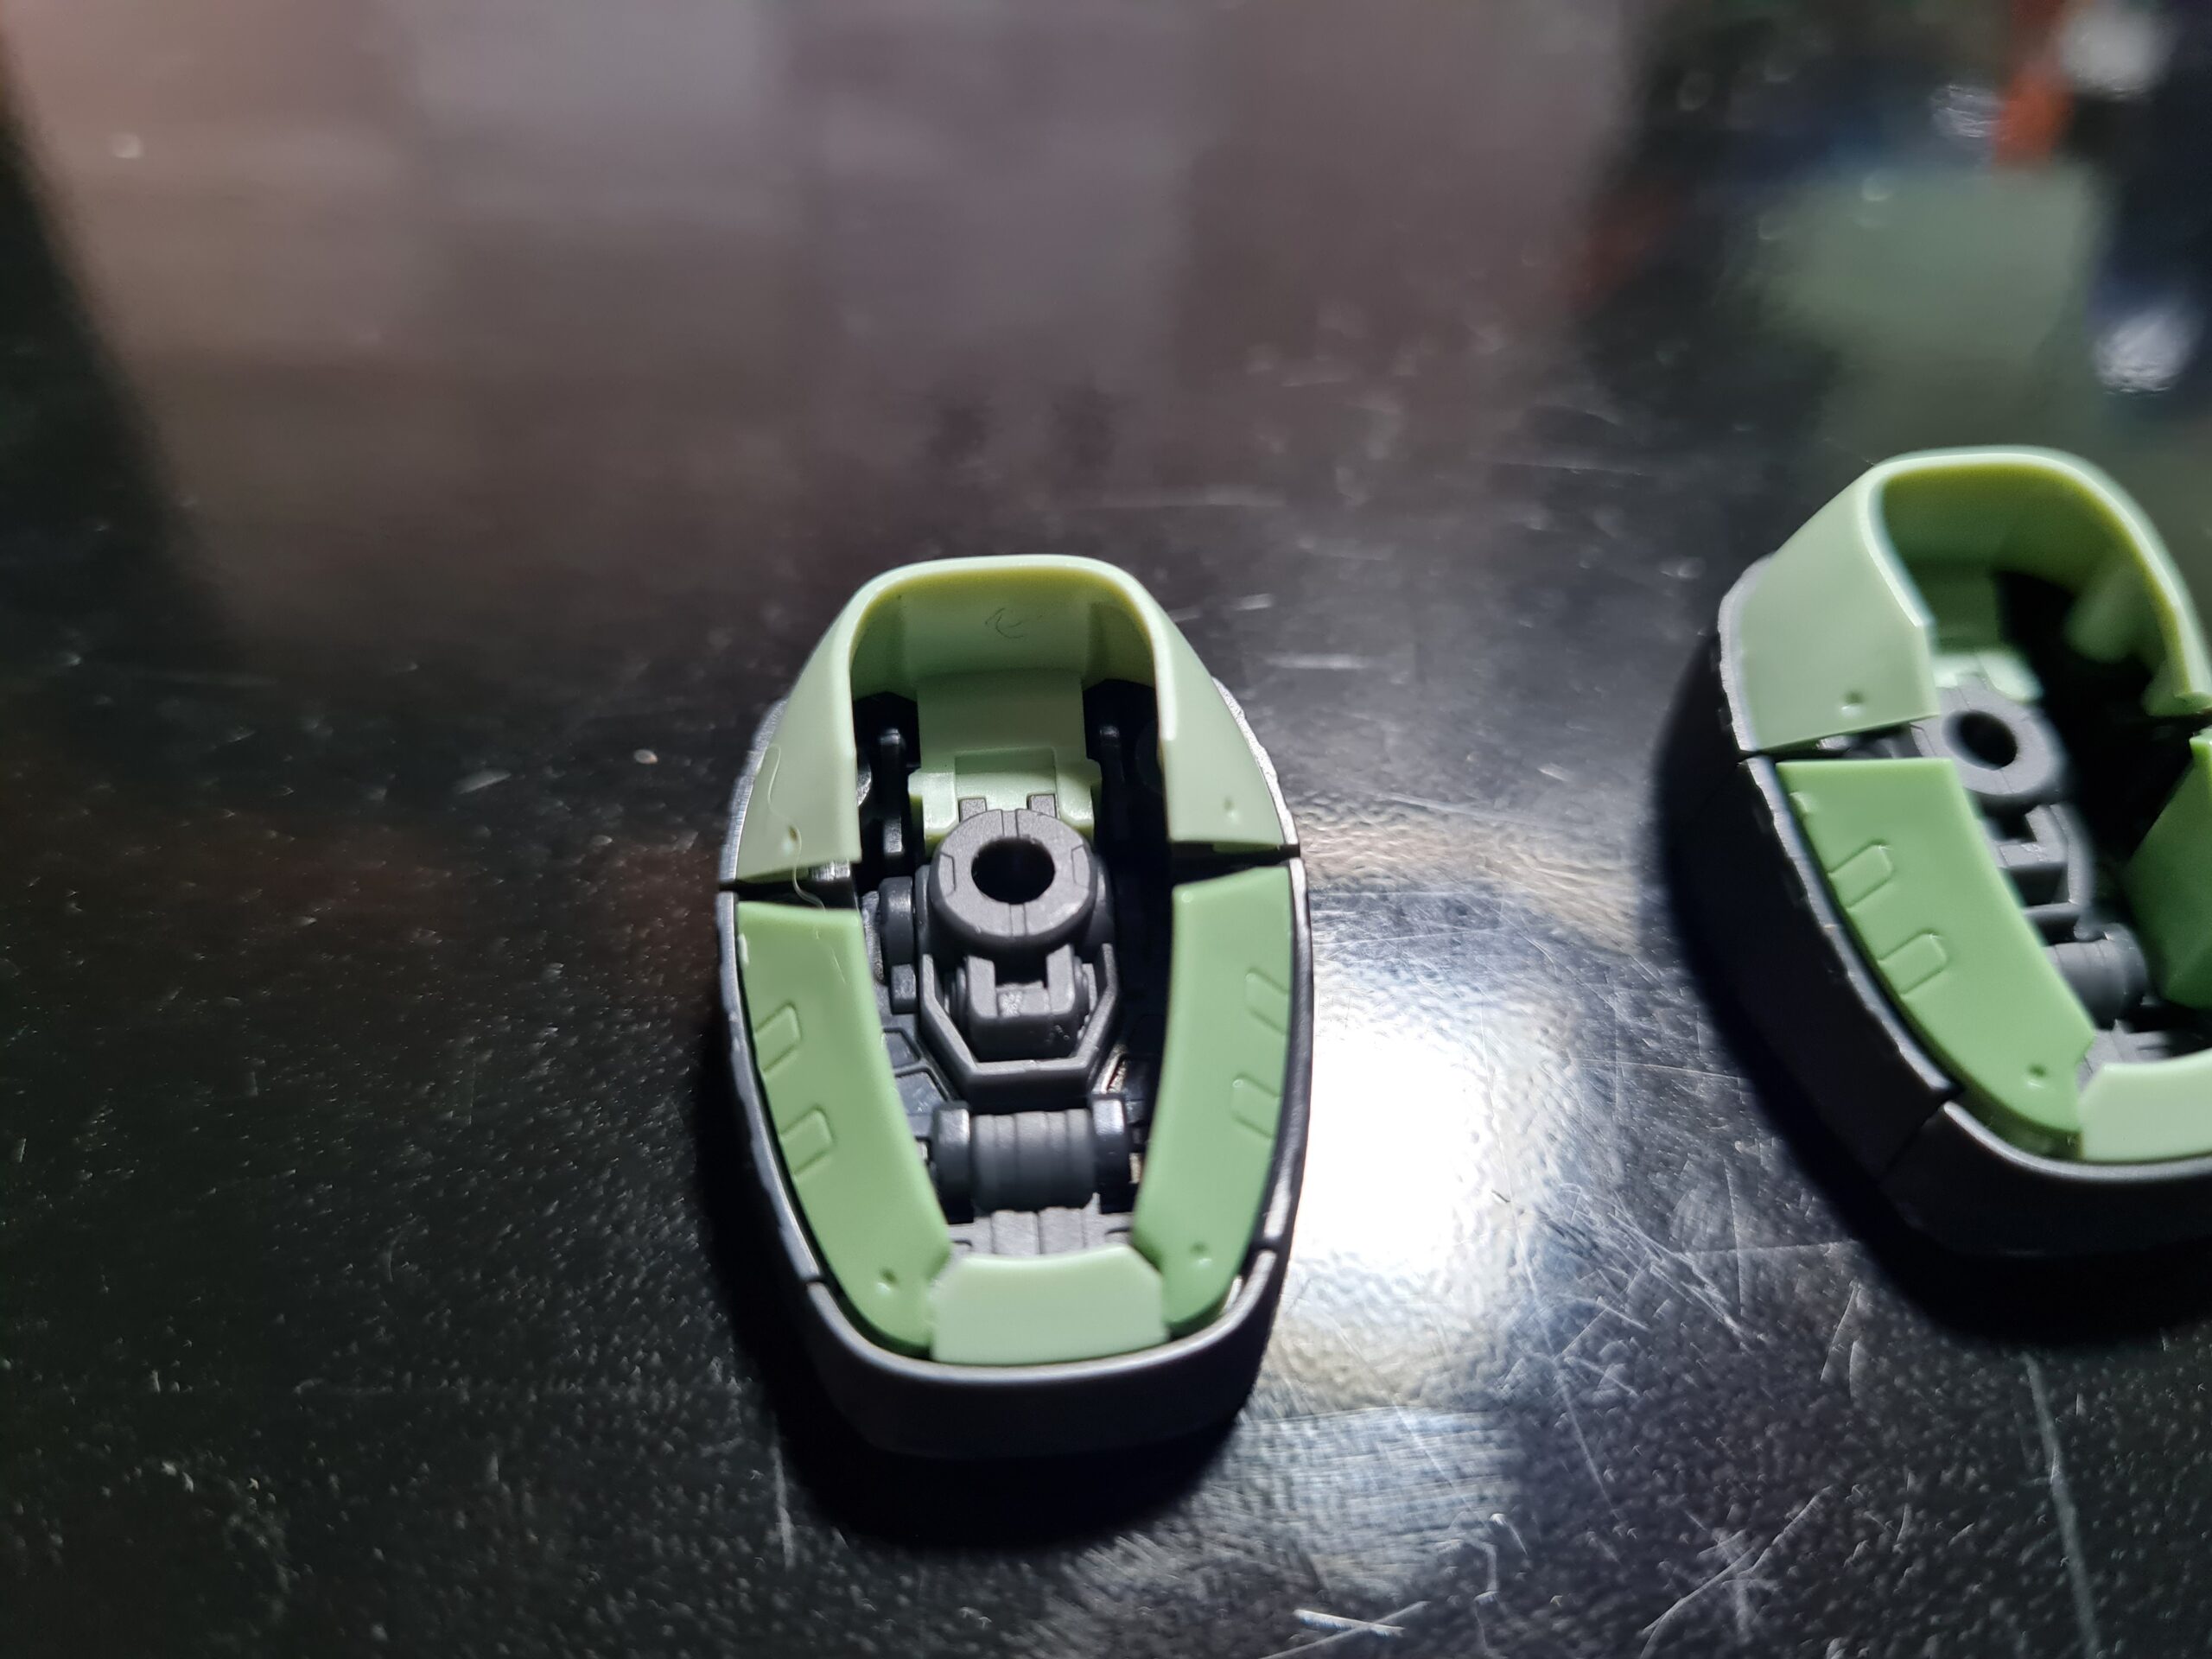
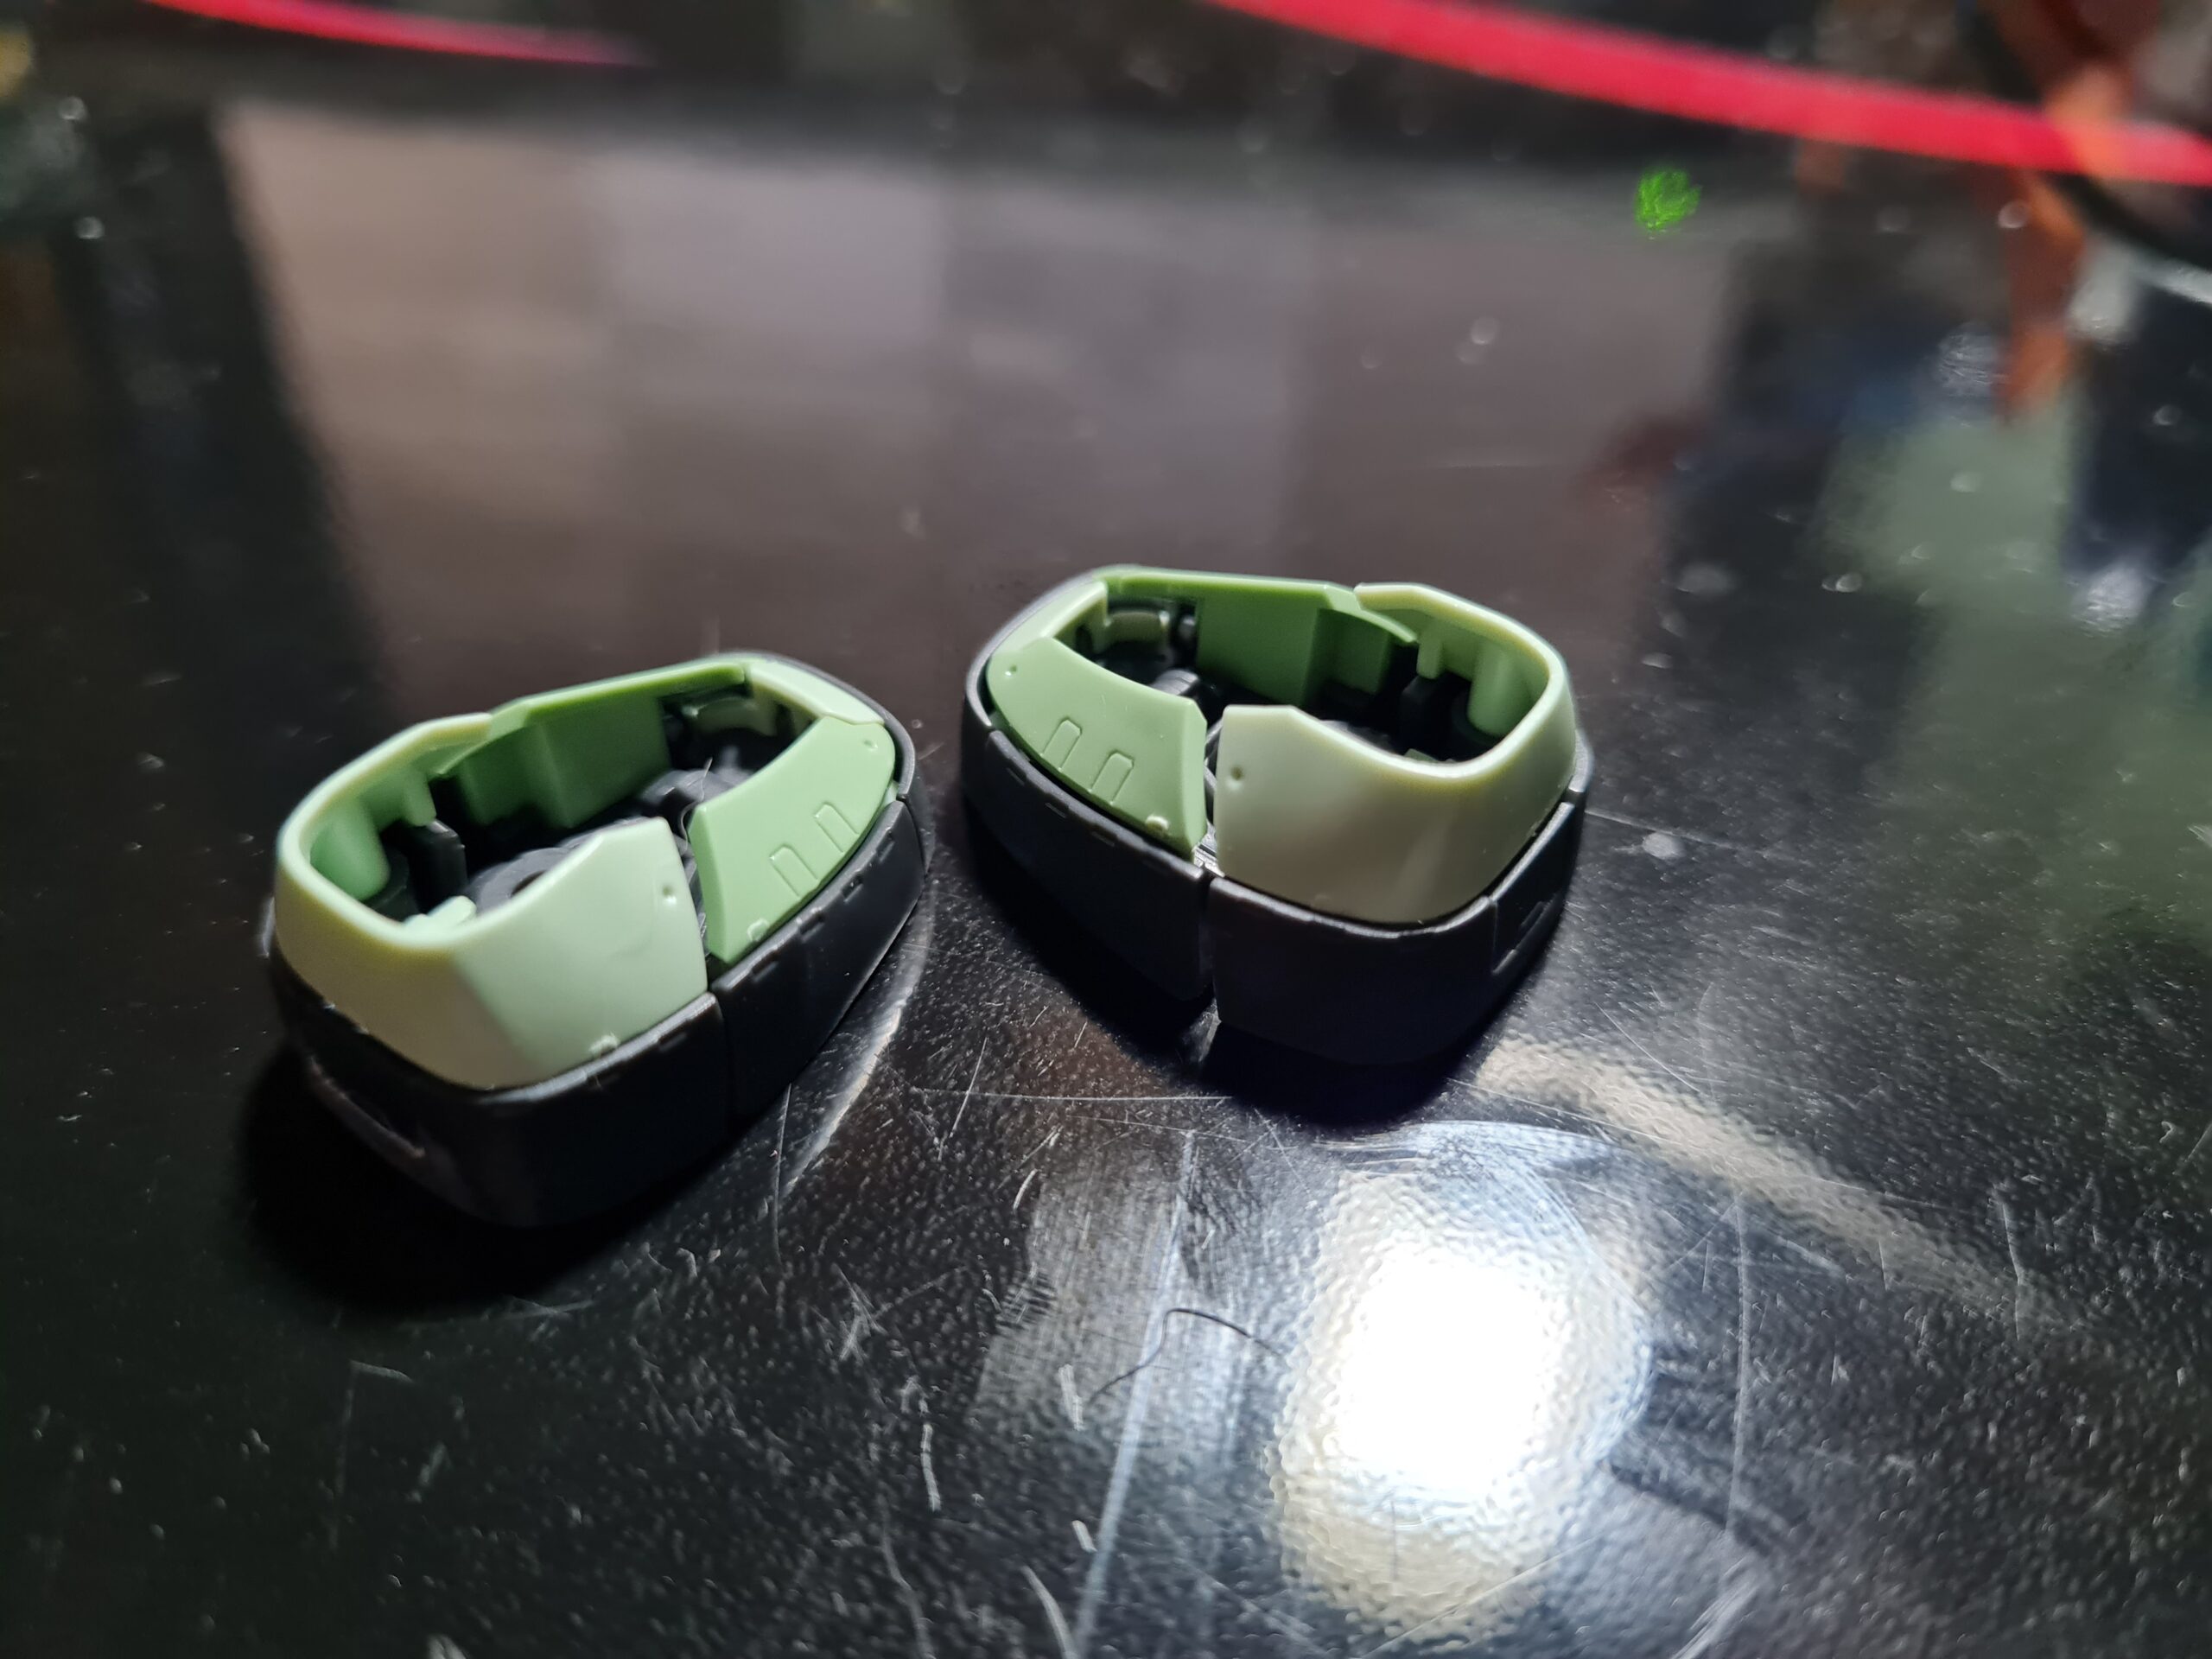
In the image above the scribed lines, which you can only see indistinctly, form patterns on the armour. Below are a couple of images of one of the legs after panel lining.

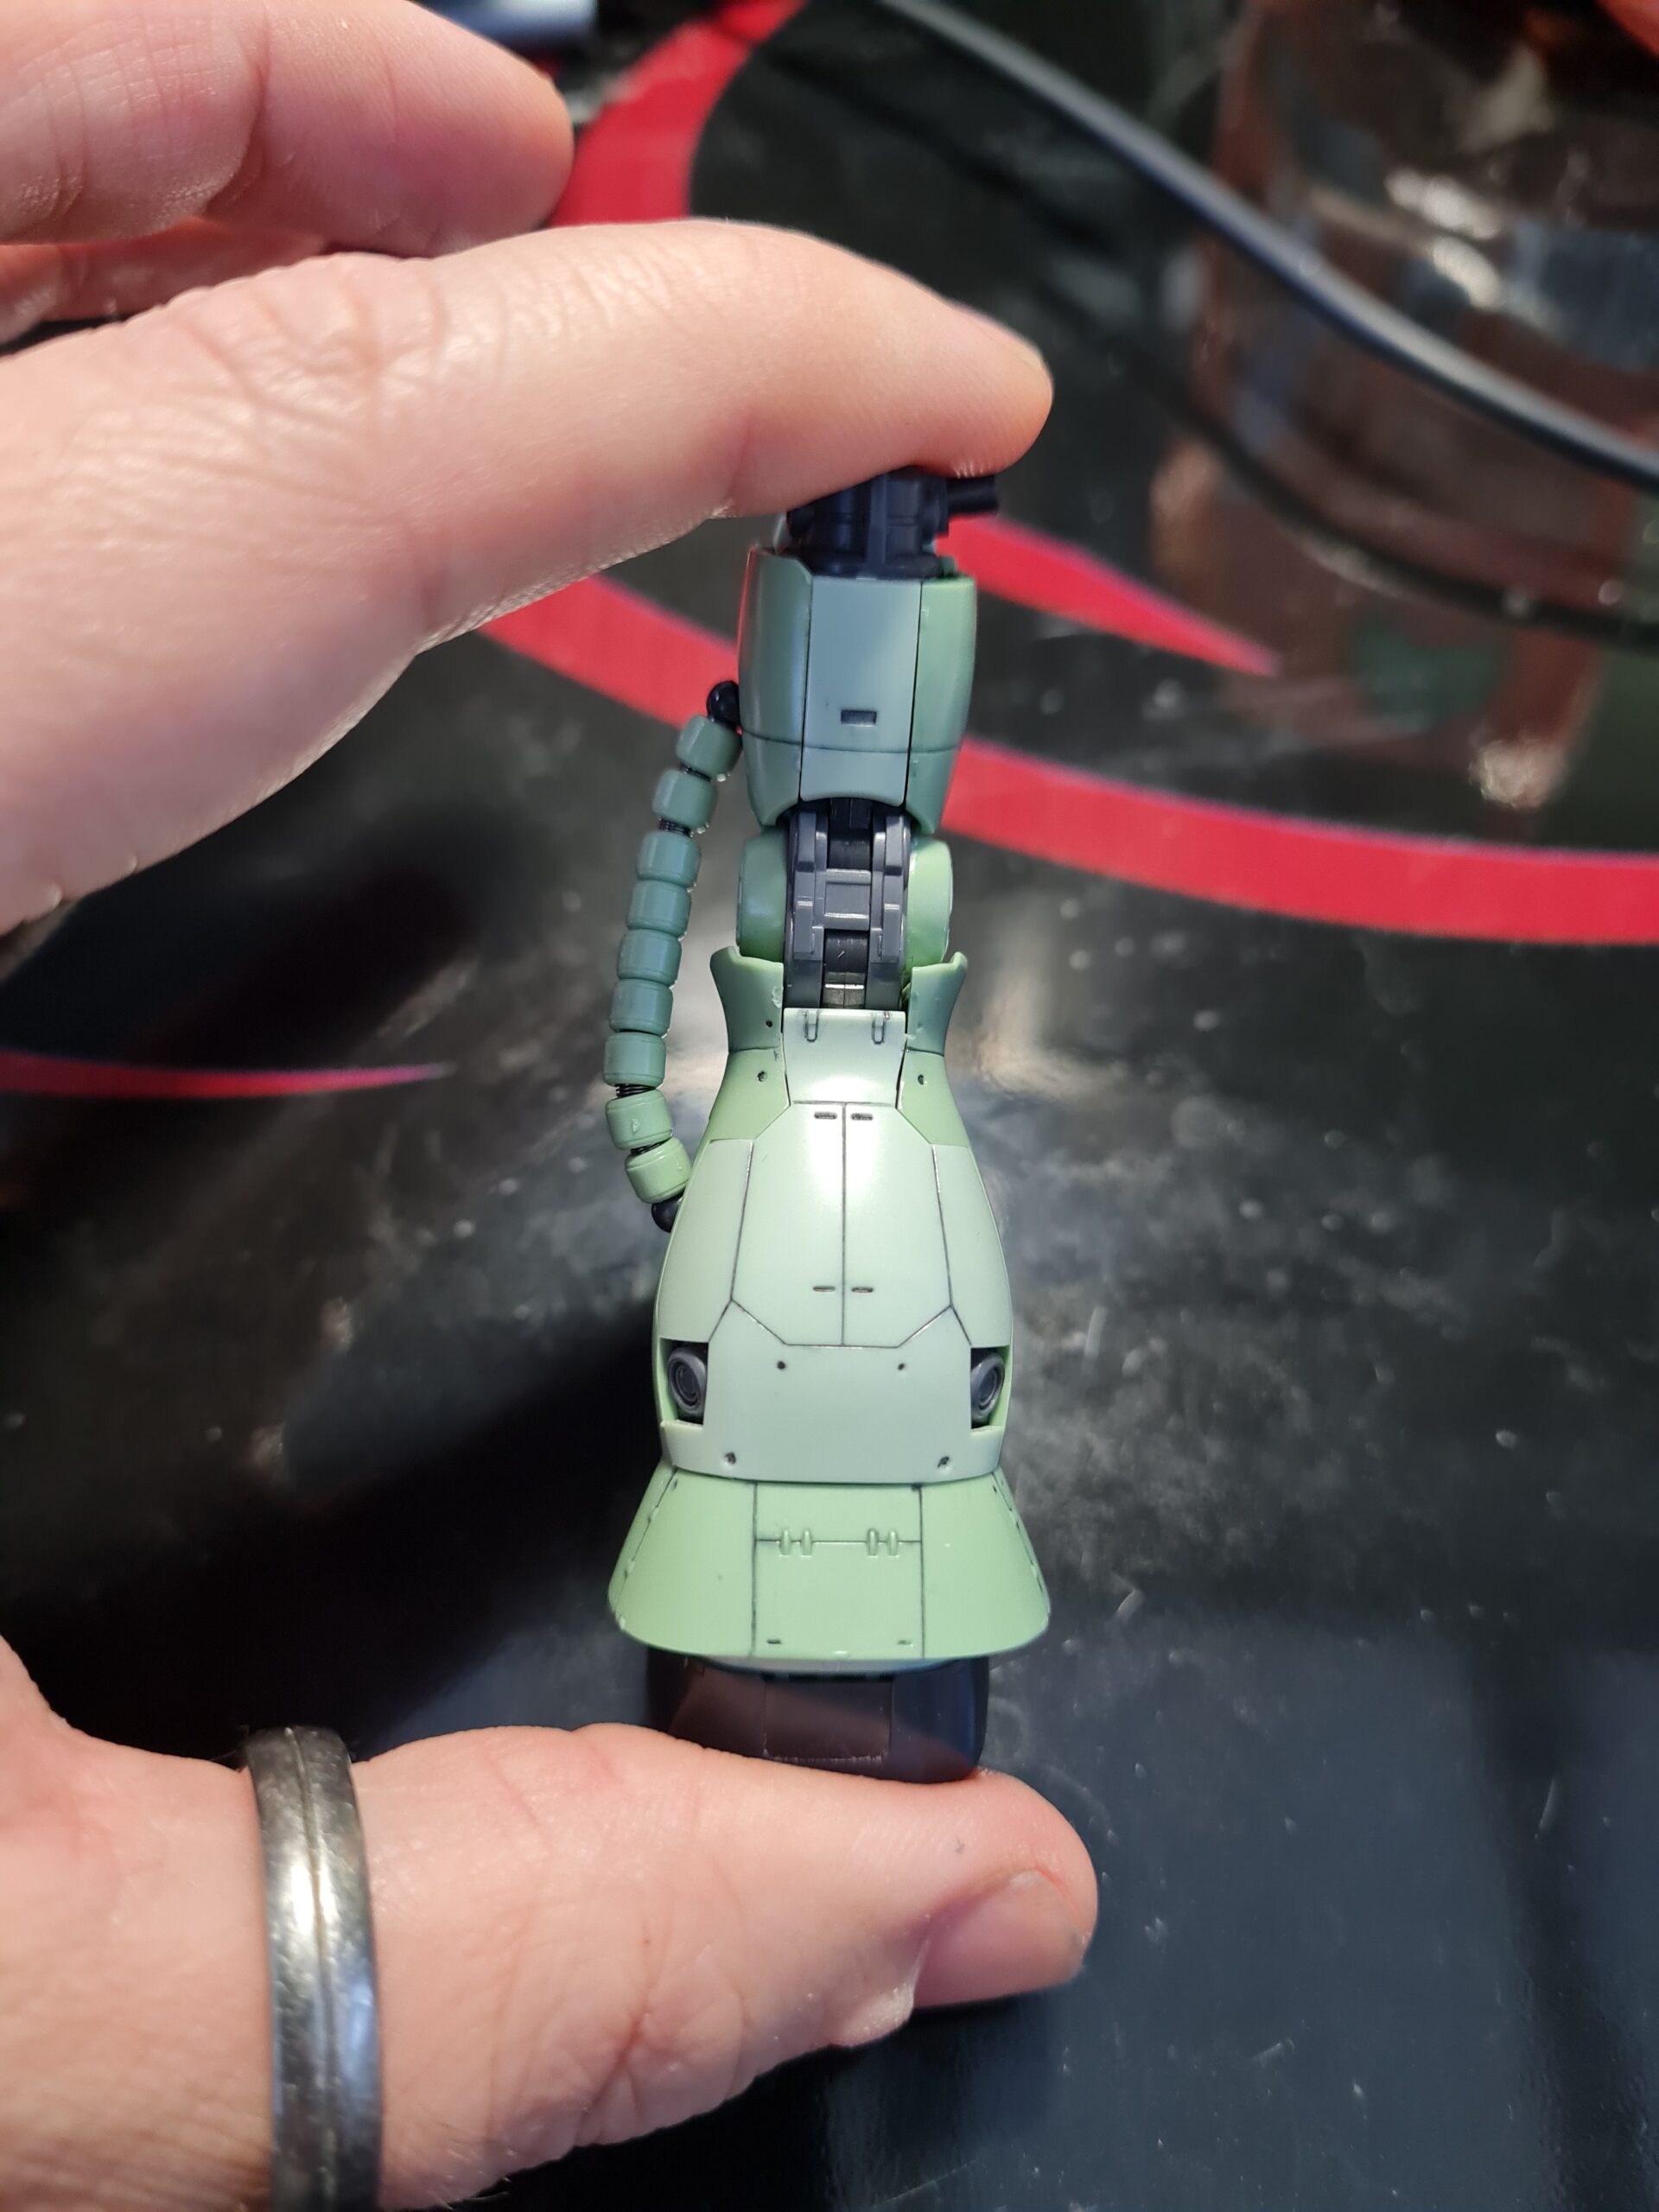
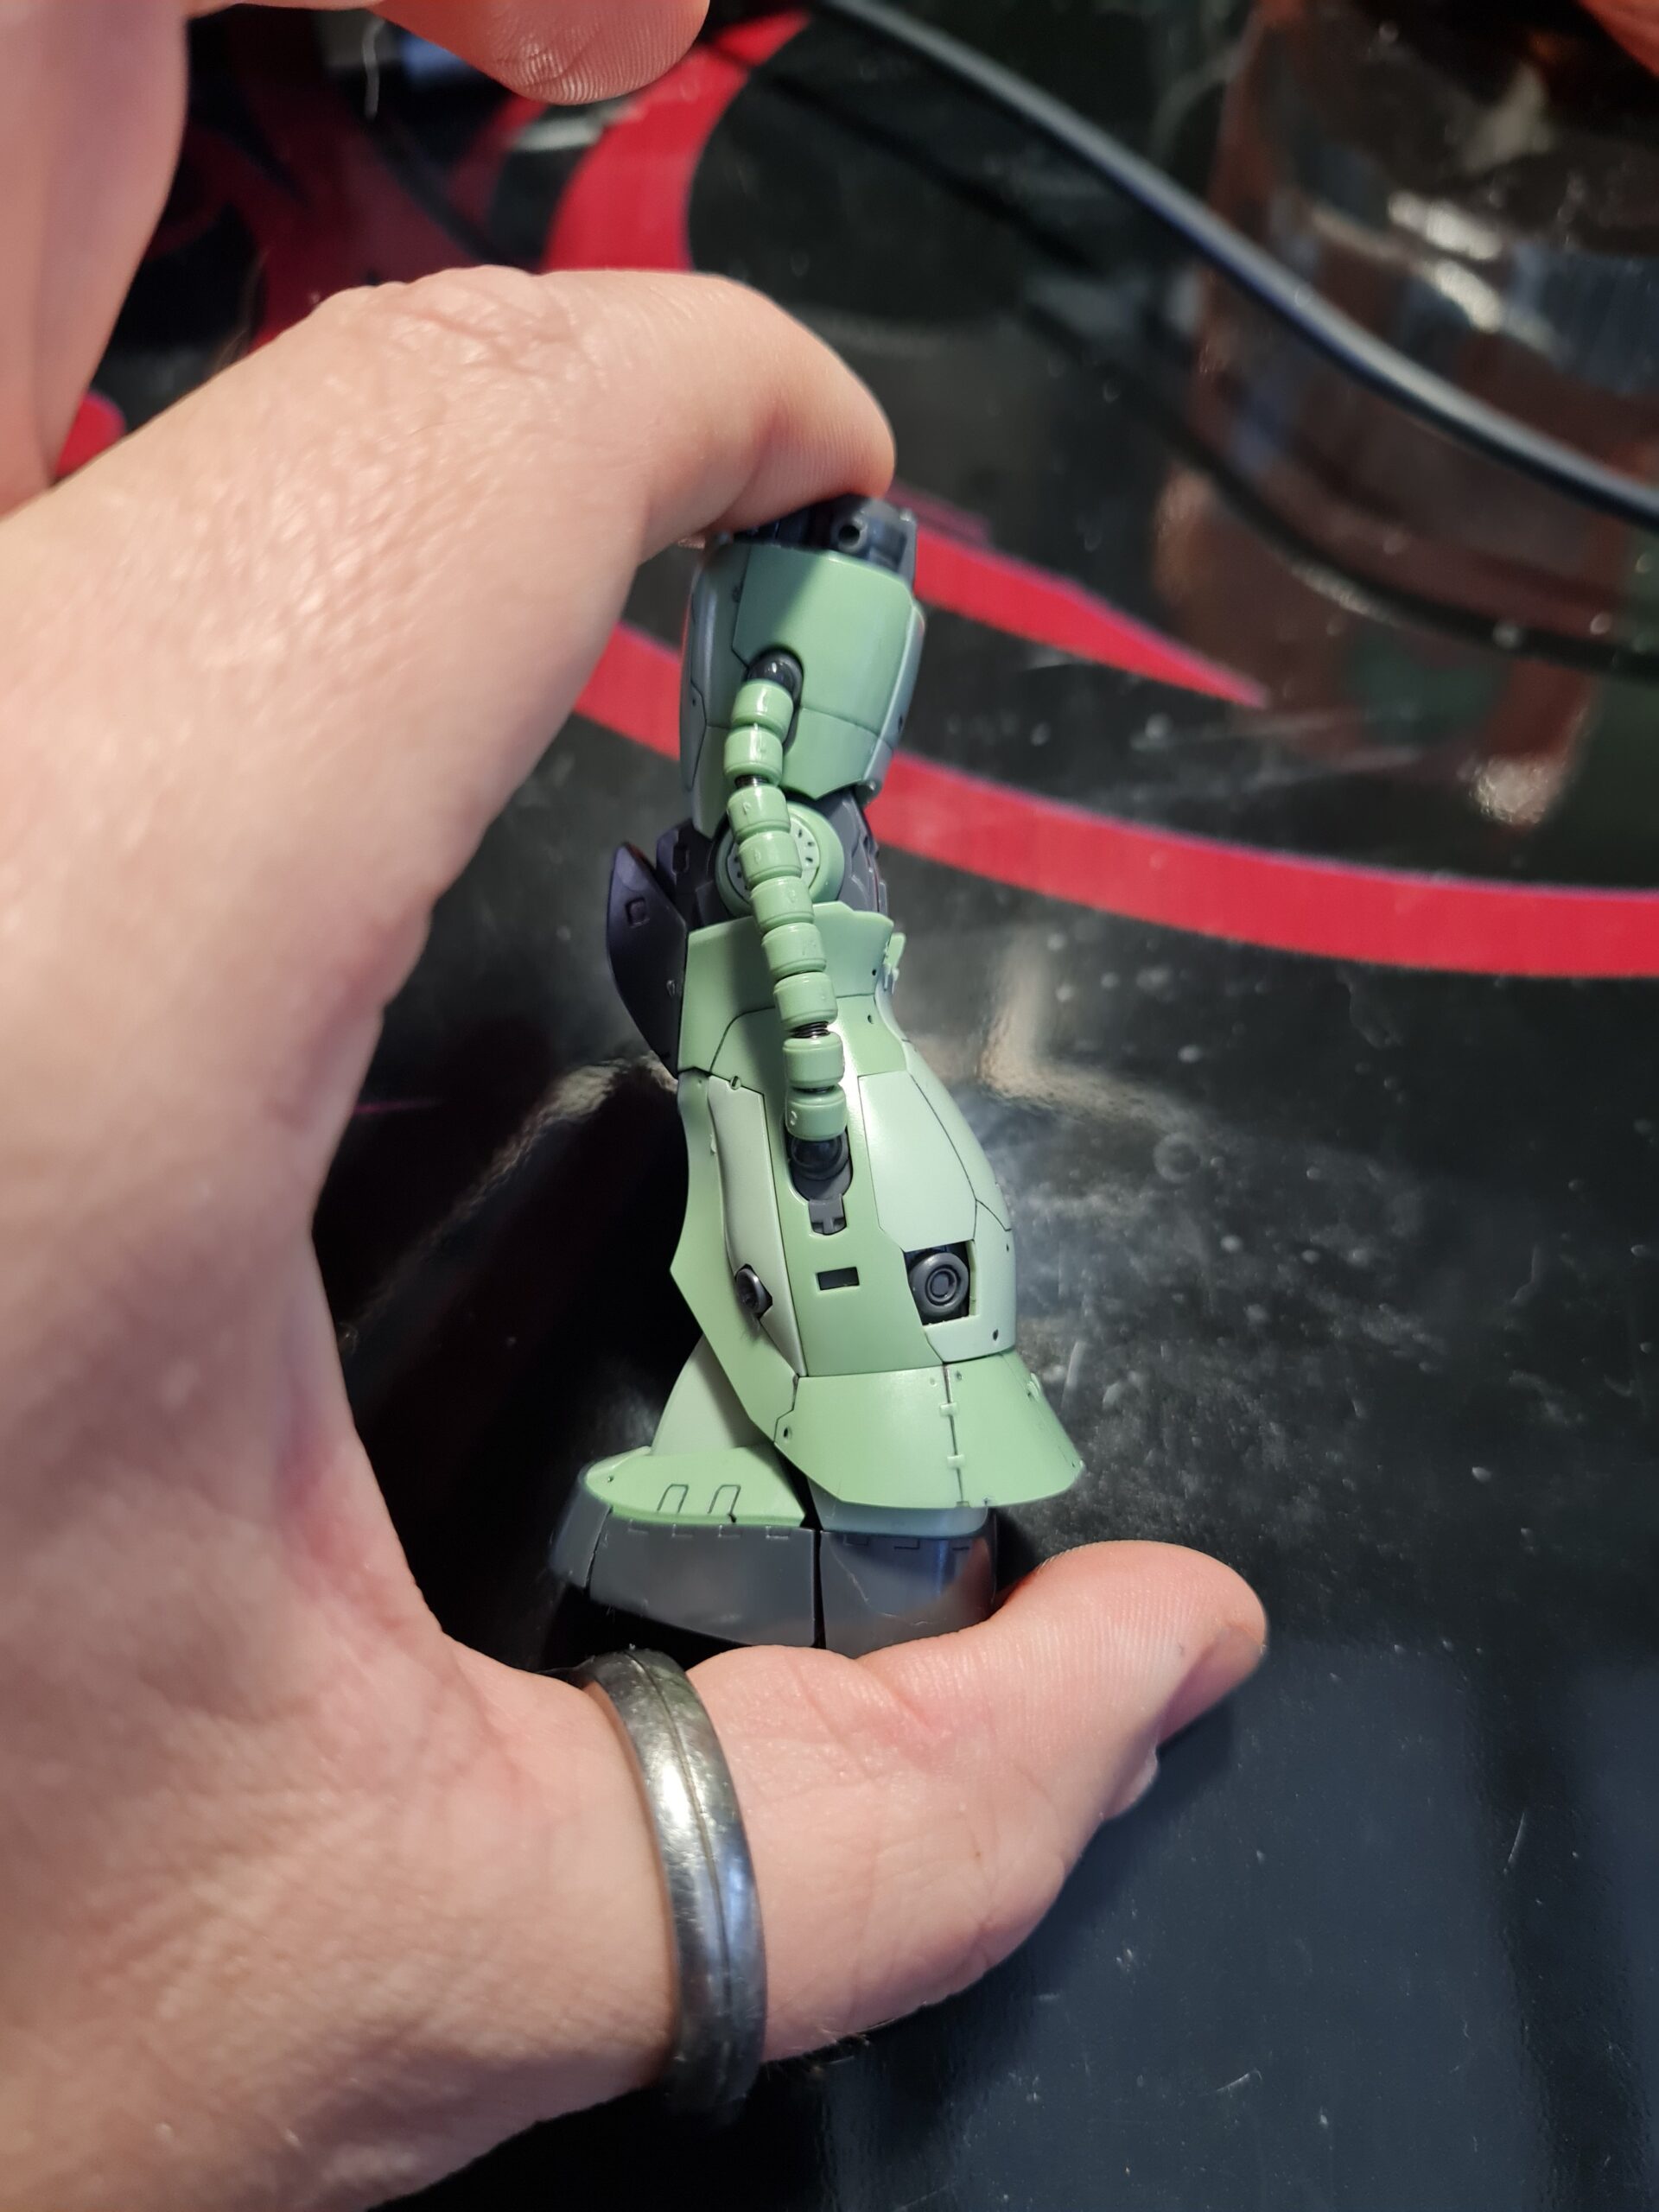
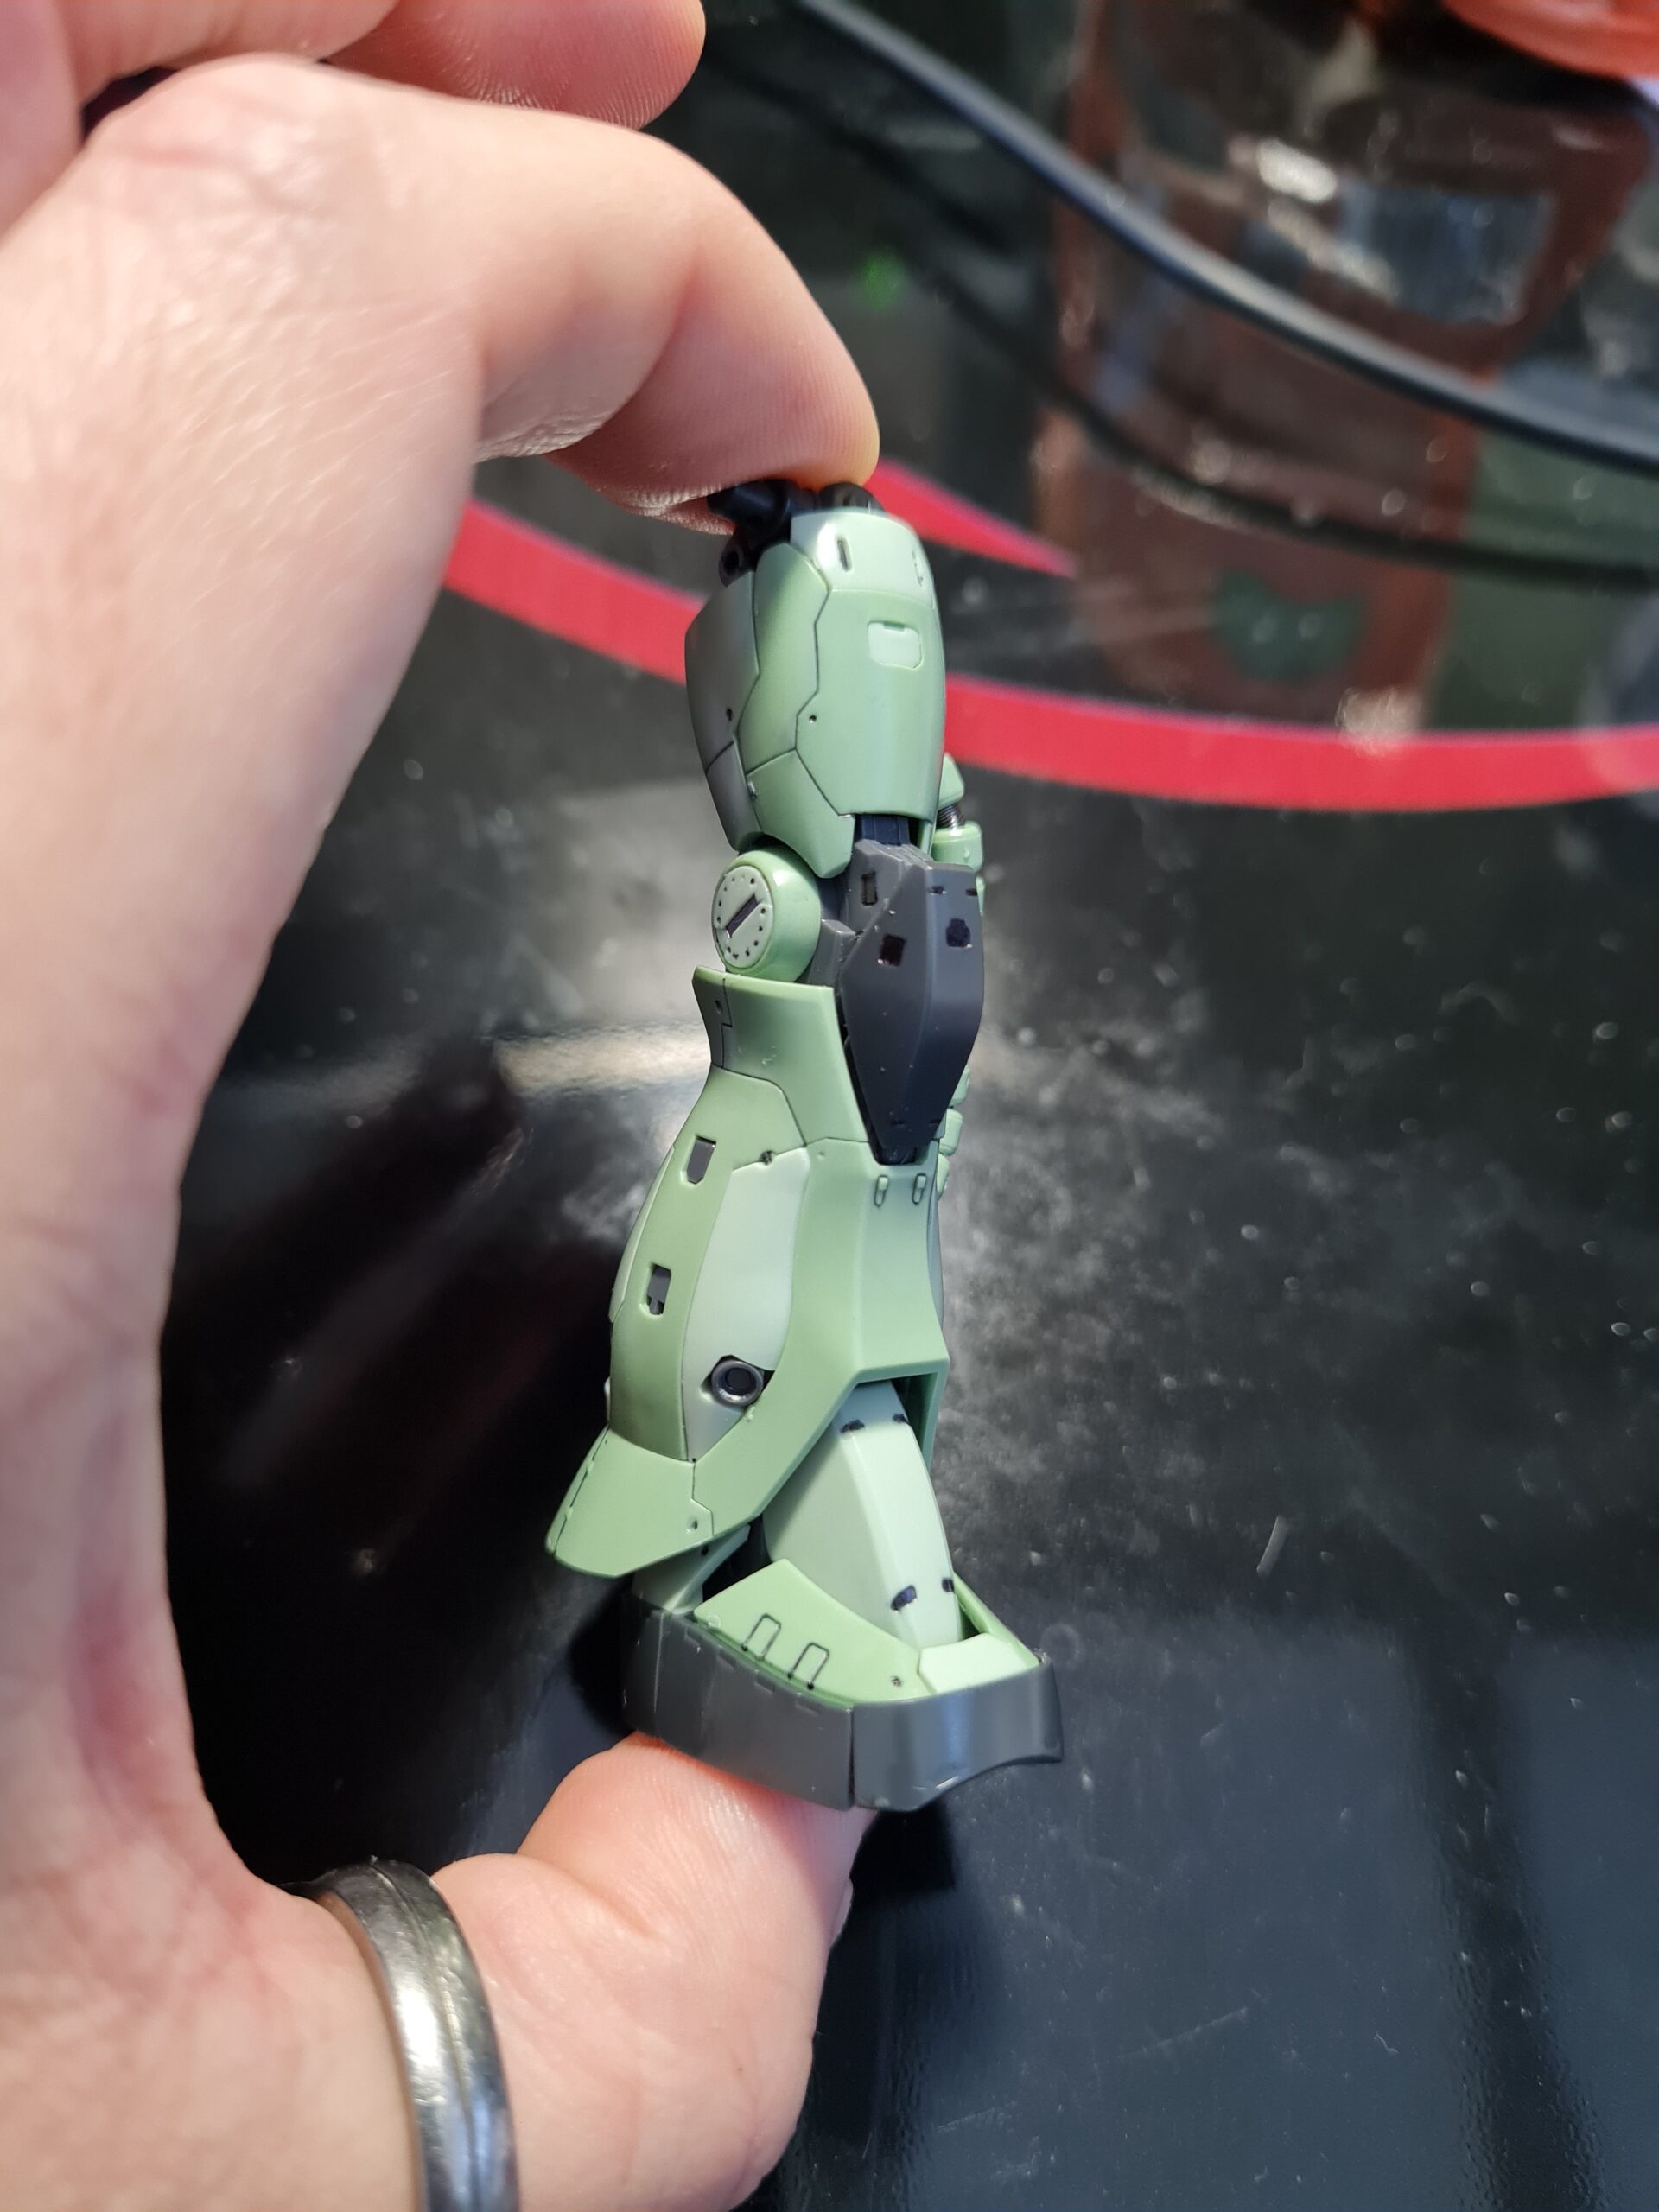
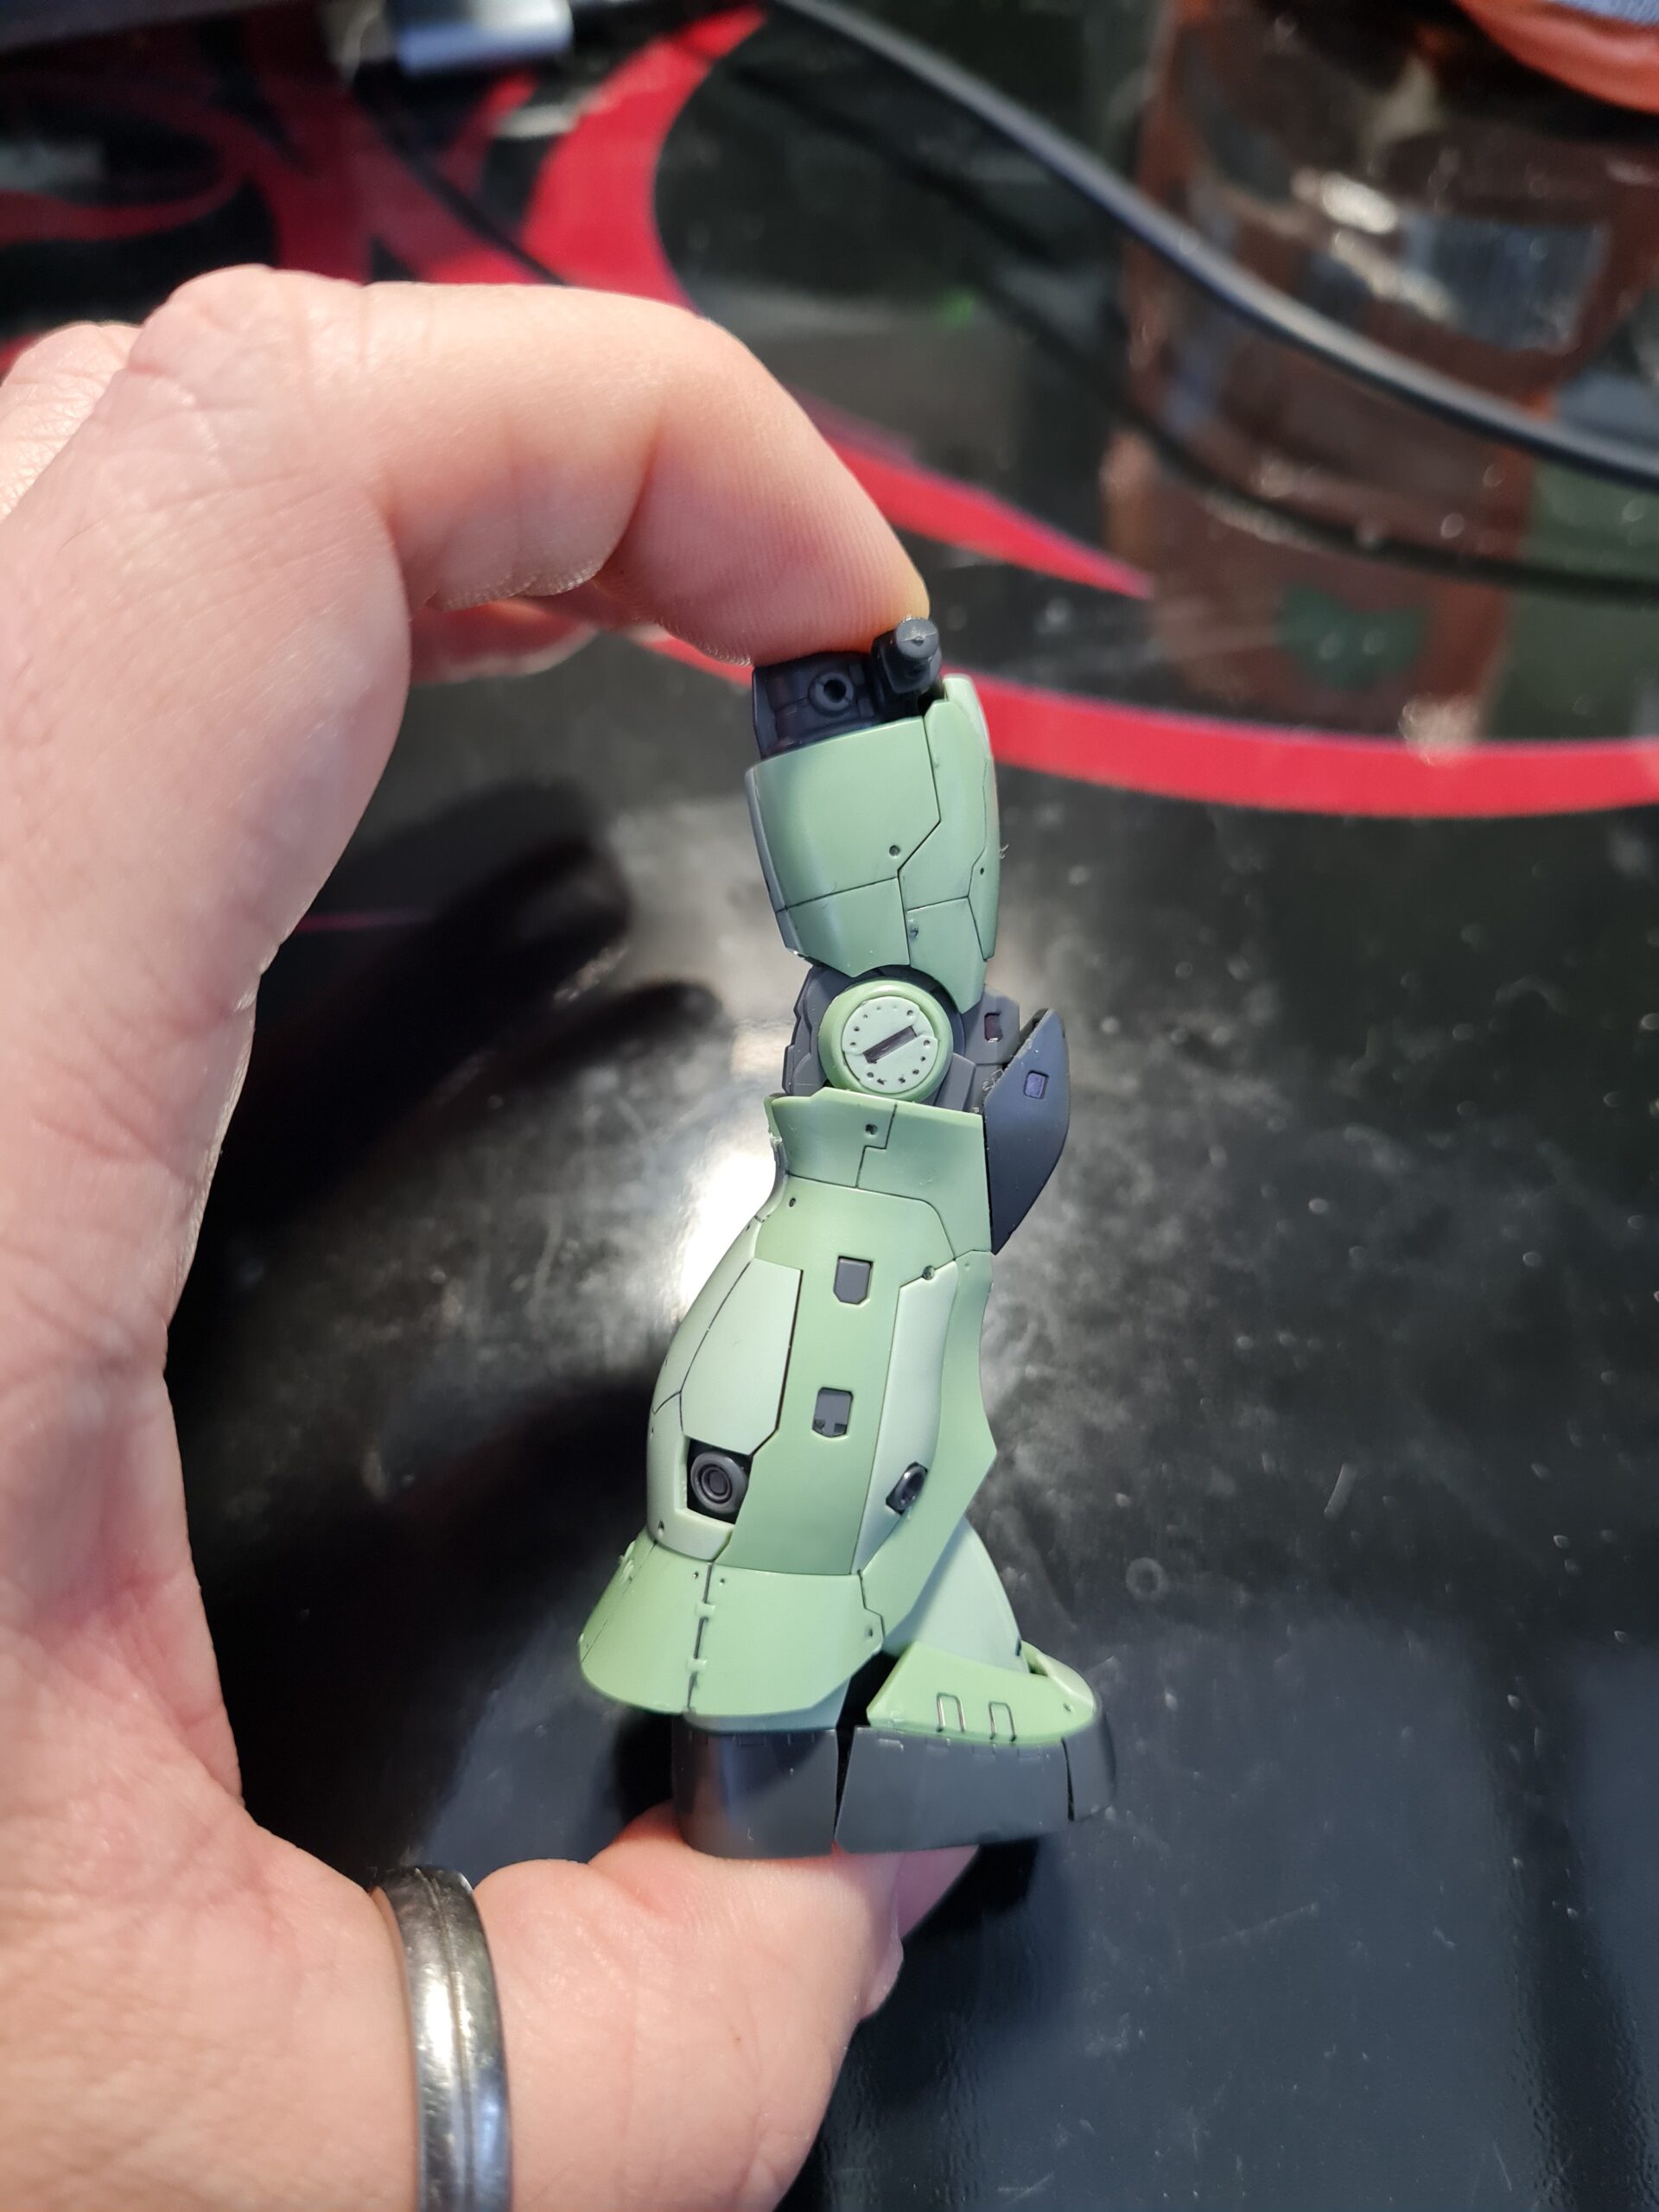
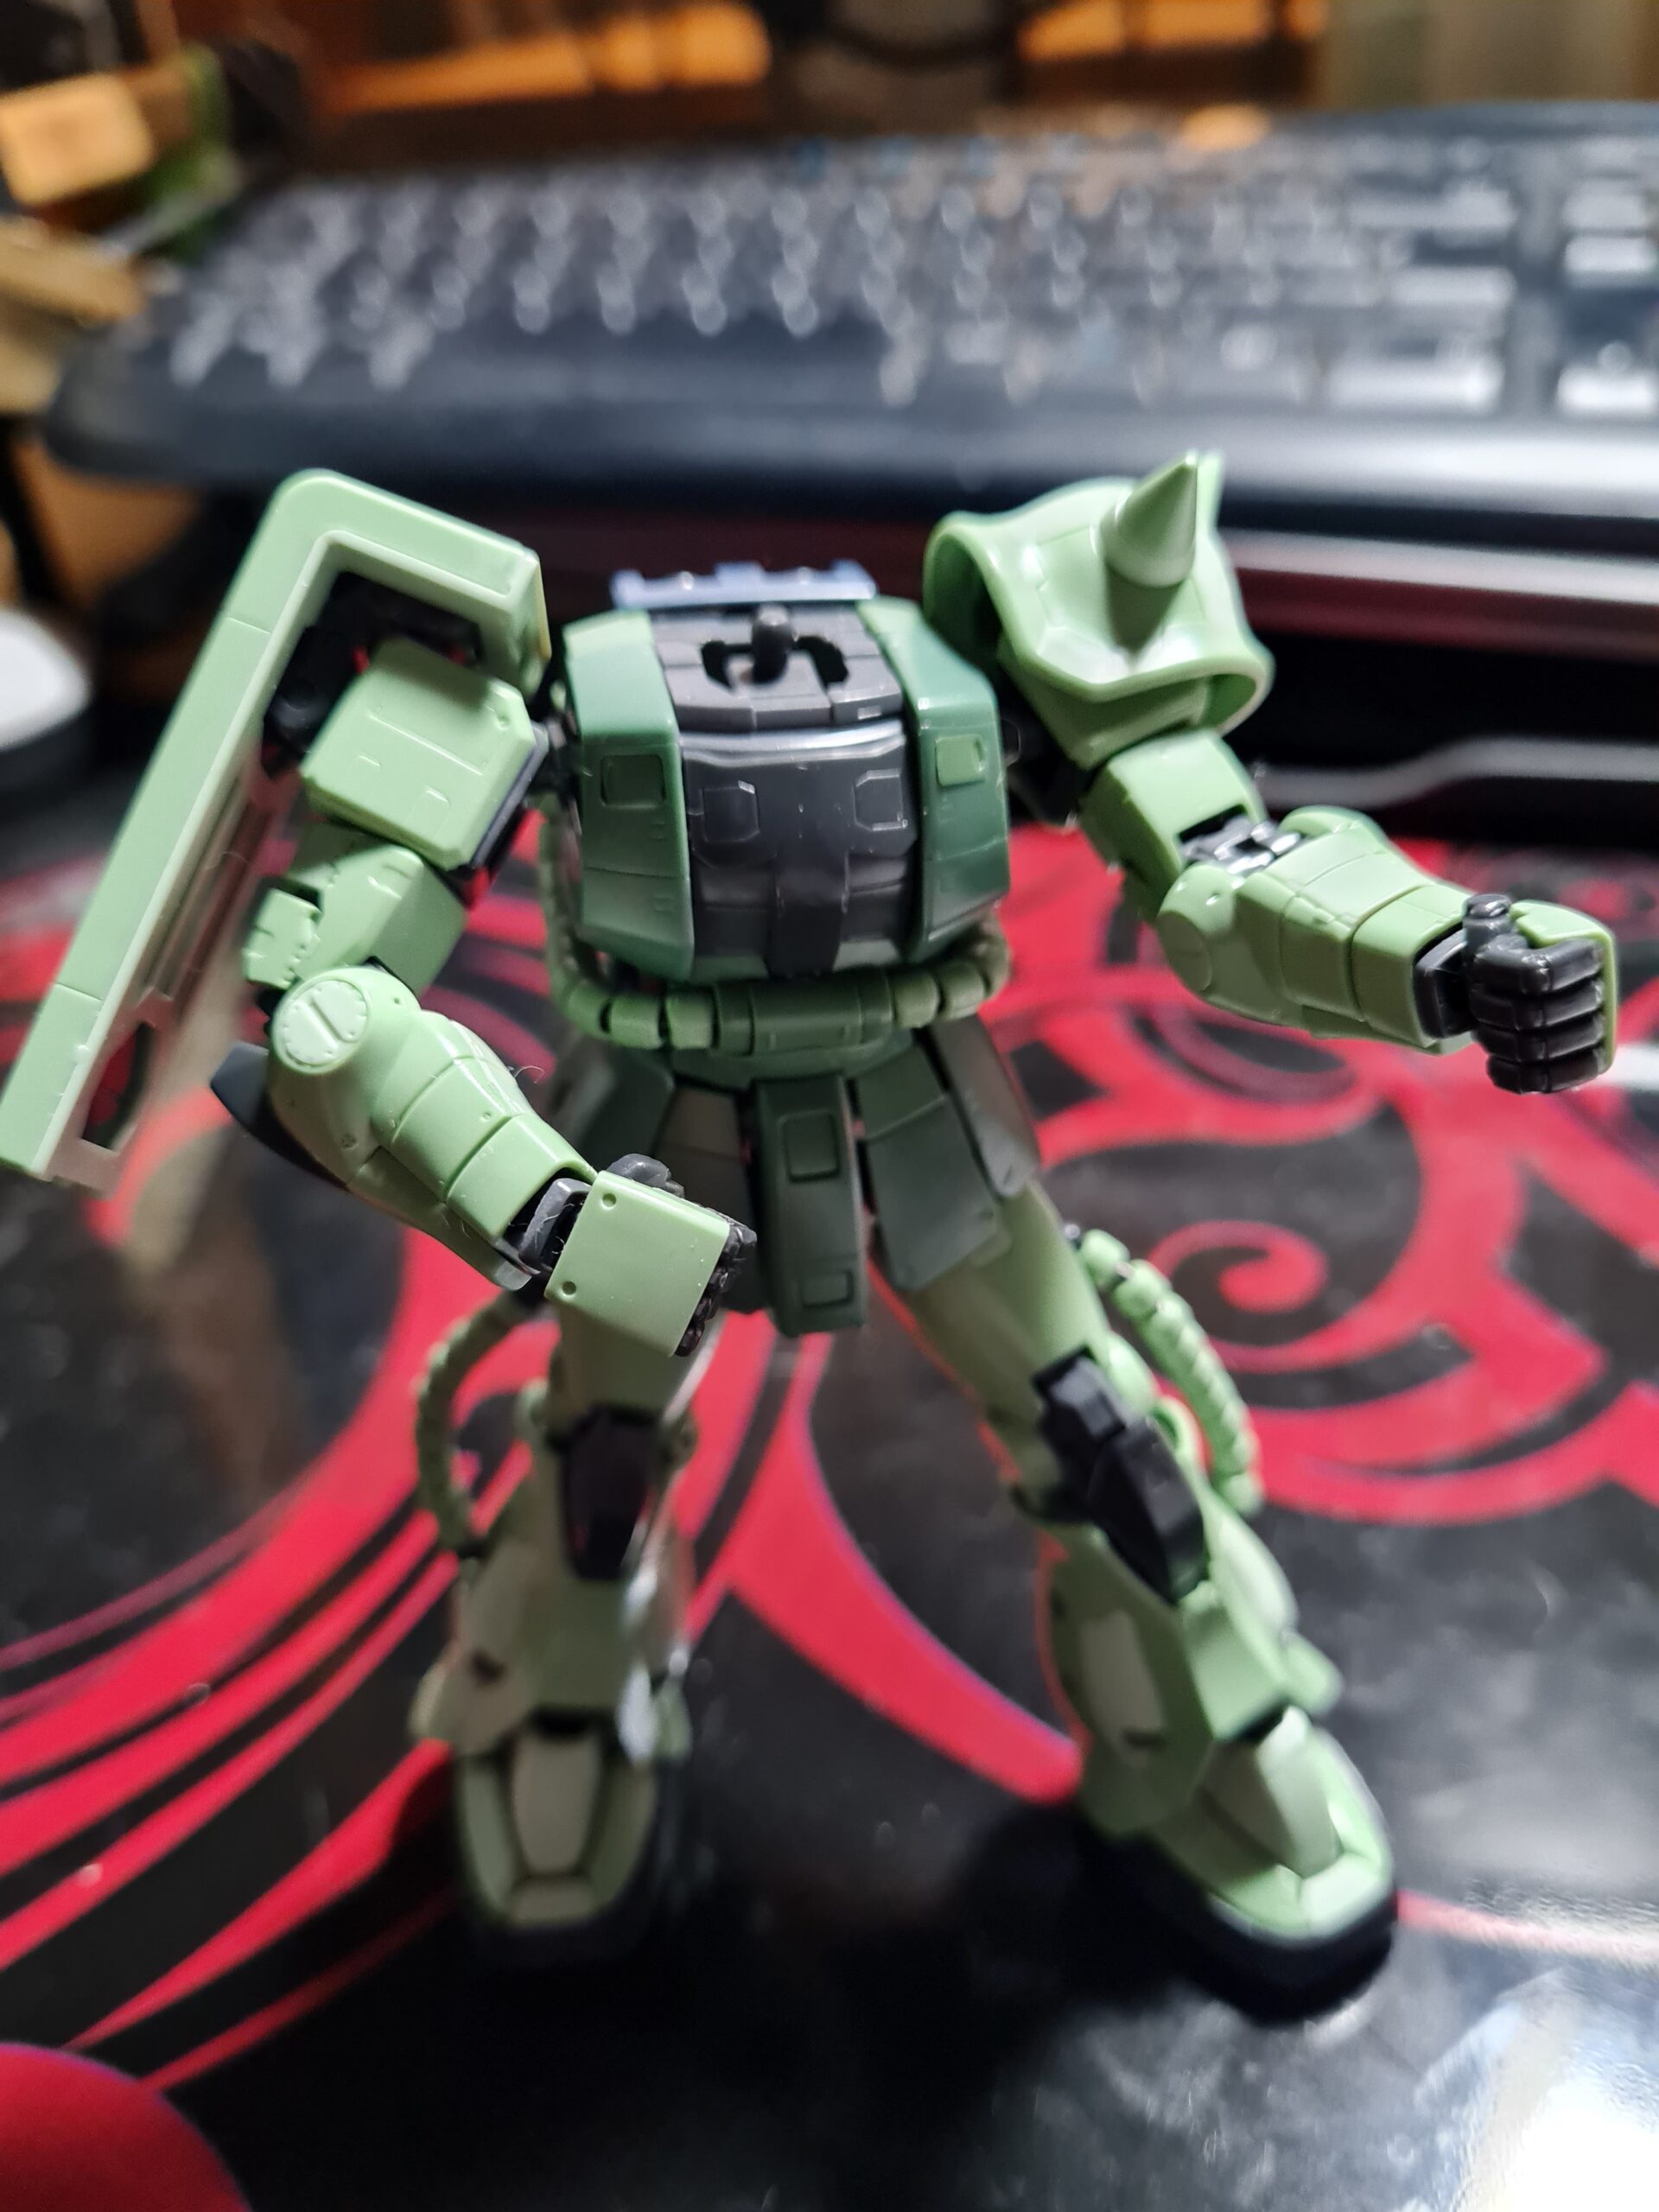
As can be seen from the pictures above the lines are far more prominent giving a lot more definition to the model. If nothing else, panel lining adds a whole new dimension to the model, and it, in its own way quite enjoyable to complete. Especially wheny ou see the finished article!

Thank you for taking the time to read this. If you haven’t already done so please like and follow us on our social media platforms and checkout our website!

Facebook: https://www.facebook.com/profile.php?id=100086701512793
Instagram: https://www.instagram.com/modelkitsltd/
Website: https://modelkitsltd.co.uk

gundam #gundammodel #model #kit #gunpla

Posted on

Guess the Model Part 9

Continuing on from yesterdays post “Guess the model Part 8”, we now have the equally inspired Guess the Model Part 9. In this series of posts I will be showcasing parts of the model I am currently building. Partly so people can guess that the model is, and partly to show how fantastic they are!

Well it is pretty much a given now that part 8 had the model together. In guess the model part 9 I am going to summarise what I found during the build process.

In case anyone is wondering. I am going to be building the weapons etc. as well, however, I’m fairly sure you all know the model by now. For anyone in any doubt the model is an RG MS-06F Zaku II.

Overall I really enjoyed building the model. The feet, where it all began, was definitely a high point in the building. I was amazed at the flexibility of the feet, and they provide a solid base for the build. Oddly, the most satisfying part for me was the head. There are only a few parts but it just goes together beautifully. I will say I am not a fan of the small beads, they do have a habit of pinging off. However, I do like the final effect. I preferred the parts where the beads went onto solid plastic pipes than the two leg/hip ones that are on springs. The weakest part of the model, by far, for me are the two flaps either side of the main crotch area. They just aren’t very stable and when posing the model keep coming free.

Out of 10 I would probably give it a 7 for build but a 9 for personality. It is a step up in the build complexity from the HG but not such a step as anyone with a few HG builds under their belt would/should find it impossible. As always do not rush, take your time, and enjoy the build. Now to decide whether to clear coat it and panel line then clear coat and sticker; or paint the beast!

Thank you for taking the time to read this. If you haven’t already done so please like and follow us on our social media platforms and checkout our website!

Facebook: https://www.facebook.com/profile.php?id=100086701512793
Instagram: https://www.instagram.com/modelkitsltd/
Website: https://modelkitsltd.co.uk

gundam #gundammodel #model #kit #gunpla

Posted on

Guess the Model Part 8

Continuing on from yesterdays post “Guess the model Part 7”, we now have the equally inspired Guess the Model Part 8. In this series of posts I will be showcasing parts of the model I am currently building. Partly so people can guess that the model is, and partly to show how fantastic they are!

Guess the model part 8 sees the final pieces of the puzzle starting to come together. With the main torso on in the last post, we are now up to the head. It is nice to see the model in all its glory and just needing weapons!

The head was a really enjoyable piece to build. As it came together it formed that iconic look. I managed, for the first time, not to ping one of the small green beads halfway across the room! I did however lose a small clear piece that the sticker was meant to go on inside the visor. I still haven’t found that piece! However I managed to attach the sticker to the post so all was fine.

Thank you for taking the time to read this. If you haven’t already done so please like and follow us on our social media platforms and checkout our website!

Facebook: https://www.facebook.com/profile.php?id=100086701512793
Instagram: https://www.instagram.com/modelkitsltd/
Website: https://modelkitsltd.co.uk

gundam #gundammodel #model #kit #gunpla

Posted on

Guess the Model Part 7

Continuing on from yesterdays post “Guess the model Part 6”, we now have the equally inspired Guess the Model Part 7. In this series of posts I will be showcasing parts of the model I am currently building. Partly so people can guess that the model is, and partly to show how fantastic they are!

Guess the model part 7 sees the final pieces of the puzzle starting to come together. With the main torso together (albeit needing some cleaning up to do) the model is finally starting to take shape. After several evenings of building it is nice to start to see the model coming together.

This was a slightly frustrating piece to put together. Some of the parts took a while to fit together. However once together it was a satisfying part to have completed. I should note that again, you will want to be careful with the smaller pieces. I spent considerable time on hands and knees looking for small green pieces that had pinged off! So take your time and enjoy the build. Don’t rush and pay careful attention to the small pingy bits of plastic!

That is today’s clue to the model that is on my building table!

Thank you for taking the time to read this. If you haven’t already done so please like and follow us on our social media platforms and checkout our website!

Facebook: https://www.facebook.com/profile.php?id=100086701512793
Instagram: https://www.instagram.com/modelkitsltd/
Website: https://modelkitsltd.co.uk

gundam #gundammodel #model #kit #gunpla

Posted on

Guess the Model Part 6

Continuing on from yesterdays post “Guess the model Part 5”, we now have the equally inspired Guess the Model Part 6. In this series of posts I will be showcasing parts of the model I am currently building. Partly so people can guess that the model is, and partly to show how fantastic they are!

In guess the model part 6 today’s part is the left arm. Unlike with the feet and legs this offers a different look and feel to the right arm.

The first image shows how the arm comes after bring freed from the runner. The second shows the bits that are pulled apart from it, and the third the side pieces folded down and clipped in place! It is amazing to thing that these come like that! All that detail, and move-ability and articulation comes straight from the runner!

That is today’s clue to the model that is on my building table!

Thank you for taking the time to read this. If you haven’t already done so please like and follow us on our social media platforms and checkout our website!

Facebook: https://www.facebook.com/profile.php?id=100086701512793
Instagram: https://www.instagram.com/modelkitsltd/
Website: https://modelkitsltd.co.uk

gundam #gundammodel #model #kit #gunpla

Posted on

Guess the Model Part 5

Continuing on from yesterdays post “Guess the model Part 4”, we now have the equally inspired Guess the Model Part 5. In this series of posts I will be showcasing parts of the model I am currently building. Partly so people can guess that the model is, and partly to show how fantastic they are!

In guess the model part 5 today’s part is the right arm. Now this is a bit of a curve ball as I was expecting it to be the torso! See the excitement never ends!

This piece was actually a really enjoyable part of the build. There are a few pieces where you have to pull them apart .. I have no idea how they can cast a ball joint in place with it all working and moving! Building this arm was, for me, a bit of a highlight. I’ve loved this model for some time, and the shoulder pad is quite iconic.

That is today’s clue to the model that is on my building table!

Thank you for taking the time to read this. If you haven’t already done so please like and follow us on our social media platforms and checkout our website!

Facebook: https://www.facebook.com/profile.php?id=100086701512793
Instagram: https://www.instagram.com/modelkitsltd/
Website: https://modelkitsltd.co.uk

gundam #gundammodel #model #kit #gunpla

Posted on

Guess the Model Part 4

Continuing on from yesterdays post “Guess the model Part 3”, we now have the equally inspired Guess the Model Part 4. In this series of posts I will be showcasing parts of the model I am currently building. Partly so people can guess that the model is, and partly to show how fantastic they are!

In guess the model part 4 today’s part is the hips. Apparently we are working our way up! This was, by far, the trickiest bit of the build so far!

The combination of the waist and legs is pretty striking. The hip section was by far the most challenging part of the build so far. The two flap pieces facing the front (on either side of the central piece) attach via small ball joints. These are very prone to popping free, especially when you try and pose the legs. I will be doing an overall roundup once the build is complete.

That is today’s clue to the model that is on my building table!

Thank you for taking the time to read this. If you haven’t already done so please like and follow us on our social media platforms and checkout our website!

Facebook: https://www.facebook.com/profile.php?id=100086701512793
Instagram: https://www.instagram.com/modelkitsltd/
Website: https://modelkitsltd.co.uk

gundam #gundammodel #model #kit #gunpla

Posted on

Guess the Model Part 3

Continuing on from yesterdays post “Guess the model Part 2”, we now have the equally inspired Guess the Model Part 3. In this series of posts I will be showcasing parts of the model I am currently building. Partly so people can guess that the model is, and partly to show how fantastic they are!

Today’s part is a leg. I know nearly as exciting as the .. erm leg … but now you get 2 for the price of 1! So lets get on with “Guess the Model Part 3”!

Now that the pair are together, it is starting to form, I think, quite a classic look! I really need to take the side pipes off, and clean the pieces up individually (making sure to avoid the spring effect mentioned in yesterdays post). However with my hands I’m finding those hard to hold. I am going to have to dig out a pair of tweezers to hold them steady while I sand away!

That is today’s clue to the model that is on my building table!

Thank you for taking the time to read this. If you haven’t already done so please like and follow us on our social media platforms and checkout our website!

Facebook: https://www.facebook.com/profile.php?id=100086701512793
Instagram: https://www.instagram.com/modelkitsltd/
Website: https://modelkitsltd.co.uk

gundam #gundammodel #model #kit #gunpla

Posted on

Guess the Model Part 2

Continuing on from yesterdays post “Guess the model Part 1”, we now have the equally inspired Guess the Model Part 2. In this series of posts I will be showcasing parts of the model I am currently building. Partly so people can guess that the model is, and partly to show how fantastic they are!

Today’s part is a leg. I know nearly as exciting as the foot!

As can be seen in the images above the leg bends beautifully. Two things that I learnt while building this model.

  1. Cleanup the small “pipe” pieces before putting it together.
  2. Cleanup the small “pipe” pieces before putting it together.

I feel strongly enough about this that it deserves two places! Those small pieces are on a sprint which gives the unique bent look/style and provides flexibility. However, if like me you push too hard on those pieces the spring can come away from the piece inserted into it catapulting the tiny pieces around the room. Believe me on this when I say it is easier to clean them up first!

That is today’s clue to the model that is on my building table!

Thank you for taking the time to read this. If you haven’t already done so please like and follow us on our social media platforms and checkout our website!

Facebook: https://www.facebook.com/profile.php?id=100086701512793
Instagram: https://www.instagram.com/modelkitsltd/
Website: https://modelkitsltd.co.uk

gundam #gundammodel #model #kit #gunpla

Posted on

Guess the Model Part 1

The last few posts have been focused around the business side of the company, and setting things up. However, it is important that I don’t forget exactly why I set this up to begin with. That leads me nicely into this current post “Guess the Model Part 1”.

Over the next few days (hopefully) I will be showing parts of the mode I am currently building. Not only will this give people a time lapse of my build, but also in the end, it will be able to showcase one of the models I haven’t shown yet.

As you can see today’s image is feet! Now something I found while building these, was that the foot actually has limited articulation in the bottom in two separate places, around the middle, and the toes! Imagine a model where you have that level of control on pose-ability!

So that is today’s clue to the model. Tomorrow we see where I have gotten to!

Thank you for taking the time to read “Guess the model Part 1”. If you haven’t already done so please like and follow us on our social media platforms and checkout our website!

Facebook: https://www.facebook.com/profile.php?id=100086701512793
Instagram: https://www.instagram.com/modelkitsltd/
Website: https://modelkitsltd.co.uk

gundam #gundammodel #model #kit #gunpla