After watching many different videos, I decided I wanted to try customising my RX-78-2 Gundam. Or more accurately my HGUC RX-78-2 Gundam – E.F.S.F. Prototype Close-Combat Mobile suit.
I planned on using this as a test bed for multiple types of customisation’s. This included:
- Lighting
- Gap Filling
- Airbrushing / Painting
This project has been delayed by me breaking a couple of pieces of the model. This occurred while taking the model apart multiple times. I am writing a blog post about that whole experience (replacing parts) but that will be completed once I have managed to reach a satisfactory conclusion.
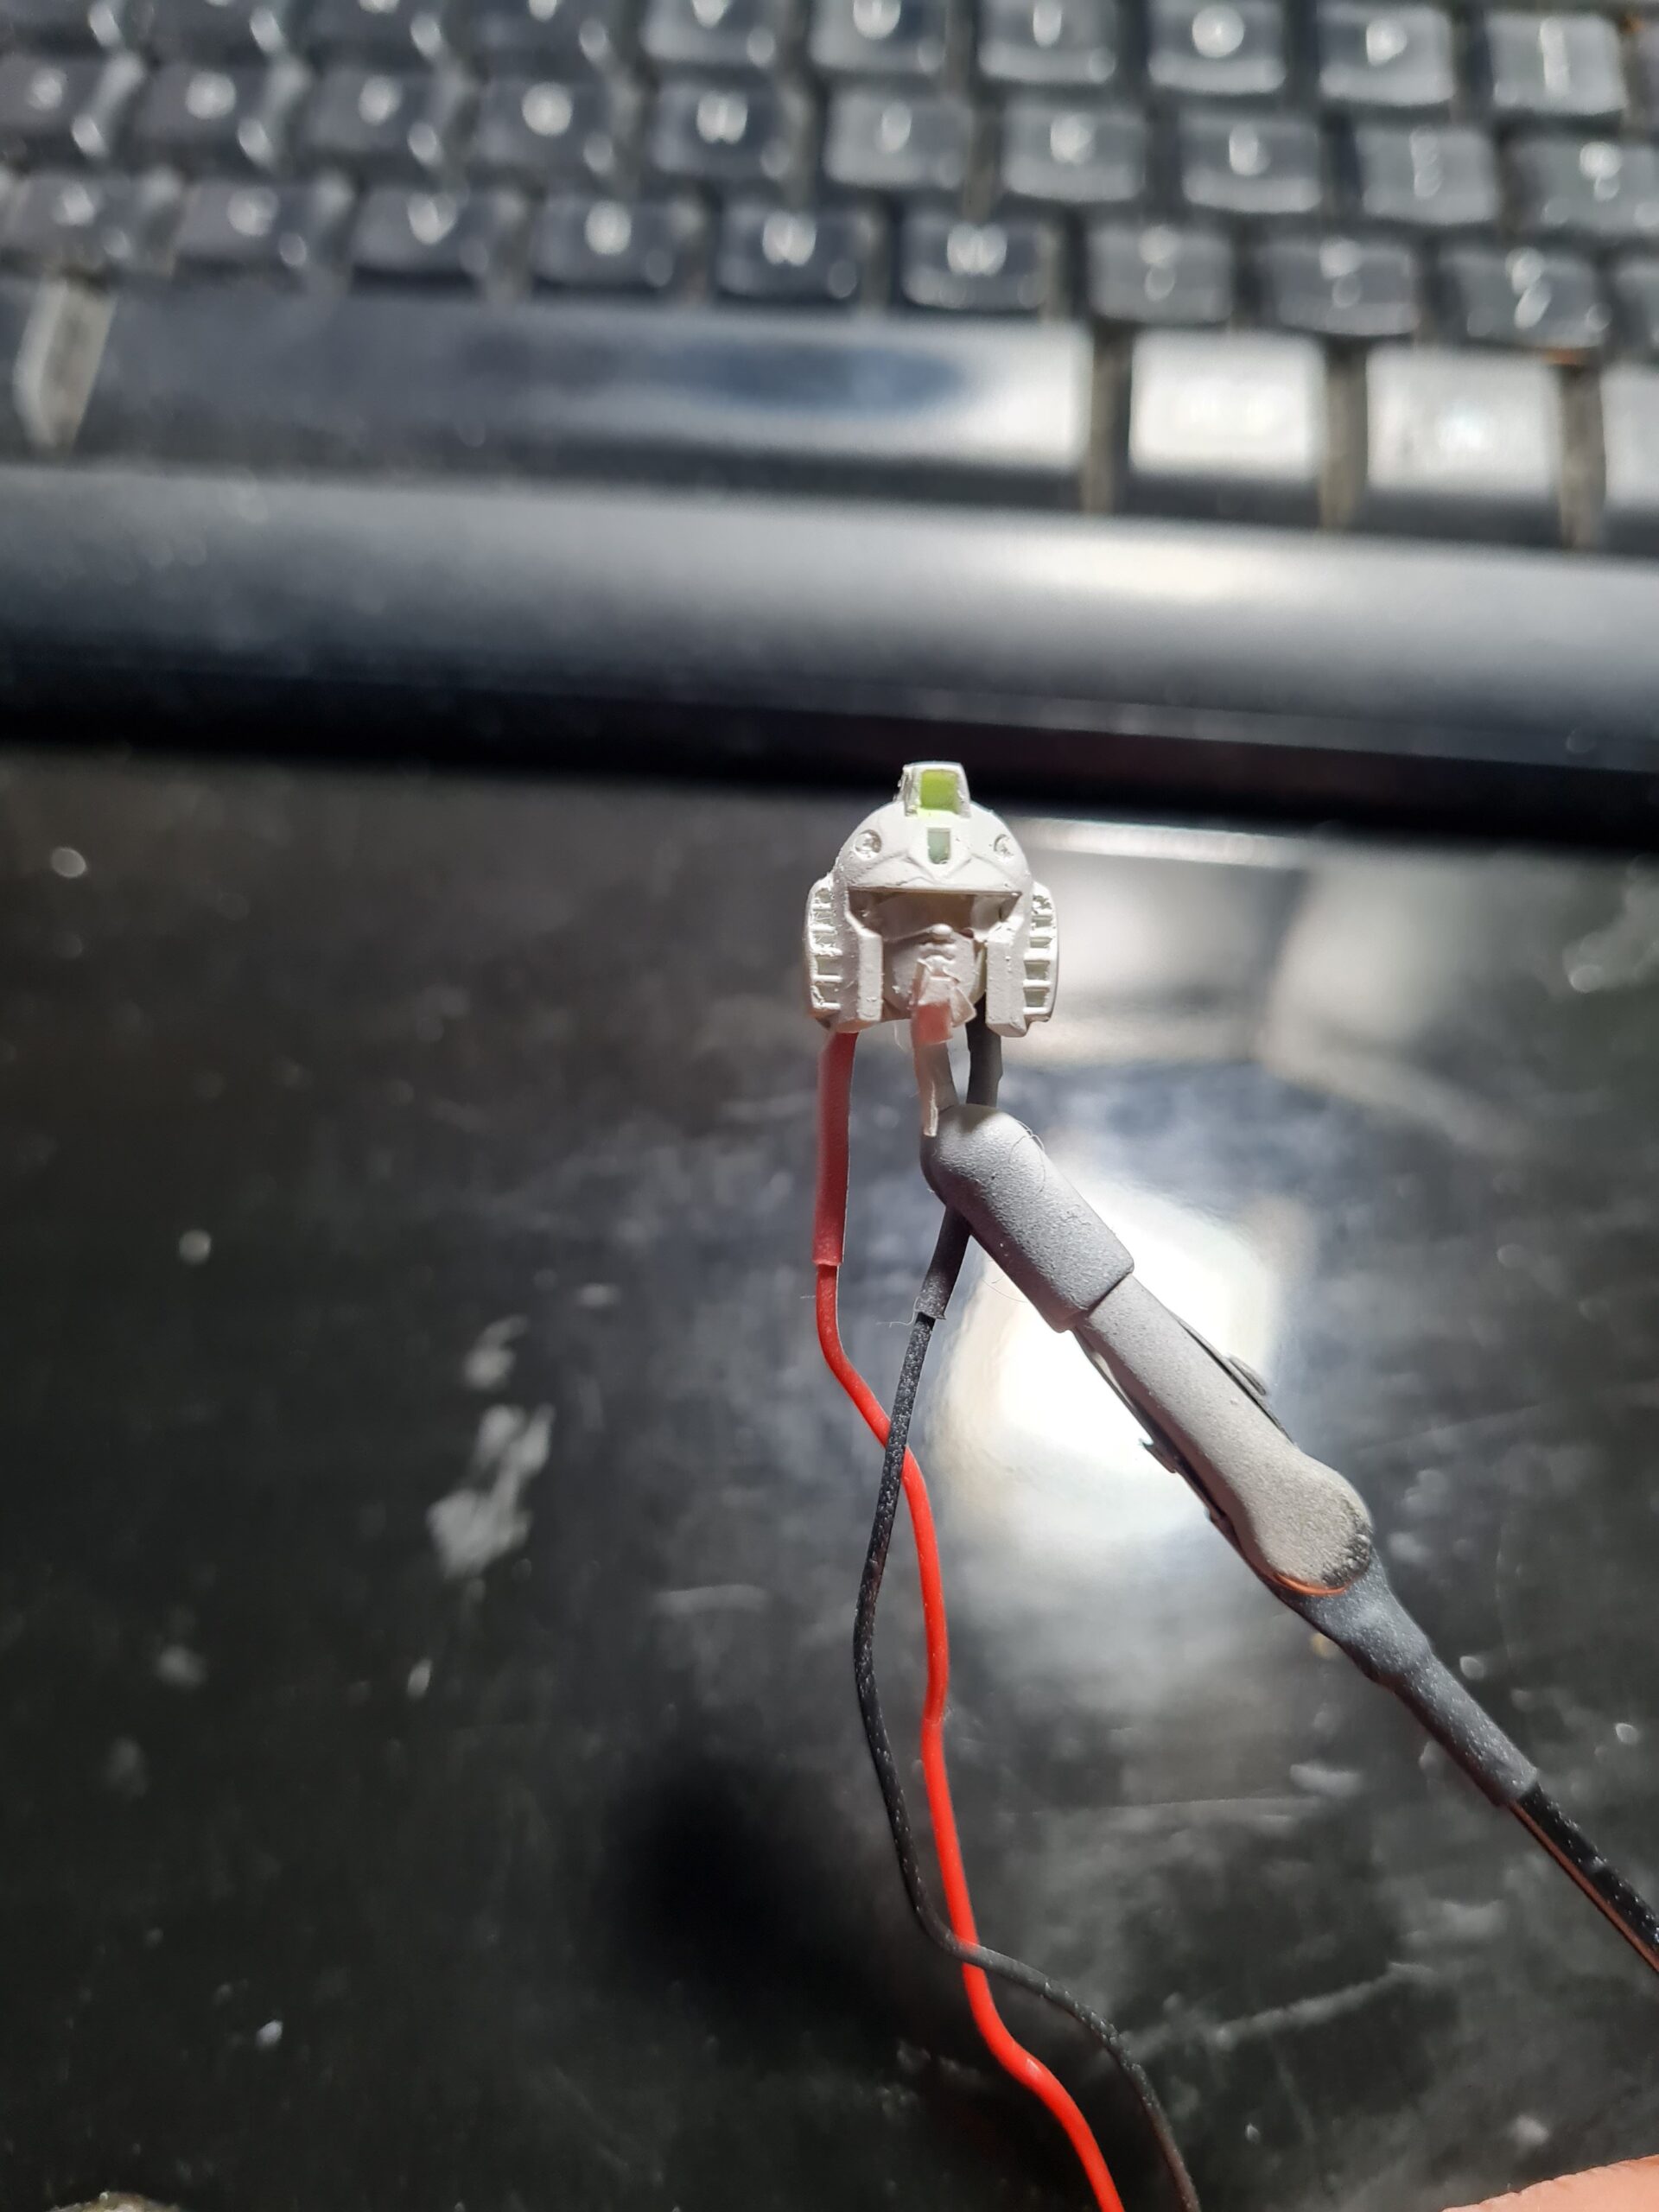
Customising – Lighting
I will go into more detail on lighting in a later post. However I have tried multiple different LED sources, and different voltages. I will go into the details in a separate post as they are worthy of a post on their own. I will say that I have used small scale lights website to order leds and the service has been fantastic.
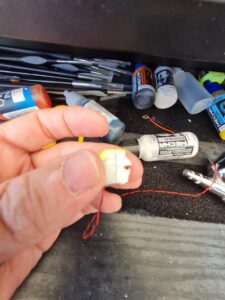
Customising – Gap Filling
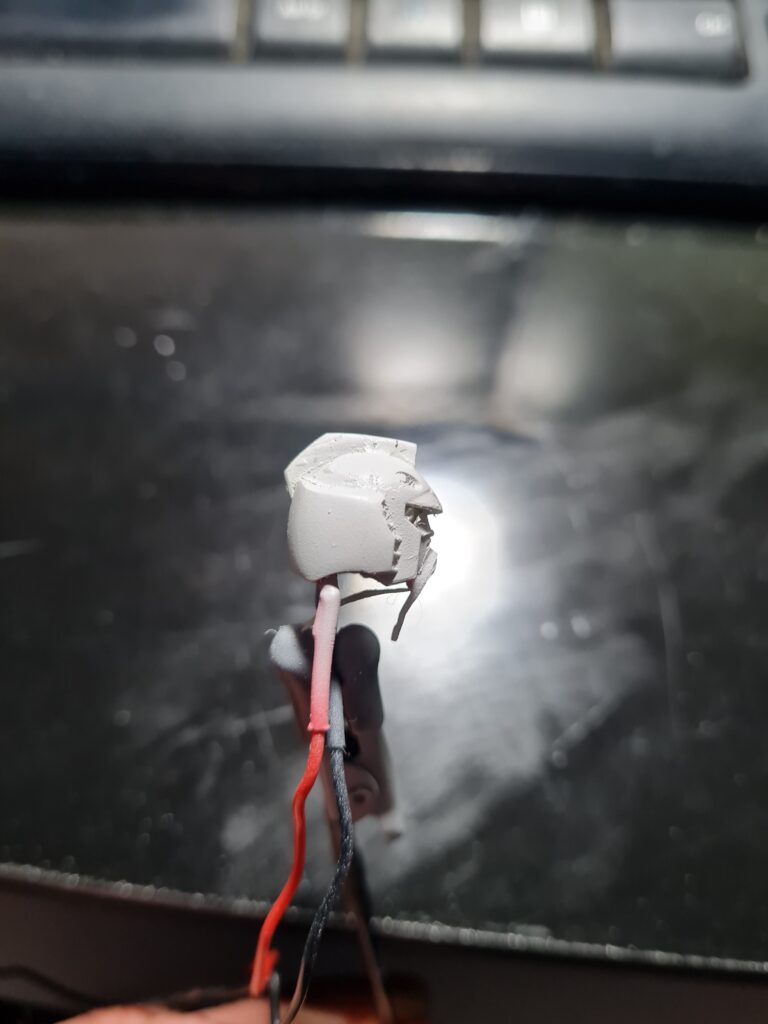
I decided to use Mr Hobby Mr. Dissolved Putty for filling the gaps. Again I will do a full post with pictures covering the whole process. Before filling the head has an obvious join/gap running up both sides and over the top.
After filling the gap and sanding down there is still a clear line. I use my fingernail to run across the line to feel for any indentation or raised parts; if there are any then I continue to sand. Once I’m happy I move on to painting / airbrushing.
Customising – Airbrushing / Painting
The aim of airbrushing the model for me is to gain a greater control over the look of the final model. I have seen fantastic work done with weathering and other paint effects and want to explore the options available to me. However, the first test was to see if airbrushing over the head would remove the join mark.
I was fairly happy with the result, certainly the join mark (to me) is invisible. However, I do need to clean the head up and give it another coat to make it a lot cleaner.
Customising – Conclusion
I am happy with the results that can be achieved with a few tools and a little patience, and aim to do a more thorough walk through of the prep, and painting of the head, to make it clearer as to all the steps taken to achieve that result. I definitely think if nothing else the time taken to hide any visible joins is well worth it.